One at a time. Like anything else, you do get faster as you get the hang of it. I select and arrange the colors for the upcoming row, and then I settle into a rhythm. With my right foot pressing the treadle, I use both hands to manipulate both the raised warpends and the loose wool strands. It is a relaxing and satisfying trek from the right-hand side of the warp to the left, one rya knot at a time.
I am letting the pictures speak for themselves. I forgot to take a picture of the completed rya knot pillow top square while it was still in view on top, so you get to crawl under the breast beam with me at the end to see it from underneath.
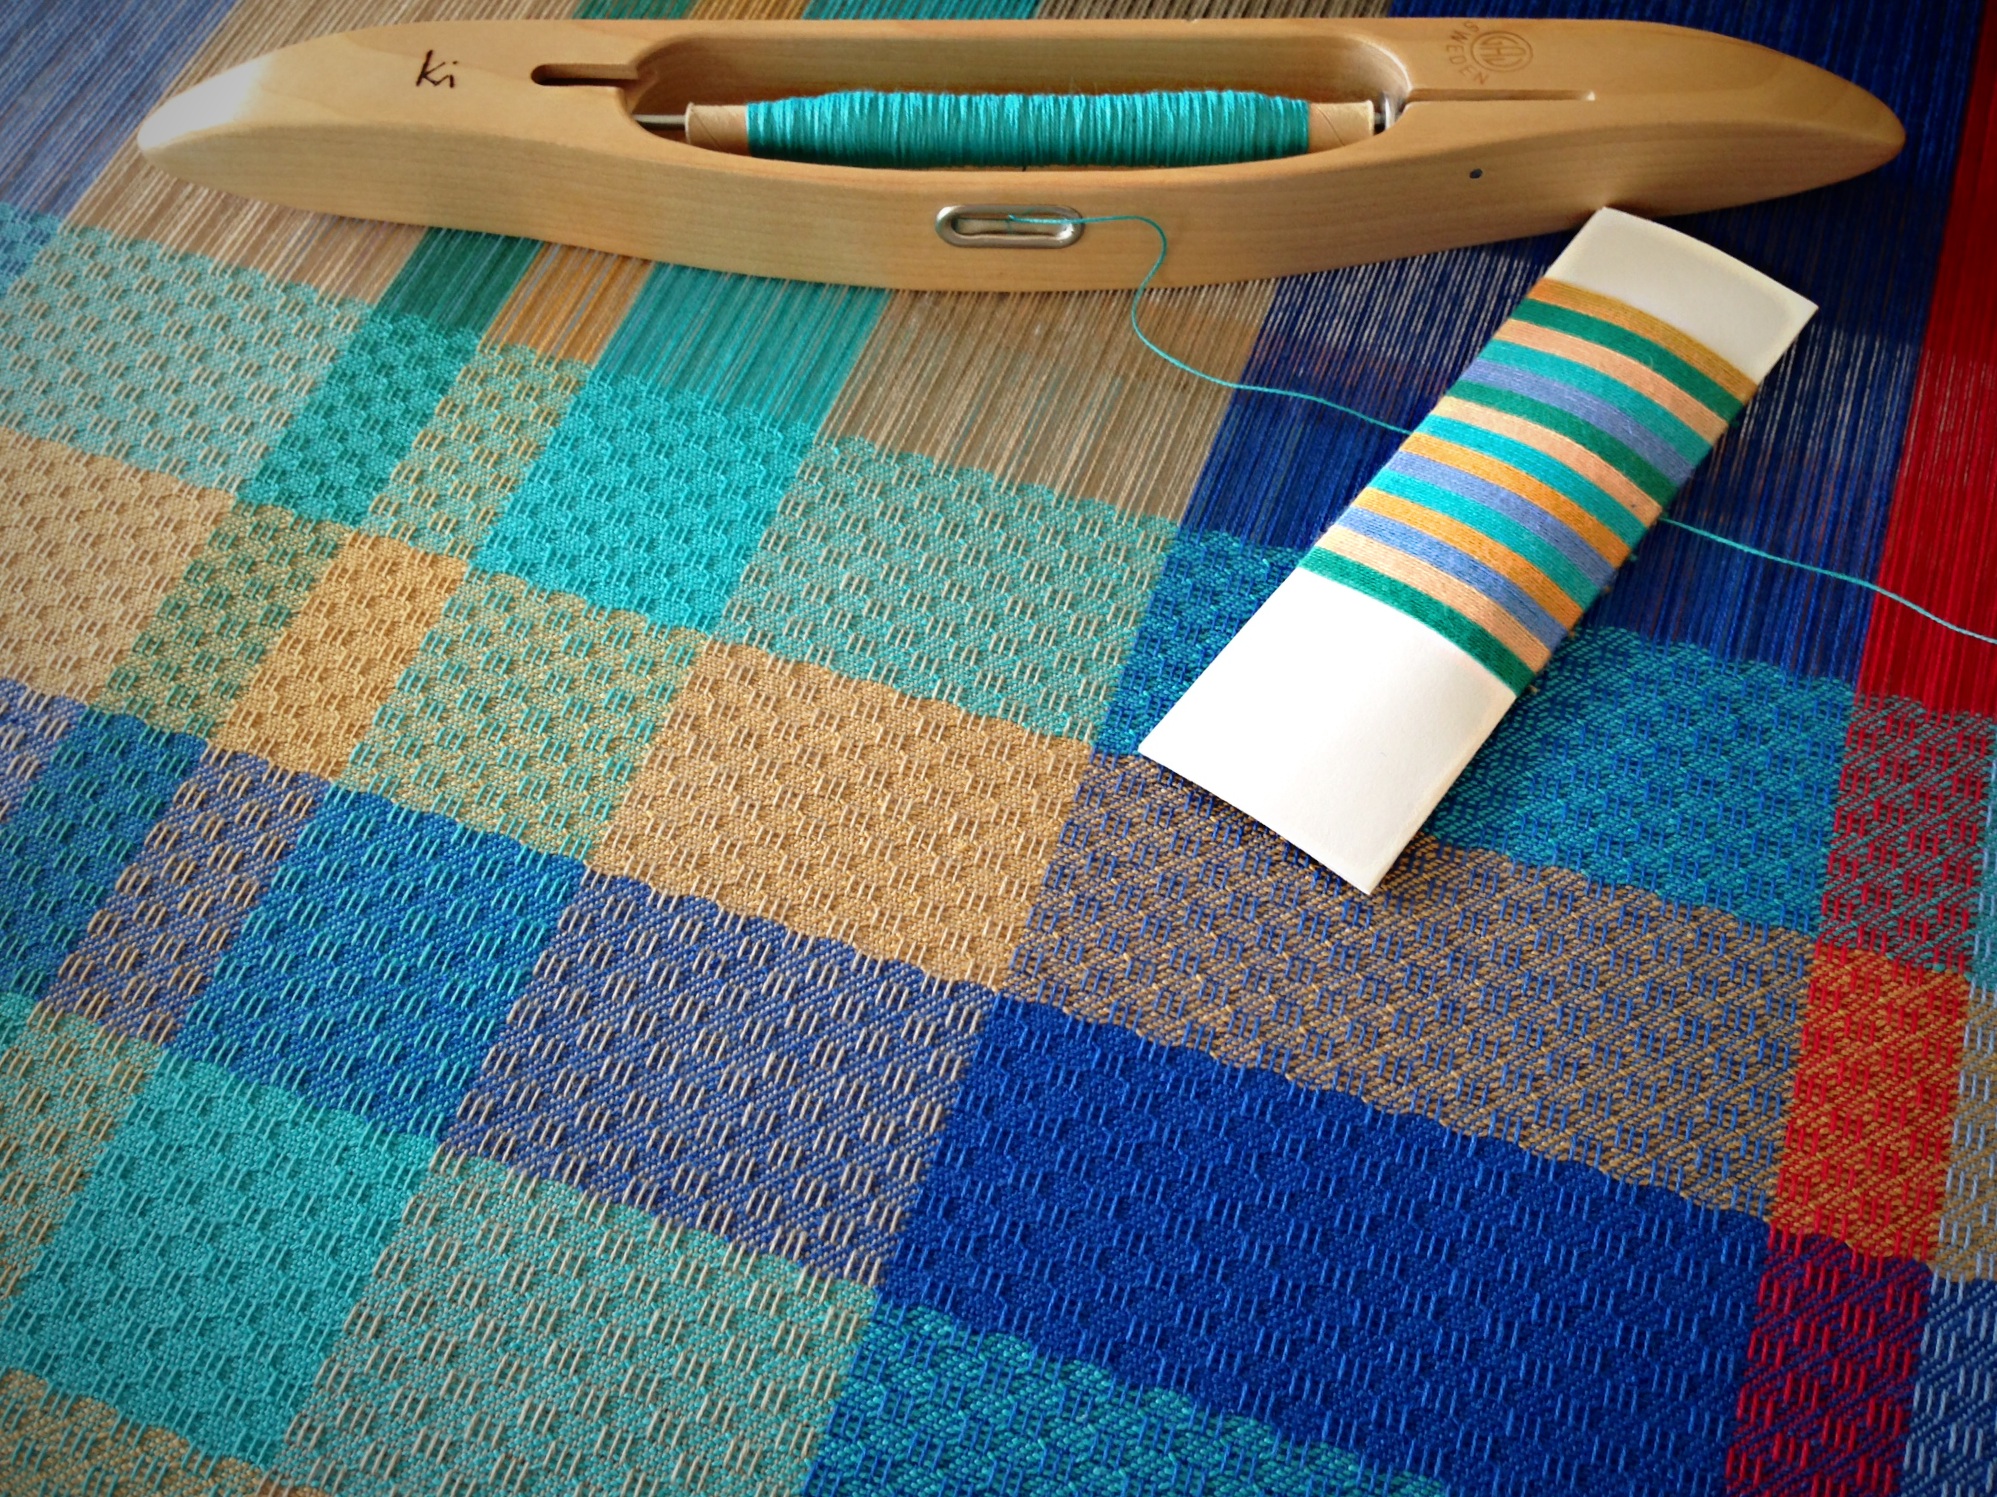
You will always come back to what you love. I came back to this arrangement of stripes because I love the harmonious way the colors work together. Now used as a weft sequence, this is one of the color wrappings that I did when planning this towel warp. (You can see the rest of the color wrappings HERE.) But really, it’s just towels, it’s just colors, it’s just things that wear out.
Color wrapping for possible warp arrangement is now used as weft sequence. Except, since I ran out of light blue thread (remember THIS?), I am using dark blue in its place.
Everything we can touch and everything we can see is in the process of fading. Physical things deteriorate over time; they just do. The handwoven articles I so carefully make may last a human lifetime, or maybe longer. But eventually they will be no more, and any meaning they have now will be lost. (Even with my grandmother’s quilts and rugs, like THESE, I don’t know what they meant to her, and she’s no longer around to ask.) It doesn’t make sense to love things. Sure, we can touch and see them, and our me-first self wants them. But they are all going away.
It does make sense to investigate the non-physical things that never decay. When we align with the desires of our grand weaver and discover the plans he has had from the beginning of time, we are investing in heavenly pursuits that carry rewards that never fade. Ever.
May the work of your hands outlast you.
101 Thanks! Thank you, dear friend, for coming to my virtual weaving studio again and again. If you are one of the small handful (there are about eight or ten of you) that started with me 101 blog posts ago (HERE is the first post), a BIG thank-you to YOU! If you are one of the more recent guests, helping to grow this space to more than 1,200 guests a month, I am HUGELY grateful to YOU, too! You are welcome here. I am so glad you came!
You have to know what you want before you start. When a handweaver threads the warp, she is deciding in advance what kind of cloth she wants to weave. Your true intentions, like a threaded warp, are revealed in the fabric of your life.
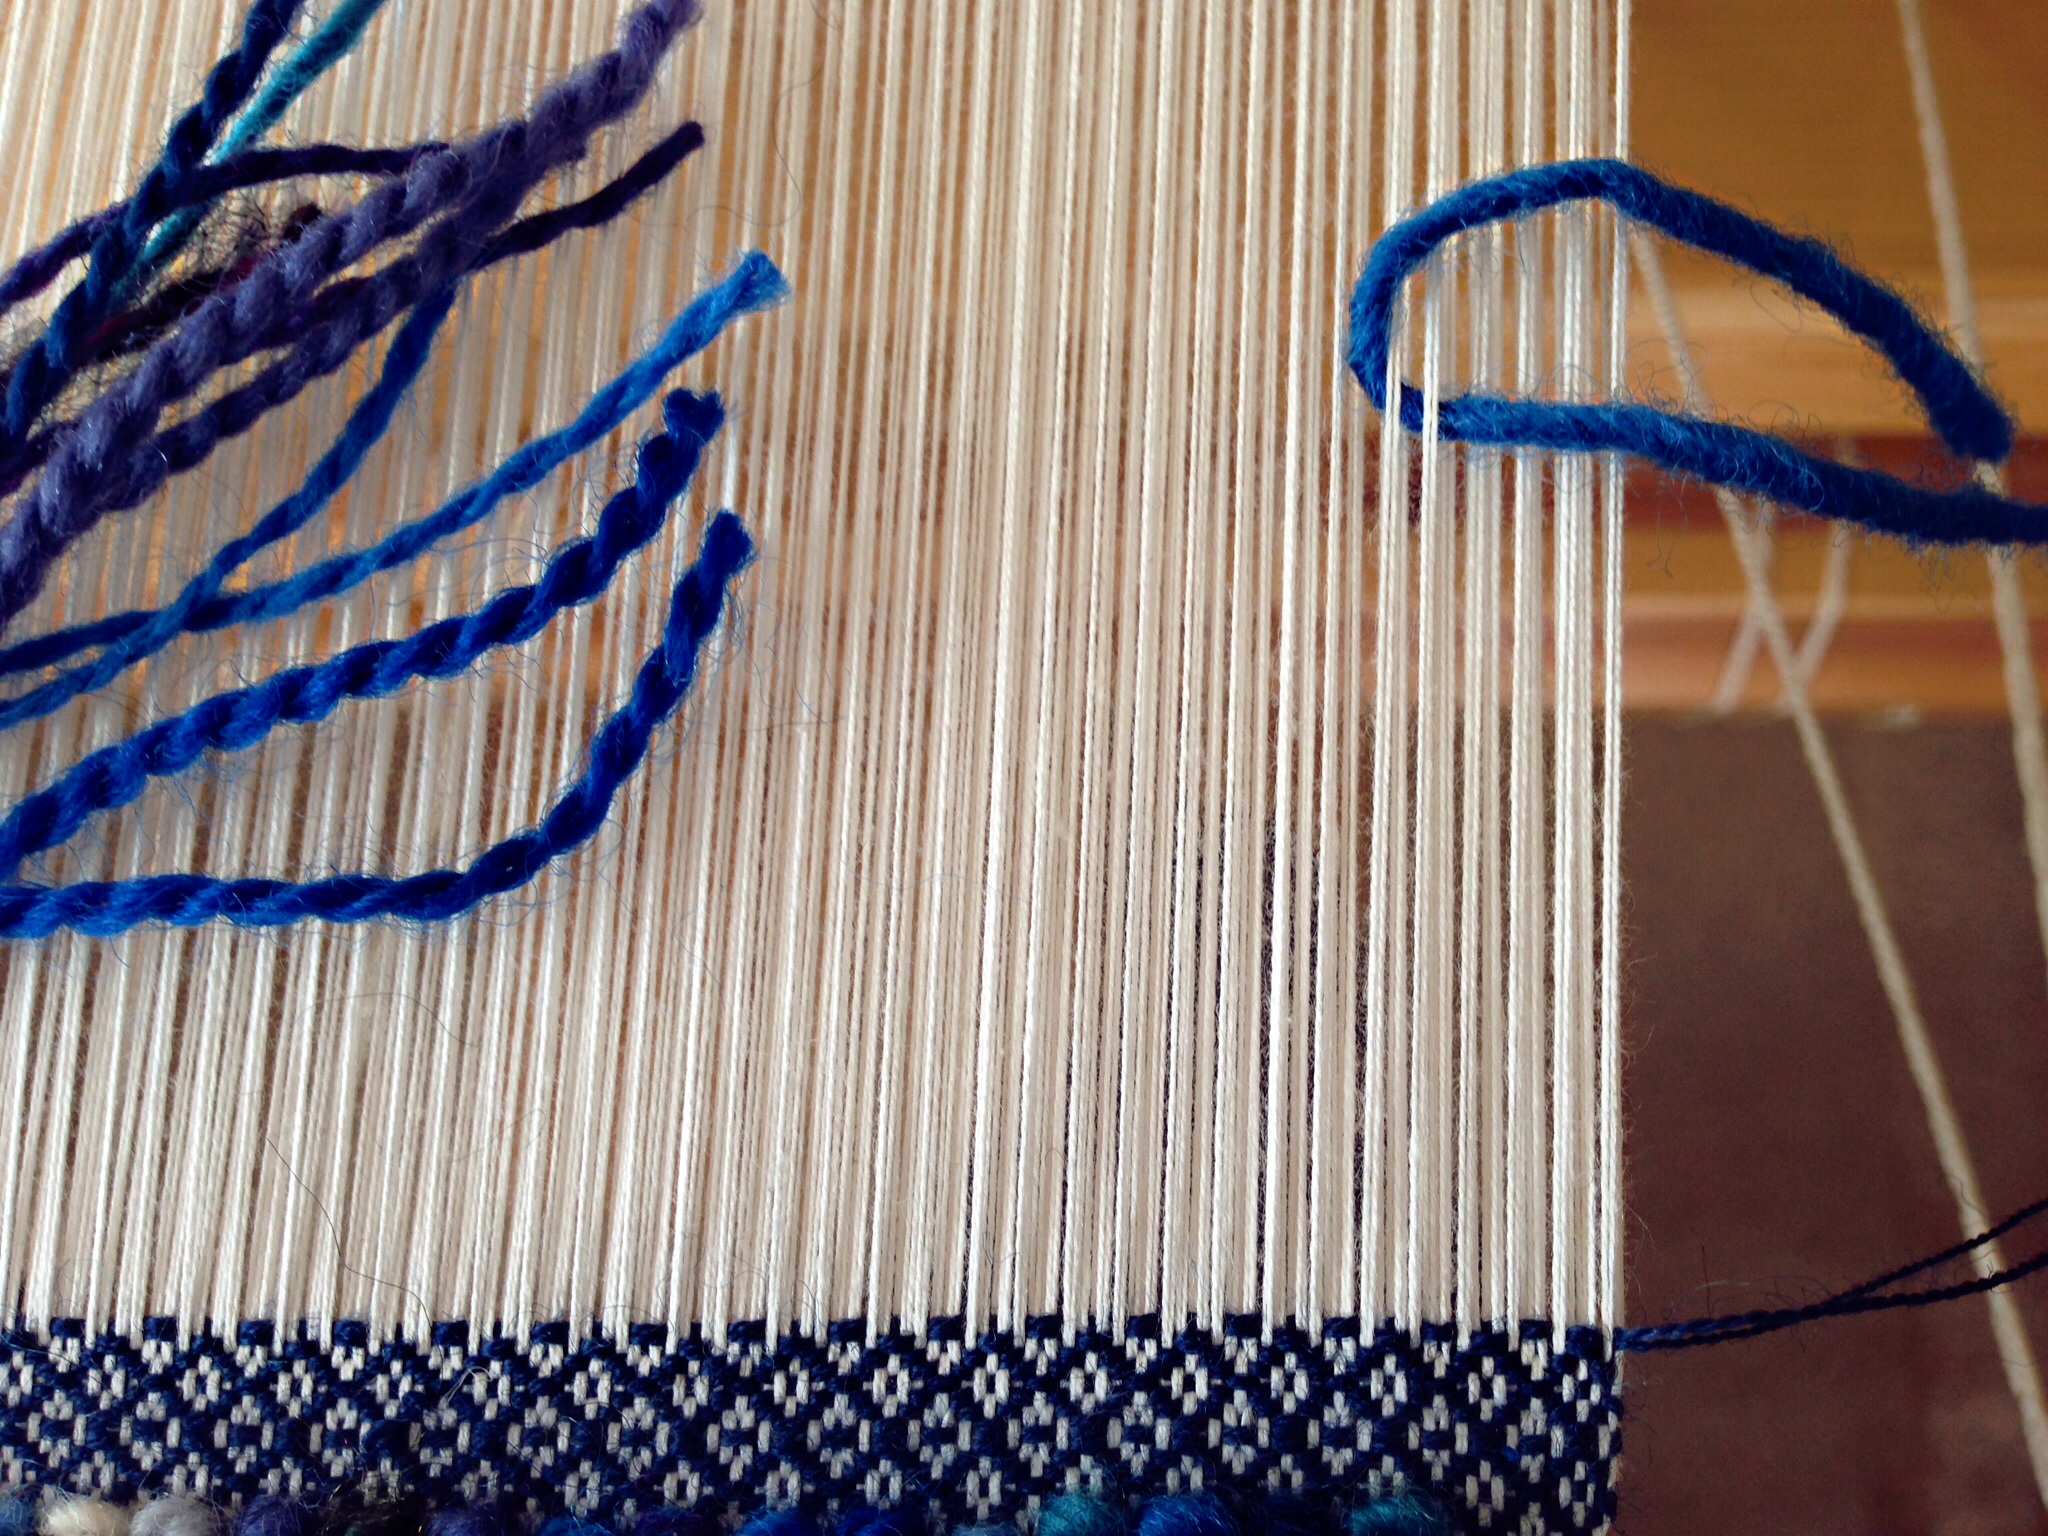
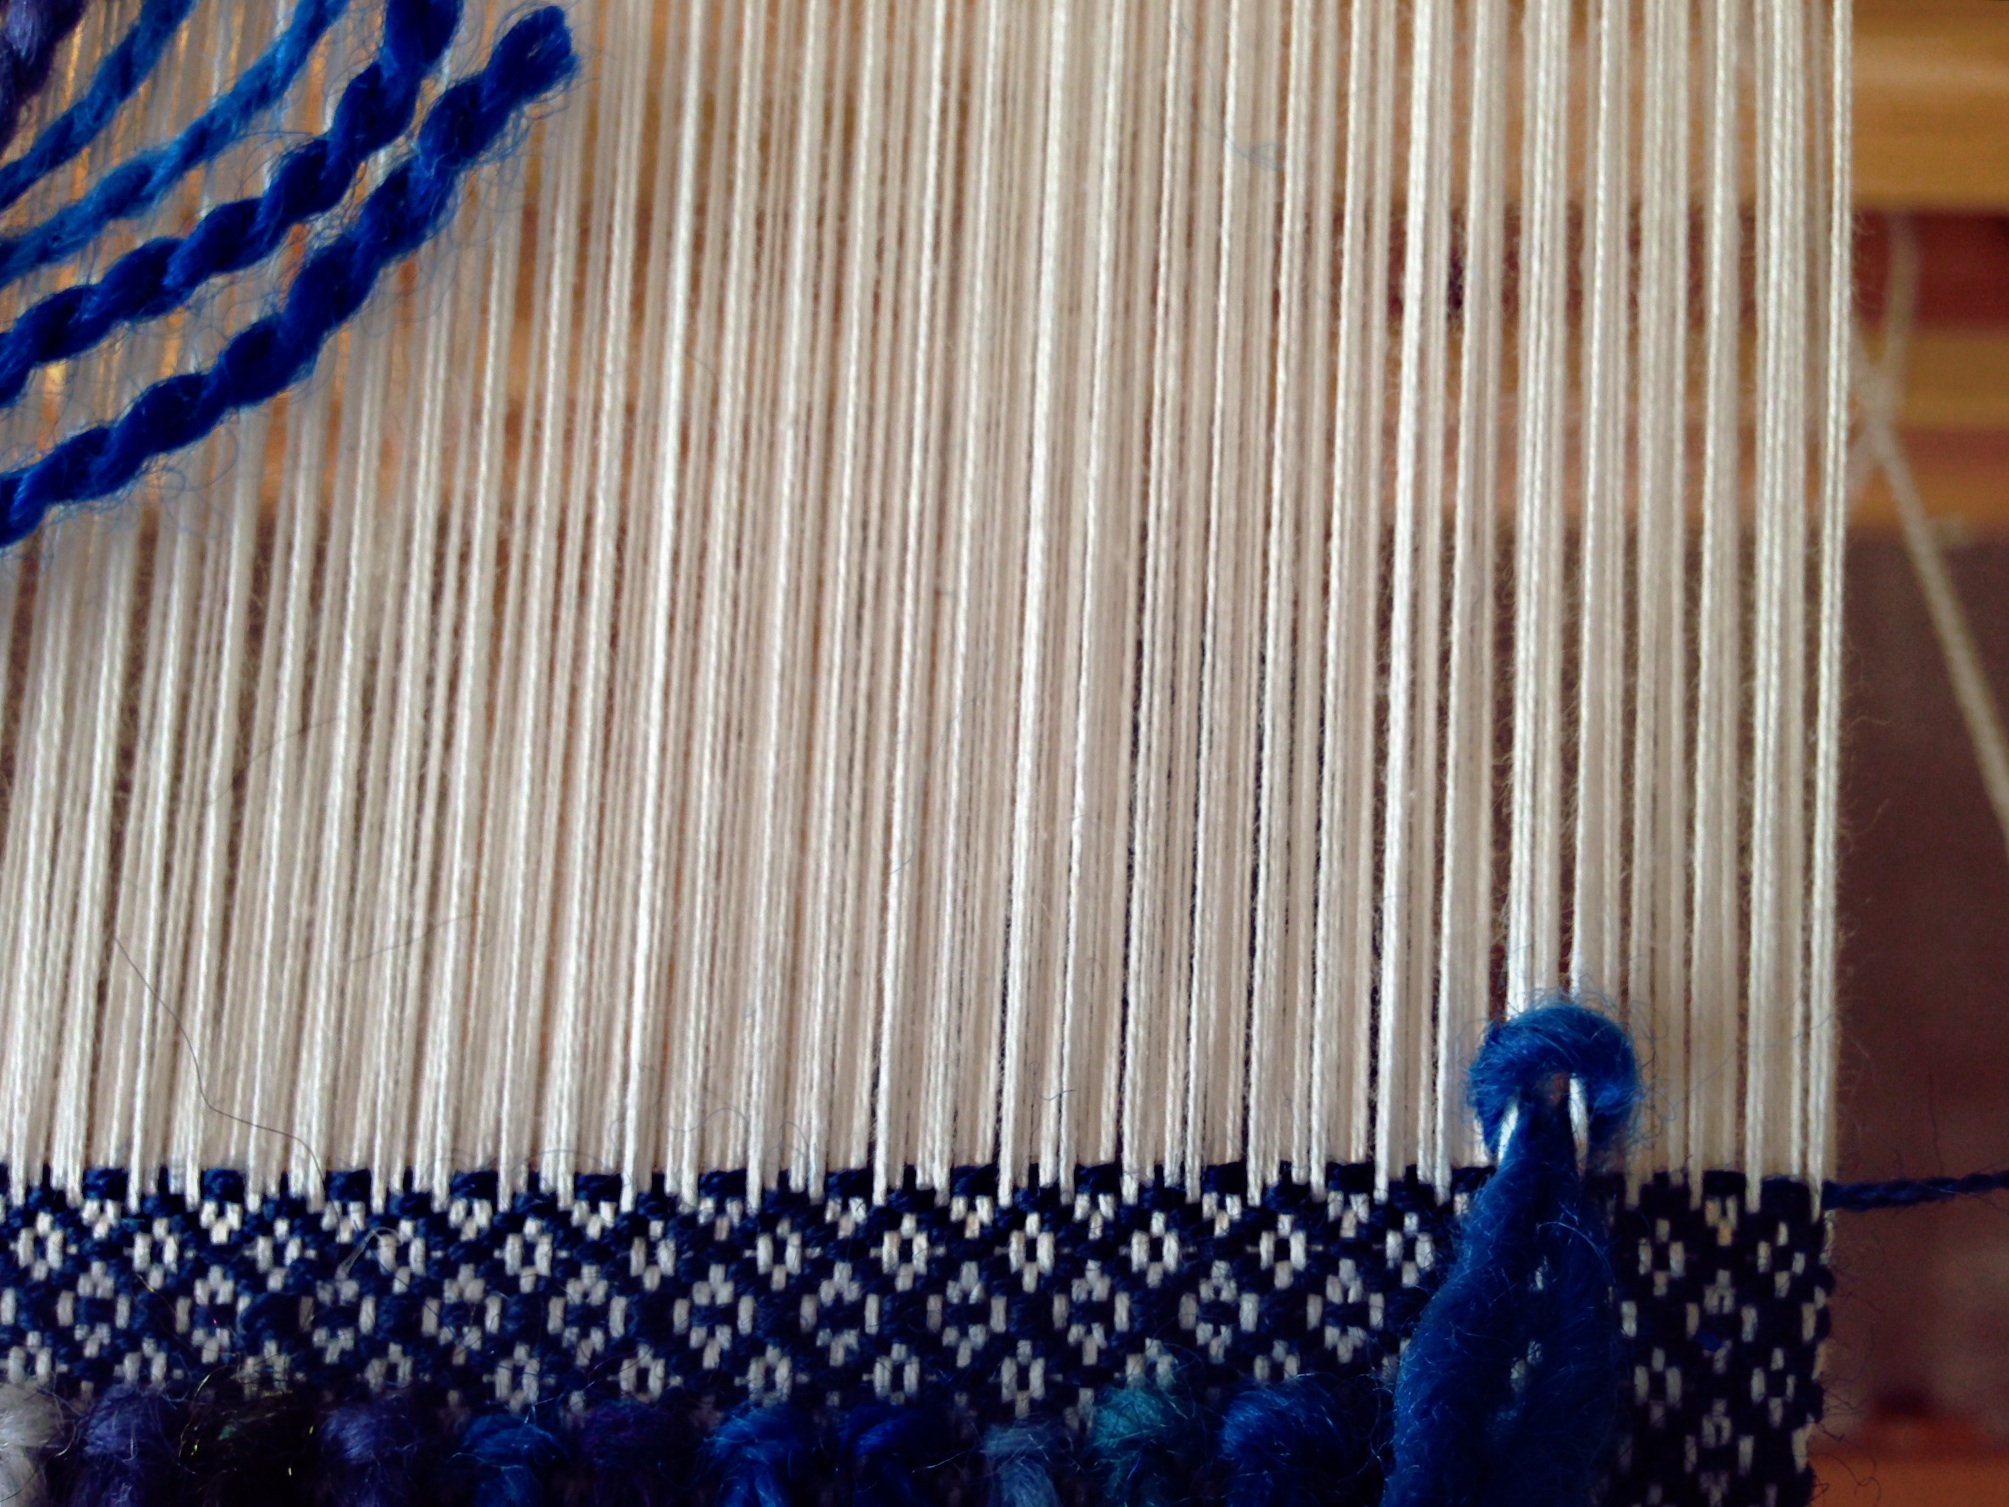
Warp ends at rest behind the reed. Every warp end is carried in the eye of a heddle, which sinks or rises with its shaft (pair of upper and lower shaft bars).
Did you know that your deepest wish shapes your life? When my foot presses a treadle on this Glimåkra countermarch loom, shafts sink and rise, carrying their heddled threads to their proper position for interlacing with the shuttledweft. That’s a fancy way of saying that the way the warp ends were threaded behind the reed becomes evident in the woven cloth in front of the reed.
When our whole-heart desire is to walk as our heavenly king walks, his love is activated in us, and is expressed toward each other. This deep wish to follow his ways forms the intentional threading pattern that makes stunning fabric possible.
(This is still the cotton warp for the rya knots project. HERE is where I threaded these heddles, and HERE is how the rya knots look.)
The next eight-and-a-half weeks may be the most exciting and challenging weeks I have ever known as a mom. My daughter is getting married! How quickly things change. One day your daughter is in a nice relationship; the next day she’s engaged. We already have the dress, the venue, the date, and the photographer. Oh, and the groom worth waiting for! And that’s no small answer to prayer.
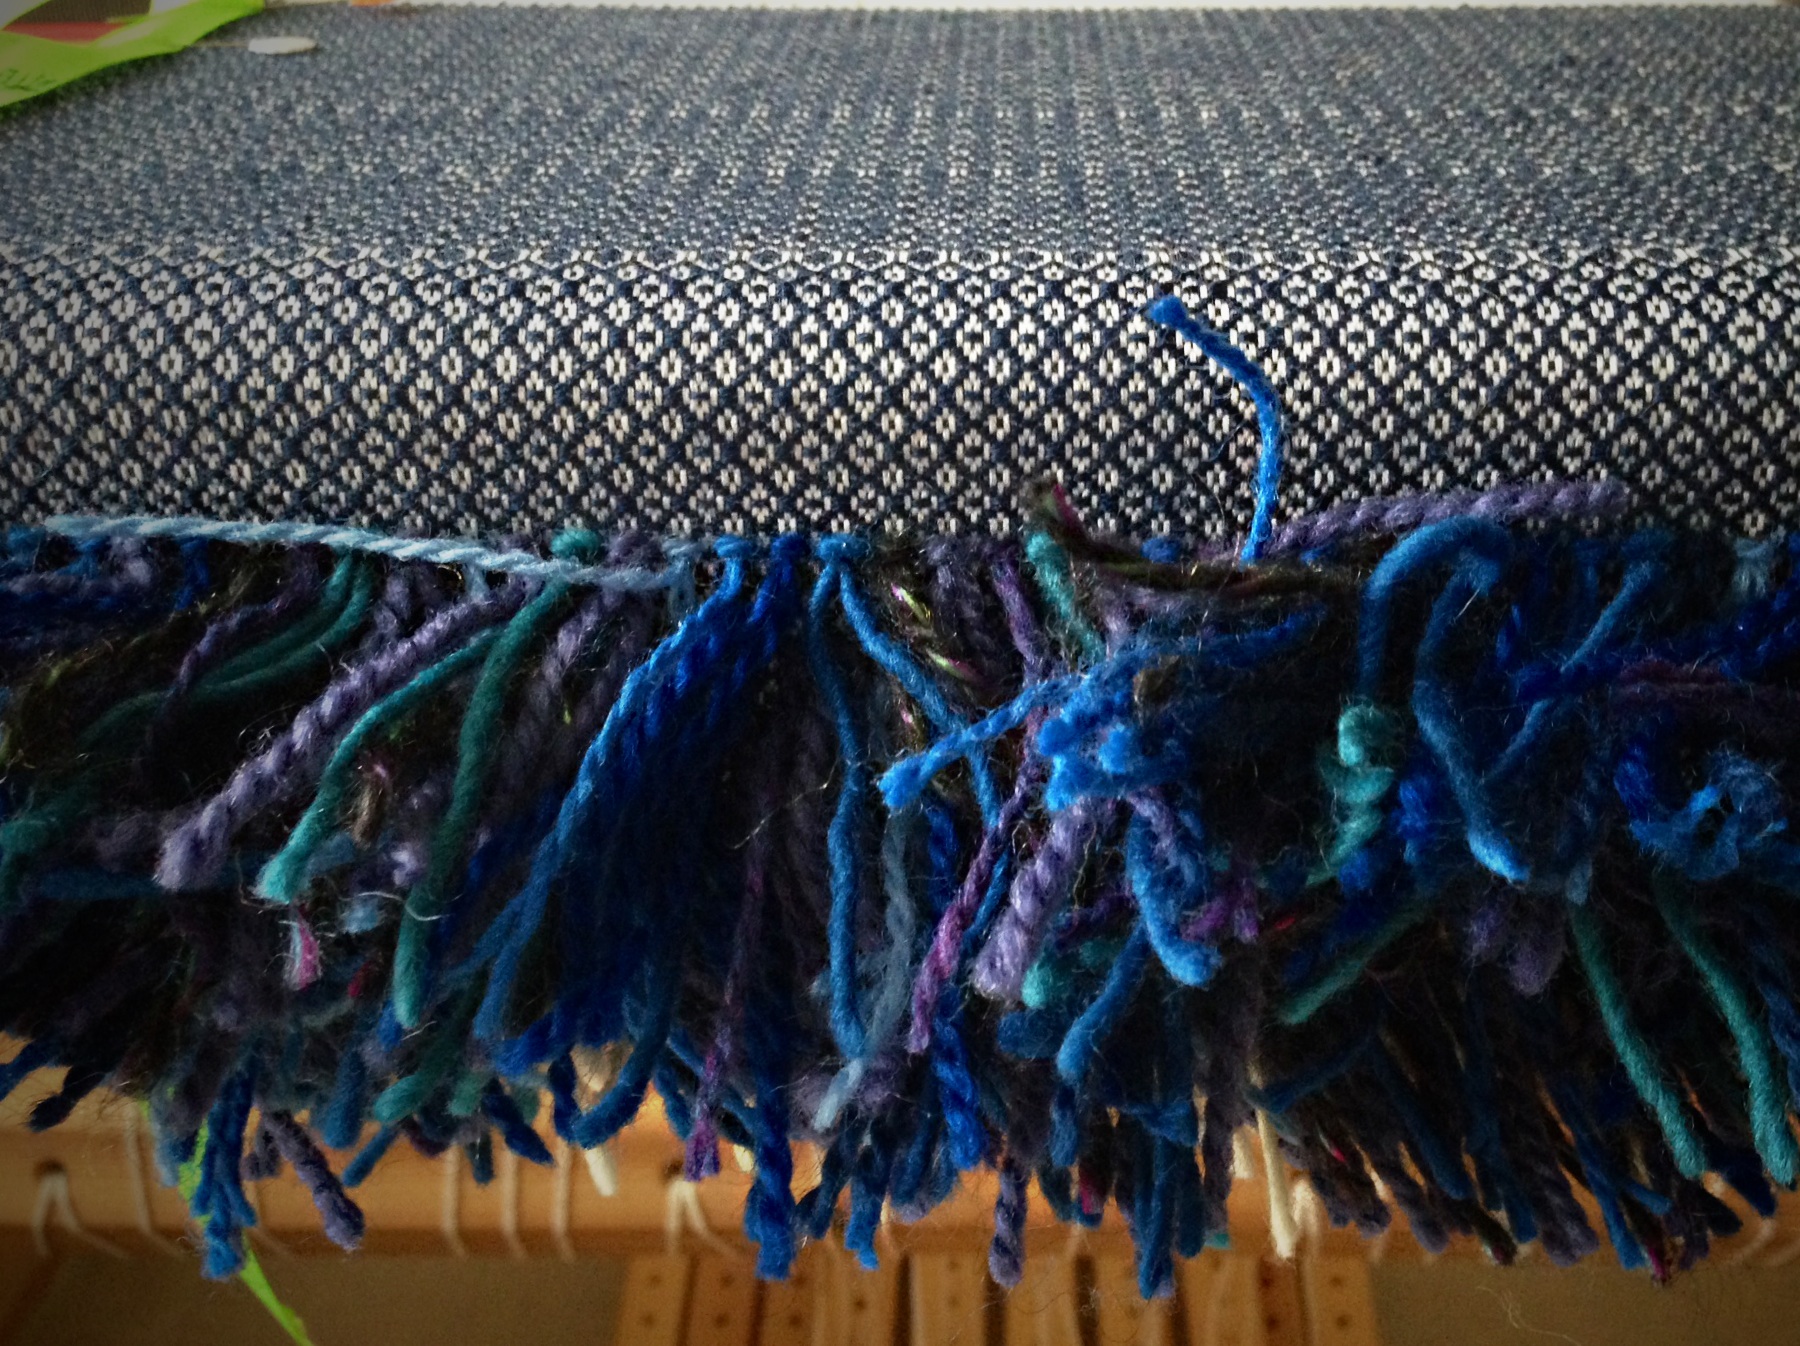
Rya knots that form the top of the pillow turn the corner around the breast beam. The back of the pillow is being woven in the flat pattern of the wool background weft.
Our grand weaver is light. There is absolutely no darkness in him at all. Bright, brilliant, and radiant. That light illumines every step, every decision. The motion of the vibrant rya strands ends in an abrupt line as the weaving moves on to the flat surface of the back fabric of the pillow. The once-hidden intricate pattern behind the rya knots is now in full view, in full light. (For more about that hidden background weft, click HERE.) The source for strength and endurance has already been set into place. Now, it’s time to fearlessly live it out.
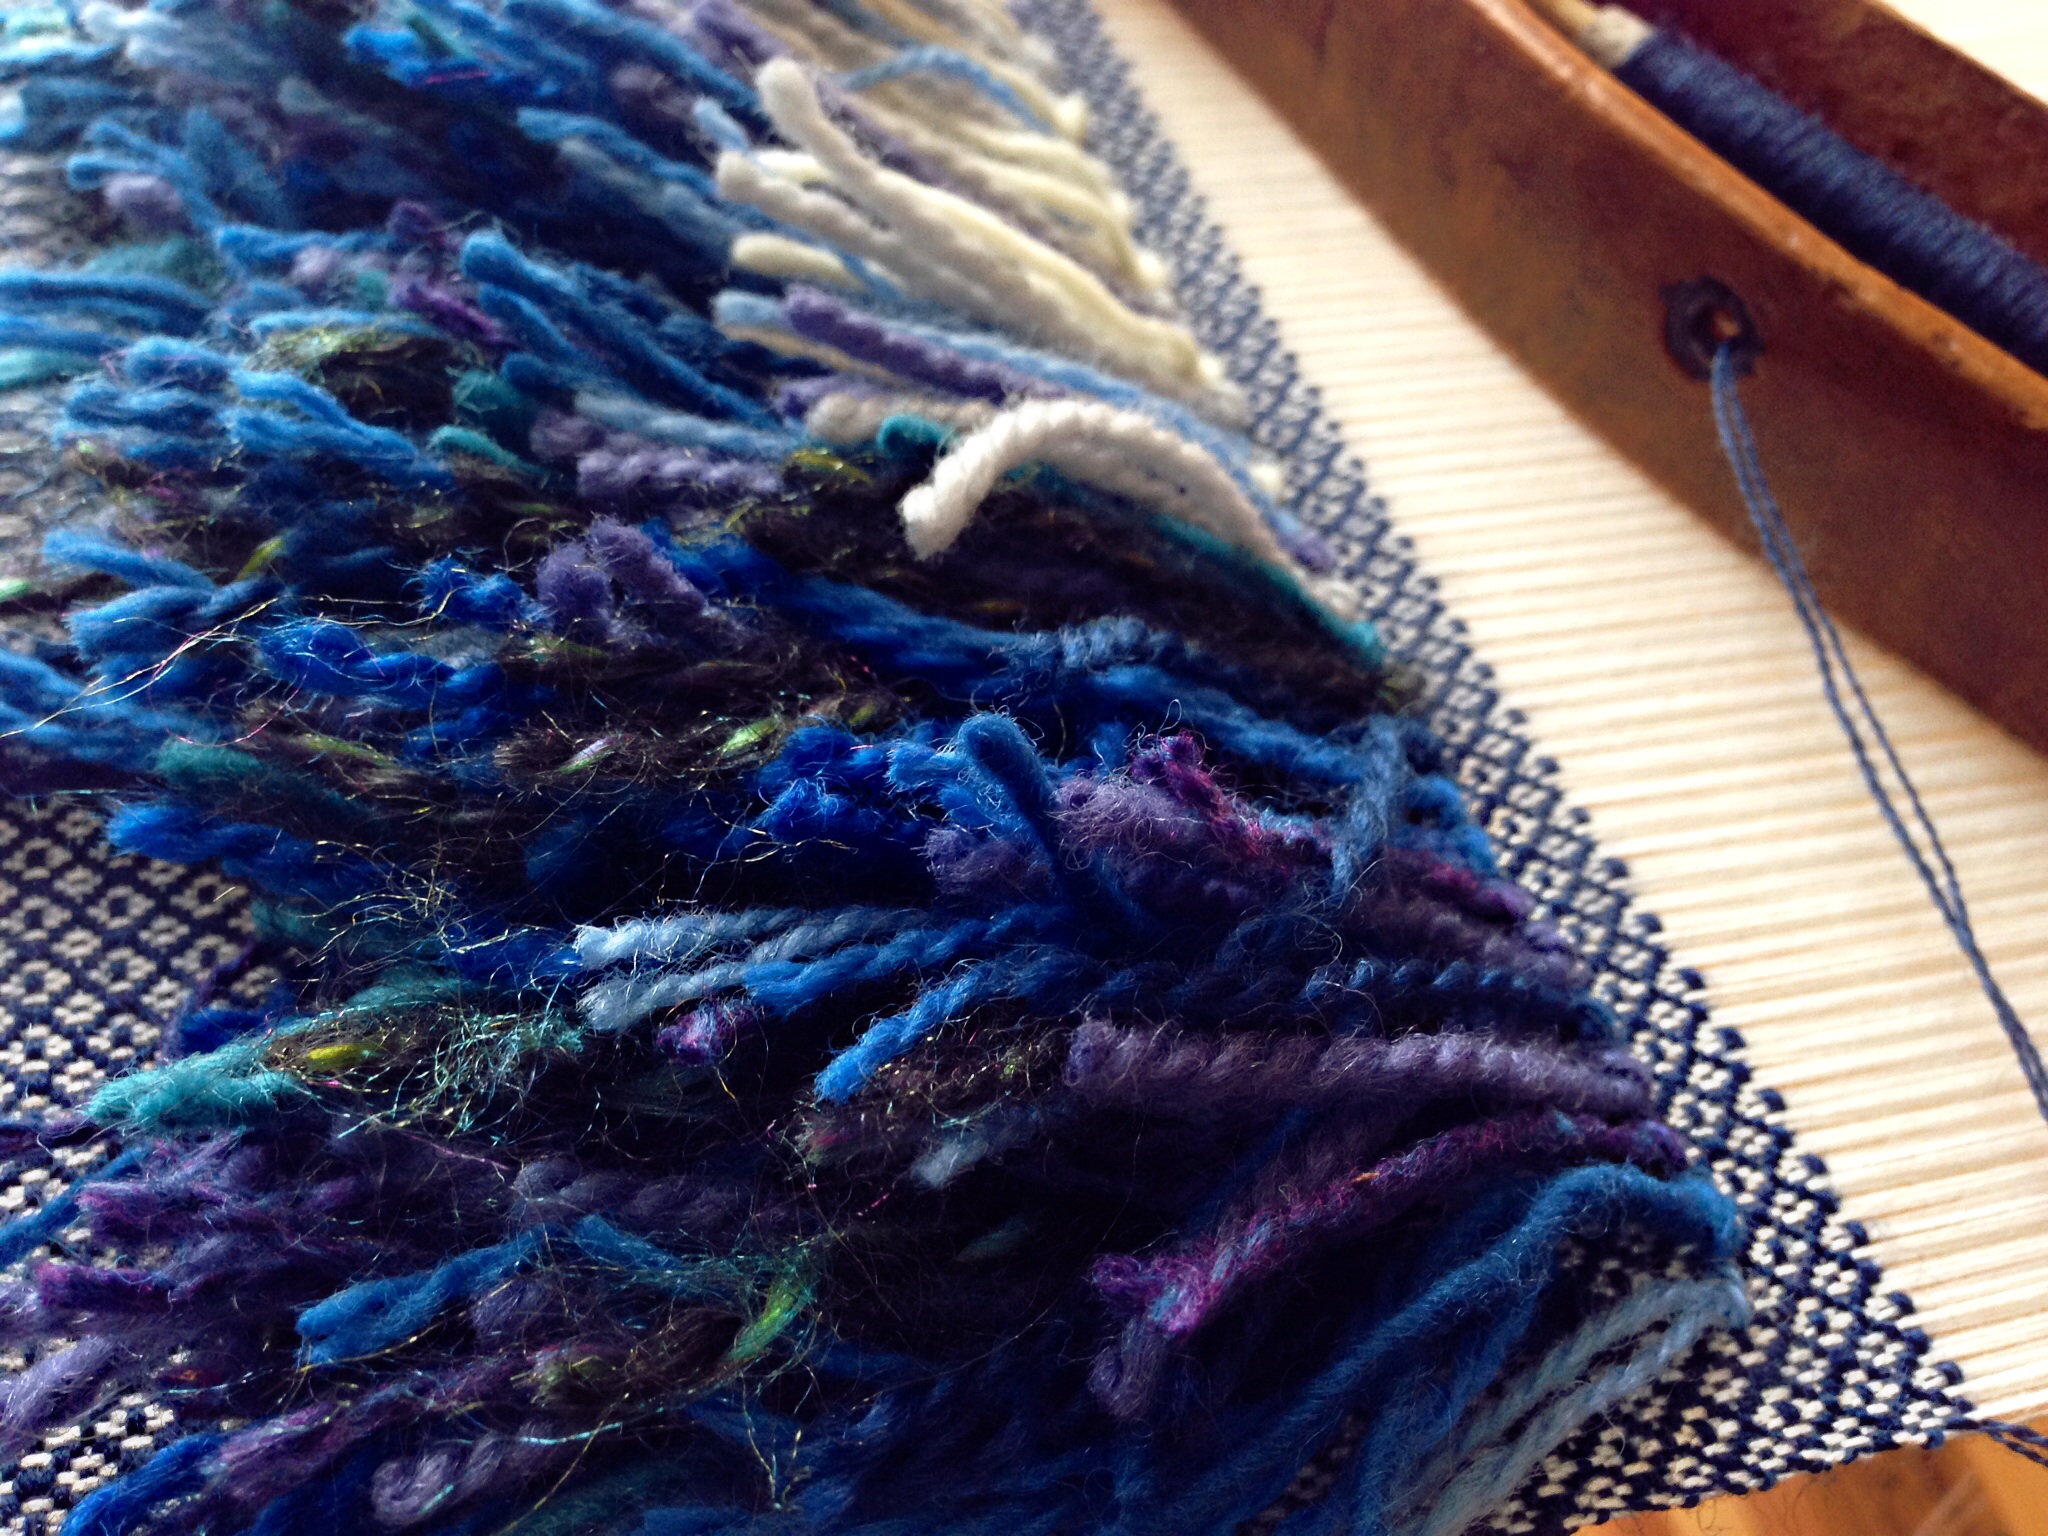
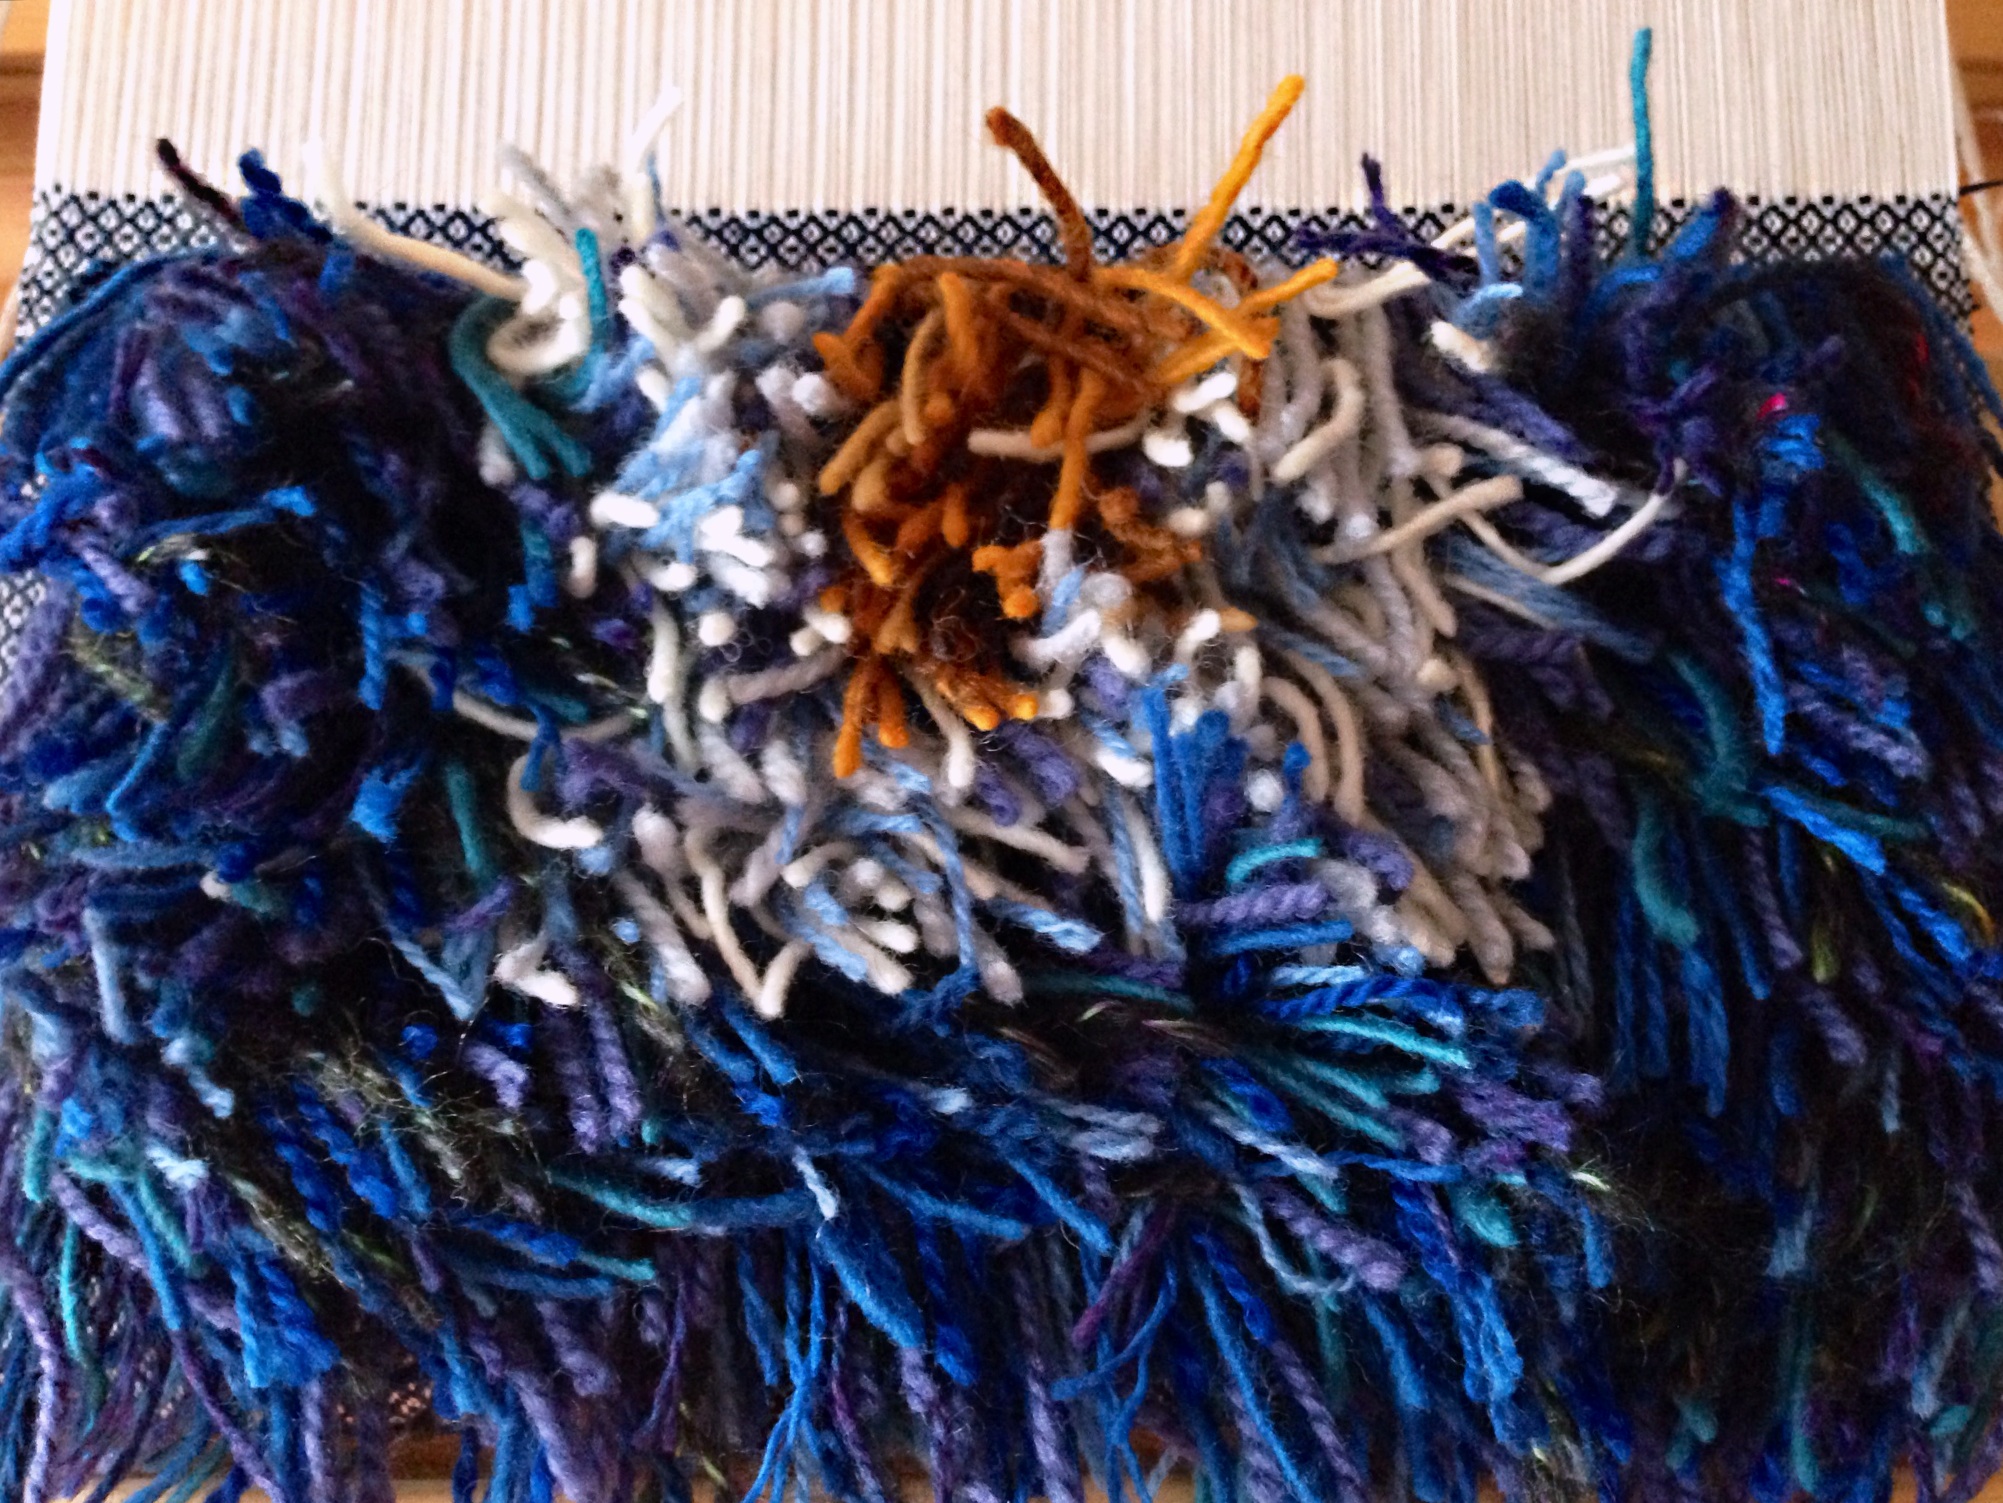
With nine shades of blue, four shades of gold, and mixed strands of white / grey / lavender, in various weights of wool, the rya is a tactile and visual delight. There is a lovely surprise under the shaggy rya tendrils that you will not see unless you spread the strands apart and peer down to the cloth. The wool background weft forms a delicate repeating pattern underneath. And that hidden ground weft is the very thing that secures every tedious row of hand-tied rya knots. Like the background weft, when we choose to build others up, we weave a lasting foundation into our relationships.
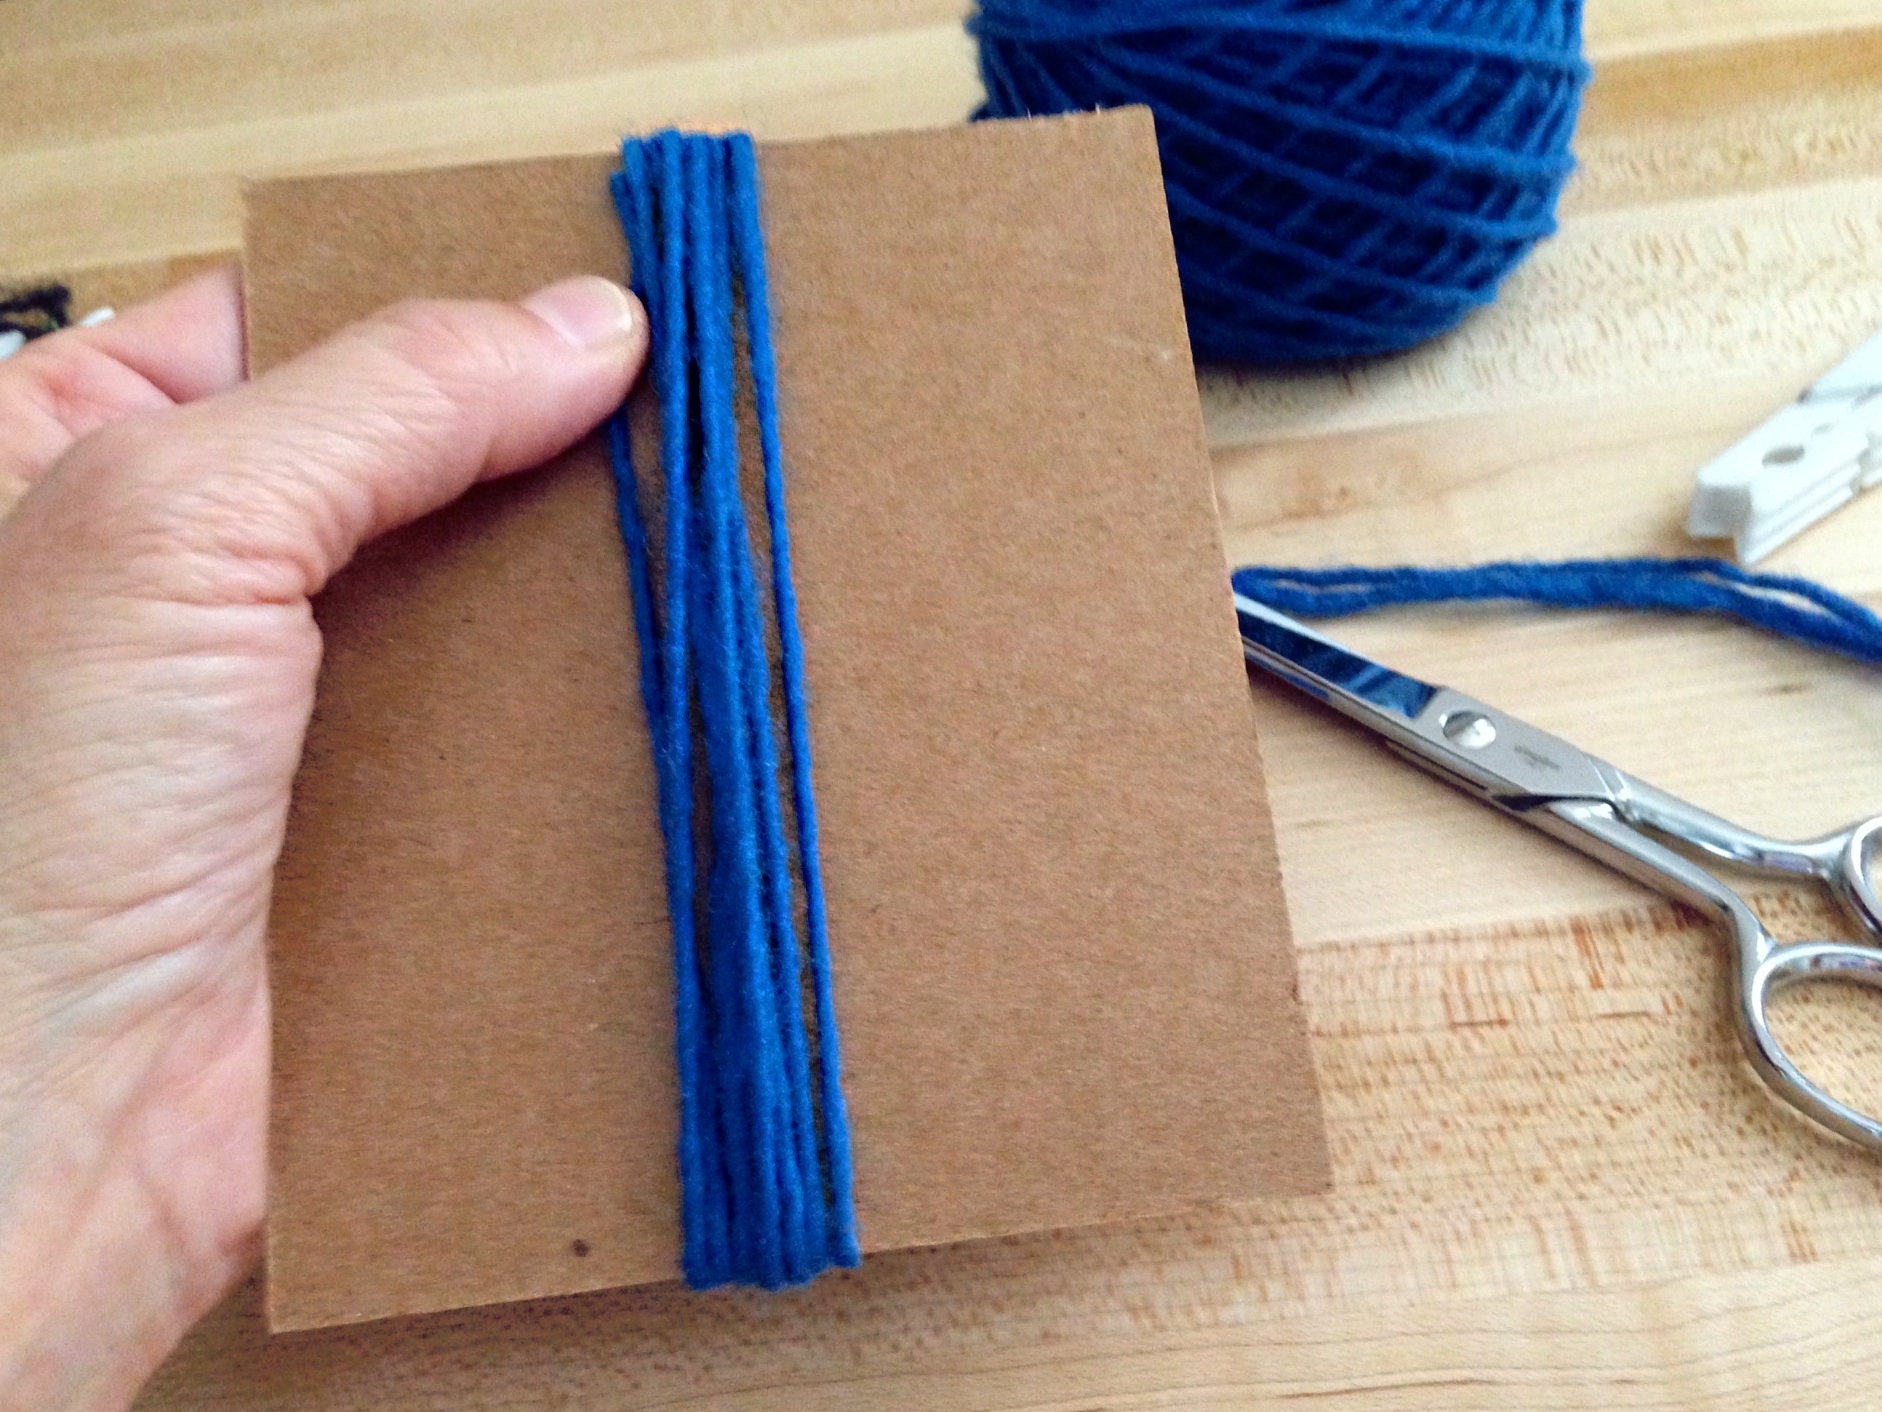
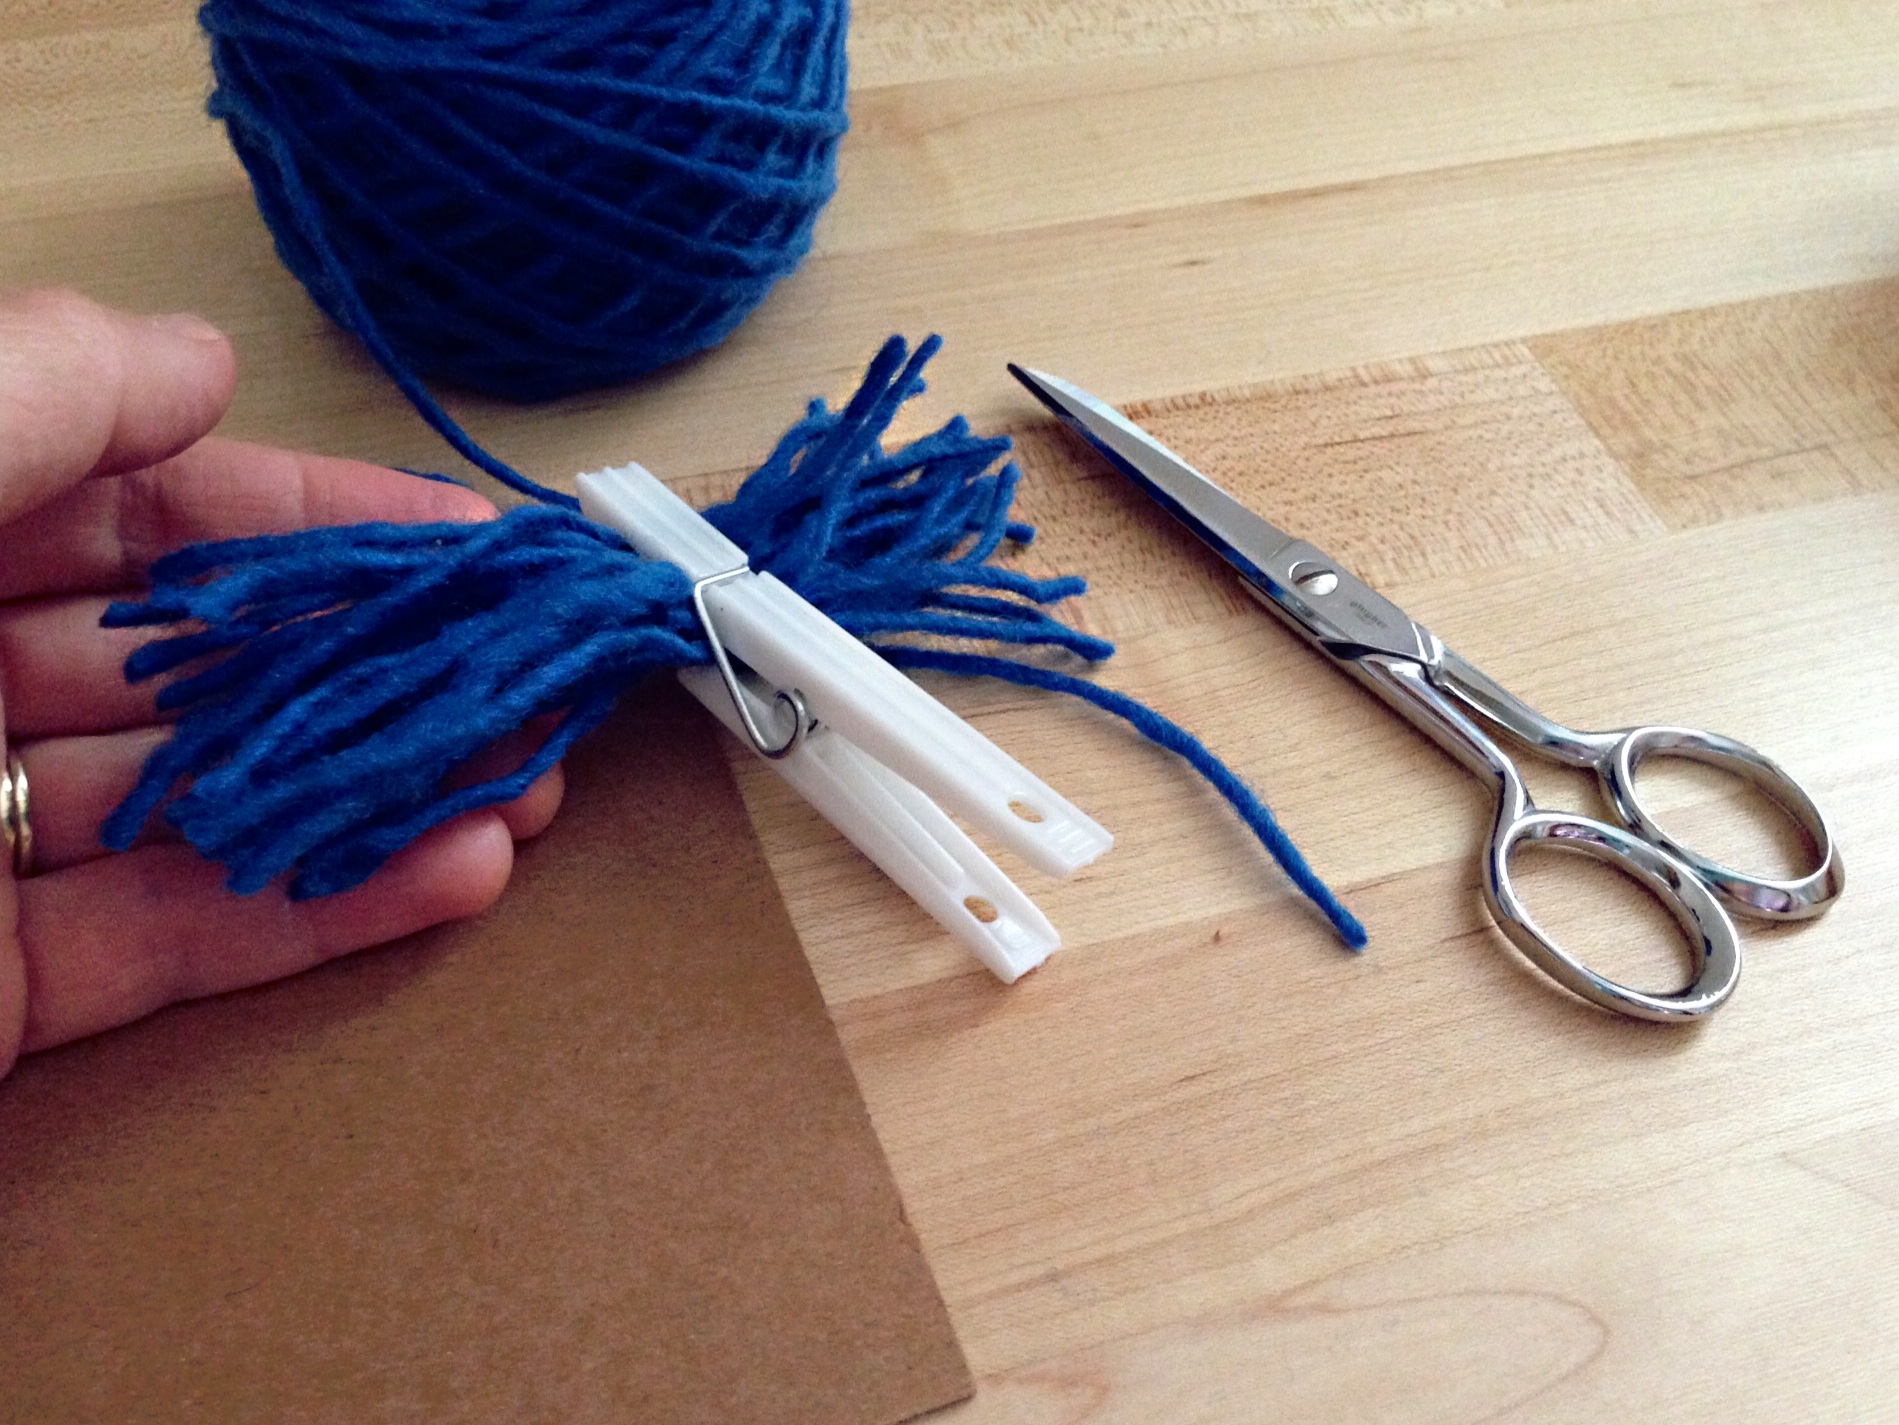
Shaggy pillow top. Each row of rya knots is made by slipping individual strands of wool yarn around pairs of warp threads, snugging them into secure knots. There are 47 rya knots across each row.
Sure, more knowledge and experience improves my skills. Skills that I can show off. Knowledge without love is a danger zone, though, that leads to arrogance. I can puff up myself through knowledge, or I can build up others through love. Wouldn’t we rather be the background weft that allows the rya to stand out? Our knowledge, with love as the operating system, has the capability of building up others. What love builds, lasts.
(More thoughts about rya knots, and love as an operating system HERE.)