Every time I use my bobbin winder I am reminded of how fortunate I am. It’s electric. No one has an electric bobbin winder quite like mine, because no one else has my Steve to invent things like he does. He watched me using my nifty hand-turn Swedish bobbin winder many times. Steve decided he could make something better. A motor and an on-off light switch, with a variable-speed foot pedal. It’s perfect! I love it. But mostly, I love Steve.
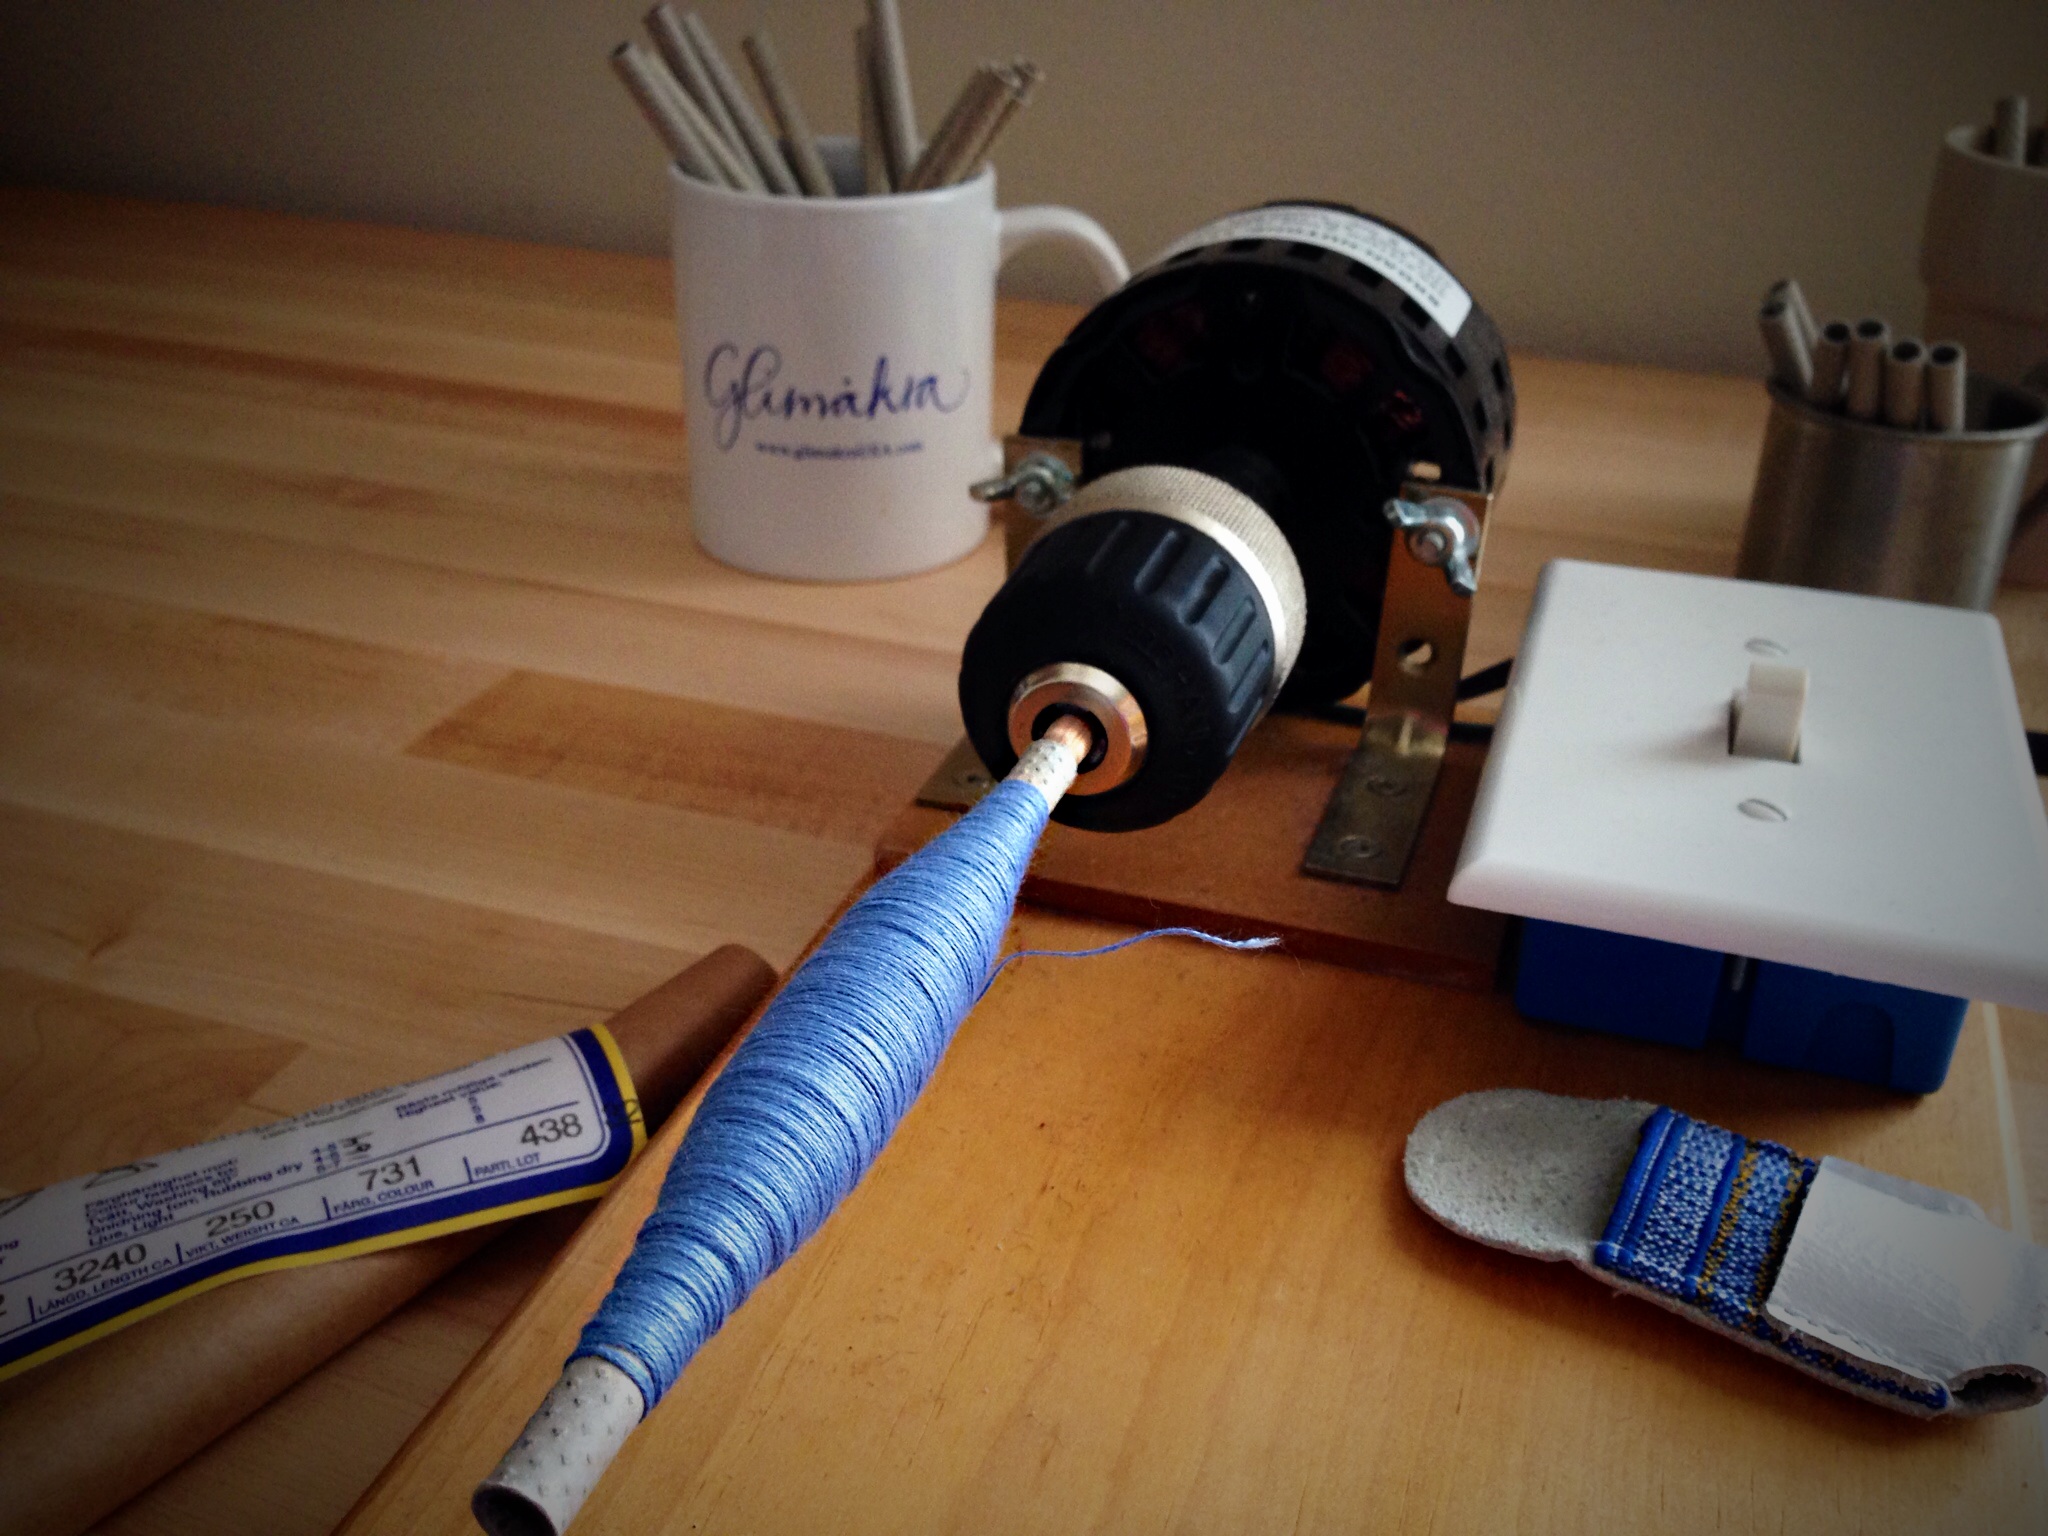
The leather quilting thimble keeps me from burning or cutting my thumb as the thread speeds by while I guide it onto the fast spinning quill on the bobbin winder.
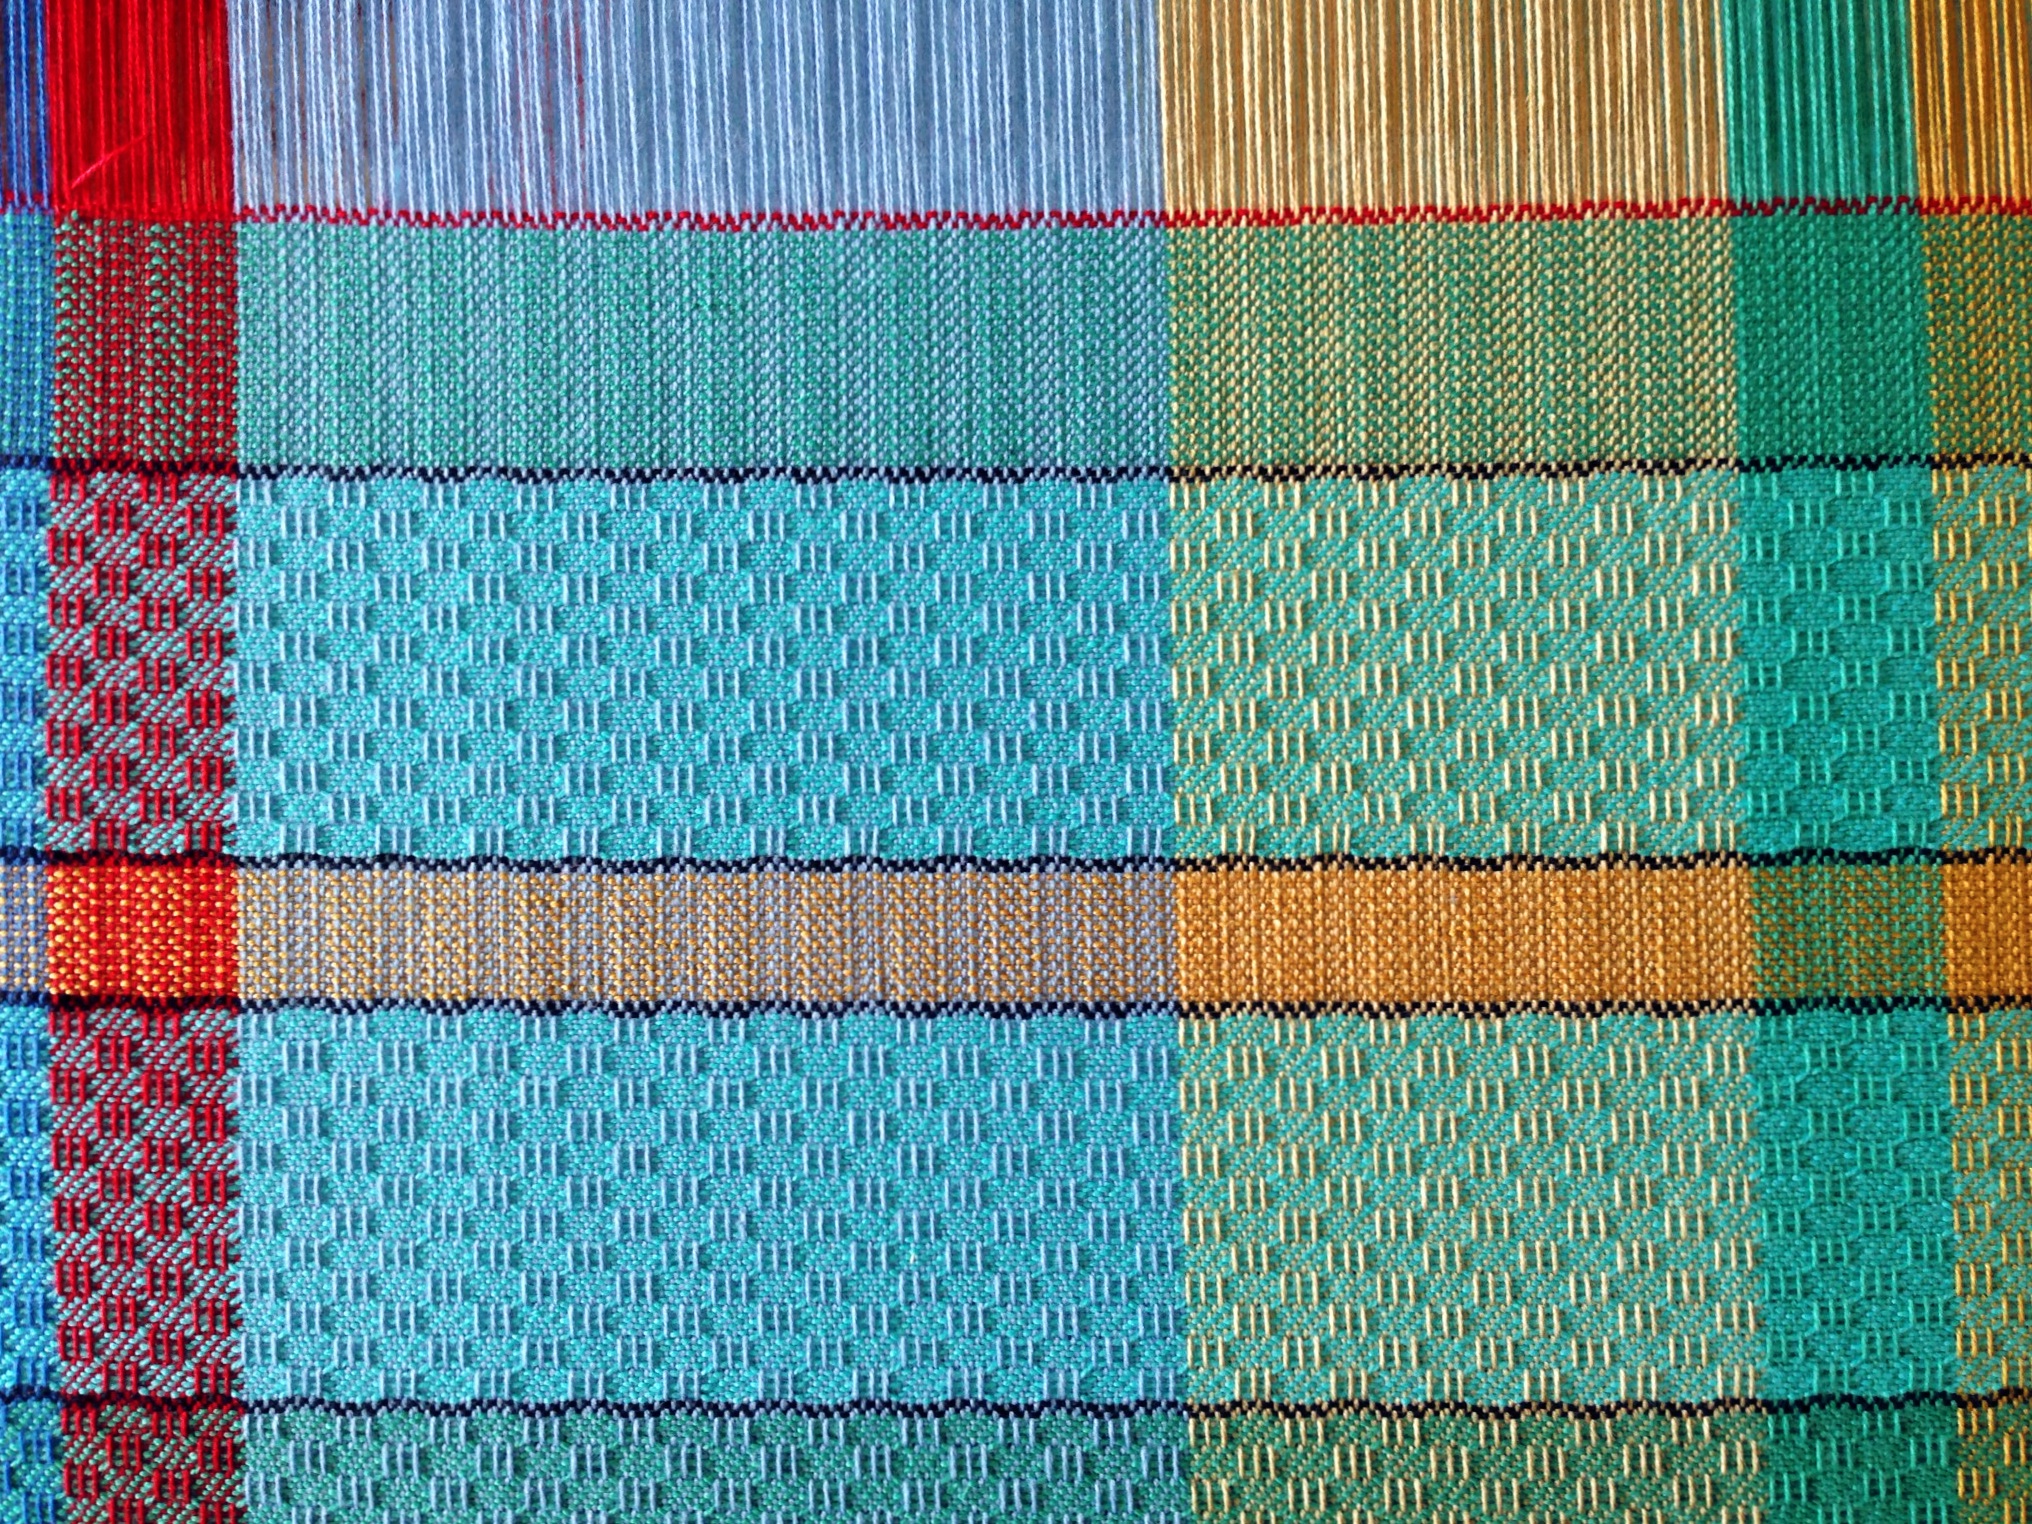
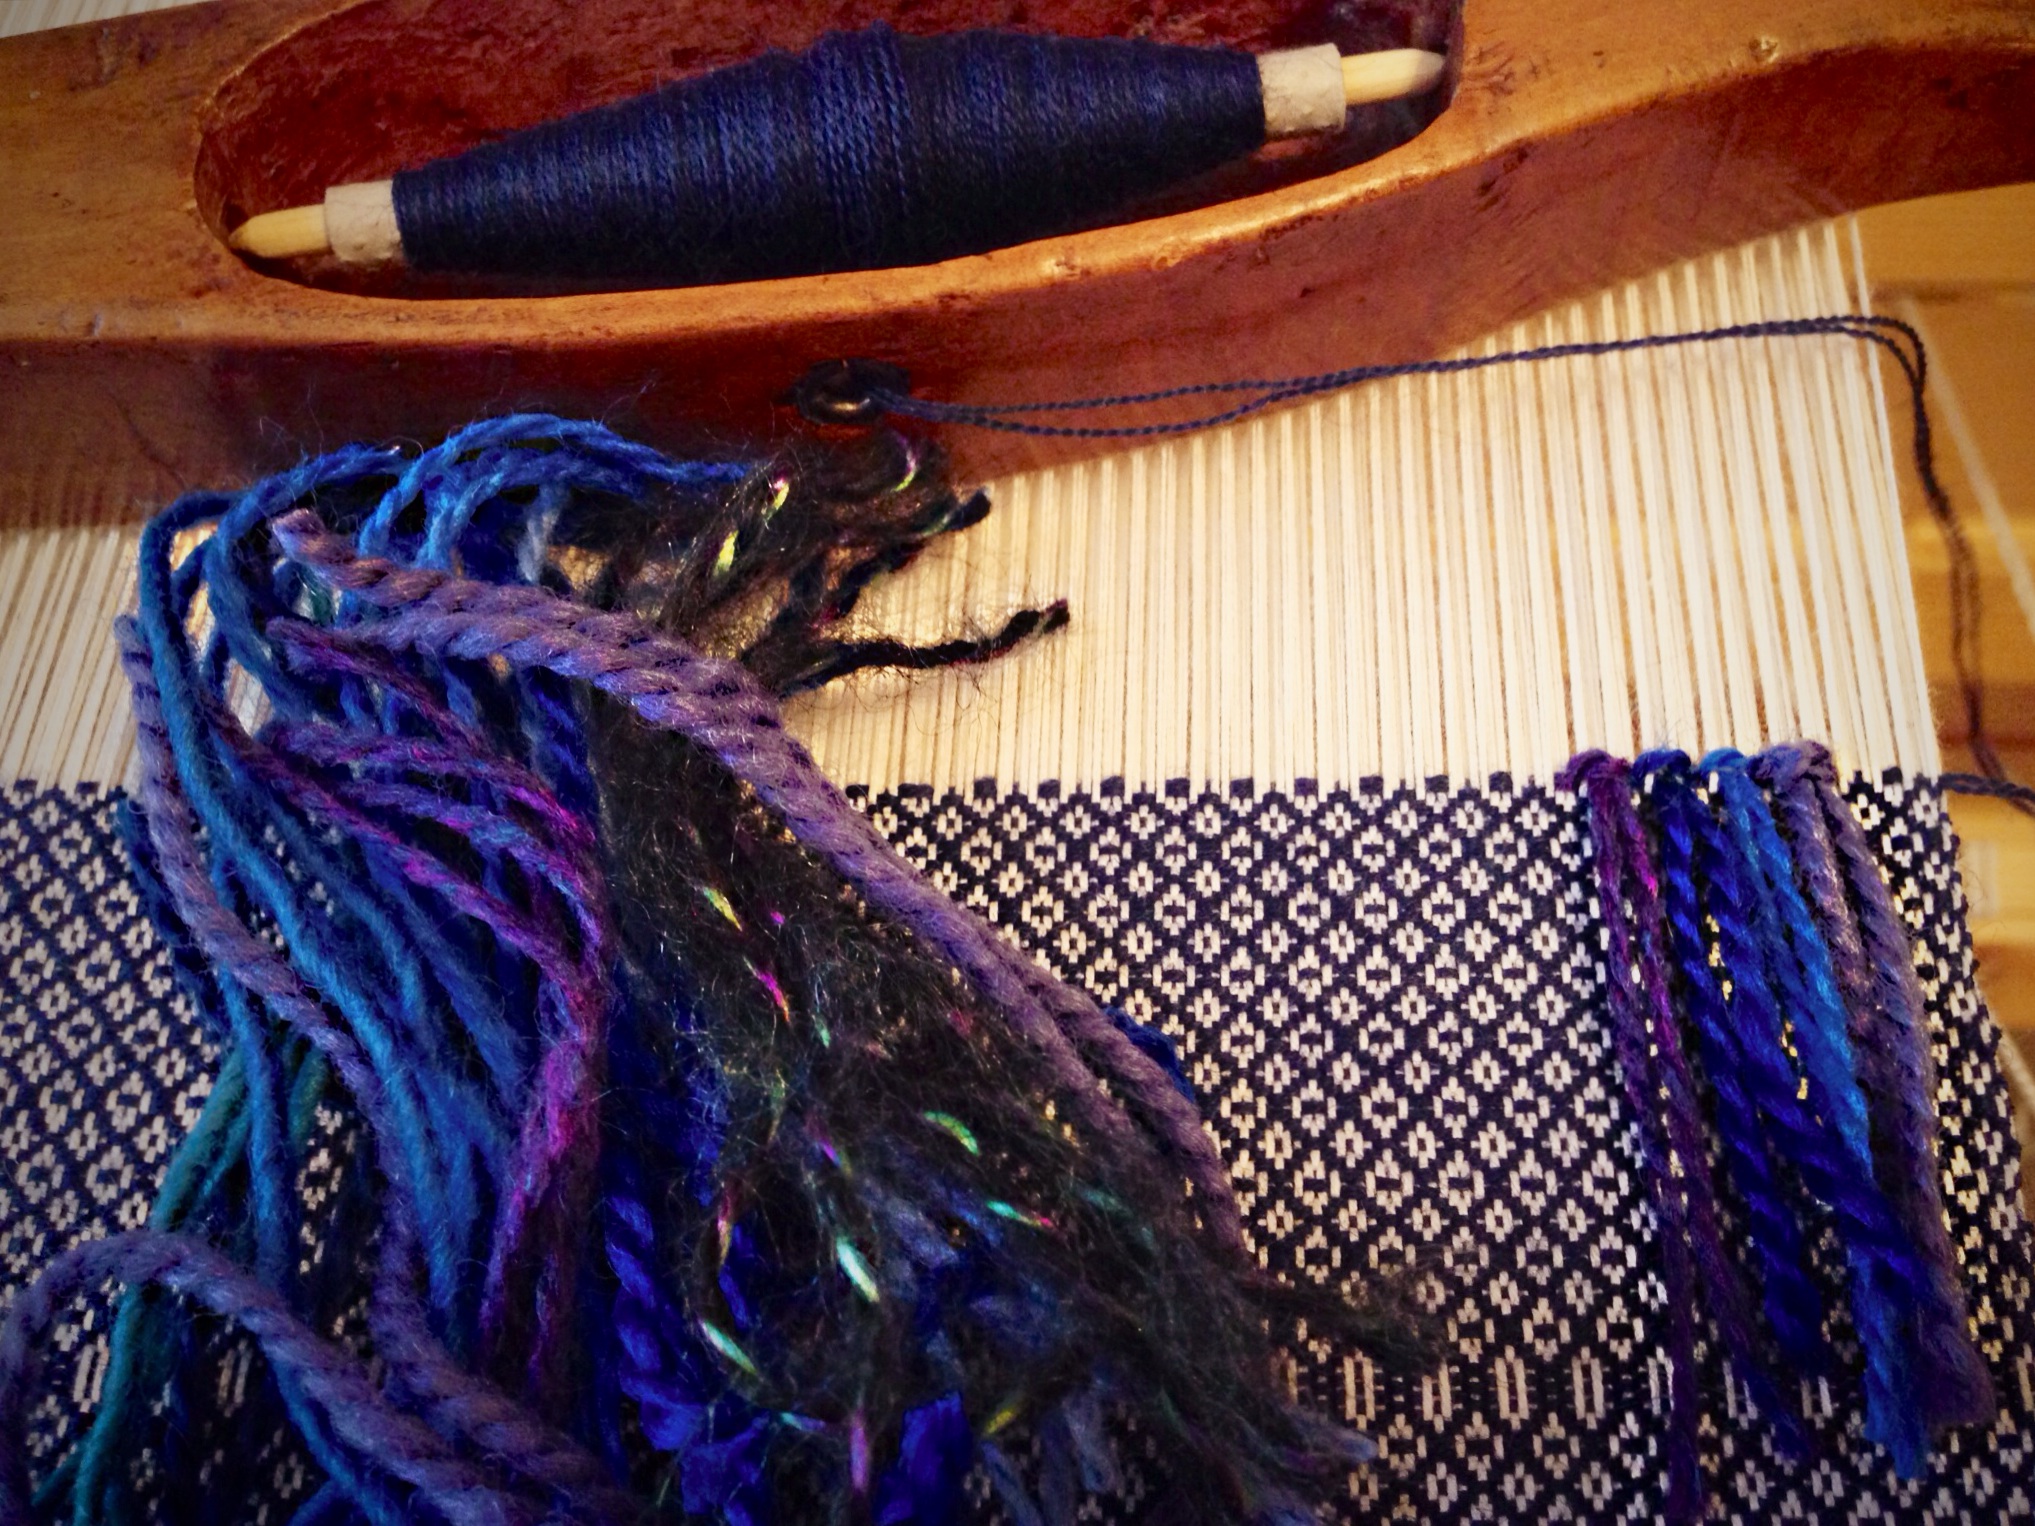
I am on my very last tube of this shade of light blue. Will there be enough on this quill to finish the last blue section of the last of four towels in this color scheme, plus enough for the light blue hem?? Somehow, I think a tightly- and perfectly-shaped quill will be able to weave just a little bit further… (You can see the beginning of this set of four towels HERE.)
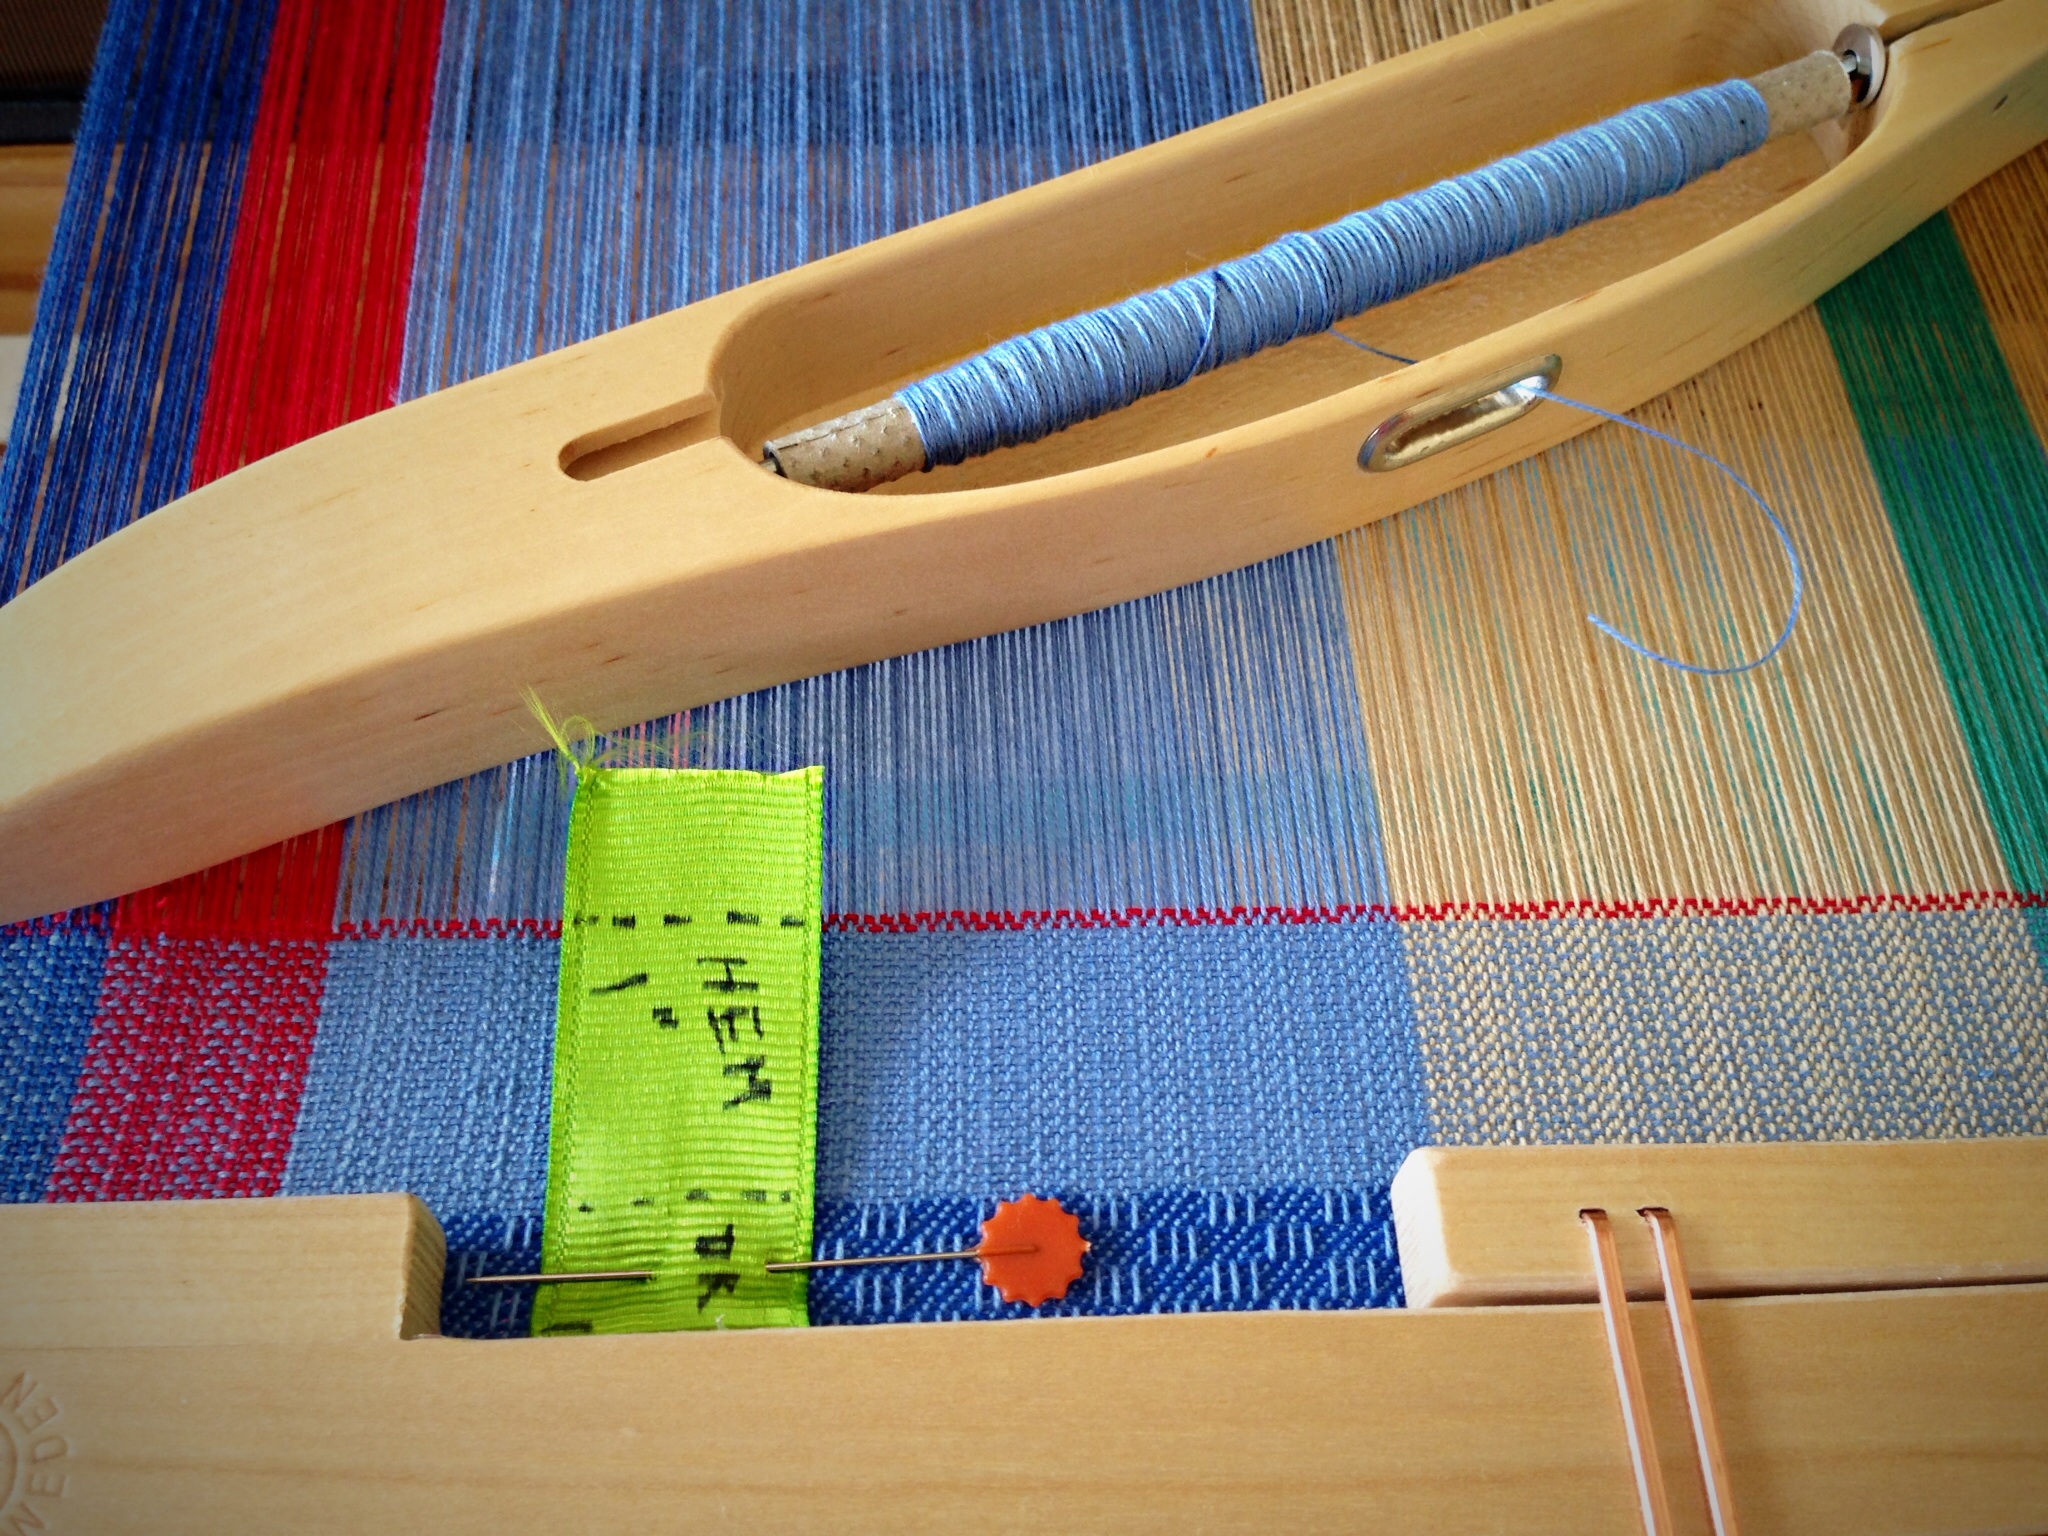
Yes! Finished the hem with a little bit of light blue left to spare. This is a good day!
To request Steve’s parts and source list for the electric bobbin winder, click HERE to send me an email.
May you always have just enough of what you need.
Joyfully,
Karen