The fascinating thing about weaving a transparency is that it feels like color-by-number with yarn. There are similarities to tapestry weaving, for sure. But this seems ten times faster. I found it to be engaging and fun! I echo what my transparency-weaving friend says when it’s time to stop and do something else, “Just one more row…”
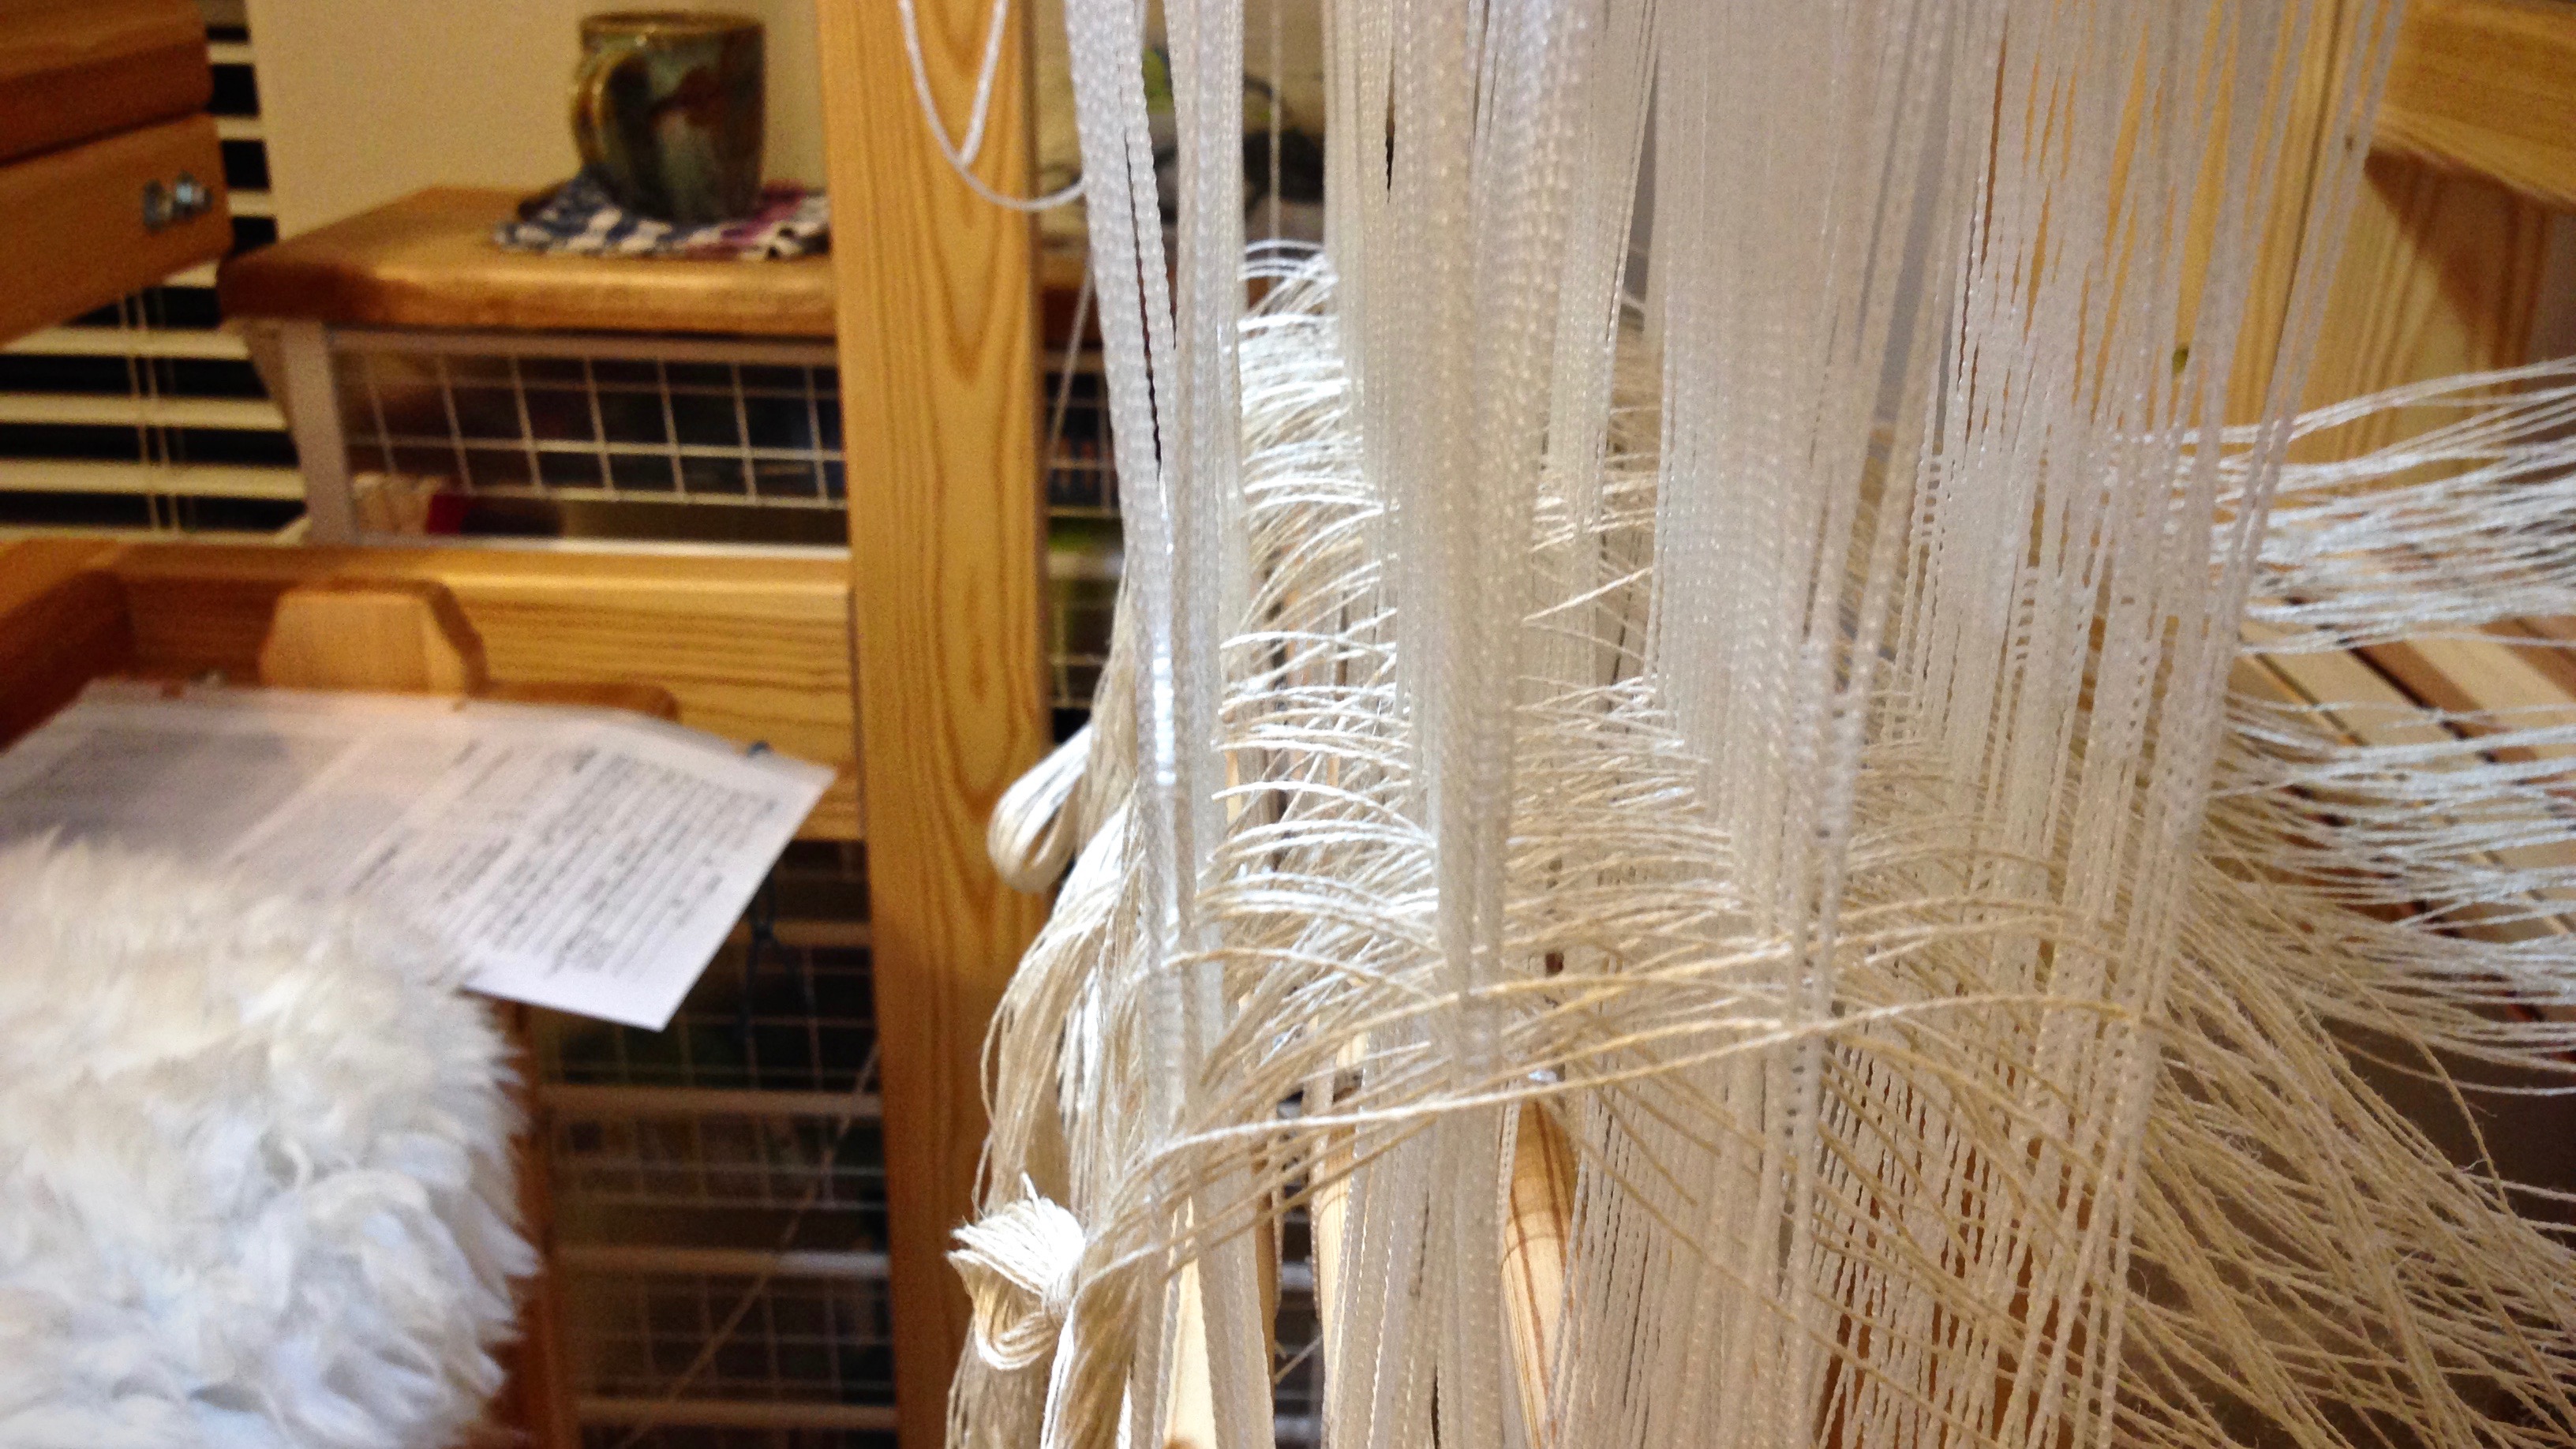
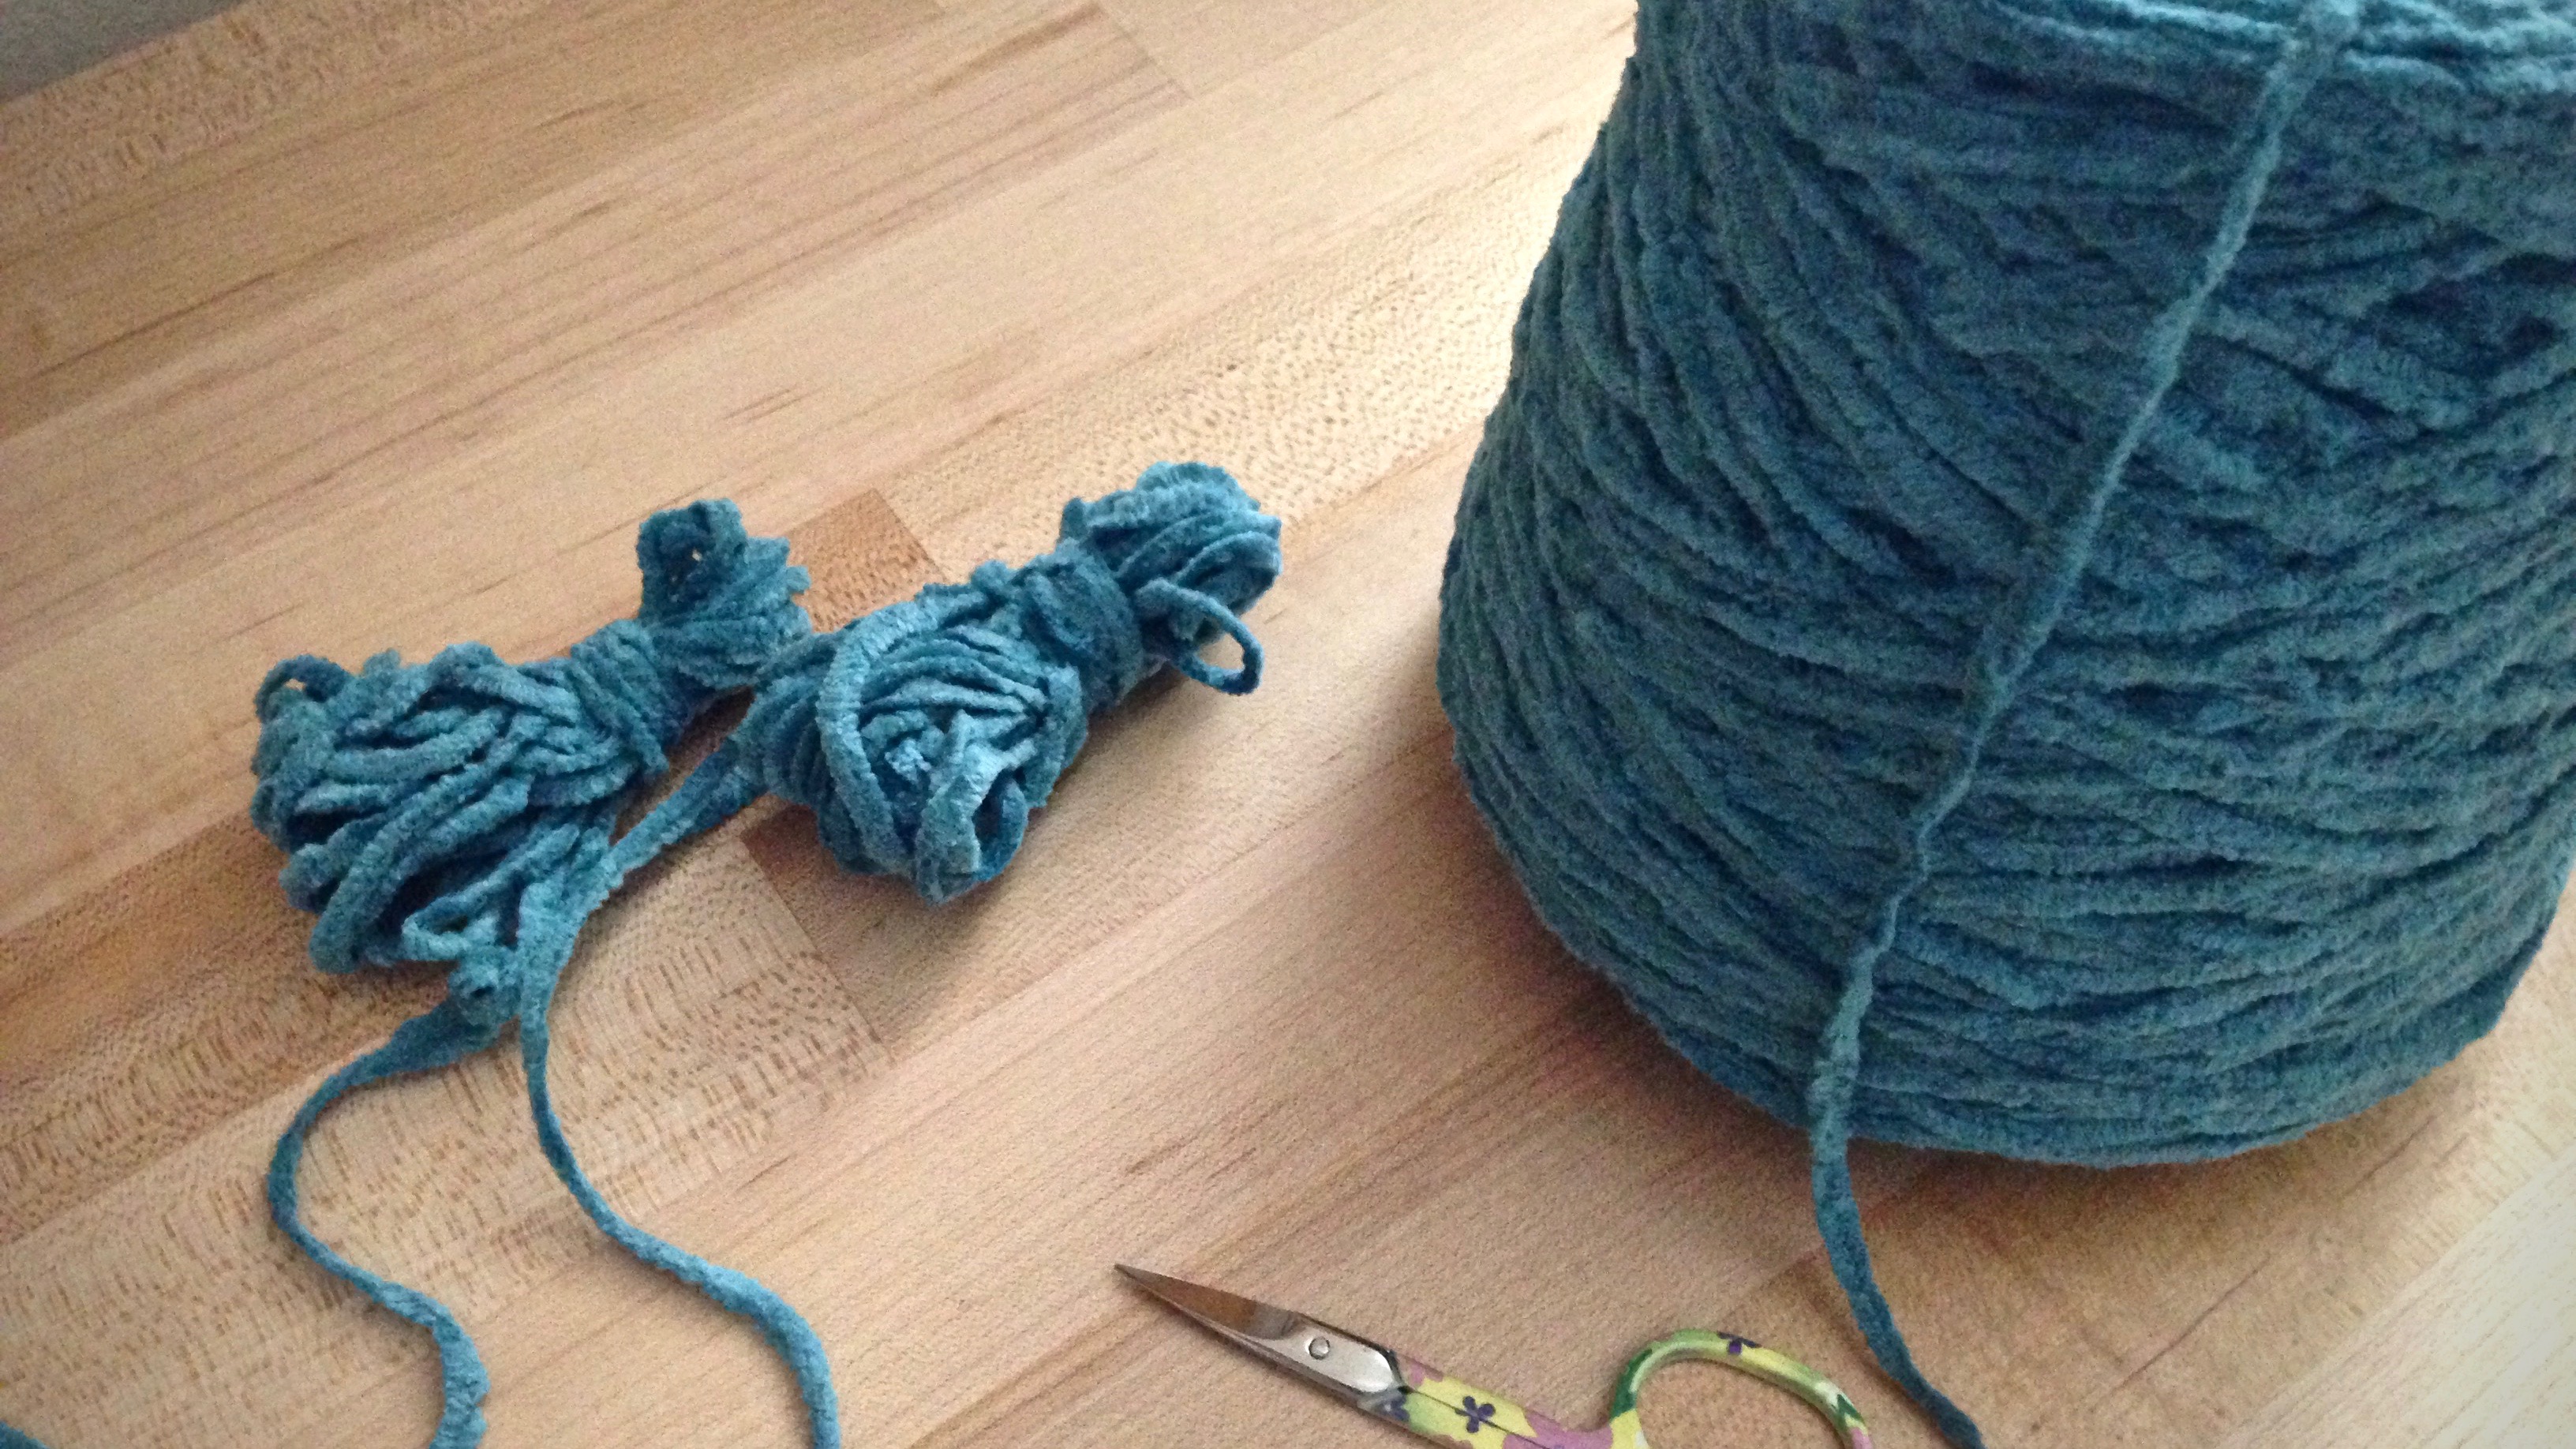
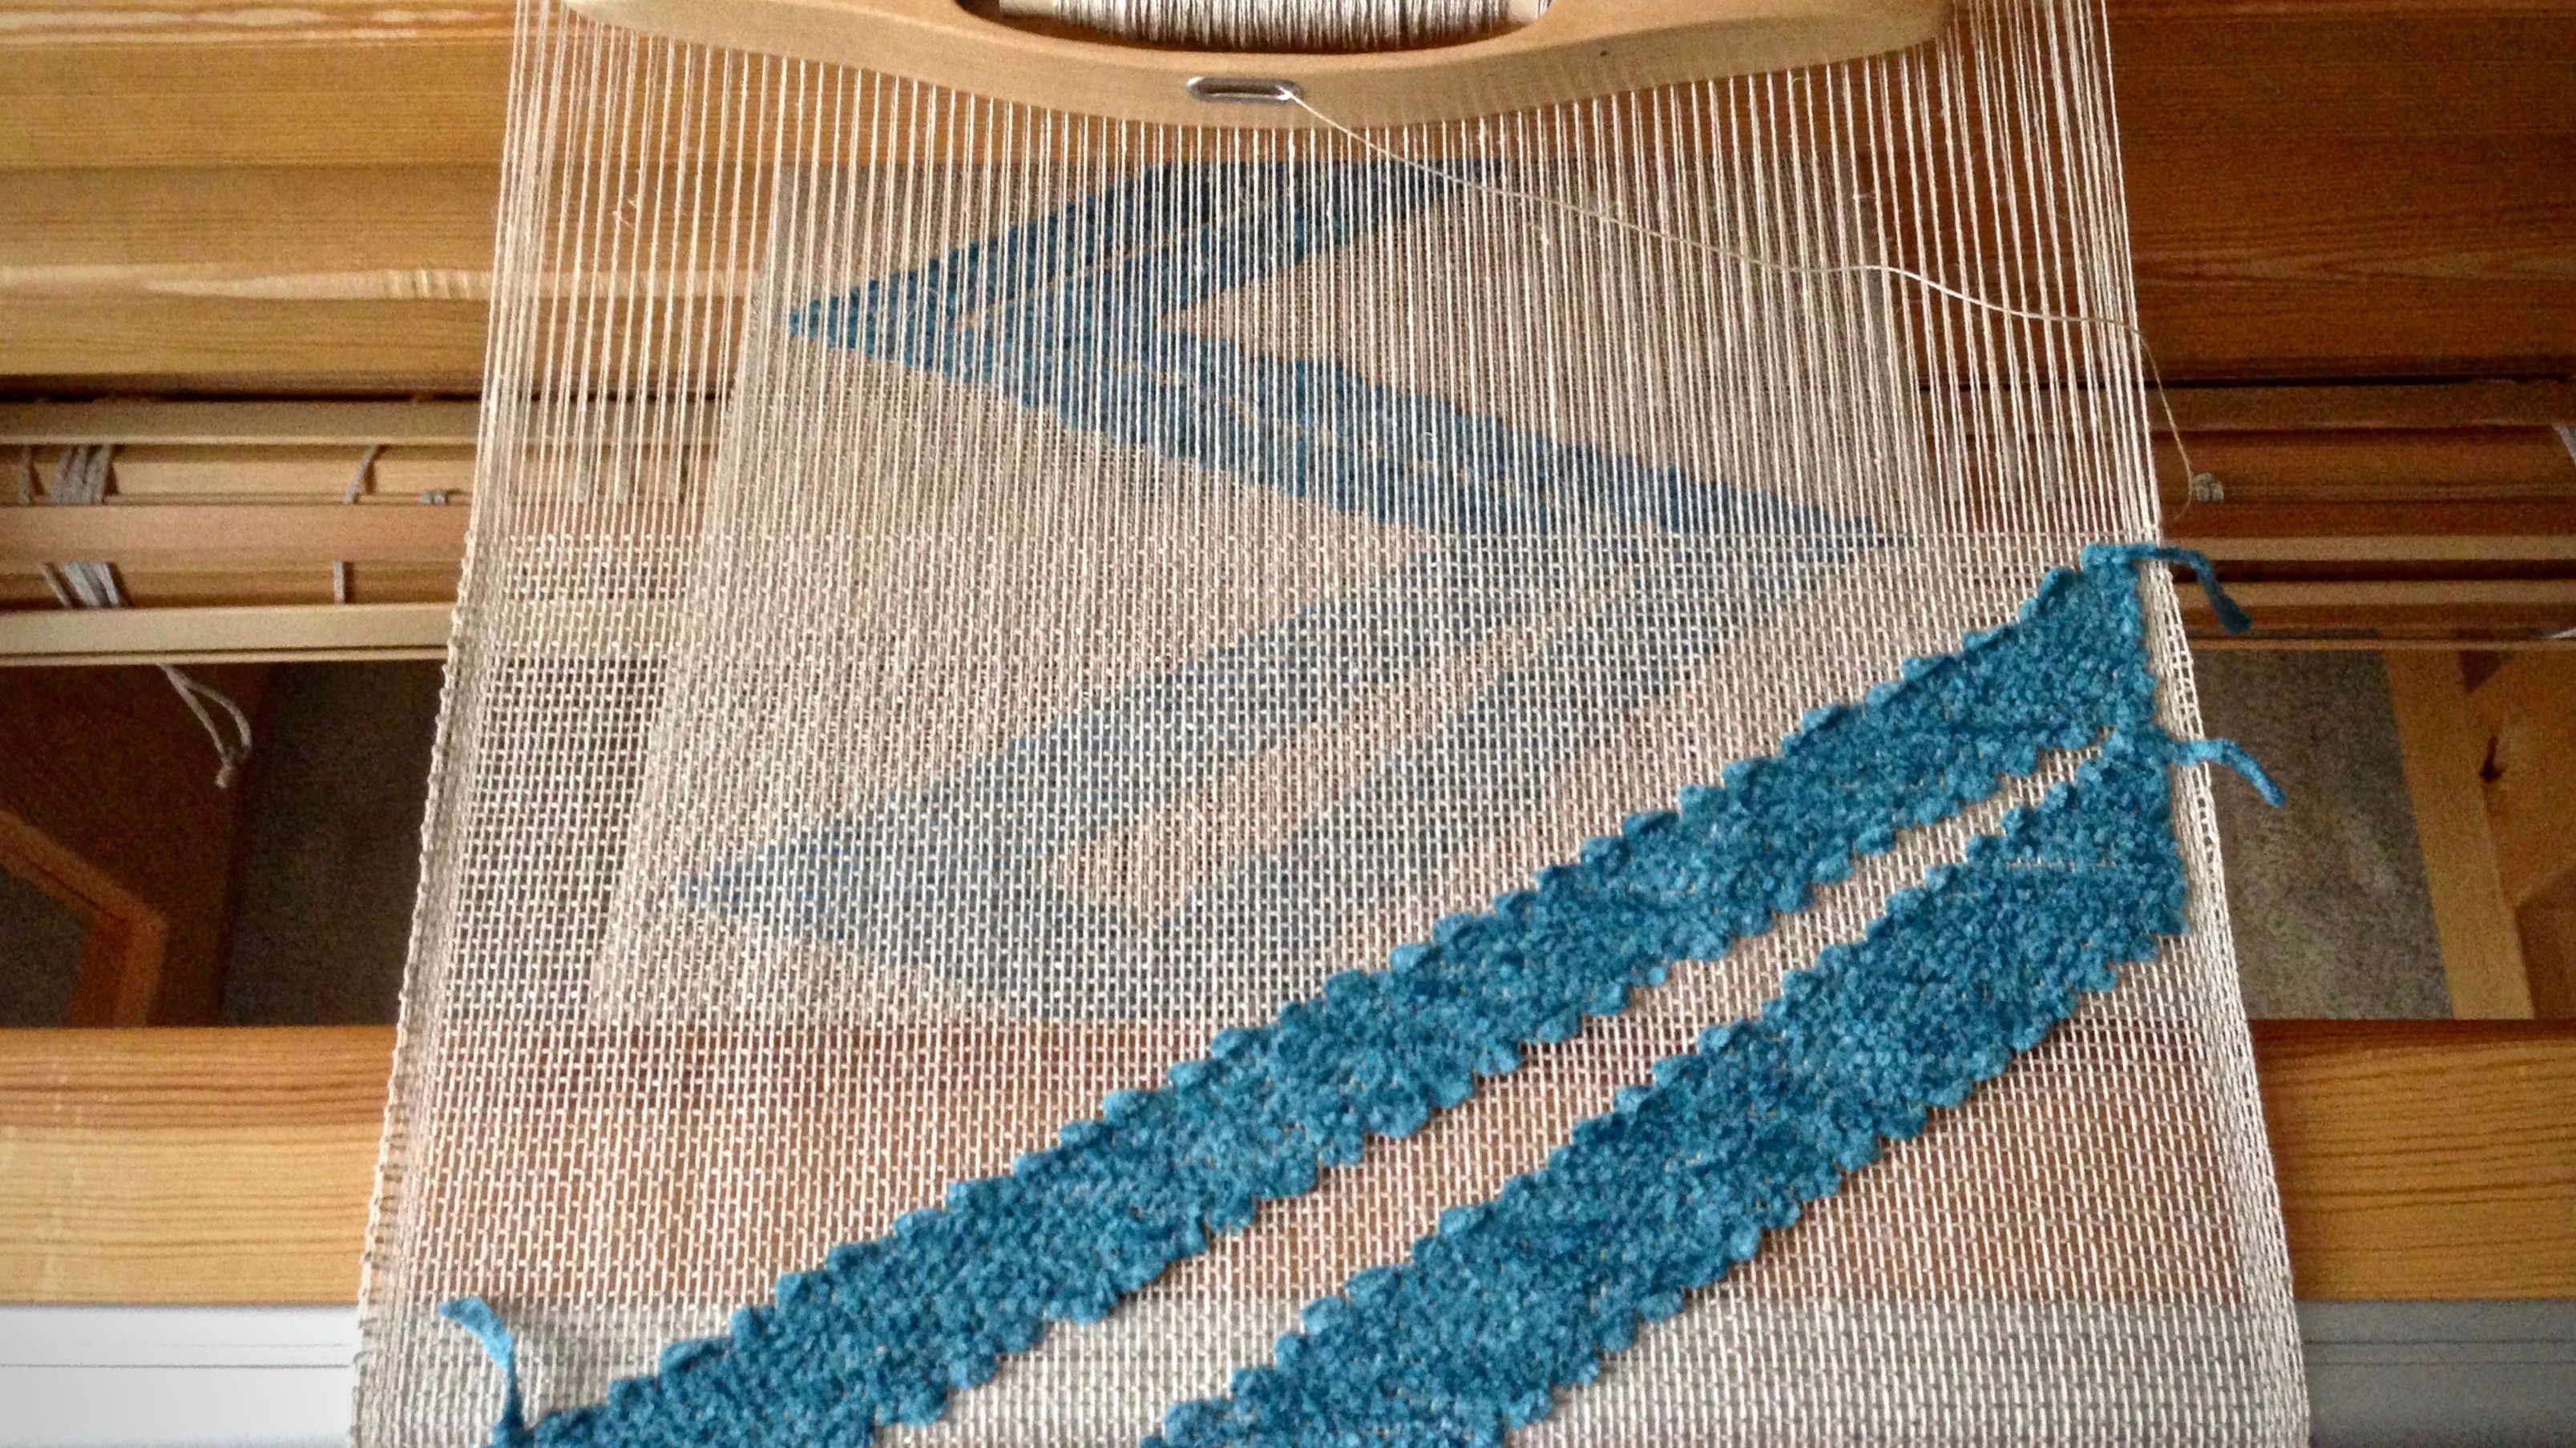
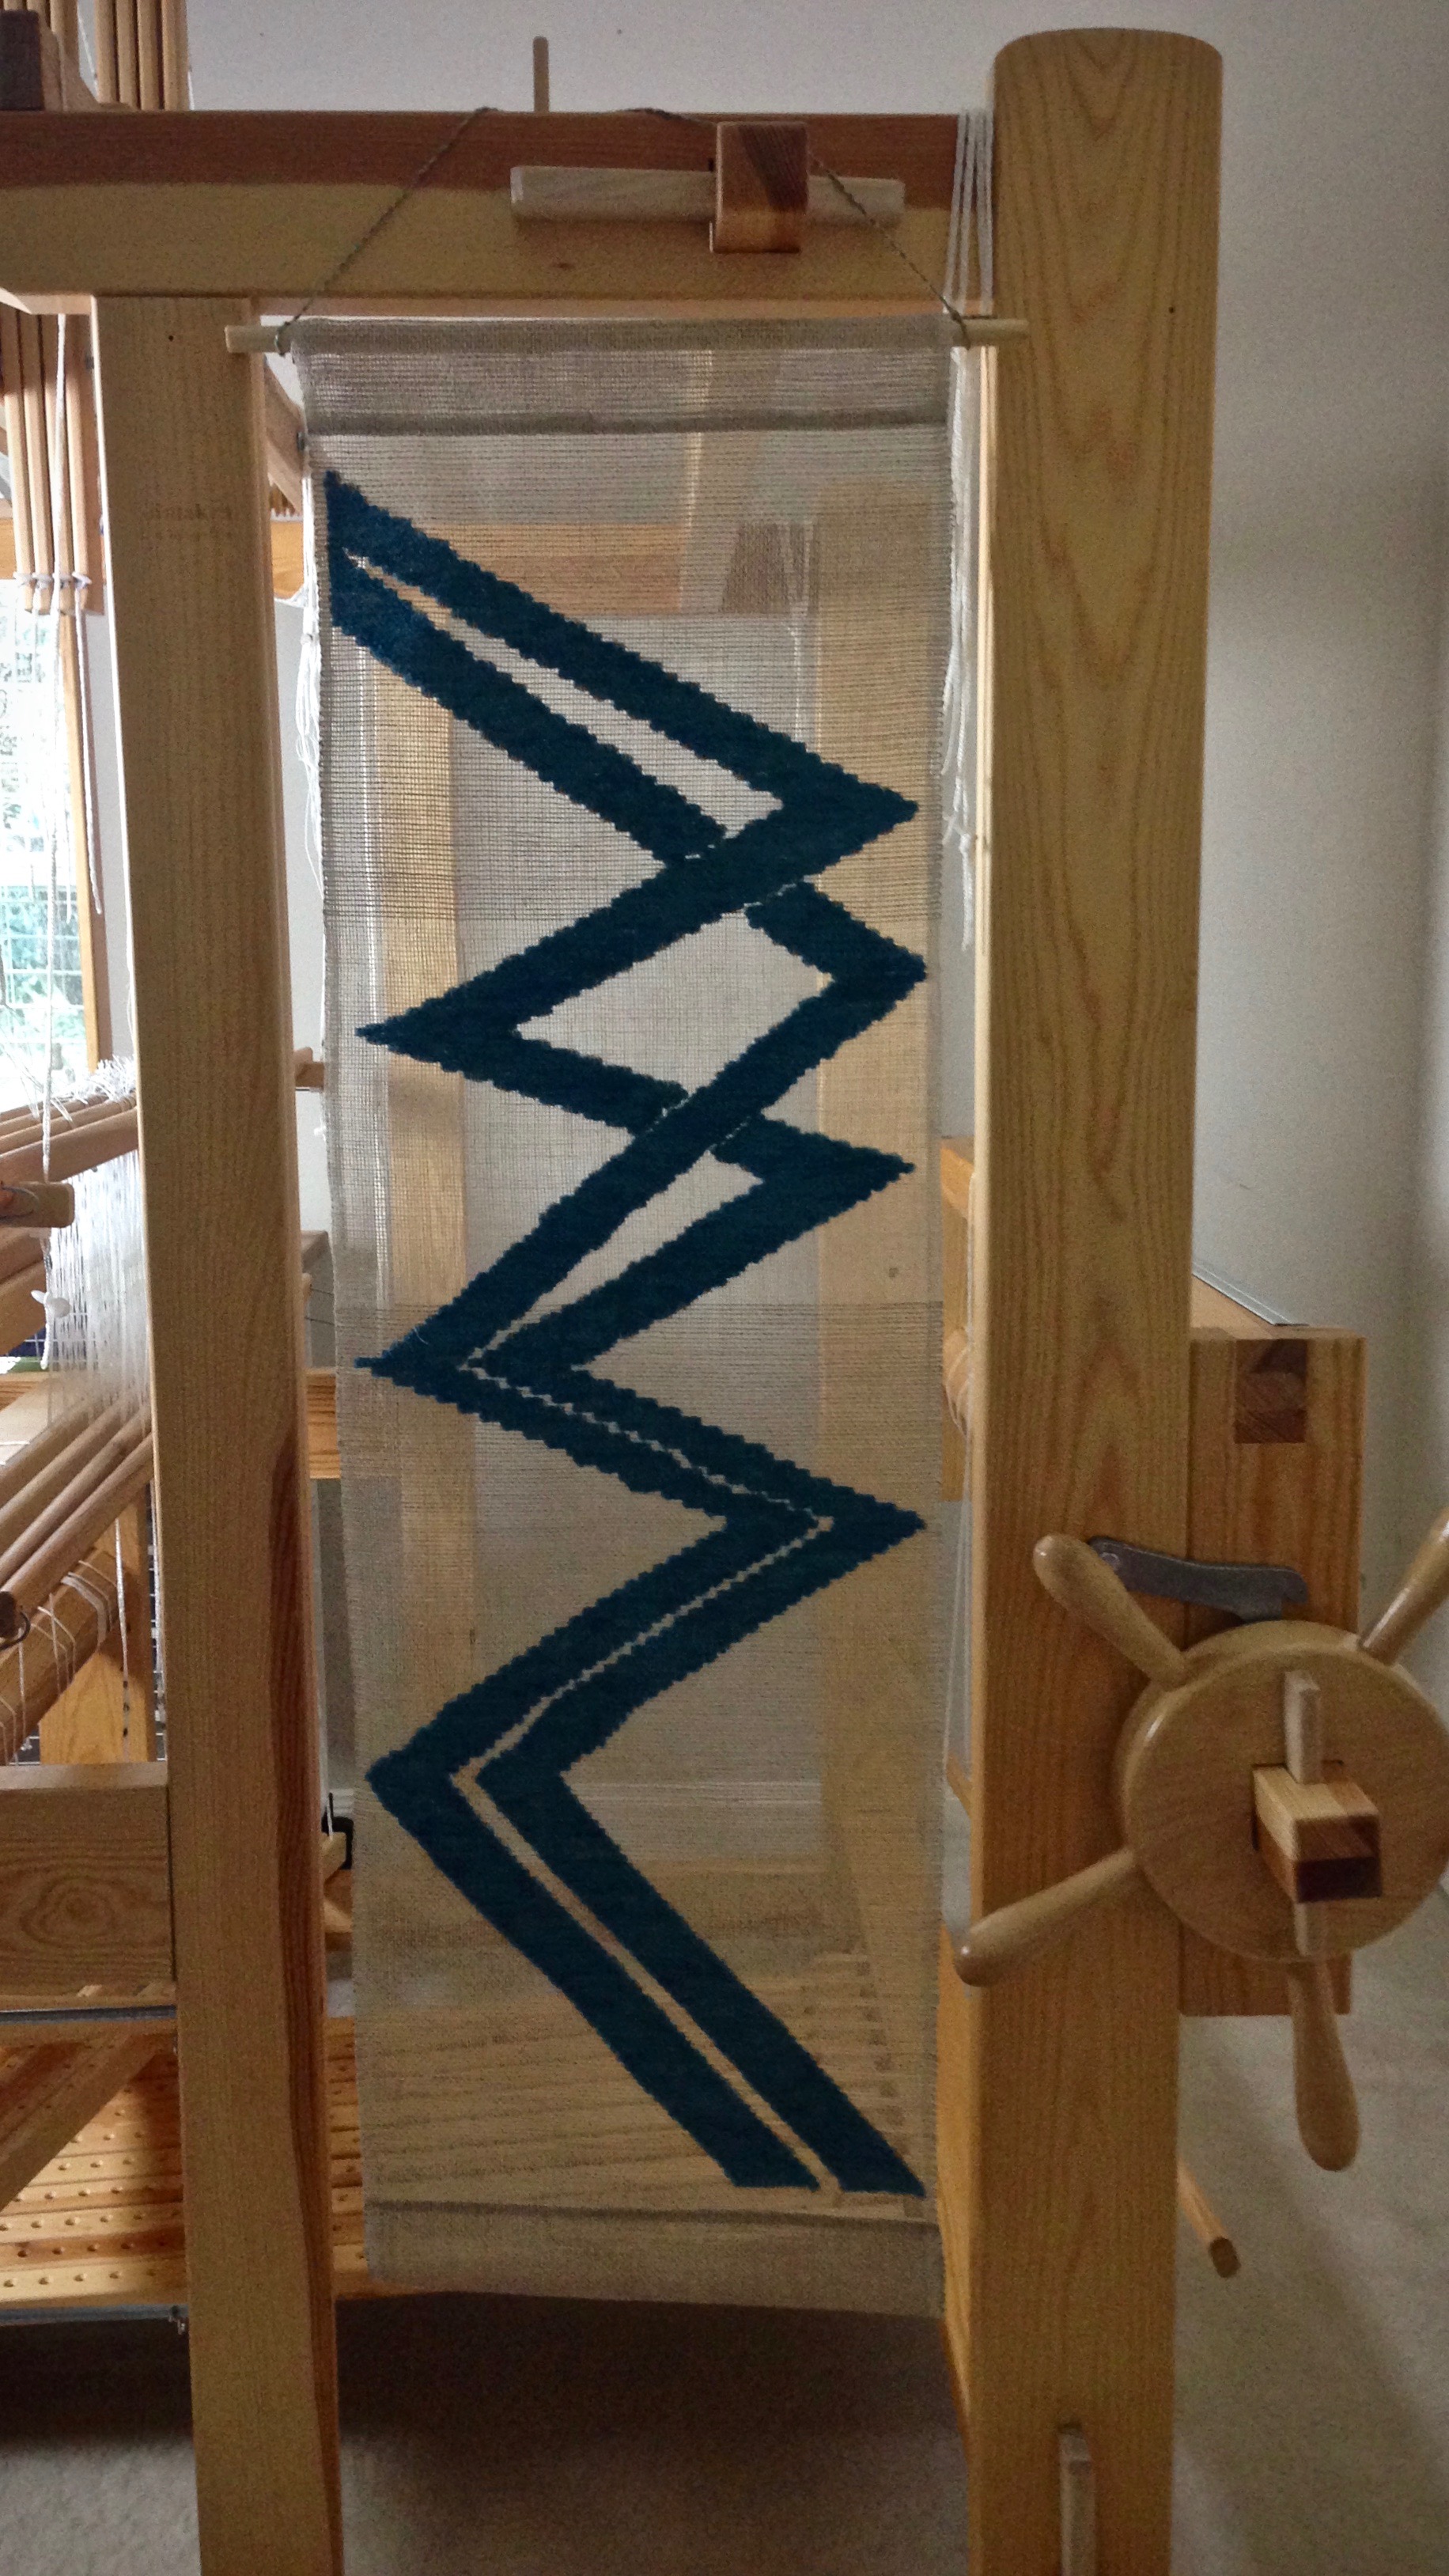
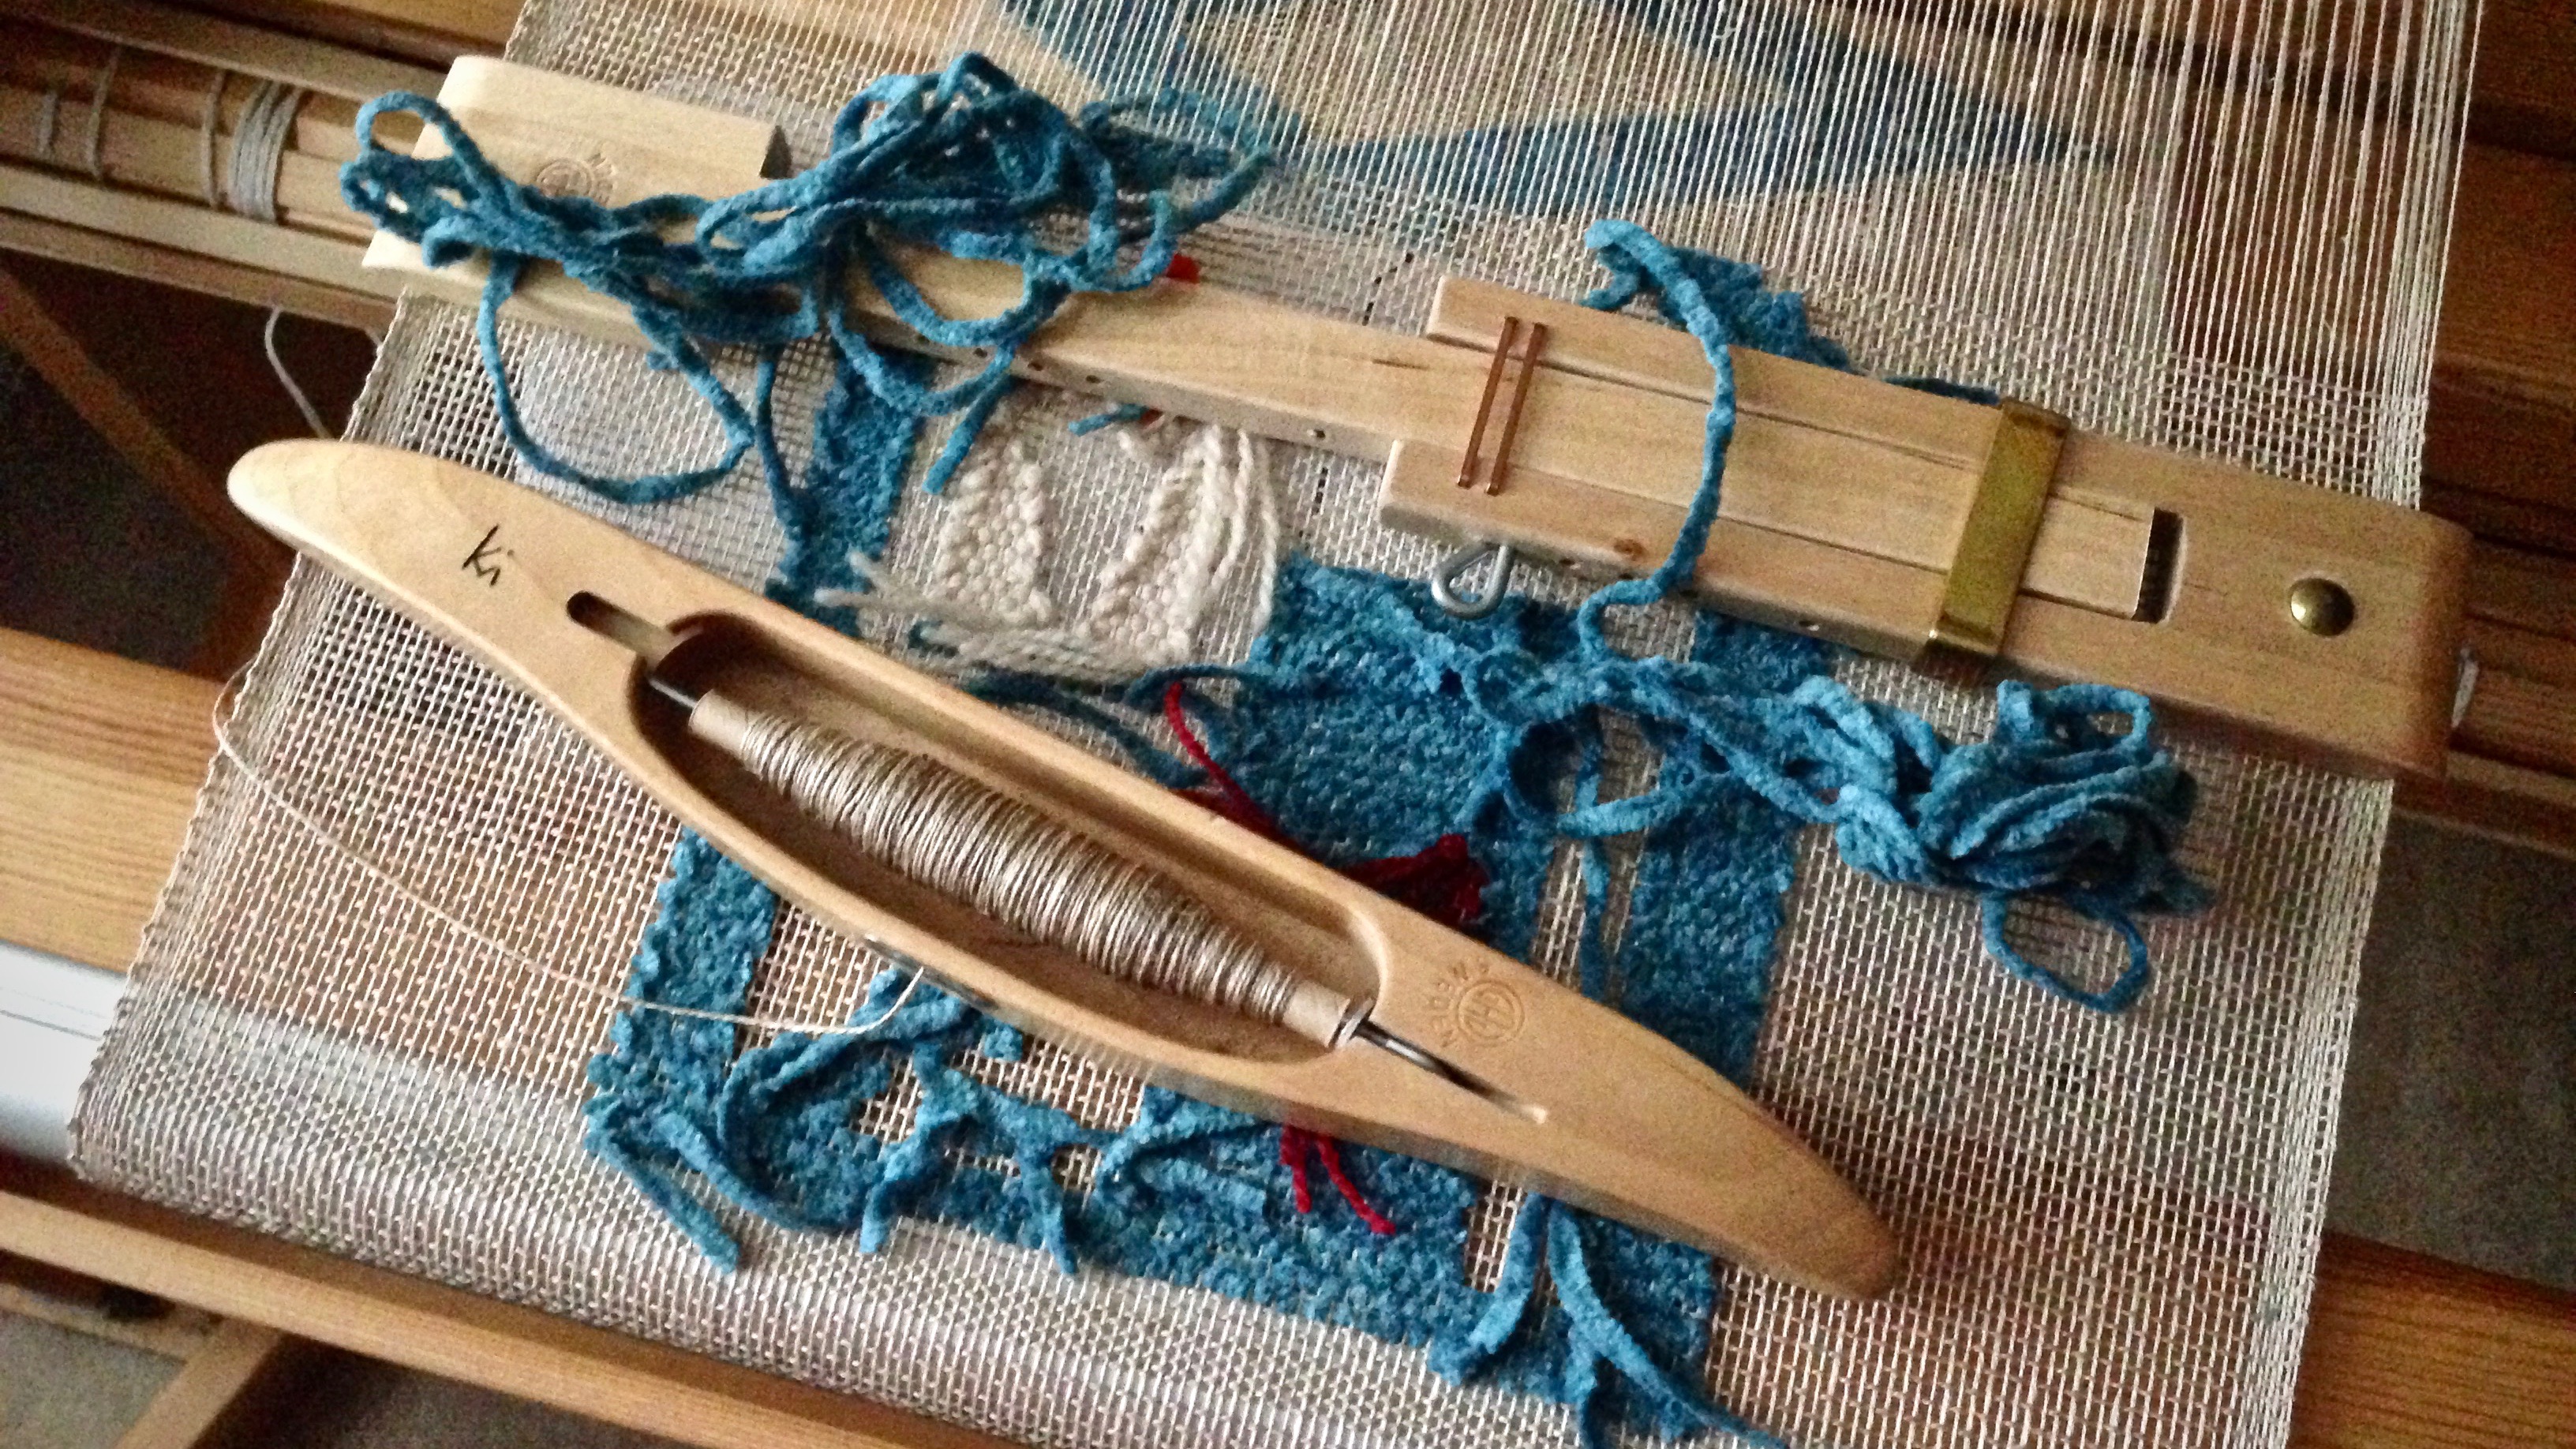
Warp chain of 16/2 golden bleached linen, before beaming the warp.Threadingheddles in my little playhouse, with project notes by my side, and a cup of coffee on the side cart.Leveling string is added with extra care so that abrasion of the linen warp is kept to a minimum.Butterflies are made from the hefty cotton chenille yarn.Weaving without a cartoon. I am counting warp ends to keep the pattern angle consistent.Cartoon has been added. The pattern weft follows the lines drawn on the buckram cartoon, which is pinned in place.Cartoon is removed.Now, for the end of the warp…
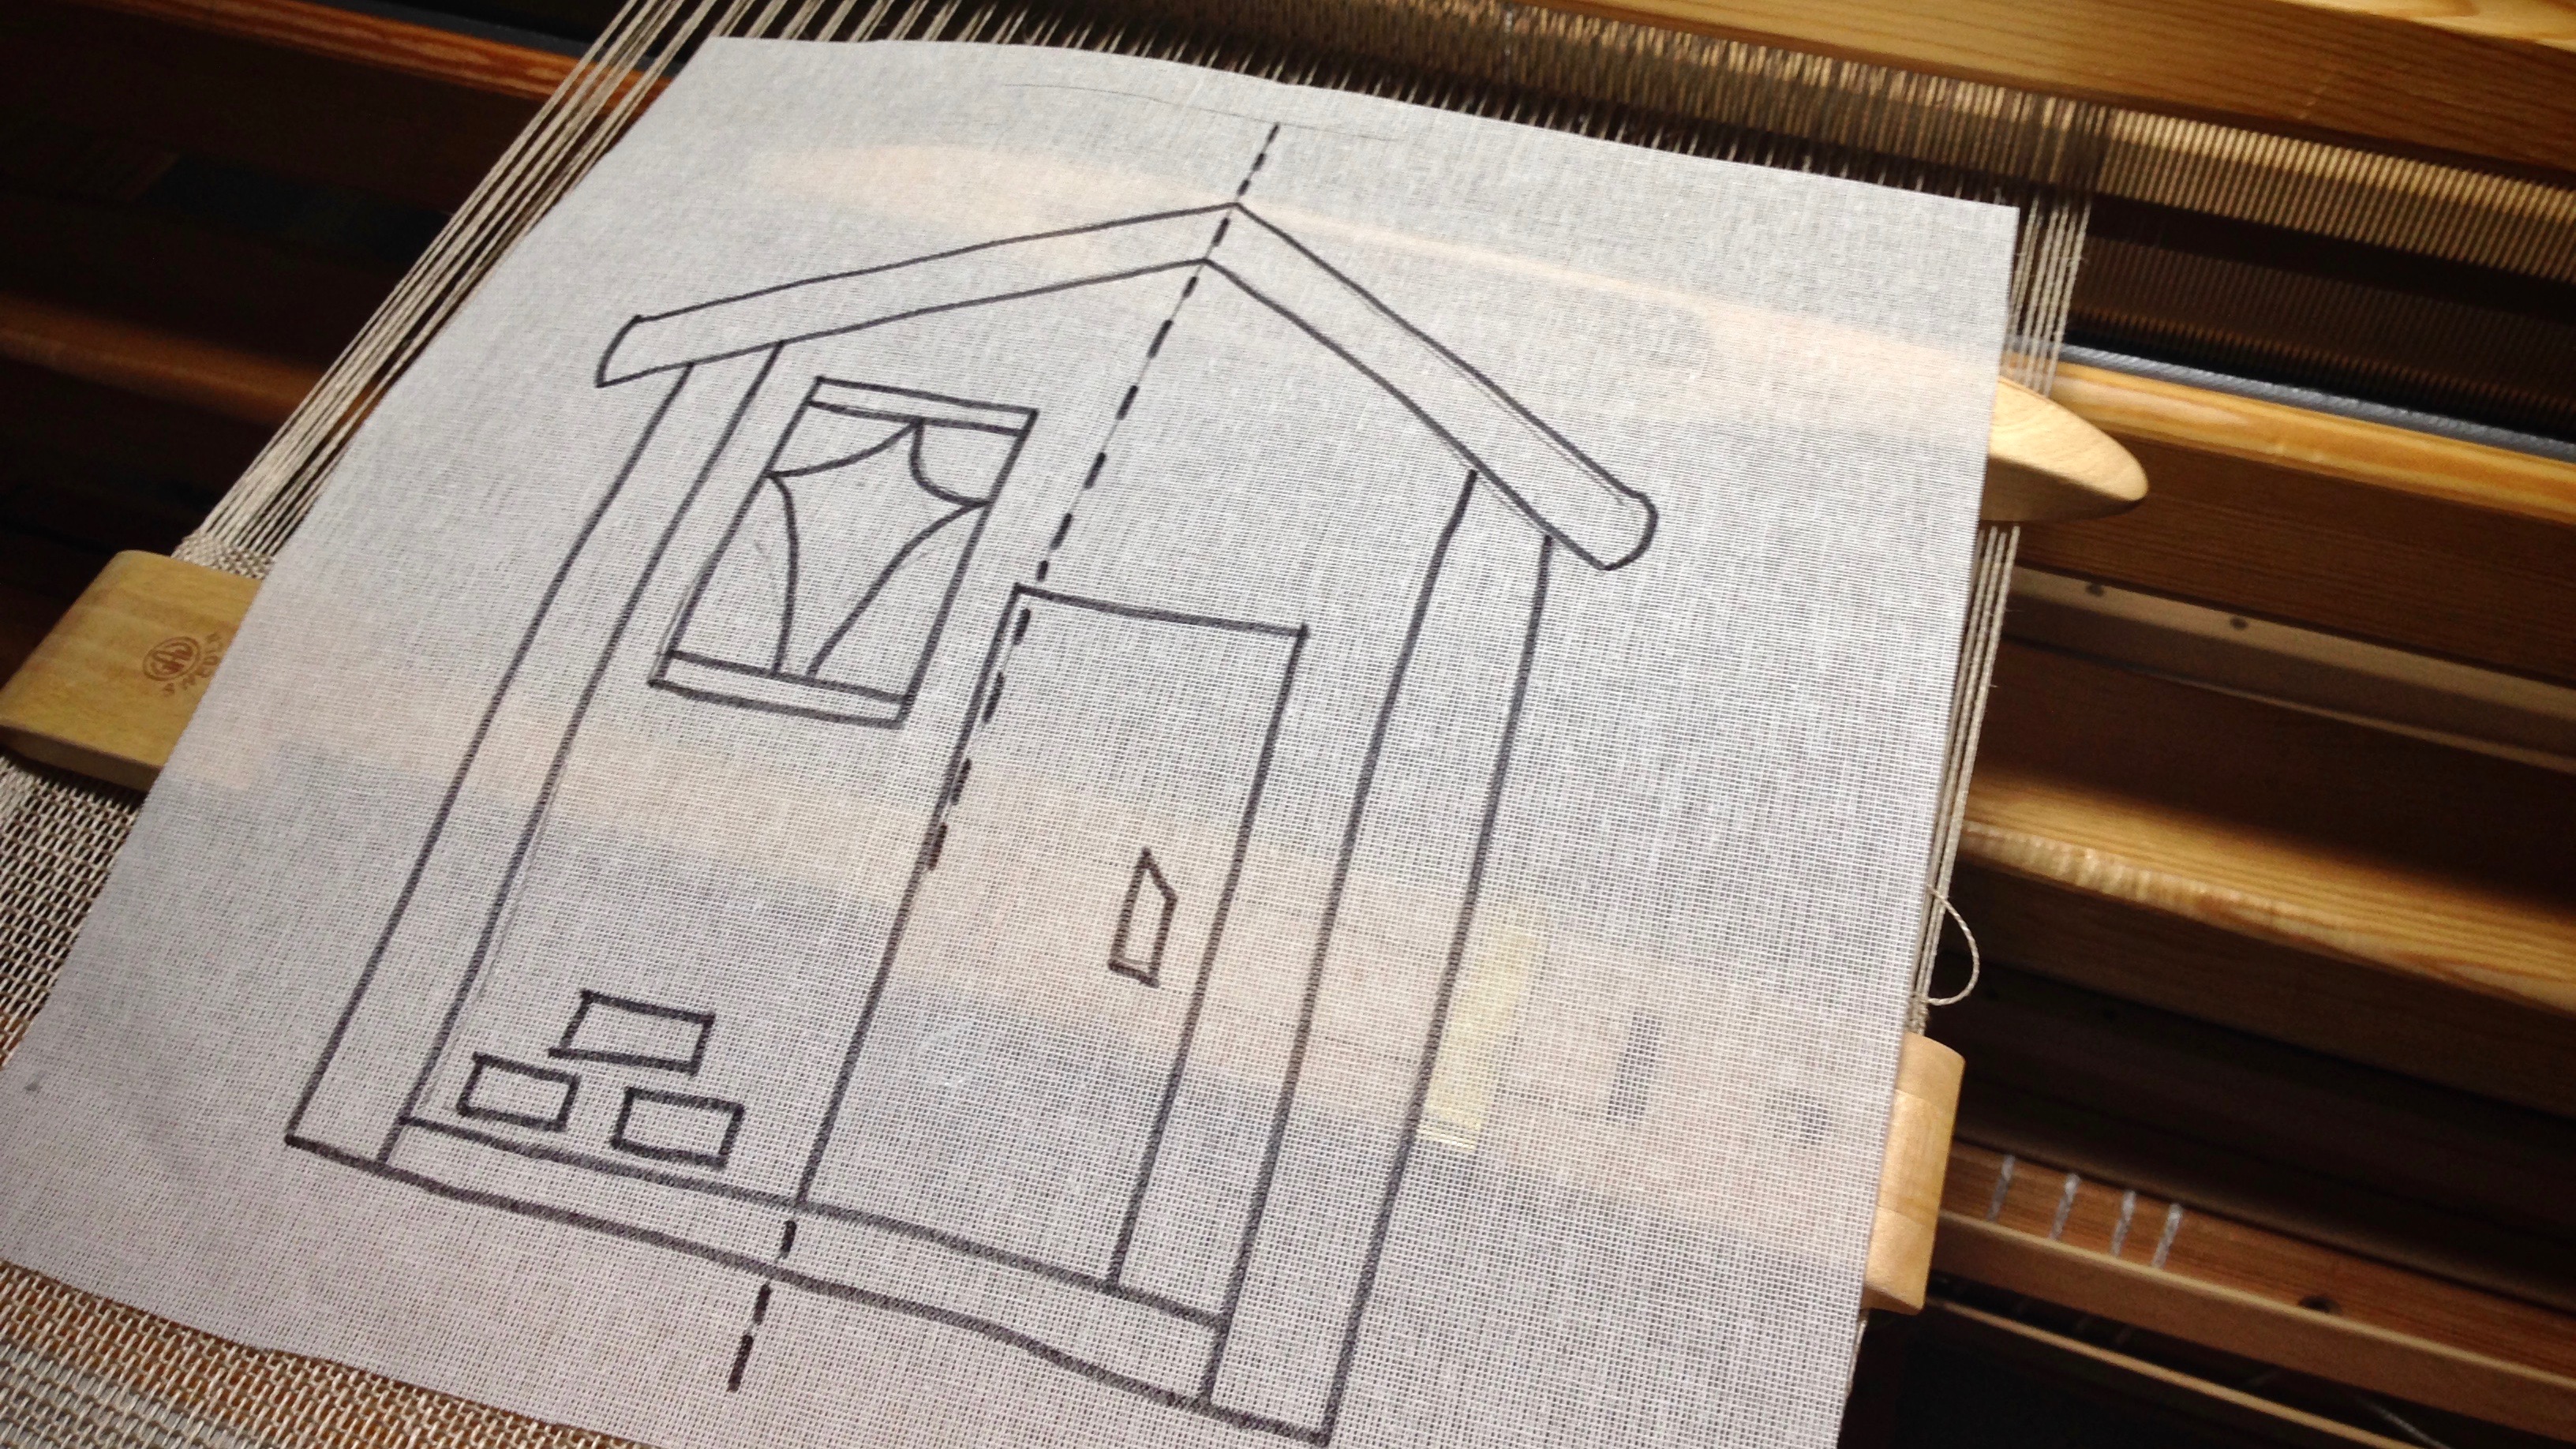
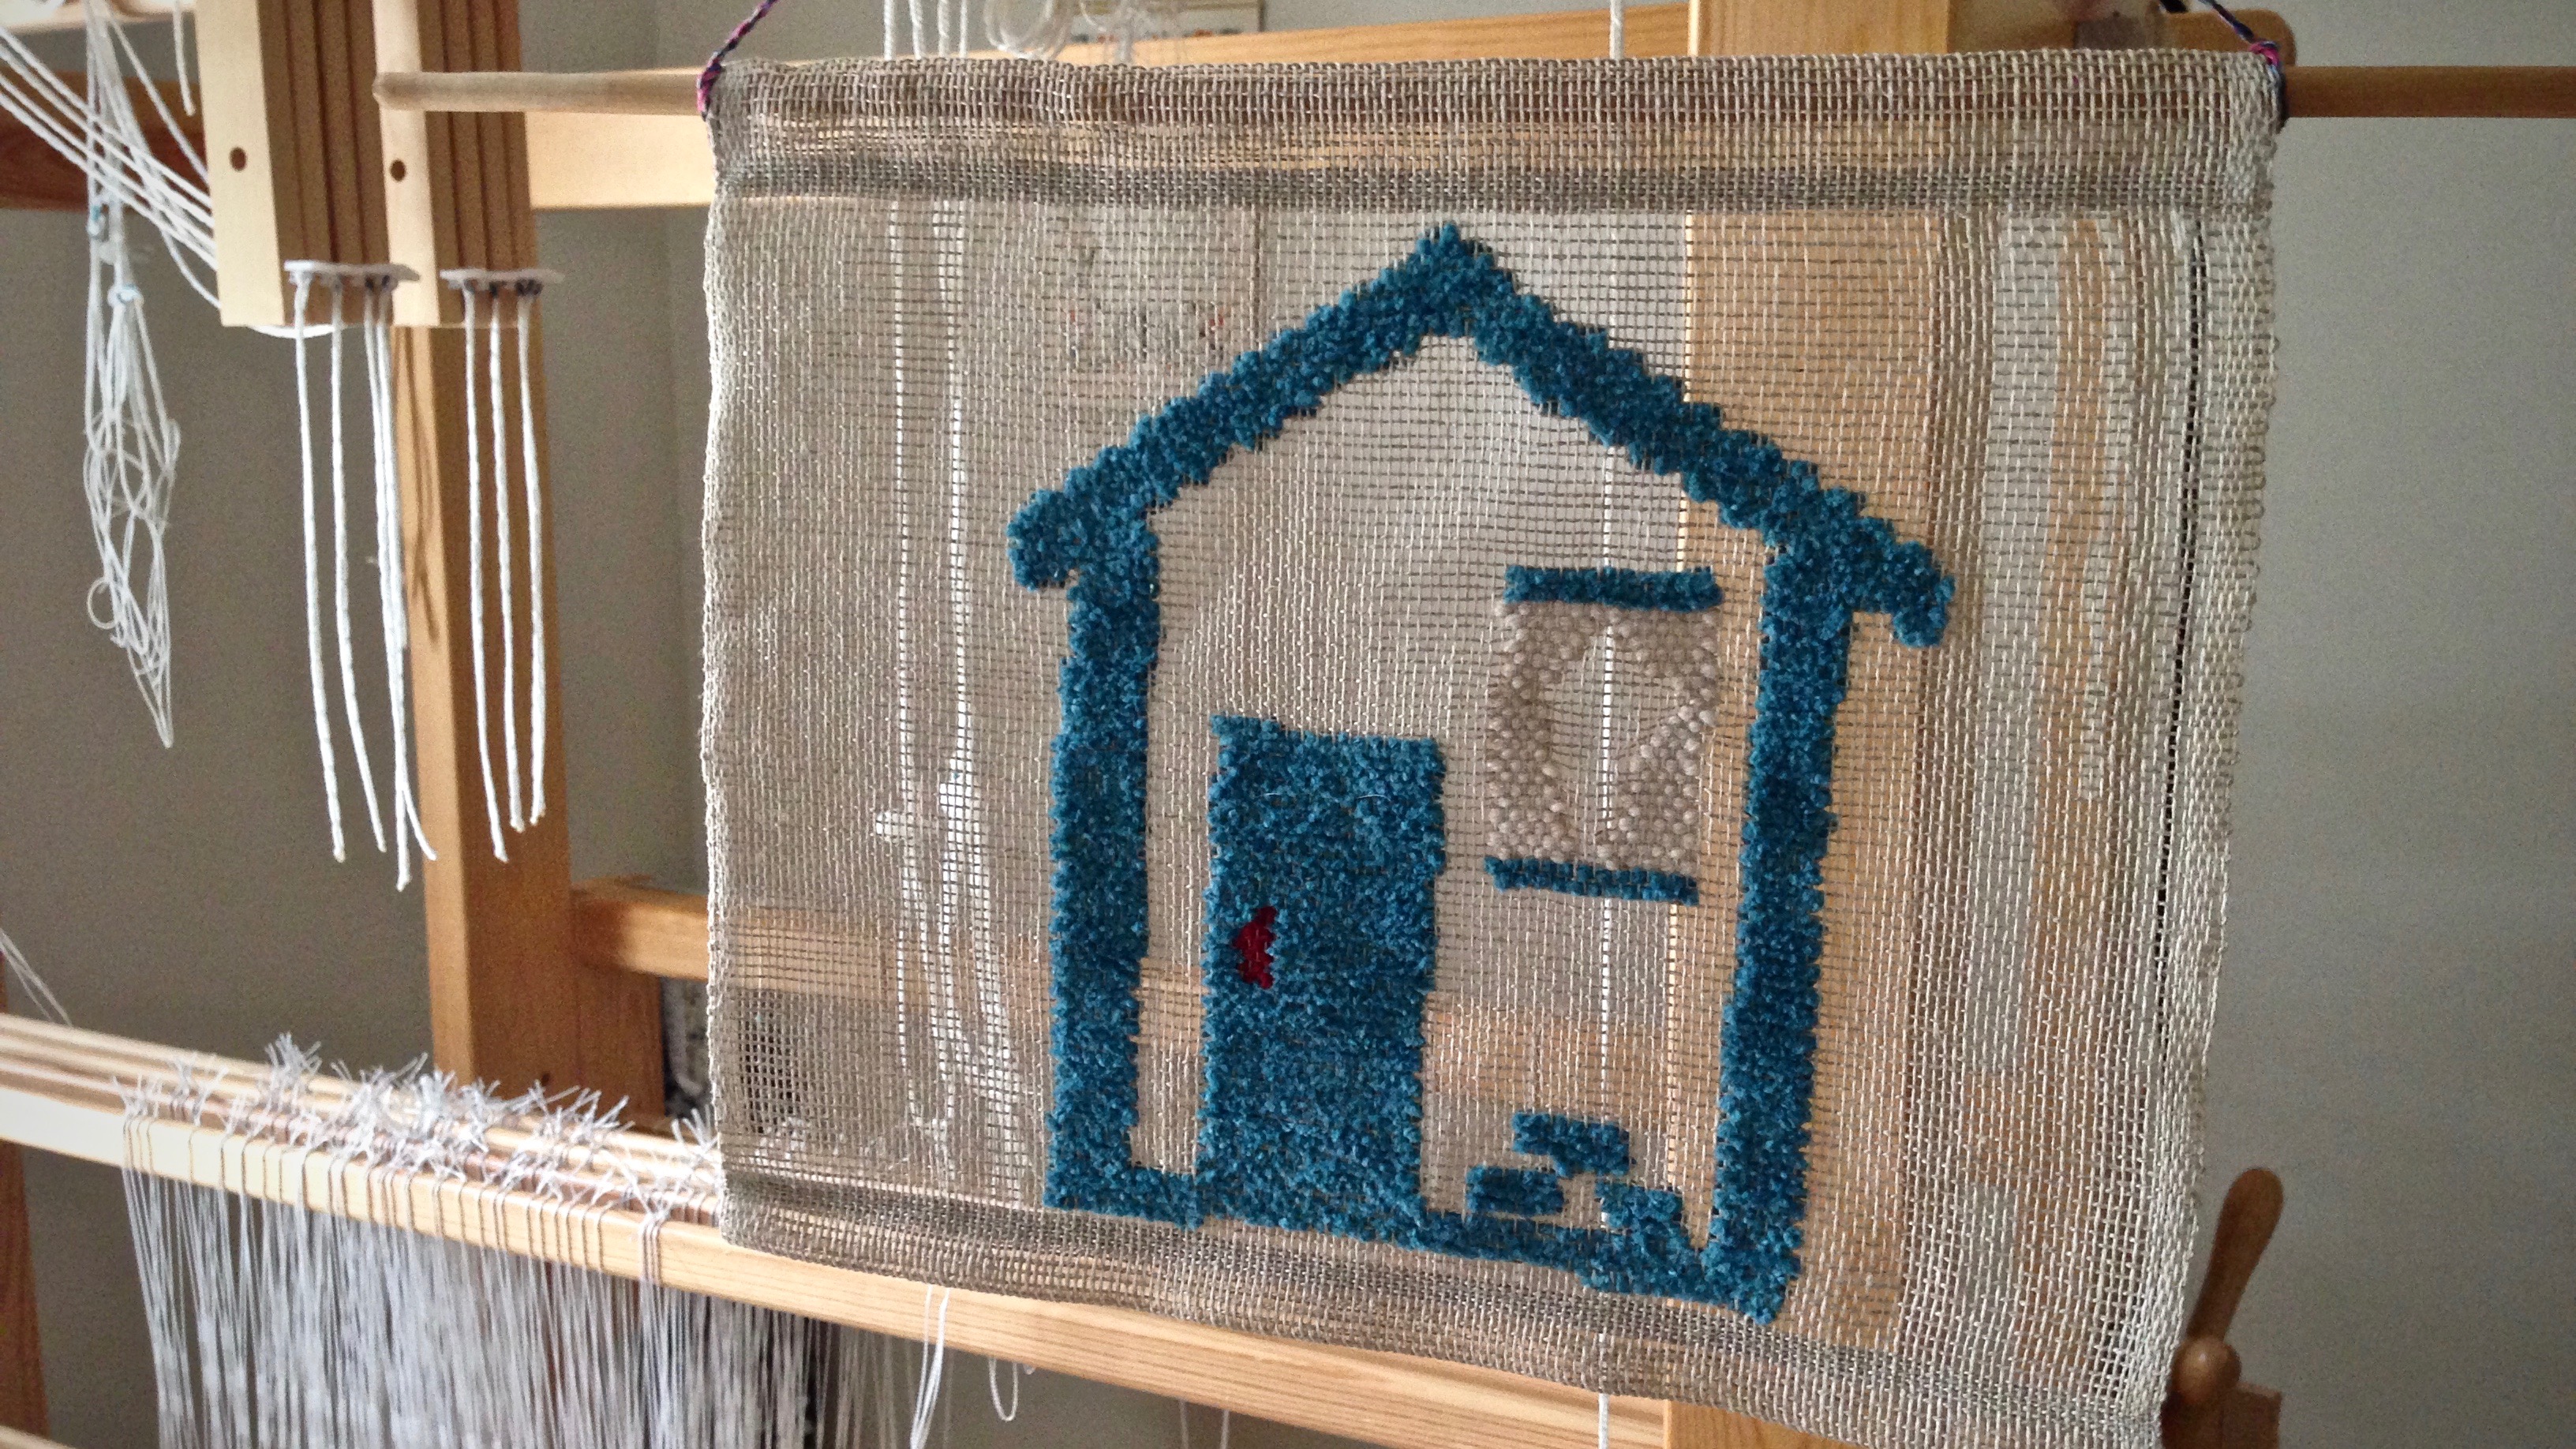
After the main transparency with the zigzags, I had room to play on the remaining warp. I made another cartoon–a “cartoon” house. This gave me a chance to use a few more yarn butterflies, without it being overwhelming. Home. Sweet. Home.
“Cartoon” house cartoon. Ready for playtime at the end of the warp.With several butterflies going at once, the transparency weaving gets even more interesting!Now, the actual end of the warp is here.Cartoon house just off the loom.Welcome home! Home. Sweet. Home.
May you enjoy the fascination of learning something new.
Knots show up in the warp. It’s a normal part of weaving. Weaving over the knot is almost never a good idea. You have to deal with the little obstacle. This is why it is handy to know how to splice the warp. Thankfully, it’s not hard to do. There are a few standard variations on how to perform this operation. I use a method that I first came across here, by Kirsten Froberg, that makes sense to me. And, hooray, there are no tails to weave in later!
I made a new video to demonstrate how I do it. You can watch it below…
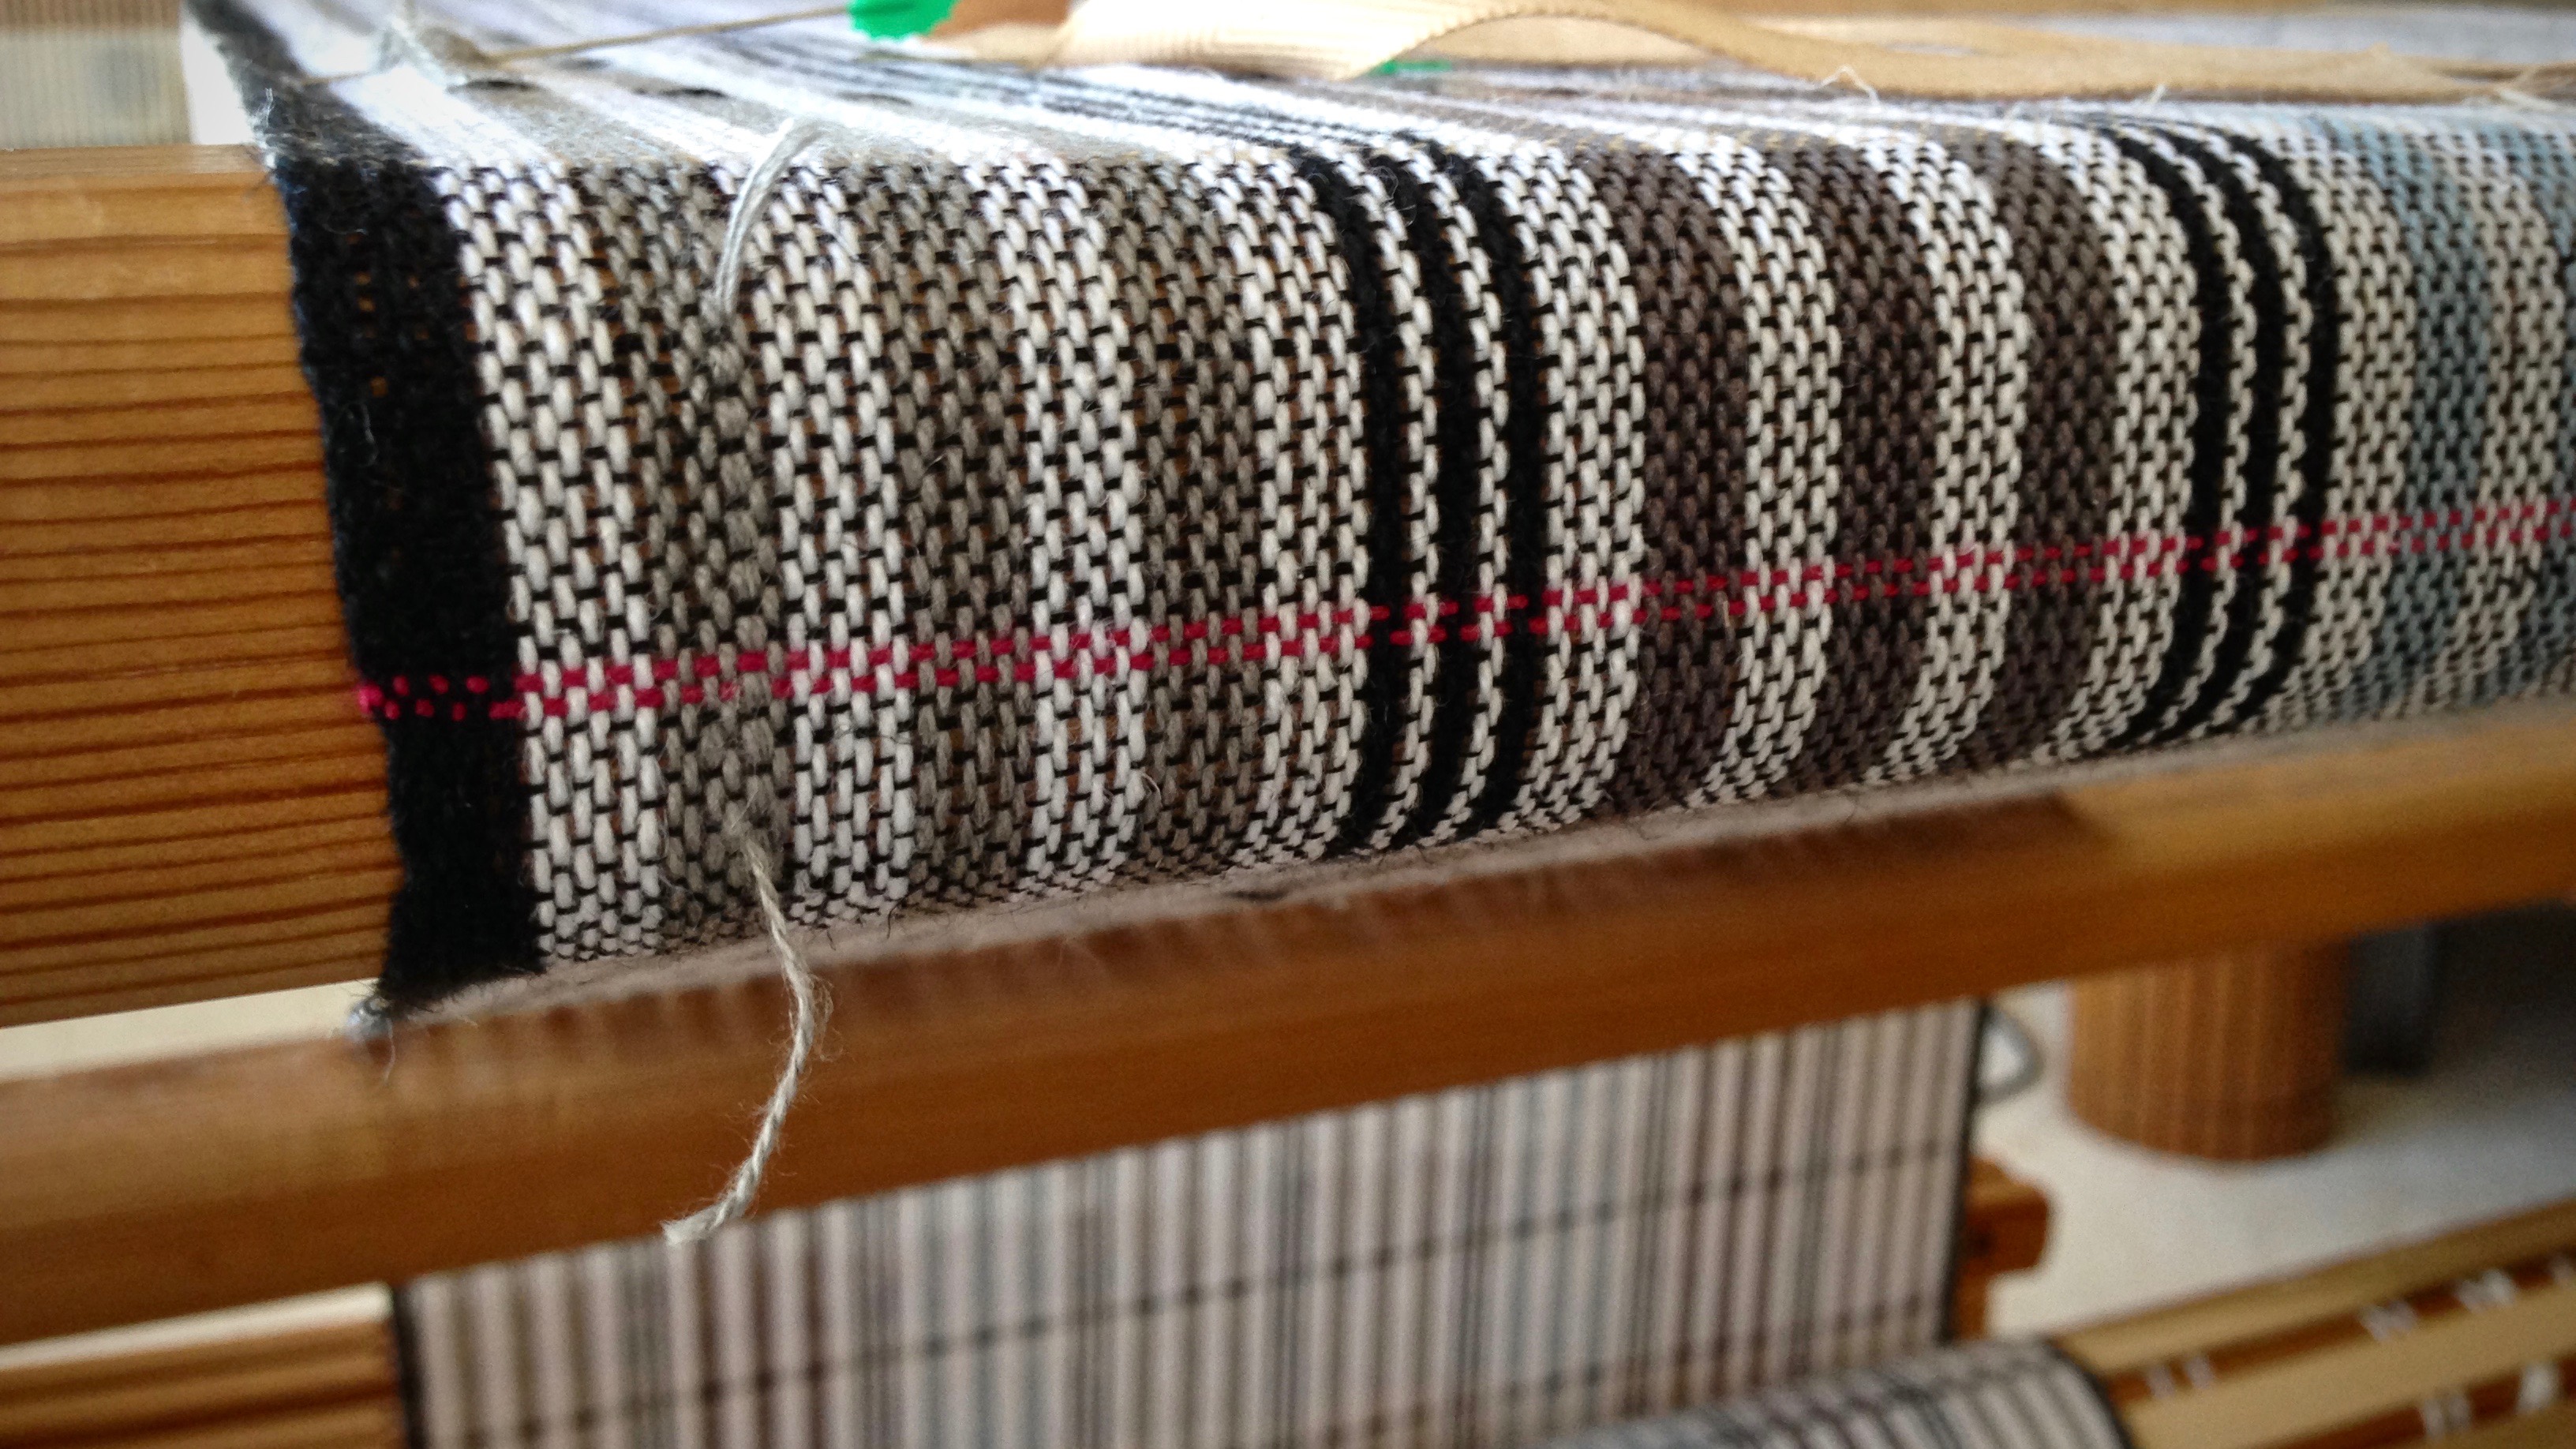
Spliced area of the warp happens to land in the hems of two adjoining towels. Pink weftpicks serve as a cutting line between the towels.Ending the splice. There are no tails to weave in later with this method.
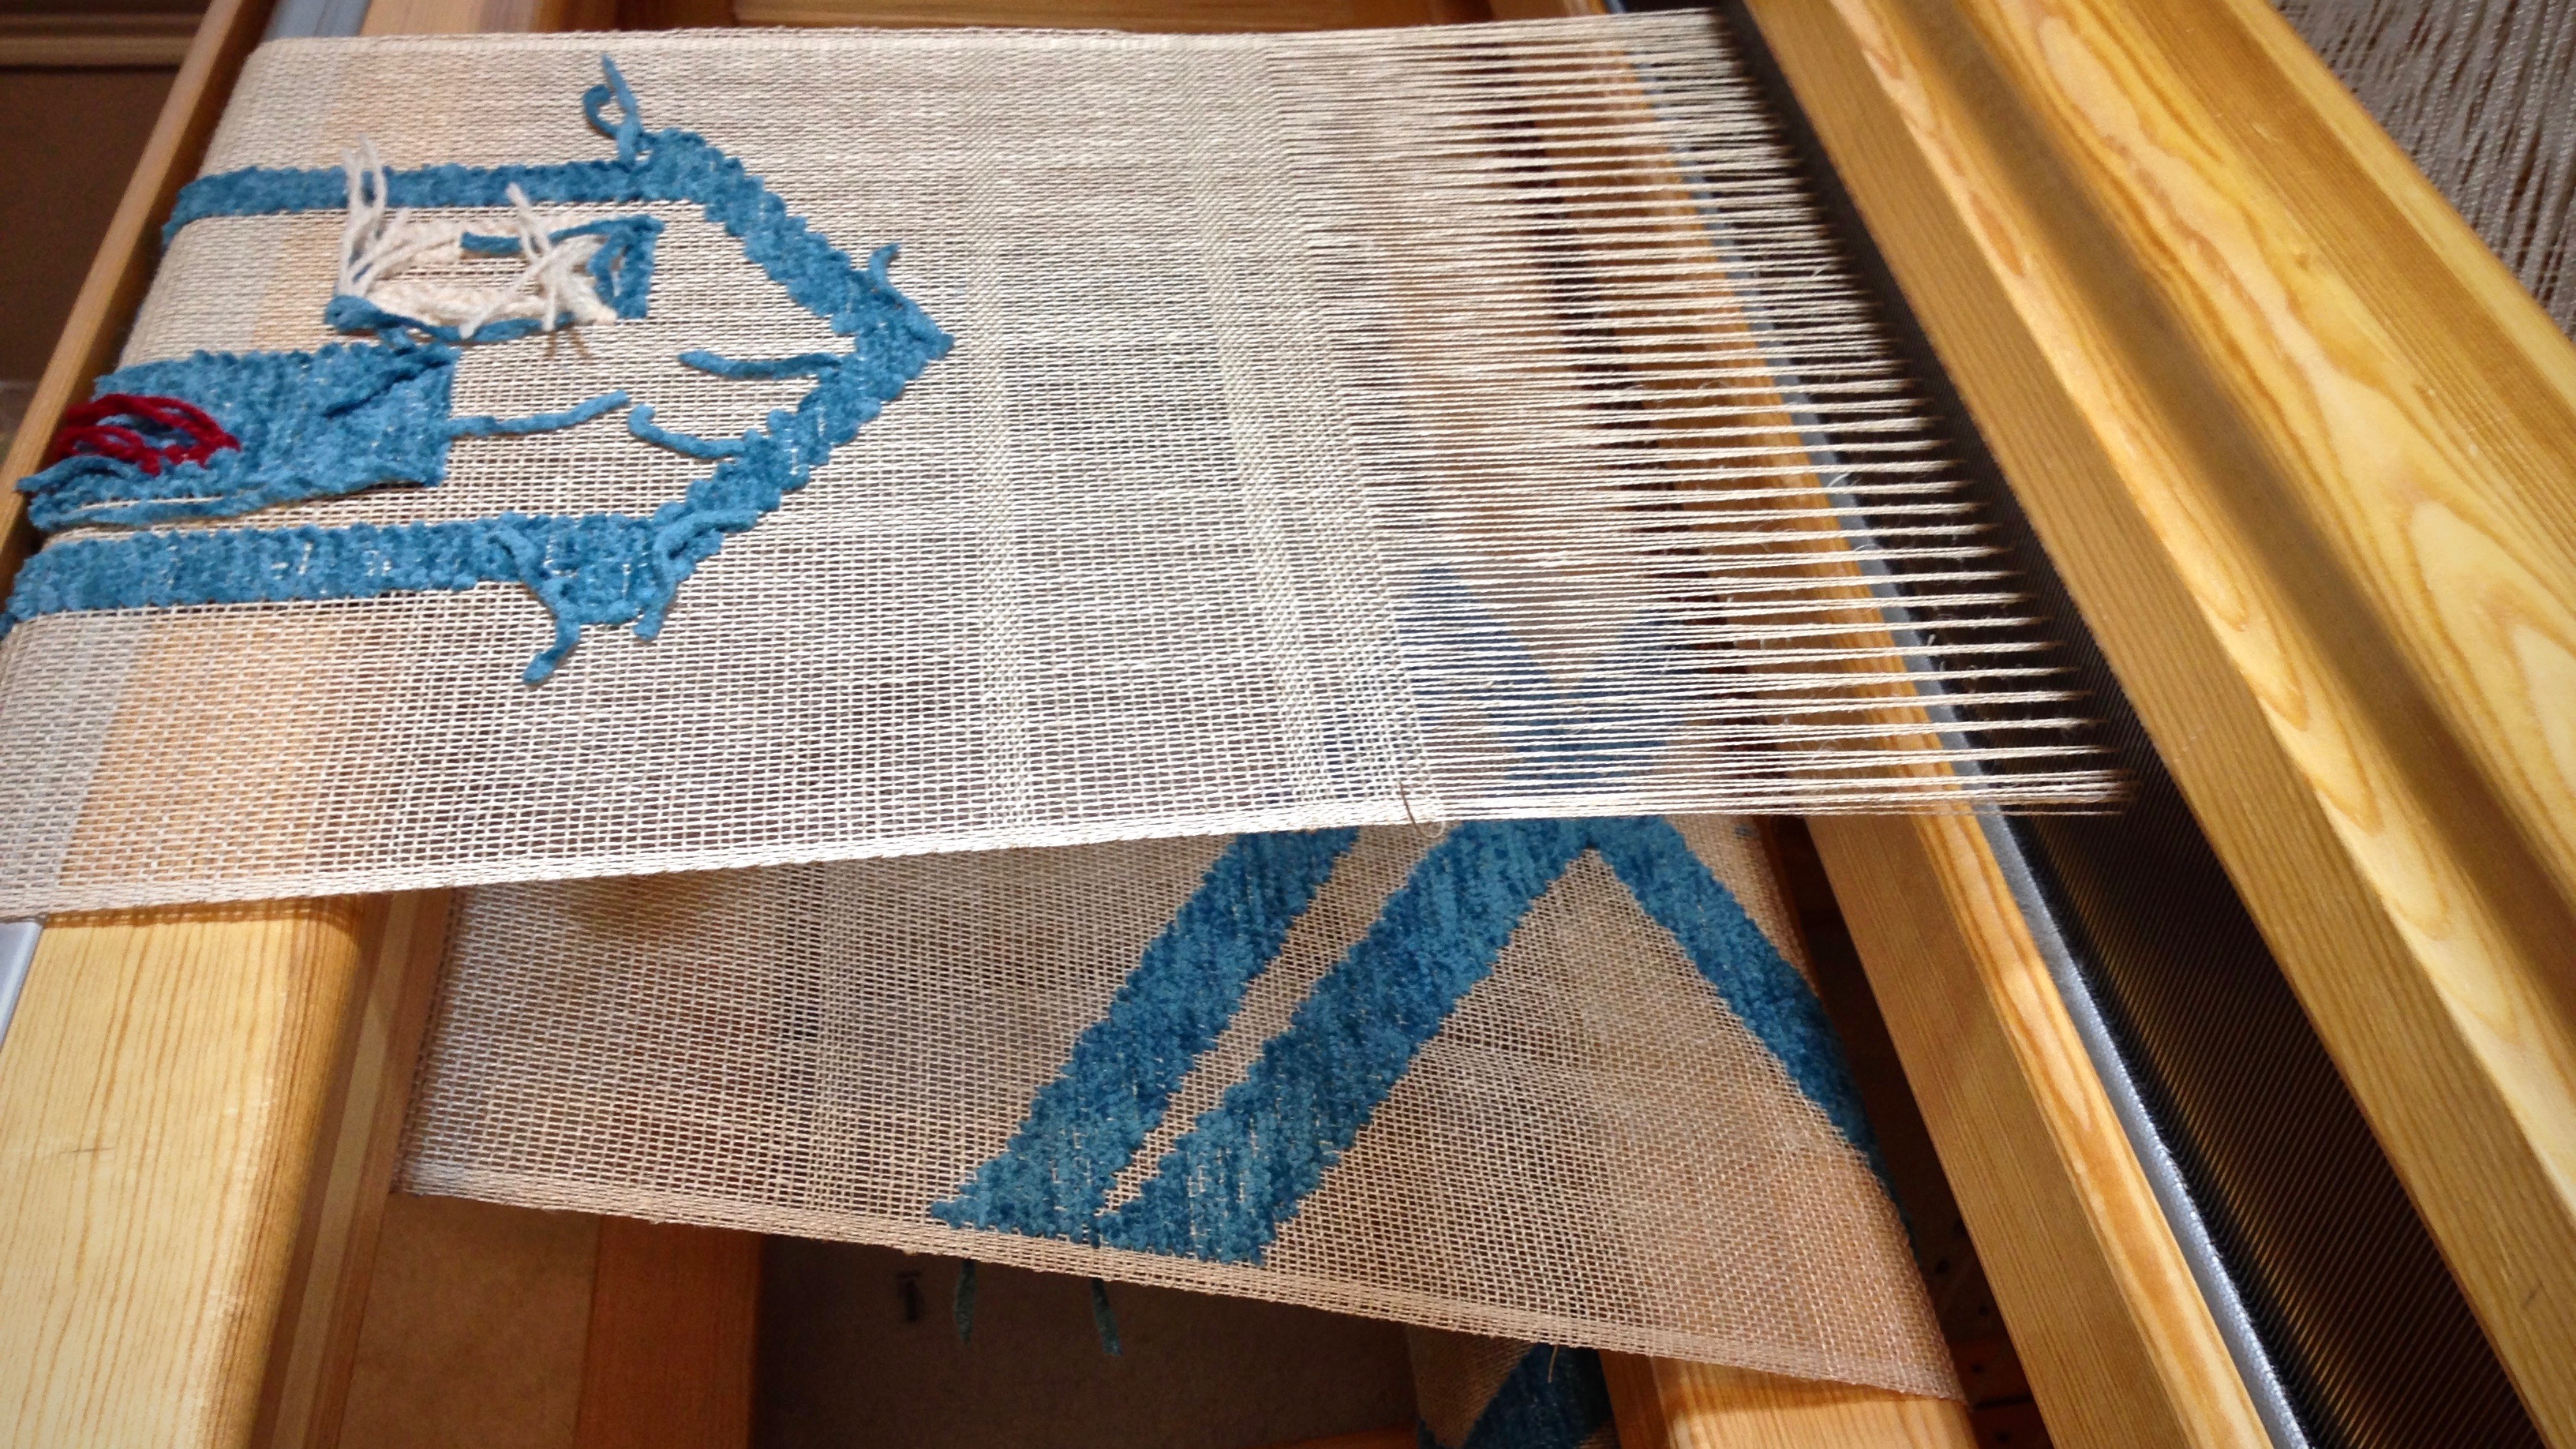
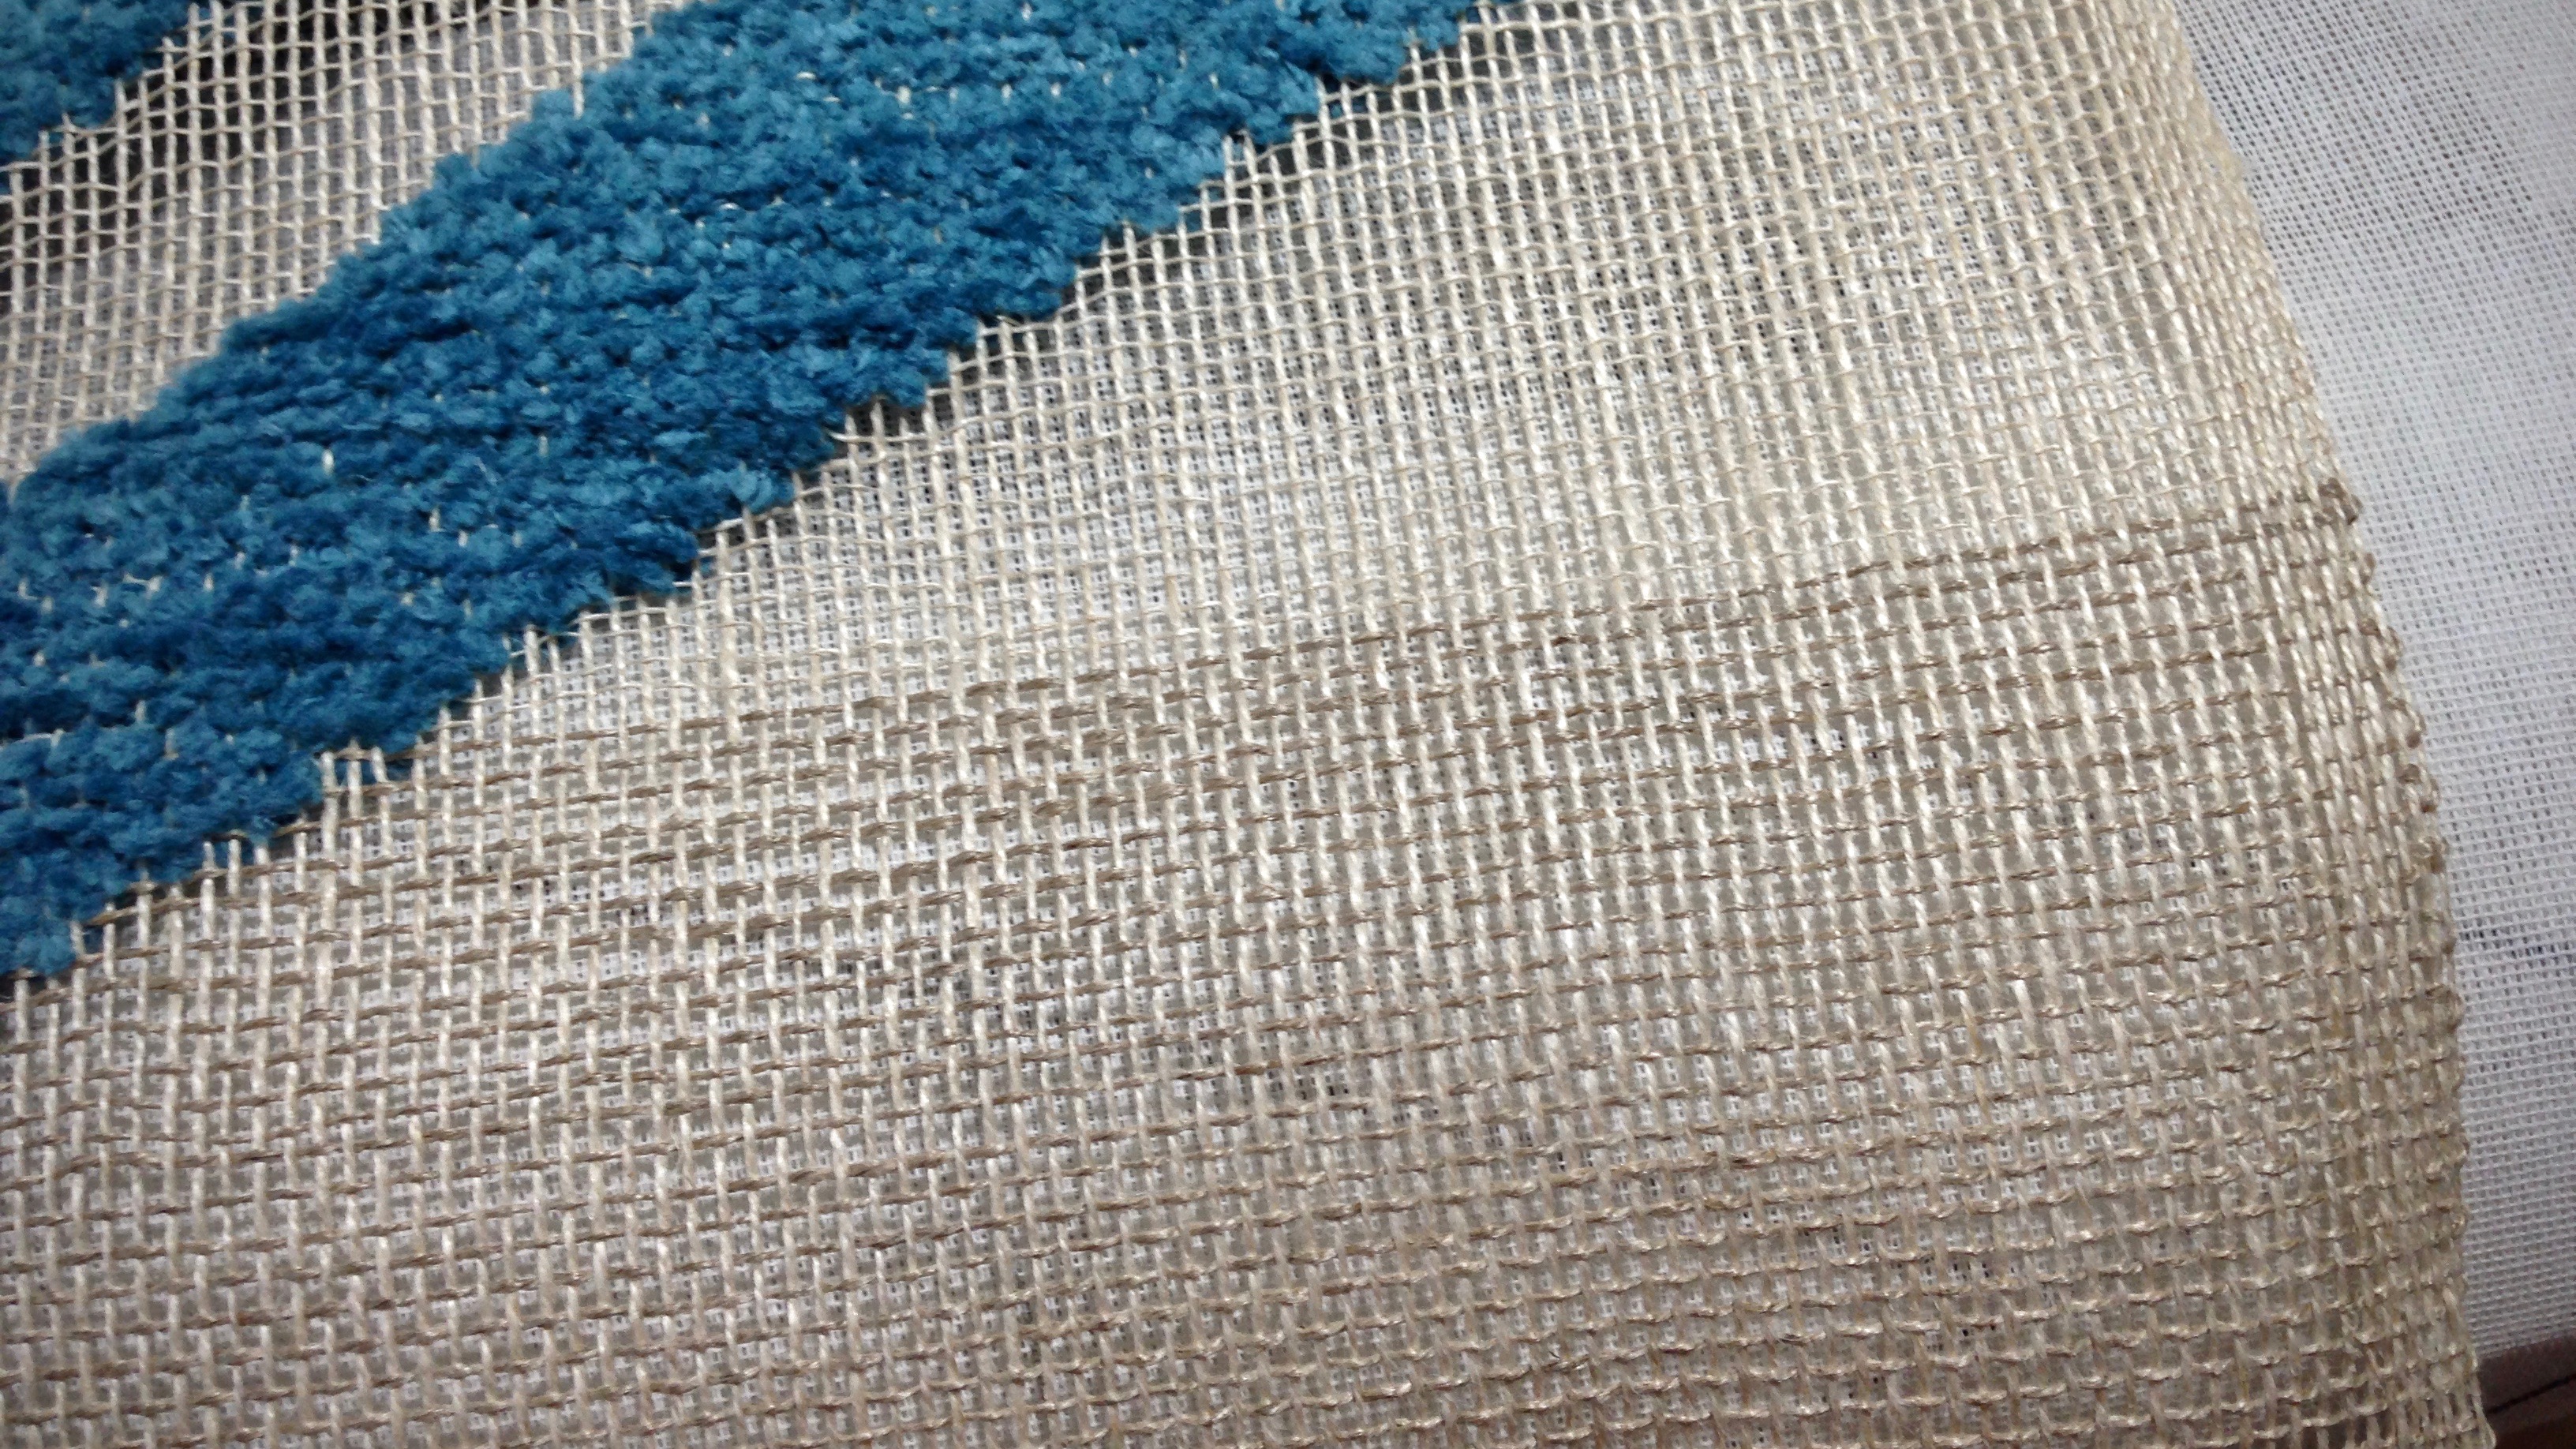
The cotton chenille looks as if it is magically suspended in space. But it’s the linen that suspends it. 16/2 unbleached linen weft crosses 16/2 golden bleached linen warp. The two shades blend into one as they are woven for the transparency background.
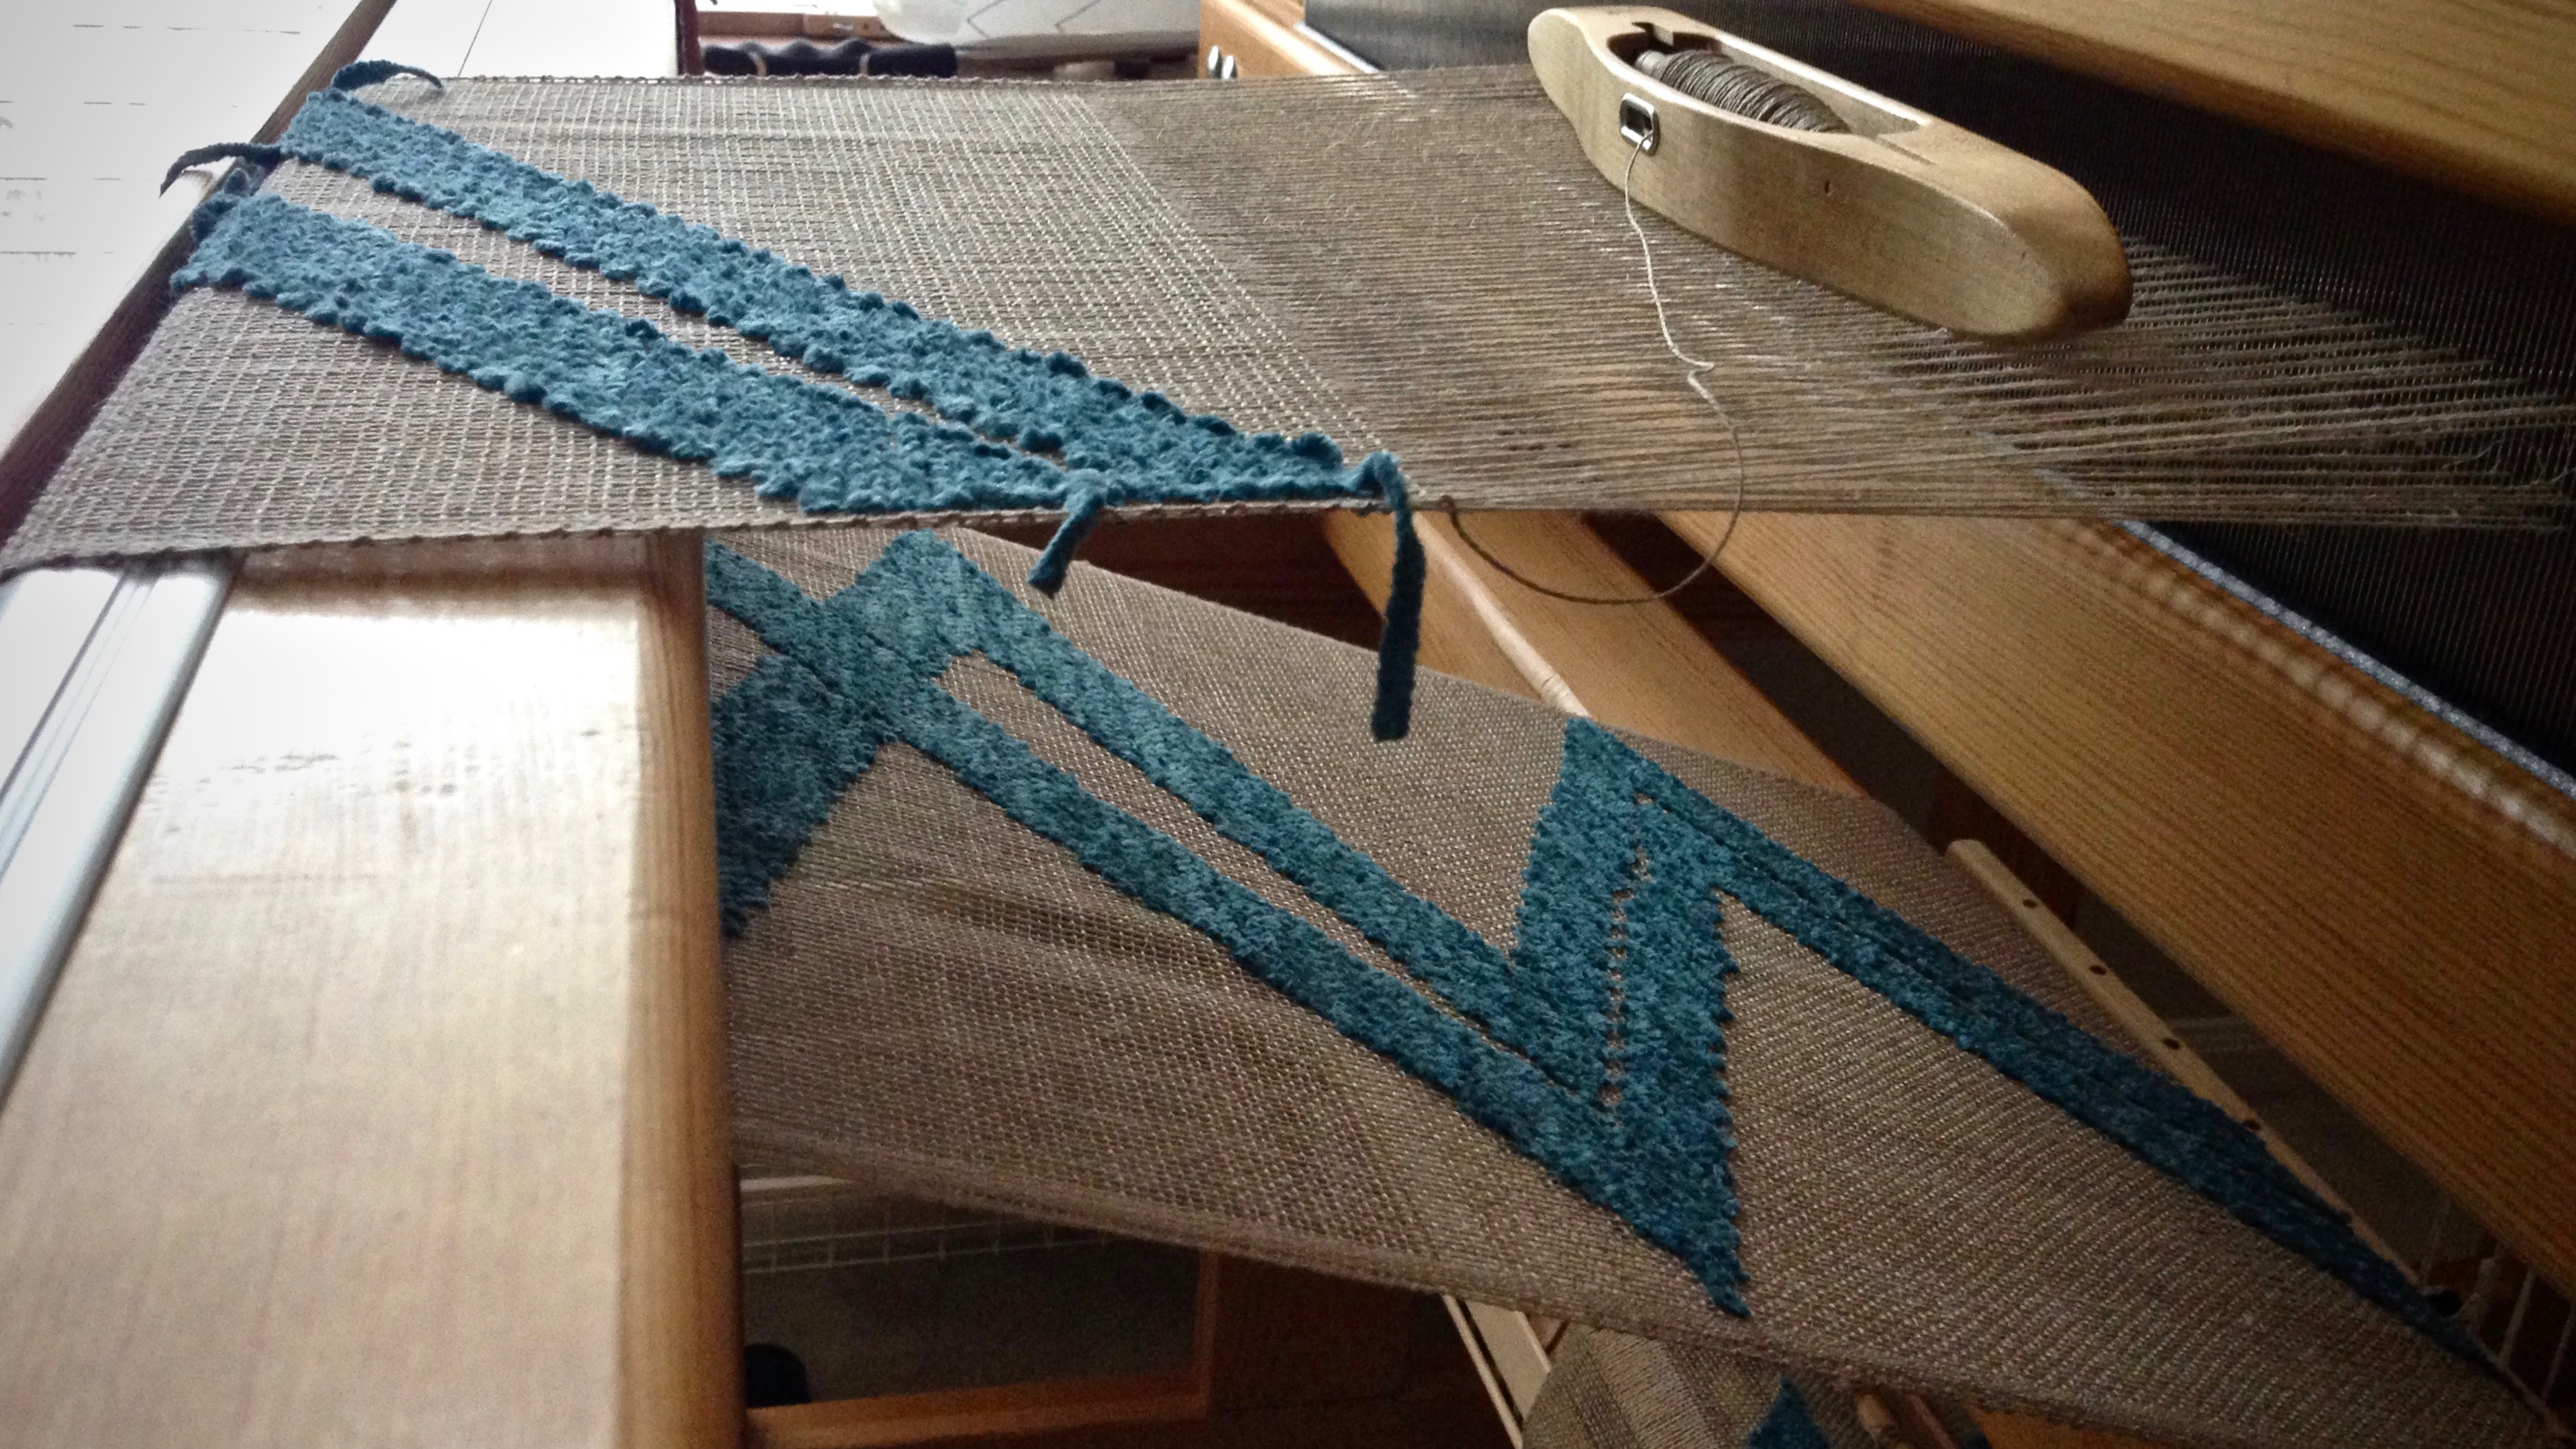
Weaving a transparency from the back. The front side of the pattern can be seen after it comes around the breast beam.
Unfortunately, I had 16/1 golden bleached linen (16/1 is half as thin as 16/2) on my winding table, for the plattväv towels on the other loom. I wound a quill with the 16/1 and wove the transparency with it. It’s the wrong thread size and color. For 8 1/2 inches! Too far to undo without irreparably damaging the linen warp. This is disappointing. How did I let that happen? Take a deep breath… Move forward, and finish out the weaving with the correct16/2 linen.
Two densities of linen. The 16/2 unbleached linen weft adds depth to the 16/2 golden bleached warp. The 16/1 golden bleached weft gives a lighter look to the web.Just off the loom! First transparency attempt, and a great learning experience.
We all fall short. We do the wrong thing. That’s a weight to carry. Jesus breaks the yoke of our burden, and lifts the weight. We have been set free! When we finish the weaving, the chenille pattern will be the main attraction, not the error. By amazing grace, the error is overcome by the light shining through the transparency.
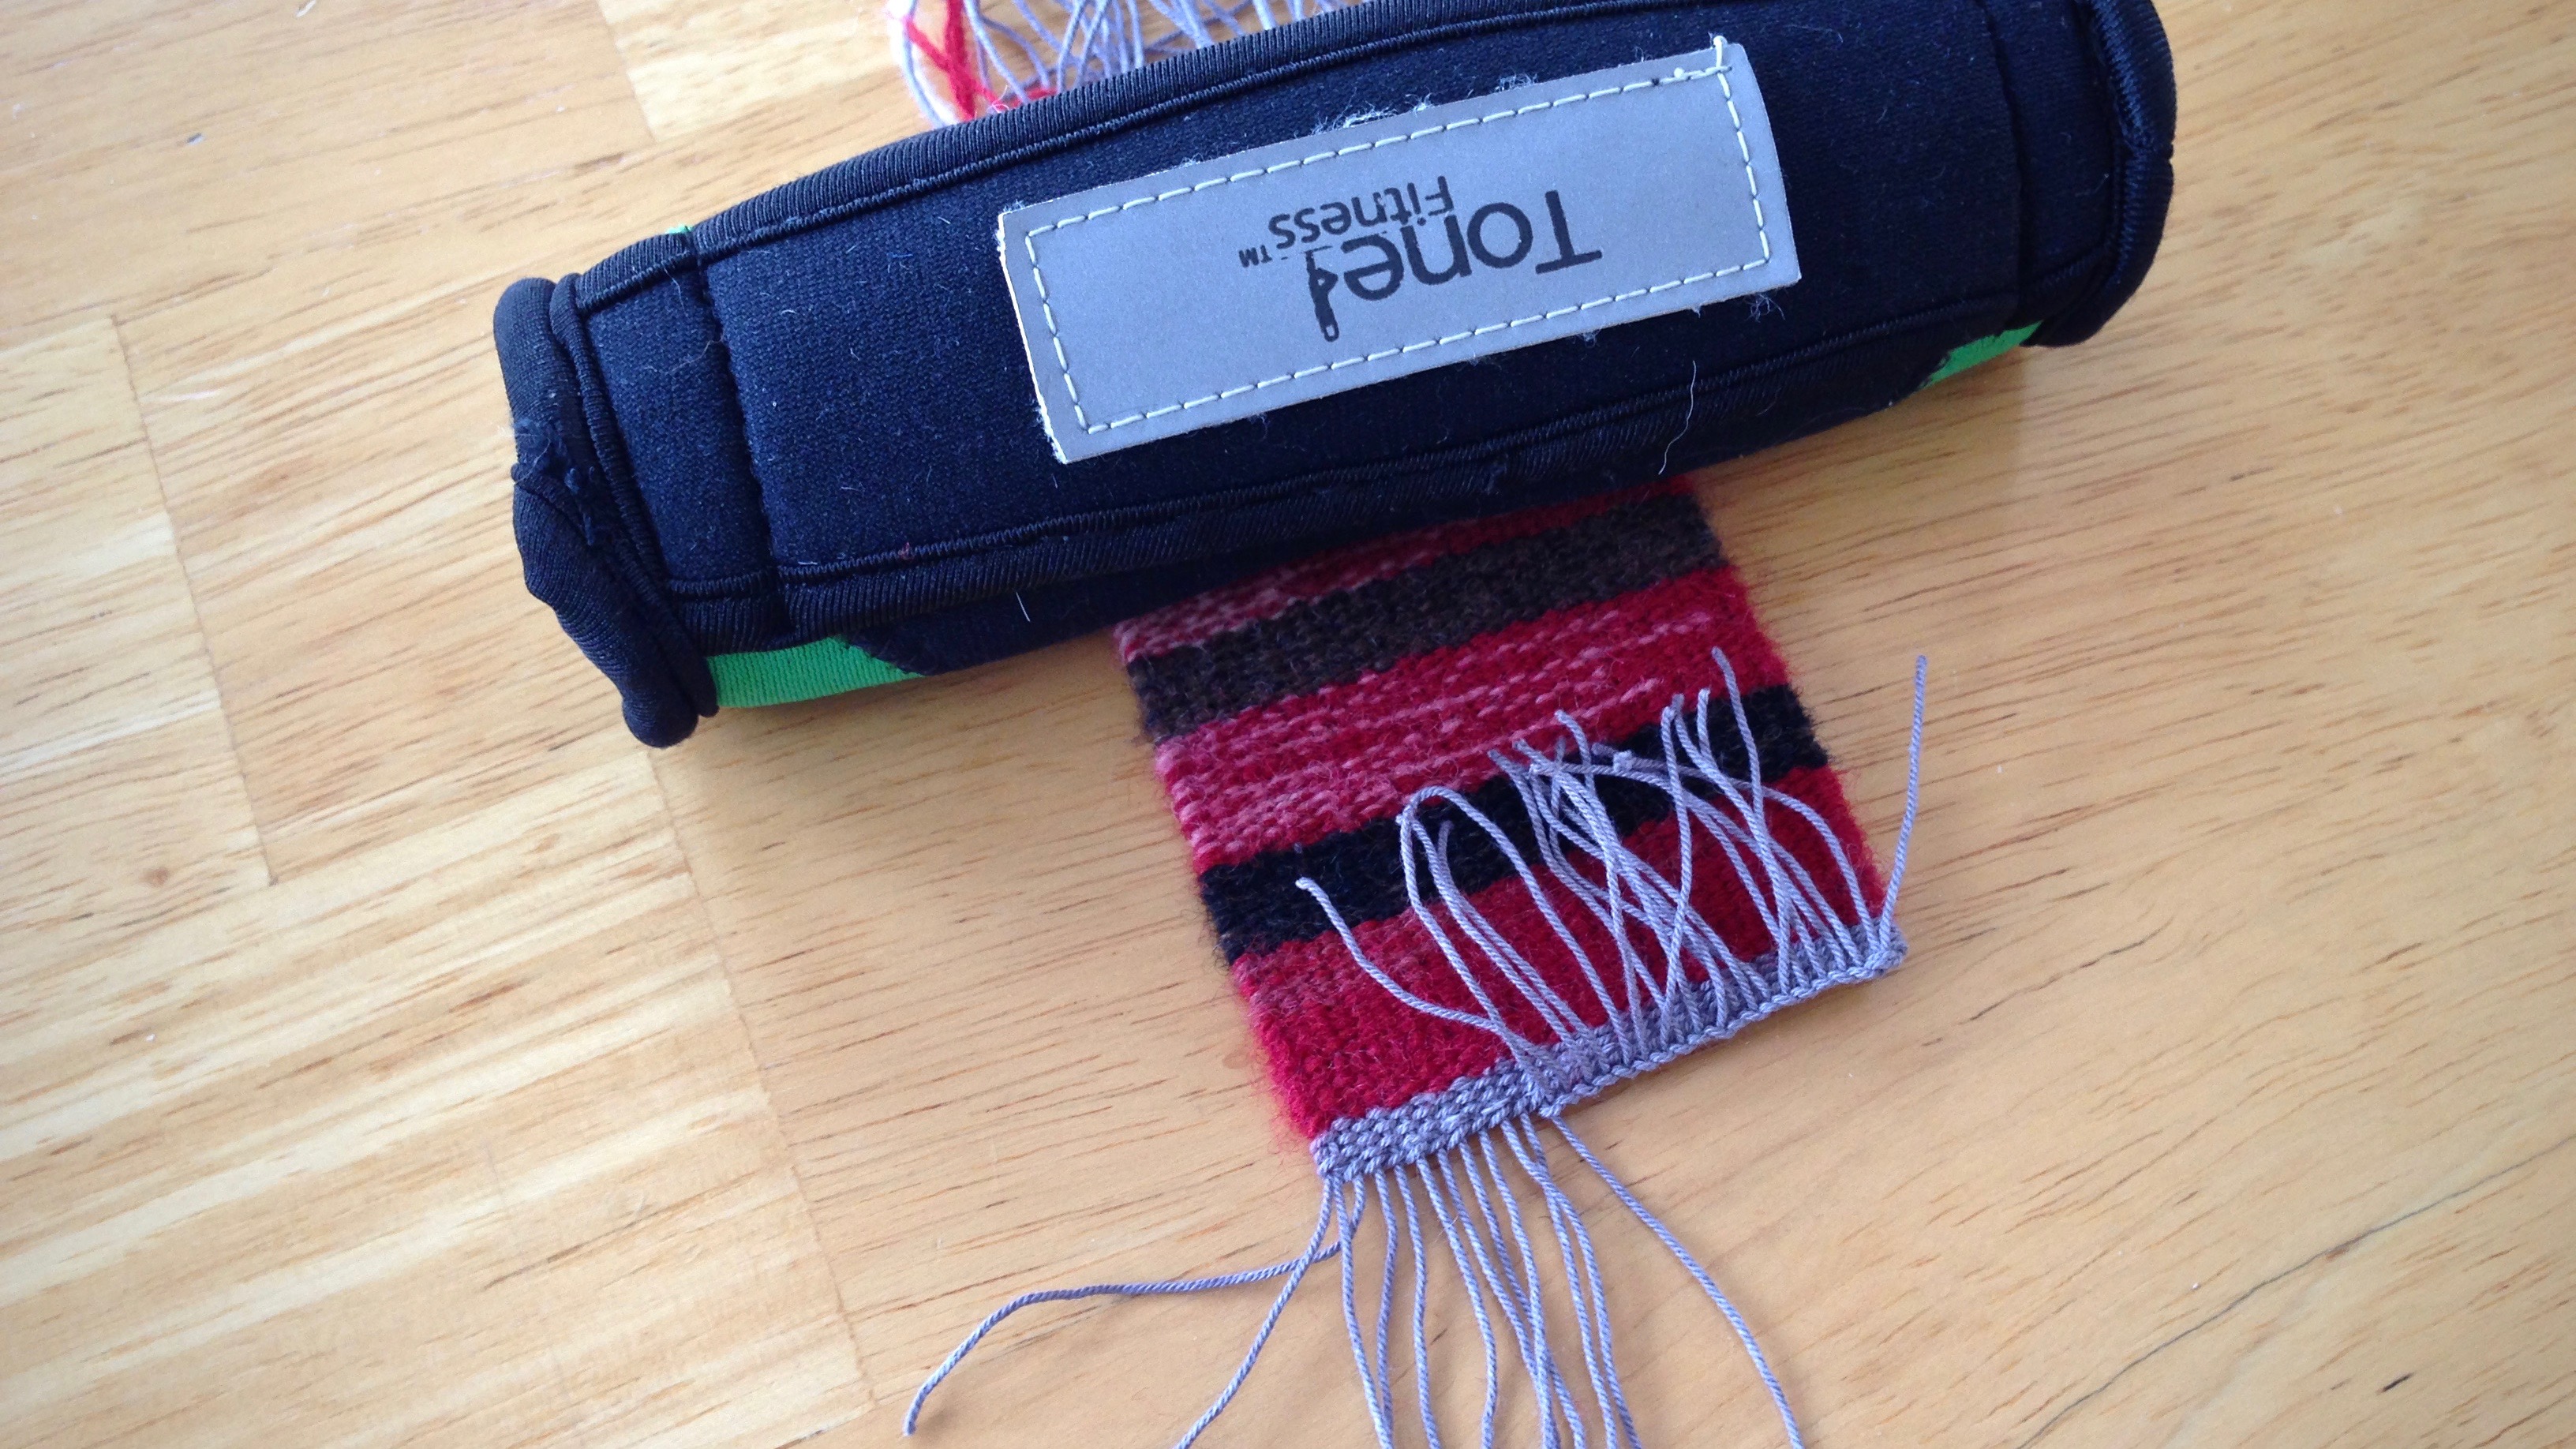
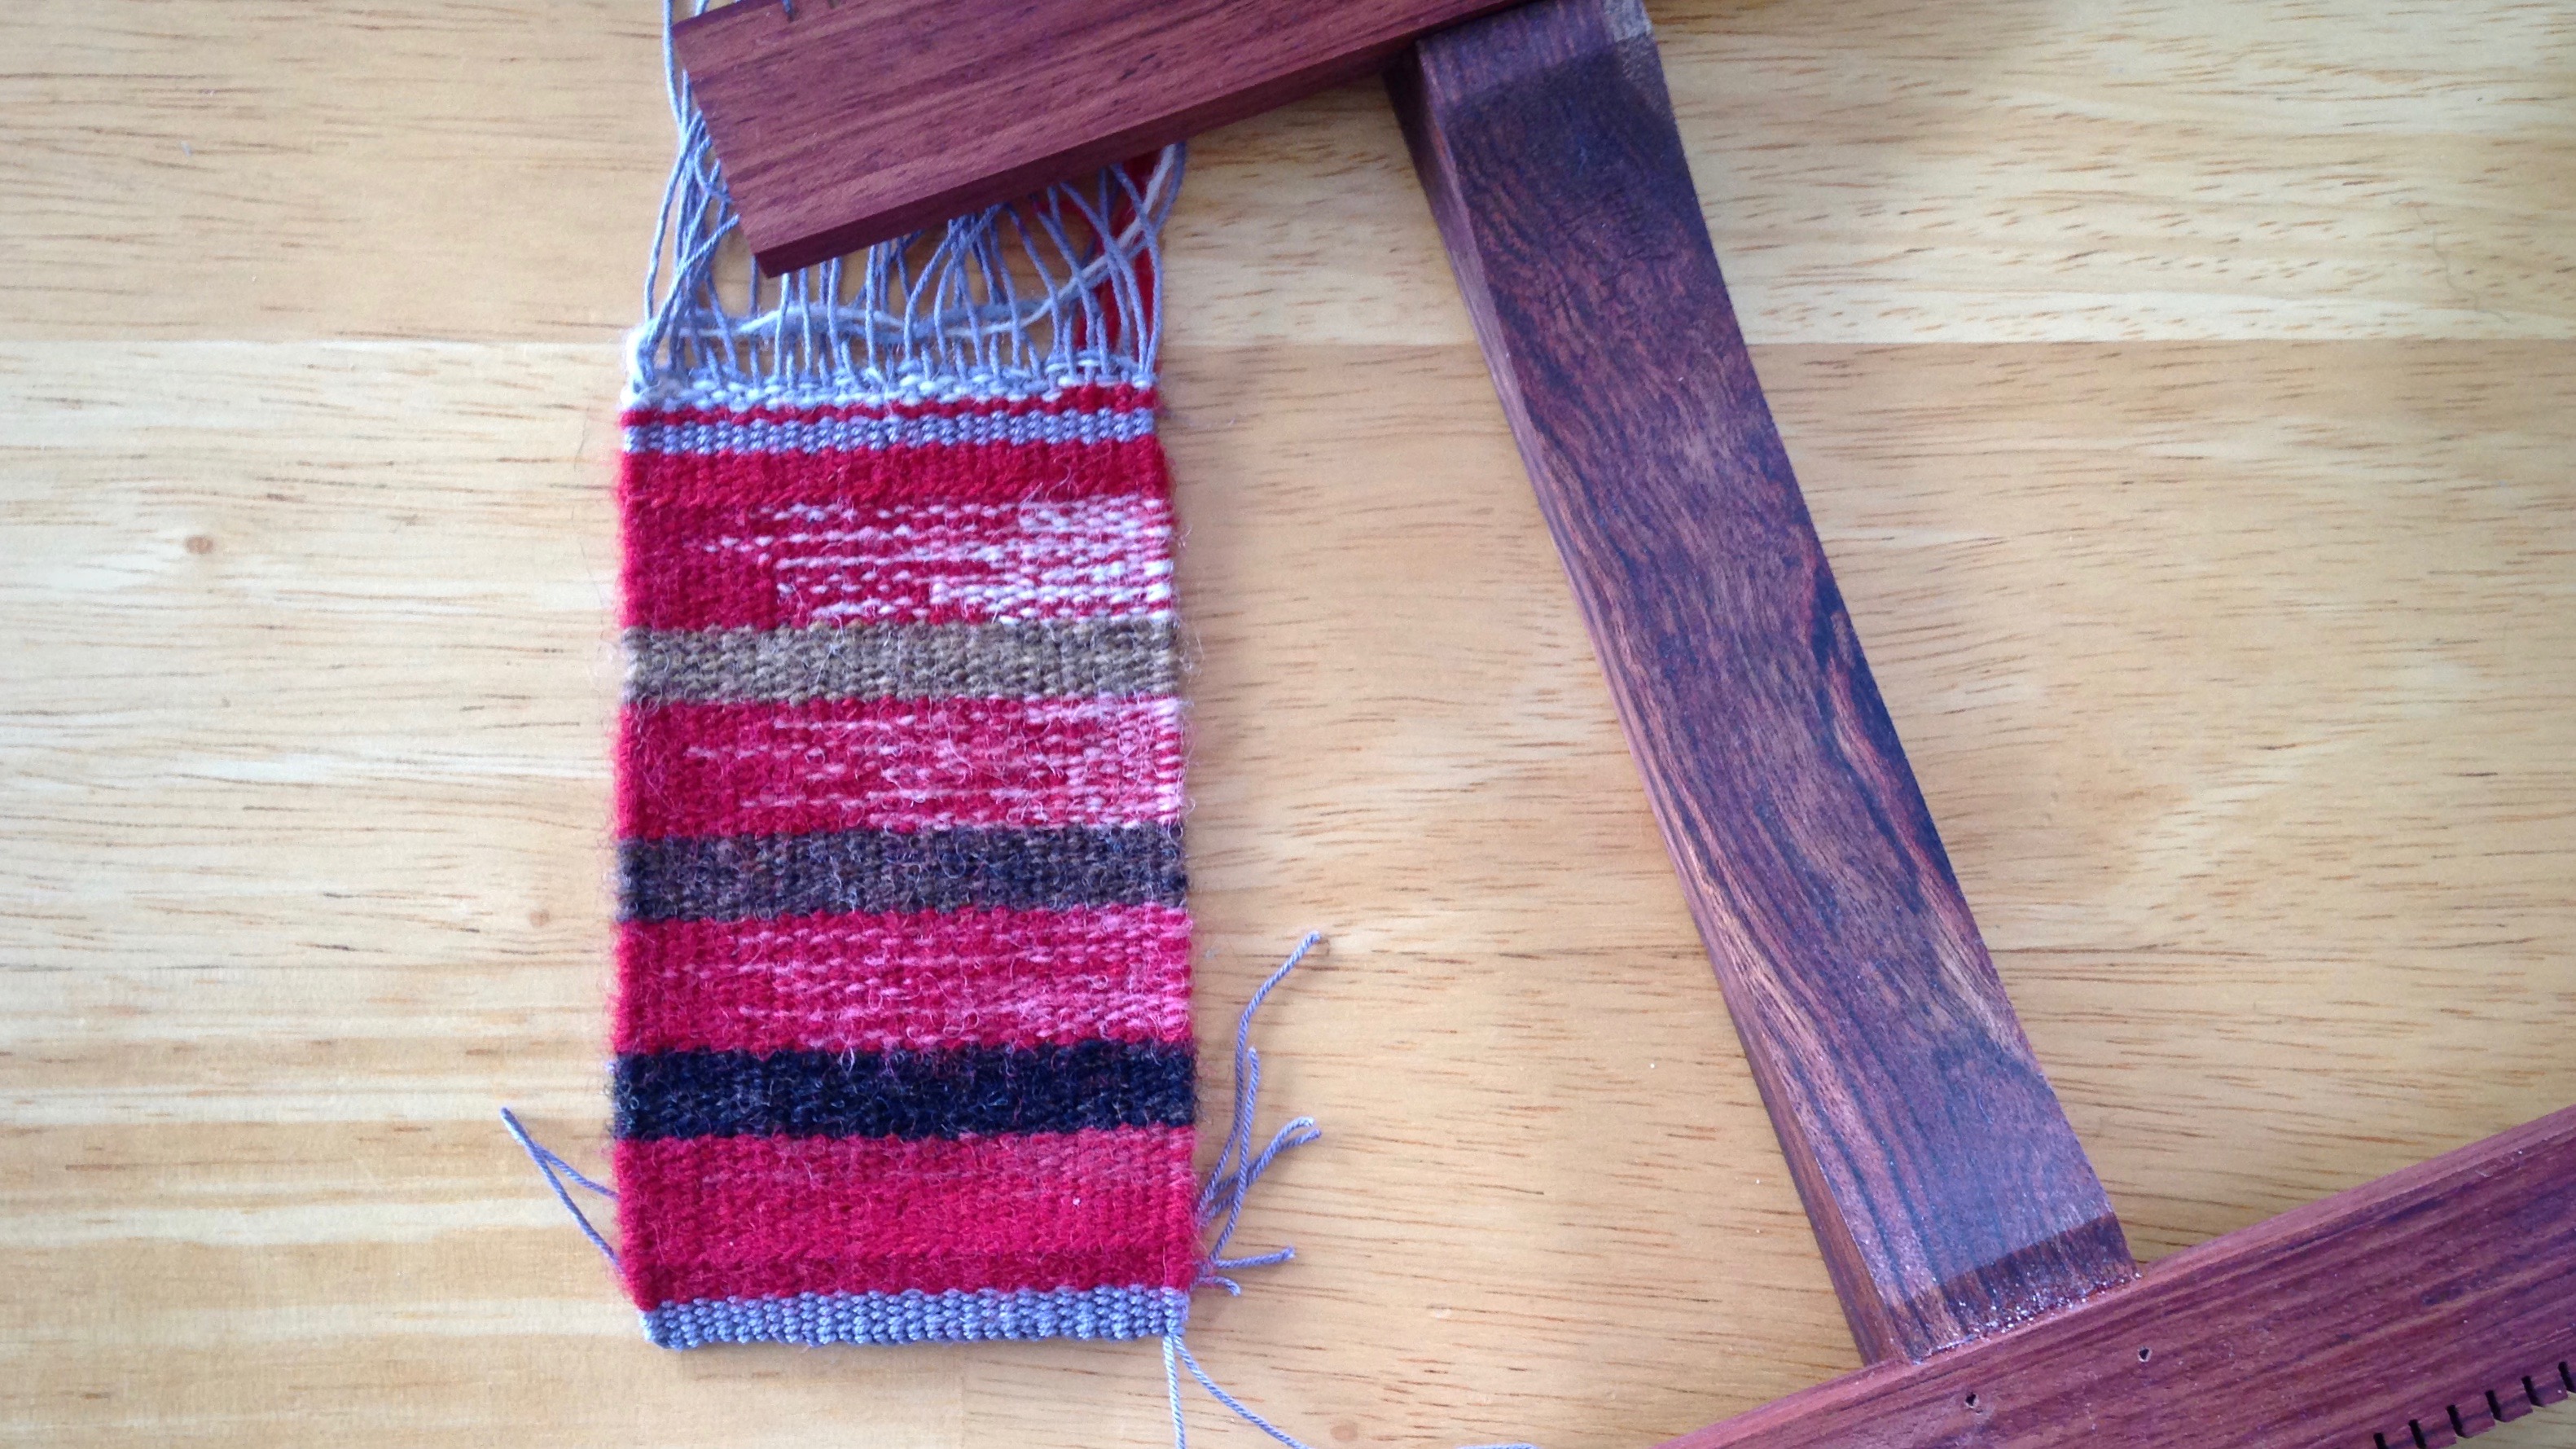
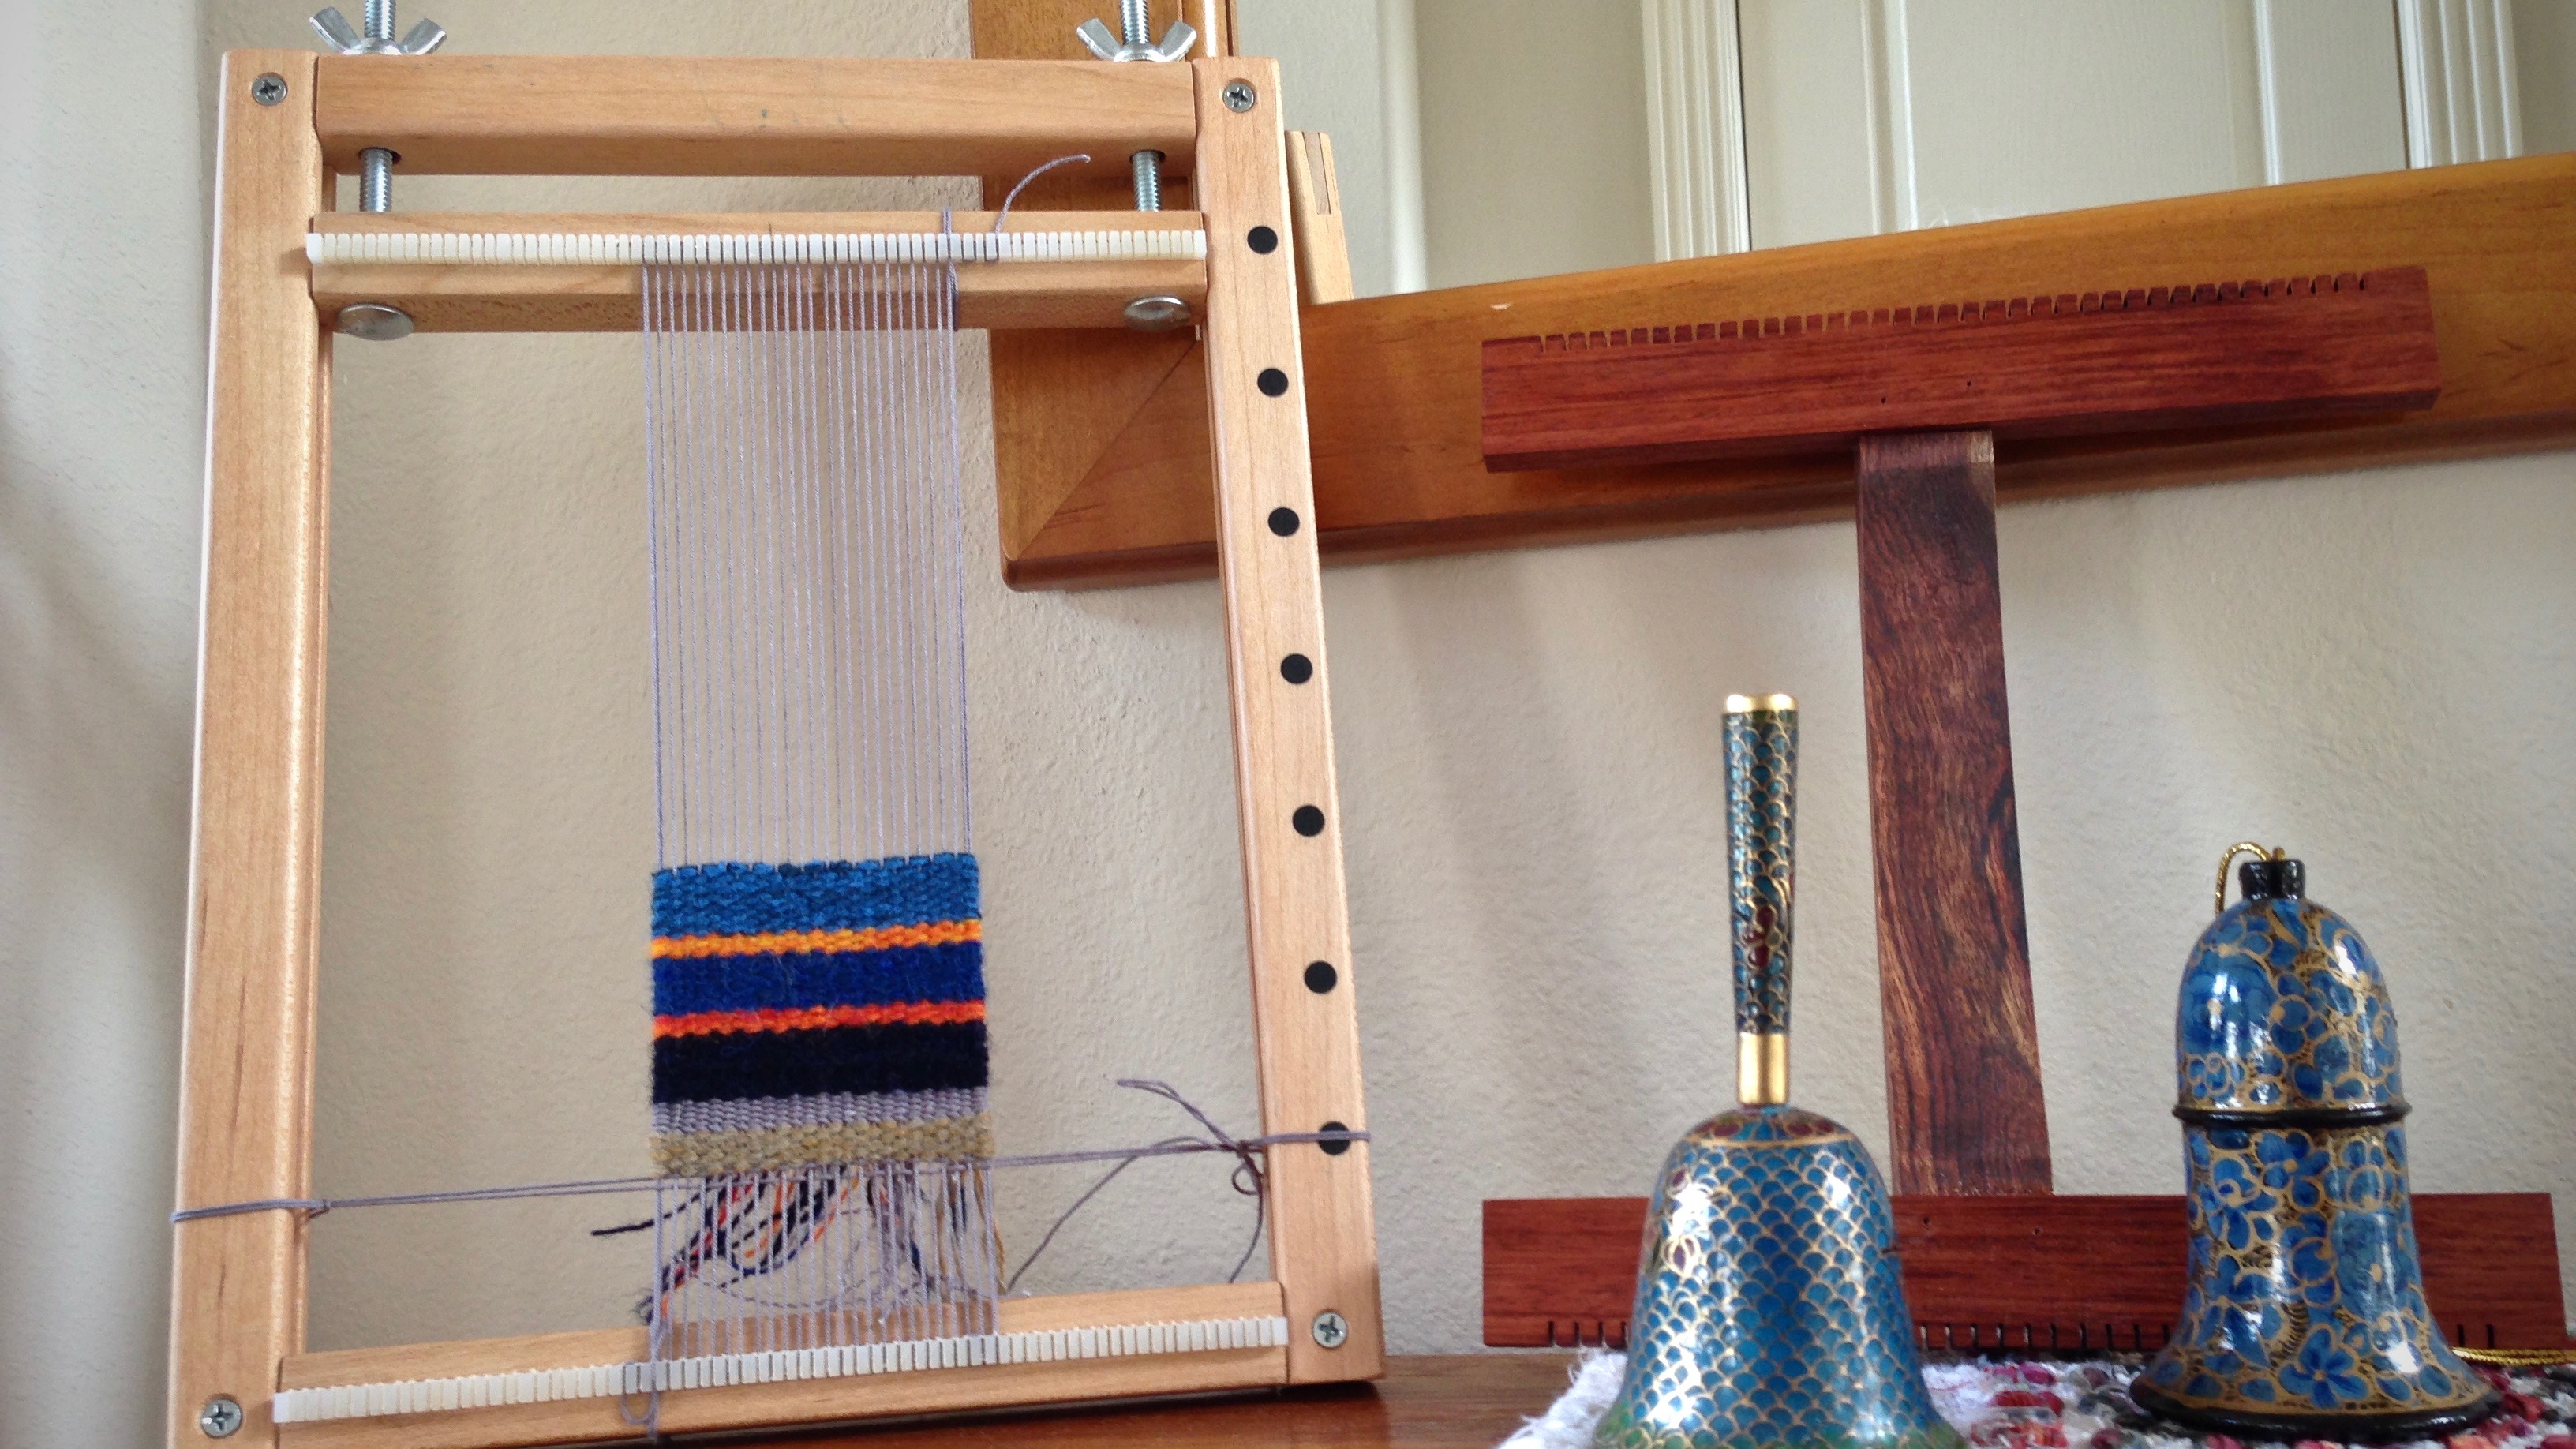
The Hokett loom is proof that we don’t need everything we want. Simplicity often comes with fewer features, but it is still enough. I finished weaving one small tapestry sample on the simple Hokett loom, and I am pleased with the results. Now, I’m back to my little hand-built loom for the second sample. I’m spoiled by it’s tensioning device and the inlaid magnets that hold my needle.
Half-damascus knots, as demonstrated by Rebecca Mezoff, are used for finishing the edge of the small tapestry.Finishing in progress. This small piece was woven with short hems that will be folded under.
The Weaving Tapestry on Little Looms online class (self-paced) by Rebecca Mezoff is going well. It’s great to view demonstrations that show details regarding yarn direction, headers, finishing, hems, and mounting, and more, from an expert tapestry weaver. My tapestry toolbox of skills is expanding! I’m thankful to have options of different looms to weave what I am learning.
The Hokett loom is smaller and more portable, even though the hand-built loom and Hokett loom have nearly the same weaving space.
What we need is more important than what we want. We don’t always see the difference between need and want. Lord, give us what we need today. May we long for nothing more than what you have promised to give. And may we show appropriate gratitude when given more than enough.
Weaving a transparency could become one of my favorite things to do. I had no idea that drawing a cartoon for this project would make such a difference. Now, I can see vast possibilities with this weaving technique.
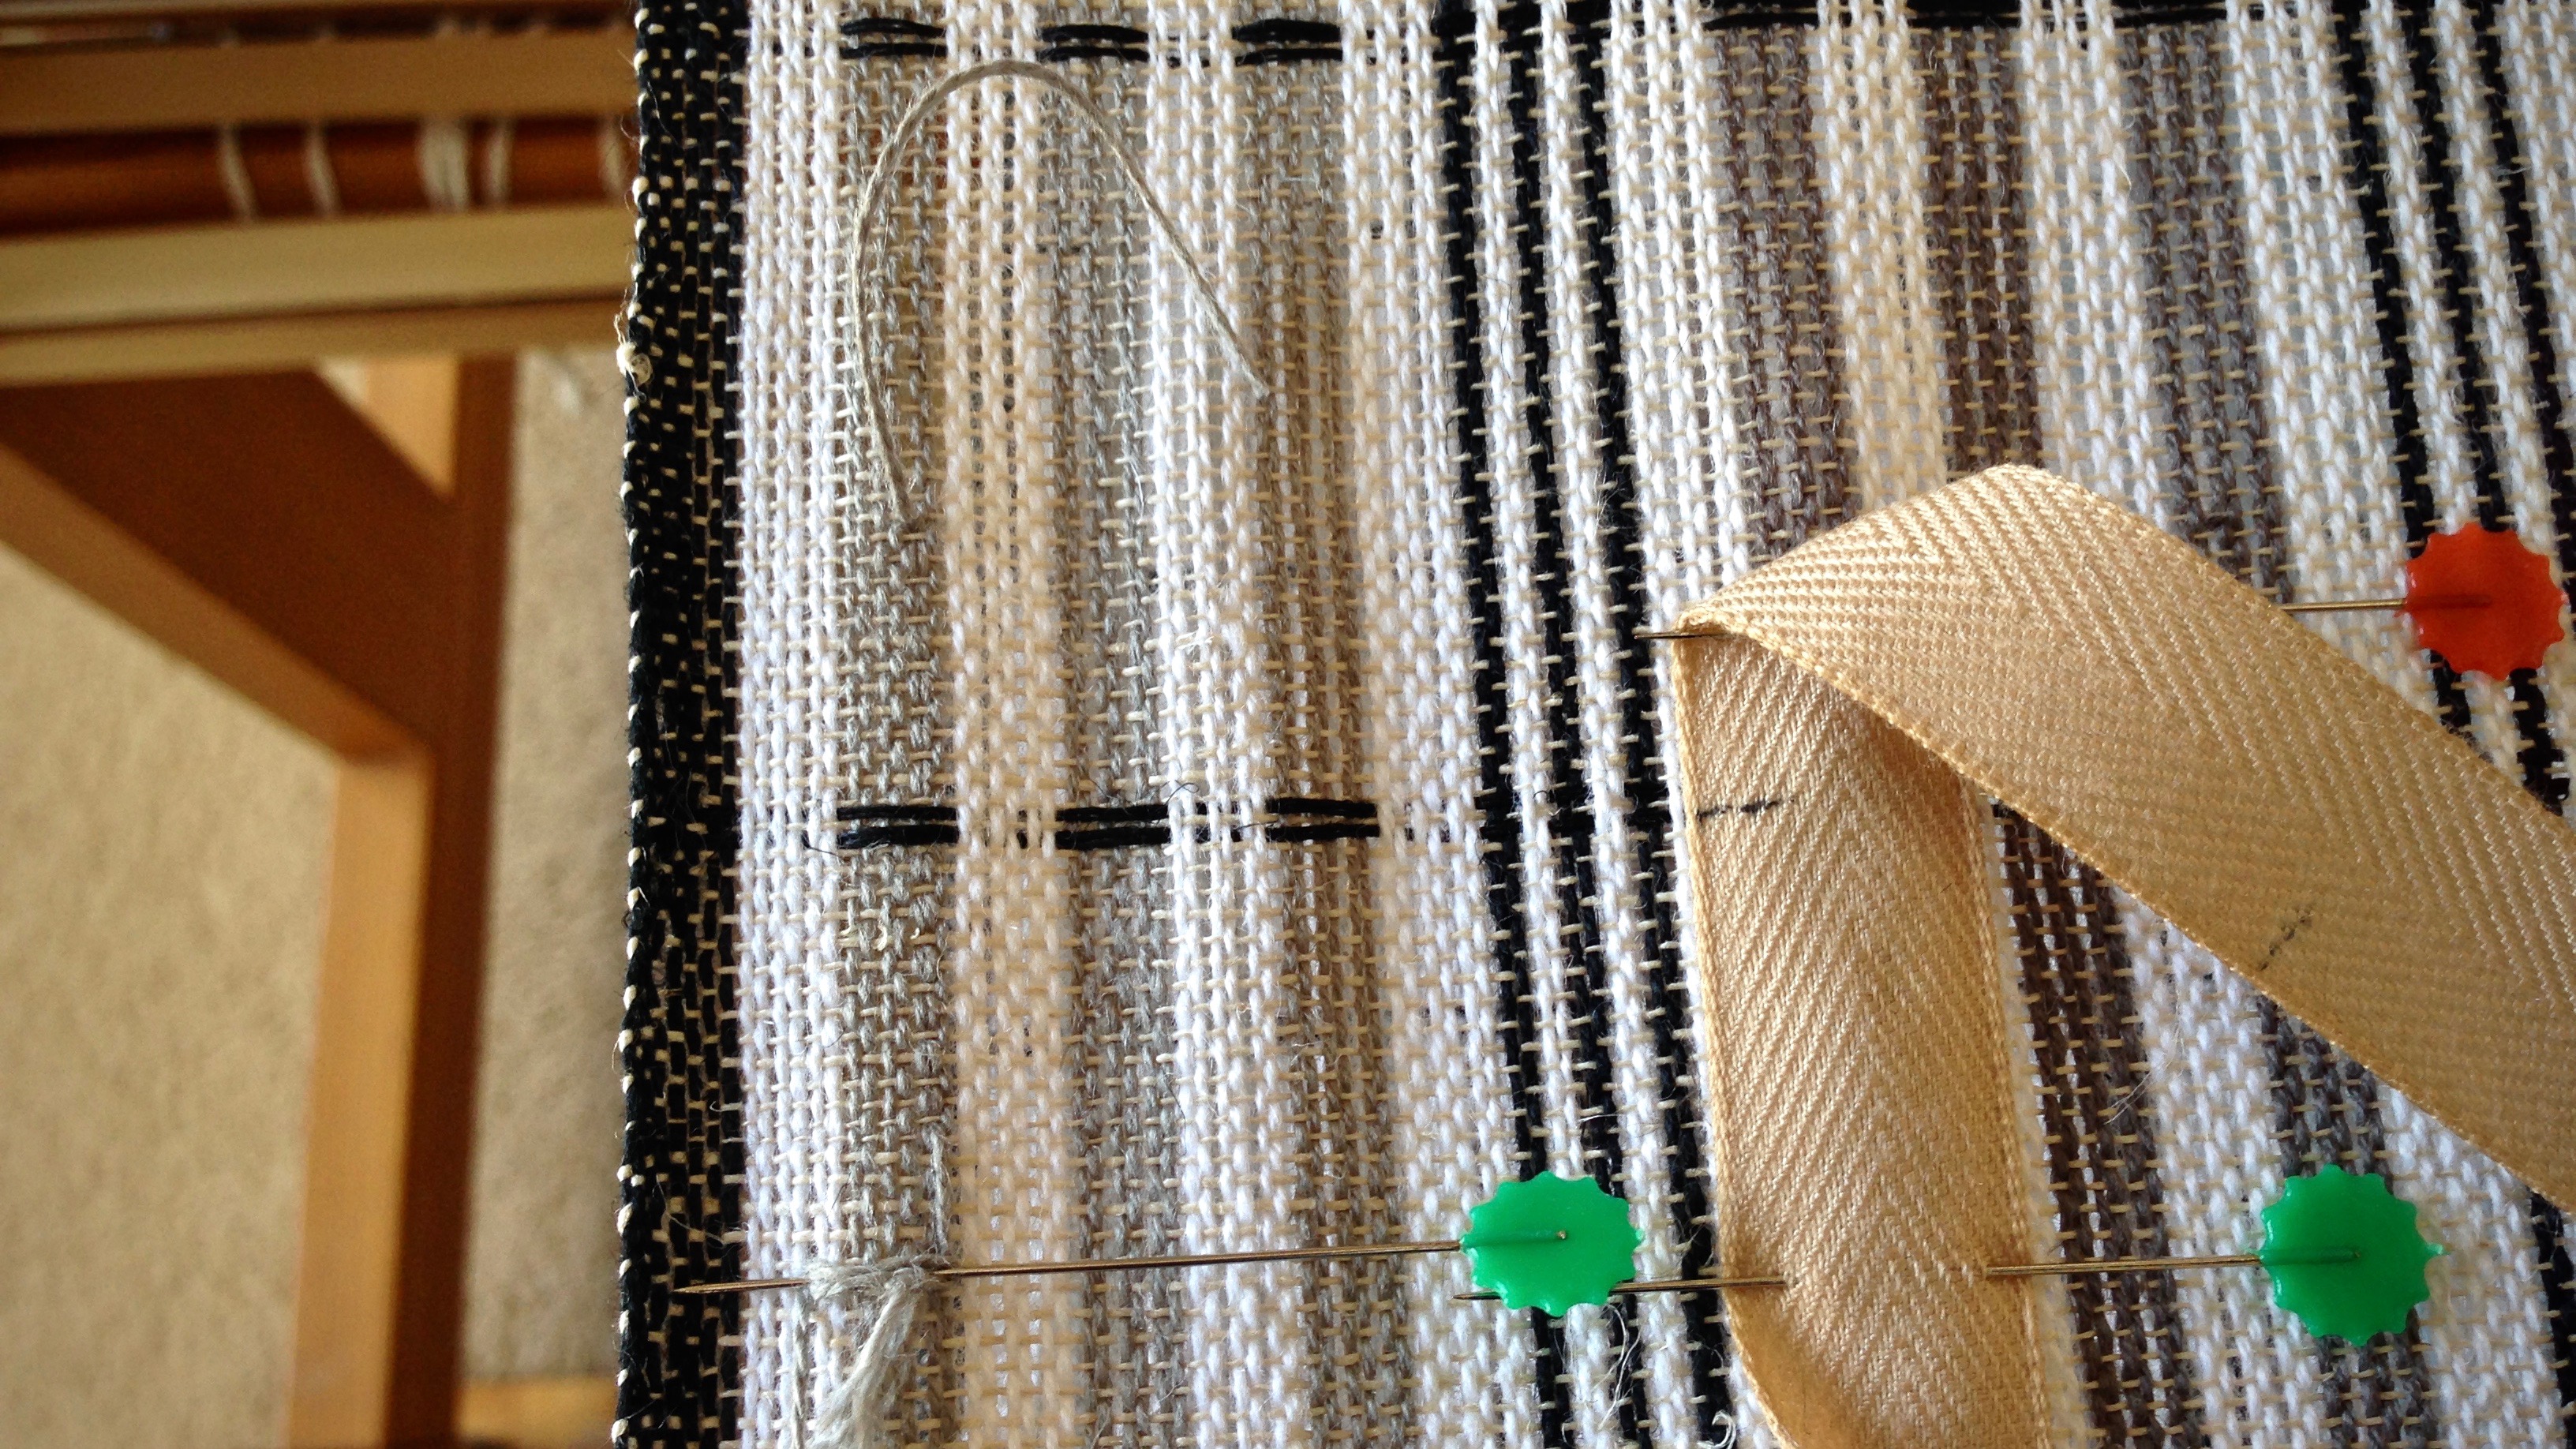
Buckram, a stiff cotton cloth, is in my sewing supplies, specifically for making bills on caps. It is being used here to make a cartoon for the transparency weaving. The center line will be lined up with the center warpend.
I started the transparency without a cartoon. I wanted to weave a few zigzags back and forth. How hard could that be? I counted warpends, “under 12 to the right, and then, under 13 to the left.” When I tried to change the angle of the slant, though, it was confusing. I started getting jagged zigs and zags. This cartoon has made a world of difference.
Cartoon is aligned and pinned into place.For each row of the pattern, the cotton chenille weftbutterflies go under the raised warp ends that coincide with the lines drawn on the cartoon underneath. One pick of linen background weft follows each pattern row.
How often do we think it will be easier to go our own way? We want to make it up as we go. Wait. There’s a better way. The head designer has drawn out a path. It makes sense to follow those lines. It’s a picture that’s bigger than we are. God created. He did it in such a way that shows his loving attention to those he created. And we get to follow his design. No more striving. No more trying to find our way. His way makes perfect sense. It’s satisfying to place the weft in a thought-out design.