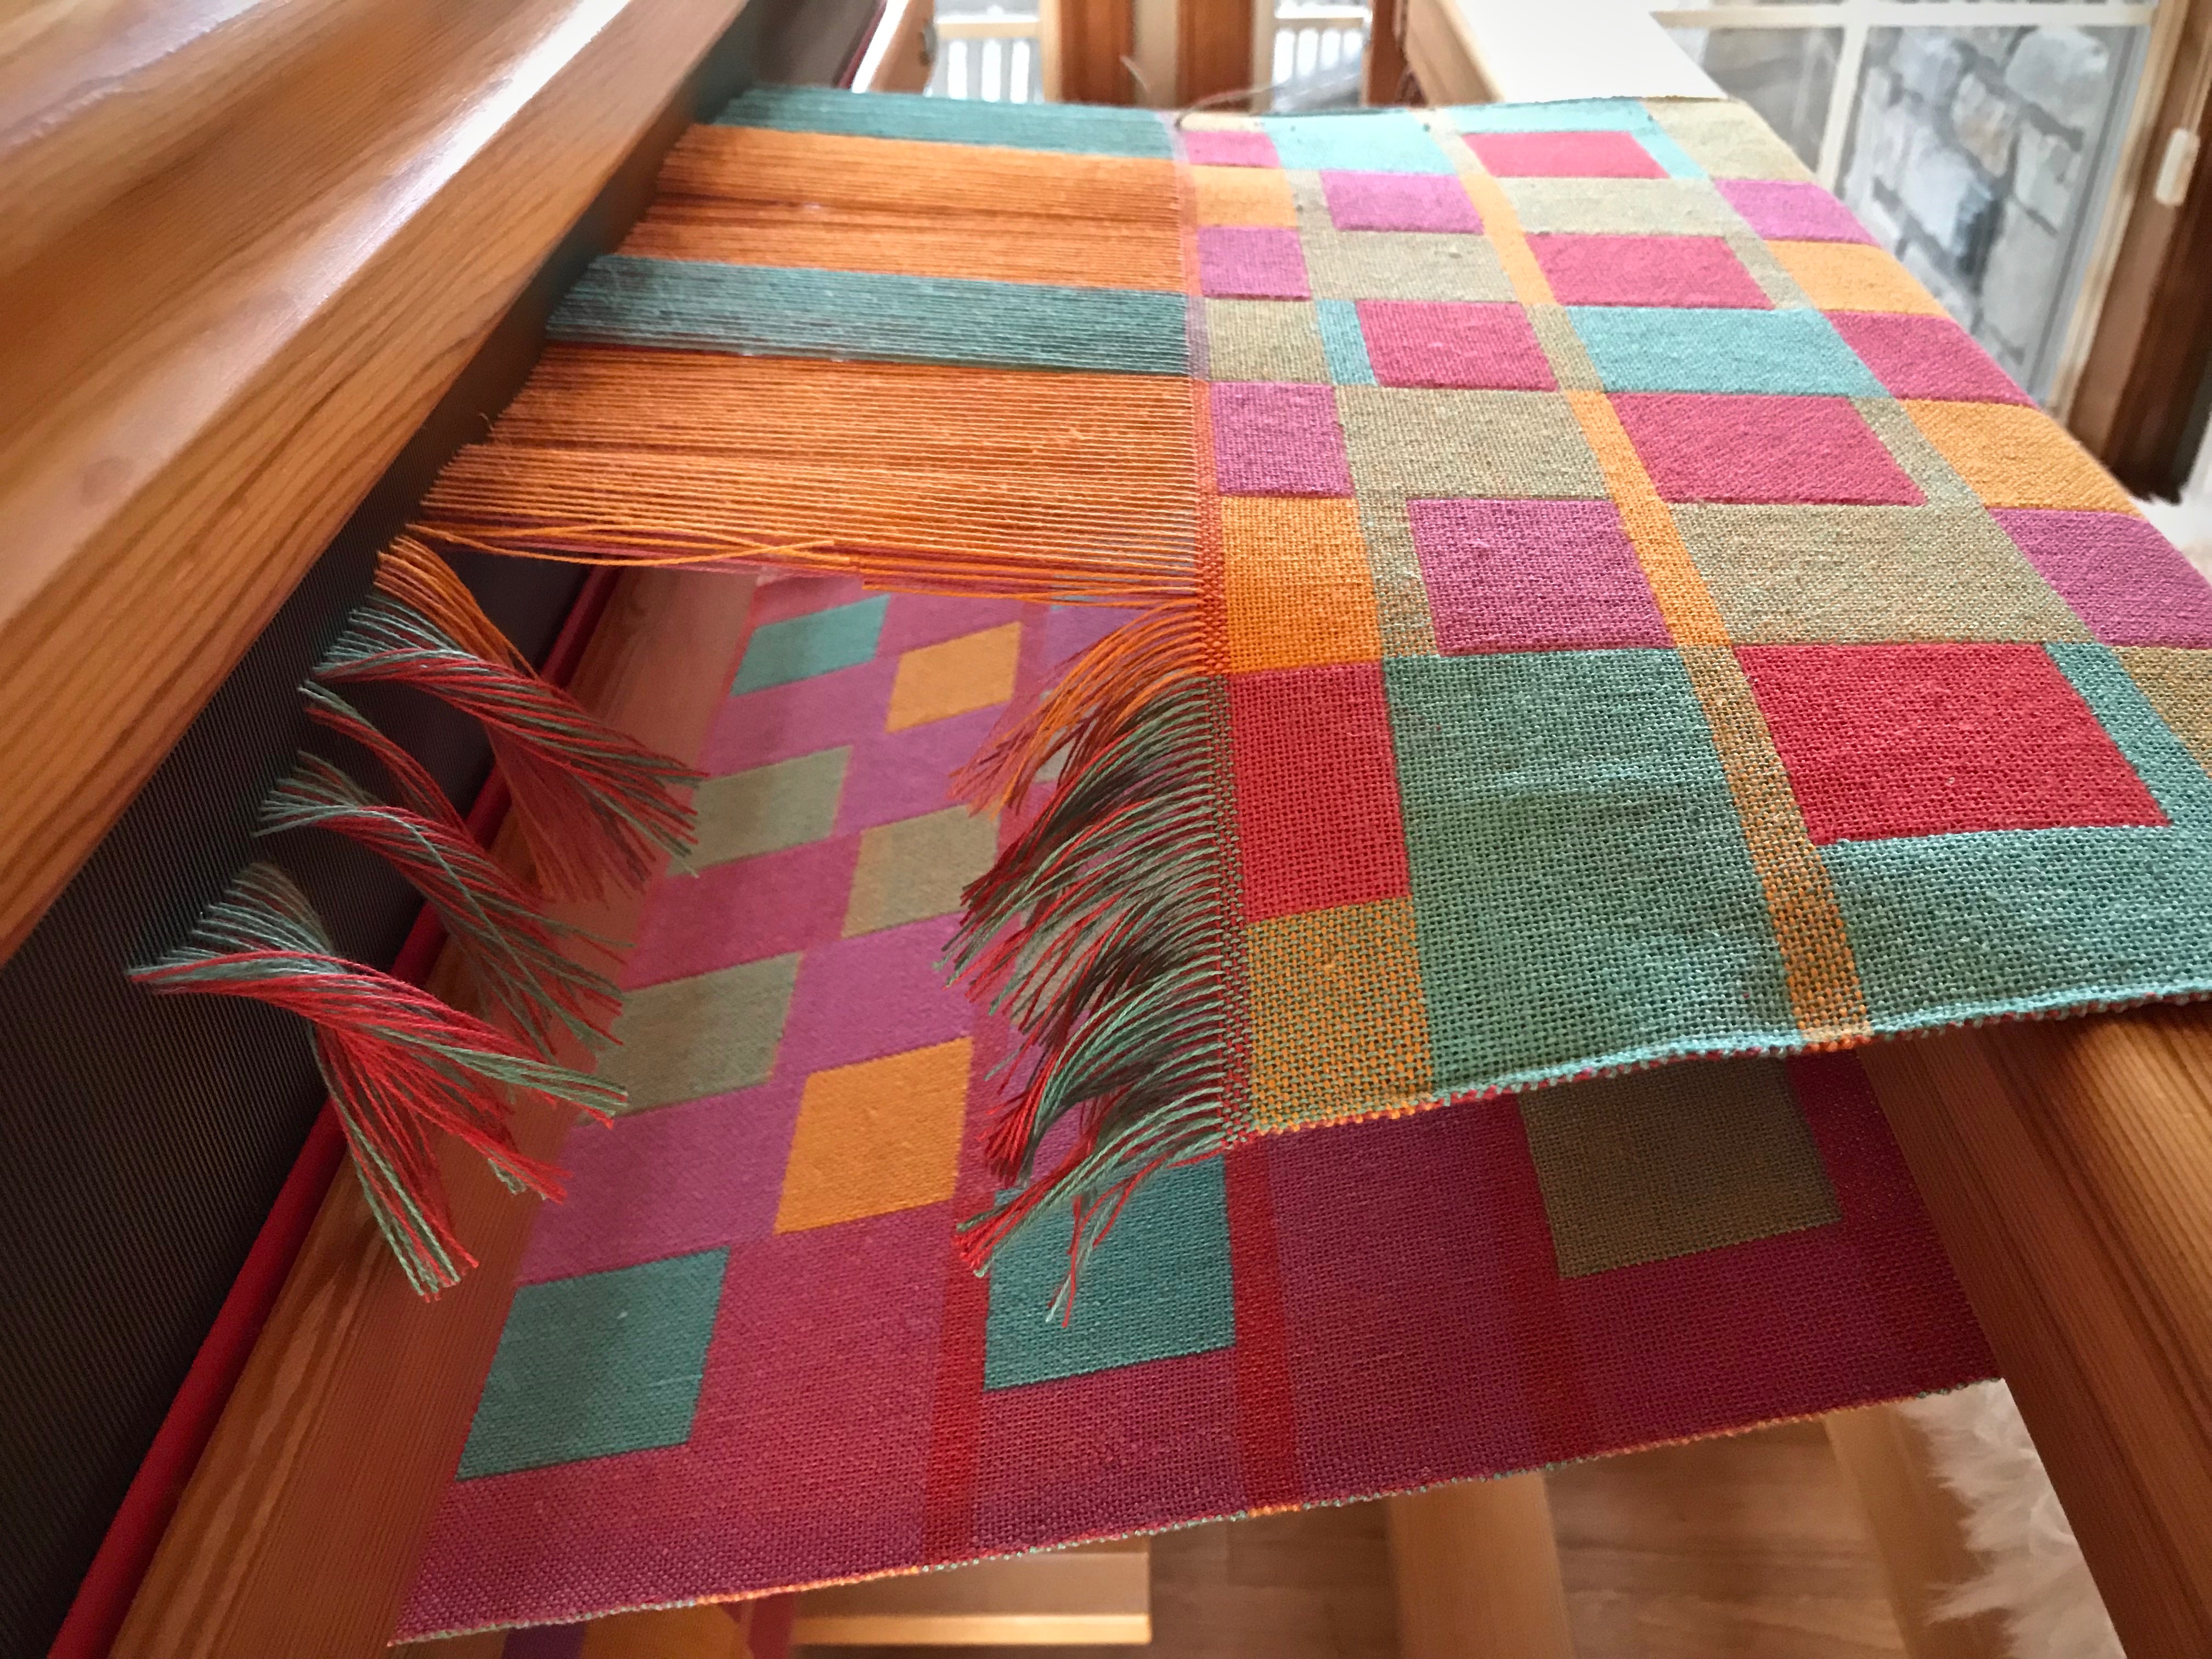
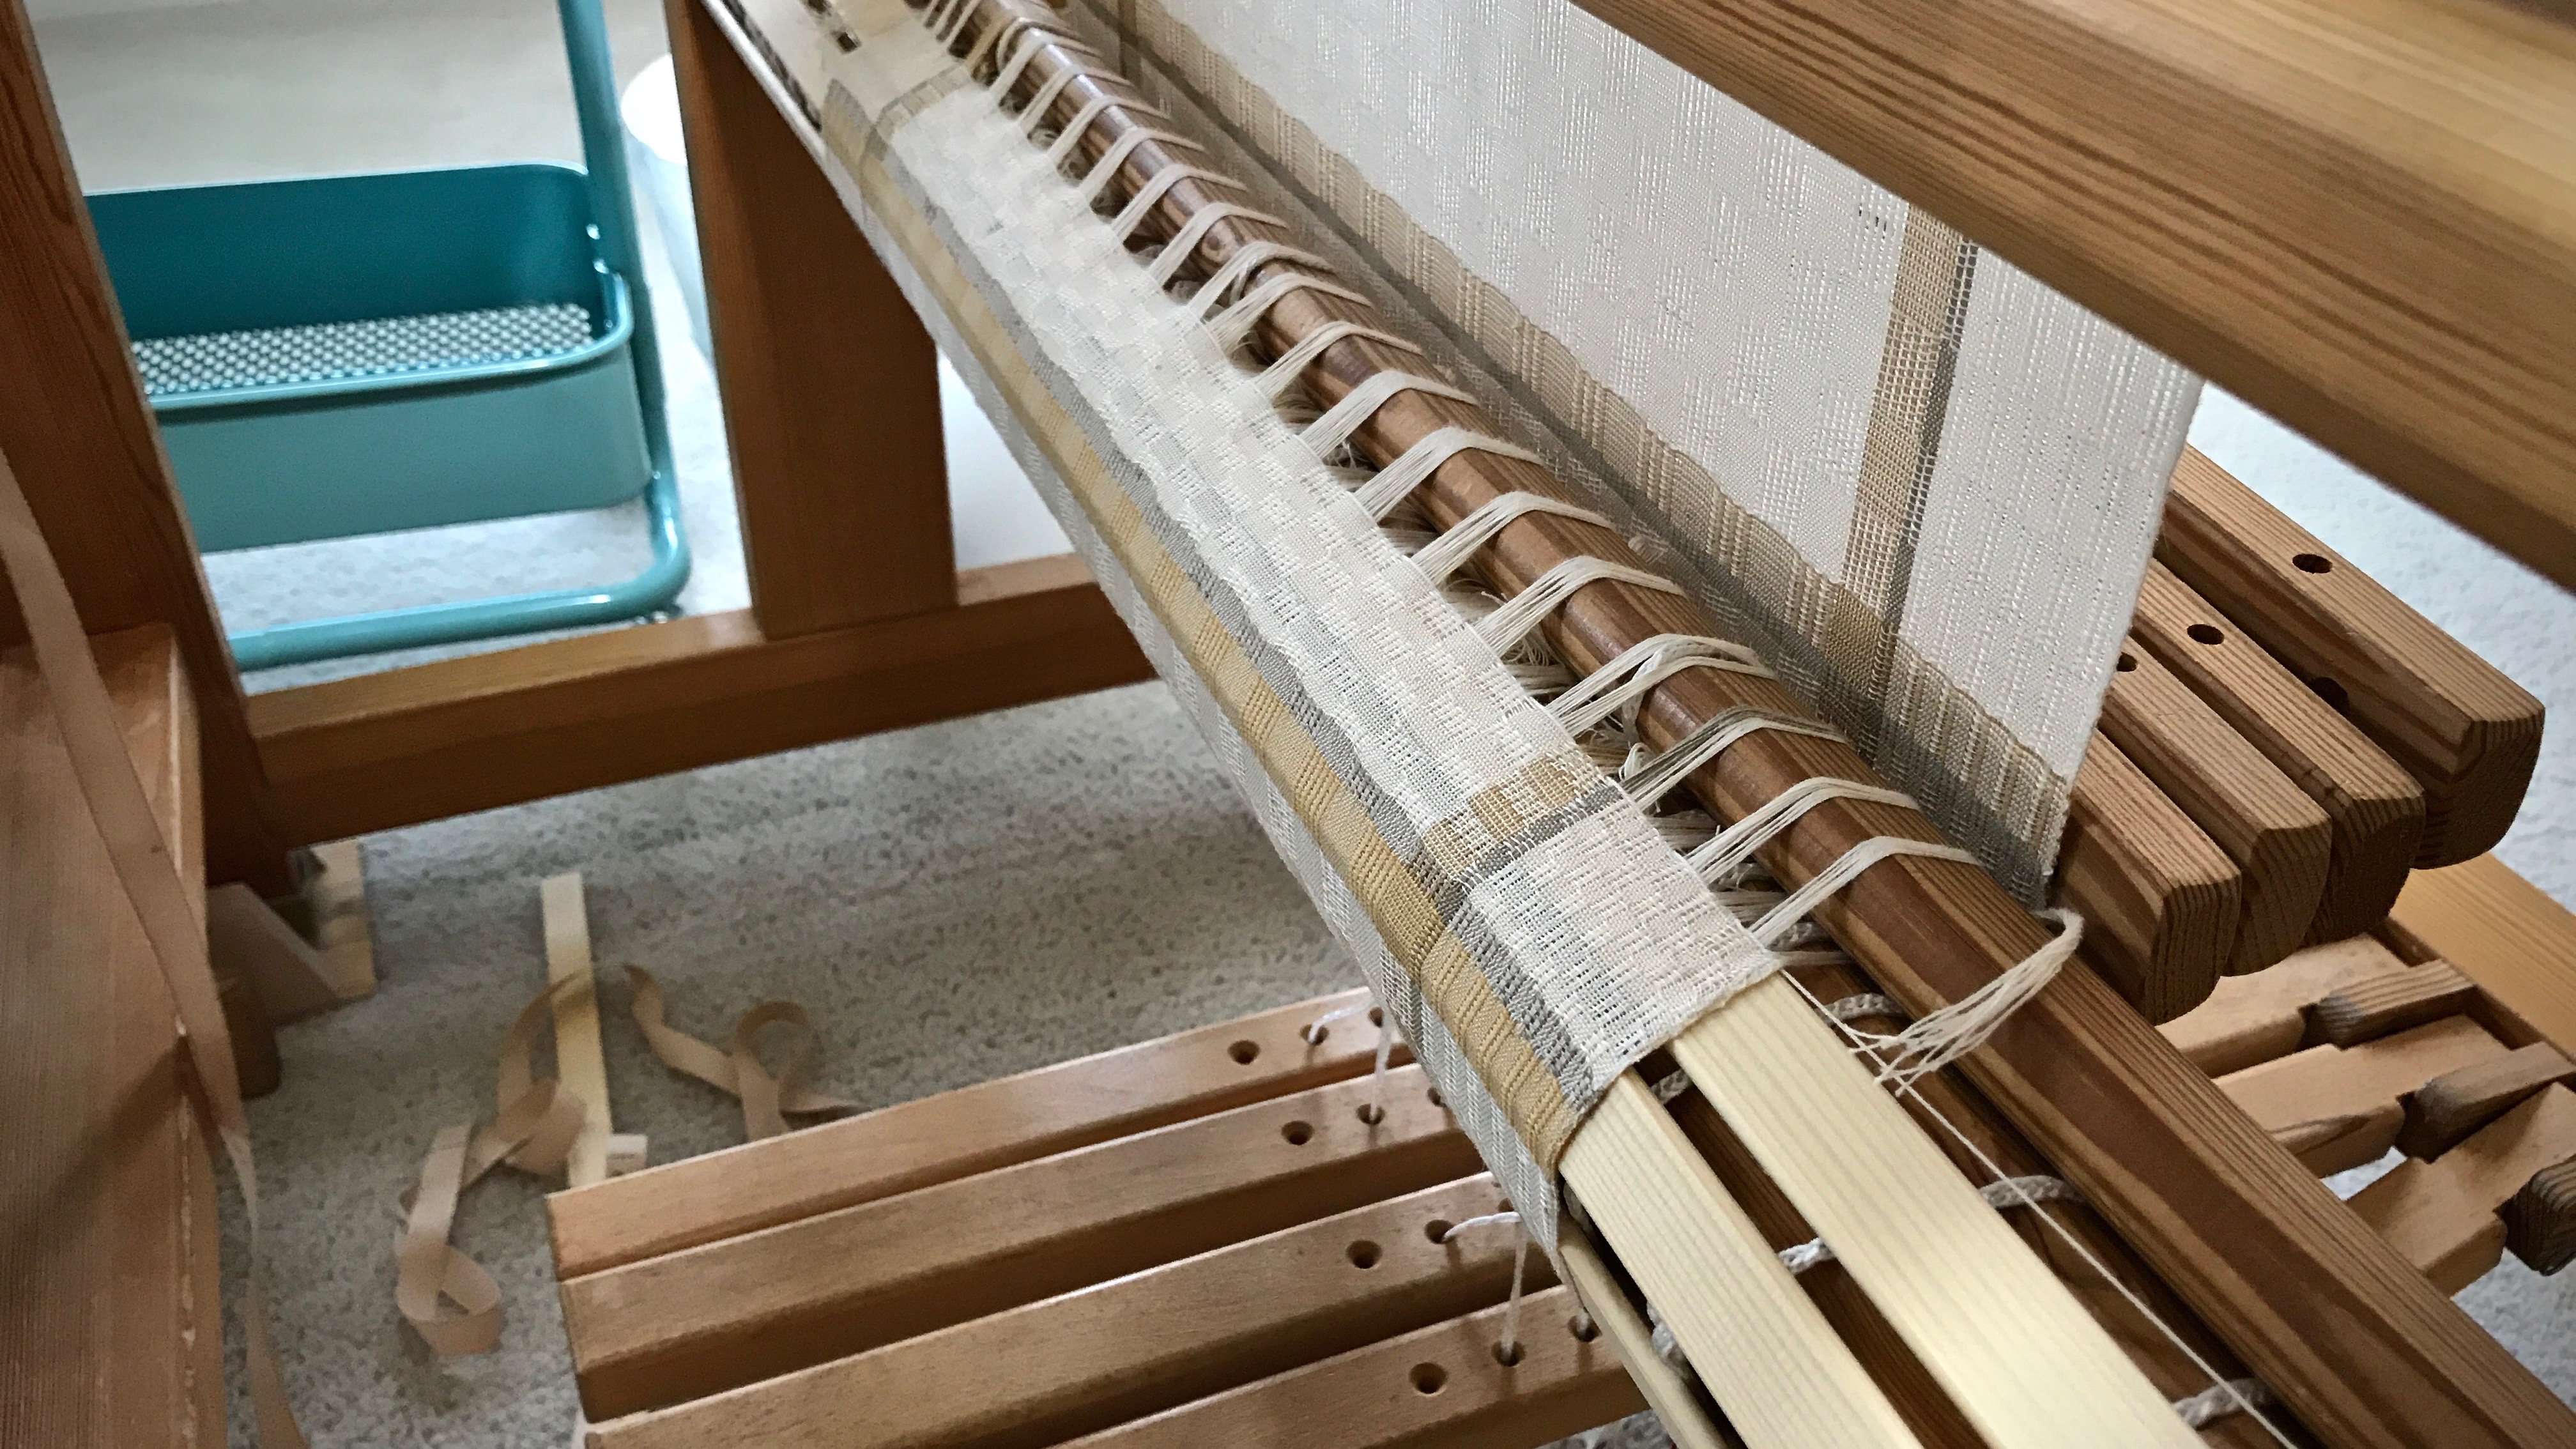
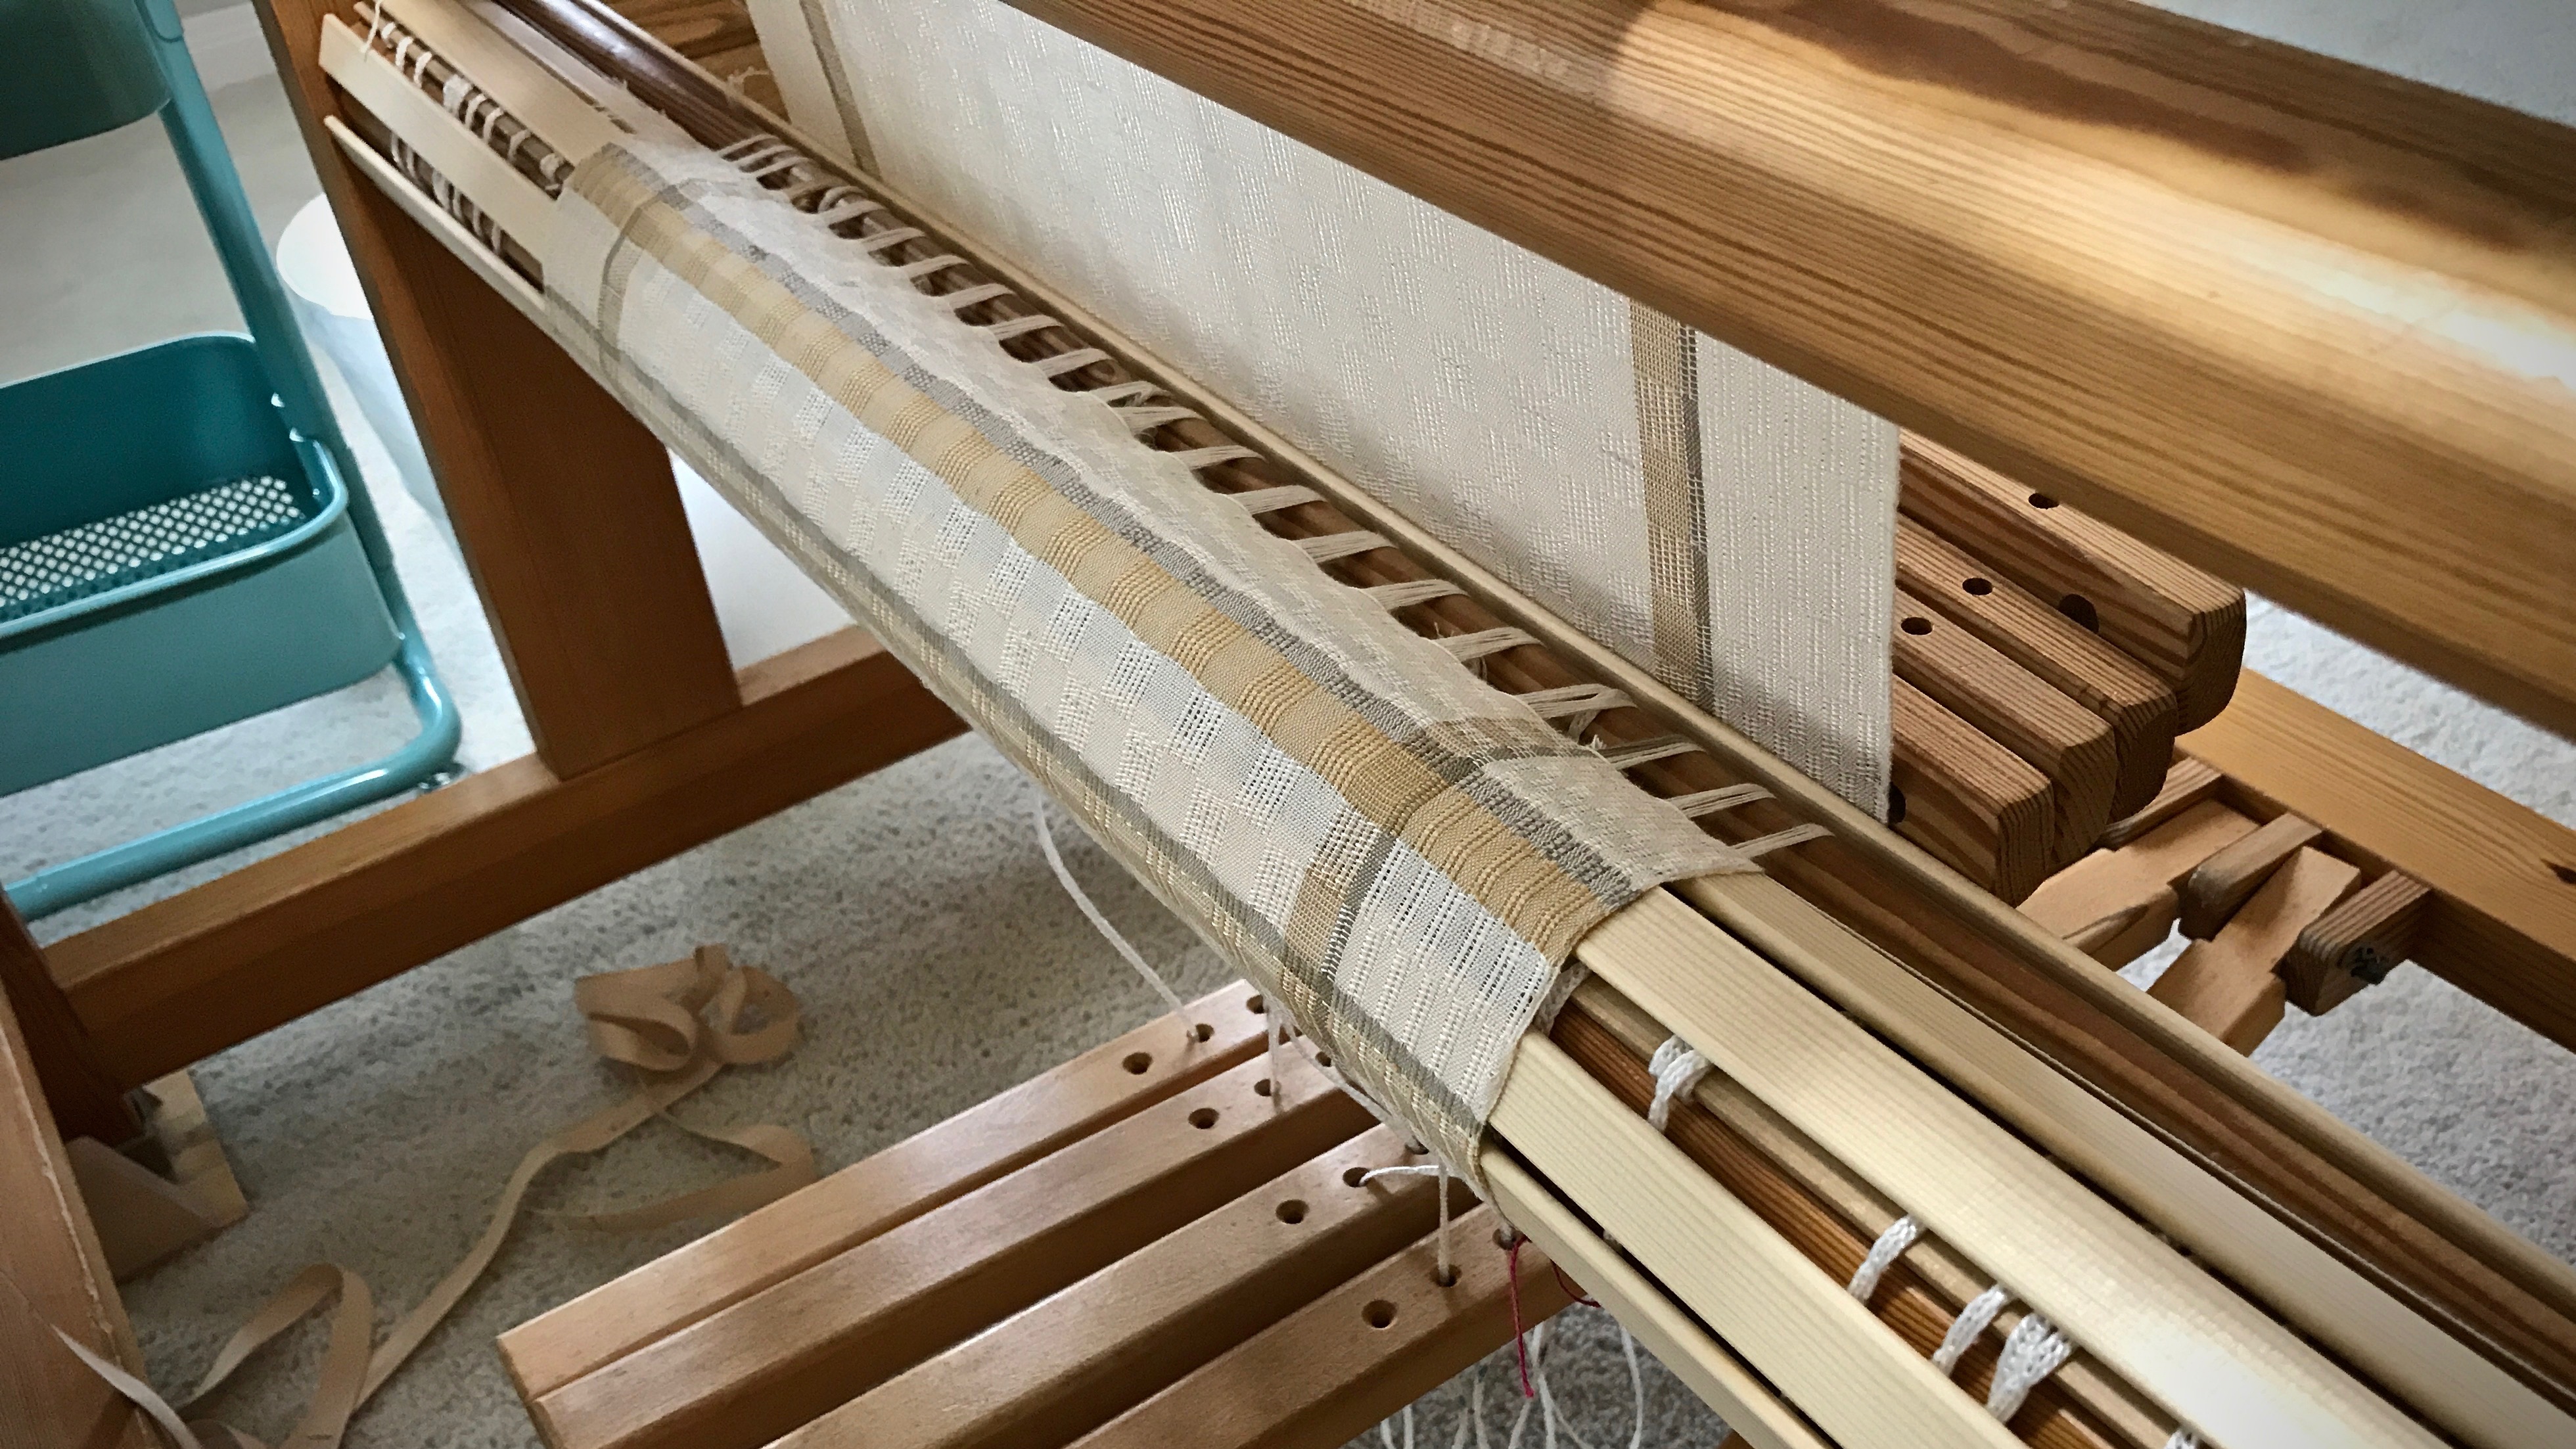
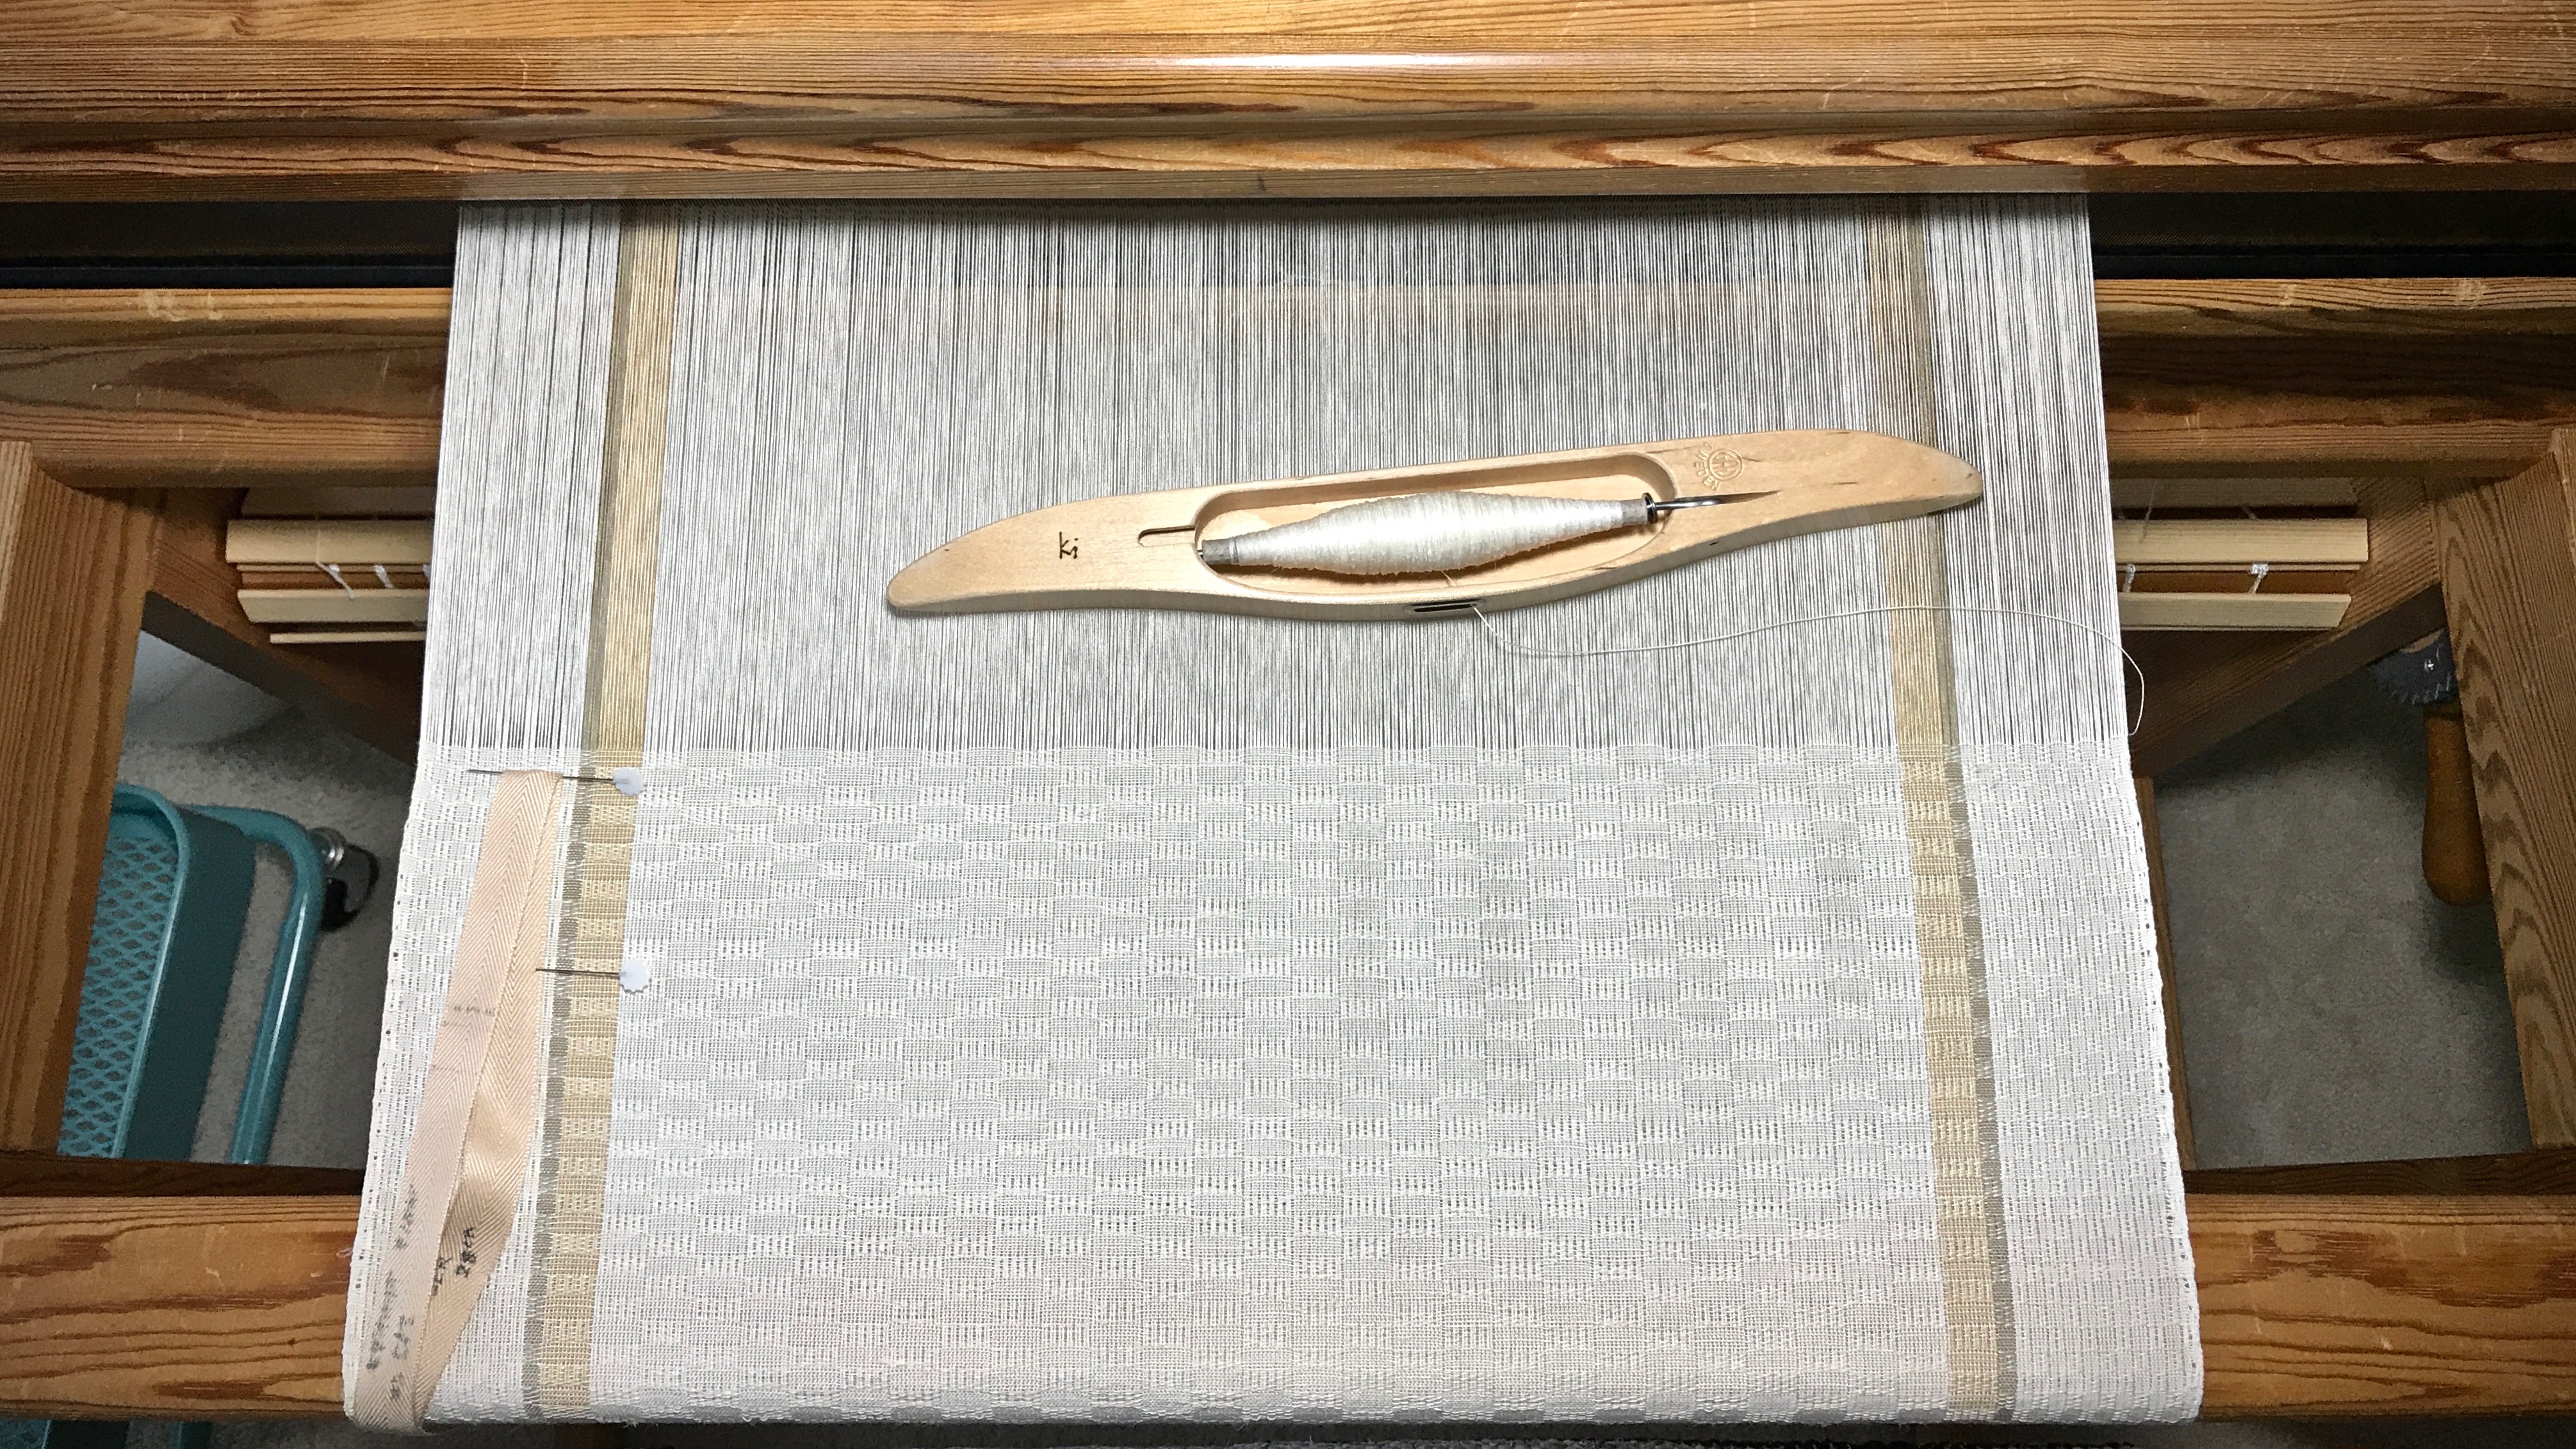
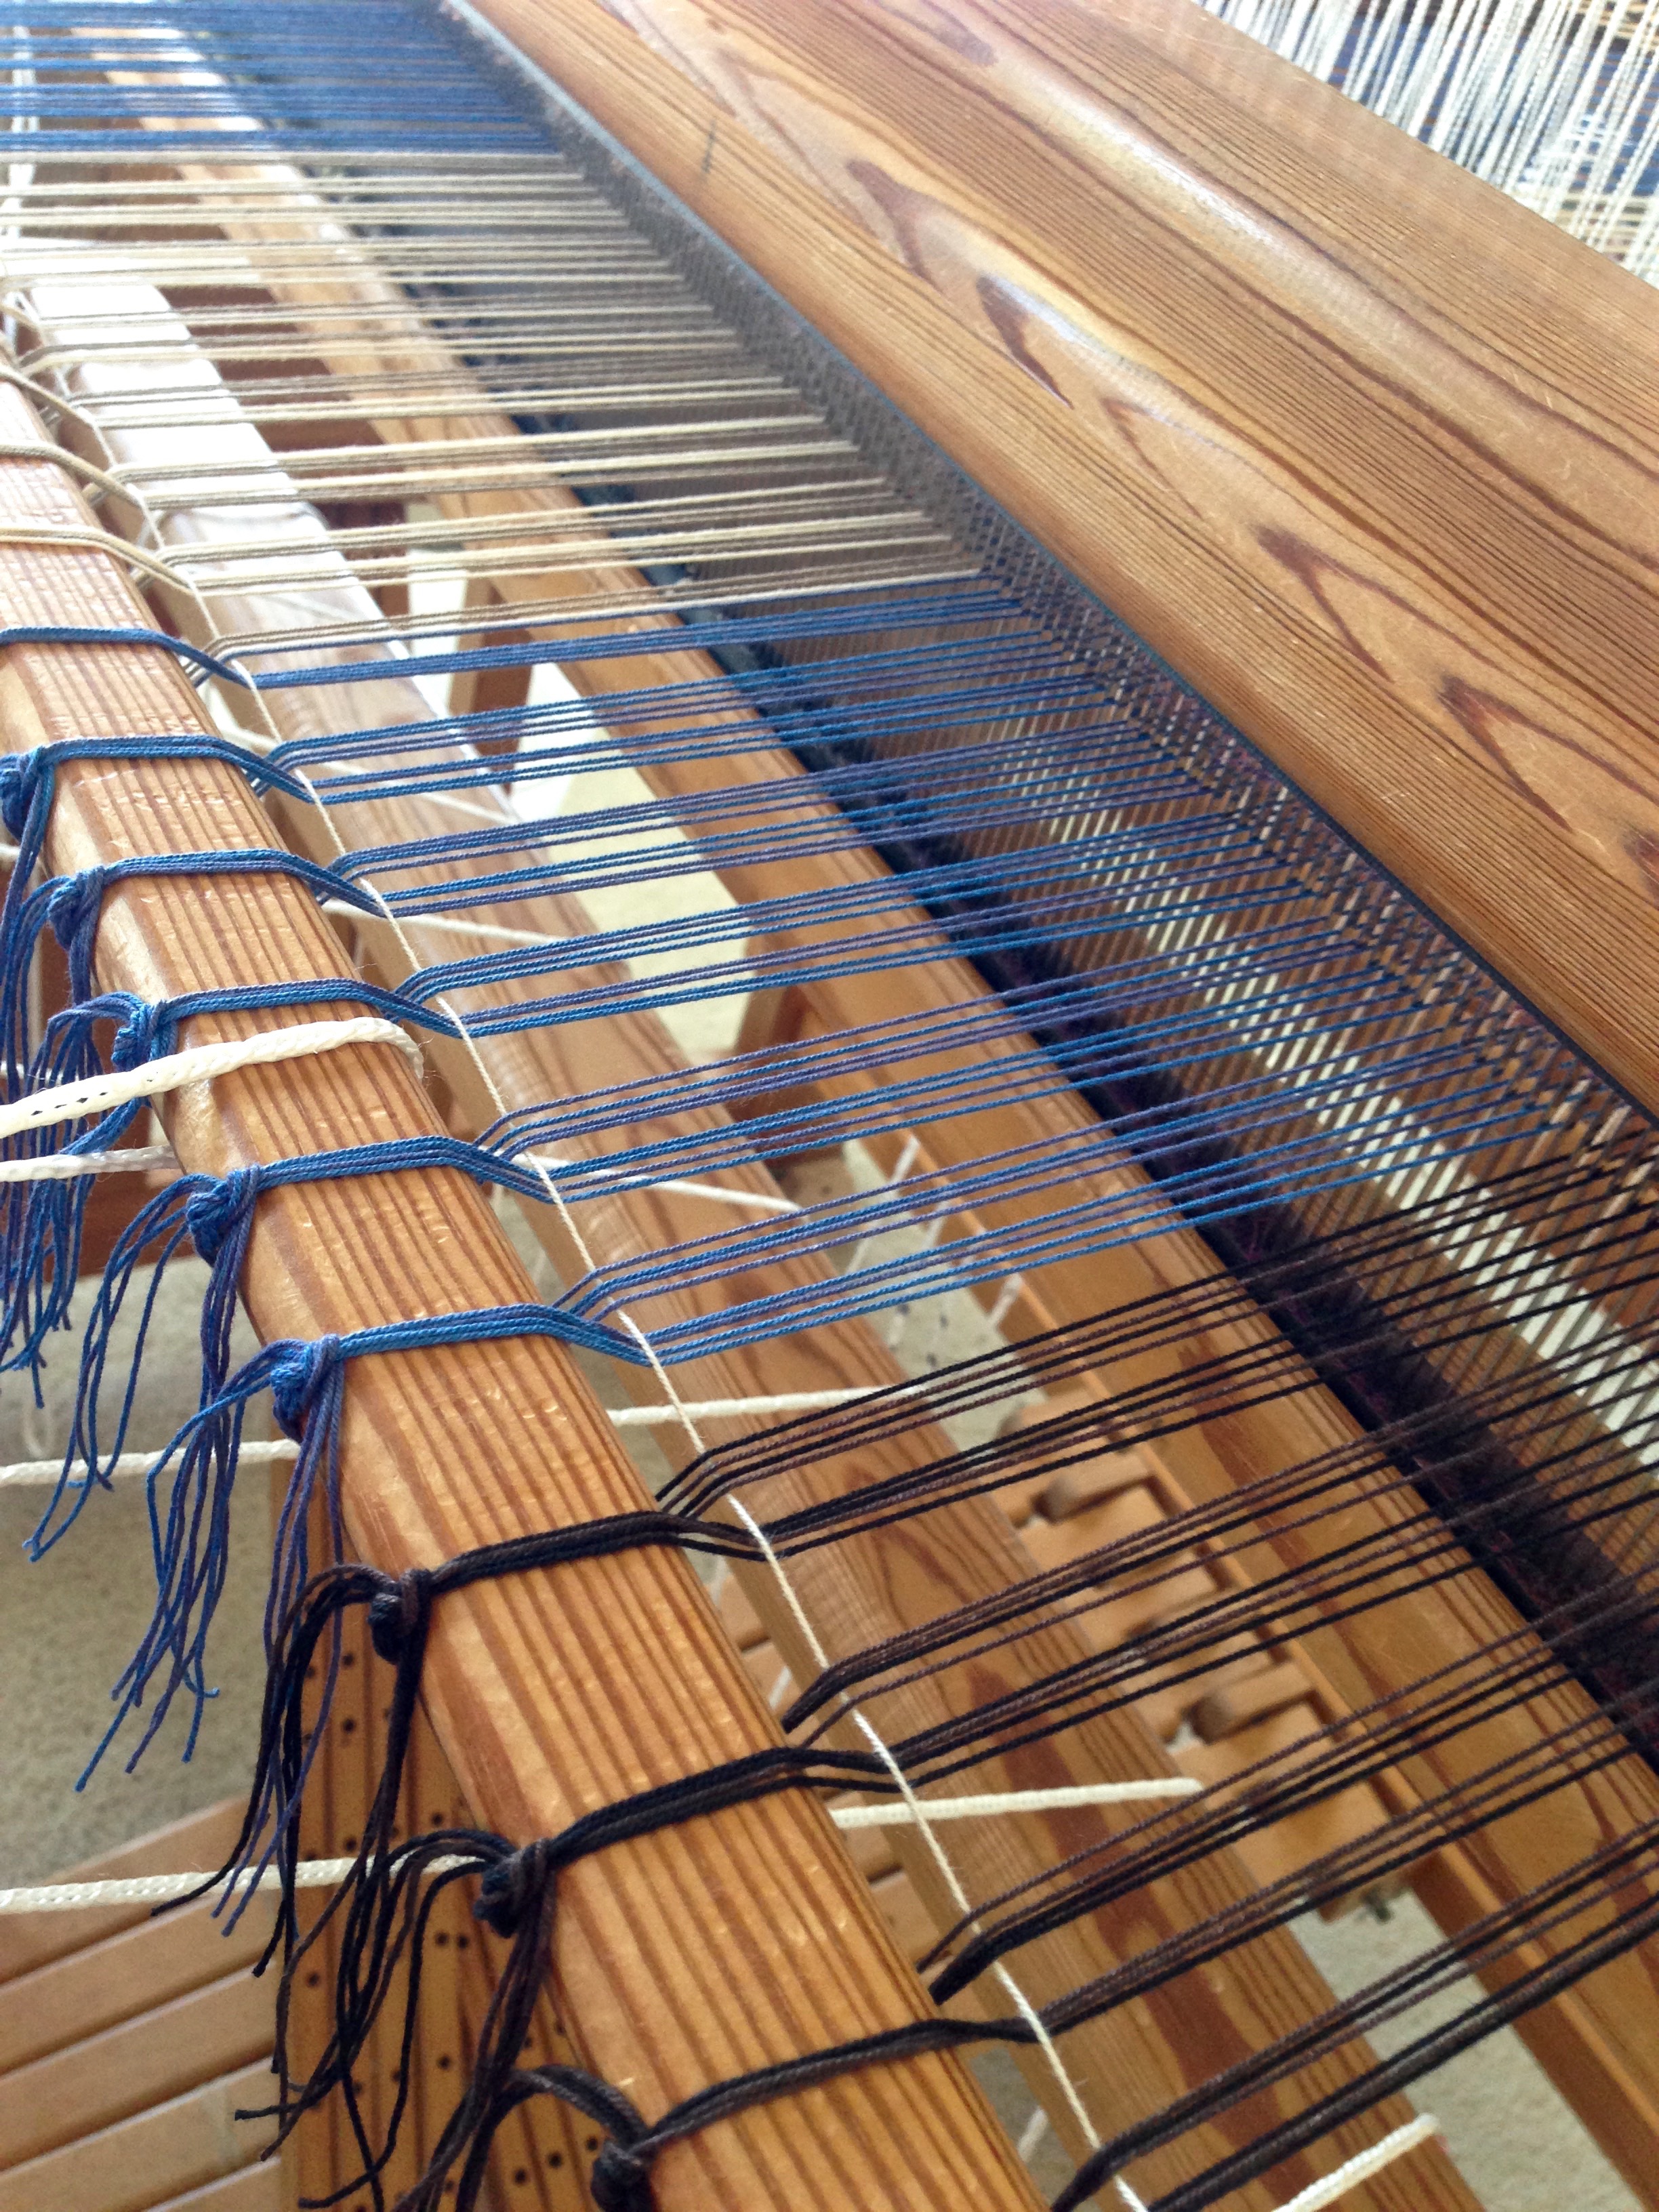
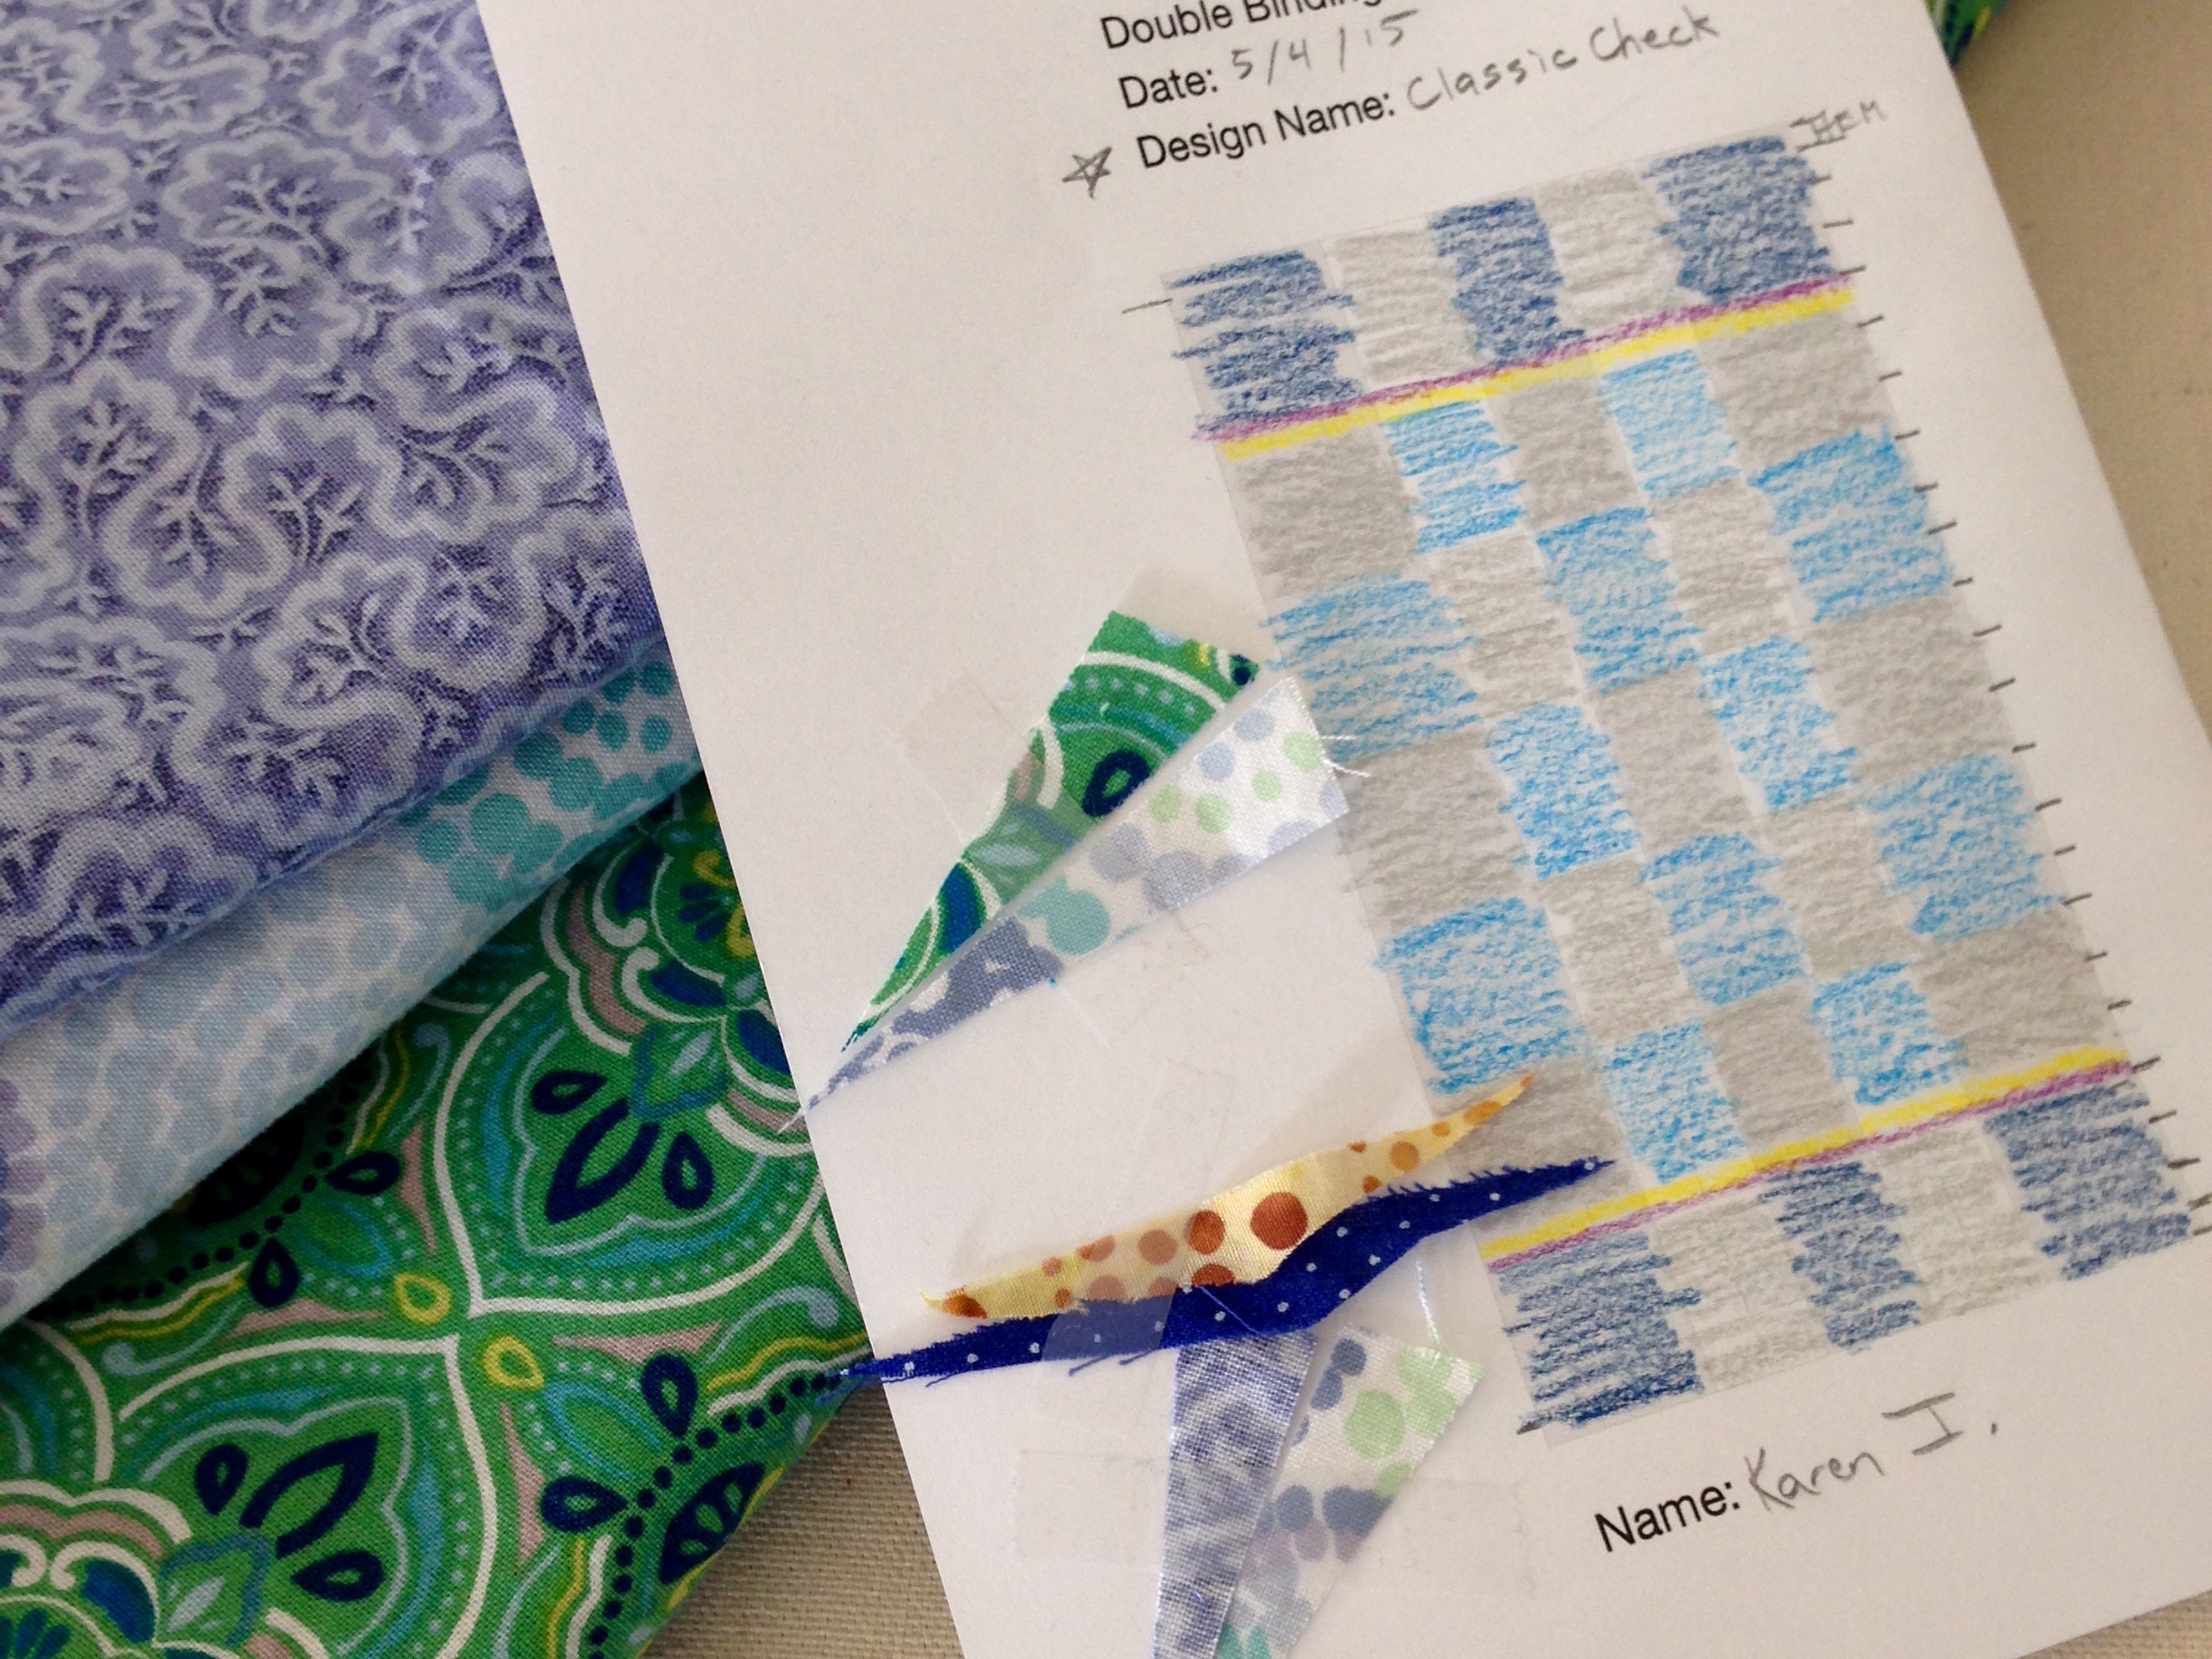
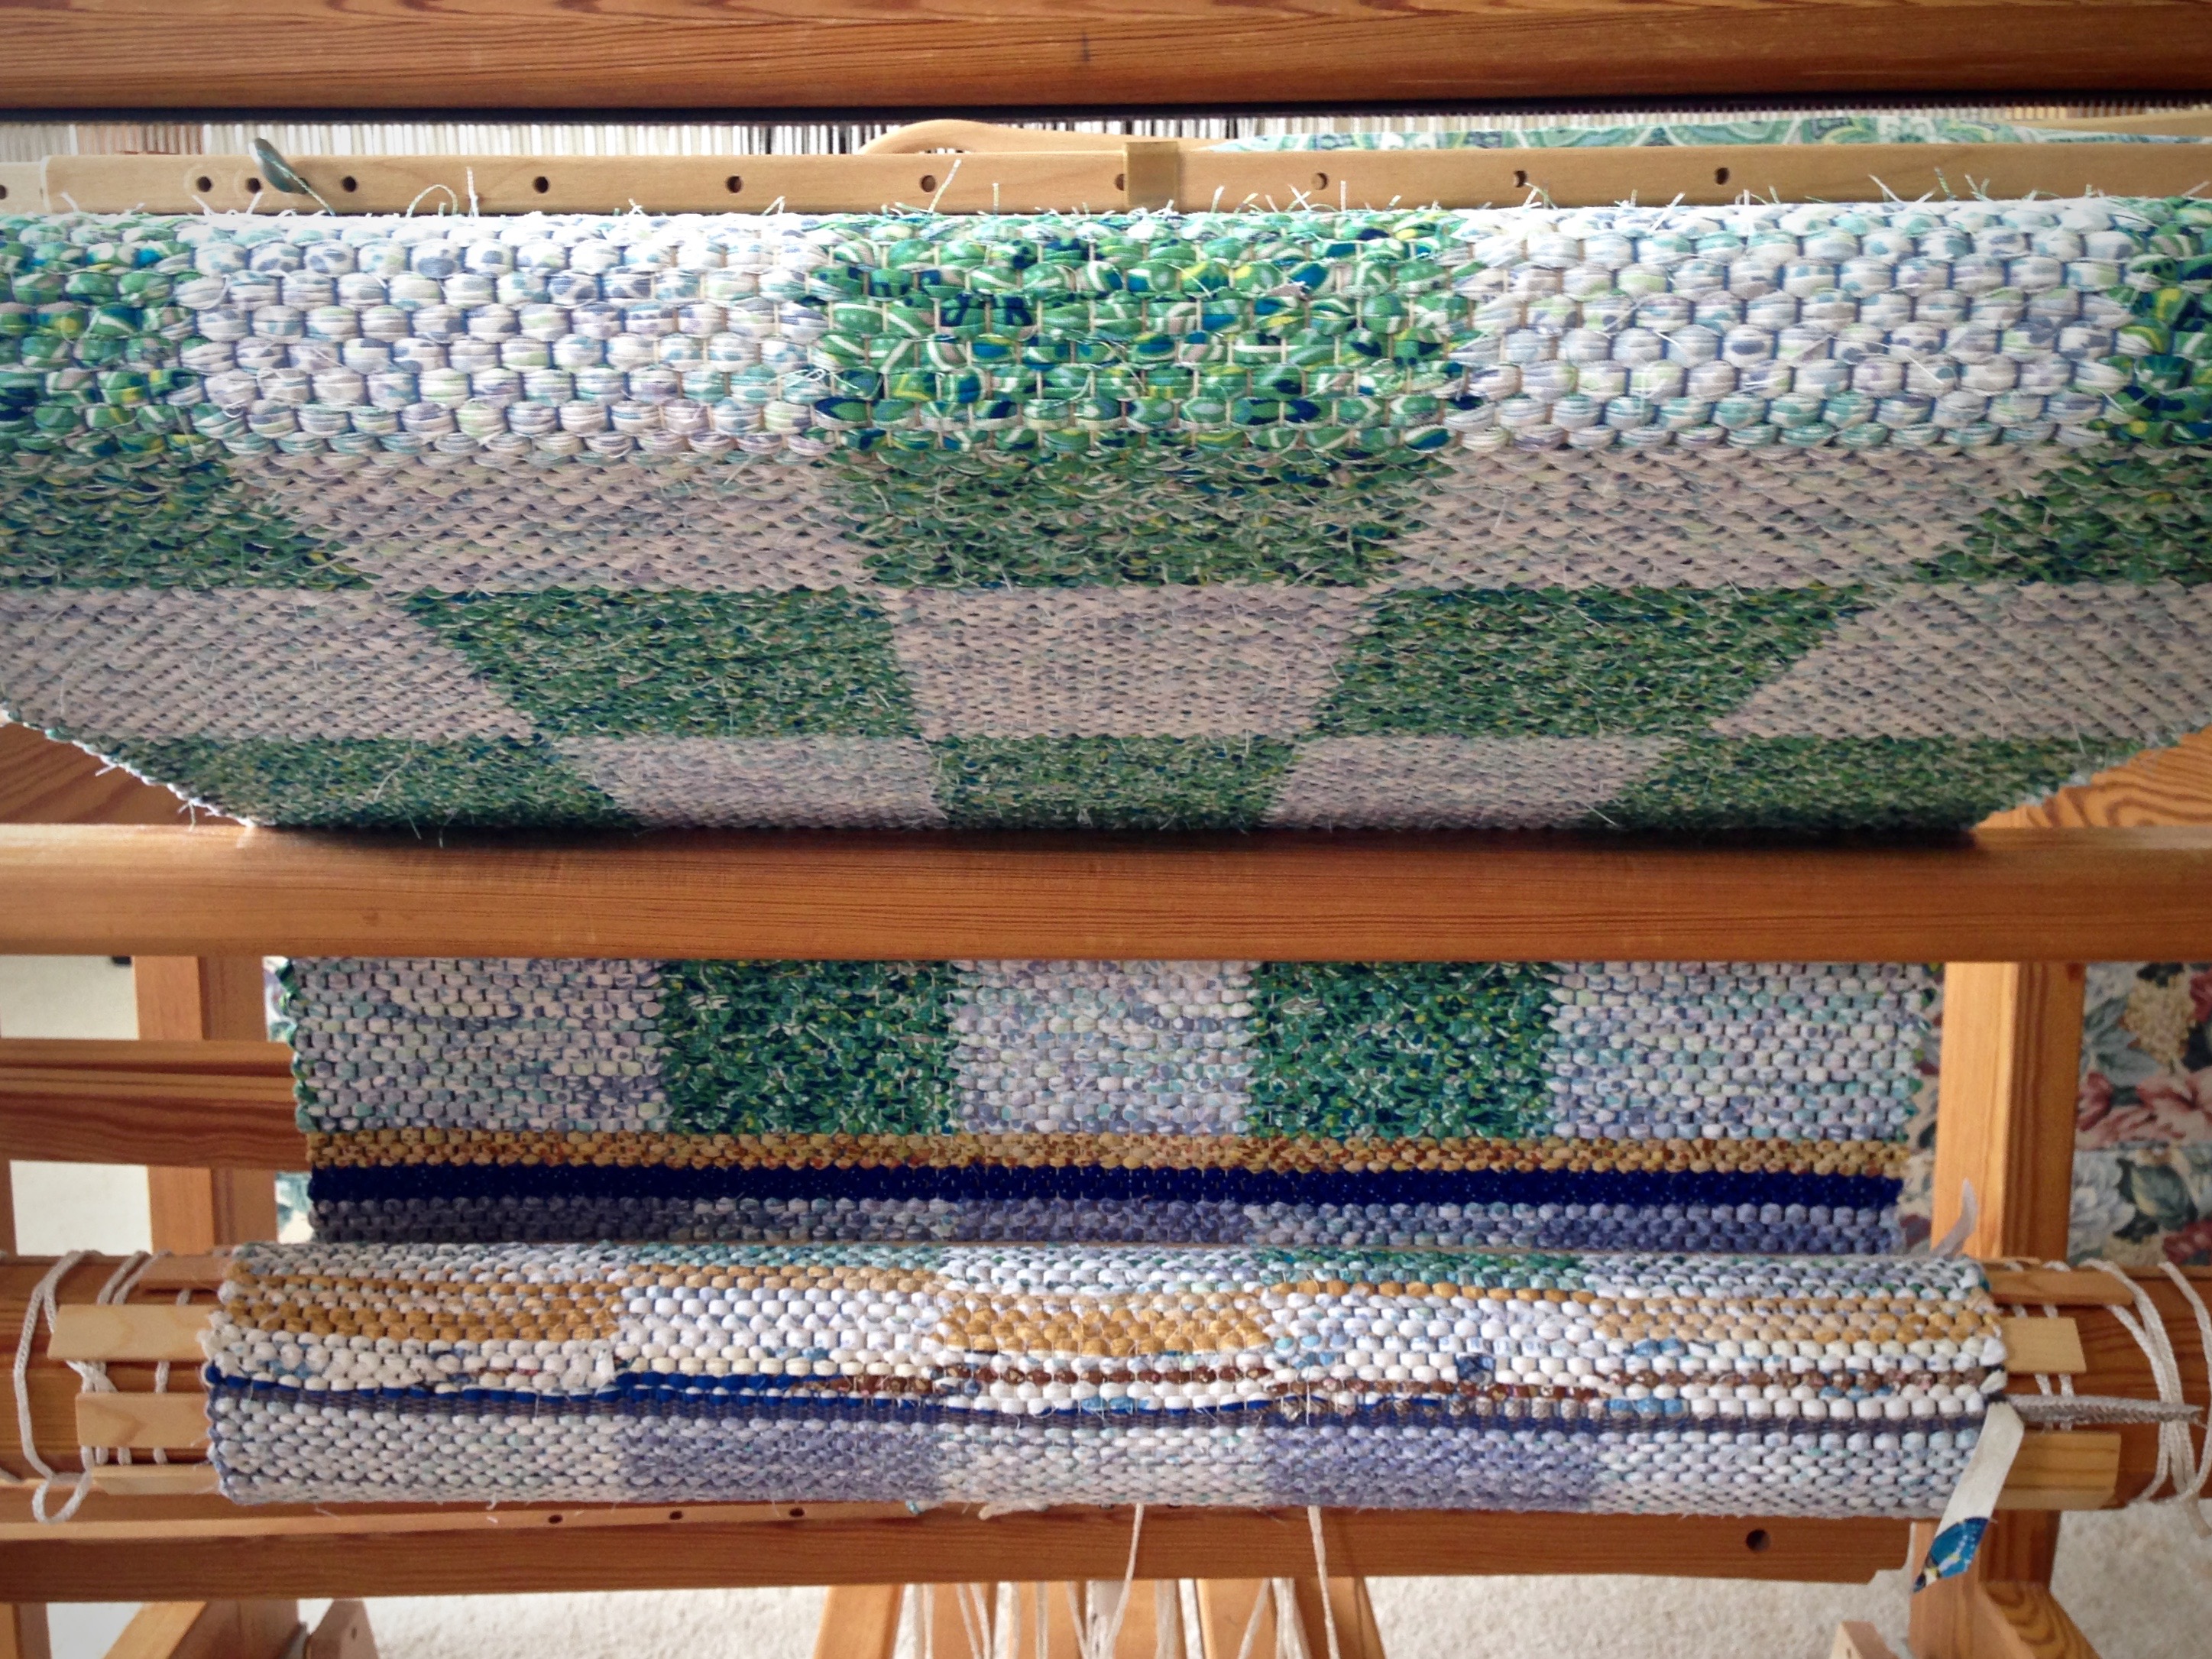
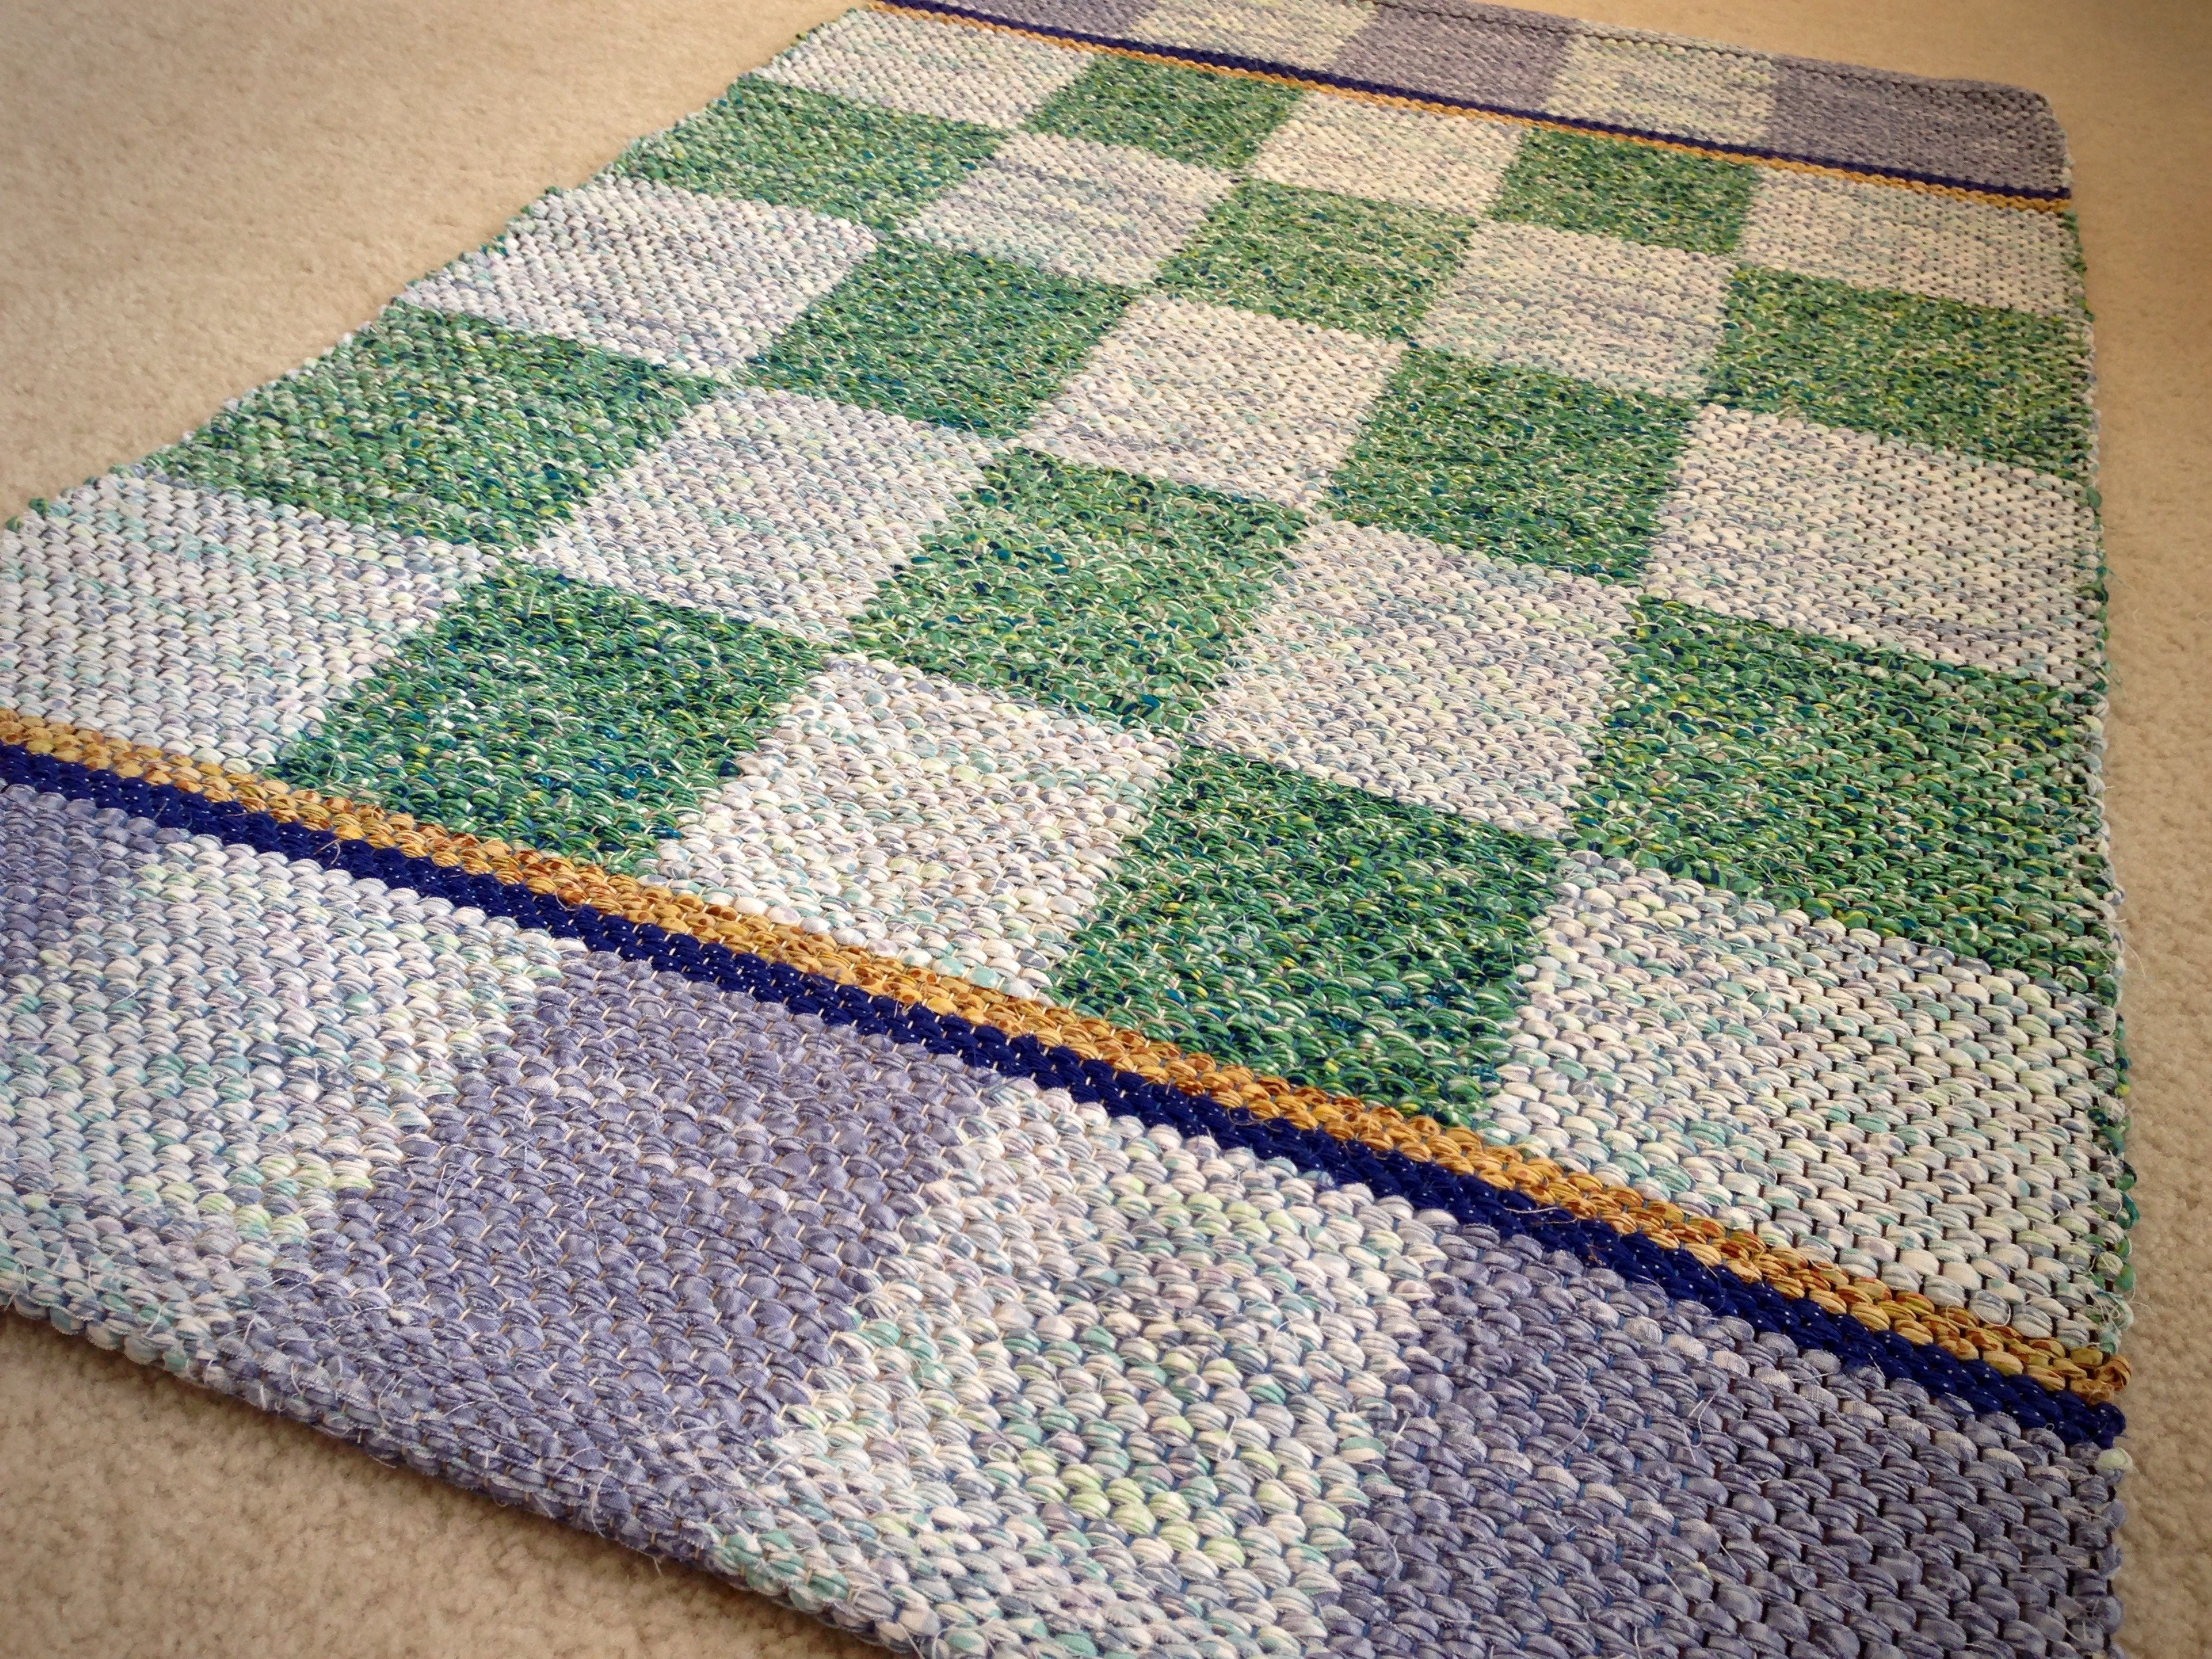
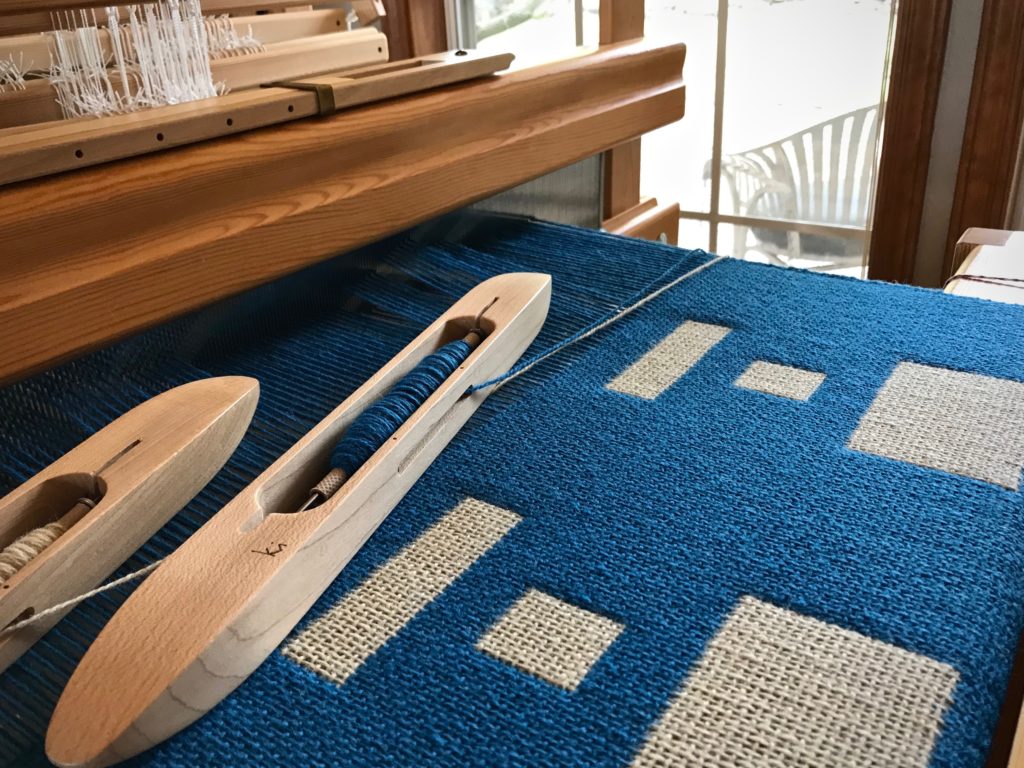
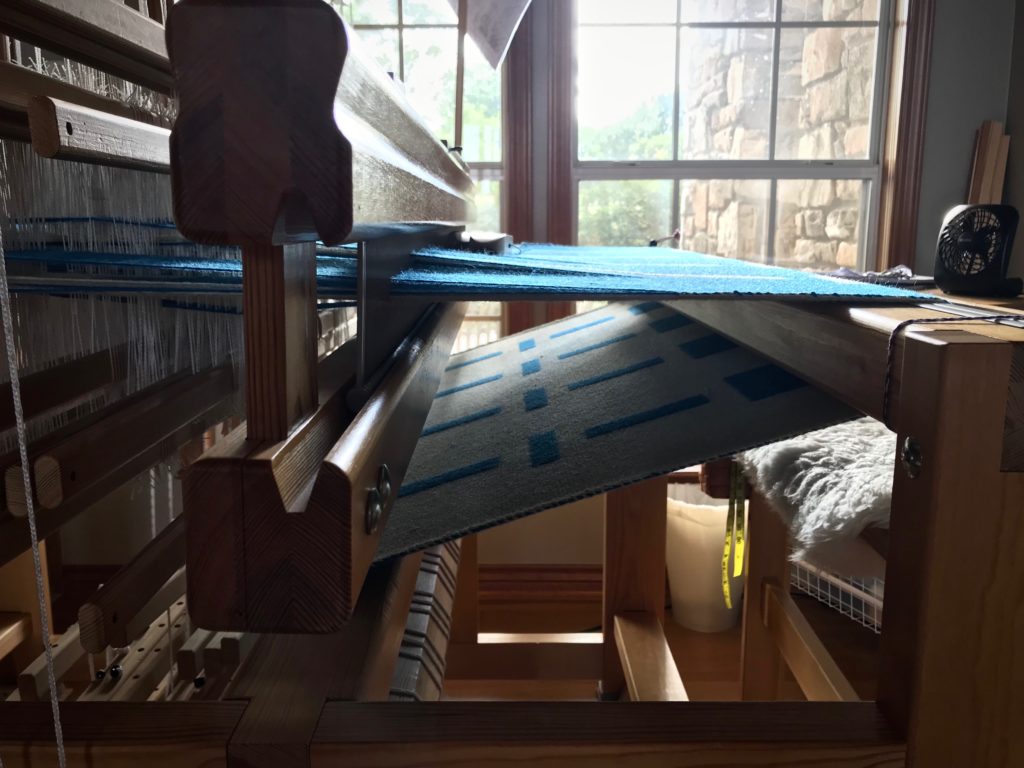
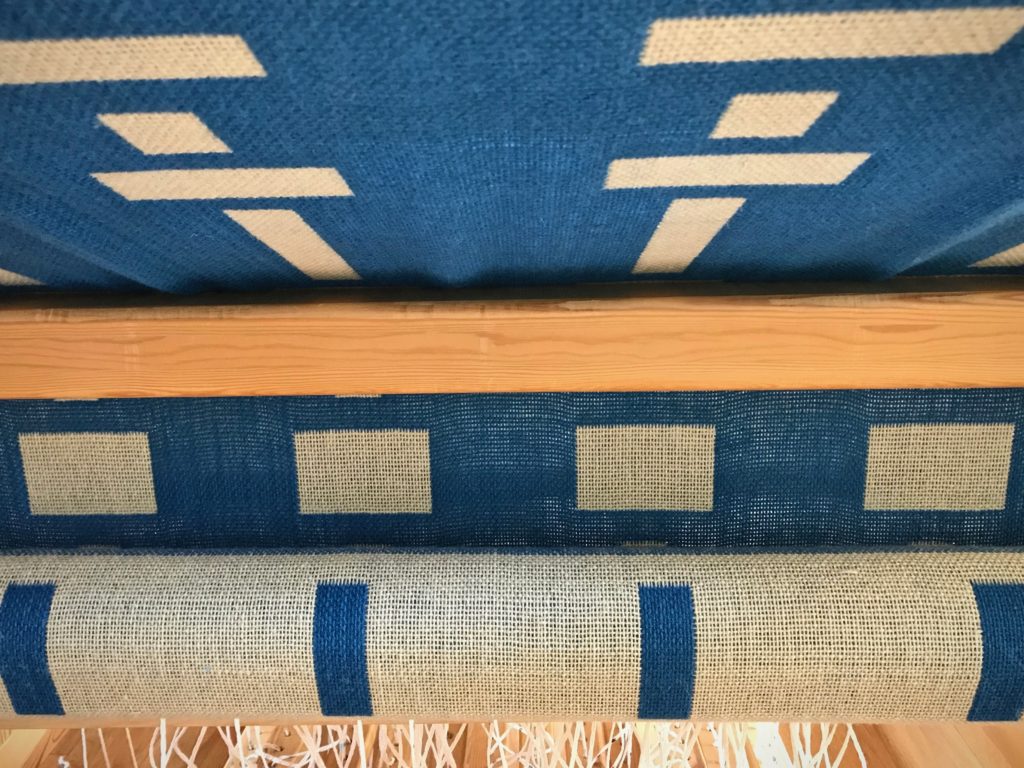
Before starting, I sketched out several versions of the finished blanket, showing different sizes and arrangements of the rectangle blocks. My favorite version is one with a random look. This twelve-shaft double weave has three blocks. Block 1 is a solid color across the warp. Block 2 has a narrow, vertical contrasting rectangle. Block 3 has a wide, horizontal contrasting rectangle. The warp threading determines the width of the rectangles. But the height of the rectangles is determined by the treadling pattern. I decided to use a Fibonacci sequence of numbers in random order to guide my treadling options as I weave.
Low-Tech Random Fibonacci Sequence
1 Determine the desired range of the Fibonacci sequence. 1, 2, 3, 5, 8, 13
2 Determine the number of repeat options for each block (one repeat is 4 picks per double-weave layer).
- Block 1, solid color – 2 repeats every time
- Block 2, narrow rectangle – 2, 3, 5, 8, or 13 repeats
- Block 3, wide rectangle – 1, 2, 3, or 5 repeats
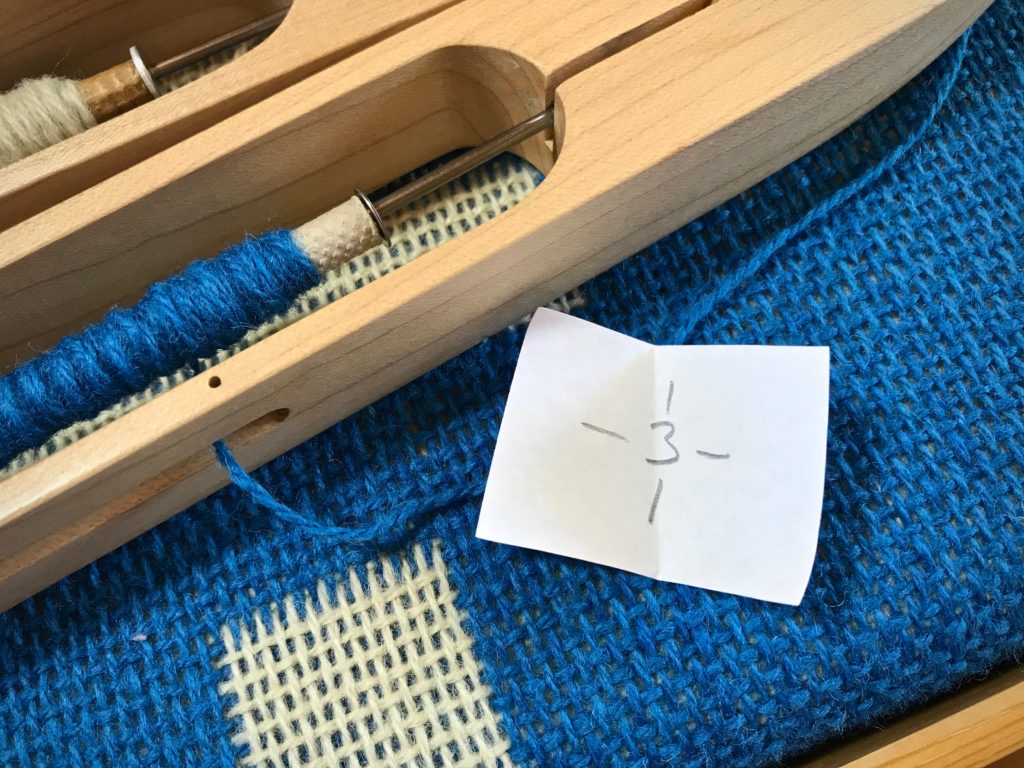
3 Write each number of the sequence on individual squares of paper. Make three sets of these numbers. 1, 2, 3, 5, 8, 13
4 Fold each paper square in half and place in a container at the loom. Mix thoroughly.
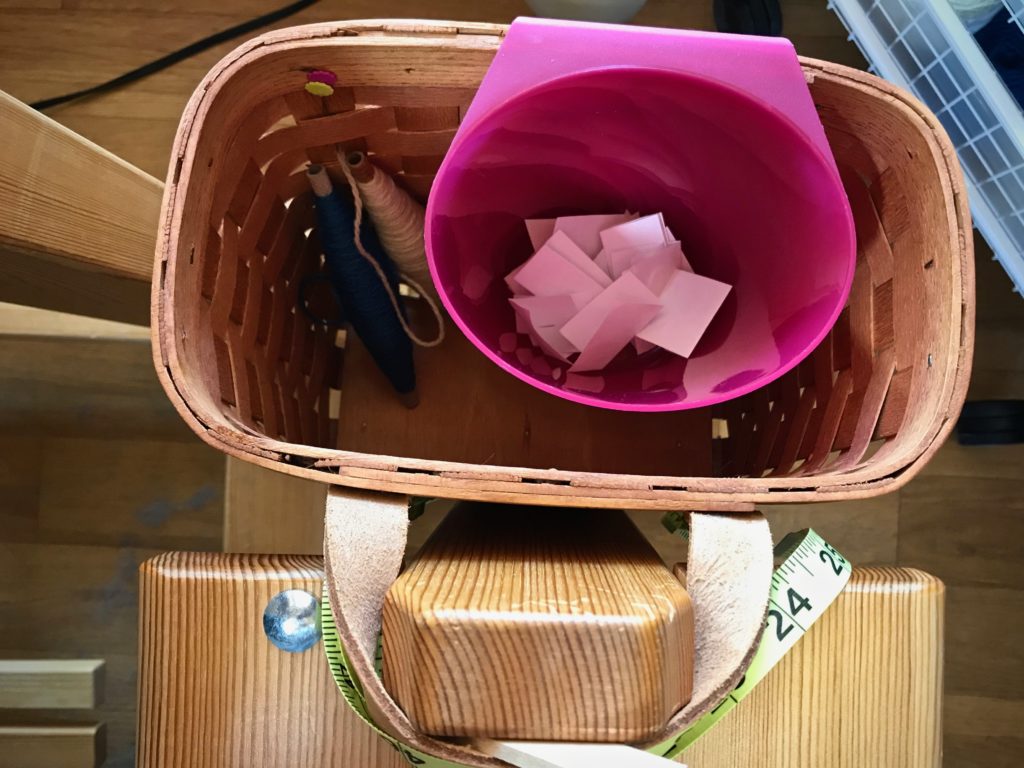
5 Randomly select a paper square to reveal the number of repeats for the next narrow or wide rectangle block.
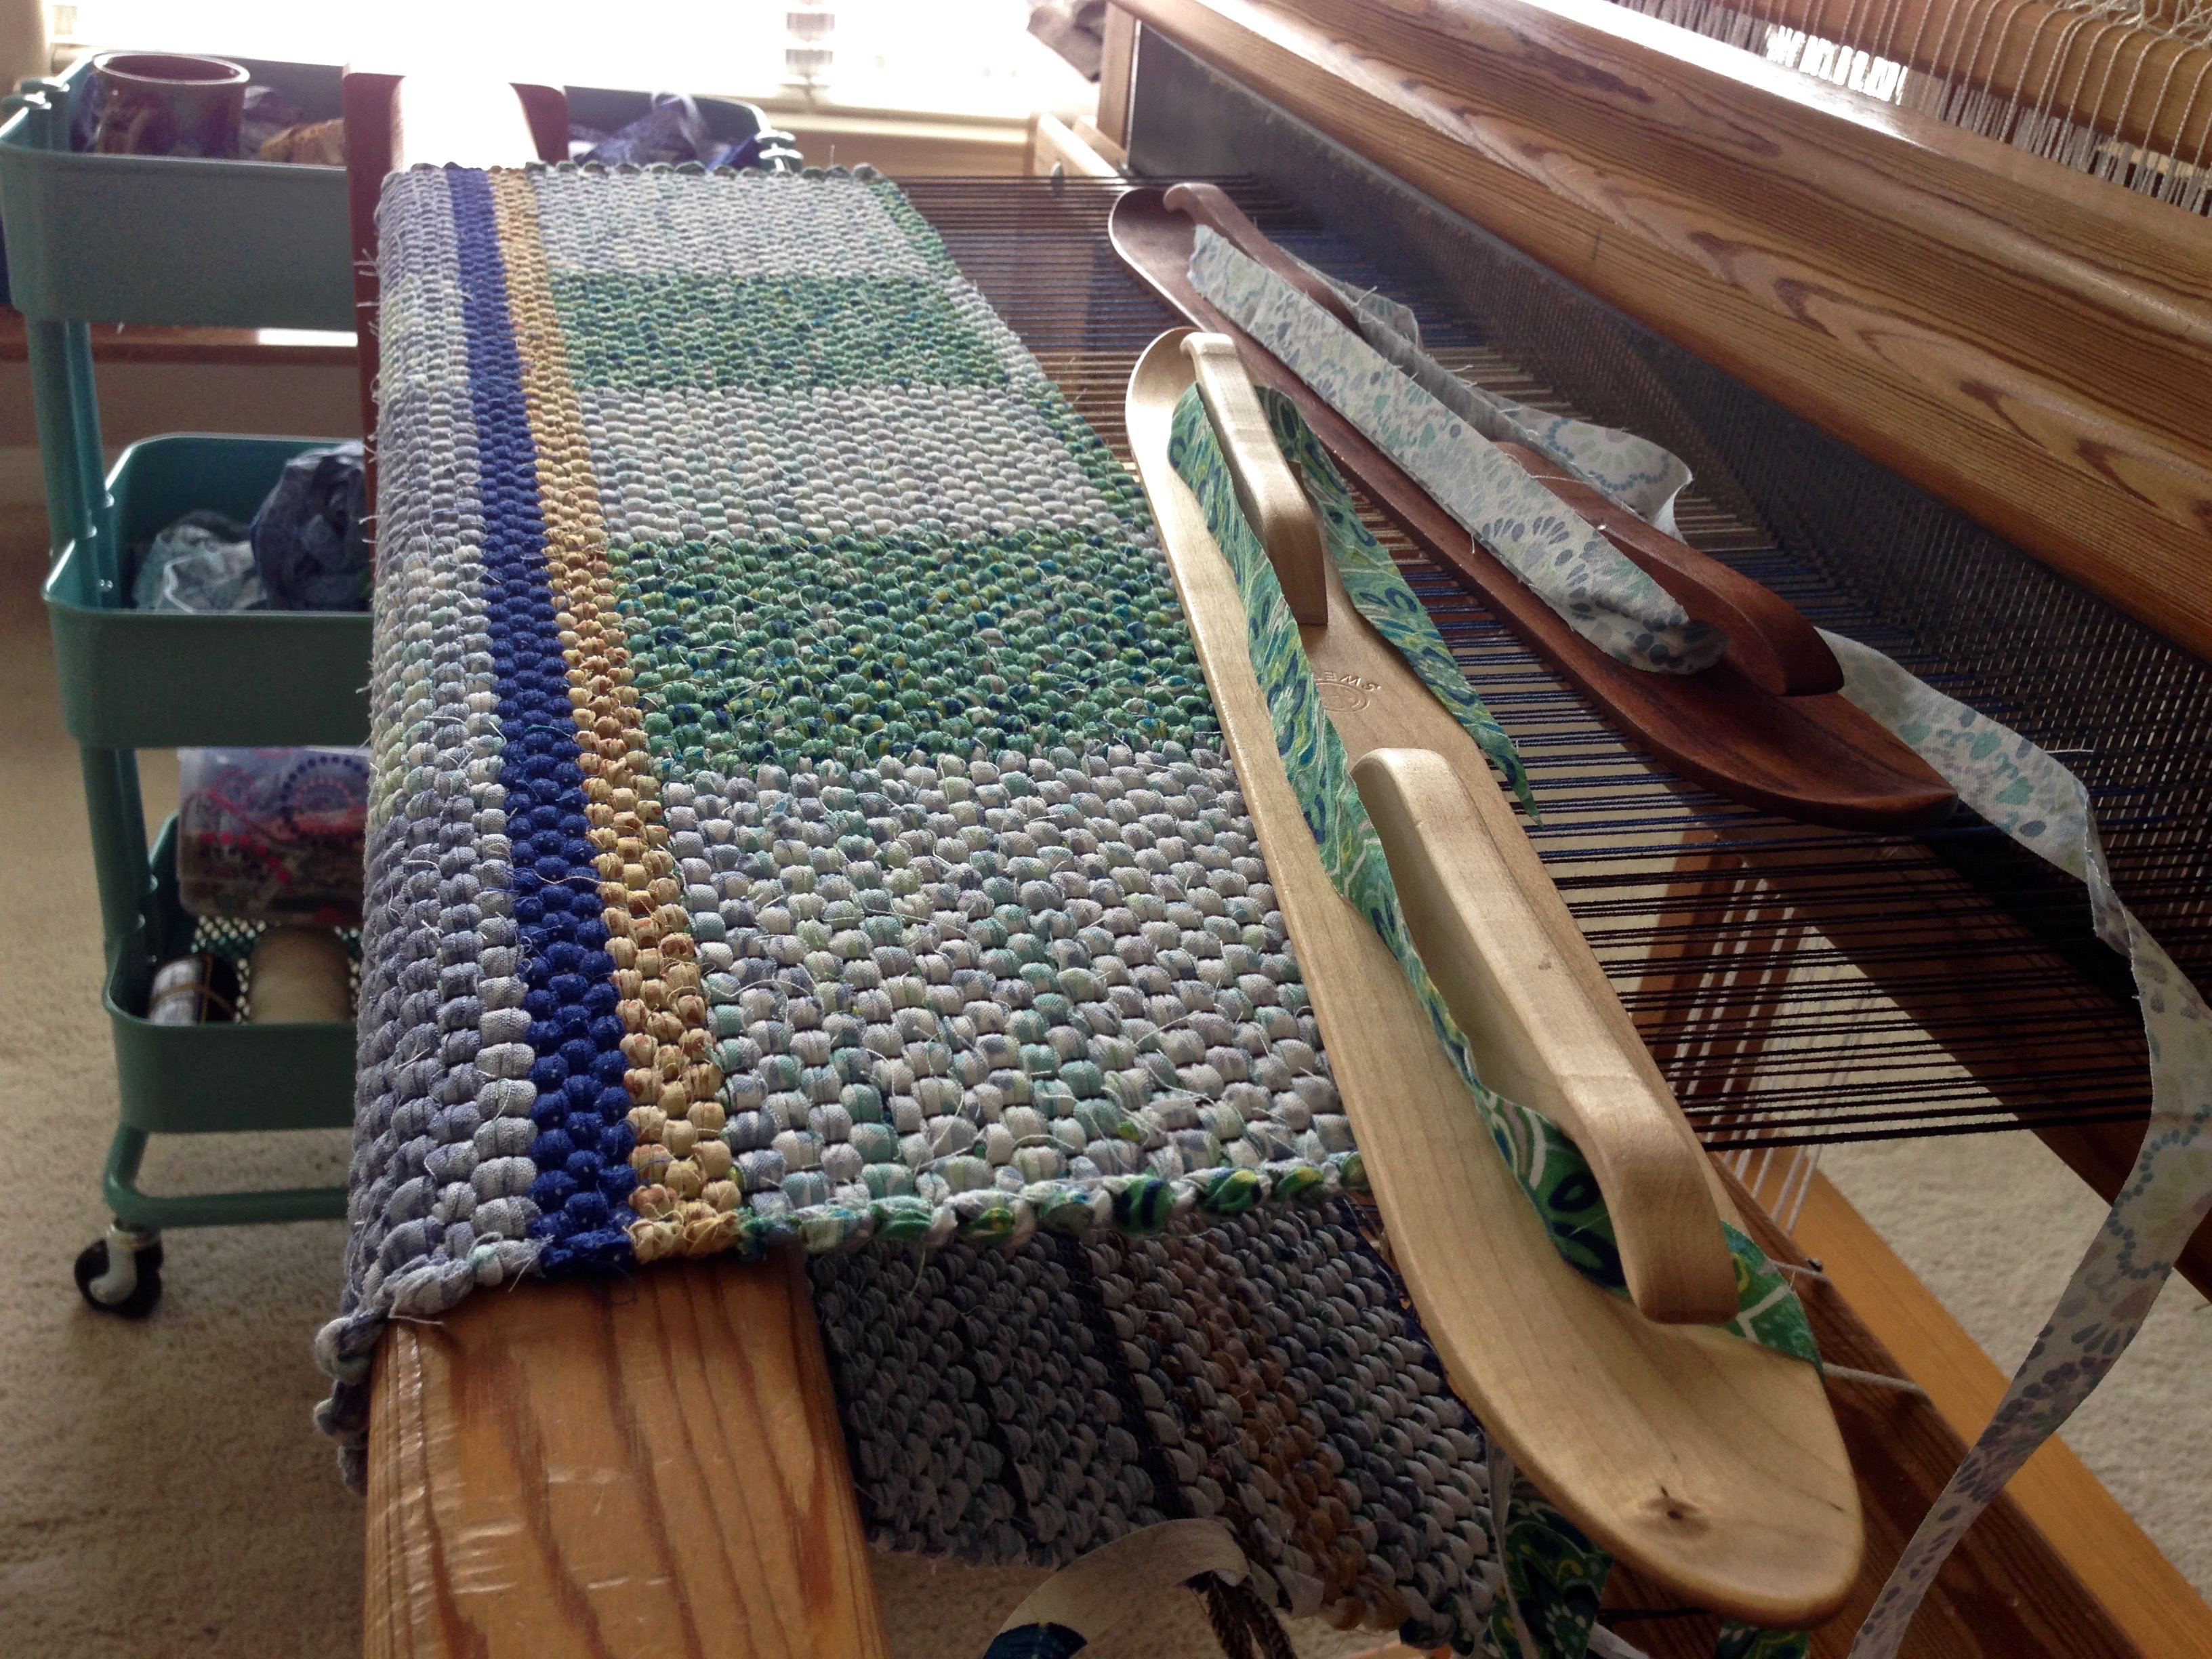
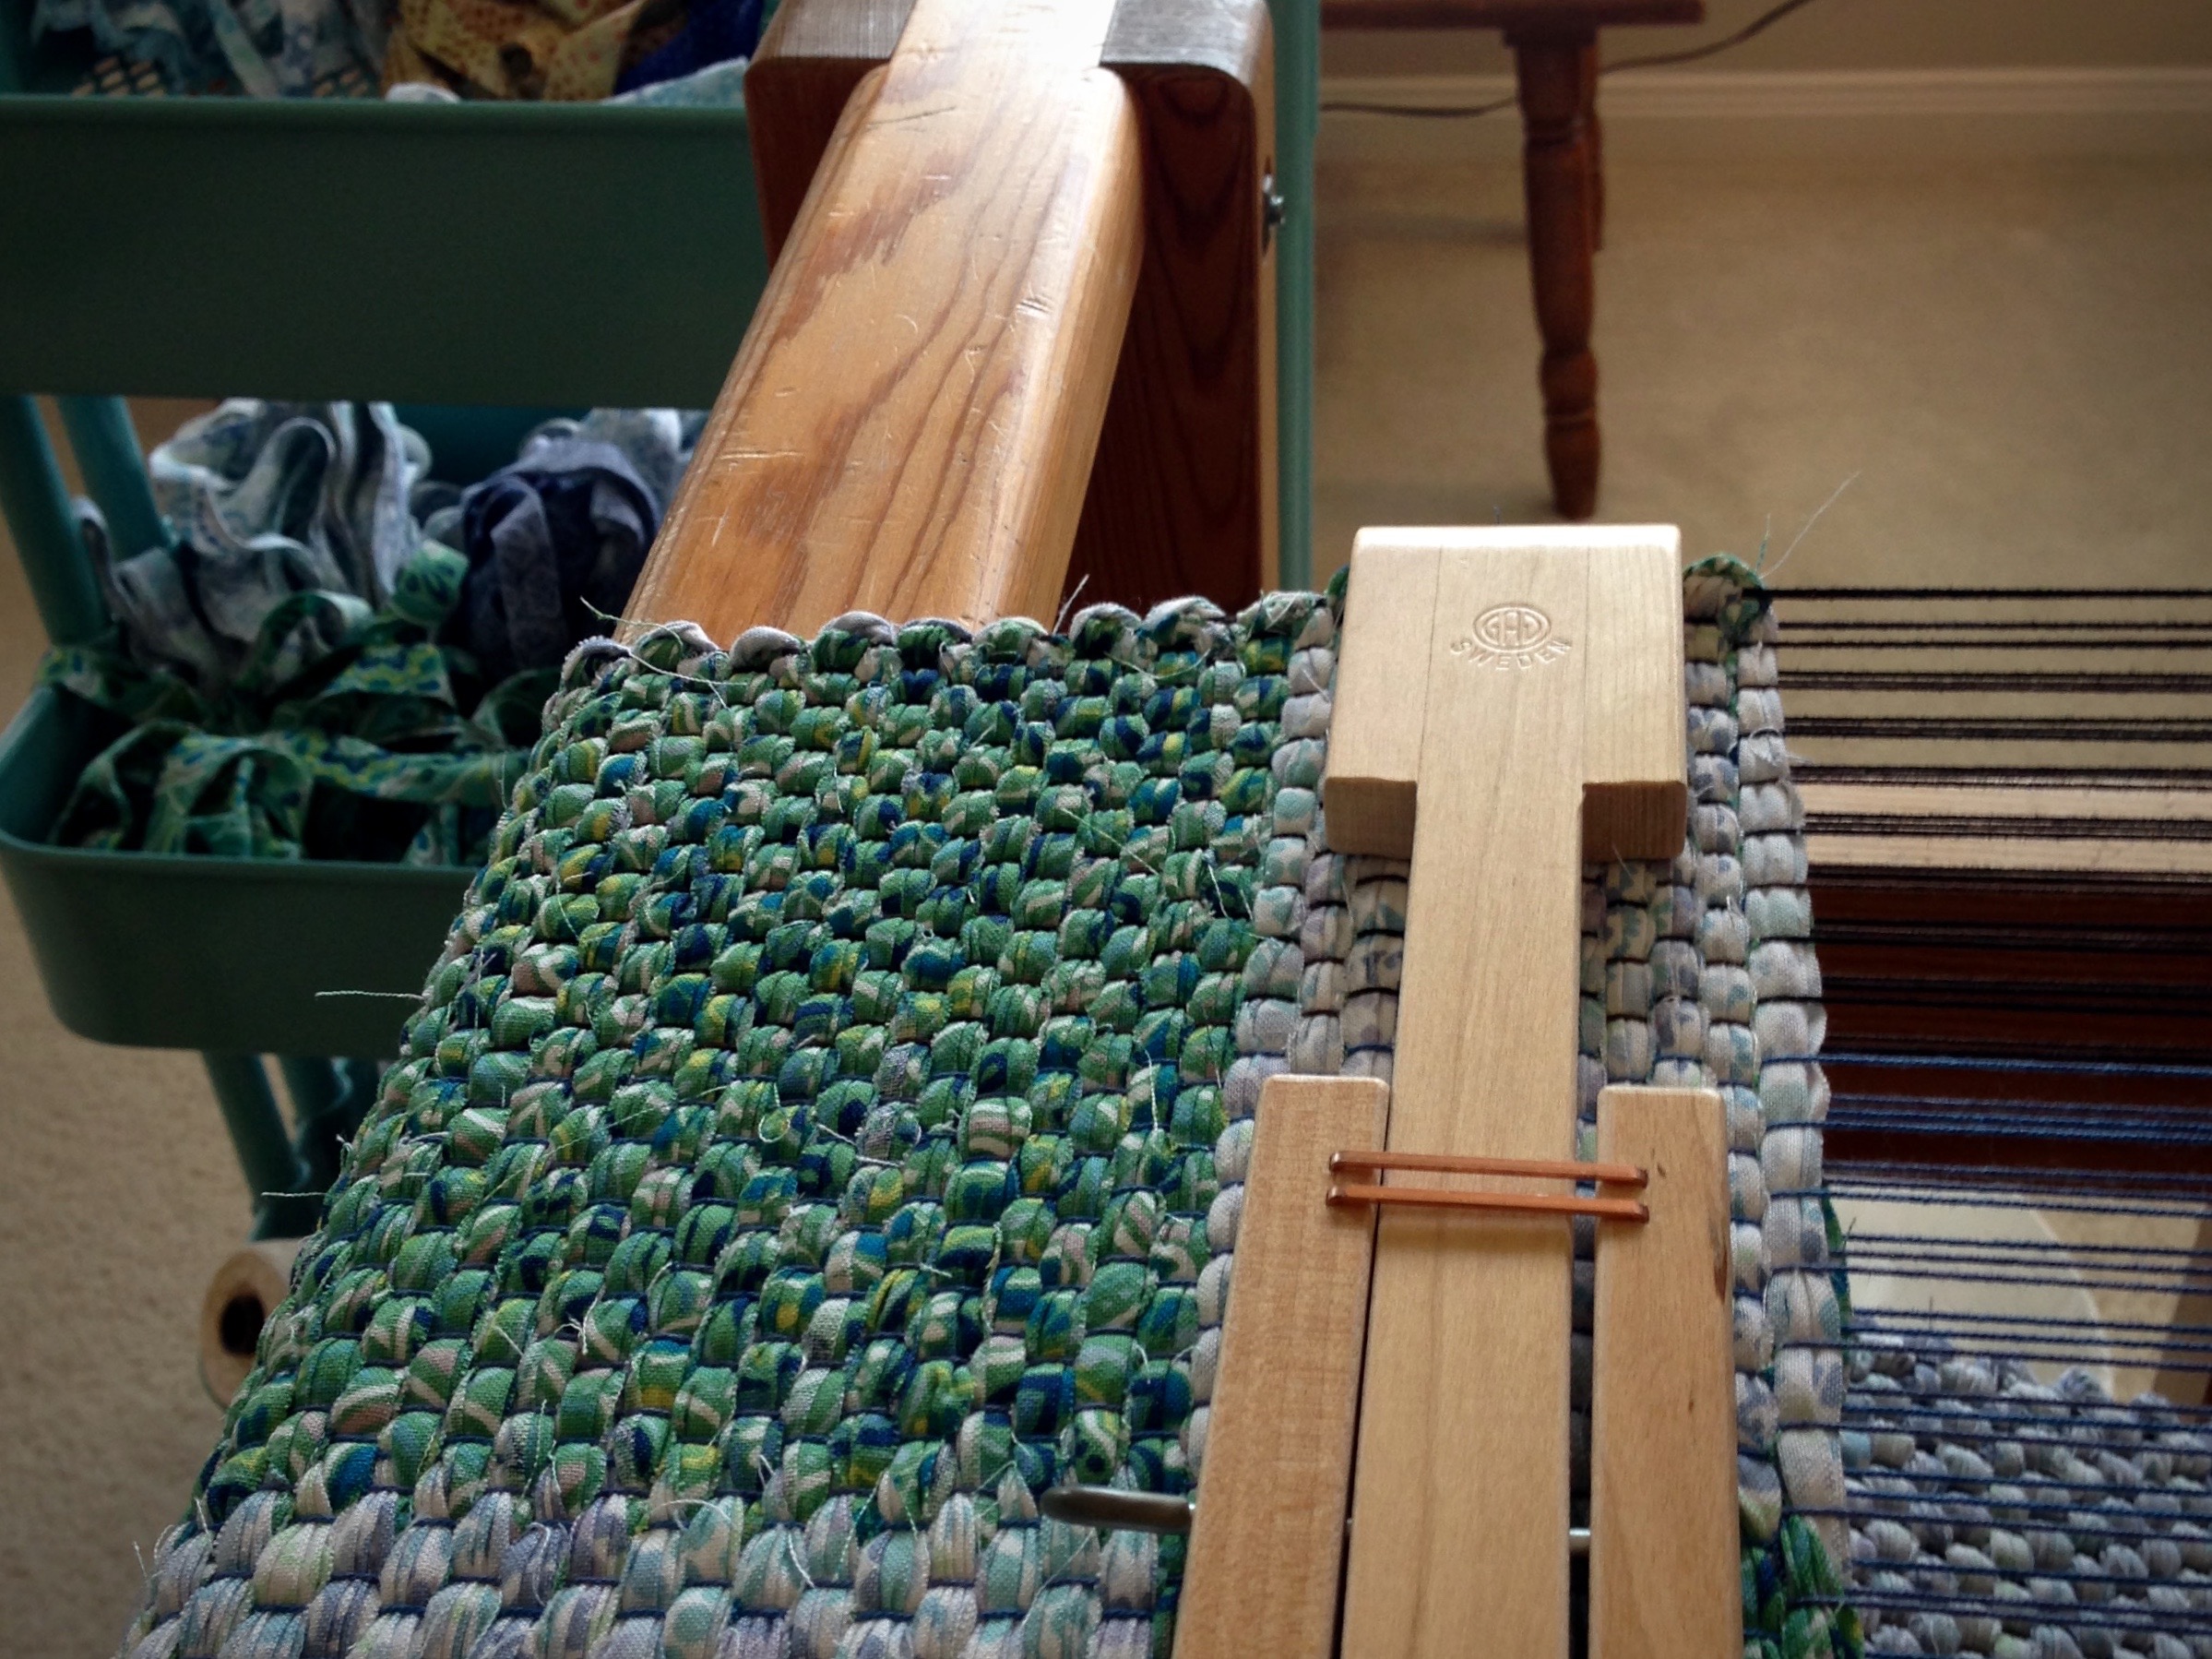
For this blanket I have a woven hem and border, and then two repeats of Block 1 (solid color) between alternating Block 2 (narrow) and Block 3 (wide) rectangles of varying heights.

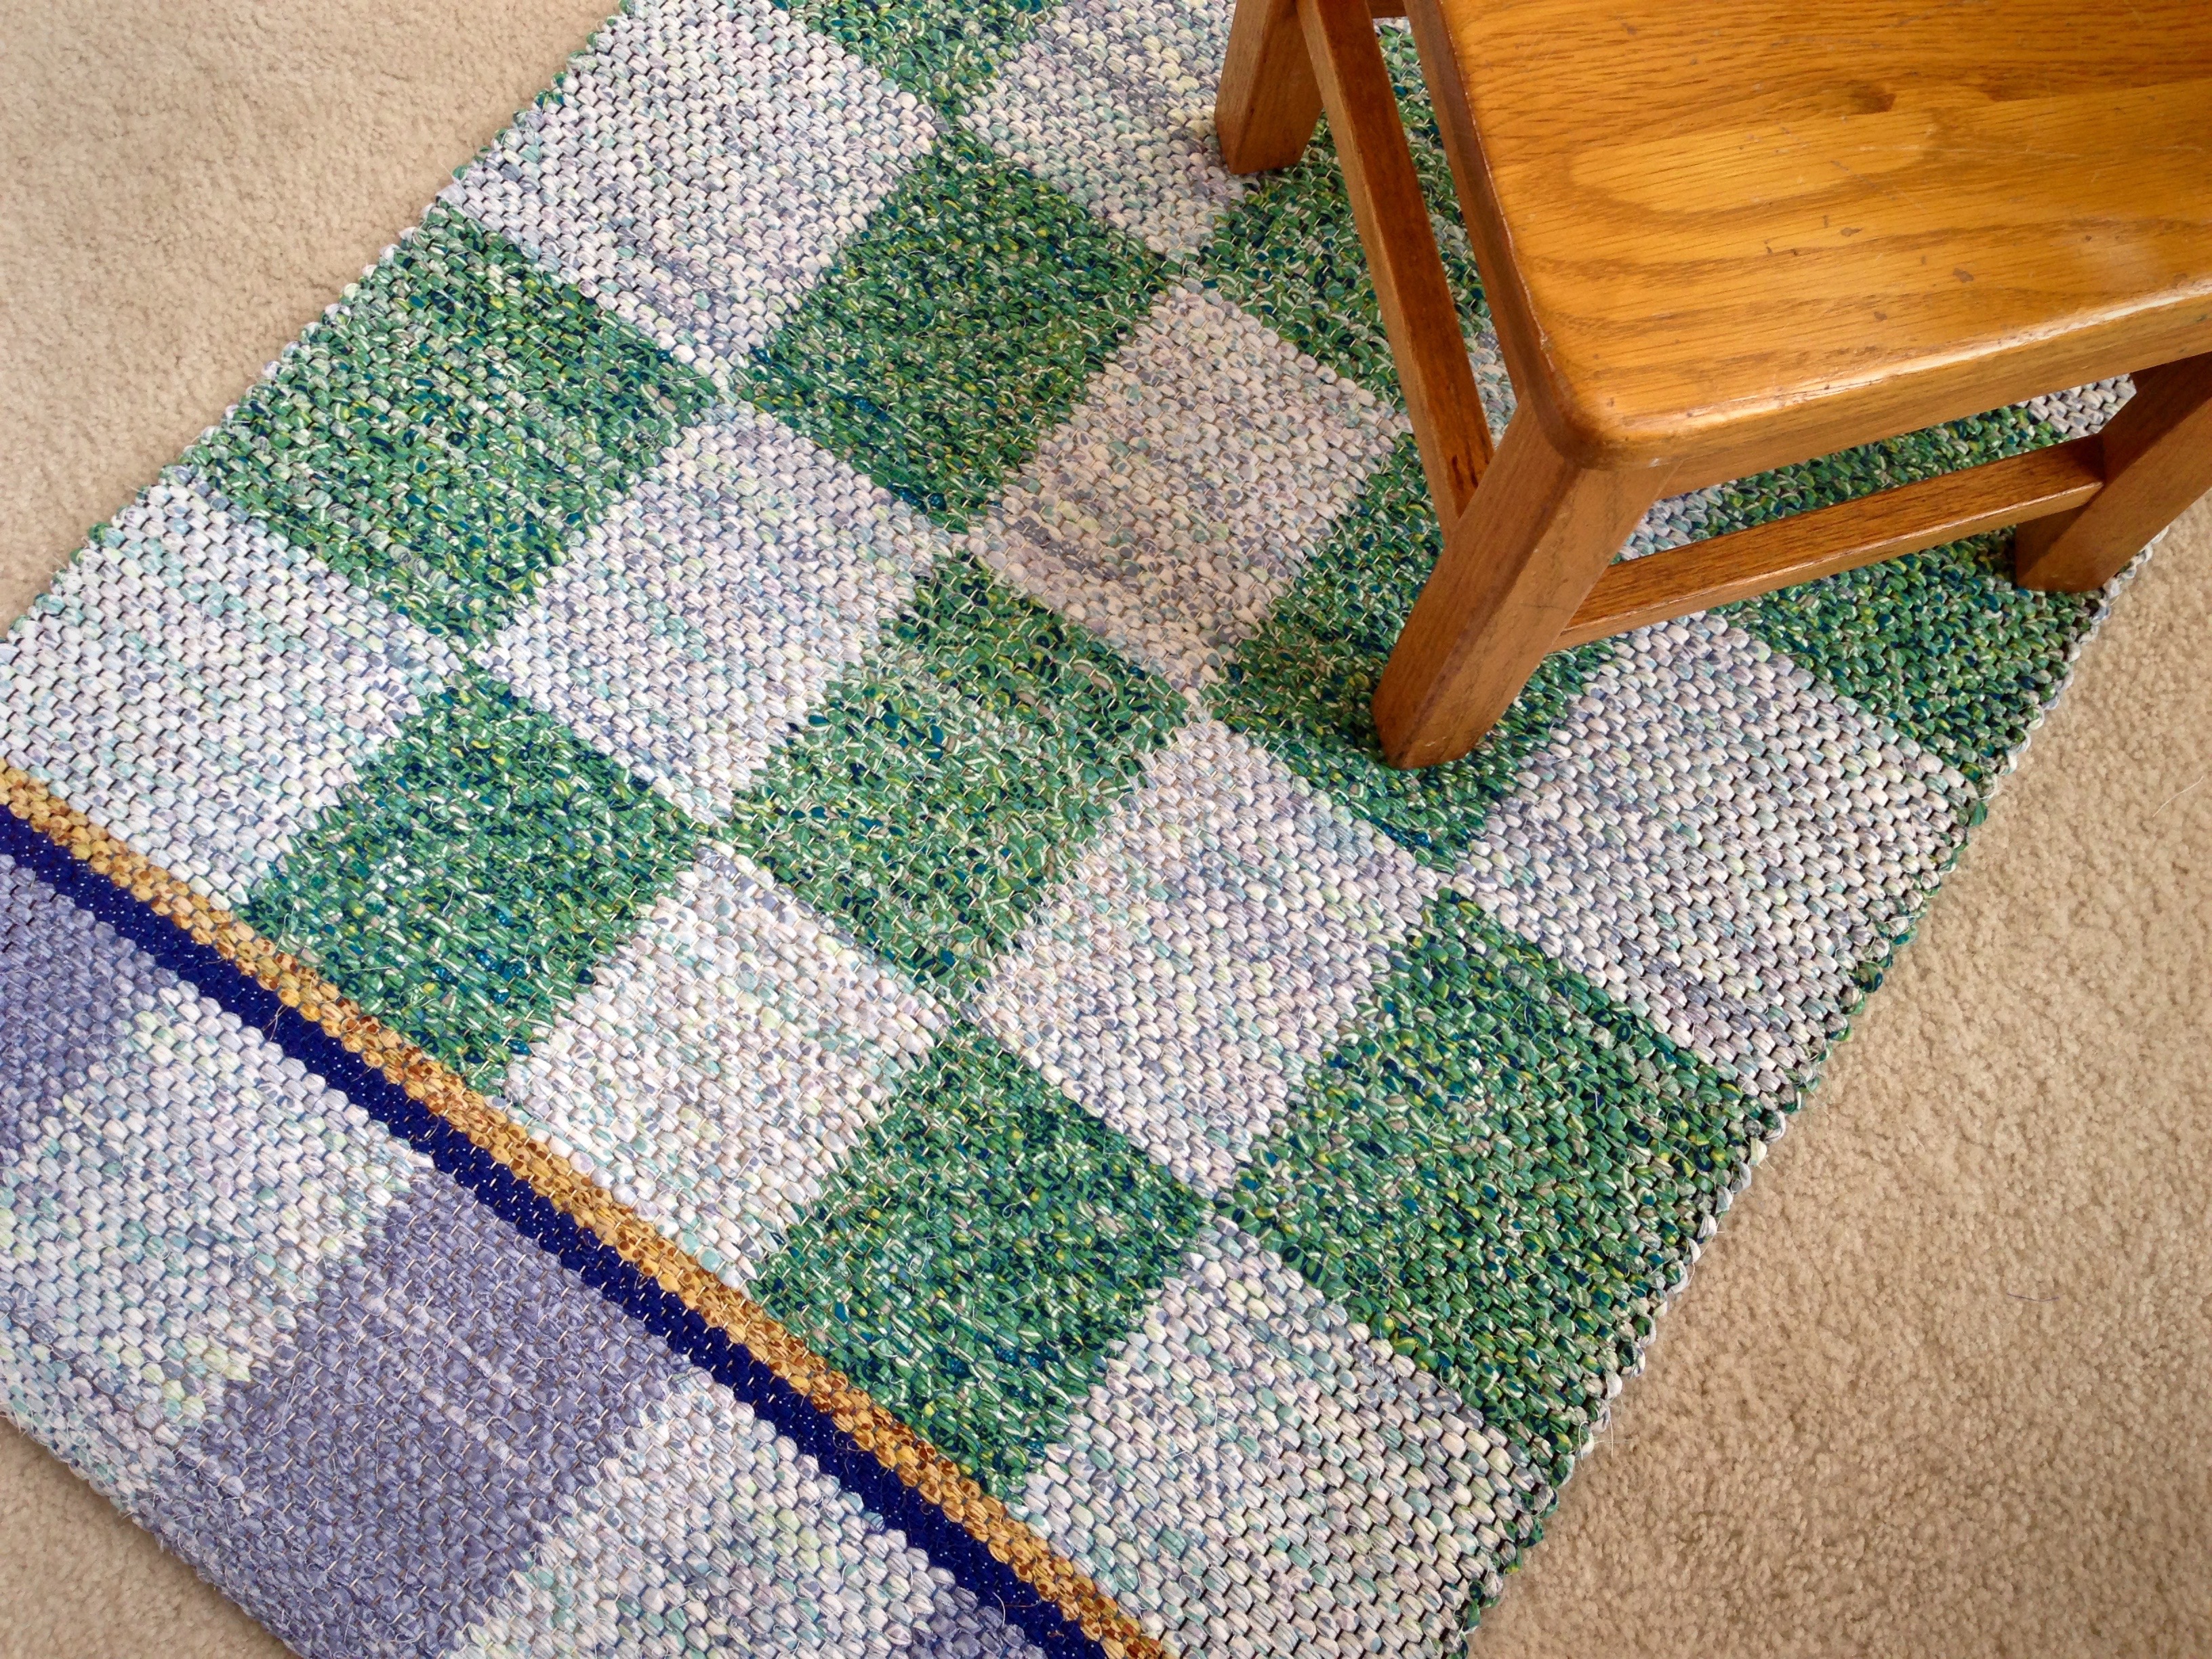
Surprise is built in which makes it hard to leave the loom. “Just one more block,” I tell myself…
May you be greeted by random (happy) surprises.
Happy Weaving,
Karen