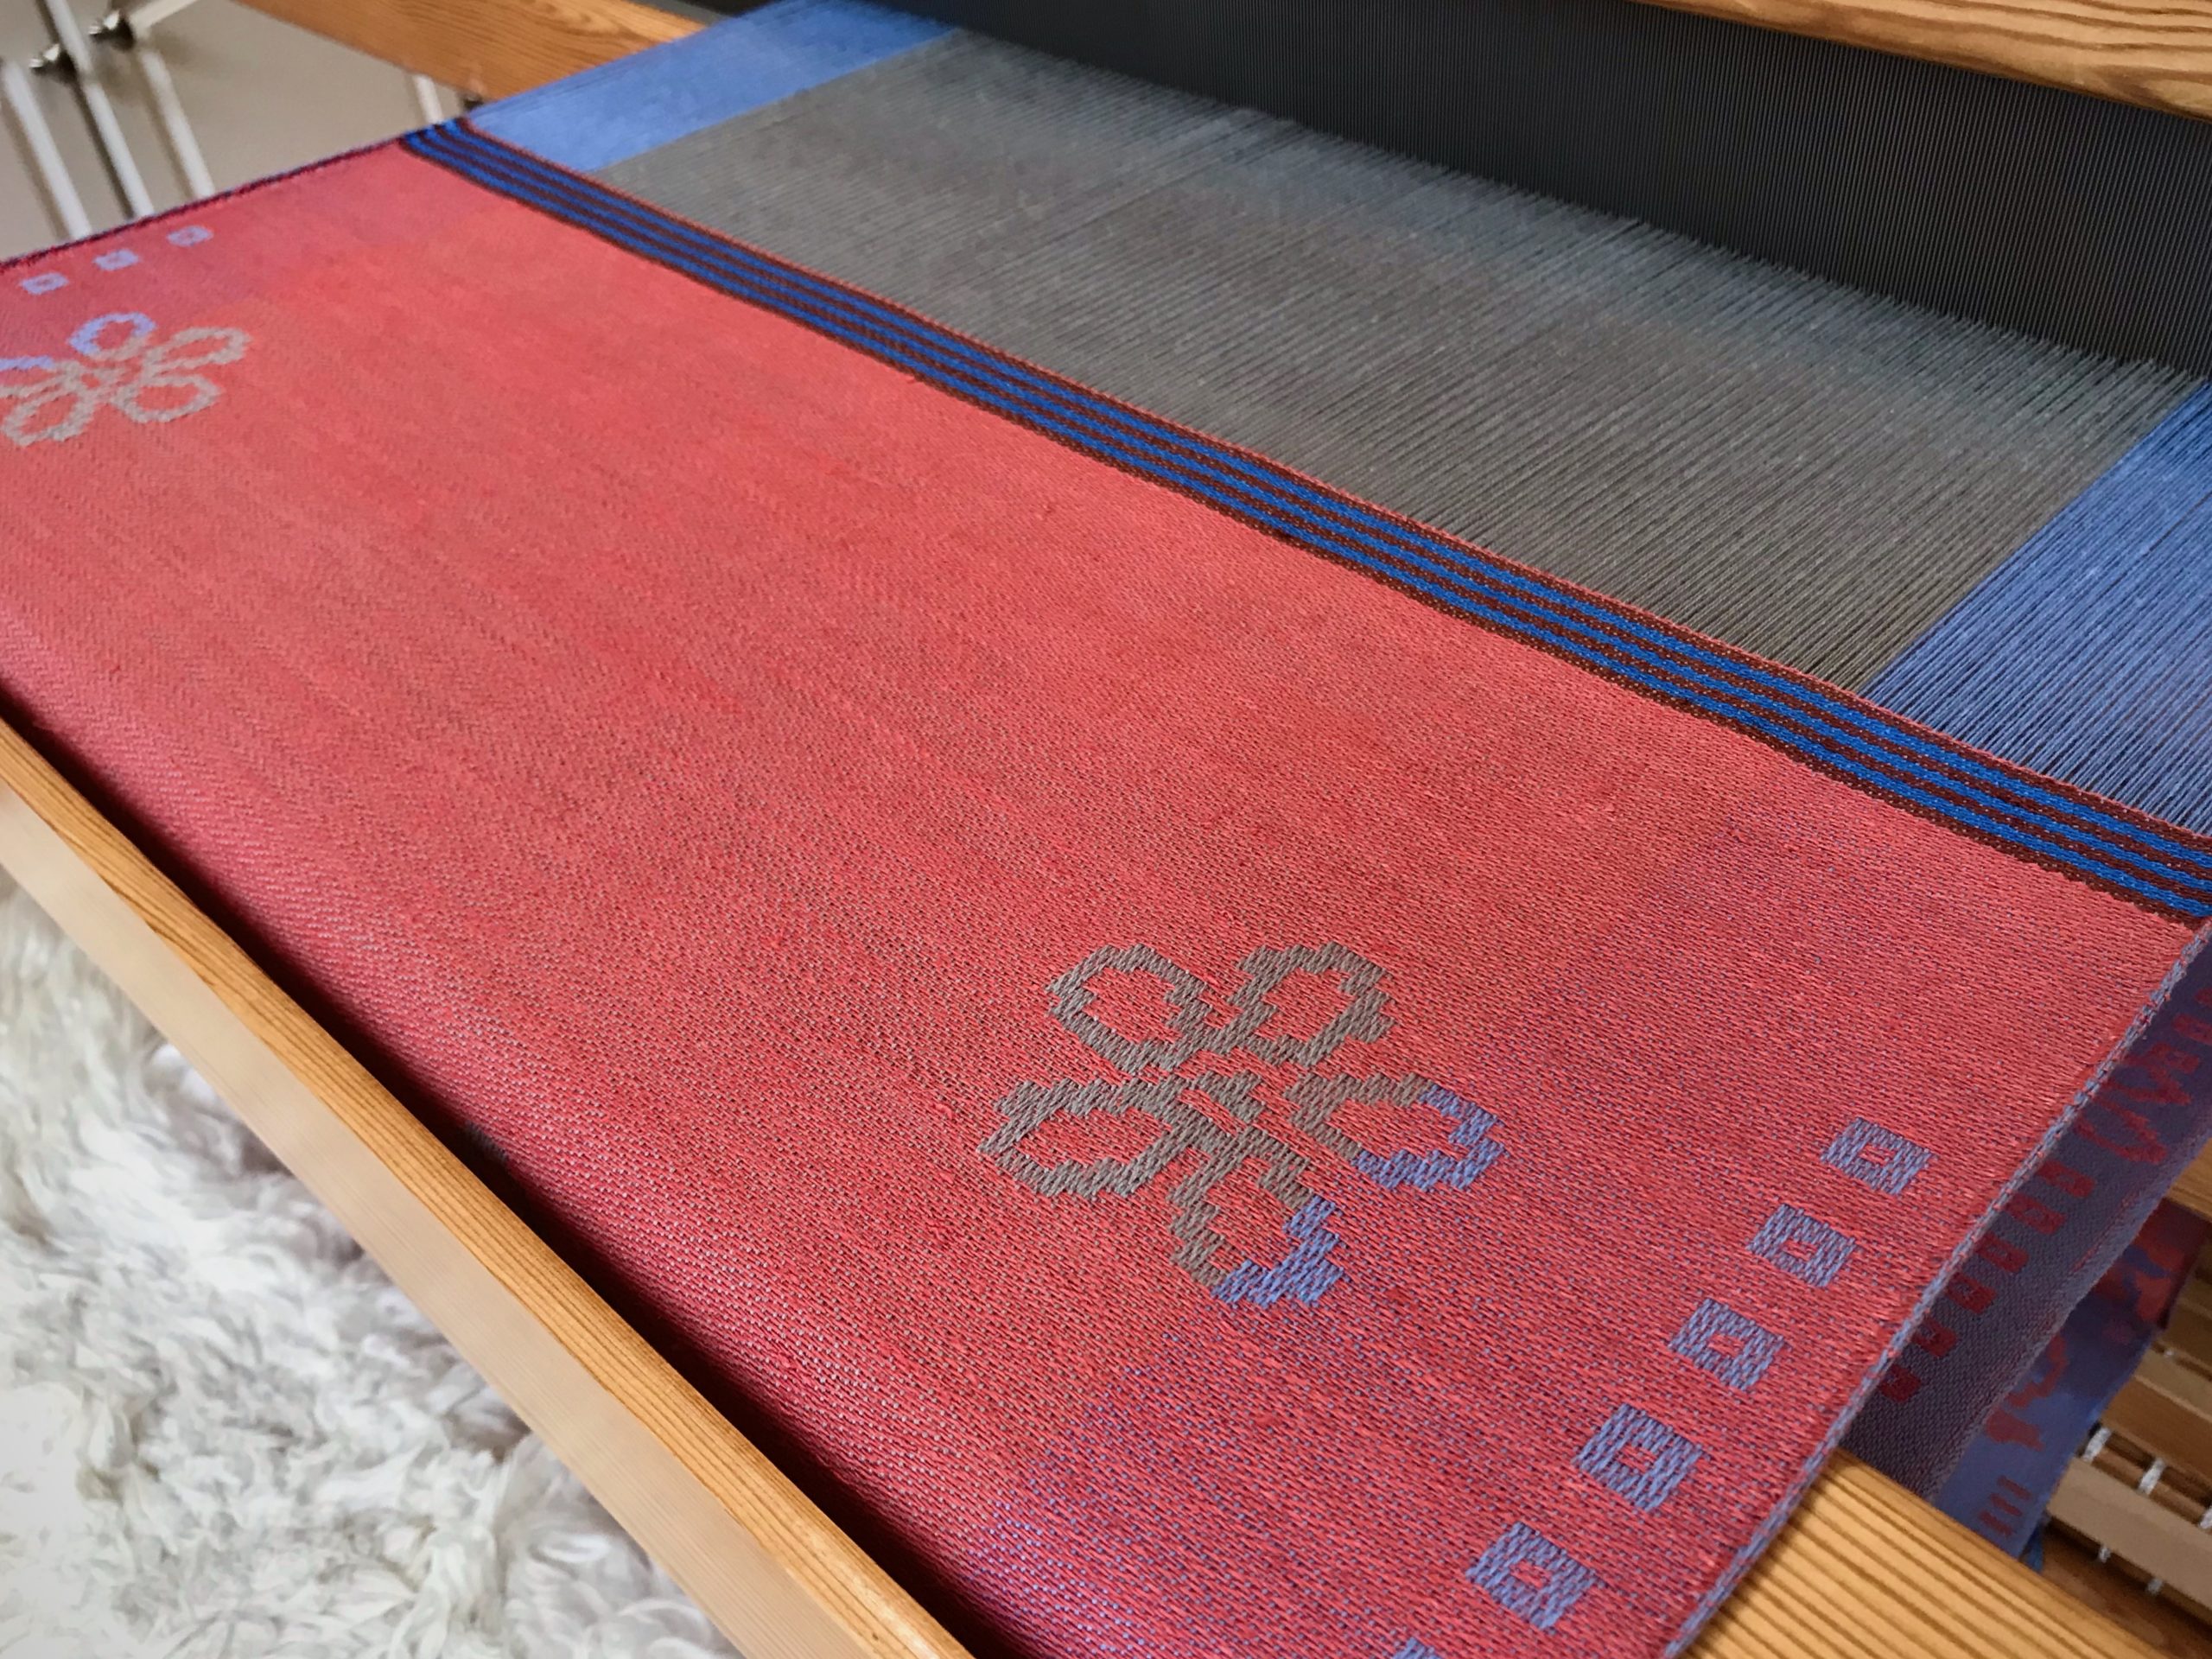
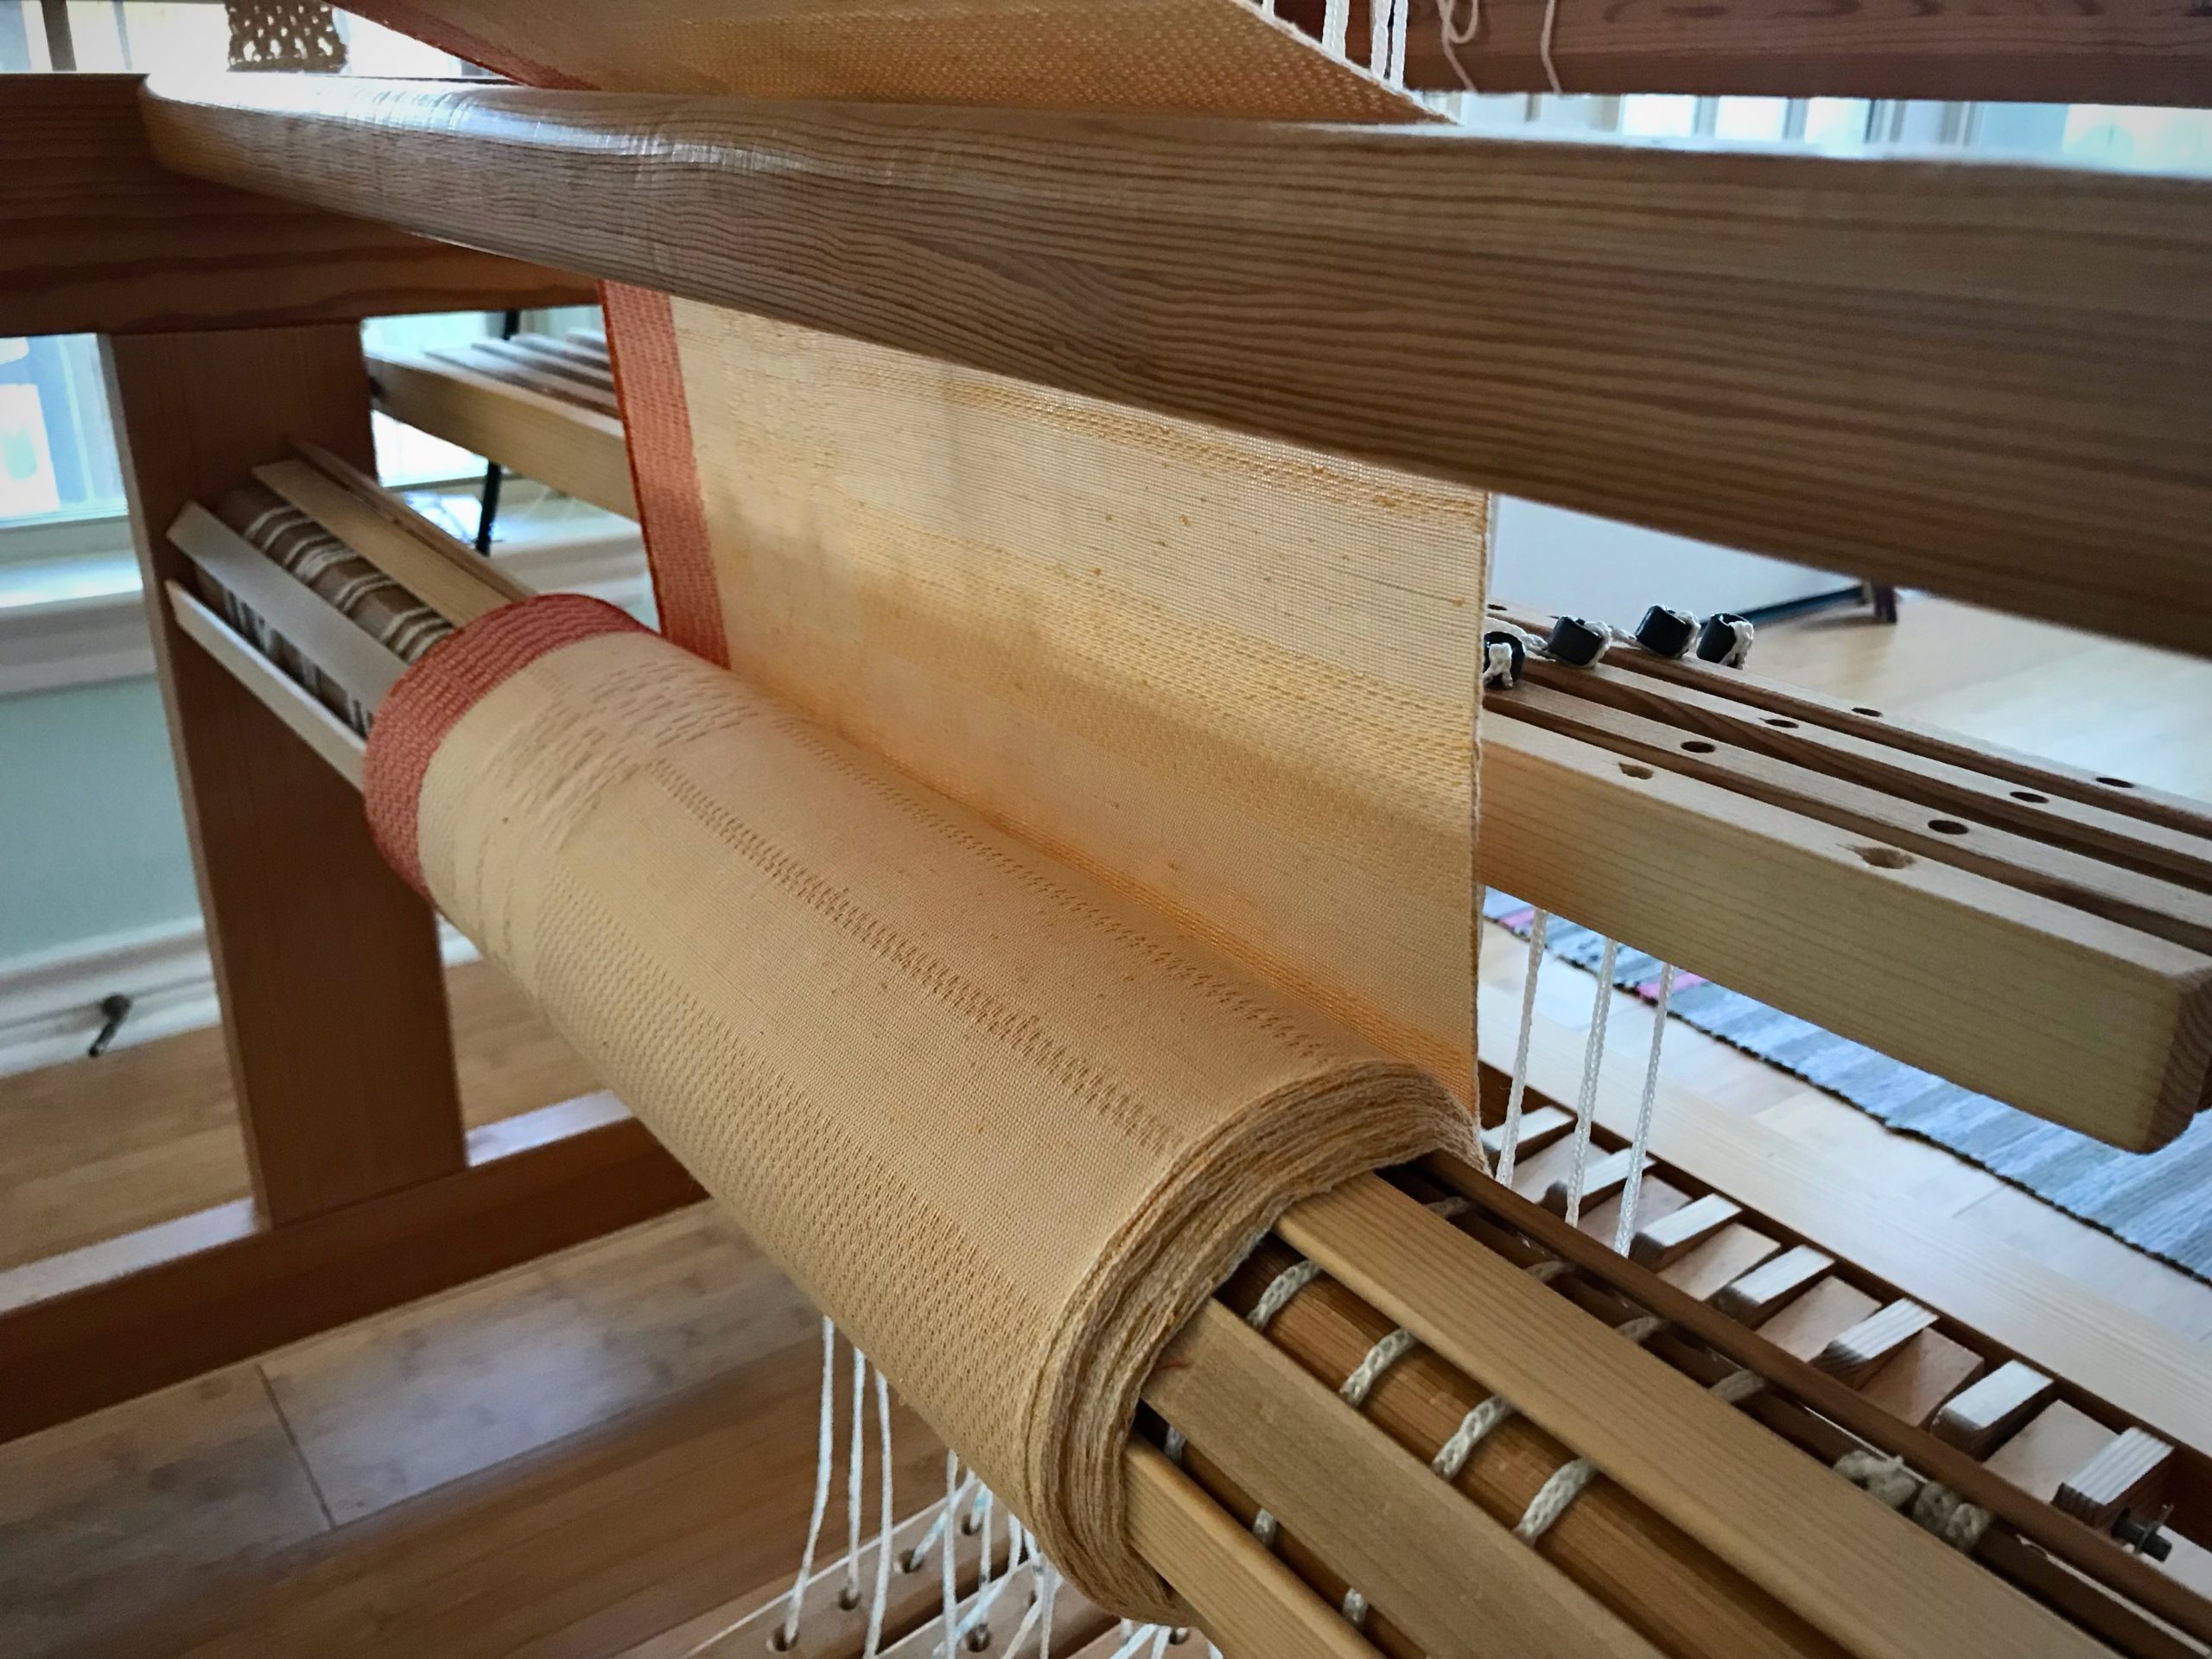
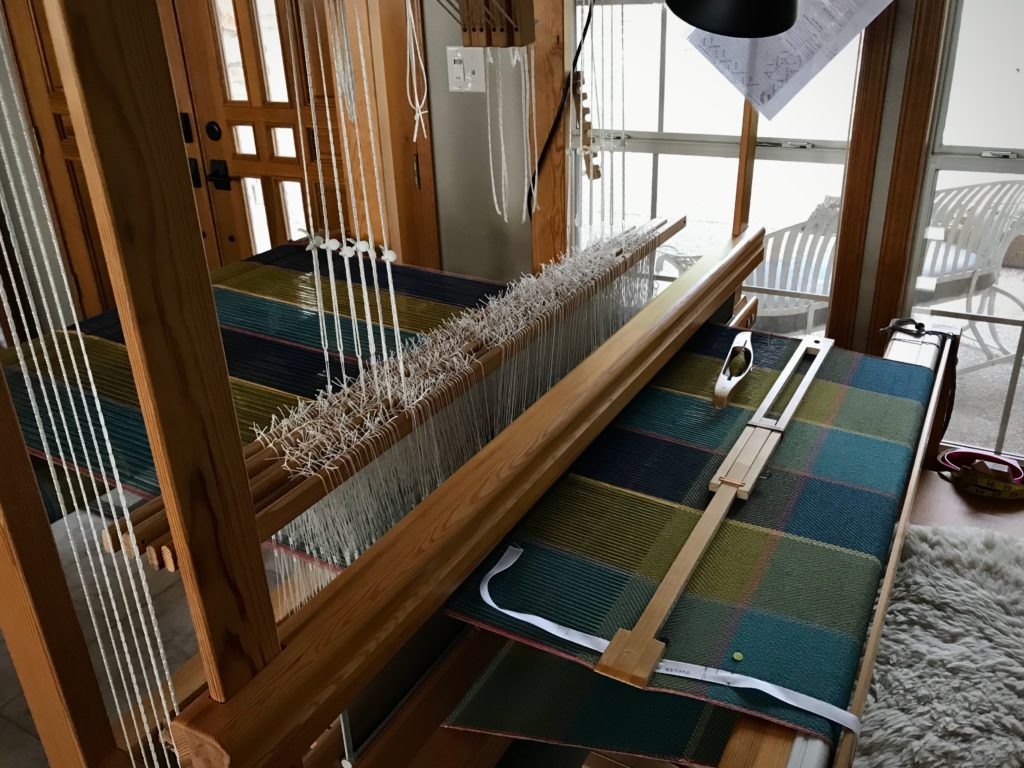
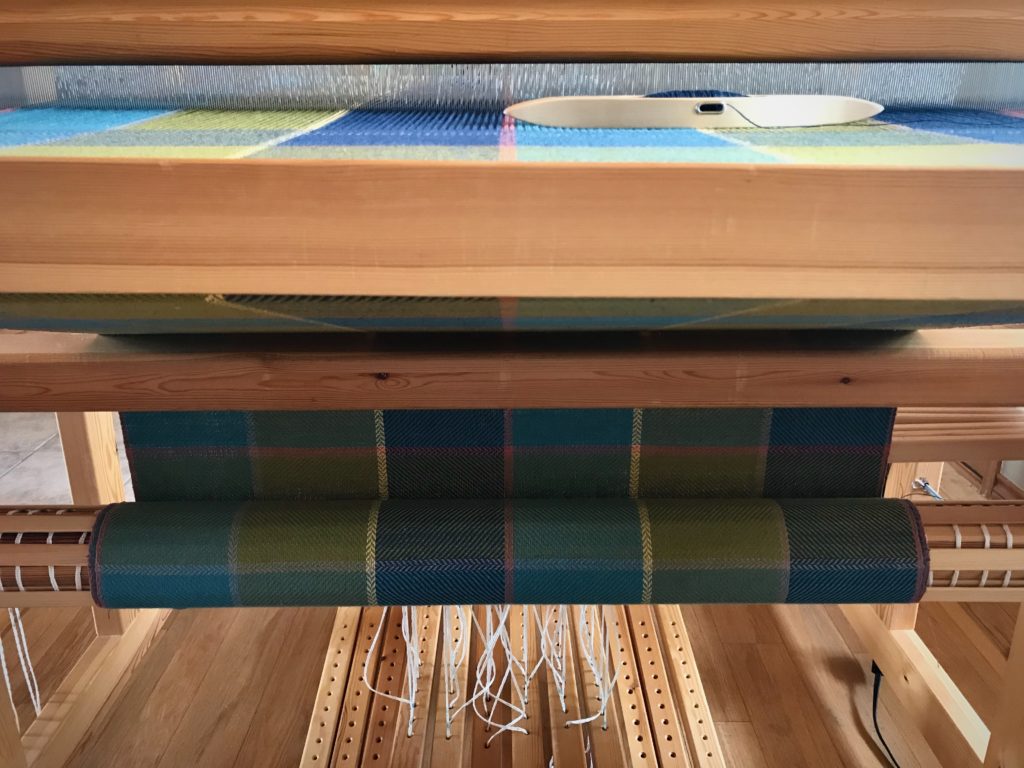
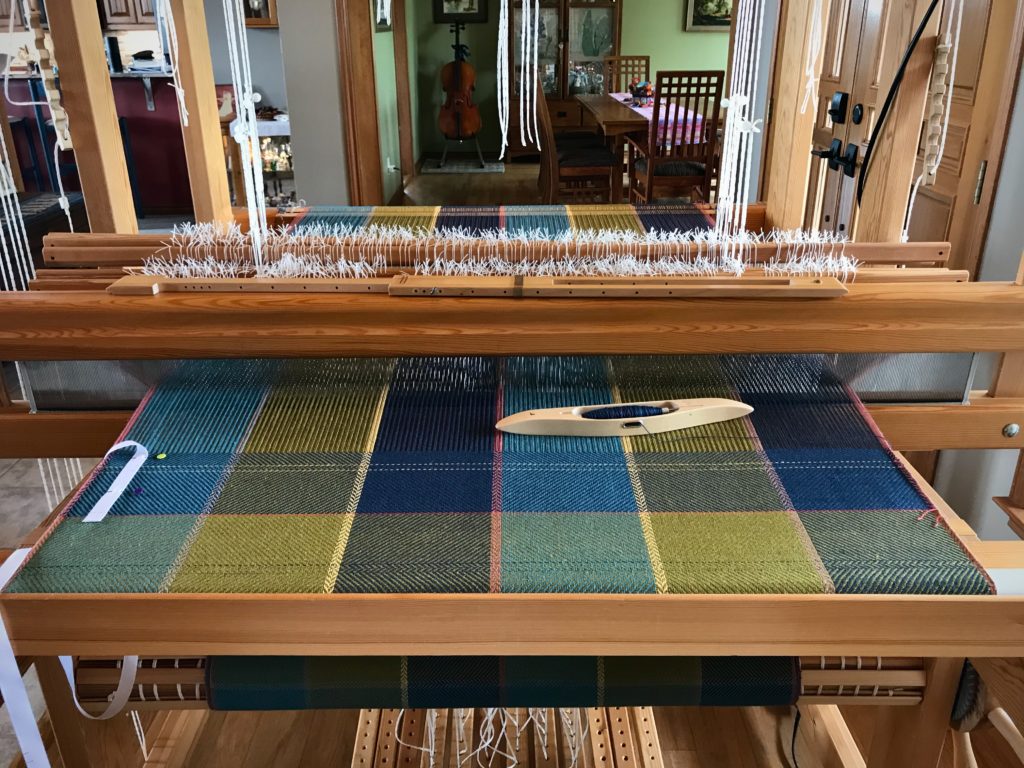
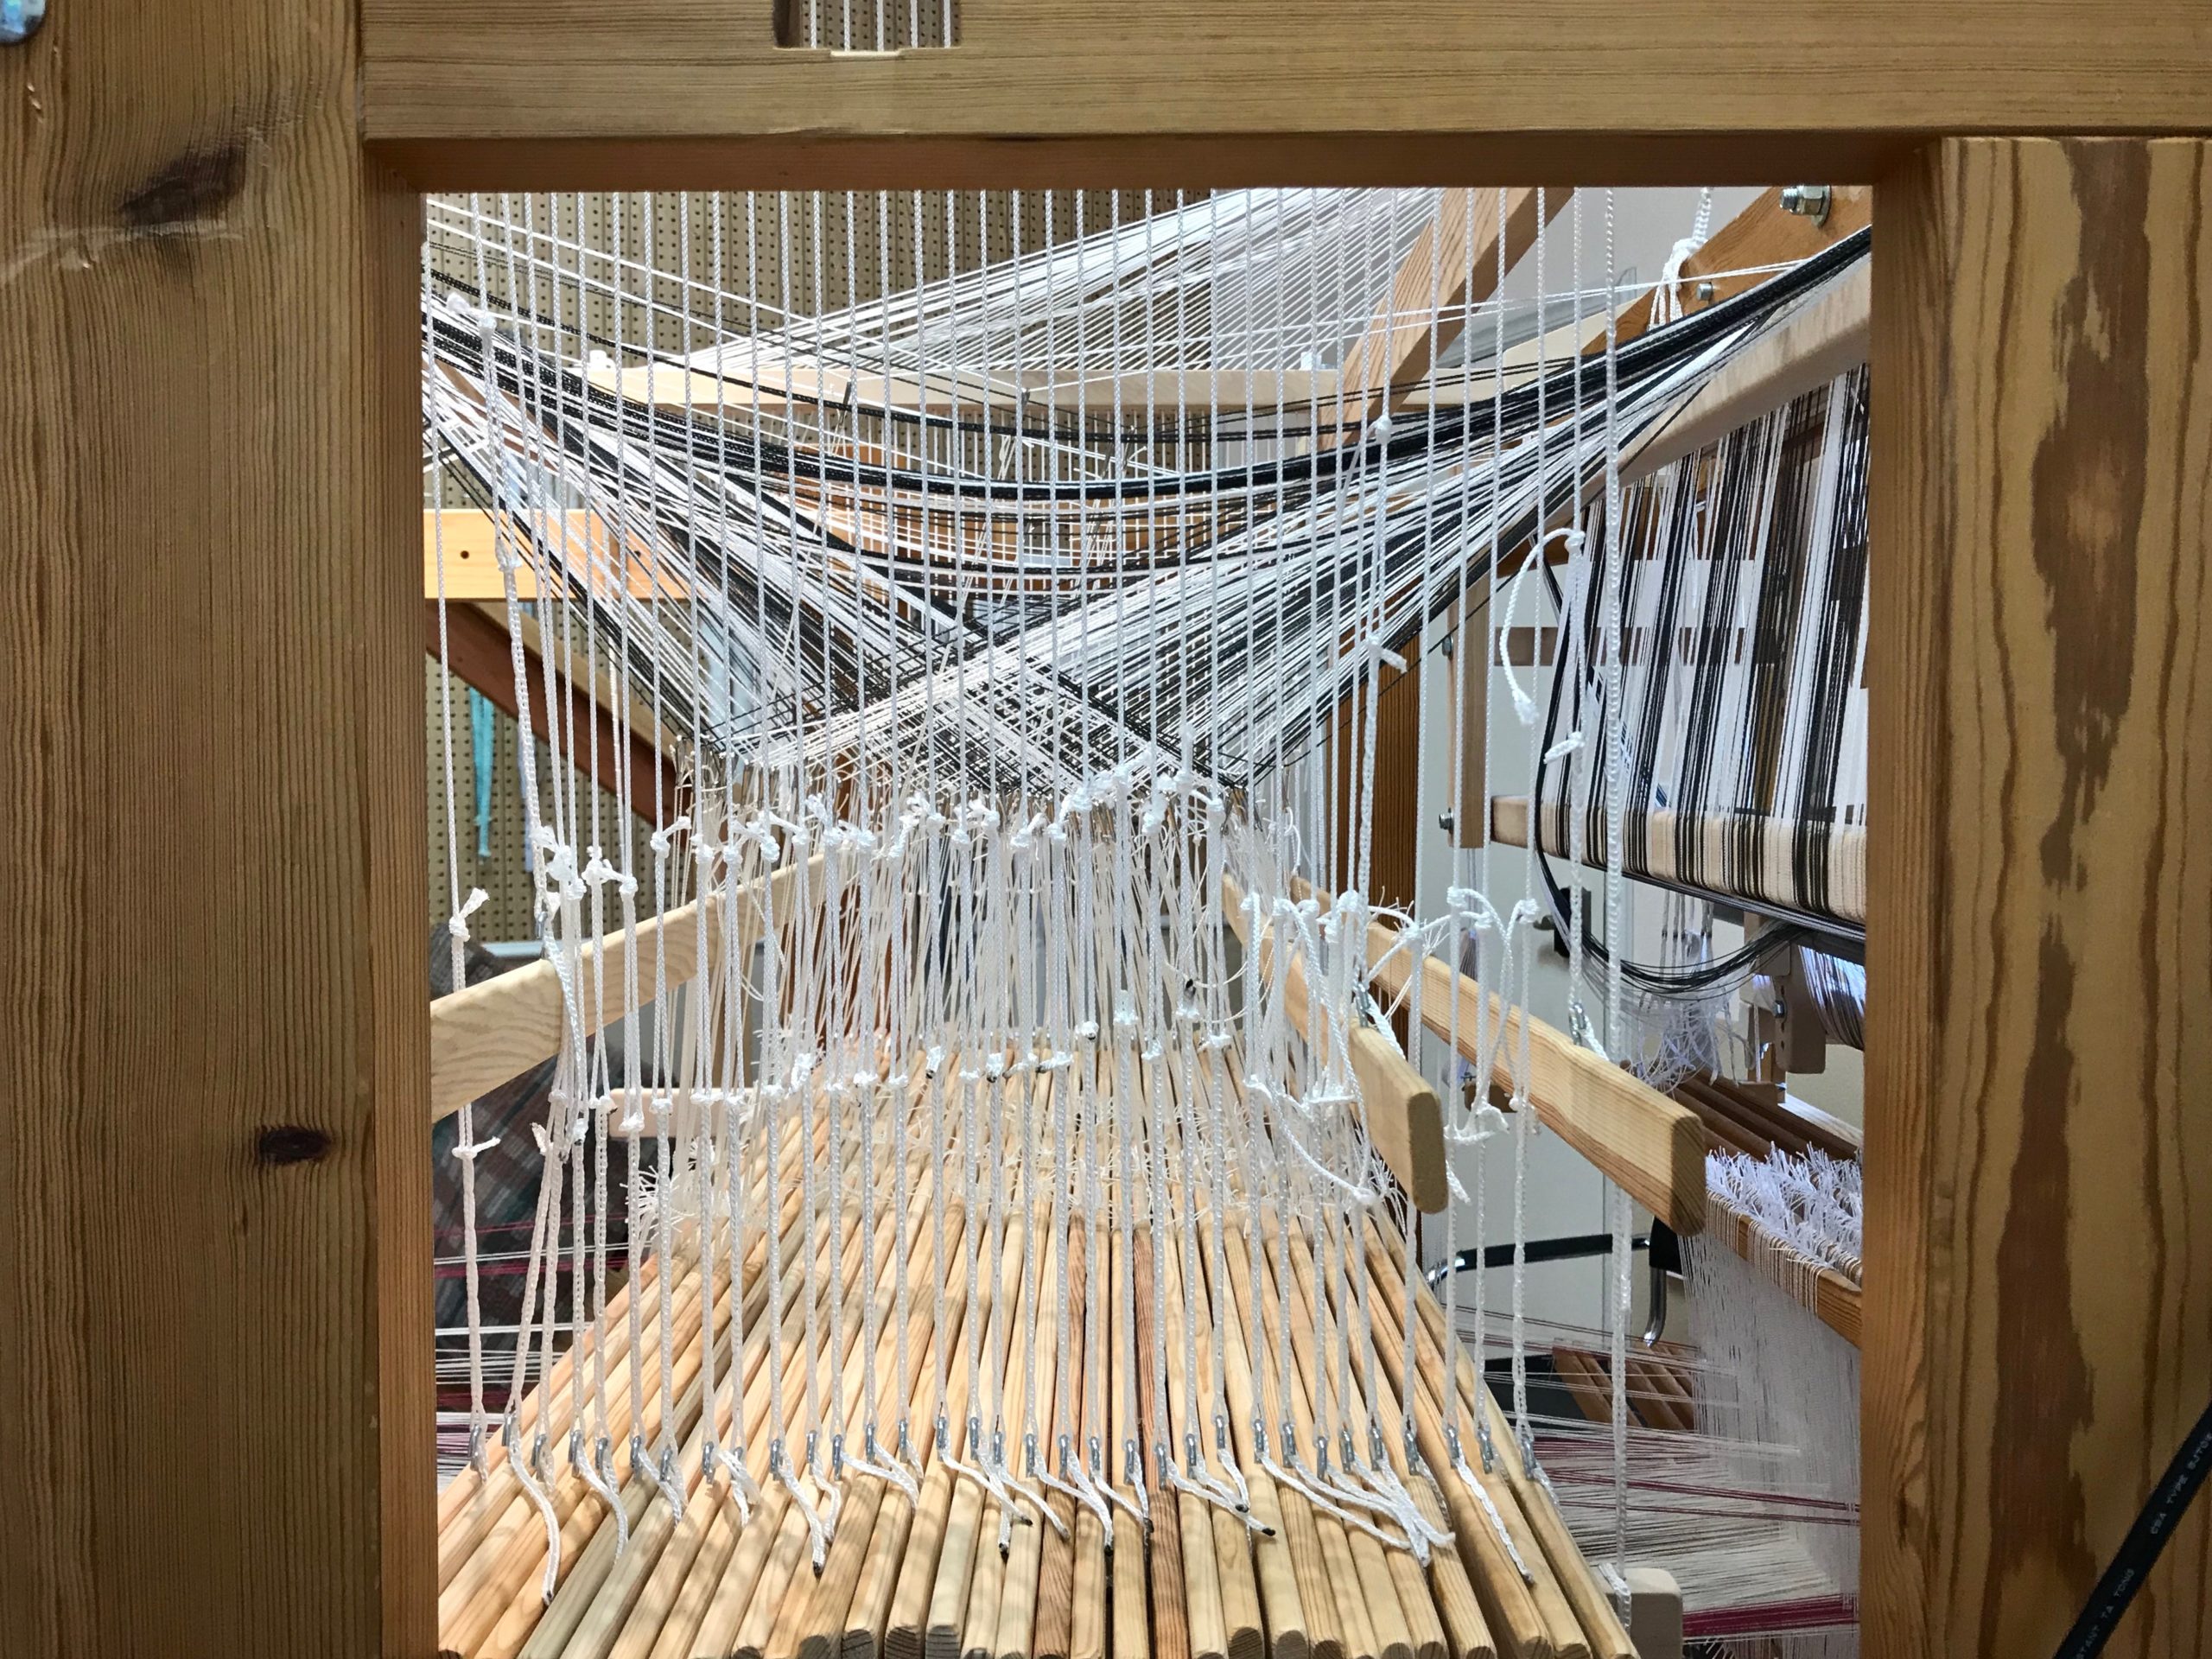
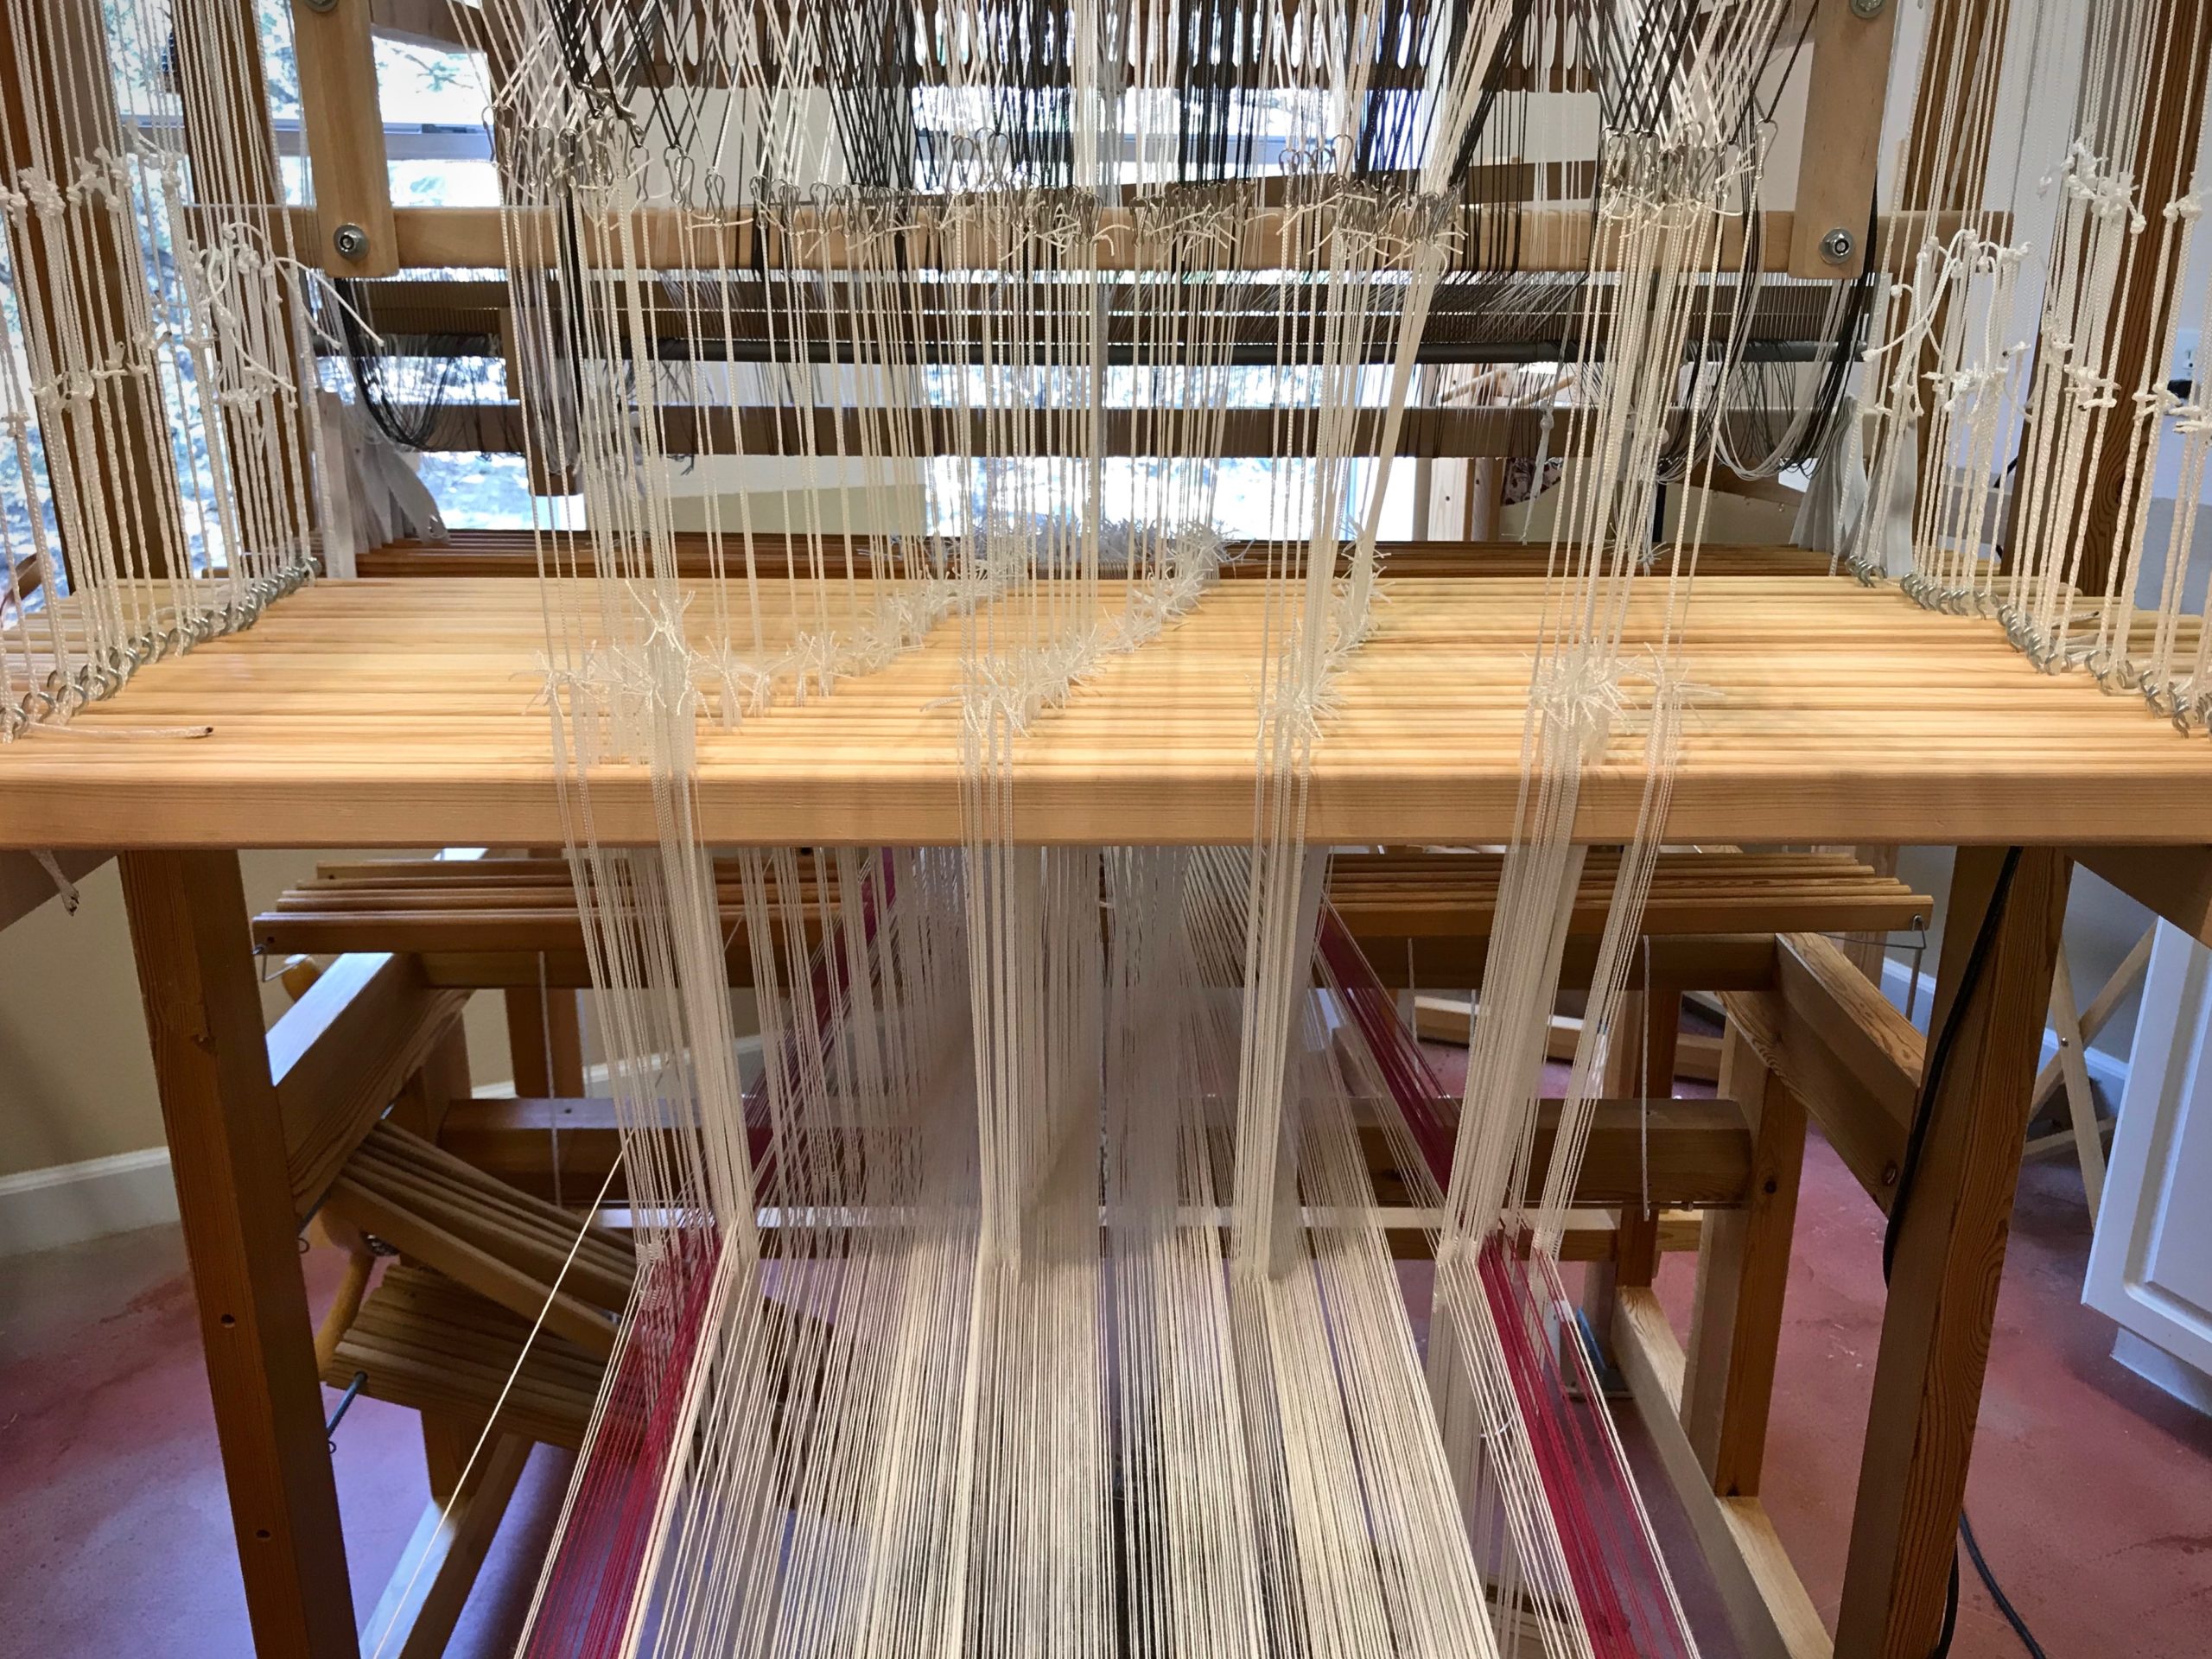
The 2021 cloth is cut from the loom. Let’s unroll the year to see how it looks. I see cherished moments. Treasured memories. New friendships. Family relationships enjoyed. Mistakes made. A few heartbreaks. Sorrow and rejoicing are intertwined at times. Besides the finished fabric, there are a few odd remnants worth keeping in my heart. And, like most thrums, there are some things I am not going to hold on to.
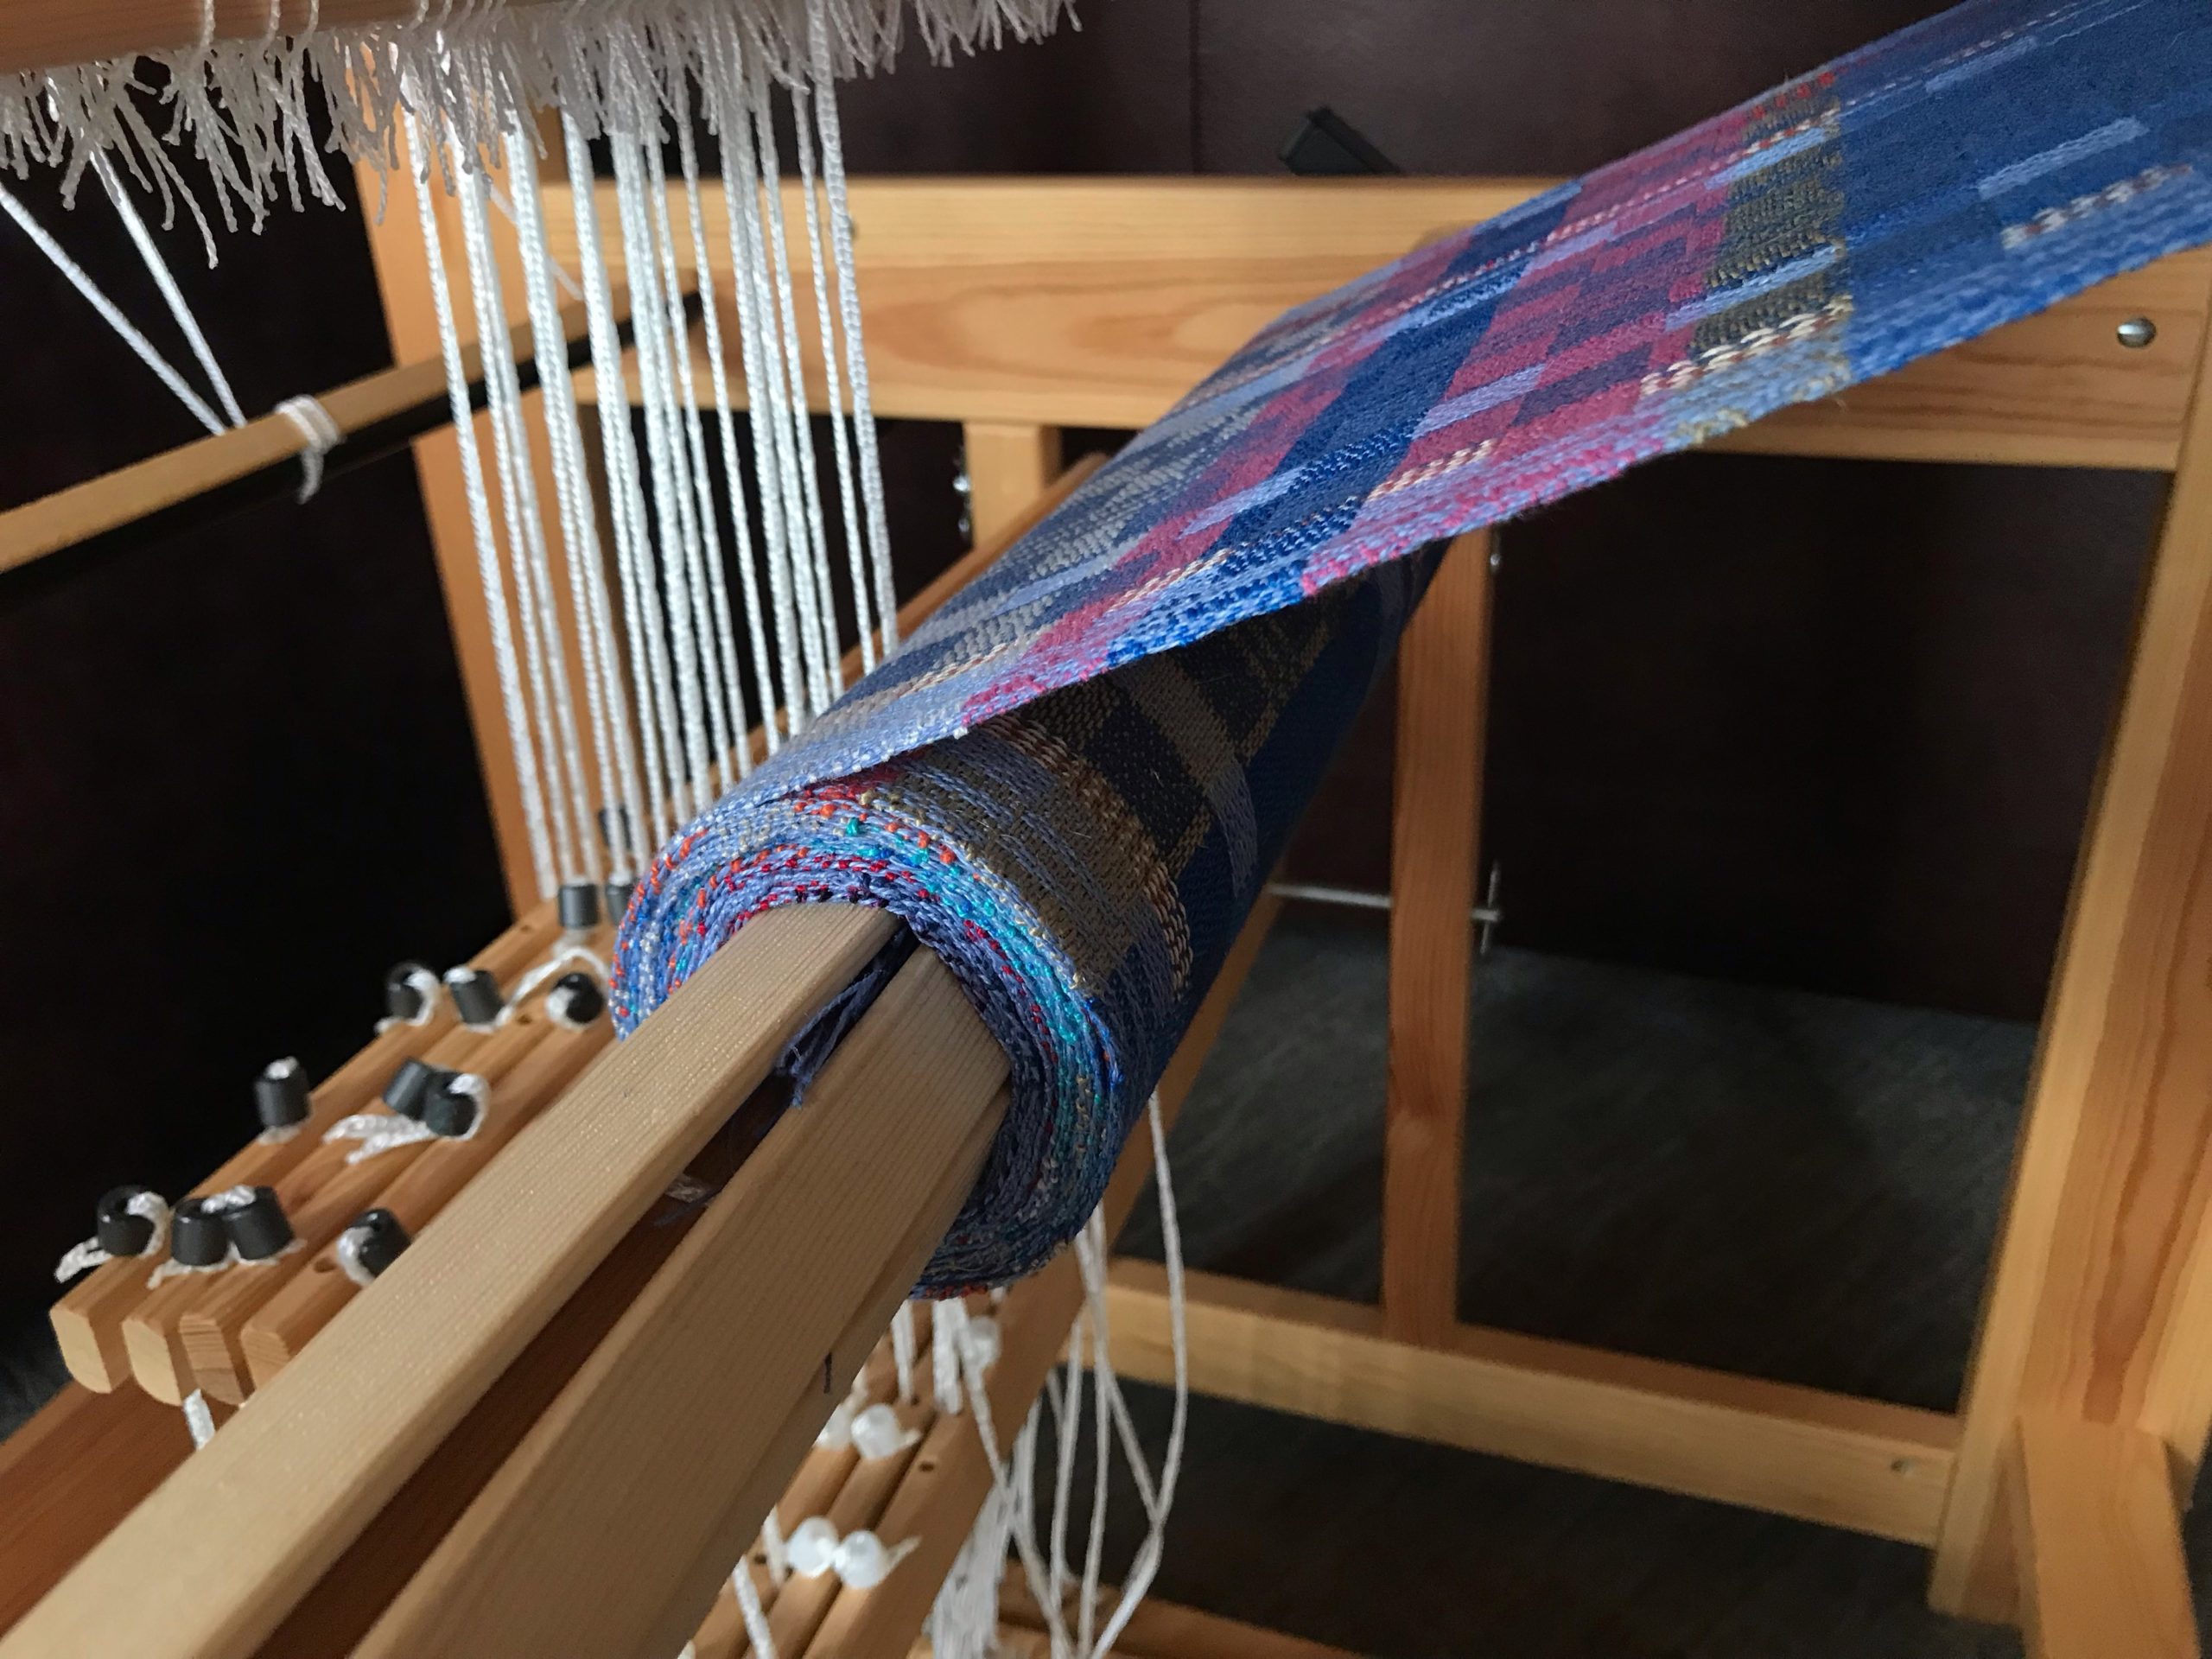
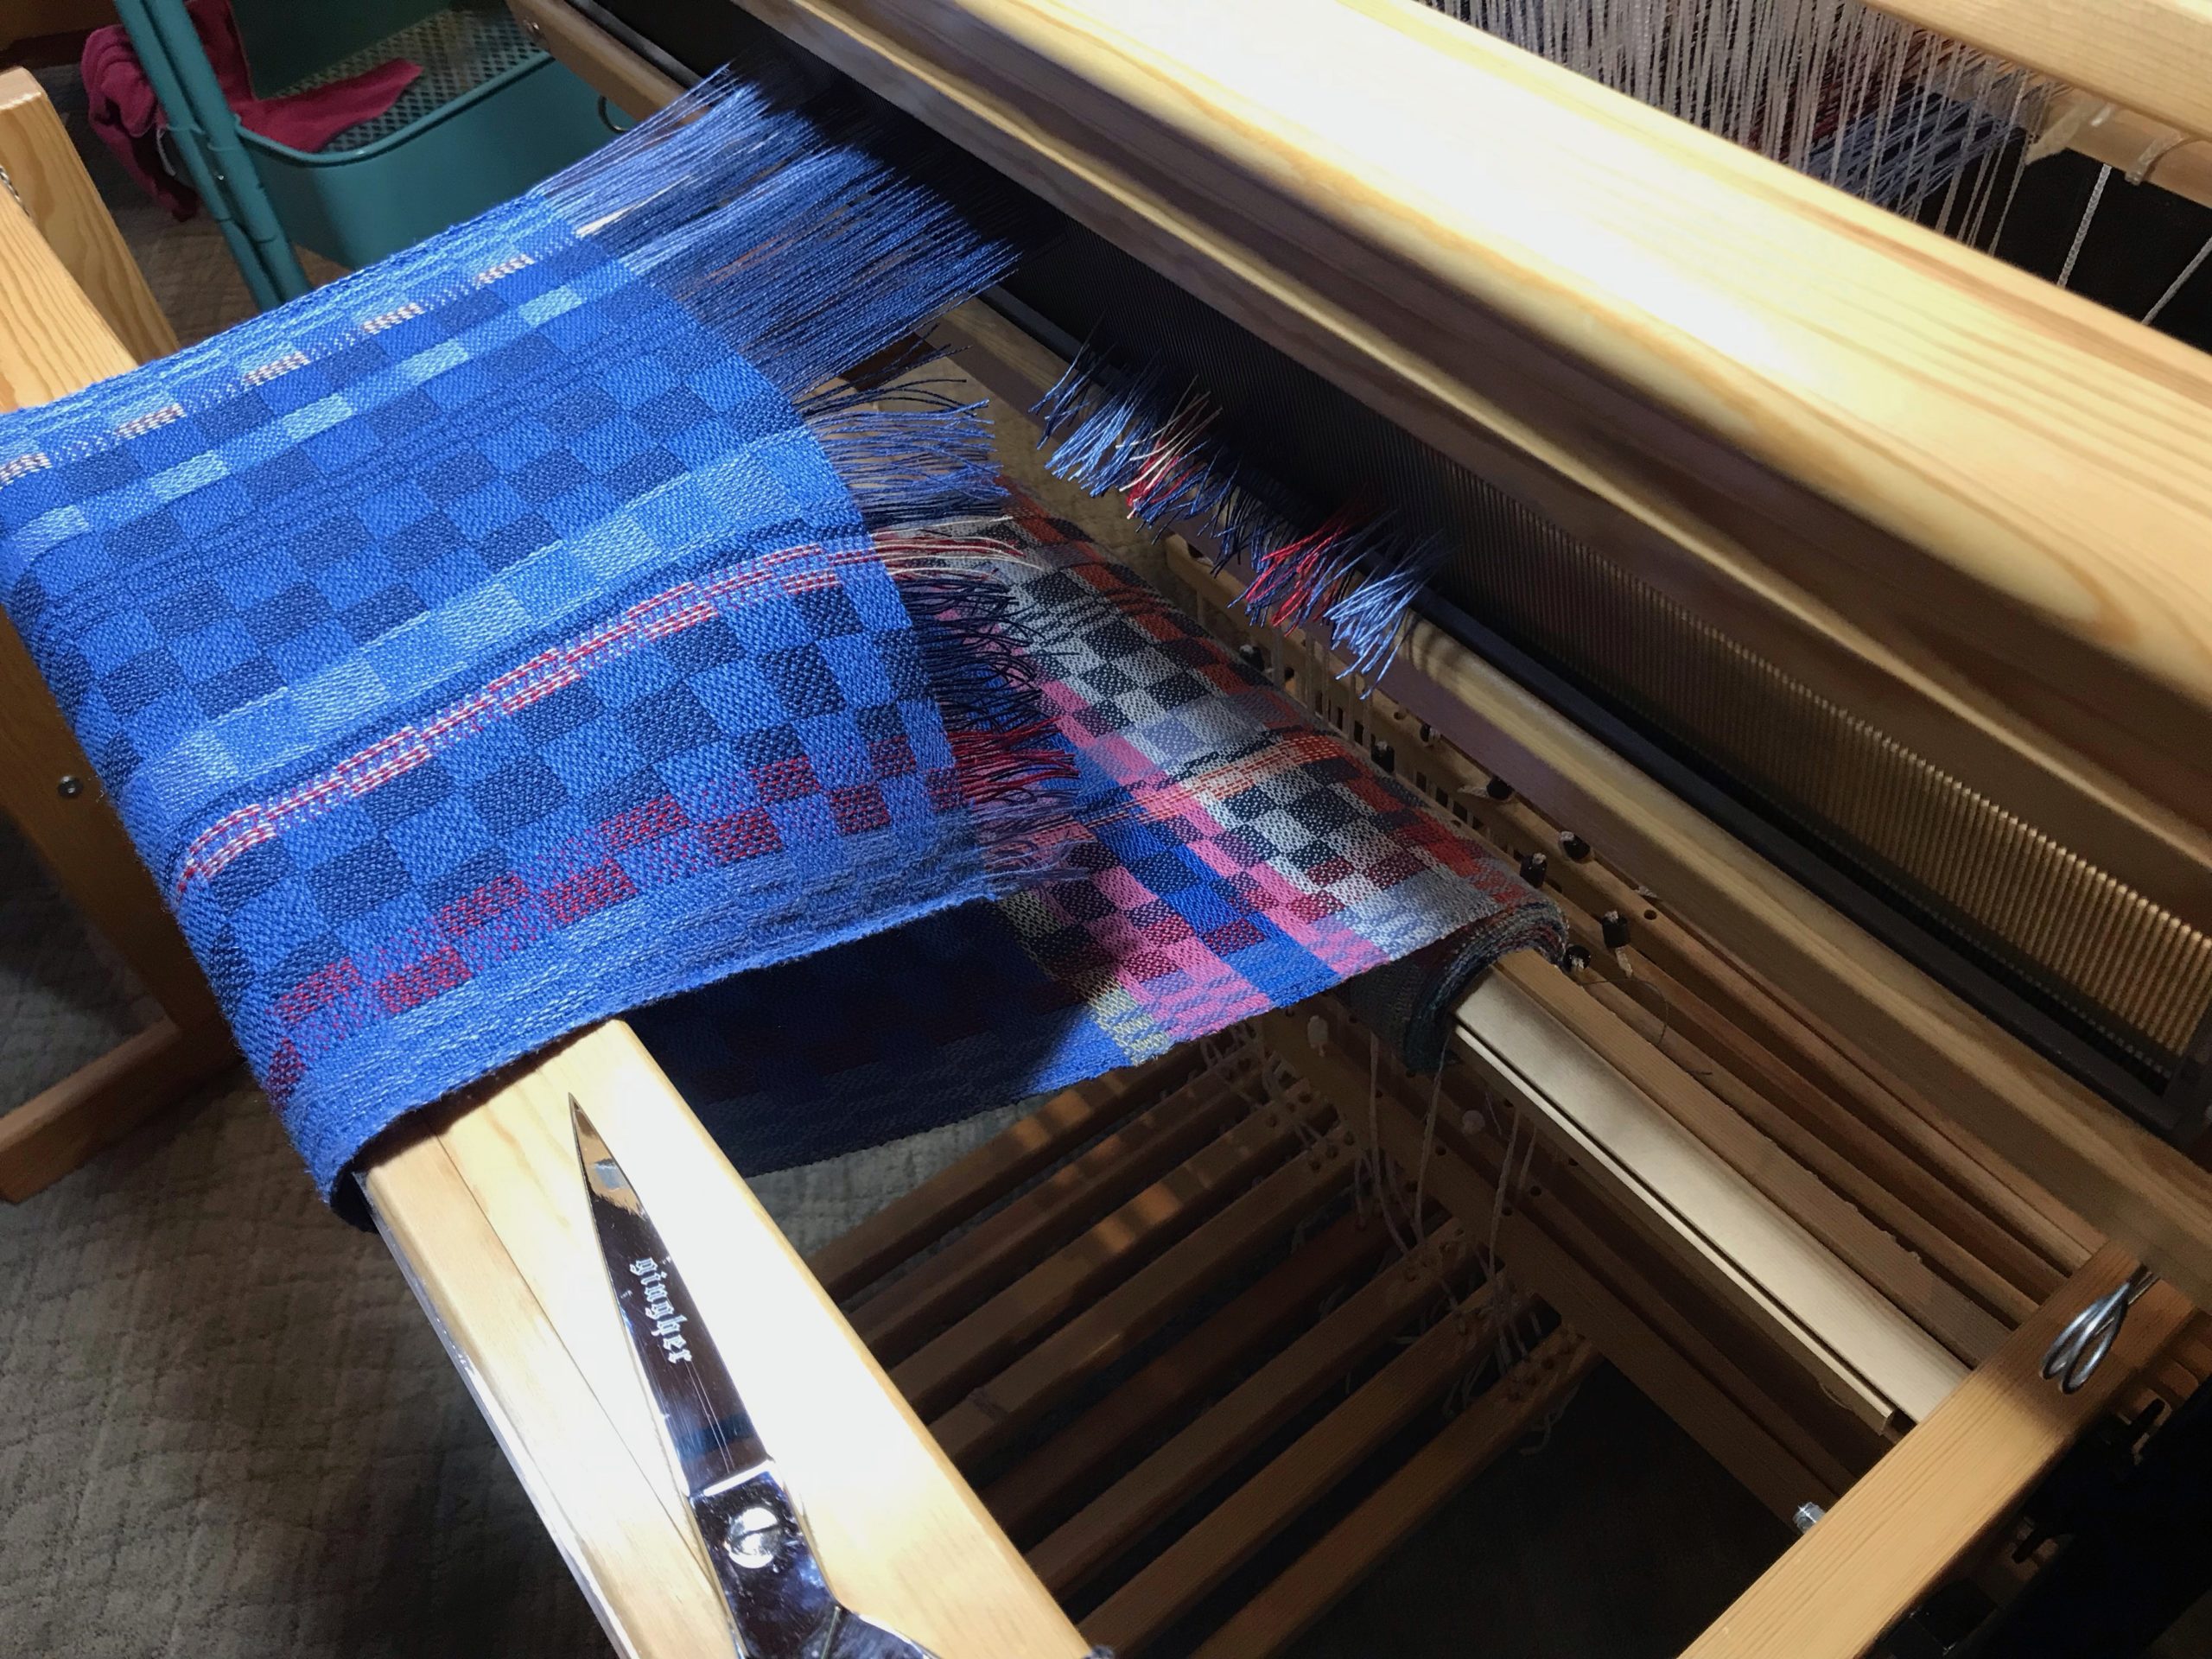
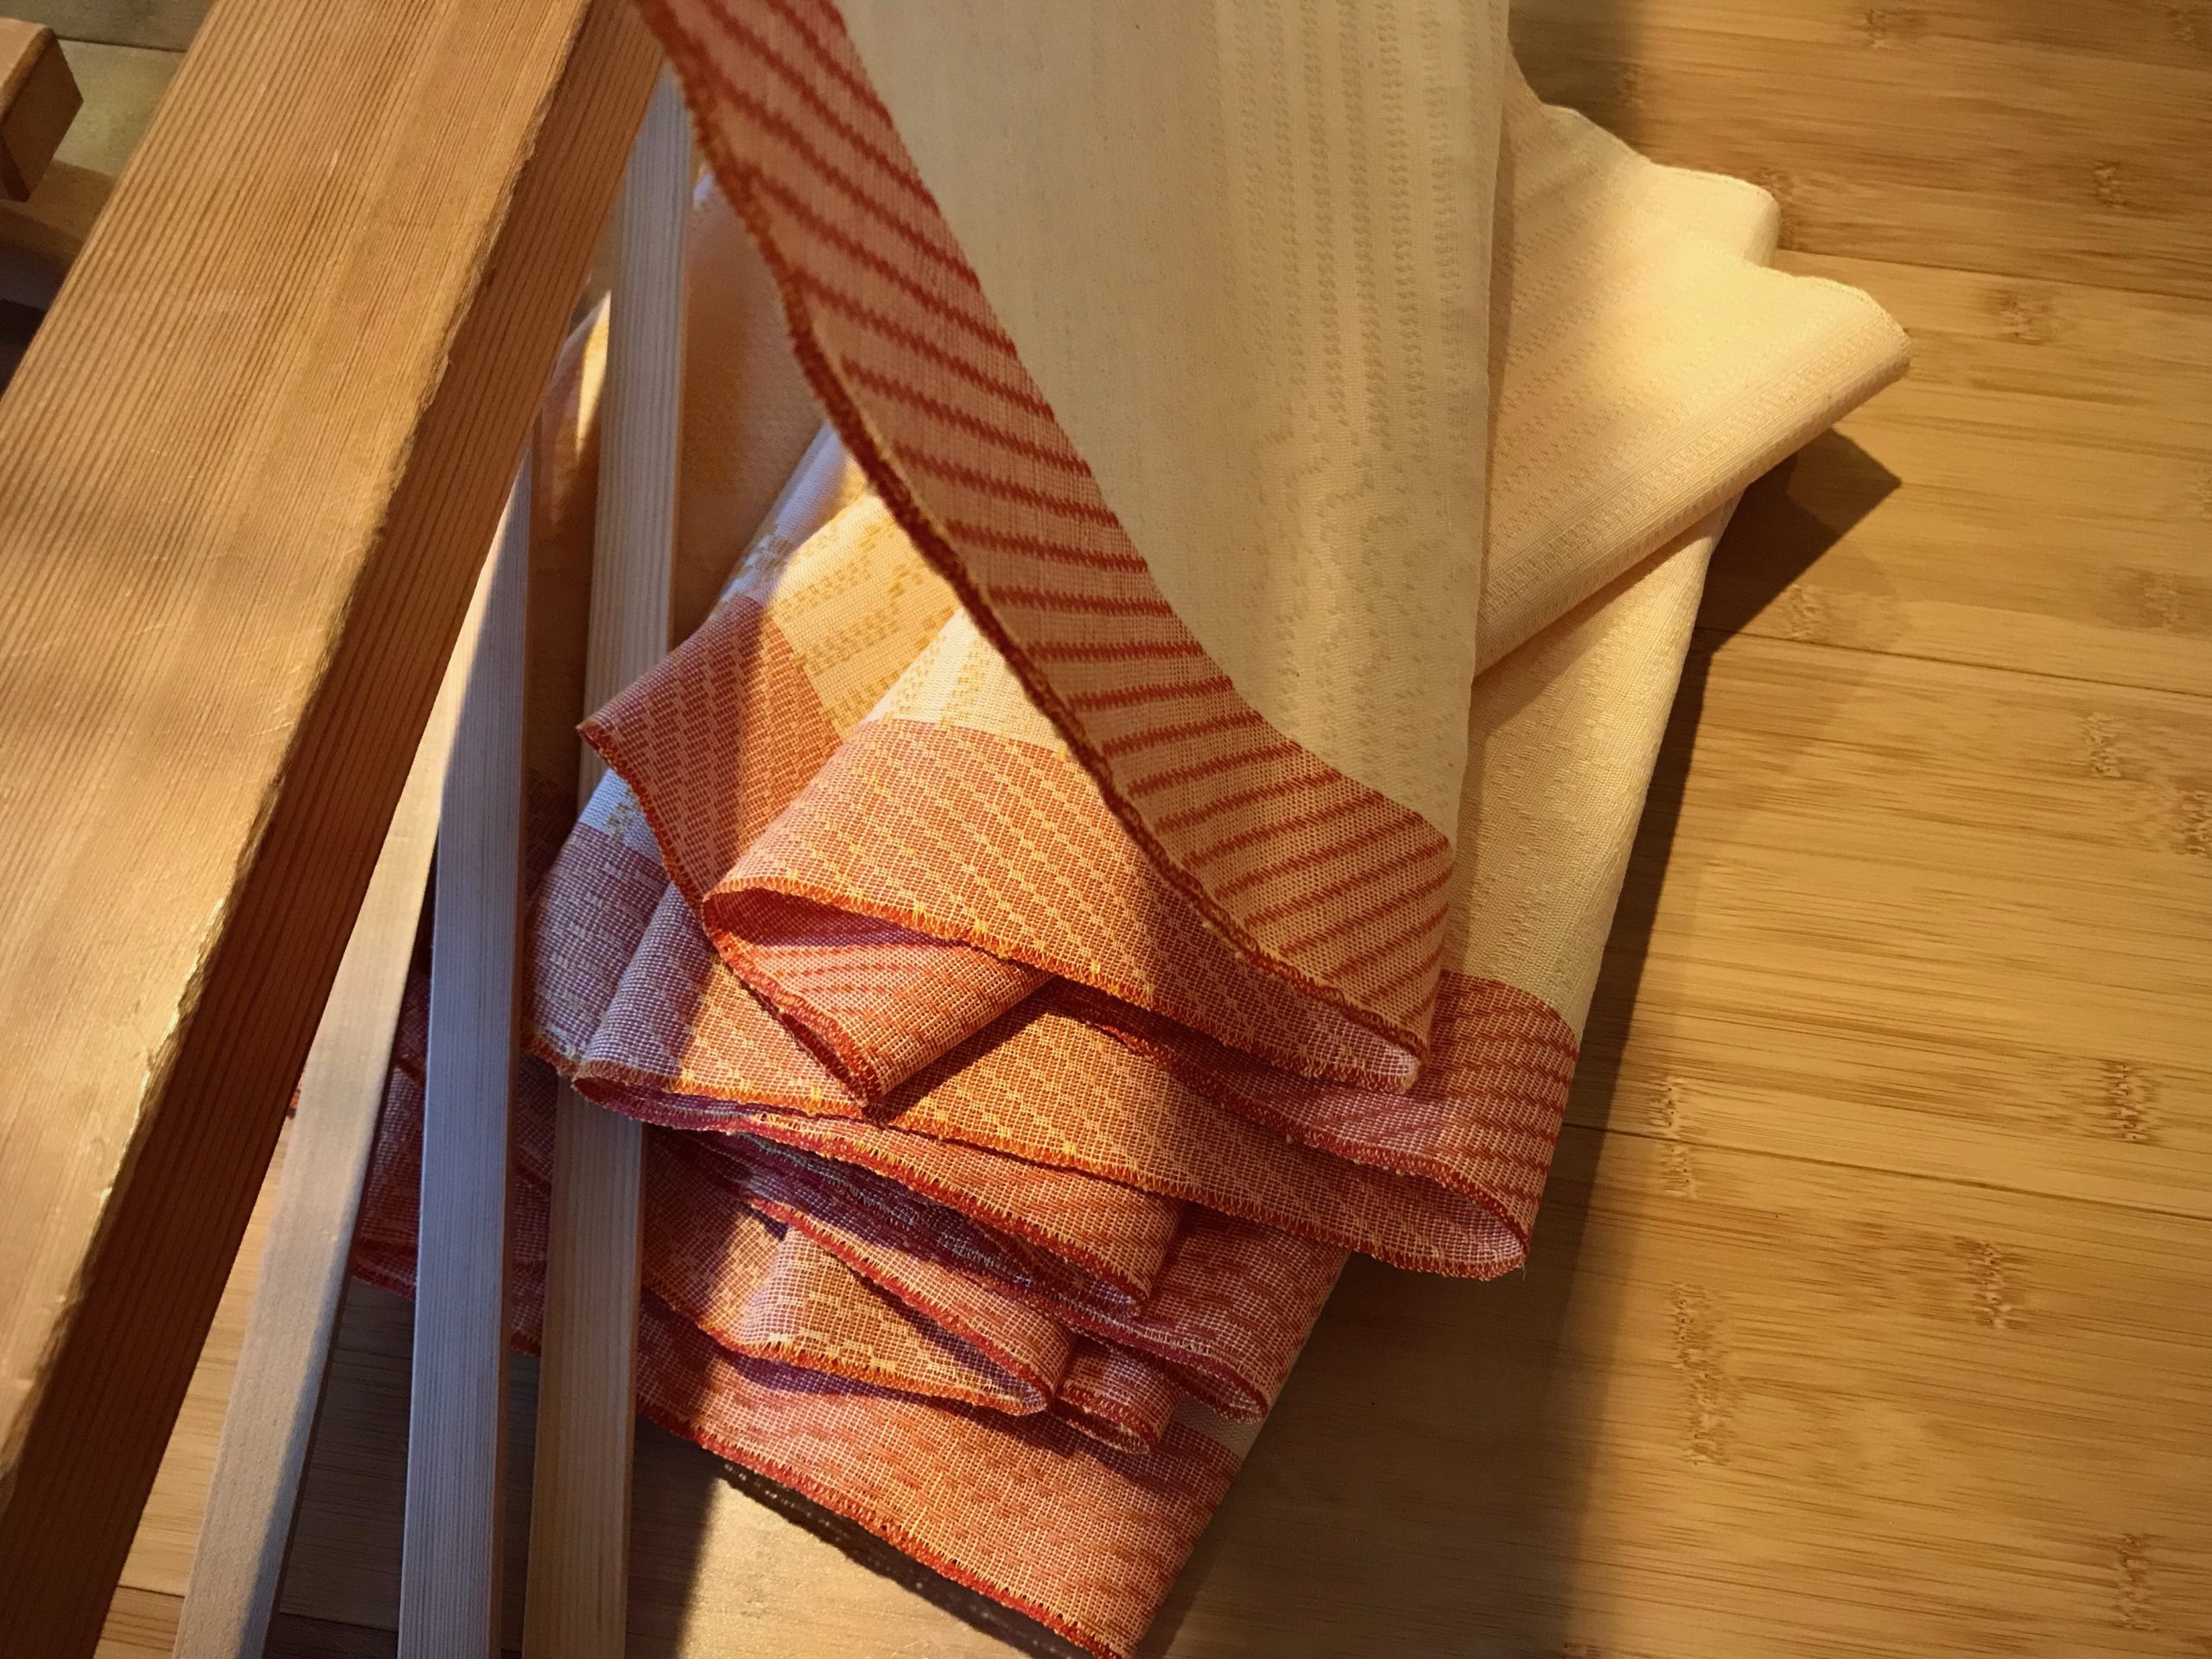
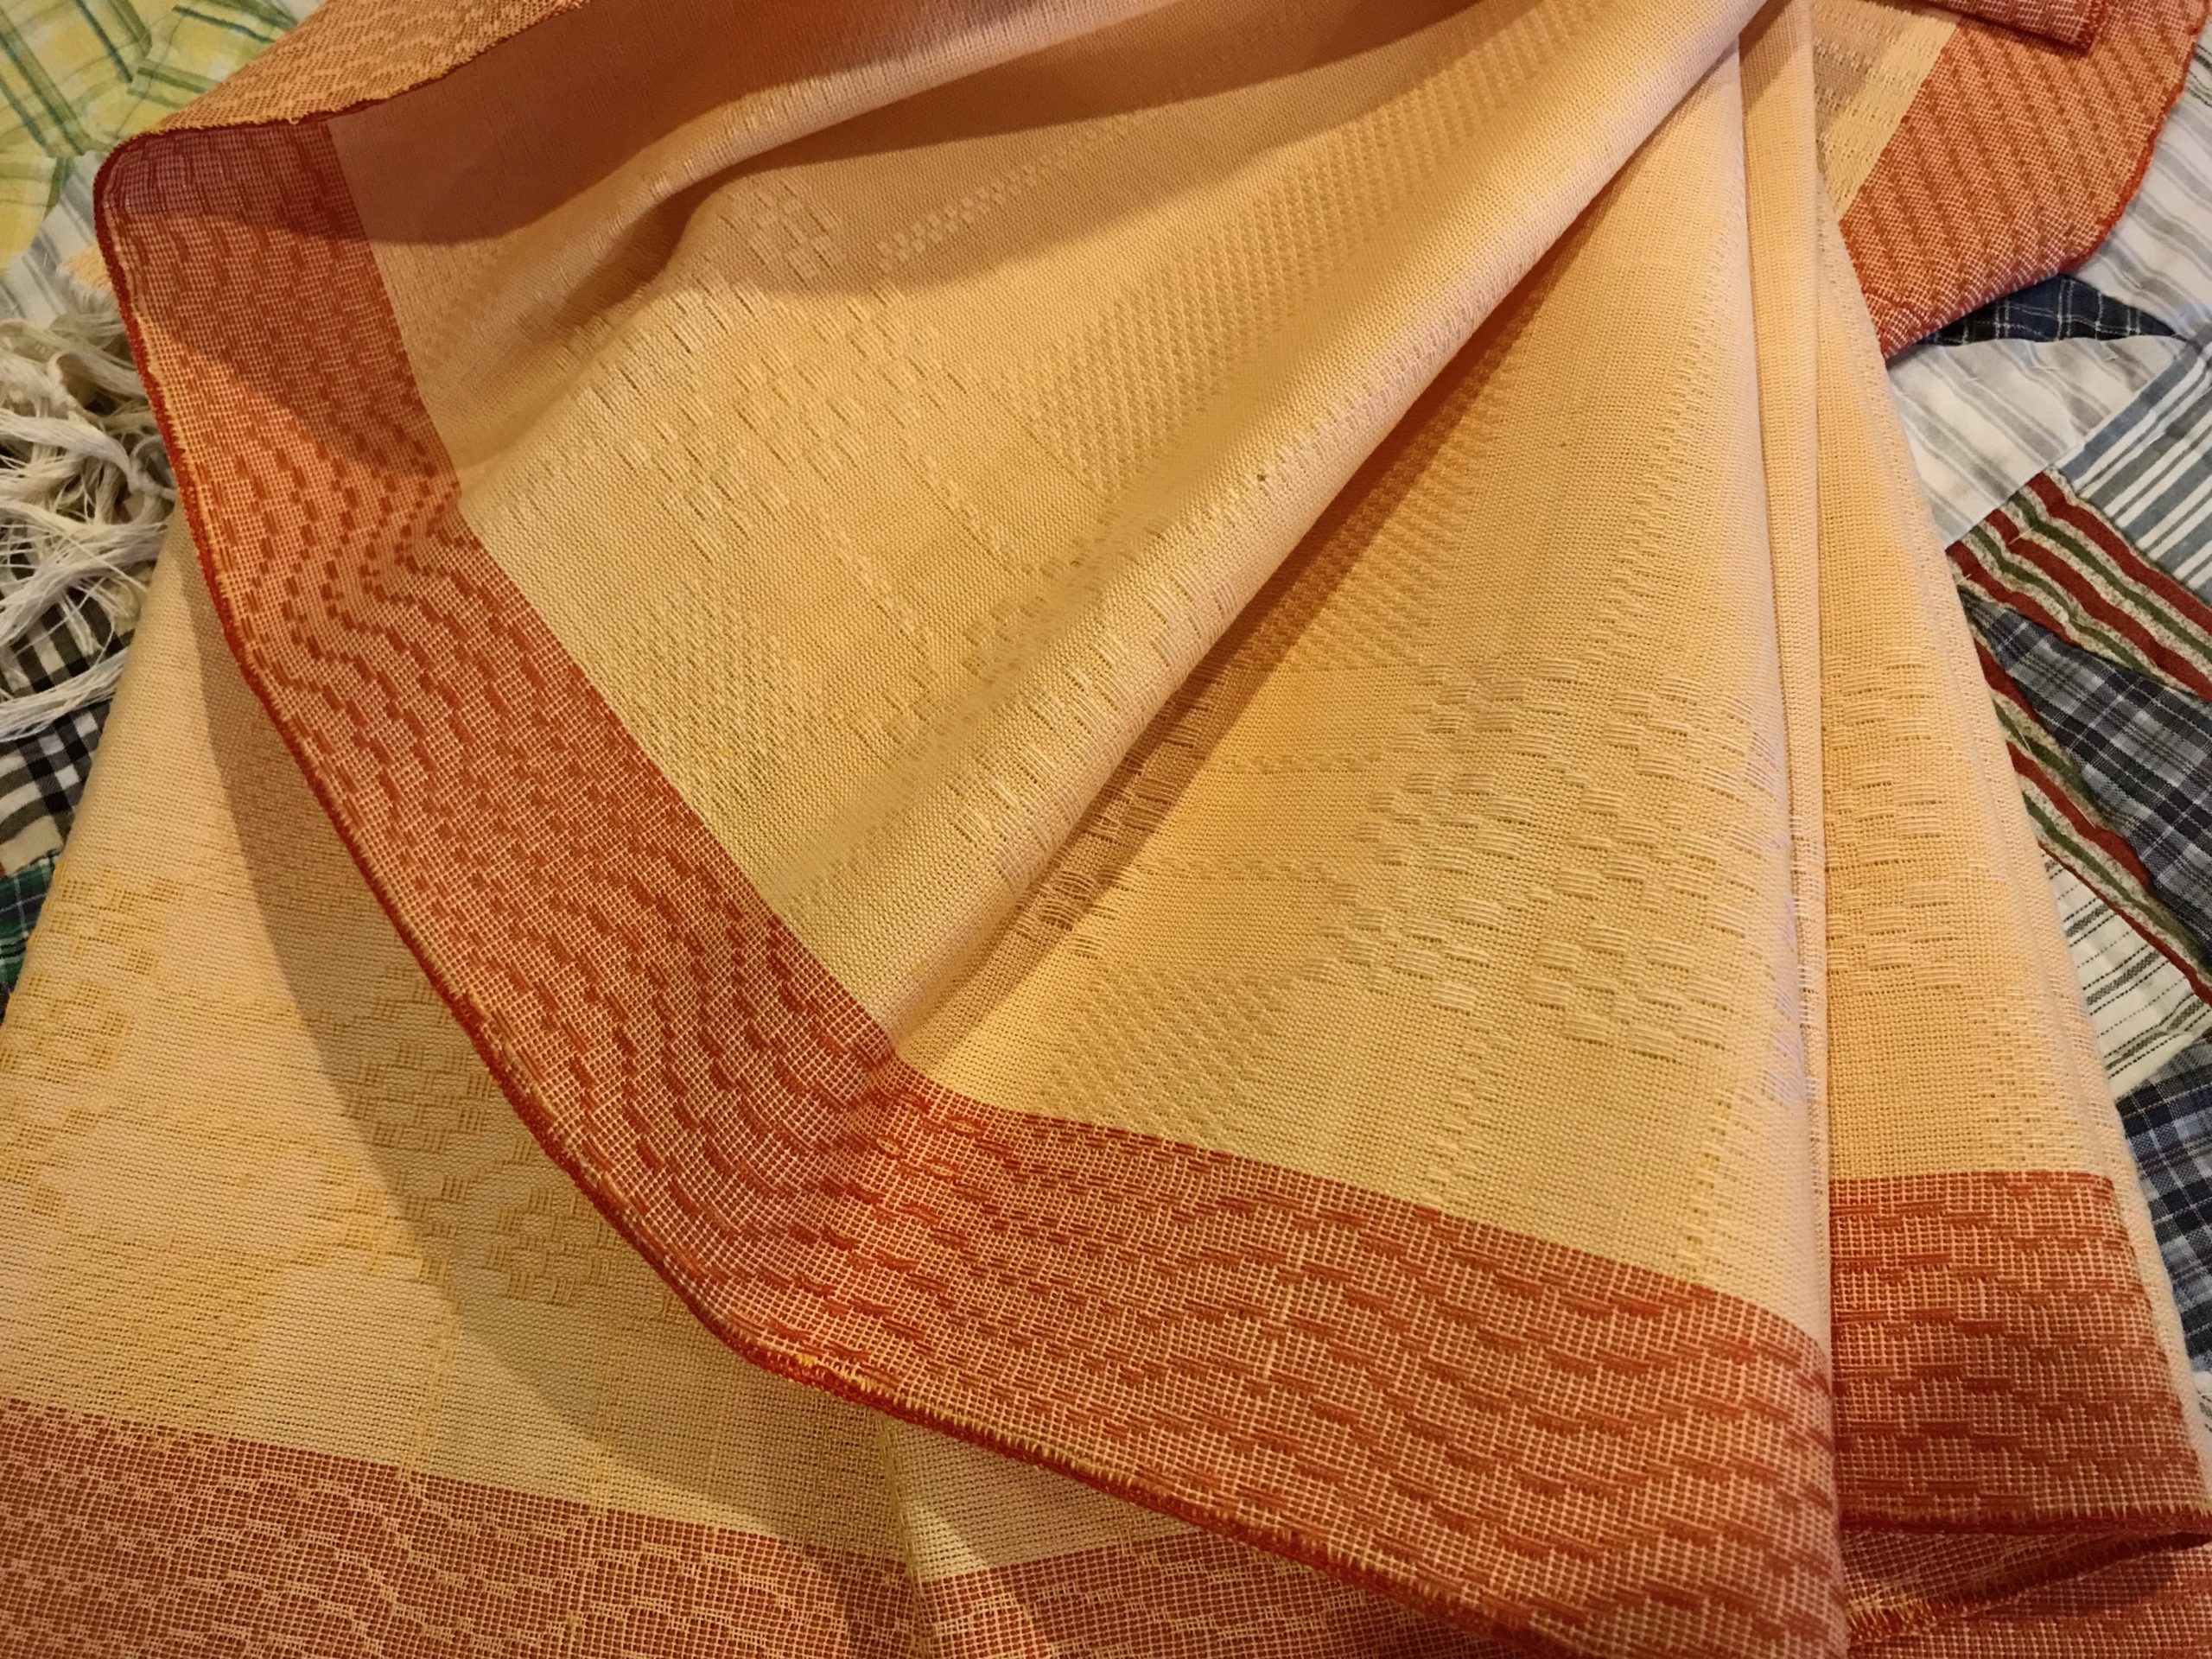
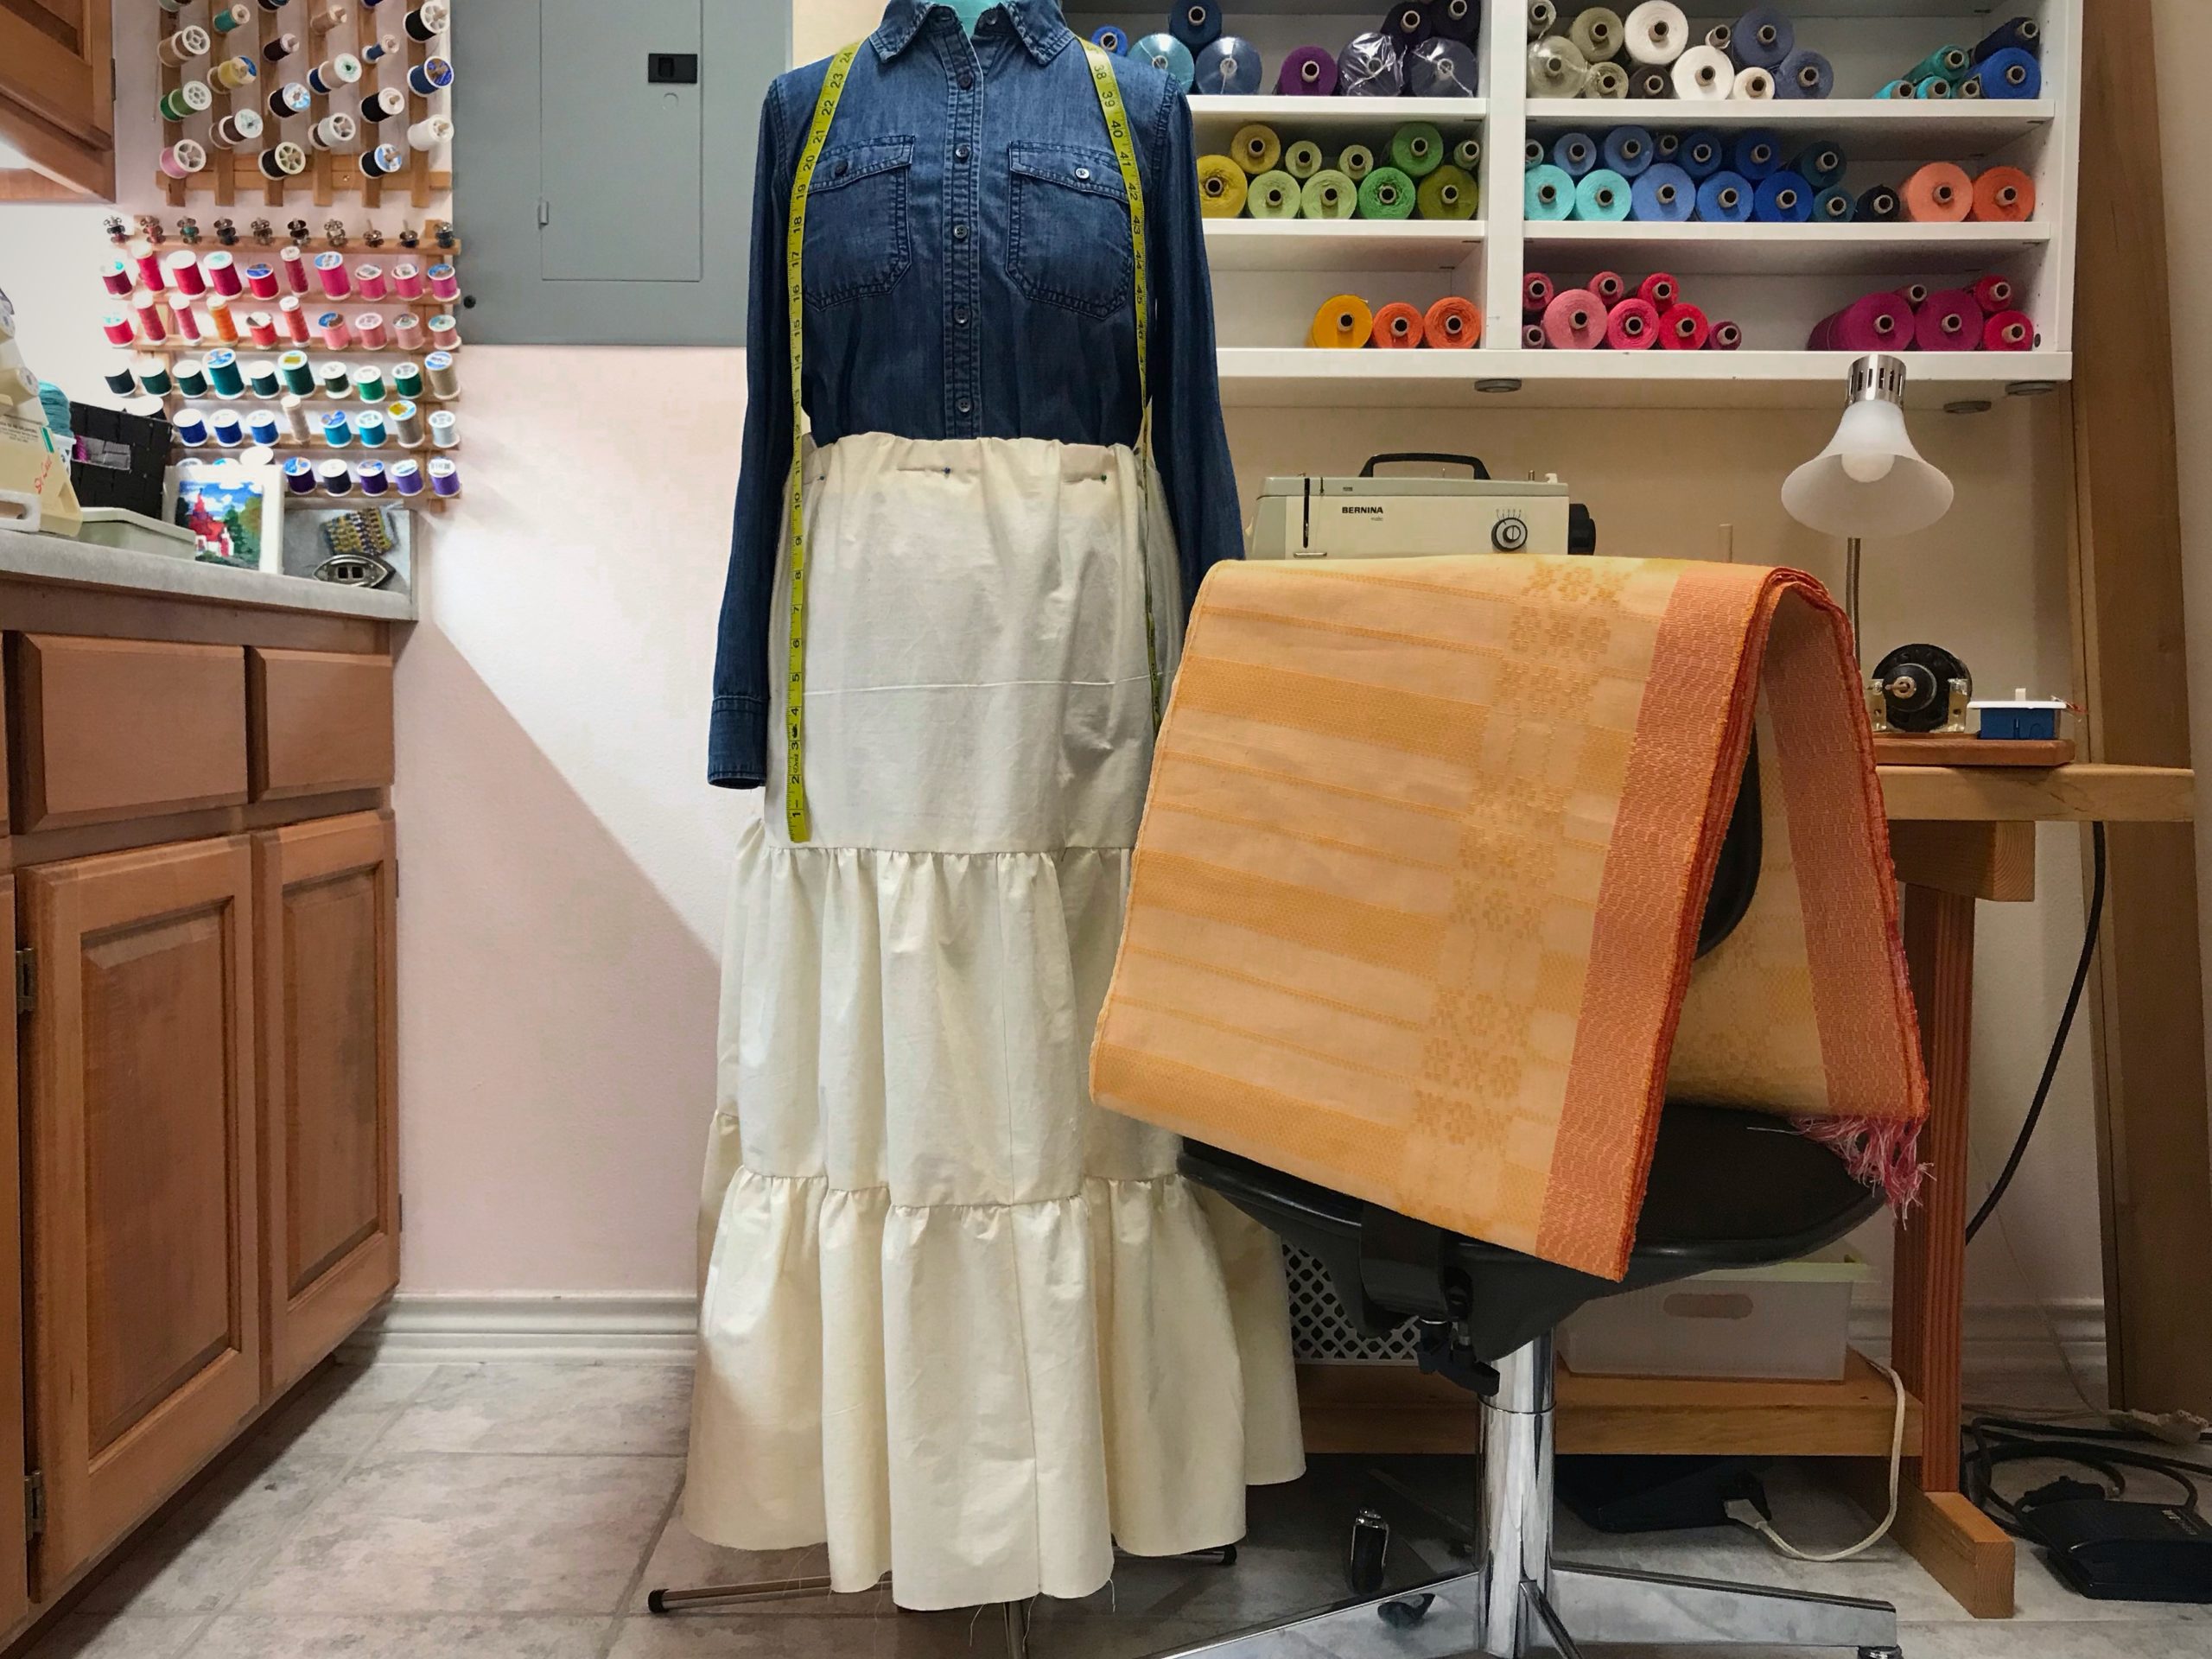
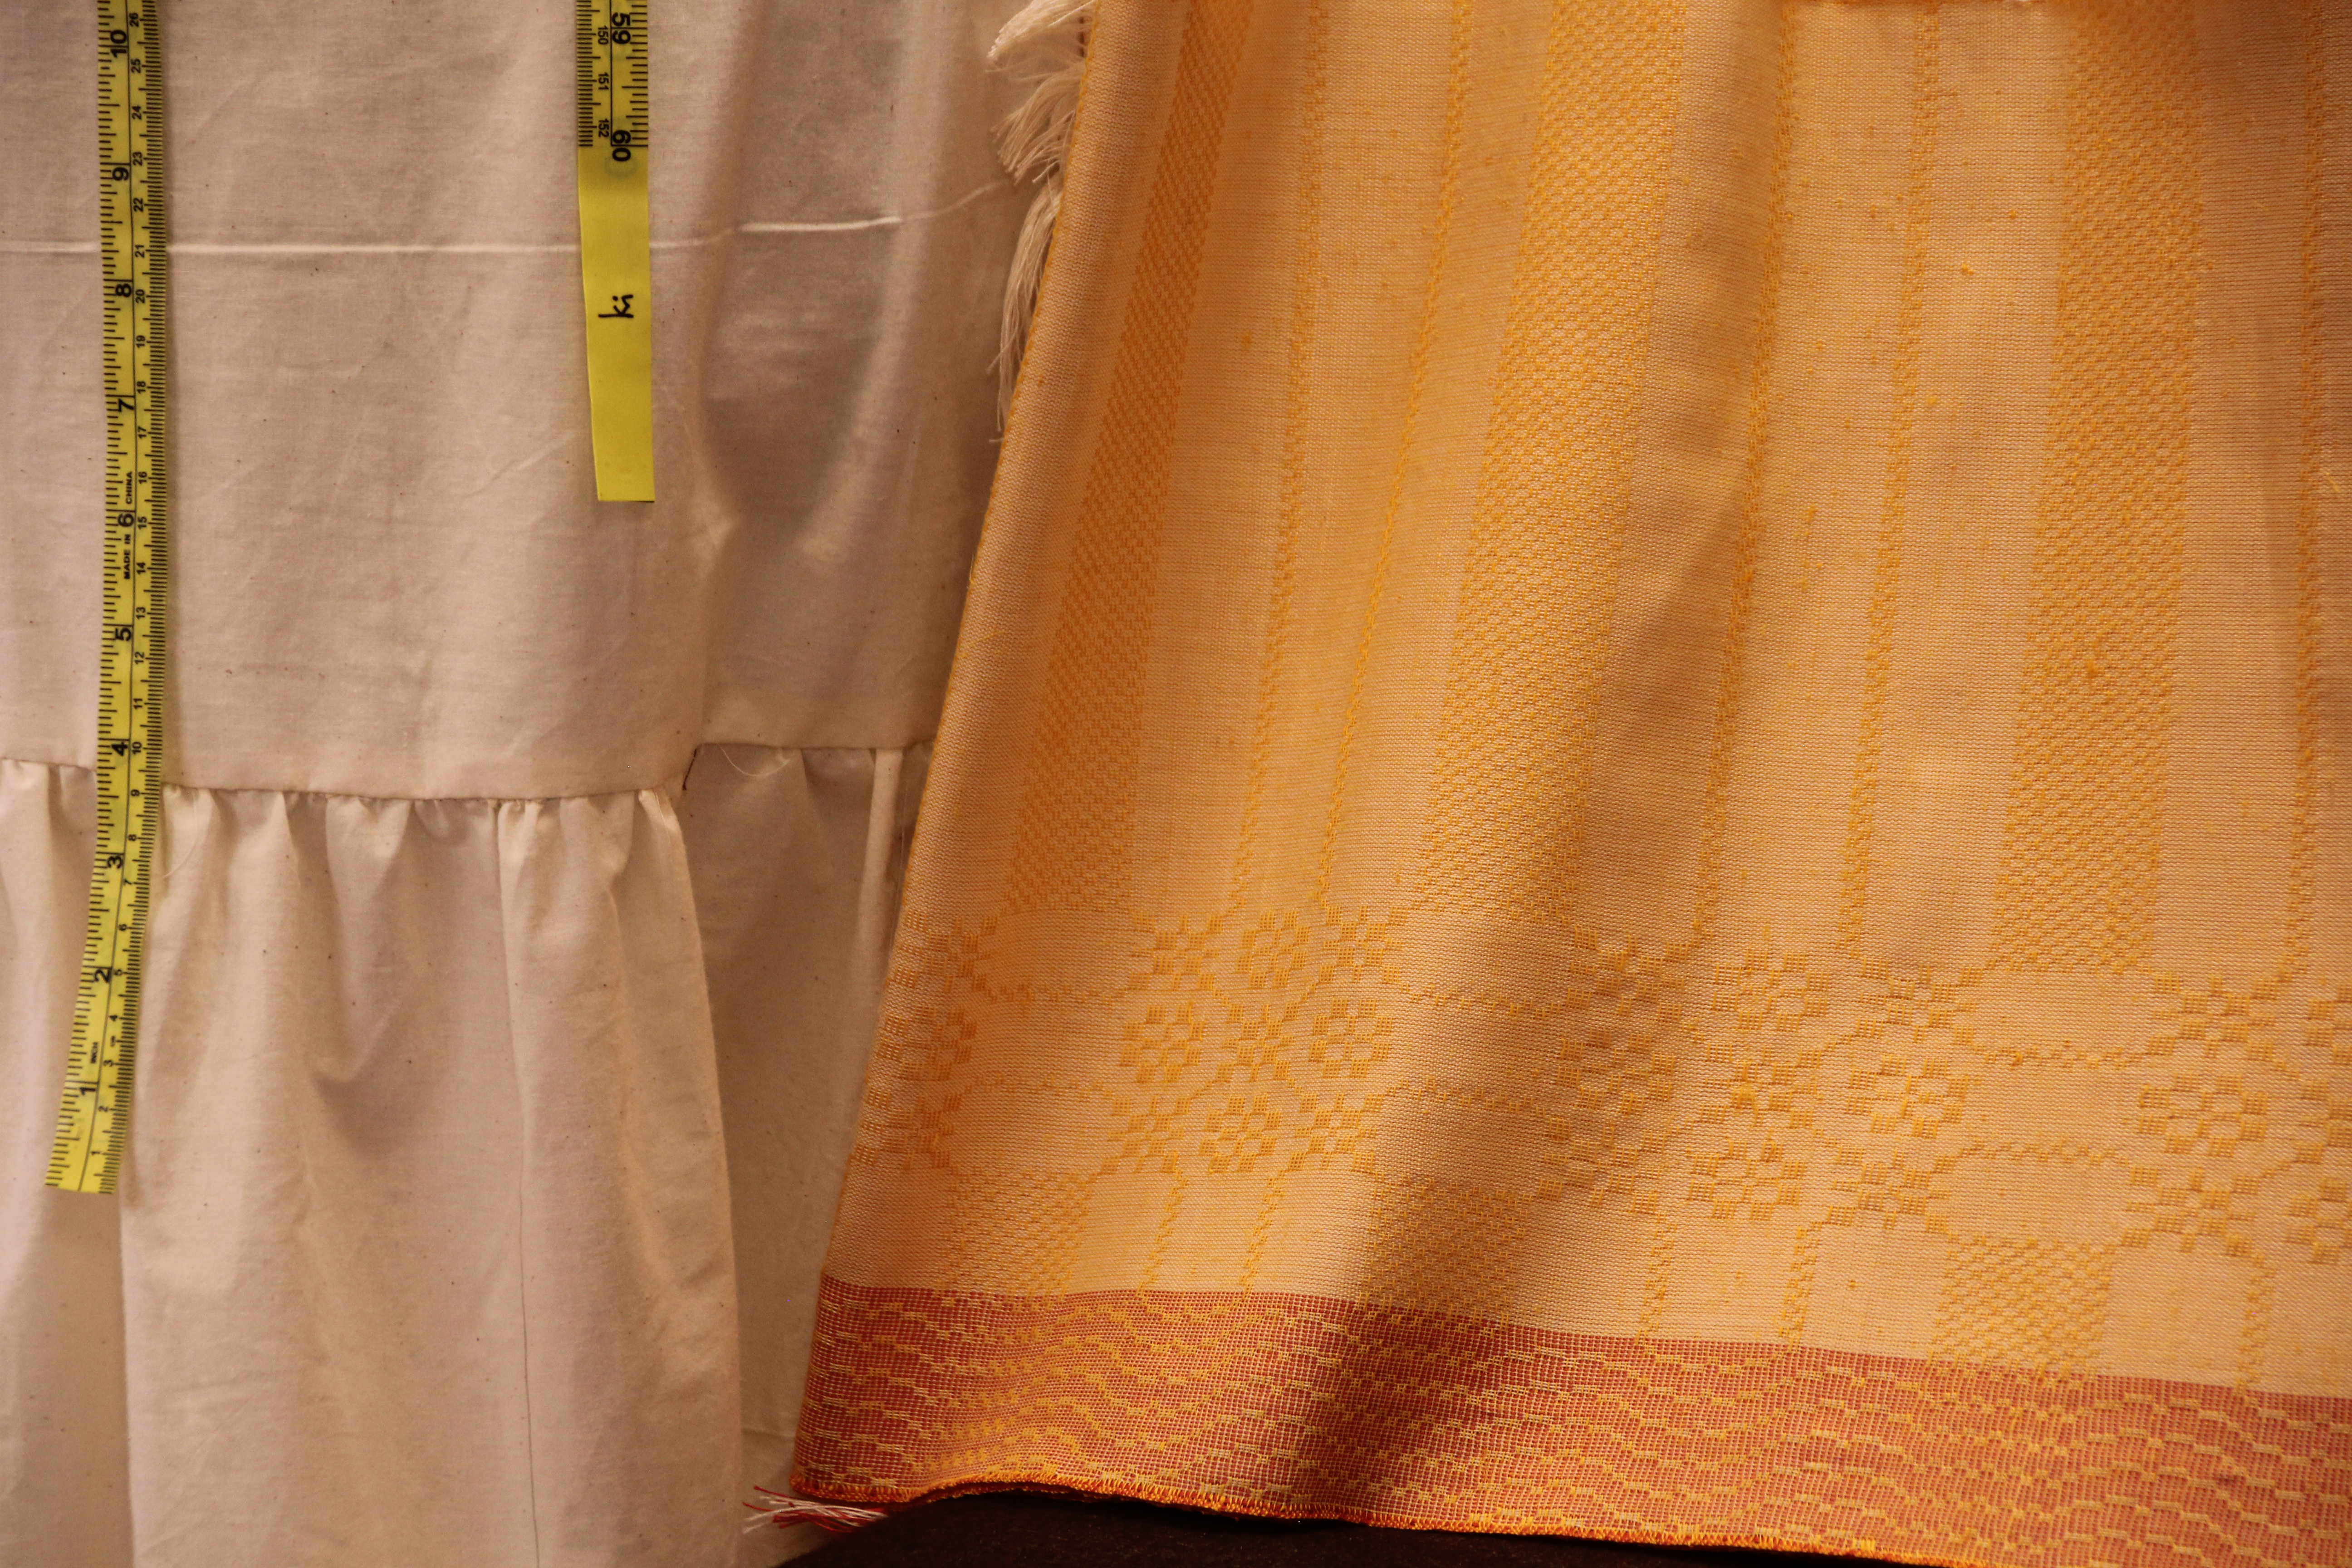
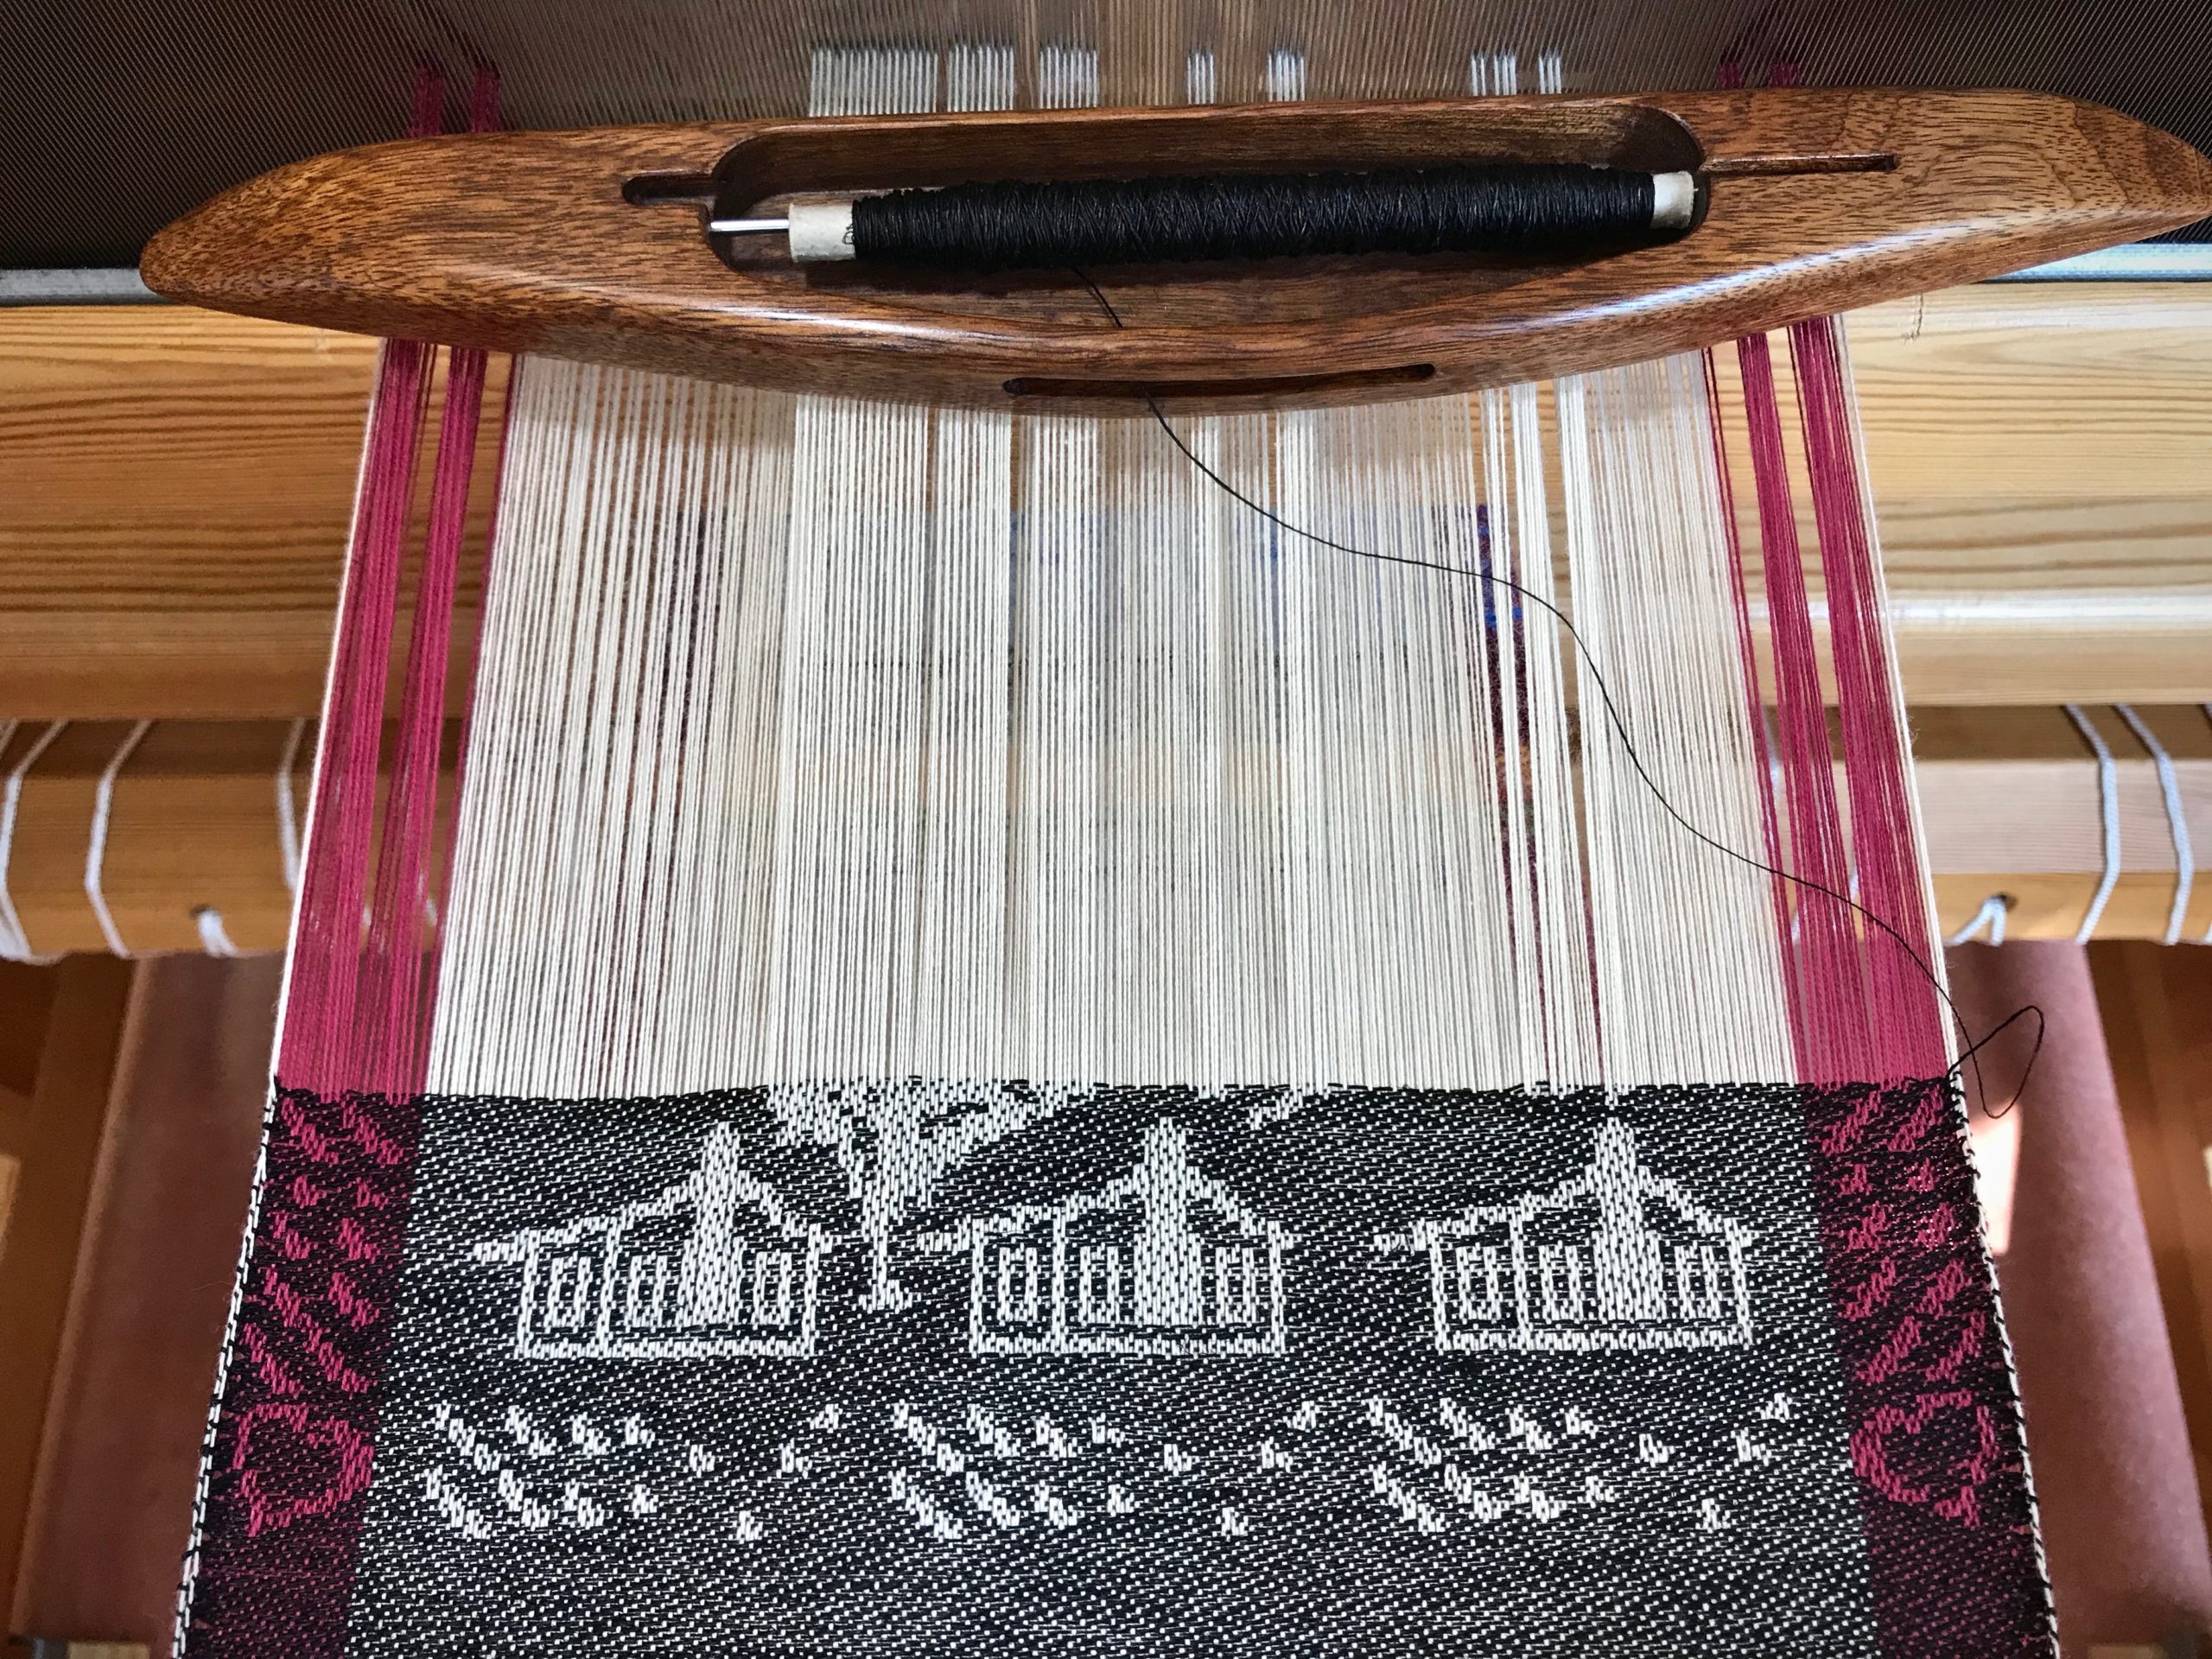
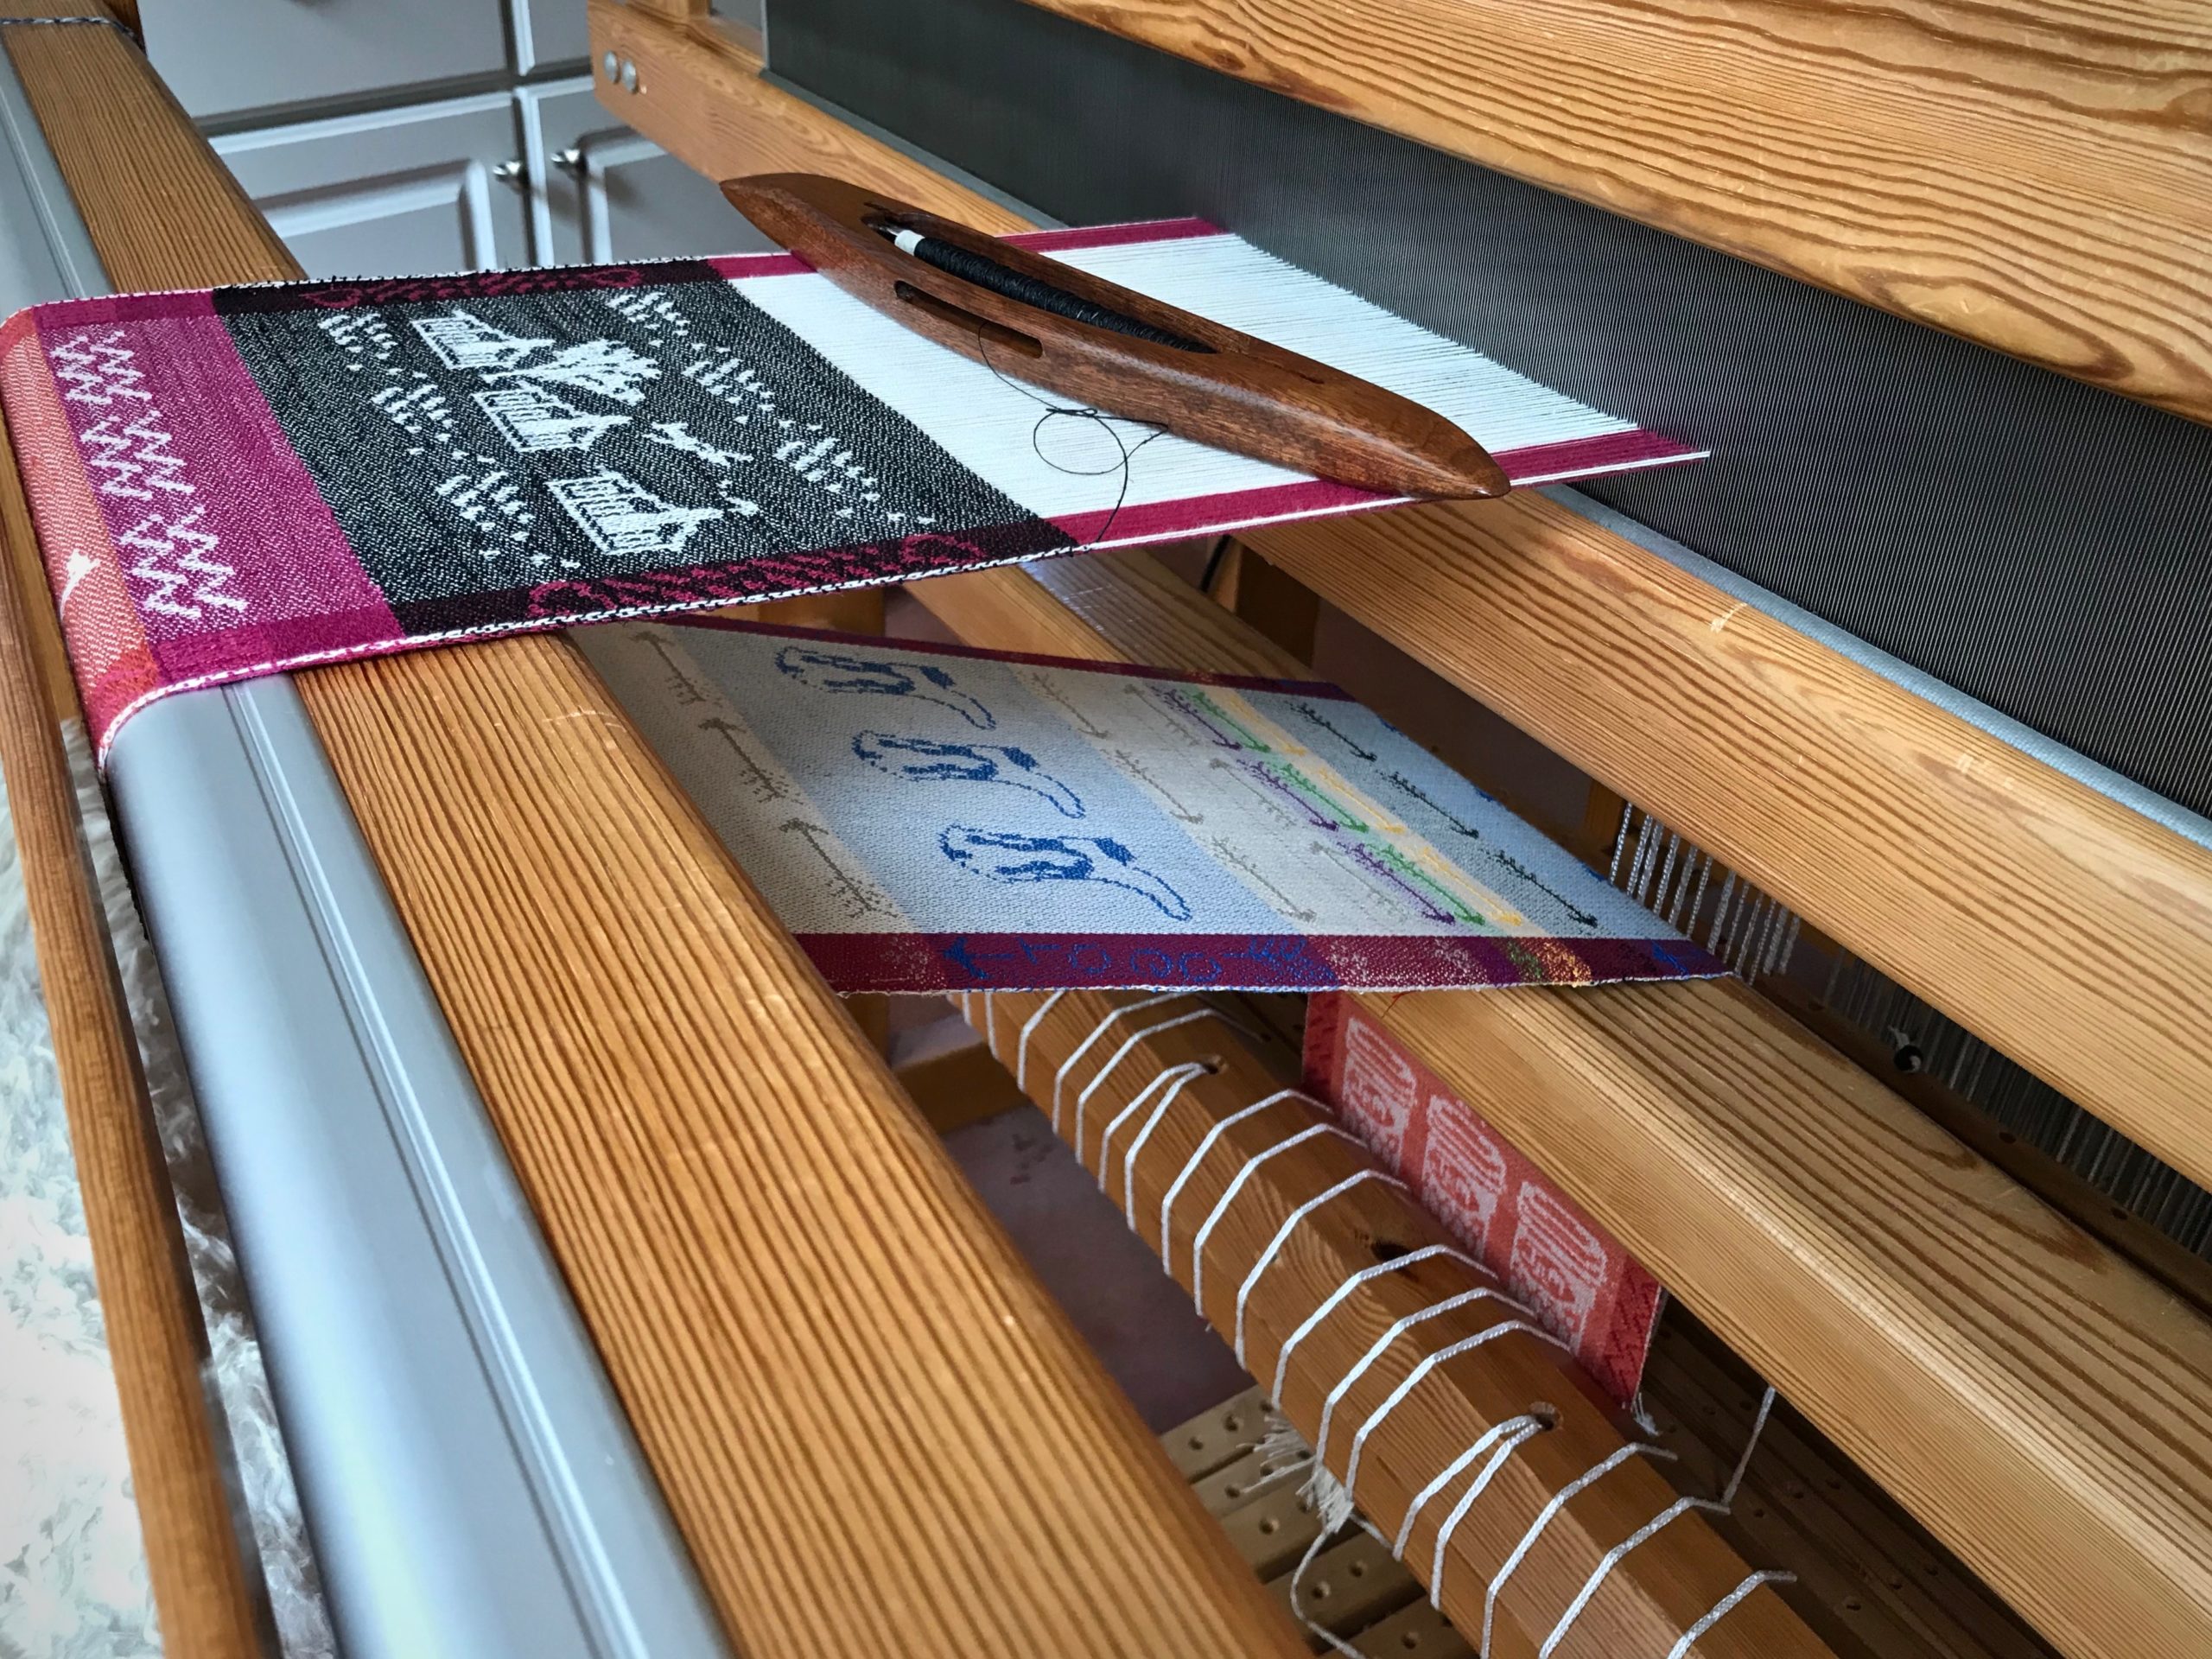
Three weaving highlights: 1. Eye of the Beholder—tapestry of my mom. The Lord used the making and finishing of this woven portrait to reiterate His nearness when I needed it most. 2. Siblings, tapestry from the previous year, earned the HGA (Handweavers Guild of America) Award at the Contemporary Handweavers of Texas Conference last summer. 3. The yellow huckaback three-tiered skirt, Tiers of Joy, ought to earn an achievement award. However, the real reward is a genuine sense of accomplishment through perseverance.
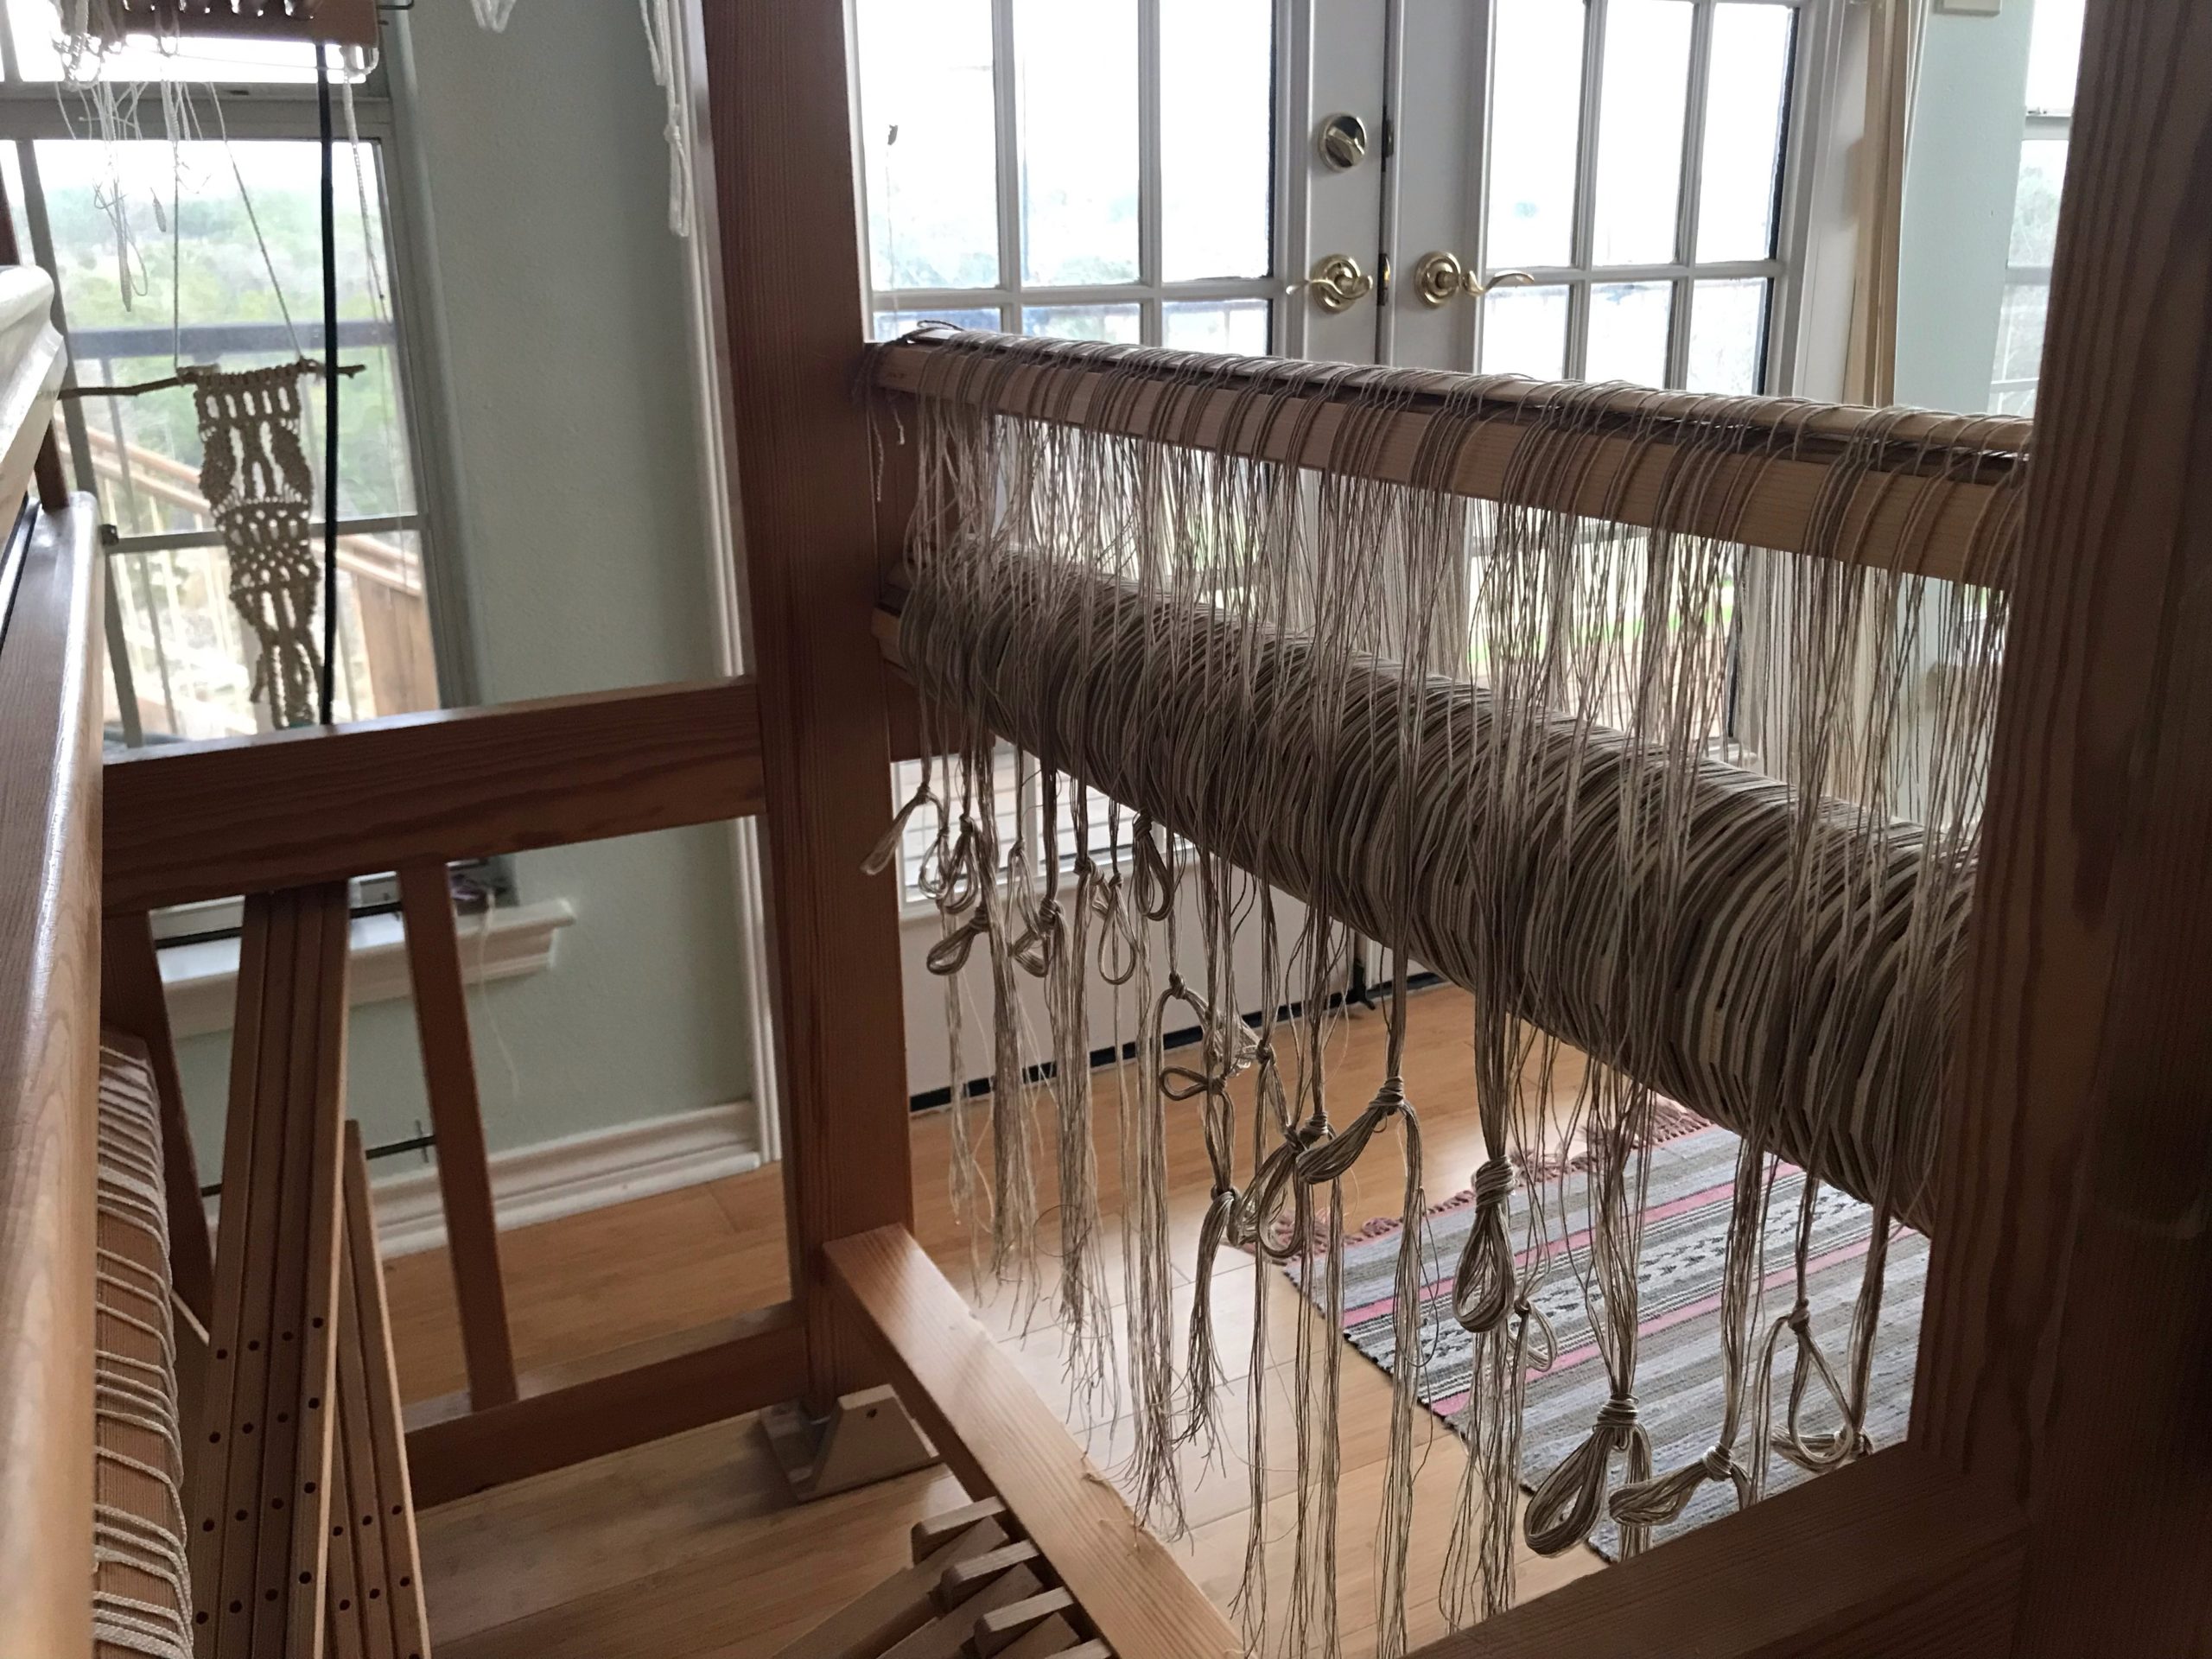
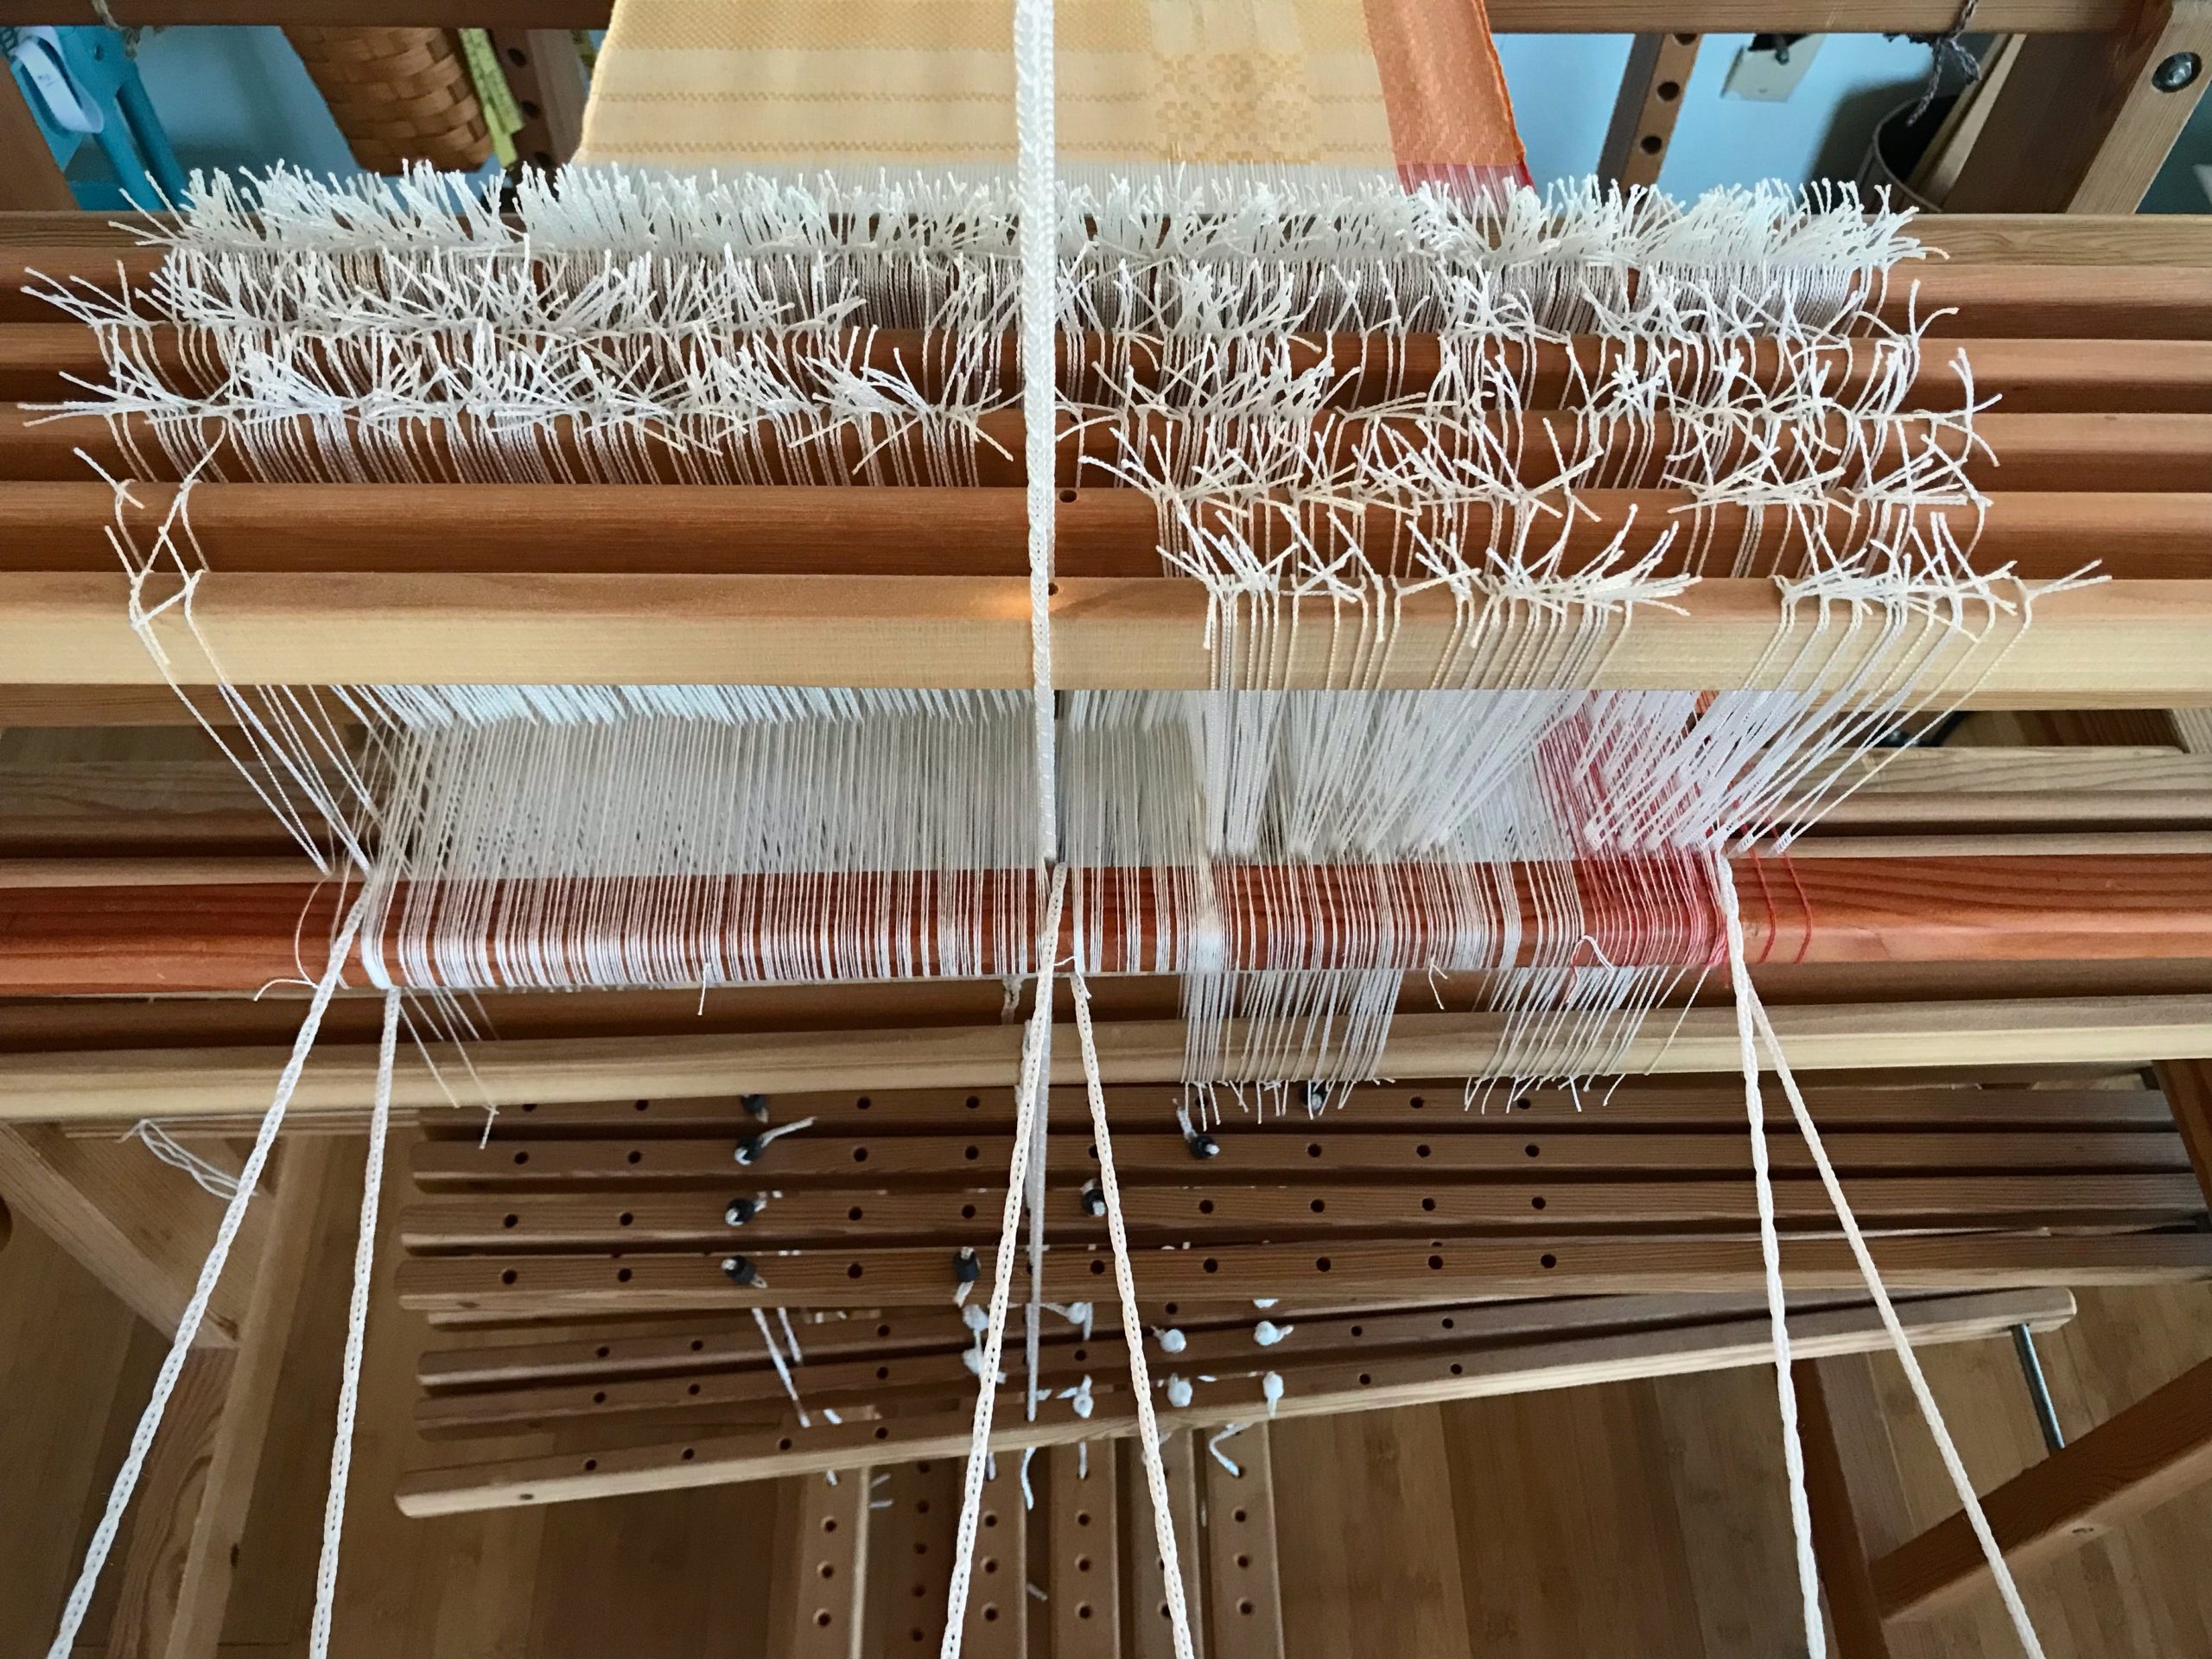
Know when to let go. 2022 is a new warp on the loom. Some things from last year don’t belong. We have a fresh start with no room for complaints. Threads on the loom are rich with hope, ready for the intersection of thoughtful wonder and exploration. Look for results of tangible beauty.
Please enjoy looking back at the weaving journey of 2021 with me. I’m grateful to have you here, and look forward to more good times together!
The three highlights: Process Review: Eye of the Beholder, Siblings Tapestry and Process Video, Process Review: Tiers of Joy!
May you know what to hold, and what to let go.
Happy New Warp (Year),
Karen