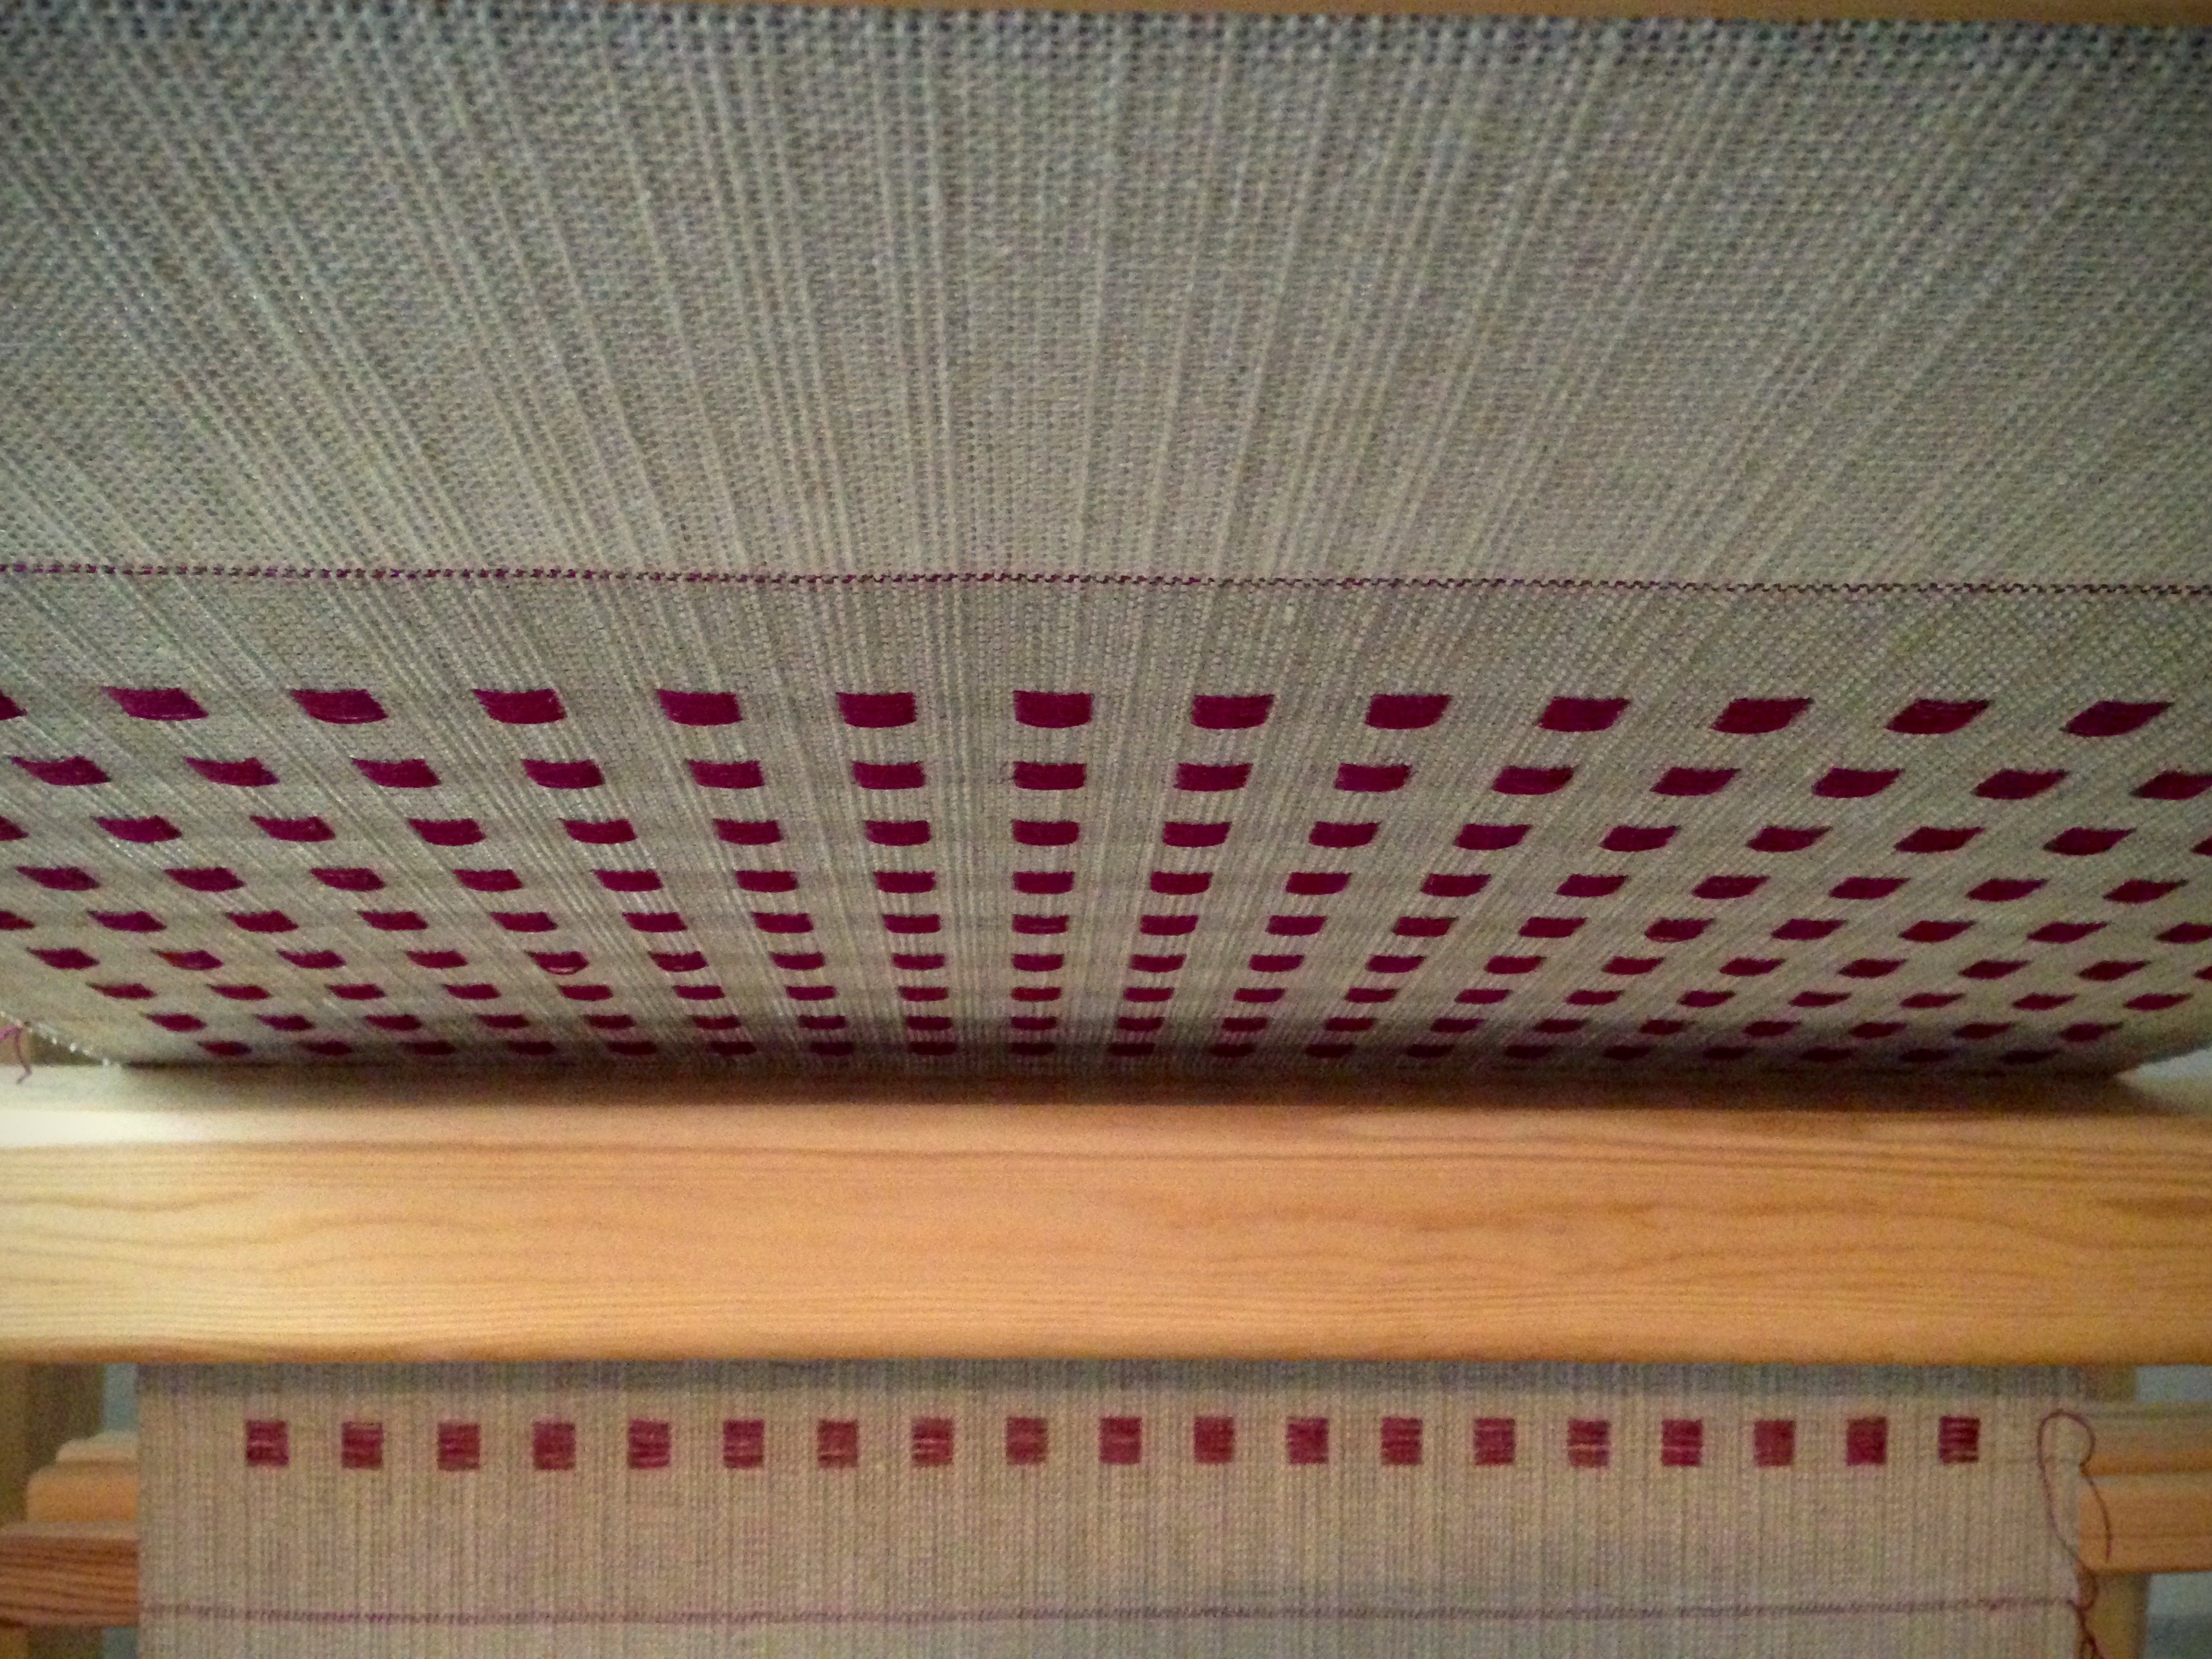
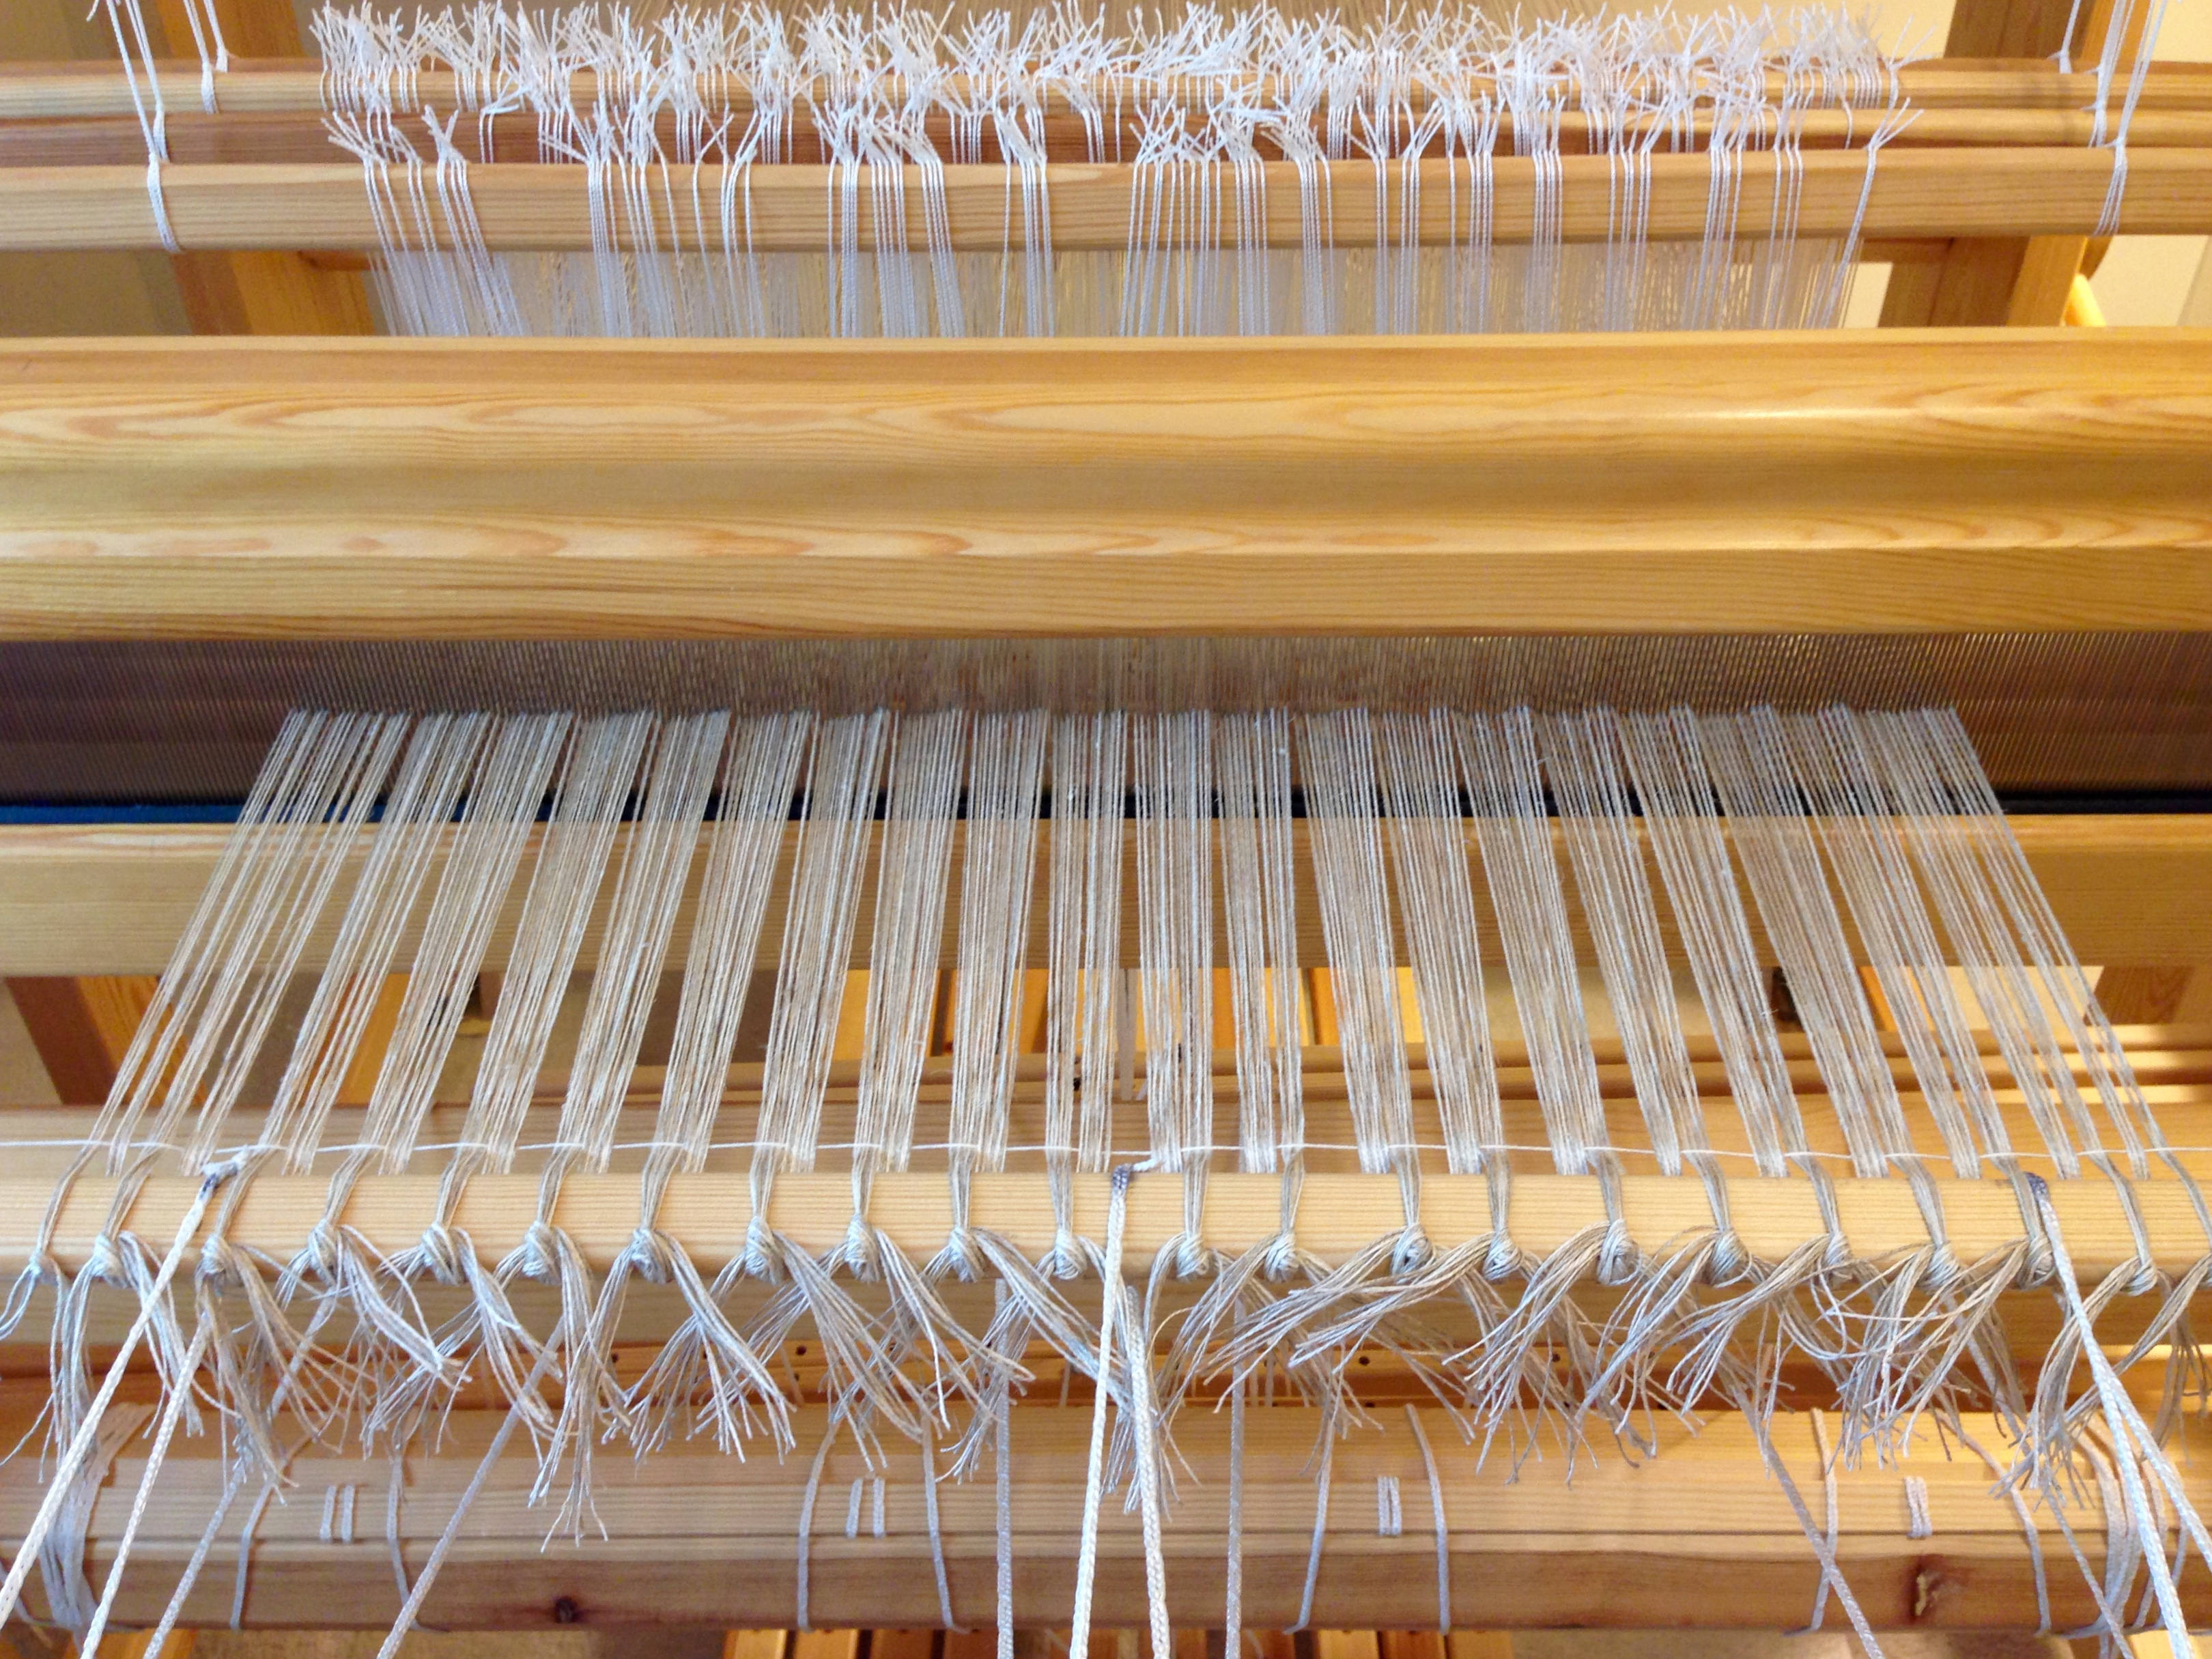
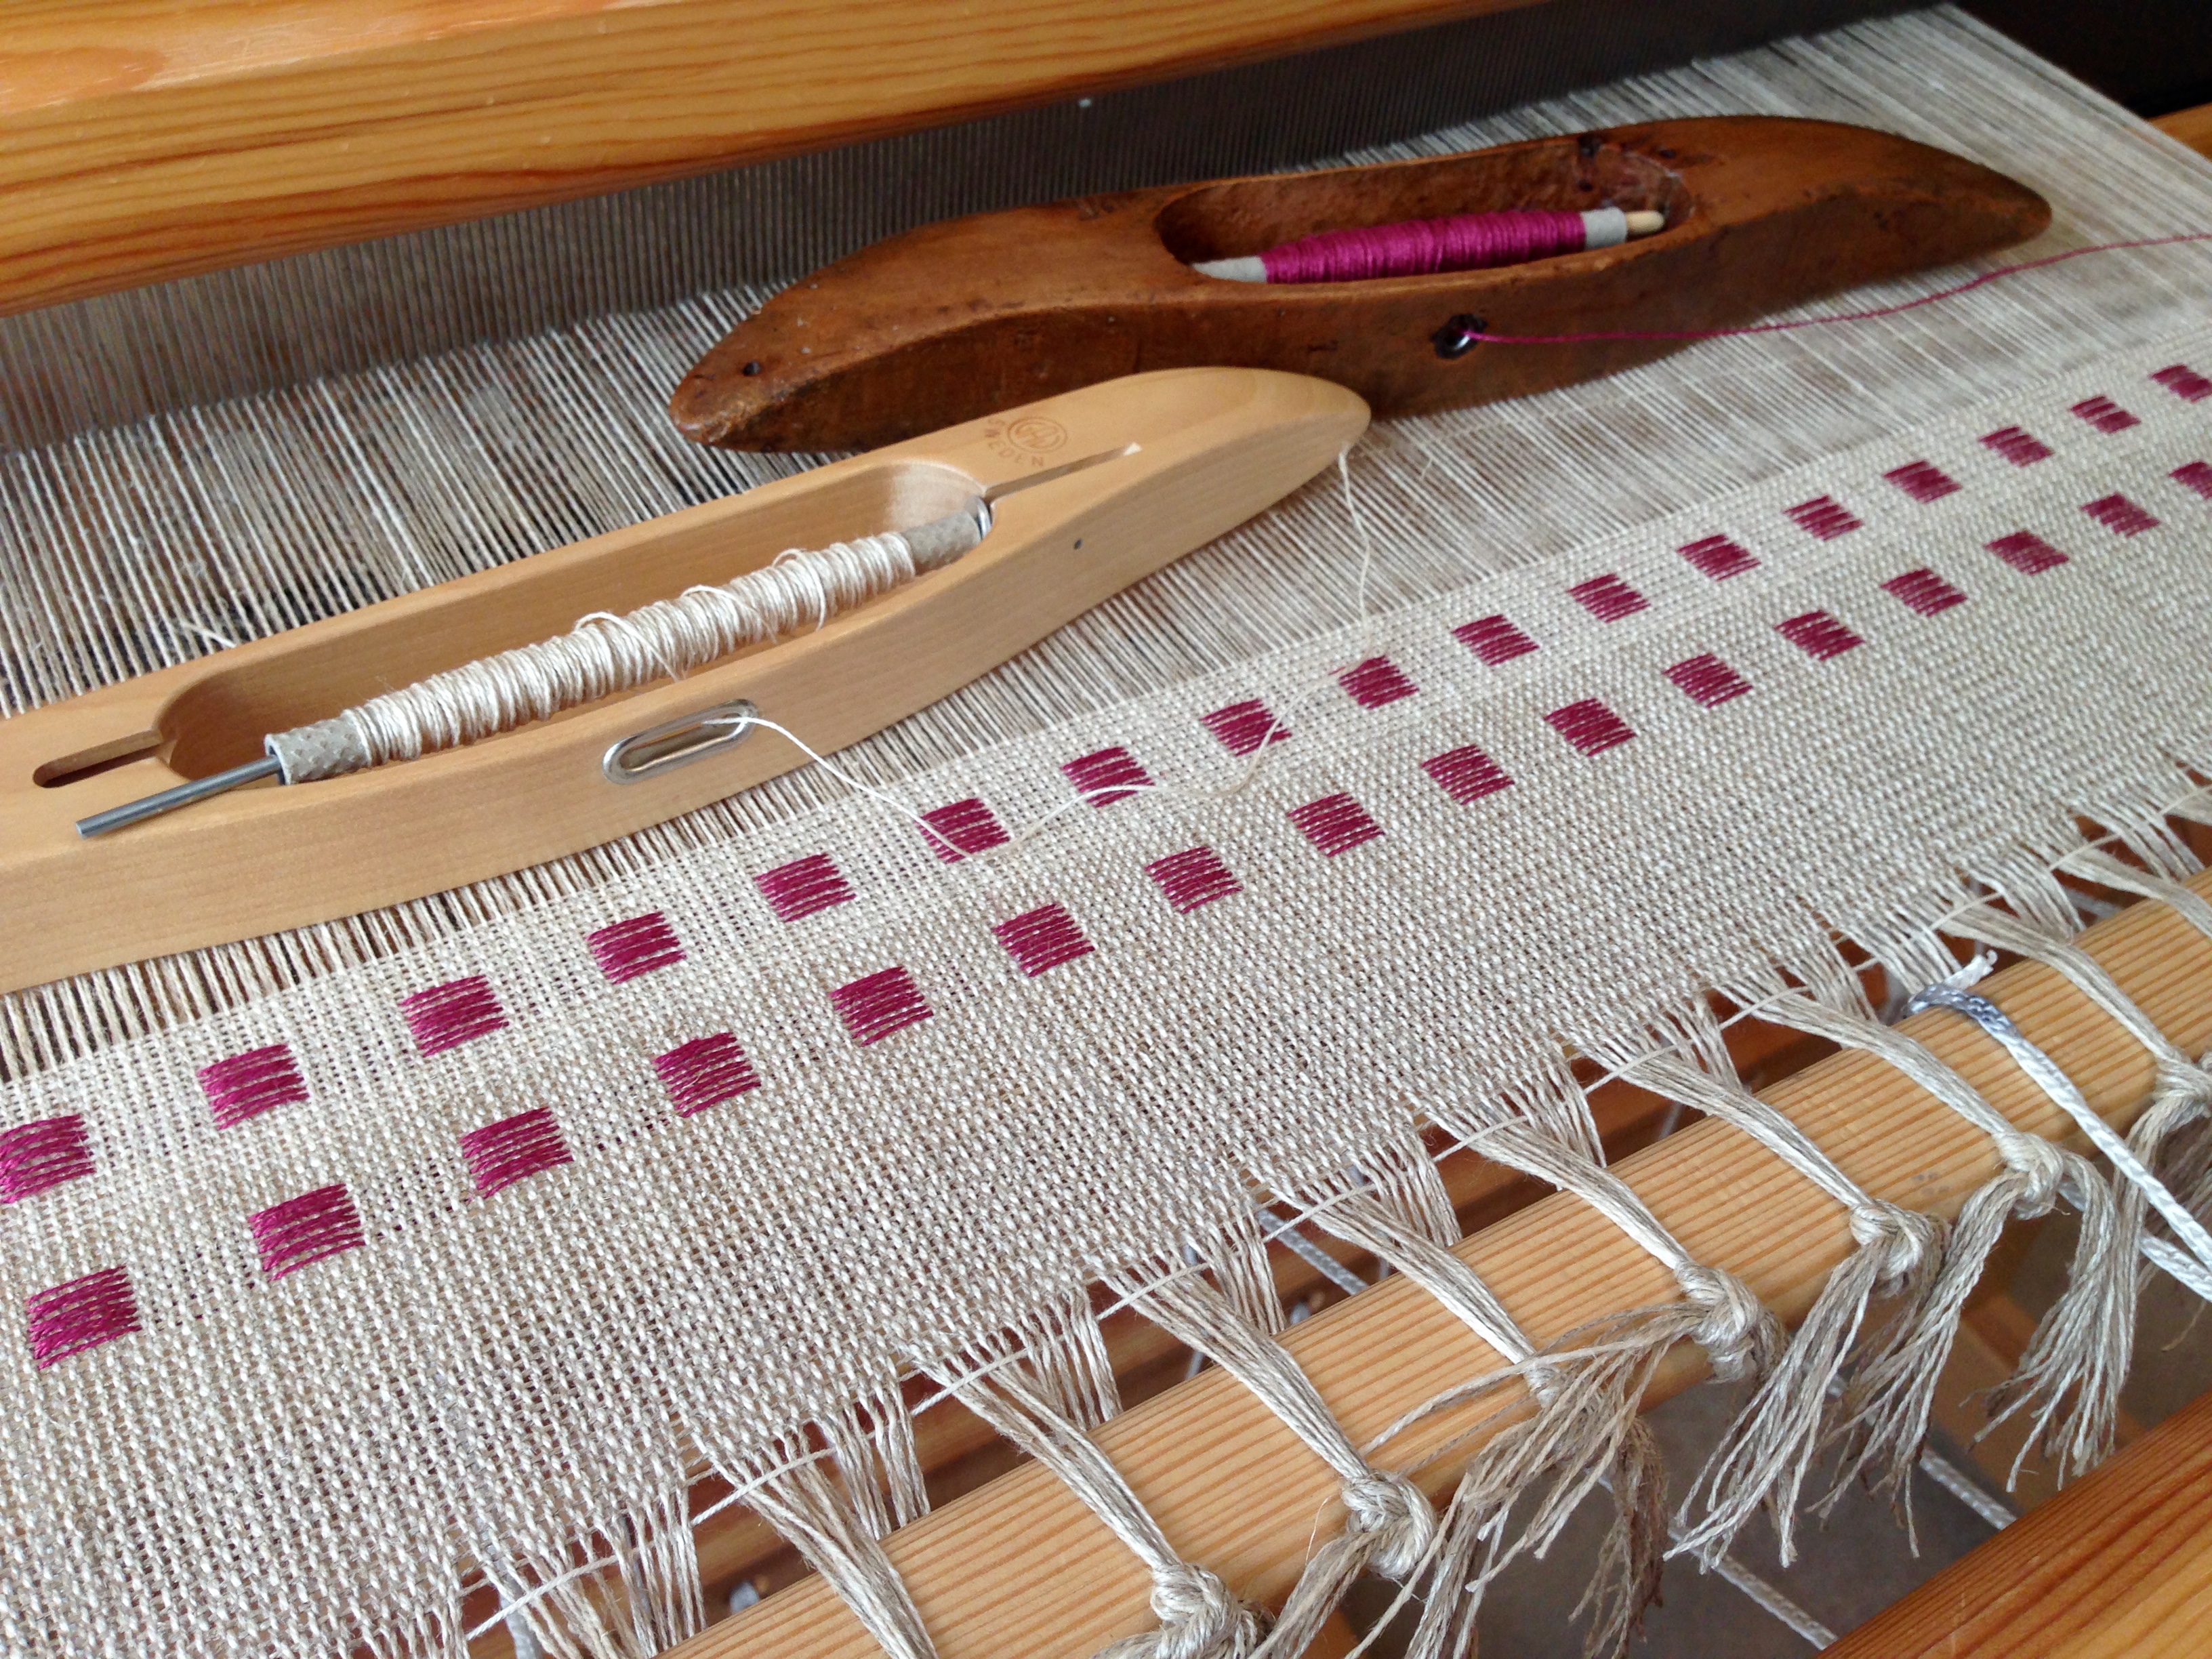
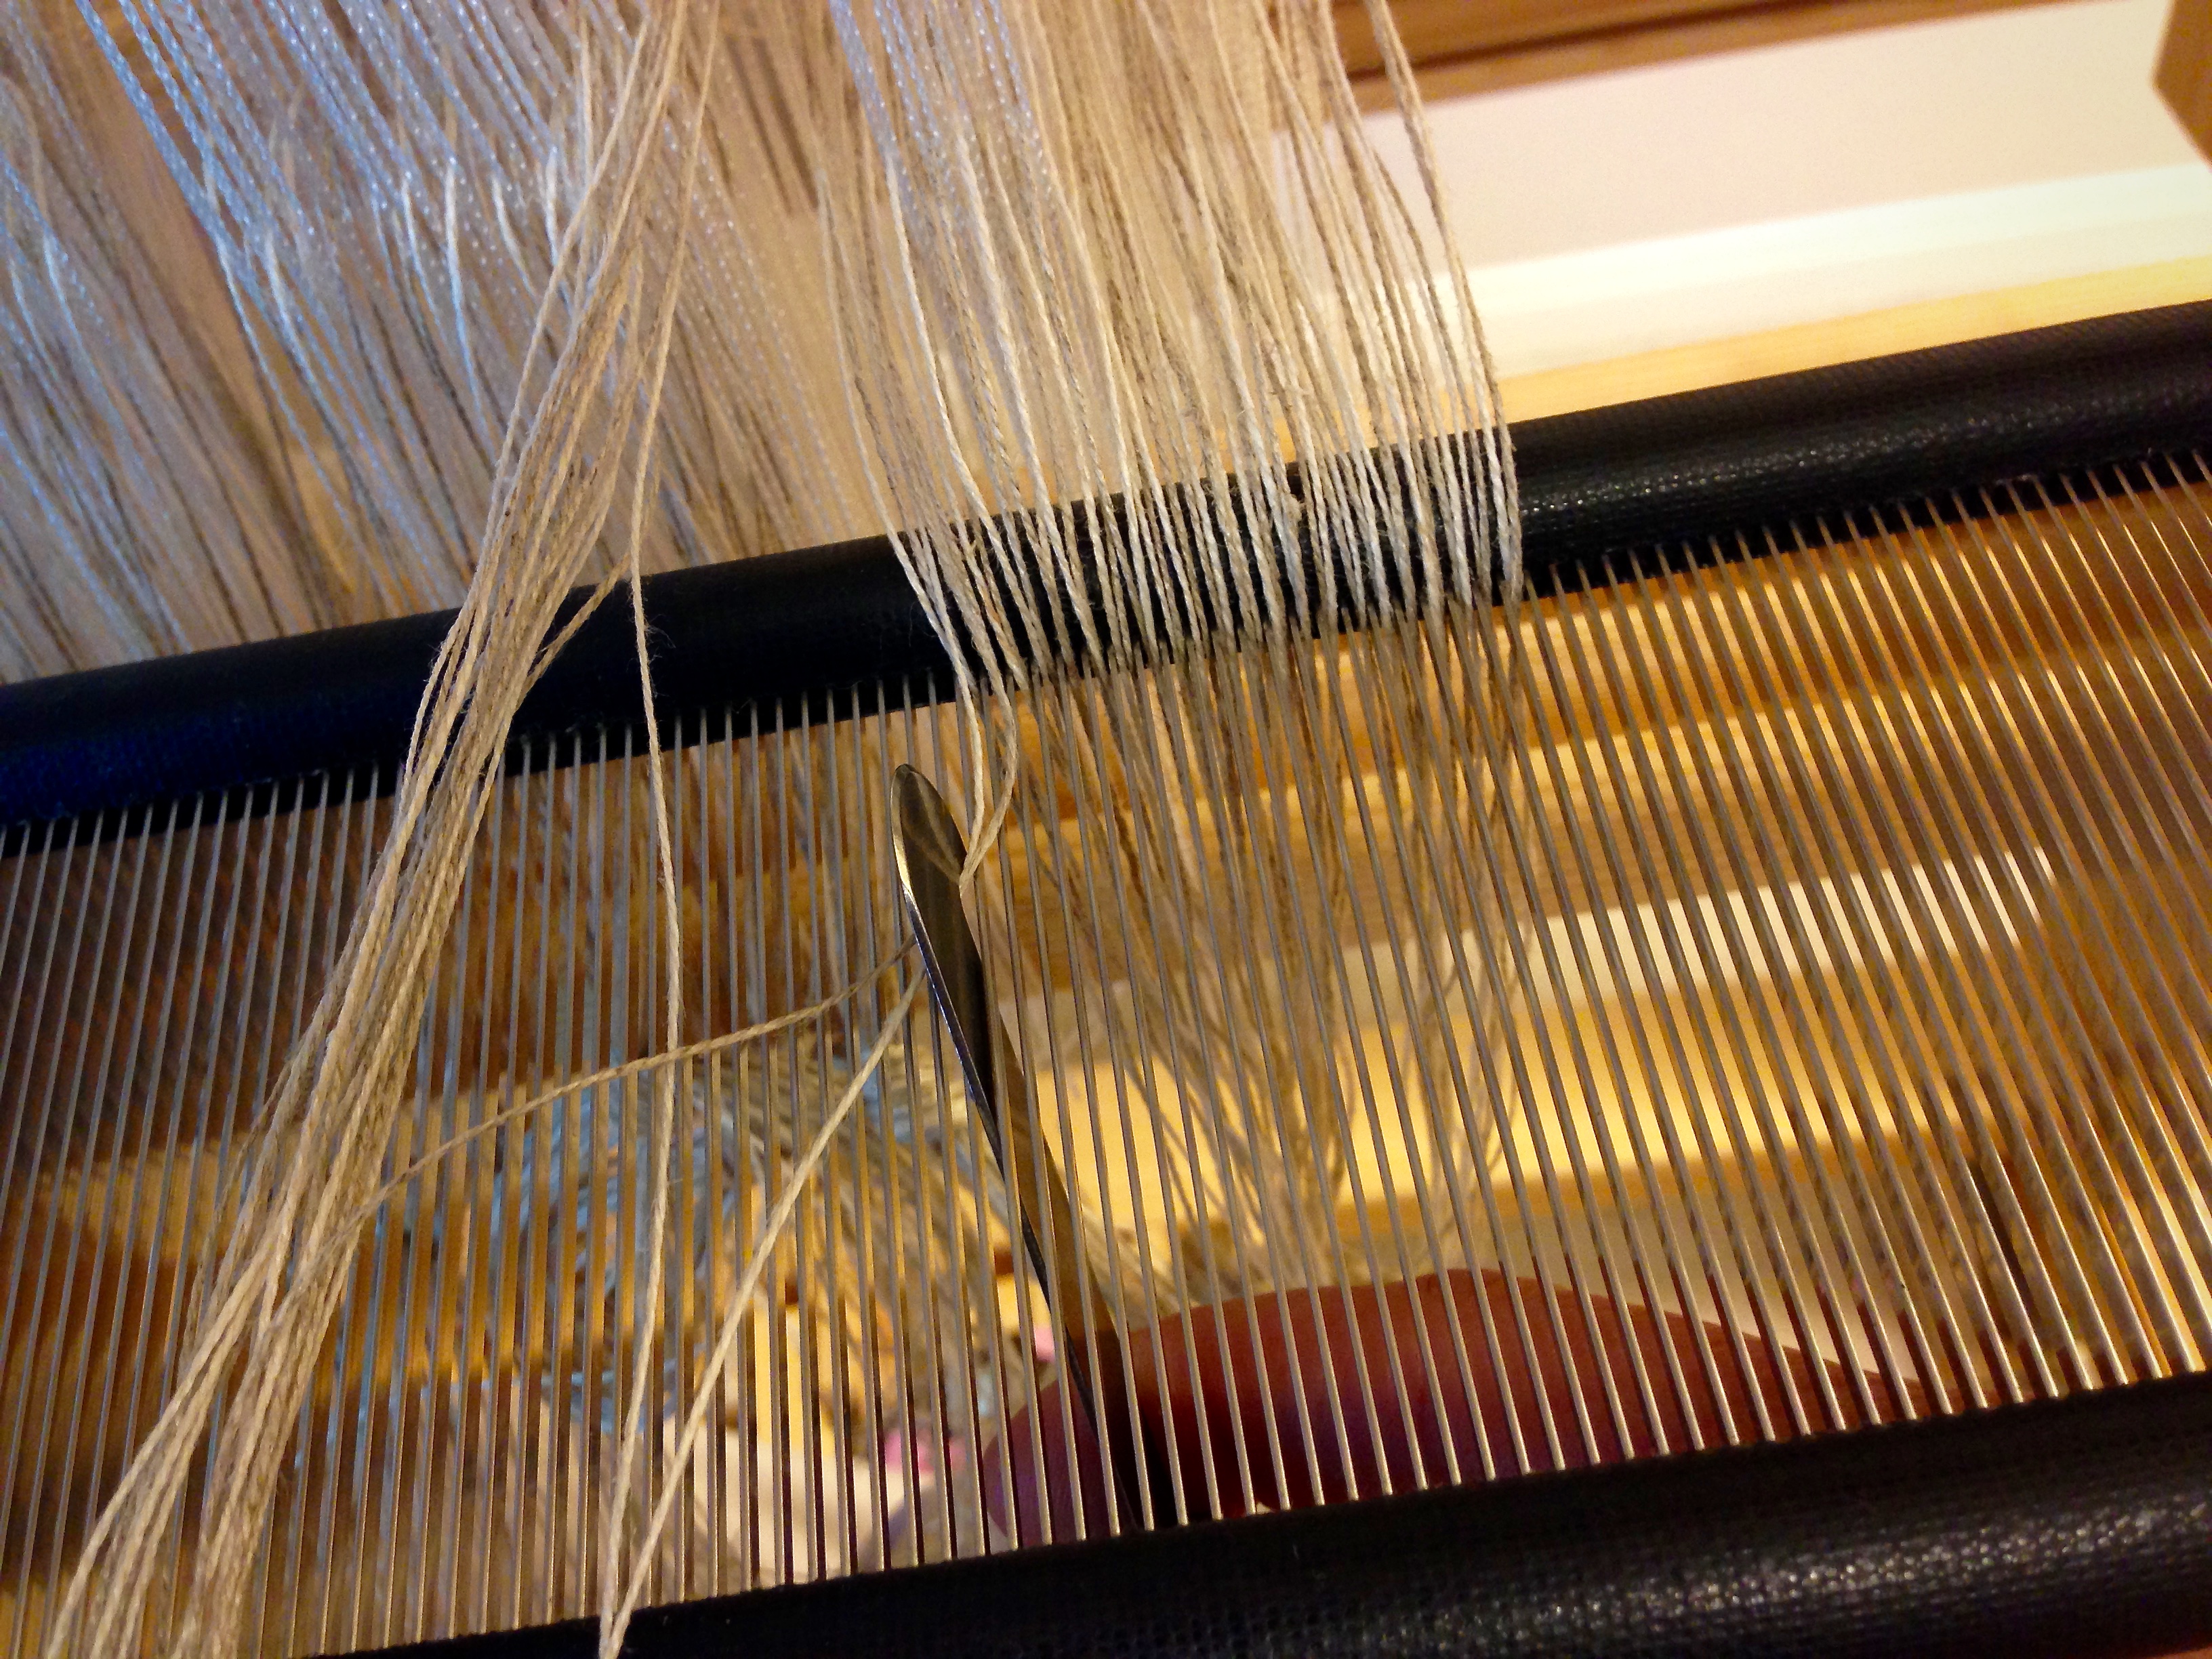
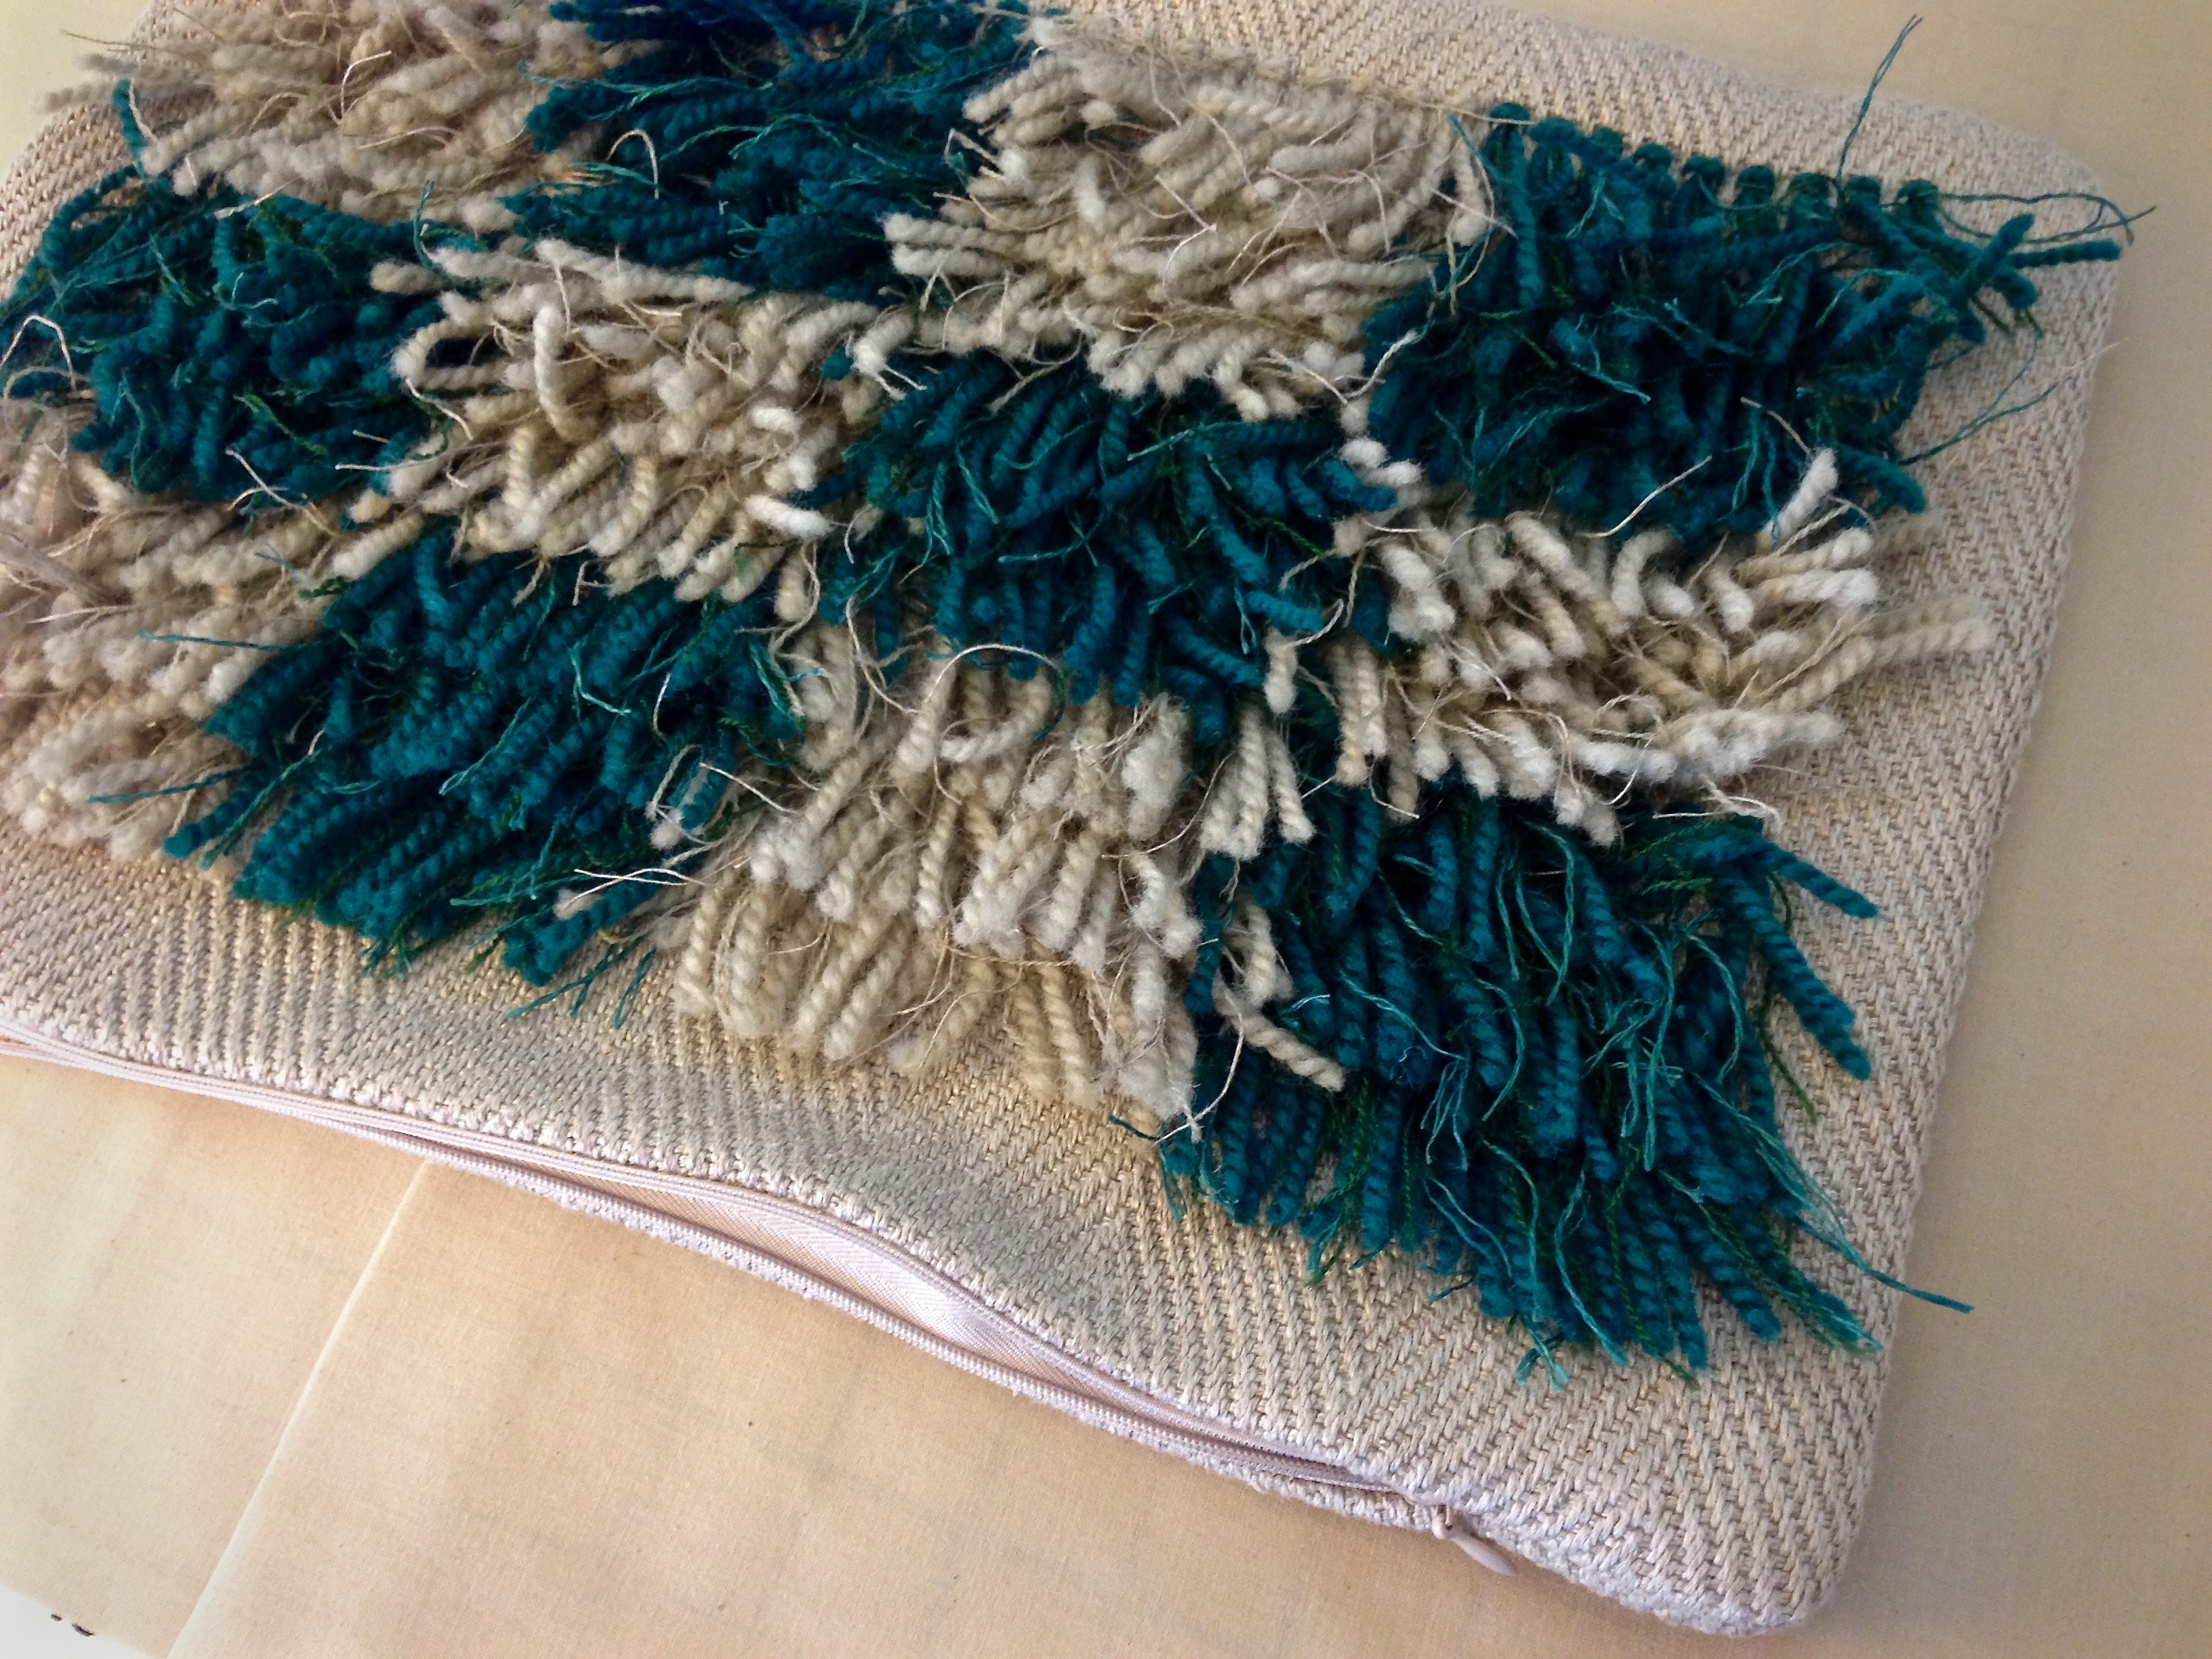
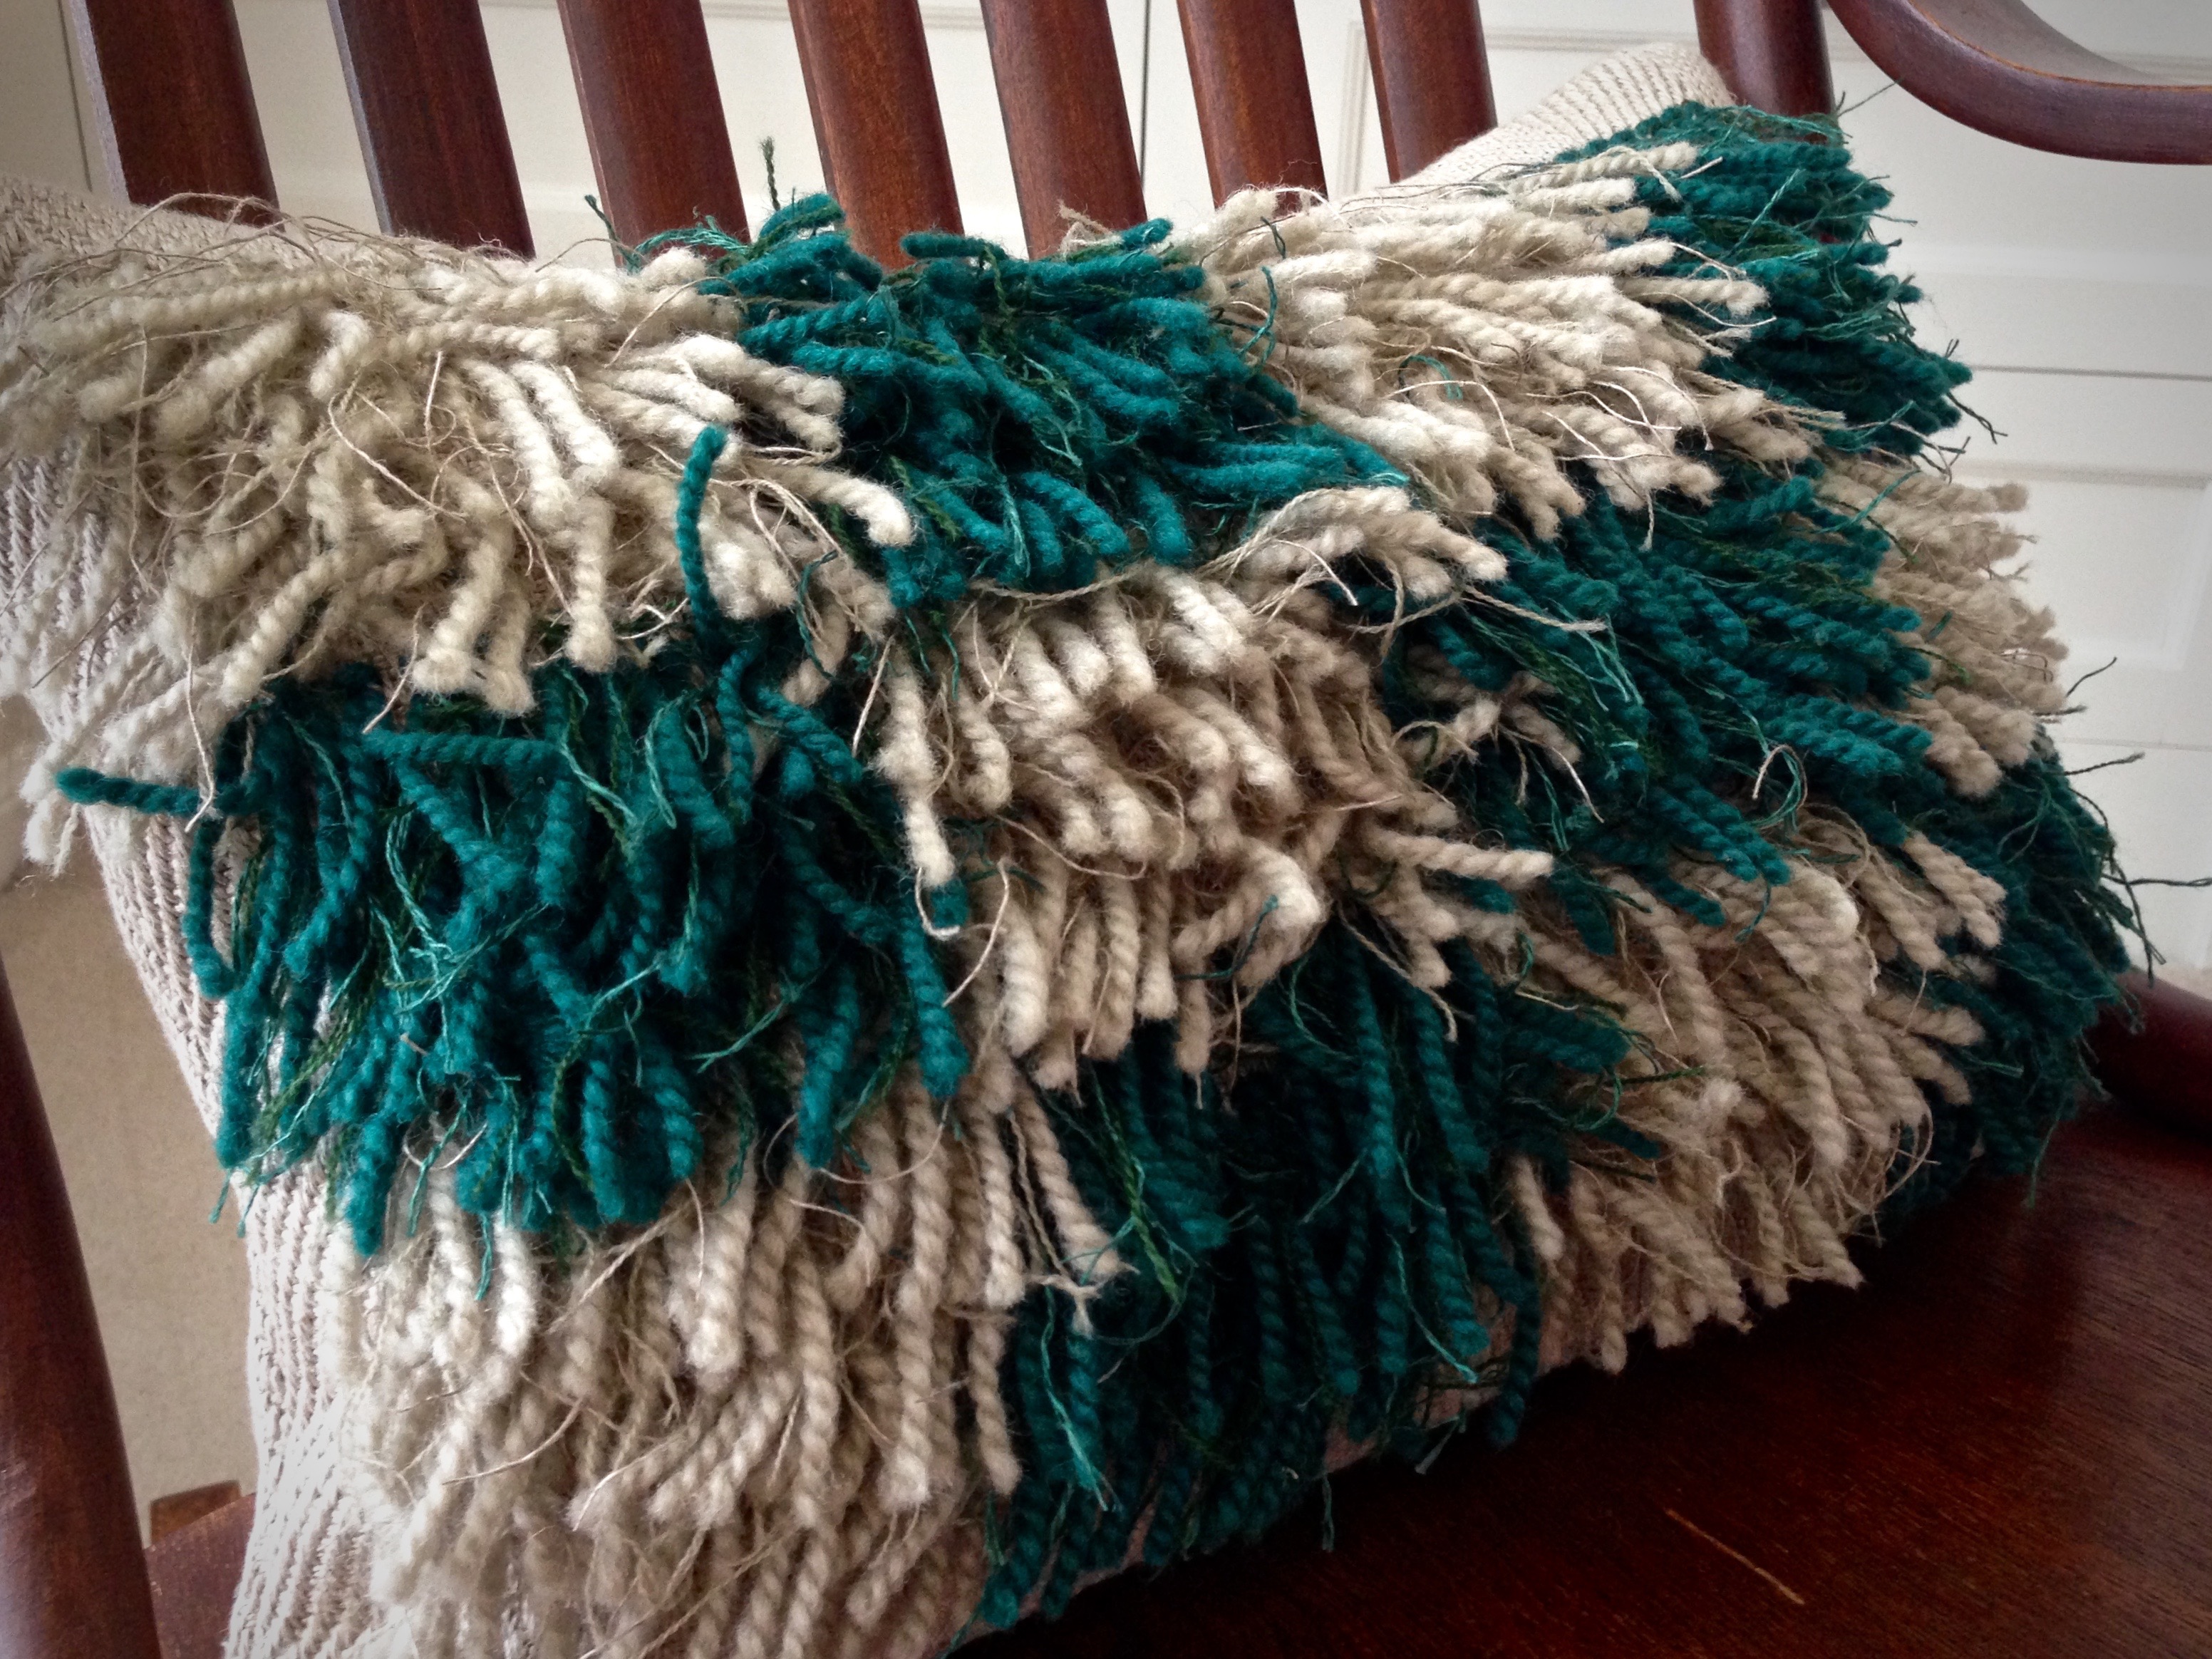
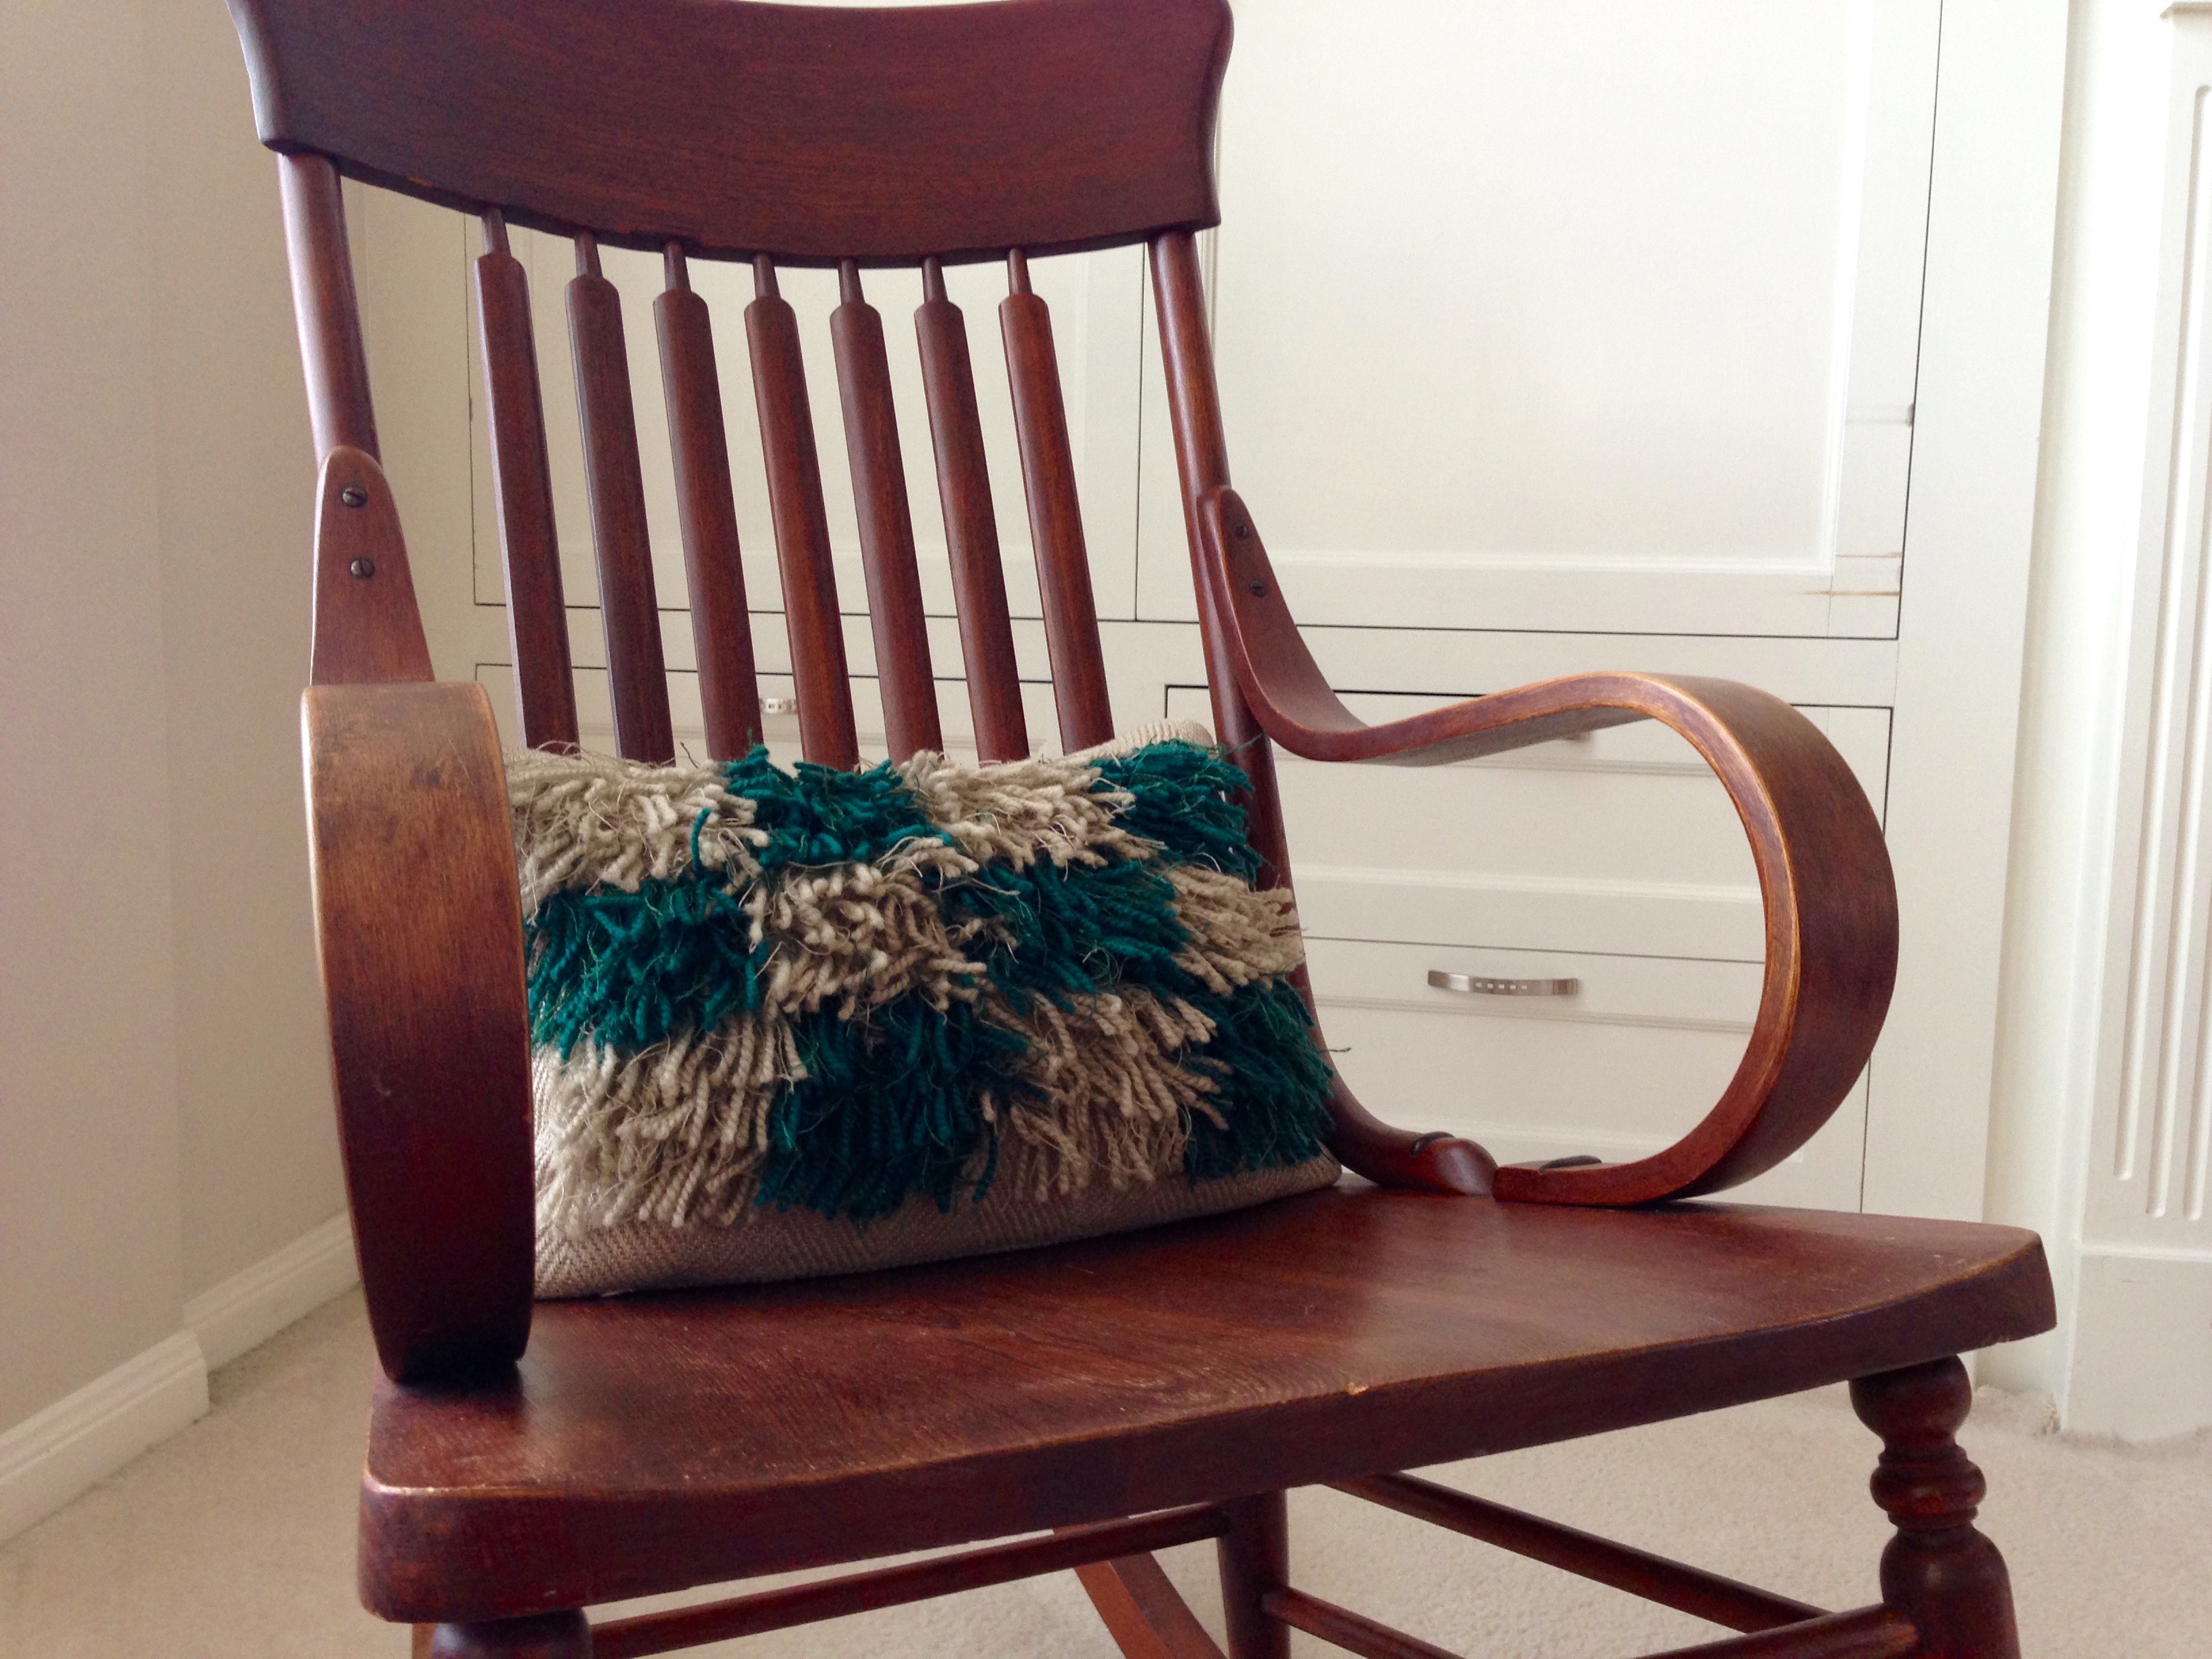
Do you remember this sturdy linen cloth, that I wove months ago, with the wonderful wool and linen rya? Yesterday I made it into a classy pillow. First, I fashioned the pillow cover, with invisible zipper, and all. Hollow by itself, the pillow cover needs an insert to be usable. So I made a muslin insert to fit, filled lightly. Now I have a cloud-soft rya pillow. (Read about weaving this fabric in Rya, Rya, How Does Your Garden Grow? and Now What Are You Counting?)
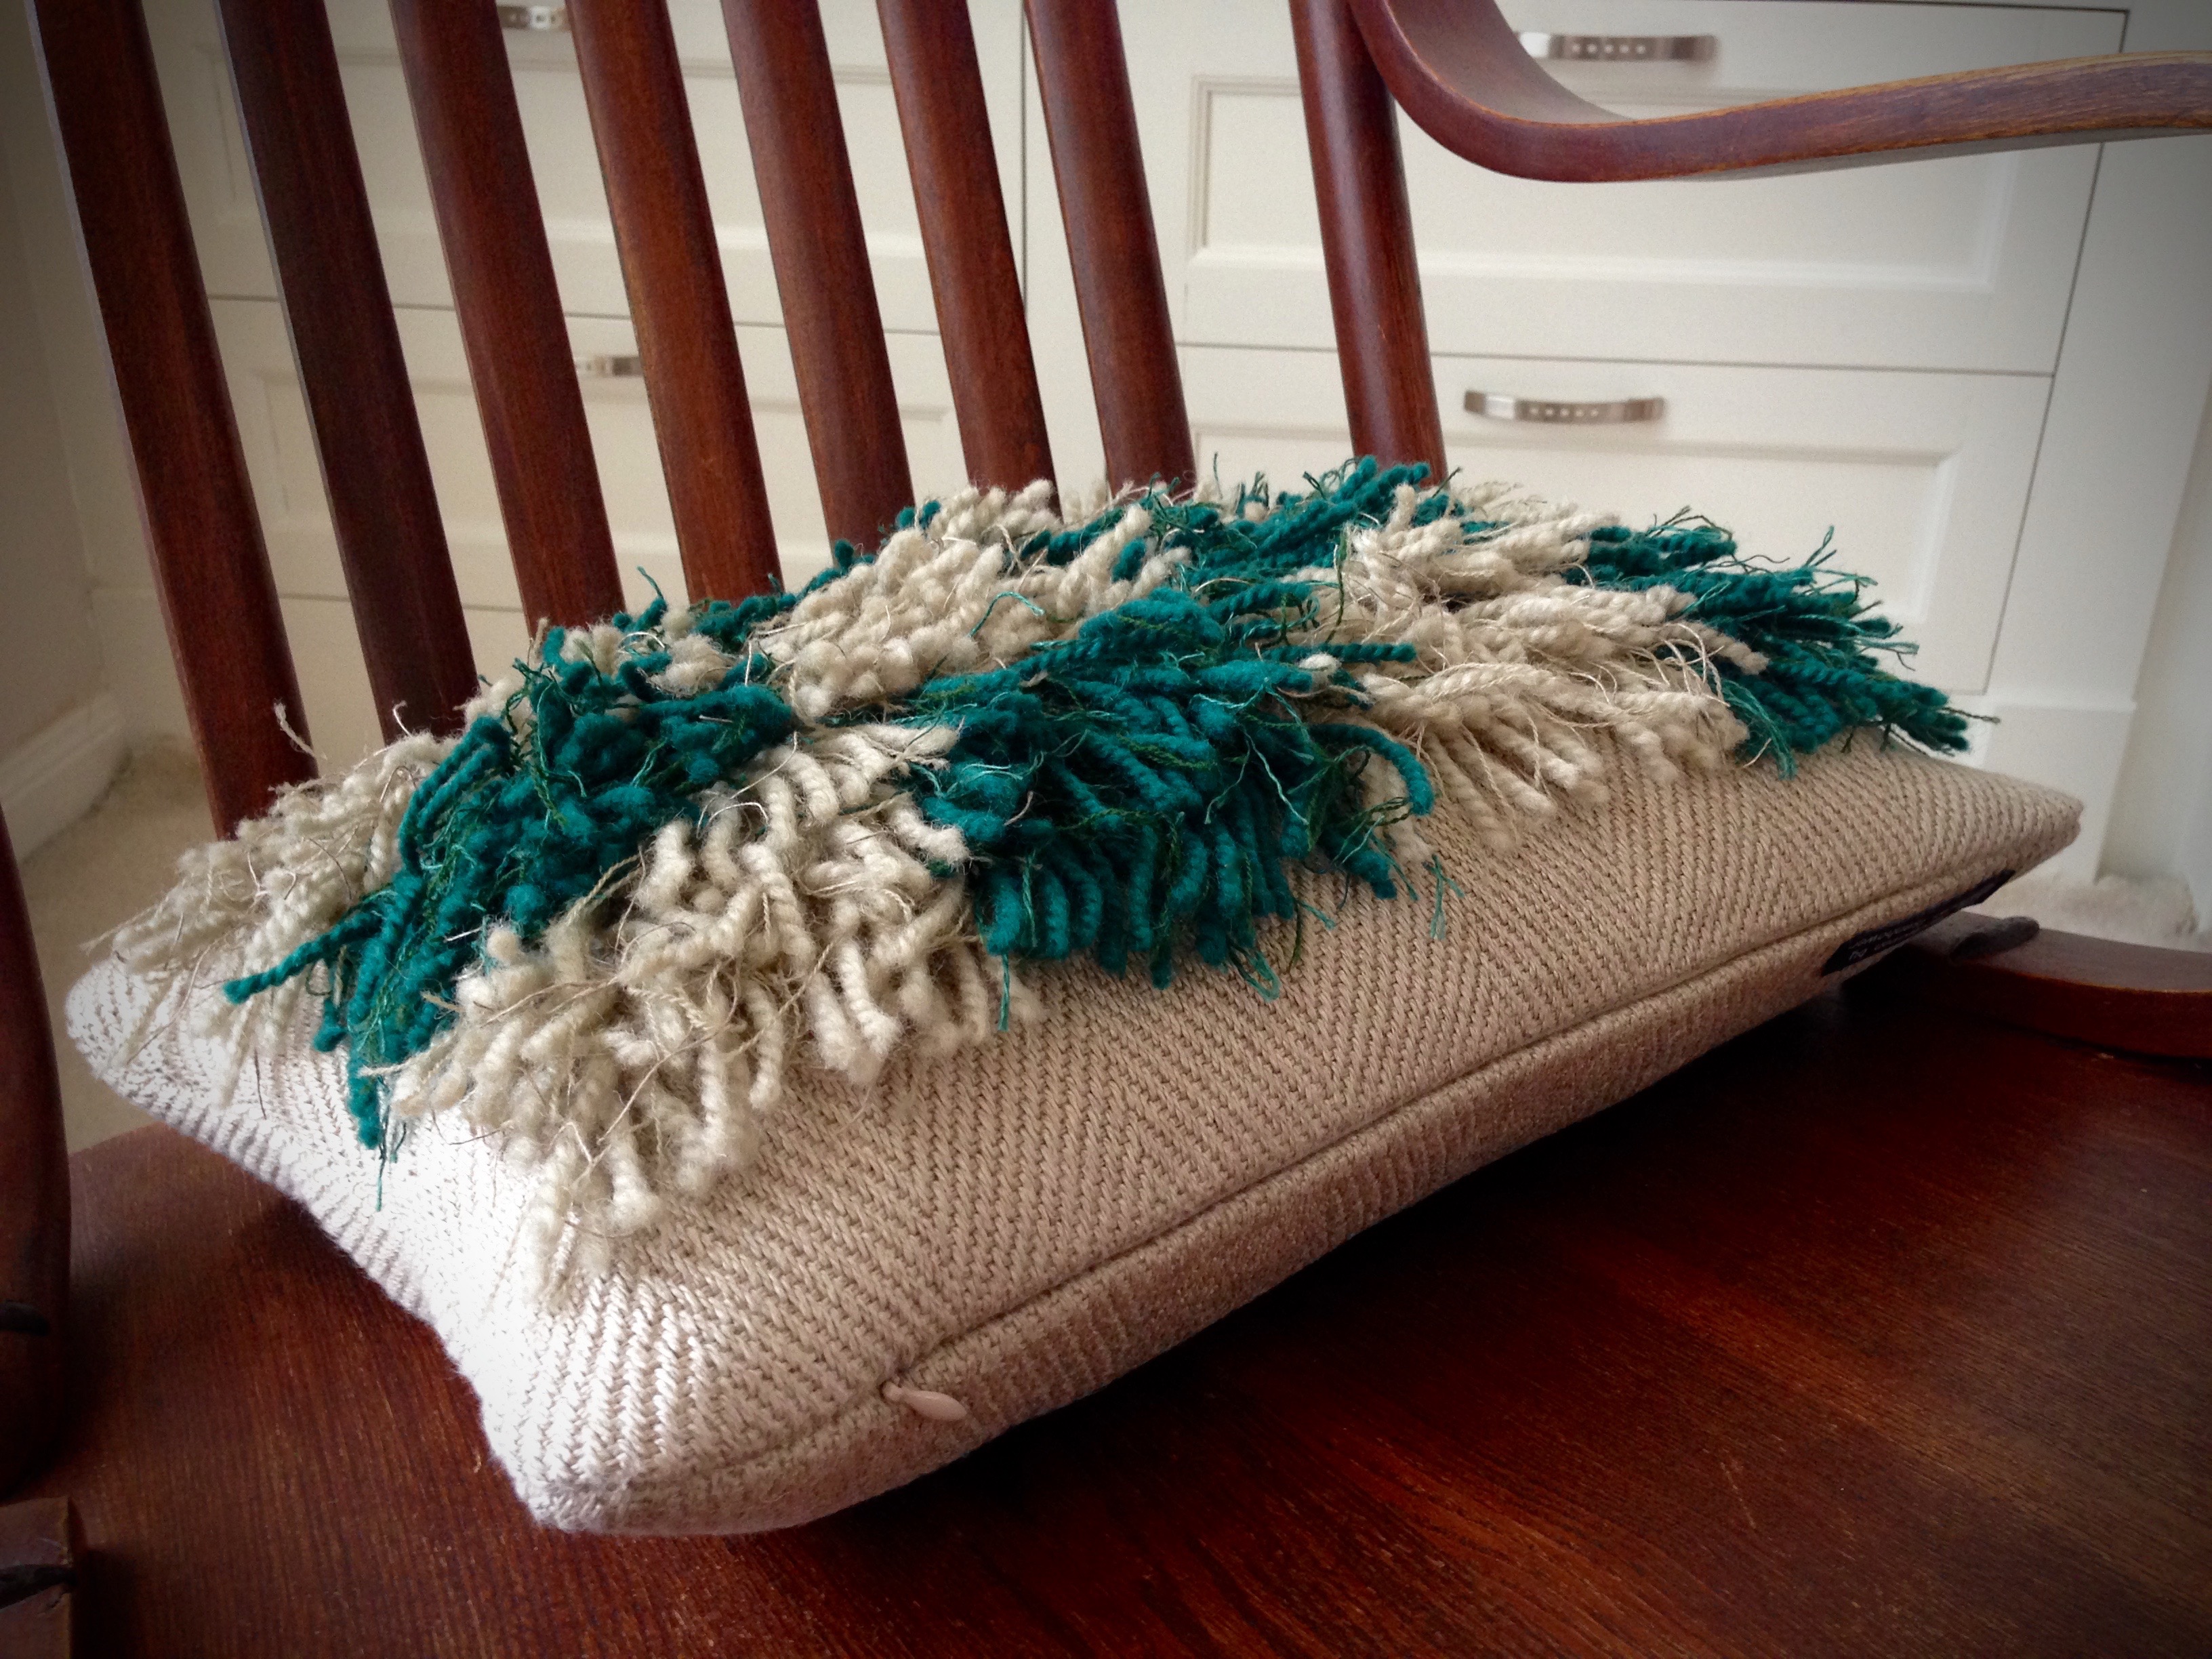
This new rya masterpiece makes a perfect lumbar pillow for the antique rocking chair in my living room. This was my great-grandmother’s chair. One thing I know about my great-grandmother is that she was a praying woman. I love to imagine that she rocked her babies in this chair, praying for them and for her future grand- and great-grand-children. She may have prayed for my life in advance.
I want to be more than what others see on the outside. I need the Lord on the inside. I yearn for God to hear me and for me to hear Him. Without that connection, life is hollow. Prayer is a two-way conversation. That ongoing conversation keeps me from being empty. When I am filled, I am at my best. Could that be an answer to my great-grandmother’s prayers?
May your life affect future generations.
Softly,
Karen