Tapestry that Tries to Copy

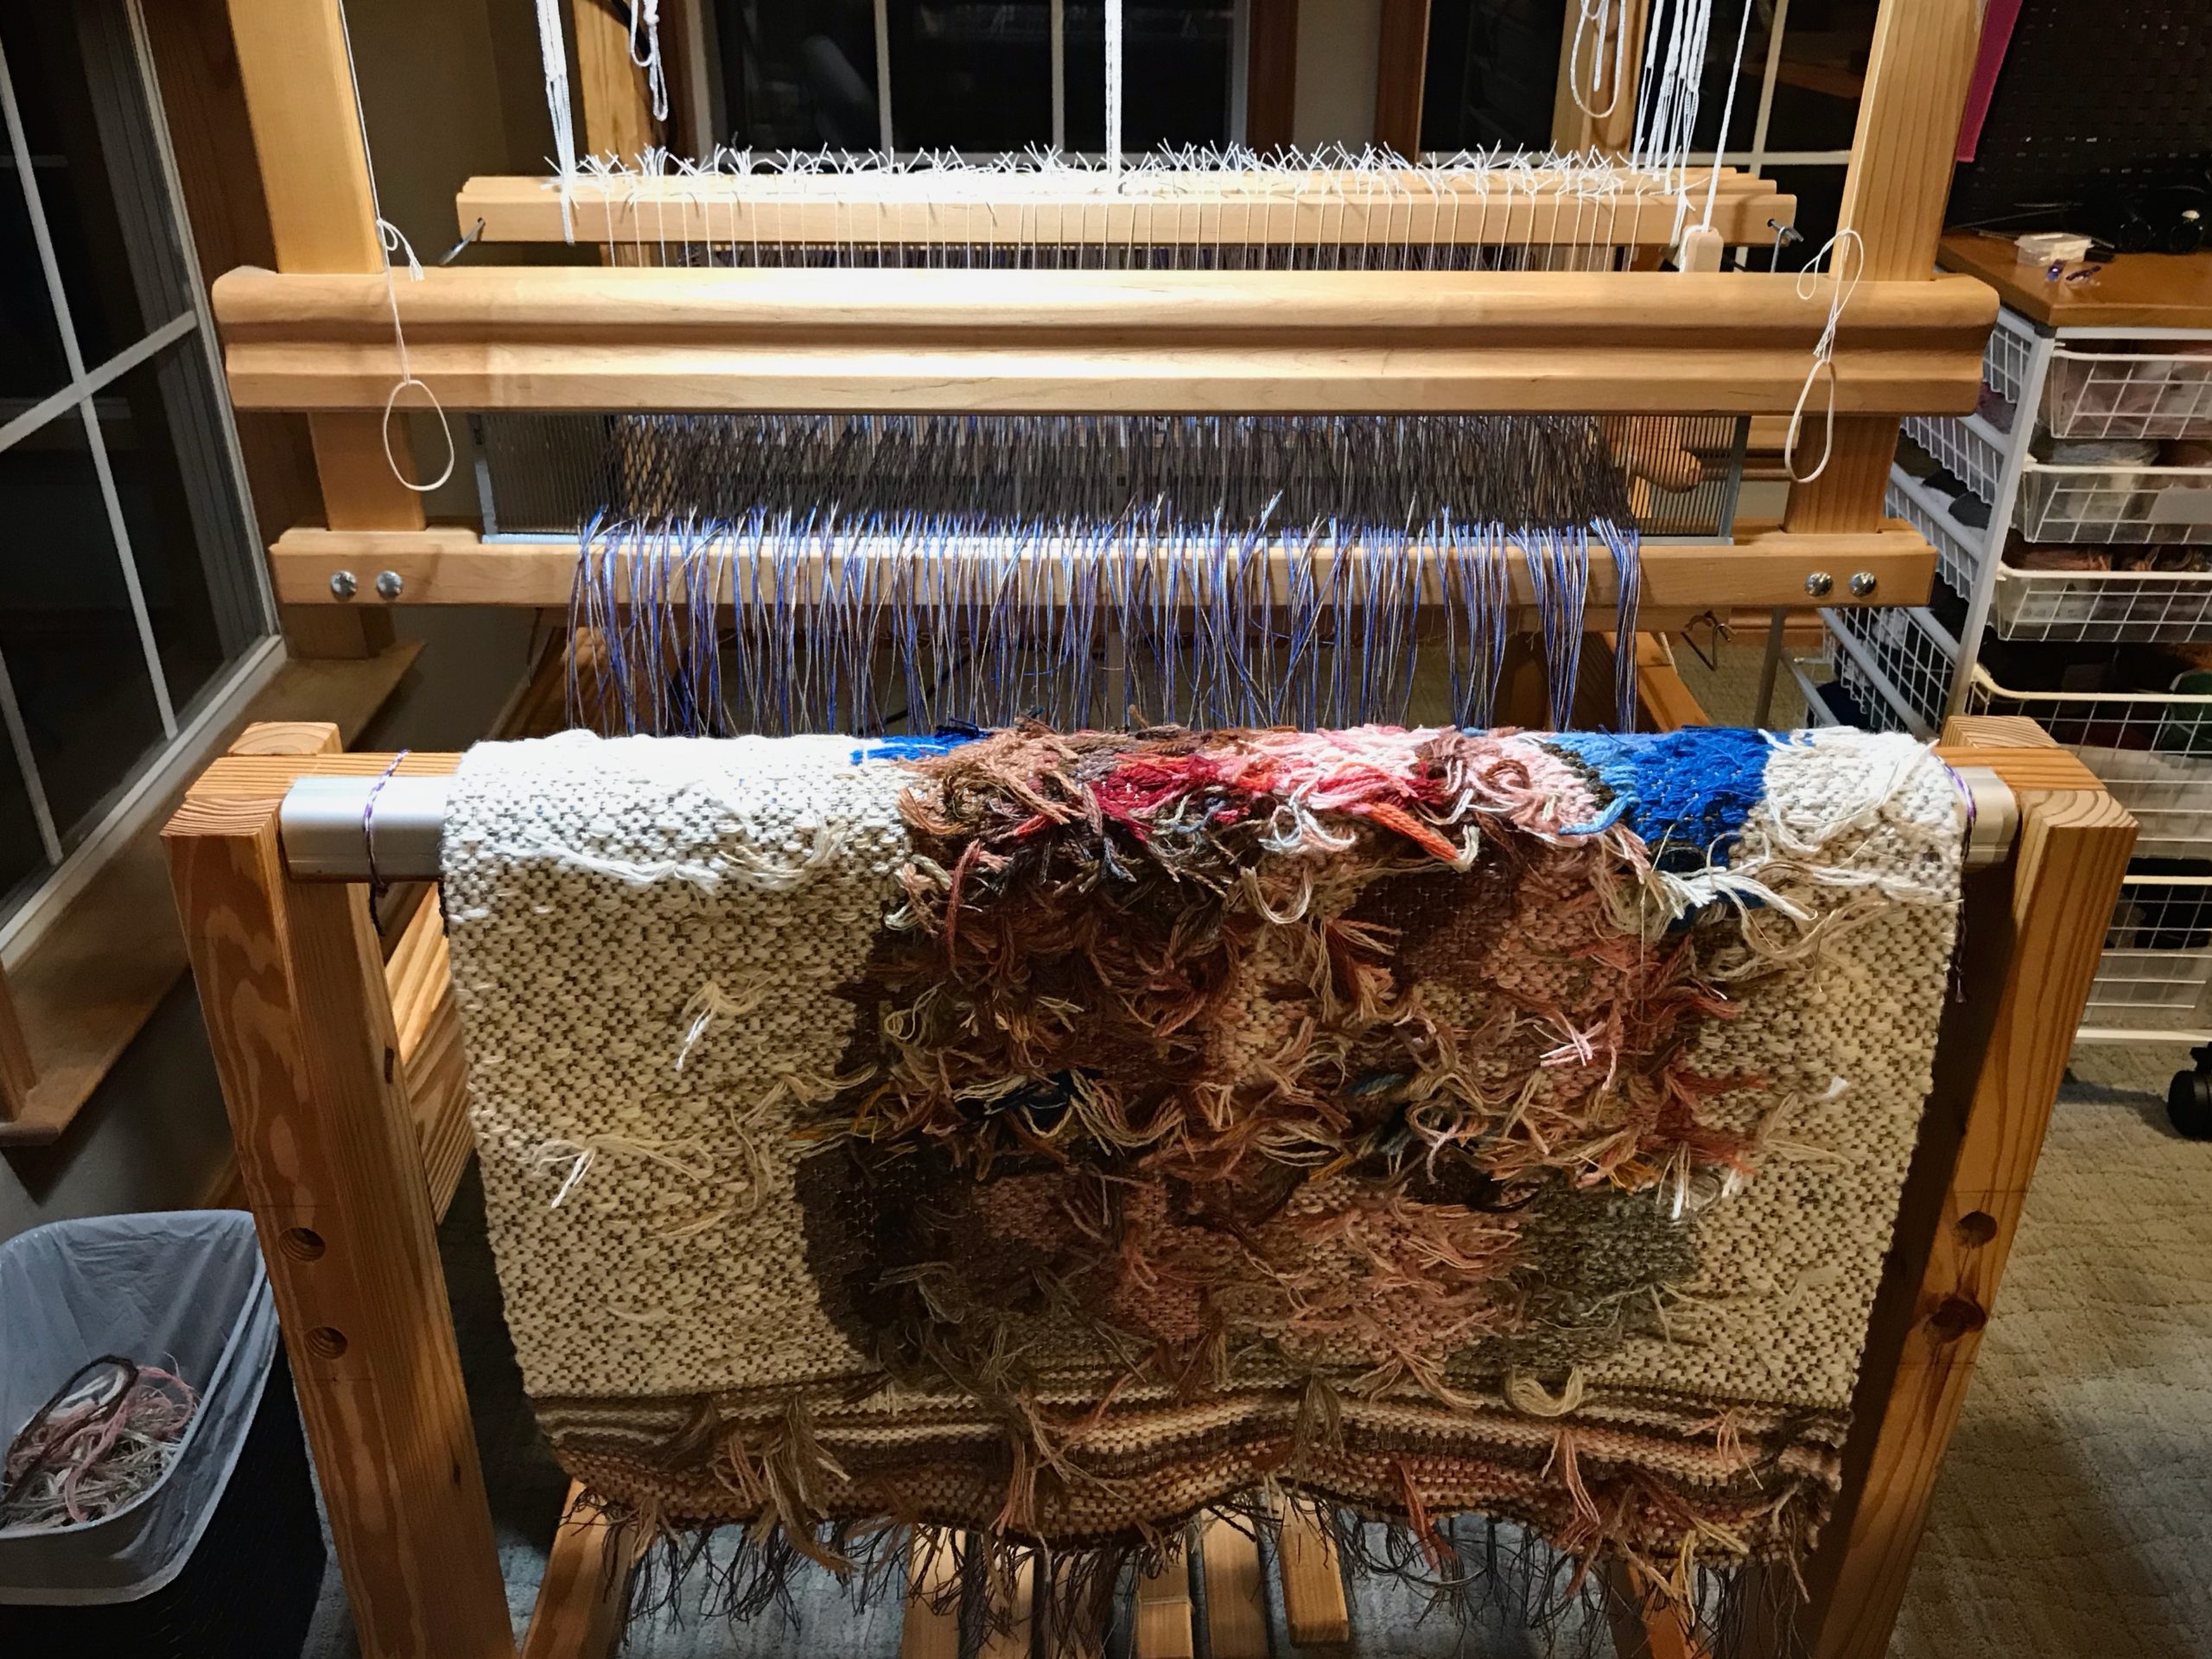
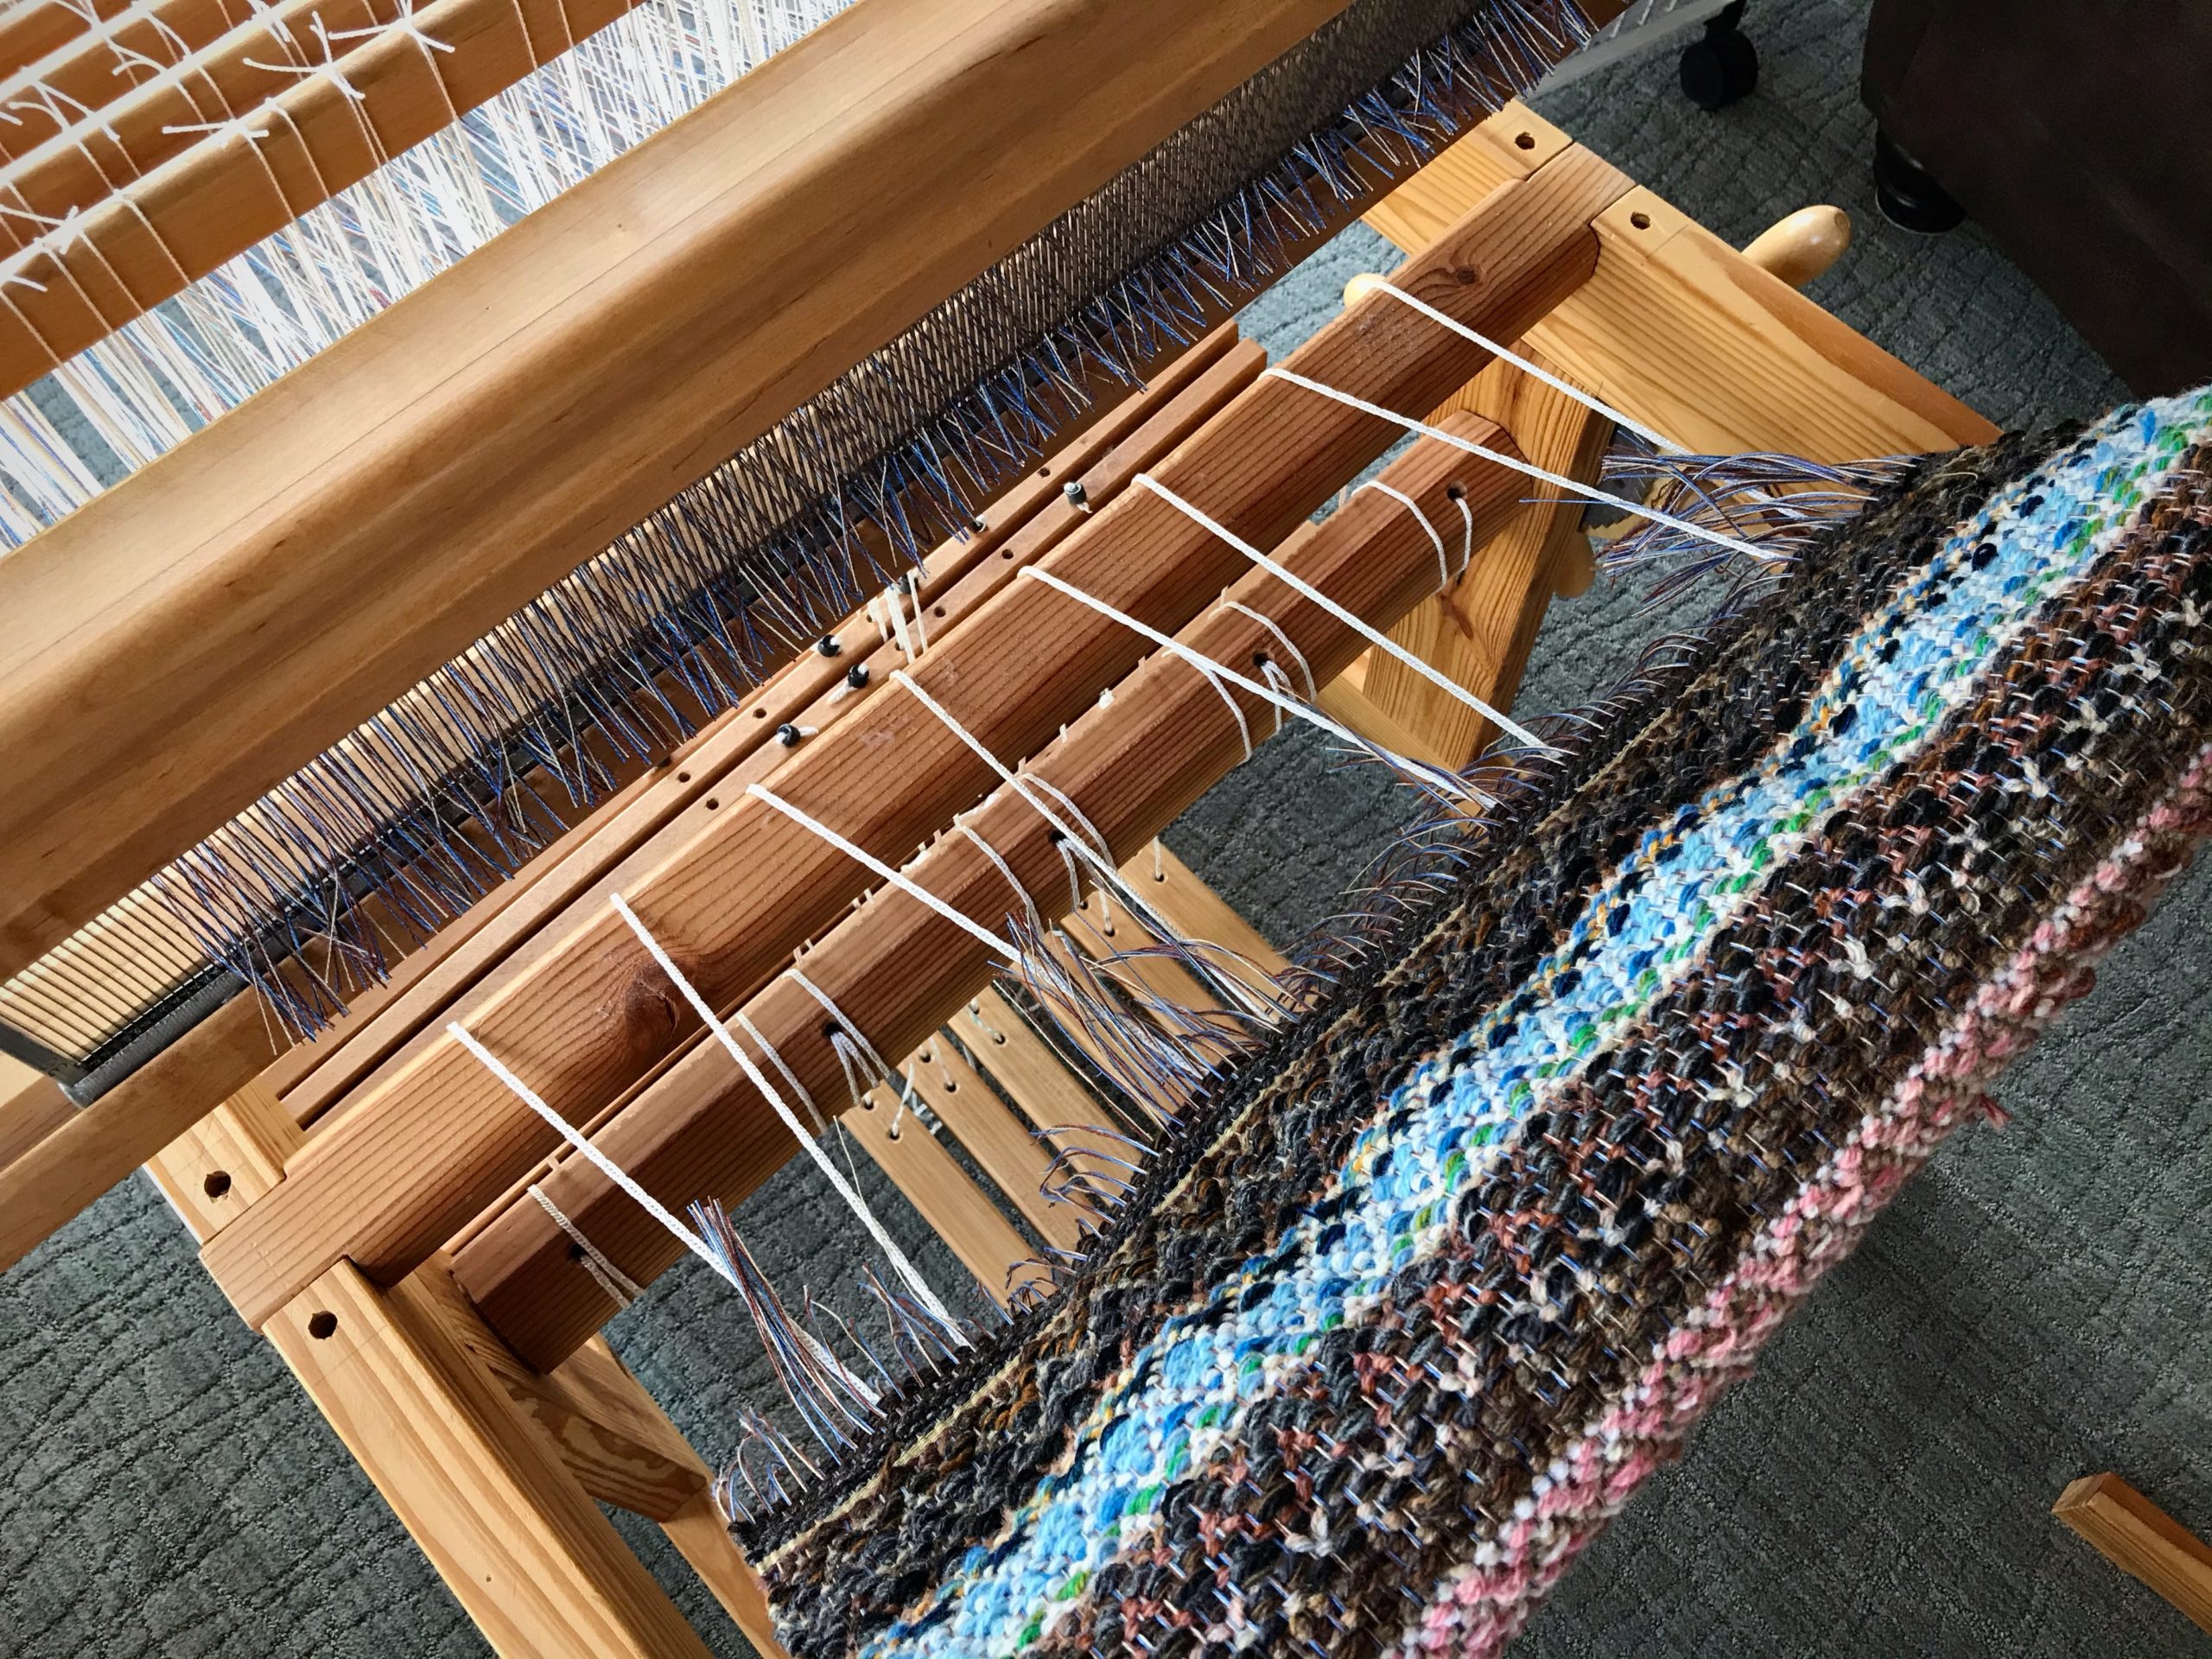
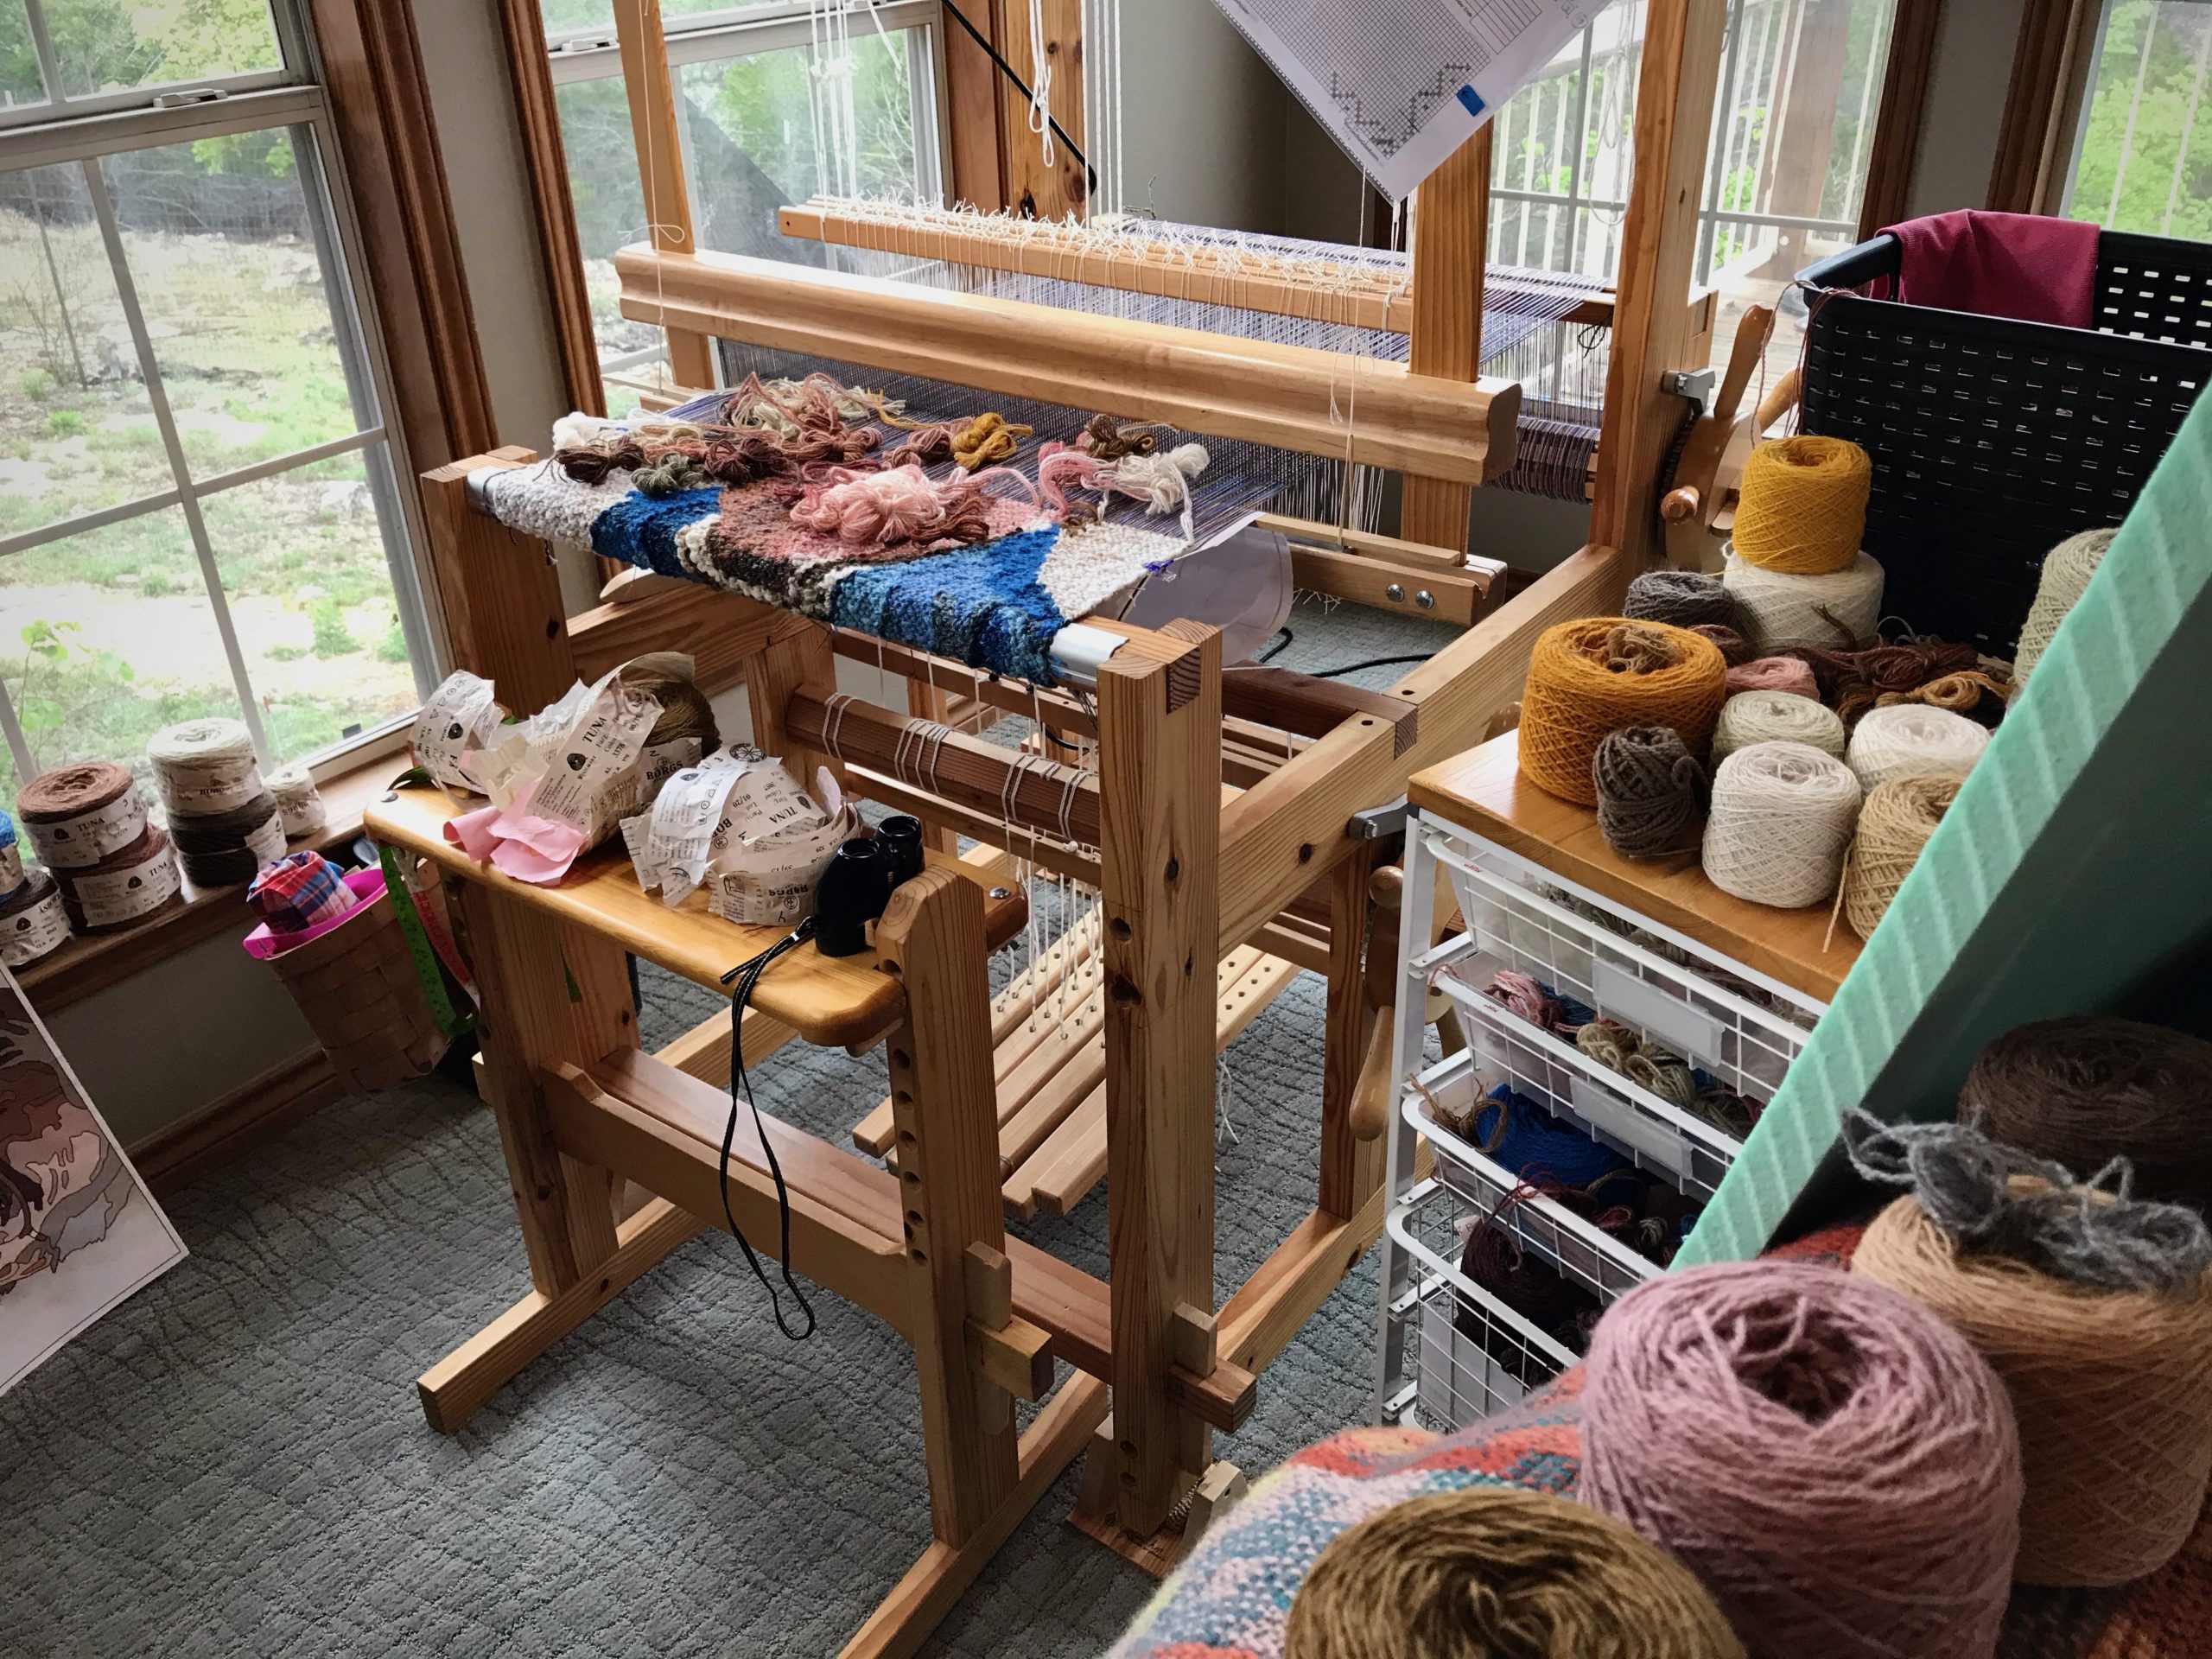
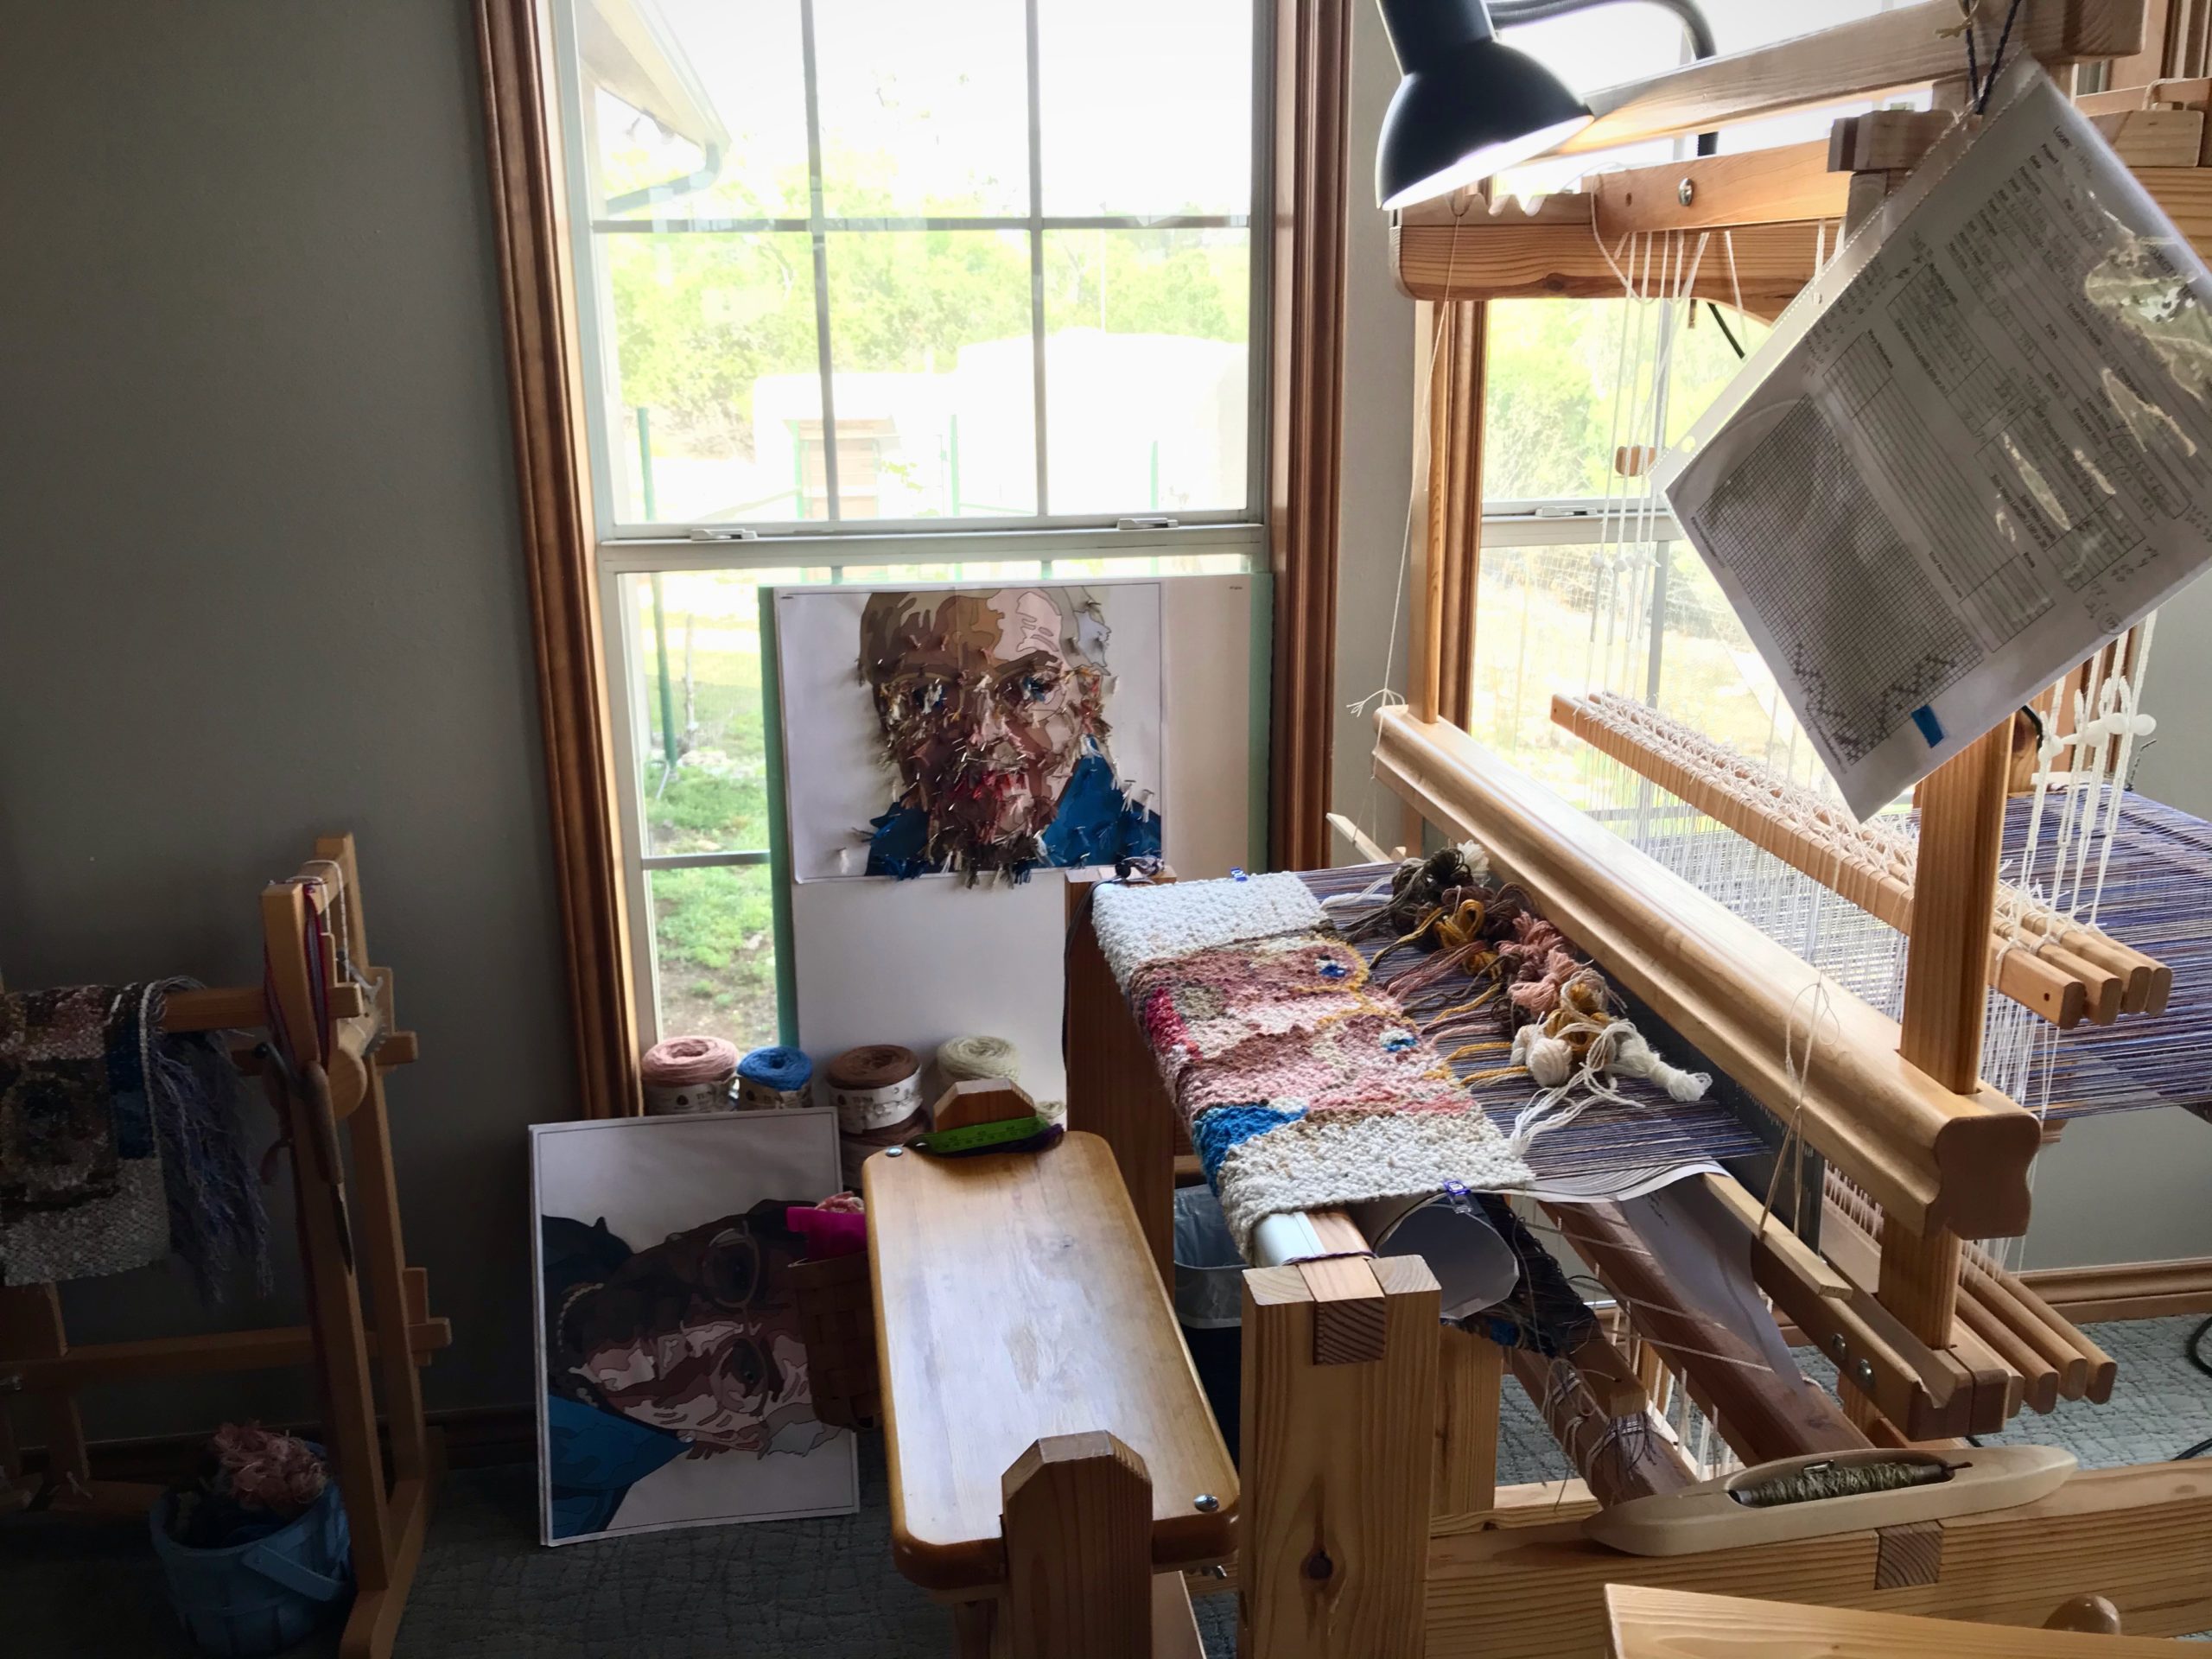
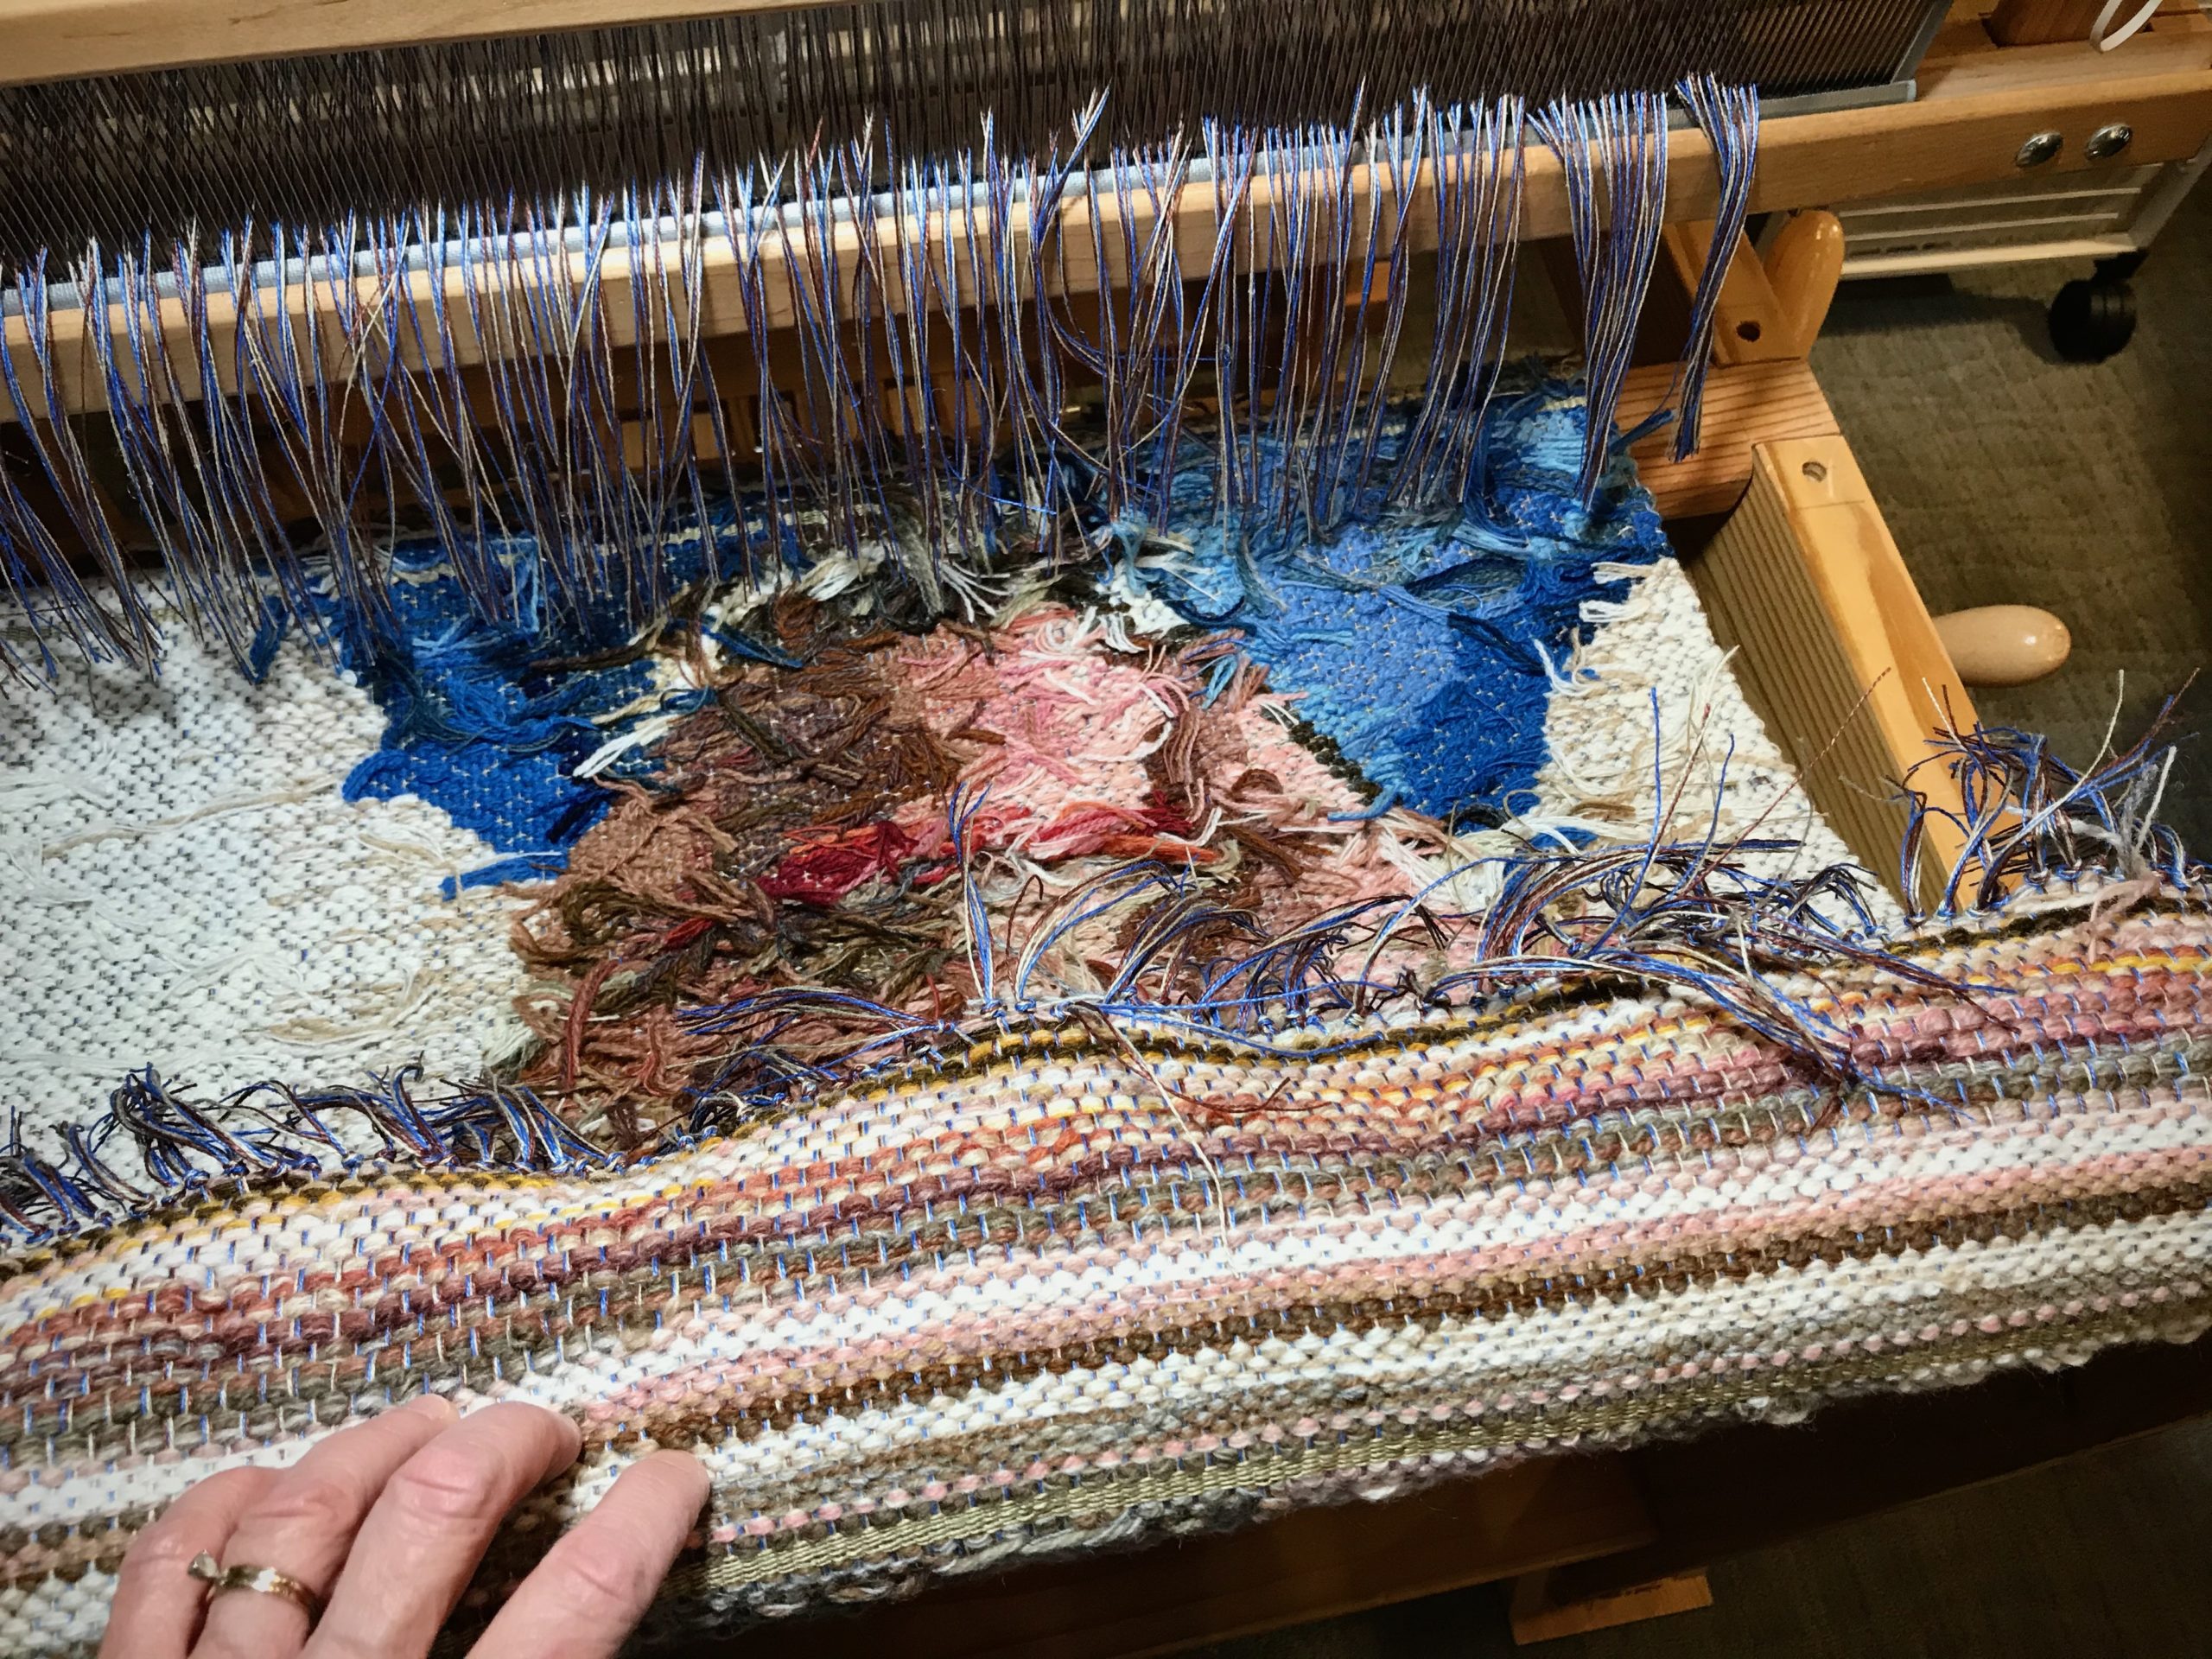
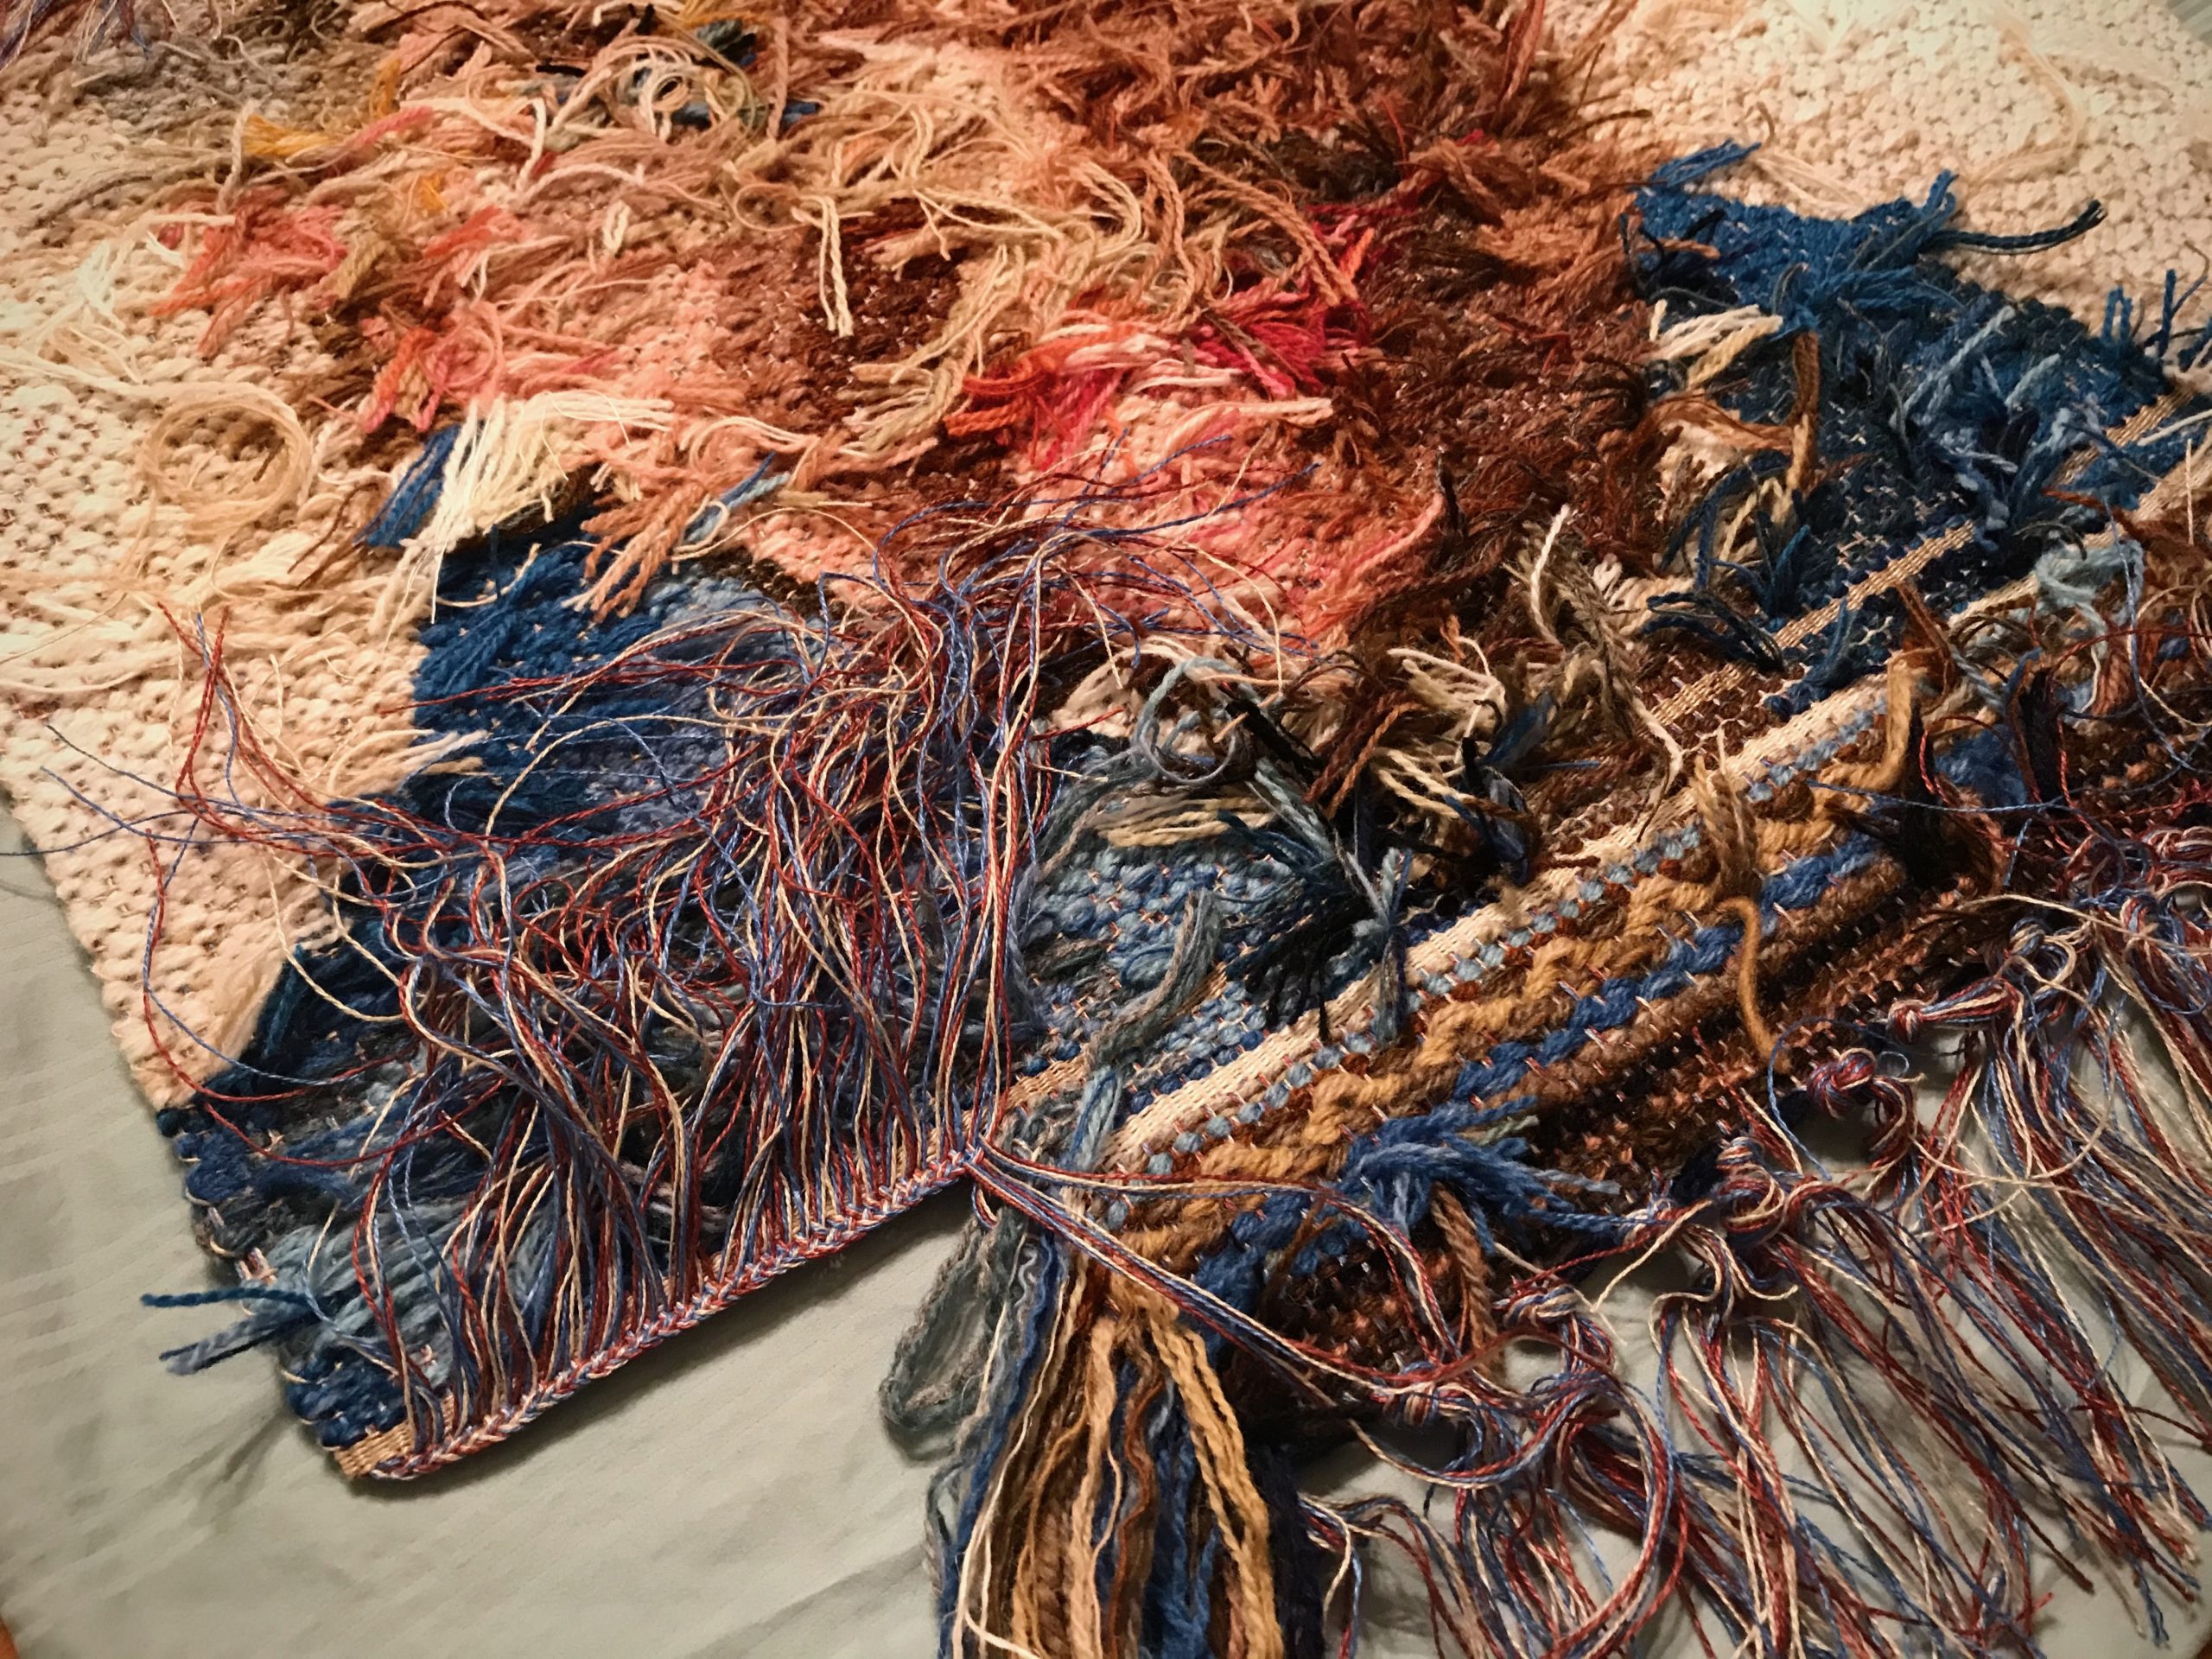
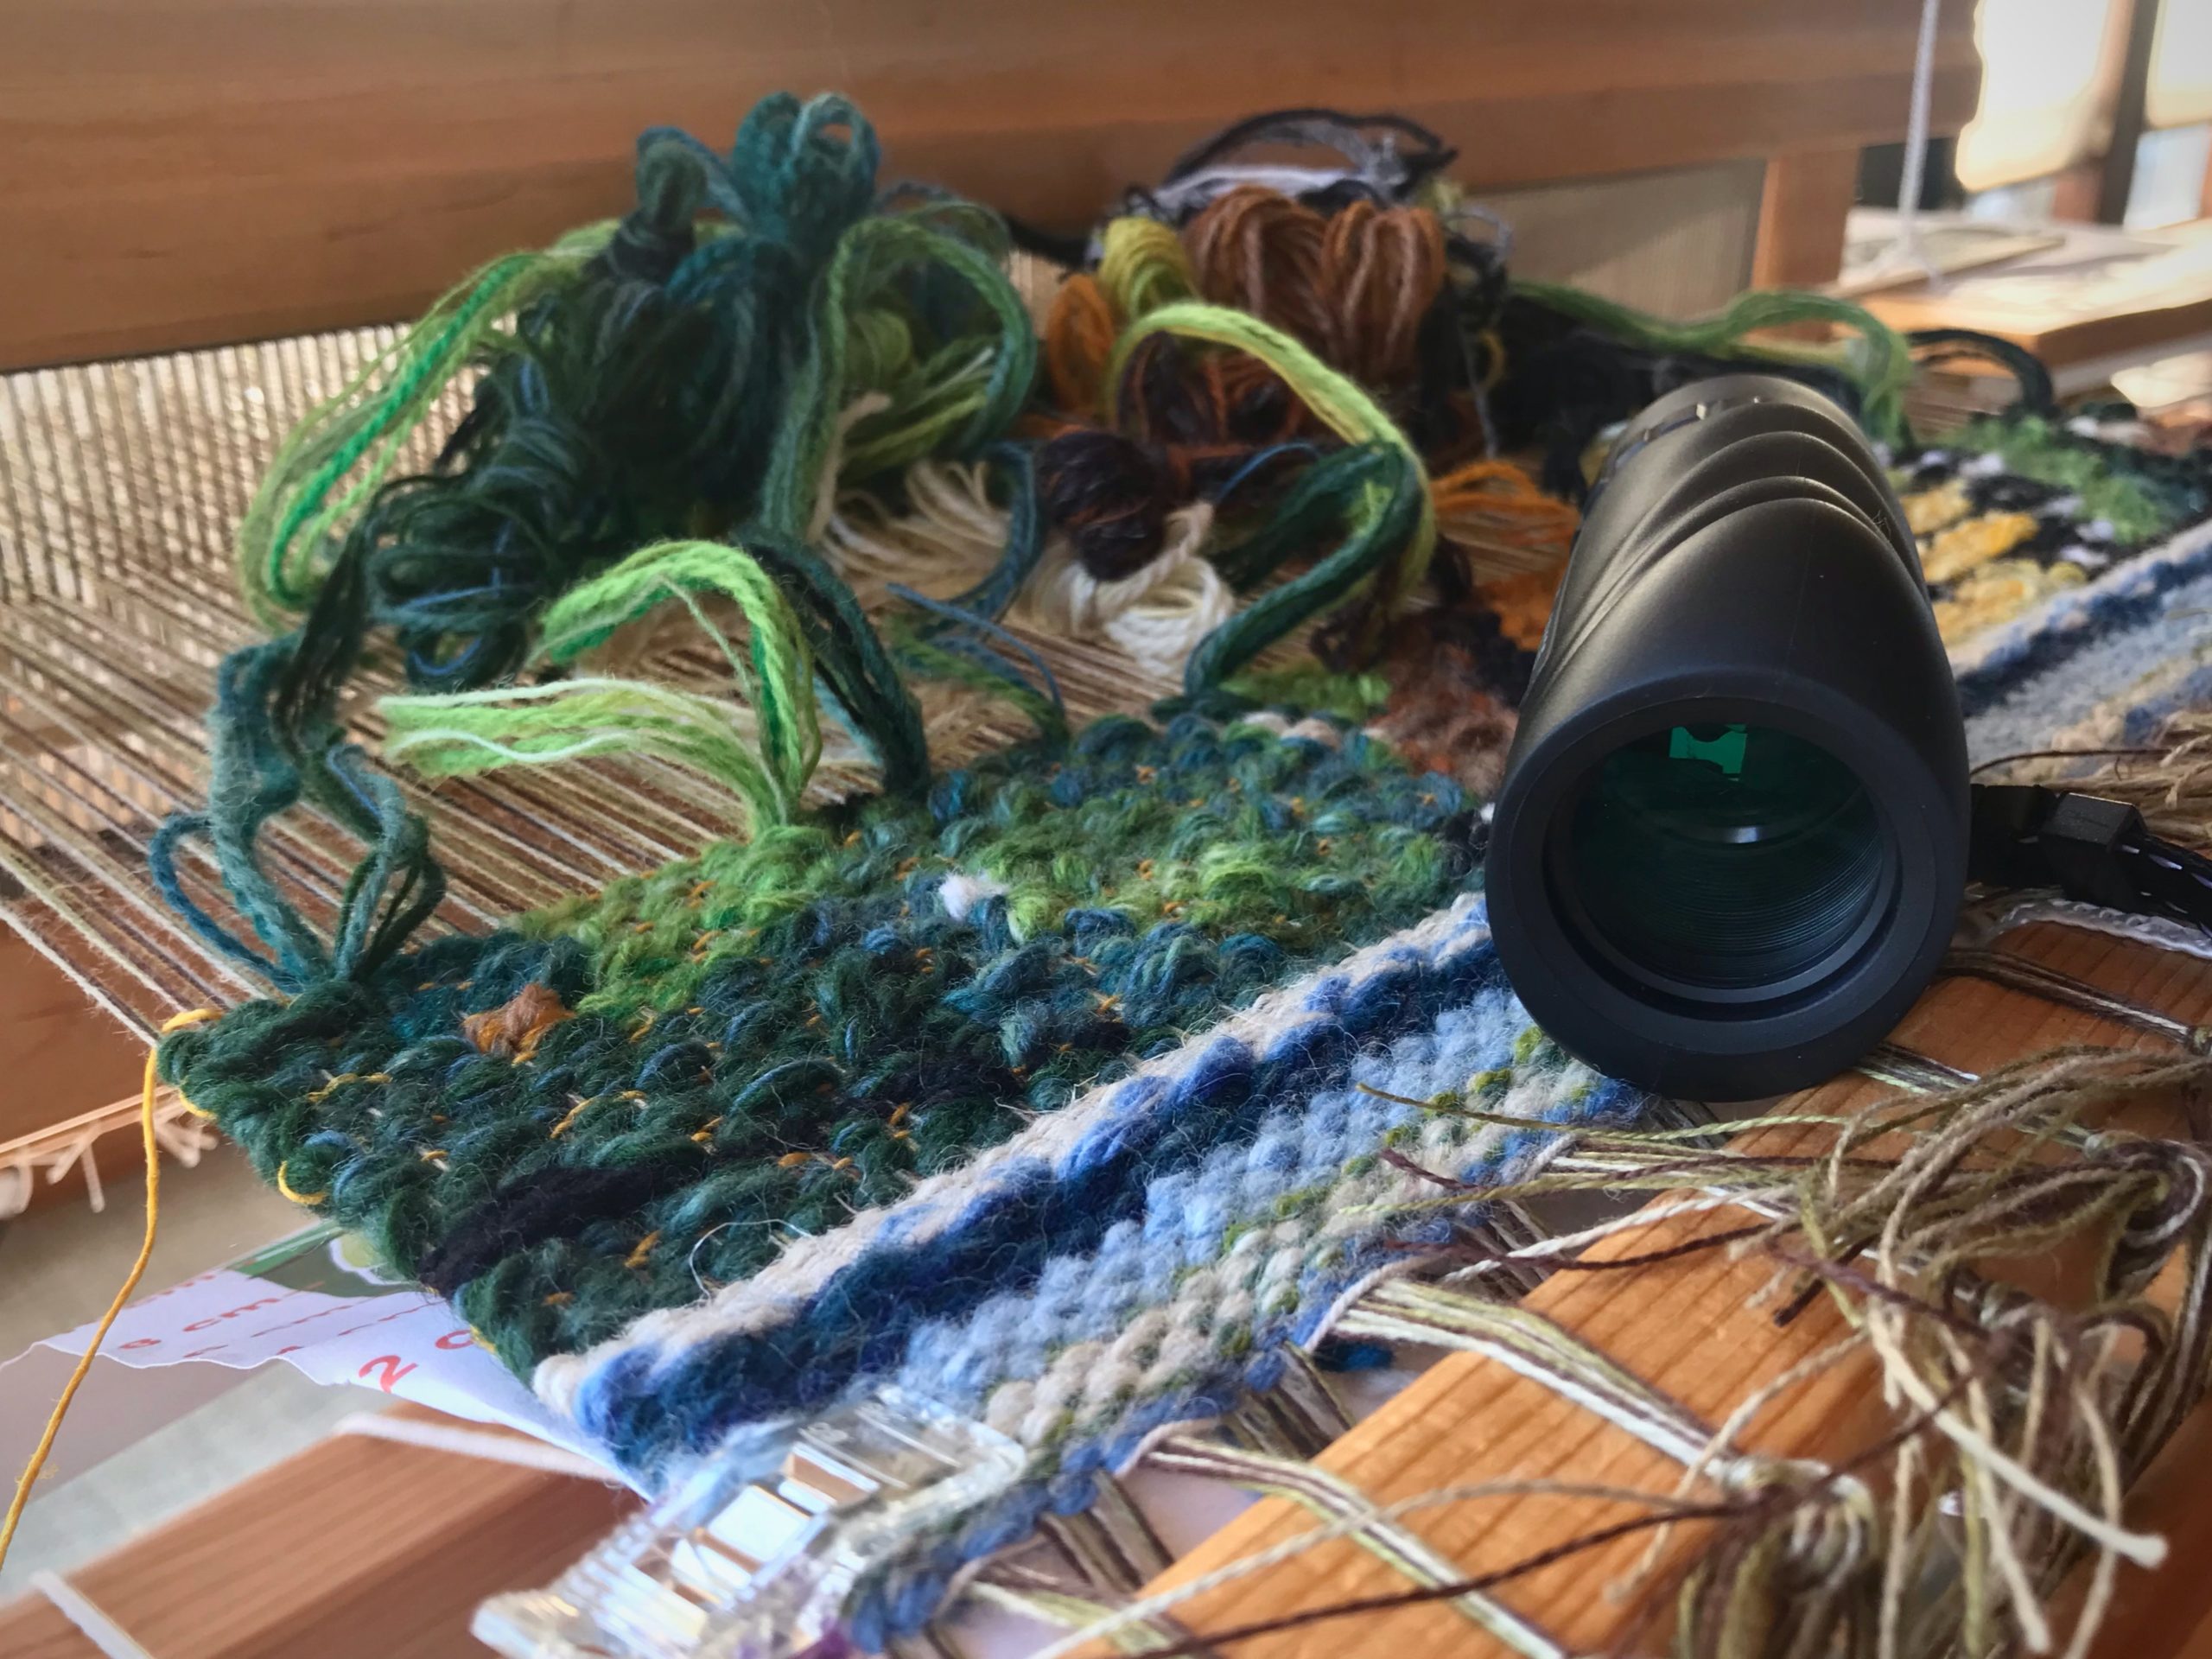
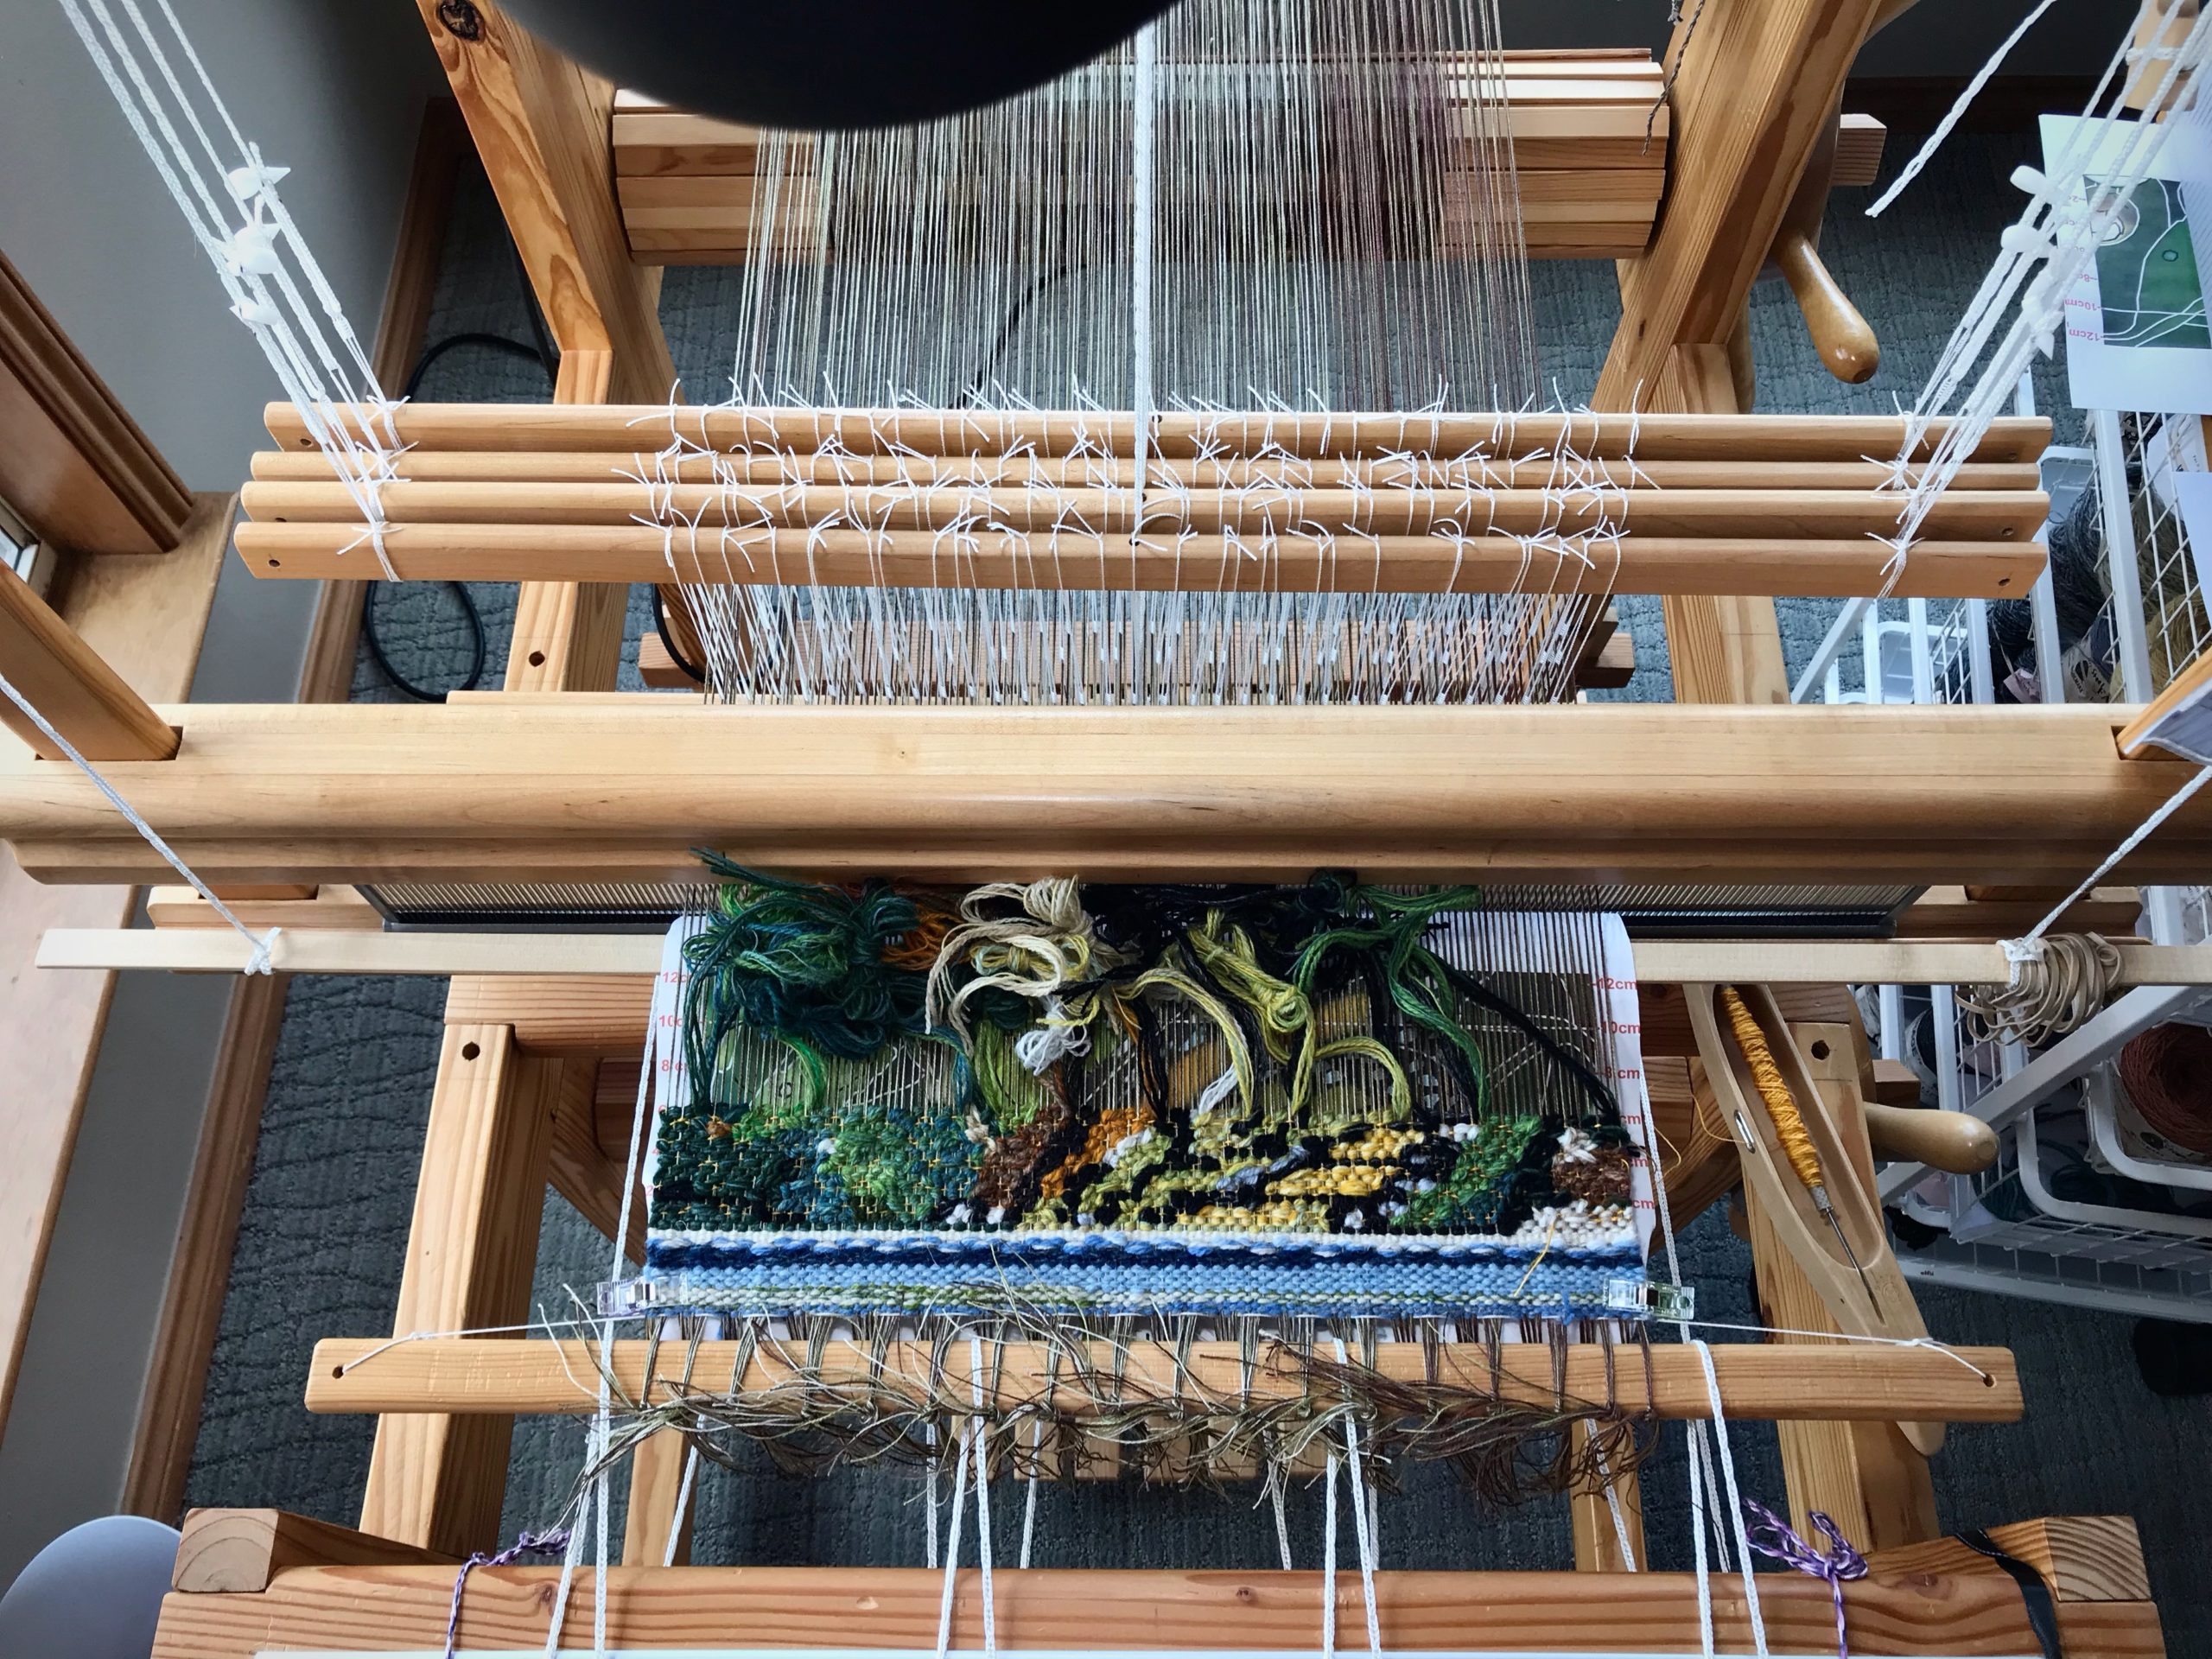
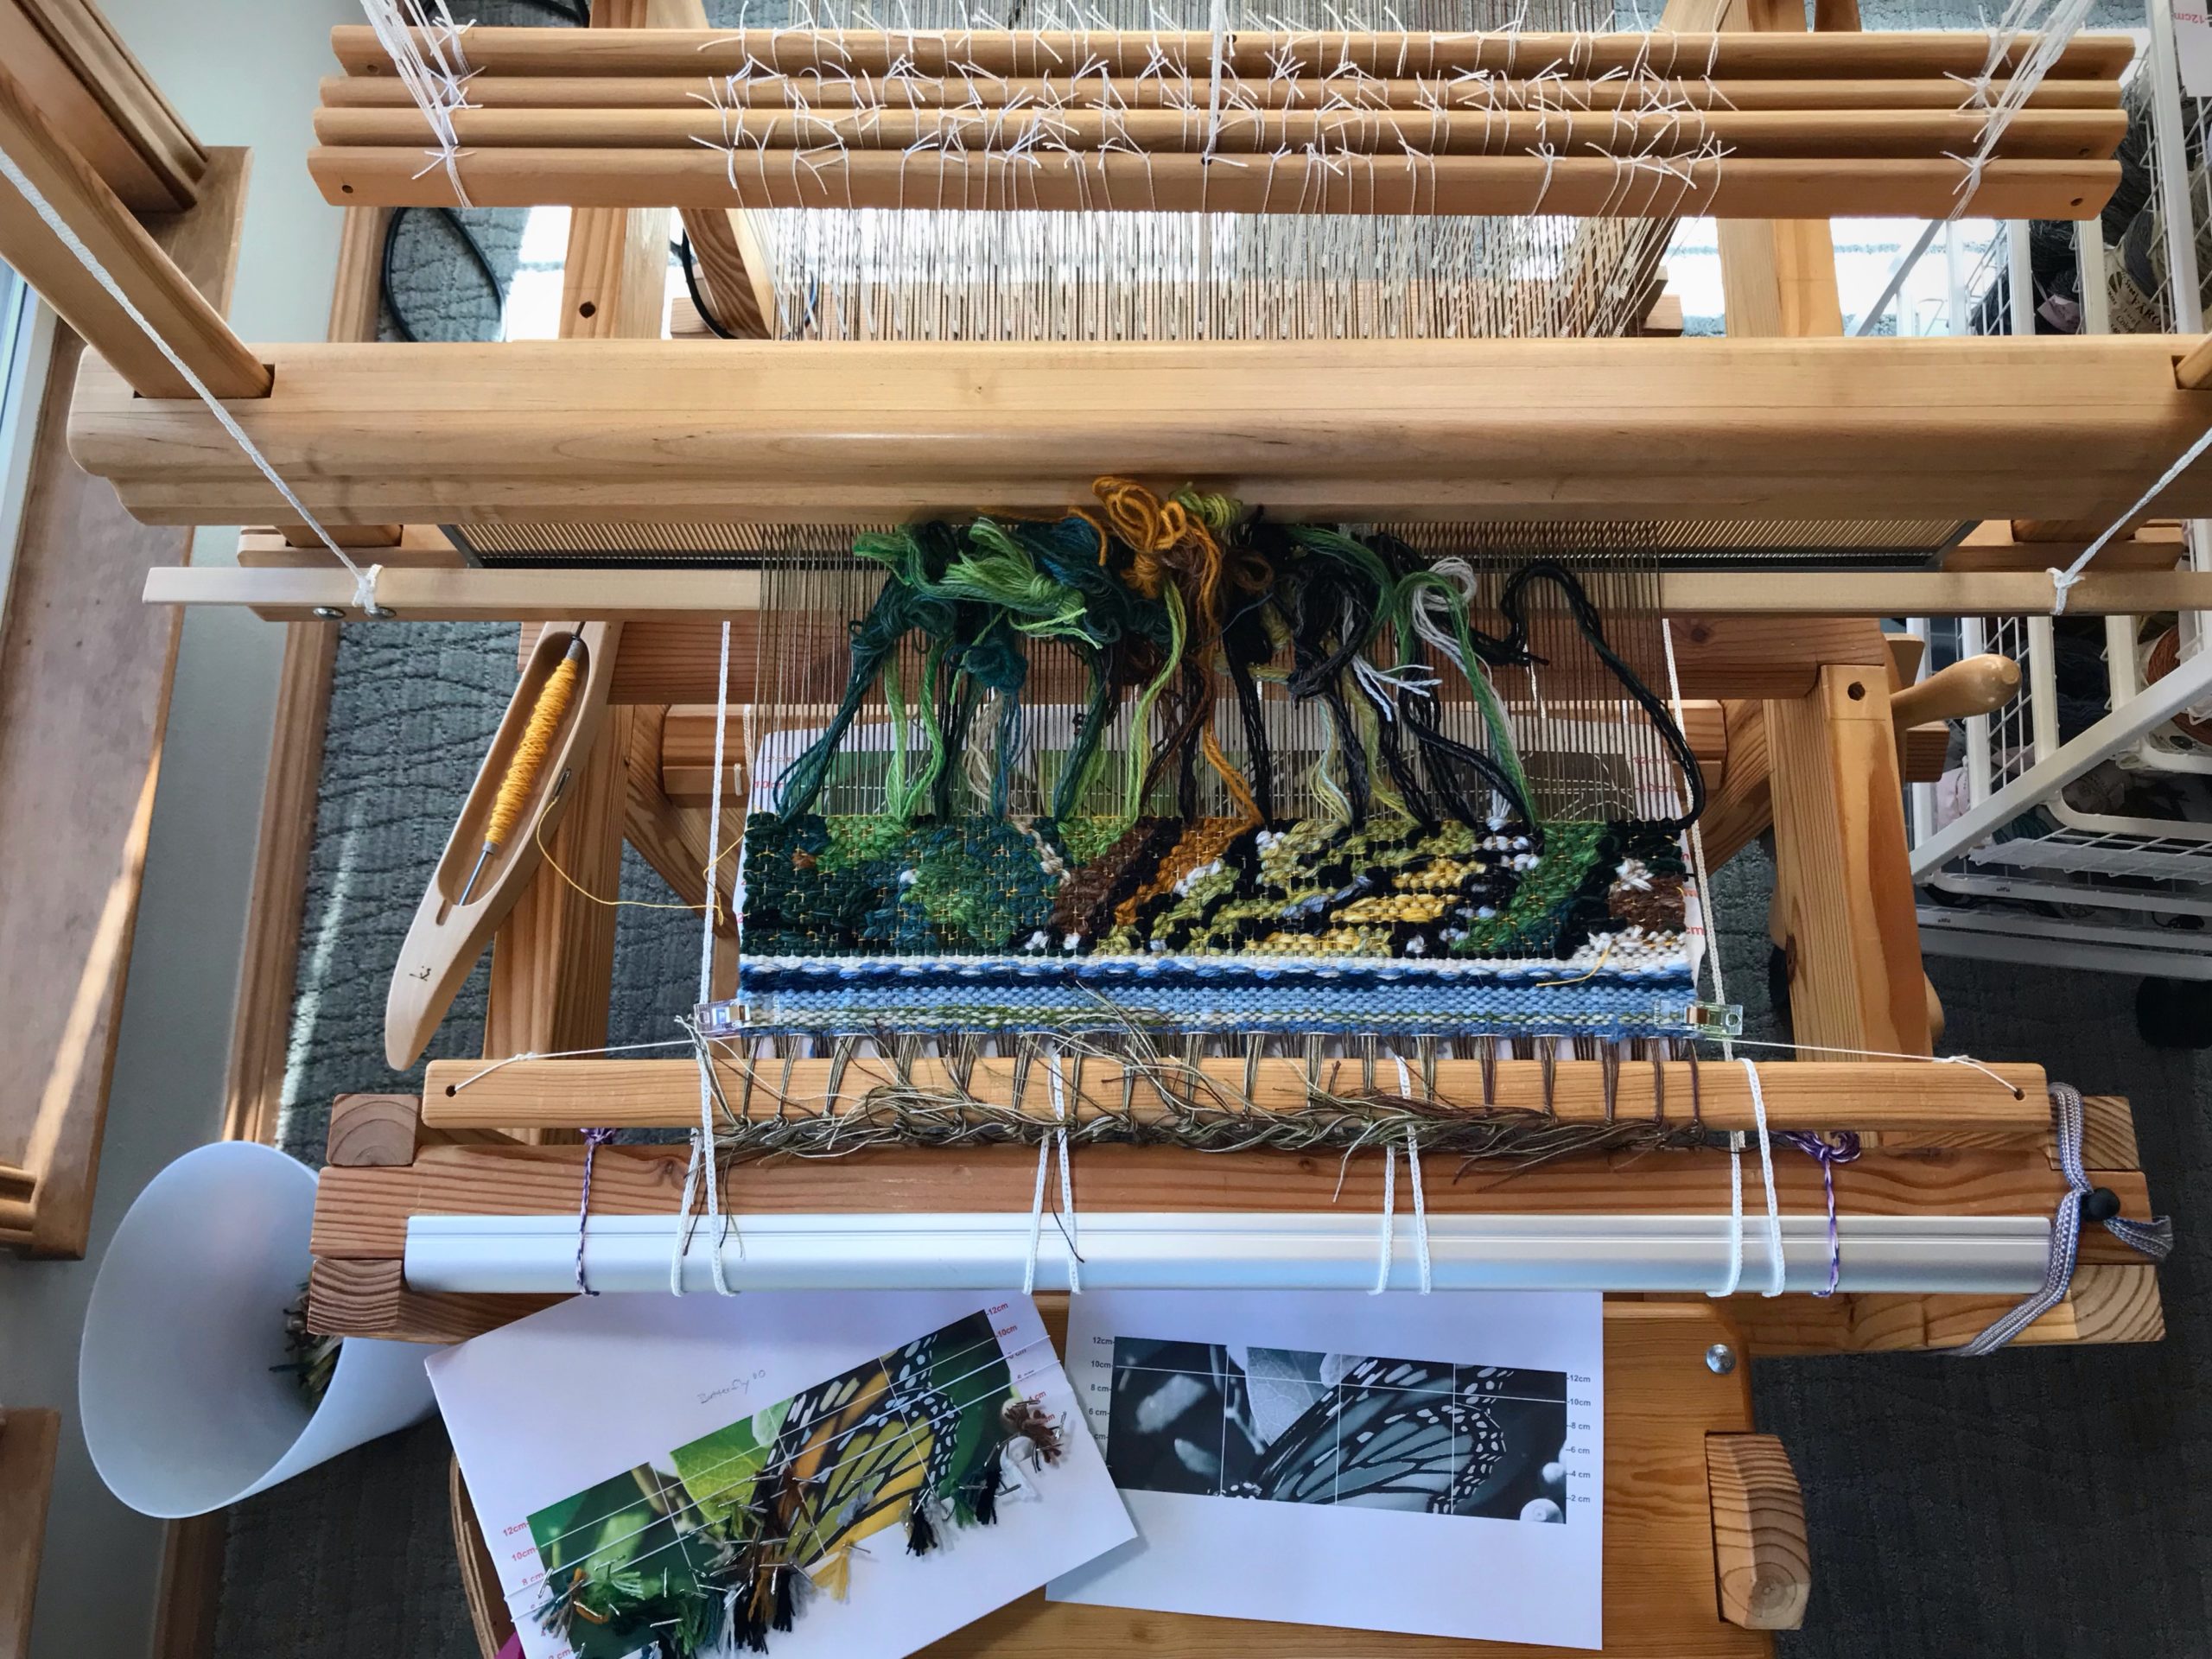
The jumble of yarn looks like a random play of colors. But if you look a little closer, and push the yarn butterflies out of the way, you can tell that the color choices are deliberate. You see only a hint of the image, though, until you look through the back end of the monocular, or step up on the step stool to have a look from up above the weaving. That’s when you get an overview of what’s on the loom.

New tapestry project.
Yarn butterflies each have a mix of wool, mostly 6/2 Tuna and 6/1 Fårö yarn.
Weaving a new tapestry on the floor loom.
The mix of colors in each yarn butterfly is a deliberate selection for the specific hues, values, and intensities I want to portray.
Tapestry of a butterfly wing.
View from my seat on the loom bench.

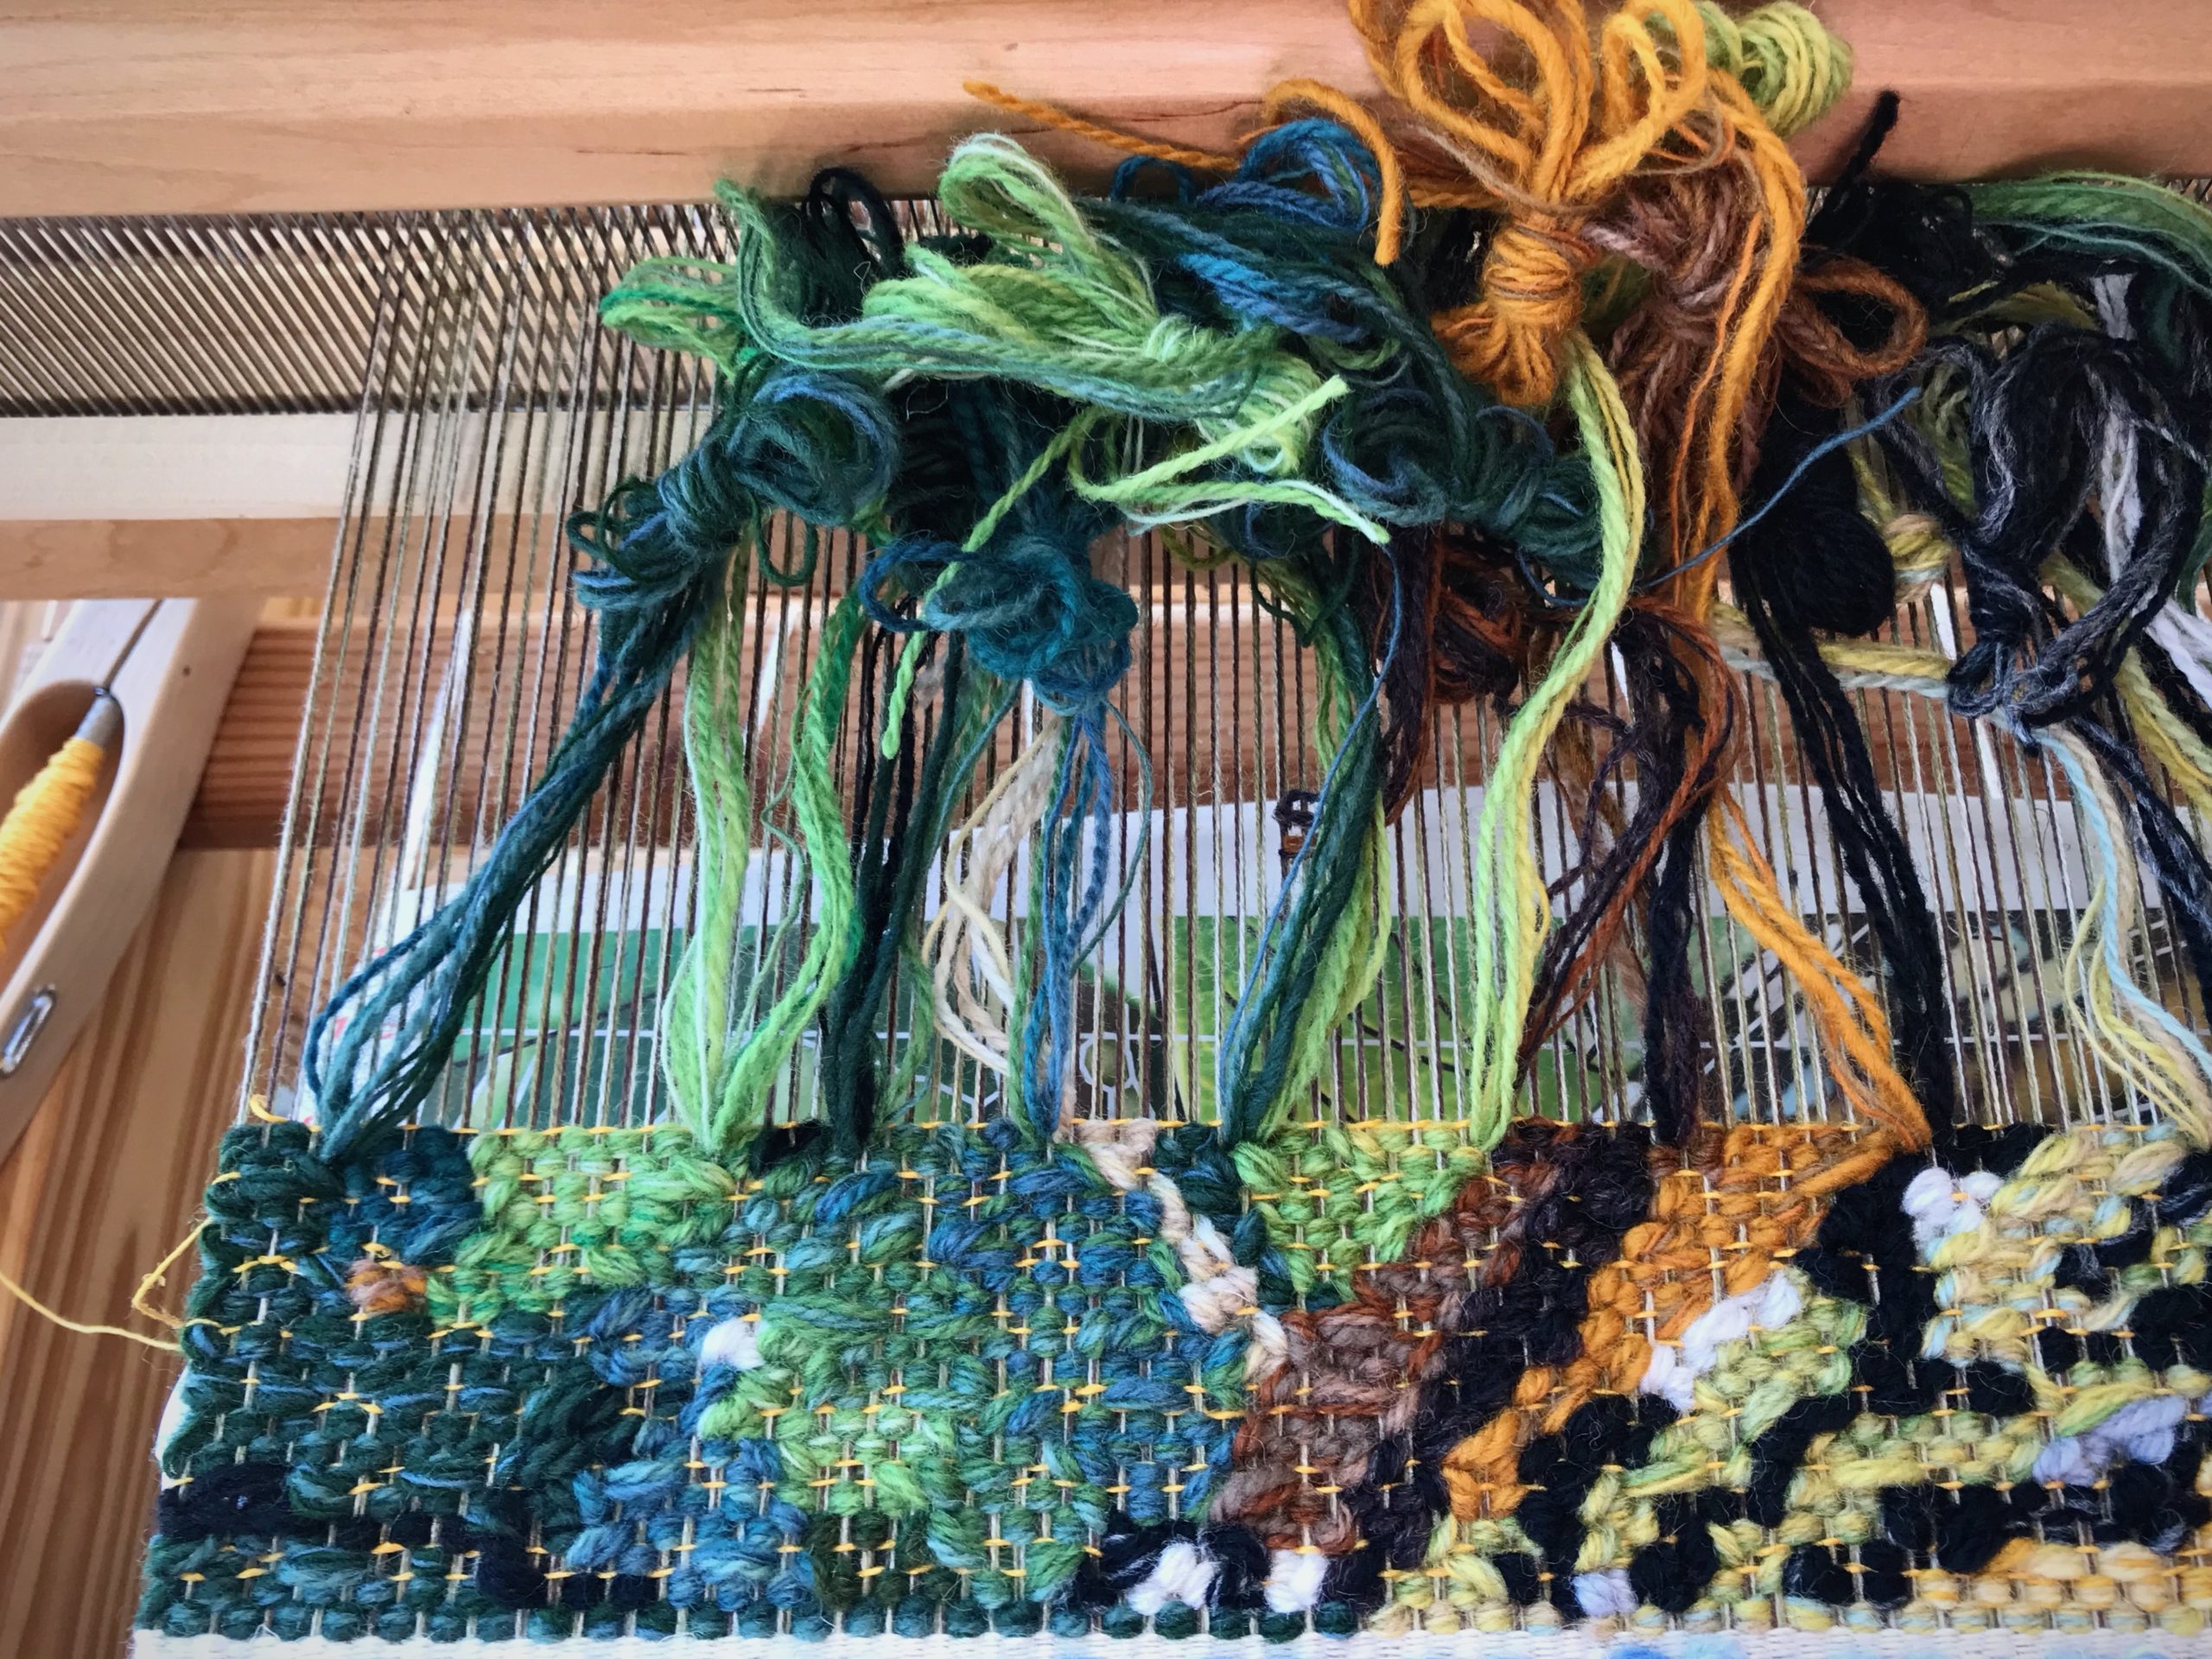
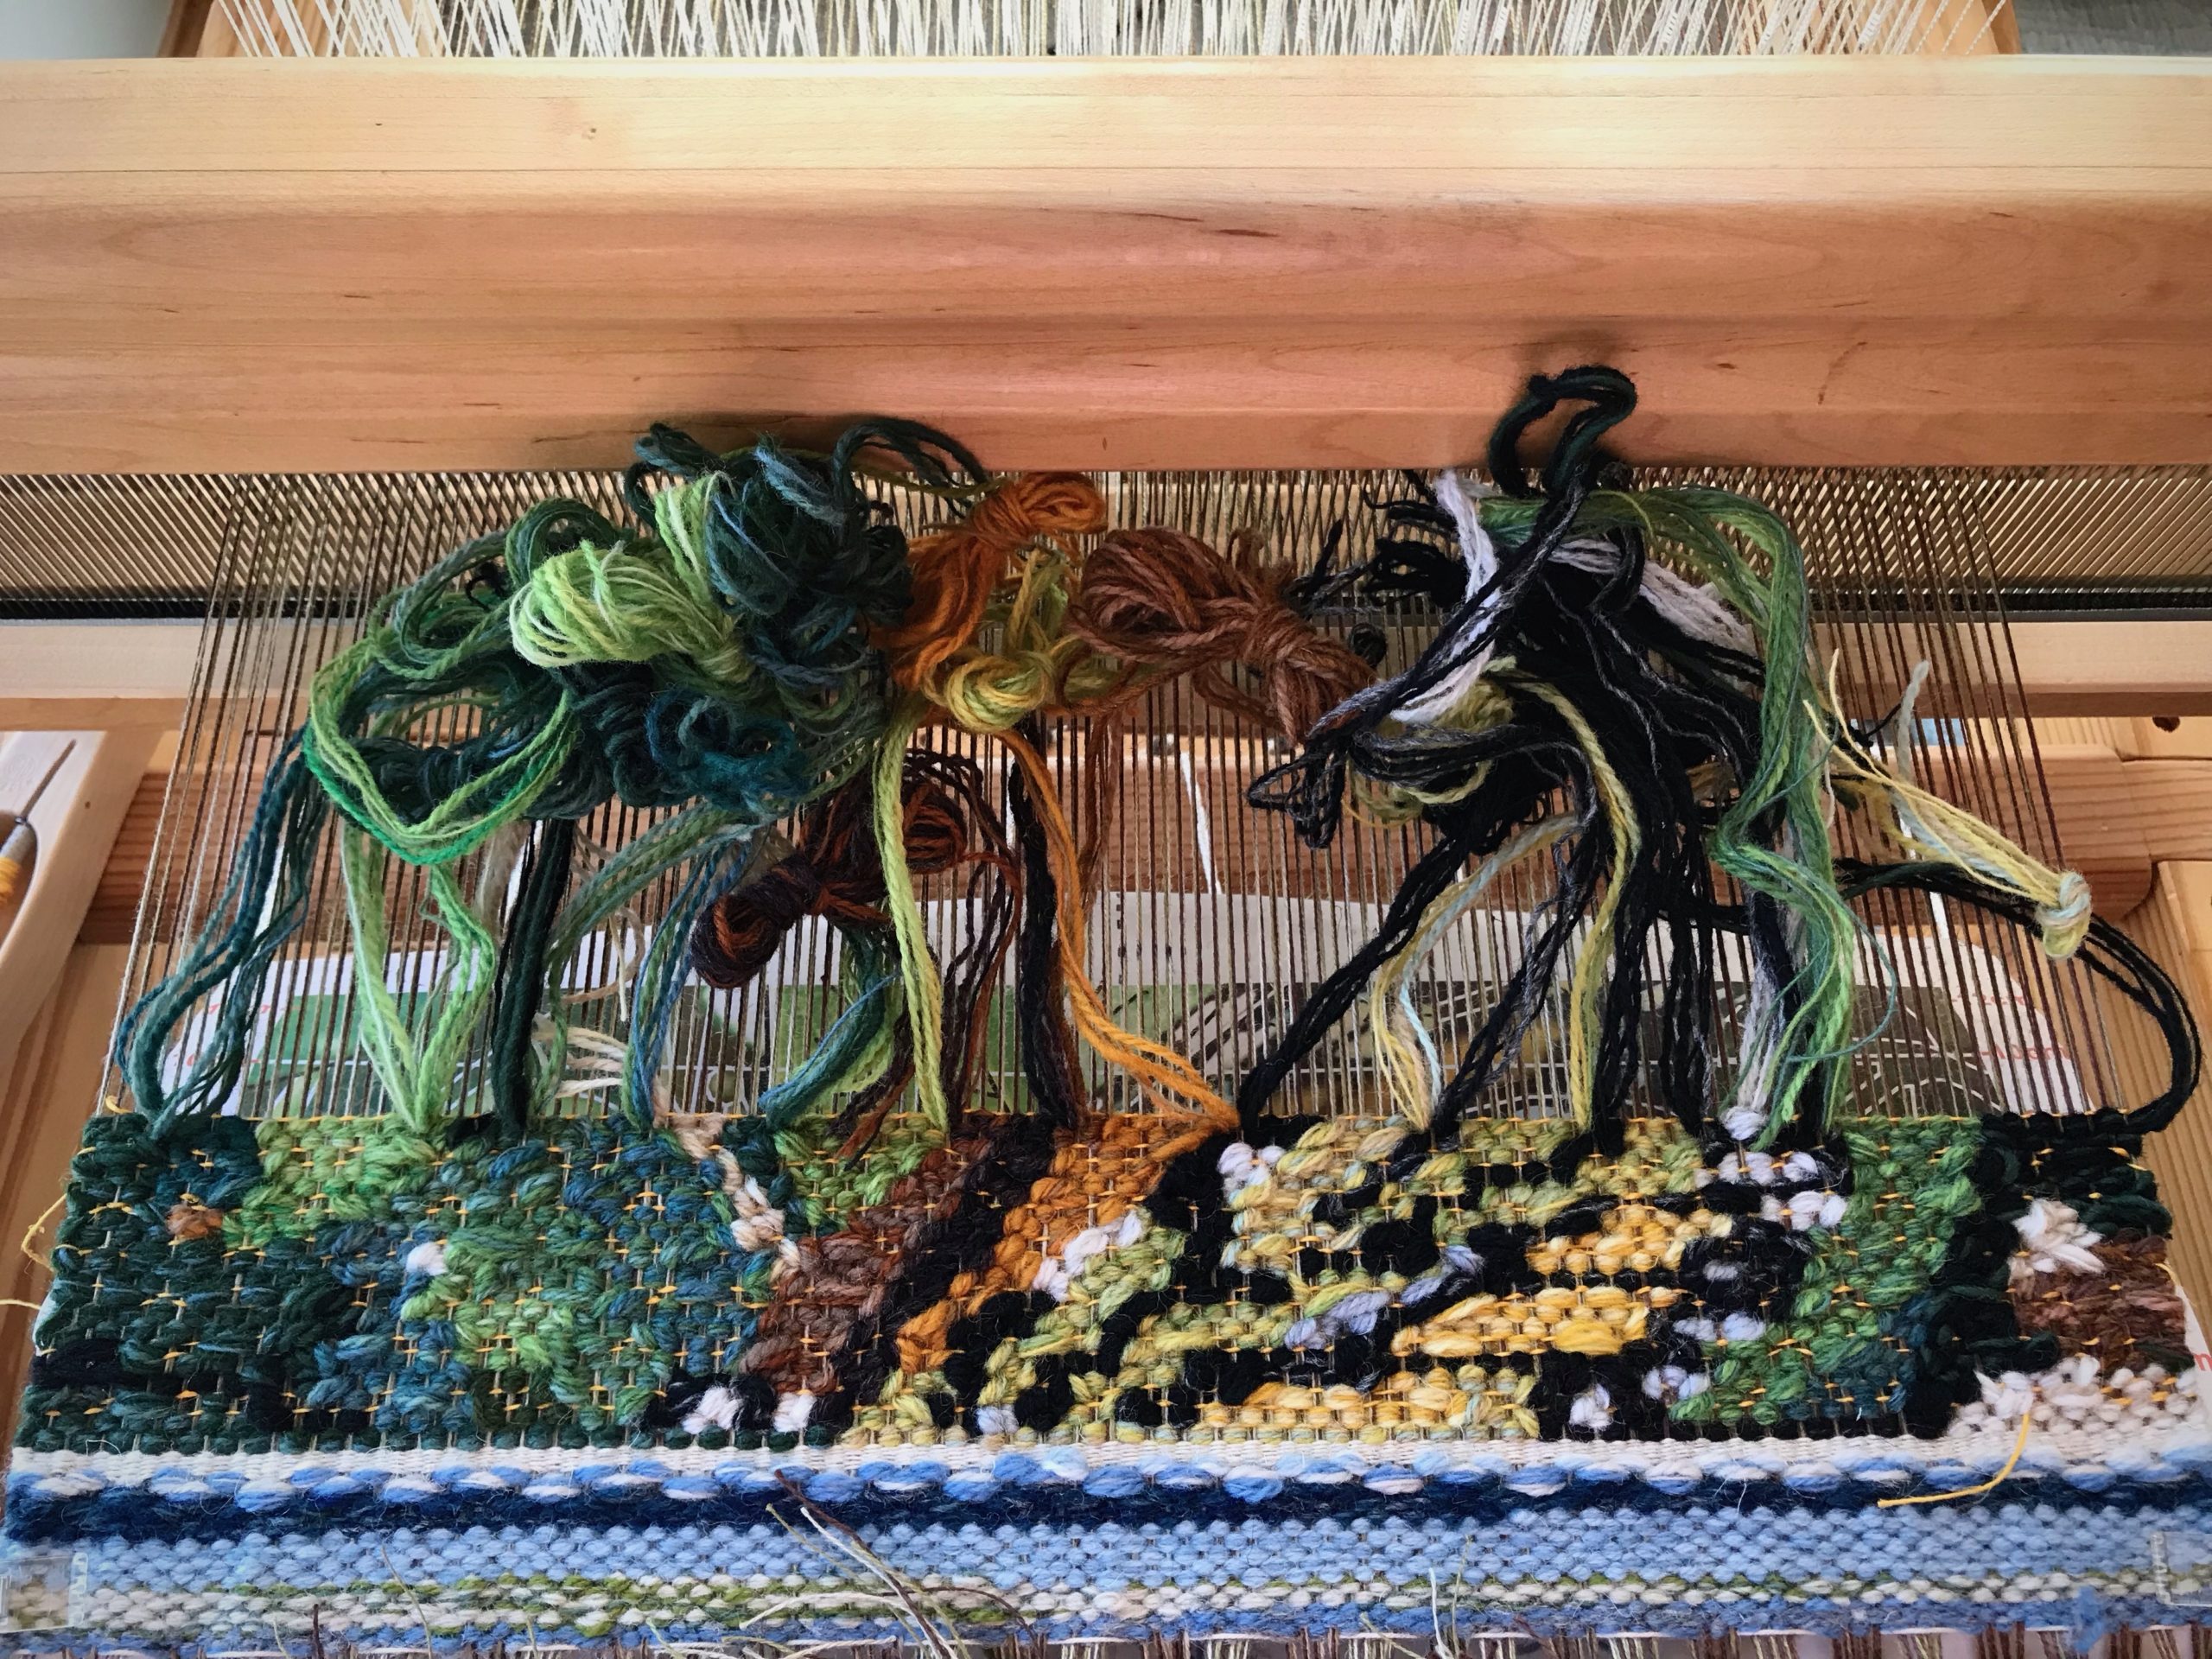
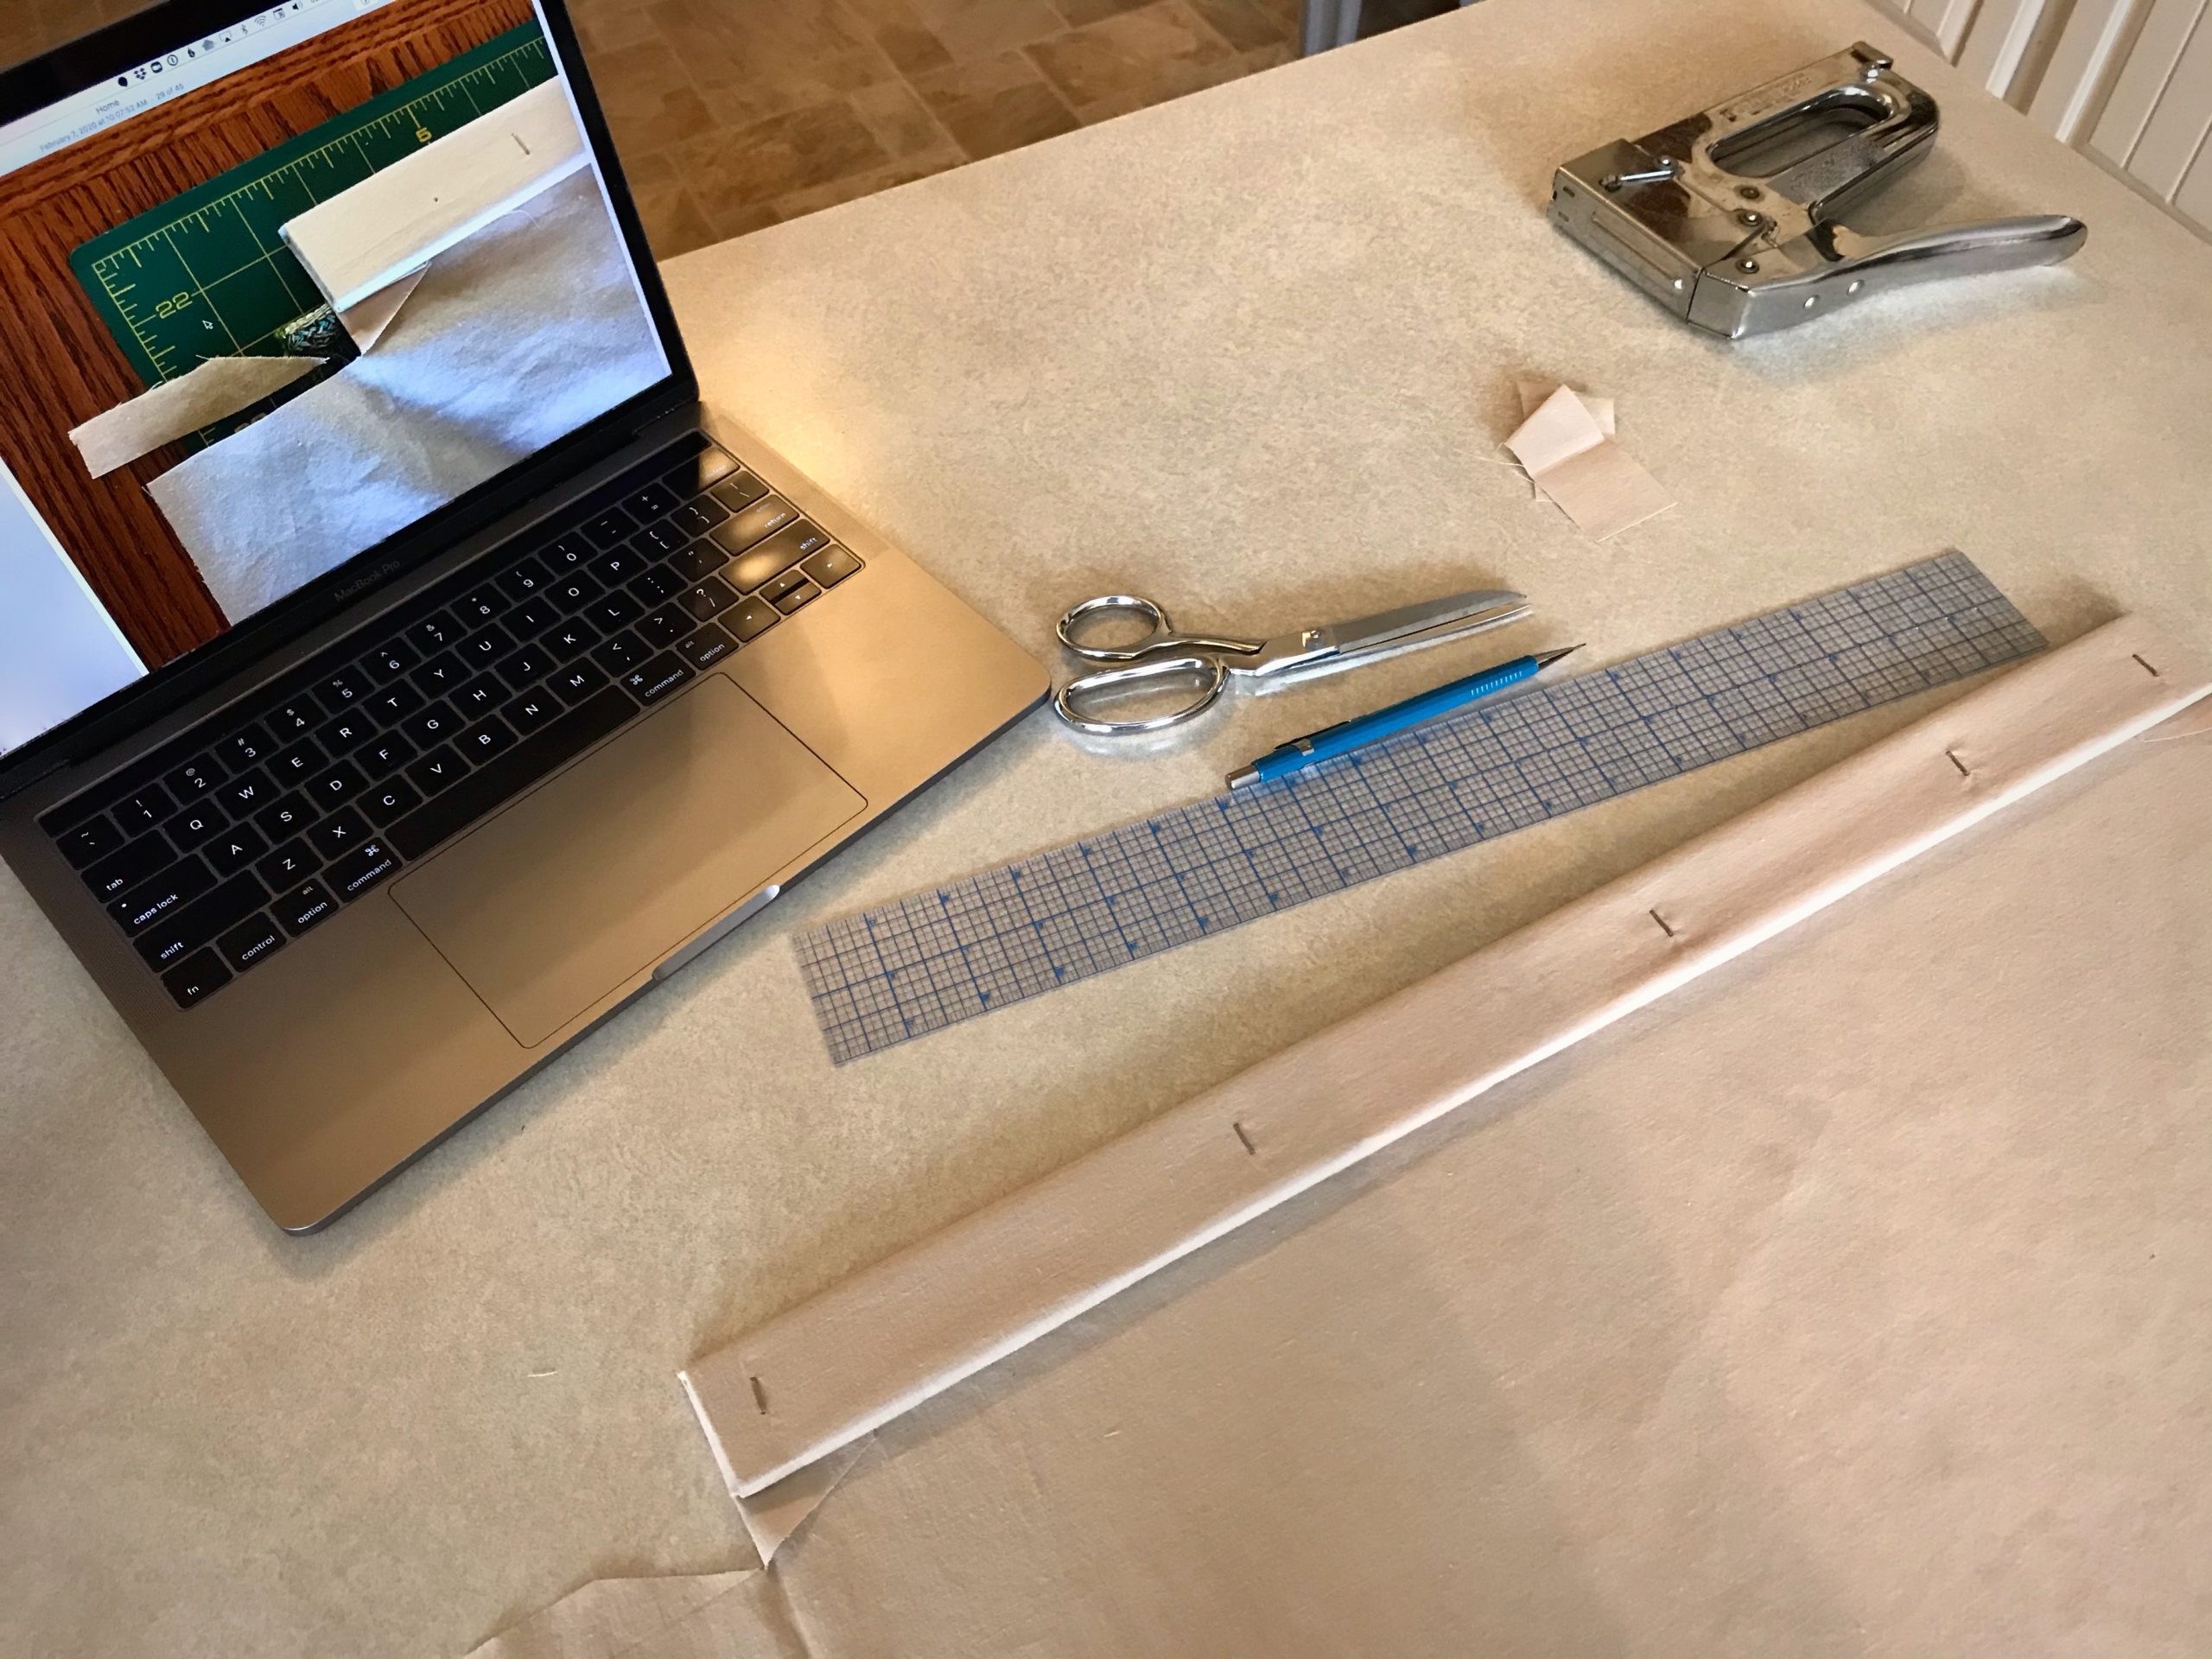
This warp is a study project. I want to test some tapestry techniques to help me develop my style. I made the cartoon by cropping and enlarging a photograph I took years ago. The butterfly had just emerged from its chrysalis! The subject for my study: the butterfly’s intricate wing.

Tapestry on the floor loom, and how to view it.
Peering through the *wrong* end of the monocular gives me a distant view of the tapestry in progress.
Get a view from higher up to get a better perspective on life.
I stand on a stepstool near the loom to get an even broader view of the tapestry from a distance. This perspective shows me how effective my yarn selections are (or are not) for the image I want to create.
Intricate butterfly wing - subject for tapestry study.
Cartoon in a reduced size helps me see the color distinctions. Photo in black and white helps me see value contrasts.

Who designed the butterfly wing? A stained-glass artist may conceive it. A tapestry weaver may copy it. A silk dyer may imagine it. But only our Creator could bring it to life. God makes himself known. Push the obstacles out of the way. Look for design. Gain a higher perspective. With each woven row, the image becomes more and more clear. When the butterfly wing begins to flutter you know you are witnessing something from the mind of God.

May you see what is hidden.

Happy weaving,
Karen

Process Review: Rosepath and Butterflies

I allowed the remaining warp to sit on the loom for a little while after cutting off the Eye of the Beholder tapestry. It crossed my mind to be completely done with it. Go ahead, discard the bit of warp that is left, I told myself. But this is linen. I have a hard time discarding linen.

New tapestry, just cut off the loom.
Cutting off Eye of the Beholder tapestry.

The warp on the loom is threaded in rosepath, with a coarse sett of 3 ends per centimeter (7.5 ends per inch). The potential weaving length is no more than 20-30 centimeters. Then, the “what if” happens. What if…I use leftover butterflies from the tapestry as weft for a short rosepath design? One thing leads to another. Now, I have a new favorite purse. The tapestry memories live on!

Linen warp and wool weft in rosepath.
Stick shuttle works to carry various lengths of wool butterflies across the linen warp.
Tapestry butterflies put to use.
Tapestry butterflies are put to use. (Butterflies accumulate with every tapestry.)
Rosepath garden.
Butterflies in the rosepath garden.
Rosepath with leftover tapestry wool butterflies.
Cutting off beautiful linen and wool rosepath!
Cutting off.
Finishing the ends.
Finishing the ends.
Rosepath and Butterflies Purse.
Handwoven purse, with lining and pocket.
Inside of purse is lined, with a pocket added, of course.
Handwoven strap made from 12/6 cotton rug warp.
Strap is 4.5cm wide and was woven with 12/6 cotton rug warp on the Glimåkra 2-treadle band loom. I sewed the strap to the bag, keeping the warp edging of the rosepath fabric visible, with the braids at the ends as embellishments.
Rosepath and Butterflies Purse. Handwoven.

May you know when to ask, “What if?”

Be blessed,
Karen

Process Review: Eye of the Beholder Tapestry and Video

I started planning this tapestry portrait of my mother one year ago. As I was concluding her portrait on my loom, it became evident that her real-life tapestry was also coming to a conclusion. I arrived at Mom’s bedside with the portrait in hand, warp ends dangling. Her smile in that cherished moment is one I will never forget. In the days that followed, she quietly slept. I silently braided the warp-end edging, trimmed the tails on the back, stabilized the tapestry through the lining, and stitched the lining in place. I carefully secured the last stitch. In the wee hours of the next morning, while she was asleep, the Lord Jesus called my mother home. Tapestry complete. Beautiful.

Weaving a pictorial tapestry. Making butterflies.
Making butterflies gets messy. Balls of yarn are everywhere as I combine strands of wool to get just the right blends of color. And then I rubber band every label back on its yarn, and every ball of yarn goes back in its proper bin.
Tapestry portrait. Eye of the Beholder.
I was overjoyed when I was able to see her eyes in the tapestry.

Eye of the Beholder is about my mother who taught me to appreciate beauty. This is a portrait of a woman with an eye for beauty, with beauty in her eyes.

I humbly share my process of weaving Eye of the Beholder in this video:

May you seek beauty that never ends.

Her daughter,
Karen

Tried and True: How to Remove Guesswork

Documenting your work for repeatability is valuable for any any step-by-step process. With the Lizard tapestry I learned how to do the finishing, including the backing. By the time I was ready to put a backing on the Siblings tapestry, I had limited recall of that first experience. Now that Eye of the Beholder is ready for backing, I need help again. Fortunately, I made note of every detail while constructing the backing for the Siblings tapestry. So, this time I have the benefit of written and photo documentation. No guesswork!

How to Document Your Steps

How to document your process steps.
Photo guidance on the computer corresponds with enumerated steps on my phone. This removes guesswork for the next part of the process.
  1. Do research. Gather your notes, search resources, and get advice from experienced weavers regarding the process you want to document.
  2. Outline the steps. Write out and number all the steps as you understand them. Doing this before you start helps you think through the entire process.
  3. Refine the steps. Begin working through the steps in order. Adjust the steps as you go. You may need to add or eliminate steps, or change the order in which they are done.
  4. Make it visual. Take a photo of any step that benefits from visual clarification.
  5. Finalize. Simplify and clarify the instructions in every step as if they are meant for someone who knows less about this process that you do. Remove redundant and/or unnecessary photos.

May you remove guesswork as much as possible.

All the best,
Karen

Tapestry Making

This may be the most difficult thing I’ve woven so far. It has been compelling, rewarding, and especially difficult to weave this tapestry. I can’t tell you how many times in this process I have said to myself, “What was I thinking?!” Yet, at the same time, I can truthfully say it’s been a joy.

Cutting off a tapestry from the floor loom.
Cutting off Eye of the Beholder tapestry.

How does one weave a portrait of her mother? With many hours of reflective thinking — a play on words, since I probably reflect my mother’s attributes more than I know. At long last, as the maker of this portrait tapestry, I am cutting the warp ends to release the cloth from the loom. I still have finishing work to do, and then comes rest.

Finishing the ends of tapestry just cut from the loom.
Finishing the ends.

The Lord God is your Maker. We worship him by allowing his master-weaver hands to do the weaving, and we willingly conform to his ways. When he is finished, his hands finally rest. And then we hear the invitation we’ve been waiting for. Enter your Maker’s rest. And the Kingdom of Heaven welcomes another tapestry Master-piece.

May you allow yourself to be woven.

With reflection,
Karen