Tried and True: Measurement Tape

You can measure what you are weaving. A set of towels will all be the same length. A table runner will fit the table as planned. A rug will be the right size for the designated floor space. All it takes is a dependable way to measure. (Thanks to Elisabeth S. for writing me, “I’d love to have a better way to measure my work as I’m weaving it.”)
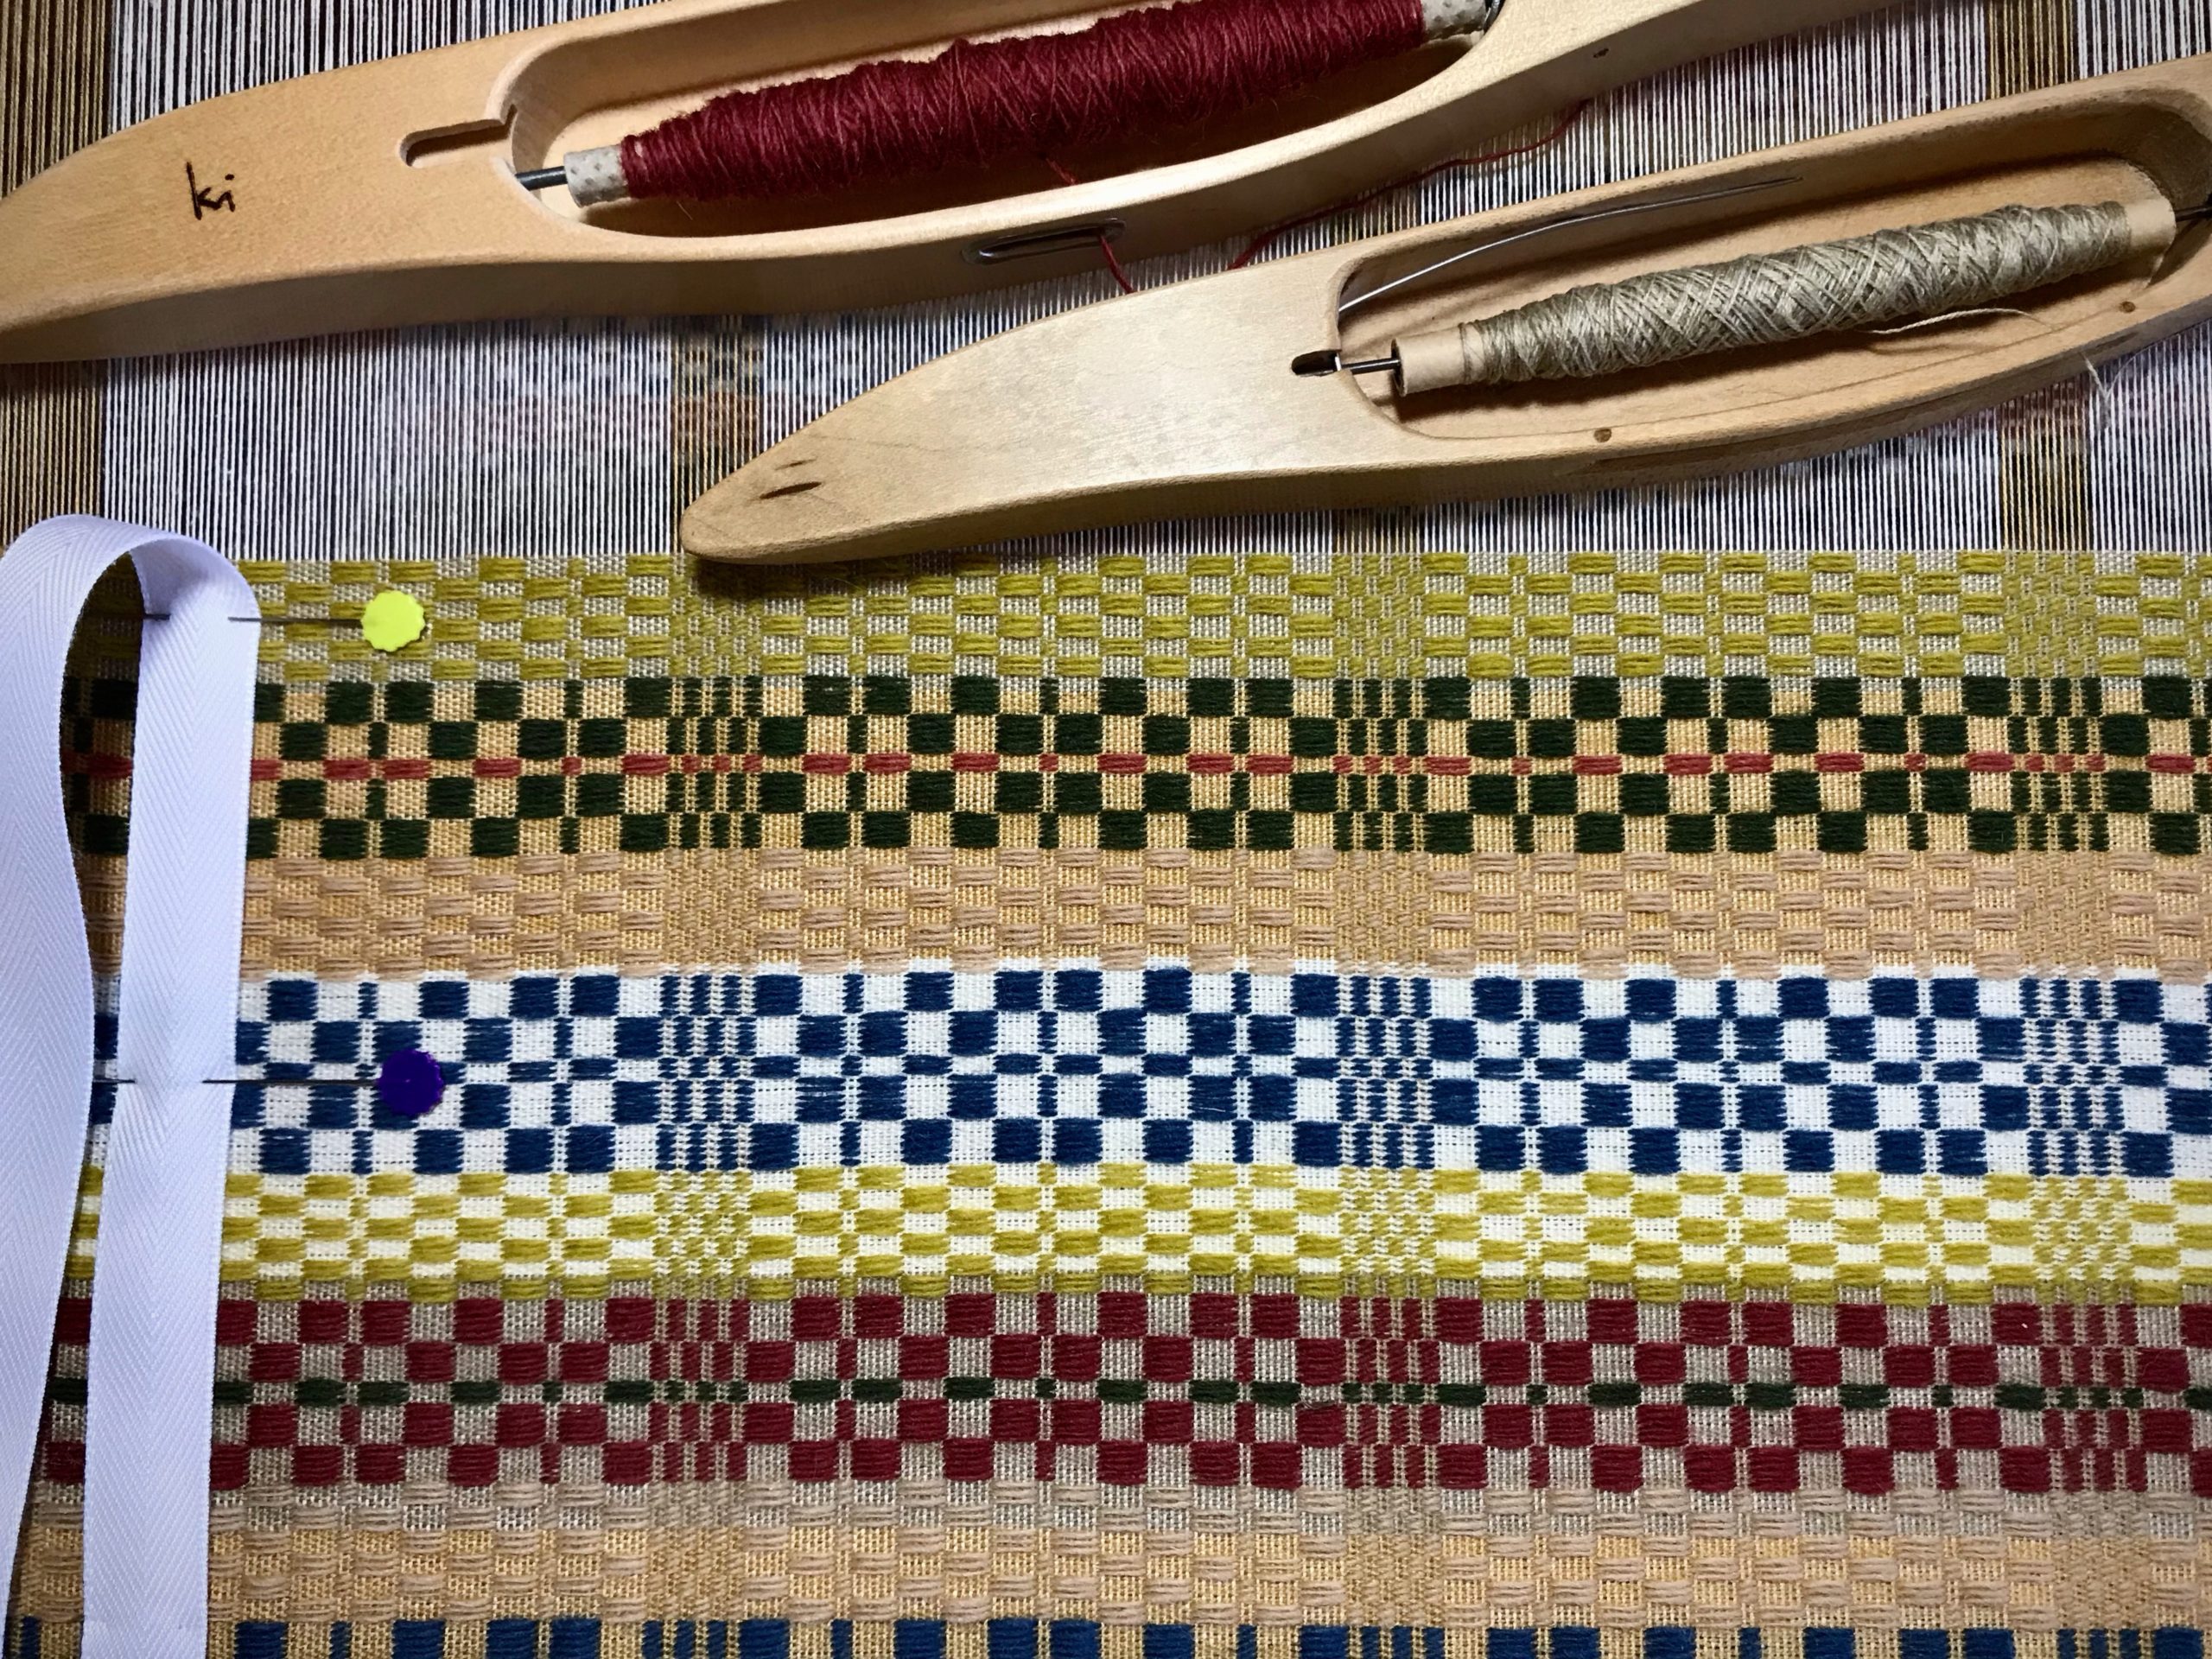
Dependable way to measure on the loom!

Measurement Tape (accompanying video below)

Supplies:

  • Calculator
  • Project notes
  • 5/8” polyester twill tape
  • Fine point indelible marker
  • Tape measure
  • 2 flat-head straight pins

Make Calculations

  • Determine the finished length.
    • Consider the Golden Ratio, 1:6.
    • Consider where the finished textile will be placed.
  • Estimate take-up and shrinkage.
  • Include these measurements in your project notes.

Prepare a Measurement Tape

  • Draw the beginning line about 2 cm from the end of the tape. If there is a hem, draw a second line to mark the hem’s length.
  • Write the item description on the tape.
  • Write ” ___ (finished length) + ___ (take-up and shrinkage) = ___ (total length)” on the tape.
  • Measure the total length from the first line (or from the hem) on the tape. Draw a line at the end (add hem, if needed).
  • Cut the tape about 2 cm after the ending line.
  • Find the middle of the tape. Draw a line and write “MID”.
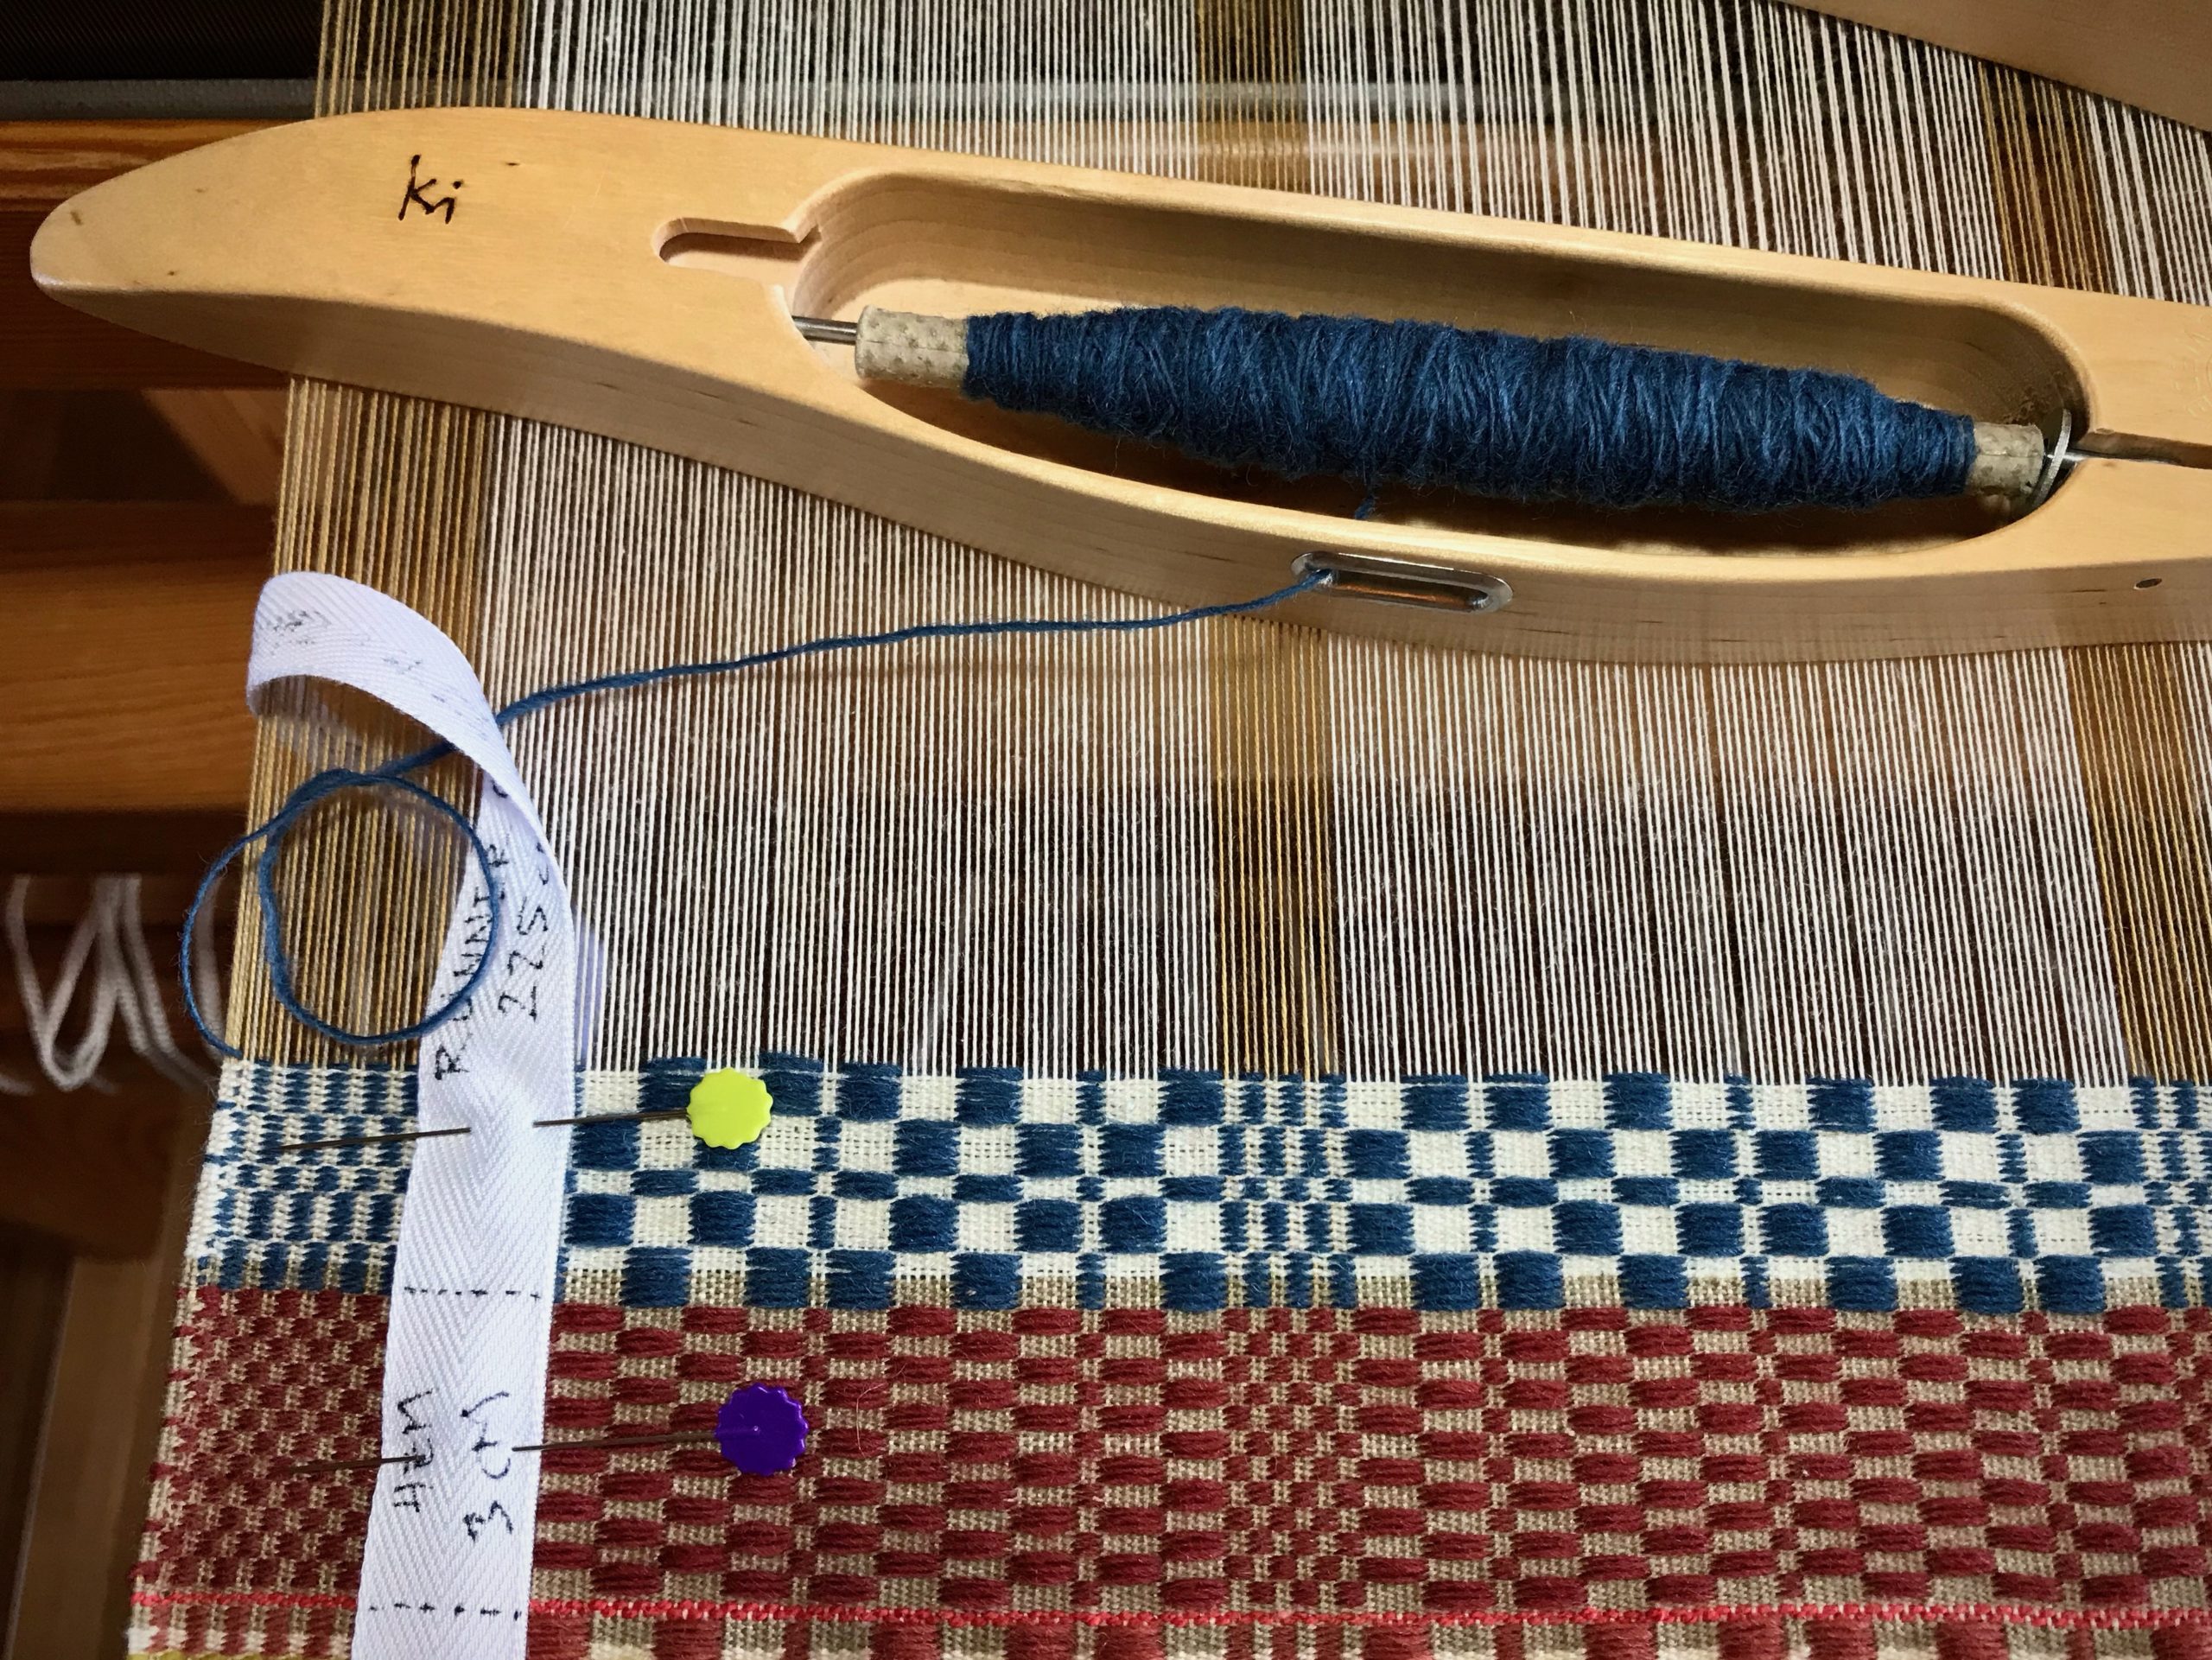
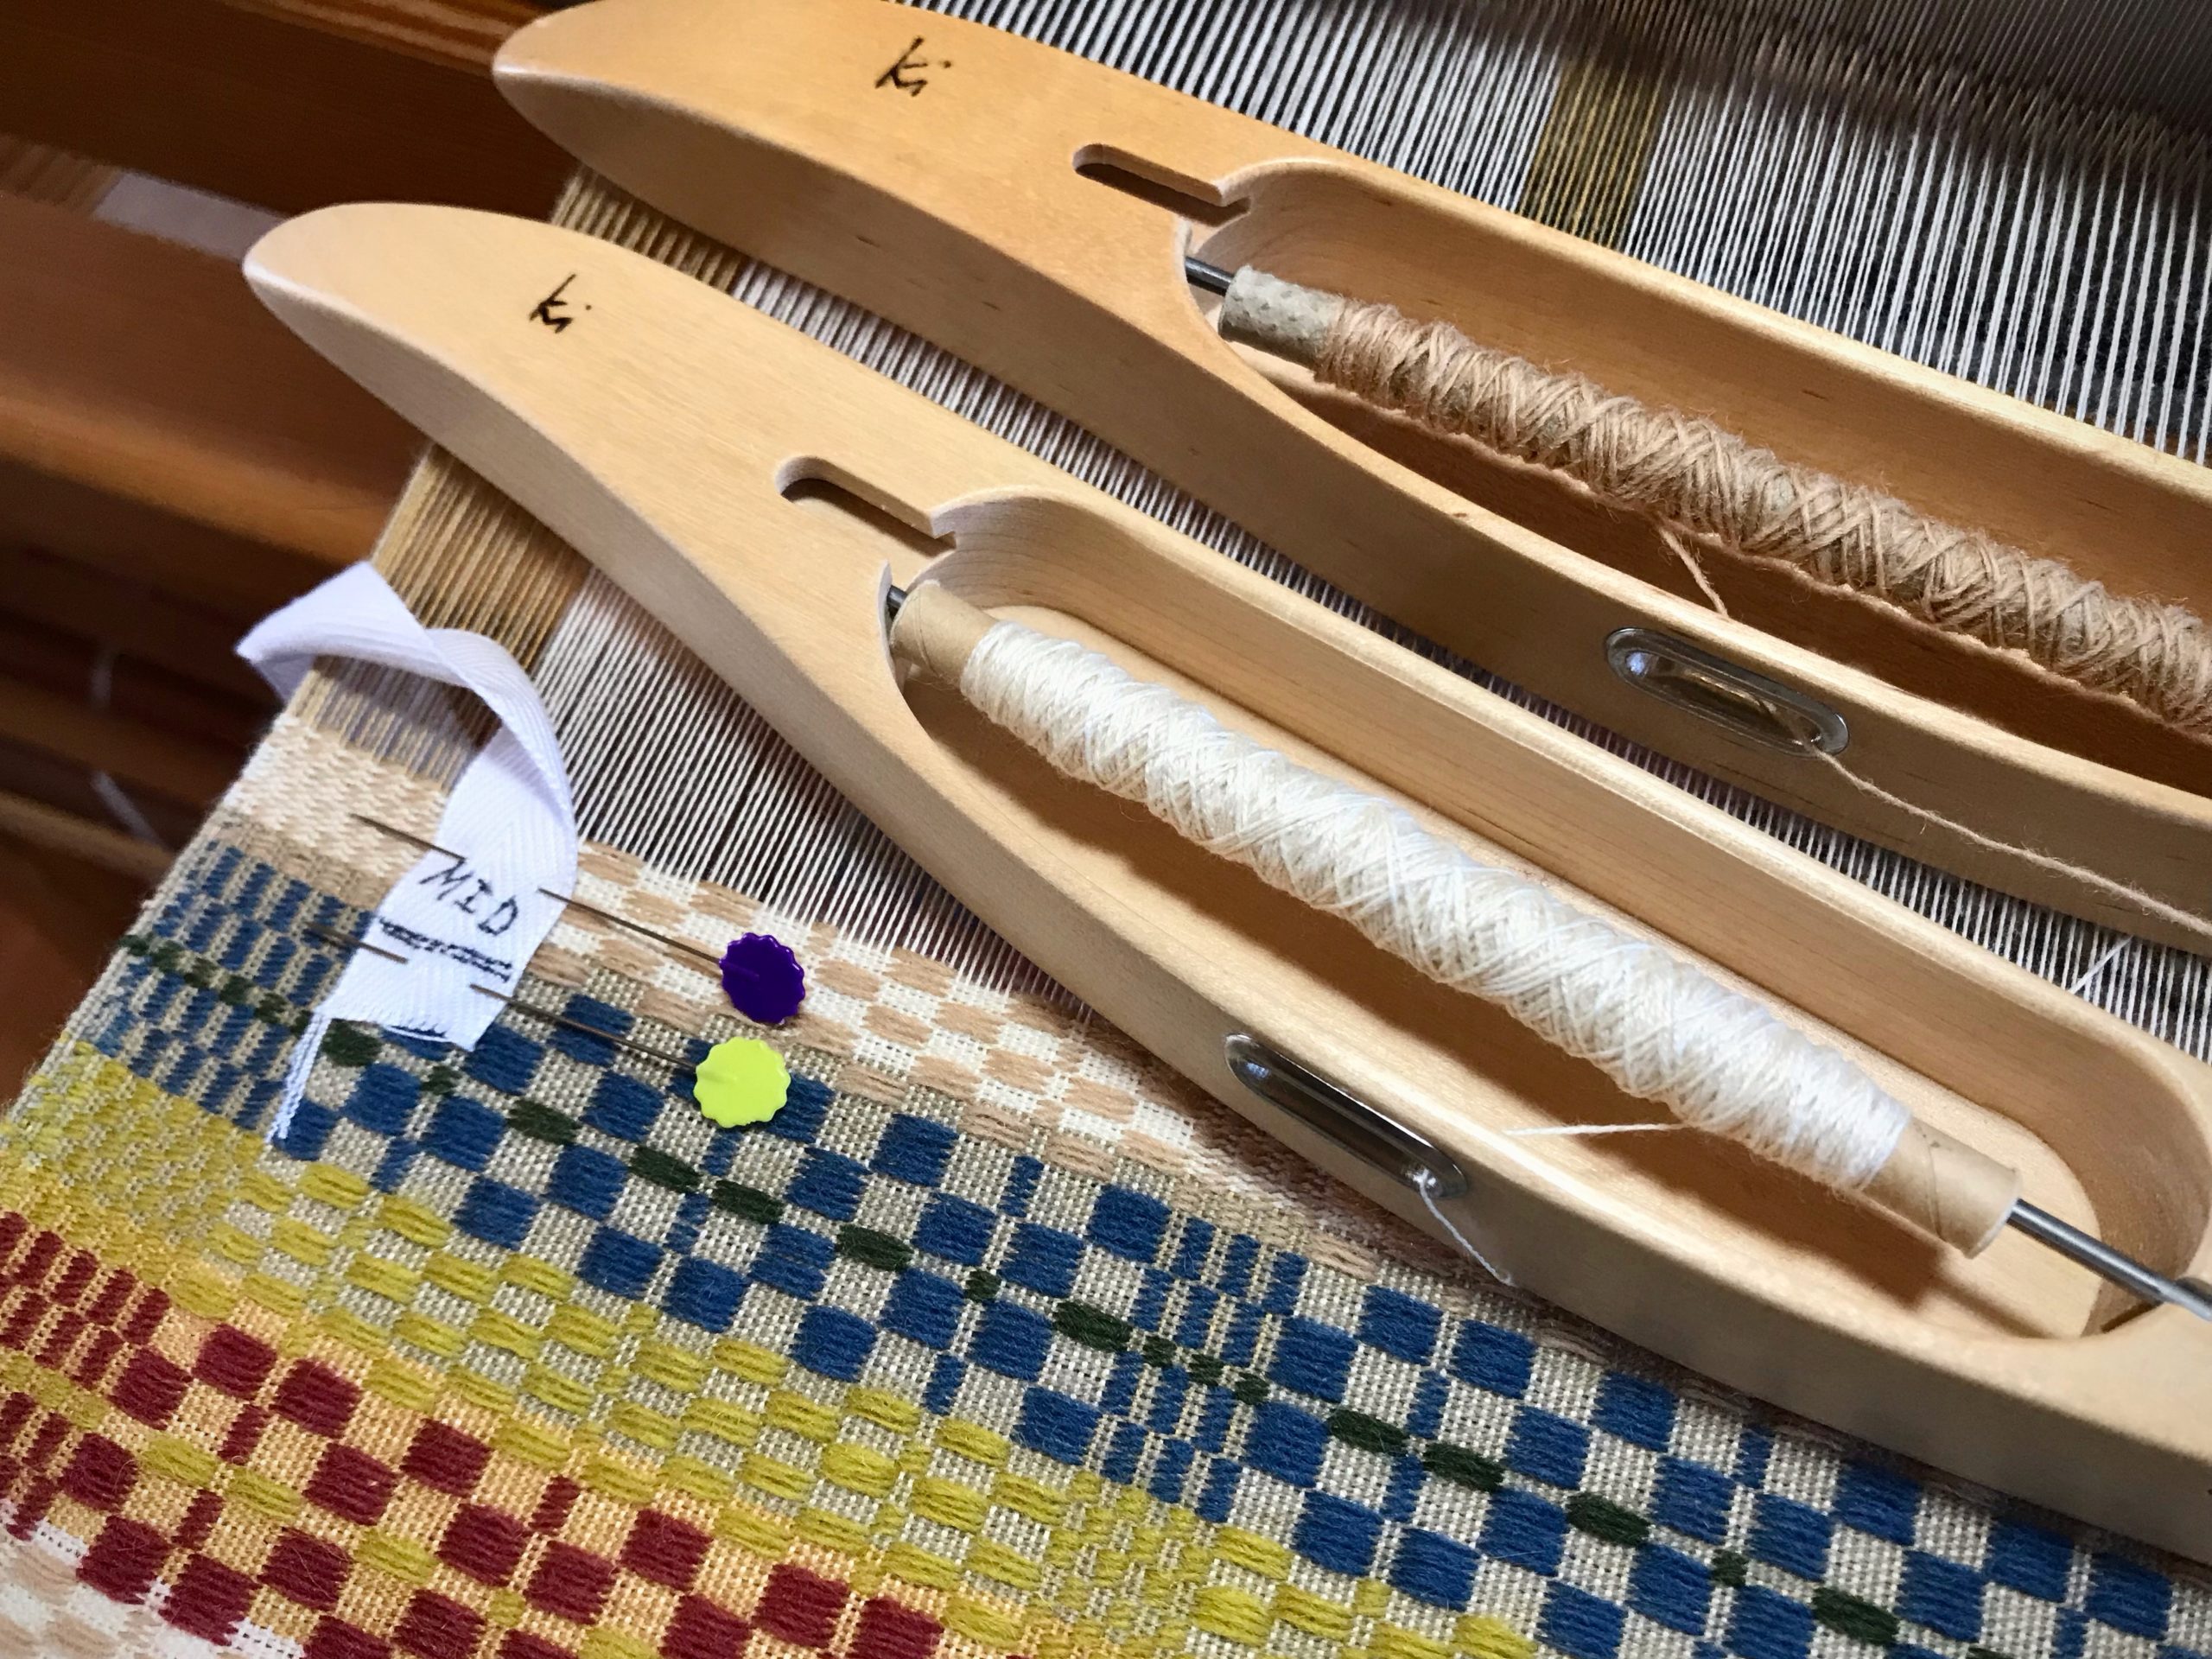
How to measure your weaving on the loom.
Place the first line of the measurement tape directly over the beginning picks of the woven article.

Prepare a Half Measurement Tape

  • Do the same as for a full-length measurement tape, except divide the total length measurement in half. Draw a line on the tape at the halfway point. Write “MID” before the line.
  • Cut the tape about 2 cm after the MID line.

Weave and Measure (Always with the warp under tension)

  • Use two straight pins to pin the measurement tape to the weaving near one selvedge. Place the beginning line of the tape directly over the beginning of the woven article.
  • As weaving progresses, remove the pin closest to the breast beam. Leapfrog over the remaining pin. Reinsert the removed pin through the tape near the fell line.
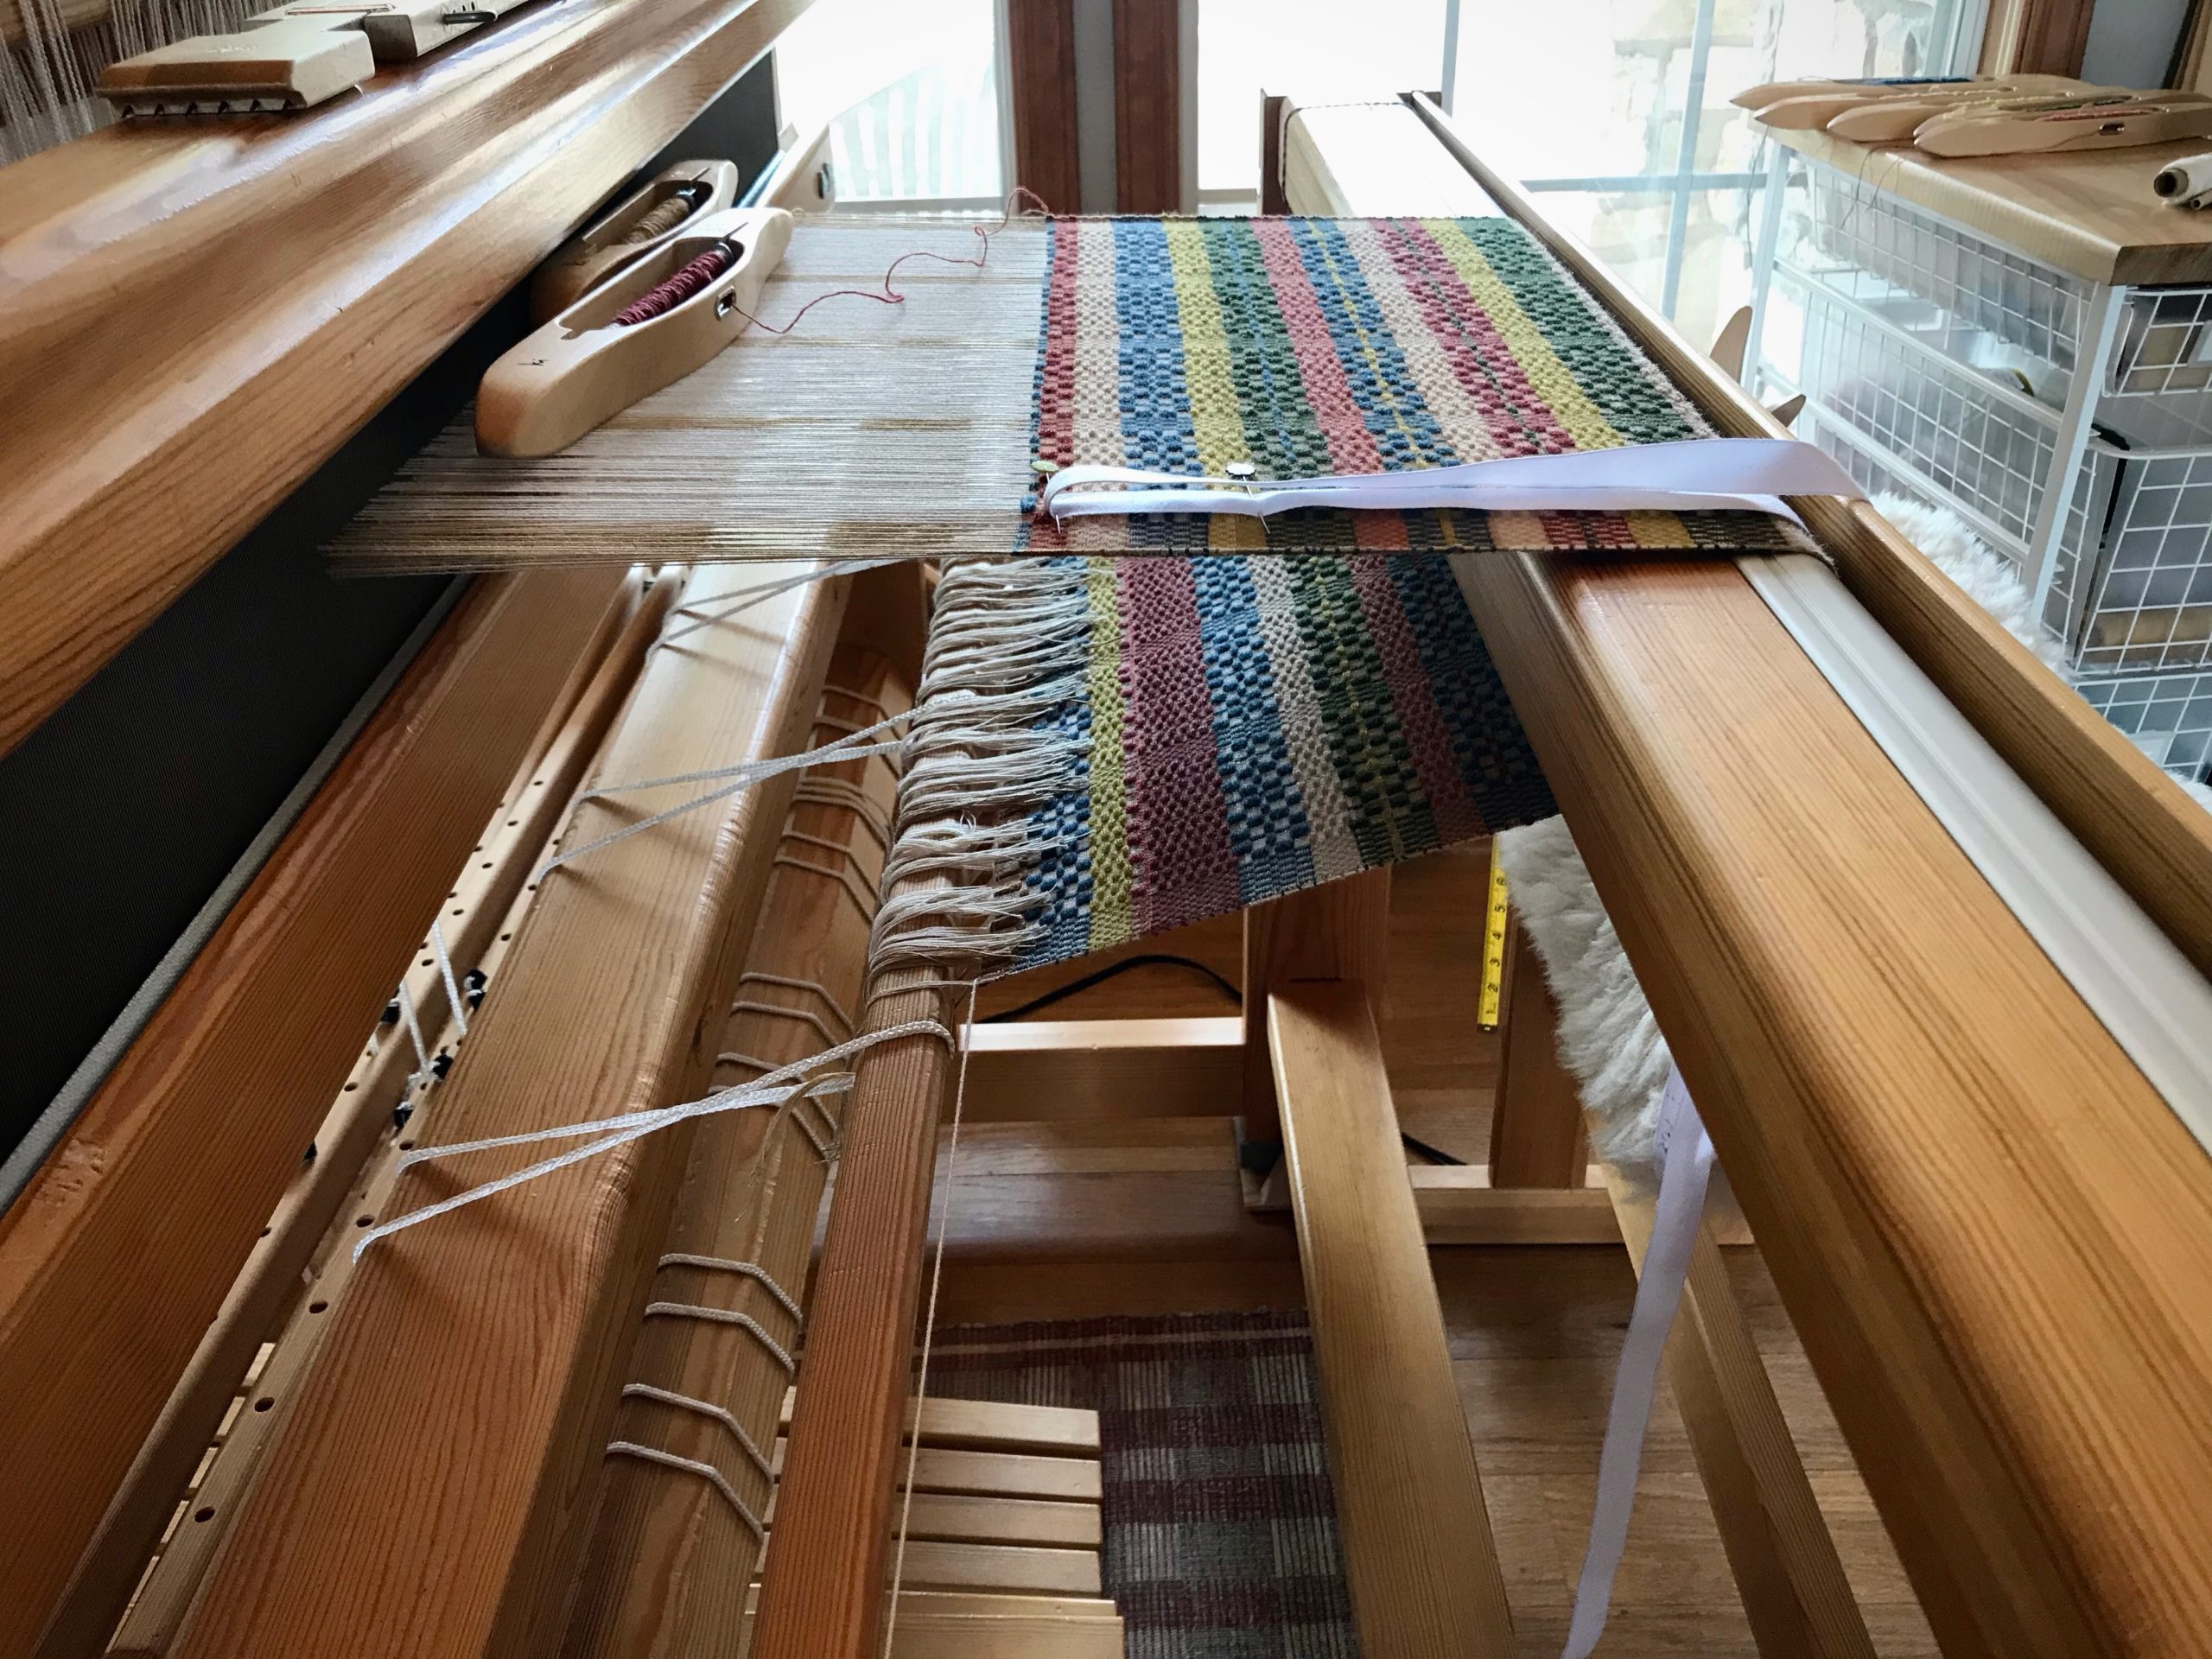
Using a measurement tape for weaving consistent lengths.
Move one pin at a time. I usually move the pin right before I advance the warp.
  • If using a half measurement tape, weave past the MID line. Mark the spot with a pin. Remove the measurement tape. Turn the tape and pin into place to weave the second half.
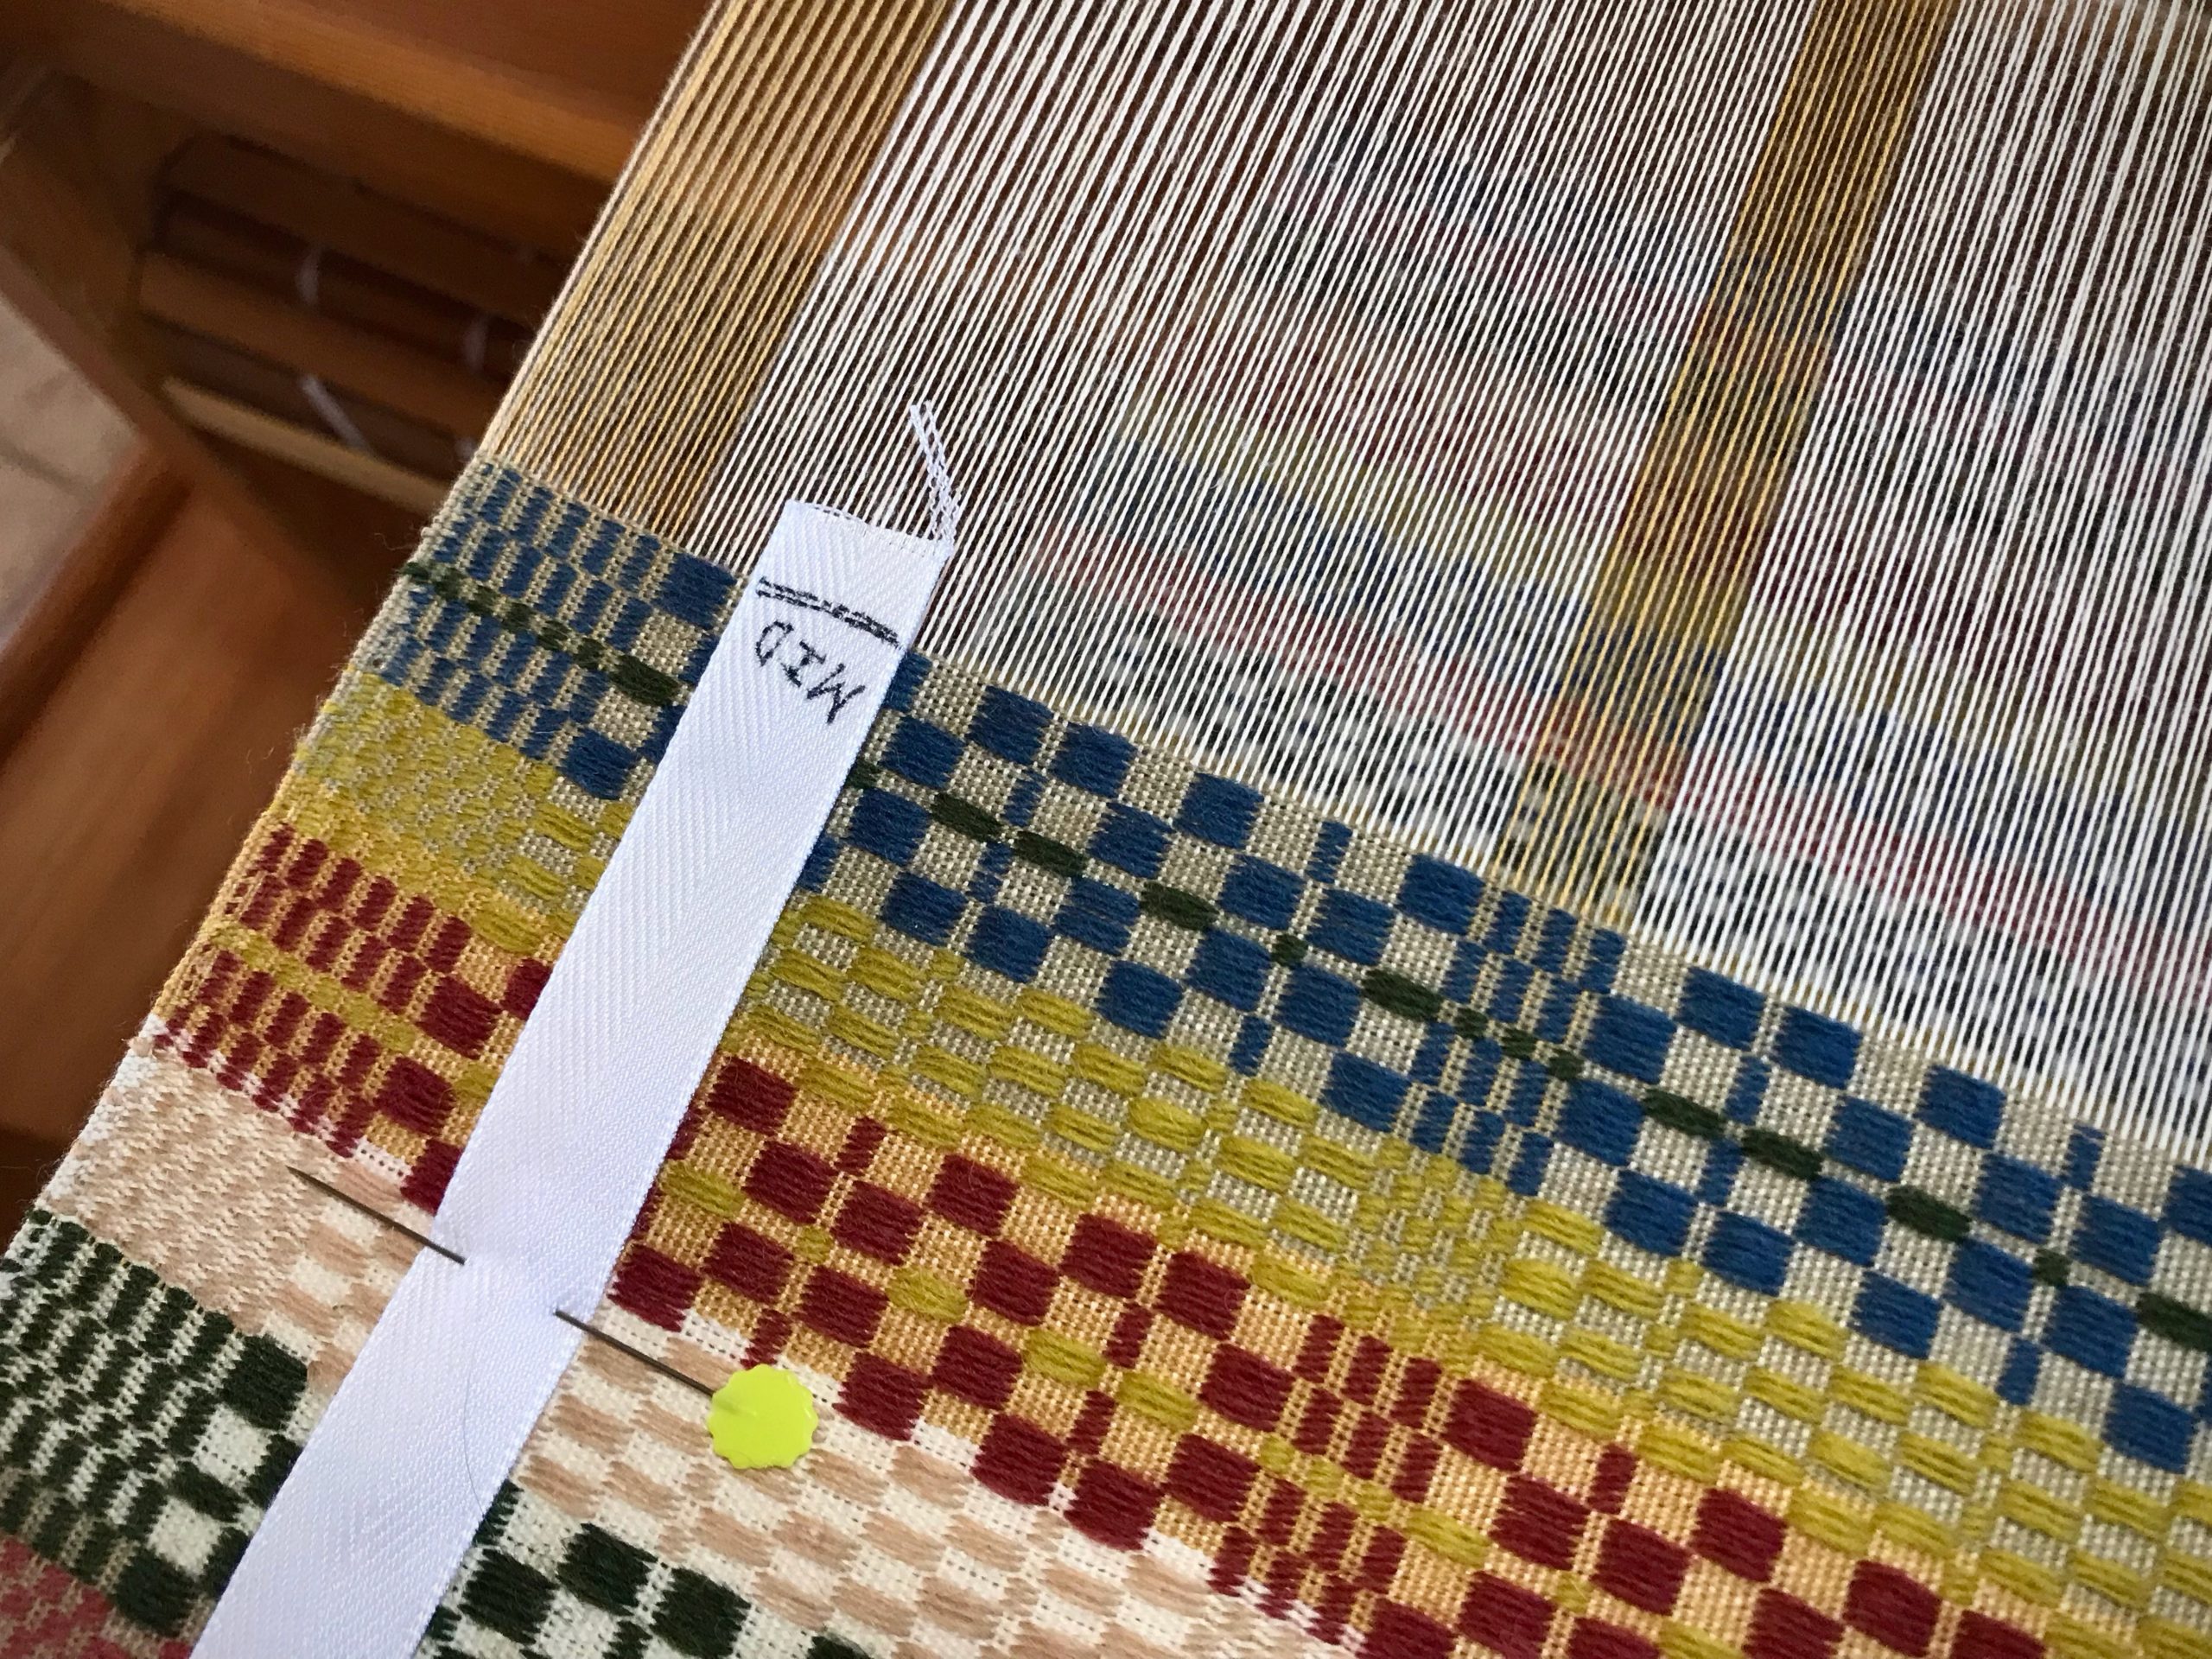
How to make a half measurement tape.
When you reach the MID line on a half measurement tape, keep the measurement tape in place until you have woven a few more centimeters.
How to make and use a Measurement Tape for weaving accurate lengths.
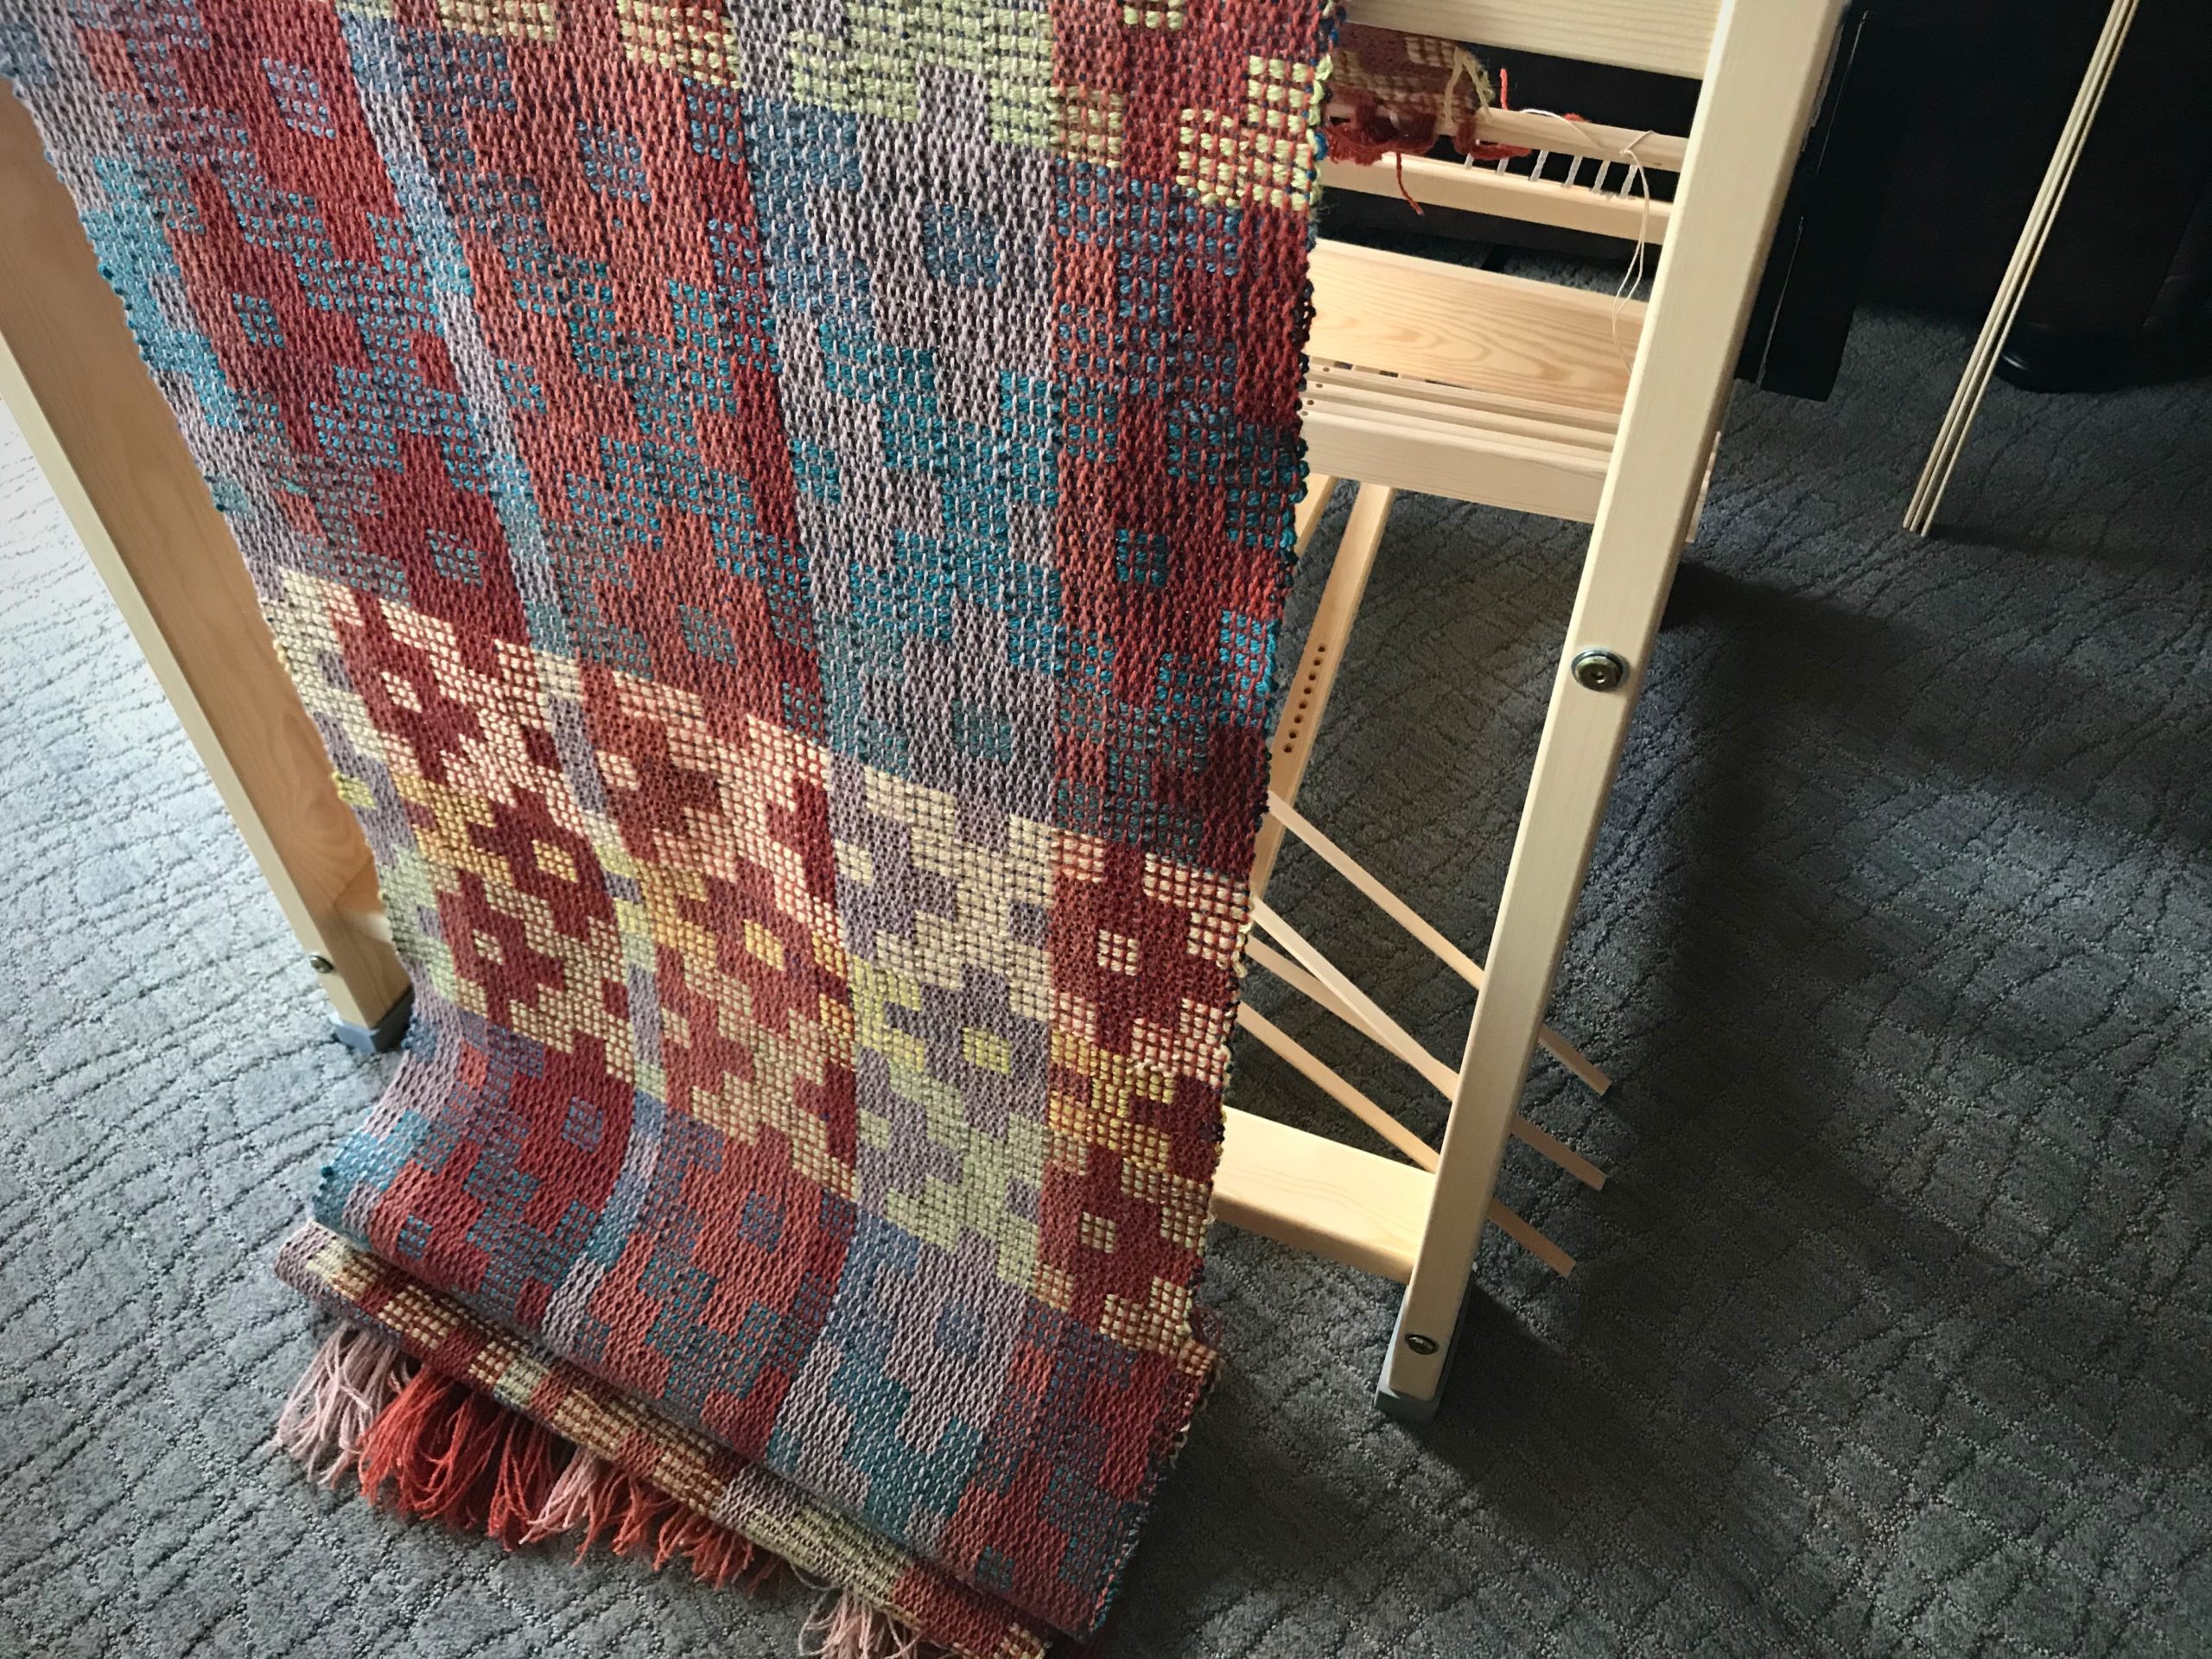
Place one pin through the cloth, pointing to the MID line. Then, it’s safe to remove the measurement tape and turn it around. Go your merry way, weaving the second half of the Monksbelt runner, or whatever you have on your loom.

Here’s a demonstration of making and using a measurement tape:

(For a previous discussion of this topic, see Tools Day: Measured Weaving.)

Since you can measure what you are weaving, do relax and enjoy the ride.

May you reach the mid point at just the right time.

Happy Weaving,
Karen

Unroll the Cloth Beam of 2020 – Year in Review Video

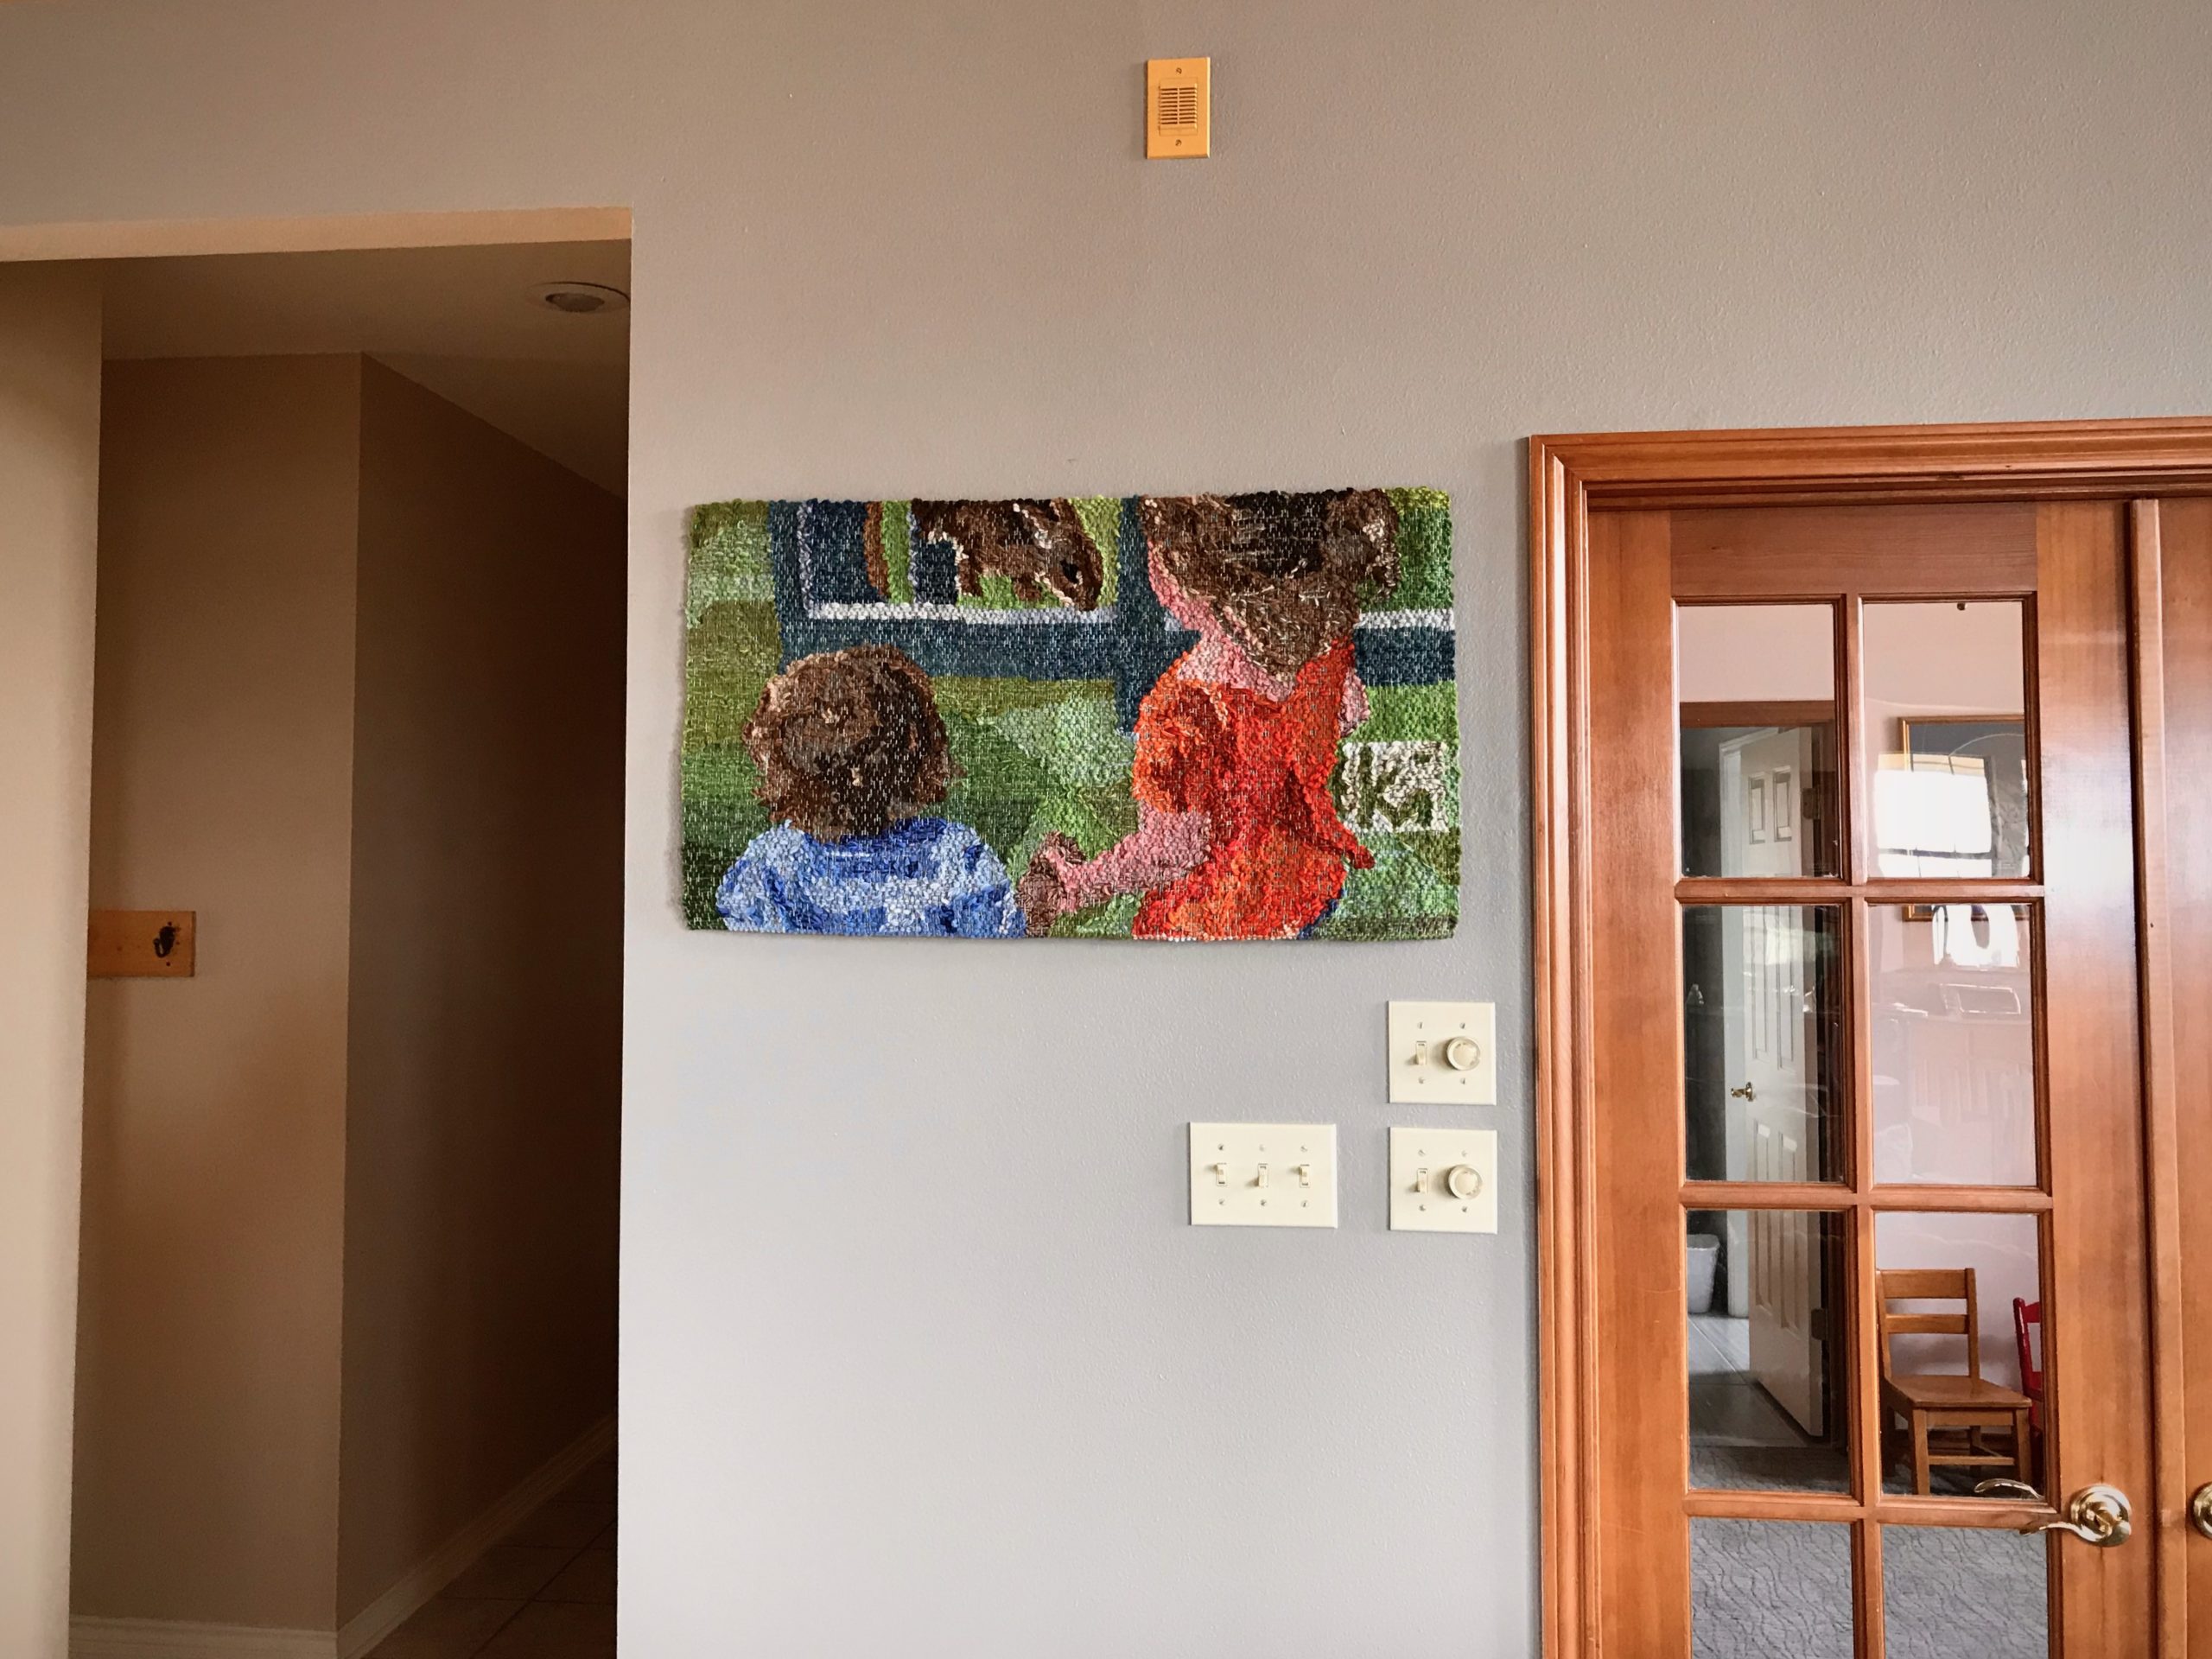
Every year my weaving journey is peppered with notable highlights. Here are seven such highlights from 2020: 1. Siblings Tapestry, complete and hanging in our living room. 2. Joanne Hall (my weaving mentor and friend) visited our home in February (while in Texas for her Swedish Art Weaves workshop). 3. New 8-shaft Glimakra Julia countermarch loom. 4. My favorite fabric of the year, Jämtlandsdräll in 6/2 Tuna, woven on the brand-new Julia. 5. Rag rugs woven on the drawloom. 6. Studio tour on Zoom for the San Antonio Handweaver’s Guild In November. 7. Handwoven Christmas tree skirt with Nativity appliqué from handwoven remnants.

Pictorial 4-shaft tapestry.
Last year began with completion of this Siblings tapestry.
Jamtlandsdrall on the Julia with 4 shafts.
Favorite cloth of the year. Jämtlandsdräll on the new Julia.

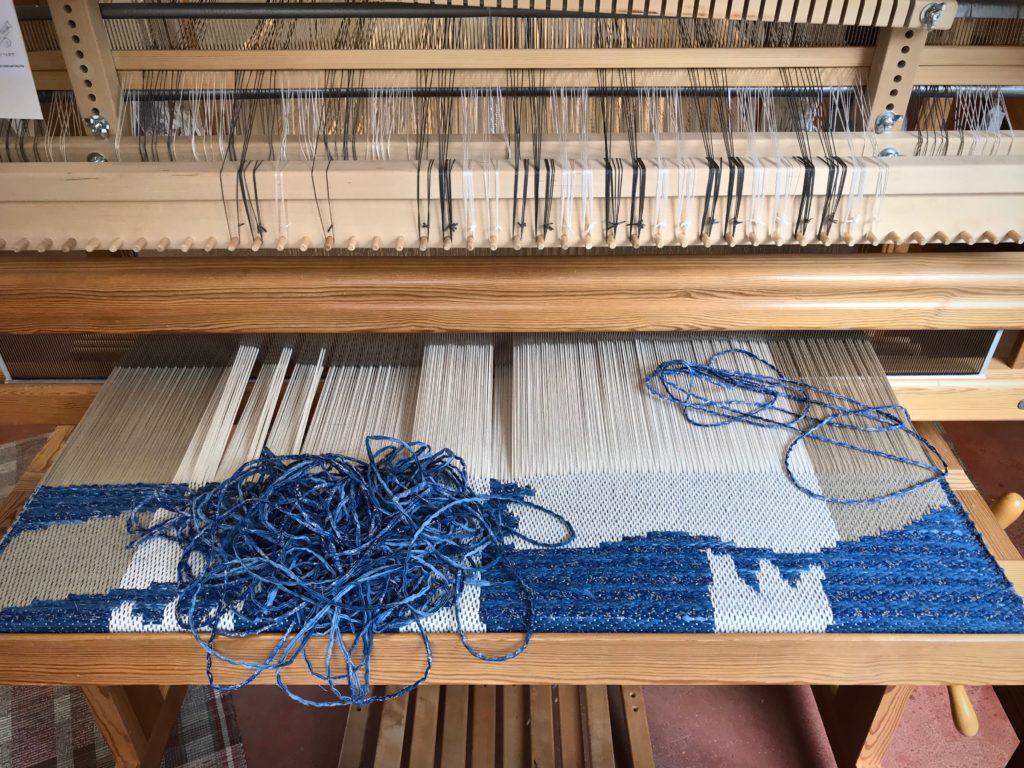
2021 is beginning with the start of a new pictorial tapestry, an empty loom waiting for a new warp, and a drawloom warp that is near its finish line. Plus, two other looms that are mid-project. I am not expecting any dull moments around here. Thank you for joining me in this ongoing adventure.

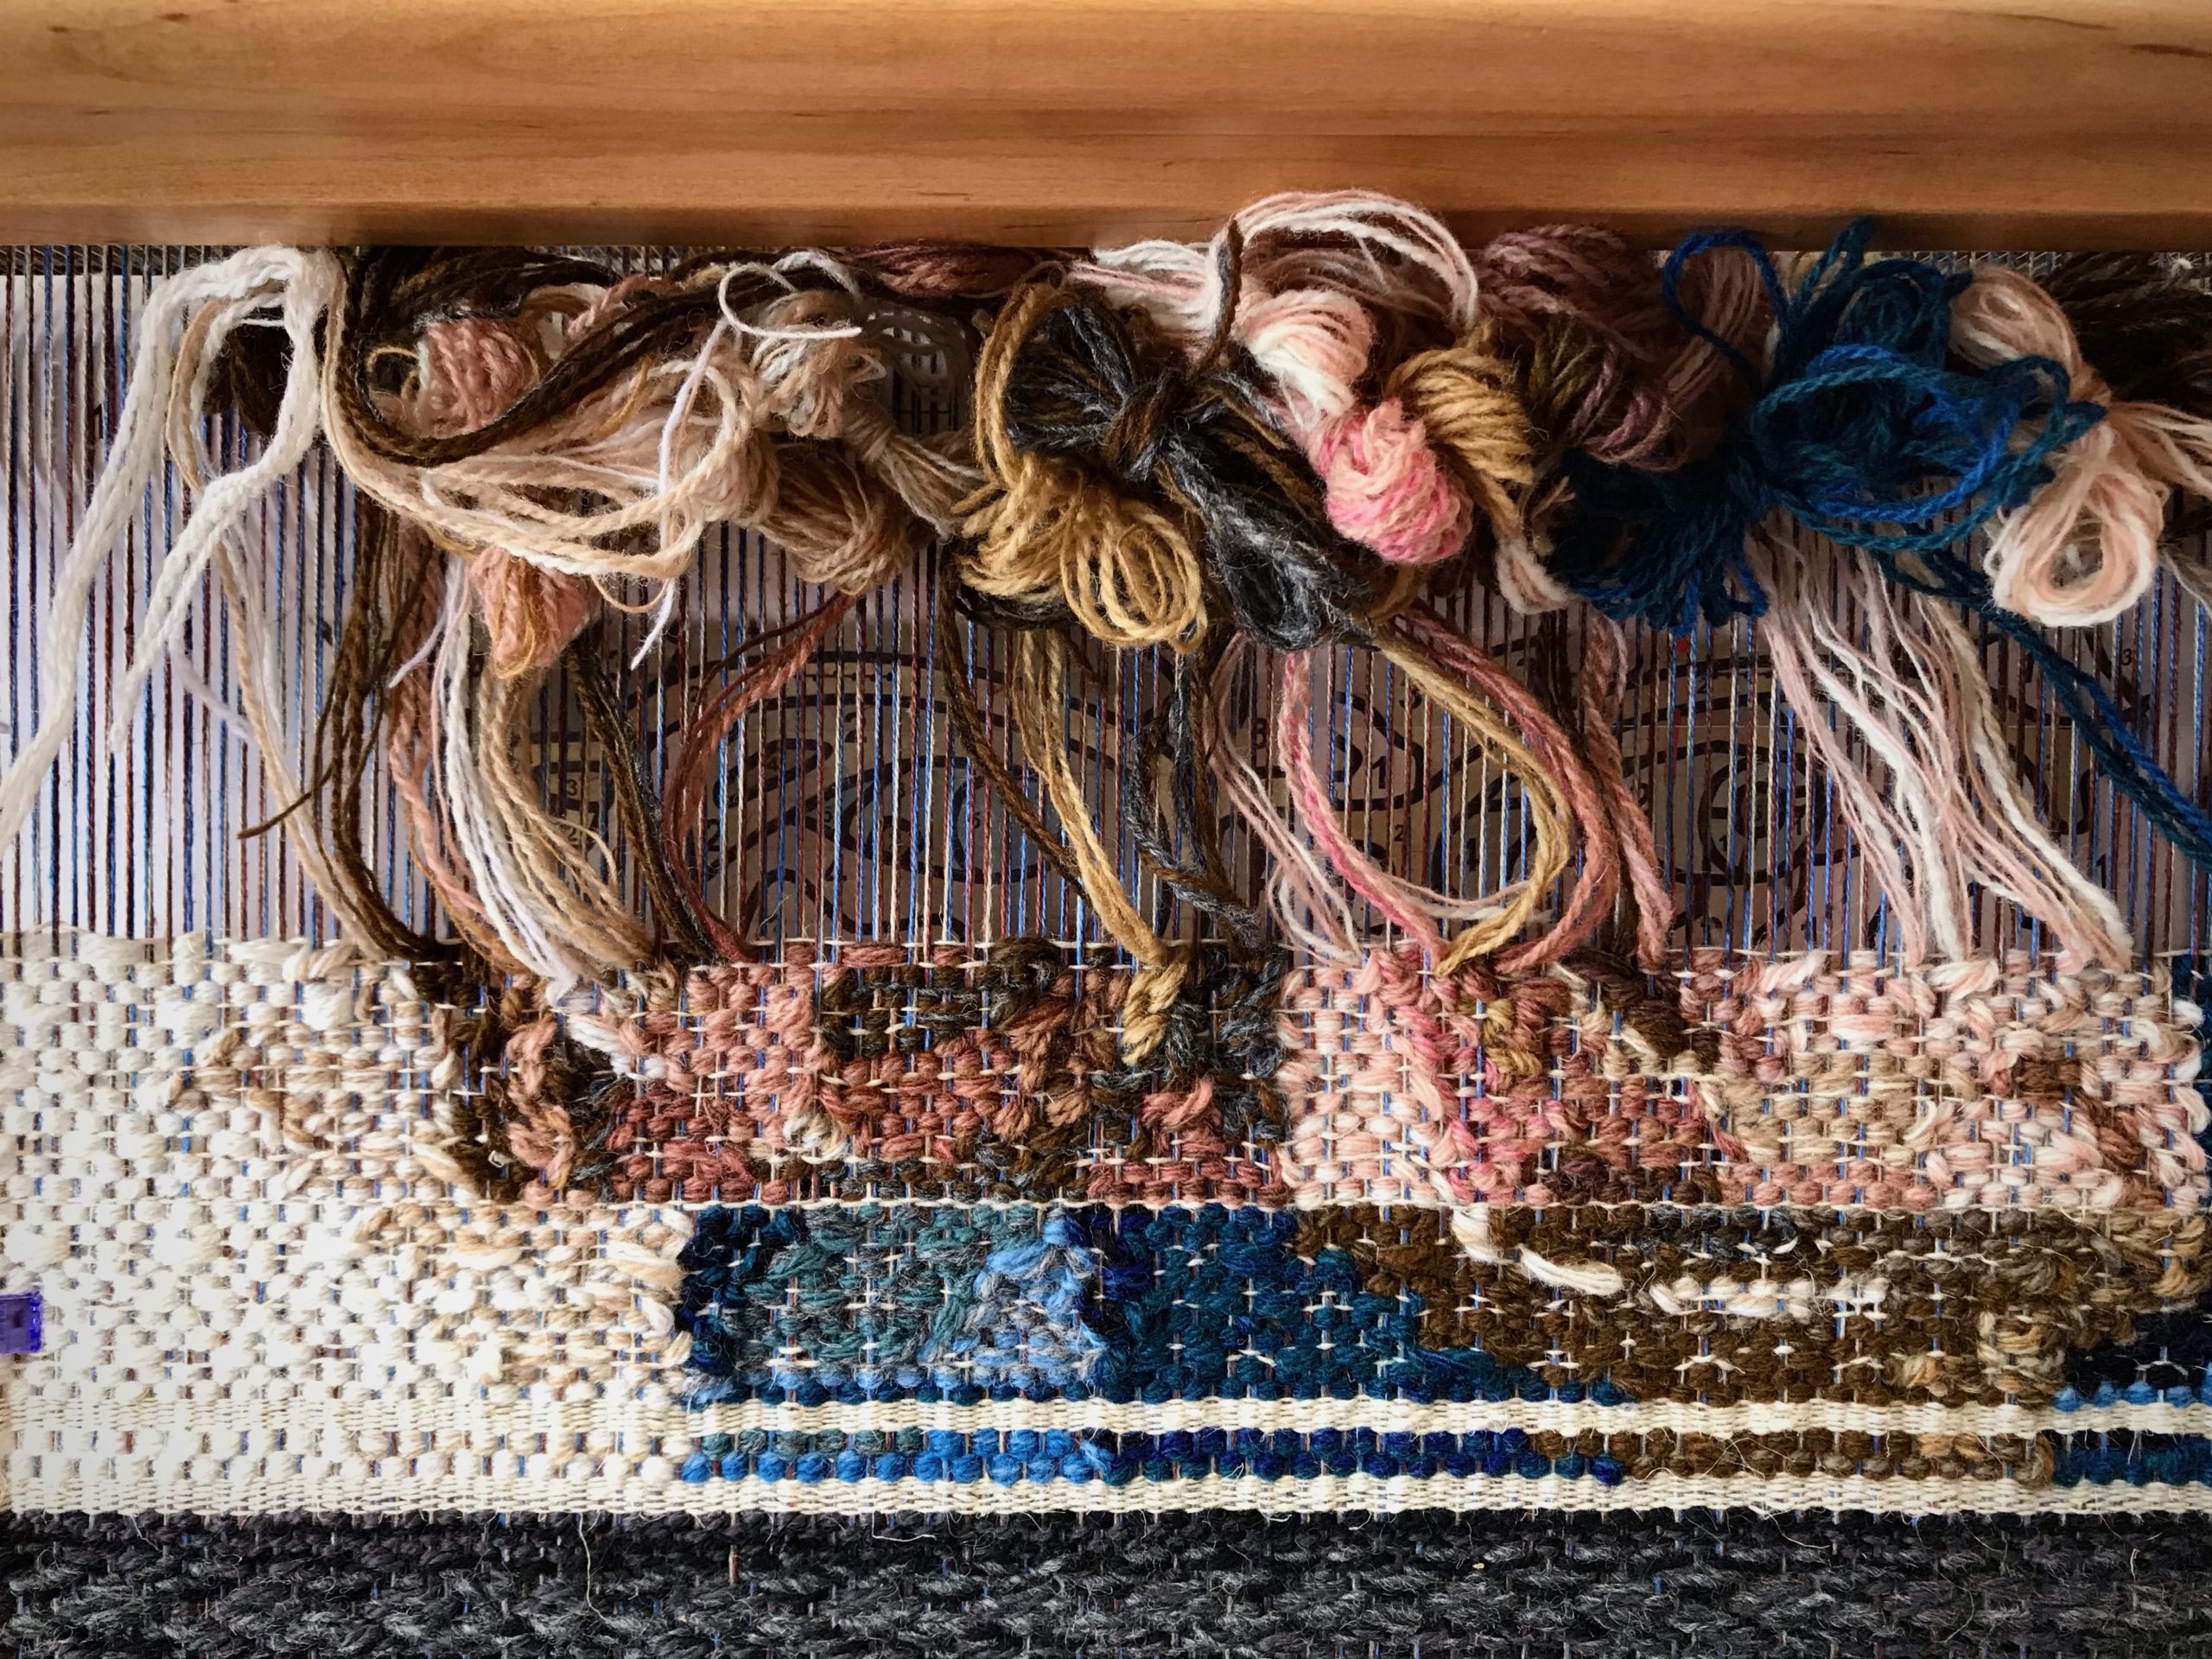
Four-shaft pictorial tapestry weaving.
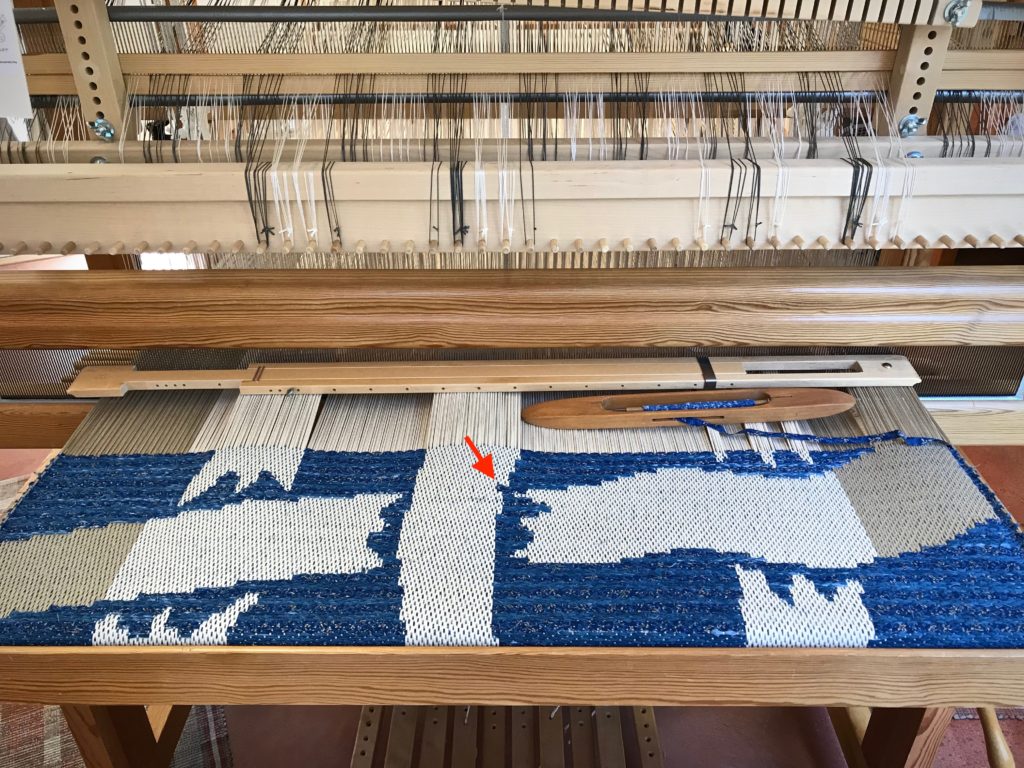
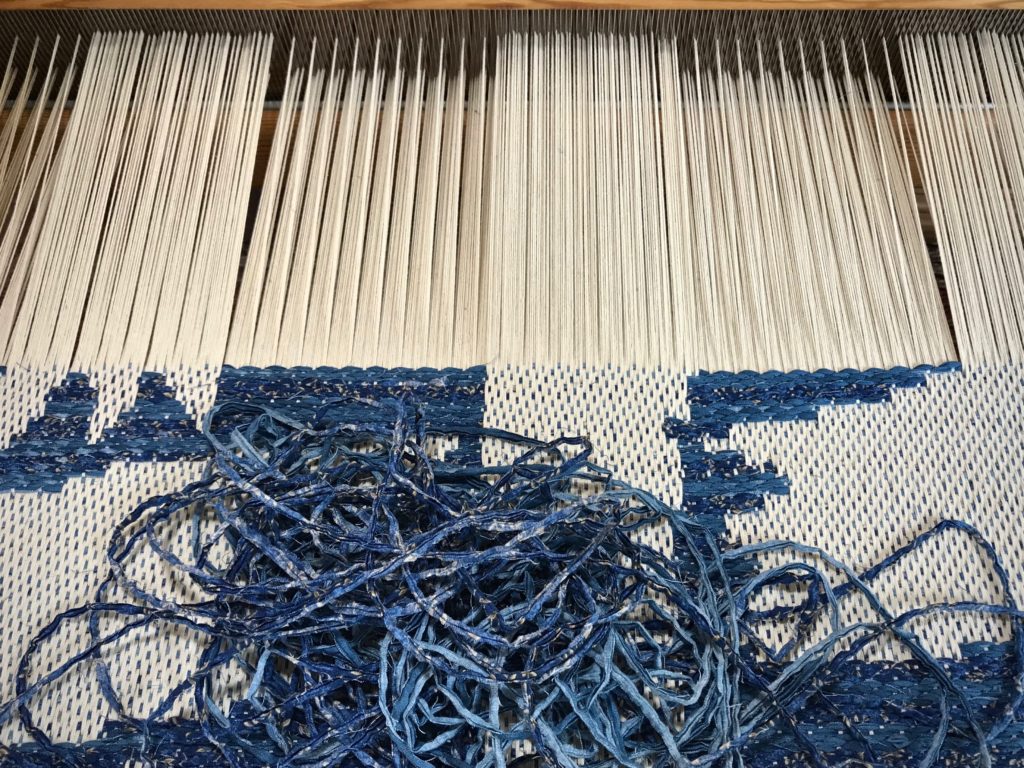
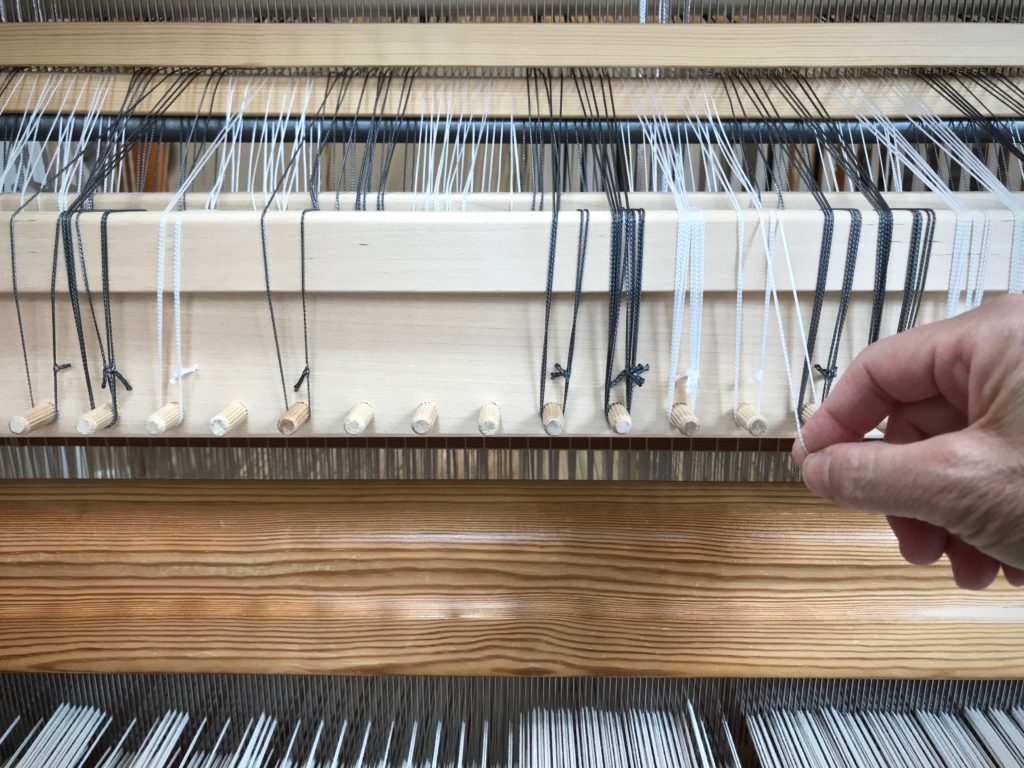
Tapestry for the new year. I am starting with practice weaving for certain sections of the planned tapestry. You can see a pair of eyes on the cartoon under the warp threads.

Unroll the cloth beam with me and go back through time to recall the Warped for Good projects of 2020:

God completes what he begins. My prayer for you is that his finishing work will secure any loose ends.

May you see how far you’ve come.

Happy New Year, friends,
Karen

Process Review: Drawloom Weaving without Errors

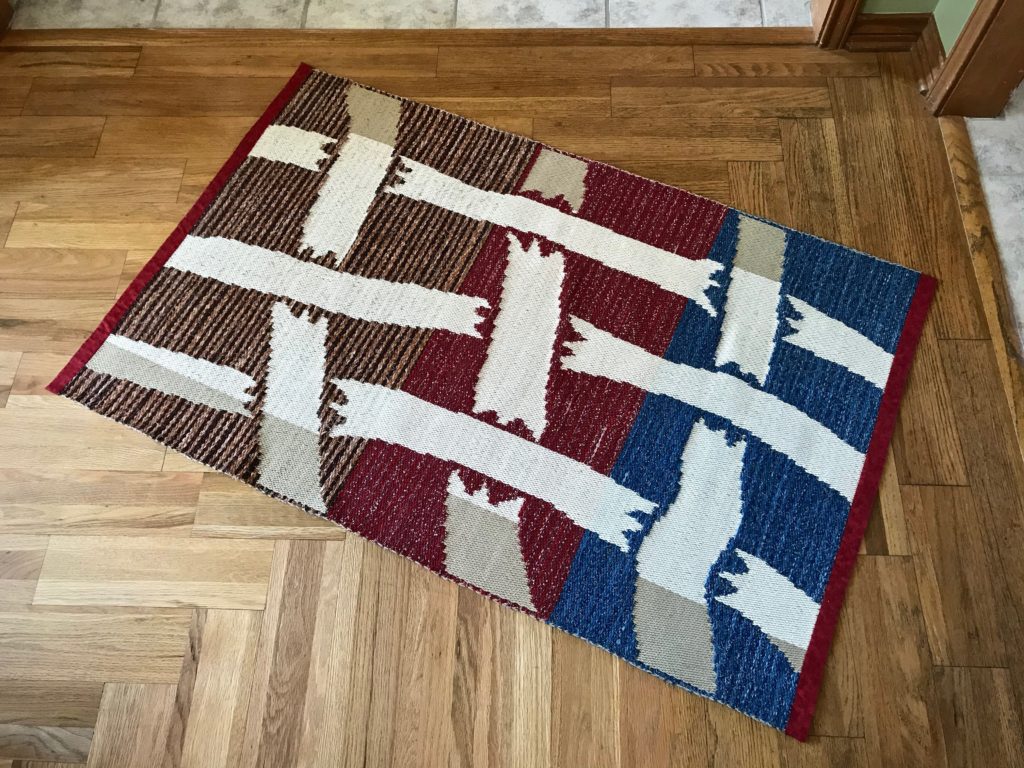
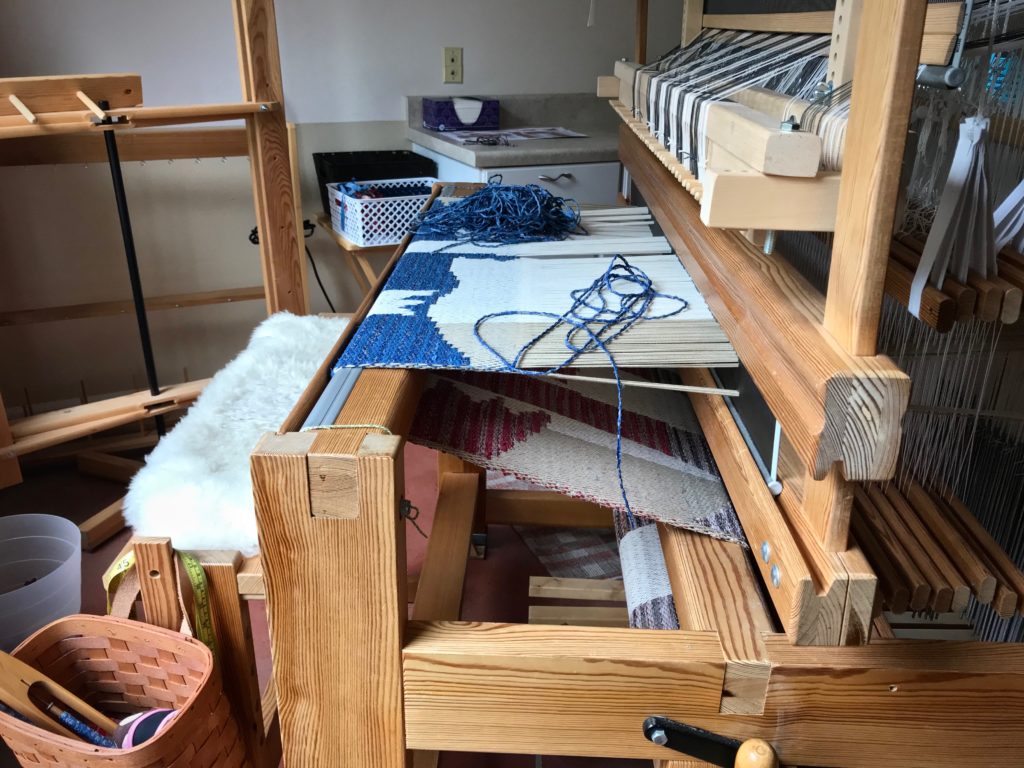
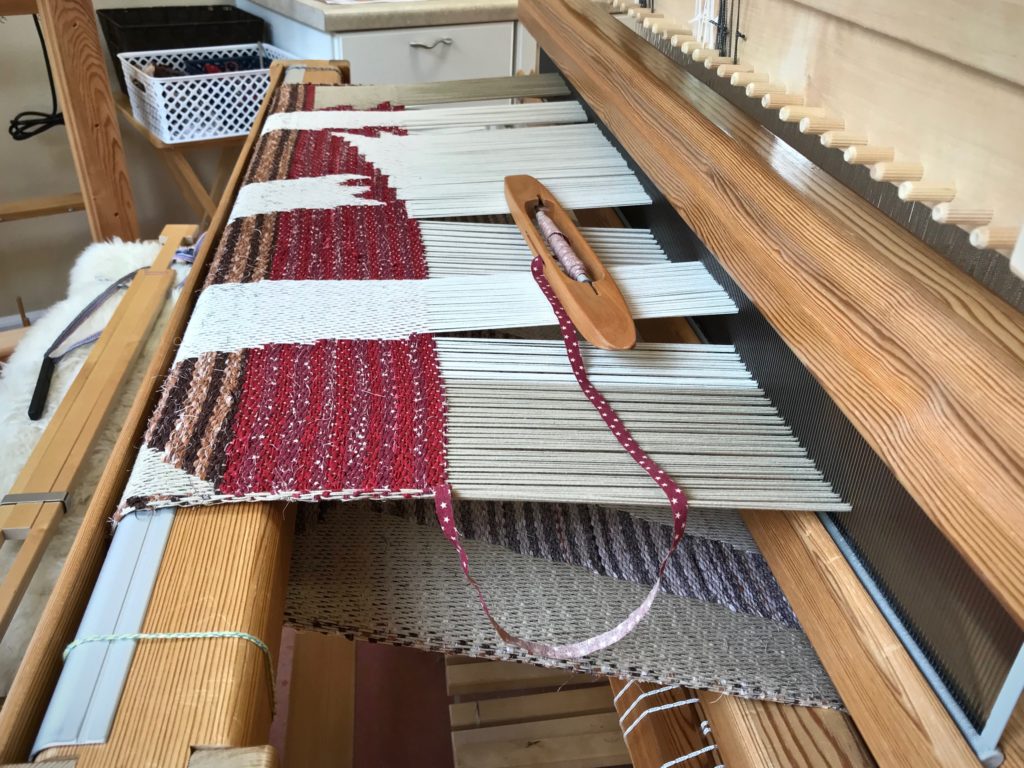
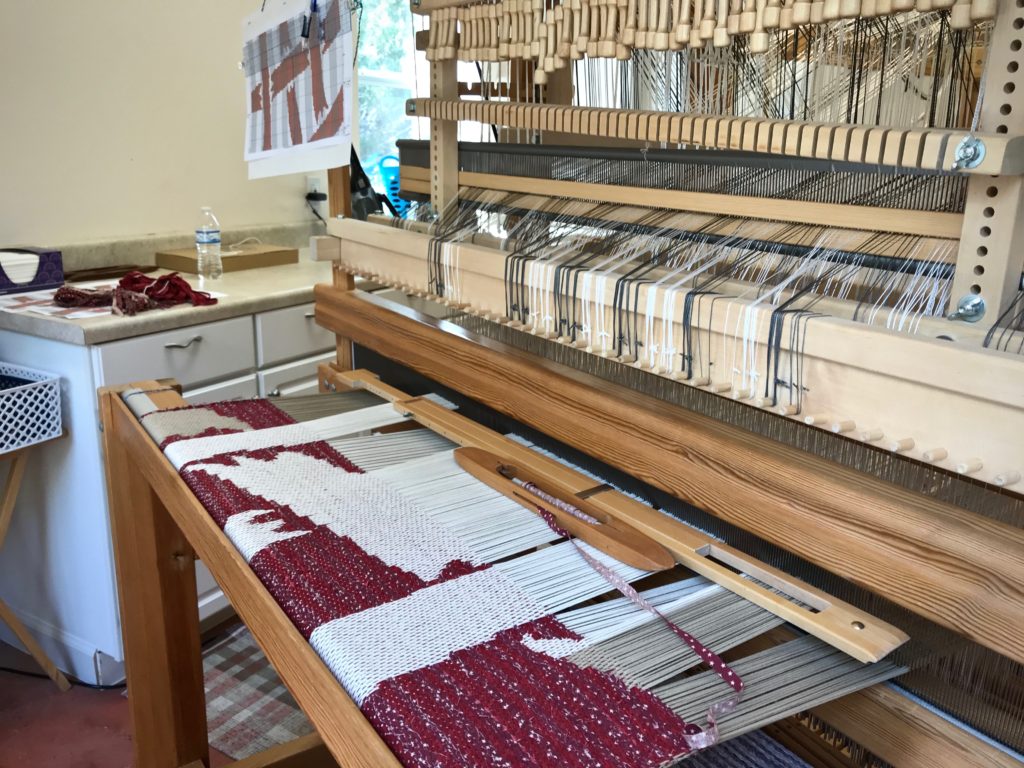
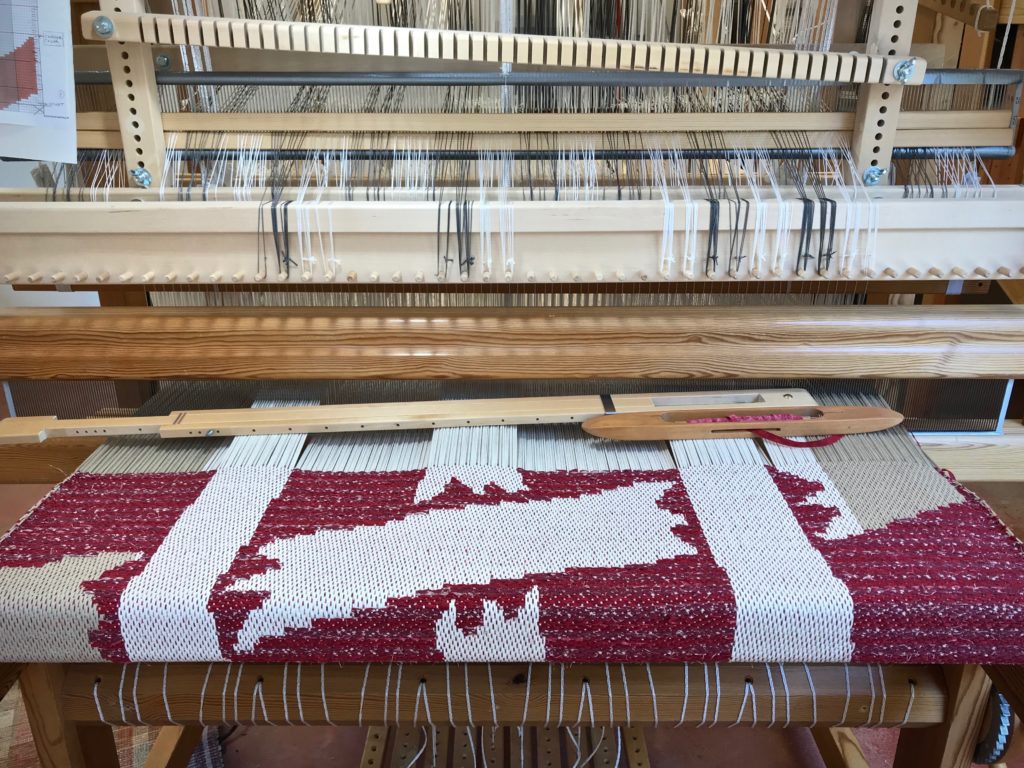
I found a way to practically eliminate draw cord errors on the single-unit drawloom. After making one too many mistakes while weaving this rag rug, I resolved to find a solution. True, I will still make mistakes, but now I expect them to be few and far between. (To view the first rag rug on this warp, see Stony Creek Drawloom Rag Rug.)

My most frequent error is having a draw cord out of place, either pulled where it shouldn’t be, or not pulled where it should be. And then, I fail to see the mistake in the cloth until I have woven several rows beyond it. I determined to find a way to eliminate this kind of error. (For an example of this kind of error, see Handweaving Dilemma.)

Test 1. Double check my work. Pull all the needed draw cords for one row and then double check all the pulled cords.
Results: This bogs me down. And I still fail to catch errors.

Test 2. Double check my work little by little. Treat every twenty draw cords as a section—ten white cords and ten black cords. Pull the cords in the first section. Double check. Pull the cords in the next section. Double check. And so on all the way across…
Results: Easy to do. I quickly catch and correct errors.

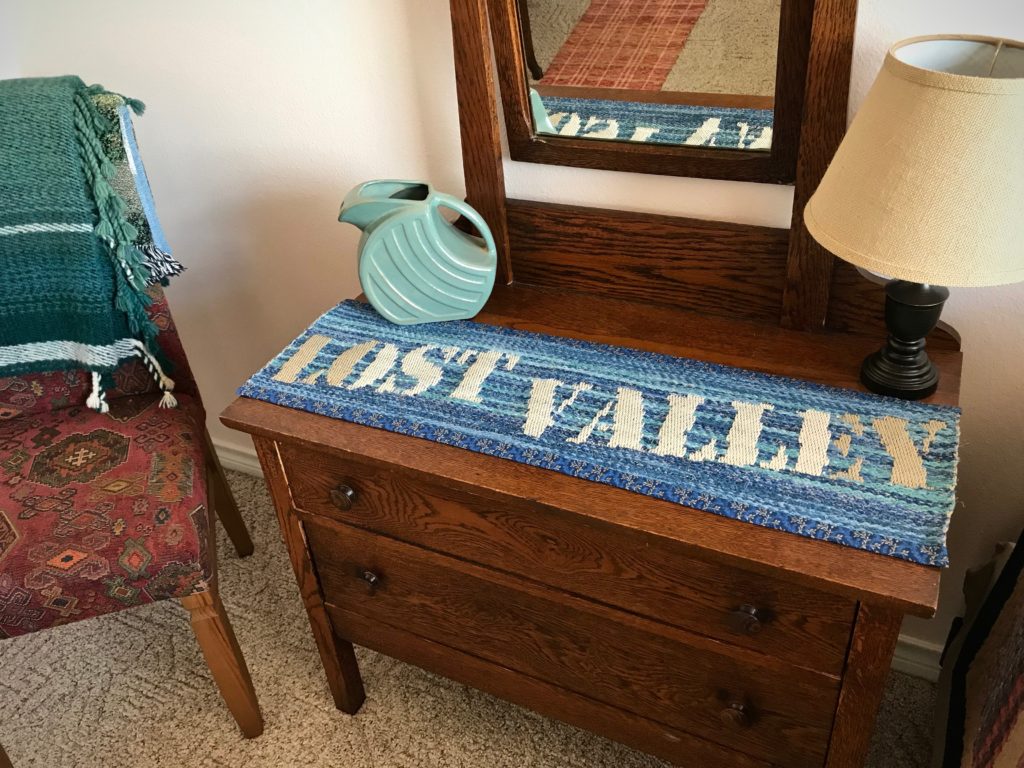
Now, I am implementing this incremental method of double checking my work on the little bit of warp that remains. With a Happily-Ever-After ending, the short Lost Valley piece is completed with NO draw cord errors! (Lost Valley is the name we’ve given our Texas Hill Country home.)

Woven Rag Rug and Lost Valley process in pictures:

May you learn from experience.

Happy Weaving,
Karen

Handweaving Dilemma

I am making great progress on my drawloom rag rug, closing in on the final segment. And then, I take a picture and the camera reveals something I had failed to see. A mistake! Here is the dilemma that I’m sure other weavers face, too. It’s an internal dialogue. I can live with the error. Or, can I? No one will notice. Well, I certainly will notice. But I am sooo close to the end. I really don’t want to undo the last forty minutes of weaving. What would you do?

Drawloom rag rug.
Error in the rug escapes my notice.
Mistake in the weaving, exposed by taking a photo.
Photo reveals my mistake.

Back it up. Using the chart that I follow for pulling draw cords, unit by unit, I work my way back until I get to the error. On reflection, doing the task is easier than thinking about doing it.

Removing weft to fix an error.
Backing up.
Single-unit drawloom.
One single unit draw cord makes all the difference. This cord should have been drawn in the affected rows.
Rag weft is taken out to correct an error.
Undone. Weft is removed. The mistake has been taken out.
Drawloom rag rug. Correcting an error.
Ready to start fresh from here.

My feelings can fool me. I don’t feel like going back and correcting my mistake. This is the time to pause and listen. Wisdom is at the door. Wisdom requires thinking, and listening, and time. Time is my friend, if I refrain from hurry. Wisdom is much like the skill of an experienced craftsman—one who understands precision and artistic expression and do-overs. Wisdom knows that patience is powerful. The easiest way to do something often forfeits the greatest rewards.

May you keep your ear at wisdom’s door.

Peace,
Karen

Charted Territory on the Drawloom

The chart that hangs at the left side of the beater gives a glimpse of the overall design of this rag rug. It’s the second page of a three-page chart. It’s not easy to make sense of the design on the loom, seeing only a small slice of the big picture. I am eager to see the whole project woven, to see how it aligns with the design I’ve imagined.

Drawloom rag rug on the loom.
First color block of the rug was brown. The second color block is red. Two different red fabrics alternate.
Following a chart for the single-unit drawloom.
Chart hangs at the left side of the loom. A transparent ruler is clipped to the chart. I move the ruler up, row by row, to keep my place on the chart. Single-unit draw cords that are pulled are held in place along the hook bar just above the beater.

I drew the design in MacStitch, a cross-stitch design program. Then, I imported the gridded image into Photo Affinity to add vertical shaded stripes to match the 10 white-/10 black-cord arrangement of single-unit draw cords on the loom. Lastly, I printed the enlarged chart to use as my guide at the loom.

Drawloom rag rug in the making.

How does our present slice of life fit into the overall plan? Only God knows. But one thing is certain. The Grand Weaver has a purpose for your life. It’s a purpose that he will fulfill. You and I are the work of his hands, work that he will not abandon. Yes, we make our plans. The truth is, our best plan is that which aligns with the design he has imagined.

May you get a glimpse of your life’s design.

On purpose,
Karen