Tools Day: Let There Be Light!

Sunshine coming through the windows is marvelous for weaving. But my eyes need extra light to see small details. This is noticeably true with errors that I mend on the loom and off the loom. I turn on extra lighting at other times, too–when threading fine threads, sleying the reed with fine or dark threads, counting picks per inch on woven cloth, and checking the treadling pattern in a fine weave, for example. And sometimes I turn on extra lighting for no other reason than it’s a cloudy day.

Tools:
OttLite Task Lamp with Swivel Base
Handheld lighted magnifier

Broken weft repair.
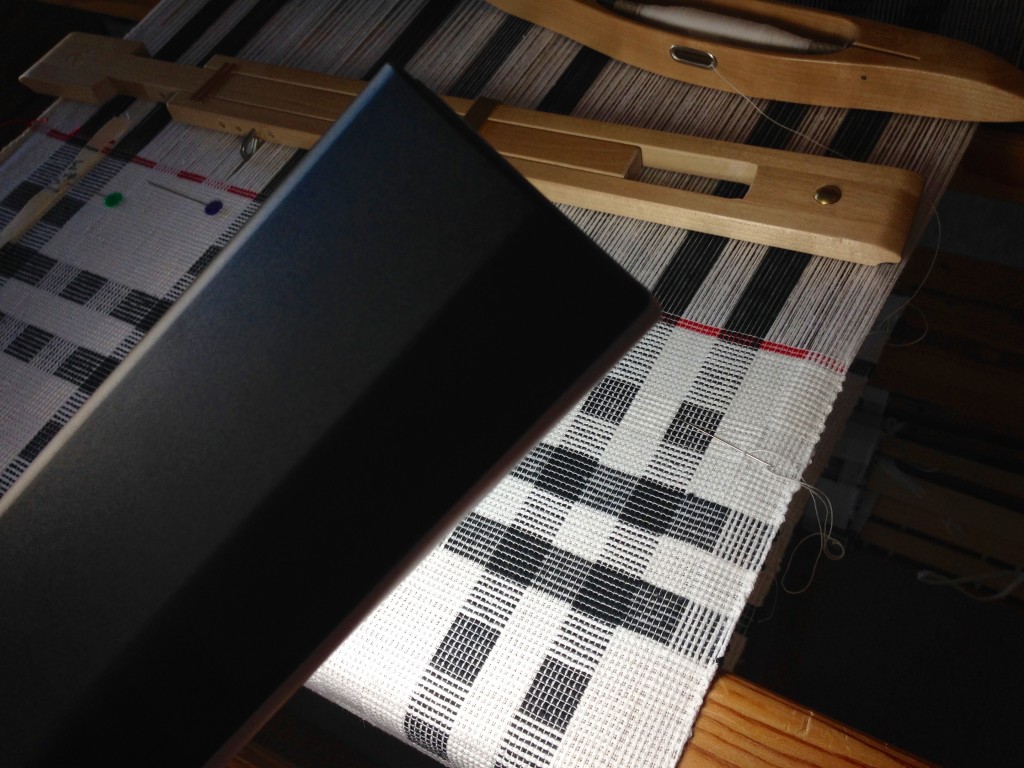
Pin marks the spot where I broke a thin weft thread, 30/2 cotton, with the temple.
Repairing broken thread requires task lighting.
Repair area is flooded with light from my portable OttLite.
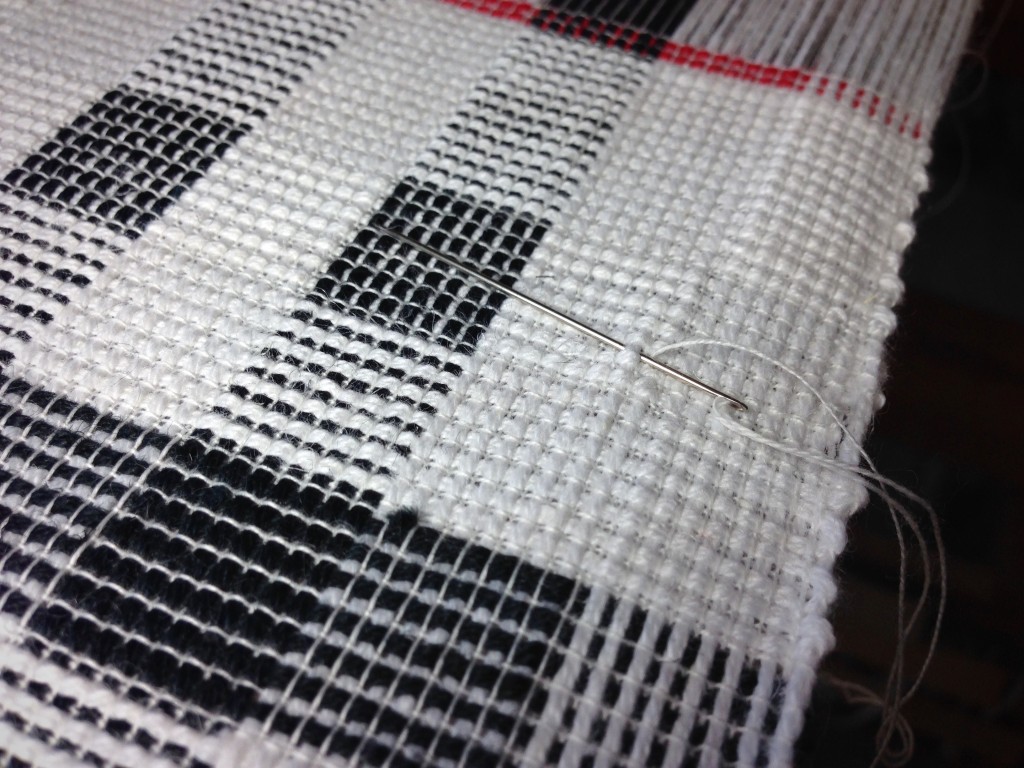
Replacing broken weft thread.
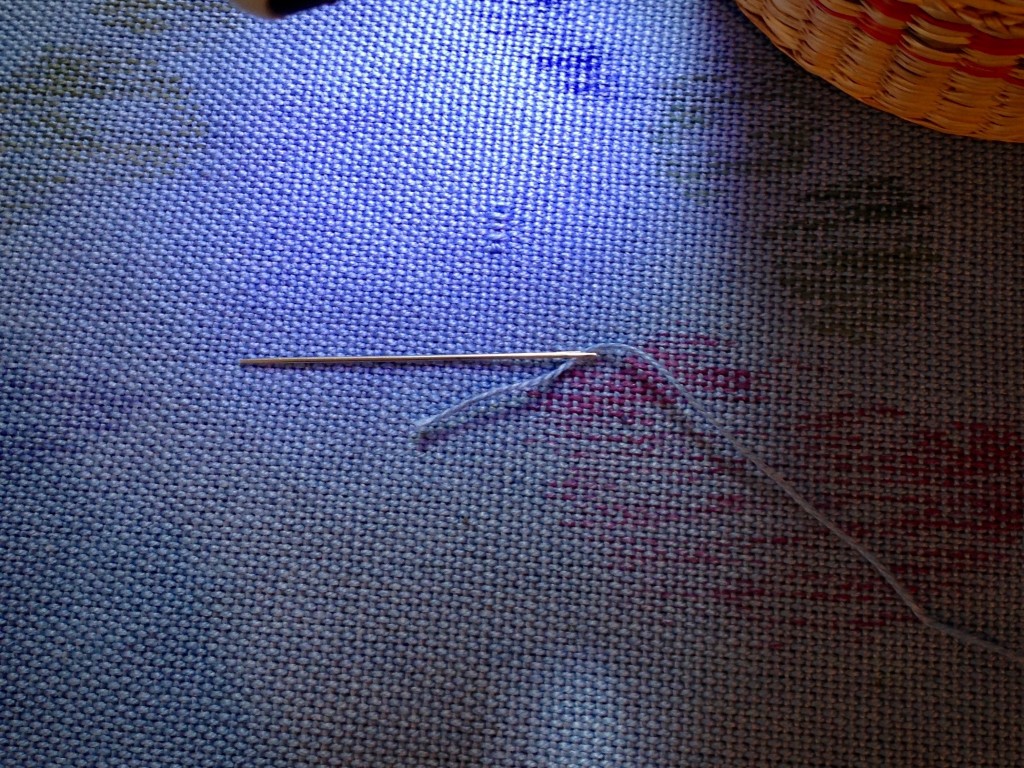
Illuminated stitches are easily seen. A replacement length of weft is needle-woven in.
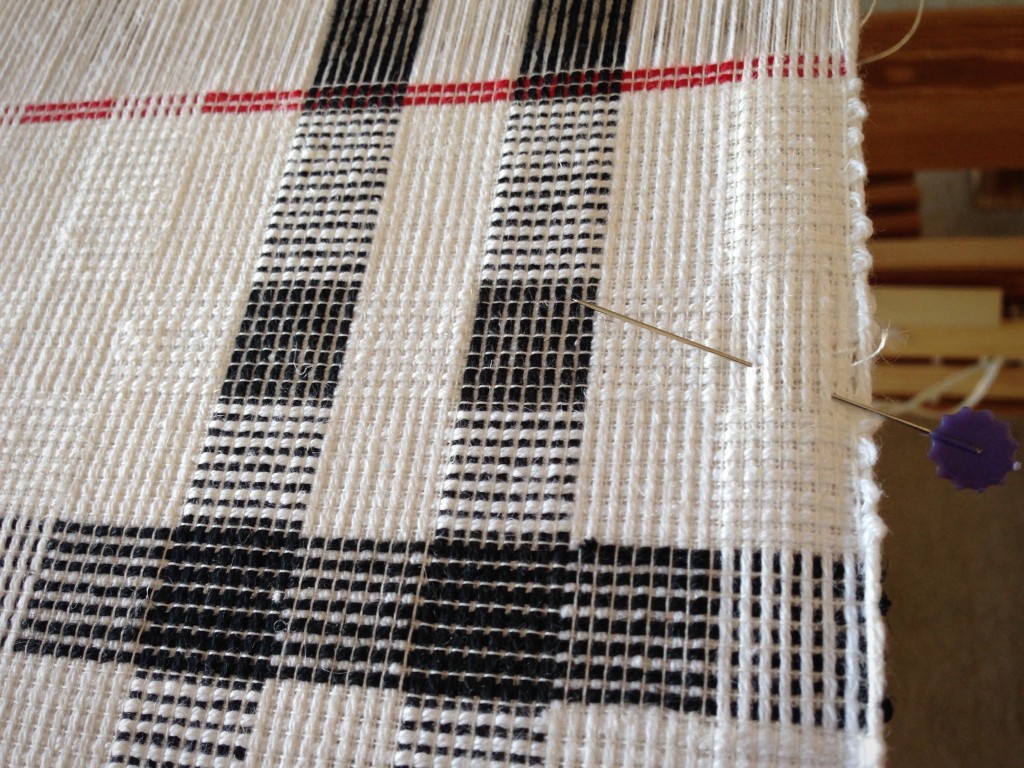
Oops. A few skips to fix in handwoven cloth.
Series of errant floats are discovered after this fabric is removed from the loom. At 30 ends per inch, my eyes strain to see where to weave the needle.
Lighting and magnification needed for fixing threads.
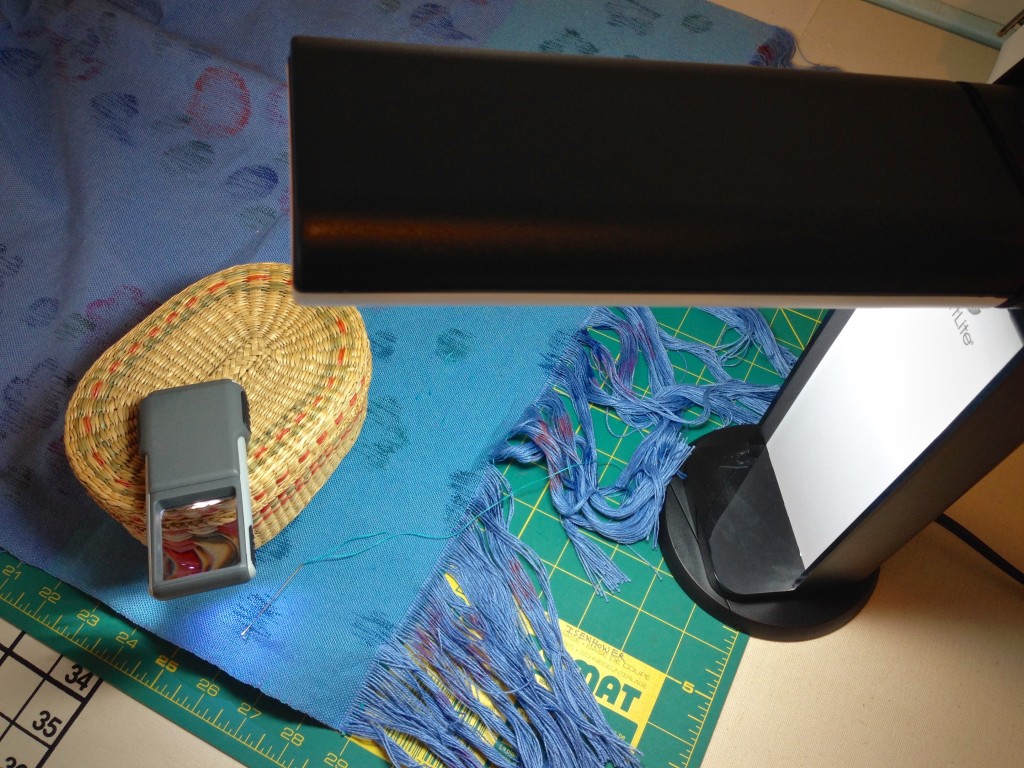
Needing more than the bright OttLite, I add magnification. Pairing the OttLite with the handheld lighted magnifier does the trick!
Magnified threads for handwoven repairs.
Lighted magnifier, reflecting the OttLite just overhead, balances perfectly on a small sewing basket. Now I can actually see the threads I am fixing.

To further reduce eye strain, I am considering other lighting options. Have you had success with task lighting? I’d love to hear about it. Share your experience and recommendations in the comments.

My Lighting Wish List:
Full spectrum floor lamp
Adjustable-arm magnifying task light to clamp on table or loom

May you see what you need to see.

With a bright outlook,
Karen

Tools Day: Hand-Carved Stamps

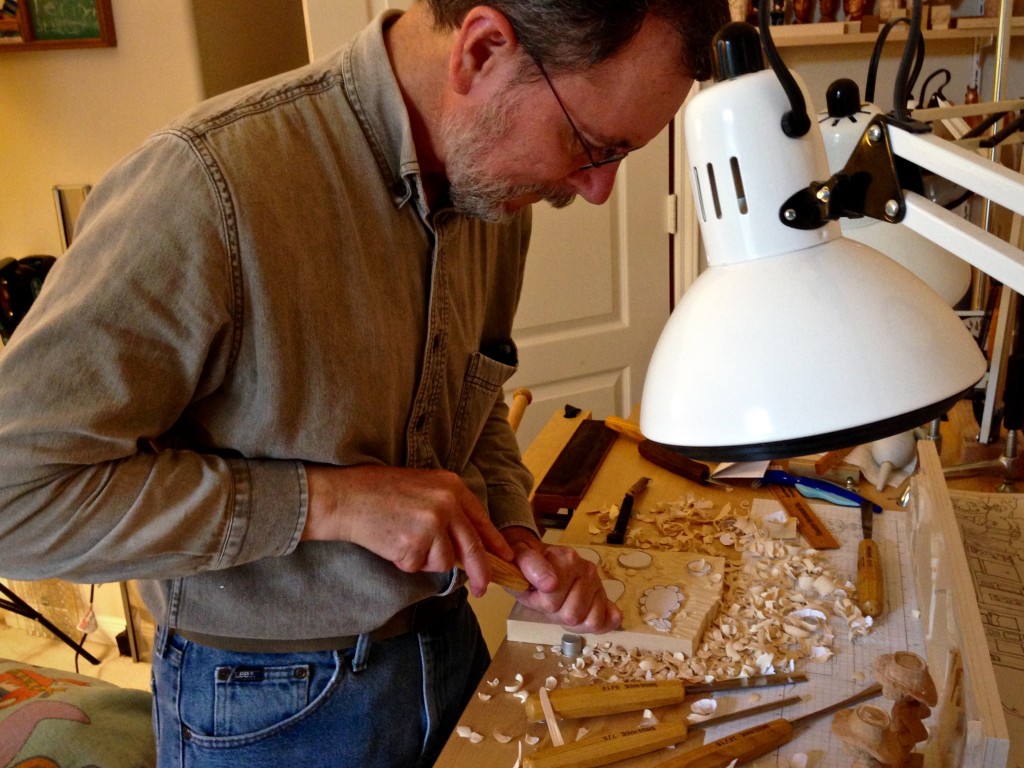
I need only a few simple shapes to stamp the warp. Fortunately, my woodcarver husband agreed to make the wooden stamps for me. Steve asked me to draw the shapes on white paper, and said he would take care of the rest. The result? Superb wooden stamps for making painted designs on the warp while it is on the loom.

Carving wooden stamps for warp stamping.

Carving wooden stamps for warp stamping.

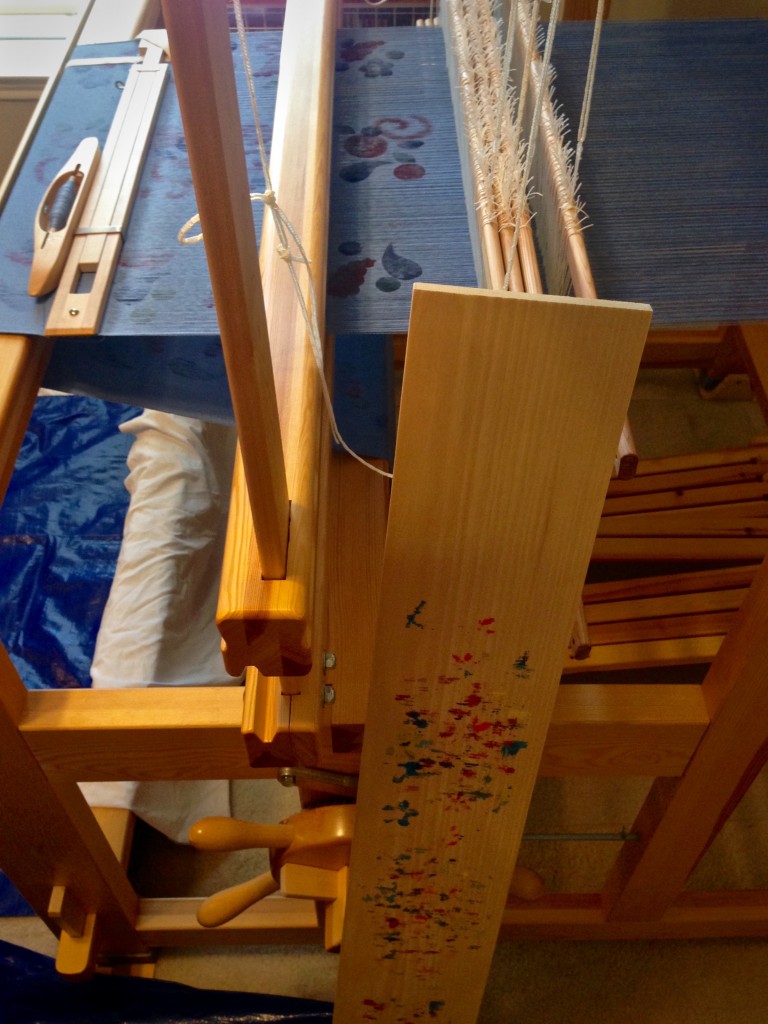
Supplies for stamping the warp on the loom.

Stamped warp.

May you be the recipient of hand-crafted love.

Simply,
Karen

Tools Day: Yarn Record Book

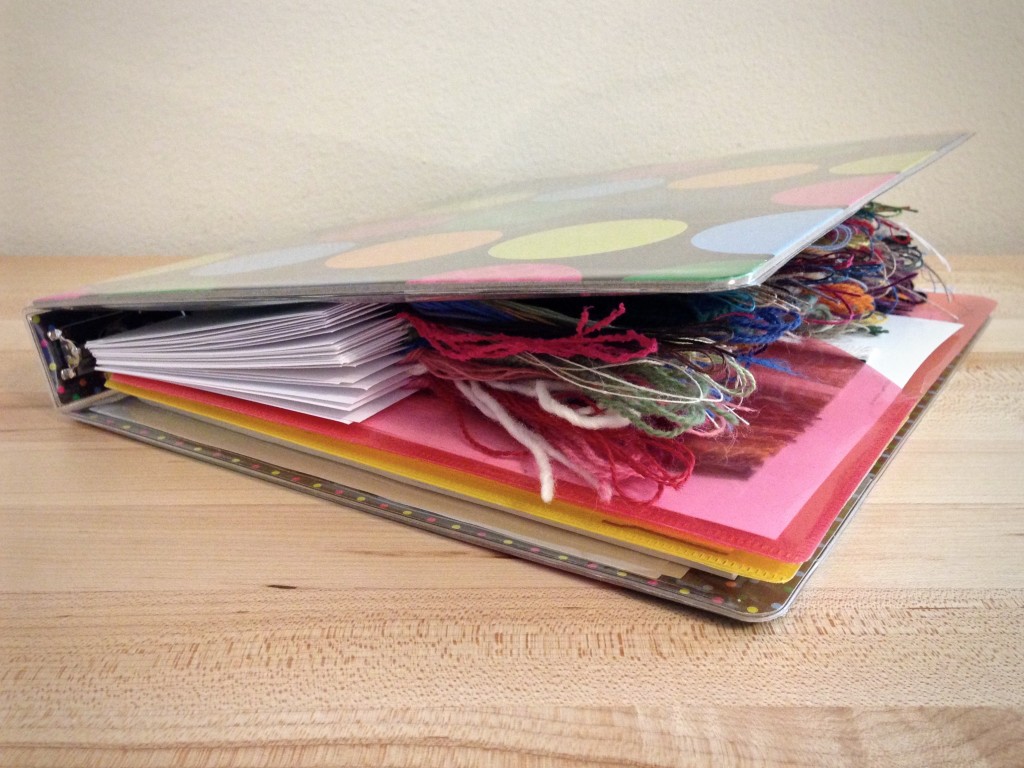
Would you like to keep track of every type of thread and yarn you use? You need something you can refer back to for fiber content, color numbers, sett information, and where you purchased the yarn. I have a simple yarn record system that accomplishes that. Because it is easy to do, I update the records every time I start a new tube of thread or skein of yarn that is not already represented. I call it my Yarn Record Book.

How to Create a Yarn Record Book

1. Gather supplies:

  • Three-ring binder
  • 8 1/2 x 11″ white cardstock
  • Paper cutter or scissors
  • Three-ring hole punch or single-hole punch
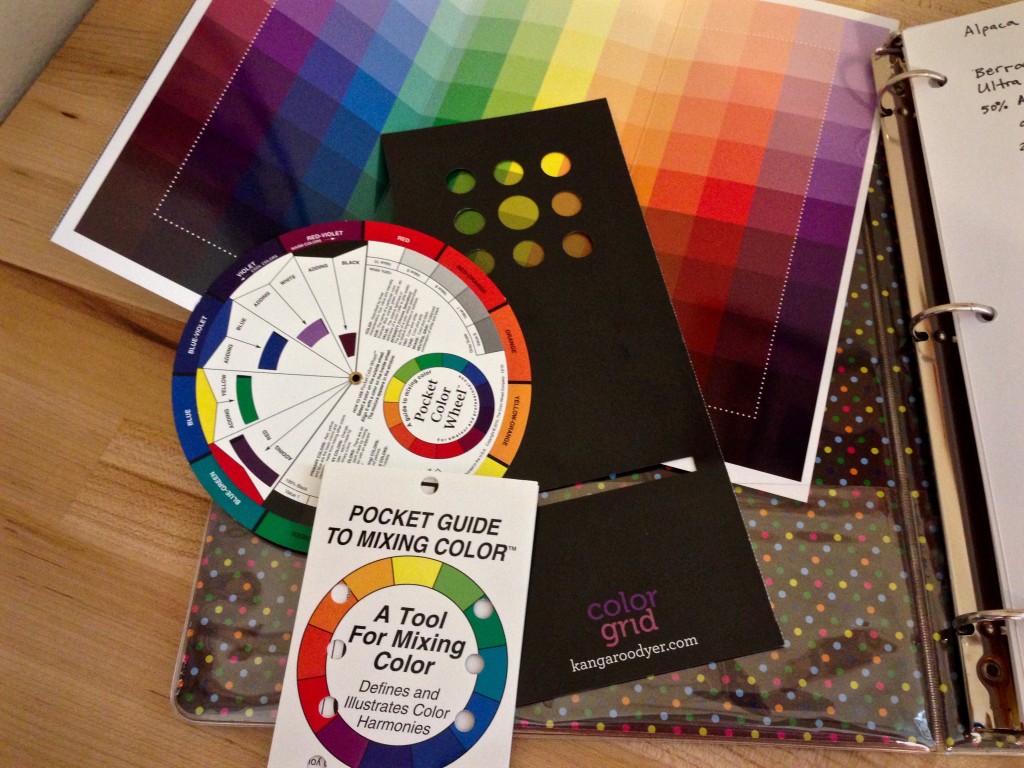
  • Small color wheel and other color tools
  • Black fine point Sharpee
  • Pocket pages
  • New spectacular yarn and thread in colors and sizes you have never tried before!
Make a Yarn Record Book Tutorial

2. Cut cardstock. Cut a sheet of white cardstock lengthwise in half.
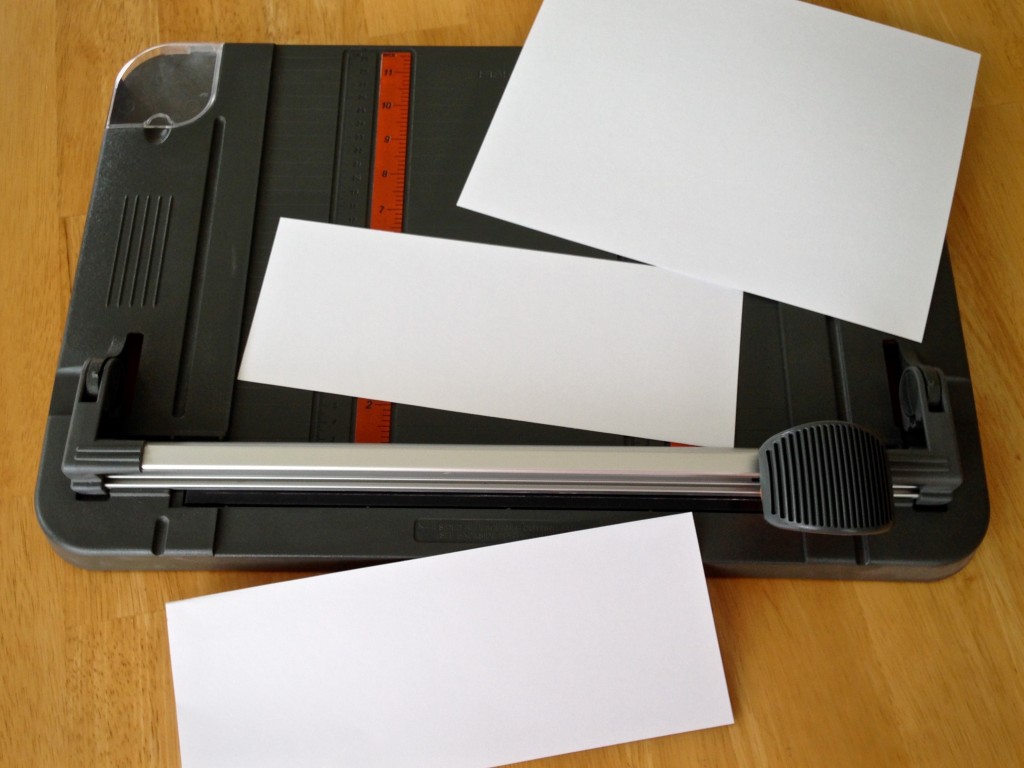
Making pages for yarn record book.

3. Punch holes. Punch three holes on one long side of the cut cardstock to coincide with three-ring binder, and punch five holes on the opposite side.
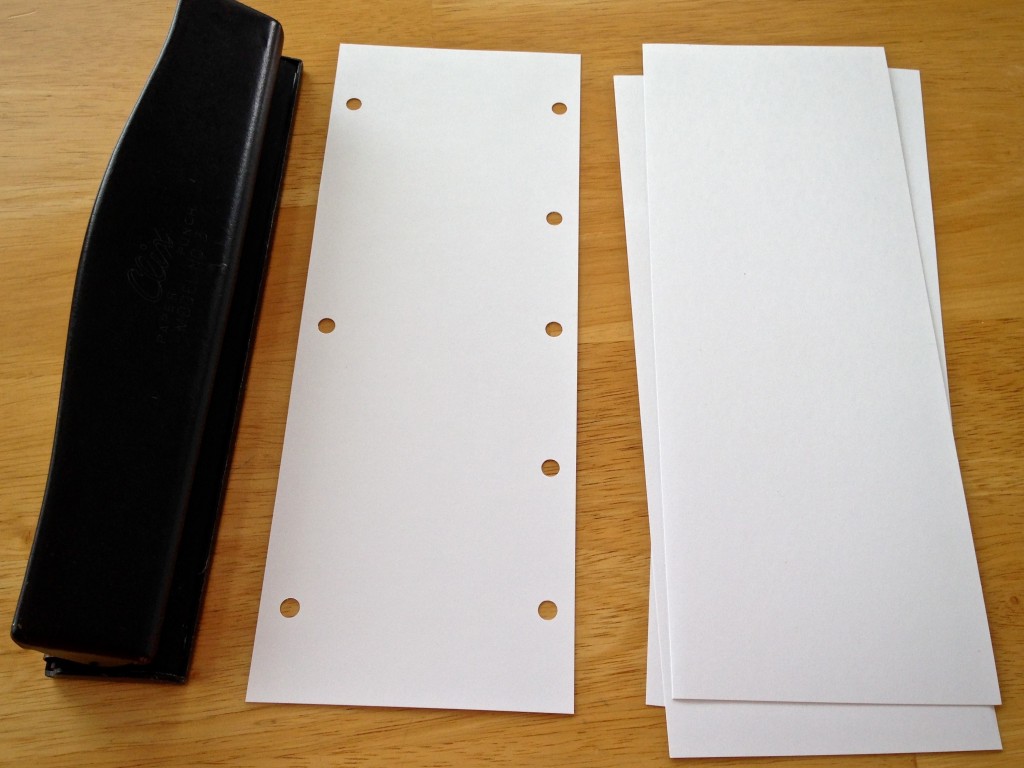
Preparing pages for yarn record book. Tutorial.

4. Insert color tools. Place color wheel and other color tools in front inside pocket.
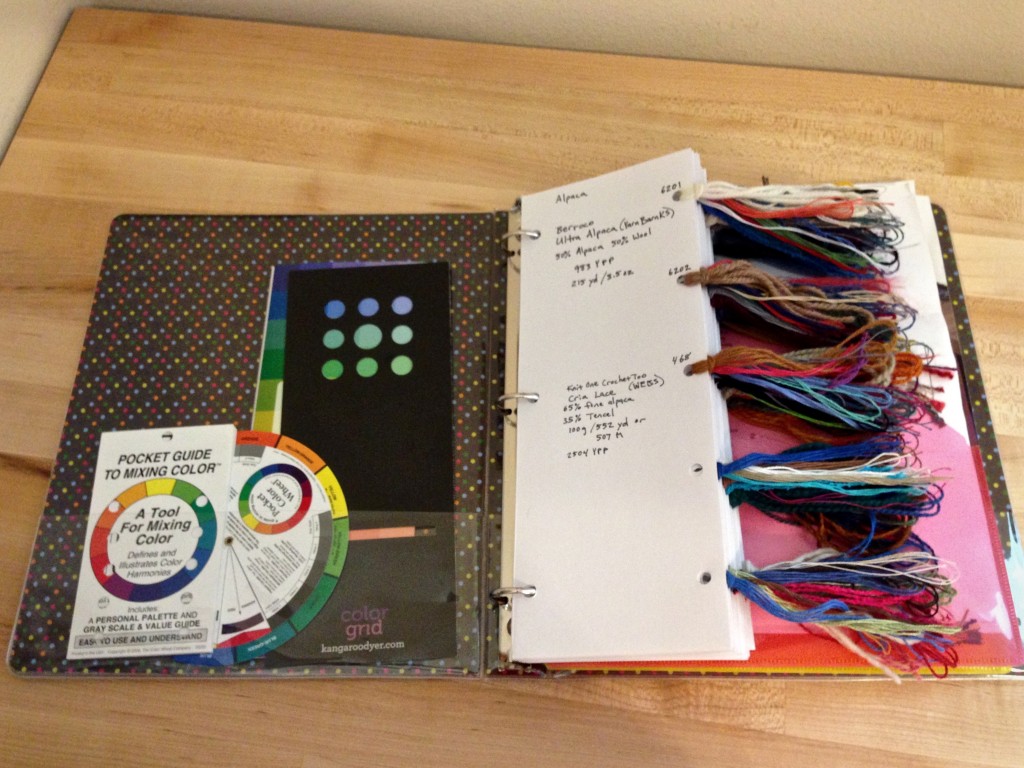
Yarn Record Book Tutorial

Color tools in yarn record book.

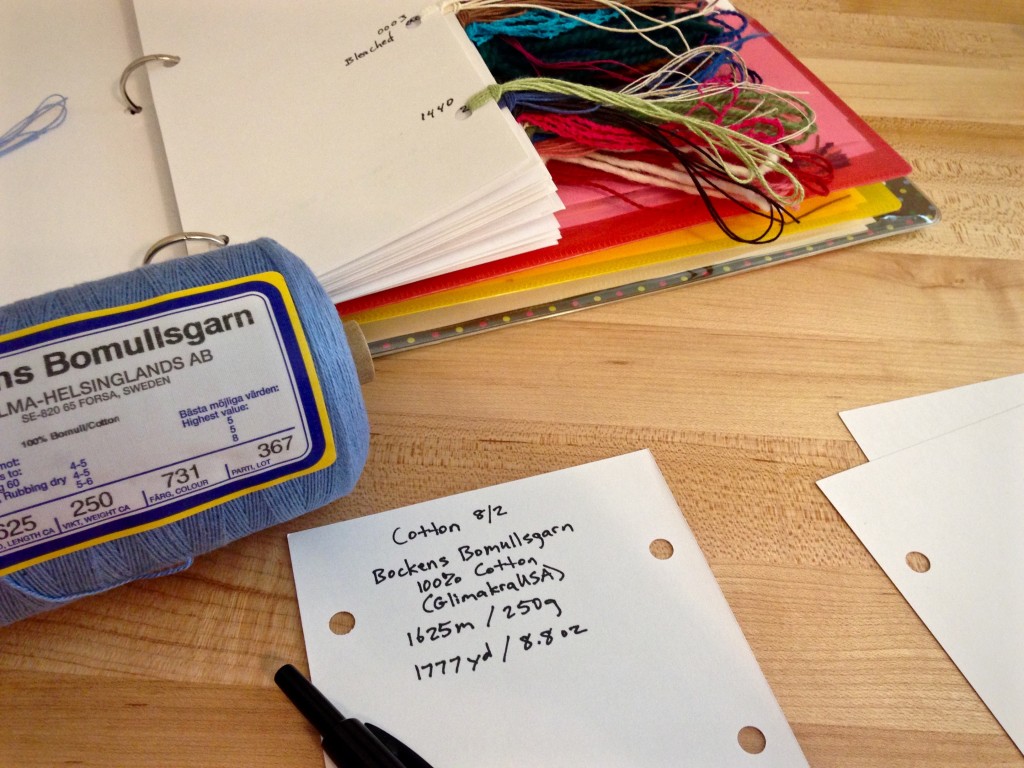
5. Add yarn label information. Write information on front of prepared card:

  • Fiber type and size/plies; e.g., Cotton 8/2
  • Brand name
  • Fiber content
  • Where purchased
  • Length and weight

Making Yarn Record Book. How to.

6. Add yarn sample. Cut one meter of the new thread or yarn. (My loom bench, conveniently a meter in width, is my quick measuring guide.) Fold the length in half, in half again, and in half one more time. Push the loop at the fold of the yarn through a hole on the five-hole side of the card and pull the other end of the yarn through. Write the color number above the hole.
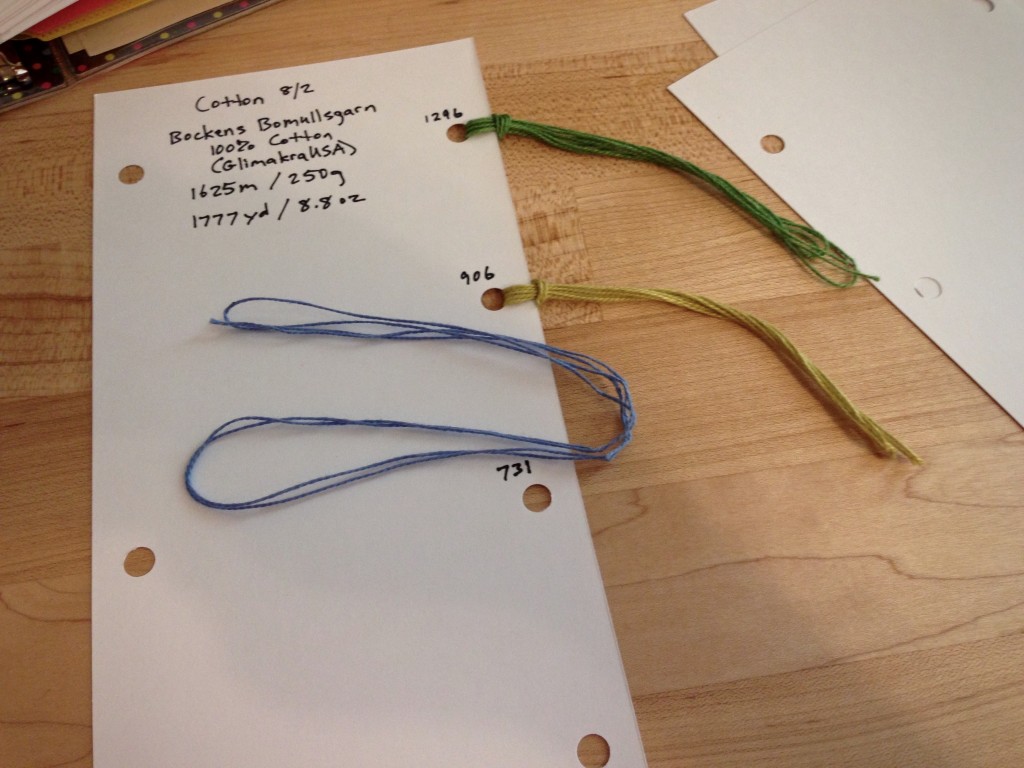
Adding yarn to yarn record book.

7. Insert yarn card into notebook. On the back of the card write the date the yarn is added. Include information about how the yarn is to be used, and the intended sett. (Later, if your plans change, or you determine the sett needs adjusting, come back and make notes here to reflect that.) Insert the card in the Yarn Record Book. I arrange fibers in alphabetical order, e.g., alpaca, cotton, linen, wool; and, within each fiber, by size of yarn from finest to coarsest.
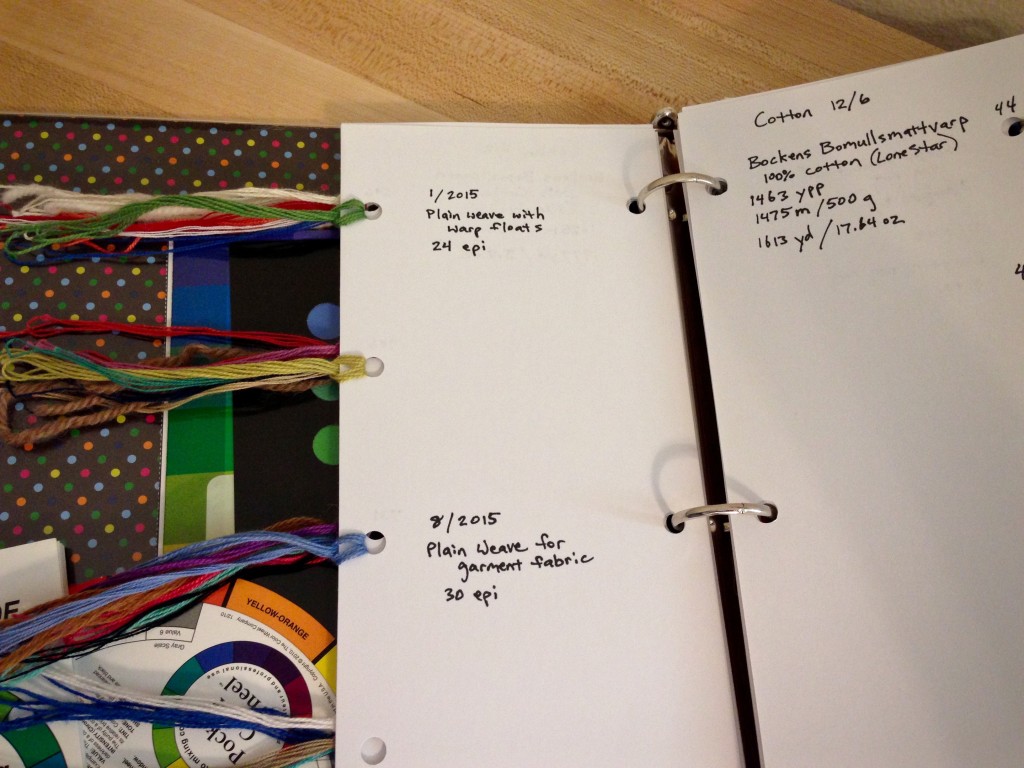
Adding project info to yarn record book.

8. Add color cards. Put purchased yarn sample color cards in pocket pages at the end of the notebook.
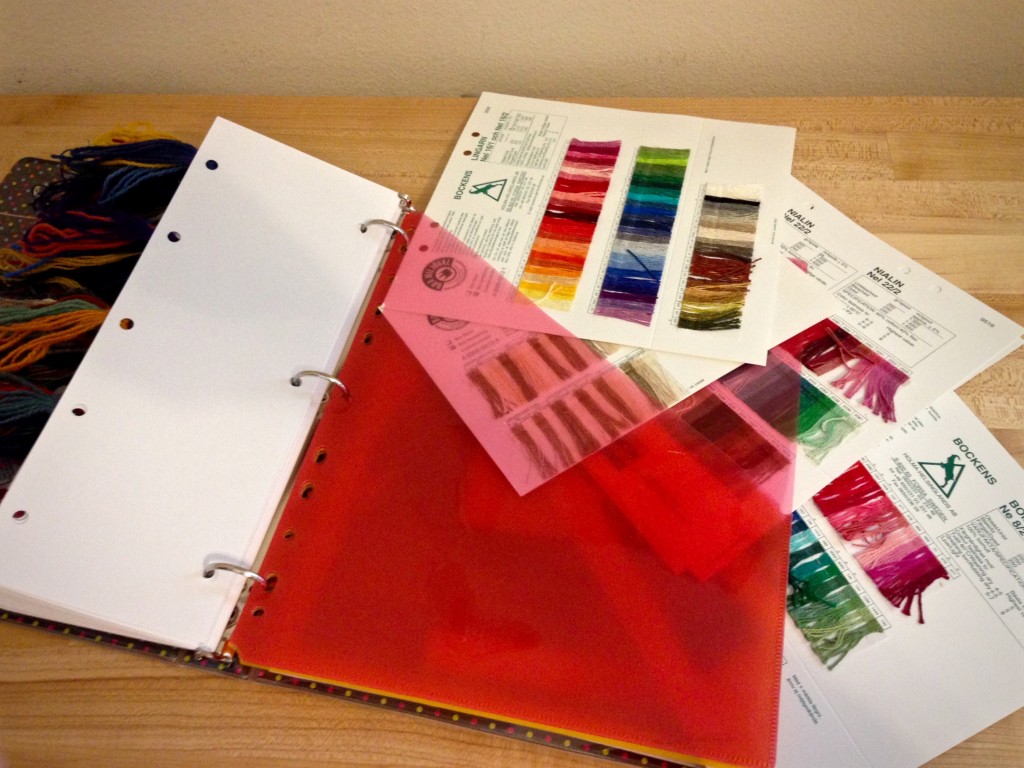
Yarn samples in yarn record book.

9. Expand. When you accumulate so many types and colors of threads and yarns that your notebook is overflowing, get a bigger notebook!
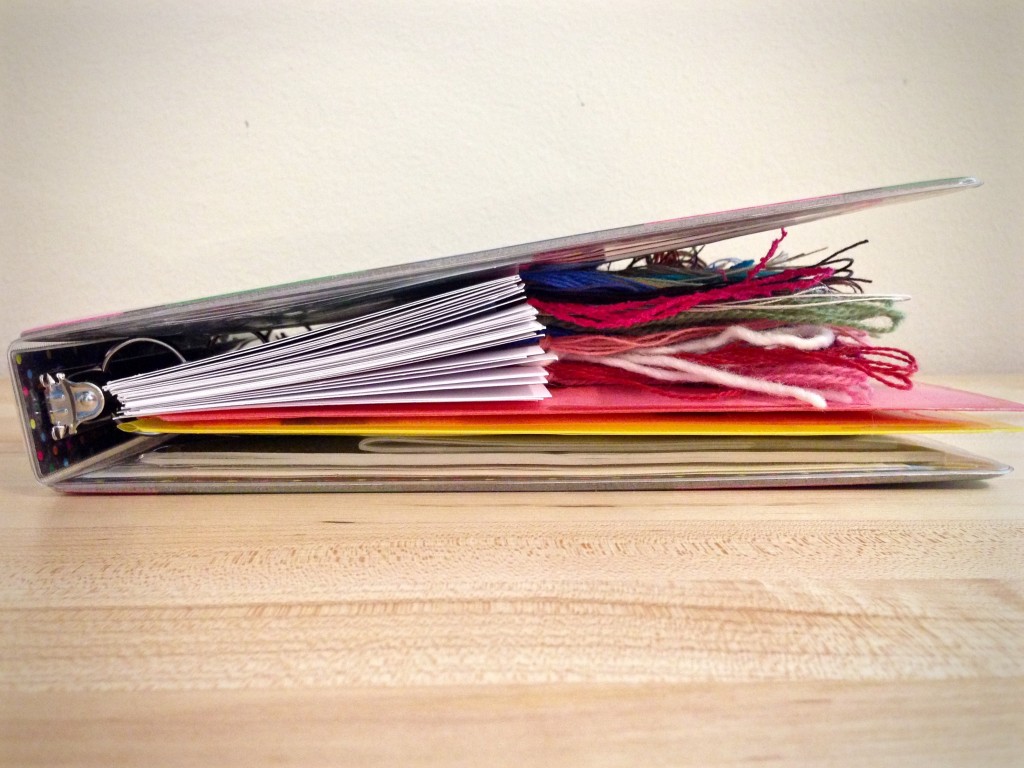
Yarn Record Book. Karen Isenhower

May you make progress in putting things in order.

Happy Organizing,
Karen
Tools Day: Tapestry Frame on Display

There is nothing that hinders cello practice more than a good old cello case. Out of sight; out of mind. Many years ago I discovered that if my cello sits out in the open on a cello stand in the corner of the room, I am much more likely to practice. The same is true of weaving on my tapestry frame. By hanging the tapestry frame in a corner of our living room, I have a continual reminder to weave. And we get to enjoy a living piece of artwork in the room–artwork that grows a little each day.

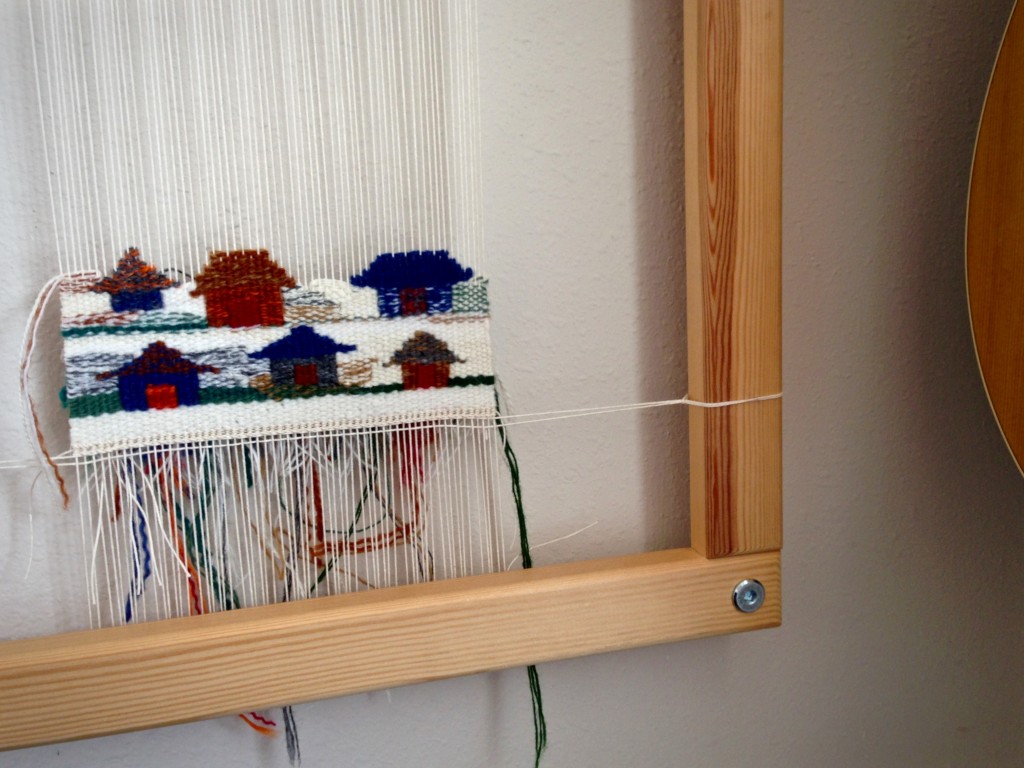
Tapestry diary of little houses.

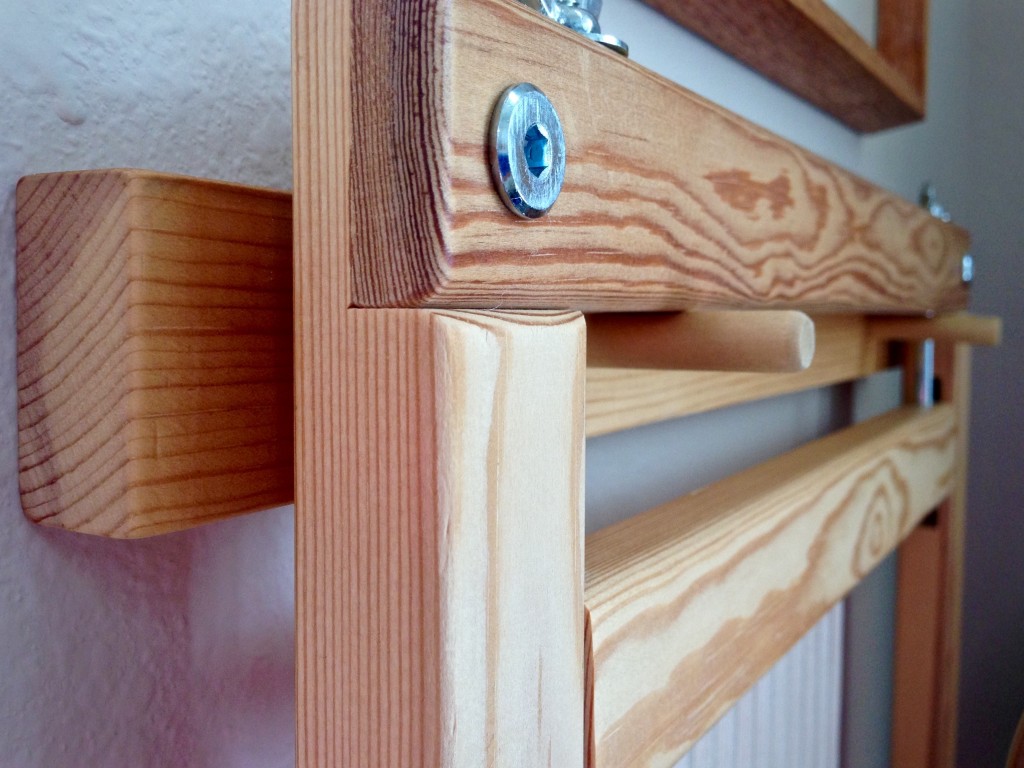
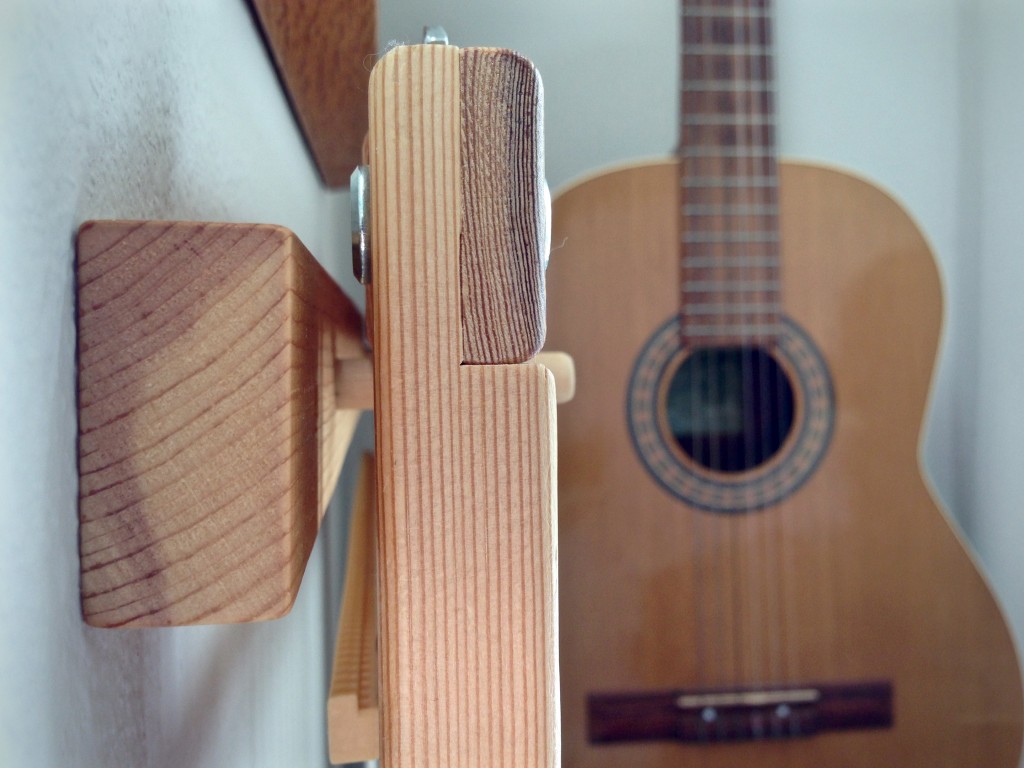
Steve made this simple holder for my tapestry frame. The 3/4″ x 1 1/2″ (2 cm x 4 cm) pine has two dowels, and is fastened to the wall with countersunk screws. The holder practically disappears behind the tapestry that it puts on display.

Pine holder for small Freja tapestry frame.
Pine board has two dowels on which to set the tapestry frame.
Tapestry frame holder.
Accessibility is the secret to daily tapestry practice. To prevent the tapestry frame from being accidentally knocked off its holder, it is placed in a corner of the room that is not in a walkway.
Super simple tapestry frame holder.
Tapestry frame holder is attached to the wall with two countersunk screws.
Small tapestry diary of little houses.
Tapestry diary for July is a village of little houses.

May you have reminders to practice your art.

In progress,
Karen

Tools Day: Color Wrapping

Linen singles line up for a new warp to make lace weave scarves. I have only one tube of each color. This makes an interesting challenge, since I wind warps with two threads together. Adding to the challenge, I am requiring myself to use all six colors. How will the colors behave with each other? What order should I put them in? Color wrapping is a fun way to find answers.

Making color-wrapped cards for planning linen warp.
Playing and planning with color by wrapping threads on index cards.

First I will select one color-wrapped card as “winner.” And then, I will decide whether to repeat the narrow stripes on that card across the warp, or spread the chosen stripe sequence over the width of the warp by expanding each of the narrow two-color stripes.

Color wrapping with linen to plan warp.
Cards wrapped with 16/1 line linen to view warp possibilities.
Color wrapping to plan linen warp.
Each narrow stripe is two colors paired together. (Click on photo to enlarge.)
Color wrapping shown in black and white to see balance.
Black and white gives a view that shows the balance of dark and light.

Color wrapping supplies:
Index card, folded in half lengthwise
Double-stick tape

  • Place a length of double-stick tape on one side of the folded index card.
  • Starting on the back of the card (the side with tape), stick the end of a thread (or two threads, as in these examples) to the tape.
  • Wrap the threads around the card, aligning the threads right next to each other, sticking the thread to the tape on the back each time around.
  • Experiment with different arrangements of colors, and vary the width of stripes as desired.

Which of the six color wrapping examples would you choose for an eye-catching lace weave scarf? And would you repeat the sequence across the width of the warp, or would you spread the sequence out over the width of the warp? Share your thoughts and ideas in the comments.

May you discover more options than you know what to do with.

Happy Coloring,
Karen