Tools Day: Loom Cart

Having a cart beside my loom is the next best thing to a loom-side assistant! A turquoise utility cart from IKEA sits beside my Glimåkra Ideal. An Elfa drawer system on casters is right beside the Glimåkra Standard, and keeps oft-used tools within arm’s reach.

The IKEA cart (Råskog Utility Cart) serves as a holding space for any project on the Ideal. Since this loom is not in the room where I keep my weaving supplies, it helps to have a rolling cart that holds items as needed. The three tiers hold tools and supplies for dressing the loom, like sley hook, extra Texsolv heddles, and treadle cords. While weaving, I keep extra shuttles and small tools on the top tier. All the weft thread or yarn for the project goes on the second or third tier. When I weave rag rugs, fabric strips that are sorted by design and/or color are piled up on the three tiers.
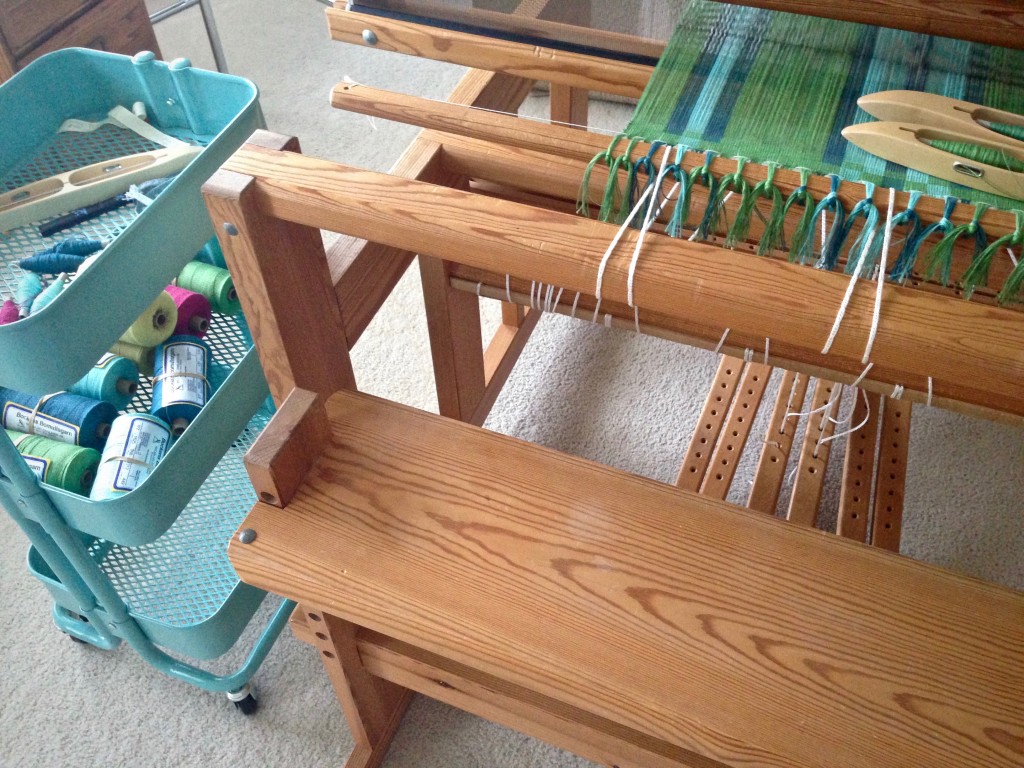
IKEA utility cart as loom-side assistant.
IKEA utility cart holds thread and wound quills while I try out weft colors on a new warp.

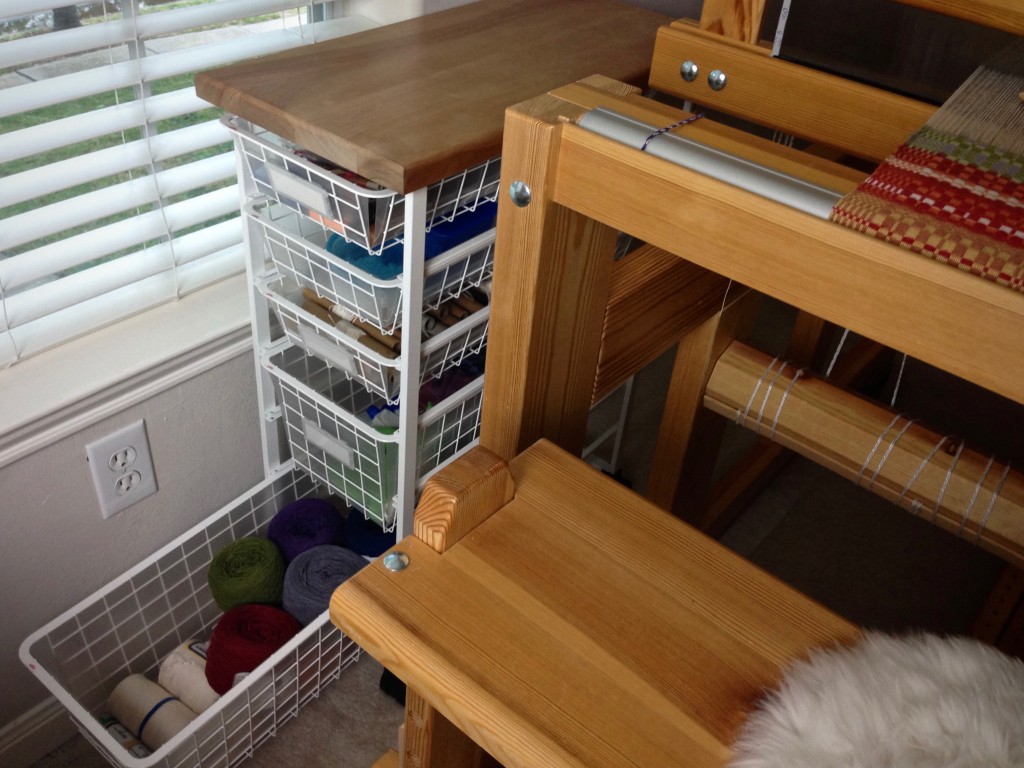
The Elfa cart enhances efficiency at the big loom. It houses frequently-used essentials, especially small tools and supplies needed to dress the loom. It is near my work table where I wind quills, so yarn for the current project goes in the deep bottom drawer. The woodblock top adds a nice touch that compliments the wood of my Swedish loom.
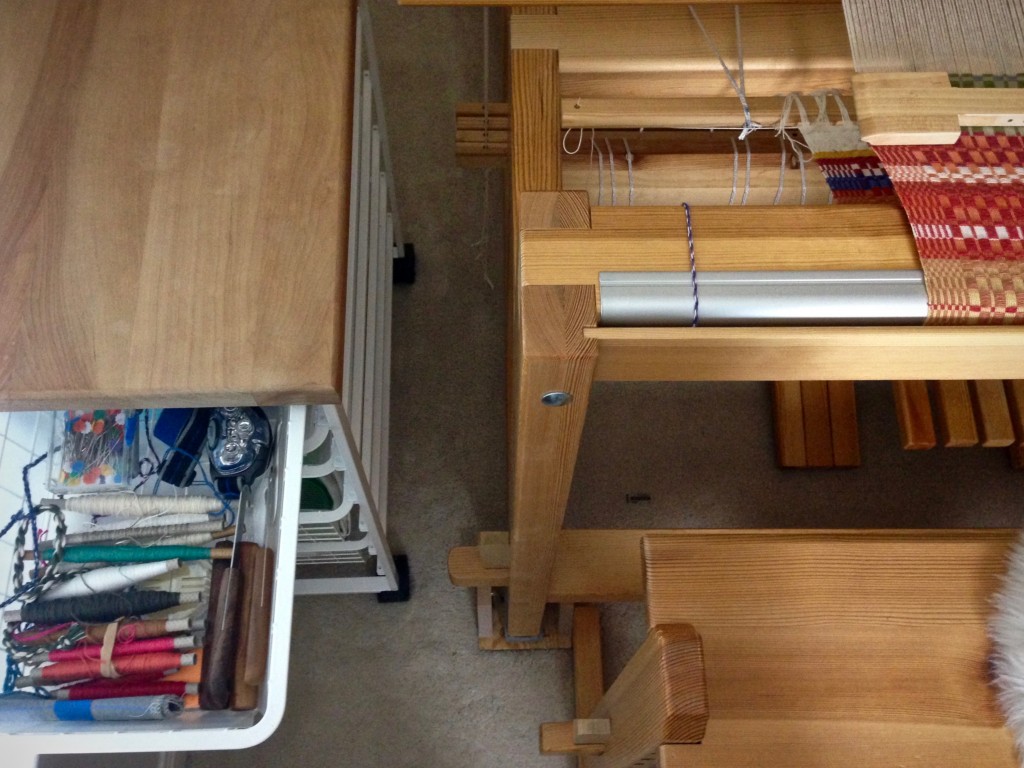
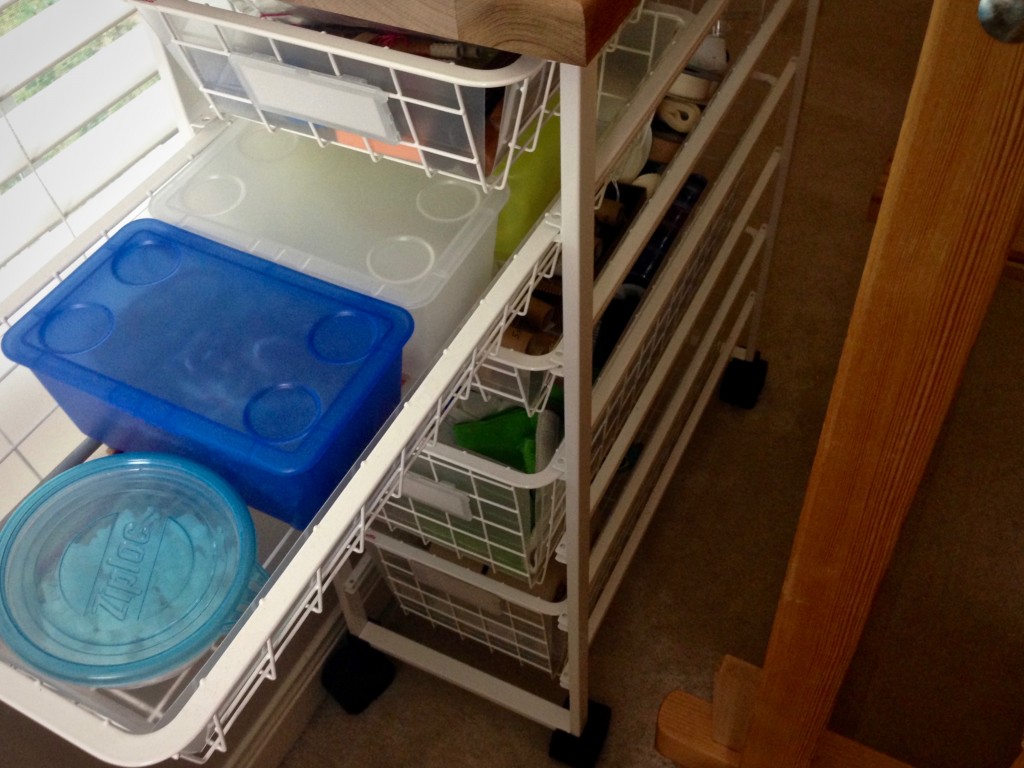
Elfa drawer system with casters for loom-side assistant.
Too many leftover quills from projects sit in the top drawer of the loom cart. Sley hooks, flat head pins, headlamp, pencils, tape, and other small tools and gadgets are in this top drawer.
Elfa drawer system as loom cart. Organized!
Second drawer has anchor pins and arrow pegs for Texsolv cord, box of choke ties, box of long treadle cords, box of short treadle cords. I found the little boxes at IKEA.
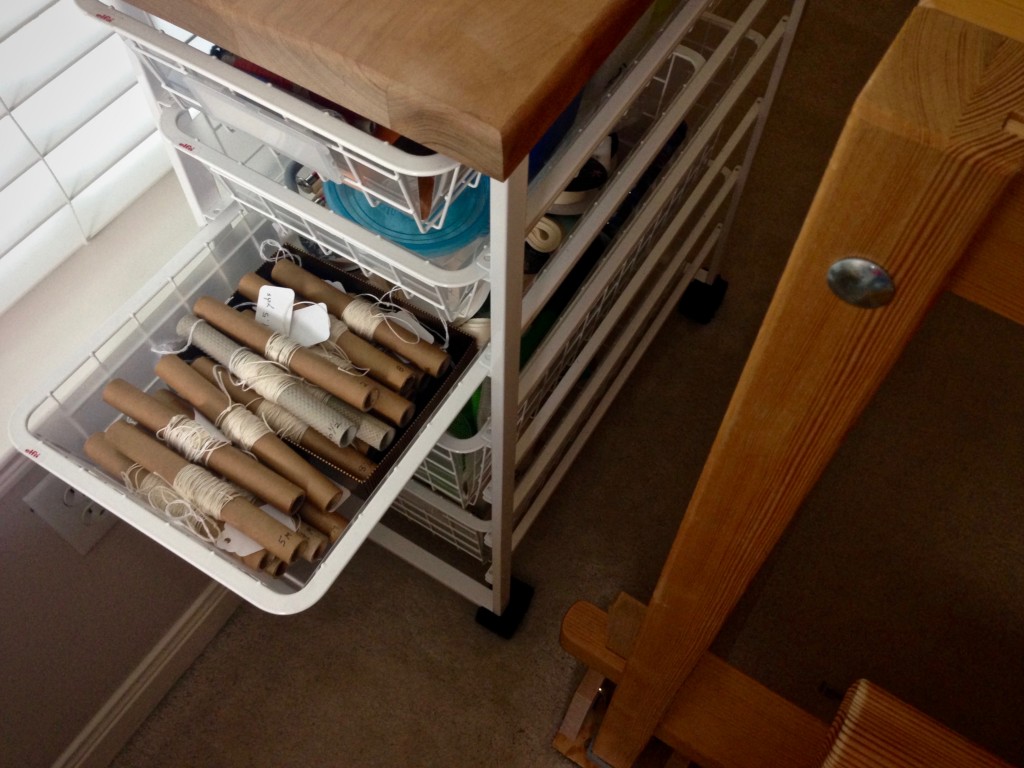
Loom room organization. Guide strings wrapped on empty tubes.
Guide strings for measuring warp are wrapped on empty thread tubes. This drawer also holds rolls of twill ribbon used for measuring weaving length at the loom.
Organization at the loom. Elfa cart solution.
Yarn in the bottom drawer is only a half step away from the winding station. All the cotton and wool weft for the current project is in this drawer, making it easy to grab what I need for winding more quills.

May your loom-side assistant serve you well.

Happy Weaving,
Karen

Tools Day: Rag Rug Finishing Video

Do you know how easy it is to finish the ends of a rag rug that you plan to hem? You cannot trust a sewing machine to do the job. Neither a zig-zag stitch nor a serged edge adequately catches all the ends, as they do for other handwoven items. Hand-tied knots will ensure that your rug endures the test of time.

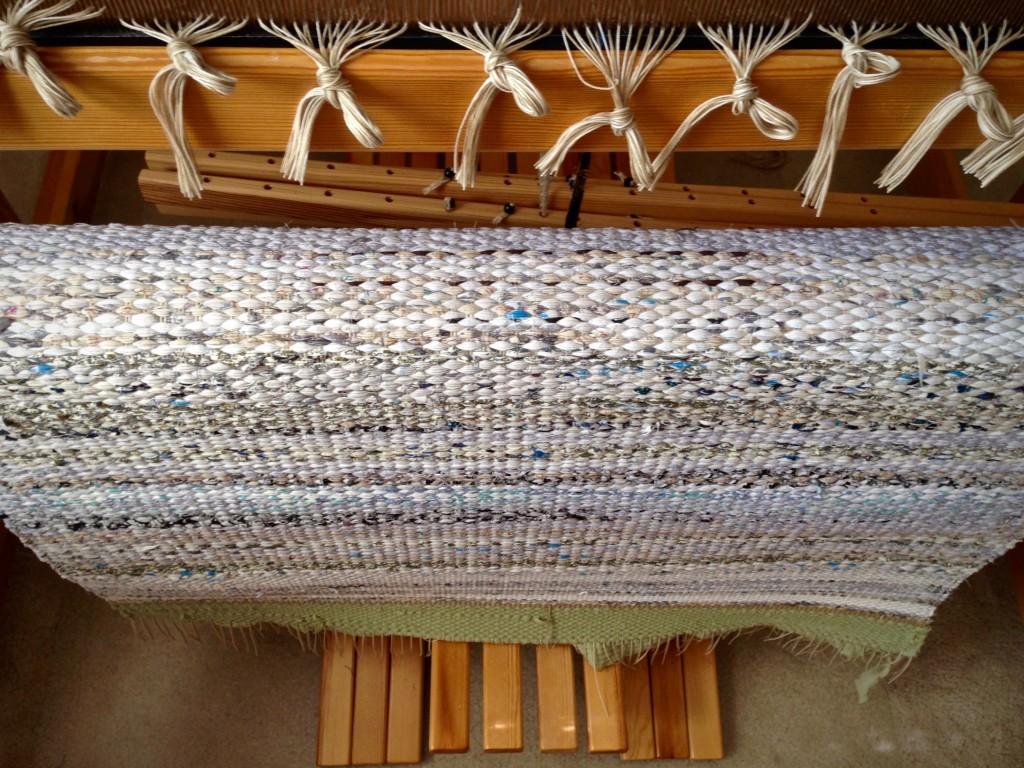
Large rag rug cut from the loom. Instructions for finishing ends.
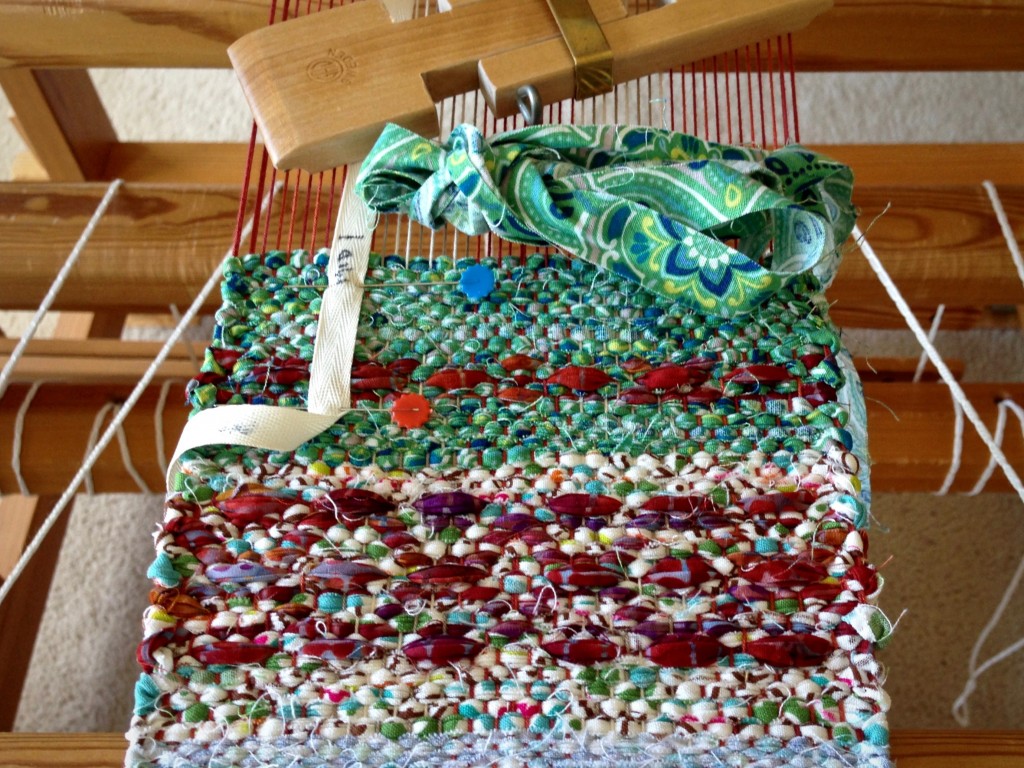
Rag rug is cut off the Glimåkra Standard loom. A warp thread header (1 cm) is woven at both ends of the rug, and about 5 cm of scrap header (scrap fabric strips) is woven outside of that. The scrap header helps keep the rug from unravelling when it is removed from the loom.

The following video details the few simple steps needed to prepare your rag rug for hemming.

Tools:

  • Two-pound walking weights
  • 5″ Sacking needle (I found mine at WeavingSouthwest)
  • Hair comb
  • Cutting mat
  • Acrylic ruler
  • Rotary cutter

May you finish what you start.

All the best,
Karen

Tools Day: Teeny Tiny Temple

What if you start weaving a project and realize your smallest temple is too big? And that your smallest temple is the smallest one they make. I am aware that most people do not use a temple for something this narrow, 16.7 cm/6.5 in. width in the reed, but this is a rag rug. A miniature rosepath rag rug. And draw-in is inevitable, which leads to weaving headaches like broken selvedge warp ends. A temple helps prevent all that.

Smallest temple is too big. How I solved this dilemma.
Smallest Glimåkra temple is two inches wider than my weaving width.

I have seen makeshift temples that I could try, but my genius husband has a better idea. Why not cut down my little temple to the size I need? So he takes the tiny temple out to his workshop in the garage and turns it into a teeny tiny temple! (He does this knowing full well that I will need to replace the temple being cut.)

Cutting a temple down to make a teeny tiny temple.
Measure twice; cut once. Steve marks his cutting lines on the original temple parts.
Small temple is cut down to teeny tiny size.
Happy with the first cut, Steve is now ready to let the second piece meet the saw blade.
Small temple is cut down to teeny tiny size. It works!
Once cut apart, we wonder if a temple this tiny will work? Will there be enough length for the pieces to pivot as needed? There’s one way to find out…

Perfect! It works! And holes for the locking pin line up, too!

Teeny tiny temple in place on miniature rag rug. (6 1/2")
Teeny tiny temple does its job. Yay!
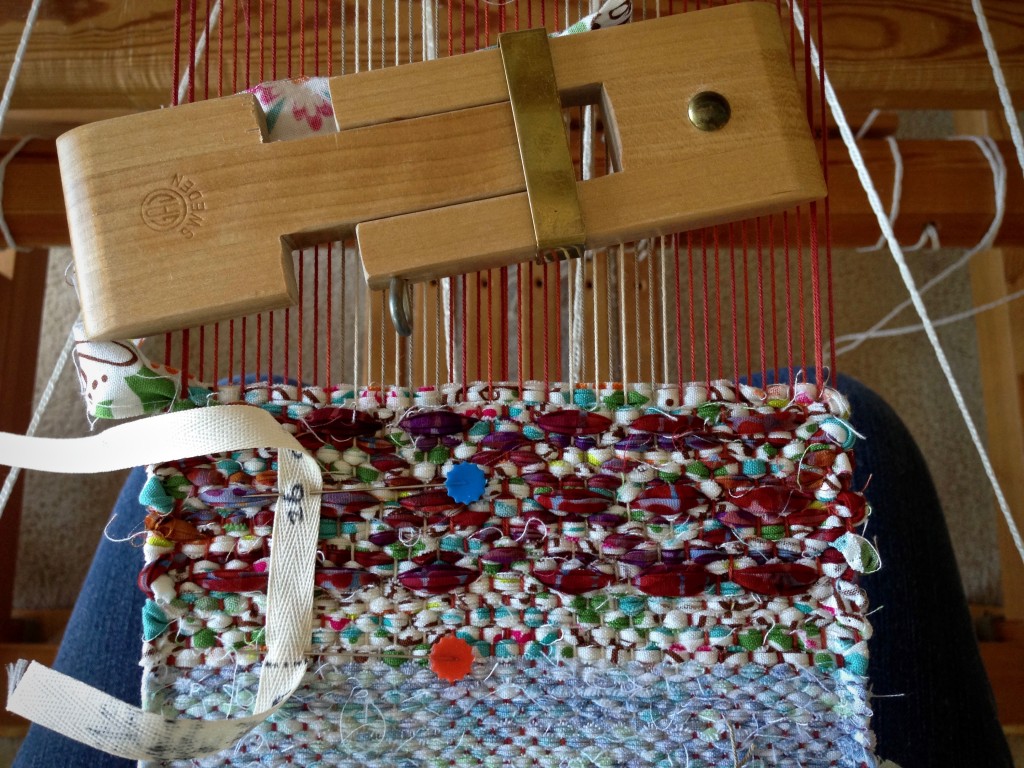
Start of a mini rosepath rag rug. Karen Isenhower
Start of a miniature rosepath rag rug.

Mini rosepath rag rug in the making.

May you cut your problems down to size.

A little weaving,
Karen

Tools Day: Magnets

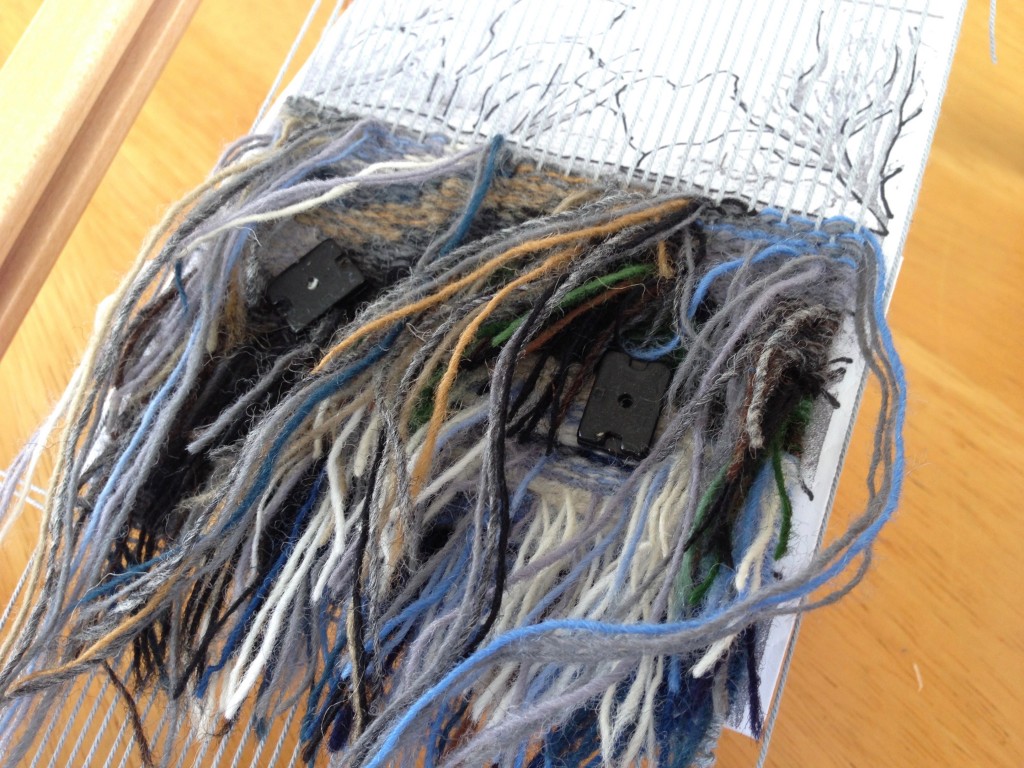
I am trying a new thing–magnets. Little magnets hold a cartoon in place behind my small tapestry. The magnets need to be strong so the cartoon does not shift. Yet, I want to be able to adjust or to completely remove the cartoon easily.

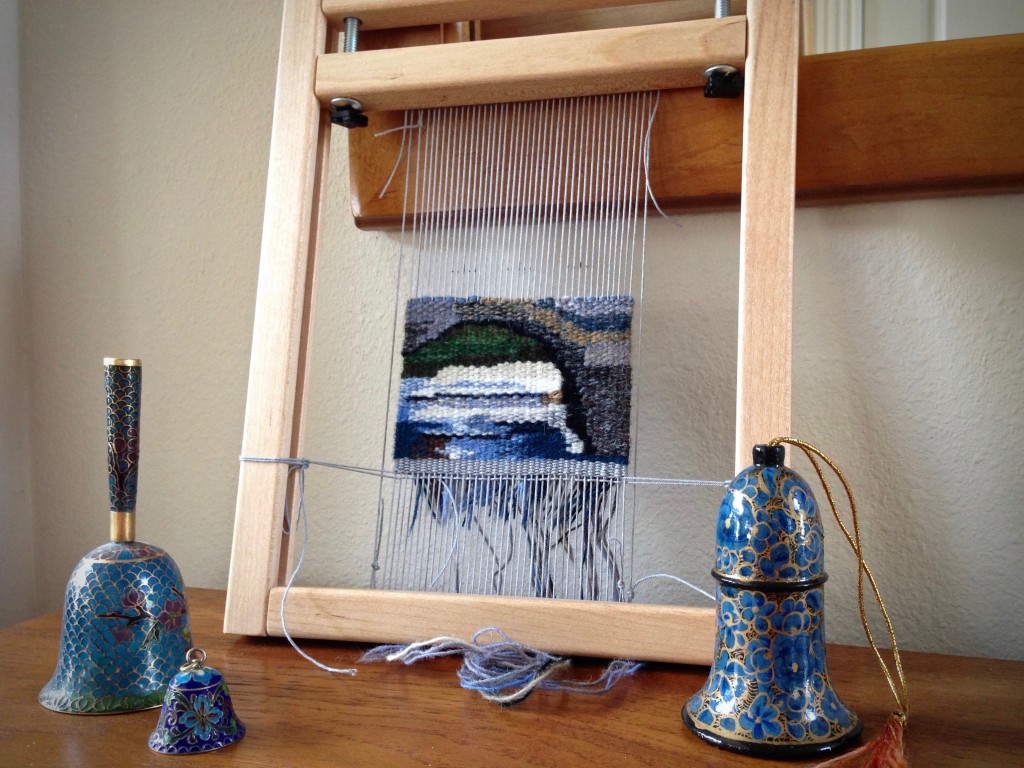
Small tapestry woven from the back, line by line.
Small tapestry is woven from the back, line by line. Three strands of Fåro wool are blended for the weft.

I have noticed other tapestry weavers using small rare earth magnets for this purpose, so I decided to give it a try. “Steve, do we have any rare earth magnets on hand?,” I asked. Steve went out to the garage, and came back with these. Perfect! Finally, a use for the magnets he had salvaged from worn out electric toothbrushes over the years!

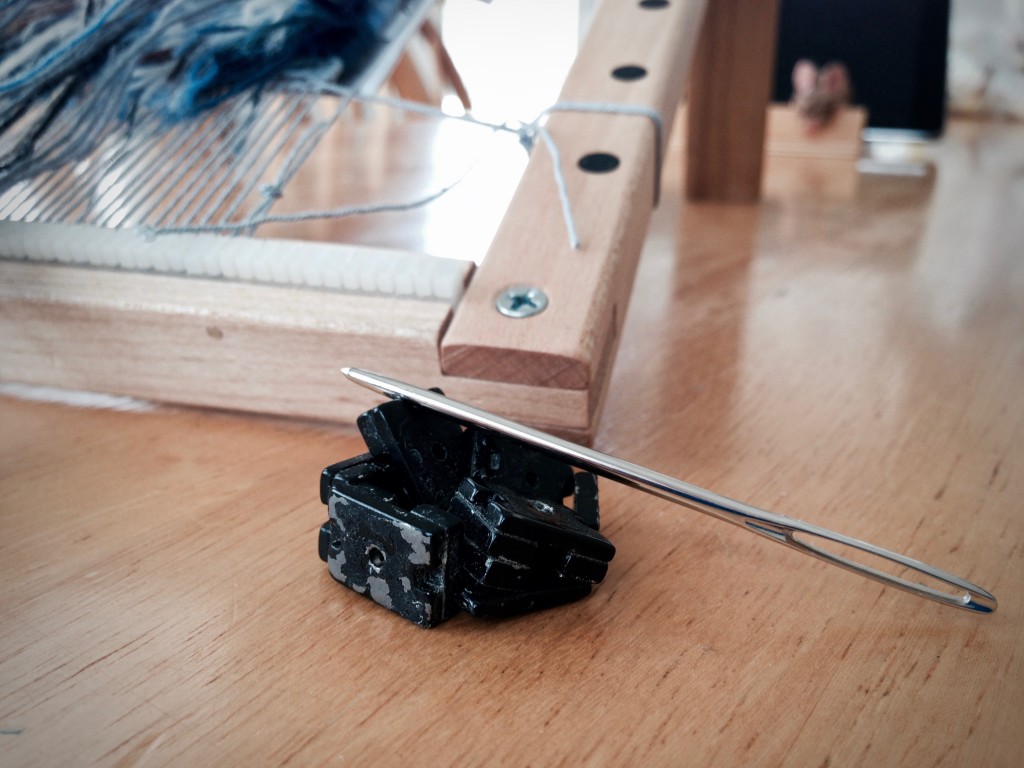
Magnets for holding a cartoon behind a small tapestry weaving.
Magnets, salvaged from worn-out electric toothbrushes, give an extremely tight grasp for holding a cartoon behind a small tapestry.
Magnets hold the cartoon behind the weaving. Old toothbrush magnets!
With magnets in place, it is easy to raise the cartoon to ink the warp at strategic points, and then to let the cartoon drop out of the way while weaving. The tight toothbrush magnets keep the cartoon from shifting out of place.
Bridge under construction... Small tapestry.
Bridge under construction…

May you know what to discard and what to keep.

Until next time,
Karen

Tools Day: Thumb Guard

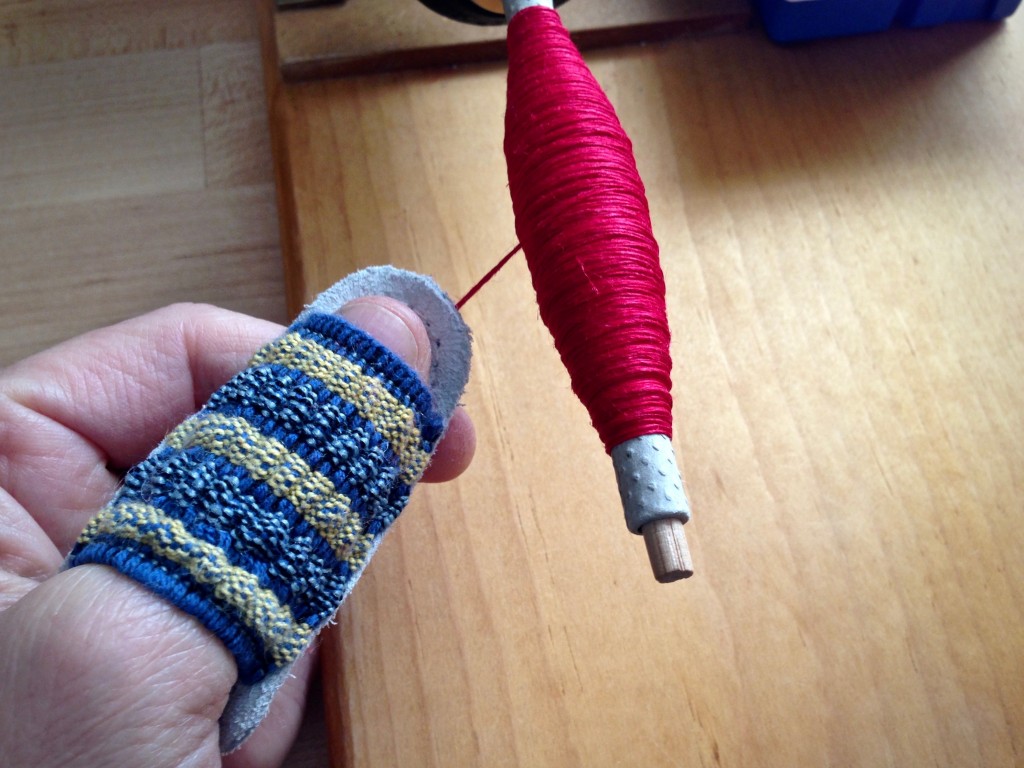
Have you ever drawn blood while winding a bobbin or quill? I have. First you feel the heat, and then, ouch! …the thread makes a little slice. Linen can do that. And wool can give you a little burn. True, my electric bobbin winder is fast, but I have experienced similar ouchies with my good ol’ Swedish hand-turned bobbin winder, too. That’s why I keep a woodcarver’s leather thumb guard at my bobbin winder station. I use it every time. For linen, wool, cotton, everything.

Leather thumb guard prevents cuts while winding linen quills.
Winding linen with the electric bobbin winder. Leather woodcarvers thumb guard keeps my thumb safe and sound, yet allows maximum mobility.

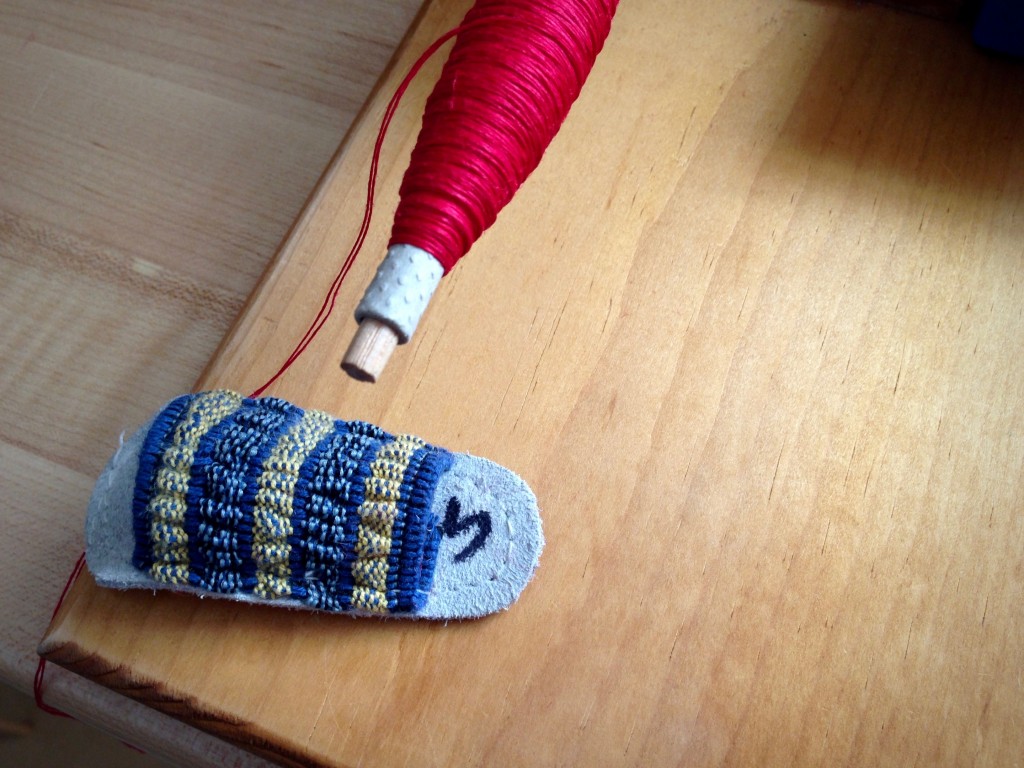
I first tried a leather golfing glove and found it too bulky; and then I tried a leather quilter’s thumb, but it was too thin and soon wore out. When Steve saw my predicament, he ordered some small leather thumb guards for me–the kind that woodcarvers use. Perfect! Convenient, sturdy, and no more ouchies. (We get the thumb guards HERE. You can also find them on Amazon.com. I have no affiliate links.)

Woodcarvers leather thumb guard for winding linen quills.
Thumb guard is so comfortable that sometimes I forget to remove it; I’ll find it on my thumb later when I’m at the loom weaving.

May you keep your hands in good working order.

Happy Weaving,
Karen