Tools Day: Jury Rigging

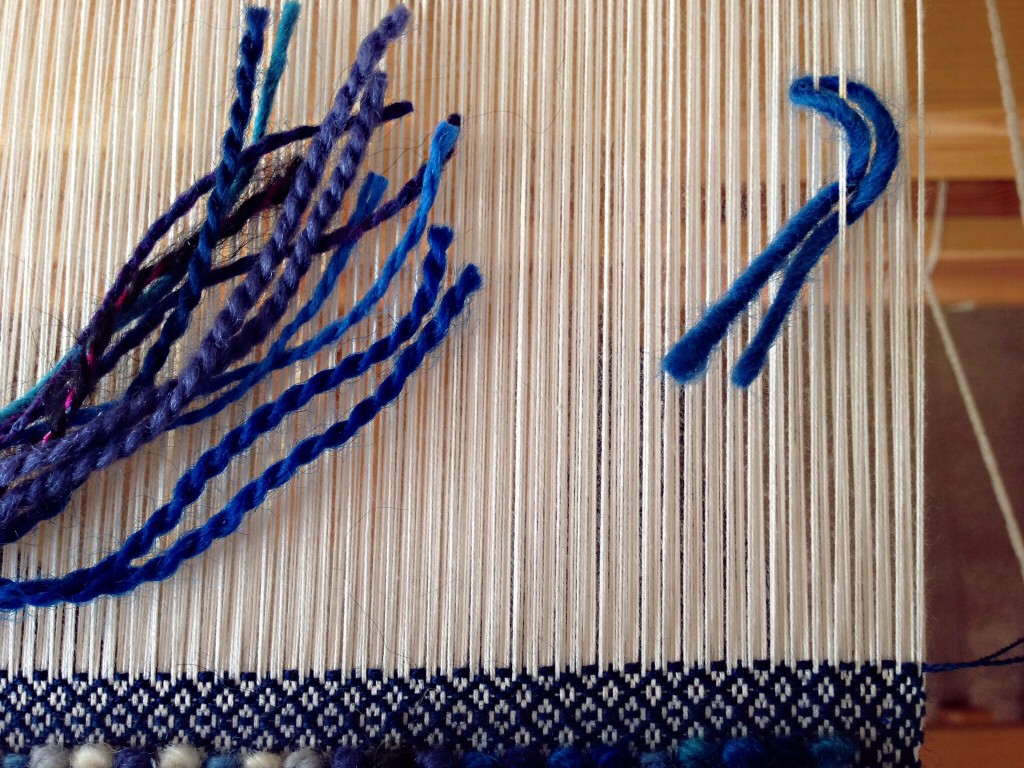
Resourcefulness, make-do ability, outside-the-box thinking, solution-minded questions, and a little stubbornness. These are some of the best things to keep in the weaver’s toolbox. Jury rigging is an old nautical term having to do with sailors improvising the replacement of a damaged mast and sails, using only tools and materials that happen to be on hand. You could call it makeshift repairs or temporary contrivances. That describes what I did this week as I came near the end of the linen warp. And, like a sailor, I was working with wood, strings, and cloth.
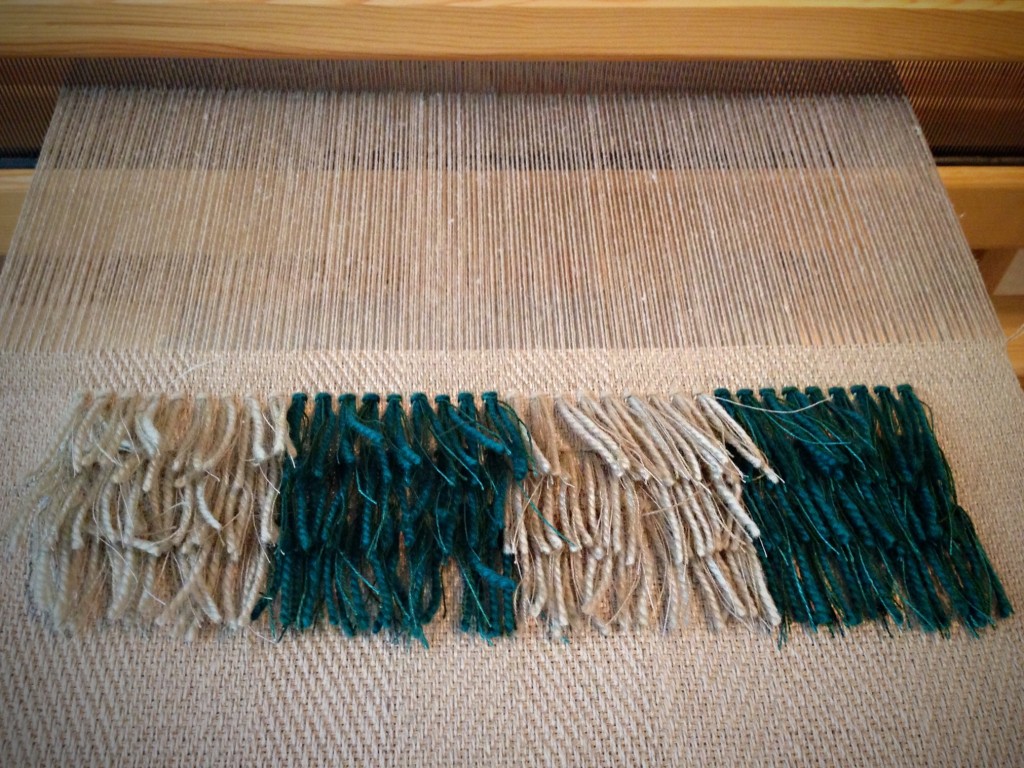
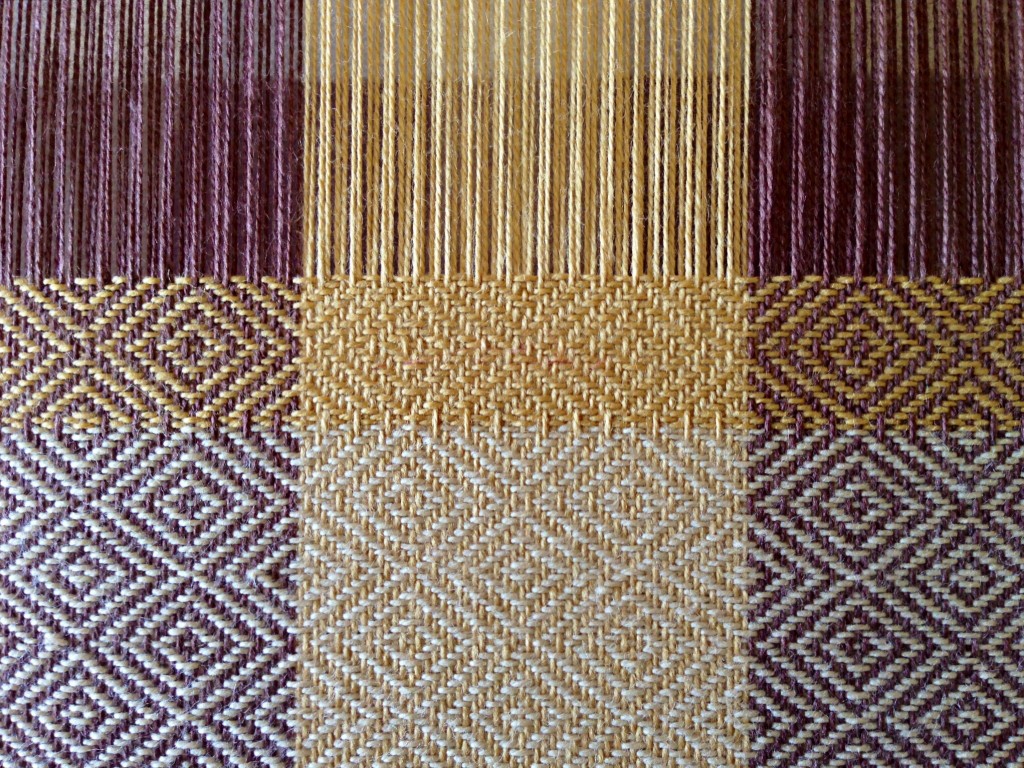
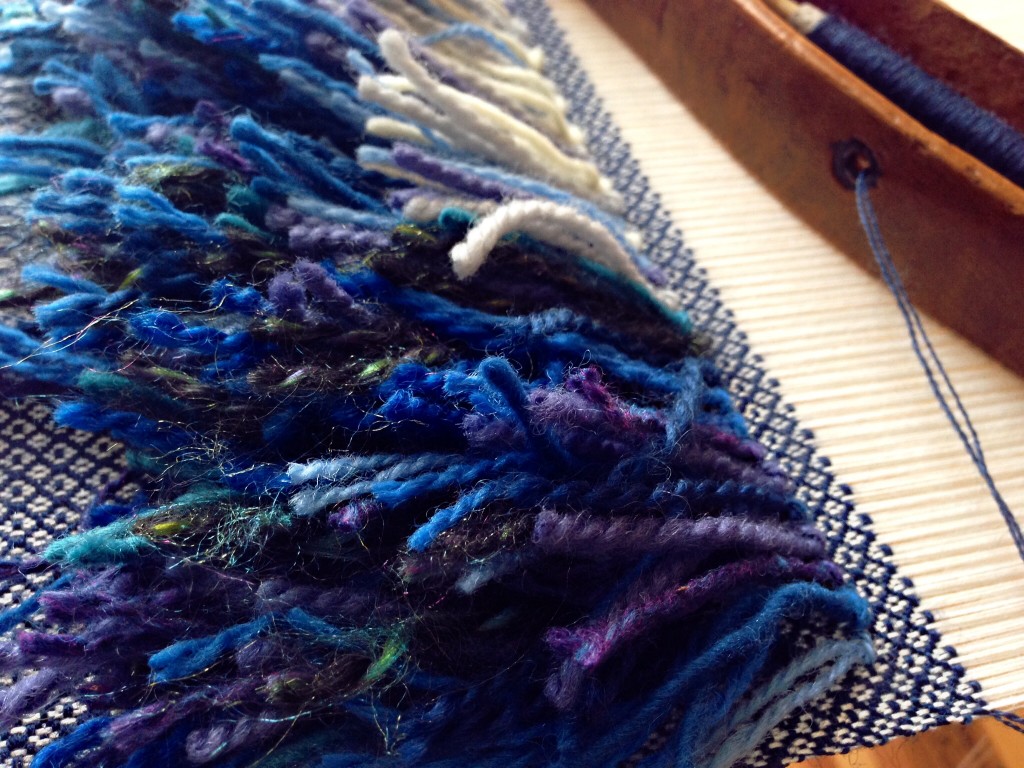
Rya knots in linen cloth.
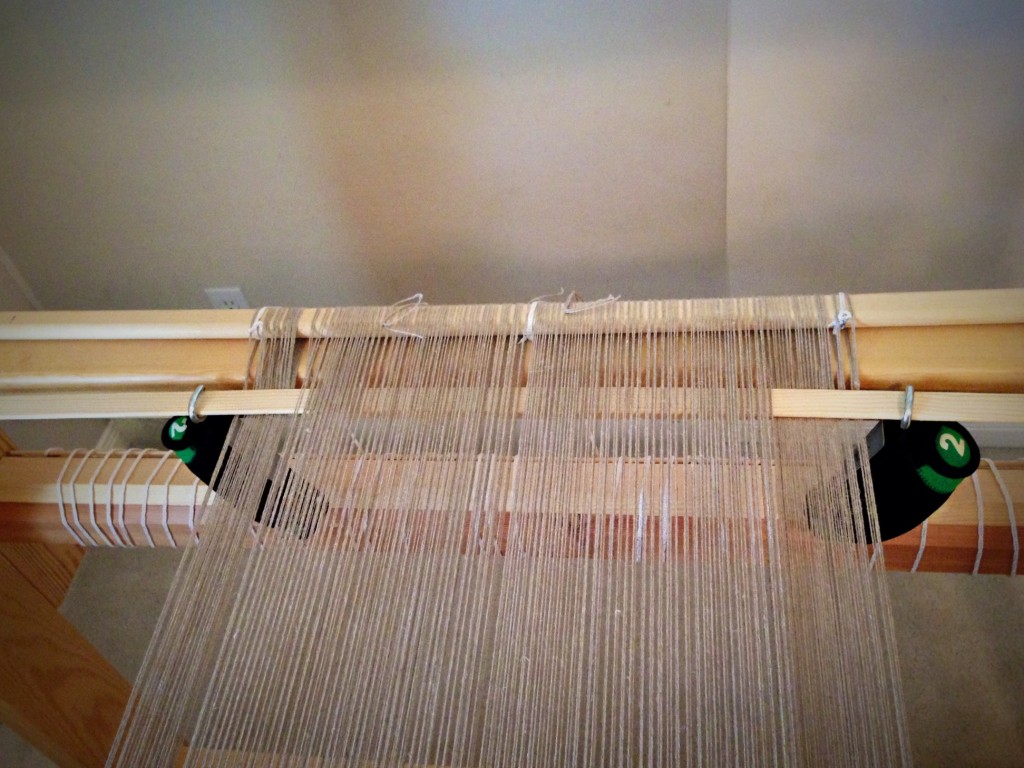
Warp ends on the sides have become looser than the warp that has the rya knots in it. That’s not good. Tension needs to be even across the warp.

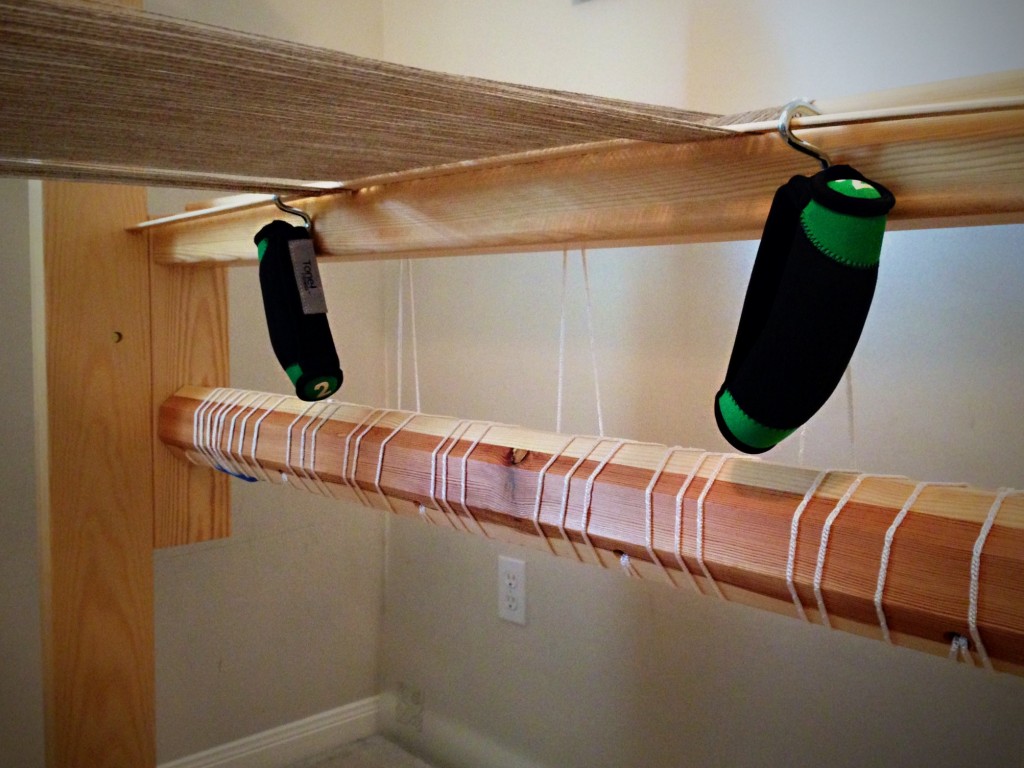
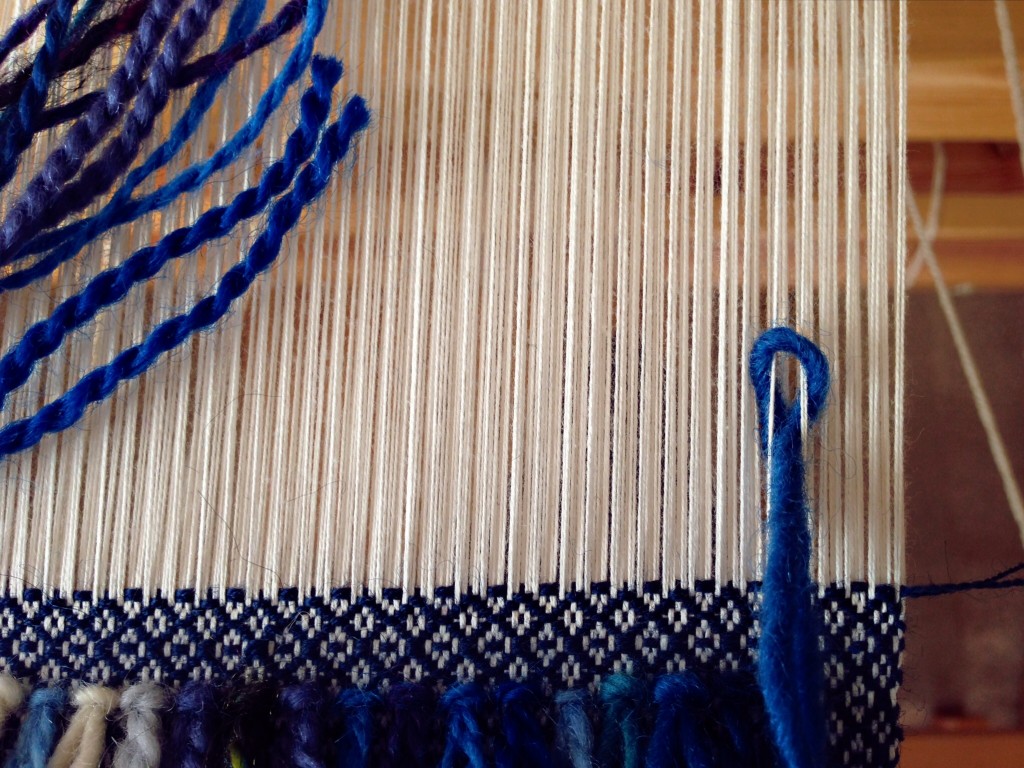
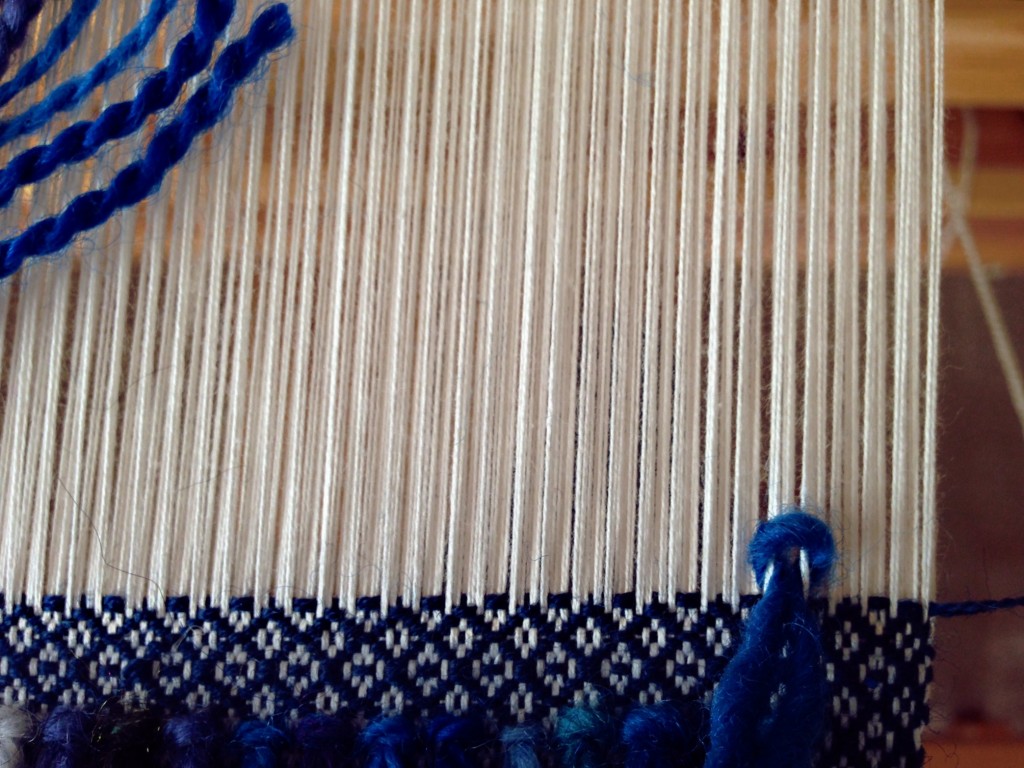
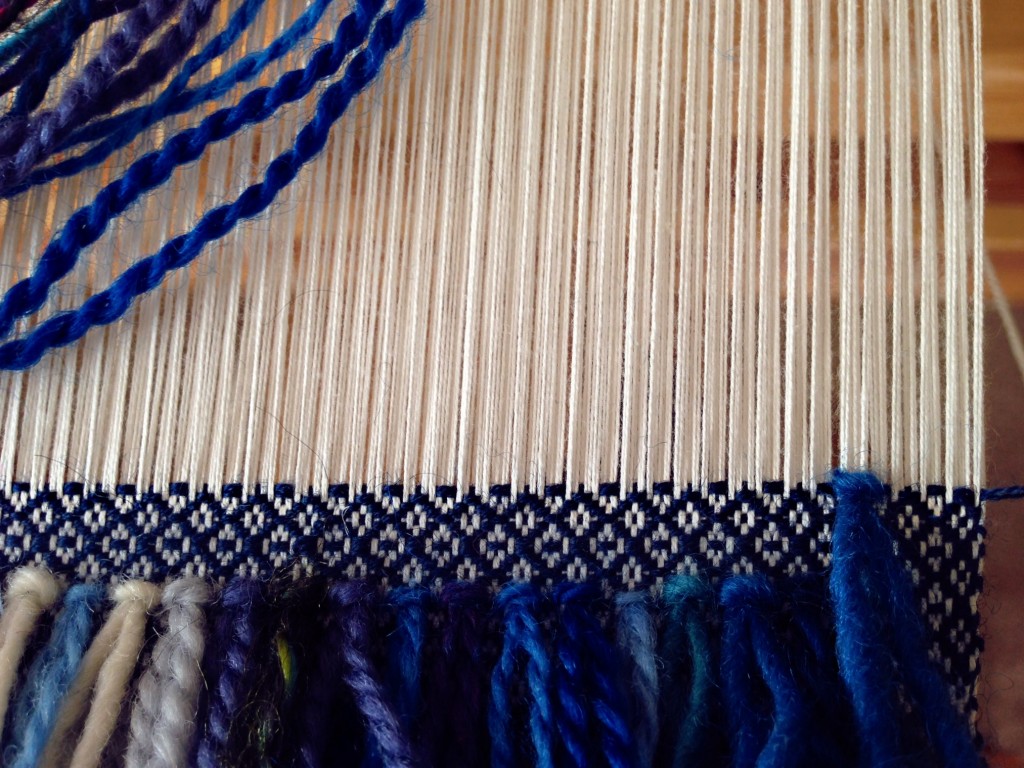
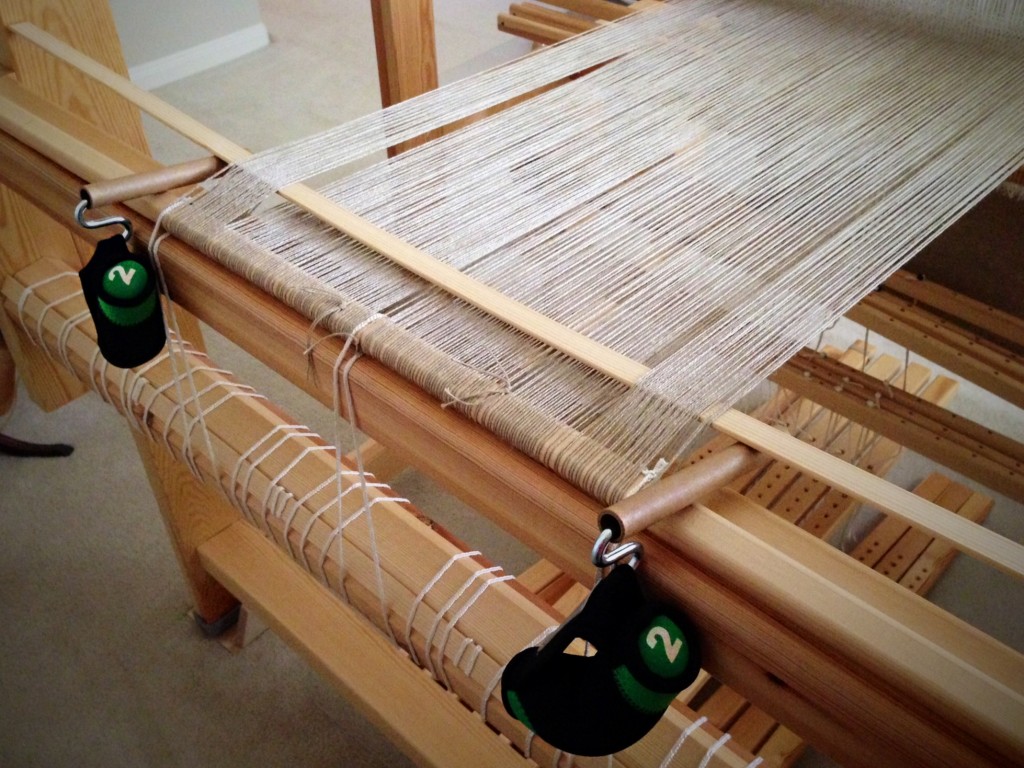
I needed to even out the tension across the warp ends, because the outer edges were not taking up at the same rate as the warp in the center, because of the rya knots. The pictures show how I jury rigged a warping slat, empty thread tubes, S-hooks, and 2-pound walking weights to adjust the tension so I could continue weaving.
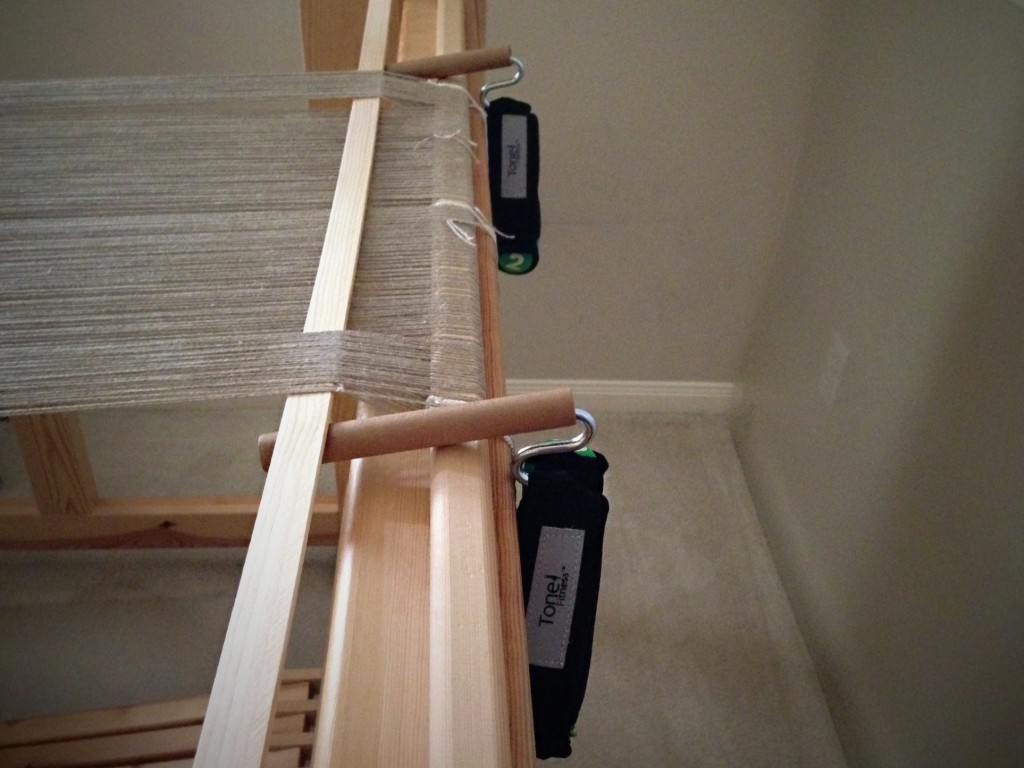
Jury rigged warp tensioning.
Adding weight to the loose sections of the warp.
Jury rigged warp tensioning
Two-pound walking weights are easy to hang from S-hooks. Using empty thread spools was a short-lived solution. That had to change when I advanced the warp.
Evening out warp tension with weights
Changing the slat so it is over the loose warp ends enables me to hang the weights directly on the slat with S-hooks.
Walking weights to tighten loose warp ends.
View from underneath, walking weights hang from warping slat to increase tension on the loose warp ends.

May you know when to make a temporary, but useful, contraption.

All the best,
Karen

(~My thank-you to you, my reader friends–a discount coupon good during August 2014 toward anything in my Etsy Shop. Find the coupon code on my About Page.~)

Quiet Friday: Undoing

I see a treadling error about 24 picks back. Don’t you hate it when that happens? Backing up is not hard, but it does take some guts if you do it the way I propose. (I first observed it done this way by Becky Ashenden at Vavstuga, though I don’t claim to enjoy it nearly as much as she does.) It is time for some undoing.

Disclaimer: Try at your own risk. Do not attempt the following if you do not know how to repair a broken (or cut) warp end. And do have fun! (I have not cut any warp ends with this method… yet, but it could happen.)

1. Notice the error as soon as possible. Stop weaving. Loosen the warp tension enough to make it easy to spread the warp ends apart.

Treadling error detected. Steps show how to fix it.


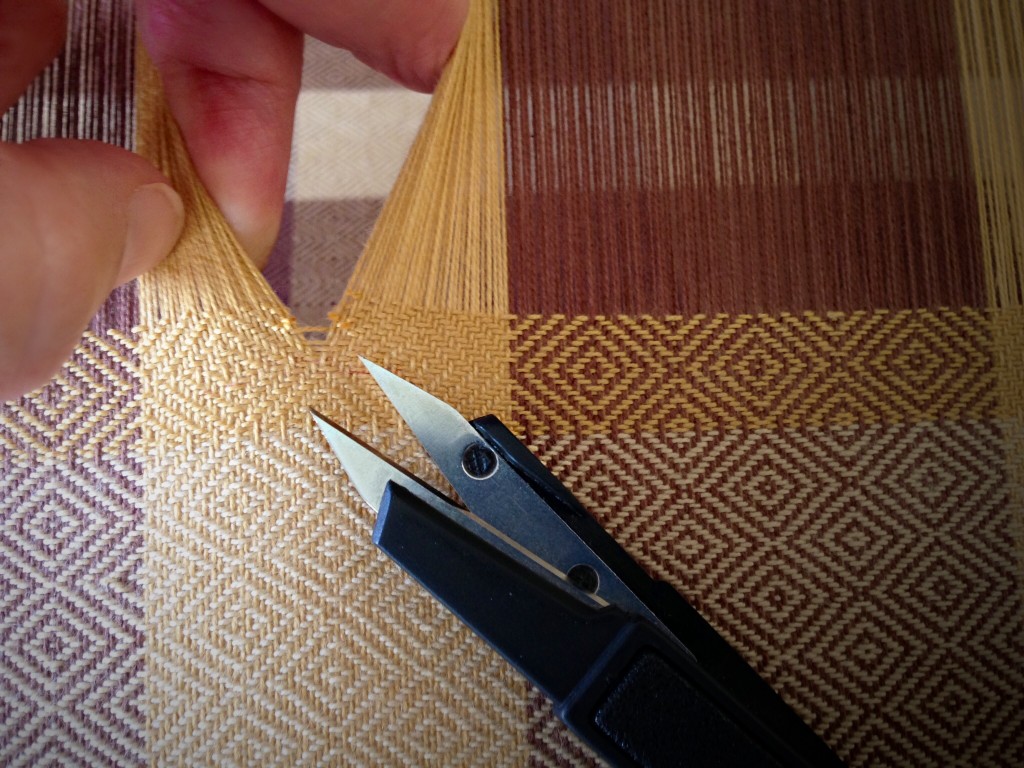
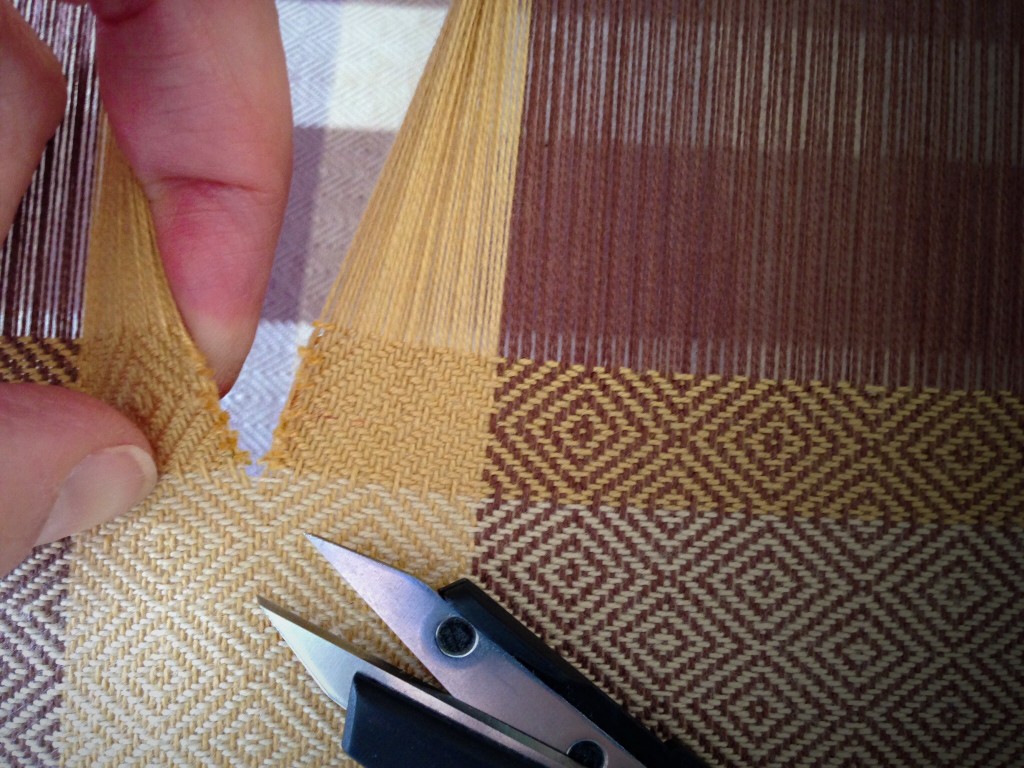
2. With one hand, spread the warp ends apart at the center of the warp’s width. With your other hand, begin clipping the weft threads between the spread warp ends. Do not try to do this without good lighting. And if you must have coffee first, no more than one cup.

Tutorial for removing weaving errors.


4. Continue carefully clipping the weft threads. Only clip as far as you can easily insert the point of the clippers.

A bold way to fix weaving errors!


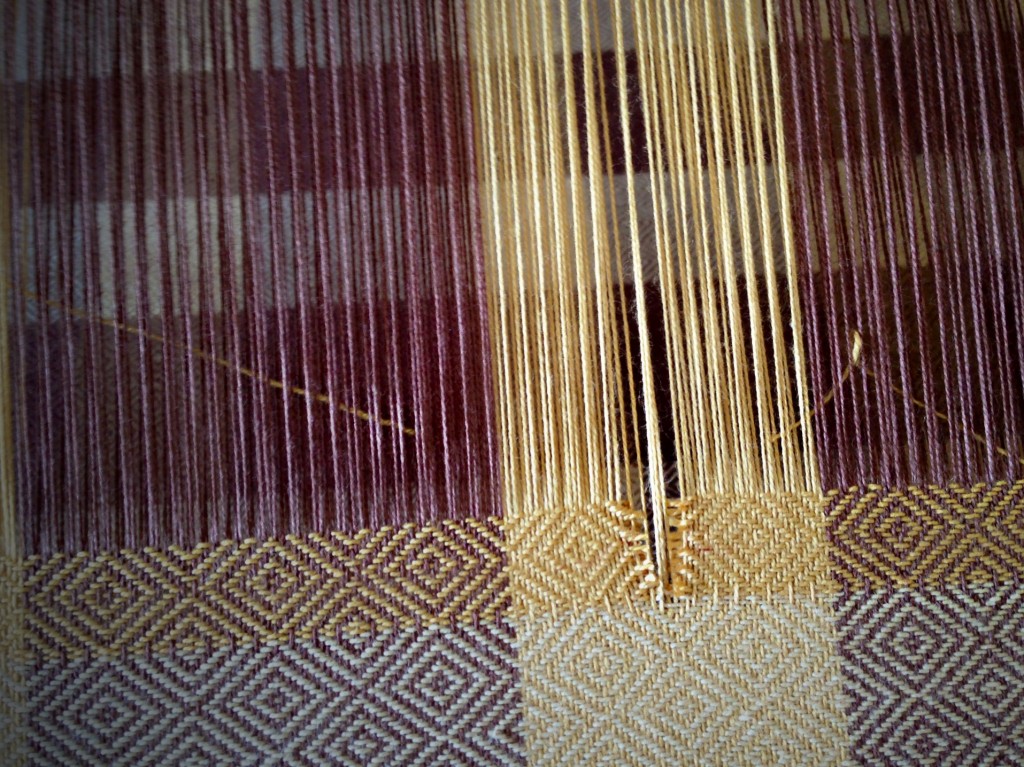
5. Treadle as for the last pick woven, and pull out the top weft thread on each side of the cut. Treadle the pattern in reverse, and with each step on the treadle pull out the top thread on each side.

Removing weft threads to fix an error. Step by step.


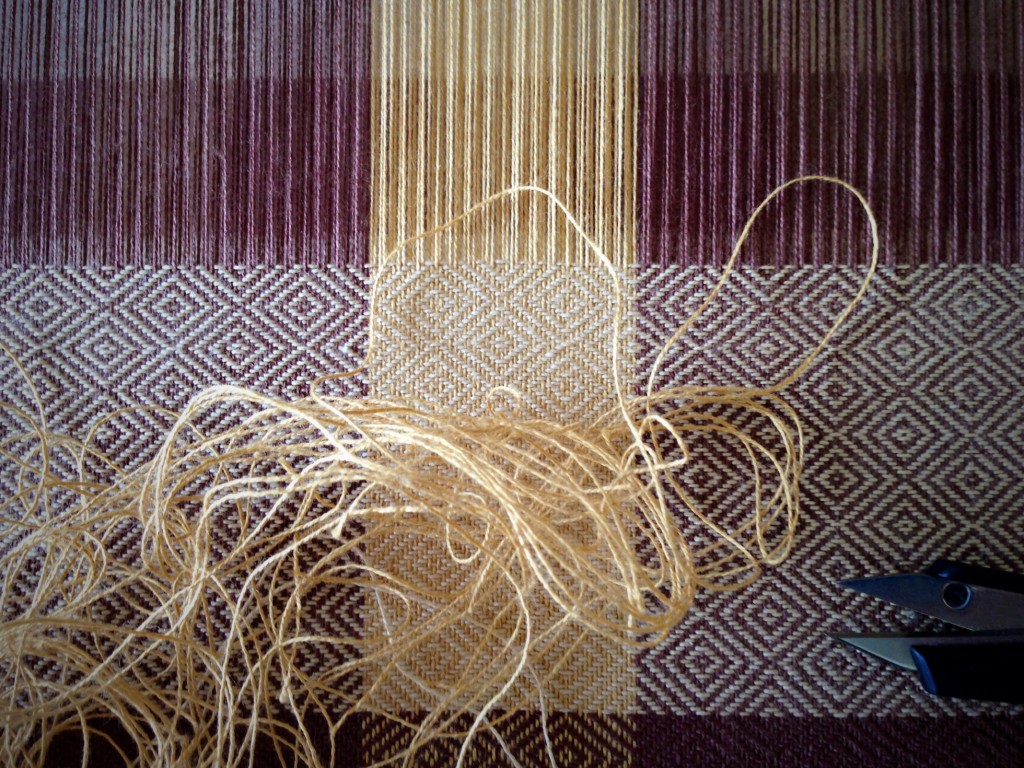
6. Continue treadling in reverse and pulling out the top thread on each side. Repeat steps 2 through 6 until you have removed the weft error.

Undoing a weaving mistake. Tutorial.


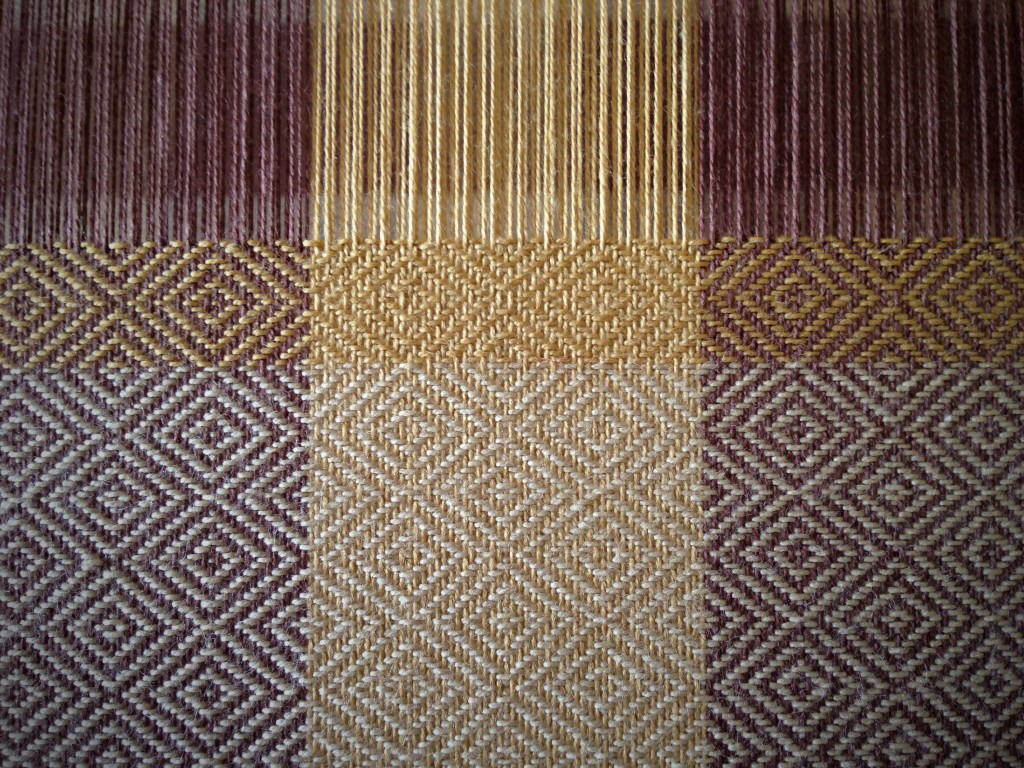
7. Tighten the warp tension for weaving. Weave as if nothing ever happened. Except, pay attention this time!

Goose eye twill towel on the loom. Karen Isenhower


May you have all the do-overs you ever need.

(Please visit my updated About Page to find a special coupon code to use in the Warped for Good Etsy Shop.)

Happy Weaving,
Karen

How I Make a Bound Hem

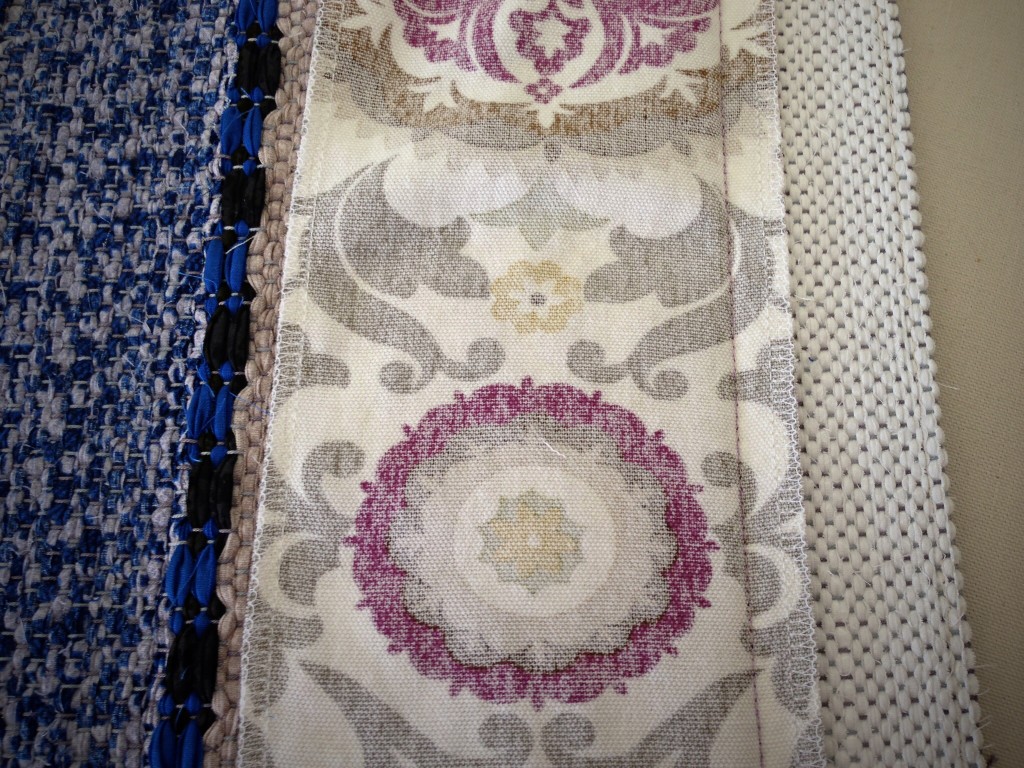
I intended simple woven turned hems. When this rug came off the loom, however, the white ends of the rug didn’t look as I expected. I was frustrated trying to make these hems work. Was there another way to finish the rug? Yes. A compatible cotton duck print was just what I needed to sew bound hems!

When circumstances don’t go our way, we can get stuck in frustration. I cannot control my circumstances, but I can control my own behavior and attitudes. Give up control to gain control. Isn’t it interesting that options become apparent when we let go of how we thought it should be?

How I make a bound hem:

1. Cut hem fabric the width of the rug plus 2 inches /5 cm by hem depth plus 1 inch / 2.5 cm. Serge all edges of hem fabric to eliminate fraying. With right sides facing, center hem fabric from side to side on rug, with fabric seam allowance toward the end of the rug. Stitch along hem line, 1/2 inch / 1 cm from edge of hem fabric.

How to make bound hem for rag rug.


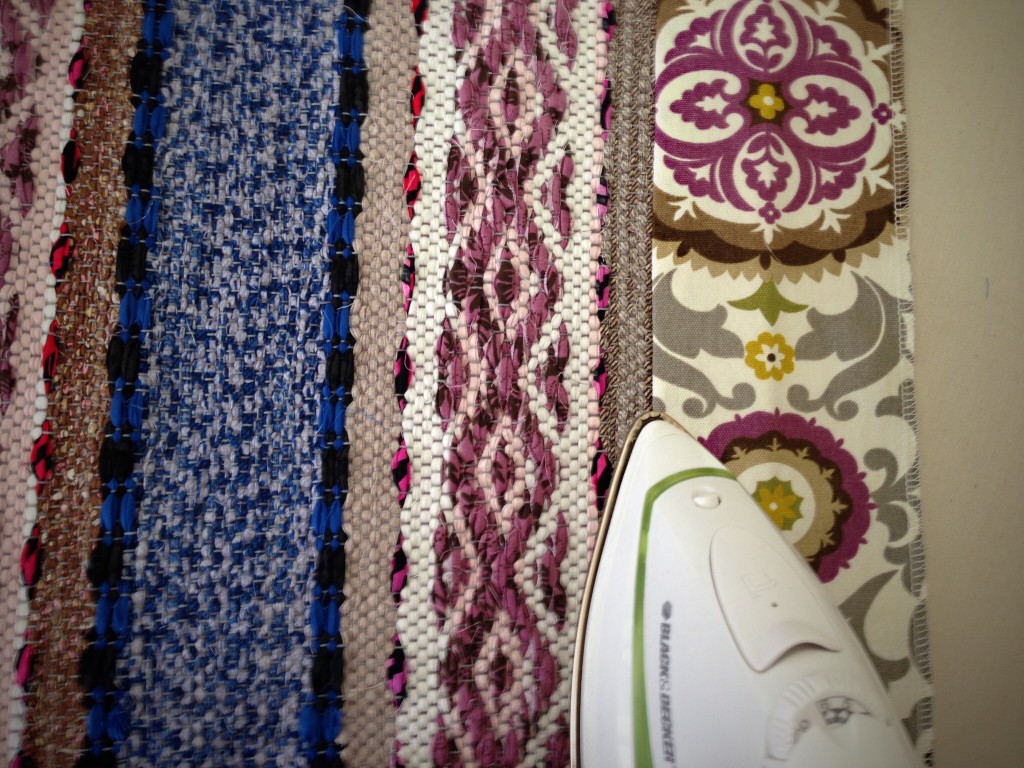
2. Fold hem fabric over, and press flat.

Steps for making bound hems on rag rugs.


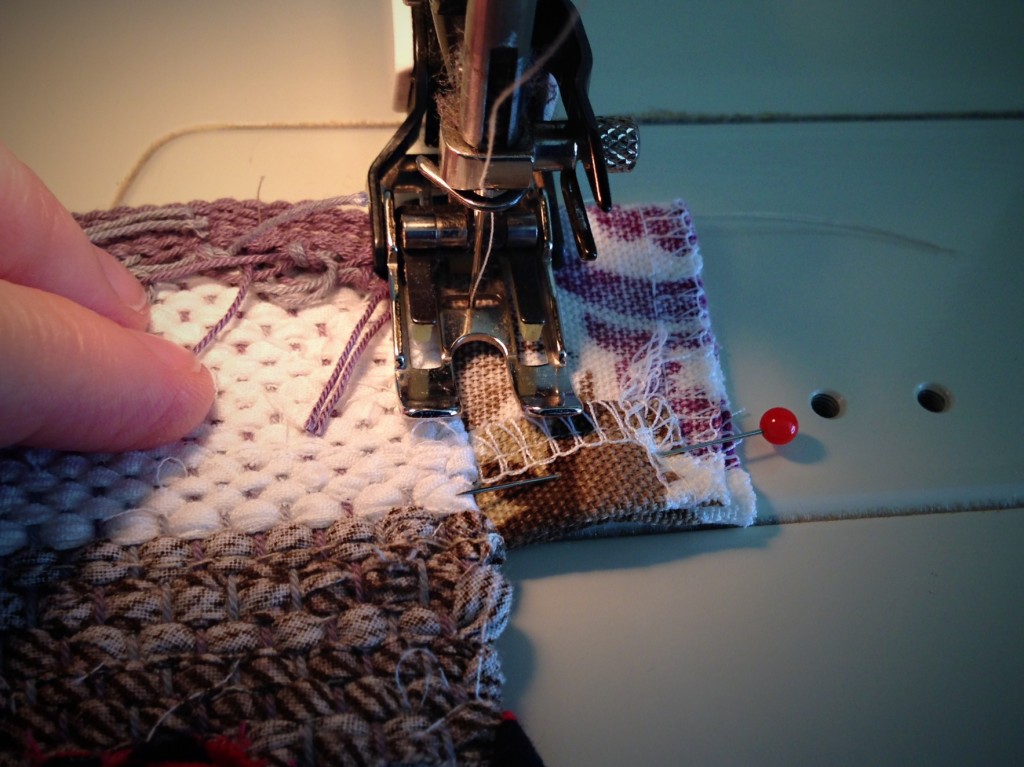
3. Fold the hem fabric back on itself, right sides together. Fold remaining long edge outward, adjusting to match the width of the hem. Stitch through folded hem fabric 1/8 inch / 3 mm away from side of rug.

Stitching bound hem on rug. Tutorial.


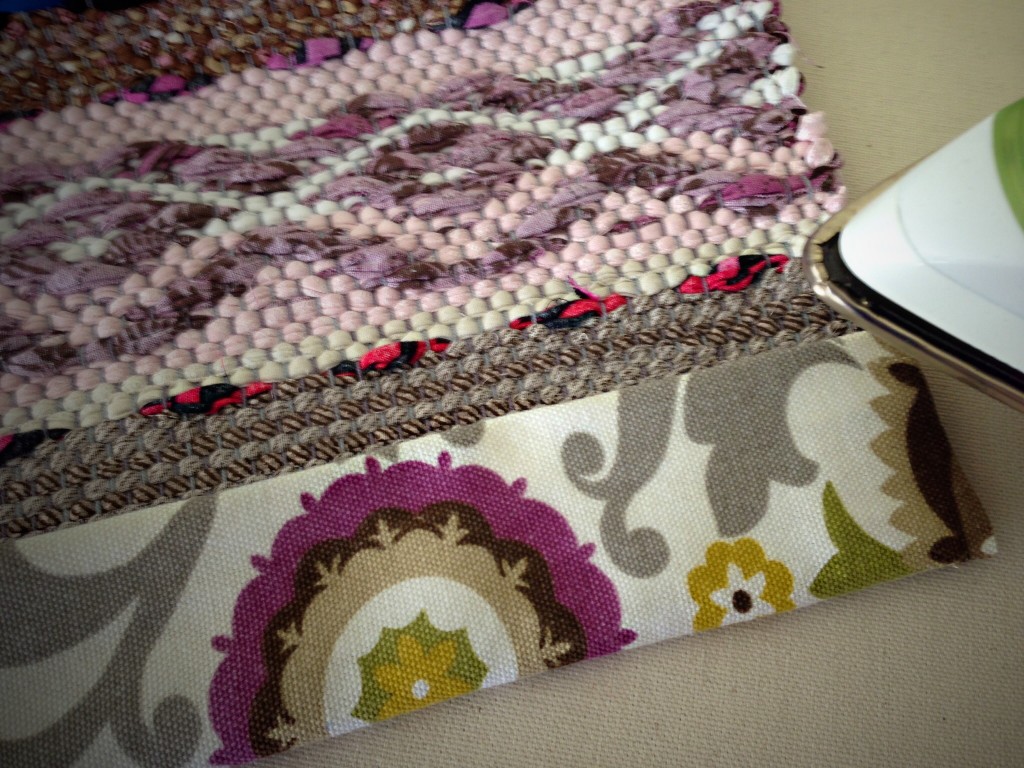
4. Turn the corner right side out, straightening out the point with a straight pin, if necessary. Press corner. Fold long edge under 1/2 inch / 1 cm across the width of the rug. Press.

5 Steps to make bound hems on rag rugs.


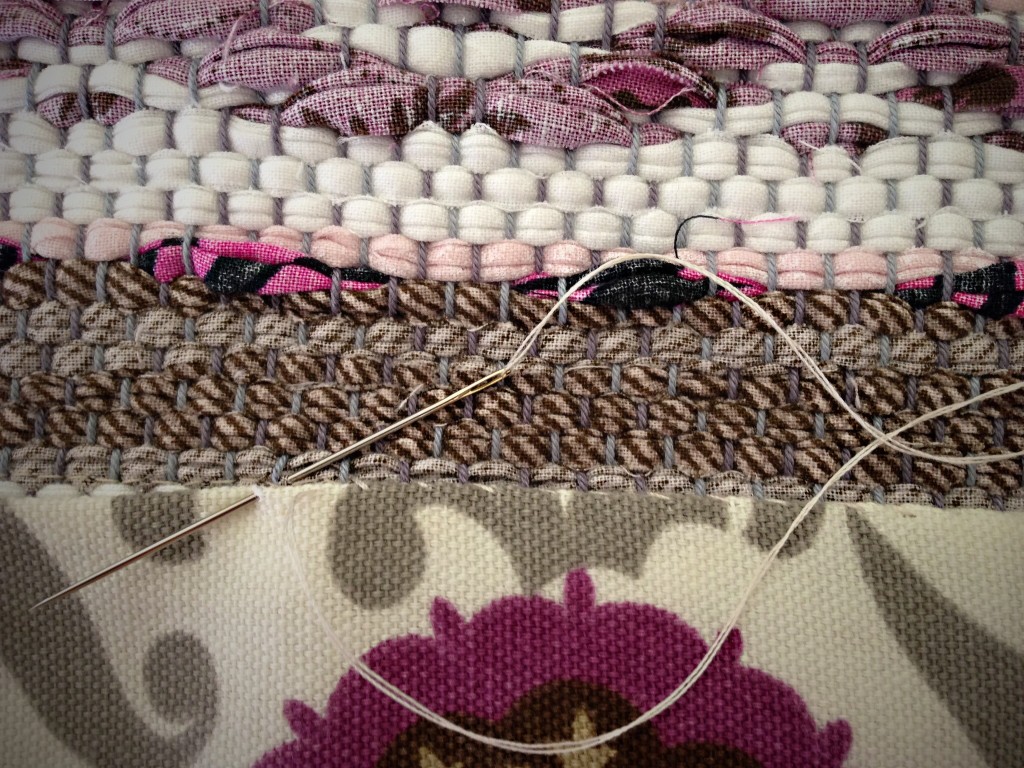
5. Use doubled sewing thread to stitch the folded edge to the rug. Use a whip stitch, catching a warp end in each stitch. End with final pressing of top and underside of hem.

Last step in tutorial for making bound hem on rug.


To see this rug on the loom, view this post, Made to Be Noticed. To see the finished rug, view “Made to Be Noticed” Rag Rug in my Etsy Shop. Or, simply visit my Etsy Shop to see all my new rugs. (You saw them on this blog first!)

May you see all your options.

Making things,
Karen

Tools Day: Fringe Twister

A hemstitched edge deserves twisted fringe. You have to overlook the amount of time it takes to put this finishing touch on your handwoven articles (often as much, or more, time than it took to weave the cloth in the first place). You do it because you care about the end result. The hemstitching and fringe are the mat and frame for your work of art. Begin well and finish well.

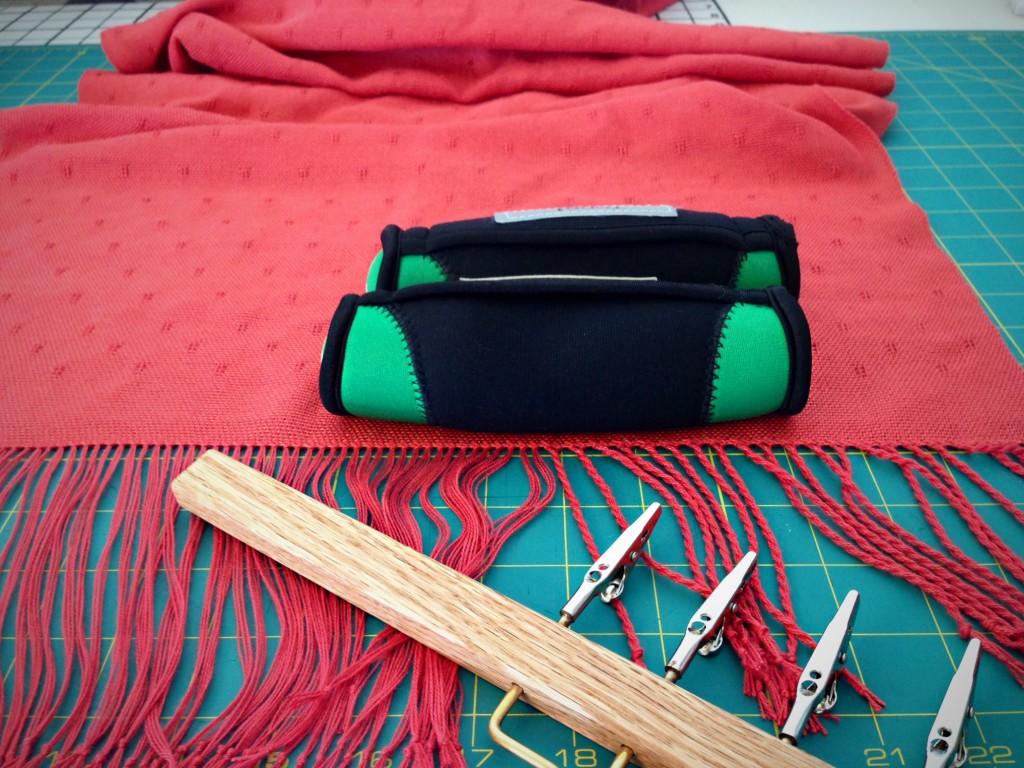
Tools for twisting fringe.
Step 1: (First, with fabric not yet washed and dried, cut all fringe strands on both ends of article to an equal and even length.) A pair of two-pound walking weights holds the fabric in place for tying knots. This fringe twister tool has a long handle and four little alligator clips.
Steps for making twisted fringe.
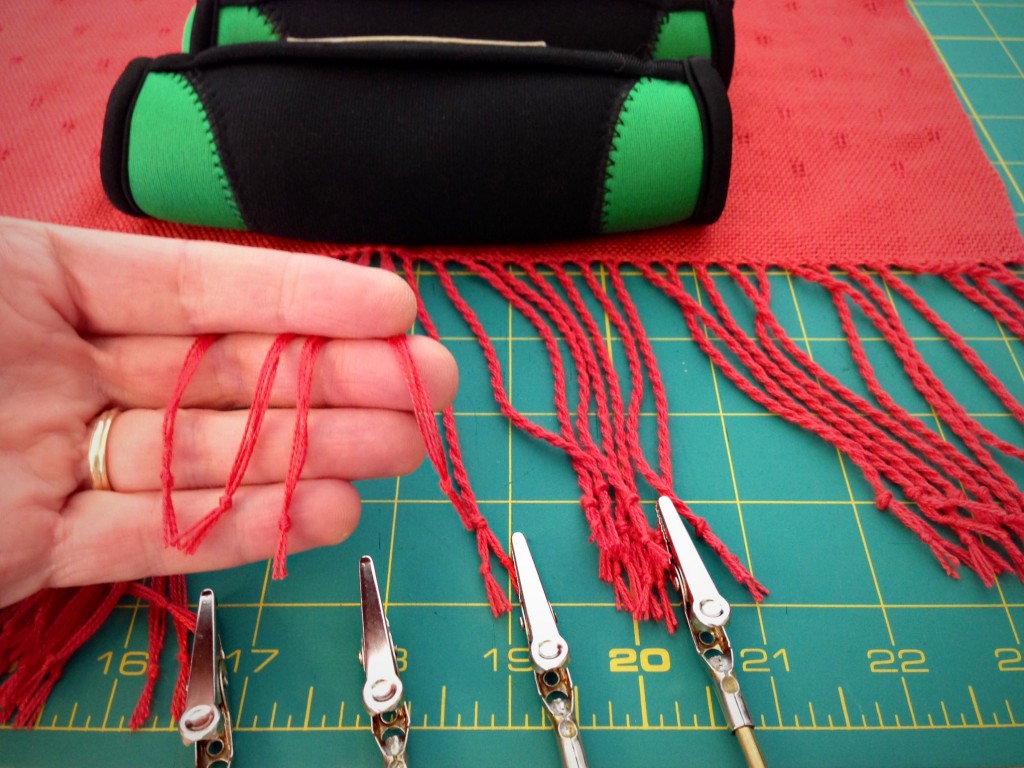
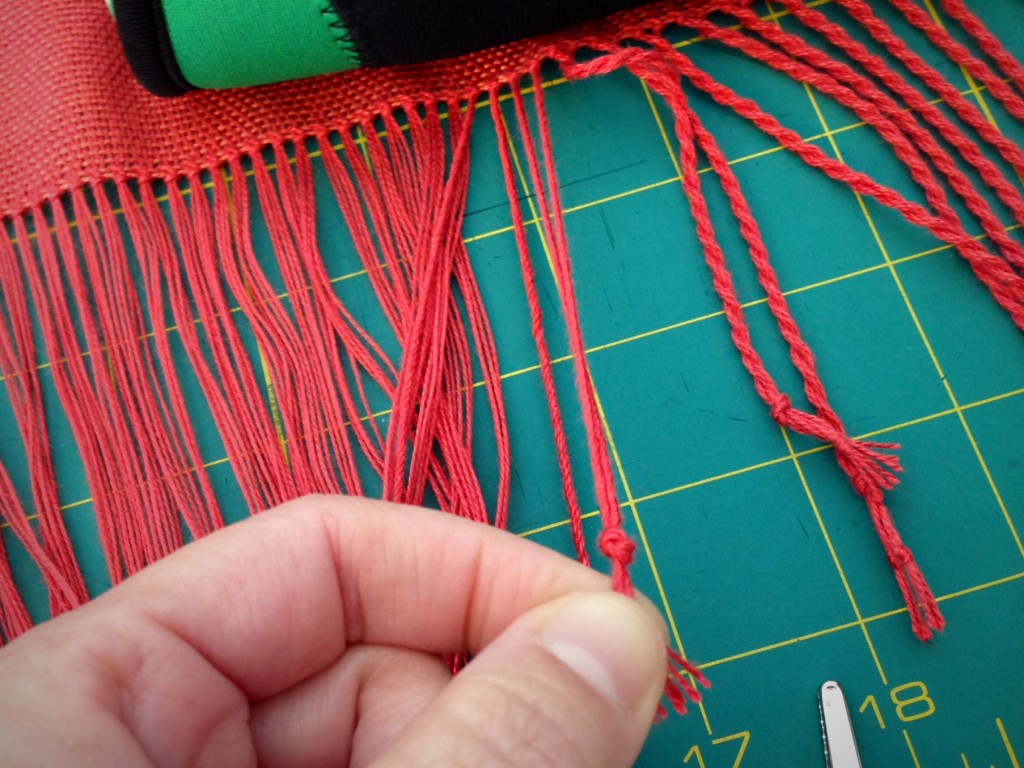
Step 2: Tie an overhand knot a fingertip-length away from the end, securing four ends together. (Other projects may have more than four ends grouped together.) This extra step holds the secret to clean cut fringe ends (see step 7).
Fringe twister at work.
Step 3: Let each little alligator grab a knot in it’s teeth, four in a row. Crank the handle around until the twisted threads begin to kink back on themselves. Count the number of turns of the handle and repeat that same number of turns for each grouping.
Making twisted fringe. Step-by-step.
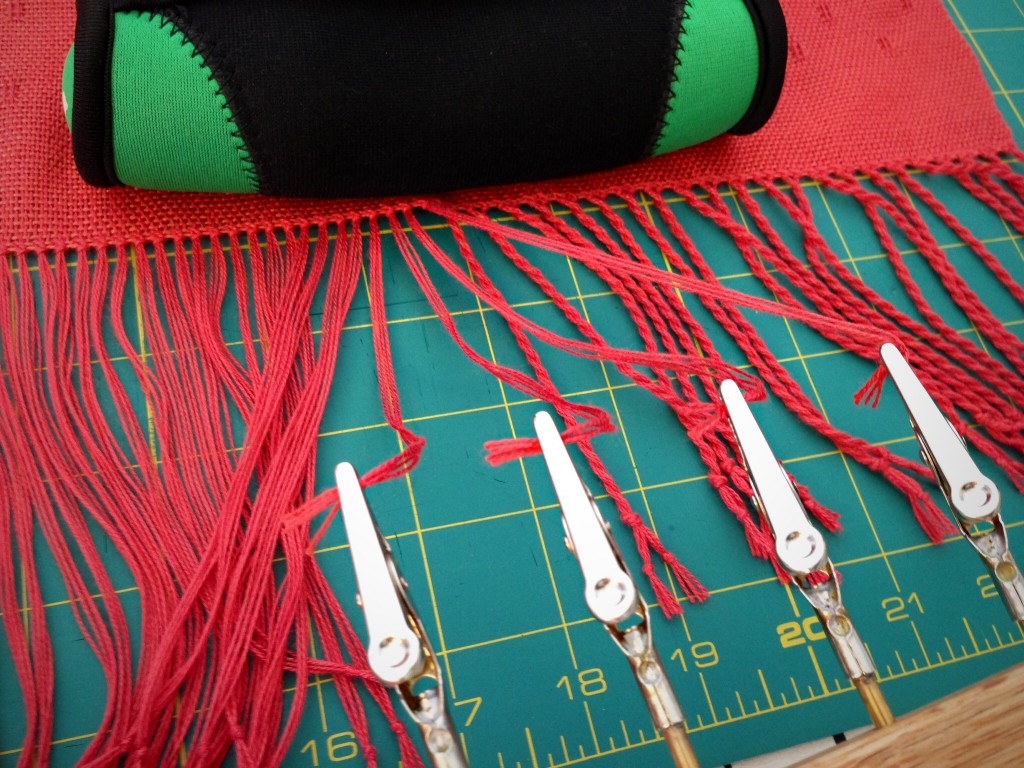
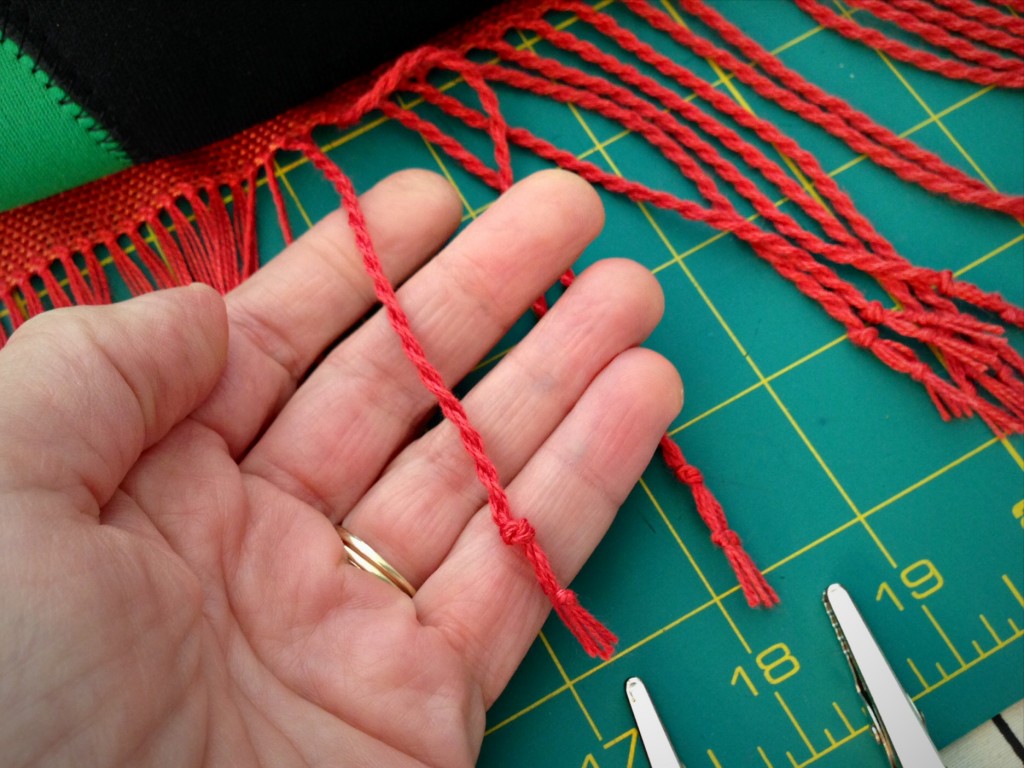
Step 4: Grab the strands from the first two alligators’ mouths, being careful not to let the strands unwind. Combine the two thread groups and tie an overhand knot a fingertip-width away from the first knots.
Making twisted fringe. Step-by-step pics.
Step 5: After the knot is tied, let the strands unwind in your hand, keeping them from tangling with neighboring threads. Snug the knot by holding the knot and pulling on the two smaller knots, one at a time.
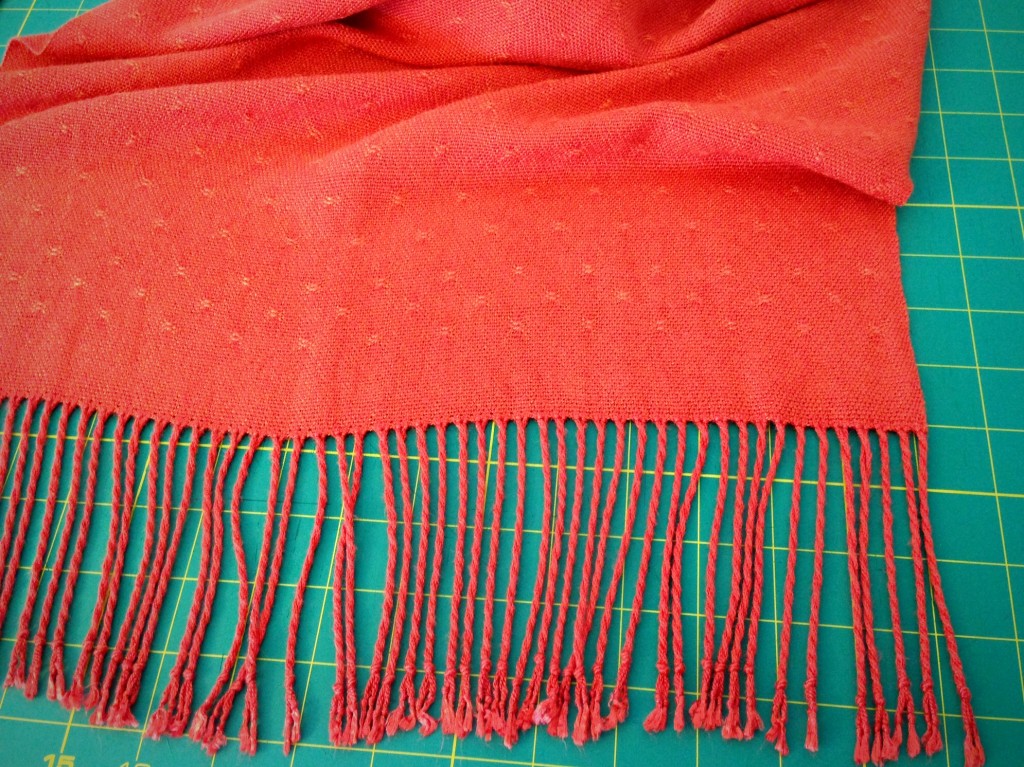
Bamboo Shawl, ready to trim edges of fringe. Explanation about twisting fringe.
Step 6: Wet finish the fabric by a method suitable for the type of thread or yarn being used. Air dry completely, or other suitable method for drying. While still damp, separate and straighten each twisted fringe.
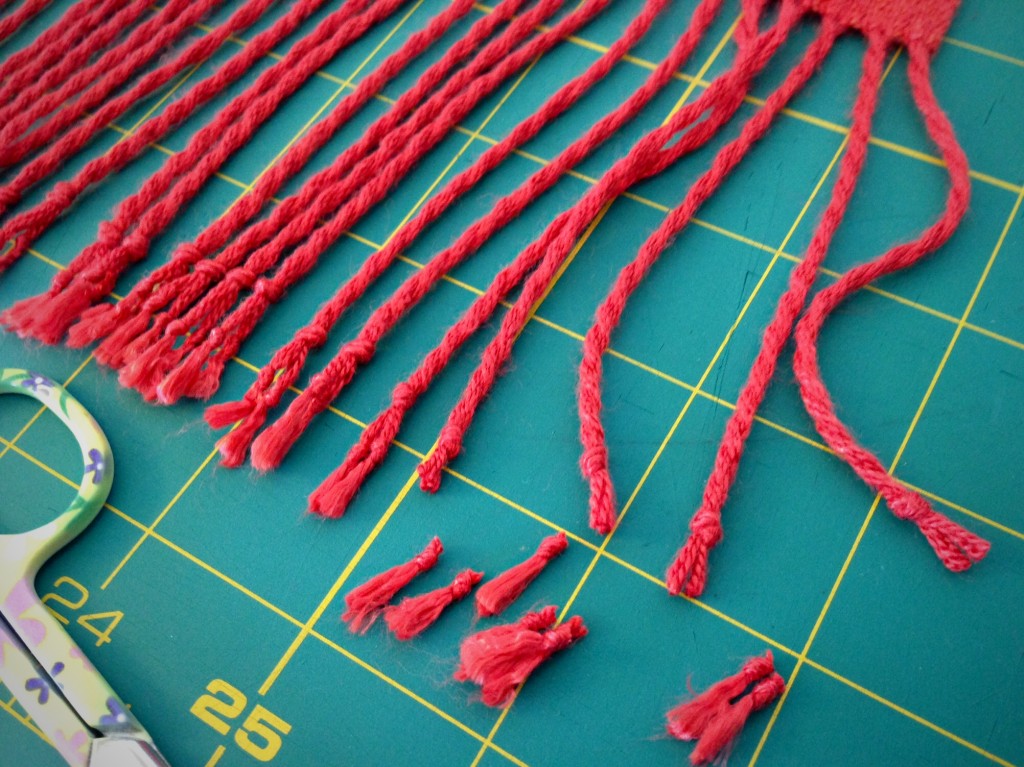
Secret for clean cut fringe ends.
Step 7: First set of knots are cut off, removing the frayed ends, and leaving clean cut ends.
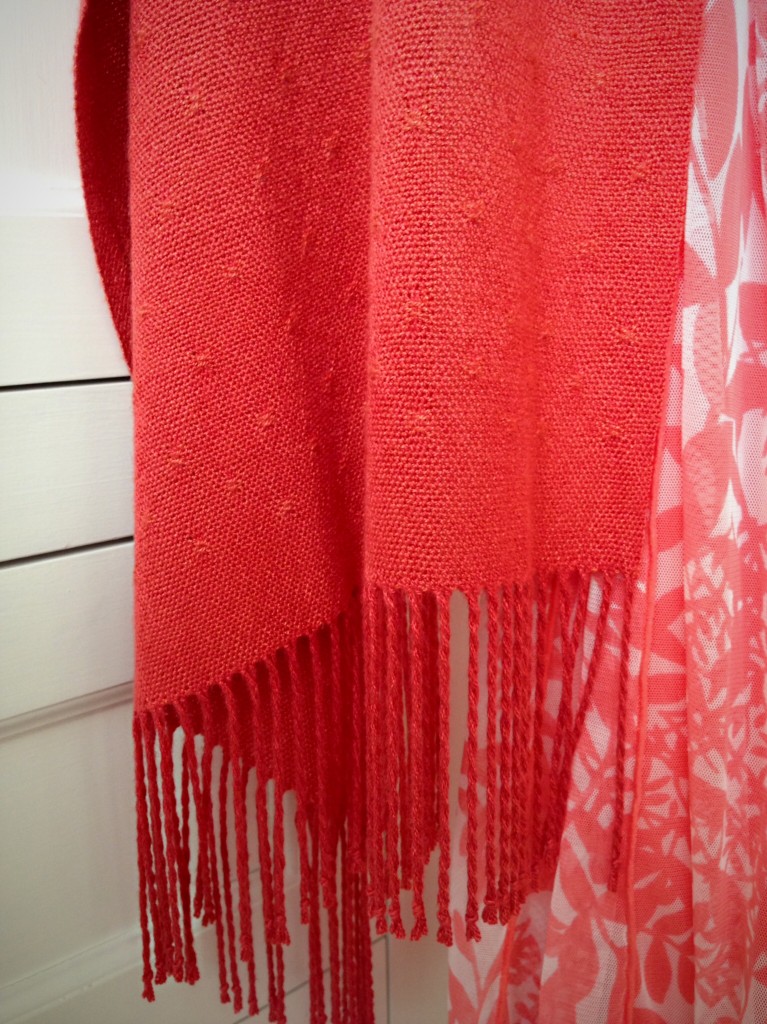
Finished Bamboo Huck Lace Shawl. Karen Isenhower
Step 8: Wear your lovingly handmade creation to a very special occasion, such as to your daughter’s wedding.

This is a lesson for raising children and letting them go, too. You weave for years, give time-consuming attention to the finishing touches while they are in your hands, and then you let them go. Wedding in four days!

May you take the time to finish well.

Love,
Karen

Quiet Friday: Making Rya Knots

One at a time. Like anything else, you do get faster as you get the hang of it. I select and arrange the colors for the upcoming row, and then I settle into a rhythm. With my right foot pressing the treadle, I use both hands to manipulate both the raised warp ends and the loose wool strands. It is a relaxing and satisfying trek from the right-hand side of the warp to the left, one rya knot at a time.

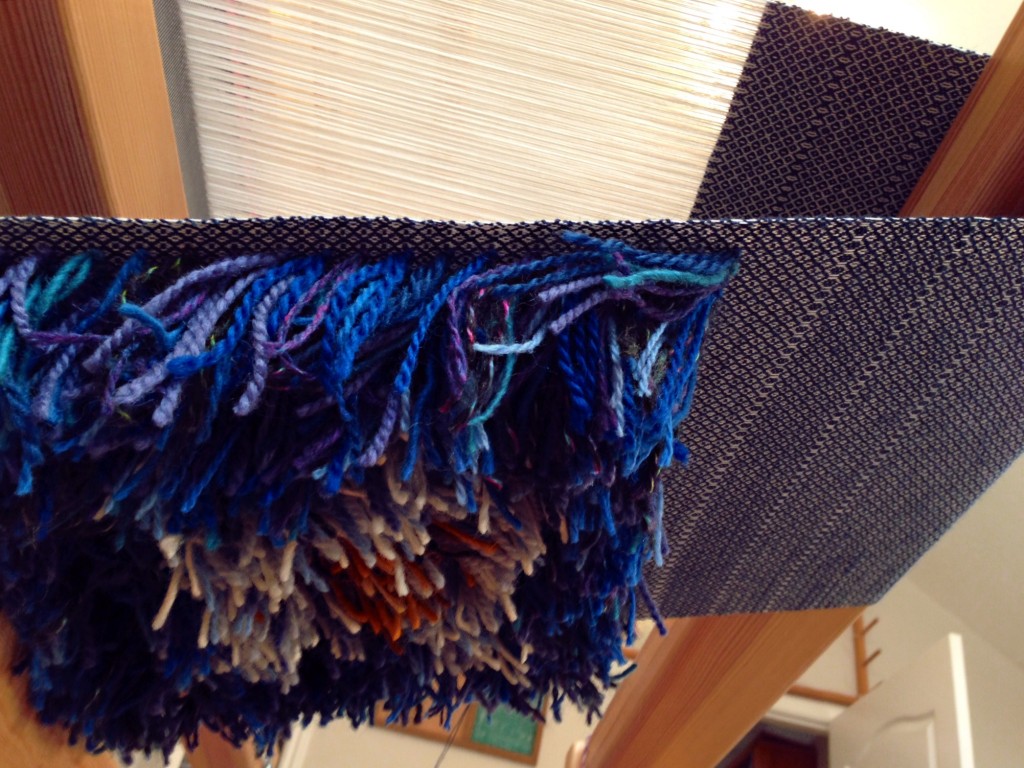
I am letting the pictures speak for themselves. I forgot to take a picture of the completed rya knot pillow top square while it was still in view on top, so you get to crawl under the breast beam with me at the end to see it from underneath.

Ready for another row of rya knots.

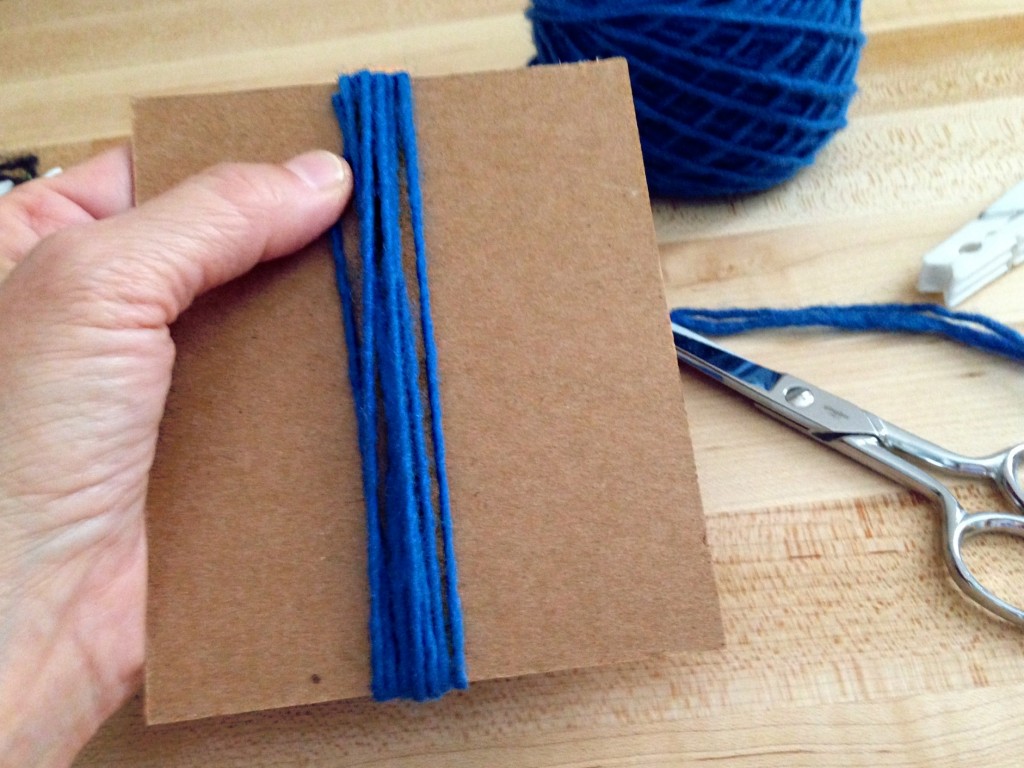
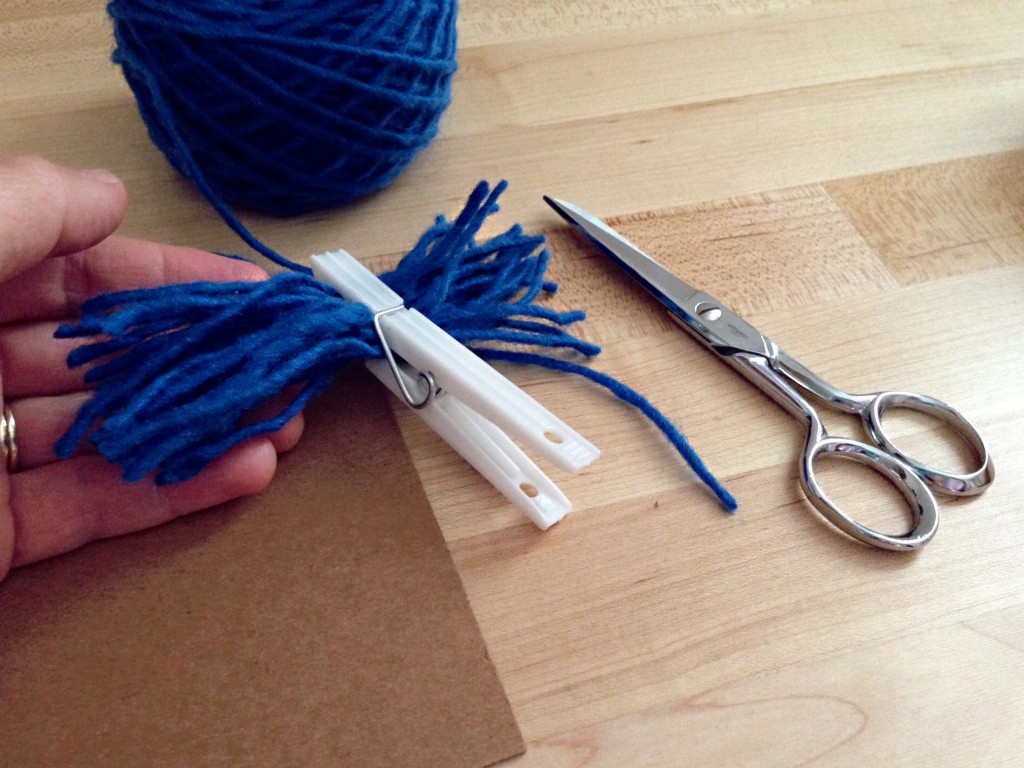
Cardboard template for cutting rya strands. How-to pics.

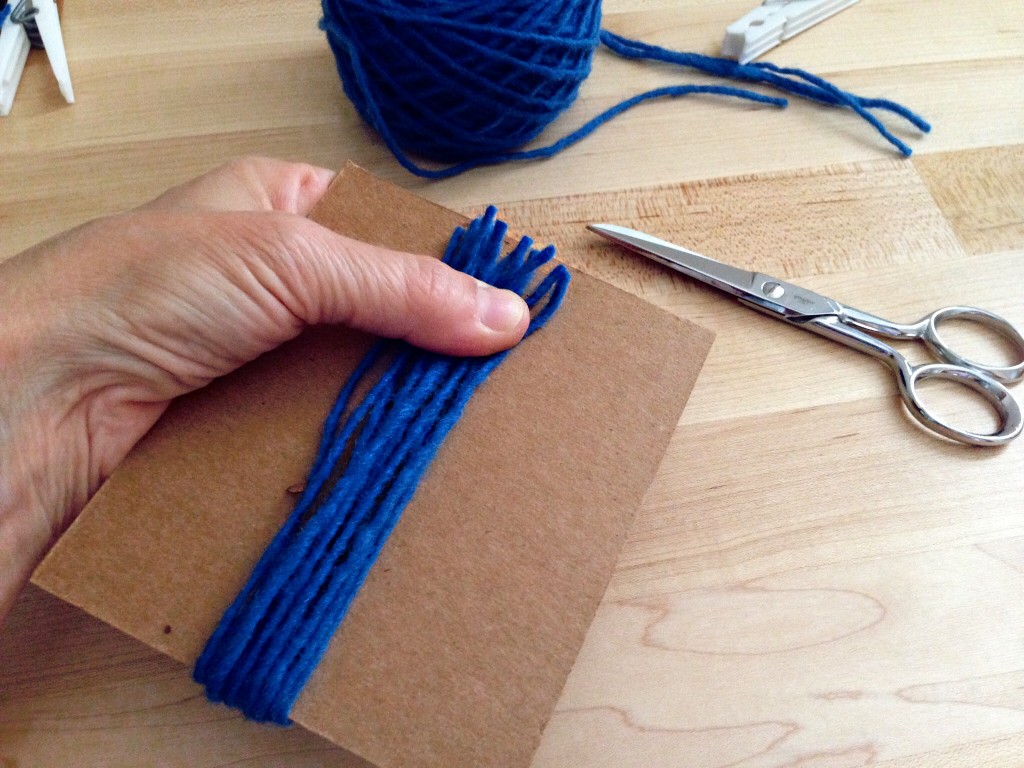
Cut yarn for rya at both ends of template. More how-to pics.

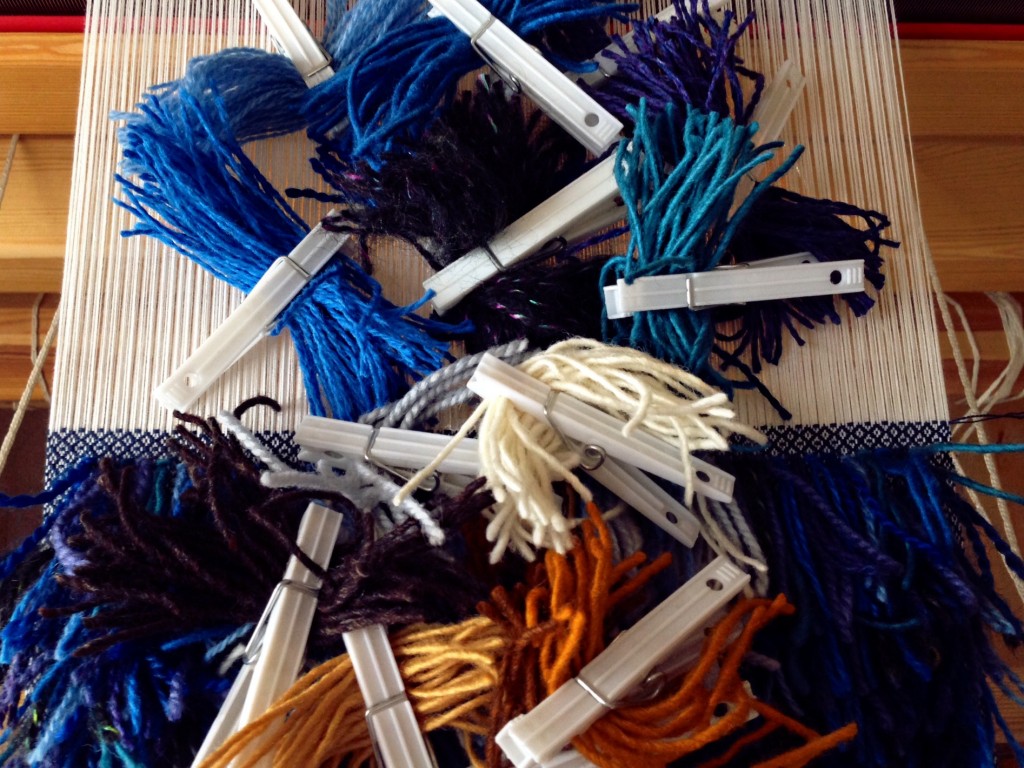
Clothespin keeps cut yarn colors together for rya knots. More rya how-to pics.

Assortment of wool yarn separated for planning rya knots. How-to pics.

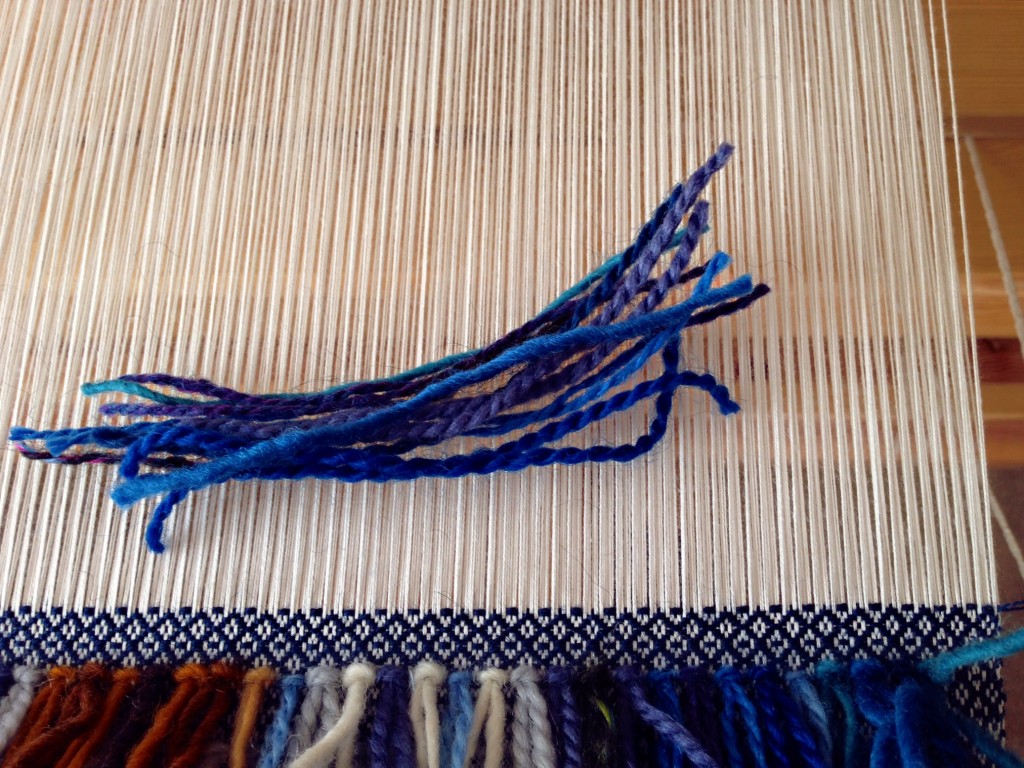
Mixing blue wool strands for rya knots. Pics with rya knots.

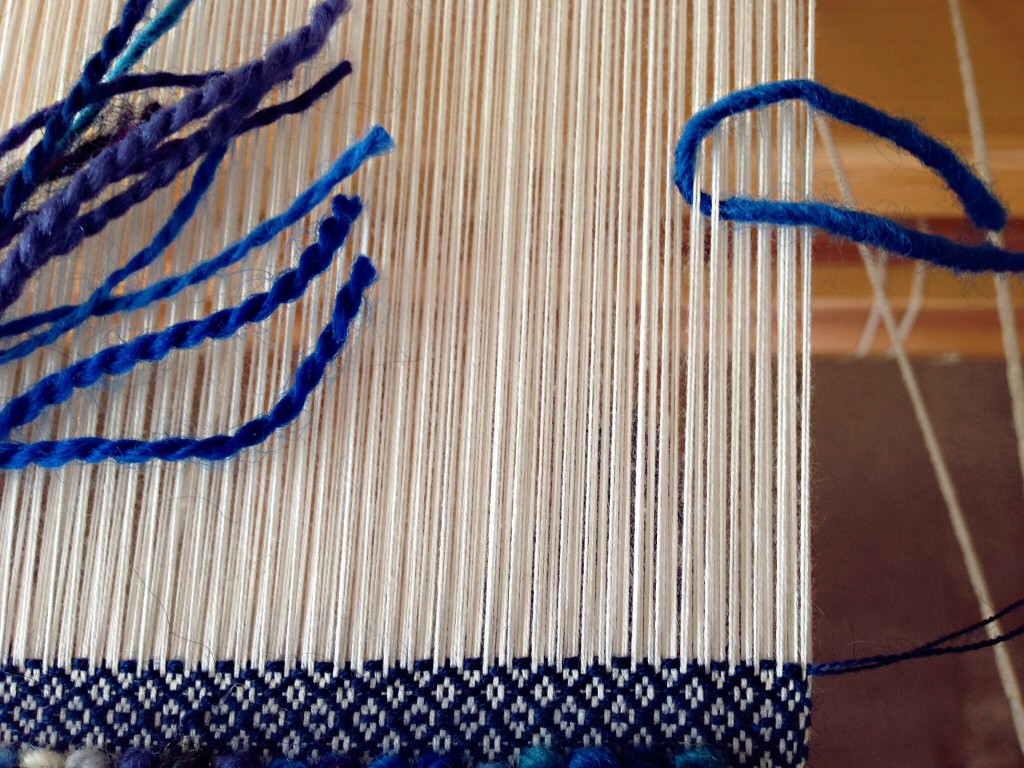
Rya first step - around 2 doubled warp ends.

Rya second step - Under and through.

Rya third step - Pull the "legs" down.

Rya fourth step - Pull the yarn evenly into place.

Rya fifth step - Snug it up to the fell line. Rya knots how-to pics.

Pillow top with rya knots, viewed from under loom, looking up. Karen Isenhower

May you enjoy taking your sweet time.

Little by little,
Karen

Other popular Quiet Friday posts you may like:

Quiet Friday: Warping Trapeze

Quiet Friday: Rag Rugs

Quiet Friday: Cutest Loom Ever