I like to come prepared when we travel. Prepared to weave, that is. Our recent camping trip to Grand Canyon National Park, North Rim is no exception. Relaxing after a full morning of hiking? That’s tapestry time. Rainy day? No problem. Time to pull out my small tapestry frame and do some tapestry weaving.
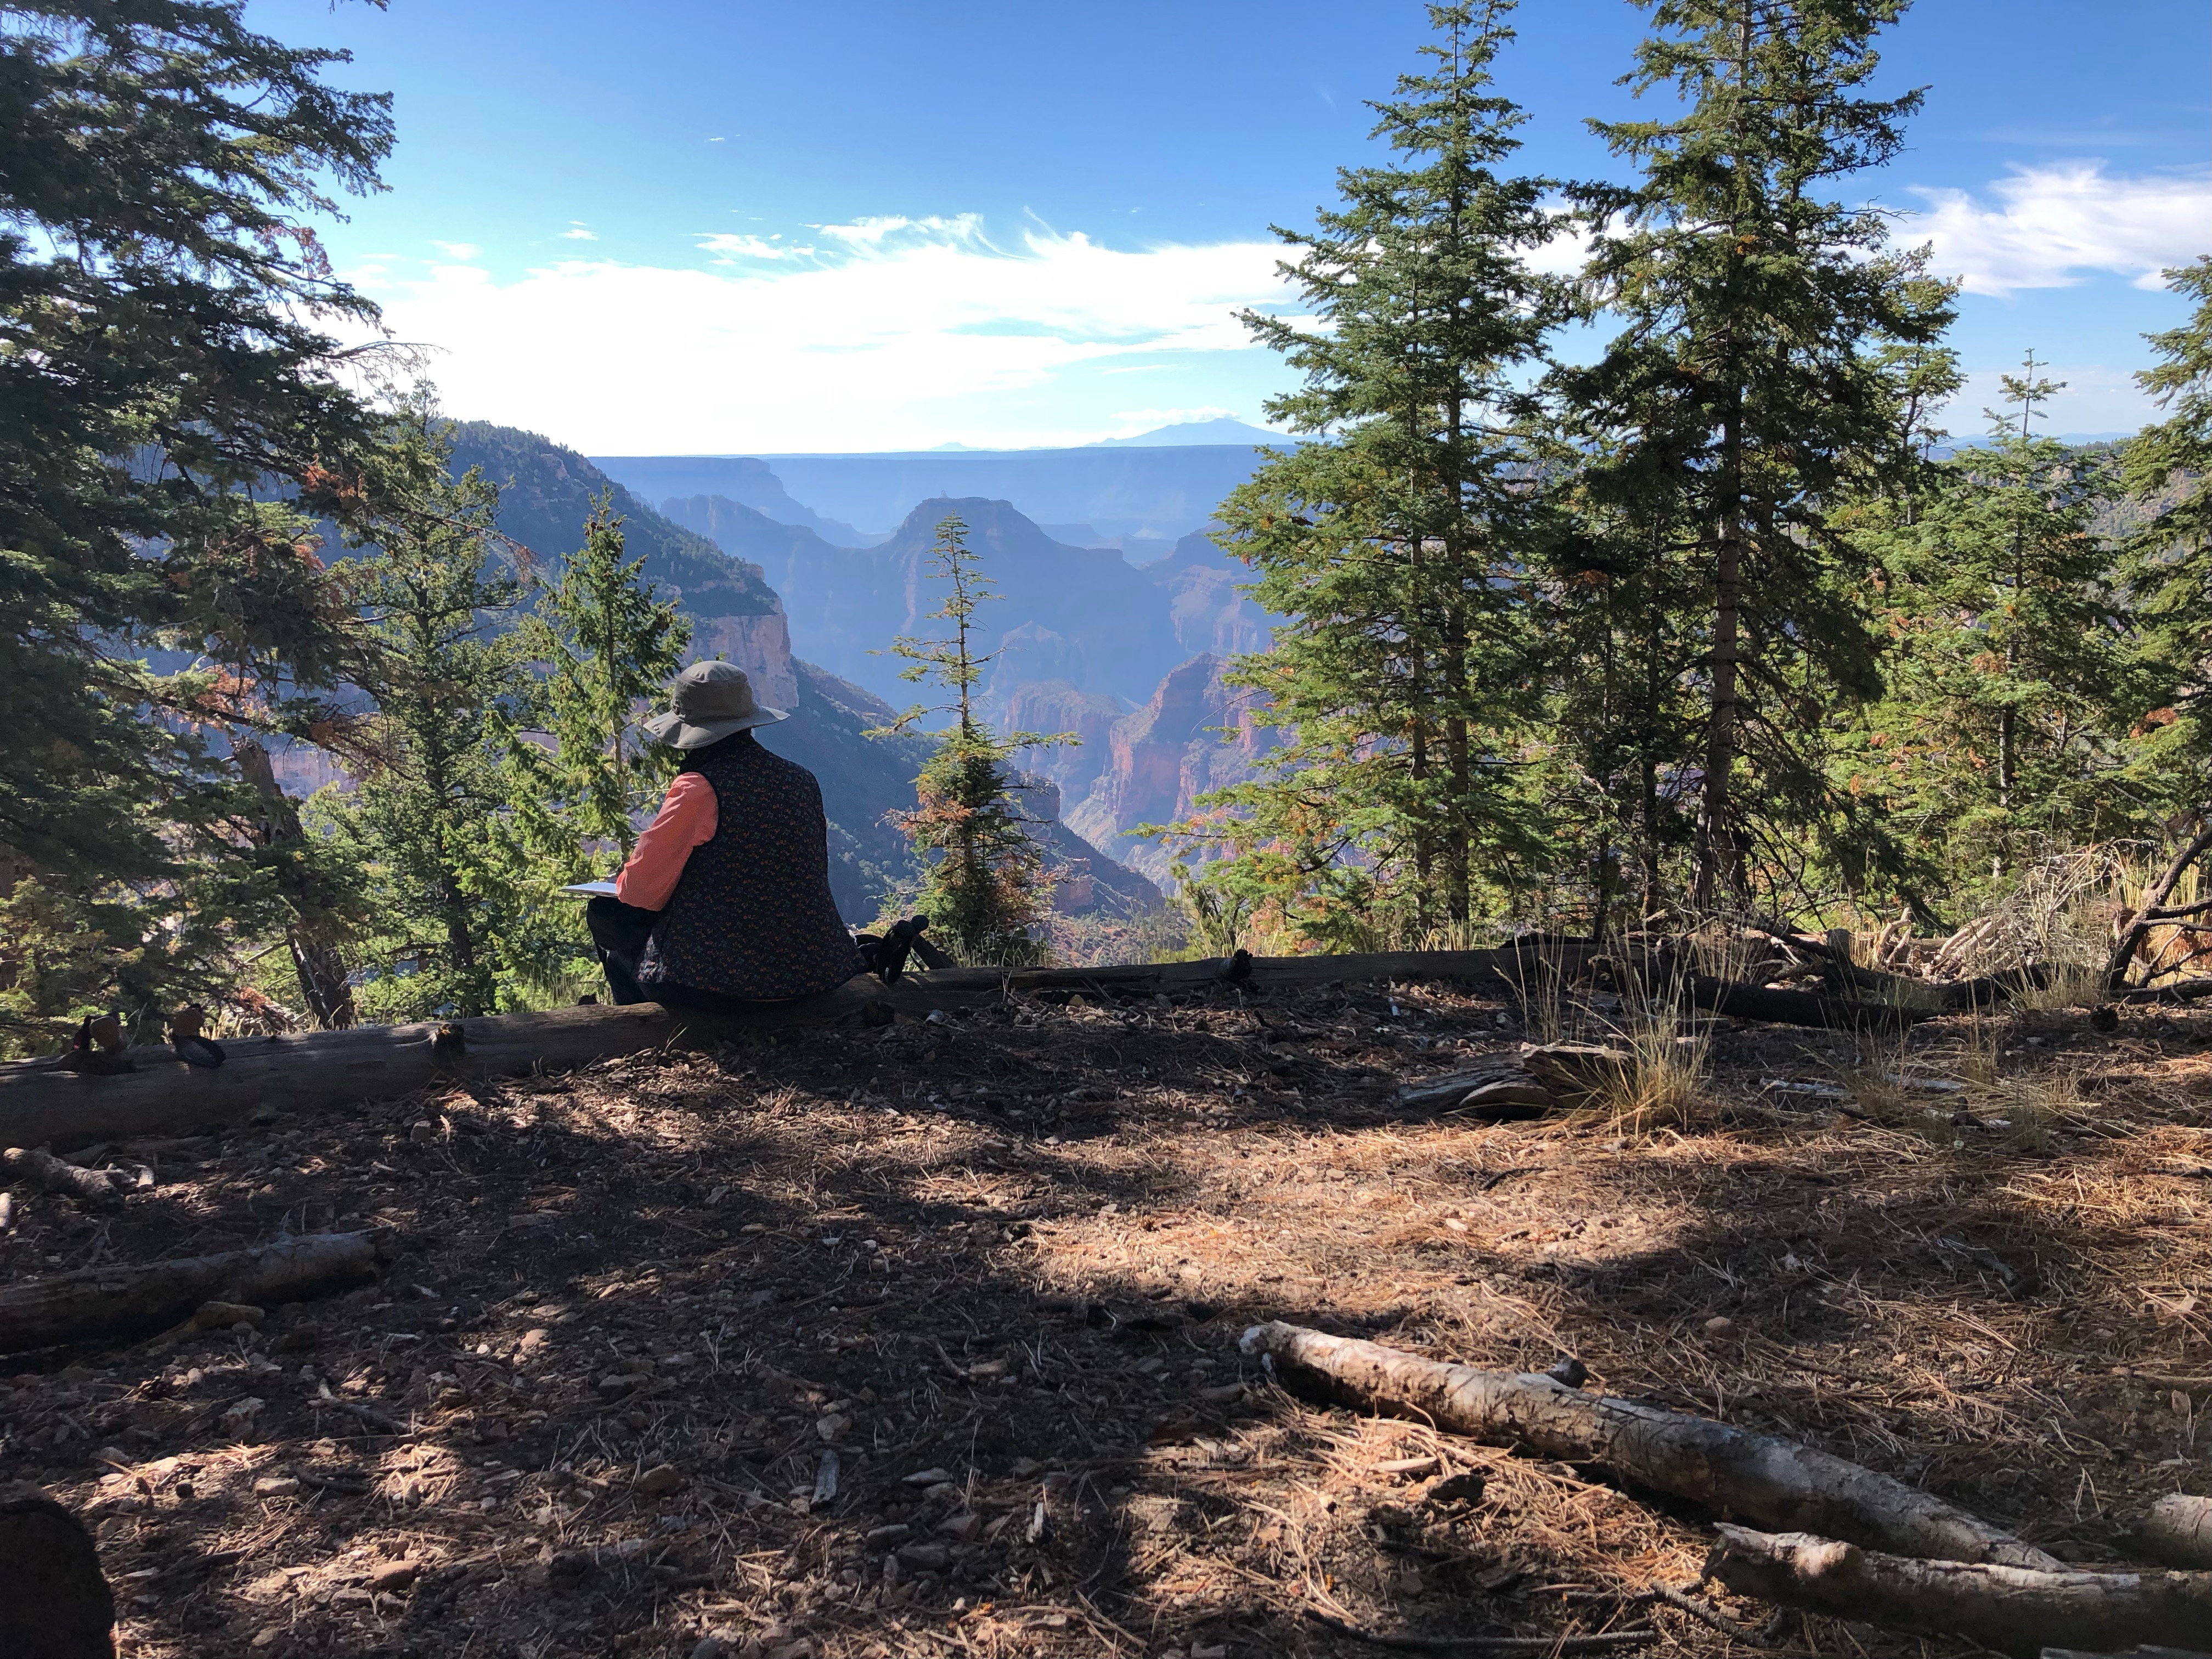
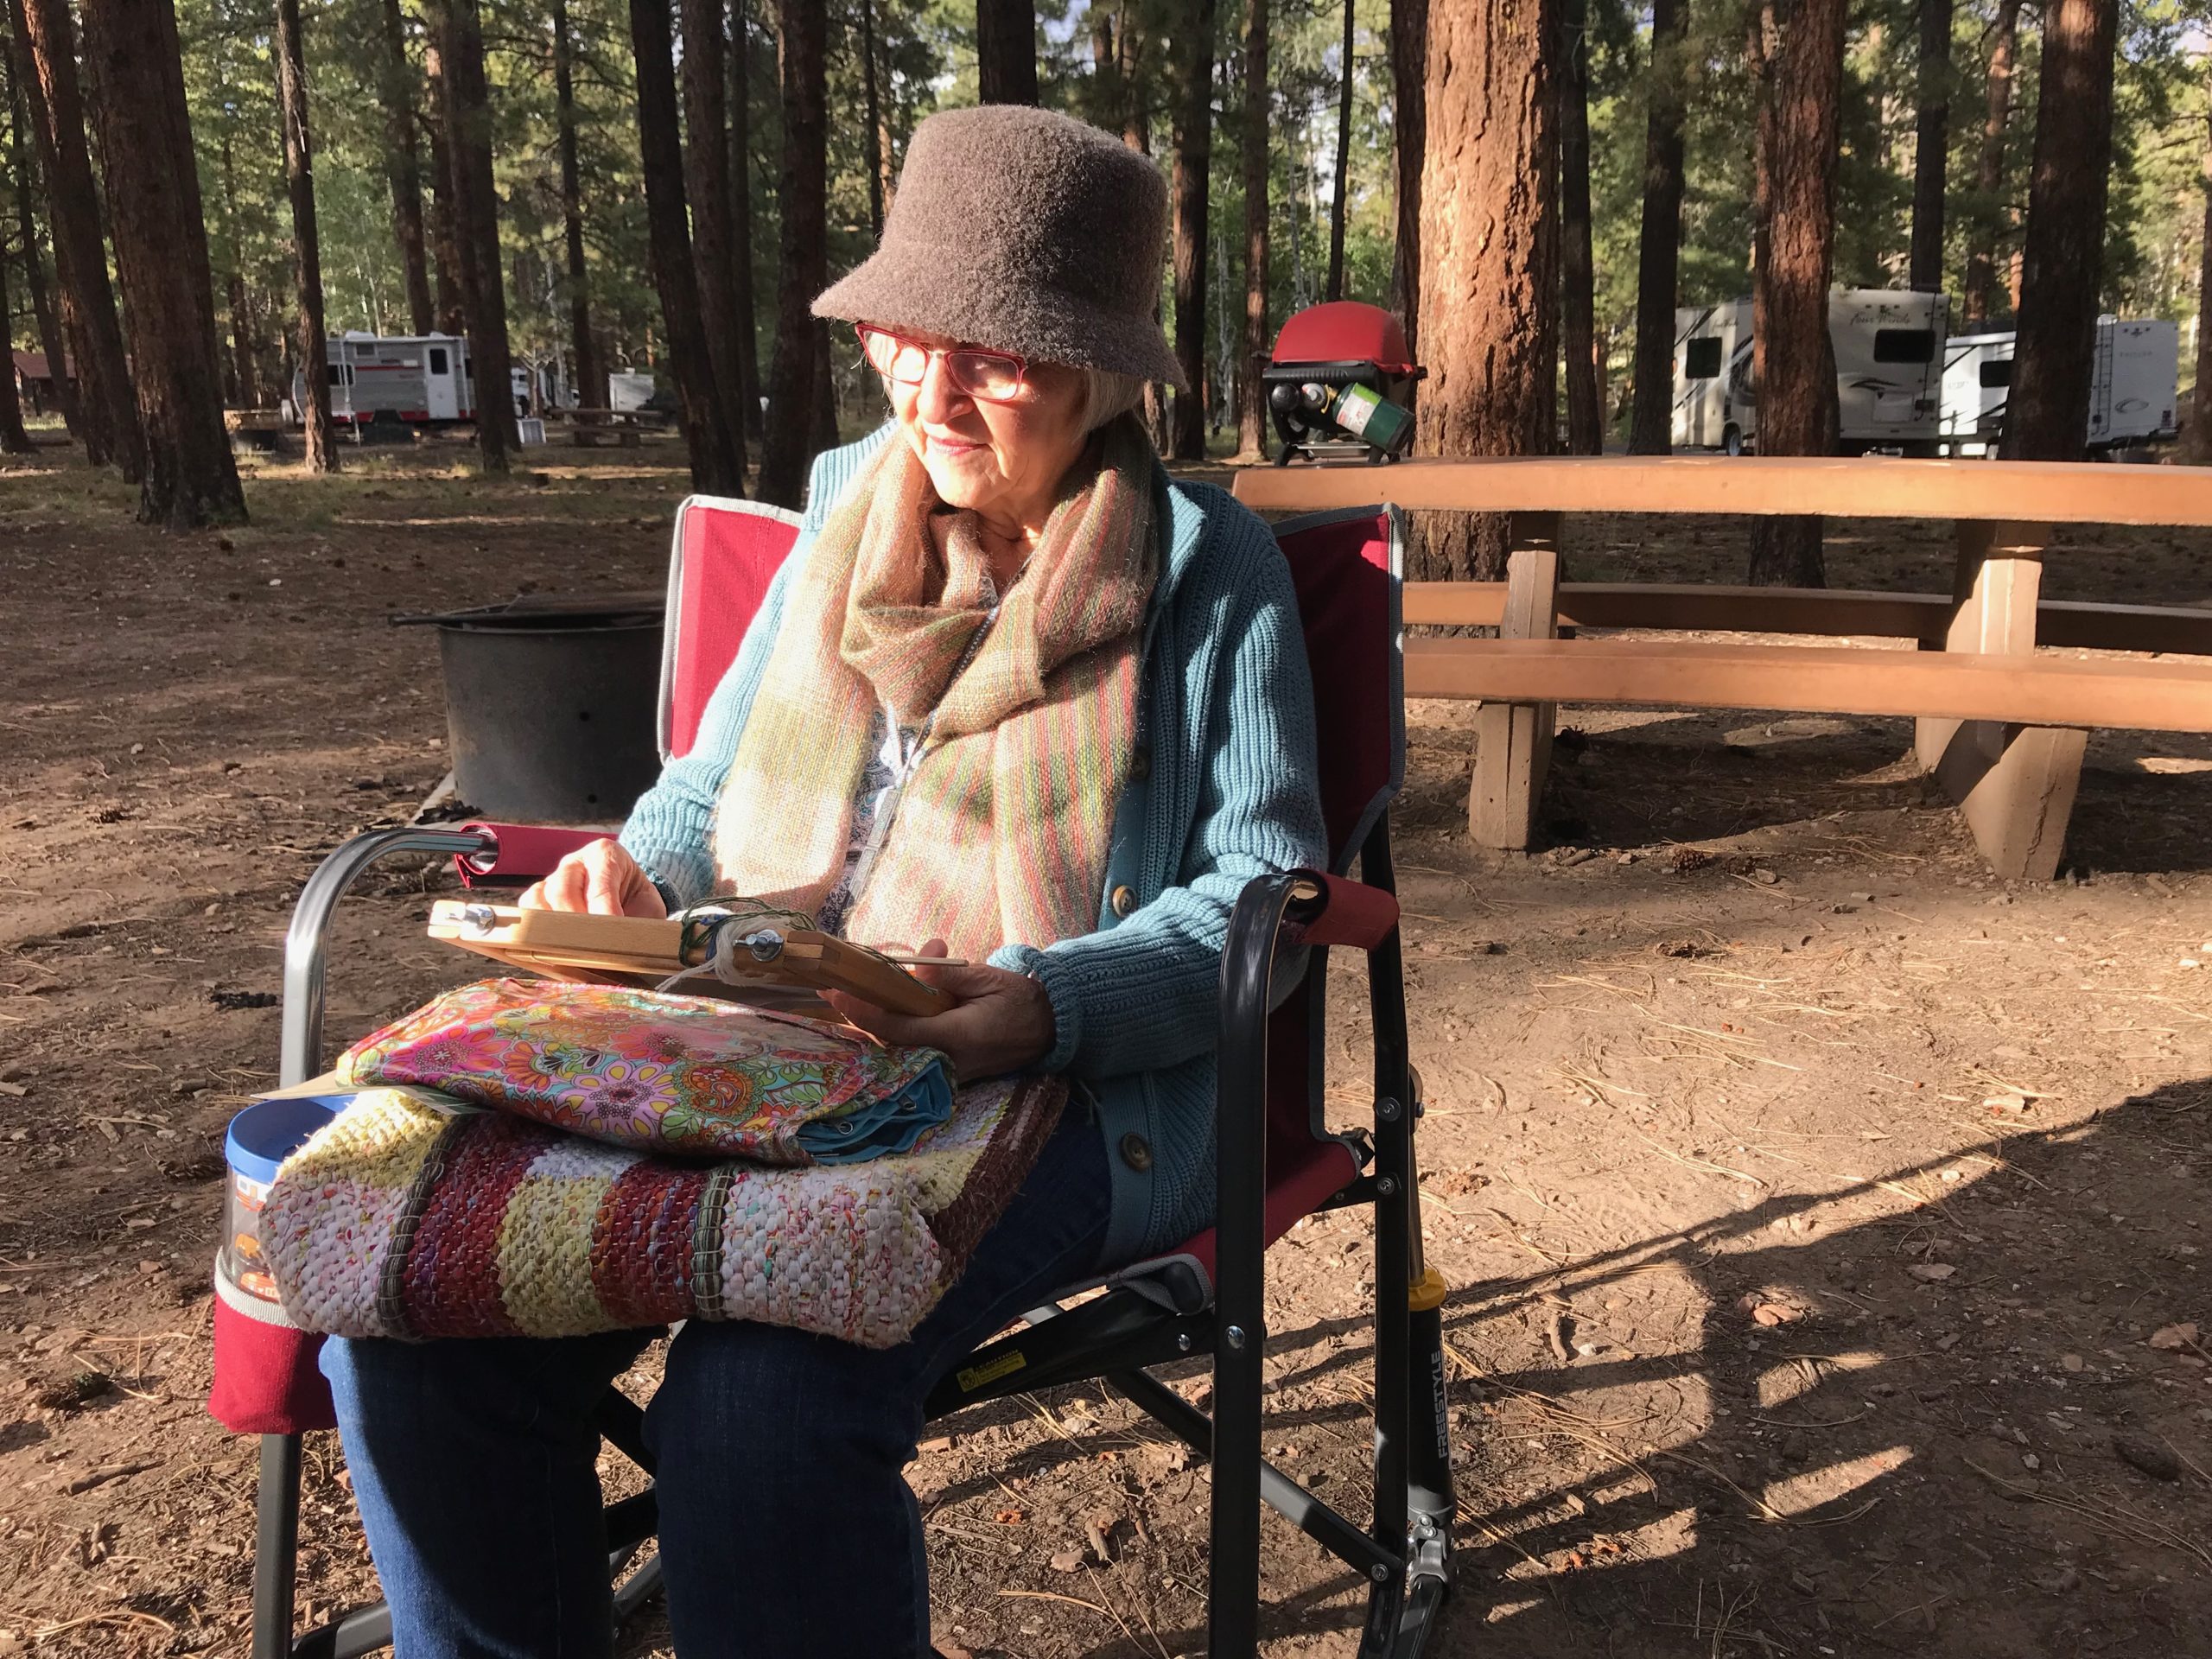
Sitting on a log to do a quick sketch. Widforss Trail on a Sunday morning was a wonderful way to worship our Creator.Ponderosa Pines fill the North Rim Campground. It is refreshing to sit there for some relaxed tapestry weaving. Weaving from the back, meaning the face of the tapestry is facing away from me.Weaving outside in the cool afternoon.
To view the incomparable expanse of the Grand Canyon leaves me in awe. It’s as if the glory of our Creator is on full display. Oh, the colors, textures, and breathtaking drama!
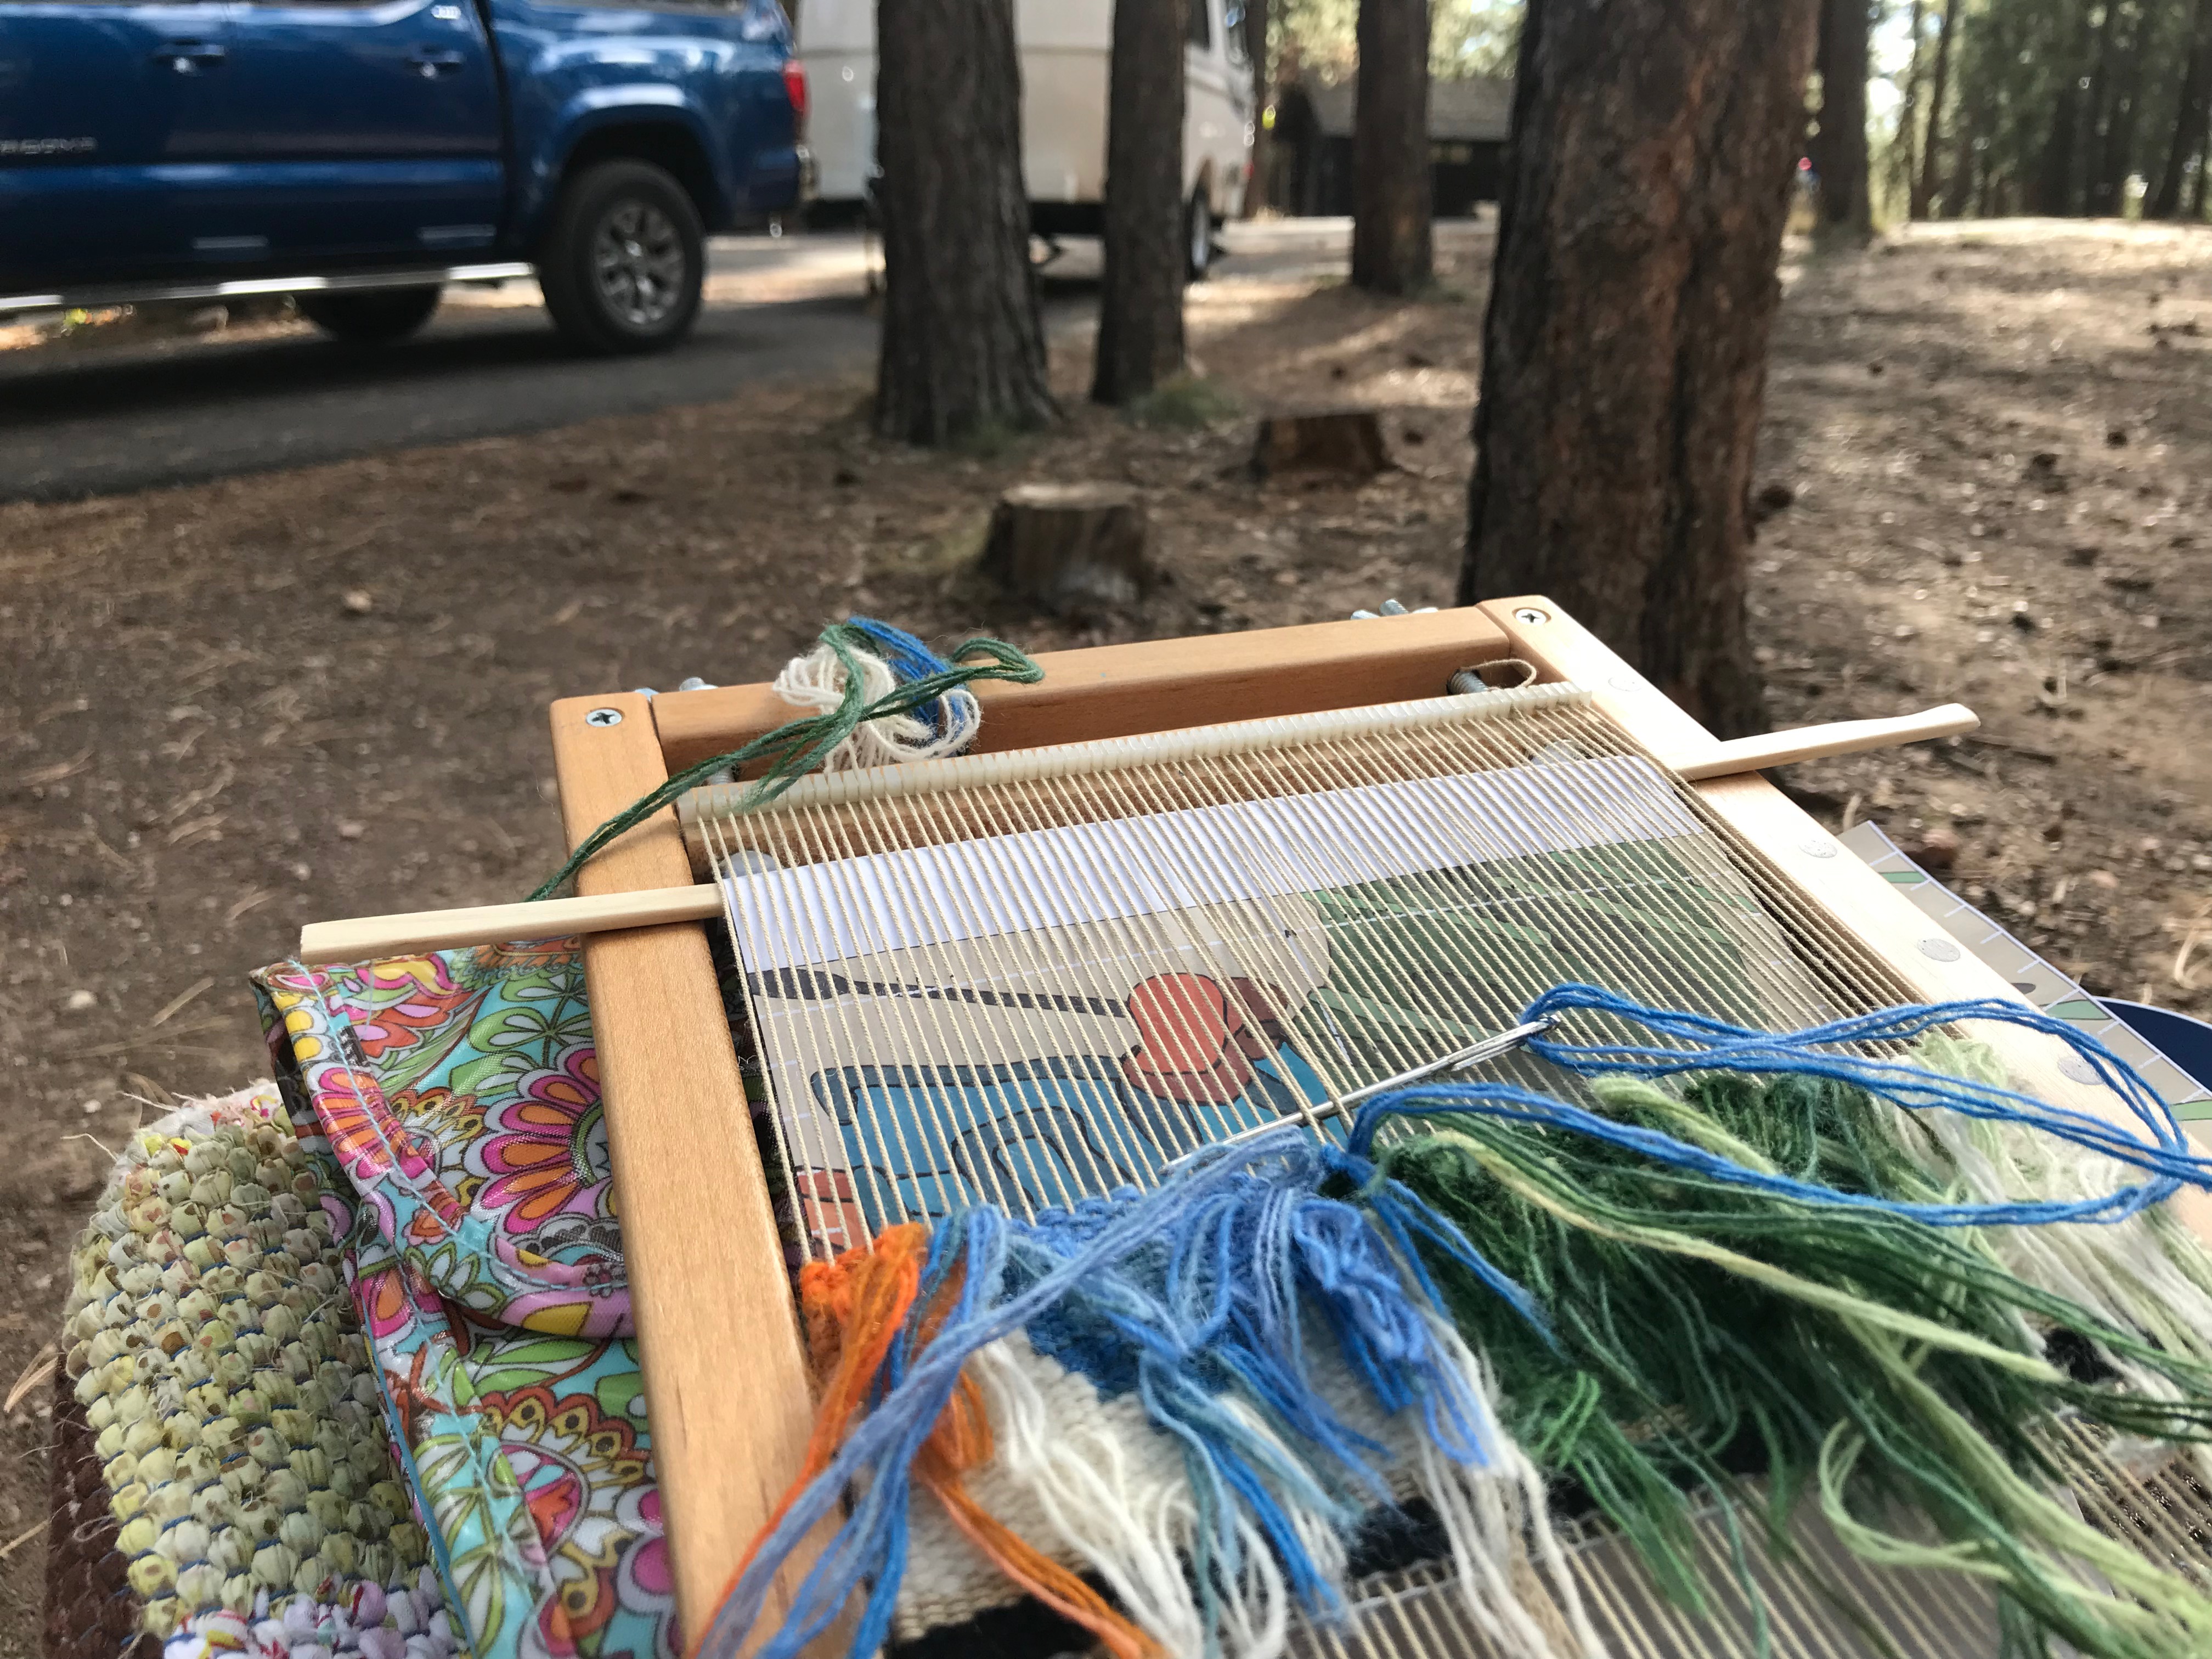
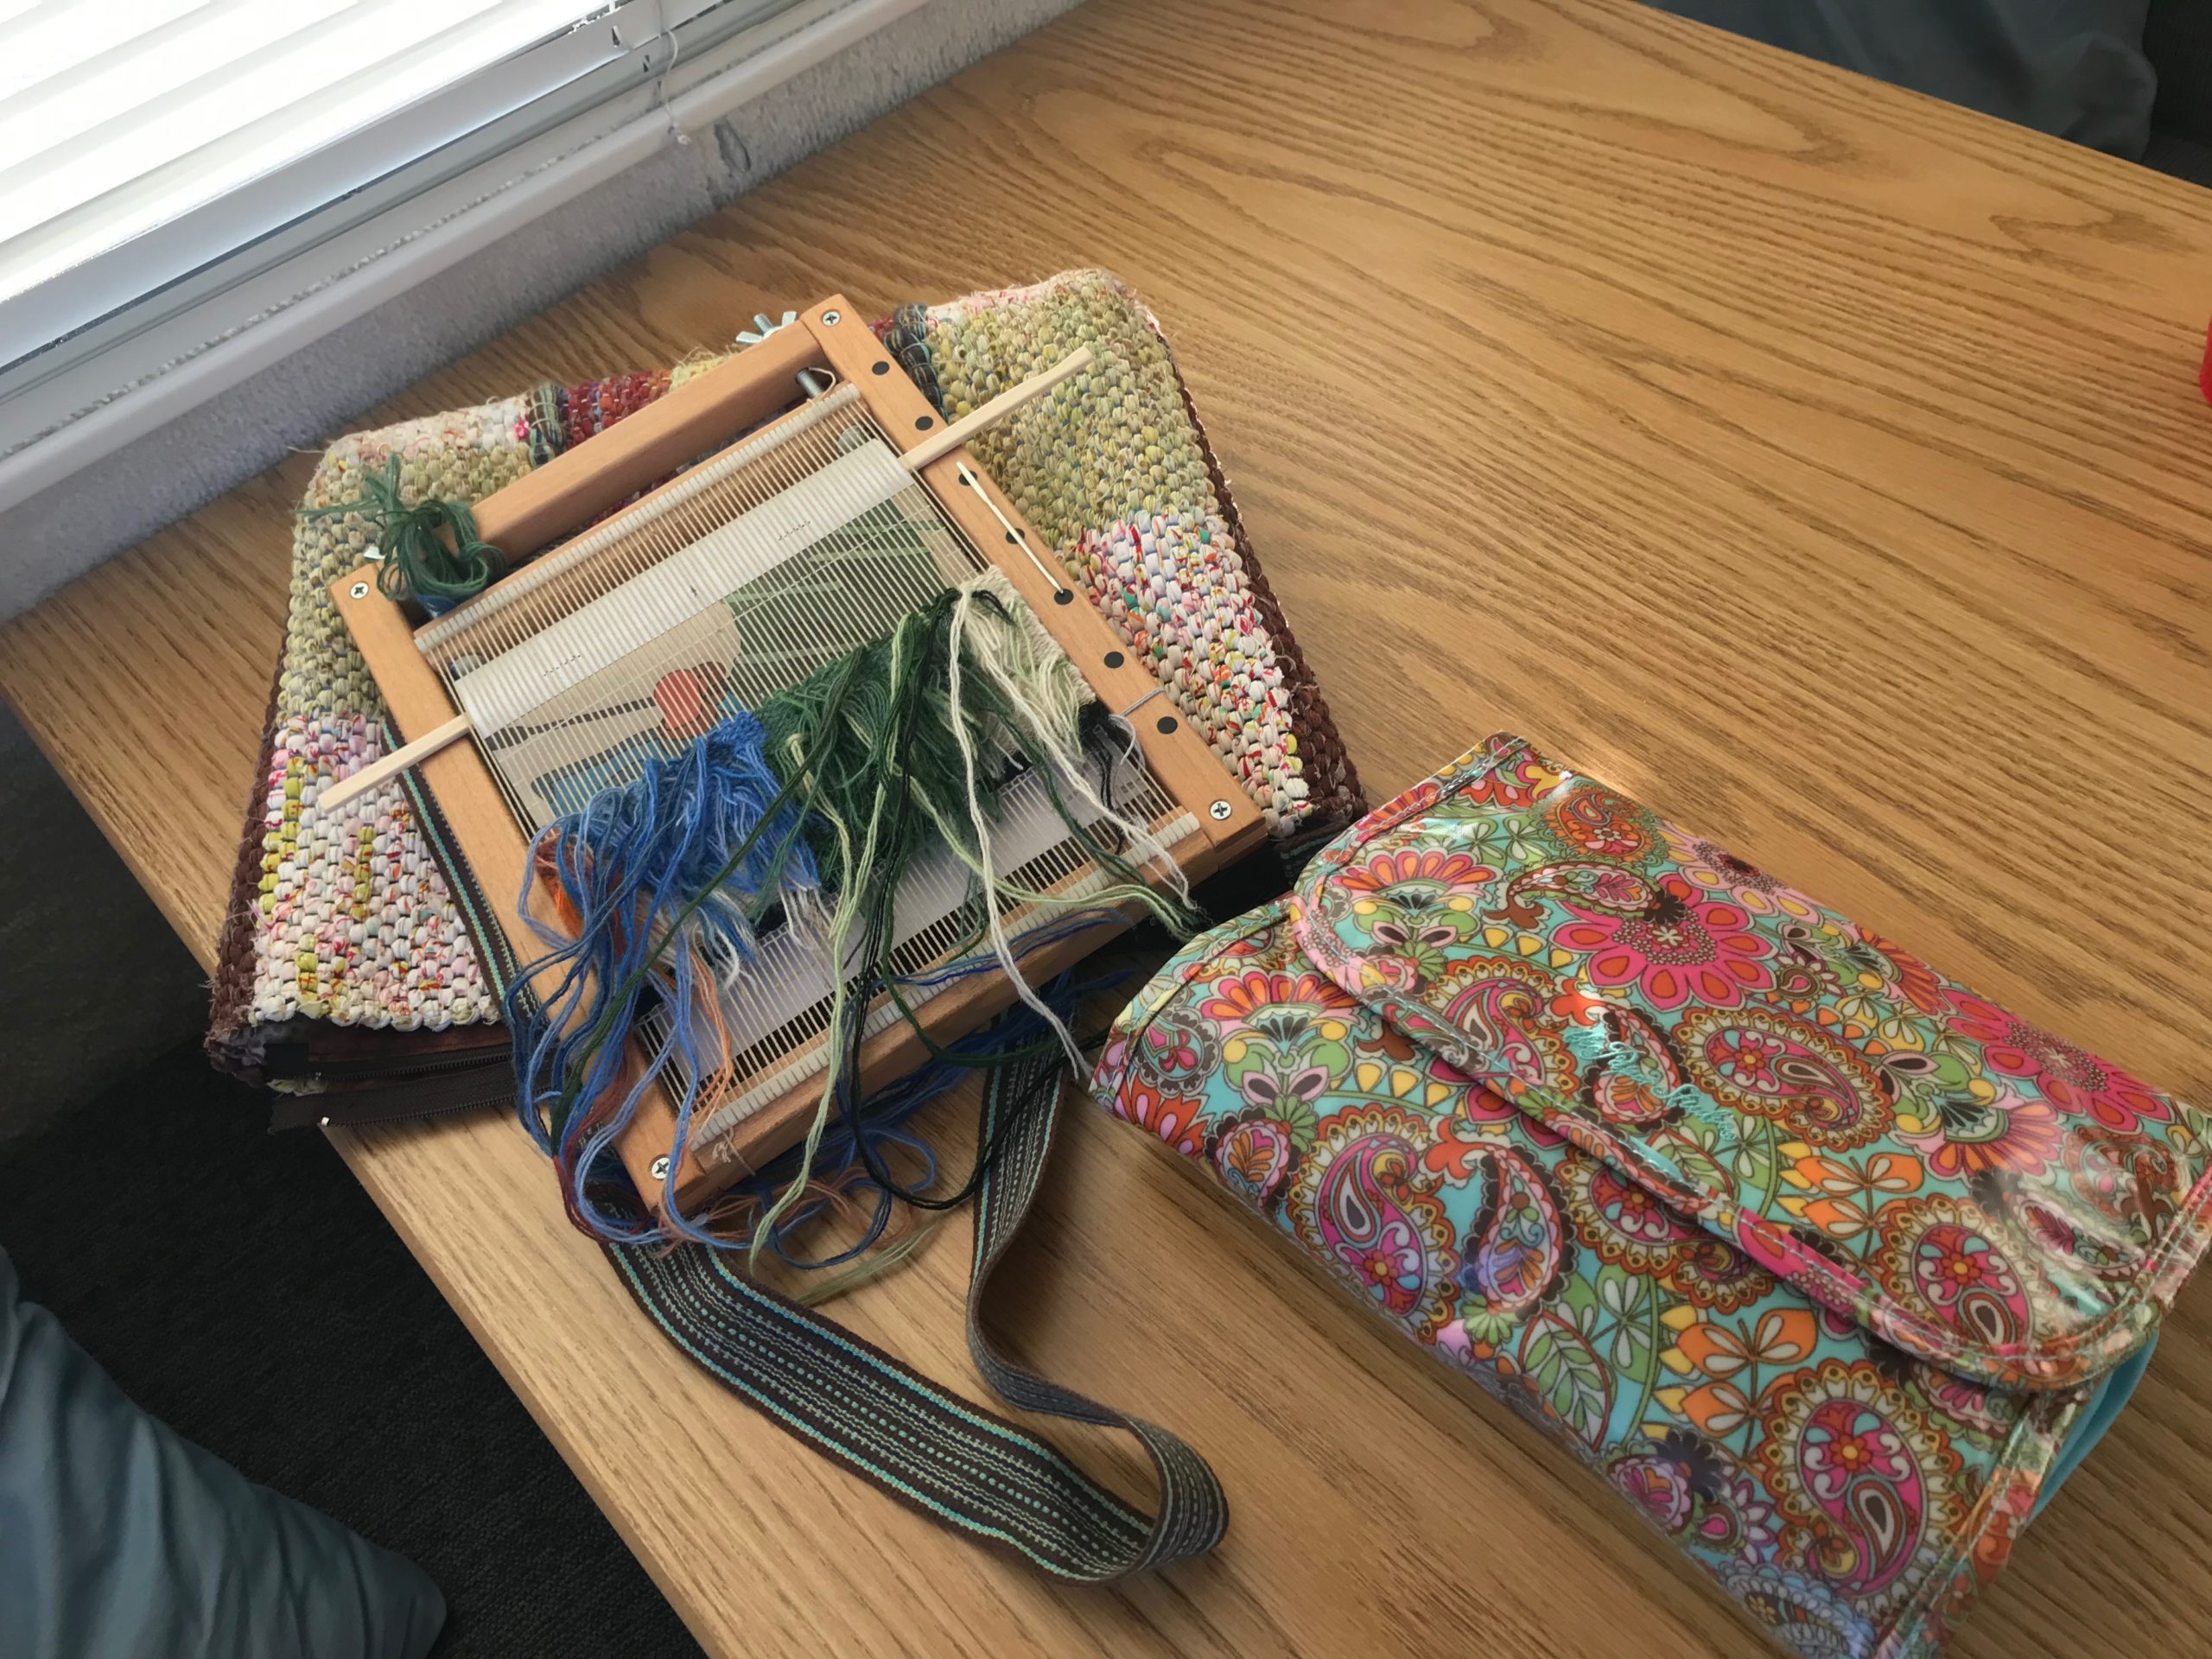
Sunset brings a hush over the vast Grand Canyon. Vibrant colors, phenomenal textures, in an unfolding dramatic ending–this is the language of a weaver.Weaving inside the Casita Travel Trailer until the skies clear up. Messy back of tapestry because I’m not trimming any more than necessary – fewer scraps to keep track of.
Our hearts turn to recognize God’s authority when we view the wonders of his creation. And, in the awe of it all, we pause to consider the vastness of his personal love, such that the Grand Weaver grants us the pleasure of creating something small with colored bits of yarn. Oh, the wonder of it all!
Pondering the deep questions of life.There is still work to be done. This (second) Rain Girl is not in a hurry. She is ready for me anytime I decide to add more colored bits of yarn.
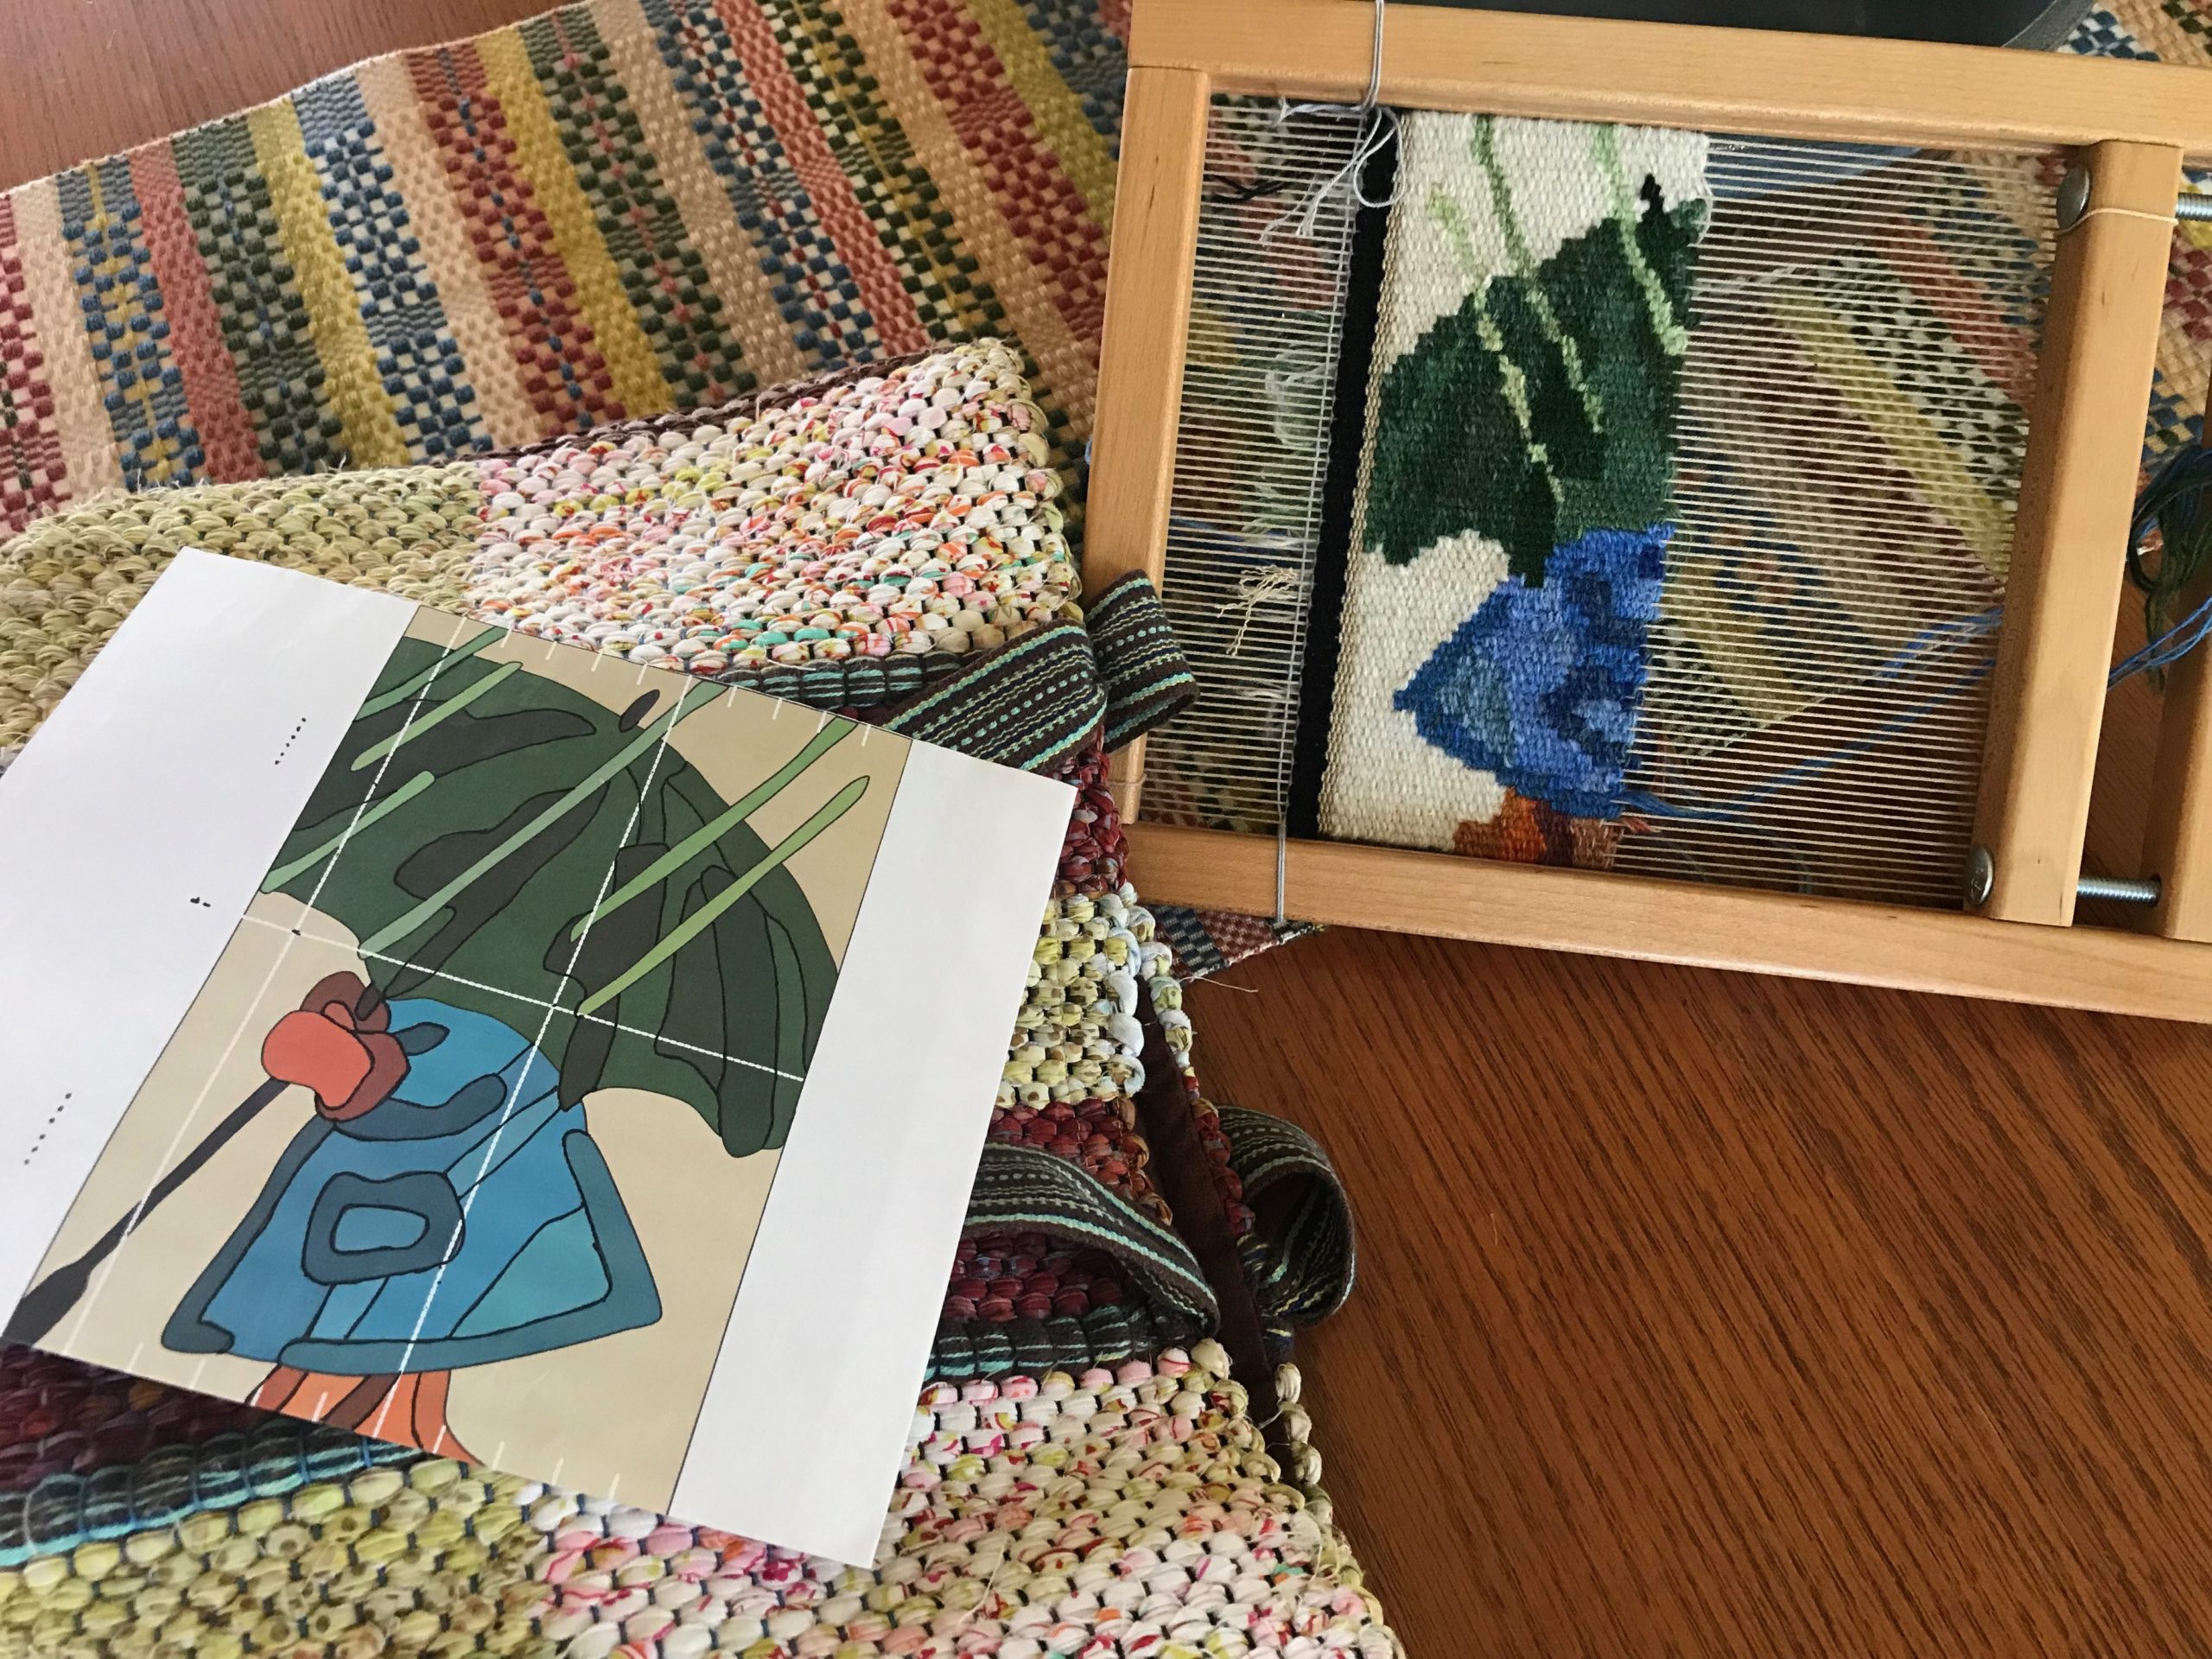
I started this warp as a place to test some tapestry techniques. I have studied, practiced, and evaluated my own results from techniques used by various tapestry artists. What I have learned is that I prefer the techniques that I am already familiar with, that I learned from my friend Joanne Hall. I am ready to dive in one more time on this warp to refine my own approach to pictorial tapestry weaving.
Tapestry tests and samples are on this warp. My mind is made up. I’m ready to start again.
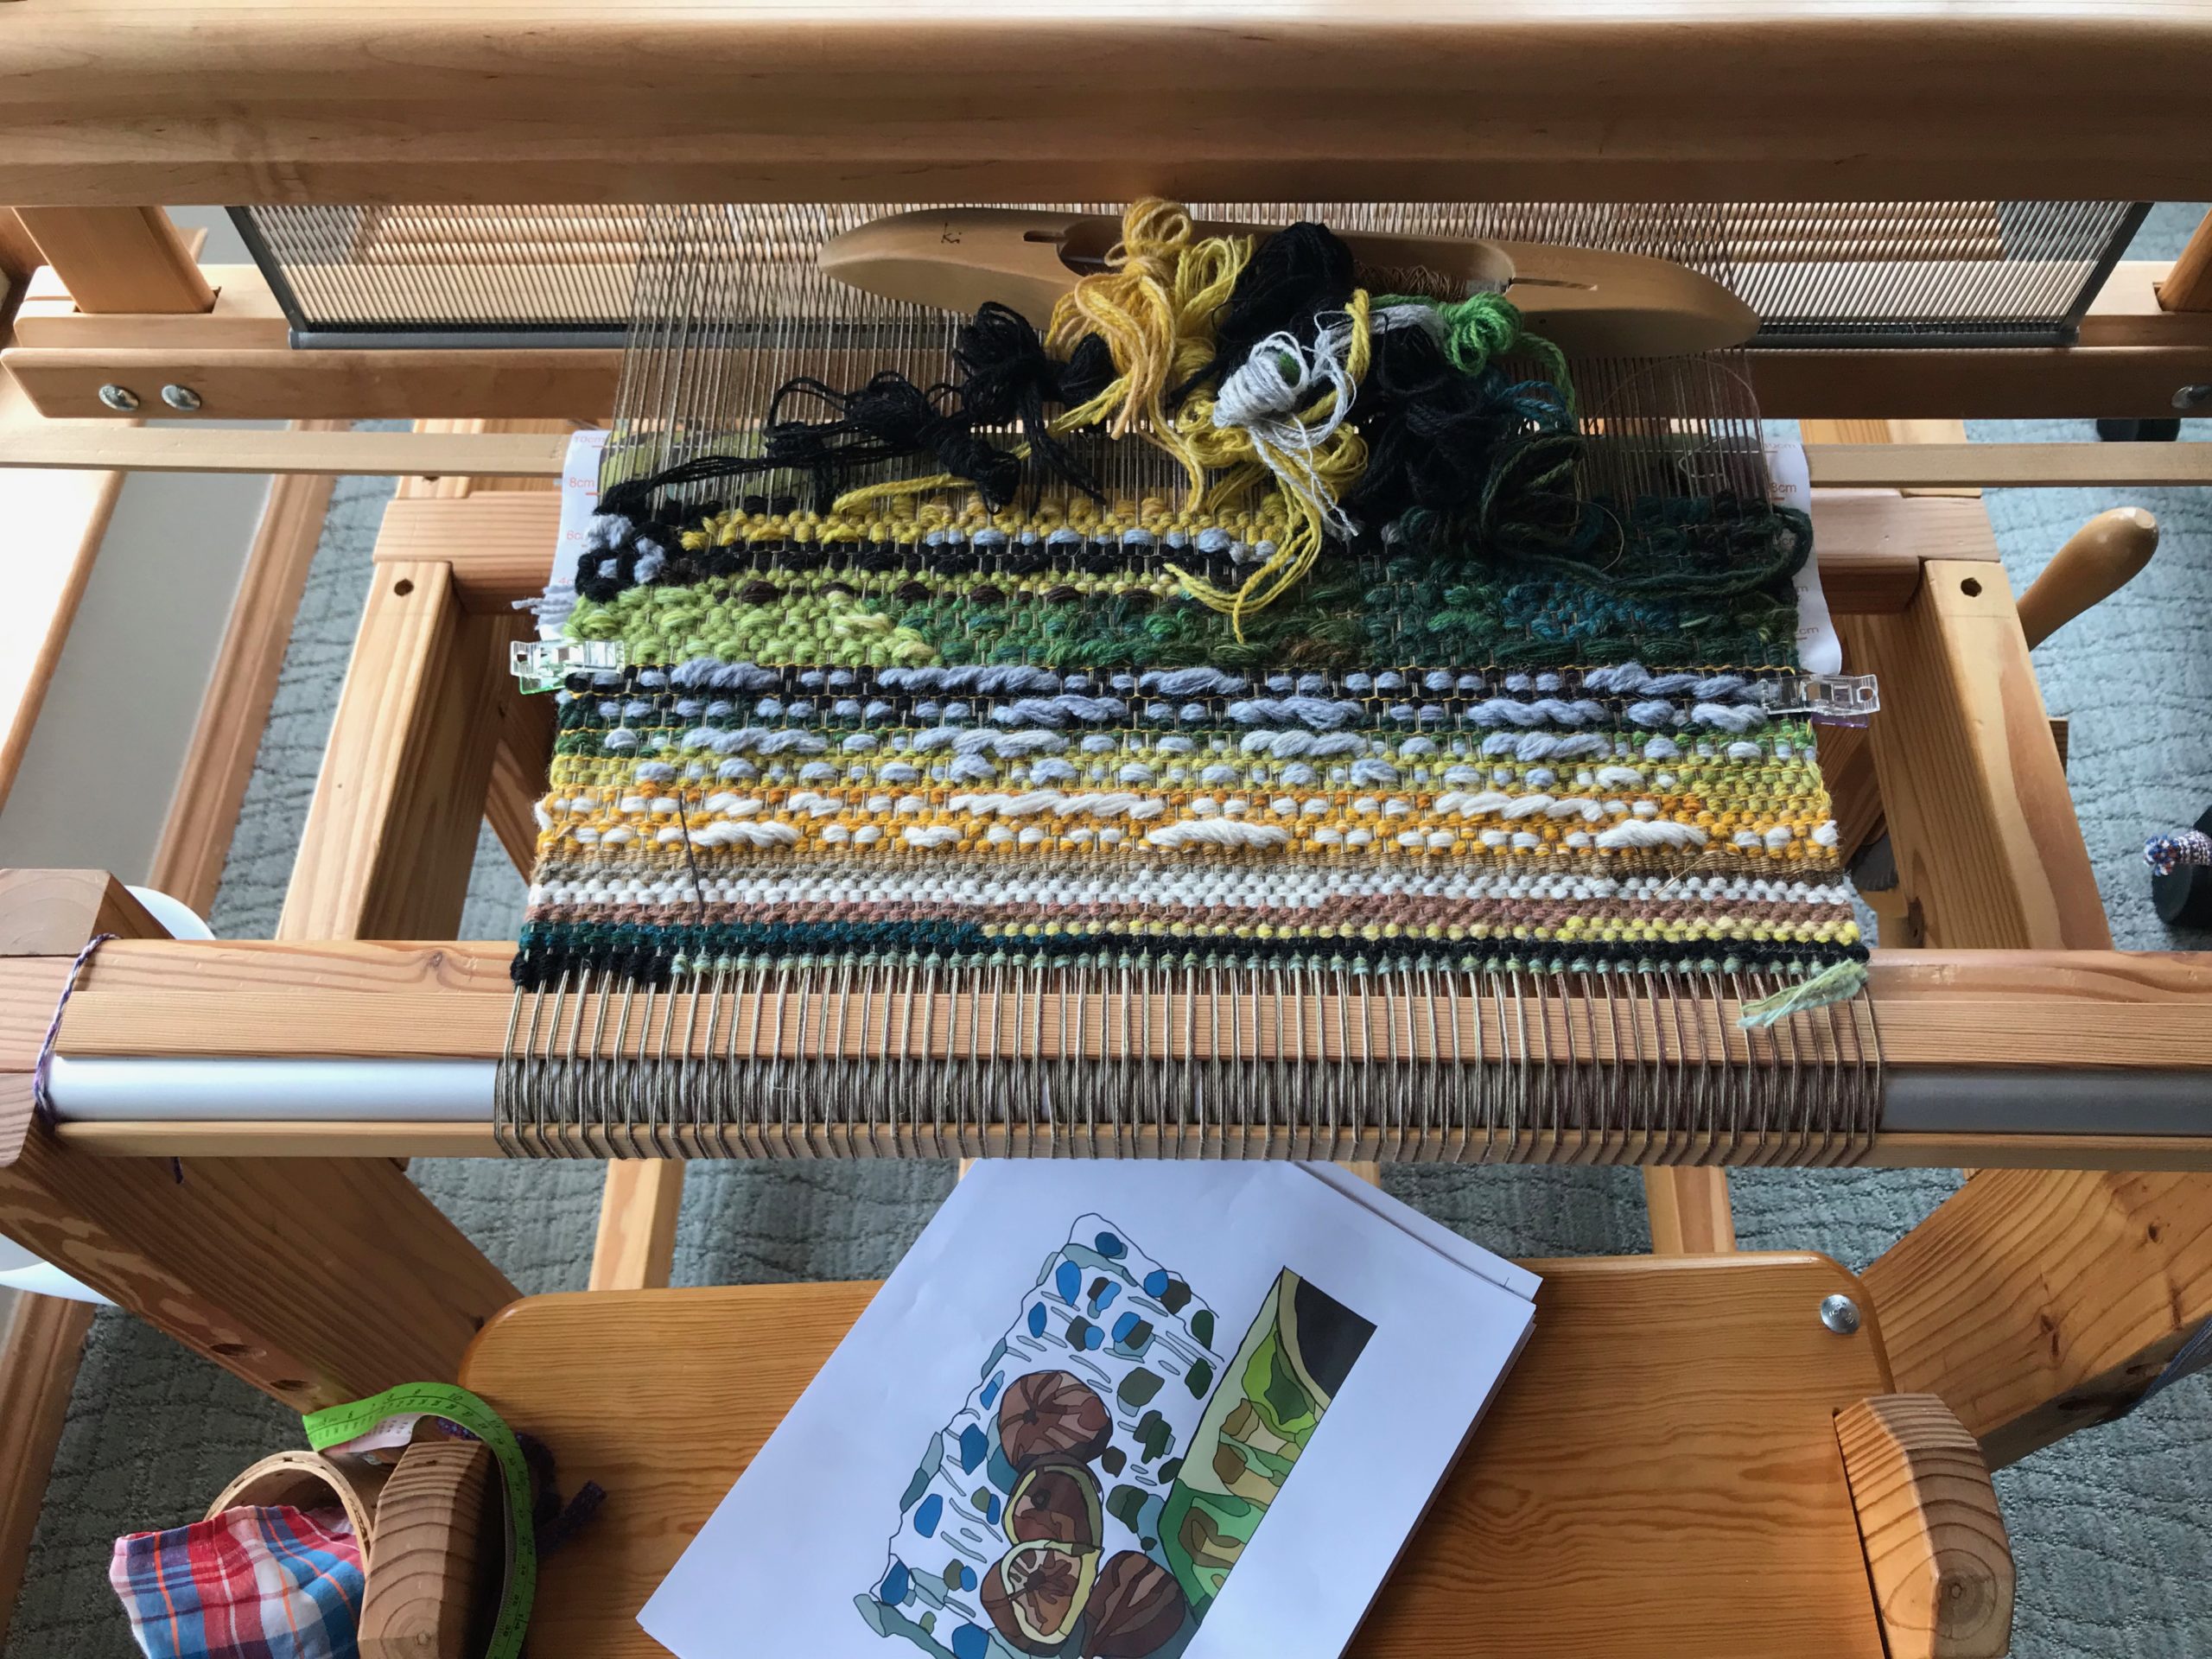
This little hand-built loom has been sitting idle long enough. It’s time to start again. Starting takes courage. The cartoon is almost ready. Soon, this little loom will be back in action as my favorite place to be immersed in color and yarn.
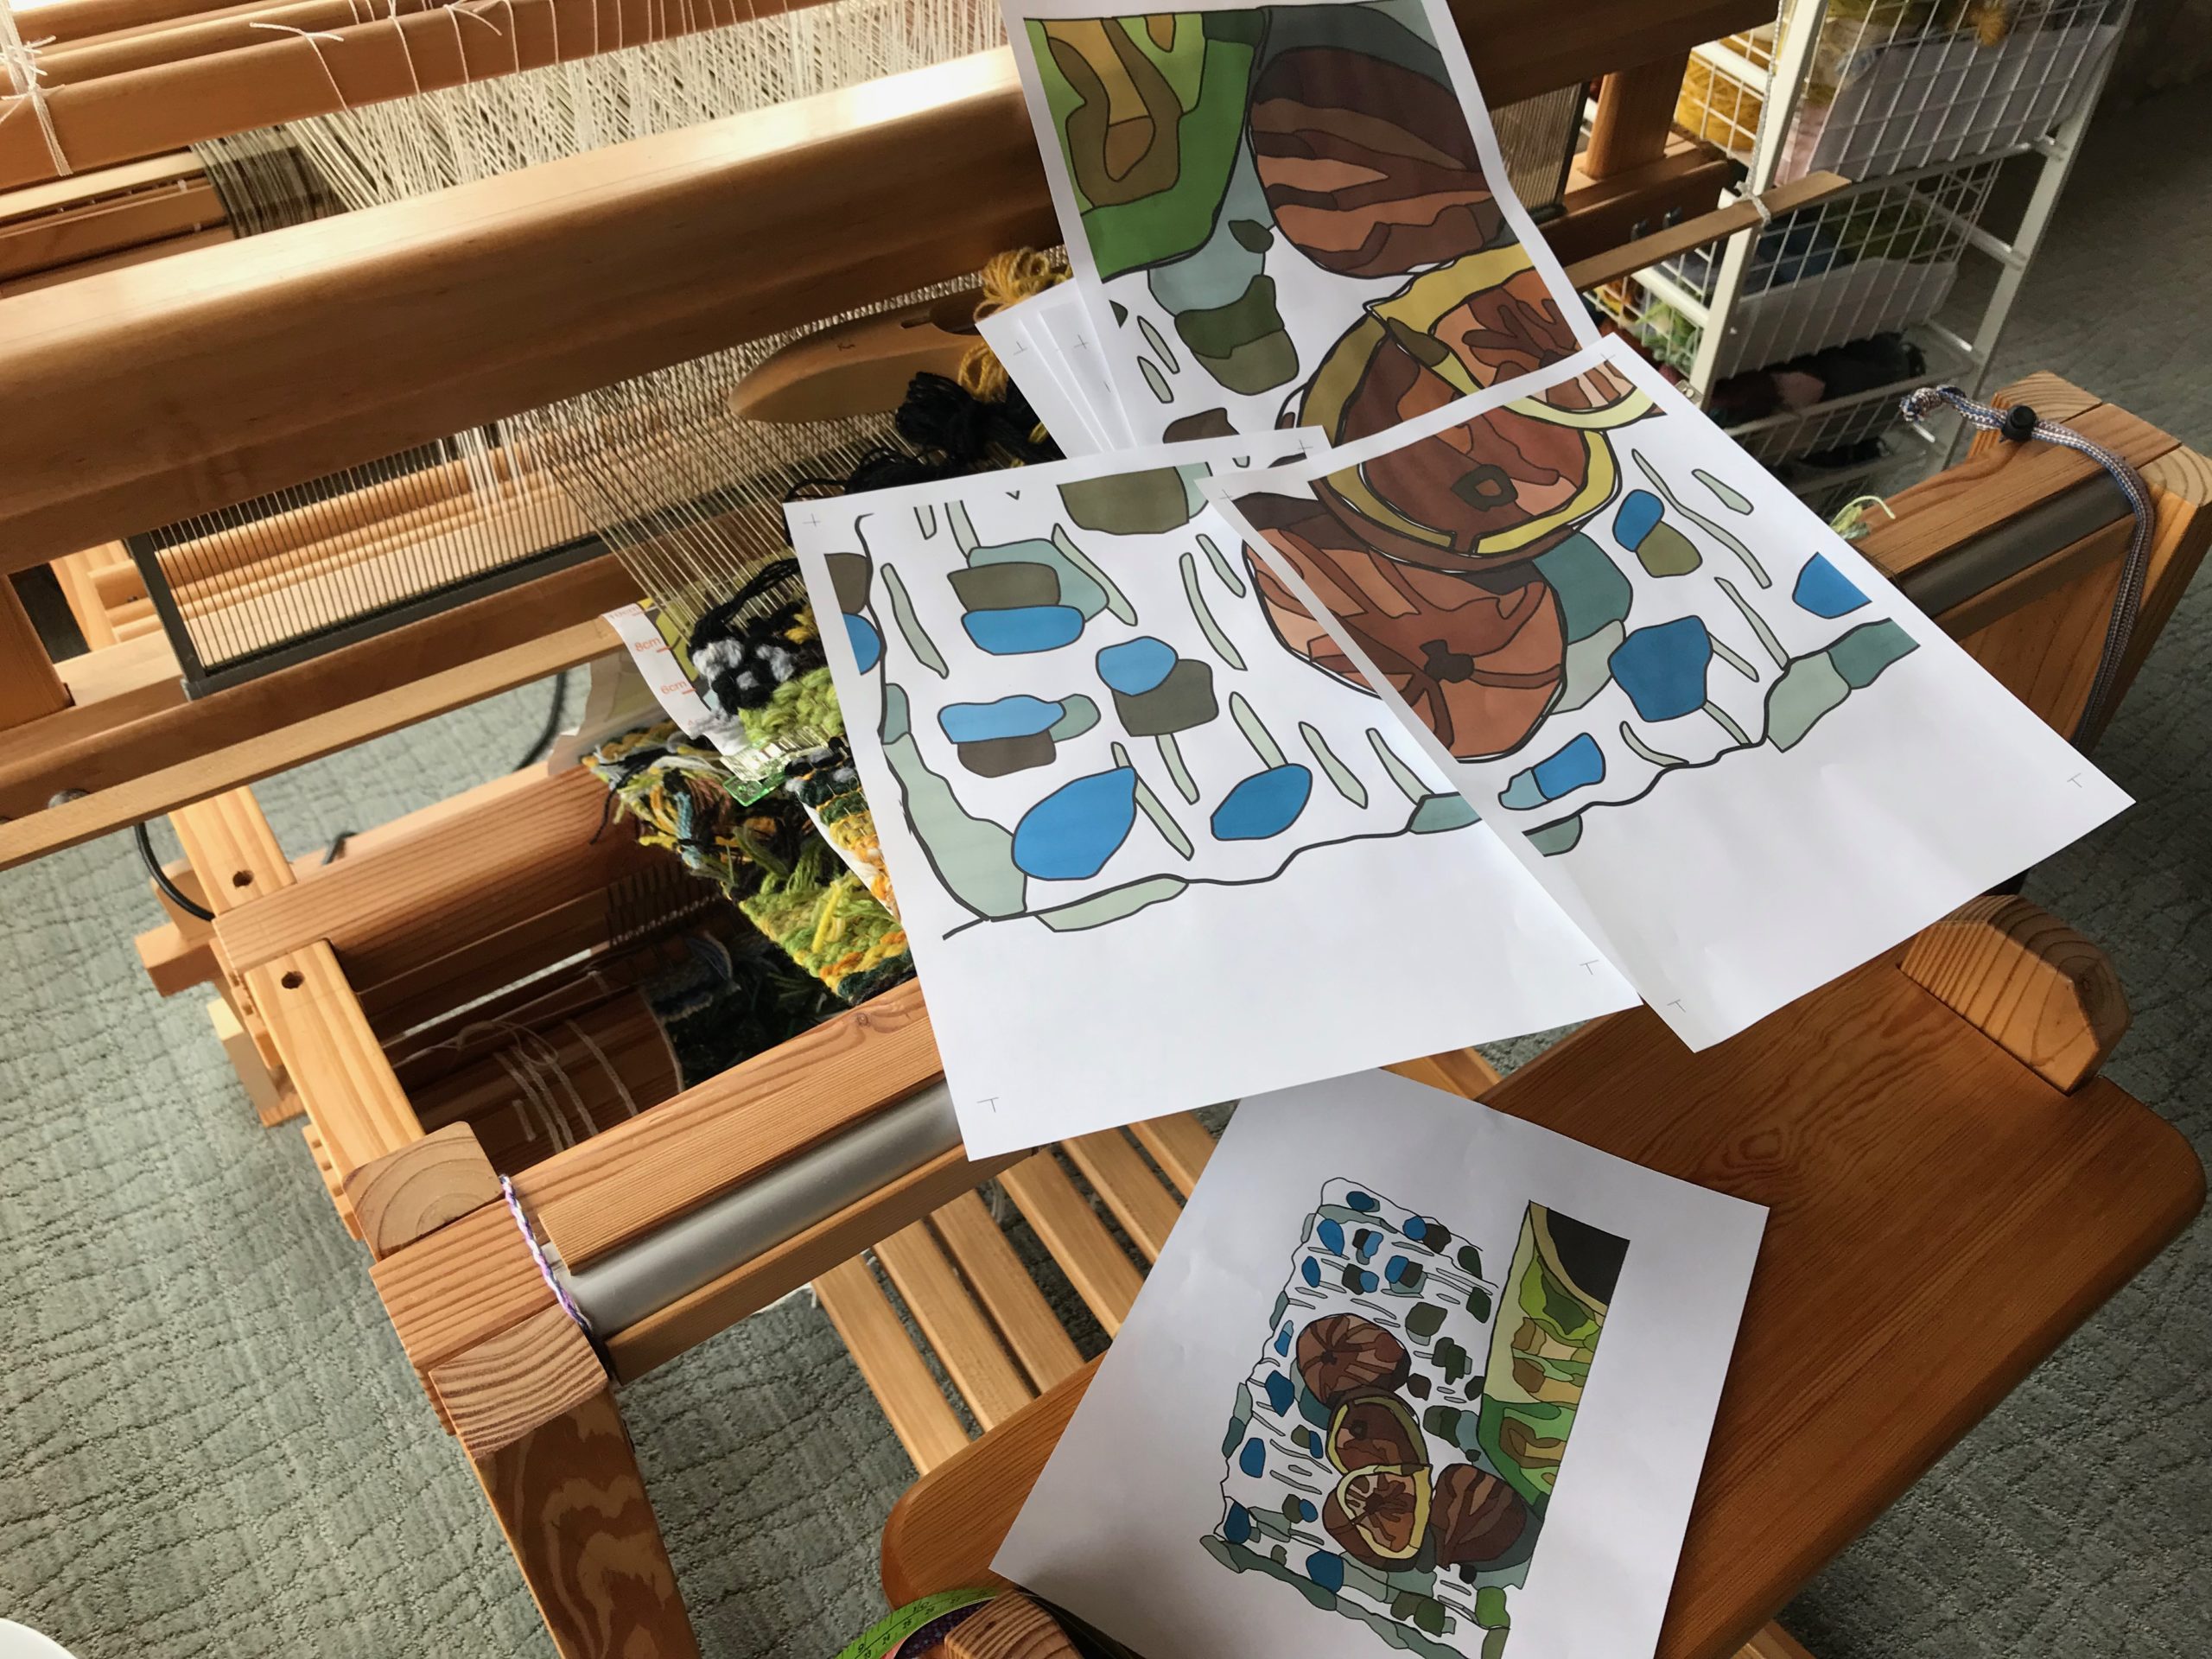
Piecing pages together to make the cartoon. Only a few more adjustments are needed in the cartoon. The cartoon is being developed from a recent watercolor sketch of morning coffee and fresh figs.
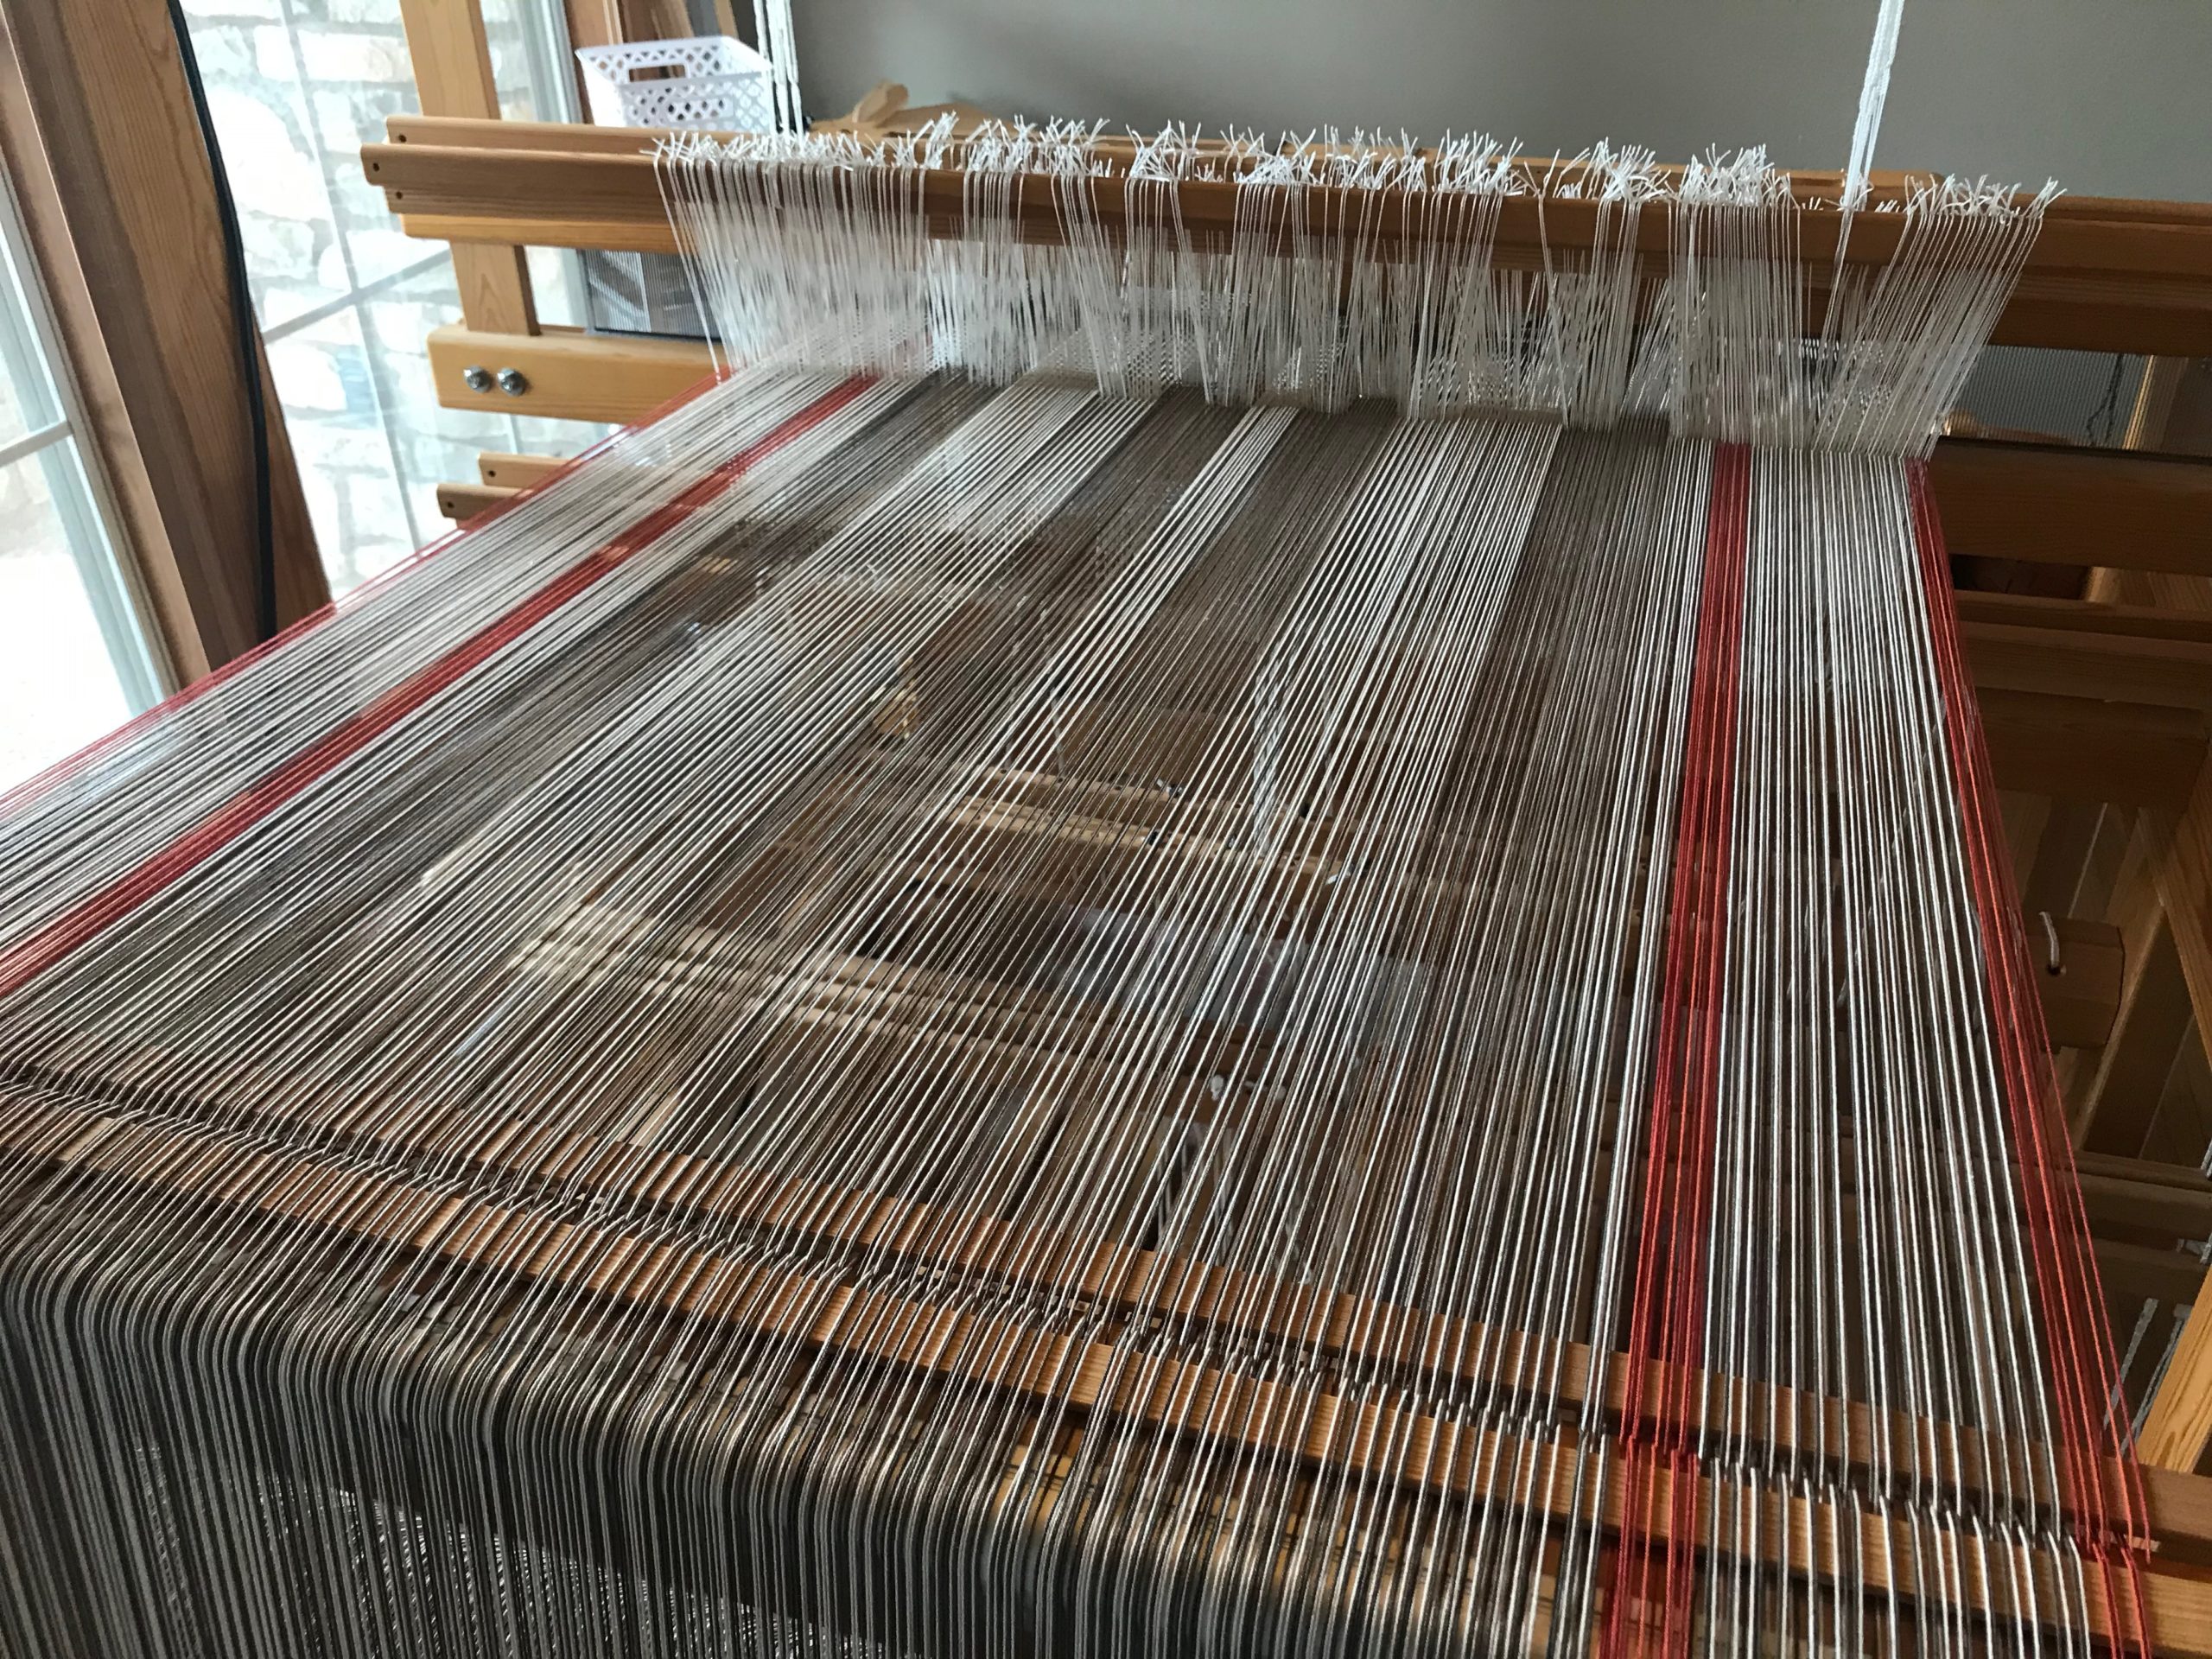
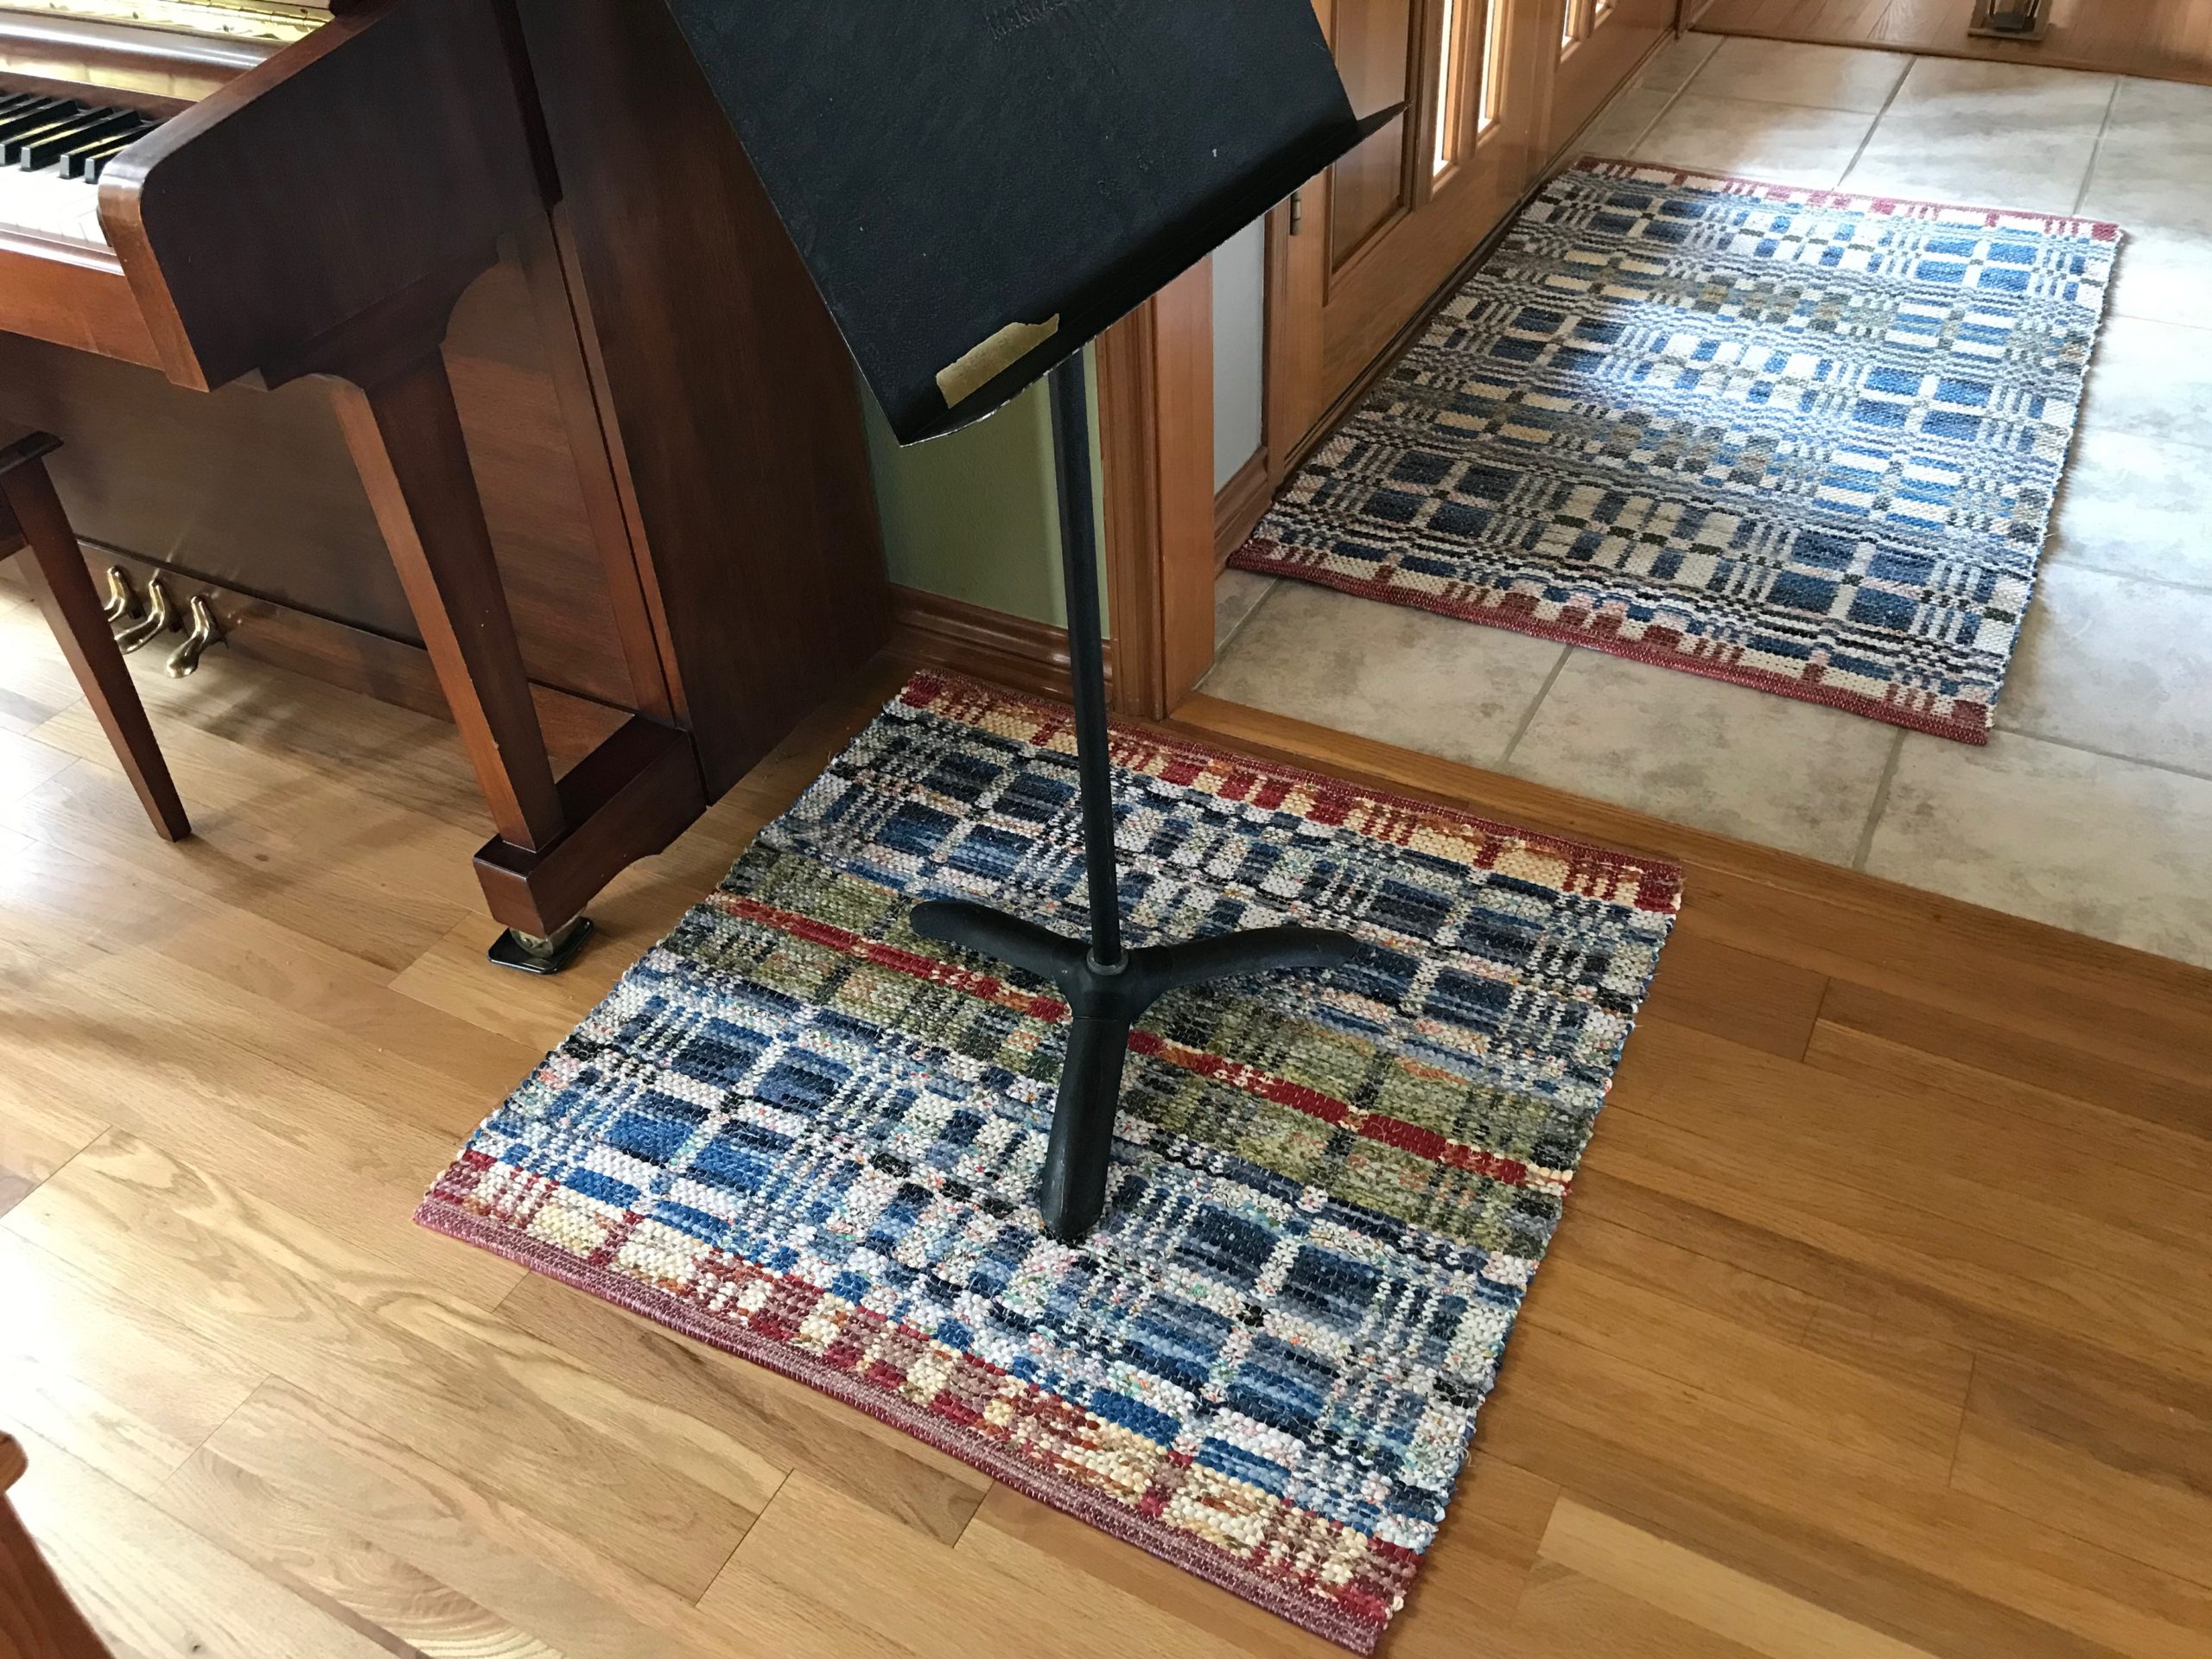
I want to weave two floor runners for a specific location in our home. I could do some figuring and guessing. Instead, I am weaving one repetition of this spaced rep rag rug. Now, I have a reference point. All I have to do is measure and see how many repetitions to weave for the length I need. Measuring removes the guesswork. Let the runners begin!
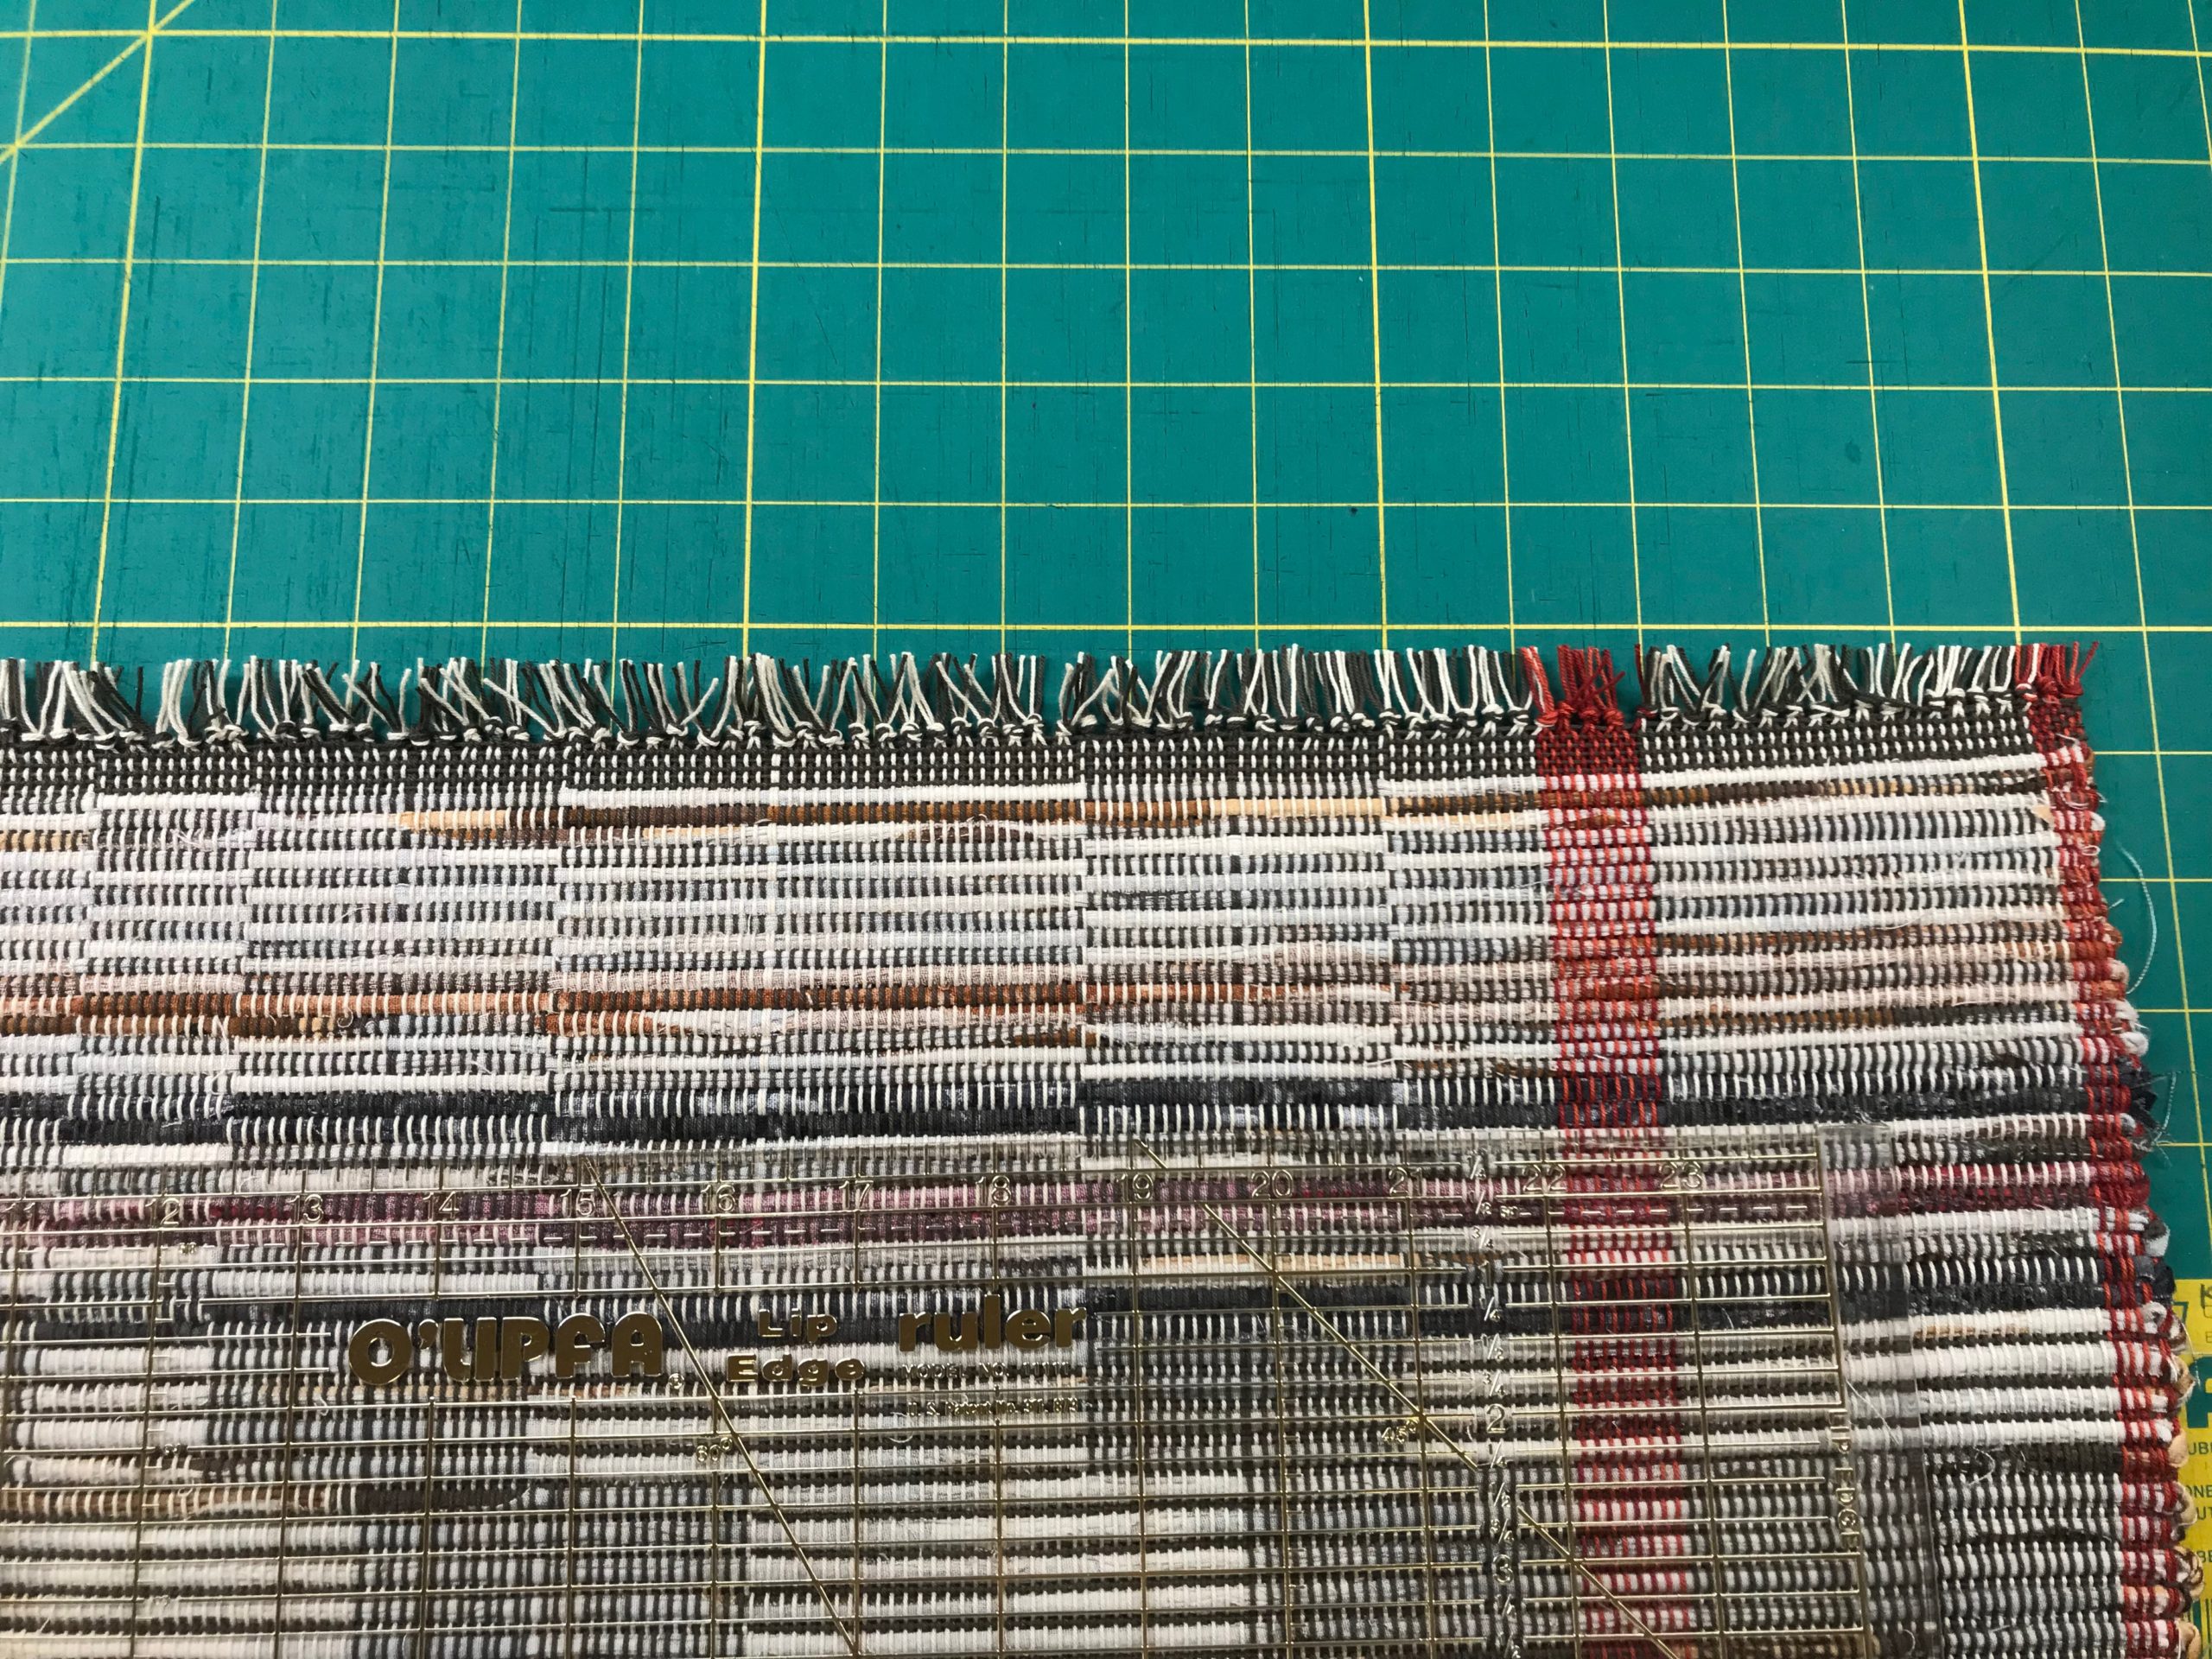
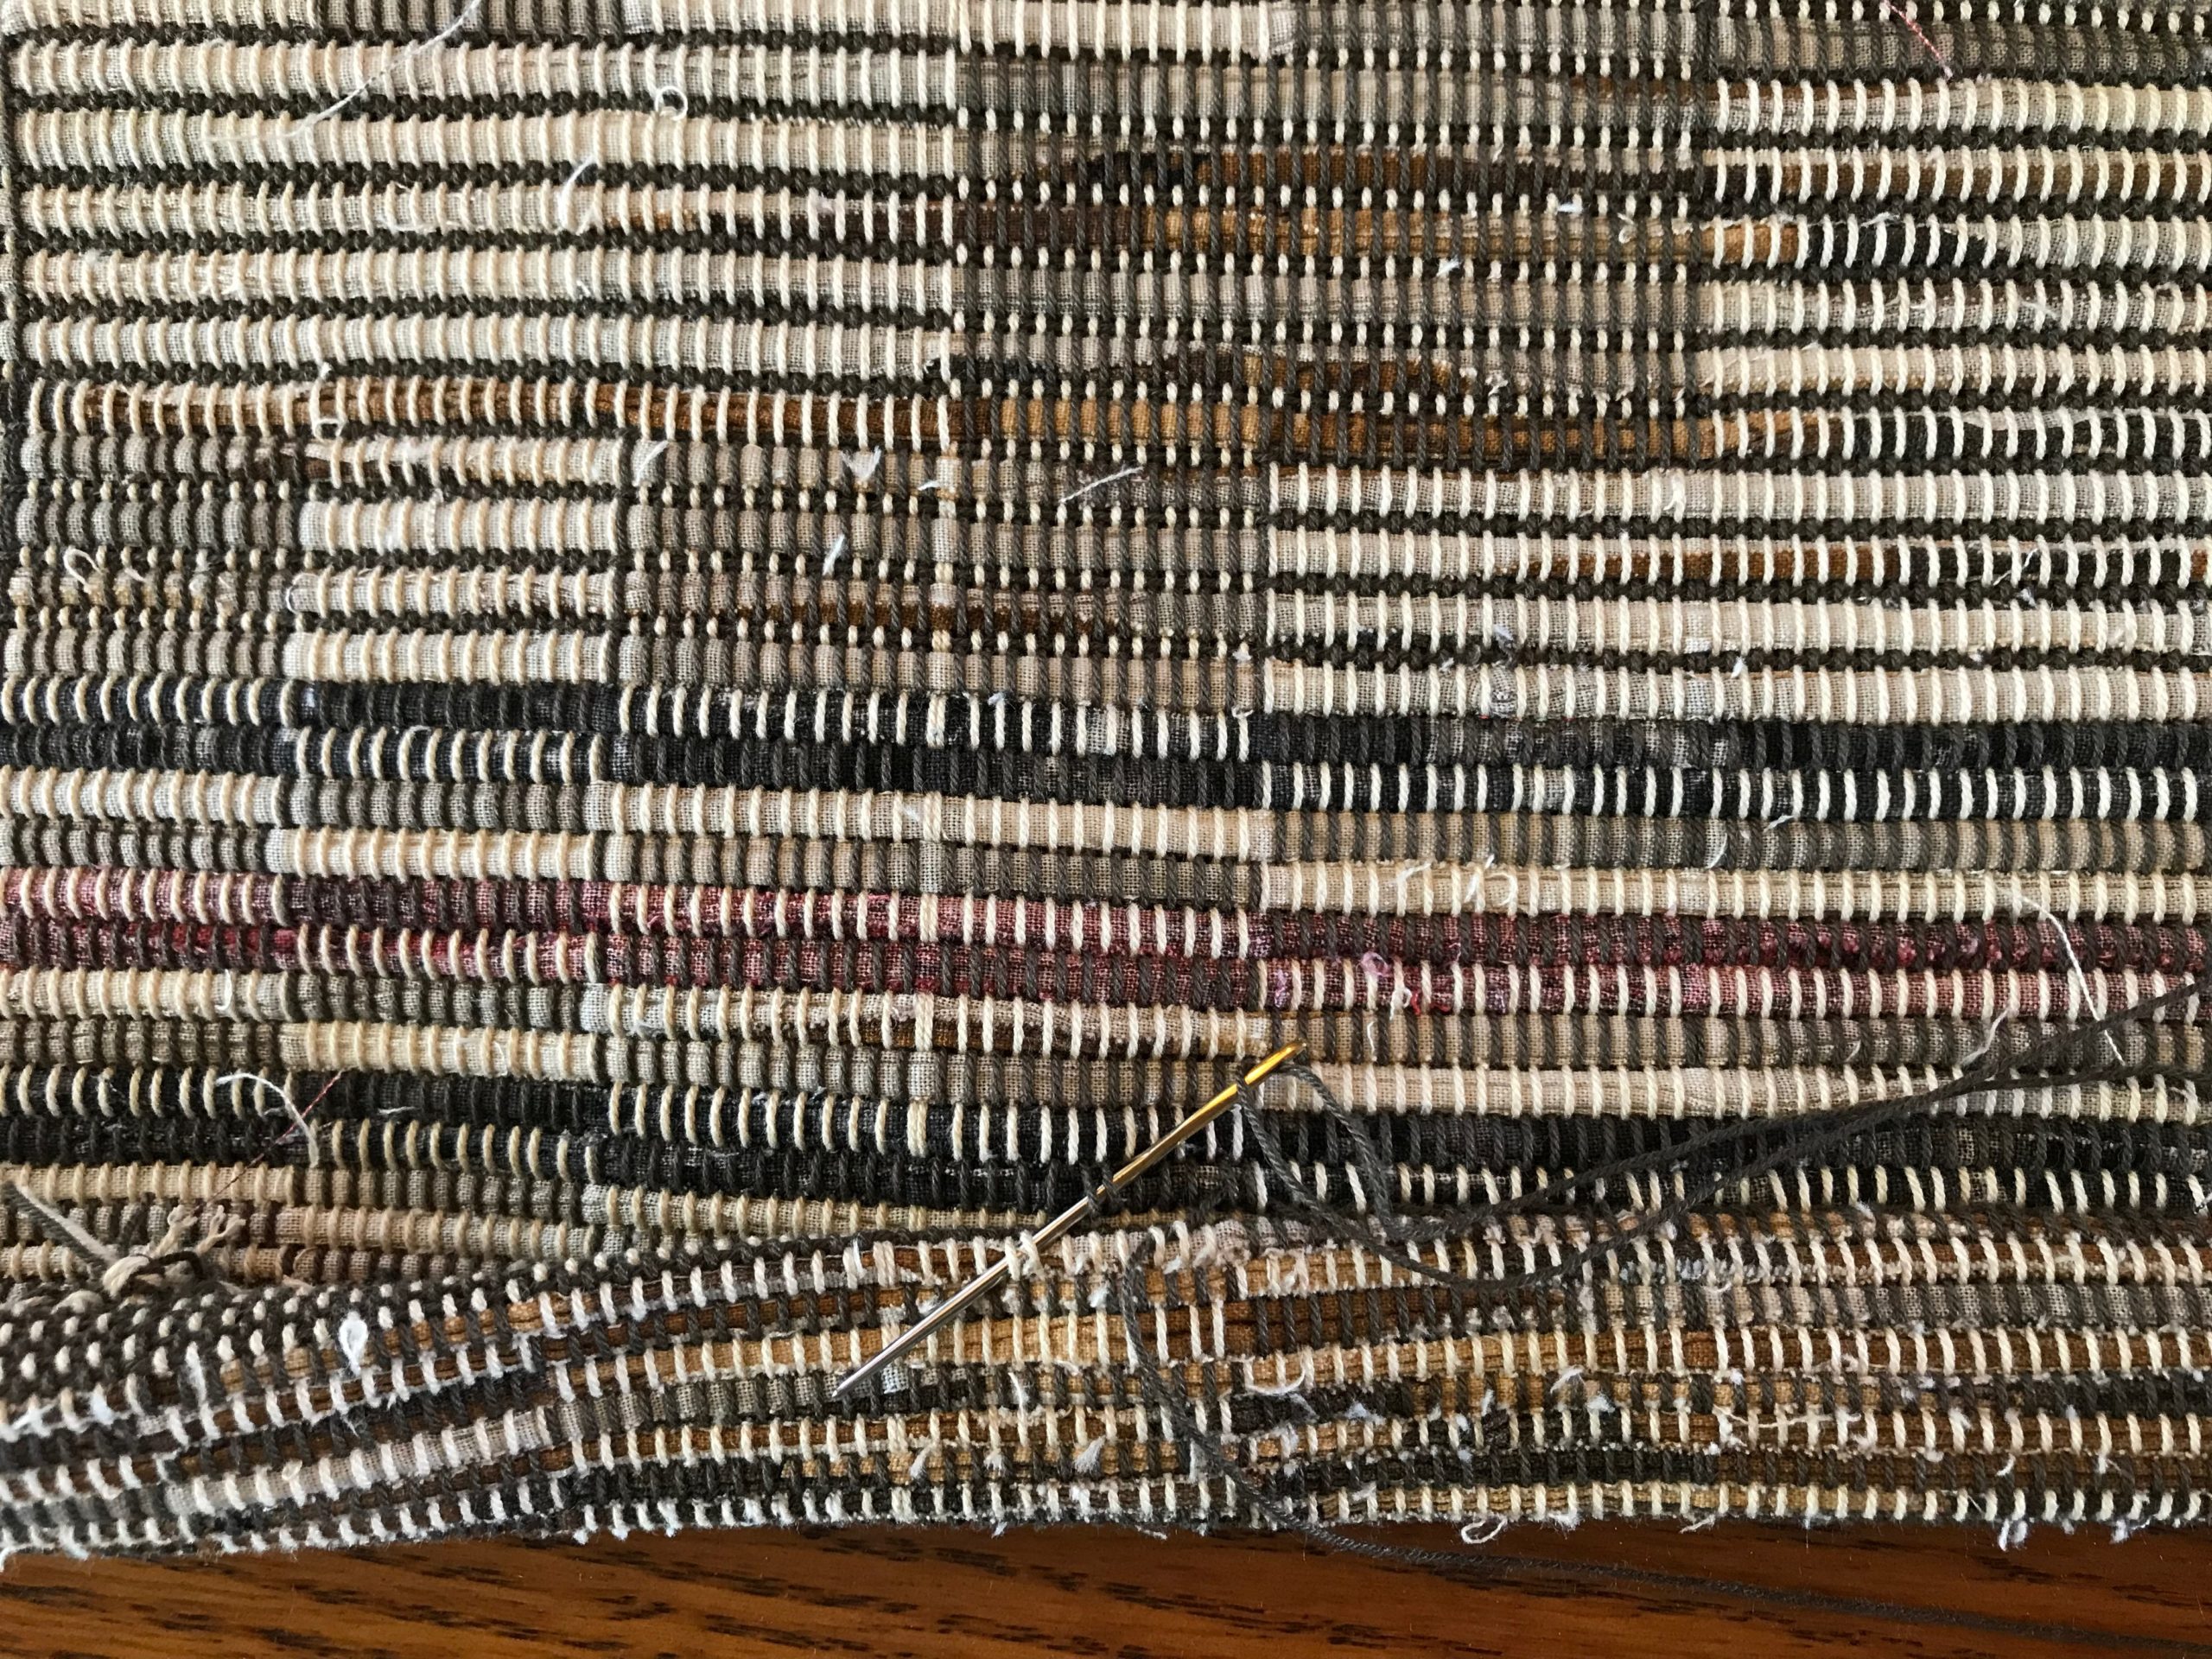
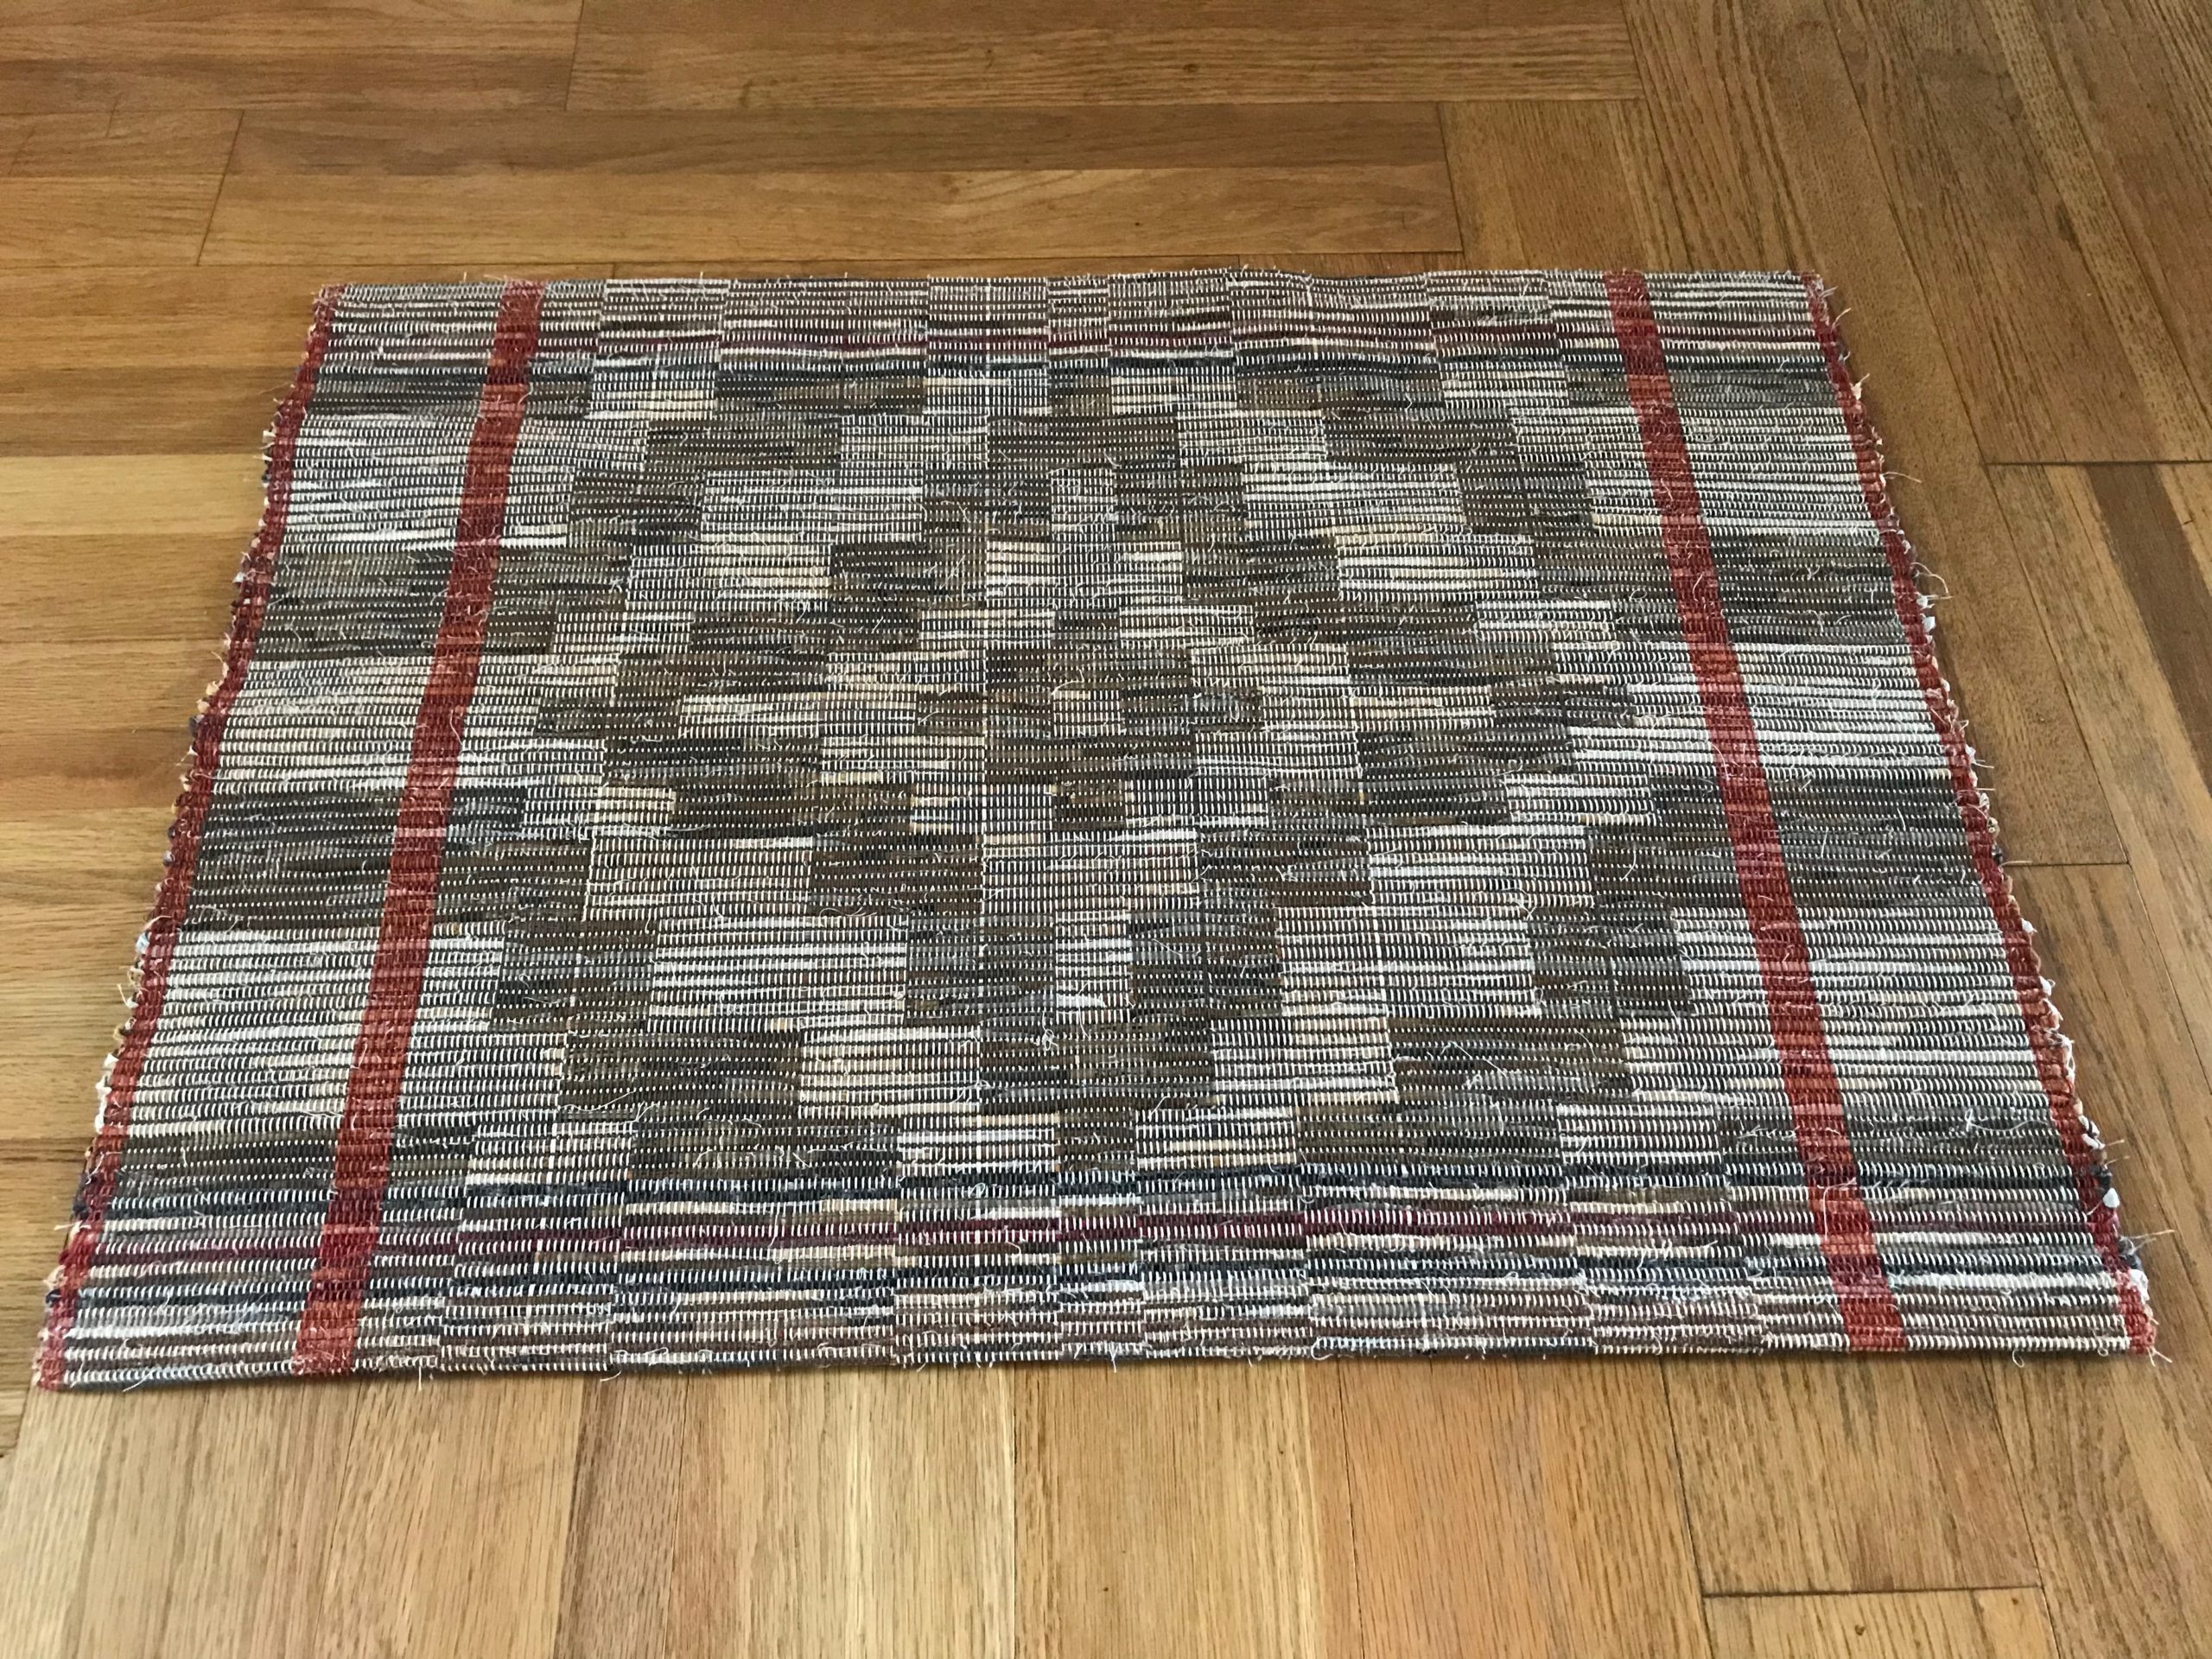
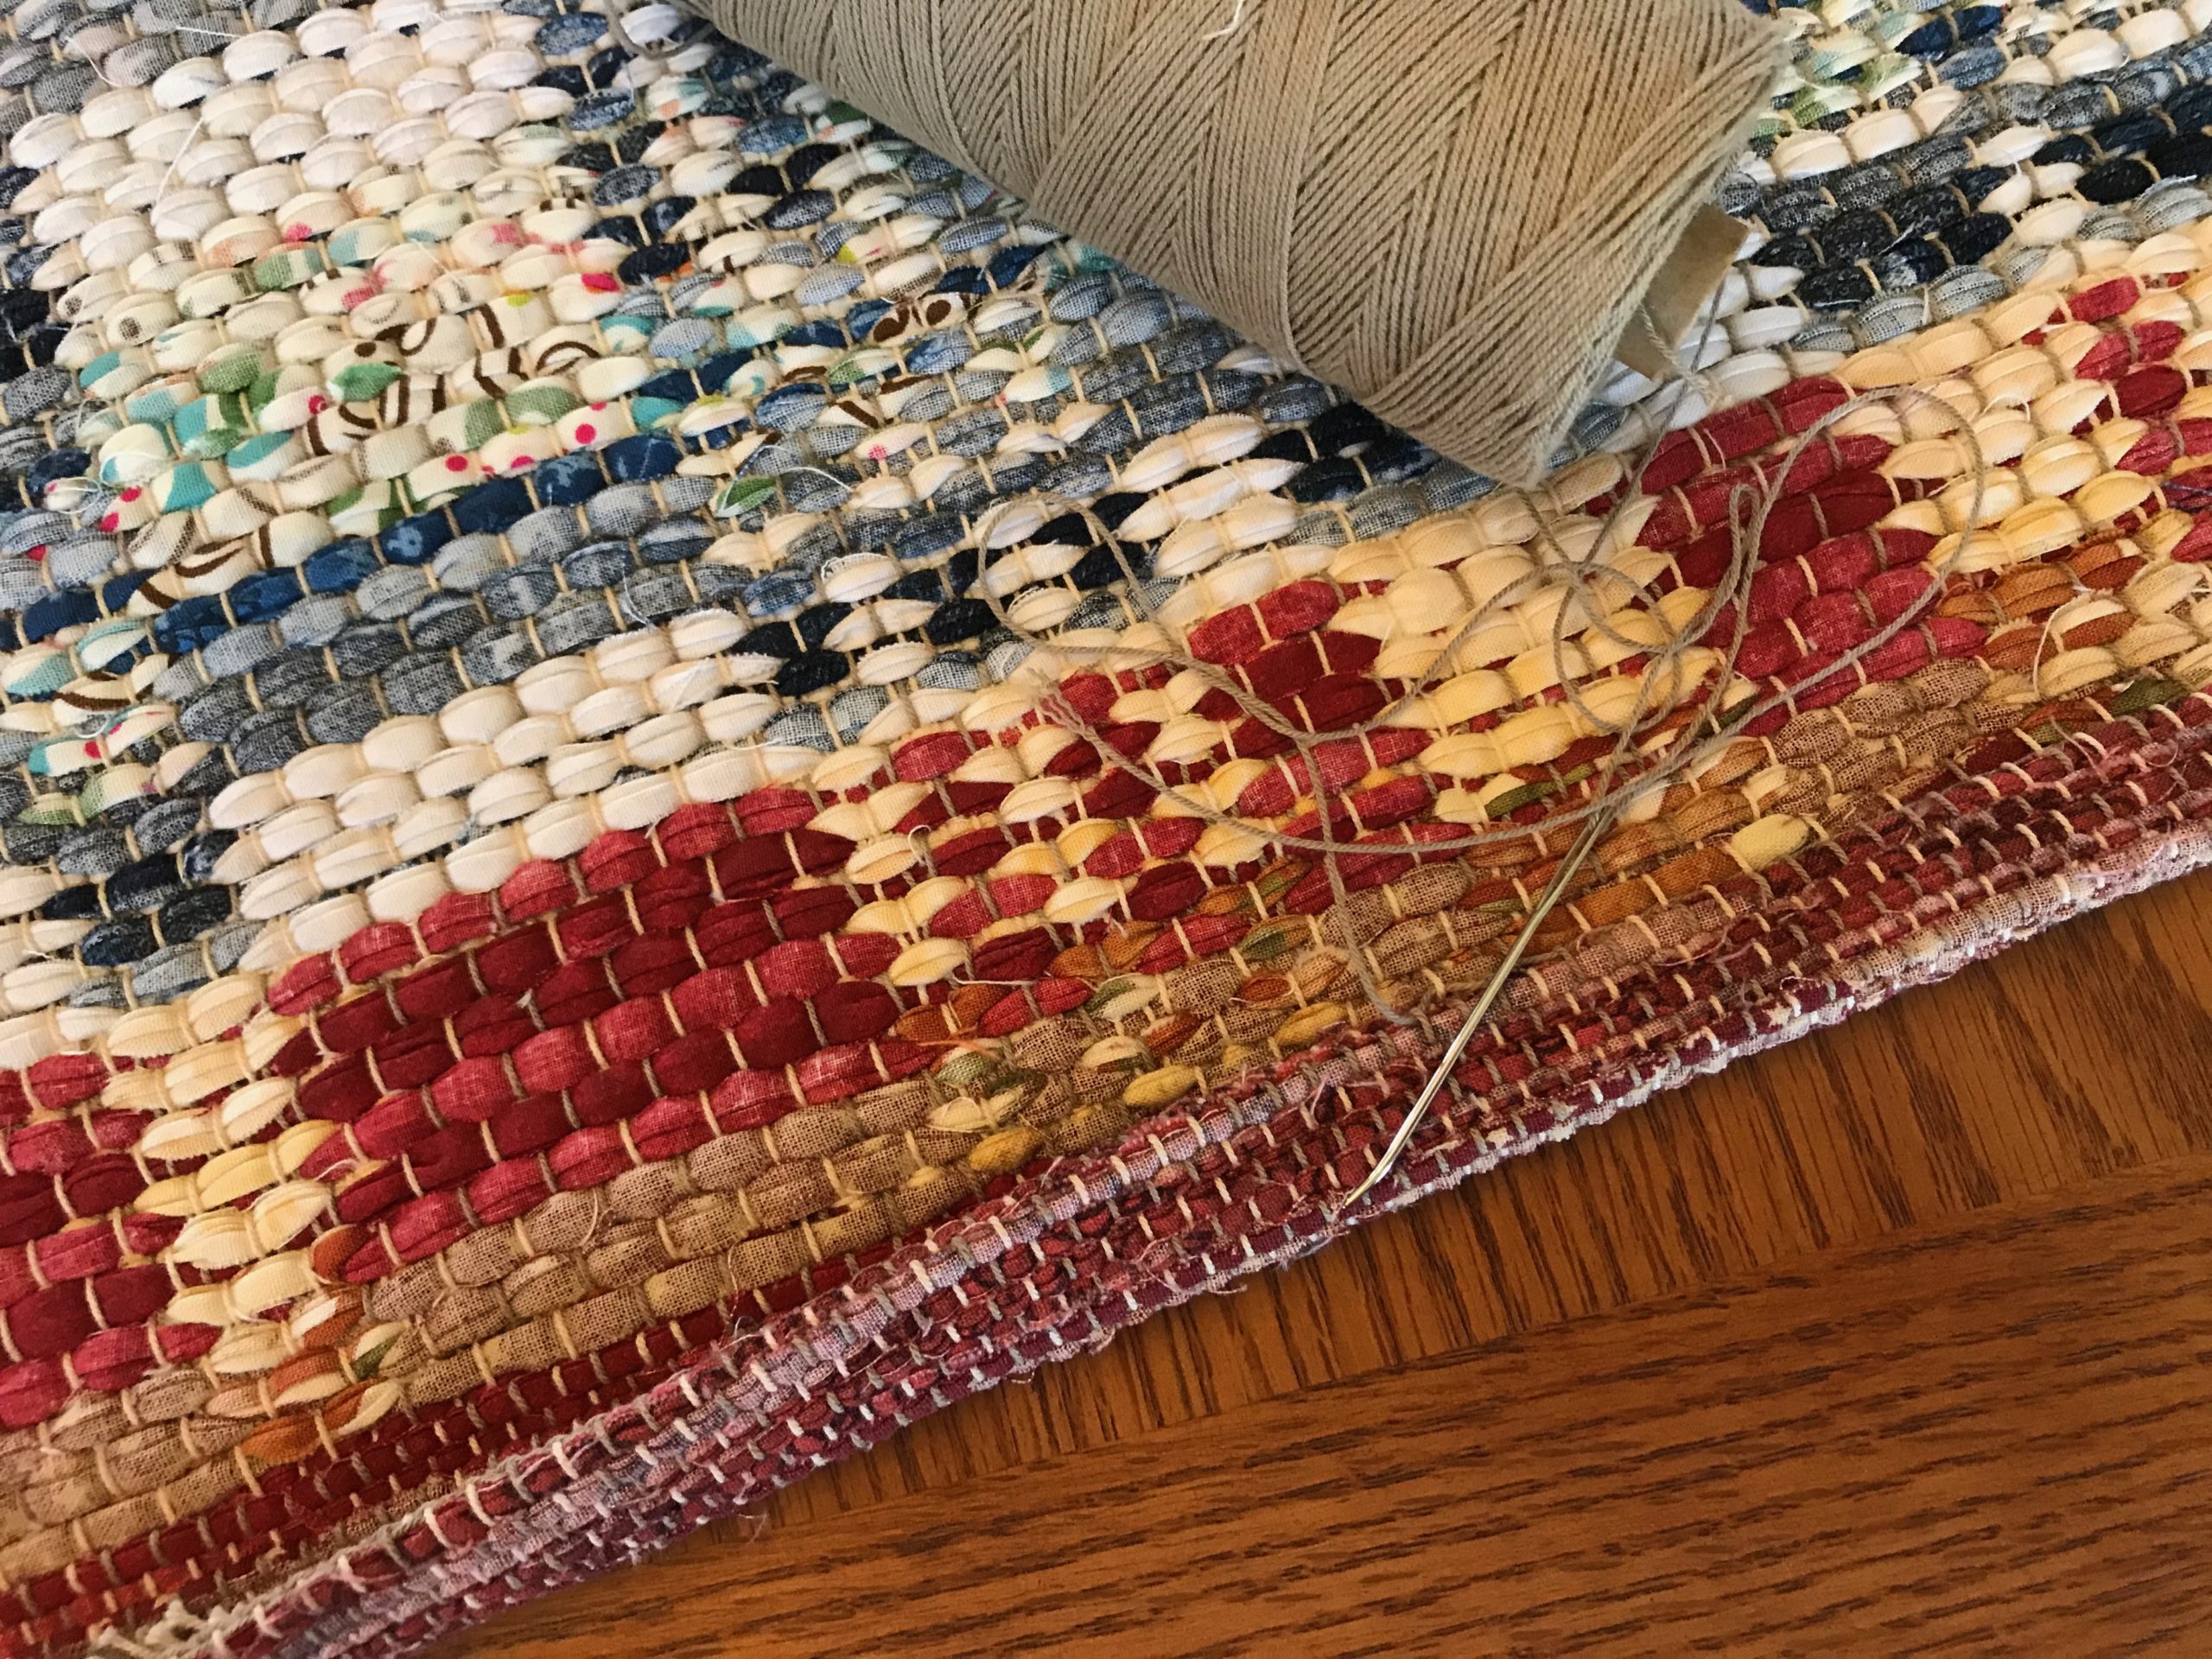
Spaced rep rug warp, right before cutting off the preliminary sample.Rug is ready to be hemmed.Hand hemming the rug with 12/6 cotton warp thread.Finished!
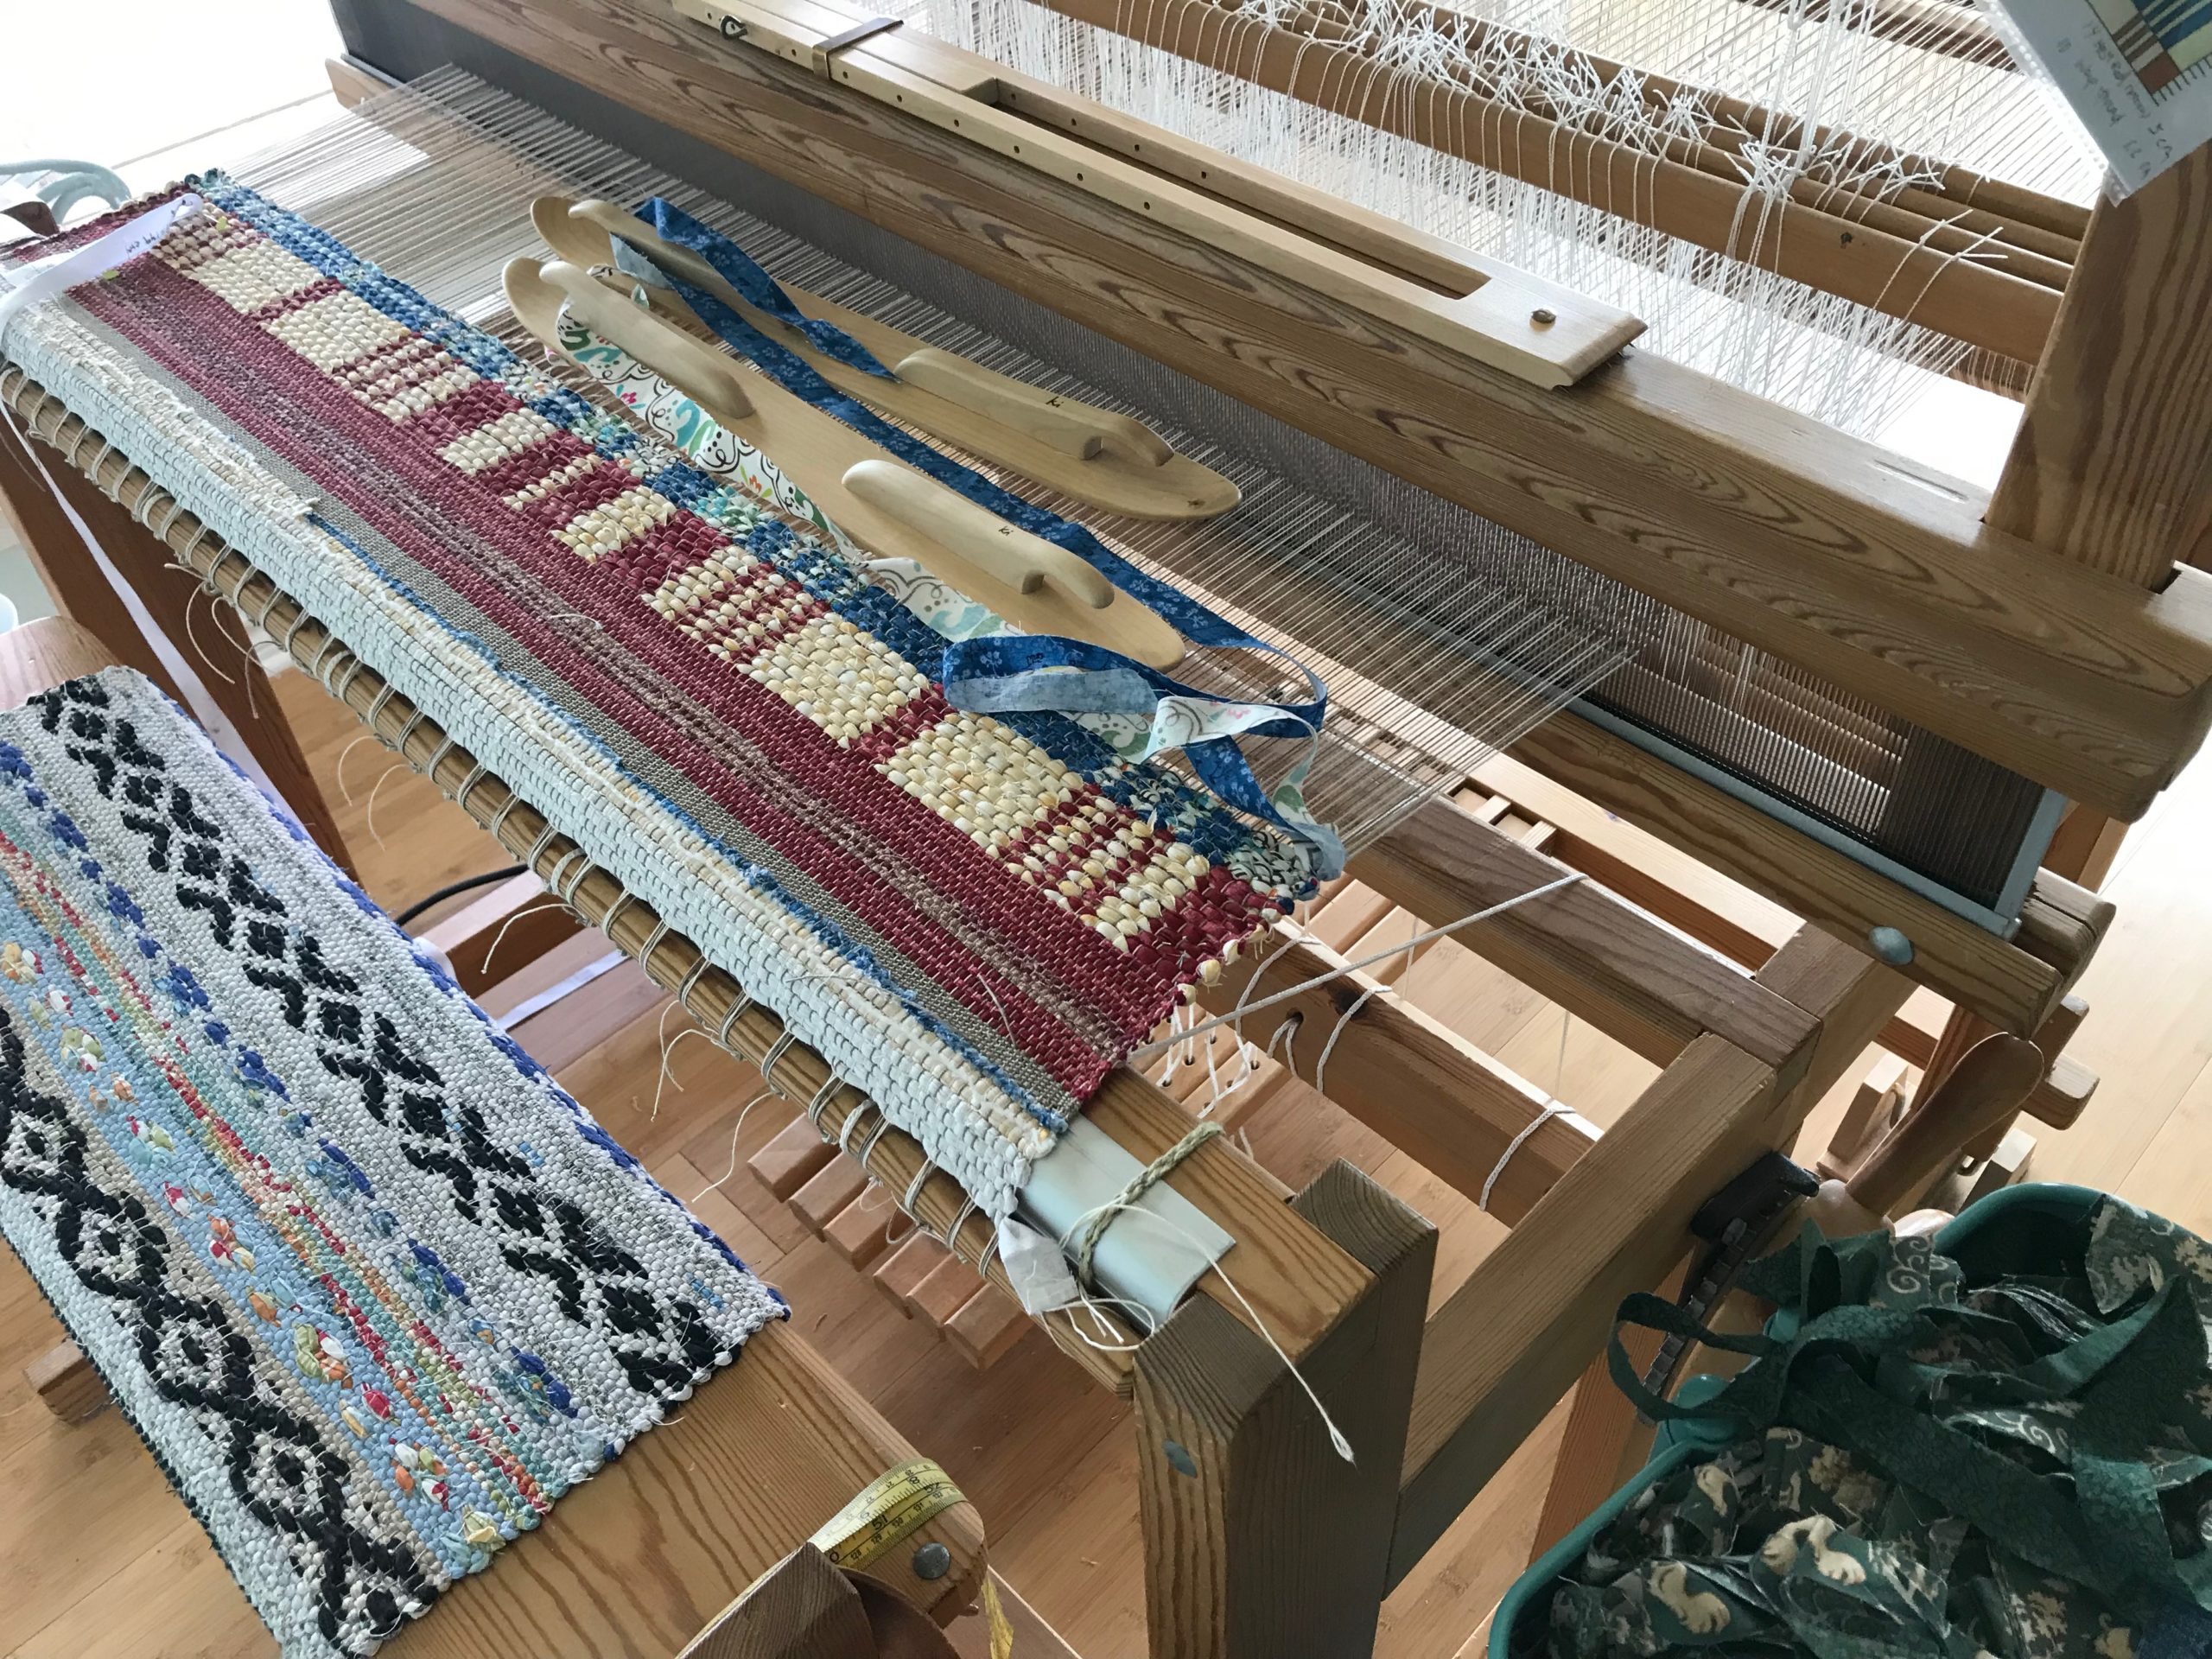
I’m at fresh starting place. After finishing another double binding rag rug, I have tied the rug warp back on. I’m ready for a new variation in this rag rug series of block designs. Rug warp lets me stop and start. Cut off and tie back on. It’s as simple as that.
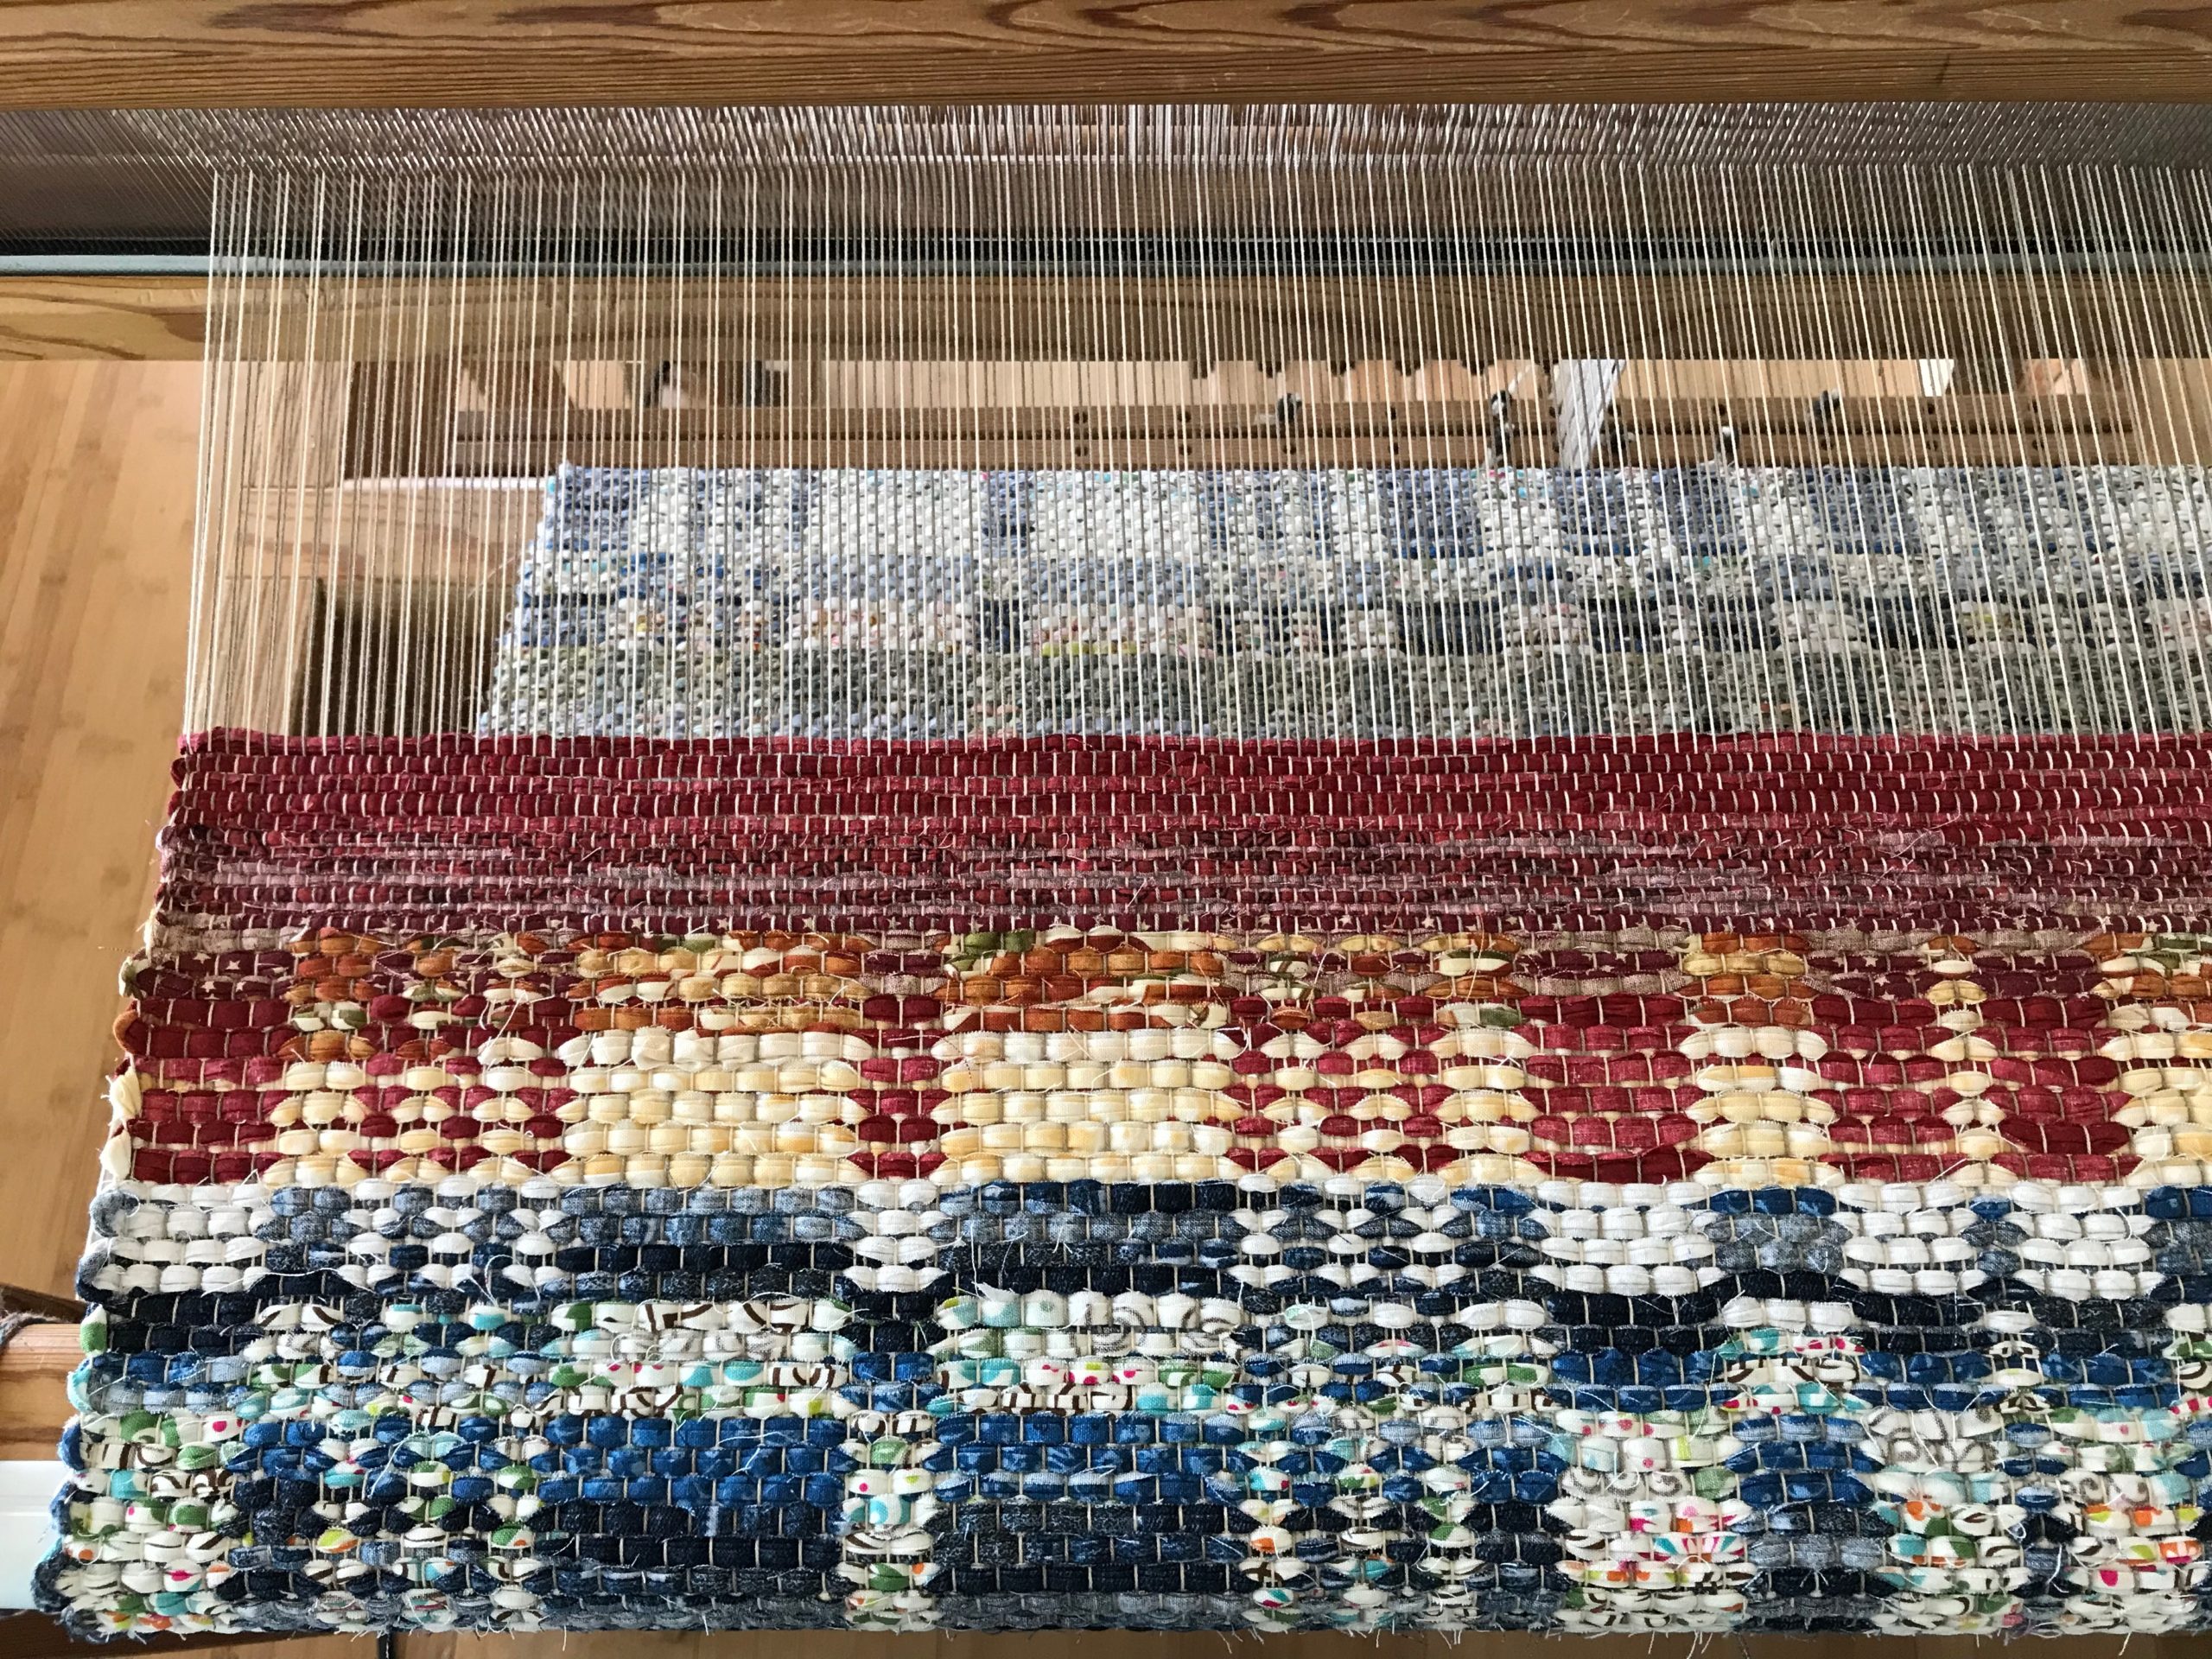
Hem at the end of the second rug is woven in plain weave with narrow fabric strips for weft.Off the loom for a first glance.Warp ends have been tied in knots and trimmed. Hand hemming fini\shes the rug.Second rug of the series.After tying the warp back on, I start the third rug in the series.
May your progress be observable over a span of time.
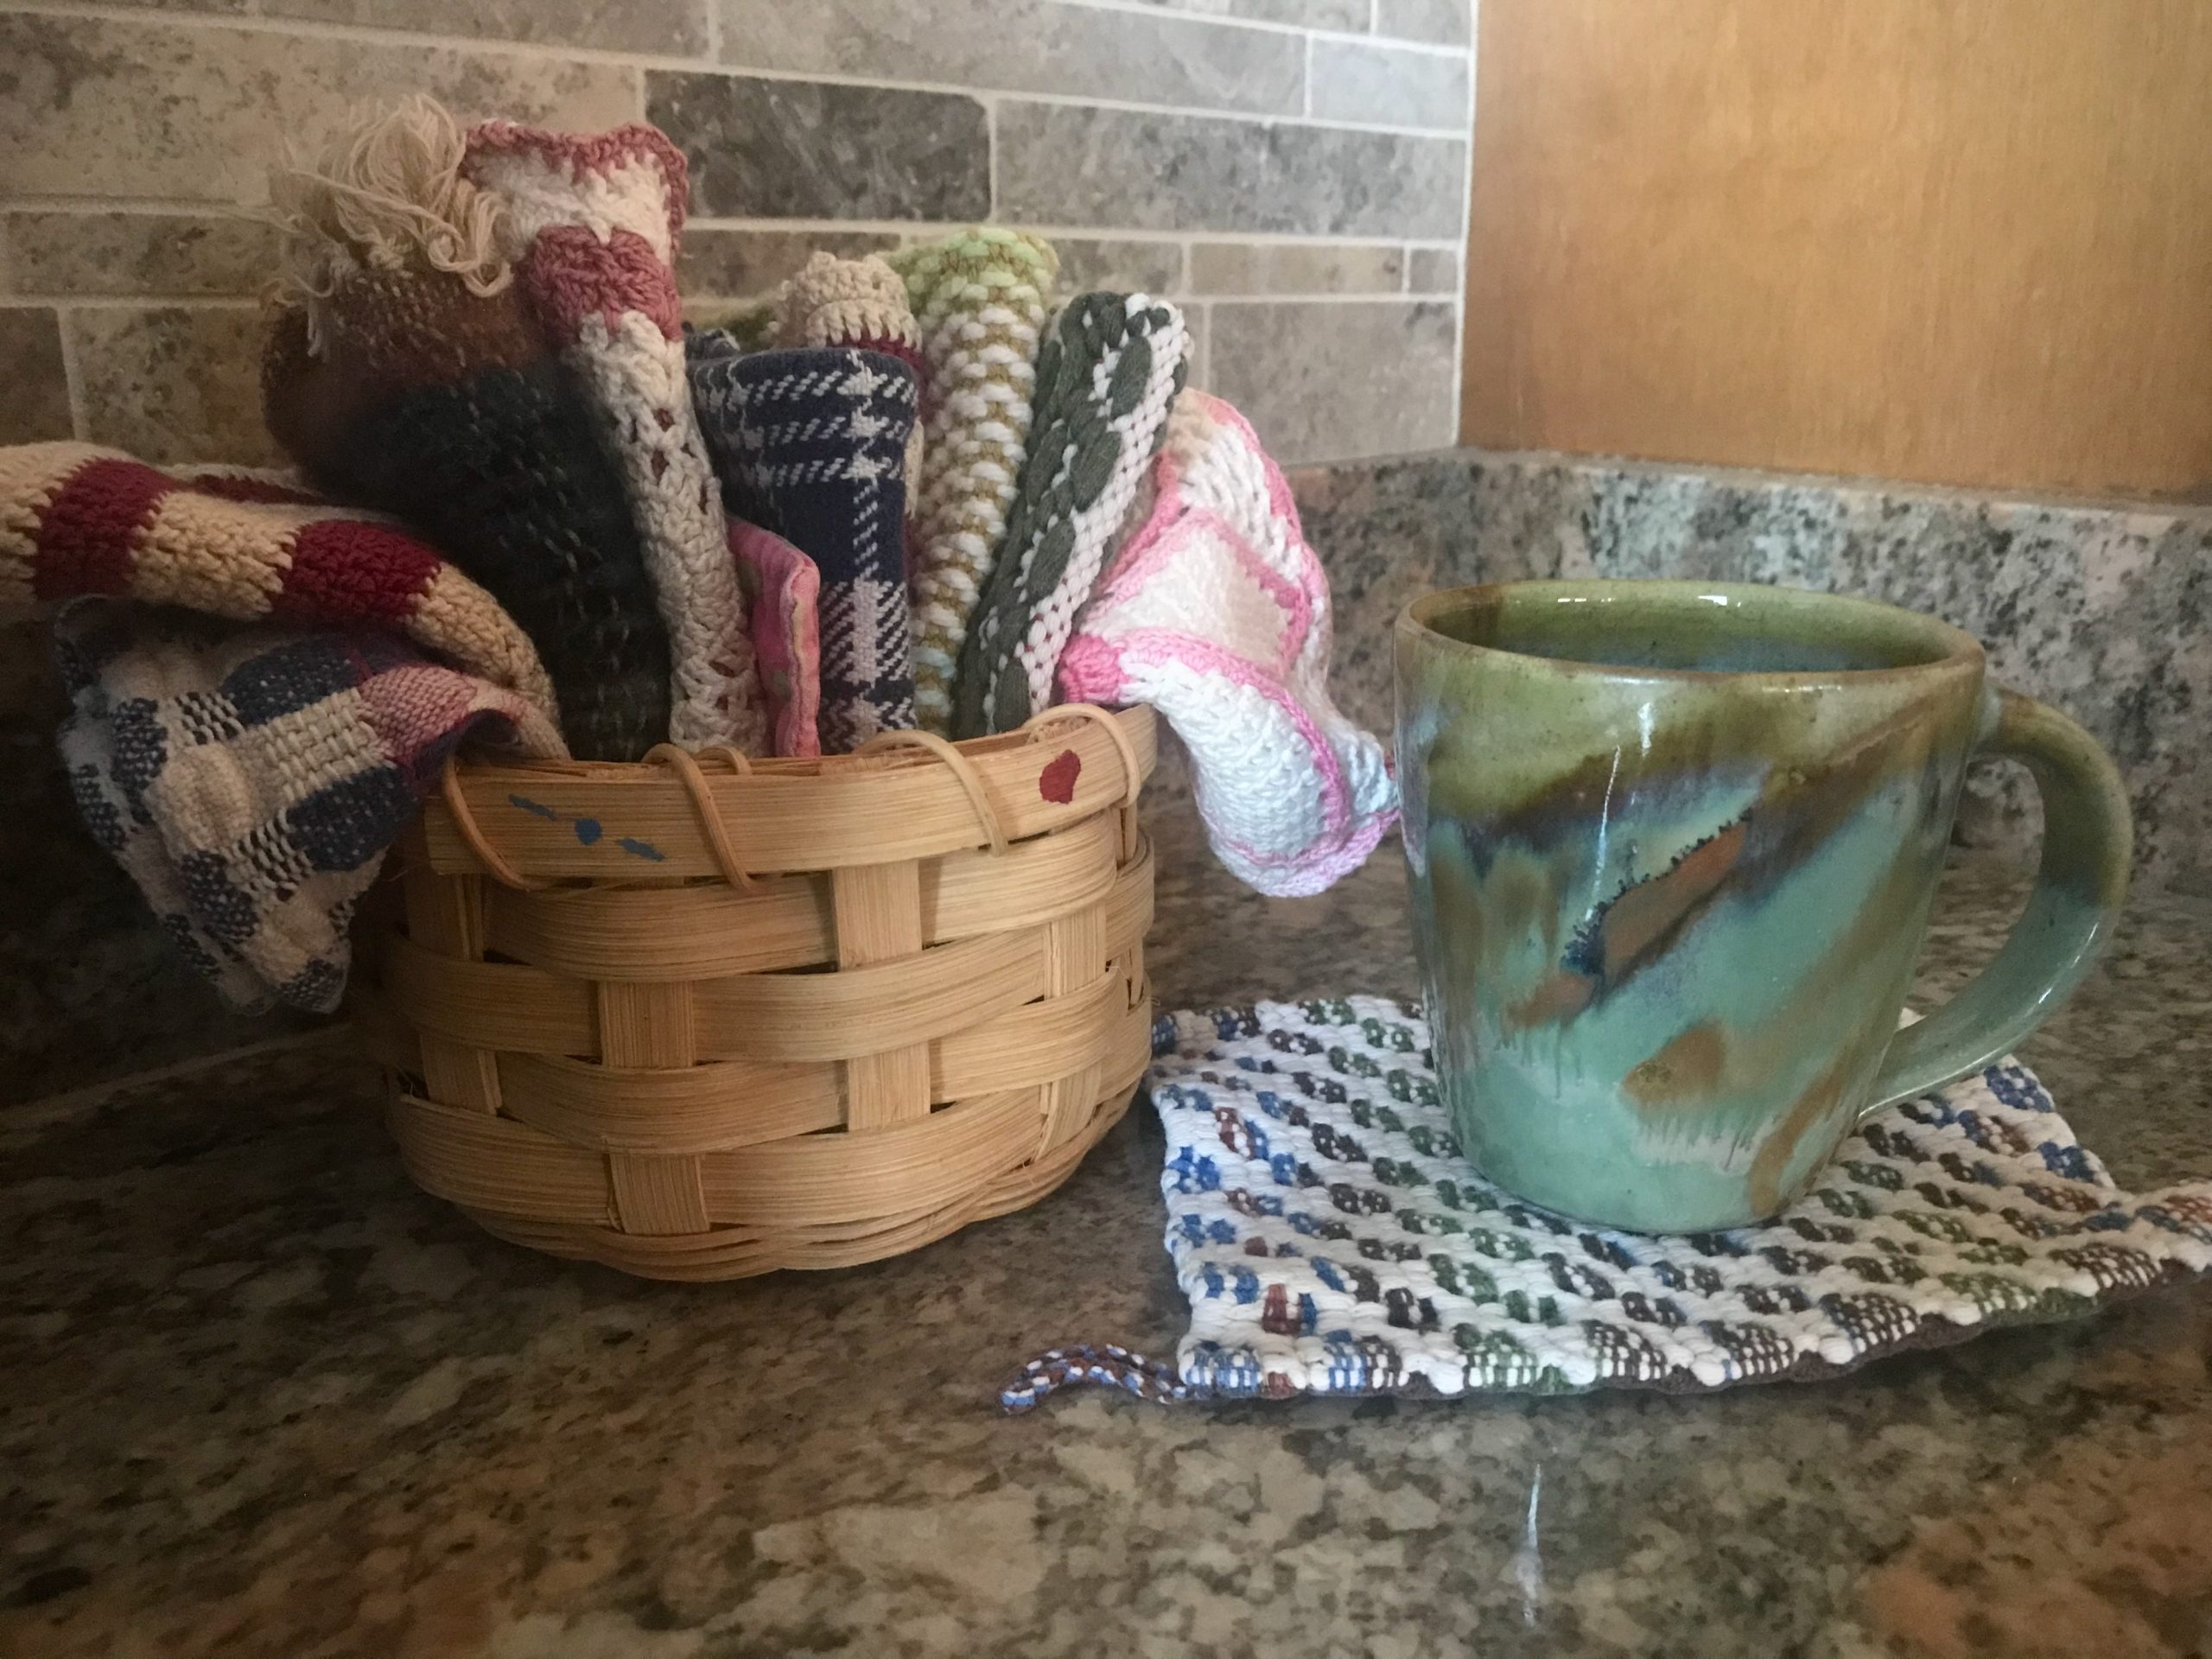
First thing every morning I pour myself a really good cup of coffee. And before I pour that cup, I select a mug rug to put under my coffee mug. A handmade mug rug makes a good cup of coffee that much better. I like having a mug rug under my cup as I walk, to catch any drips. And then, the mug rug protects the table surface, as well. So, in the early morning, with hot coffee and mug rug in hand, I go sit in my favorite chair to read, think, and pray. And I sip my coffee, thankful for a new day.
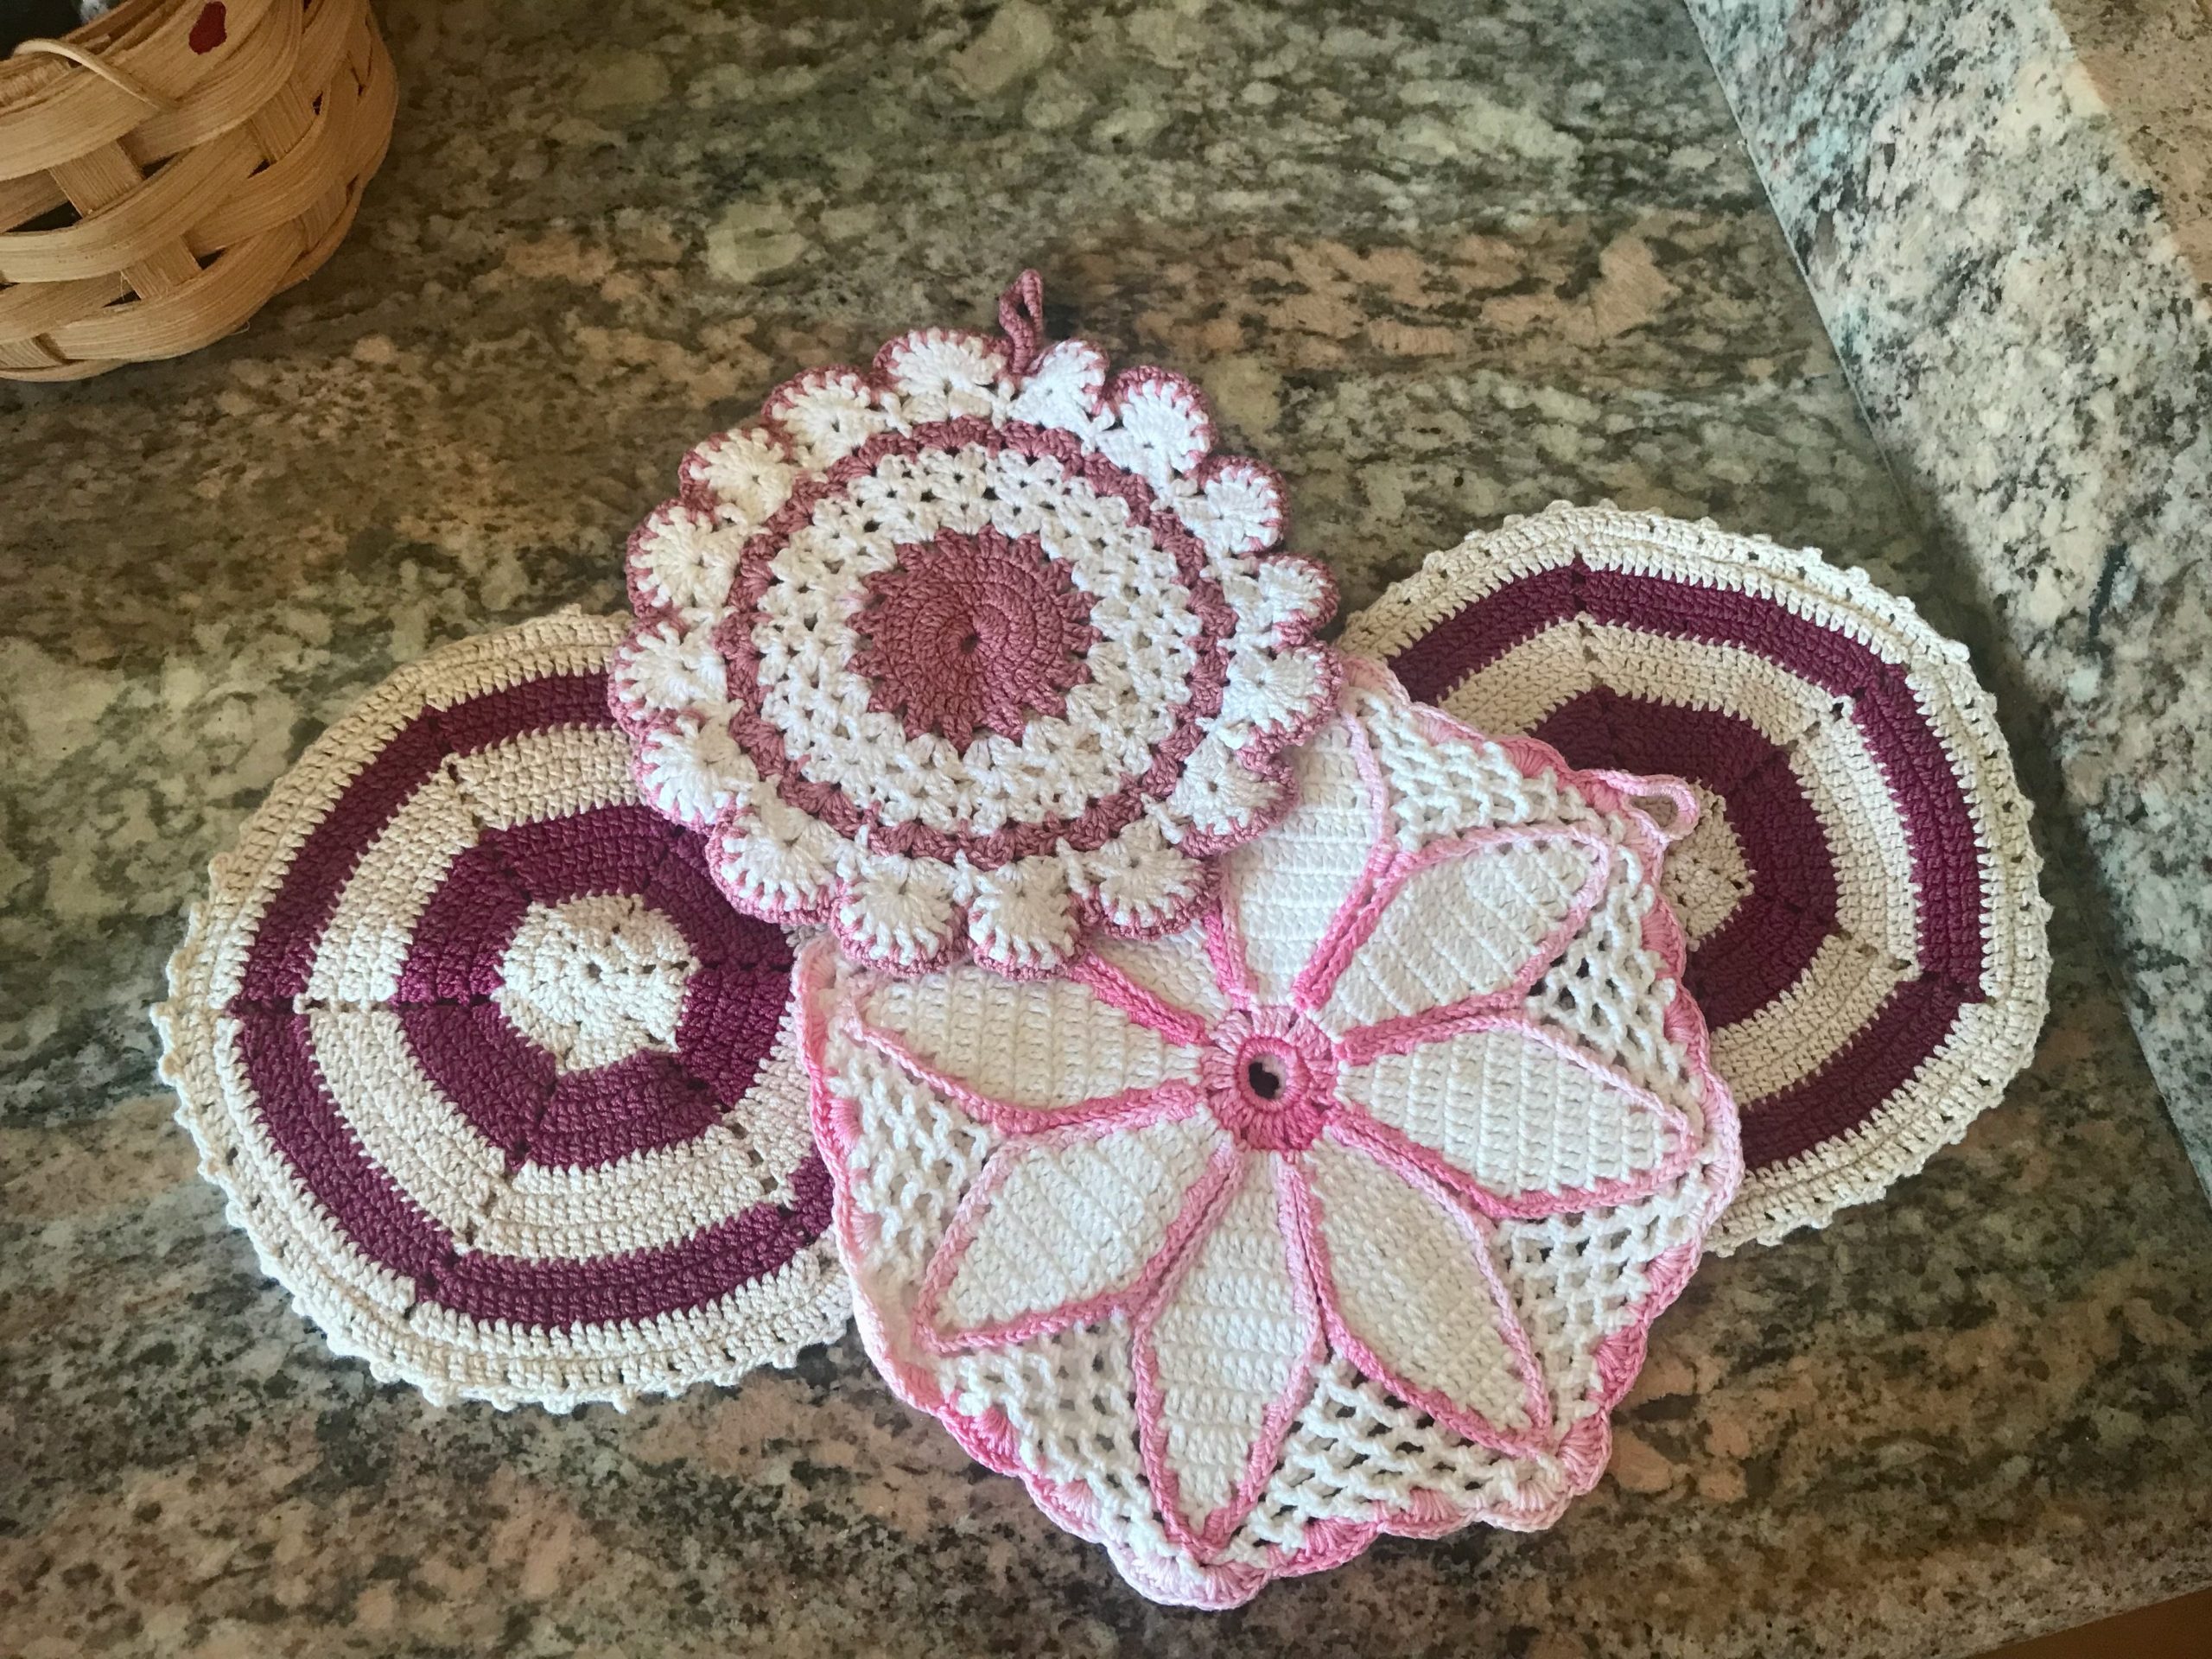
Morning Coffee! I keep a selection of handmade mug rugs to choose from. My sister and I had a short phase of basket weaving in the 1980’s. This is a basket I made at that time.
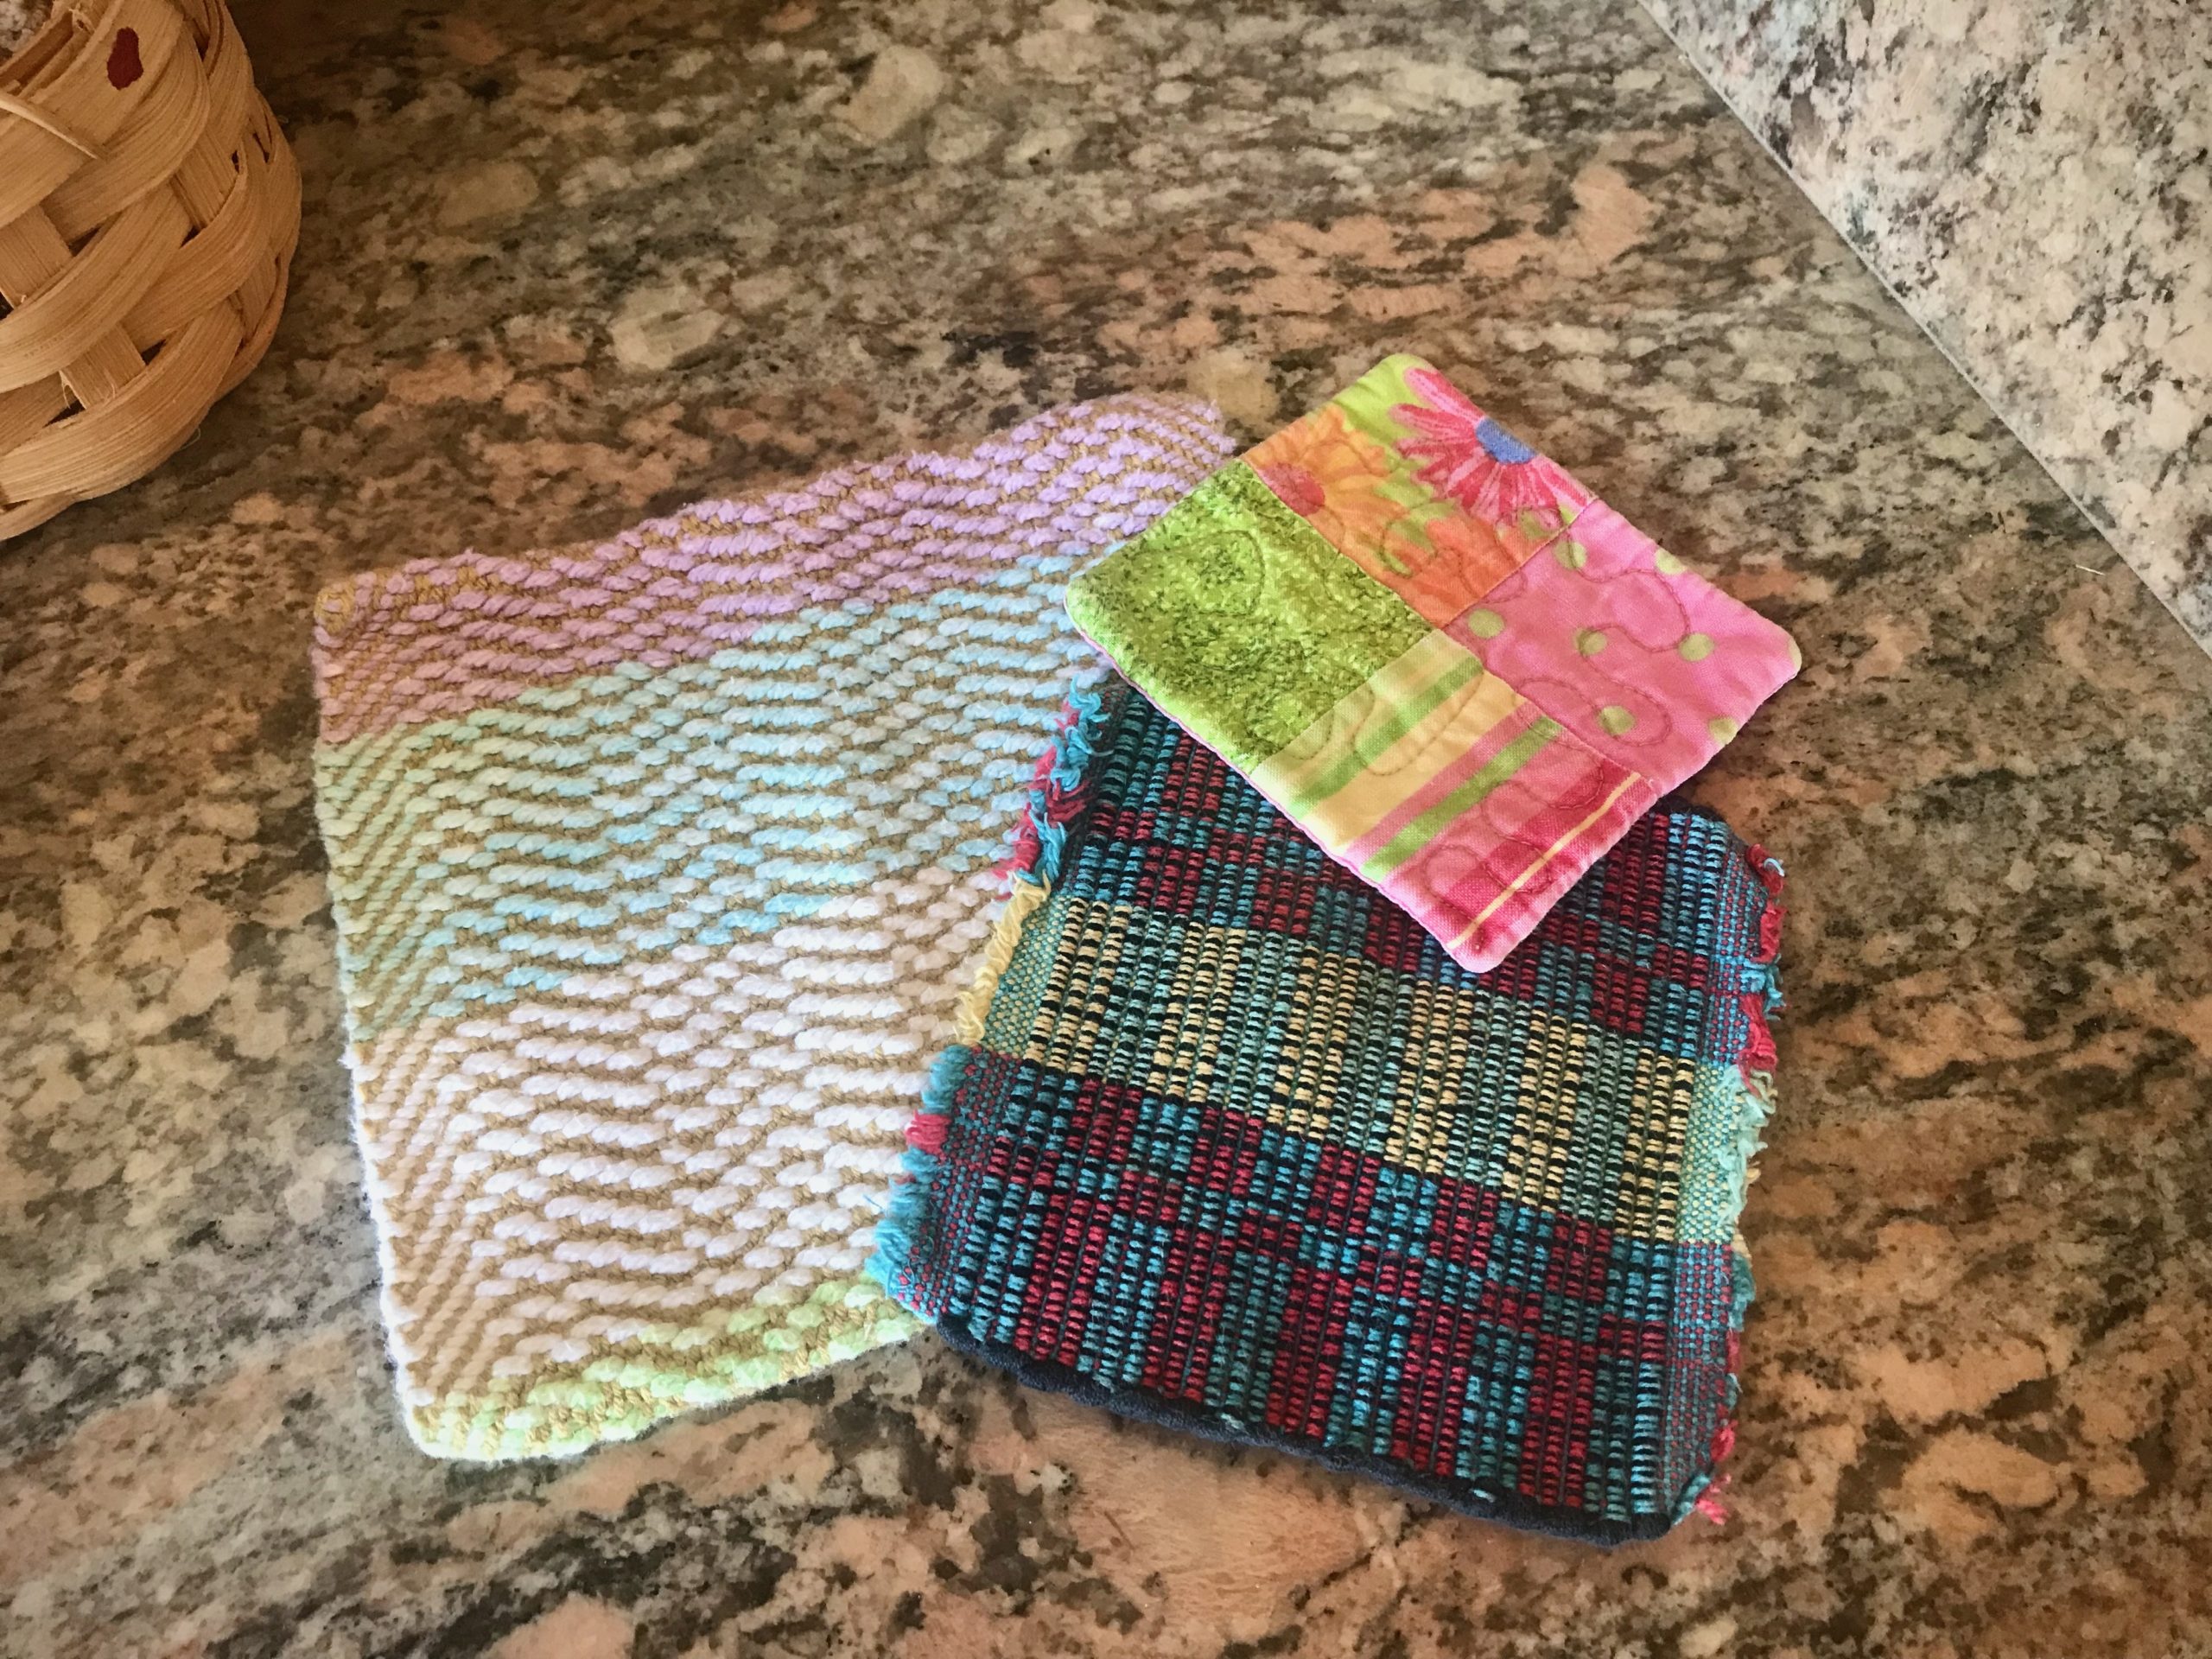
I have made, acquired, and given away too many mug rugs to count. Here are a few favorites that I keep within daily reach.
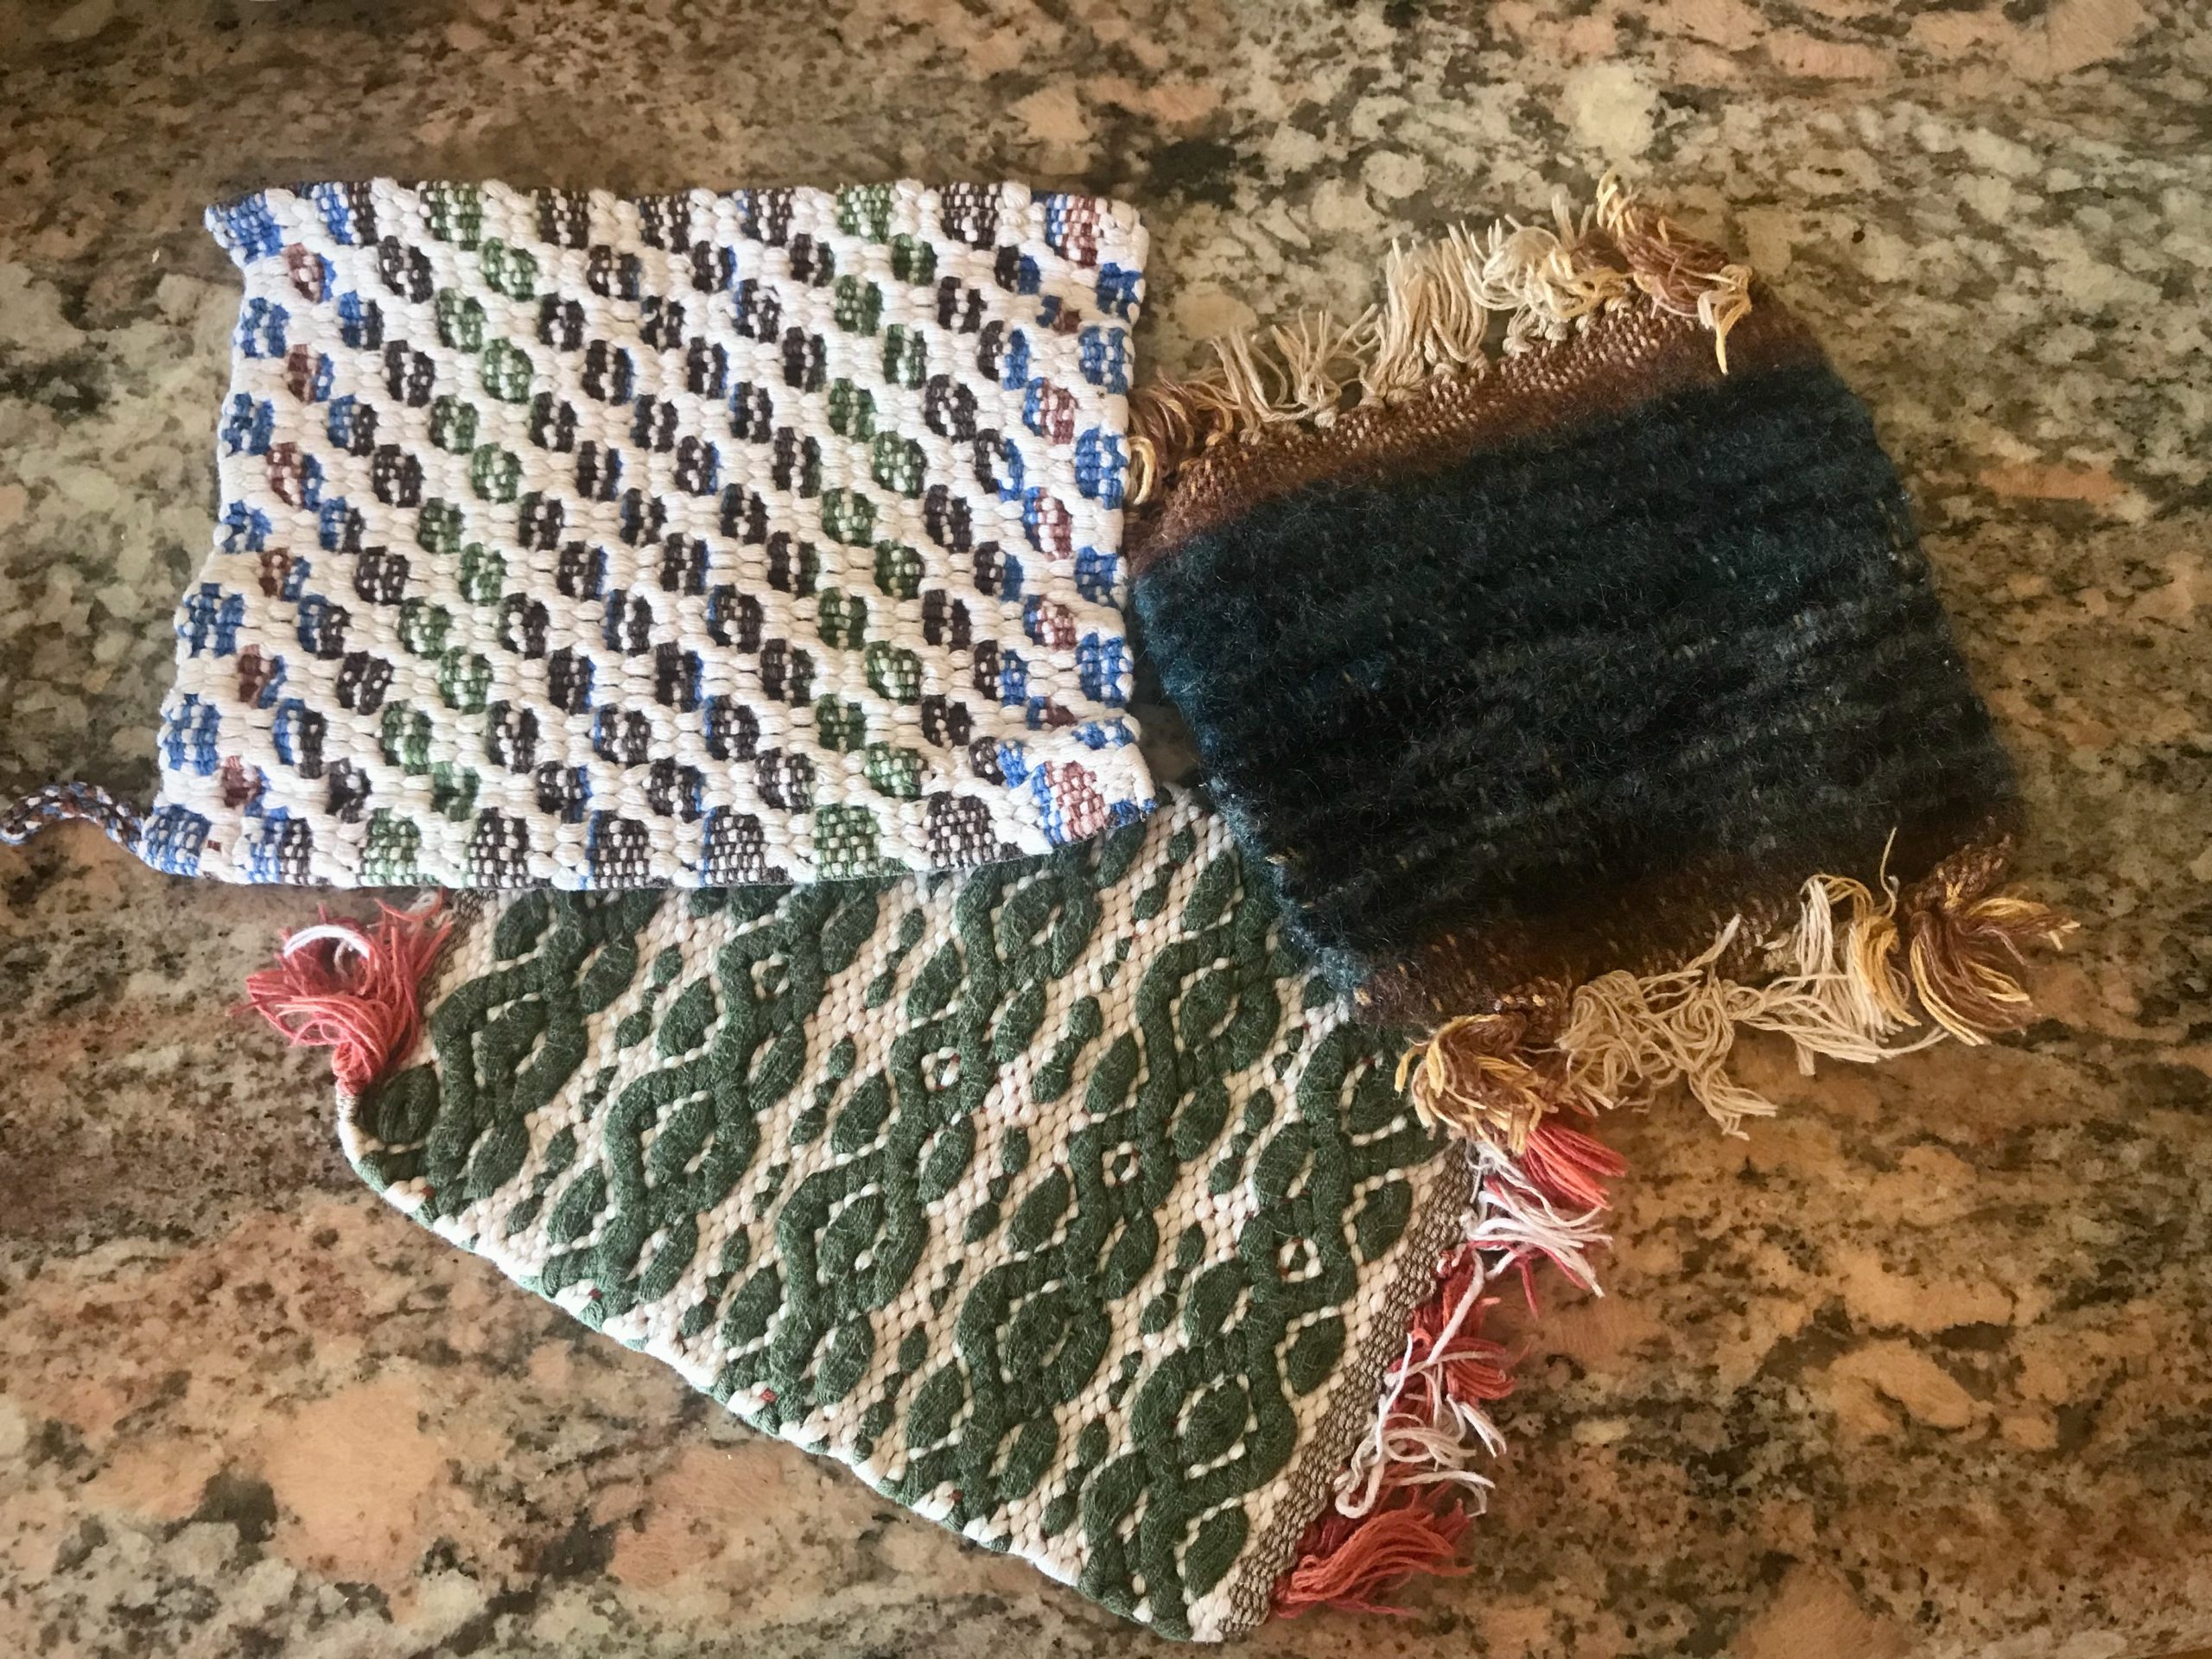
Mug rugs such as these sometimes come in conference goody bags.When my grandmother crocheted these decorative potholders many years ago, I’m sure she never imagined that her granddaughter would put them to use as mug rugs.Blue, brown, and green M’s and O’s. Dark wool butterflies left from tapestry weaving, woven on the Emilia Rigid Heddle loom. Green stringyarn for a rosepath mini rug.From a recent page in my sketchbook. A portion of this sketch is the basis for my next tapestry cartoon.
May your handiwork show up as embellishments for daily living.