Tapestry Cartoon – Zoom In

For this second butterfly sample I am zooming way in, to expose more detail of the delicate stained-glass wing. Transforming the photograph into a weaveable cartoon is a fascinating task in itself. In real life, when do we ever get this close a look at the intricacy of the fluttering wing?
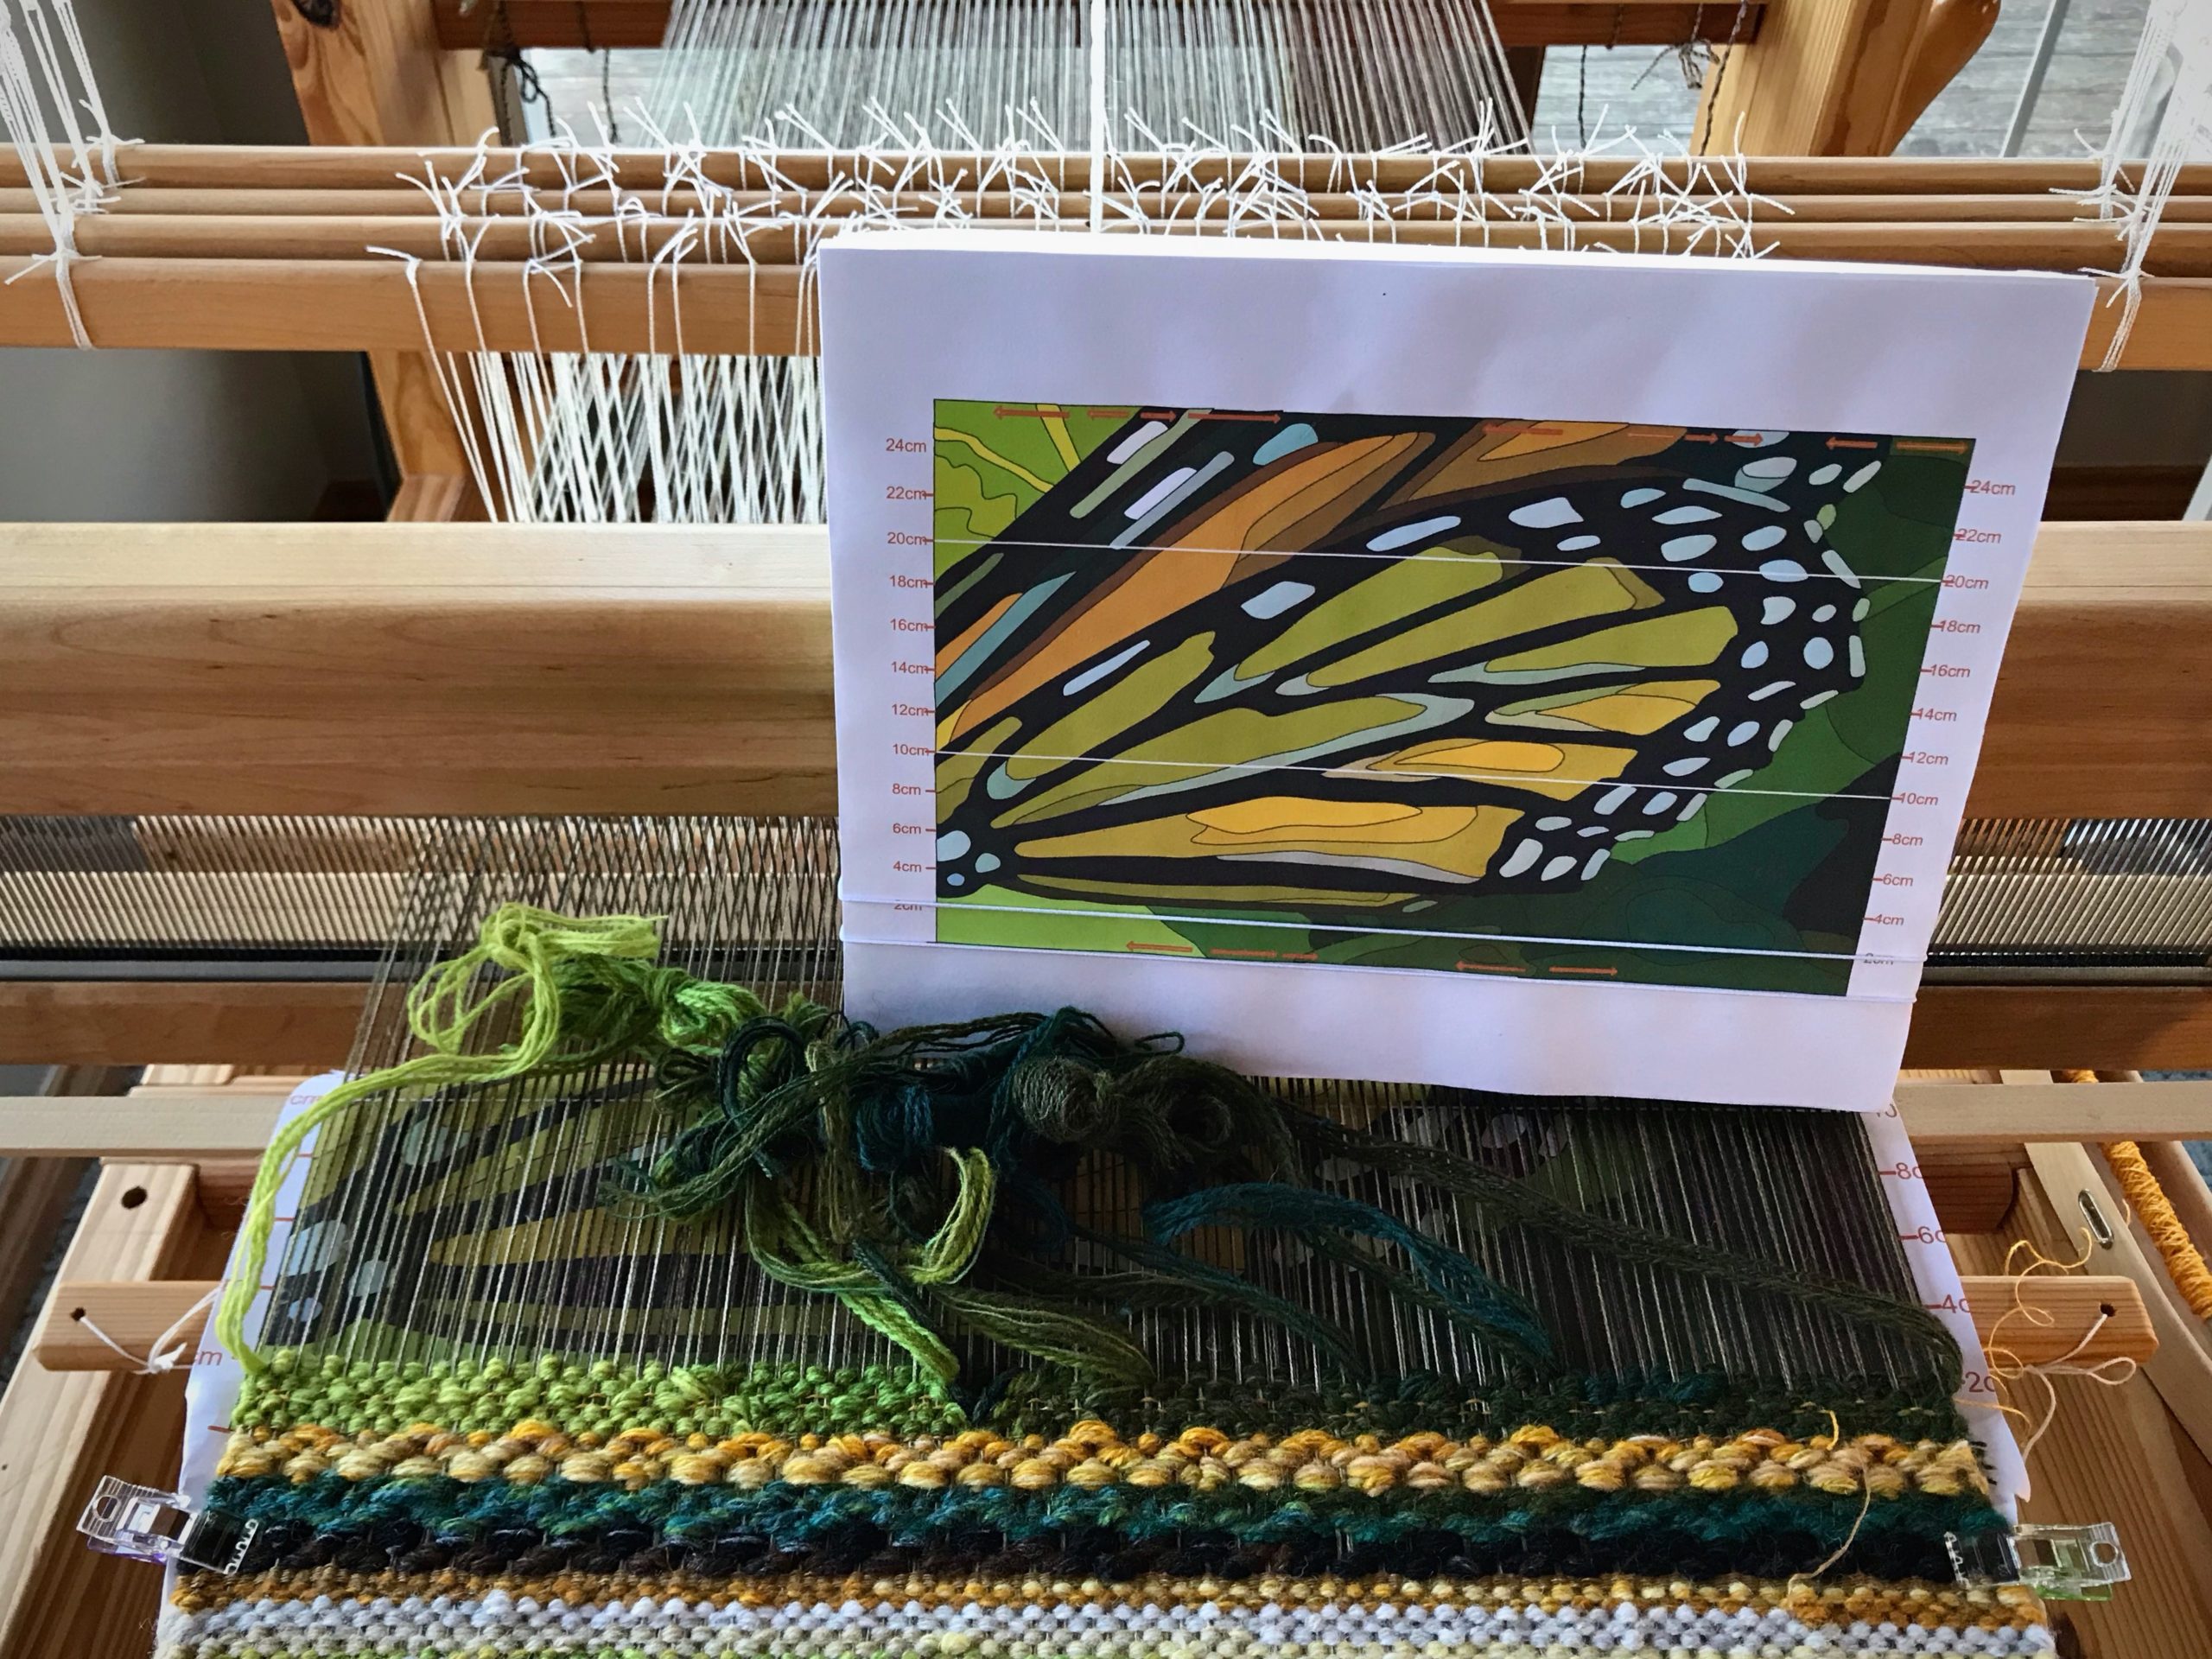
Butterfly wing detail for a tapestry.
Color rows of black, green, yellow, and gold wool weft are woven in a rosepath pattern to frame the beginning of the tapestry. My “go-by” is a smaller replica of the cartoon that is under the warp.

The primary reason for these butterfly samples is for me to gain a better understanding of how the details of the cartoon image relate to the sett of the warp on the loom. My goal is to thoroughly explore this style of tapestry. So, I aim to become adept in creating well-suited cartoons.
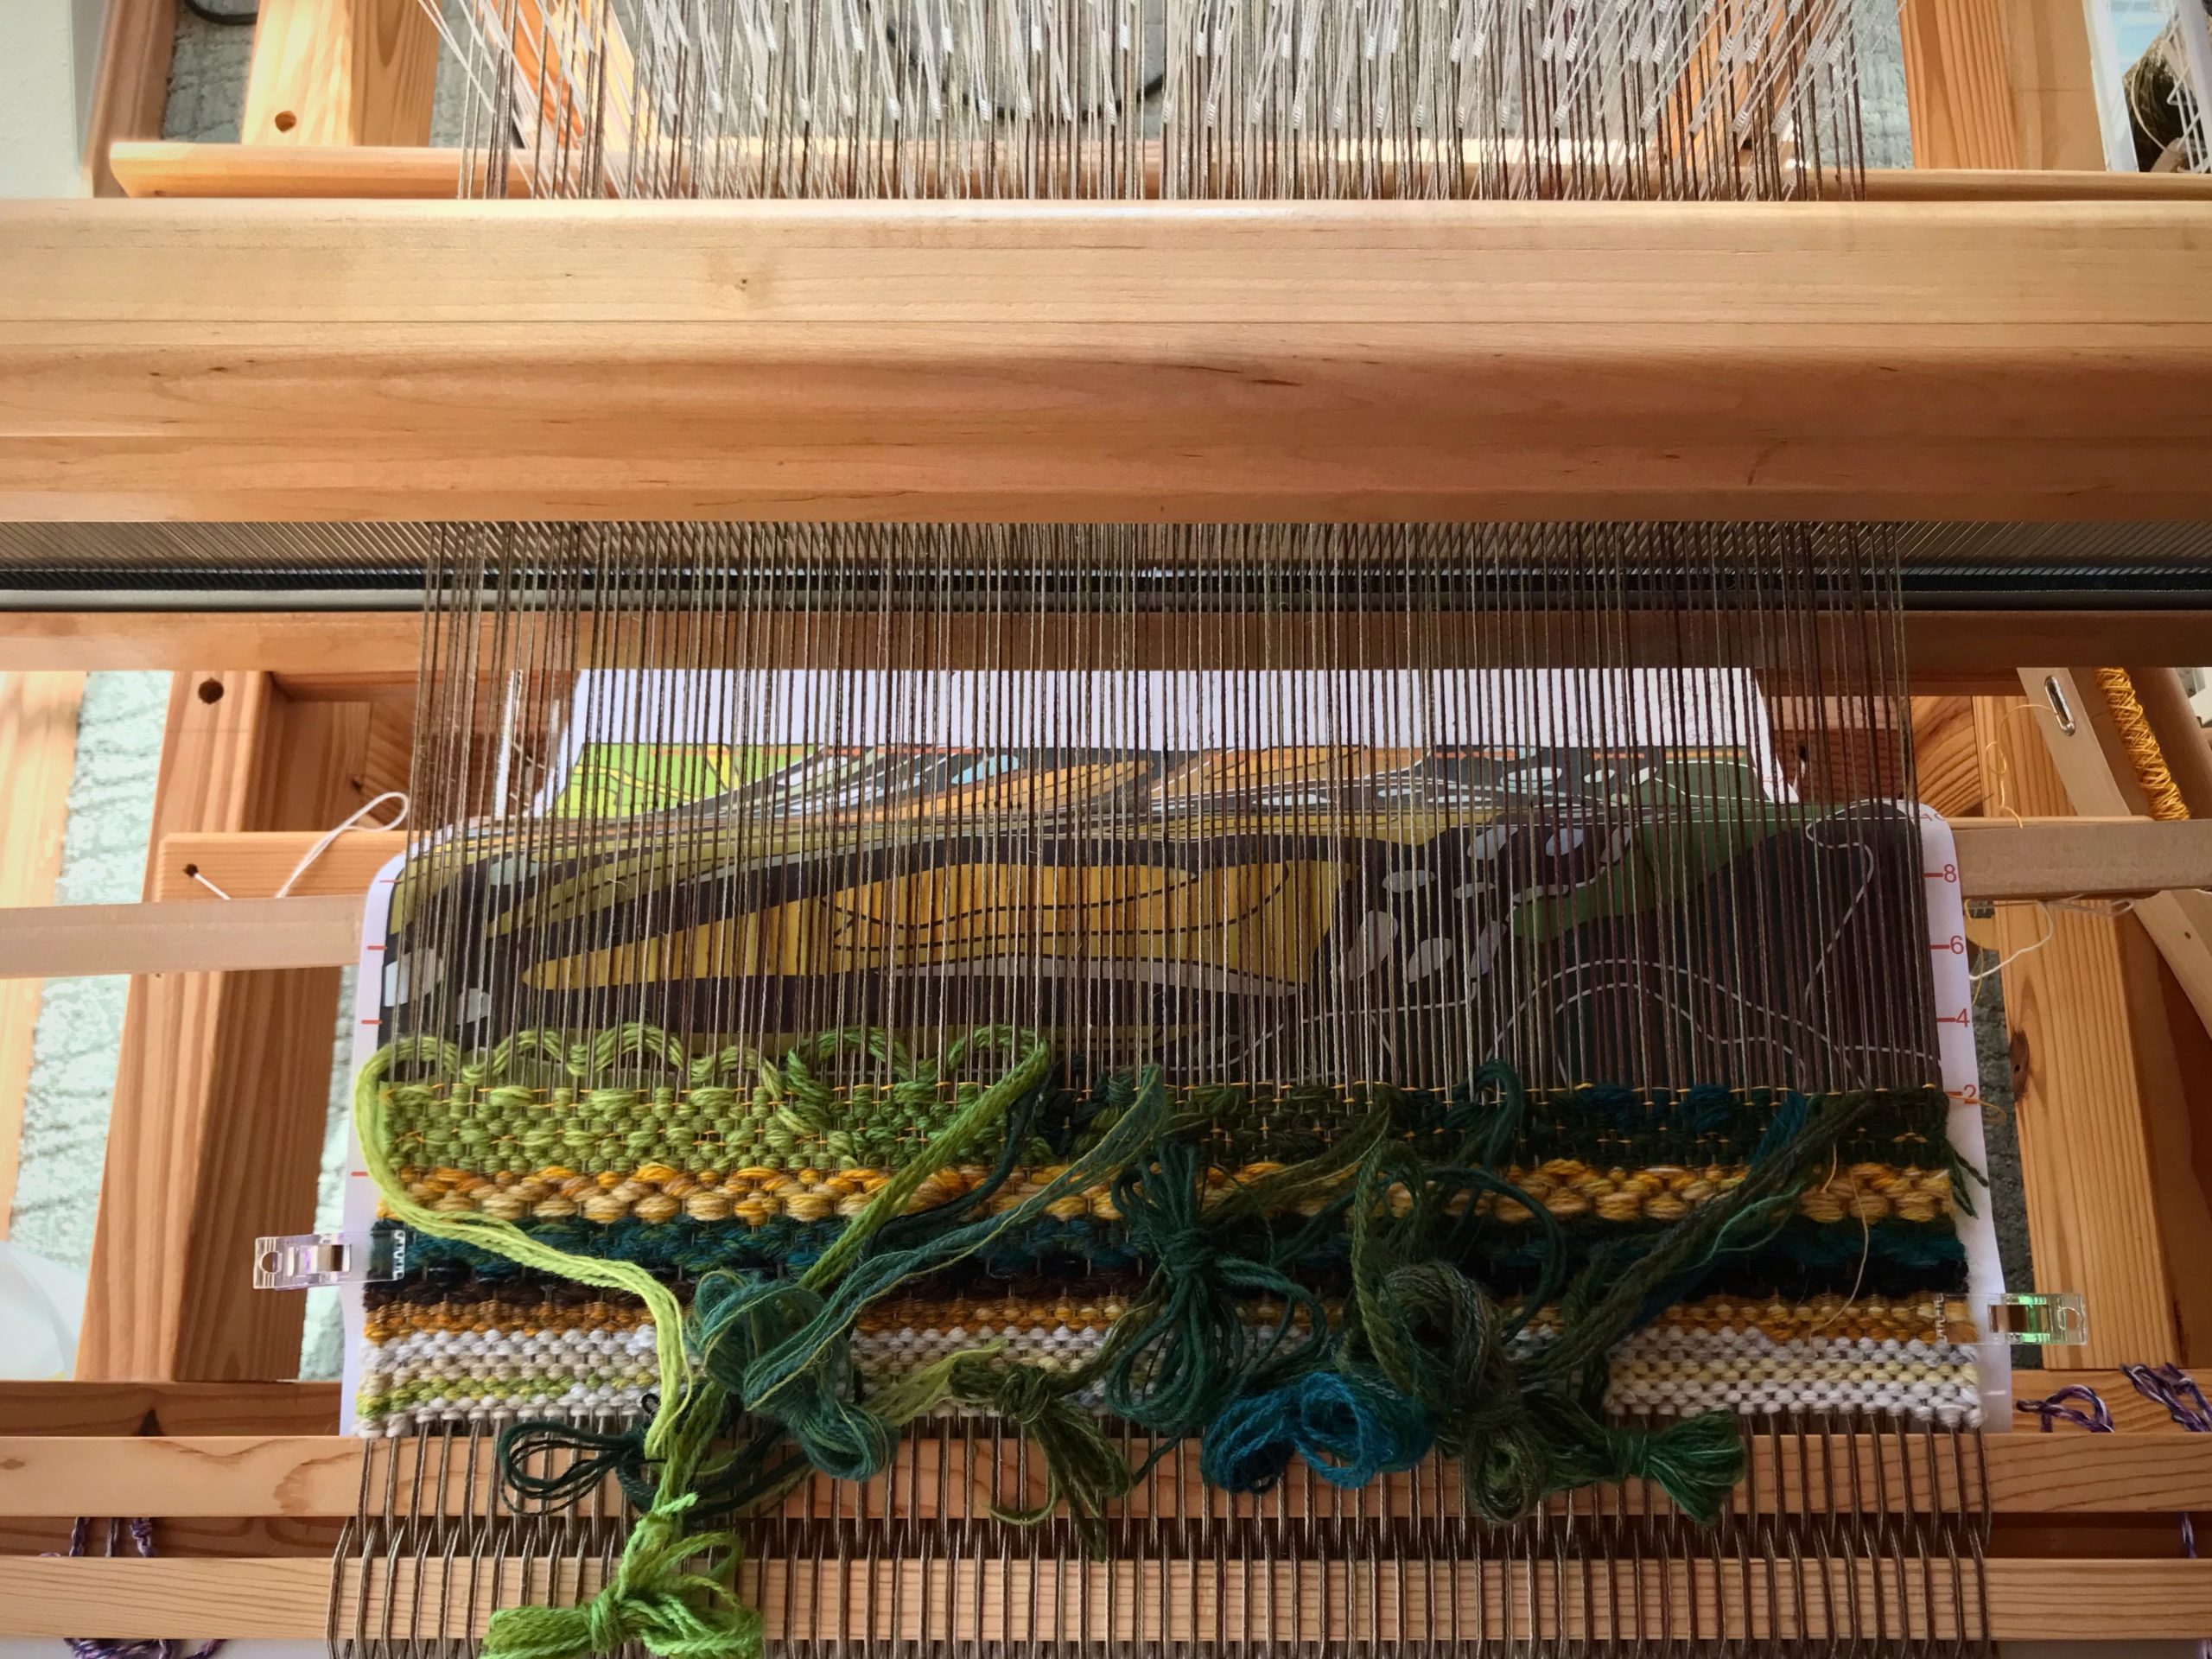
You can see the tapestry cartoon under the warp.
In progress. You can see the cartoon under the warp.

Let’s zoom in to the familiar scene of baby Jesus generations ago. The child born in a Bethlehem stable drew the attention of lowly shepherds, not impressive celebrities. Announced by angels, not by stately heralds. The detail clearly depicts something out of the ordinary: There is a kingdom that is not of this world. A King who shows up, not cloaked in royalty, but wrapped in the cloth on hand. What an intricate plan it is that a babe named Jesus would become our Savior King! And, that he transforms the image of those whose hearts invite him in.

May you examine the Christmas story in detail.

Looking forward to Christmas,
Karen

Budding Weavers

Remember potholder looms? I made many such potholders when I was young. It is a natural entry point for a budding weaver. My eight-year-old grandson has mastered potholders. He is ready for a bigger challenge. I ask, “Would you like to try weaving on a floor loom?” Wide-eyed, he says, “Yes!”

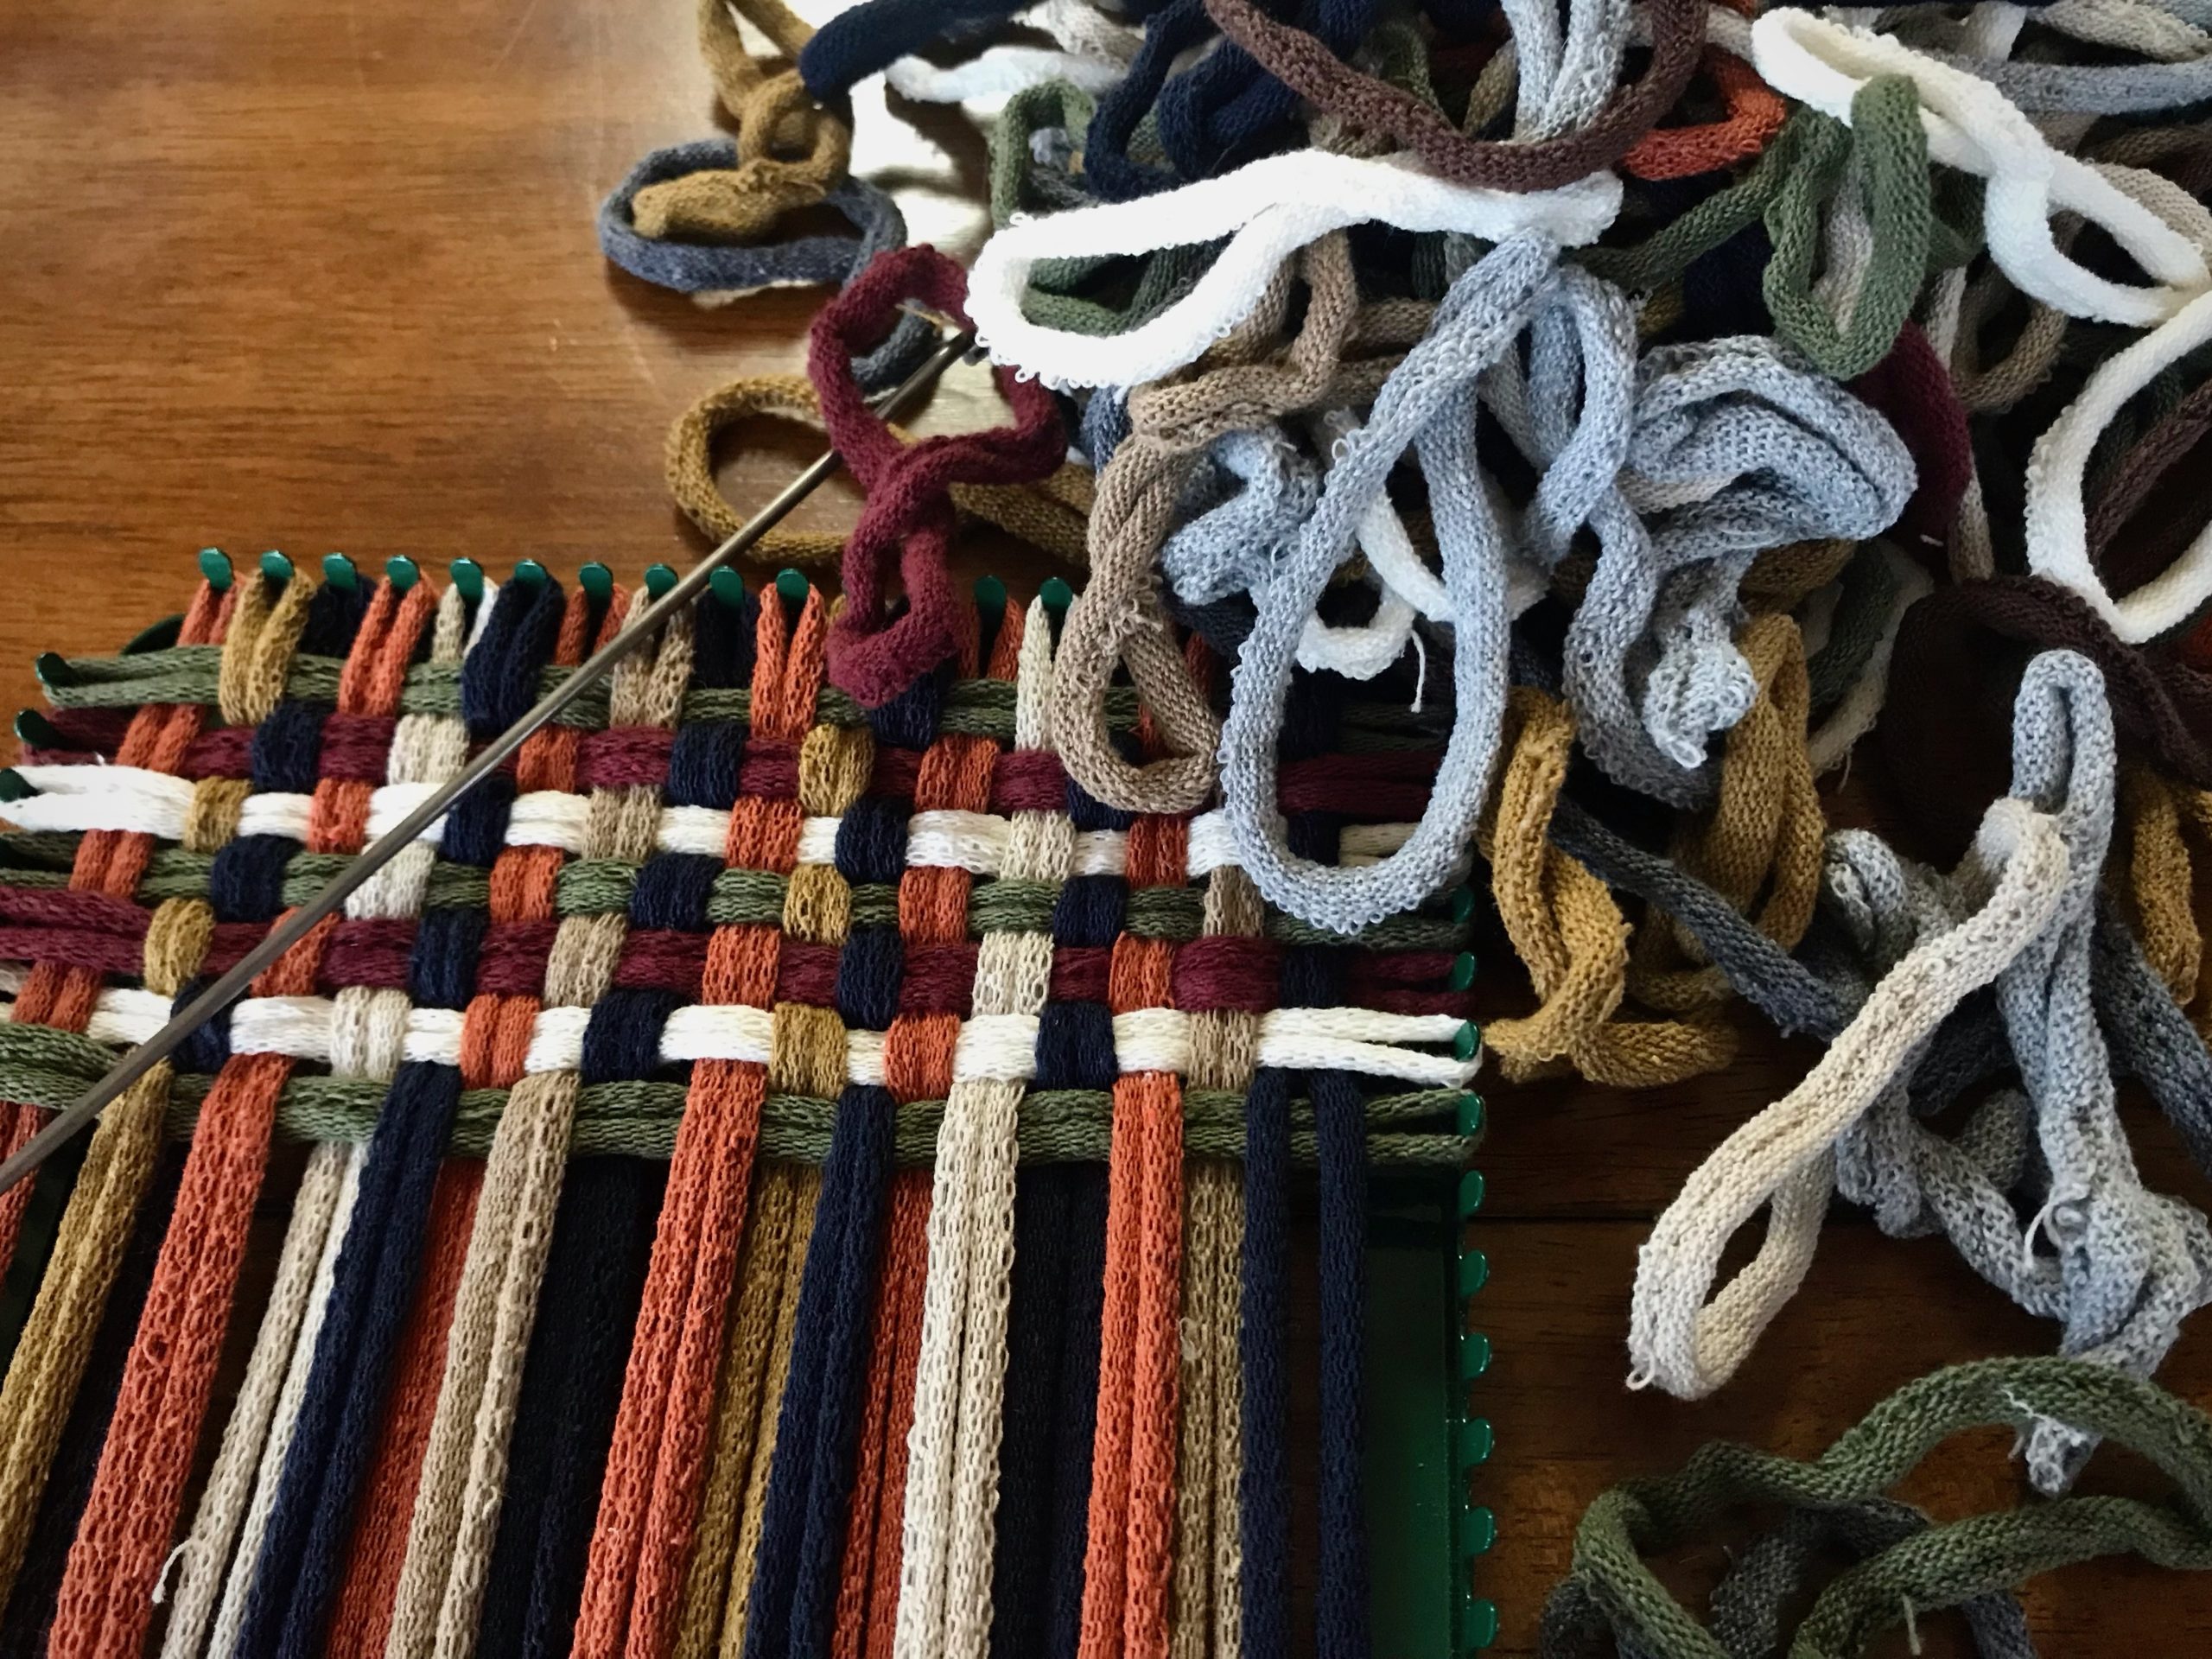
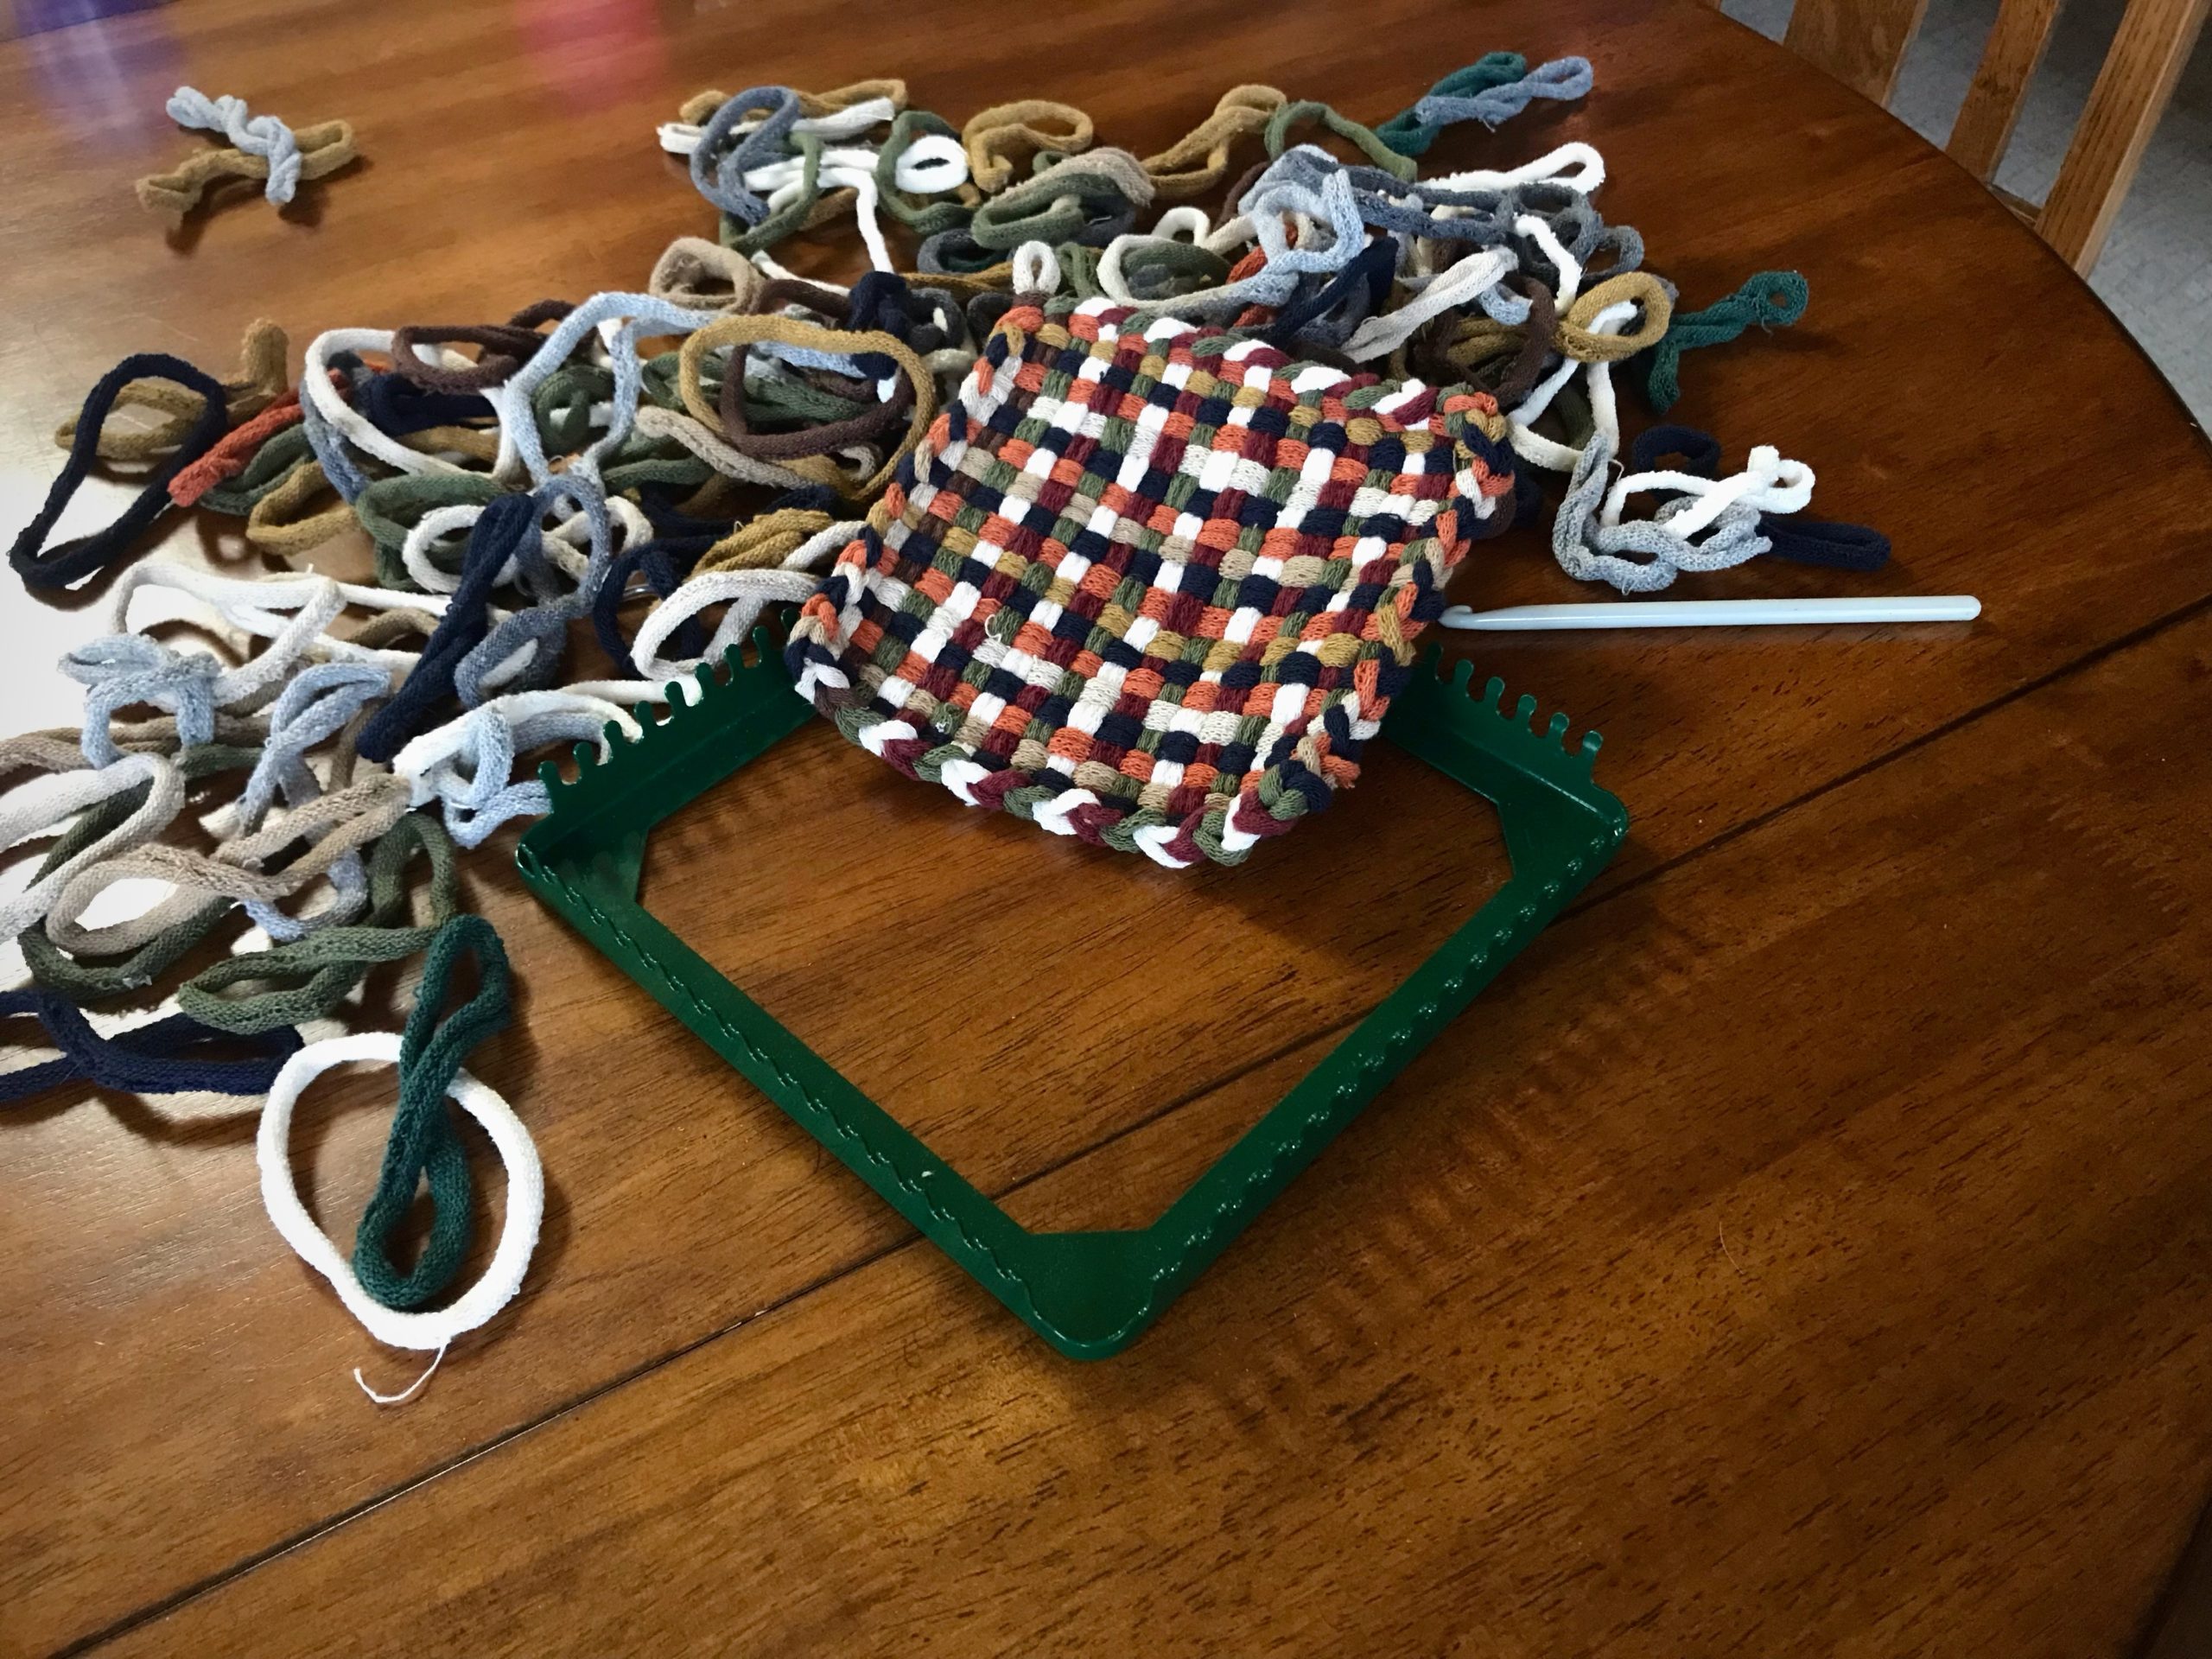
Grandson makes potholders with "Designer Colors."
My grandson gravitates toward the bag of loops called “Designer Colors.”
Never too many grandkid-made potholders!
Sit here. 
Practice moving your feet on the treadles: Right foot 1-2-3-4; 1-2-3-4; left foot 5-6-7-8; 5-6-7-8. 
(Can you do it without looking at your feet?) 
Hold the shuttle in your right hand, and send it across the top of the warp over to your left hand. 
Practice gliding the shuttle back and forth on top of the warp several times to get the hang of it. 
Okay, I think you’re ready! Let’s do it!

Within a few minutes he is weaving unassisted. Ahh, the joy of seeing someone take pleasure in making cloth—especially, when that someone is your grandchild!

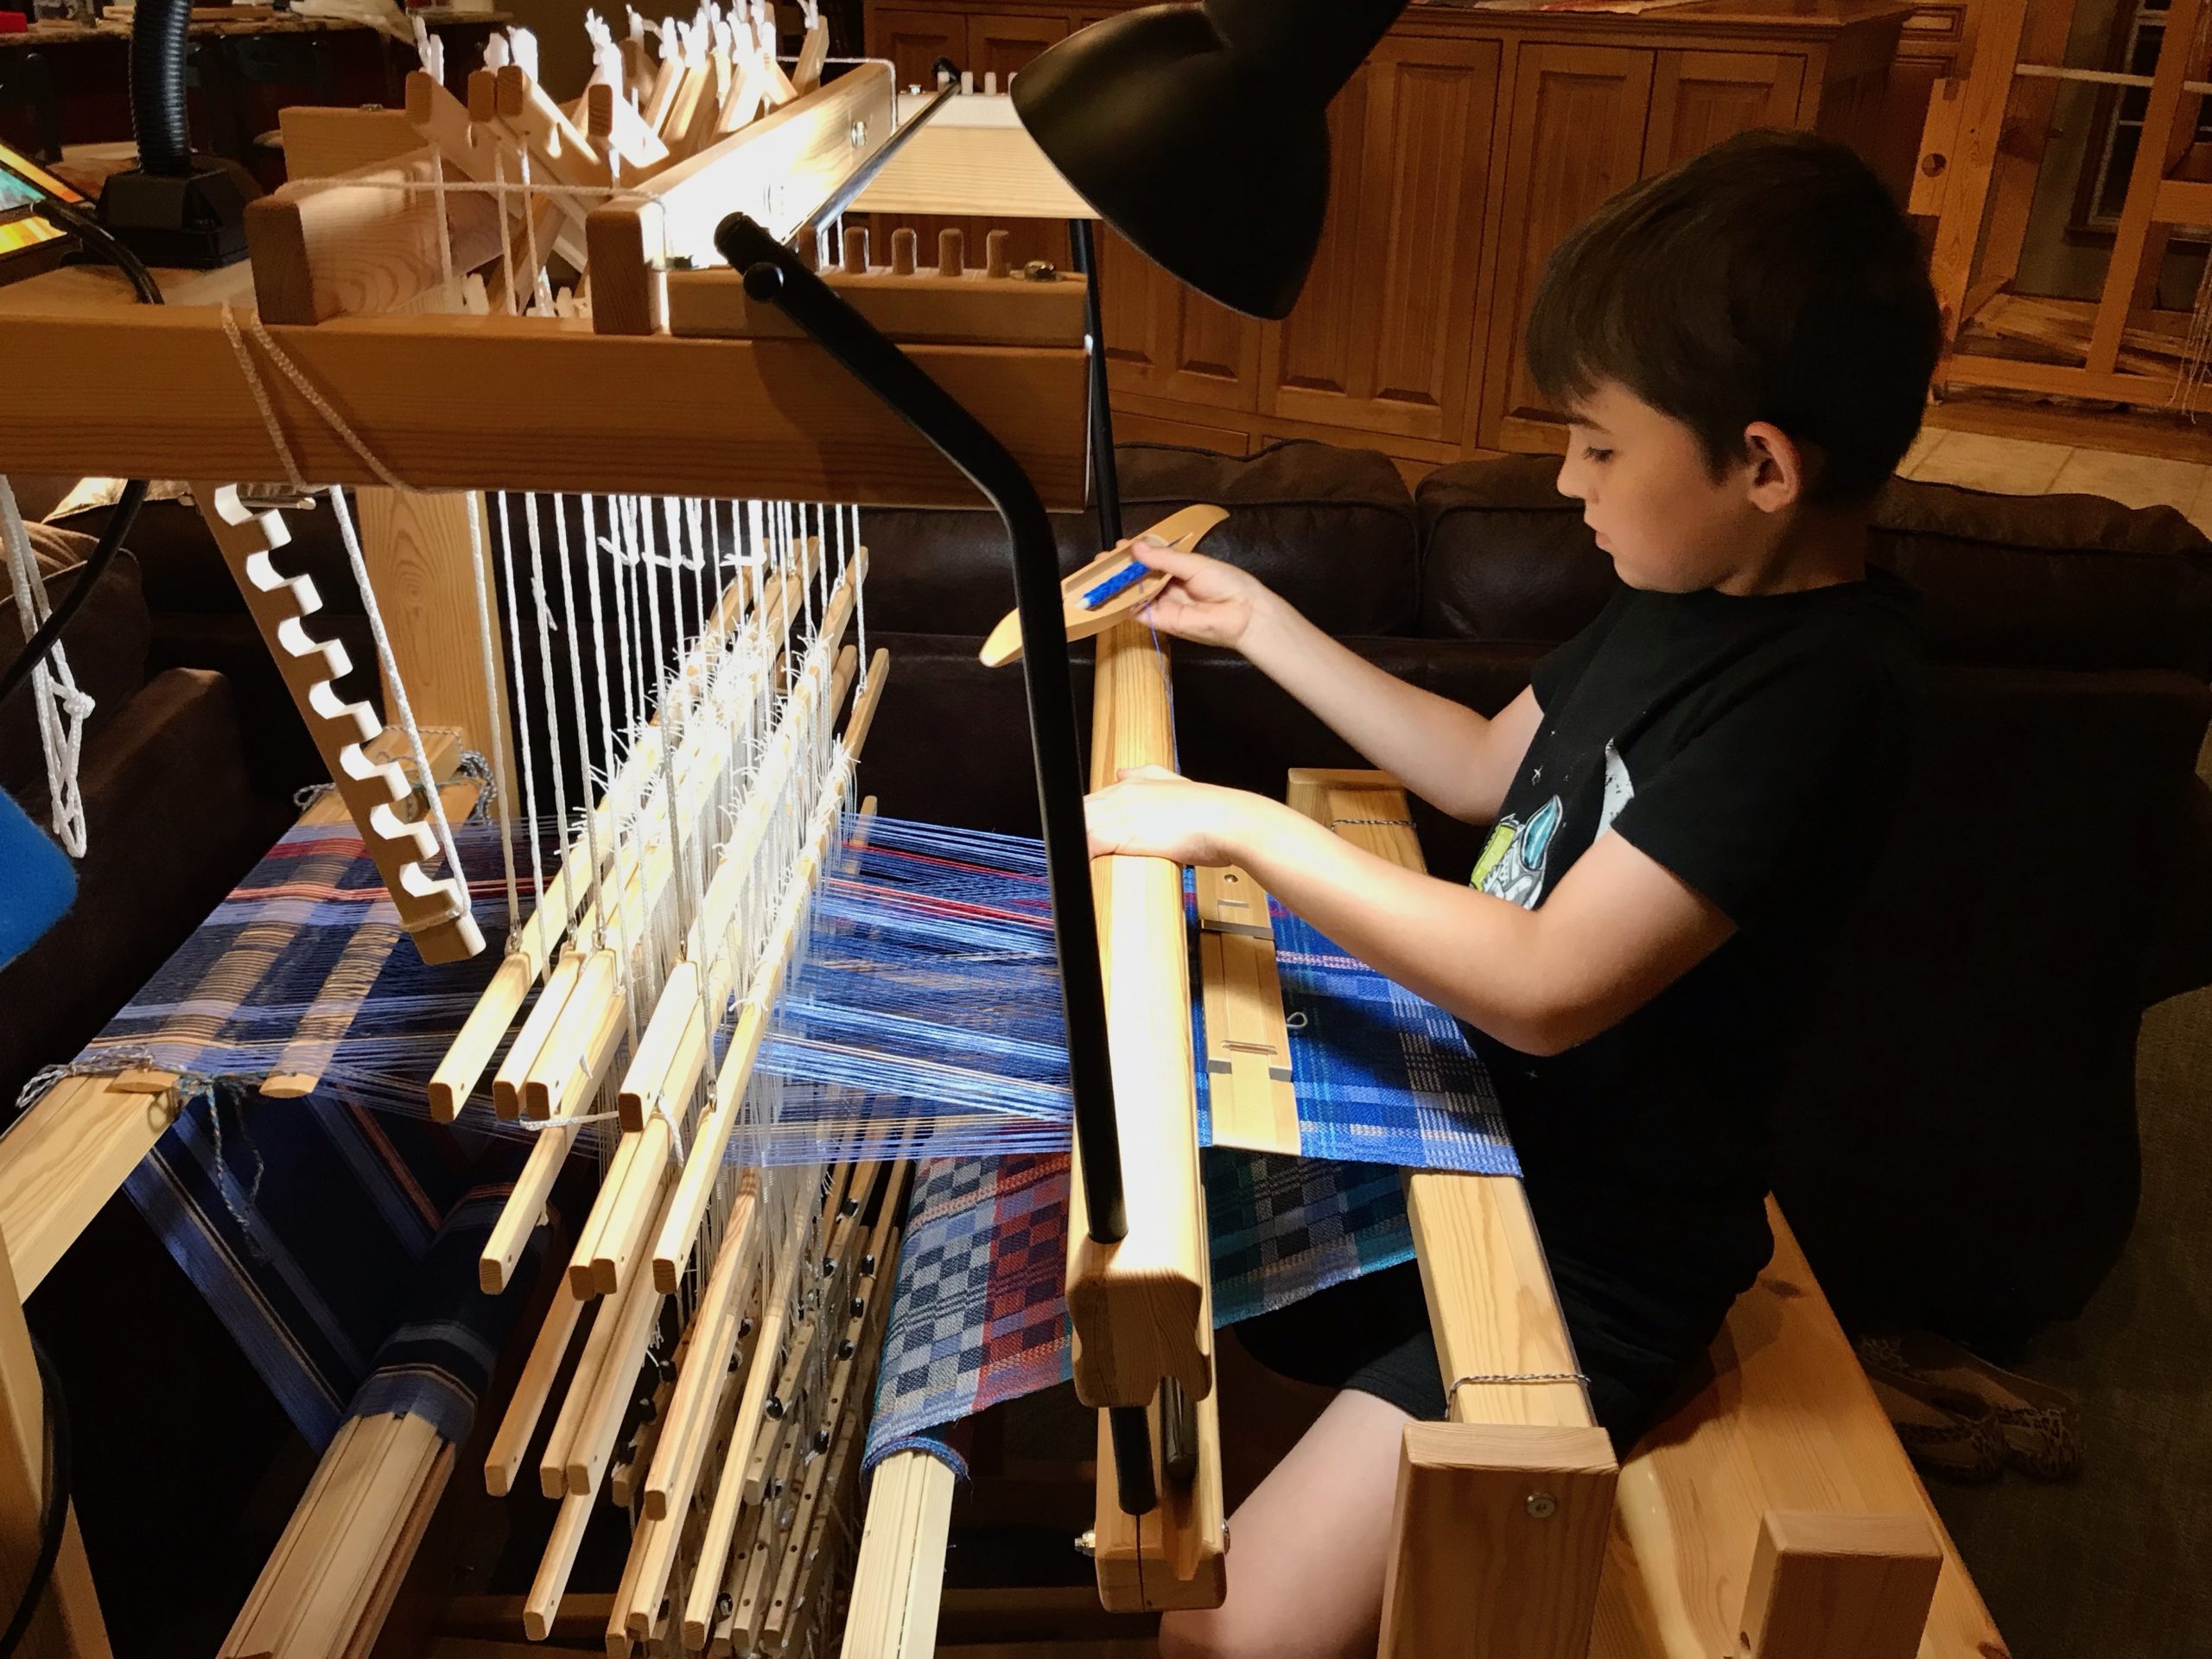
Eight-year-old weaver on the Glimakra Julia loom. 2-block twill.
Budding weaver at the 8-shaft Julia countermarch loom. Weaving linen in a 2-block twill.
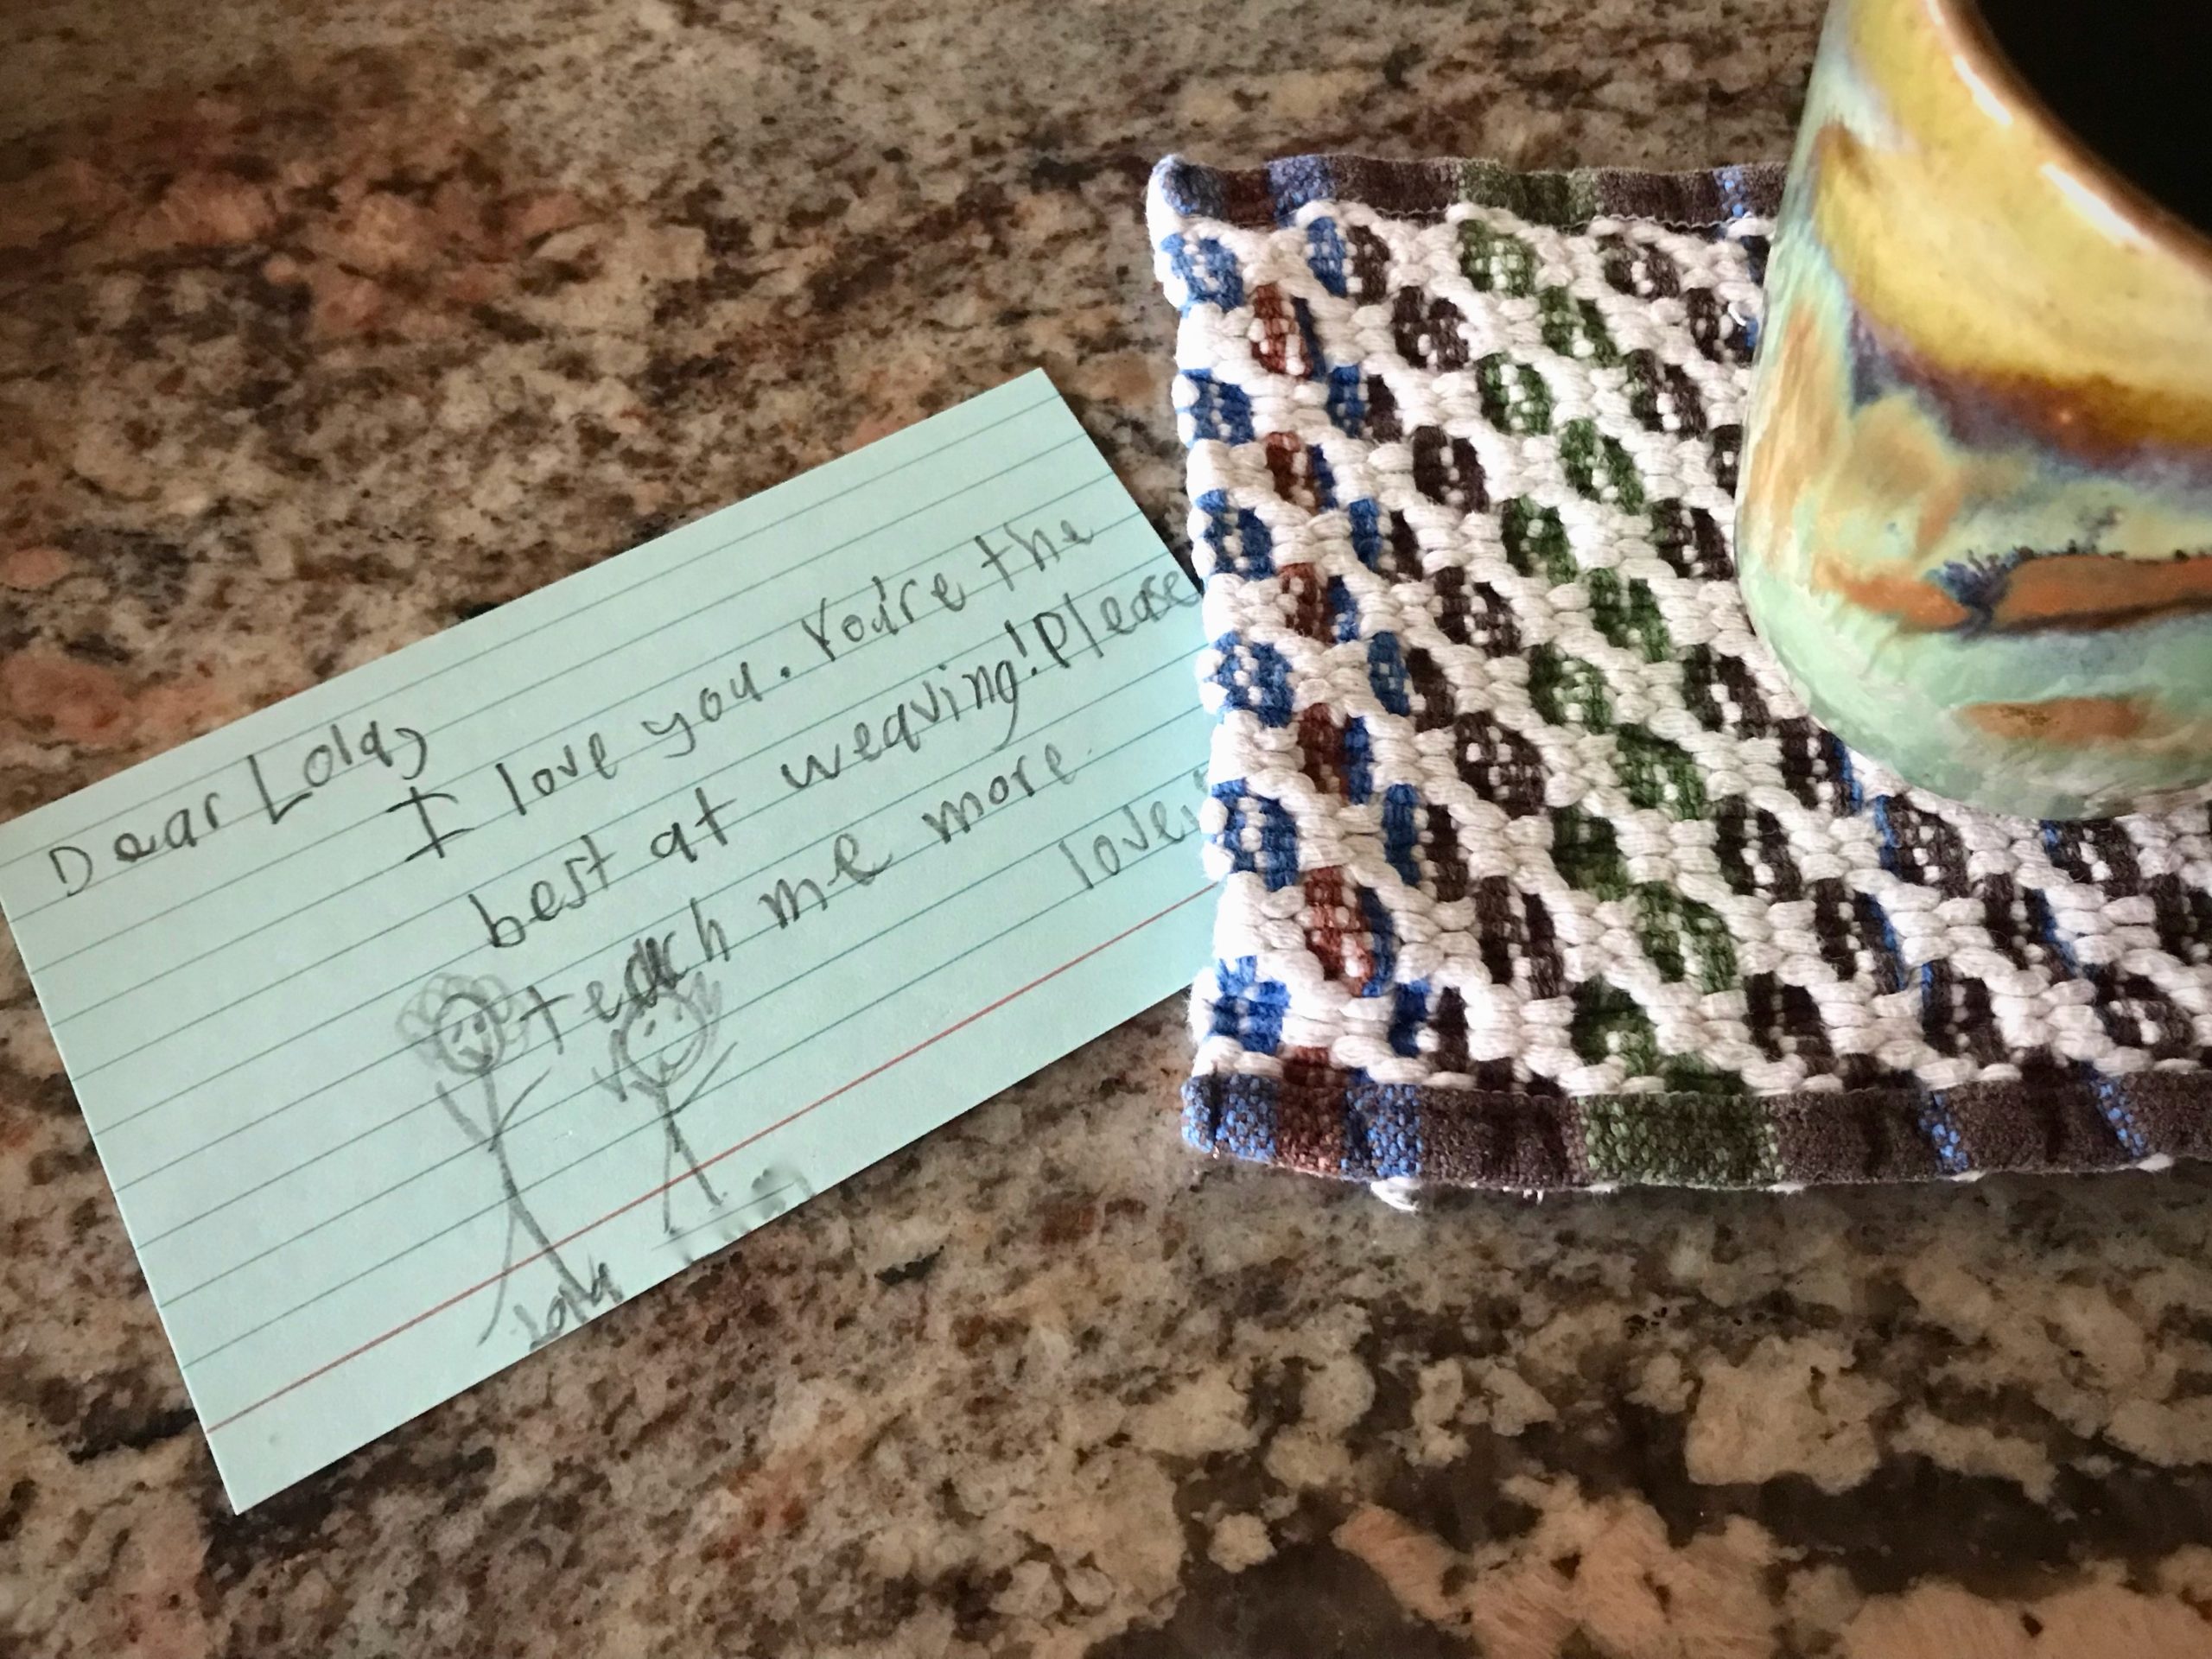
Message from grandson to his grandmother.
Ah, grandson, I certainly will teach you more. I love you, too , Lola

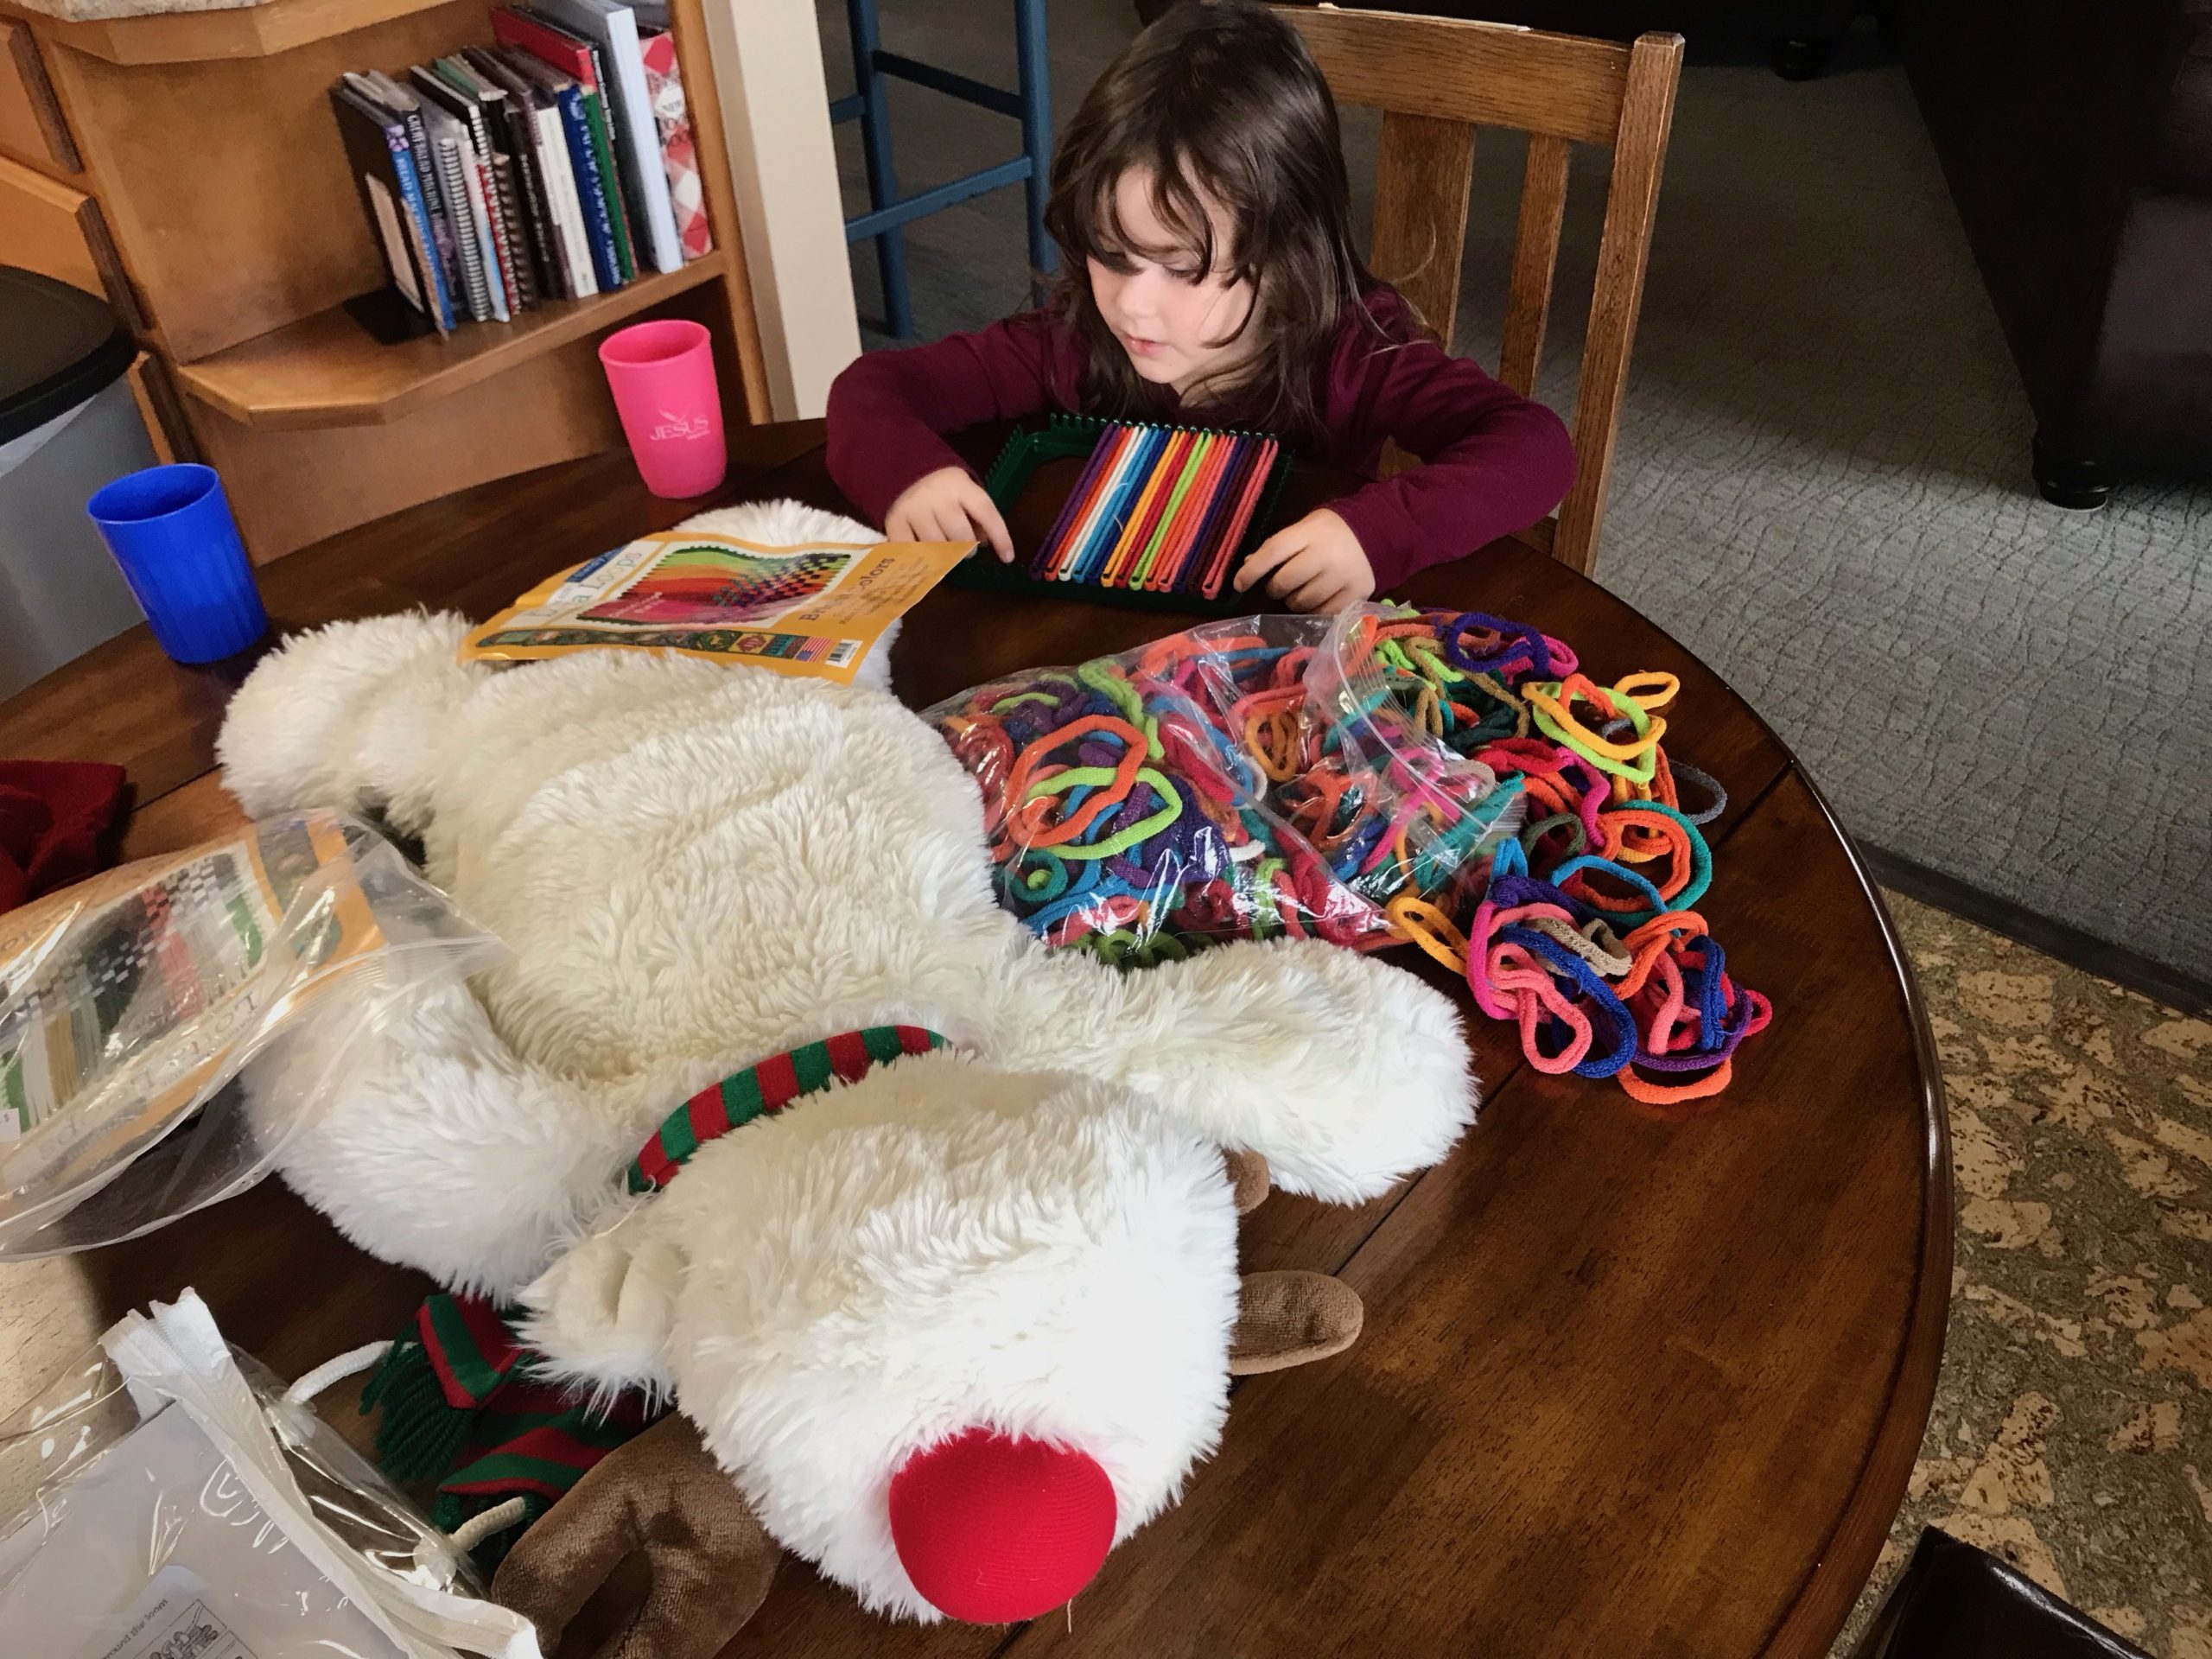
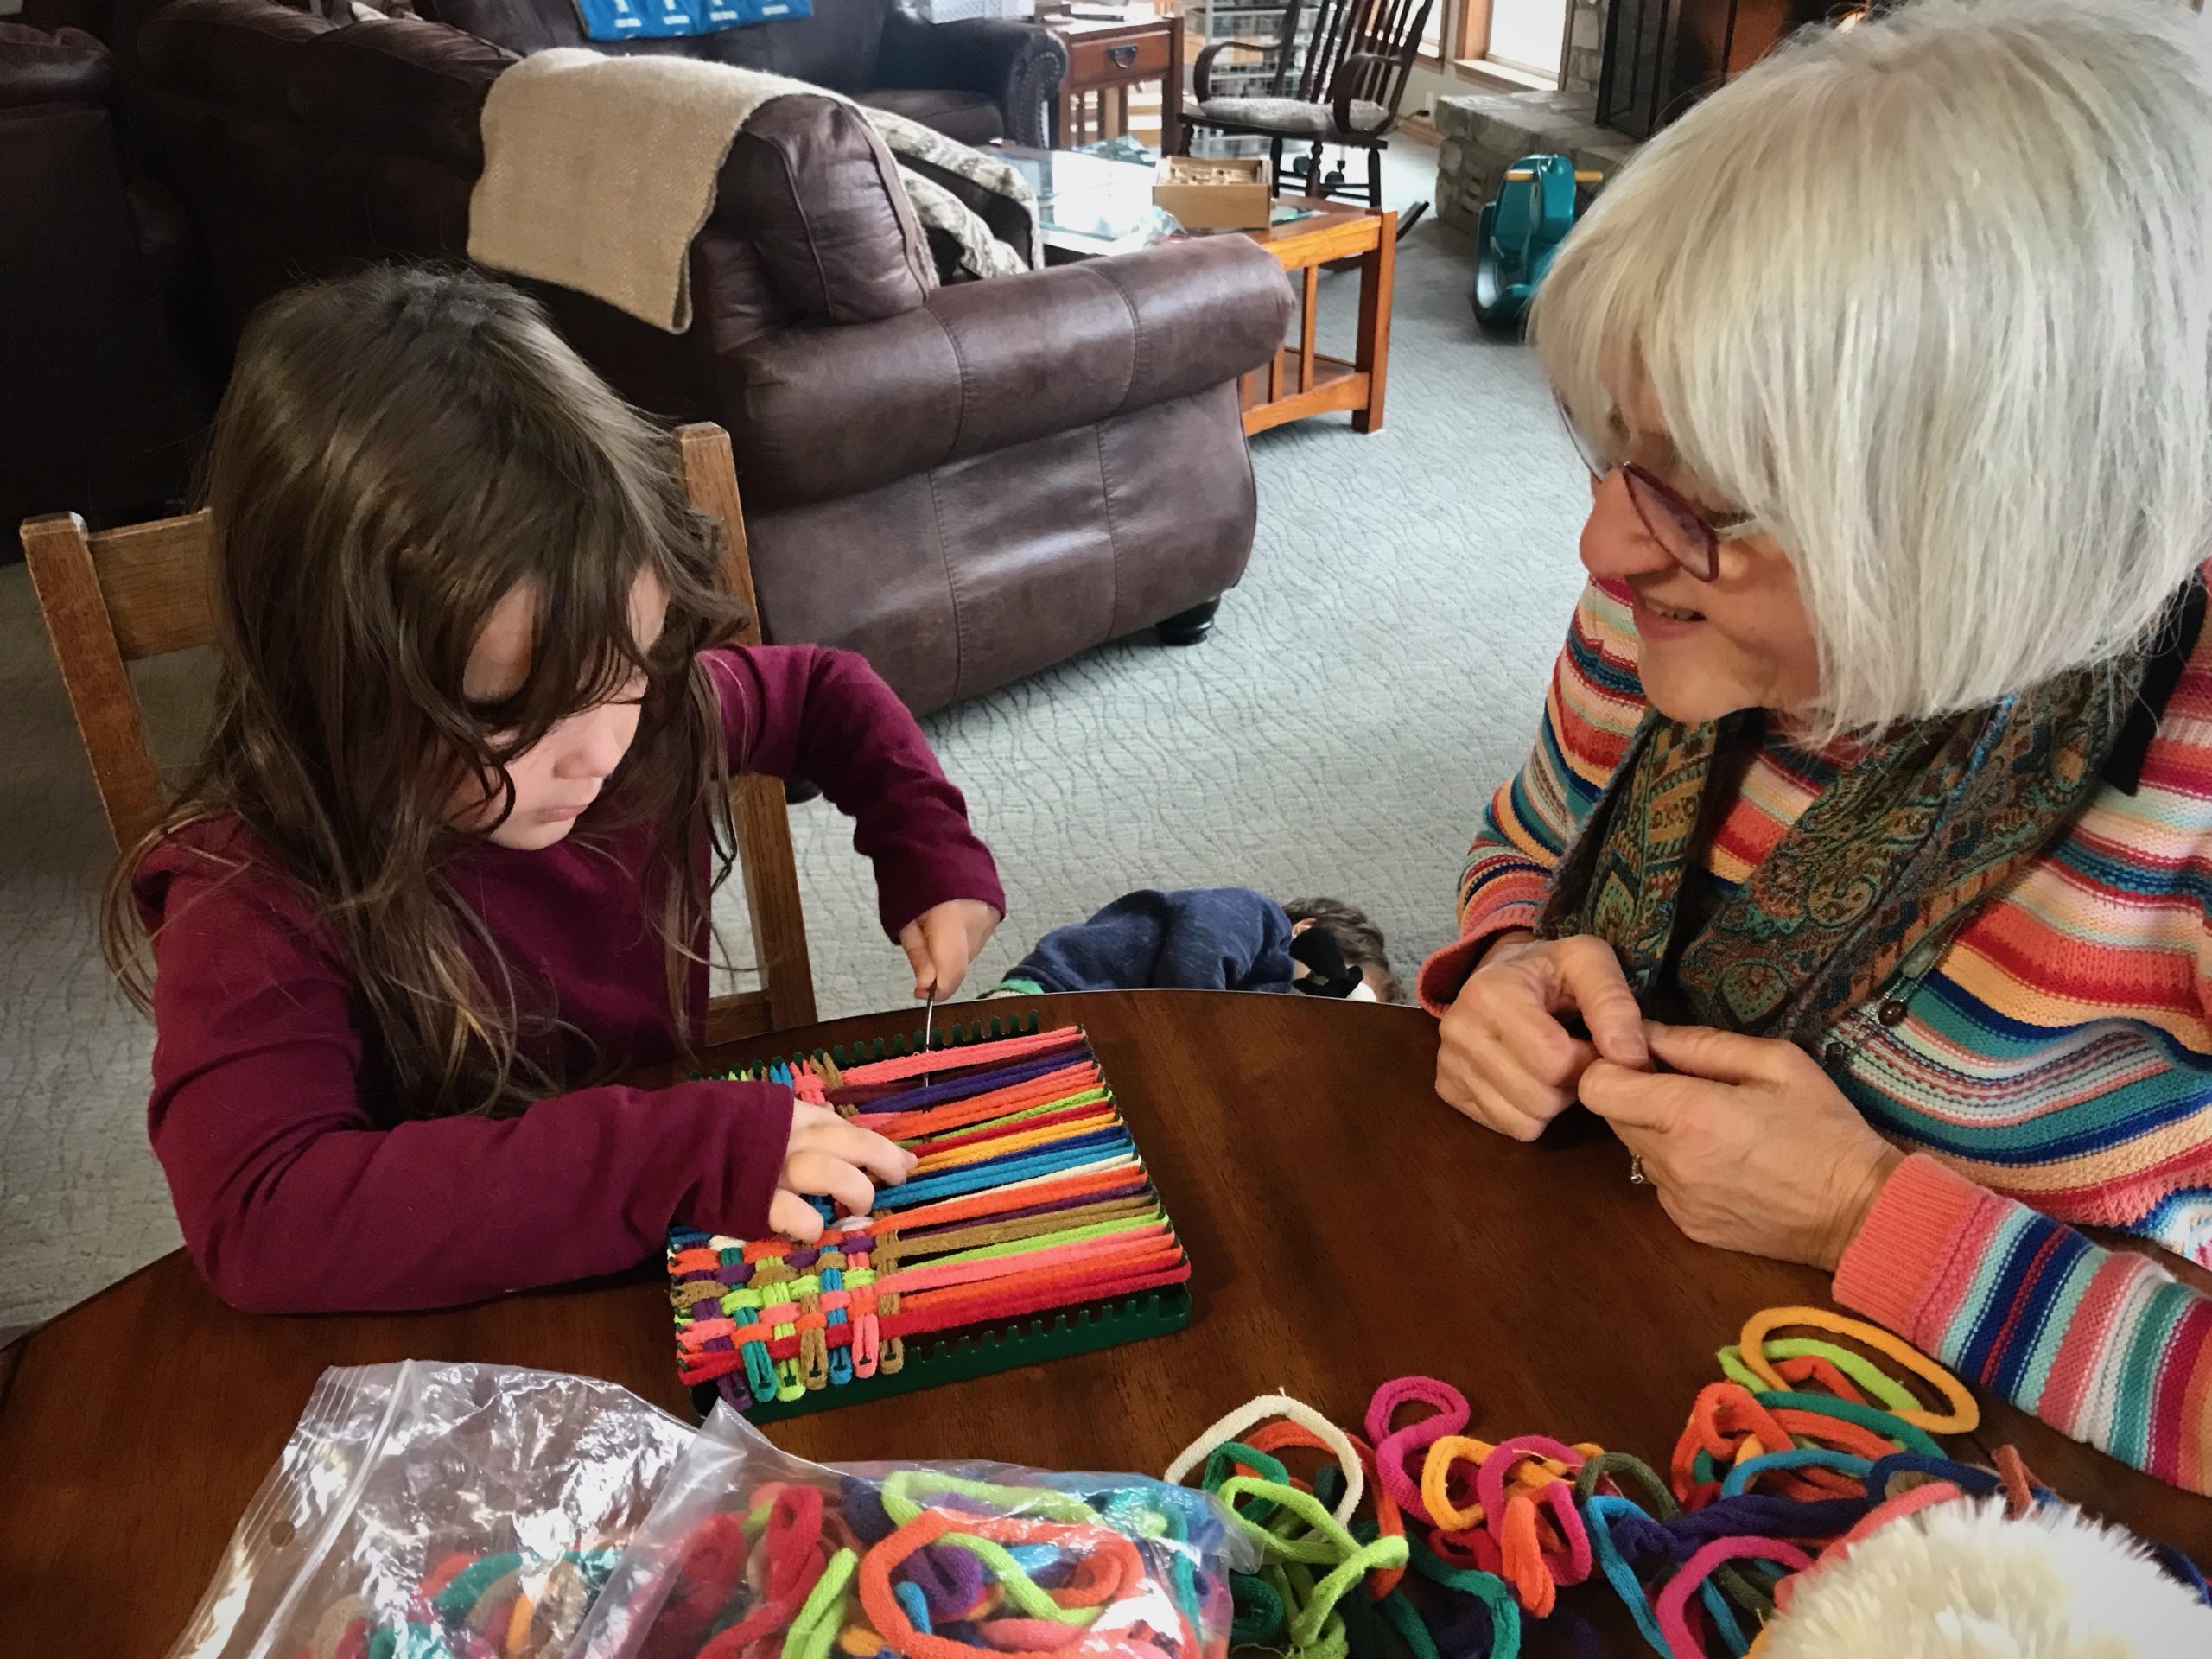
And now, the potholder loom grabs the attention of another grandchild. “Let me do it myself,” she says, like a typical five-year-old. The cycle repeats itself, and Lola (that’s me) smiles.

Potholder loom and a 5-year-old.
This child favors the loops of “Bright Colors.”
Making a potholder. Budding weaver.
“All by myself.”

May you spread your joys to the next generation.

Happy Weaving,
Karen

Process Review: Tiers of Joy!

Would you believe me if I told you I had the exact length of fabric needed to cut out the three tiers for this skirt, with not a millimeter to spare? It’s true. Despite a profusion of fitting conundrums, detail studies, do-overs, ripping outs, mind-bending problem solving, and to-the-thread close calls, I never considered giving up. That’s not true. I did think of throwing in the towel. But, thankfully, my cheerleader husband won’t let me take that option.

Handwoven skirt in the making.
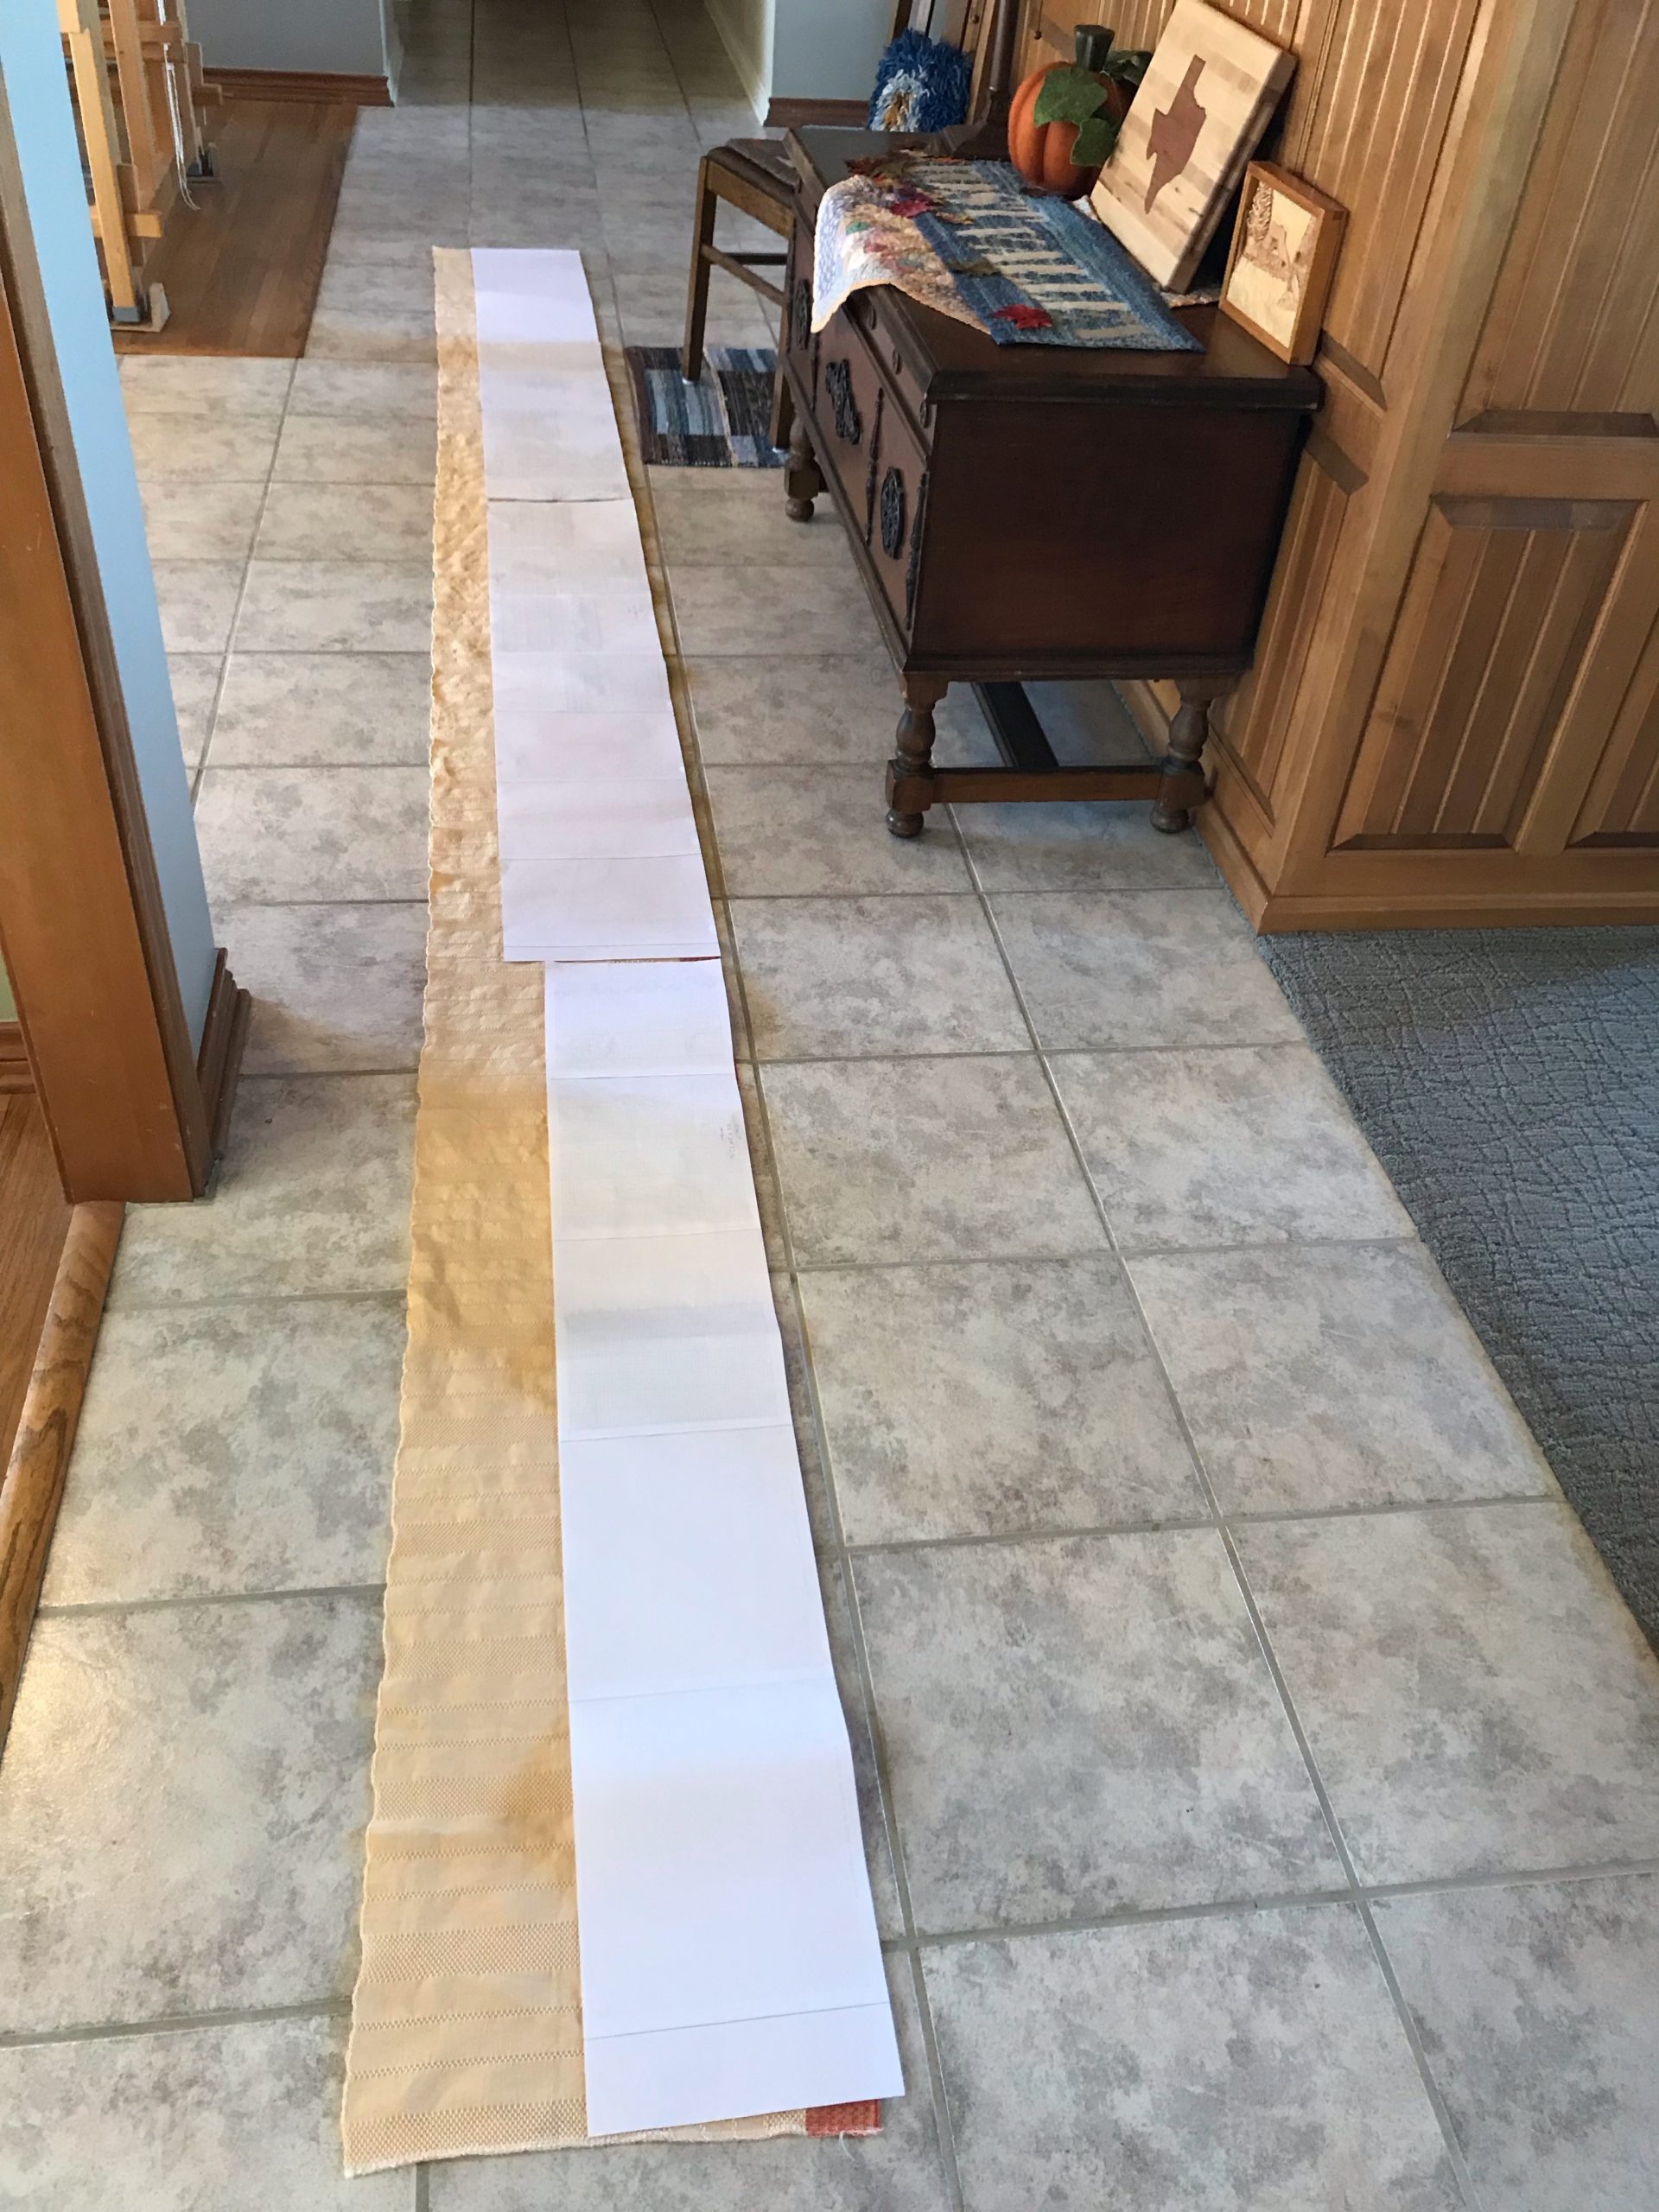
Measure thrice, cut once. When I changed the skirt pattern, my original measurements no longer applied. I made paper patterns for the tiers. That’s when I discovered just how close the length of fabric was to the length needed.

I have a deeper respect now for my friends whose sweet spot is garment design and construction. This Tiers of Joy experience has reminded me that handweaving is my sweet spot. It’s the thing I do that makes me say, “I was made for this.” When I’m at the loom I am soaring. What is your sweet spot? Let the breath of God make you soar.

Tiers of Joy handwoven skirt! designed and woven by Karen Isenhower.

Happily, I have a memorable handwoven skirt to wear on my date with Steve to the Symphony of the Hills Christmas concert next week.

Here’s a short slideshow video of this thread-to-garment story:

I am giving thanks for you! I’m glad you and I get to walk through this weaving (and sewing) journey together.

May your heart soar with thanksgiving.

Happy Giving Thanks,
Karen

In My Drawloom World

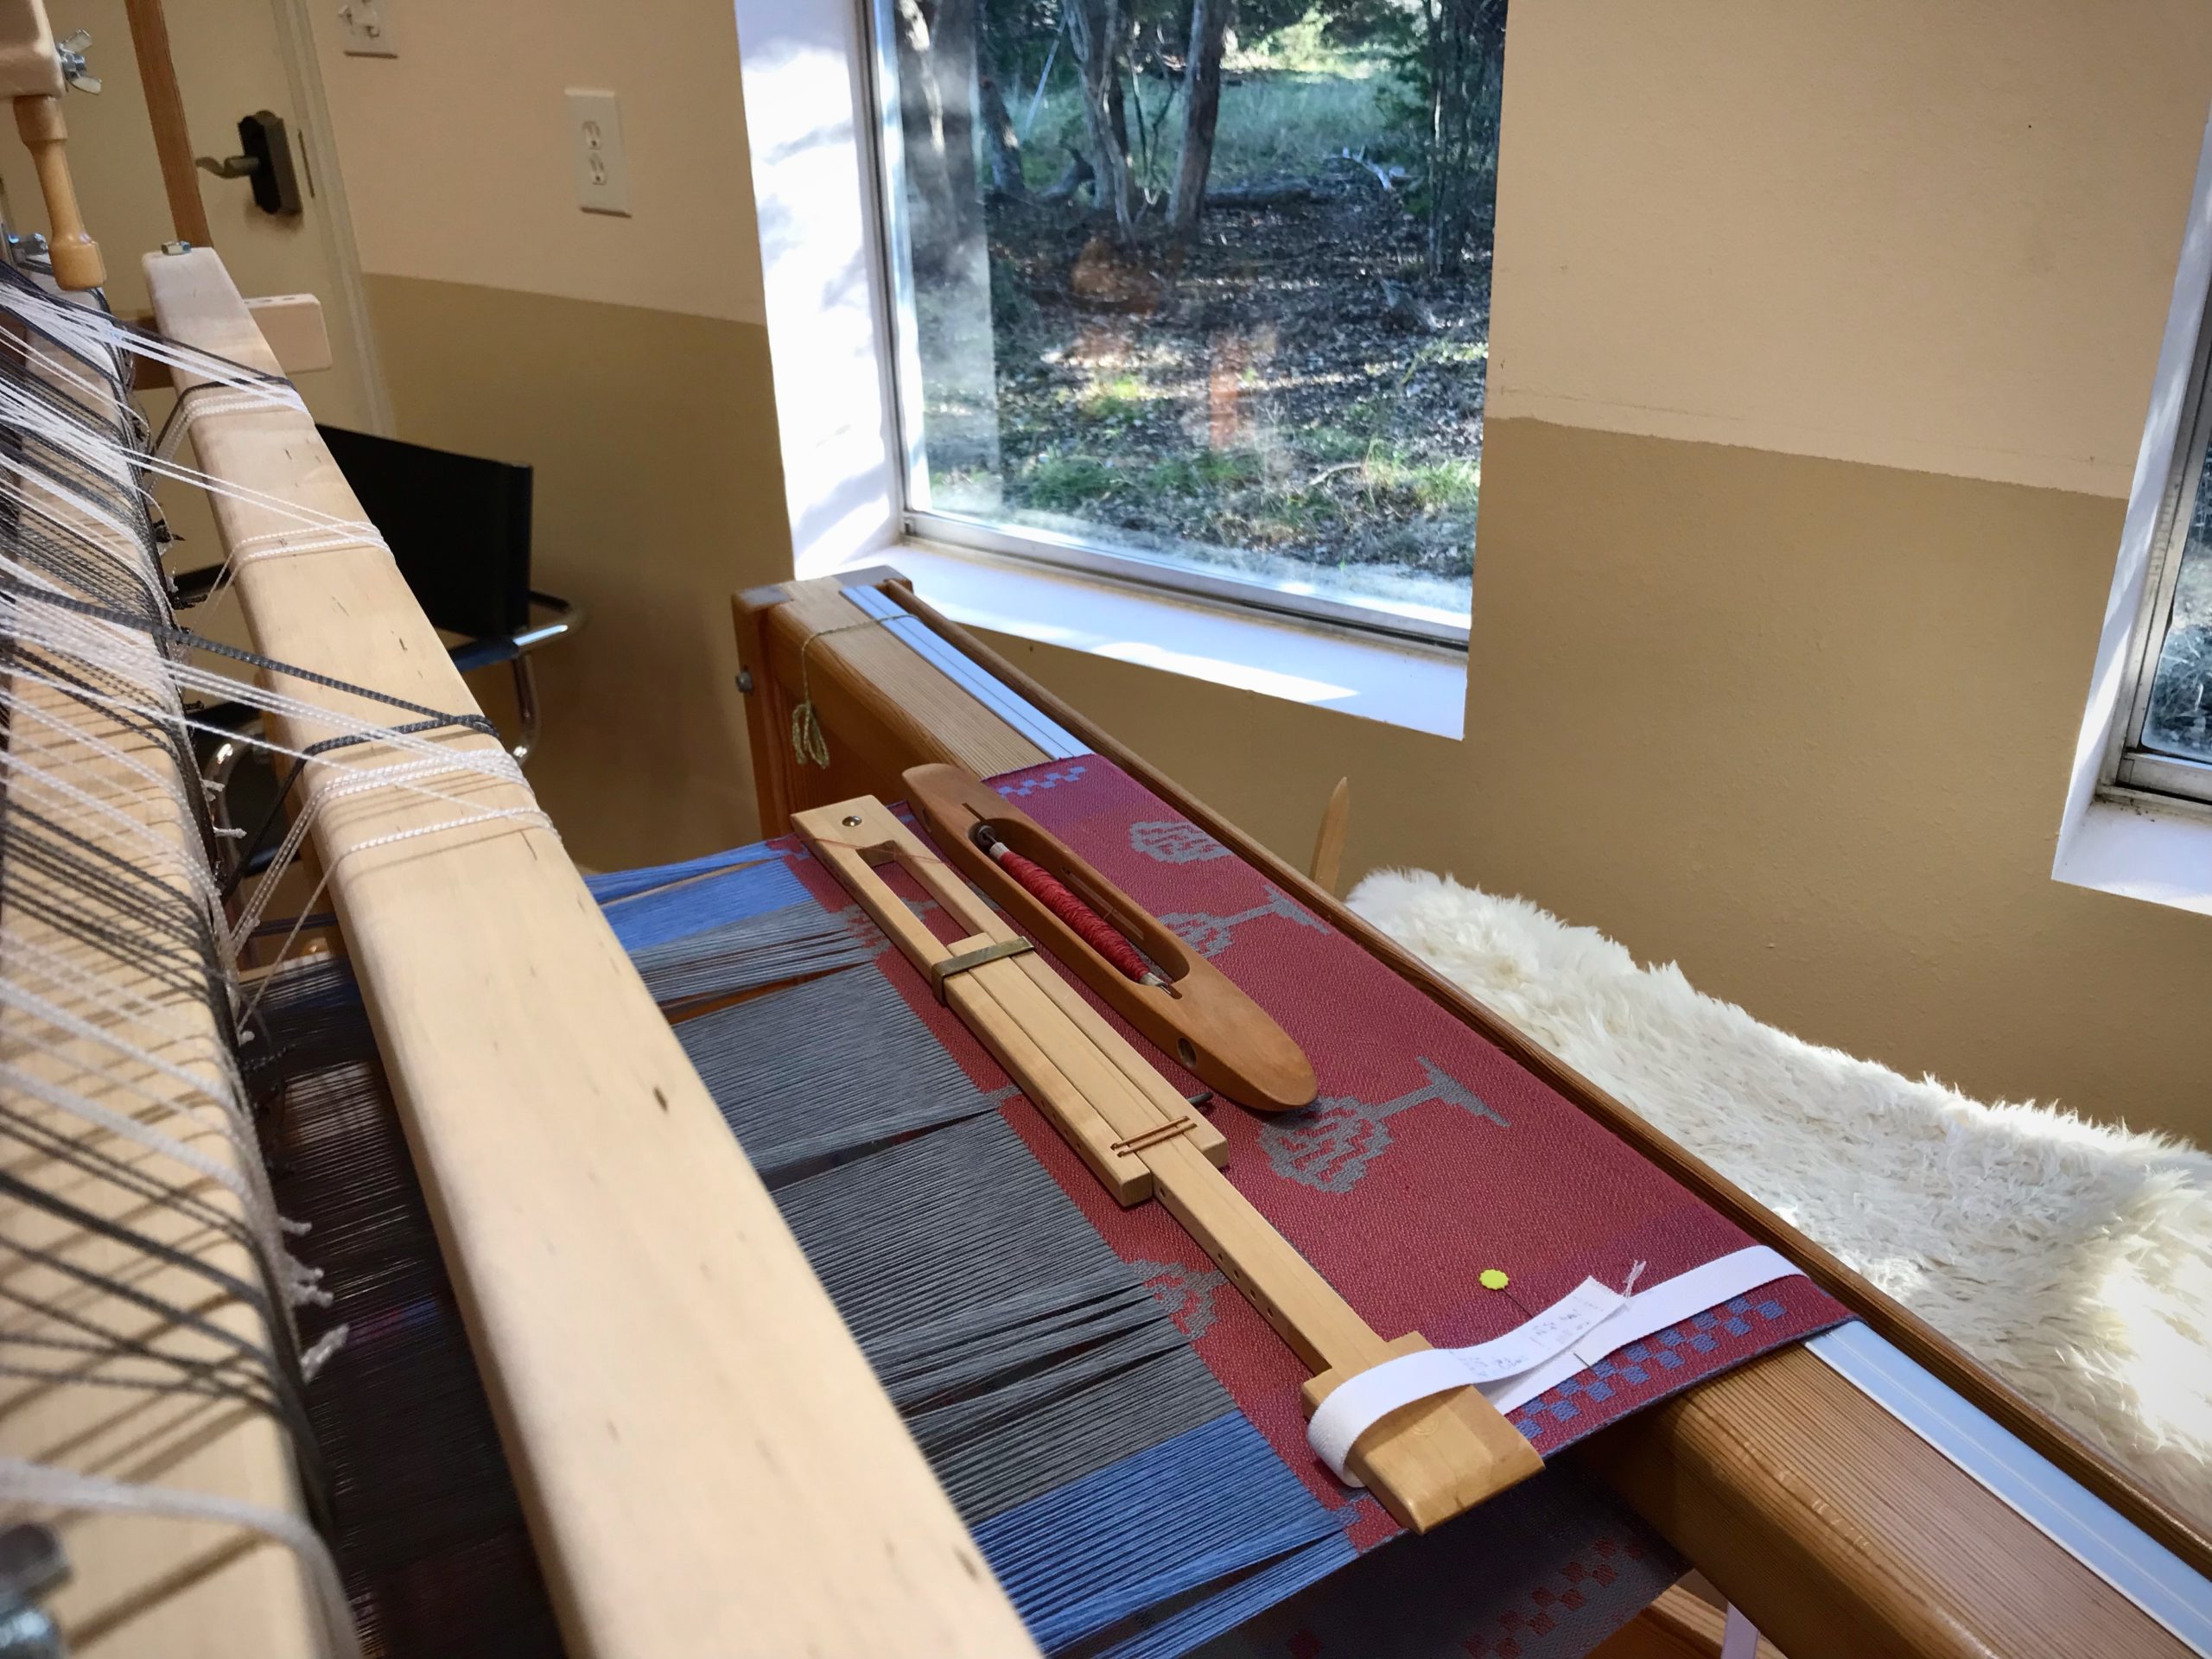
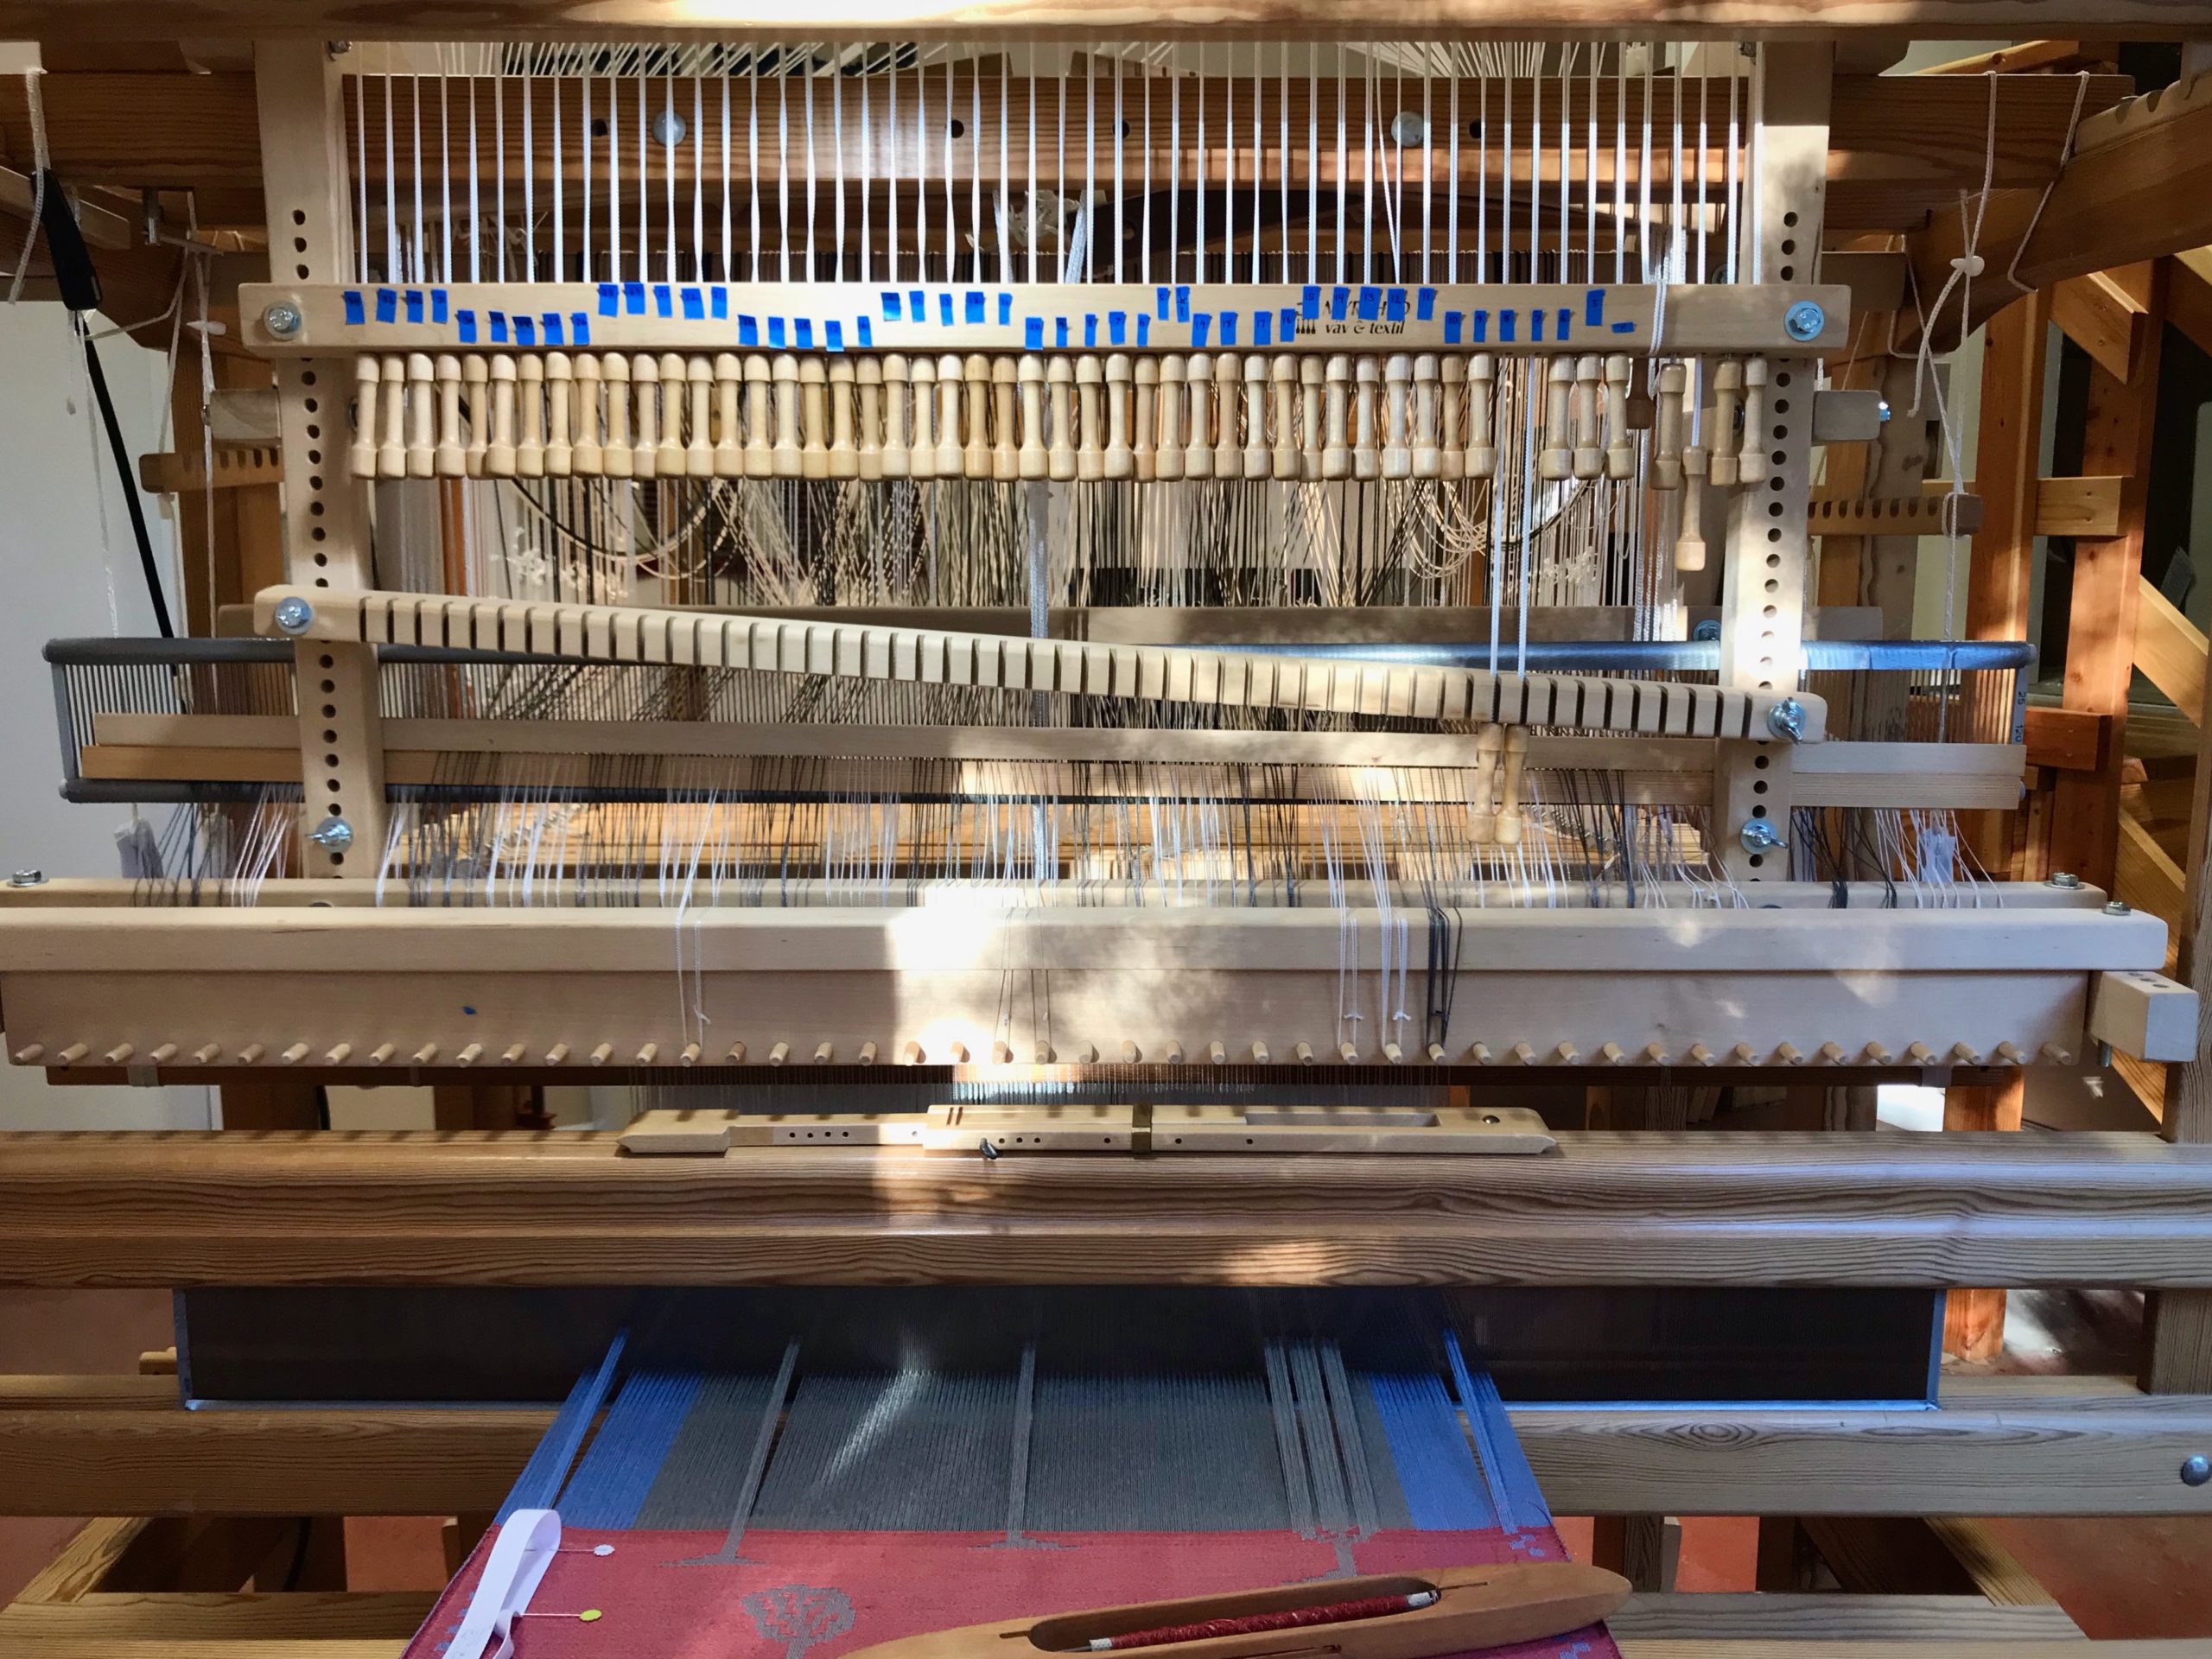
I’m in my own little world when I’m at the drawloom. No podcasts, no music going, no interruptions. It’s all deliberate focused attention on this thing I’m doing—following the chart row by row, drawing handles and cords, imprinting trees into cloth. It’s a delightful experience that I don’t want to end.

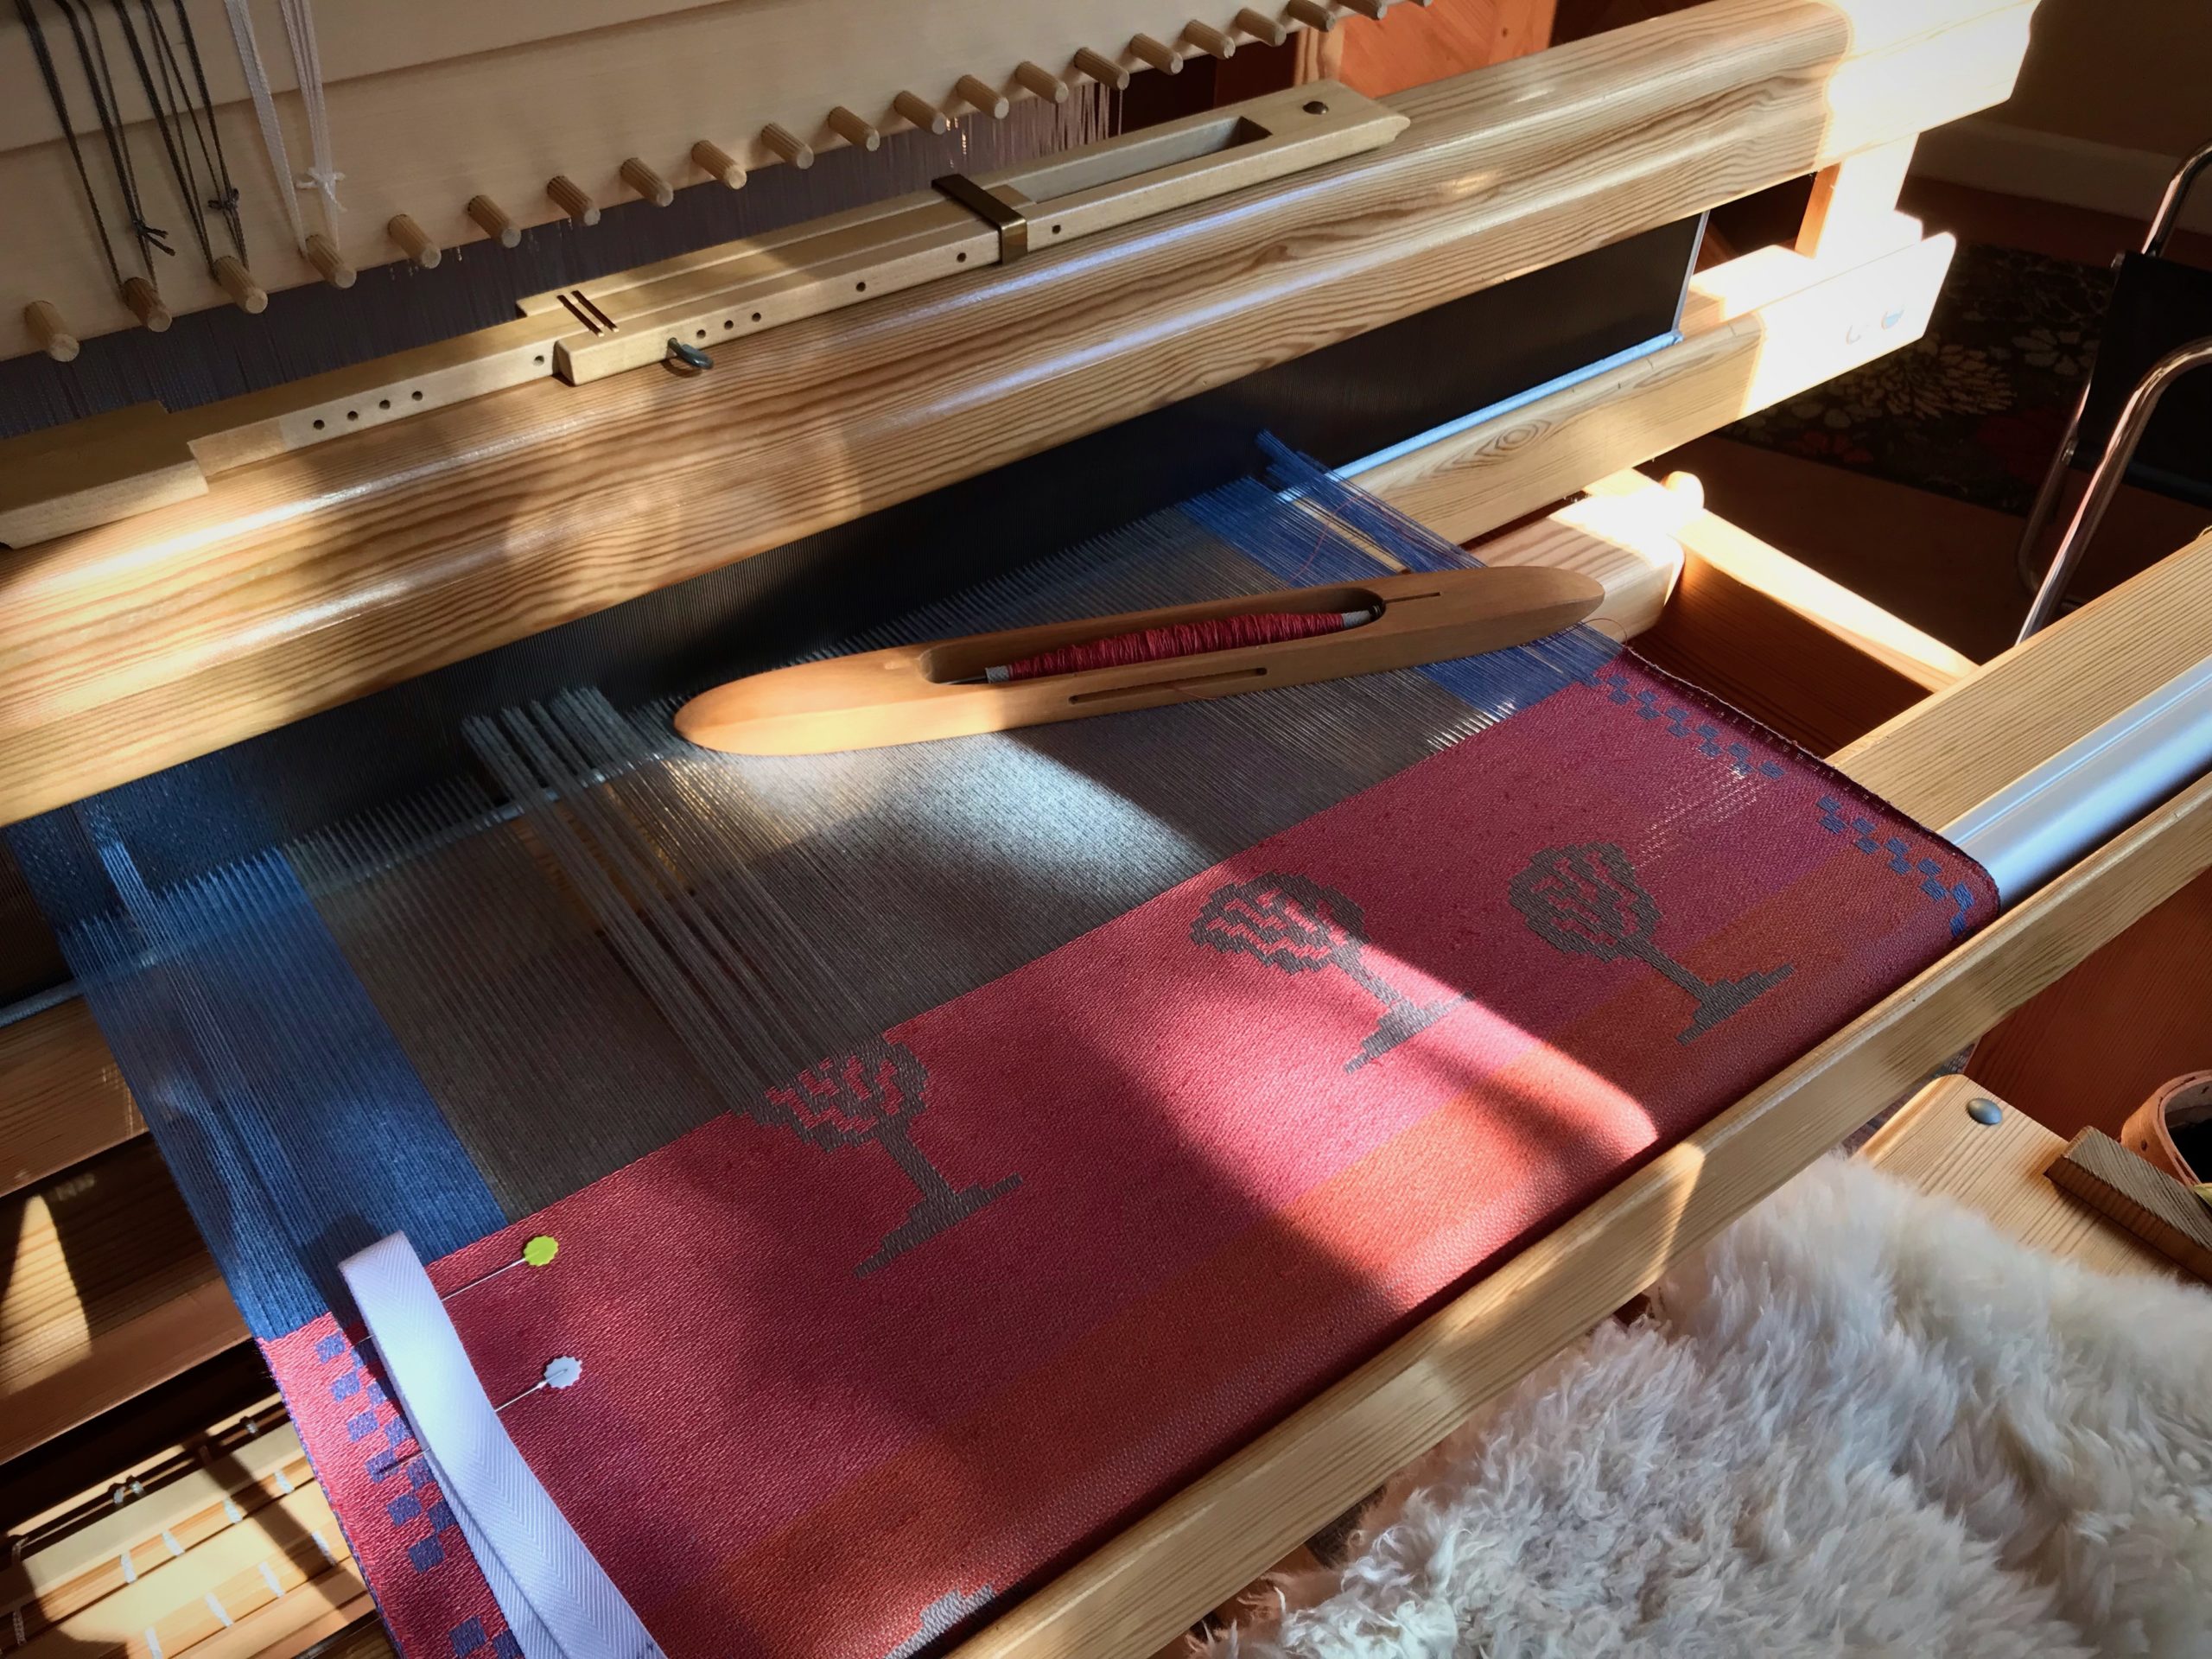
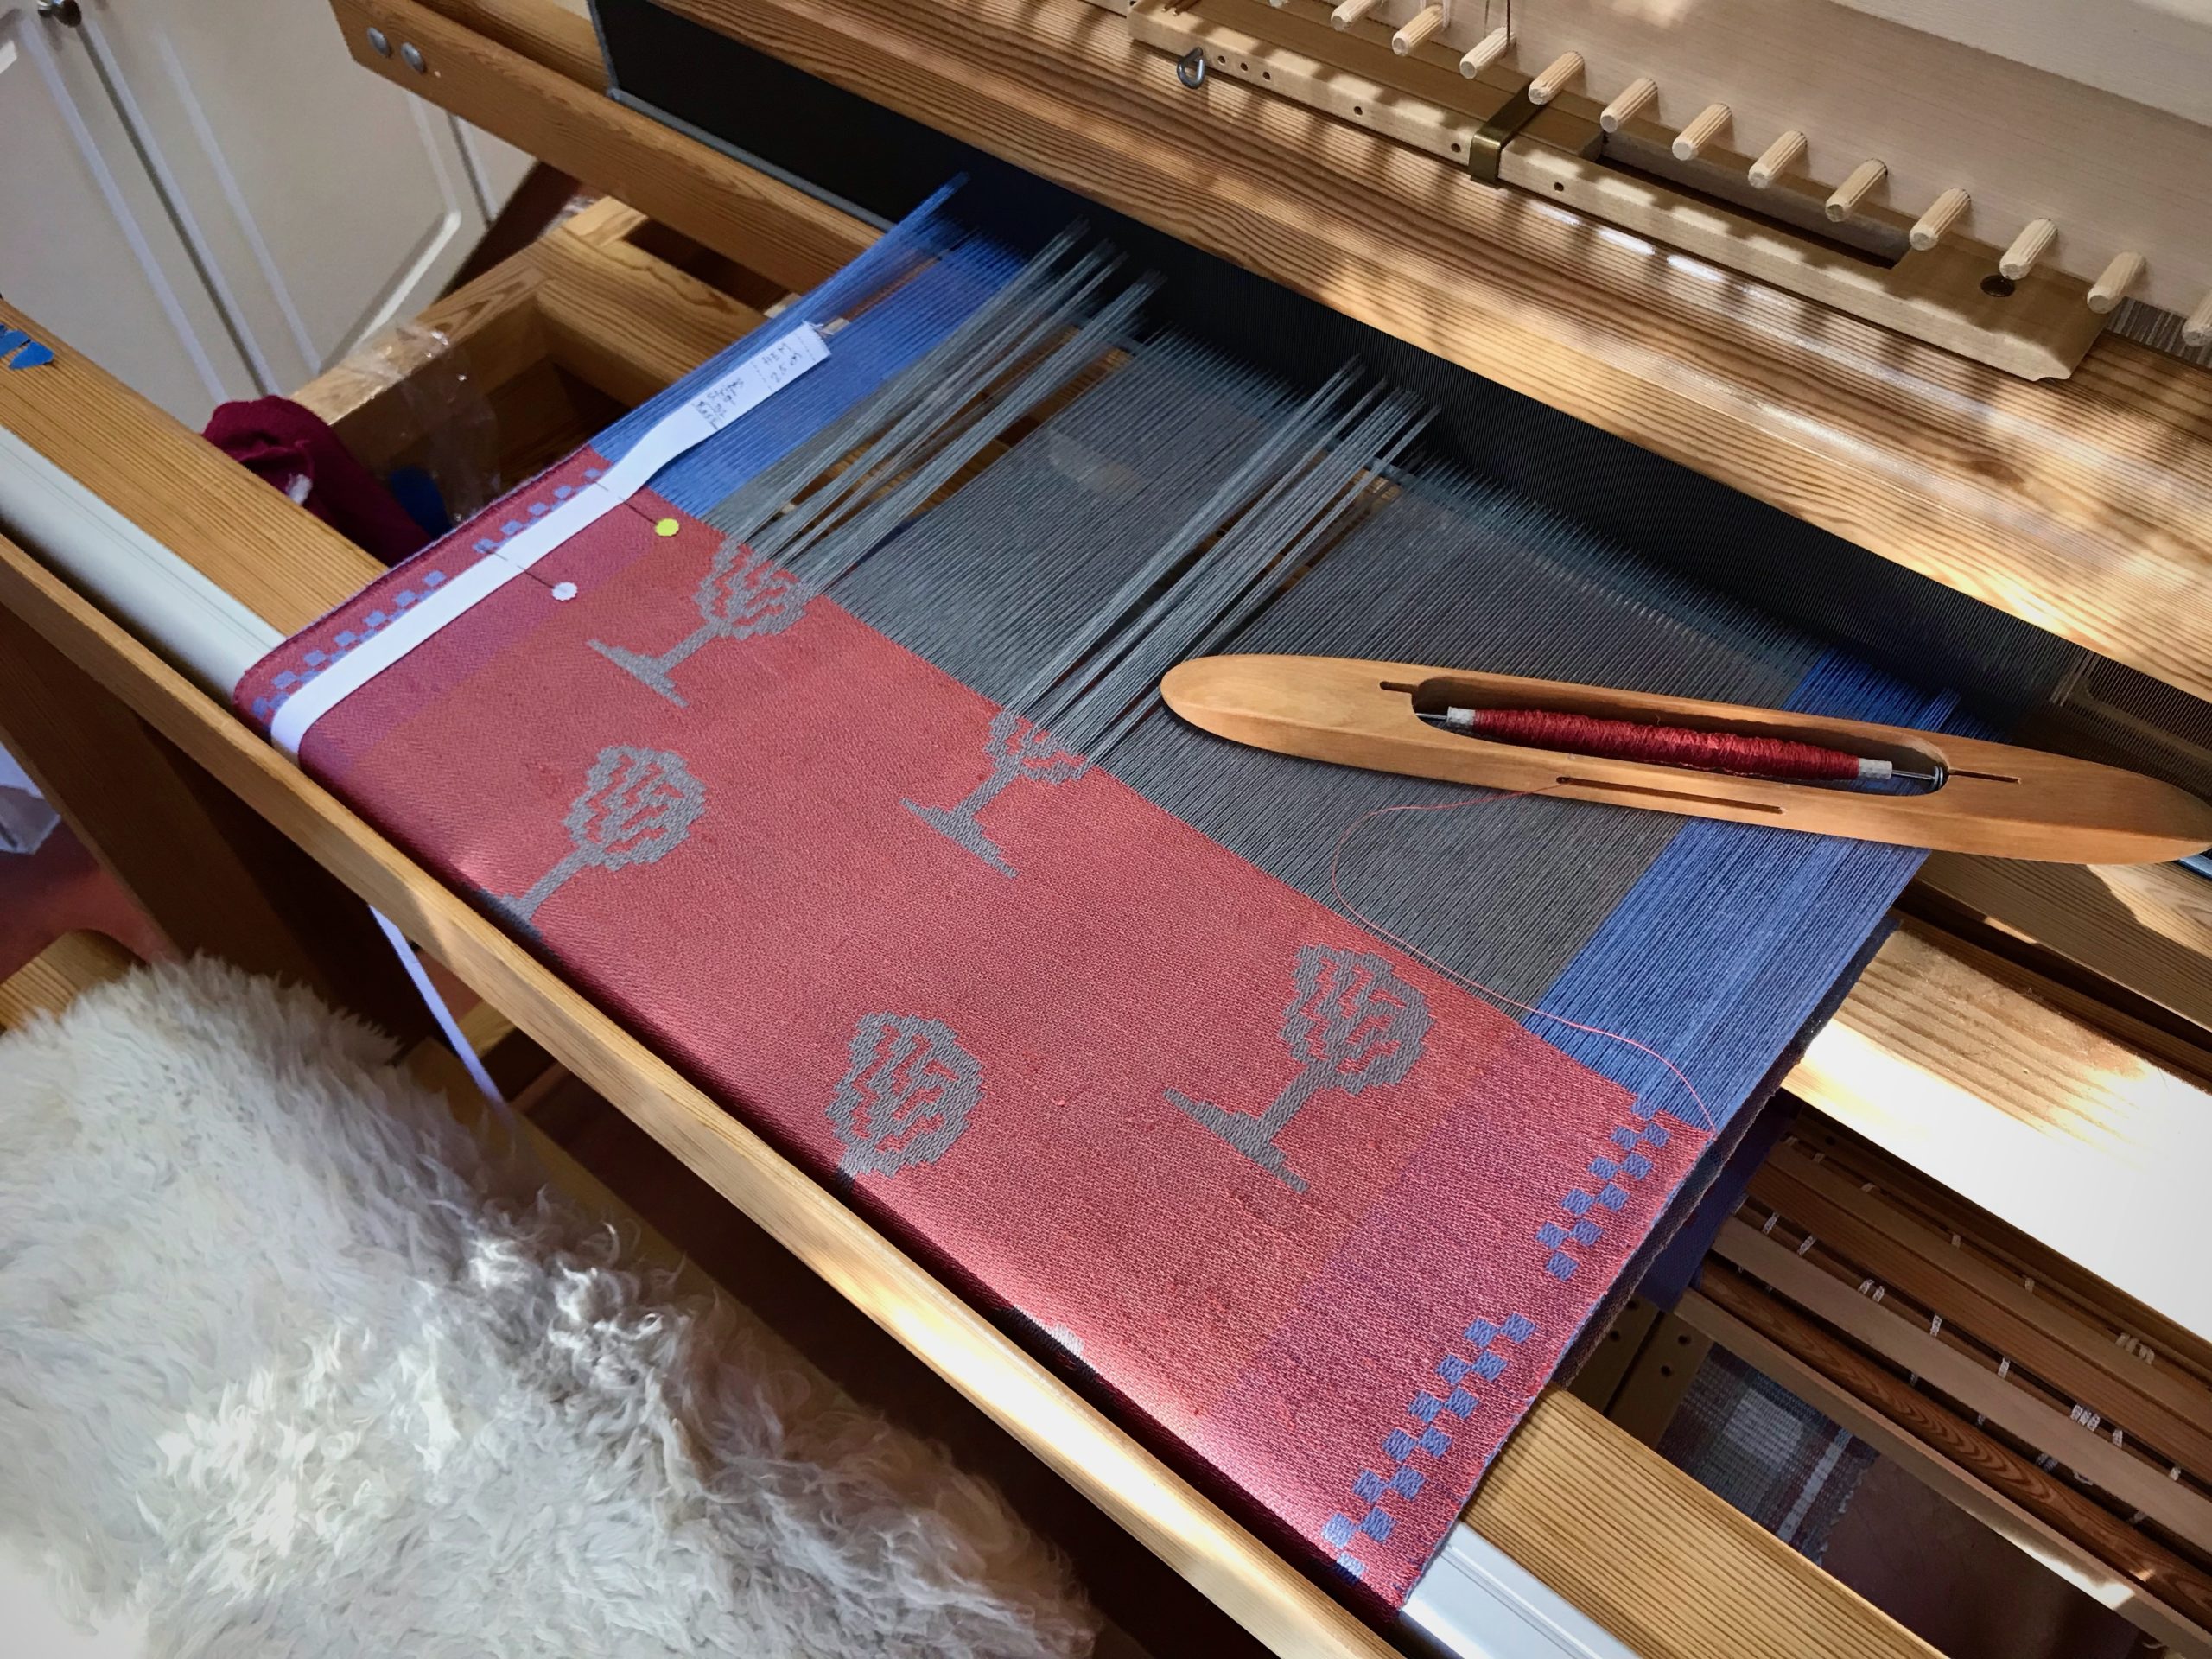
Myrehed combination drawloom. Weaving trees.
Single unit draw cords pull up single units of threads. For the setup on this project one unit is 6 ends.
Weaving trees on the drawloom.
Trees inside and outside.

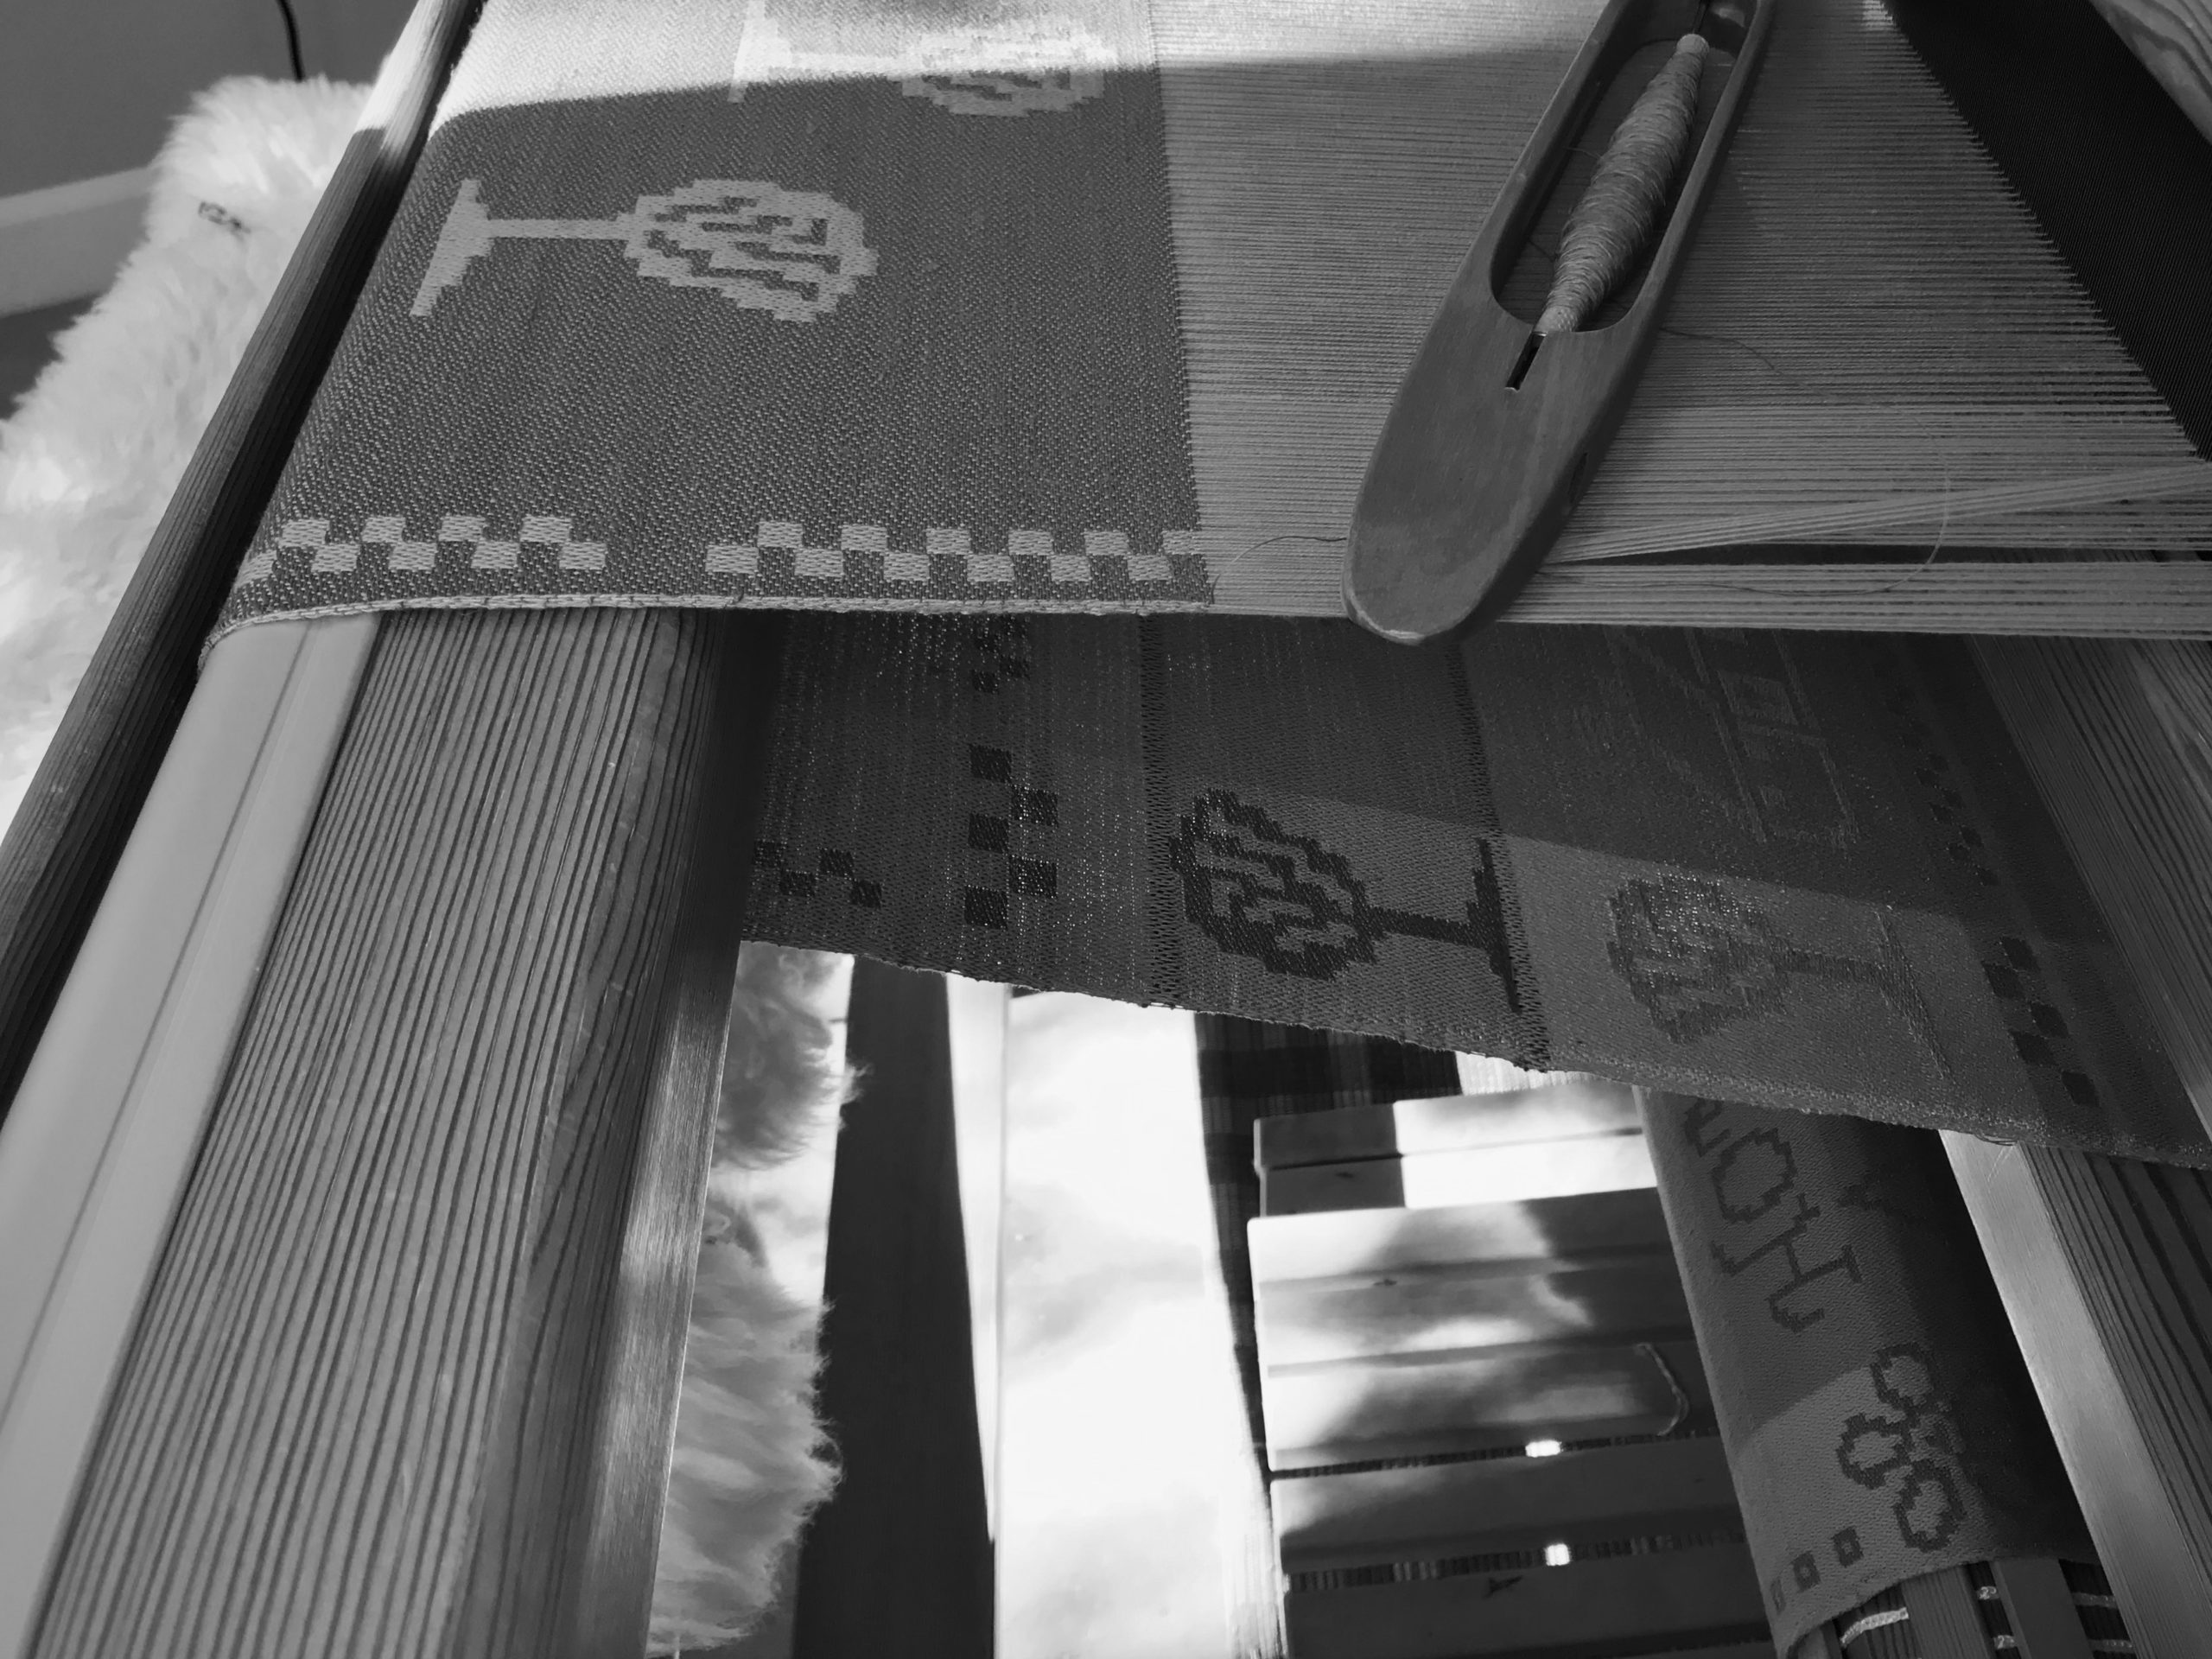
The simple tree design is scattered across the fabric using the single unit draw system. At the start of this towel, the same tree design was woven on the side borders using the pattern shafts. With this combination drawloom I combine single units and pattern shafts to work in complex harmony, as an expression of my creativity.

Myrehed Combination Drawloom on a Glimakra CM loom.
Trees on the side borders, as seen on the cloth below the breast beam, were woven using pattern shafts. Each pattern shaft holds units of ends in a certain order, which enables me to duplicate patterns across the warp or on the sides, as with these trees.
Weaving hand towels on the drawloom.
Near the finishing line for this towel.
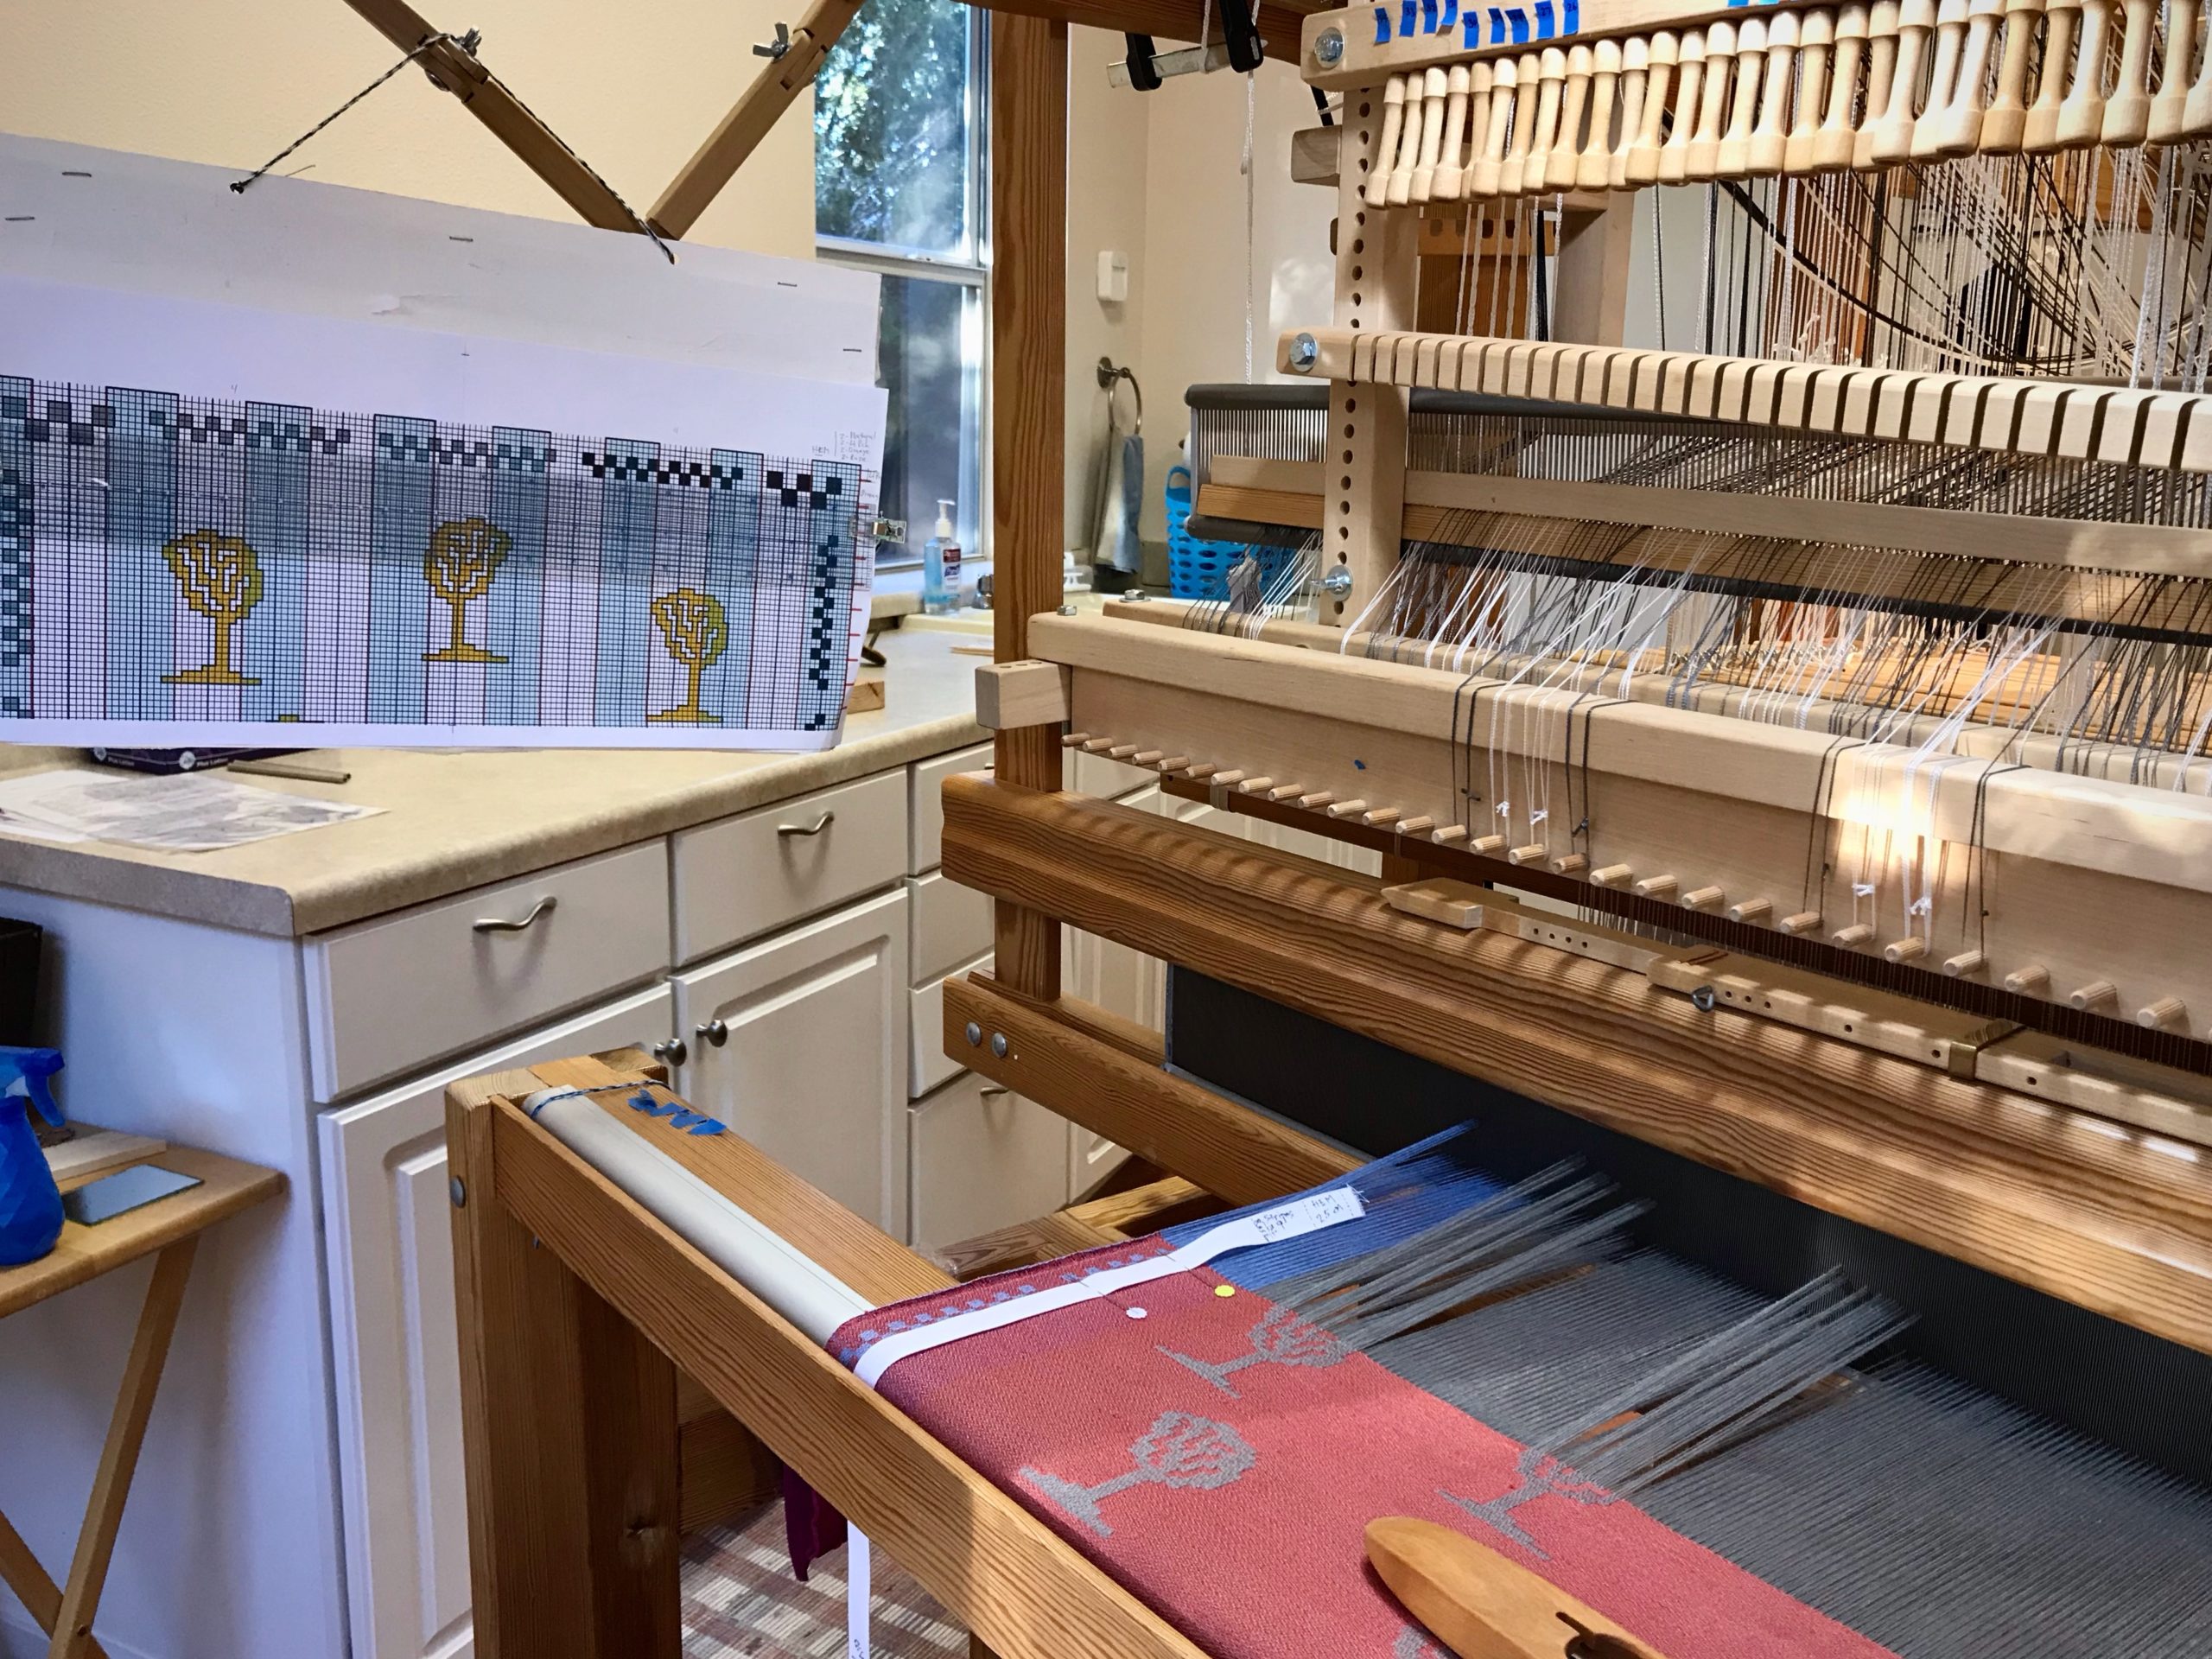
Myrehed Combination Drawloom - follow the chart.
Clear ruler moves up the chart, line by line, showing me exactly which black or white single unit cords to draw. The checked borders are produced with the pattern shaft draw handles.

The Lord is ready to give us his focused attention. Our complexity is no threat to him. When we allow him to direct our hearts, pulling cords at the right place to imprint his will in us, he faithfully completes the work, to the very last detail. The Lord embraces those who fully trust him. His unseen designs become visible in the lives of those who belong to him. We can just imagine the delight this brings to our Maker.

May you find yourself in a big hug.

Happy Weaving,
Karen

Tried and True: What a Little Piece of Tape Can Do

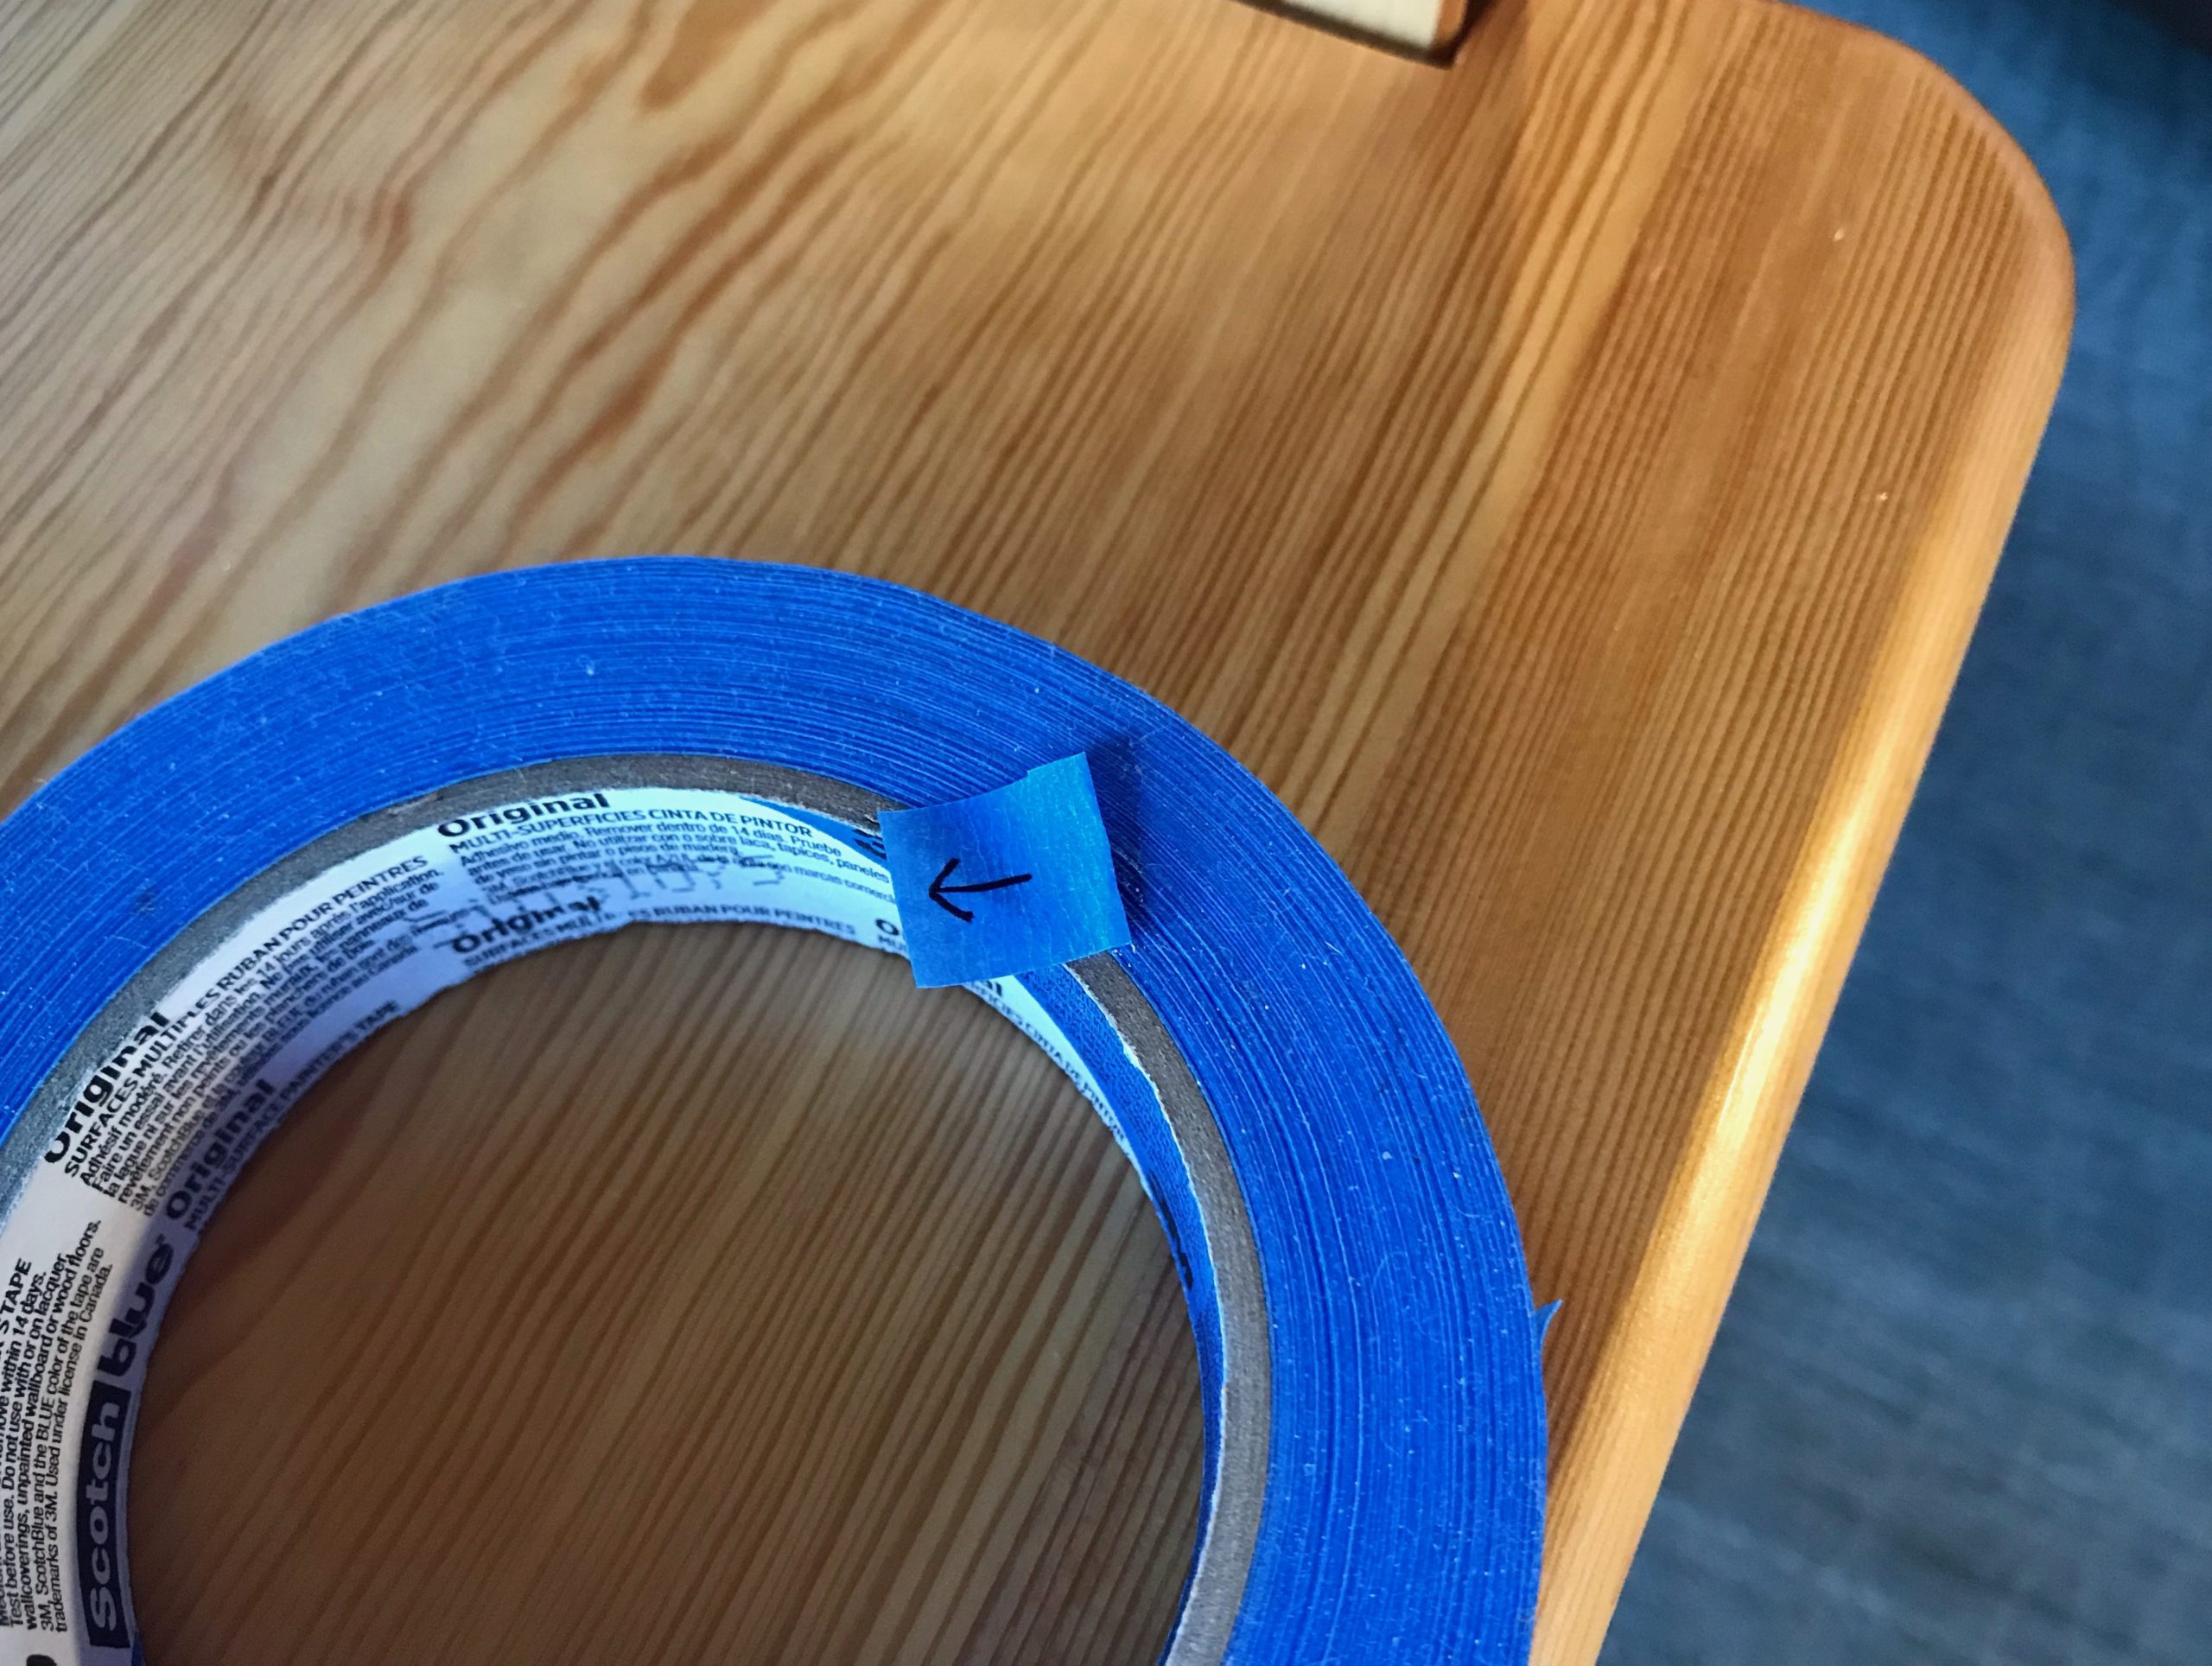
You never know when you’ll need a piece of blue tape. A roll of blue painter’s tape is among my essential weaving supplies. My favorite way to temporarily mark just about anything is with a piece of blue tape.

Blue Painters Tape for Temporary Markings

  1. Cut (or tear) the tape to size.
  2. Fold one edge of the tape under. This makes a little tab so that the tape is easy to remove or reposition.
  3. Use a fine point Sharpie to write on the tape.
Weaver's uses for blue painter's tape.
Tape prepared for pointing.

Three Examples

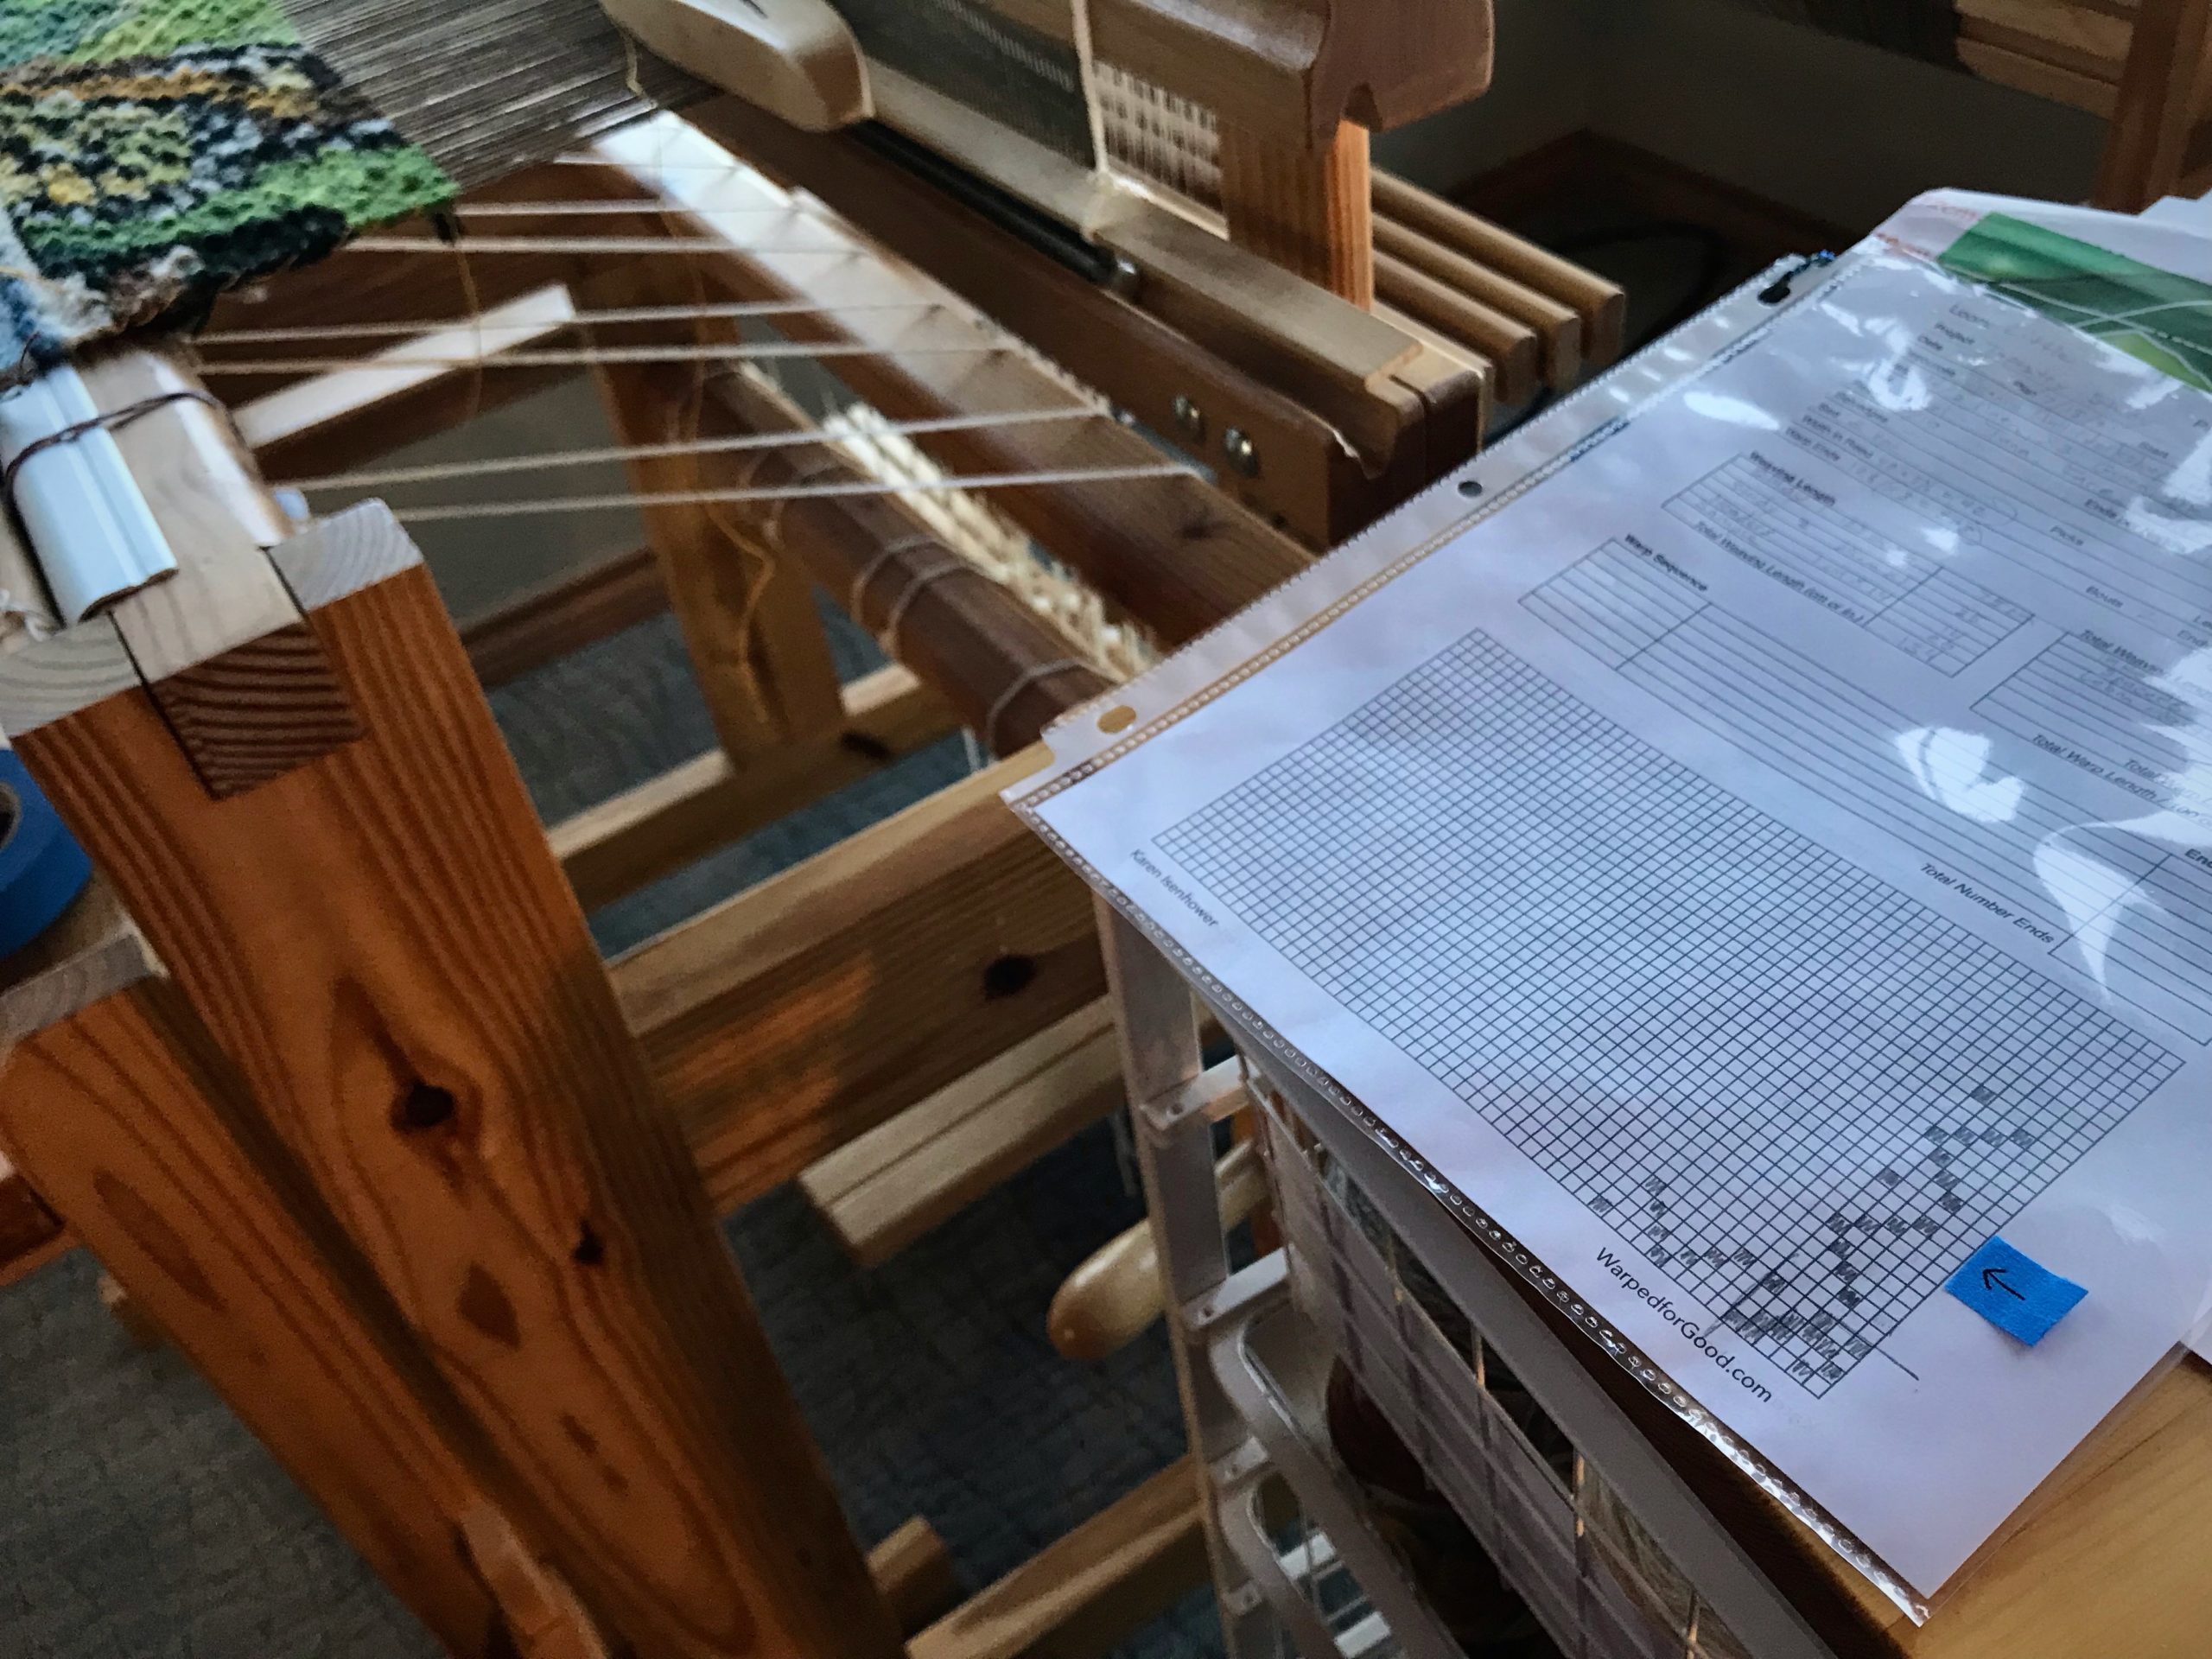
  • Keep your place. Draw an arrow on a small piece of blue tape. Use the arrow on the tape to follow along the threading or treadling draft. This eliminates confusion, especially after a pause.
Blue tape uses in the weaving studio.
Rosepath treadling for 4-shaft tapestry. Since there are plain weave picks between each rosepath row, I need something to remind me where I left off.

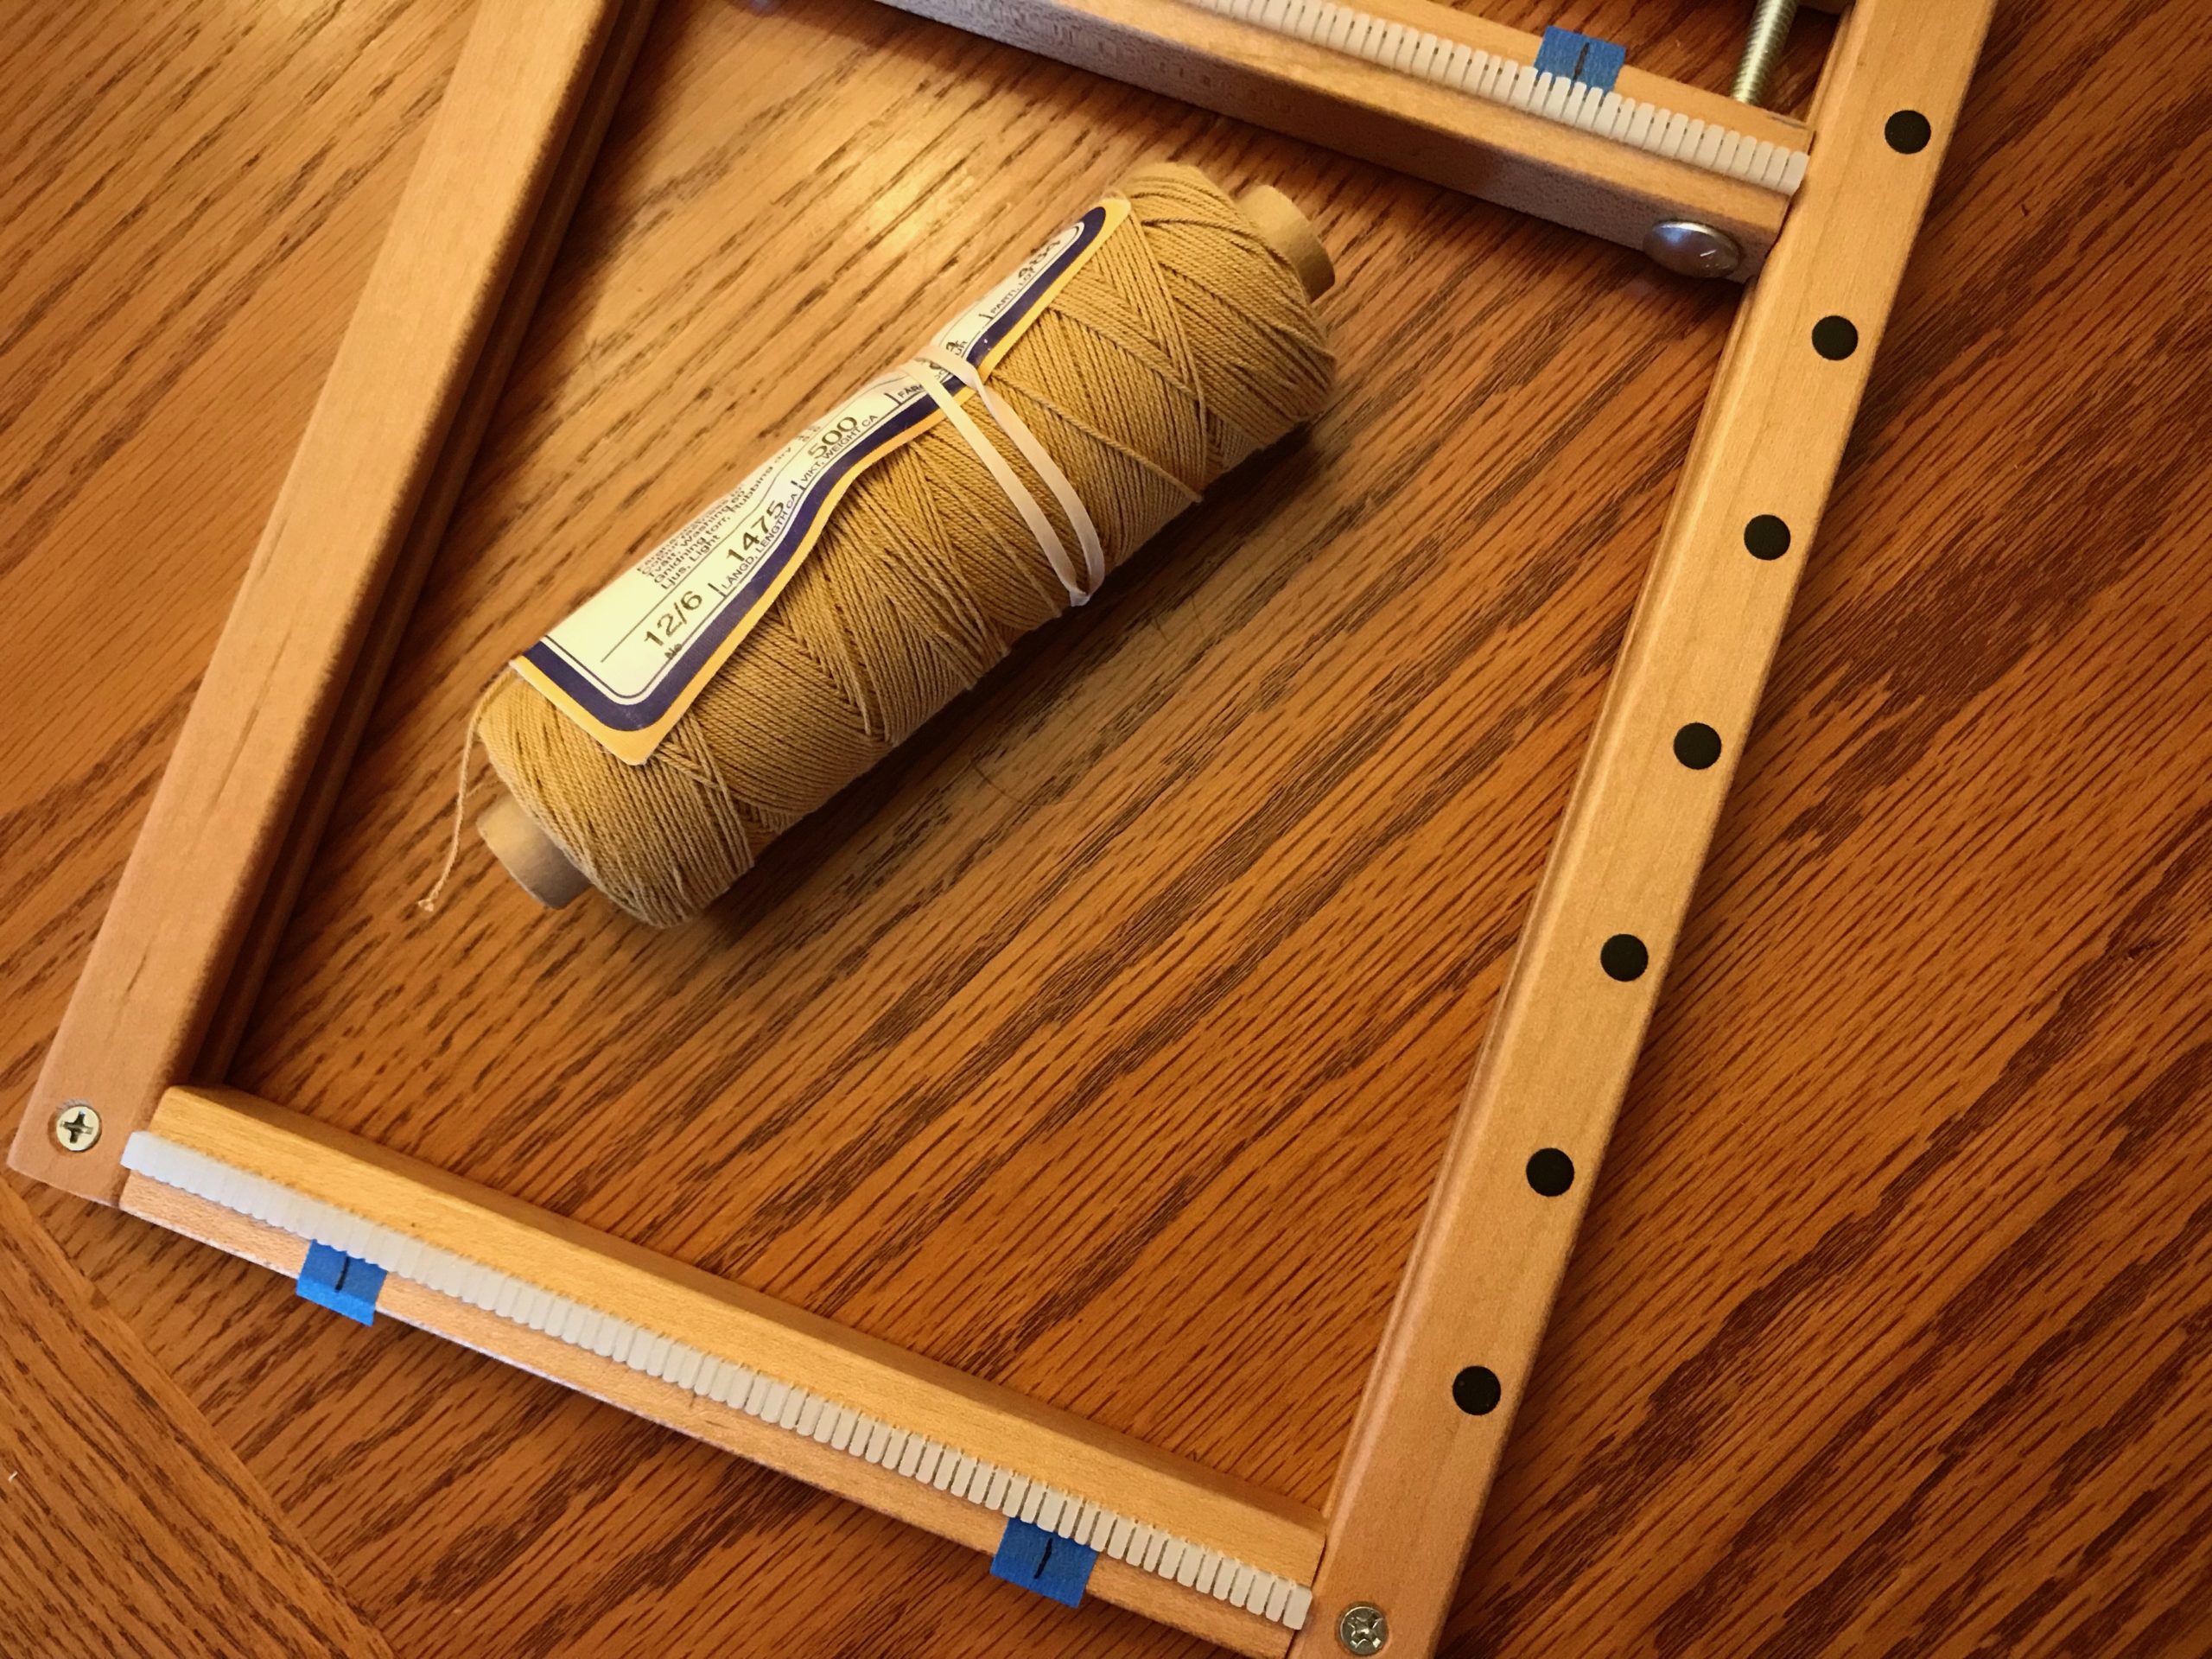
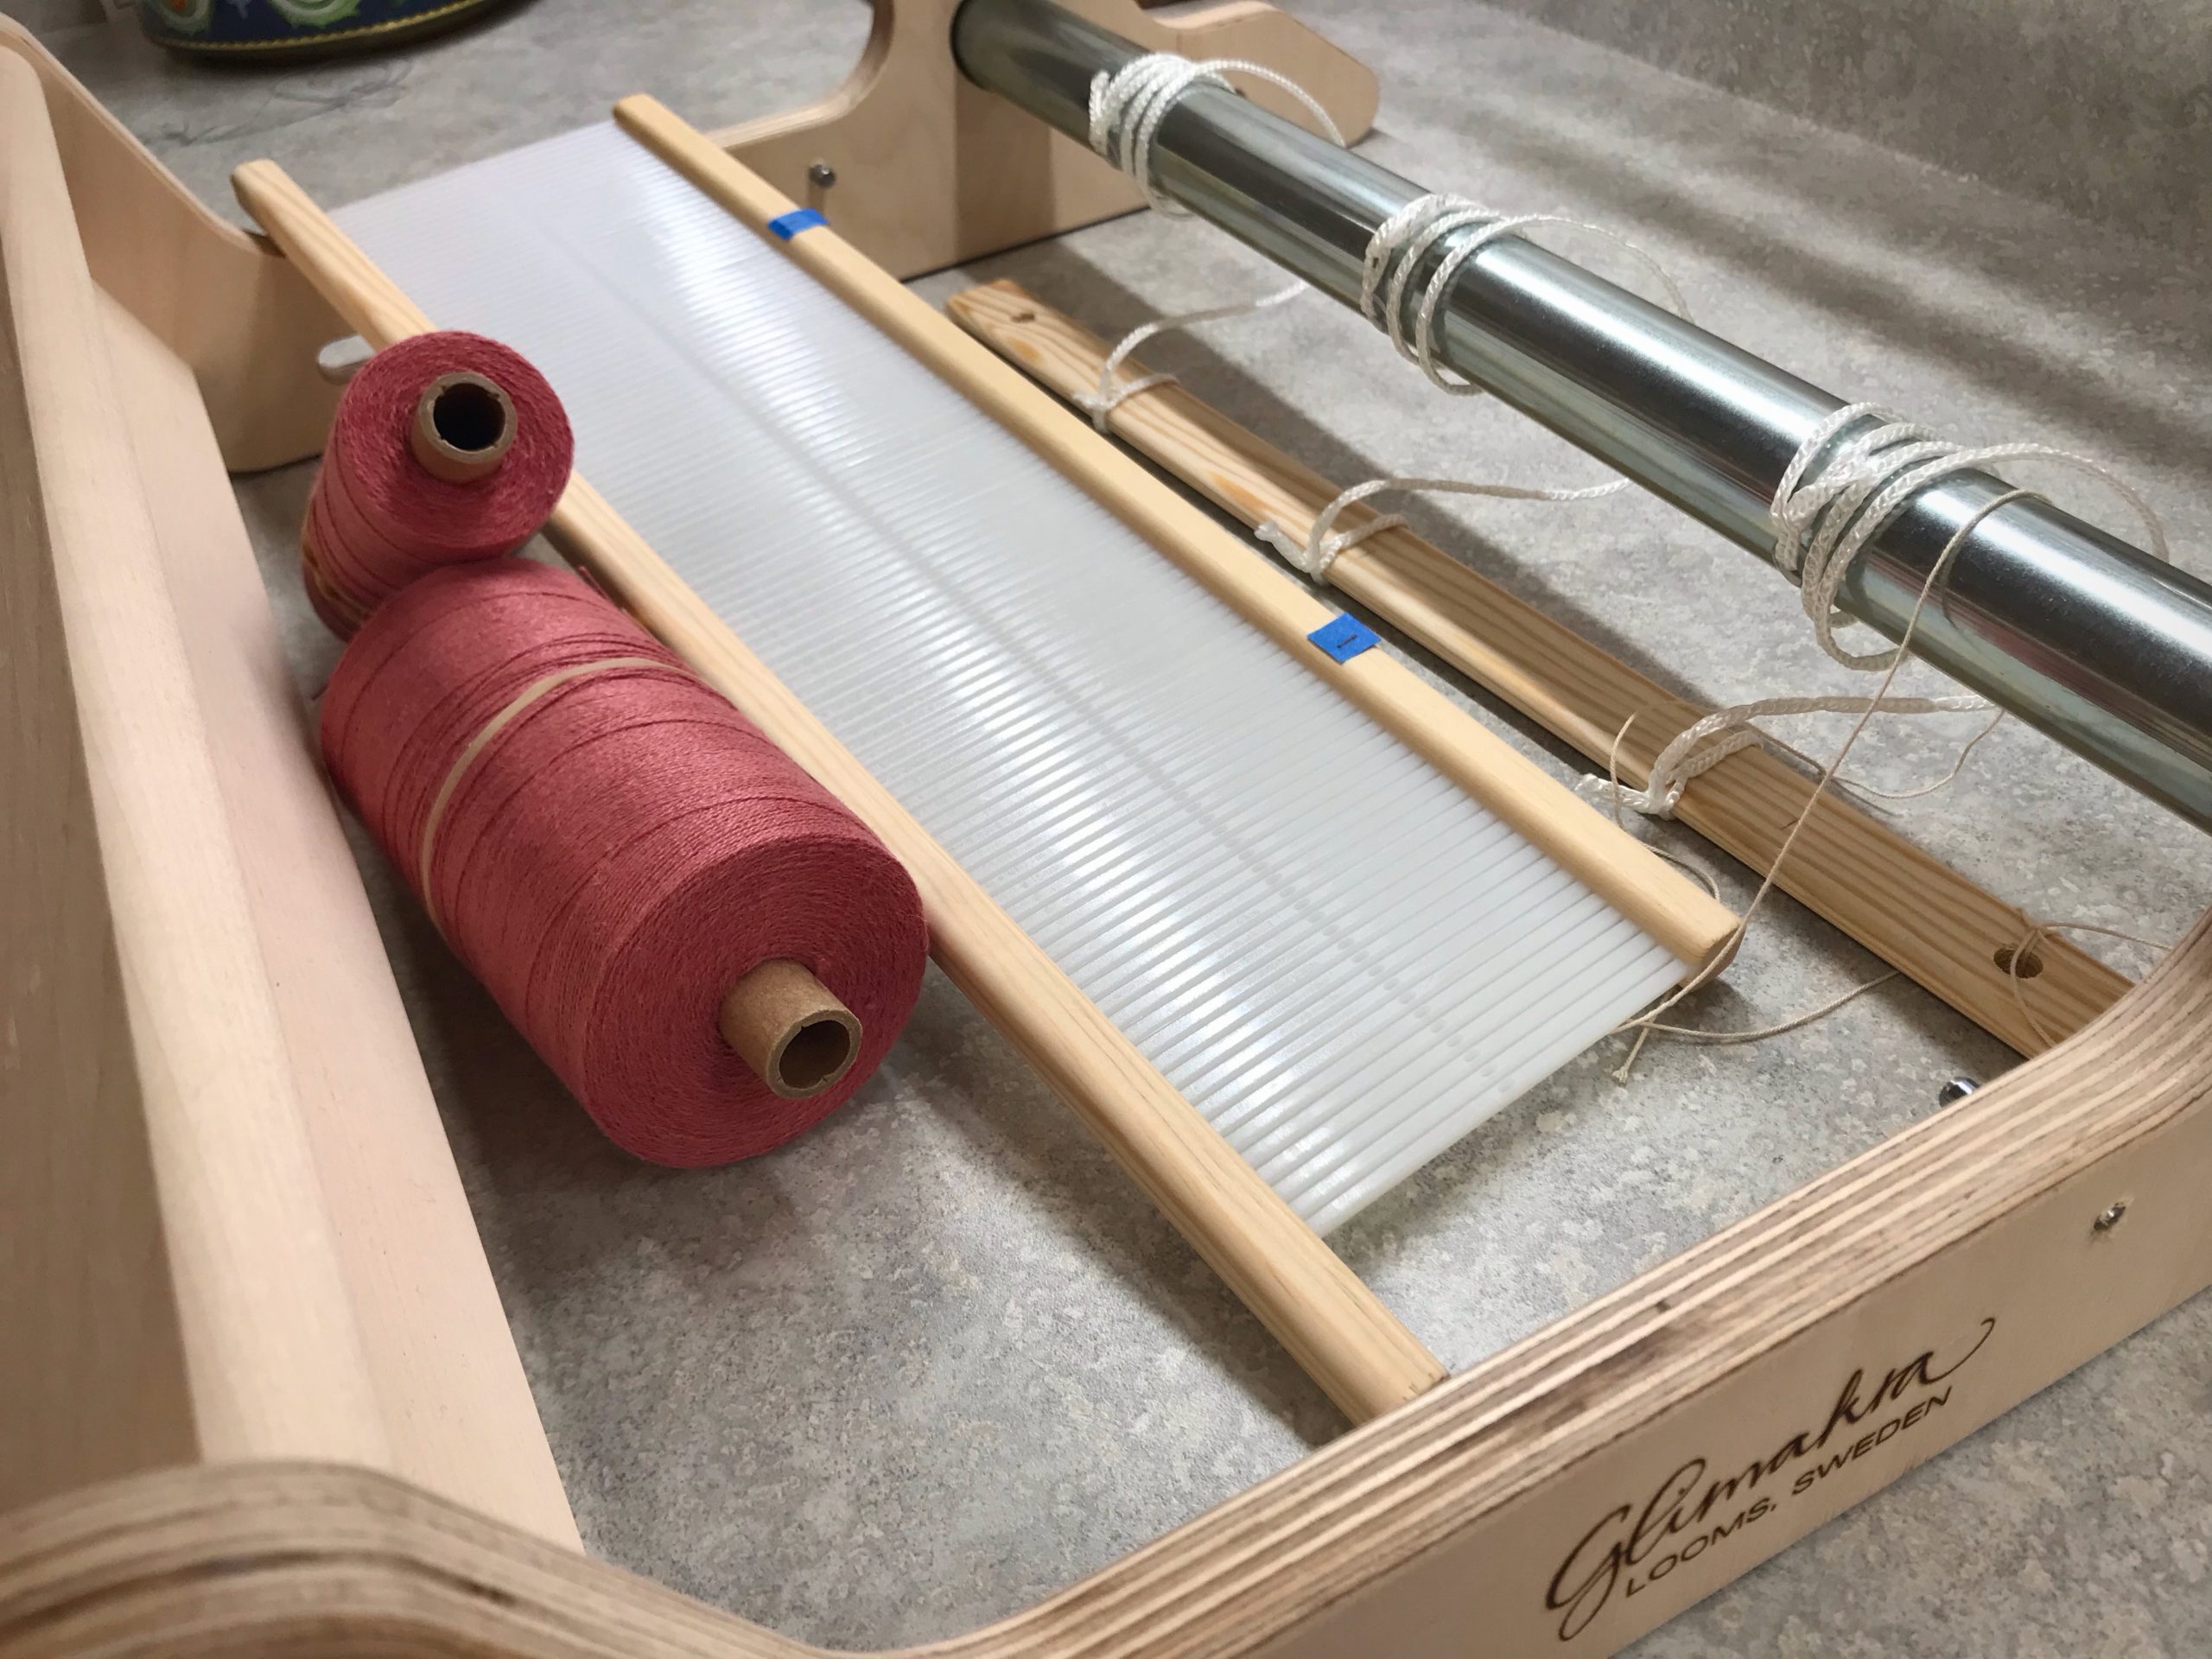
  • Measure the space. Draw a straight line on small pieces of tape. Measure the warp width on a tapestry frame or rigid heddle loom. Use the lines on the tape to mark where the first and last warp ends should lie on the loom. This eliminates guessing when warping the loom.
Uses for blue tape in my weaving studio.
Tapestry frame is ready for a new warp. After measuring for weaving width, and counting dents, I mark the dents with tape. No more guessing if I’m “almost there” when putting on the warp.
Blue tape to mark the rigid heddle. And other uses for blue tape.
By clearly marking the first and last slots/holes I can verify that my calculations are correct before I start warping the rigid heddle loom. This is helpful for direct warping and for indirect warping methods.

  • Number with Grace. Write out a series of numbers on a long piece of tape, leaving space between the numbers. Cut the numbers apart. Use the numbers to label pattern shaft draw handles on the drawloom. Place the numbers directly above the draw handles, arranged in groups of five for easy visual recognition. Use a separate series of numbers for border pattern shafts, if applicable. This temporary numbering system gives the advantage of being able to customize the numbering for each drawloom draft.
This is how I number my drawloom handles. Blue tape!
Using the Myrehed Combination Drawloom, I configure the numbers for the pattern shaft draw handles to coordinate with the single unit draw cords, which are grouped by tens. This makes my working chart that uses single units and pattern shafts much less complicated. For this reason, it doesn’t make sense to give my draw handles “permanent” numbers.

Have you found ways to use blue painter’s tape in your weaving studio? Share in the comments!

May your life leave marks that are more than temporary.

Have fun,
Karen