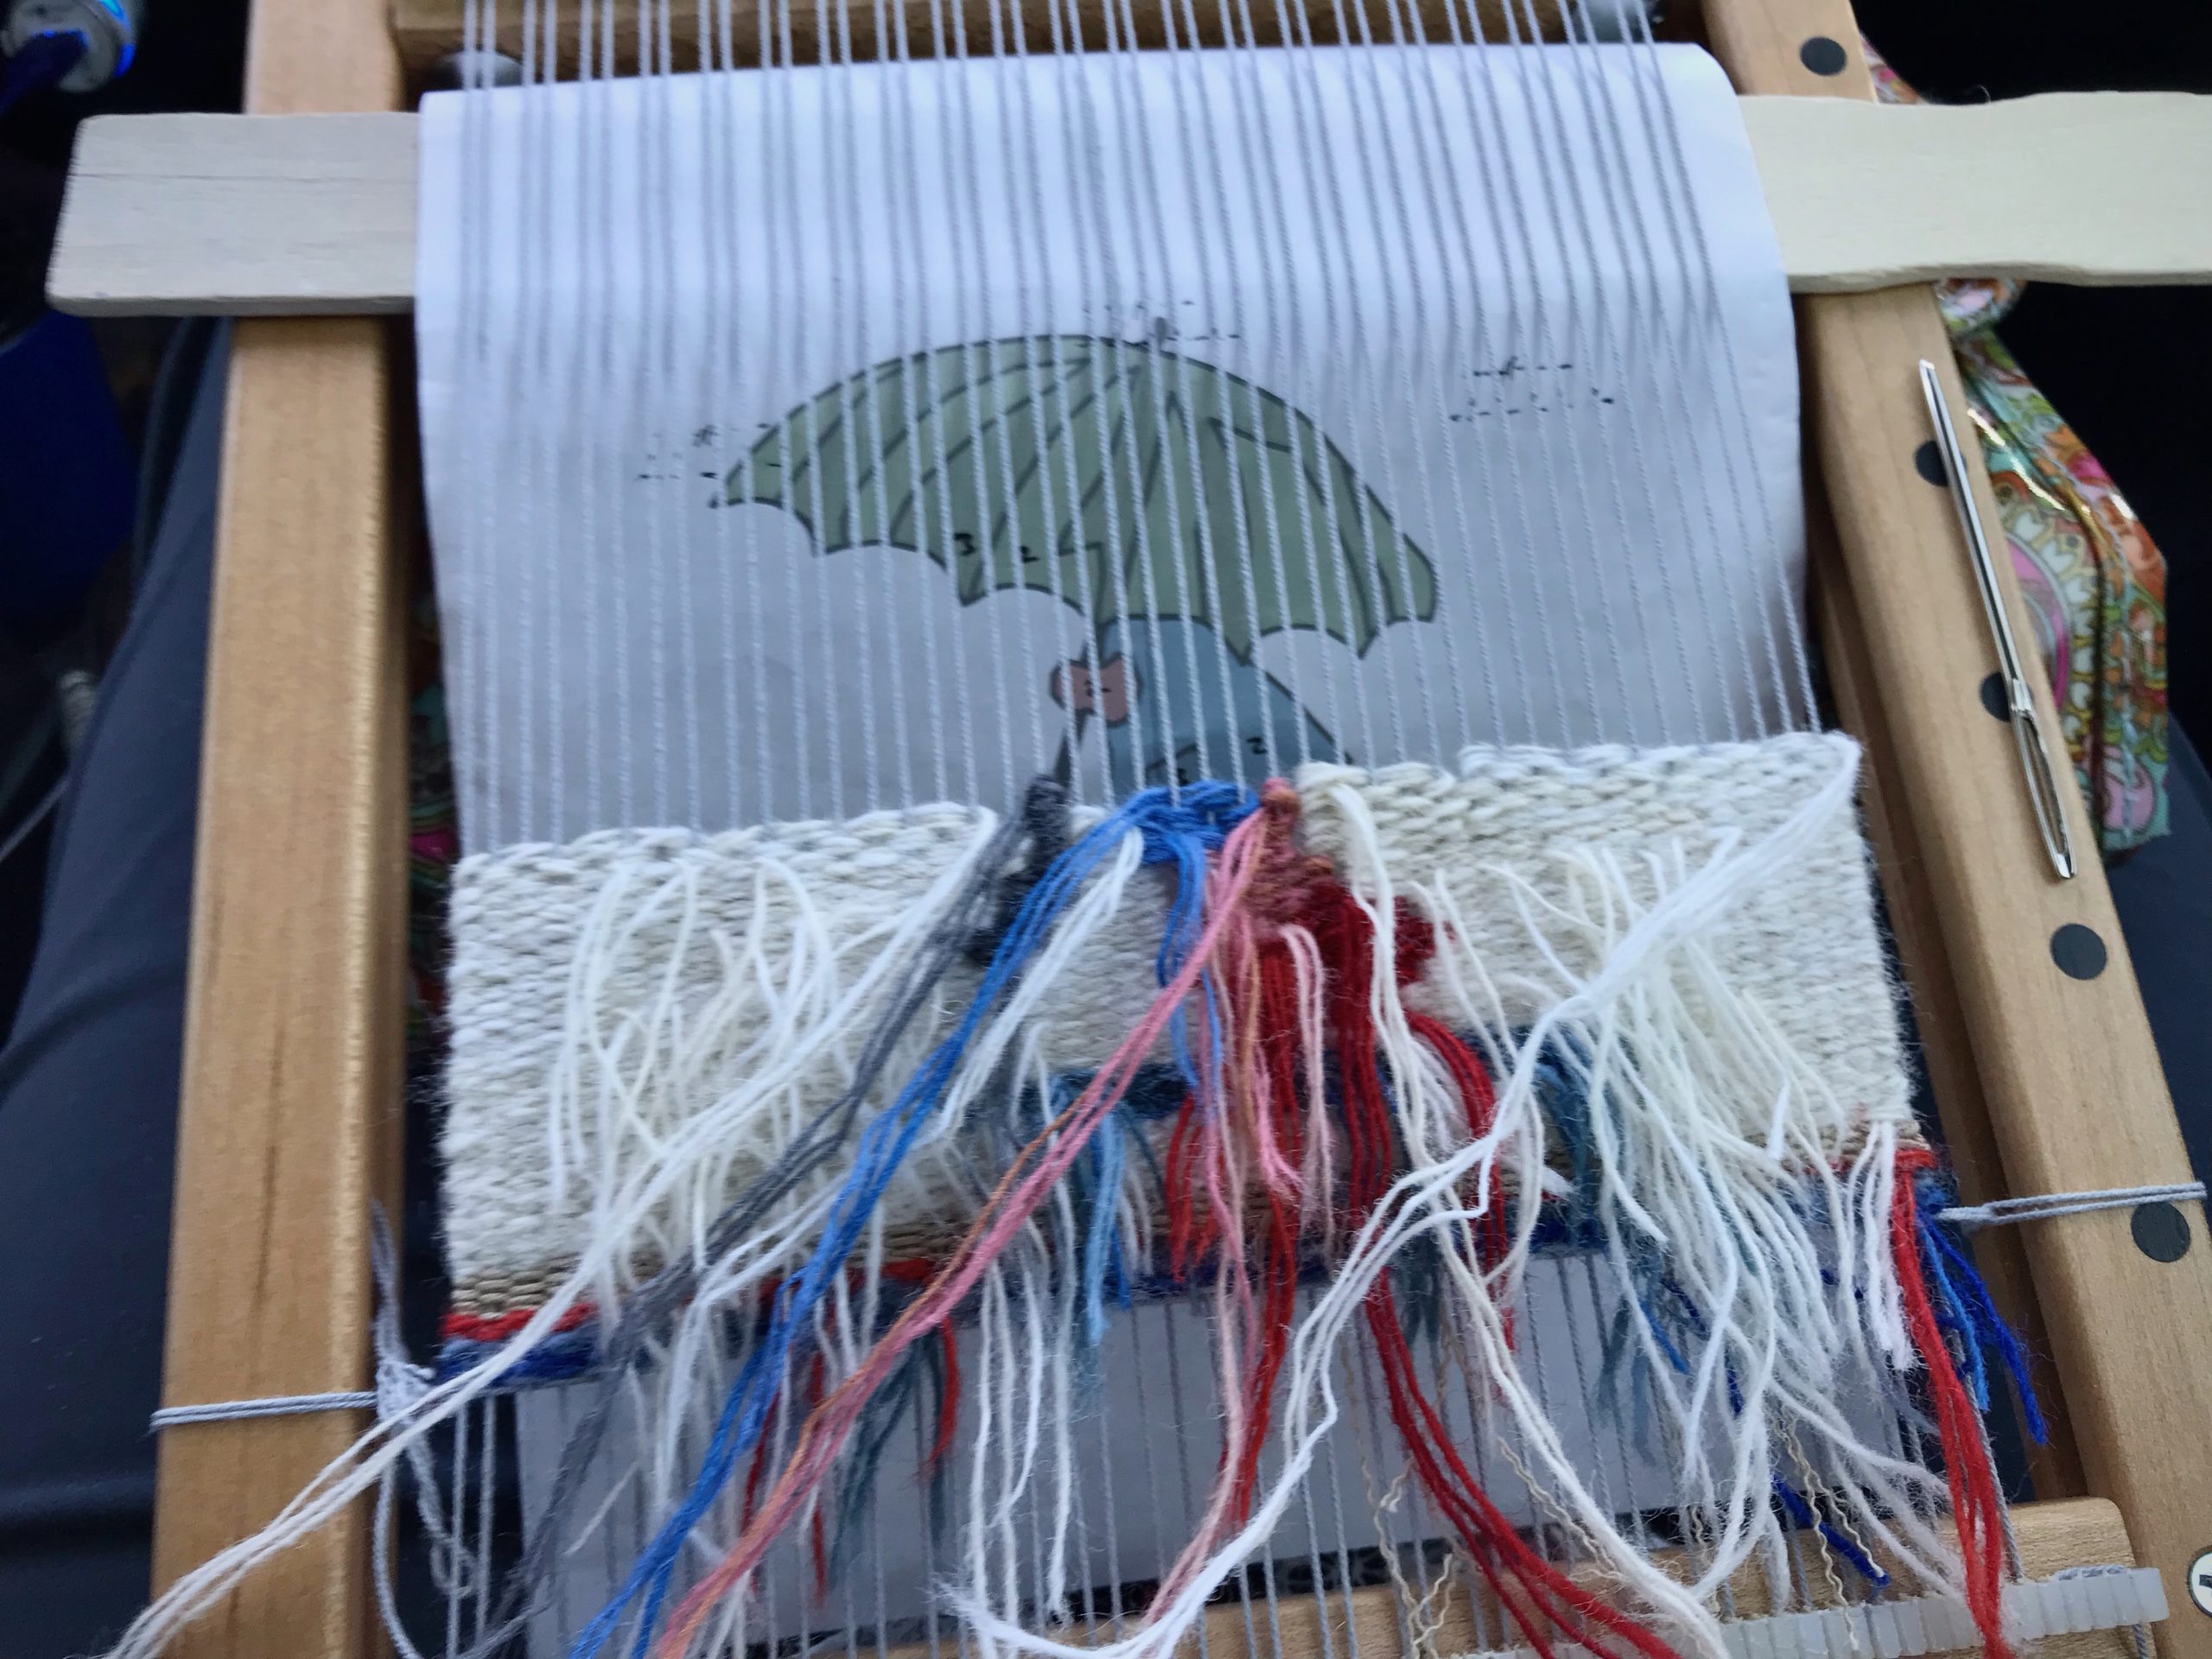
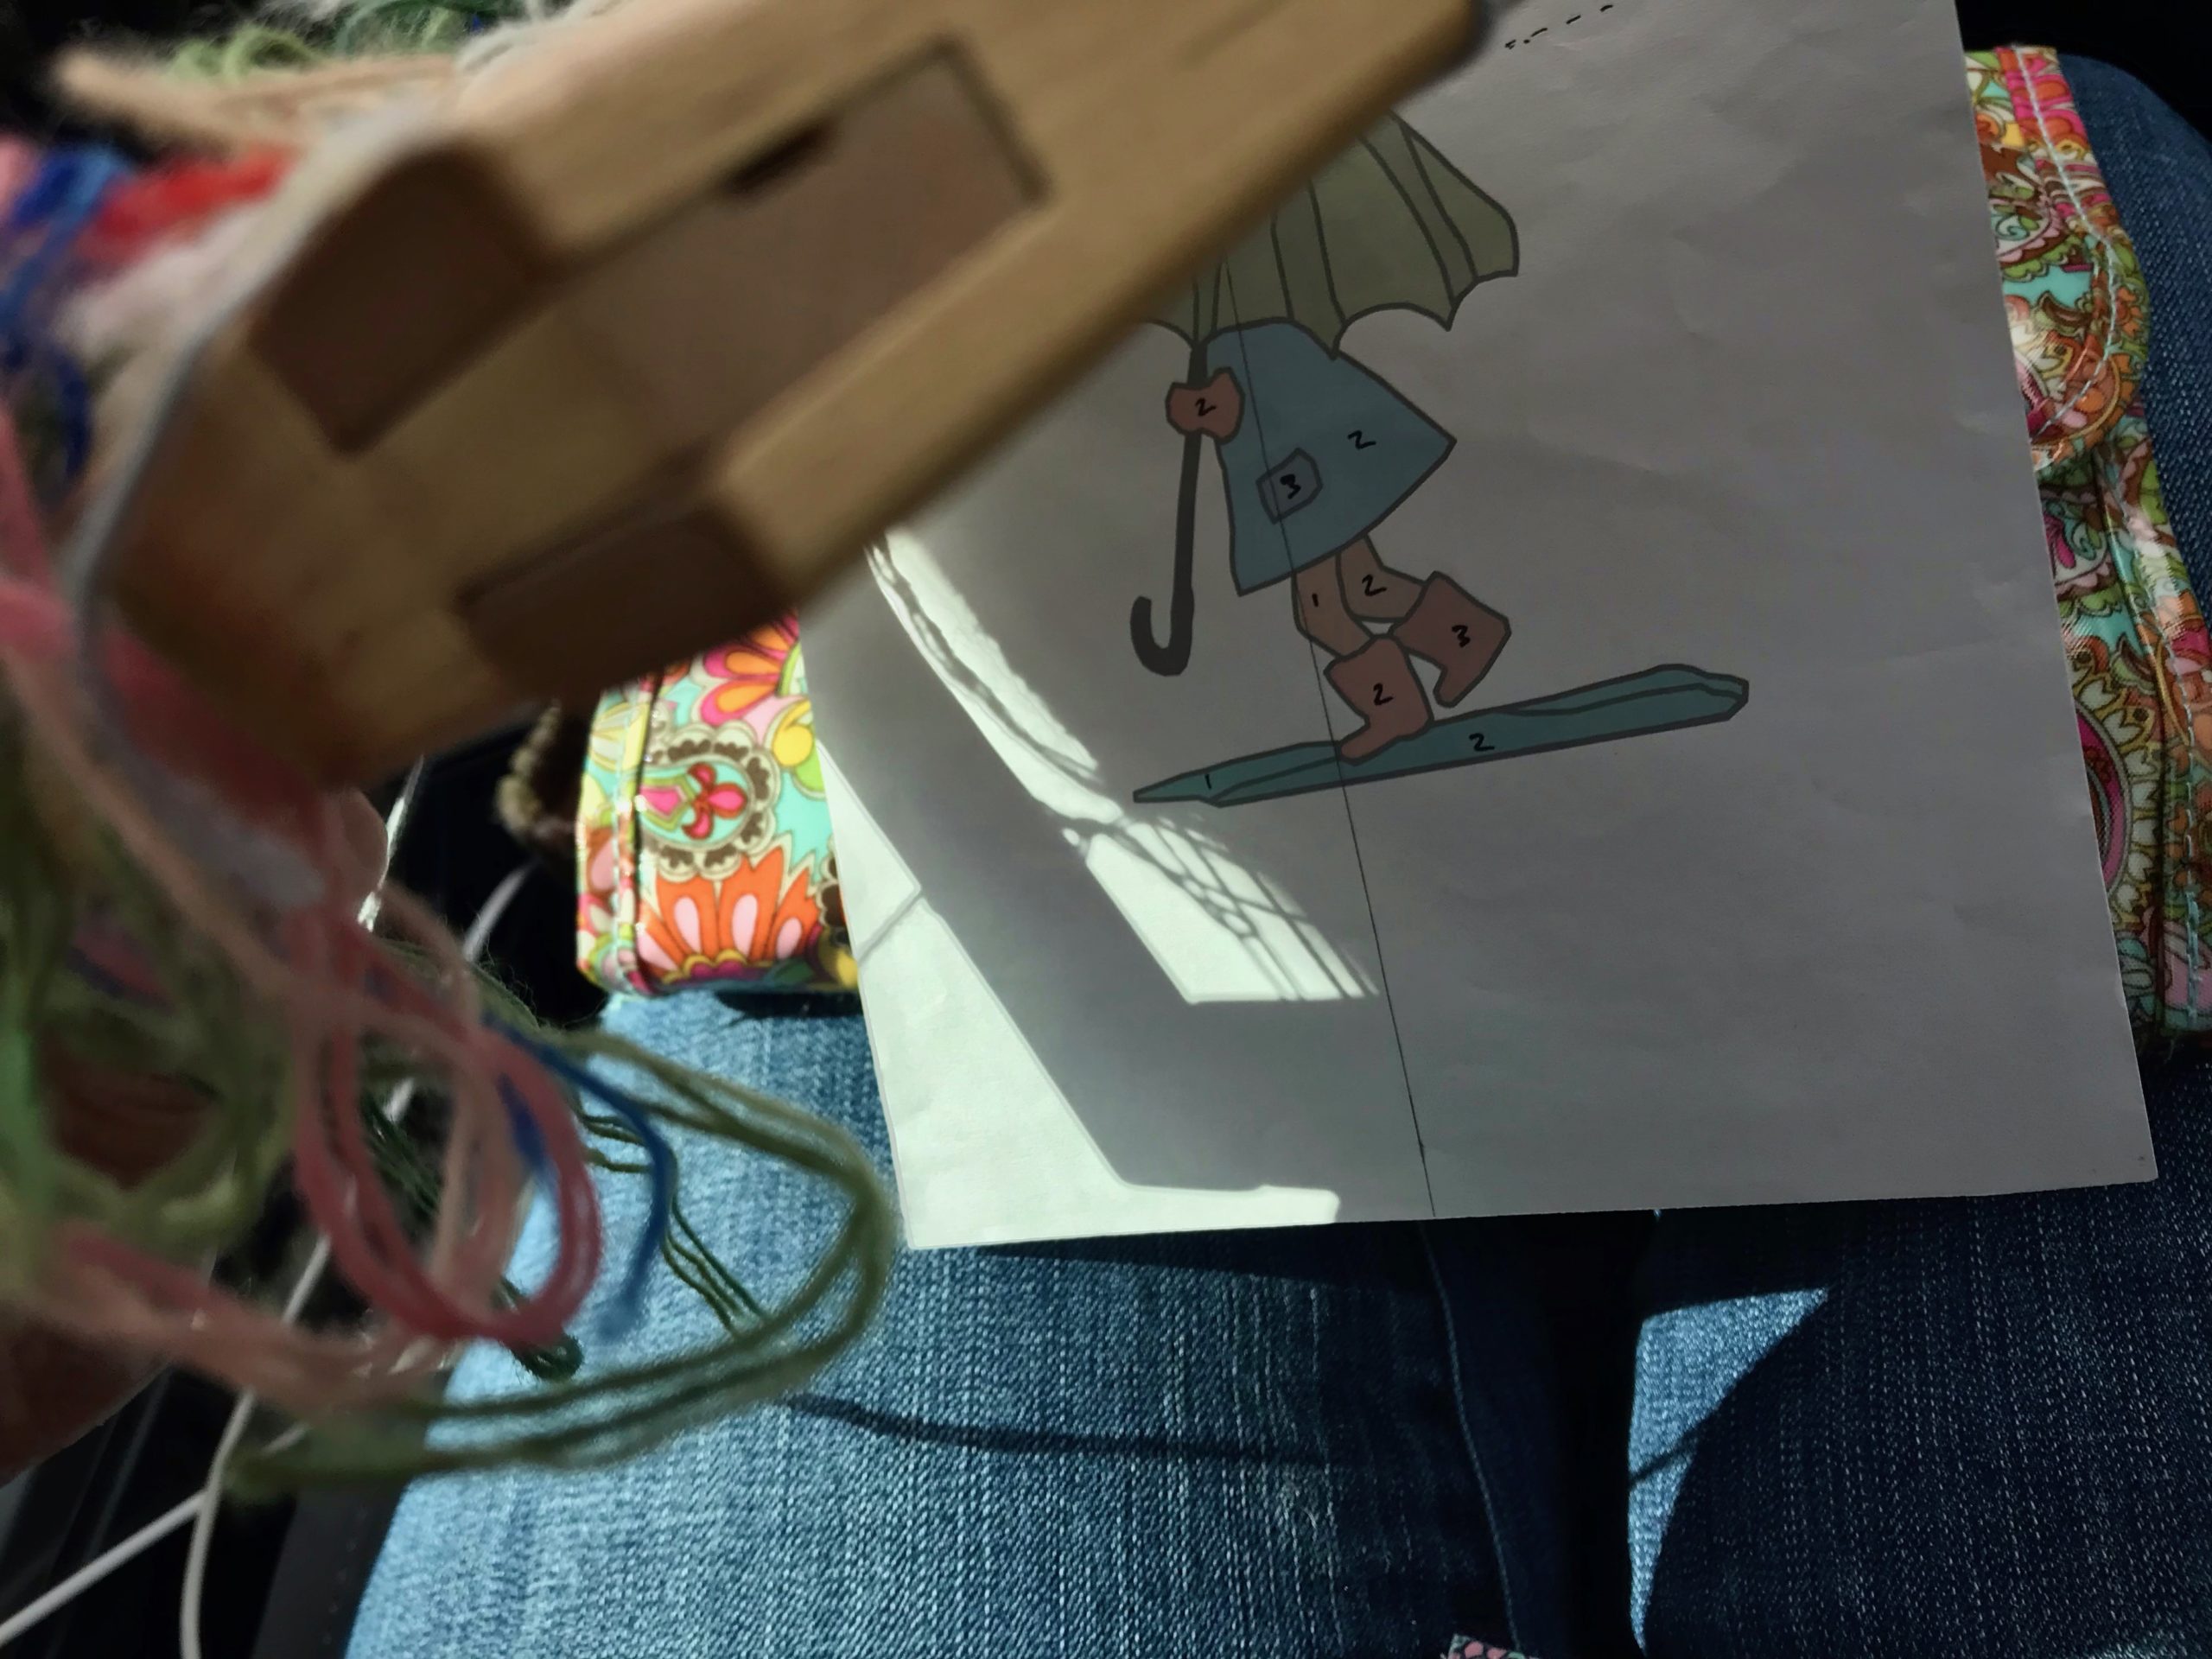
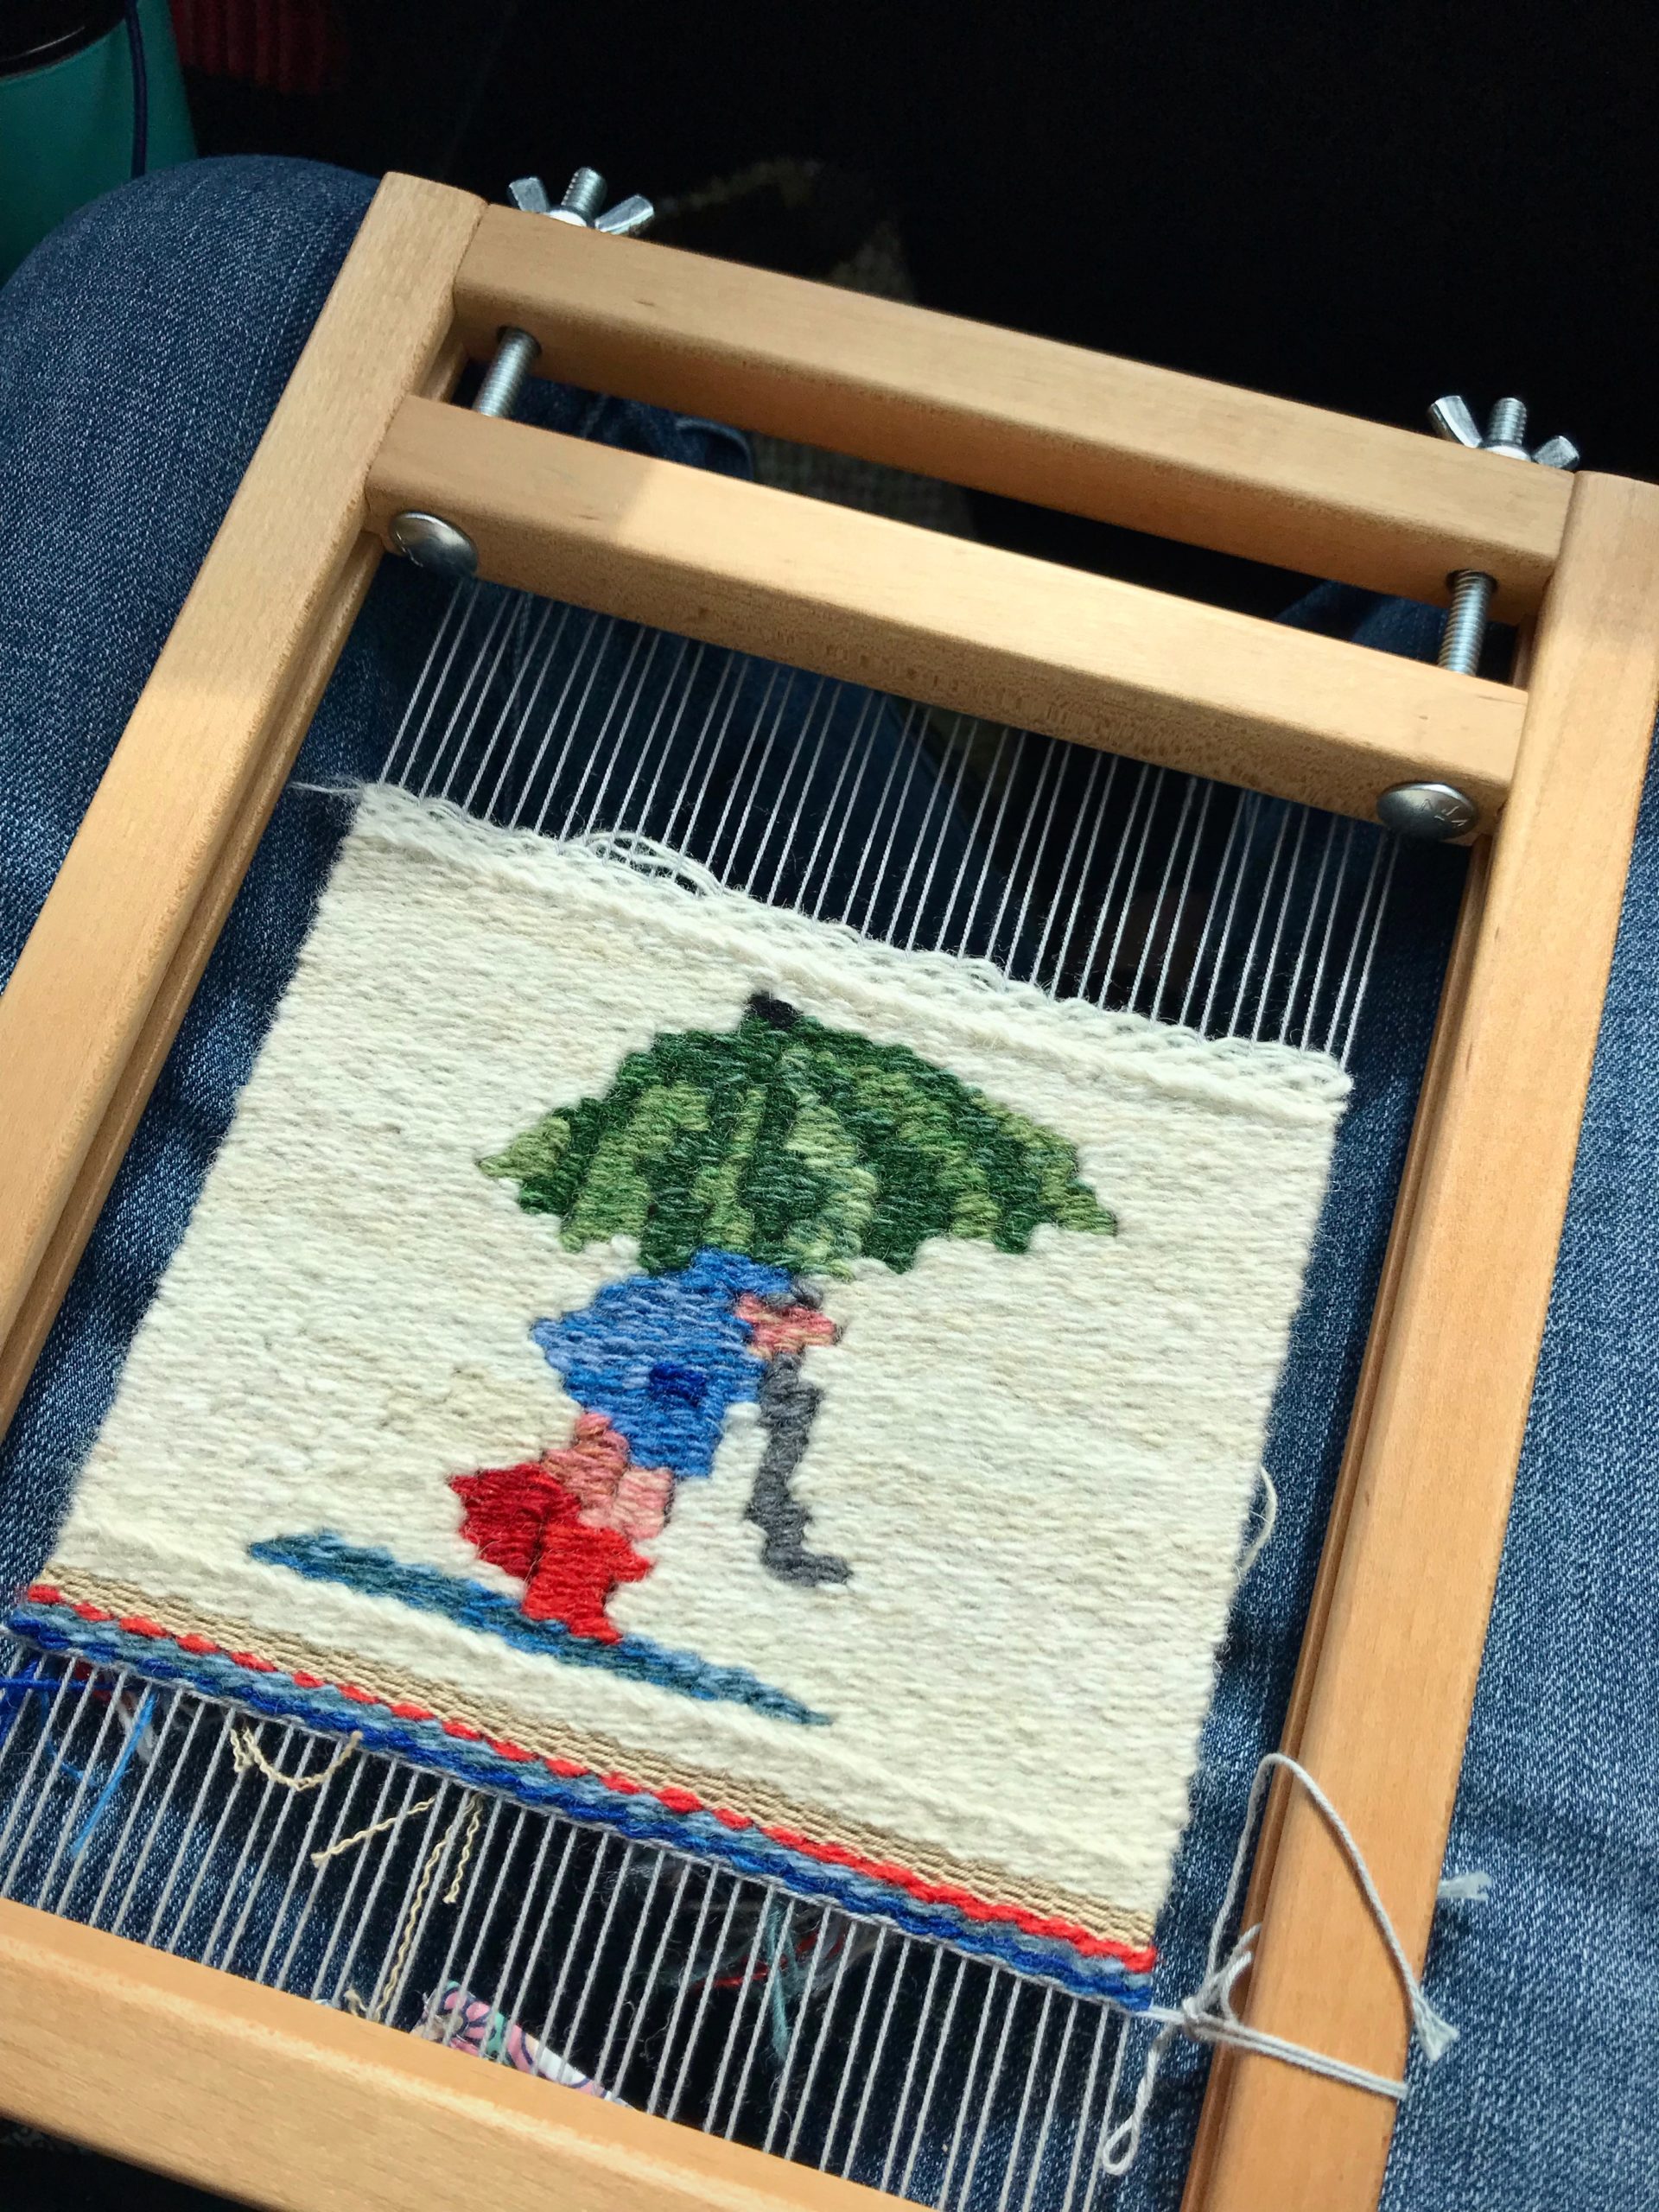
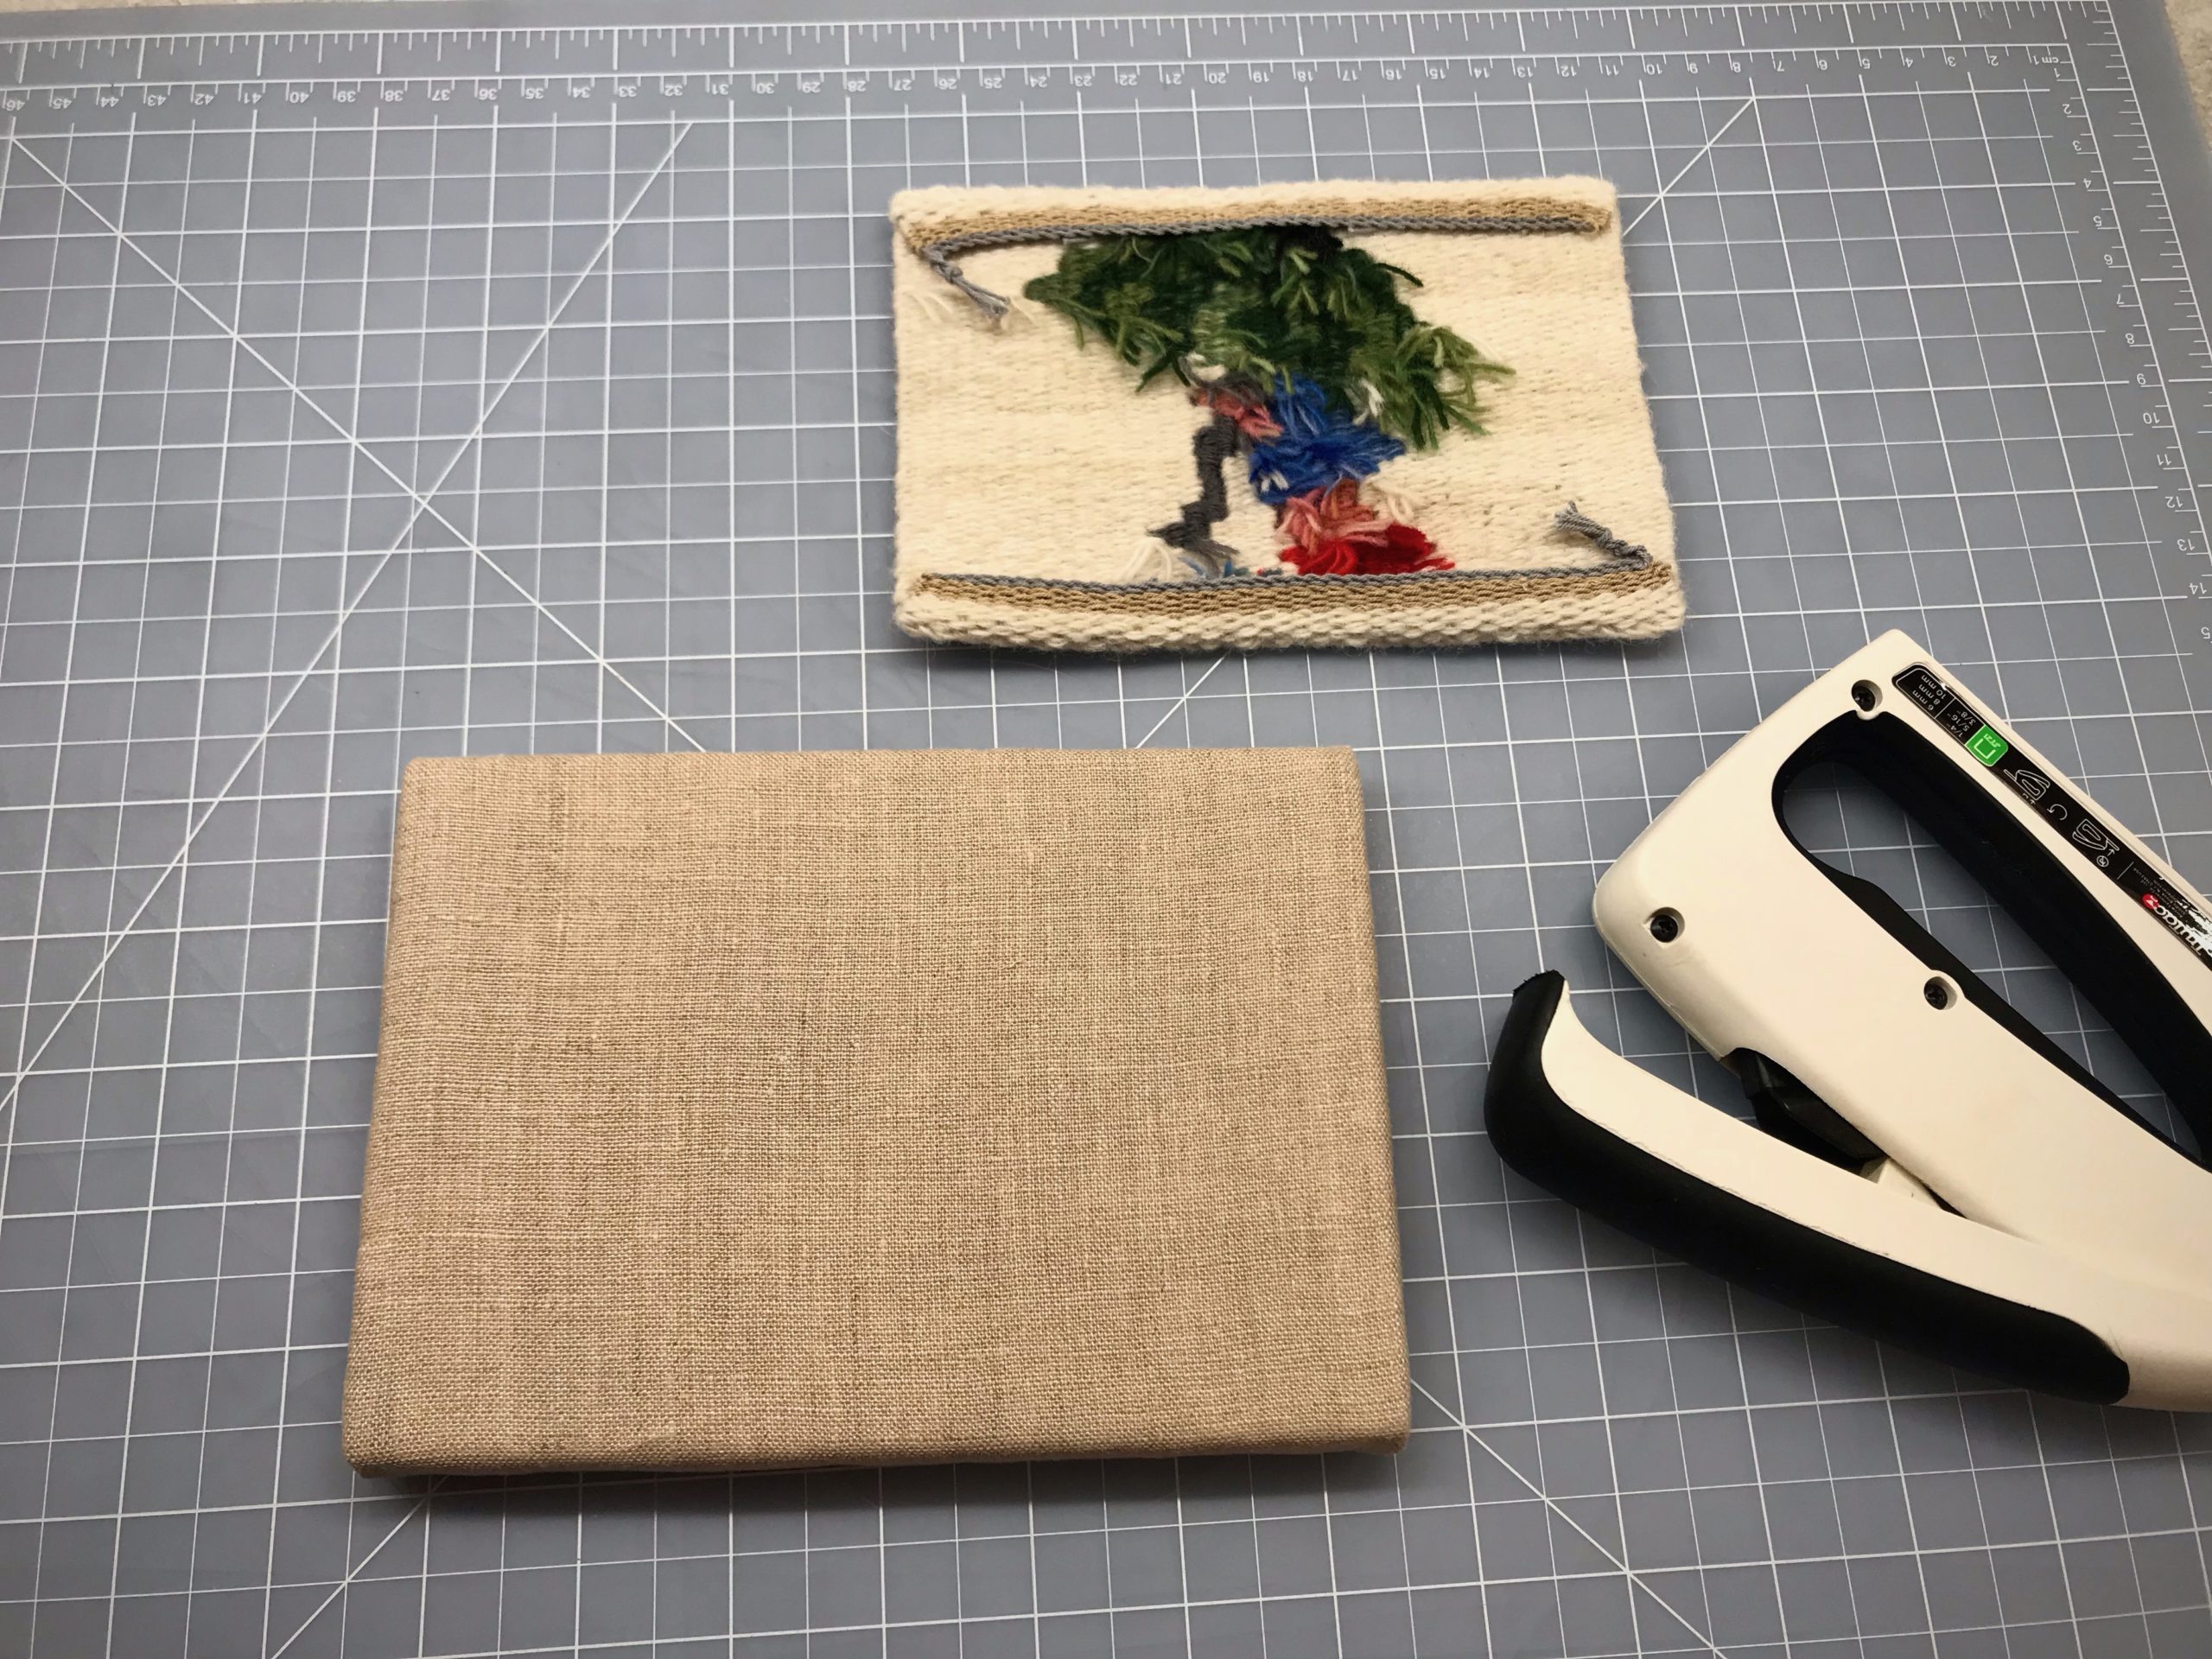
Picture Perfect Handwoven Skirt

The skirt in my mind is picture perfect in style and fit. If I could snap my fingers and make the skirt appear, I would. Instead, I find my way to a workable sewing pattern by trial and error—agonizing over every small step. The sewing part doesn’t scare me. But I’m in over my head in the garment design arena.

Using Garment Designer to design a layered tiered skirt.
Quarter-scale pattern pieces give me a way to test and try various ways to put the skirt together. I learn a lot of things that don’t work. There is much sewing, ripping, tweaking, calculating and recalculating, etc. And pulling my hair out, figuratively speaking.
Designing a handwoven skirt using Garment Designer software.
Settling on something that works. One more little mockup should answer most remaining questions. I use Garment Designer (patterning and design software) to create the patterns. I can print quarter-scale and full-scale sewing patterns.

A not-as-simple layered tiered skirt replaces my original idea of a simple three-tiered skirt. The new design has a fitted yoke at the top of the skirt (and a zipper) instead of a super-simple elastic gathered waist. All this, so the distinctive borders of each tier will flutter freely, and not be trapped in seams. The trouble is worth it. I can see the finished skirt in my mind’s eye. It is phenomenal! The fabric is handwoven, made for a purpose. This is a skirt worth waiting for.

Testing ideas for a handwoven skirt.
Testing ideas full scale. After several tries, I finally have a good fit on the skirt yoke, which is encouraging.
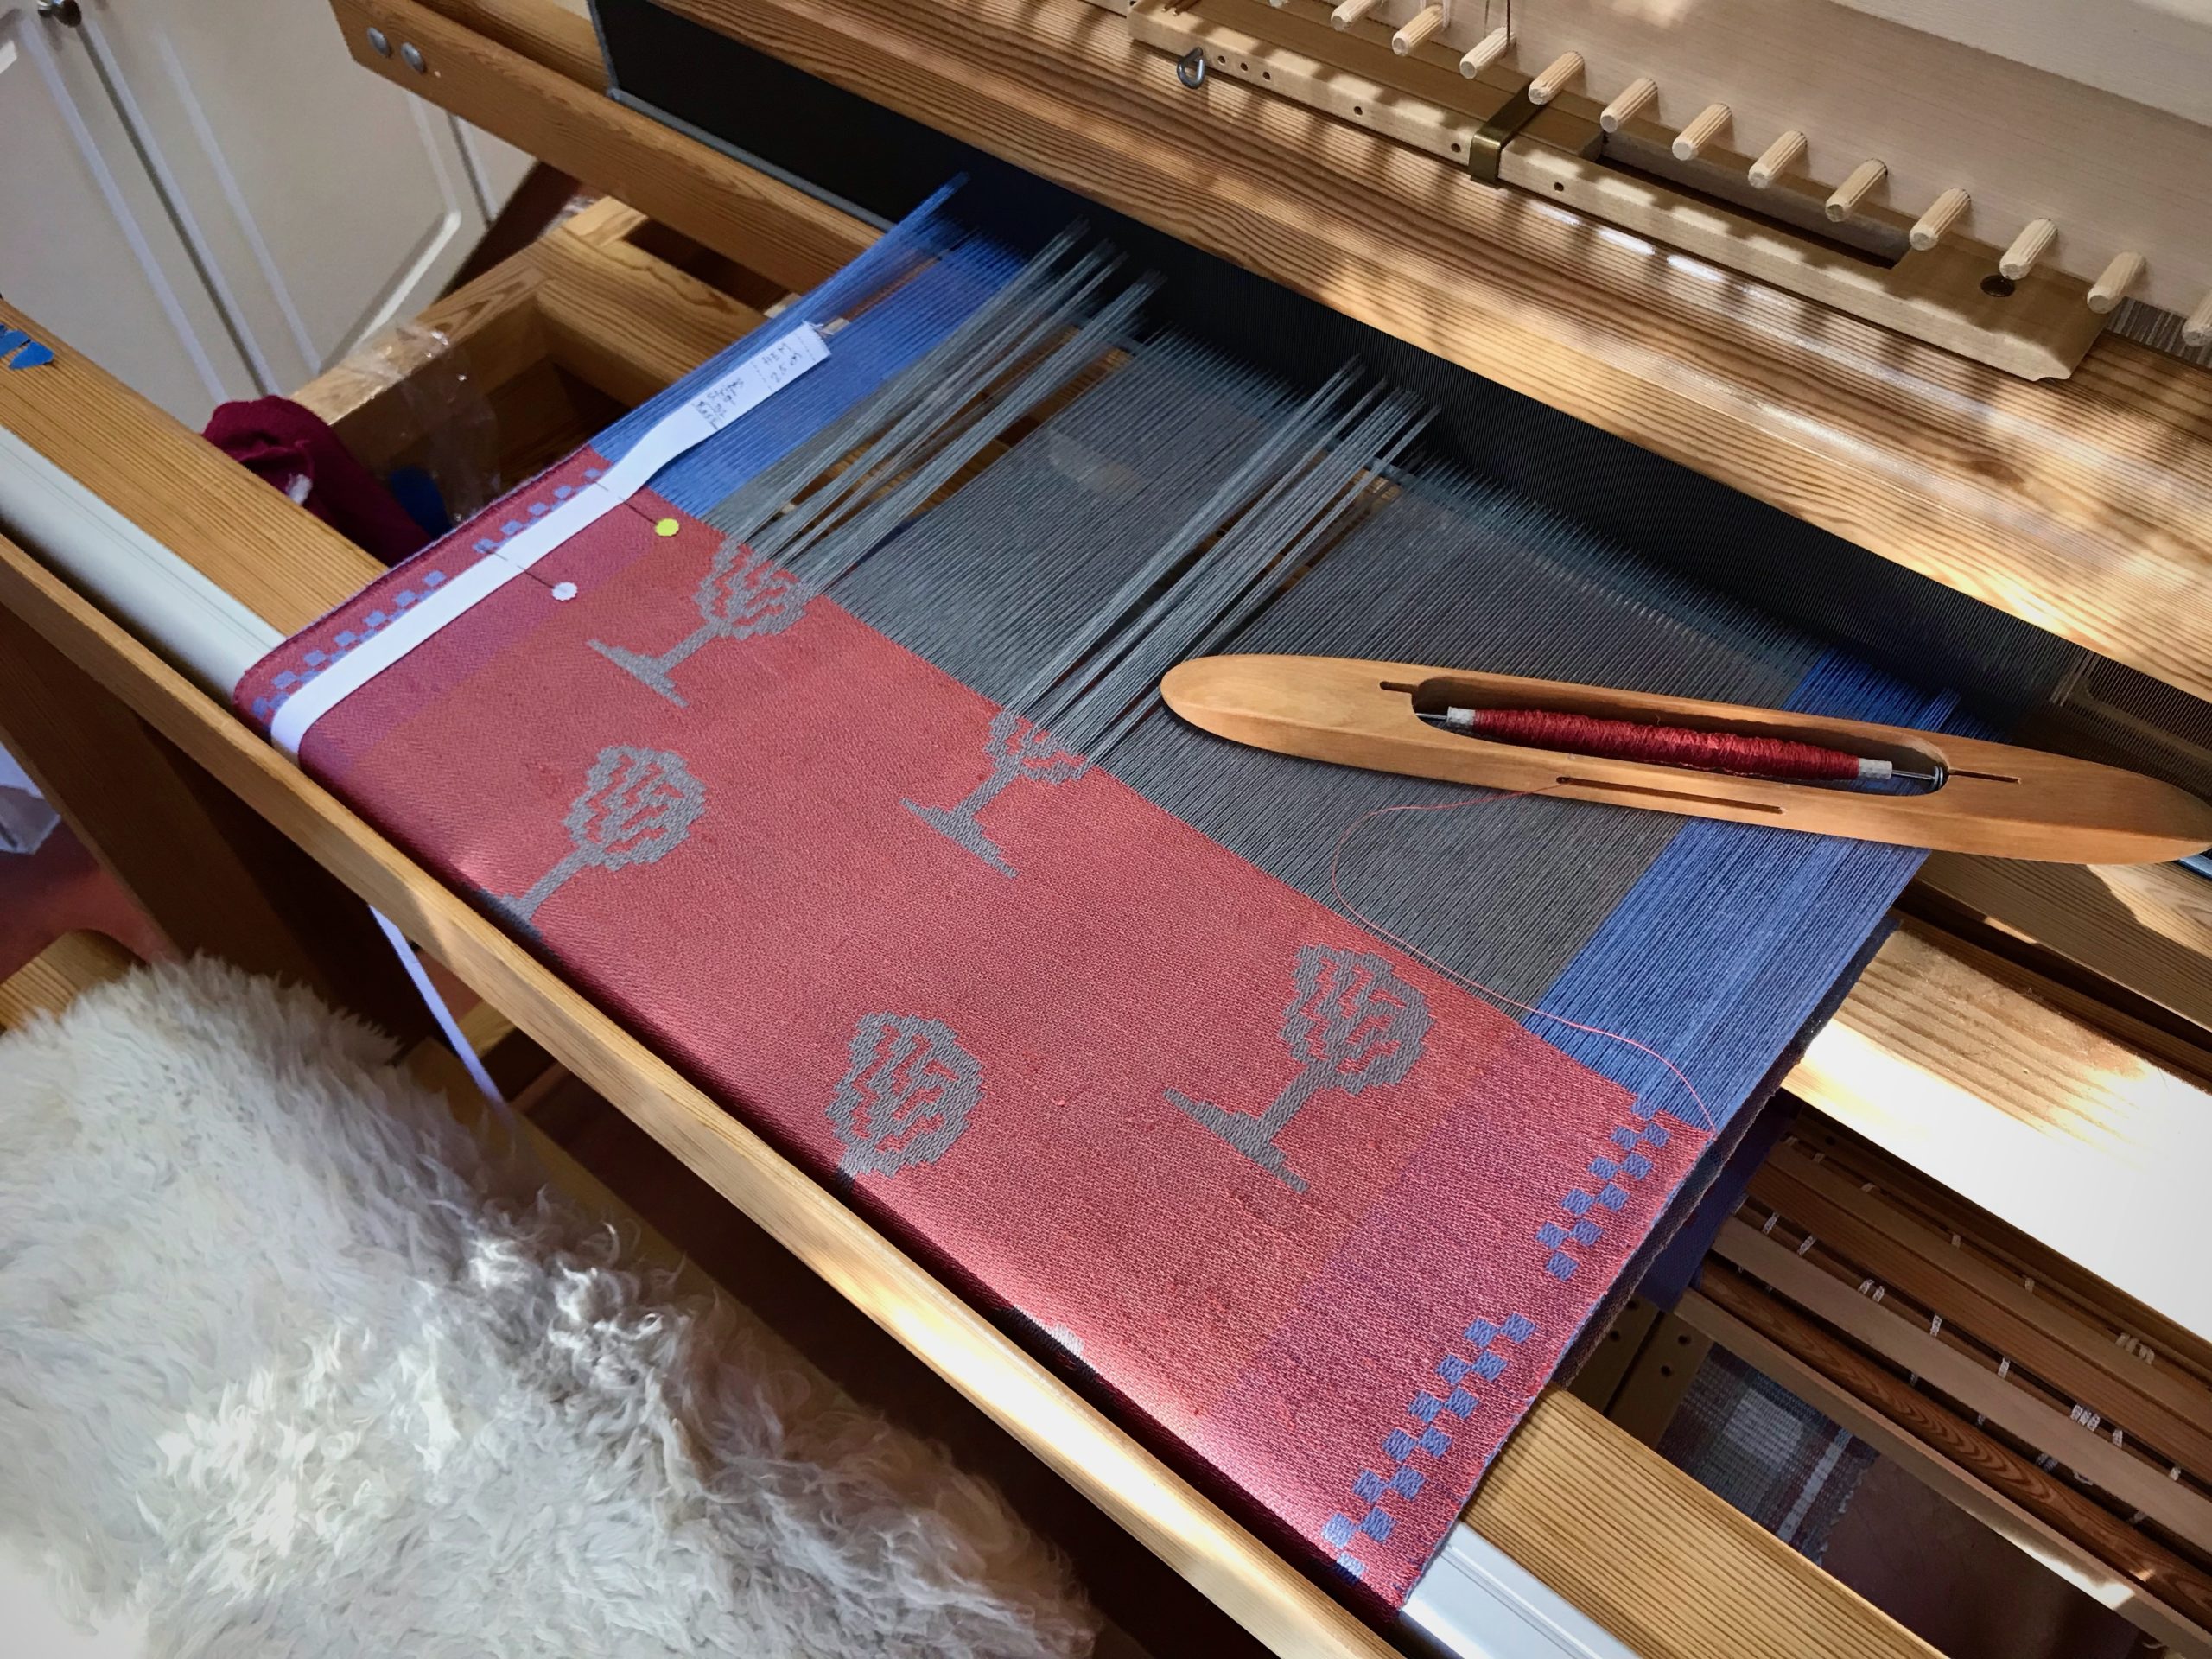
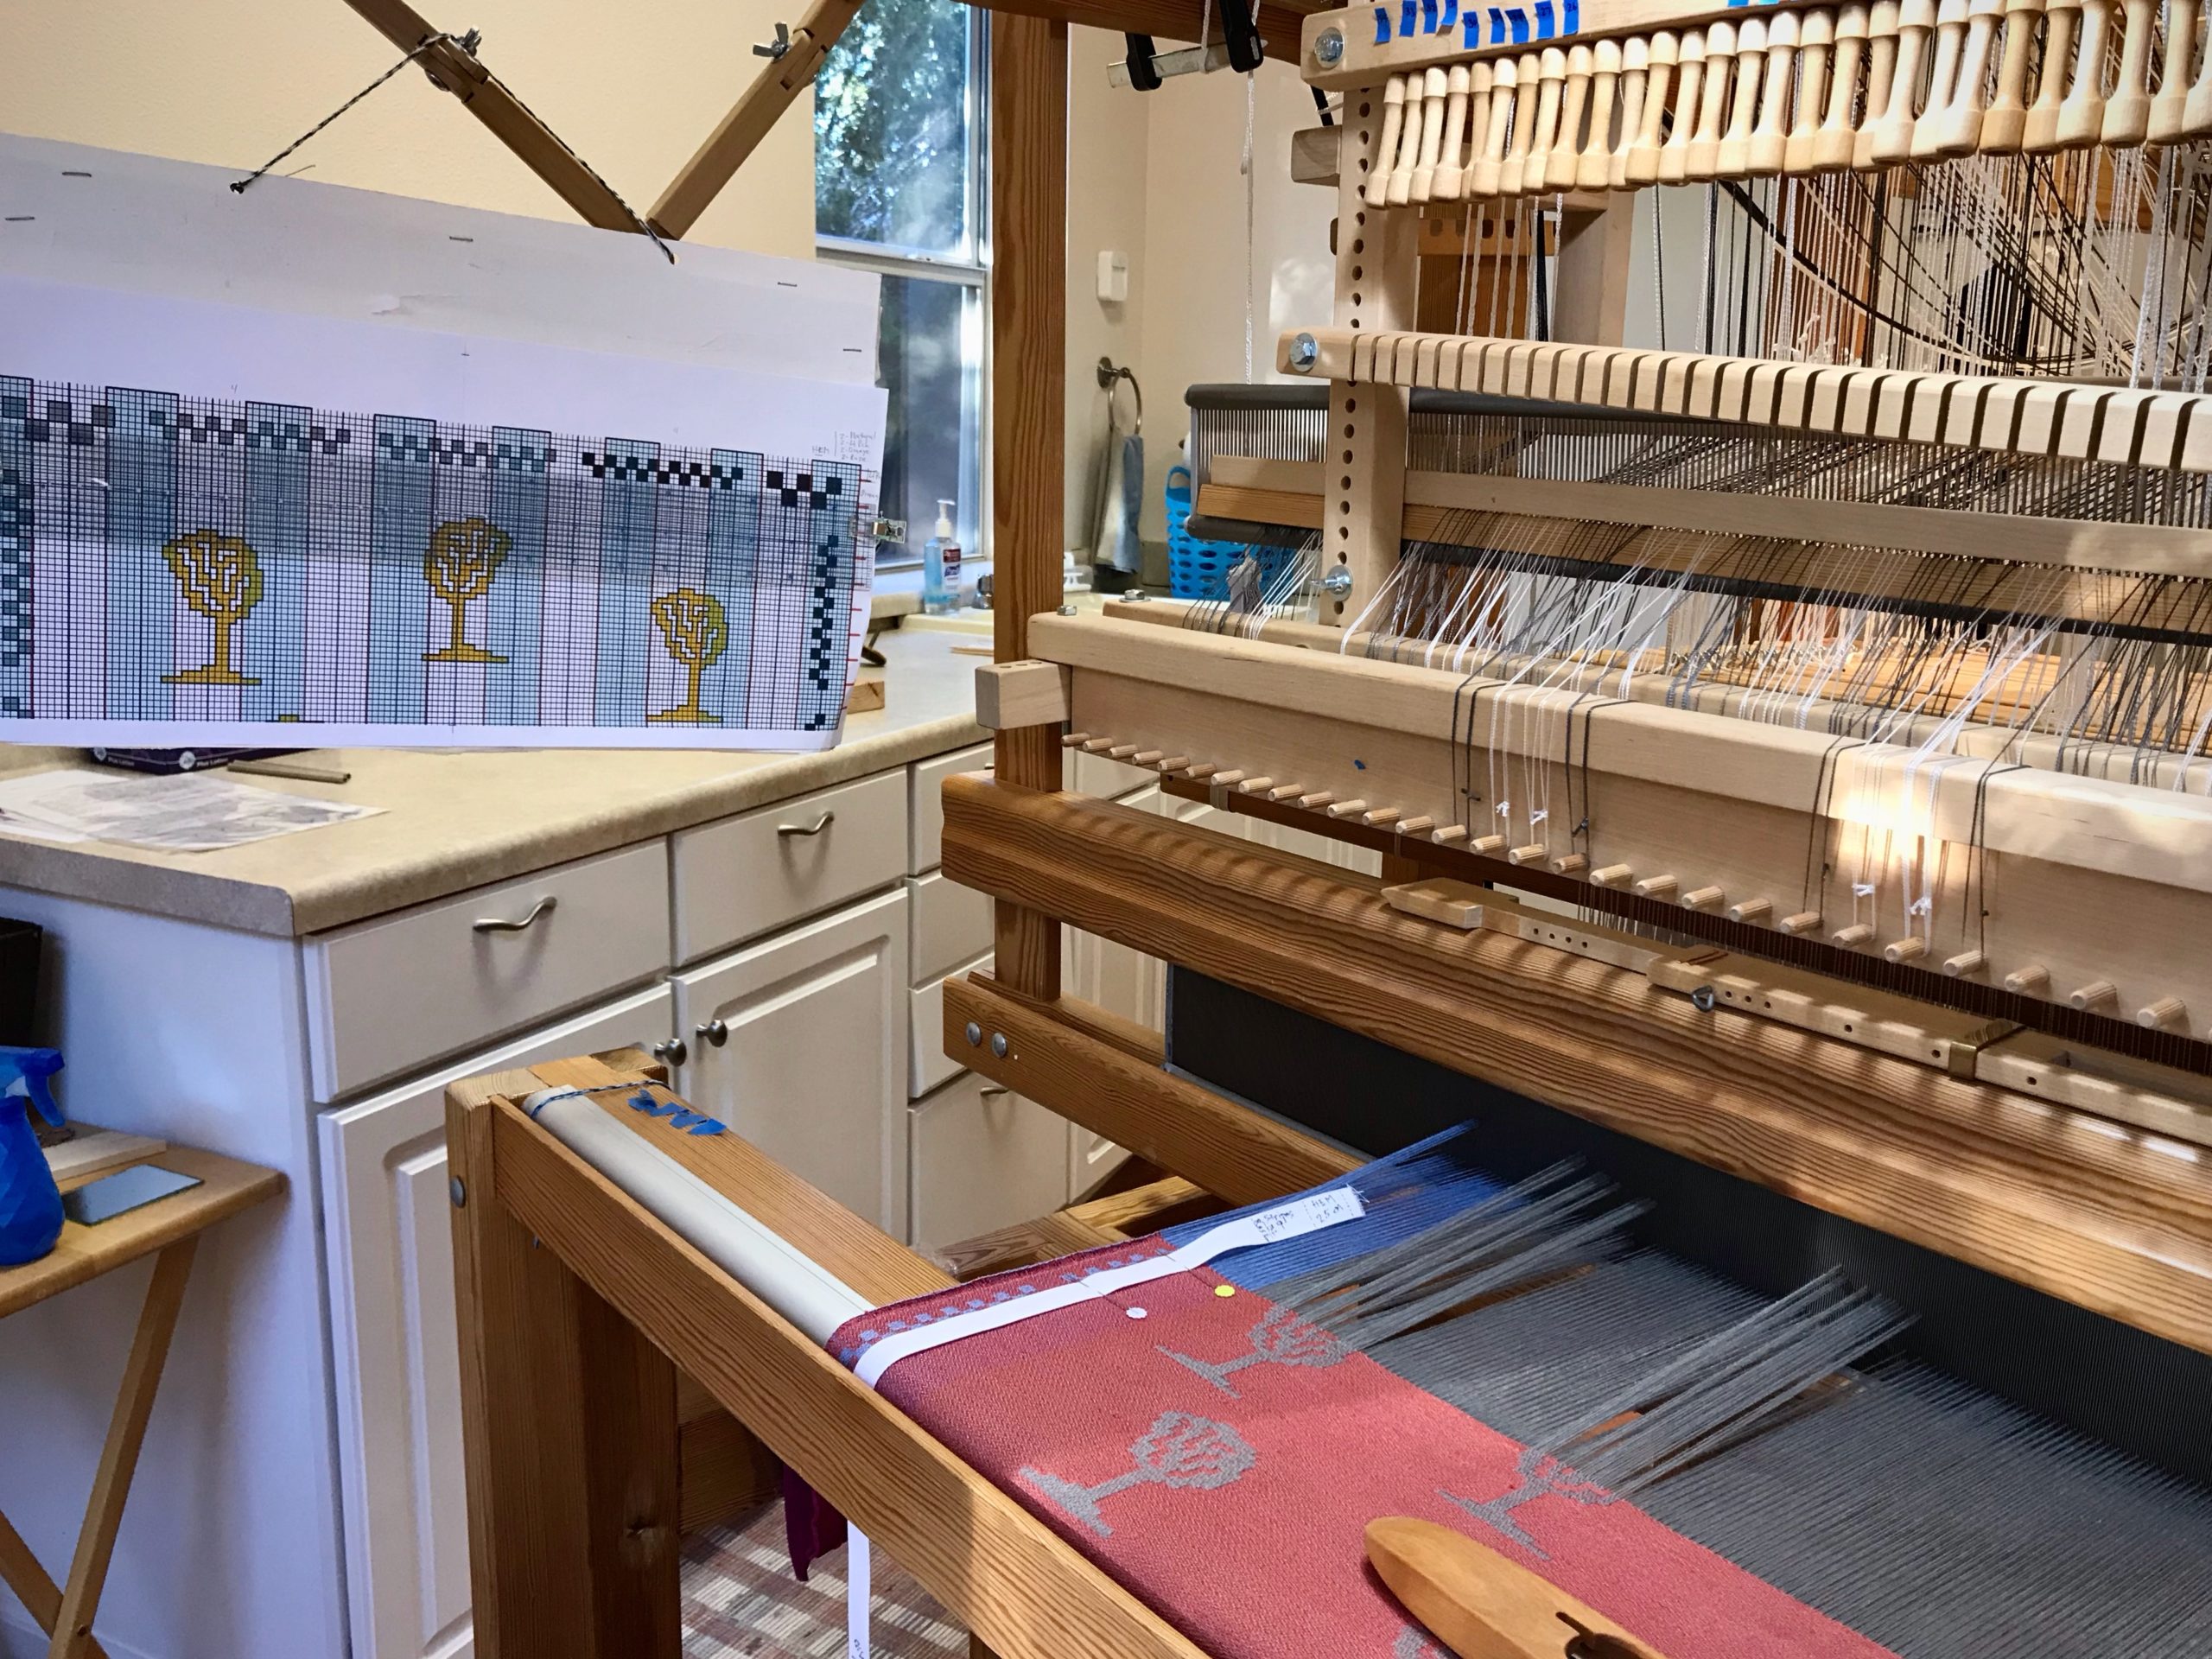
Handwoven skirt in the making!
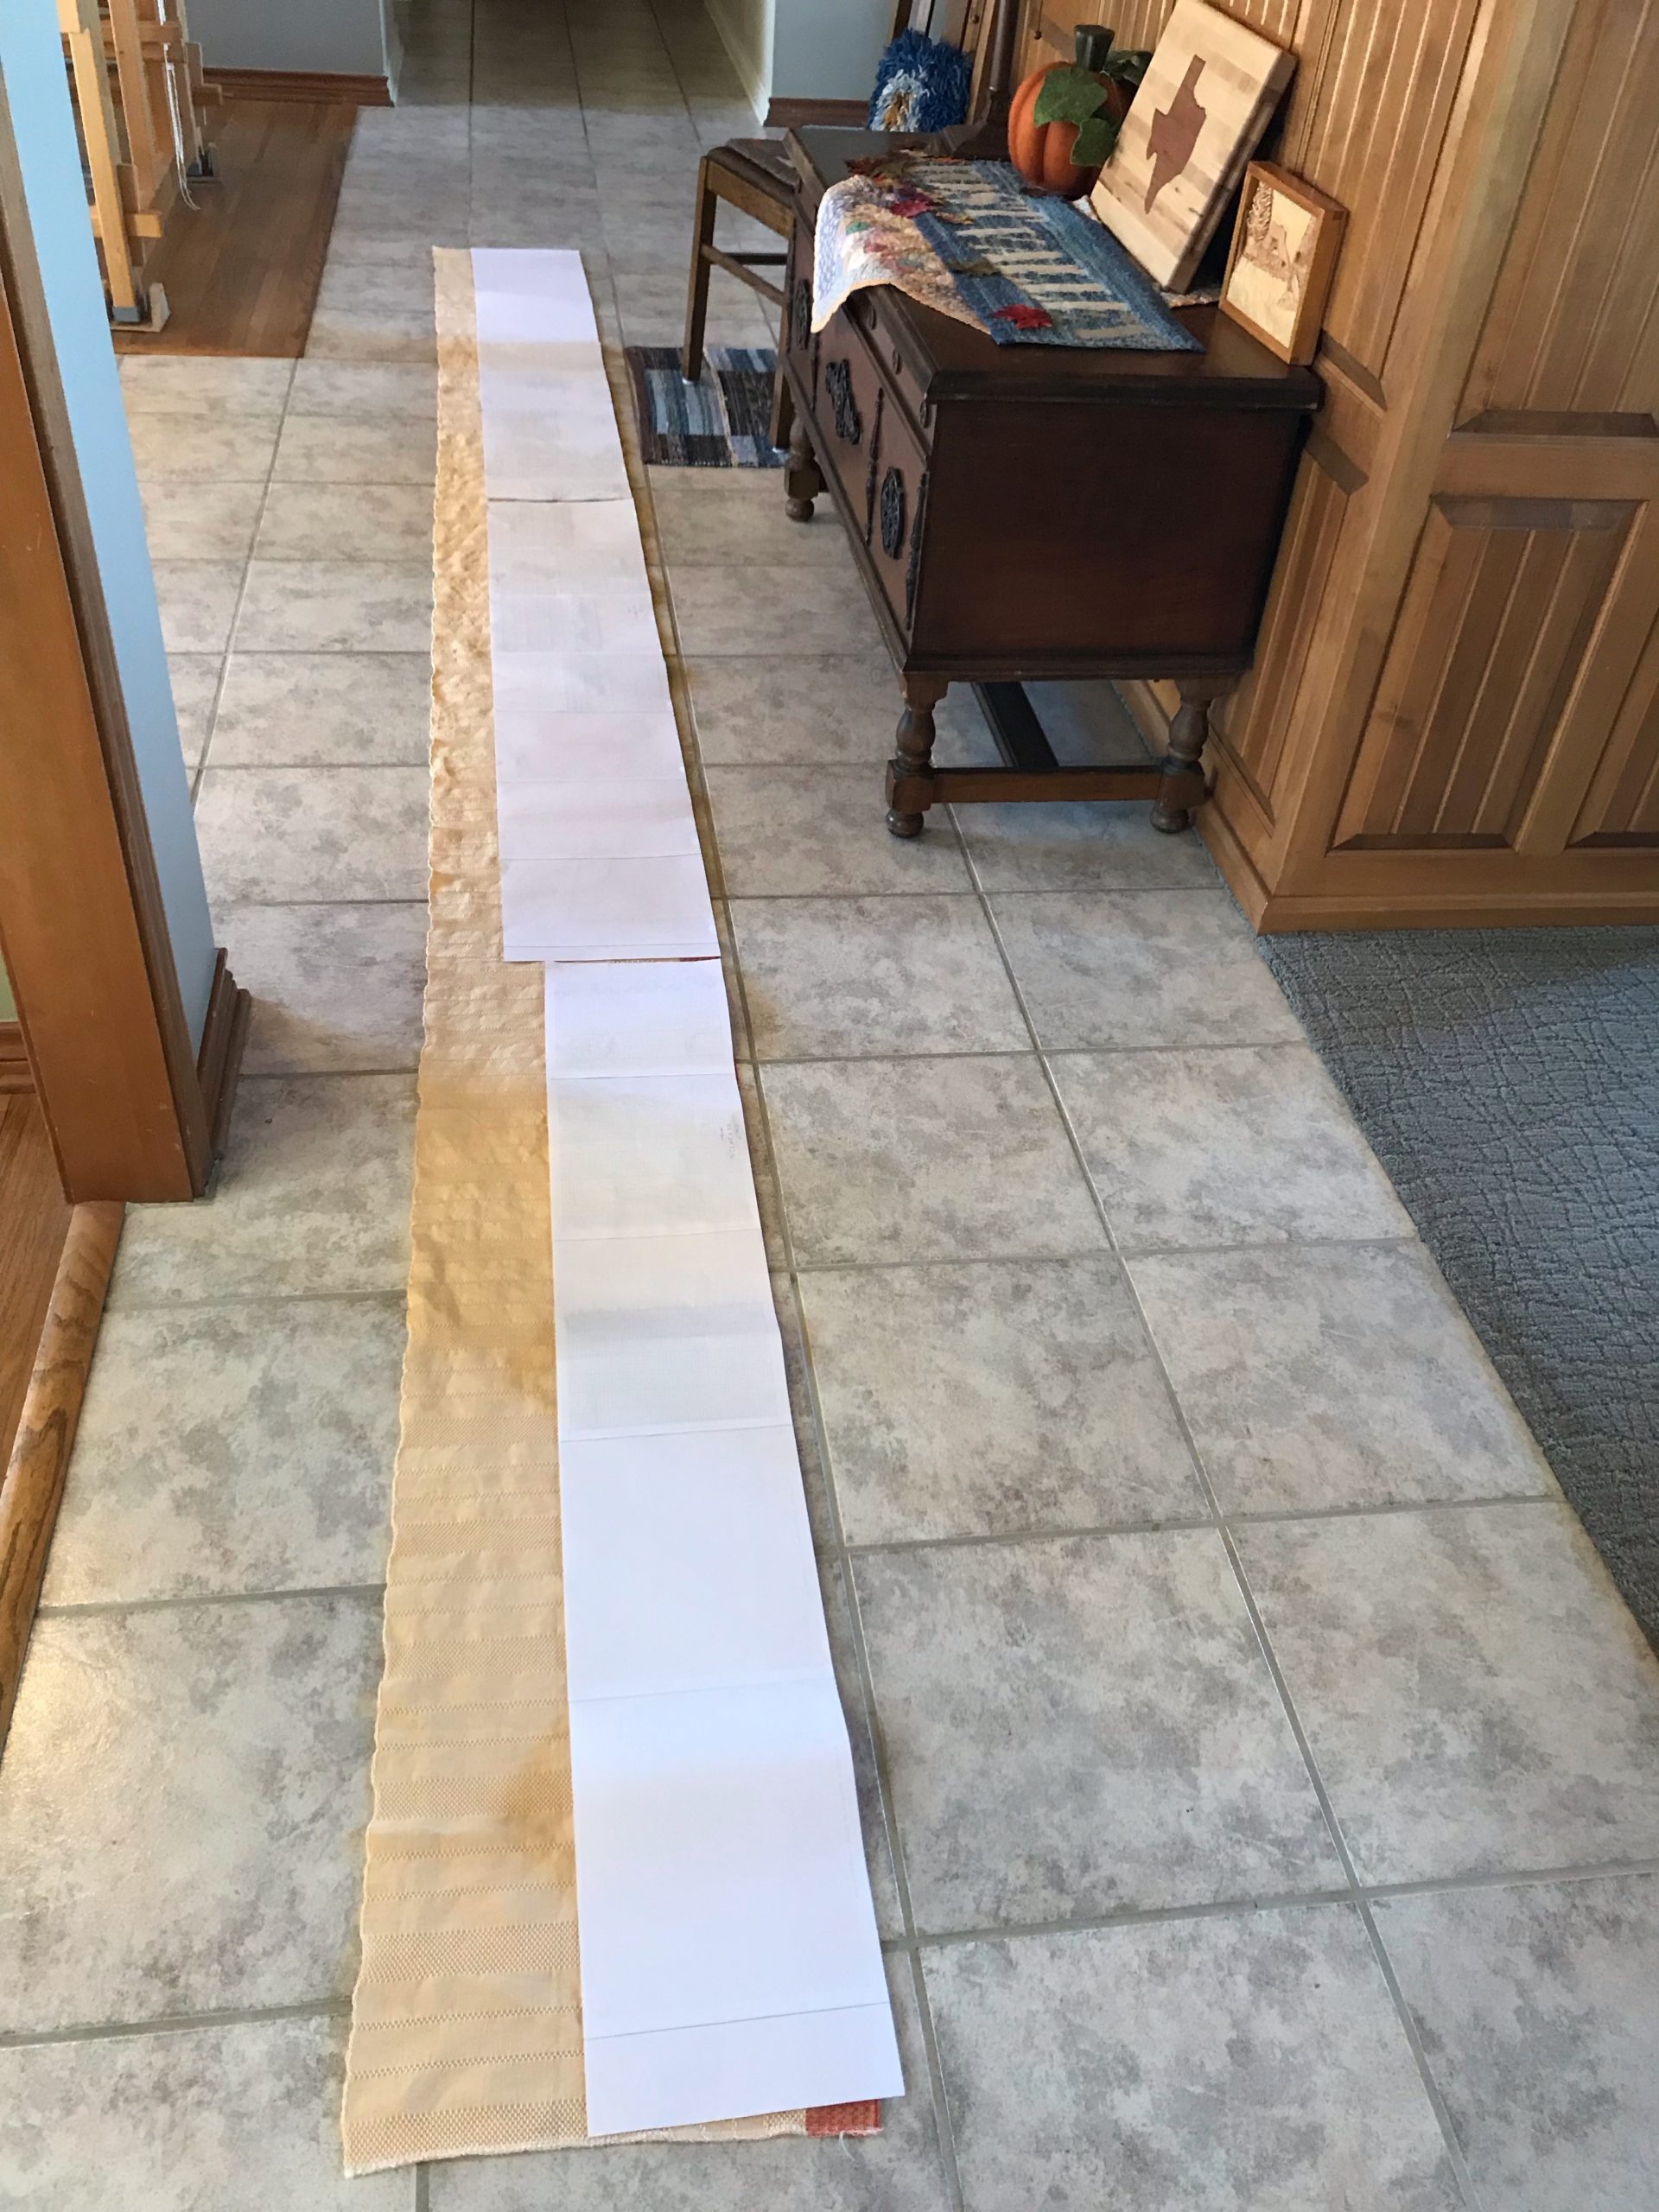
Full-size mockup (not shown) satisfies my fit and style requirements. Floral cotton lining fabric will be concealed under the handwoven tiers. Full-scale sewing pattern is printed and ready…

You were skillfully made for a purpose. Through many trials and errors, lessons in success and failure, we discover why we are here. God created you for this very time. Trust him to guide you, especially through agonizing moments. By his grace, he forms us into the phenomenal masterpiece that he has always had in mind.

May you walk with purpose.

Love,
Karen

Tried and True: Weft Rep

The monksbelt piece that adorns our entry is my favorite from all the projects in The Big Book of Weaving, by Laila Lundell. This current narrower version on the Standard is another heirloom monksbelt piece in the making. The ground cloth is weft rep.

Classic monksbelt in modern colors.
Multi-color ground weave and vibrant Fårö pattern colors make this monksbelt fabric a standout. Glimåkra Standard in the background holds a new version of this favorite piece.

This is snail’s-pace weaving, with 2 picks of 16/2 cotton for the ground weave between every 6/1 Fårö wool pattern pick.

“To weave [weft rep]…the weft must be longer than the width of the warp and so the weft has to arc across the shed. There are two ways to do this: with many small waves across the width or with a large and high arc…The tiniest bit of unevenness can quickly build into hills and valleys across the weft line…”

The Big Book of Weaving, p. 236

Weft Rep in Three Steps

1. Make a Mountain.

After throwing the shuttle, increase the length of the weft by making it into a large arc in the open shed. Put one finger through the warp to form the peak while keeping enough tension on the thread with your other hand to maintain a good selvedge.

Weft rep tutorial
Weaving monksbelt with weft rep. How to.

2. Make Hills and Valleys.

Keeping the shed open, push the mountain down into hills and valleys to evenly distribute the extra weft.

  • Turn the mountain into hills and valleys with your finger.
Monksbelt with weft rep. Tutorial.

OR,

  • Simply drag your spread-out fingers lightly through the weft.
Weft rep how to.
Monksbelt with weft rep. Tutorial.

OR,

  • TIMESAVER – Slowly pull the beater toward you (shed open), smooshing the weft into a wavy line. Stop two or three inches away from the fell line.
Weft rep using the beater to make wavy line.
Simplified weft rep.

3. Flatten the Hills

Treadle for the next shed. On the closed shed beat in the weft. Two short pulses with the beater distribute the weft more effectively than a single squeeze with the beater.

Simplified weft rep.

Watch for little loops that may form in places where there is a bit too much weft. To correct, open the shed, pull that portion of the weft back into a little hill and redo.

OR,

  • TIMESAVER – Draw the back of your fingernail across the warp where you see excess weft. This is often enough to even out little bumps.
Weft Rep - How to, and simplified.

Slower weaving develops into a rhythmic pace that is comfortable. And the cloth grows, line by line.

Monksbelt on the Glimakra Standard.
Rows of monksbelt flowers.

May your slow pace yield thoughtful progress.

Slowly and Surely,
Karen

Warp Stripes and Surprises

Even through random warp stripes you can see an ordered pattern in the cloth. Linen sitting on the shelf is begging to be used, even though the tubes are partly emptied. So, why not make some linen wash cloths to use every day?

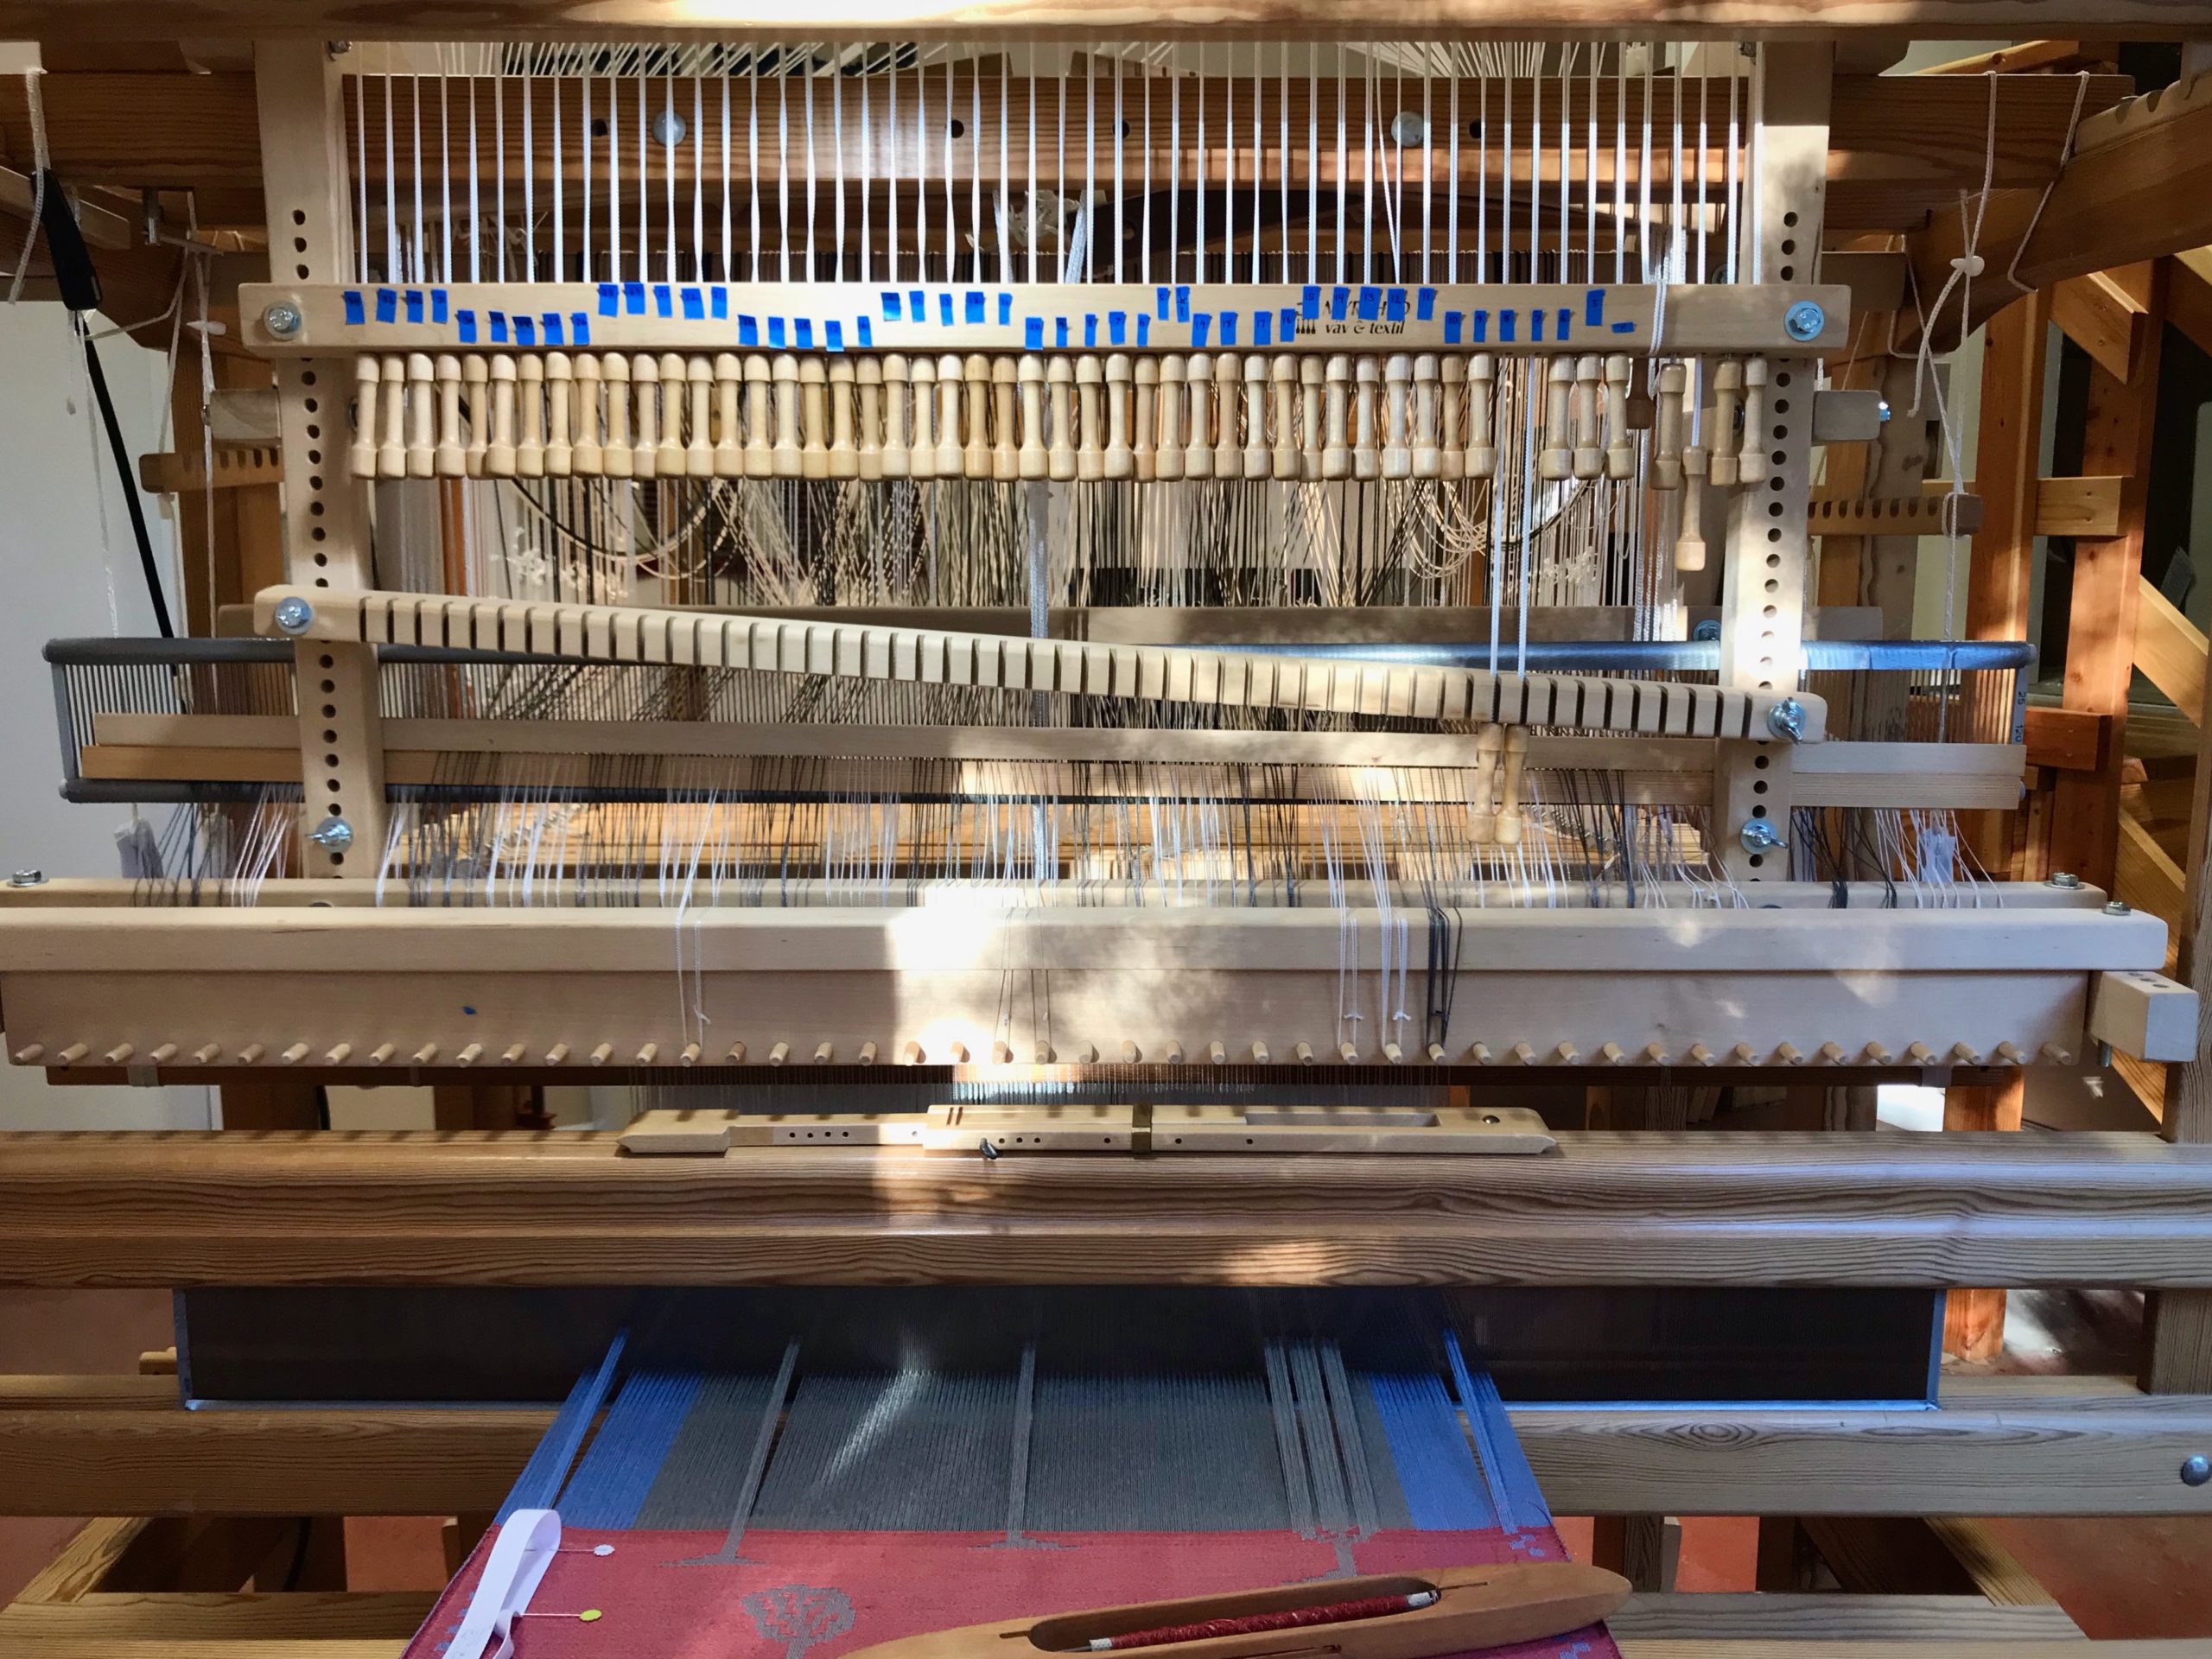
Glimakra Julia Countermarch, 8 shafts.
I wound the warp, not in threading units, but in random sections of color, trying to empty as many partially-used tubes of linen as possible. Eight shafts on the Julia Countermarch loom. 16/2 linen, 10 ends per cm, 32 cm width in the reed.

The weave structure is a classic two-block broken twill, symmetrically threaded across the warp. The asymmetry of the warp stripes is out of sync with the precise threading symmetry in the block weave structure. And, asymmetrical patches of weft are out of step with a strict treadling sequence. The chaos of leftover-linen warp and weft threads has me holding my breath, wondering how this will turn out. Yet, as I weave, the surprise after surprise that appears on the loom fills me with delight. These humble linen wash cloths will yield textile pleasure for years to come.

Humble linen wash cloths on the loom.
Red and white threads alternate in one of the warp stripes.
Glimakra Julia with 8 shafts.
Weft threads include 16/2 linen, 16/1 linen, doubled 16/1 linen, and 6/1 tow linen.
Explosion of color!
This is a fine way to use up quills from previous projects that still have a little linen on them, as well as using up the very tail end of a few tubes of linen.

The Grand Weaver breaks through chaos to reveal his beautiful plan. Despite the hardships we endure in this world, the structure threaded into the Grand Weaver’s fabric holds it all together. He brings our random stripes of emptiness into harmony with his project plan. We find continual delight as we see the surprising glory of his master plan. Jesus, with his deliberate stripes, comes to wash us clean.

May you find beauty wherever you look.

Happily Weaving,
Karen

Process Review: Unboxing Siru

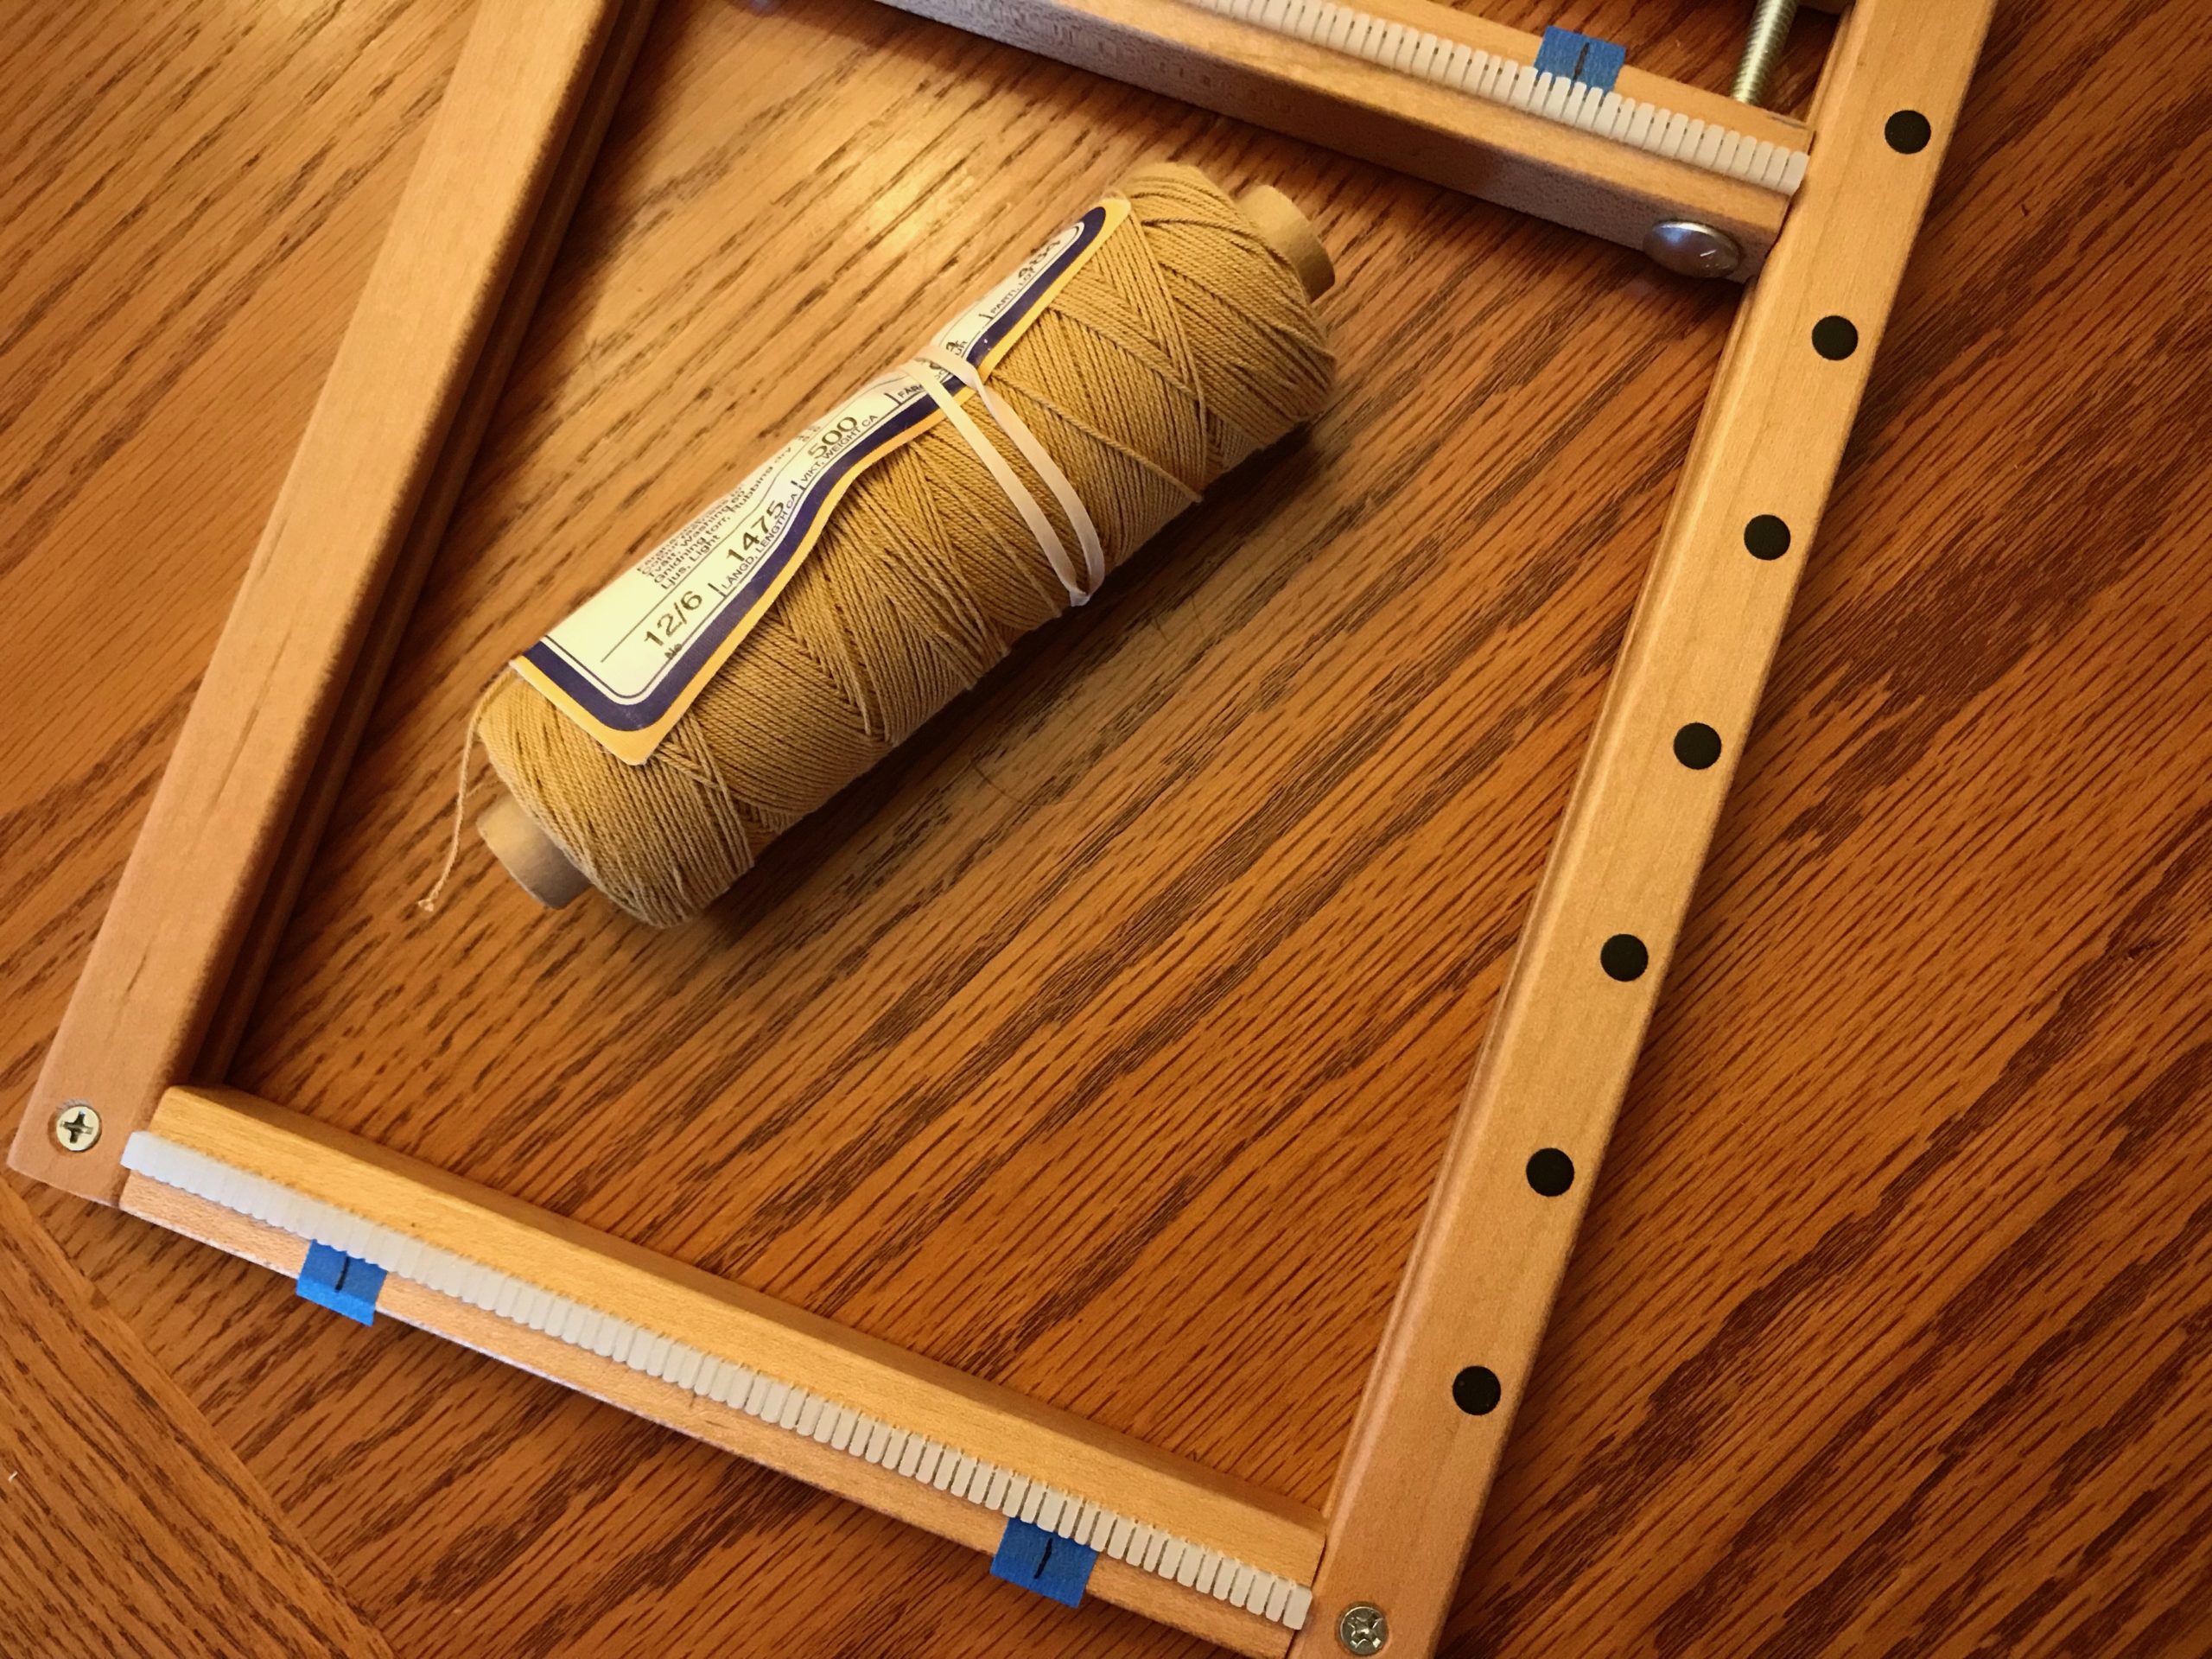
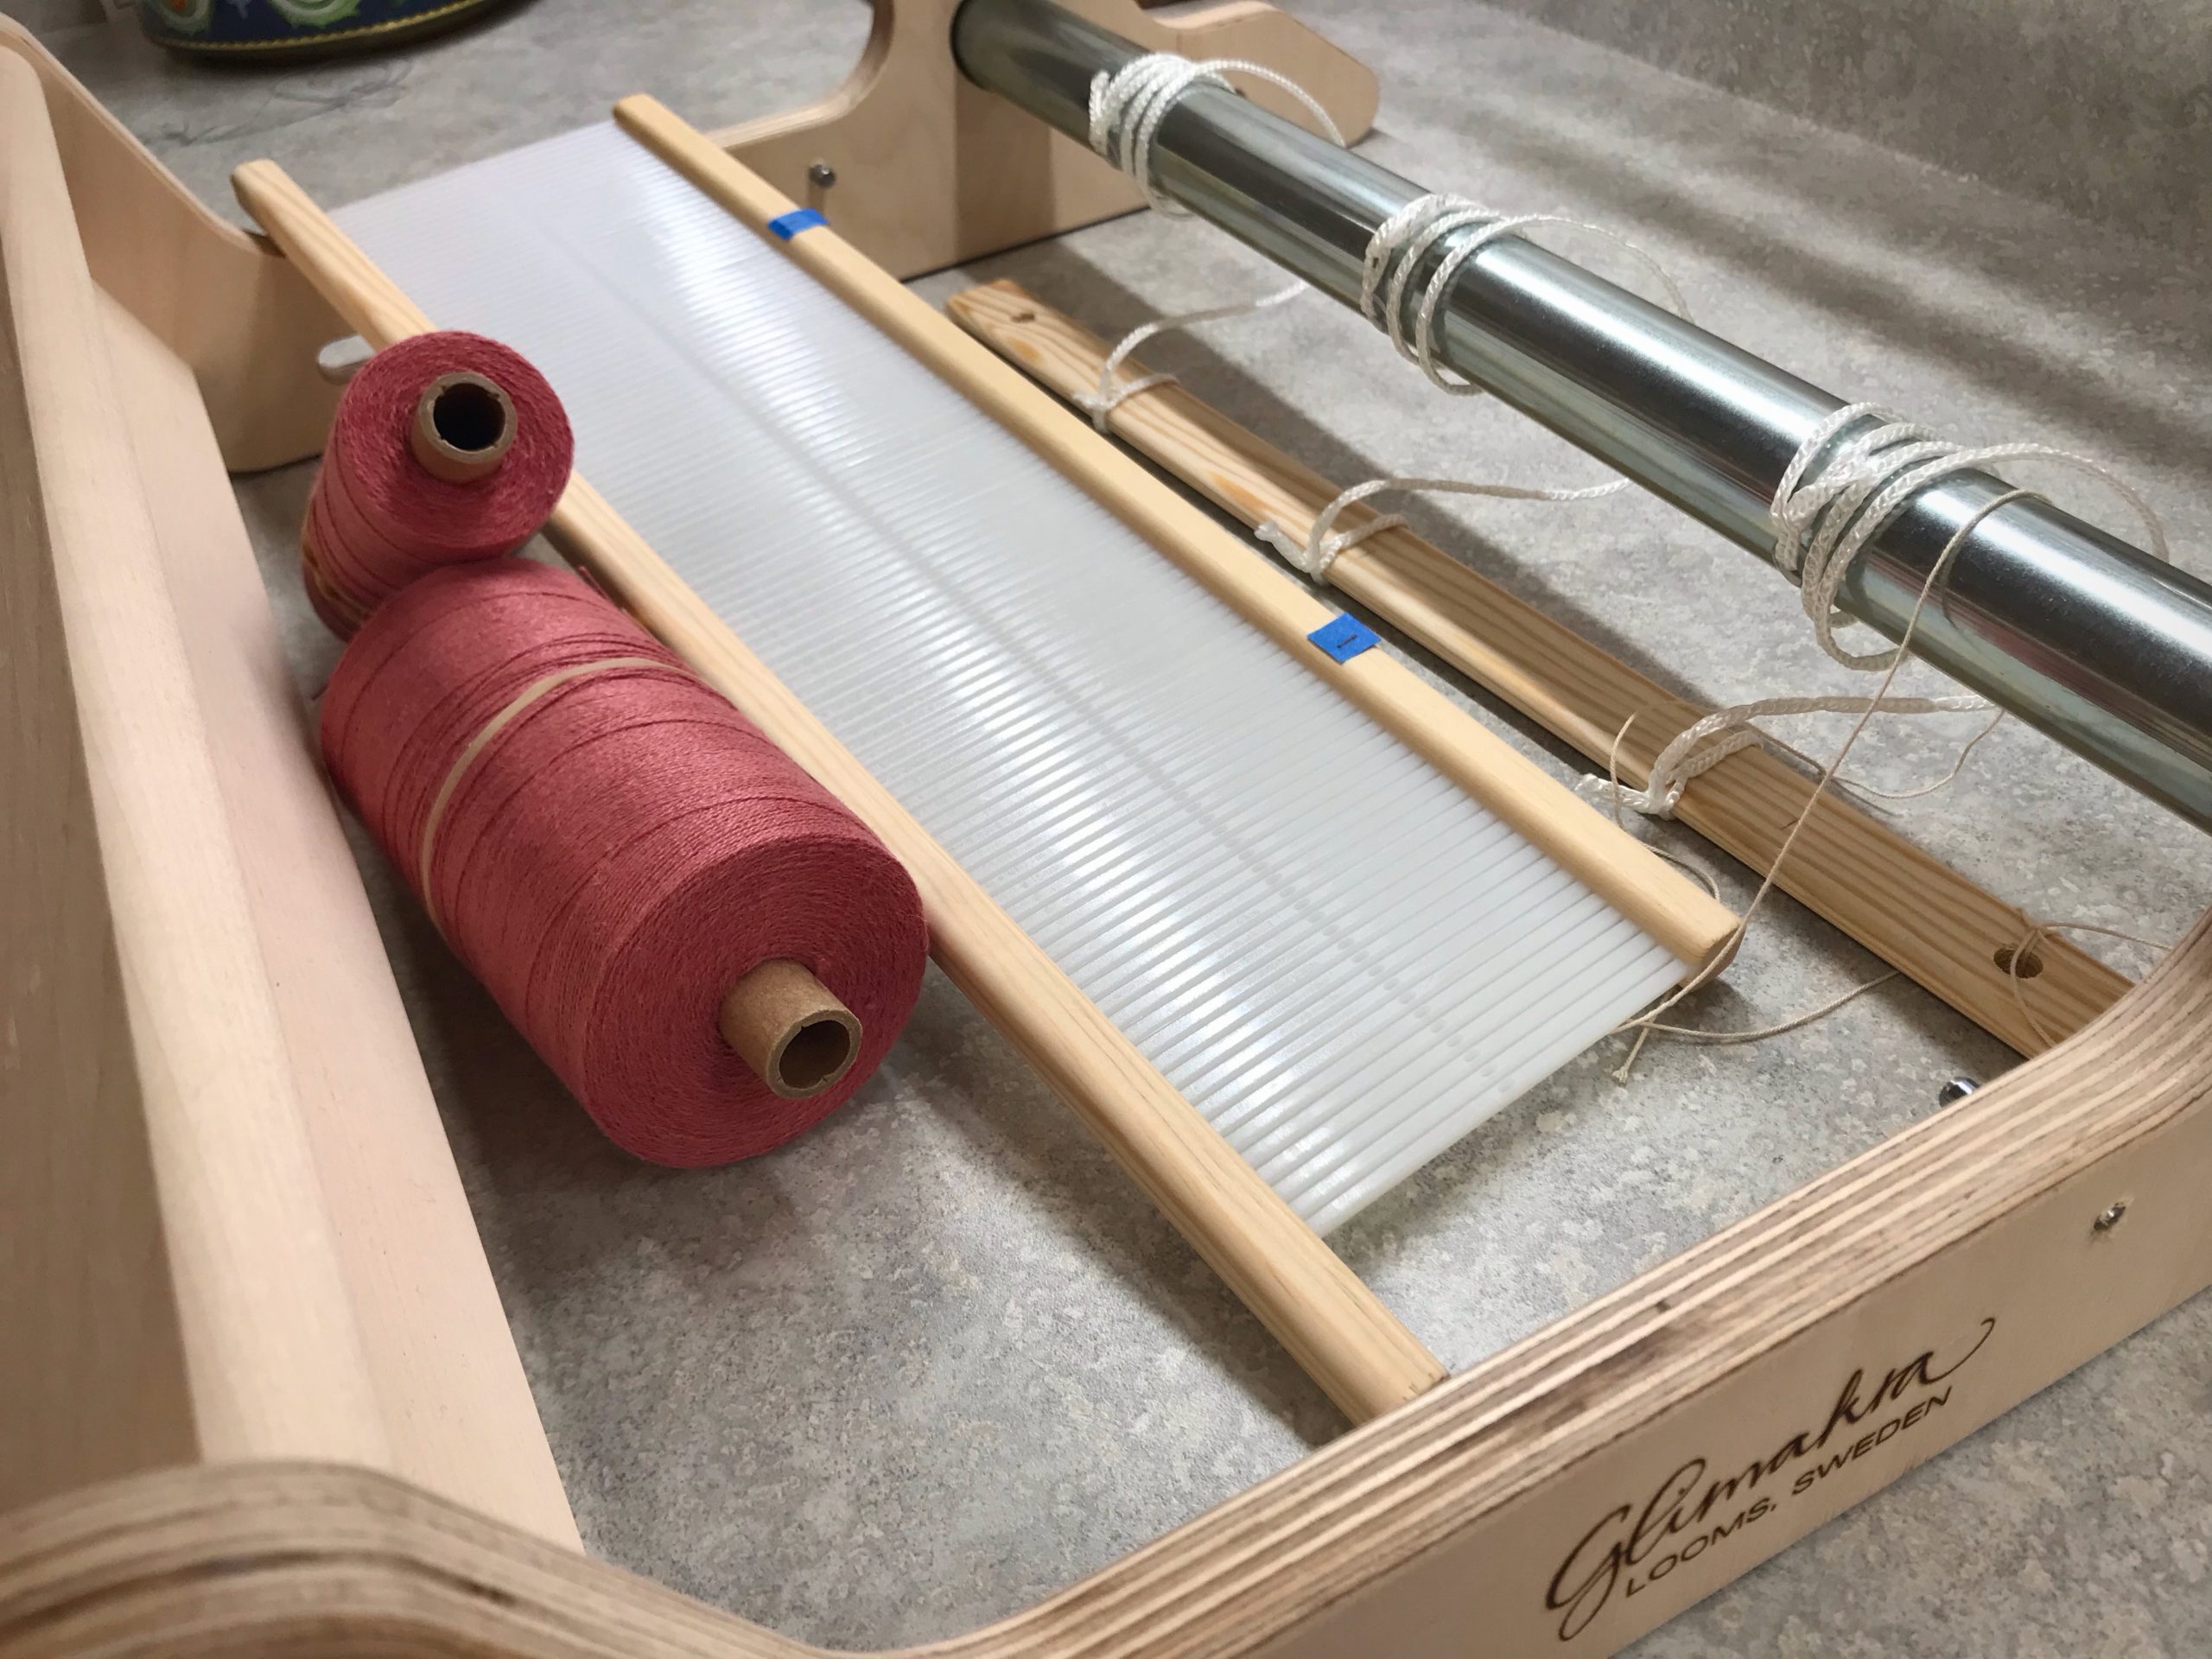
Steve and I assembled another loom recently. This 40 cm (15 3/4”) Glimakra Siru Rigid Heddle Loom is going camping with me. It folds and opens effortlessly, even with a warp on it. The Siru loom has built-in support for two heddles. This gives me the perfect excuse to dip my toes into two-heddle weaving on the rigid heddle loom.

Assembling a new Glimakra Siru RH loom.
Glimåkra Siru Rigid Heddle Loom in the box. Do I see a little dinosaur? …or is that a pony?
Weaving with 2 heddles on rigid heddle loom.
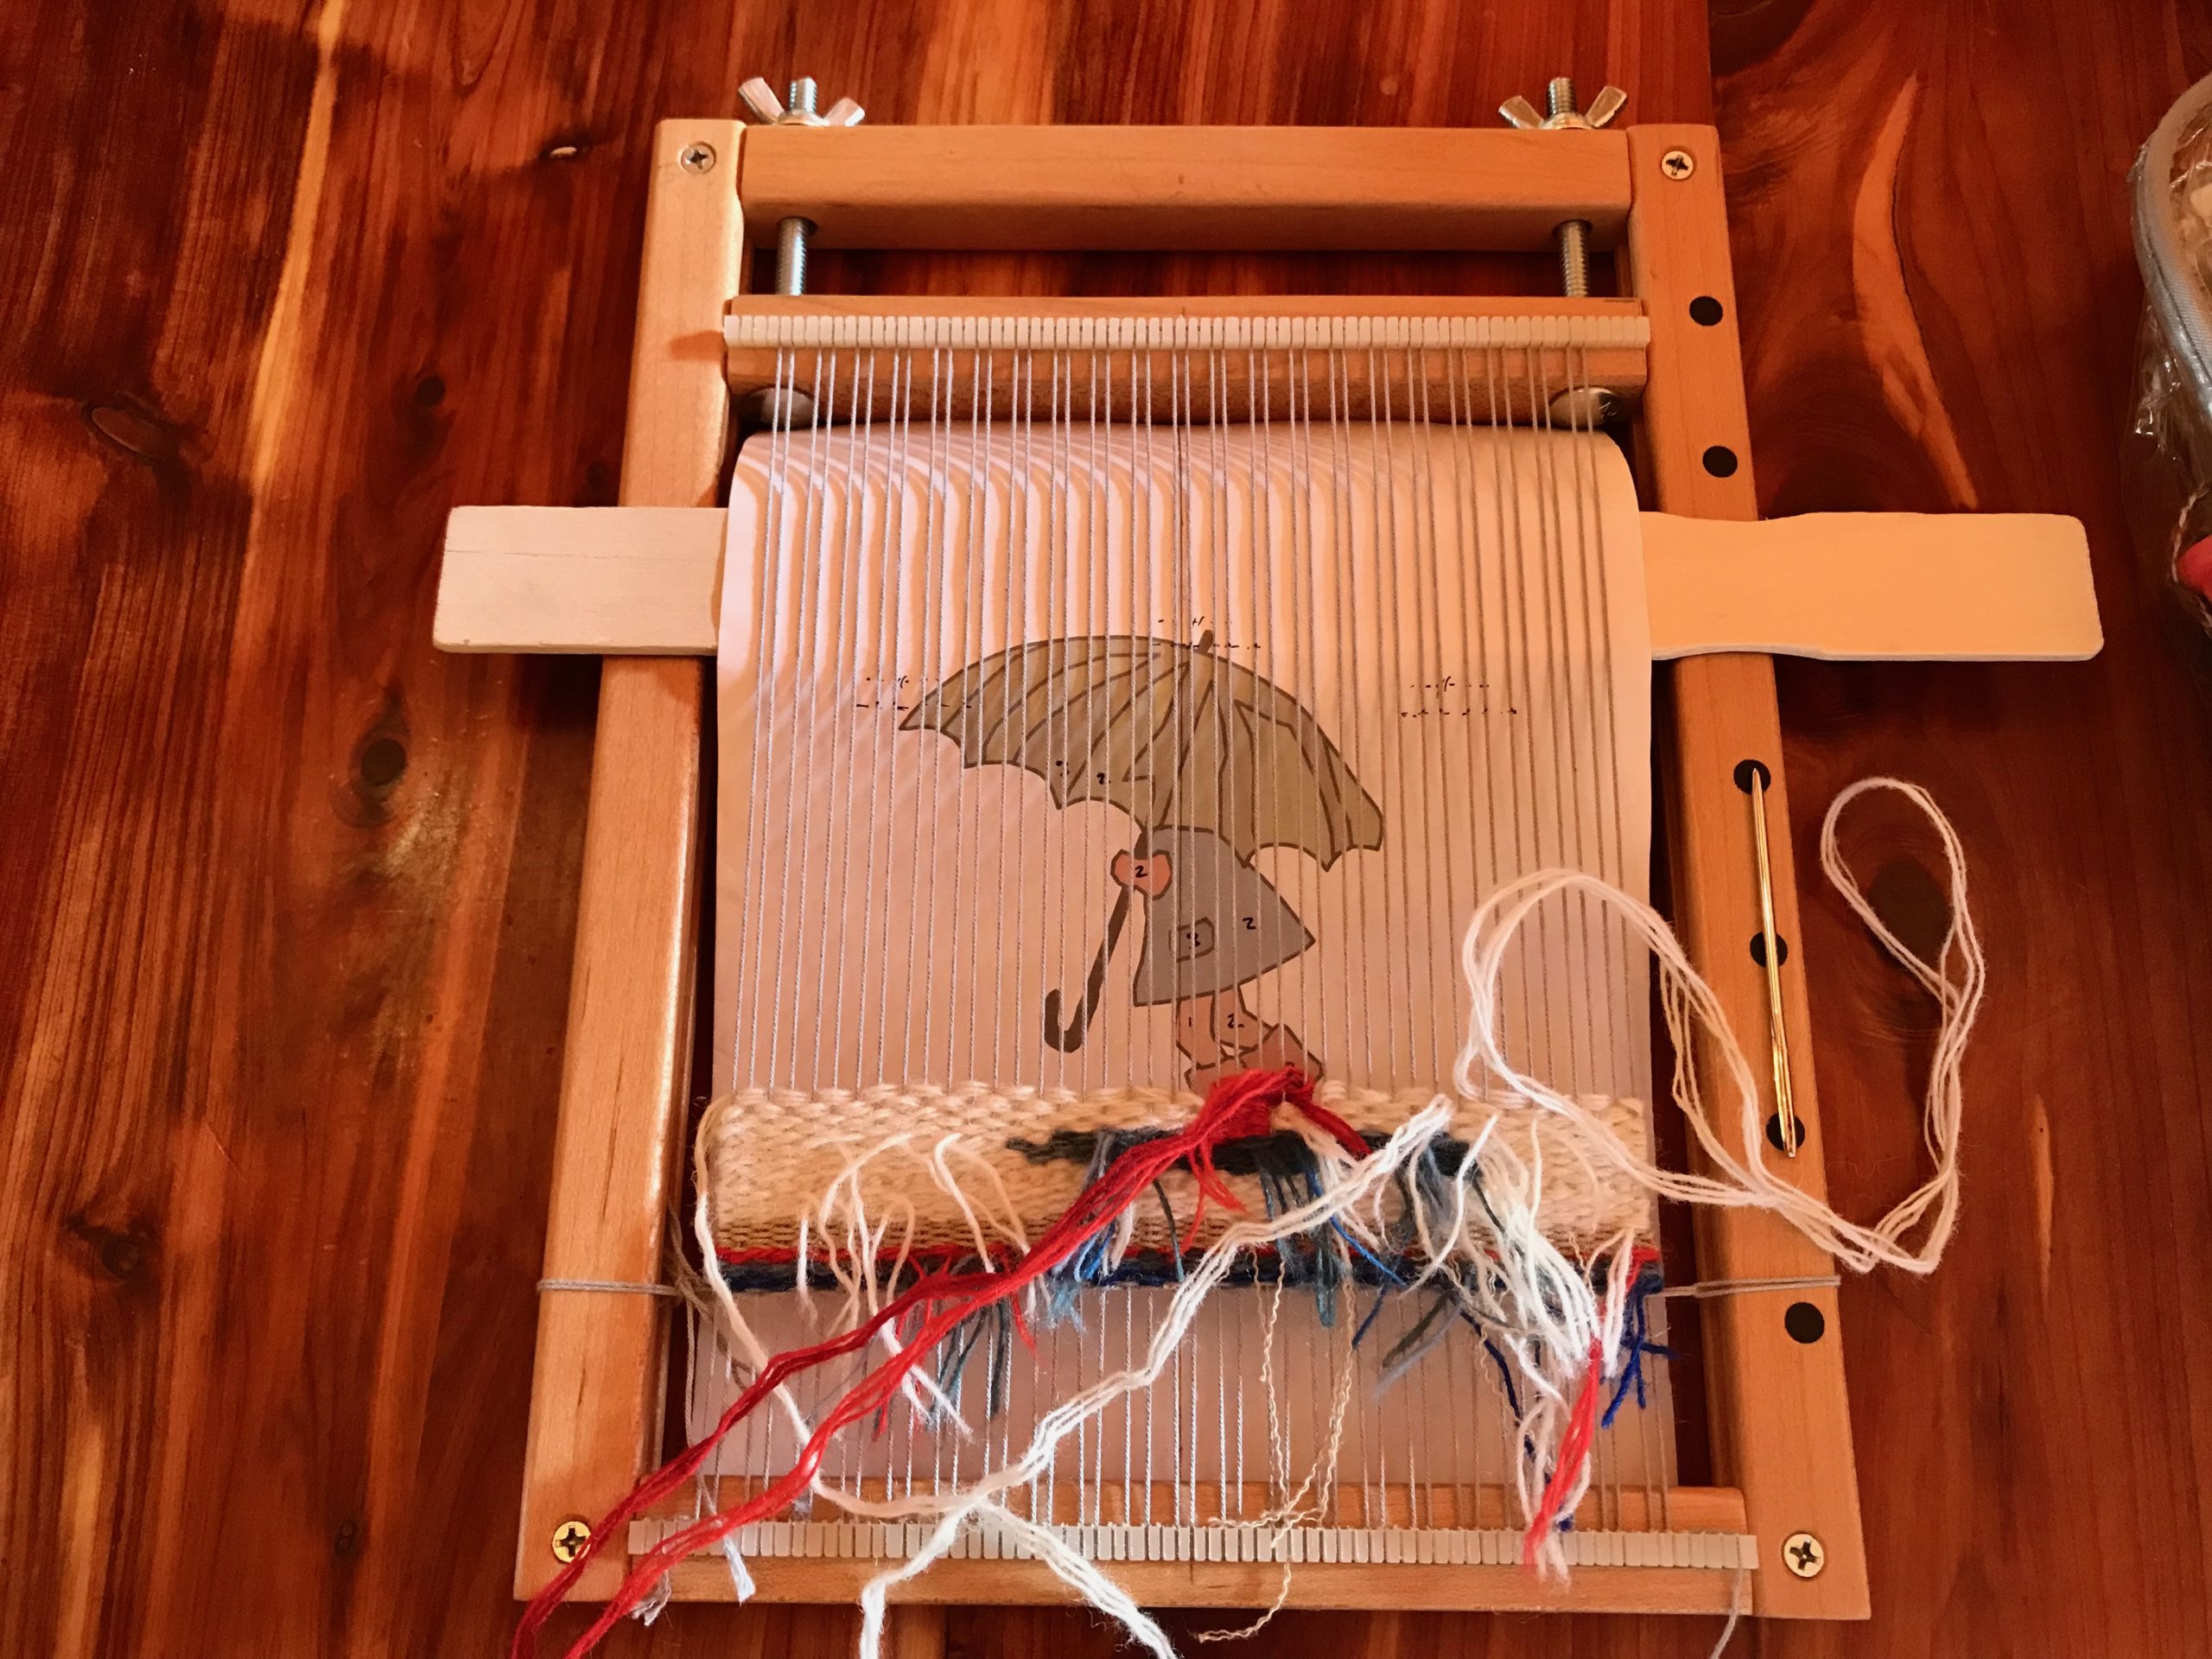
First project is a three-shaft twill, using 2 heddles. Warp is 22/2 cottolin. I am trying an assortment of linen, cotton, and cottolin wefts, with single threads and doubled threads. Everyone wants to know what I am making… Answer – Nothing in particular, I’m just weaving for fun.

As with any loom assembly, Steve and I first lay out all the parts and pieces, putting like things and sizes together. We then mark off the supply list in the instructions to make sure no parts are missing. That prep work simplifies the whole assembly process. The written instructions that come with the loom are sparse, but I found this online video that shows clear assembly steps for the Siru: Siru Assembly

I am impressed with the Siru for its sturdy construction, ease of folding, and smoothly operating ratchets. I will write more on two-heddle weaving on the rigid heddle loom in the future, as I gain experience…

And here is our one-minute version of assembling and weaving on the Glimåkra Siru Rigid Heddle Loom:

May you put your parts and pieces in order.

Happy Travel Weaving,
Karen

Tapestry that Tries to Copy

The jumble of yarn looks like a random play of colors. But if you look a little closer, and push the yarn butterflies out of the way, you can tell that the color choices are deliberate. You see only a hint of the image, though, until you look through the back end of the monocular, or step up on the step stool to have a look from up above the weaving. That’s when you get an overview of what’s on the loom.

New tapestry project.
Yarn butterflies each have a mix of wool, mostly 6/2 Tuna and 6/1 Fårö yarn.
Weaving a new tapestry on the floor loom.
The mix of colors in each yarn butterfly is a deliberate selection for the specific hues, values, and intensities I want to portray.
Tapestry of a butterfly wing.
View from my seat on the loom bench.

This warp is a study project. I want to test some tapestry techniques to help me develop my style. I made the cartoon by cropping and enlarging a photograph I took years ago. The butterfly had just emerged from its chrysalis! The subject for my study: the butterfly’s intricate wing.

Tapestry on the floor loom, and how to view it.
Peering through the *wrong* end of the monocular gives me a distant view of the tapestry in progress.
Get a view from higher up to get a better perspective on life.
I stand on a stepstool near the loom to get an even broader view of the tapestry from a distance. This perspective shows me how effective my yarn selections are (or are not) for the image I want to create.
Intricate butterfly wing - subject for tapestry study.
Cartoon in a reduced size helps me see the color distinctions. Photo in black and white helps me see value contrasts.

Who designed the butterfly wing? A stained-glass artist may conceive it. A tapestry weaver may copy it. A silk dyer may imagine it. But only our Creator could bring it to life. God makes himself known. Push the obstacles out of the way. Look for design. Gain a higher perspective. With each woven row, the image becomes more and more clear. When the butterfly wing begins to flutter you know you are witnessing something from the mind of God.

May you see what is hidden.

Happy weaving,
Karen