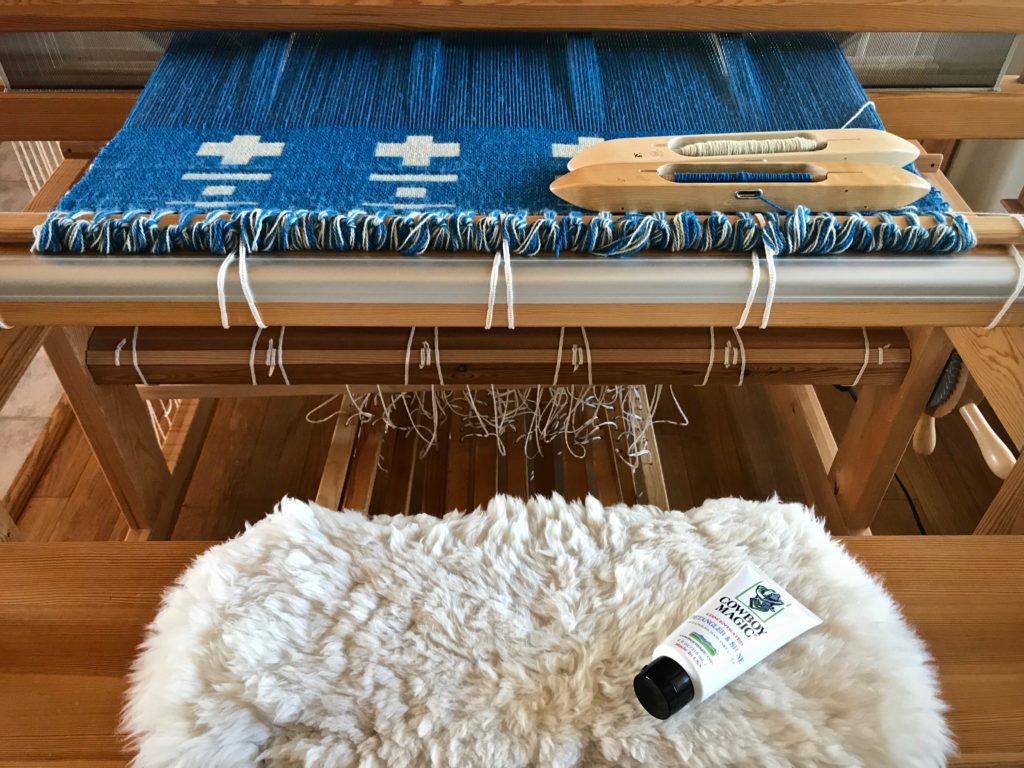
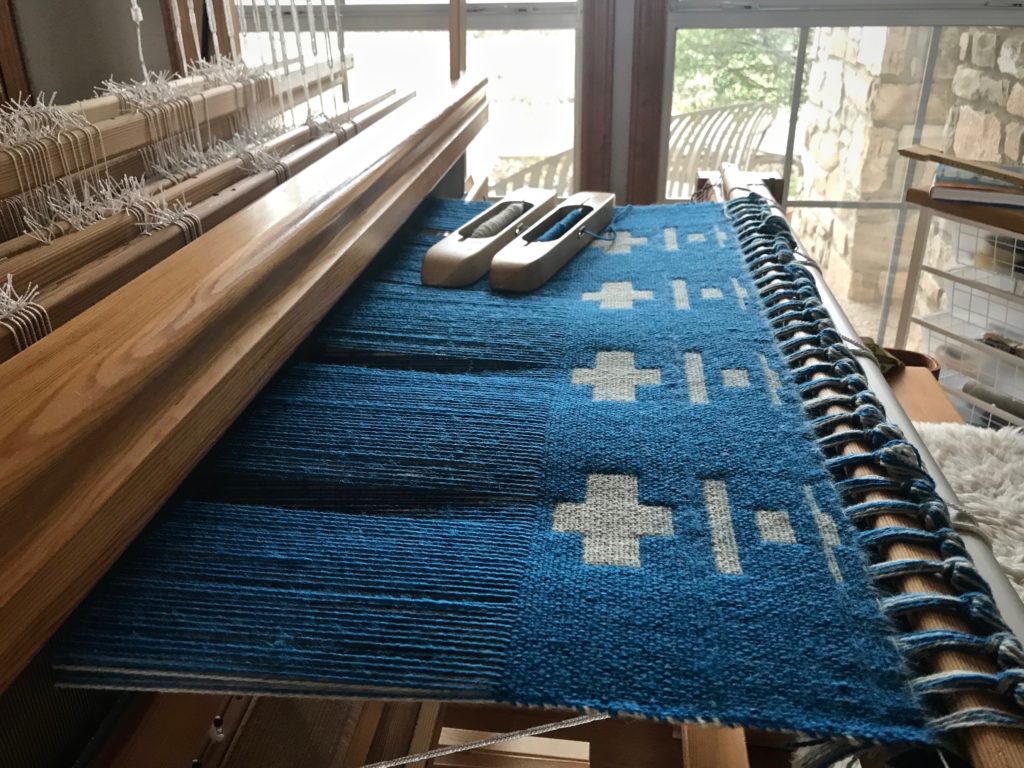
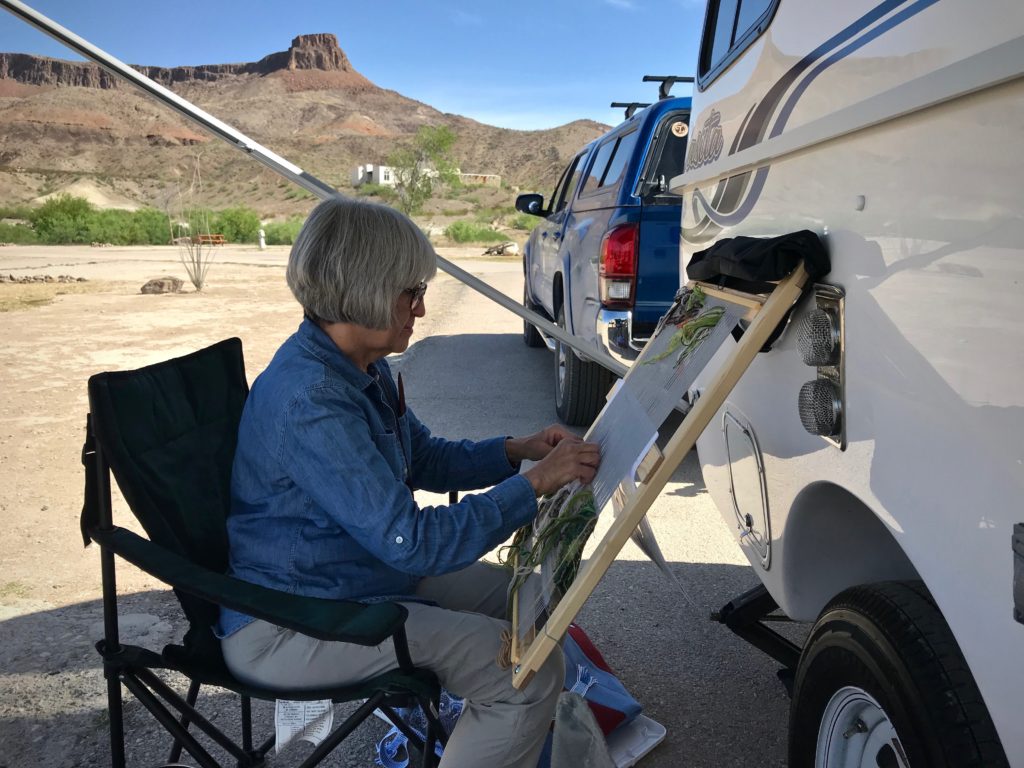
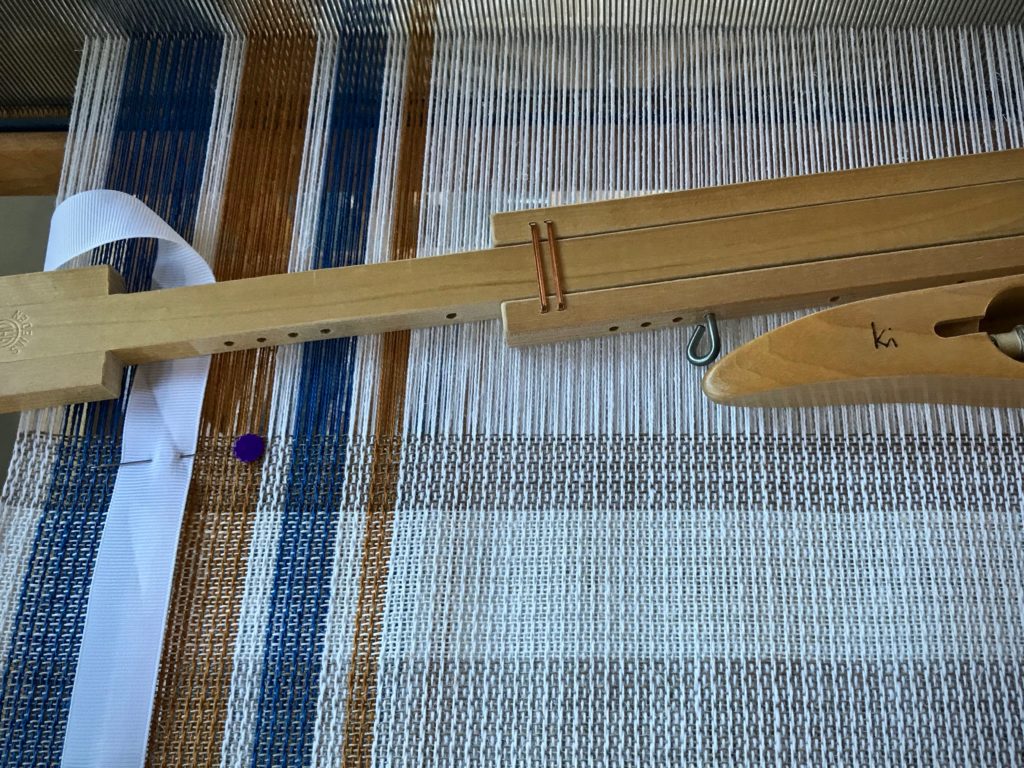
I need to free up this little loom in order to put on a different warp that has a deadline. So, now that I have returned from my travels, my attention is going to these towels. My friend is letting me weave this lovely cottolin warp that she got at Vavstuga.
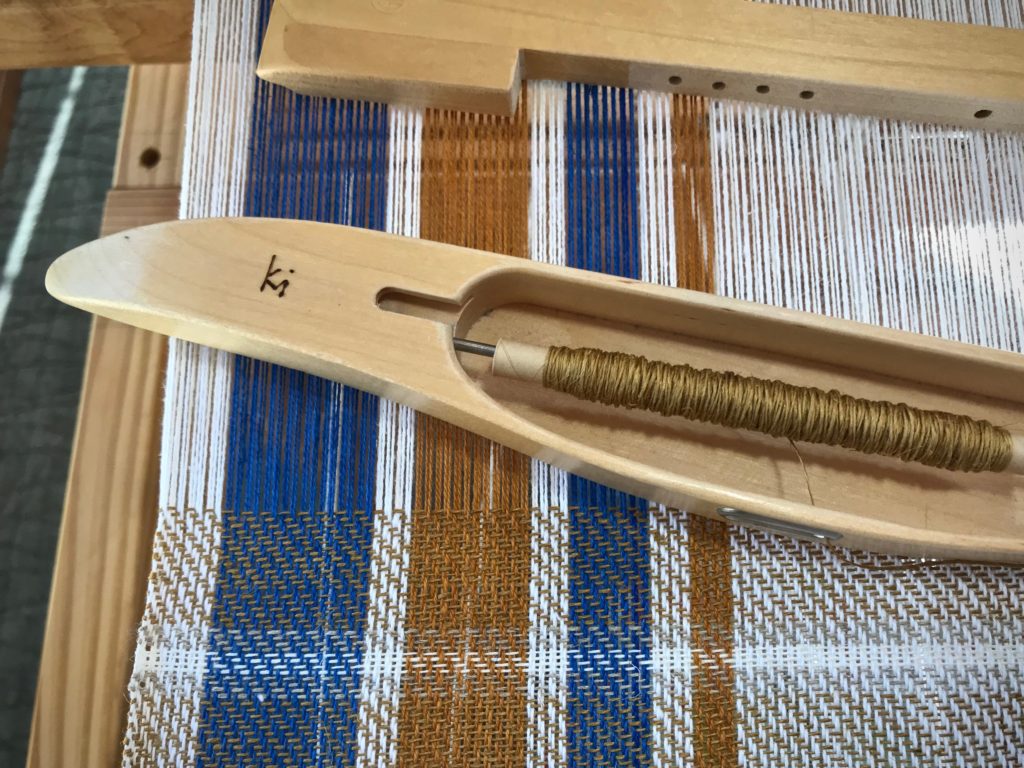
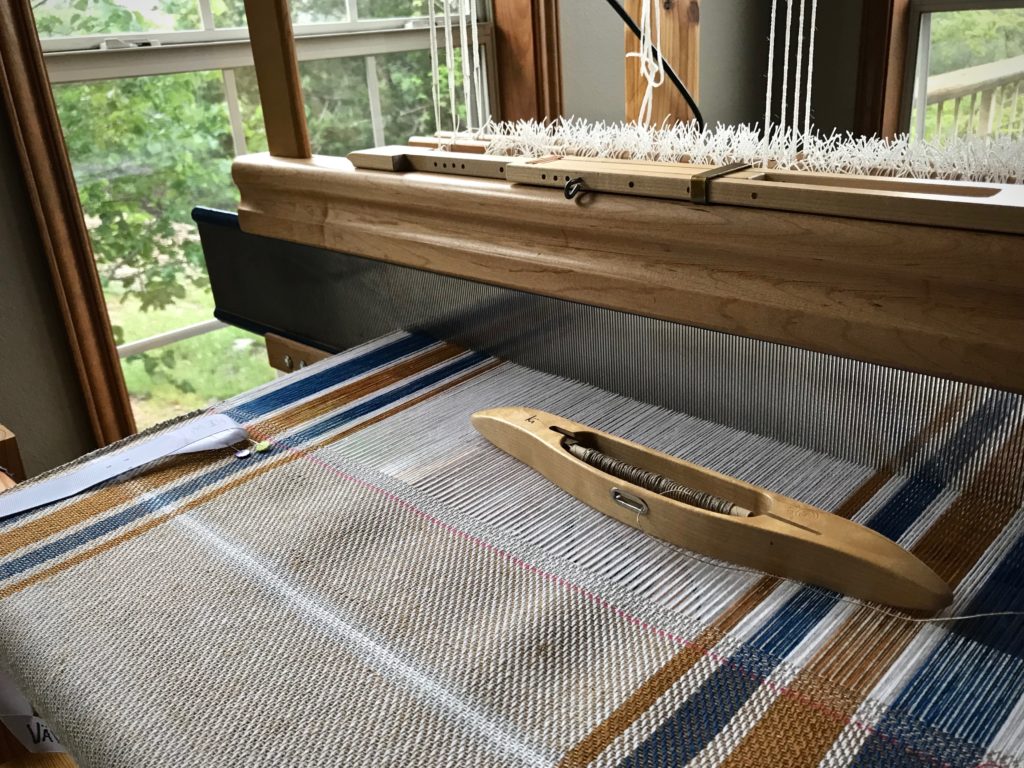
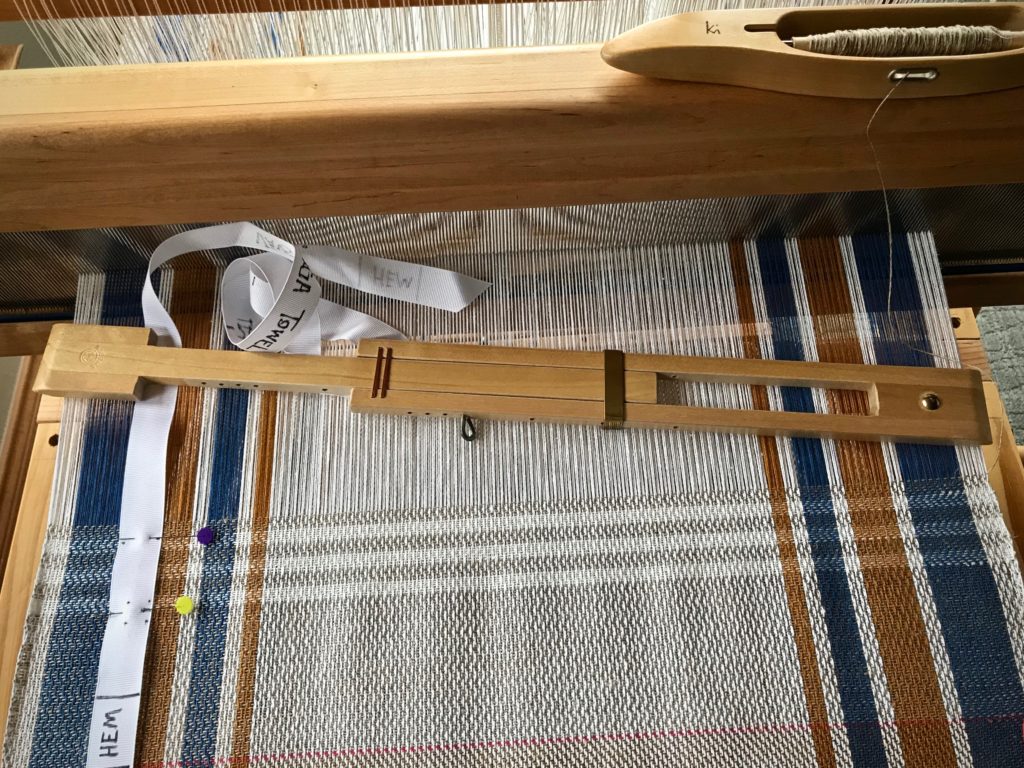
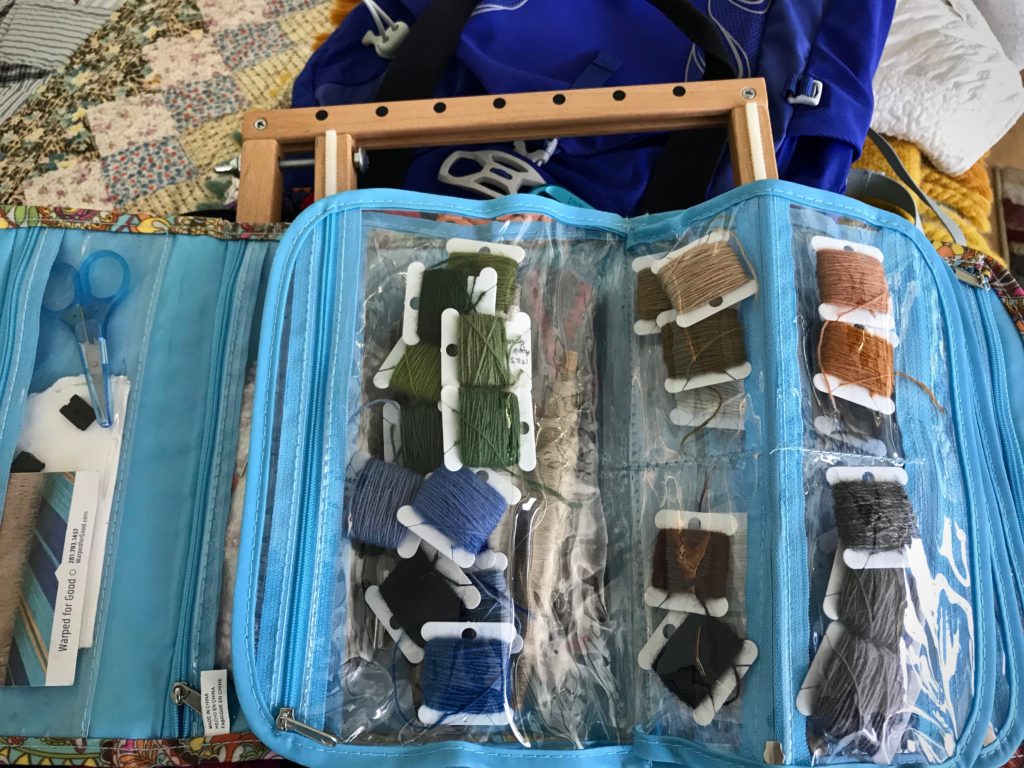
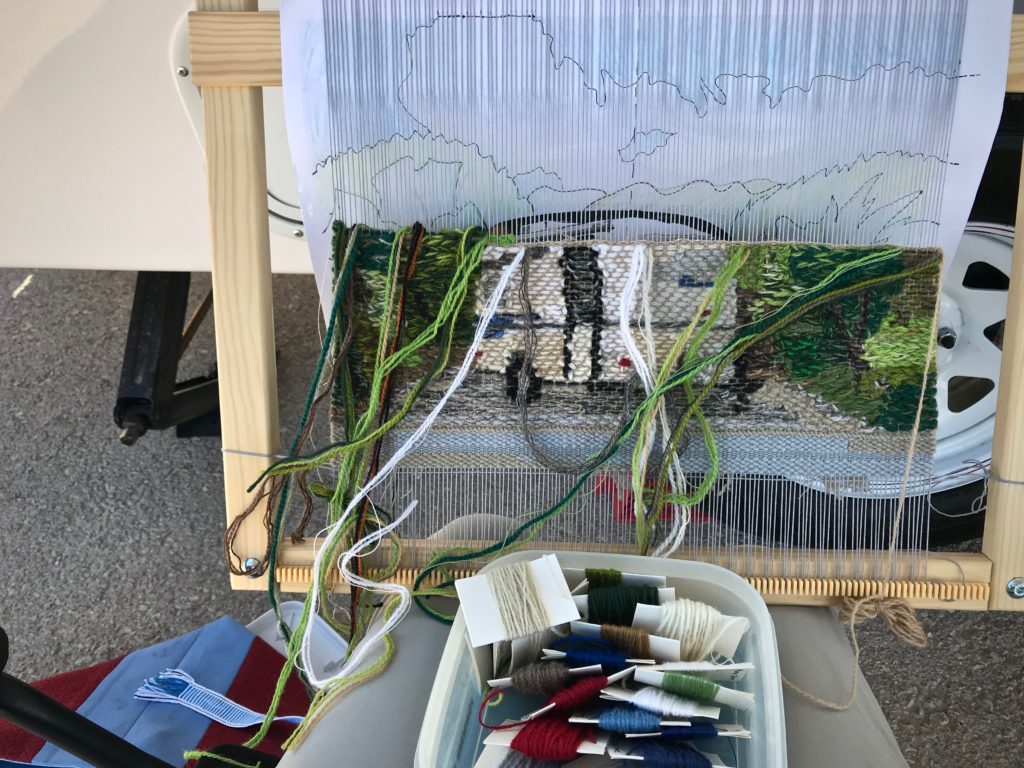
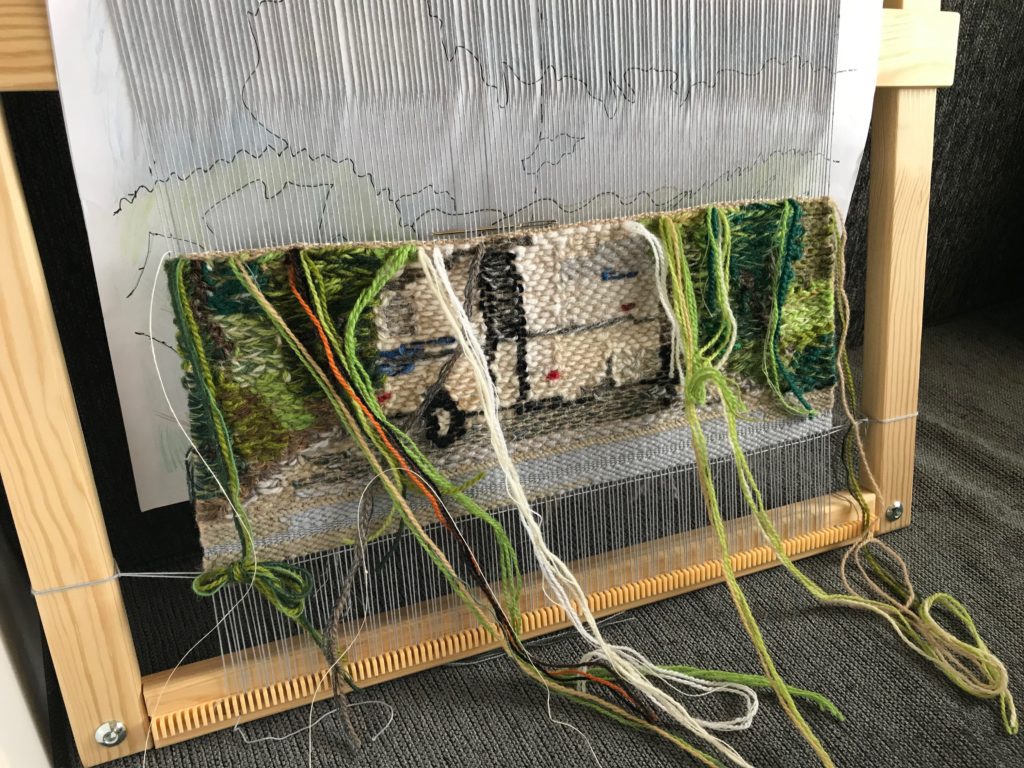
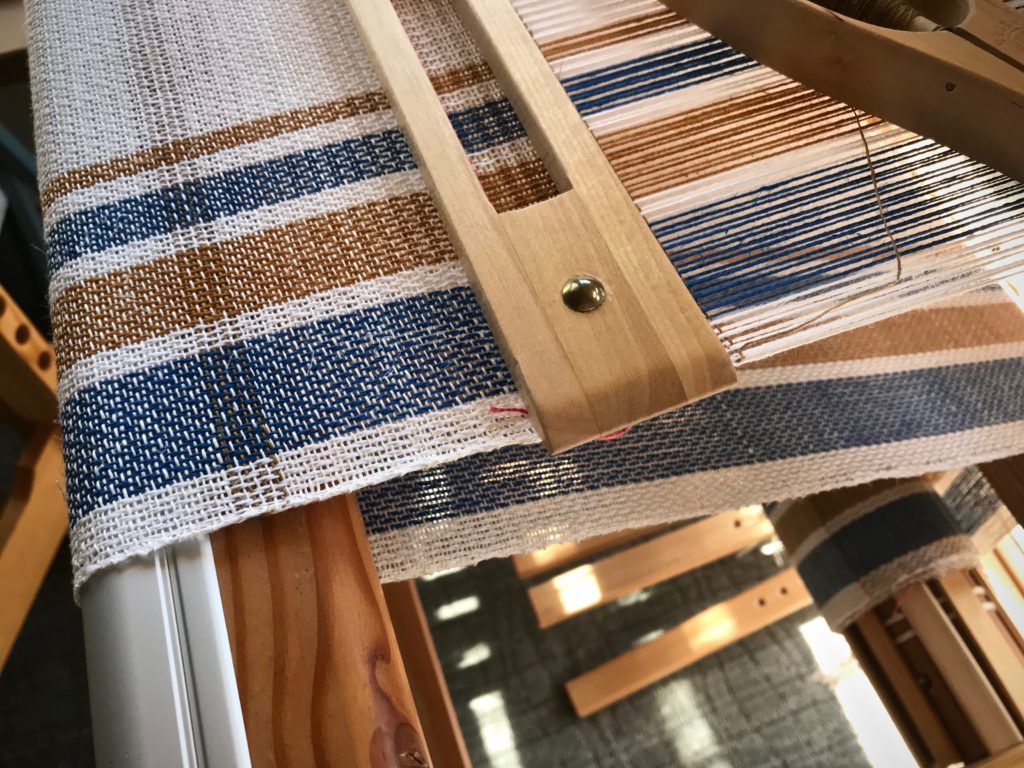
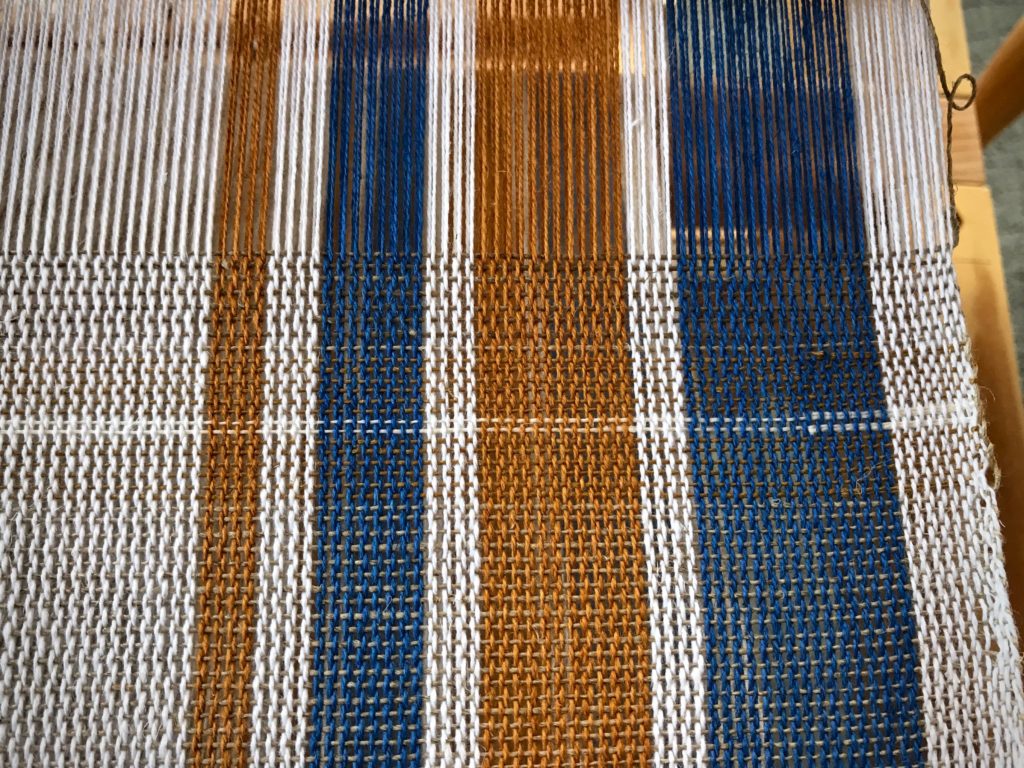
Straight twill, point twill, broken twill, and now “rick-rack.” And after that, a couple towels in plain weave. Everyone who weaves this Vavstuga towel kit and follows the instructions will end up with the same six towels. True? Not necessarily. I like to step off the expected path. That is why I vary the weft and include some type of simple border design on each towel.

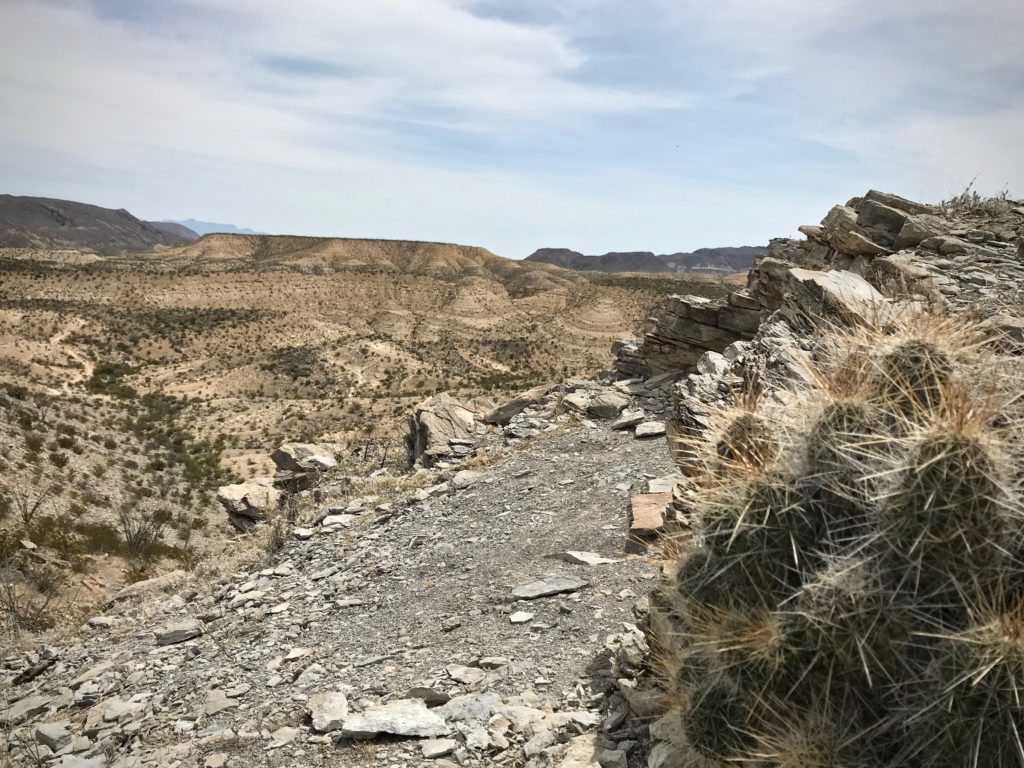
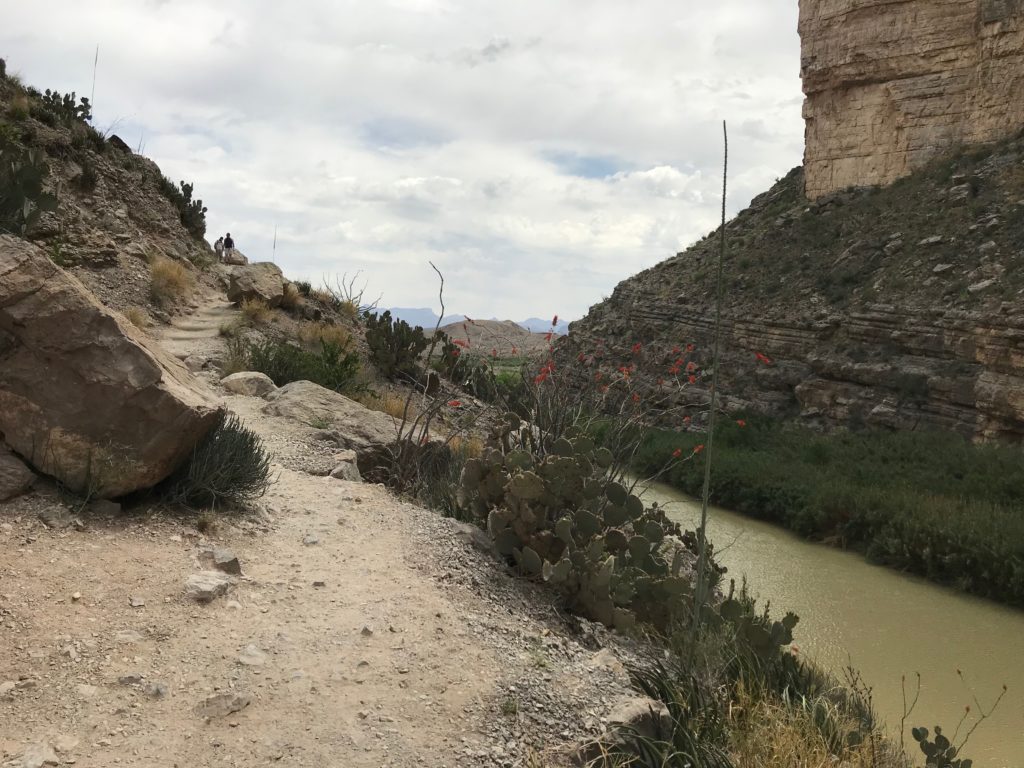
There is a wide path that is crowded with many people. It’s the common and expected way of life. It’s where you stay if you want to fit in with everyone else. But if you search for it, you’ll find an uncommon path. It’s narrow; and few find it. It’s the path of life that is found in Jesus Christ. Stand in the narrow path. That is where your unique features will show up as border designs that set you apart as a cherished child of God.
May you be set apart.
Happy weaving,
Karen