En Plein Air Weaving

It is delightful to weave in scenic surroundings! After two full days of hiking and exploring remote vistas in Big Bend Ranch State Park we had a leisurely do-nothing day. Time to take the loom outdoors. En plein air weaving!

Casita in Maverick Ranch RV Park at the base of Lajitas Mesa.
Our campsite is at the base of Lajitas Mesa.
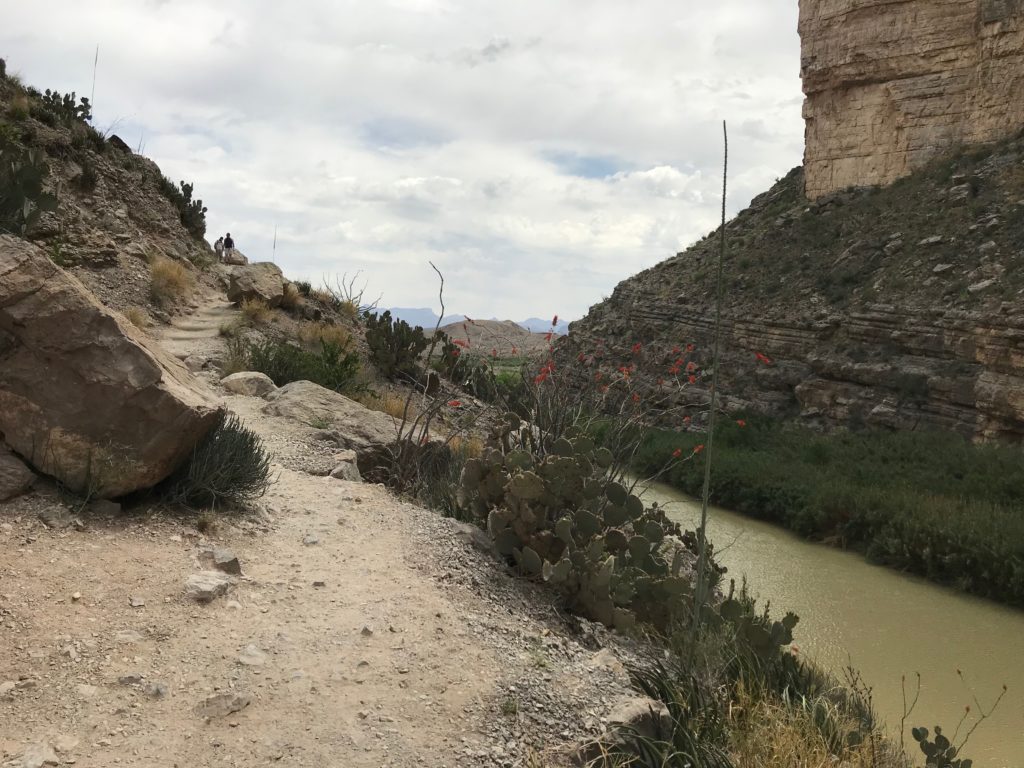
Big Bend Ranch State Park, Texas.
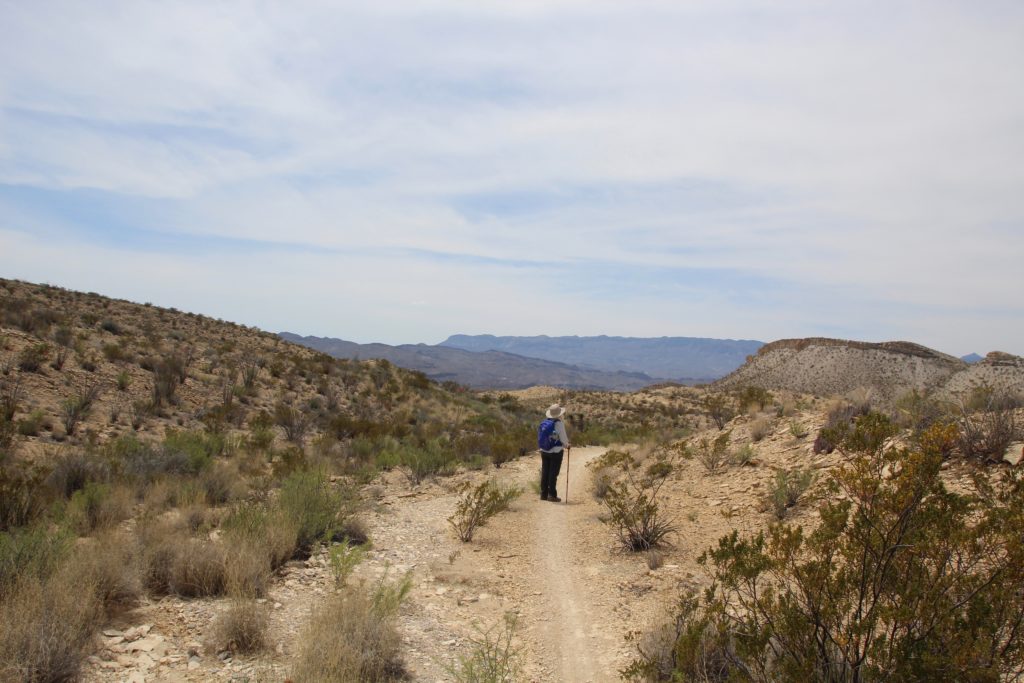
Hiking the Fresno Divide Trail in Big Bend Ranch State Park in west Texas.
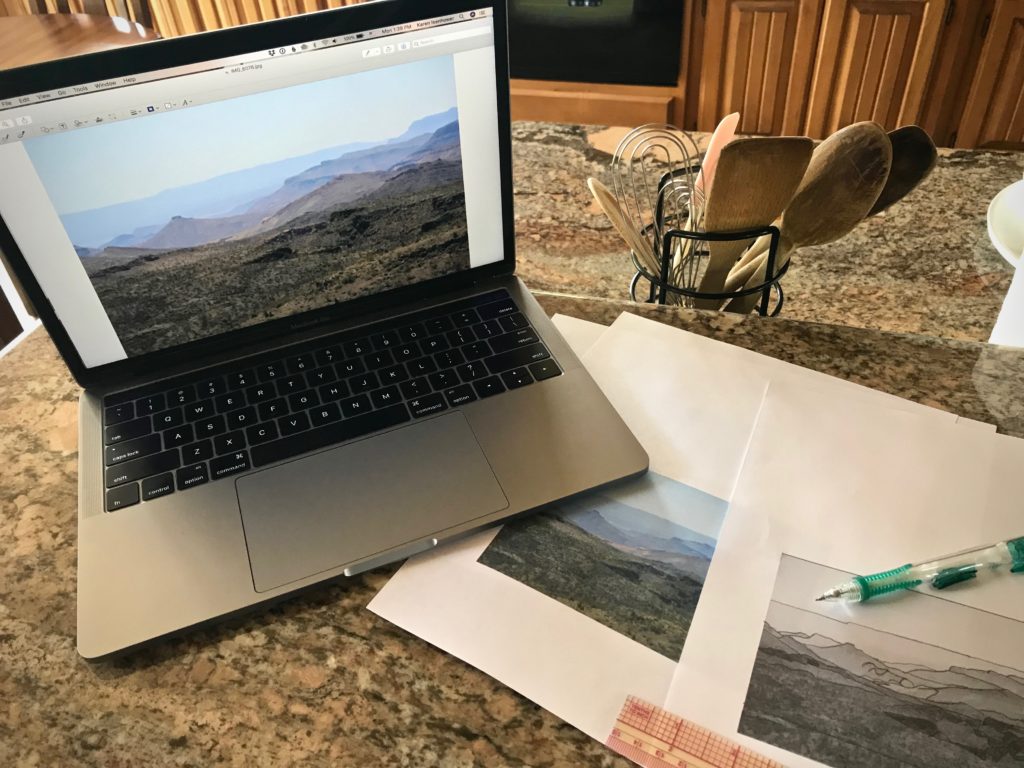
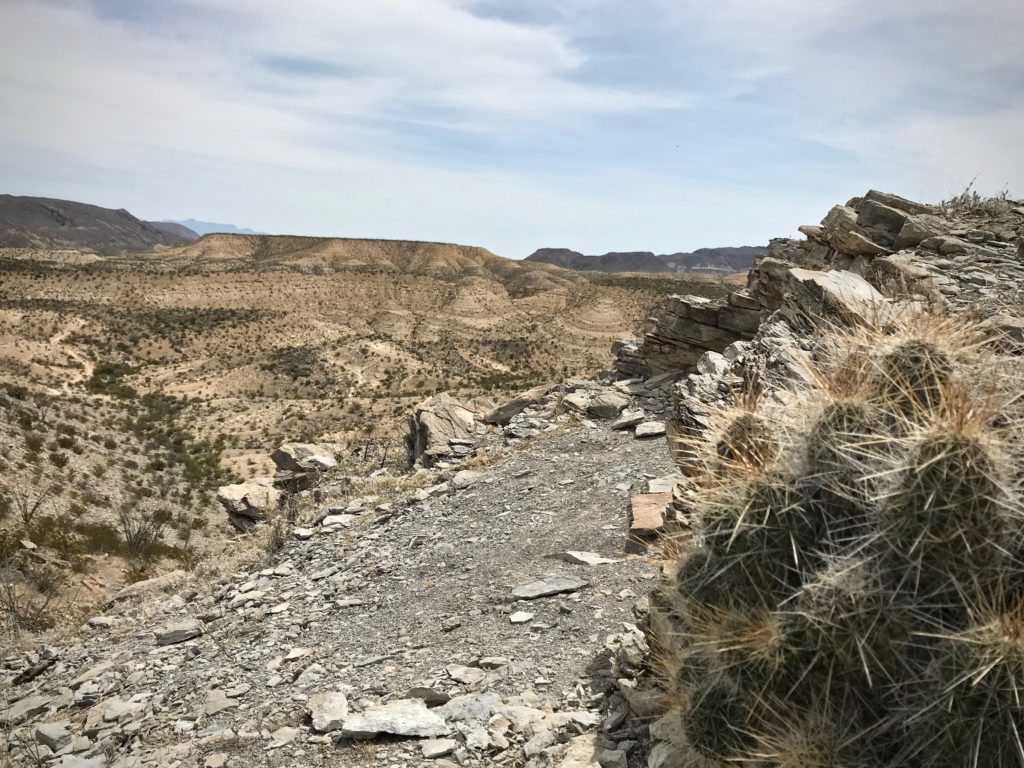
Mountainous view in the desert of Big Bend Ranch State Park, Texas.
Mountainous views in the desert.
Fresno Canyon in Big Bend State Park, Texas.
Fresno Canyon vista, with the mountains of Mexico in the distance.
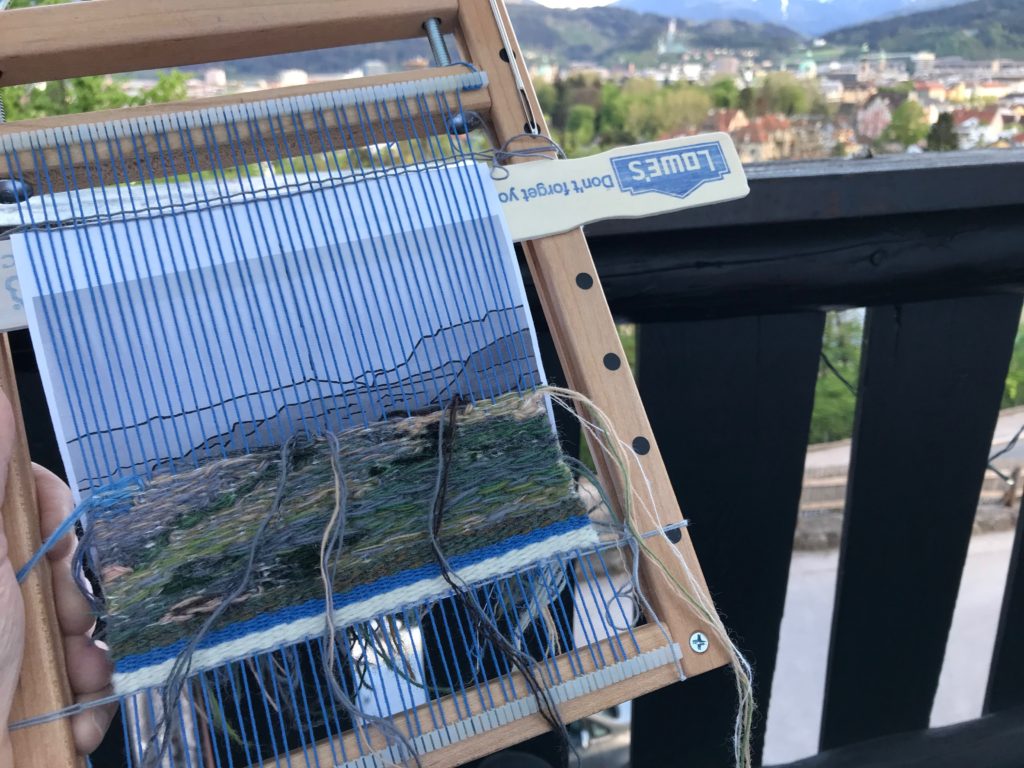
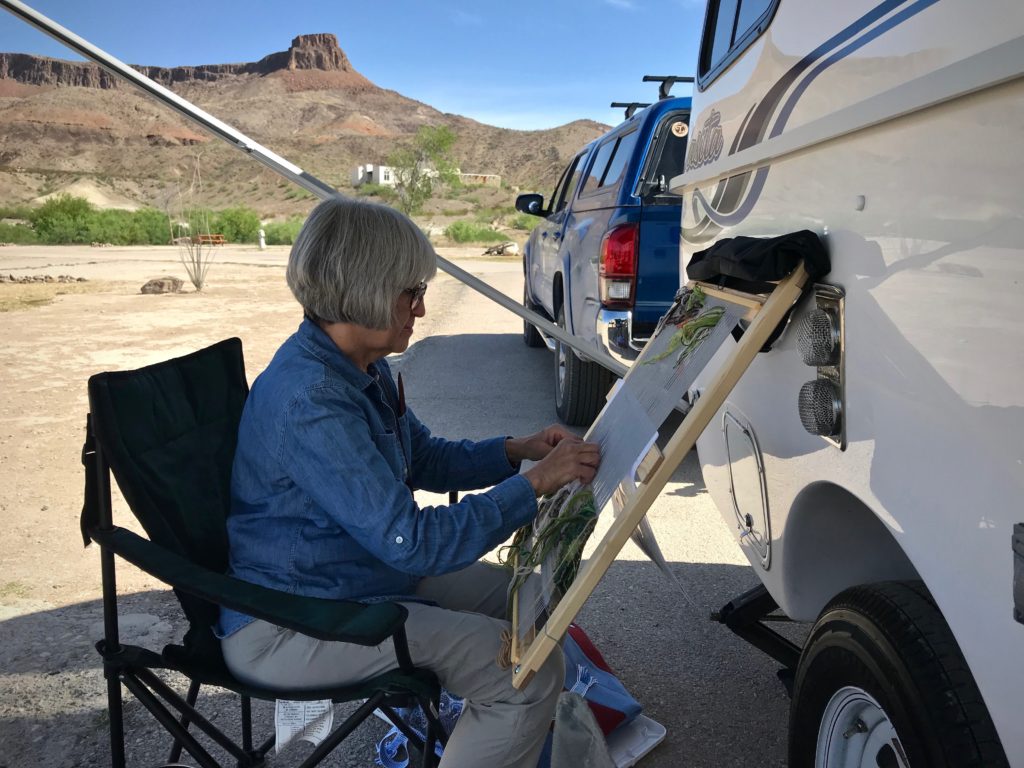
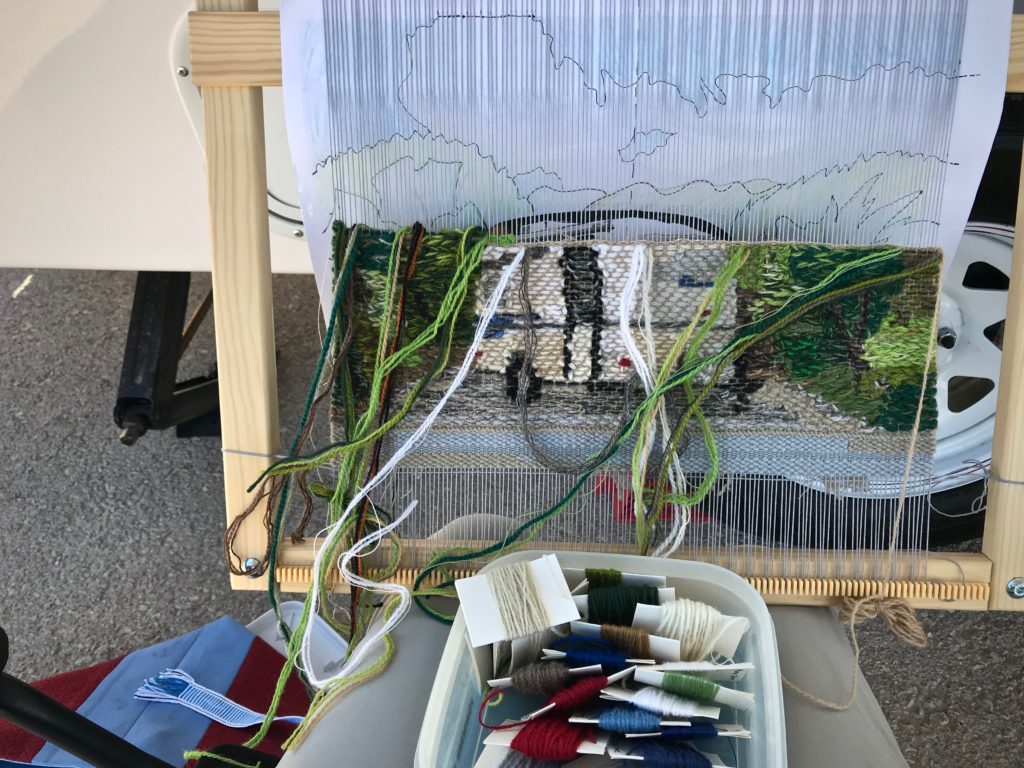
En plein air tapestry weaving by the Casita travel trailer.
En plein air tapestry weaving during a leisurely morning. Camera tripod cover doubles as a loom topper that prevents the loom from scratching the Casita.
Casita Travel Trailer - tapestry in progress!
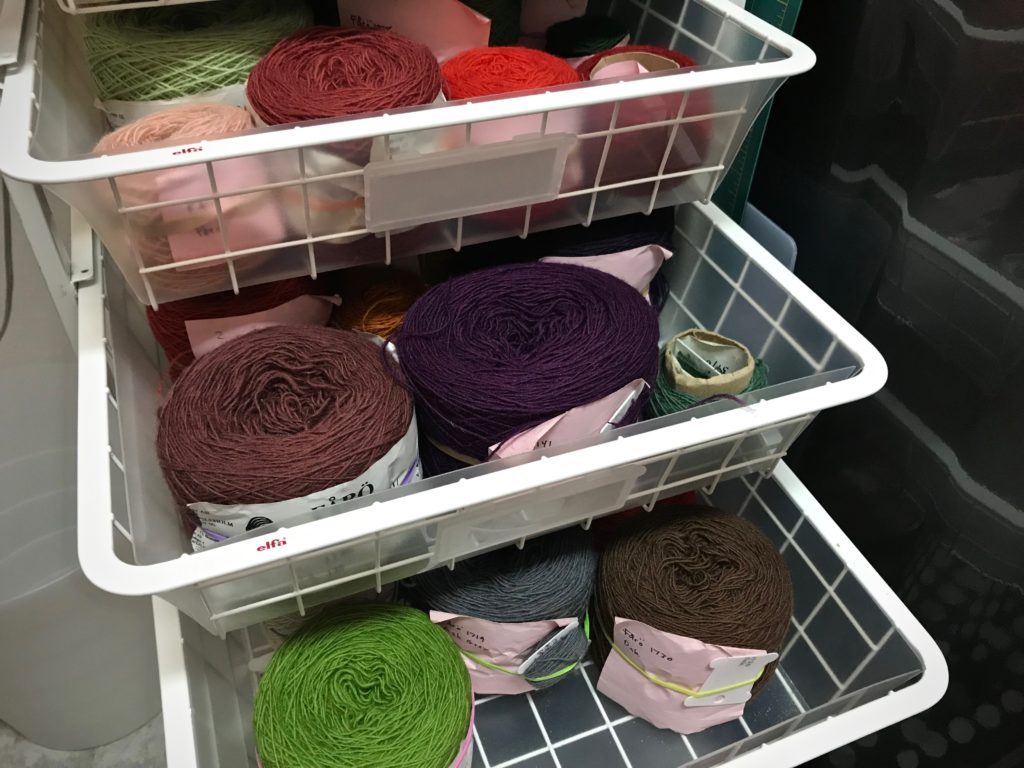
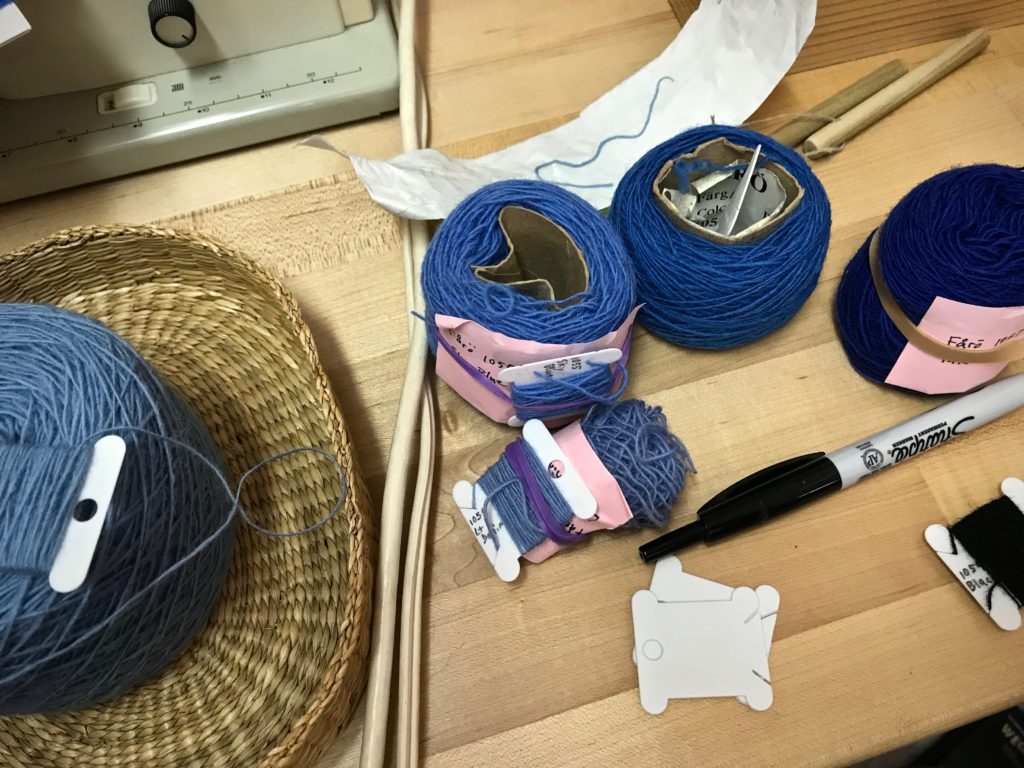
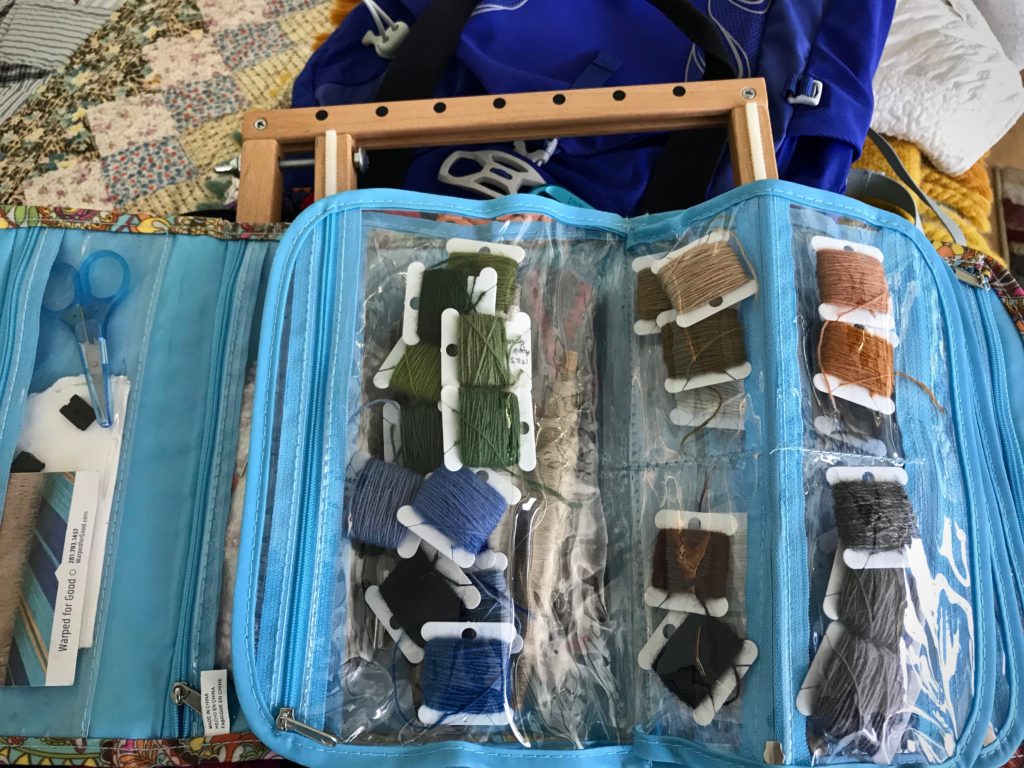
Wool yarn for the Casita tapestry is wound on labeled cards and kept in spare Tupperware Modular Mate containers.

We also went exploring in Big Bend National Park.

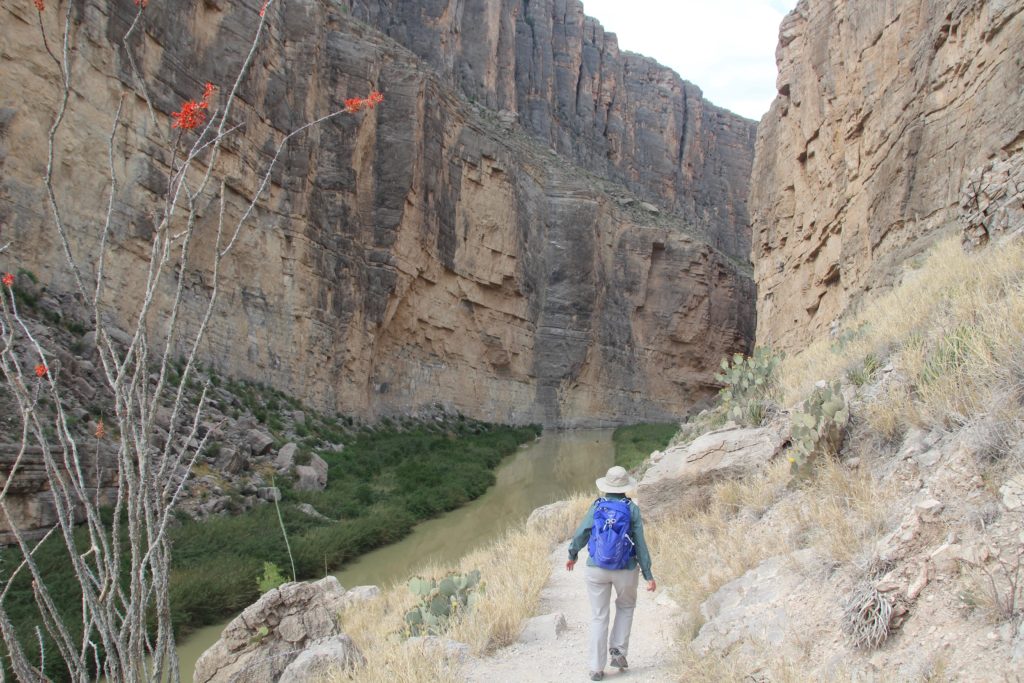
Hiking the Santa Elena Canyon in Big Bend National Park.
Hiking in Santa Elena Canyon, with Mexico to my left and USA on my right. And the Rio Grande River in between.
Santa Elena Canyon in Big Bend National Park.
Santa Elena Canyon in Big Bend National Park, the least visited National Park in the United States.

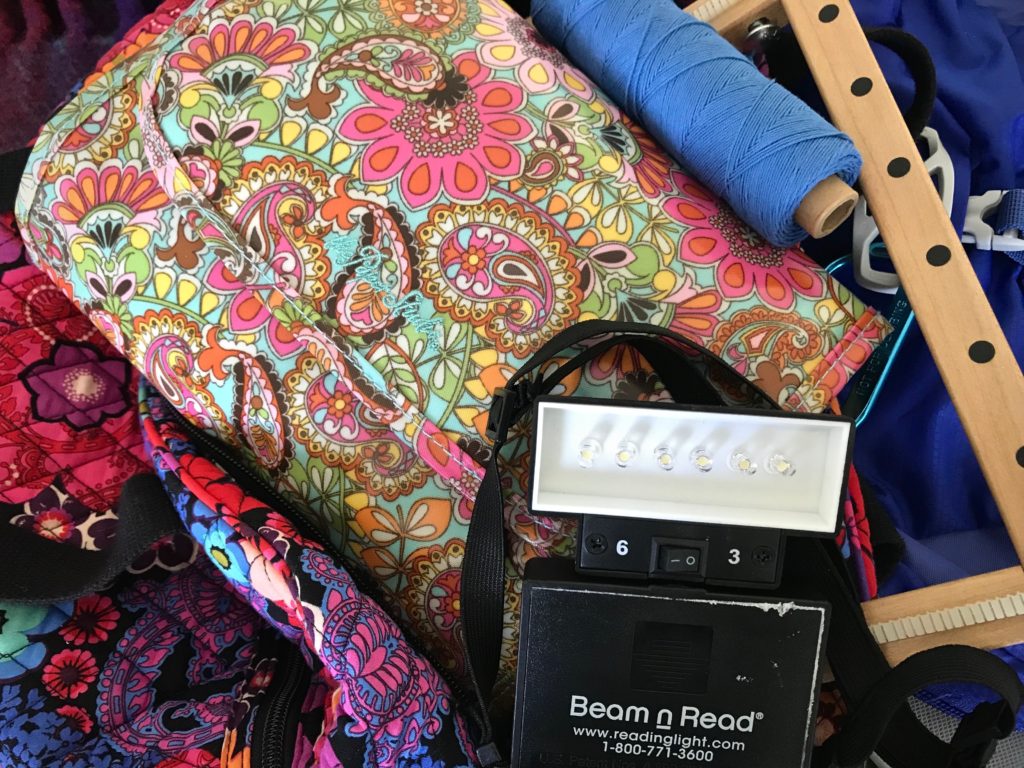
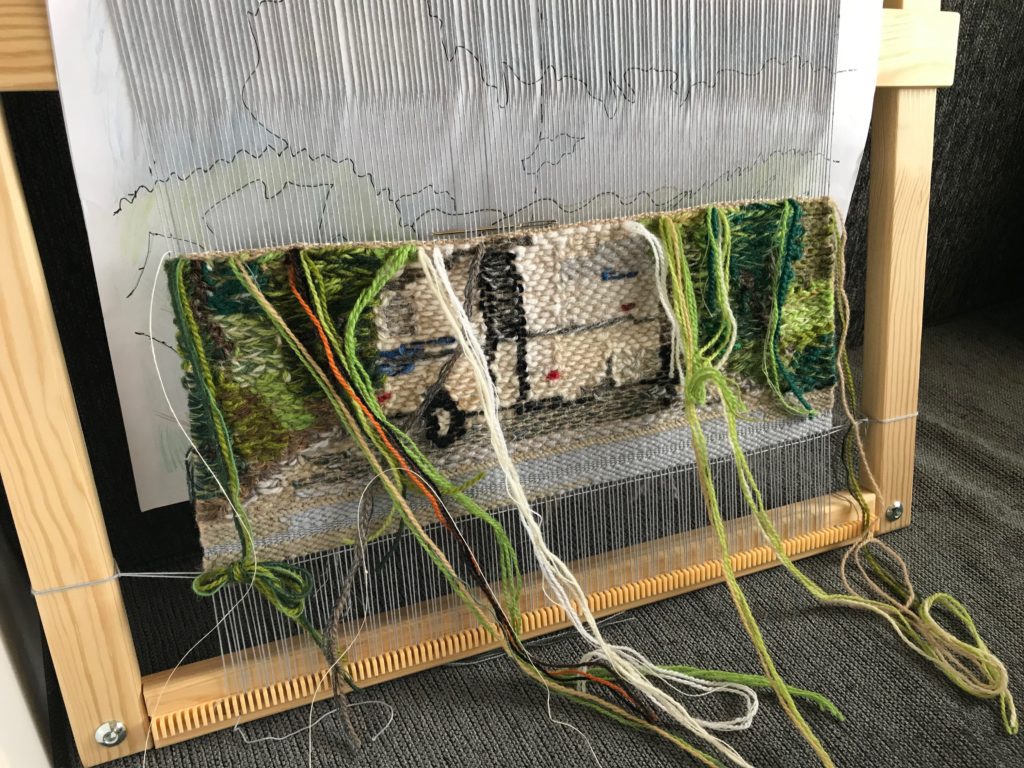
And then, I like to wind down the day with some quiet evening tapestry weaving in the Casita. And Steve pulls out his travel pouch for some leisurely woodcarving. Ah…all is well.

Tapestry weaving of our Casita Travel Trailer.
Ending the day with some quiet tapestry weaving.

May you find delight in your surroundings.

Happy adventuring,
Karen

Handwoven Treasured Leftovers

In my bin of handwoven fabric, most of the pieces are leftovers, like a short section from the end of a towel warp, or a colorful sampling of weft from the beginning of a warp. But a few of these woven treasures are good-sized pieces that can be used to make something. So, since I want to make a bag for my large Freja tapestry frame, I look through my selection of handwoven fabric pieces.

Piecing handwoven fabric to make a large bag.
Piecing handwoven fabric to get the large side panels needed for the bag.
Making bag from handwoven fabric.
Lightweight fusible interfacing is applied to the back of the fabric. I adapted and enlarged McCall’s pattern 3894, and used the pattern instructions for the sequence of steps to make the bag.
Patterned band woven on the band loom.
Patterned band woven on the band loom, used for straps on the bag.
Sewing a bag from handwoven fabric.
Topstitching with red thread.

I find just what I need! Coming across these two significant lengths of fabric is like getting reacquainted with old friends. The meter of red and black cotton eight-shaft twill is something I wove in a Vavstuga class. And the blue cotton warp-printed yardage is fabric I wove to make a tiered skirt, a favorite garment that hangs in my closet. (See Quiet Friday: Handwoven Skirt.)

Bag with Freja loom is ready for a travel excursion in the Casita.
In the Casita - handwoven articles.
In the Casita.
Bag from handwoven fabric for Freja tapestry loom.
Casita tapestry to work on in the Casita.
Casita tapestry for quiet evenings in Big Bend state park in Texas. I may be able to finish it on this trip.
Bag for tapestry frame - made from handwoven cloth.
Blue cotton warp-printed fabric, red eight-shaft twill, and patterned band from the band loom. Treasures from the past, assembled together for a joyful today.

Treasures from the past come into today to bring value and meaning. Put treasures in your today that will add value to tomorrow. Everything can change in a day, so we can’t put our confidence in tomorrow. But every new day is from the Lord, who holds the future in his hands. Today is a gift. Live it fully. Who knows? Your joy today may be tomorrow’s treasure.

Casita, ready to roll!
Ready to roll!

May you find treasures from the past.

Love,
Karen

Process Review: First Drawloom Warp

There are two questions I hear most often. 1. How long did it take? 2. What is it going to be? These are hard questions to answer. I admit that I stumble around to find satisfying answers. 1. How long? Hours and hours. 2. Cloth. It is going to be cloth. What will the cloth be used for? I don’t know. But when I need a little something with a pretty design, I’ll know where to find it. There are two finished pieces, though, from this first drawloom warp: the Heart-Shaped Baskets table runner (adapted from a pattern in Damask and Opphämta, by Lillemor Johansson), and a small opphämta table topper that I designed on the loom. The rest are samplers, experiments, tests, and just plain fun making-of-cloth. Oh, and I wondered if I could take the thrums and make a square braid…just for the fun of it.

First warp on my drawloom. Success!
Opphämta piece on the left, with Fårö wool pattern weft. Heart-Shaped Baskets runner on the right, with red 16/2 cotton pattern weft. Ten pattern shafts.

I will let the pictures tell the story of this first drawloom warp.

May you have plenty of things to make just for fun.

Happy Weaving,
Karen

All the Looms

The plan to keep every loom dressed is easy when there is only one loom. Now that I have four floor looms, it’s a tough plan to follow. The drawloomcheck. The Glimåkra Standard, dressed in Tuna wool—check. The two smaller looms are threaded, and just need tying on and tying up. So, I’m well on my way! The end of the first warp on the drawloom is in view, however. That means the drawloom will soon be back in the queue. And so it goes.

Winding a warp for rosepath rag rugs. 12/6 cotton. Spring colors.
Warp for cottolin towels.
Warp for cottolin towels is threaded on the little hand-built loom.
Opphämta on the drawloom.
Opphämta on the drawloom. Pattern weft is 6/1 Fårö wool. The right side of the fabric is seen underneath, as it comes around the breast beam.
Threading heddles on the Glimåkra Ideal.
Blue and Almond Tuna wool warp.
Blue and Almond Tuna wool warp is tied on in 1″ sections.

I like to stay a step ahead of my looms. I’m ready to wind a new warp as soon as I finish cutting off. It’s the cycle of weaving. But I have trouble staying ahead.

Tying up treadles on the Glimakra countermarch.
Twelve shafts. Twelve upper lamms. Twelve lower lamms. Twelve treadles. This is an amazing system.
Warp is tied on. Ready for rag rugs!
Warp is tied on. Ready to add the leveling string.
Loom is dressed for small wool double weave blanket.
Loom is dressed. Treadle cords are adjusted. Ready for weaving!
End of warp on the drawloom.
End of warp comes near the pattern heddles. This is my first drawloom warp, so I’m waiting to see how far I can weave until I lose a good shed. So far, so good.
My first drawloom warp.
Closing chapter of my first drawloom warp. I’ll keep “turning pages” until the shed disappears.

We have good plans for our lives. But often, it’s tough to follow those plans. Too many things happen at once, and we don’t know how to stay ahead of it all. The thing to remember is that our plans stem from our inner commitments. When we commit our ways to the Lord, trusting him, he leads us through our days. Trust turns plans into achievements. And those are the plans worth pursuing.

May your best plans succeed.

Happy Weaving,
Karen

Tried and True: Center the Reed

Eleven hours and thirty-six minutes into this project, the starting line for weaving is just around the corner. Wind the warp, and beam it. Thread the heddles. Sley the reed. Unlock the back beam ratchet. Move the countermarch to the front of the loom. … Pause when you think about moving the twelve shafts and the reed forward with the countermarch. Reach. Wiggle. Pull. Wiggle. Pull some more. Got it. Now, put the reed in the beater. Relax? Almost, but not yet.

Time to move the whole shebang forward.
Reed is sleyed, so reed support cords have been removed. Time to move the whole shebang forward.
Ready to insert the reed into the beater.
Plastic-coated wire is threaded through the ends of the shaft bars because I don’t have shaft pins long enough for twelve shafts. After coaxing and wiggling the mass of shafts forward, with the countermarch above them, I am ready to insert the reed into the beater.
Basics: How to center the reed.
As I put the reed in the beater I make sure all of the ends are free, and not trapped in the beater’s grip.

We must not forget to center the reed. I center the reed just as soon as the reed is in the beater.

How to Center the Reed

(We are actually centering the warp that is in the reed.)

Supplies needed: Tape measure (or string)

1. Using the tape measure, measure from the right edge of the warp in the reed to the outer edge of the beater on the right-hand side. Hold the tape measure with your fingers marking the measurement.

Center the reed.


2. Holding that measurement, place the tape measure at the left edge of the warp in the reed stretching out toward the outer edge of the beater on the left-hand side.

How to center the reed.


3. Note the difference in measurement between the right side and left side. Move the reed in the beater to center.


4. Repeat the first two steps until the measurements are the same on both sides.

Centering the reed.
Tips for centering the reed in the beater.
Reed is centered.

Now you can relax. Enjoy the moment, because you are that much closer to seeing fabric take shape!

May you enjoy the process you’re in.

Patiently,
Karen