Step Back to See Your Tapestry Details

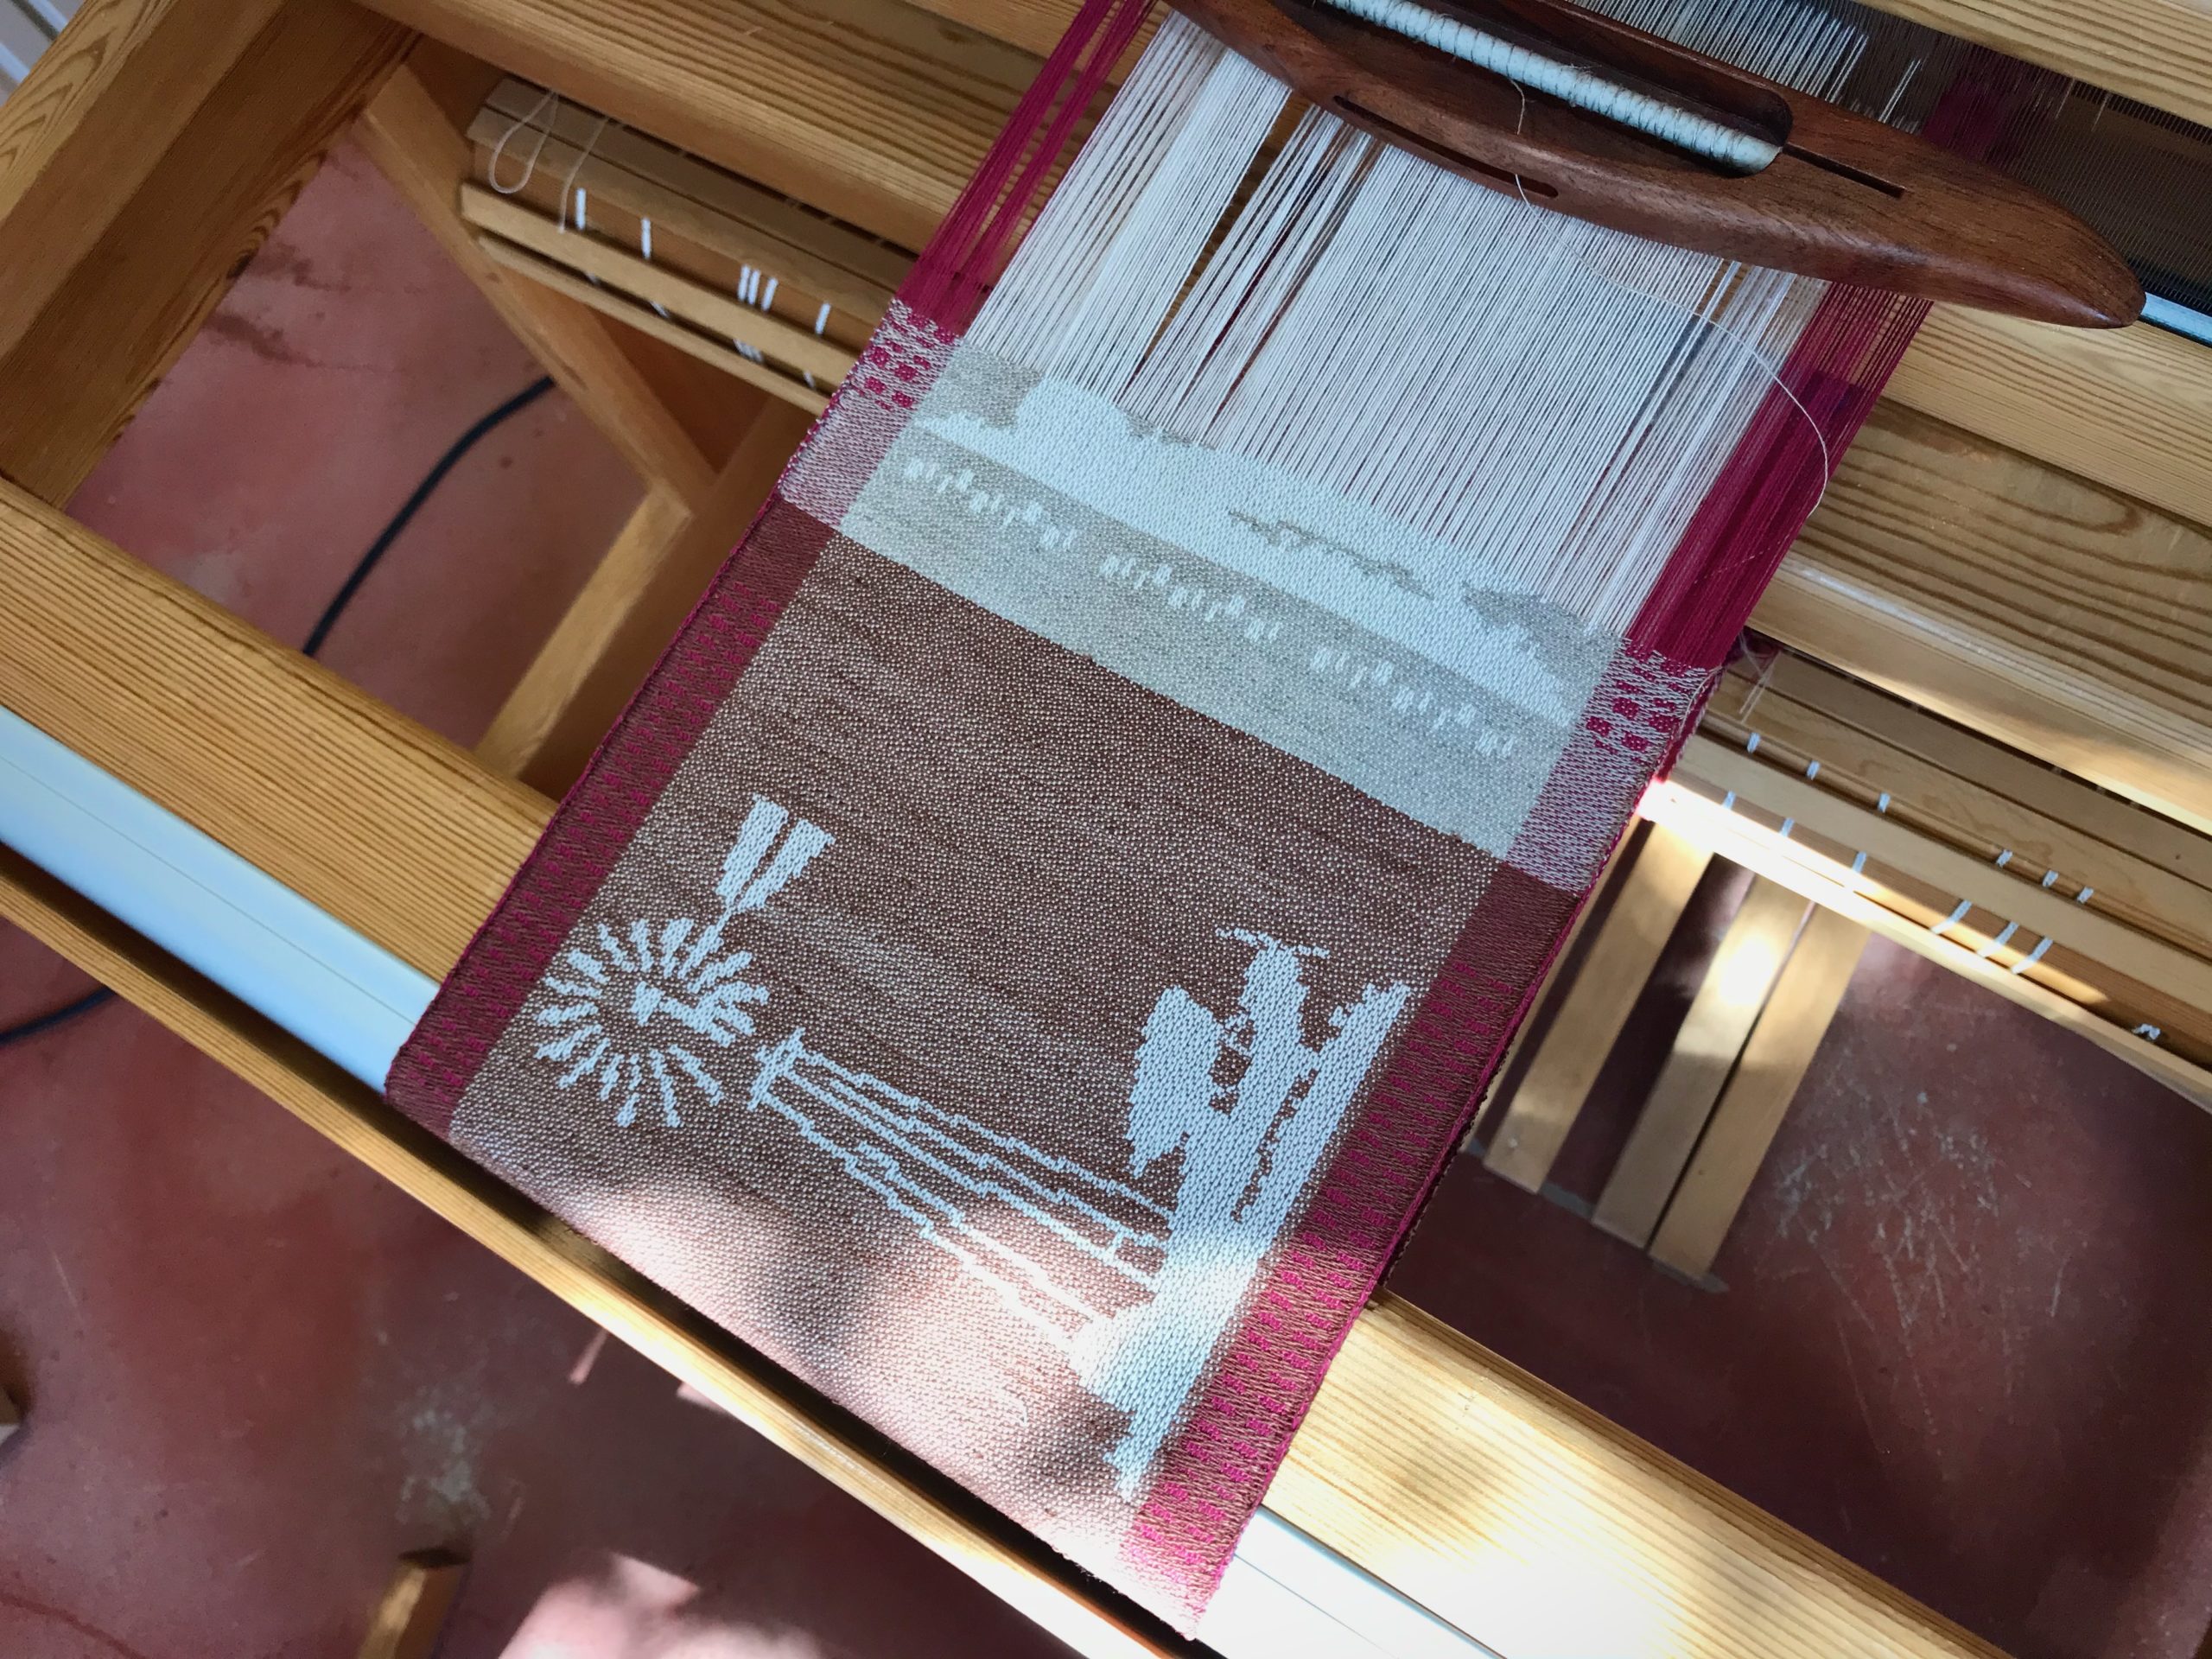
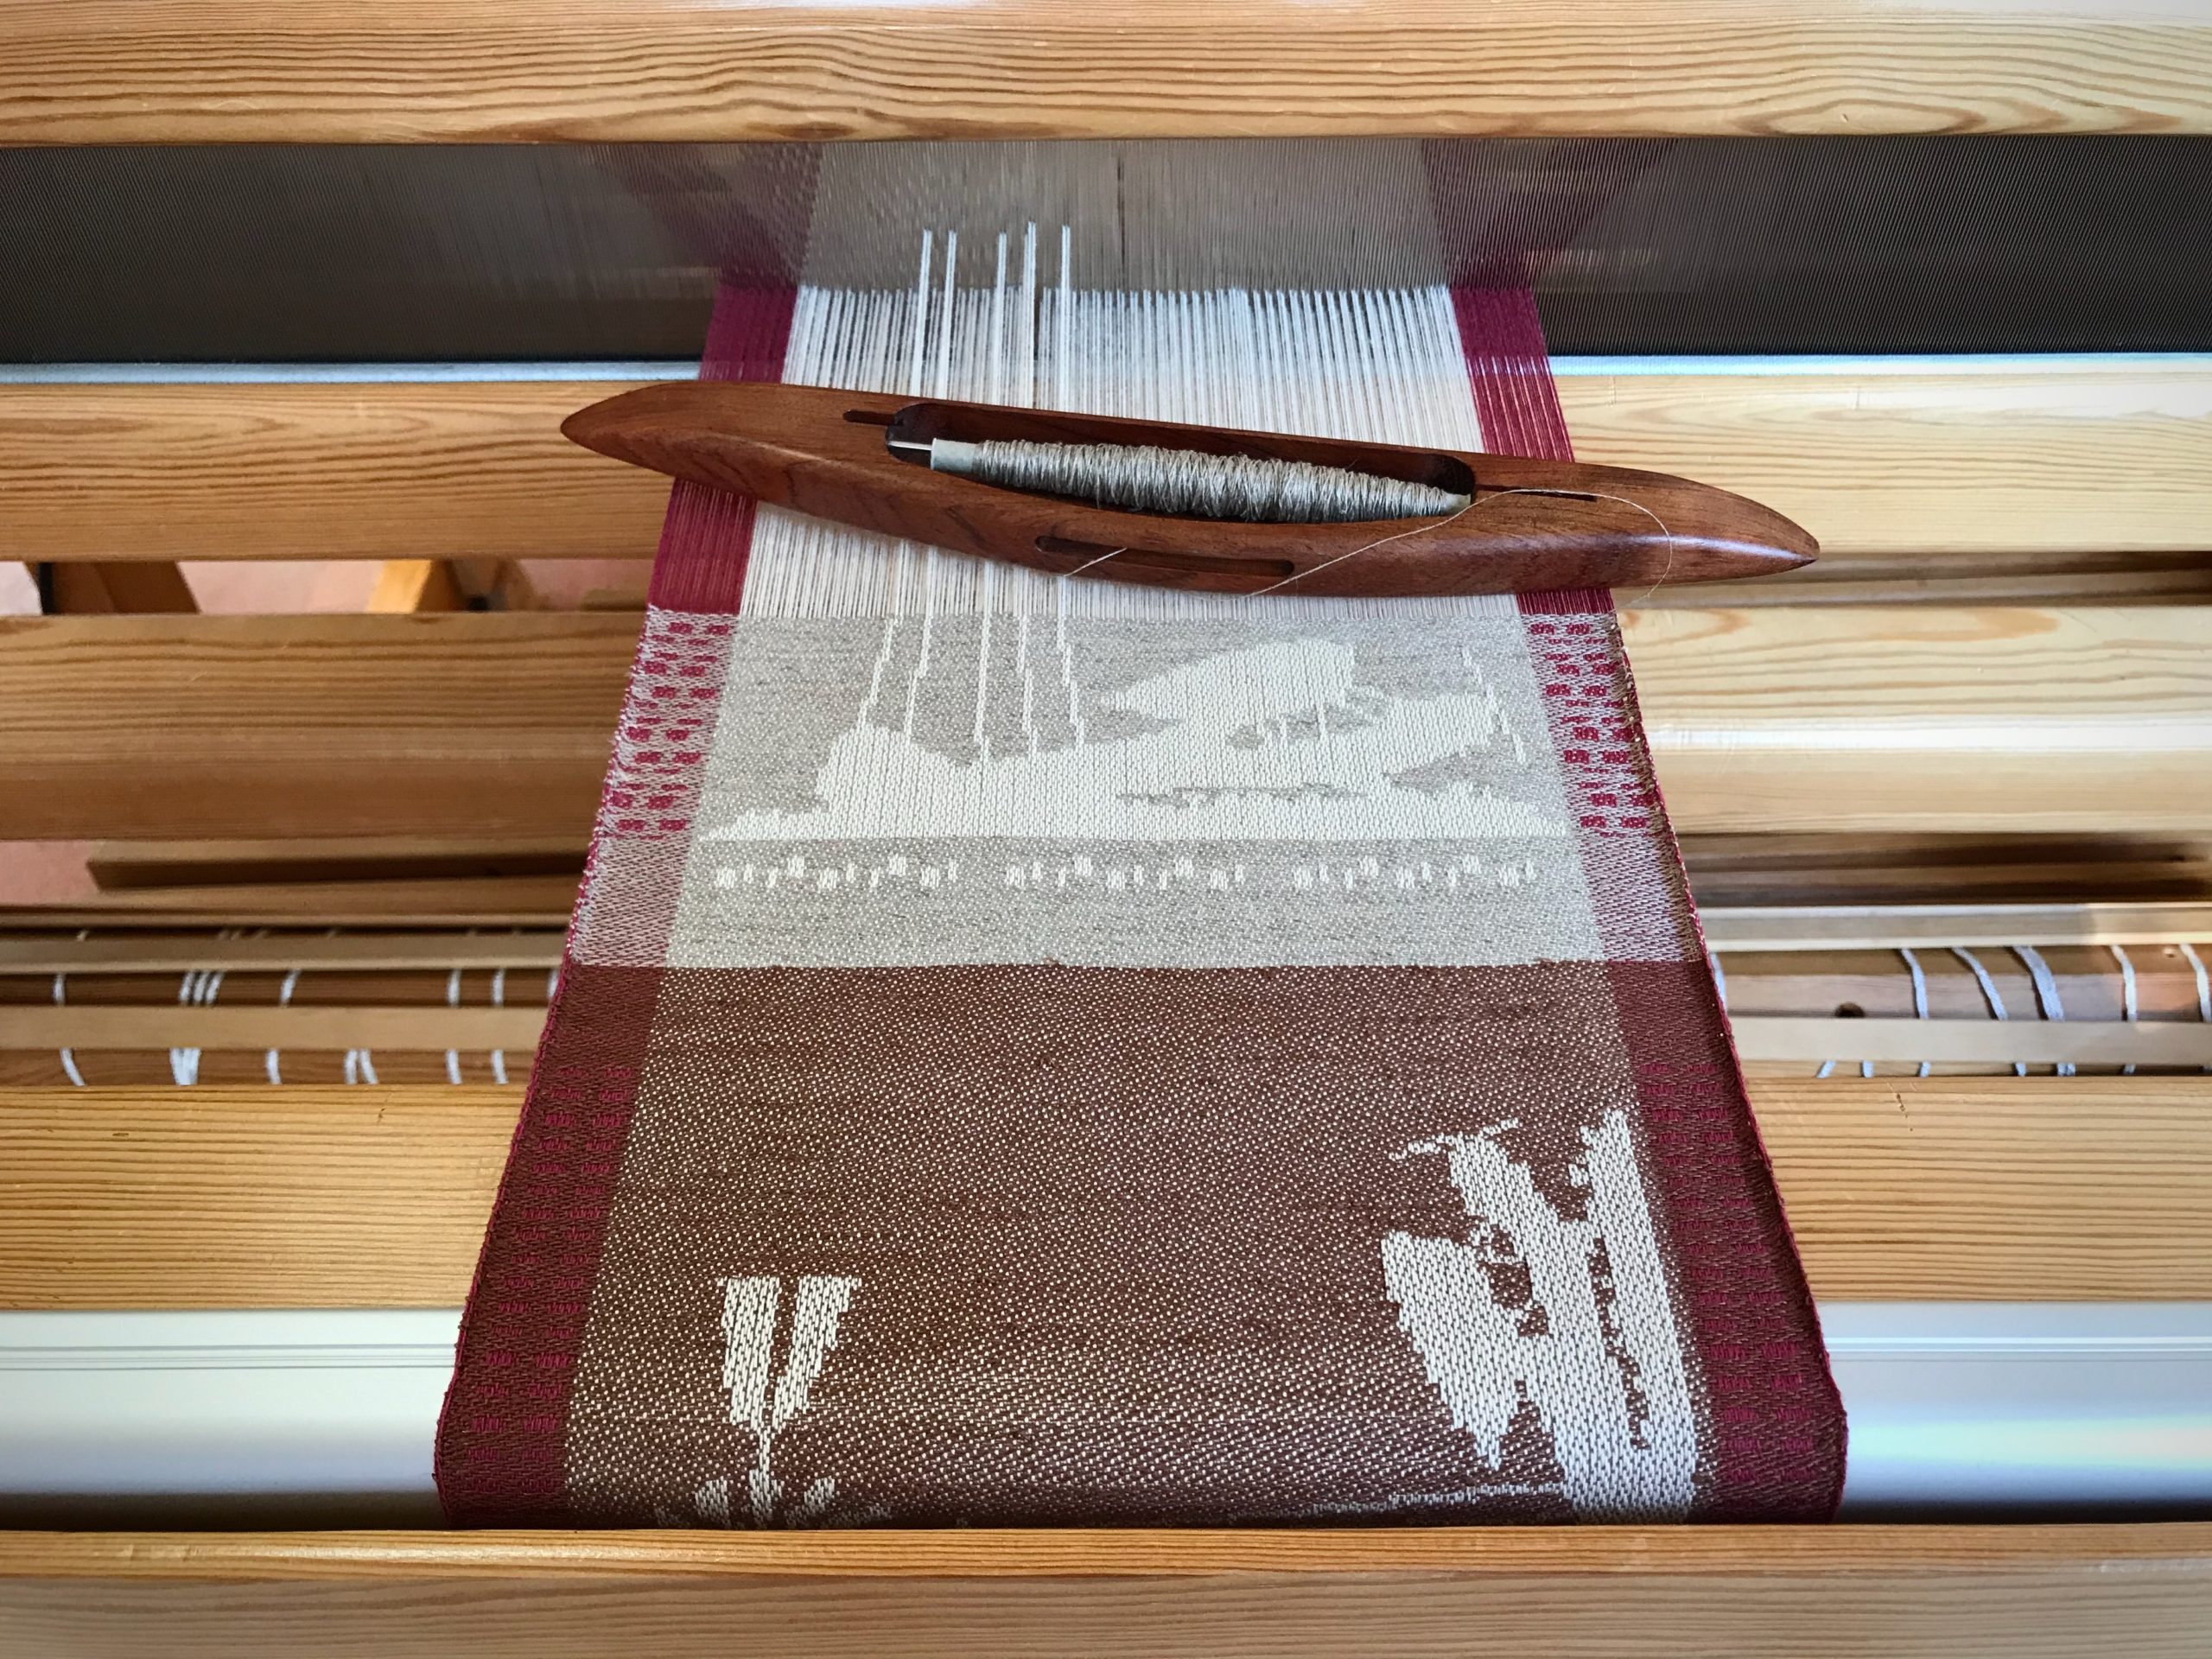
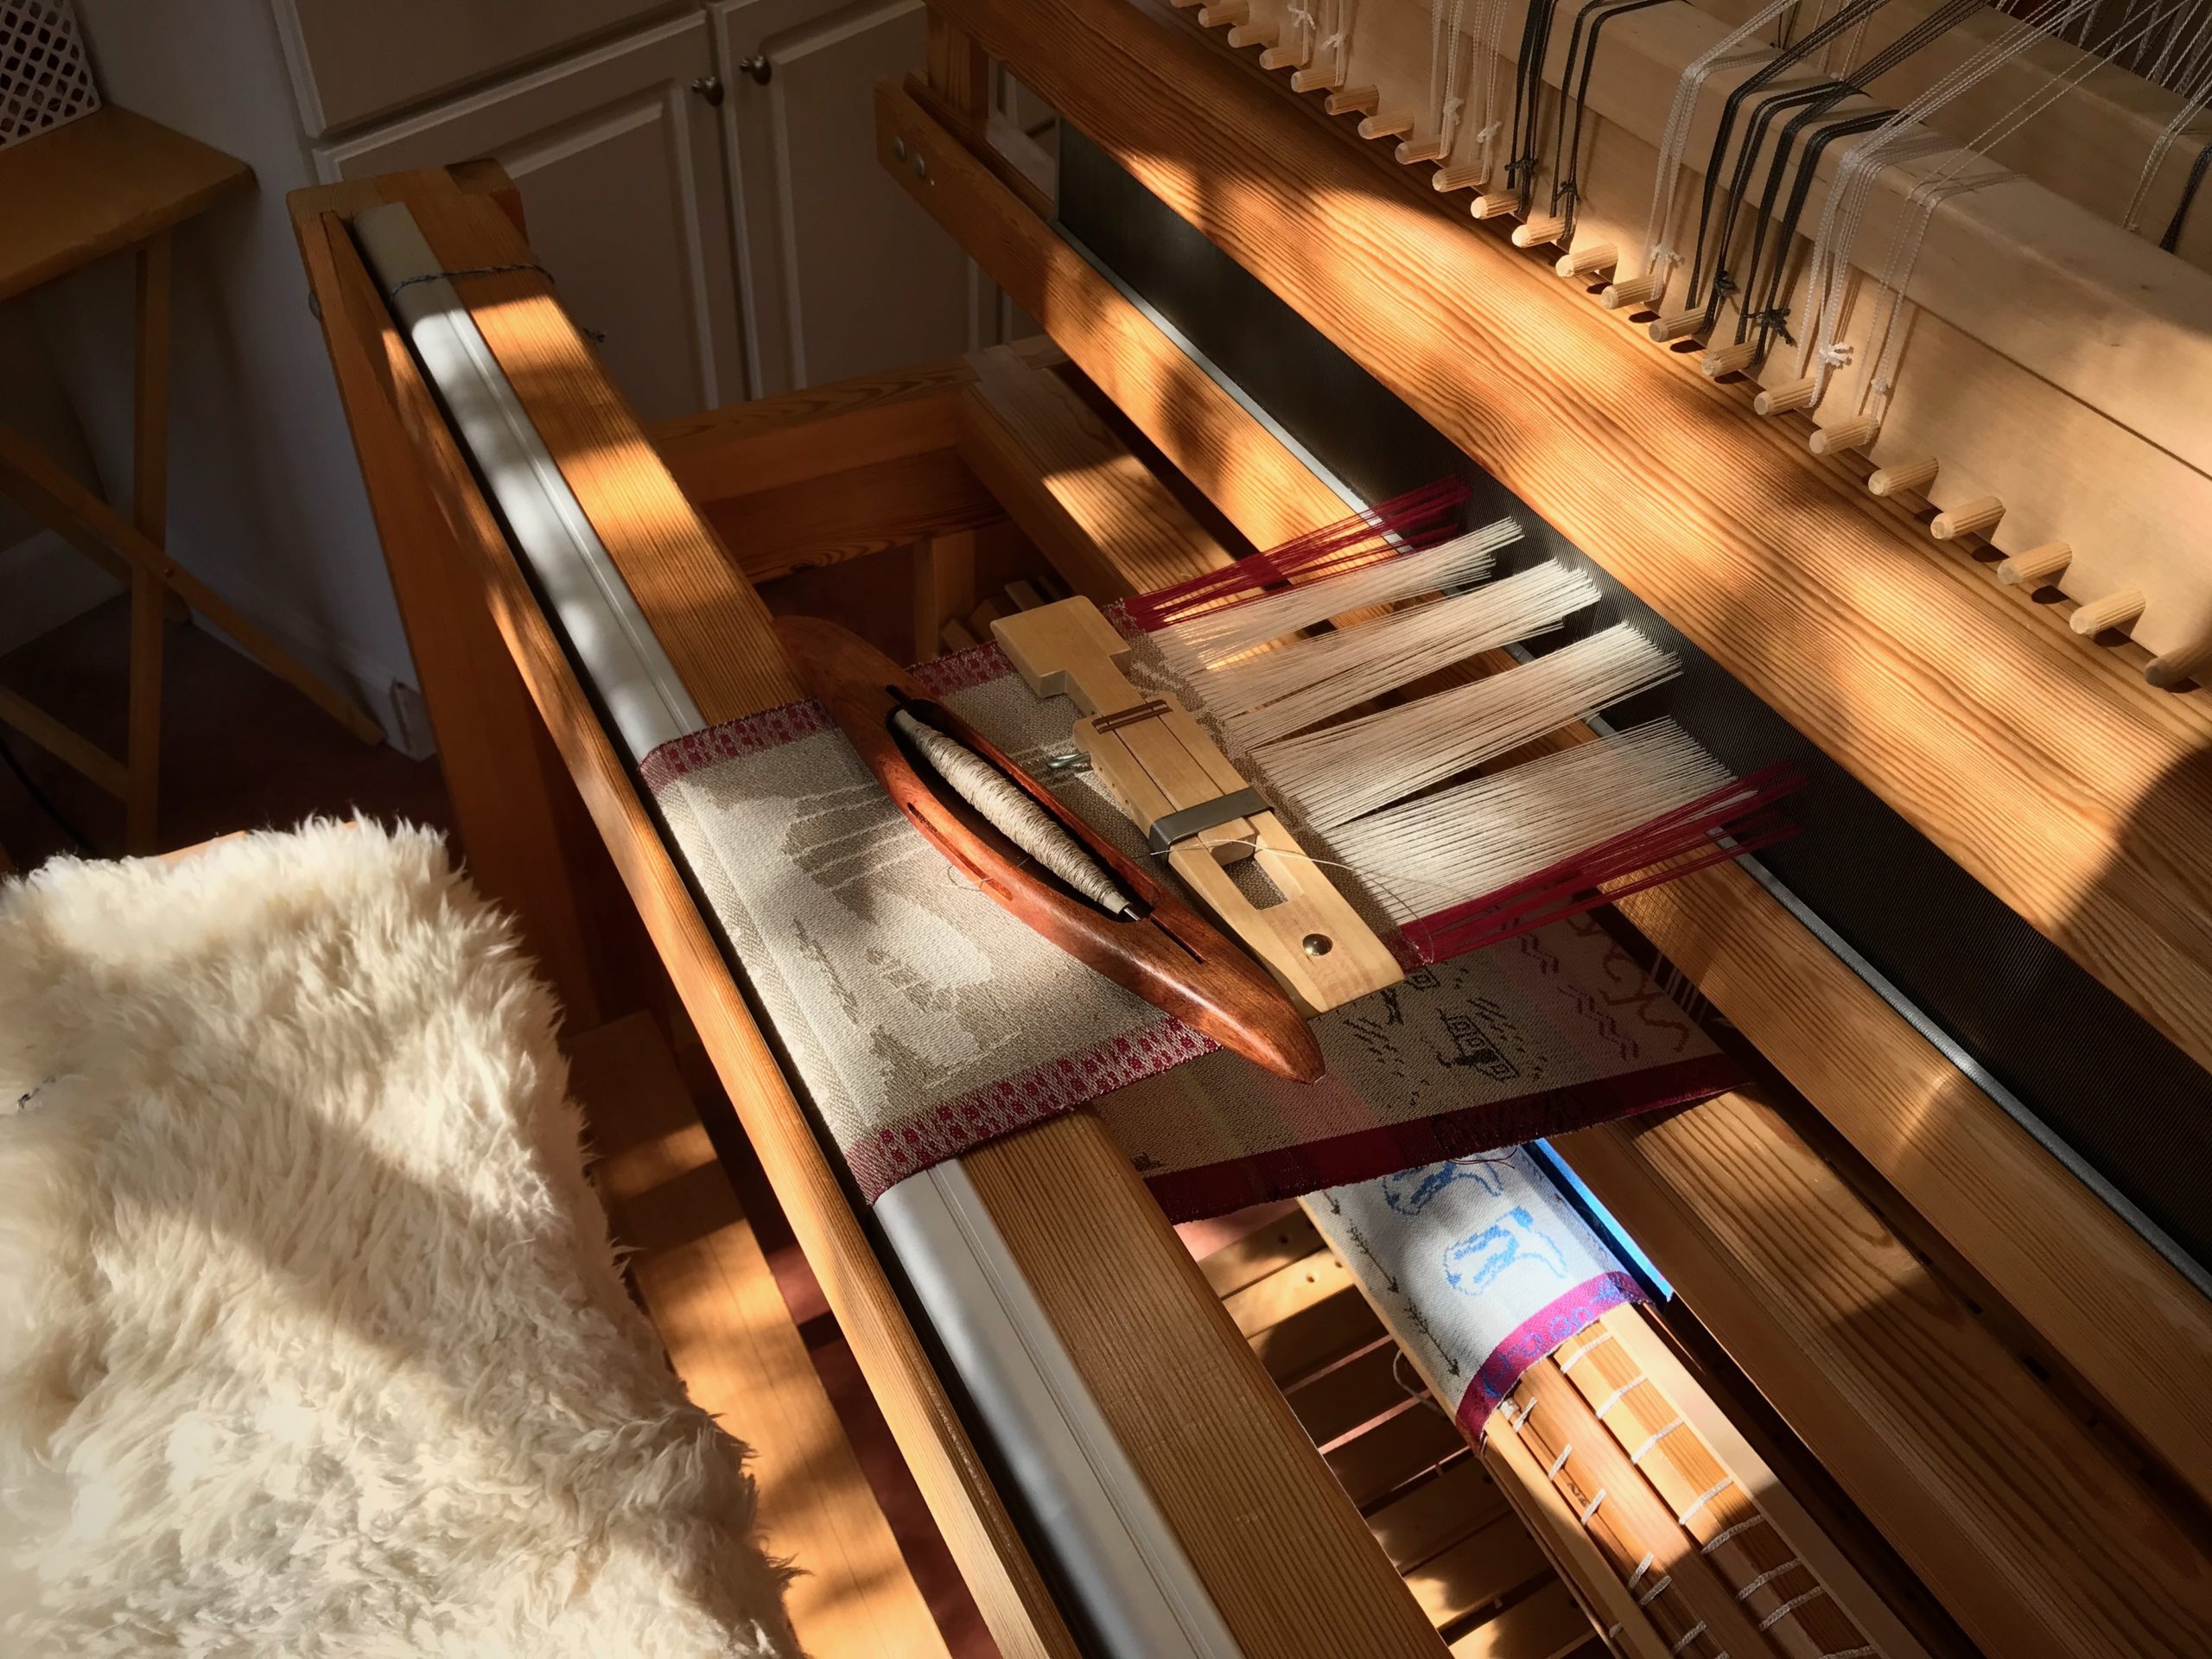
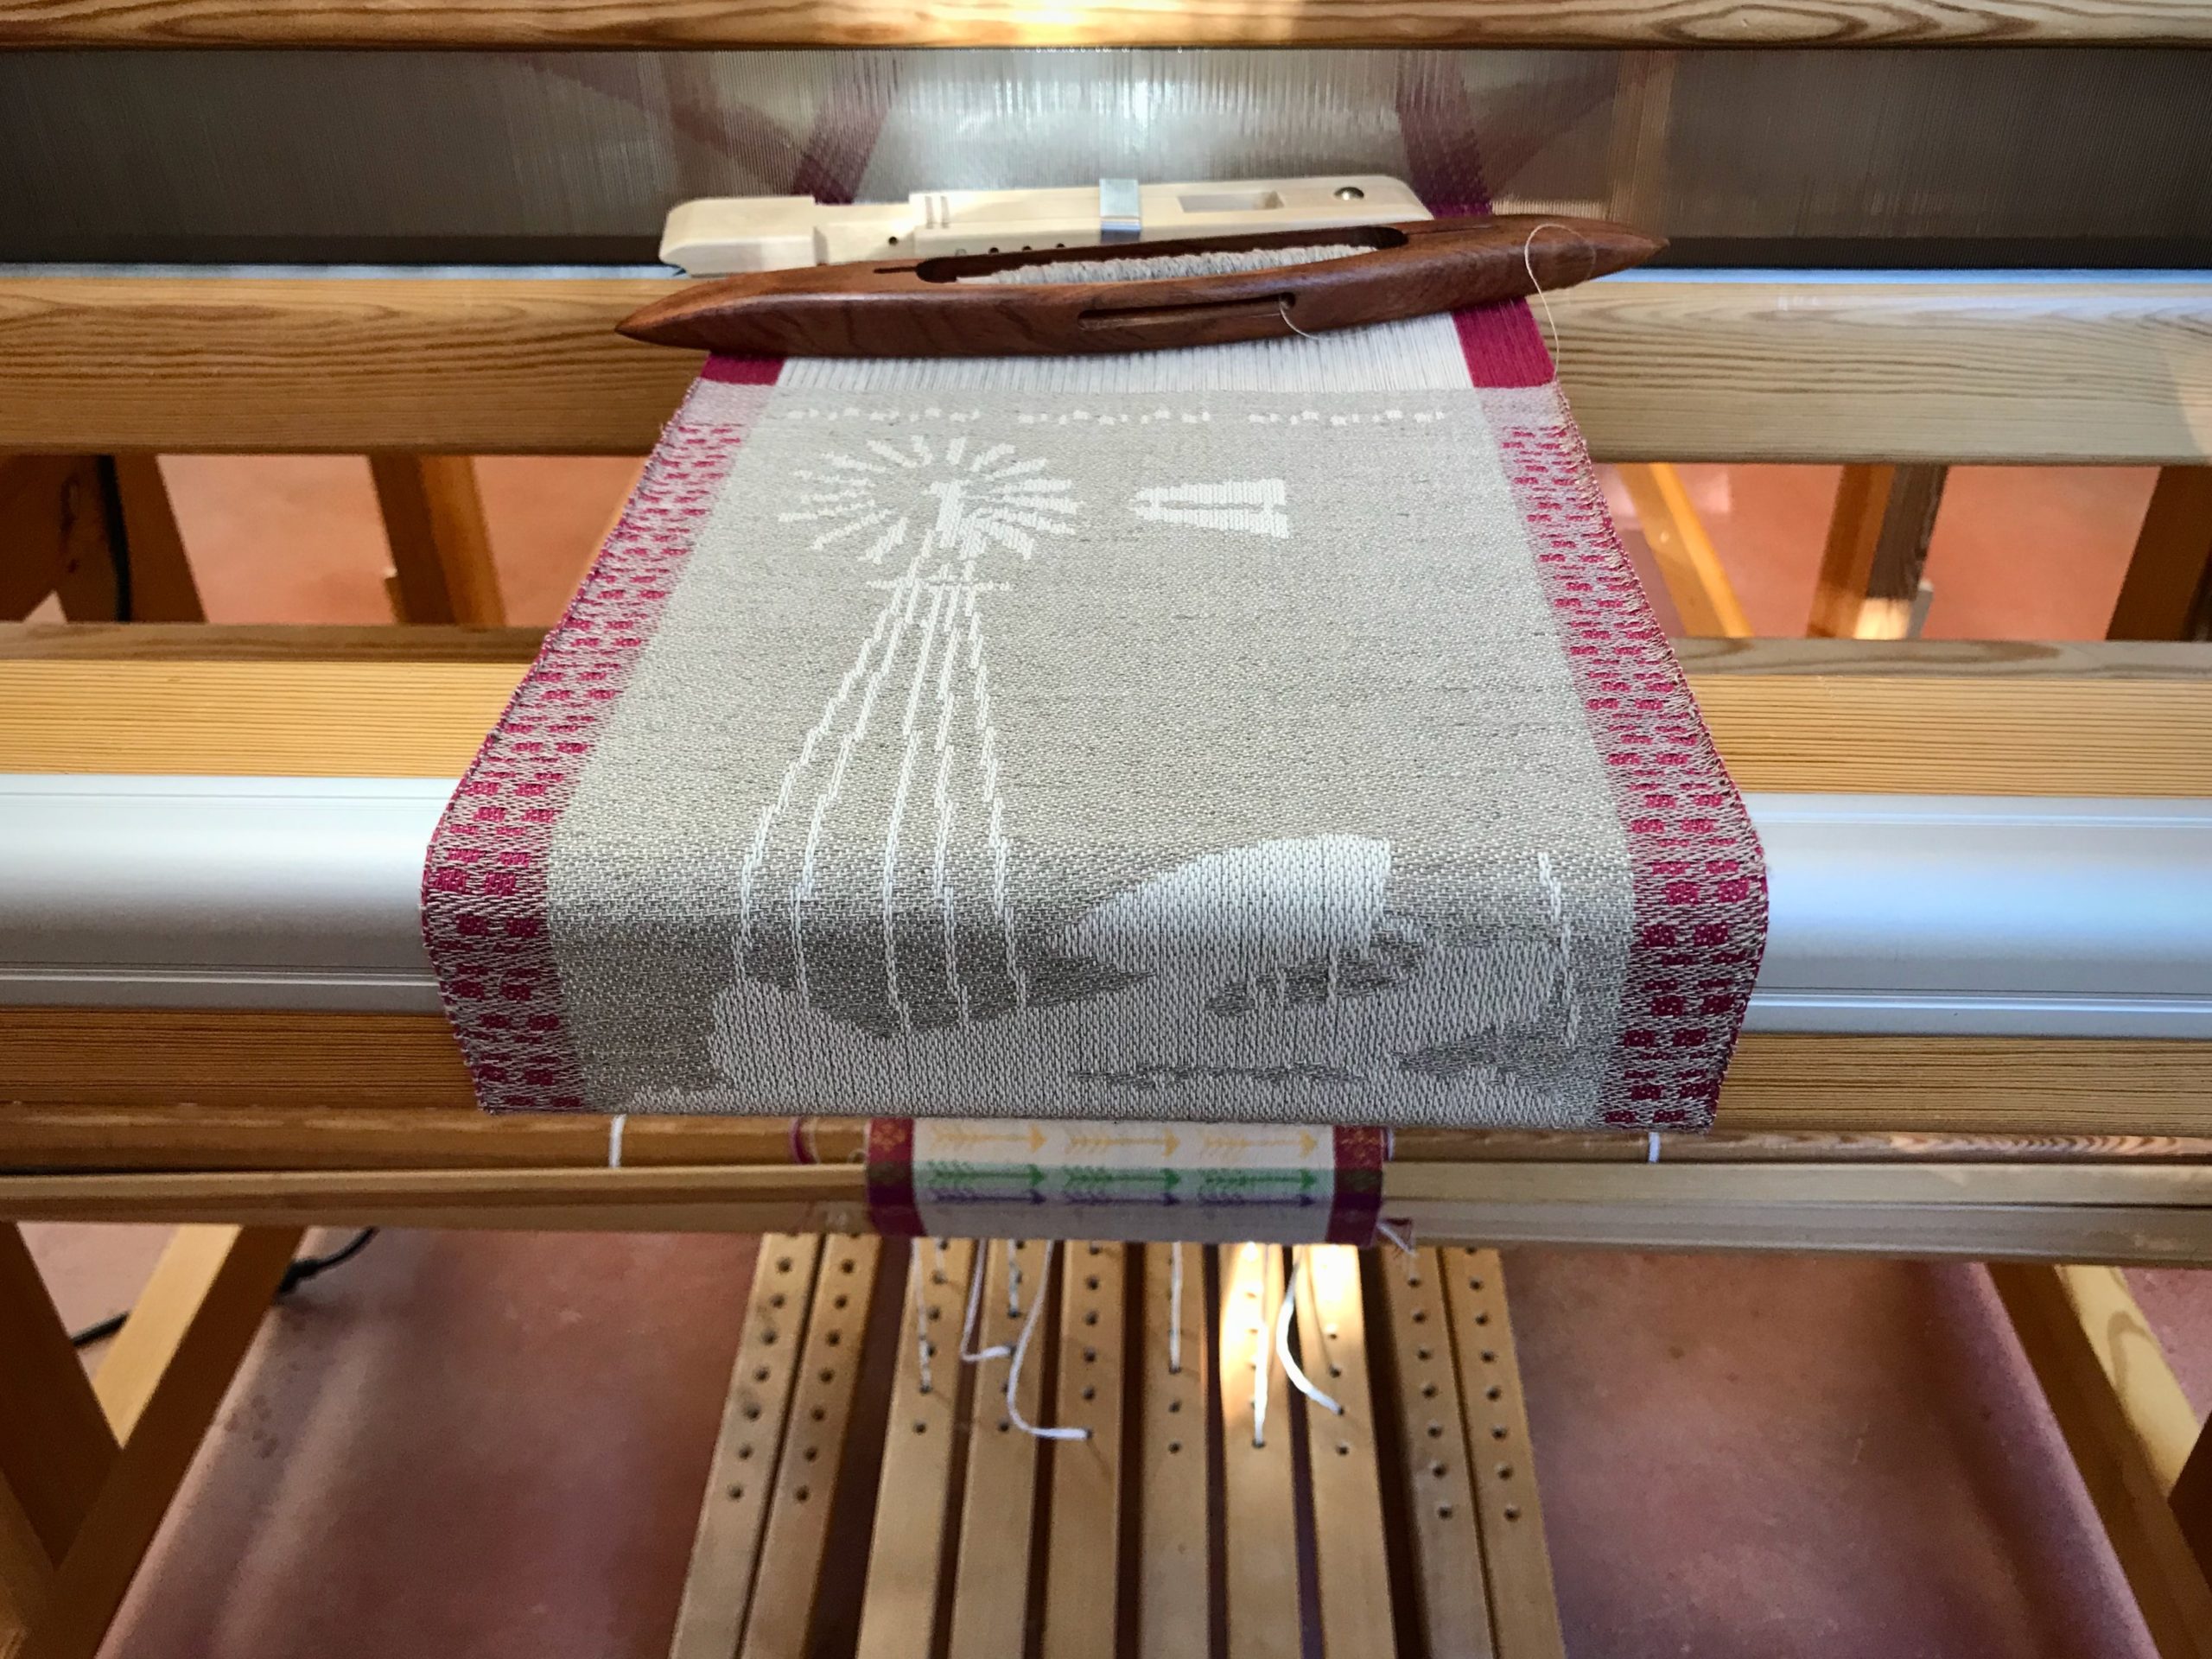
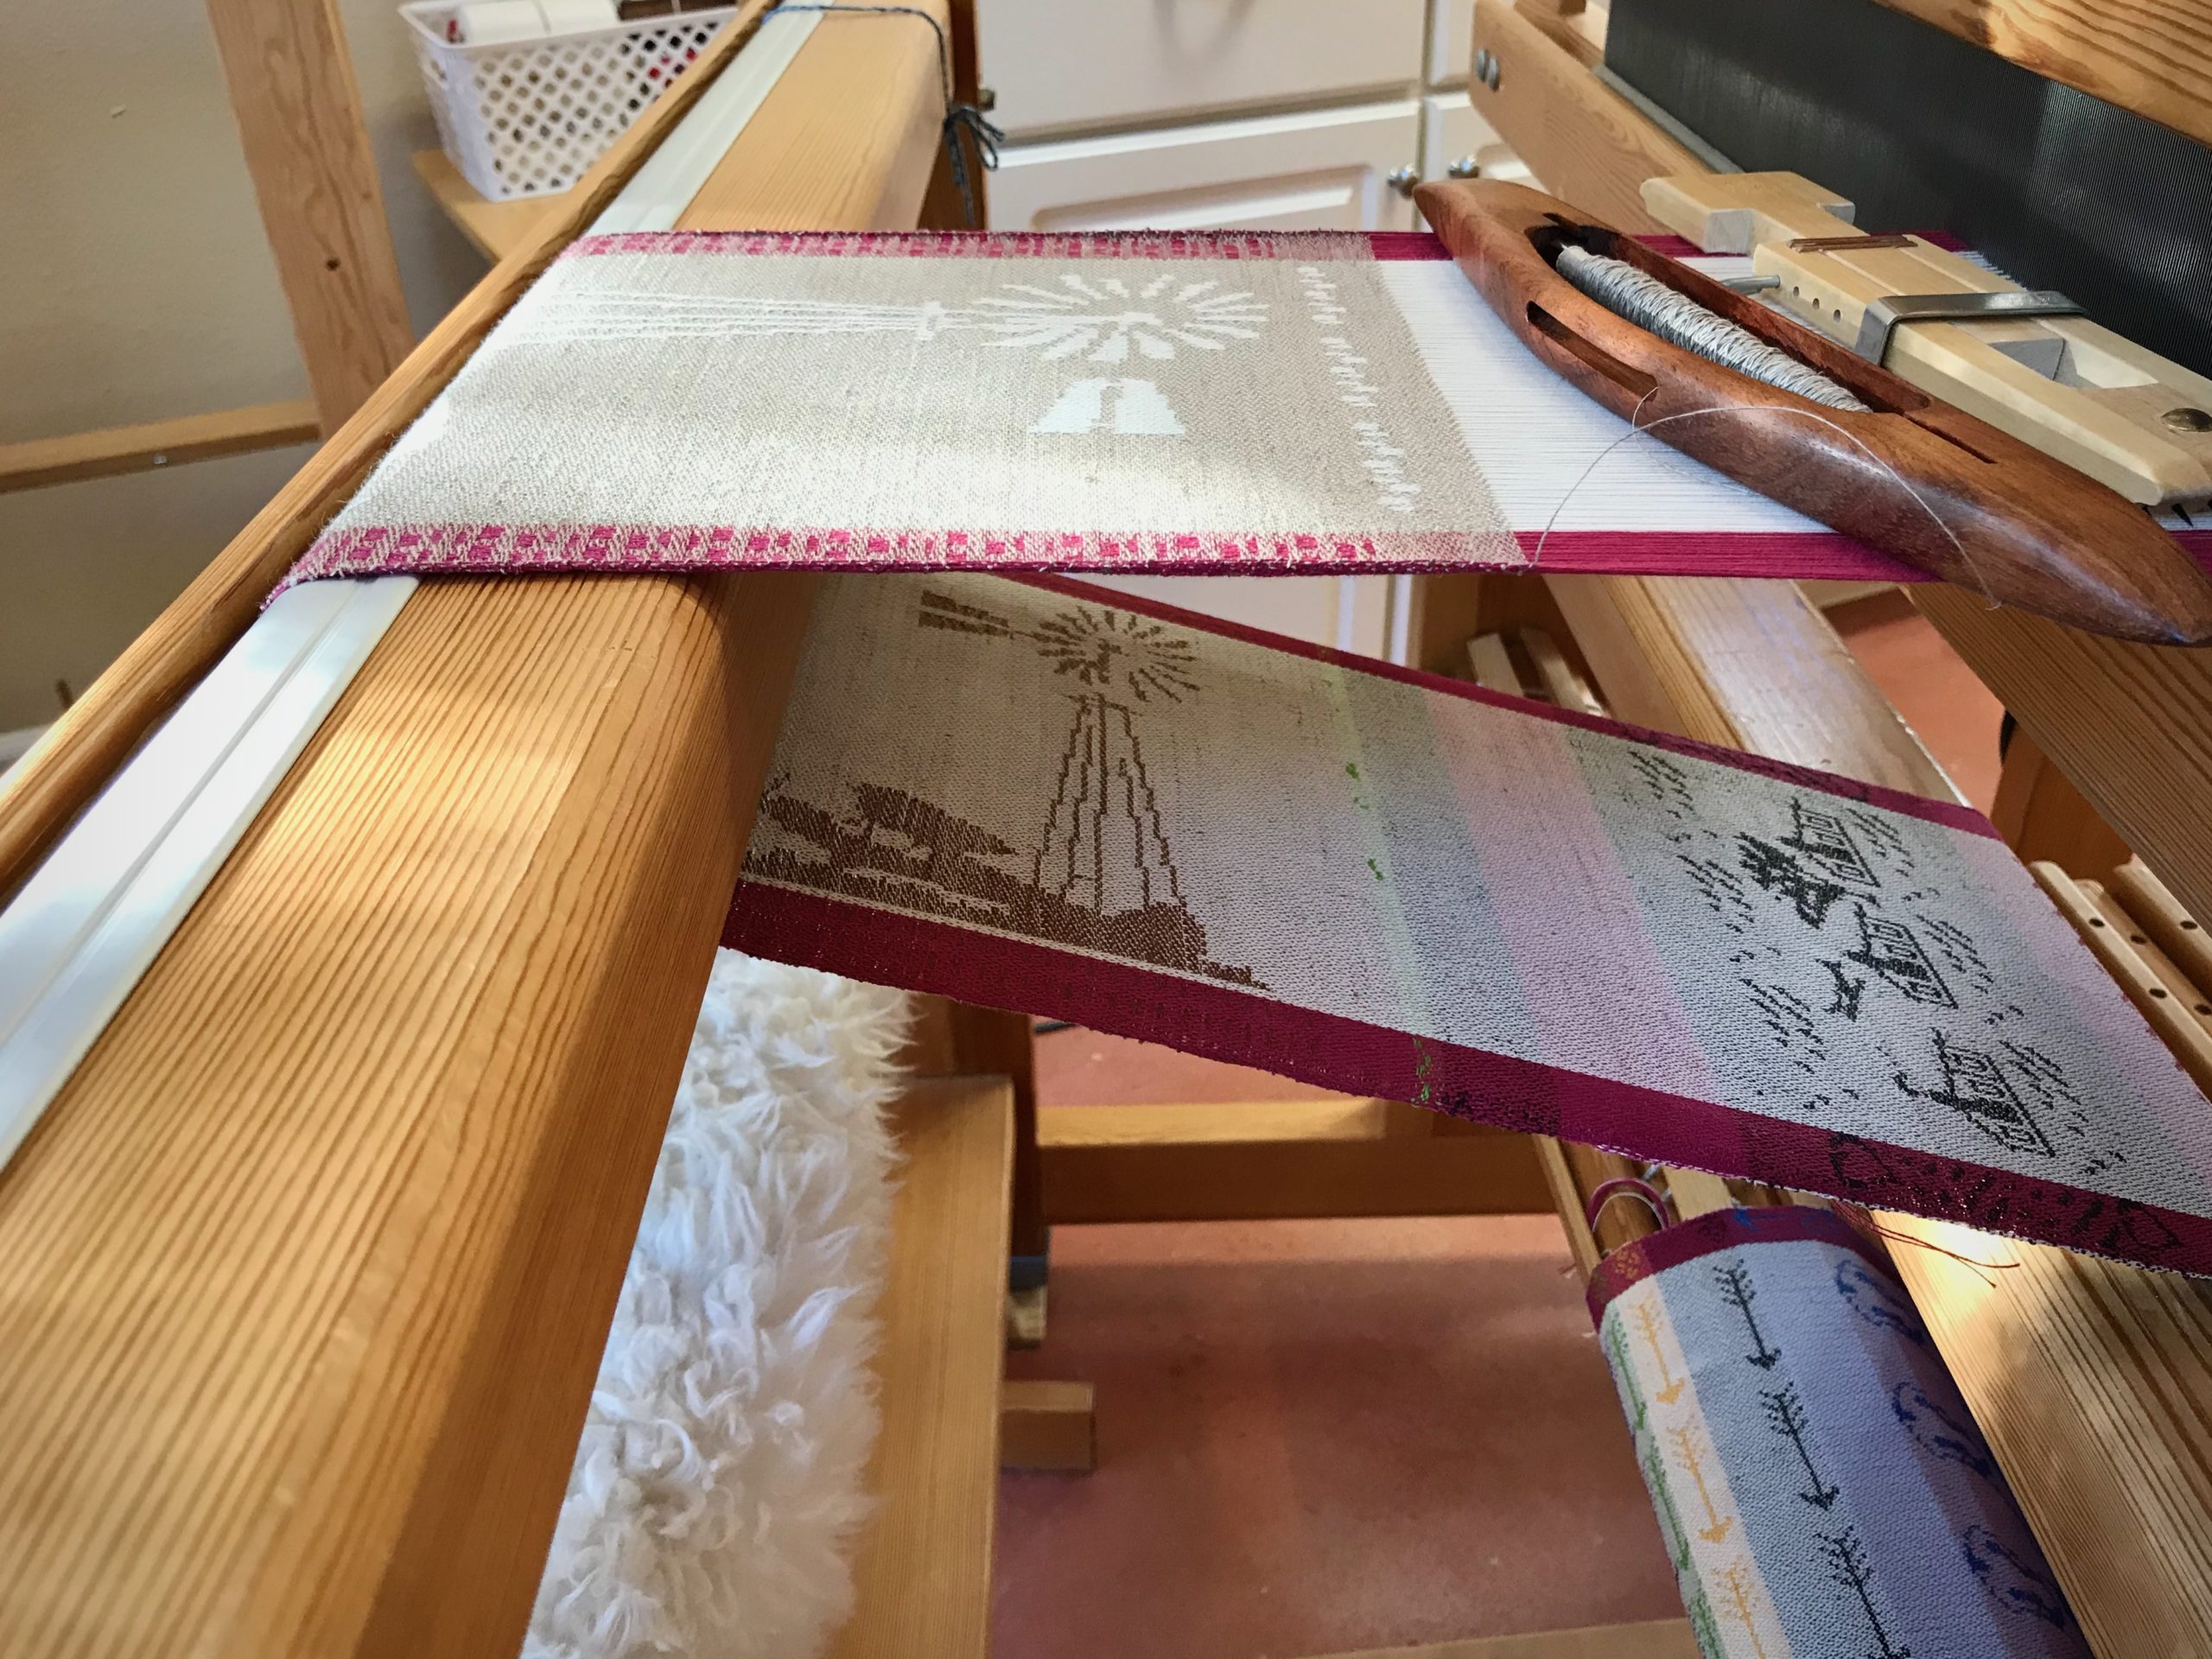
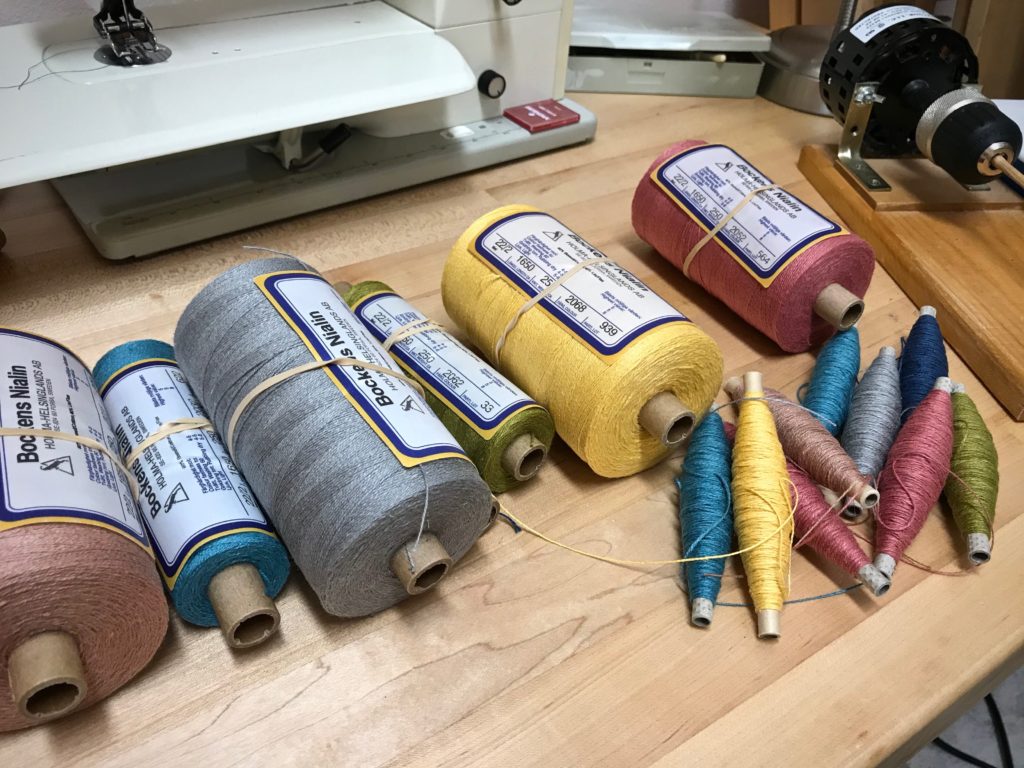
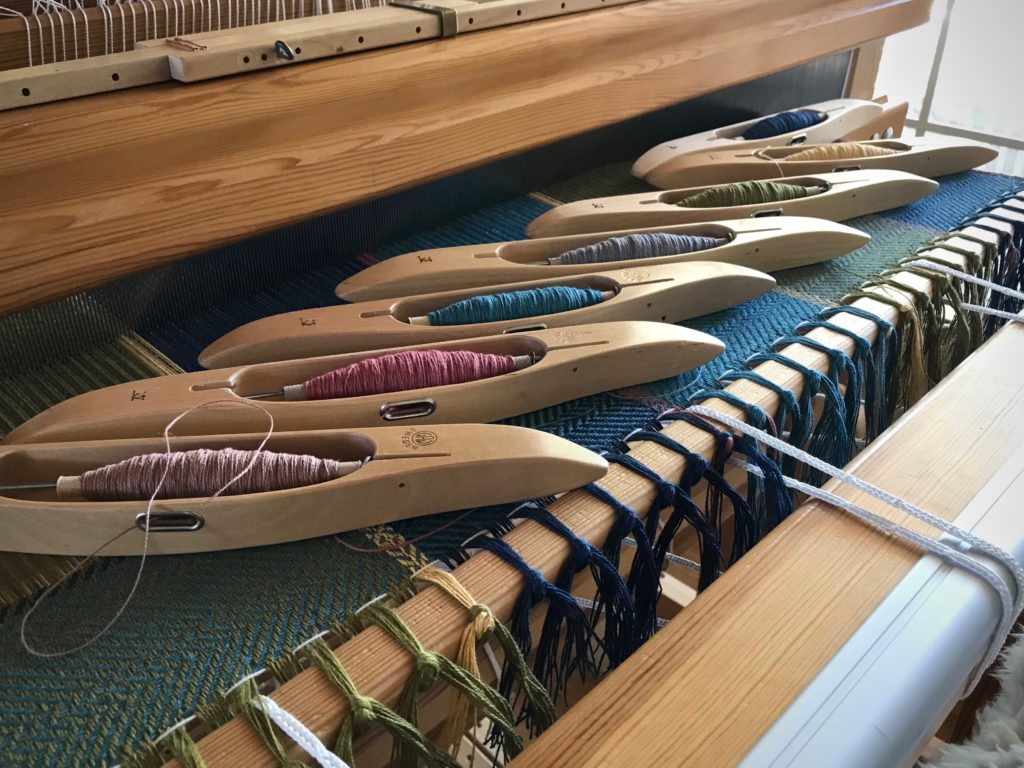
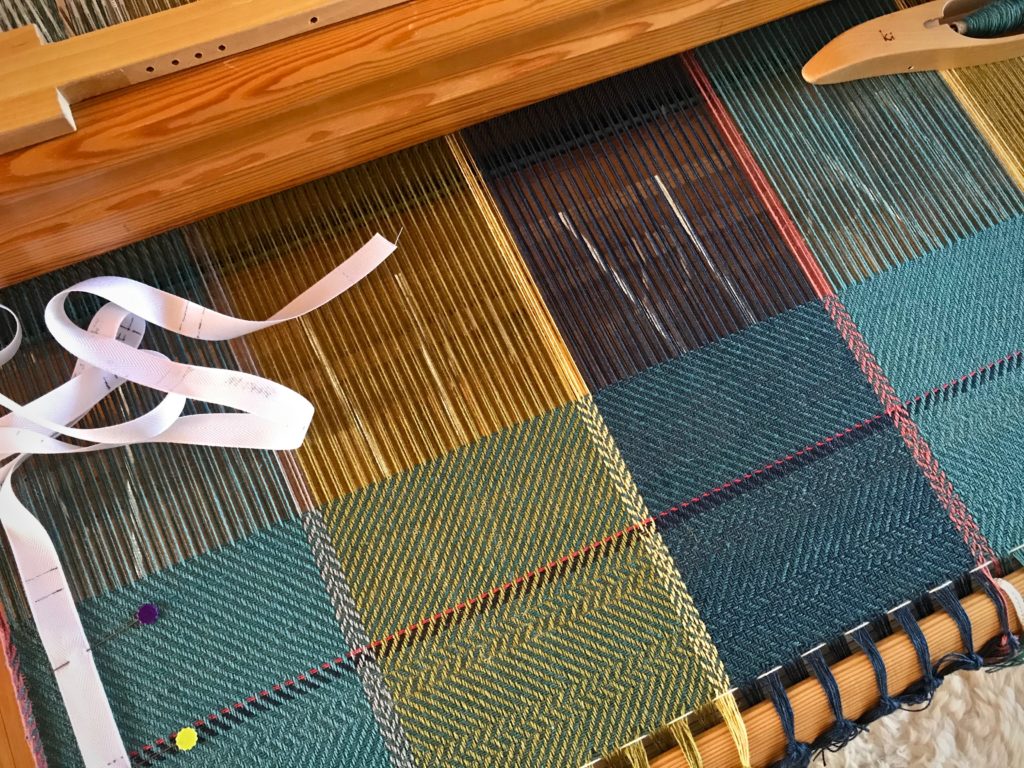
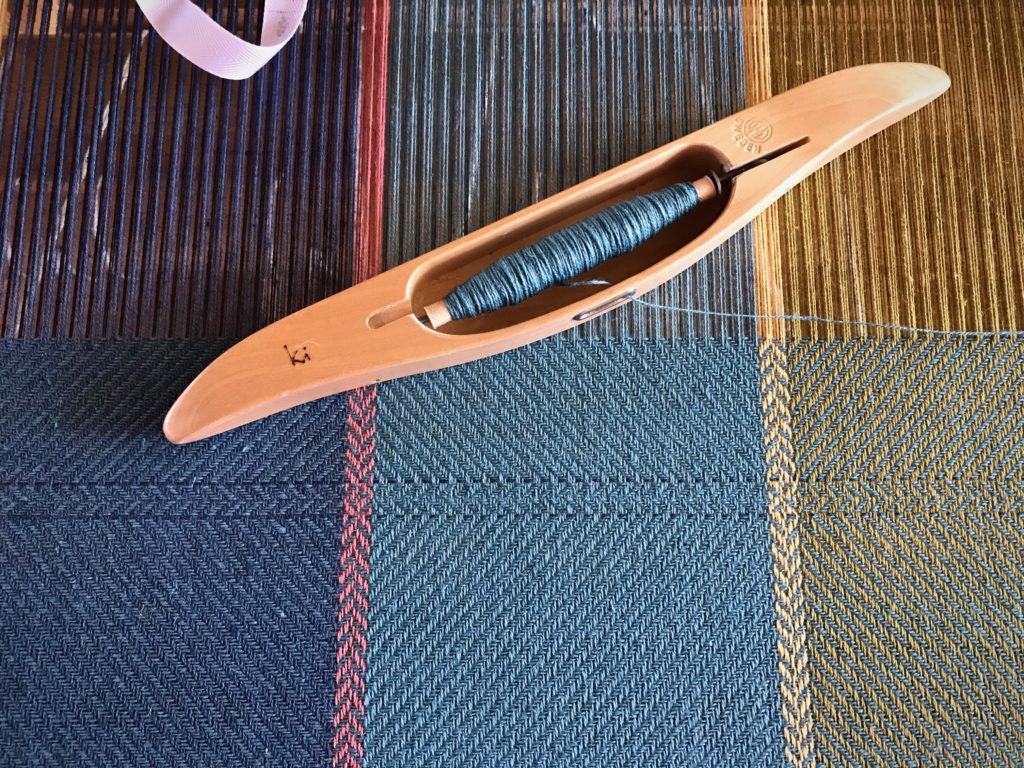
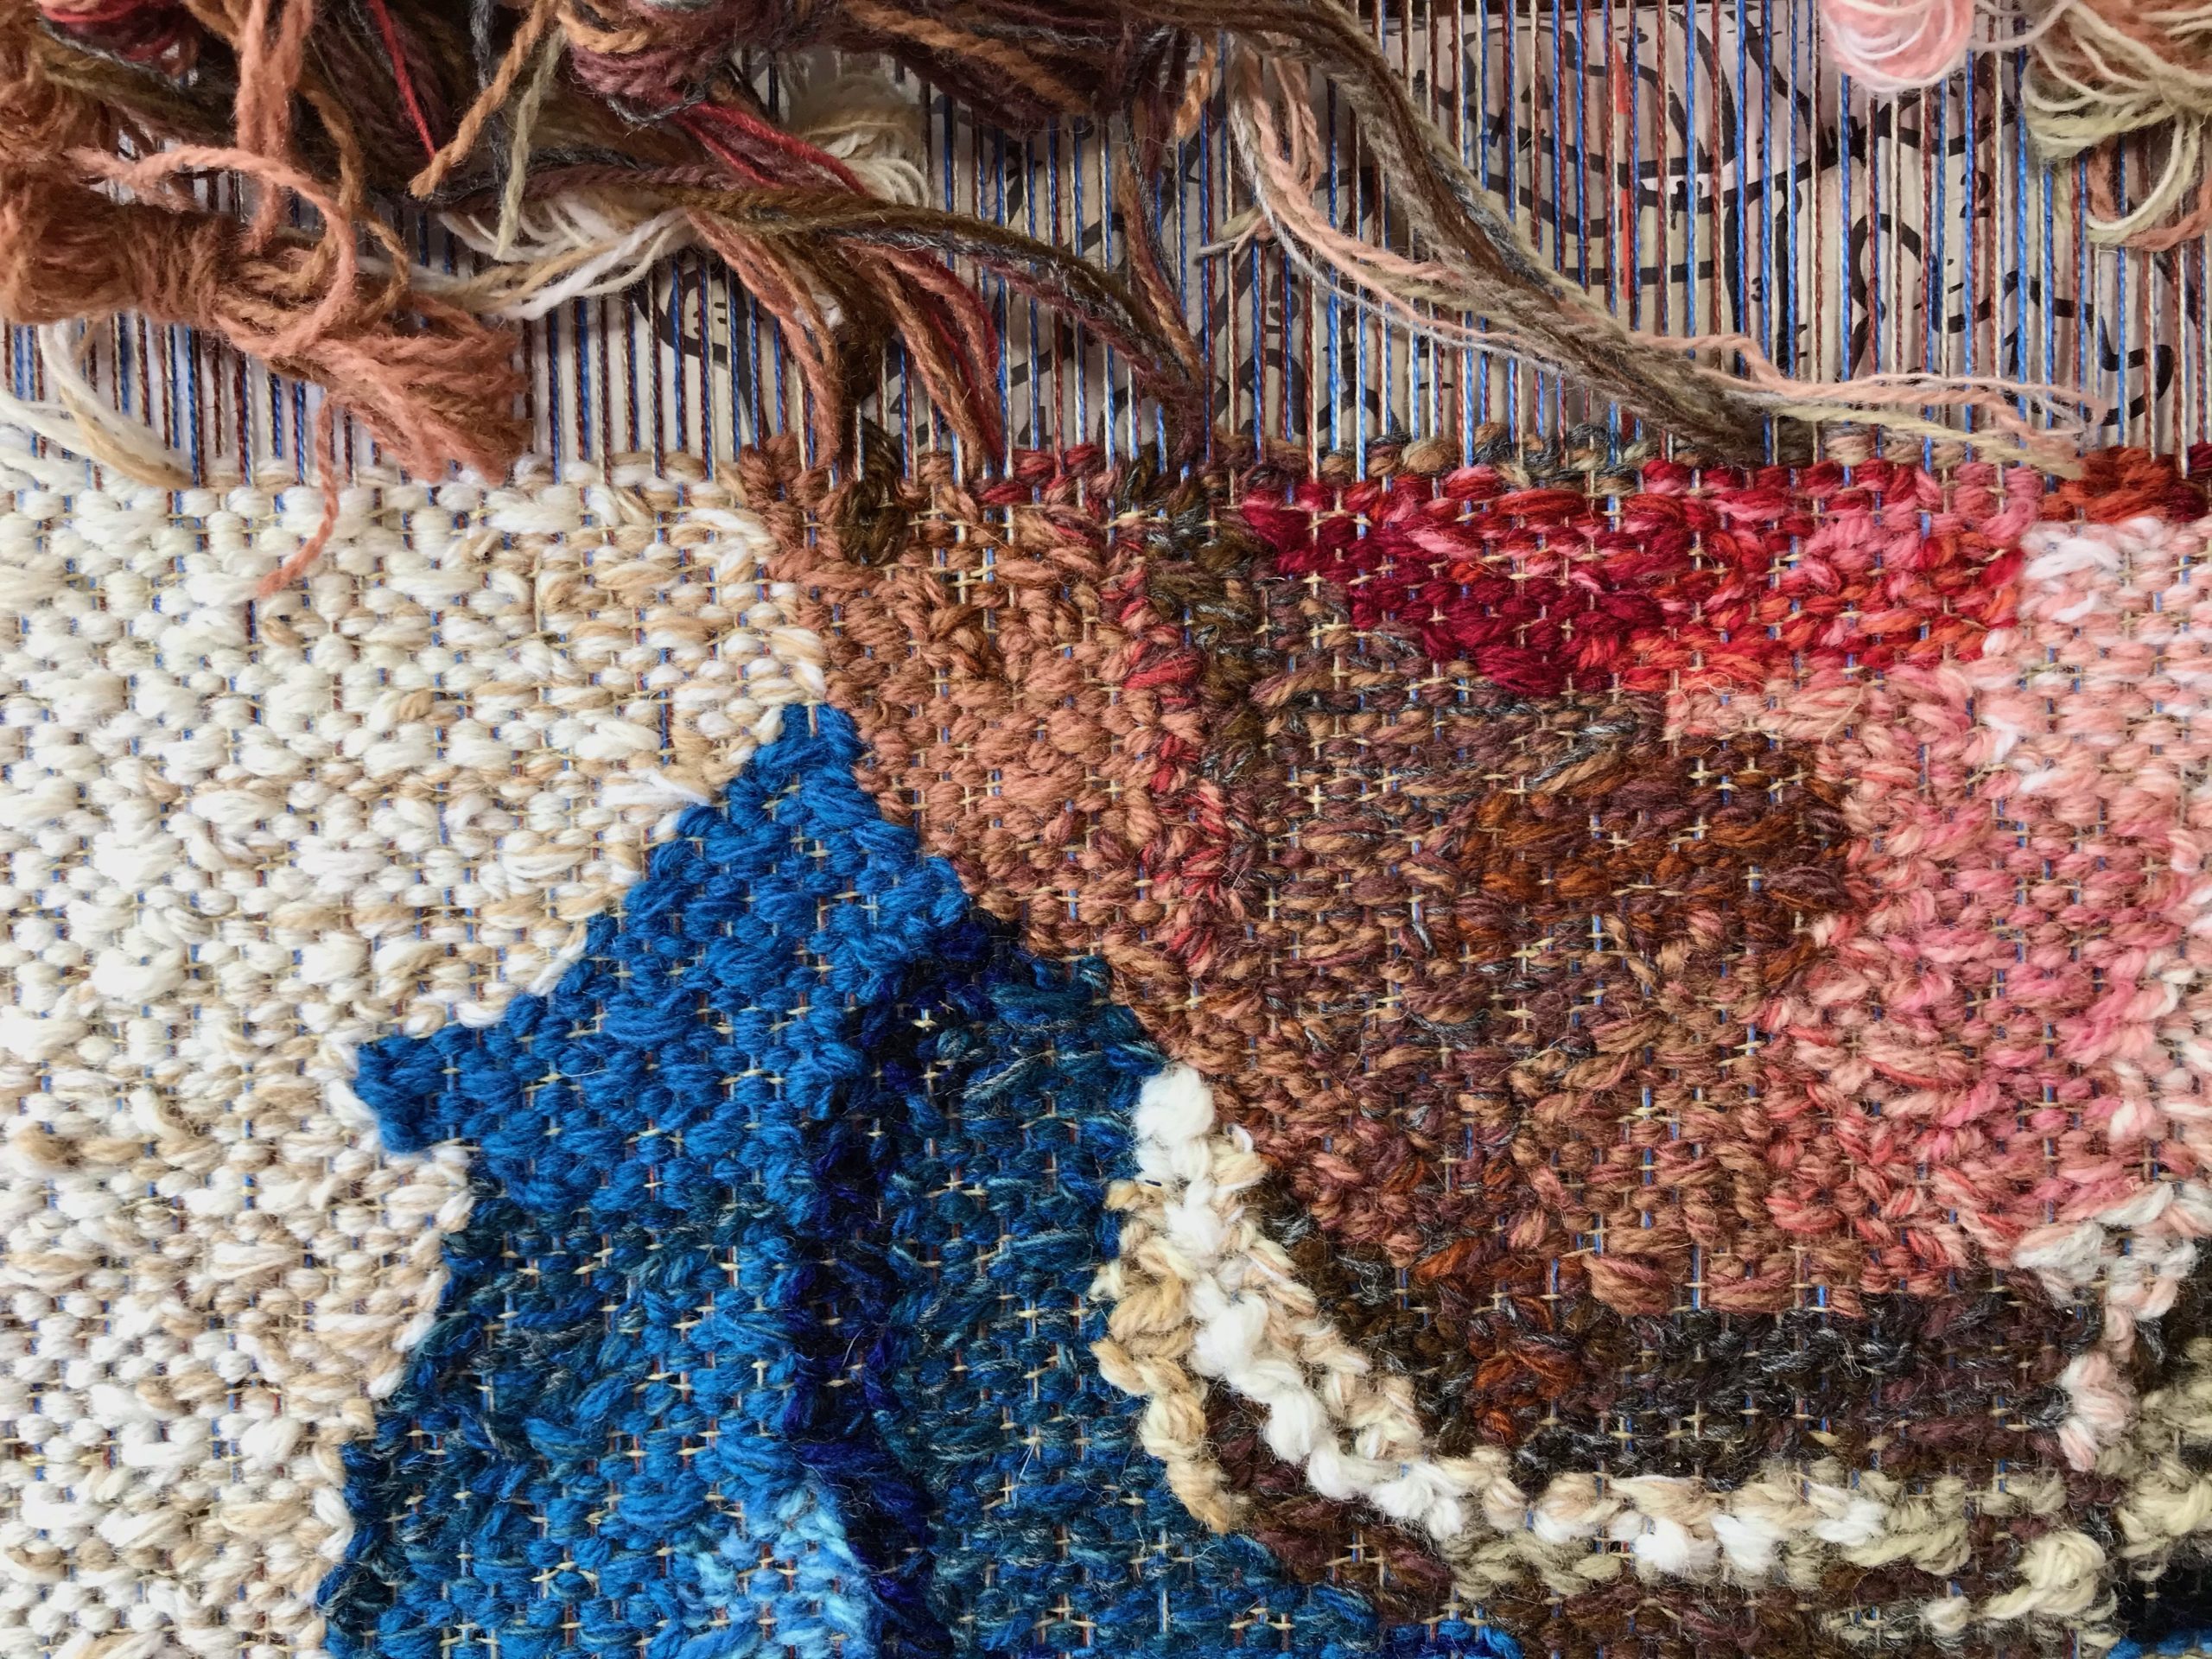
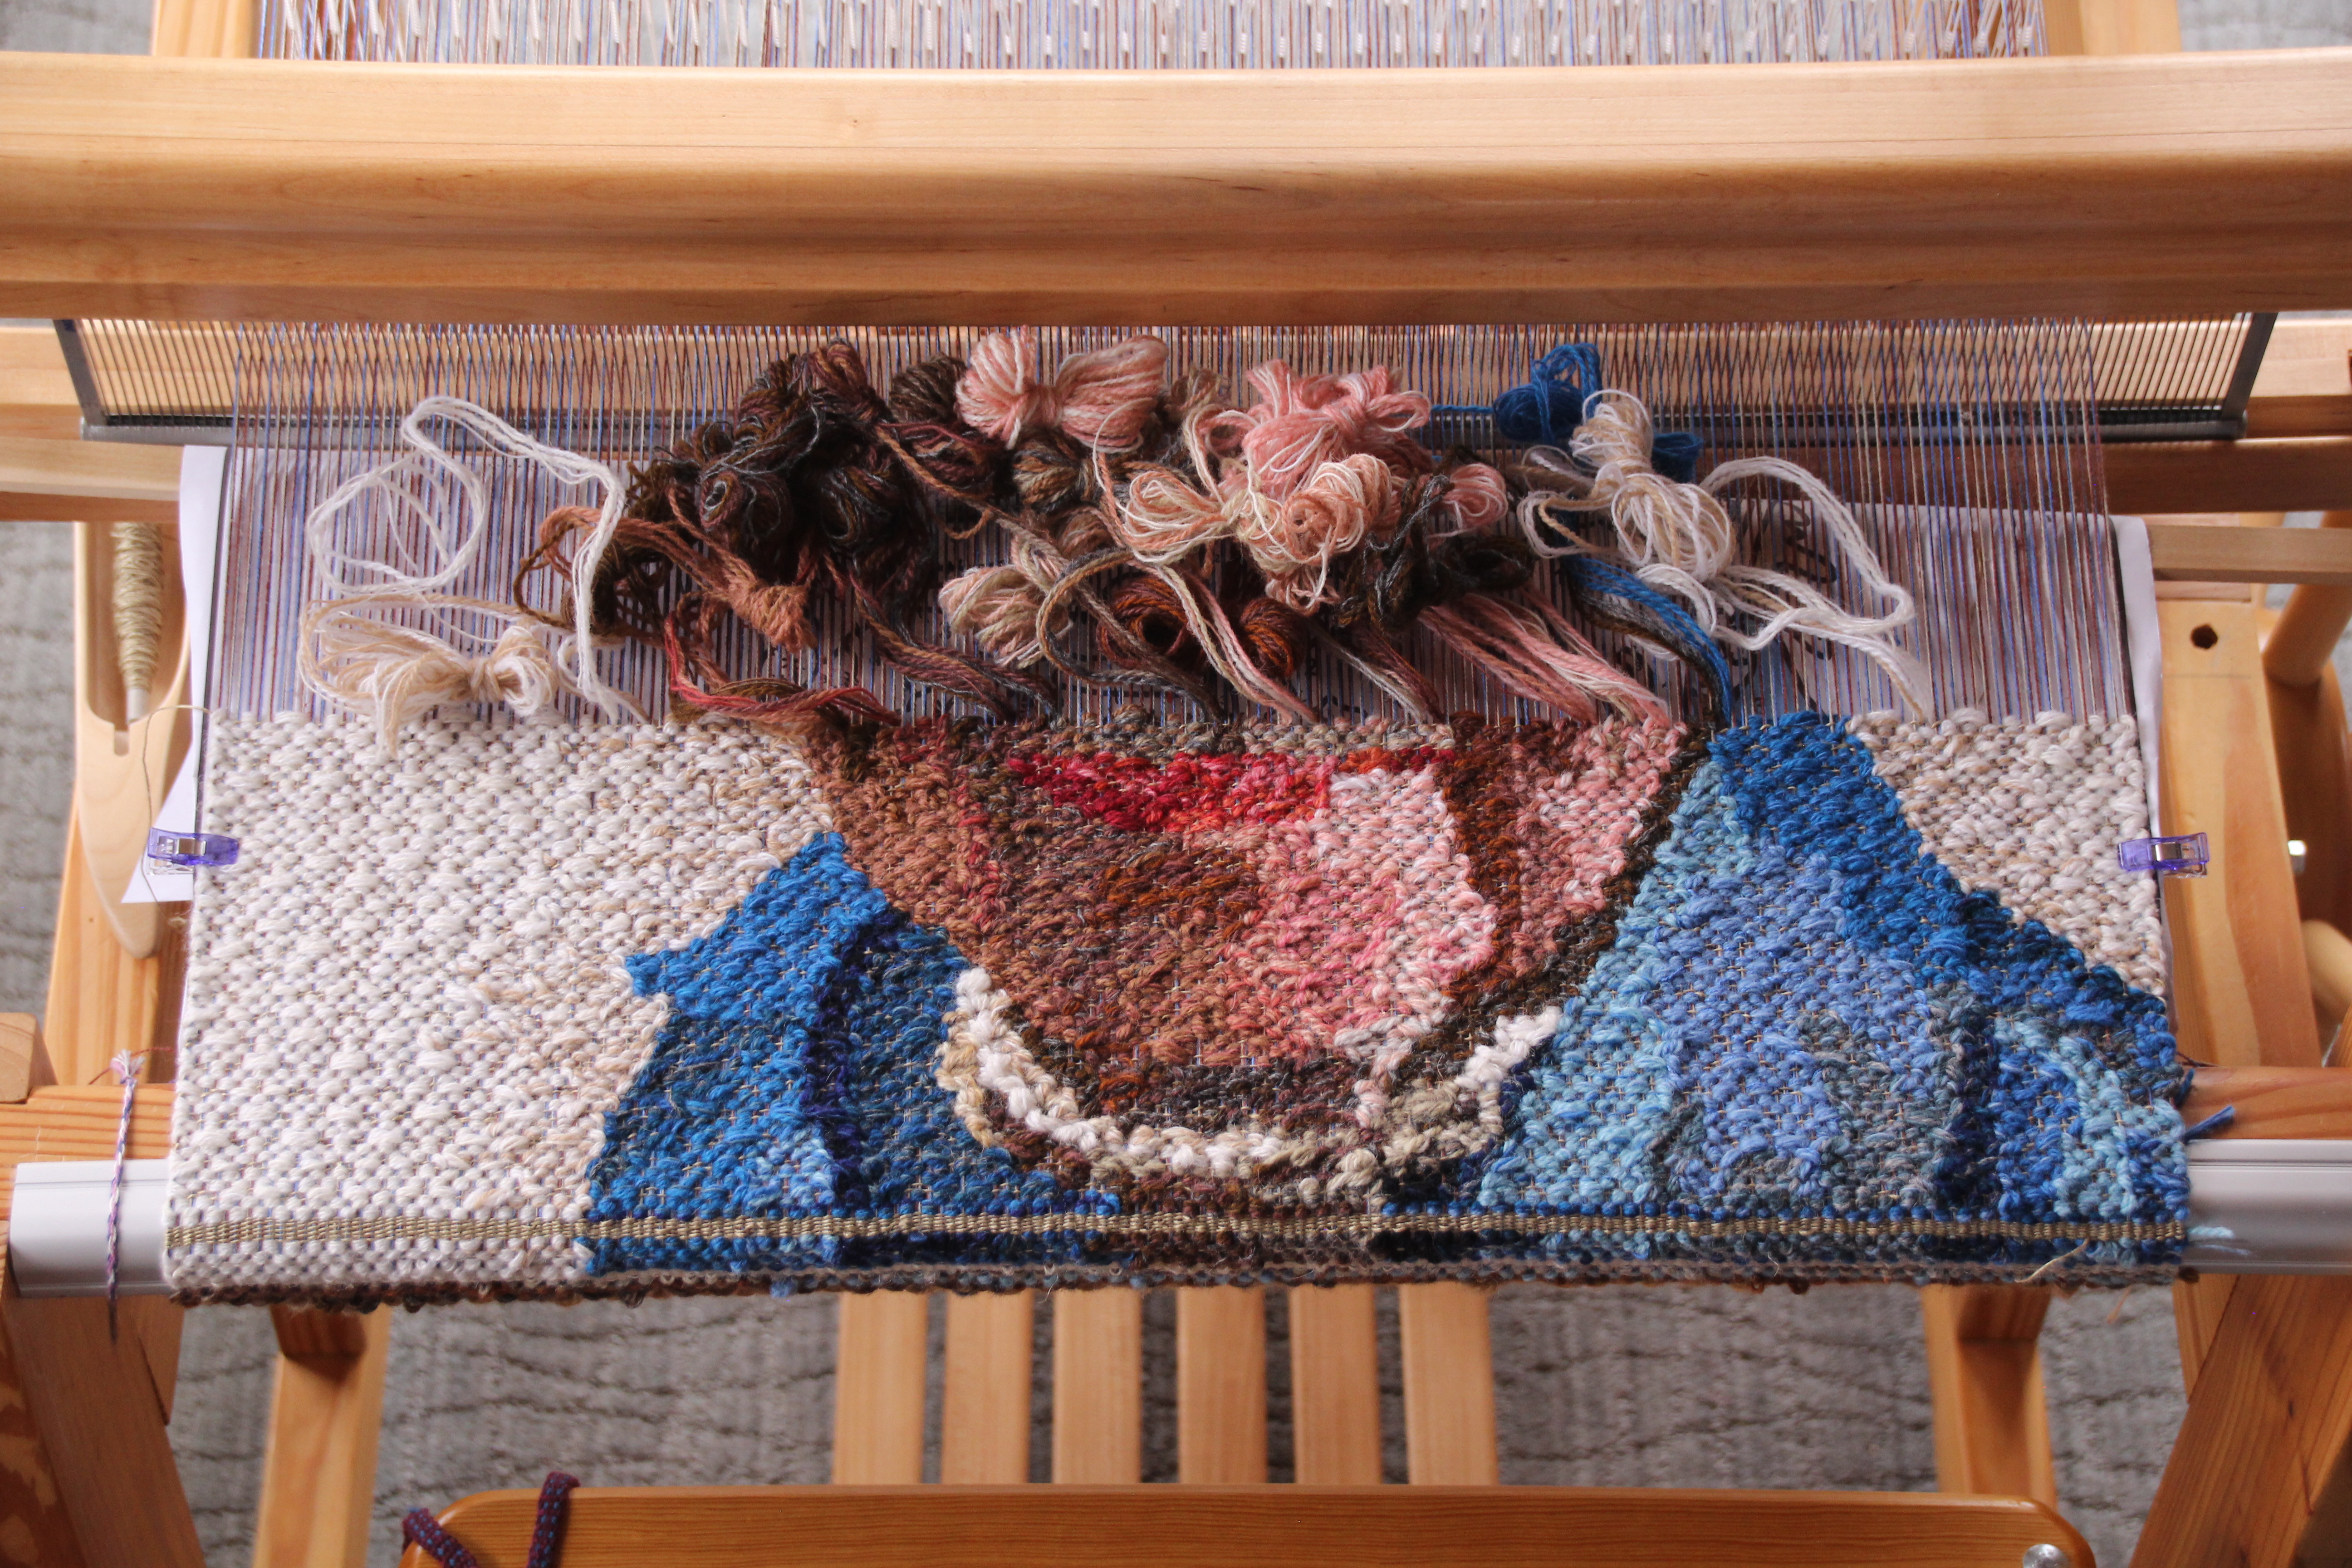
The contours of the face are more evident now that the lips are in place. Every cartoon line requires decisions. Shift the color at this warp end?…or, one over? Does this butterfly have too much pink?…maybe it needs more pink? The portrait image happens almost invisibly, thread by thread.

Four-shaft tapestry.
Tapestry detail.
Tapestry portrait.
Tapestry portrait.

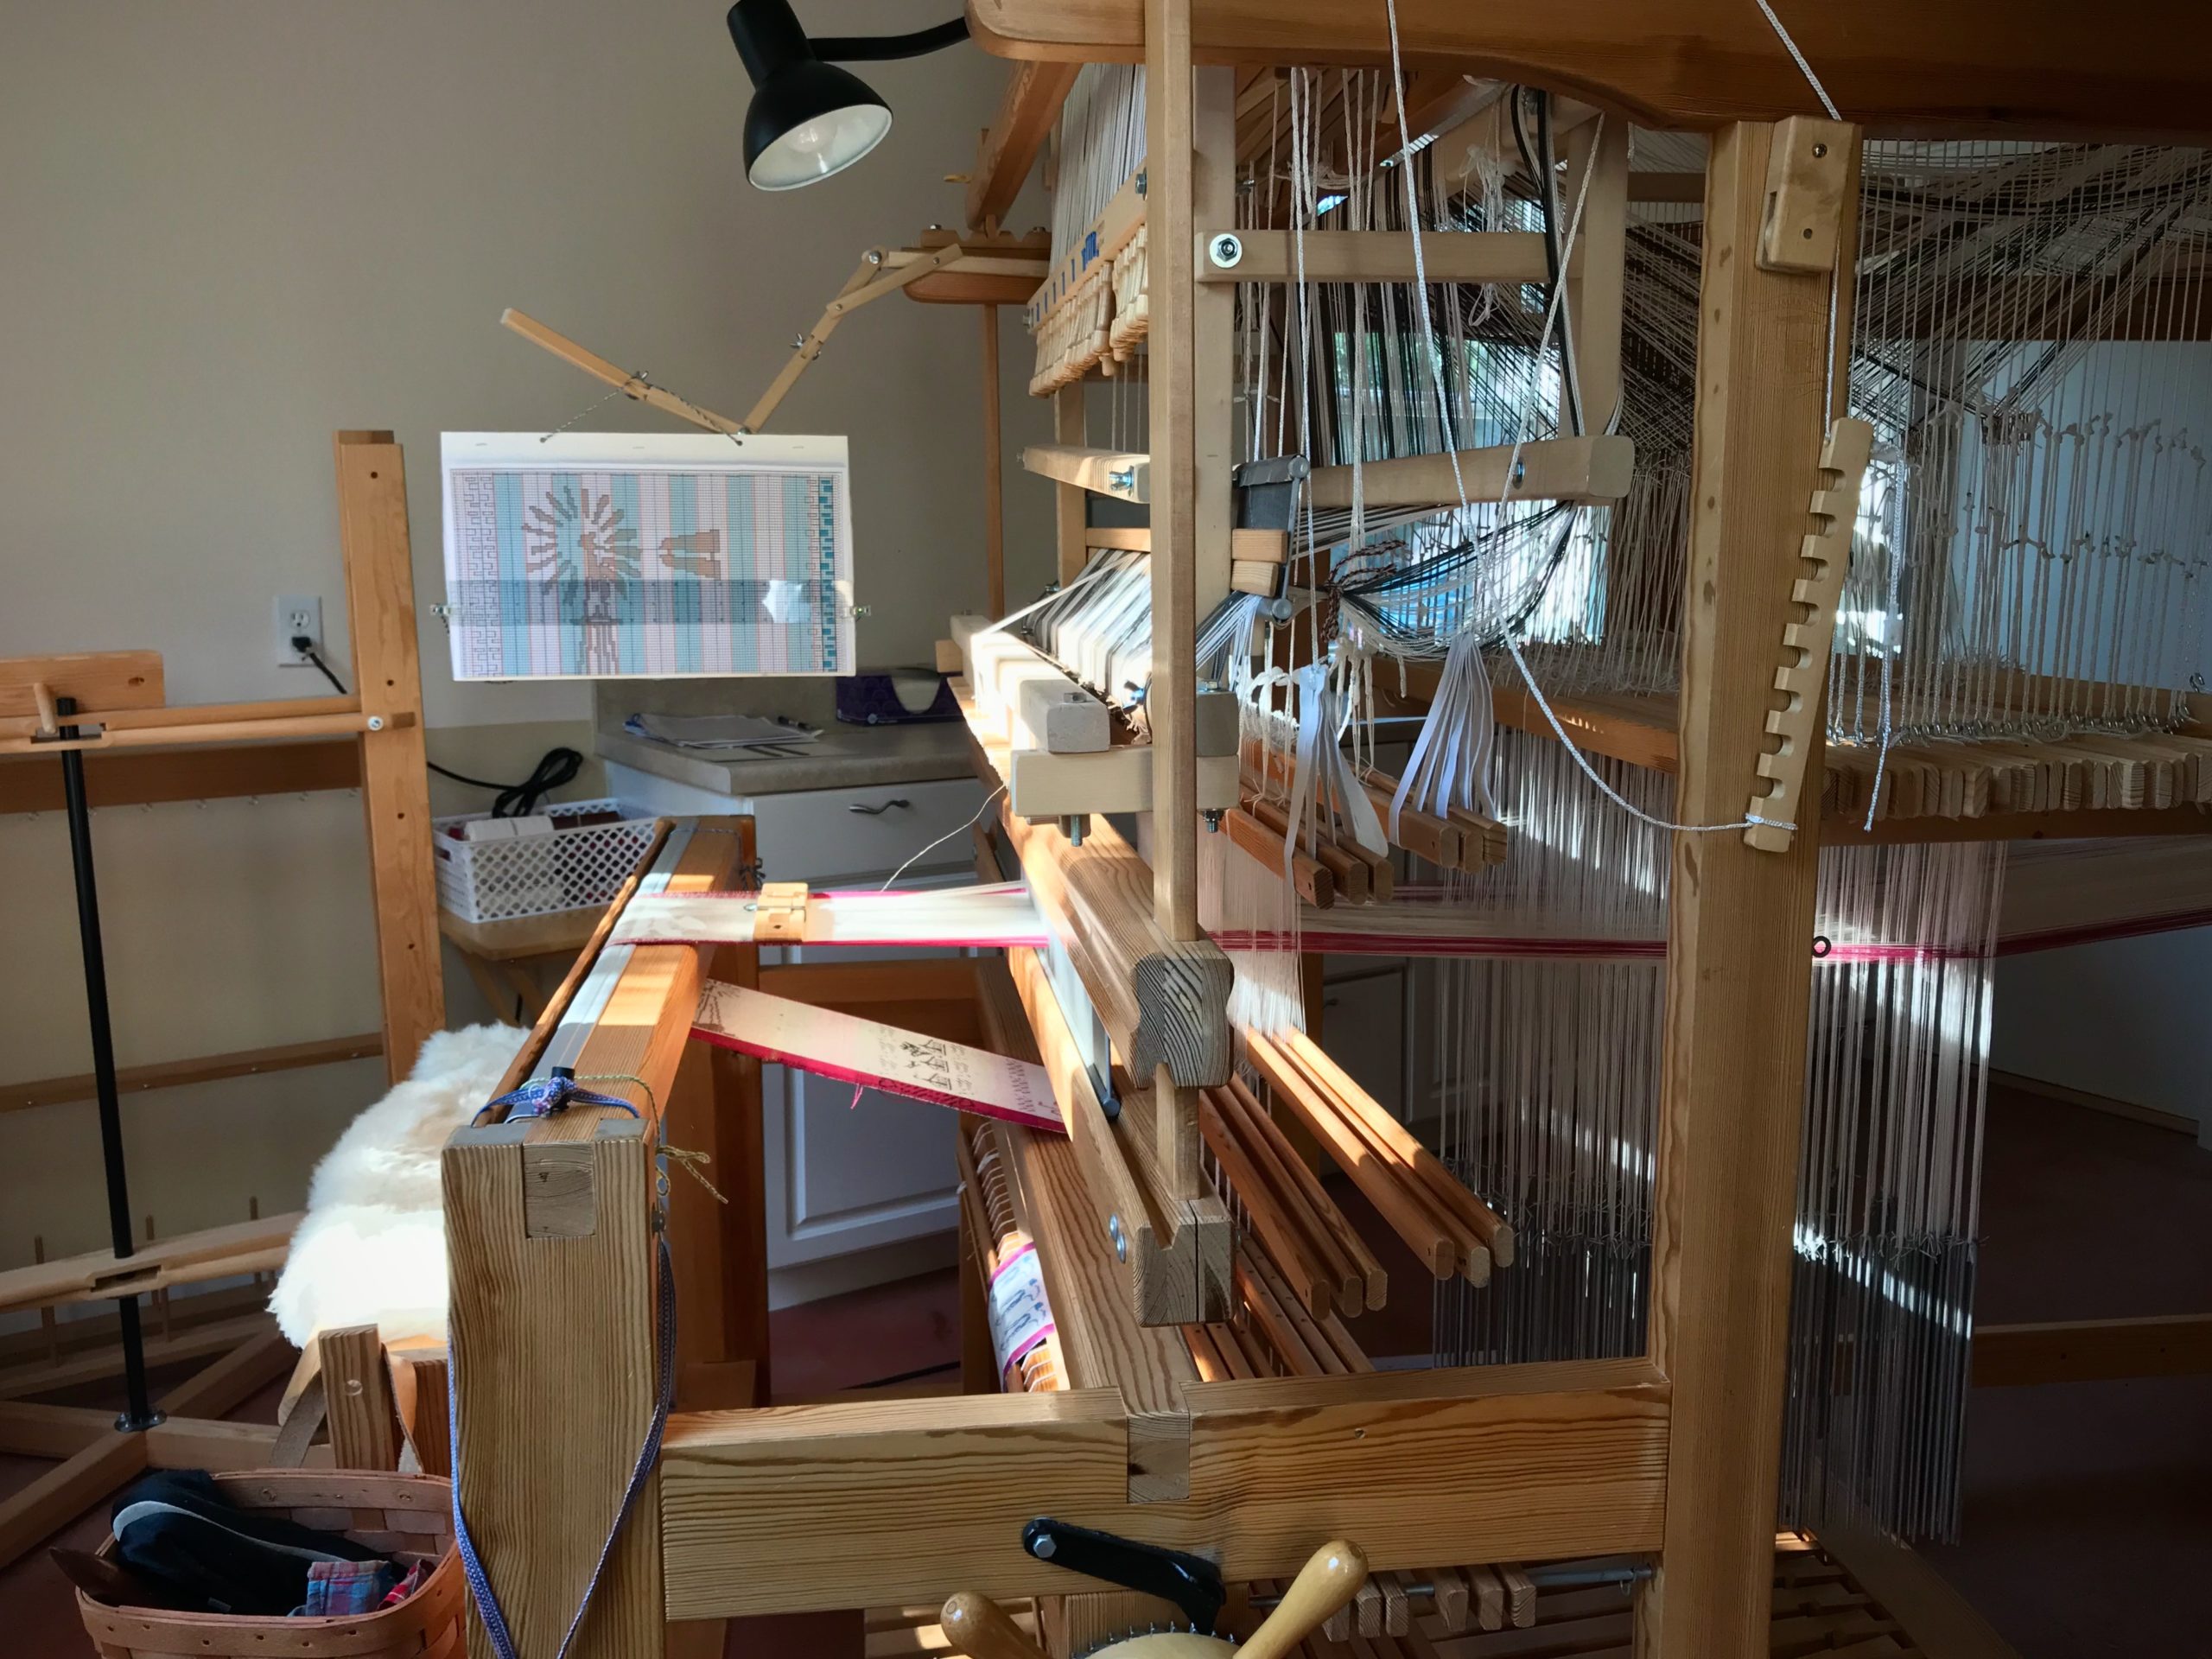
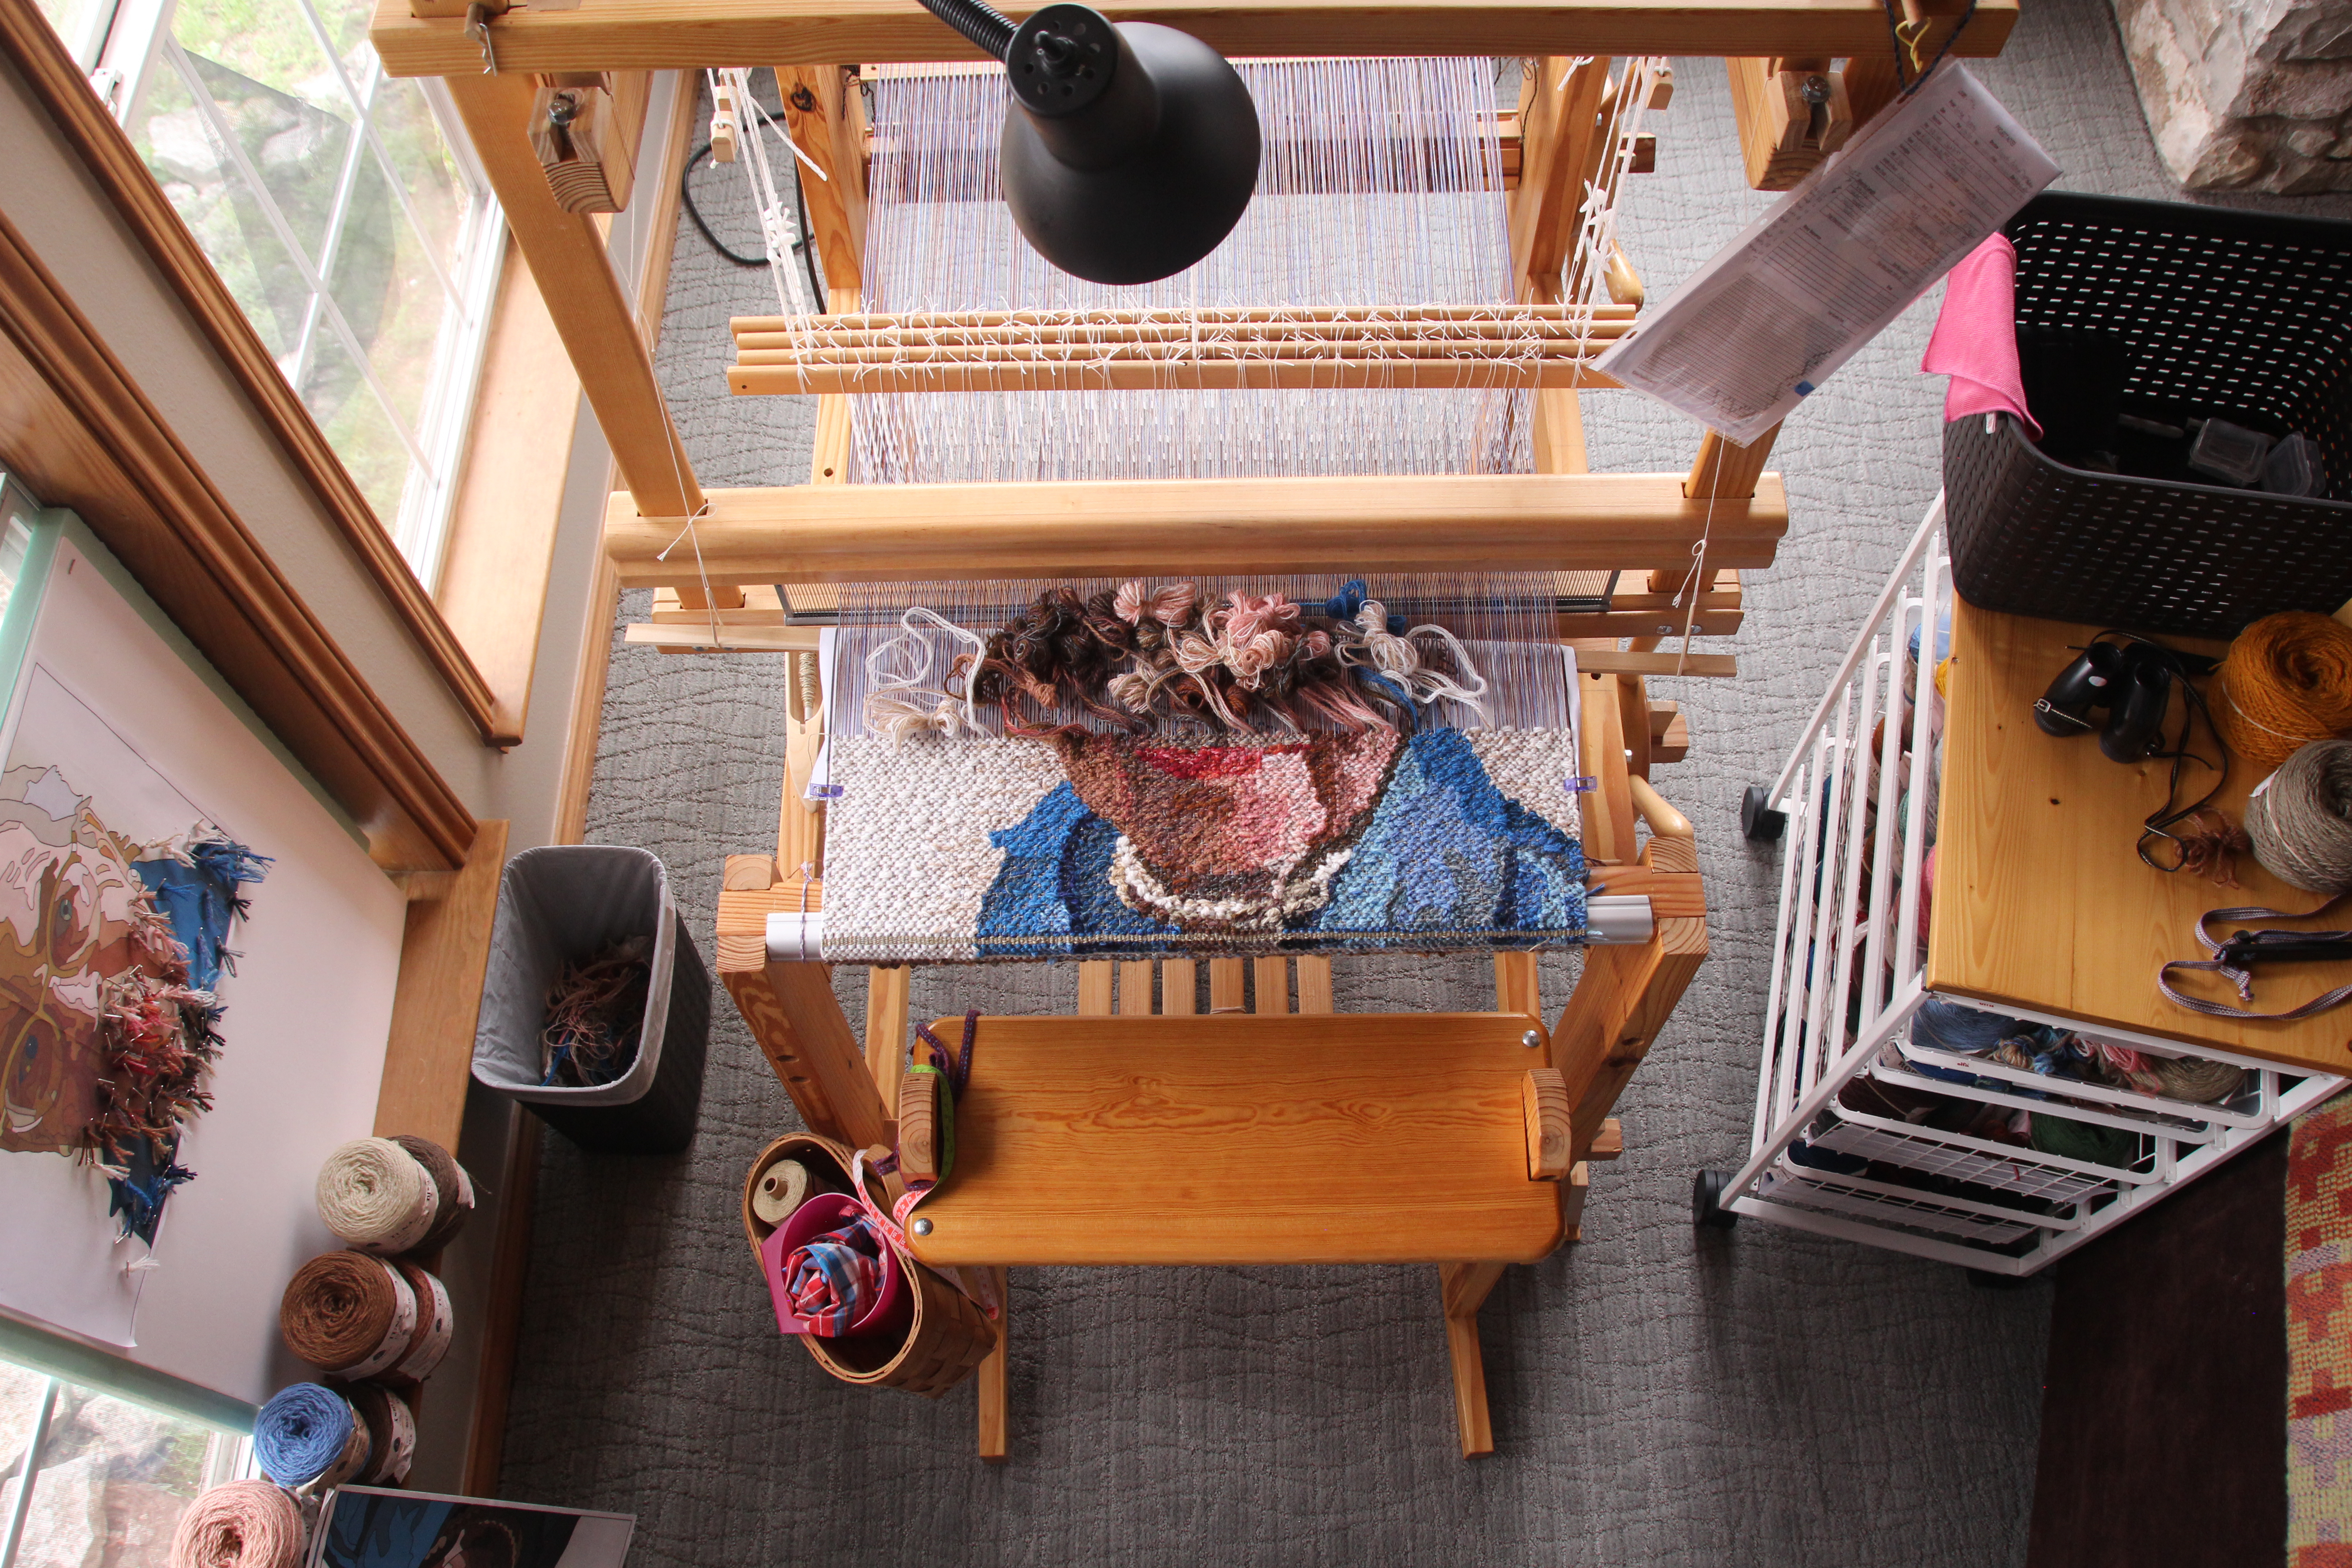
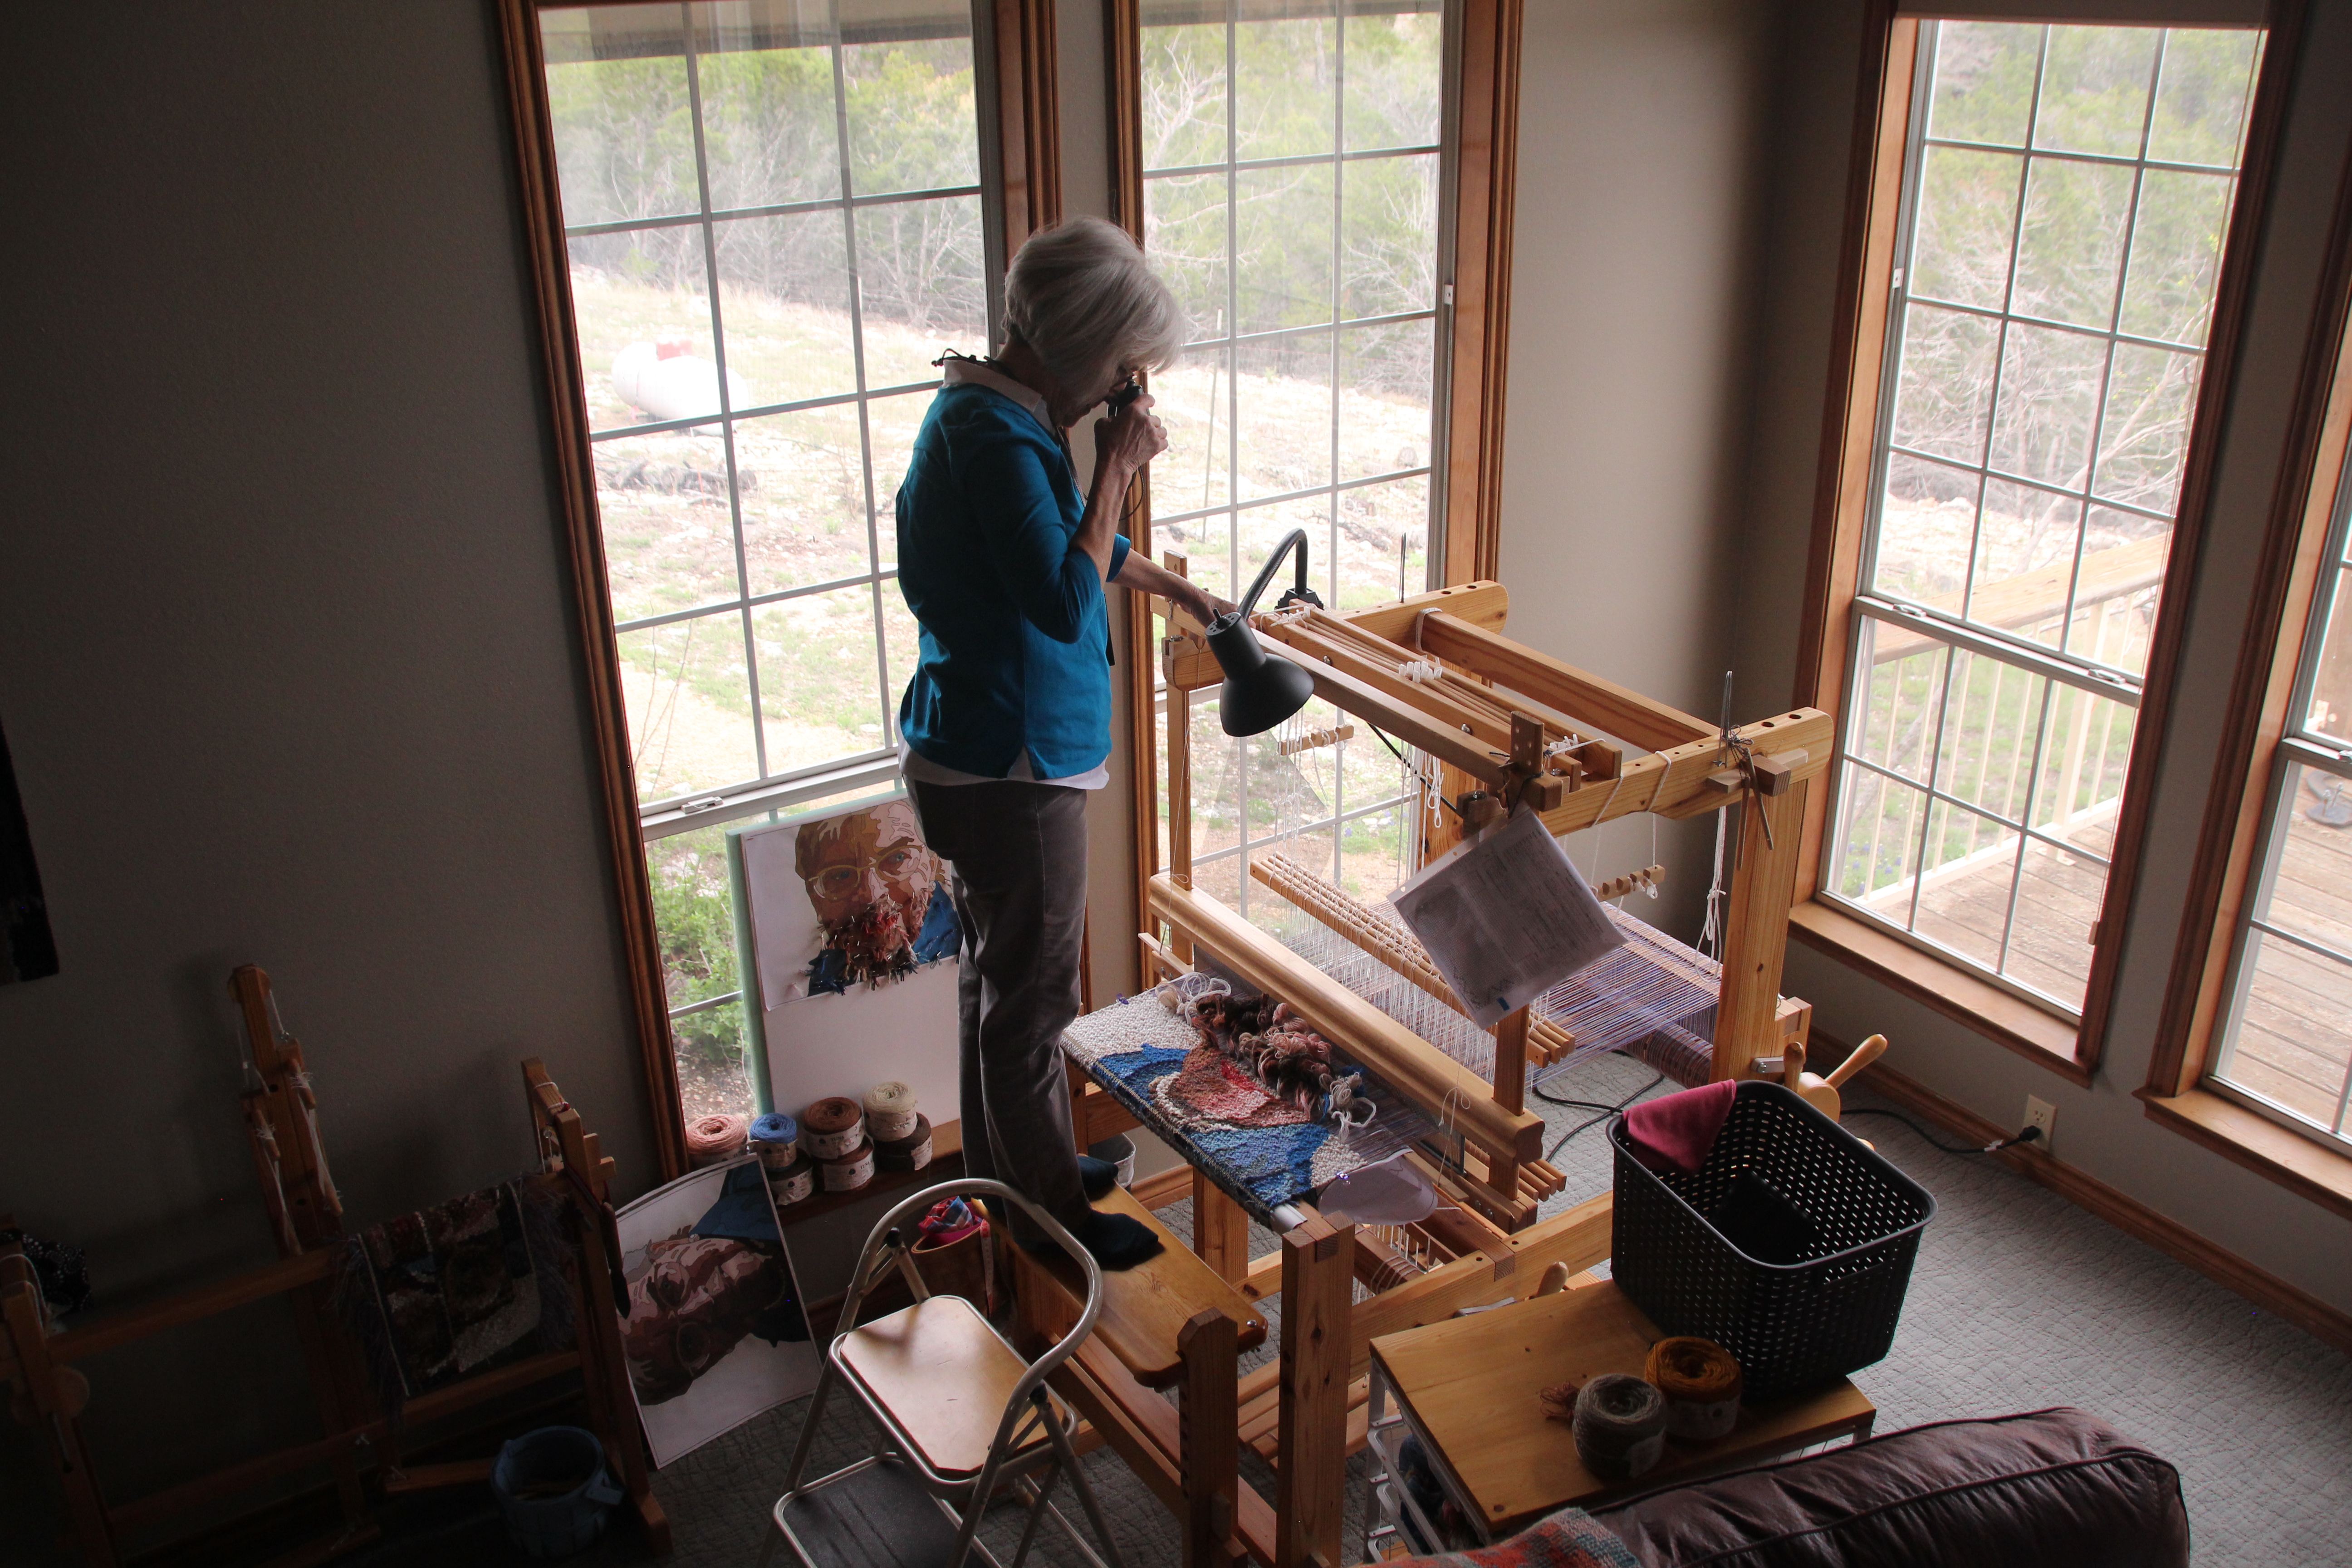
I step back often so I can see what I am weaving. Up close, the details are obscure. I step up on the loom bench (very carefully, holding on to the top of the loom) and look through the back end of my binoculars. A distant view of the tapestry comes into focus. It’s encouraging! I can clearly see that the details are working out.

Tapestry portrait in progress.
View from a distance.
Portrait tapestry in progress.
Looking through the back end of the binoculars gives a distant view. I’m looking for distinct lines of contrast and smooth transitions.

We may be too close to our own circumstances to see the details clearly. We make decision after decision, and we hope against hope that things will turn out okay. How can we know what is right? Step away to pray. Slip away with the Lord Jesus to get His view on things. Only when we consult a higher view can we see the bigger tapestry that the Grand Weaver is creating. Prayer, as a conversation with the Lord, helps us see that the details are working out according to his purpose.

May your details become clear.

With purpose,
Karen

Drawloom Windmill and Taildragger – Version 2

I’m curious. How much difference will it make to change the direction of the design? I wove the first Windmill and Taildragger from the side. (See Time Lapse: Windmill and Taildragger on the Drawloom.) This second one, I am weaving from bottom to top. For one thing, I know I can enlarge the image if I turn it upright, giving me more distinct details.

Windmill and Taildragger woven on the drawloom.
Windmill and Taildragger – Version 1, from the side. Beginning of Windmill and Taildragger – Version 2, upright.
Taildragger on the drawloom.
More detail is possible with the expanded size of the image. Center image and lower border use single-unit draw cords. Five pattern shafts are used for the side borders.
Temple in use on the drawloom.
Temple maintains the correct weaving width.
Glimakra Standard loom with Myrehed combination drawloom attachment.
Side view of drawloom with Myrehed combination attachment.

This second Windmill and Taildragger is indeed larger, with smoother detail lines. No surprise. What does surprise me is how much simpler this one is to weave! The single-unit pulls are more manageable now that the design is turned in a lengthwise direction. Enlargement, clarity, and ease—all from a single design adjustment.

Drawloom weaving.
Single-unit draw cords seen in the weaving of the windmill’s blades.
Windmill and Taildragger on the drawloom.
Windmill and Taildragger – Version 2
Drawloom weaving.
Version 1 and Version 2 – Windmill and Taildragger

Spoken wishes express our needs. Our wishes are sincere, but hold no power in themselves. What if we turn the direction of our wishes? When we turn those expressions upward to God they become prayer. Prayer is an expression of belief. Jesus invites us to tell him our needs through prayer. Prayer enlarges and clarifies our hopes. You may be surprised how simple it is to take your needs to the Lord in prayer.

May your prayers bring the help you need.

Peace to you,
Karen

Handwoven Detail Notes

It is the smallest of details that set handwoven towels apart from ordinary towels. With that in mind, I am writing some detail notes in the margin of my project notes. Borders: Towel 1 – sea blue, apple green – contrast thread – ultramarine; Towel 2 – ultramarine, sea blue – contrast thread – maize; Towel 3 – apple green, ultramarine – contrast thread – sea blue; Towel 4 – dusty, sea blue – contrast thread – apple green.

Cottolin bath towels coming up!
Beaming the cottolin warp for bath towels.
Warp is tied on and leveling string is attached.
Preparing to weave 7-color bath towels.
Seven different colors of wound quills. All seven colors are in each towel, warp and weft. The weft sequence varies with each towel.
Boat shuttles vie for the starting line, like in a regatta.
One boat shuttle for each color. This reminds me of sailing with my dad and my sisters. Boat captains would vie for the regatta starting line, shouting, “Starboard!”

There are seven colors of cottolin in the warp, and the same seven colors in the weft, just like the accompanying hand towels I completed in April. (See Process Review: Jubilation Hand Towels.) Narrow warp-wise and weft-wise stripes of broken twill produce interesting patterns in the cloth. The deep borders I am planning on the bath towels give me a chance to add simple details that only a handweaver can do.

White ribbon shows where to place details on the handwoven bath towel.
After weaving a short section to test the threading, I start the first towel. A red line, as always, denotes the cutting/starting line. I placed marks on the white ribbon at the left that show me where to place details along the length of the towel.
Simple handwoven details make all the difference.
Single ultramarine thread is laid in with the sea blue to outline a change of treadling. A simple handwoven detail.

Have you ever identified a master craftsman by the specific details that show up in the hand-crafted article? In the same way, we can recognize our Maker’s hand through the magnificence of the details we see in each other. You are his masterpiece. Hand-written instructions guide the details. When we come to the Lord as our Maker and Redeemer, we find his hand-written details woven into our hearts, something only the Grand Weaver can do.

May you attend to the details.

Happy Weaving,
Karen