Cutting Off Celebration!

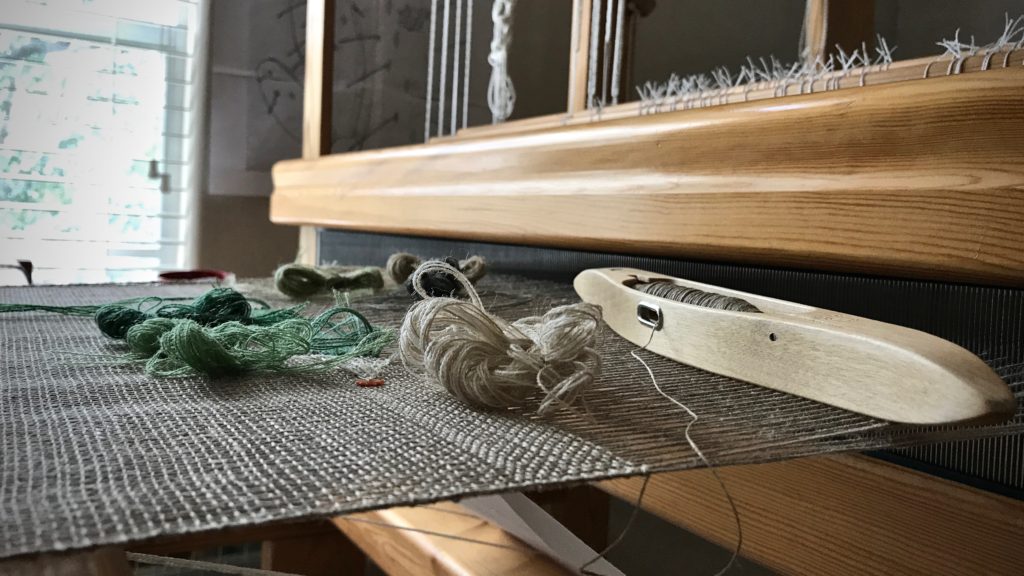
Is there anything as exciting as cutting off? Oh sure, there will be some errors to mend. And only wet finishing will reveal the true nature of the cloth. But after investing hours and hours at the loom, cutting the fabric off is a celebration. This is the moment when the work of this weaver’s hands is finally revealed!

While admiring and examining the fabric as it comes off the loom, I am already moving onto the next step–finishing. Here are a few of my regular practices.

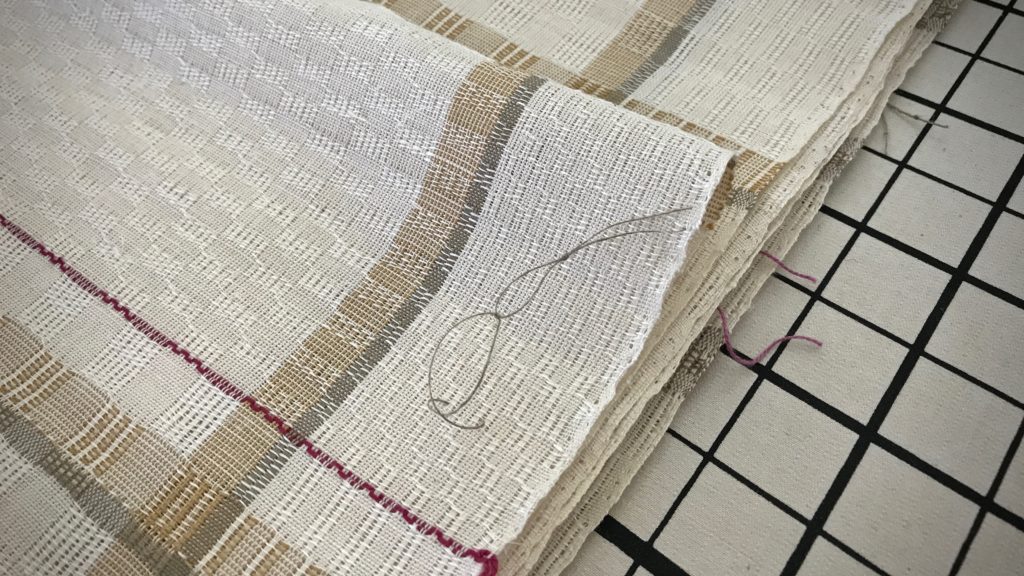
  • Thread-mark the right side of the fabric on each sample and individual piece before completely removing the fabric from the loom. This removes guesswork later. Thread a blunt-tip needle with 6 – 8″ of warp or weft thread, and make a 1/2″ stitch through the fabric. Leaving a loose loop, tie the ends of the thread together in a square knot on the right side of the fabric.
Weaving tip: Thread-mark the fabric.
Knot in the thread tells me that this is the right side of the fabric. Thread marks are sewn onto each piece before removing the fabric from the loom if the difference between the right and wrong side of the fabric is less than obvious. Thread marks remain until hems are turned under.
  • Tie sequential knots in the thread marks. e.g., First towel has one knot, second towel has 2 knots, etc. This enables accurate record-keeping measurements before and after wet finishing for individual items.
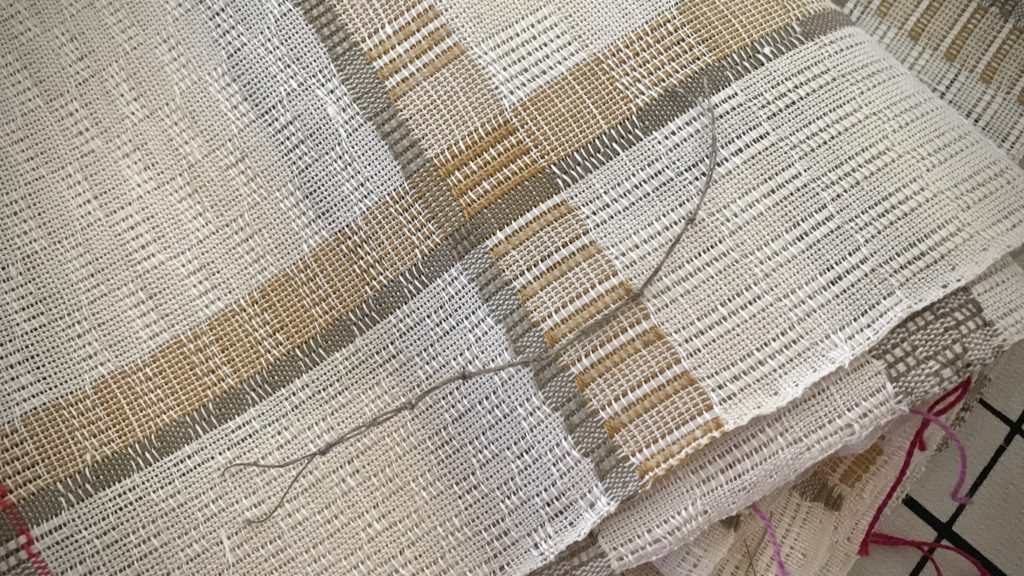
Weaving tip: How I number the towels on a warp.
After washing, I count the number of knots in the thread to know which towel is which. Before and after measurements enable me to calculate the amount of shrinkage that occurs, which helps for planning future projects.
  • Cut pieces apart before washing.

1. Two weft picks have been woven for each cutting line. The two threads make an easy guide path for the scissors.
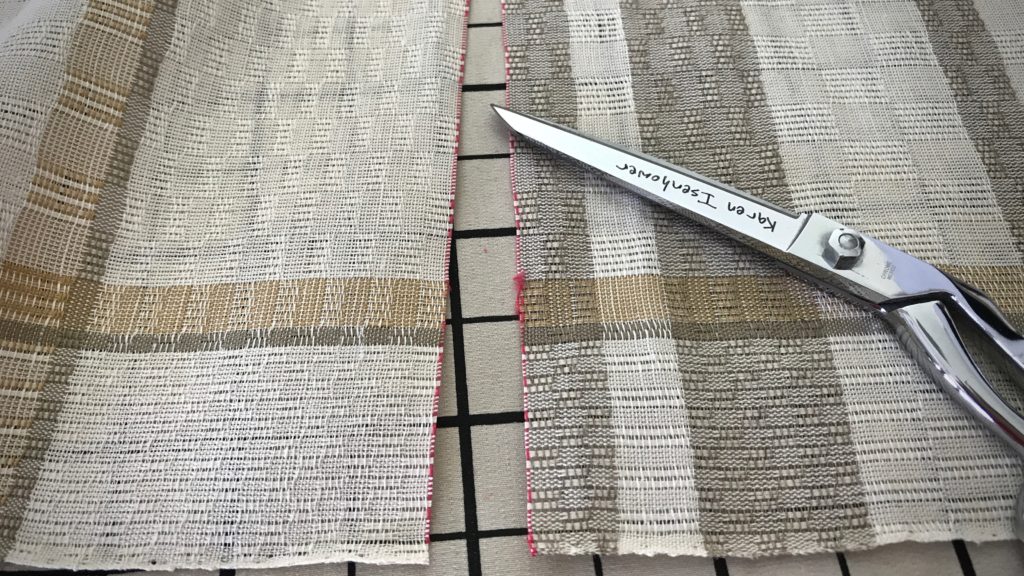
Cutting line between woven items.
Cutting line for separating the woven pieces. Cut between the two red weft threads.

2. Use the same cutting-line color for every project (I use red, unless red is one of the weft colors in the project). This helps prevent accidental cutting at weft design stripes in the piece (which I did once –Oops!– before establishing this rule).

3. Pull out the cutting-line threads. Any remaining thread residue is easily removed with a lint roller.
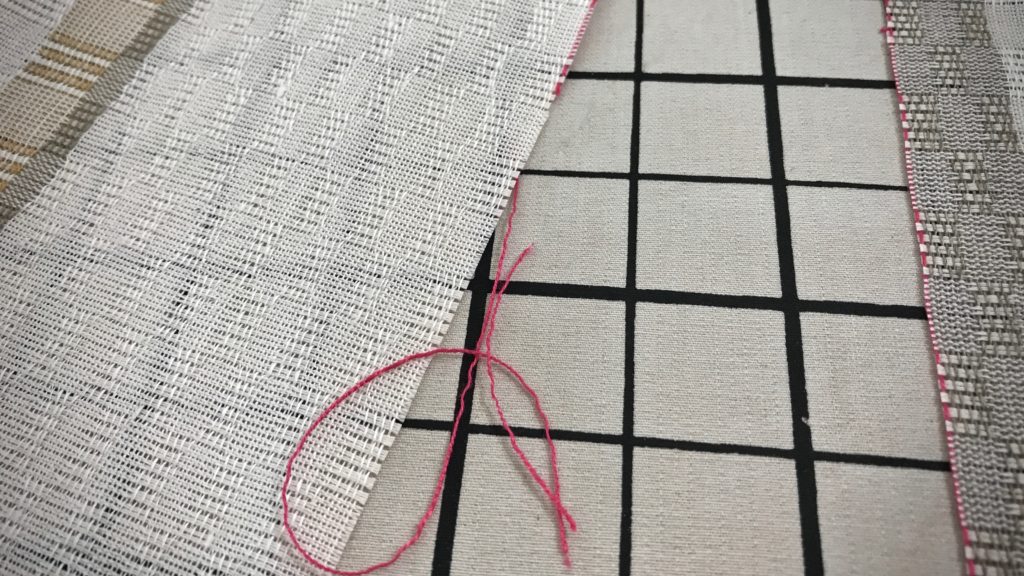
Pulling out the cutting line.
Red cutting line thread pulls off, leaving a straight woven edge for finishing.
  • Finish the cut edges with an overlock stitch on a serger or with a zigzag stitch (preferably a three-stitch zigzag, according to my friend, Elisabeth) on a sewing machine.
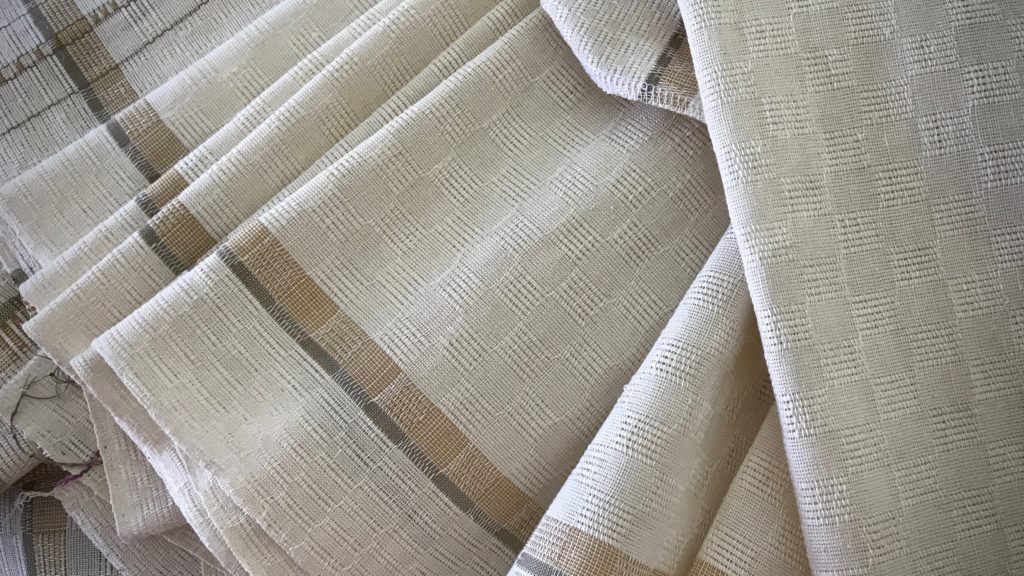
Getting ready to wet finish these M's and O's towels!
All items are prepared for washing. Errors have been mended, and cut edges have been finished with the serger.
M's and O's (Sålldräll) after washing. Karen Isenhower
Lovely texture of the M’s and O’s (Sålldräll) structure is revealed after washing. A few more finishing steps remain: pressing, adding handwoven hanging tabs, and hemming.

Humans are not finished until they are loved. Love is patience and kindness at the core. We want to be on the receiving end of that, don’t we? We all need someone to love us–to carry our burdens, to believe us, to hope the best for us, to endure with us. It’s in the finishing that we discover the value, the corrections needed, and the beauty that has been woven in. This is the love of God to us. This is the finishing work of Jesus Christ, and his love in us.

May you have many cutting-off celebrations.

With love,
Karen

PS It’s good to be back with you! I hope you had a pleasant and weaving-full July.

Woven Transparency Cactus

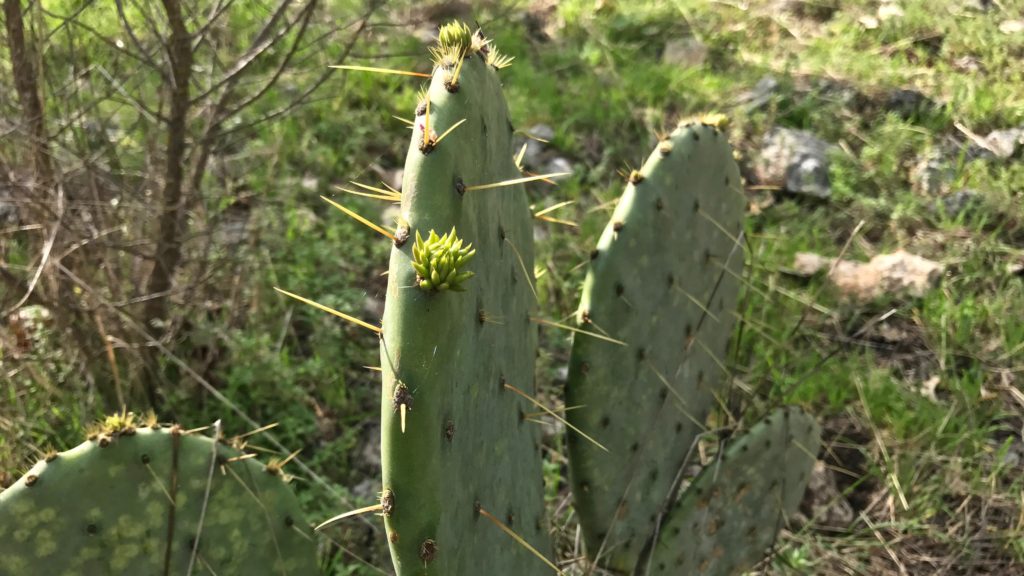
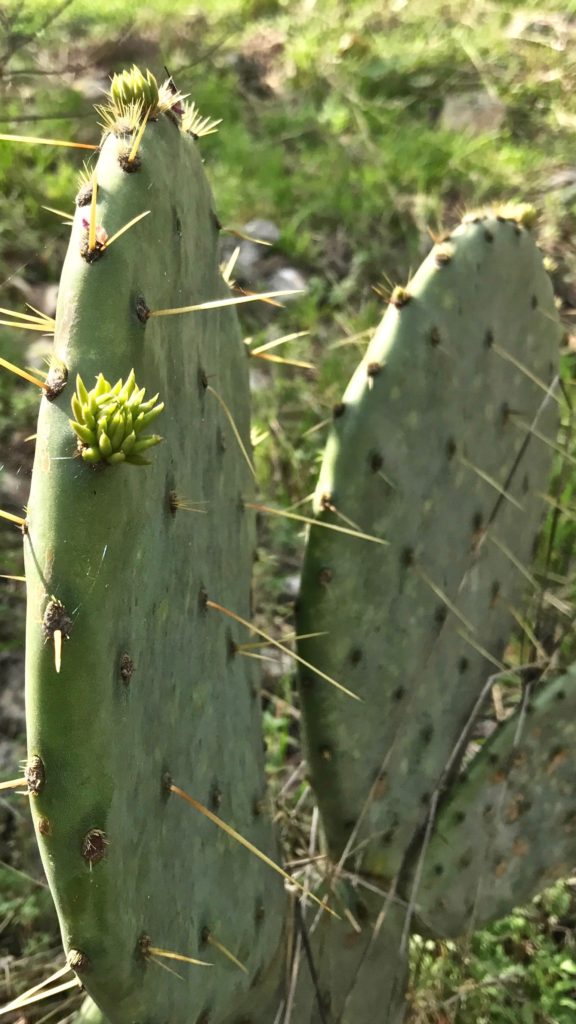
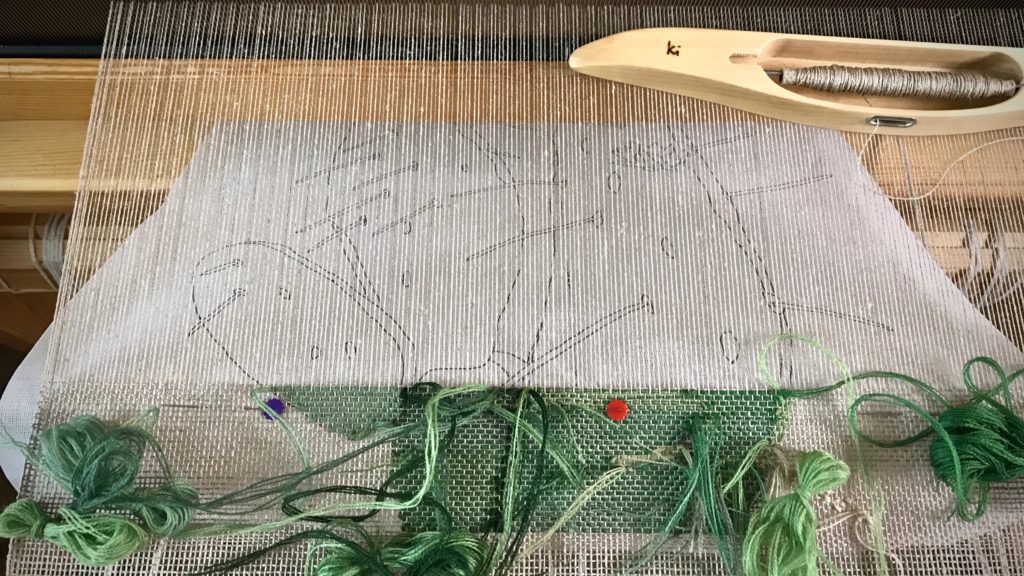
I found a subject for my next transparency. It’s a prickly pear cactus in Texas hill country. Weaving this cactus is a fantastic experience! I started with a photograph, from which I made a cartoon. And I have an outline that shows where to place each color. It’s all based on the timeless beauty of colors in nature. I’m hopeful that when light shines through the final woven transparency we will see a likeness of the original cactus.

Prickly Pear Cactus in Texas hill country.
Prickly Pear Cactus in the front yard of our Texas hill country home.

Make a Cartoon

  • Crop and enlarge the photo. (I use Acrobat Reader to enlarge and print in multiple pages, and then tape the pages together.)

Prickly Pear Cactus in Texas hill country.

  • Outline the main lines of the picture.
  • Turn the enlarged picture over and draw the traced lines on the back to have the reverse image. (This transparency is woven from the back.)

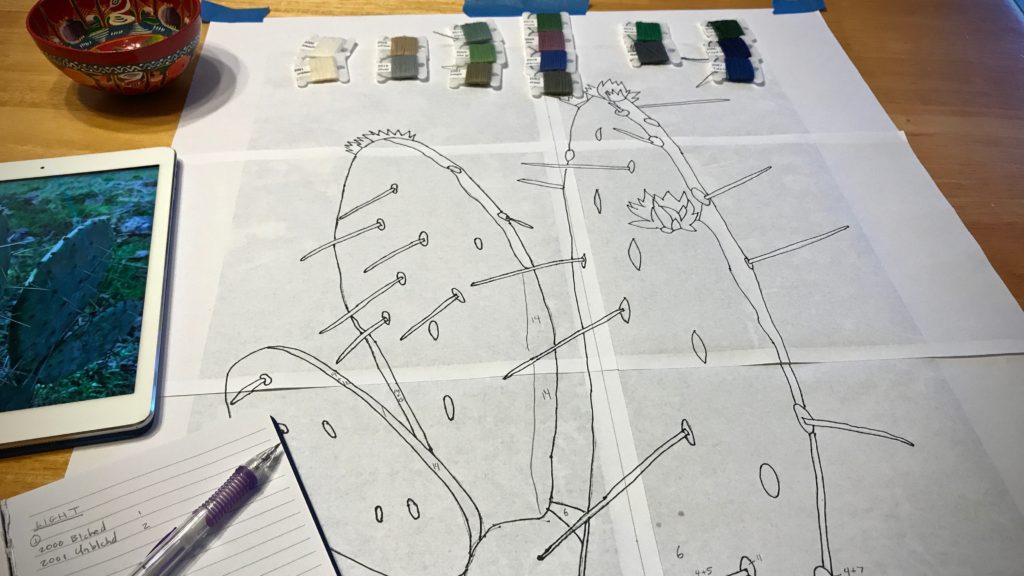
Photo to sketch to cartoon for woven transparency.

  • Trace the line drawing onto a piece of buckram to use as the cartoon.
  • Draw a vertical dashed line down the center of the buckram cartoon.
  • Pin the cartoon under the weaving, lining up the center line on the cartoon with the center warp end. Move the pins, one at a time, before advancing the warp each time.

Buckram used for transparency cartoon.

Color Selection

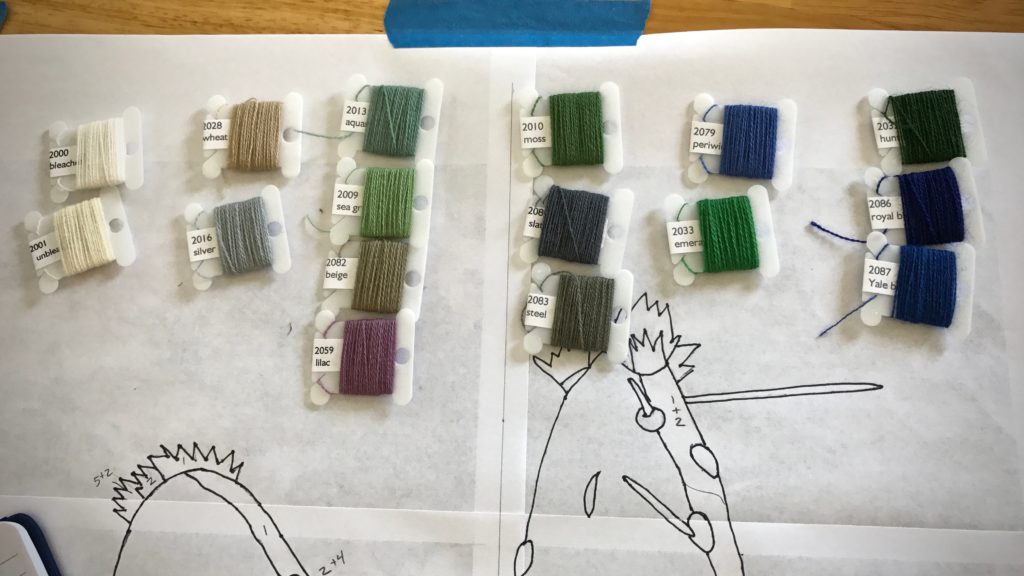
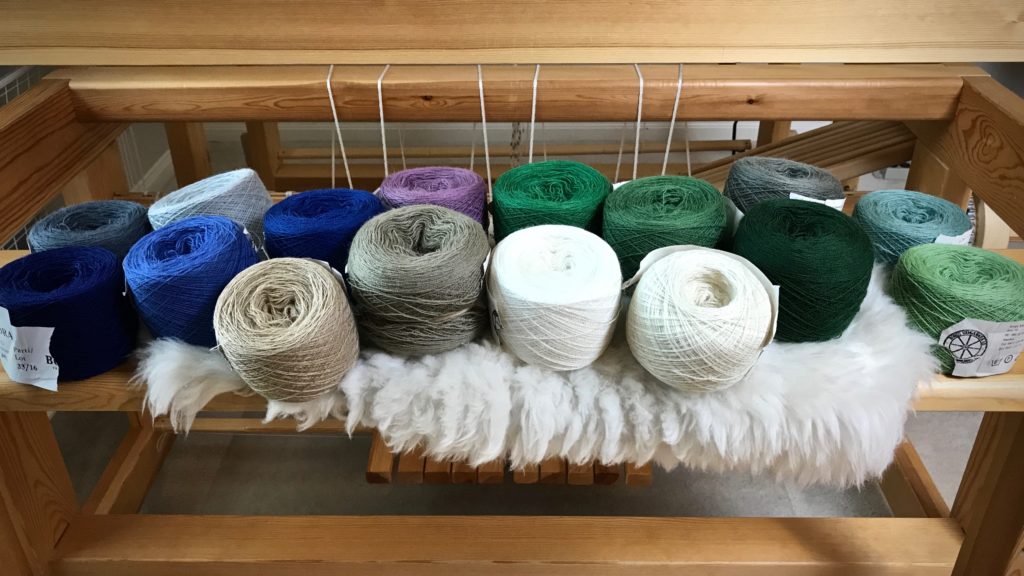
  • Use the photograph to select yarn colors for the transparency. (I used the iPad to view the photo, and selected sixteen shades of 20/2 Mora wool.)
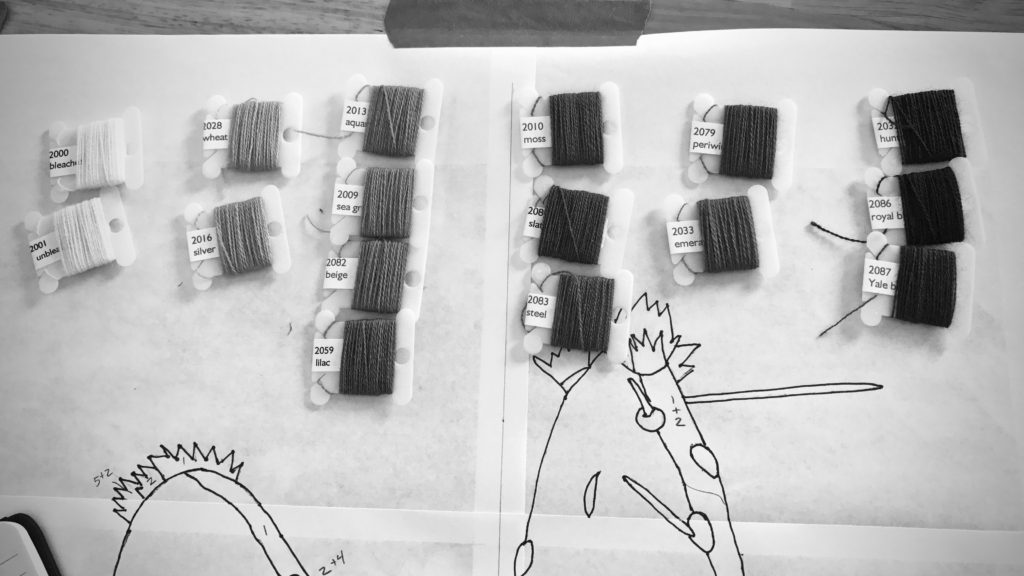
  • Sort the yarn by hues. (I used my iPhone camera black-and-white setting to help in the sorting.) Sorting by hues helps me blend similar-hued colors, and shows me the contrasts that will help define the picture.

Color selection for woven transparency. Sorting by hues.


Sorting colors by hues for woven transparency.

  • Assign a number to each yarn color.
  • Make the enlarged outline into a color-by-number sheet by designating a color or blend of colors for each section. (I taped this sheet to the wall beside my loom, to use as a color guide. The iPad photo also serves as a reference.)

Butterflies of Mora wool for woven transparency.

Virtues are timeless. Virtues are like colors that blend together to weave a masterpiece. When we let the Grand Weaver lay in the weft, these are the colors that appear as light shines through His woven transparency: love, joy, peace, patience, kindness, goodness, faithfulness, gentleness, self-control. And when this occurs, it shows that we are made in His image.

Making a transparency cartoon. Tutorial.


Woven transparency from a photo. How to.

May the next leg of your journey be a fantastic experience.

I’ll meet you back here on Tuesday, August 1st, 2017.
In the meantime, I hope you investigate claims of Jesus. Take time with people. Keep weaving. And the same for me.

Head over to Instagram to stay in touch with my daily journey.

Love,
Karen

Breezy Easy Weaving

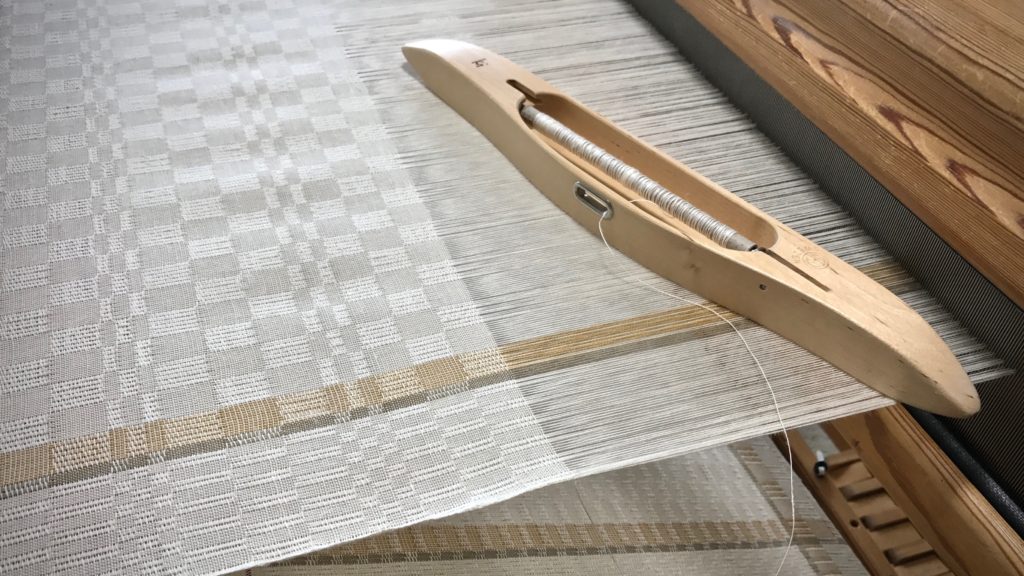
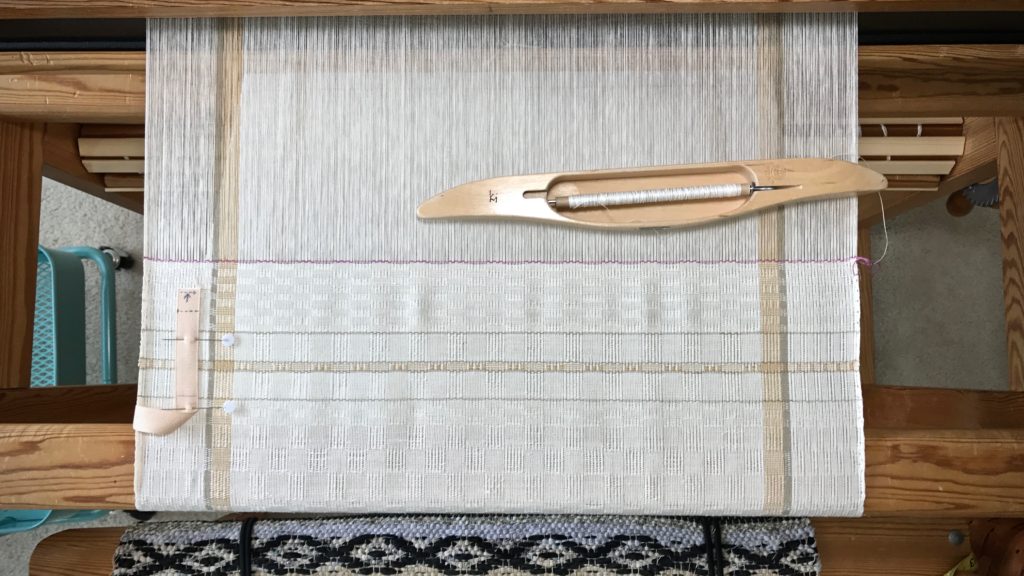
Let’s take M’s and O’s beyond the ordinary. Treadling variations bring out interesting patterns. And a little bit of color in the right places makes a unique border stripe. What other designs will emerge on the remaining towels, I wonder?

Treadling variations in M's and O's.
Treadling variations produce an interesting pattern in this M’s and O’s fabric.
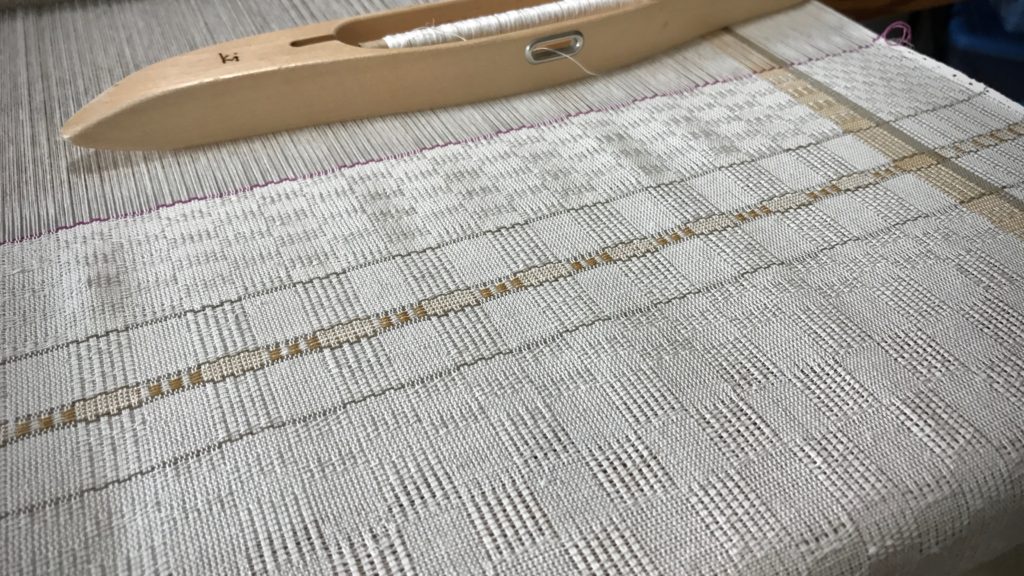
M's and O's with inventive border pattern.
Border pattern uses one of my favorite techniques, the two-pick stripe, to draw a fine line. The center “ribbon” of the border pattern uses two shuttles to alternate the weft colors.

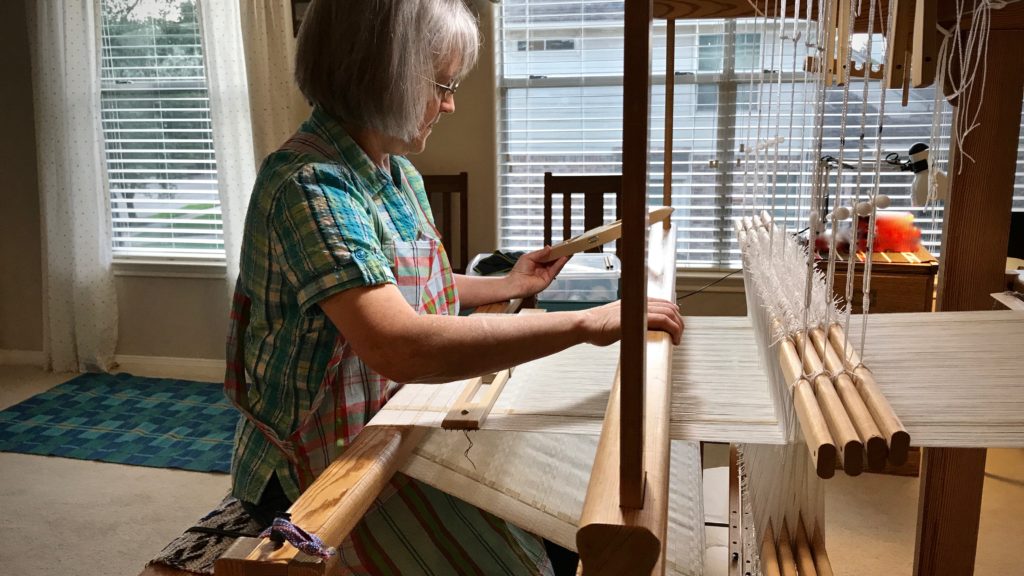
Some projects on the loom are complicated and tedious. This one isn’t. With primarily one shuttle and simple treadling, this is breezy easy weaving. The hard work was in the hours of preparation, dressing the loom. Threading and sleying 896 ends is no small achievement. But now, because of that work, it’s pure enjoyment to sit here and weave.

M's and O's on the loom.
Ready for the next M’s and O’s design.
Sister comes to visit and gets her first weaving lesson.
My sister came to visit, so, of course, she is persuaded to try her hand at weaving. Lookin’ good, Sis!

Forgiveness is hard work, too. It takes effort to put away bitterness and anger. But we must. It paves the way for unhindered kindness, which our world desperately needs. Forgiveness changes you. If you’ve been forgiven, you know that. A forgiven person becomes a forgiving person. And when we forgive, which is never easy, we are threading heddles and sleying the reed. Our efforts make way for the pure enjoyment of dispensing kindness. And we discover that the fabric of our life is being made into something beyond the ordinary.

May you be on the receiving end of forgiveness.

Love,
Karen

The Discovery Towels workshop in Eureka Springs, Arkansas, August 24-26, is filling up! If you’d like to join us, call Debbie (at the number below) right away. I would love to see you there!

https://www.facebook.com/1509042016009851/photos/a.1519556898291696.1073741829.1509042016009851/1933085693605479/?type=3&theater

Little Experiments on the Loom

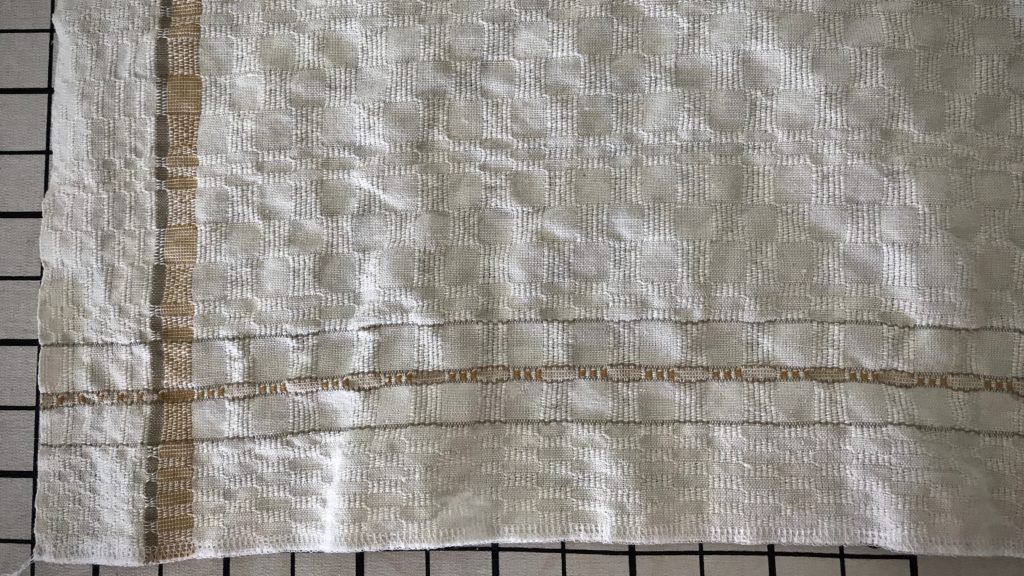
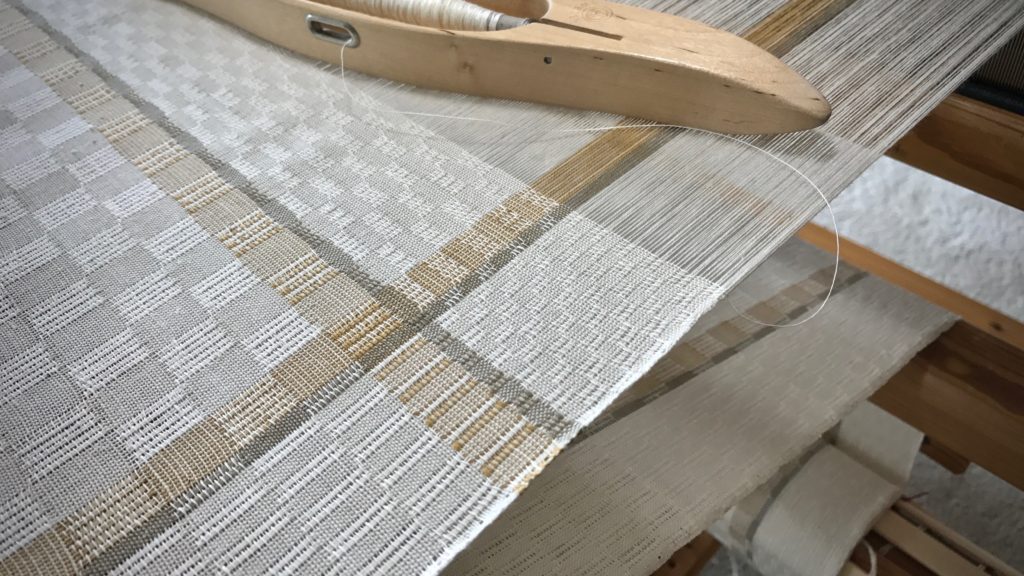
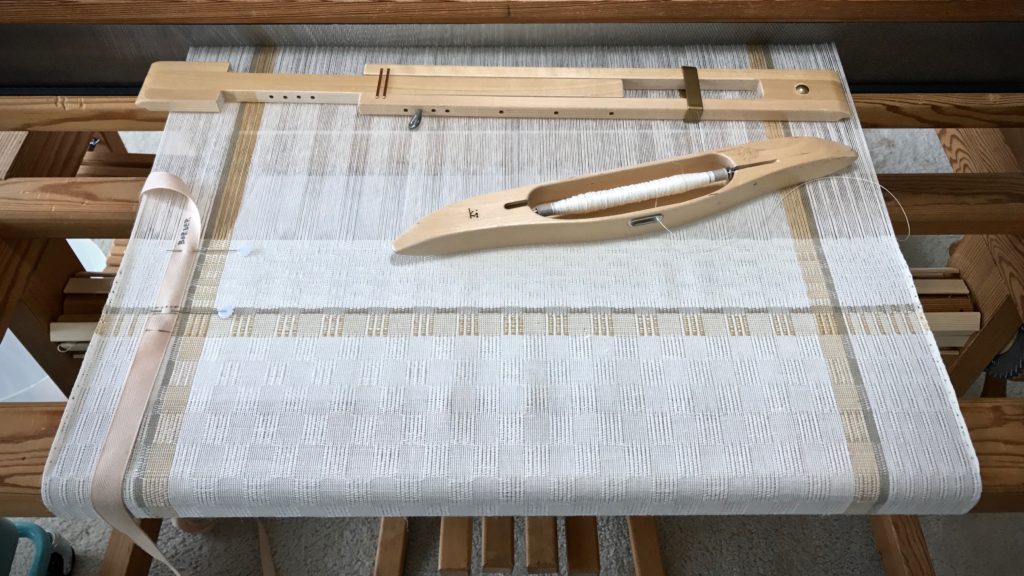
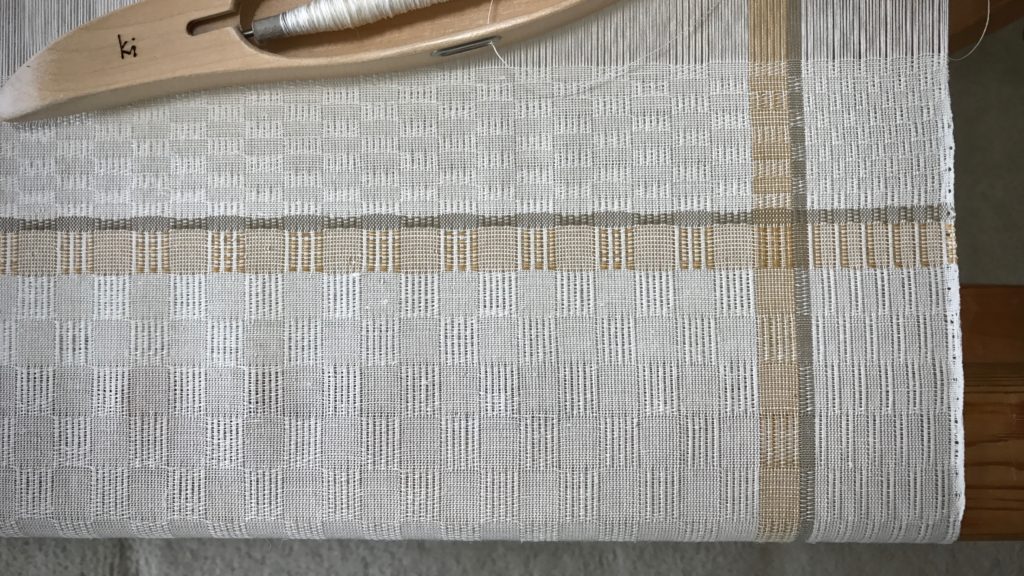
This is my attempt to add a fascinating detail. I alternated white and brass-colored ends in the warp stripe. In a similar fashion, I alternated colors in the weft stripe, too. It’s an experiment. The short columns that emerge in the weft stripe are a result of this thread arrangement. The outcome looks promising. Wet finishing will reveal the final effects of this low-risk exploration.

M's and O's on the loom. Experiment in progress.
M’s and O’s (Sålldräll) with a warp stripe and weft stripe that have alternating light and dark threads.

I like to do experiments on the loom. Little risks open up possibilities and ideas for future projects. Every learning experience is a step that leads to insight for future learning. And I have so much more to learn!

Weaving the border of the long table runner. M's and O's.
Weft stripe signals the beginning of the end border for this long table runner.
M's and O's on the loom.
Short vertical columns take shape in the brass-colored weft stripe.

Step-by-step learning has some common ground with finding a good path for life. Walking the right path is like walking in the early morning. The dim light of dawn gradually increases and the pathway becomes more and more clear as the sun rises to the full light of day. Our Creator gave us a lighted path. The learning experiences from our experiments and explorations in life help us discover the path of the Lord, where the light beckons us. Walk in the light. It’s where we can see the next good step.

Happy weaving,
Karen

Tools Day: Umbrella Swift

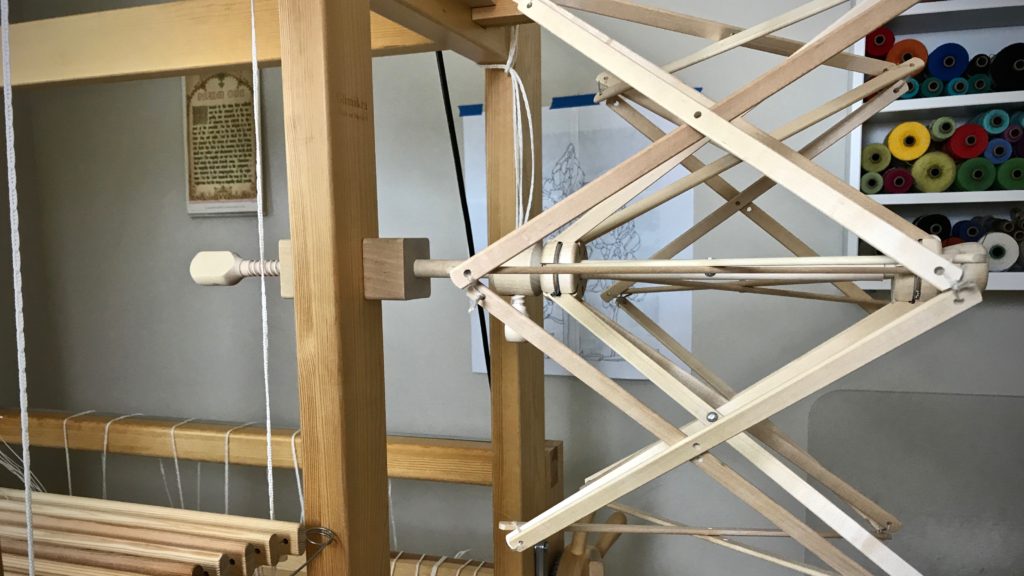
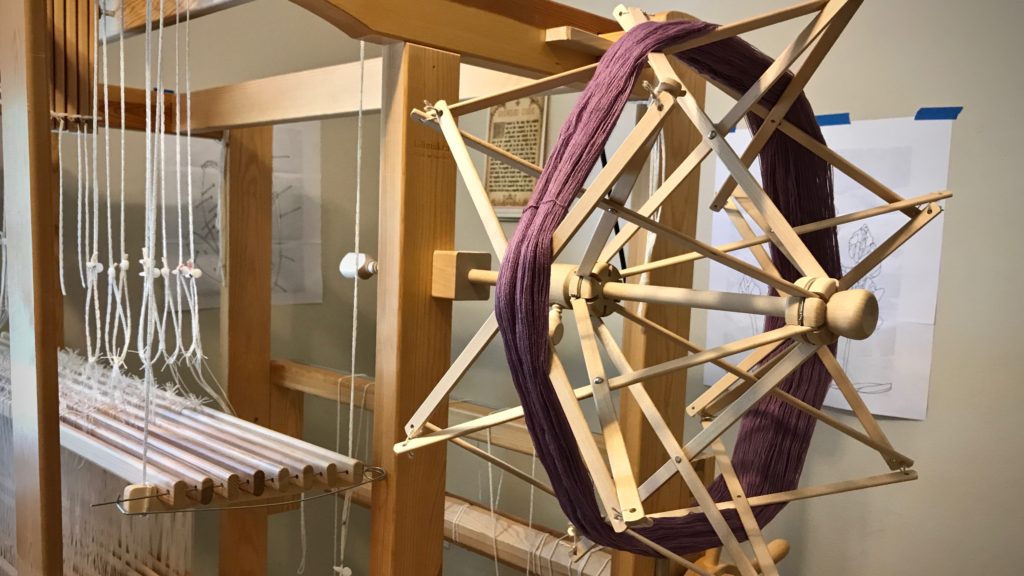
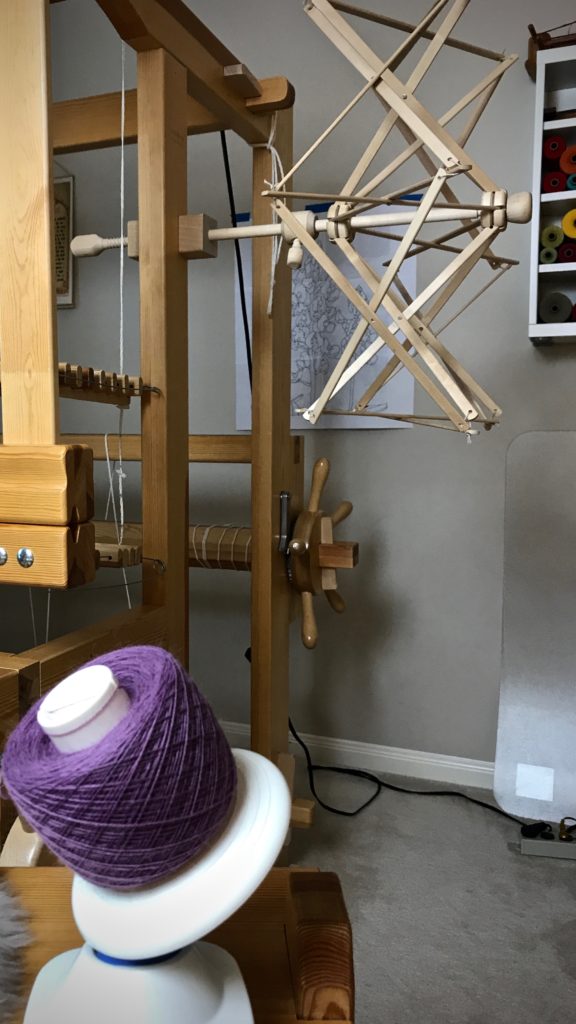
The umbrella swift earns the “Cool Tool” award! I have sixteen skeins of 20/2 Mora wool (as seen in Skeins of Colors). Before making them into little butterflies of color for a woven transparency, I am winding the skeins into balls. This means I get to use one of my favorite tools–the umbrella swift. My Glimåkra swift is simple to use and gives flawless results every time.

How to Use an Umbrella Swift

  • Attach the clamp of the umbrella swift to the side of the loom, or other secure structure, like a table. The swift functions vertically or horizontally. I prefer to position the swift horizontally so the yarn rolls off vertically. Also, I find it easier to hang the yarn on a horizontal swift than to place the yarn on a vertical swift, holding the yarn while expanding the umbrella.

How to use an umbrella swift. Tutorial.

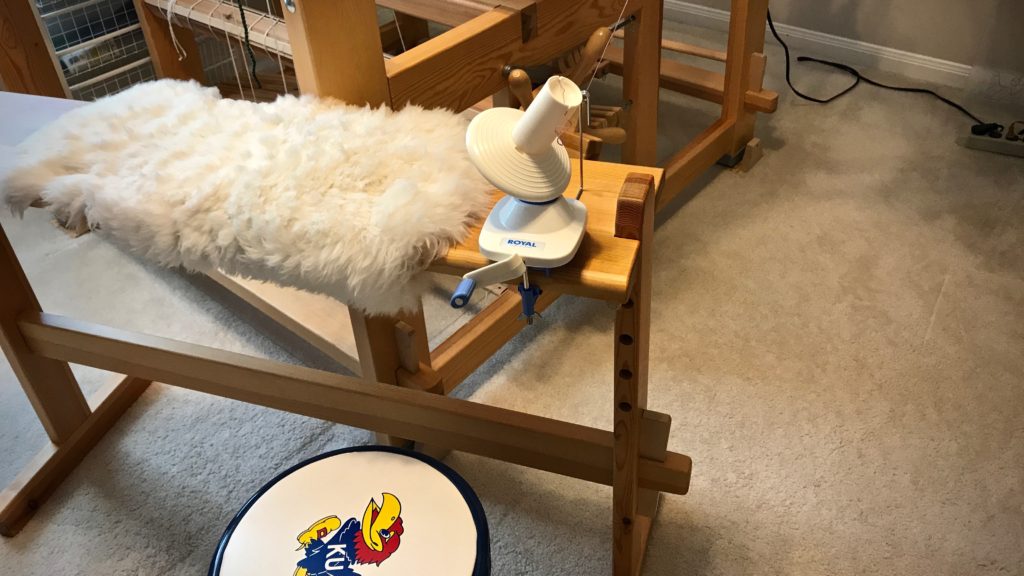
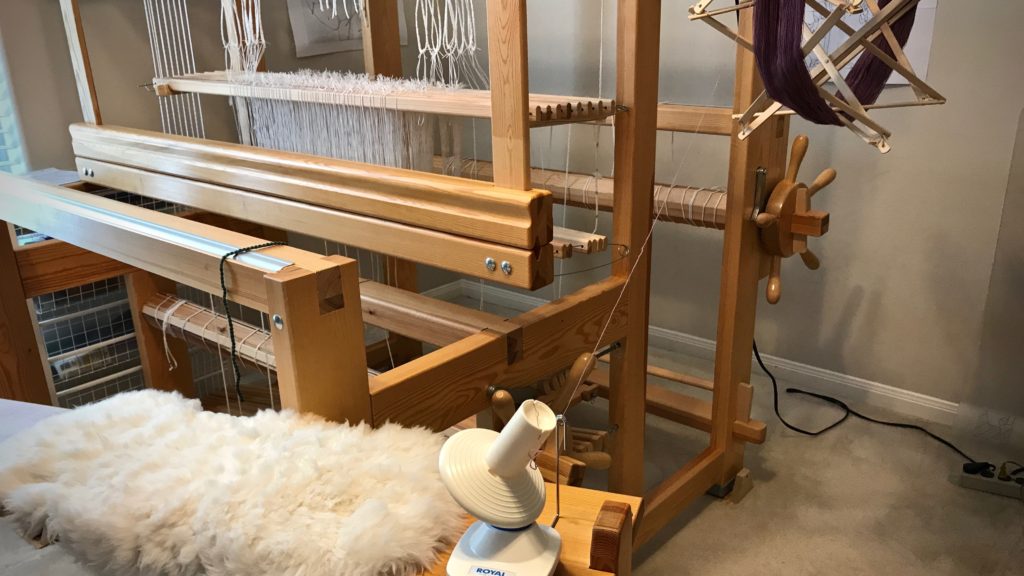
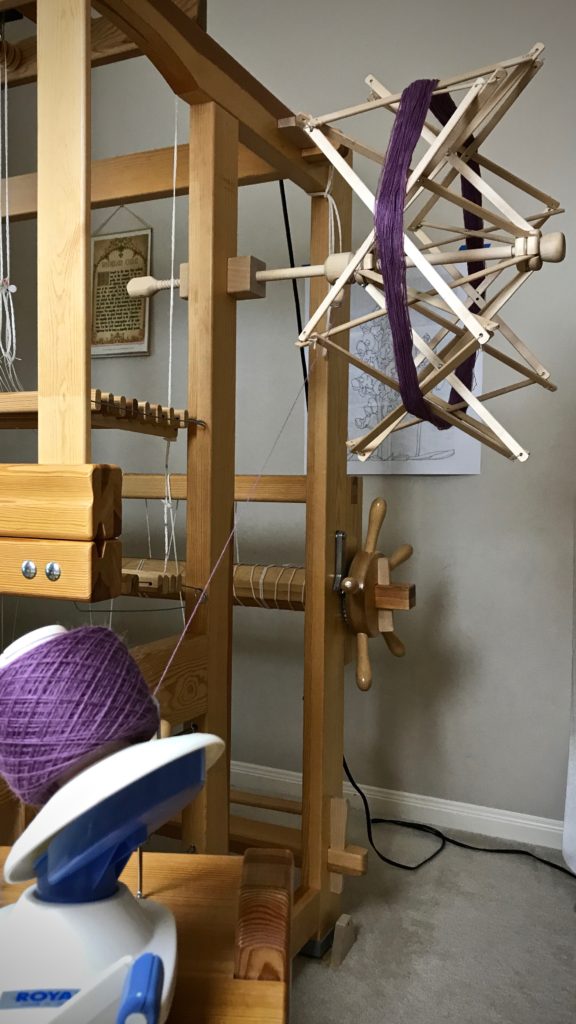
  • Position the yarn ball winder so that it is in line with the umbrella swift, a short distance away. I clamp the yarn ball winder to my loom bench, and sit on a small stool behind the bench.

Yarn ball winder in use with umbrella swift.

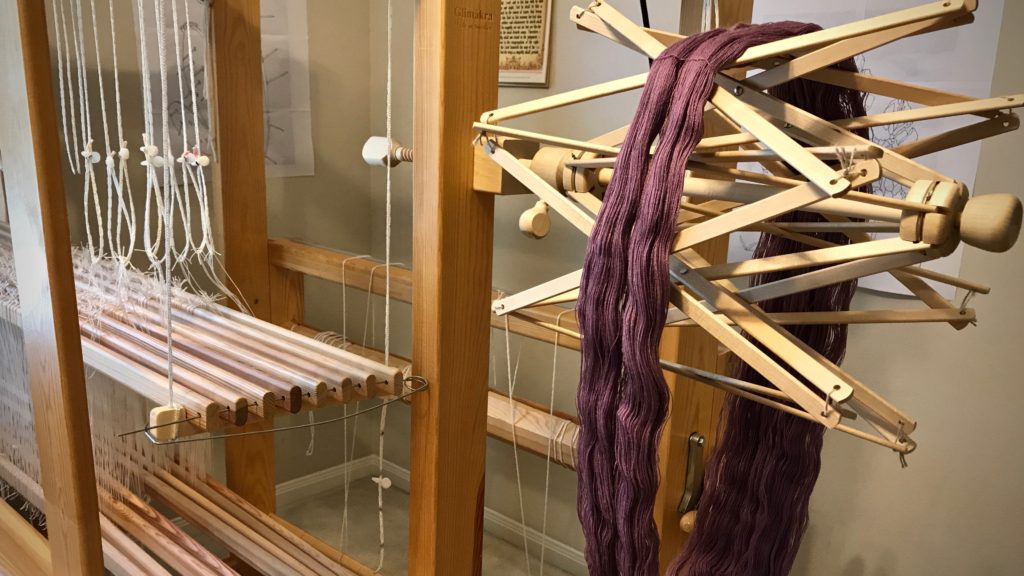
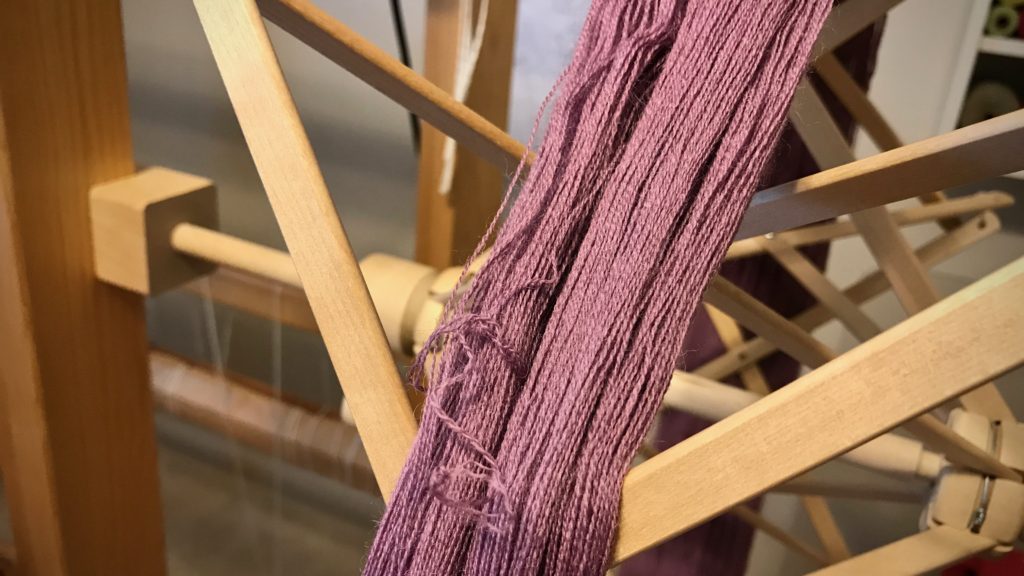
  • Remove the yarn skein’s label and put it aside. Carefully unfold and untwist the skein of yarn and open it out to a big circle. Place both arms through the center of the circle of yarn and snap your arms outward. Repeat the snapping action one or two more times, with the yarn repositioned about a quarter turn each time. This helps straighten out the yarn for placing it on the swift.
  • Lower the “umbrella” of the swift by loosing the screw and pulling the bottom screw-piece toward the clamp. Place the opened and prepared skein of yarn around the swift.

Placing the skein on an umbrella swift. How to.

  • Push open the “umbrella.” Spread it open just far enough to hold the yarn taut. Tighten the screw to keep the swift in that position.

How to use an umbrella swift for weaving yarn.

  • Find the place(s) on the skein where the skein has been tied, and untie the knot(s). Identify the end of the yarn that is on the outer side of the skein and connect that end to the yarn ball winder. For consistency among multiple skeins of yarn, I have the umbrella swift turn in the same direction for each one, with the yarn unwinding from the top of the swift.

Putting skein of yarn on umbrella swift.

  • Turn the yarn ball winder until all the yarn has been unwound from the swift.

Set up for using umbrella swift. Tips.

Winding ball of yarn from umbrella swift.

Winding ball of yarn from umbrella swift.

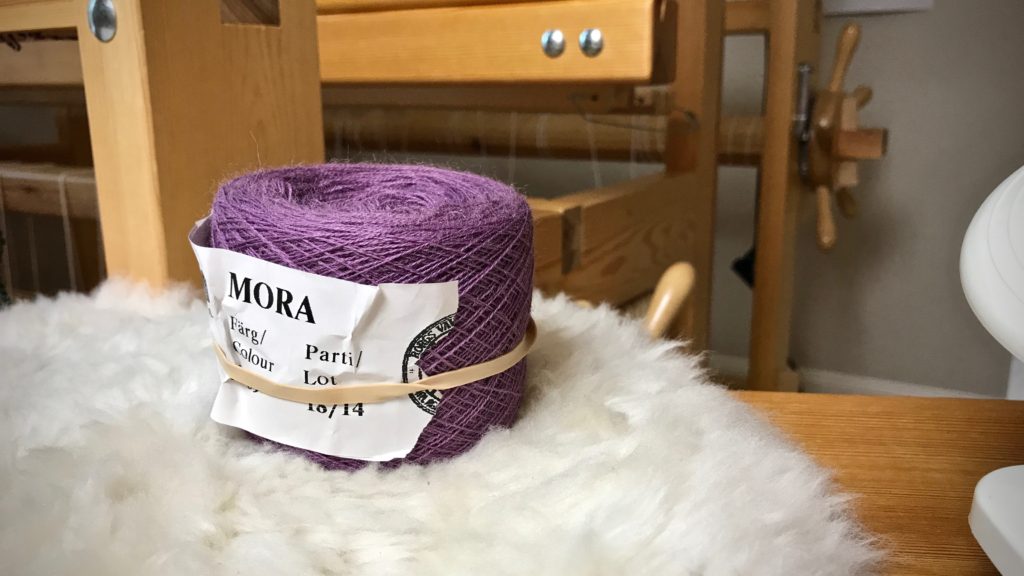
  • Remove the yarn ball from the yarn ball winder and wrap the skein’s label on the new yarn ball.

New ball of yarn thanks to umbrella swift.

  • Collect the new balls of yarn and play with the colors in your imagination.

Mora wool. Getting ready for woven transparency!

May you take pleasure in your work of preparation.

All the best,
Karen