Second Half of the Rug

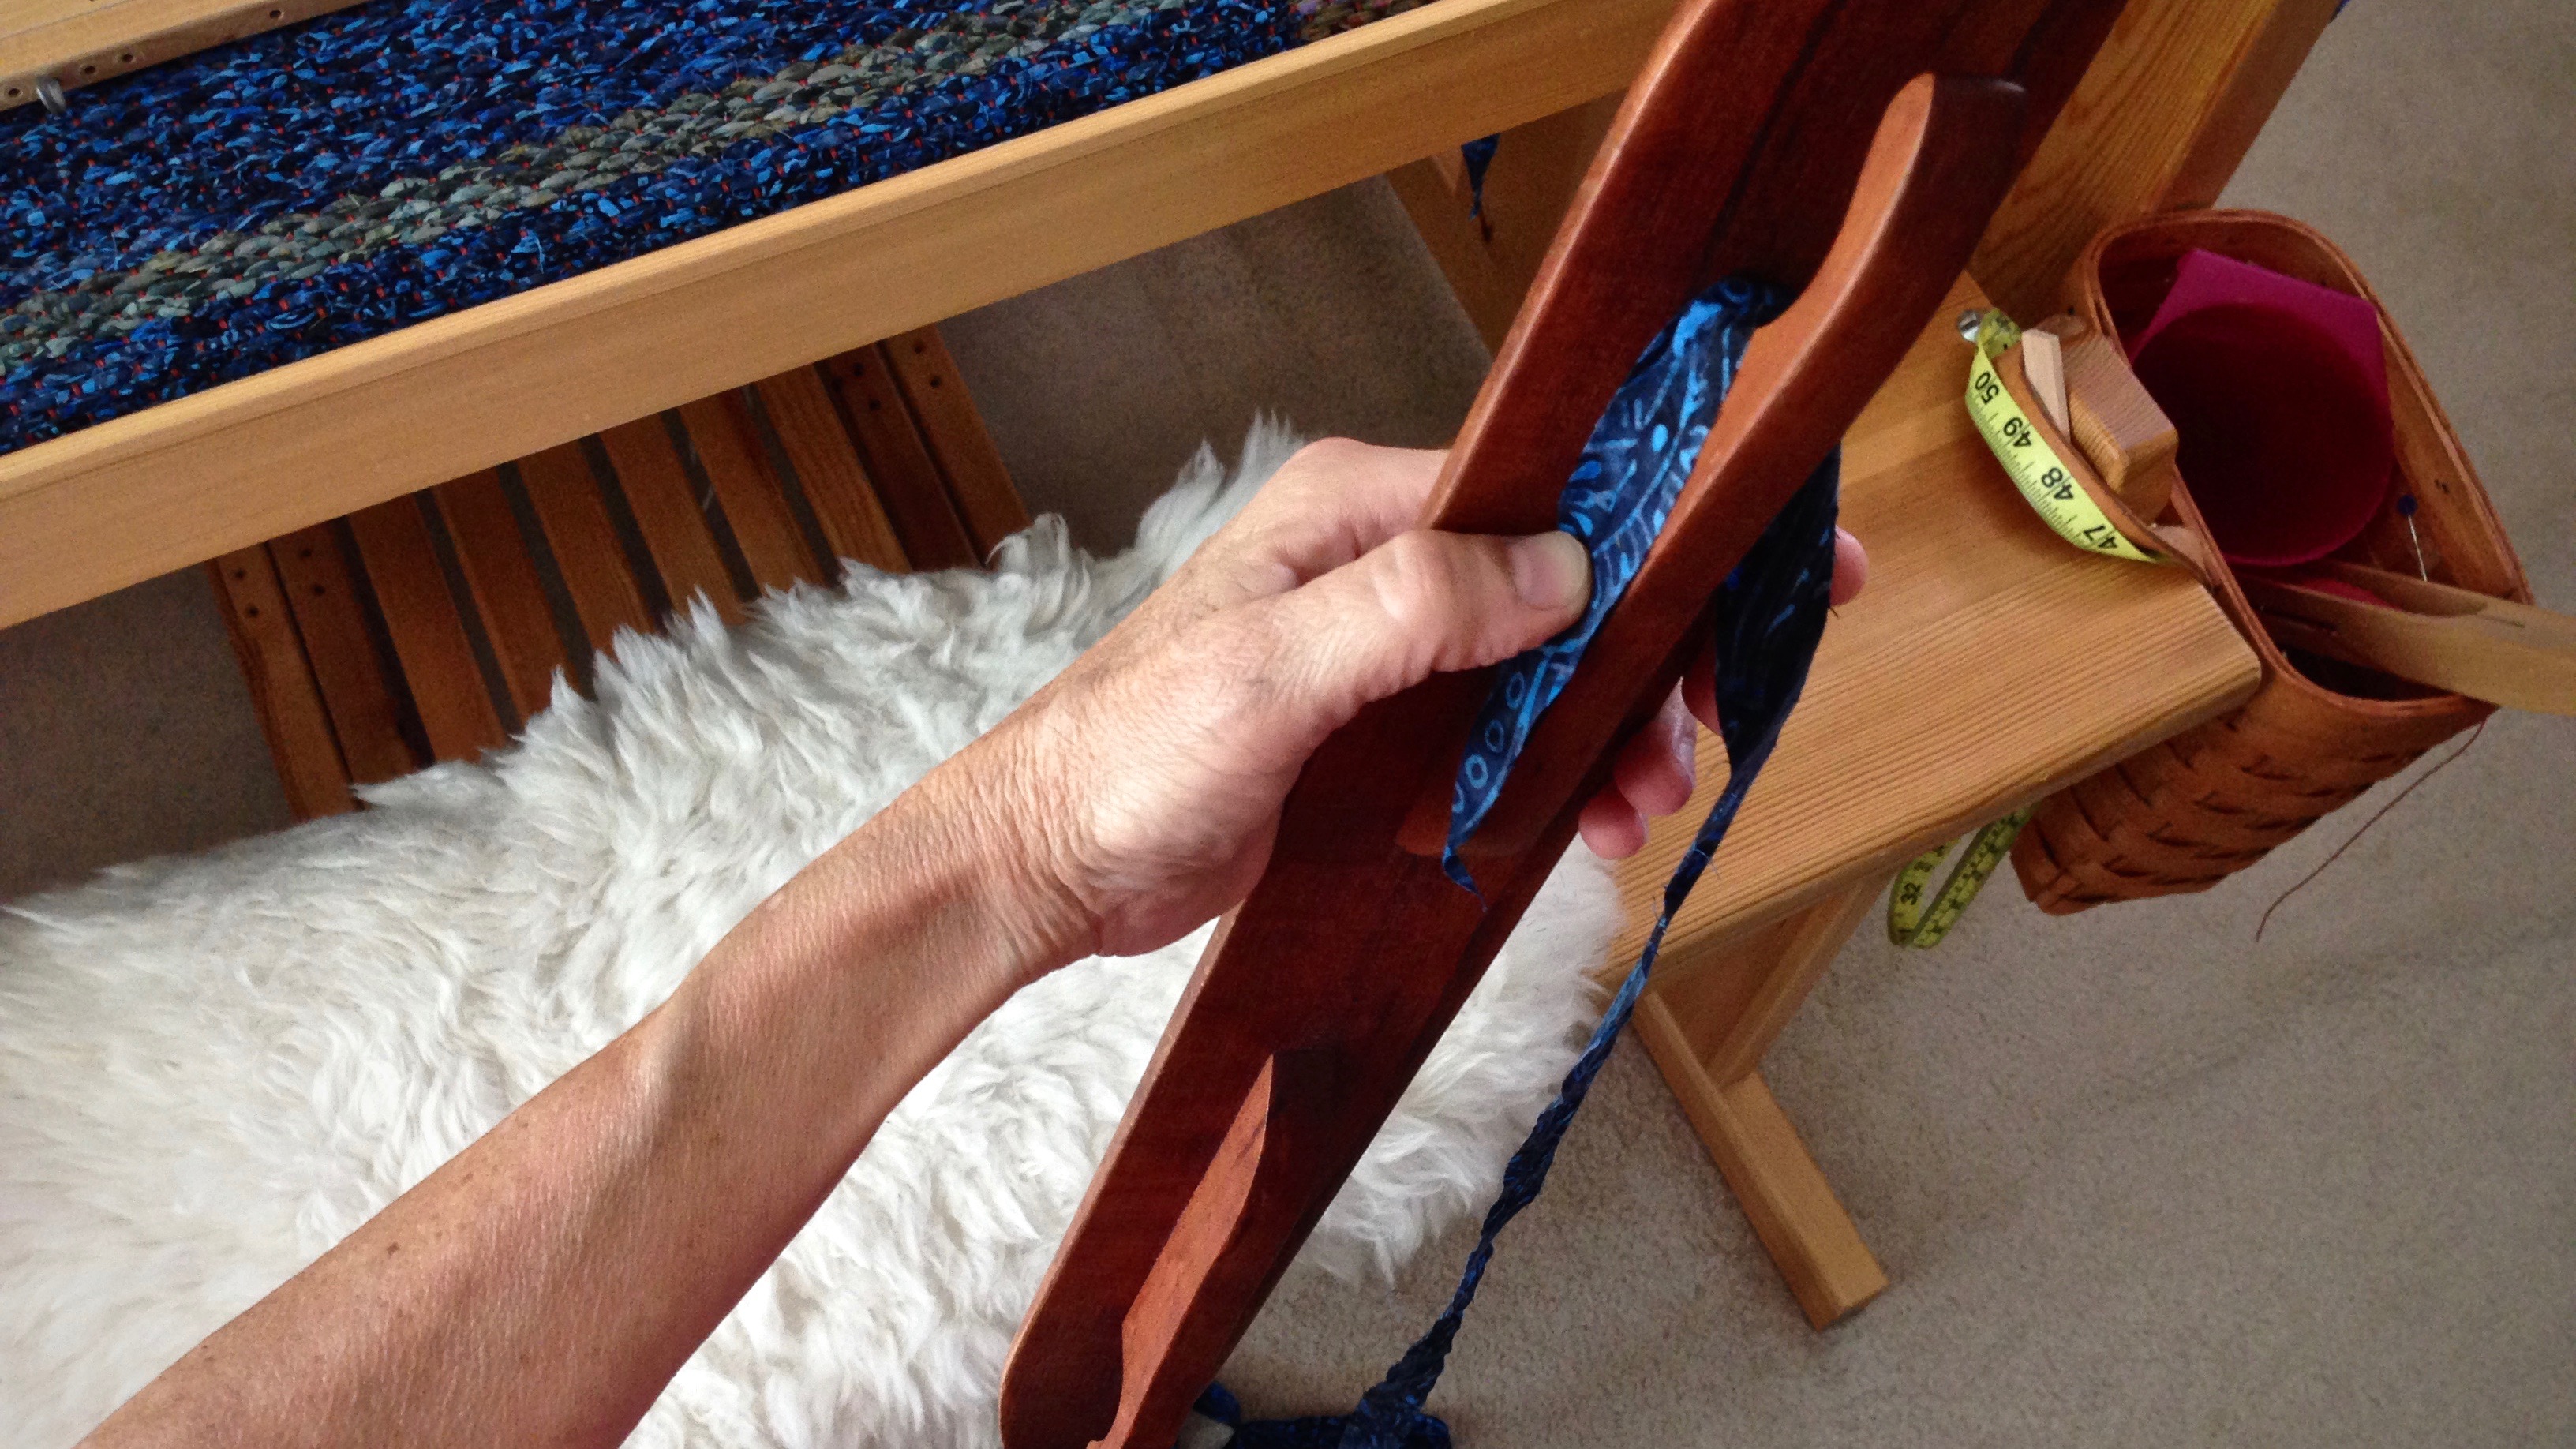
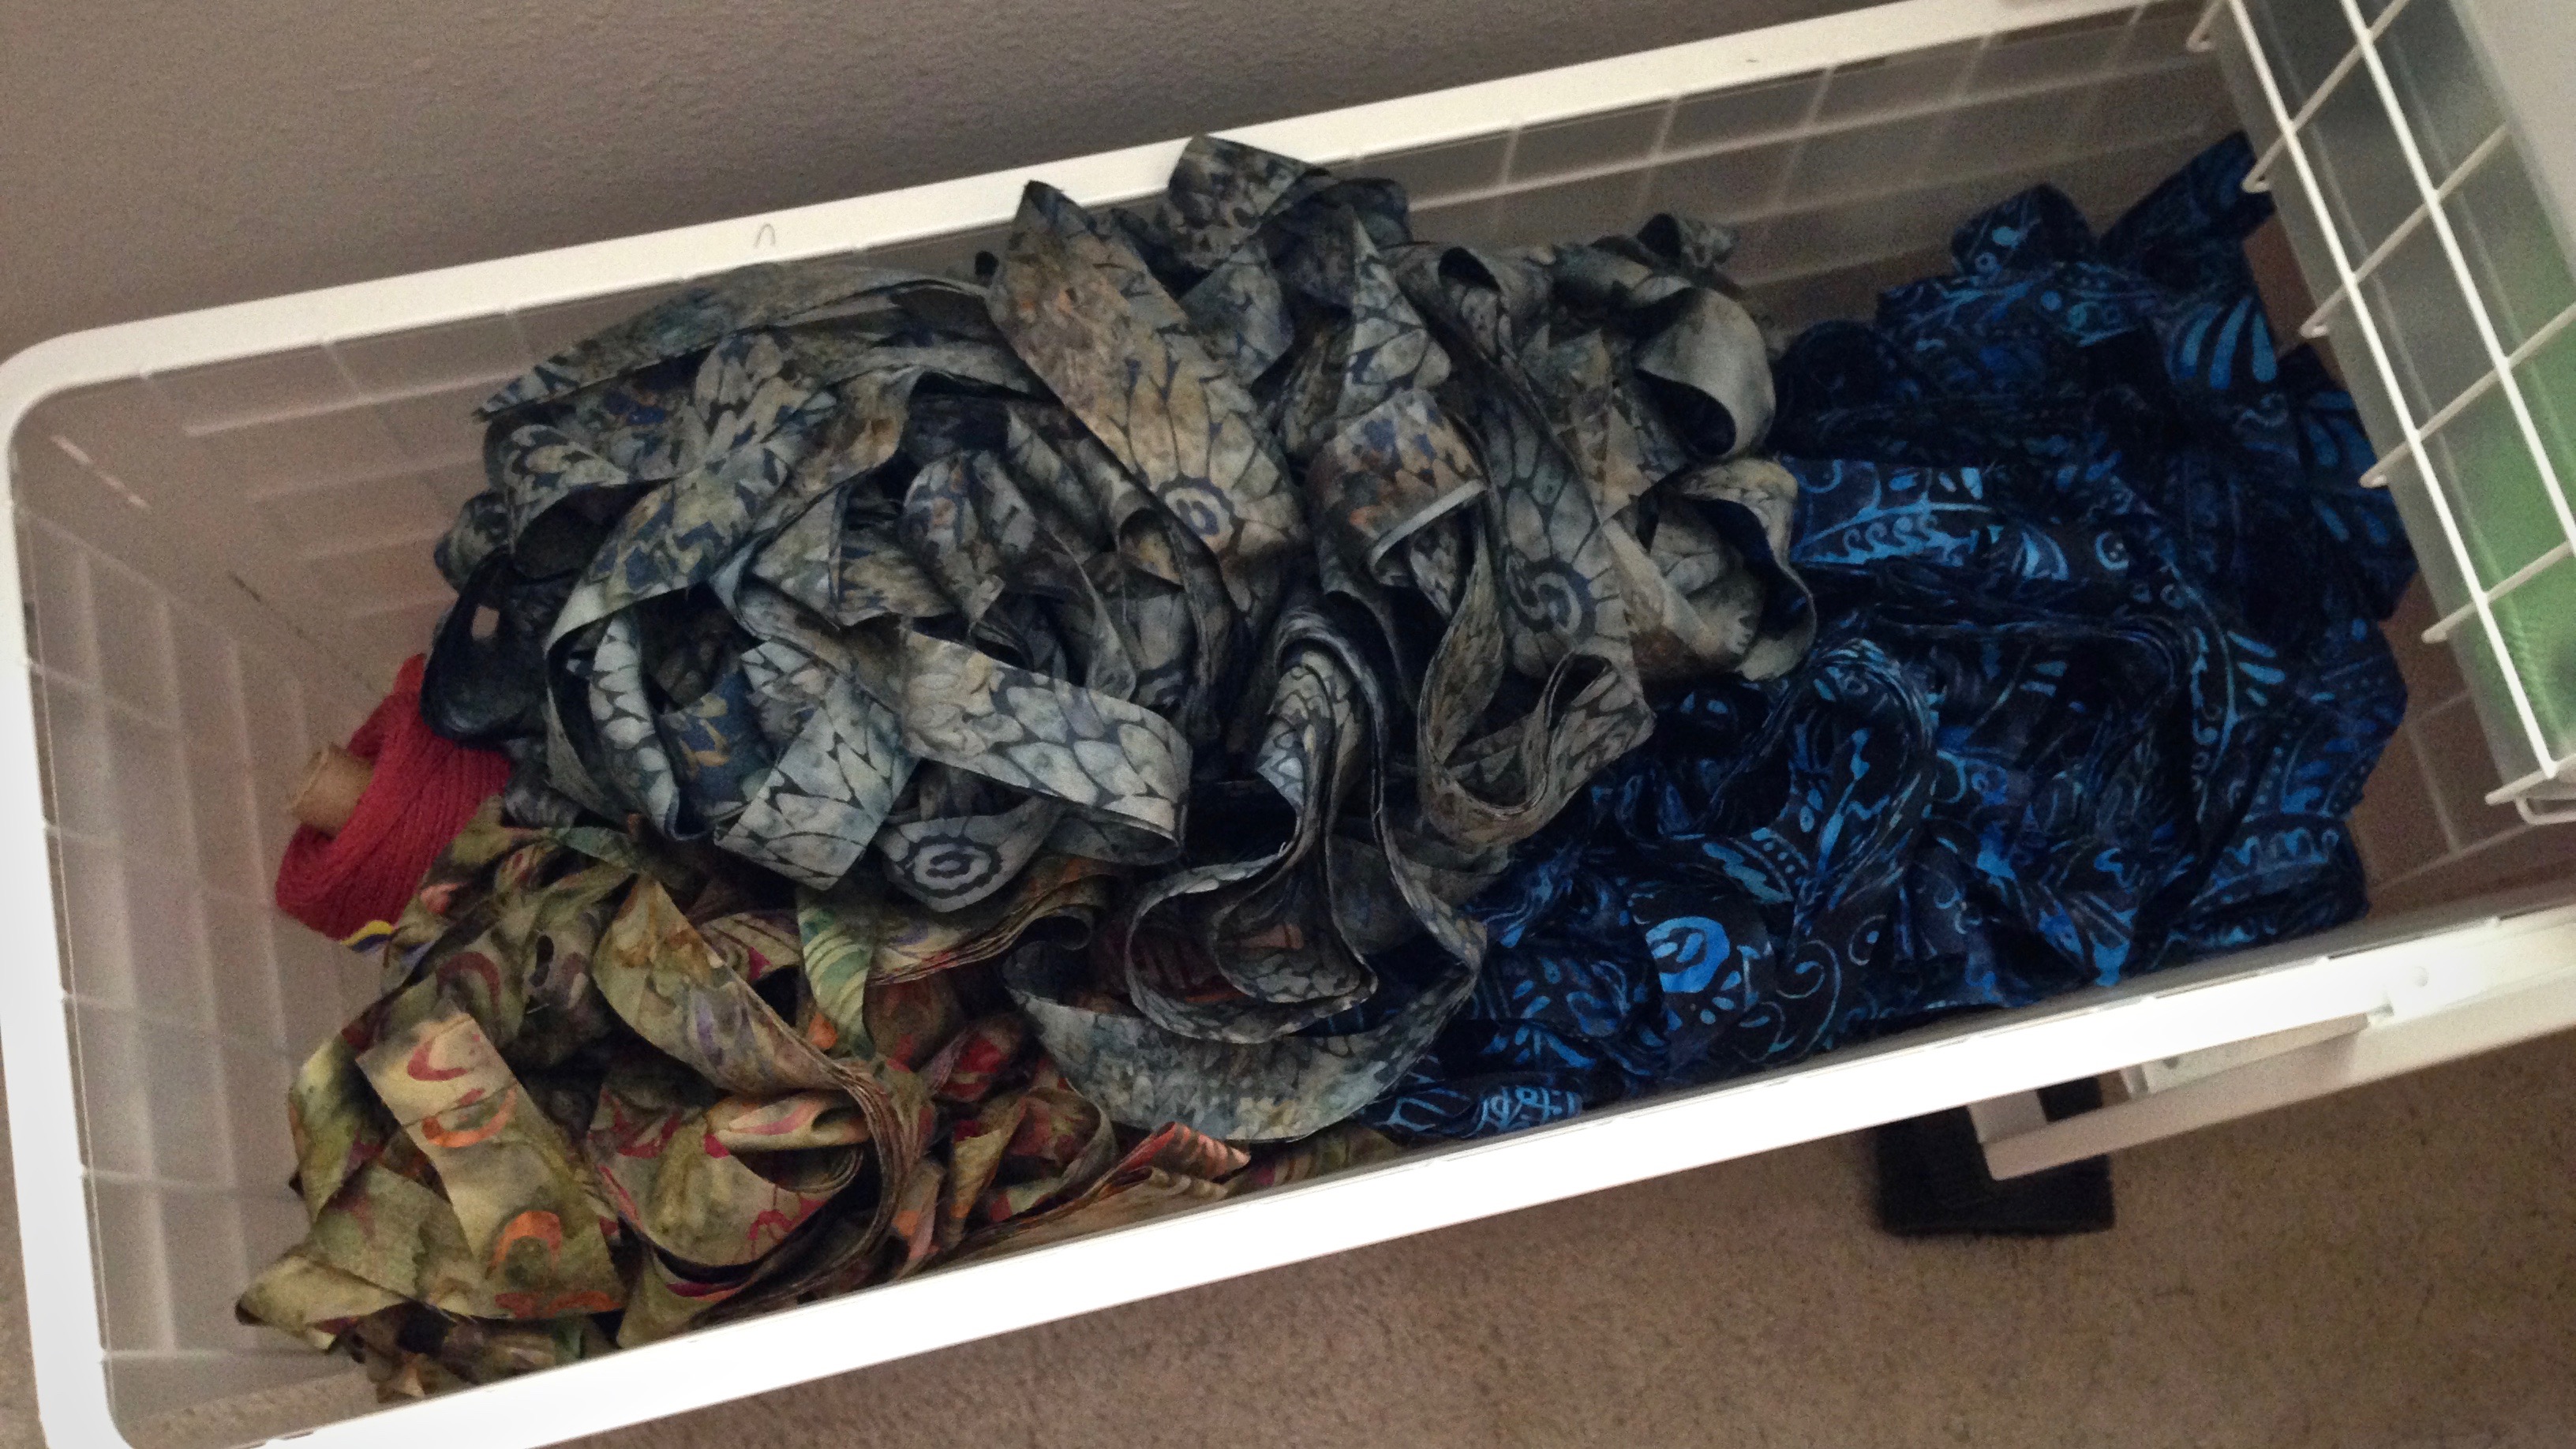
I have five yards of the blue fabric, and no more. I’m in a pickle if the blue runs out. The pile of blue is dwindling fast. No worries. Two simple habits resolve the issue. I don’t have to wonder if I will have enough blue to finish the rug.

Double binding rag rug on Glimakra Standard loom.
Almost out of blue fabric for the first half of the rug.

My secret?
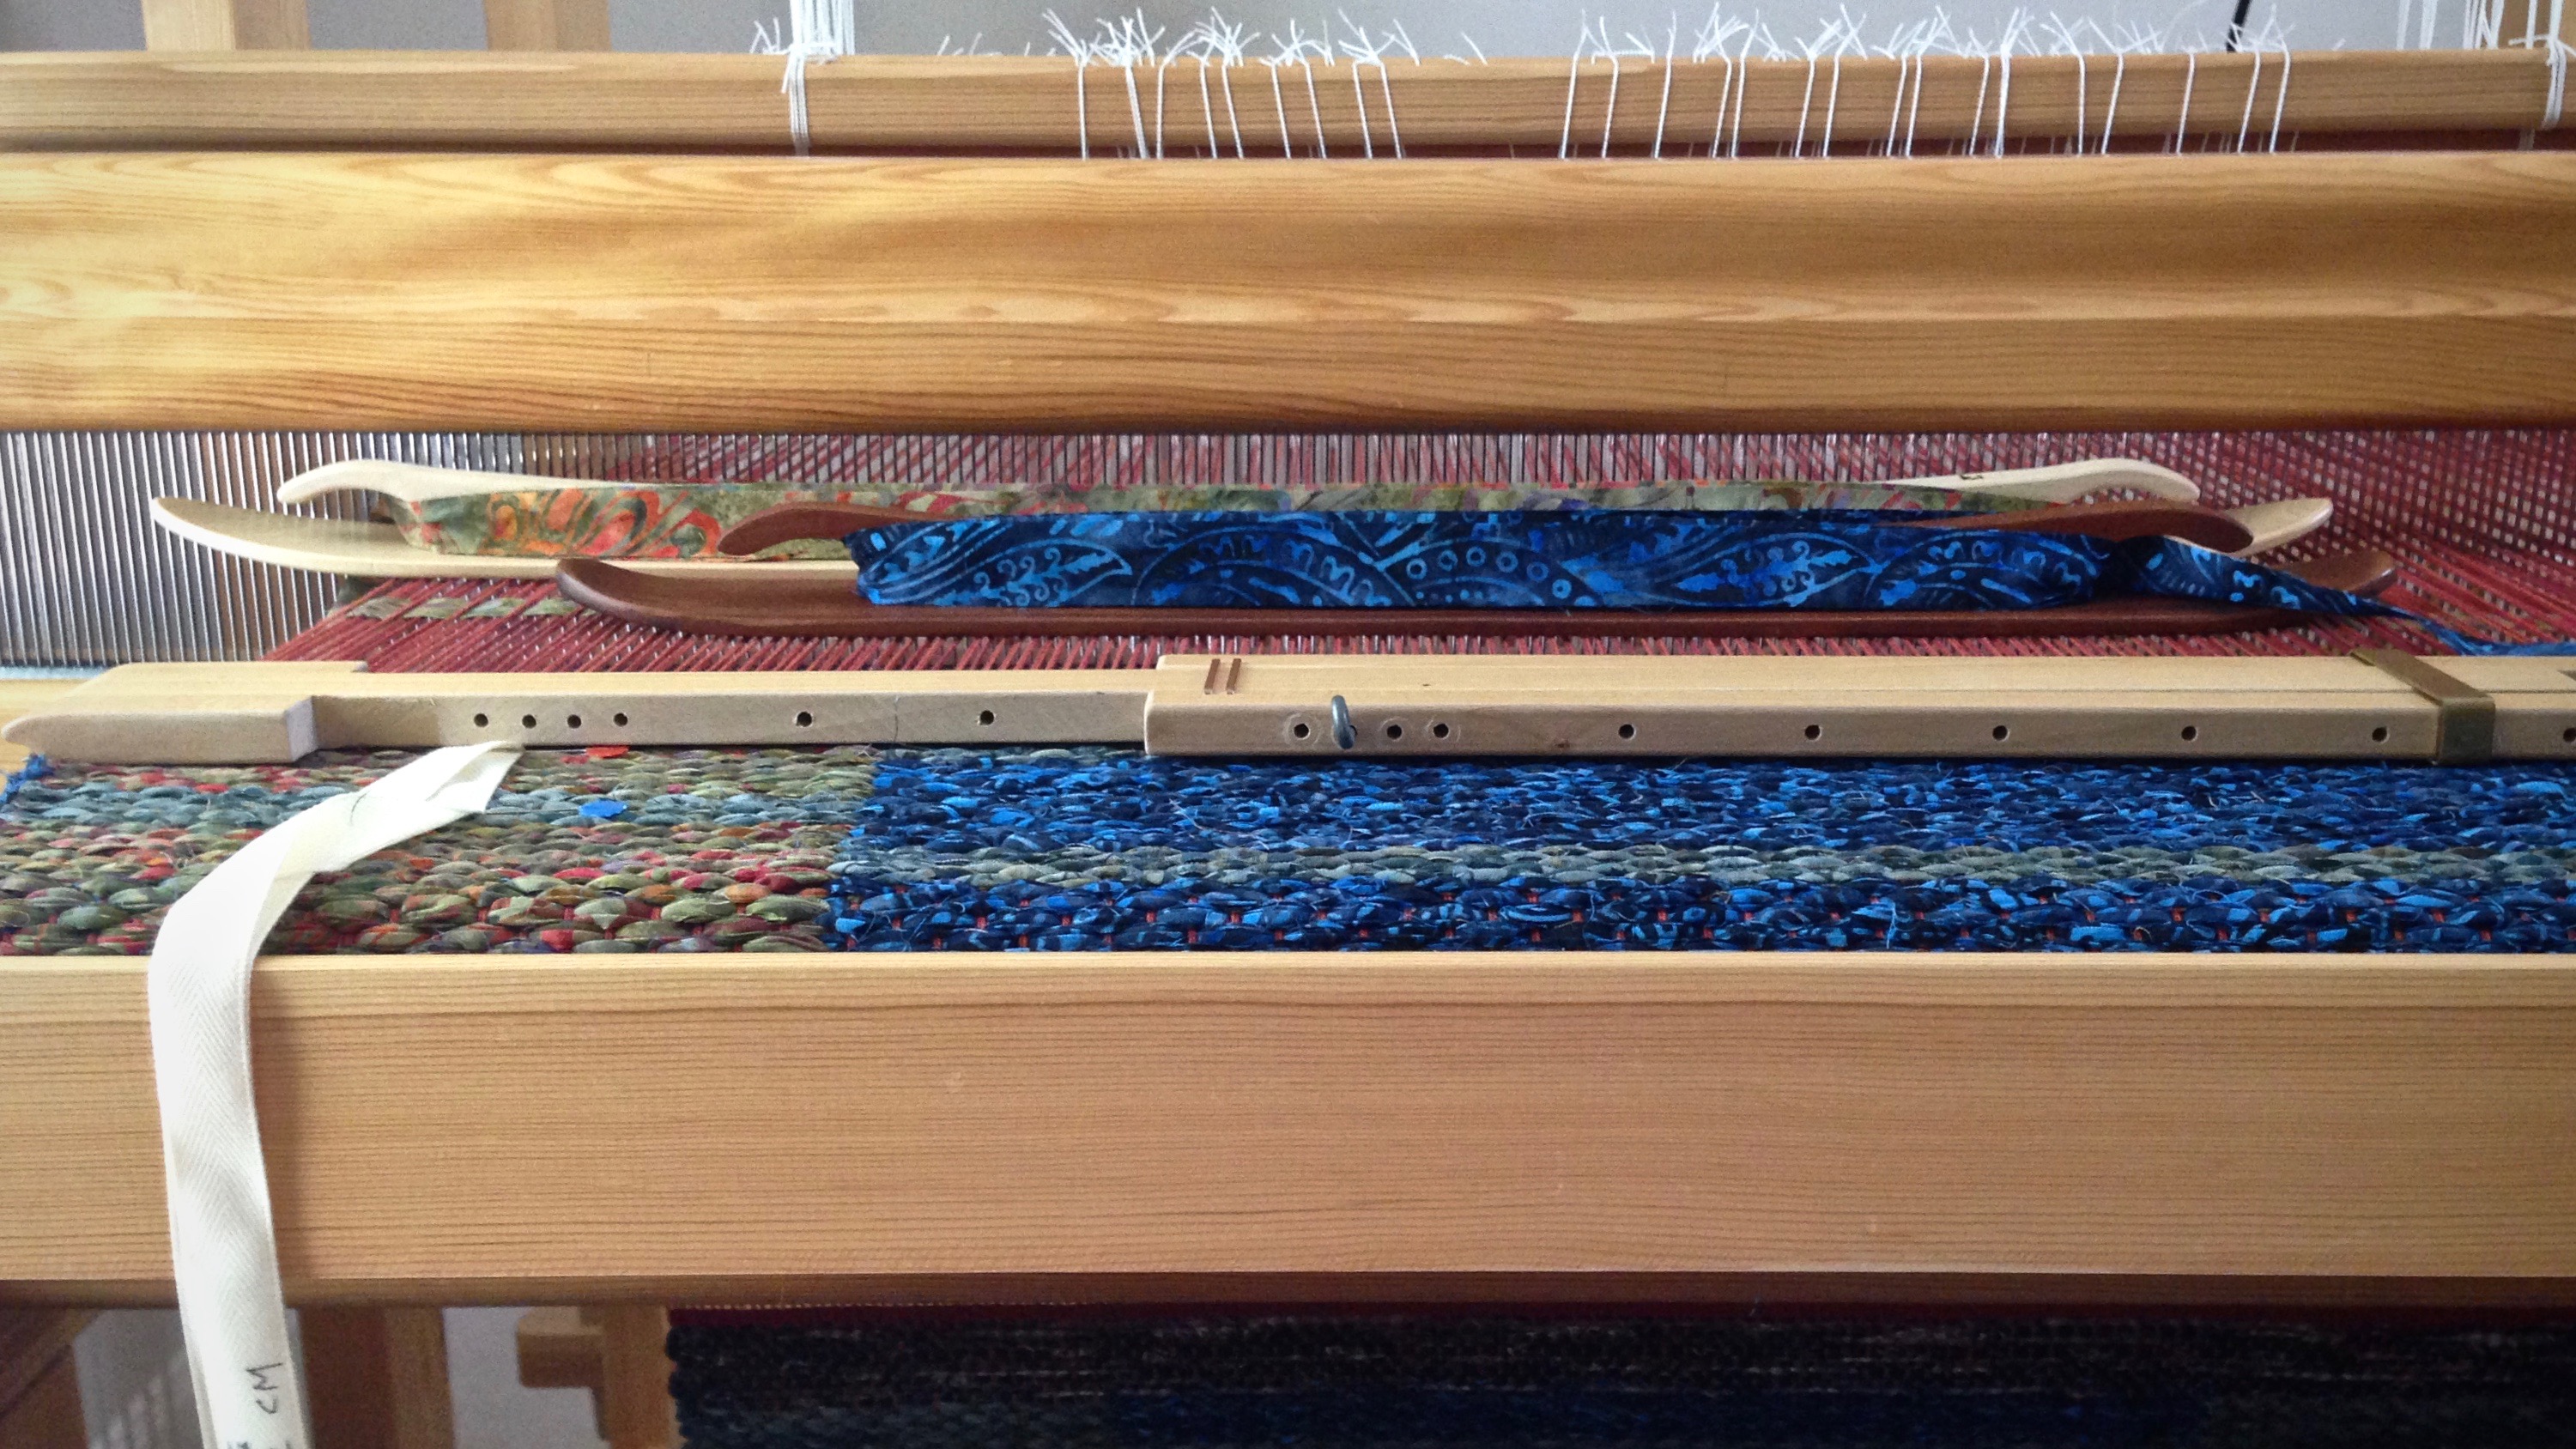
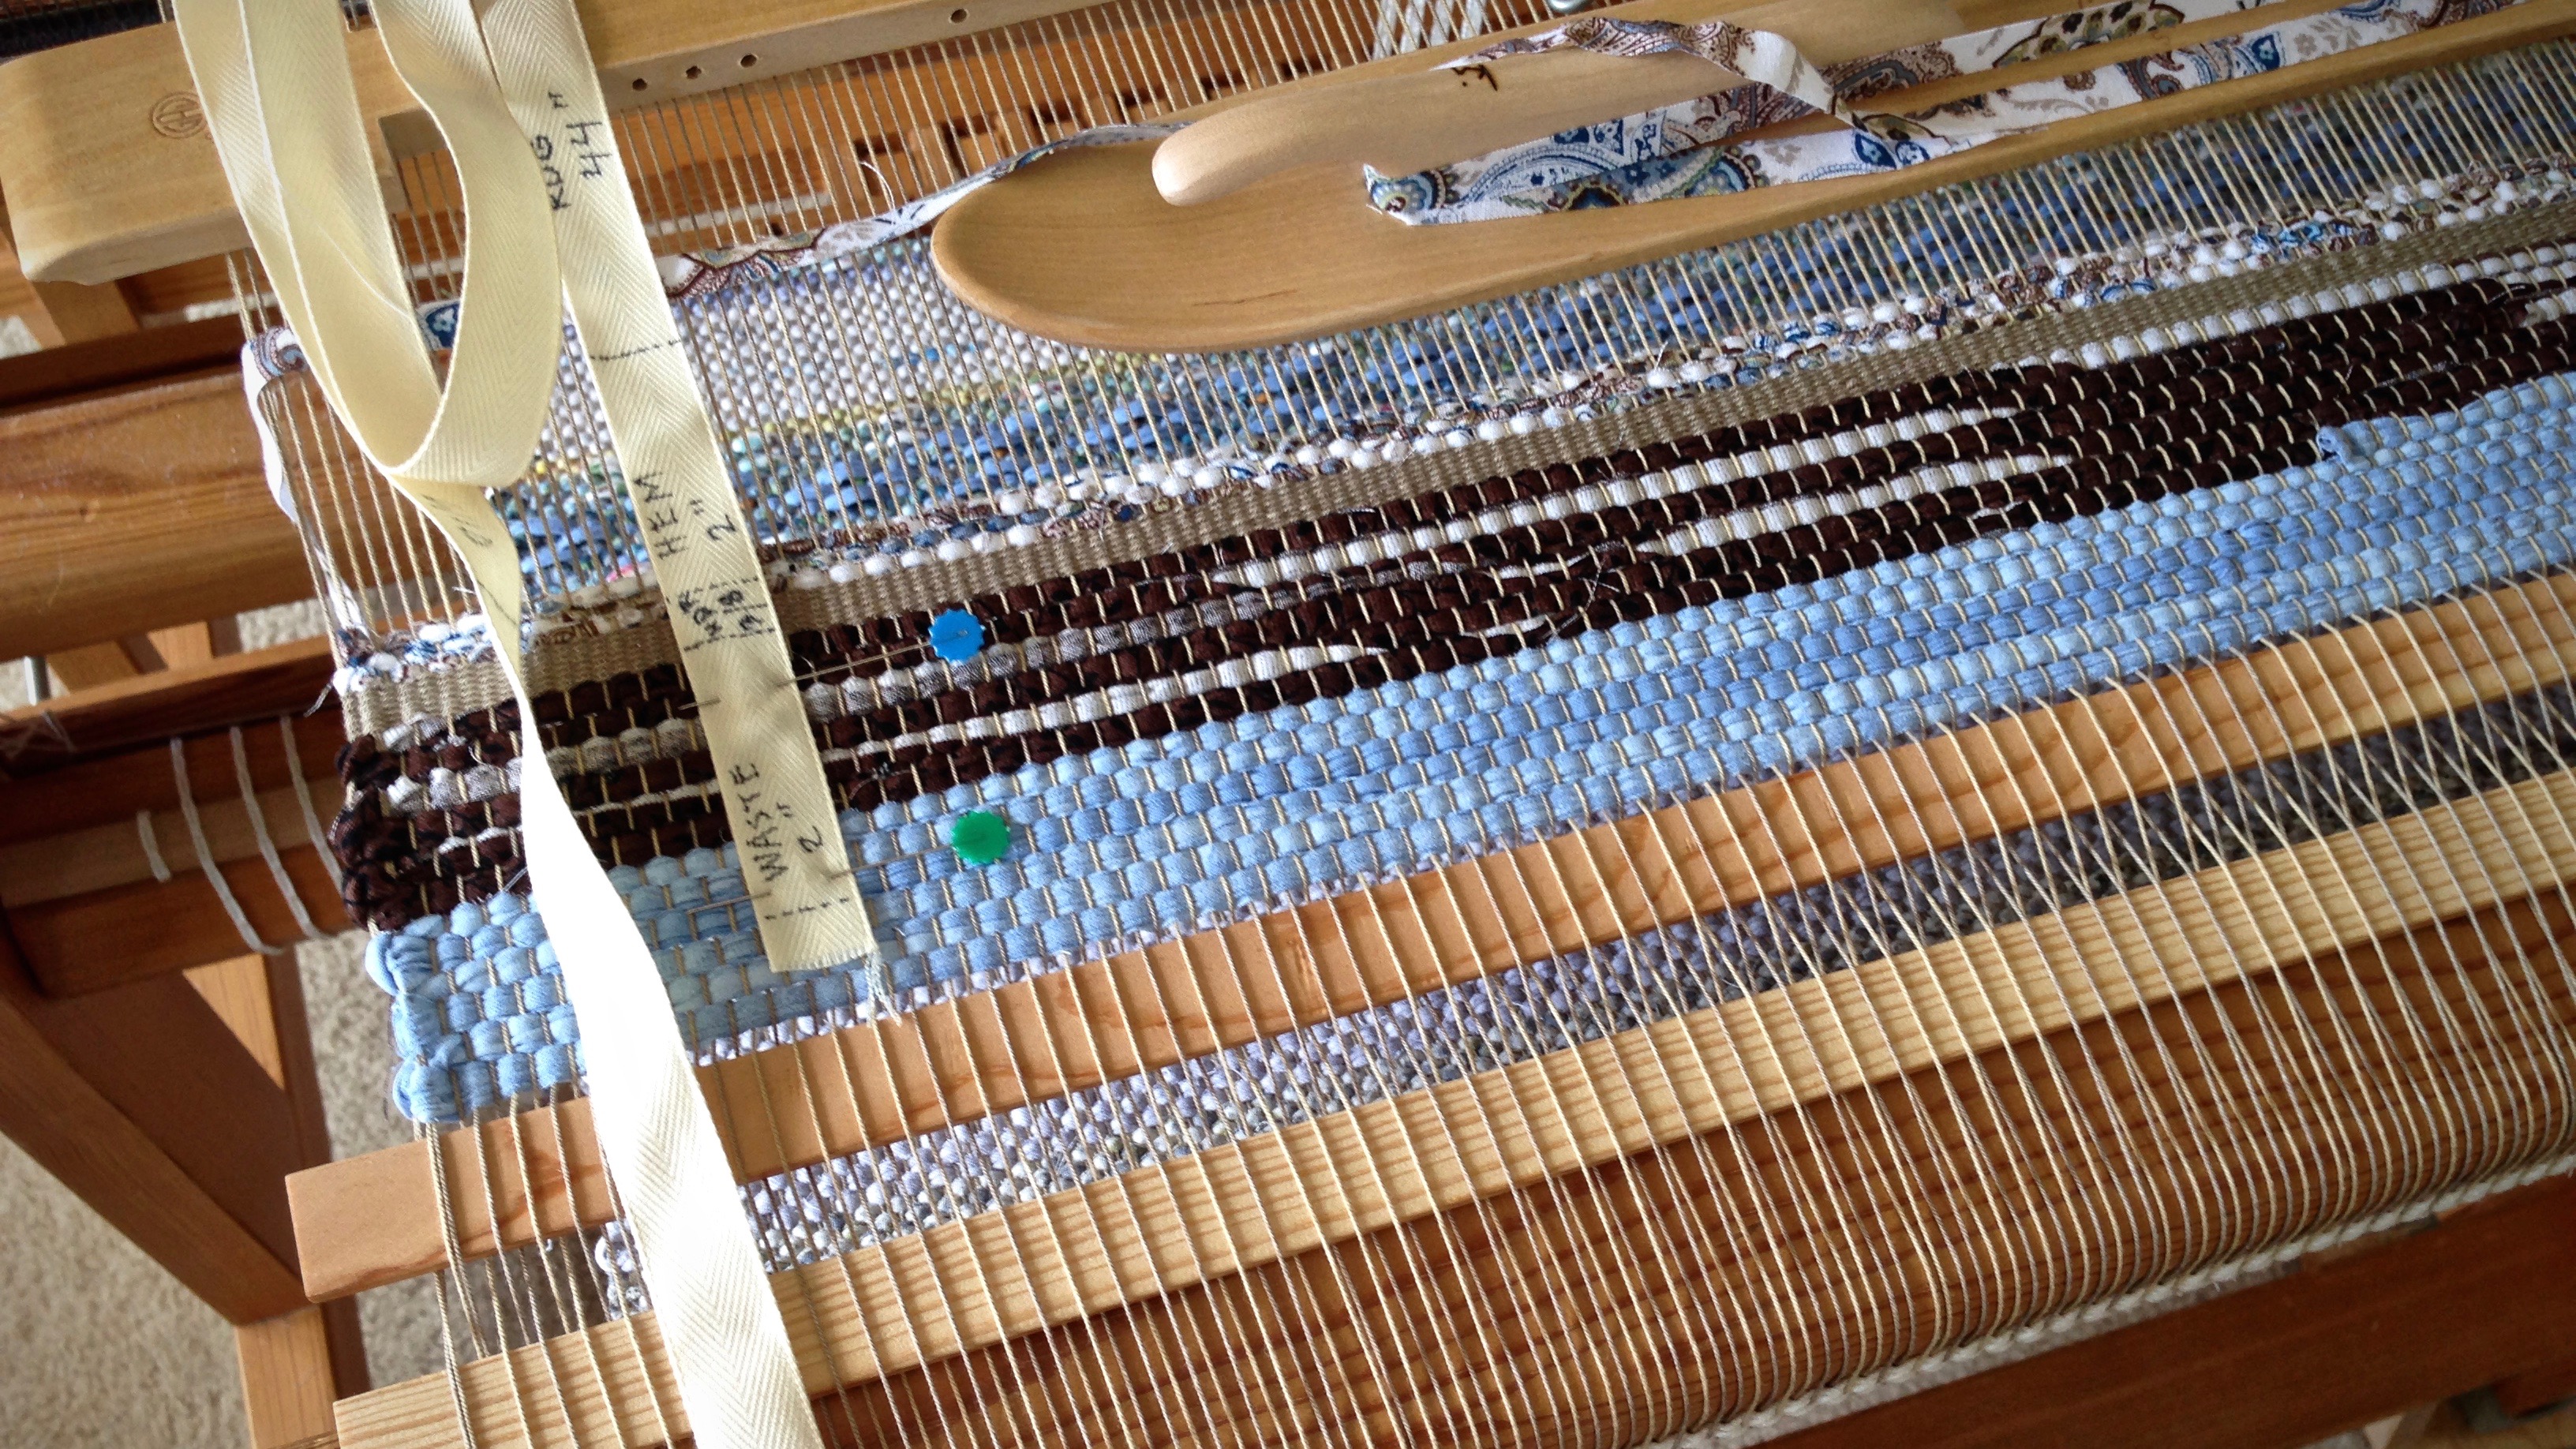
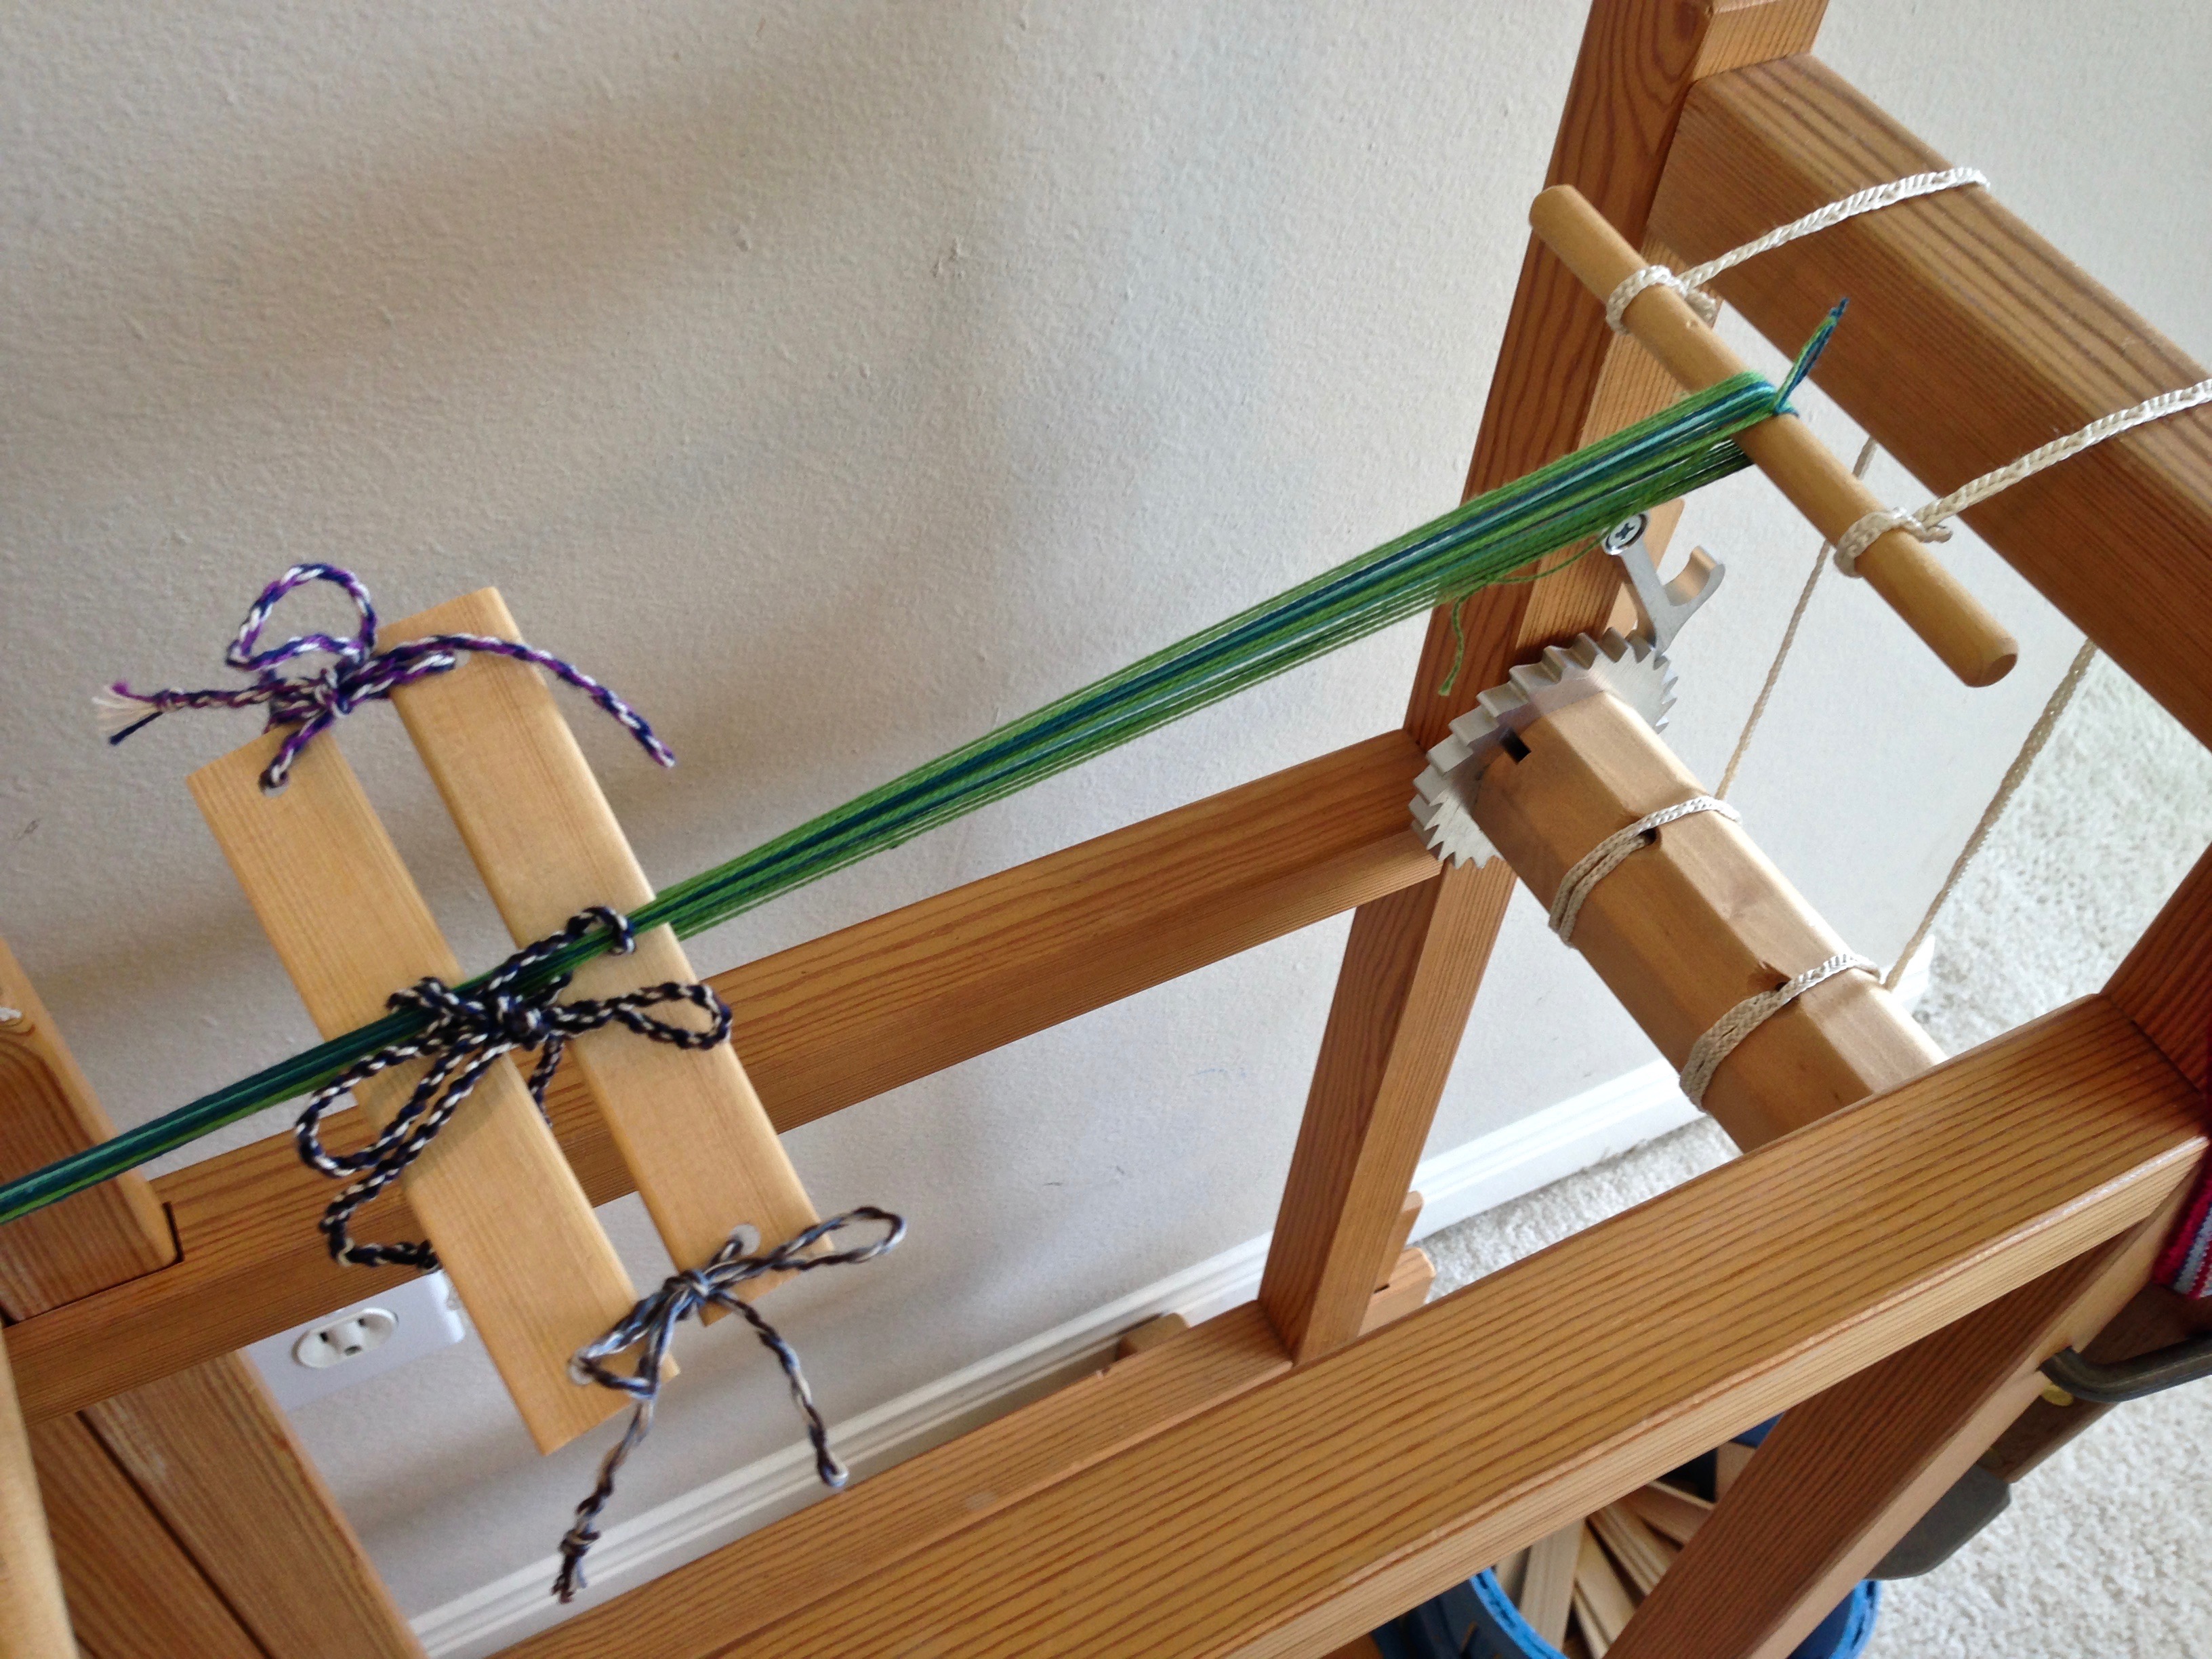
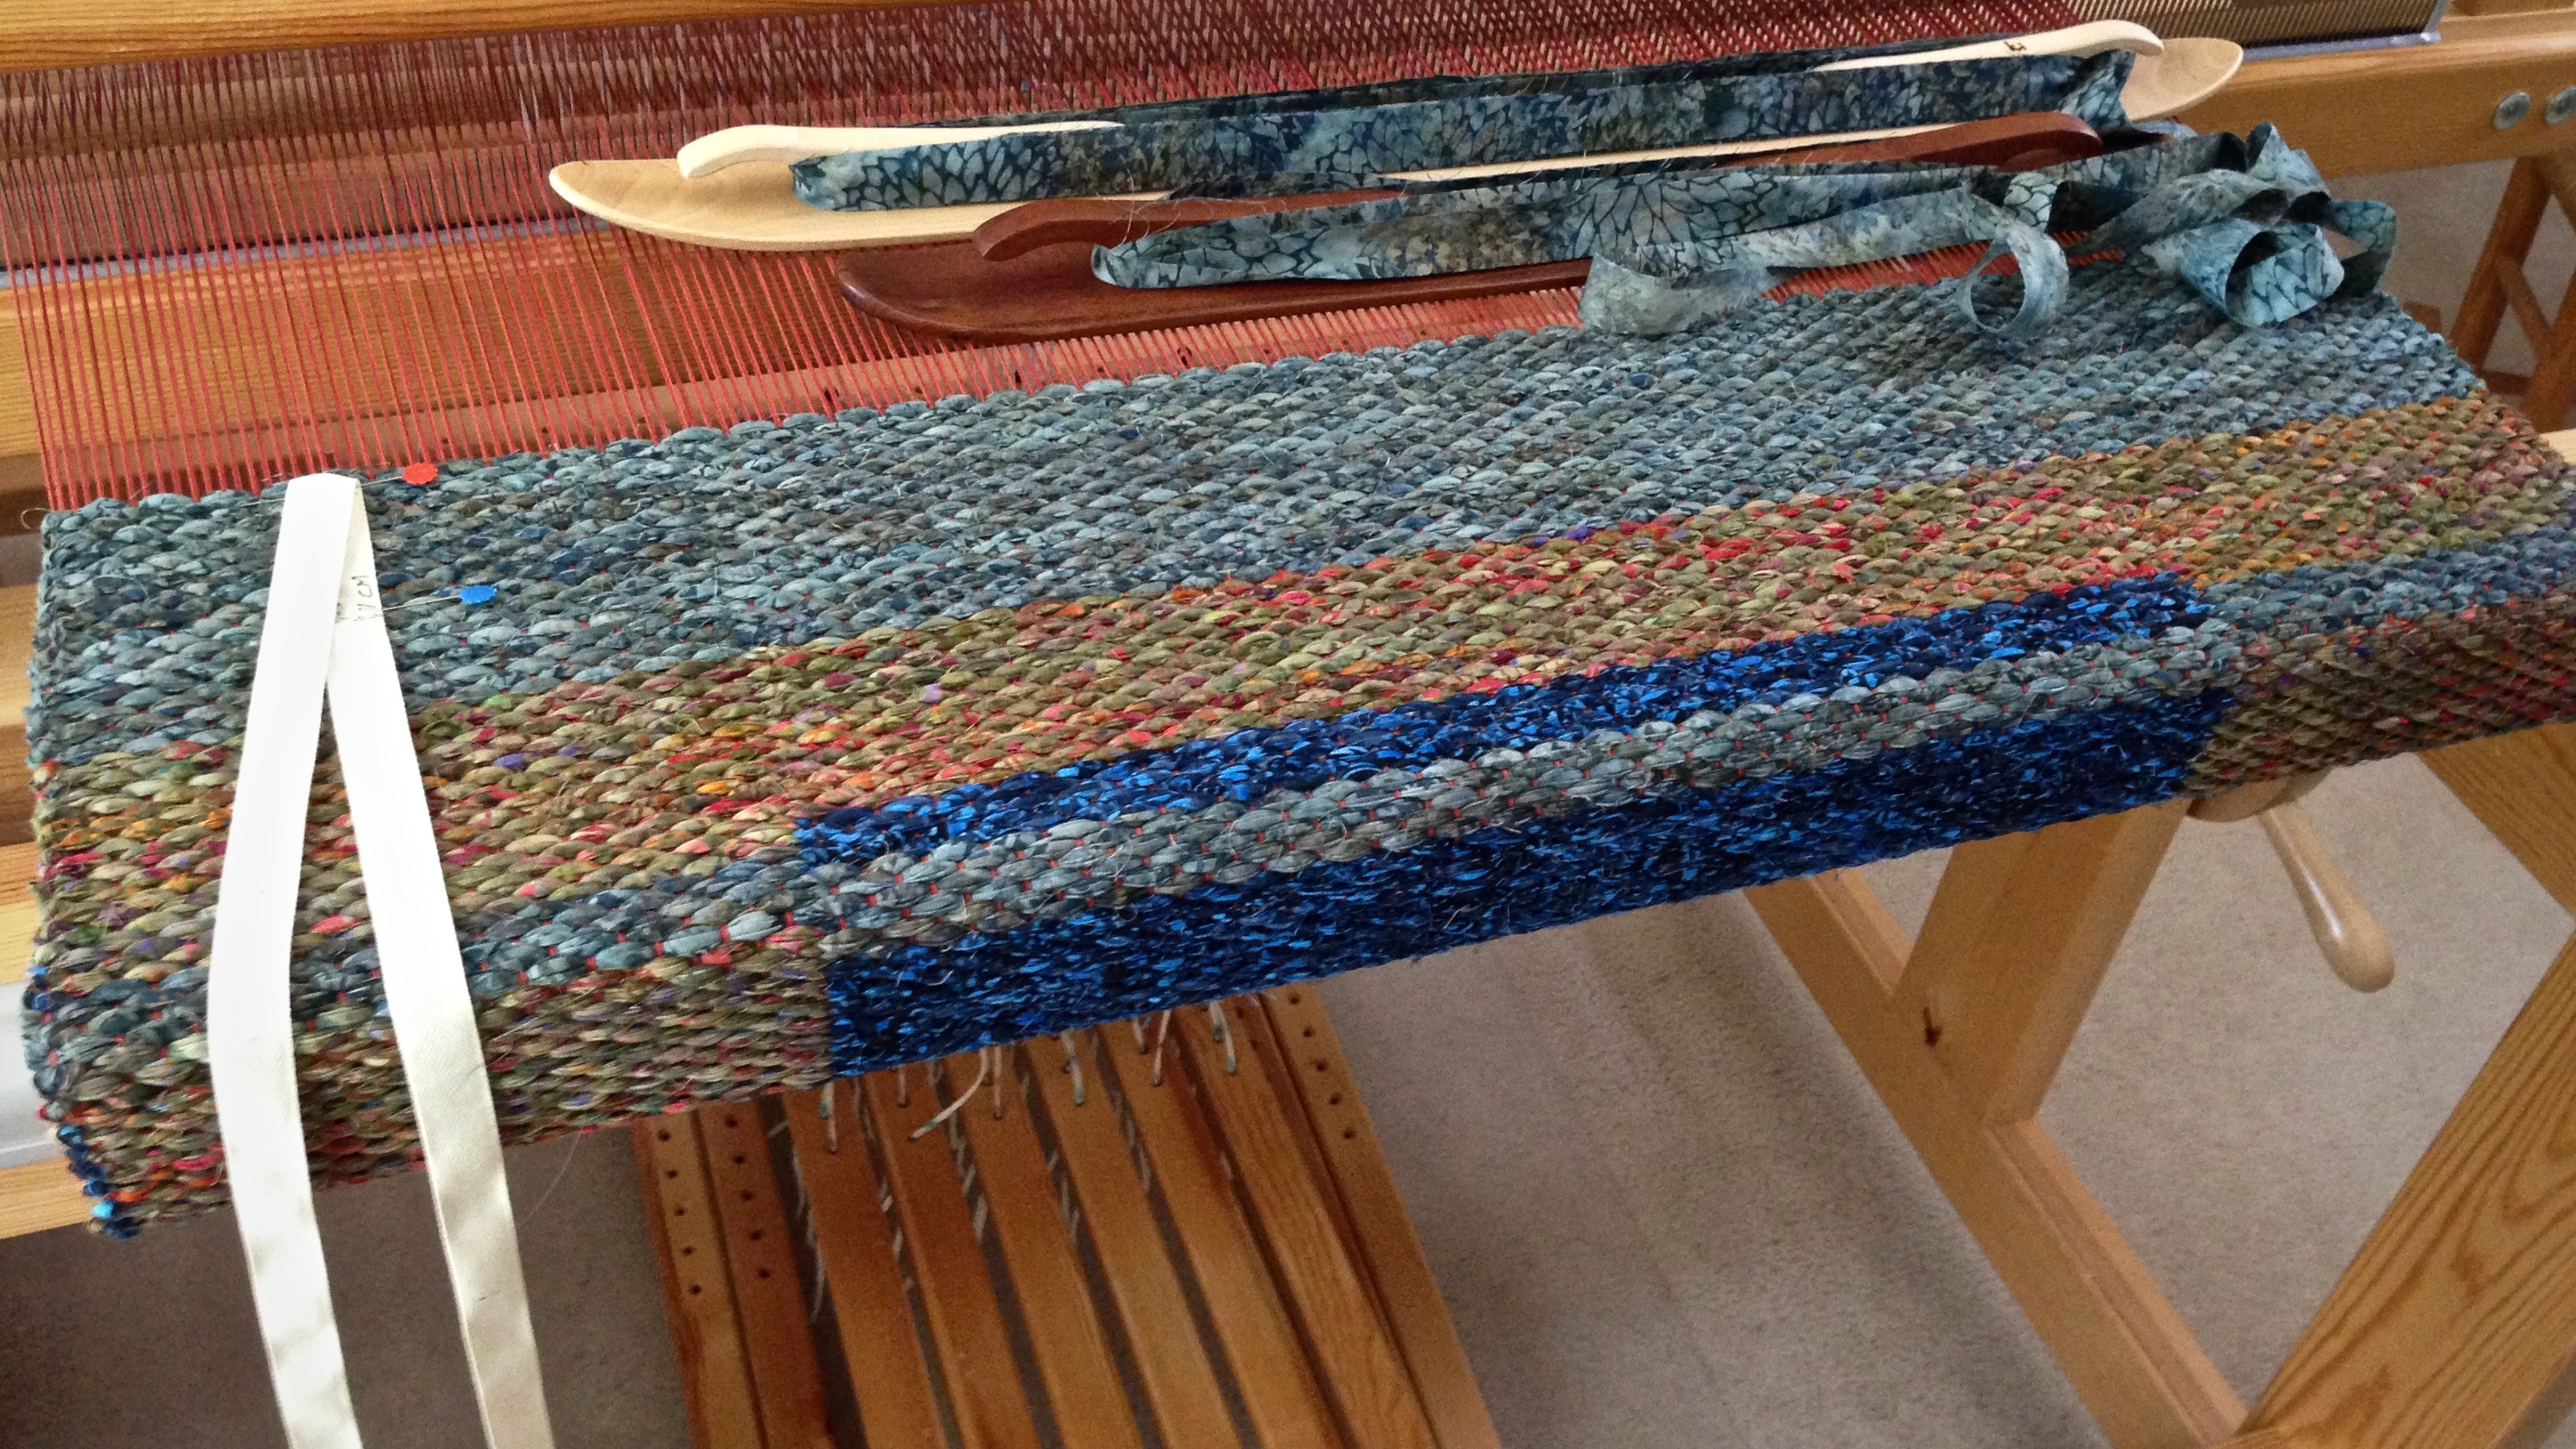
1. Mark the halfway point on the measuring ribbon. This gives a point of reference.
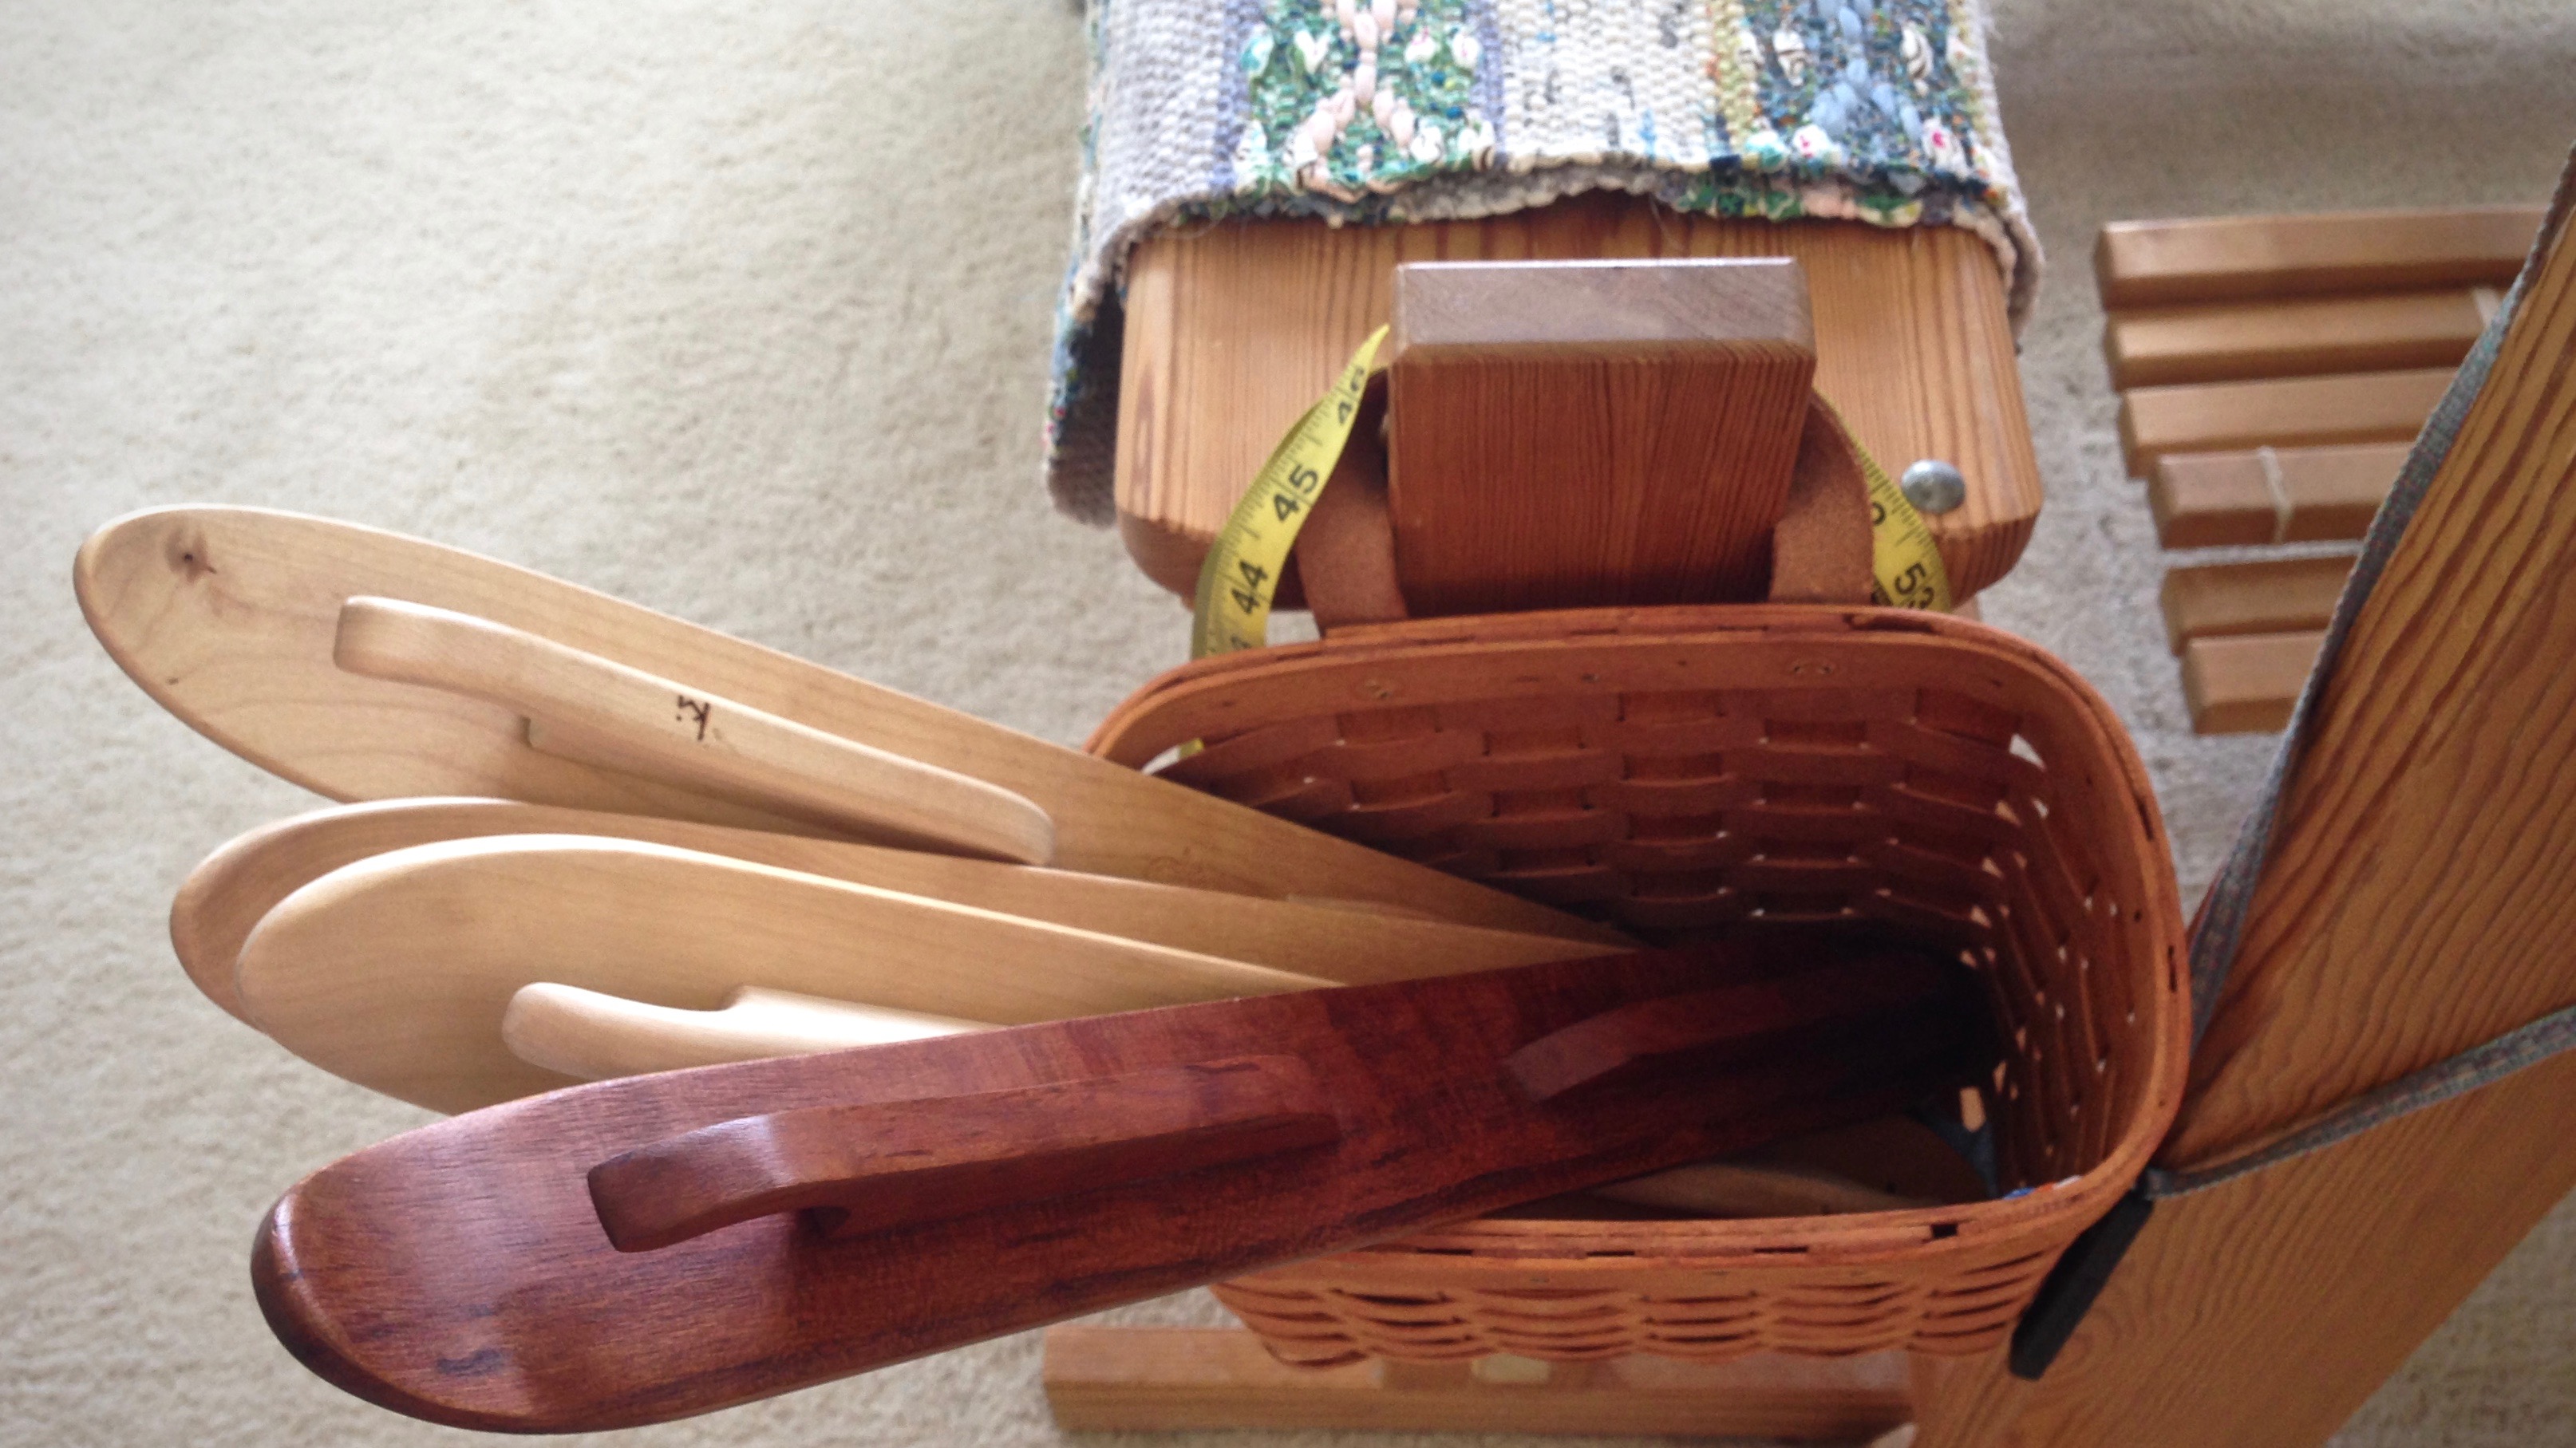
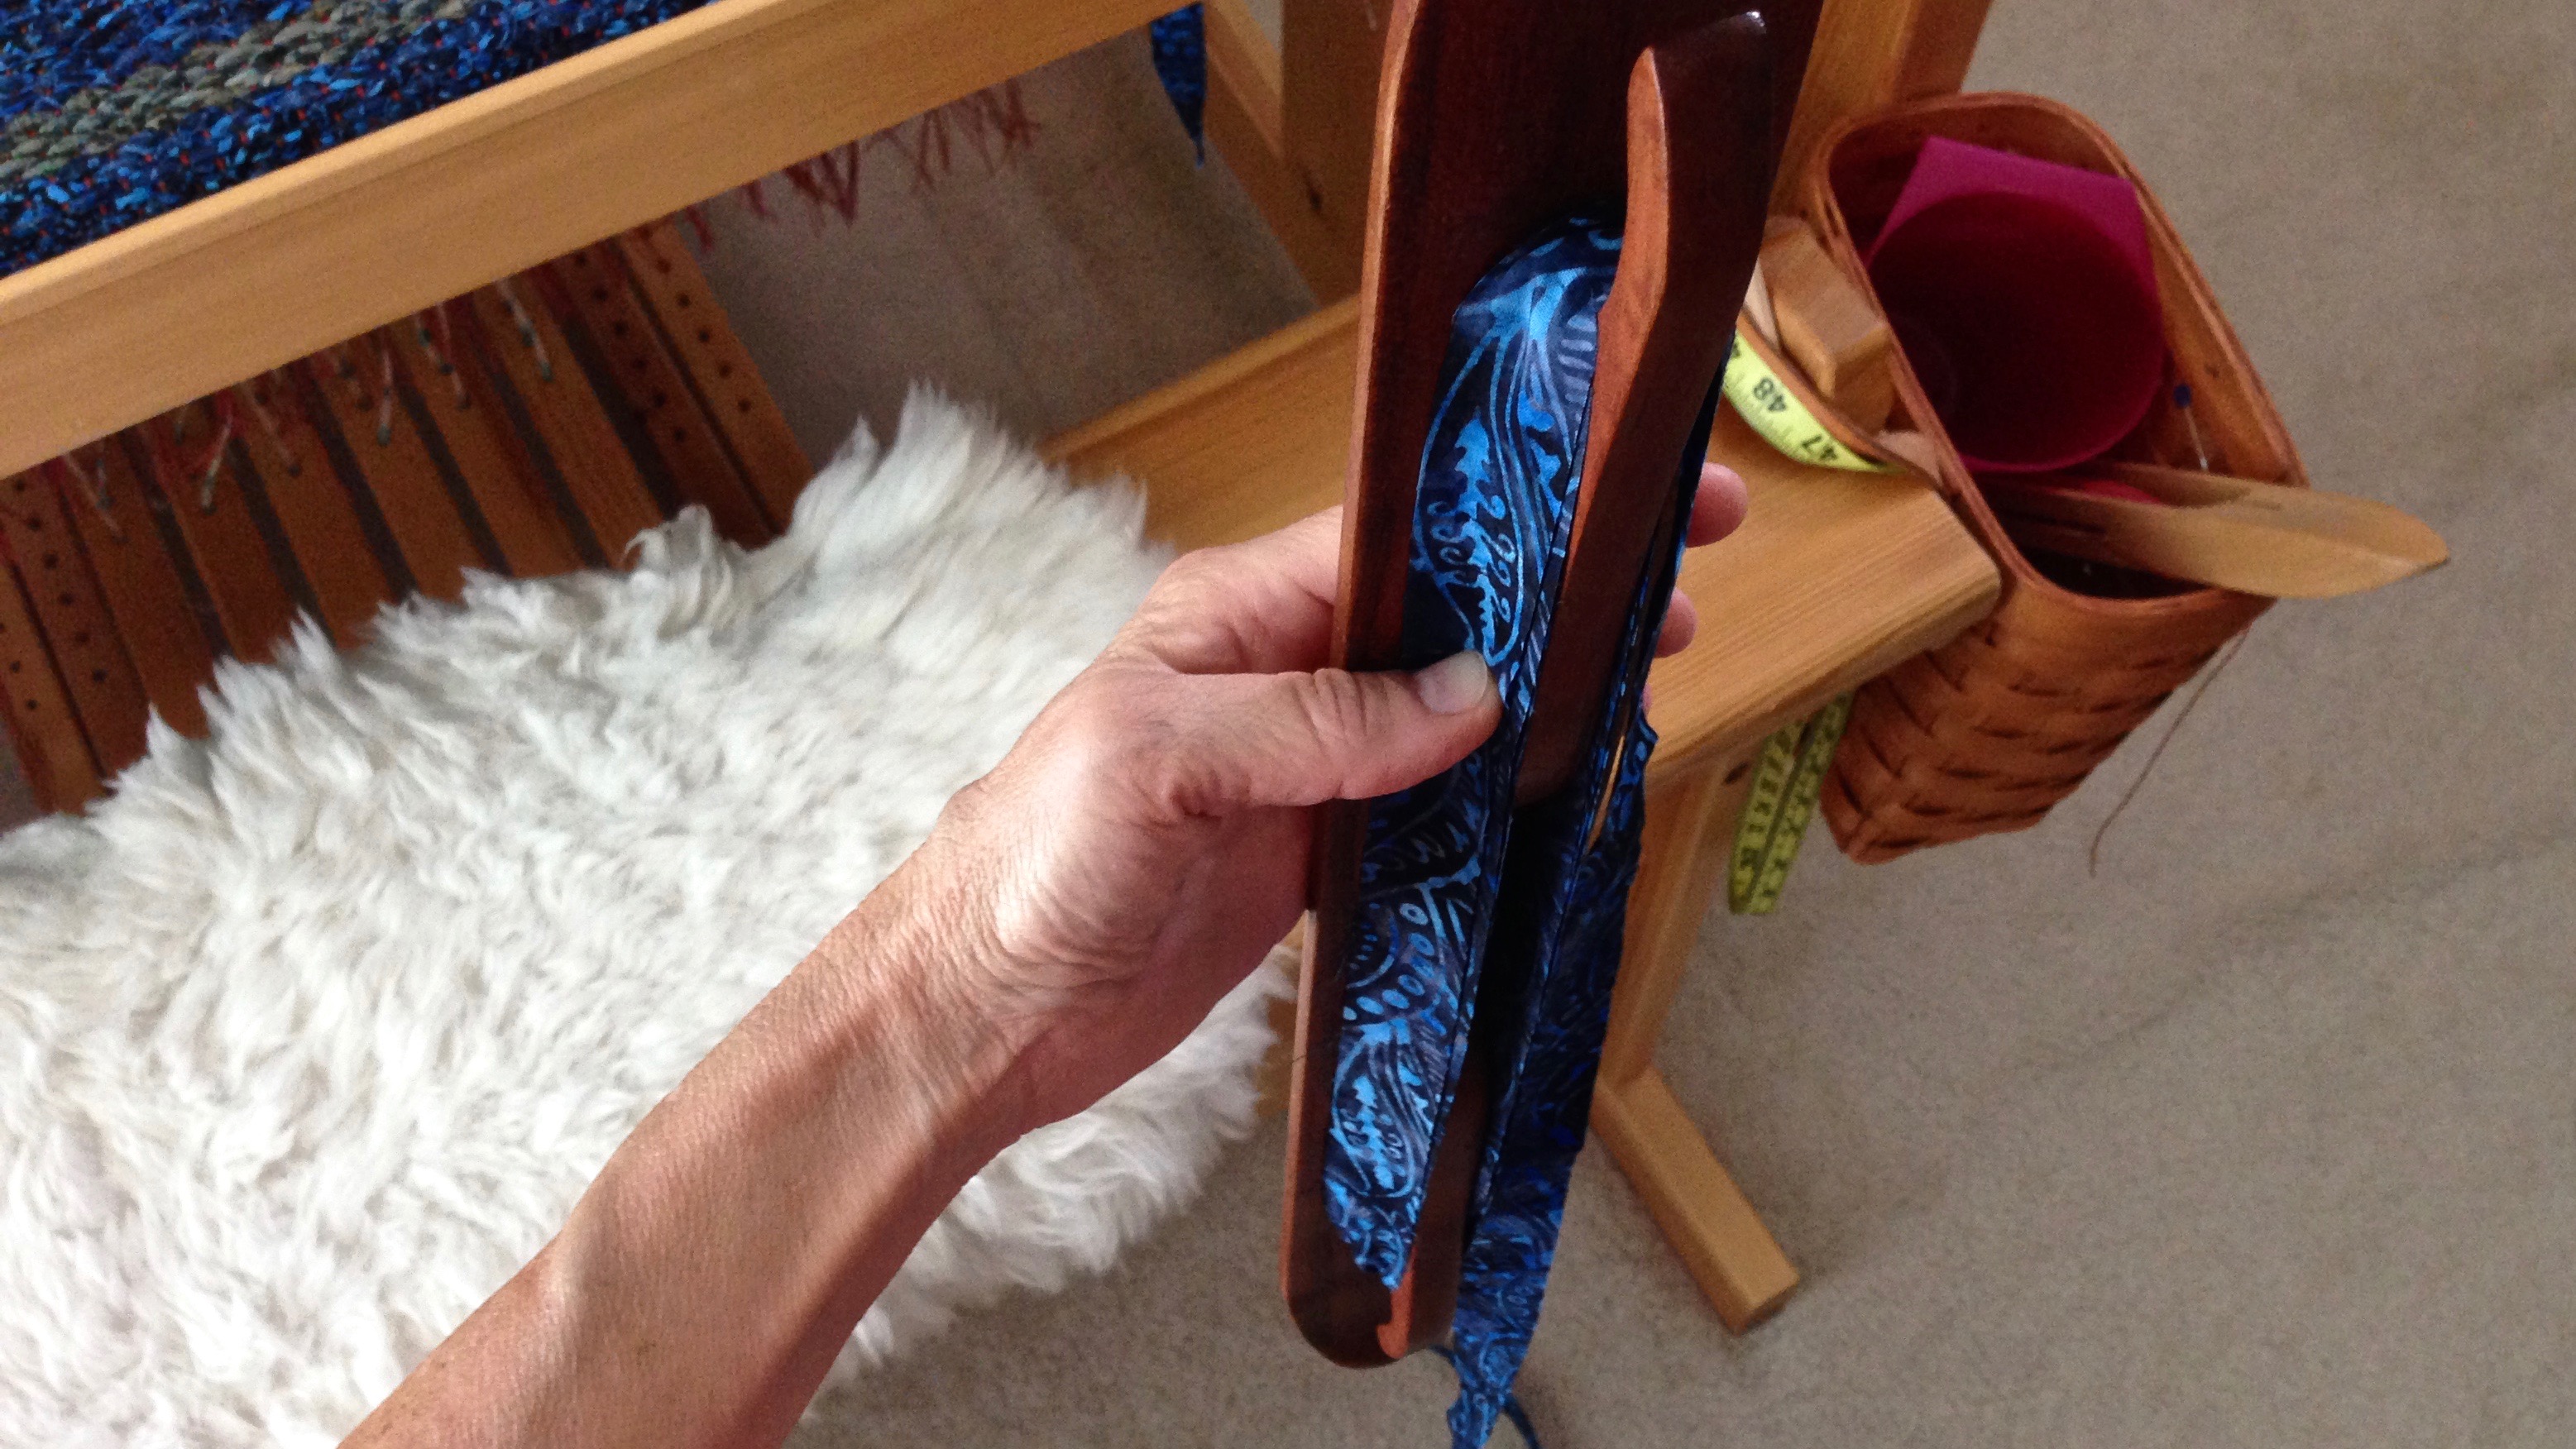
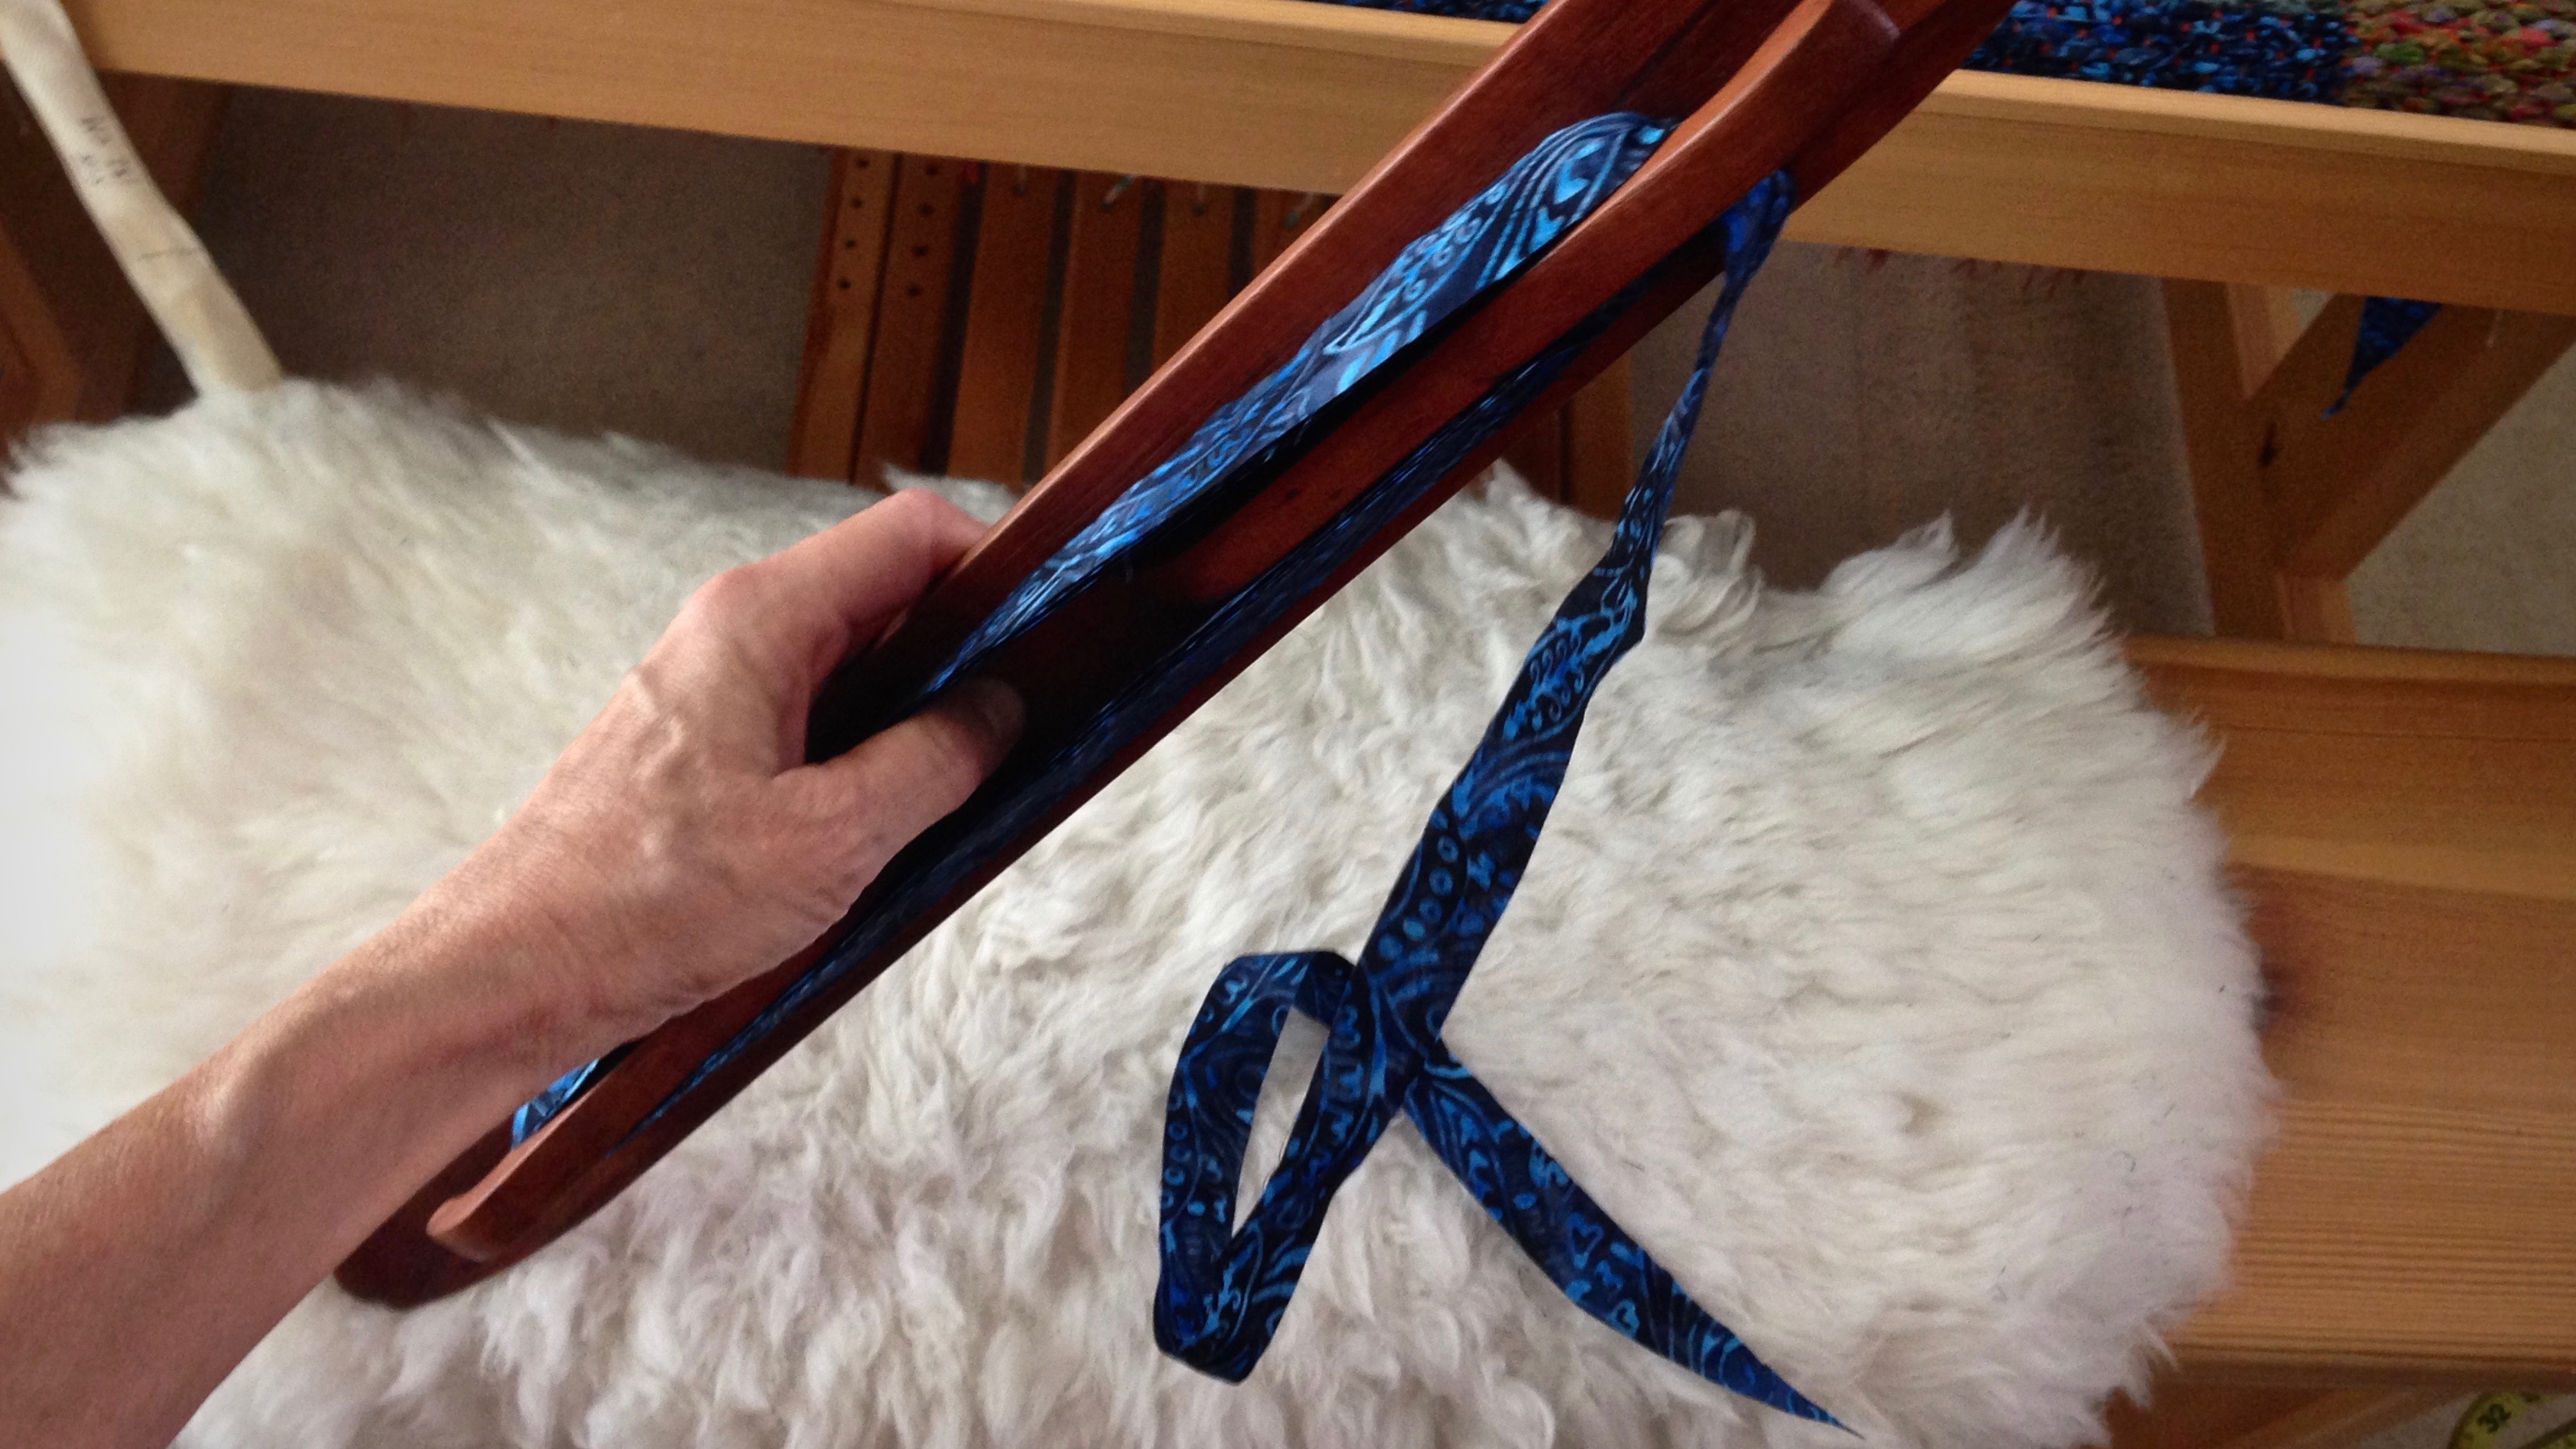
2. When cutting fabric strips, divide the strips into two piles. Put one pile aside, reserving it for the second half of the rug.

Fabric strips ready for second half of rag rug.
Bottom drawer of the Elfa cart next to the loom holds the fabric strips that have been set aside.

This practice enables me to adjust the rug design, if needed, before it’s too late. On the current rug, the wide stripe across the middle just became a little wider.

Double binding rag rug. Karen Isenhower
Two shuttles carry the same fabric. This puts continuous weft color across the width of the warp.
Double binding rag rug in the making.
Marked measuring ribbon shows I have passed the halfway point of the weaving. The rest is all downhill!

What point of reference is there for leading a fulfilling life? Can we know if we have what’s needed to finish well? Our hearts search for truth. We know we need a reliable point of reference. Search for the Lord; seek him. He is the reference point of truth that brings coherence to our existence. We can trust our Grand Weaver to put aside for us everything we need to live a fulfilled life, all the way to the end.

May you have what you need when you need it.

Happy weaving,
Karen

Tools Day: Ski Shuttles

Patterned rag rugs always use at least two shuttles. I often have four or five filled ski shuttles at the loom. A low profile ski shuttle is an excellent choice for weaving patterned rag rugs. Why?

  1. It fits pleasantly in the hand.
  2. It holds a large amount of fabric weft without being bulky.
  3. The wide base glides smoothly across the warp.
  4. The low profile fits easily through the narrower shed of a tight warp that is common for rug weaving. (Beware of ski shuttles that are taller, and may not fit as easily through a tight shed.)
  5. It is slender enough to send it out of the shed to go over or under outer warp ends, when needed.
Basket of ski shuttles ready for the next rag rug!
Basket of ski shuttles that are ready for the next rosepath rag rug!

My ski shuttles are made by Glimåkra, except for the beautiful cherry wood ski shuttle my husband made for me.

Hand crafted cherry wood ski shuttle, and rosepath rag rug just off the loom.
Newly completed rosepath rag rug is ready to be hemmed. Cherry wood ski shuttle is hand crafted by Steve Isenhower.


Ski Shuttle Dimensions (Glimåkra Single Ski)
Height: 1 1/4″ (3 cm)
Width: 2″ (5 cm)
Length: 19 1/2″ (50 cm) and 25″ (64 cm)

Why I like low profile ski shuttles for weaving rag rugs.
Weaving width determines which ski shuttle length to use. The shorter shuttle works with any weaving width. The longer shuttle works only for wider weaving widths (30″ or more) and for spaces with plenty of clearance at the sides of the loom. The low profile of the shuttles is seen in relation to the height of the reed in the beater.


How to Wind a Ski Shuttle

1 — Hold ski shuttle vertically. Start with one tapered end of the fabric strip coming across the top of the ski shuttle. Hold the tapered end with your thumb while you start winding the fabric strip onto the shuttle with your other hand.

How to wind a ski shuttle.


2 — Continue wrapping the fabric strip around the length of the shuttle, straightening the fabric as you go.

How to wind a ski shuttle for rag rugs.


3 — Finish winding when you have a tail of fabric remaining.

How to wind a ski shuttle.

May your shuttles be a good fit for your hands.

Happy Weaving,
Karen

How to Begin a Rag Rug

It is not enough to be pretty; a good rag rug must also be sturdy. Four crucial steps give a rag rug the solid foundation it needs to get off to a great start, and to be ready for the strong beat required to make a rug that lasts.

How to Begin a Rag Rug

1 Space

  • leave enough warp to tie and finish ends after the rug is cut from the loom

Assuming there is a sample at the beginning of the warp, leave space after the sample. Leave about 4″ (10 cm) of empty warp. Then, using two warping slats, place one slat in each plain weave shed. The slats act as a spacer, and as a firm backstop for beating in the waste rags. (Leave about 8″ / 20 cm of space between each rug, from header to header.)

How to begin a rag rug. Four crucial steps.
Empty warp is followed by a pair of warping slats, scrap weft, warp yarn header, and beginning of hem. Measurements are marked on twill tape for reference while weaving.

2 Waste rags

  • a place to attach the temple
  • prevent the header from unraveling when the rug is cut from the loom

Weave with scrap fabric strips, 1 – 2″ (2.5 – 5 cm) wide, for 2″ (5 cm). Attach the temple as soon as possible.

3 Header

  • secures the rug weft
  • gives the rug a firm edge

Use warp yarn to weave a 3/8″ (1 cm) weft-faced header. Arrange the weft in small arcs across the width of the shed. Treadle the next shed and beat in the weft.

Weaving header for rag rug. How to.
With temple in place, the header is woven with 12/6 cotton, the warp yarn. Forming small waves in the weft places more weft in the shed, which helps prevent draw-in.

4 Hem

  • thinner rag weave, to be turned under and stitched

Cut fabric into narrow strips, 1/4″ (.5 cm) wide. Weave hem to desired length, with enough to fold under itself for finishing.

–Repeat the four steps in reverse order at the end of the rug.–

How to begin a good, sturdy rag rug!
Ready for the body of the rug! A good, strong beat will not disturb this layered foundation.

It takes courage to live by faith. Courage is the backbone against which life circumstances can push. Faith is knowing God has a higher purpose for the circumstances we find ourselves in. A rag rug with this firm starting point will not only look good, but be ready for a purpose. And so will we.

May you live courageously.

With faith,
Karen

Tools Day: Loom Lighting

Let there be light! I now have exceptional lighting at my weaving looms. Steve installed a snake arm lamp on both of my Glimåkra looms. This wonderful illumination gives me greatly improved visibility, especially when working with fine threads. These lamps meet my lighting needs much better than the floor lamps I had been using. Good riddance, floor lamps!

Supplies

  • Snake arm shop light with clamp (mine are Rockler 24″ Snake Arm Shop Lights)
  • Light bulb, preferably close to natural light
  • Wood block, sized to fit on loom (mine is installed on the countermarch frame; 8 1/2″ x 2 3/4″ x 3/4″ for the Glimåkra Standard 8-shaft loom; 6 1/2″ x 2 3/4″ x 3/4″ for the Glimåkra Ideal 6-shaft loom)
  • Electric drill and pilot bit
  • 2 drywall screws
  • Short three-prong extension cord

Steps

  • Prepare wood block by drilling screw holes (screw threads slip through the holes without biting)
  • Position prepared wood block on loom, mark loom for screw placement
  • Drill pilot holes
  • Screw wood block in place
Mounting on Glimakra Ideal loom for a loom lamp.
Block of wood is screwed into place on the Glimåkra Ideal loom countermarch frame for mounting the loom lamp.


  • Position lamp and clamp into place
Mounting a loom lamp on the Glimakra Standard loom.
Lamp is positioned on the mounting that is attached to the Glimåkra Standard countermarch frame.
Snake arm loom light gives flexibility in directing light where it's needed.
Snake arm gives flexibility for directing the light onto the weaving surface, or over the area of work; e.g., threading, sleying the reed, etc.
Loom lamp is clamped onto a mounting on the countermarch frame.
Lamp is clamped onto the mounting. Project notes hang for easy referral while weaving. The back of the sheet shows yarn snippets used in the project.


  • Plug lamp cord into extension cord; plug extension cord into outlet
Loom light shines on monksbelt weaving.
Simple on/off switch controls the lamp. Monksbelt picks are easier to count with the new loom light turned on.


  • Illuminate!
Monksbelt on the Glimakra Standard loom. Well lit.
Lamp cord runs along the frame of the loom and down to the floor, where an extension cord continues to a wall outlet.


May the work of your hands be illuminated.

Wishing you the best,
Karen

Quiet Friday: Band Loom Warping and Weaving

My two-treadle Glimåkra band loom is called into action. I don’t have to add hanging tabs for the towels that I am weaving on the Ideal loom. But I want to. A little band weaving here and there, and I will have this special detail ready for the towels when they come off the loom. (Watch me weave on the band loom in the video below.)

Glimakra two-treadle band loom. How to warp and weave.

How I Warp the Band Loom:

Band loom warp.

  • Put the end loop of the warp on the warp beam tie-on bar. Insert lease sticks in the cross. Tie the sticks together; or tape them together with masking tape.

Warping the band loom tutorial.

  • Remove tie around lease cross. Hold the warp taut with the left hand while winding on with the right hand. Insert warping slats around the beam the first time around, and then every other time around after that.

Band loom warping tutorial.

  • Wind on until the beginning of the warp is a few inches in front of the heddles.

Warping the Glimakra band loom.

  • Tie or tape the lease sticks to the back beam. Cut the loops at the front end of the warp.

Warping the band loom.

  • Thread the heddles, alternating between the heddles on the right and on the left.

How to thread a band loom.

Threading the Glimakra band loom.

Glimakra band loom, threaded. Steps and pics.

  • Hold the warp taut and depress each treadle to check for any crossed threads.

Warping the band loom.

  • Tie the warp onto the front tie-on bar.

Band loom ready for weaving.

  • Tighten the tension; wind your shuttle; and weave to your heart’s content! (A short cardboard quill can be used as a shuttle.)

Glimakra band loom weaving. Karen Isenhower

May you go the extra mile to add special little details.

Happy band weaving,
Karen