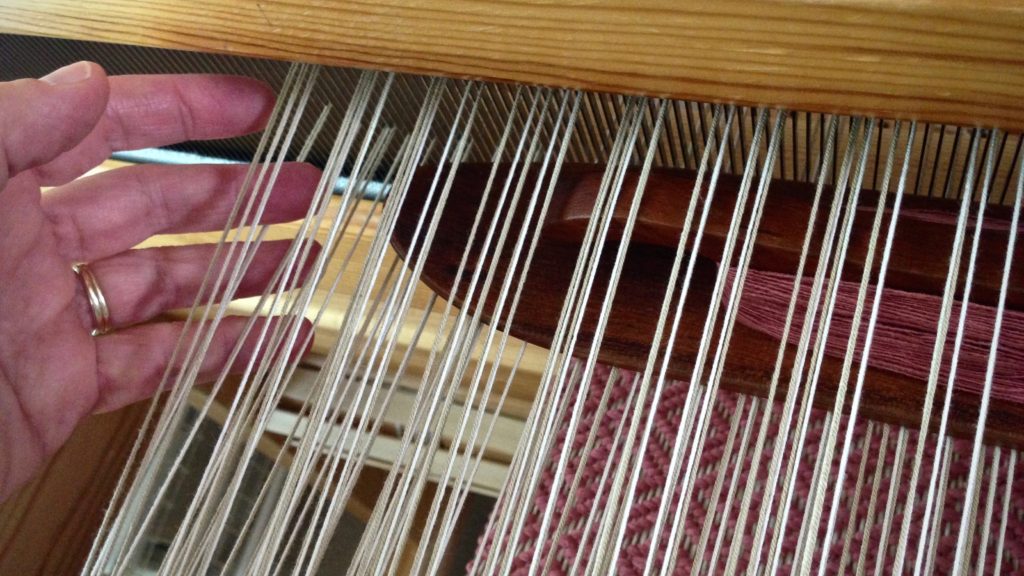
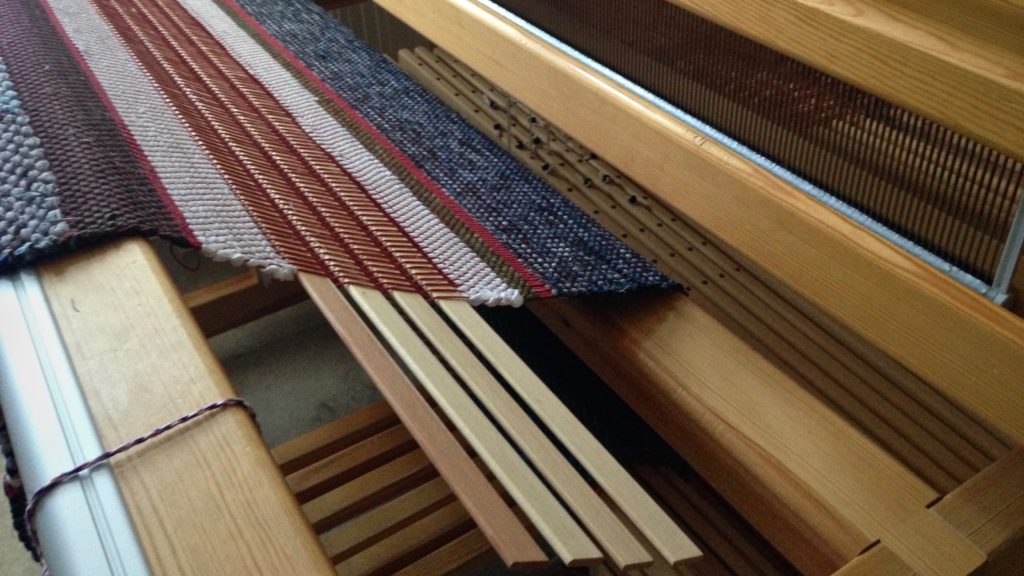
Quiet Friday: Countermarch Back Savers

After back surgery, I wondered how-in-the-world I would be able to tie up my countermarch looms. After a four-week ban on bending over, I was eager to weave, but not eager to do anything that might strain or injure my back.

Two simple maneuvers made it possible for me to tie up the lamms and the treadles on both of my Glimäkra countermarch looms:

  1. Remove the lamms. Treadle cords are added while sitting in a comfortable position.
  2. Detach the treadles. Bring treadles closer to the front of the loom for attaching treadle cords.

And two important practices kept me from over-reaching and overdoing it:

  1. Sit on a low stool instead of the back of the loom or the floor.
  2. Take frequent breaks to stand up, stretch, and walk around.

Tools:

  • Low stool for sitting
  • Rolling cart (IKEA cart) or small table
  • Plank of wood, longer than the loom is wide (one plank of warping trapeze, 1″ x 5″)
  • Treadle cords, Texsolv pins, other tie-up supplies
  • Length of cord to hold treadle up (Texsolv cord that’s used for hanging the reed for sleying)

The 120 cm (47″) Standard loom has open space in the loom, making it easy to get within arm’s reach of most things; but the challenge increases with the number of shafts–eight for this tie up.
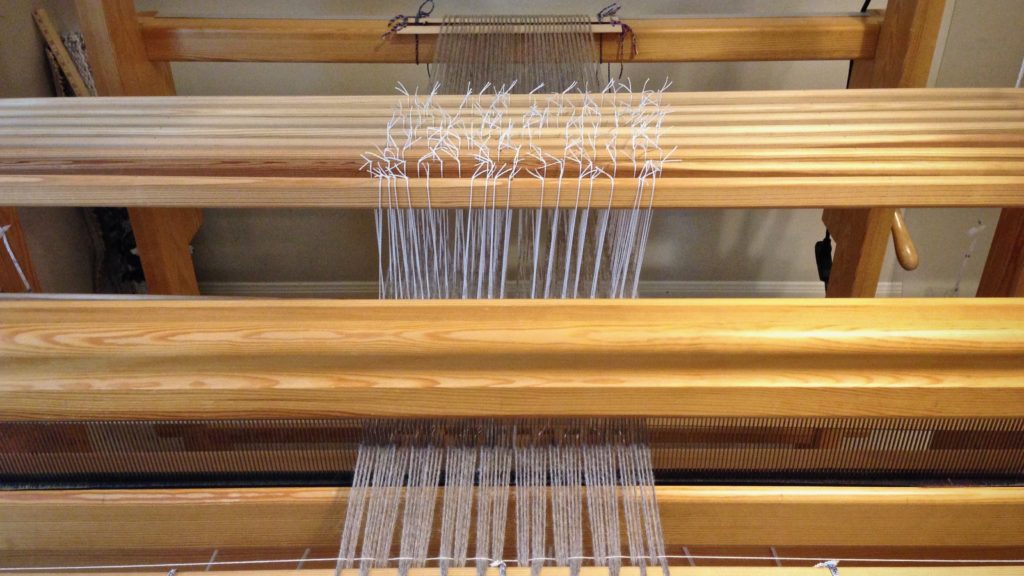
Alpaca warp, ready for countermarch tie-up without back strain.
Beamed, threaded, sleyed, tied on. Waiting for the final step of tying up lamms and treadles.
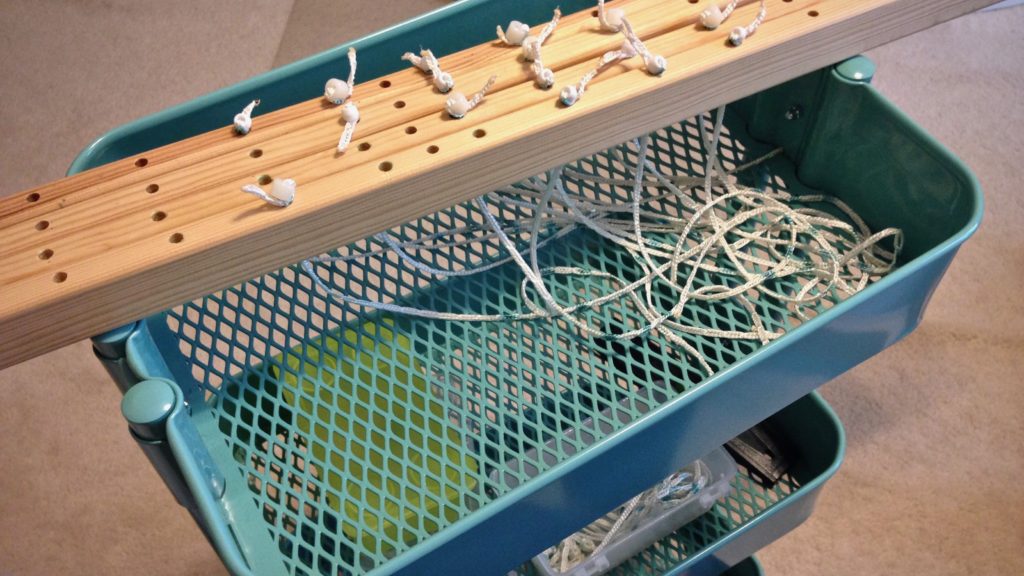
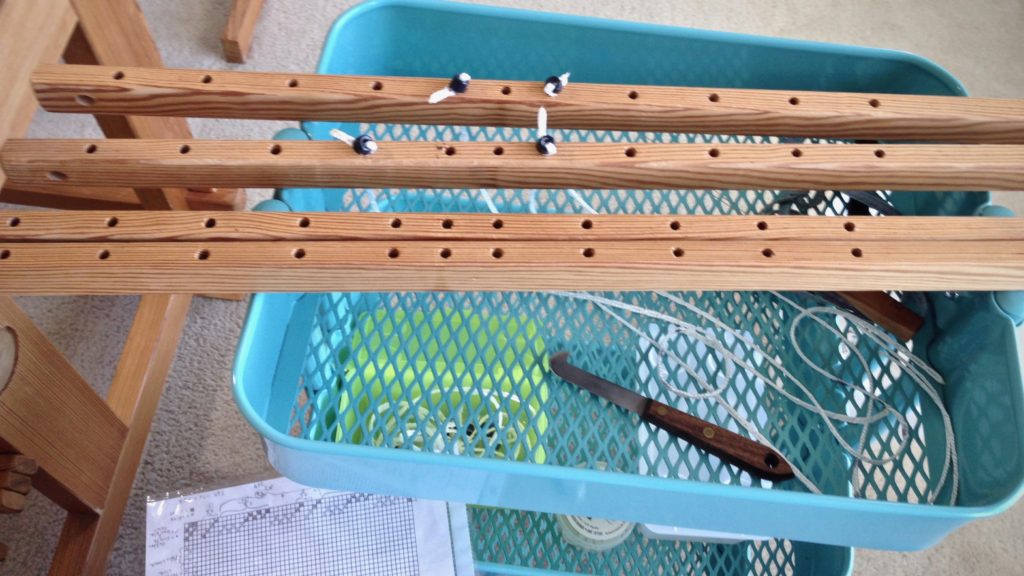
  • Lamms are removed, 2 at a time, and placed on the cart to add the treadle cords, all the while sitting on a comfortable stool.

Countermarch tie-up without back strain.

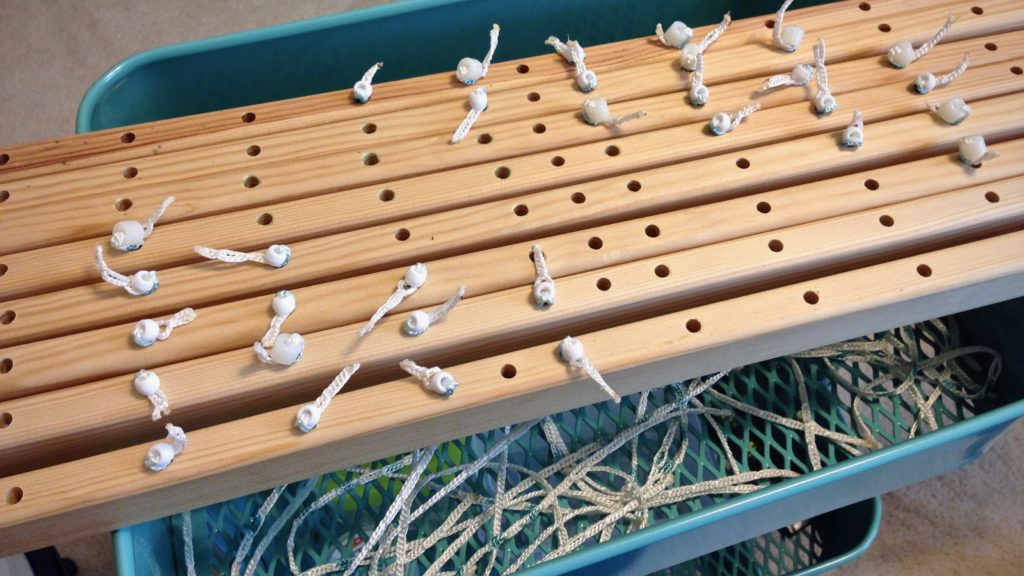
  • After all 8 lower lamms have the treadle cords added, the lamms are reinserted in the loom, 2 at a time.

Countermarch tie-up without back strain.

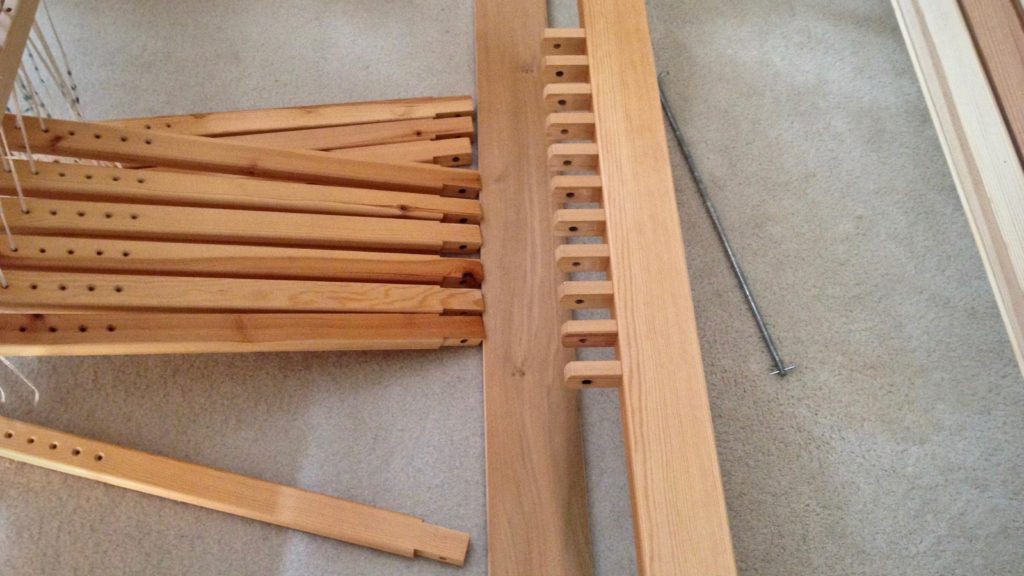
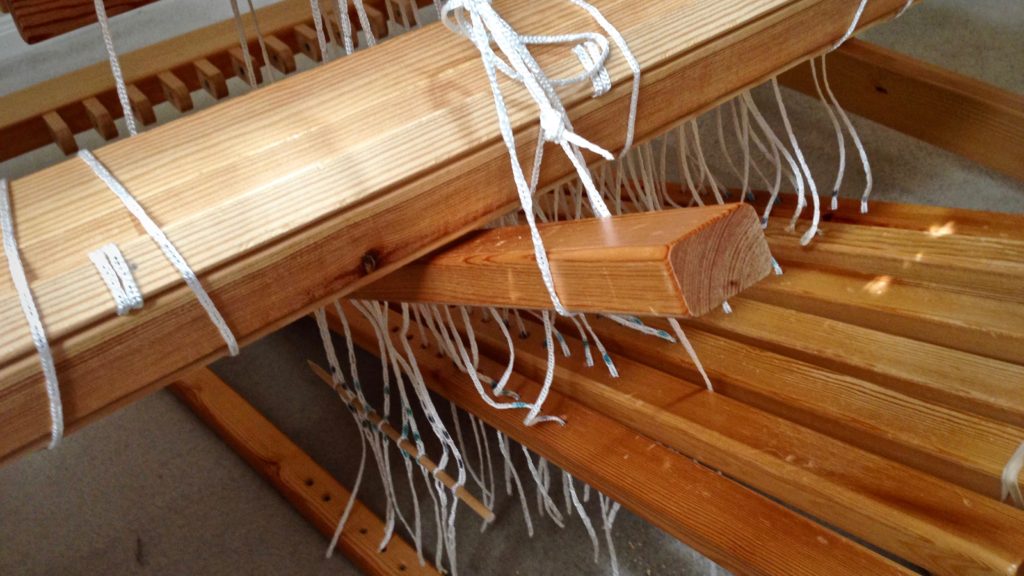
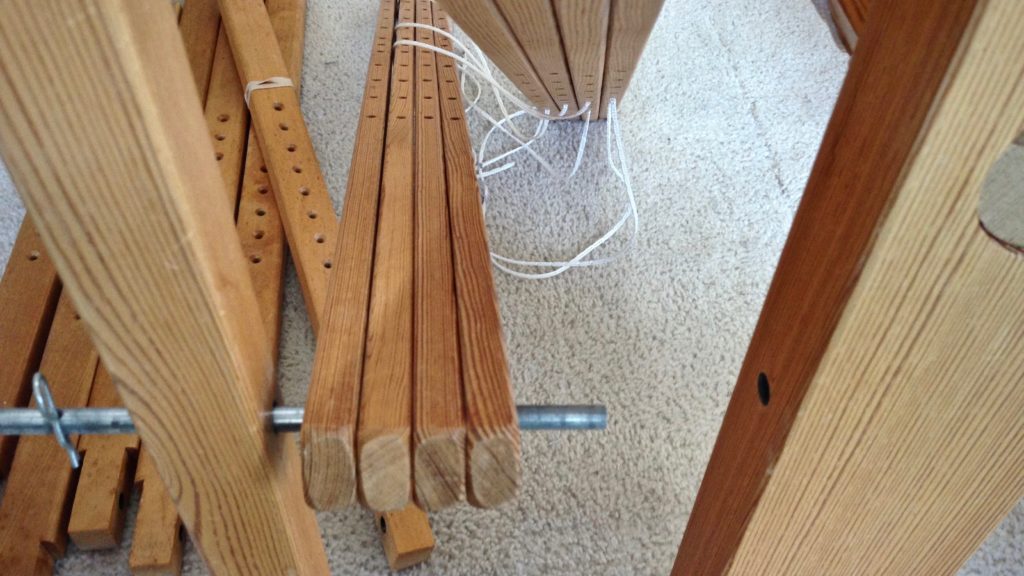
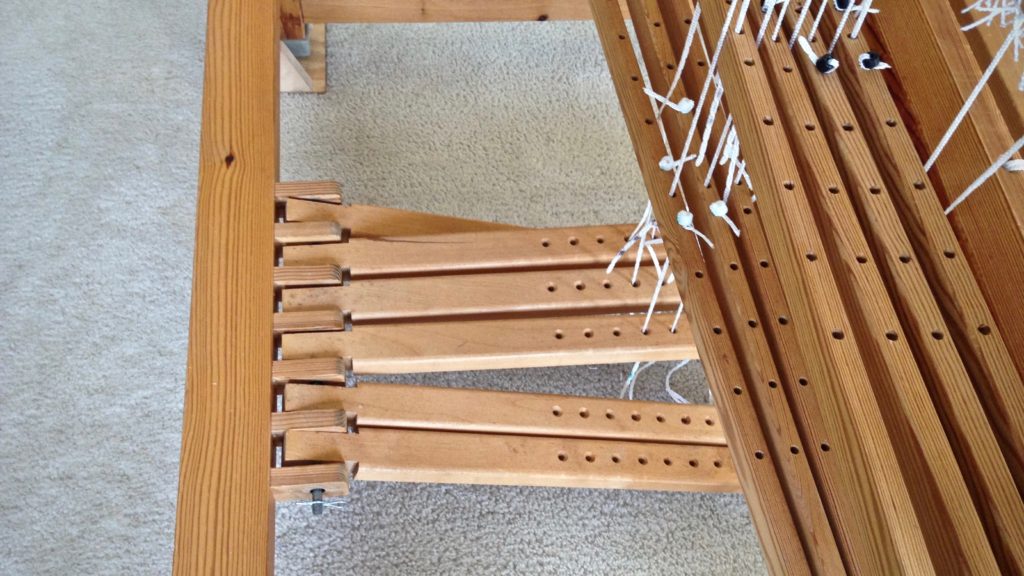
  • Treadle rod is removed to detach the treadles. Wood plank keeps the treadles from sliding back while treadle cords are attached at the front of the loom.

Trick to make countermarch tie-up easier on the back.

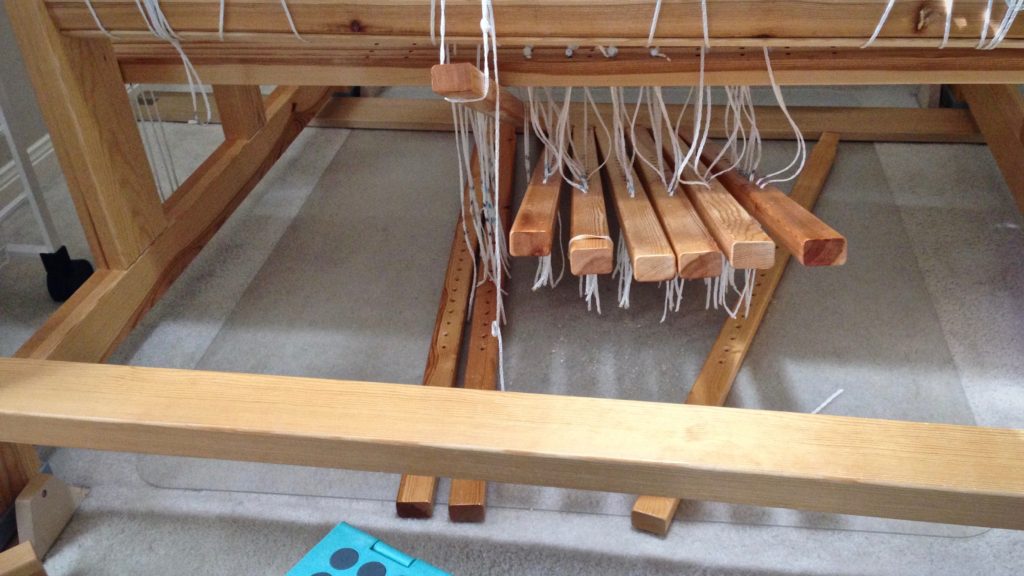
  • Cord acts as a sling to hold the treadle up to a comfortable height.

Tips for making countermarch tie-ups more back friendly.

  • The raised treadle helps with visibility, and enables the use of both hands, especially helpful for the “Vavstuga method” of tying up treadles with knitting needles (I use sharpened dowels). After treadles are tied up, re-attach the treadles at the back of the loom.

Hints for making countermarch tie-up more back friendly.


The 100 cm (39″) Ideal loom requires more reaching. Tying lamms to the shafts is a challenge for short arms, like mine. With four shafts, and only three treadles for this tie up, the rest of the process isn’t difficult.
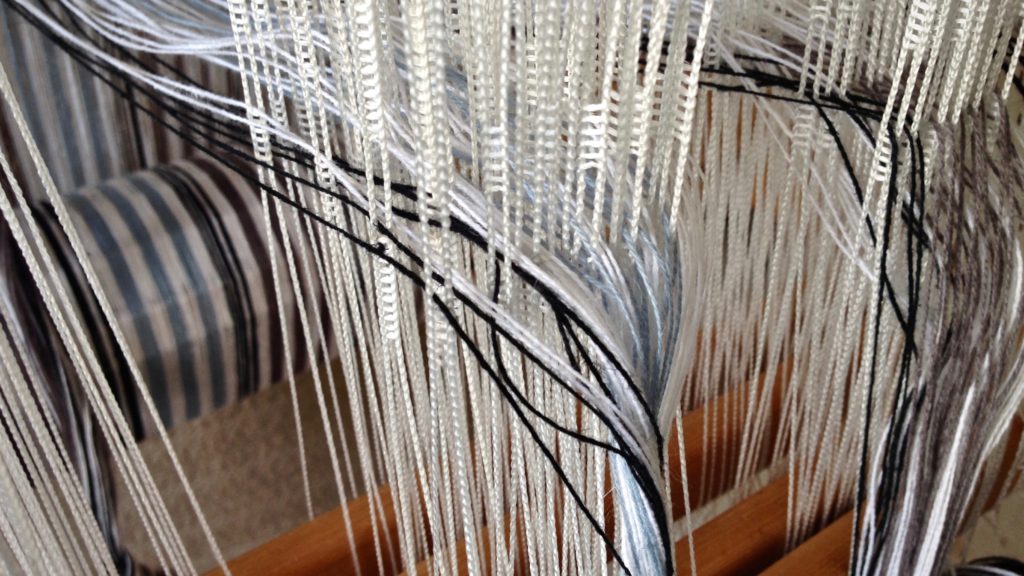
Threaded for striped towels. Glimakra Ideal.
Threaded for striped towels. Glimäkra Ideal has smaller spaces in which to work than in the Standard loom.
  • Upper lamms are placed on the cart. I hold the weaving draft in my lap as I add the treadle cords to the lamms.

IKEA cart as tie-up helper.

  • Lower lamms are removed as the pin is pulled out. After the treadle cords are added, the lamms are reinserted.

Removing lamms to make countermarch tie-up back friendly.

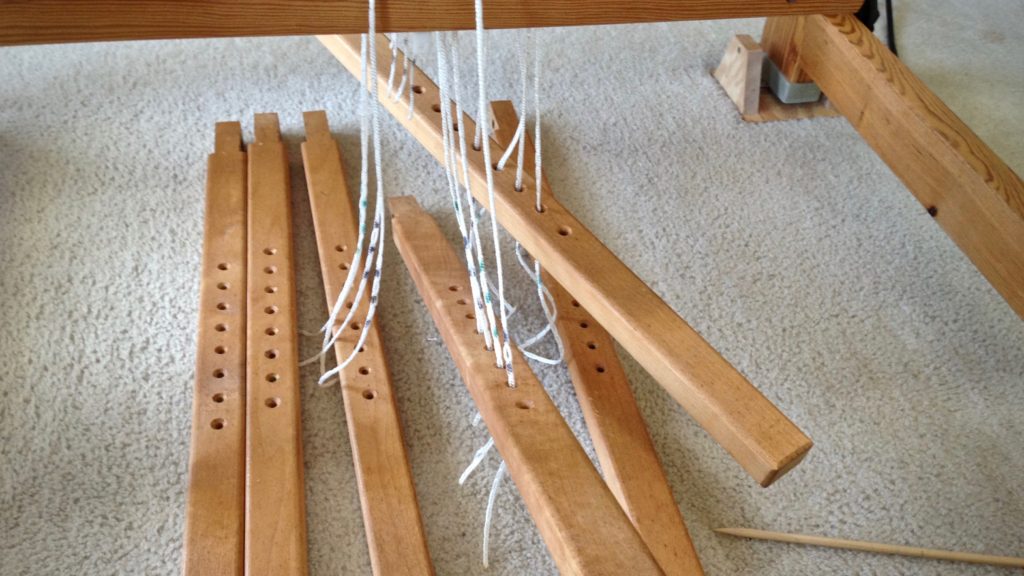
  • Detached treadles lay on the floor. They easily pivot up at the front of the loom for attaching treadle cords.

Tips for making countermarch tie-ups less straining on the back.

  • Everything is tied up and ready to weave!

All tied up and ready to weave!

May you stay healthy to live long and weave.

Happy Weaving,
Karen

Tools Day: Texsolv Heddle Round Up

The great thing about Texsolv heddles is that they are easy to move around. If you know how to tie them together, it is simple to add heddles, remove heddles, or switch heddles to different shafts. When I’m getting ready to thread the loom, I get my box of bundled heddles and put it on the cart right beside the loom. Then, I can easily add heddles if needed. And when threading is finished, I tie any unused heddles into bundles and put them in the heddle box, ready for the next project.

Threading complete for alpaca scarves. Texsolv heddles.

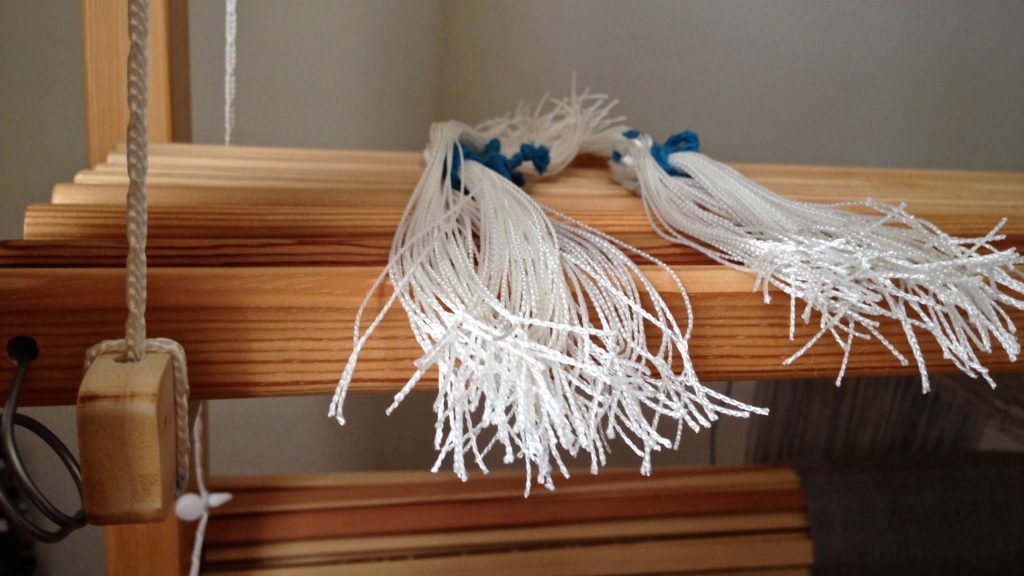
Tie Texsolv Heddle Bundles on One Shaft

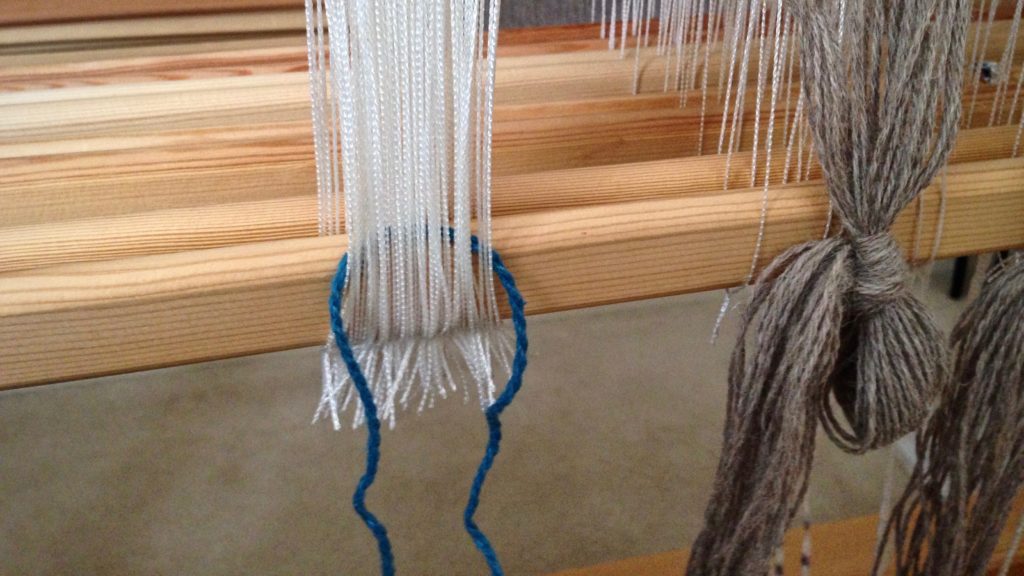
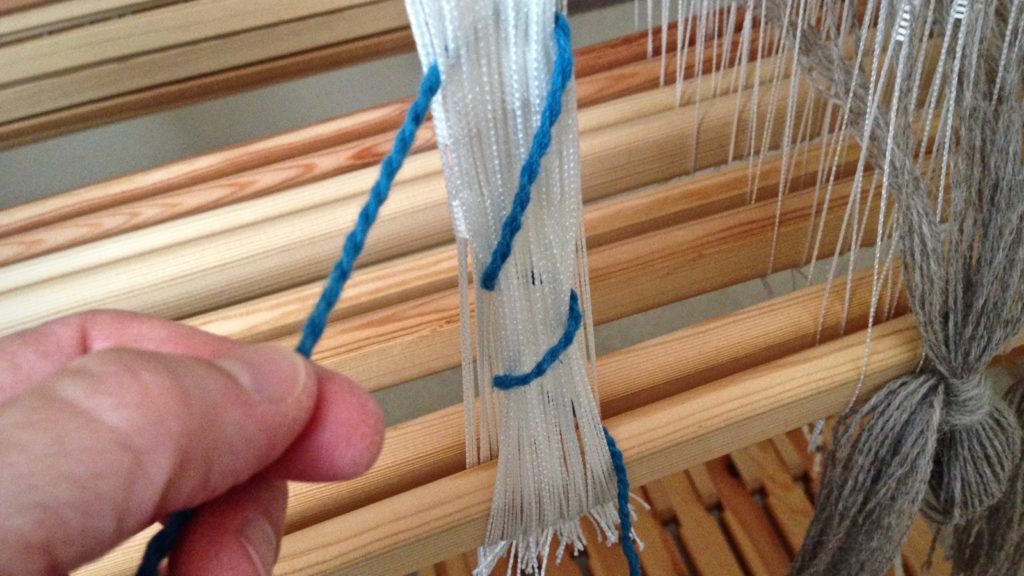
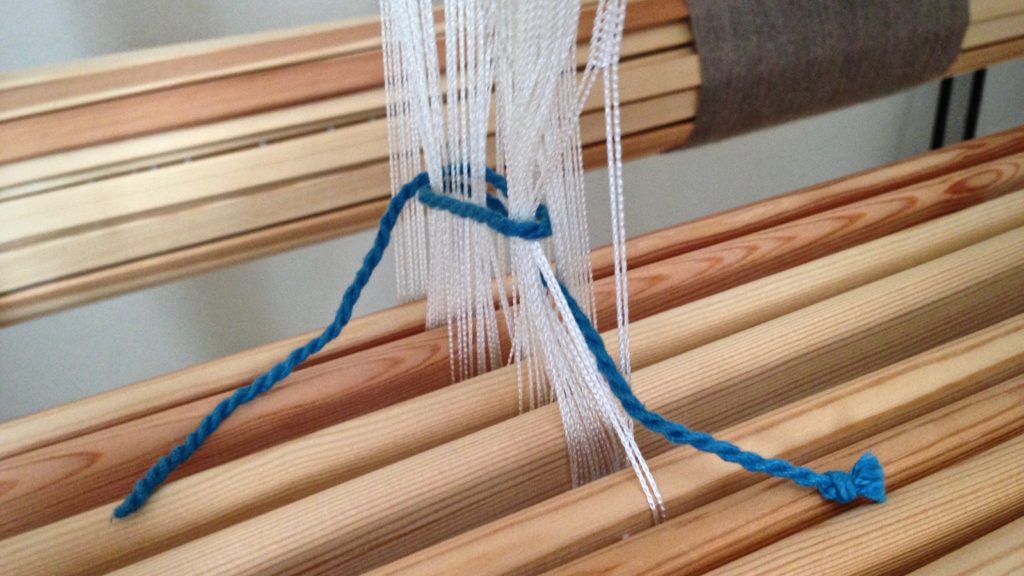
  • Step 1 Take a cord (I use my choke tie cords) through the heddles below the heddle eyes.

How to remove Texsolv heddles. Tutorial

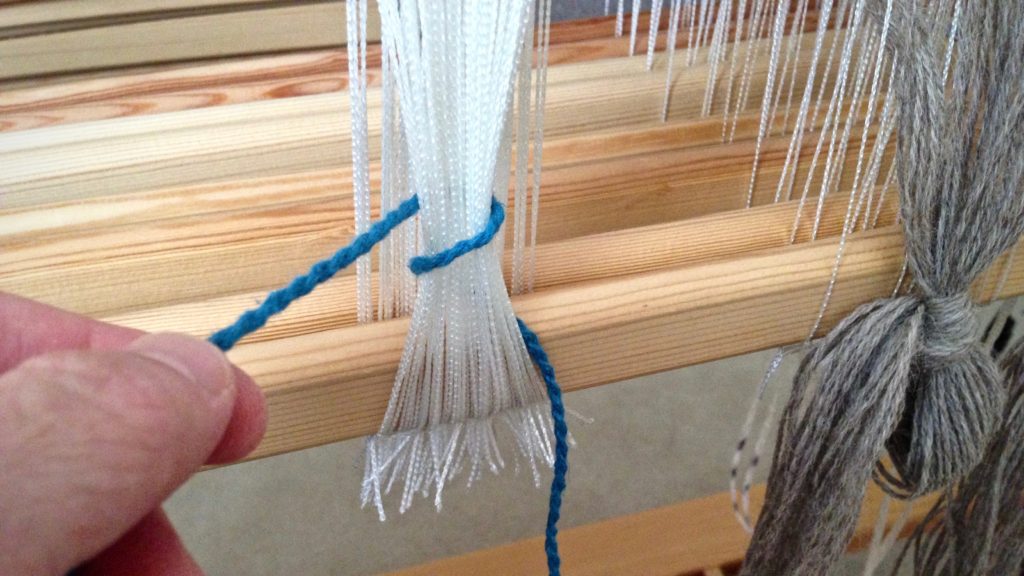
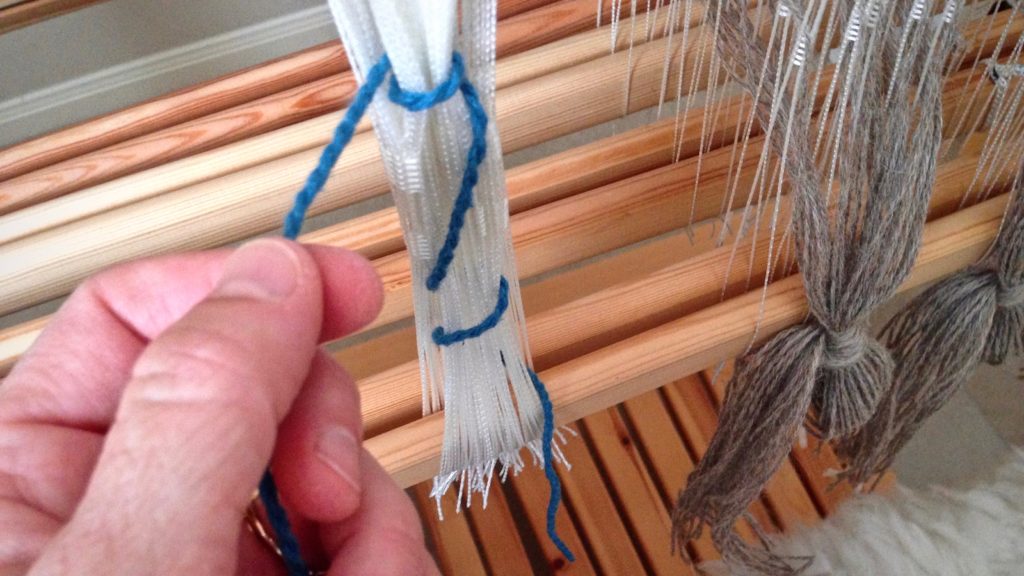
  • Step 2 Wrap the cord one time around, below the heddle eyes.

Removing Texsolv heddles. How to --

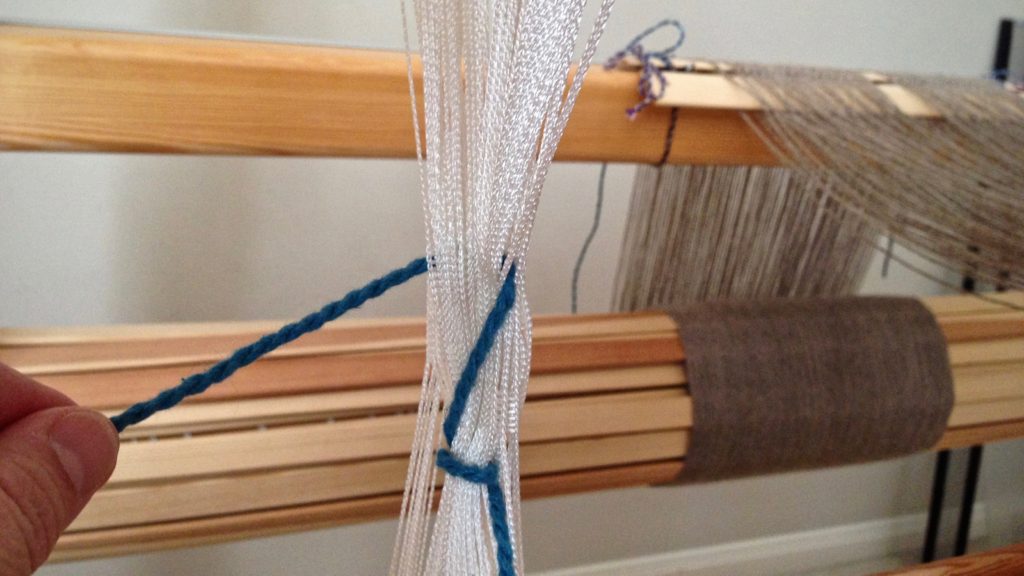
  • Step 3 Cross diagonally up with the cord, and take the cord through the heddles above the heddle eyes.

How to tie up Texsolv heddles.

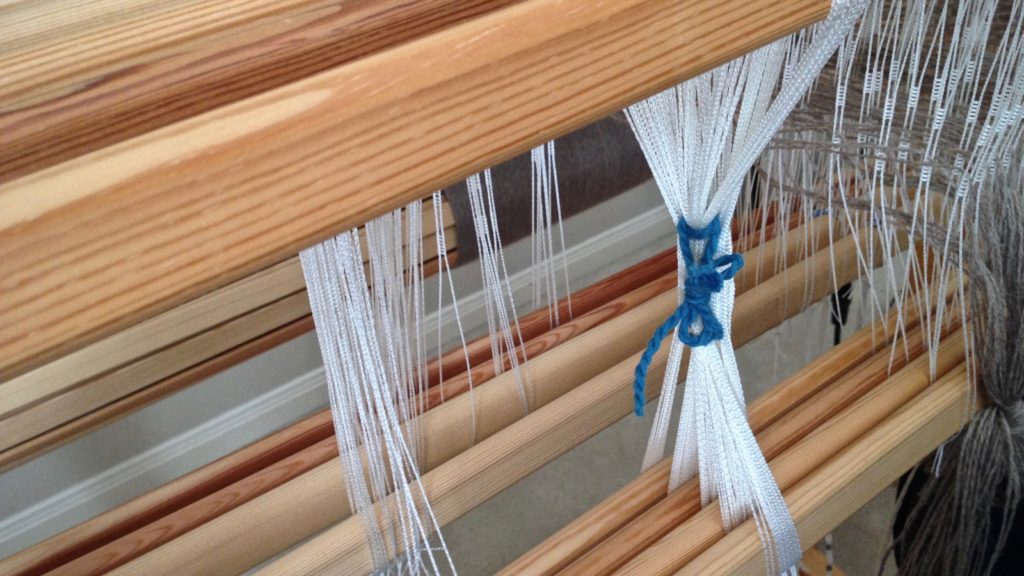
  • Step 4 Wrap the cord one time around, above the heddle eyes.

Tying up Texsolv heddles to remove them.

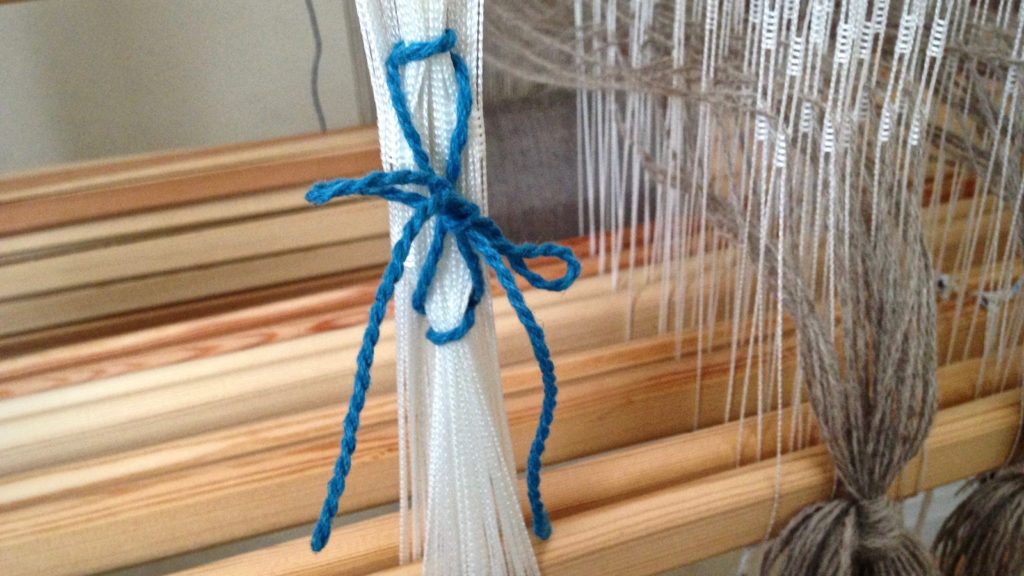
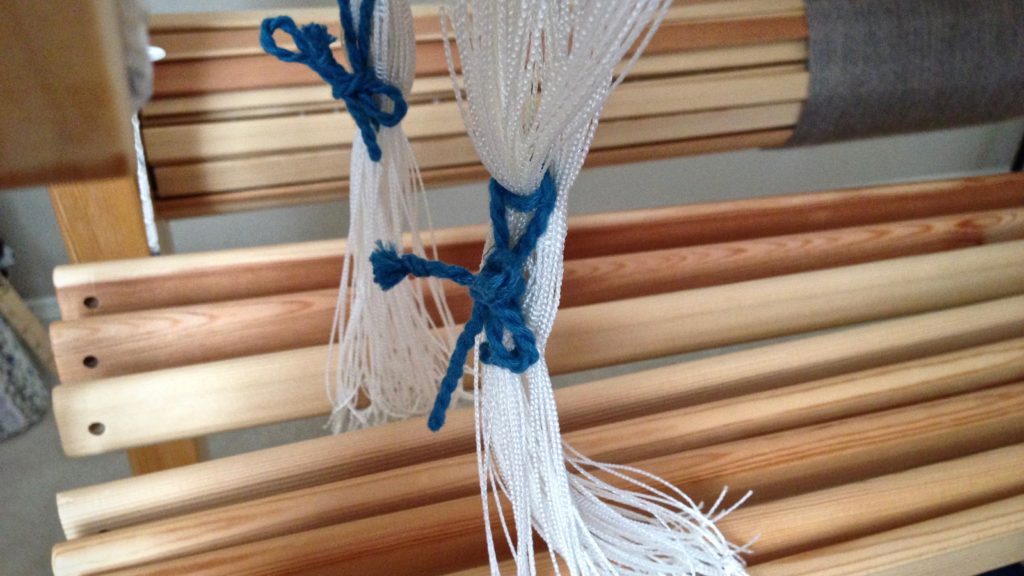
  • Step 5 Join the two ends of the cord with a bow knot.

Removing Texsolv heddles after threading is complete.


Tie Texsolv Heddle Bundles on More than One Shaft

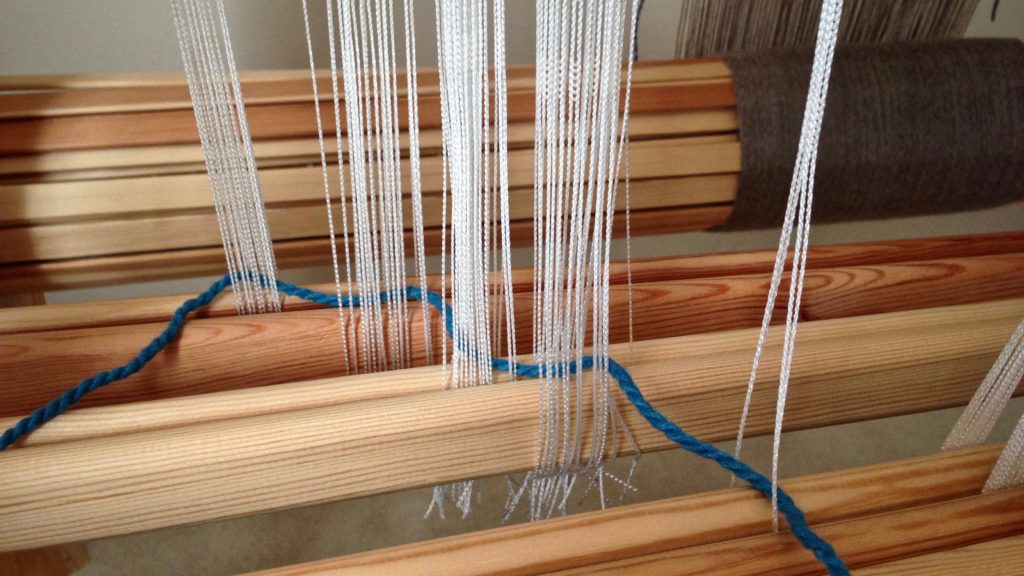
  • Step 1 Take the cord through the heddles below the heddle eyes, right to left, one shaft at a time, front shaft to back shaft.

Removing Texsolv heddles from multiple shafts.

  • Step 2 Take the end of the cord from the back shaft, and wrap the cord around one time through the heddles, below the heddle eyes, right to left, one shaft at a time, front shaft to back shaft.

Removing Texsolv heddles from multiple shafts.

  • Step 3 Cross diagonally up with the cord, and take the cord through the heddles above the heddle eyes, from right to left, one shaft at a time, front shaft to back shaft.

How to remove Texsolv heddles. Tutorial

  • Steps 4 & 5  Wrap the cord one time around, above the heddle eyes, from right to left, one shaft at a time, front shaft to back shaft. Join the two ends of the cord with a bow knot.

Removing Texsolv heddles. How to --


Remove Heddles from Shafts

  • Step 1 Remove shaft pin from the lower shafts, and slip the bottom of the heddles off the shafts. Replace the shaft pin.

Removing Texsolv heddles.

  • Step 2 Remove shaft pin from the upper shafts, and slip the top of the heddles off the shafts. Replace the shaft pin.

Texsolv heddles are easy to move around!

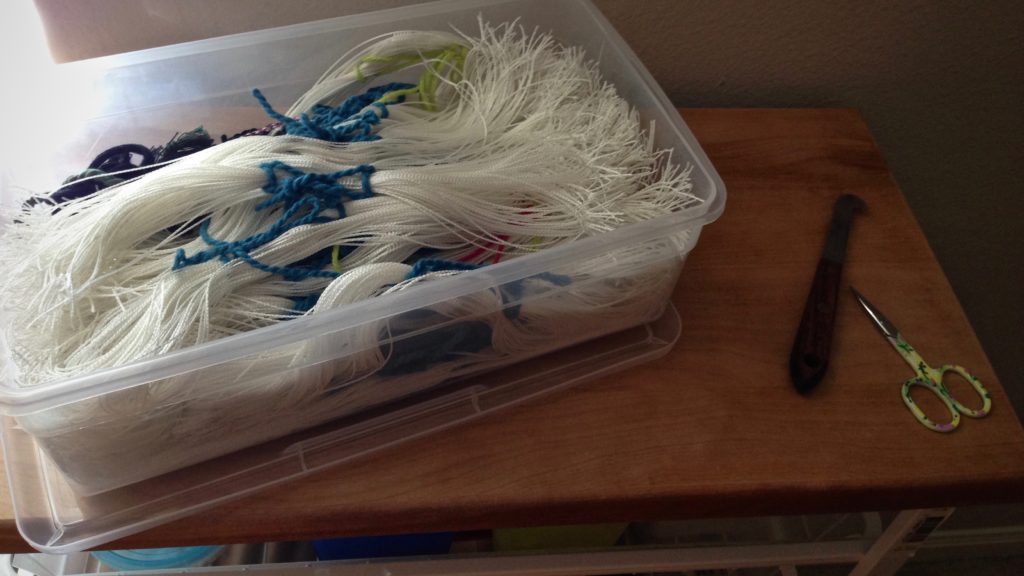
  • Step 3 Place tied heddle bundles in the heddle box. Put the box away, ready for the next project.

Texsolv heddles ready for the next project!

May you always have enough heddles when and where you need them.

Loom dressing,
Karen
Three Rosepath Rag Rugs For Now

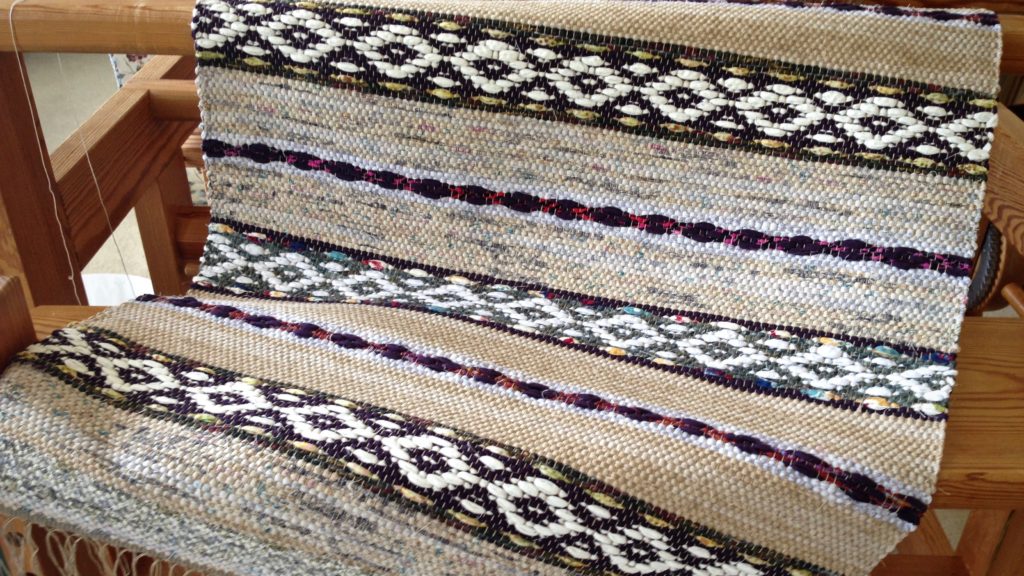
There are three completed rosepath rag rugs on the loom, with warp remaining for at least one more rug. Since I don’t know how soon I will be able to weave the remainder, cutting off the completed rugs makes sense. After hemming, I will have three new rugs for Etsy. (Don’t miss the new Quick Tip video at the end of this post!)

Cutting off rosepath rag rugs, with some warp remaining to be woven.
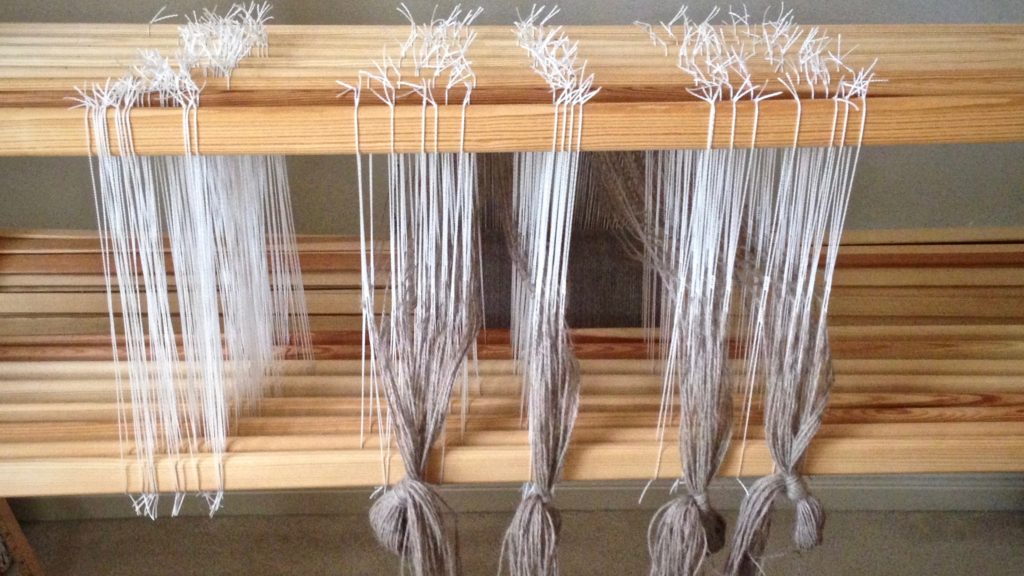
As the warp ends are cut, they are tied into one-inch groupings to simplify tying back on to the tie-on bar.
Unrolling some new rosepath rag rugs!
Warping slats are used as spacers between rugs. Some of my slats are barely wide enough for this warp.

I look forward to full weaving days again, with both looms dressed, and shuttles zooming. That rag rug warp still on the loom will be a reward worth waiting for.

Rosepath rag rug ready to be hemmed. Karen Isenhower
One rug has warp end knots, and is ready for pressing and hemming.
Two rosepath rag rugs just off the loom. Karen Isenhower
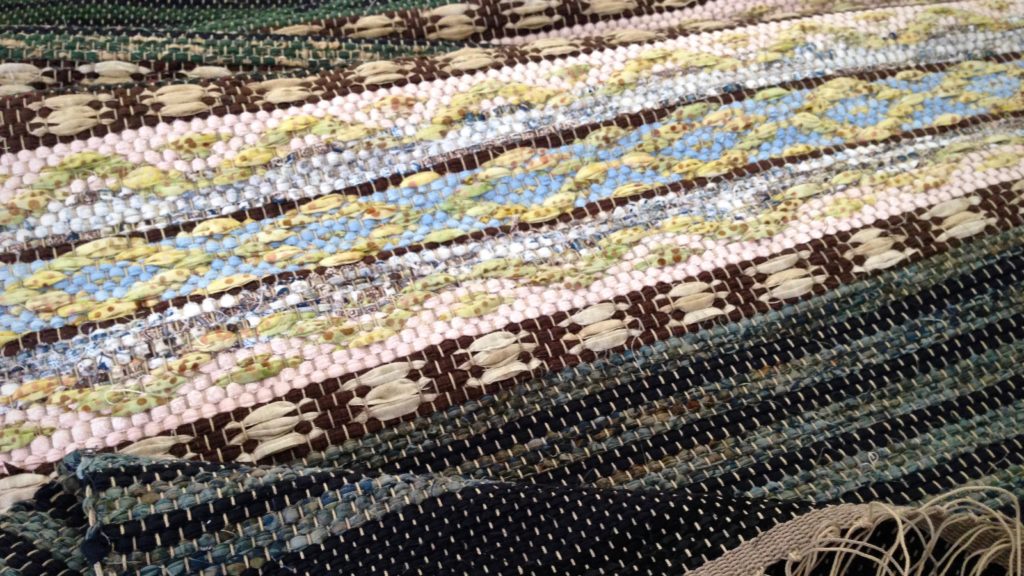
Rosepath in two variations.
Rosepath rag rug ready to be hemmed. Karen Isenhower
Broad rosepath pattern lends elegance to this rag rug.

Last week, when I awoke from surgery, the relentless pain I had been experiencing in my left leg and lower back was gone. Completely gone! It made me think of heaven. Ancient writings tell us that the lame will leap like a deer, and that sorrow and sighing will flee away. There’s no place for pain in heaven. All the people there have been healed and restored. That’s a reward worth waiting for. And I won’t be surprised if there are at least a few in heaven who are weaving away to their heart’s content.

May you know what to do while waiting.

Wishing you well,
Karen

Never Say Never–Floating Selvedges

I never use floating selvedges. Well,…almost never. For this block twill it does make sense to “float” the selvedges. The outermost warp ends are not threaded in the heddles–they “float” in the middle of the shed. The floating ends are wound on to the back beam with the rest of the warp. The floating selvedges provide a consistent woven edge, and prevent the skipped threads that would normally occur at the selvedge on an eight-shaft block twill. My ski shuttle enters the shed under the floating warp end, and exits the shed over the opposite floating warp end.

Floating selvedge for 8-shaft block twill mat.
Outermost warp ends are not threaded through heddles. When a treadle is pushed, the floating selvedge threads do not go up or down with the other warp ends.
Weaving with string yarn, and using floating selvedges.
Enter the shed under the floating selvedge. The curve of the ski shuttle easily slips under the floating selvedge.
Ski shuttle and floating selvedges.
Prepare to catch the shuttle by holding the floating selvedge down with your fingers.
Ski shuttle and floating selvedges.
After the tip of the ski shuttle has crossed over the floating selvedge, continue bringing the shuttle through.

It is not unusual for the Lord to wait until I’m quiet before he answers. I may gripe about the obstacles, and try to wish or pray them away. But the Lord gently moves the shuttle under or over the floating selvedge to accomplish his work. For him, it is not an obstacle, it is a necessary part of creating this kind of cloth. When I get quiet, I can see what he is doing. And it is good.

May you know when to be quiet.

Yours Truly,
Karen
Tools Day: Warping Slat Spacers

Rag rugs are not finished when you cut them from the loom. In fact, they can fall apart if you are not careful. A rag rug is not secure until warp ends are tied into knots. You need to leave space on the warp between rag rugs to make room for the eventual knots.

One way to leave space on the warp is by using warping slats as spacers. Simply weave about two inches of scrap header after the end of a rug. Then, insert warping slats in alternating plain weave sheds. And then, weave another scrap header. Now, you’re ready to start the next rug.

Warping slats as spacers between rag rugs.
Weaving is finished. It is time to cut these rugs from the loom. Four warping slats are seen between two rag rugs as the rugs are being pulled off the loom.

I leave about eight inches (20 cm) of warp between rugs. This gives me enough length for tying the needed square knots. If you are leaving fringe, add enough to include the desired fringe length. When you insert the warping slats, keep them centered so that they can go around the breast beam and cloth beam without catching on the sides of the loom.

Warping slats are used as spacers between rag rugs.
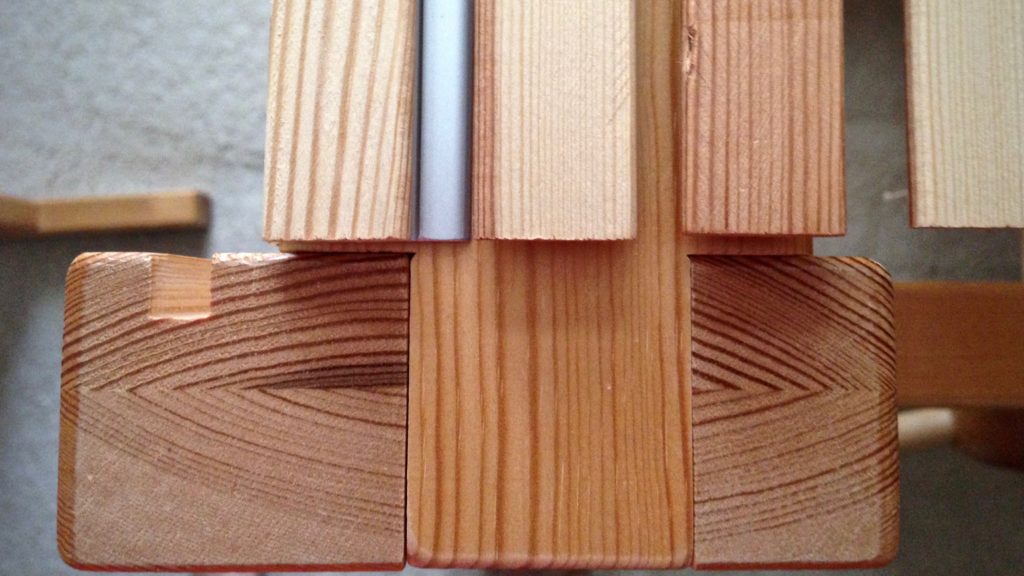
Full-width warping slats are placed carefully so that they do not extend beyond the weaving width on the right or on the left. This view is looking down on the end of the breast beam.

It is easy to separate the rugs after they are off the loom. Cut between slats using a rotary cutter, with a cutting mat underneath.

Warping slats are used as spacers between two rag rugs on the loom.
Double binding rag rugs are ready to be removed from the loom. The two rugs will be cut apart by slicing the warp between the middle two warping slats.

May you make the best use of your time and tools.

All the best,
Karen