Tools Day: Temples

Draw-in happens. It is a natural part of weaving. Sending a weft thread across the warp, weaving over and under, naturally pulls the warp threads closer together–this is draw-in. But excessive draw-in ruins selvedges, causes warp ends to fray and/or break, and wastes time because it creates problems. The width across the fell line needs to be the same as the width of the warp in the reed. If the cloth is narrower at the fell line, there is abrasion on the outer warp ends from the reed, as the beater comes to the cloth.

Two things work together to help prevent excessive draw-in:

1) Angling the weft. Placing the weft across the warp at an angle adds extra length to the weft, which helps to accommodate for the natural draw-in.

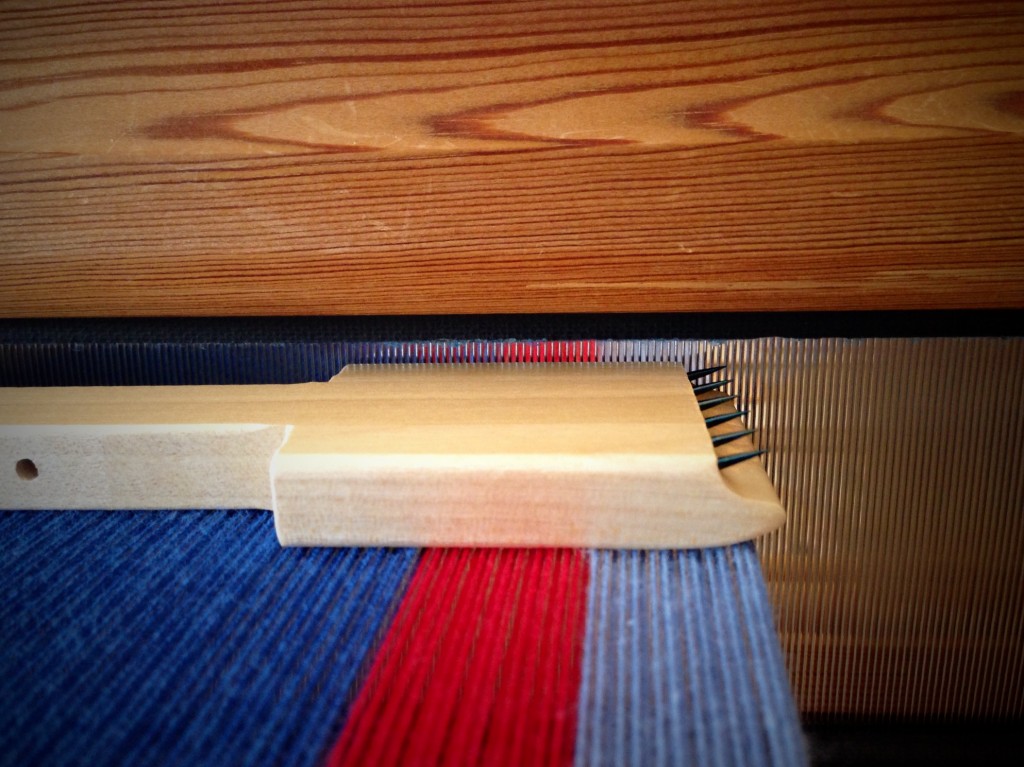
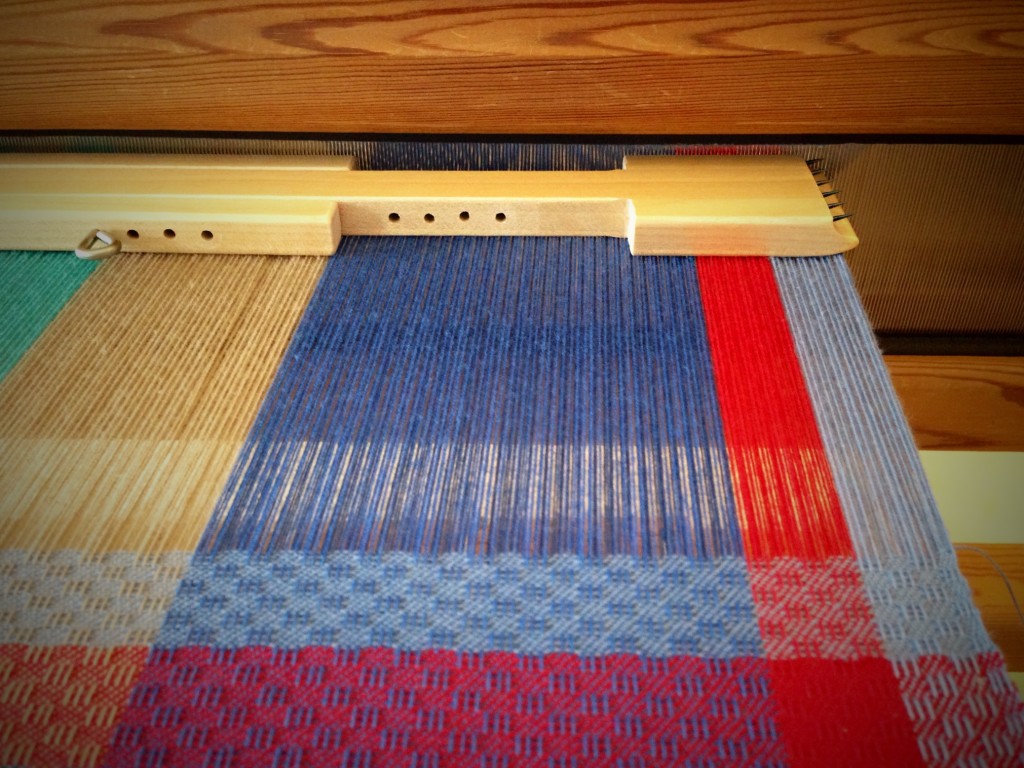
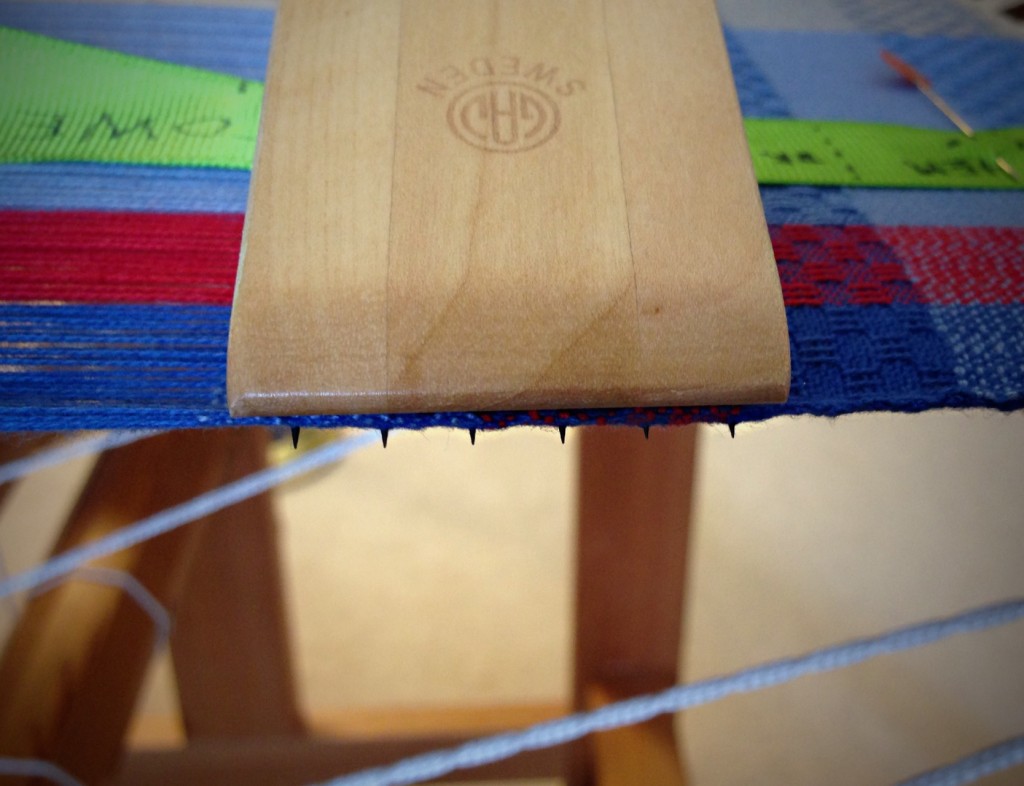
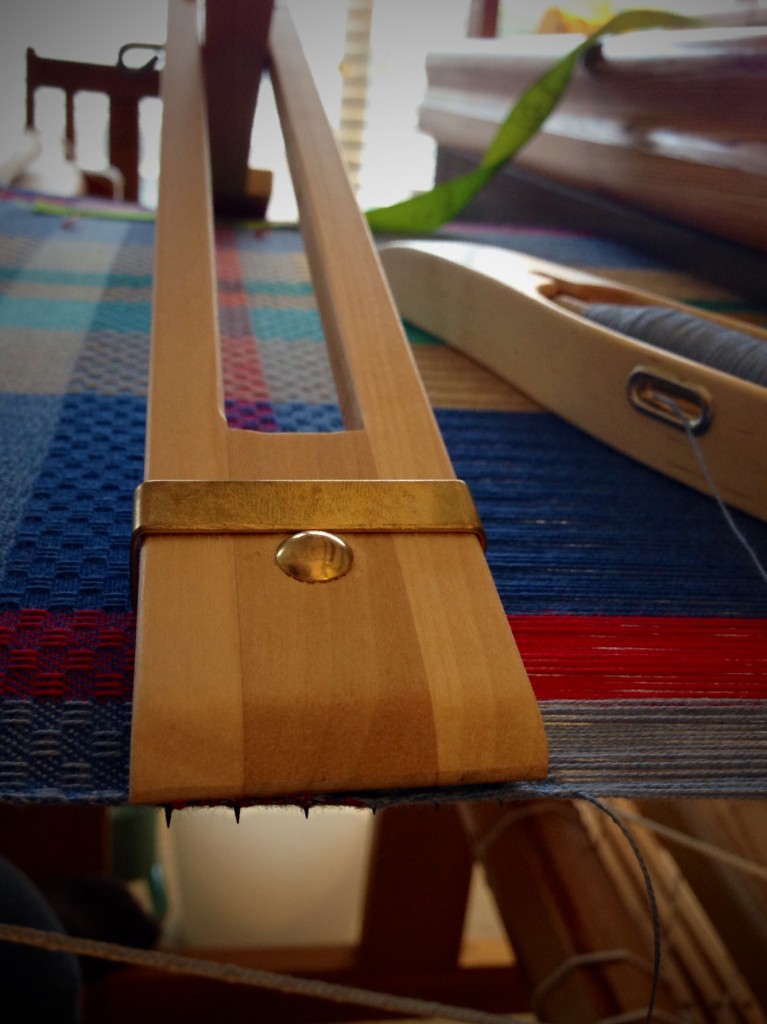
2) Using a temple (stretcher). The purpose of a temple is to maintain consistency in the width of the cloth. It does this by “stretching” the cloth out, holding it in place with little spikes on each end of the tool. Moving the temple frequently uses the tool to its best advantage. I move mine about every inch of weaving. For more instruction on how to set a temple, please see one of my most popular posts, Tools Day: Temple Technique.

I weave with a temple more often than not. The temple must be set properly, to the precise width, so I have several sizes in my growing collection of temples. Sometimes it works to combine two different sizes to get the measurement that is needed.

My first temple was a make-do tool that I used with my rigid heddle loom on lightweight weaving. It is not adjustable, so it only works with one specific warp width.
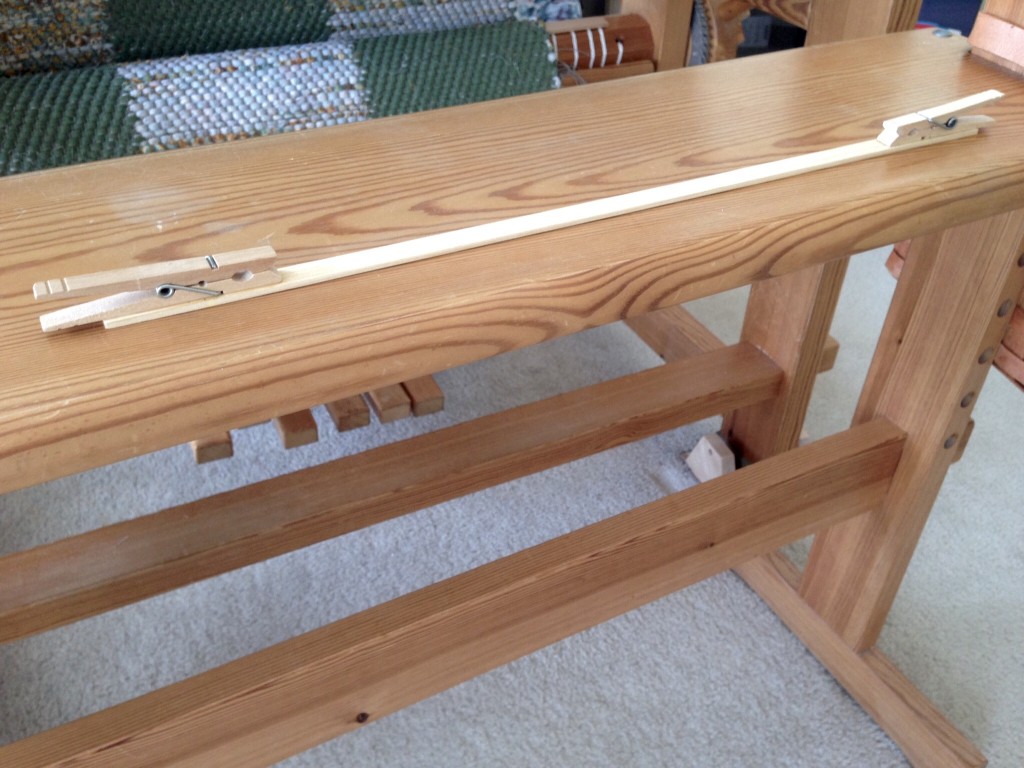
Make-do temple for a rigid heddle loom.
Slat with clothes pins glued on the ends makes a simple lightweight temple for a rigid heddle loom.

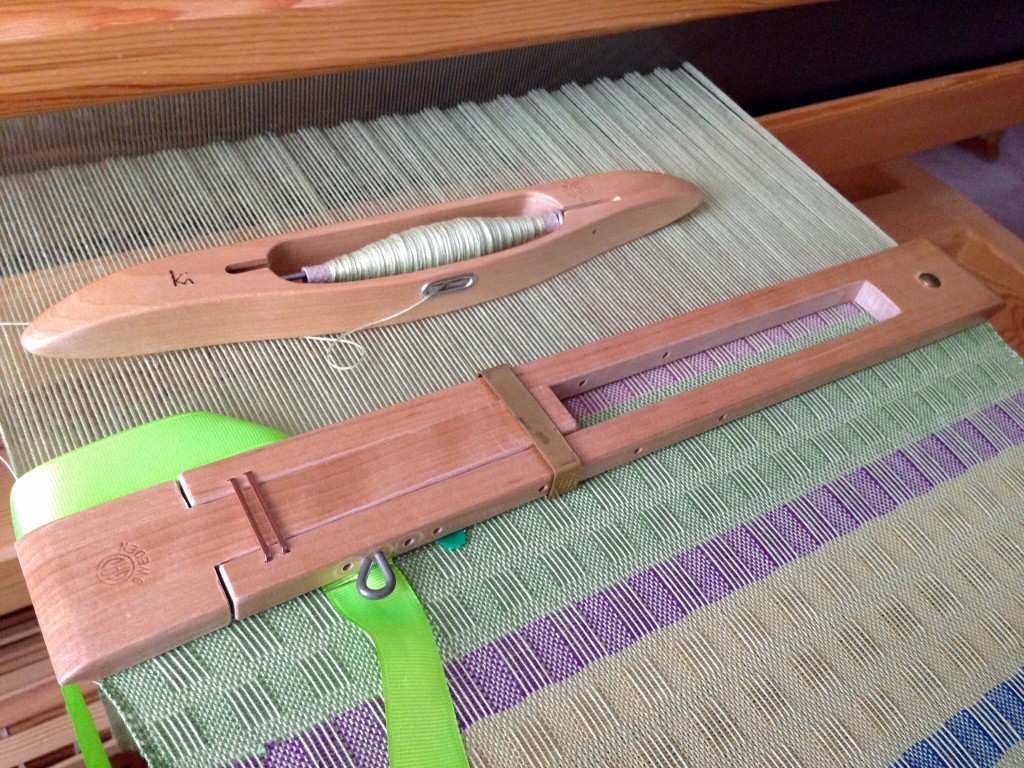
My wooden temples are from Glimåkra. They serve me well, and are the ones I use most often. Since they are adjustable, they cover a wide range of possible widths.
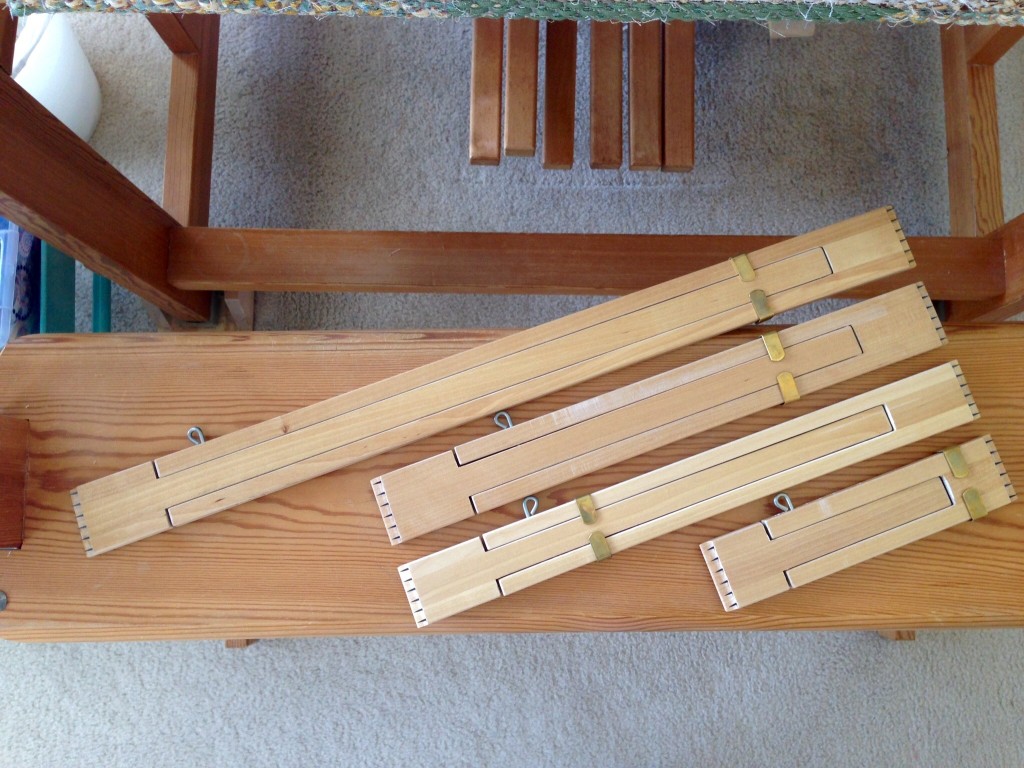
Wooden temples (Glimakra) for weaving.
Wooden temples (mine are Glimåkra) work well for any type of weaving.
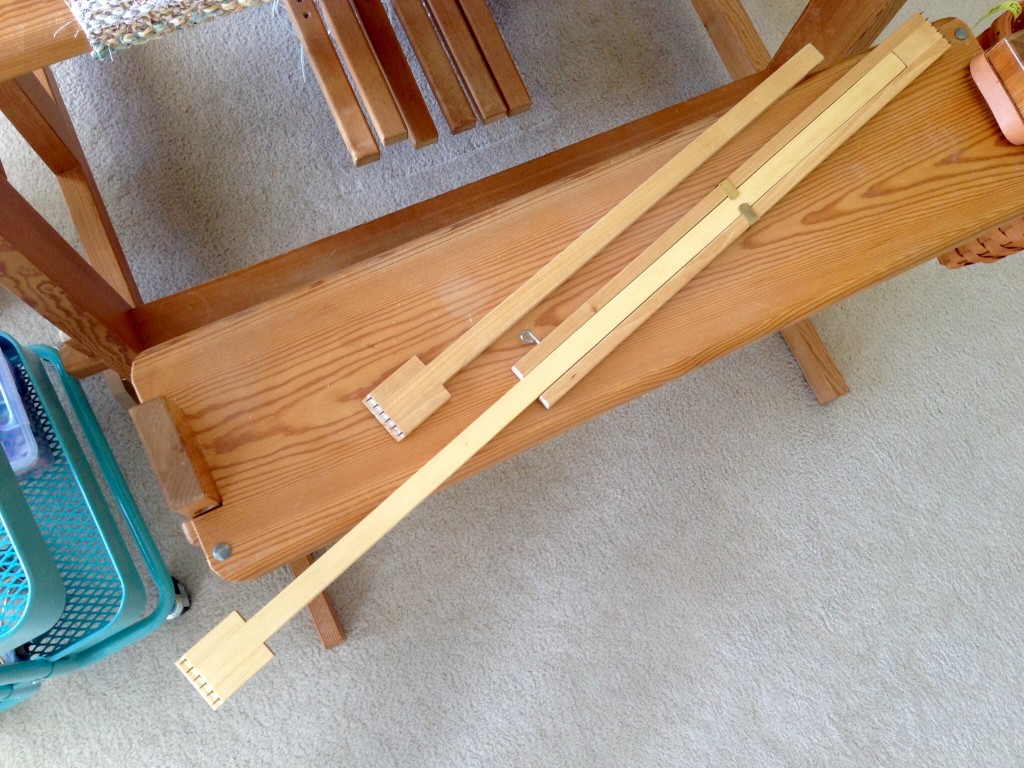
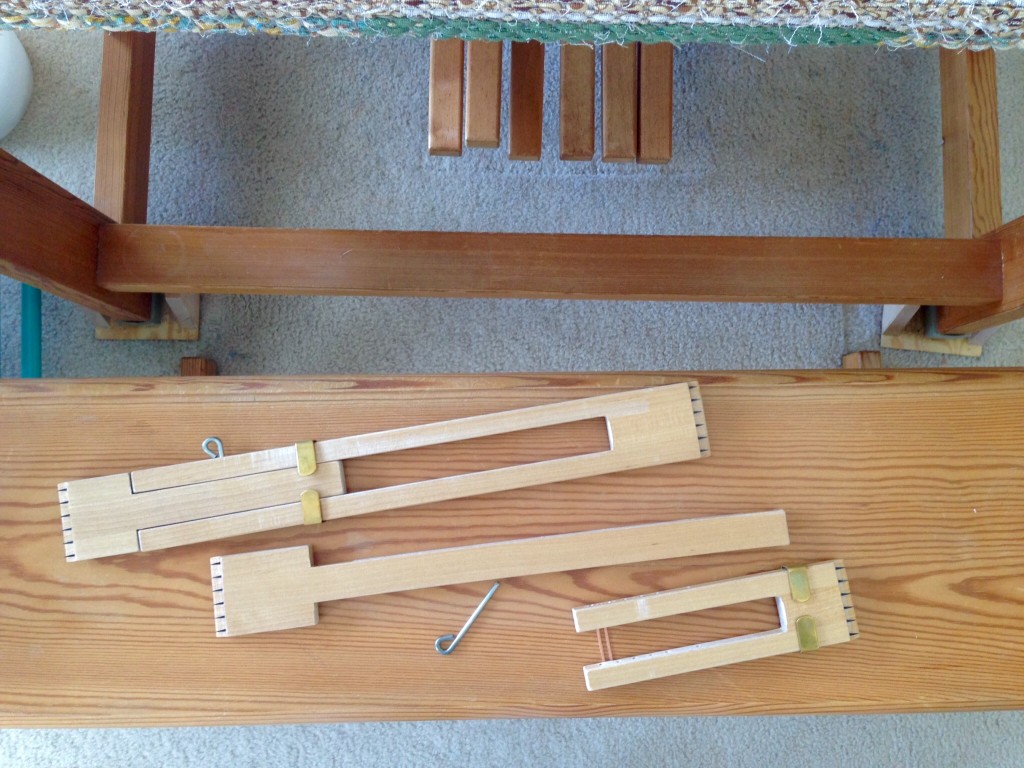
Switching parts to two sizes of temples. Info about temples on the blog.
Switching parts on two different sizes of temples can increase the range of possible sizes. And, yes, some of my temples have an extra hole, added by my husband, to increase the range of the temples’ adjustability.
Tips for using a temple!
Perfect width of temple for this cotton lace-weave scarf found with combination of two different sizes.
Handmade extension for temple. Temple tips...
Steve made an extension for my longest temple when I needed a really l-o-o-o-o-ng temple. He used finishing nails for the little spikes. It’s perfect!

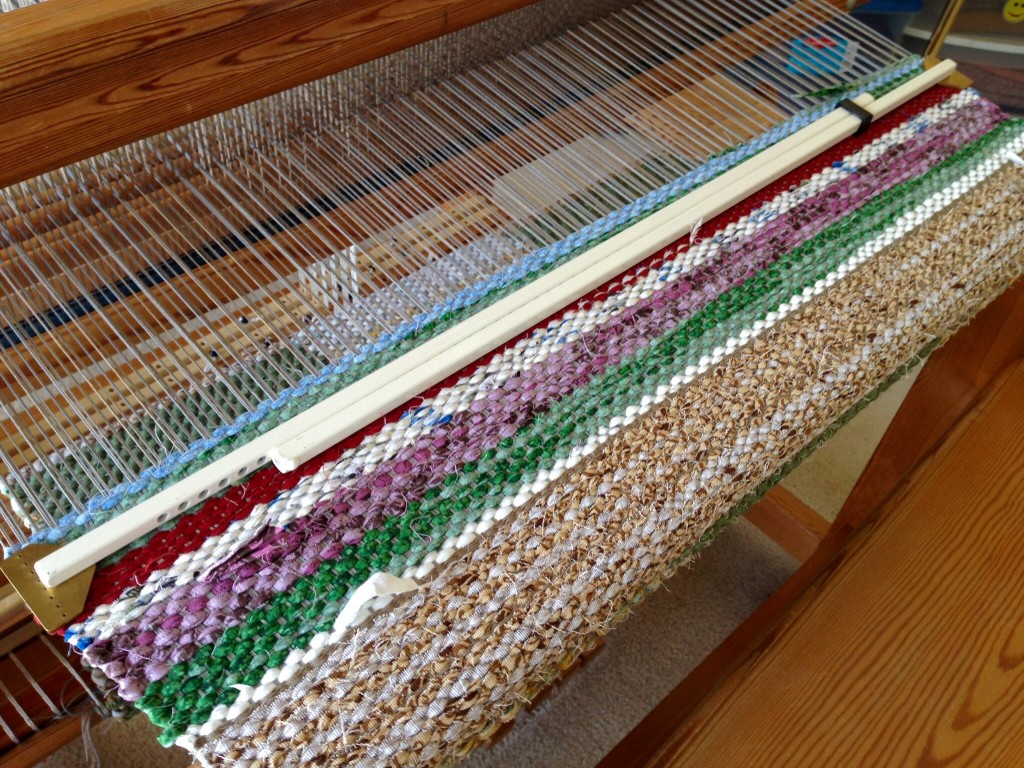
The metal temples are heavier, with thicker teeth, and work well for coarser weaving, especially rugs.
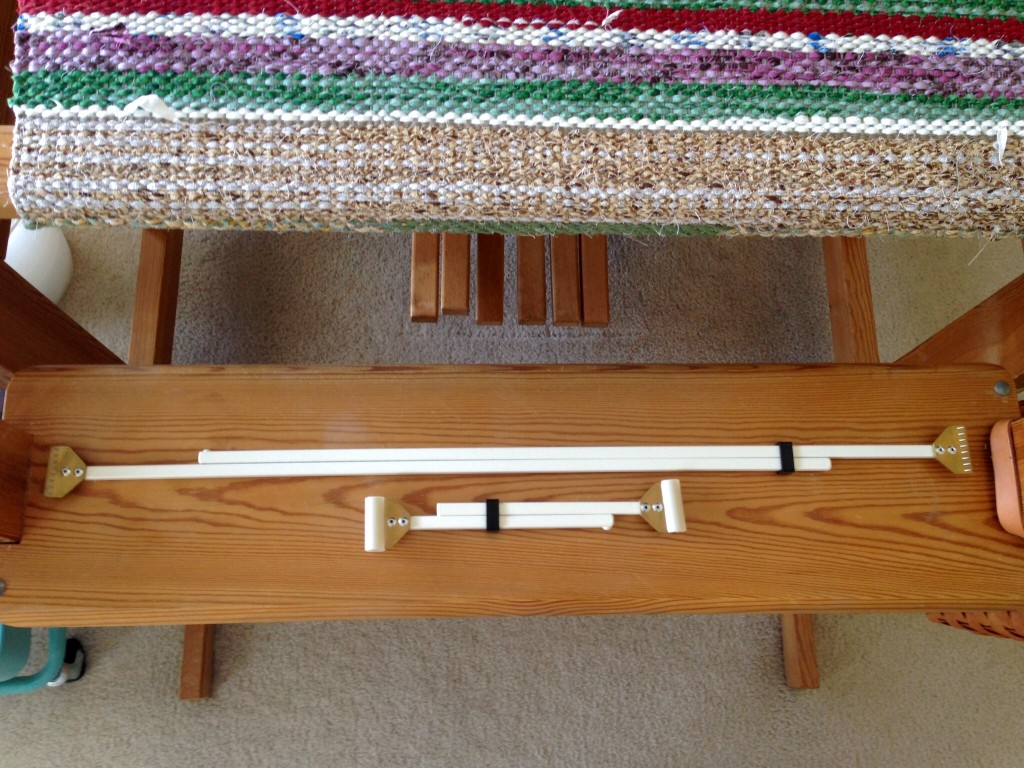
Metal temples for weaving, especially rag rugs.
Metal temples work well for weaving rugs. Like the wooden temples, these also have interchangeable parts, which can extend the range of possible widths.
Temple in place in scrap weft between rag rugs. Temple tips.
Temple is set in the scrap weft between rag rugs. Ready for the start of another rag rug!

May your selvedges shine, and your broken ends be few.

Happy Weaving,
Karen

This Rug Paints a Picture

Pretend this rug is a painting. Can you guess what the picture is? I have an image in my mind as I weave this rag rug. Sunset over land and sea. I saw a beautiful sunset last night that used these very colors! It was spectacular! And when the sun is setting in one place, it is seen rising somewhere else. (Do you remember when I wove another rag rug similar to this one? You can see it HERE.)

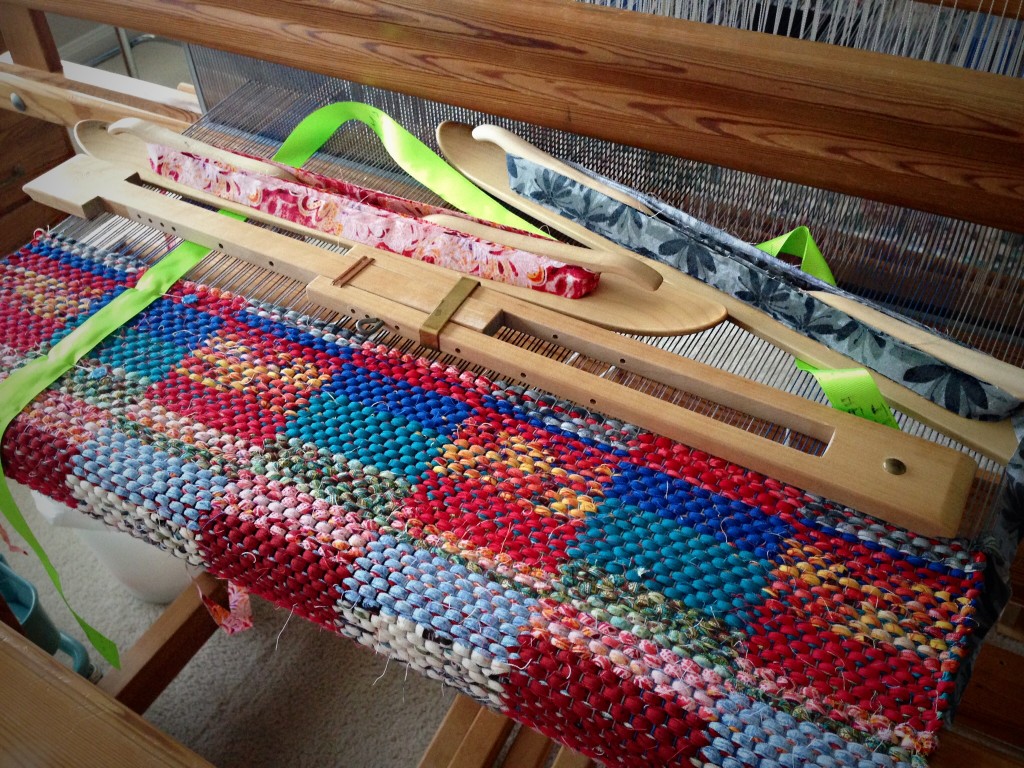
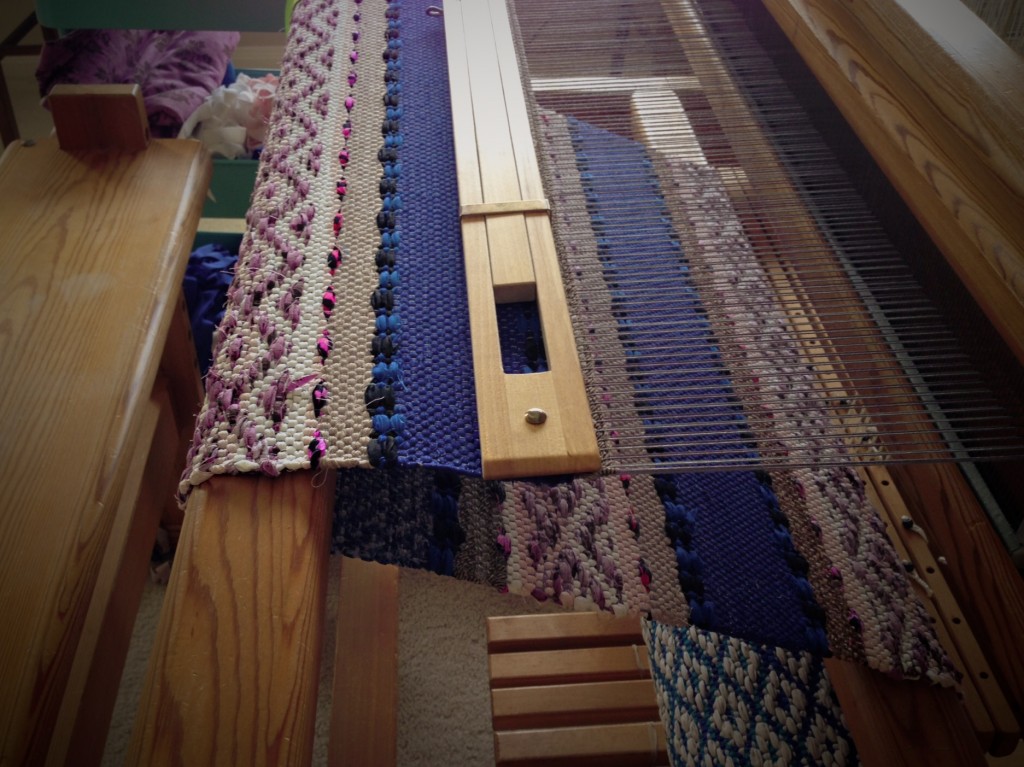
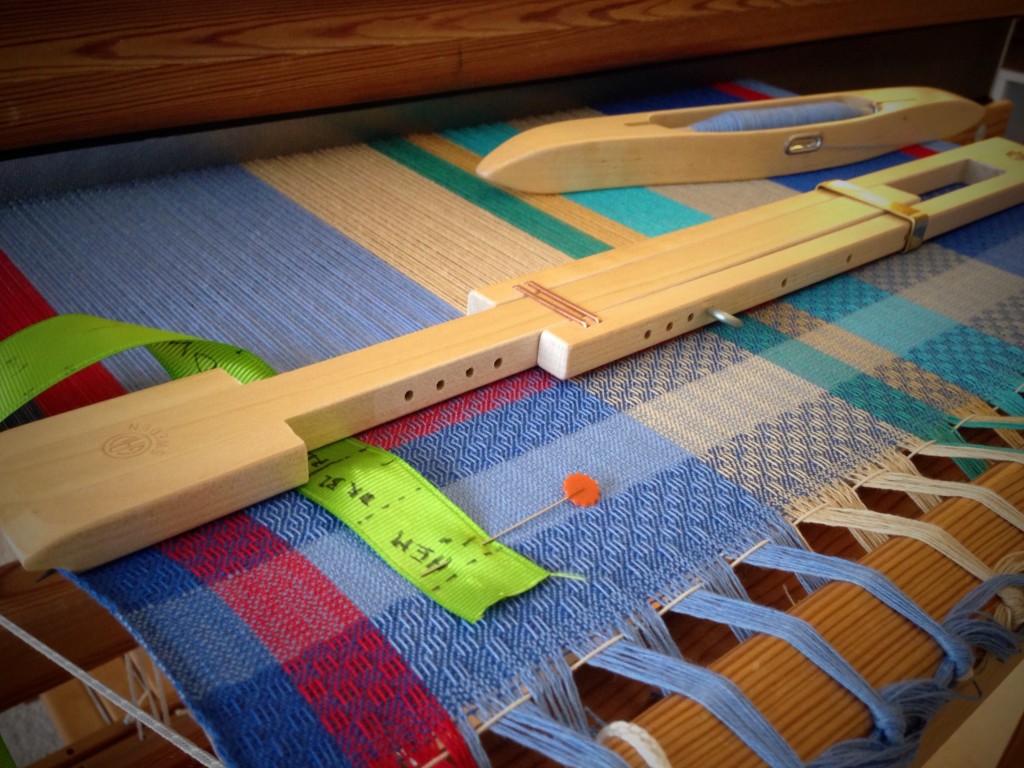
Weaving sunsets into a rag rug on the loom.
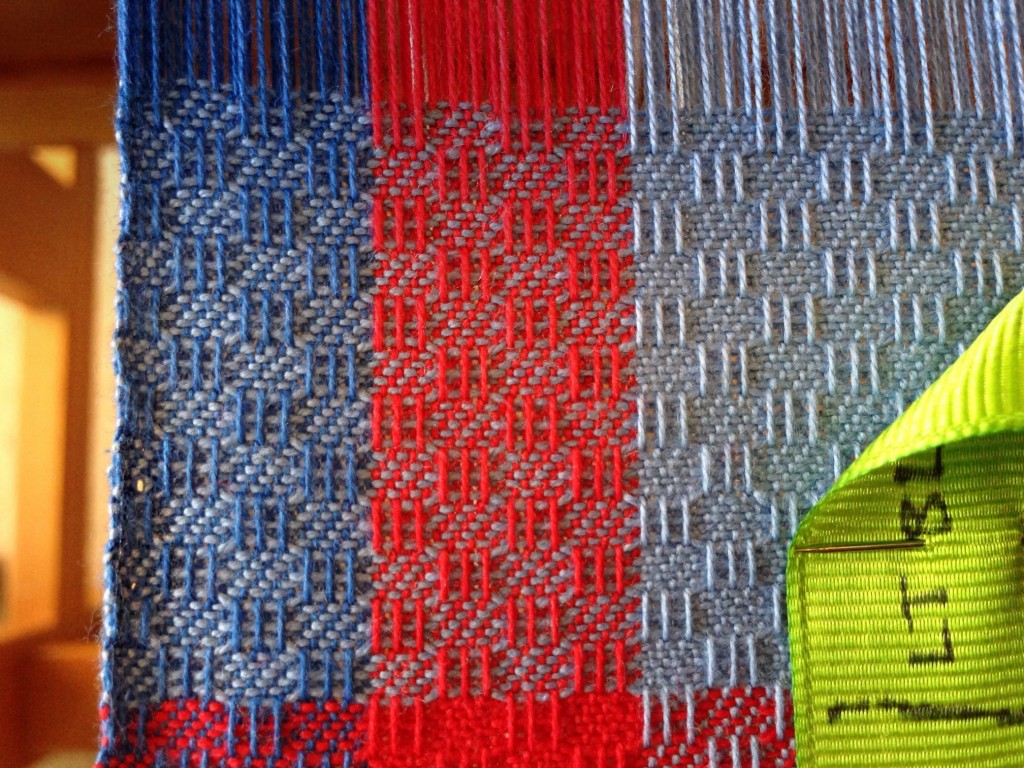
Moving the temple out of the way gives full view of the rug in progress. Blocks of color in this double binding weave hint at quilt blocks.

We count on the sun rising and setting every day. So, why do we worry? We tell ourselves there is not enough time, the day is too short. We can’t seem to make ends meet (did a weaver make up that phrase?). The one who positioned the sun knows how time works. And, surely, our Maker knows how to make our ends meet.

Most people worry. But you do not have to worry. Your heavenly Father knows precisely what you need. He is glad to provide for you from his kingdom resources. When I weave an imagined sunset into a handcrafted rug, it is a simple replica. When we see the actual display of sunset colors in the sky, let it be a reminder to put our trust in the One who is weaving our story.

May your ends meet.

Happy weaving,
Karen

True Treasure

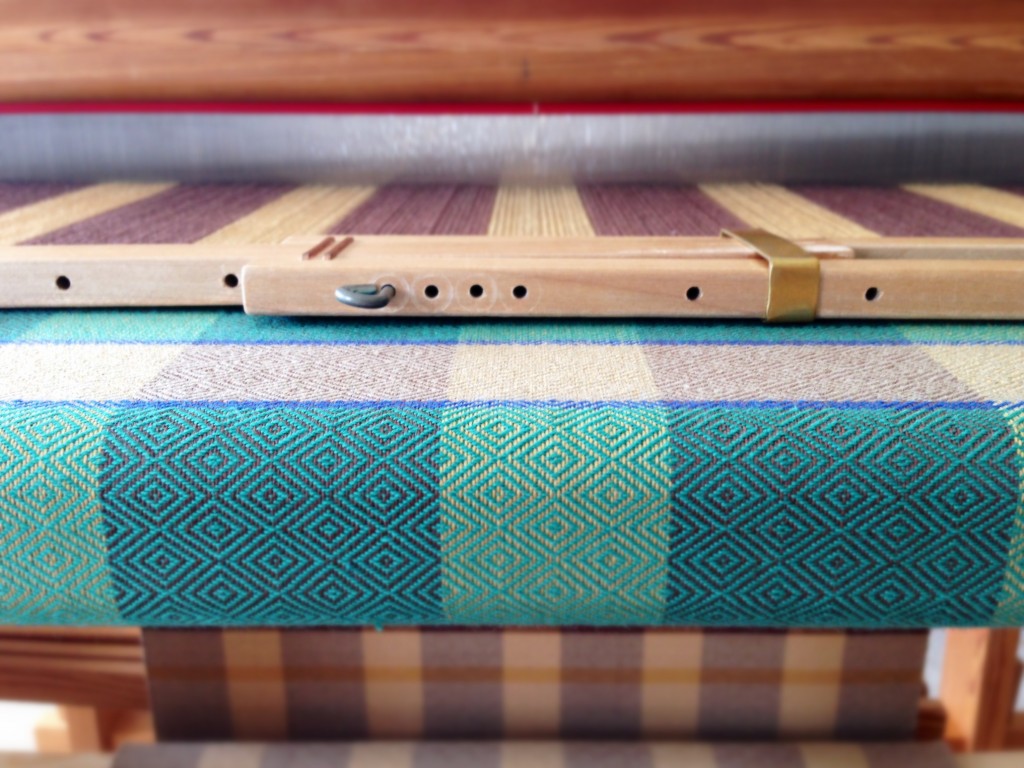
I already own a plentiful selection of handwoven towels. I am weaving the fifth towel on this warp, and there will be at least three more towels after that. So, you might think I am storing up towels. Even so, whatever I am weaving at the moment becomes my favorite thing, like a precious treasure. The intricacies of the goose-eye twill and the color interaction seem special, with fancy treadling footwork and several colors of 16/2 cotton to play with. It is a journey of discovery–of learning and being delighted with the visual and physical impact of it all. In the end, though, it’s just a towel–a thing. (I will keep one towel for my collection. The rest will go in Etsy and/or become gifts.)

Goose-eye twill towels on the loom. Karen Isenhower
Temple in place, weaving goose-eye towels progresses. Viewing the cloth as it comes over the breast beam.

The greatest treasures are intangible; and the most valuable ones are hidden, to be discovered by those who are seeking. Beware of false treasures. When we make things we hold in our hands more important than they should be, we risk overlooking the true treasures. Uncovering and collecting those timeless treasures becomes life’s most exciting adventure.

May your treasure hunt make you rich (on the inside).

Happy Discovering,
Karen

(~As a thank-you for coming here, I have a discount coupon for you on my About Page to use in my Etsy Shop during the month of August, 2014.~)

Made to Be Noticed

Each rug is unique. Knowing what the possibilities are with a rosepath threading, I sketch a plan on graph paper. I pull colors from my stash of fabrics, adding, mixing, and removing, until the compilation is just right. My intention is to create a rag rug that will be noticed.

Rosepath rag rug on the loom
Plain weave sections in solid colors separate bands of rosepath patterning.

I start with a confident plan, but I will not see the results until the rug finally comes off the loom and is flat on the floor. I am hopeful, but there is still uncertainty. Do you ever feel that way about talking to God? It should be easy to pray, but how can we know if we are really getting through?

The Lord hears prayers. His willingness to hear is greater than my ability to express myself. When I take the fabric scraps of my life and arrange them in a pattern that pleases him, he notices. And he hears my inadequate sentences. As each woven rug rolls onto the cloth beam, what I do see gives me hope for the end results. Though my view is incomplete, every glimpse of answered prayer gives assurance that the Lord notices this weaving I call life.

May you get a glimpse of what you hope to see.

(One more rug to go on this warp! Soon you will see these rag rugs in my Etsy Shop!)

As always,
Karen

Tools Day: Temple Technique

What is the secret weapon for improving selvedges, preventing draw-in, and getting a more even beat, leading to better quality handwoven fabric? Use of a temple (also known as a stretcher), of course! The temple is a tool that simply holds the woven cloth on the loom at the proper width. I almost always use a temple when I weave because I like the consistency that it brings to my weaving. It may seem counterintuitive to stop frequently to re-set the temple, but I have found that moving the temple becomes part of the rhythm of weaving. The cloth develops inch by inch, and the temple is in sync with that.

How to set a temple:

1. Place the temple upside down on the warp next to the reed. Remove the pin. Expand the temple to the width of the warp, with the center of the teeth aligned with the outside warp thread on each side.

Proper placement of a temple. How-to pics.

2. Put the pin in aligned holes to hold the width of the temple.

Determining the proper width of a temple for weaving.

3. Turn the temple right side up, with the pin facing toward you, and the metal slider on the right half of the temple. Place the temple near the fell of the weaving; set the teeth on the left side of the temple into the warp threads near the selvedge.

Setting the teeth of temple into the cloth selvedge. How-to pics.

4. Keeping the left teeth in the cloth, set the temple teeth on the right into the threads near the selvedge on the right side of the cloth.

Setting the temple. Pics with explanation.

5. Press down the center of the temple. Move the metal slider toward the center to secure the temple, keeping it flat.

Temple in place for weaving consistency.

6. Weave. The reed should not touch the temple when you beat. After weaving an inch (or two, or three, depending on what is being woven), release temple by moving the metal slider. Remove temple. Repeat steps 3 through 6 until weaving is complete.

Small pin holes from temple teeth will disappear with wet-finishing.
Two small pin holes from the temple teeth can be seen near the left selvedge of the cloth. These holes will disappear when the cloth is wet finished.

(Compare this three-shaft twill fabric to my first attempt HERE with threading errors.)

May you find the tools that enhance the quality of your work.

Happy Weaving,
Karen