Tools Day: Let There Be Light!

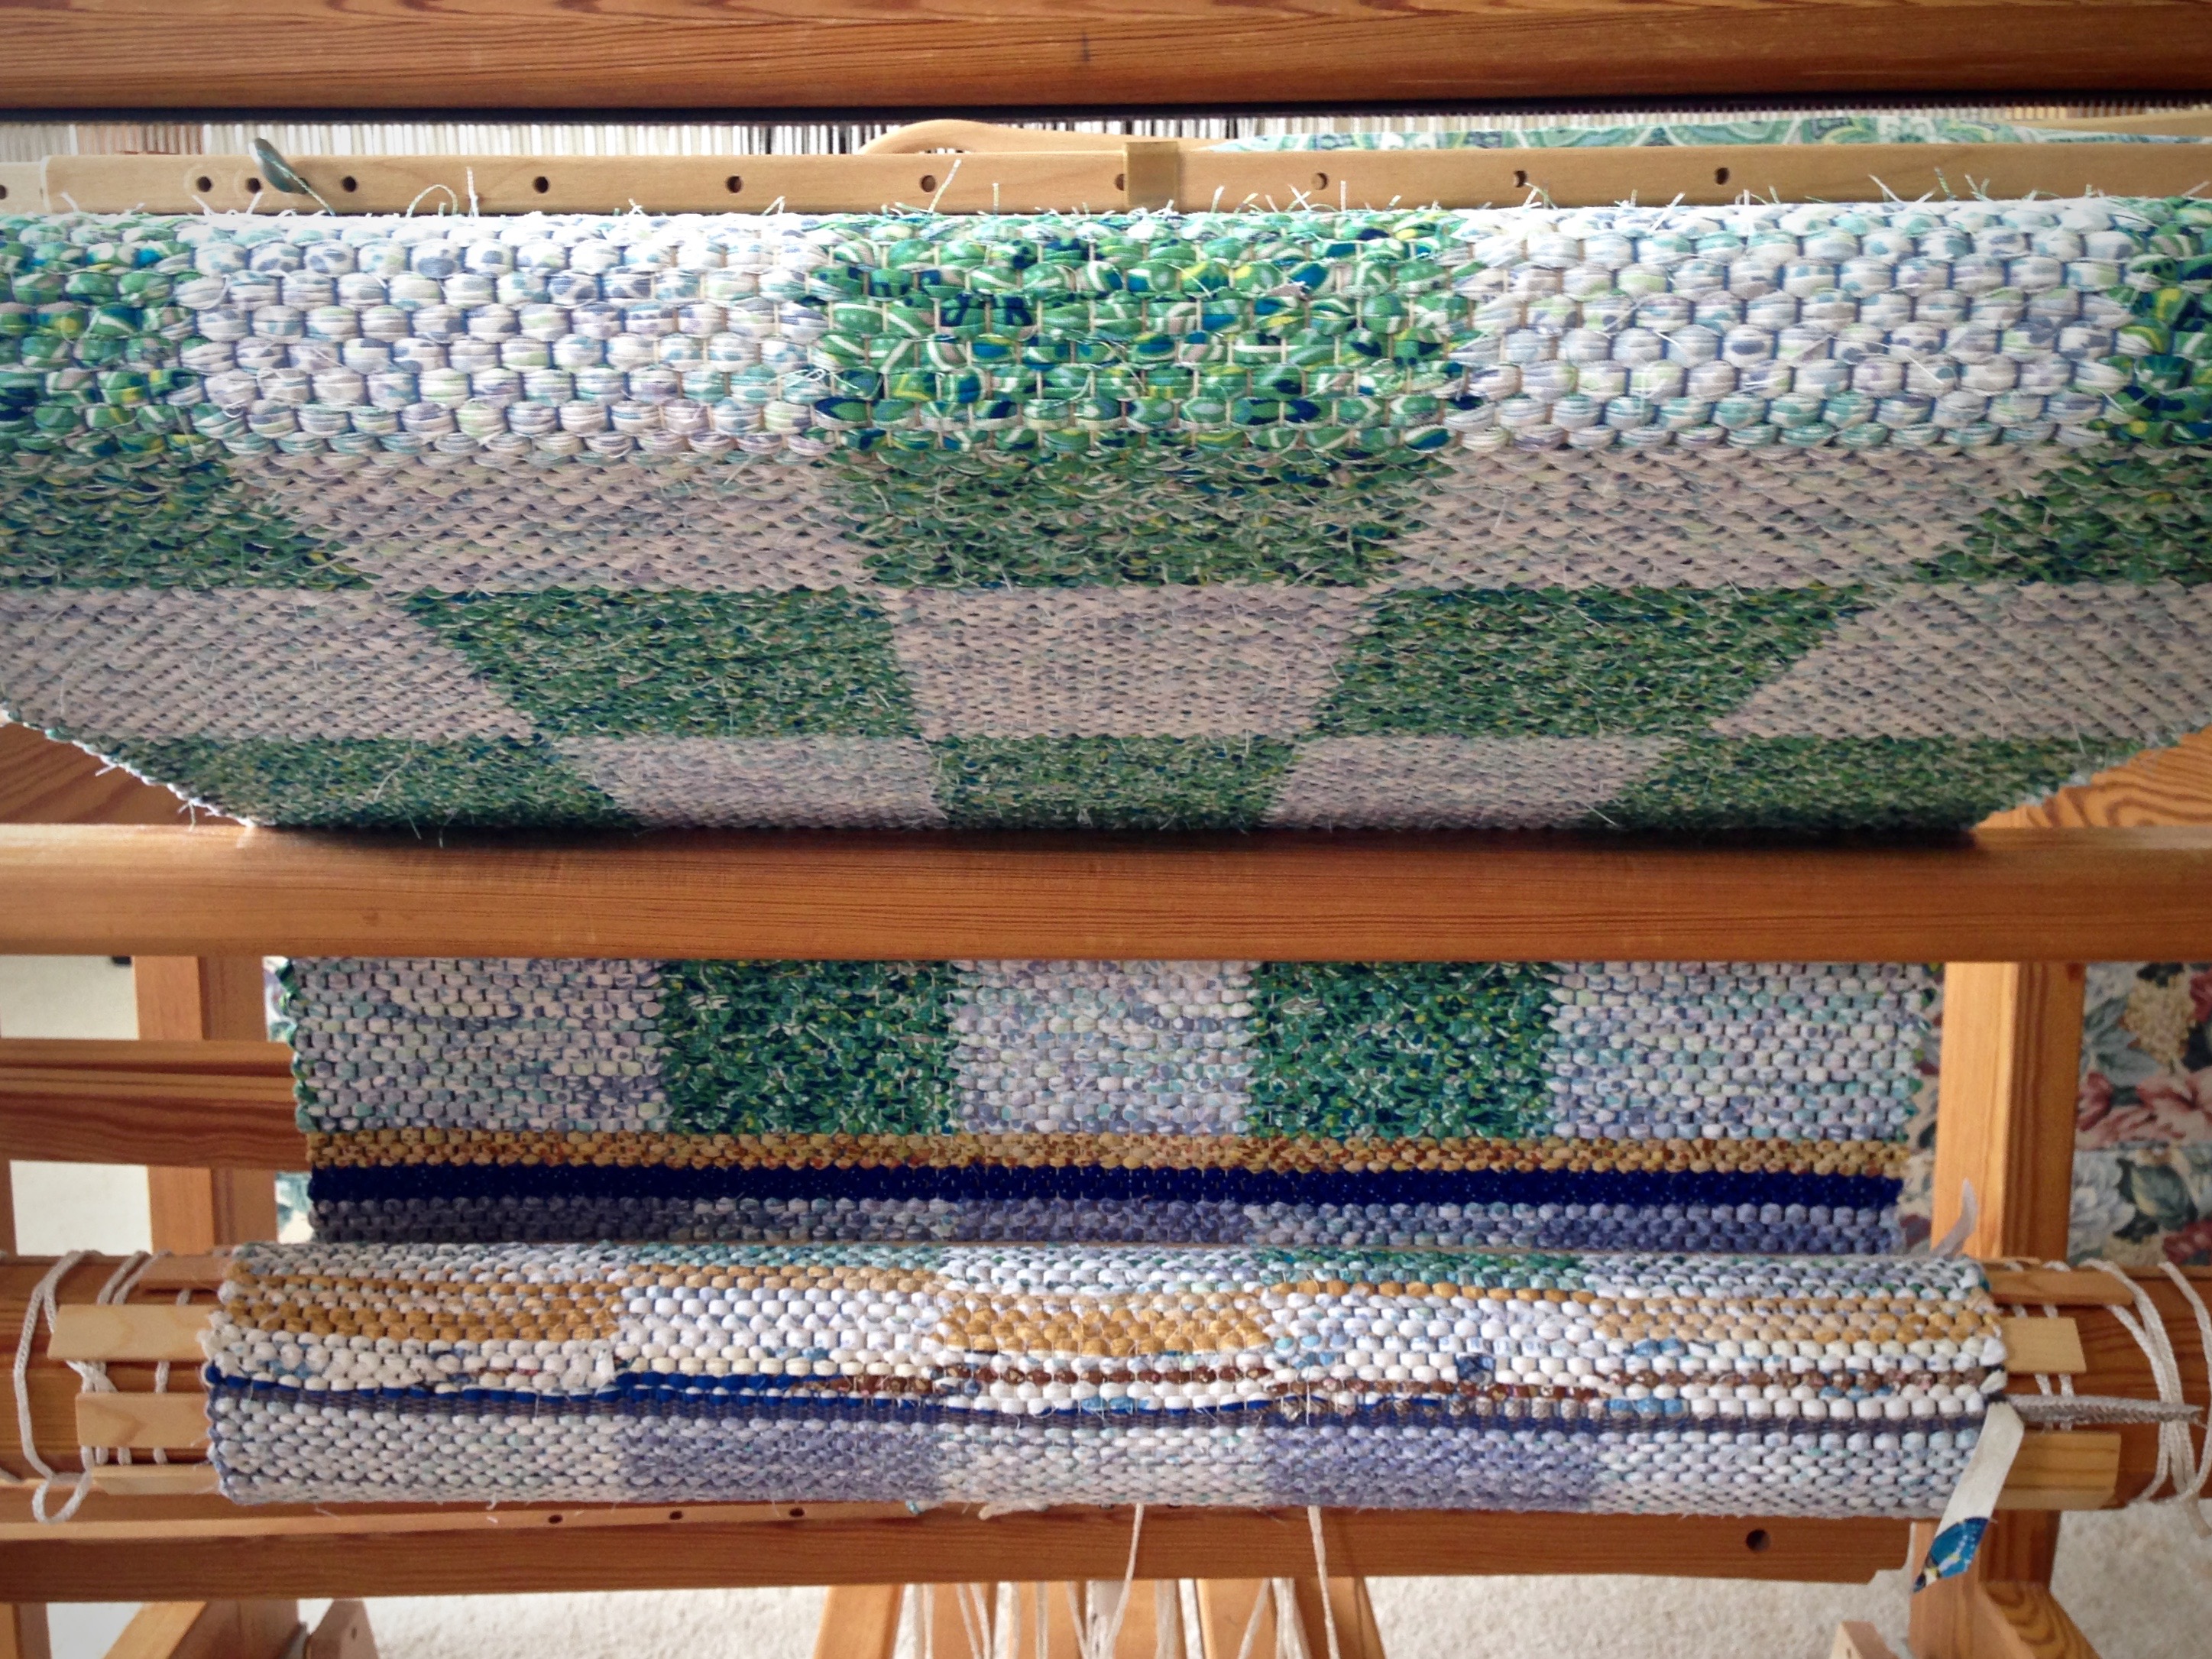
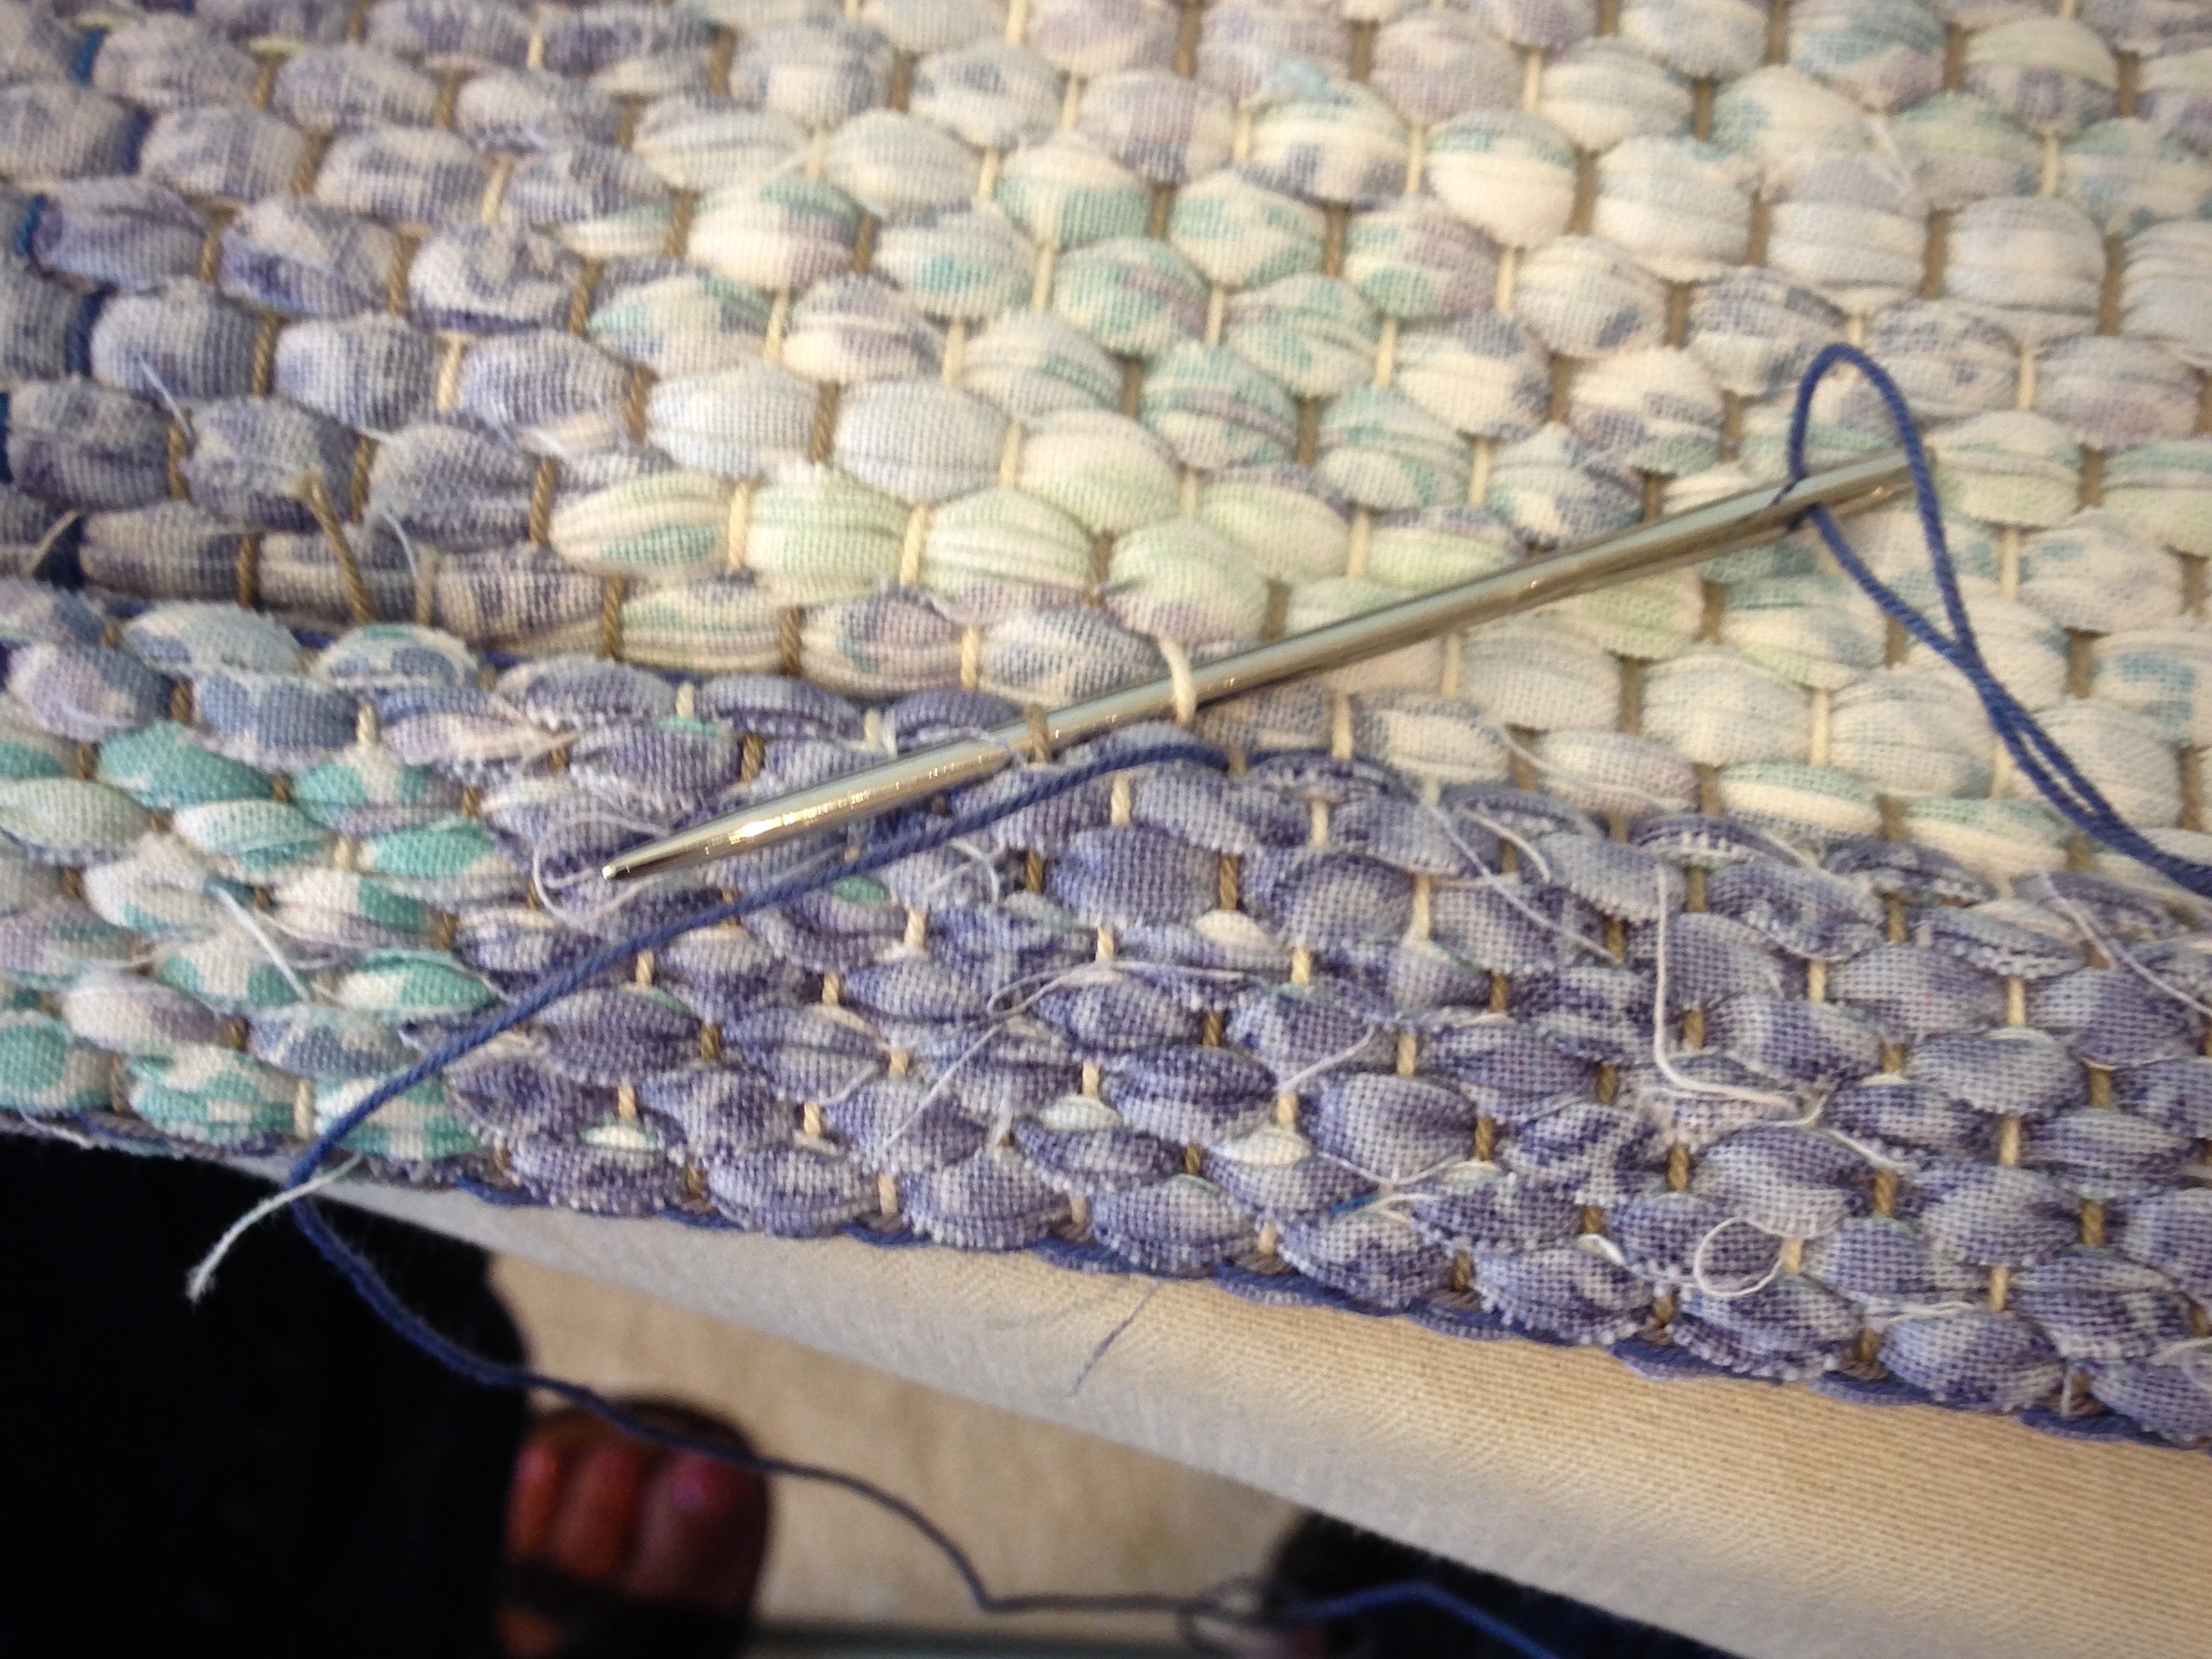
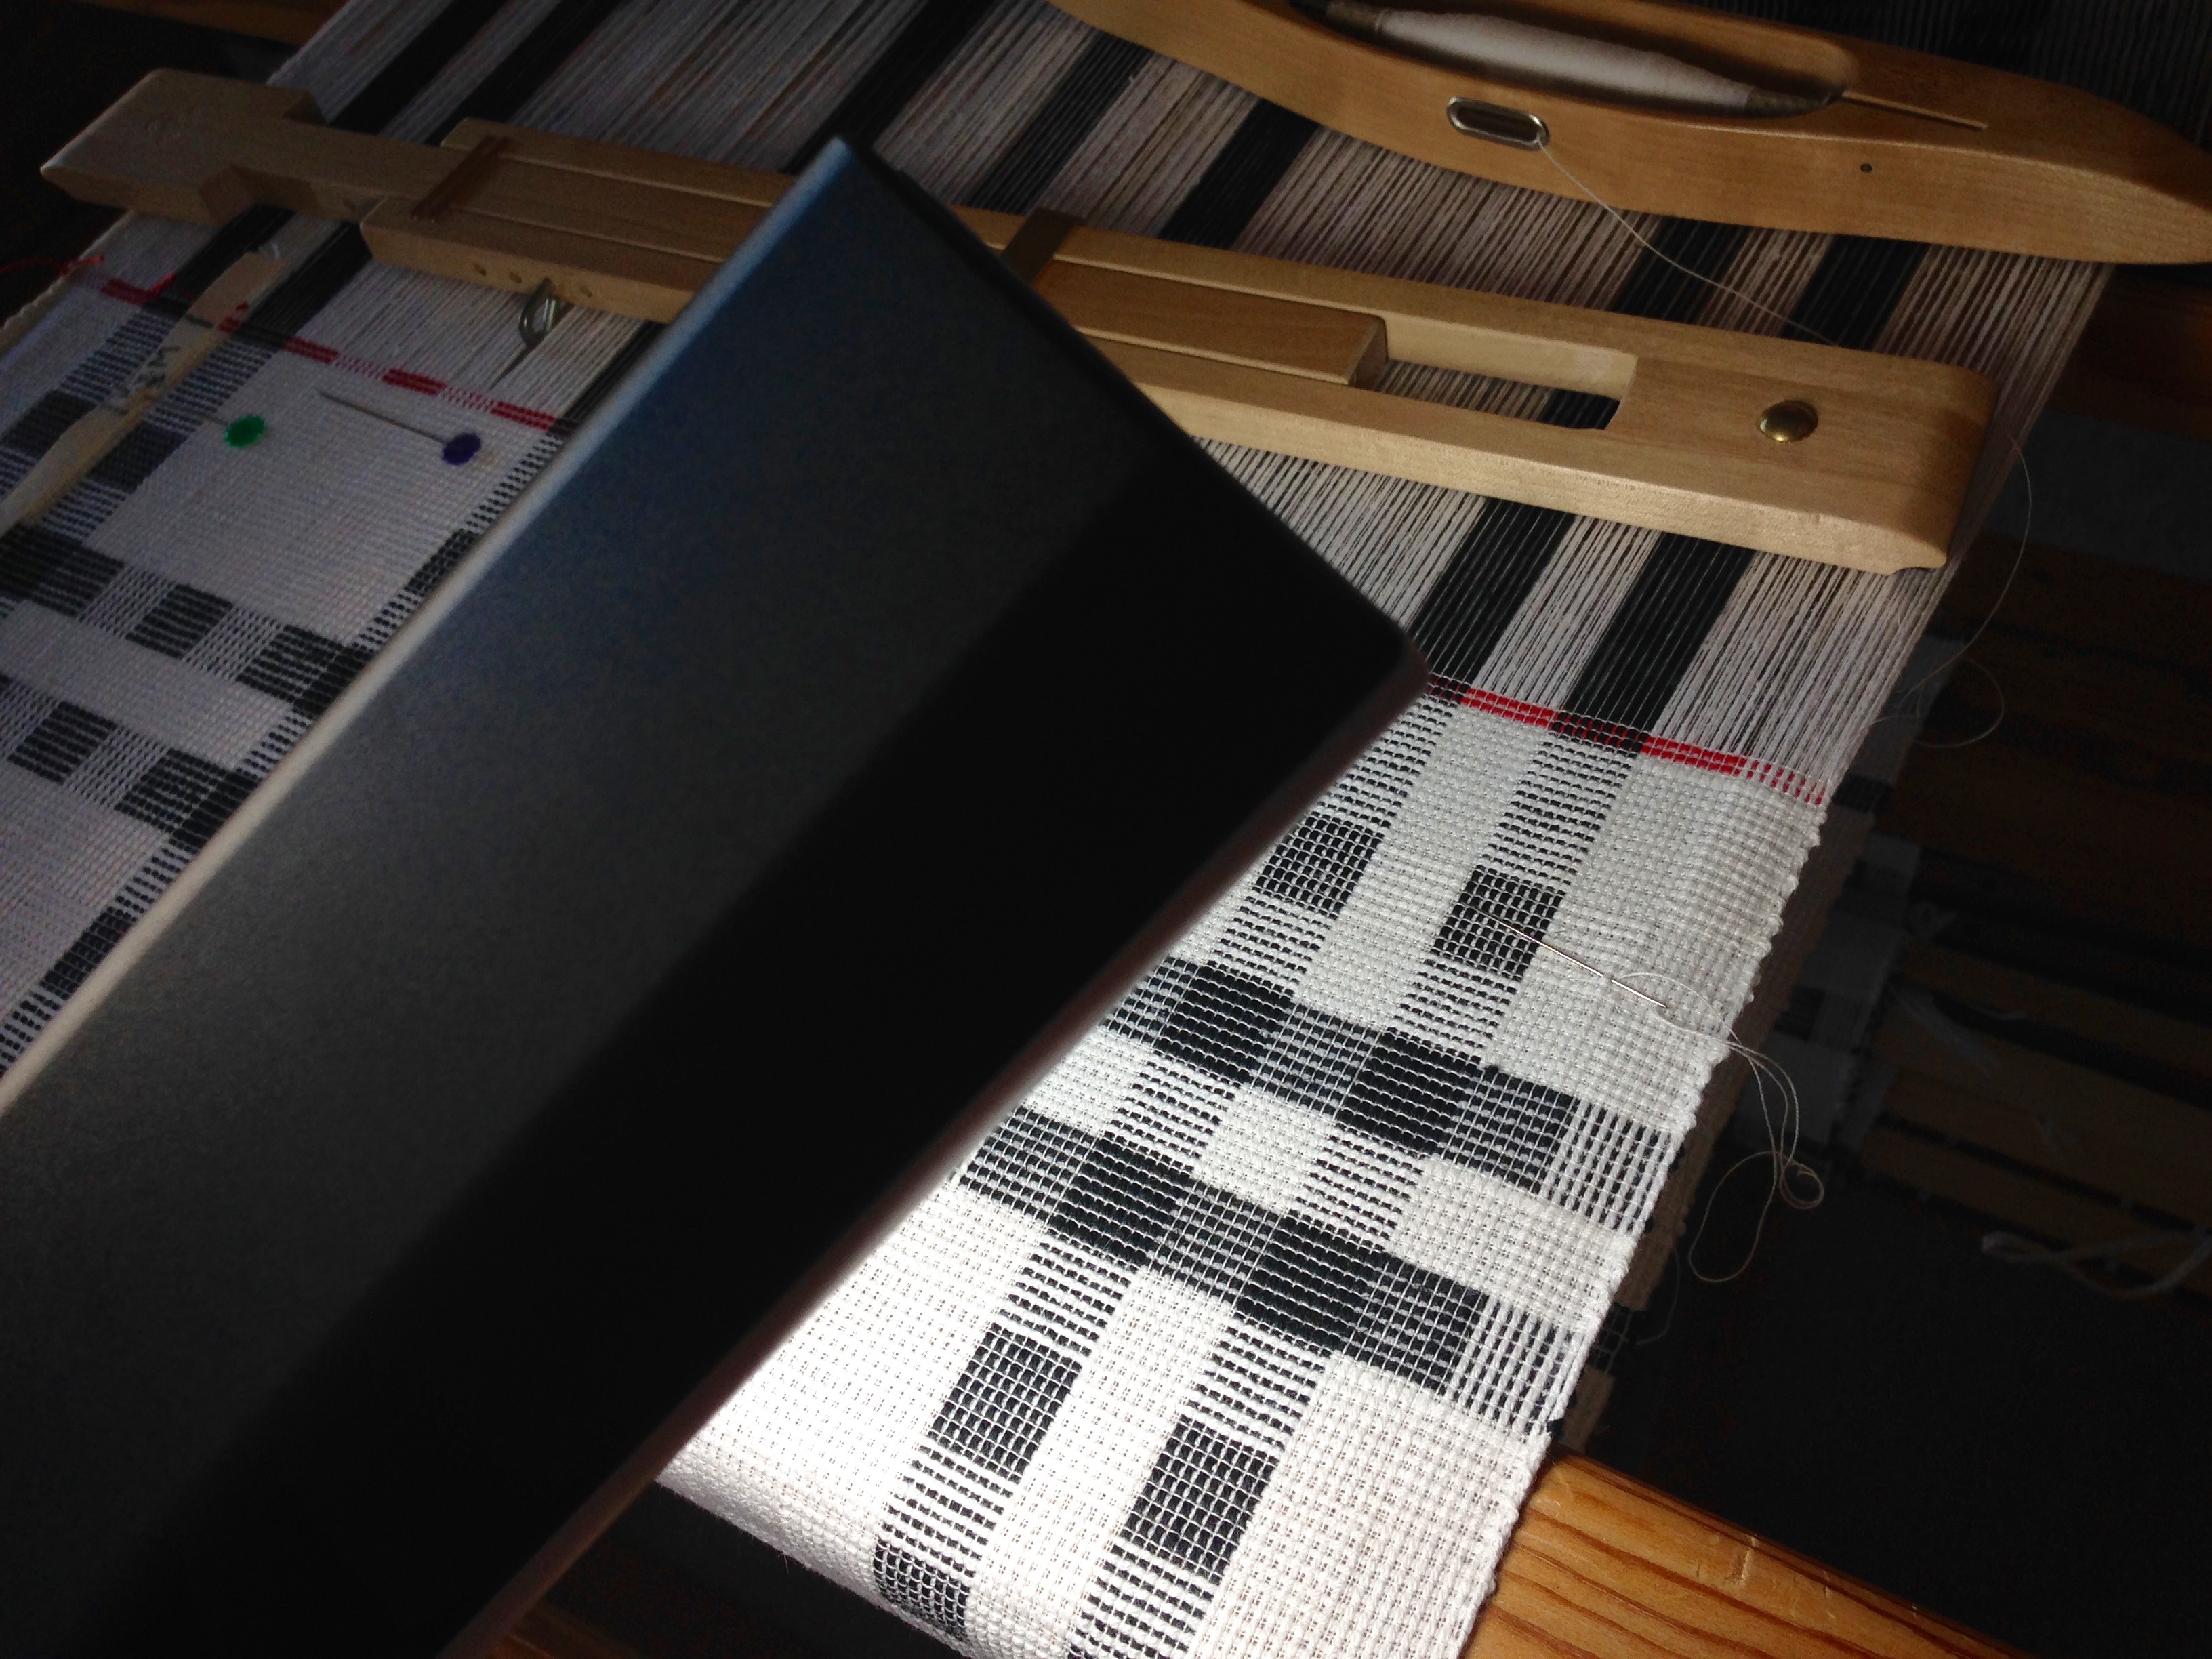
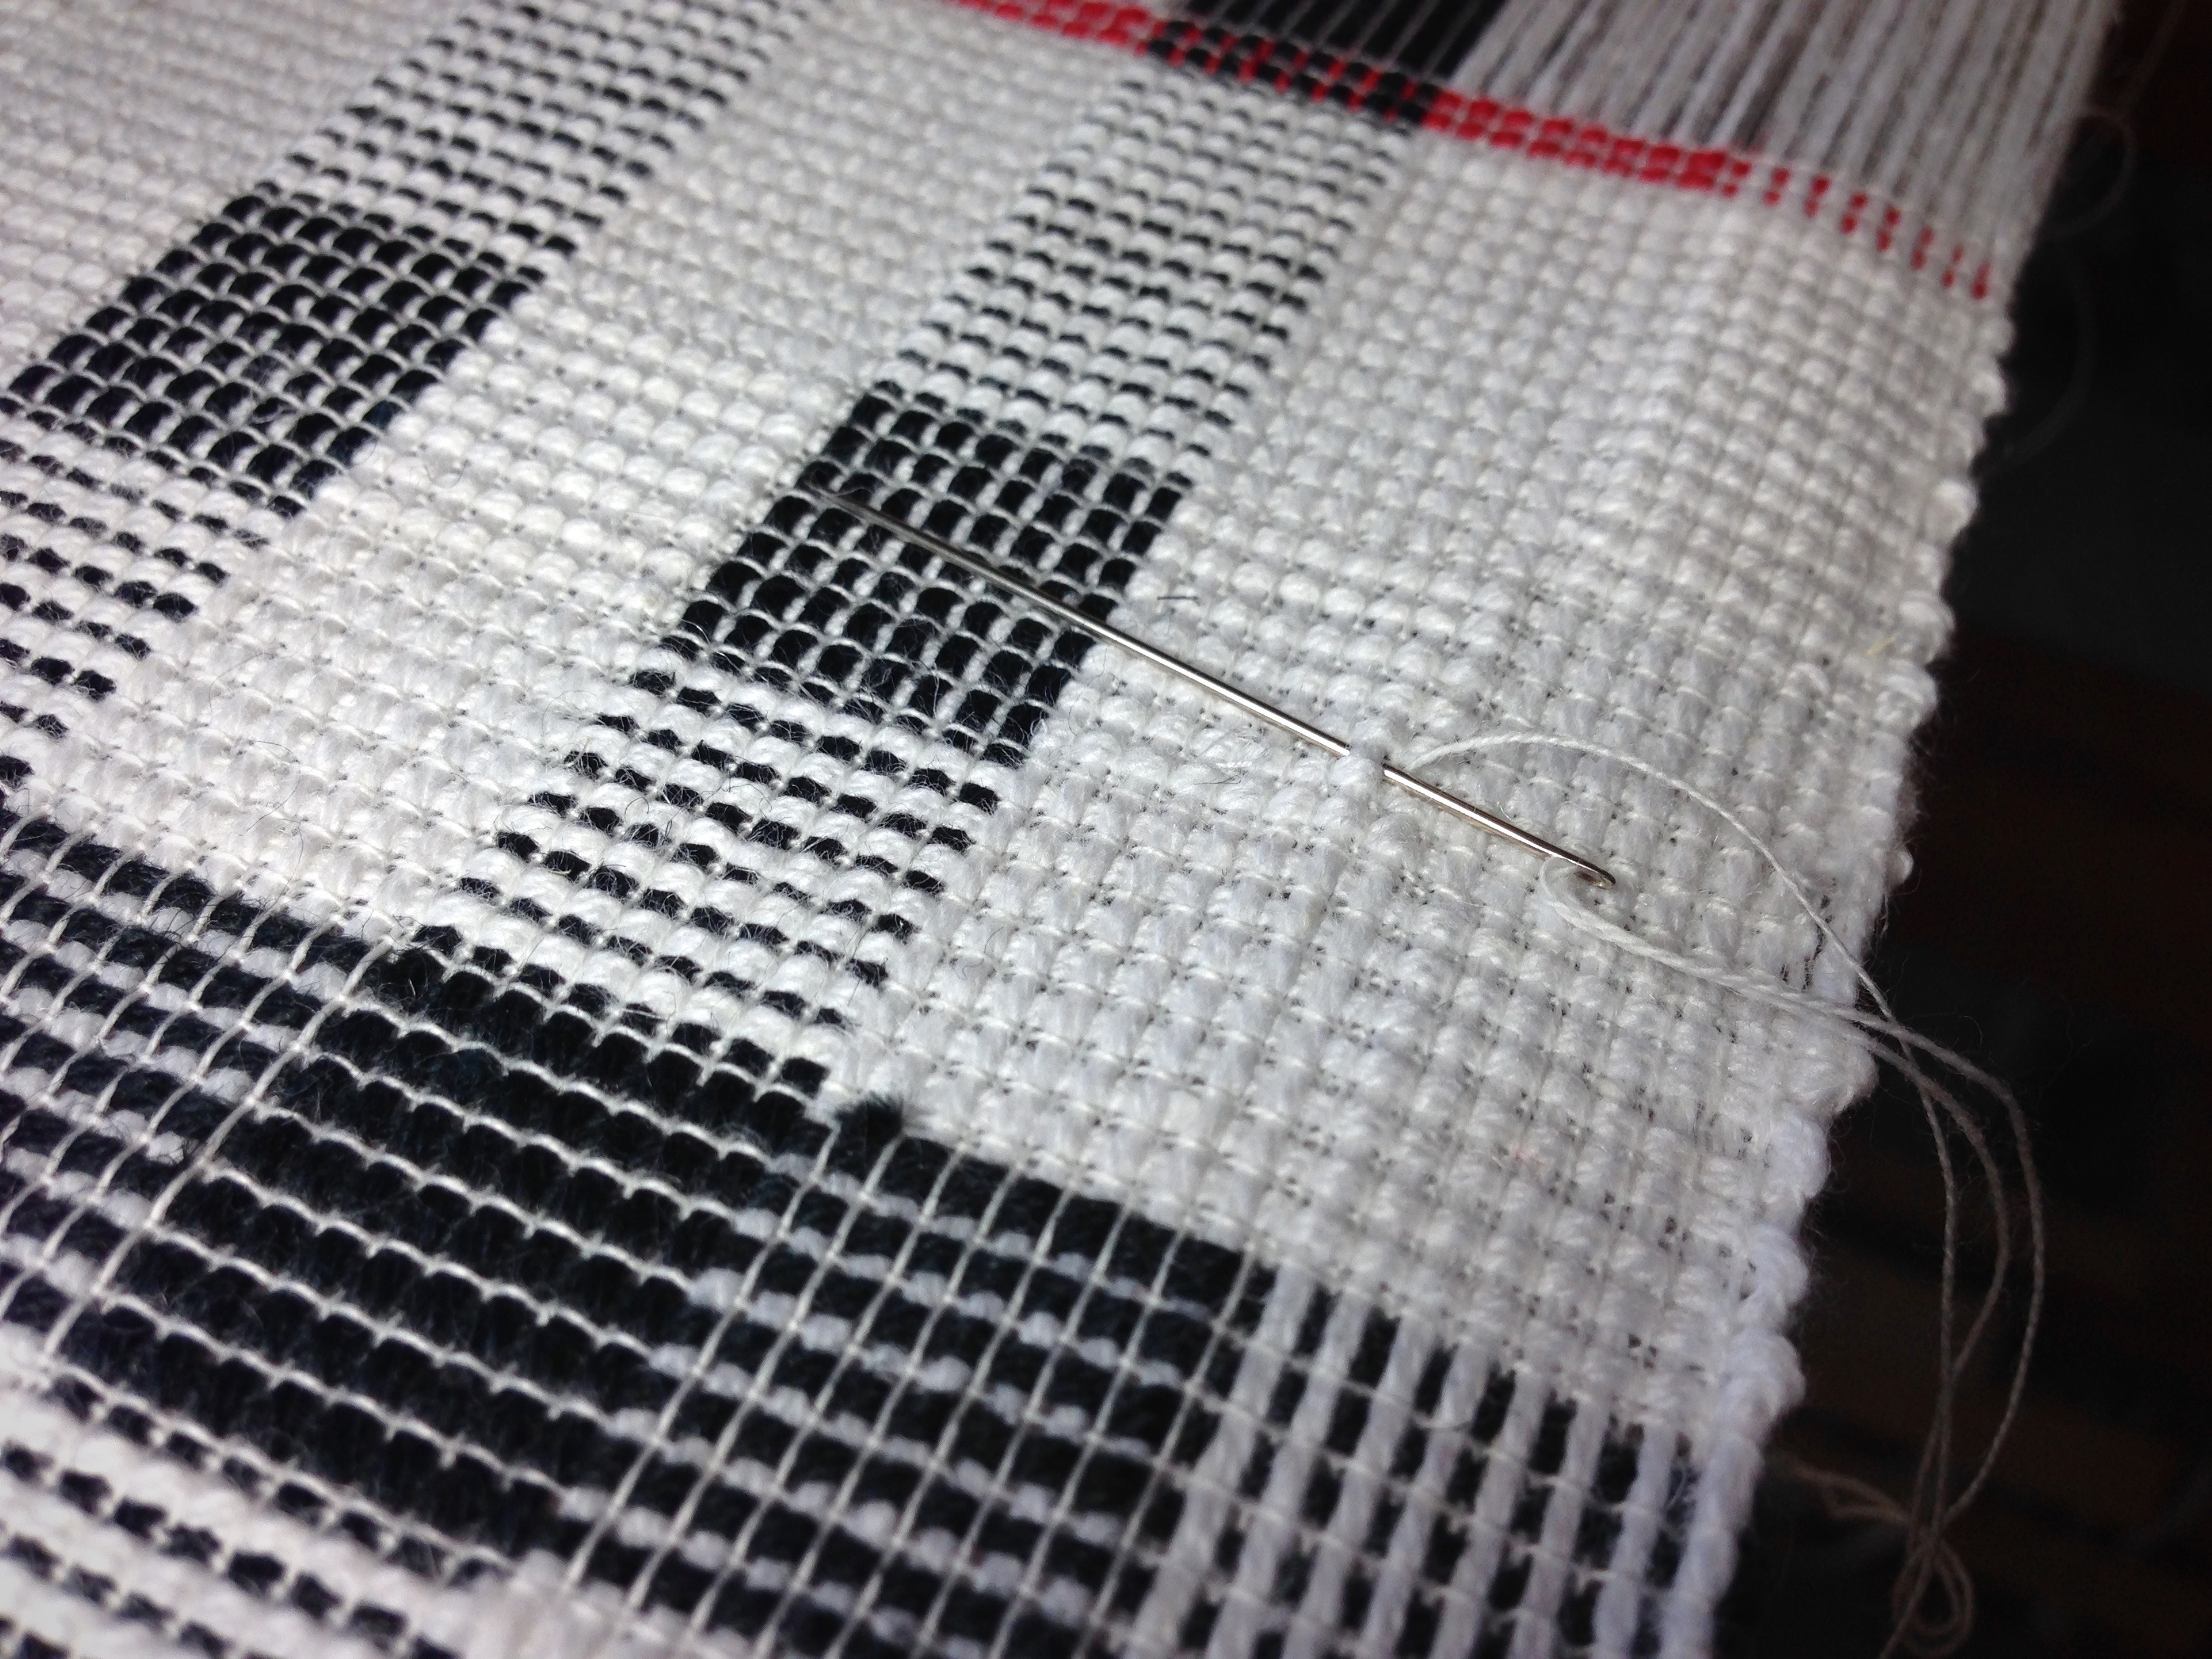
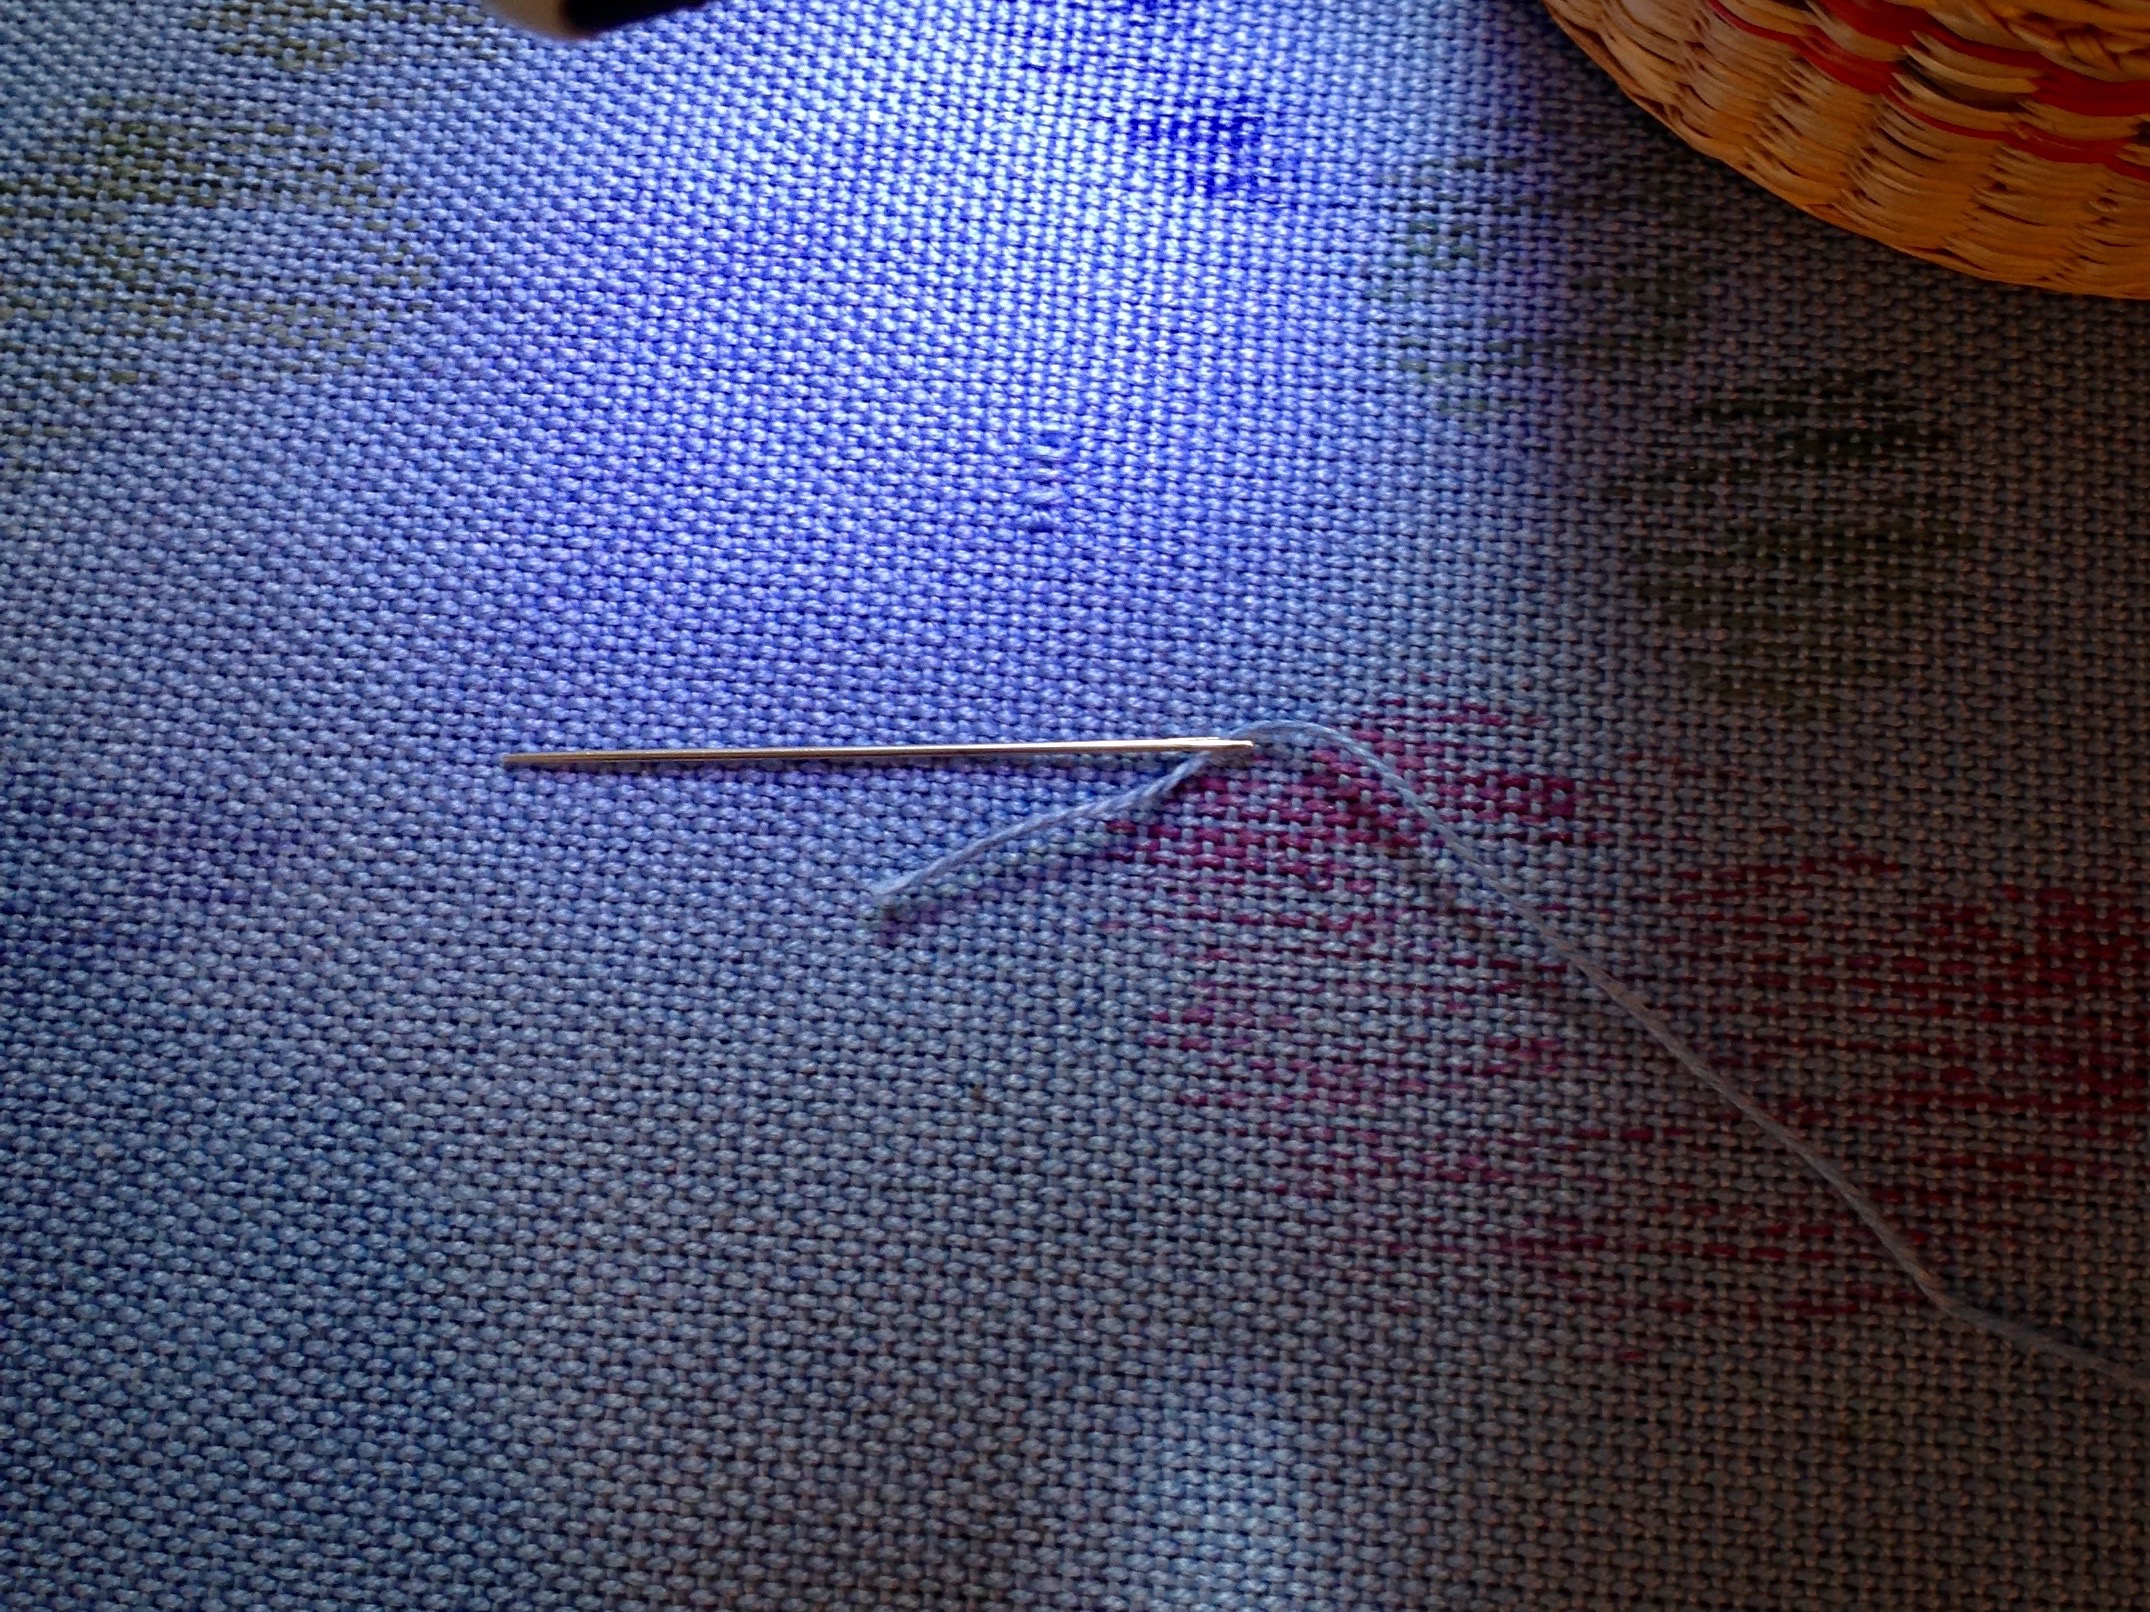
Sunshine coming through the windows is marvelous for weaving. But my eyes need extra light to see small details. This is noticeably true with errors that I mend on the loom and off the loom. I turn on extra lighting at other times, too–when threading fine threads, sleying the reed with fine or dark threads, counting picks per inch on woven cloth, and checking the treadling pattern in a fine weave, for example. And sometimes I turn on extra lighting for no other reason than it’s a cloudy day.

Tools:
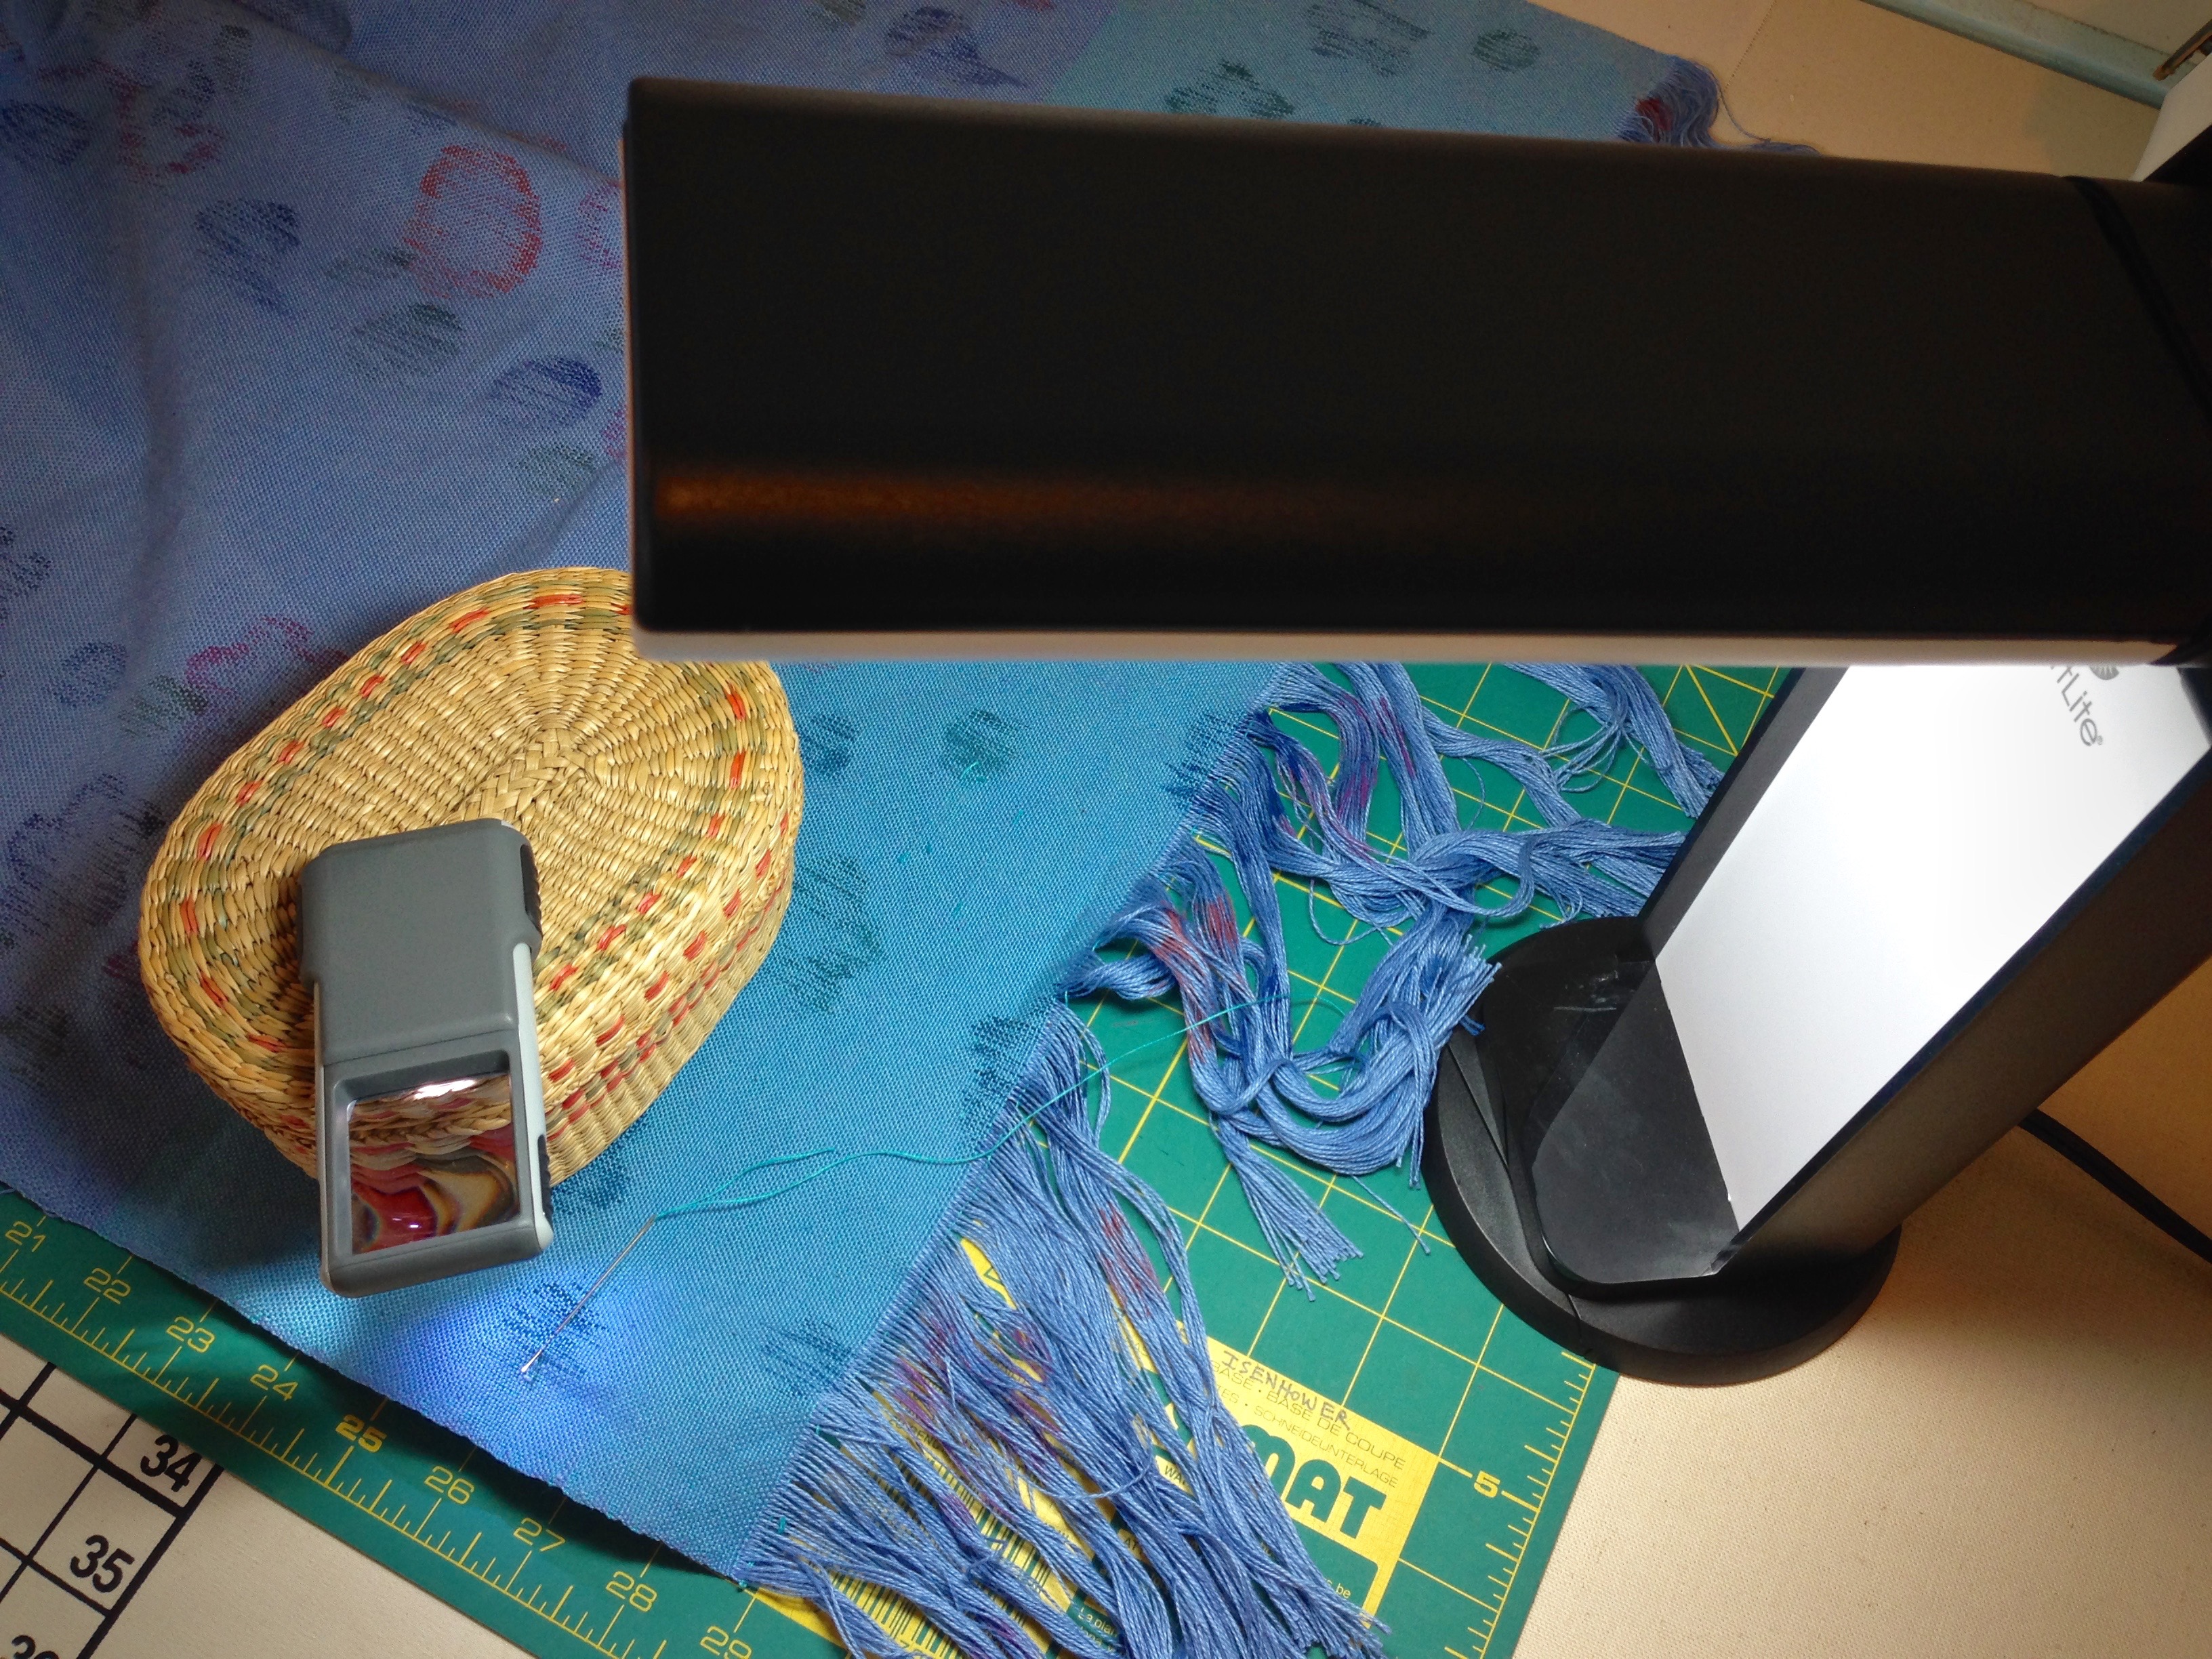
OttLite Task Lamp with Swivel Base
Handheld lighted magnifier

Broken weft repair.
Pin marks the spot where I broke a thin weft thread, 30/2 cotton, with the temple.
Repairing broken thread requires task lighting.
Repair area is flooded with light from my portable OttLite.
Replacing broken weft thread.
Illuminated stitches are easily seen. A replacement length of weft is needle-woven in.
Oops. A few skips to fix in handwoven cloth.
Series of errant floats are discovered after this fabric is removed from the loom. At 30 ends per inch, my eyes strain to see where to weave the needle.
Lighting and magnification needed for fixing threads.
Needing more than the bright OttLite, I add magnification. Pairing the OttLite with the handheld lighted magnifier does the trick!
Magnified threads for handwoven repairs.
Lighted magnifier, reflecting the OttLite just overhead, balances perfectly on a small sewing basket. Now I can actually see the threads I am fixing.

To further reduce eye strain, I am considering other lighting options. Have you had success with task lighting? I’d love to hear about it. Share your experience and recommendations in the comments.

My Lighting Wish List:
Full spectrum floor lamp
Adjustable-arm magnifying task light to clamp on table or loom

May you see what you need to see.

With a bright outlook,
Karen

Quiet Friday: Thick and Thin

A vote of confidence from someone you look up to can make a world of difference. When I saw Joanne Hall’s exquisite towel made with thick and thin threads, I asked her, “Do you think I can weave something like that?” “Of course you can;” she replied without hesitation, “it’s plain weave.” Keep in mind that I was a complete novice on the floor loom; and I barely knew how to handle one shuttle, much less two! I plunged into the ambitious project and came out with a winner! The blue and cream towel hangs on the oven door in my kitchen as a daily reminder of the powerful impact of an encouraging word. Thank you, Joanne!

Cotton tea towel, thick and thin. Karen Isenhower
First thick and thin towel, completed as a beginning weaver. This is one of Erica de Ruiter’s designs, found in “The Best of Weaver’s Thick’n Thin,” Edited by Madelyn van der Hoogt.

Thick and thin is just as fascinating this time around. It is delightful to revisit a rewarding experience. Who knew that plain weave could be this much fun?

Zebra warp on Glimakra warping reel.
Zebra warp with thick and thin threads on my new Glimakra warping reel. One of three bouts, 10 1/2 meters.
Warping trapeze in action.
View from the crossbar at the top of the warping trapeze, looking down. Ready to untie choke ties and add weights to the warp bouts.
Threading Texsolv heddles.
Thick ends alternate with thin ends as the heddles are threaded. Left hand separates the shafts‘ heddles for ease of threading.
Ready to weave thick and thin towels!
Weaving begins as soon as the warp is tied on and the leveling string is secured. I use the first few inches to check the threading and sett, and to do some sampling.
Border pattern for cottoln towel on the loom.
First border is captured with my iPhone camera so that I can easily reproduce the pattern at the other end of the towel.
Plain weave with three shuttles creates interesting patterns.
I added a second double bobbin shuttle to make it easier and quicker to switch weft colors. Plain weave gets even more interesting with three shuttles!
Thick and thin cottolin towels on the Glimakra Ideal loom.
End of the third towel.
Black and white towels on the loom. Karen Isenhower
View from under the breast beam. I love to see the fabric rolled up on the cloth beam.
Temple in place for weaving black and white cottolin towels.
Temple keeps the fabric at the optimum width for weaving. Red cutting line serves as the separation between the end of one towel and the beginning of the next. Ready to start another fascinating pattern.

May you give a vote of confidence to someone who needs it.

Happy weaving,
Karen

Does Your Weaving Show Your Very Own Style?

Have you developed a style all your own? I can identify some tapestry artists by their work, even before I see their name on the piece. One friend of mine weaves gorgeous silk scarves, and another one makes handtowels with exquisite color. Their woven items consistently showcase their individual style. In our little weaving group we even say, “It looks like you.”

Double binding rag rug on the loom. Karen Isenhower
Rag rug on the loom is almost complete. Moving the temple frequently helps produce tight selvedges, which, in turn, help ensure a finished rug that lays completely flat.

For most, personal style happens over time, by repetition of favored designs or techniques, until particular skills become second nature for the artist. One day they wake up and realize they have developed their very own style. In other cases, the unique style is clearly intentional, and artistically so. Either way, it’s admirable. Eventually, someone may see a rug I’ve woven and say, “That looks like Karen!

Everything we see that is glorious is a window into the glory of God. Look through the window. The whole earth is filled with the glory of God. If our small artistic attempts are reflected in what we make, is it inconceivable that the wonders in our universe have the Creator’s signature? Everything glorious puts the Grand Weaver’s personal touch on display.

May you find your personal style.

Happy weaving,
Karen

Quiet Friday: Checkered Rug

I have another rag rug warp on my Baby loom (Glimåkra 100cm Ideal), playing with the magic of double binding again, this time with four shafts and four treadles. Ten yards / nine meters of warp. I planned an additional twelve inches / 30.5cm between rugs for cutting off and tying back on, so I can cut each rug off as it is finished. Here is the first rug.

Winding warp for another rag rug.
Small warping reel is used to measure the ten yards / nine meters of 12/6 cotton rug warp.
Beaming the warp under tension, using warping trapeze and weights.
Warp chains are undone and lengthened out over the warping trapeze. Several pounds of walking weights hold the bouts under constant even tension for beaming the warp.
Tying on.
All tied on. Ready to weave.
Designing a rag rug.
Design concept is created; and fabric colors are chosen.
Double binding rag rug on the loom. Karen Isenhower
Progress.
Using a temple for weaving rag rugs.
Temple is always in place when I am weaving a rug. I fitted two different temple parts together to get this warp width. Notice the lengthwise gaps between the temple parts…but not a problem.
Rag rug on the loom. Nearing completion.
Around the breast beam, and over the knee beam, to wrap around the cloth beam. Warping slats are placed between the cloth beam and the rug the first time around to make a smooth surface for the woven rug-cloth.
Rag rug on the loom. Woven hem.
Hem is completed with 12 picks of rug warp. Three inches of scrap fabric header comes next, and then the rug is ready to be cut from the loom.
Hand-hemming rag rug.
Warp ends have been knotted and trimmed; and hem folded under and pressed. Now, hemming with a needle and rug warp, the last step is almost complete. The only thing left is to sew on my label.
Checkered rag rug. Karen Isenhower
Notice the subtle changes in color and depth of color where the warp colors change–purposely not aligned with the block changes.
Home sweet home. That's what rag rugs are for.
Home sweet home. A patterned rag rug makes a house feel like home.

May you finish what you started.

Happy Weaving,
Karen

Quiet Friday: Rag Rug Bag

Think of this as an experiment. A first try. A specimen with which to work out procedures and details. I like the bag, and I will certainly use it; however, there are a few things that I will do differently when I make the next one. And I do intend to make another one, or two, or three. Experiments are like that. One idea leads to another. This warp was all about double binding rag rugs. As always, though, it is delightful to have some warp left at the end for play.

Weaving bag handles into the rag rug bag.
Length of 1-inch/2.5 cm black cotton webbing is woven in. The webbing that extends beyond both selvedges will form the bag handle. Rag weaving continues for a few inches before placing the webbing ends back into the shed.
Placing bag strap ends in the shed.
Both ends of the webbing strap are tapered, and then overlapped in the shed before beating them in.
Temple maintains the weaving width.
Temple maintains the weaving width as the rag weave continues past the woven-in handle straps.
Securing warp ends of rag rug.
Warp ends are secured, as usual. First, square knots, and then cut off to 1/2 inch/1 cm.
Stitching up a rag rug bag.
Sewing the sides of the bag, right sides together. I am using the four rows of woven rug warp at the beginning of the woven hem as my stitching line.
Creating lining for rag rug bag.
After turning the bag right-side out, and pressing the seams open, I created a simple flat lining, with added pocket, to fit inside the bag.
Pinning lining into the rag rug bag.
Lining is pinned into the bag, matching seams and mid-points at front and back.
Lining is inserted into the rag rug bag.
Lining is stitched into place with narrow topstitching.
Rag rug bag, with handle woven in. Karen Isenhower
Voila!
Finished rag rug tote bag! Karen Isenhower
Fun tote bag to carry to and fro.

Next time… Find a strap that is not as stiff, so it will beat in better. Weave in a strap that is the same color as the warp. Make the strap longer. Find a way to secure the cut ends of the strap (this is the biggest issue). Possibly use a band woven on my inkle or band loom for the strap.

What would you use for the strap? Can you think of a good way to secure the ends of the strap together? What other suggestions or thoughts do you have to improve a bag like this? I would love to hear your ideas.

May your experiments lead to fresh ideas.

Always trying new things,
Karen