Quiet Friday: Weave a Bag with Handles

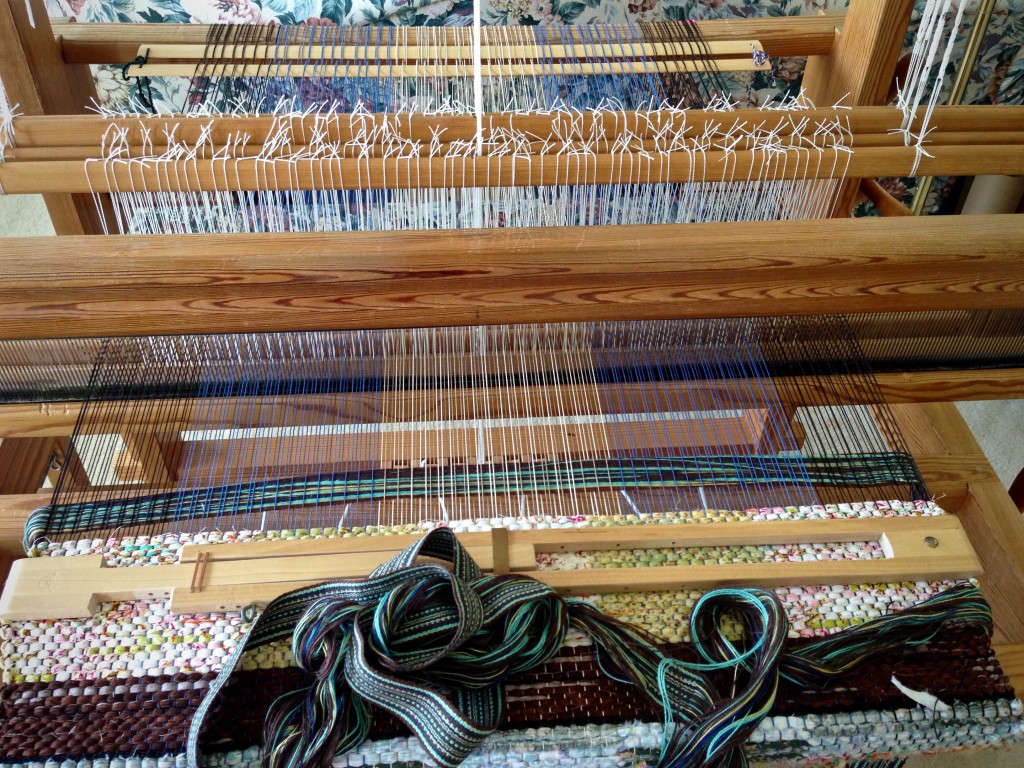
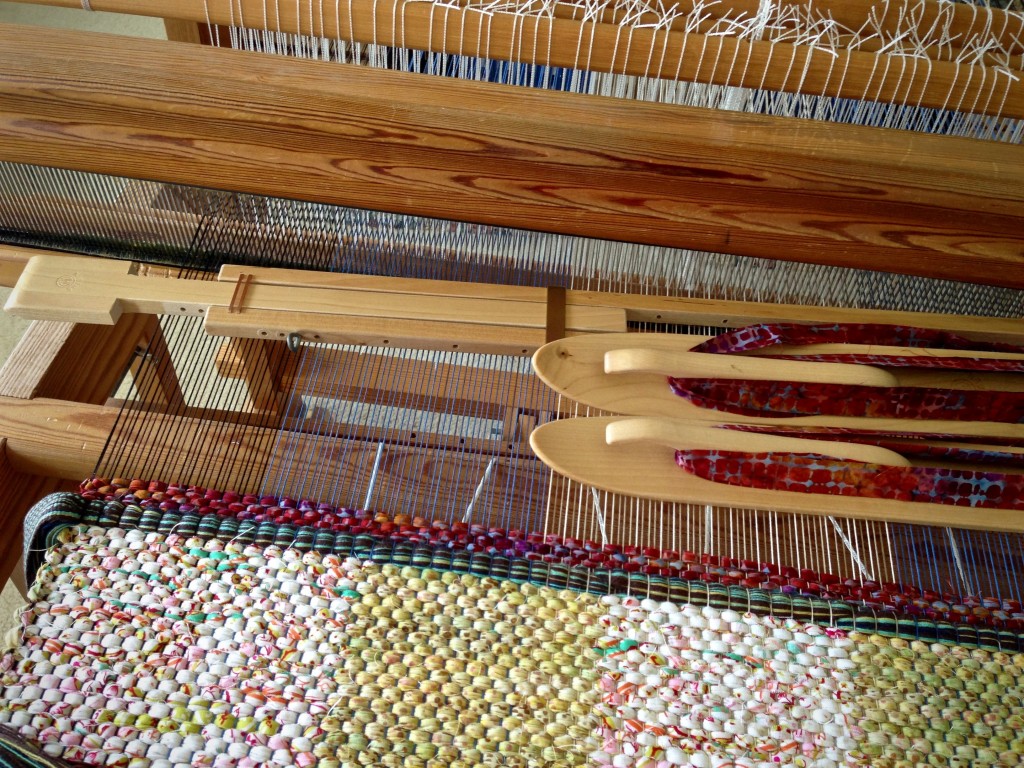
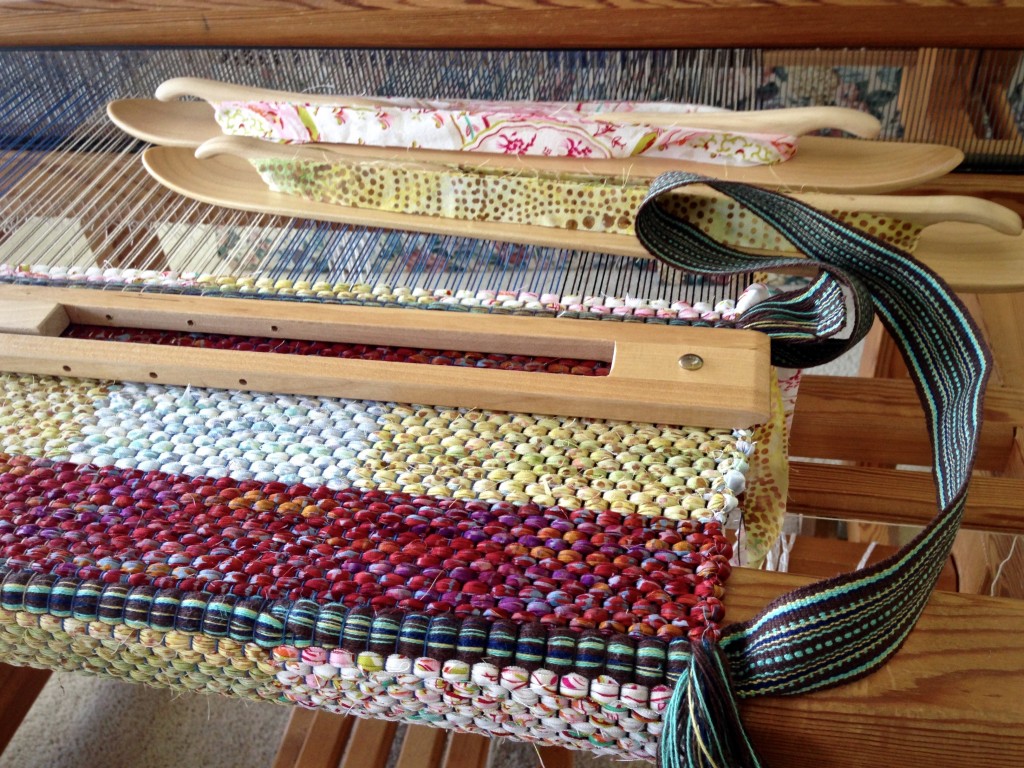
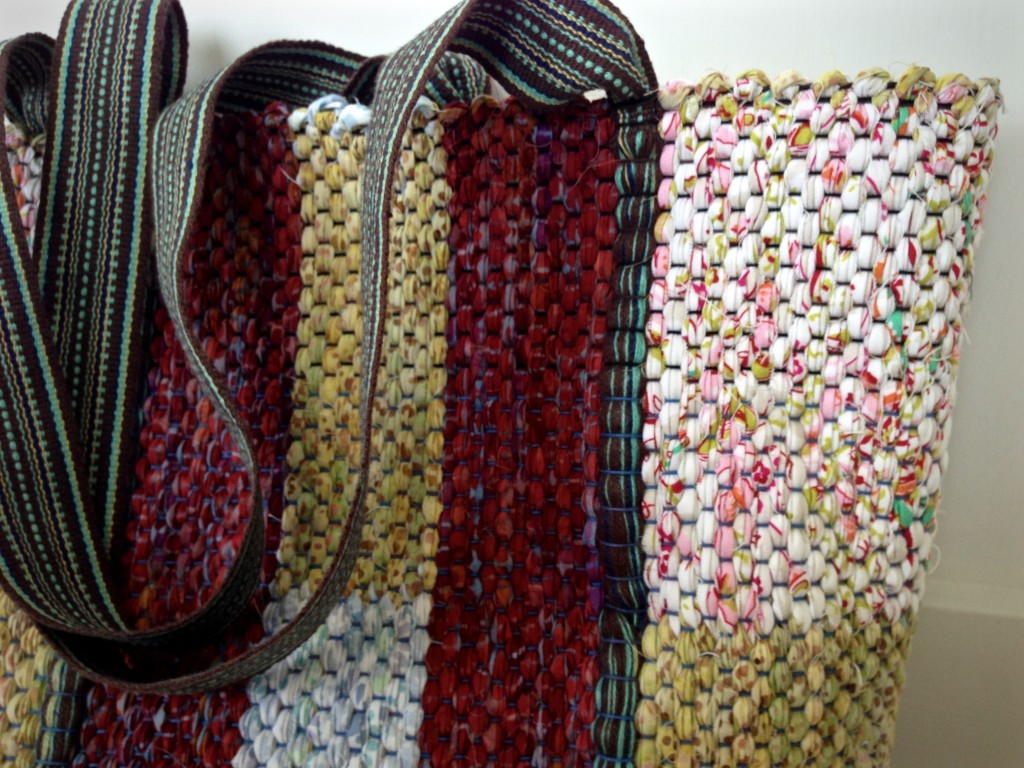
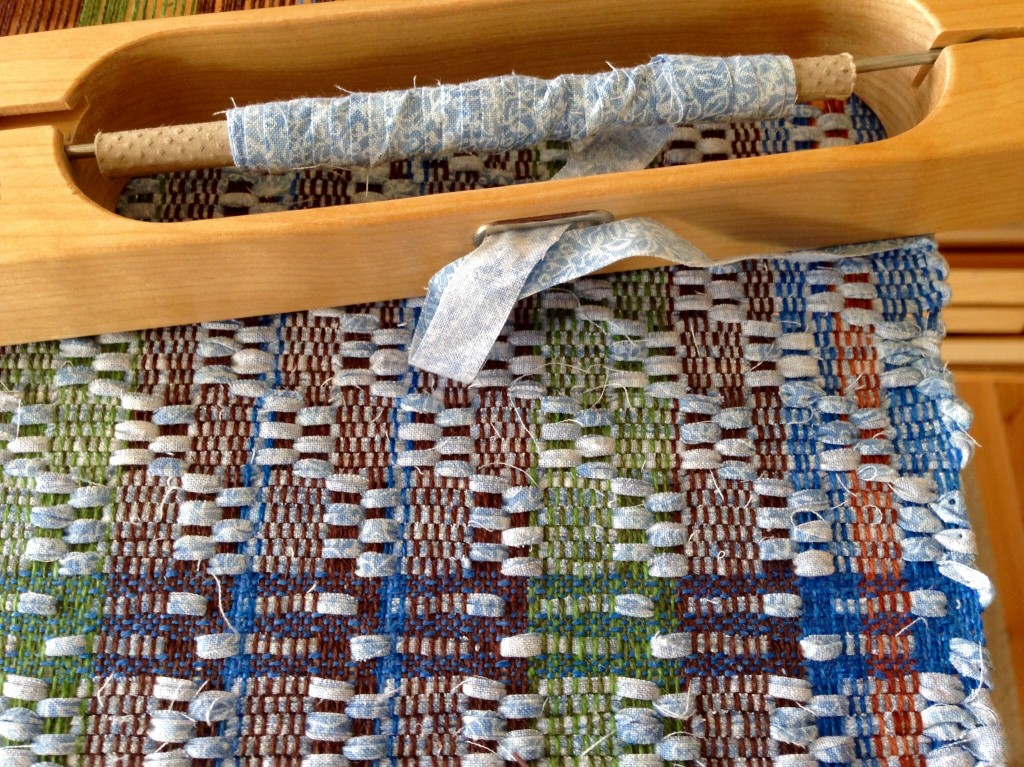
Voila! A rag-weave bag with the handles woven in. First, the handle straps were woven on my band loom. And then, I wove the straps into the rag-weave bag on my floor loom. Lastly, I cut the weaving from the loom and sewed the bag together. This is a warp for double binding rag rugs. I take advantage of this double cloth structure to make handles that are extremely secure. The pictures show how it all comes together. (Quiet Friday: Rag Rug Bag shows my first attempt at this feat. Be sure to read the comments. My amazing readers helped me develop the idea for this workable solution.)

As a bonus, at the end of this post you will see a new video that demonstrates my method of cutting fabric strips for weaving rag rugs.

1. Weave bag handles. (First seen on Is My Weft Showing?)

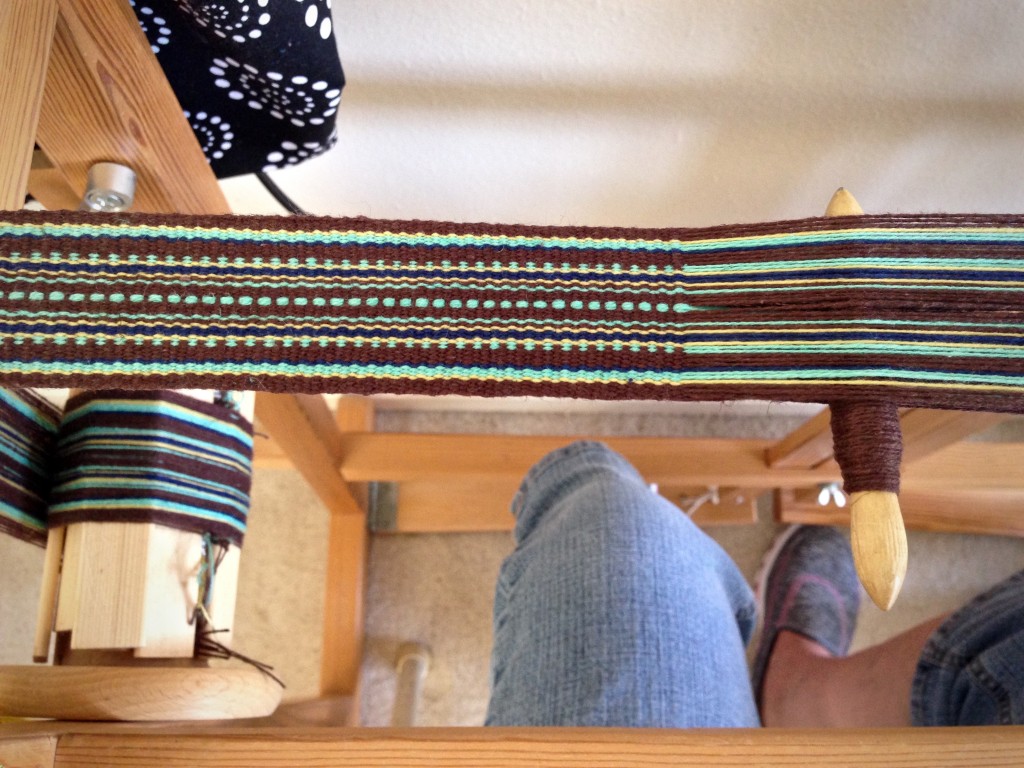
Unwoven warp (length equal to the rag rug warp width on the loom, plus 2″/5cm) comes before and after each of two bag handles, which are woven to desired length. Unwoven warp is held together at the beginning, and in between the two handles, and at the end, with 1″/2.5cm of woven band.
Bag handle woven on band loom. Karen Isenhower

2. Insert unwoven band warp for one handle.

Weave approximately 1/3 of the bag.

Cut the two handle straps apart in the middle of the 1″/2.5cm woven section that separates the two lengths of unwoven band warp. Entering from the right-hand side, insert one unwoven band warp, used here as weft, into the first shed of the double binding weave, with 1/2″/1cm of the band-woven handle strap reaching into the shed. Tap the weft in with the beater, but do not beat it in firmly, yet.
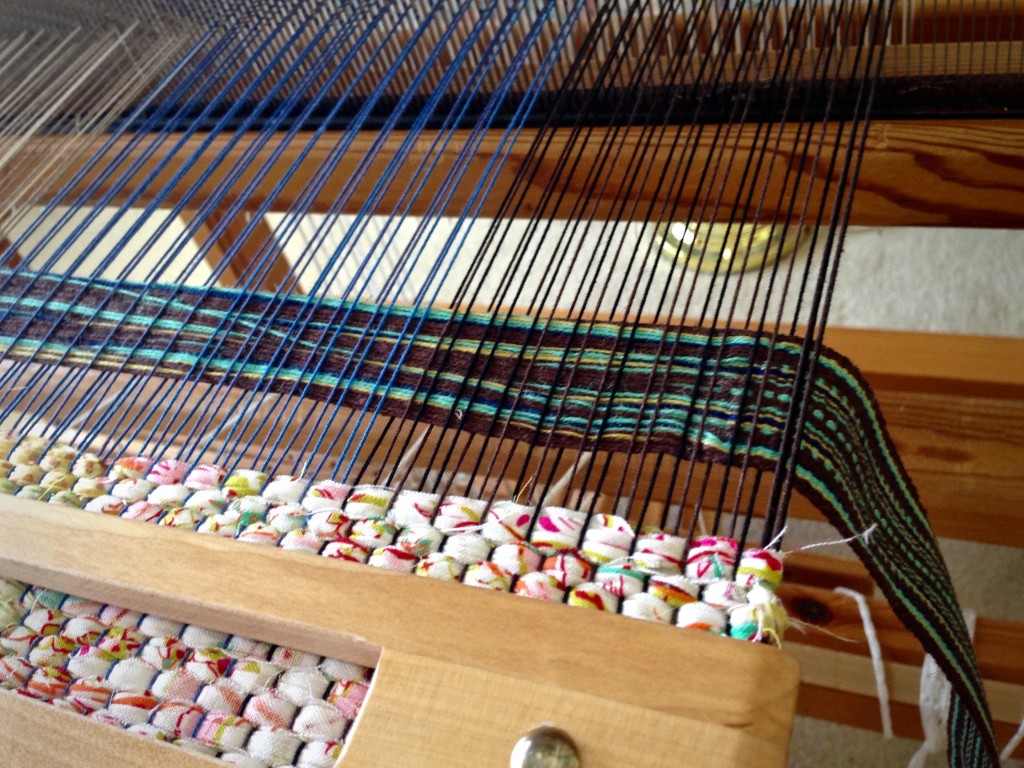
Steps for weaving handle into rag weave bag.

Weave handle into rag weave bag. How to.

3. Insert unwoven band warp for the second handle.

Entering from the left-hand side, insert the unwoven band warp, used as weft, from the second handle strap into the second shed of the double binding weave, with 1/2″/1cm of the band-woven handle strap reaching into the shed. Beat firmly, packing in both layers of weft together.
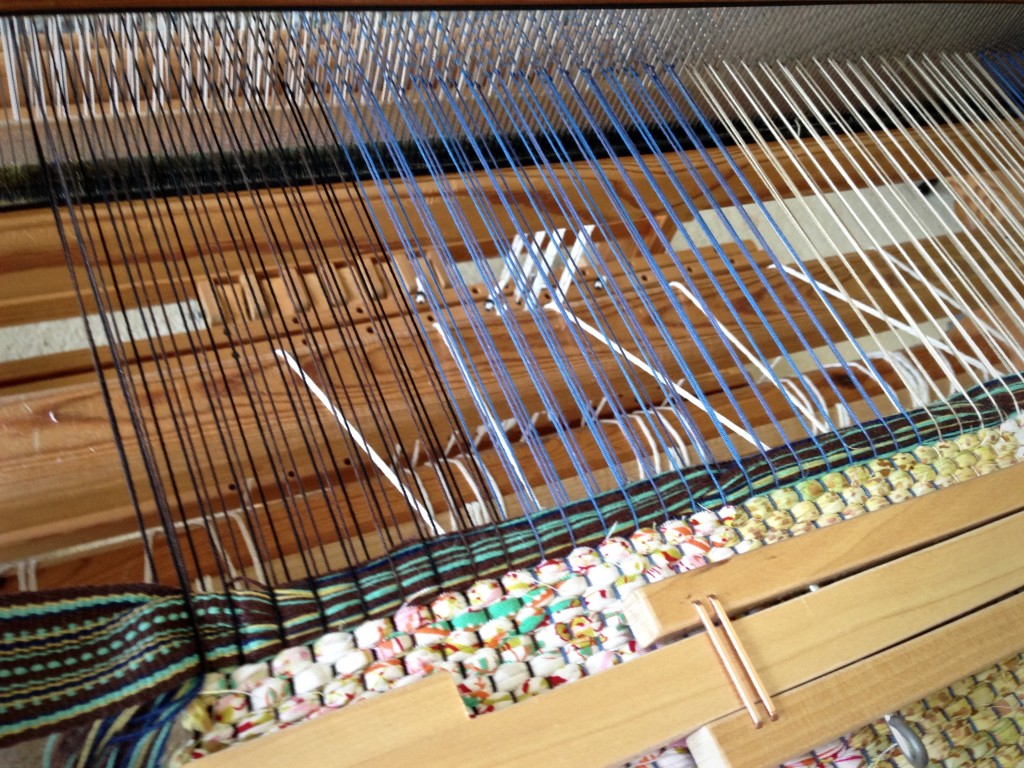
Weave handle into rag weave bag on the loom.

4. Weave the center 1/3 of the bag.

Step-by-step weaving handle into bag.

5. Insert remaining unwoven warp of first handle.

Repeat Step 2 with the unwoven band warp attached to the handle on the right-hand side. Make sure the handle strap is not twisted.
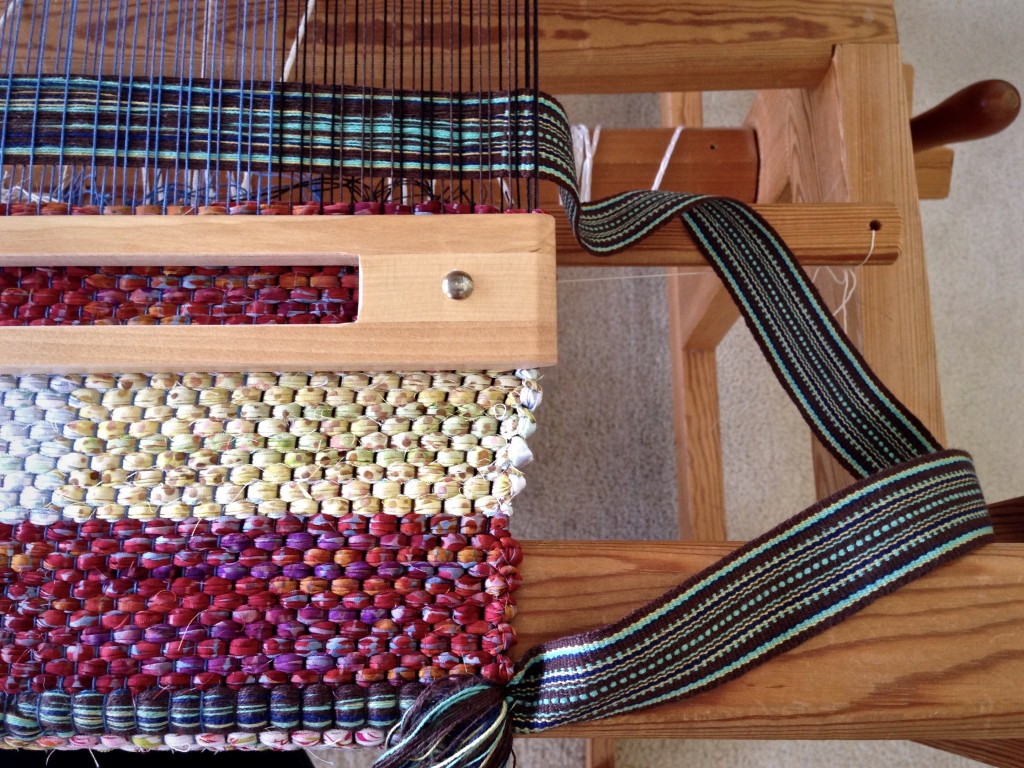
Inserting bag handles during weaving. Tutorial.

6. Insert remaining unwoven warp of second handle.

Repeat Step 3 with the unwoven band warp attached to the handle on the left-hand side. Make sure the handle strap is not twisted.
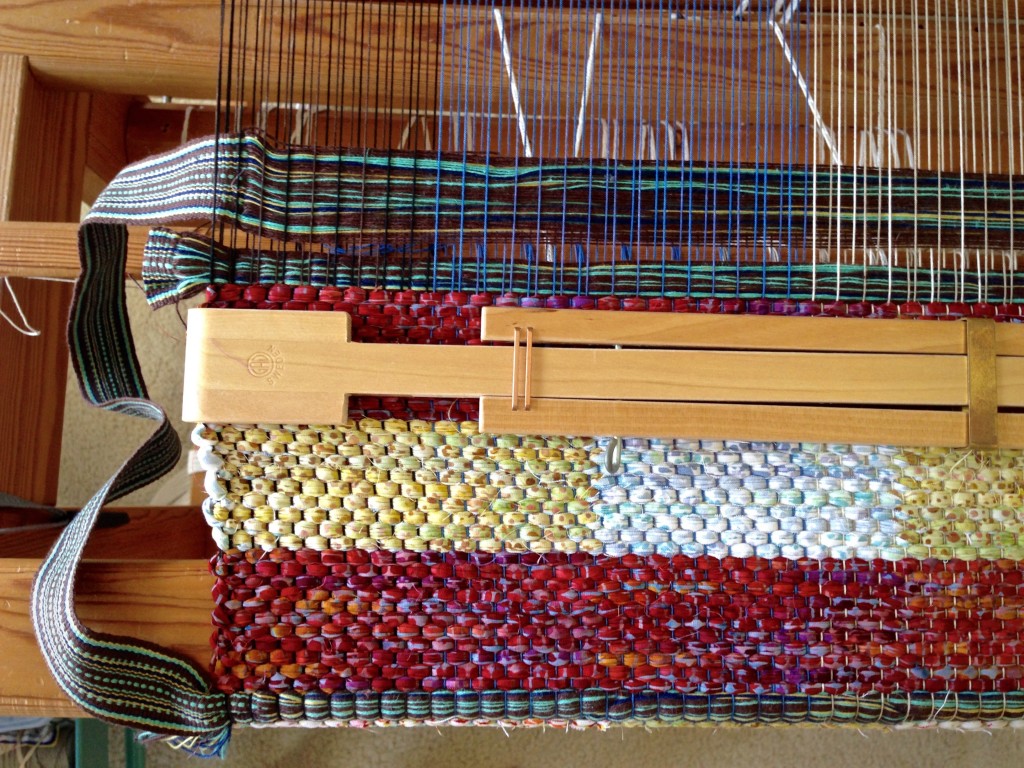
How to insert bag handles into the weaving.

7. Weave the final 1/3 of the bag.

Double binding rag rug bag.

8. Finishing work.

Cut rag-weave bag from the loom. Remove header and knot the ends. Press. (For more about finishing the ends, see Quiet Friday: Rag Rug Finishing and Wear and Tear Rag Rugs)
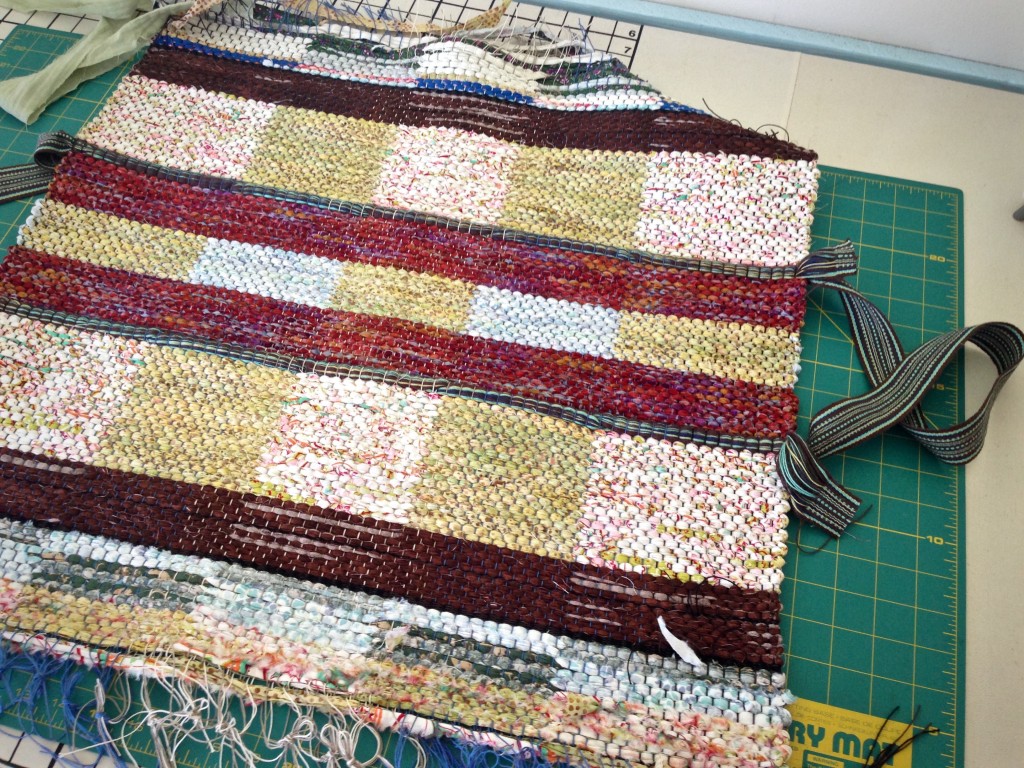
Finishing ends to make bag.

9. Stitch the bag.

Fold the bag, right sides together. Stitch side seams. Turn right side out. For whimsical detail, form box corners on the outside, and stitch in place by hand with warp thread. (You could form box corners on the inside just as well, stitching flattened corners by machine or by hand.)
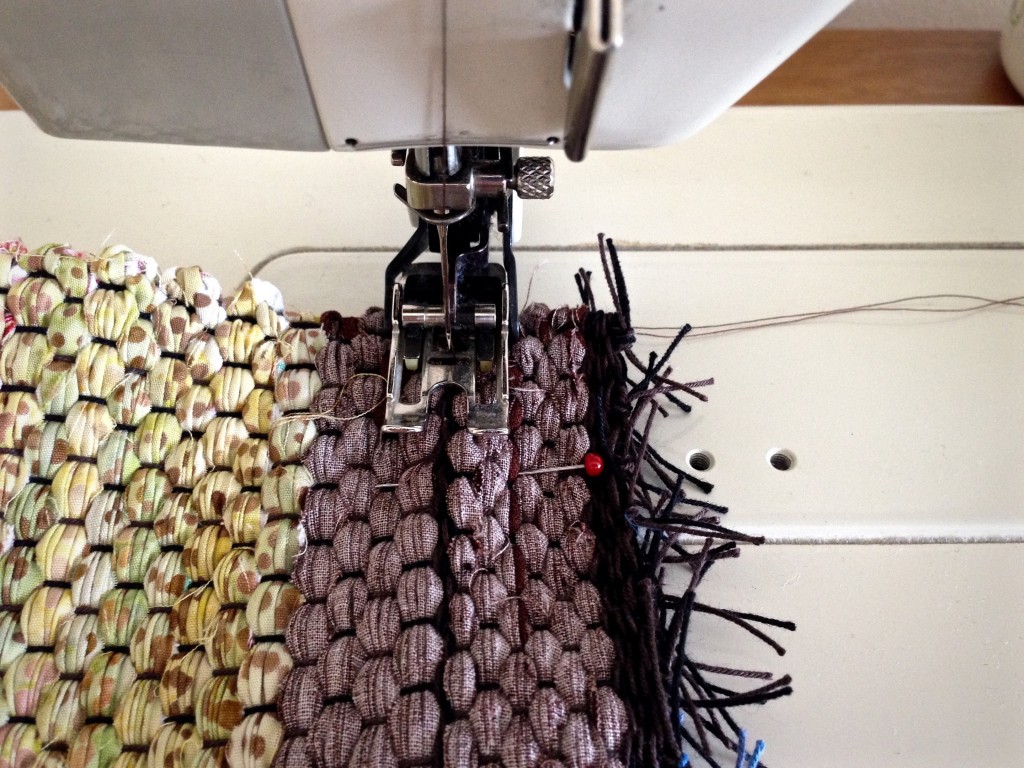
Creating a rag rug bag.

10. Take your bag with you wherever you go.
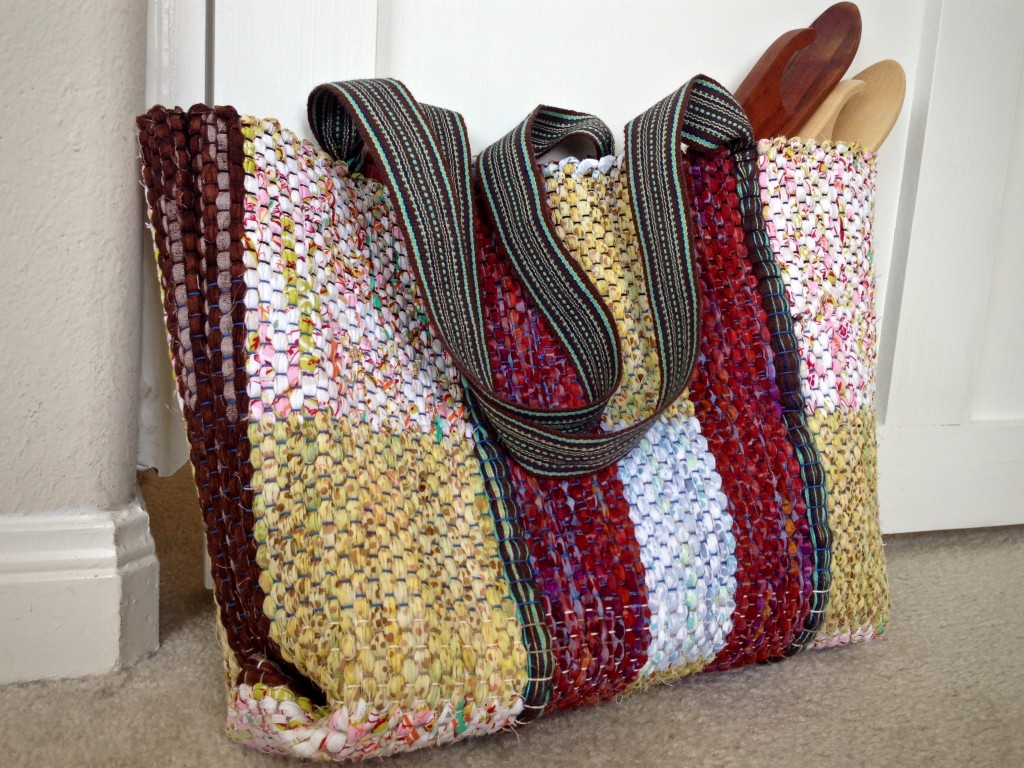
Rag rug bag with woven handles. Karen Isenhower

Rag rug bag detail. Karen Isenhower

May your ideas turn into fruitful efforts.

Happy weaving,
Karen
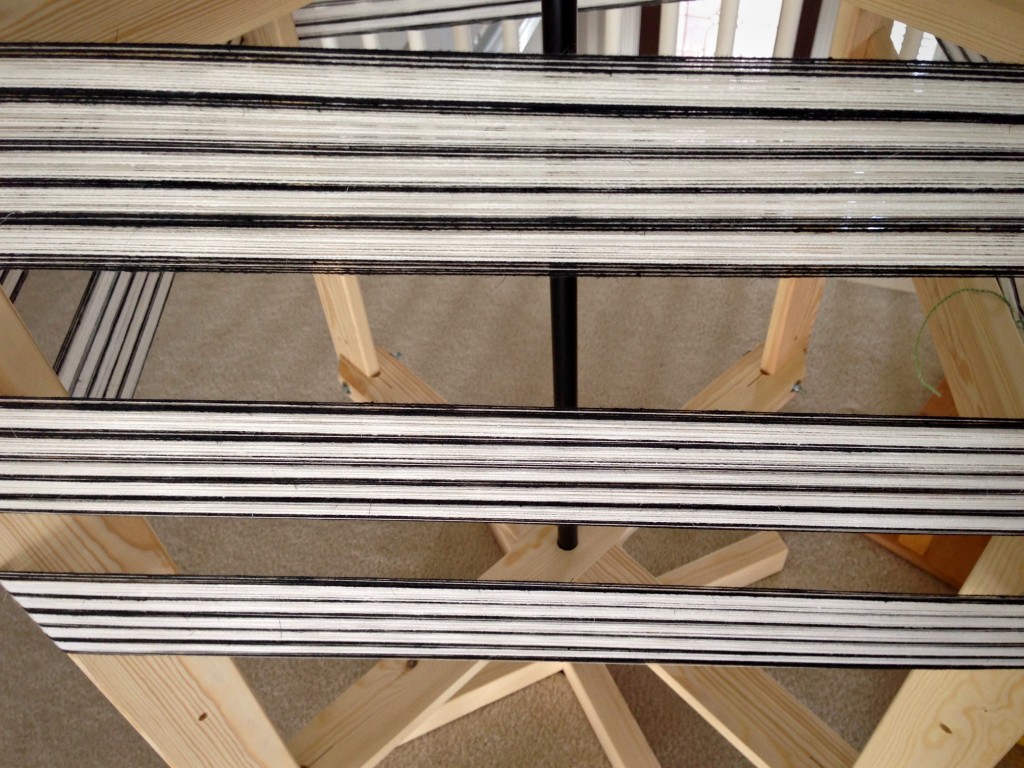
Is My Weft Showing?

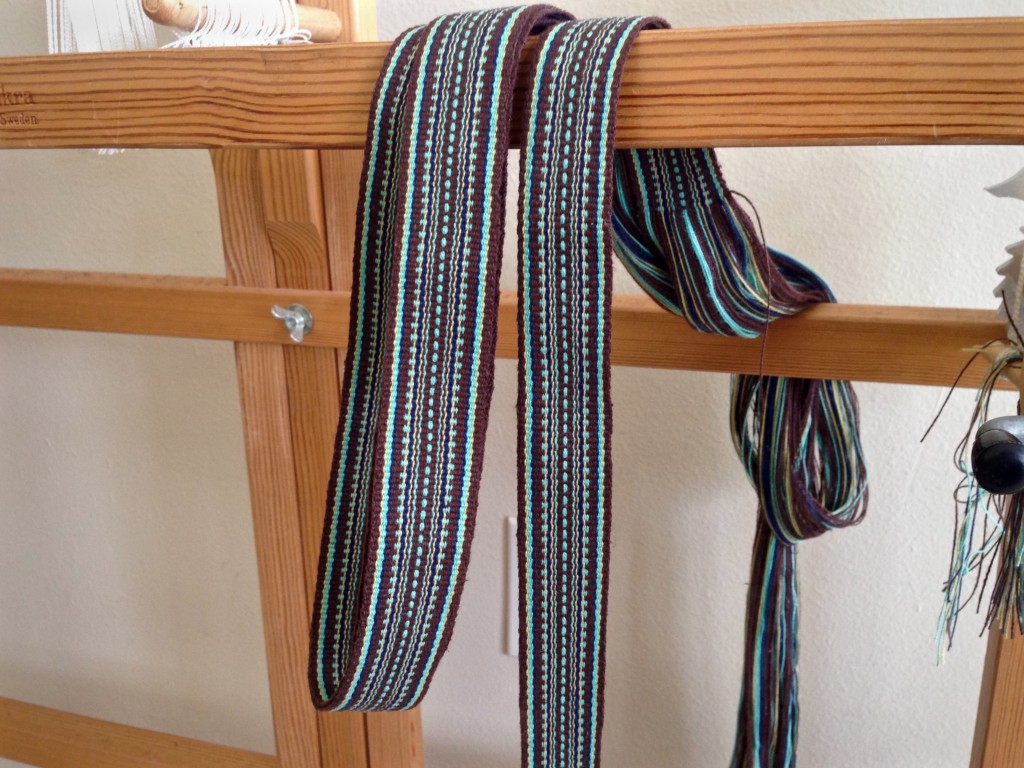
In warp-faced weaves, like this band, the warp is what you notice. When the weft is placed correctly, it is not seen at all, except at the selvedges. And even then, when the weft is the same color as the outermost warp end, as it usually is, the weft thread blends in and is virtually invisible.

Glimåkra two-treadle band loom.
Four strands of aqua cottolin (cotton/linen thread) are threaded together to form the “dots” in the center of the woven band. Brown weft matches outer warp ends. Glimåkra two-treadle band loom.

The weft is doing its best job when it remains out of view. You could say the weft’s purpose is to make the warp look good. Consistency is the hallmark of a high quality woven band. I aim for that by pulling the weft snug, but not too snug, on each pick. If the weft thread is visible between warp ends, it’s a sign that the weft is not properly placed.

Humility is the hidden weft that holds relationships together. Humility preserves relationships. We must never let selfish ambition or conceit be our motivation for anything. “Me first” has no place in healthy relationships any more than weft is meant to be seen in warp-faced weaves. We are at our best when we make those we love look good.

May you know when to stay out of view.

At your service,
Karen

Trash the Warp or Try Again?

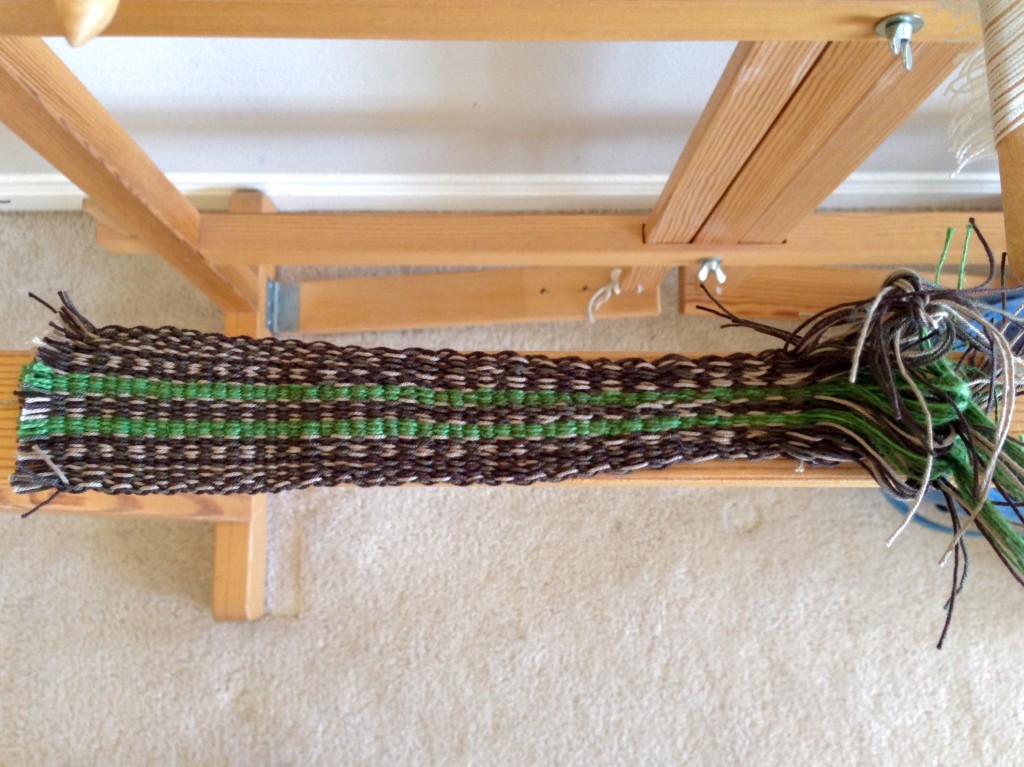
This band was giving me fits! First, the 12/6 cotton (rug warp) is a little heavy for a band. Secondly, I created tension problems by adding two green stripes of 22/2 cottolin. Thirdly, a wider band like this is unwieldy to weave with my small hands. Fourth, I goofed in the threading. And, lastly, I couldn’t see the goof in my threading because I was pulling the weft too tight. Nothing was going right.

How NOT to weave on the band loom.

Cut it off and throw the whole thing away. It’s only three yards. Hold on… I don’t want to give up that easily. Yes, cut off the woven mess. But why not correct the threading and at least try weaving a little bit? As it turns out, the threading error had contributed to most of the problems. Times like this remind me to carefully examine what I am doing.

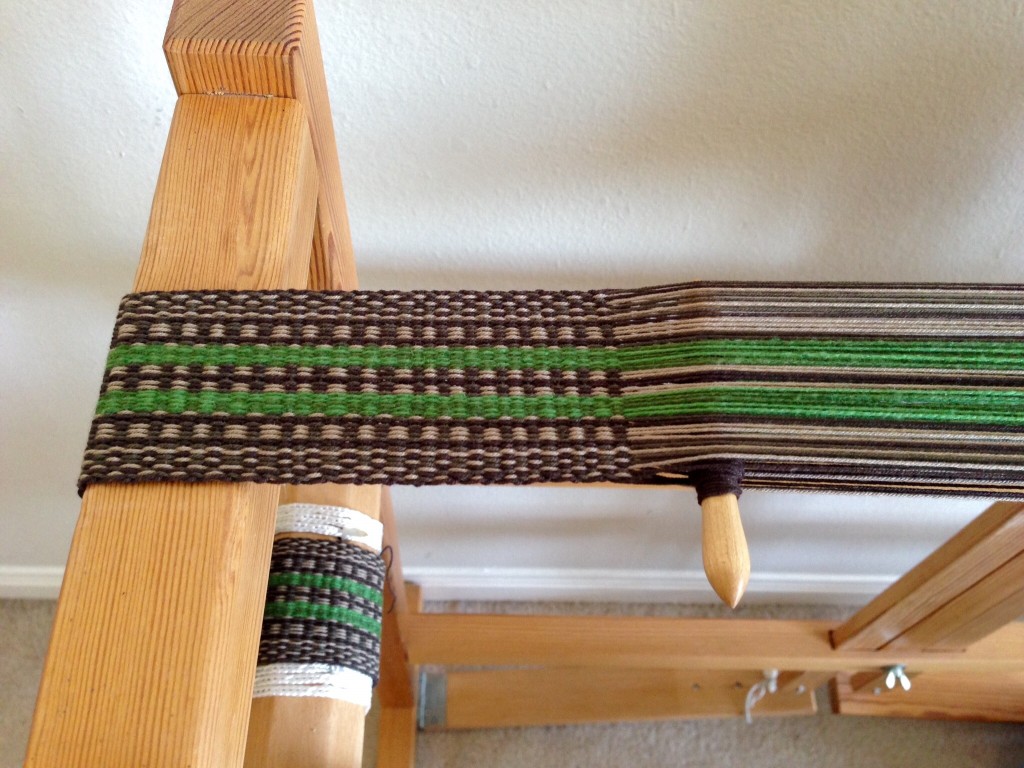
Weaving a sturdy strap on Glimakra band loom.
After making threading corrections, adjusting my beat and how tightly to pull the weft, the true pattern emerges. At 1 3/4″ / 4.5cm, it will be the right width for a nice sturdy strap–a shoulder strap for a bag, or a guitar strap, perhaps.

Examine everything. Hold on to what is good; and abandon evil. We need to practice the good, even when the good seems difficult and we want to take the easy way out. Repeat the good; don’t let the good slip away. And you will find yourself making progress in the right direction.

May you not give up too easily.

P.S. Many of you have shared my Twisting Fringe on the Loom tutorial video! Thank you!!
In answer to your requests about my finishing process for the wool blanket, including the fringe, look for a series of short videos in my Quiet Friday post at the end of this week!

(If you have not signed up to receive my posts by email, now is a good time. Sign up at Follow Along on the right sidebar.)

Learning,
Karen

Textured Textiles for Christmas

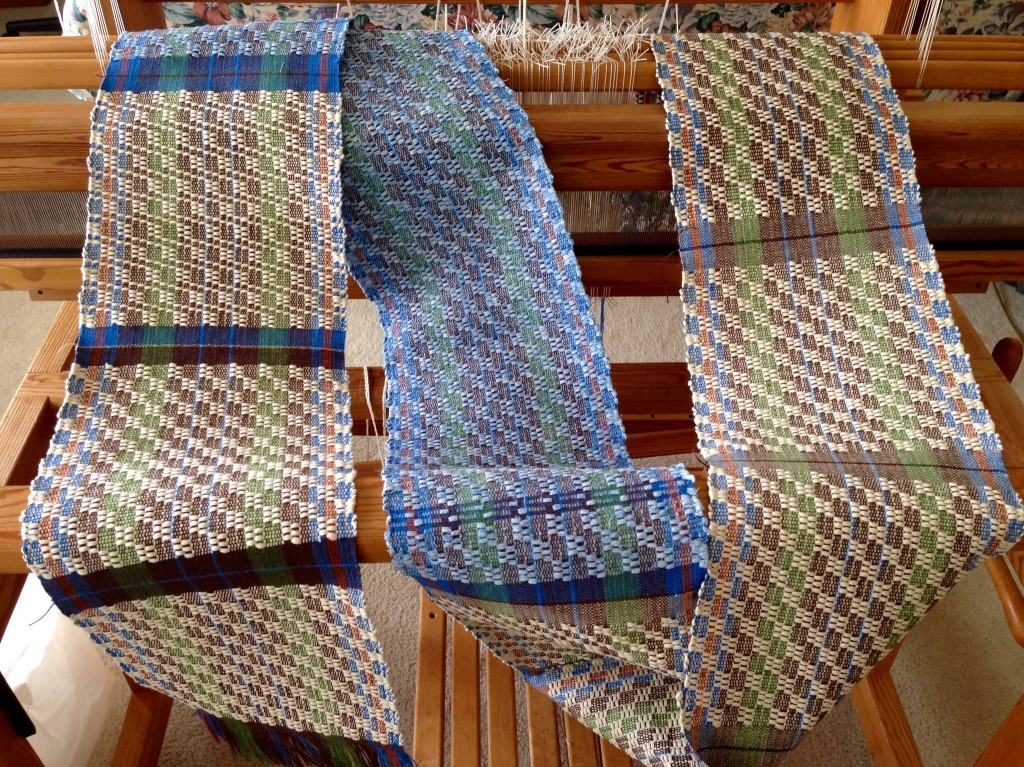
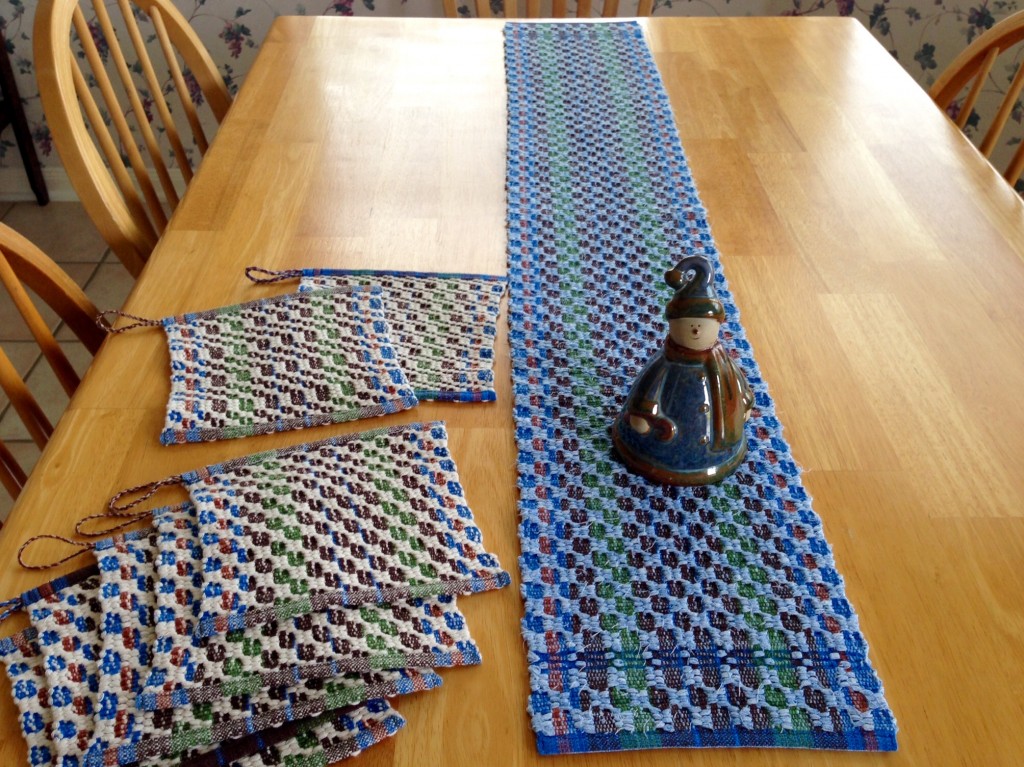
This is exactly what I had hoped for! Wet finishing made textured textiles out of flat fabric. One look at these pot holders and you know they have been through the washer and dryer. The rag weave table runner tells the same story. It’s true, wet finishing made positive permanent changes.

Rag weave table runner in M's and O's - on the loom.
Rag weave table runner on the loom. M’s and O’s, with Cottolin warp, and narrow cotton fabric strips for weft.
M's and O's pot holders and table runner cut from the loom.
Time to celebrate cutting the pot holders and table runner from the loom.
Rag weave table runner and string yarn pot holders in M's and O's. Karen Isenhower
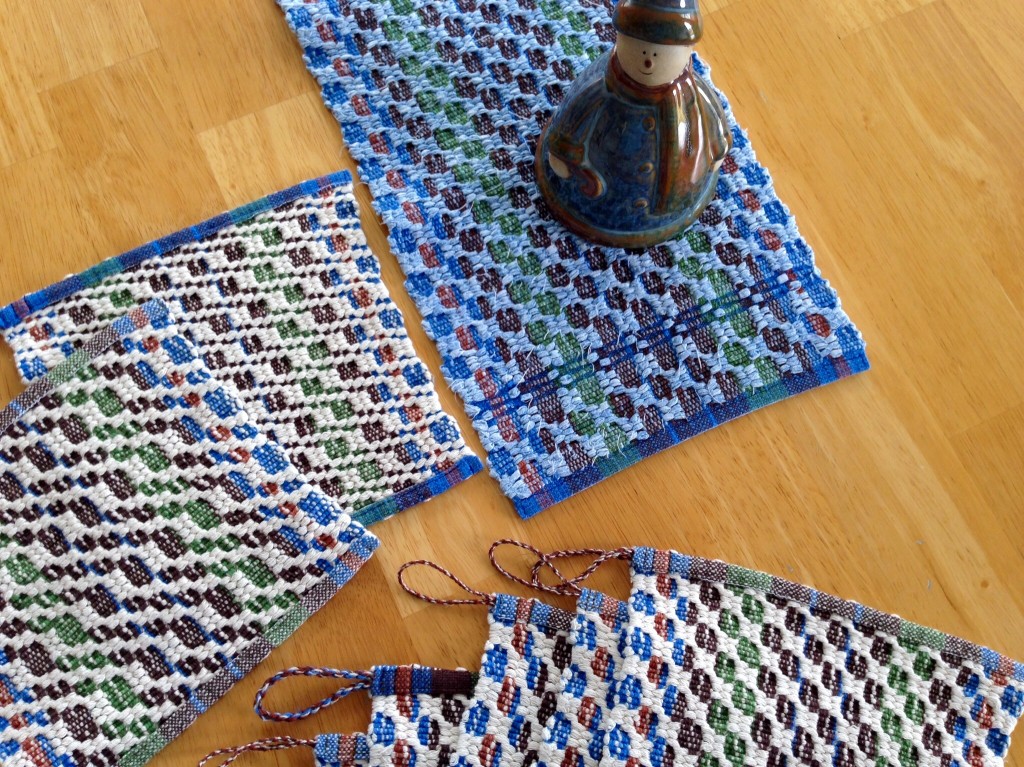
Textured textiles, after wet finishing and hemming. Twisted cording was added to pot holders for hanging loops.
Detail of textured textiles. M's and O's with creative treadling.
Creative treadling for two pot holders produced design variations.

Christmas is a true story. Love came down. You have heard the story: Jesus came as a baby, grew up, and gave up his life to save us, all in the name of love. When this Jesus story is written on our hearts it changes everything. This love story is the wet finishing we need. It is the only thing that can truly complete us. Your life already tells a story. It is an open book that people read. When we let the Christmas story of God’s love shape us, the fabric of our life becomes characterized by the texture of love.

May your loved ones enjoy reading “your” book.

(Shoppes at Fleece ‘N Flax in Eureka Springs, Arkansas is carrying a few of my rugs. If you are near the area, drop by the shop and say Hi to Debbie!)

Happy Holy Day,
Karen

Change the Texture

This nine-inch-wide (23 cm) warp looks pretty on the loom, but just wait until you see it finished off the loom! With M’s and O’s weave structure, the character of the fabric will change from flat and linear to puckered and textured. The cottolin warp and the cottolin plain weave hems are ordinary, but wet finishing will cause the unbleached cotton mini string yarn (stränggarn) to showcase the interesting structure as threads shrink into place. The finished textured square should be just right for a handy pot holder or hot pad. I will add a woven hanging loop on the corner, as a useful embellishment. A few pot holders will be given as Christmas gifts, and the rest will go on Etsy. (The draft for a project similar to this is found on the 2014 Väv Calendar.)

Pot Holder in M's and O's.
Weave structure is M’s and O’s. When off the loom and wet finished, everything will draw in, creating textural prominence.

Once this fabric texture changes through the wet finishing process, there is nothing that can make this cloth revert back to its original state. Nothing can separate us from God’s love. When we receive his love, it makes irreversible changes in us. God’s love is inseparable from those who find it. It’s forever a part of who we are.

May you love and be loved.

Lovingly,
Karen