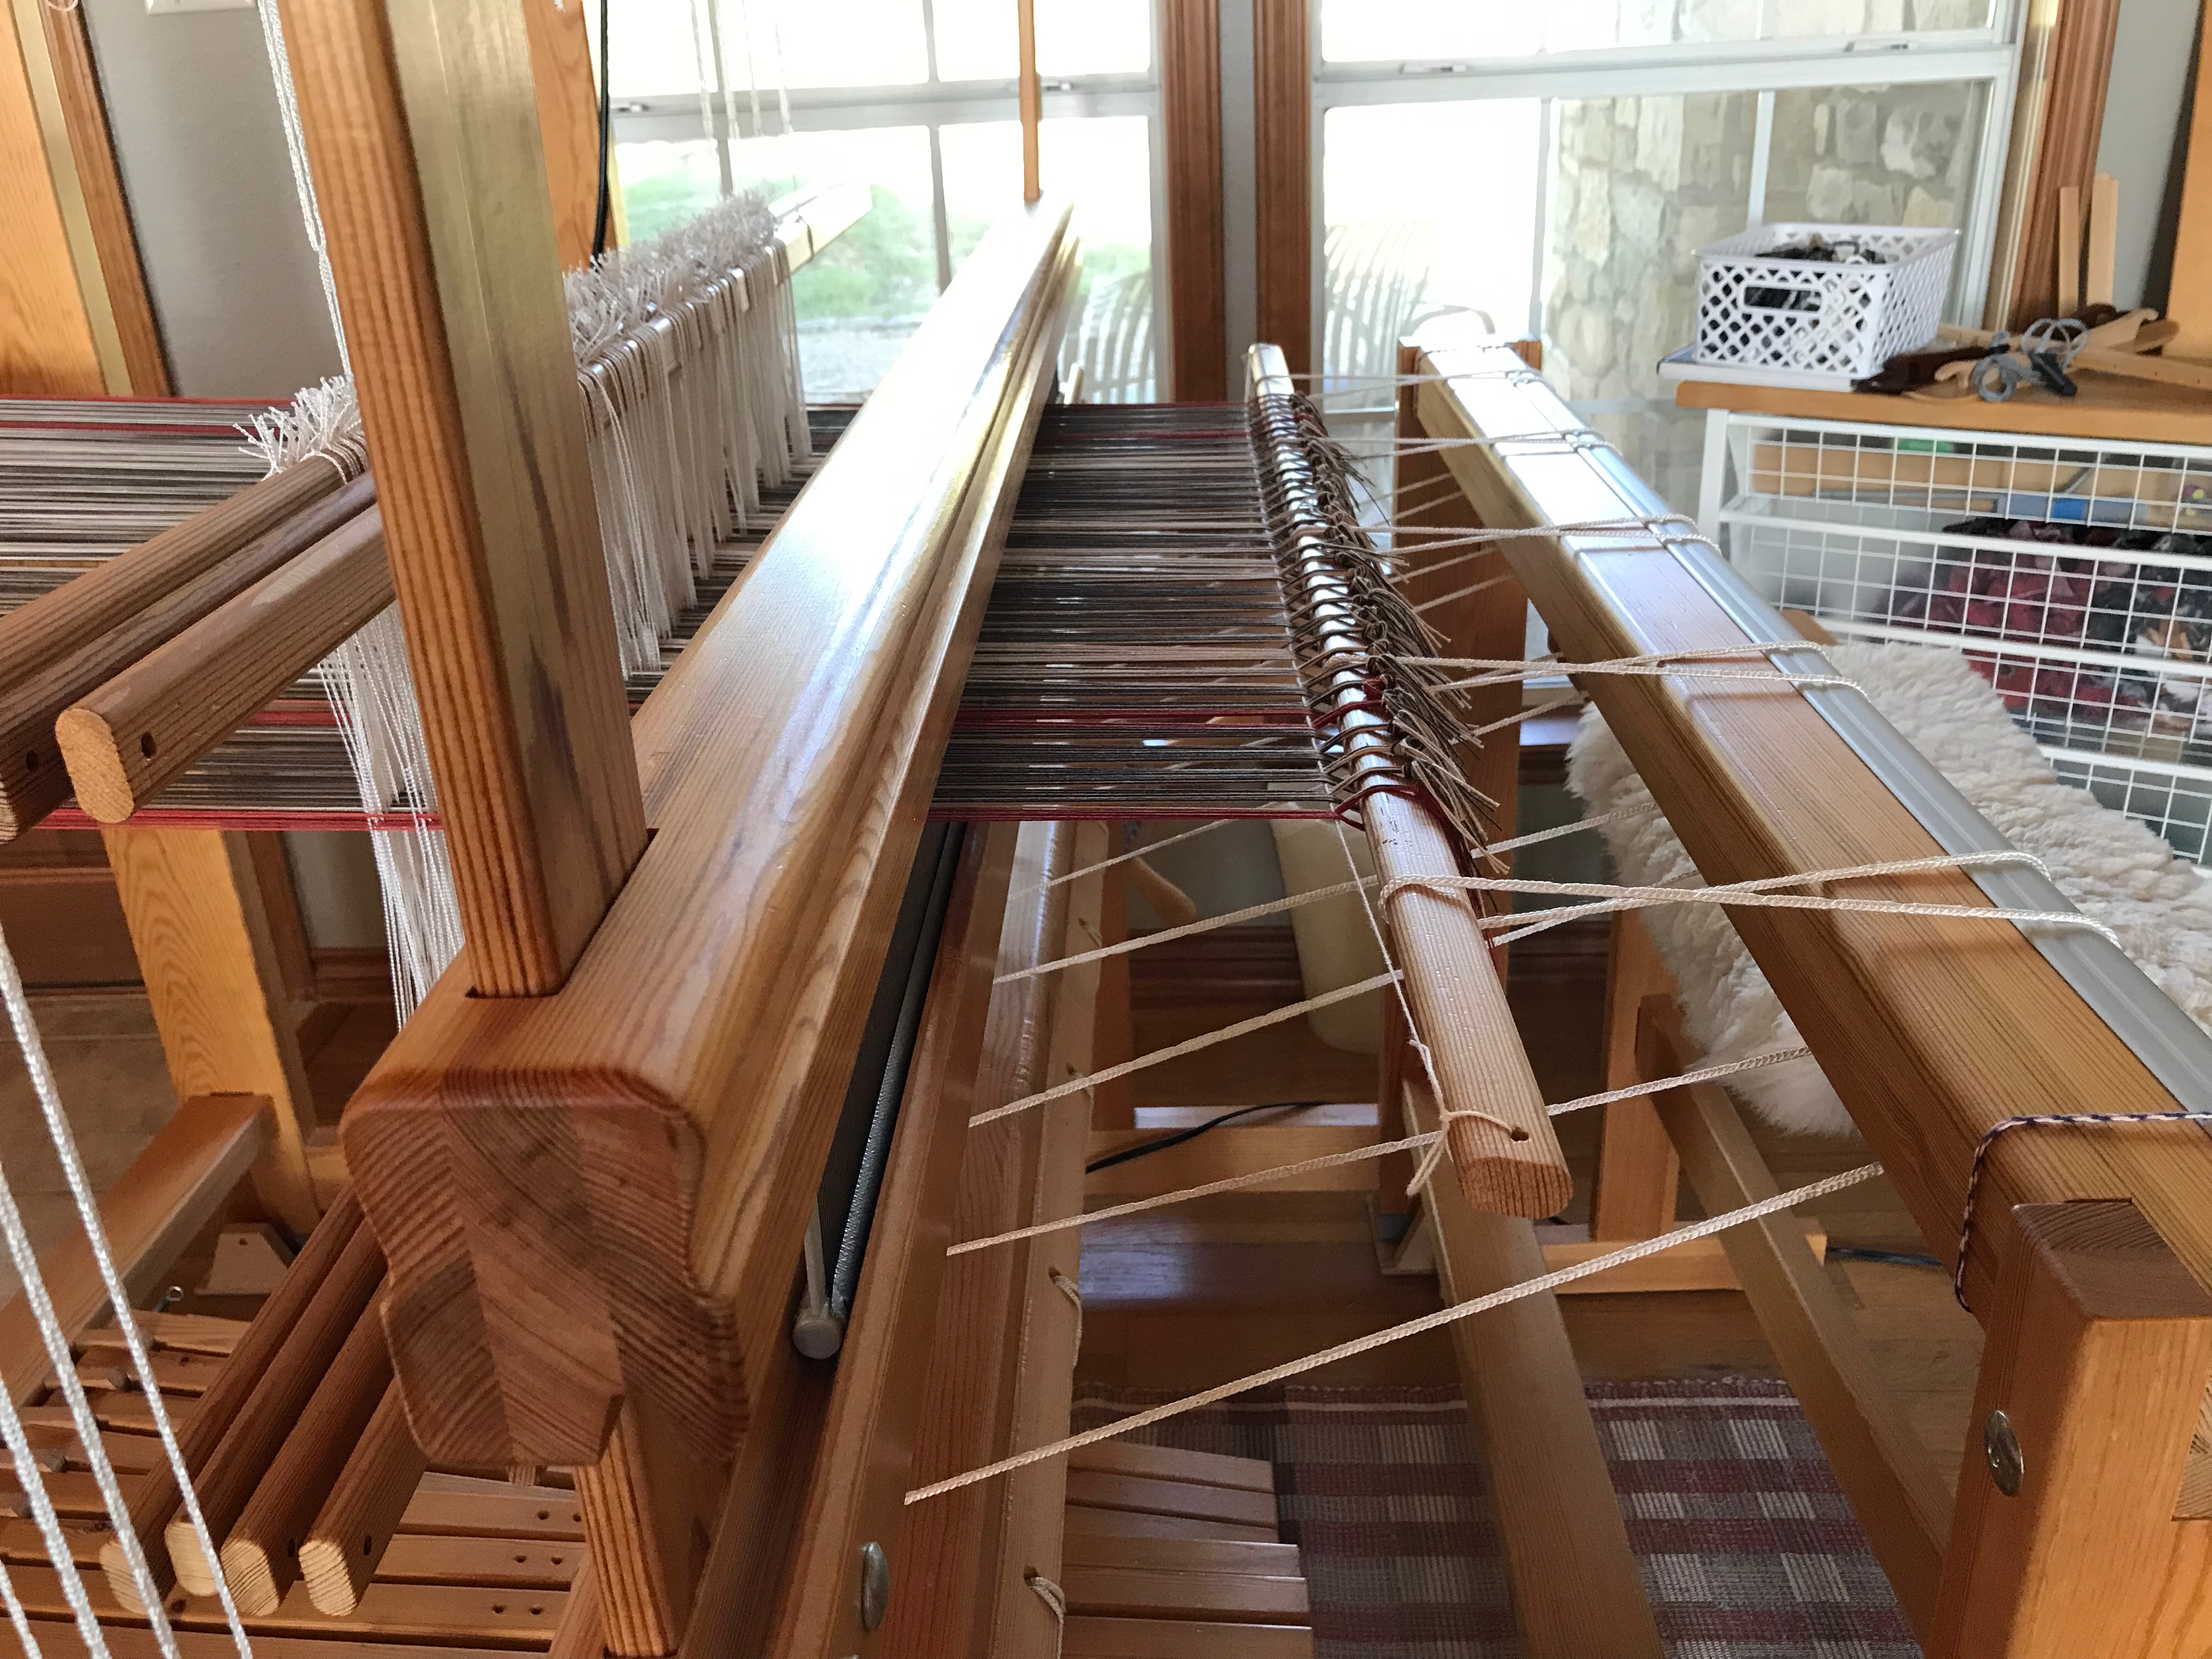
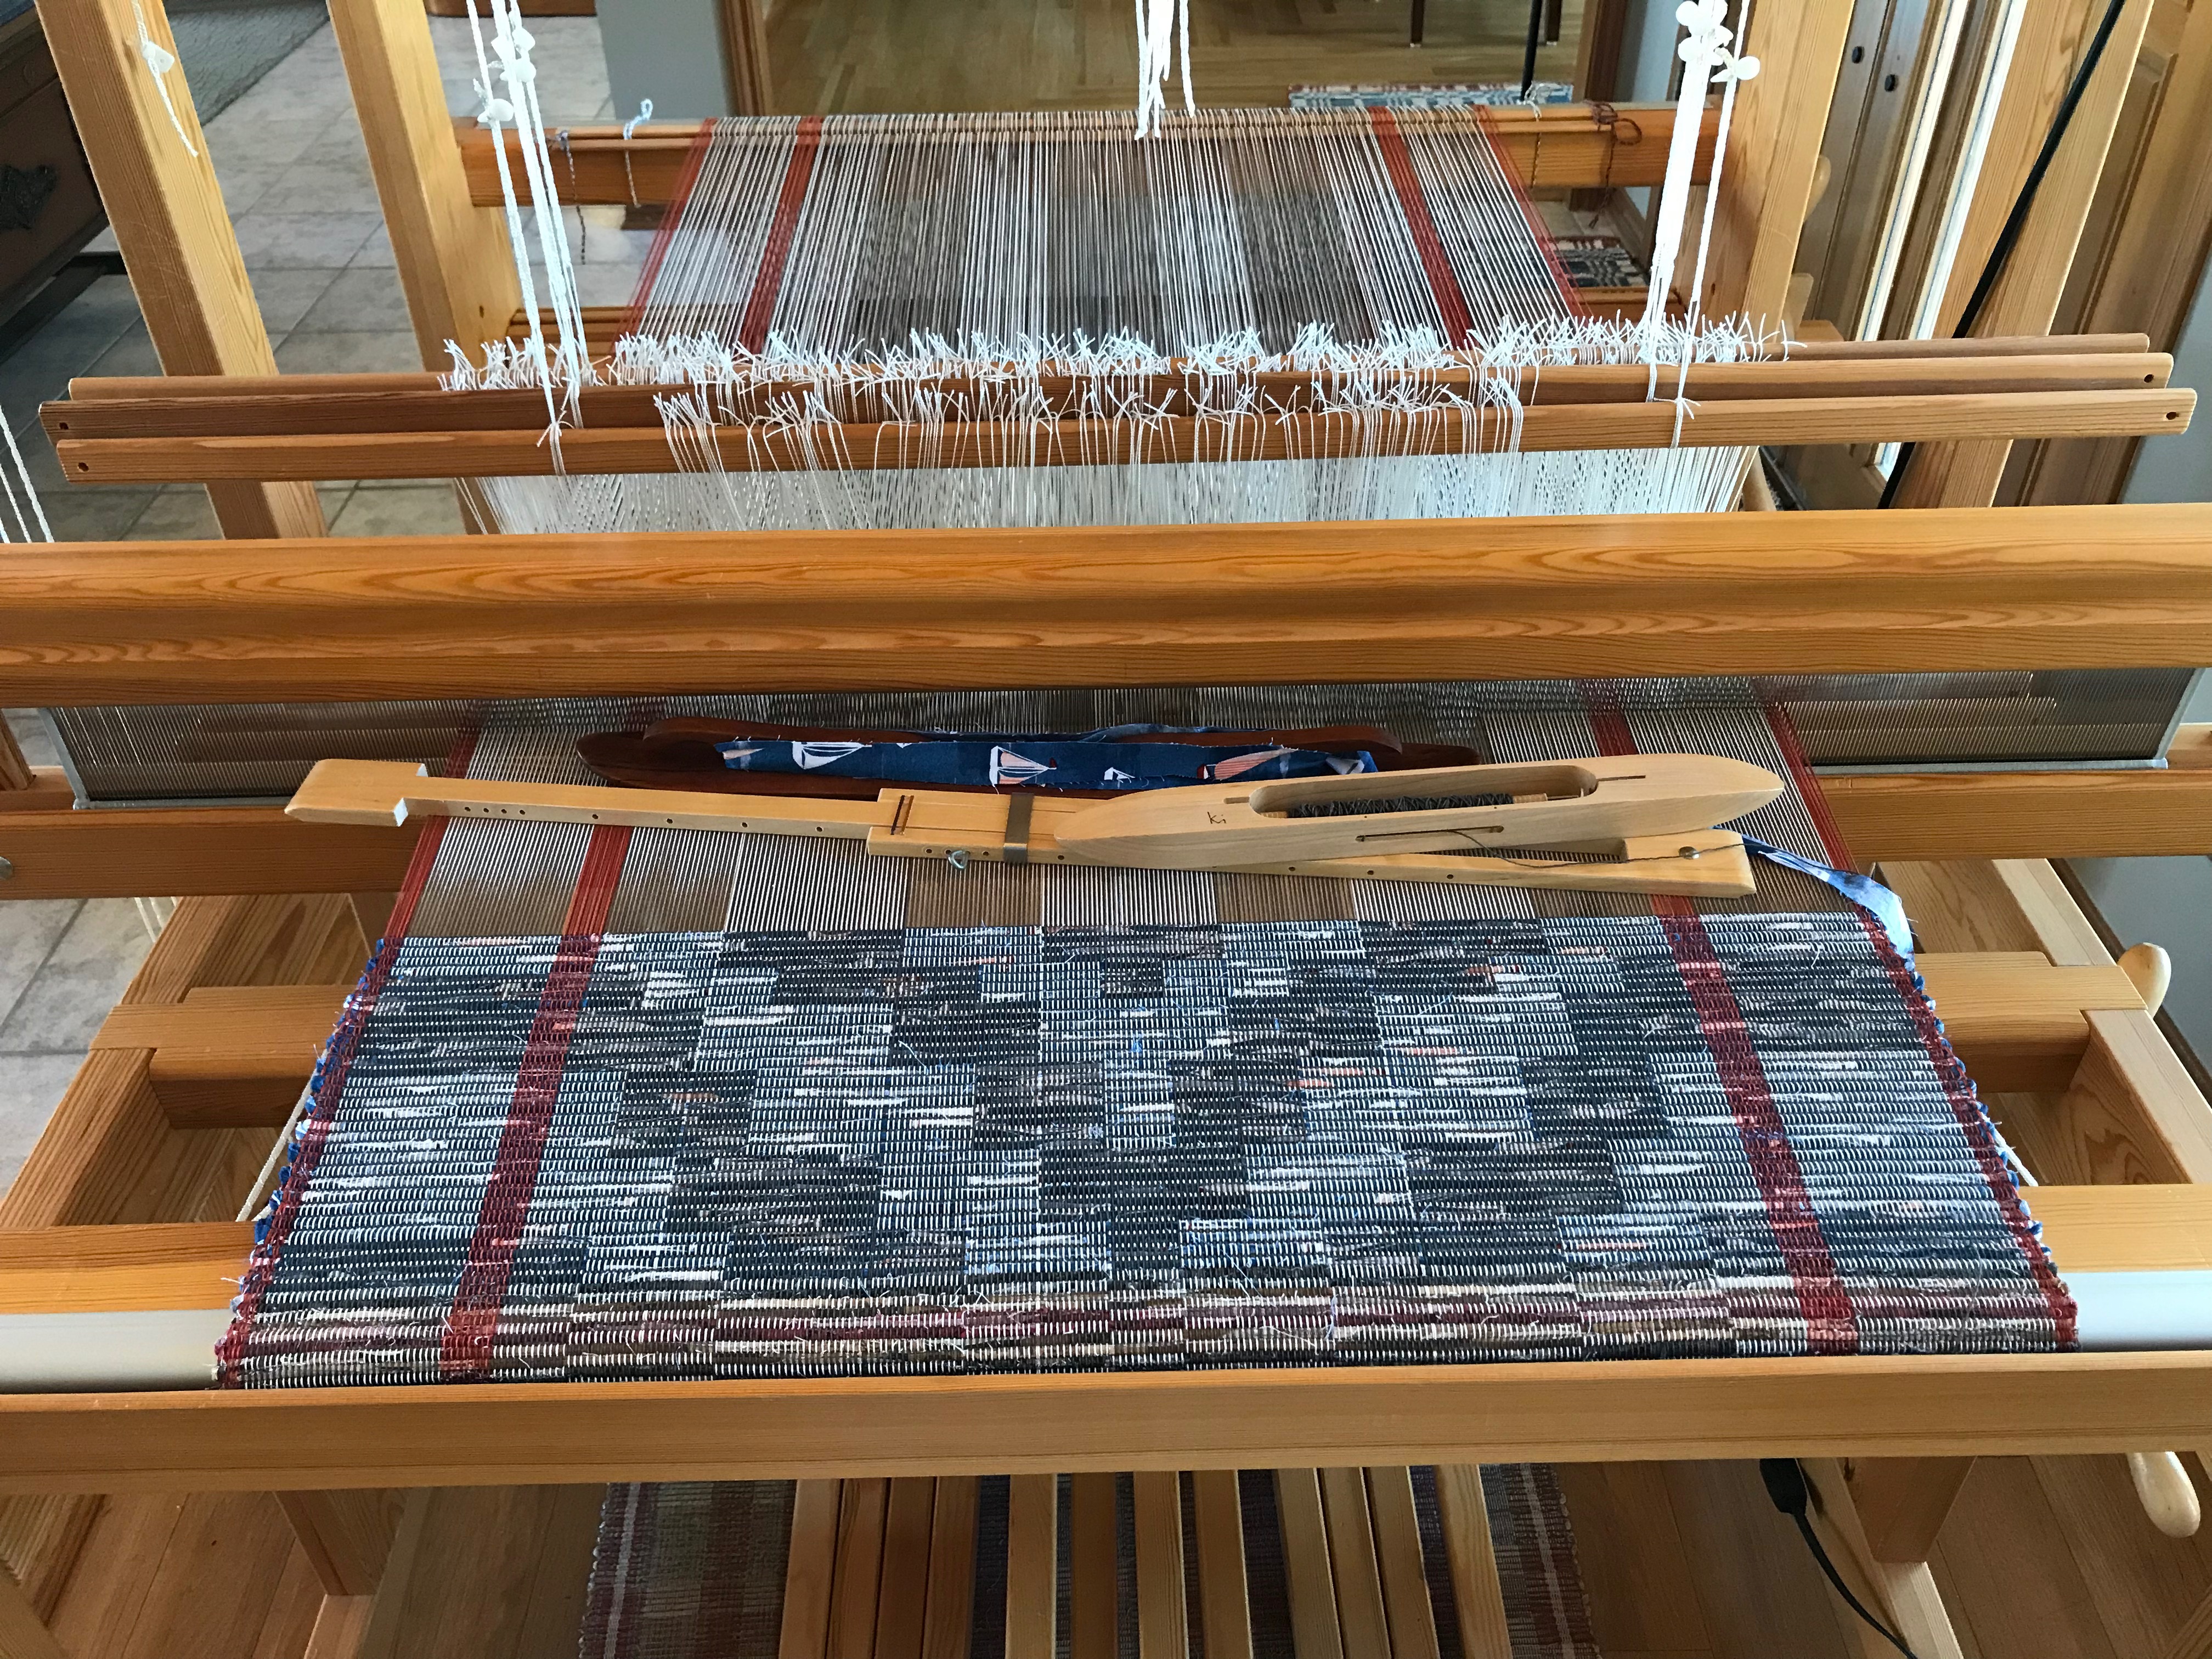
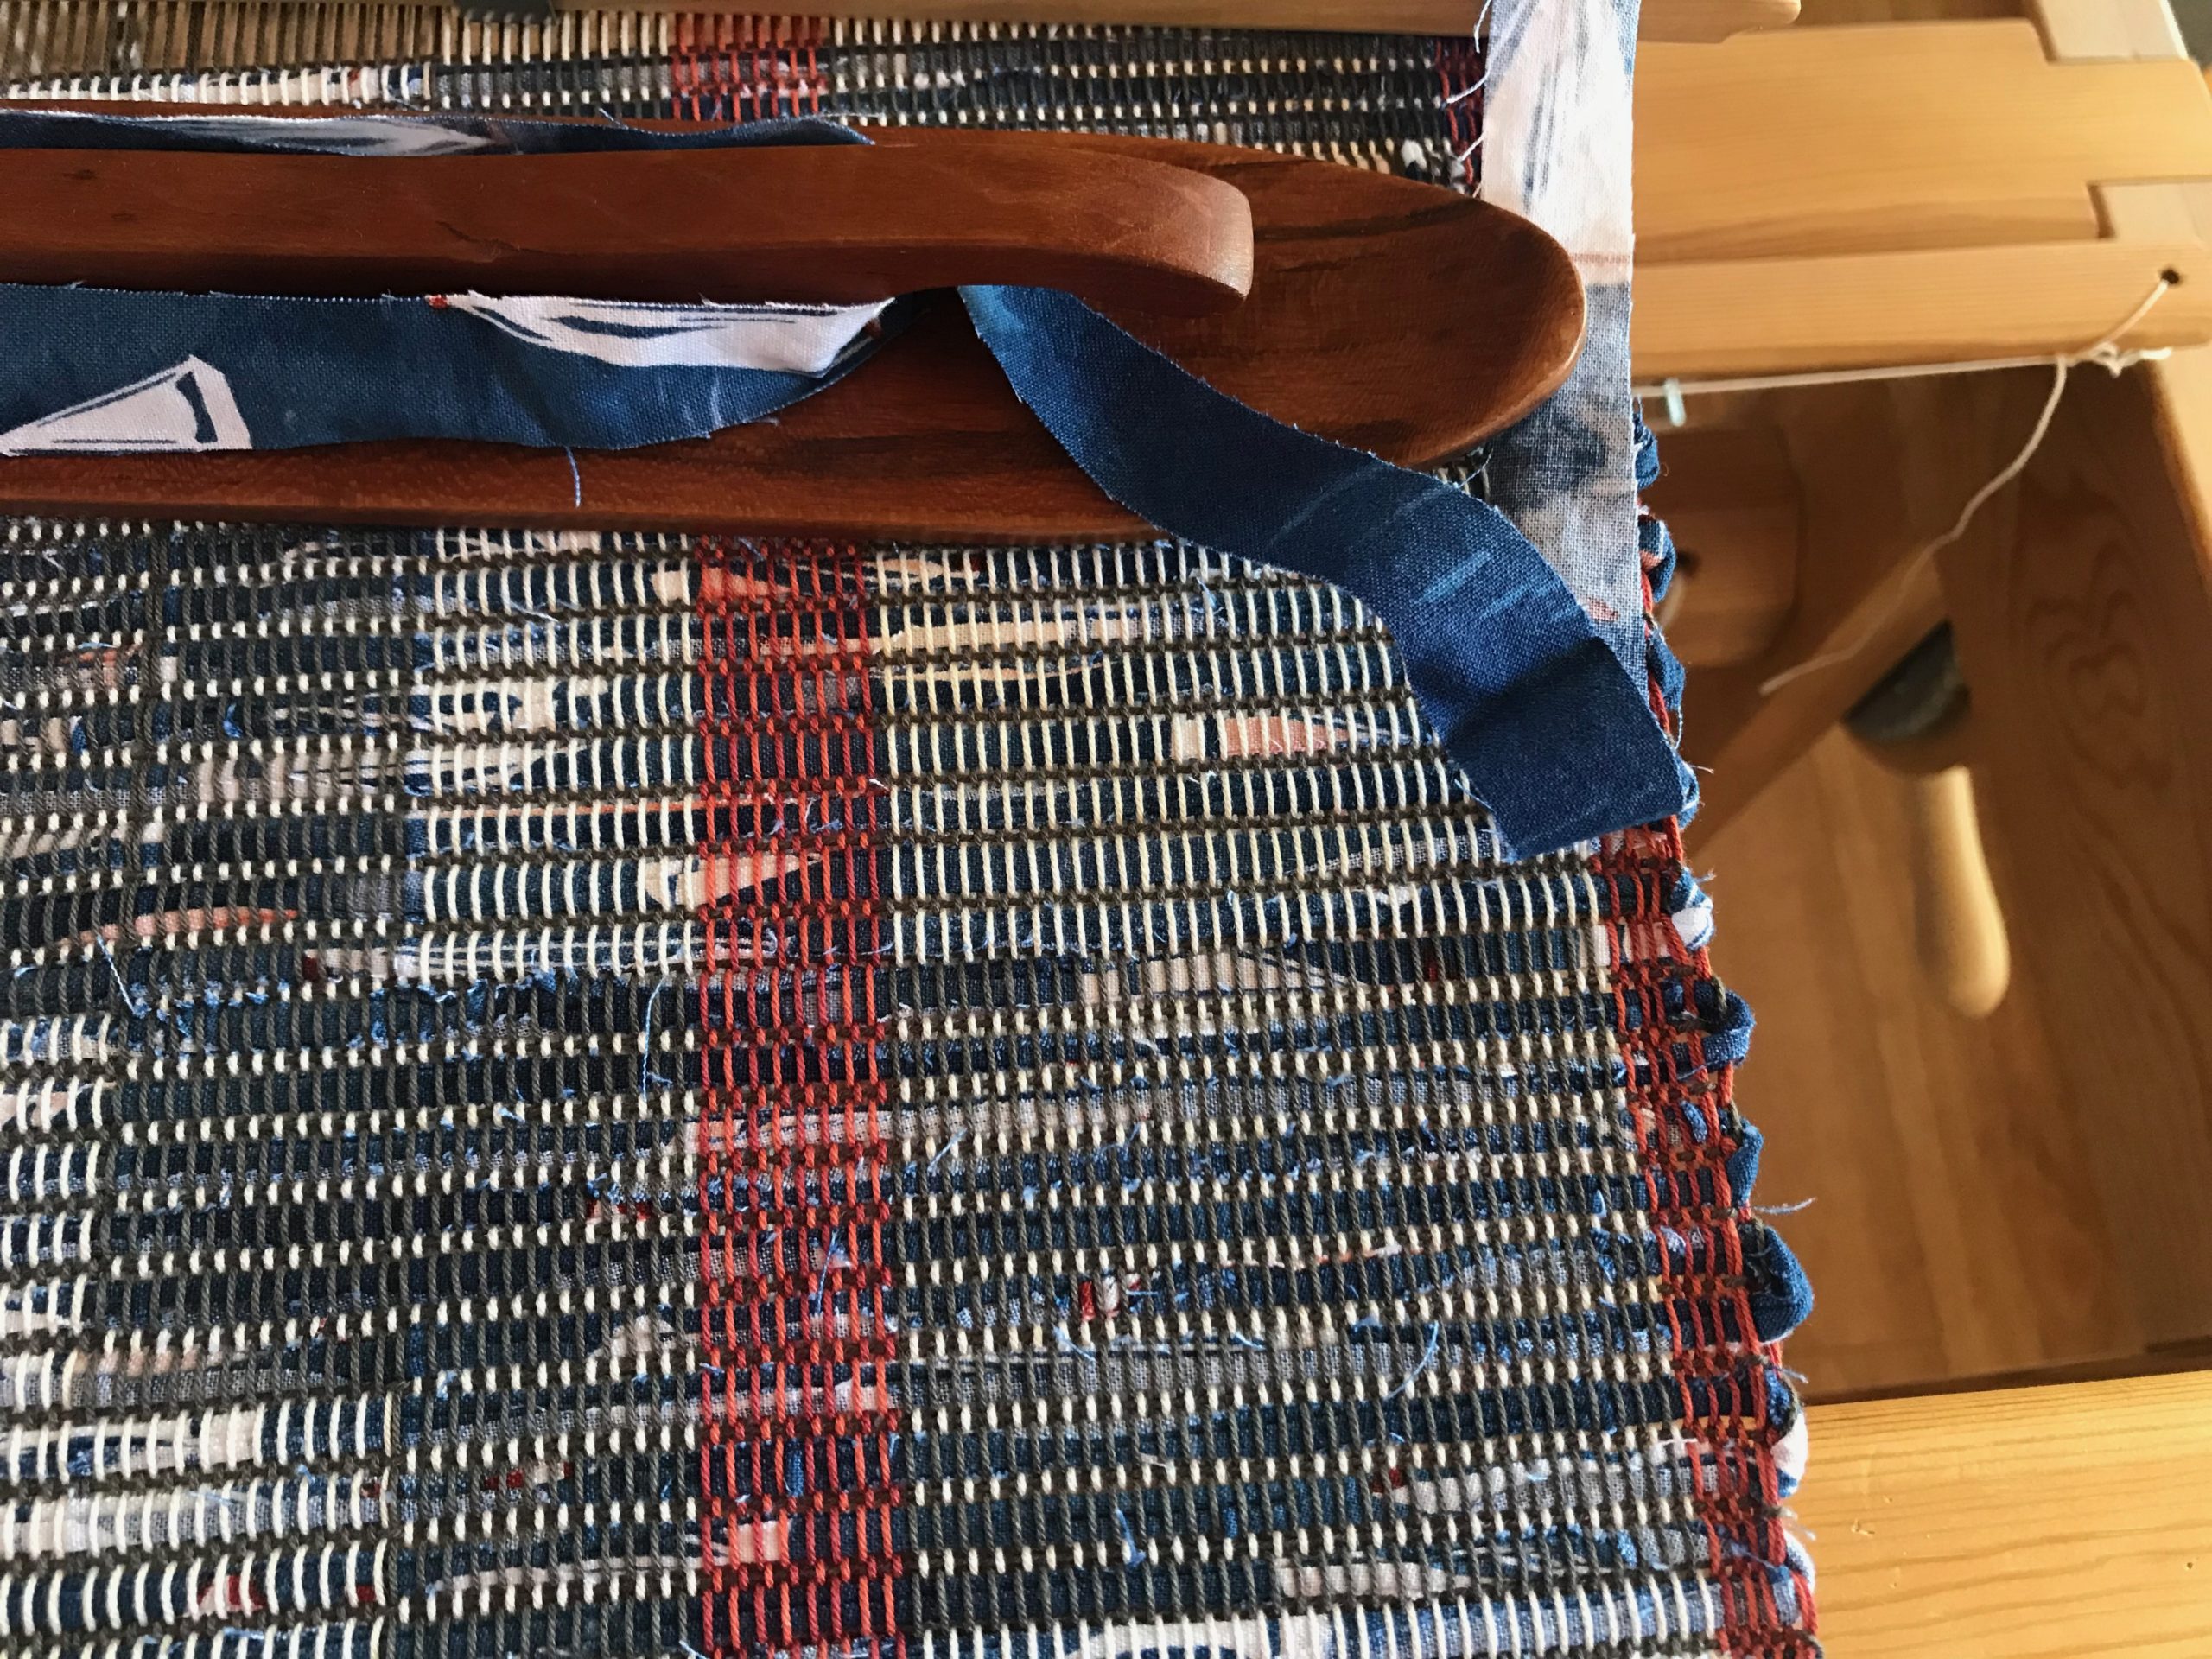
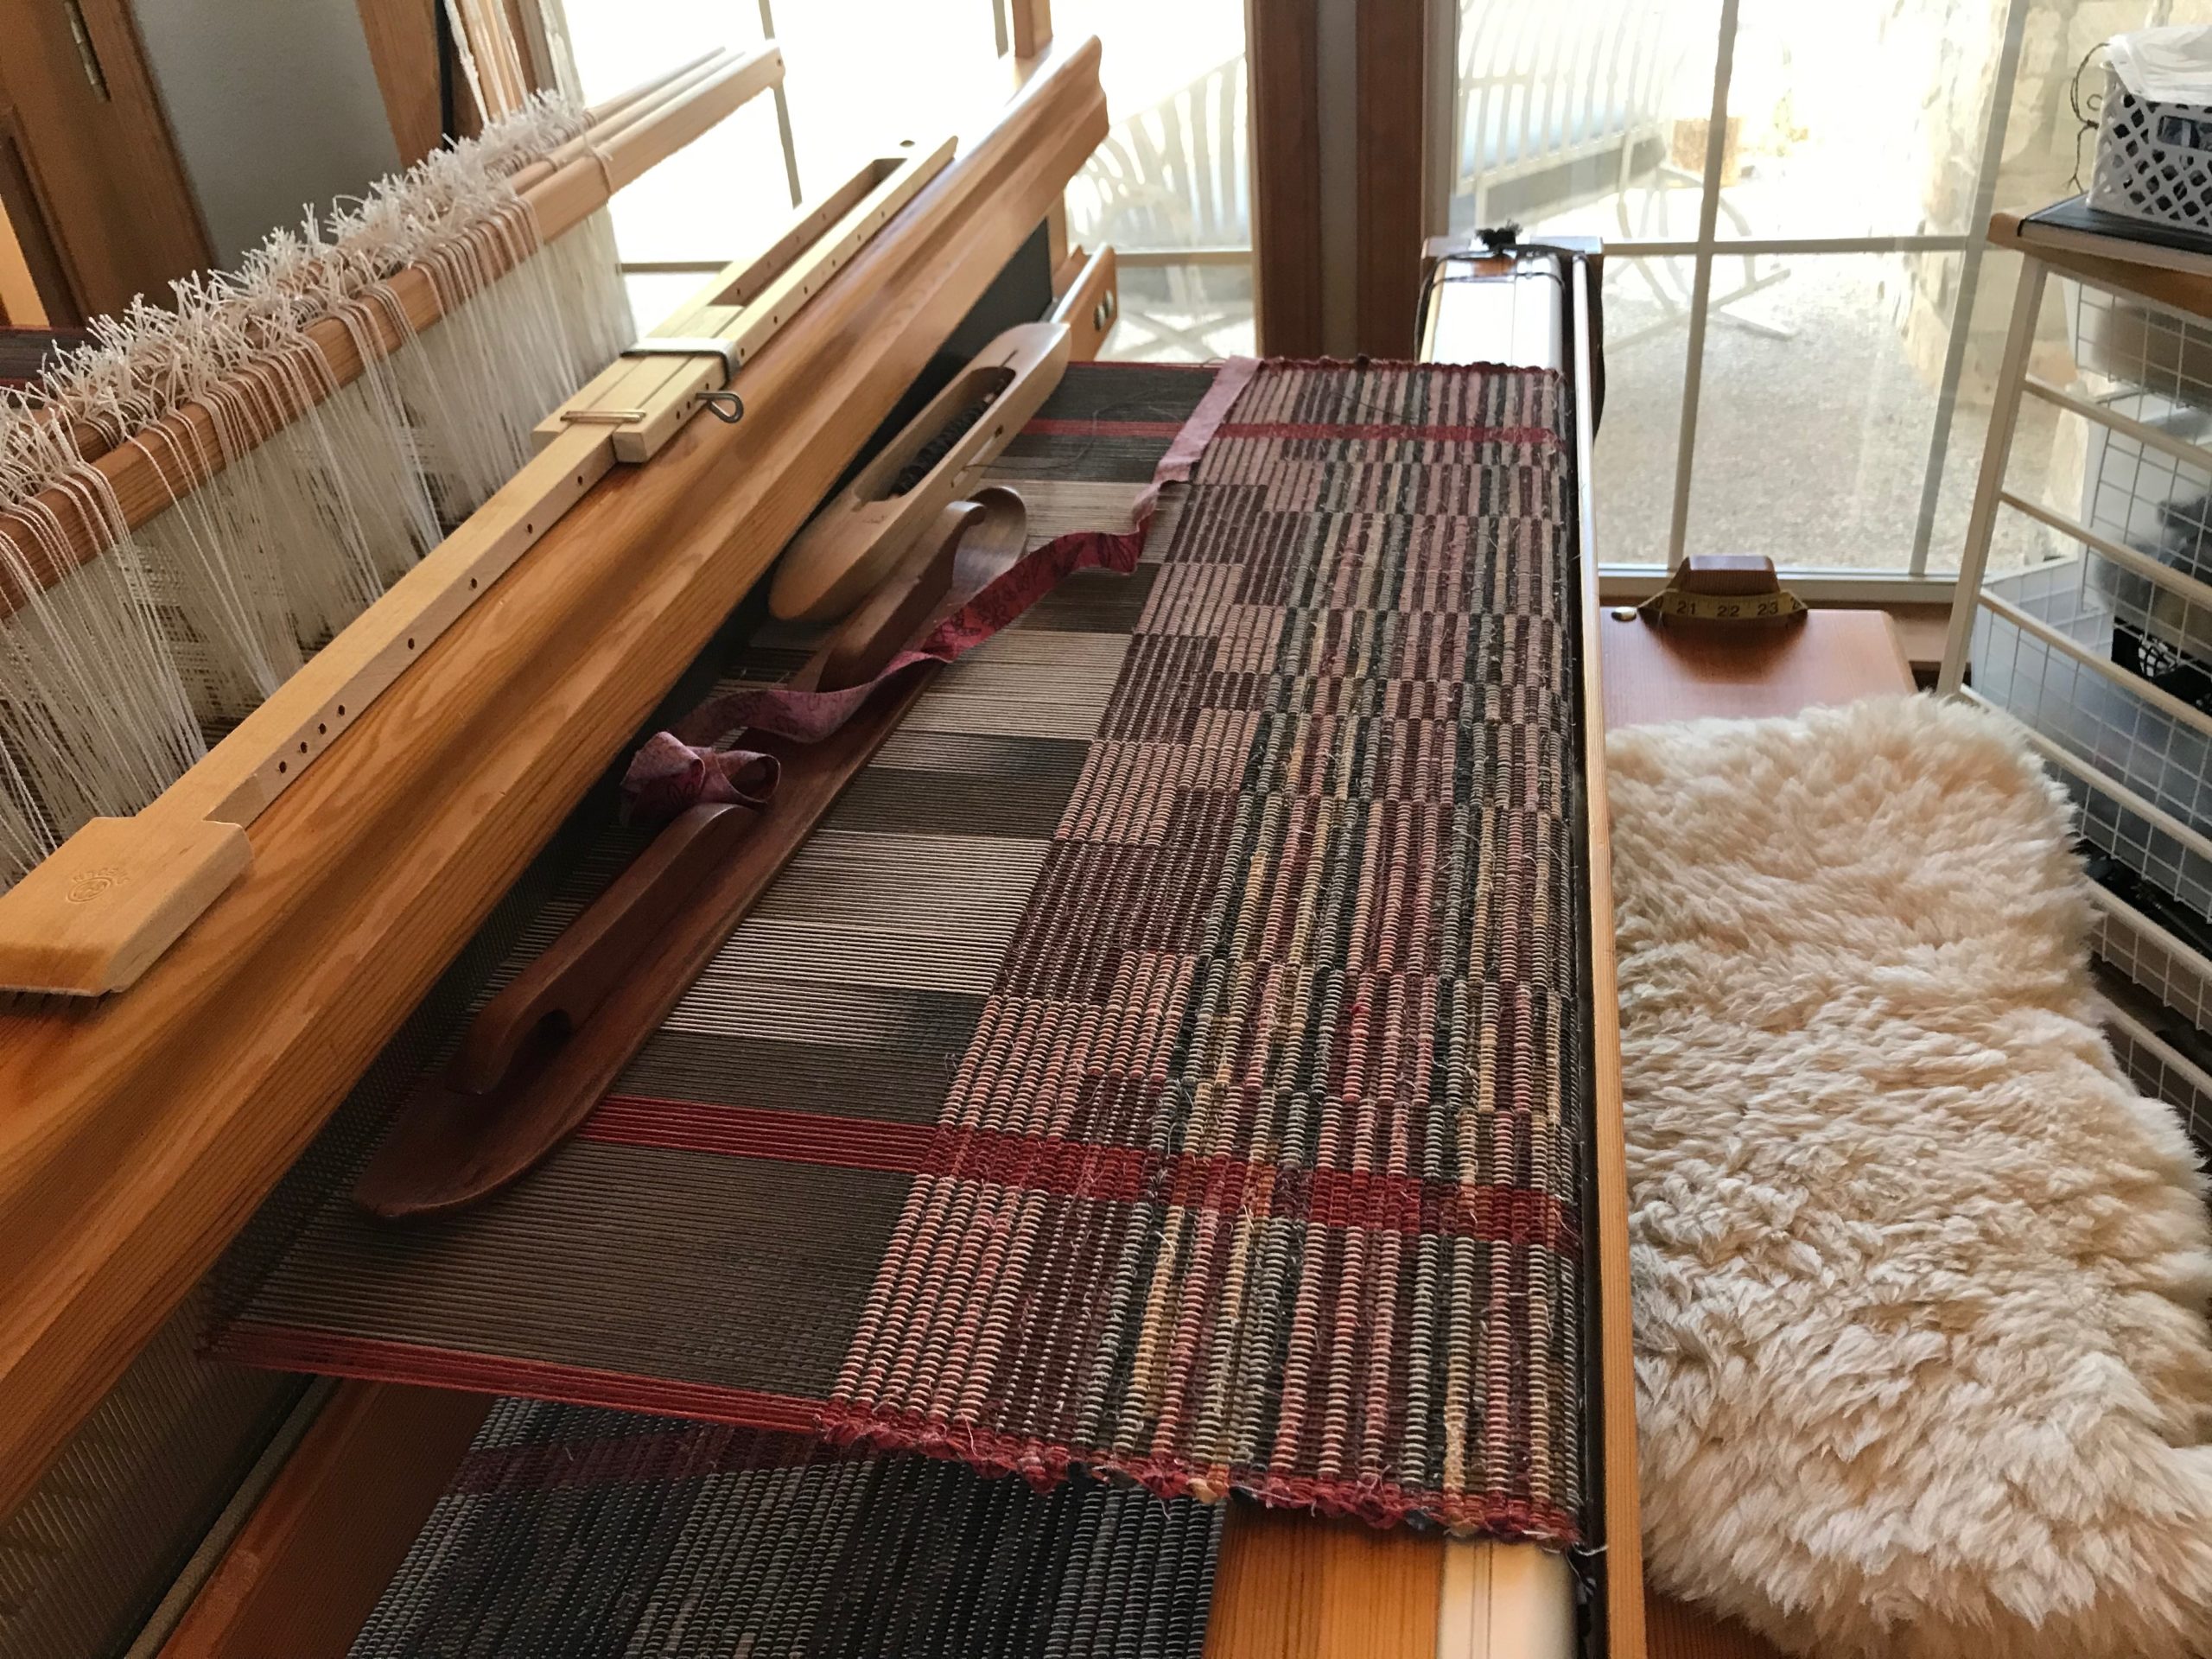
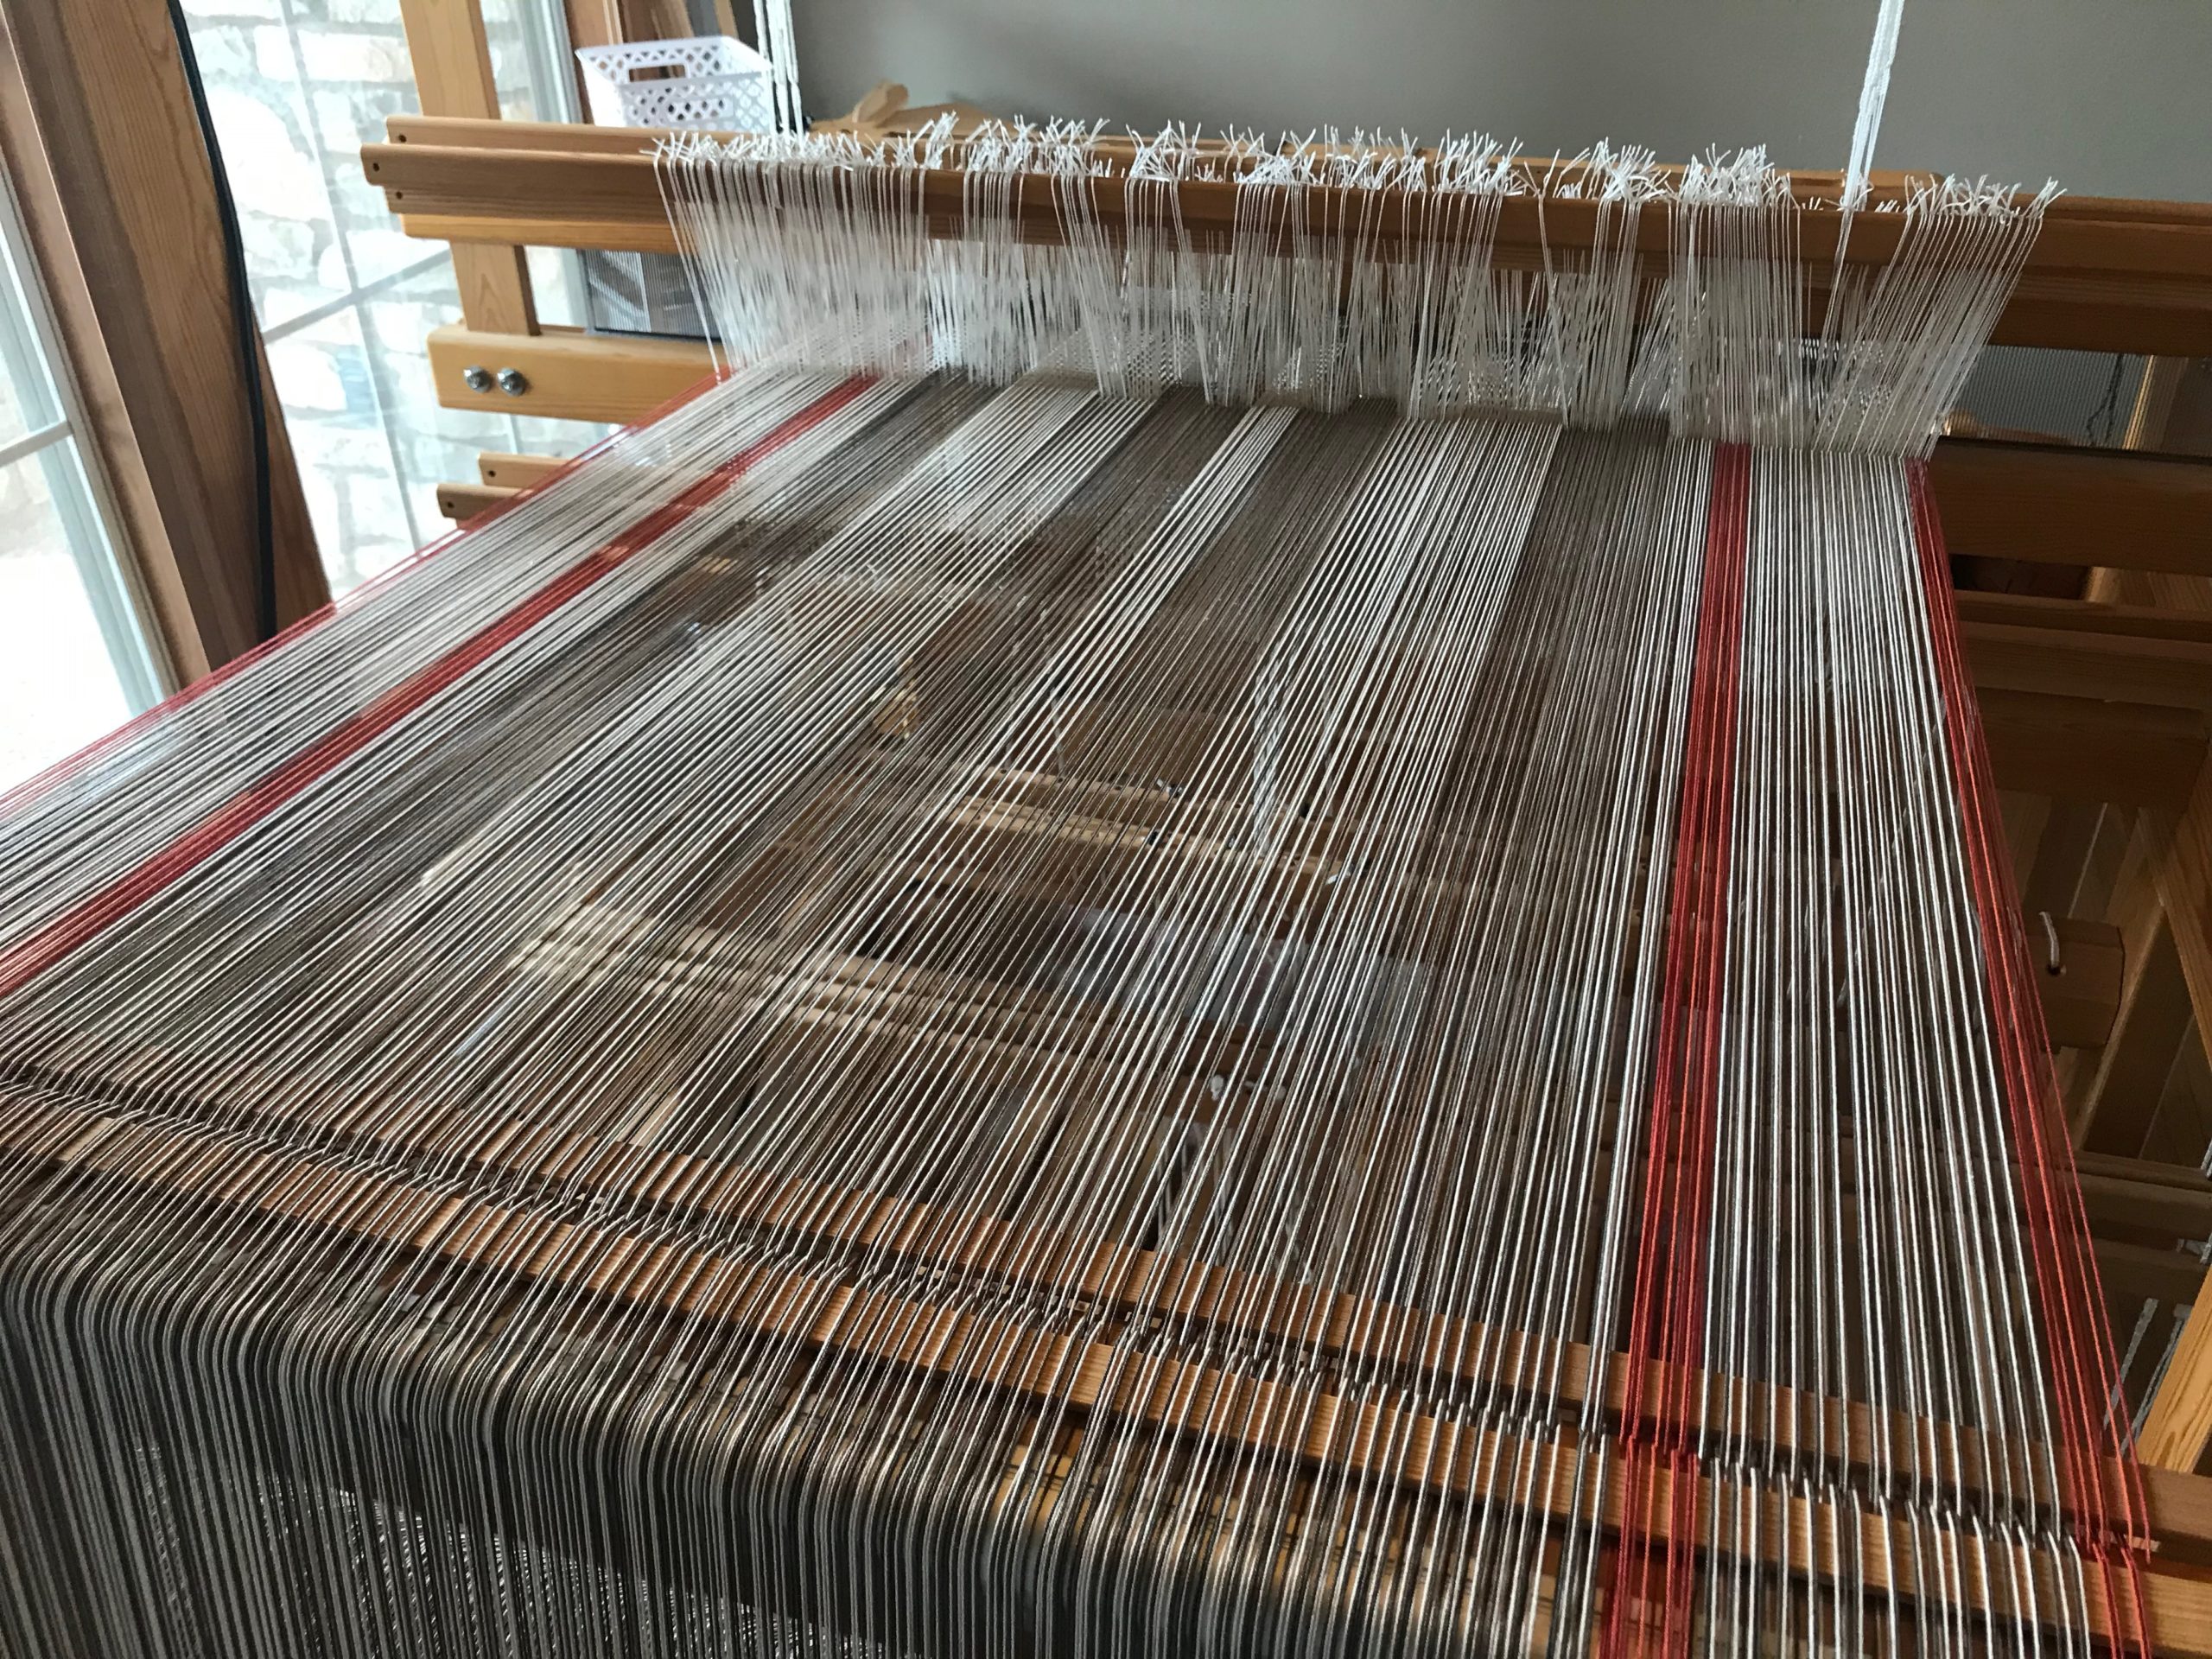
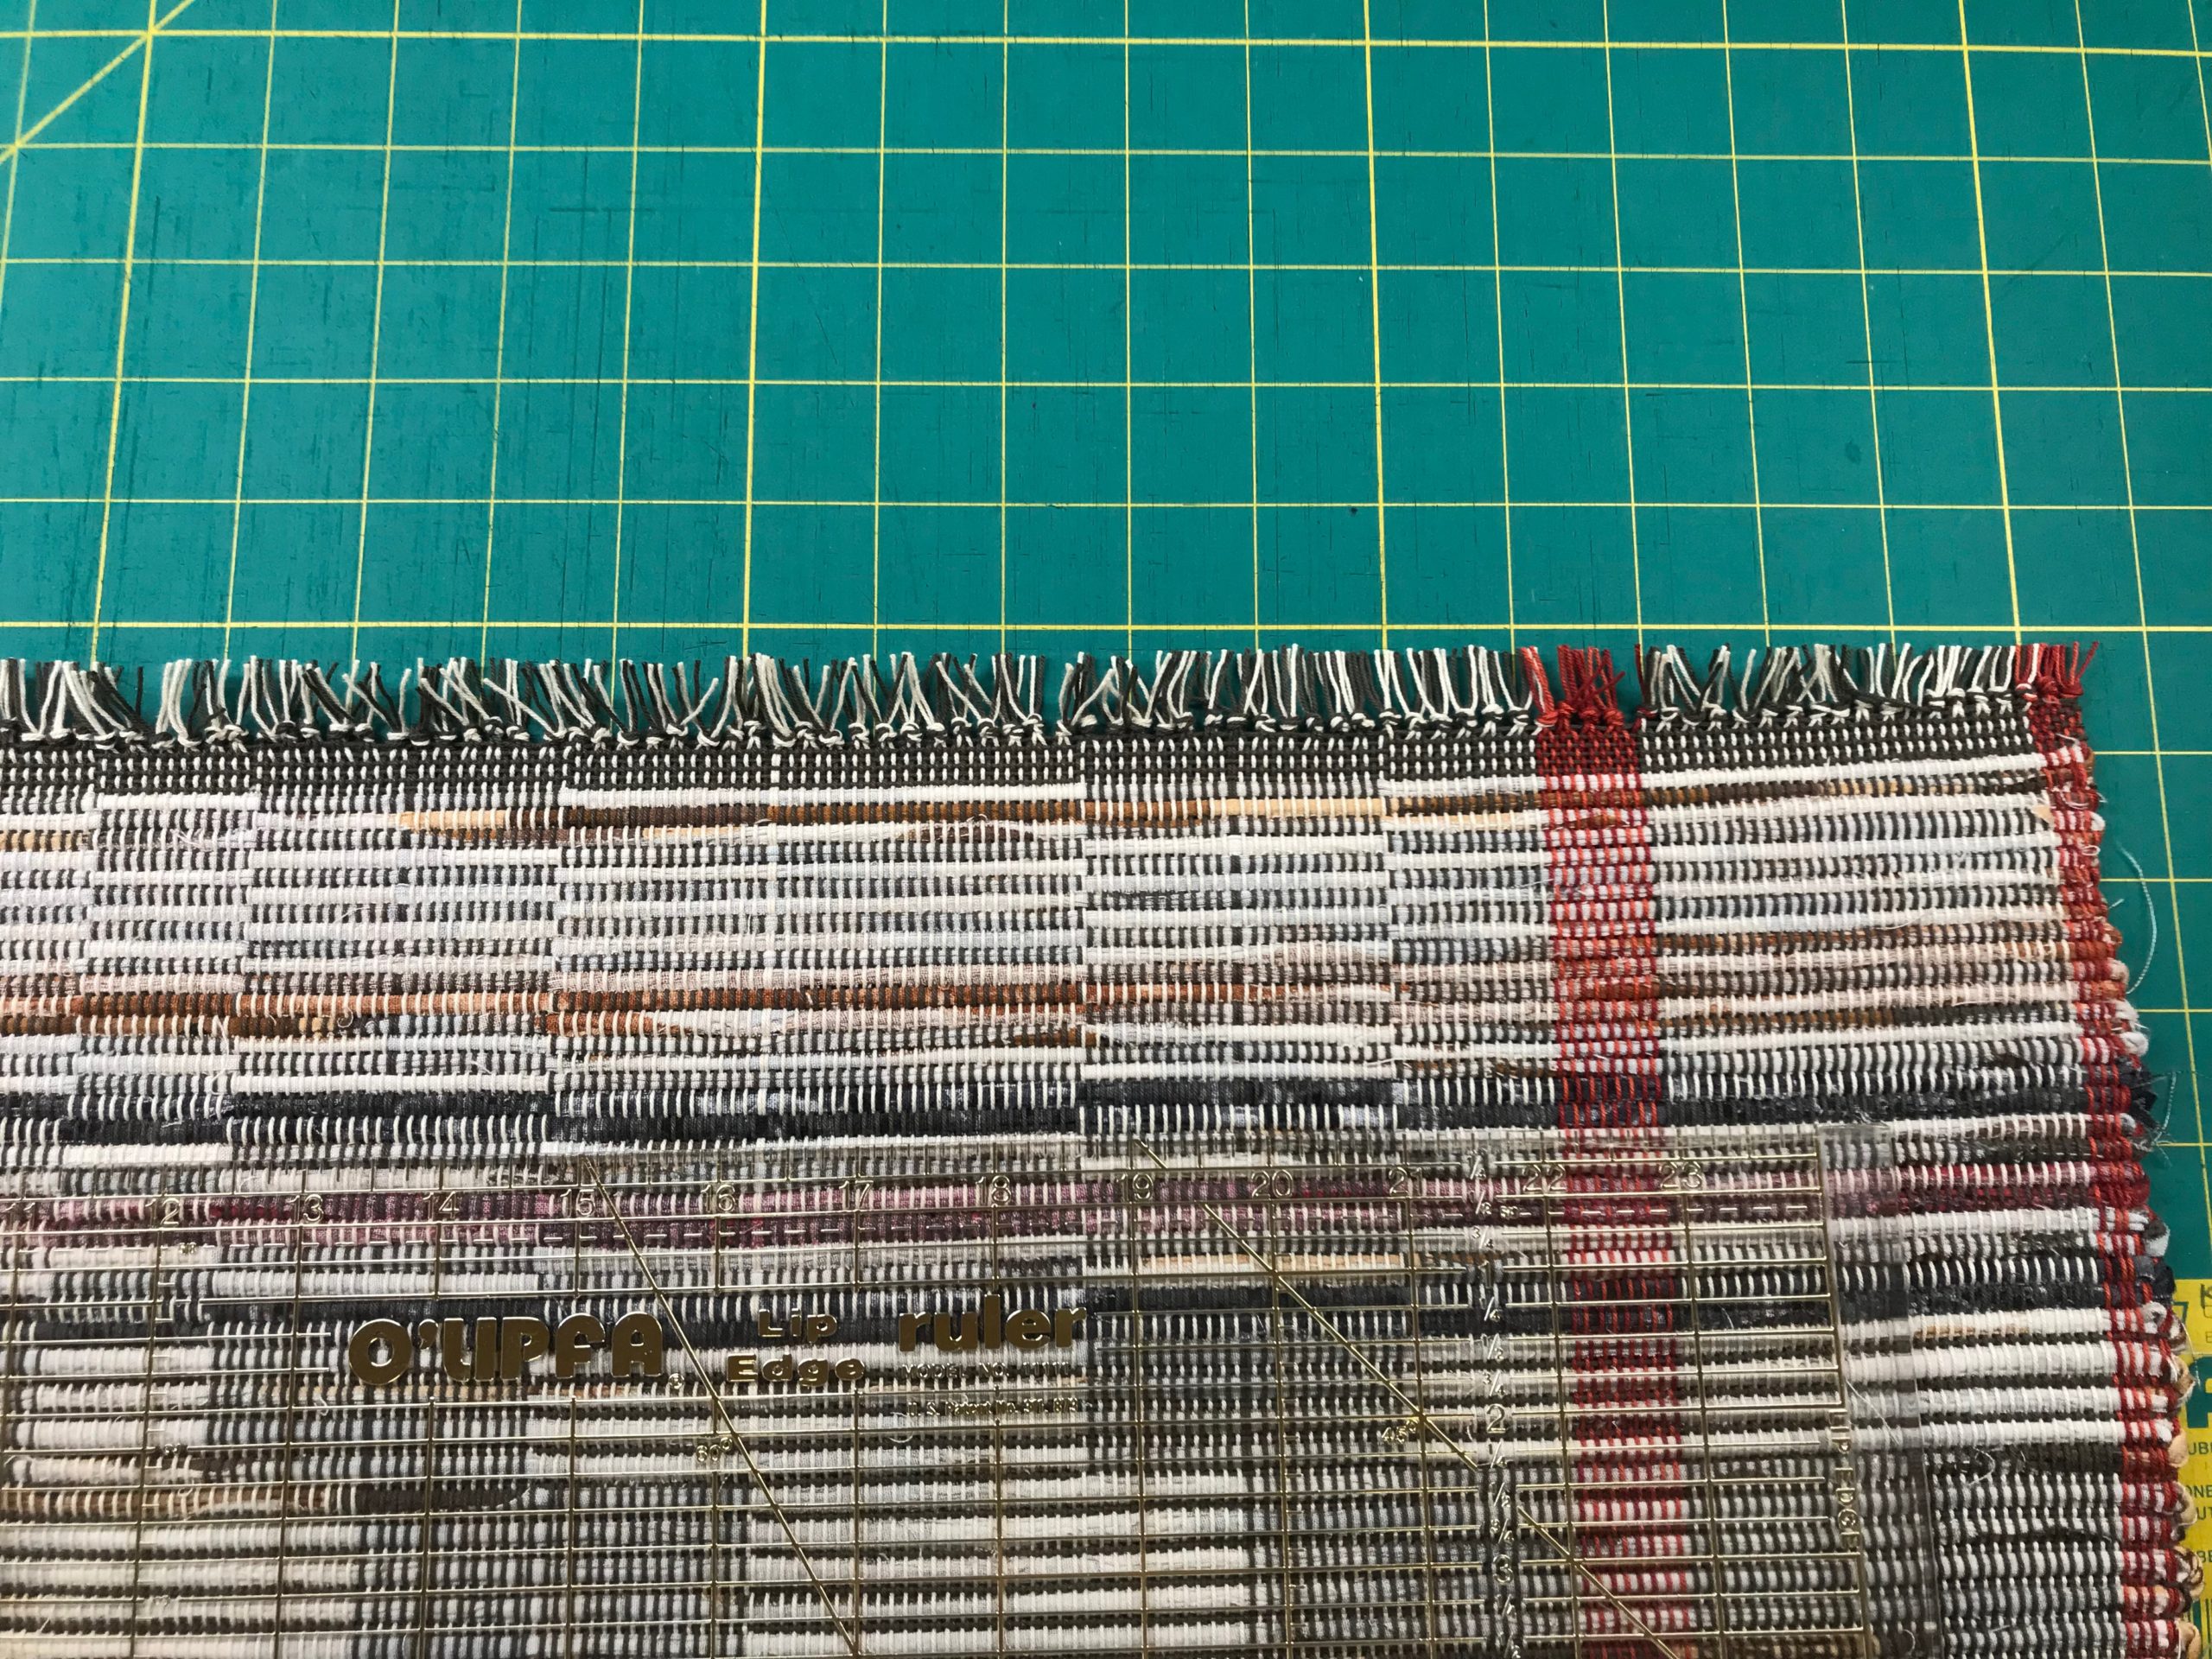
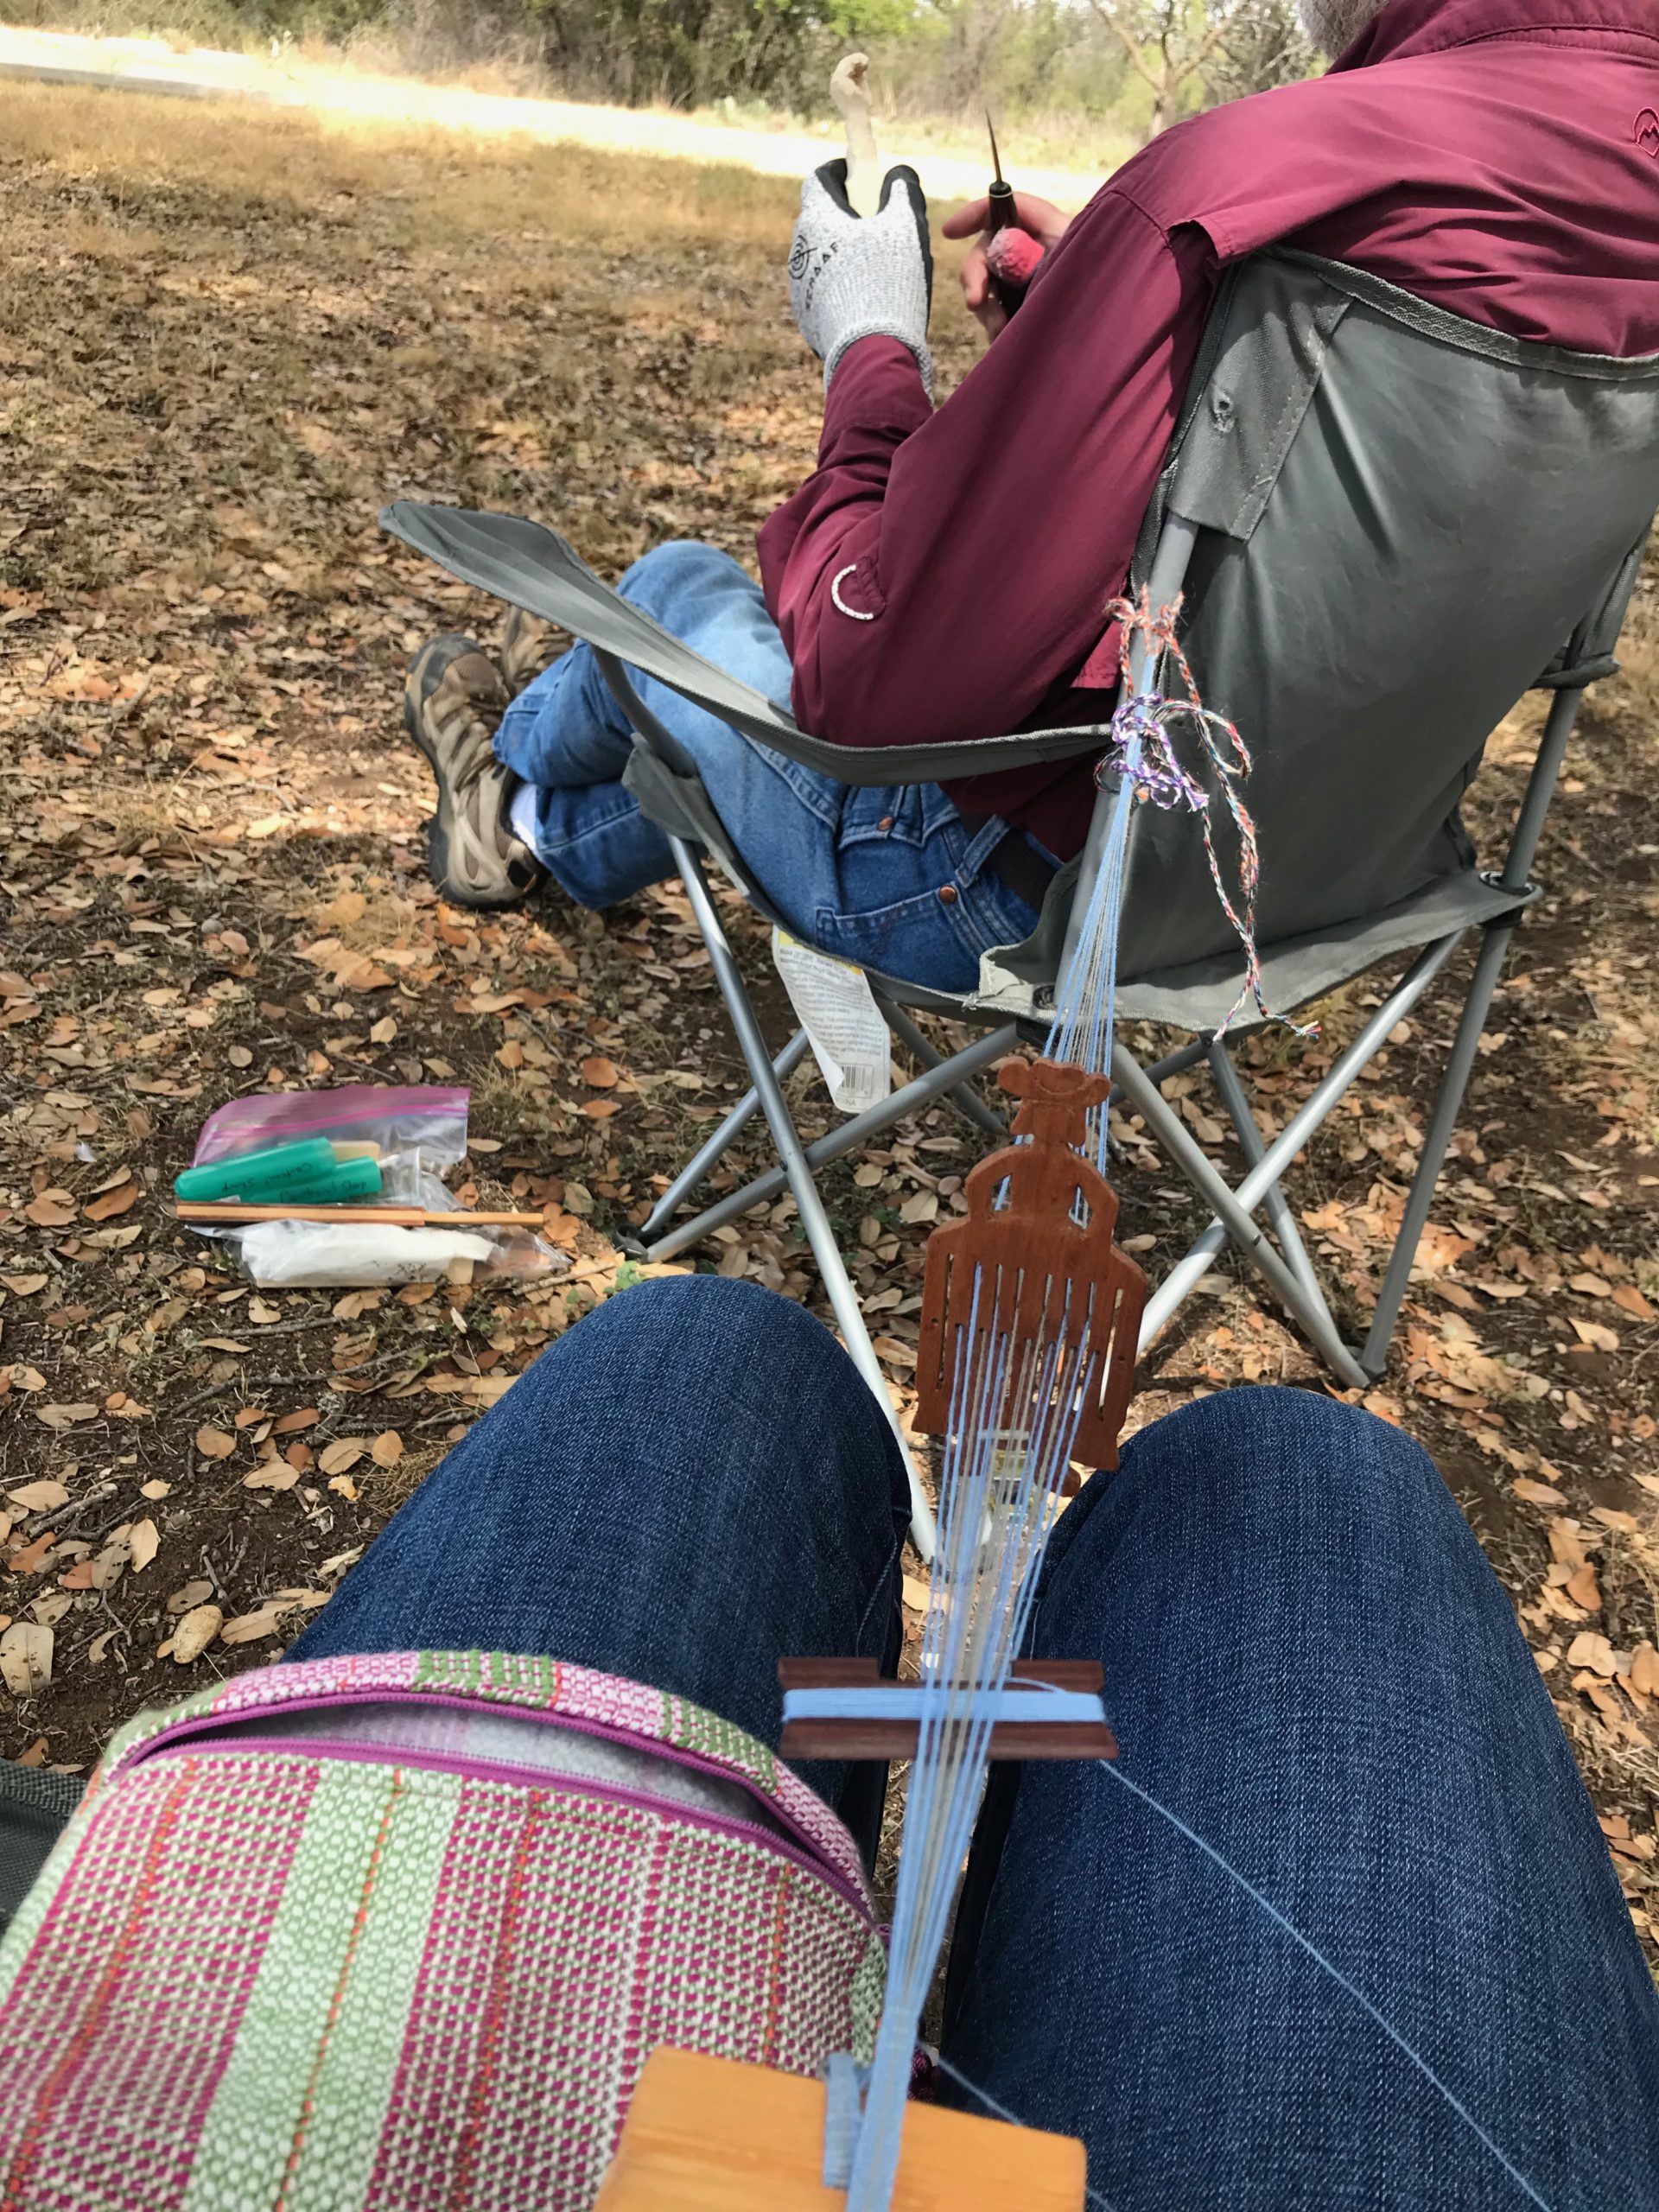
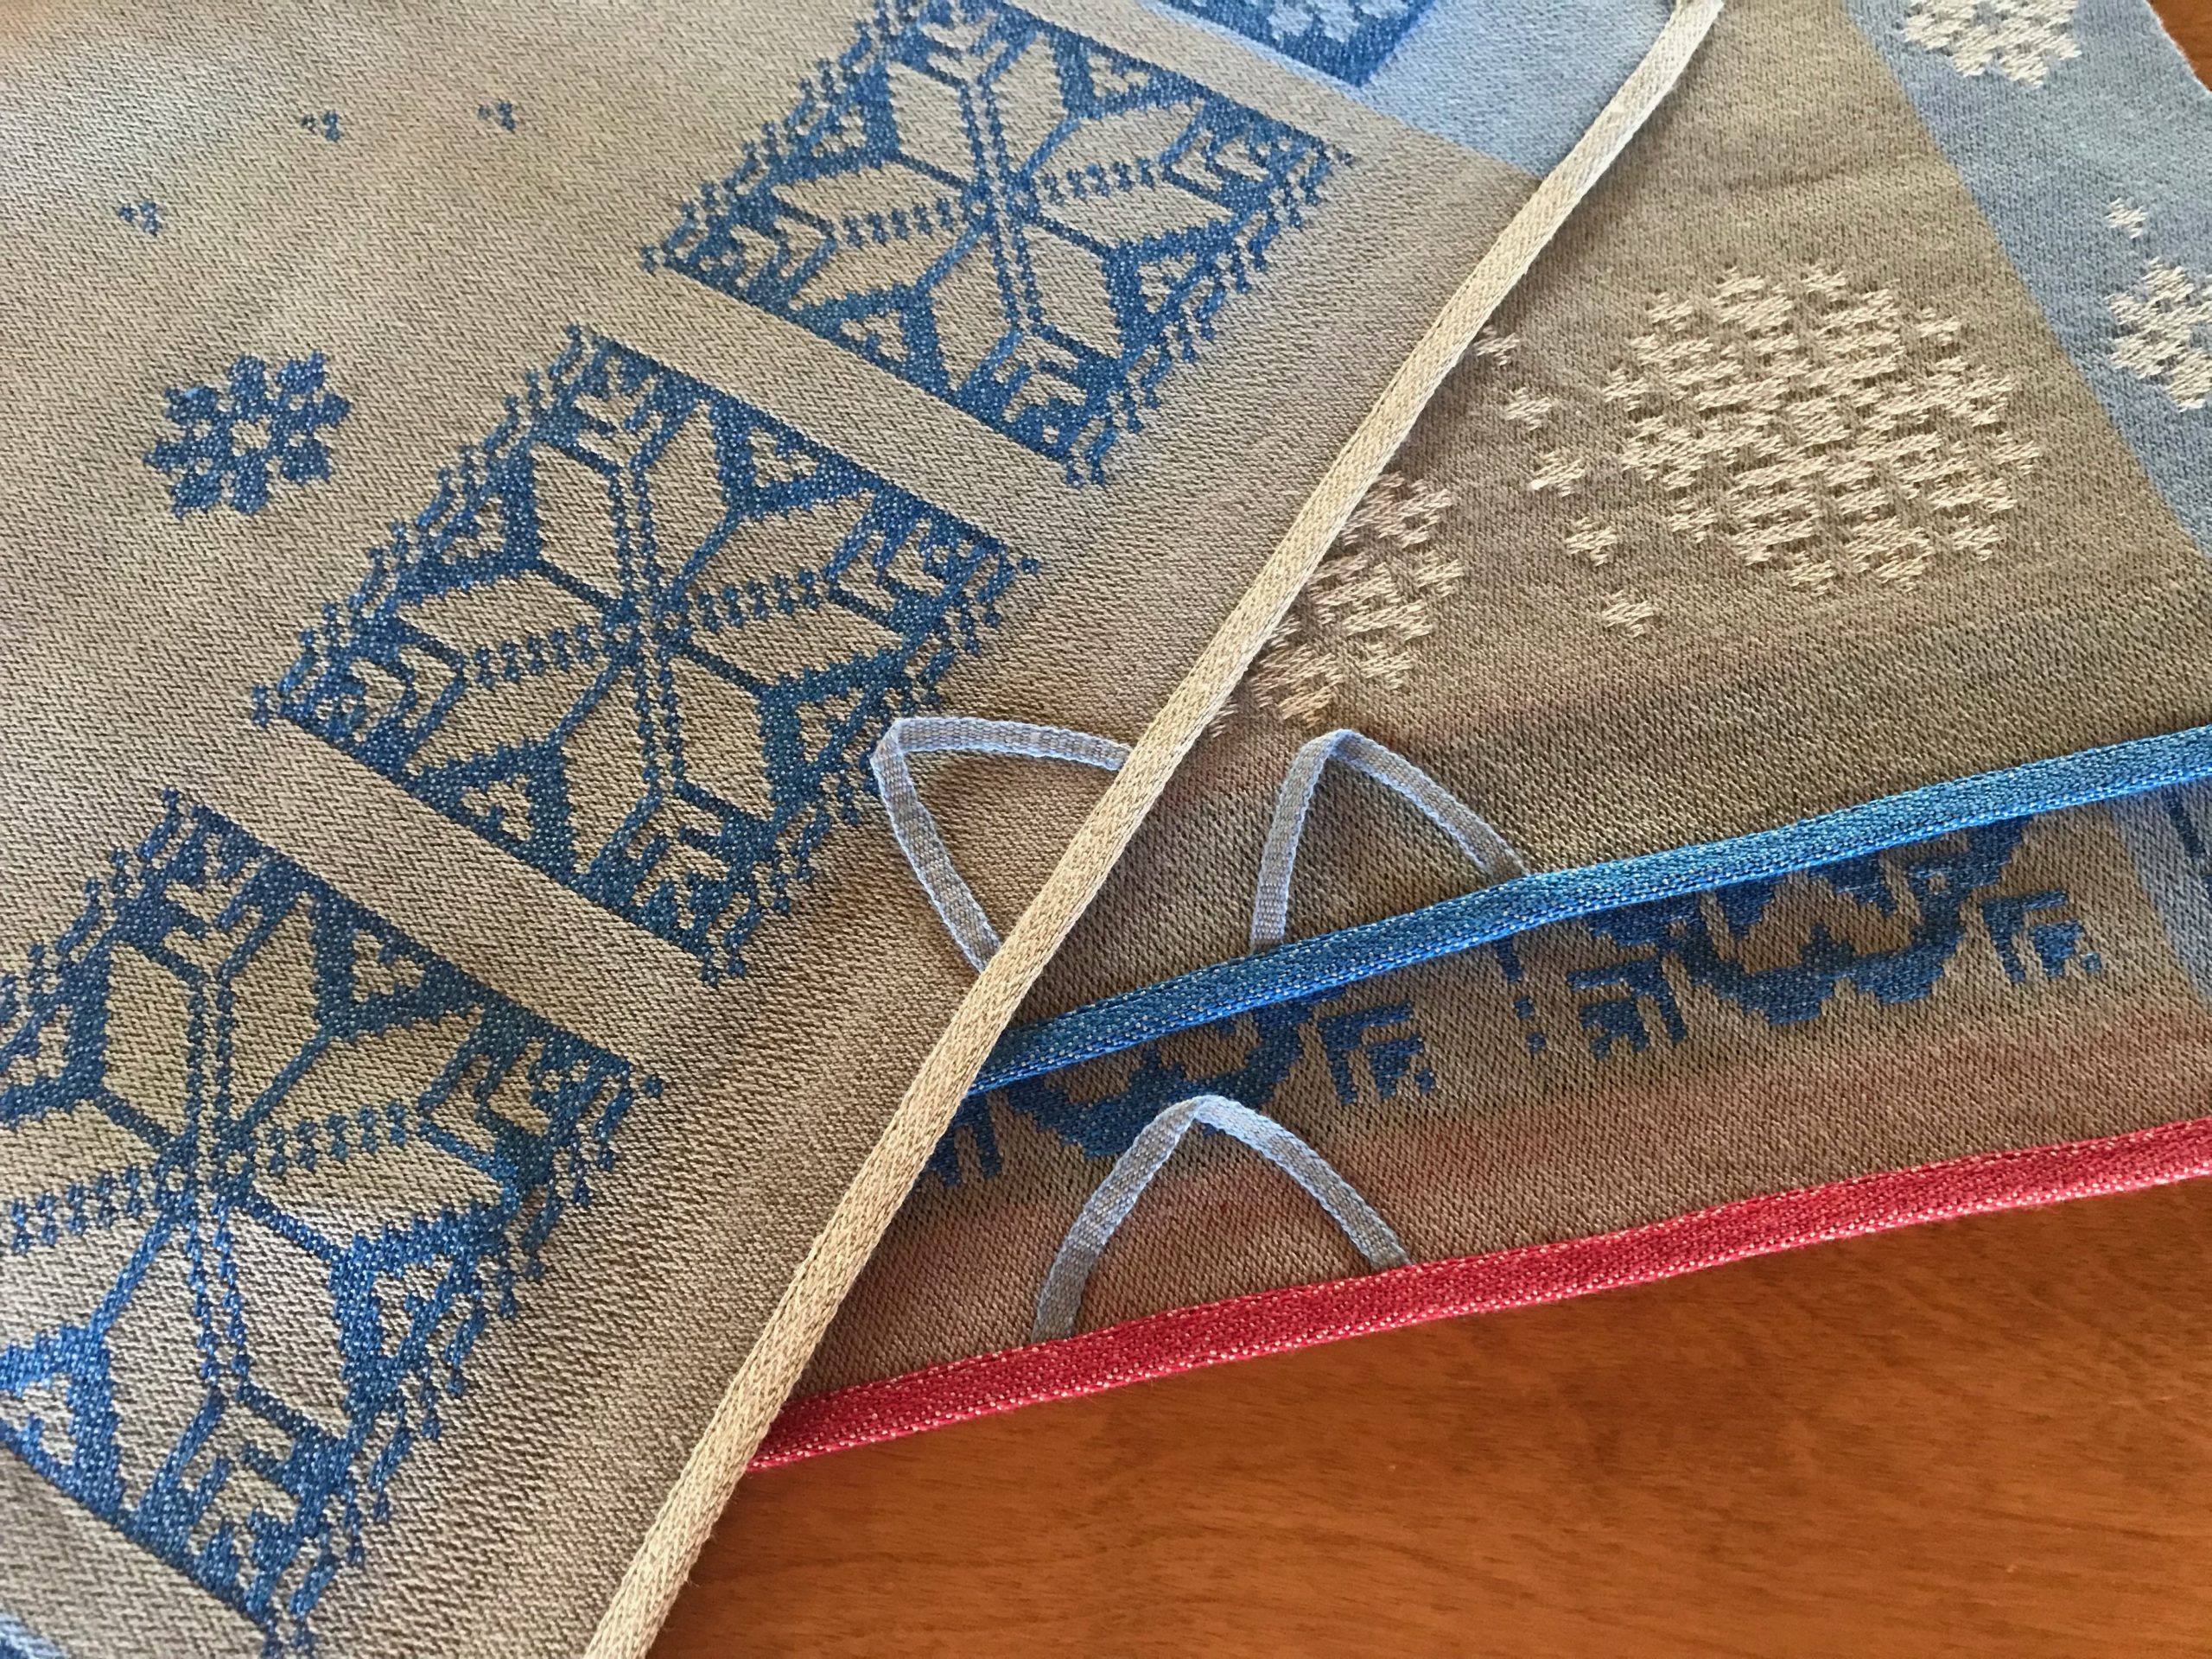
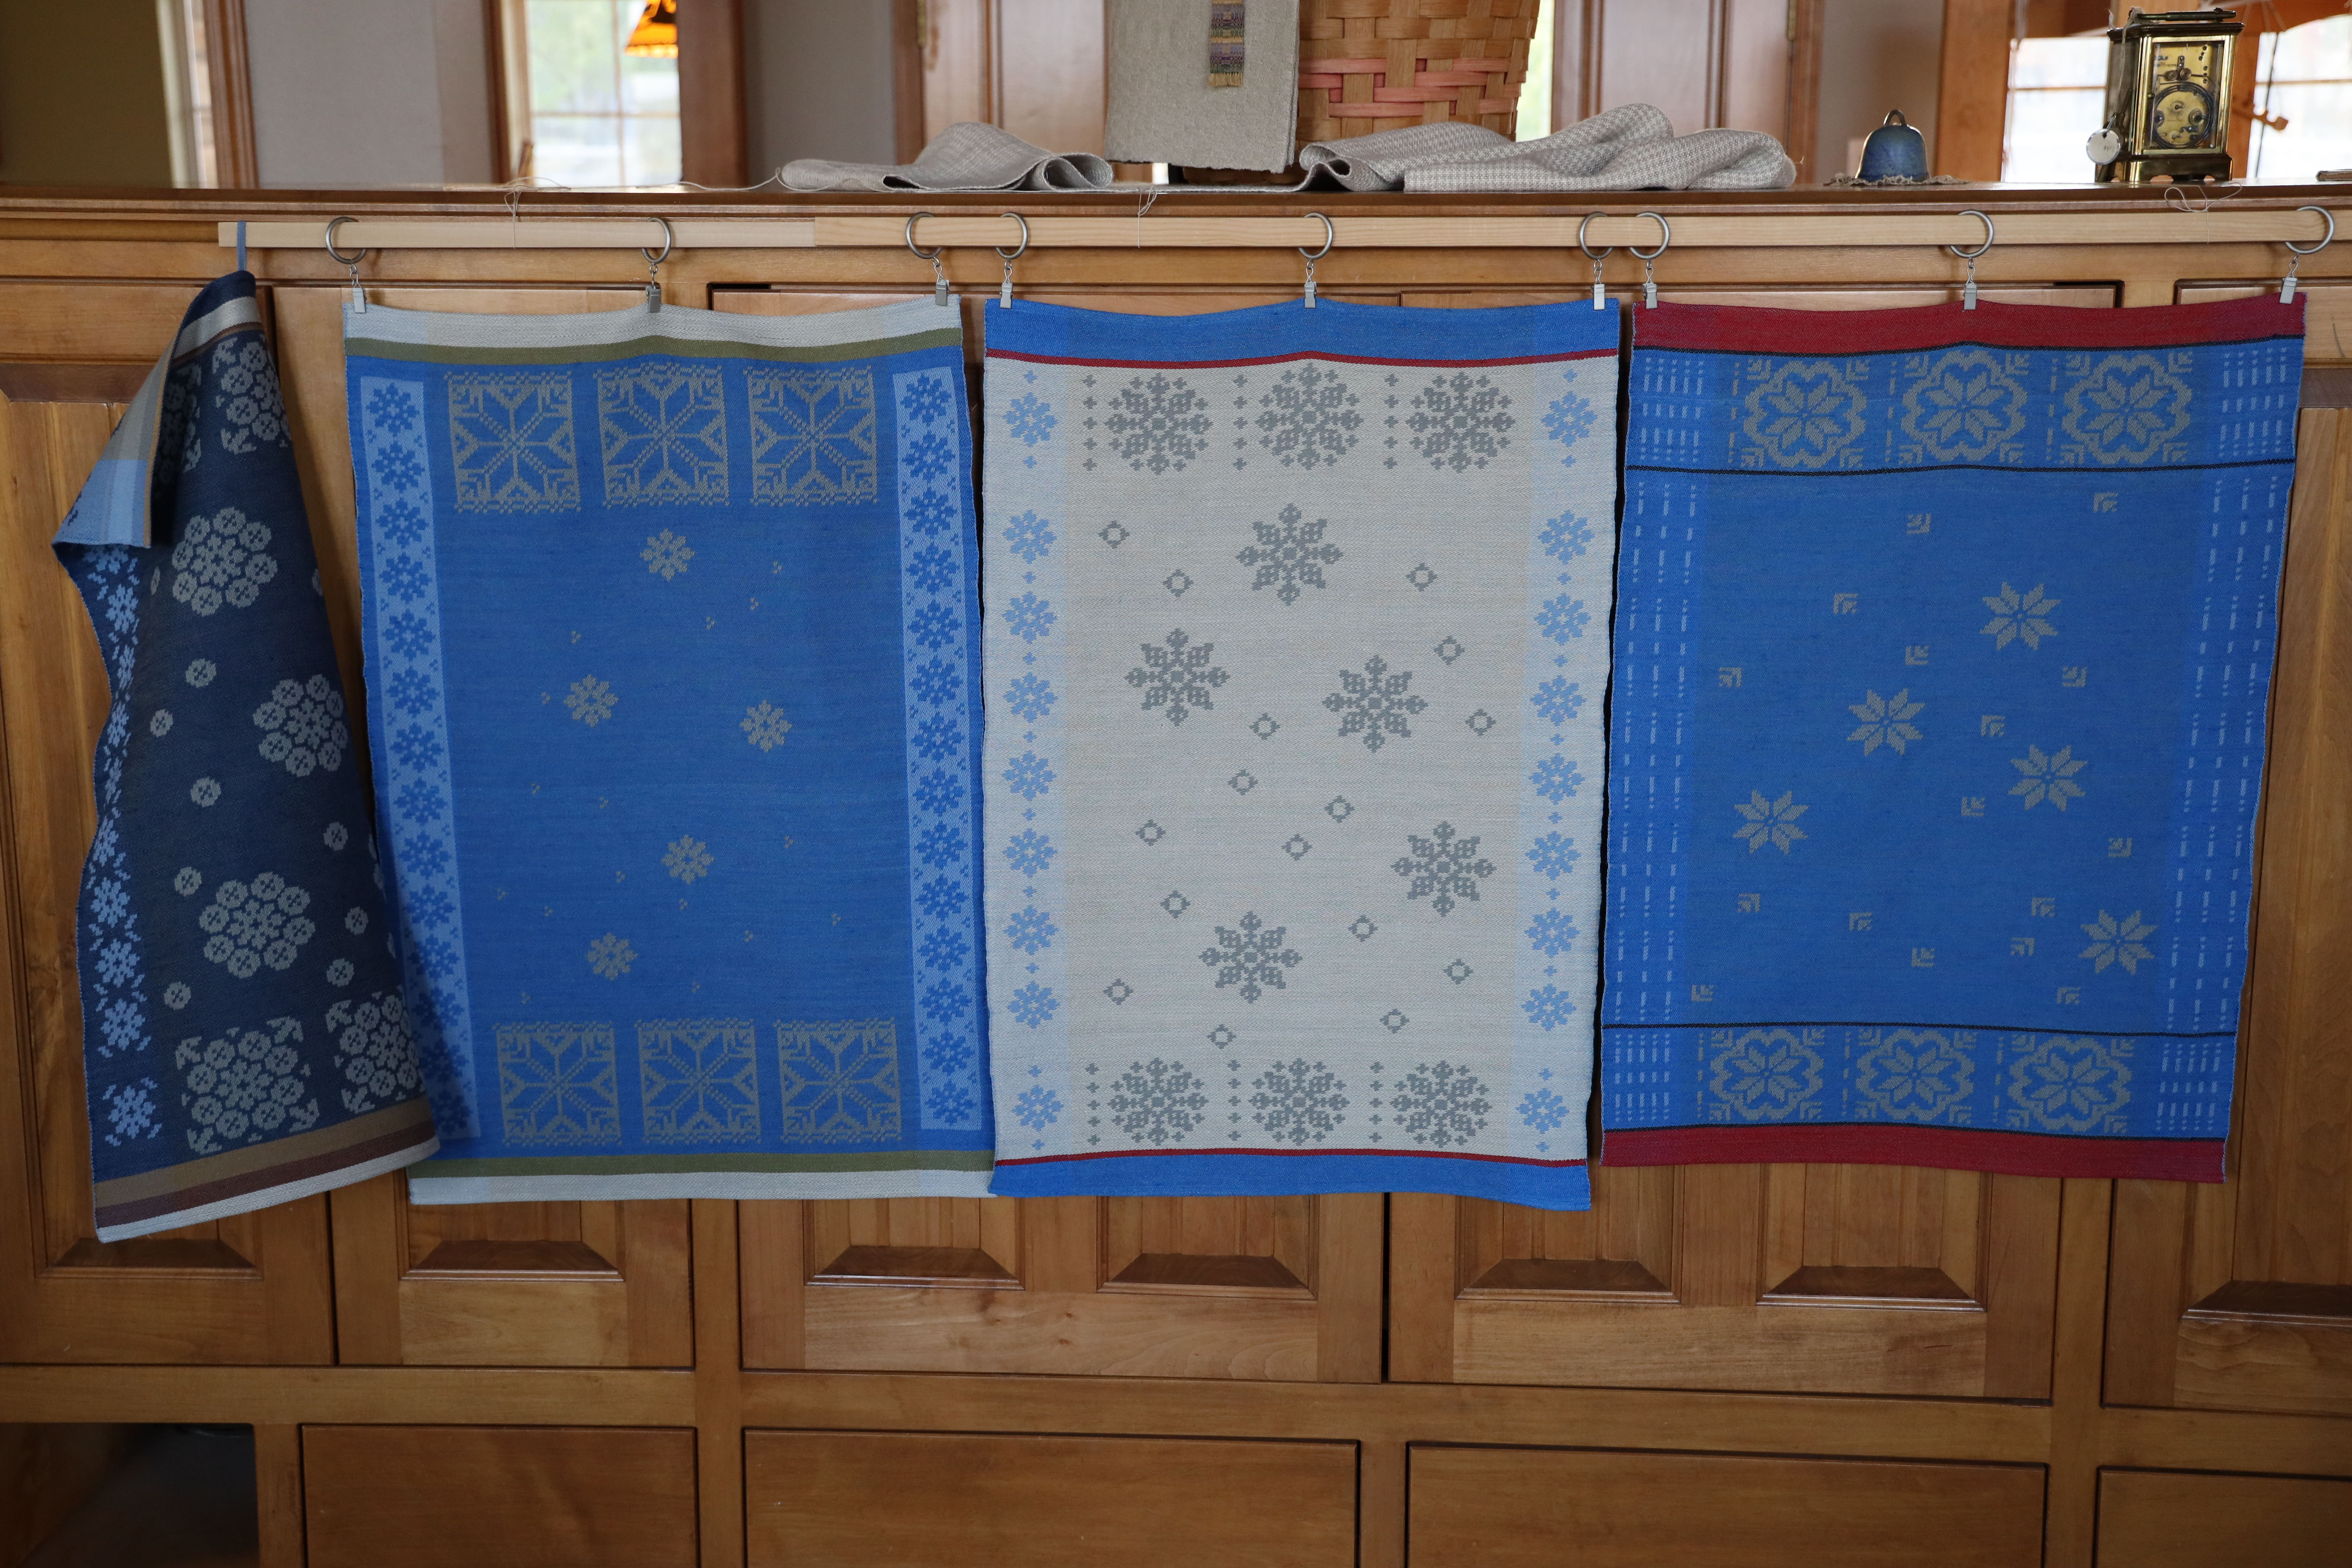
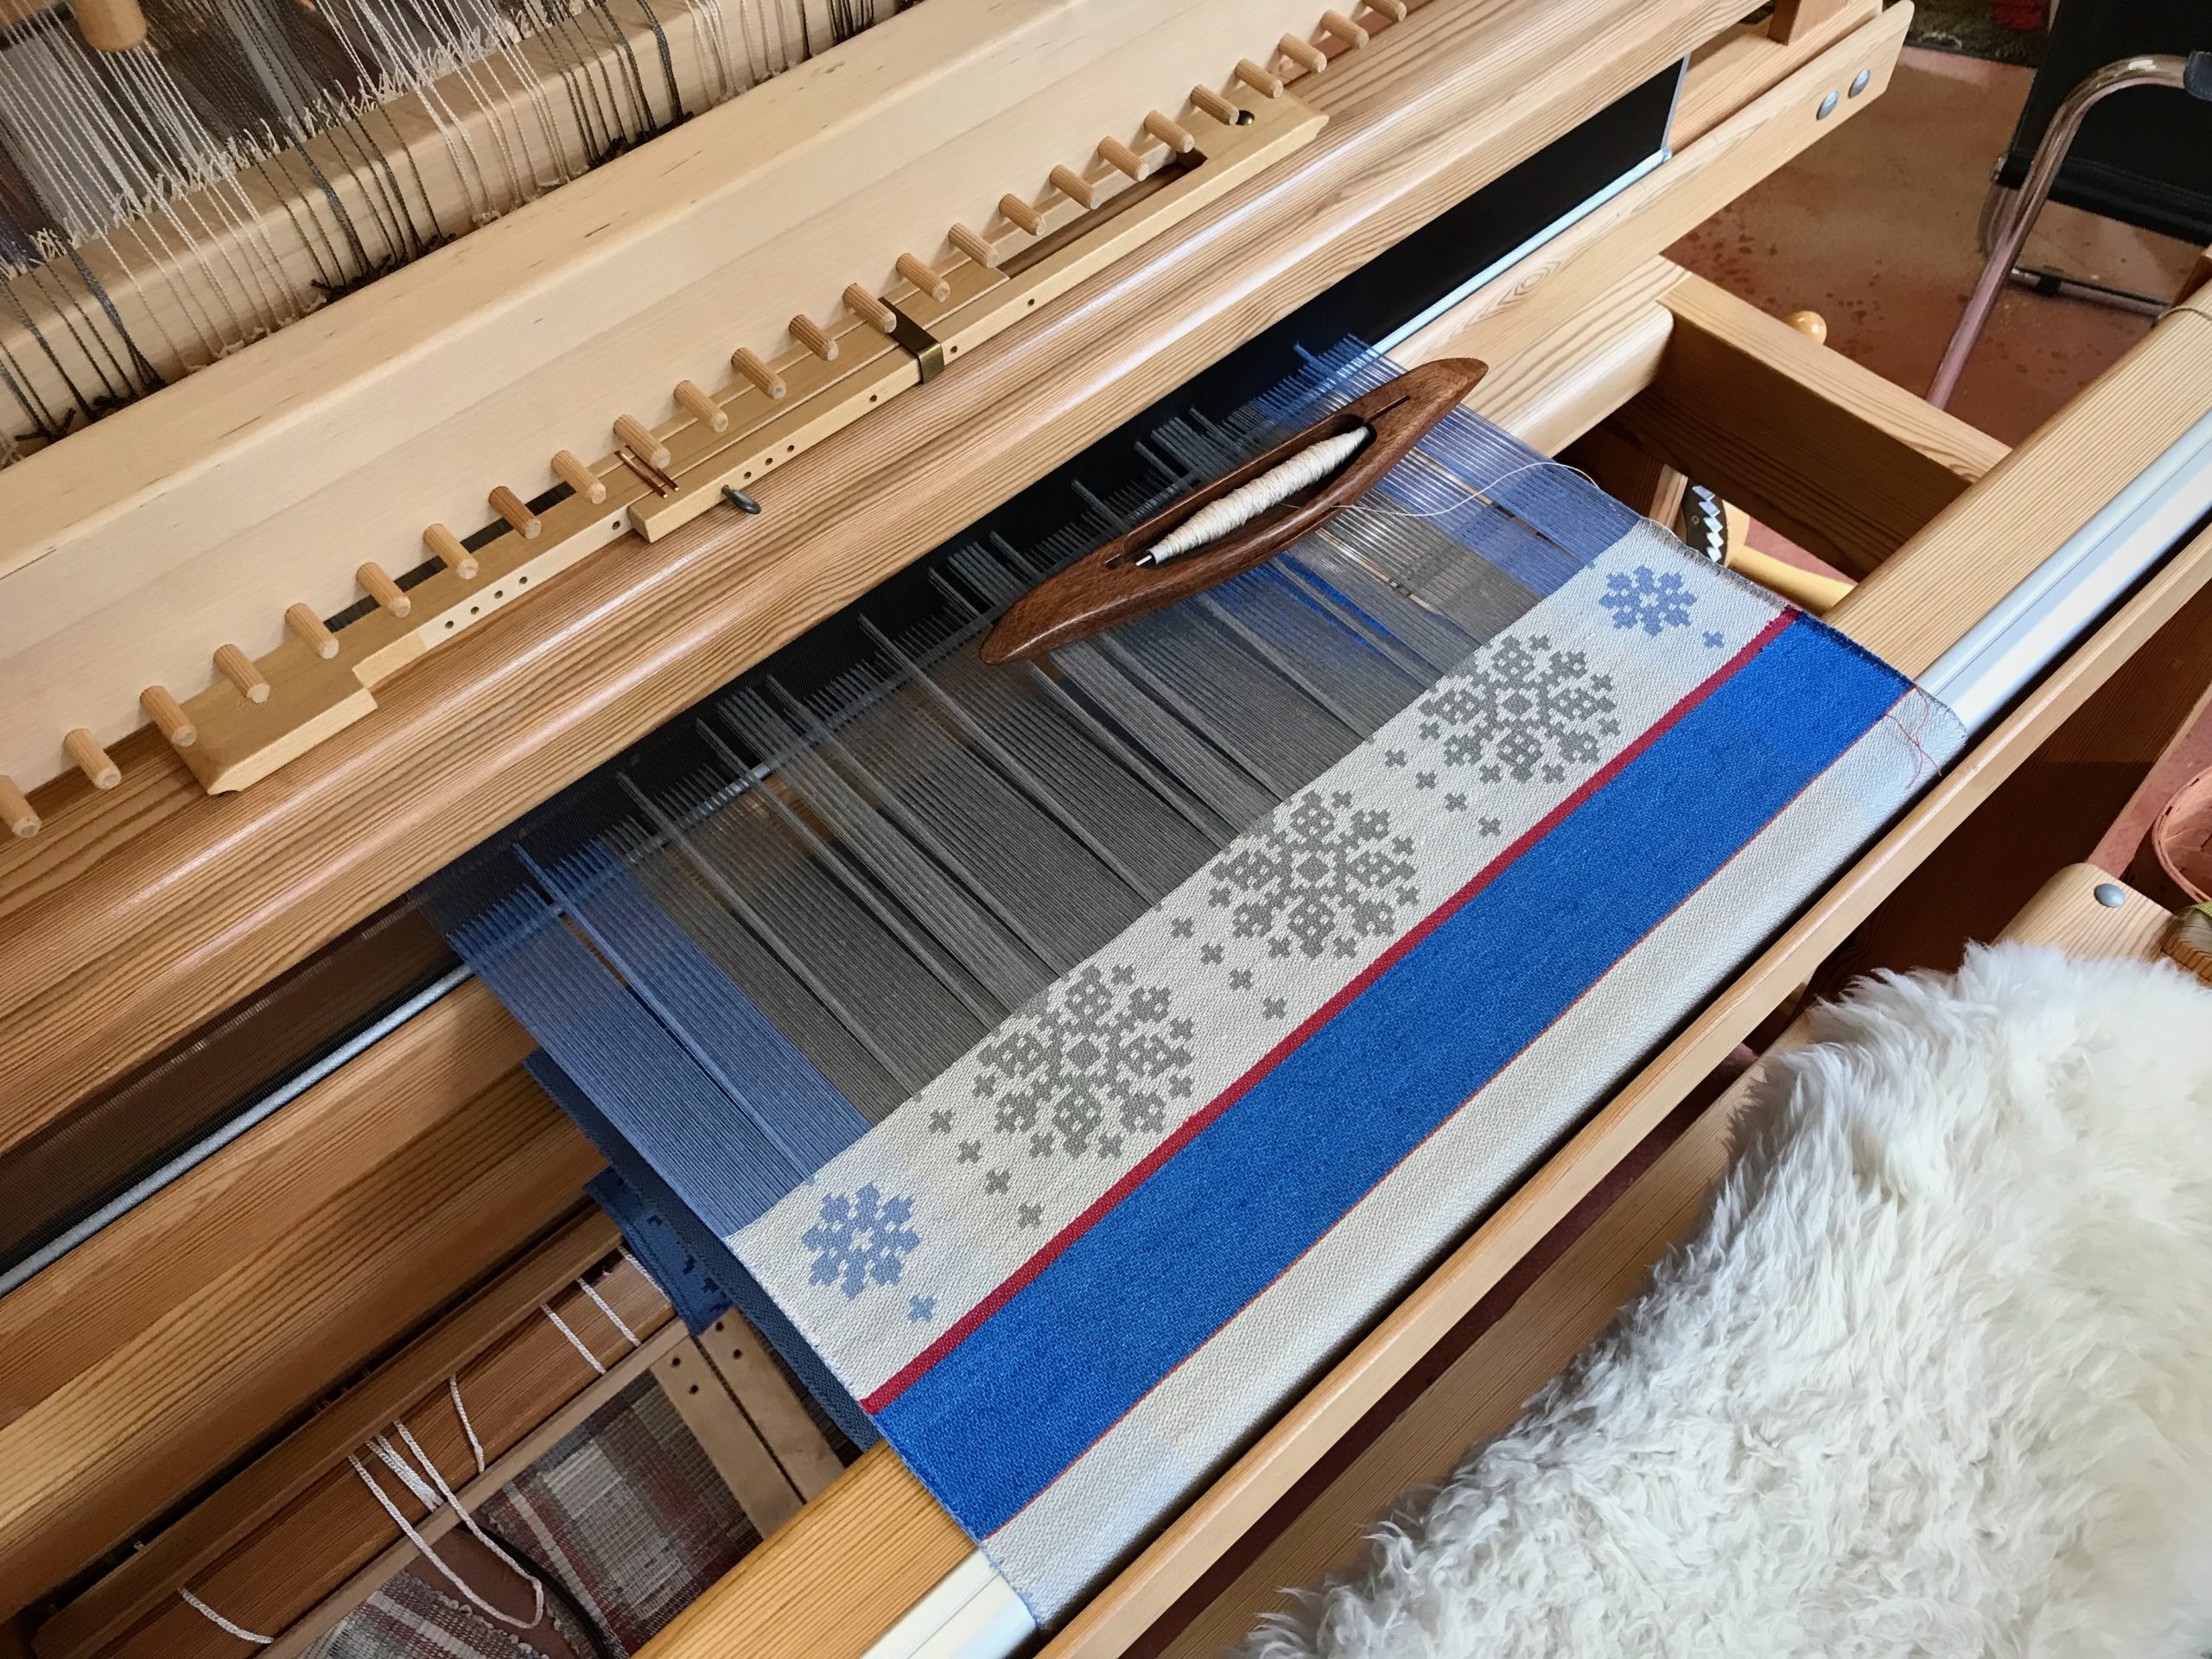
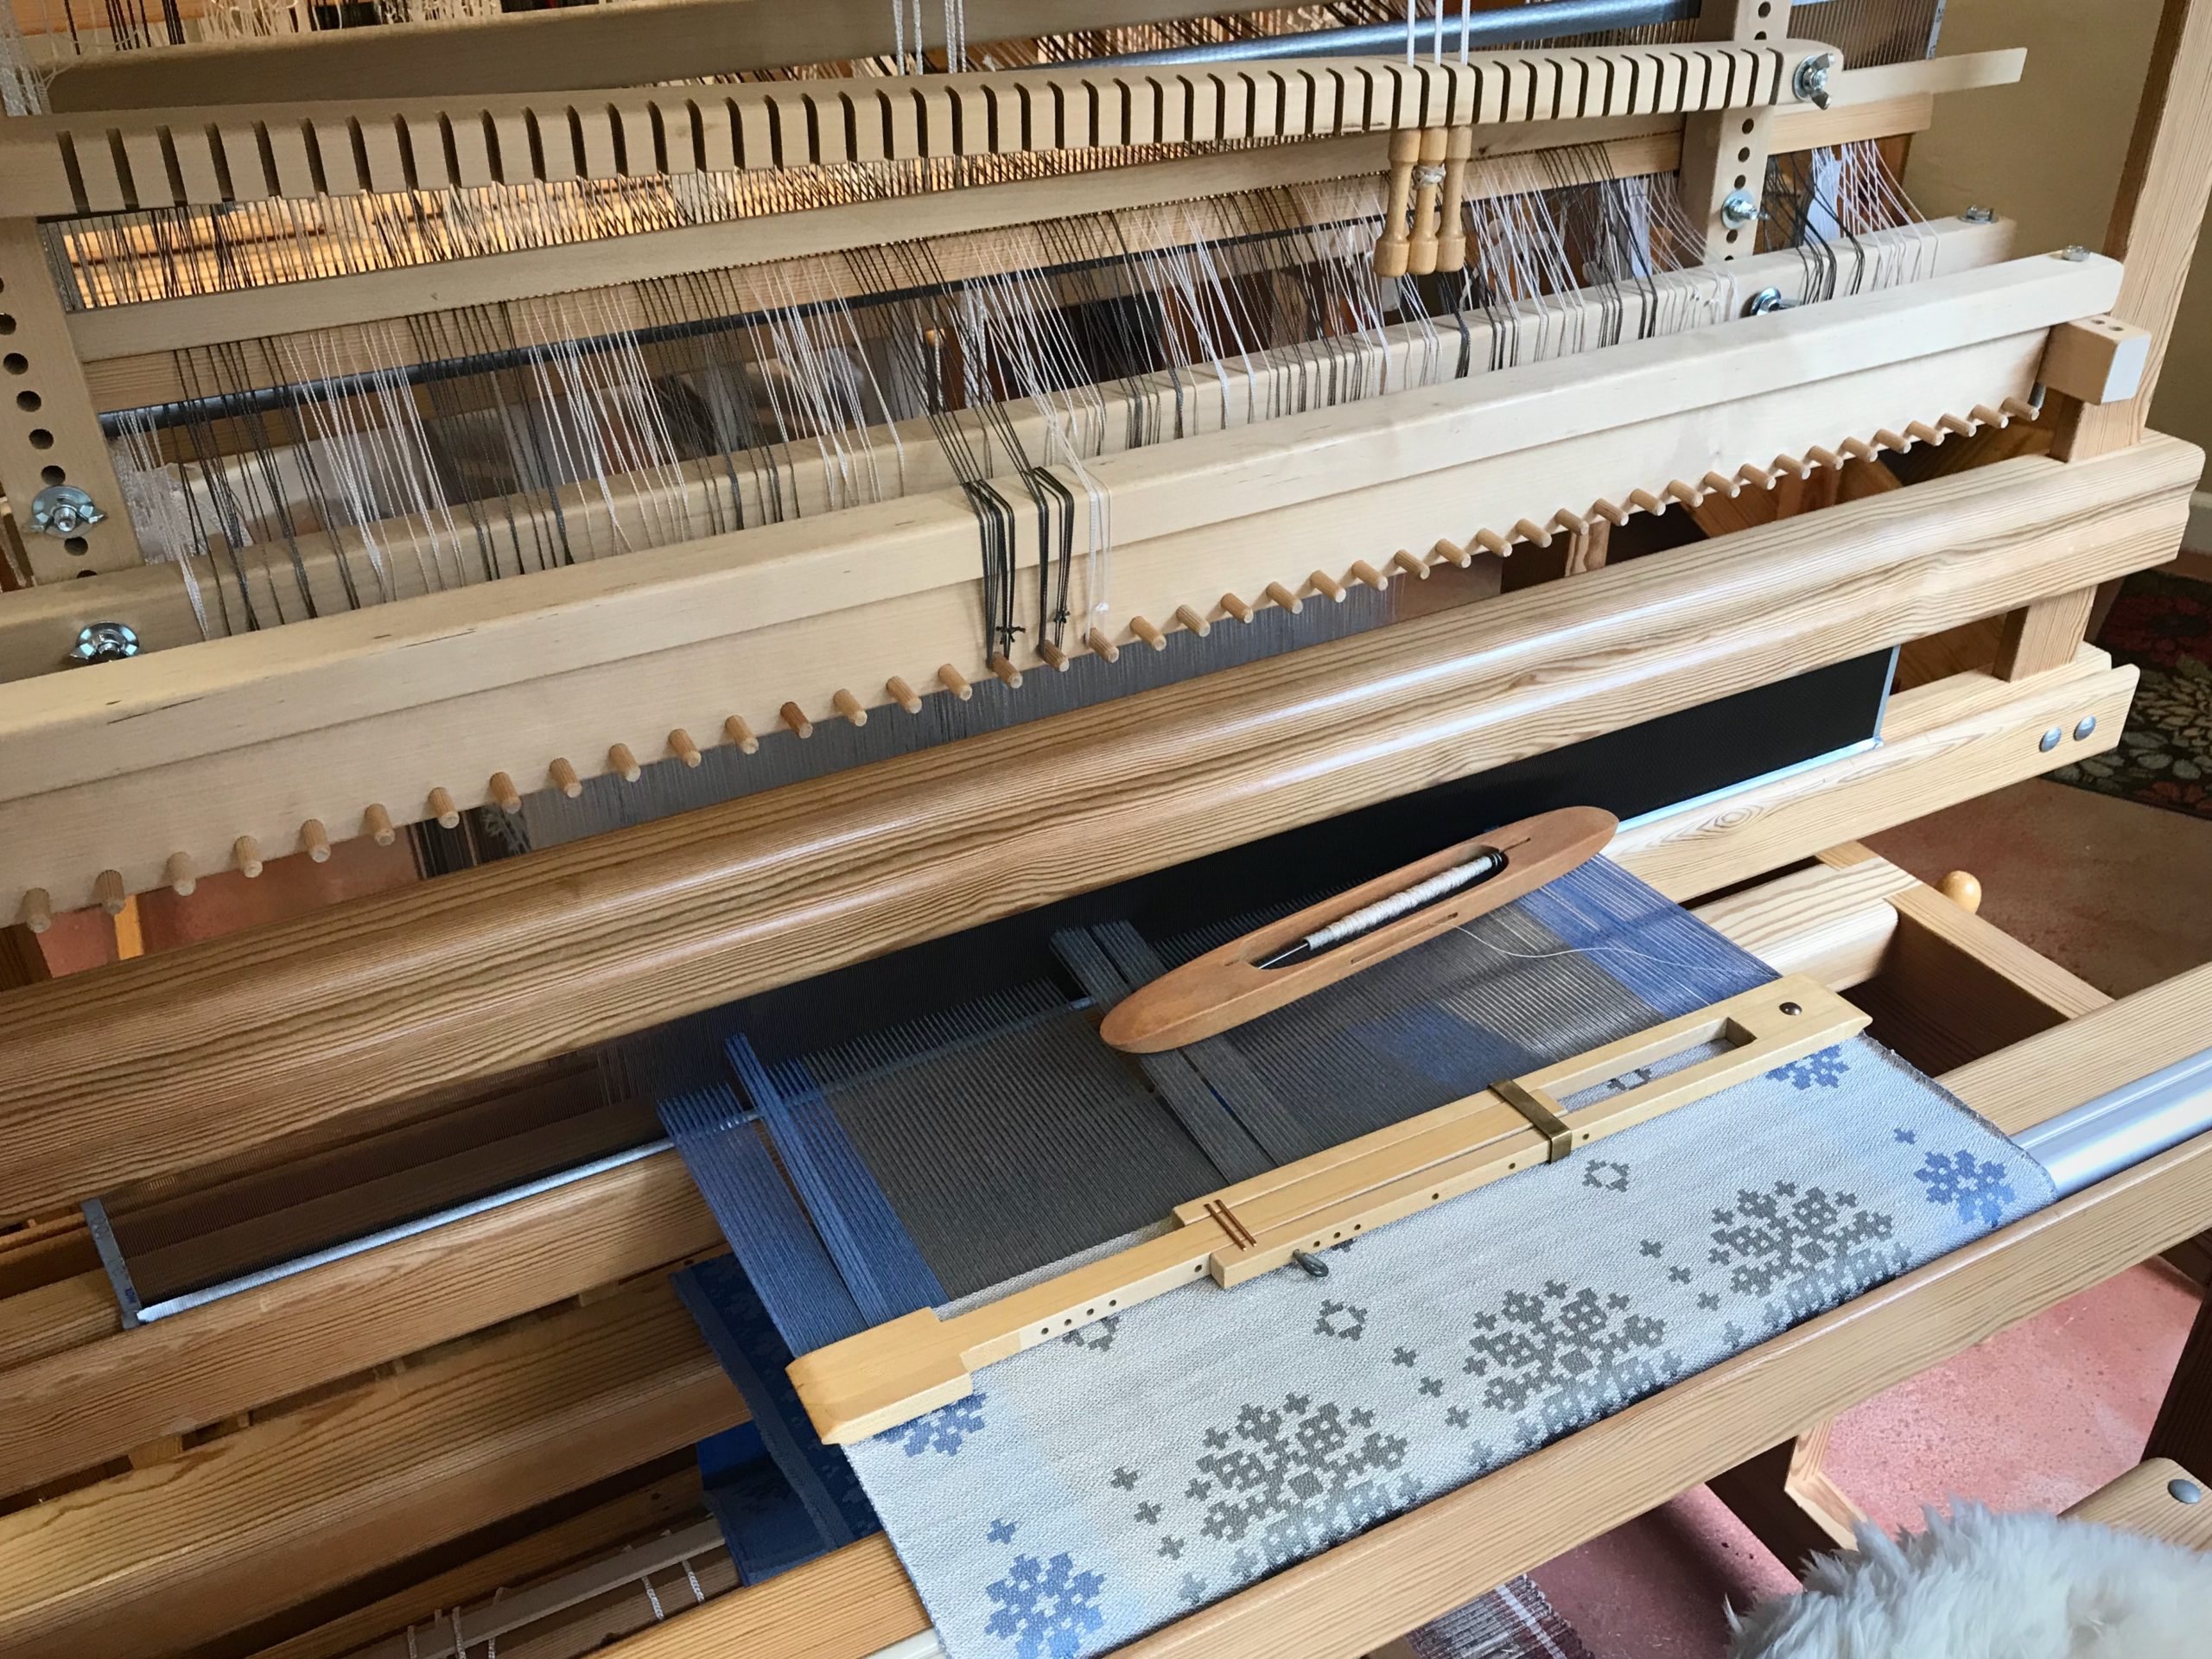
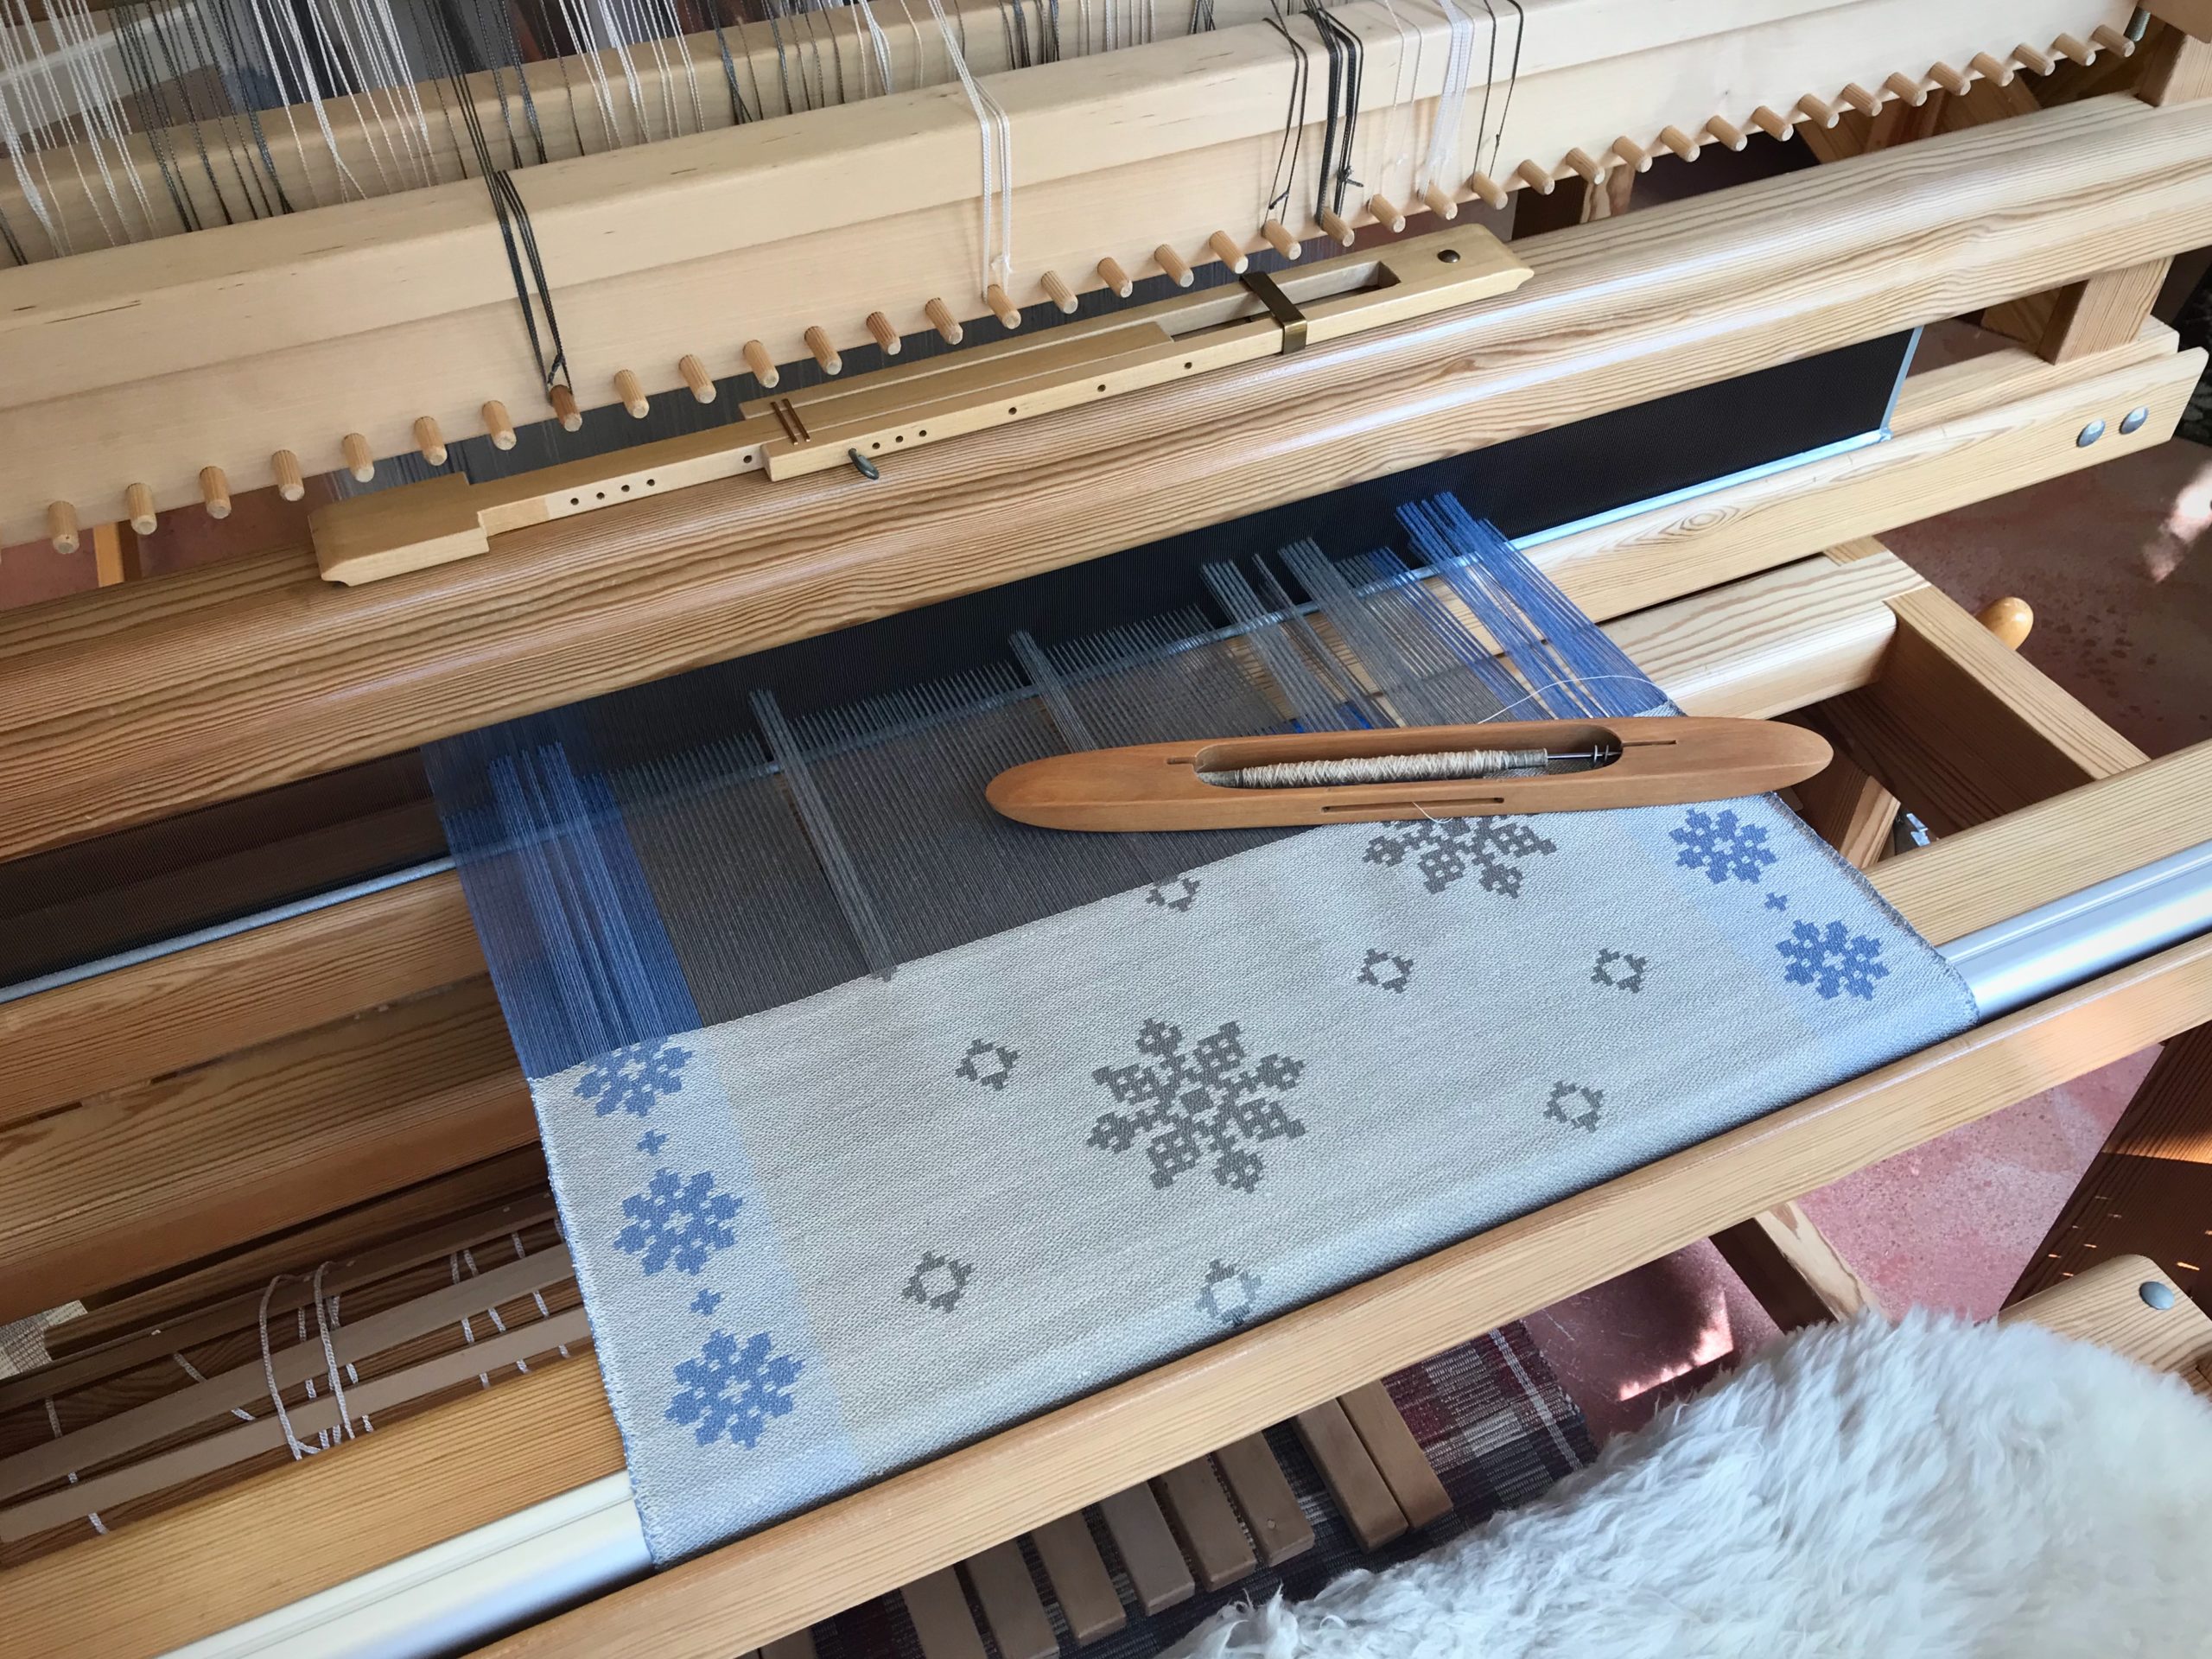
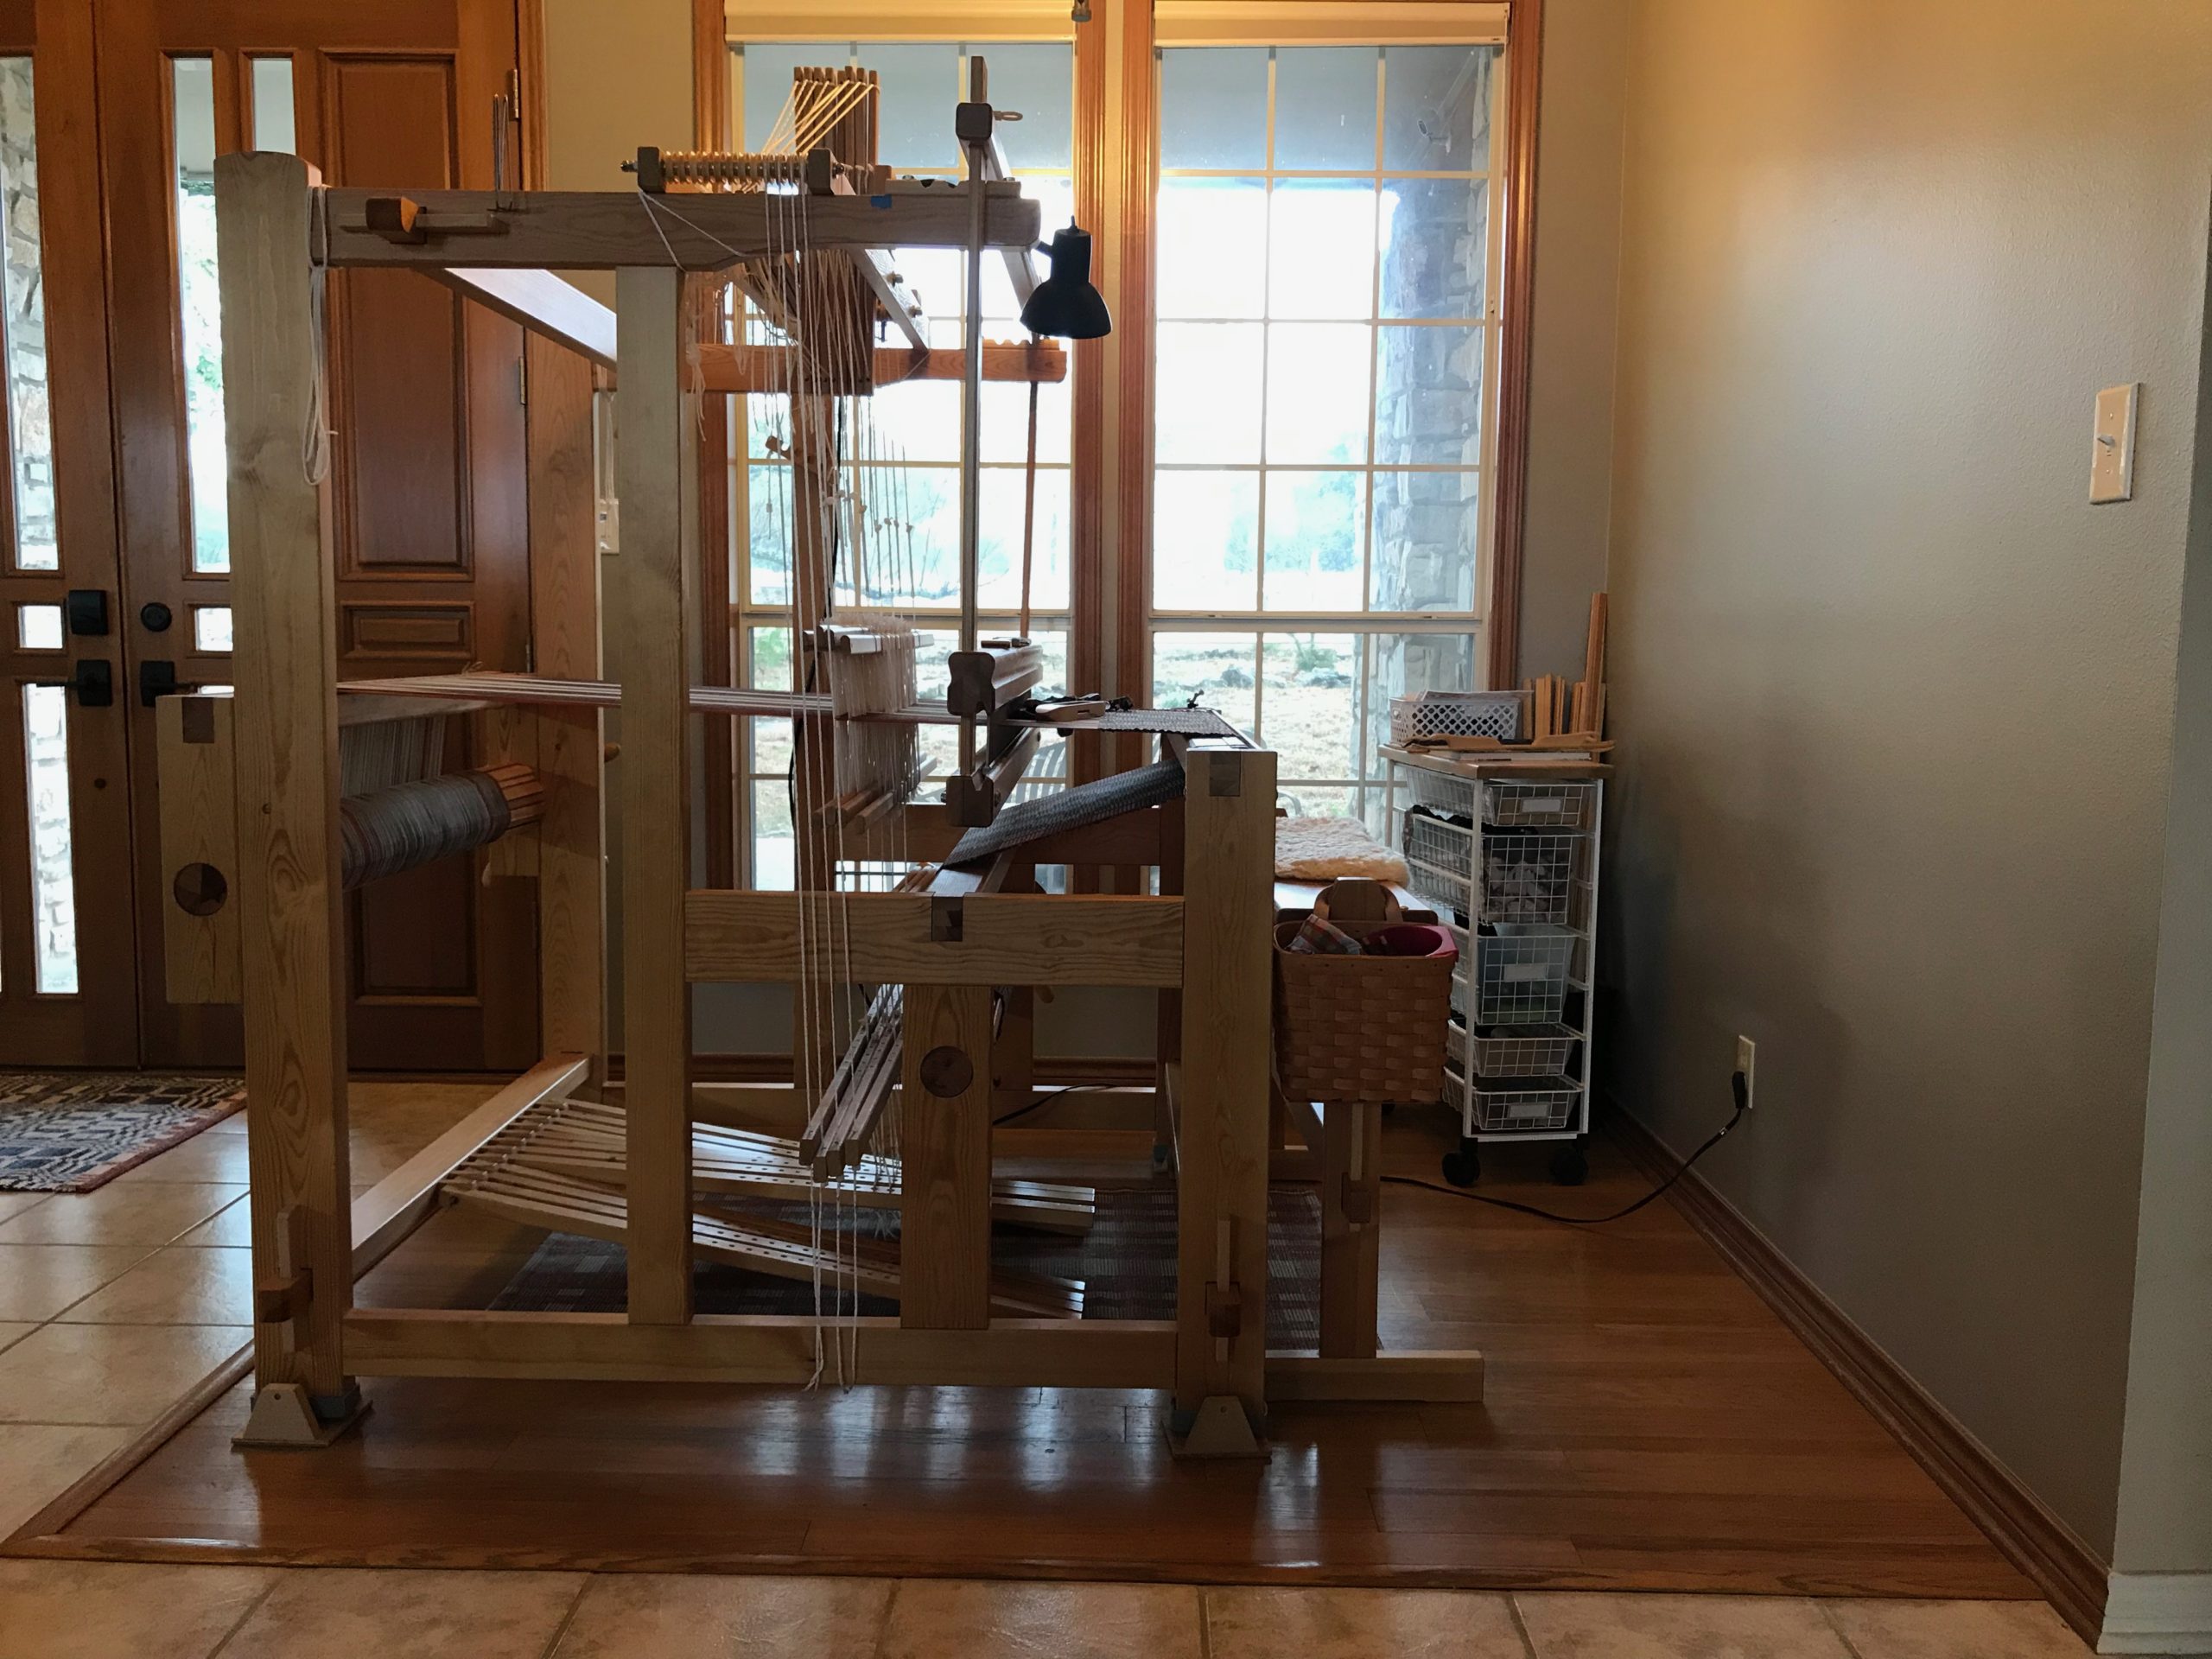
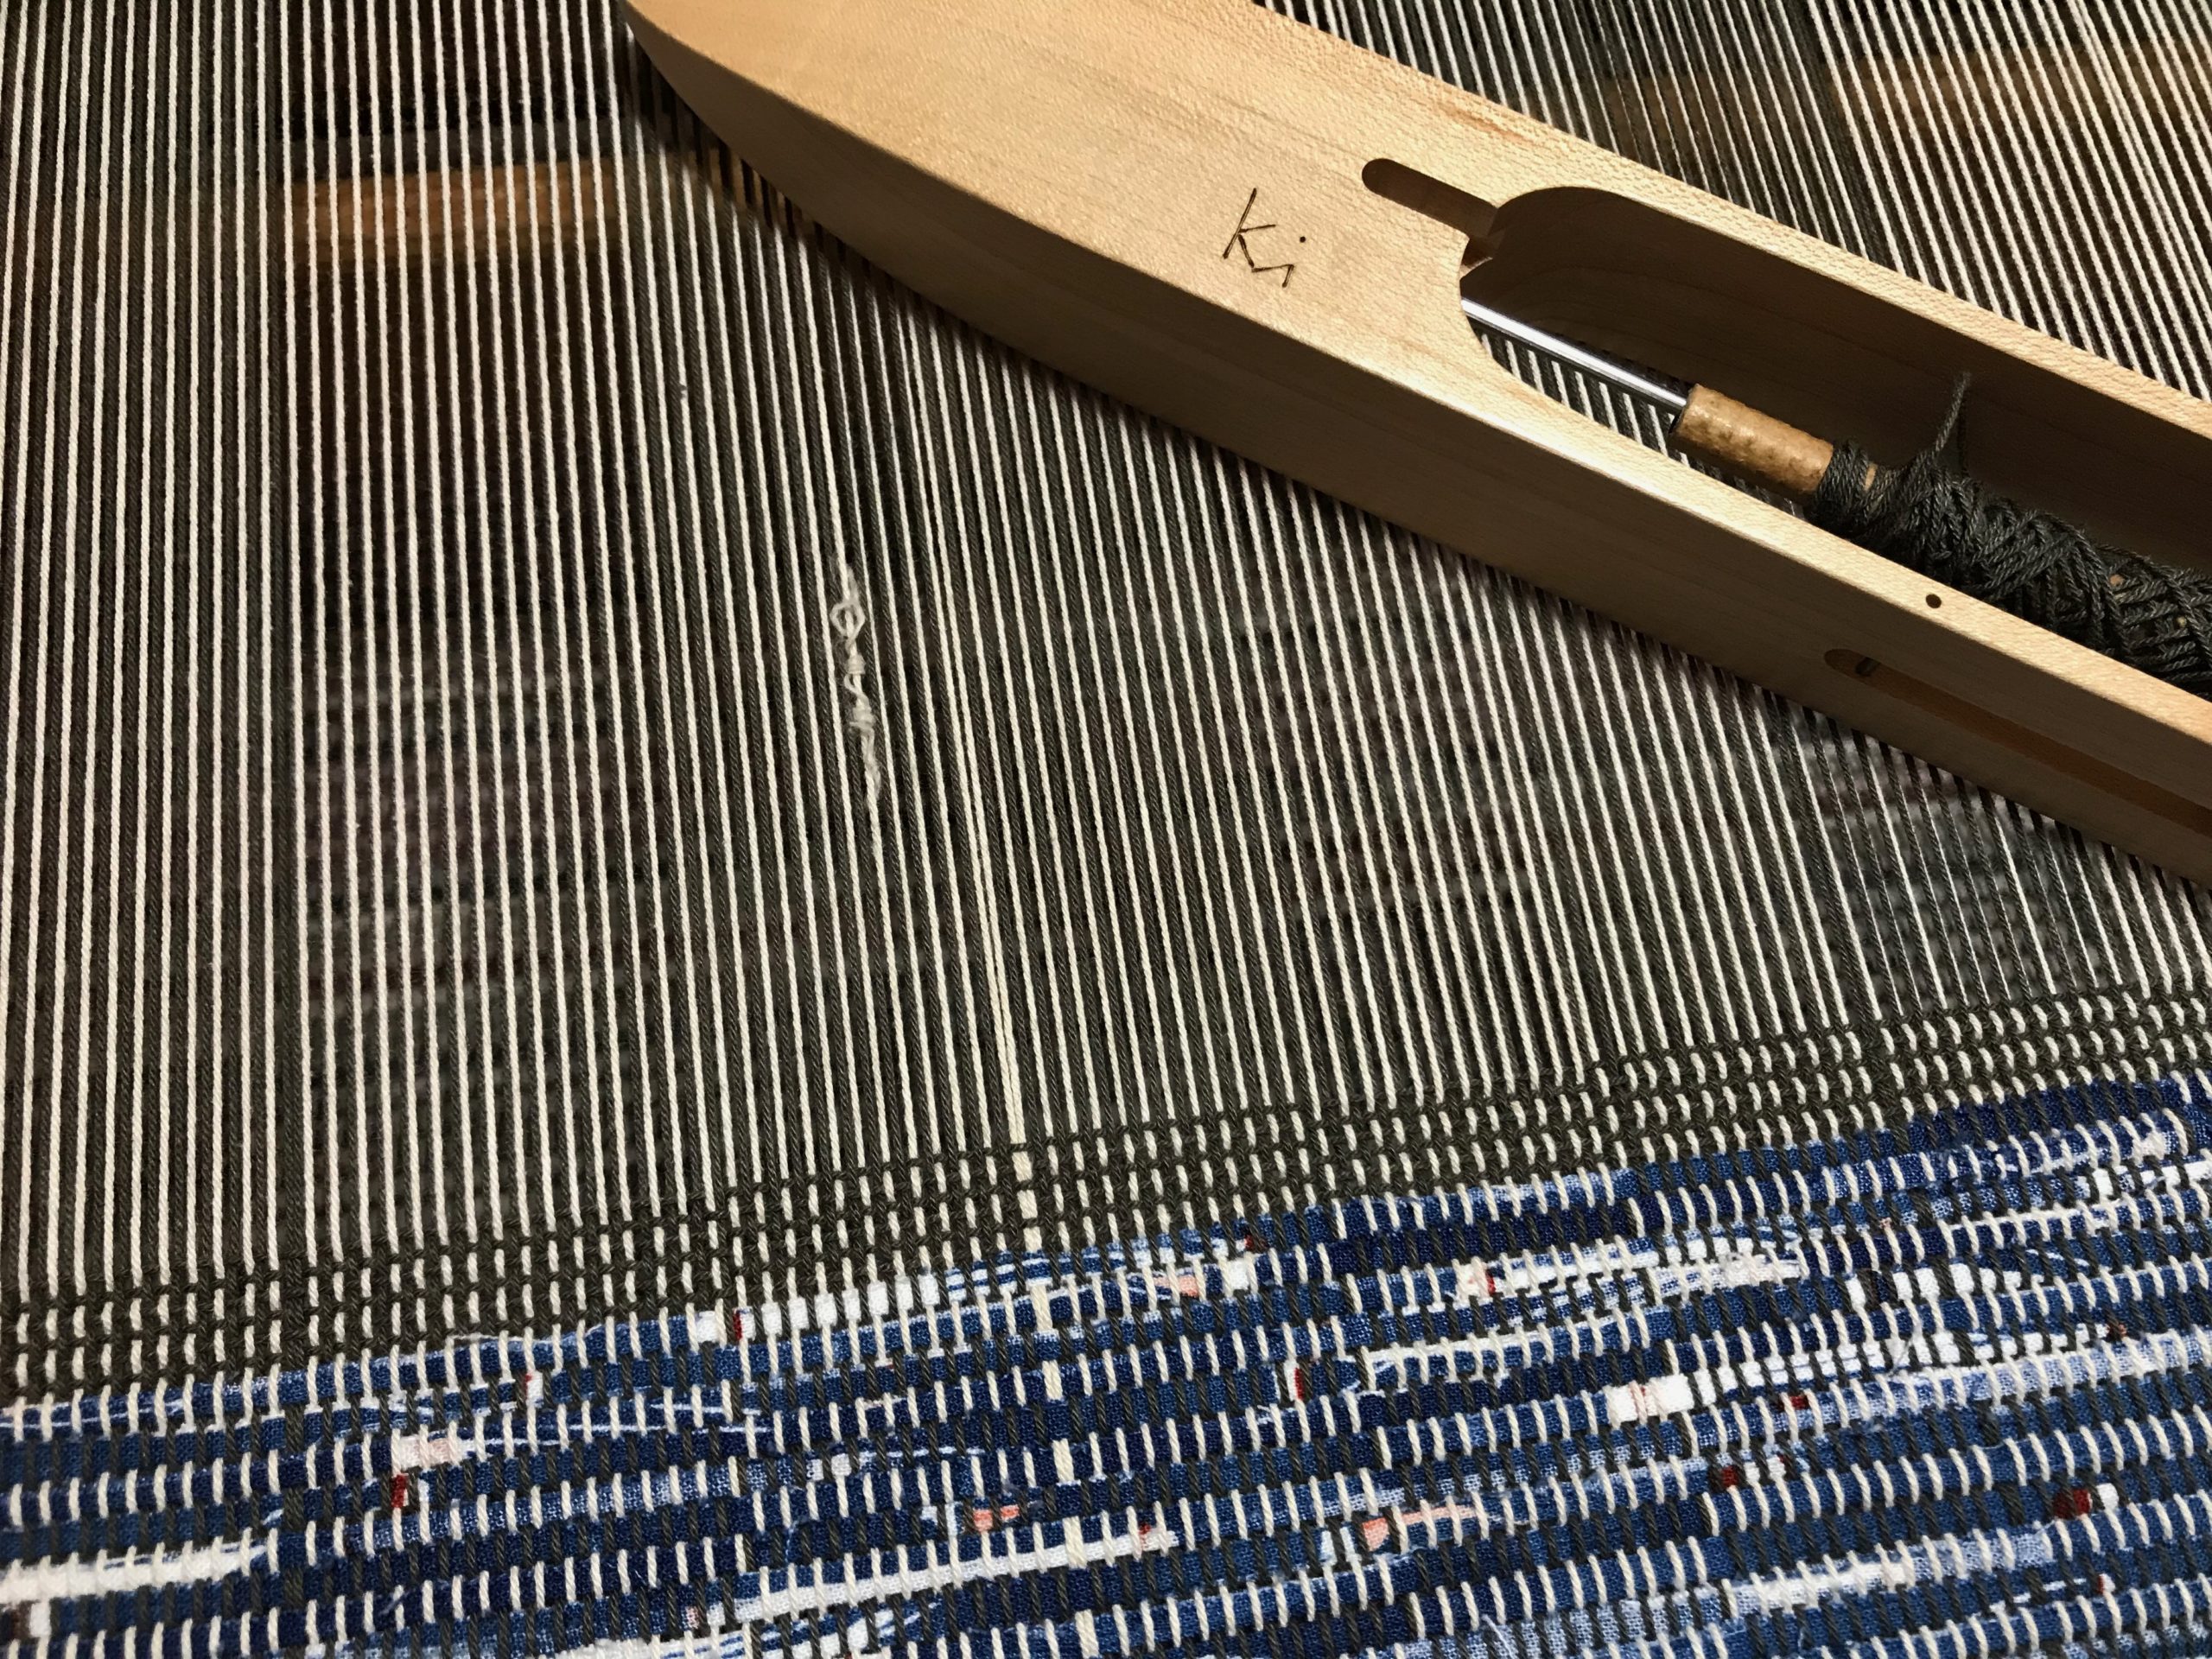
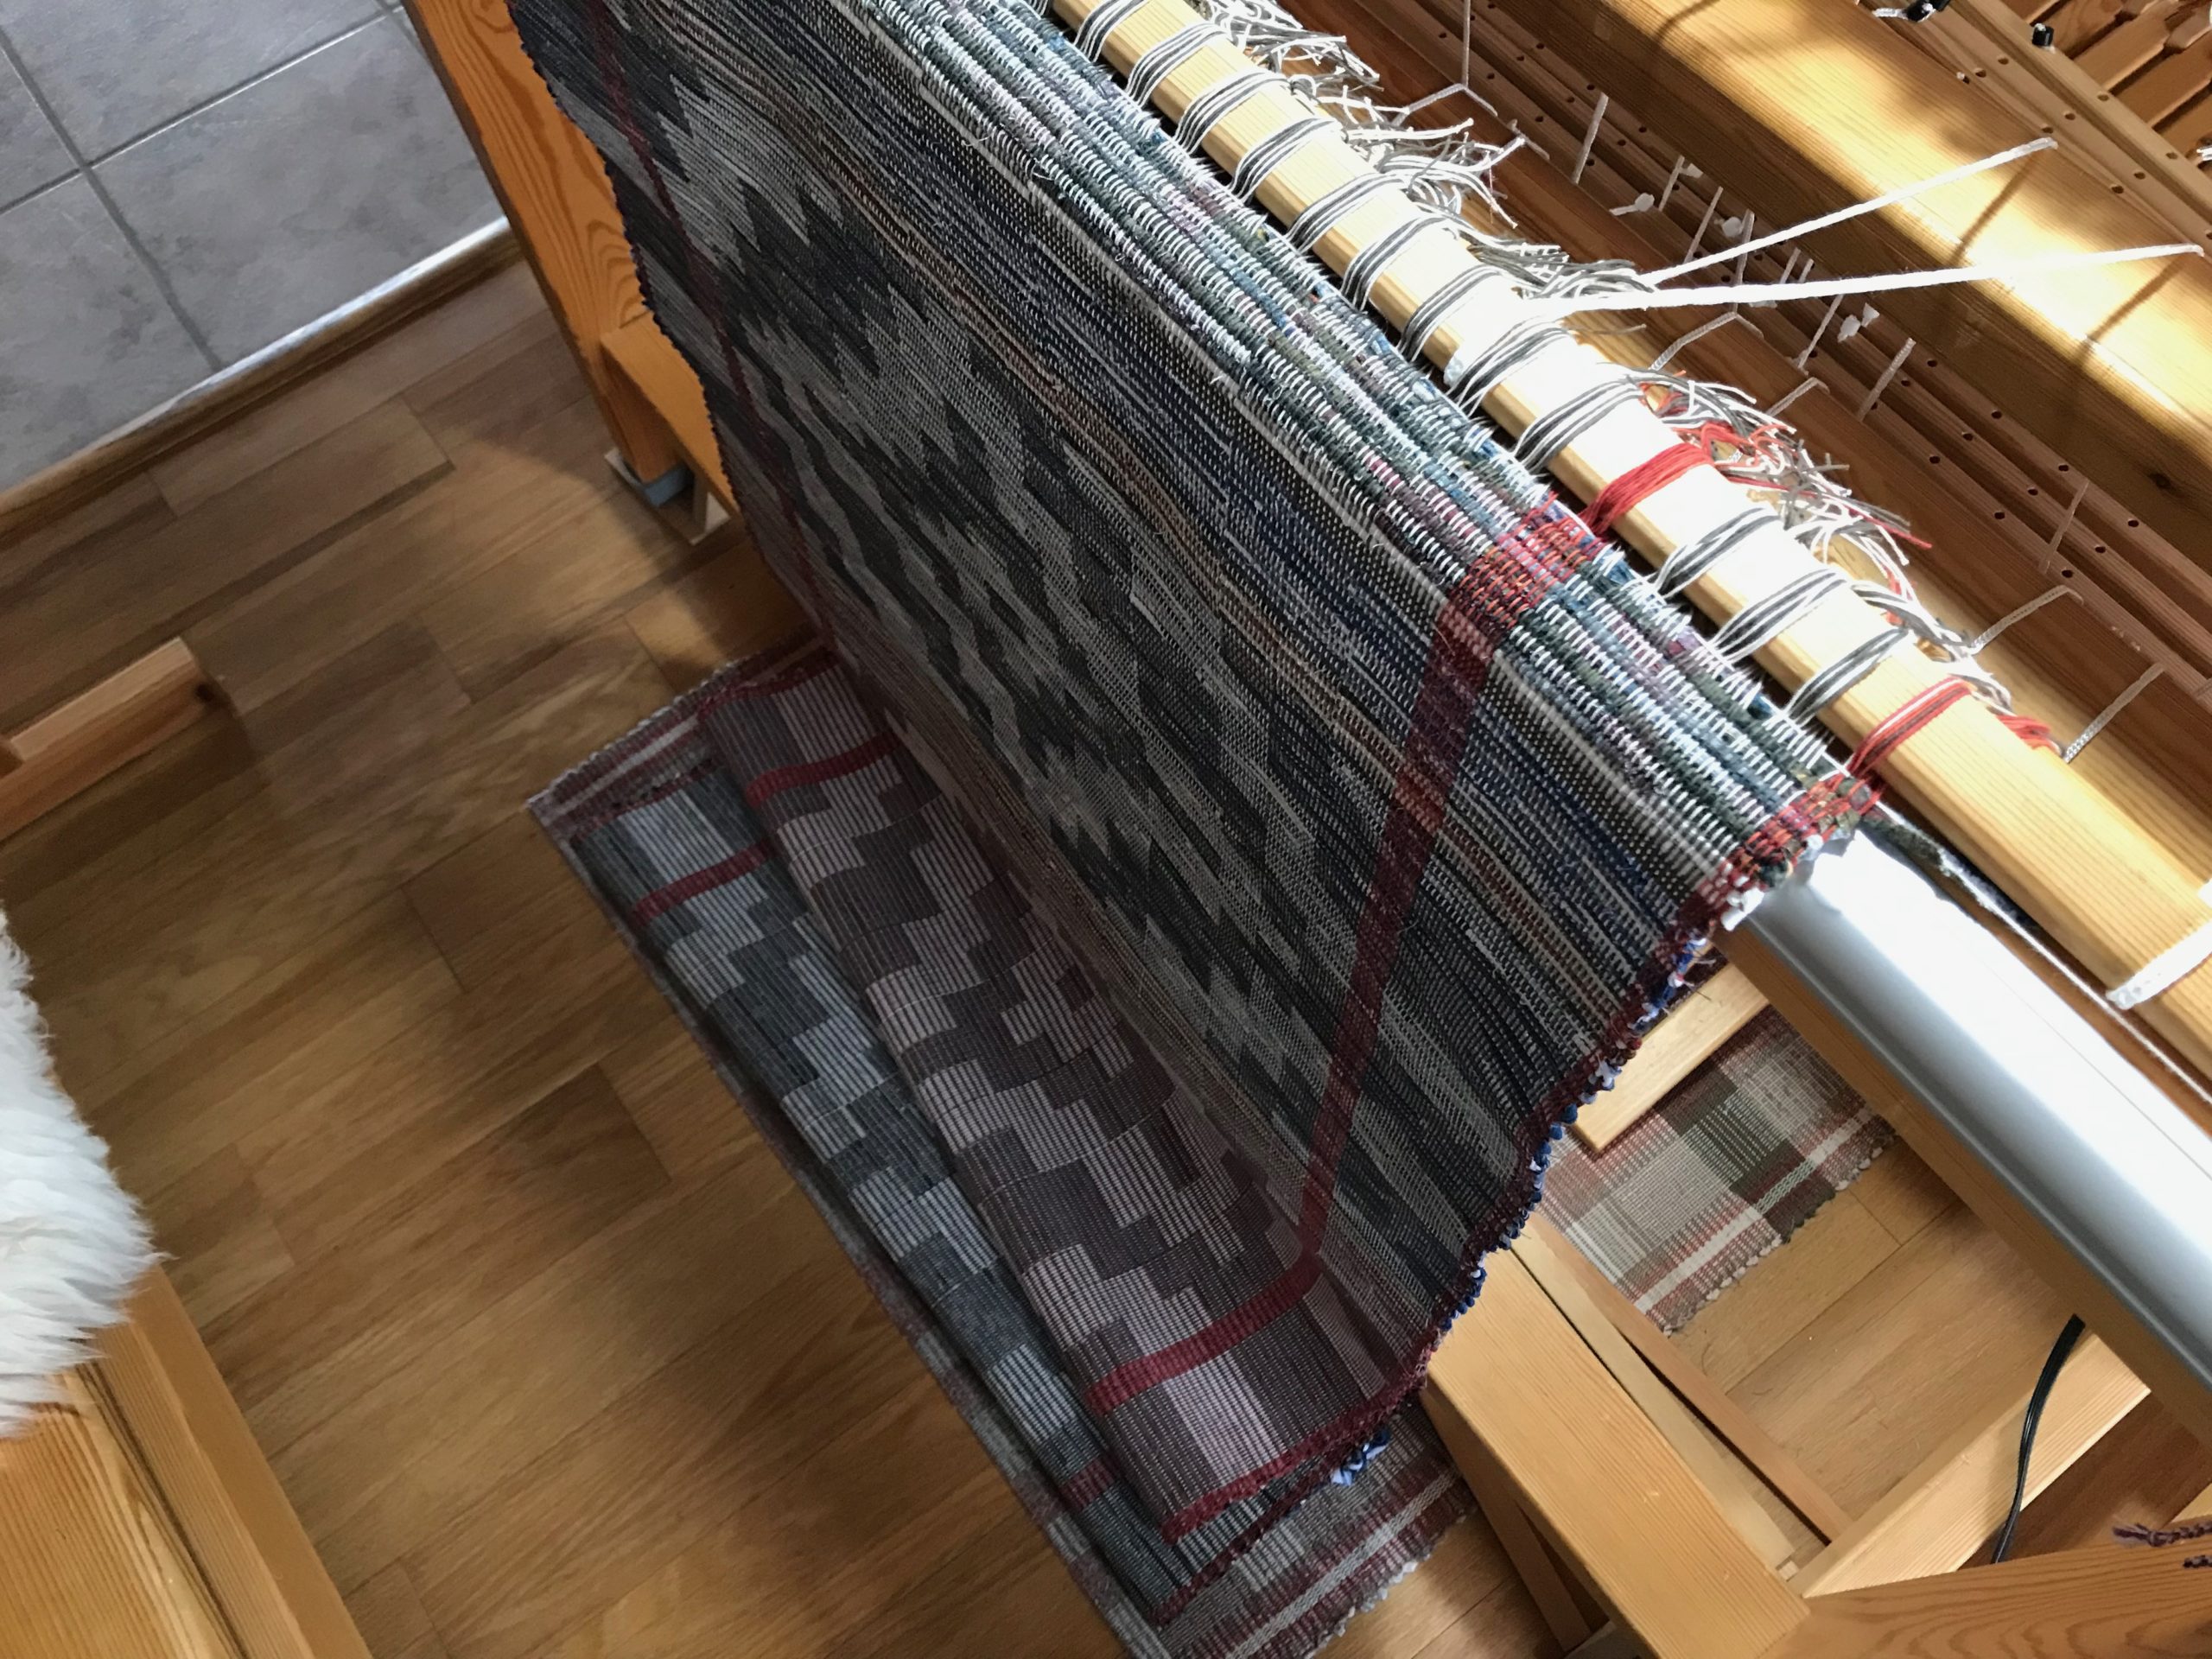
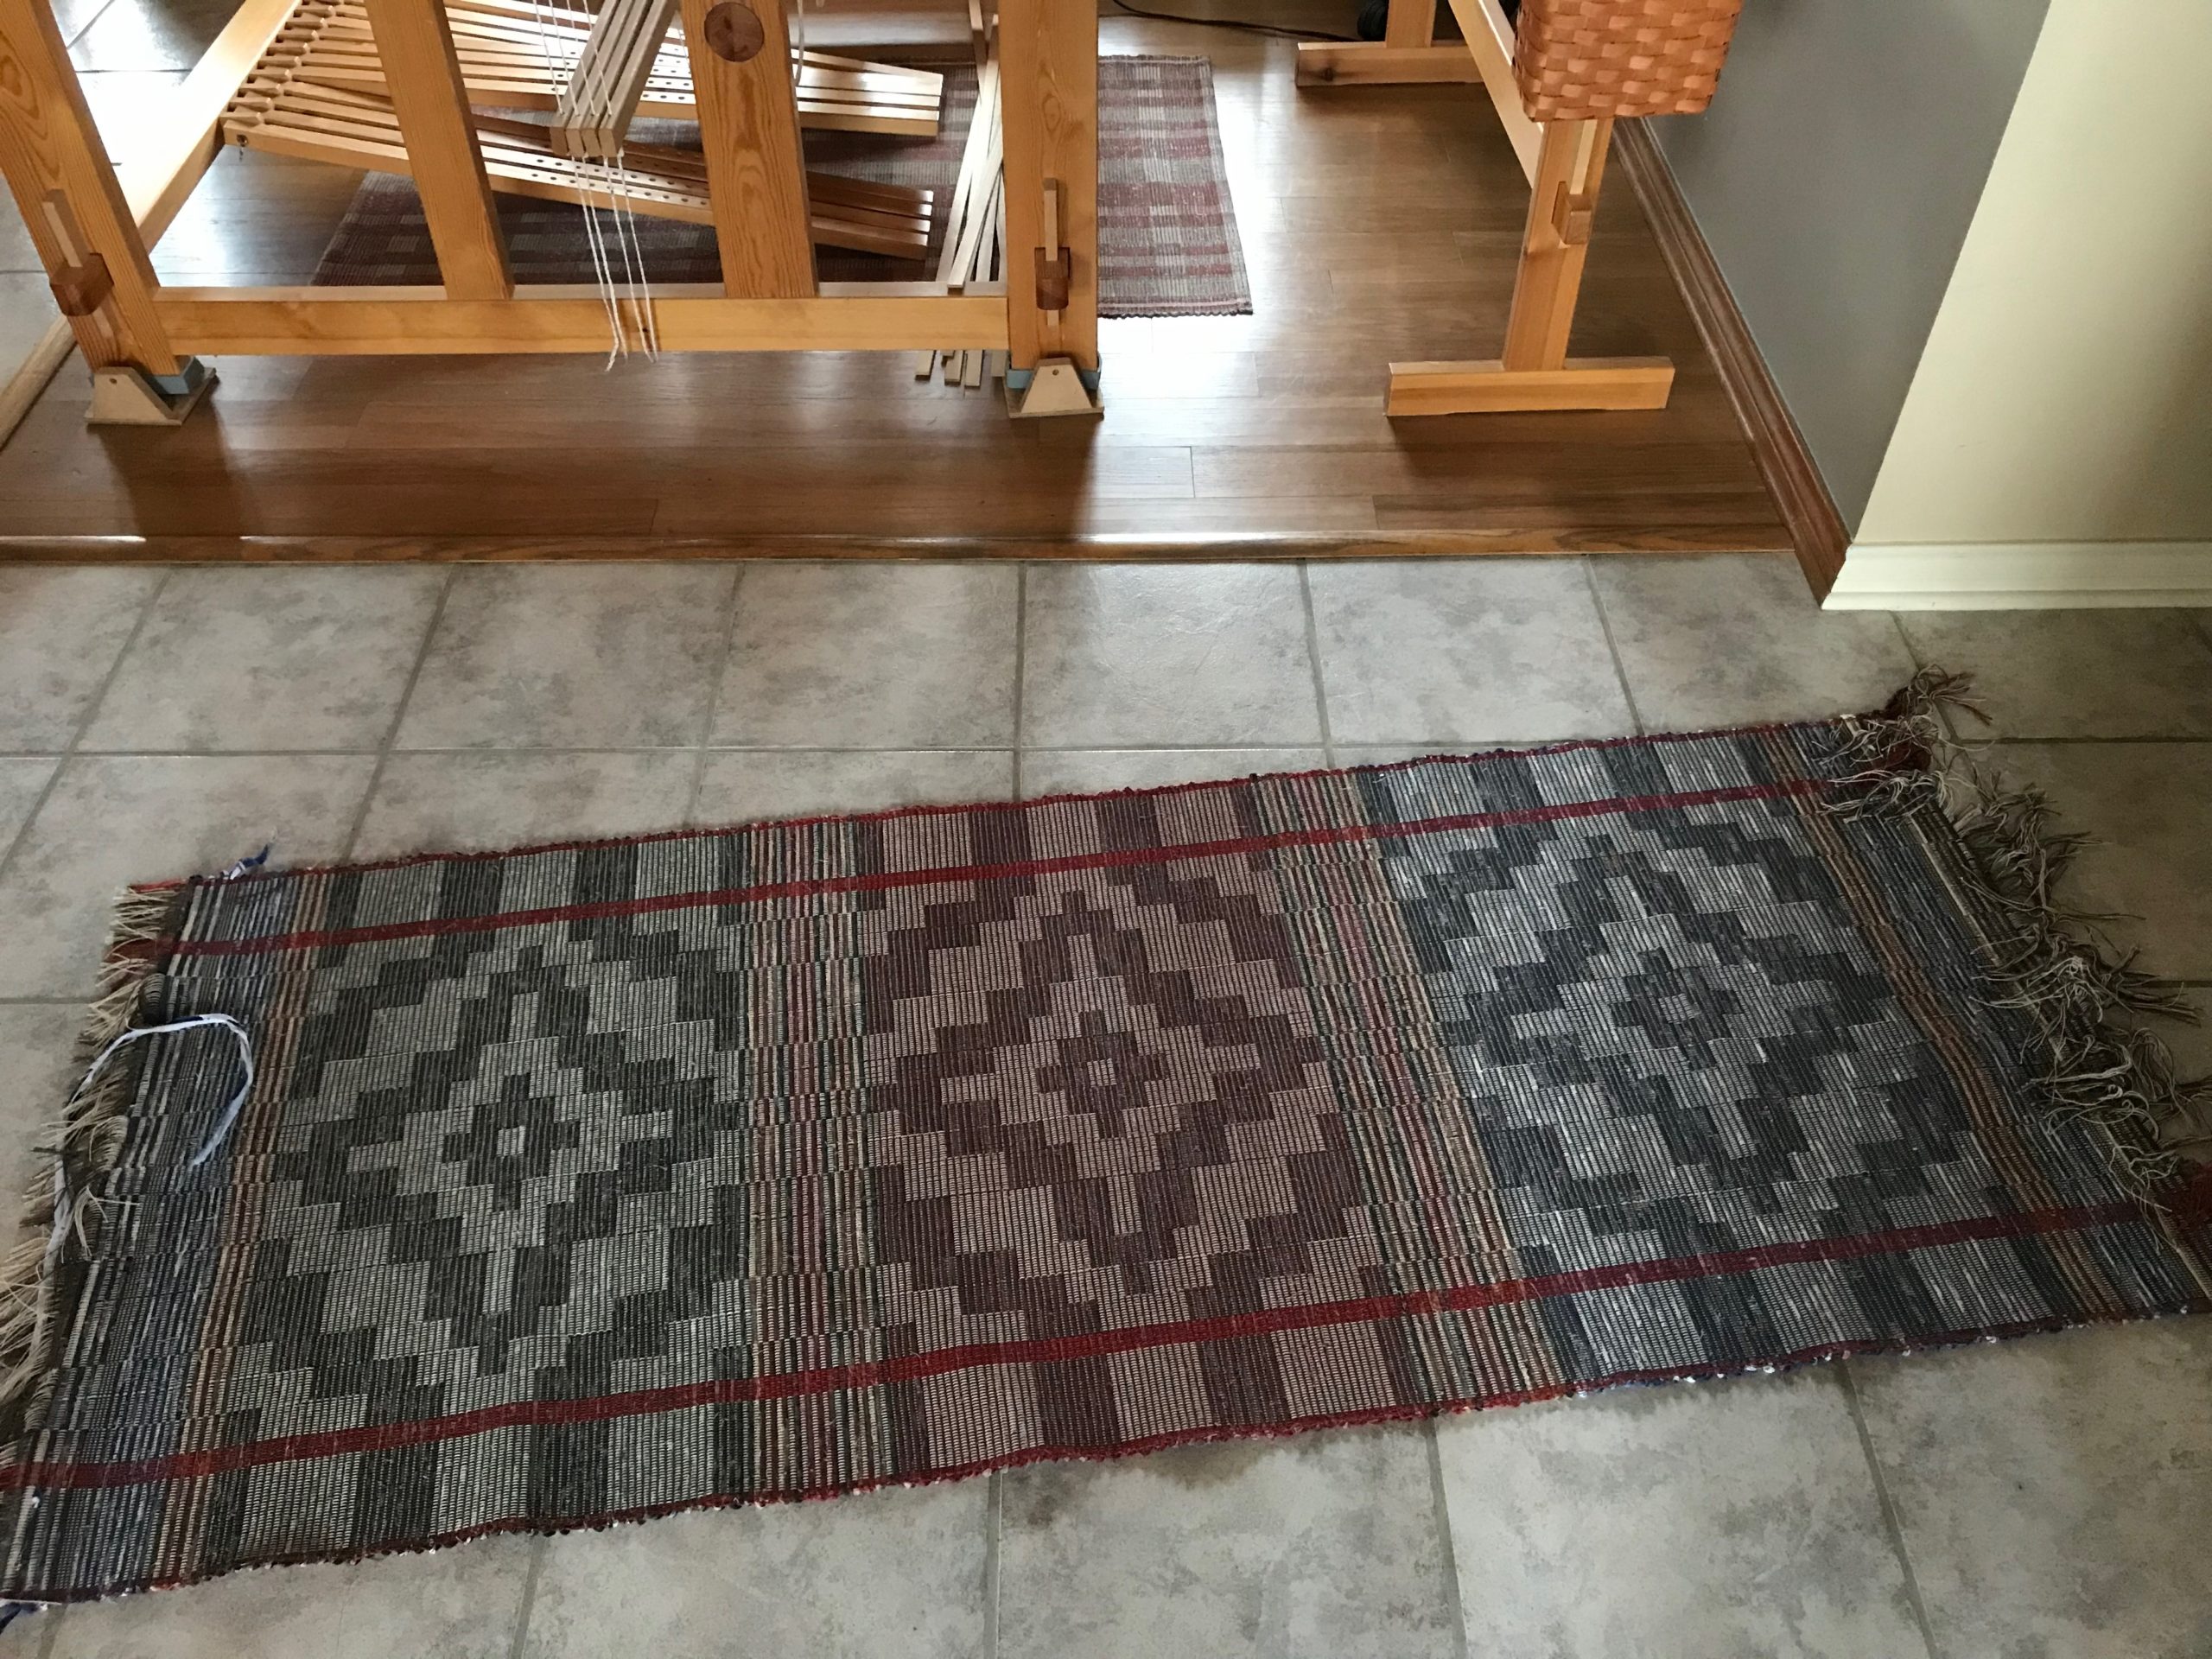
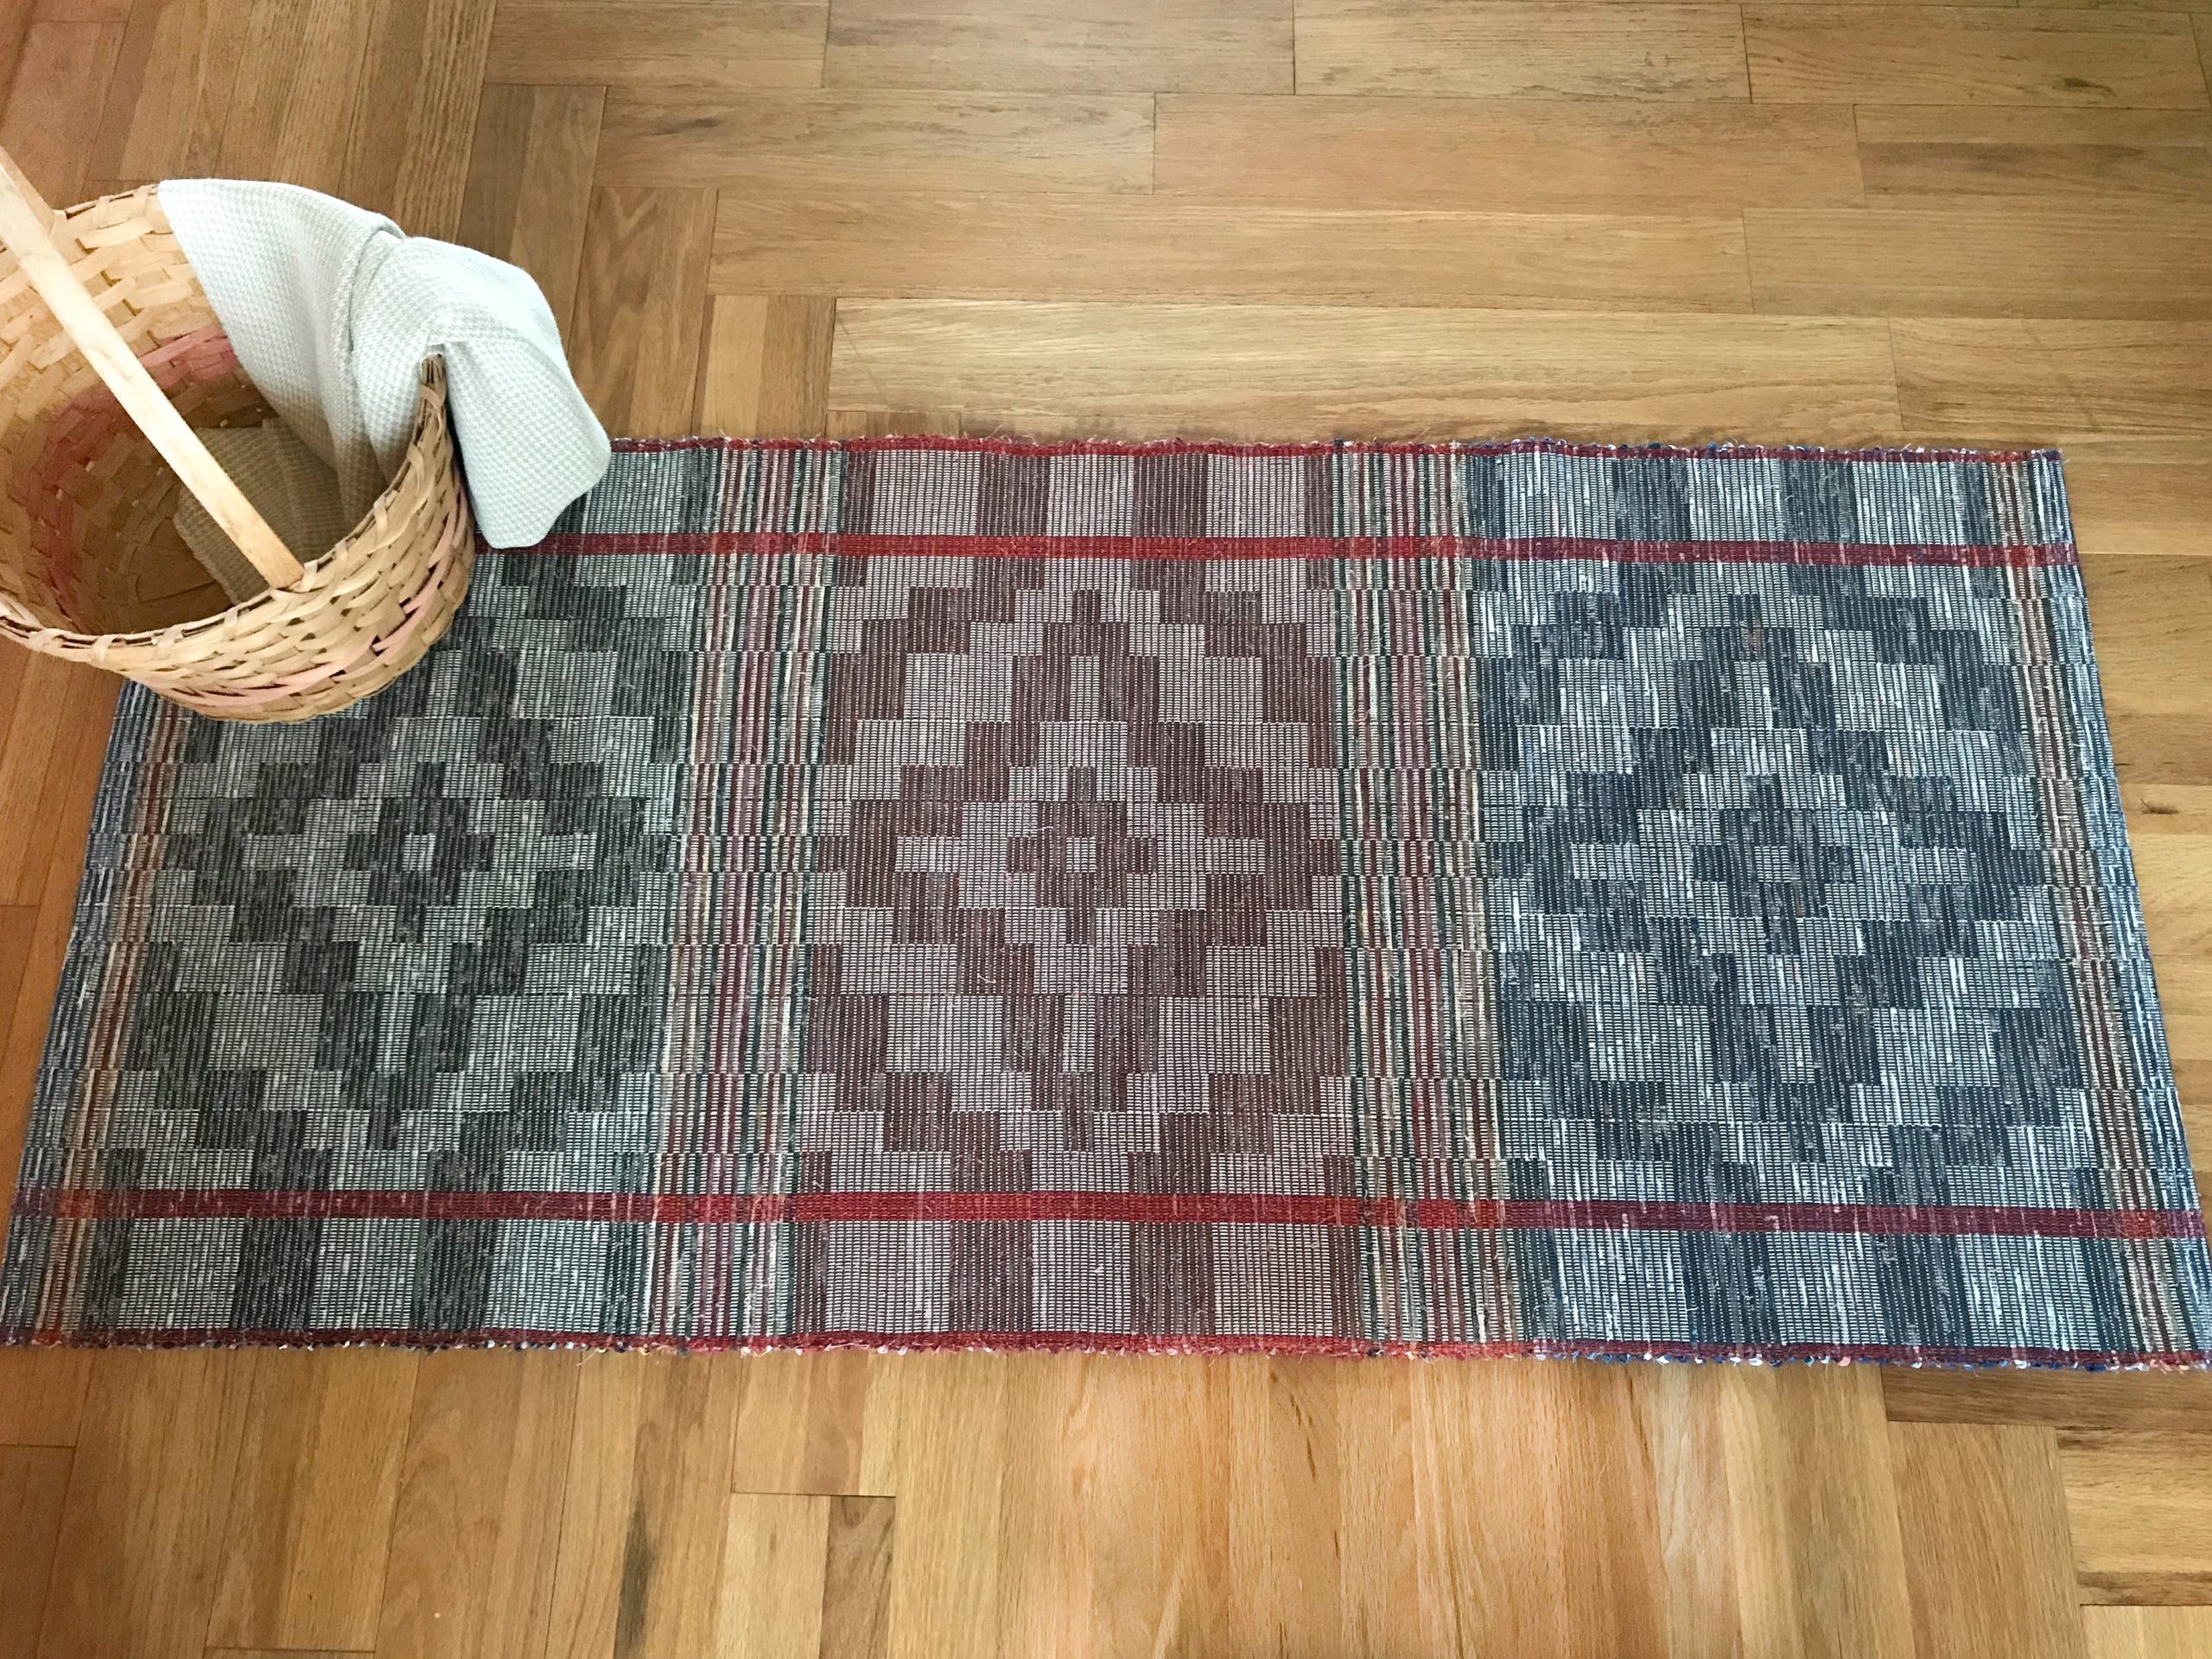
I’ve been working on this spaced rep rag rug for a while. I should know what it looks like. So why does unrolling the cloth beam make me feel like a child on Christmas morning awaiting a surprise? It’s because I see only a small portion of the rug at any one time while I am weaving.

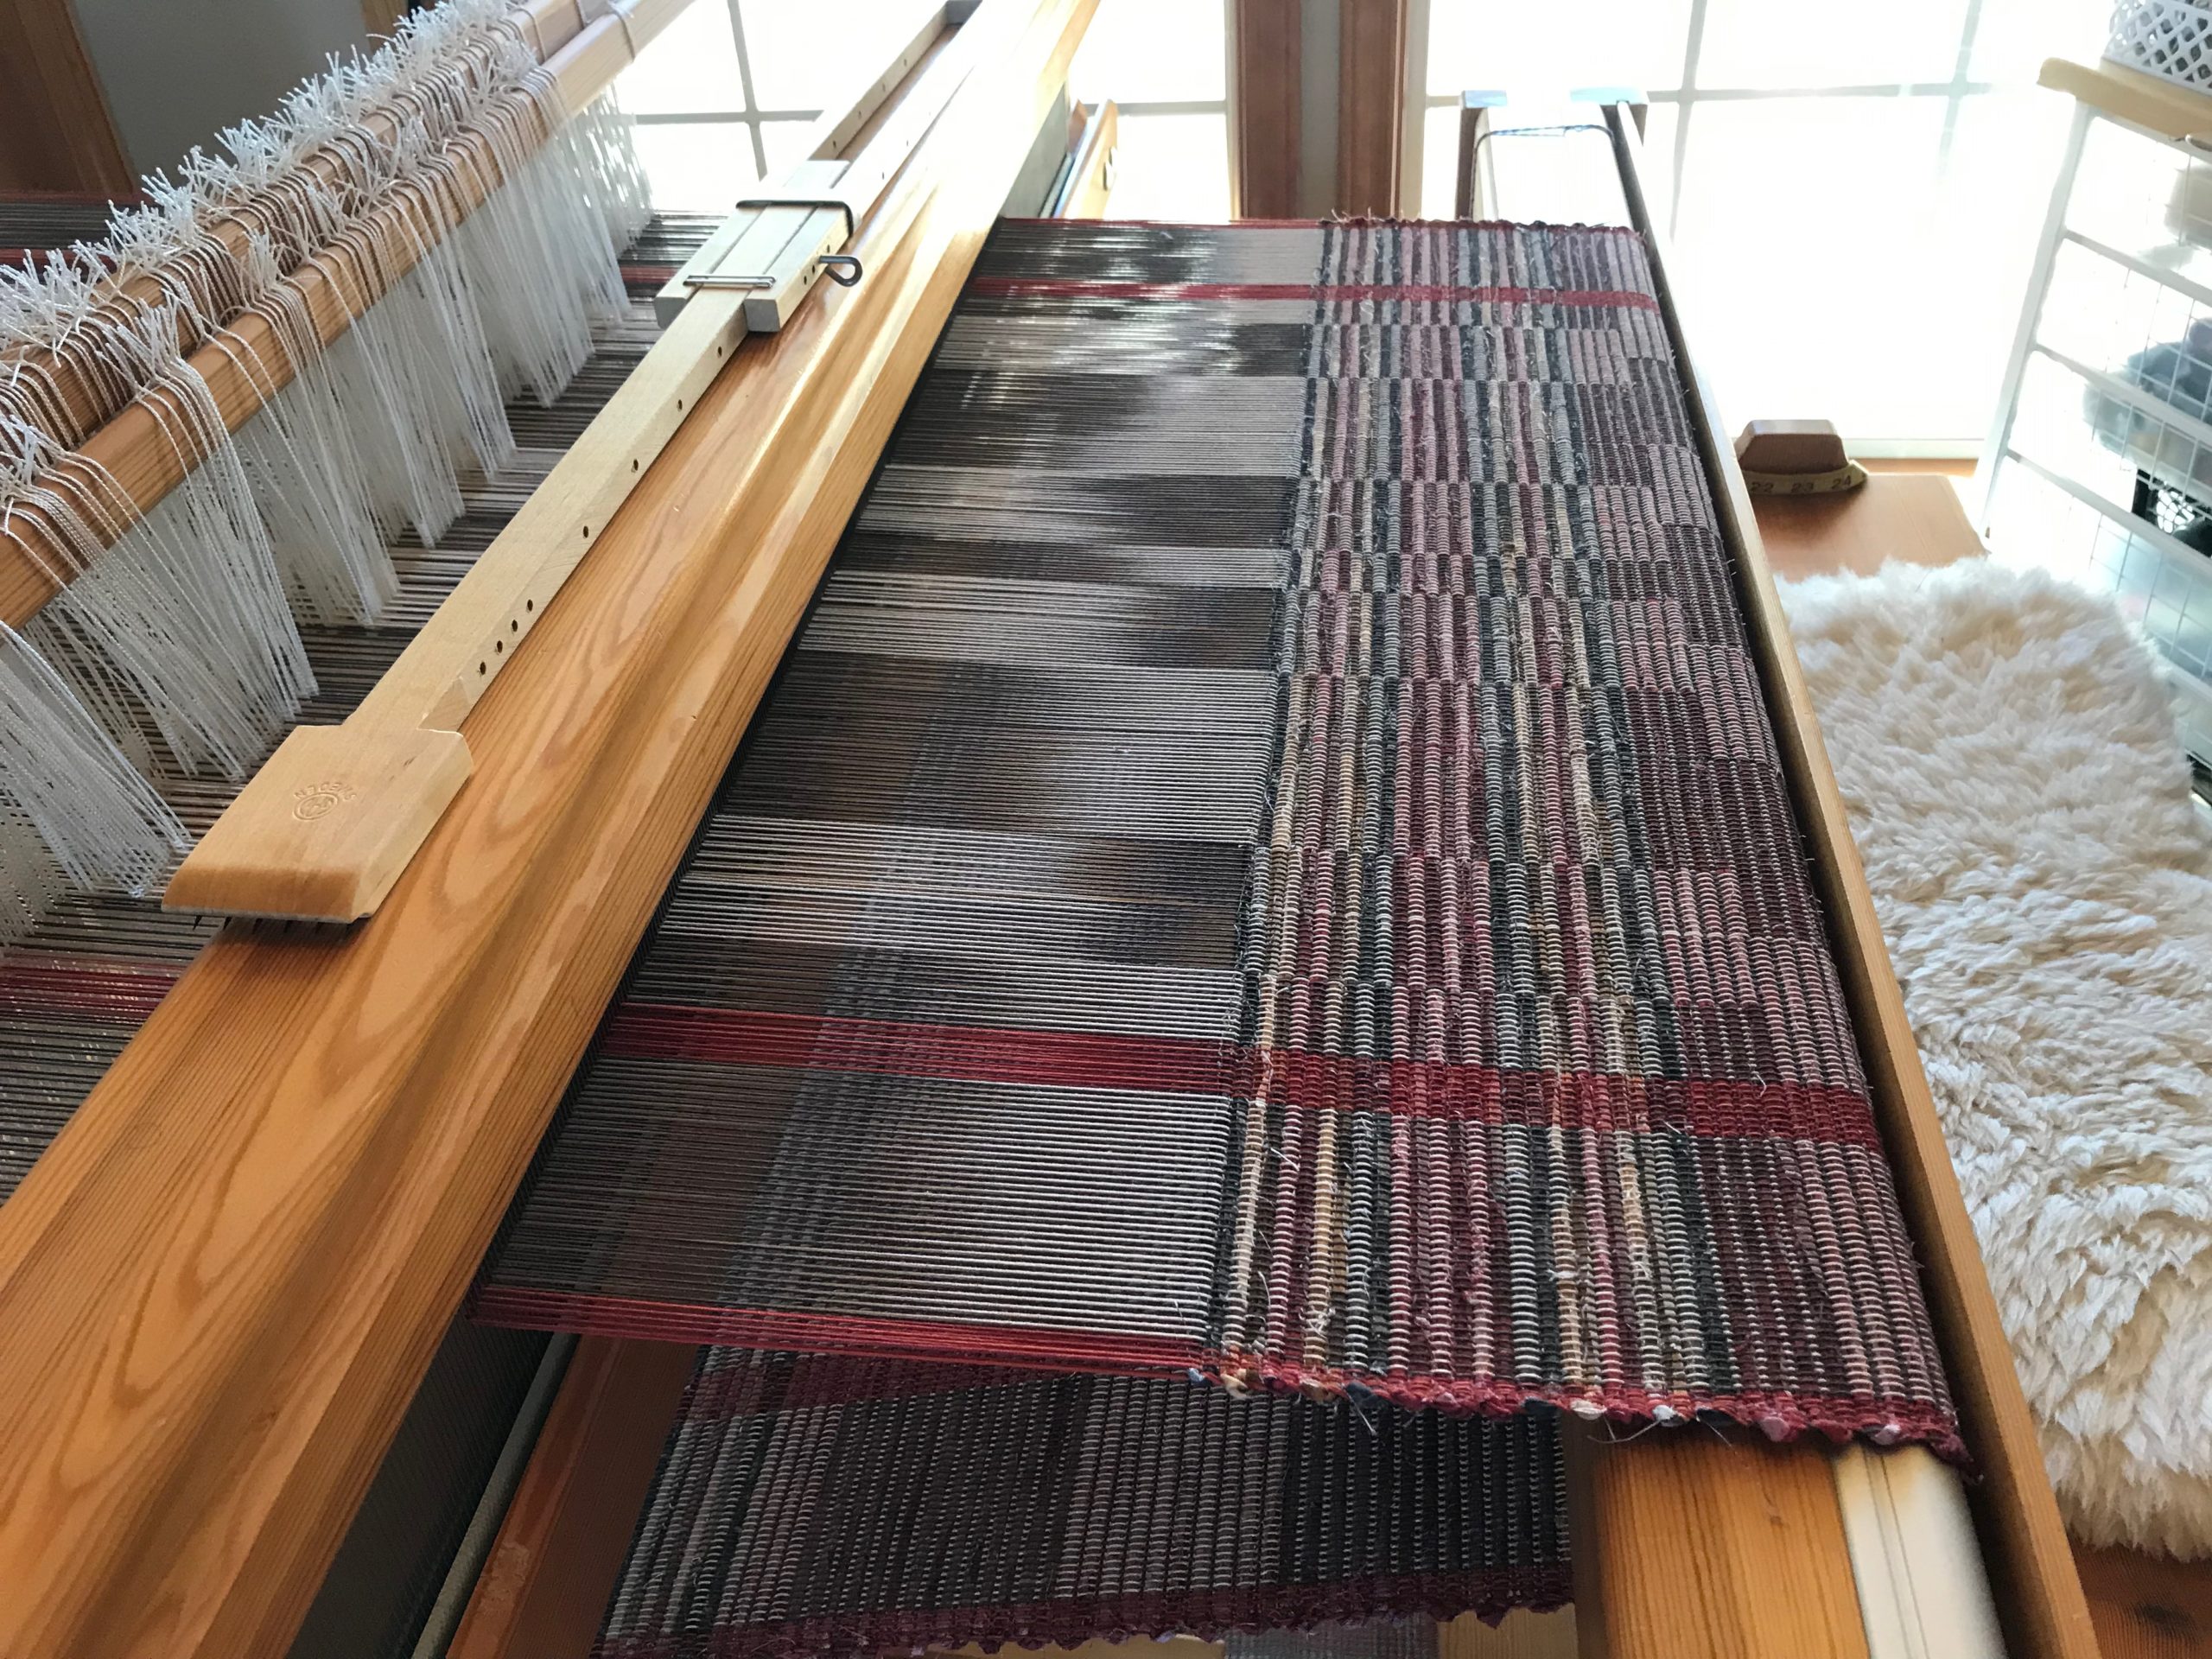
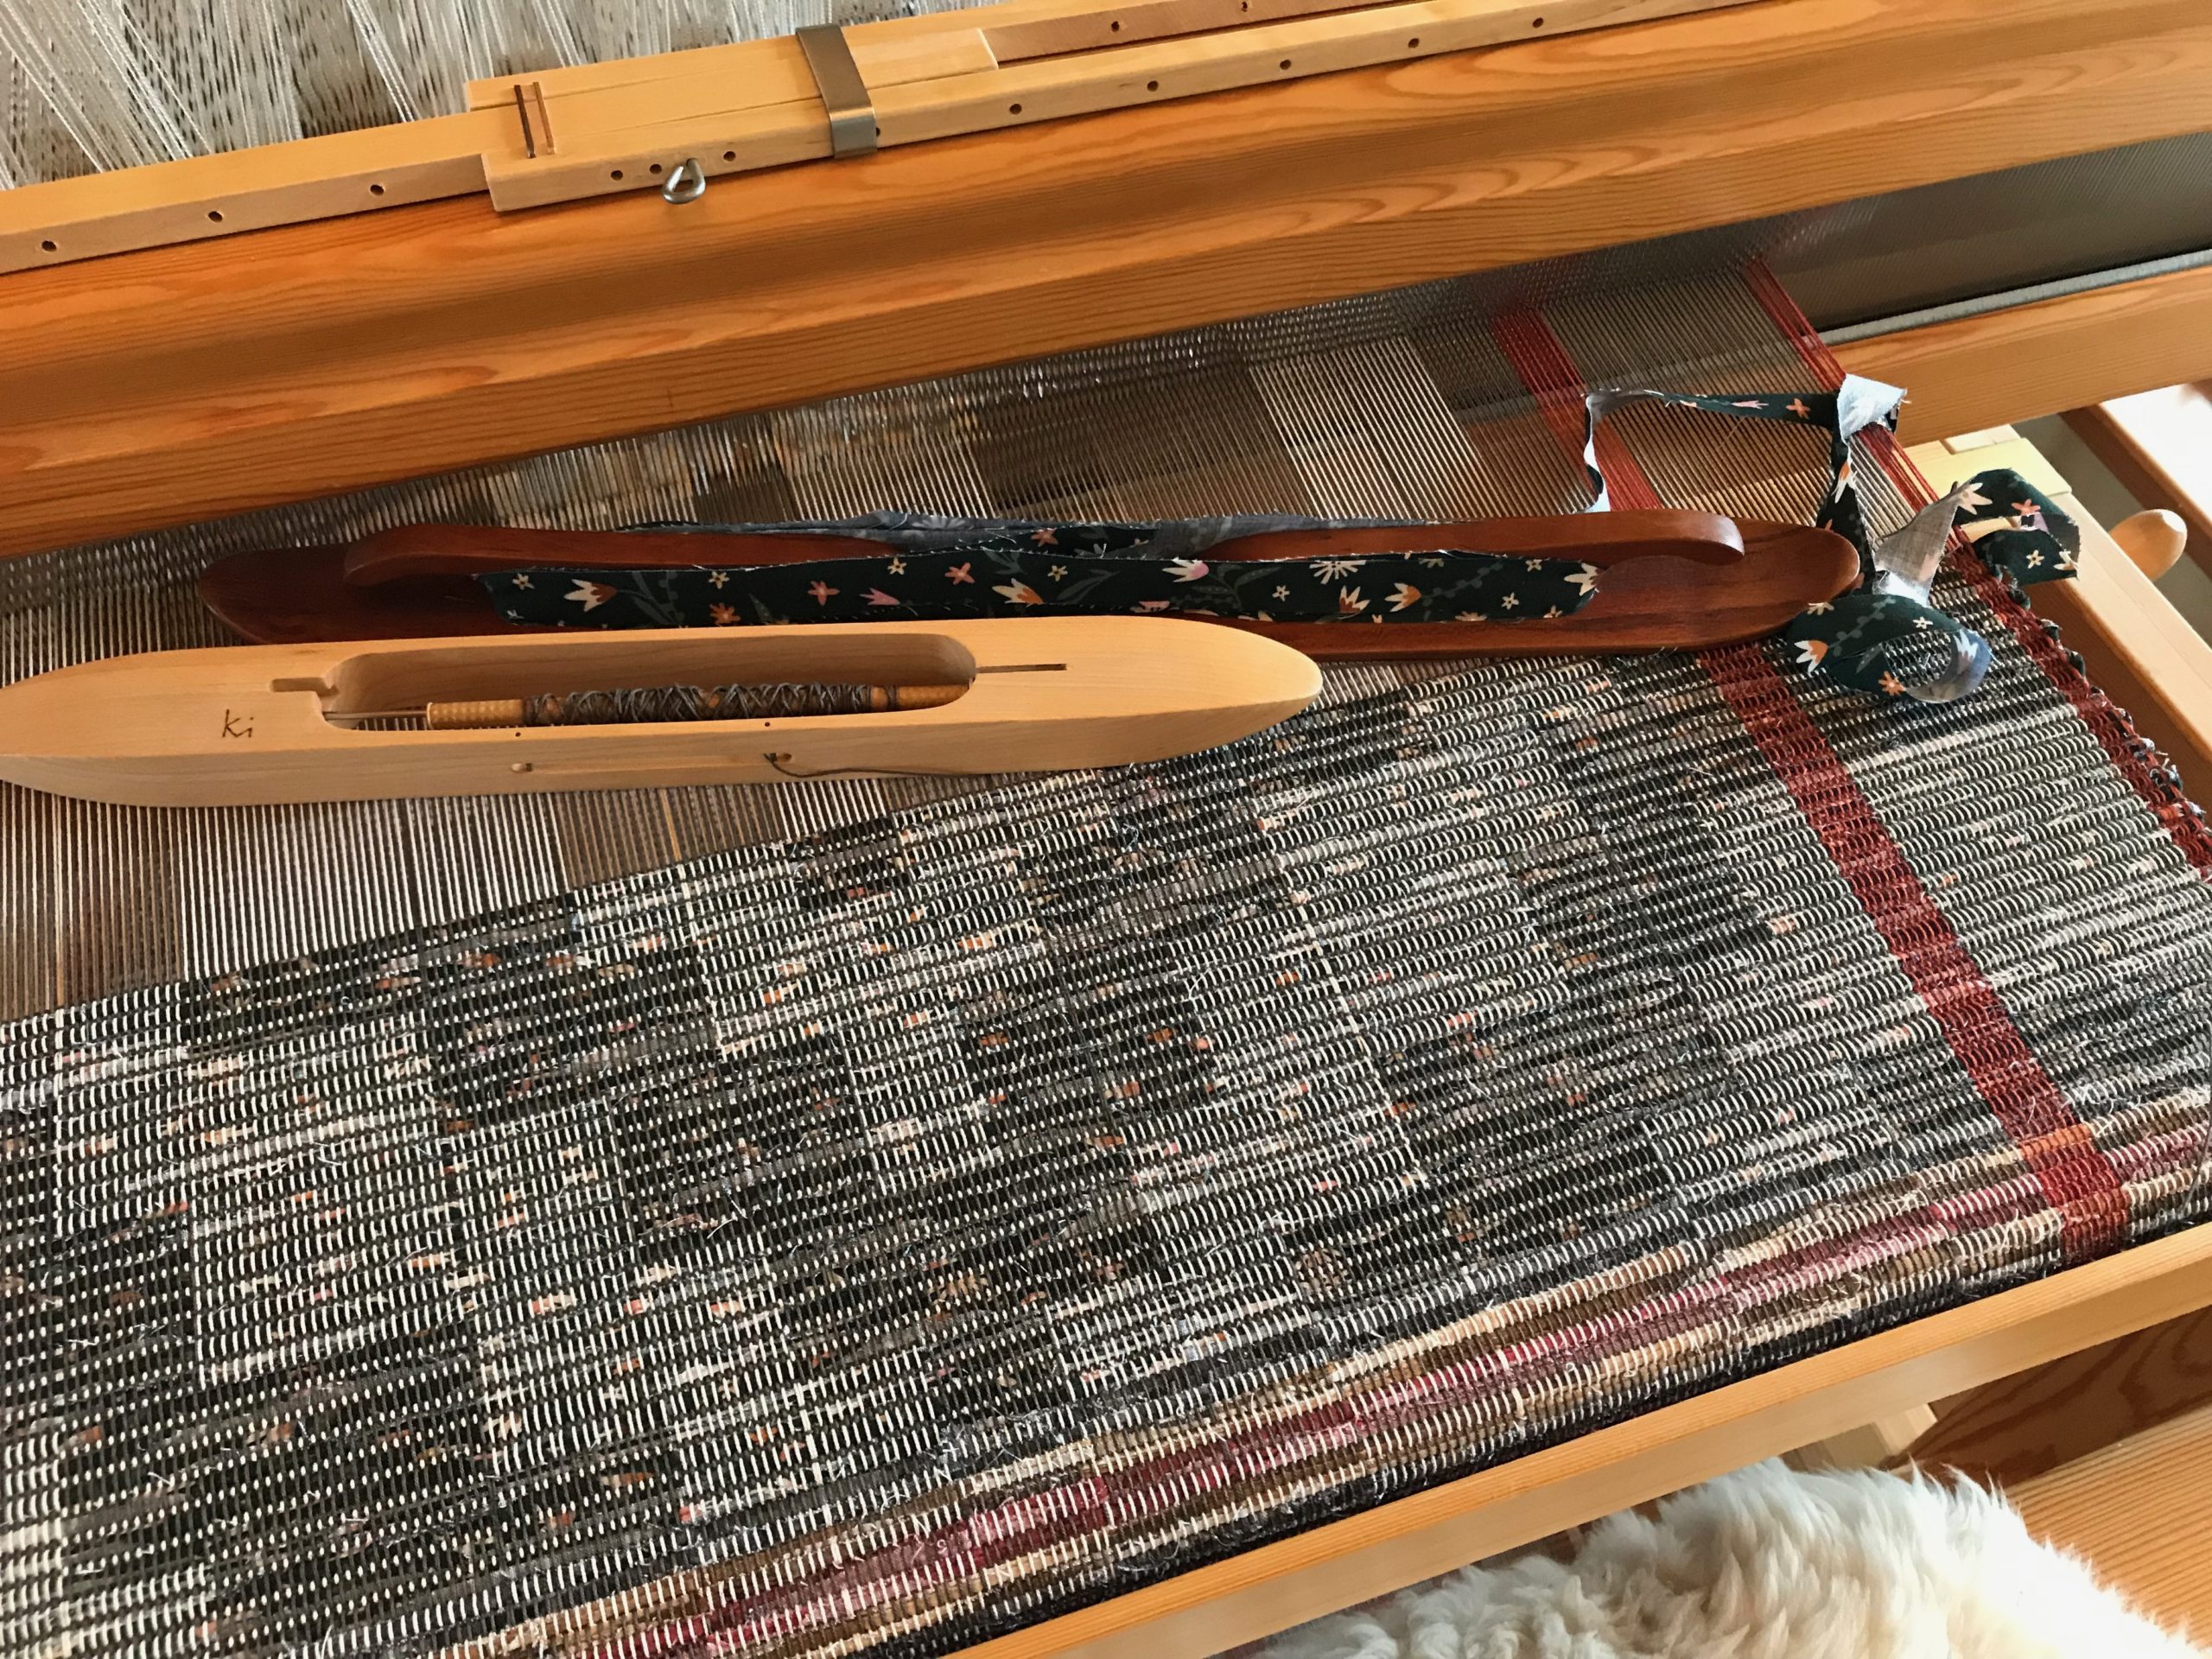
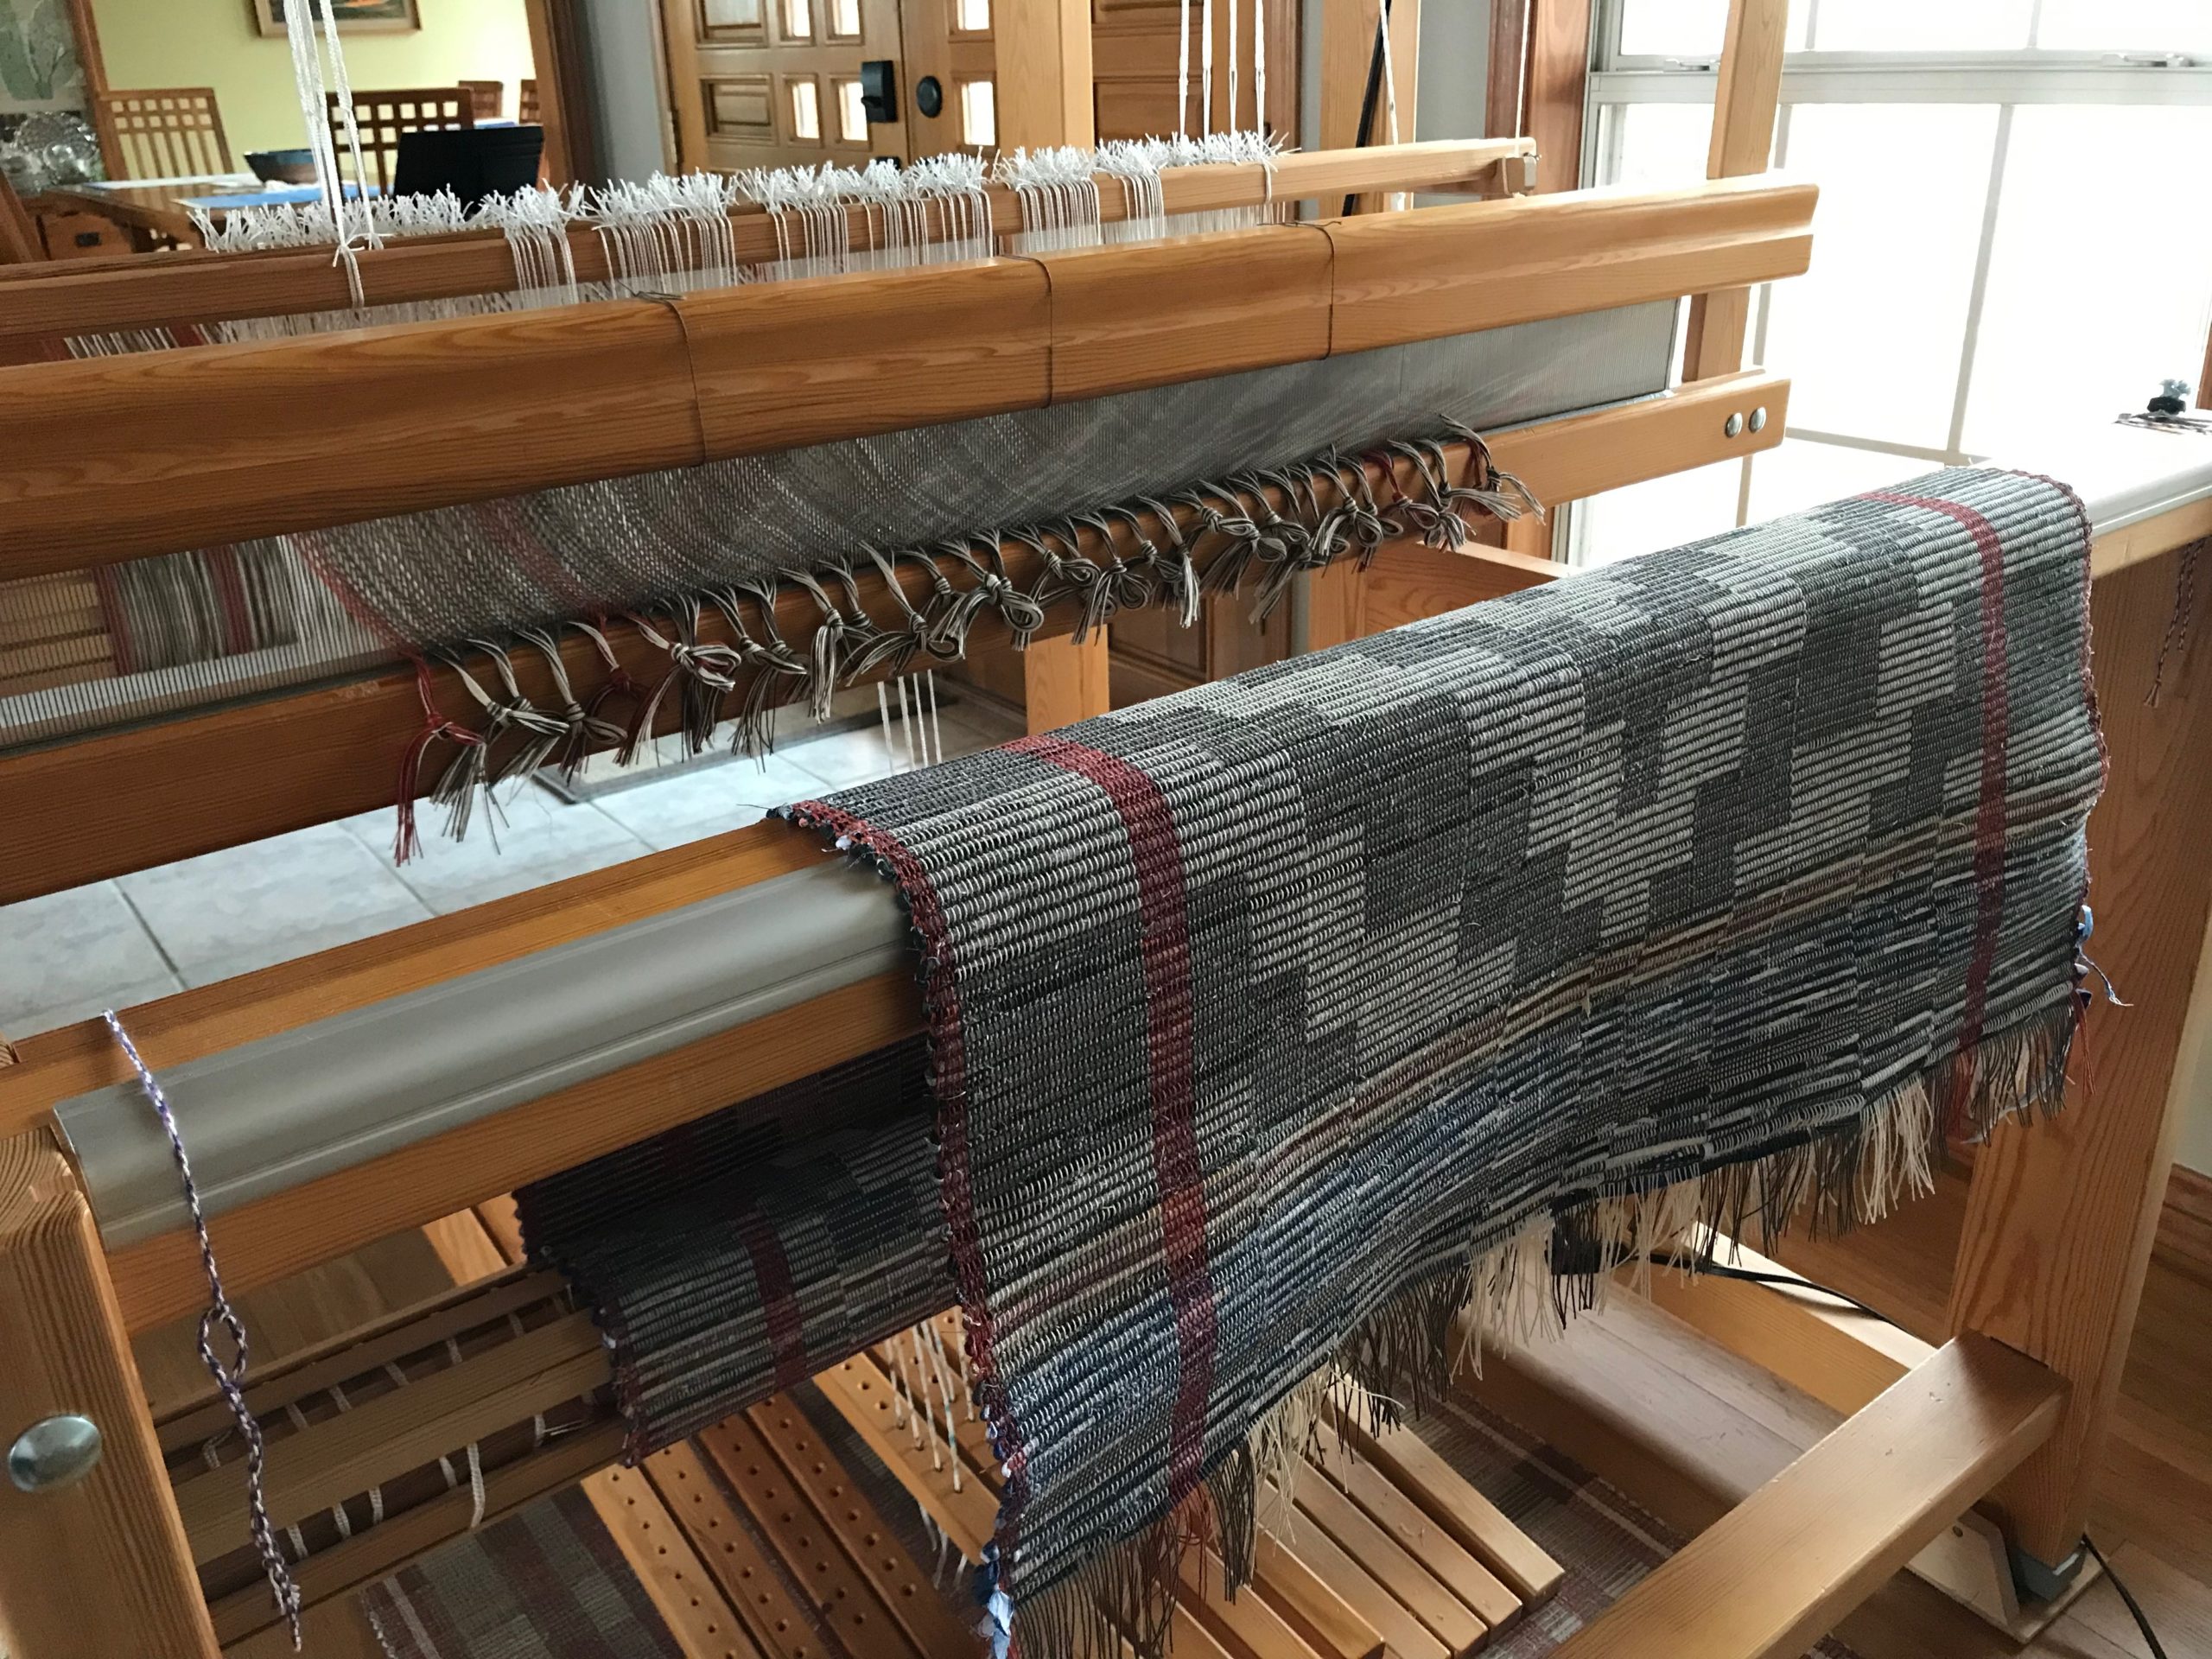
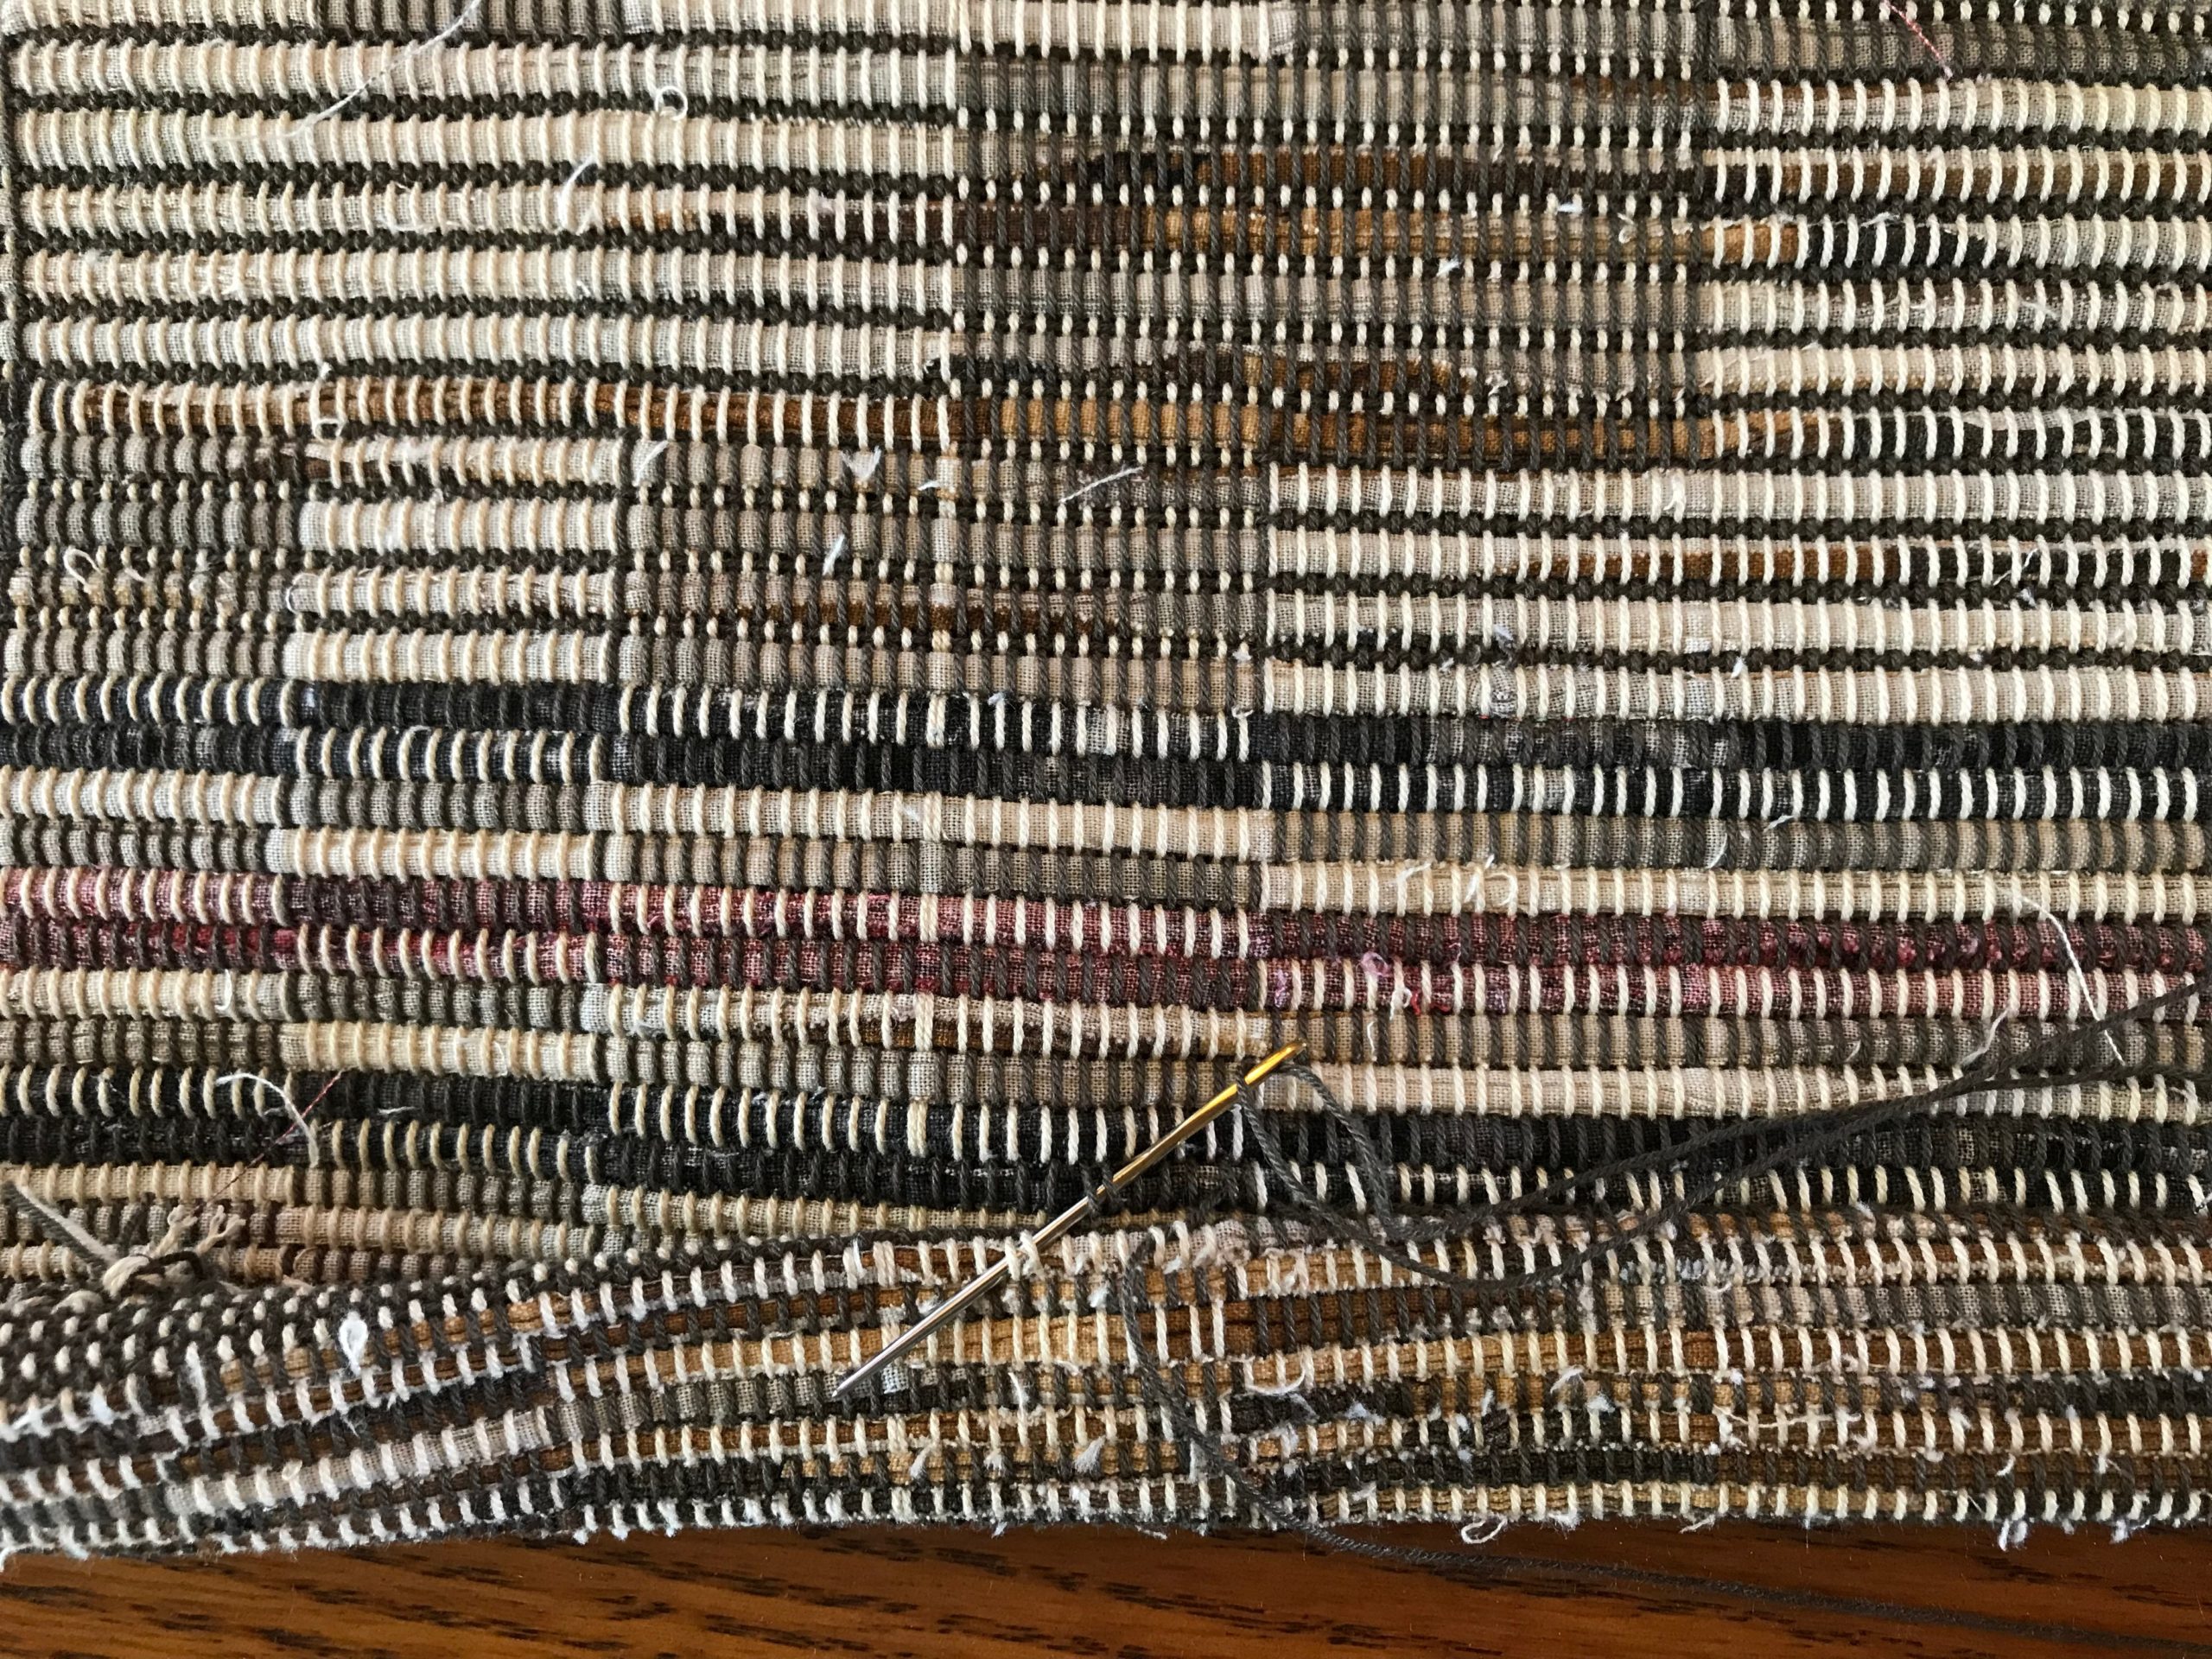
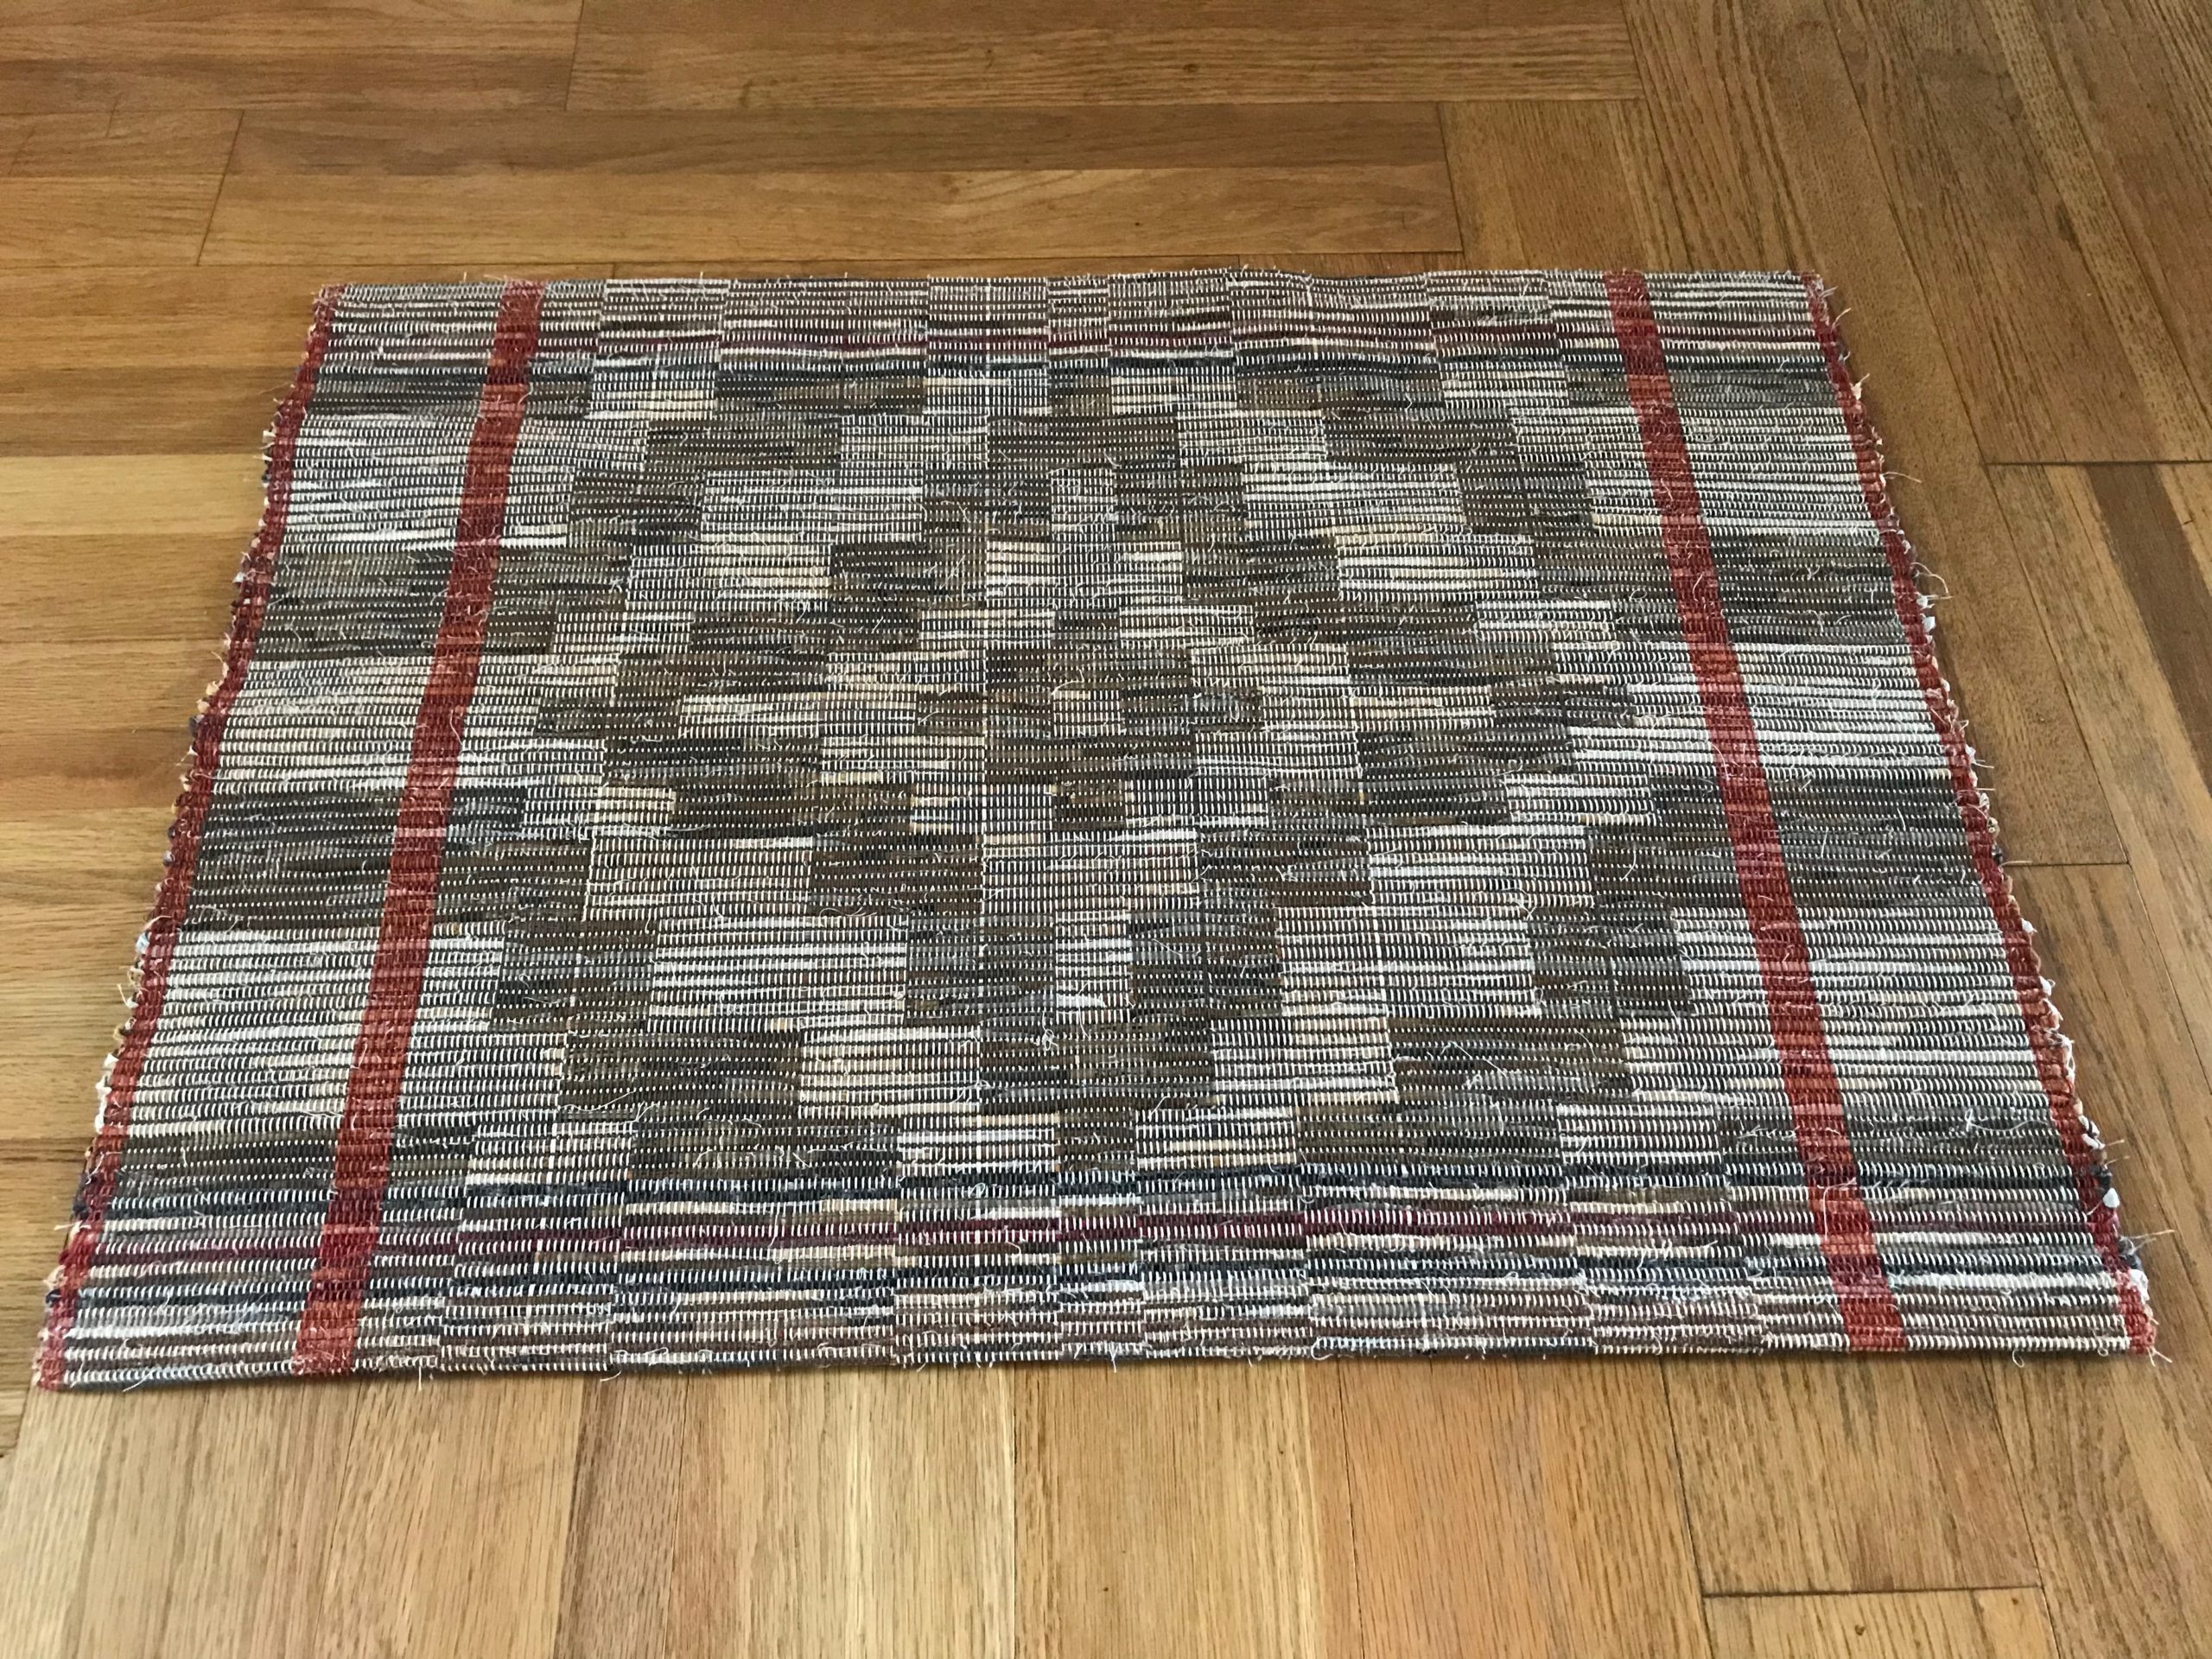
Not until I cut it off and see the whole rug unfurled on the floor do I really grasp the story this rug is telling. The surprise is pleasant. Threads and fabric strips, and a weaver’s hands (mine), have turned written plans into a compelling story to beautify our surroundings.
Our Grand Weaver excels at taking simple threads and odd pieces of cloth to create a lasting story. He weaves his plans into our lives to draw us nearer to himself. We see only short segments at a time. From beginning to end, though, our Lord’s skilled and scarred hands demonstrate his love to us. The finished work is more than we imagine.
May you experience the joy of pleasant surprises.
Happy Weaving,
Karen