Rickrack Rag Rug Hemming Video

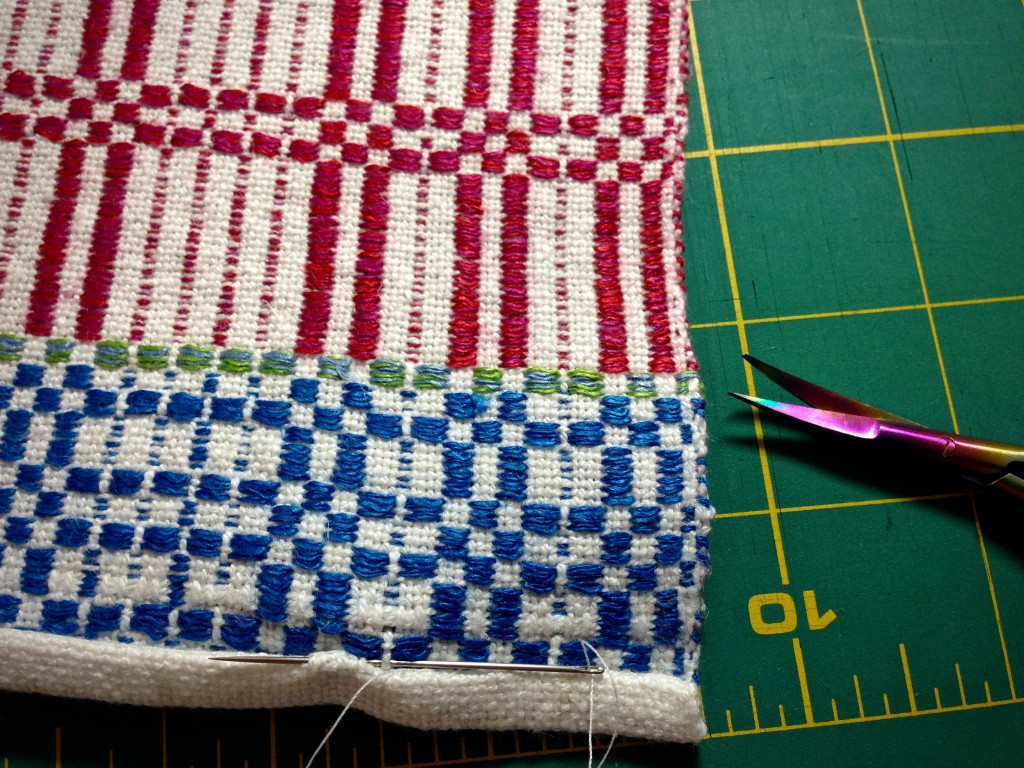
Hemming a rag rug may be easier than you think. I have used my classic Bernina sewing machine to hem rag rugs; but now, I hem many of them by hand. It’s easier and faster than I once thought. I plan the rug’s hem into the weaving, using half-width fabric strips for the hem area, and end it off with 1 cm of a warp thread heading. After cutting off the rug, I secure and trim the warp ends. There’s only one thing left to do. Hem the rug! (Start with Tools Day: Rag Rug Finishing Video if you haven’t seen it yet.)
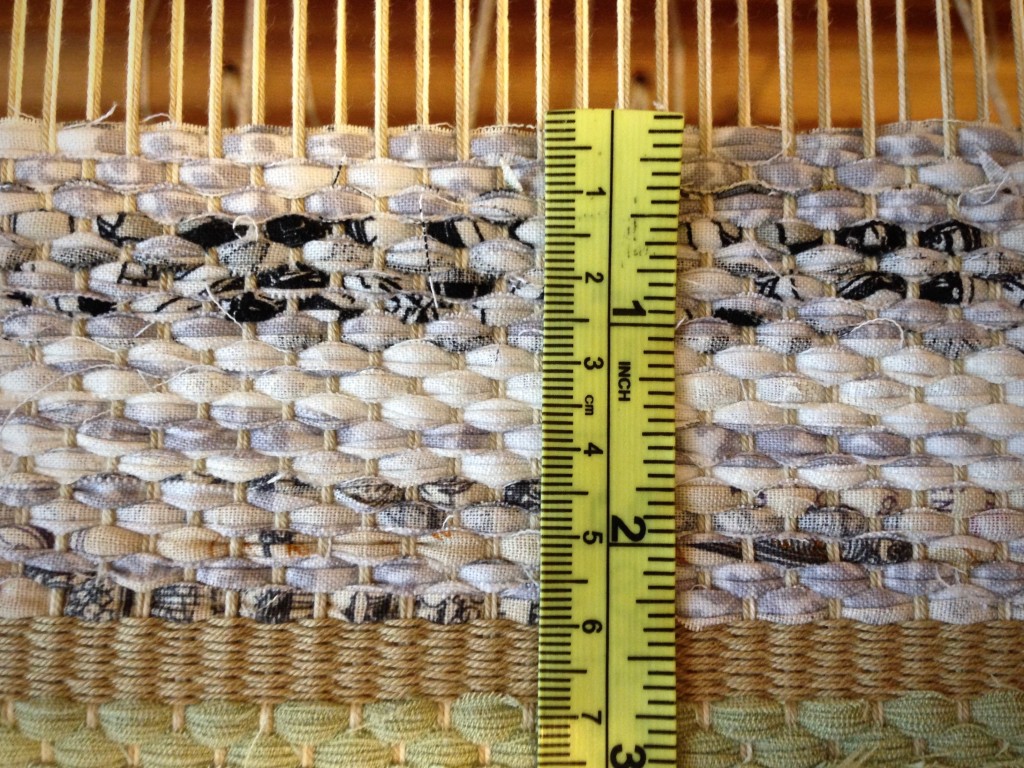
Weaving the hem on a rag rug. Video about hemming.
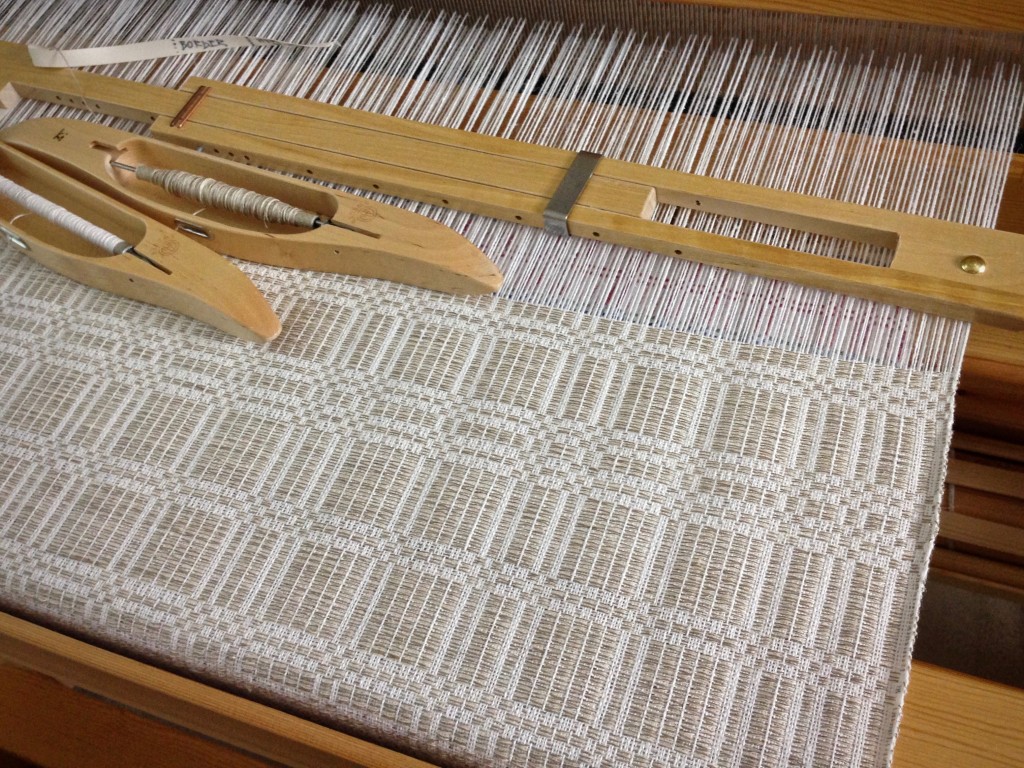
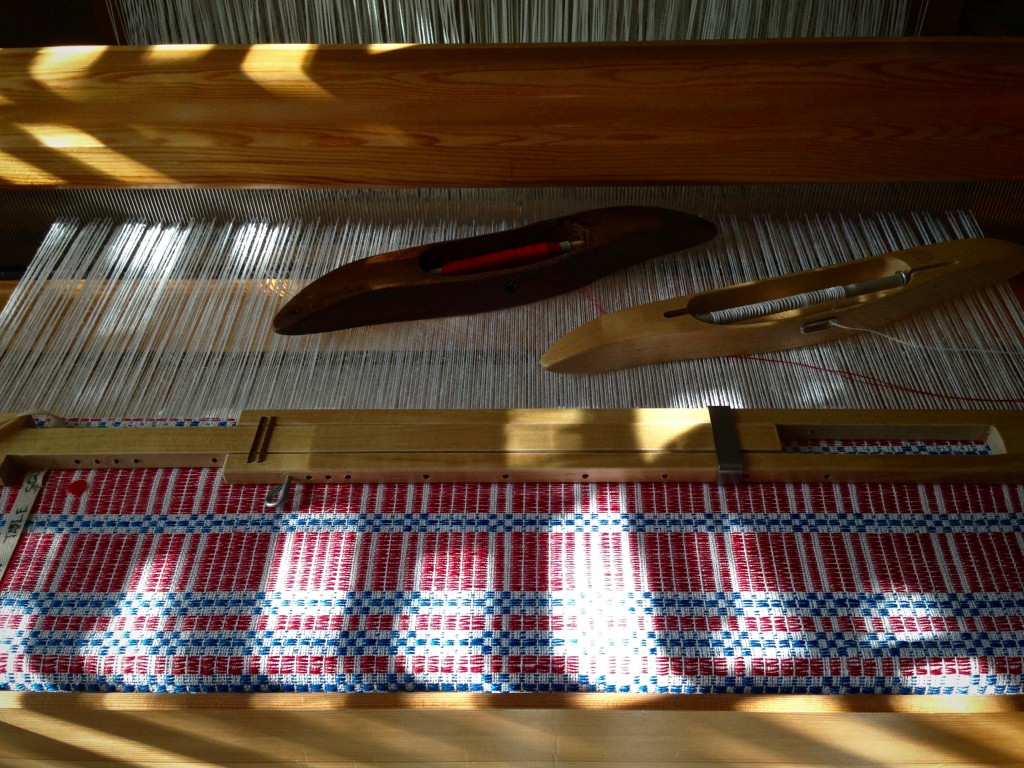
Hem is woven with fabric strips, doubled, cut 1 cm wide. This rug has a 6 cm hem, plus the warp thread heading, that will be folded under and stitched.

Tools and supplies

  • Steam iron
  • Long straight pins
  • Rug warp to match the rug (mine is Bockens 12/6 cotton seine twine)
  • Blunt tapestry needle

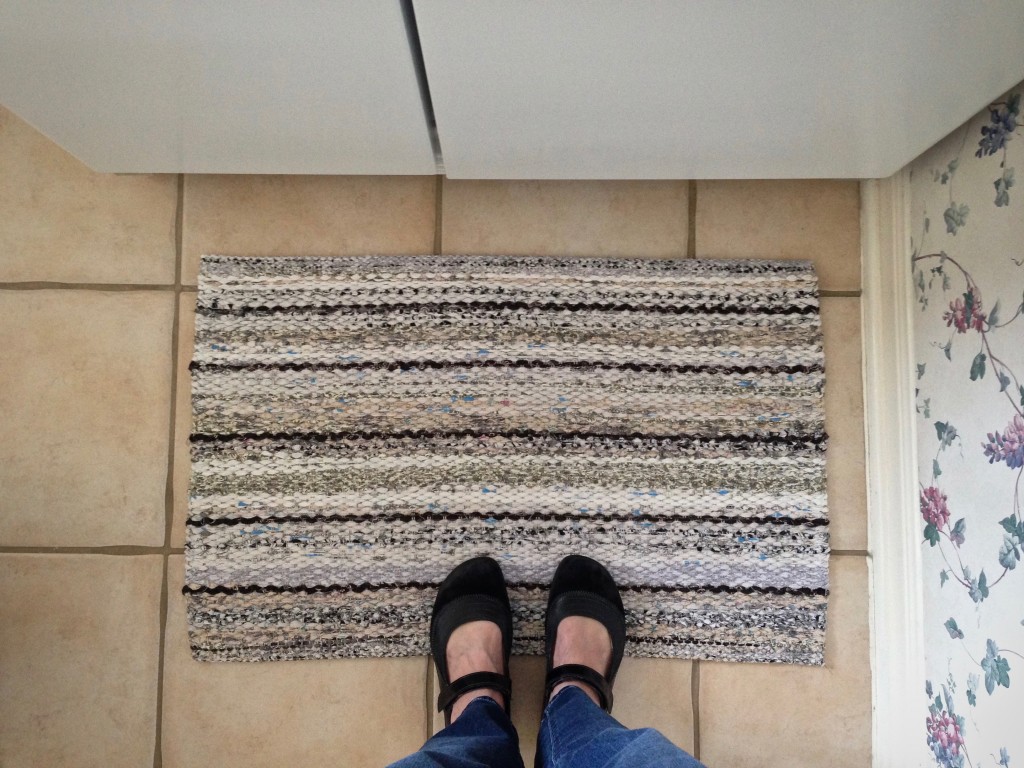
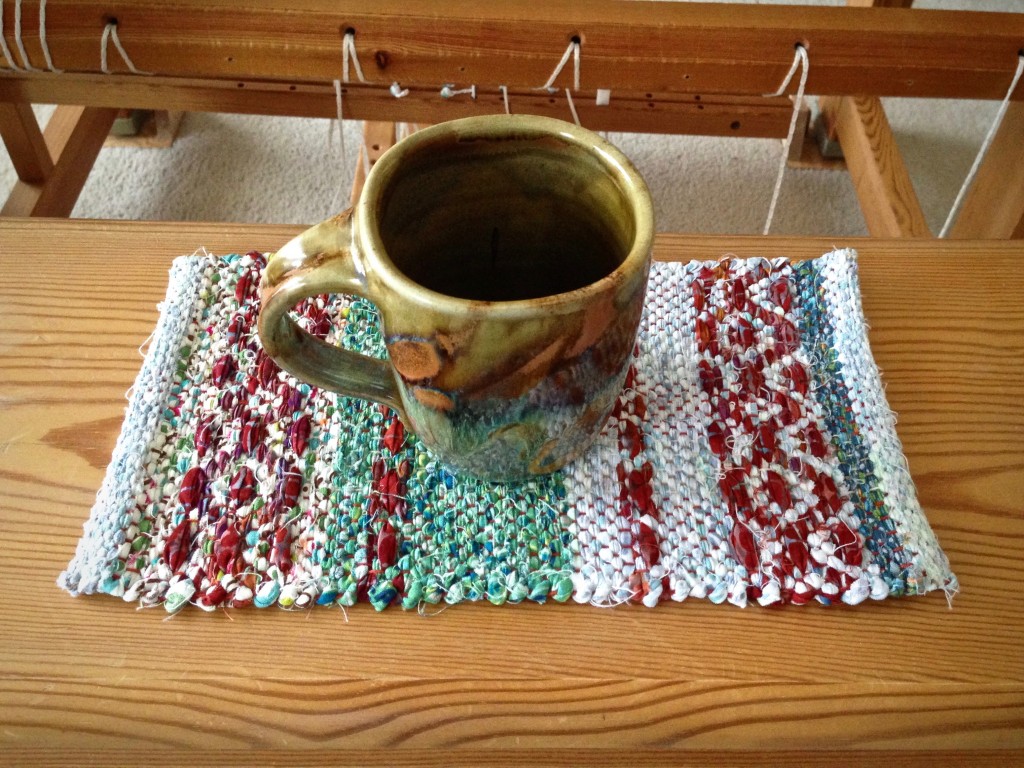
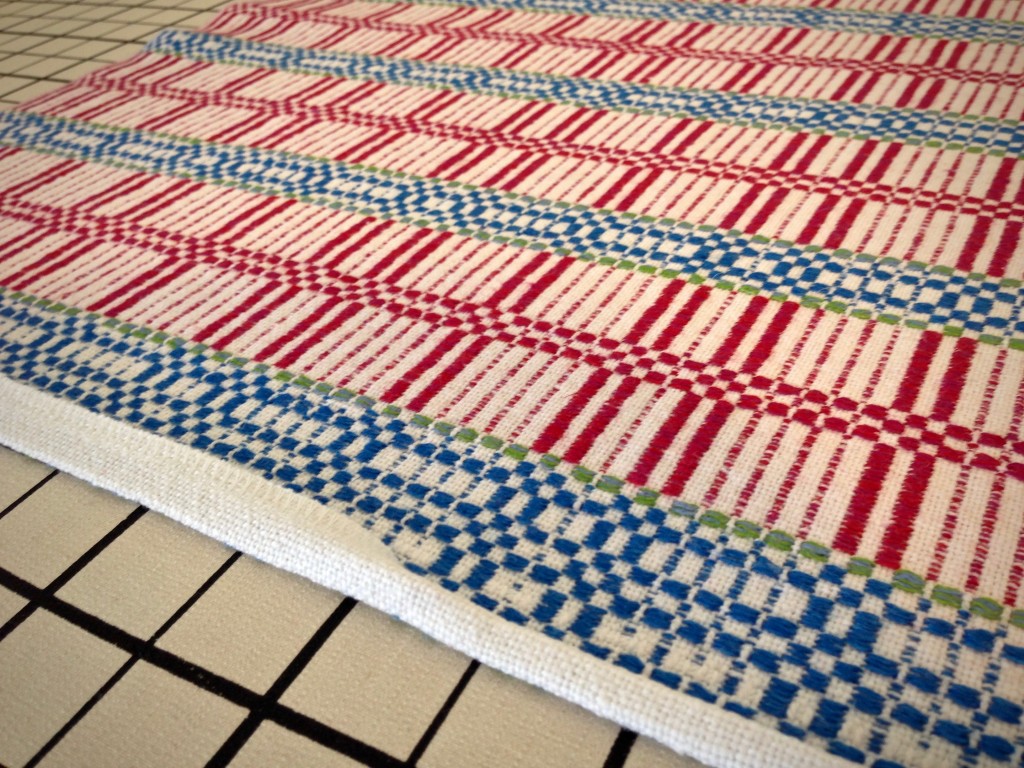
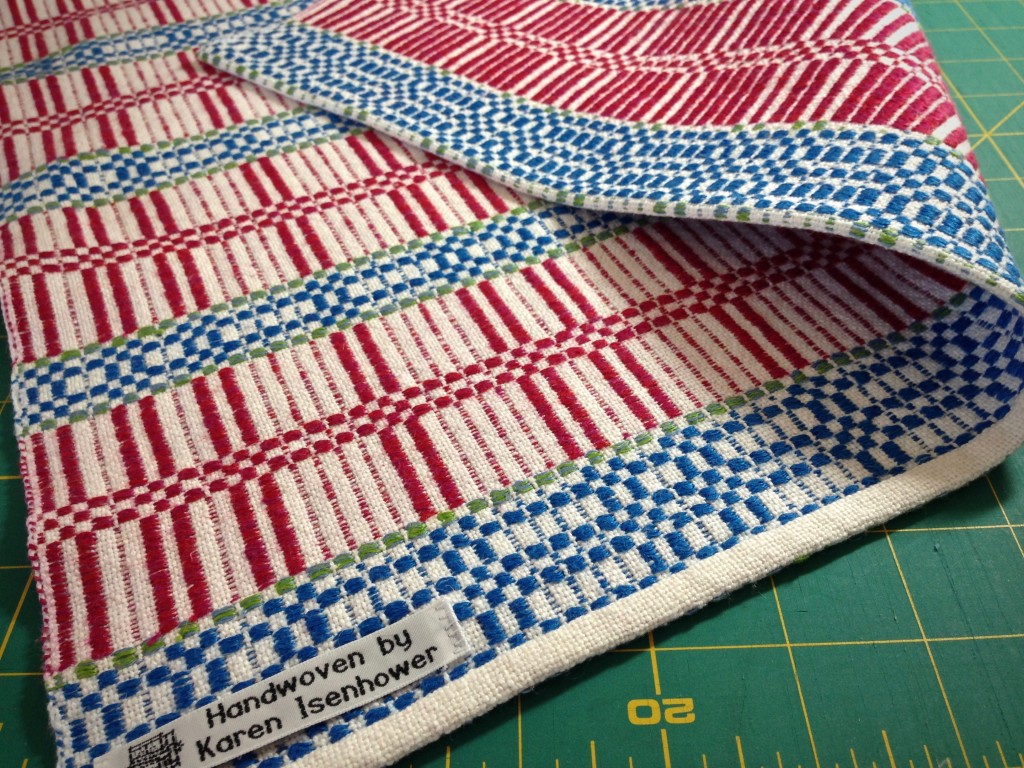
Rickrack rag rug. Video tutorial about hemming rag rugs.
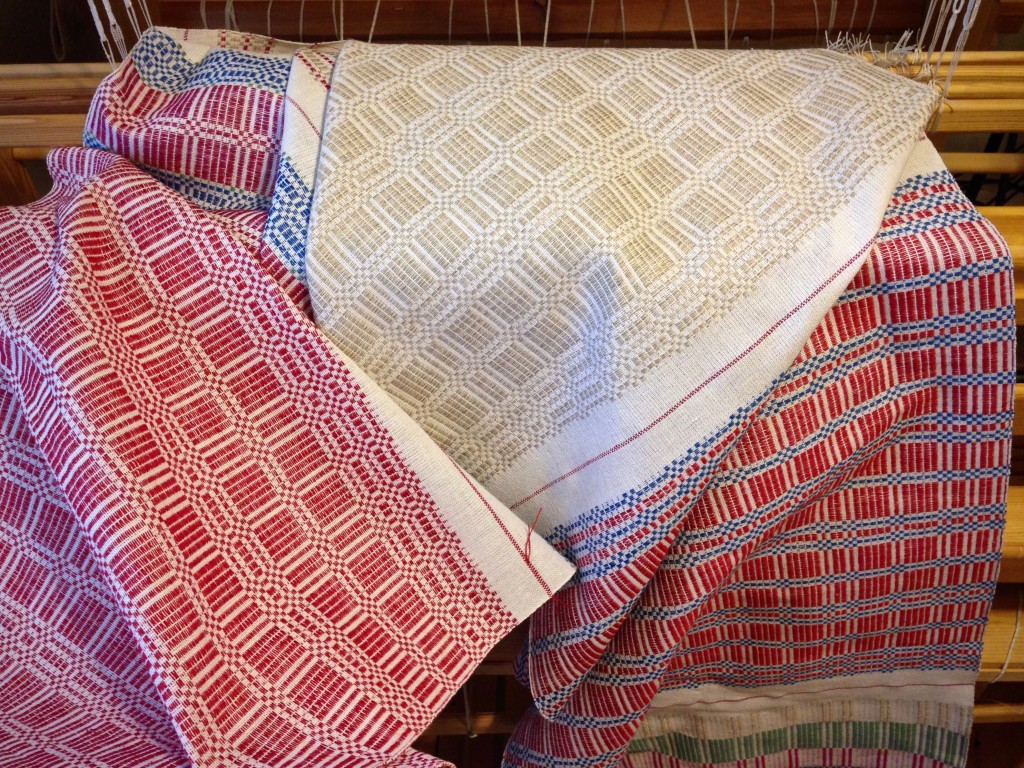
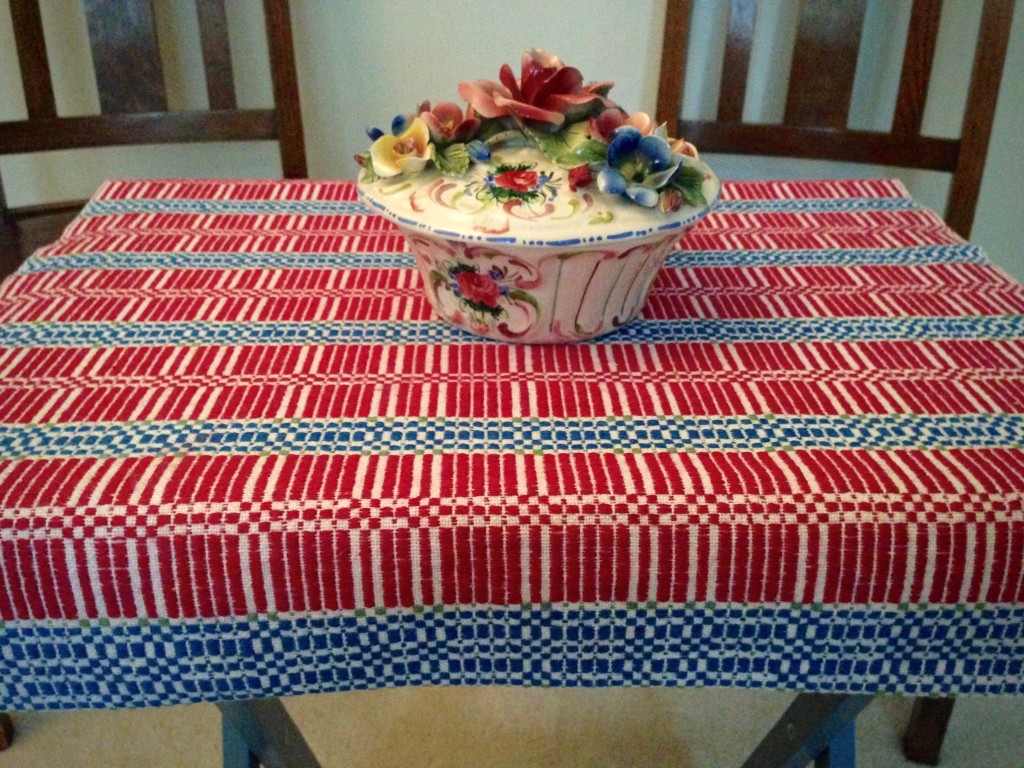
Kitchen mat is embellished with woven thin stripes that give the impression of rickrack. It makes me think of rickrack-trimmed dresses my mother made for me when I was a little girl. (See Simplest Rag Rug Stripe to learn how the rickrack stripes are made.)

May you enjoy the work of your hands.

Happy hemming,
Karen

Tools Day: Rag Rug Finishing Video

Do you know how easy it is to finish the ends of a rag rug that you plan to hem? You cannot trust a sewing machine to do the job. Neither a zig-zag stitch nor a serged edge adequately catches all the ends, as they do for other handwoven items. Hand-tied knots will ensure that your rug endures the test of time.

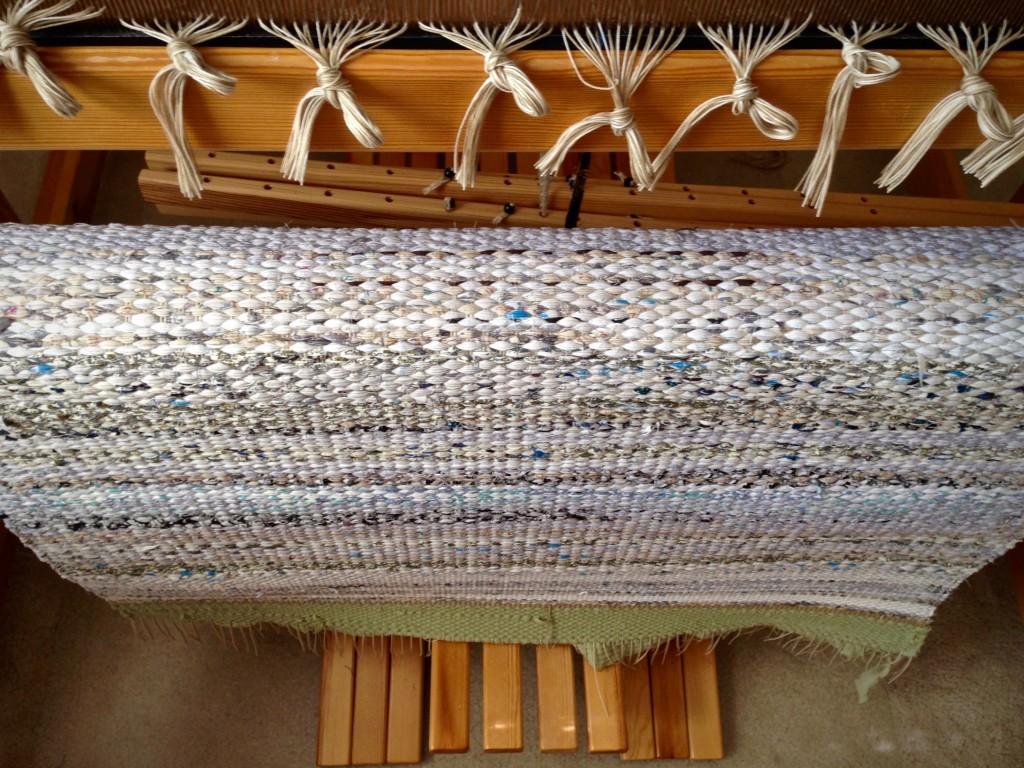
Large rag rug cut from the loom. Instructions for finishing ends.
Rag rug is cut off the Glimåkra Standard loom. A warp thread header (1 cm) is woven at both ends of the rug, and about 5 cm of scrap header (scrap fabric strips) is woven outside of that. The scrap header helps keep the rug from unravelling when it is removed from the loom.

The following video details the few simple steps needed to prepare your rag rug for hemming.

Tools:

  • Two-pound walking weights
  • 5″ Sacking needle (I found mine at WeavingSouthwest)
  • Hair comb
  • Cutting mat
  • Acrylic ruler
  • Rotary cutter

May you finish what you start.

All the best,
Karen

One Mini Rag Rug

I am calling this miniature rag rug experiment a success! Oh what fun to play with colorful fabric to make rosepath designs in rag rugs. This sample size is great for trying out various designs and color combinations. Pure delight for a rag rug weaver like me!

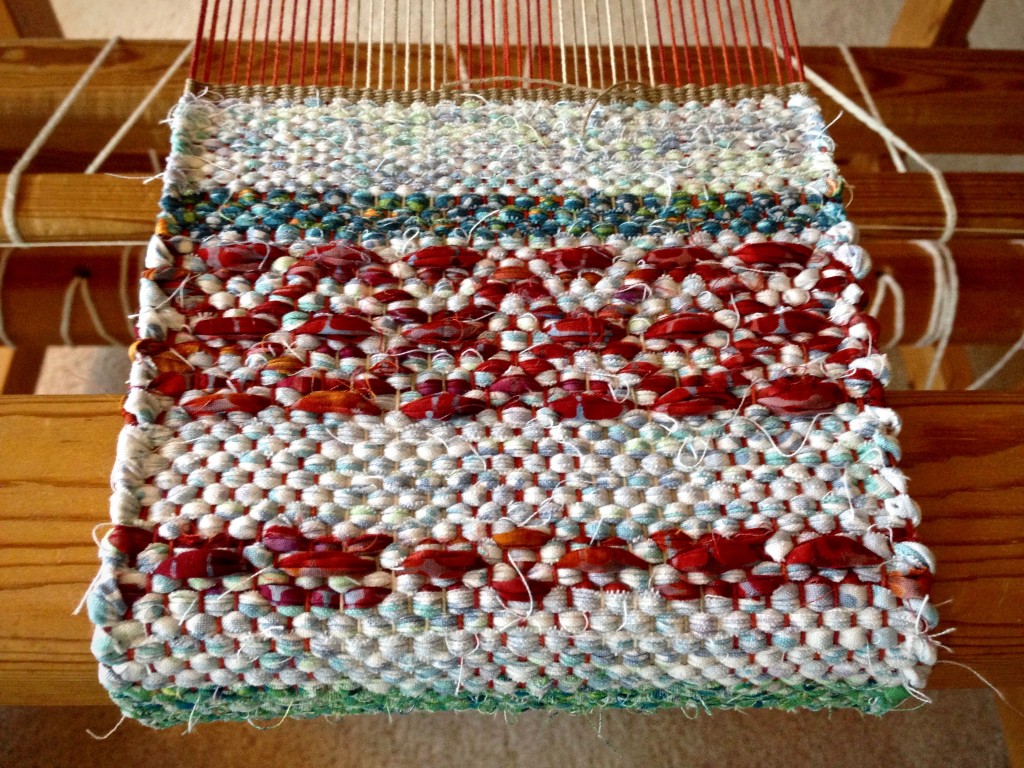
Mini rag rug on the loom with rosepath design.

I am cutting this first “rug” off. After finishing the ends and hemming the little rug, I will see if adjustments are needed before weaving the rest of the warp. It’s the details I’m interested in–sett, weft density, finished dimensions, selvedges, design, balance of color, size of hem. All of these assessments affect my plans for the remaining warp. I am excited about weaving more of these mini rugs! I smile to think of it.

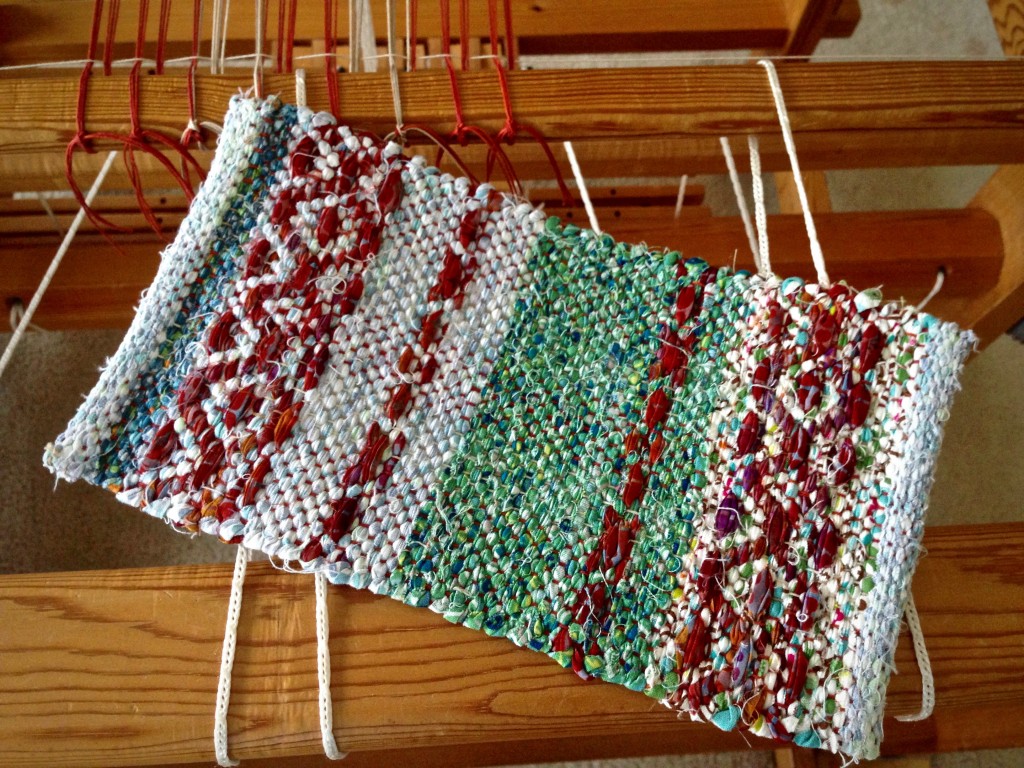
Small rosepath rag rug sample.
Warp is tied on and ready for weaving the next small rag rug.
Mini rosepath rag rug with favorite coffee mug. Karen Isenhower
Favorite artisan coffee mug is right at home on the cute little rug. Finished rag rug measures 6 x 10 1/2″ / 15 x 26.5cm.

The Lord is intricately involved in the lives of those who belong to Him. He delights in details that require His guidance. It is as if the Lord is holding my hand, especially when I need guidance to navigate life’s challenges. The Lord delights in helping us. After all, what He is making is much more exciting than anything found on our looms.

May you find delightful details in the work of your hands.

Happy weaving,
Karen

Quiet Friday: Halvdräll

Halvdräll is one of those Swedish weaves that takes your breath away. How can I describe the exquisite simplicity and stunning splendor of this fascinating cloth? With halvdräll, every moment at the loom is pure joy. I keep thinking, I get to weave this! And every weaver knows no comparison to the delight of pulling beautiful just-woven fabric off the cloth beam.

Enjoy the journey with me now as I reflect on the halvdräll fabric from beginning to end.

Choke tie serves as a counting thread as the cottolin warp is wound.
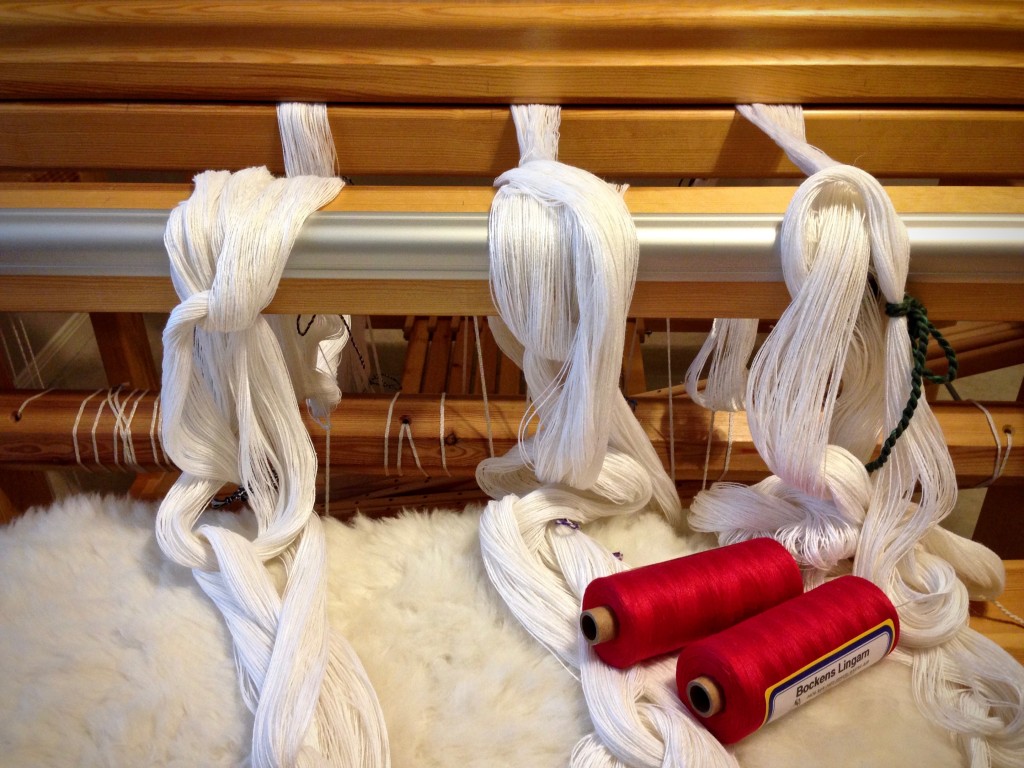
Red linen to be used as pattern weft on white cottolin warp.
Red linen is anticipating a starring role as pattern weft.
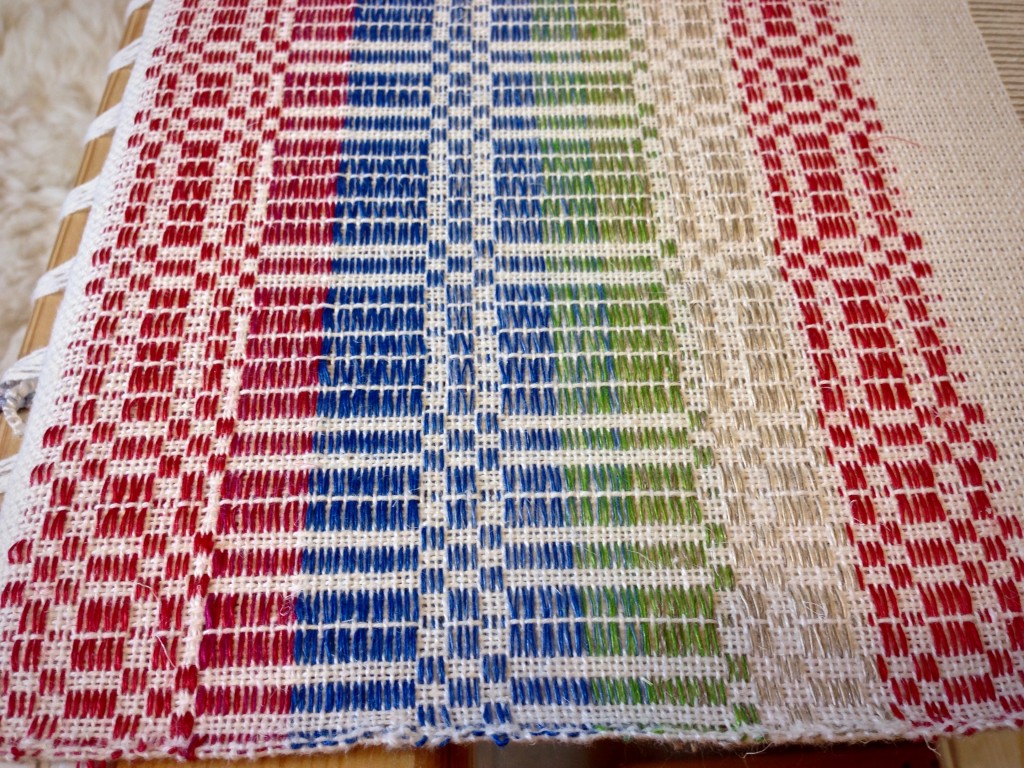
Sampling various linen color options for halvdräll table squares.
Sampling various color options for the pattern weft. Red may be one star among several.
Halvdräll table squares on the loom. Karen Isenhower
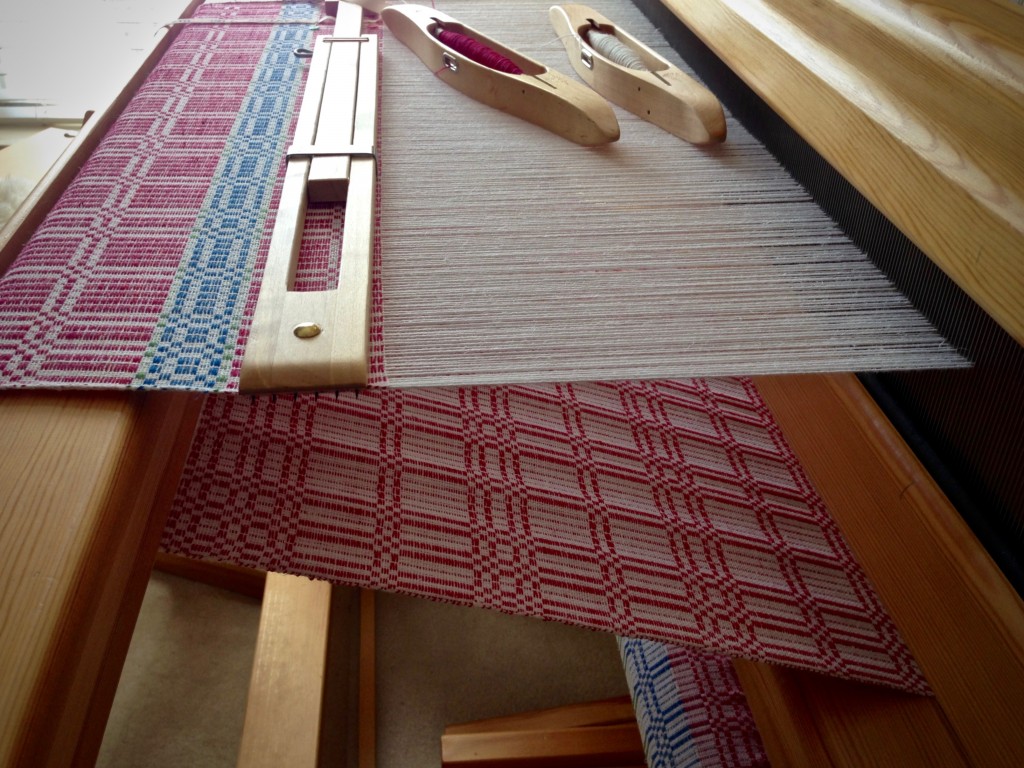
Second table square has blue and green for block I and red for block II. The back of the first table square, with all red pattern weft, is seen between the breast beam and the knee beam.
Halvdräll table squares on the loom. Elegant neutral tones.
Neutral tones with subtle elegance.
Weaving in the afternoon sunlight.
Light play dances on the colorful woven fabric.
Halvdräll table squares, with linen pattern weft, just off the loom!
Celebration time! When the cloth is cut from the loom the weaver is able to see a complete view of the woven fabric for the first time. Woo hoo!
Folding edge under for hemming. Handwoven table squares.
Wet finished and pressed. Ready for hemming.
How to do a blind hem. Very simple for handwovens.
Blind hem, with sewing needle and thread. Needle goes under one warp end, and is inserted through folded edge of hem for 1/4 inch. Continued stitching across the hem is virtually invisible when complete.
Label added.
Label added.
Hemmed, pressed, and ready to make a statement!
Hemmed, pressed, and ready to dress up a table.

Handwoven halvdräll table square. Karen Isenhower

May you find delight in your journey.

Happy Weaving,
Karen

Diminishing Shed

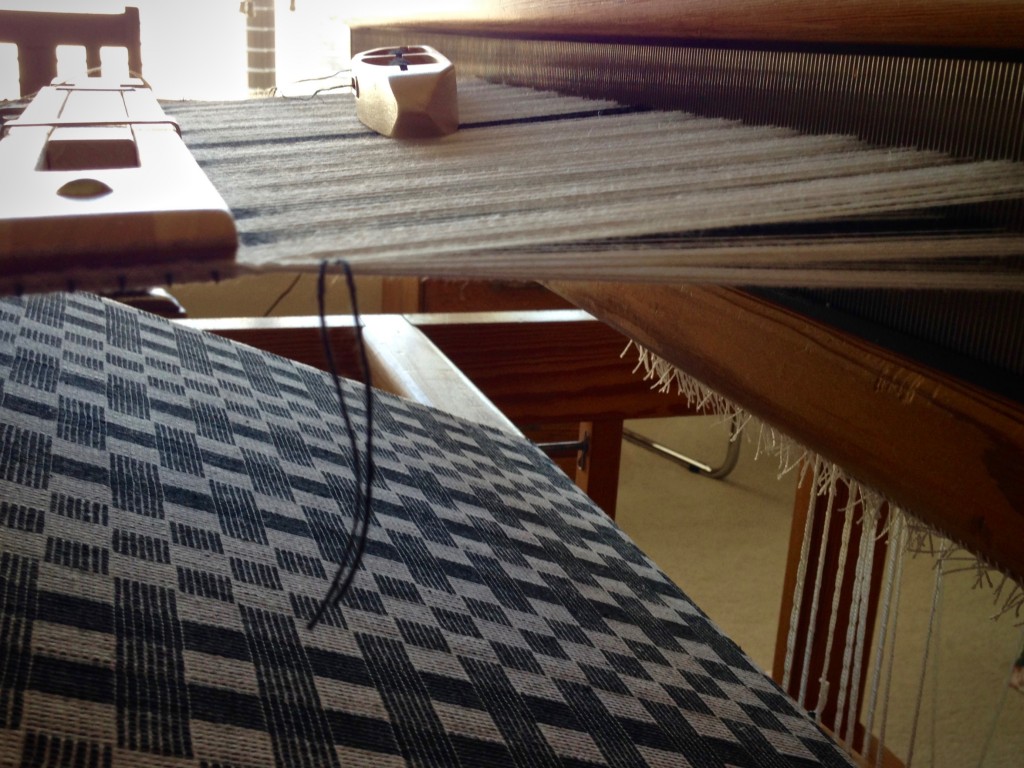
This table runner is the last item on the zebra warp; and I am pausing before I tackle the ending. I like how the woven checkerboard underneath shows when you look through the warp! With the end of the warp just ahead I am wondering, “How many more centimeters can I weave?” (Read about the Zebra Warp.)

Checkerboard above and beneath. Cottolin table runner on the loom.
Checkerboard above and beneath.
Finishing up black and white cottolin table runner.
I decided to weave the last item as a table runner instead of a handtowel after conferring with Instagram friends. (Join me on Instagram! @celloweaver)

There is a potential hazard at the end of the warp. I want the final border of this table runner to match the border at the beginning. If I start the border too soon, good warp goes to waste, unwoven at the end. But if I start the border too late, I may have trouble finishing it. The shed height begins to diminish as the warp nears the end, until the shed finally becomes too short for a regular boat shuttle to pass through. (I have been known to gingerly “squeeze” and jiggle the shuttle through for the last few picks.)

Diminishing shed at the end of the warp. Cottolin table runner at the hem.
Starting the final hem. Barely enough height in the shed for the double-bobbin shuttle. The three centimeters I need for the hem seems like a long way to go at this point.
Ten towels and a table runner! Karen Isenhower
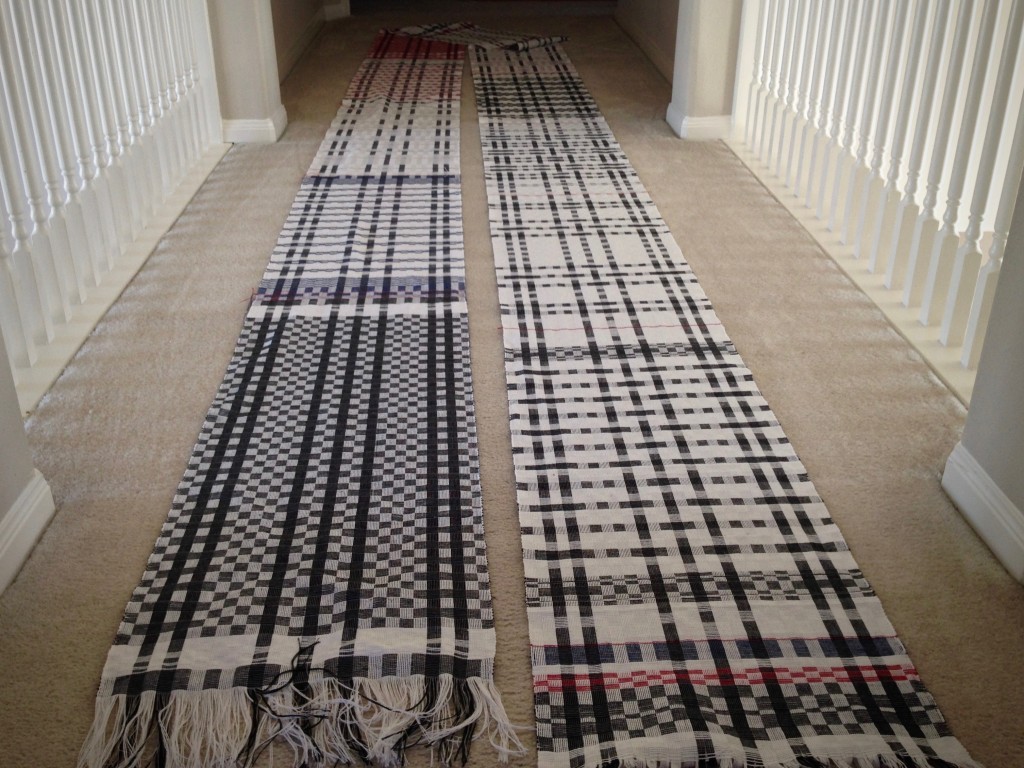
Woven all the way! Ten towels and a table runner!

Long before I start weaving the border, I am committed to finish, no matter how tight a shed I face at the end. I made that decision when I dressed the loom with this zebra warp way back when. Following Jesus is like that. It’s more than tagging along. It’s total commitment all the way to the end.

May you see where you’ve been as you look ahead.

Happy weaving,
Karen