Tools Day: Loom Lighting

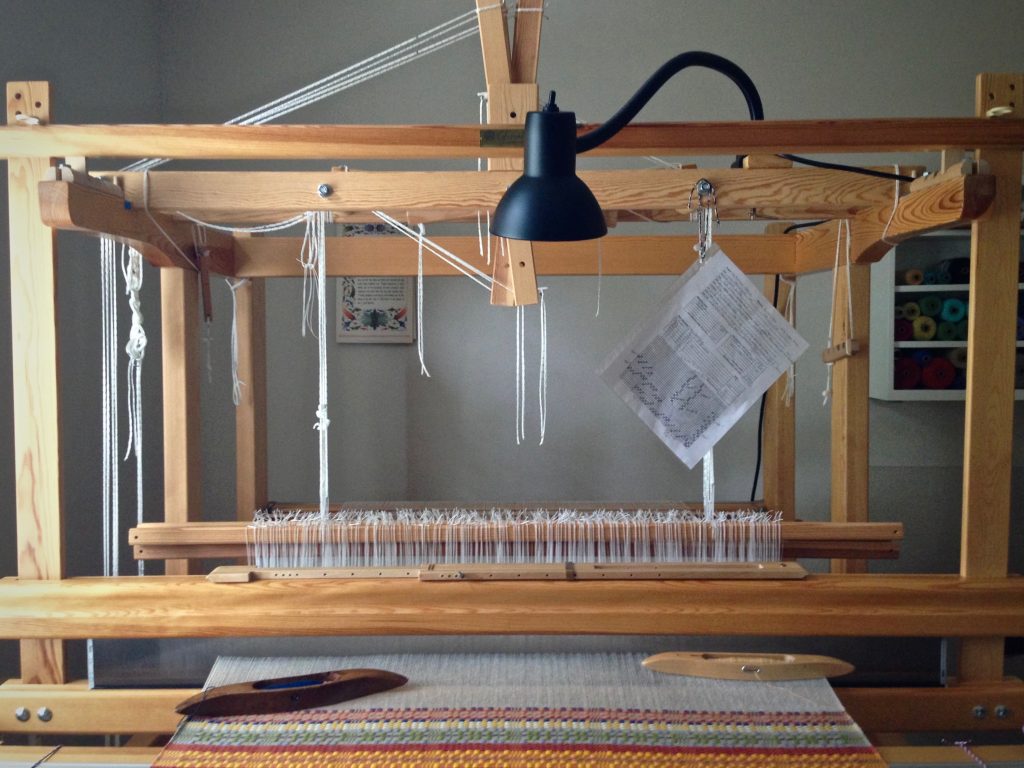
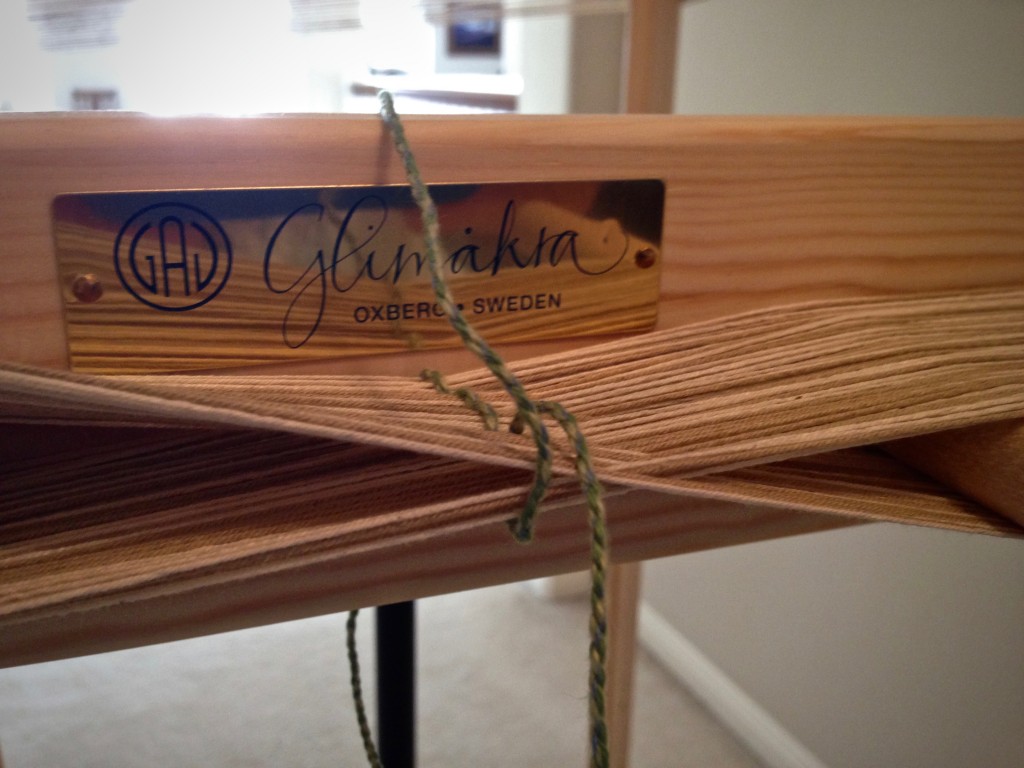
Let there be light! I now have exceptional lighting at my weaving looms. Steve installed a snake arm lamp on both of my Glimåkra looms. This wonderful illumination gives me greatly improved visibility, especially when working with fine threads. These lamps meet my lighting needs much better than the floor lamps I had been using. Good riddance, floor lamps!

Supplies

  • Snake arm shop light with clamp (mine are Rockler 24″ Snake Arm Shop Lights)
  • Light bulb, preferably close to natural light
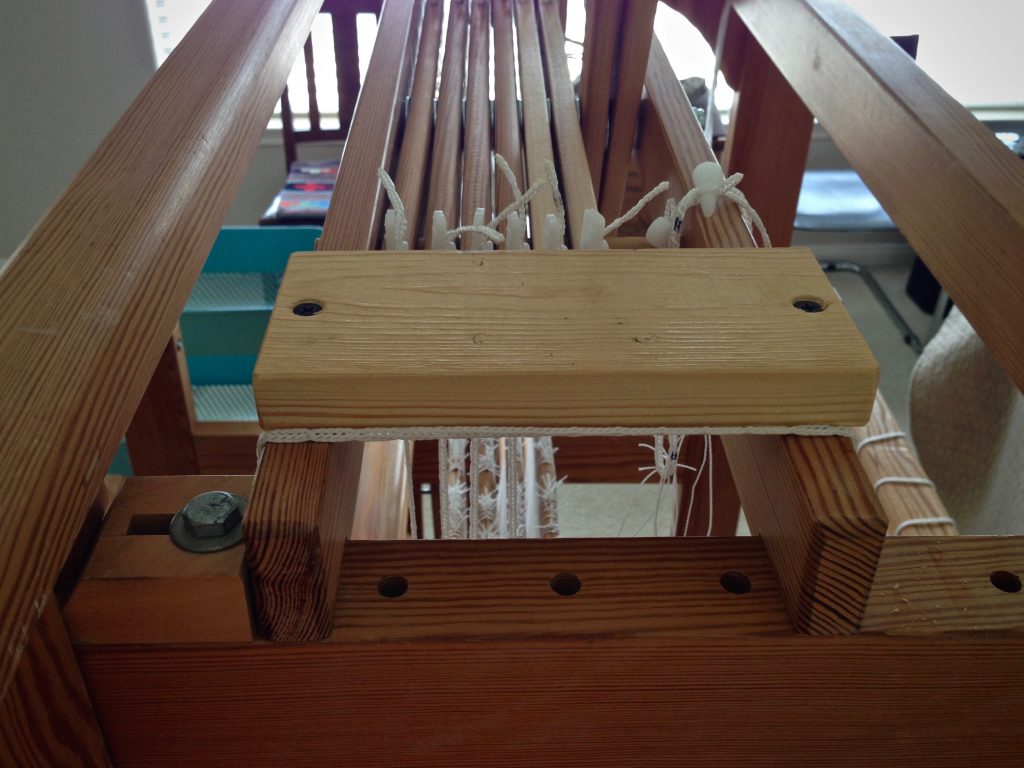
  • Wood block, sized to fit on loom (mine is installed on the countermarch frame; 8 1/2″ x 2 3/4″ x 3/4″ for the Glimåkra Standard 8-shaft loom; 6 1/2″ x 2 3/4″ x 3/4″ for the Glimåkra Ideal 6-shaft loom)
  • Electric drill and pilot bit
  • 2 drywall screws
  • Short three-prong extension cord

Steps

  • Prepare wood block by drilling screw holes (screw threads slip through the holes without biting)
  • Position prepared wood block on loom, mark loom for screw placement
  • Drill pilot holes
  • Screw wood block in place
Mounting on Glimakra Ideal loom for a loom lamp.
Block of wood is screwed into place on the Glimåkra Ideal loom countermarch frame for mounting the loom lamp.


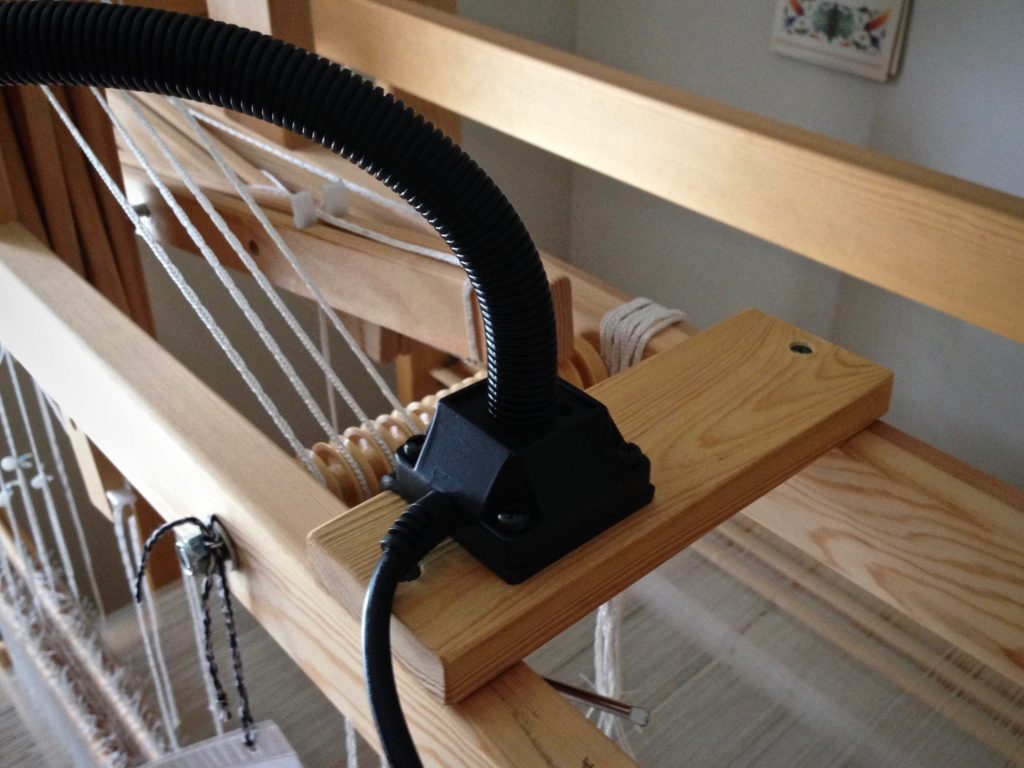
  • Position lamp and clamp into place
Mounting a loom lamp on the Glimakra Standard loom.
Lamp is positioned on the mounting that is attached to the Glimåkra Standard countermarch frame.
Snake arm loom light gives flexibility in directing light where it's needed.
Snake arm gives flexibility for directing the light onto the weaving surface, or over the area of work; e.g., threading, sleying the reed, etc.
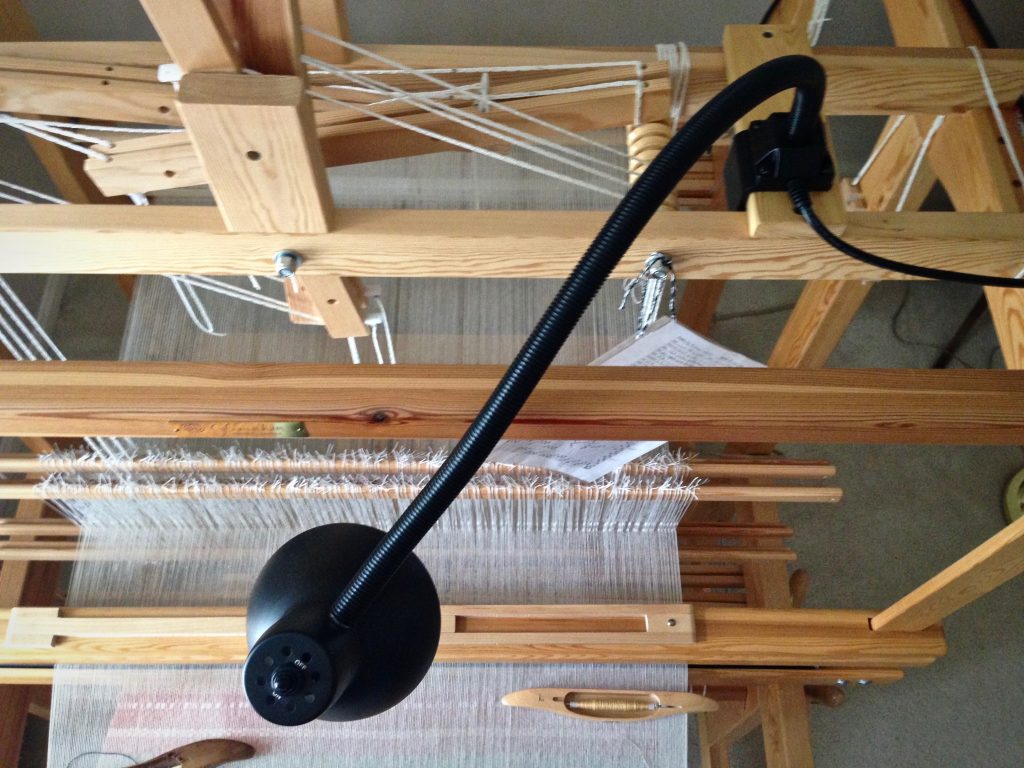
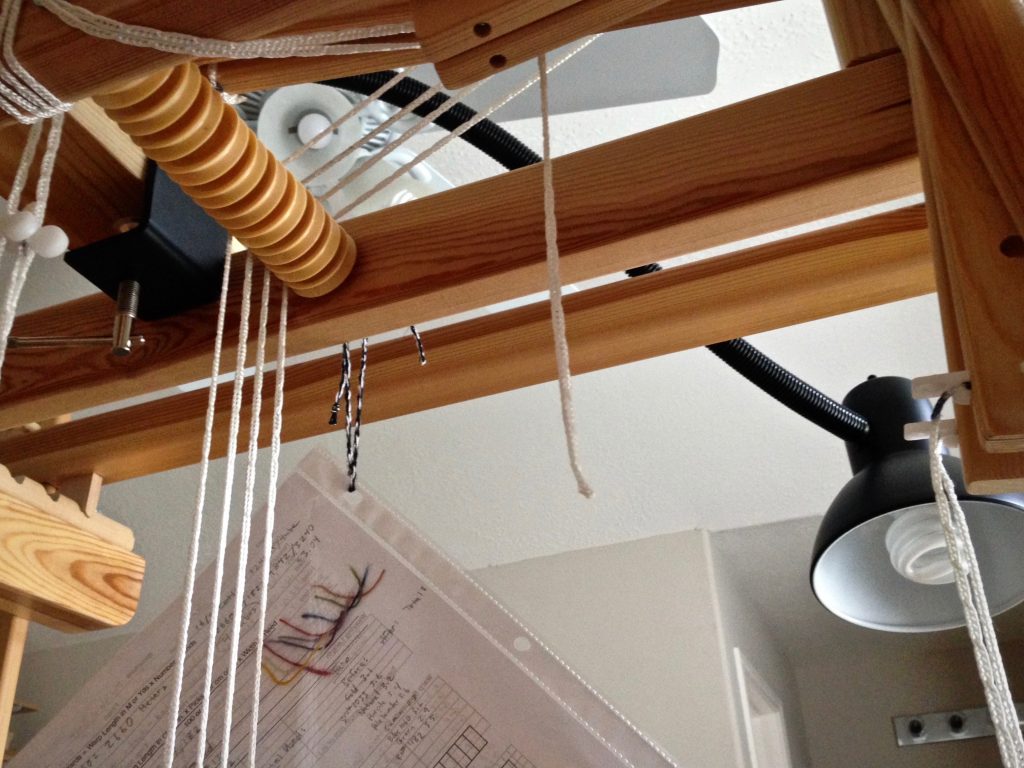
Loom lamp is clamped onto a mounting on the countermarch frame.
Lamp is clamped onto the mounting. Project notes hang for easy referral while weaving. The back of the sheet shows yarn snippets used in the project.


  • Plug lamp cord into extension cord; plug extension cord into outlet
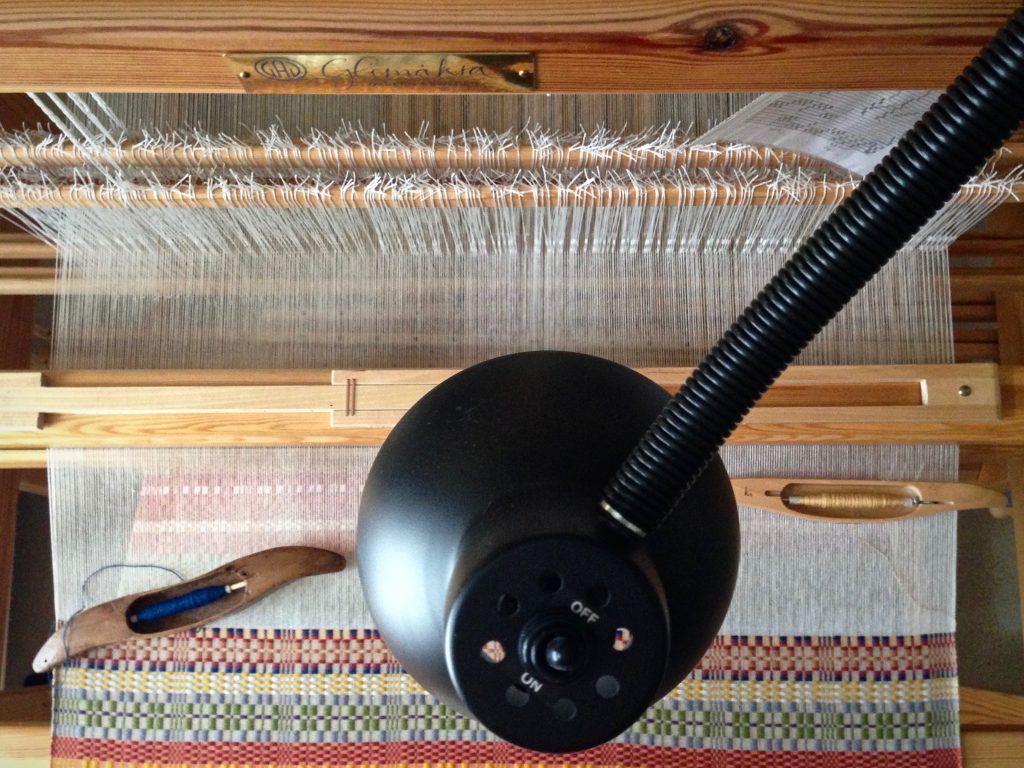
Loom light shines on monksbelt weaving.
Simple on/off switch controls the lamp. Monksbelt picks are easier to count with the new loom light turned on.


  • Illuminate!
Monksbelt on the Glimakra Standard loom. Well lit.
Lamp cord runs along the frame of the loom and down to the floor, where an extension cord continues to a wall outlet.


May the work of your hands be illuminated.

Wishing you the best,
Karen

Skinny Inkle Band

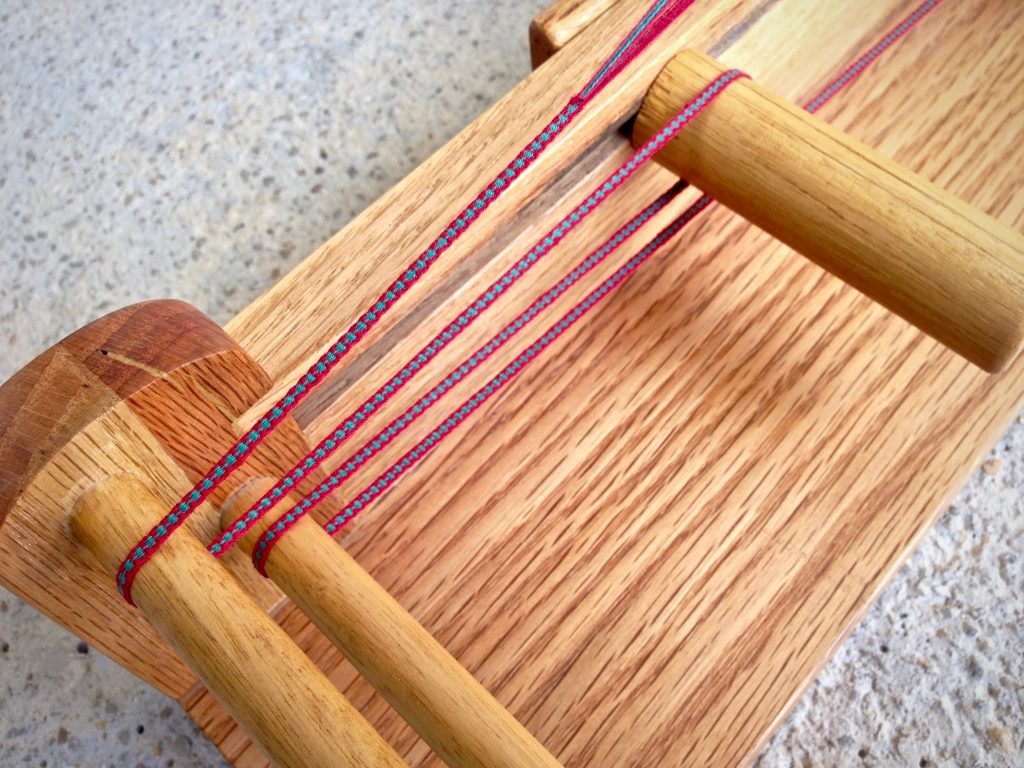
This is the narrowest inkle band I have ever made! With thirteen ends of fine 16/2 cotton, I get a very skinny ribbon. I brought my inkle loom with me to the Texas Woodcarvers Guild Spring Round-Up. This gives me something to do at the “Conversation Table” while Steve attends wood carving classes. Some ladies have their crochet, some have their knitting, and I have my inkle.

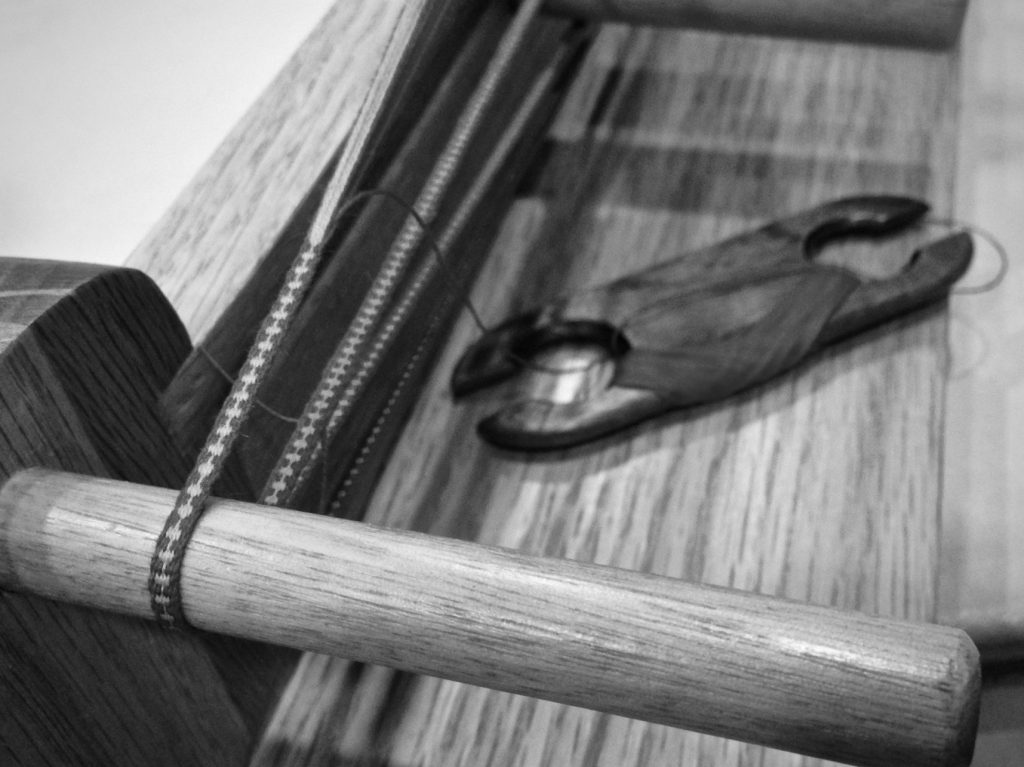
Skinny inkle band.
Inkle shuttle holds fine 16/2 cotton weft.
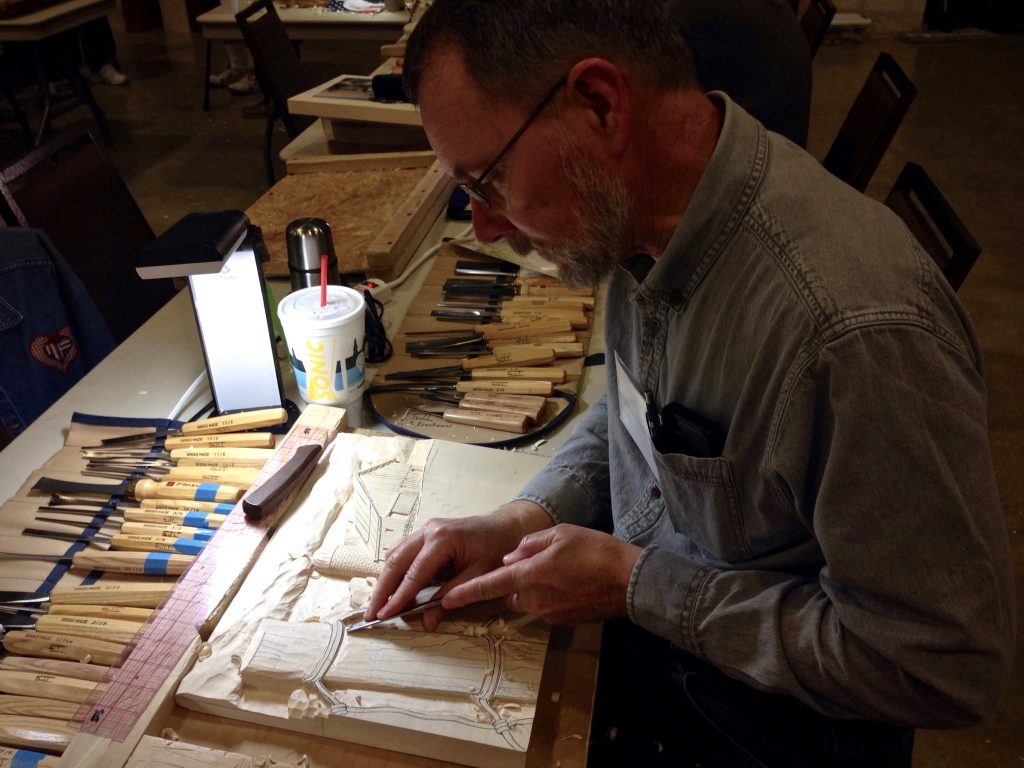
Farm scene relief carving.
Steve making progress with his farm scene relief carving.

The inkle loom is a conversation piece, to be sure. Inquiring people stop to look and ask questions. Many think it looks complicated. “It’s a lot simpler than carving a piece of wood,” I say with a smile.

Skinny inkle band, woven with 16/2 cotton.
Warp is close to the maximum length possible for this inkle loom. Off the loom, the band measures about 2 1/2 yards (2.25 meters).
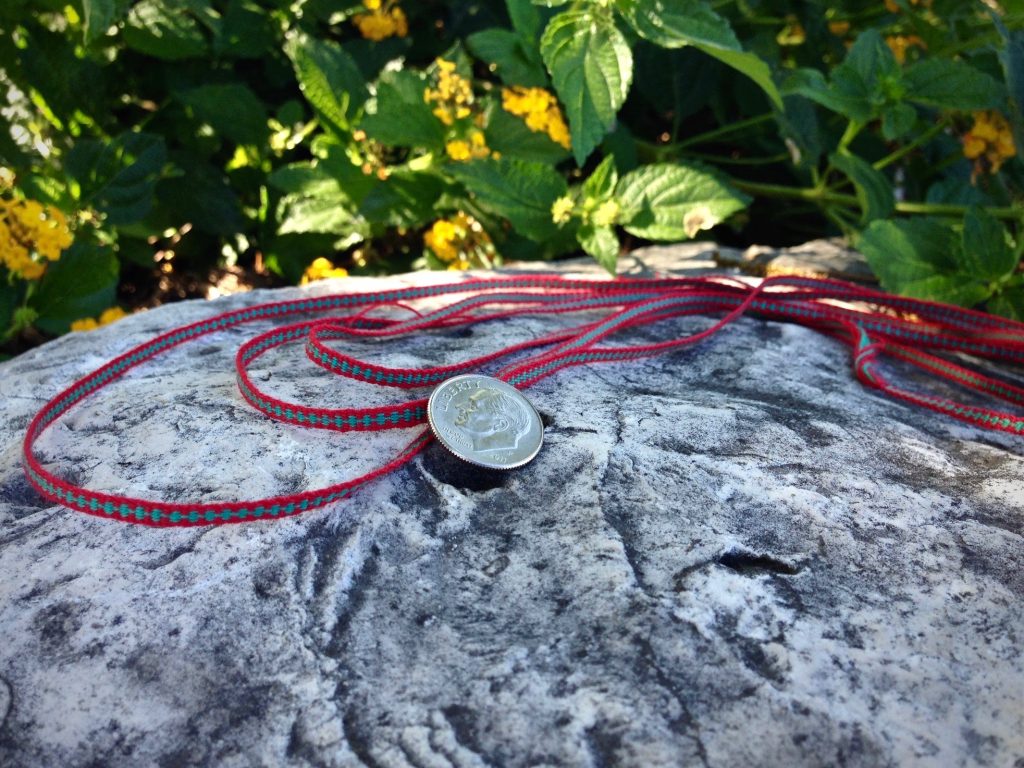
Dime shows scale of narrow inkle band.
Finished skinny inkle band, with a dime for scale.

Seek the Lord; seek His strength. Walk in the Lord’s strength. When this is your habit, your continual mindset, life’s struggles seem less complicated. Down shedshuttle – up shed – shuttle. Repeat. Keep going to the end. 

May you have the strength you need. 

Truly Yours,
Karen

Quiet Friday: Rya Rag Rug

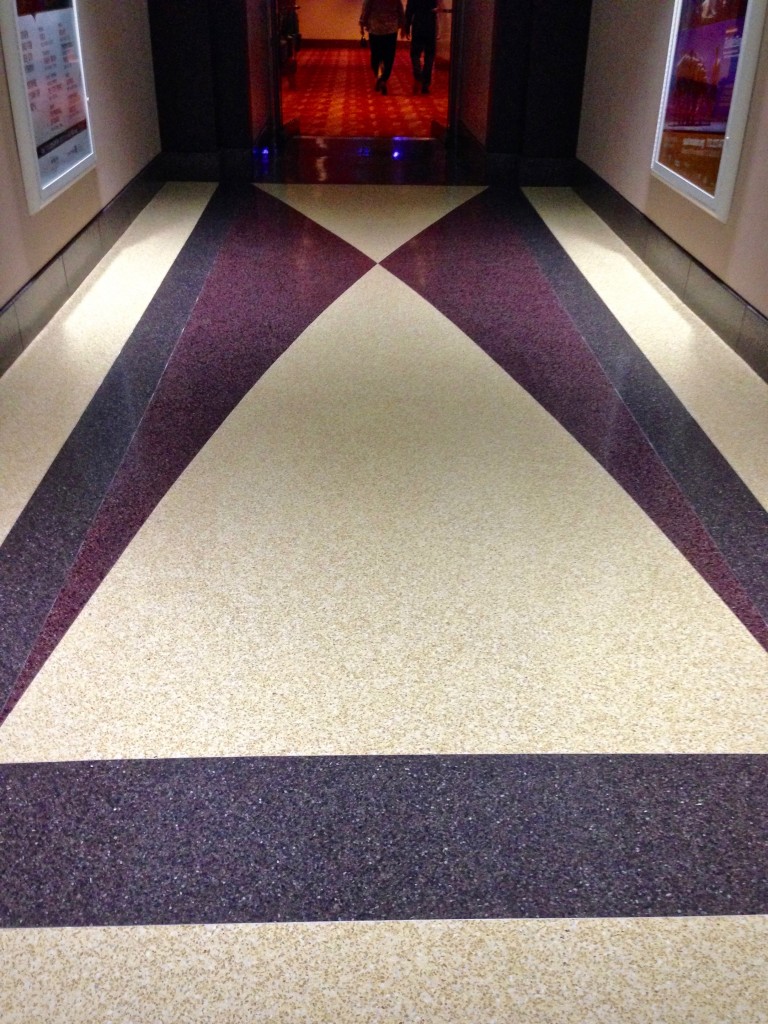
I wasn’t happy with a simple “X” for the design area, but I struggled to come up with something better for this rug. And then, Steve and I went to the symphony. There, on the floor, in the long hallway, was the inspiration I needed for the pattern design on this rug!

Design inspiration for a rug.
Design inspiration is found on the floor on the way to the symphony.

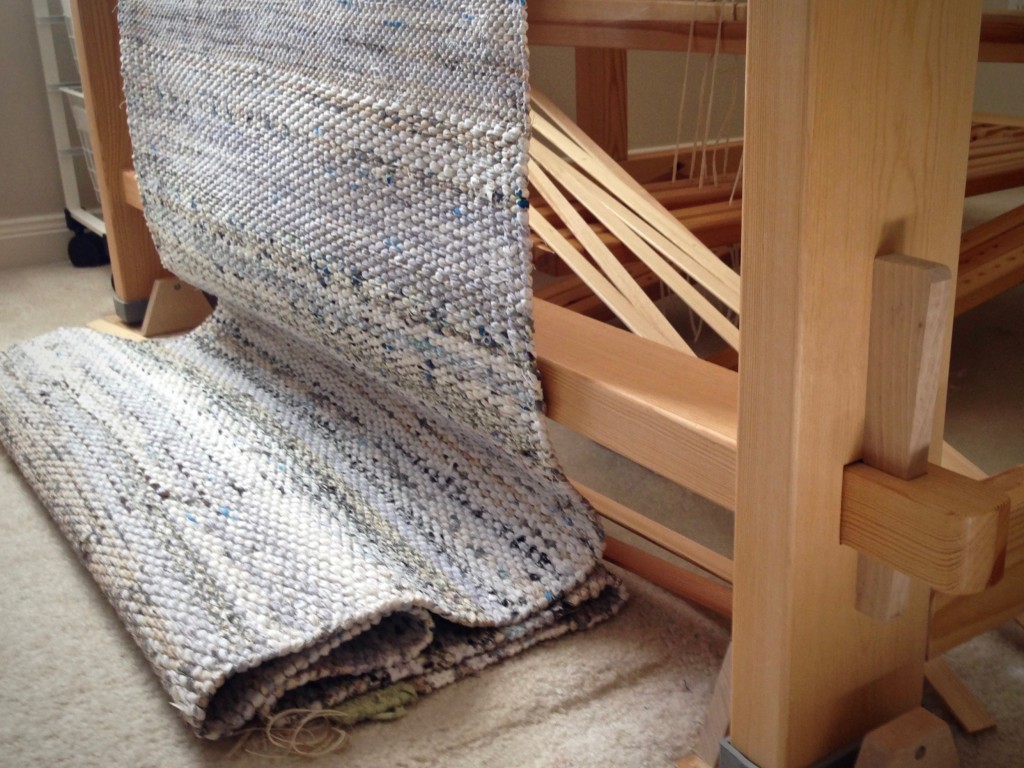
Despite all that went wrong from the start, and how many things I had to undo and do over, I must tell you that I really did enjoy weaving this rug. The rya knots and loops made it fun and interesting. And this unique fluffy rug will always remind me of that sweet symphony date with my honey, when he patiently waited as I pulled out my iPhone to snap a few shots of the floor. Now that’s love.

Counting warp ends on the warping reel.
Dressing the loom starts with pre-sleying the reed.
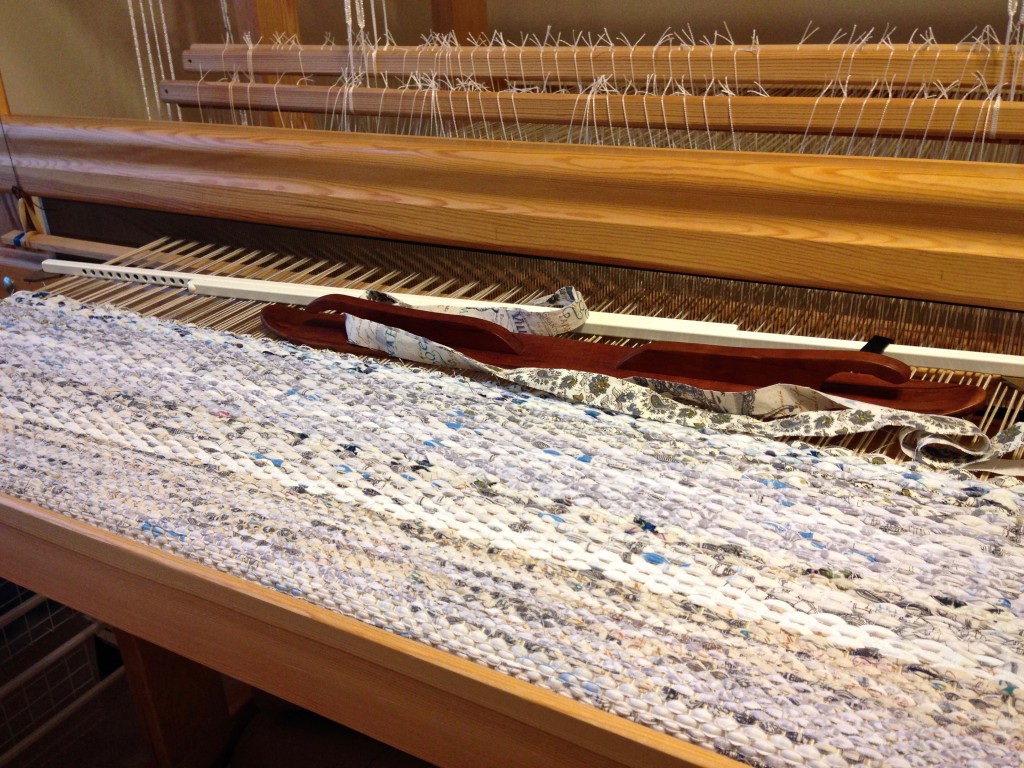
Ski shuttle and temple for making large rag rug.
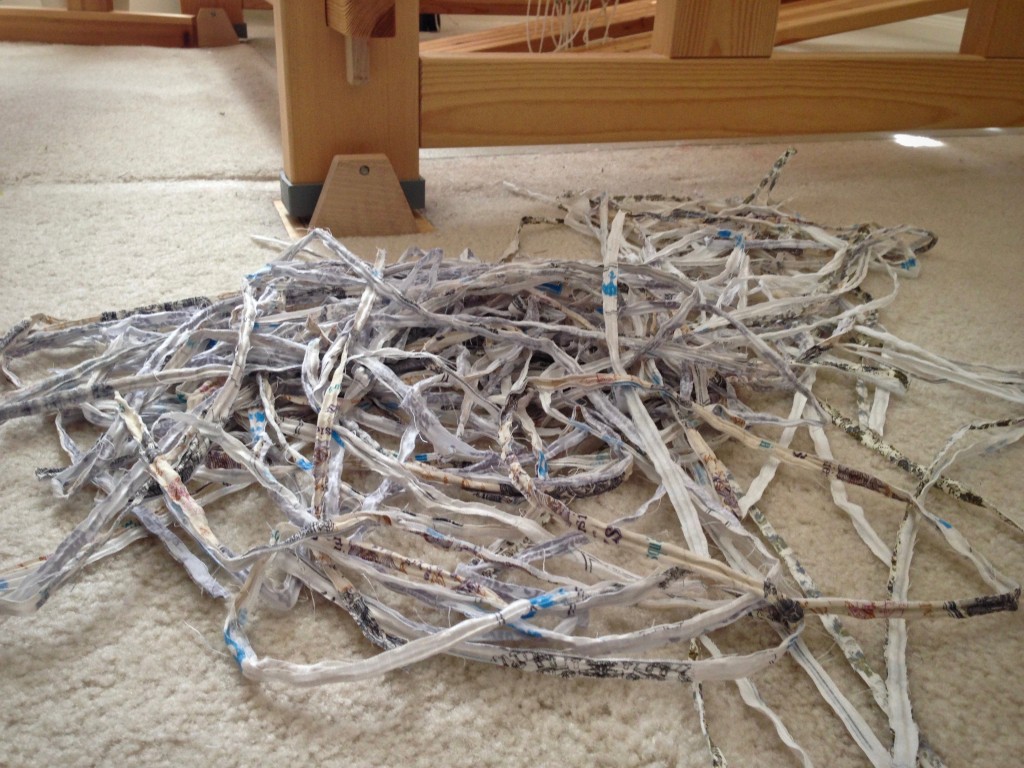
Ski shuttle holds doubled weft–fabric cut into 3/4″-wide strips.
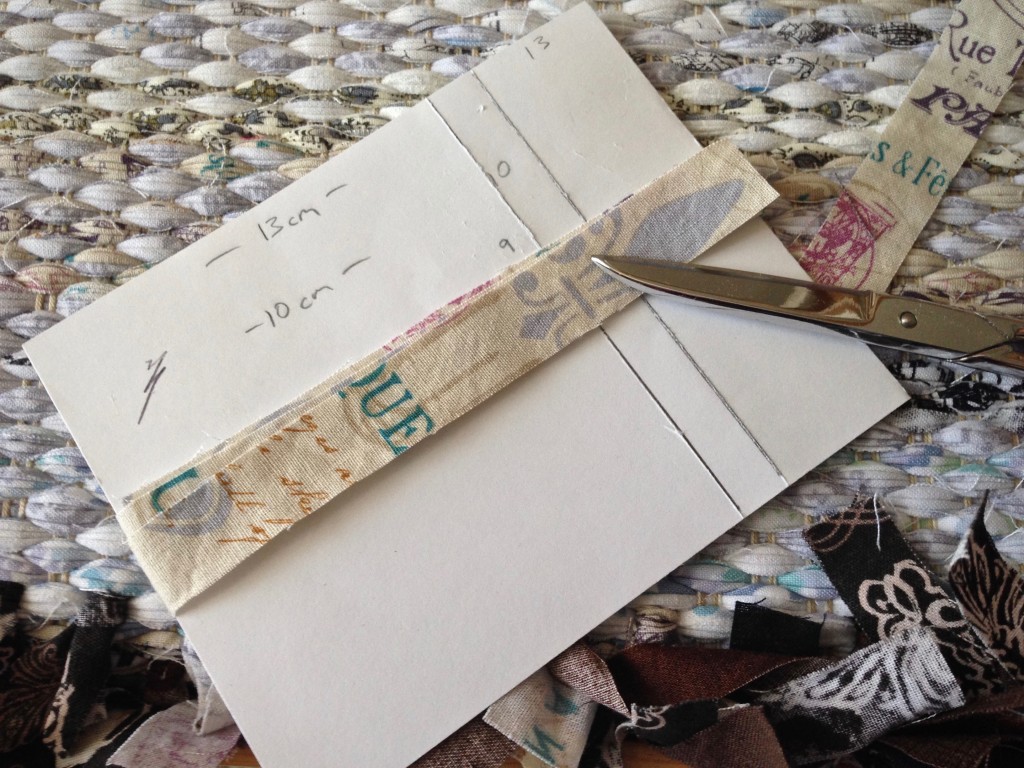
Cutting fabric strips for rya knots.
Three different lengths of fabric strips are used for making the rya knots.
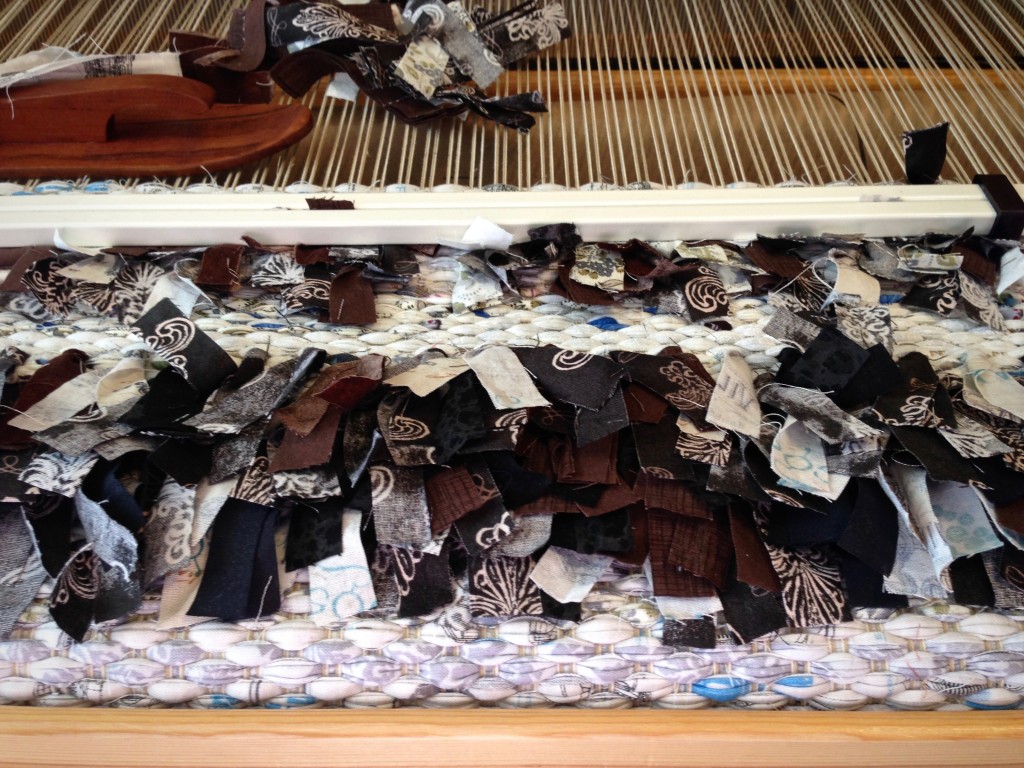
Placing rya knots in large rag rug.
Adding more rya knots.
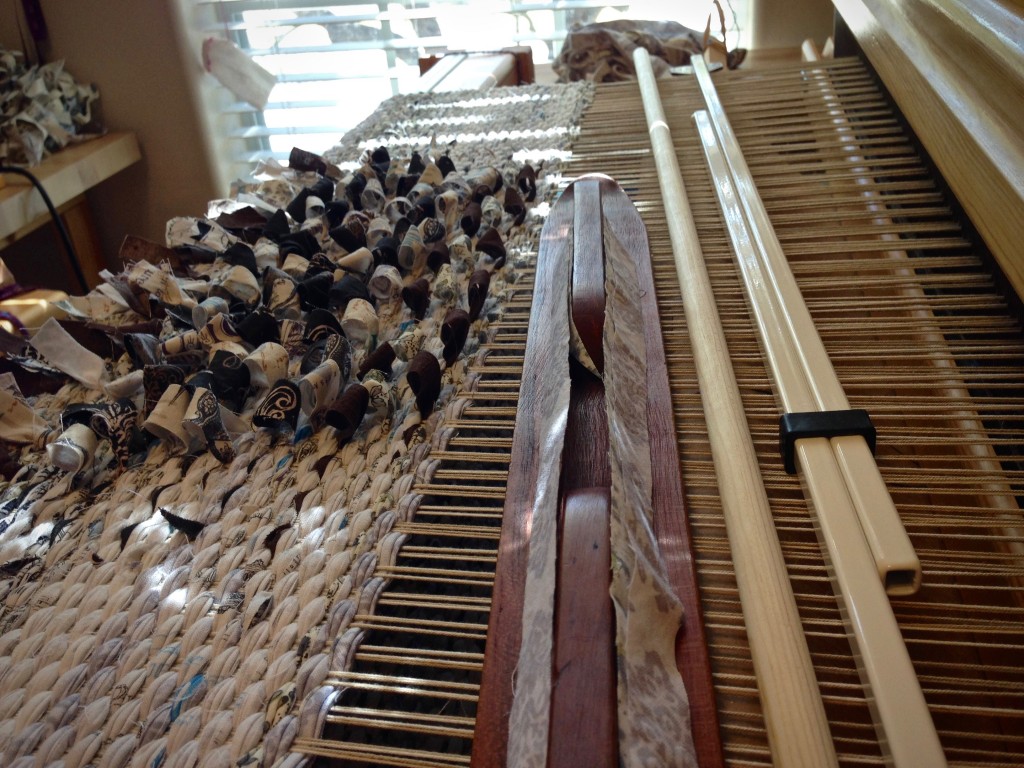
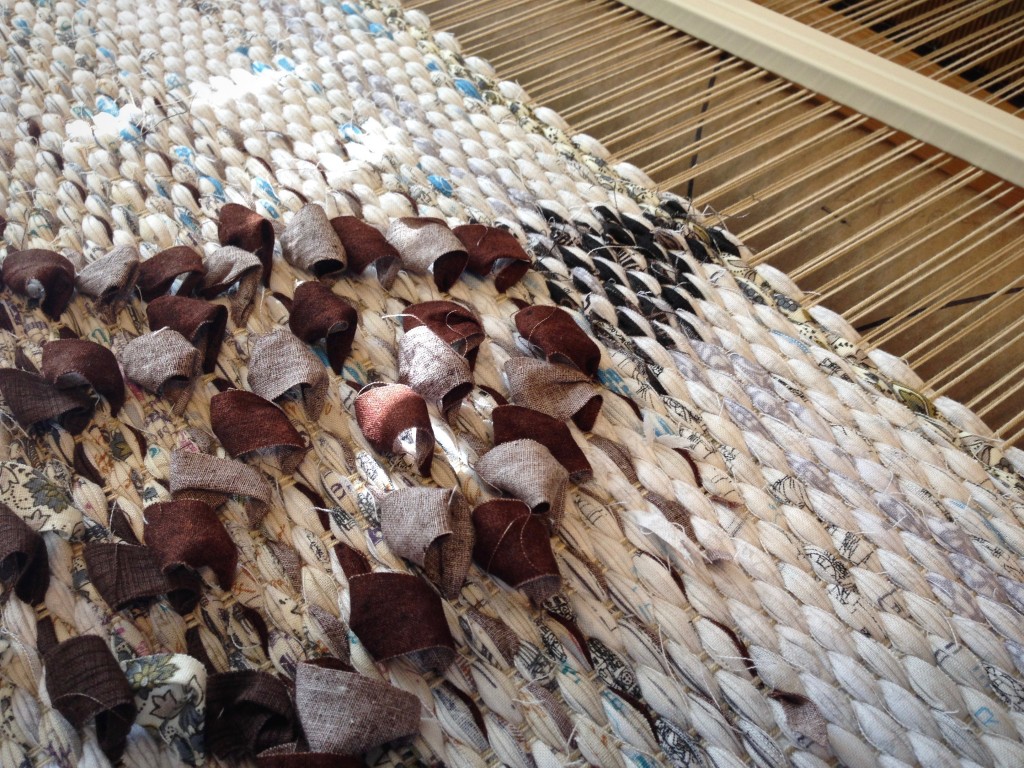
Large rag rug with rya knots and loops.
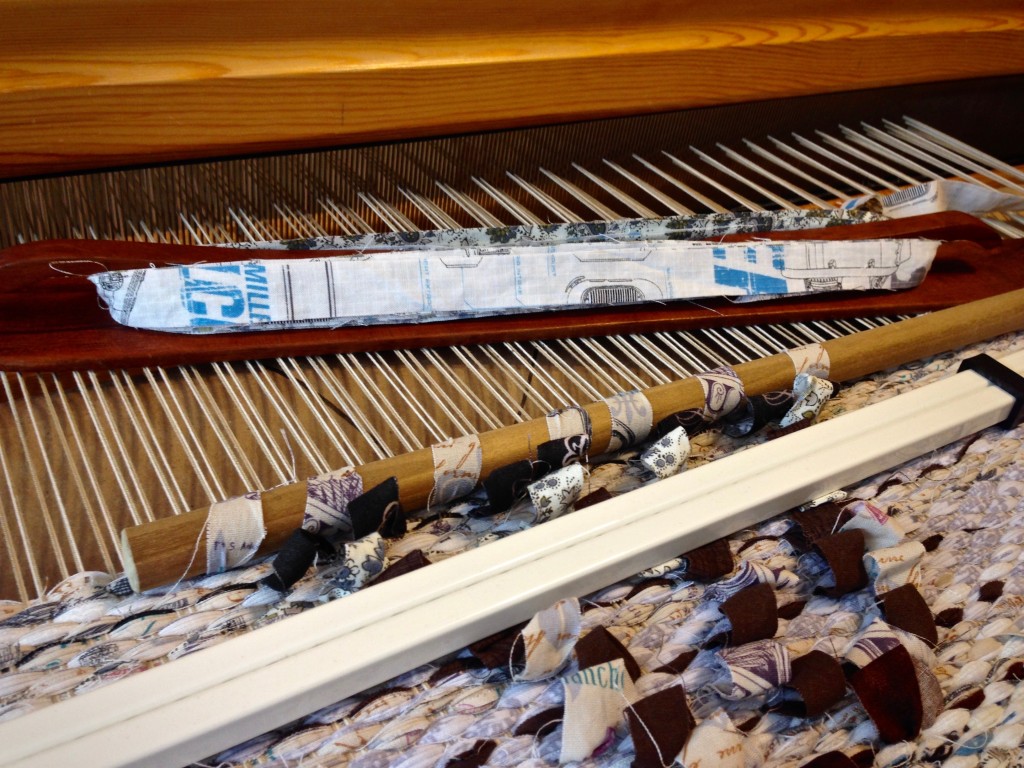
Loops are made with the help of a wooden dowel.
Rag rug with inlay, using a brown paper cartoon under the warp.
Brown paper cartoon under the warp has the outline for the pattern. Lines on the cartoon, showing where to change the inlay technique, are inked onto the warp as a guide.
Making loops on a rag rug. Fun!
Making loops.
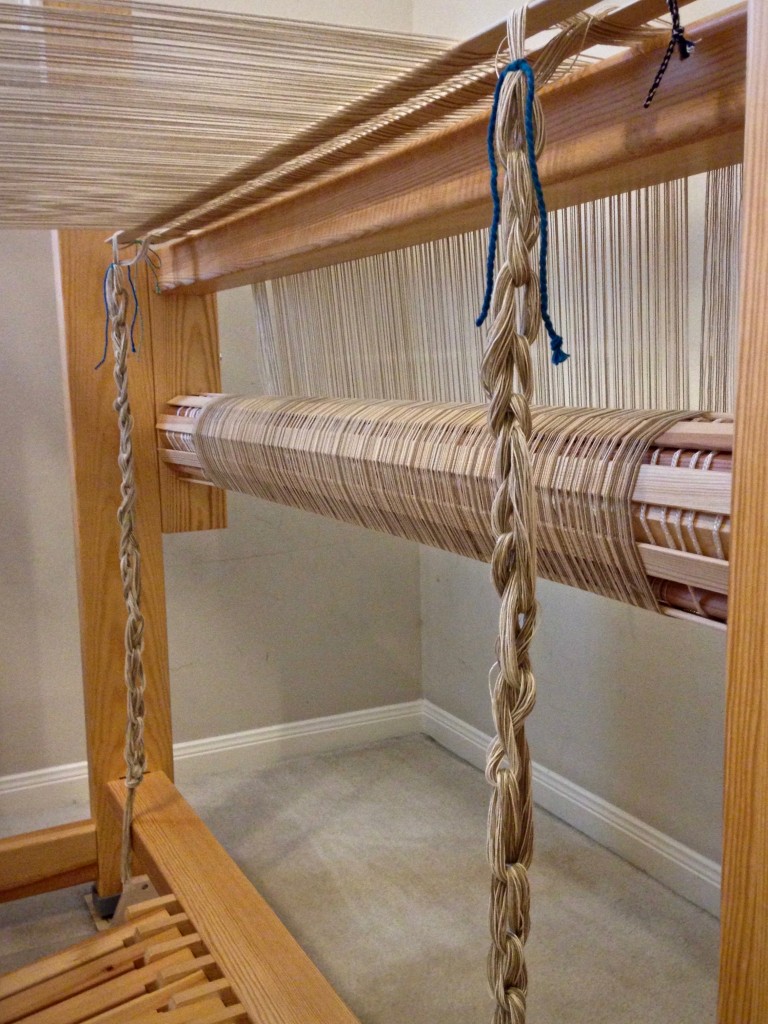
Extra warp width after re-sleying the reed.
After weaving a sample at the very beginning, I re-sleyed the reed, spreading the warp ends further apart. Excess warp ends, because of the increased width, are chained on both sides. Future band loom warps?
Another do-over.
Don’t ask. Almost finished weaving, and another do-over happened.
Cutting off!! Time to celebrate!!
Cutting off! Time to celebrate!!
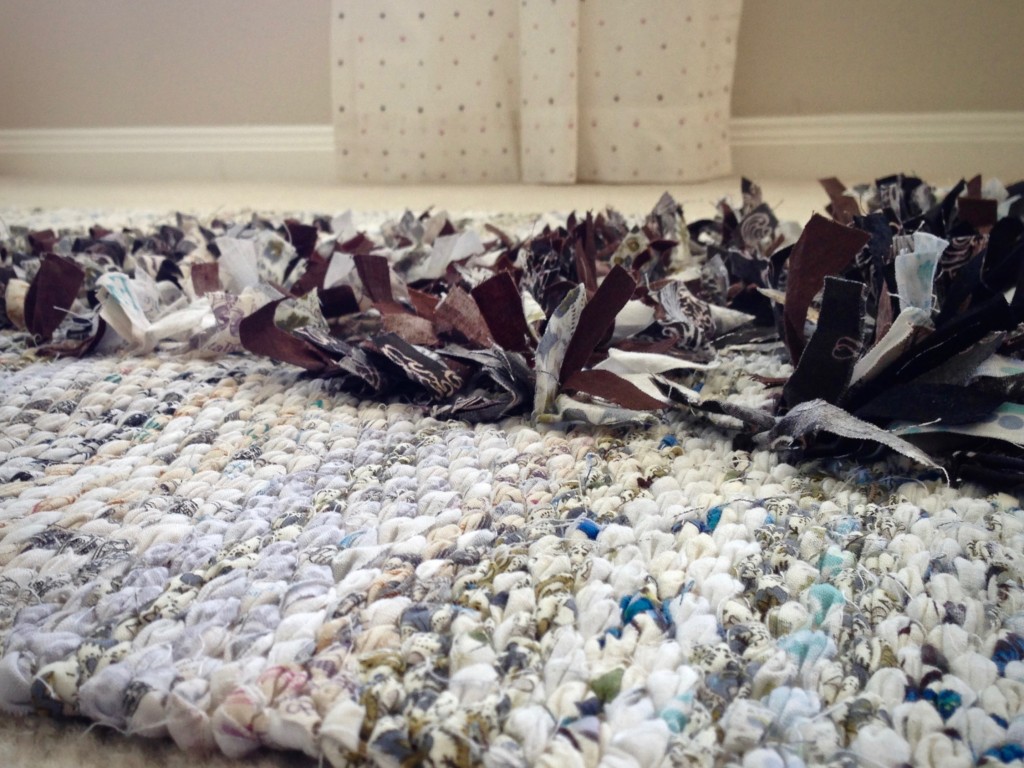
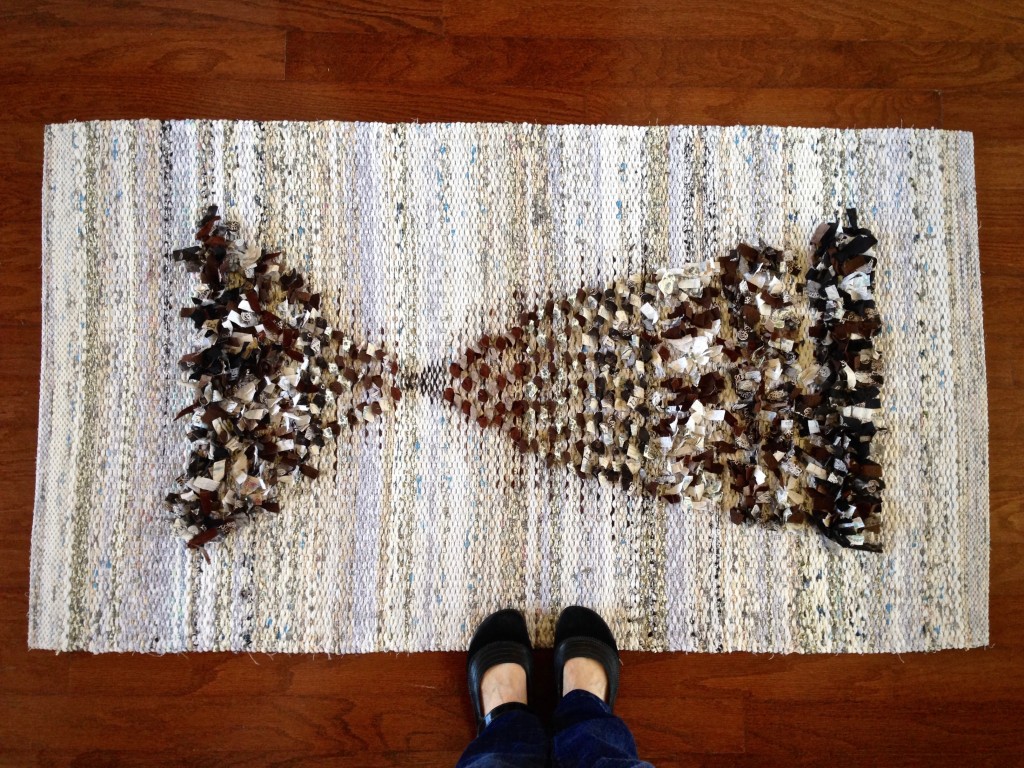
Handwoven rag rug with rya knots and loops.
Sculpted inlay appearance is achieved by graduated lengths of the rya strips and heights of the loops.

Rag rug with rya and loops. Karen Isenhower

May your design inspiration come from unanticipated places.

Love,
Karen

Tools Day: Teeny Tiny Temple

What if you start weaving a project and realize your smallest temple is too big? And that your smallest temple is the smallest one they make. I am aware that most people do not use a temple for something this narrow, 16.7 cm/6.5 in. width in the reed, but this is a rag rug. A miniature rosepath rag rug. And draw-in is inevitable, which leads to weaving headaches like broken selvedge warp ends. A temple helps prevent all that.

Smallest temple is too big. How I solved this dilemma.
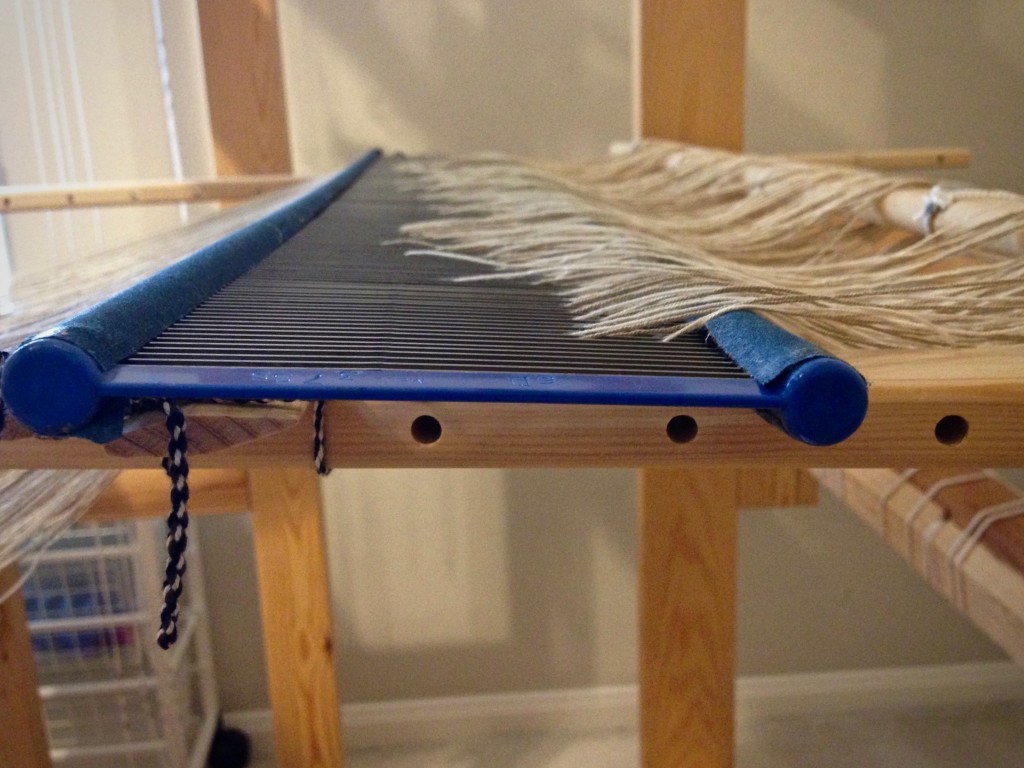
Smallest Glimåkra temple is two inches wider than my weaving width.

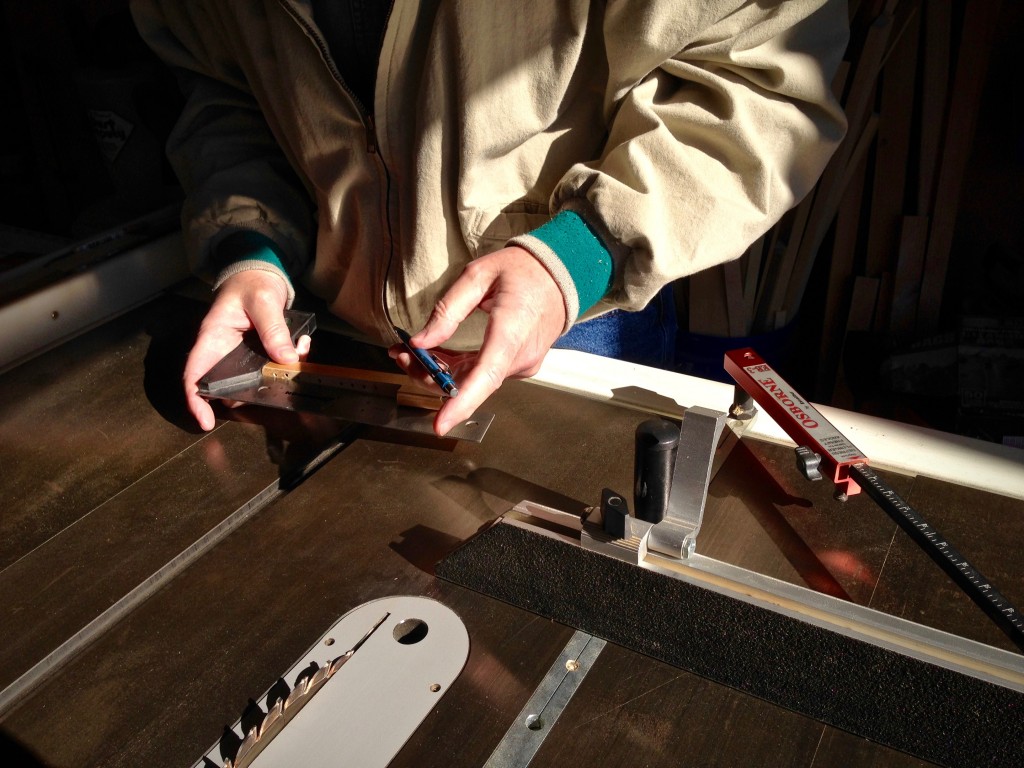
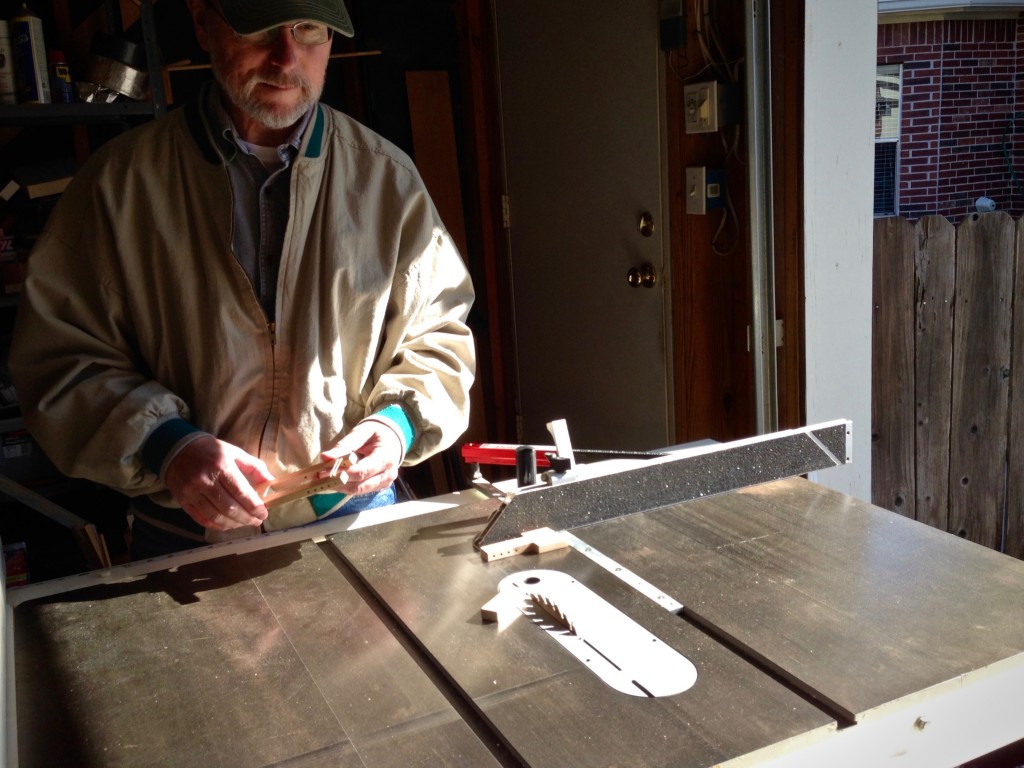
I have seen makeshift temples that I could try, but my genius husband has a better idea. Why not cut down my little temple to the size I need? So he takes the tiny temple out to his workshop in the garage and turns it into a teeny tiny temple! (He does this knowing full well that I will need to replace the temple being cut.)

Cutting a temple down to make a teeny tiny temple.
Measure twice; cut once. Steve marks his cutting lines on the original temple parts.
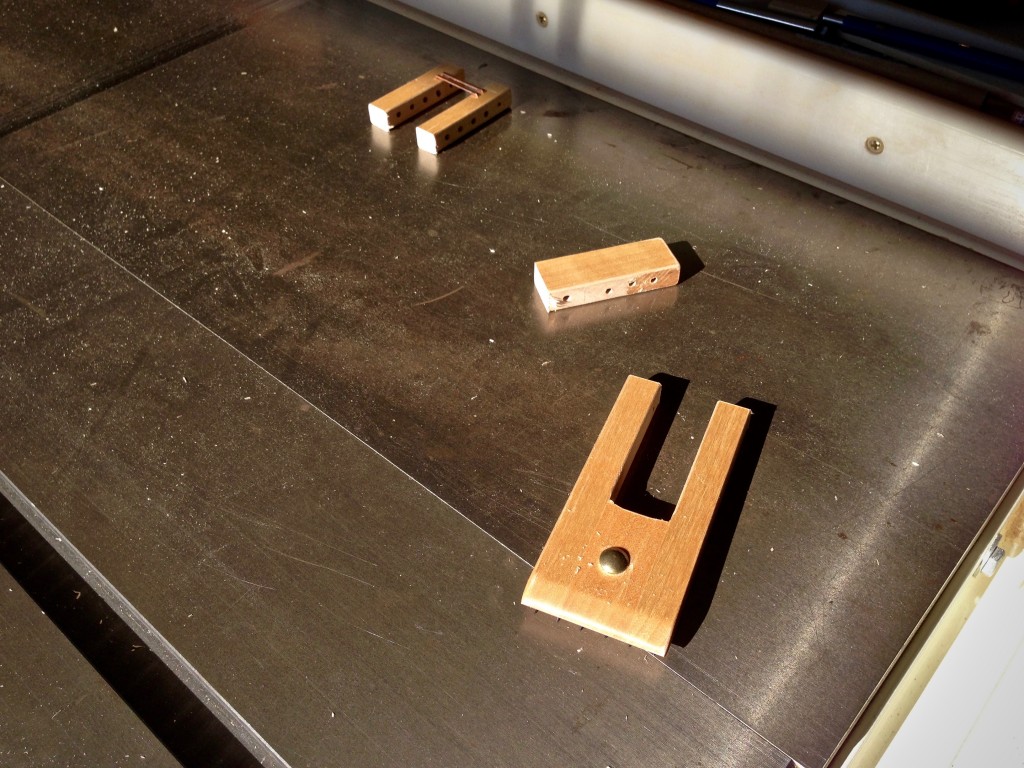
Small temple is cut down to teeny tiny size.
Happy with the first cut, Steve is now ready to let the second piece meet the saw blade.
Small temple is cut down to teeny tiny size. It works!
Once cut apart, we wonder if a temple this tiny will work? Will there be enough length for the pieces to pivot as needed? There’s one way to find out…

Perfect! It works! And holes for the locking pin line up, too!

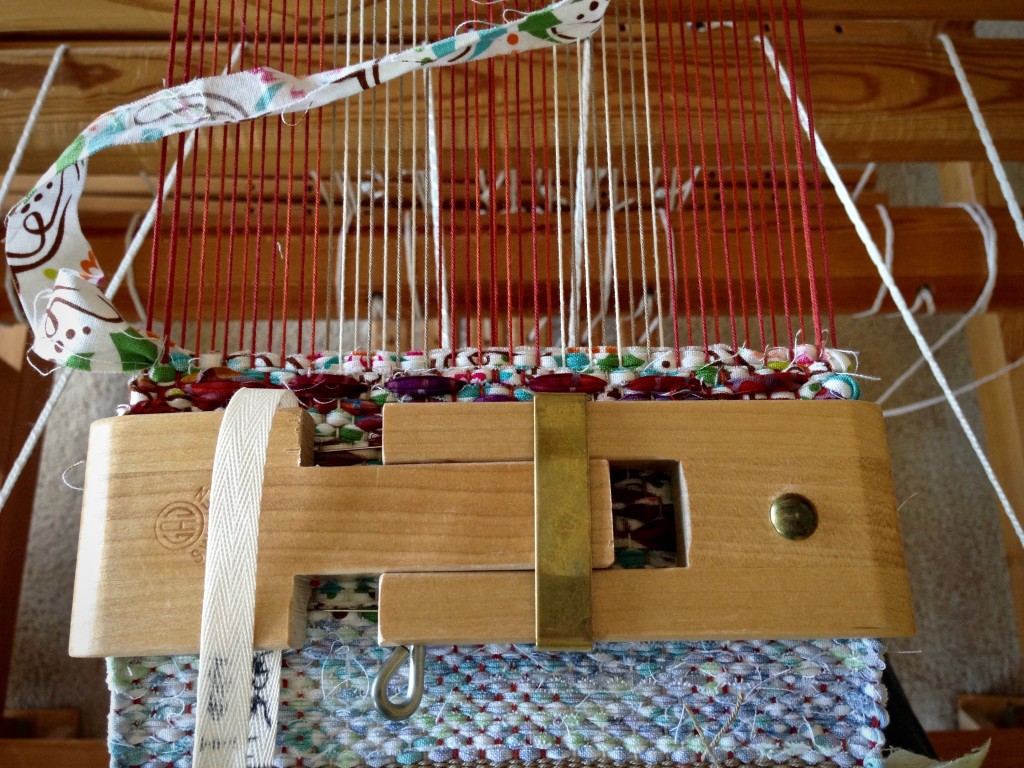
Teeny tiny temple in place on miniature rag rug. (6 1/2")
Teeny tiny temple does its job. Yay!
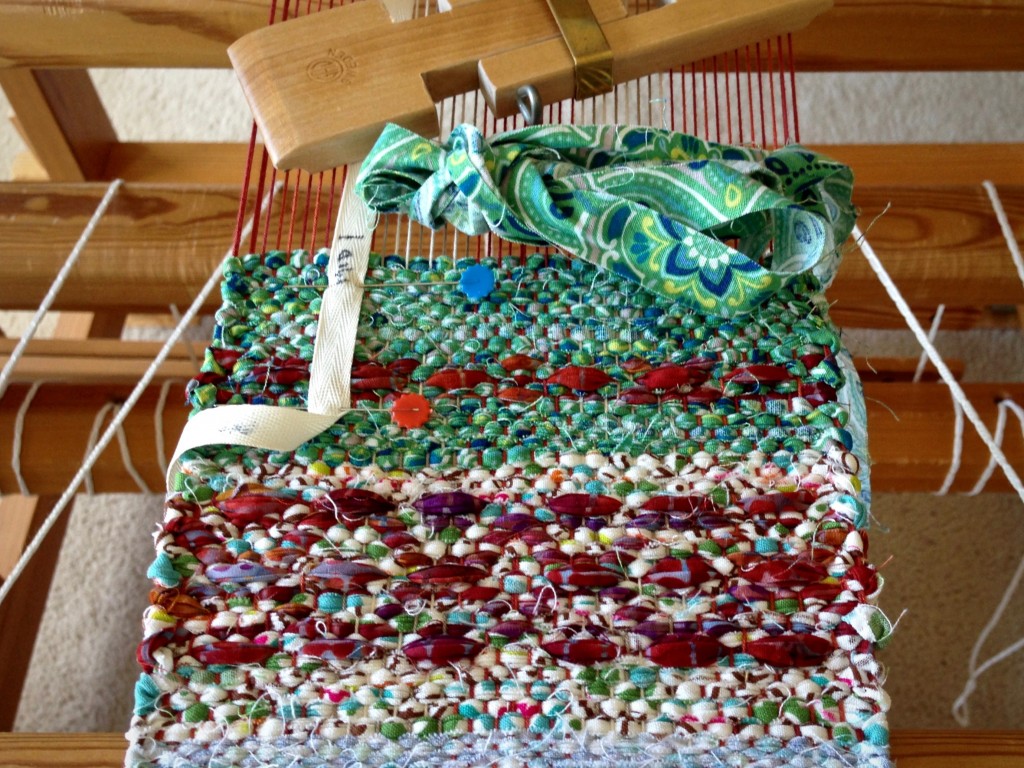
Start of a mini rosepath rag rug. Karen Isenhower
Start of a miniature rosepath rag rug.

Mini rosepath rag rug in the making.

May you cut your problems down to size.

A little weaving,
Karen