Woven Transparency Cactus

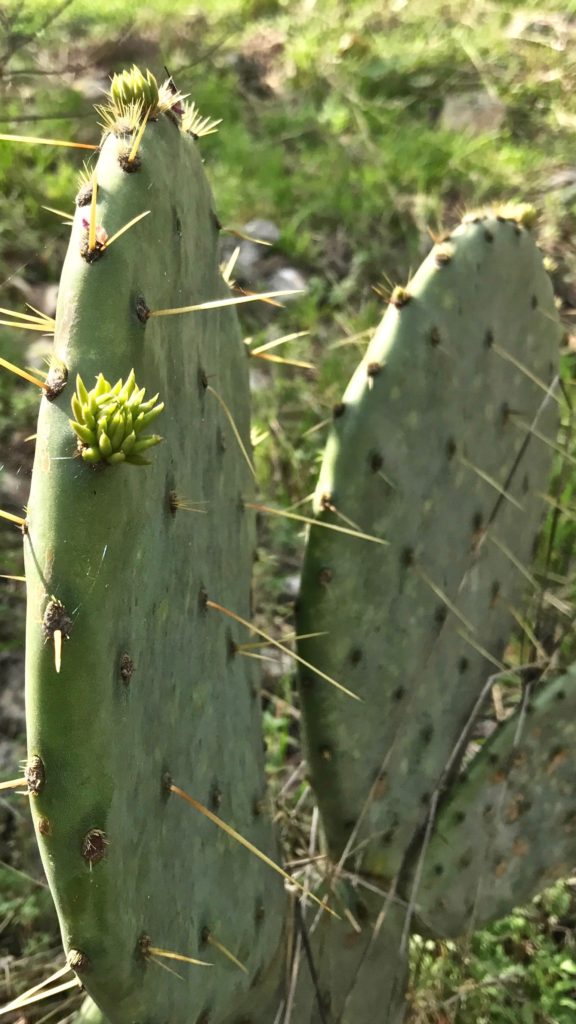
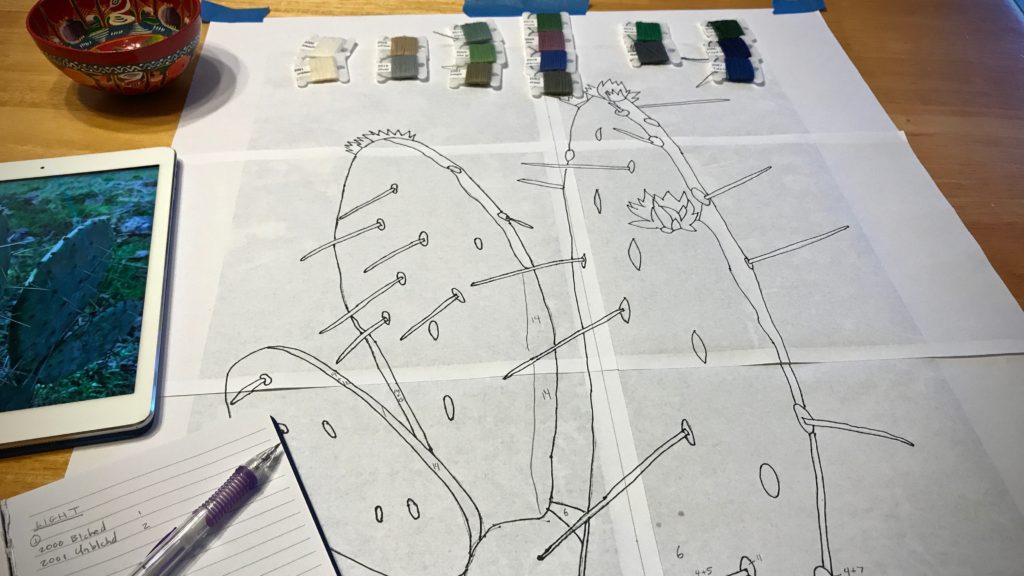
I found a subject for my next transparency. It’s a prickly pear cactus in Texas hill country. Weaving this cactus is a fantastic experience! I started with a photograph, from which I made a cartoon. And I have an outline that shows where to place each color. It’s all based on the timeless beauty of colors in nature. I’m hopeful that when light shines through the final woven transparency we will see a likeness of the original cactus.
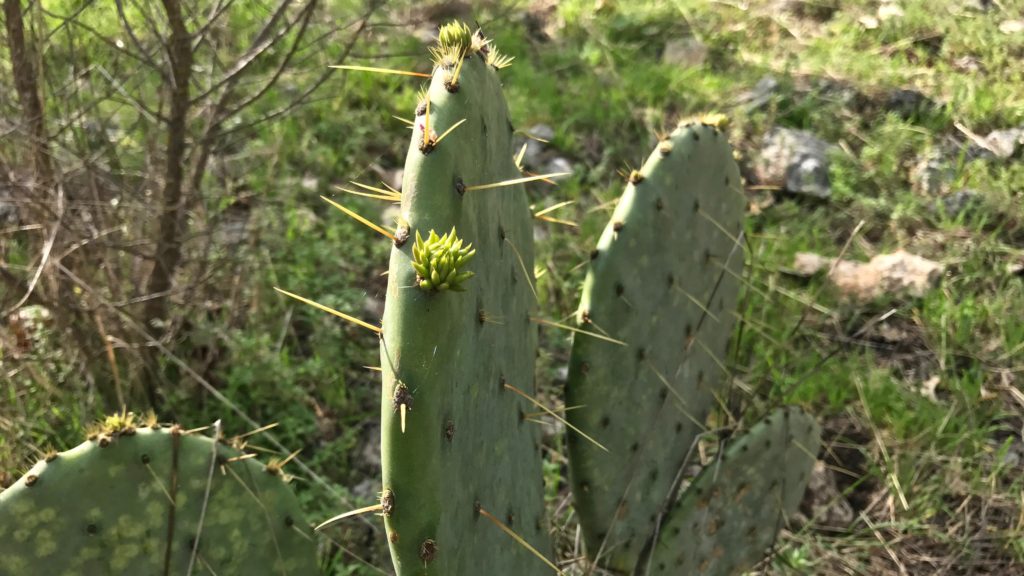
Prickly Pear Cactus in Texas hill country.
Prickly Pear Cactus in the front yard of our Texas hill country home.

Make a Cartoon

  • Crop and enlarge the photo. (I use Acrobat Reader to enlarge and print in multiple pages, and then tape the pages together.)

Prickly Pear Cactus in Texas hill country.

  • Outline the main lines of the picture.
  • Turn the enlarged picture over and draw the traced lines on the back to have the reverse image. (This transparency is woven from the back.)

Photo to sketch to cartoon for woven transparency.

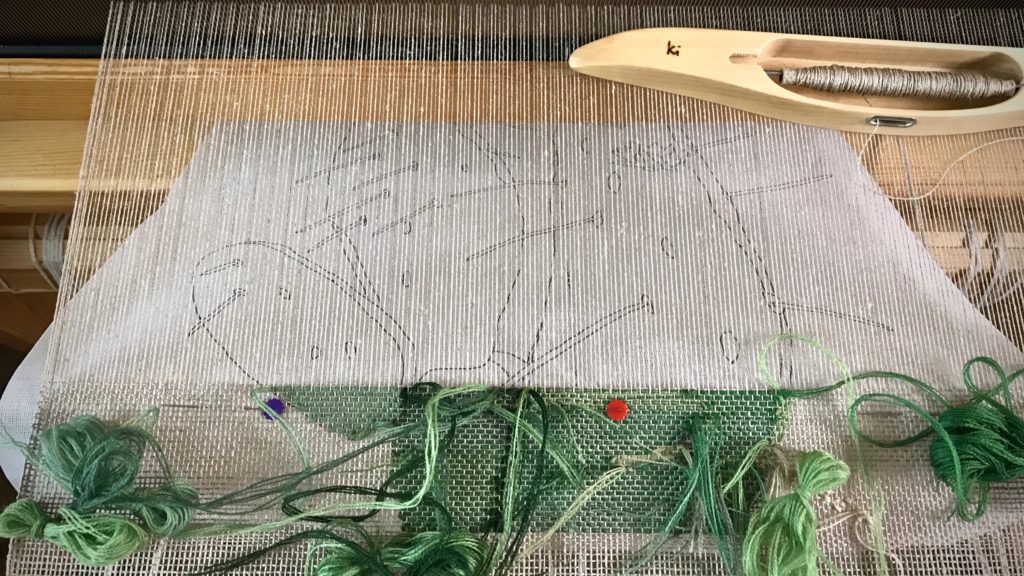
  • Trace the line drawing onto a piece of buckram to use as the cartoon.
  • Draw a vertical dashed line down the center of the buckram cartoon.
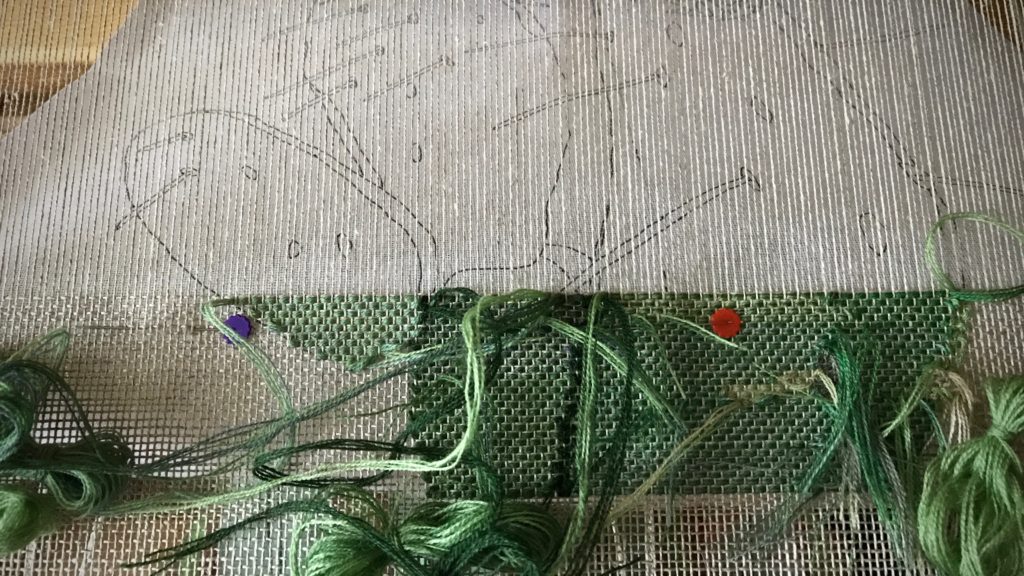
  • Pin the cartoon under the weaving, lining up the center line on the cartoon with the center warp end. Move the pins, one at a time, before advancing the warp each time.

Buckram used for transparency cartoon.

Color Selection

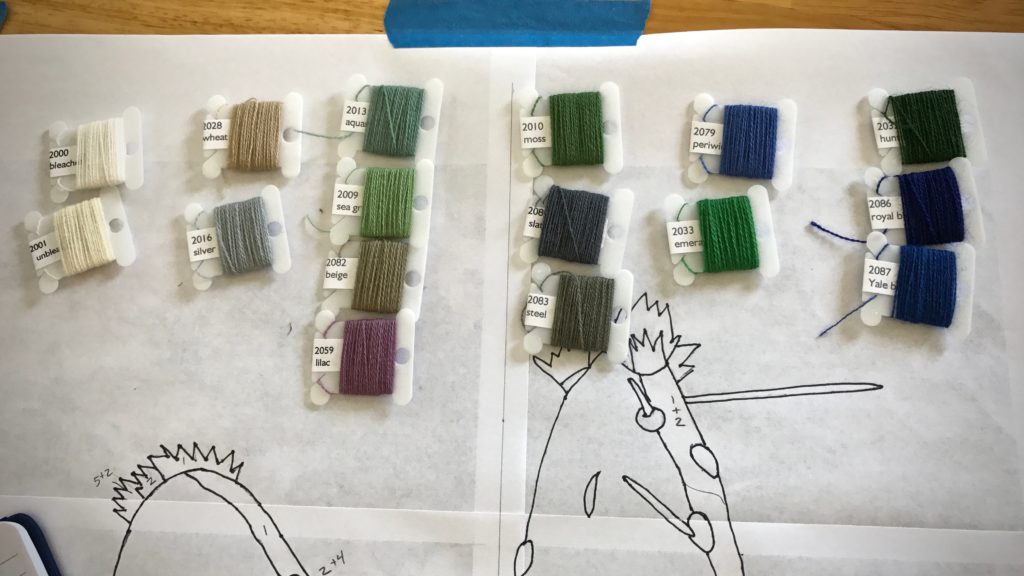
  • Use the photograph to select yarn colors for the transparency. (I used the iPad to view the photo, and selected sixteen shades of 20/2 Mora wool.)
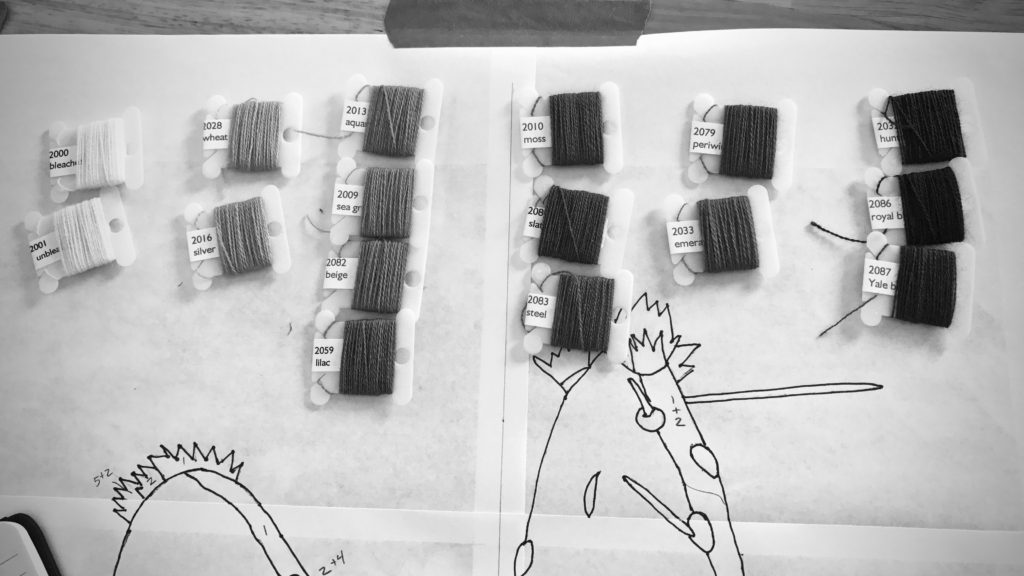
  • Sort the yarn by hues. (I used my iPhone camera black-and-white setting to help in the sorting.) Sorting by hues helps me blend similar-hued colors, and shows me the contrasts that will help define the picture.

Color selection for woven transparency. Sorting by hues.


Sorting colors by hues for woven transparency.

  • Assign a number to each yarn color.
  • Make the enlarged outline into a color-by-number sheet by designating a color or blend of colors for each section. (I taped this sheet to the wall beside my loom, to use as a color guide. The iPad photo also serves as a reference.)

Butterflies of Mora wool for woven transparency.

Virtues are timeless. Virtues are like colors that blend together to weave a masterpiece. When we let the Grand Weaver lay in the weft, these are the colors that appear as light shines through His woven transparency: love, joy, peace, patience, kindness, goodness, faithfulness, gentleness, self-control. And when this occurs, it shows that we are made in His image.

Making a transparency cartoon. Tutorial.


Woven transparency from a photo. How to.

May the next leg of your journey be a fantastic experience.

I’ll meet you back here on Tuesday, August 1st, 2017.
In the meantime, I hope you investigate claims of Jesus. Take time with people. Keep weaving. And the same for me.

Head over to Instagram to stay in touch with my daily journey.

Love,
Karen

Little Experiments on the Loom

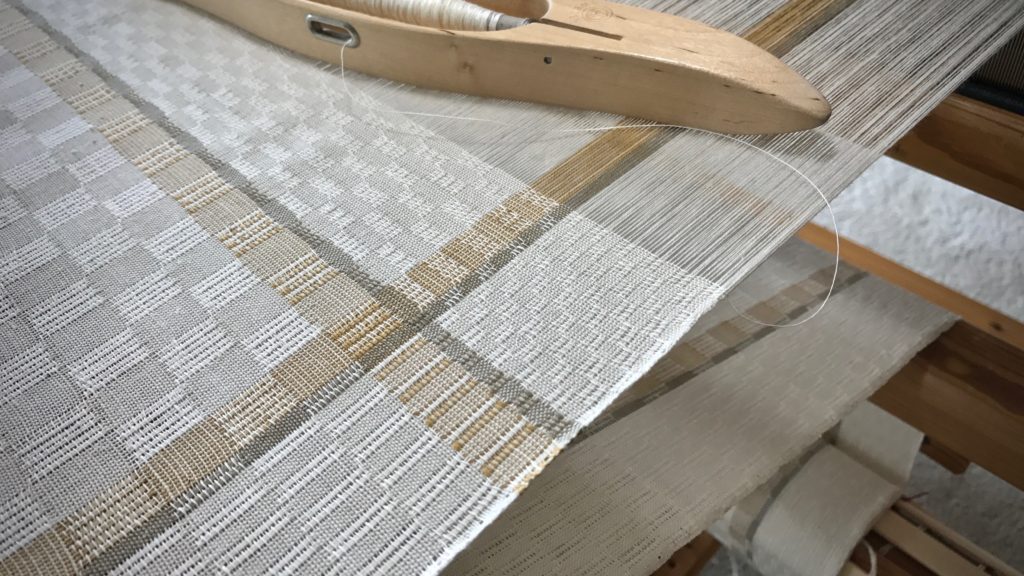
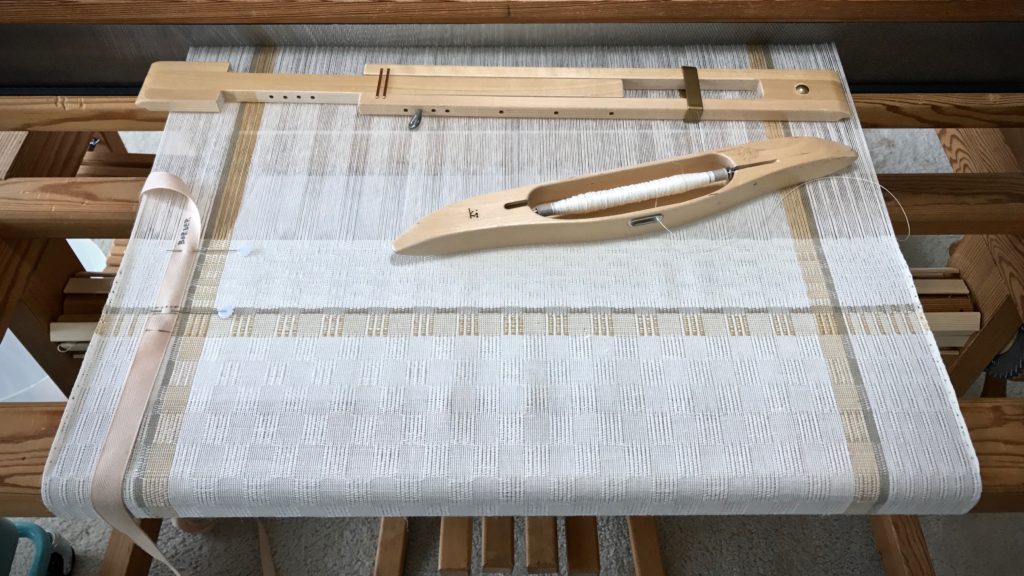
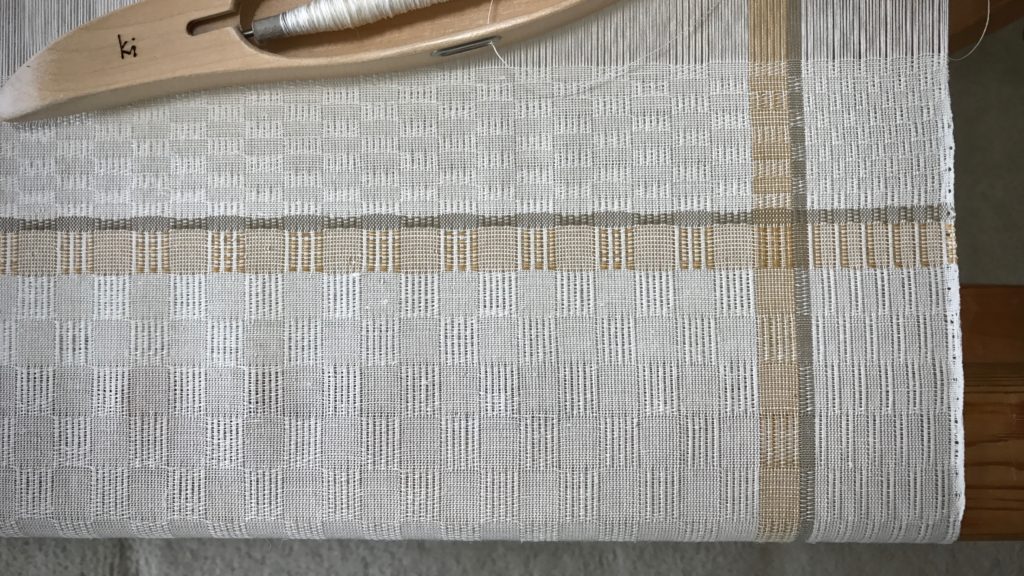
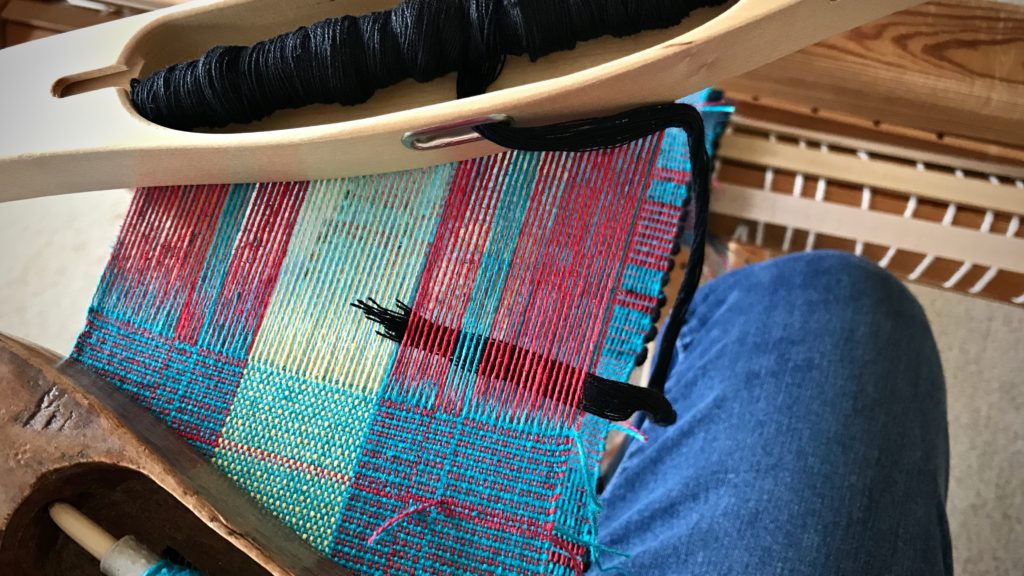
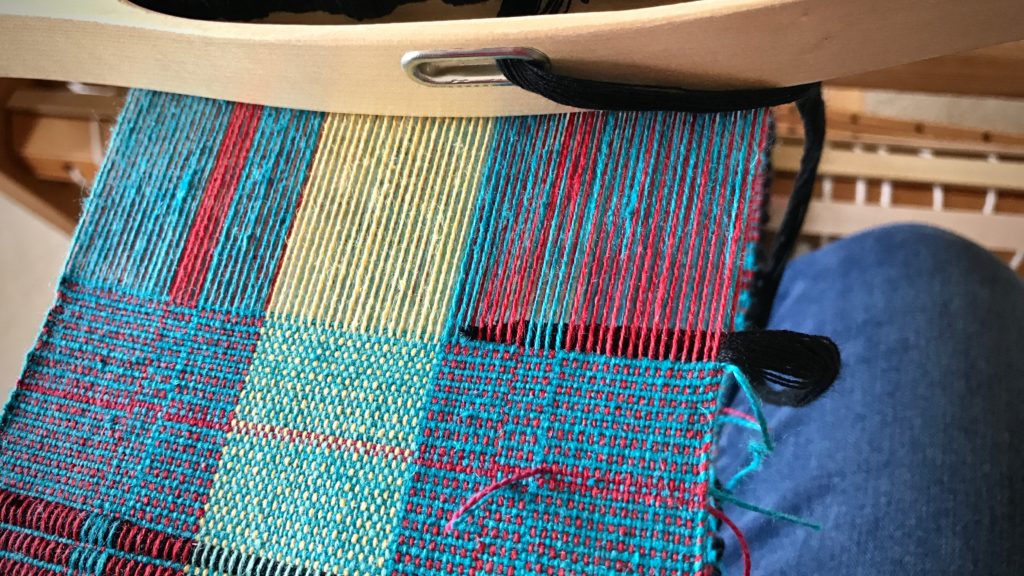
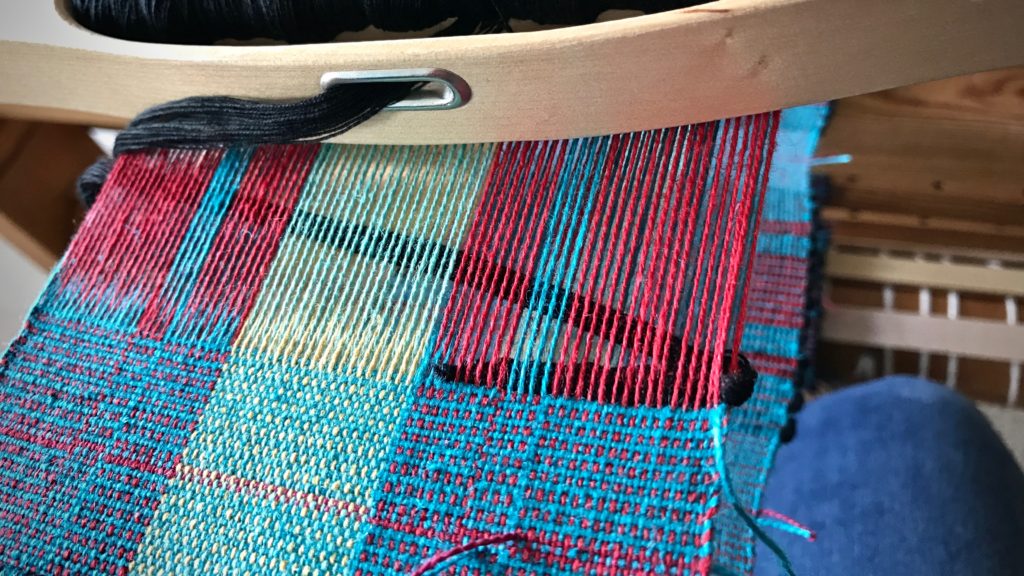
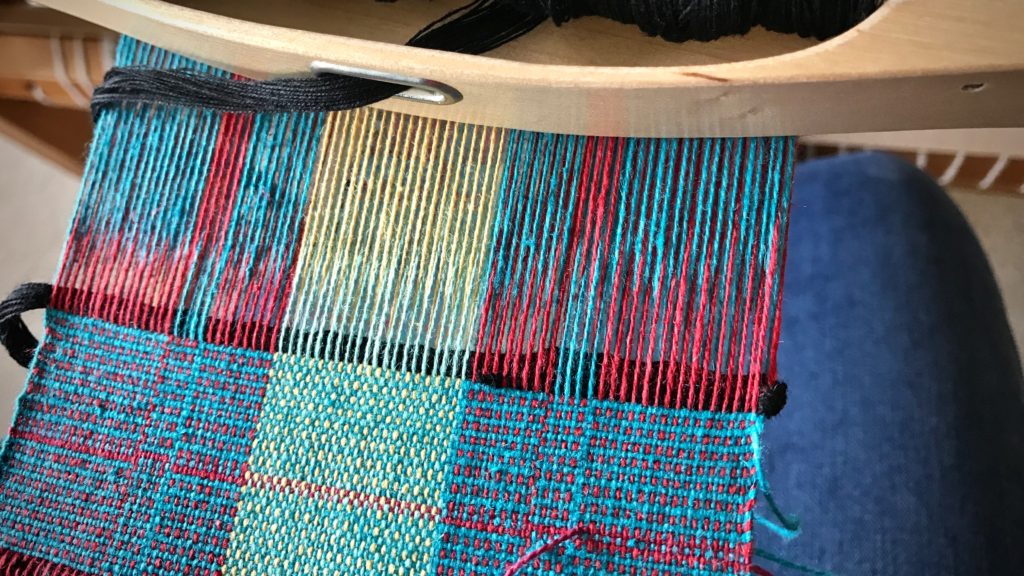
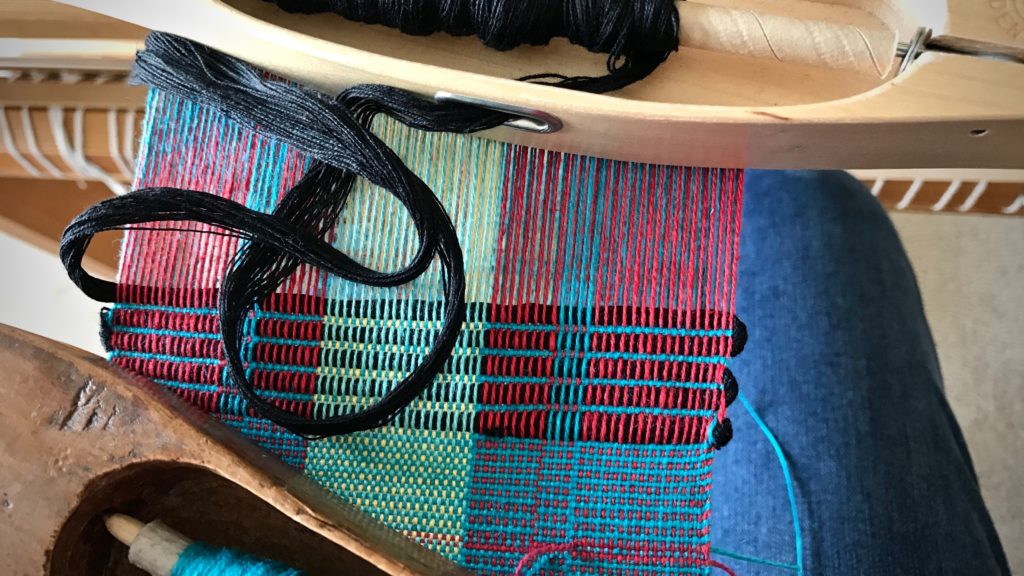
This is my attempt to add a fascinating detail. I alternated white and brass-colored ends in the warp stripe. In a similar fashion, I alternated colors in the weft stripe, too. It’s an experiment. The short columns that emerge in the weft stripe are a result of this thread arrangement. The outcome looks promising. Wet finishing will reveal the final effects of this low-risk exploration.

M's and O's on the loom. Experiment in progress.
M’s and O’s (Sålldräll) with a warp stripe and weft stripe that have alternating light and dark threads.

I like to do experiments on the loom. Little risks open up possibilities and ideas for future projects. Every learning experience is a step that leads to insight for future learning. And I have so much more to learn!

Weaving the border of the long table runner. M's and O's.
Weft stripe signals the beginning of the end border for this long table runner.
M's and O's on the loom.
Short vertical columns take shape in the brass-colored weft stripe.

Step-by-step learning has some common ground with finding a good path for life. Walking the right path is like walking in the early morning. The dim light of dawn gradually increases and the pathway becomes more and more clear as the sun rises to the full light of day. Our Creator gave us a lighted path. The learning experiences from our experiments and explorations in life help us discover the path of the Lord, where the light beckons us. Walk in the light. It’s where we can see the next good step.

Happy weaving,
Karen

Empty Quills

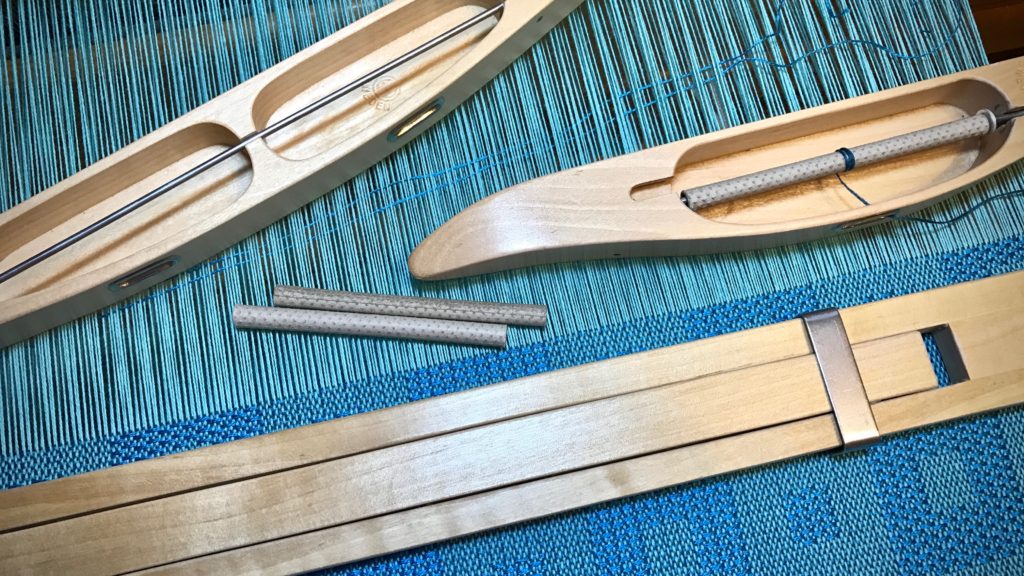
No matter how much thread is on the quill, if you keep weaving, you will eventually come to a bare quill. Three at once, this time. Two with tencel in the double-bobbin shuttle and one with 8/2 cotton. A quill is a small item with an essential role. This mostly-hidden cardboard cylinder holds the threads that weave.

Kuvikas on eight shafts.
Kuvikas on eight shafts with 8/2 cotton warp, 8/2 cotton ground weave, and doubled 8/2 tencel pattern weft.

An empty quill is a stopping place. You have to stop. Wind another quill, or three, before you weave some more. Or, use quills from your loom bench basket that you had already wound. It’s the cycle of weaving. Weave. Stop. New quill. Weave. Stop. And so on.

The quill is mostly hidden until the thread runs out. Likewise, truth seems like a secret until it comes to light. And then you realize it holds the fibers of life. Truth is worth searching for. It is central to understanding our existence. Examine a thread of reality, keep pulling that thread, and unroll it. It always ends up at truth. Truth is that core, that weaver’s quill, around which reality is wound. For our Grand Weaver, truth always holds the threads that weave.

May truth be at your core.

Yours,
Karen

Tips for Taming String Yarn Weft Tails

Those pesky string yarn weft tails! There is a lot of starting and stopping with these mug rugs. Normally, tucking a weft tail back into the shed adds a bit of extra thickness at the selvedge. So, what about this very thick weft? It has the potential to throw everything off balance. A few easy tips help minimize the distortion the thicker weft can cause.

Taming String Yarn Weft Tails

  • Begin the thick weft on alternating sides. This will prevent one selvedge from building up more than the other.
  • Taper the end of the string yarn, cutting it at a steep angle.
  • Starting about 1 3/4″ inside the selvedge, send the shuttle through the shed toward the selvedge, going over or under the outermost warp end. Pull through until almost all of the weft tail is caught.
What to do with string yarn weft tails.
Starting the shuttle from the inside, going outward, is an easy way to catch all the separate threads of the string yarn.

Taming string yarn weft tails.

  • In same shed, send the shuttle back through to the other side, aware of encircling the one warp end.

Tucking in string yarn weft tails. Tips.

  • Beat. (Beat on open shed. Beat again. Change sheds. Beat again.)

How to manage string yarn weft tails.

  • Continue weaving.

Rep weave mug rugs. String yarn weft tails - tips!

  • To end the thick weft, leave a 1 3/4″ tail, and taper the end of the string yarn, as before. Lay the tail back in the last shed, going around the outermost warp end. Beat.

Things happen that throw us off balance. From personal celebrations to unexpected losses. Don’t be afraid. Putting trust in the Lord minimizes the inner turmoil. The Lord is my light. He lights my way. What is there to be afraid of? Wholehearted trust in the Lord pushes fearfulness away.

May you walk in a lighted path.

Happy weaving,
Karen

Almost Ruined Transparency

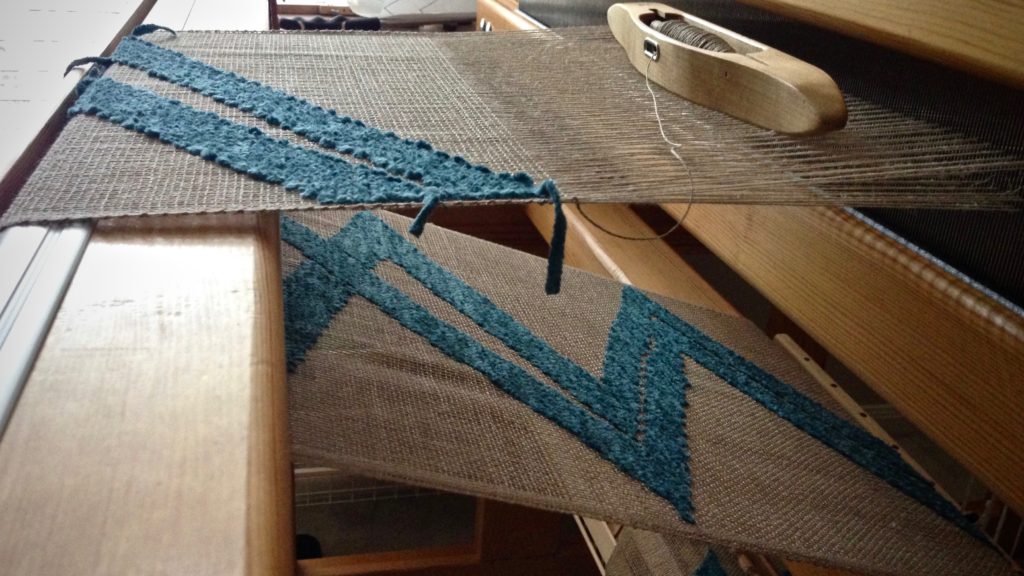
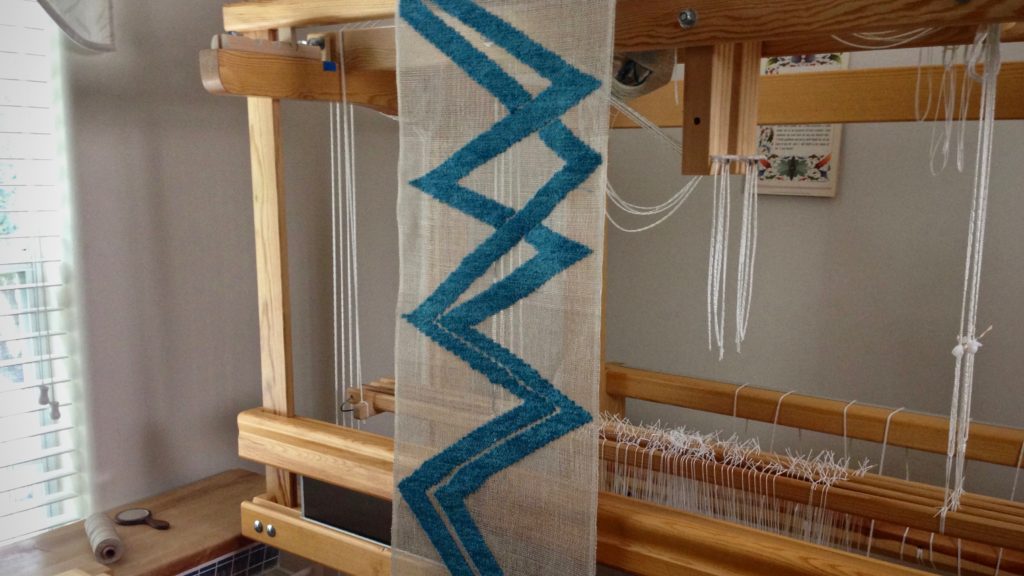
The cotton chenille looks as if it is magically suspended in space. But it’s the linen that suspends it. 16/2 unbleached linen weft crosses 16/2 golden bleached linen warp. The two shades blend into one as they are woven for the transparency background.

Weaving a transparency. Linen warp and weft. Cotton chenille pattern weft.
Weaving a transparency from the back. The front side of the pattern can be seen after it comes around the breast beam.

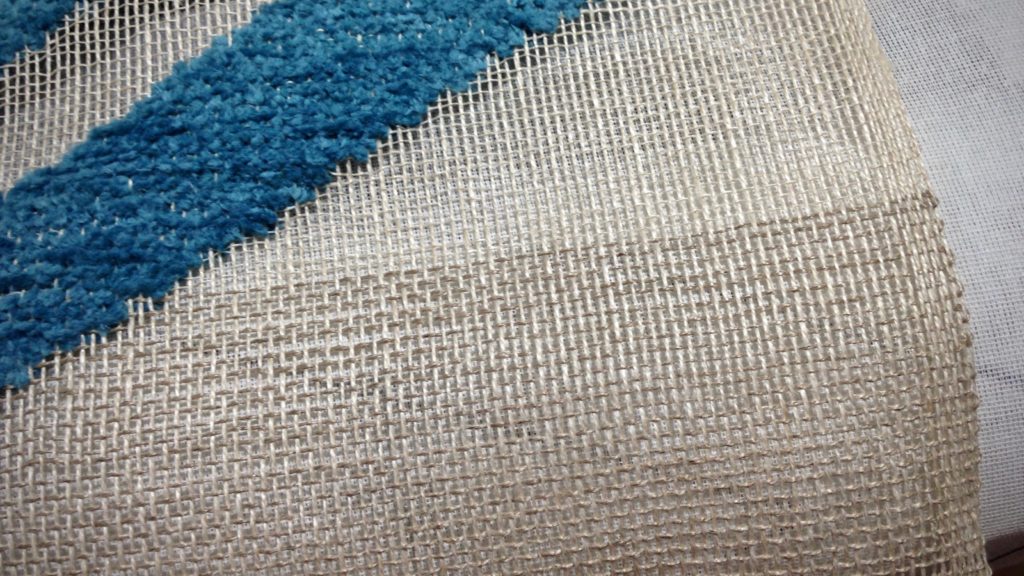
Unfortunately, I had 16/1 golden bleached linen (16/1 is half as thin as 16/2) on my winding table, for the plattväv towels on the other loom. I wound a quill with the 16/1 and wove the transparency with it. It’s the wrong thread size and color. For 8 1/2 inches! Too far to undo without irreparably damaging the linen warp. This is disappointing. How did I let that happen? Take a deep breath… Move forward, and finish out the weaving with the correct 16/2 linen.

Linen weft change is a mistake. Oops!
Two densities of linen. The 16/2 unbleached linen weft adds depth to the 16/2 golden bleached warp. The 16/1 golden bleached weft gives a lighter look to the web.
Just off the loom! Handwoven transparency.
Just off the loom! First transparency attempt, and a great learning experience.

We all fall short. We do the wrong thing. That’s a weight to carry. Jesus breaks the yoke of our burden, and lifts the weight. We have been set free! When we finish the weaving, the chenille pattern will be the main attraction, not the error. By amazing grace, the error is overcome by the light shining through the transparency.

May your burdens be lifted.

With you,
Karen