Tools Day: Loom Lighting

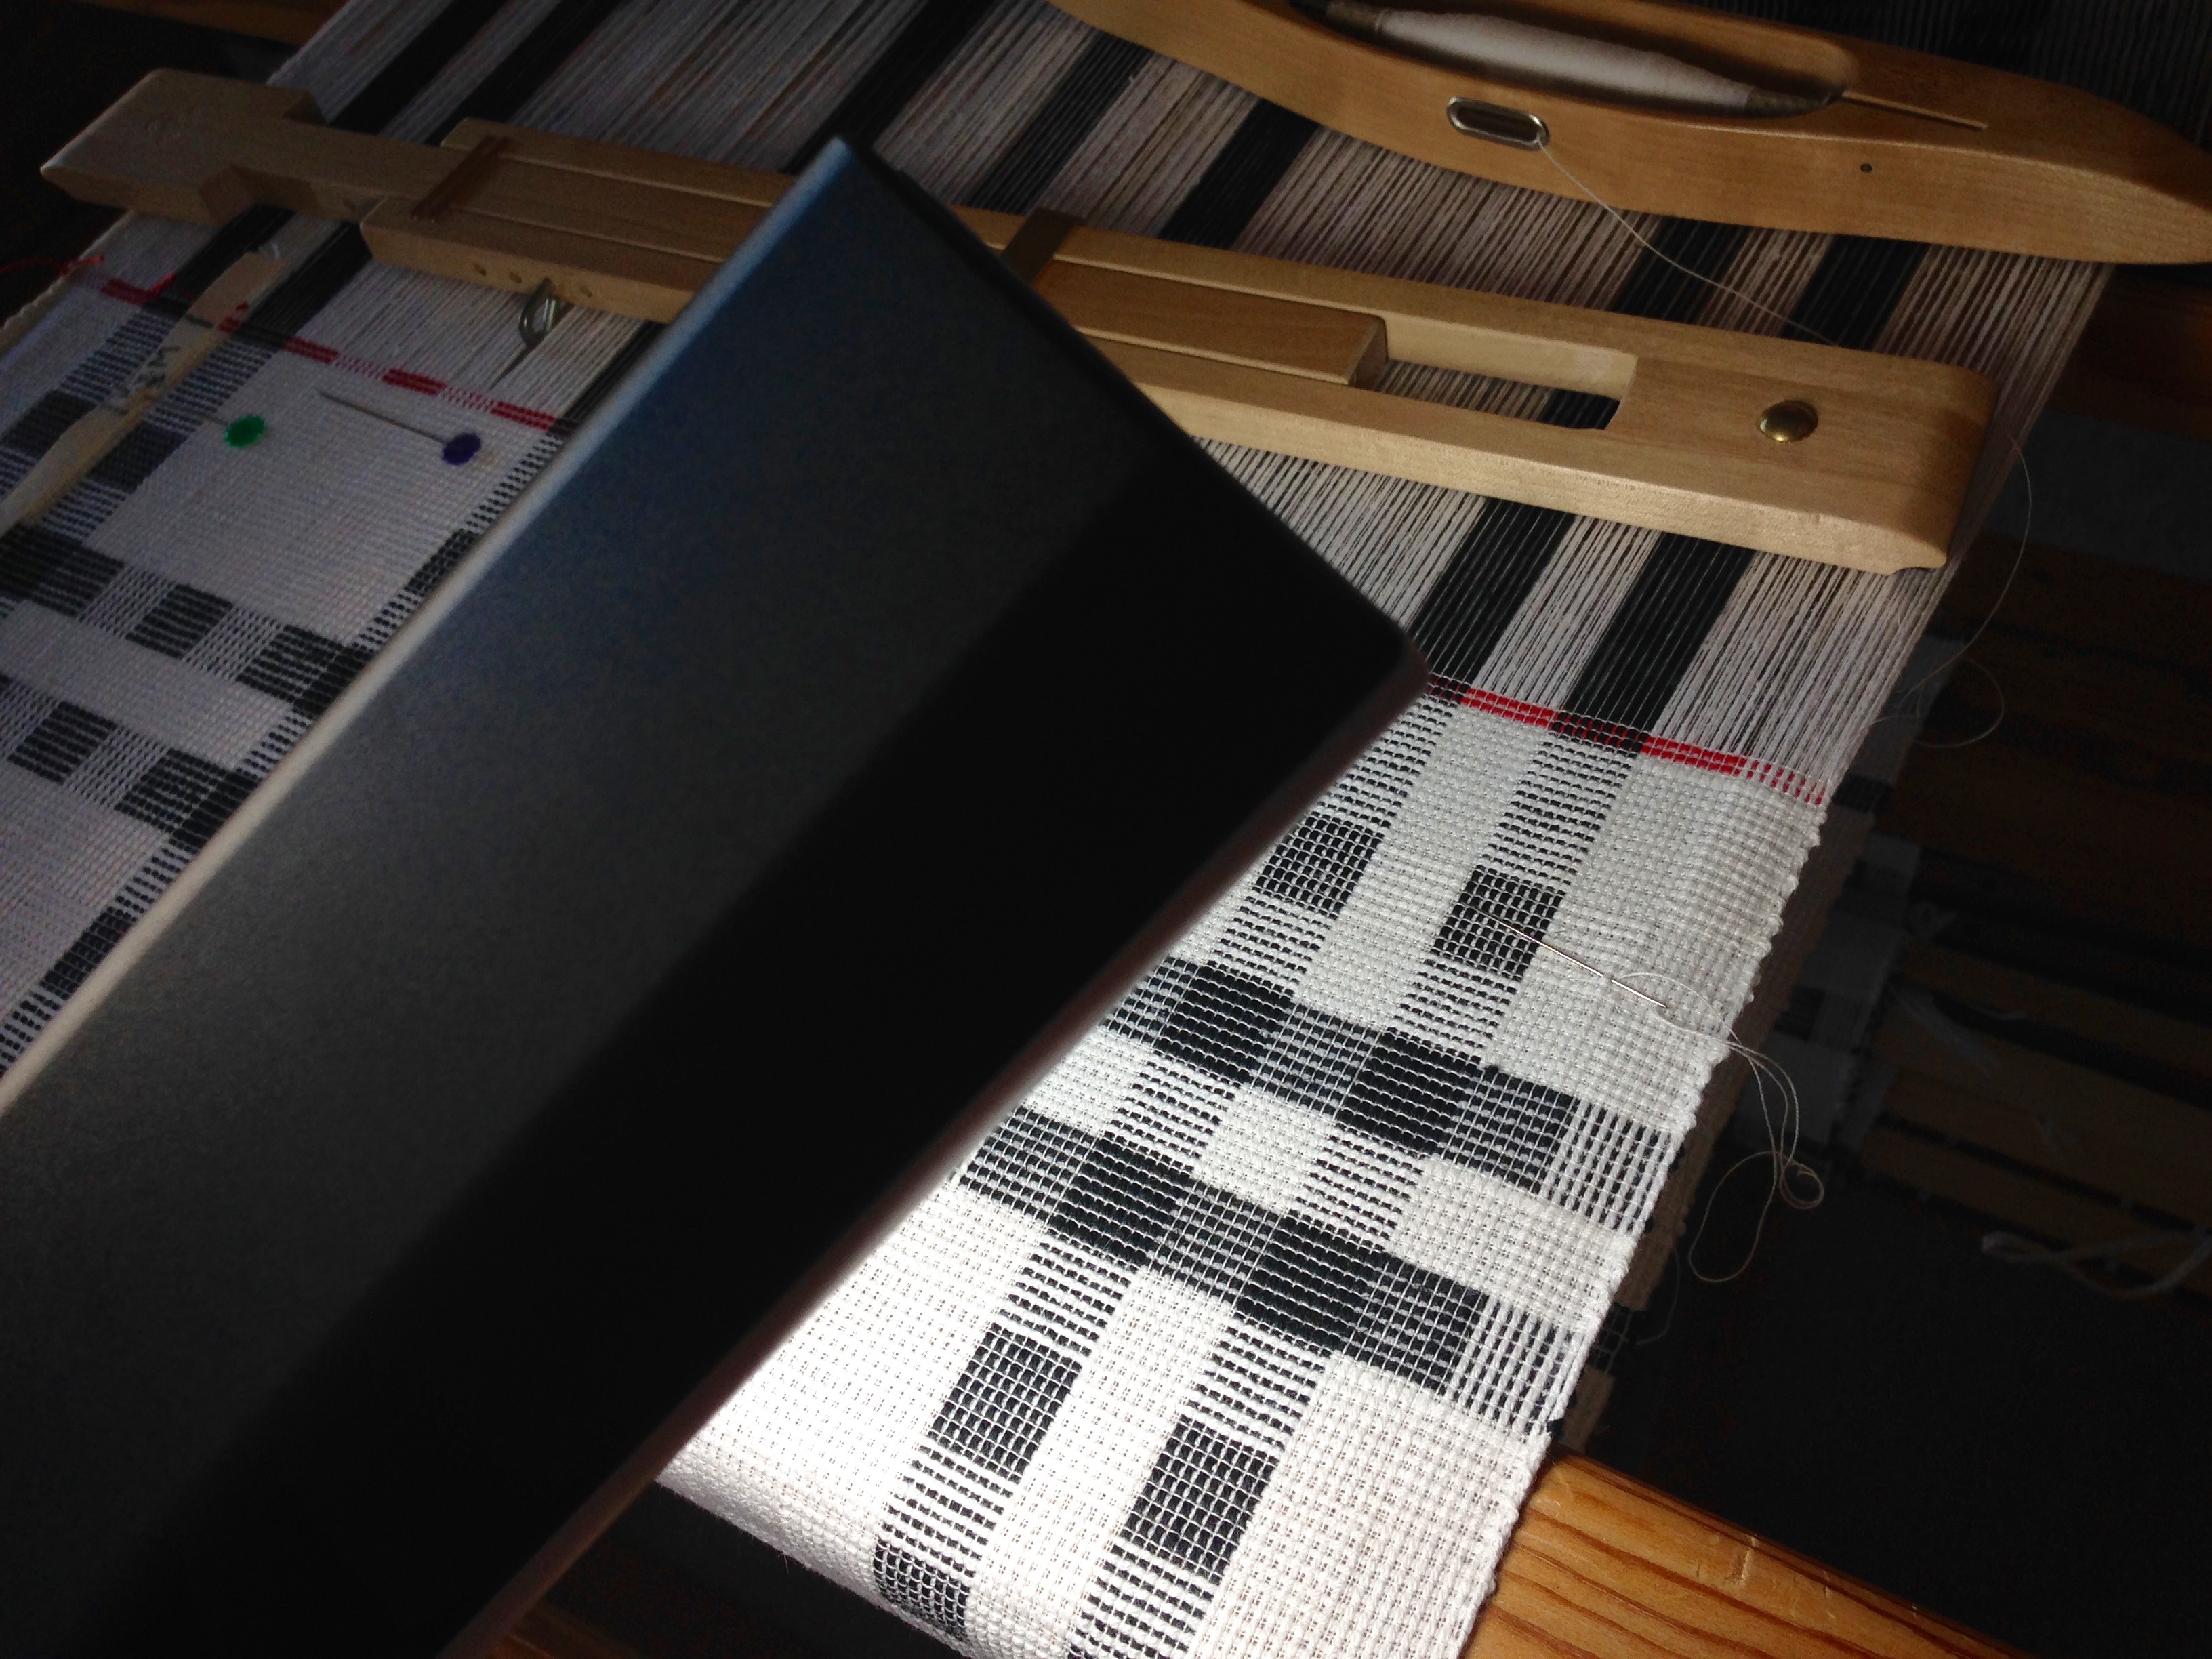
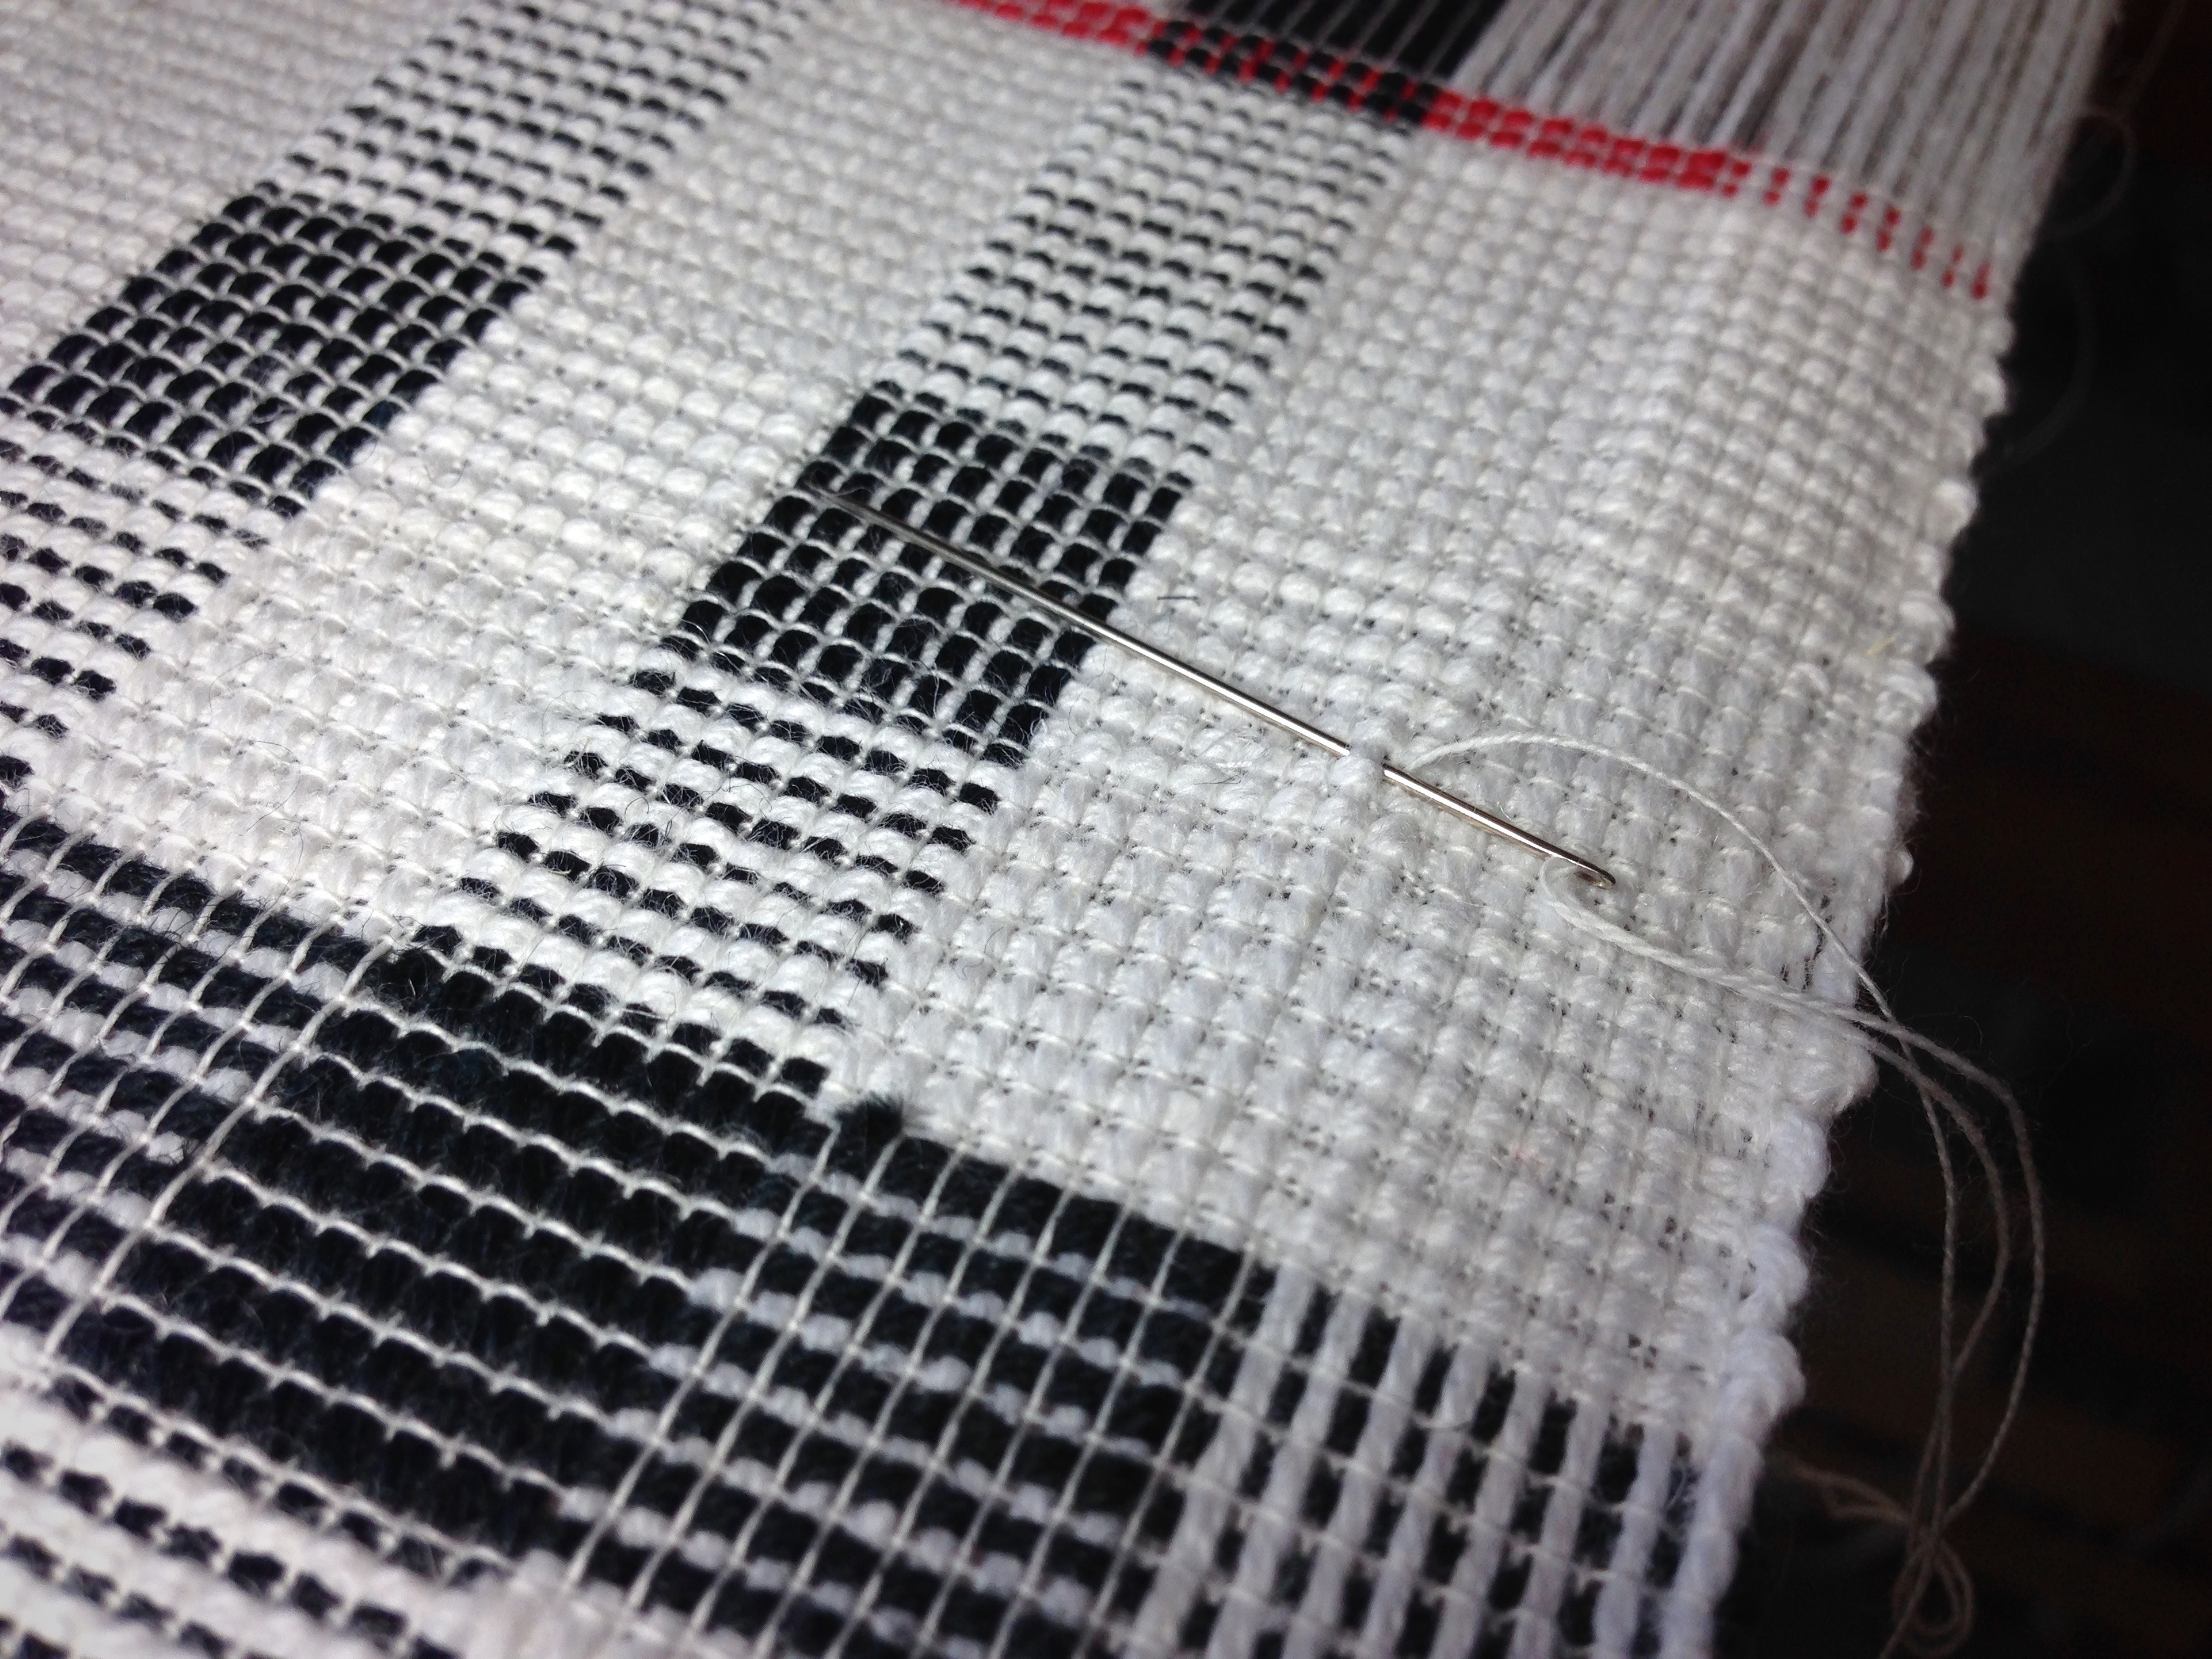
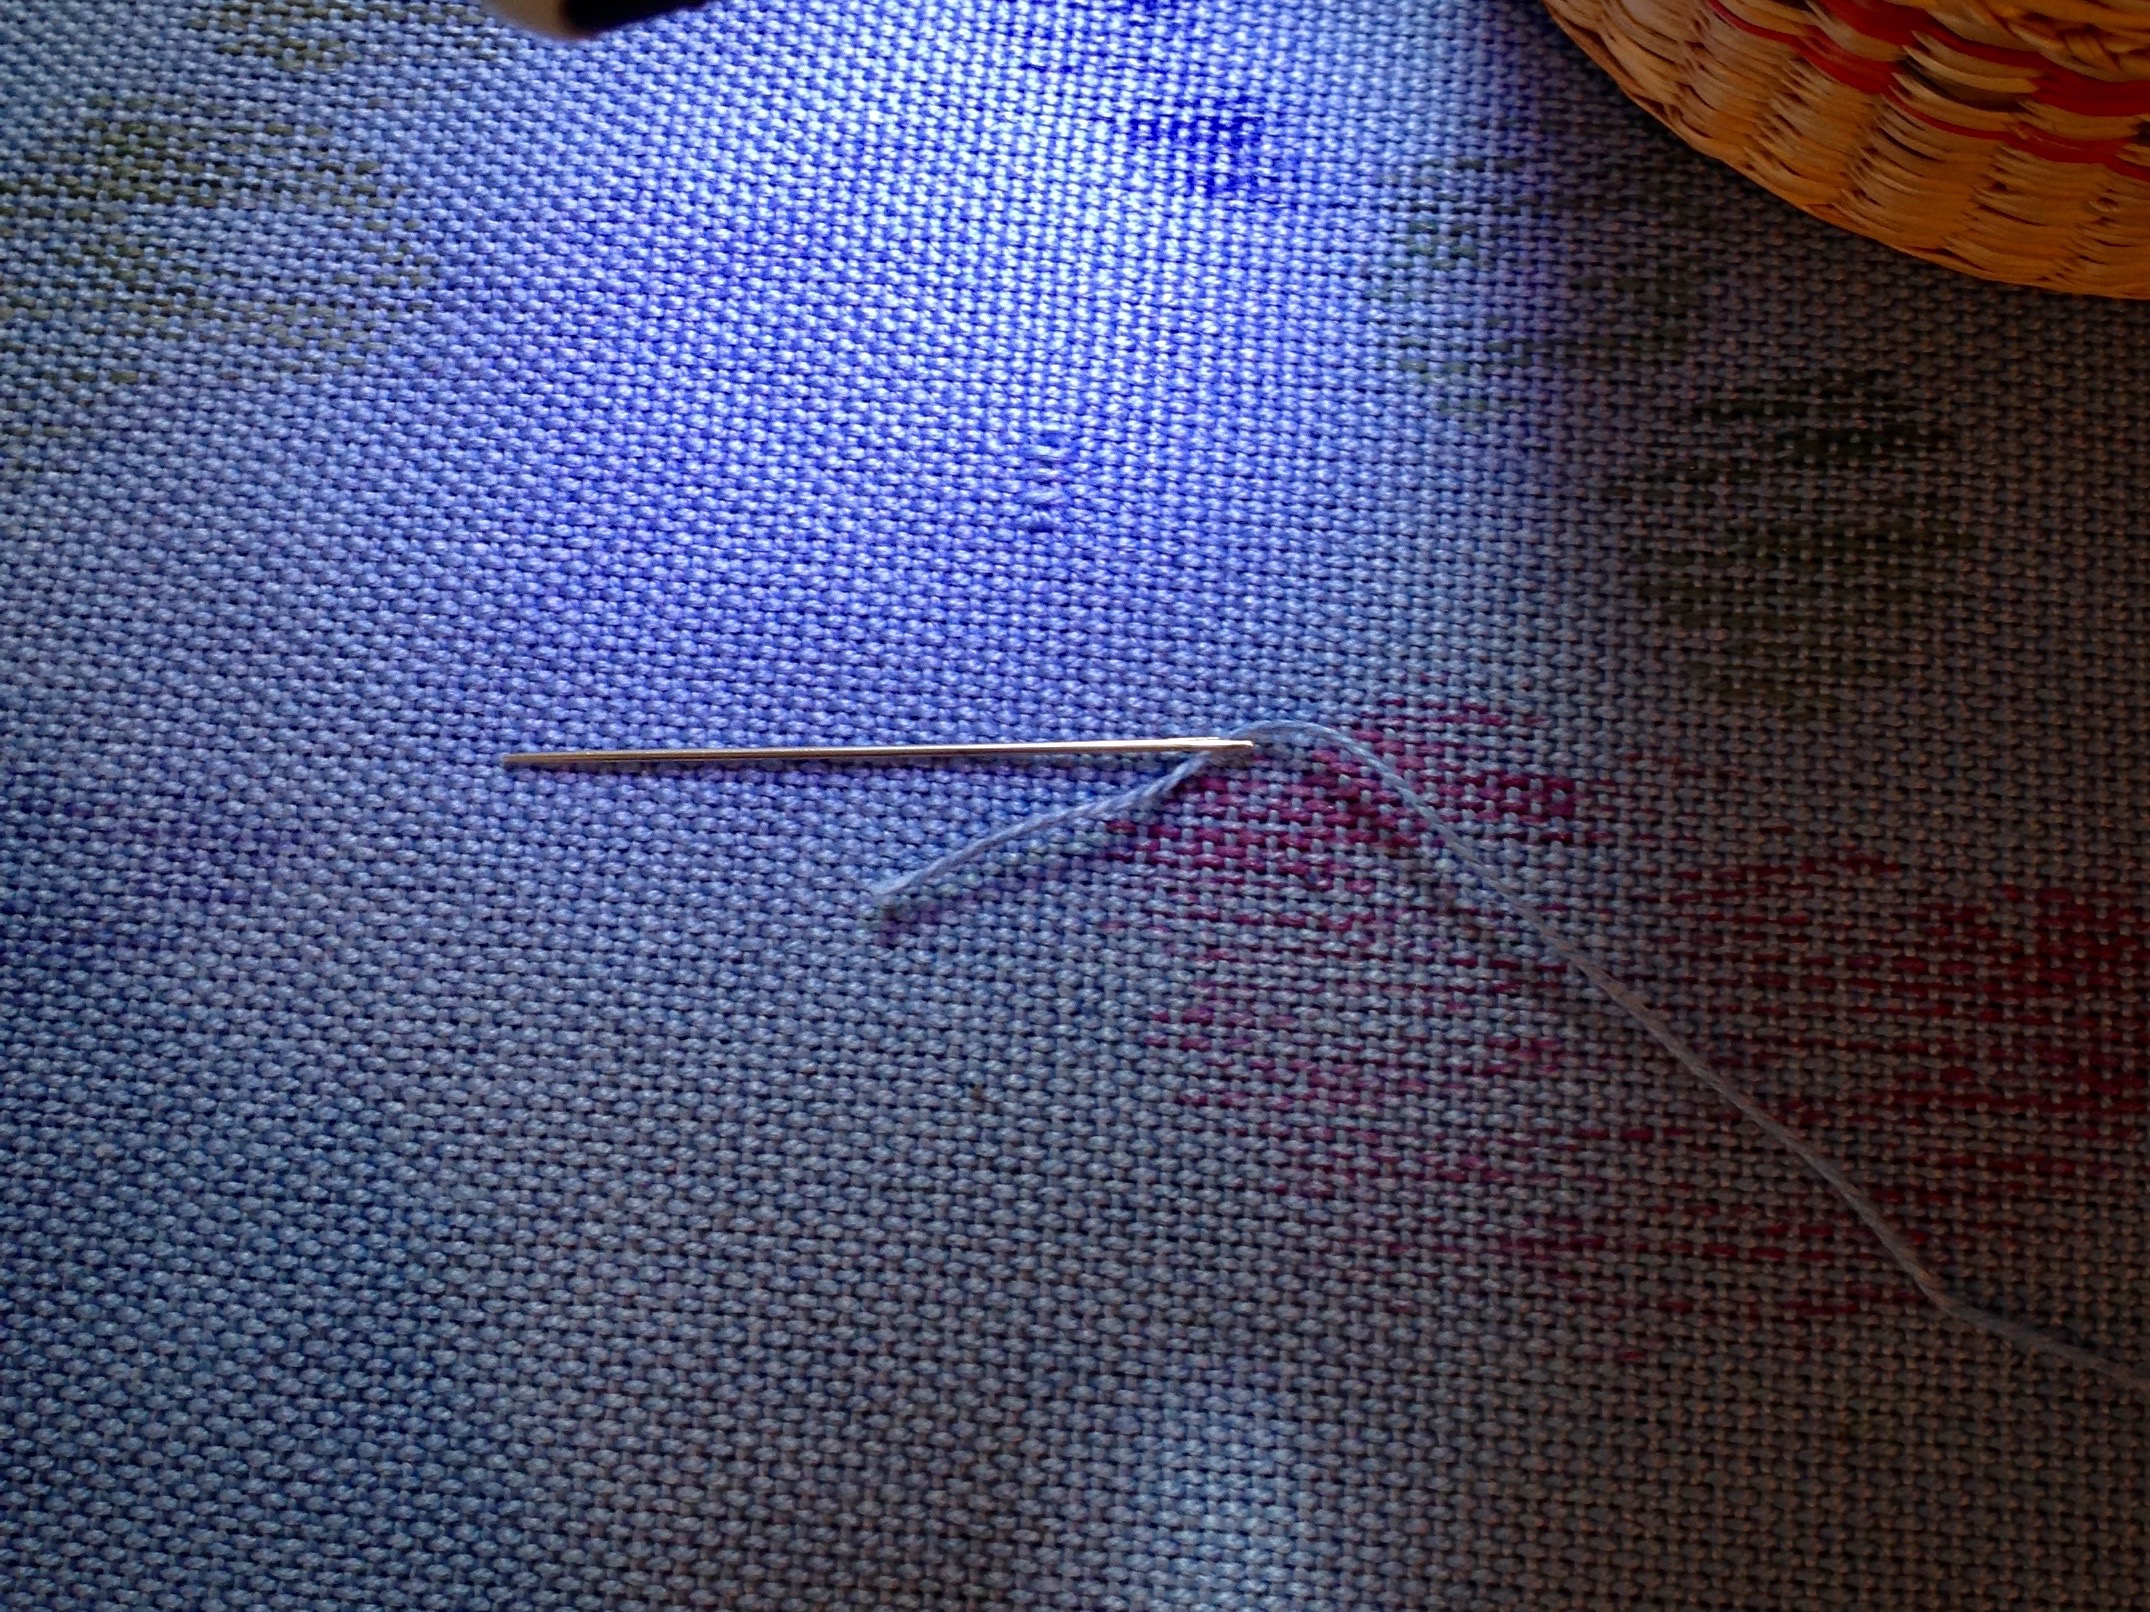
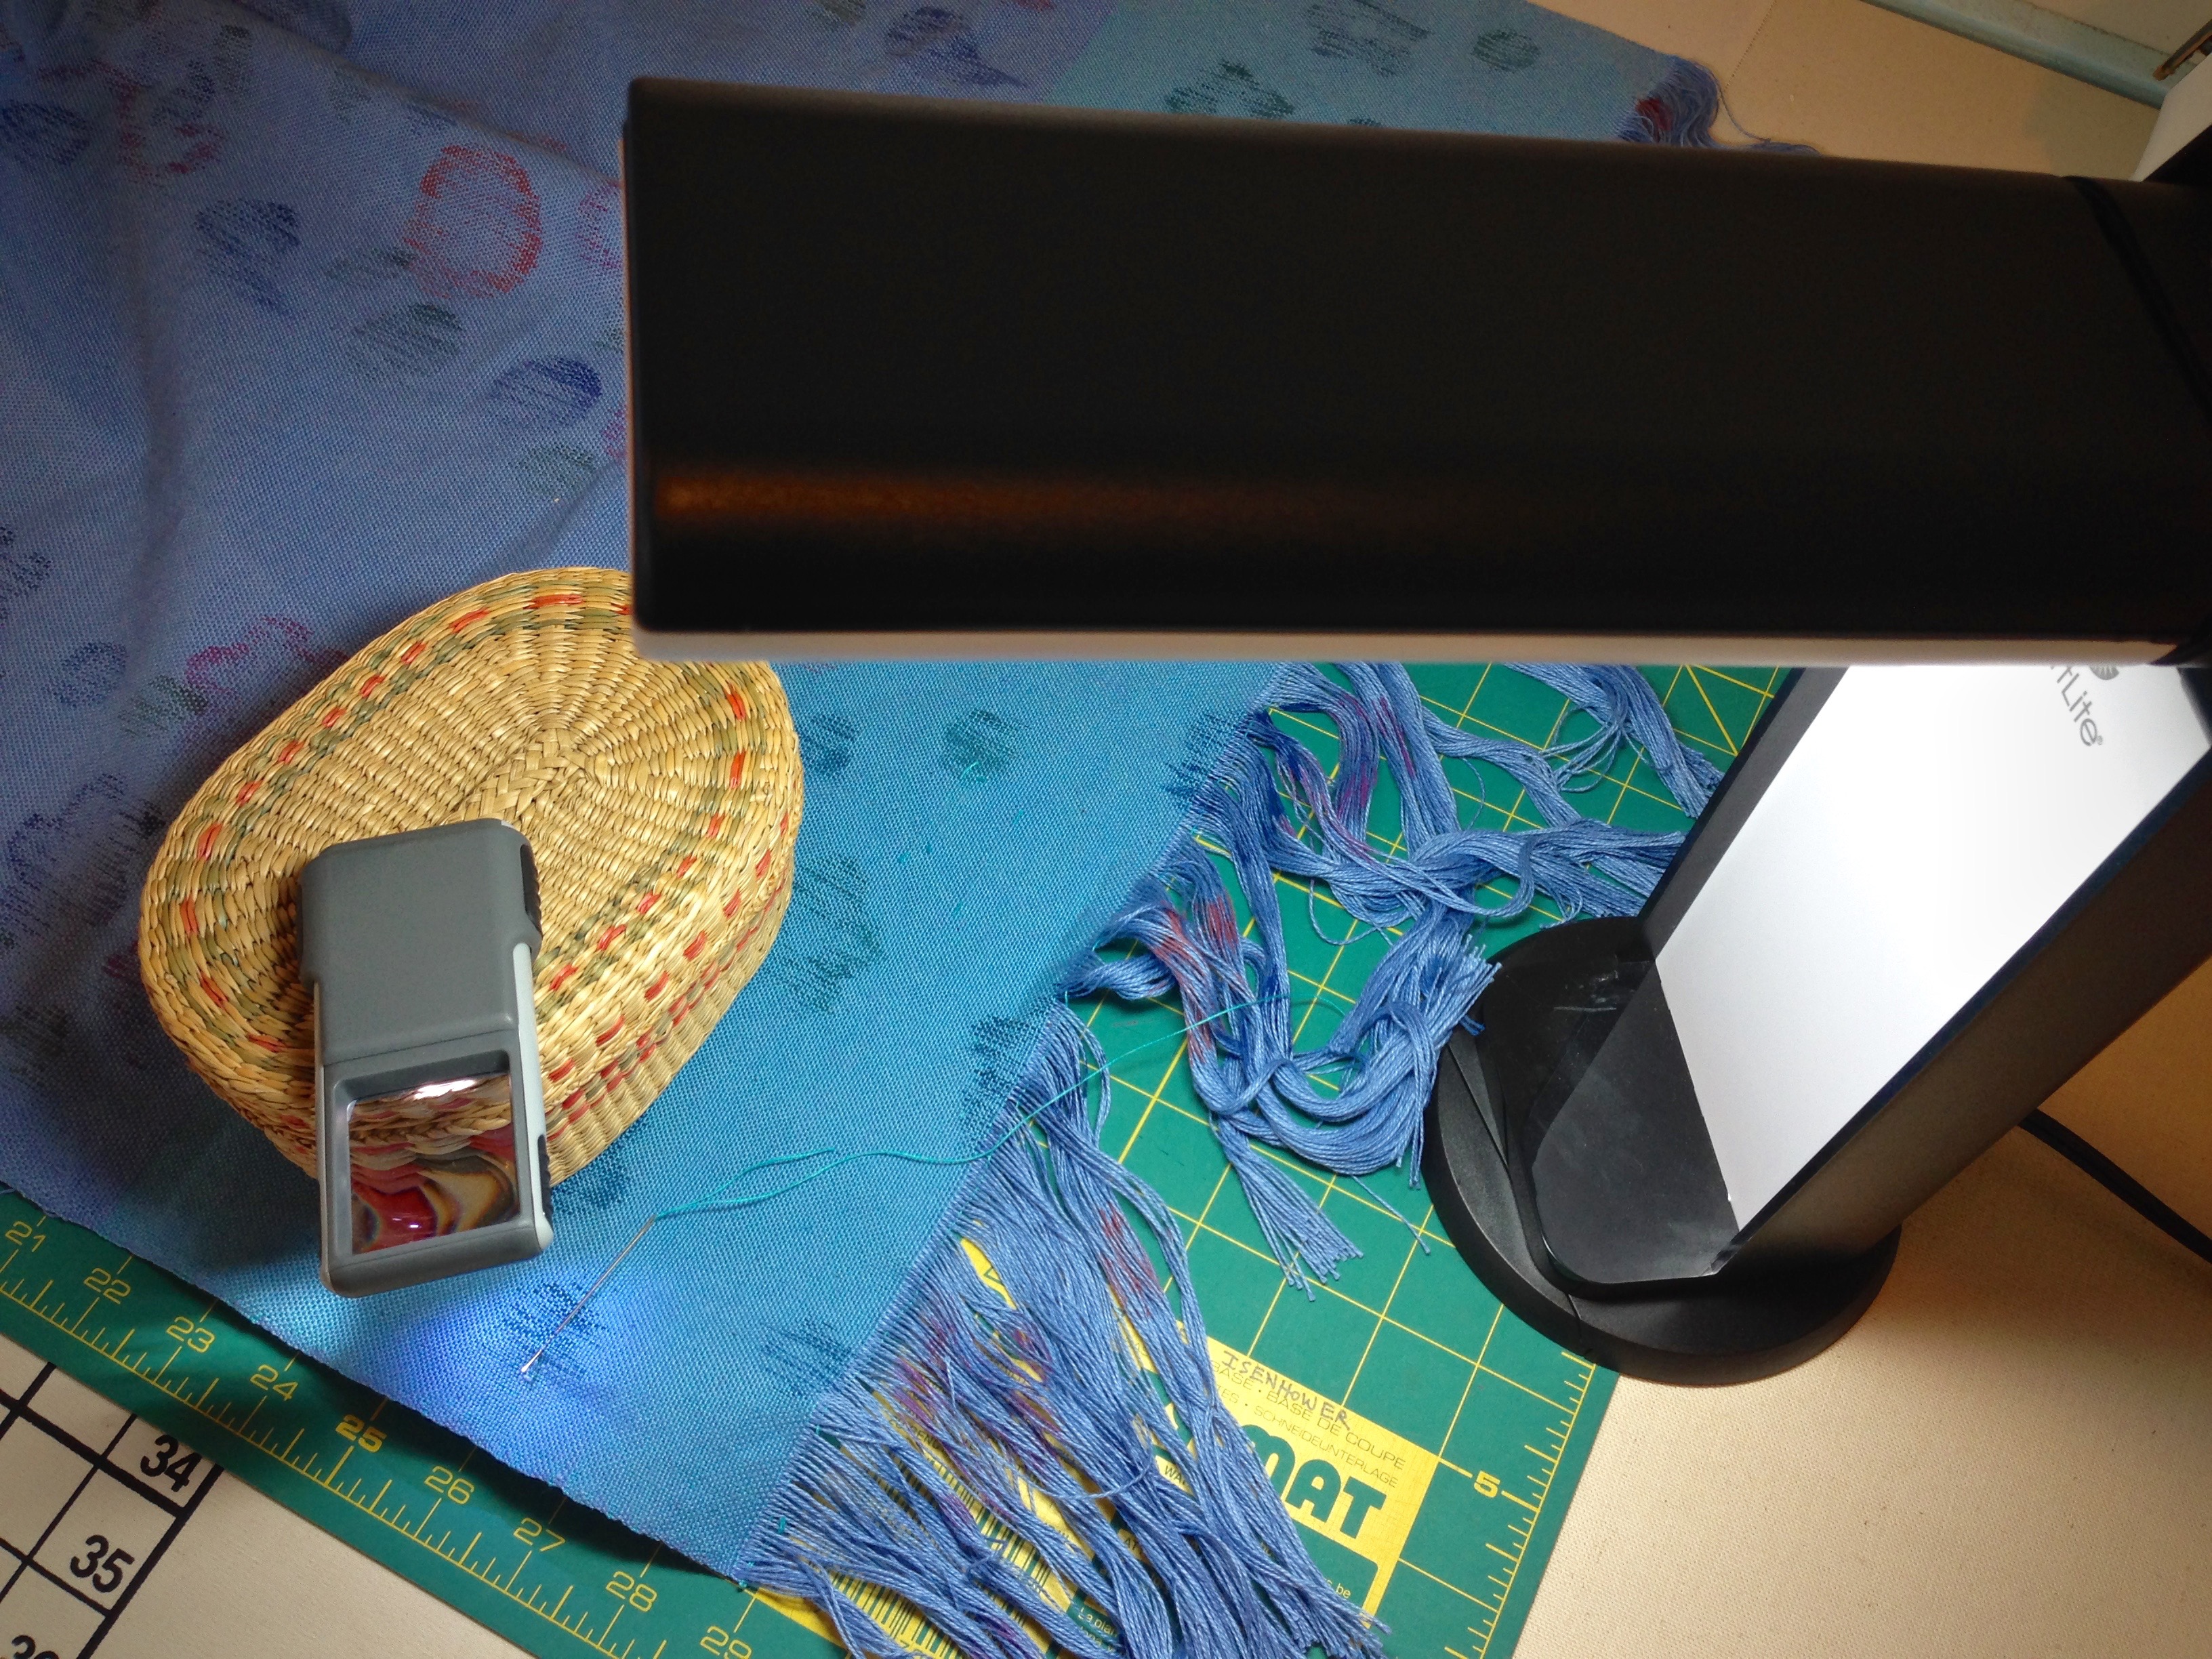
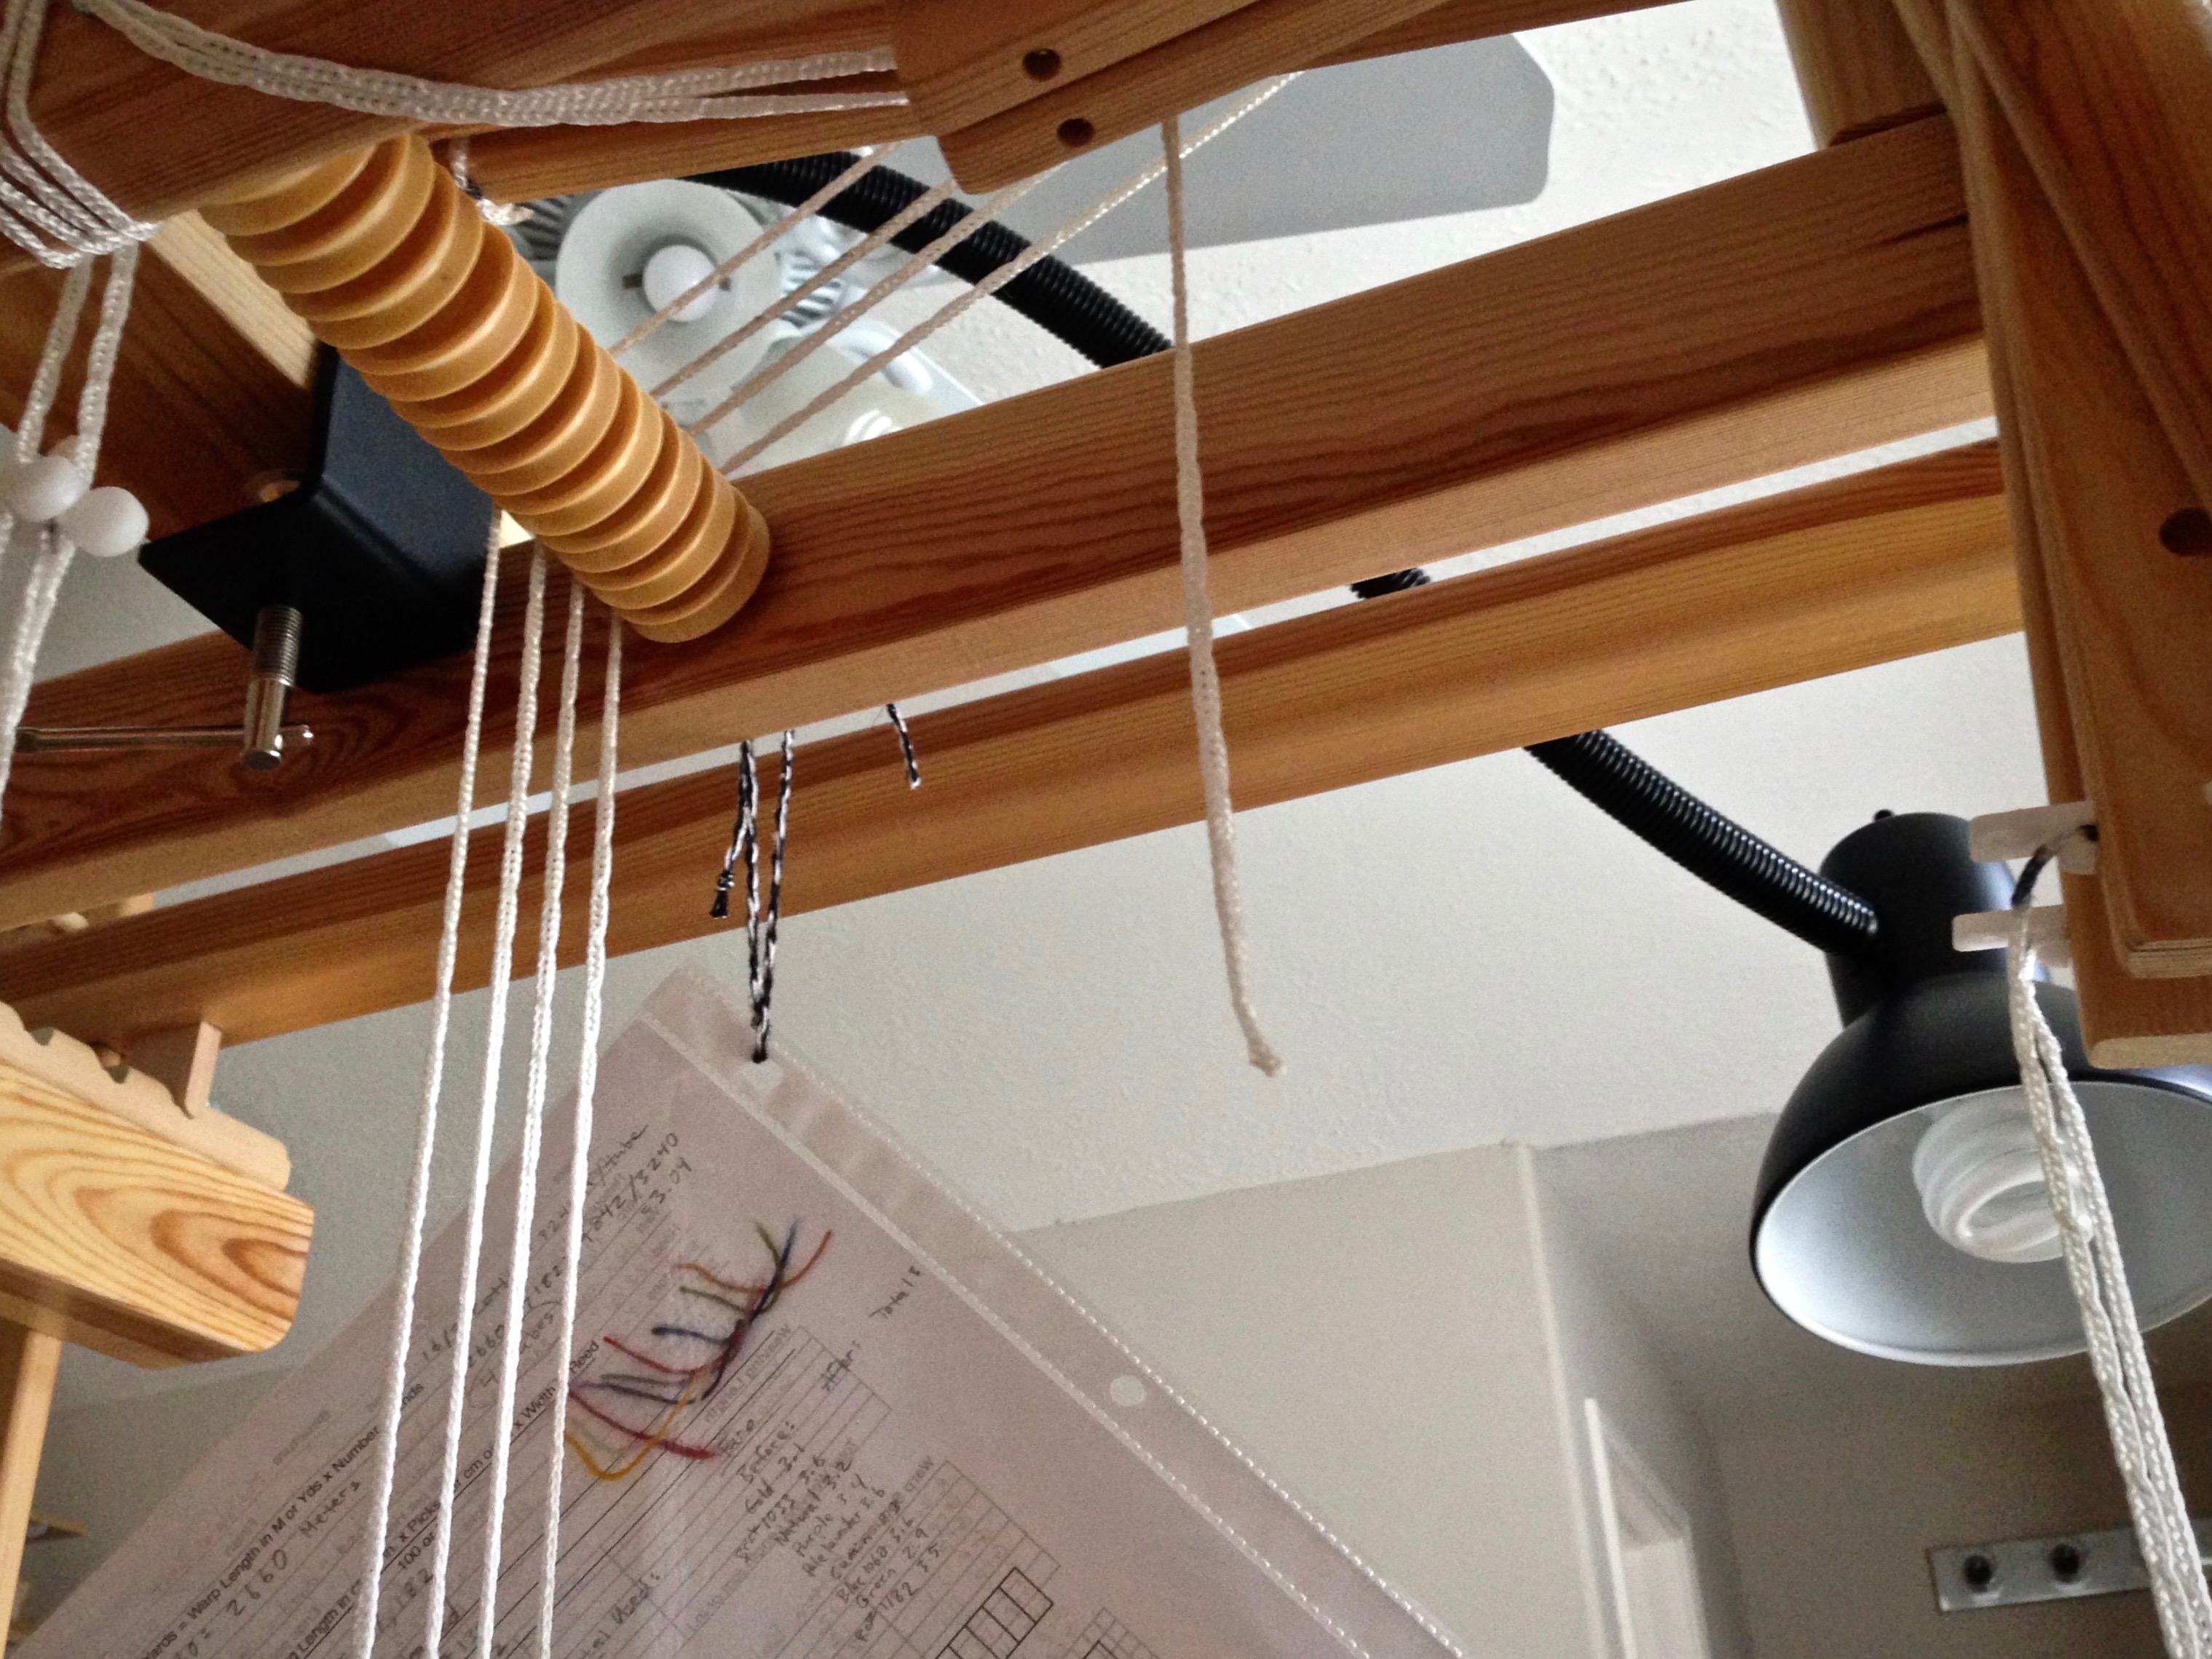
Let there be light! I now have exceptional lighting at my weaving looms. Steve installed a snake arm lamp on both of my Glimåkra looms. This wonderful illumination gives me greatly improved visibility, especially when working with fine threads. These lamps meet my lighting needs much better than the floor lamps I had been using. Good riddance, floor lamps!

Supplies

  • Snake arm shop light with clamp (mine are Rockler 24″ Snake Arm Shop Lights)
  • Light bulb, preferably close to natural light
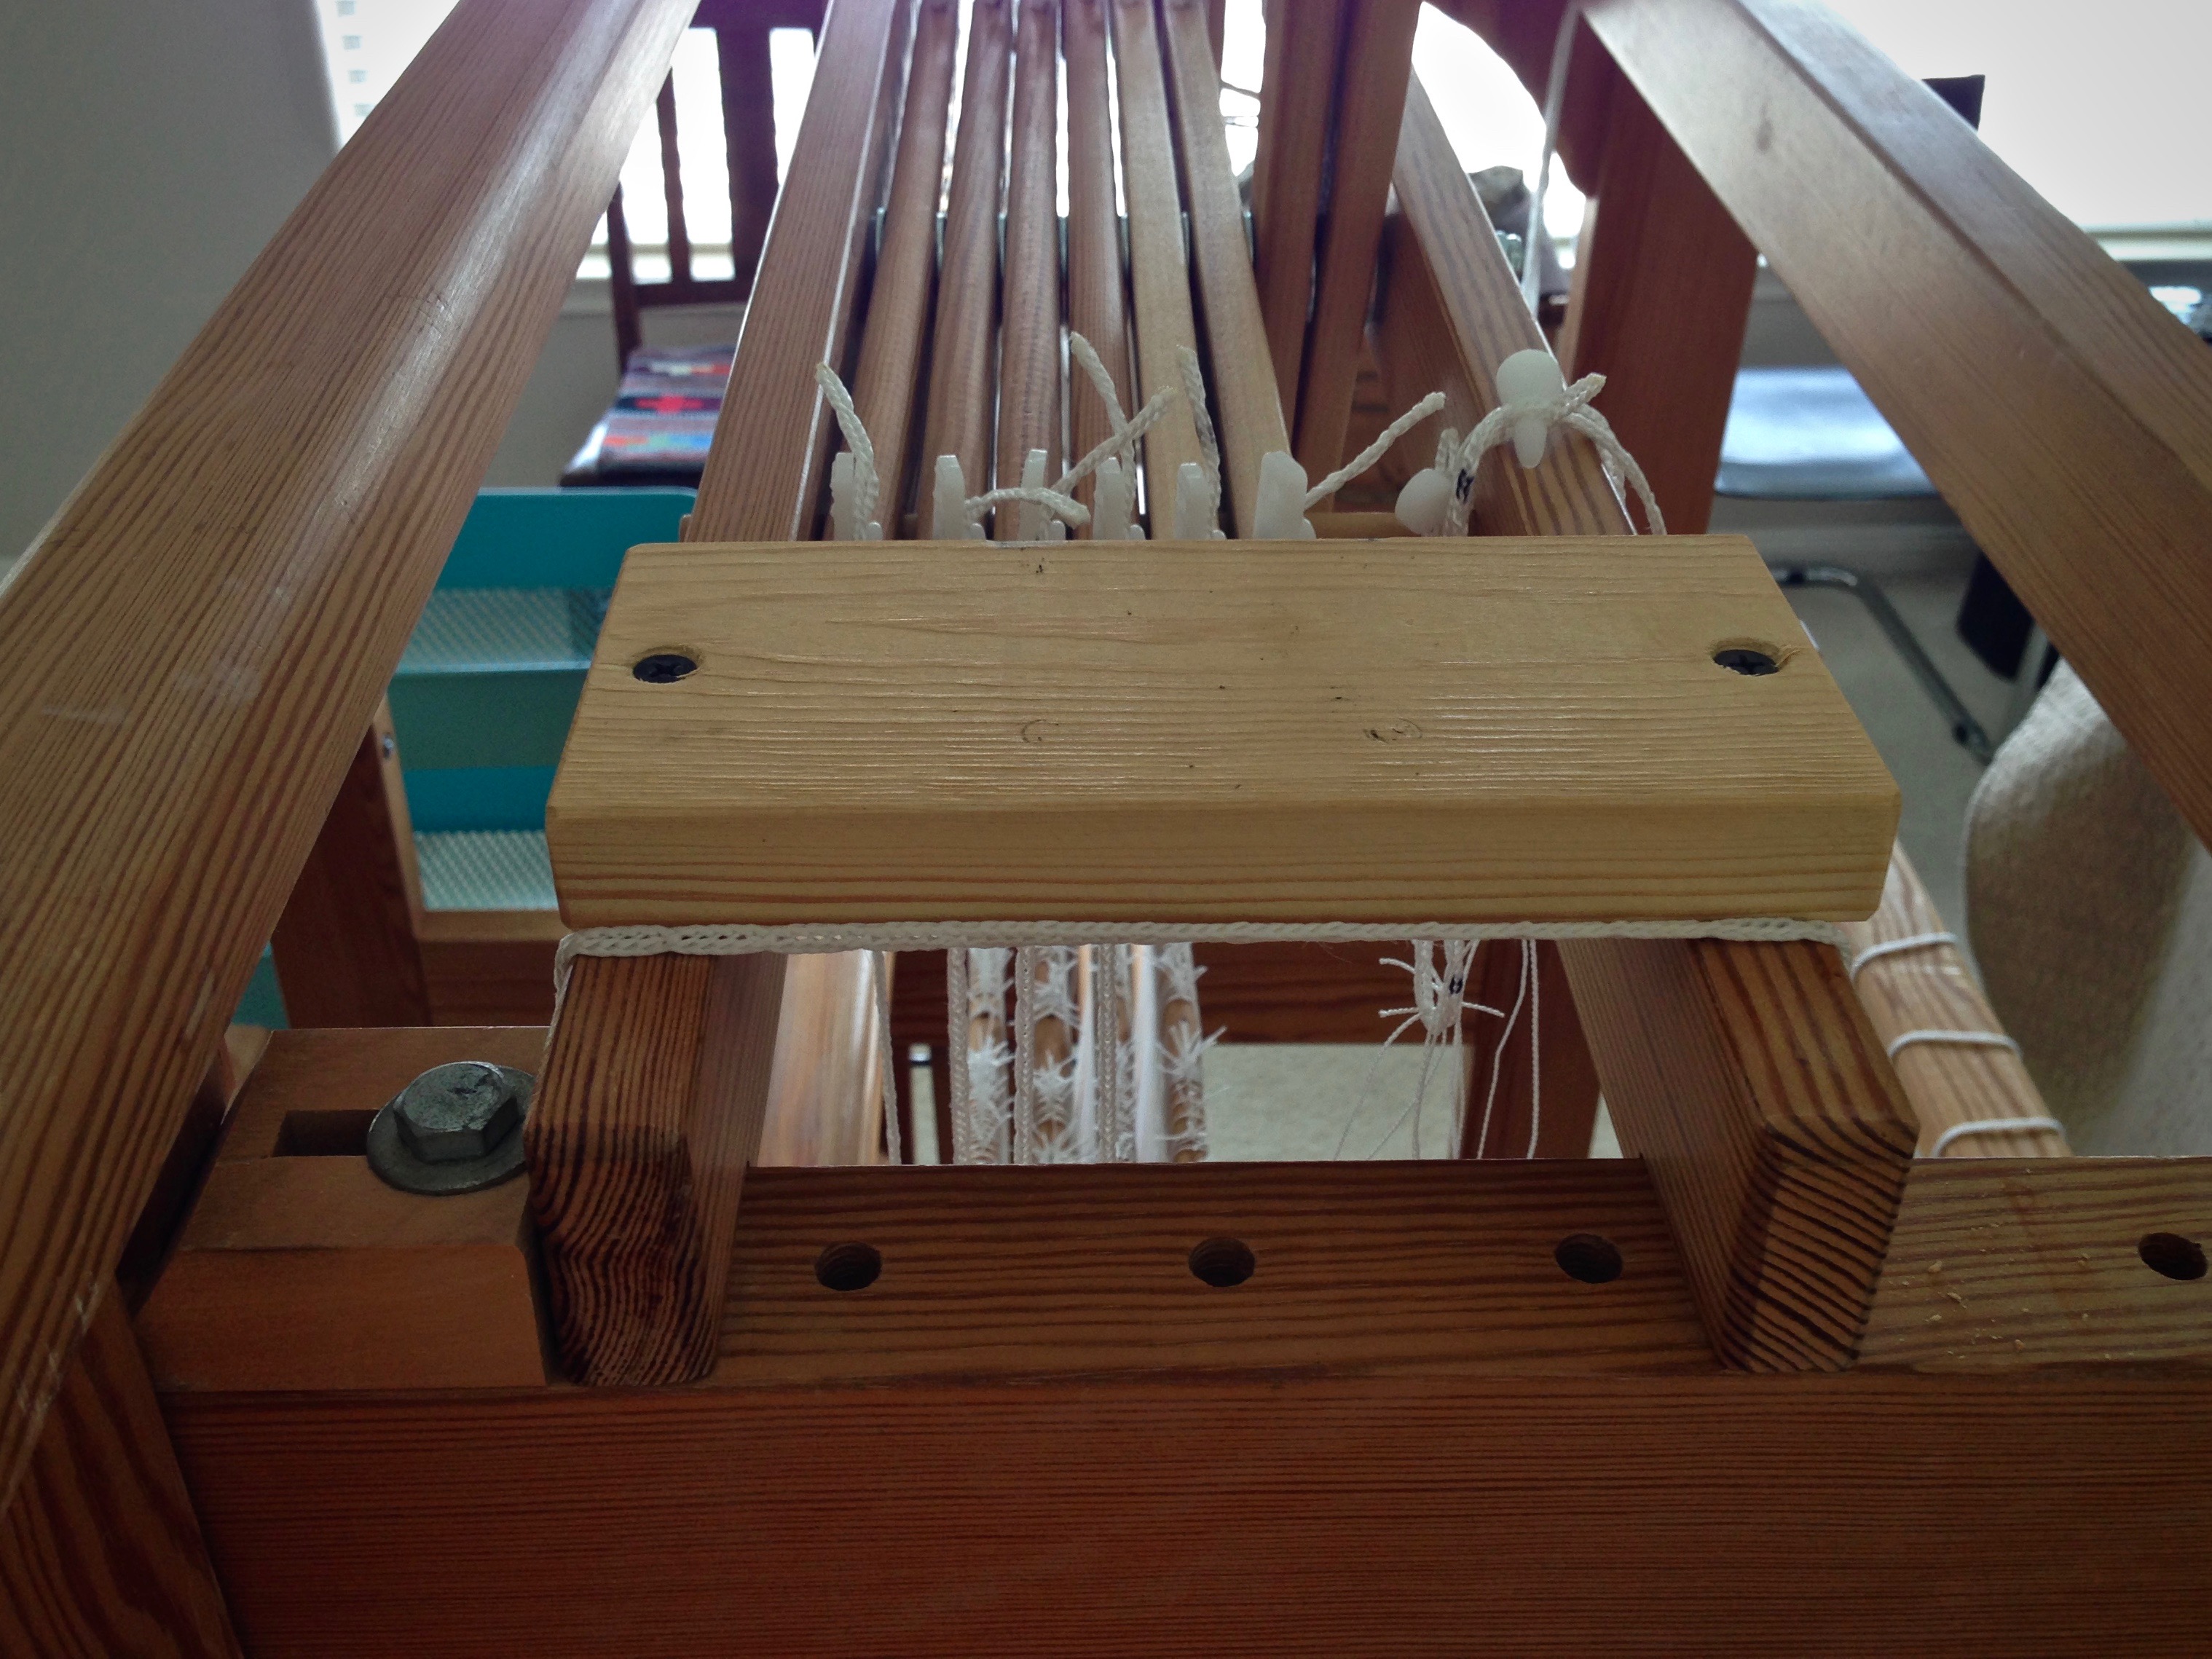
  • Wood block, sized to fit on loom (mine is installed on the countermarch frame; 8 1/2″ x 2 3/4″ x 3/4″ for the Glimåkra Standard 8-shaft loom; 6 1/2″ x 2 3/4″ x 3/4″ for the Glimåkra Ideal 6-shaft loom)
  • Electric drill and pilot bit
  • 2 drywall screws
  • Short three-prong extension cord

Steps

  • Prepare wood block by drilling screw holes (screw threads slip through the holes without biting)
  • Position prepared wood block on loom, mark loom for screw placement
  • Drill pilot holes
  • Screw wood block in place
Mounting on Glimakra Ideal loom for a loom lamp.
Block of wood is screwed into place on the Glimåkra Ideal loom countermarch frame for mounting the loom lamp.


  • Position lamp and clamp into place
Mounting a loom lamp on the Glimakra Standard loom.
Lamp is positioned on the mounting that is attached to the Glimåkra Standard countermarch frame.
Snake arm loom light gives flexibility in directing light where it's needed.
Snake arm gives flexibility for directing the light onto the weaving surface, or over the area of work; e.g., threading, sleying the reed, etc.
Loom lamp is clamped onto a mounting on the countermarch frame.
Lamp is clamped onto the mounting. Project notes hang for easy referral while weaving. The back of the sheet shows yarn snippets used in the project.


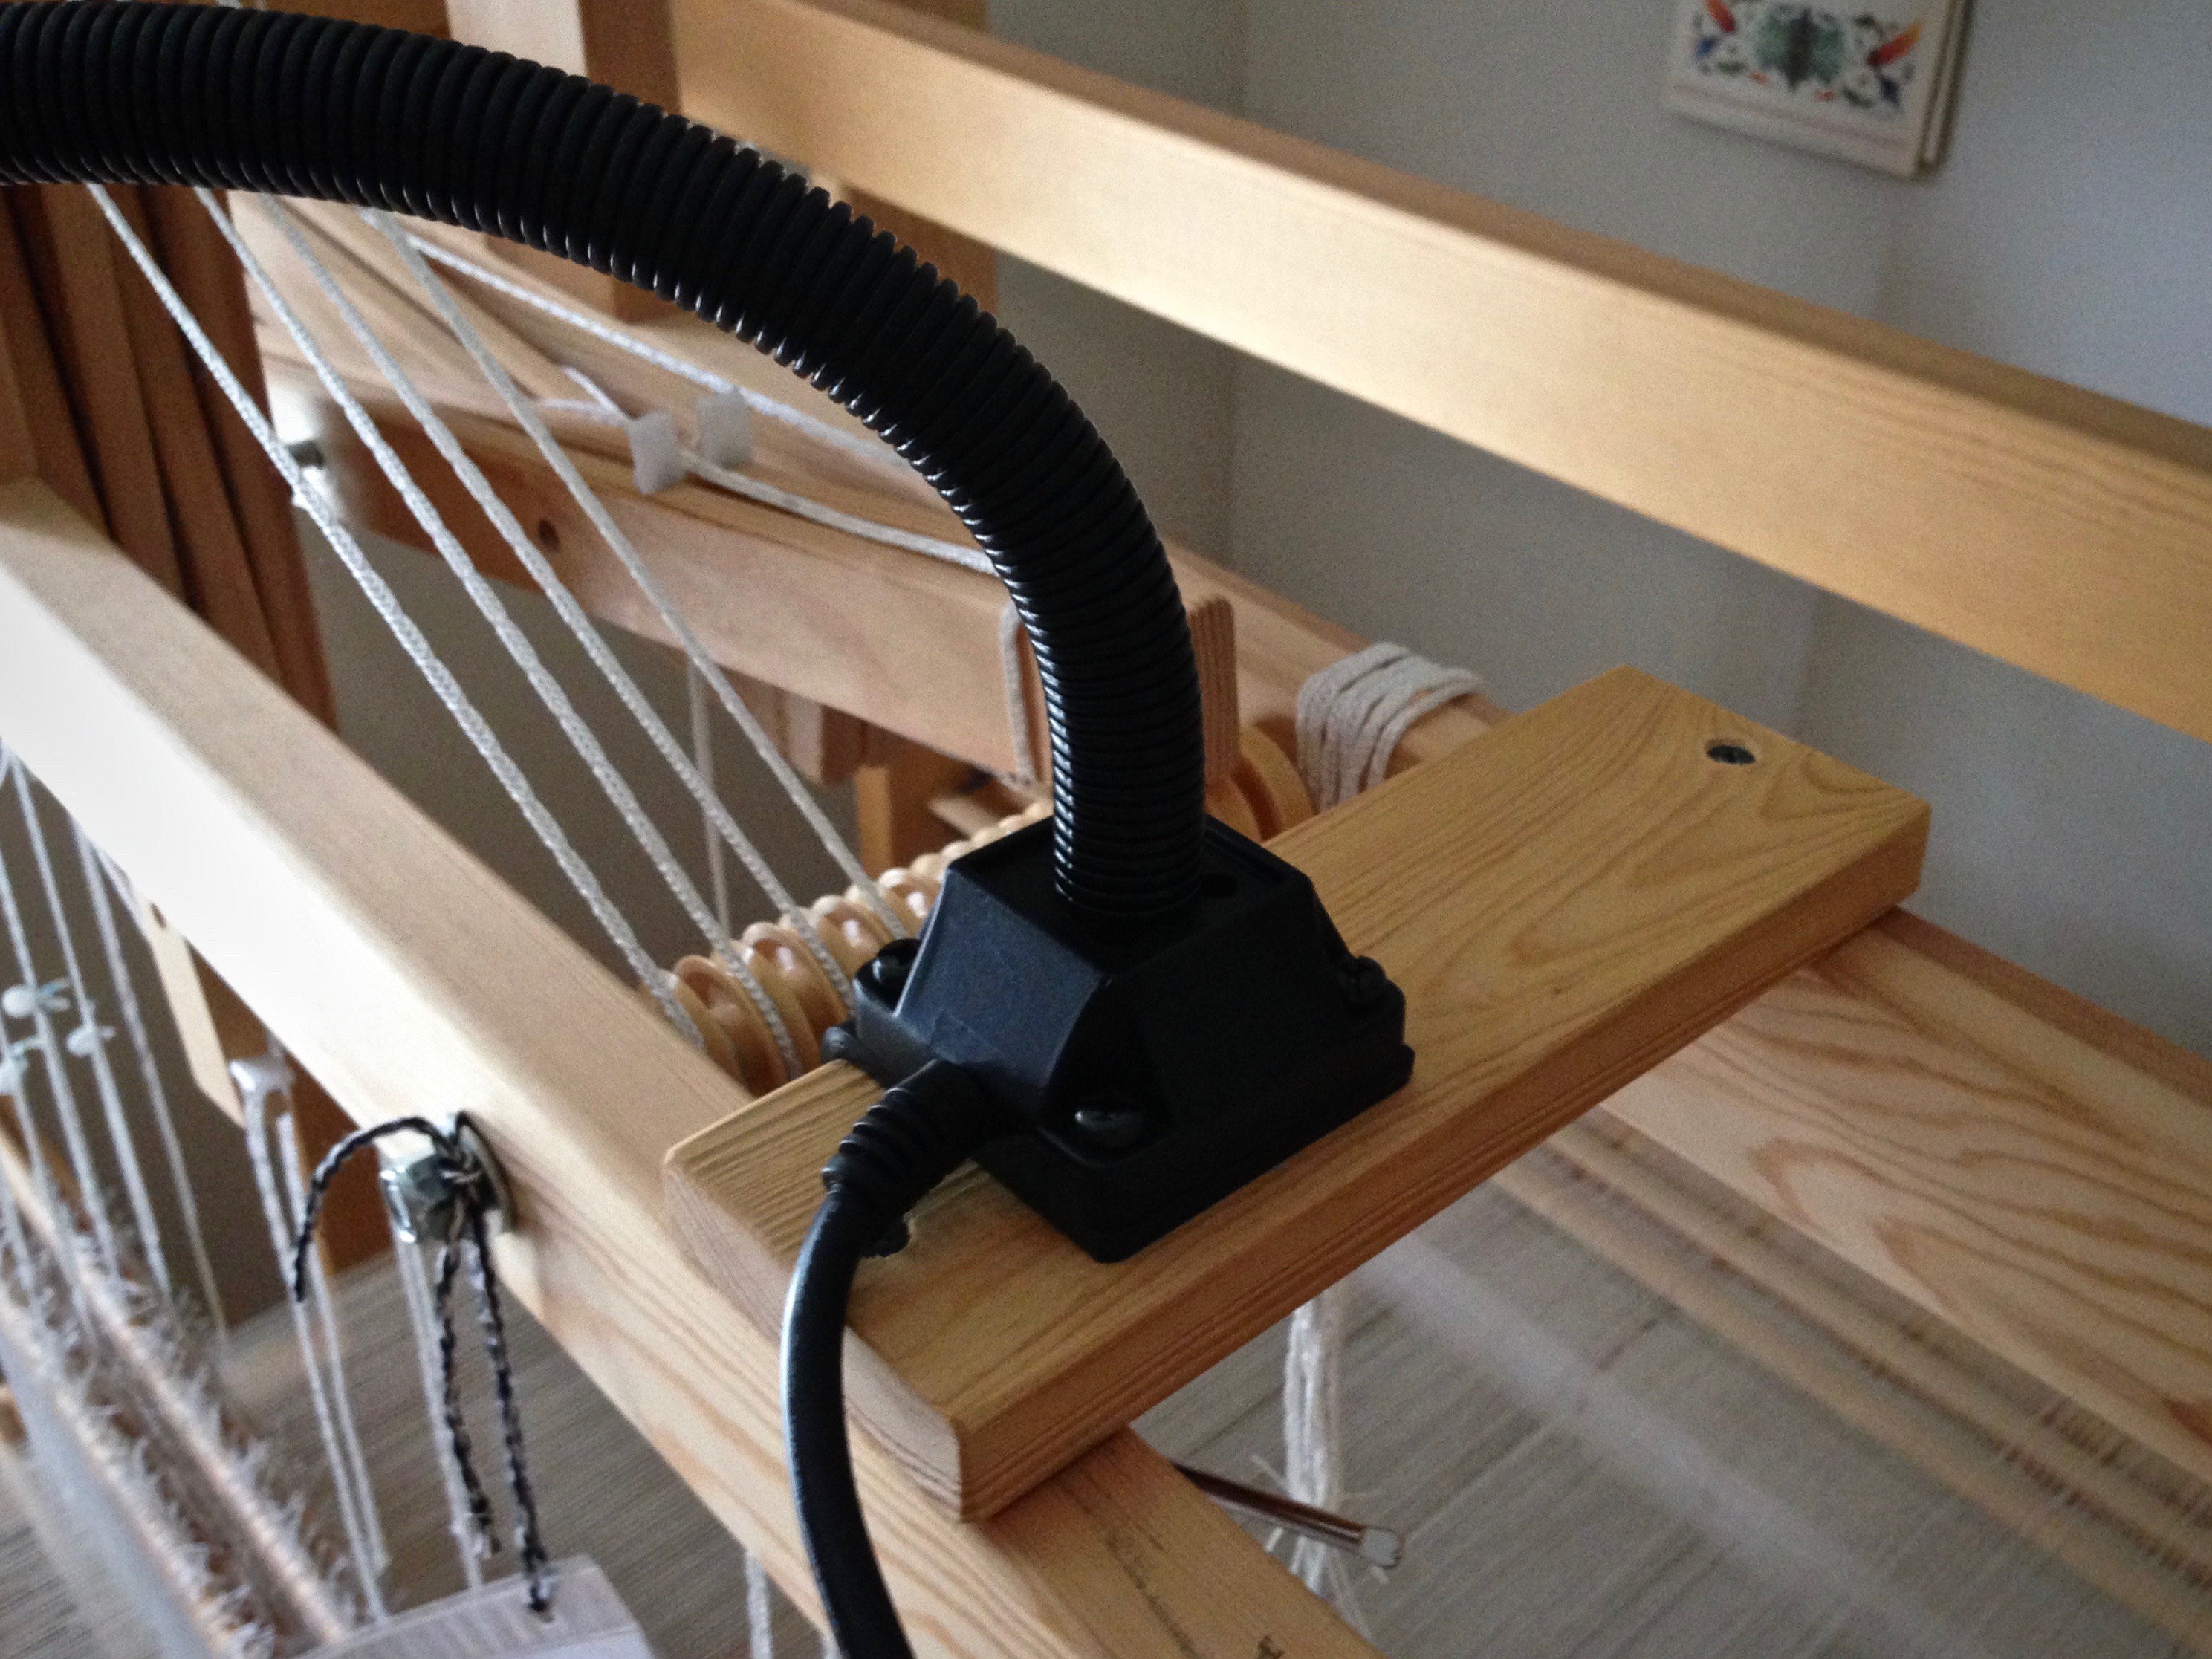
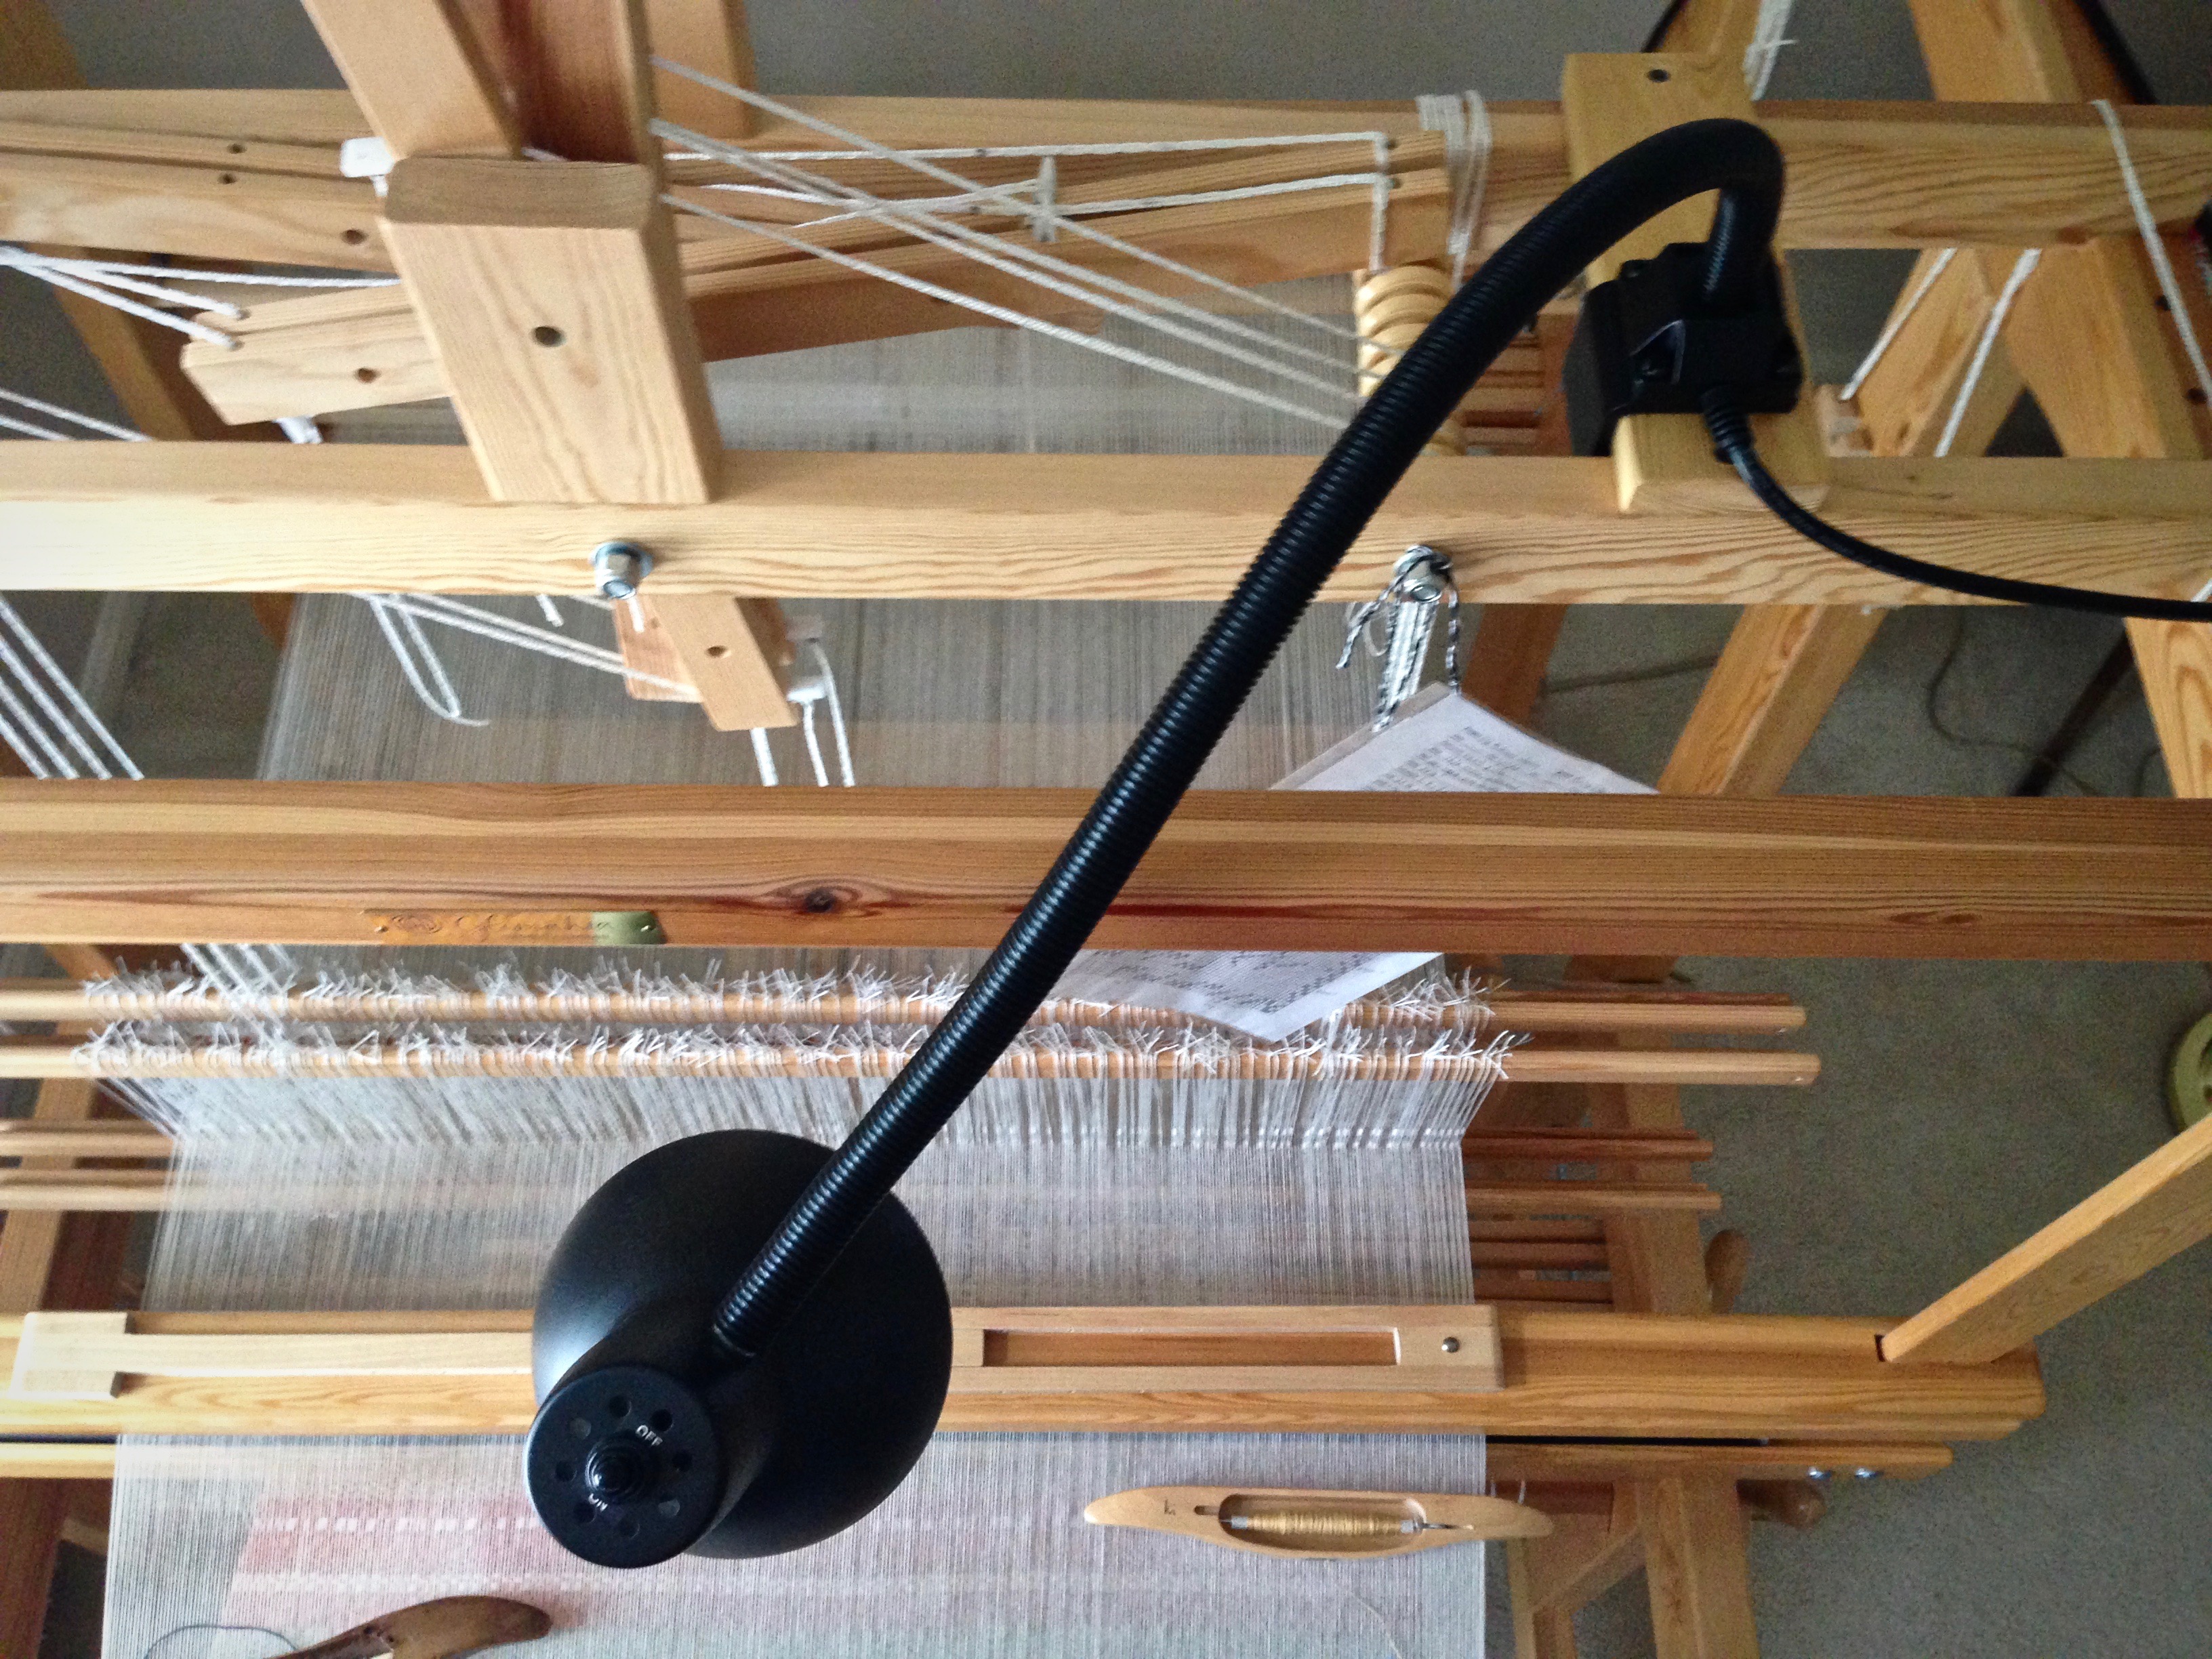
  • Plug lamp cord into extension cord; plug extension cord into outlet
Loom light shines on monksbelt weaving.
Simple on/off switch controls the lamp. Monksbelt picks are easier to count with the new loom light turned on.


  • Illuminate!
Monksbelt on the Glimakra Standard loom. Well lit.
Lamp cord runs along the frame of the loom and down to the floor, where an extension cord continues to a wall outlet.


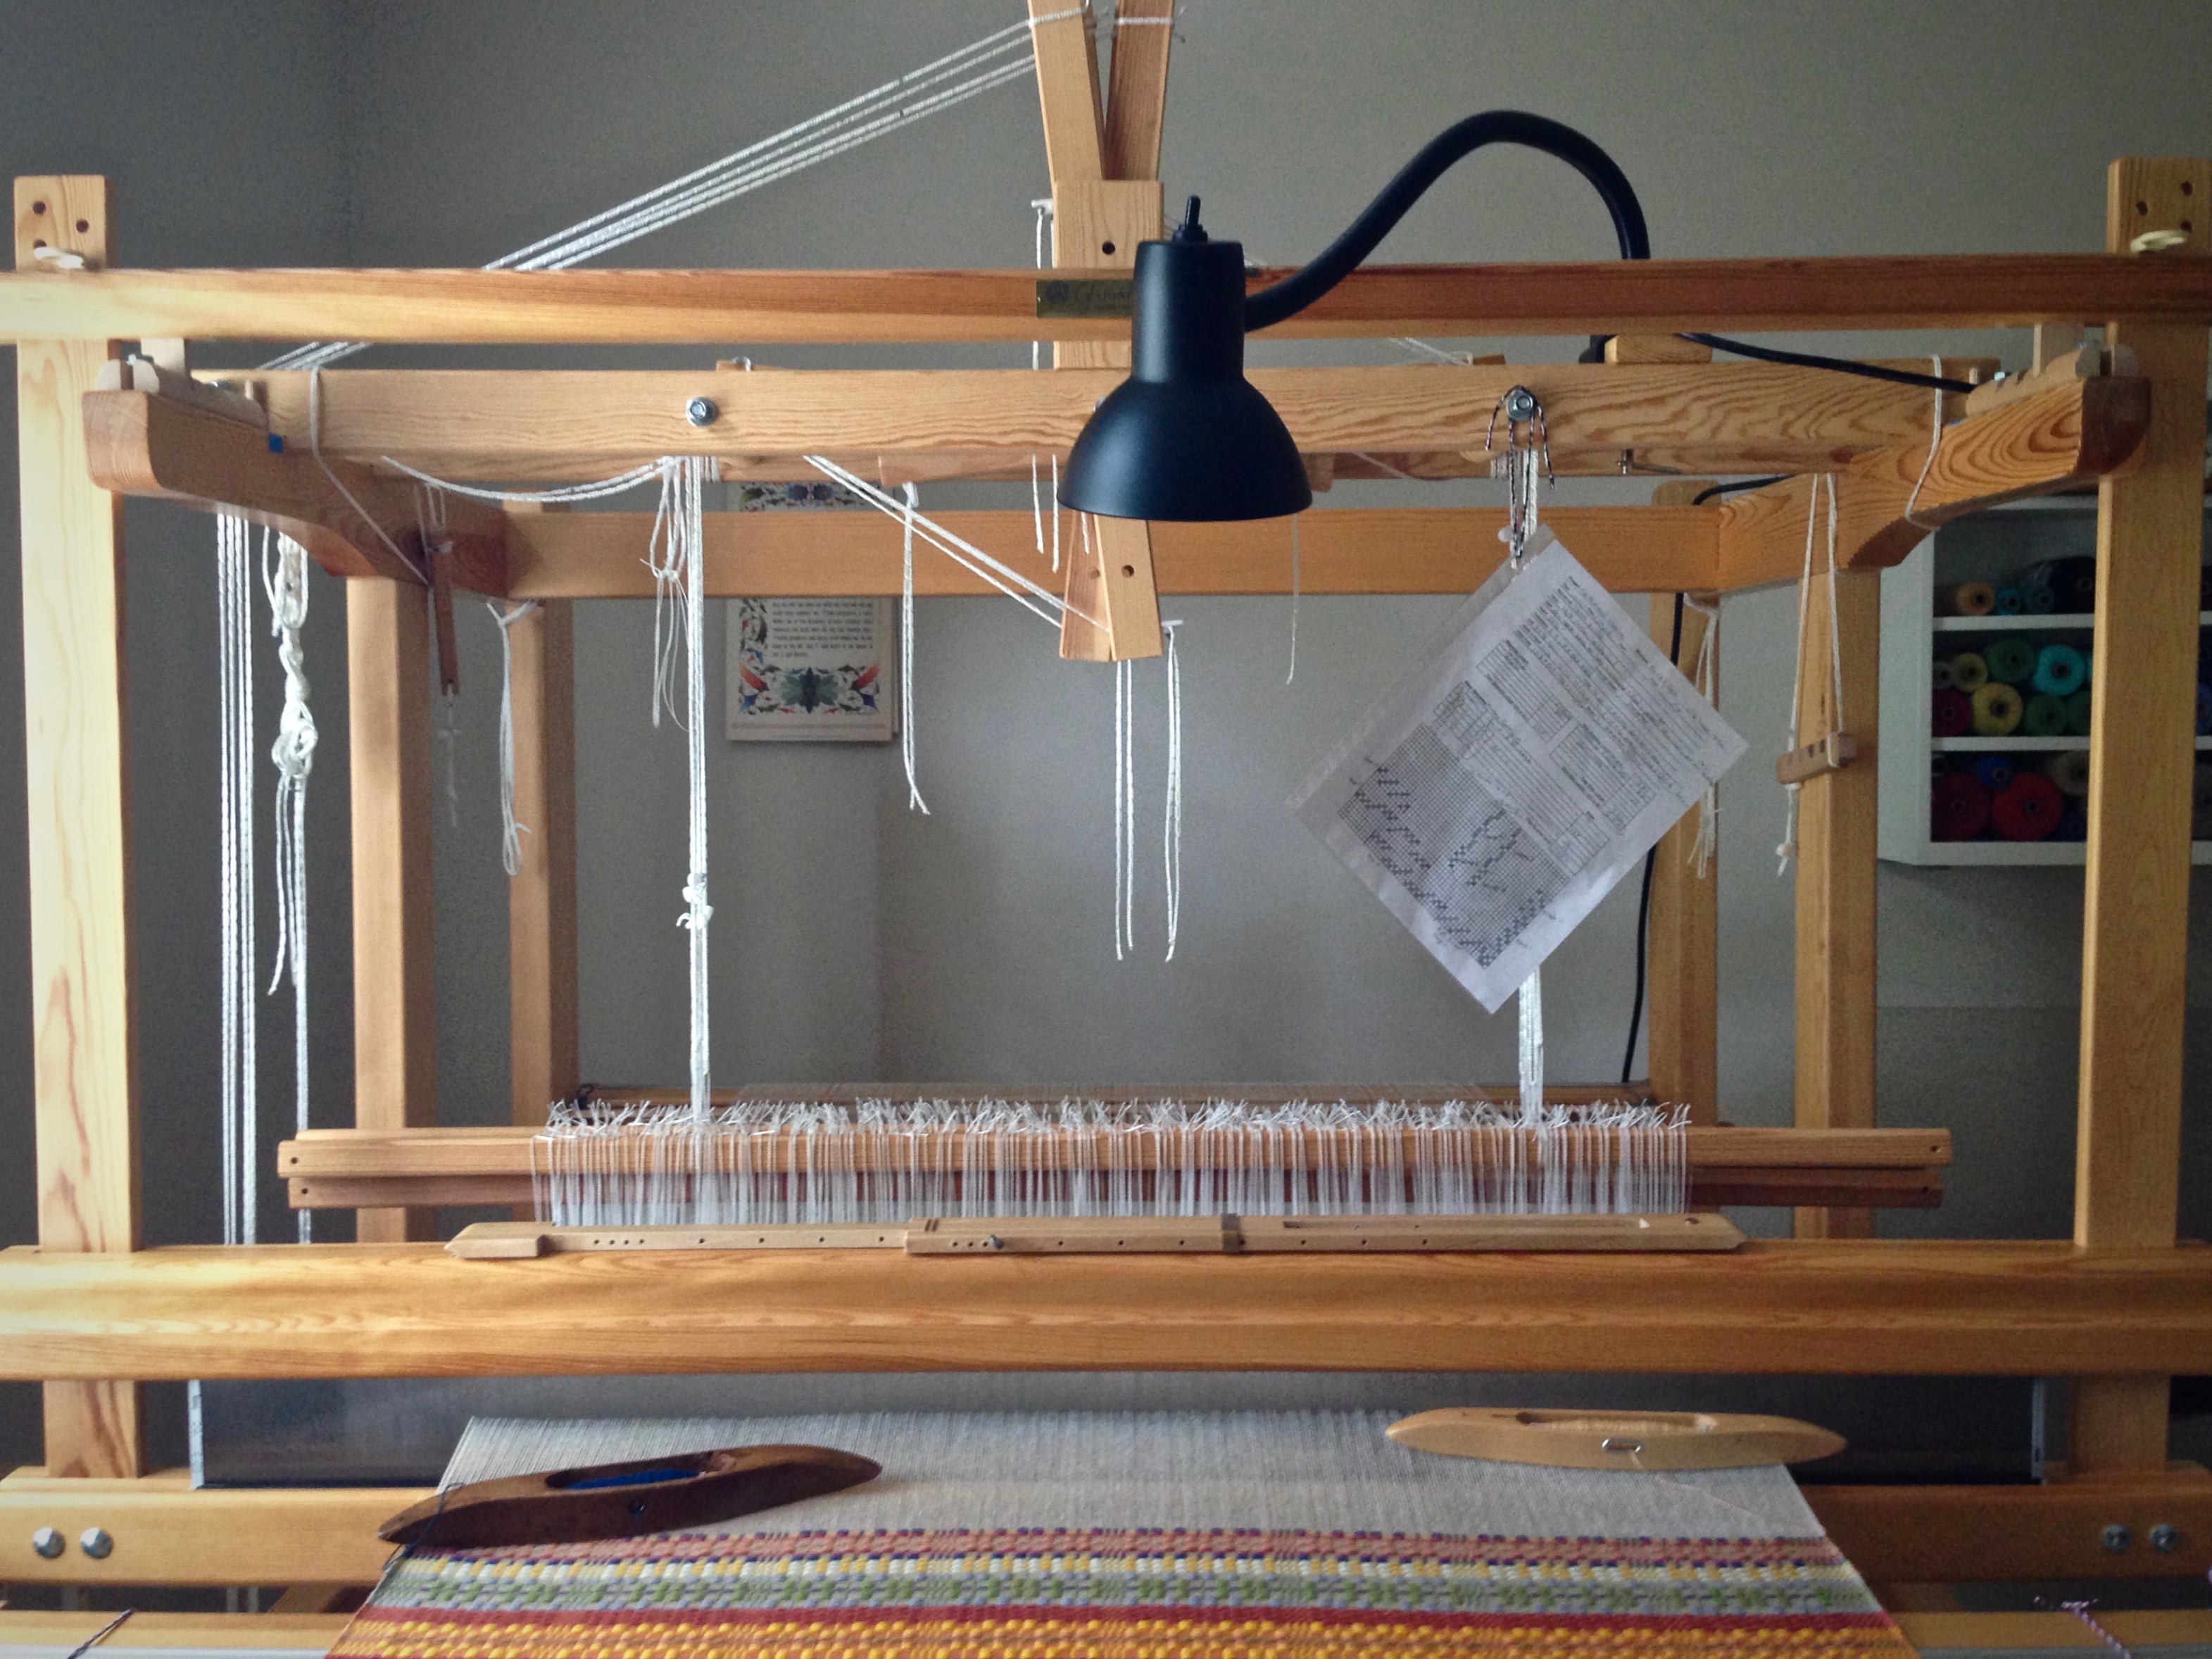
May the work of your hands be illuminated.

Wishing you the best,
Karen

Tools Day: Let There Be Light!

Sunshine coming through the windows is marvelous for weaving. But my eyes need extra light to see small details. This is noticeably true with errors that I mend on the loom and off the loom. I turn on extra lighting at other times, too–when threading fine threads, sleying the reed with fine or dark threads, counting picks per inch on woven cloth, and checking the treadling pattern in a fine weave, for example. And sometimes I turn on extra lighting for no other reason than it’s a cloudy day.

Tools:
OttLite Task Lamp with Swivel Base
Handheld lighted magnifier

Broken weft repair.
Pin marks the spot where I broke a thin weft thread, 30/2 cotton, with the temple.
Repairing broken thread requires task lighting.
Repair area is flooded with light from my portable OttLite.
Replacing broken weft thread.
Illuminated stitches are easily seen. A replacement length of weft is needle-woven in.
Oops. A few skips to fix in handwoven cloth.
Series of errant floats are discovered after this fabric is removed from the loom. At 30 ends per inch, my eyes strain to see where to weave the needle.
Lighting and magnification needed for fixing threads.
Needing more than the bright OttLite, I add magnification. Pairing the OttLite with the handheld lighted magnifier does the trick!
Magnified threads for handwoven repairs.
Lighted magnifier, reflecting the OttLite just overhead, balances perfectly on a small sewing basket. Now I can actually see the threads I am fixing.

To further reduce eye strain, I am considering other lighting options. Have you had success with task lighting? I’d love to hear about it. Share your experience and recommendations in the comments.

My Lighting Wish List:
Full spectrum floor lamp
Adjustable-arm magnifying task light to clamp on table or loom

May you see what you need to see.

With a bright outlook,
Karen

Warp Stamping Is Over

If I could do it over, I would put on a shorter warp for this experimental project. I enjoyed weaving plain weave, with the simplicity of one shuttle and one color. I did not enjoy, however, stopping every six inches to stamp the warp with paint. Clearly, I am not a paint person.

End of the warp is a happy sight!
Bare warp beam, with the end of the warp inches away from coming over the back beam for the final stretch of weaving.

You can guess that I was overjoyed to see the tie-on bar come over the back beam! That hope of finishing propelled me to the end. Of course, I still have work to do–fixing a few floats, wet finishing, and then sewing a tiered skirt. The root of my problem was not that this was long and slow. The root was my uncertainty. Isn’t that always the case? Is all this effort and mess going to be worth it? Will this fabric even work for the skirt I want to make?

Warp was stamped on the loom, using fabric paint, before it was woven.
Printed woven cloth, just off the loom, awaits finishing and sewing. The print was made by stamping the warp on the loom, using fabric paint, before it was woven.

When we are stumbling in the dark, we long for light. It can be discouraging when you are not sure where your decisions will take you. The light of God shines in the darkness, bringing hope. Hope dispels darkness. Much like the tie-on bar at the end of a long warp, when we see hope rounding the corner we know we can make it.

May your path be lit with hope.

By the way, if you are a paint person, I have a set of gently used hand-carved wooden stamps I will send to the first person in the continental U.S. who asks for them. Postage is on me!
Get in Touch to let me know you’d like them.
*UPDATE*
The stamps have been spoken for! Sandy O. is going to use them to experiment on her rigid heddle loom!

Happy plain weaving,
Karen

Show Me the Evidence

Few things are as important as even warp tension if you are hoping for quality results in your weaving. Eight warping slats are placed, one by one, across the warp as I begin beaming the warp onto the octagonal warp beam. After three full revolutions, I do it again, with eight more slats; and repeat the process until the warp is fully beamed. This effective technique gives a solid “platform” every few rounds for the warp ends, promoting even tension across the warp.

Beaming new rug warp on Glimakra Ideal.
Warping slats lay in a pile behind the warp beam. Counting out eight slats at a time helps me know when I have covered the eight sides of the octagonal warp beam.

The warping slats are hidden between the layers of warp ends. Having the slats in place means I can confidently tighten this rug warp to the max, giving me the best conditions for a handwoven rug.

Nothing is hidden that will not become evident. In other words, when I tighten my warp I can tell without looking that the slats are in place. And better than that, the rugs that are produced will have the consistency that a tight, even warp provides. The warping slats are like faith. Faith hidden in your heart becomes light that is seen in your life. How you live is evidence of what is in your heart. Faith always bears evidence.

May your light shine.

All the best,
Karen

Glimmer of Linen

There is just enough morning light in the room to see the slight glimmer on the surface of these tubes of 16/2 linen. Line Linen has a sheen that sets it apart from other fibers; but without enough light in the room you could miss it. I am excited to get started with such exquisite thread. My mind’s eye is already trying to picture the finished cloth.

Ready to wind a linen warp!
Two shades of blue will be combined for the 16/2 linen warp. The brown 16/2 linen will be seen as floats in the dice weave fabric that I am planning.

It was late last night before I got a chance to open the box that arrived the day before. You cannot identify colors in the dark. So, in the darkened room I could barely make out the colors of the linen, much less see any brilliance from the sheen that I knew would be there.

Pride is like a blindfold; it wraps over the eyes of your heart. It’s like staying in a darkened room where colors never shine. Pride takes, assumes, expects, demands, and makes itself known. Humility, on the other hand, gives, serves, looks for the betterment of others, and expects nothing in return. Humility is like the morning light that brings out the natural sheen in everyone around you.

May your humility bring light into the room.

Your friend,
Karen

~Thank you, blog-reading friends! There is a discount coupon just for you on my About page, good for a few more days.~