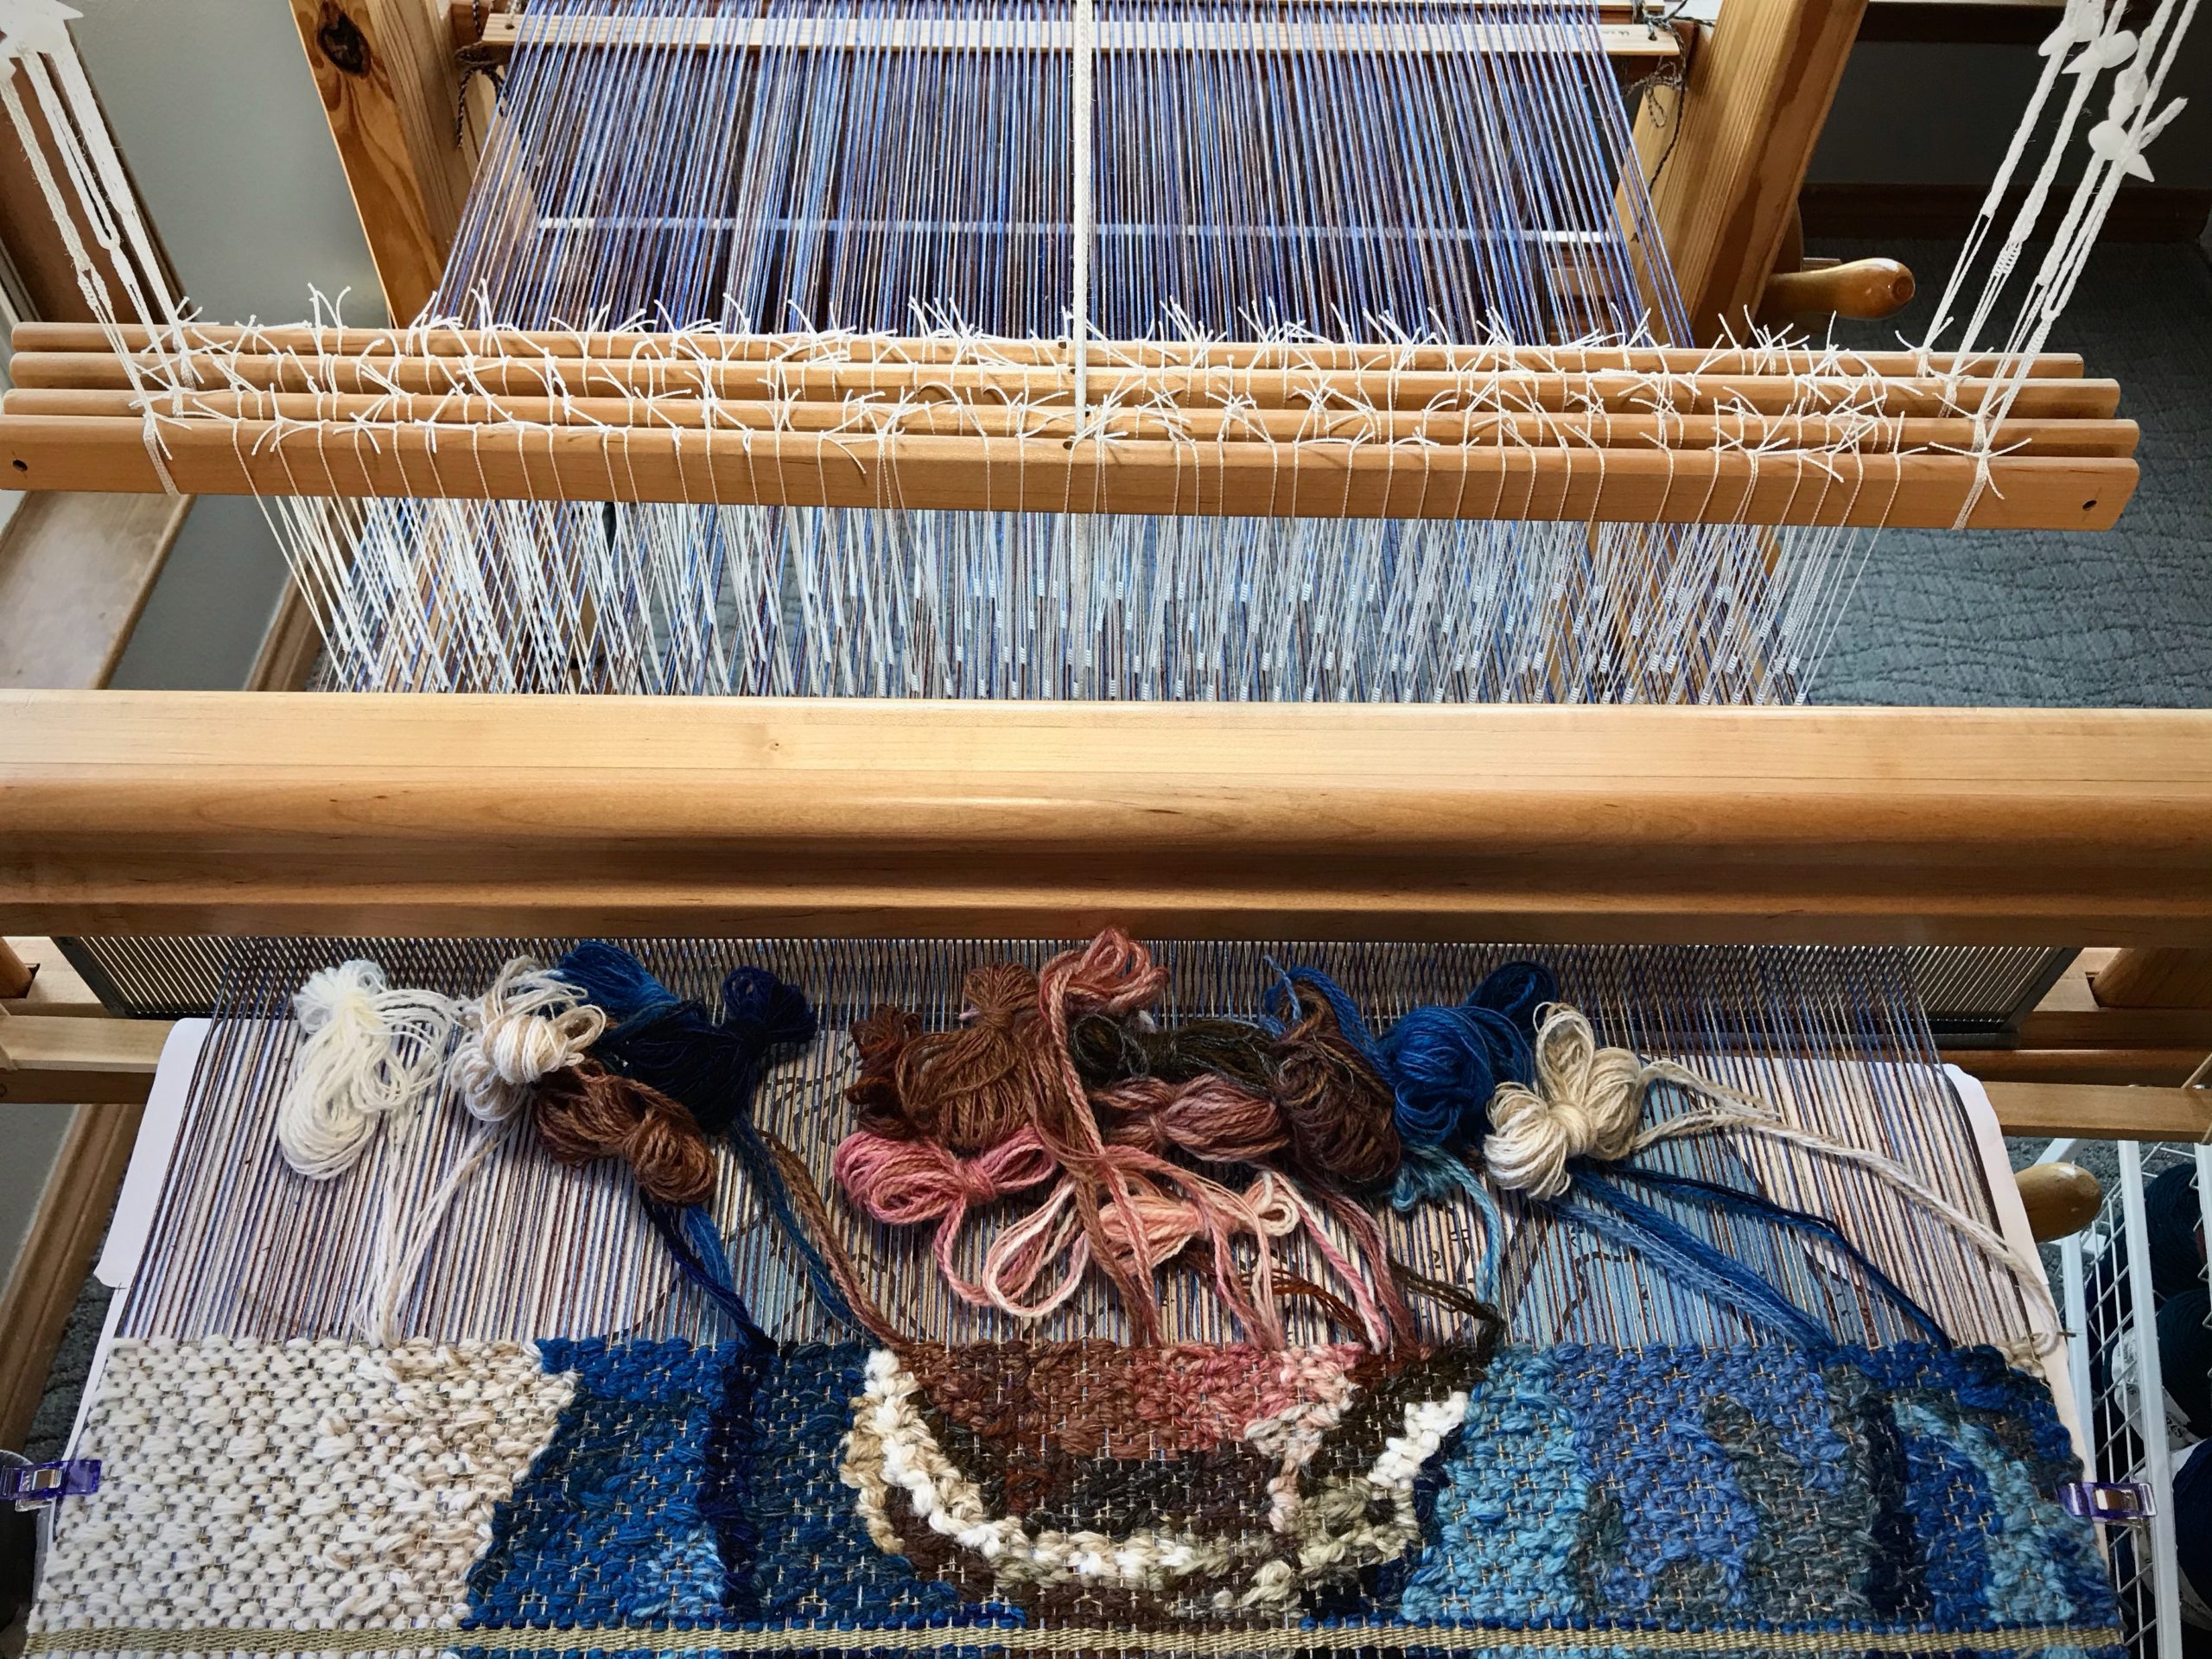
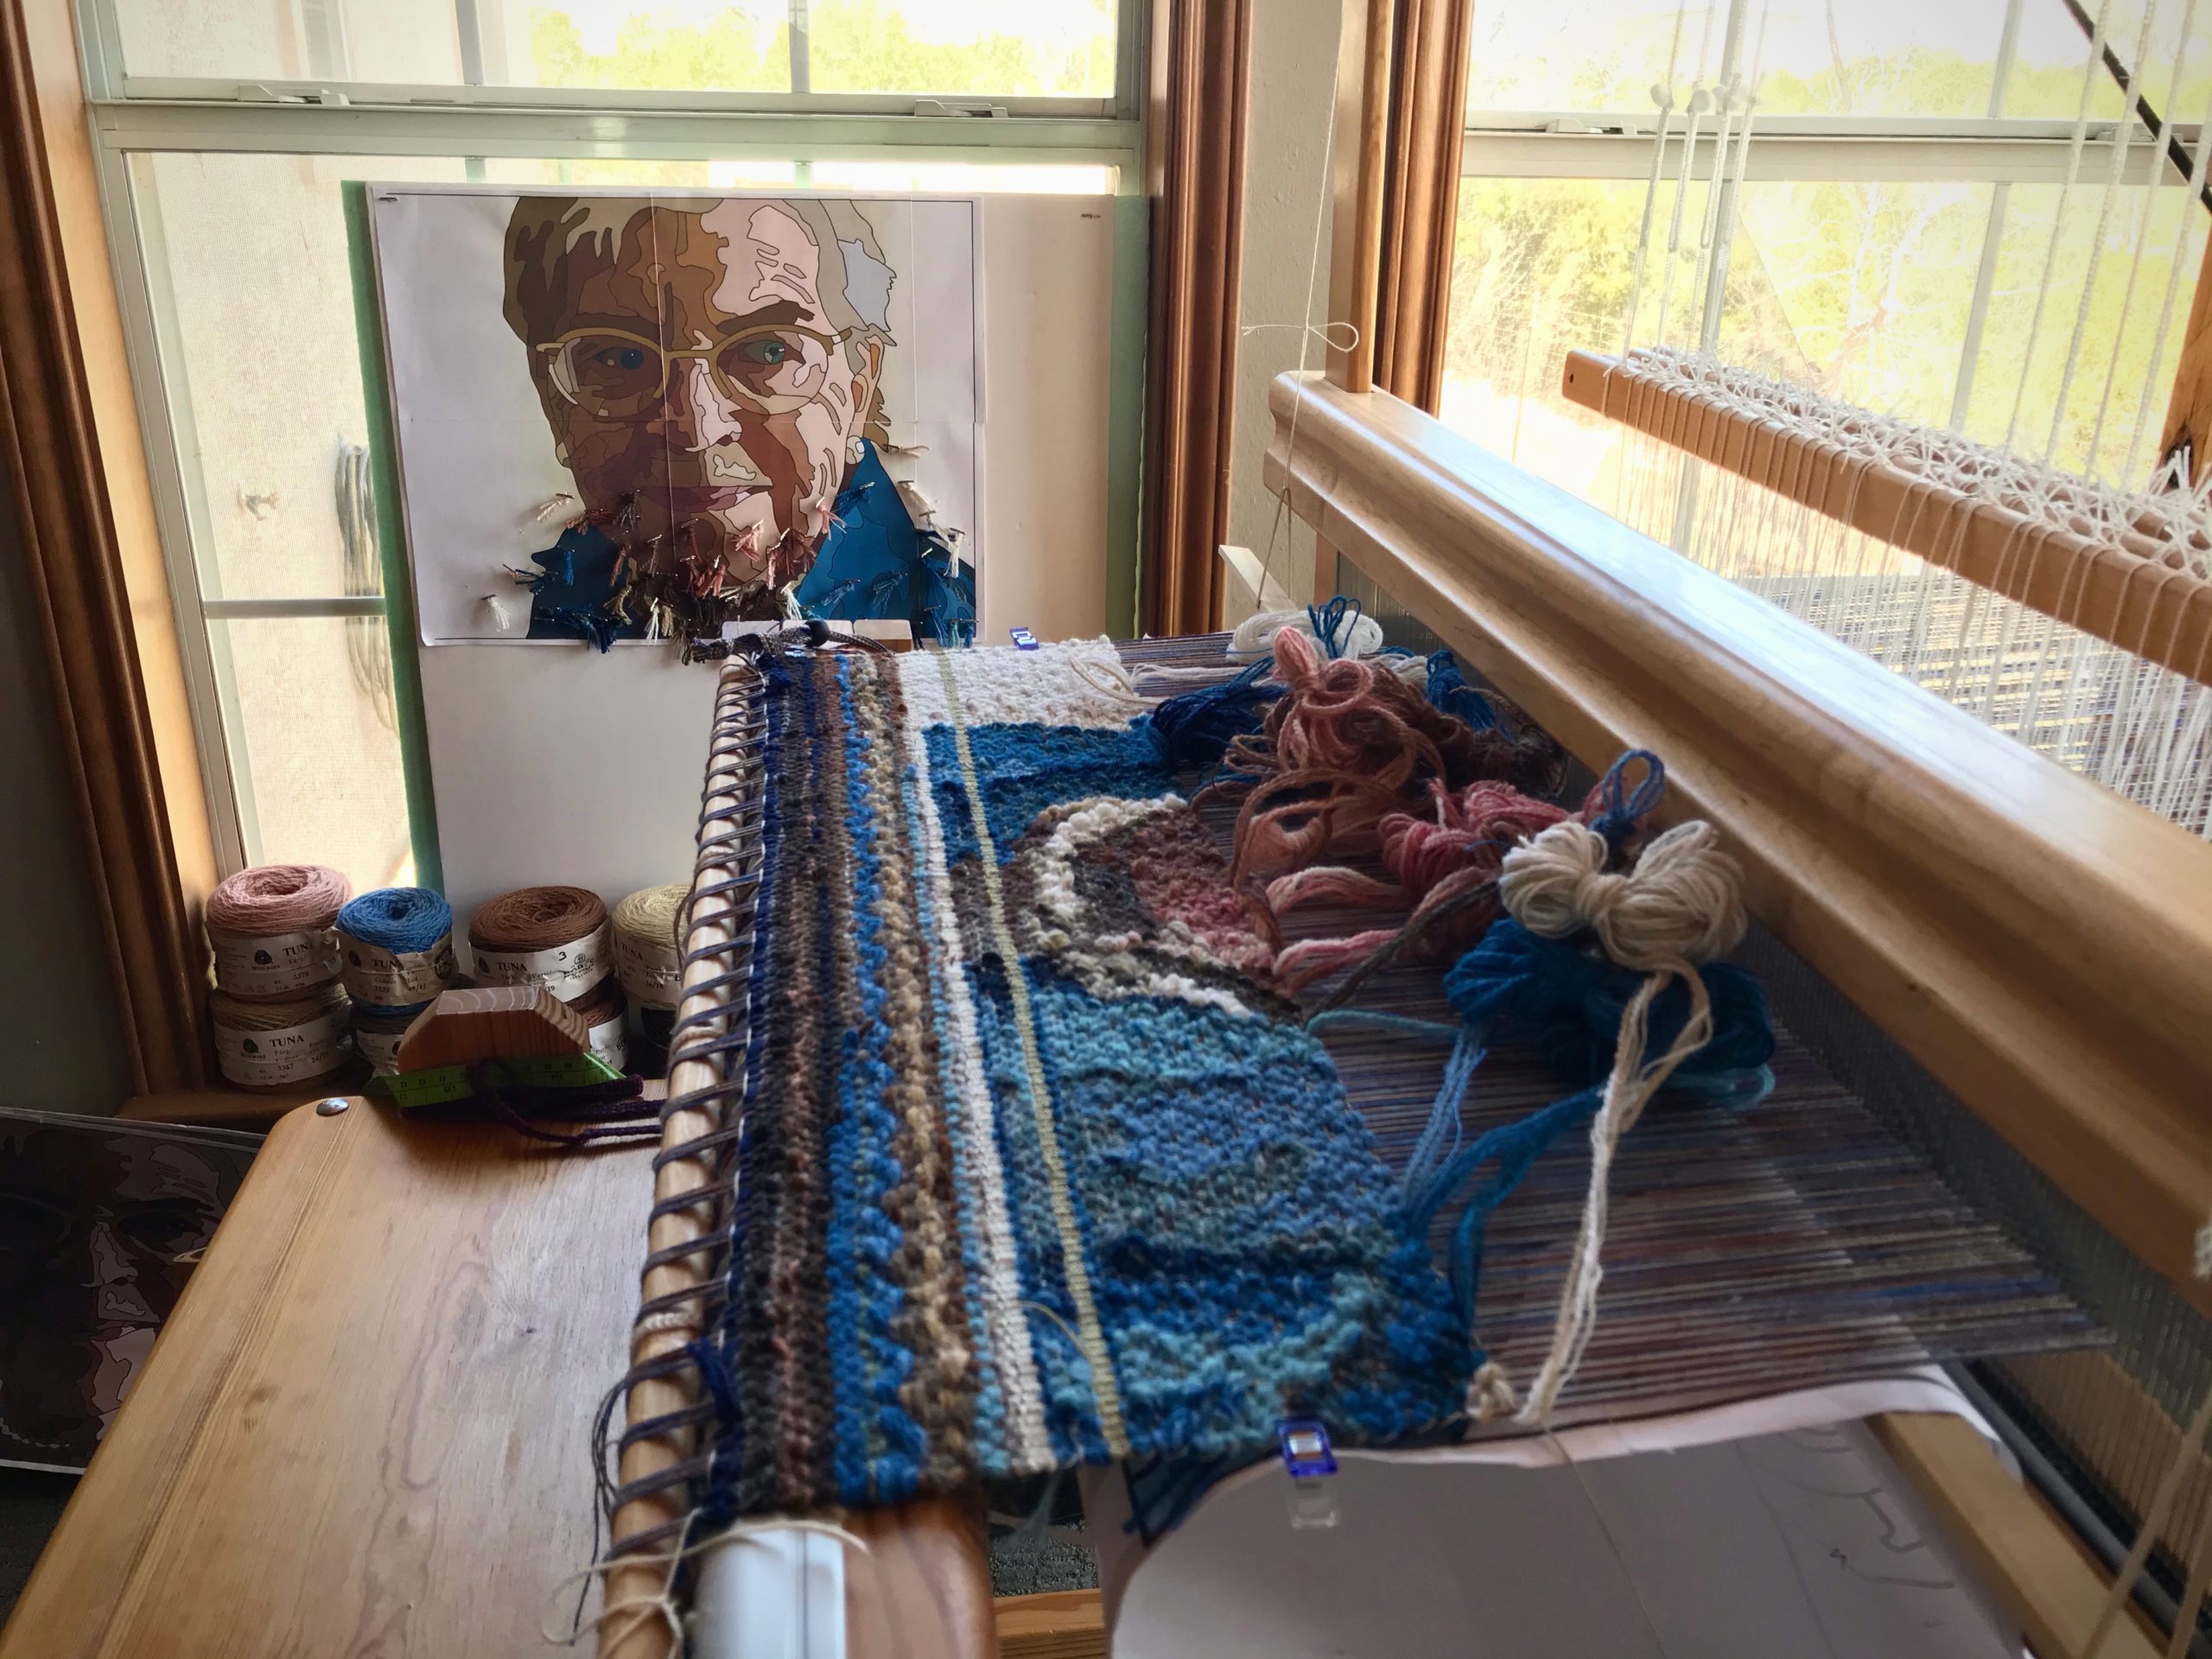
Tried and True: Prevent Weaving Mistakes with Two Secret Weapons

As much as I am enthralled with what I am doing at the loom, my concentration ability wanes. It is in those waning moments that errors happen. Also, as you know, I have looms in my home, which means I can weave well into the evening in my pajamas, if I want to. But, I better not exceed my limits, or else…
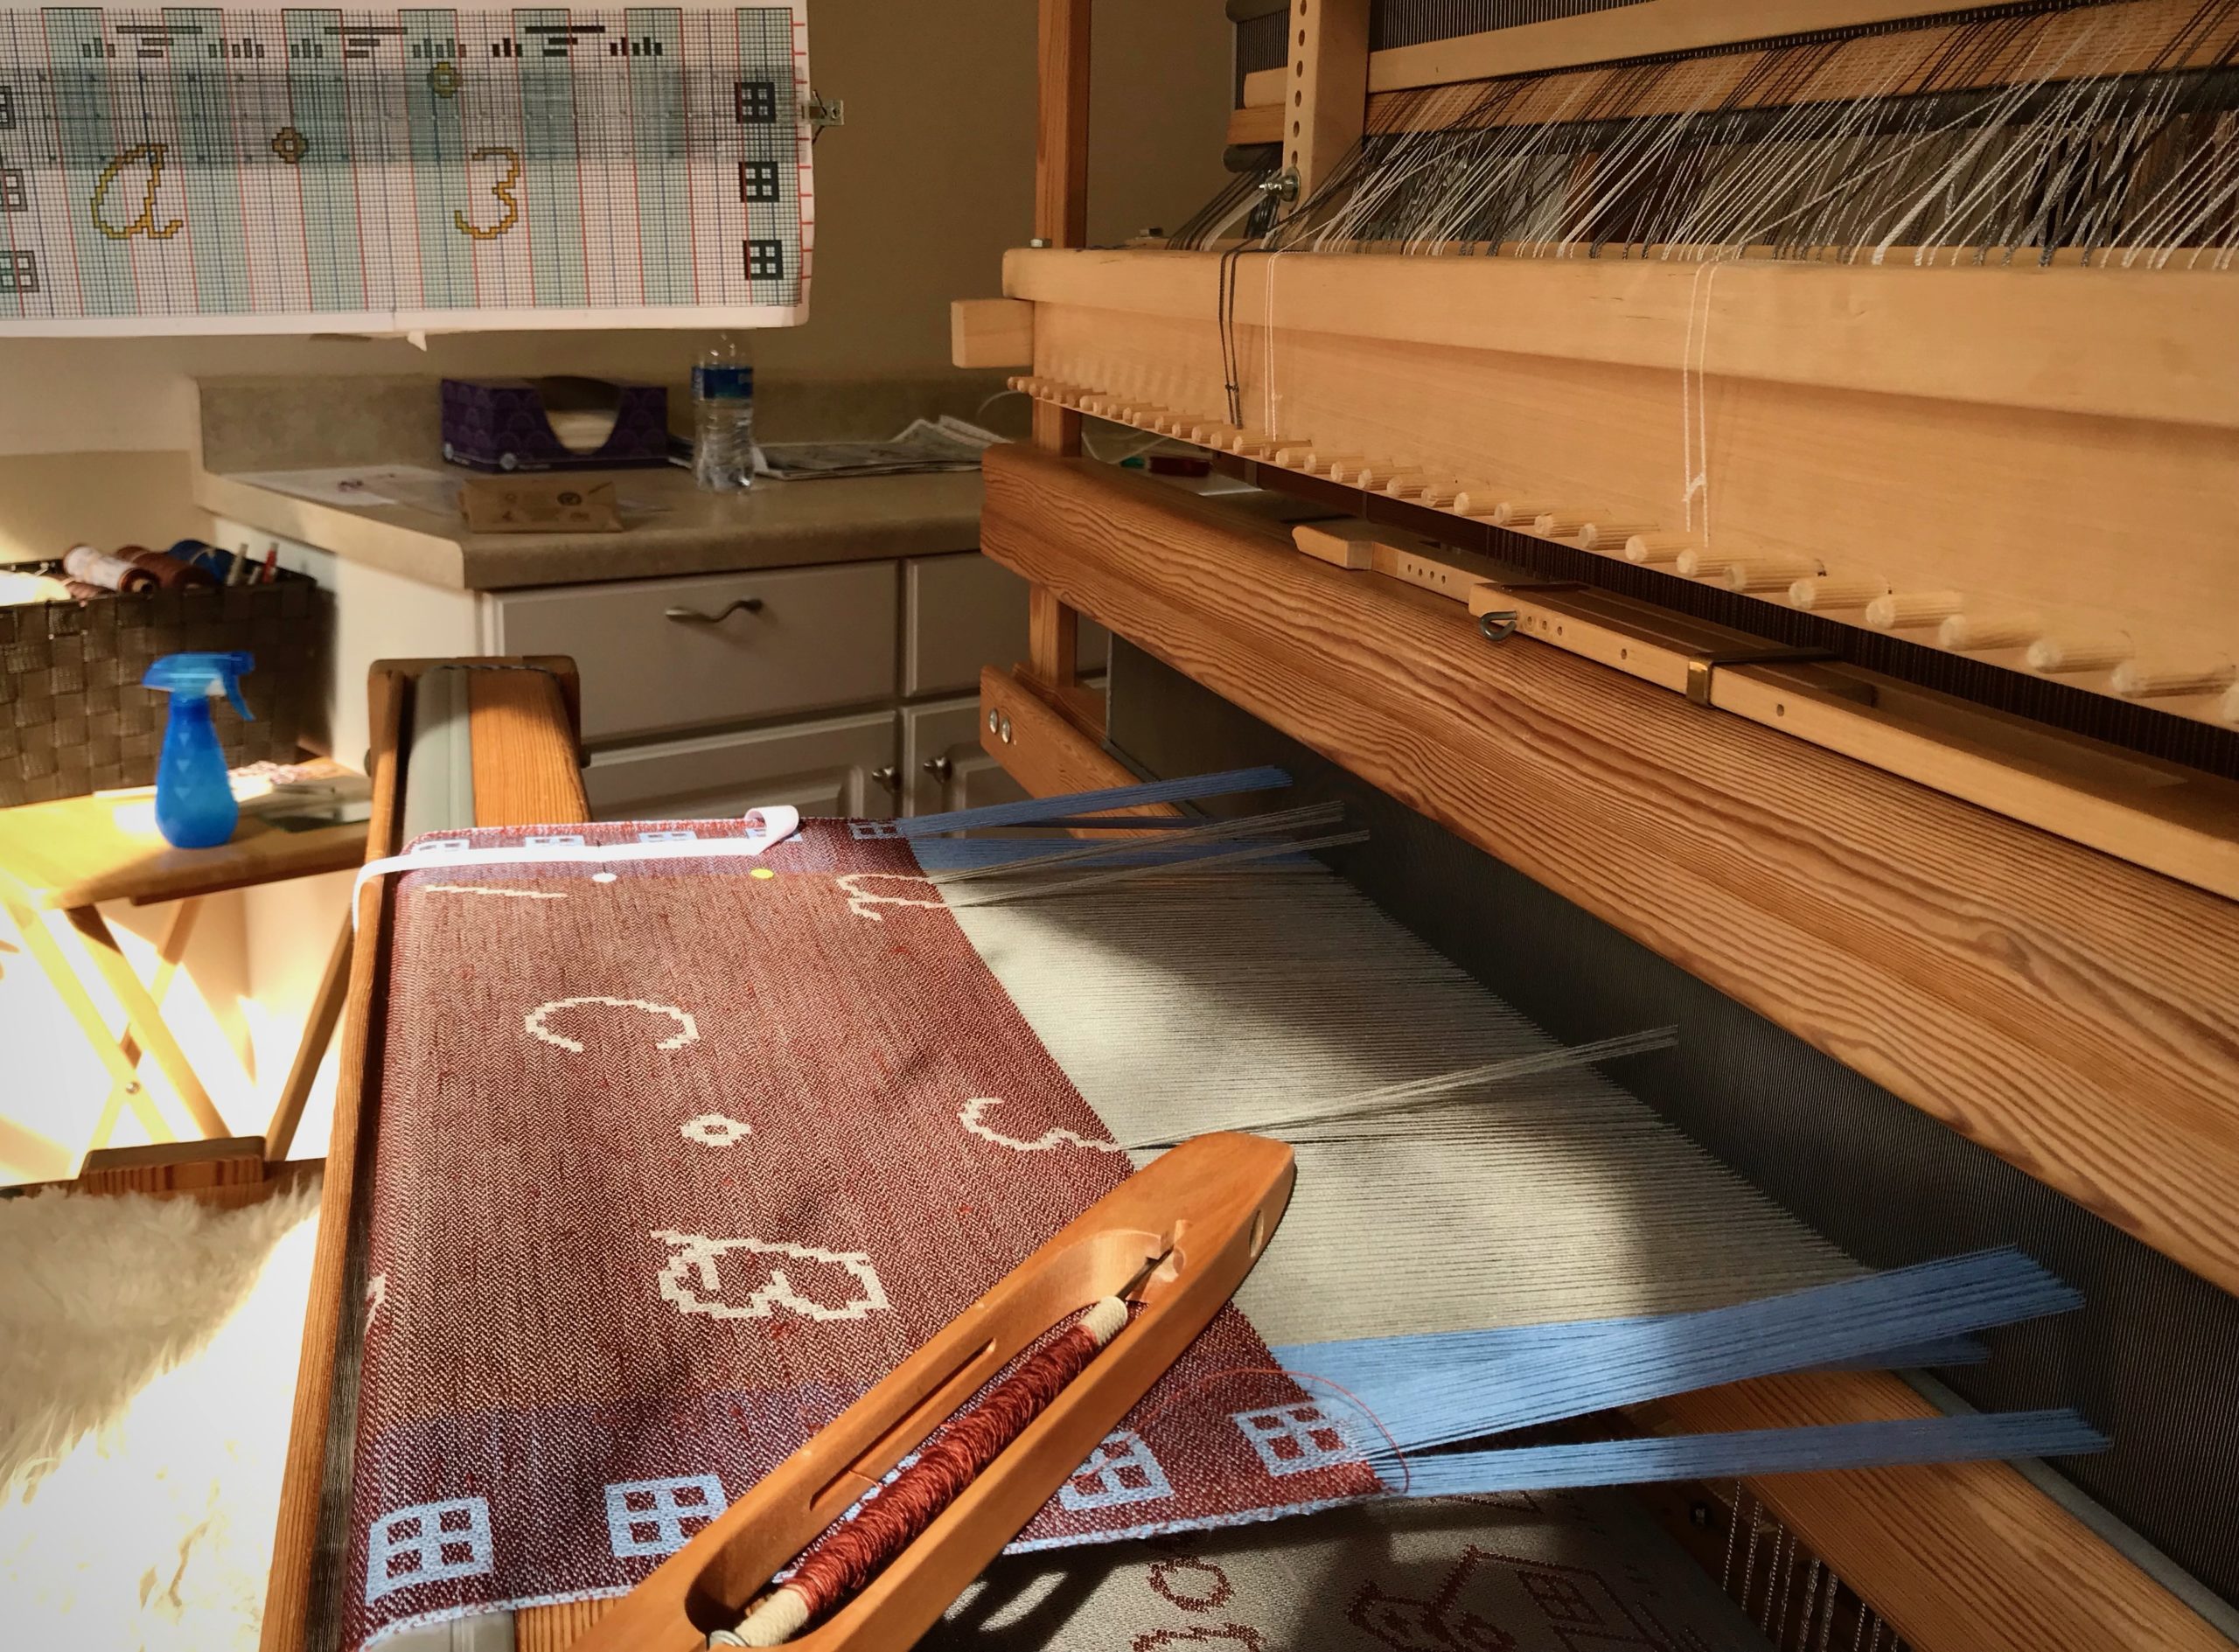
Combination drawloom. Towels for gifts.
Seven pattern shafts are being used for the border “windows.” The center area uses single units to make the design that includes numerals and letters.

Weaving on the drawloom demands my undivided attention, as does pictorial tapestry and any intricate pattern weave. All of these are especially tedious to undo. Therefore, mistakes are outlawed! To that end, I have two secret weapons that prevent all most mistakes—
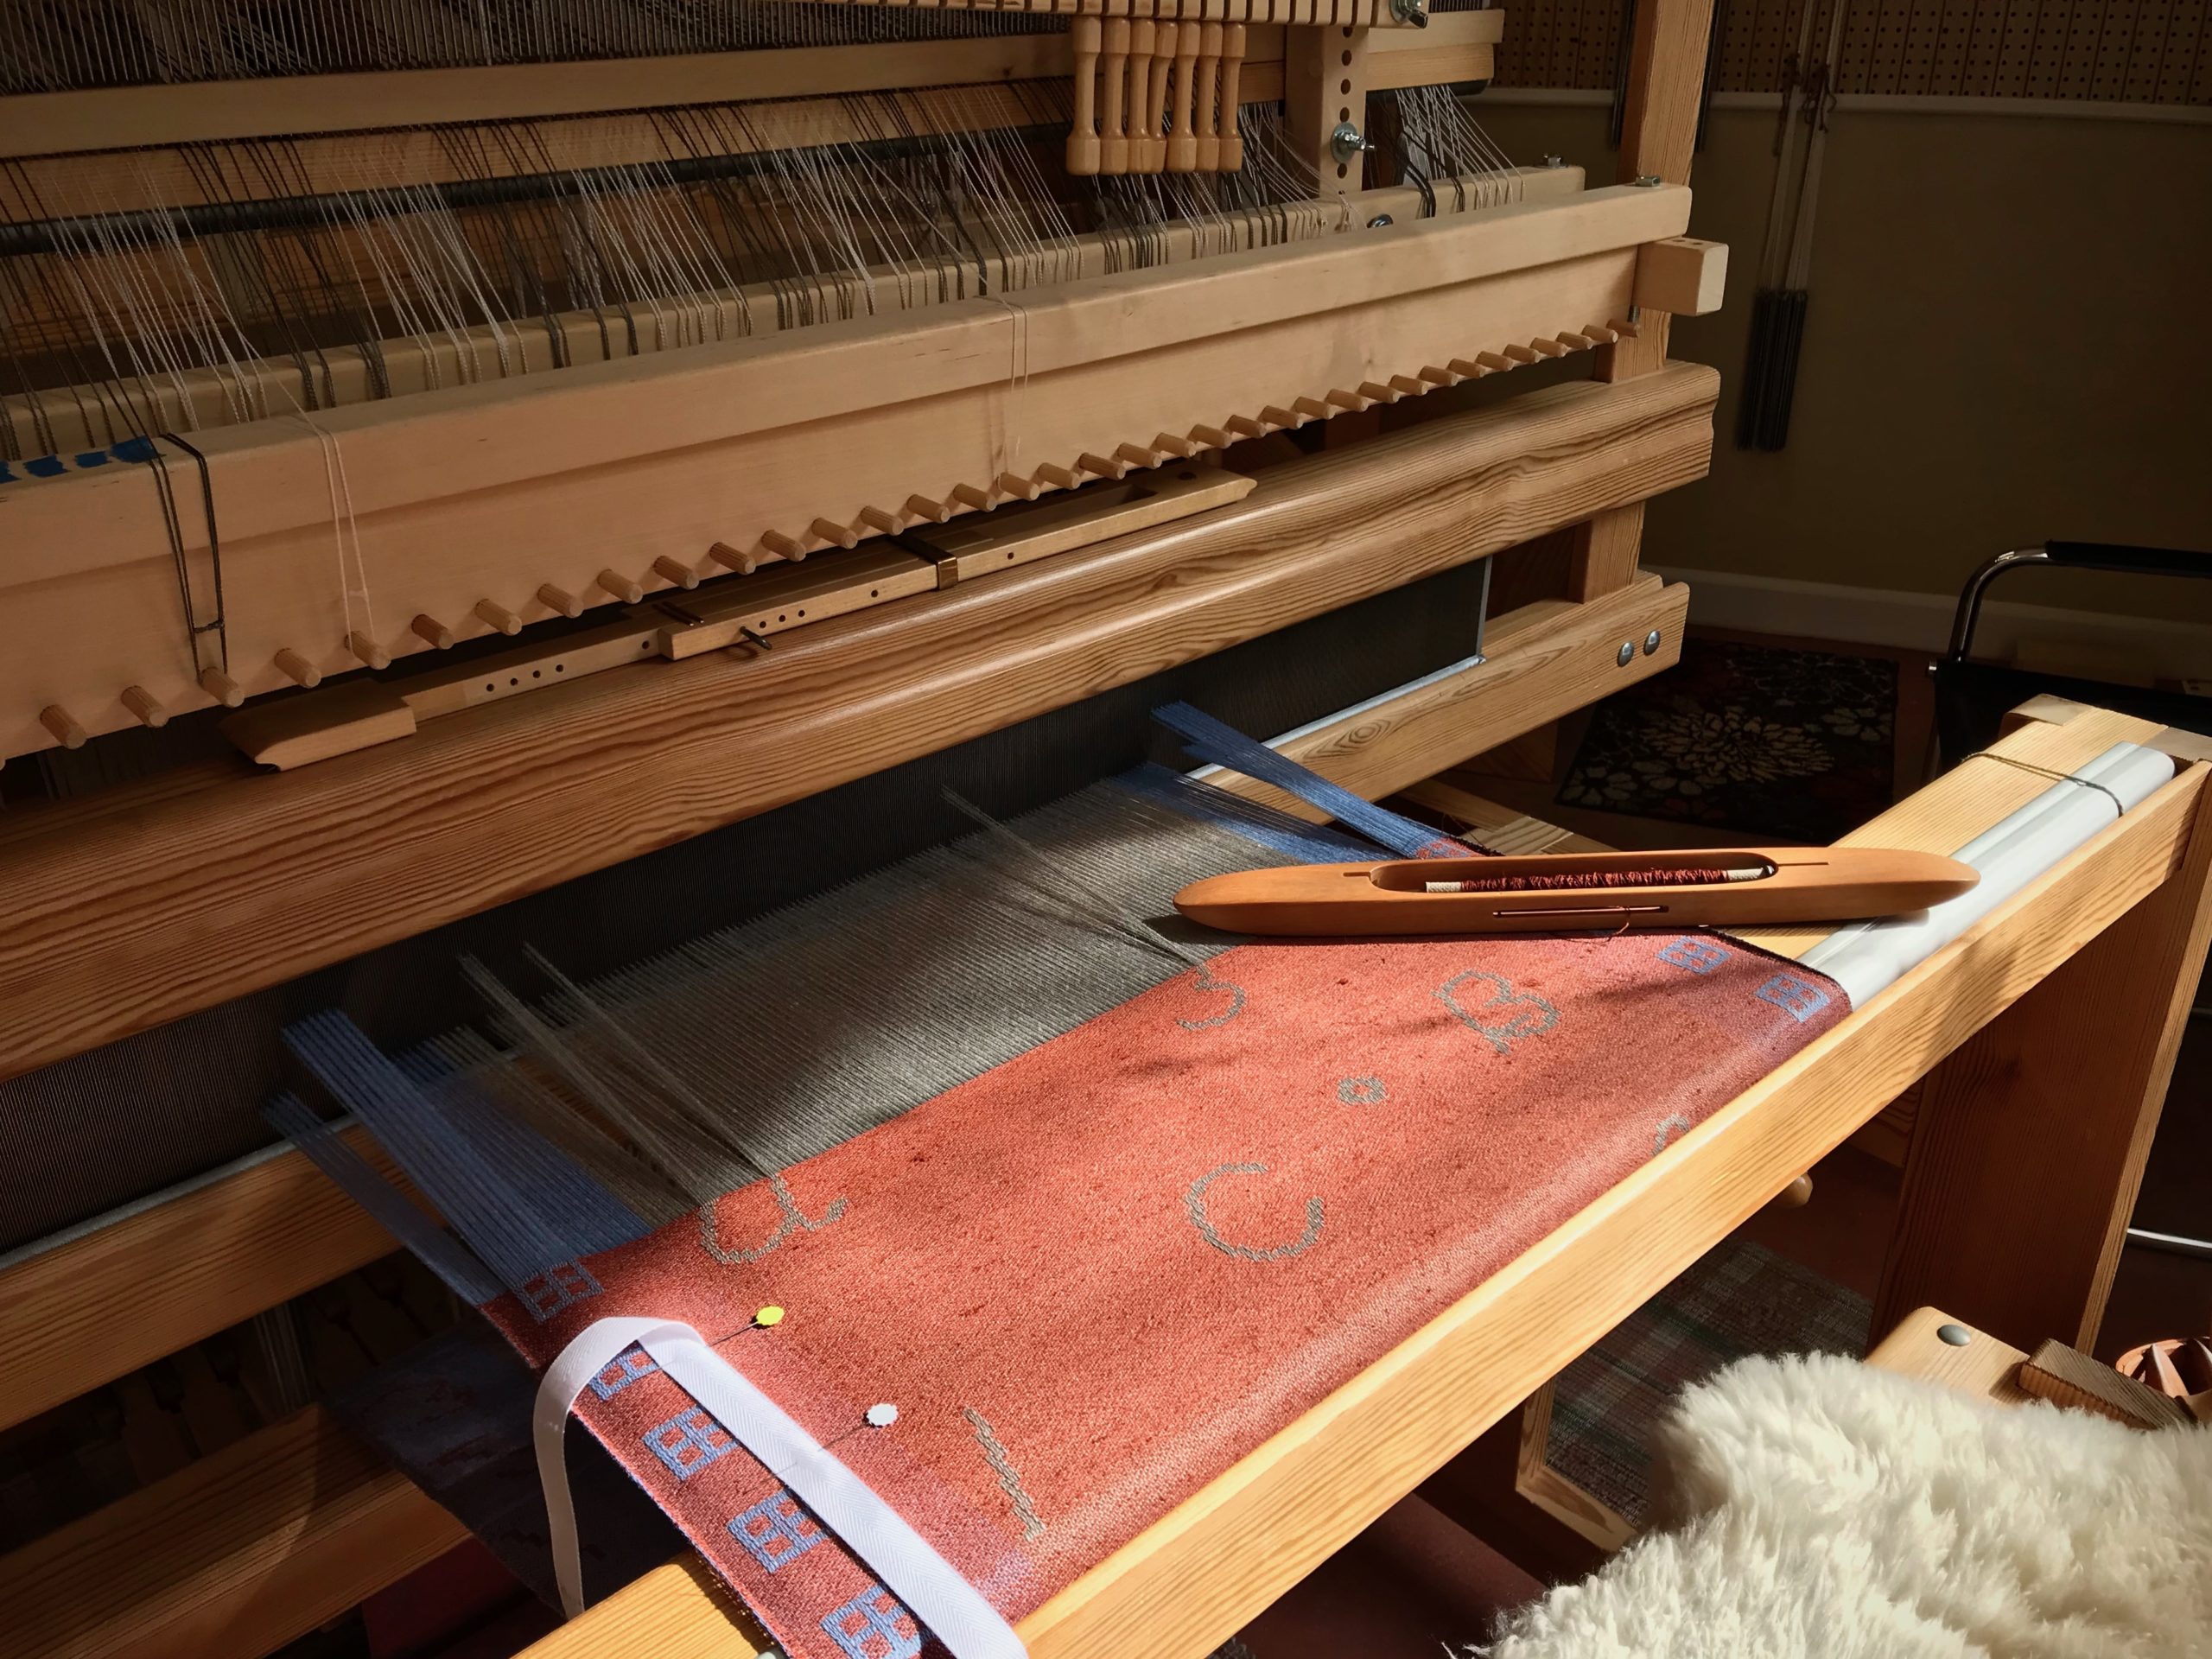
Combination drawloom for weaving towels.
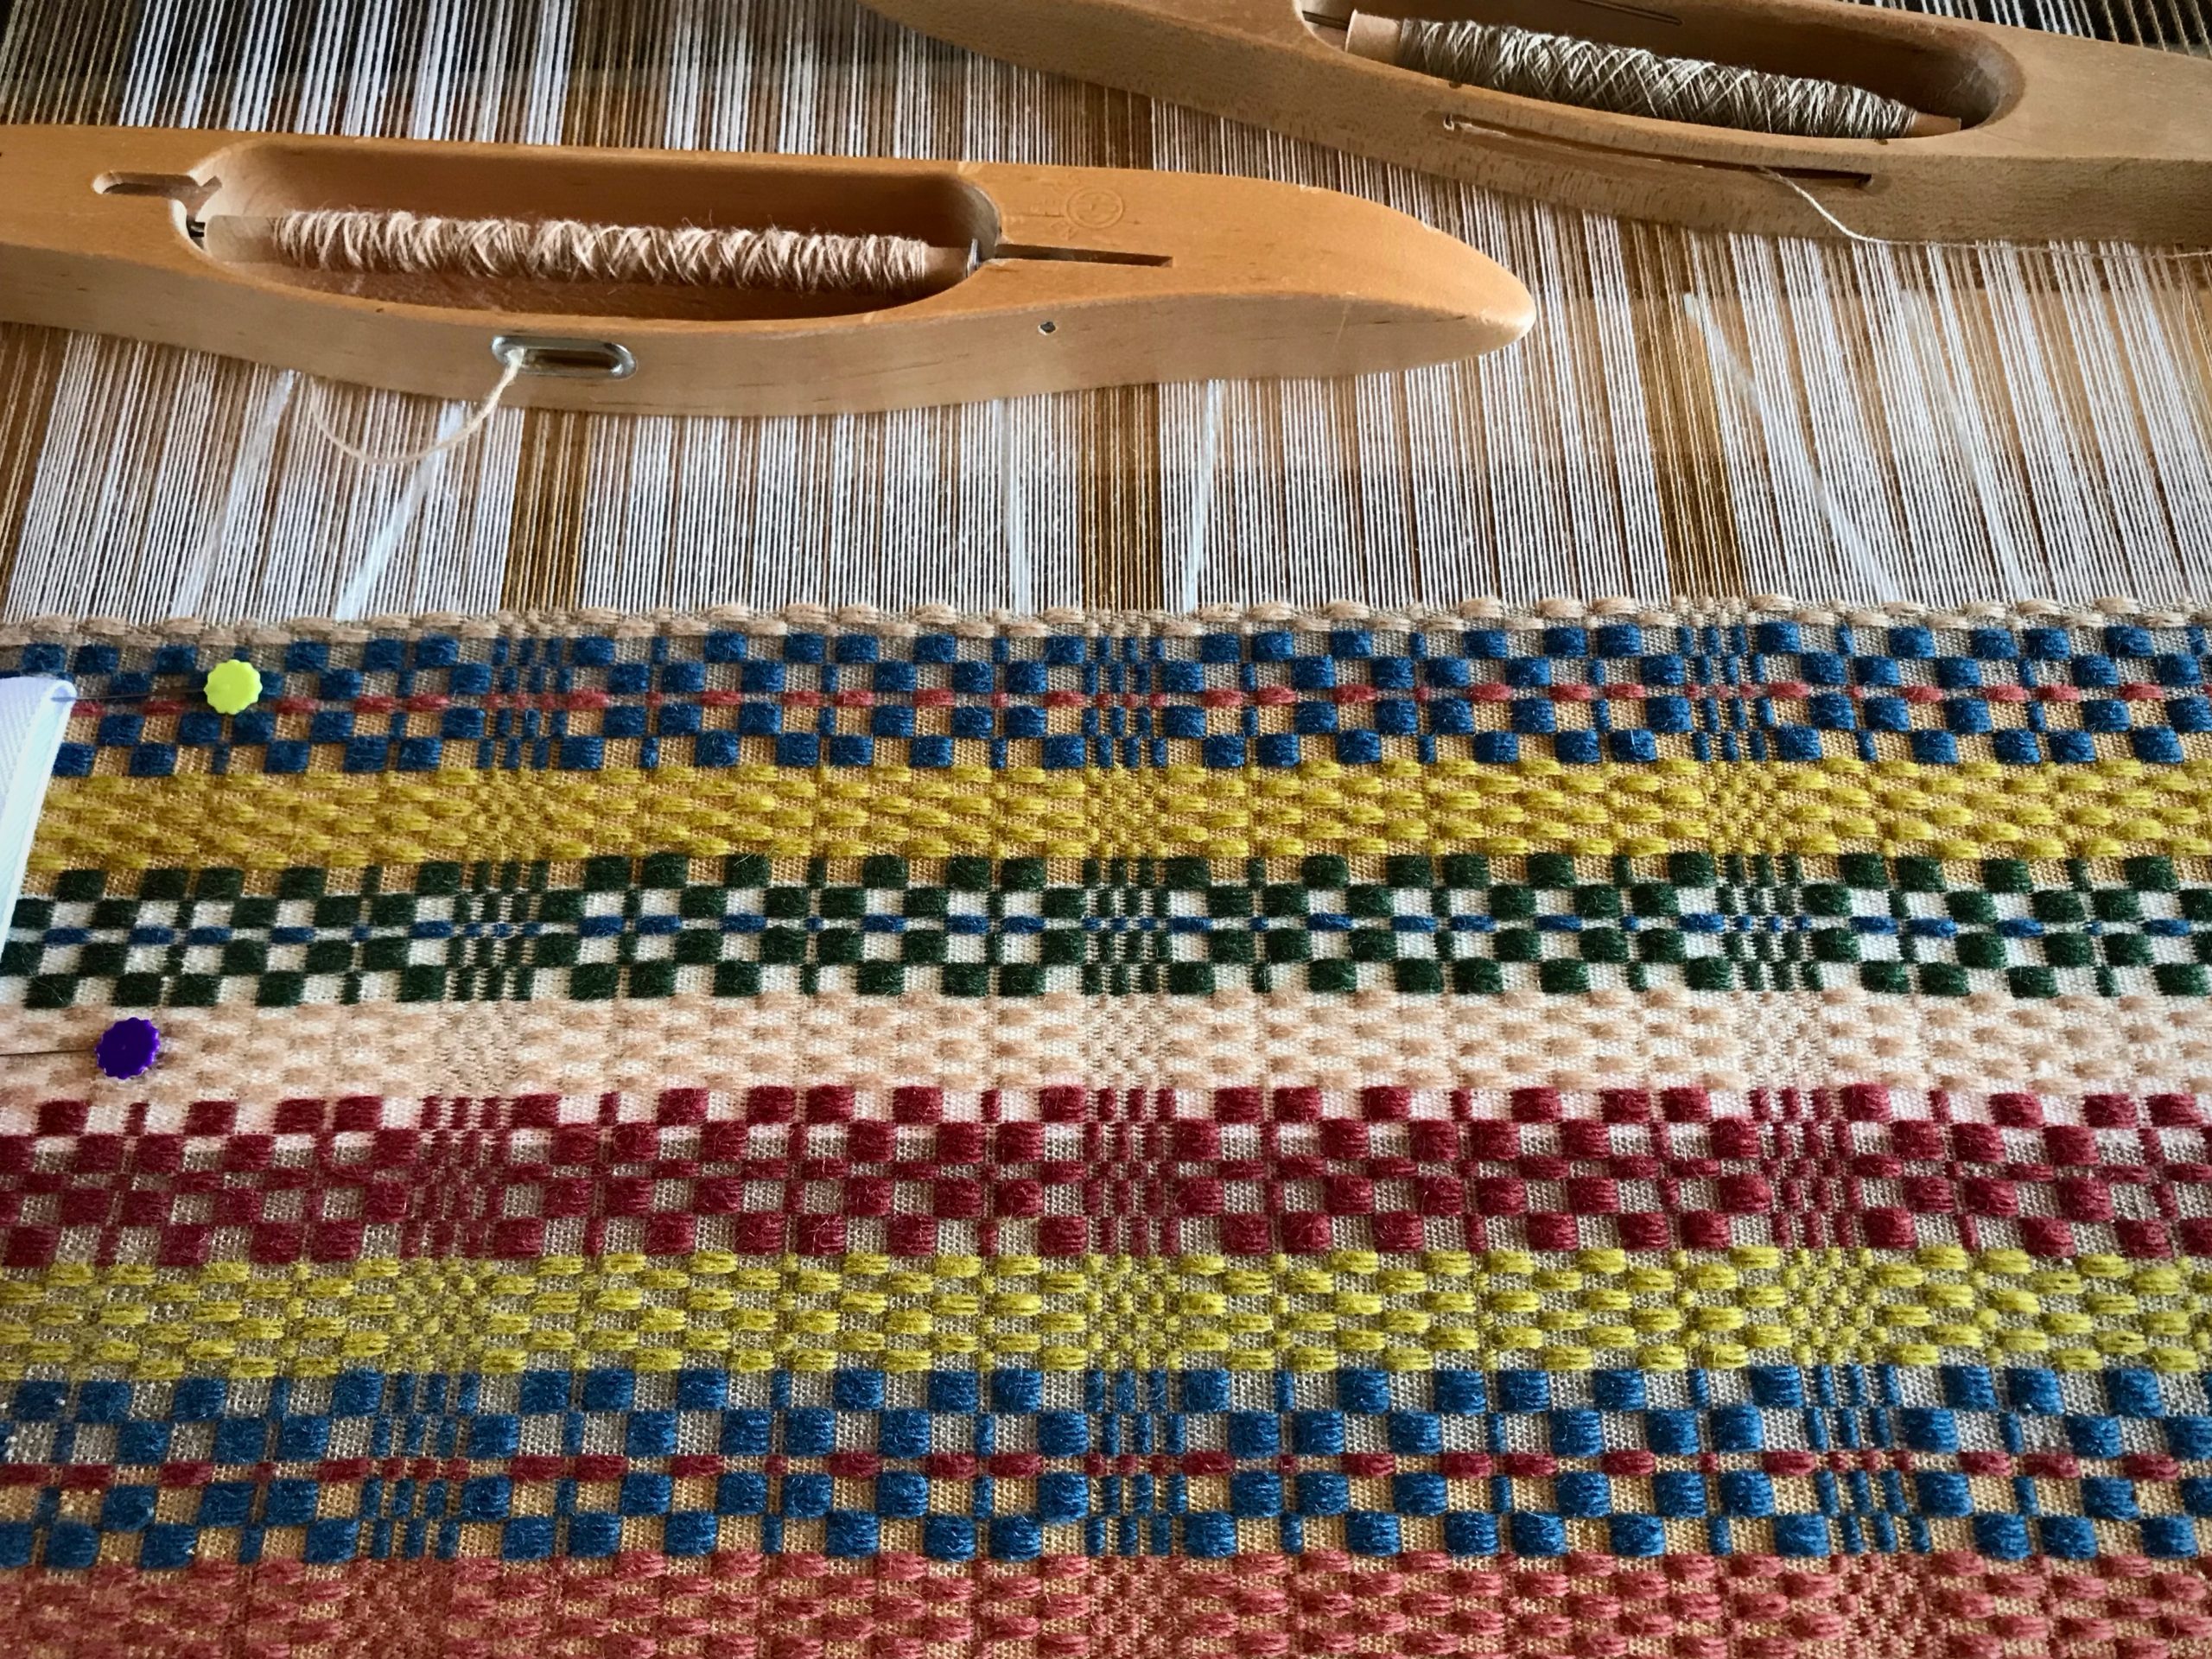
Same towel, same weft, same time of day as previous picture. A change of viewing angle highlights the rust in the brown-rust 16/1 linen weft. I notice things like this when I get up and take a break.

Five-Minute Breaks

Twenty-Five Minutes On – Five Minutes Off

25 Minutes. Go full strength. Be completely absorbed in the task.
5 Minutes. Take a break. Stand up, walk around, stretch.
(I use an app on my phone, Focus Time Activity Tracker, but any timer will do.)

The Cinderella Hour

Know When to Stop

If I am weaving at the end of the day (in my pajamas, or not), I stop when the clock chimes 8 times. I call it my Cinderella hour. My loom turns into a pumpkin after 8:00 pm. If I keep weaving, I can expect to be fixing errors the next day.
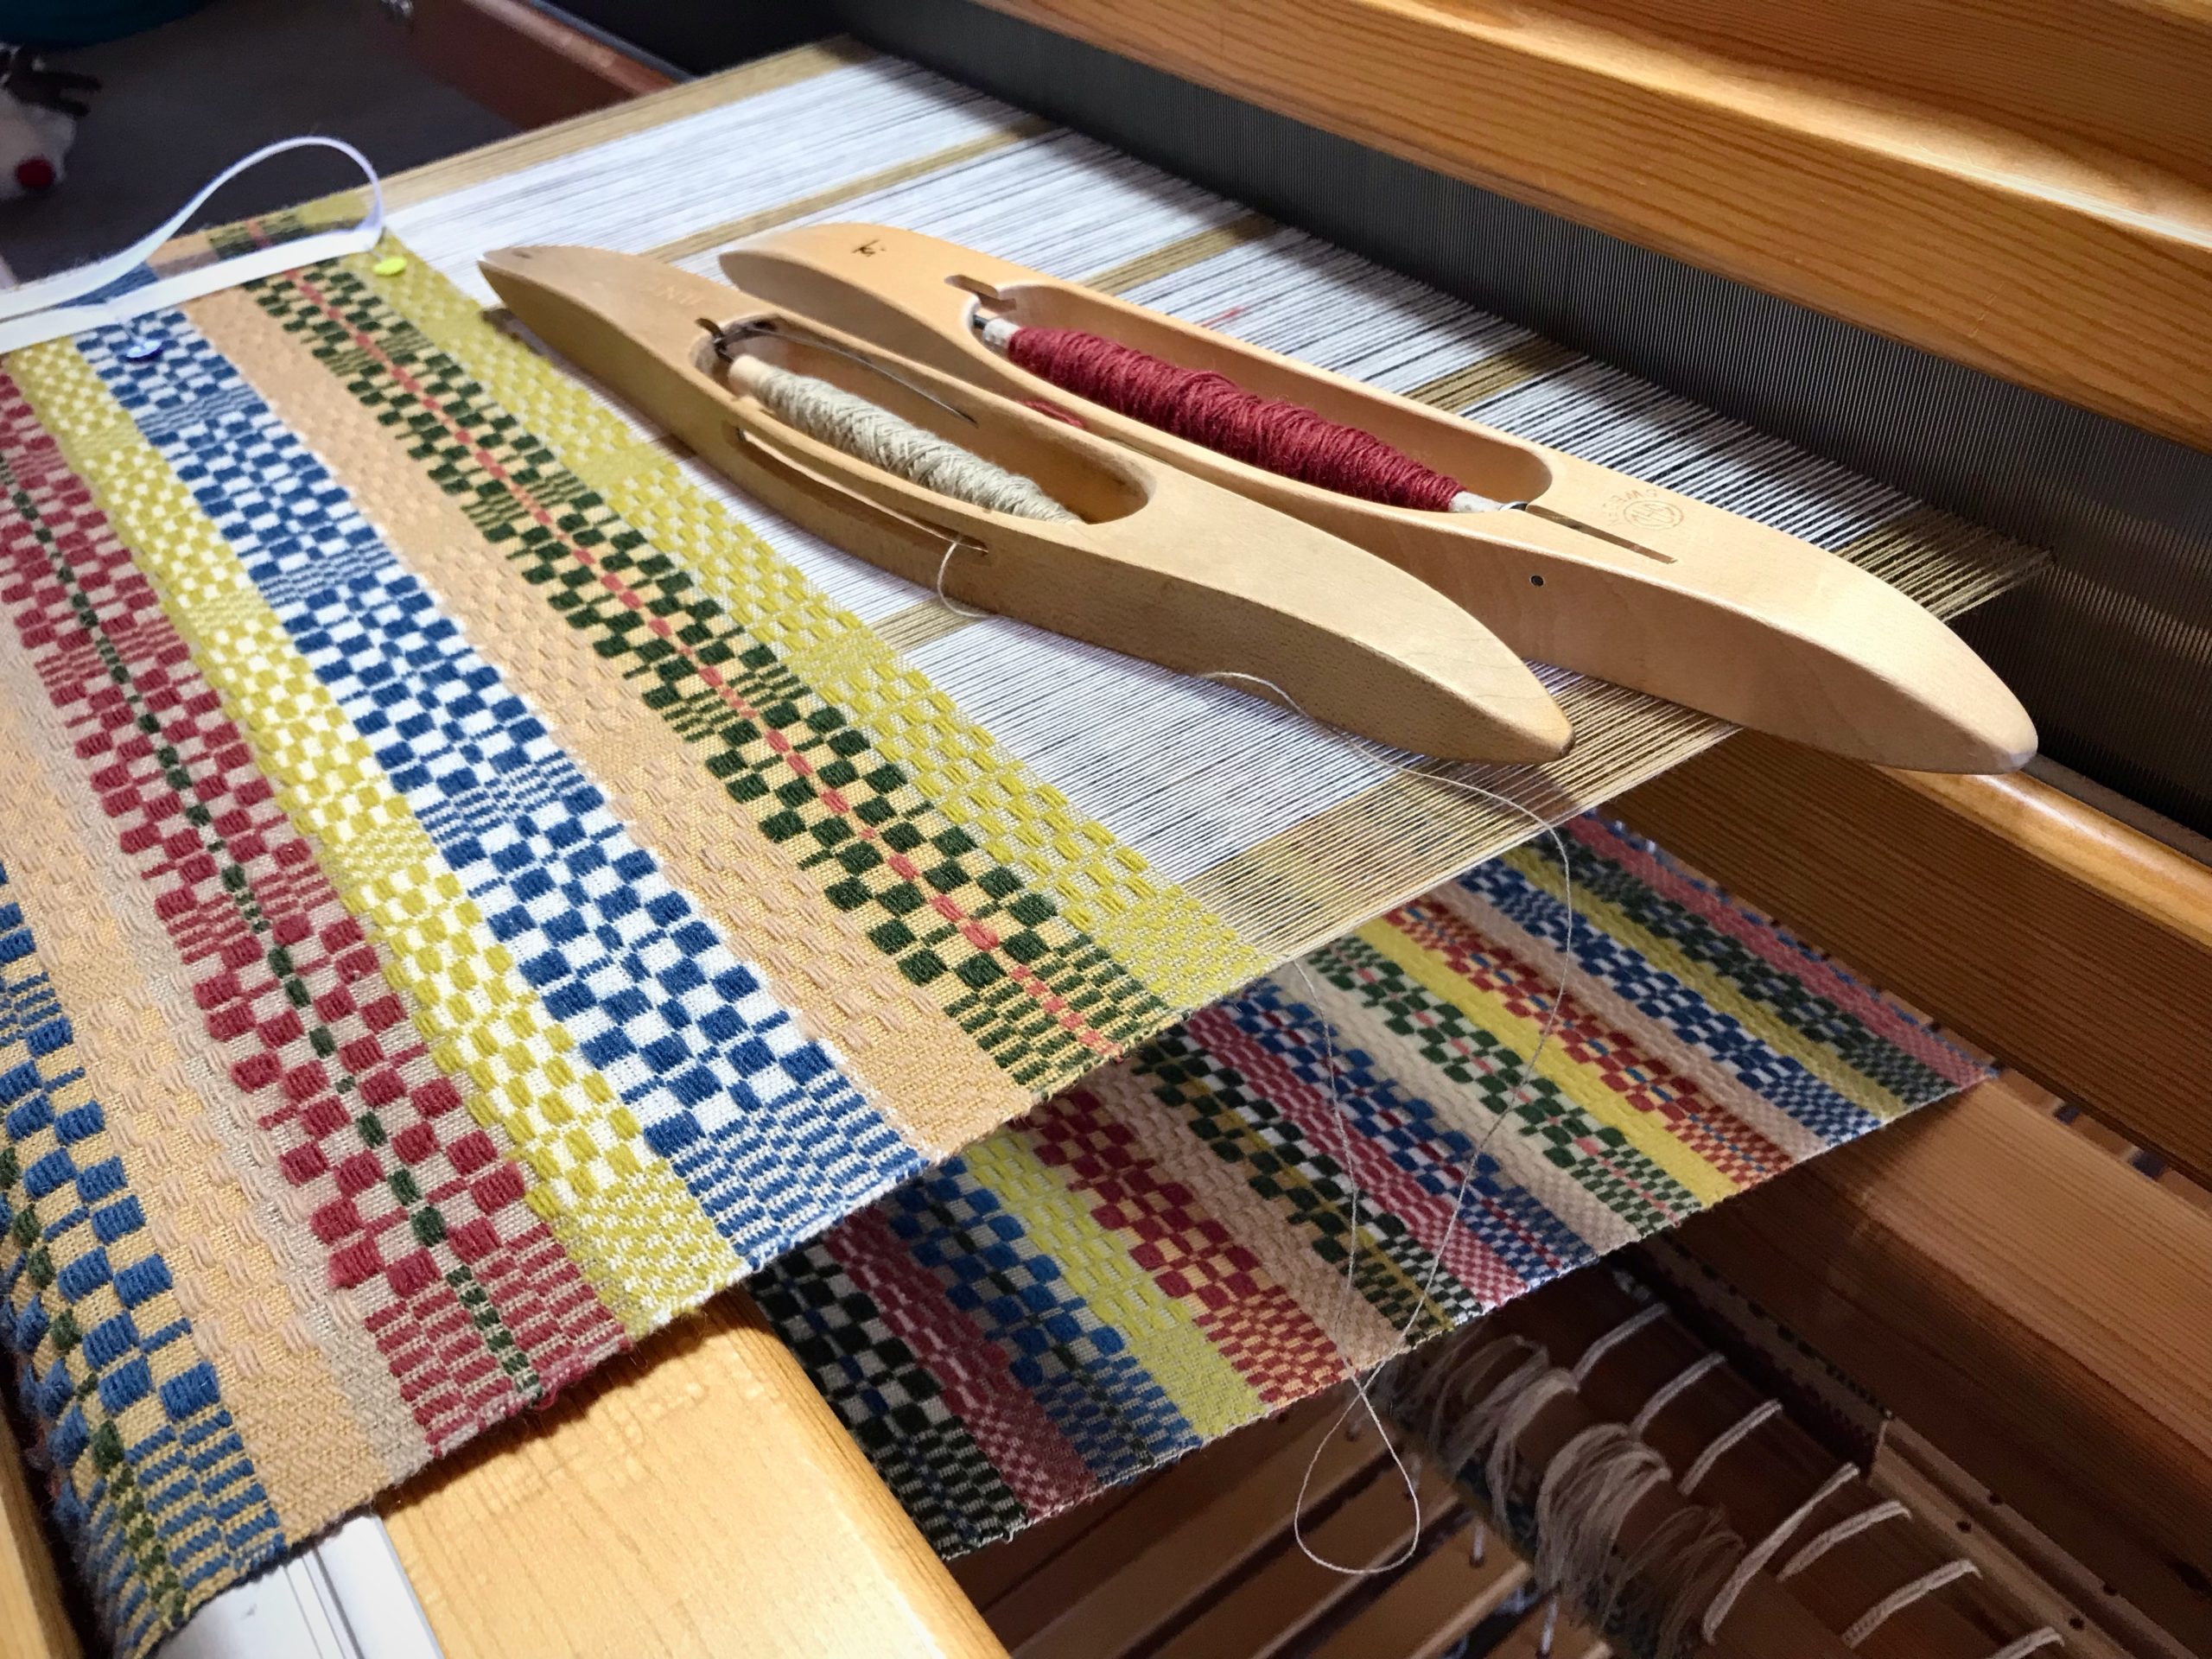
Weaving in the evening in my pj's. Monksbelt.
Weaving monksbelt in the evening (in my pajamas). Oh listen, I hear the clock chiming…1.2.3.4.5.6.7.8. Time to put the shuttles down.

May you know when to take a break.

Happy Restful Weaving,
Karen

Picture Perfect Handwoven Skirt

The skirt in my mind is picture perfect in style and fit. If I could snap my fingers and make the skirt appear, I would. Instead, I find my way to a workable sewing pattern by trial and error—agonizing over every small step. The sewing part doesn’t scare me. But I’m in over my head in the garment design arena.

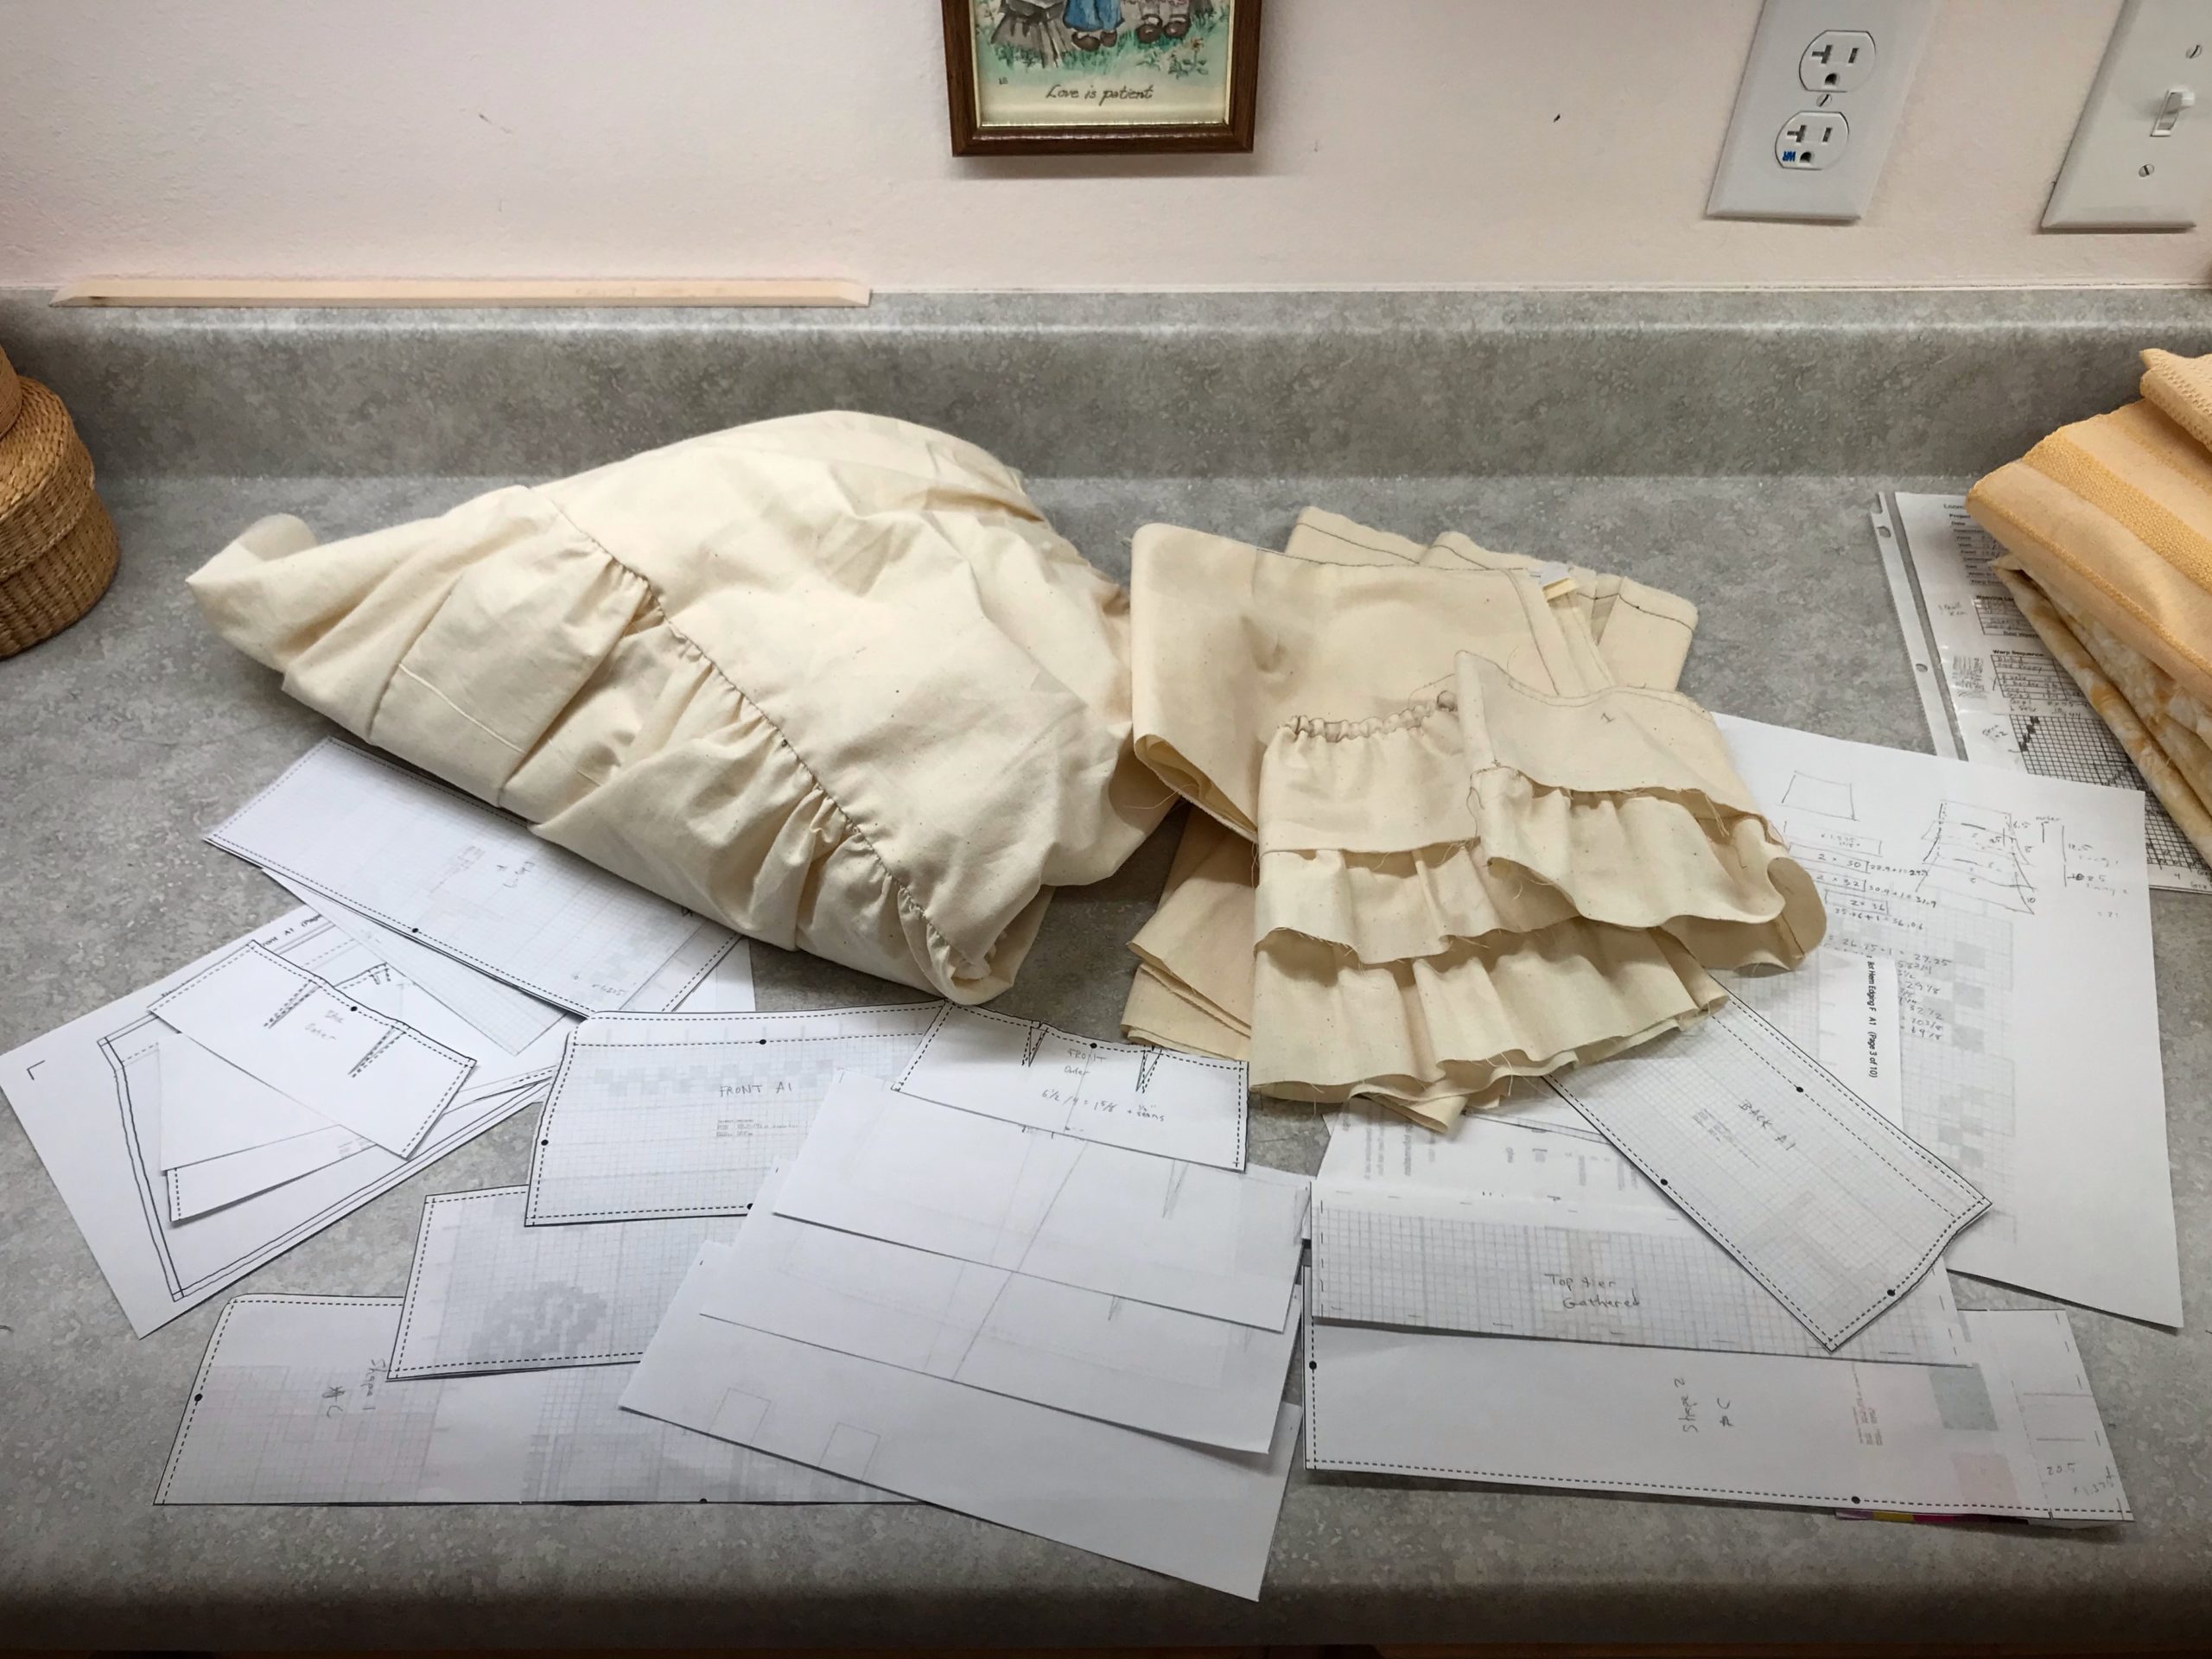
Using Garment Designer to design a layered tiered skirt.
Quarter-scale pattern pieces give me a way to test and try various ways to put the skirt together. I learn a lot of things that don’t work. There is much sewing, ripping, tweaking, calculating and recalculating, etc. And pulling my hair out, figuratively speaking.
Designing a handwoven skirt using Garment Designer software.
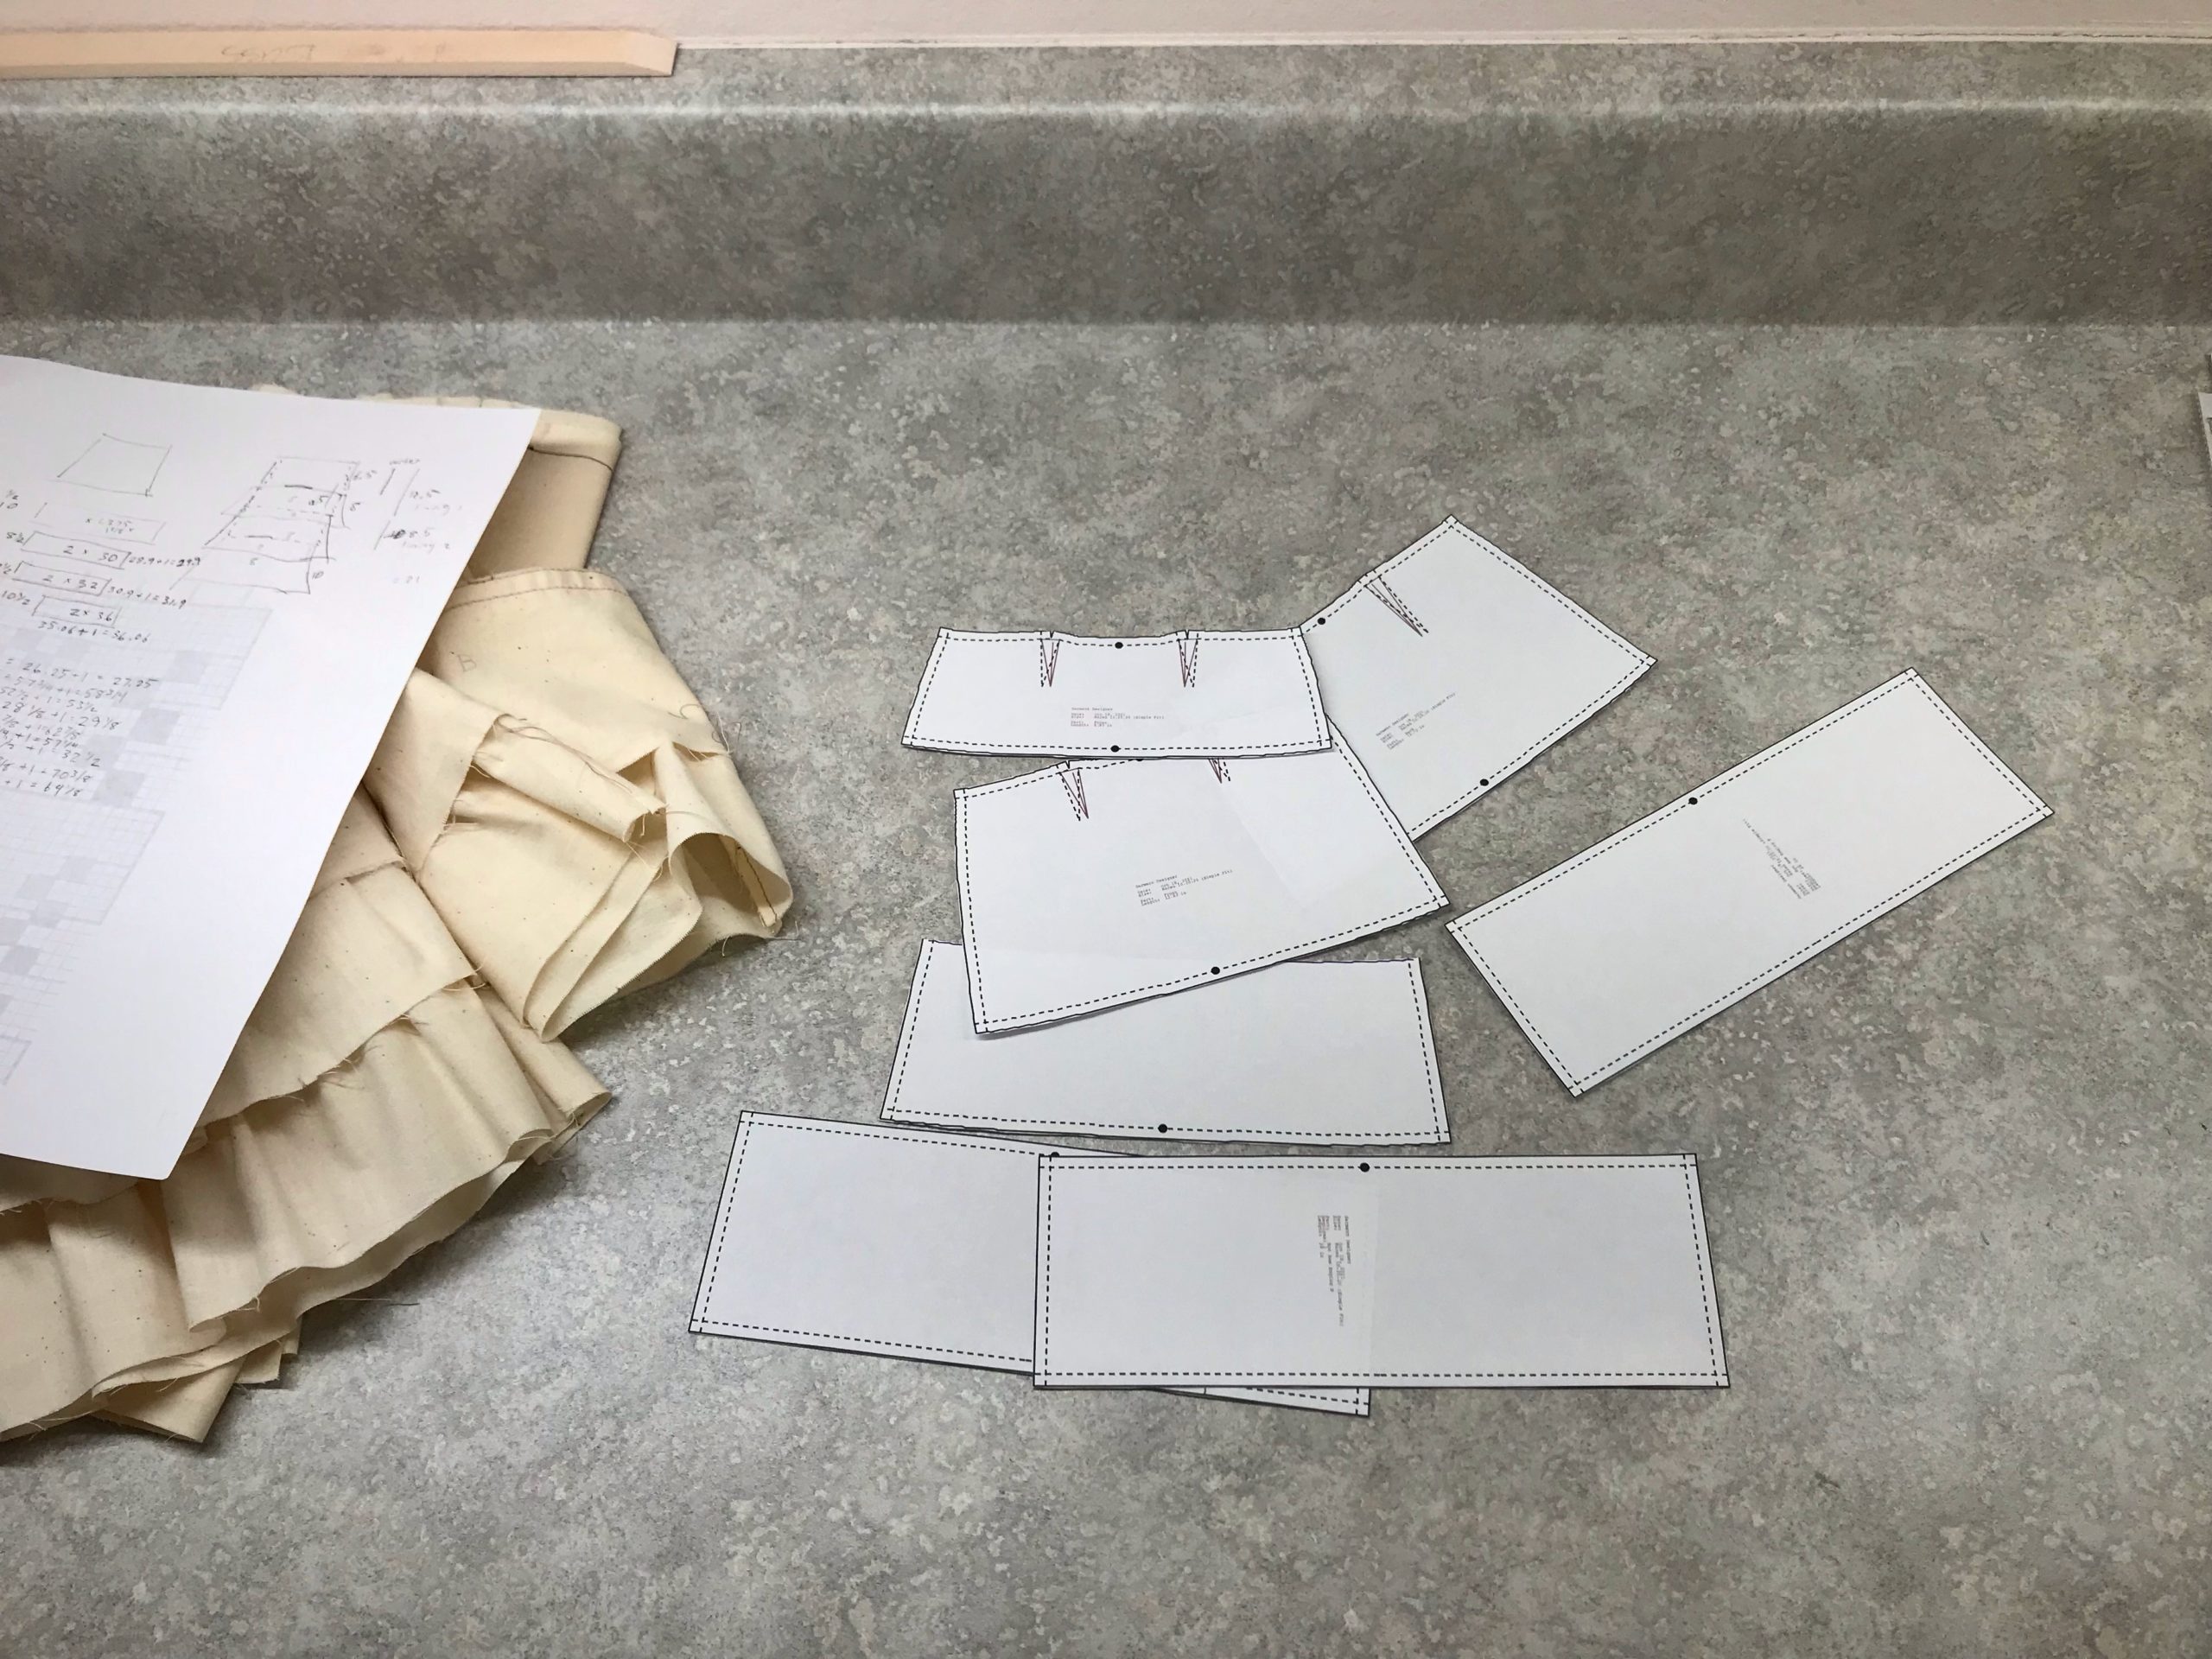
Settling on something that works. One more little mockup should answer most remaining questions. I use Garment Designer (patterning and design software) to create the patterns. I can print quarter-scale and full-scale sewing patterns.

A not-as-simple layered tiered skirt replaces my original idea of a simple three-tiered skirt. The new design has a fitted yoke at the top of the skirt (and a zipper) instead of a super-simple elastic gathered waist. All this, so the distinctive borders of each tier will flutter freely, and not be trapped in seams. The trouble is worth it. I can see the finished skirt in my mind’s eye. It is phenomenal! The fabric is handwoven, made for a purpose. This is a skirt worth waiting for.

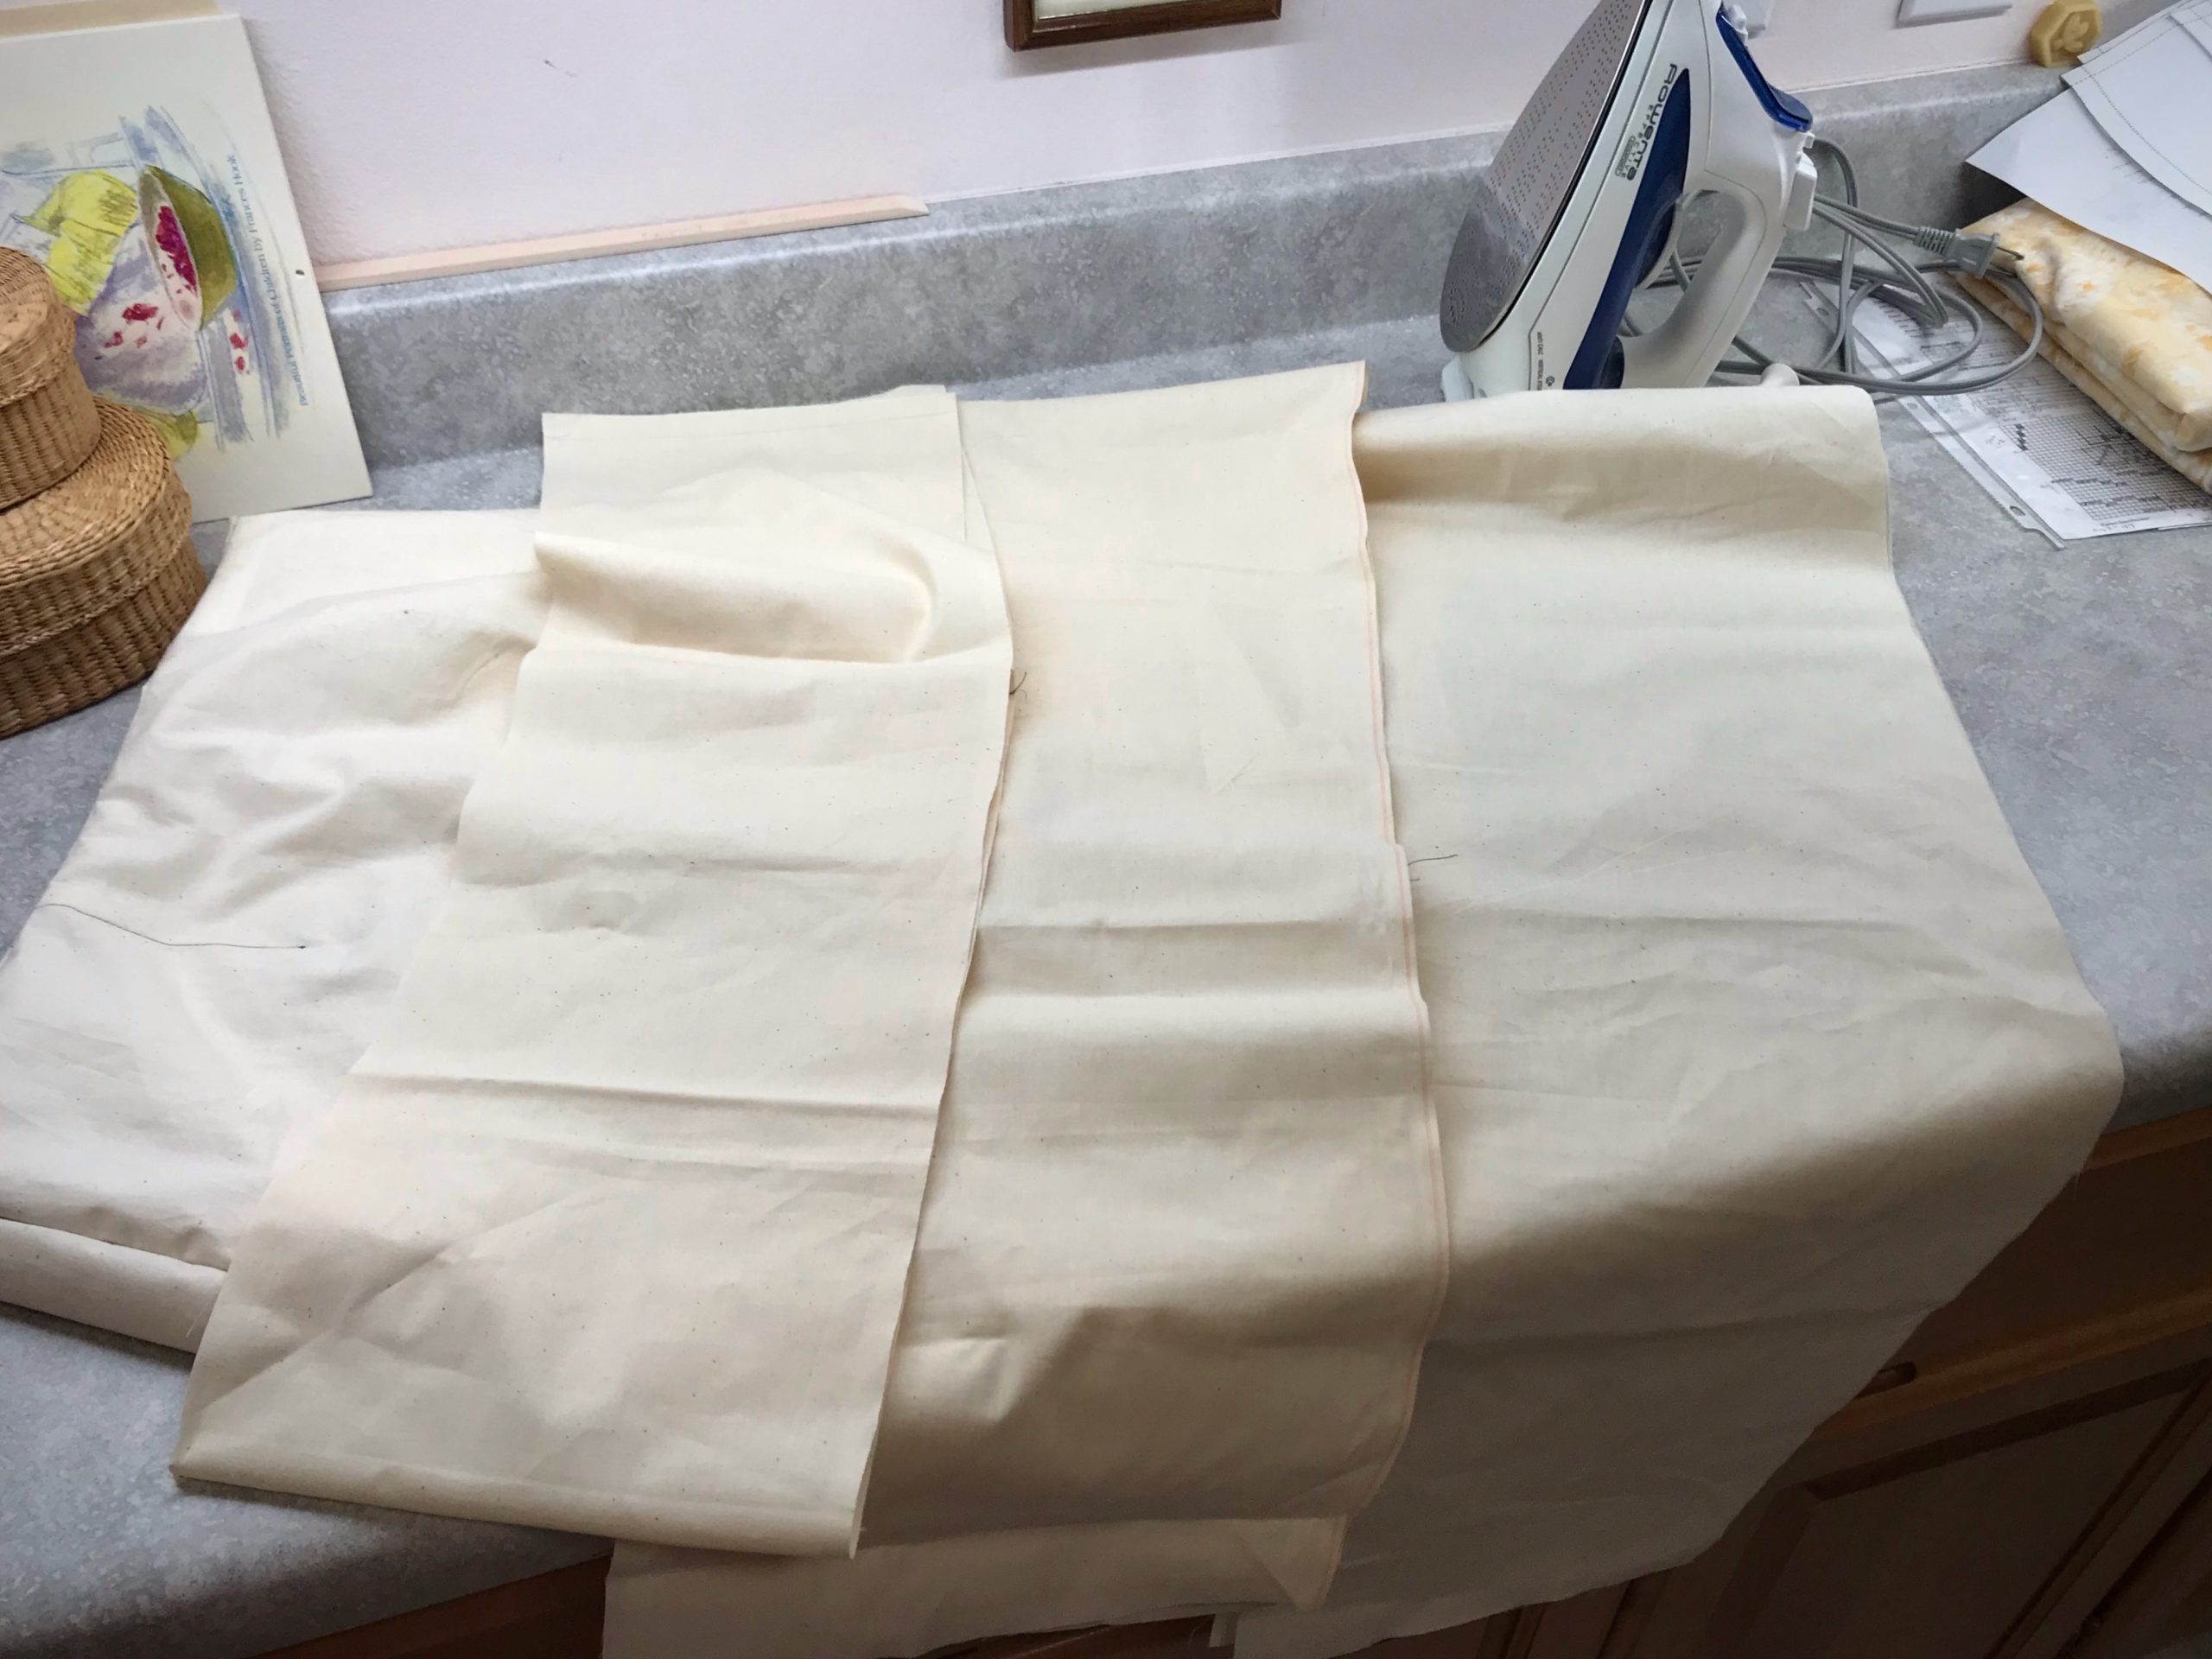
Testing ideas for a handwoven skirt.
Testing ideas full scale. After several tries, I finally have a good fit on the skirt yoke, which is encouraging.
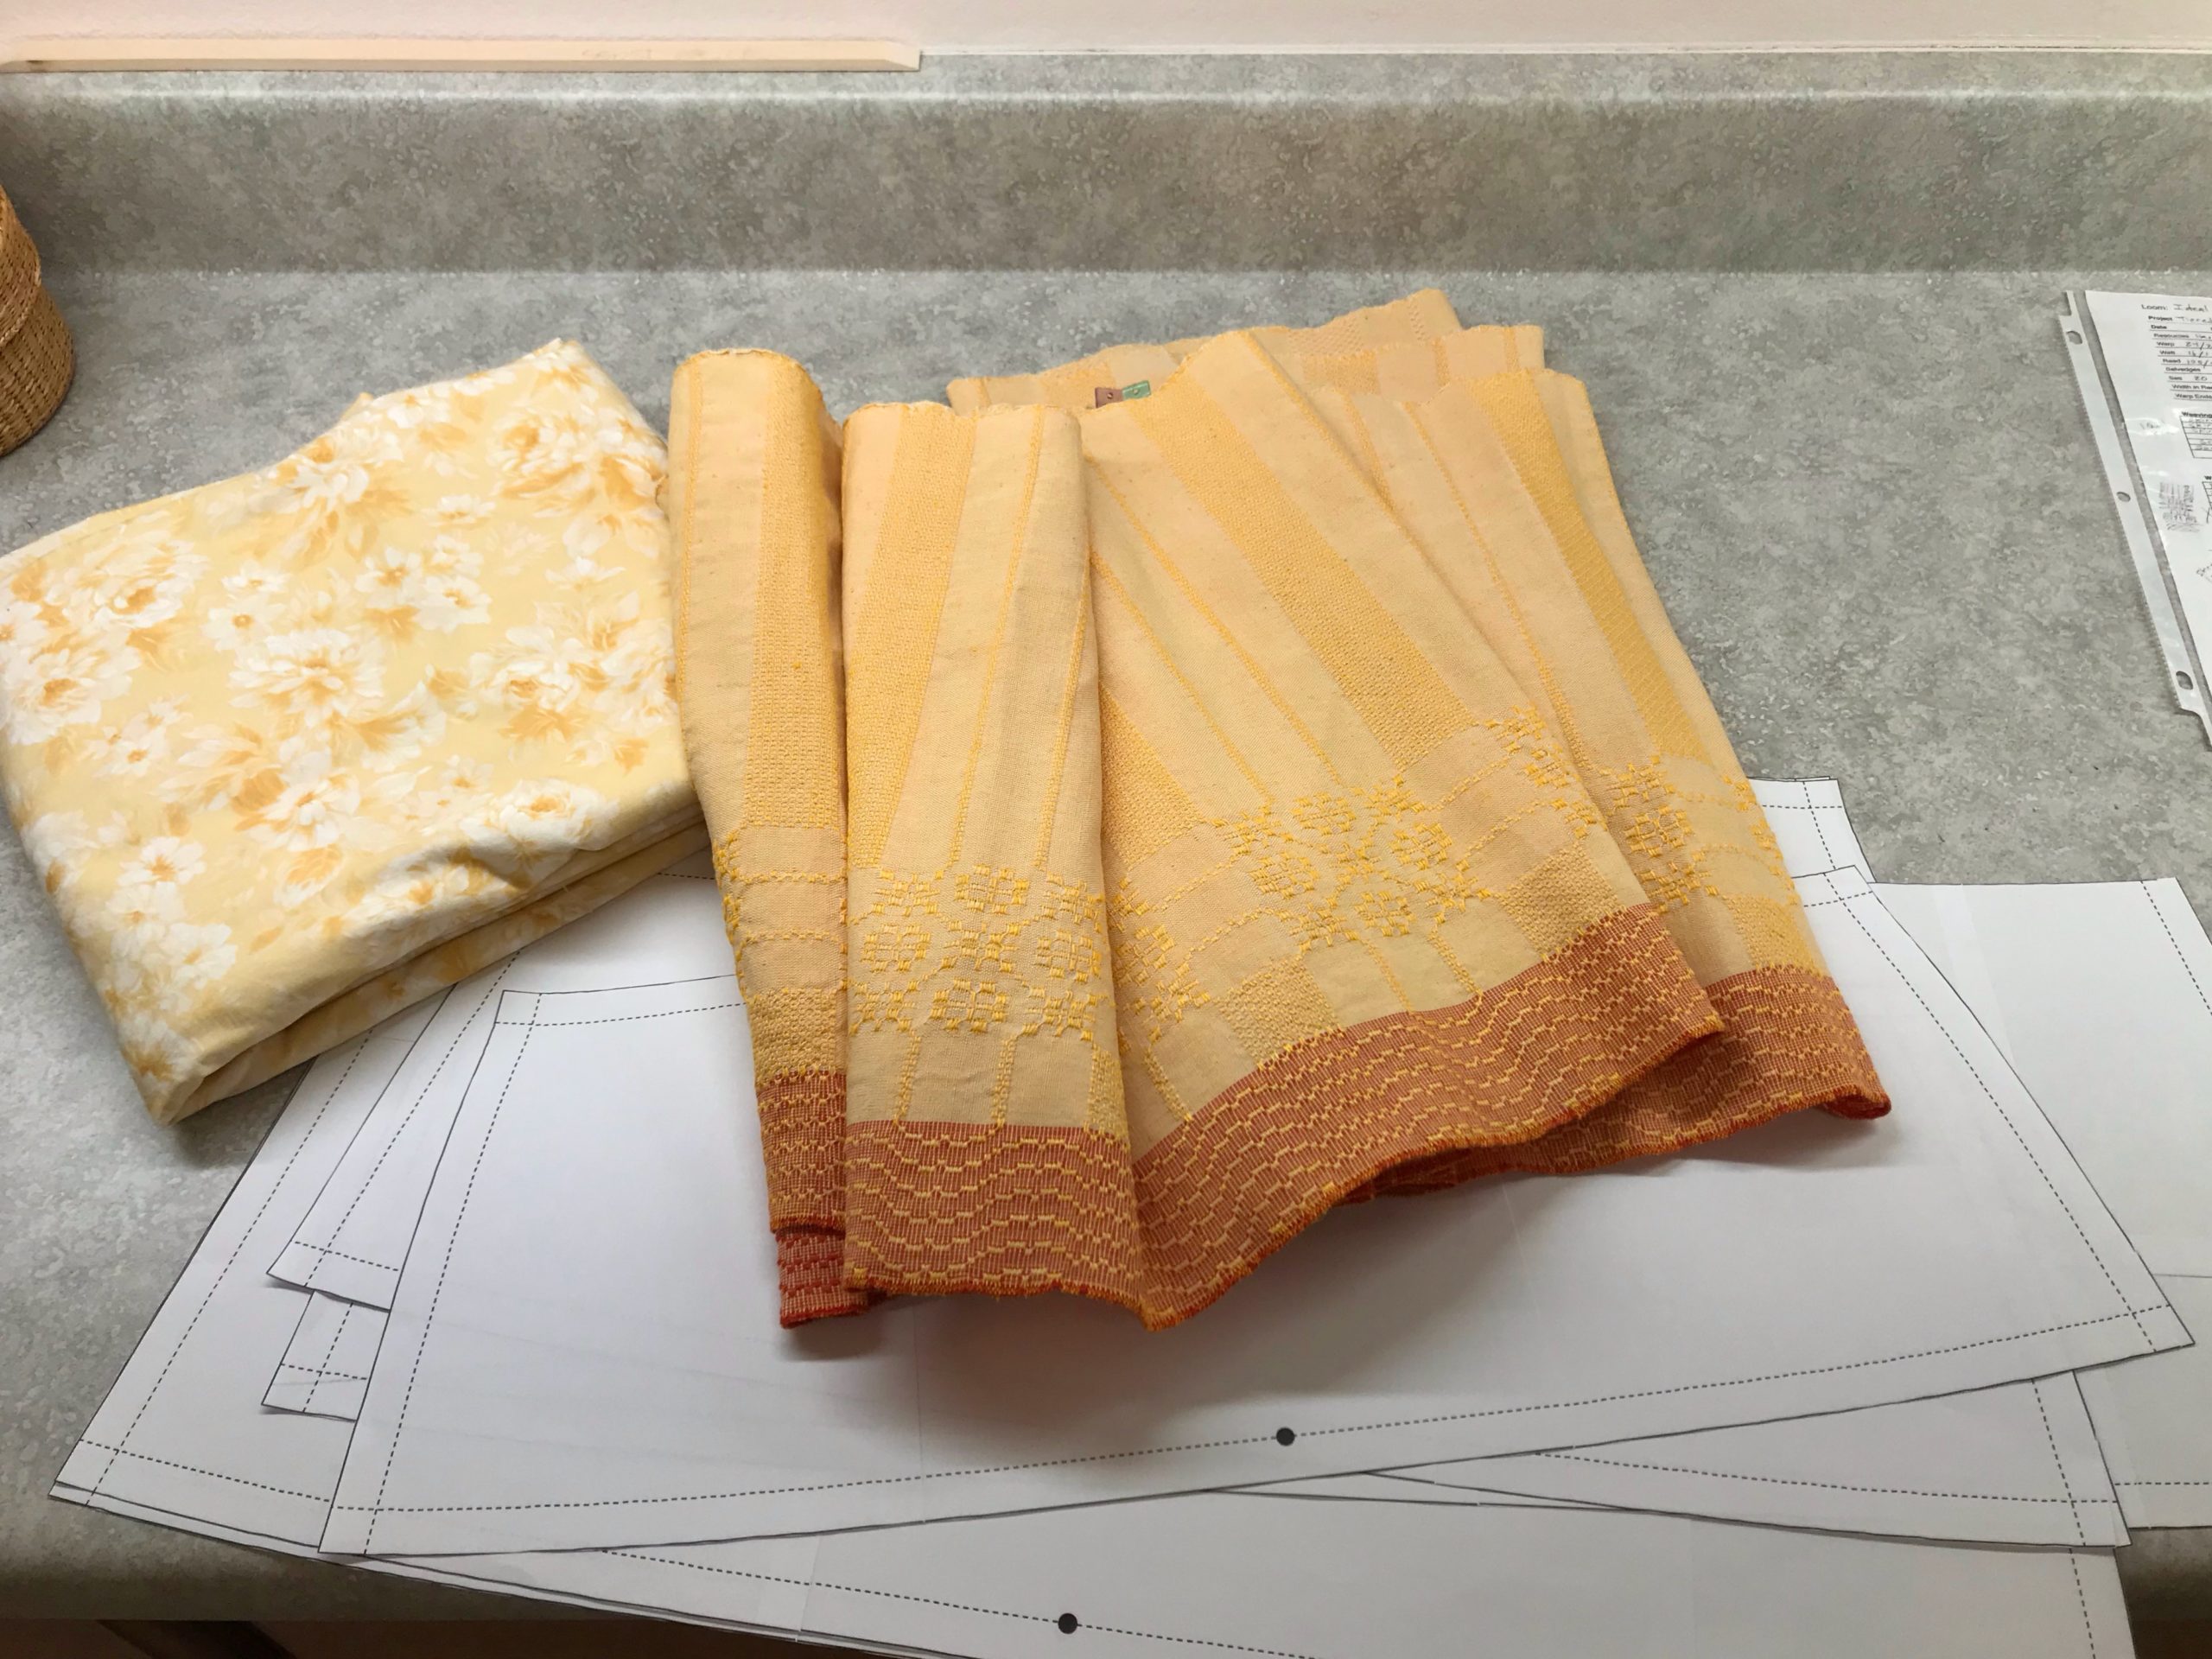
Handwoven skirt in the making!
Full-size mockup (not shown) satisfies my fit and style requirements. Floral cotton lining fabric will be concealed under the handwoven tiers. Full-scale sewing pattern is printed and ready…

You were skillfully made for a purpose. Through many trials and errors, lessons in success and failure, we discover why we are here. God created you for this very time. Trust him to guide you, especially through agonizing moments. By his grace, he forms us into the phenomenal masterpiece that he has always had in mind.

May you walk with purpose.

Love,
Karen

Tried and True: Knee Beam Reminder

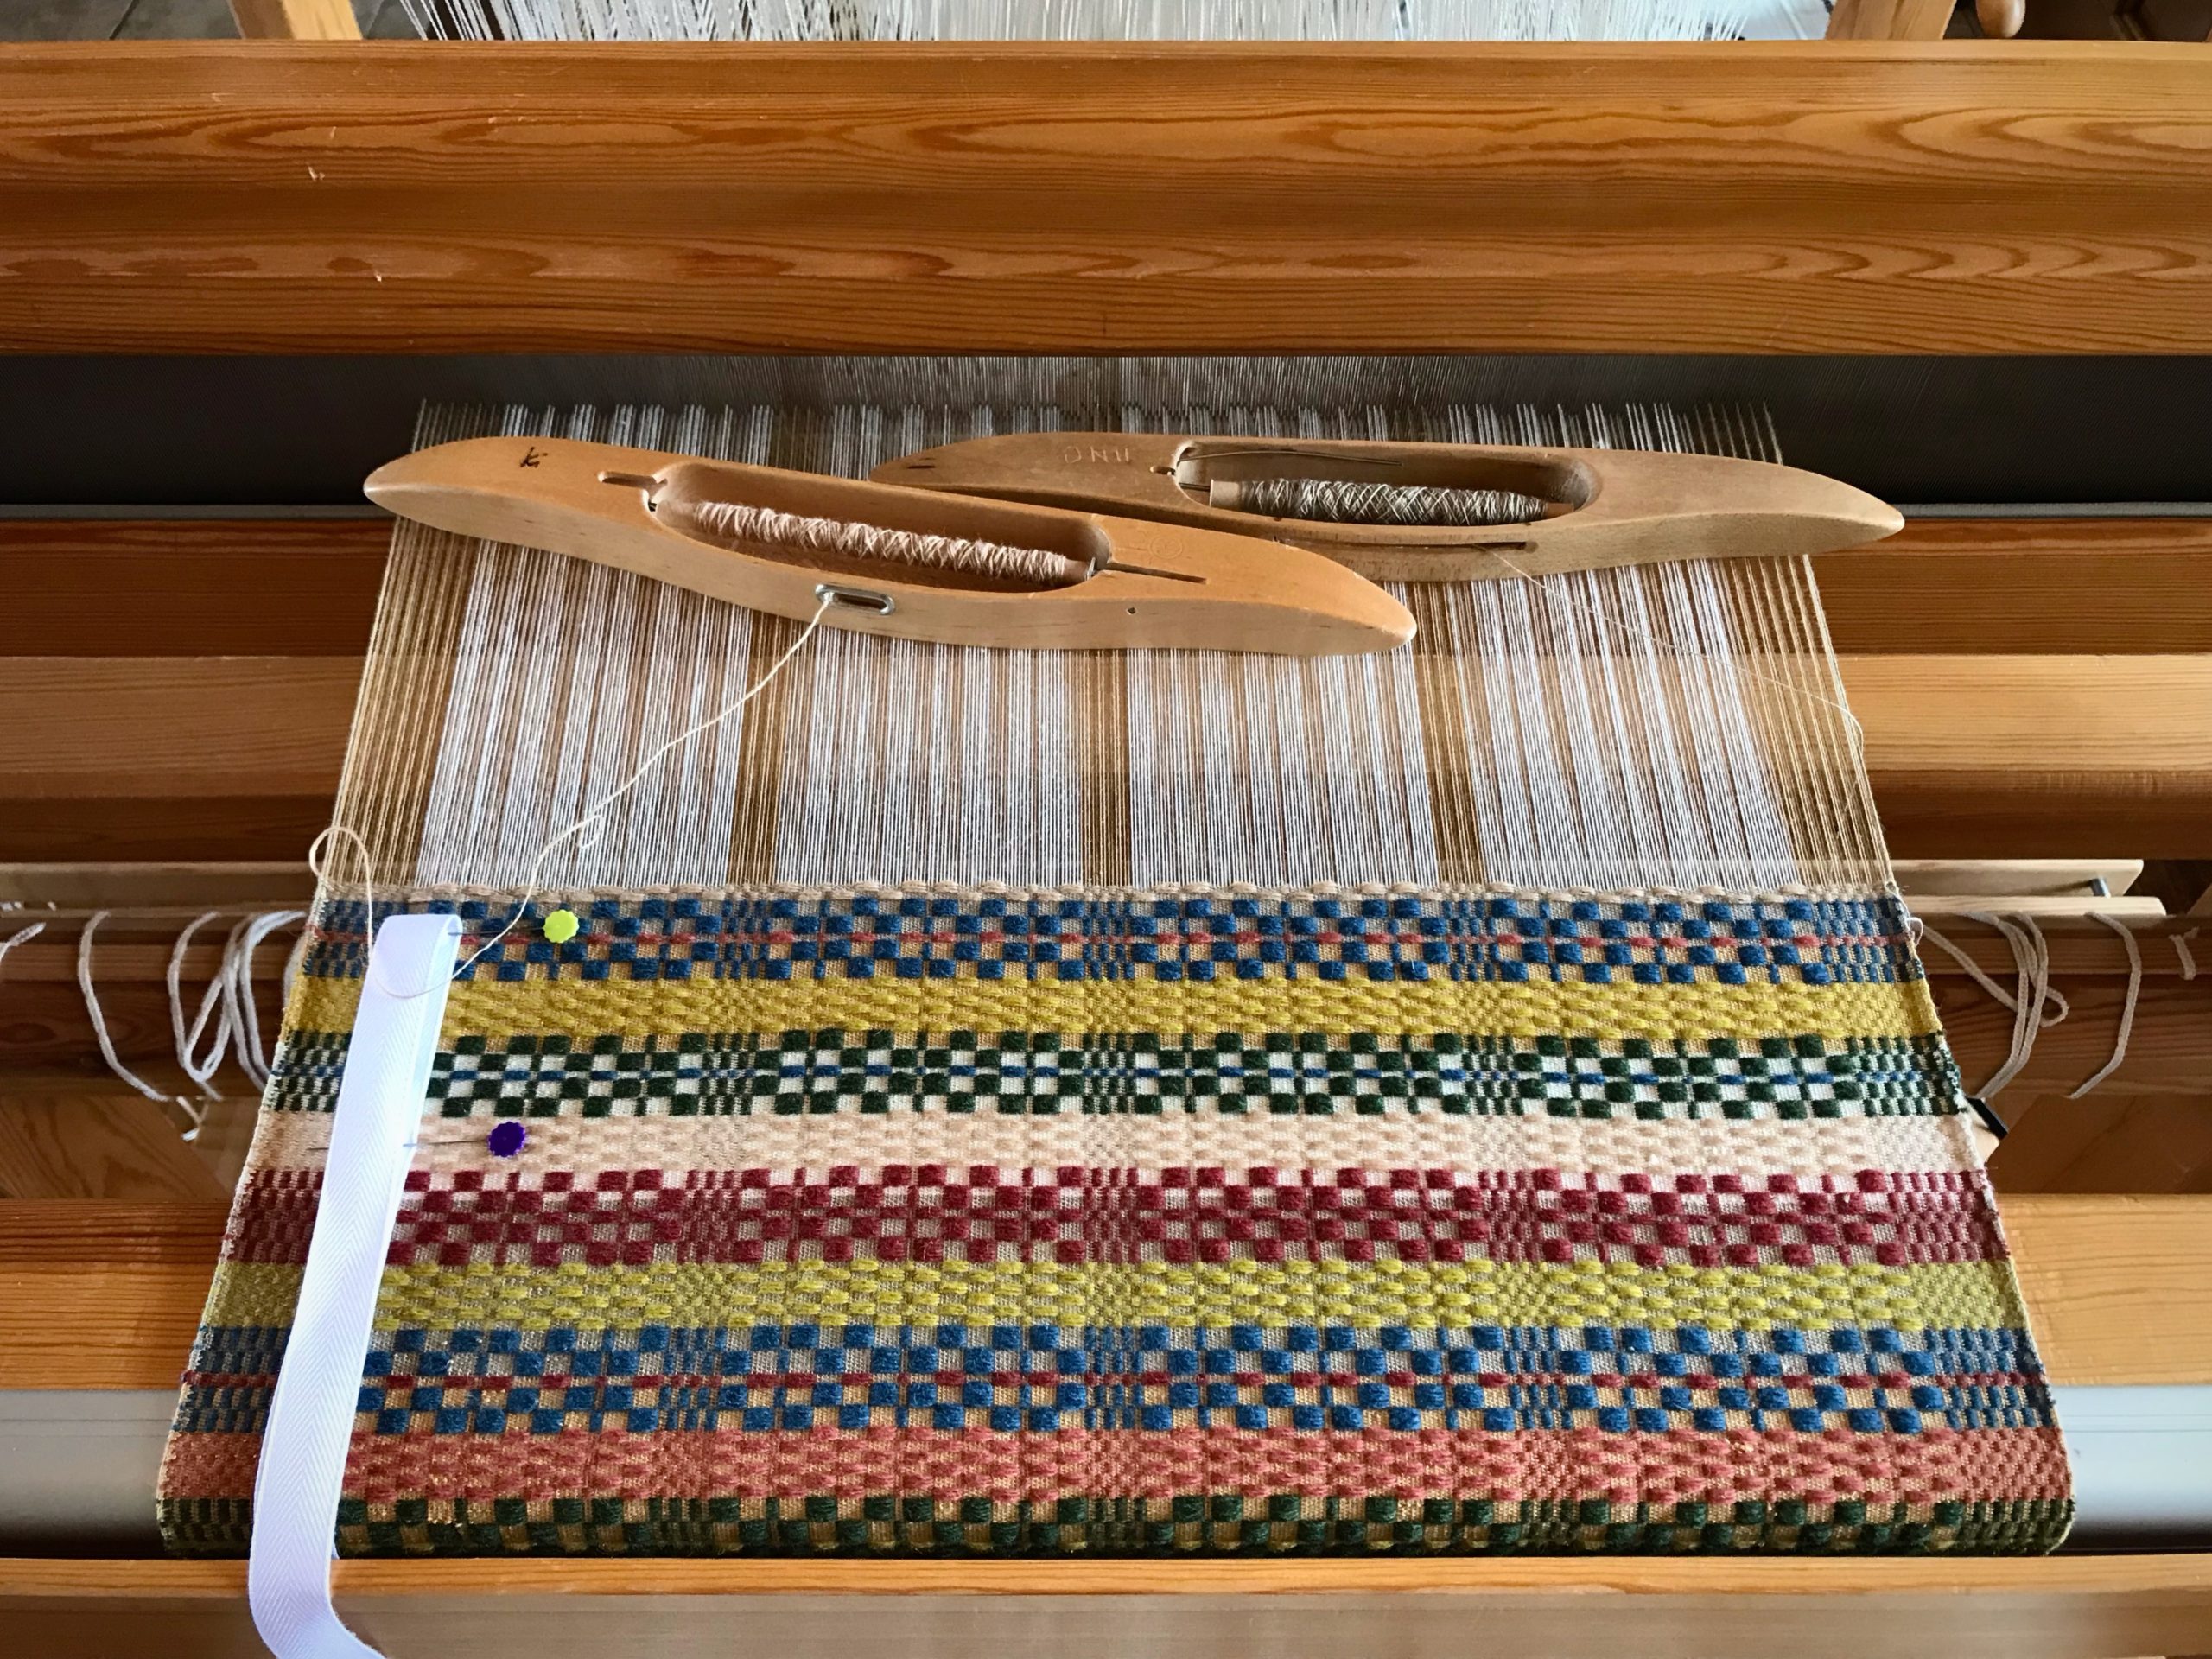
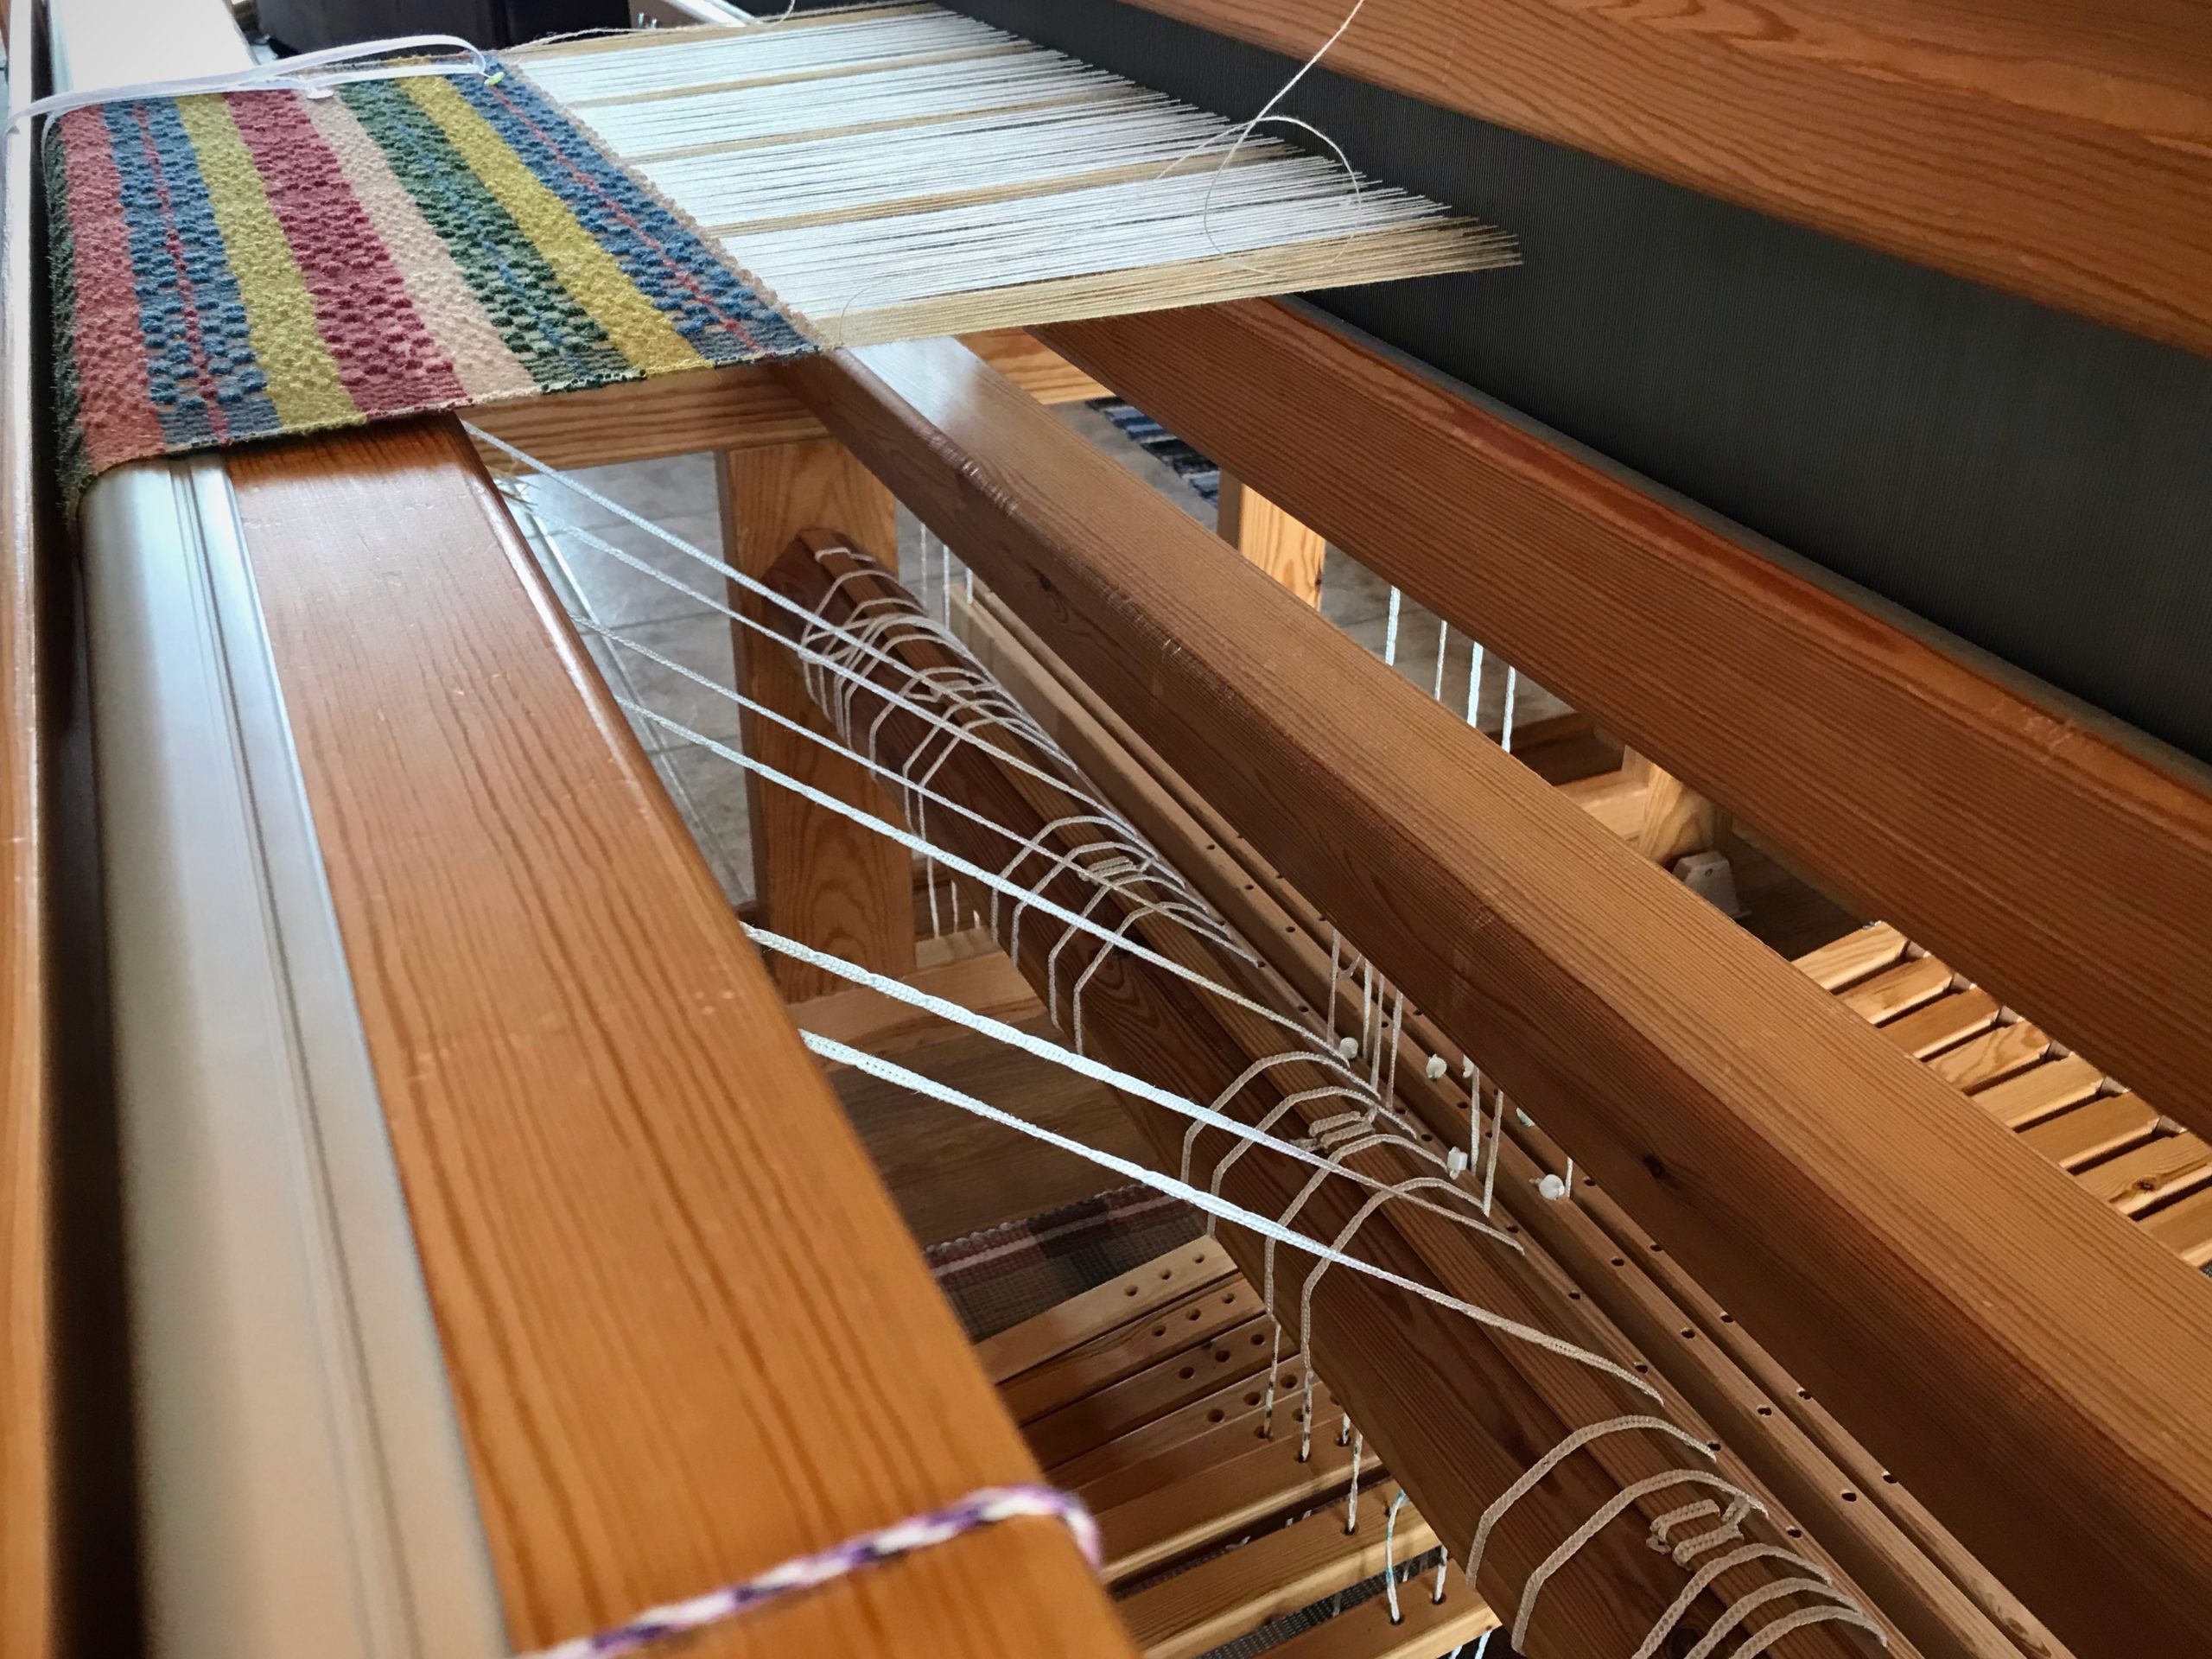
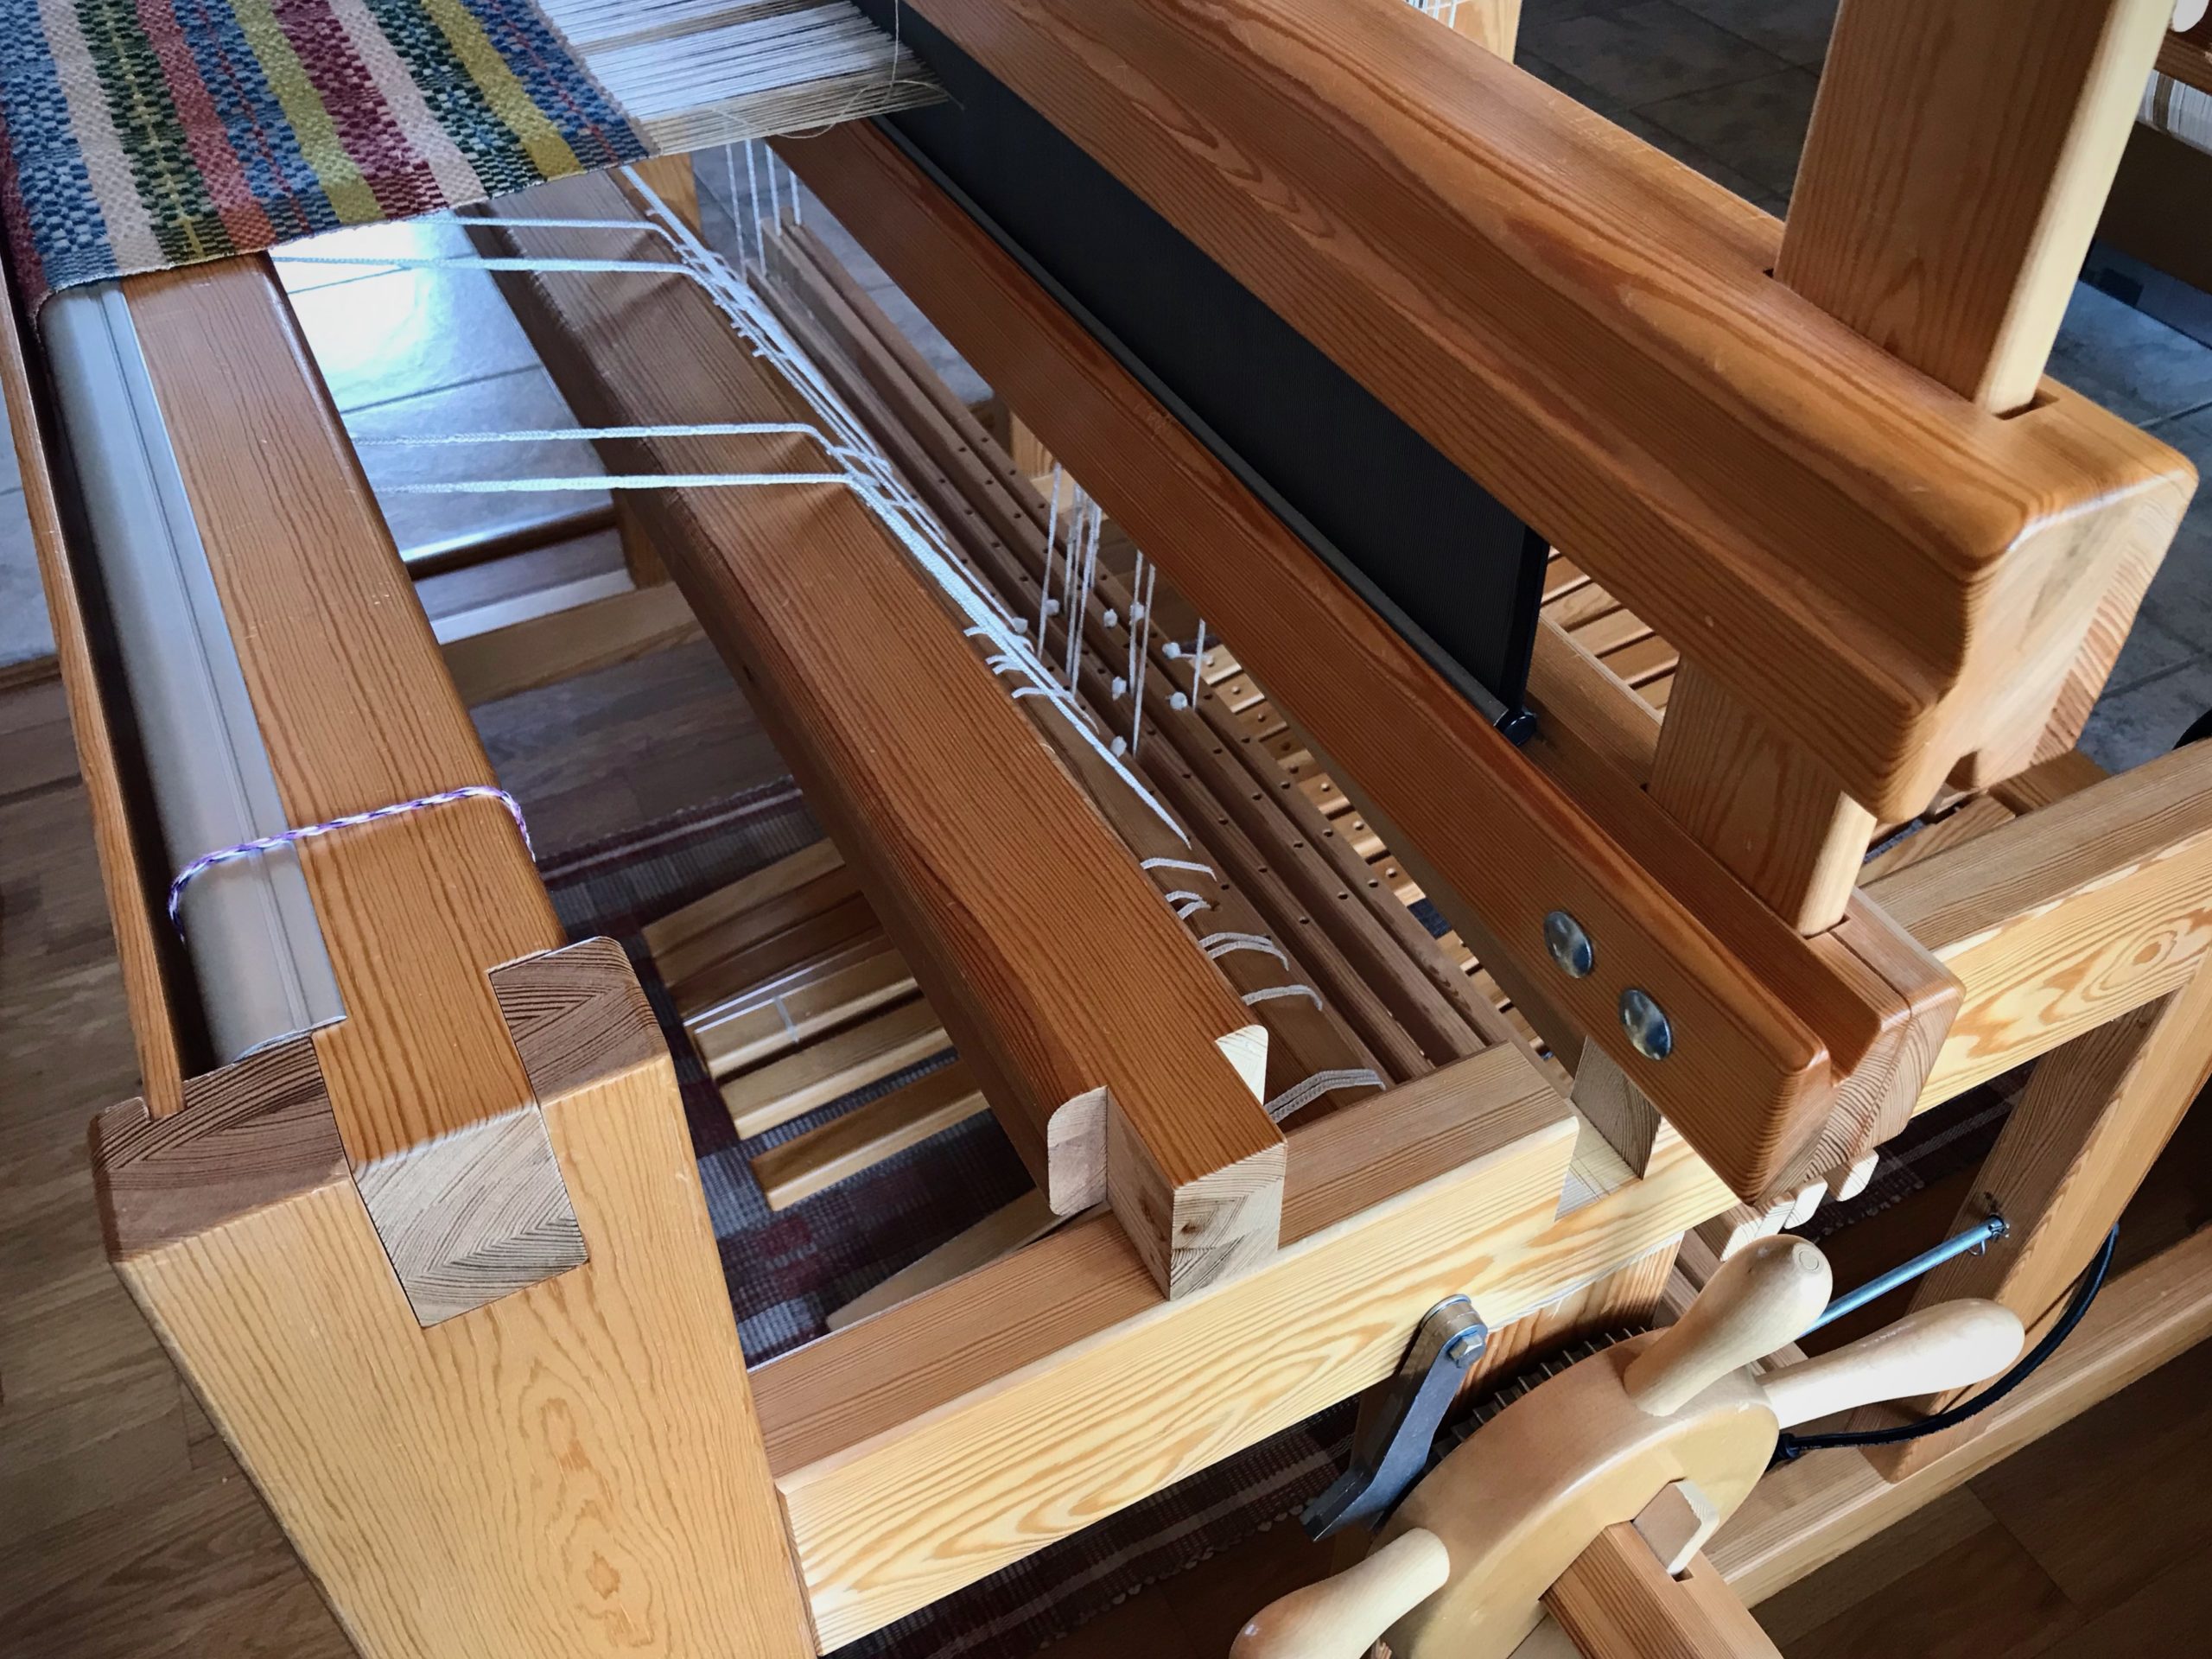
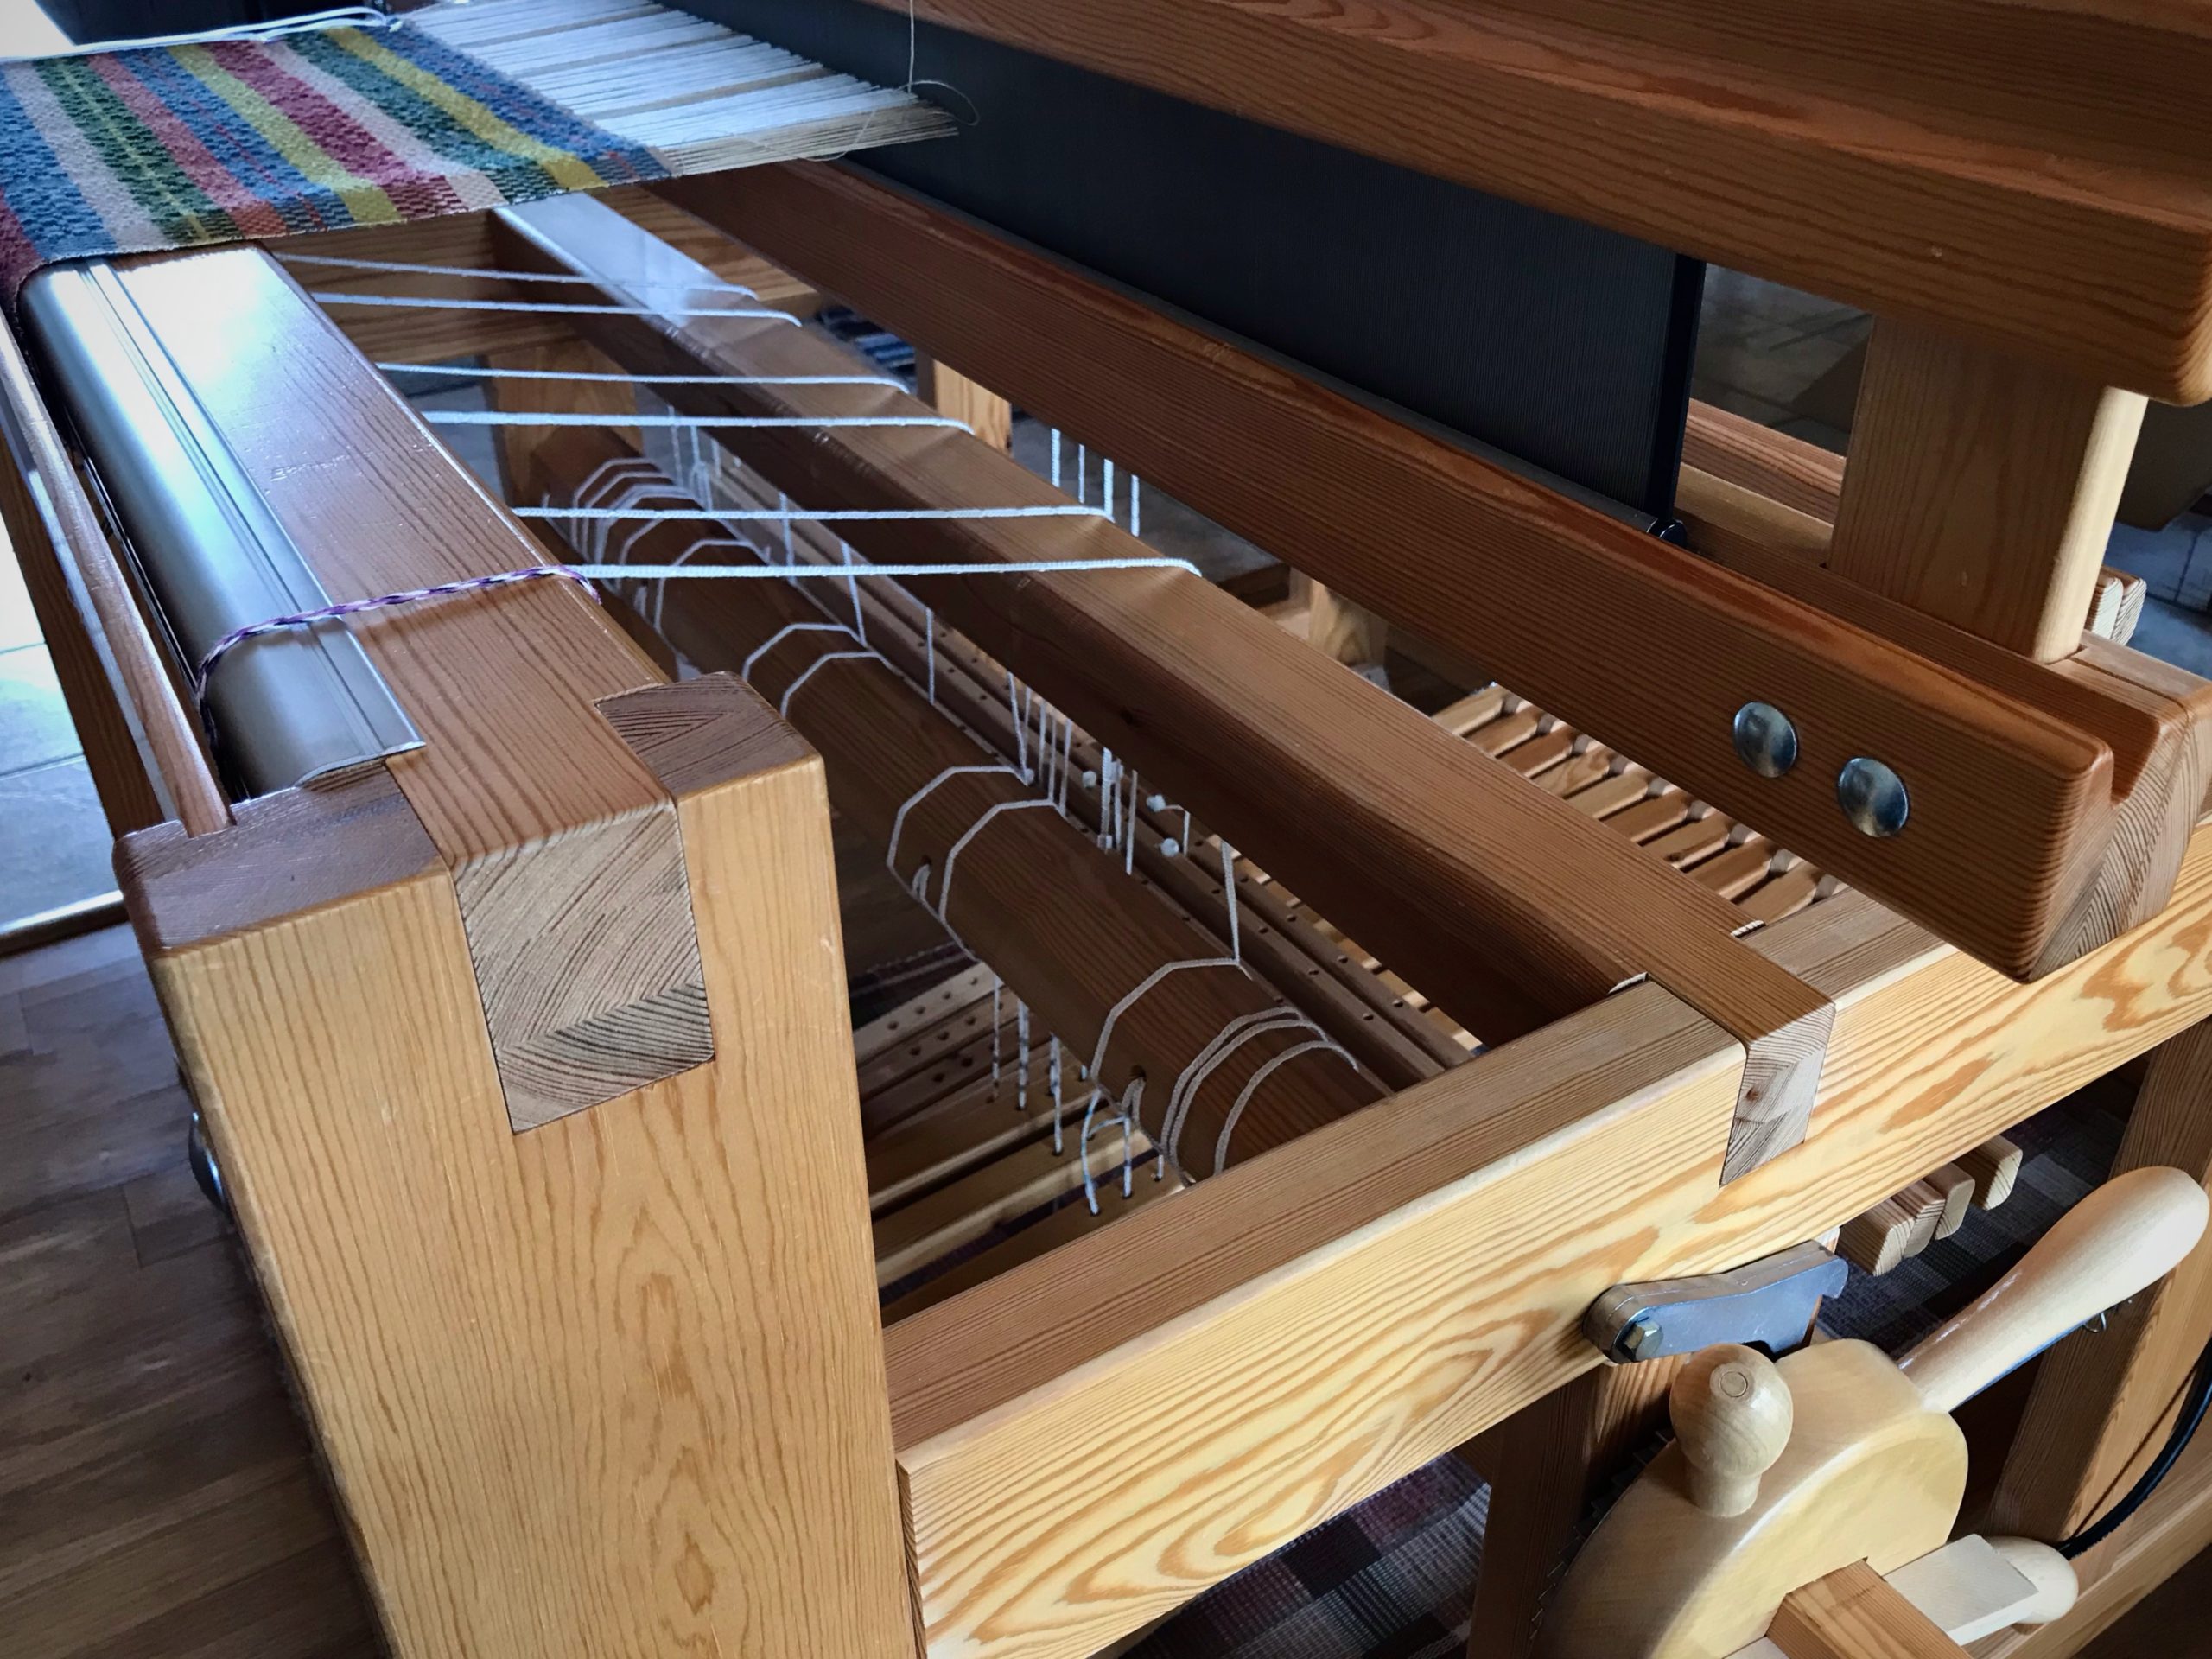
I first noticed that something was amiss right after advancing the warp. Something brushed my knees when I sat down. Aha! Beam cords, attached to the tie-on bar. I see that the tie-on bar is going straight from the cloth beam to the breast beam. I had forgotten to bring the tie-on bar over the knee beam. Really? Nearly everyone does this at least once when they are starting out. But it has been a few years since I made this mistake. Apparently, I still need my checklist.

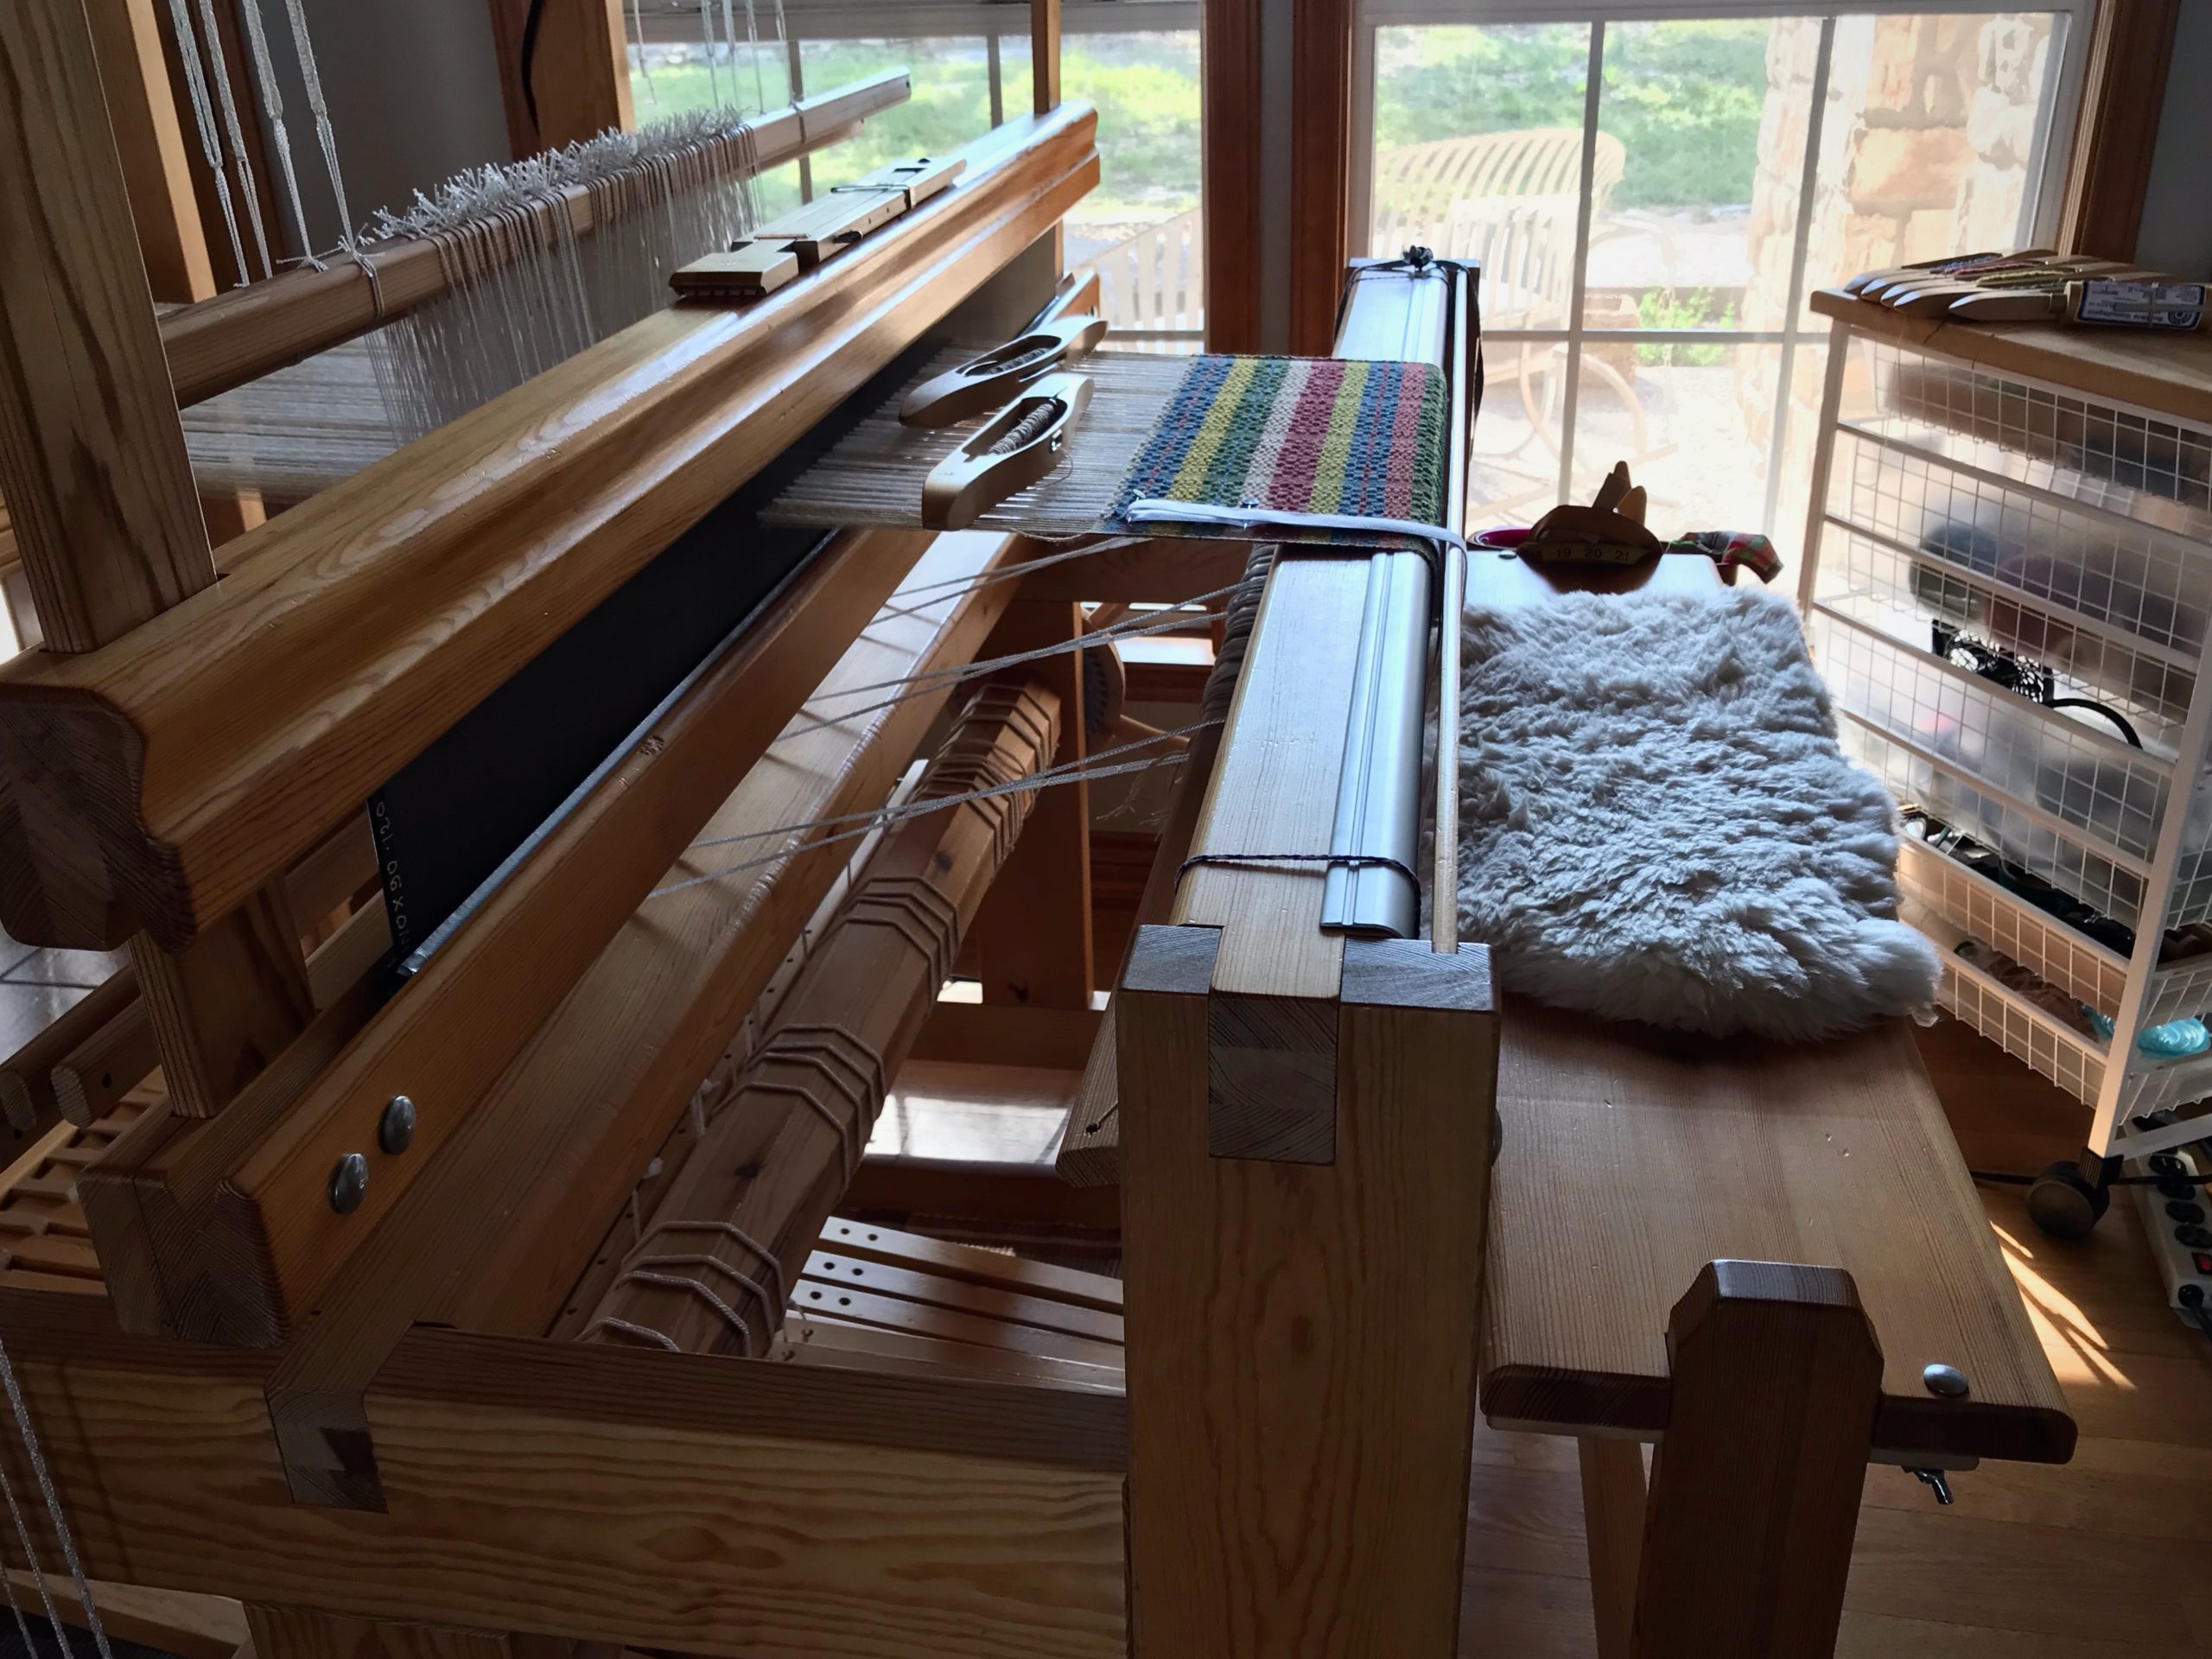
Weaving monksbelt in a mixed-colors palette.
Looking through the warp at the knee beam, I notice that beam cords are strangely missing…

Fortunately, forgetting the knee beam is one of the easiest blunders to remedy.

Fixing this blunder - I forgot the knee beam!
See the beam cords going from the cloth beam to the breast beam? The knee beam is feeling left out.

Re-Set the Knee Beam

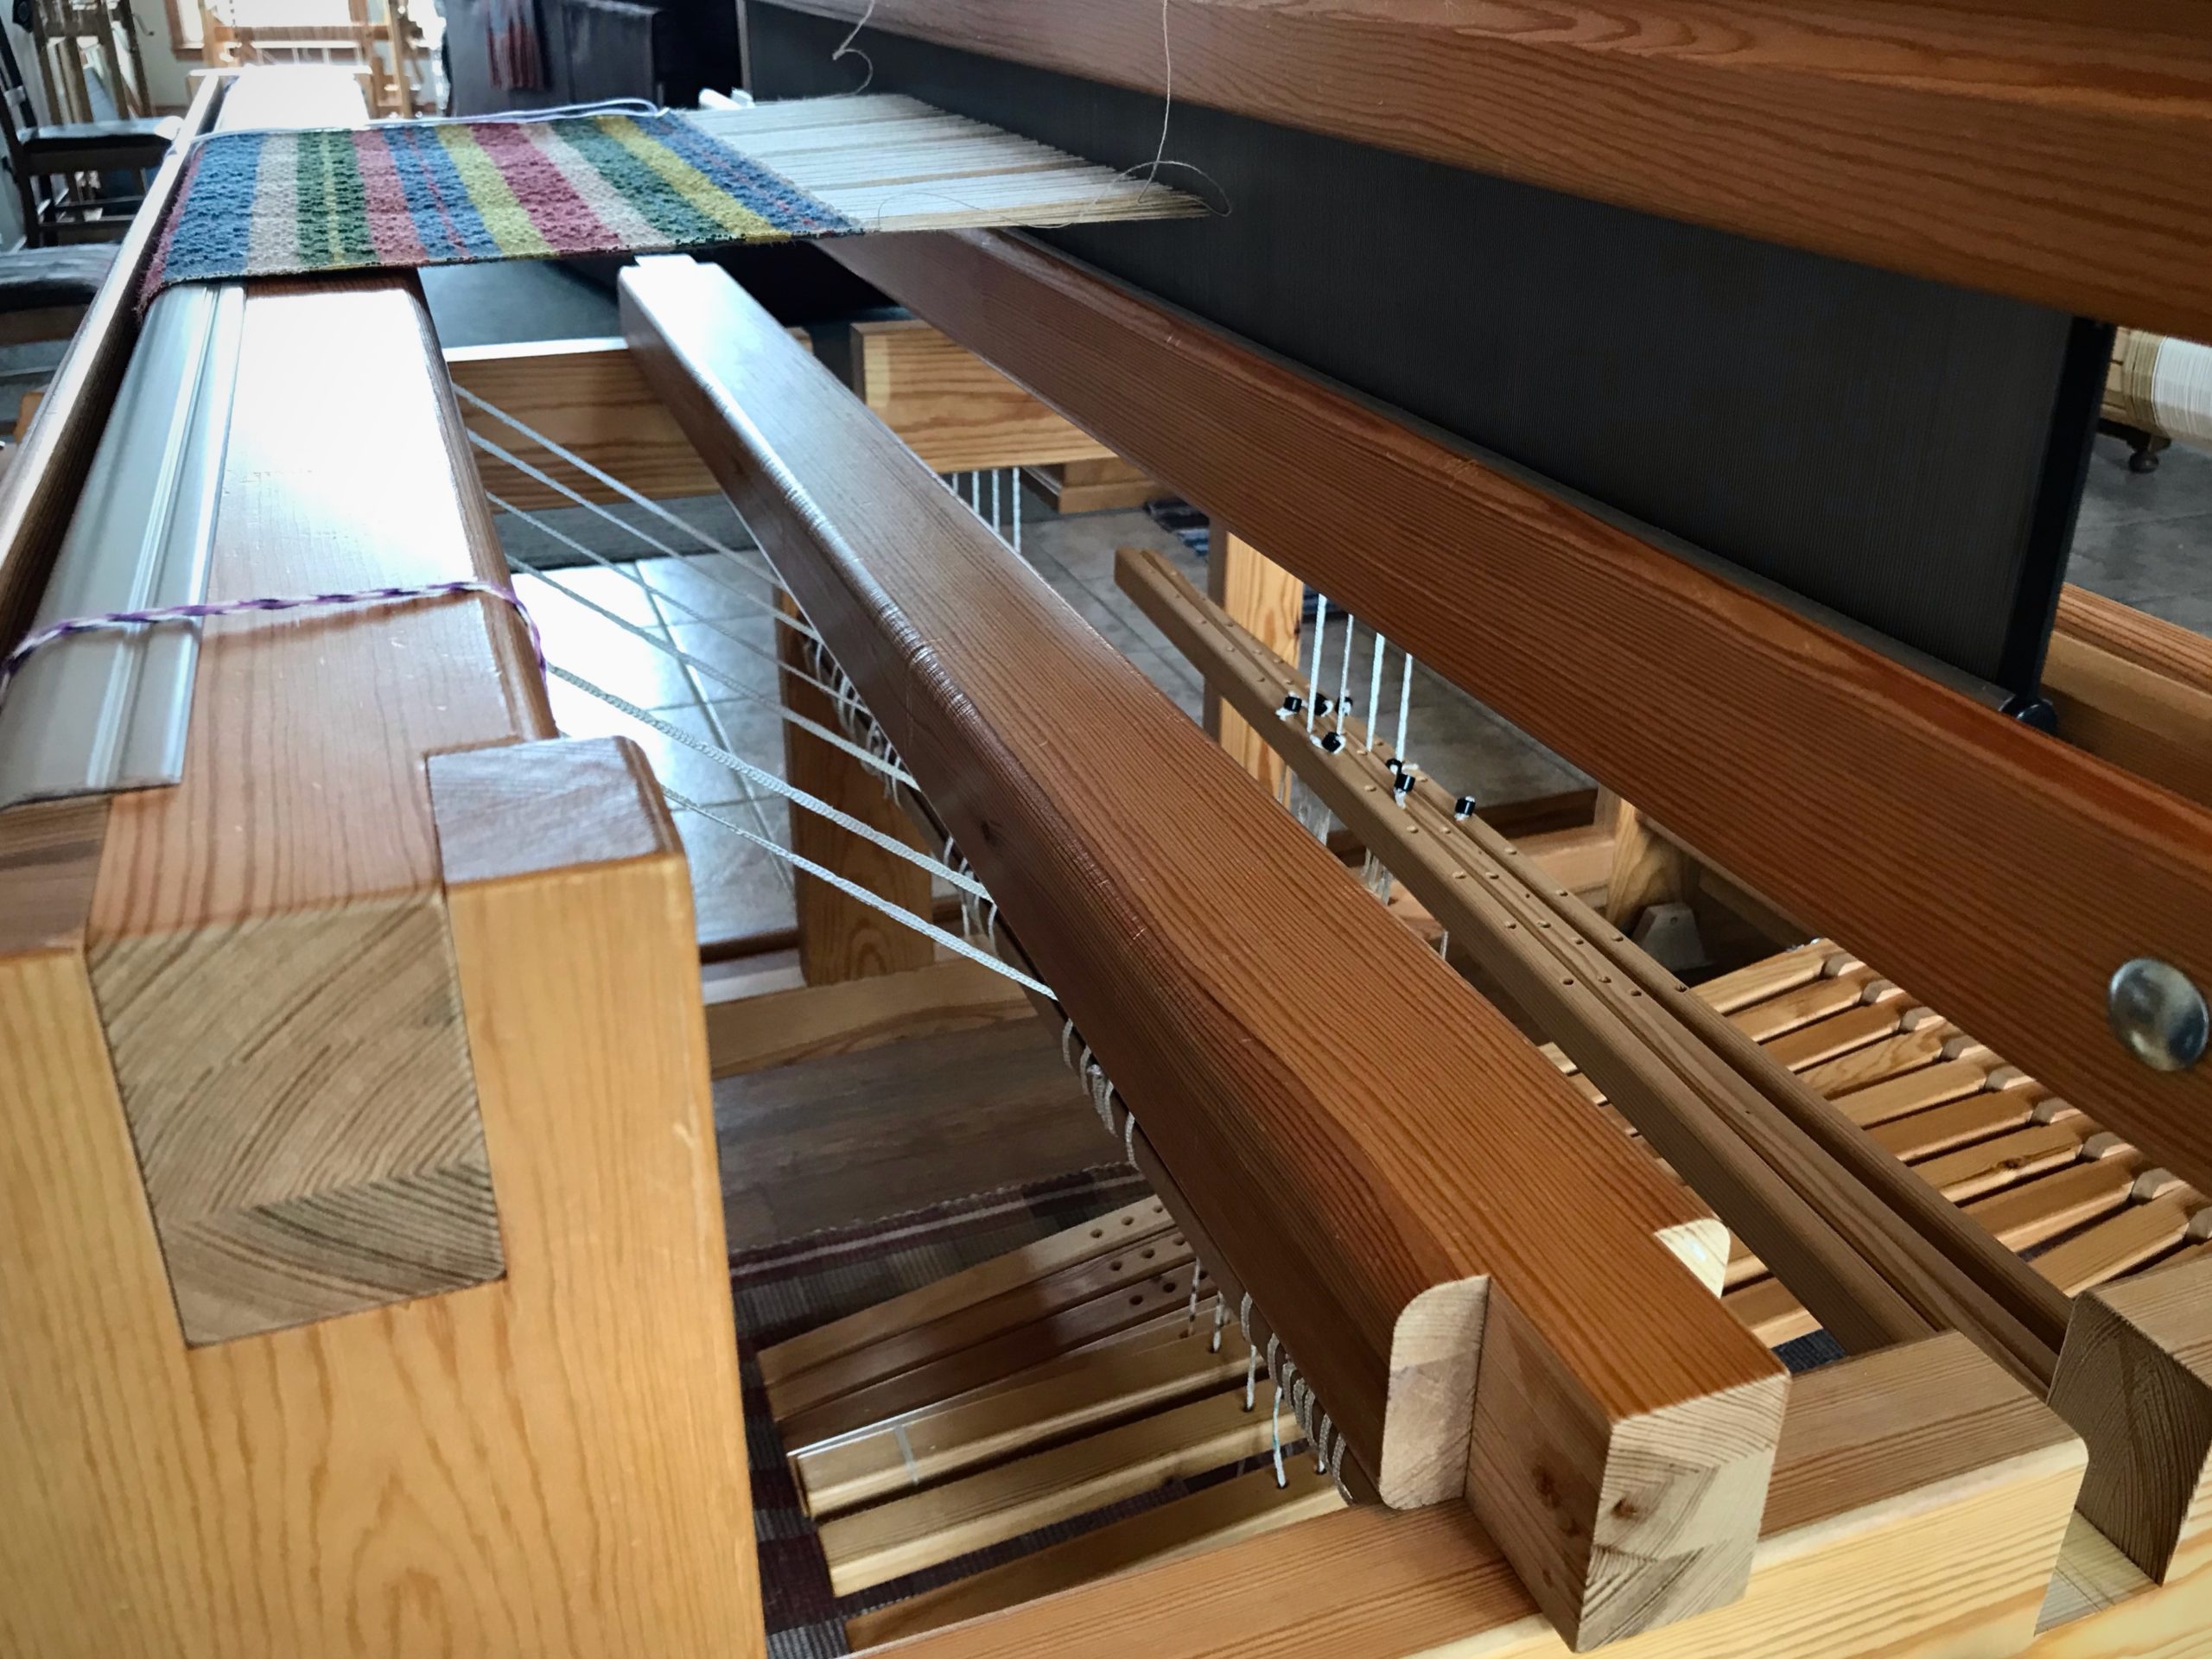
1. Remove the knee beam. Rest the beam on the loom frame.

Resetting the knee beam. Fixing a blunder!

2. Unlatch the front ratchet to release warp tension.

Fixing the knee beam blunder.

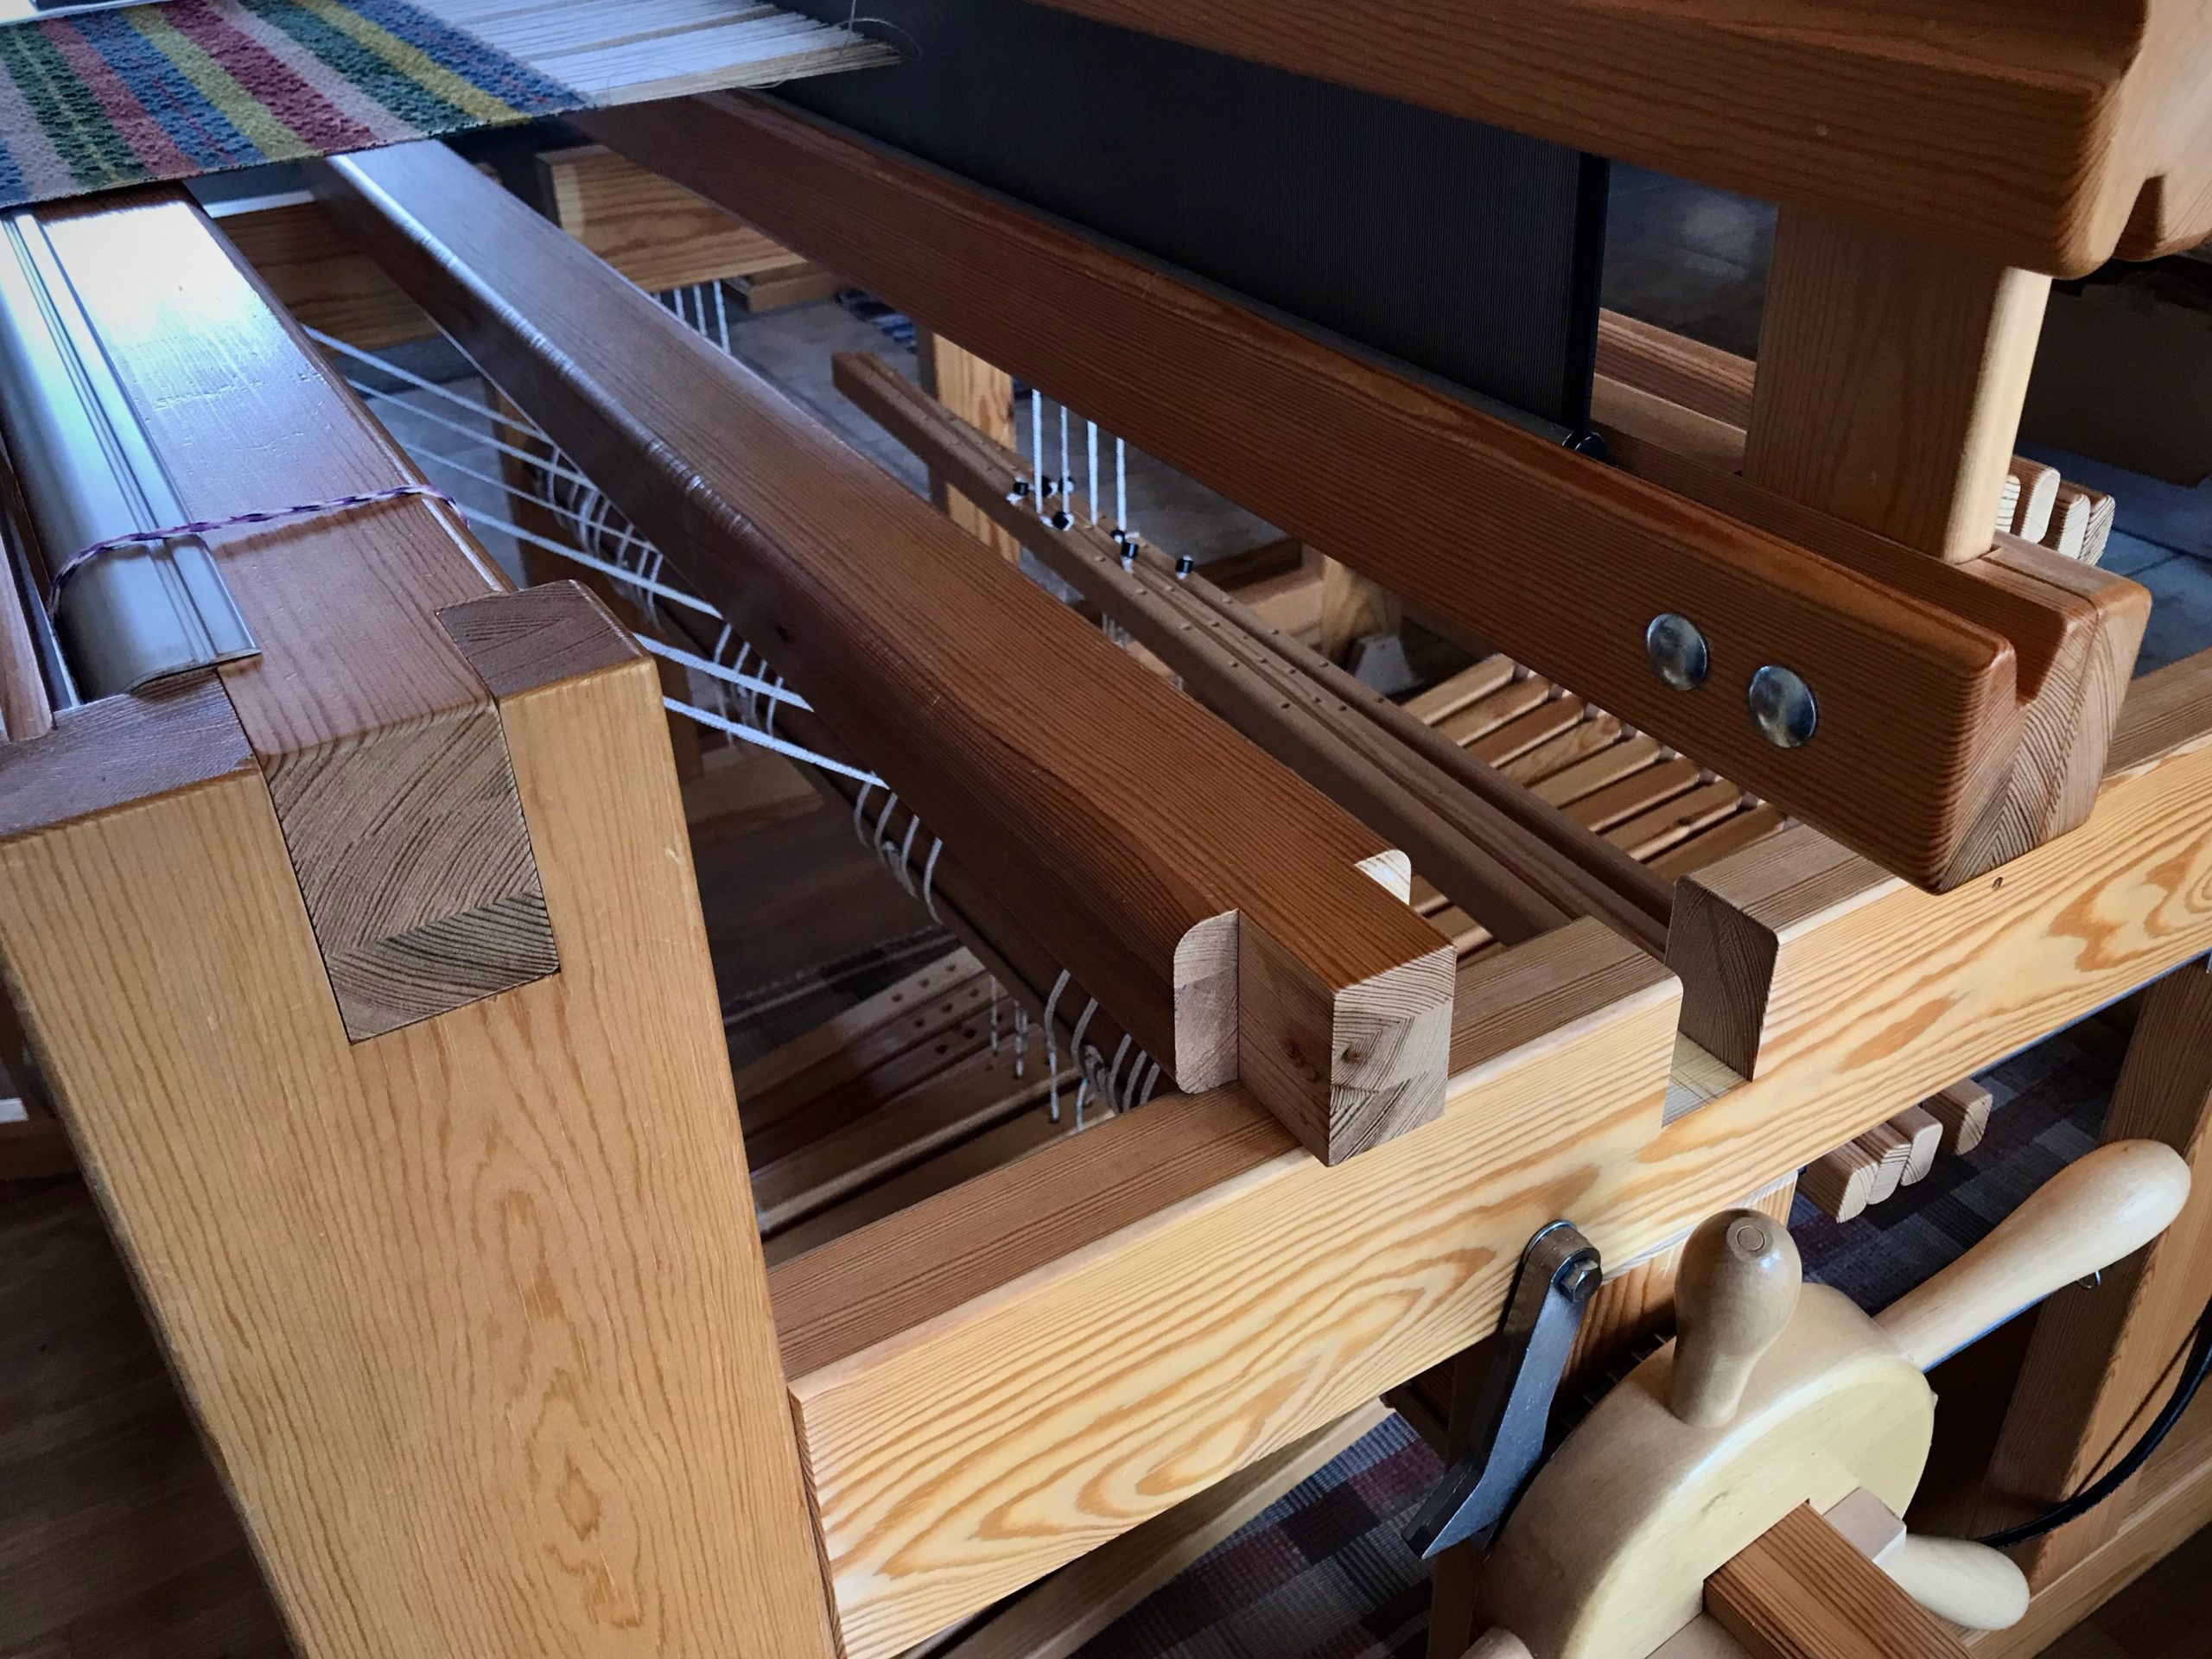
3. Pull the knee beam all the way out. Put it back across, underneath the beam cords. Rest the beam on the loom frame.

How to re-position the knee beam.

4. Reseat the knee beam gently, positioning the beam cords along with the beam.

How to remedy the knee beam blunder!

5. Tension the warp. Resume weaving.

Weaving Swedish monksbelt is fun!
Now you can see the beam cords through the warp, located where they should be.
Swedish Monksbelt on a Glimakra Standard loom.
Swedish Monksbelt weaving resumes. 16/2 cotton warp and ground weft, 6/1 Fårö wool pattern weft.

May your trouble be inconsequential and short lived.

Happy Weaving,
Karen

Tried and True: Just in Case

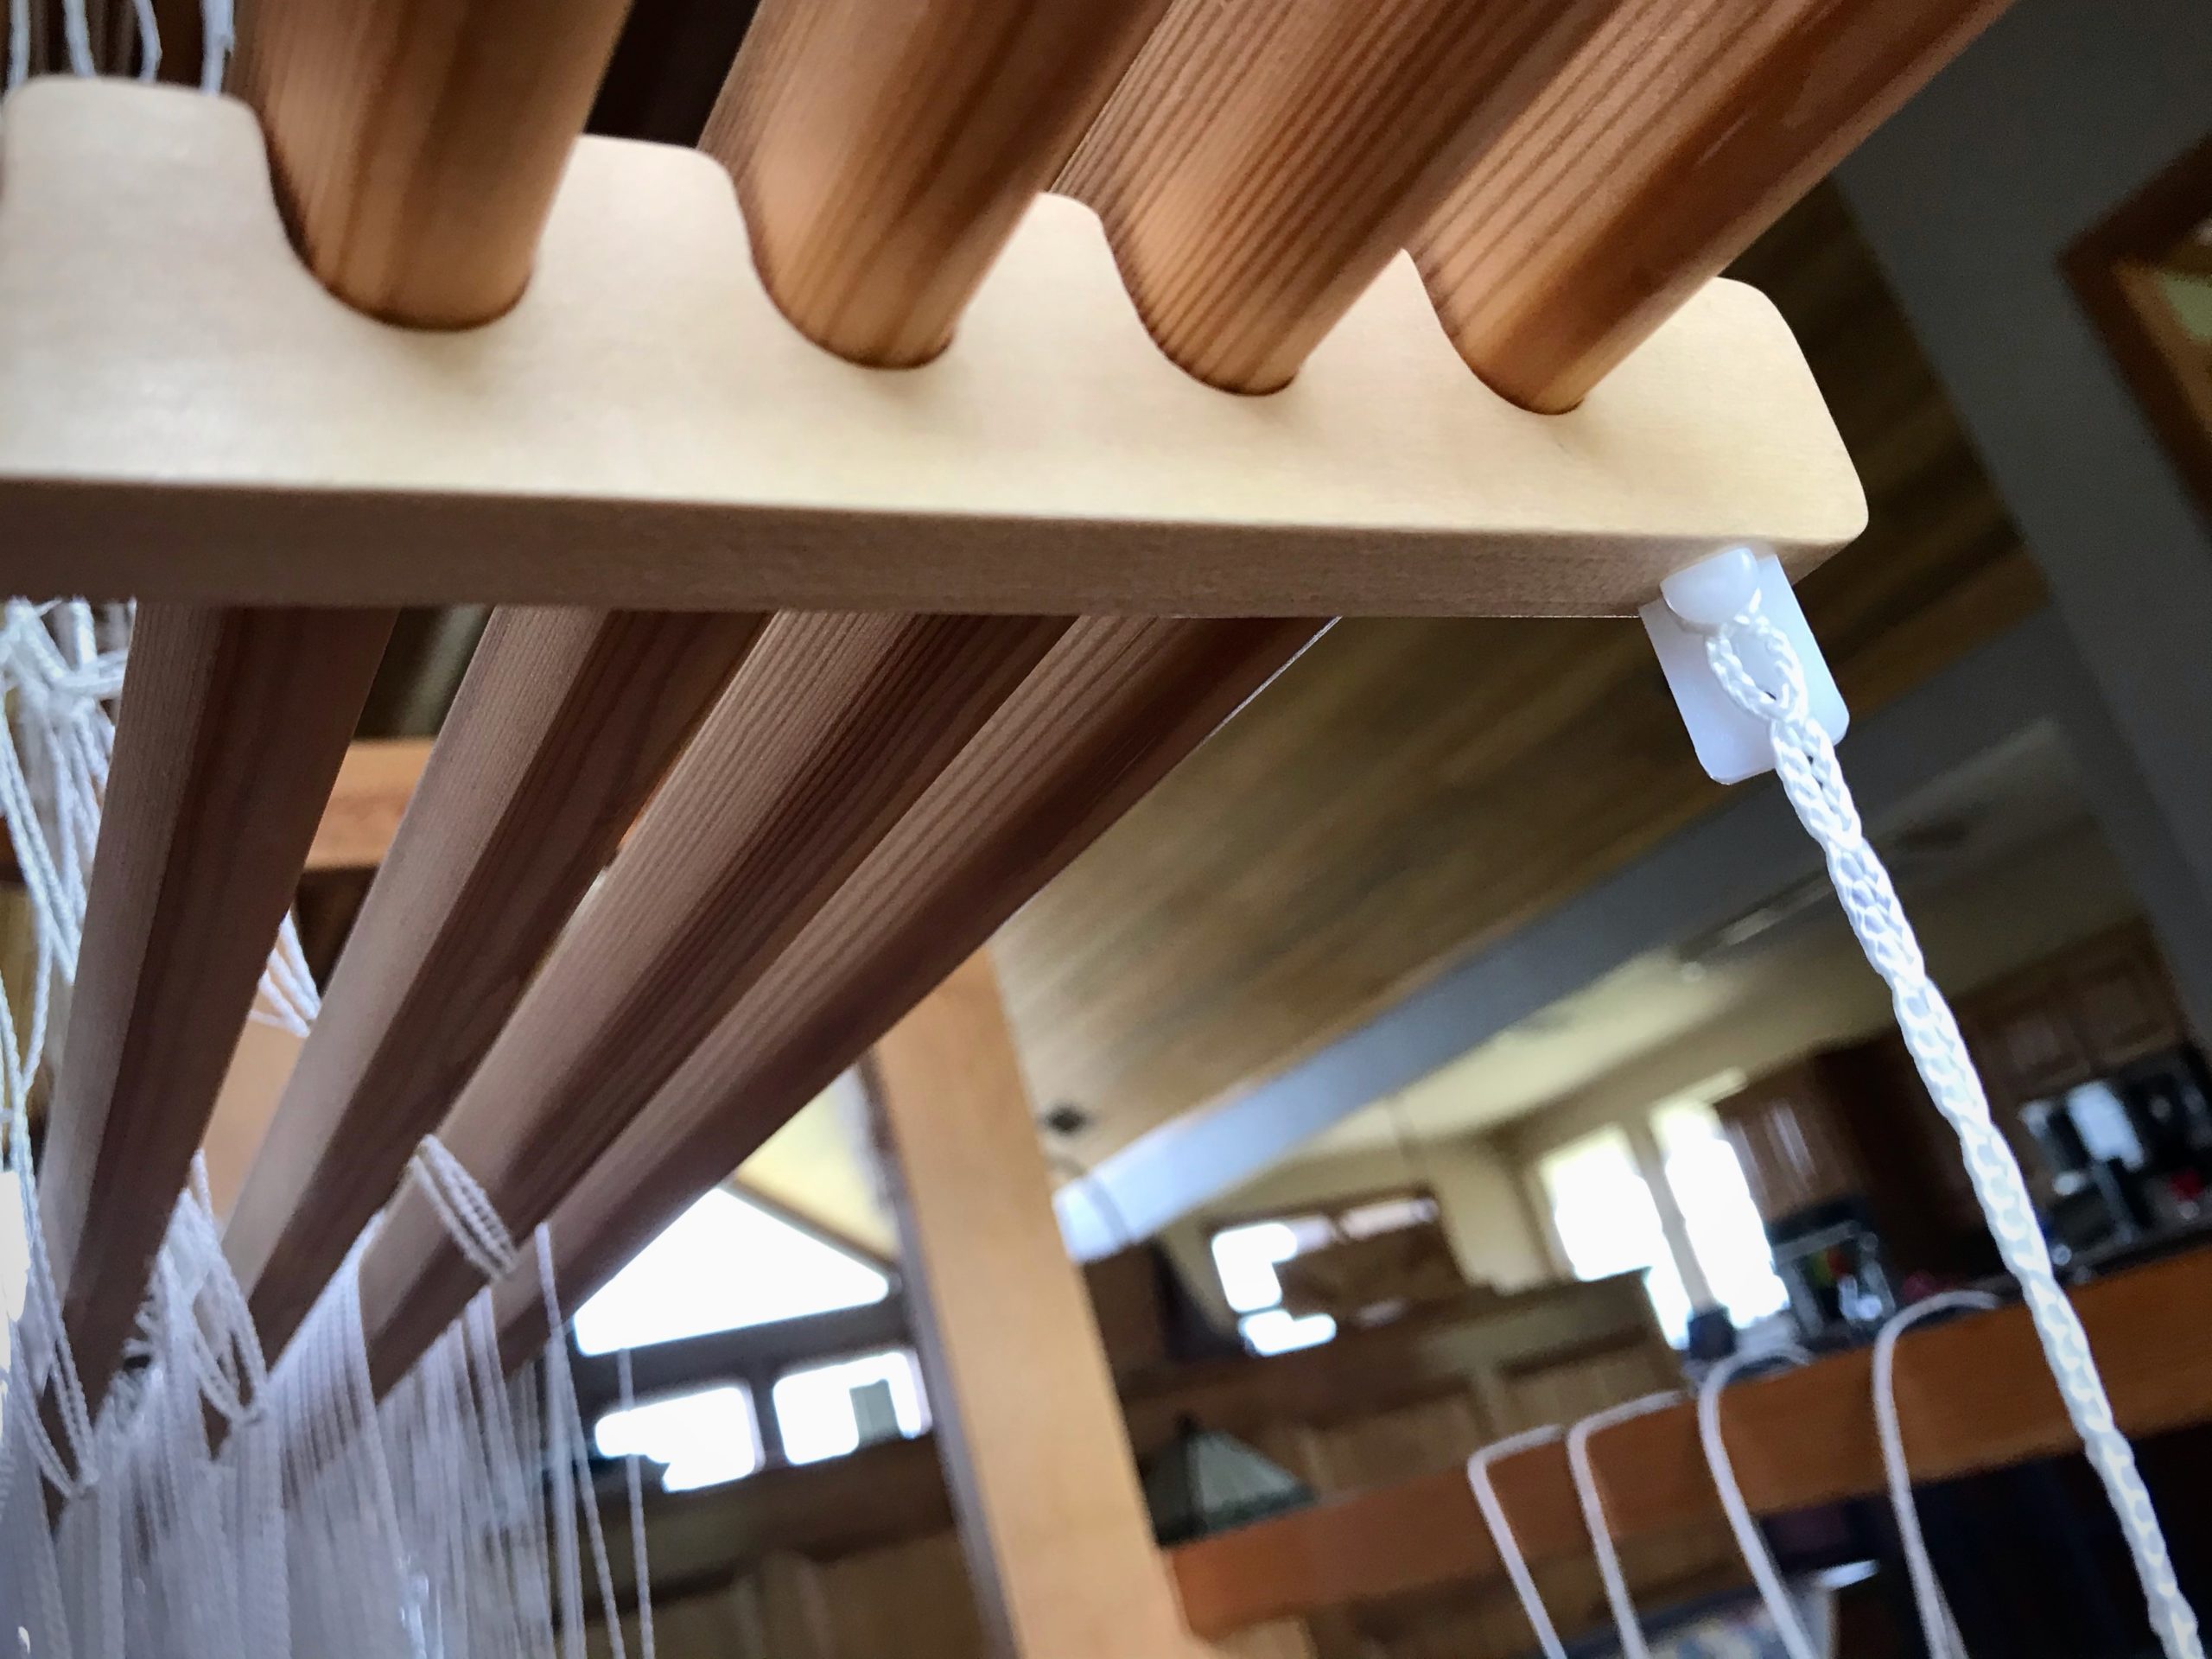
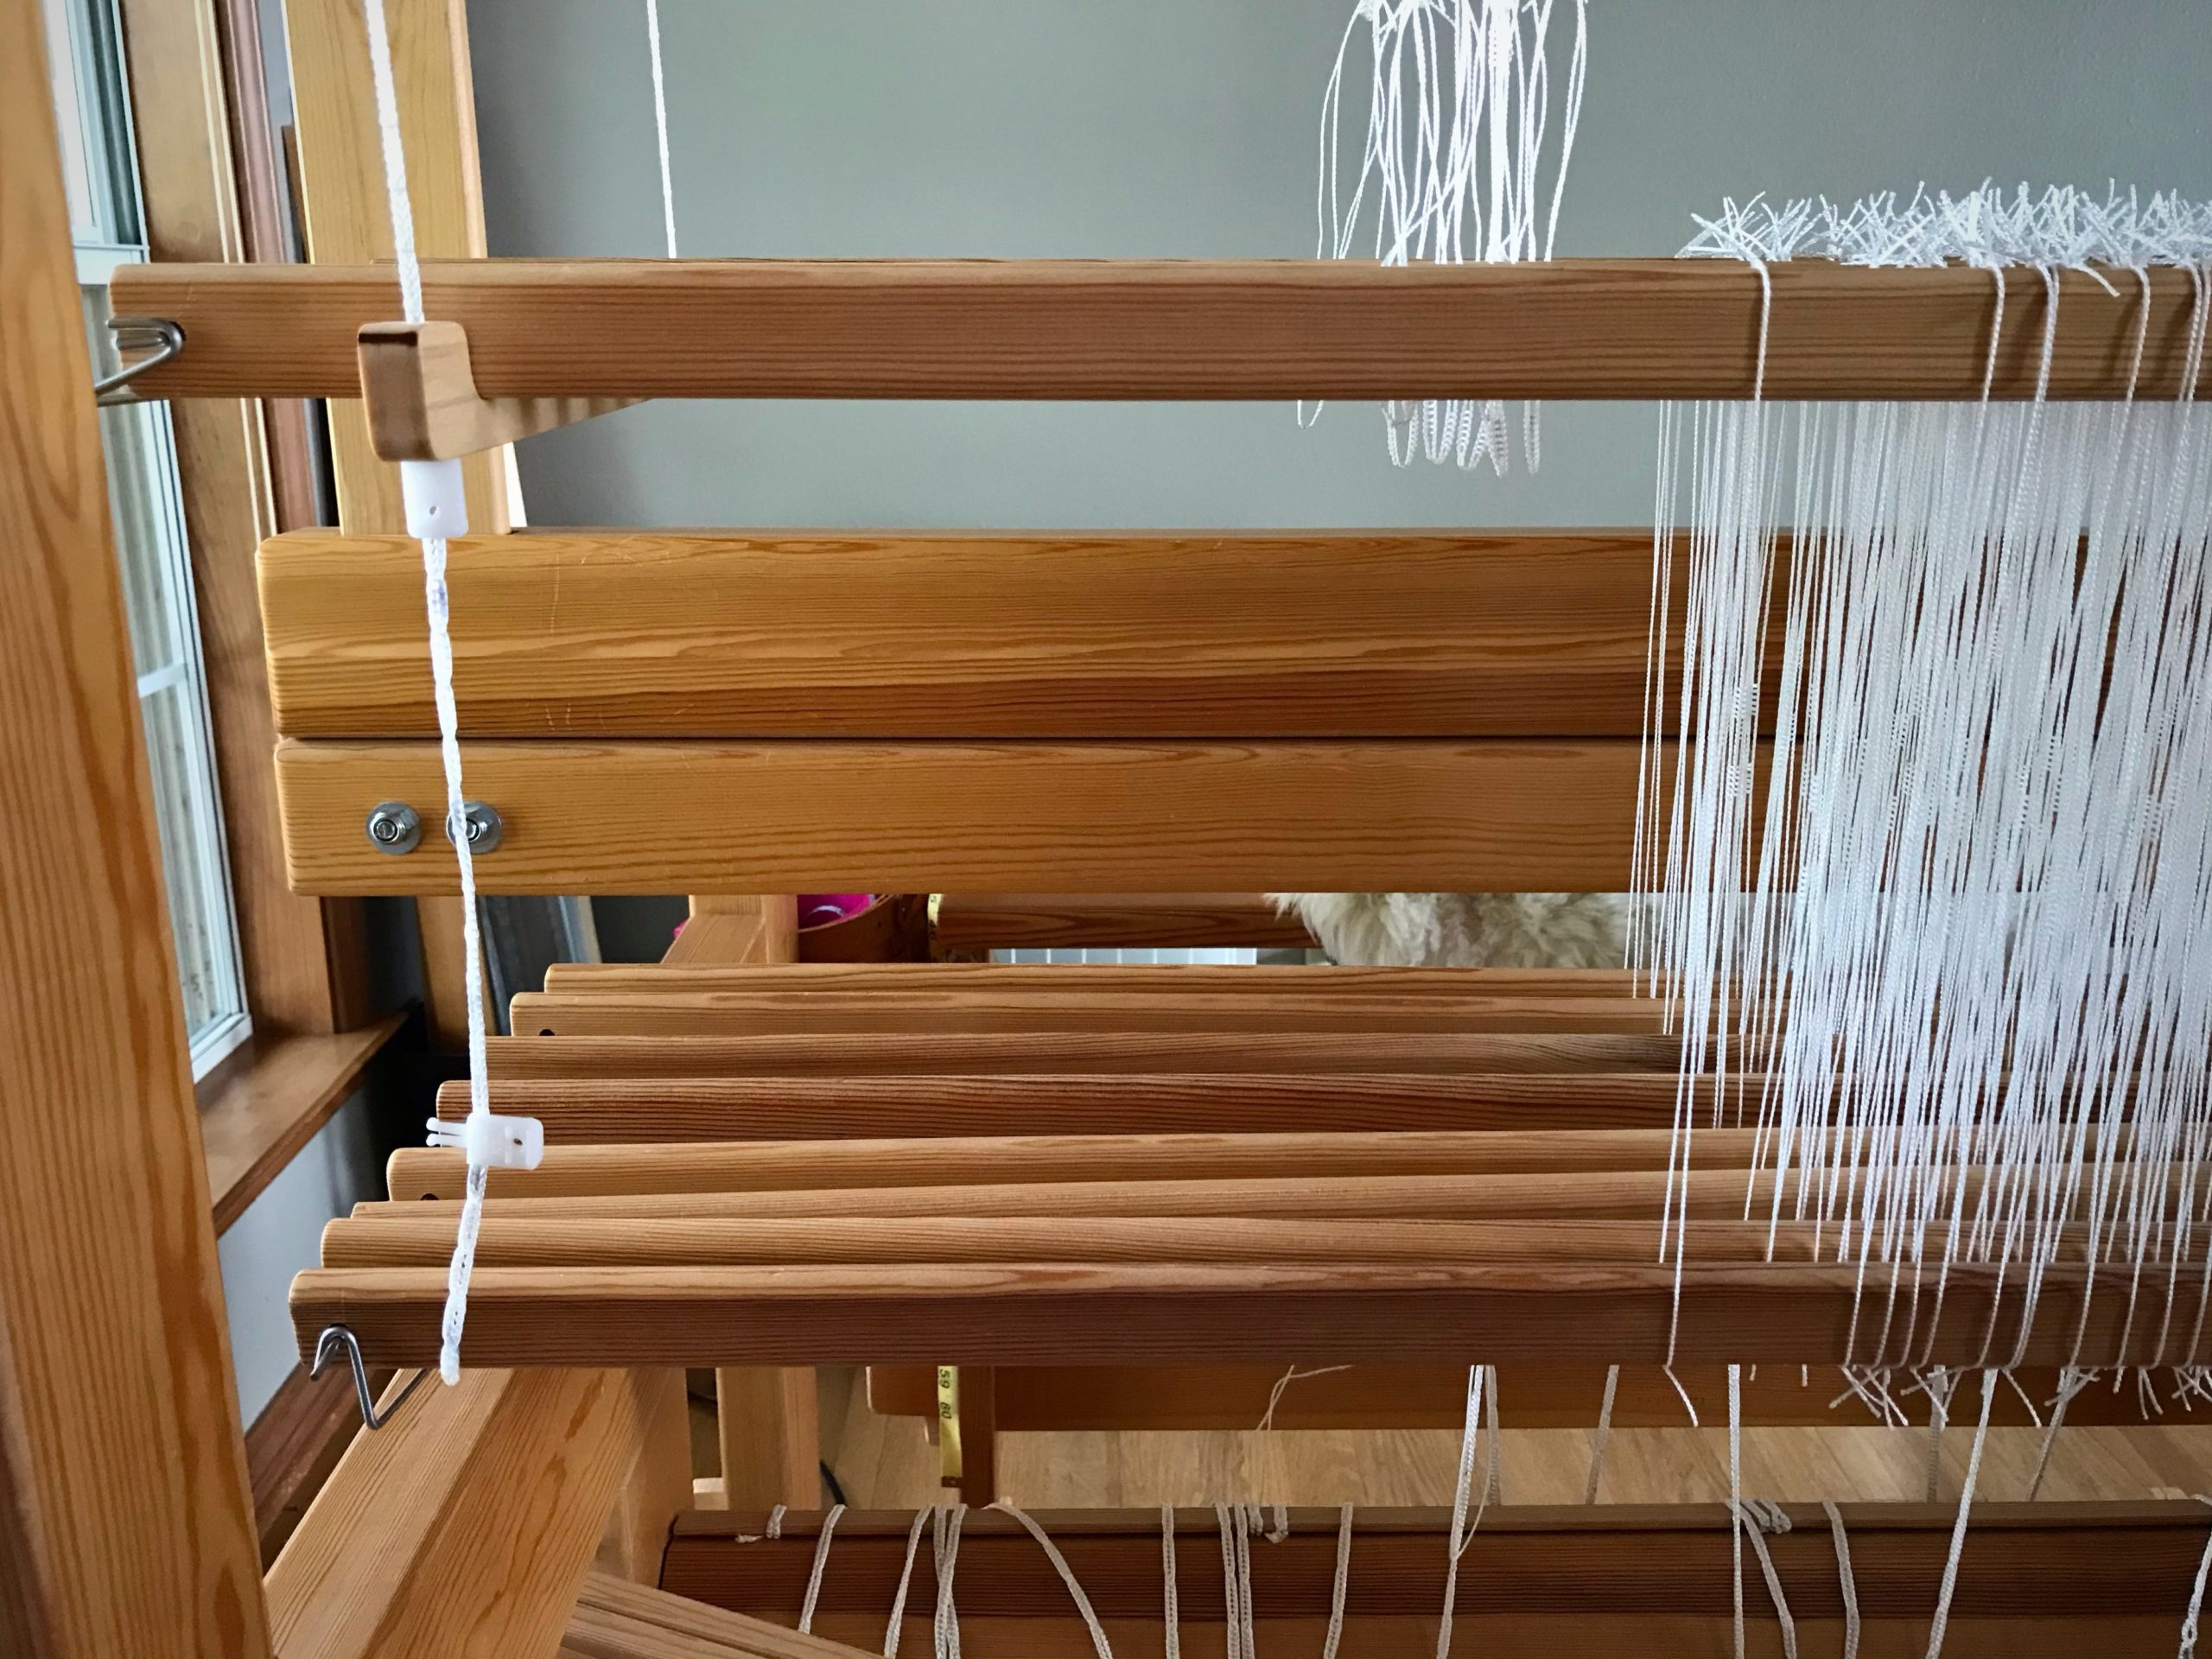
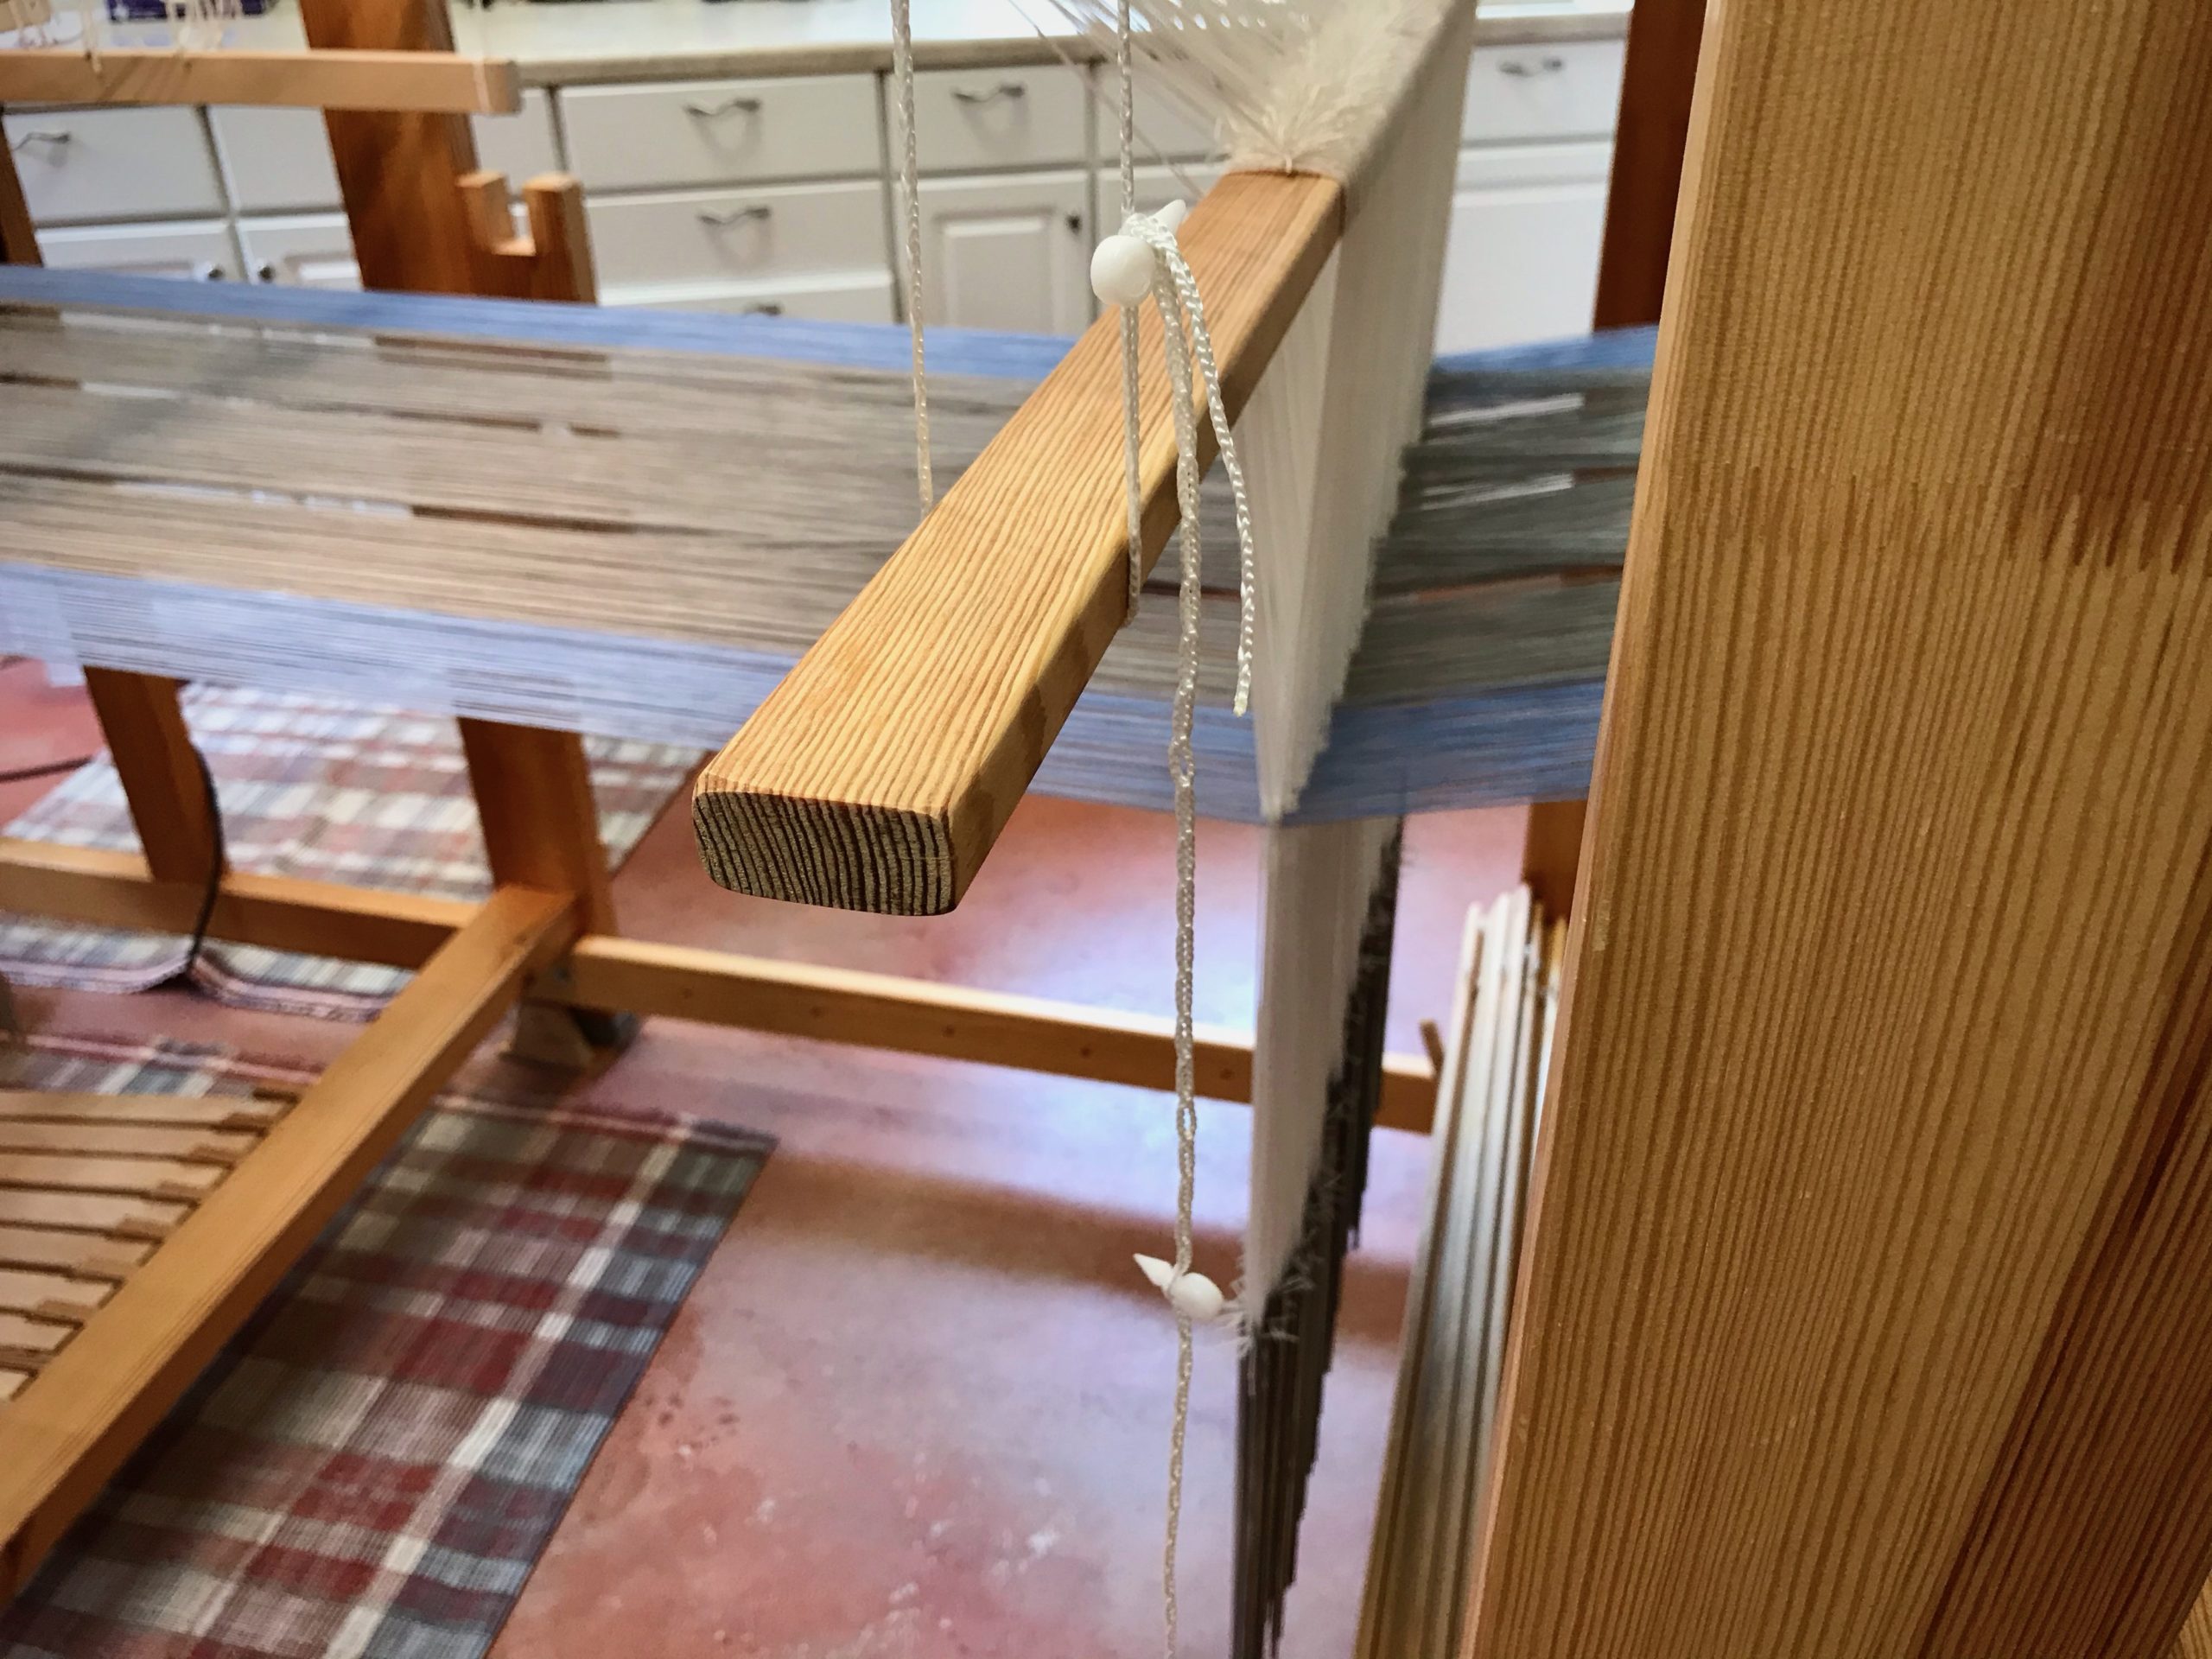
Texsolv cord is ingenious! It suspends shaft holders while I dress the loom. It also suspends the heddling bar during drawloom setup. A small anchor pin or arrow peg does the trick of holding everything together.

How to use Texsolv cord and anchor pins.
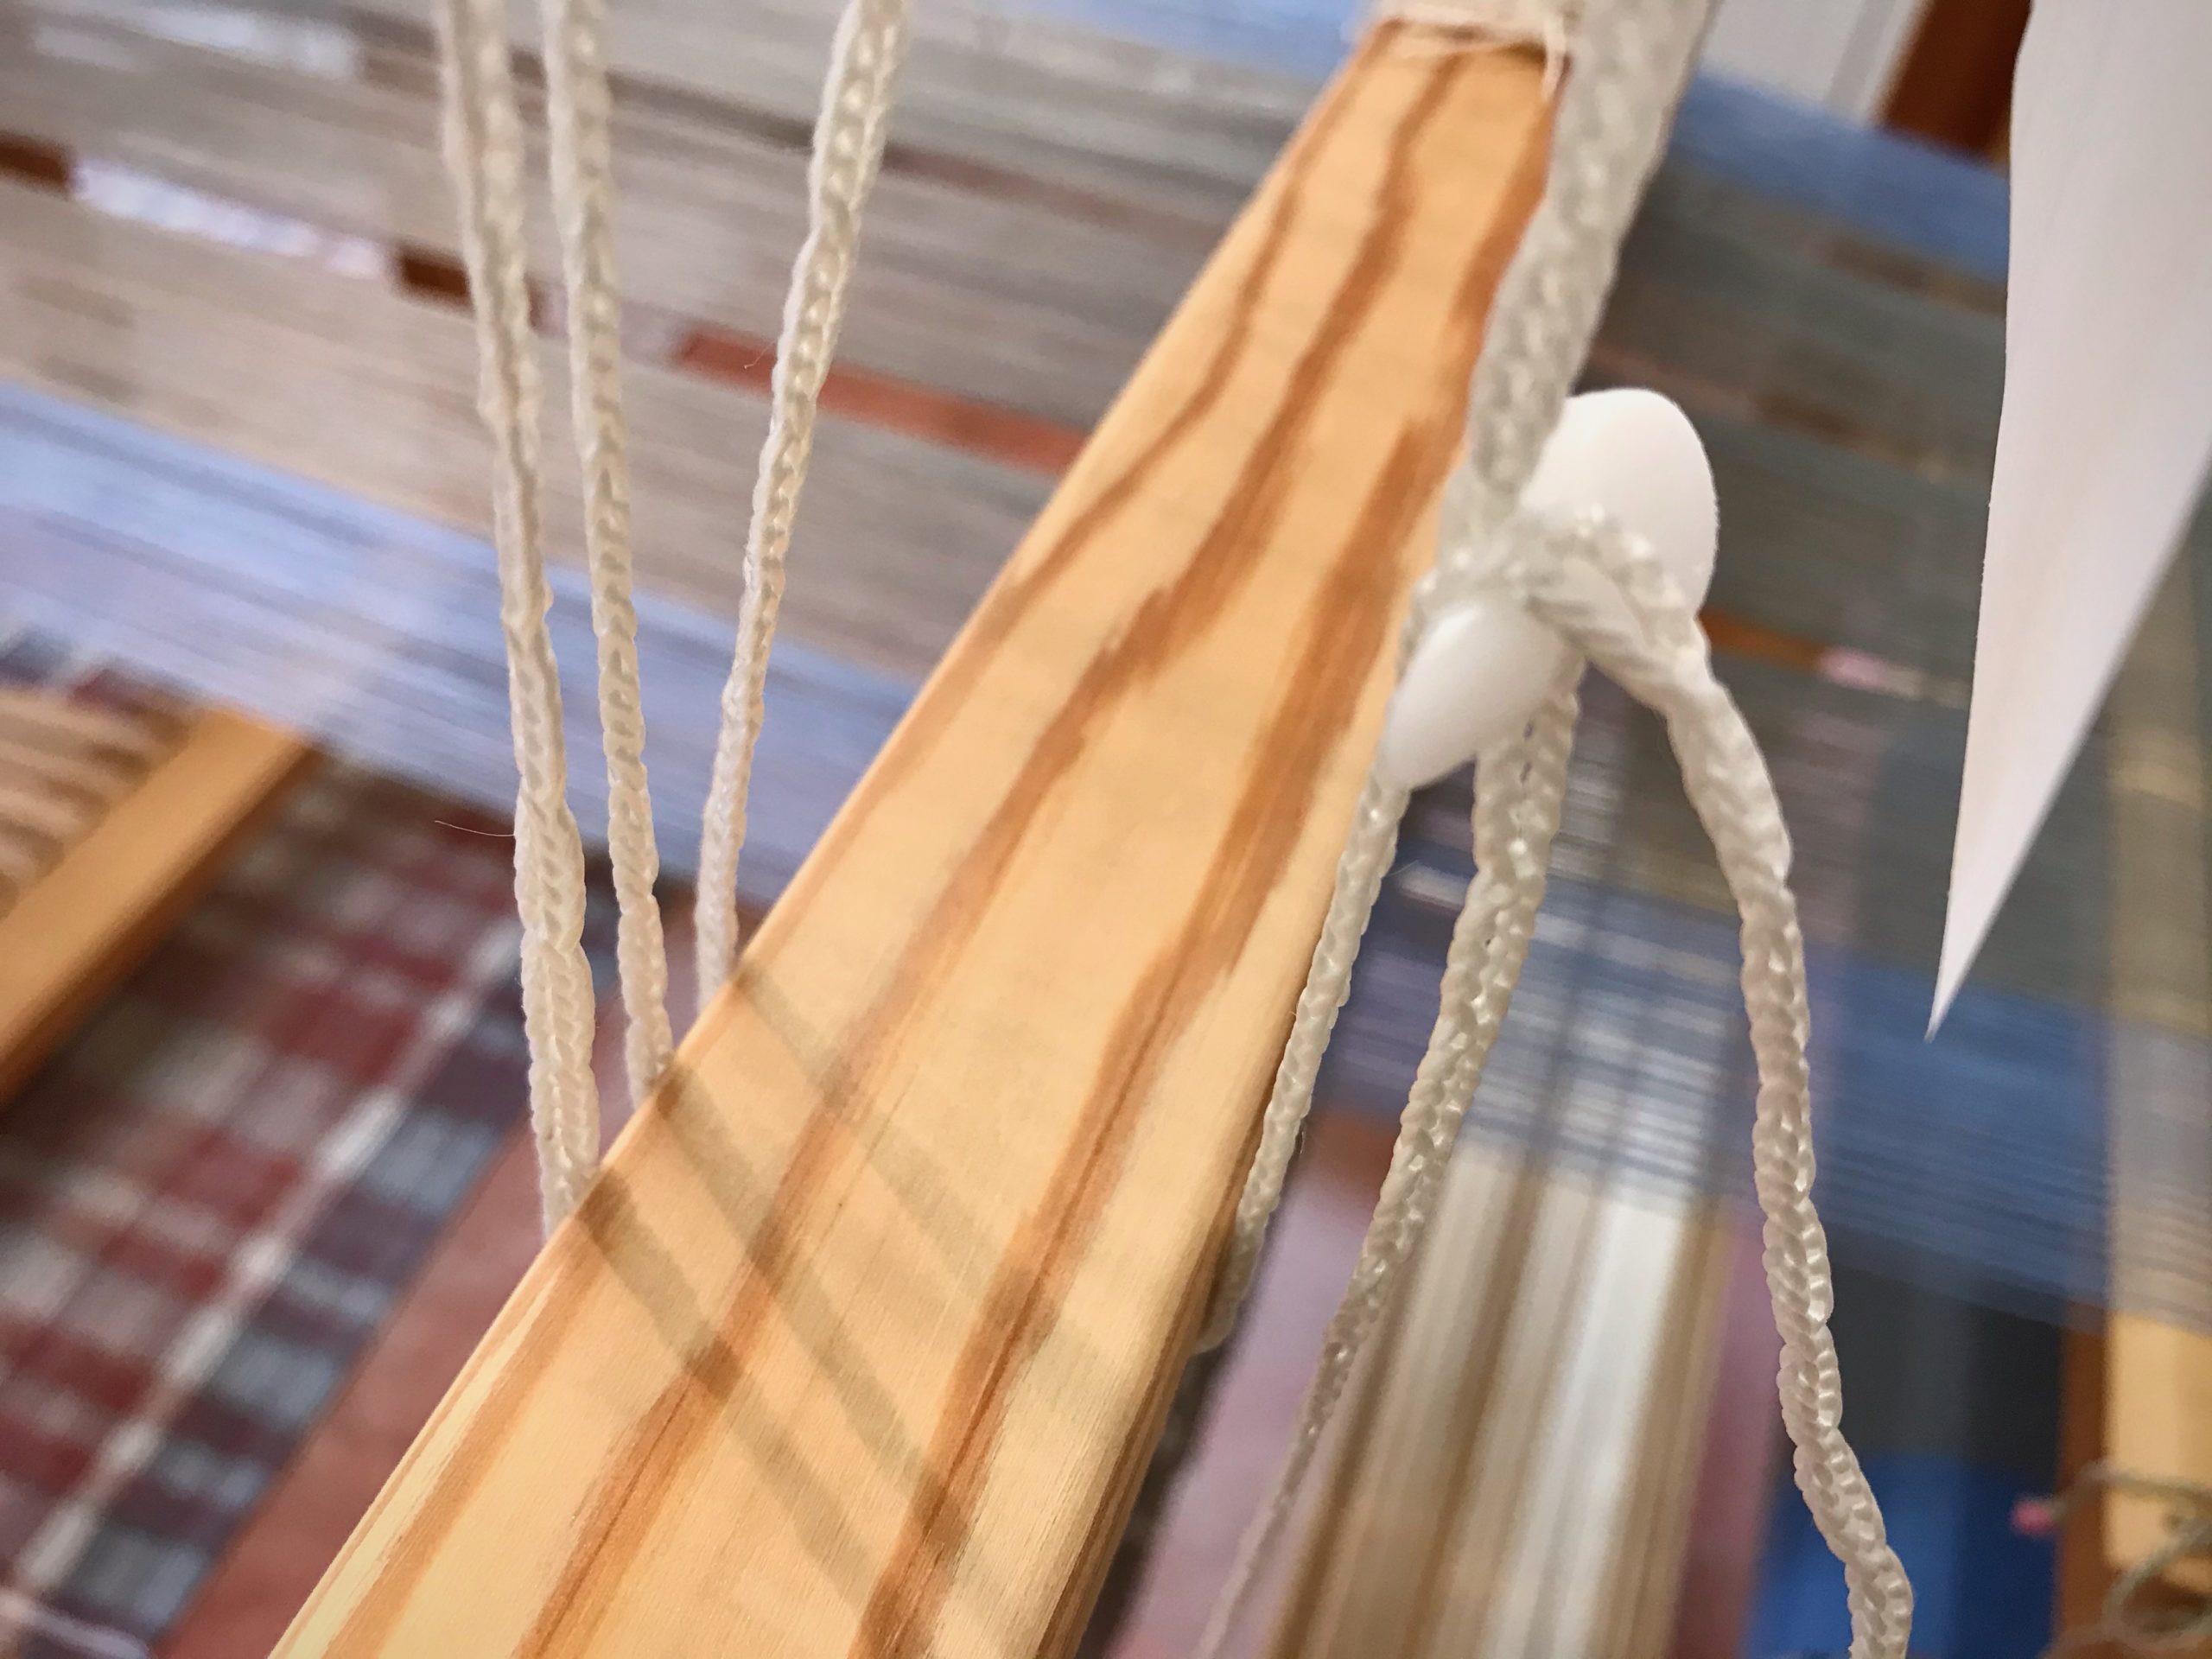
Anchor pin is buttoned through the Texsolv cord and placed into the hole at the bottom of the shaft holder.
Talking about Texsolv cord and arrow pins.
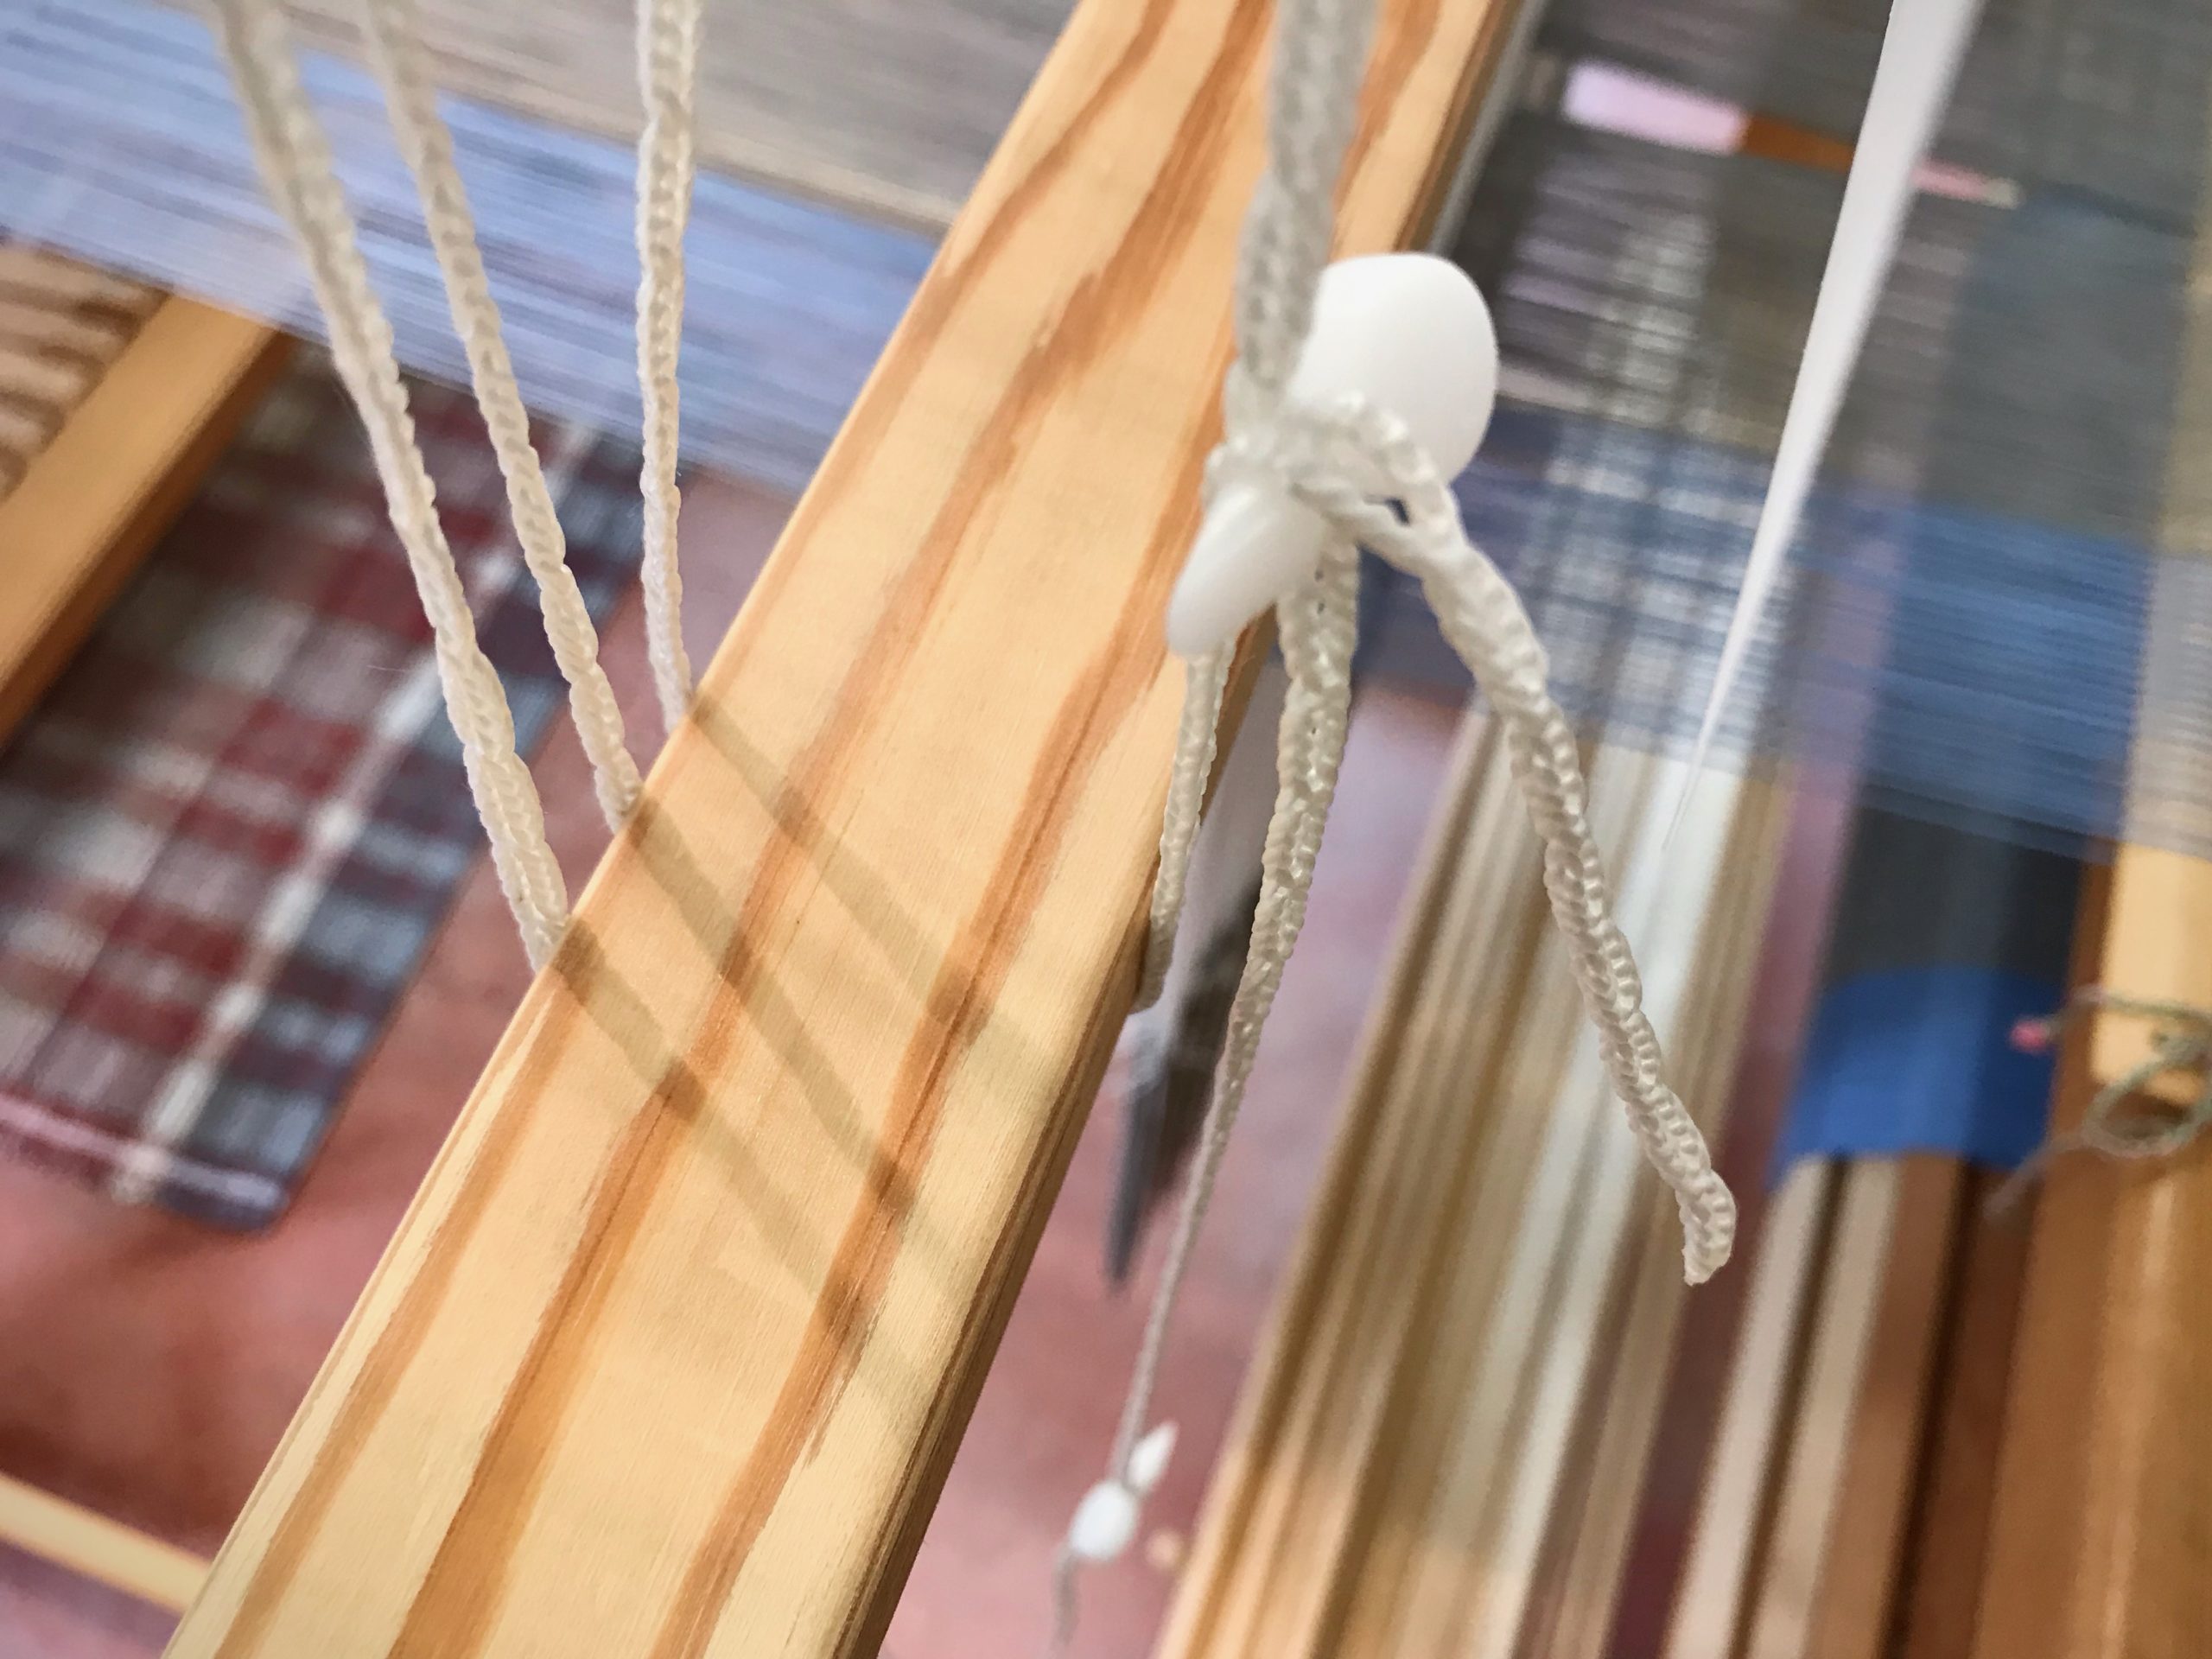
Thread one end of the Texsolv cord through a hole in the other end to make a loop. Insert an arrow peg through a hole to secure the loop.

But there is one potential hazard…

In order to adjust the height of the suspended heddling bar at the drawloom, I want to move the arrow peg. I hold one end of the bar while pulling the peg out of the Texsolv cord. That little peg fumbles out of my hand and drops to the floor. OOPS! I am left holding one end of the bar that has 148 threaded pattern heddles, weights included. Now what?! Alone in the room, I am now the sole support for that end of the heavy bar. The peg on the floor is out of reach.

Super Simple Tip of the Day

Always keep a spare anchor pin or arrow peg on the loose end of the Texsolv cord. Always.

Just in Case strategies.
Spare anchor pin stays on the shaft-holder cord. You do not want to be left holding a shaft holder with eight shafts if your anchor pin ever falls out of your hand…

The rest of the story…
When that pesky little arrow peg slips out of my hand I calmly take the spare peg that is there “just in case,” and secure the Texsolv loop that holds the heddling bar. No big deal, after all.

Strategies for Just in Case!
Spare arrow peg dangles below. Whew!
Tips for just in case!
Spare arrow peg is a life saver on the rare occasion it is needed. There is a significant amount of weight on that heddling bar.

May you be ready for anything, just in case.

Ready or not,
Karen

Hazards and Rewards of Weaving a Portrait

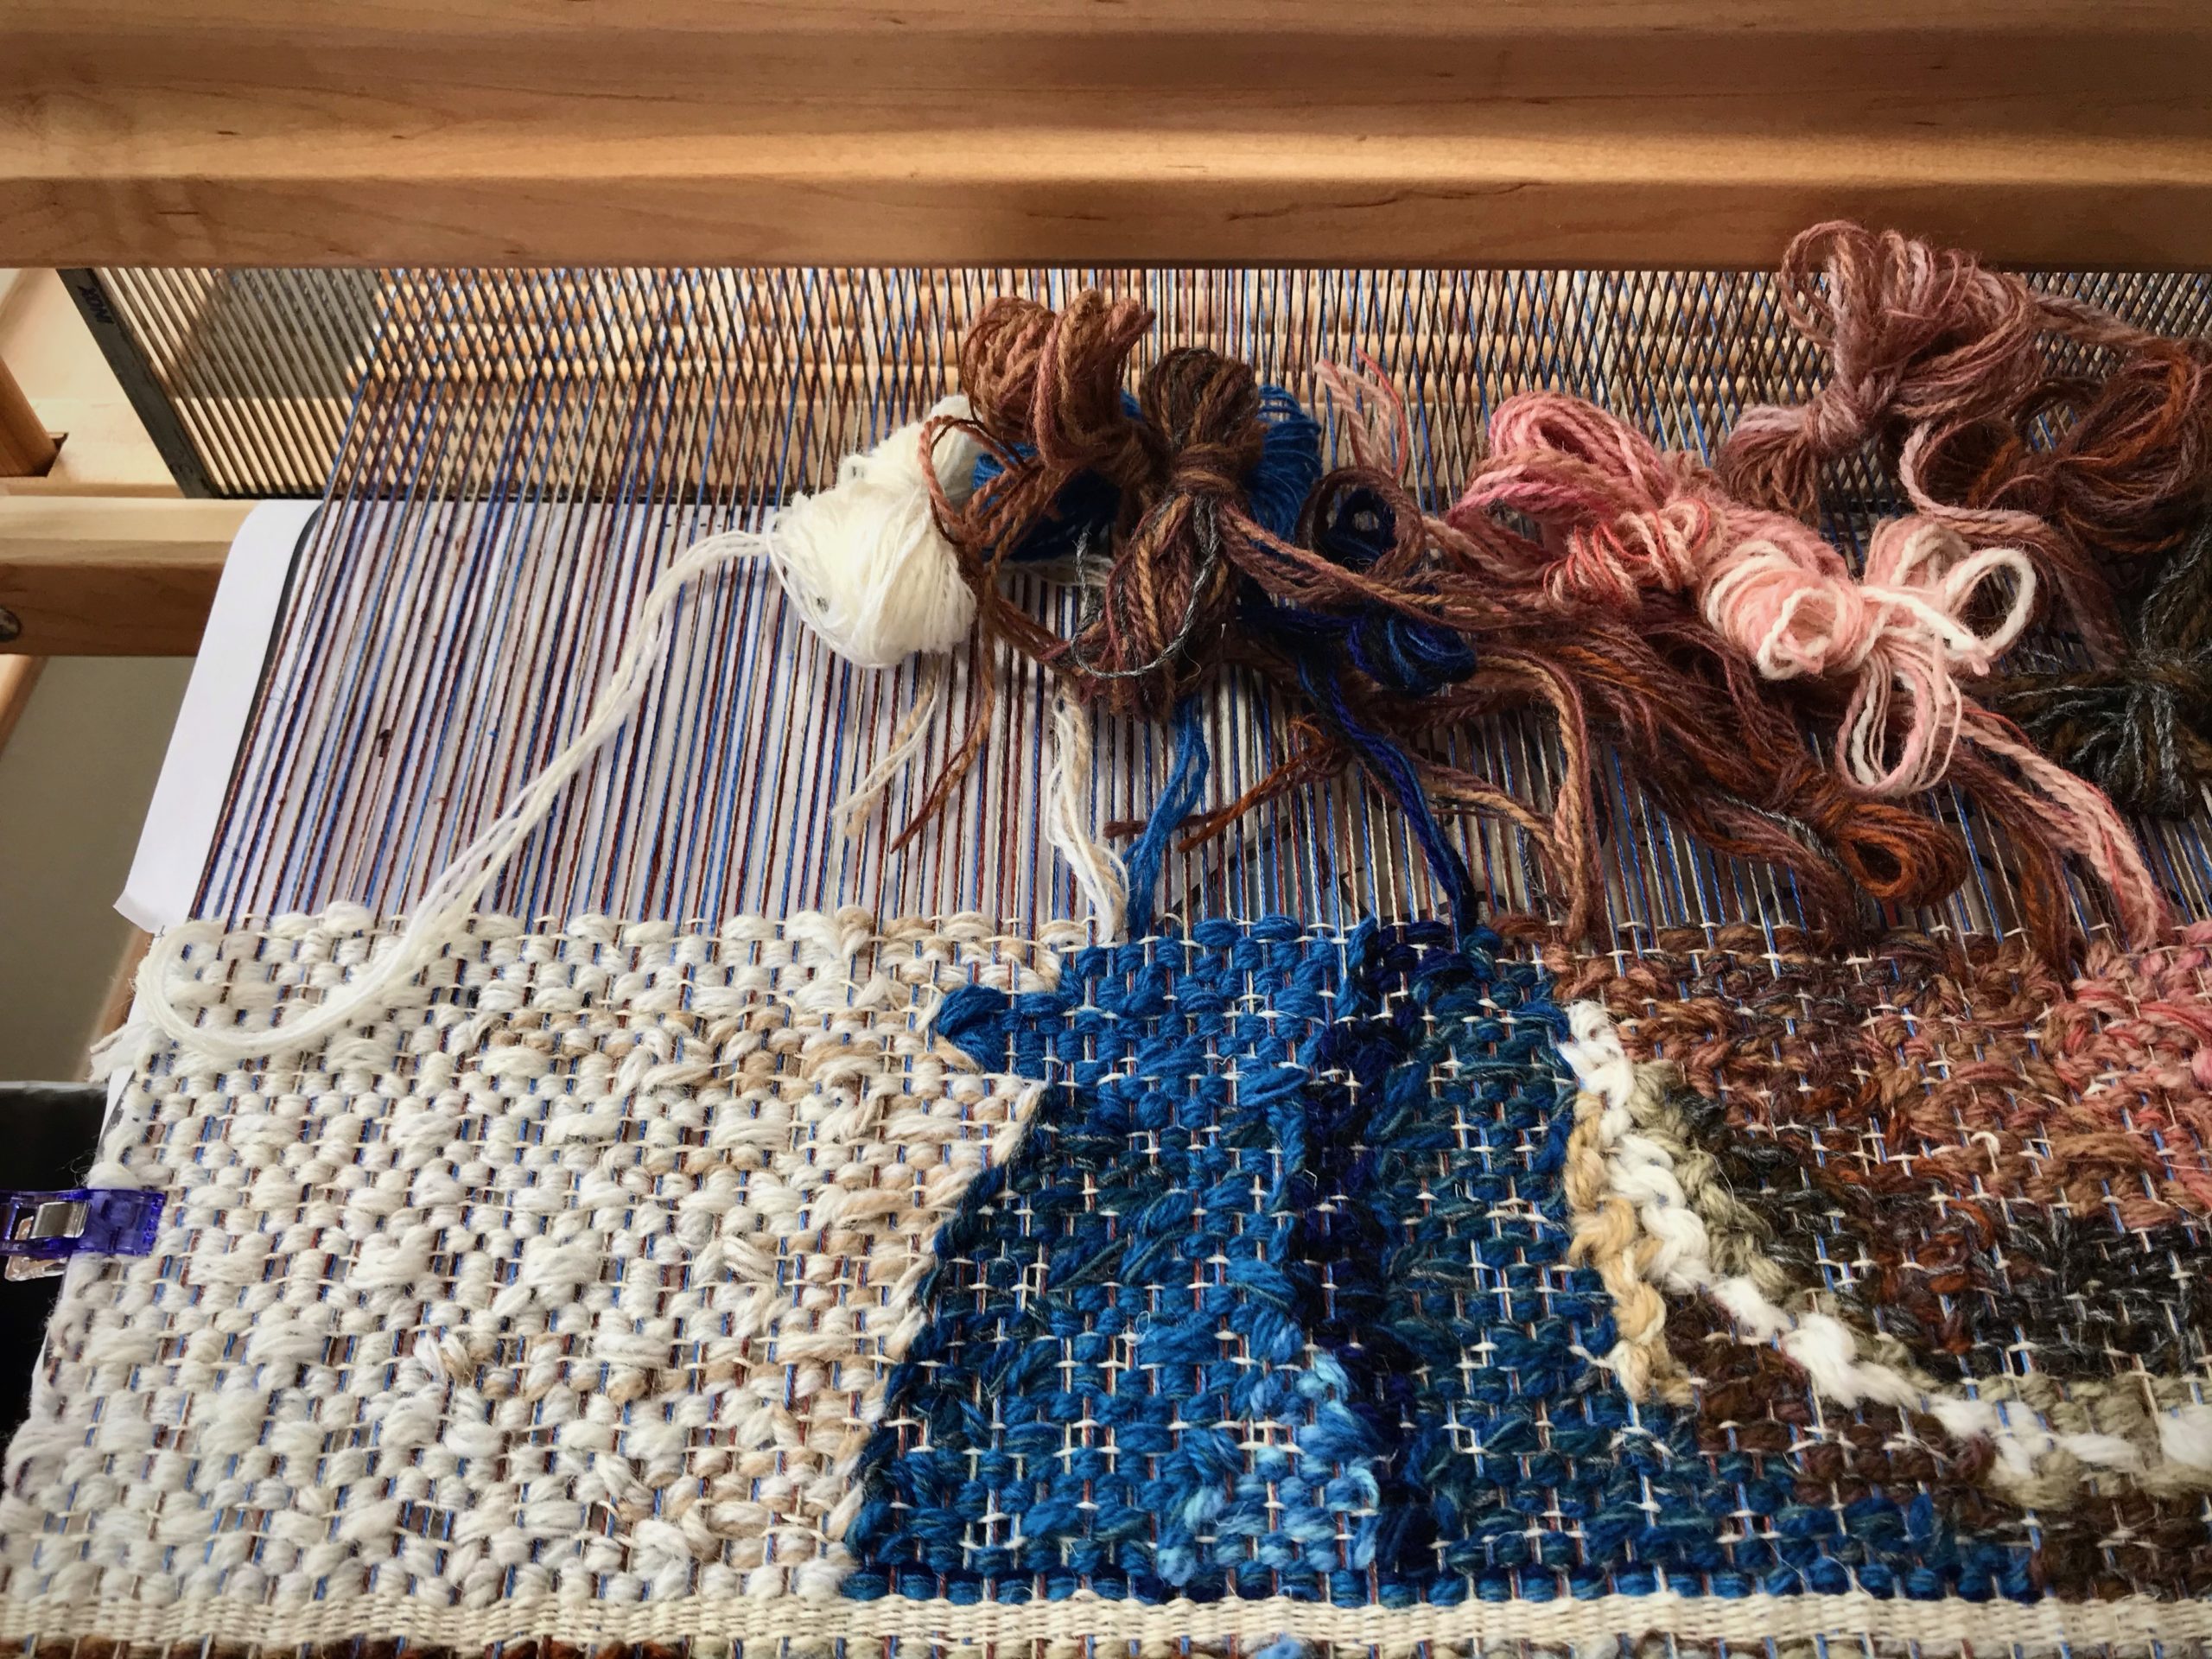
When you want a better photograph you snap another picture. When you want a better tapestry you take out what you’ve woven and weave it another way. I recently showed you my progress on the tapestry of my mother. (See Tapestry of the Heart.) As I viewed the tapestry in photographs I could see that the 6/1 tow linen that weaves between the rows of wool was too bright. The golden bleached linen is lovely on its own, and melts into the background on the sides of the portrait. But this bright linen draws undo attention to itself within the darker portions of the tapestry because of the stark contrast. The day after that post I undid everything back to the starting line.

Weaving a four-shaft tapestry portrait.
Take One, with golden bleached 6/1 tow linen weft threads interspersed.

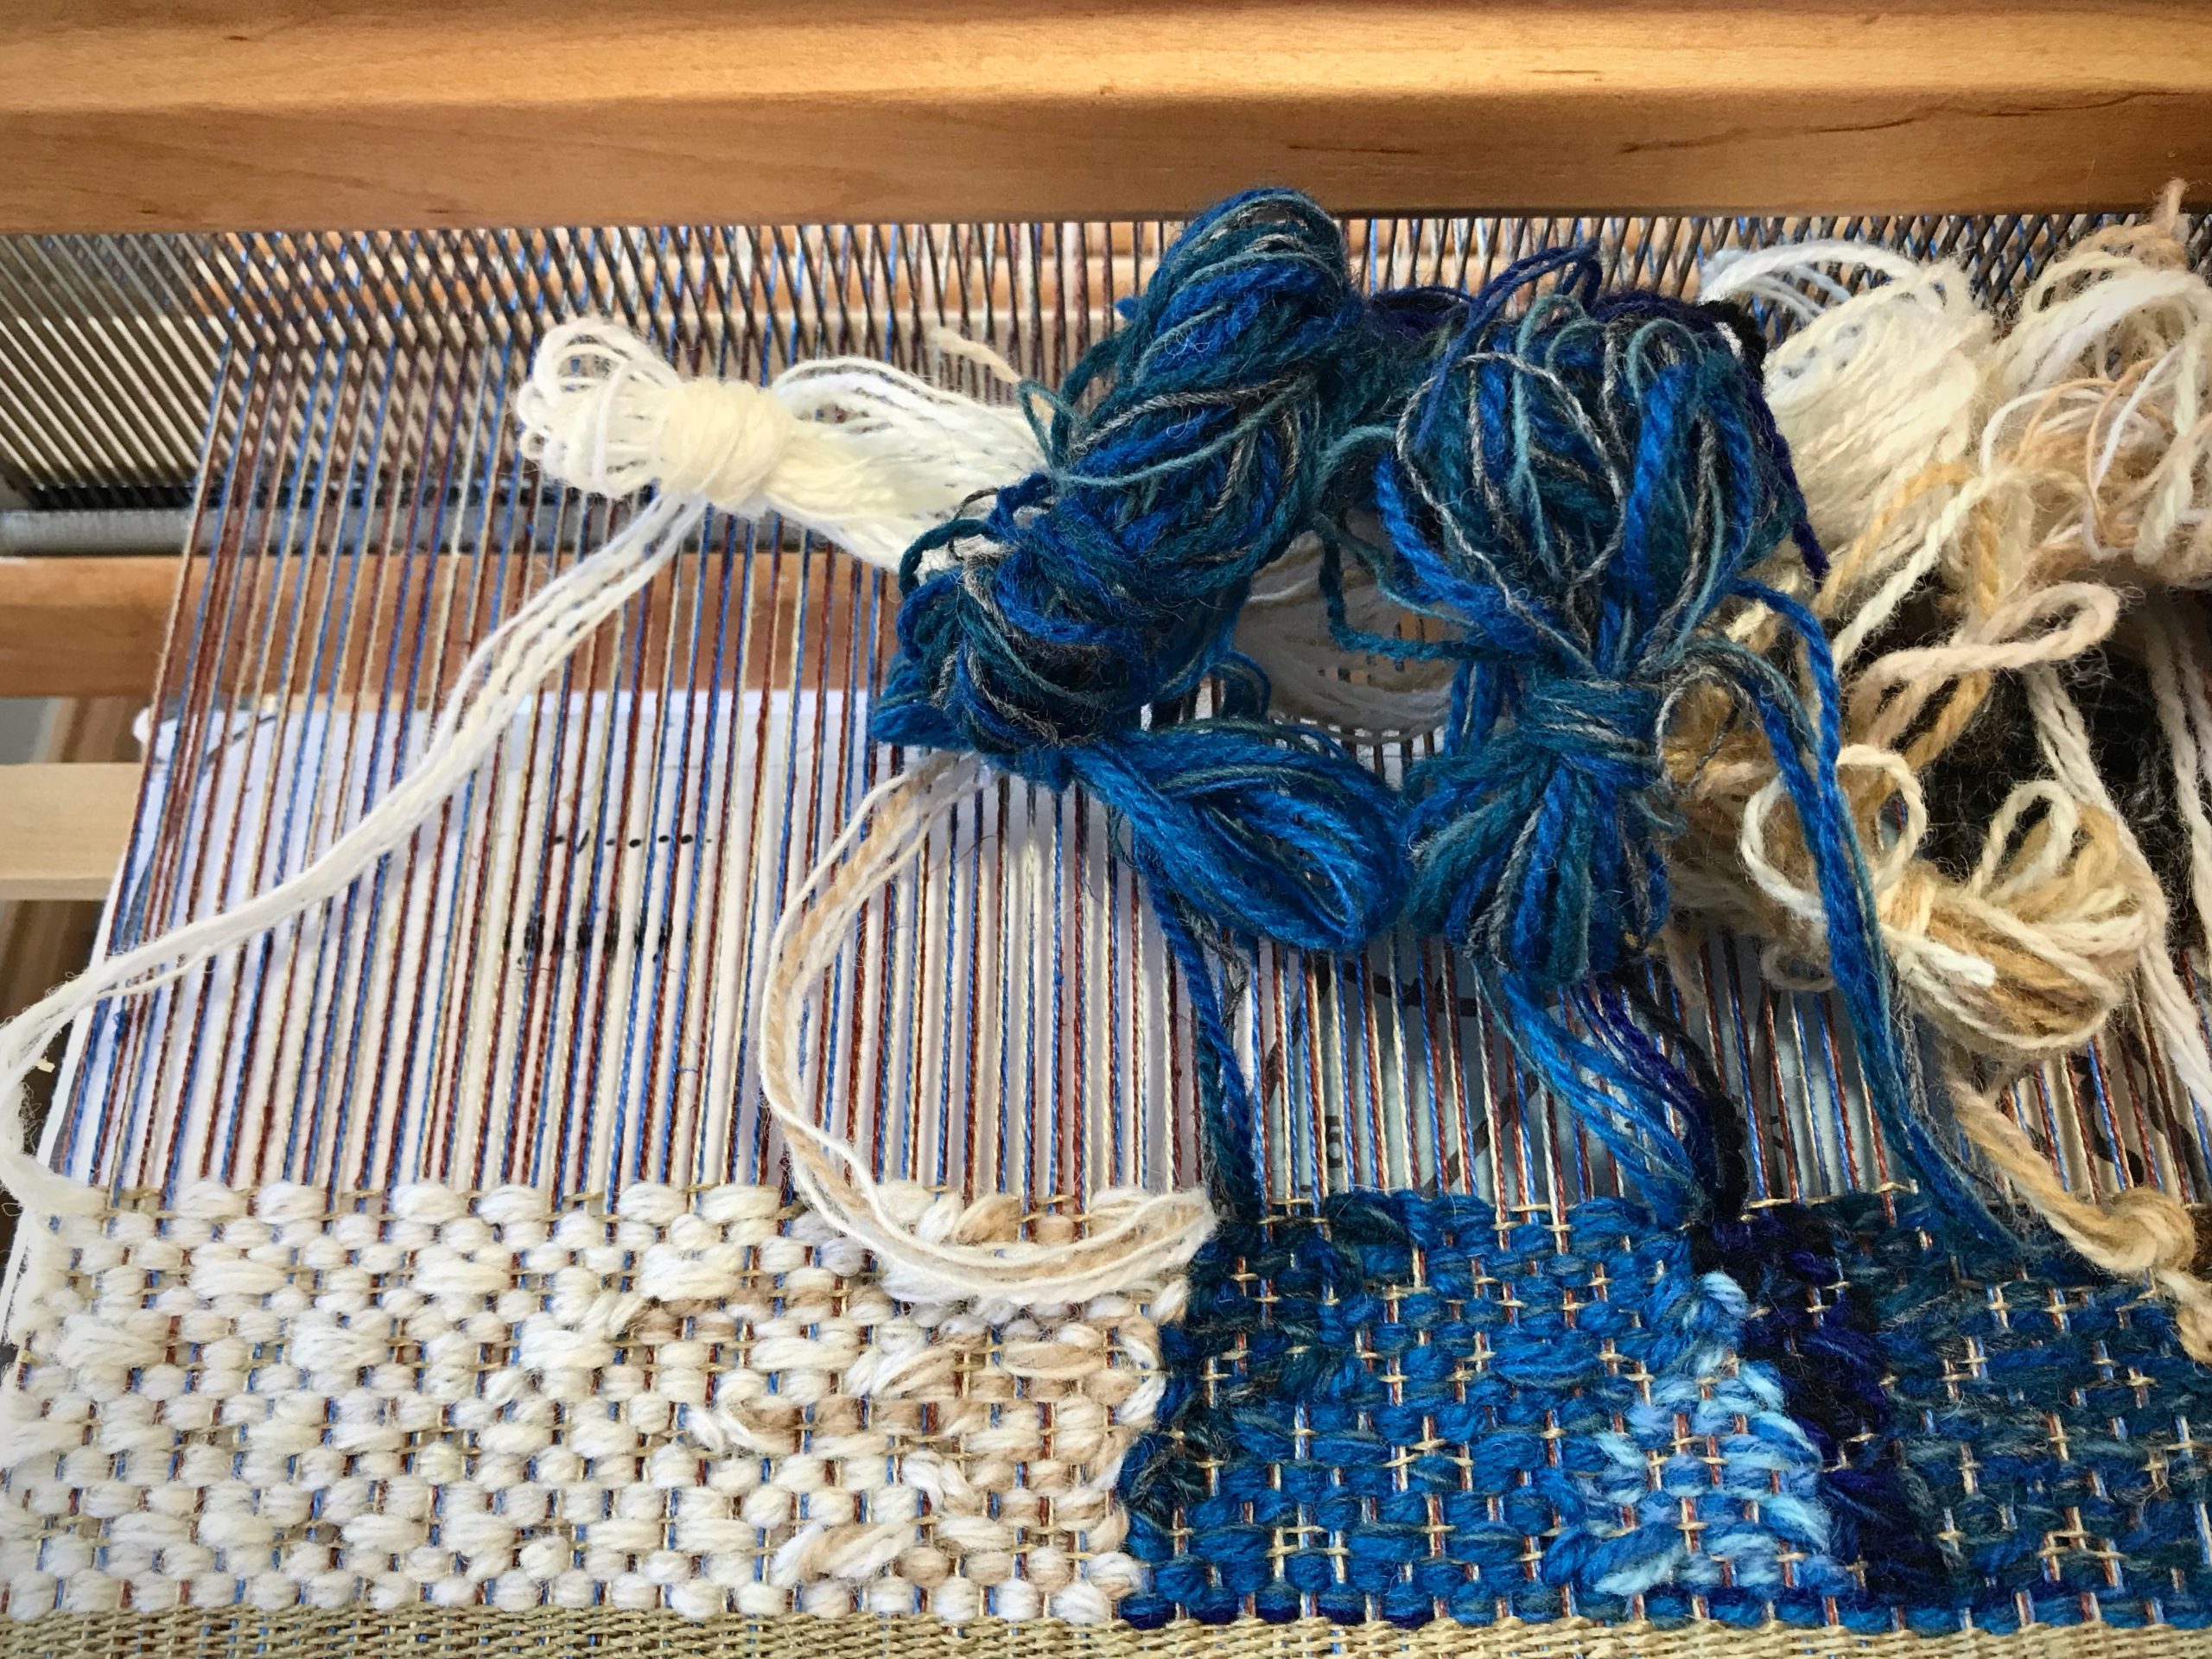
Undoing a few weeks of tapestry weaving is not physically hard to do, but making the decision to undo it is hard, indeed. Since then, I have been weaving every day to get back to the point where I stopped everything. This time, I am using a different color tow linen that will make all the difference.

Wool butterflies for a tapestry portrait.
Take Two. Golden beige tow linen, as seen in the header rows, is interspersed in the weaving.
Tapestry portrait in progress.
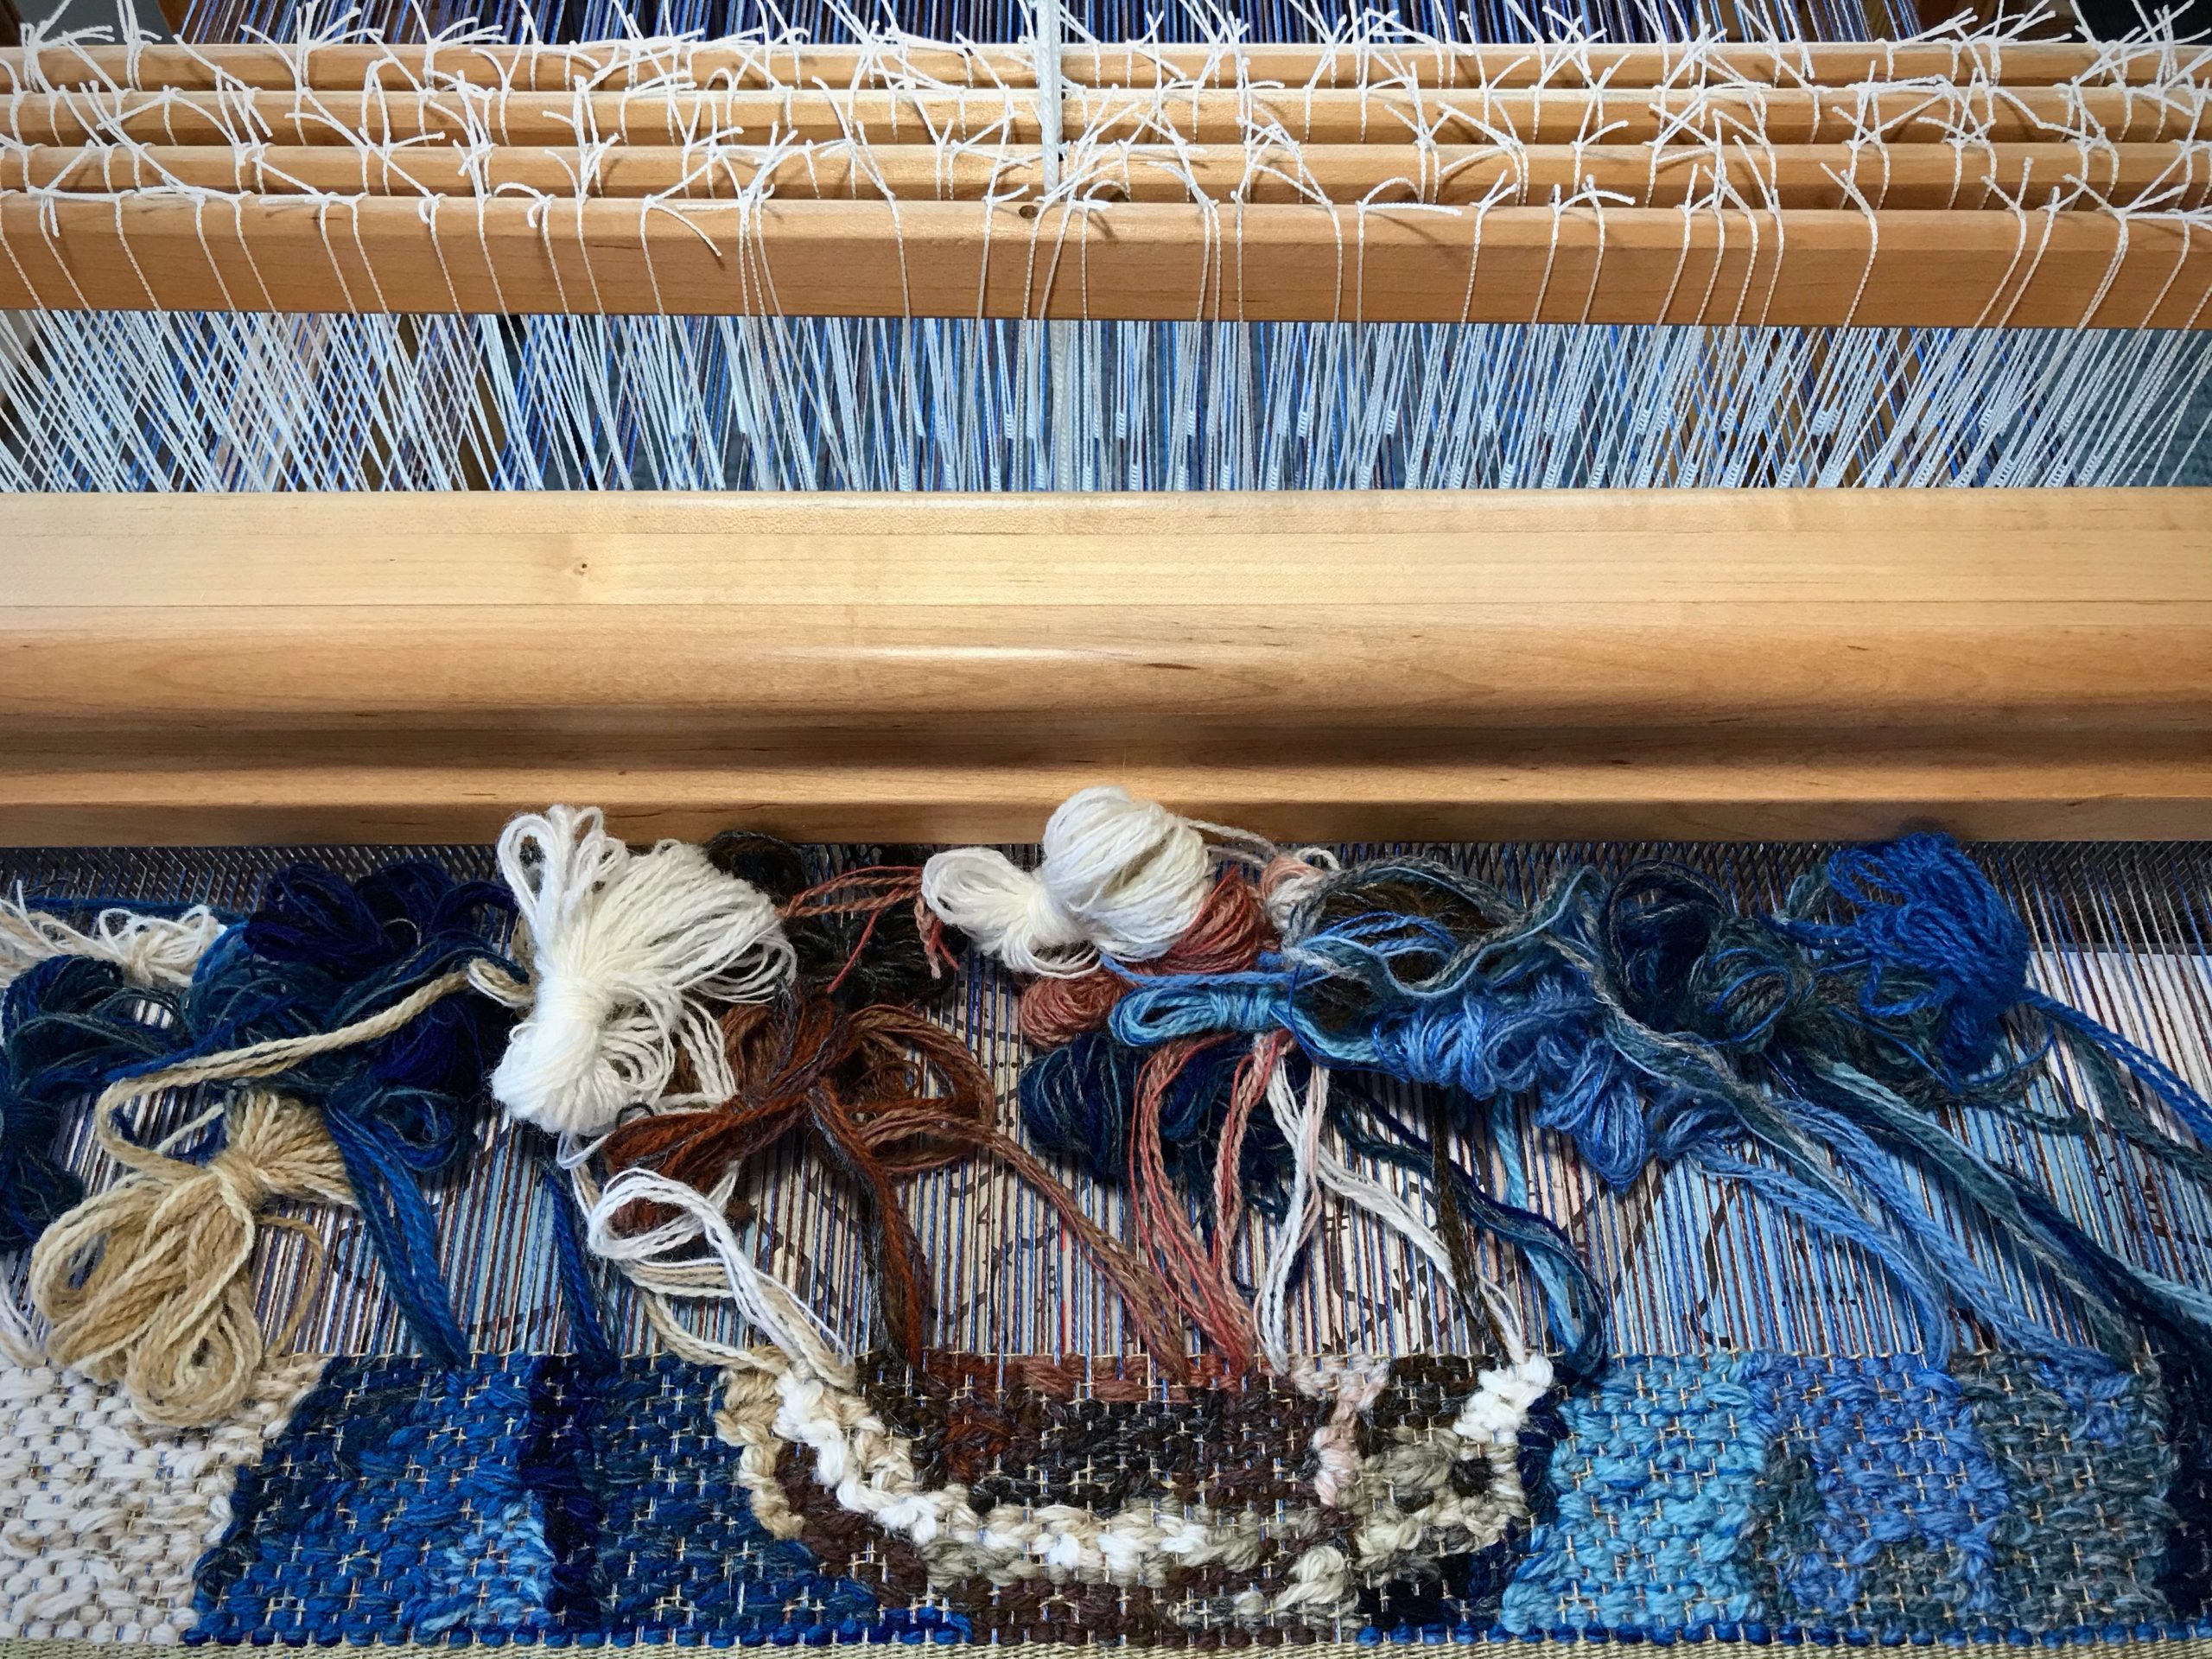
I was able to save and reuse some of the wool butterflies from the first take.
Tapestry portrait of my mother.
Almost back to where I stopped. Besides changing the linen weft color, weaving a second time allowed me to make other improvements to the tapestry, as well.
Is that a look of approval?
Small sample of each butterfly is pinned to the picture beside my loom. I choose colors for each wool bundle in correlation to its adjacent colors, working out the colors a few steps ahead of my weaving. …Is that a look of approval?

Now, instead of golden bleached, the linen thread is a golden beige that disappears into the fabric, while holding everything together. Come to think of it, that is an apt picture of a mother’s influence.

May you know when to go back to the beginning.

Happy Weaving,
Karen