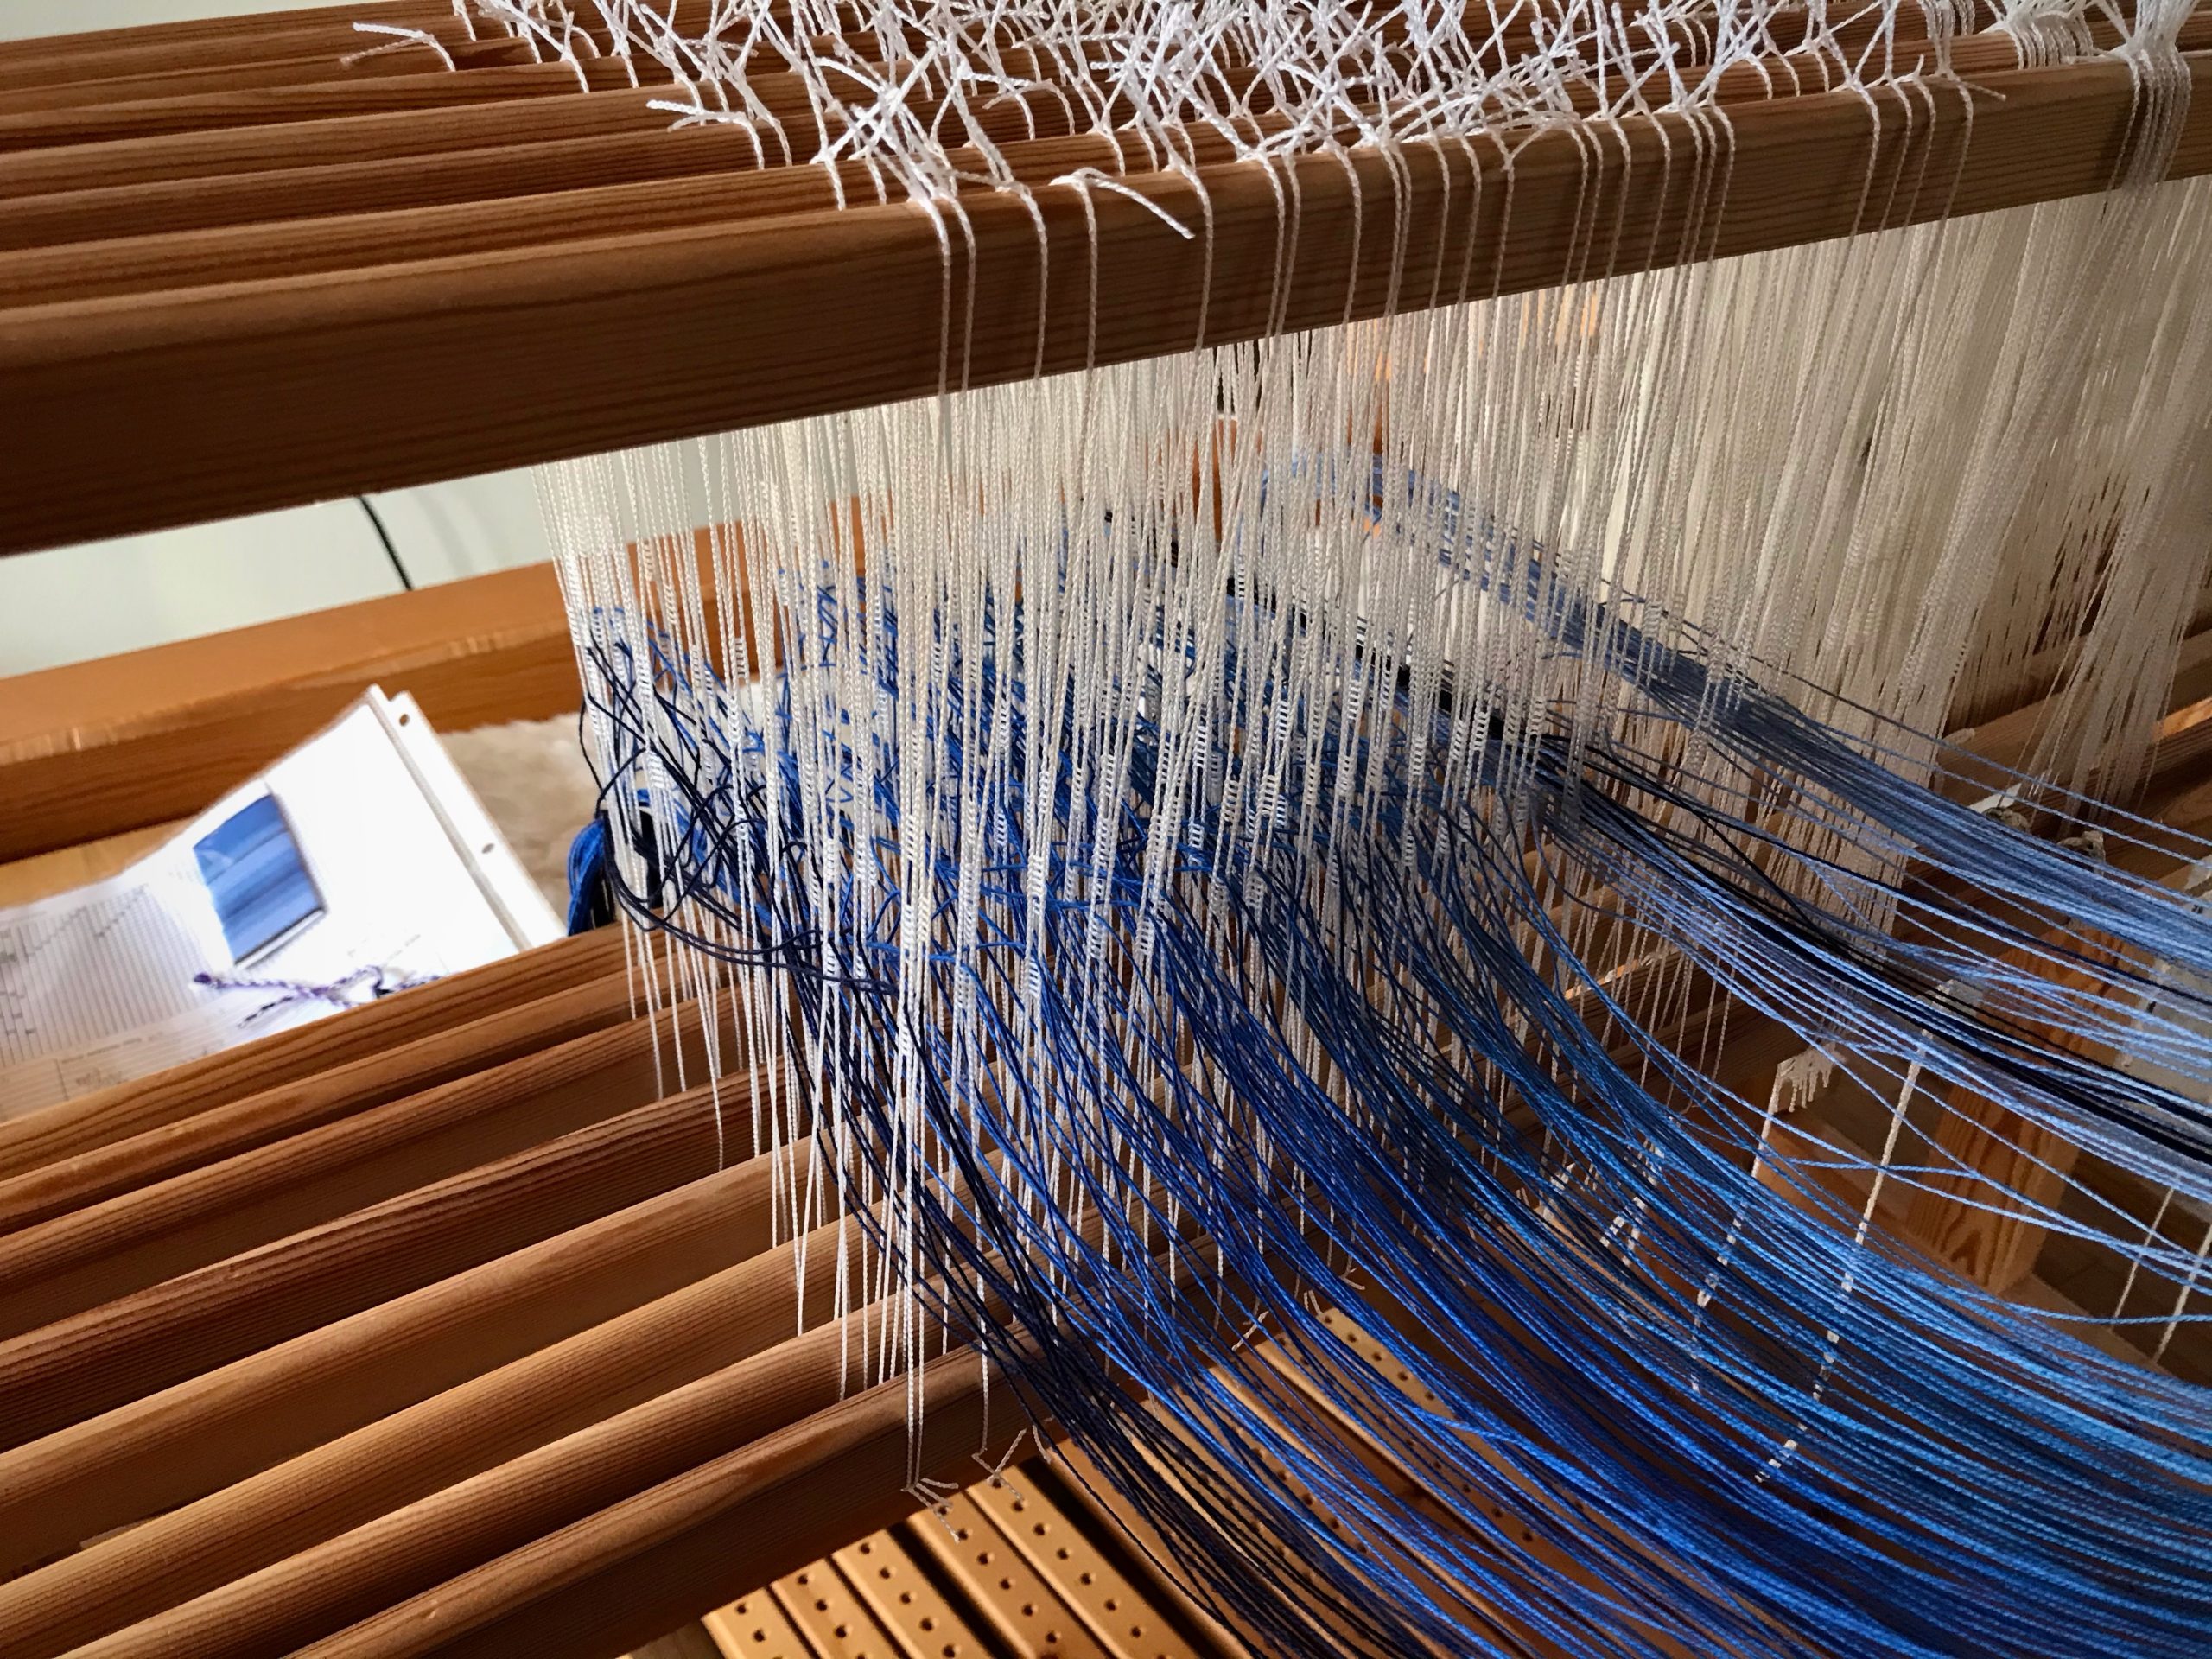
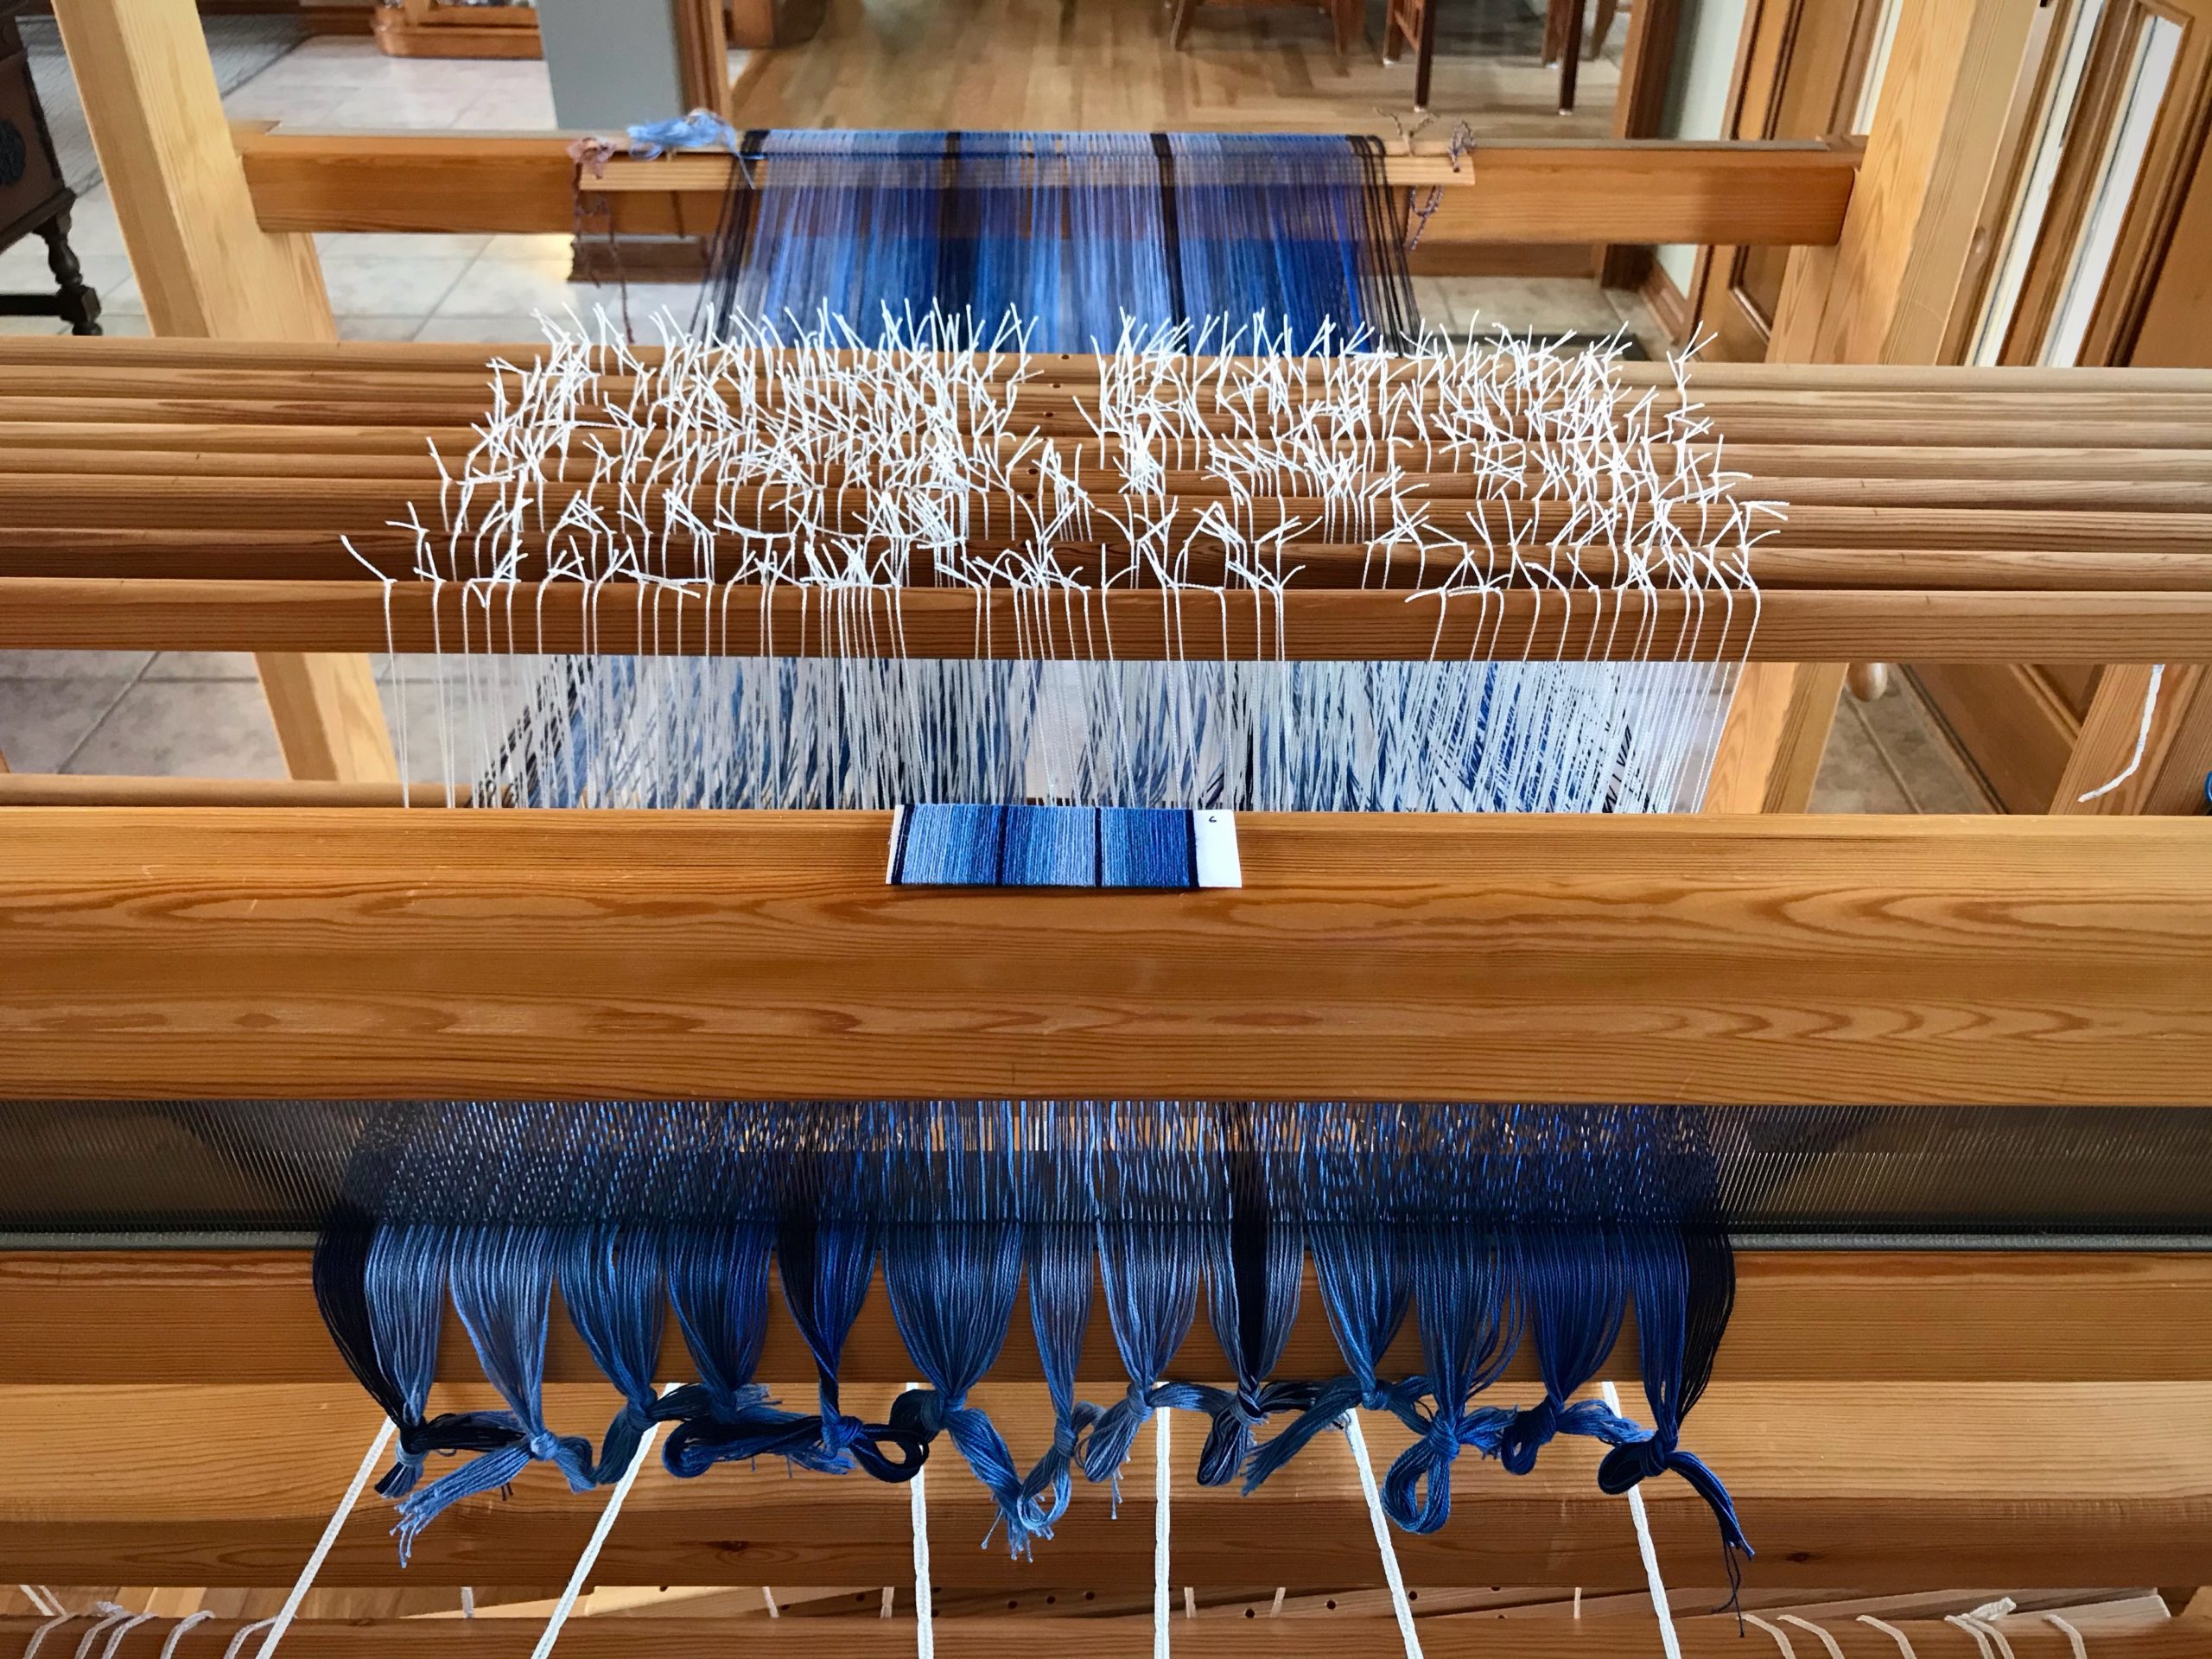
The blue threads for this project are delightful! Four shades of blue, from pale blue to sapphire, play across the warp, accented with navy blue stripes. Lucious 8/2 cotton is threaded in eight-shafttwill. The hand of the fabric will be well suited for the chair arm- and headrest- covers I have planned. This blue color sequence is the winning combination from the thread wrappings I showed you in October. (See Warp Sequence Planning.)
Project notes sit with me on the loom bench. Beautiful warp beam gives a glimpse of how the blue flows together.
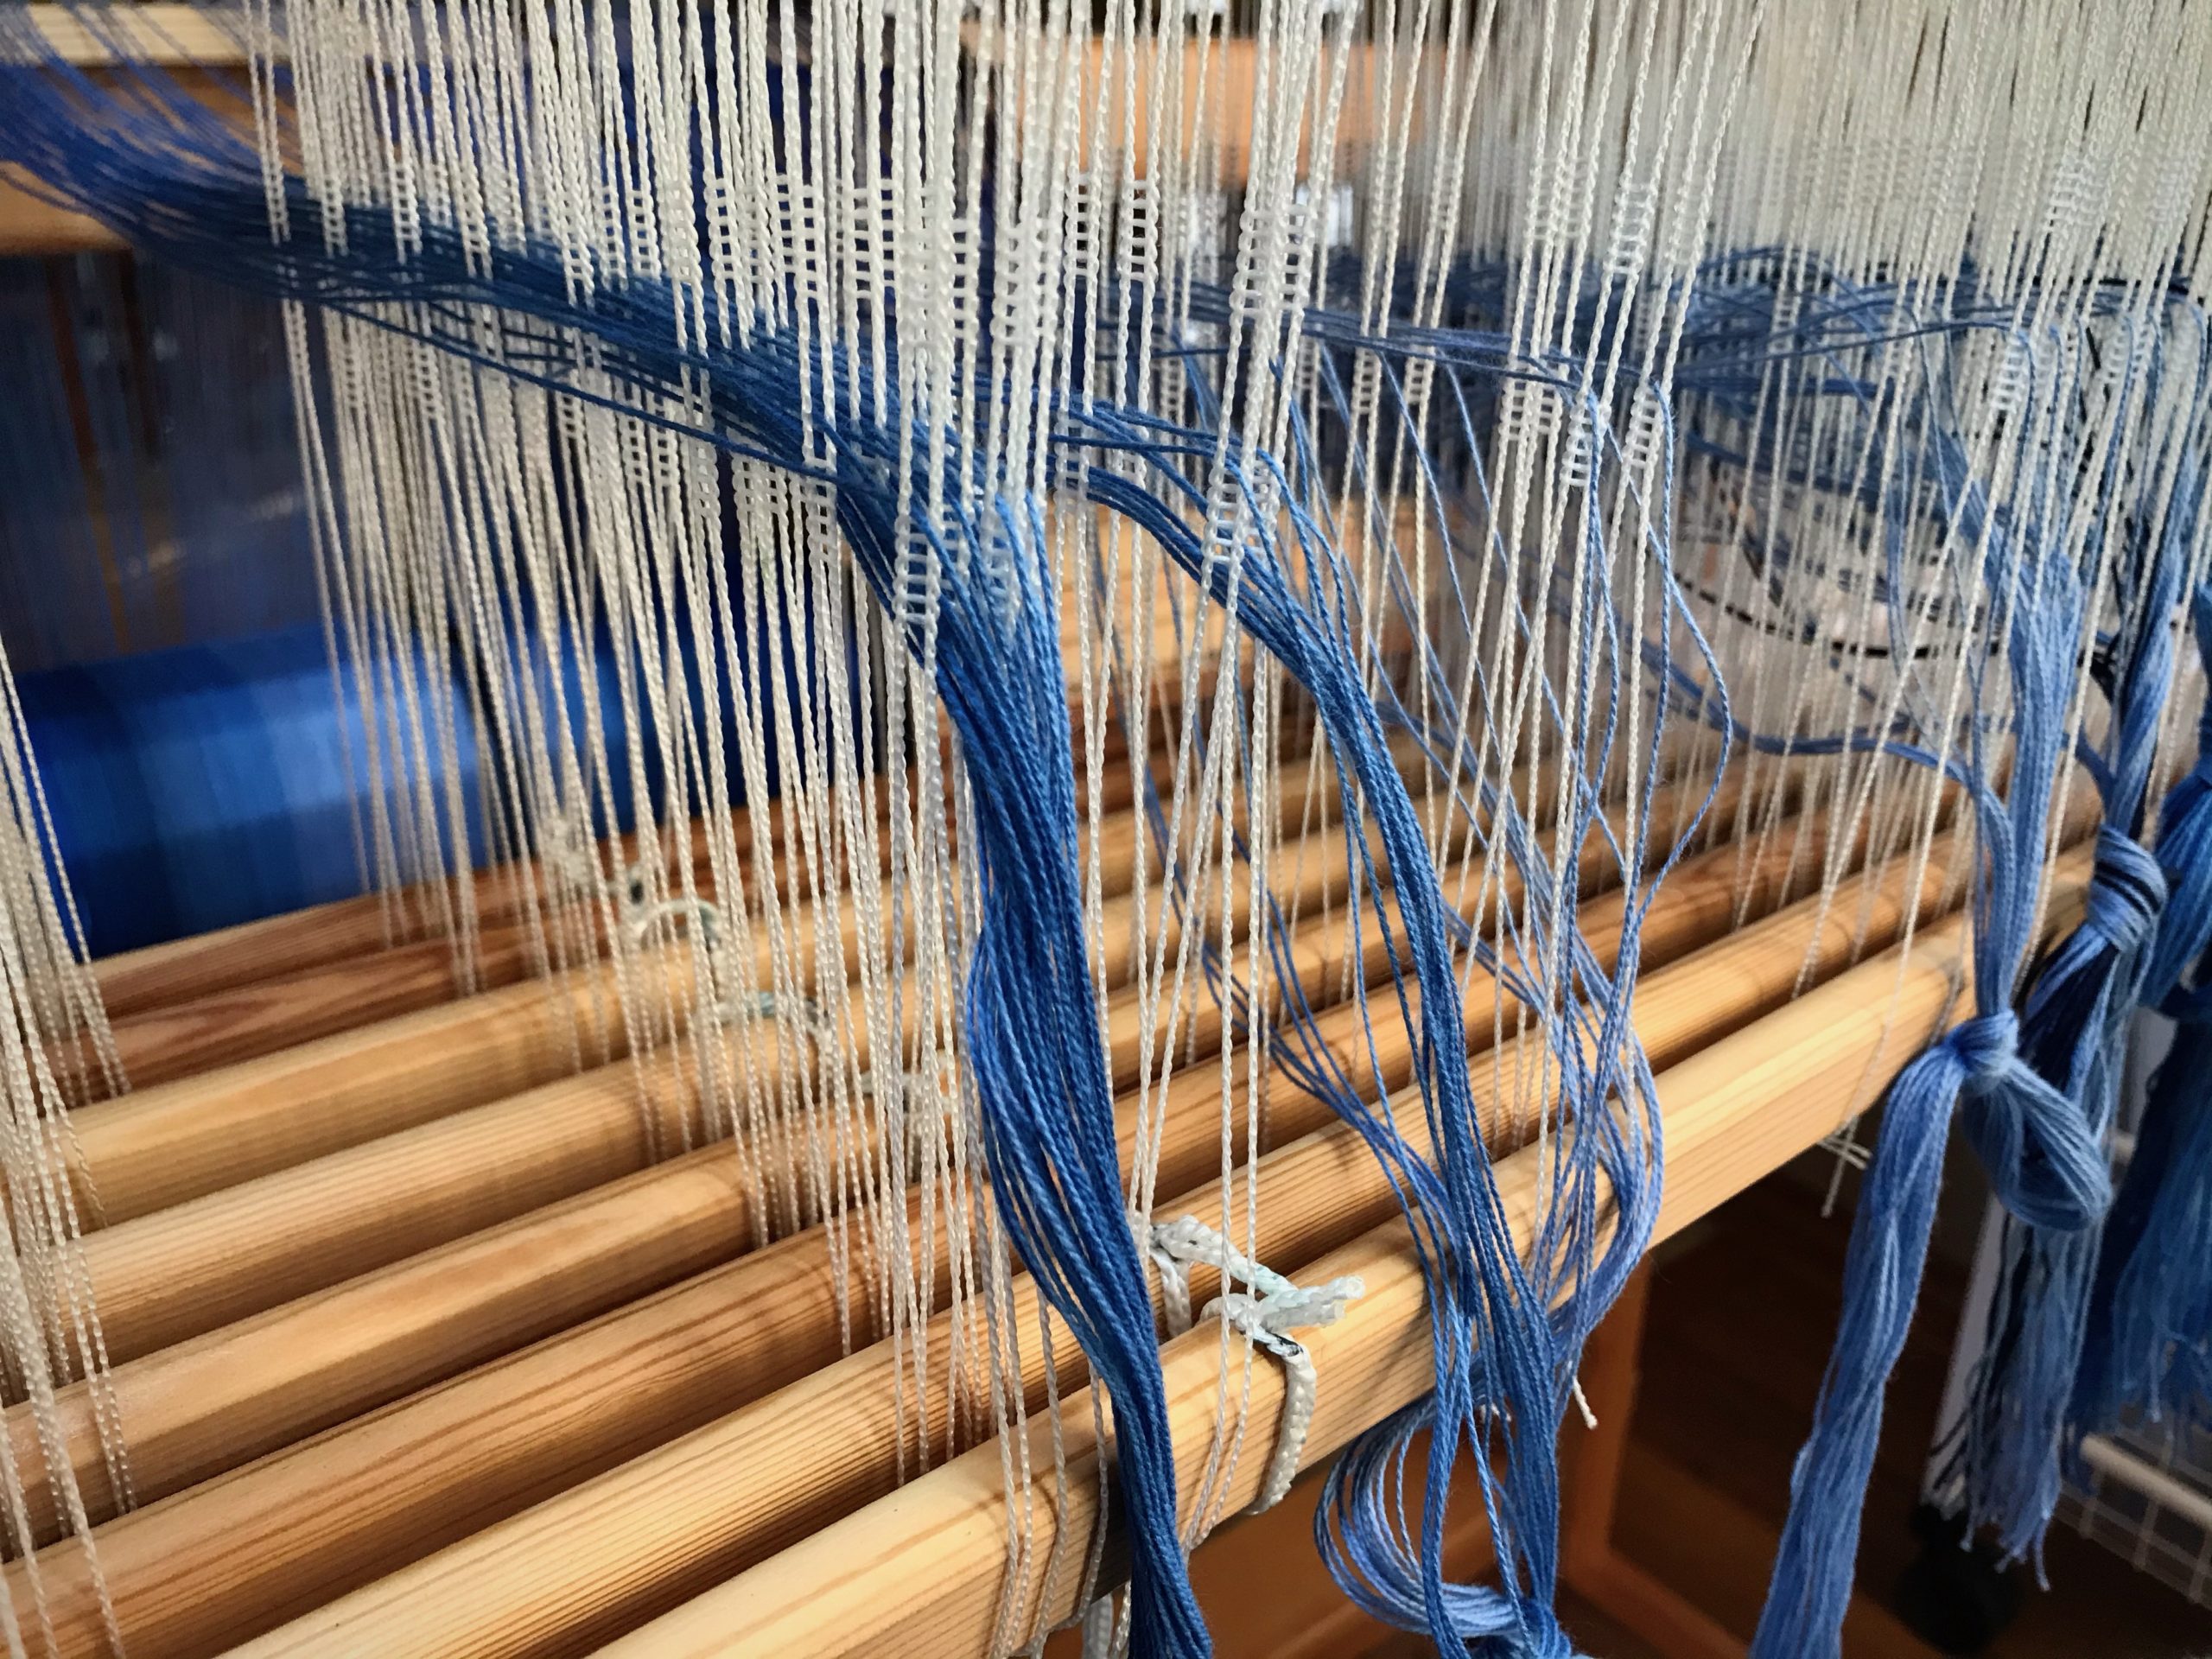
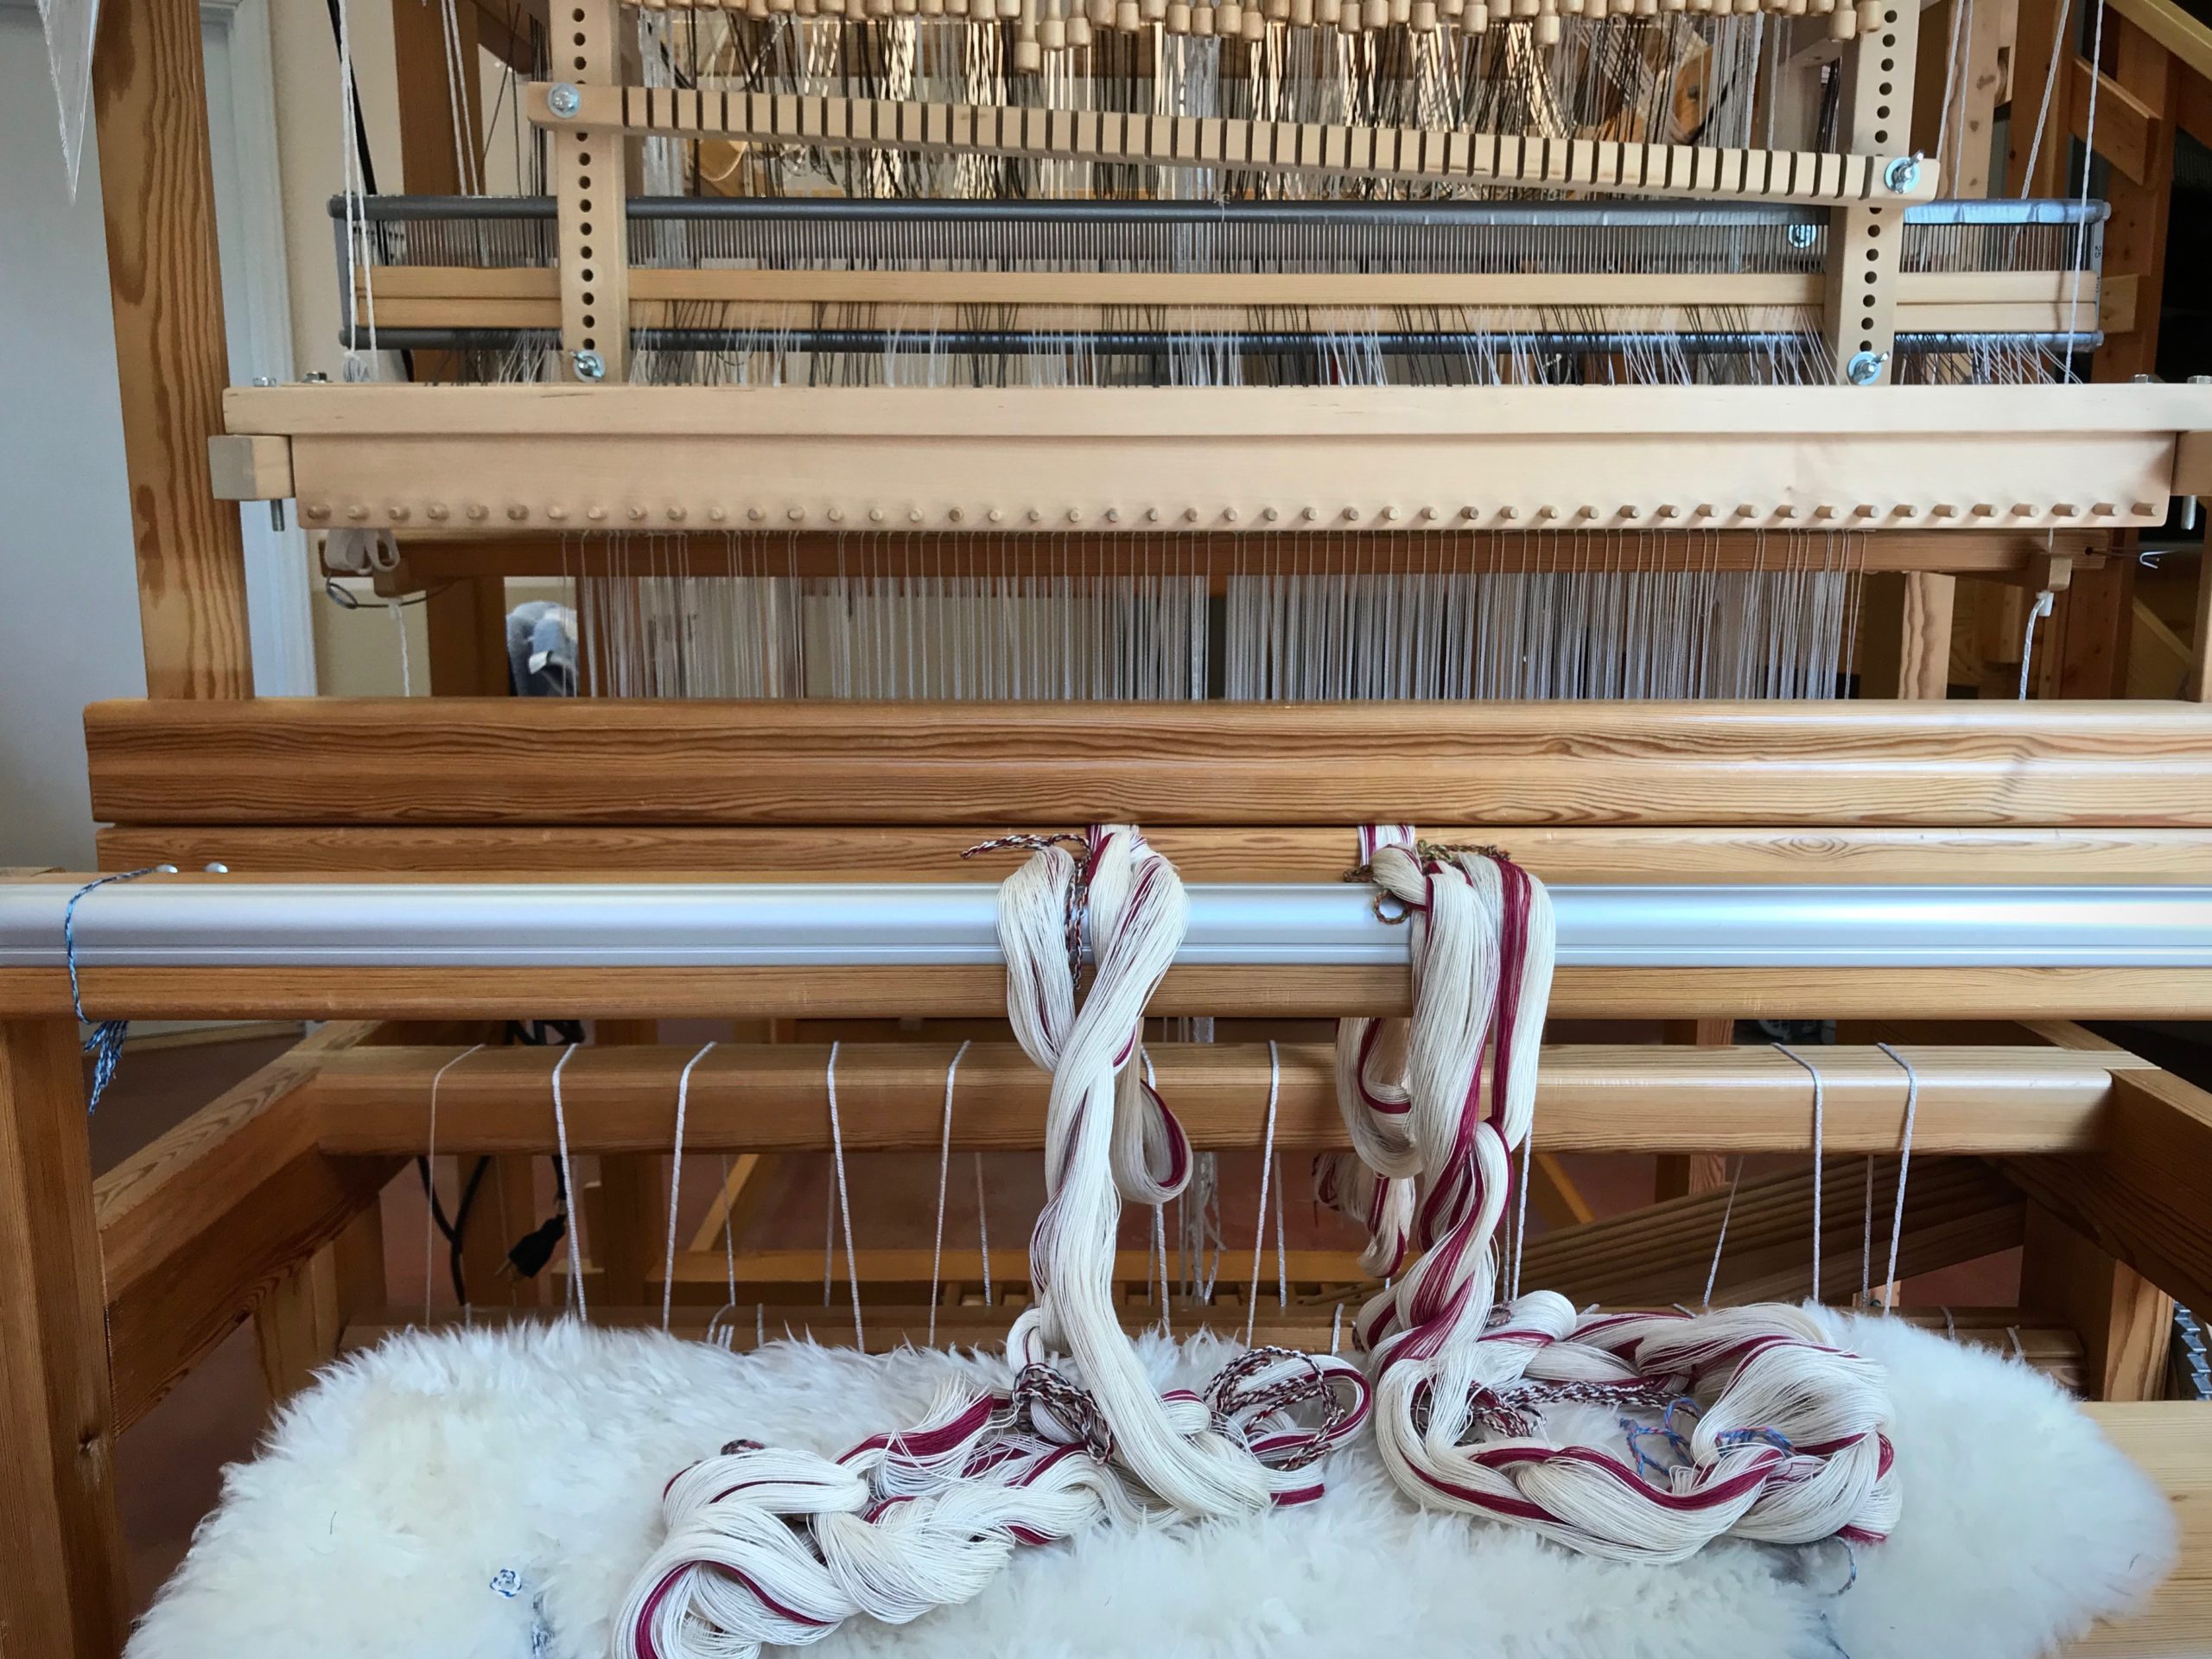
My warp planning had a calculation error. I went on my merry way, winding the warp, beaming the warp, and threading the heddles. Until, …Surprise! I have three extraends left after all the heddles are threaded. Fortunately, there is grace at the loom. I pull the navy blue border threads and three light blue threads out of their heddles and re-thread the navy blue border stripe. The three light blue ends will hang off the back, unused. All is well.
Three light blue ends sit on top of the lease stick tied to the back beam. These extra warp threads will hang off the back and stay out of the way of the warp being woven.
Grace is like that. We mess up, find and admit our wrong, and the Lord Jesus forgives, granting us a new start. When we are wrong we need grace. What about when others are wrong? When the errors of others affect us, what shall we do? Forgiveness is our only option. There is no good reason to hold those error threads and weave them into our fabric.
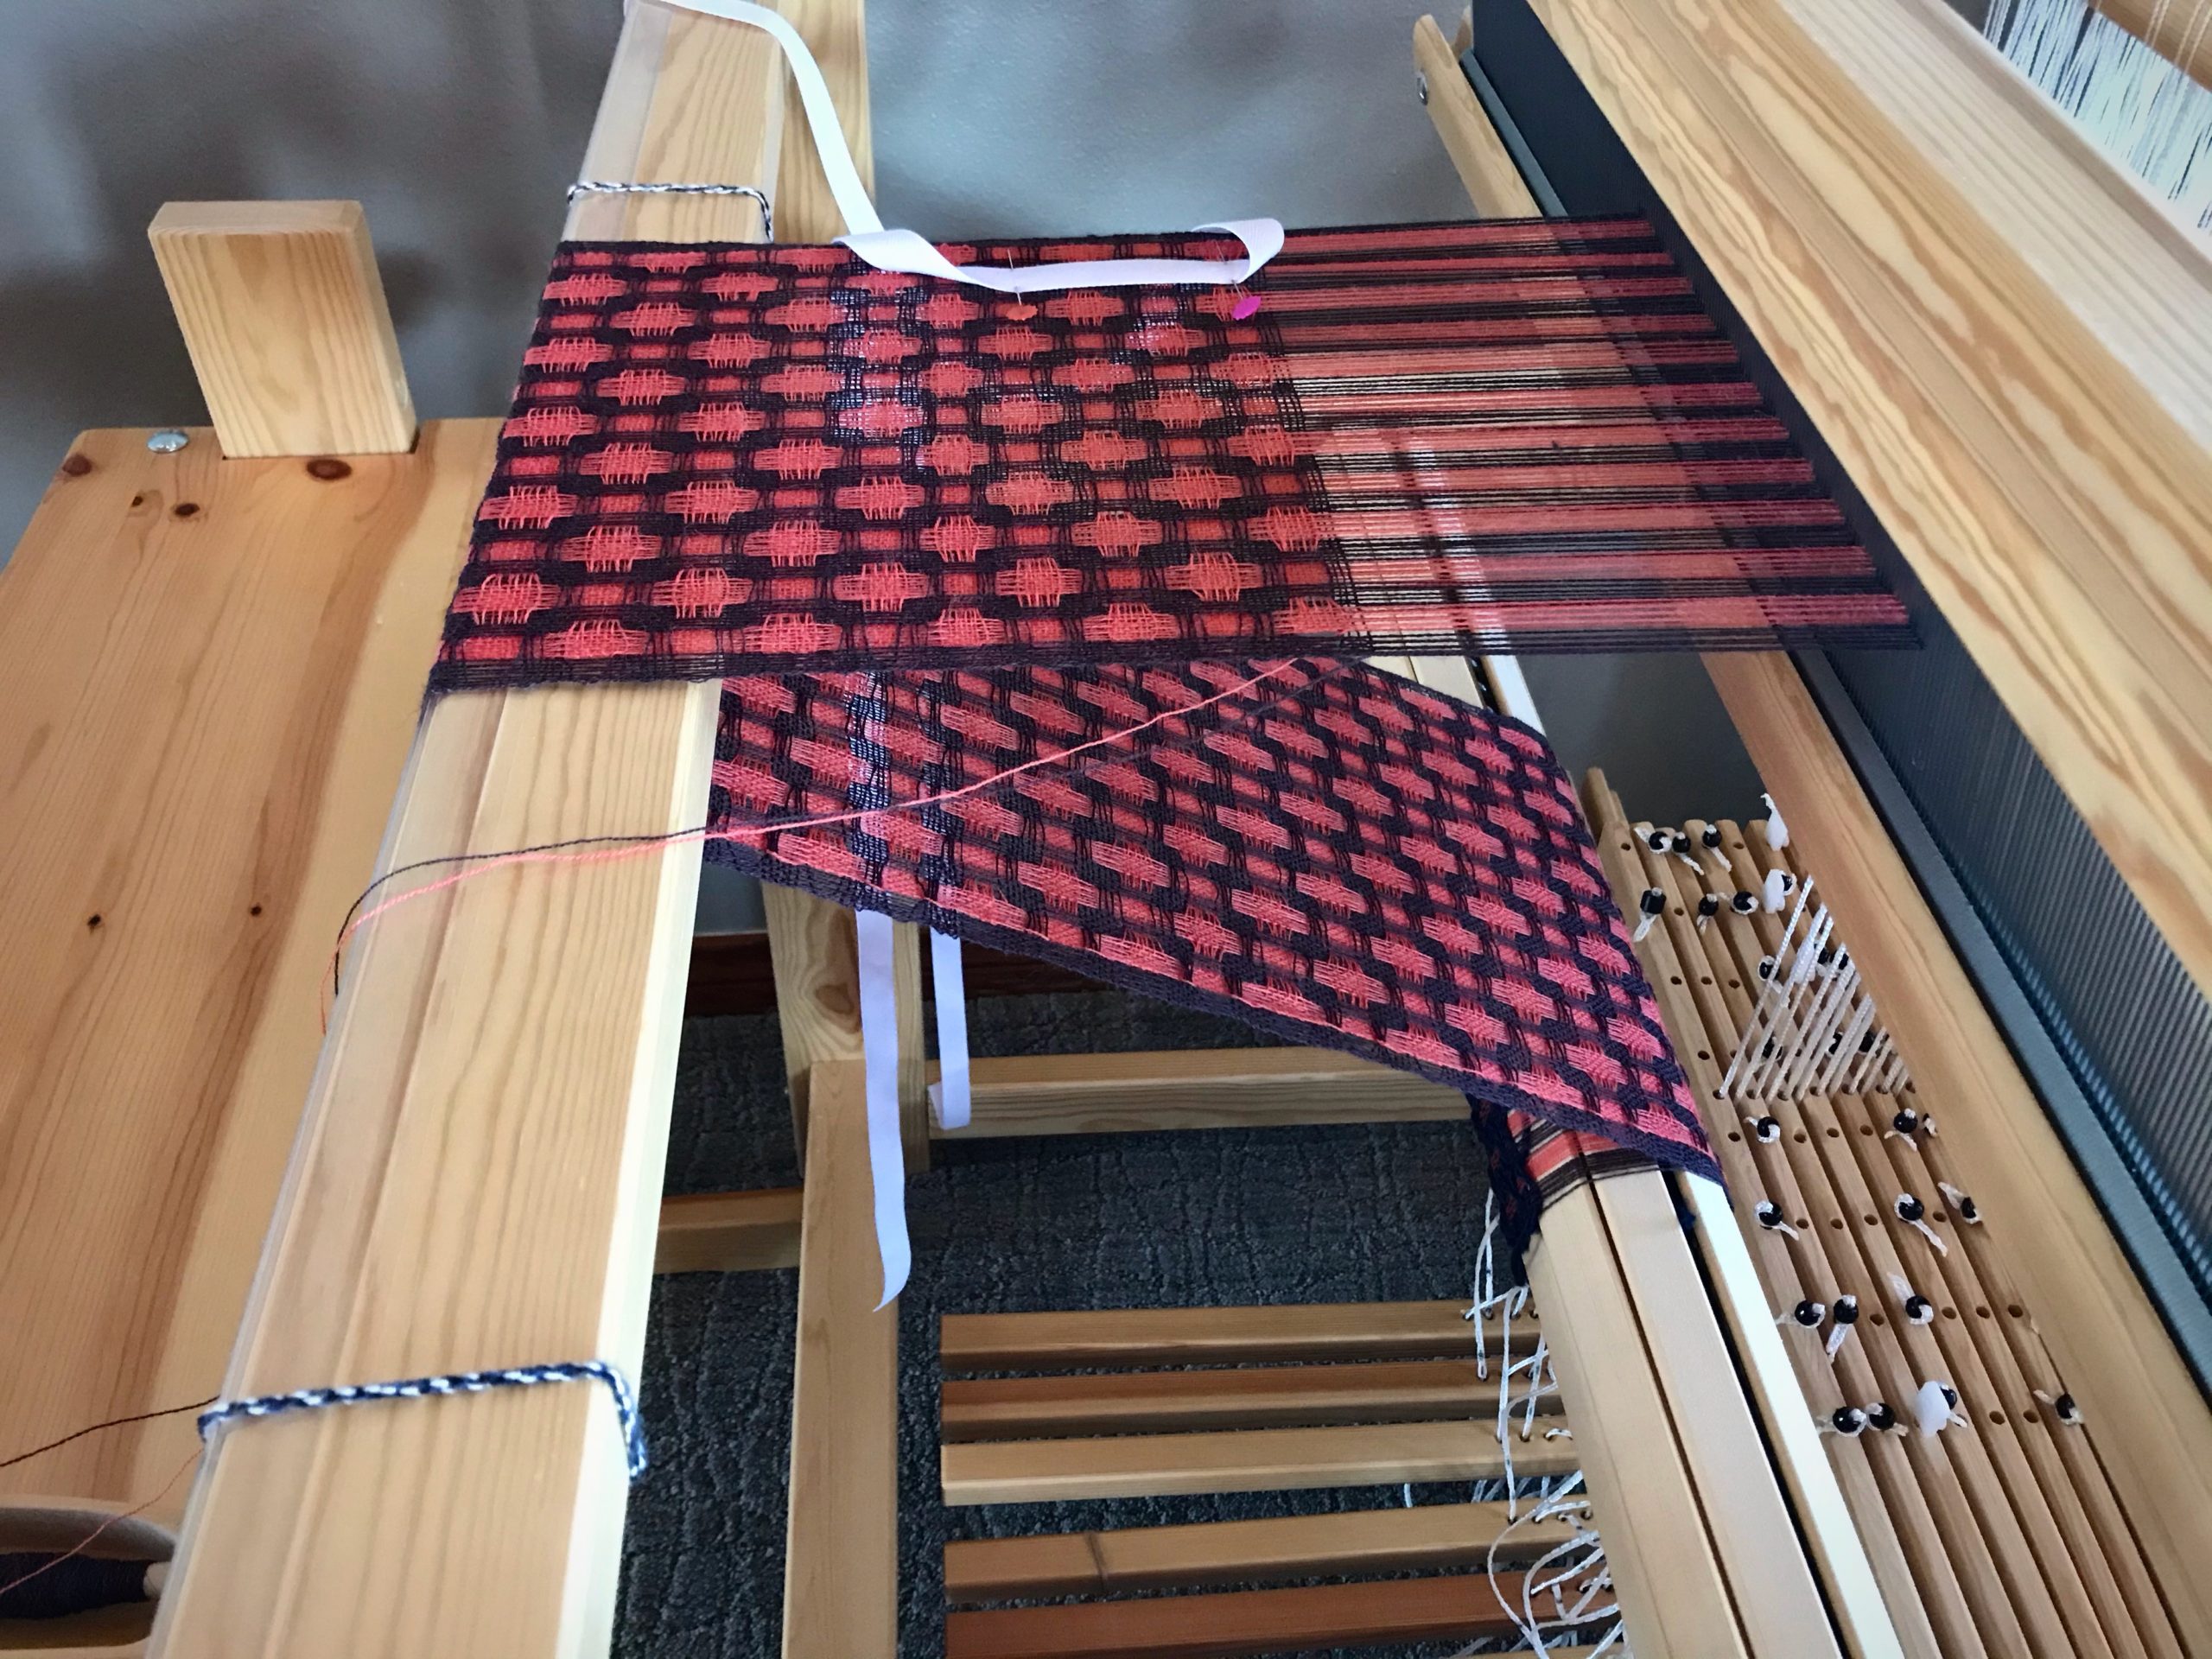
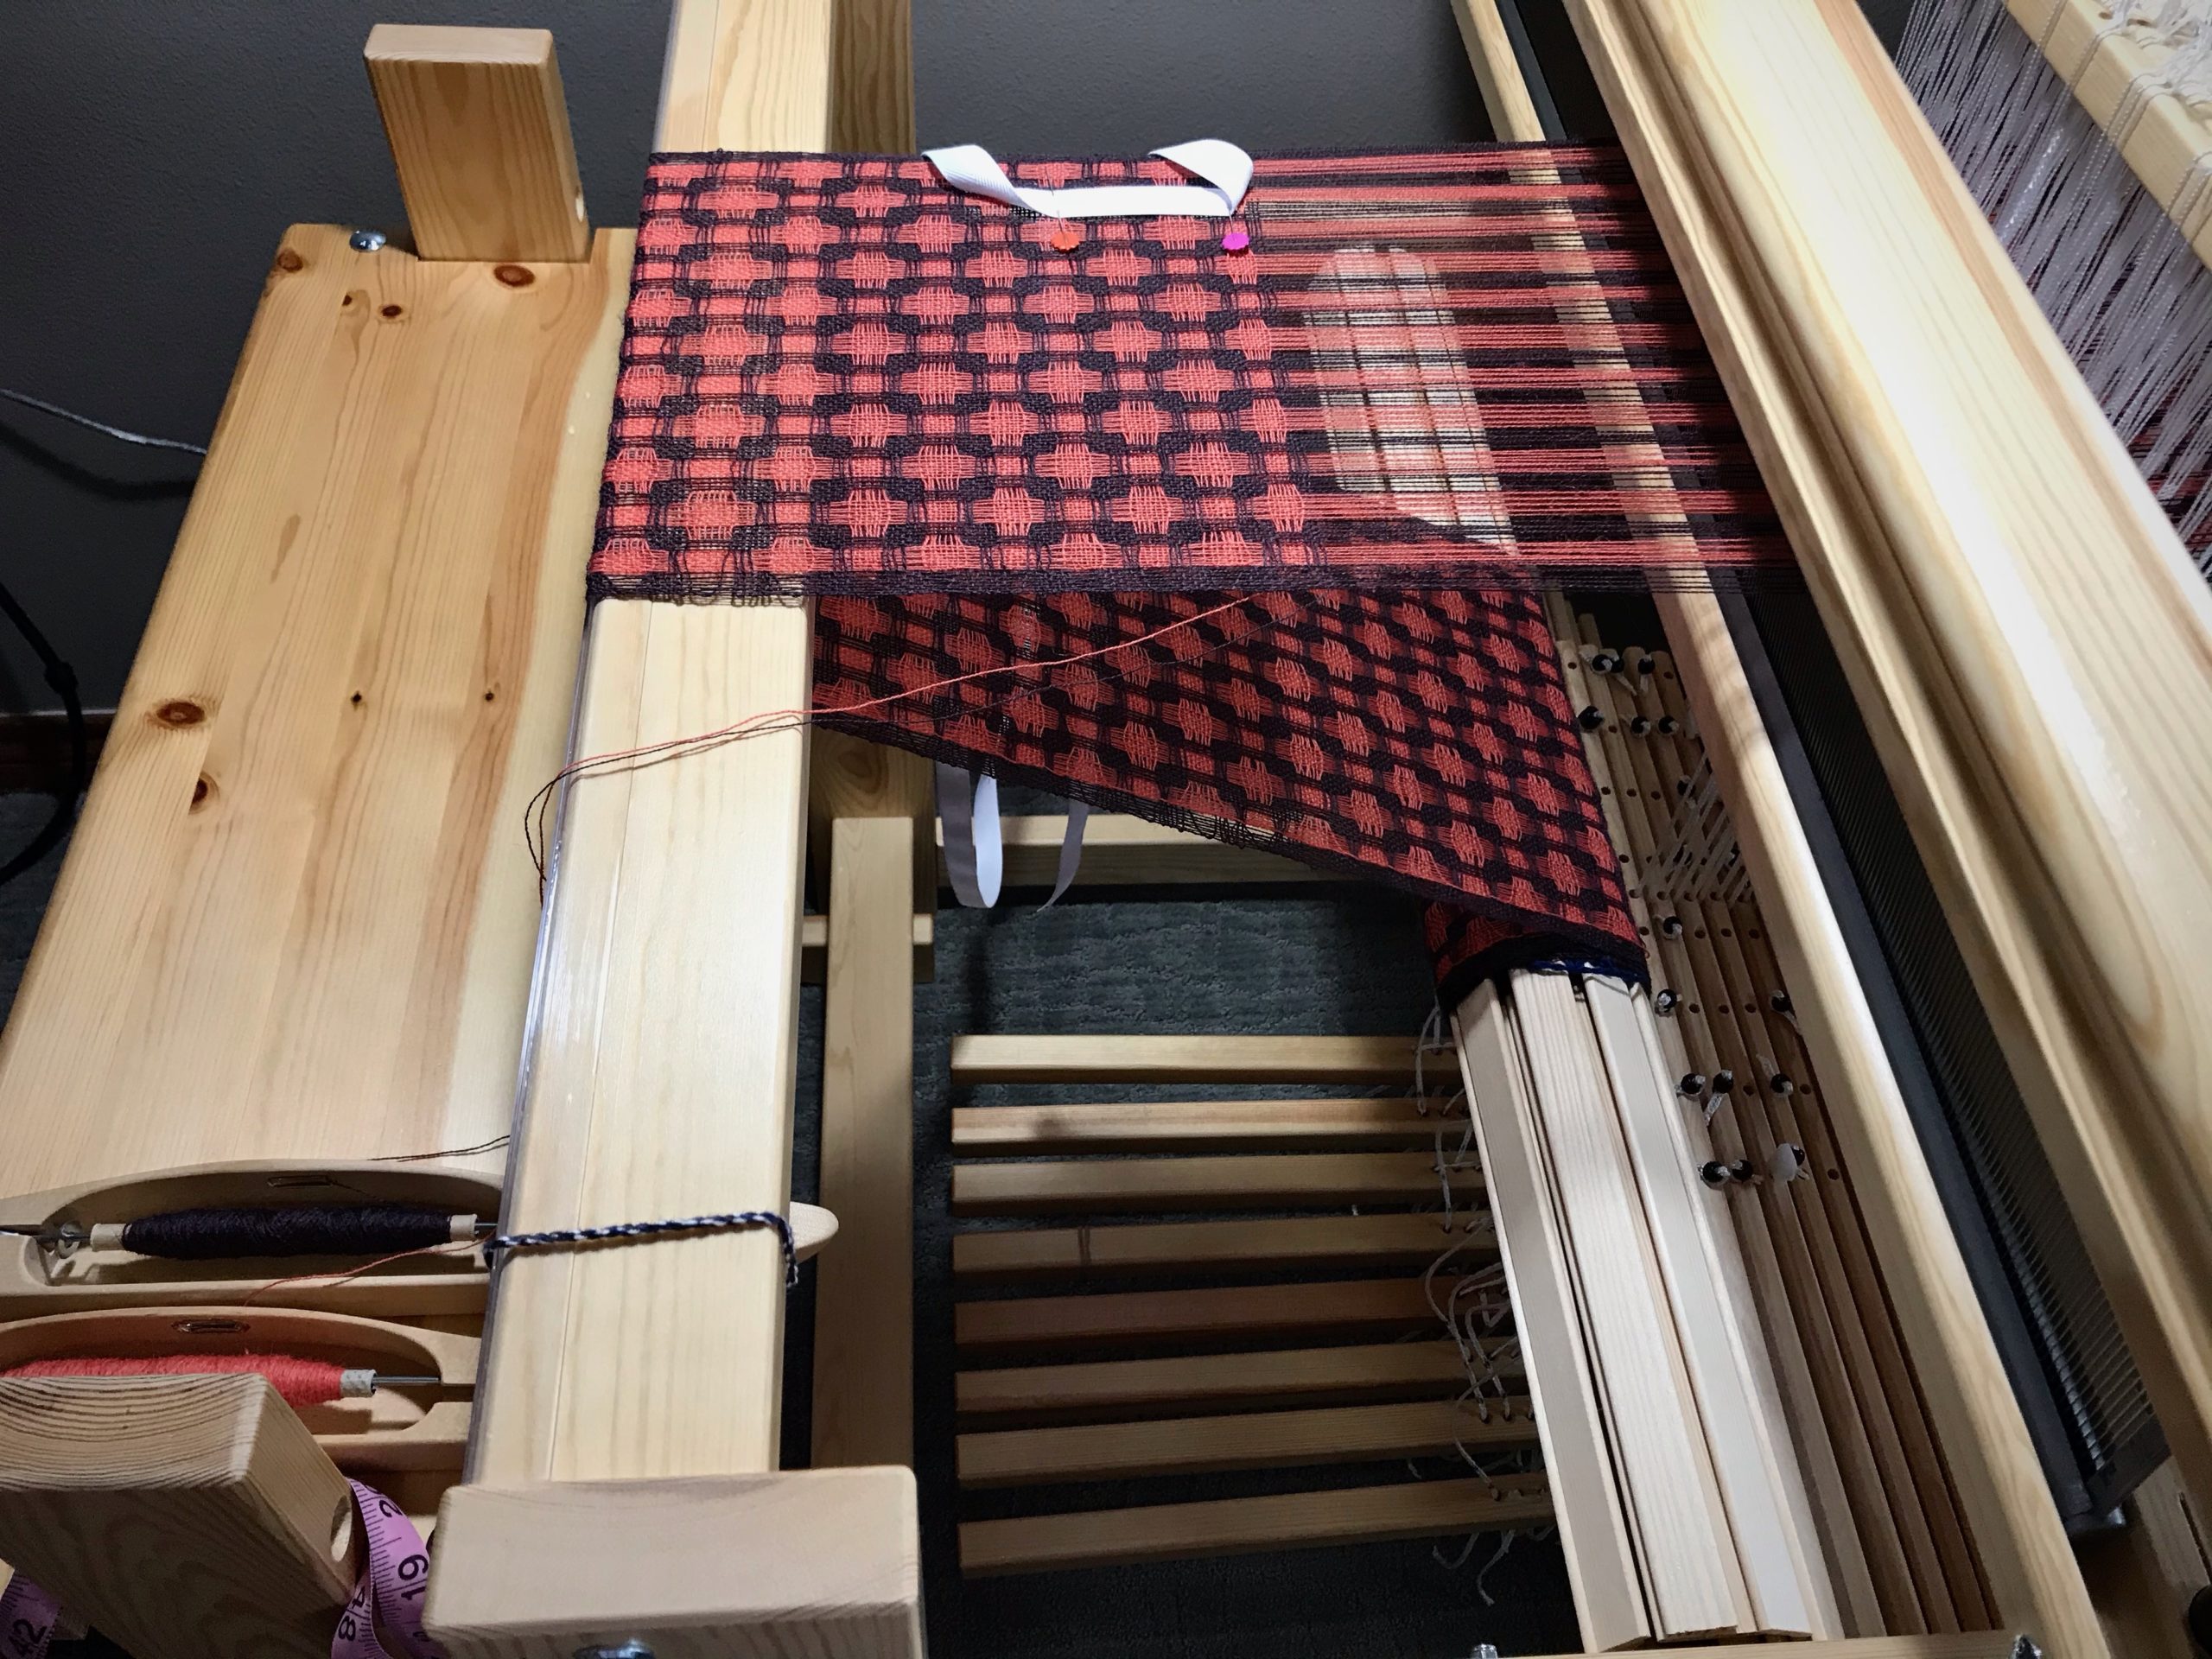
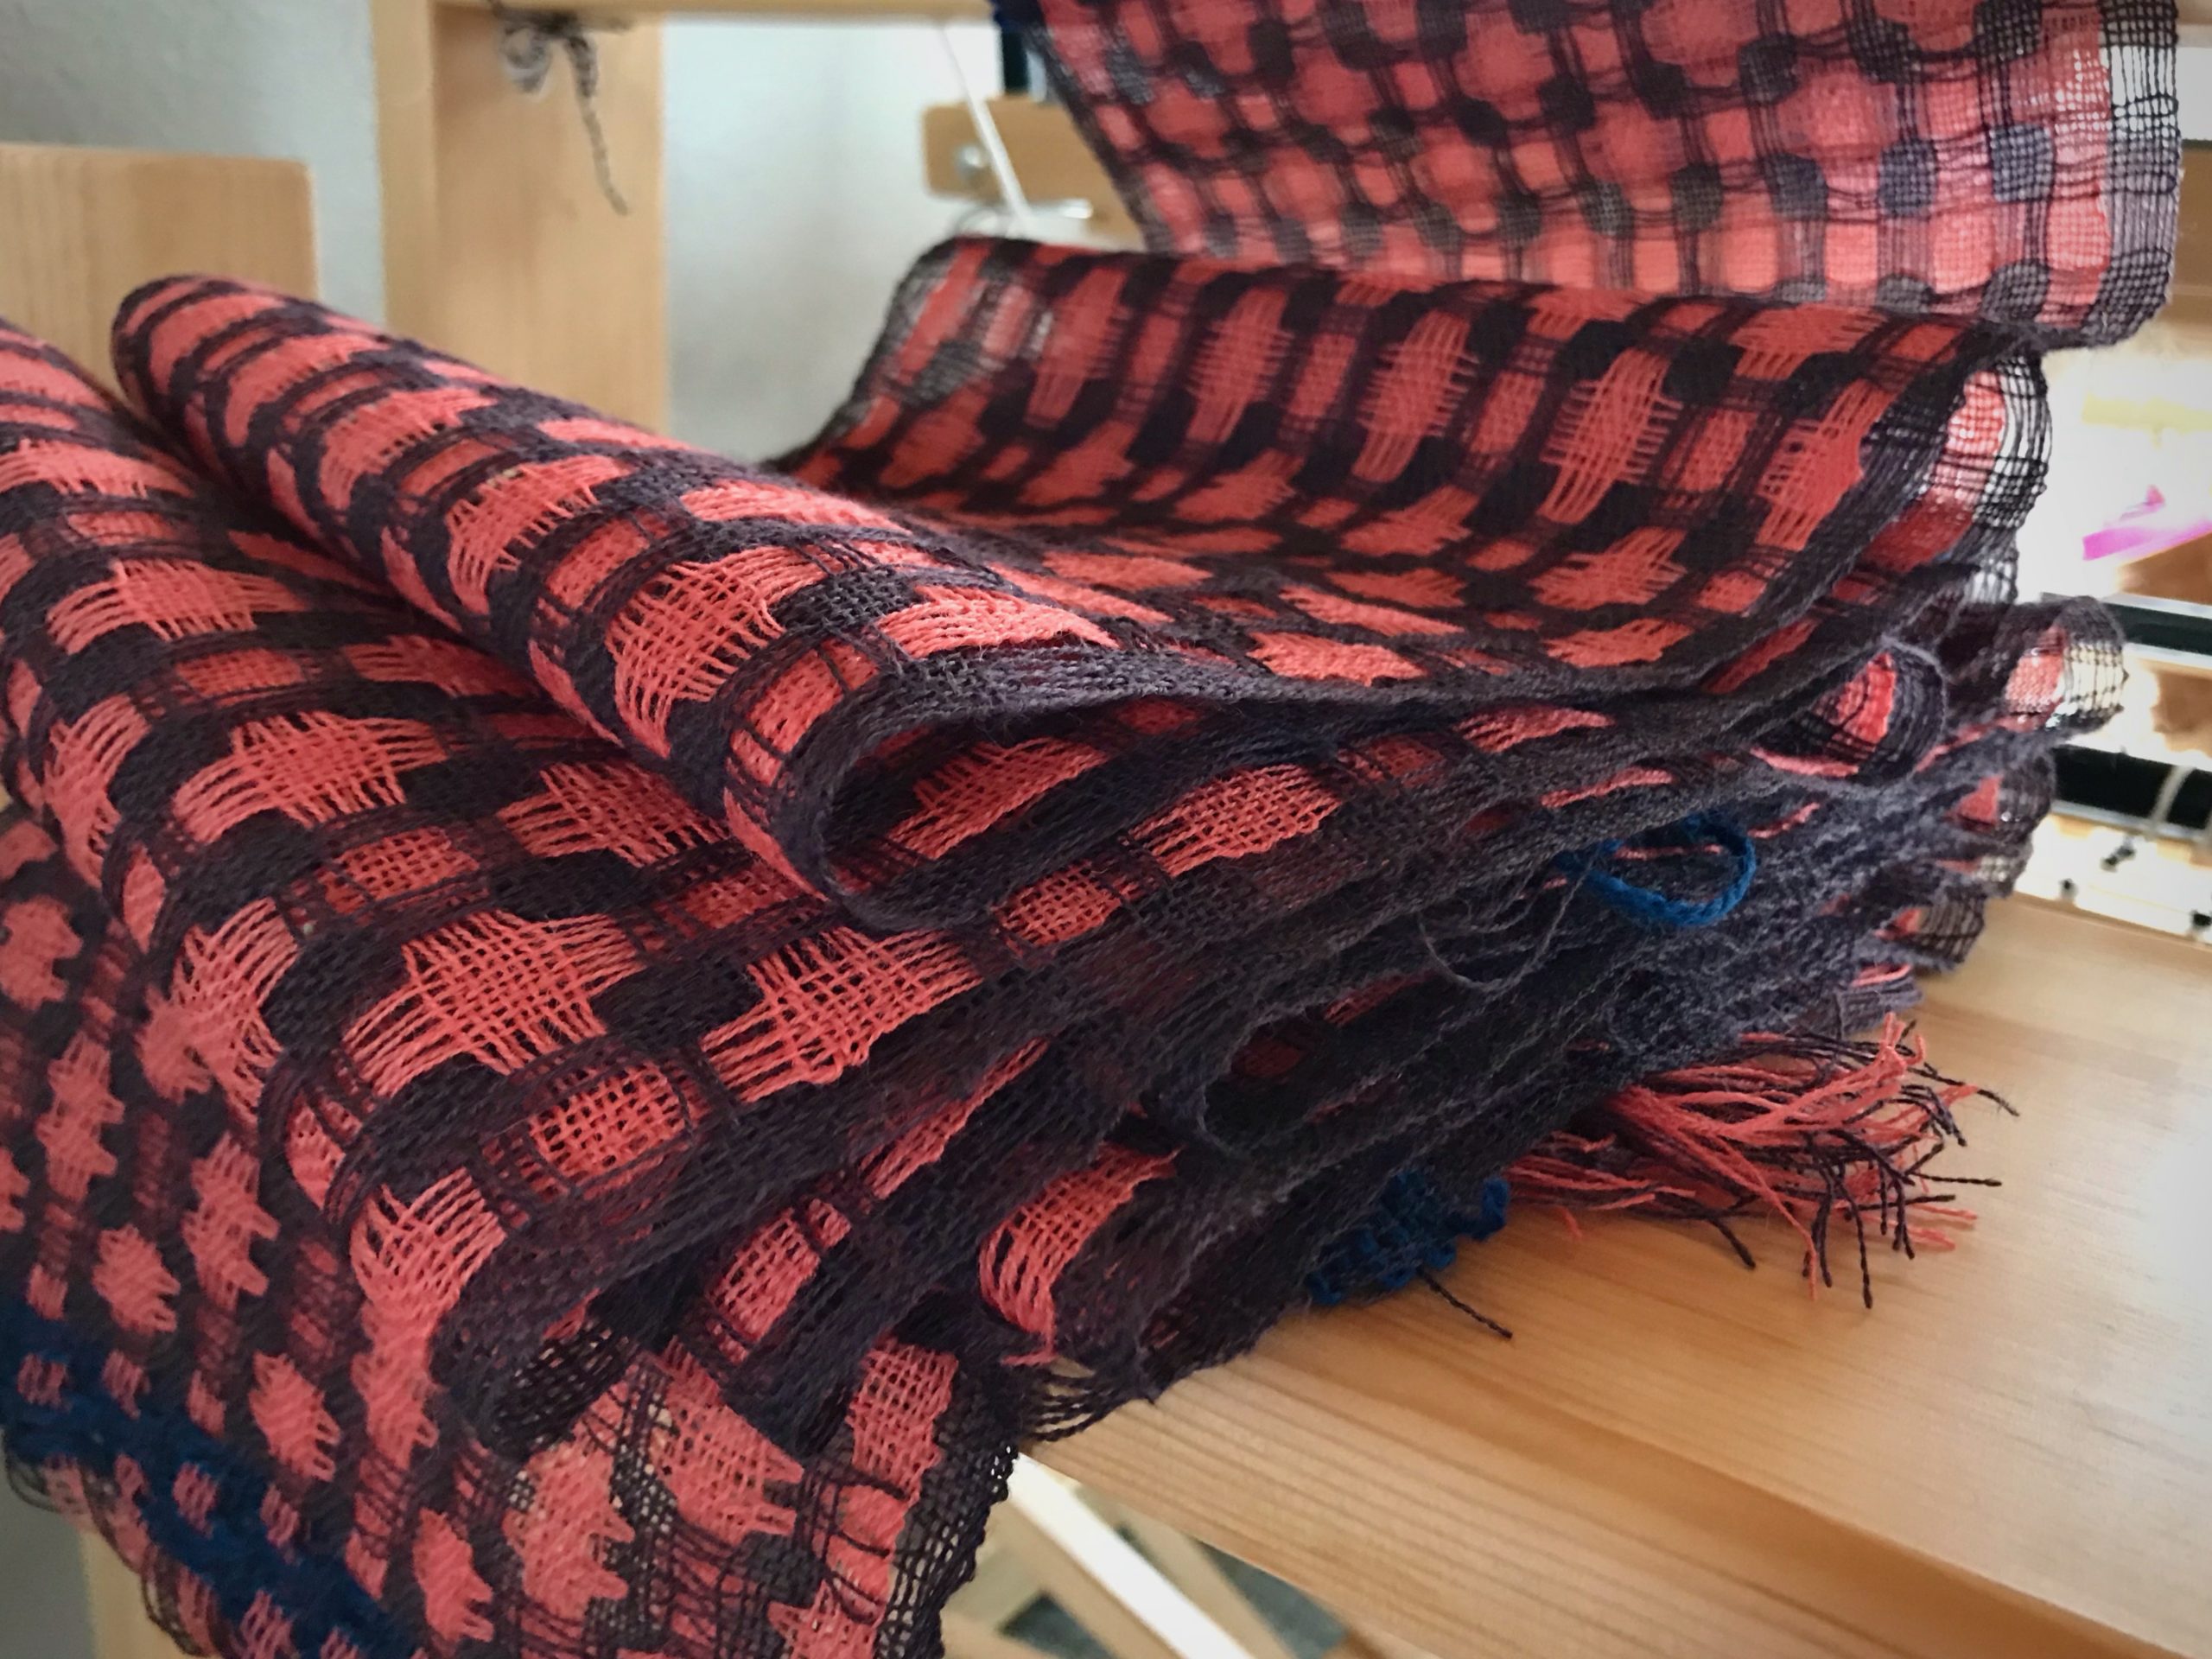
I waded into deflected double weave for the first time. It took me one full scarf to figure out what I was doing. By the second scarf, I had a much better sense of how the pattern fits together and what to do with the shuttles (most of the time). Both scarves are quite imperfect (no one will ever know…). The loom behaved perfectly, though. This is my Julia’s first project using all eight shafts. Now, I know that this sweet loom is up to any challenge I give her.
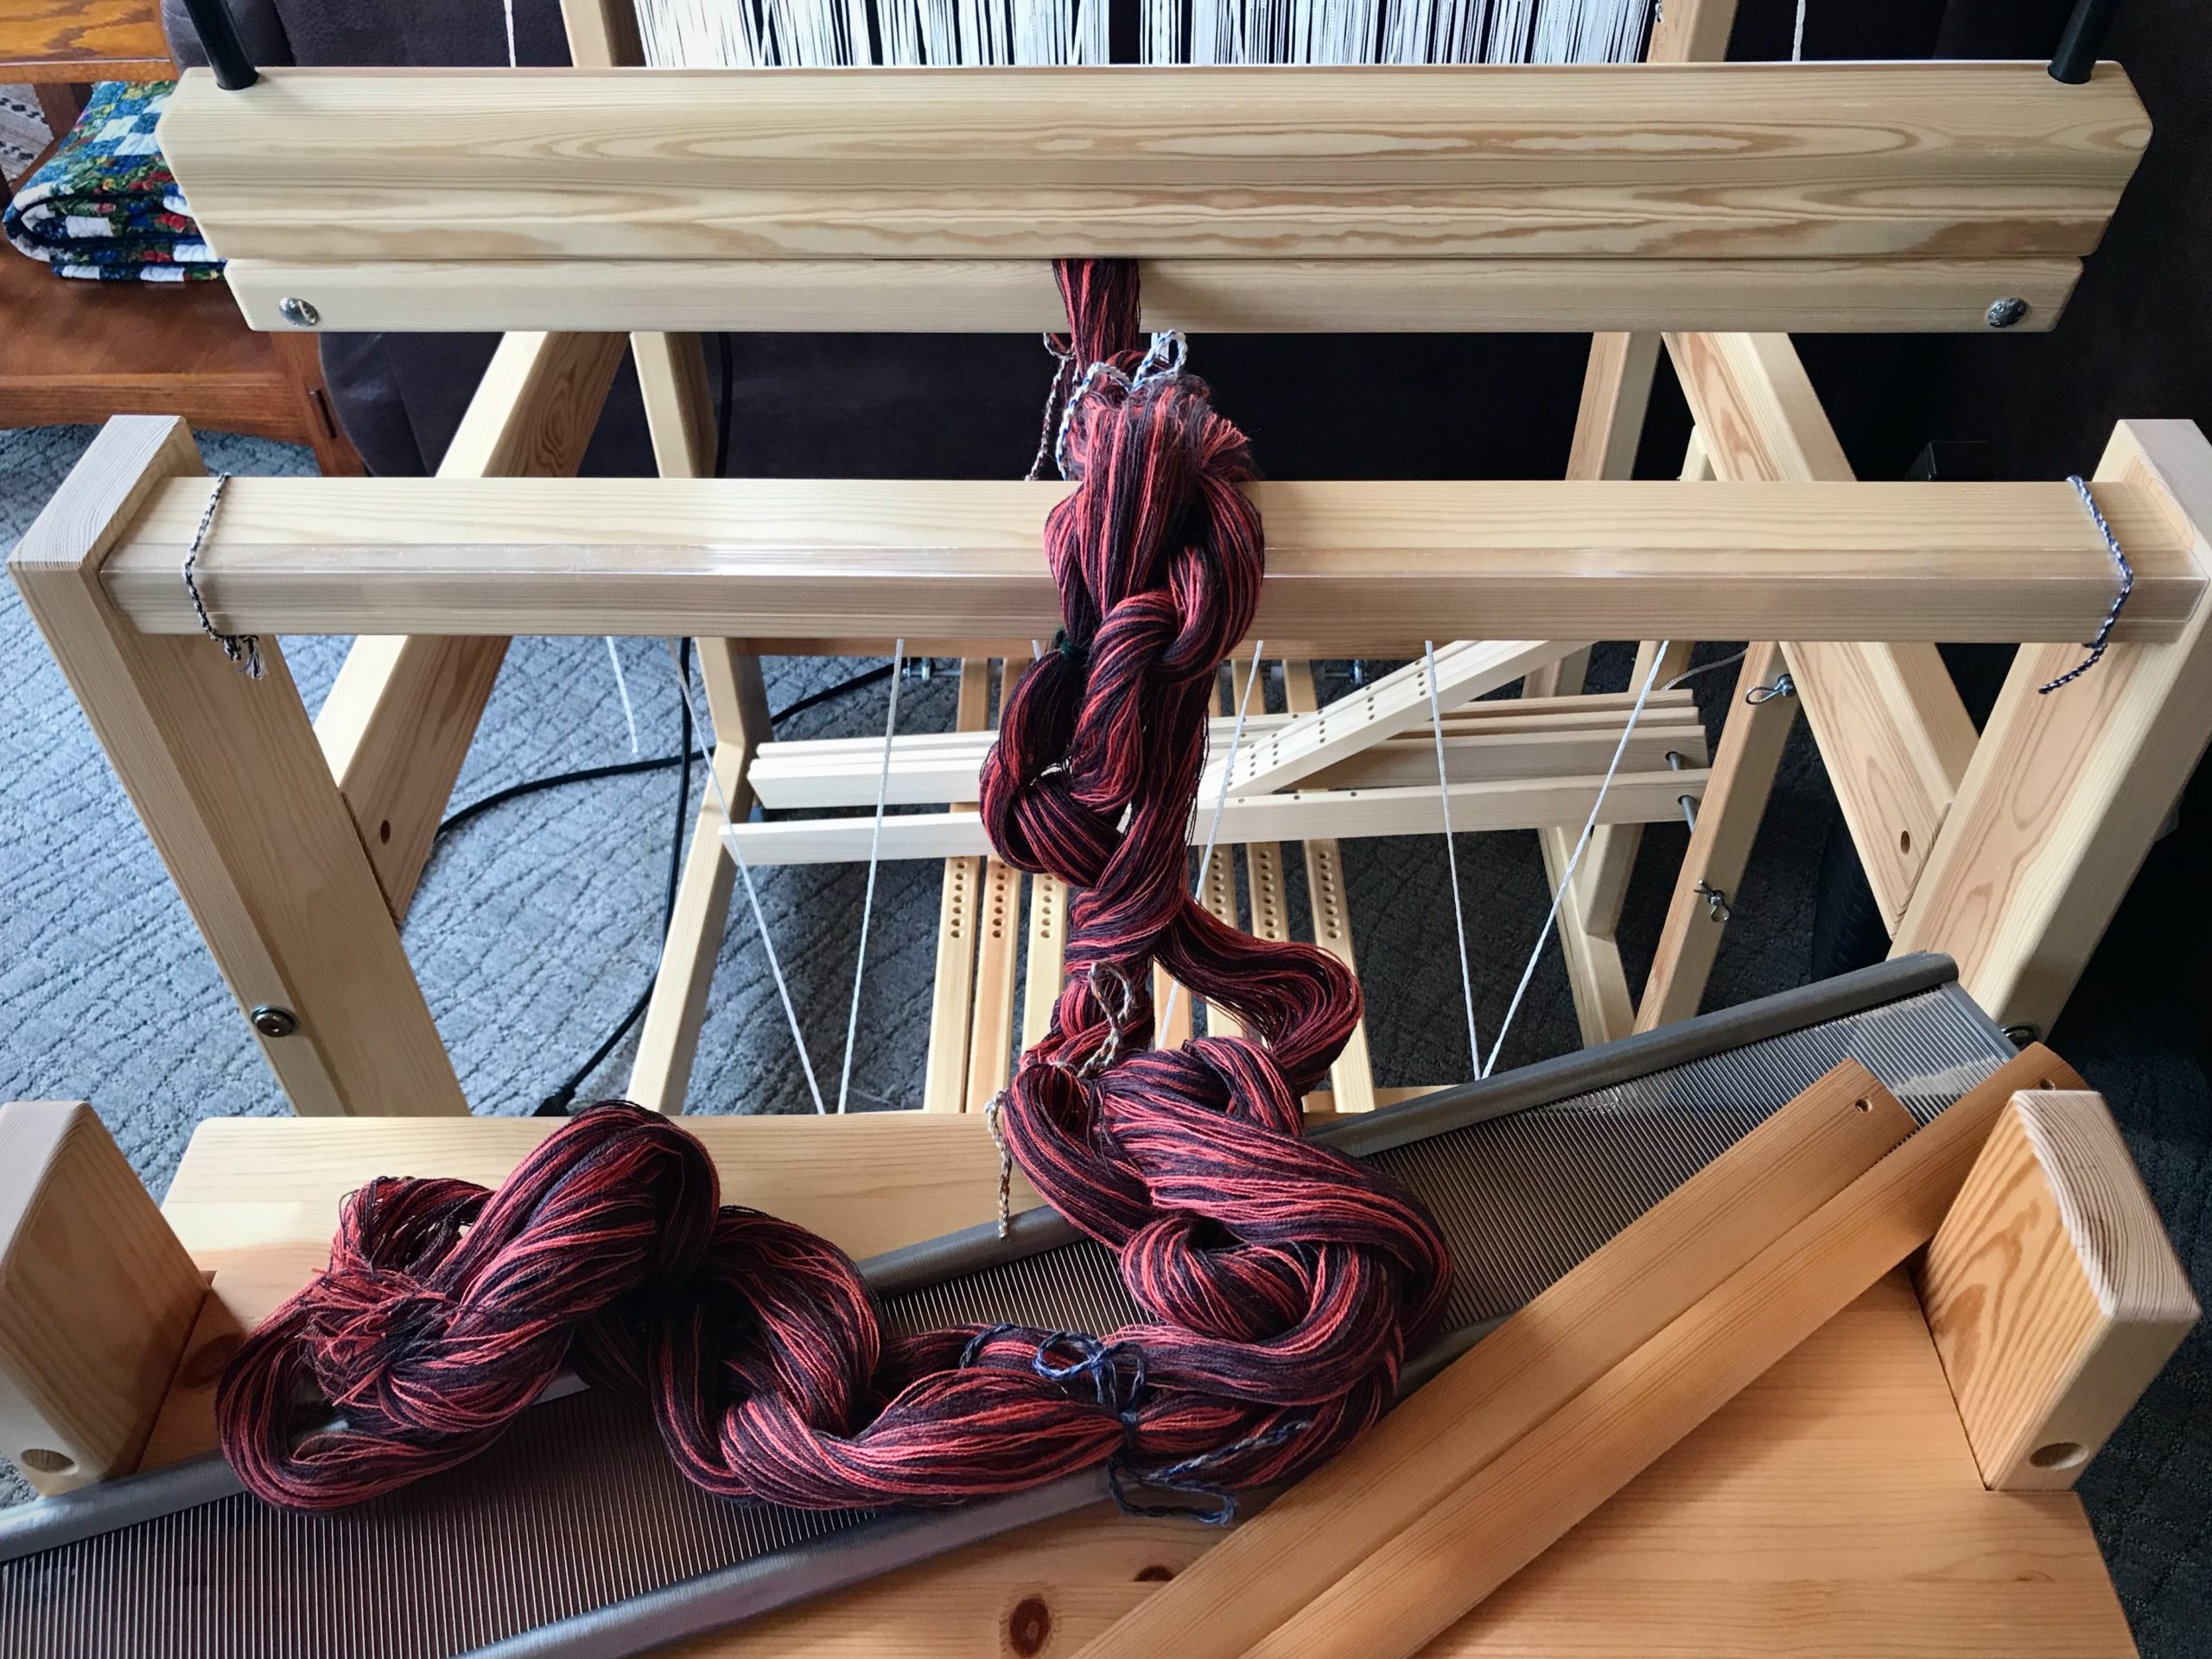
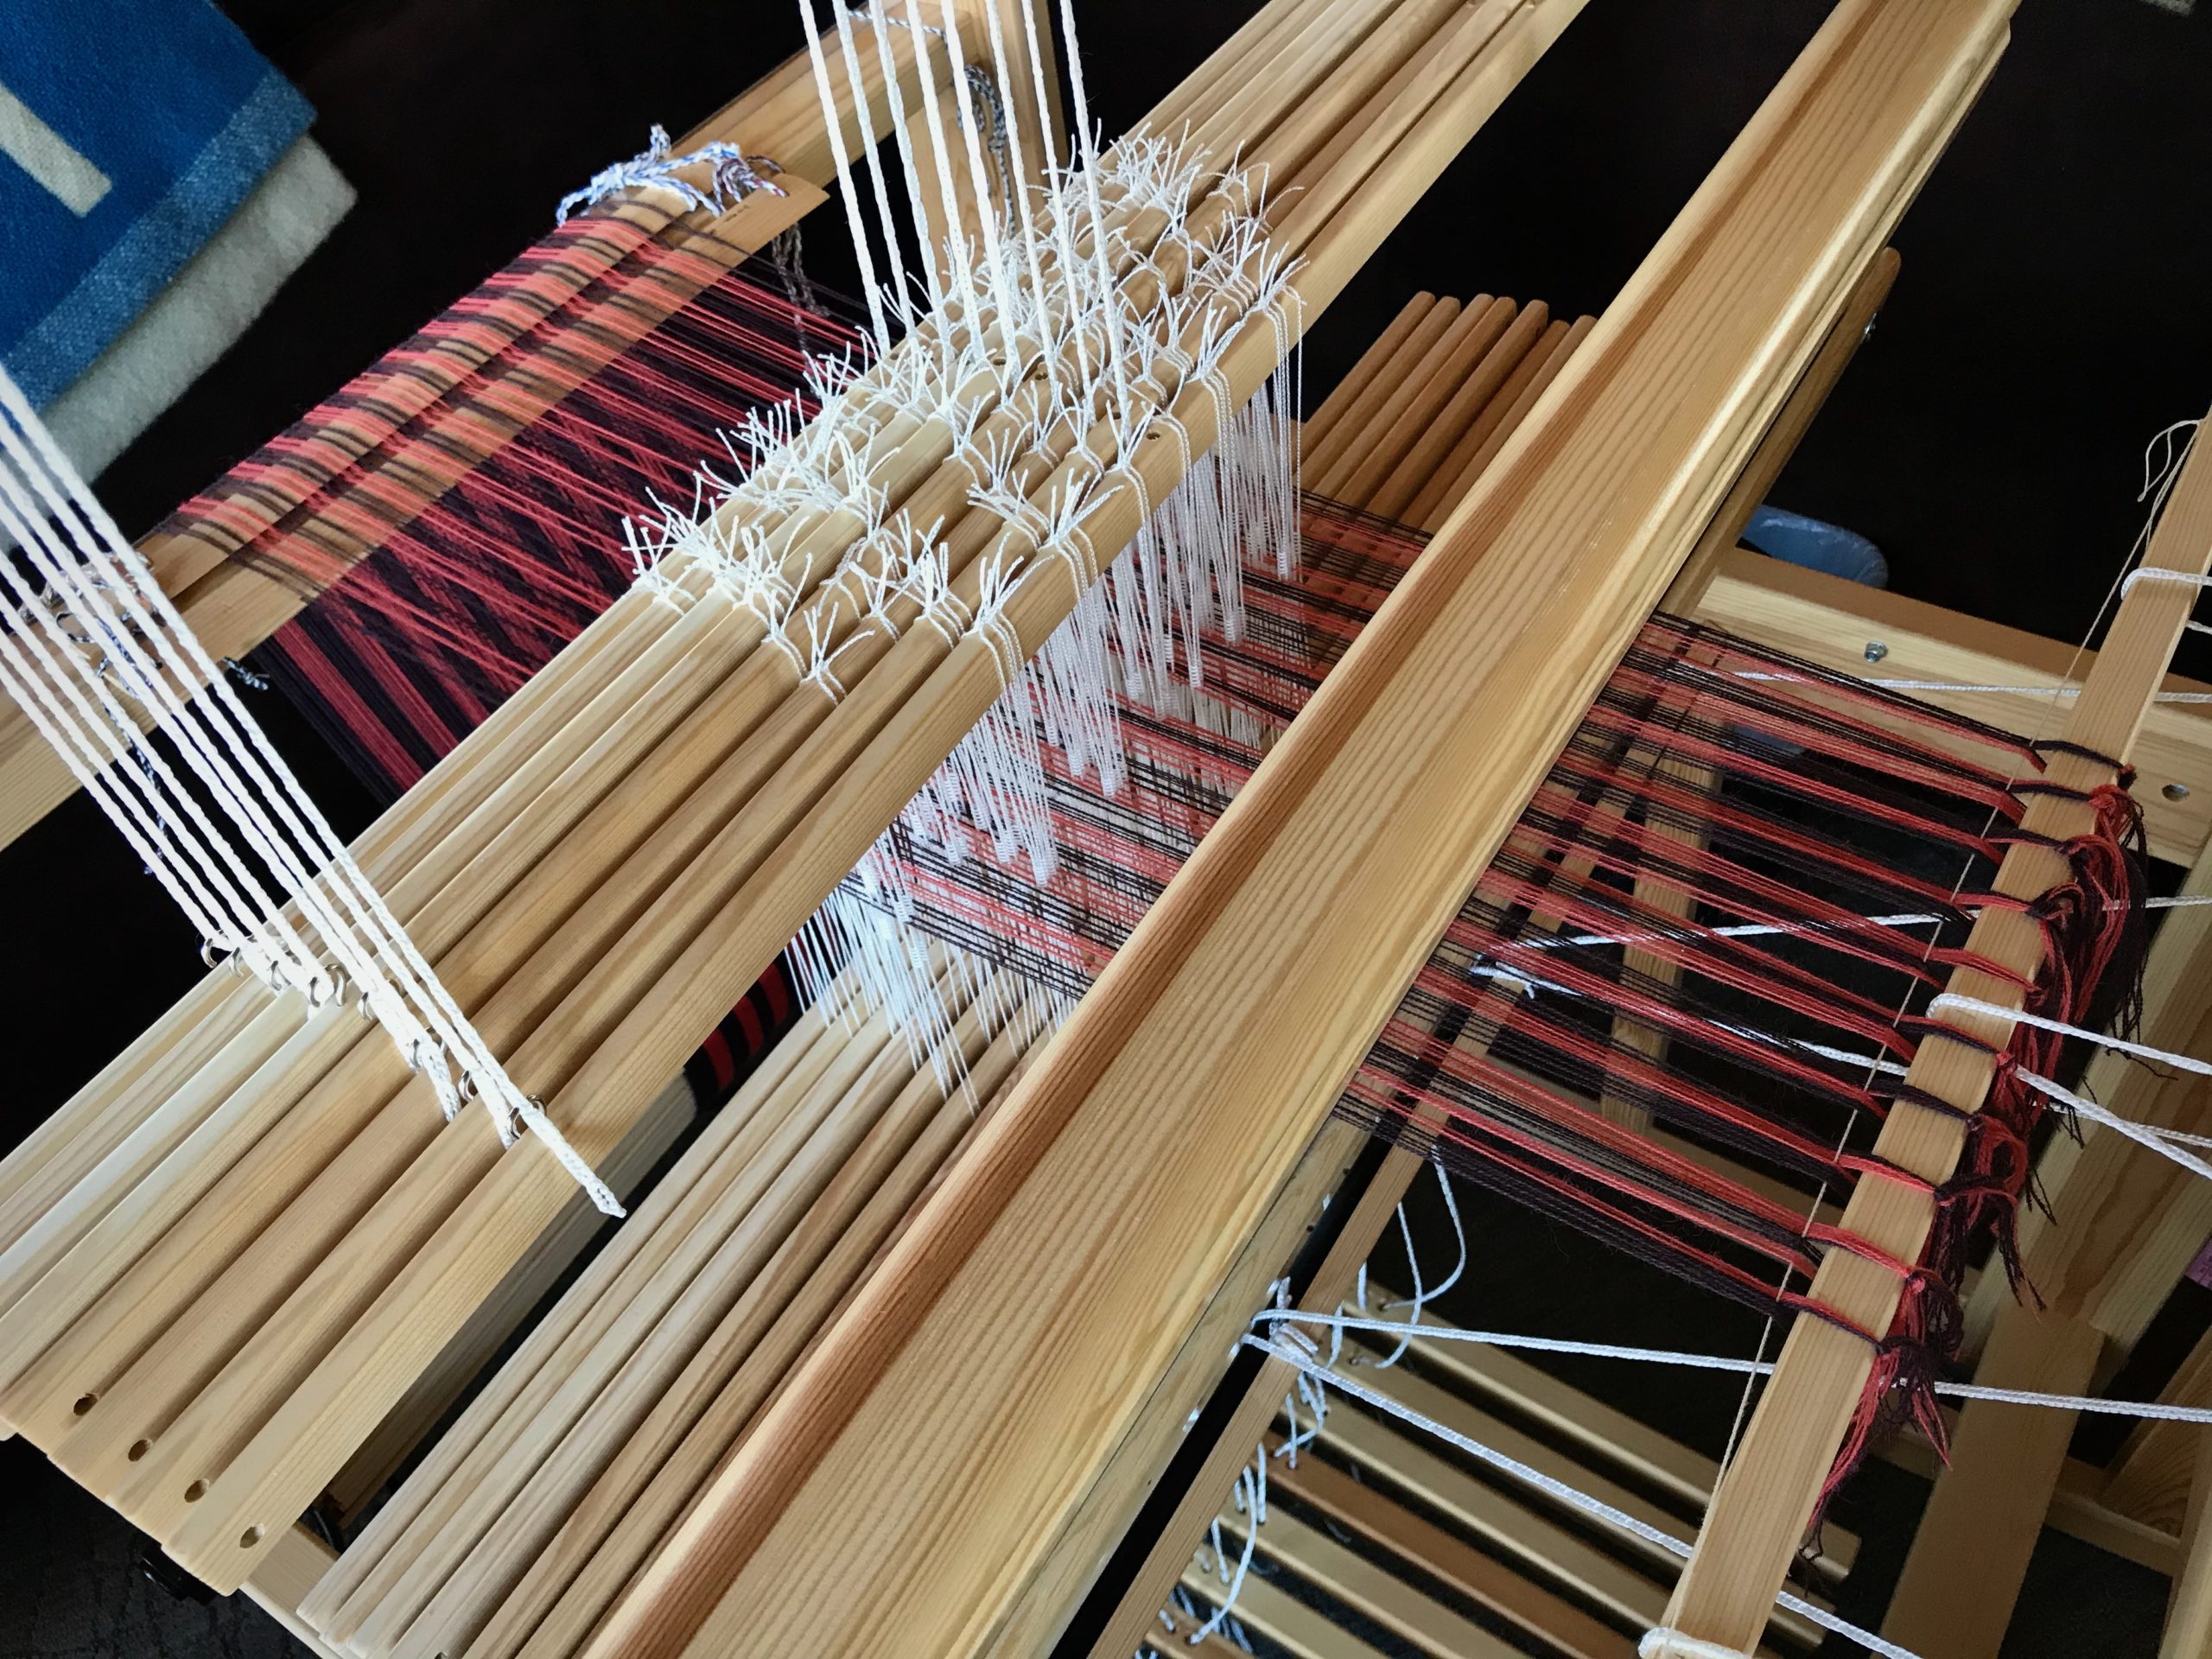
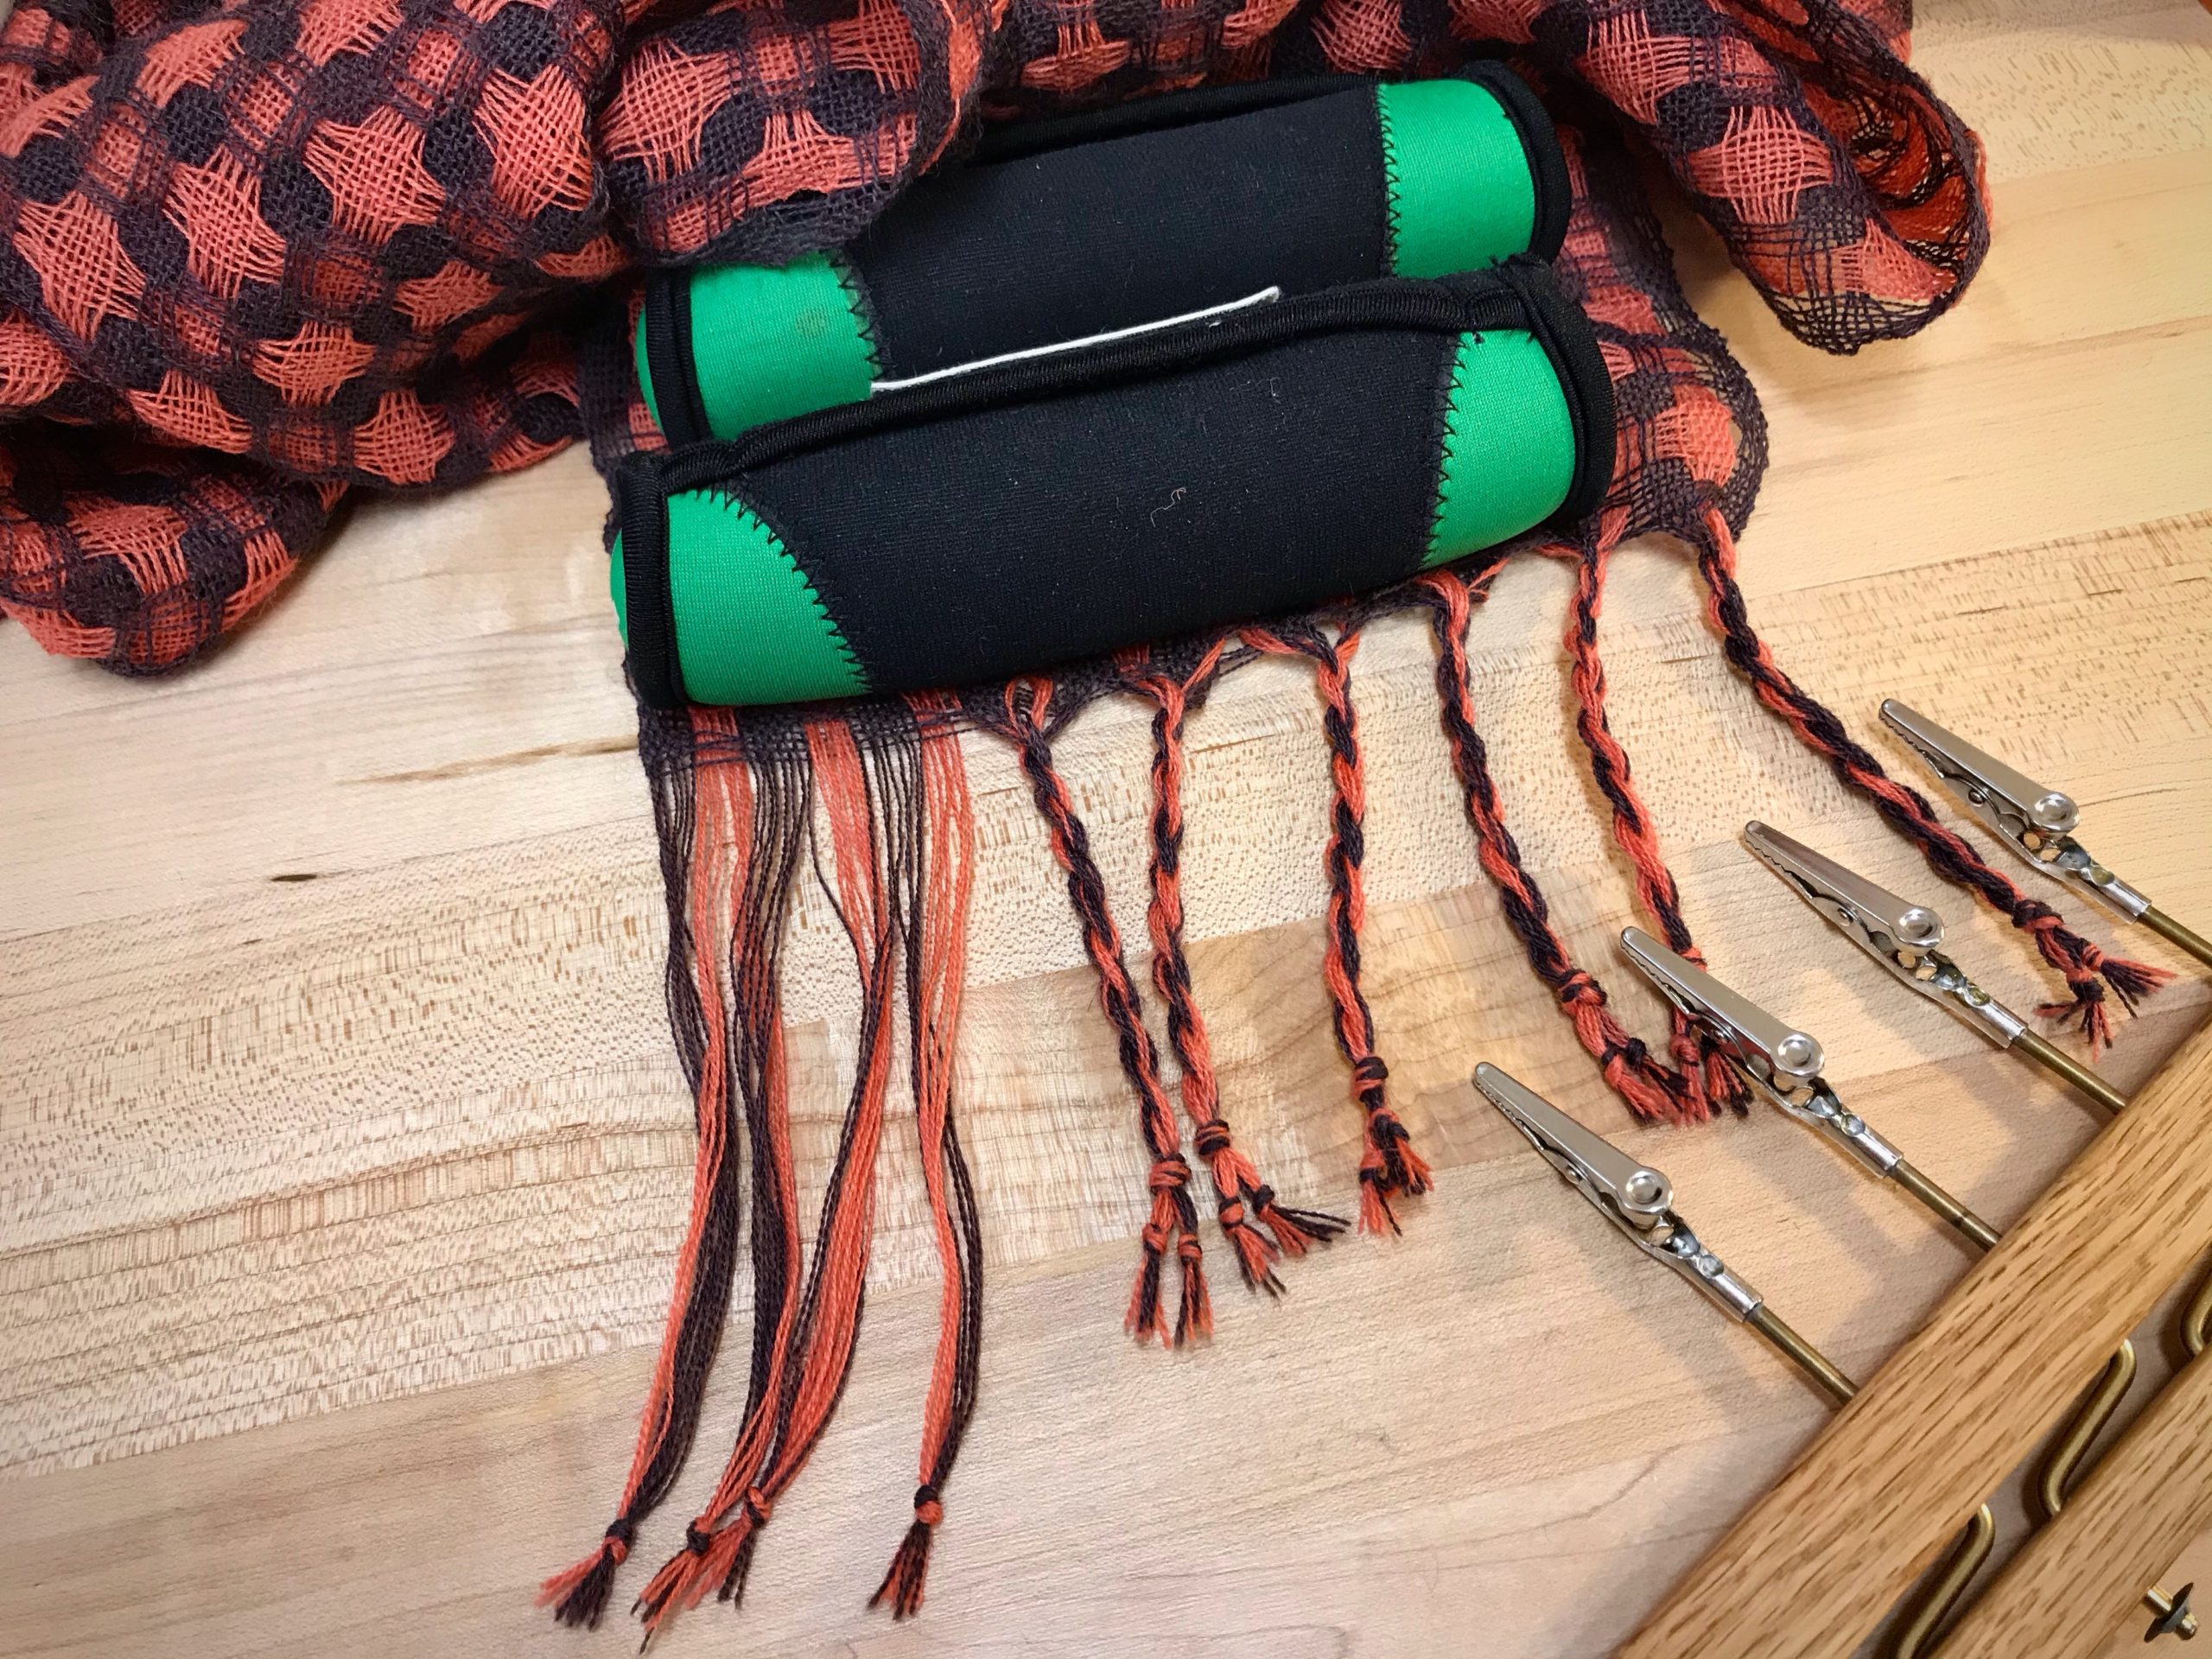
20/2 Mora wool by Borgs. Yarn is temporarily secured by pulling a loop behind the warp at the nearest upright on the warping reel.Preparing to dress the loom. The lease cross end of the warp chain is placed through the beater.Warp is beamed and tied on, and the treadles and lamms are tied up.First scarf gives me a chance to learn. Beat consistency is getting better with practice.Trickiest part about deflected double weave is understanding how the shuttles interact so that the color from one shuttle (the salmon color) never goes to the selvedge.Gaining confidence and consistency on the second scarf. Stiff Mora wool will soon soften in the wash. After cutting off, I discover that a tiny misunderstanding gave me a consistent wrong thread all along one selvedge on the back side. Maybe we should call this defective double weave. (But, really, no one will ever know.)Bundles of light and dark threads are twisted into swinging fringes before the scarves are washed.
By the way, I like the finished airy scarves, even with their flaws.
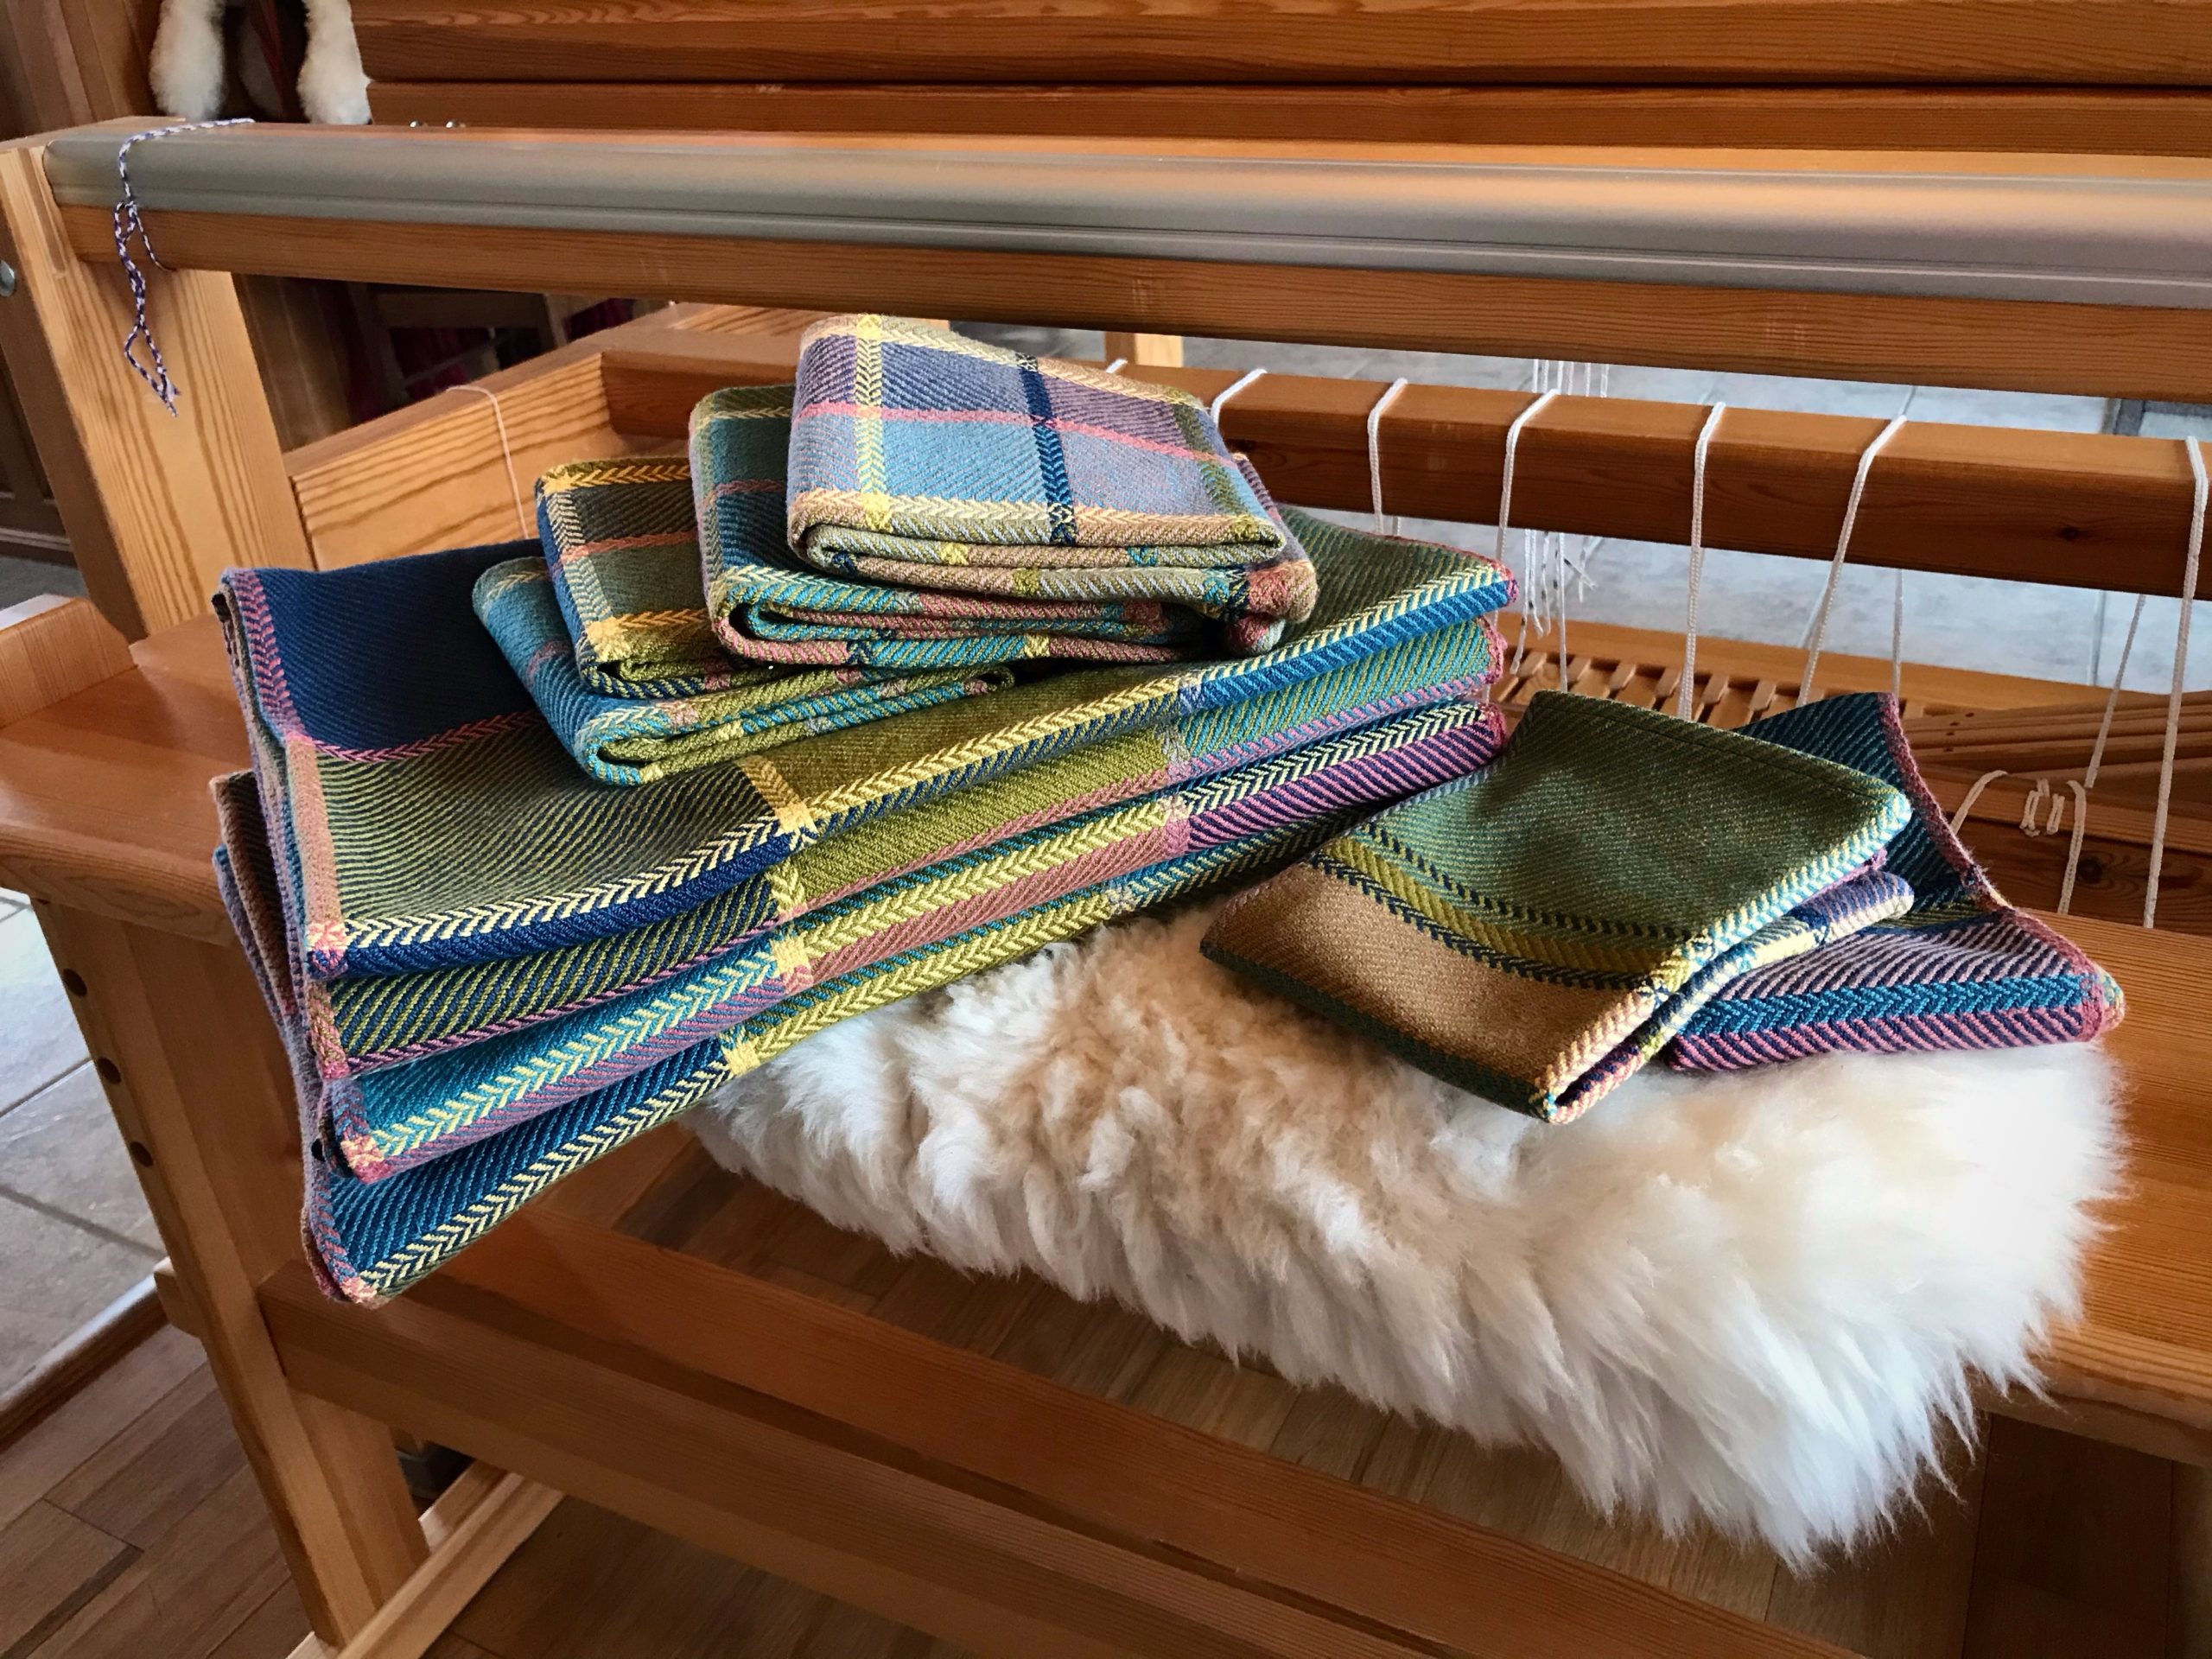
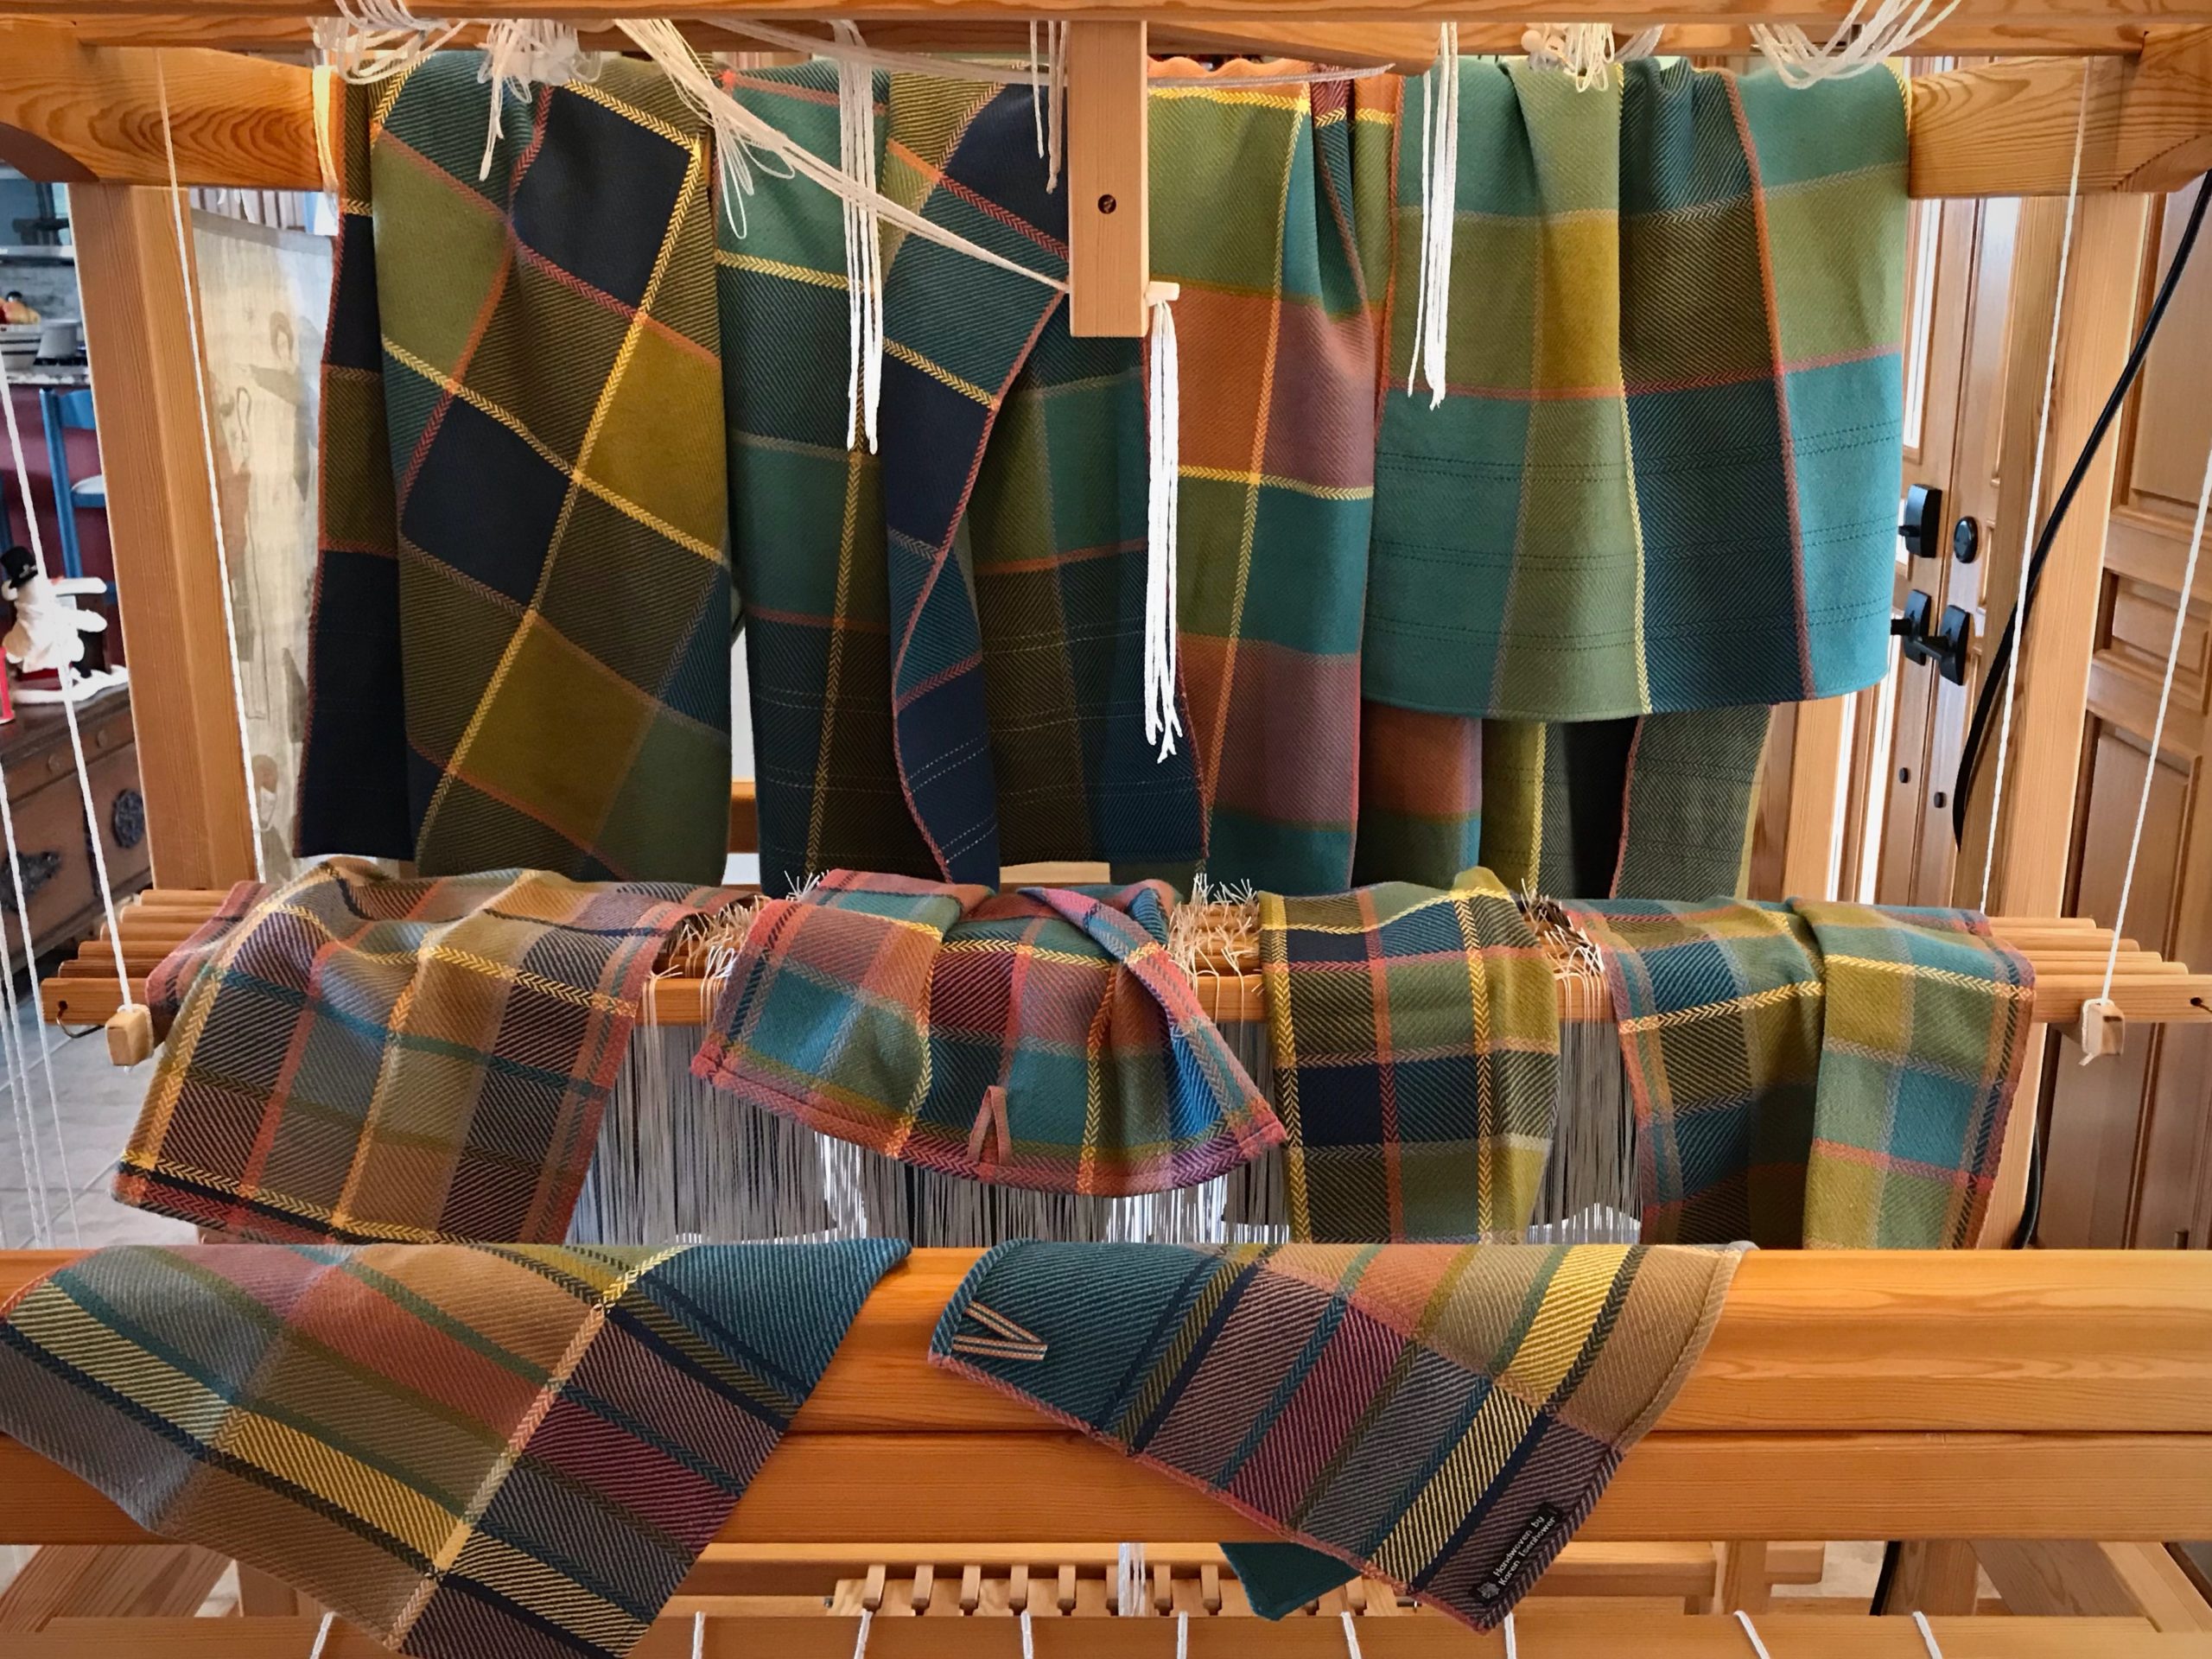
Finished scarf has delightful pattern and character. Mora wool is sufficiently softened through washing and drying, to make a supple fabric.Perfect (imperfect) scarf to brighten up a foggy day in Texas hill country.
Jubilation Bath Towels are completed, just in time for Christmas! They go with the Jubilation Hand Towels I wove earlier this year, named with my father in mind. (See Process Review: Jubilation Hand Towels.) Nothing deterred my father from deep abiding joy. These bath towels are a tribute, as well, to my husband’s patience. He requested handwoven bath towels a few years ago. Laughably, my first eager attempt resulted in towels scratchy enough to be used as sandpaper back scratchers. Now, finally, we have absorbent and soft handwoven cottolin bath towels suitable for my Prince Charming.
Jubilation Bath Set. Four bath towels, four hand towels, two wash cloths. Cottolin warp and weft. Six-shaft broken and reverse twill.
Don’t you love it when the end of the warp yields bonus results? Just enough warp to make a pair of wash cloths, in which every one of the seven colors of quills was emptied. Hurrah!
Cottolin bath towel set, soft and absorbent. All quills were emptied off in the final length of warp, making colorful wash cloths.
Enjoy the start-to-finish process with me in this slideshow video:
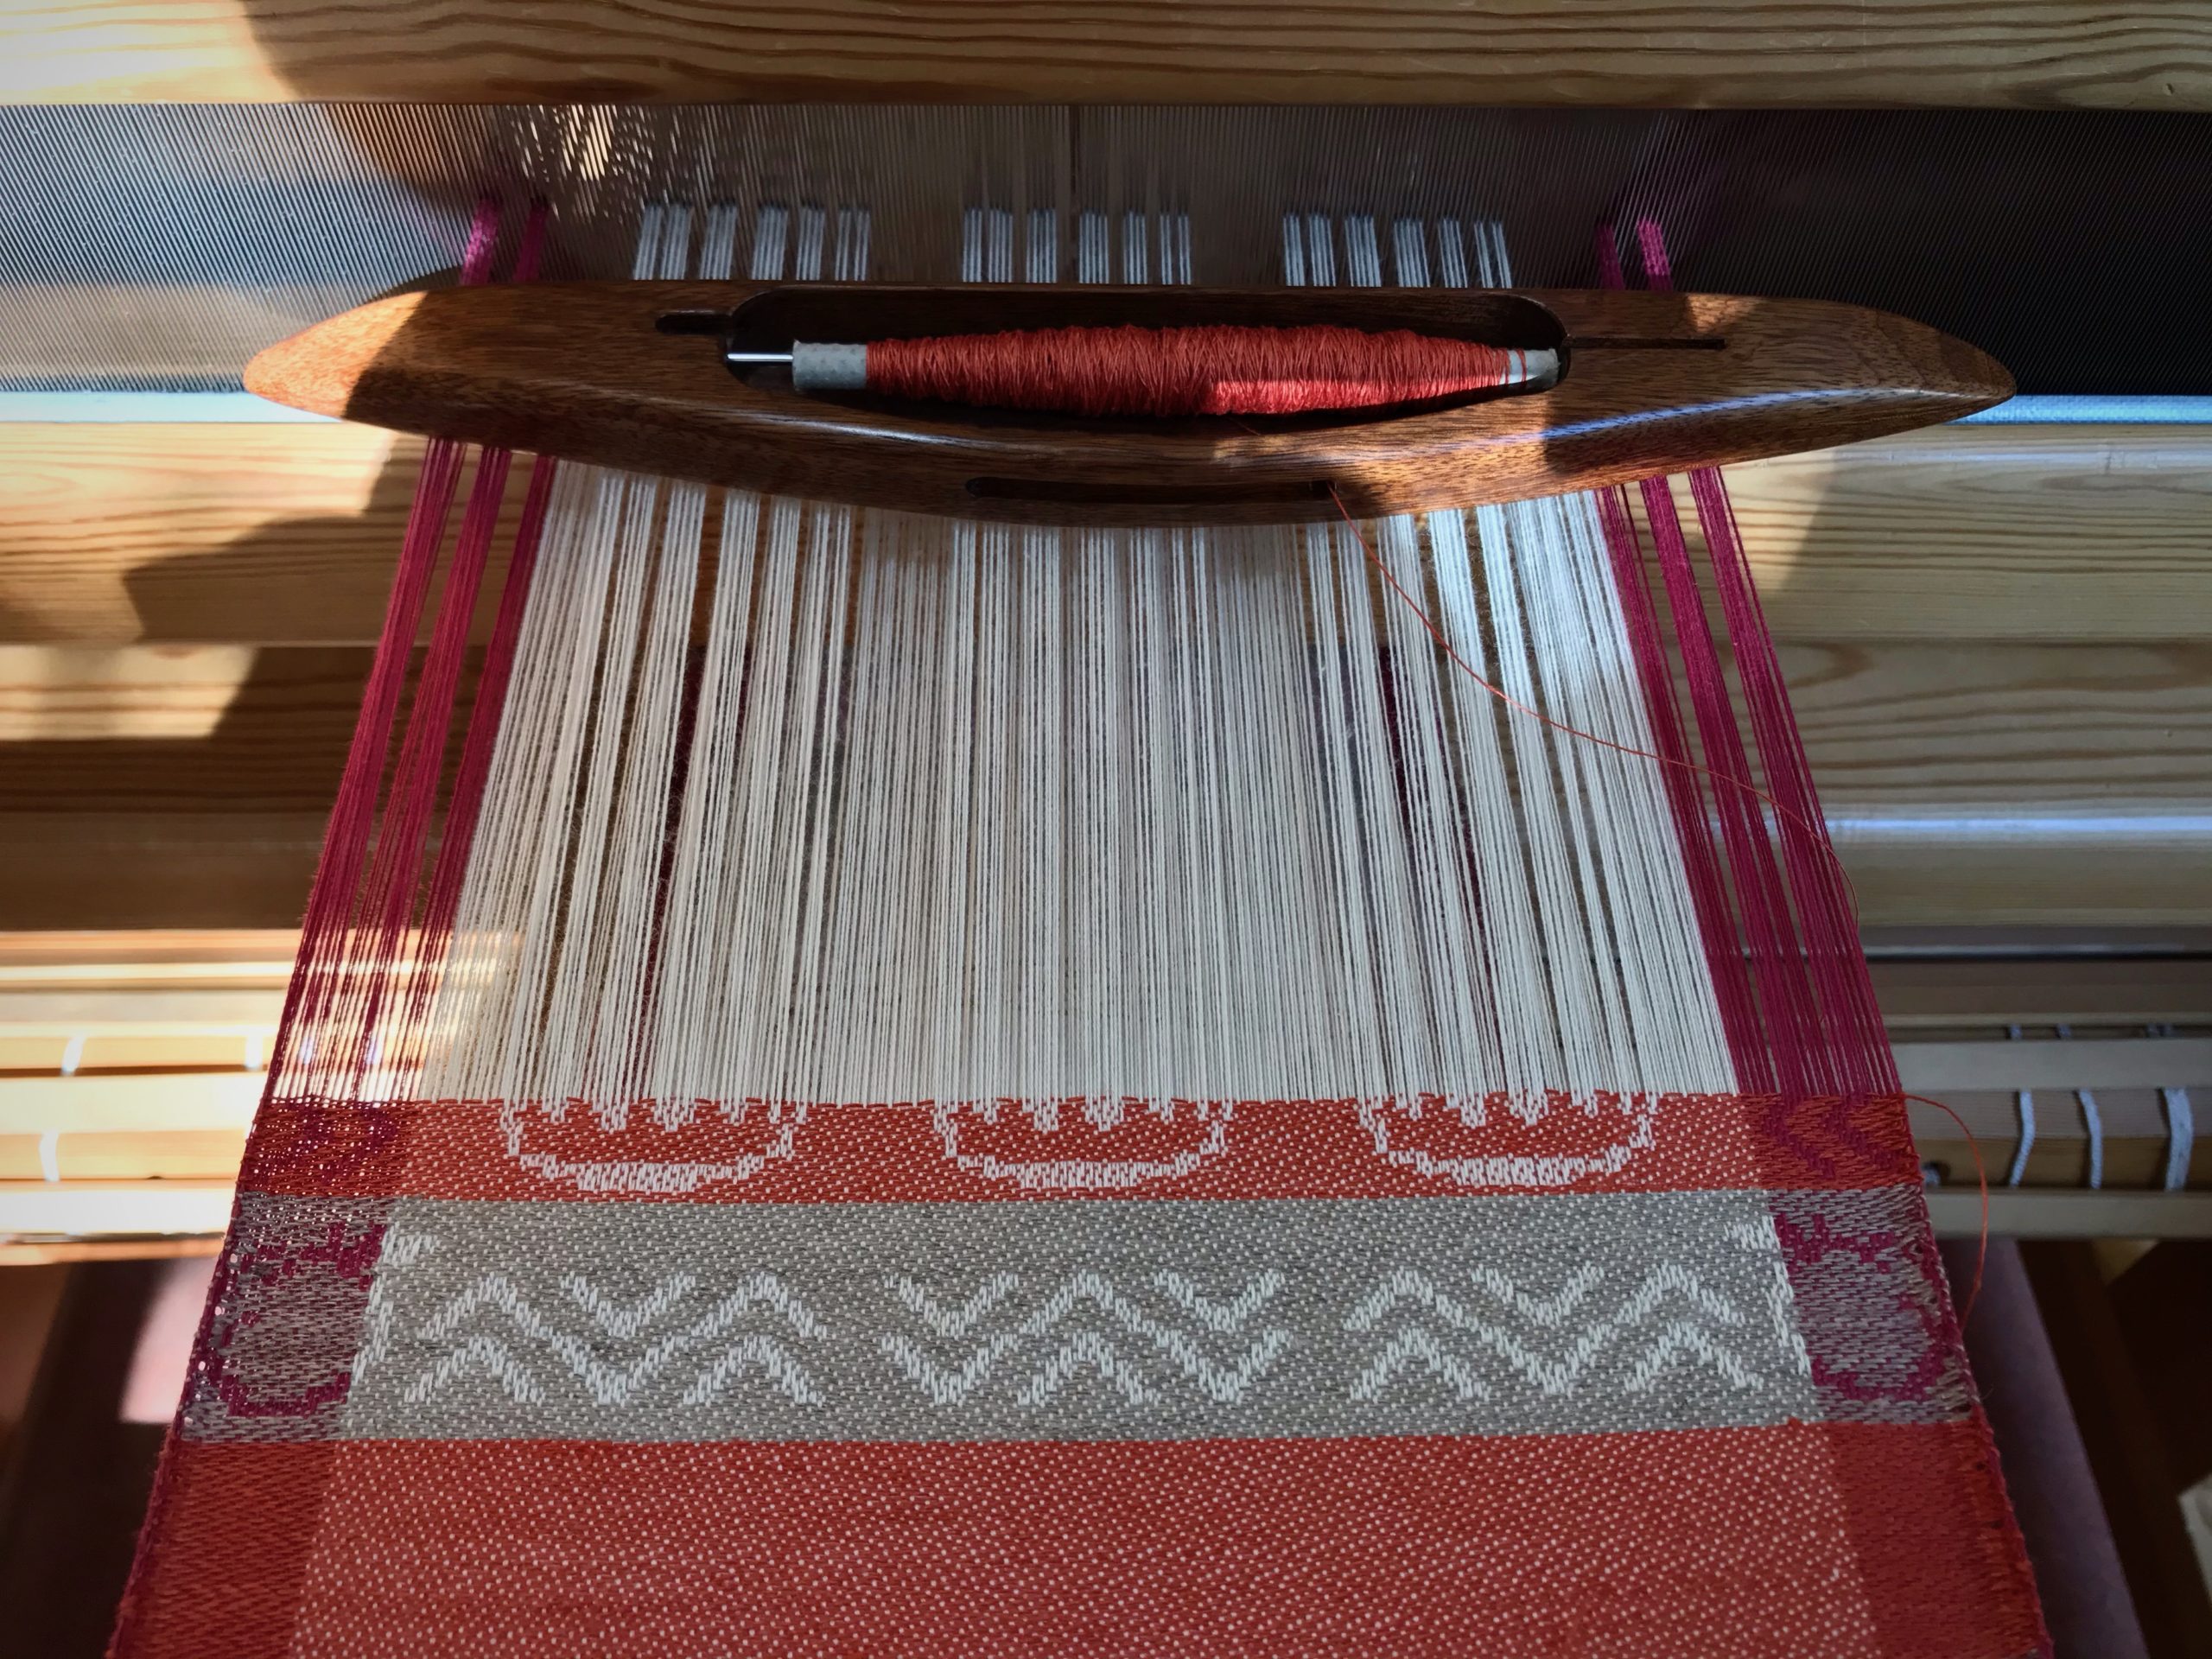
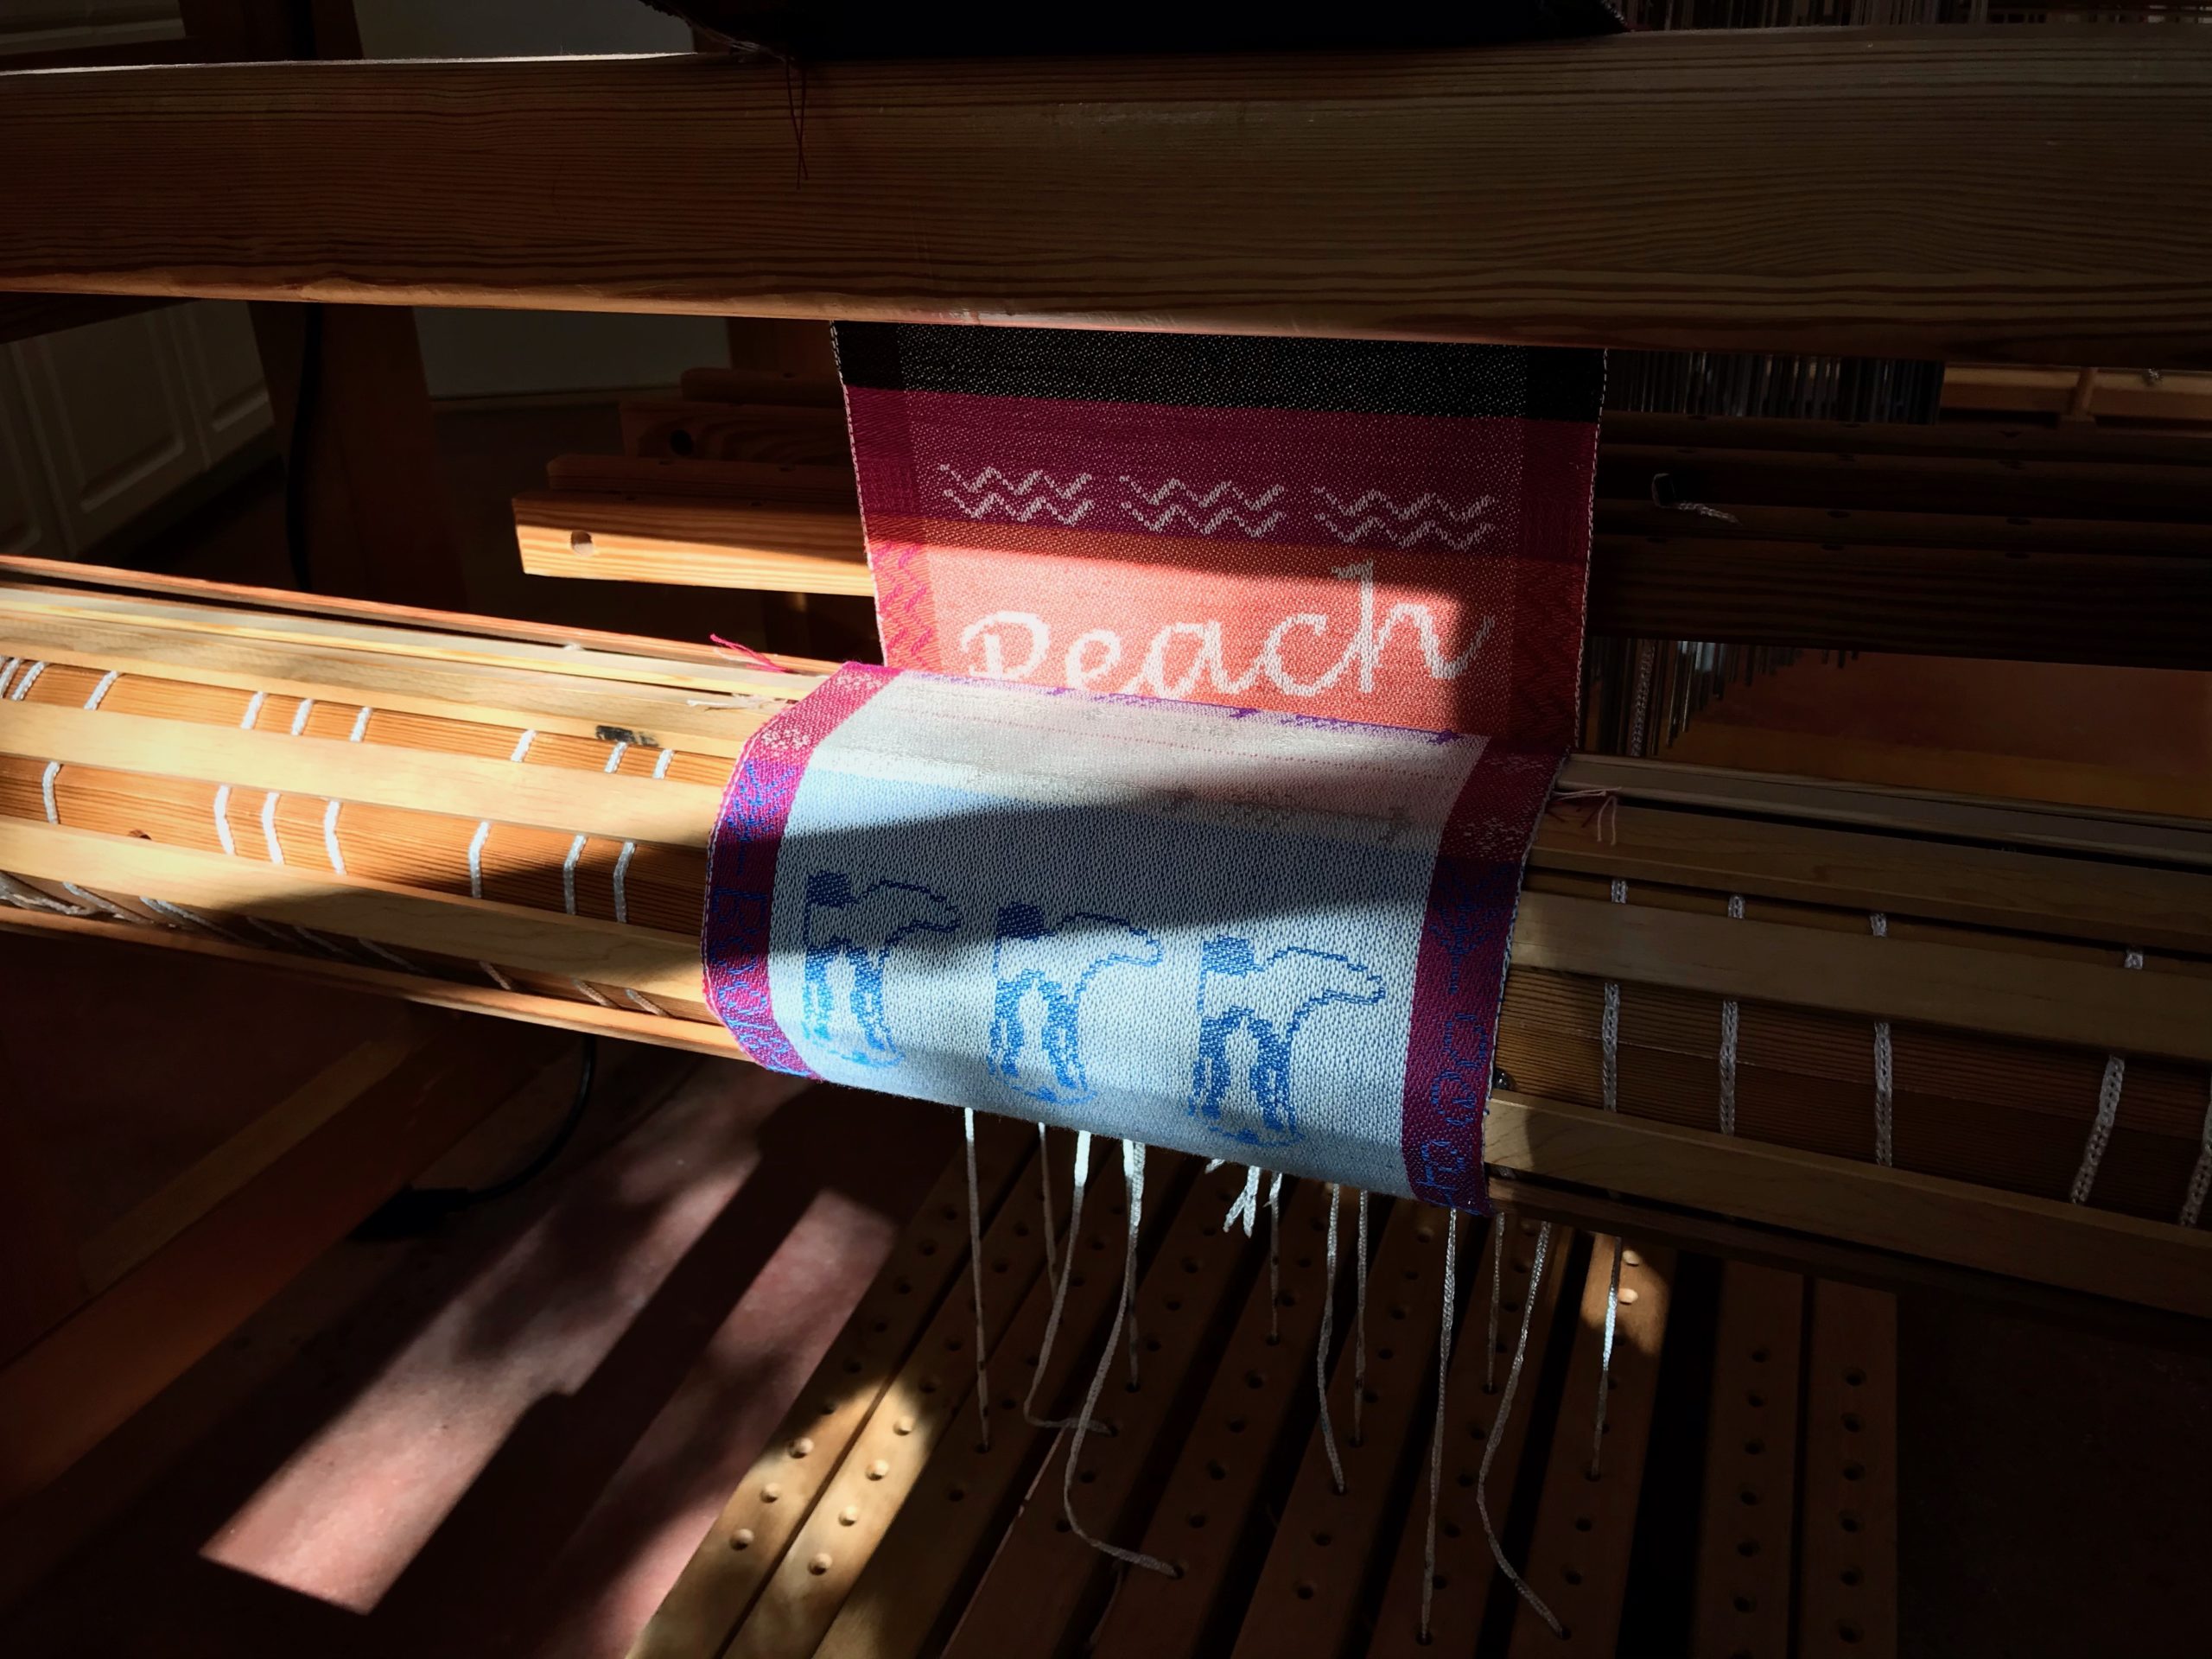
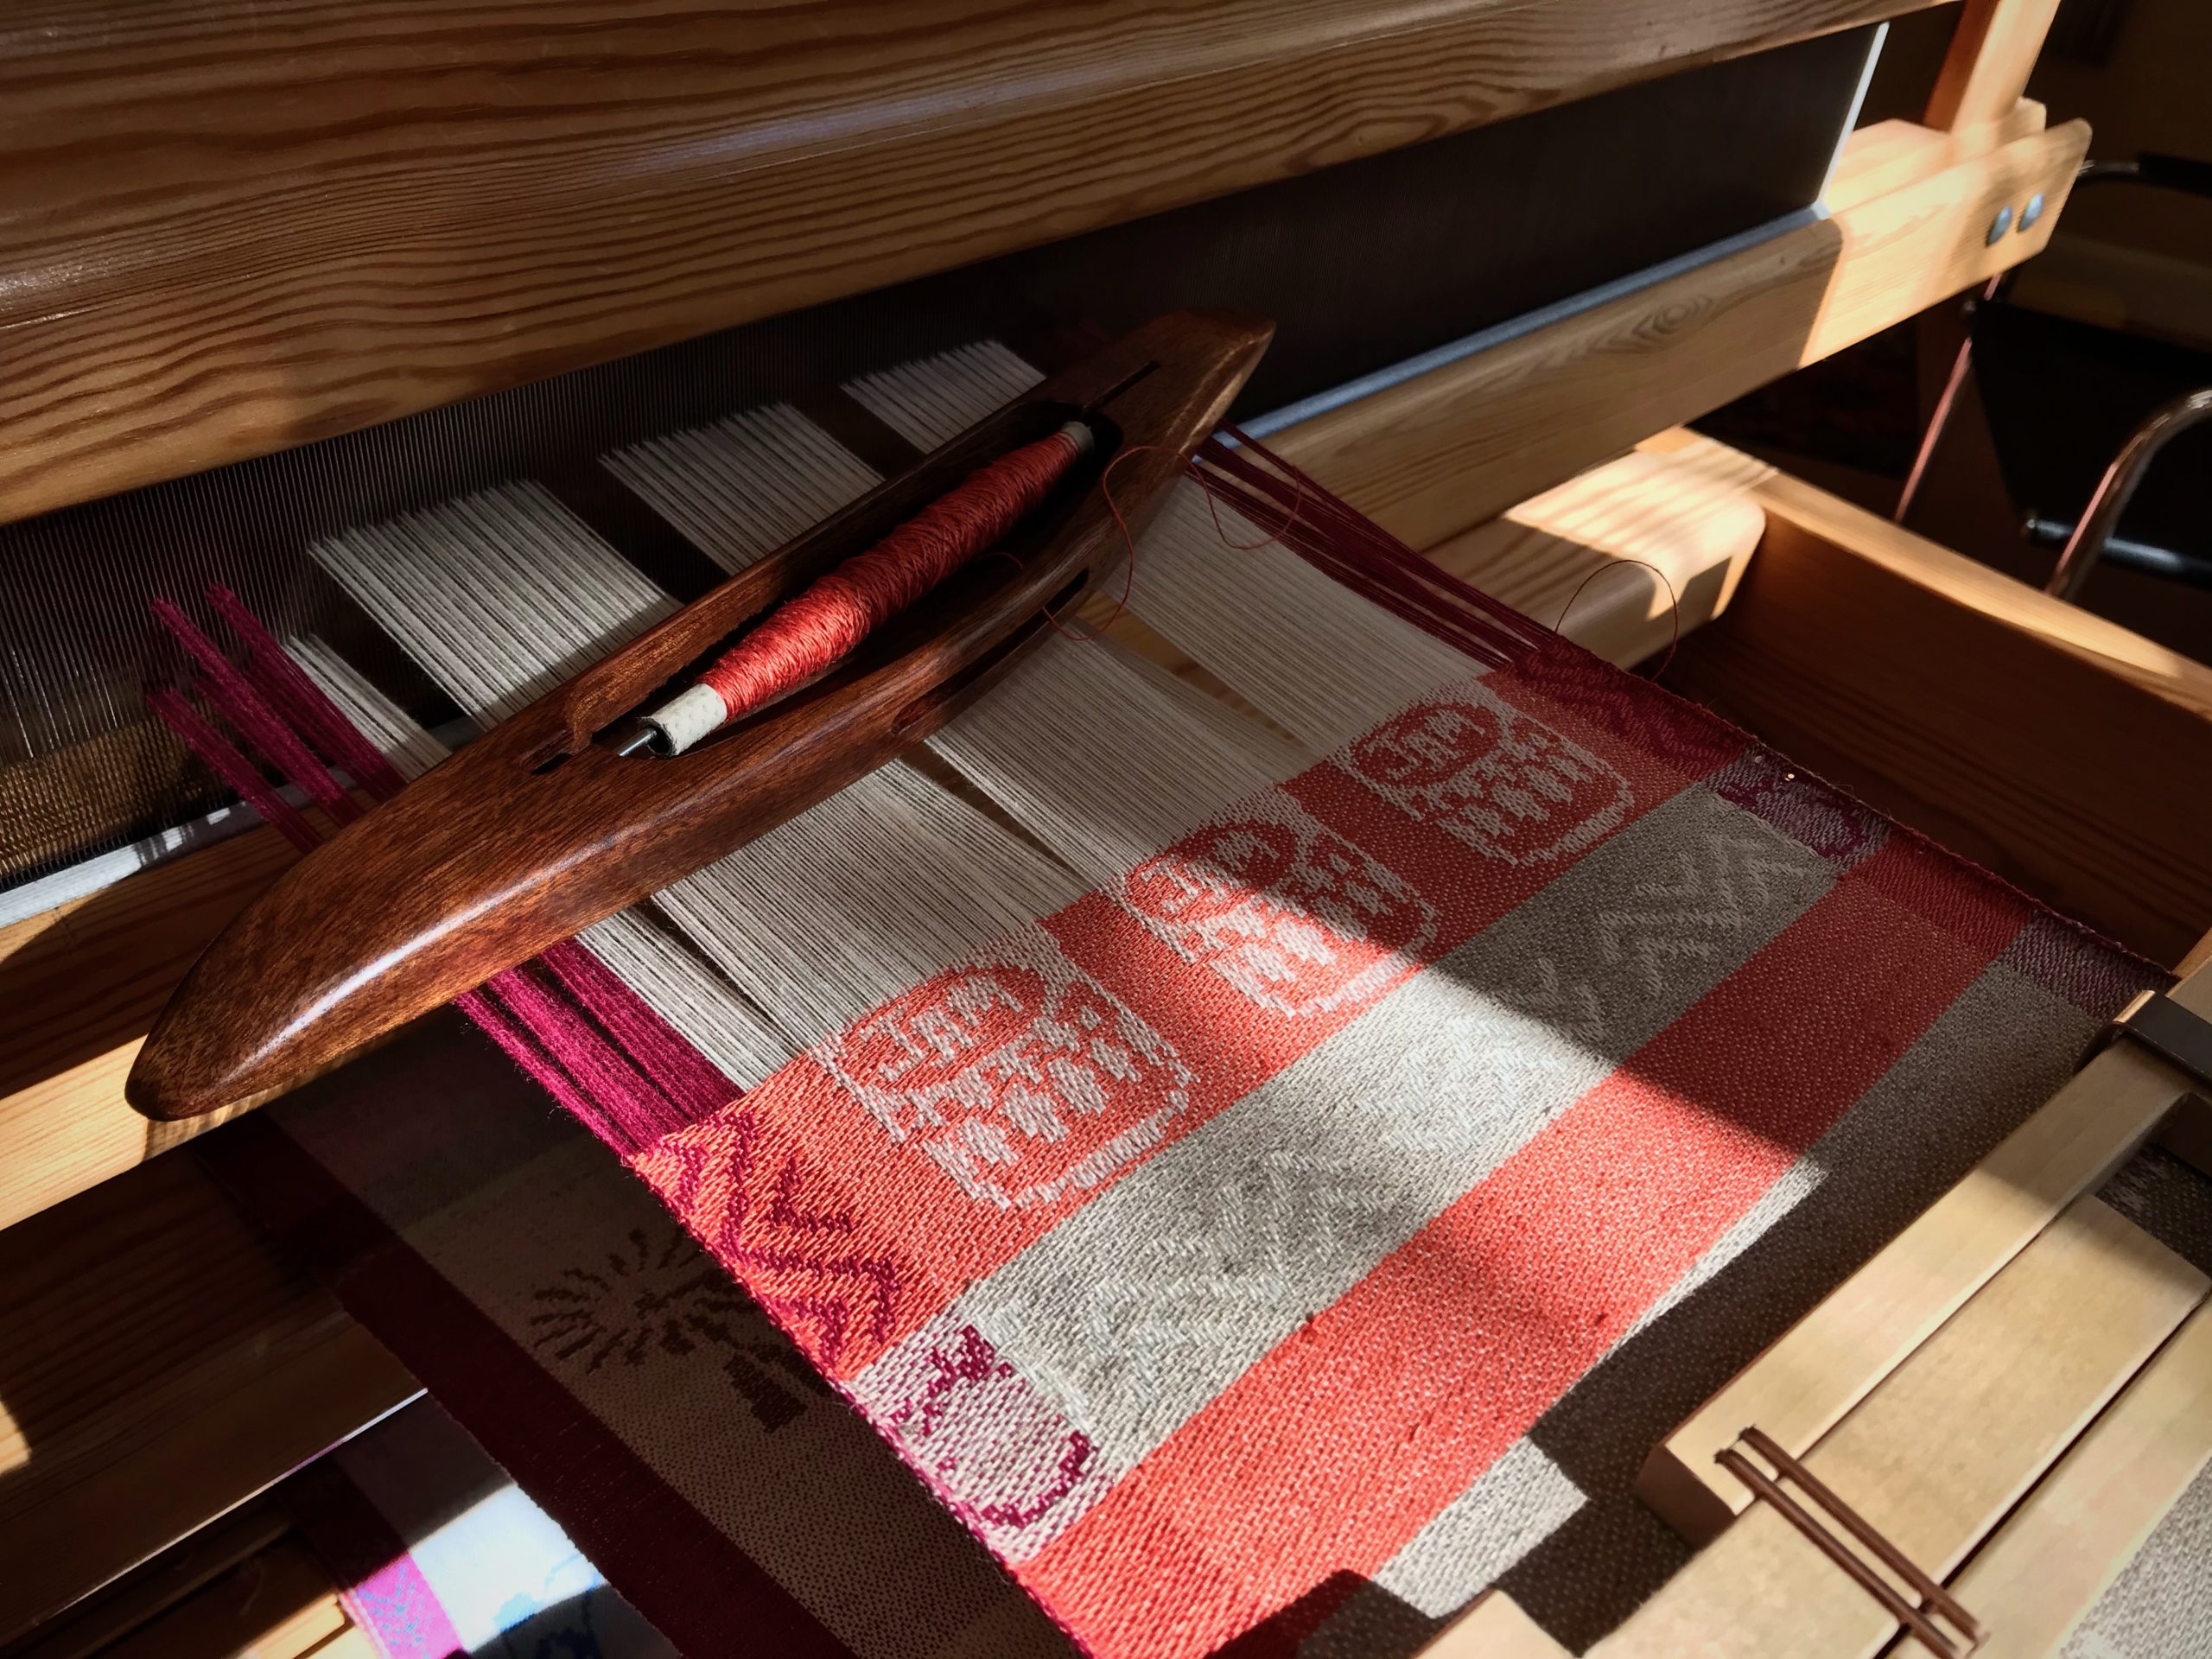
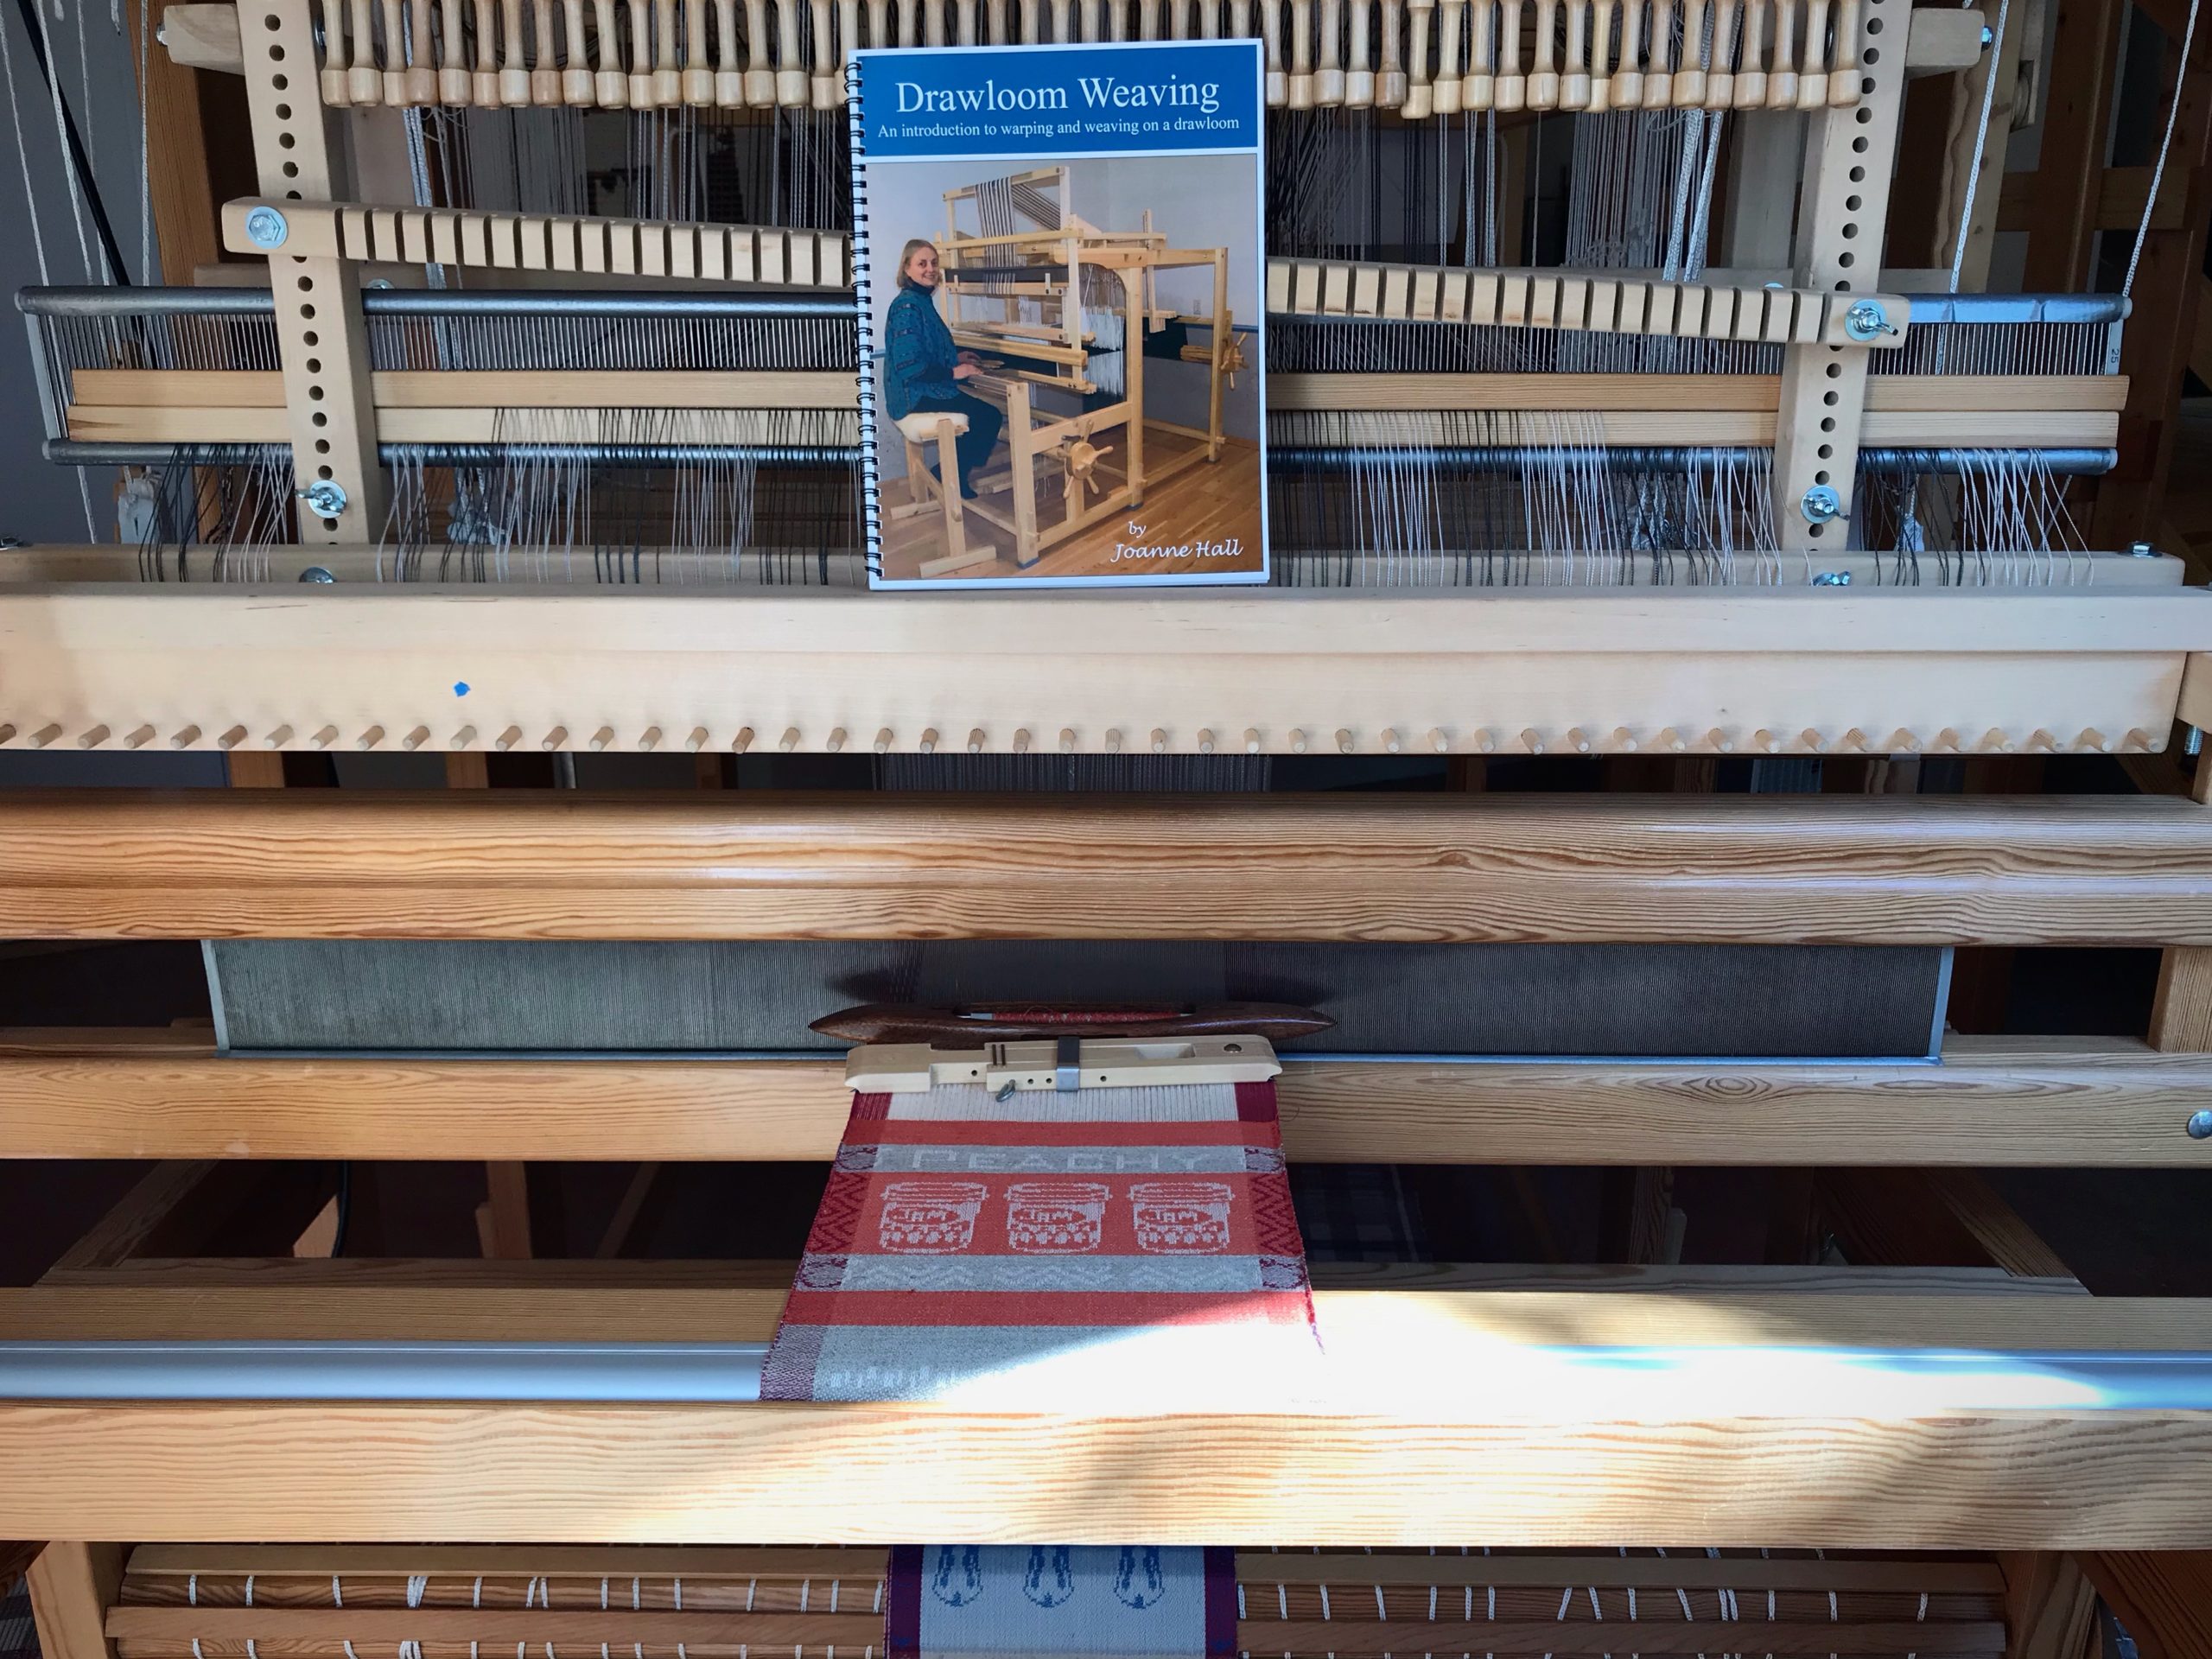
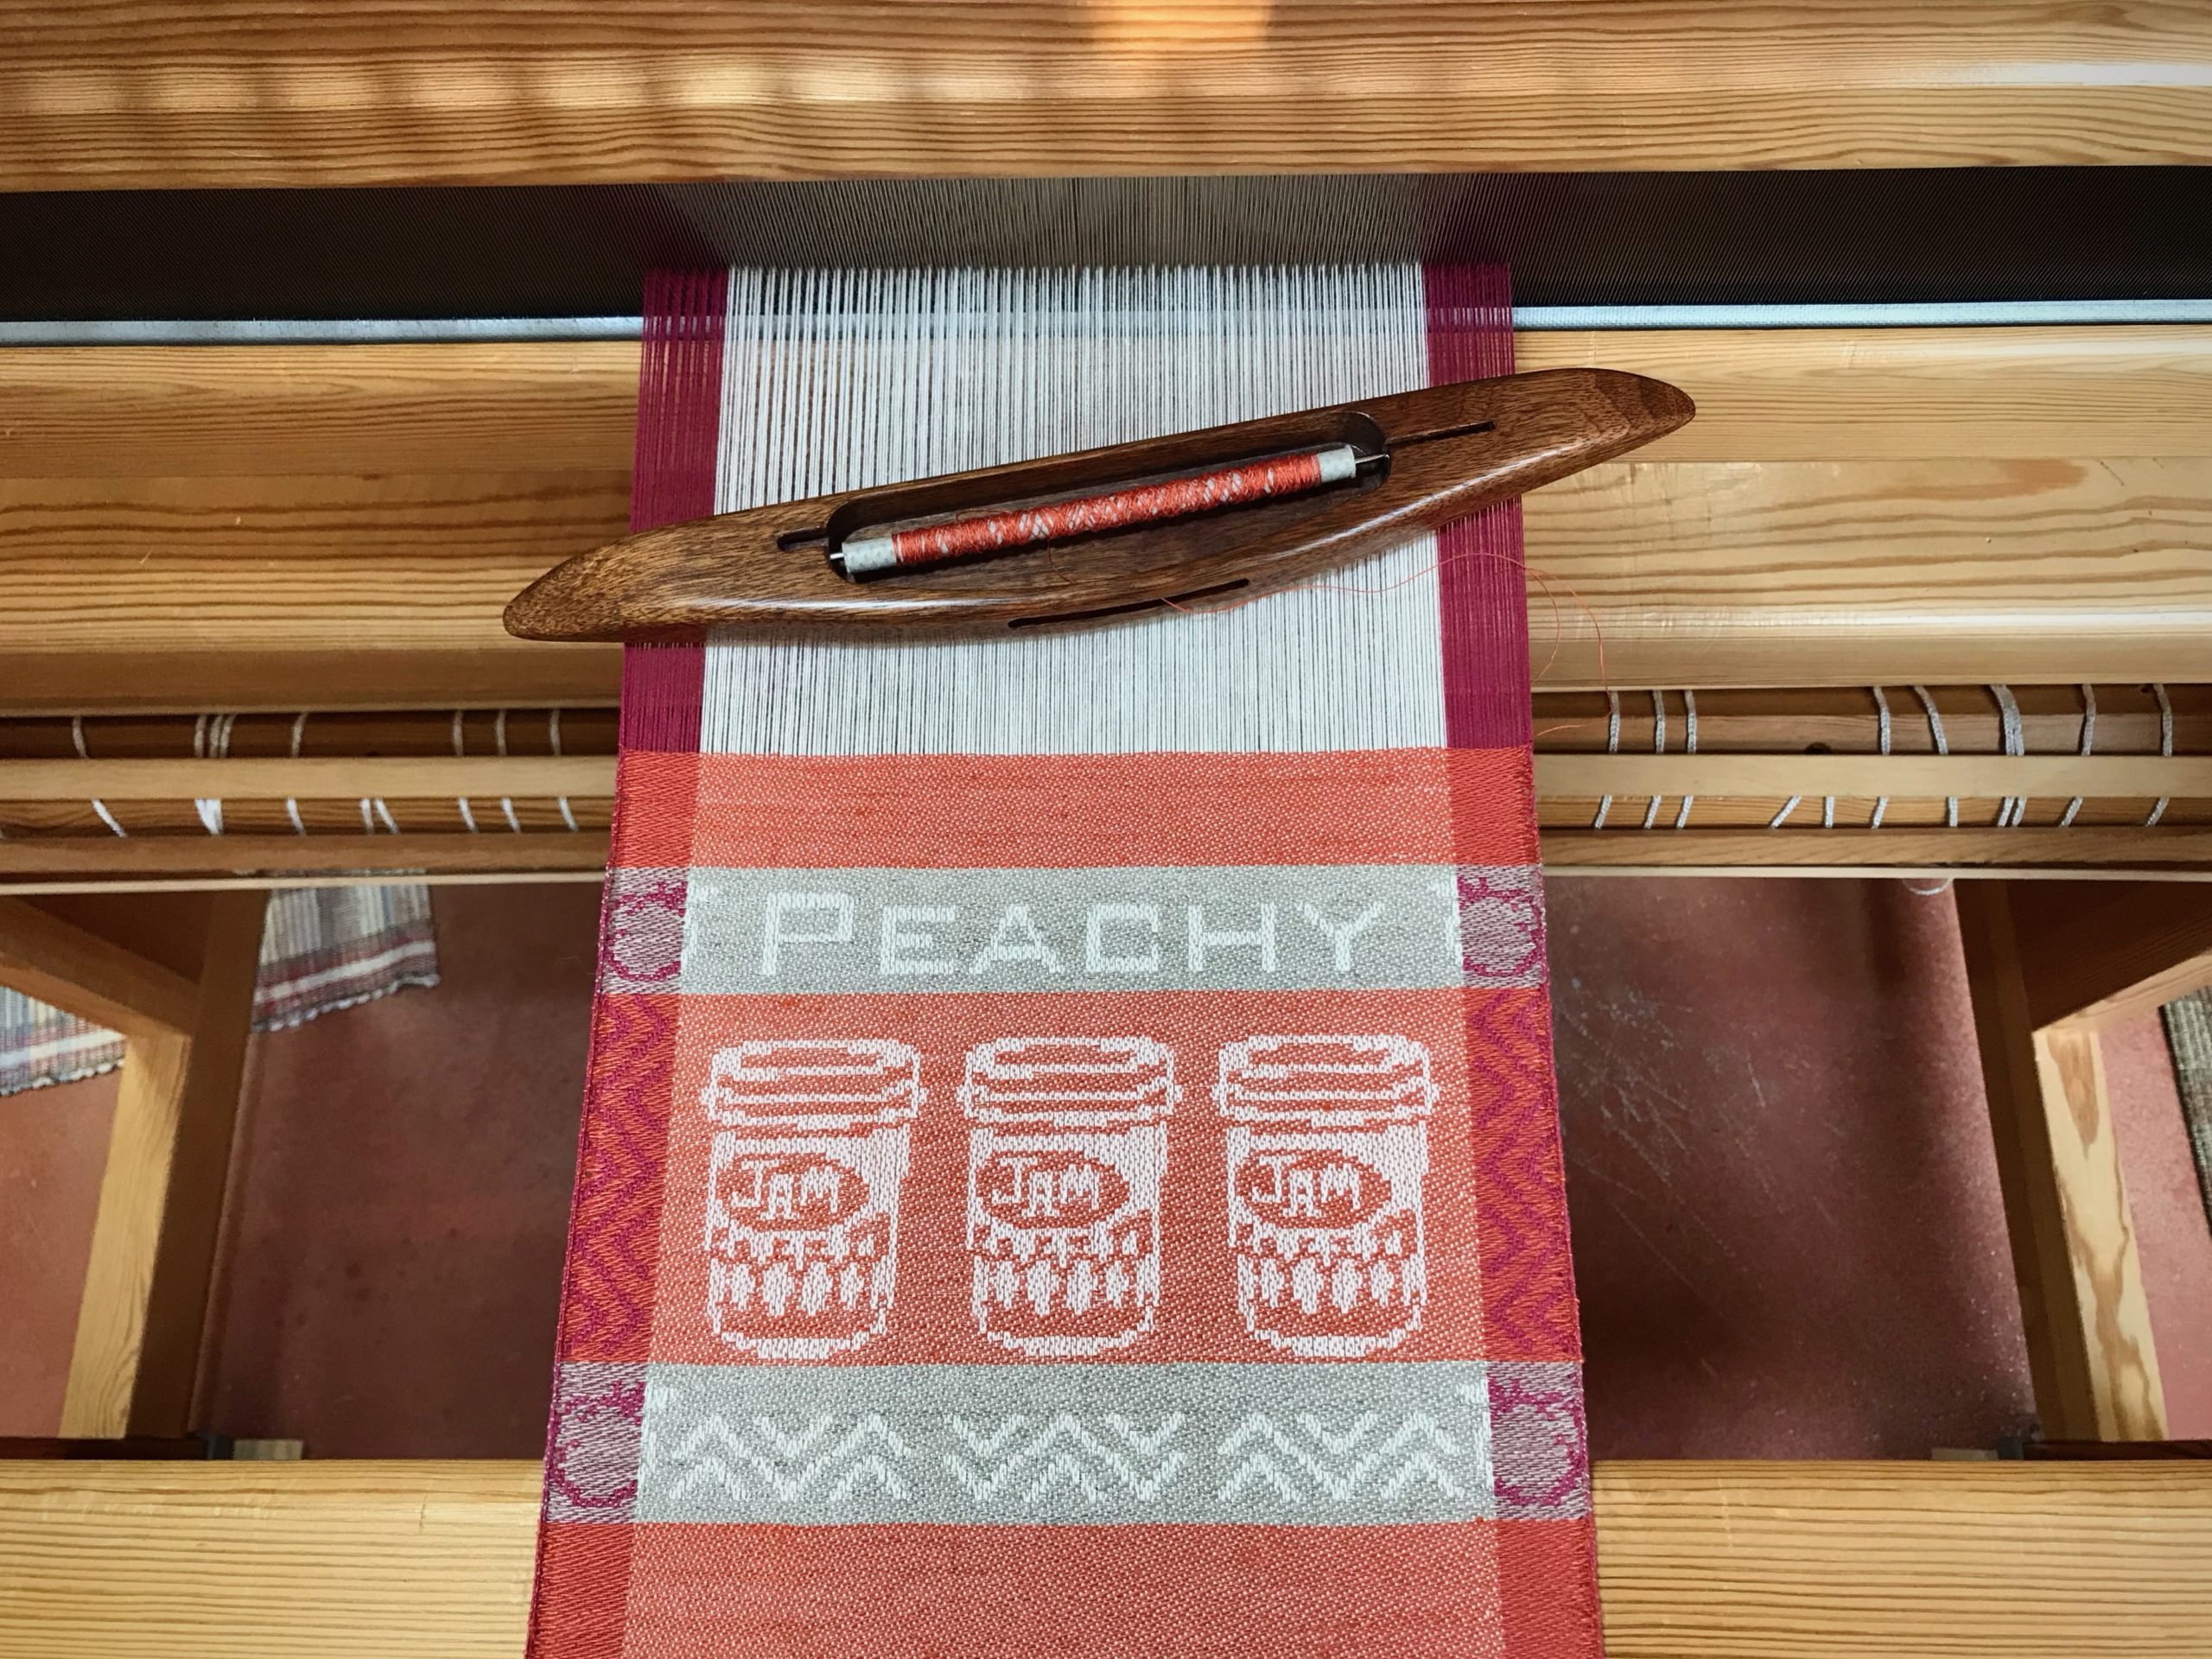
I canned my first-ever batch of jam last summer. Jars of yummy peach jam were on my mind when I started planning designs for this sample warp on the combination drawloom. Much to my delight, Joanne Hall has included my Jam Jars design in her updated edition of Drawloom Weaving, recently released.
Beginning another variation of the Jam Jars design.Earlier version of Jam Jars, with “Peach” spelled out in cursive letters.Simple lettering is possible with the pattern shafts. 30 pattern shafts for the jam jar design, including “JAM”, and 5 pattern shafts for the side borders.Drawloom Weaving, 2nd edition, by Joanne Hall. An essential resource for anyone interested in drawloom weaving.
I am weaving several versions of the jam jars. Each variation has a different set of borders as I test my understanding of the Myrehed combination attachment. I am studying the versatility of this drawloom. Pattern shafts enable pattern repeats for the jam jars and side borders. Single unitsmake it possible to weave the peaches in the corners and “Peachy” across the top. Can you tell if the border across the bottom is made with pattern shafts? Or, is it made with single units?
Everything is Peachy!
Depth of understanding comes from study. Practice makes it real. Go all in; make mistakes, un-do and re-make; have What-now? moments and Aha! moments. Make deliberate observations. It’s all part of the process. That’s what forgiveness from God through Jesus Christ is like. Forgiveness is good news. When we receive his forgiveness he sets us on a path to study, learn, and understand his grace. The depth of which will take an eternity to understand.
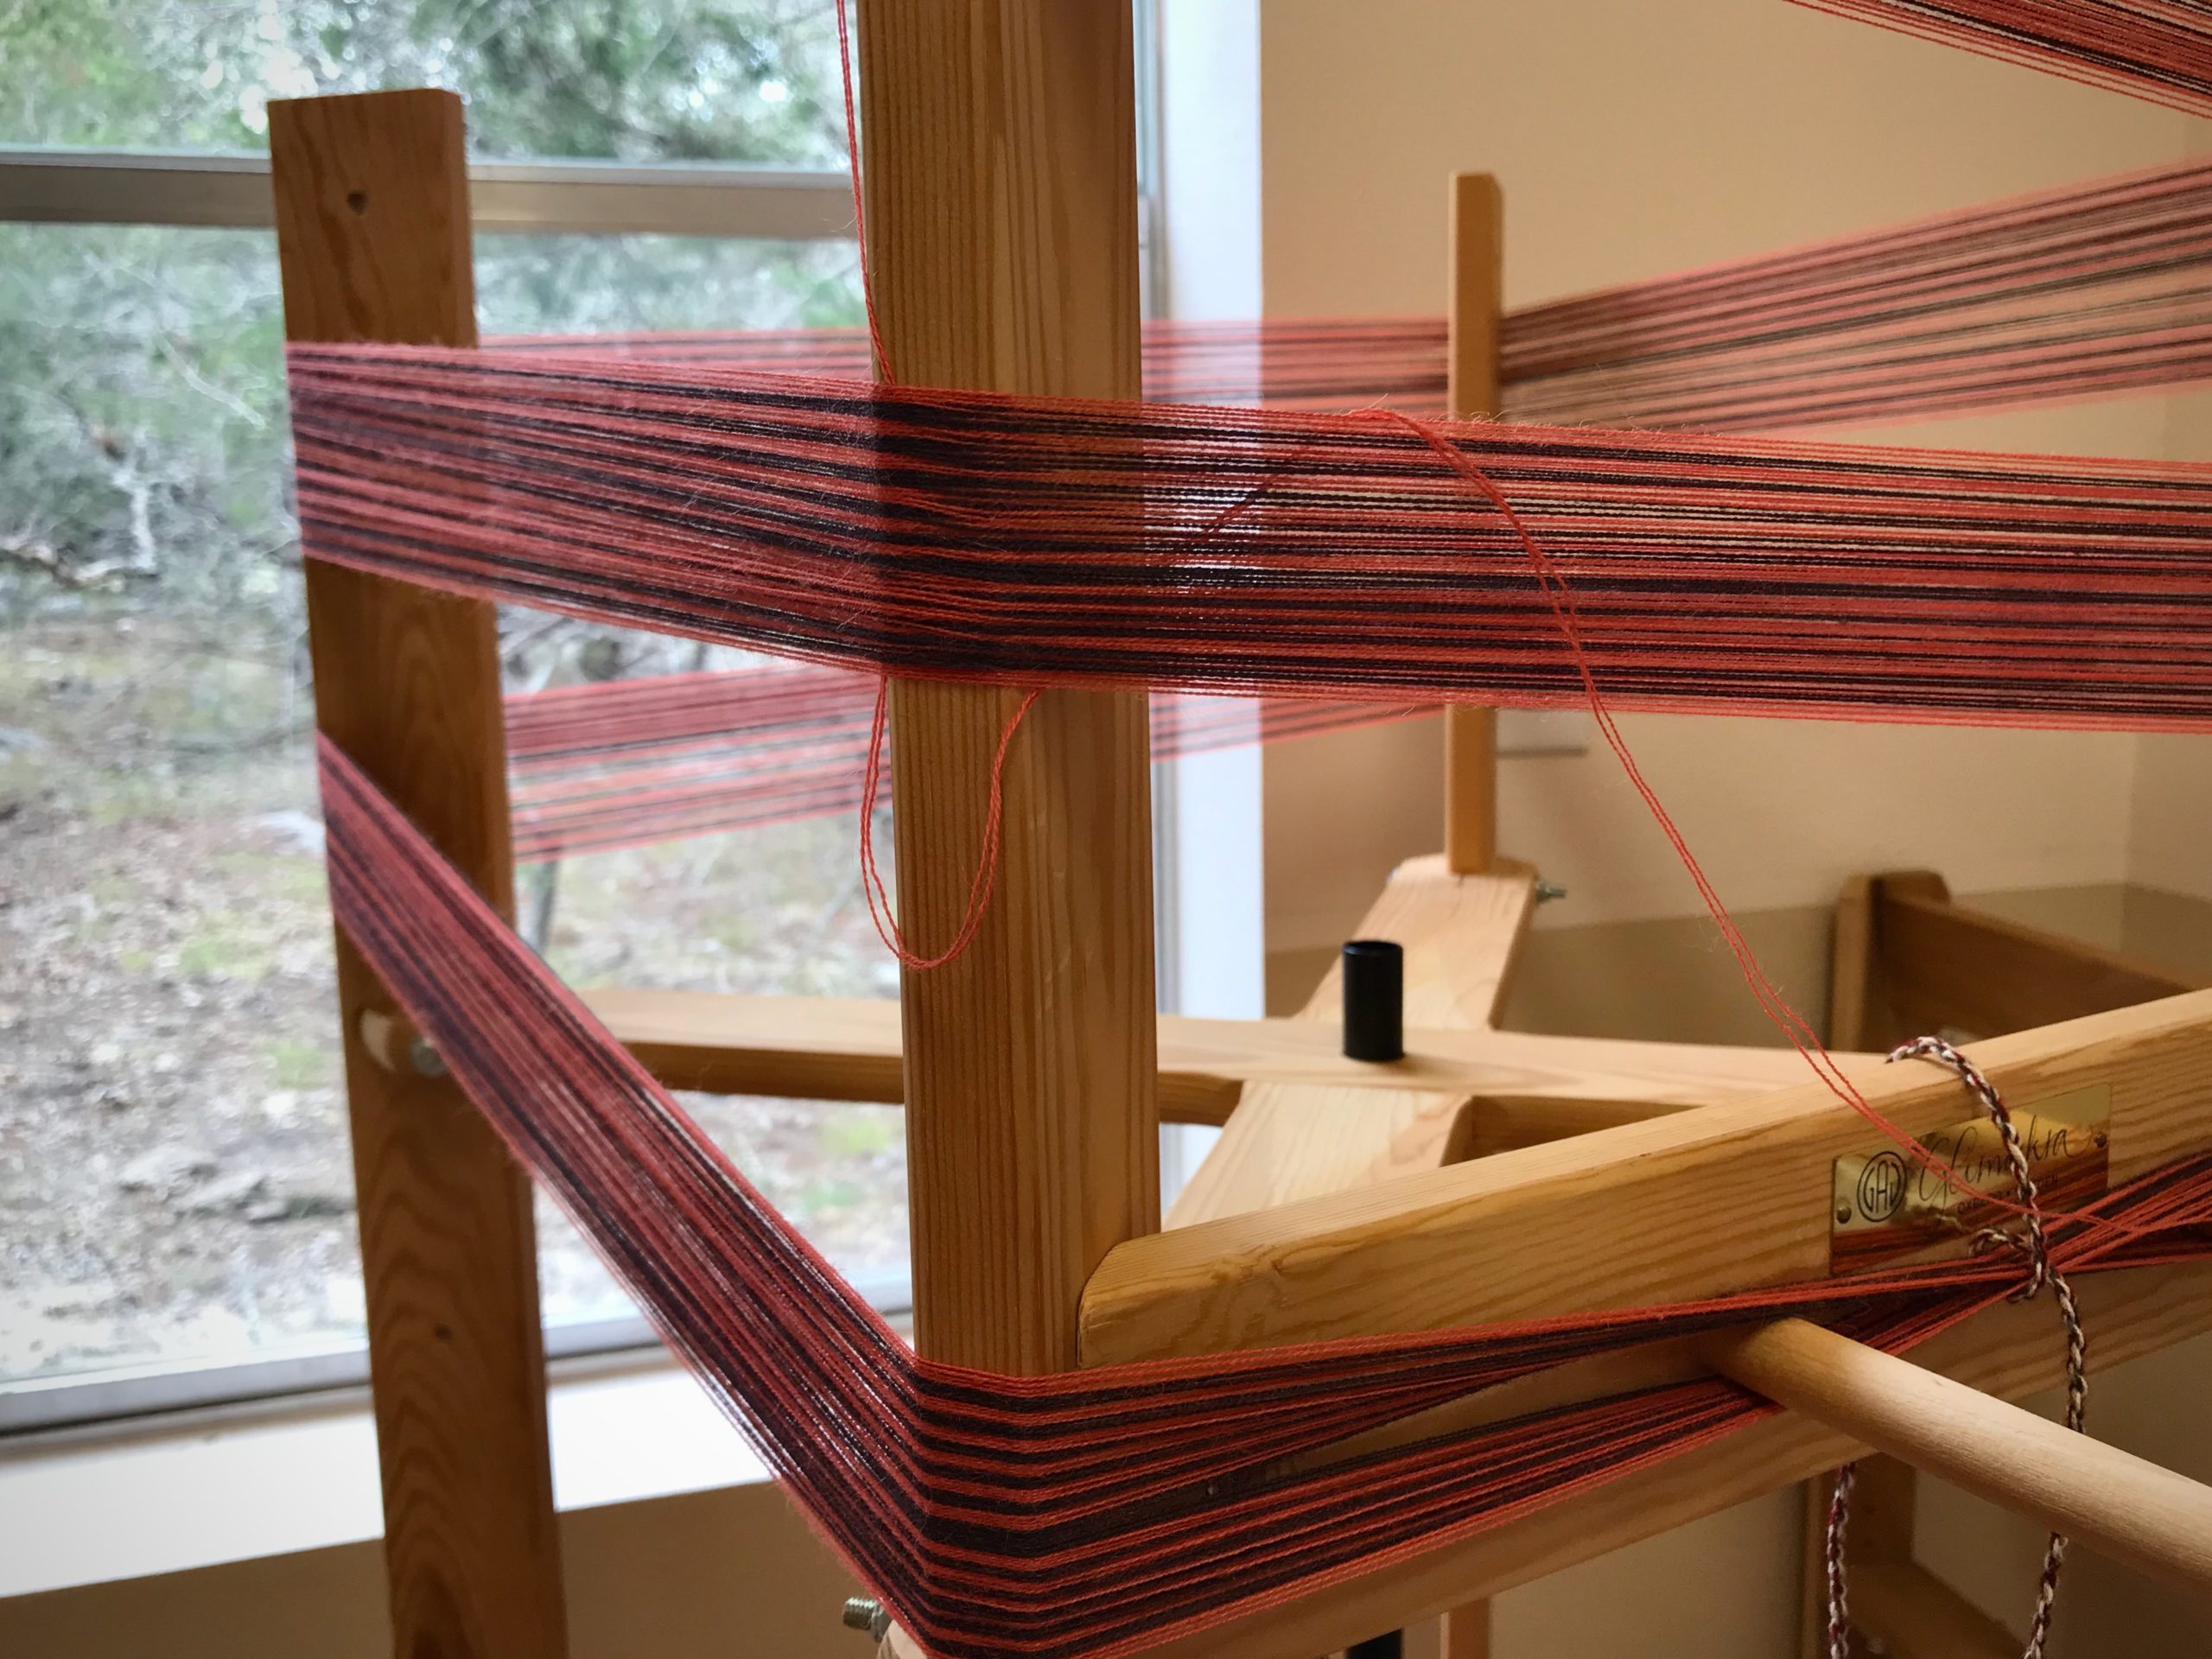
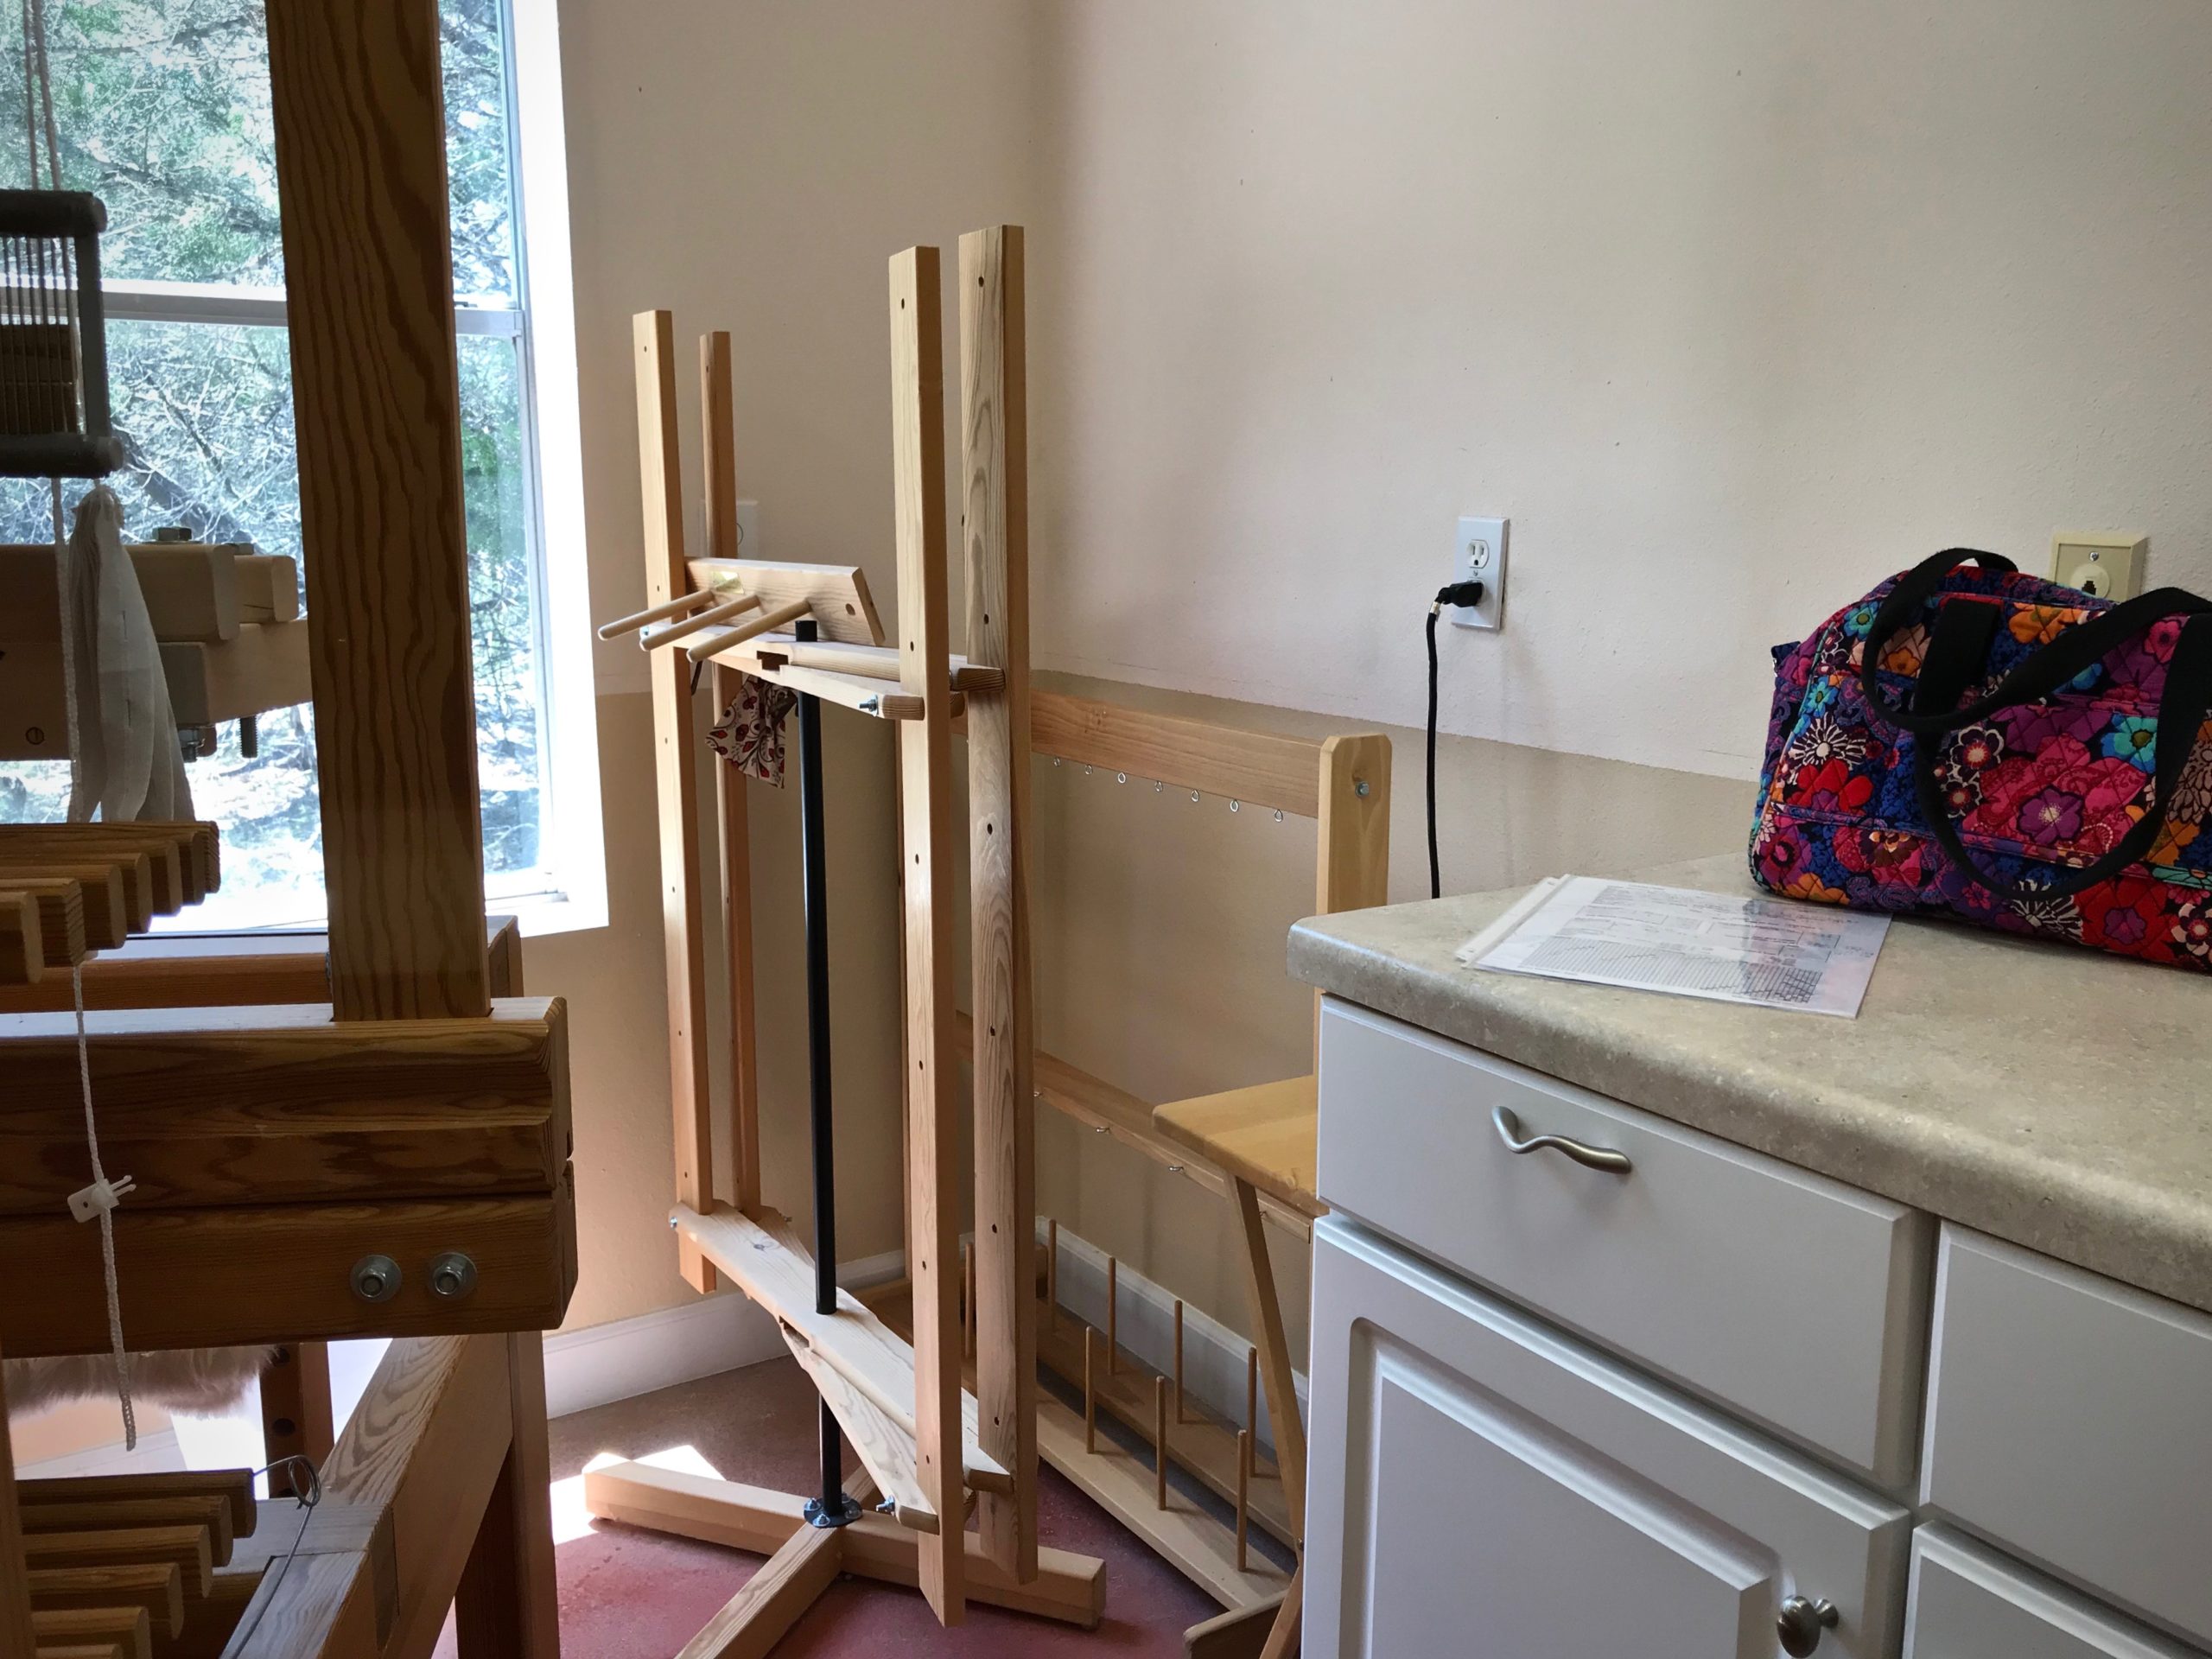
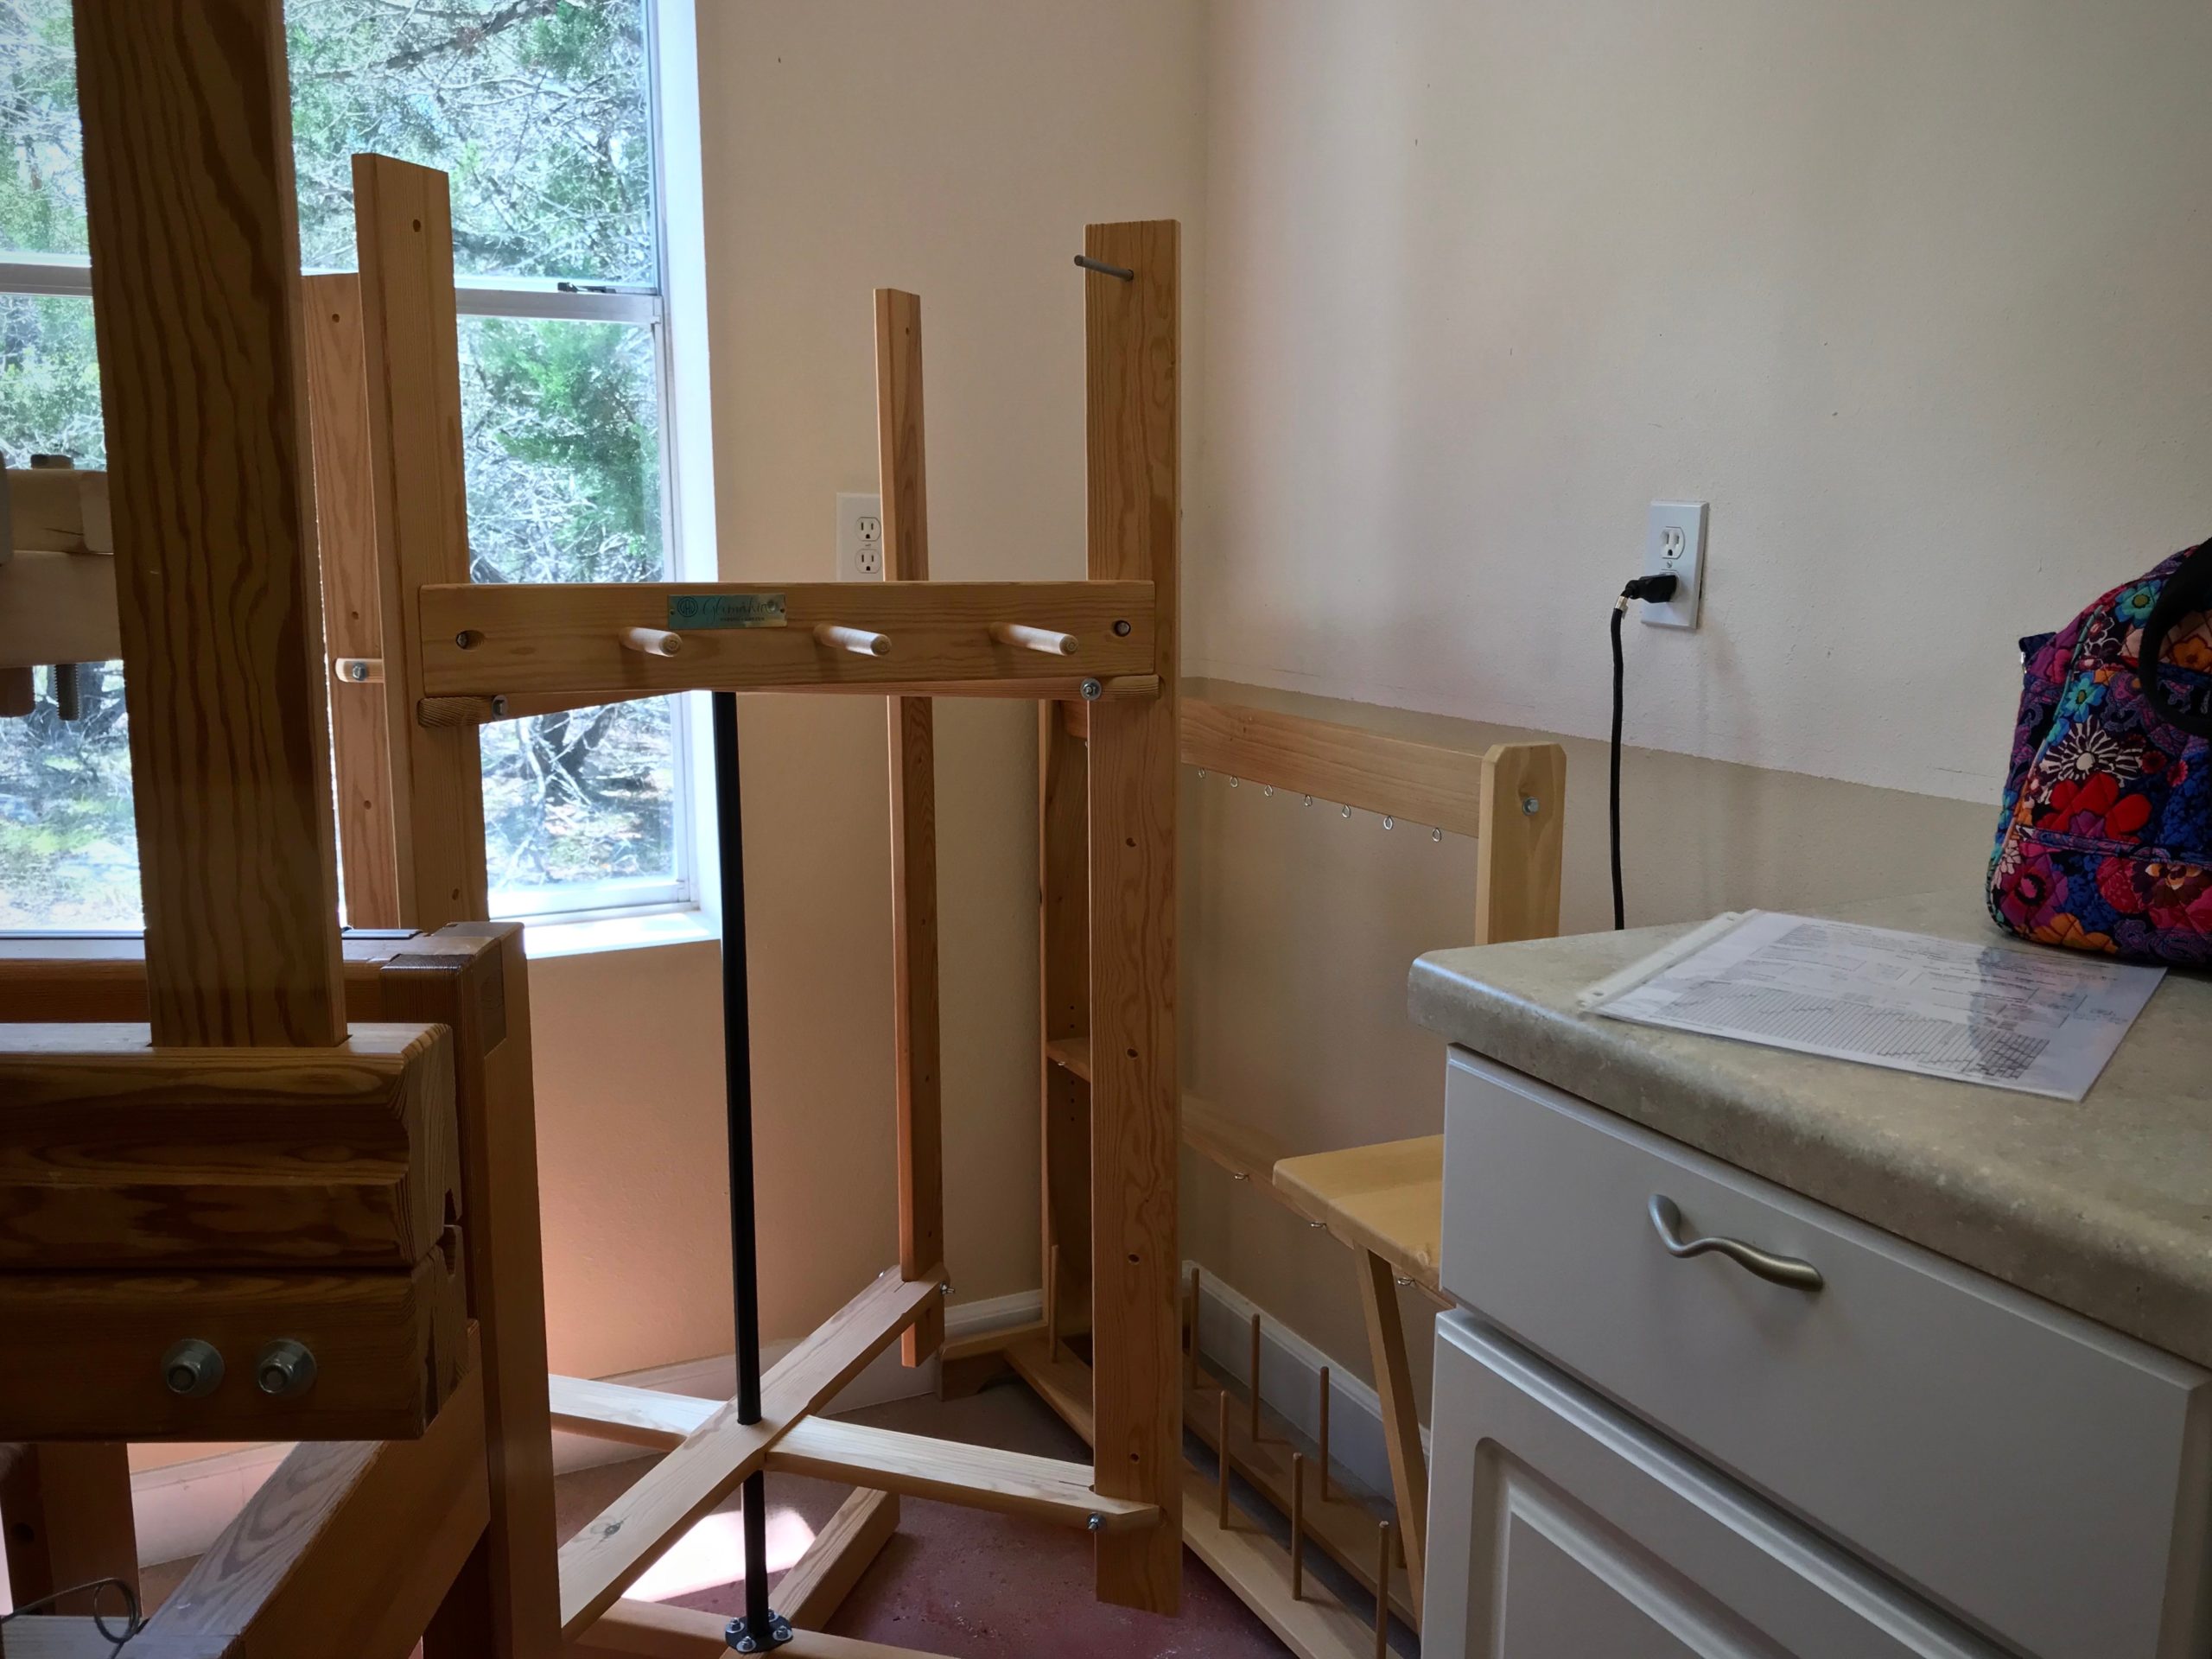
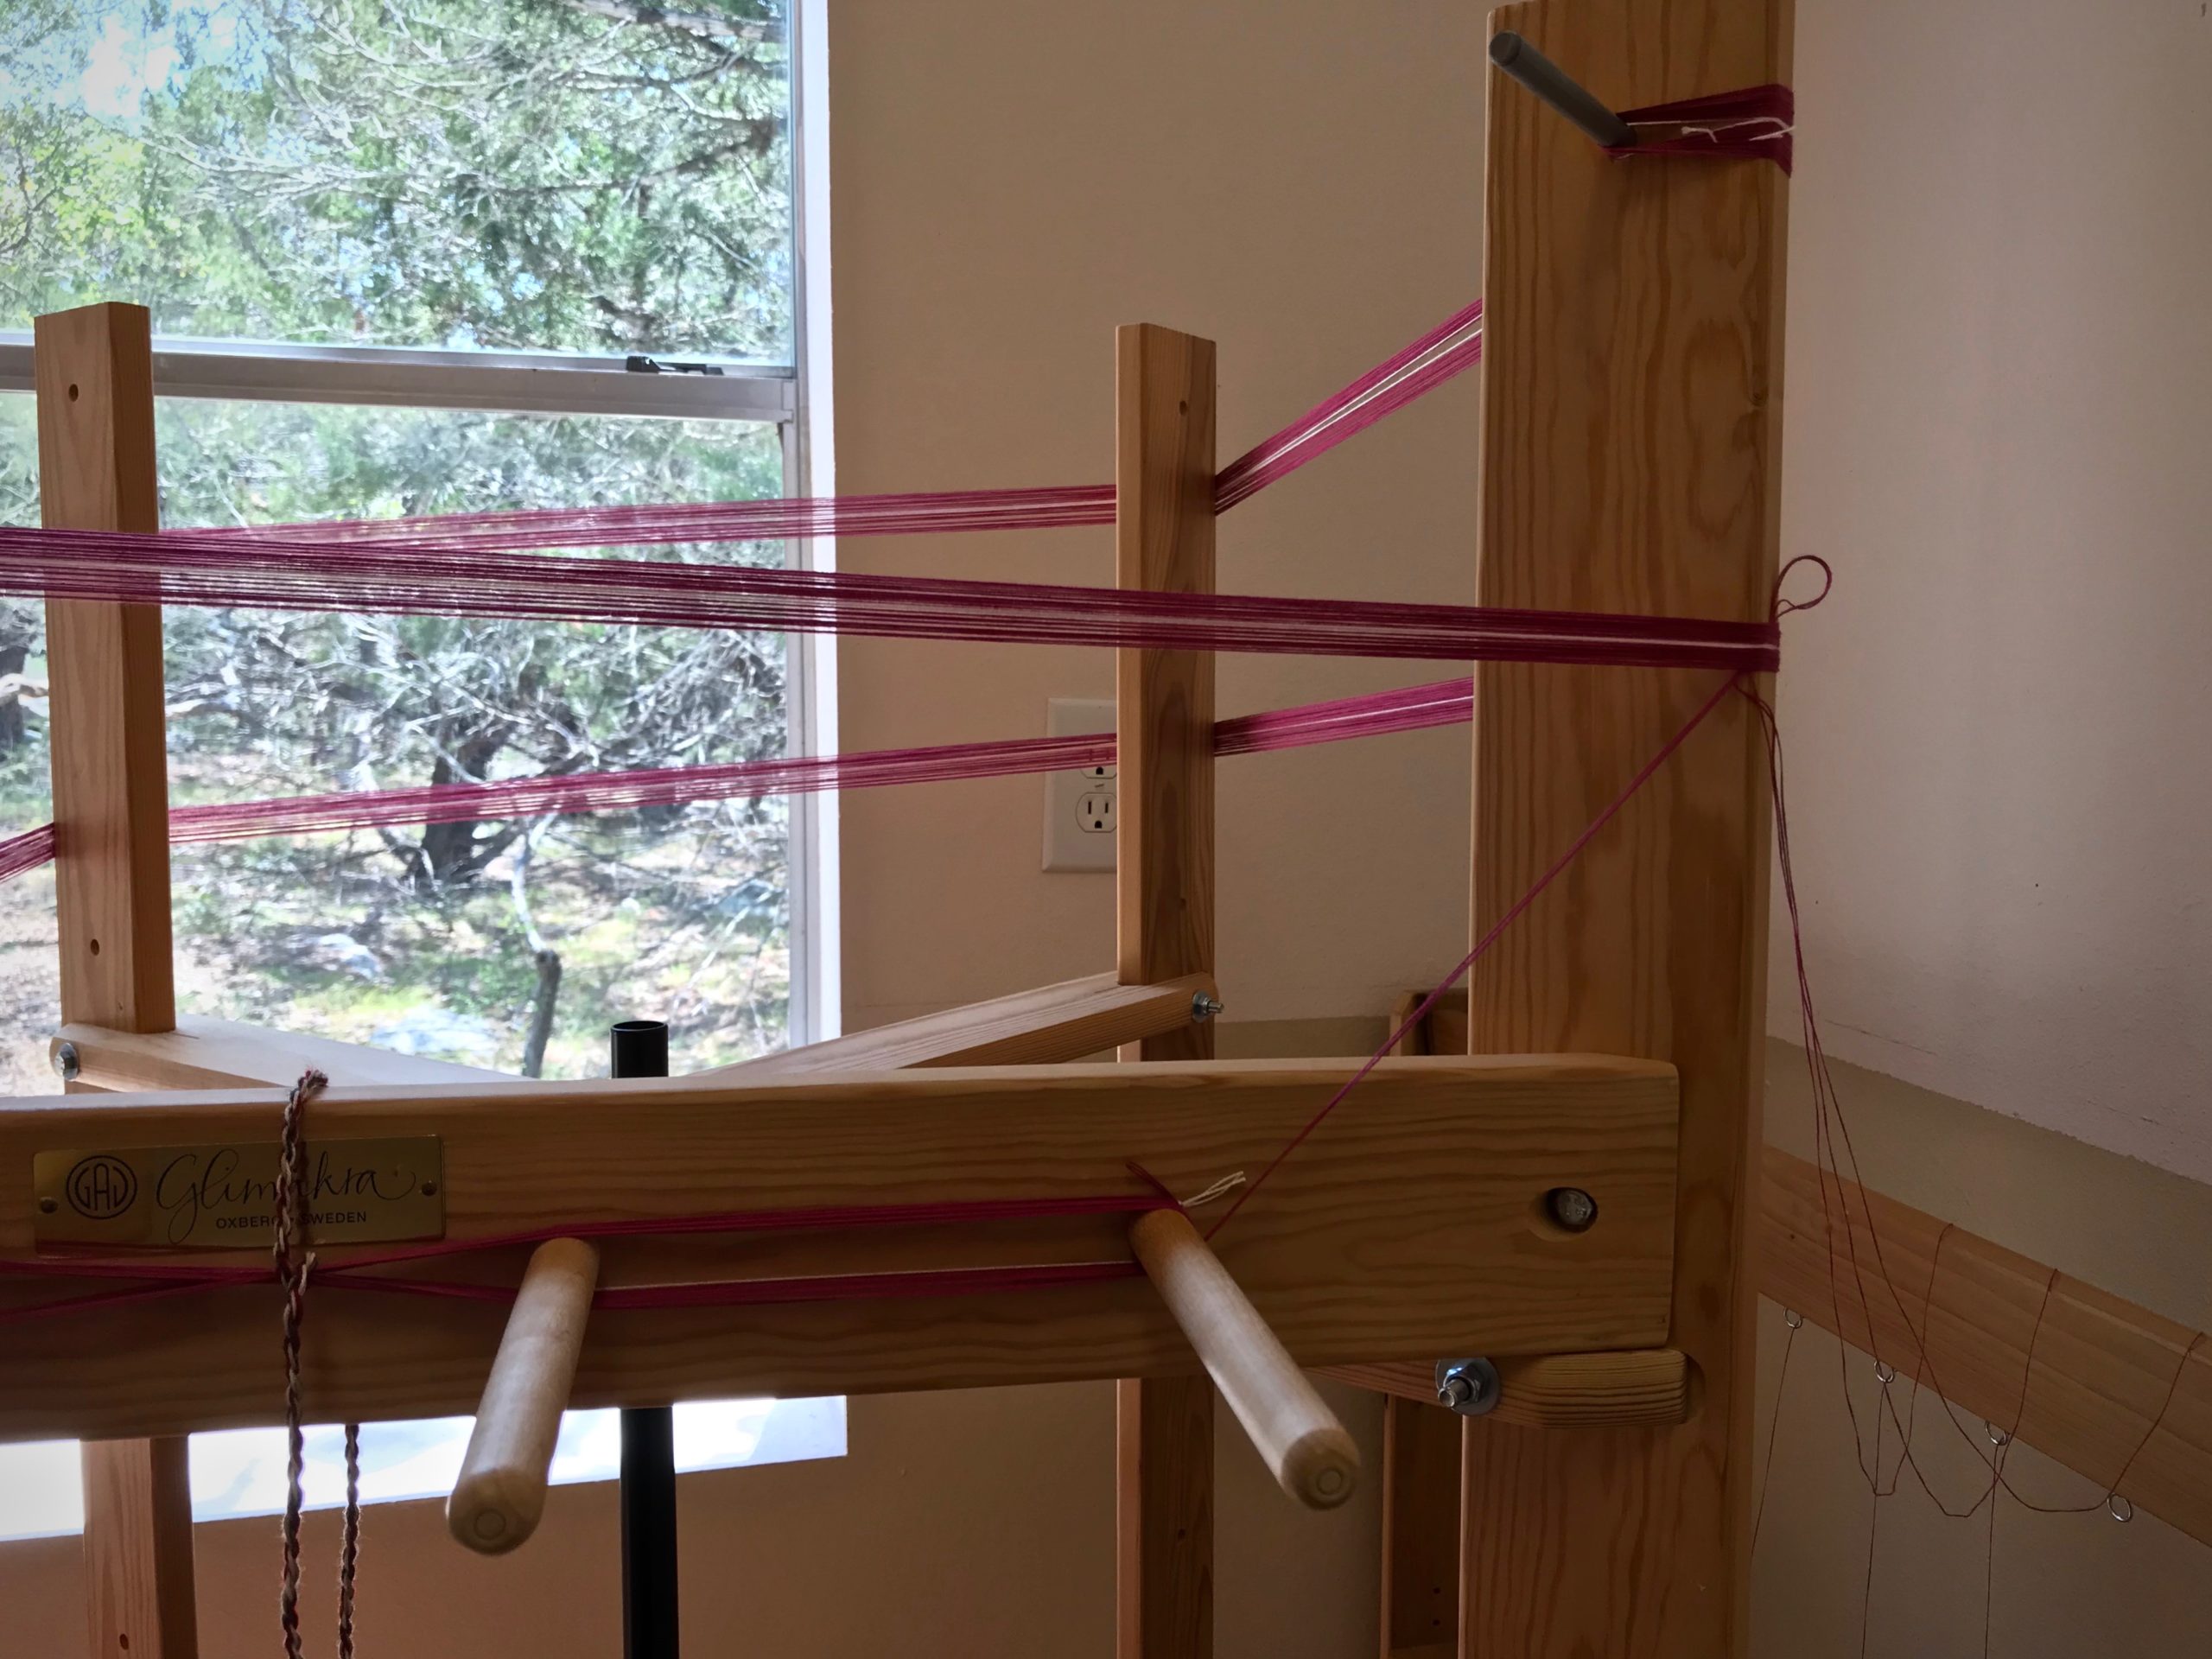
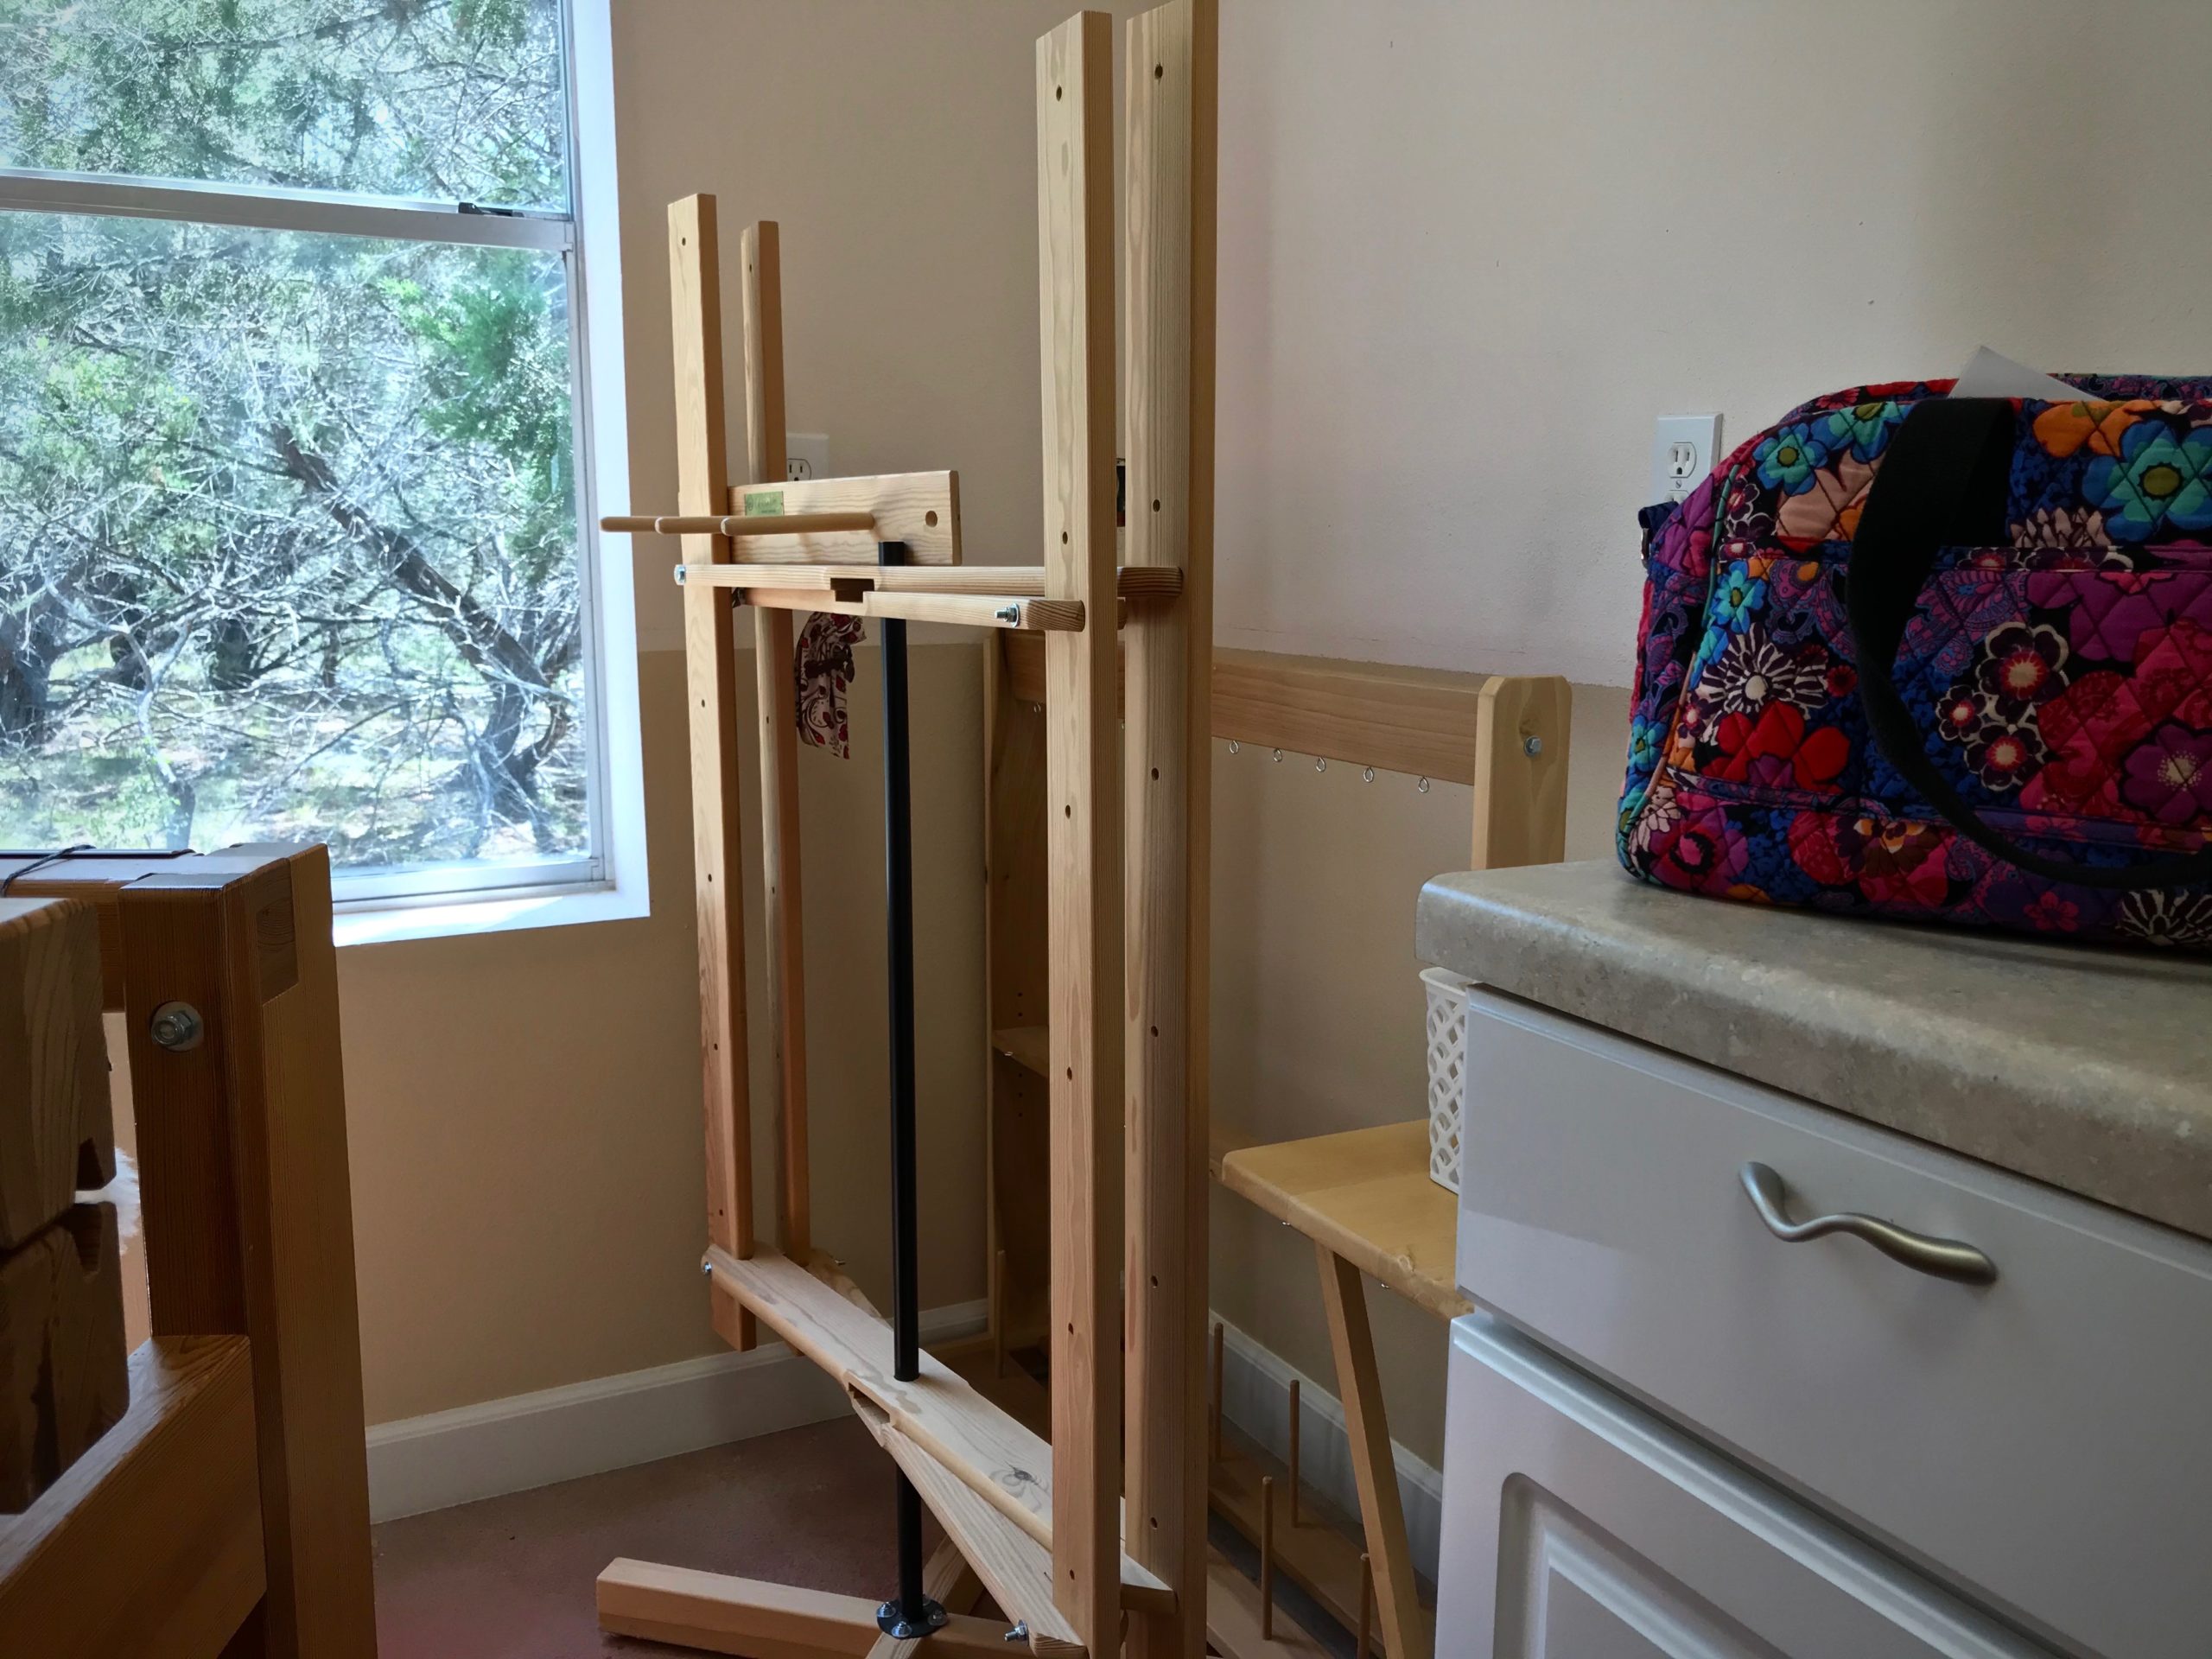
I am winding a narrow warp for my next drawloom project. My warping reel is in a little four-foot-by-four-foot corner of my drawloom studio, and has just enough room to maneuver. When I am ready to wind a warp the first thing I pull out is my trusty checklist. I use a checklist for efficiency. It keeps me on track. And it’s more dependable than my memory.
Checklist for Winding a Warp
__ Weigh warp thread and write the amounts on the project notes. By weighing the thread before and after a project, you will know exactly how much warp thread was used in the project.
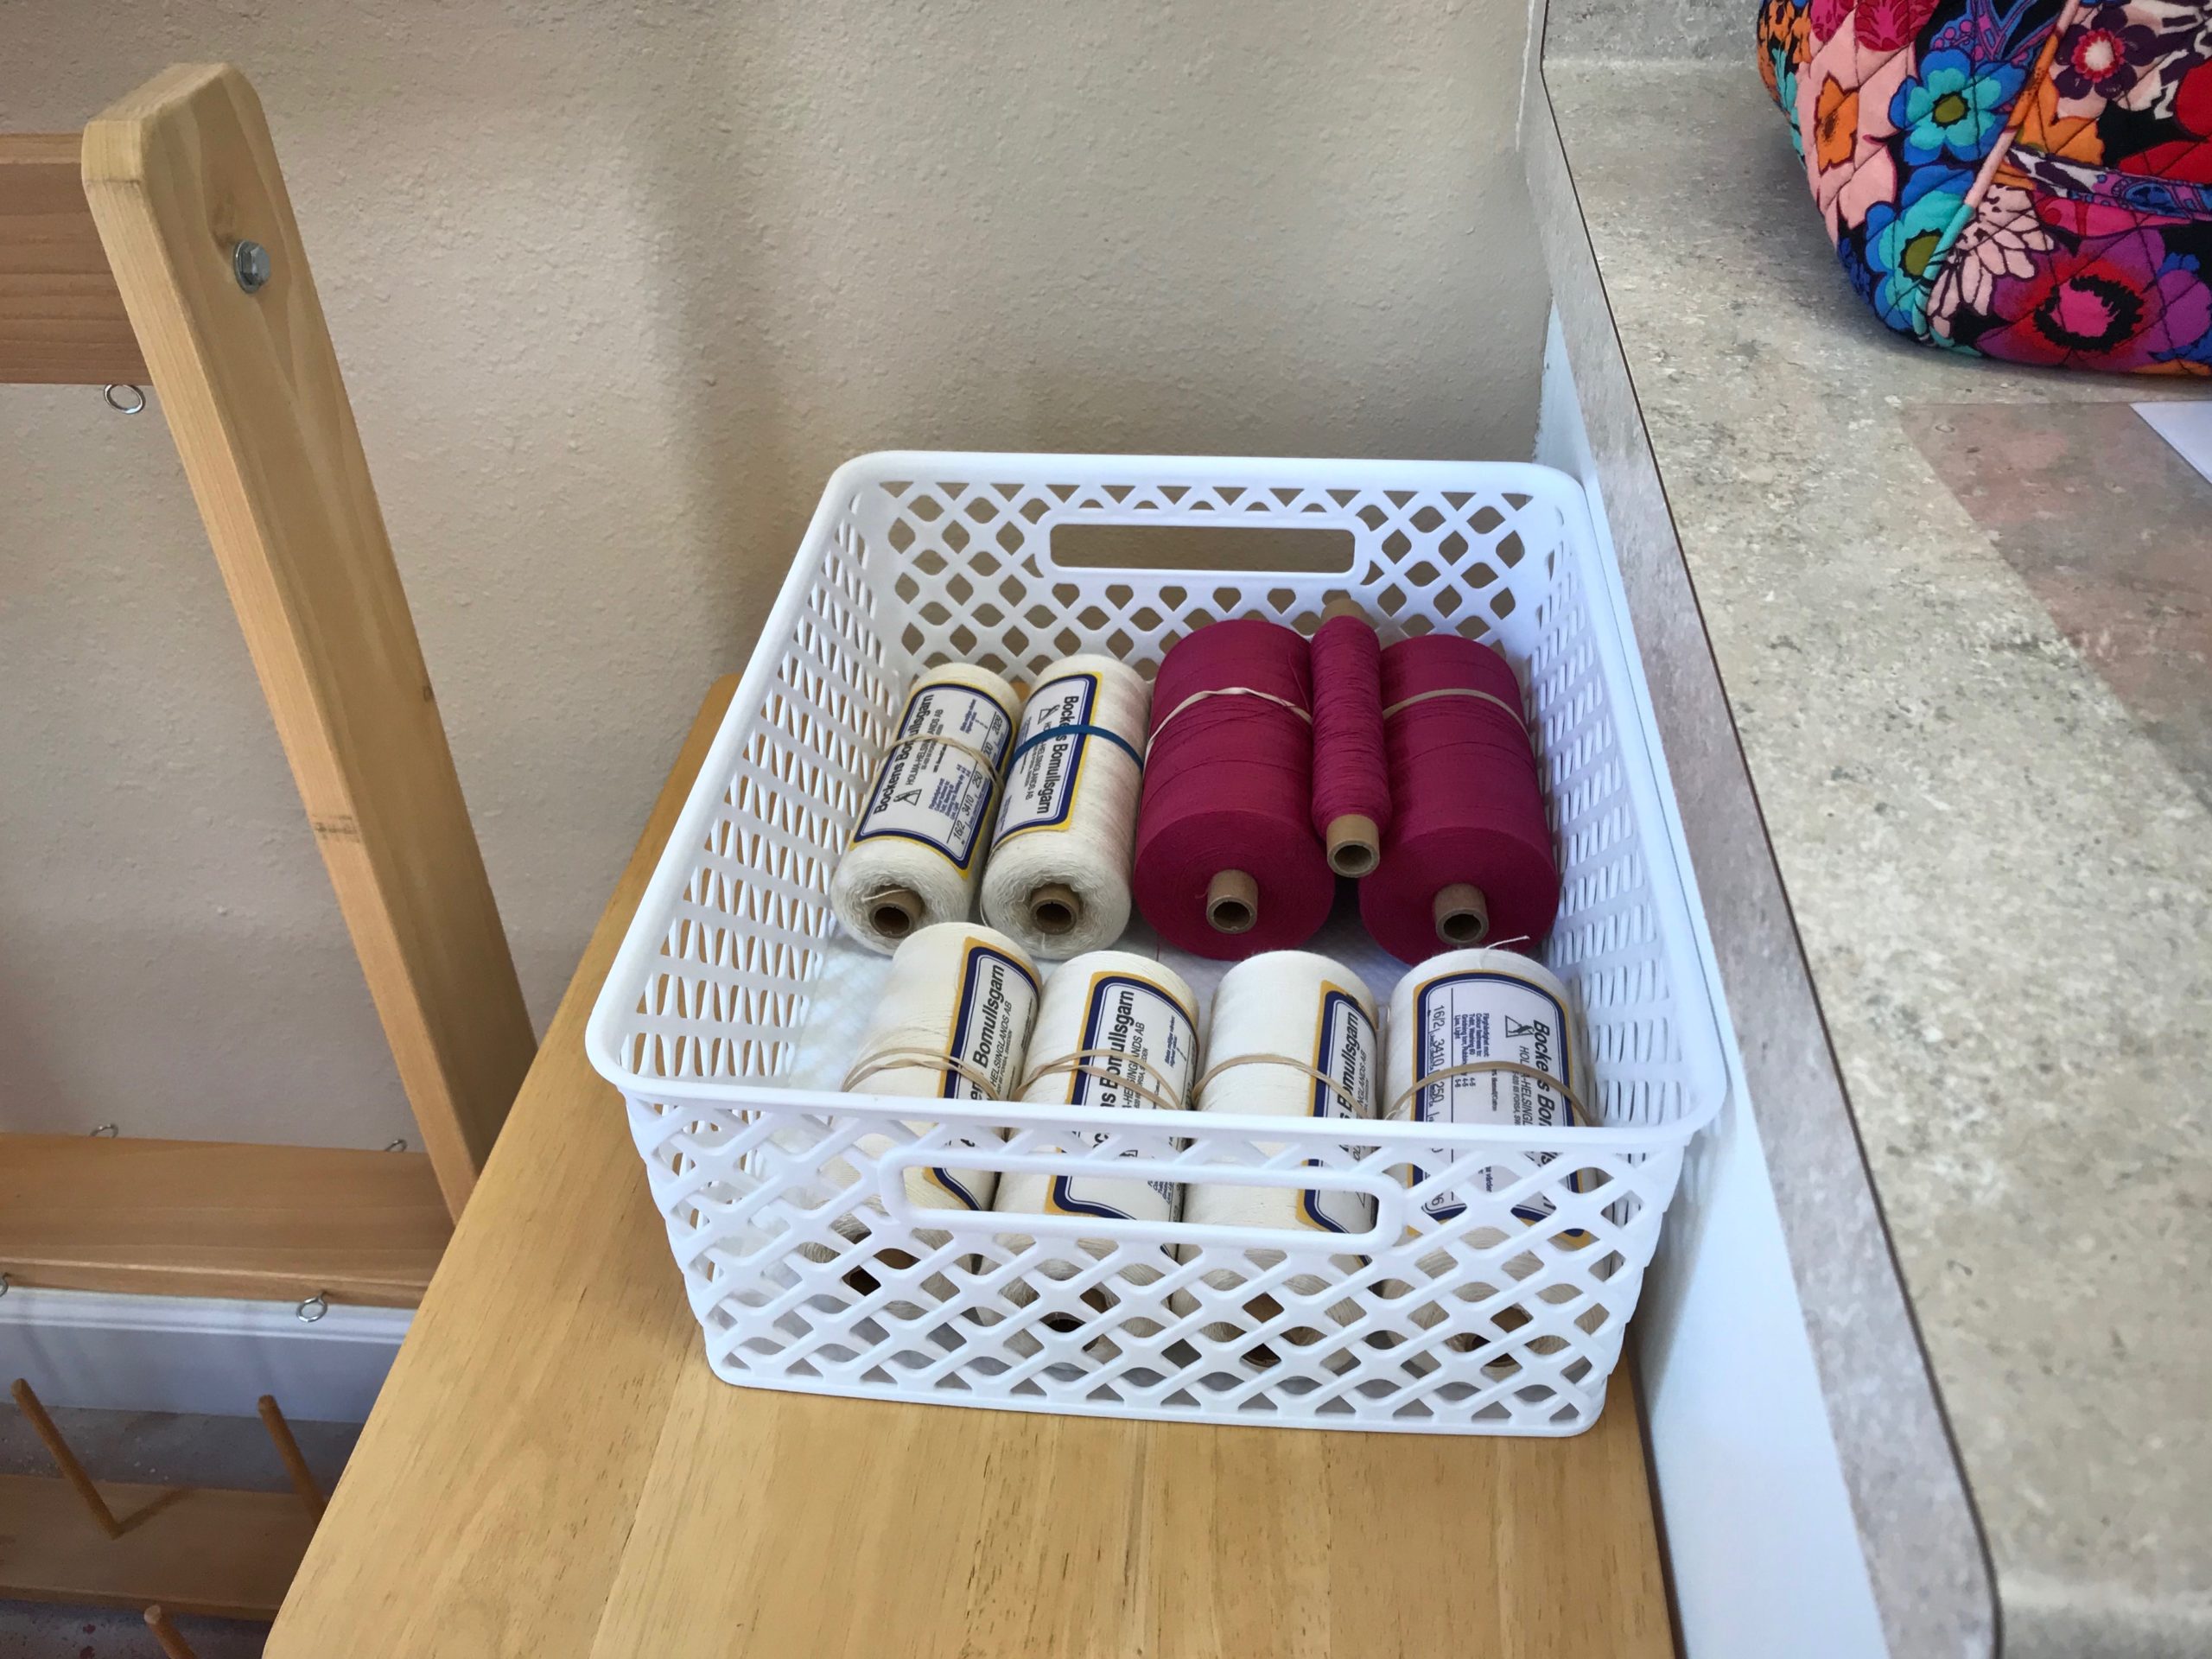
__ Stick a sample four-inch thread to each thread label; put a rubber band around the tube. After you finish winding the warp, you can quickly pair each yarn with its correct label because of the sample thread stuck to the label.
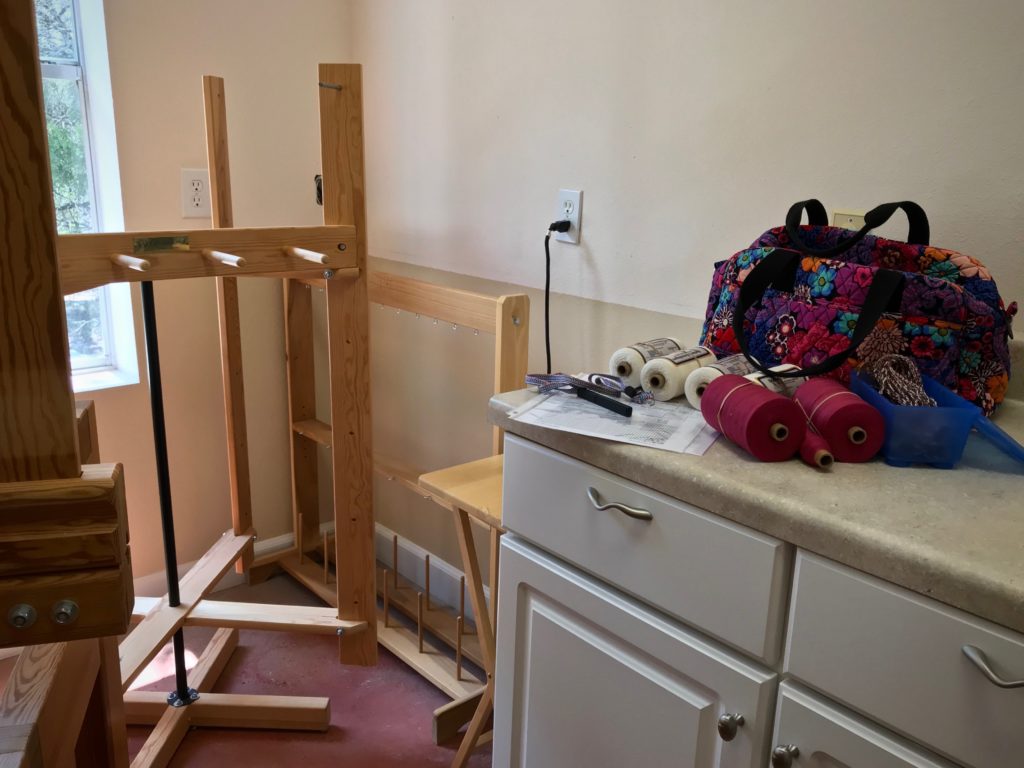
__ Bring supplies to the warping reel. If your warping reel is in a different room, or in a separate building, like mine is, make sure you have all you need before you head to the warping reel.
+ Project notes, with fully completed draft — An incomplete draft may give faulty information. Also, a review of the project notes and draft is a good idea, especially if weeks or months have passed since you wrote it all down.
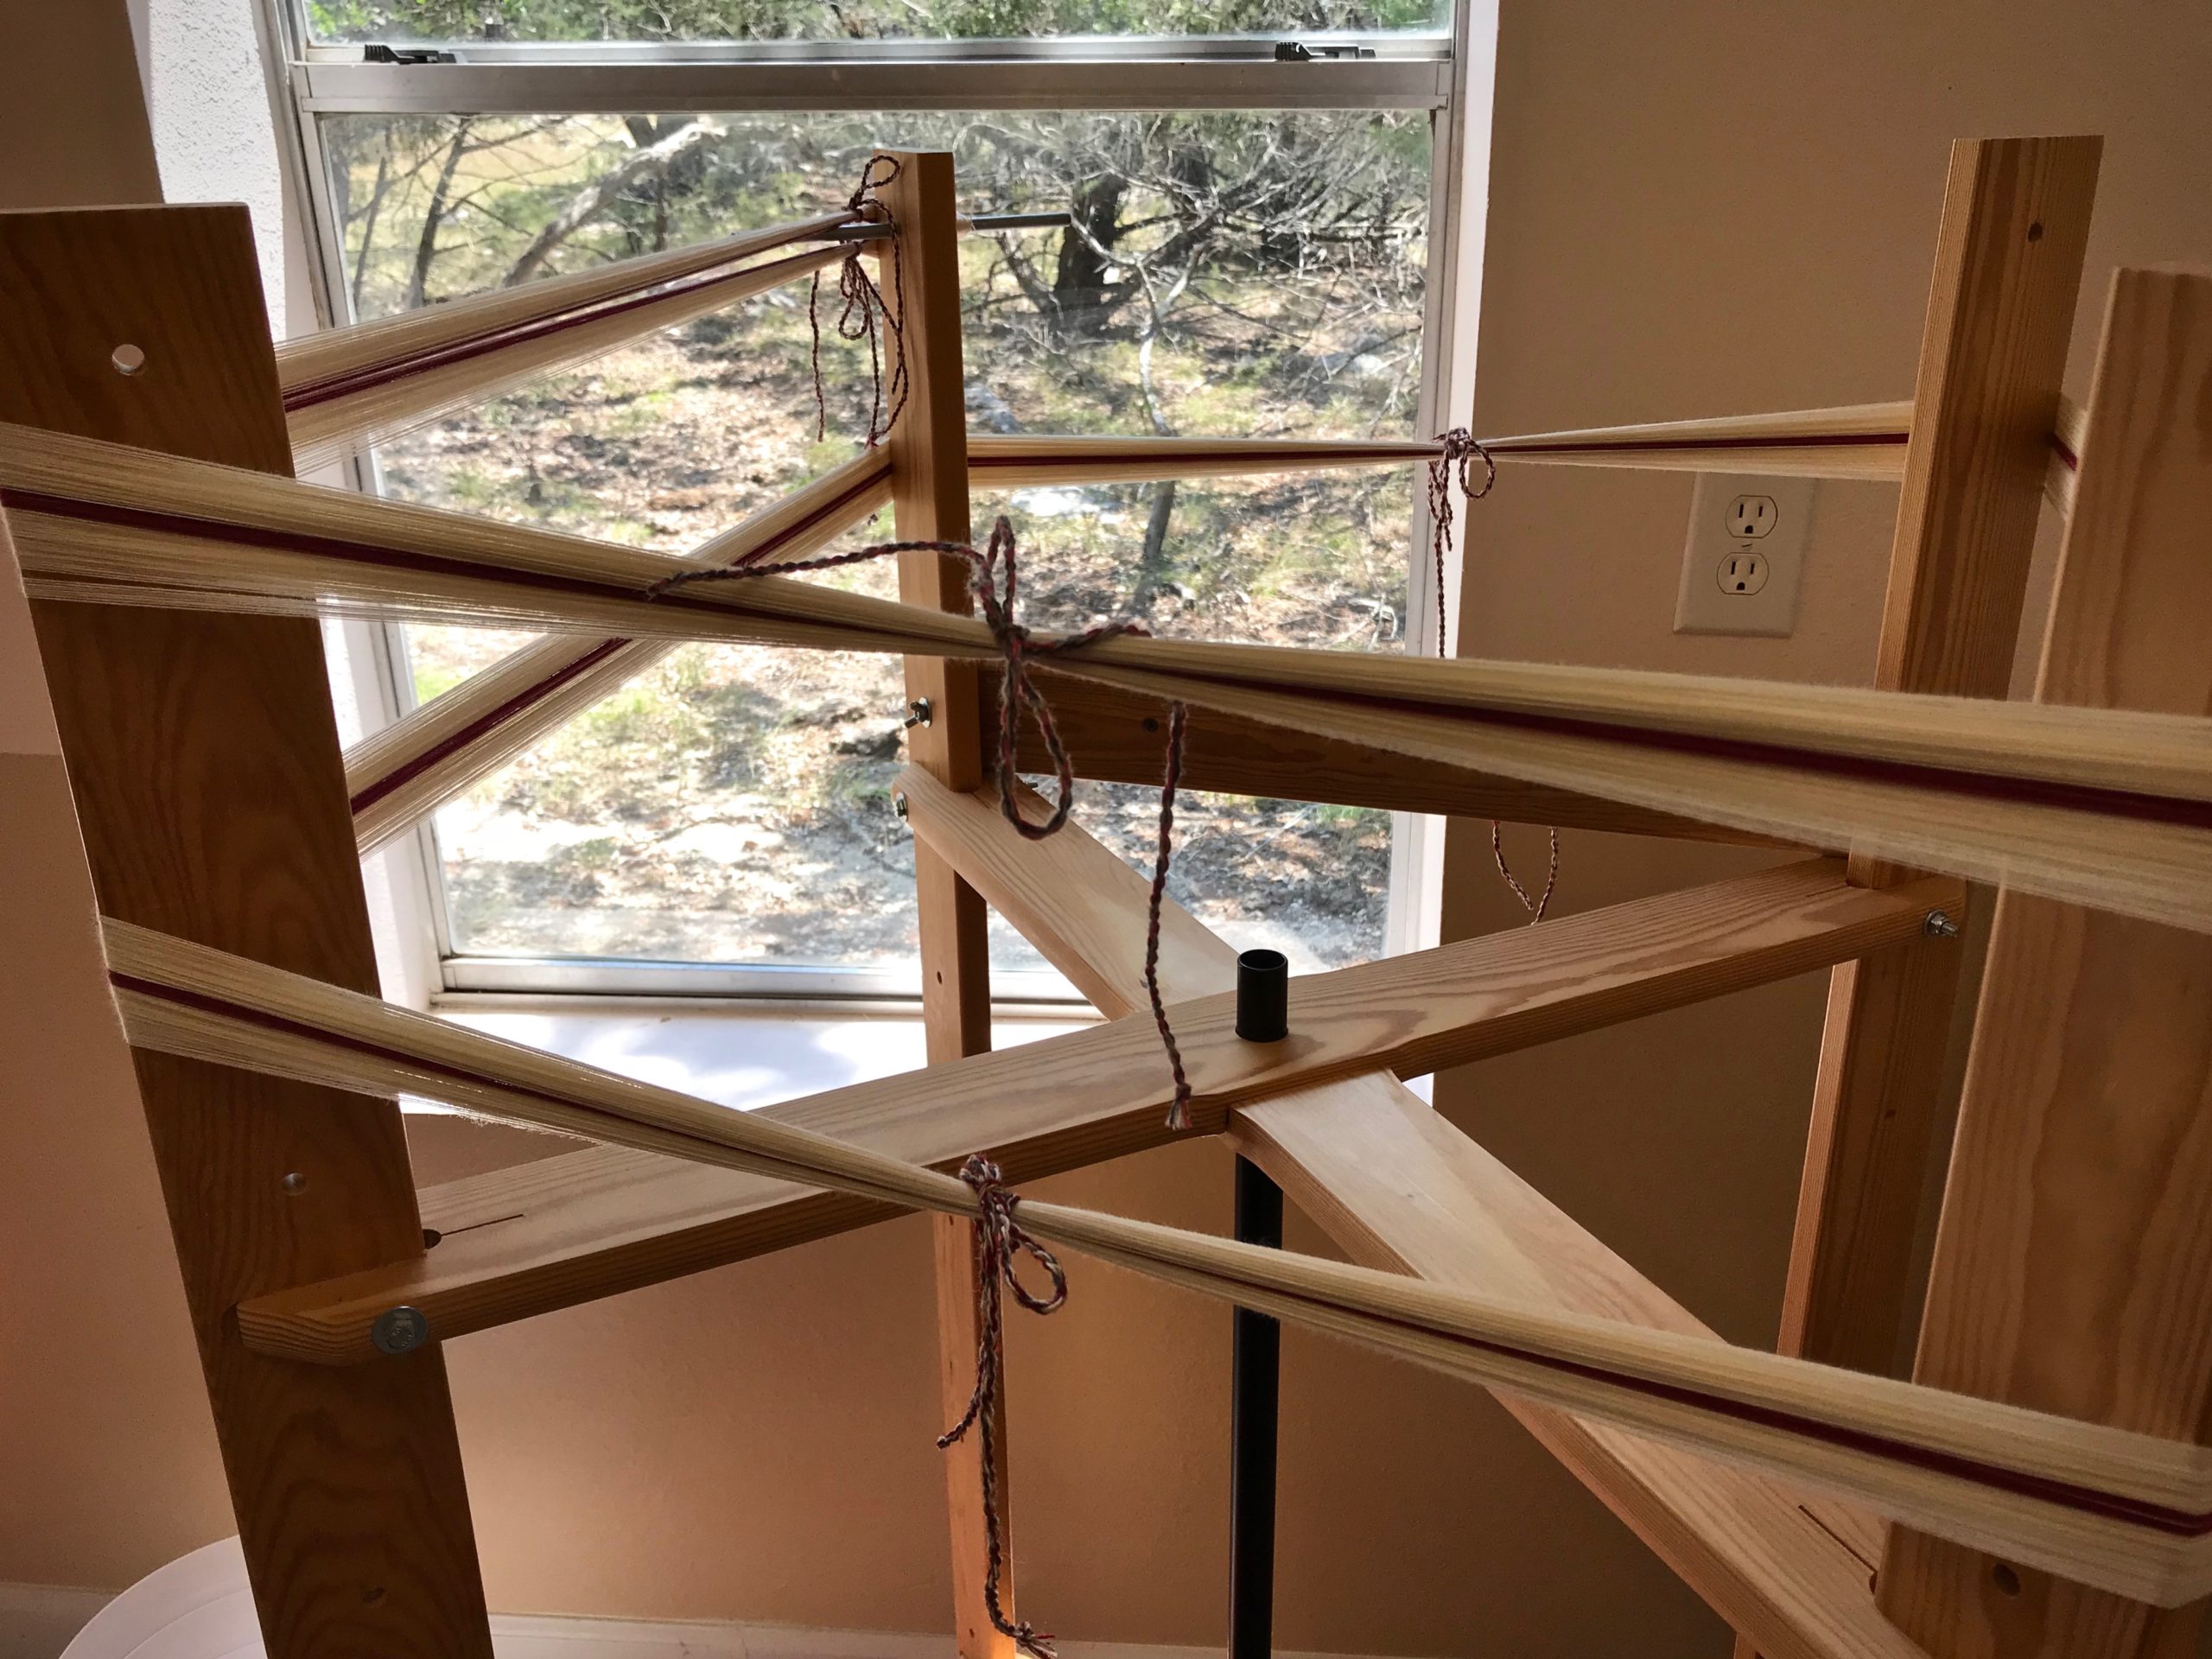
__ Set up the warping reel for warp length. Use a guide string, or measure the distance needed to place the pegs and turning pin at the right place on the warping reel for the warp you are going to wind.
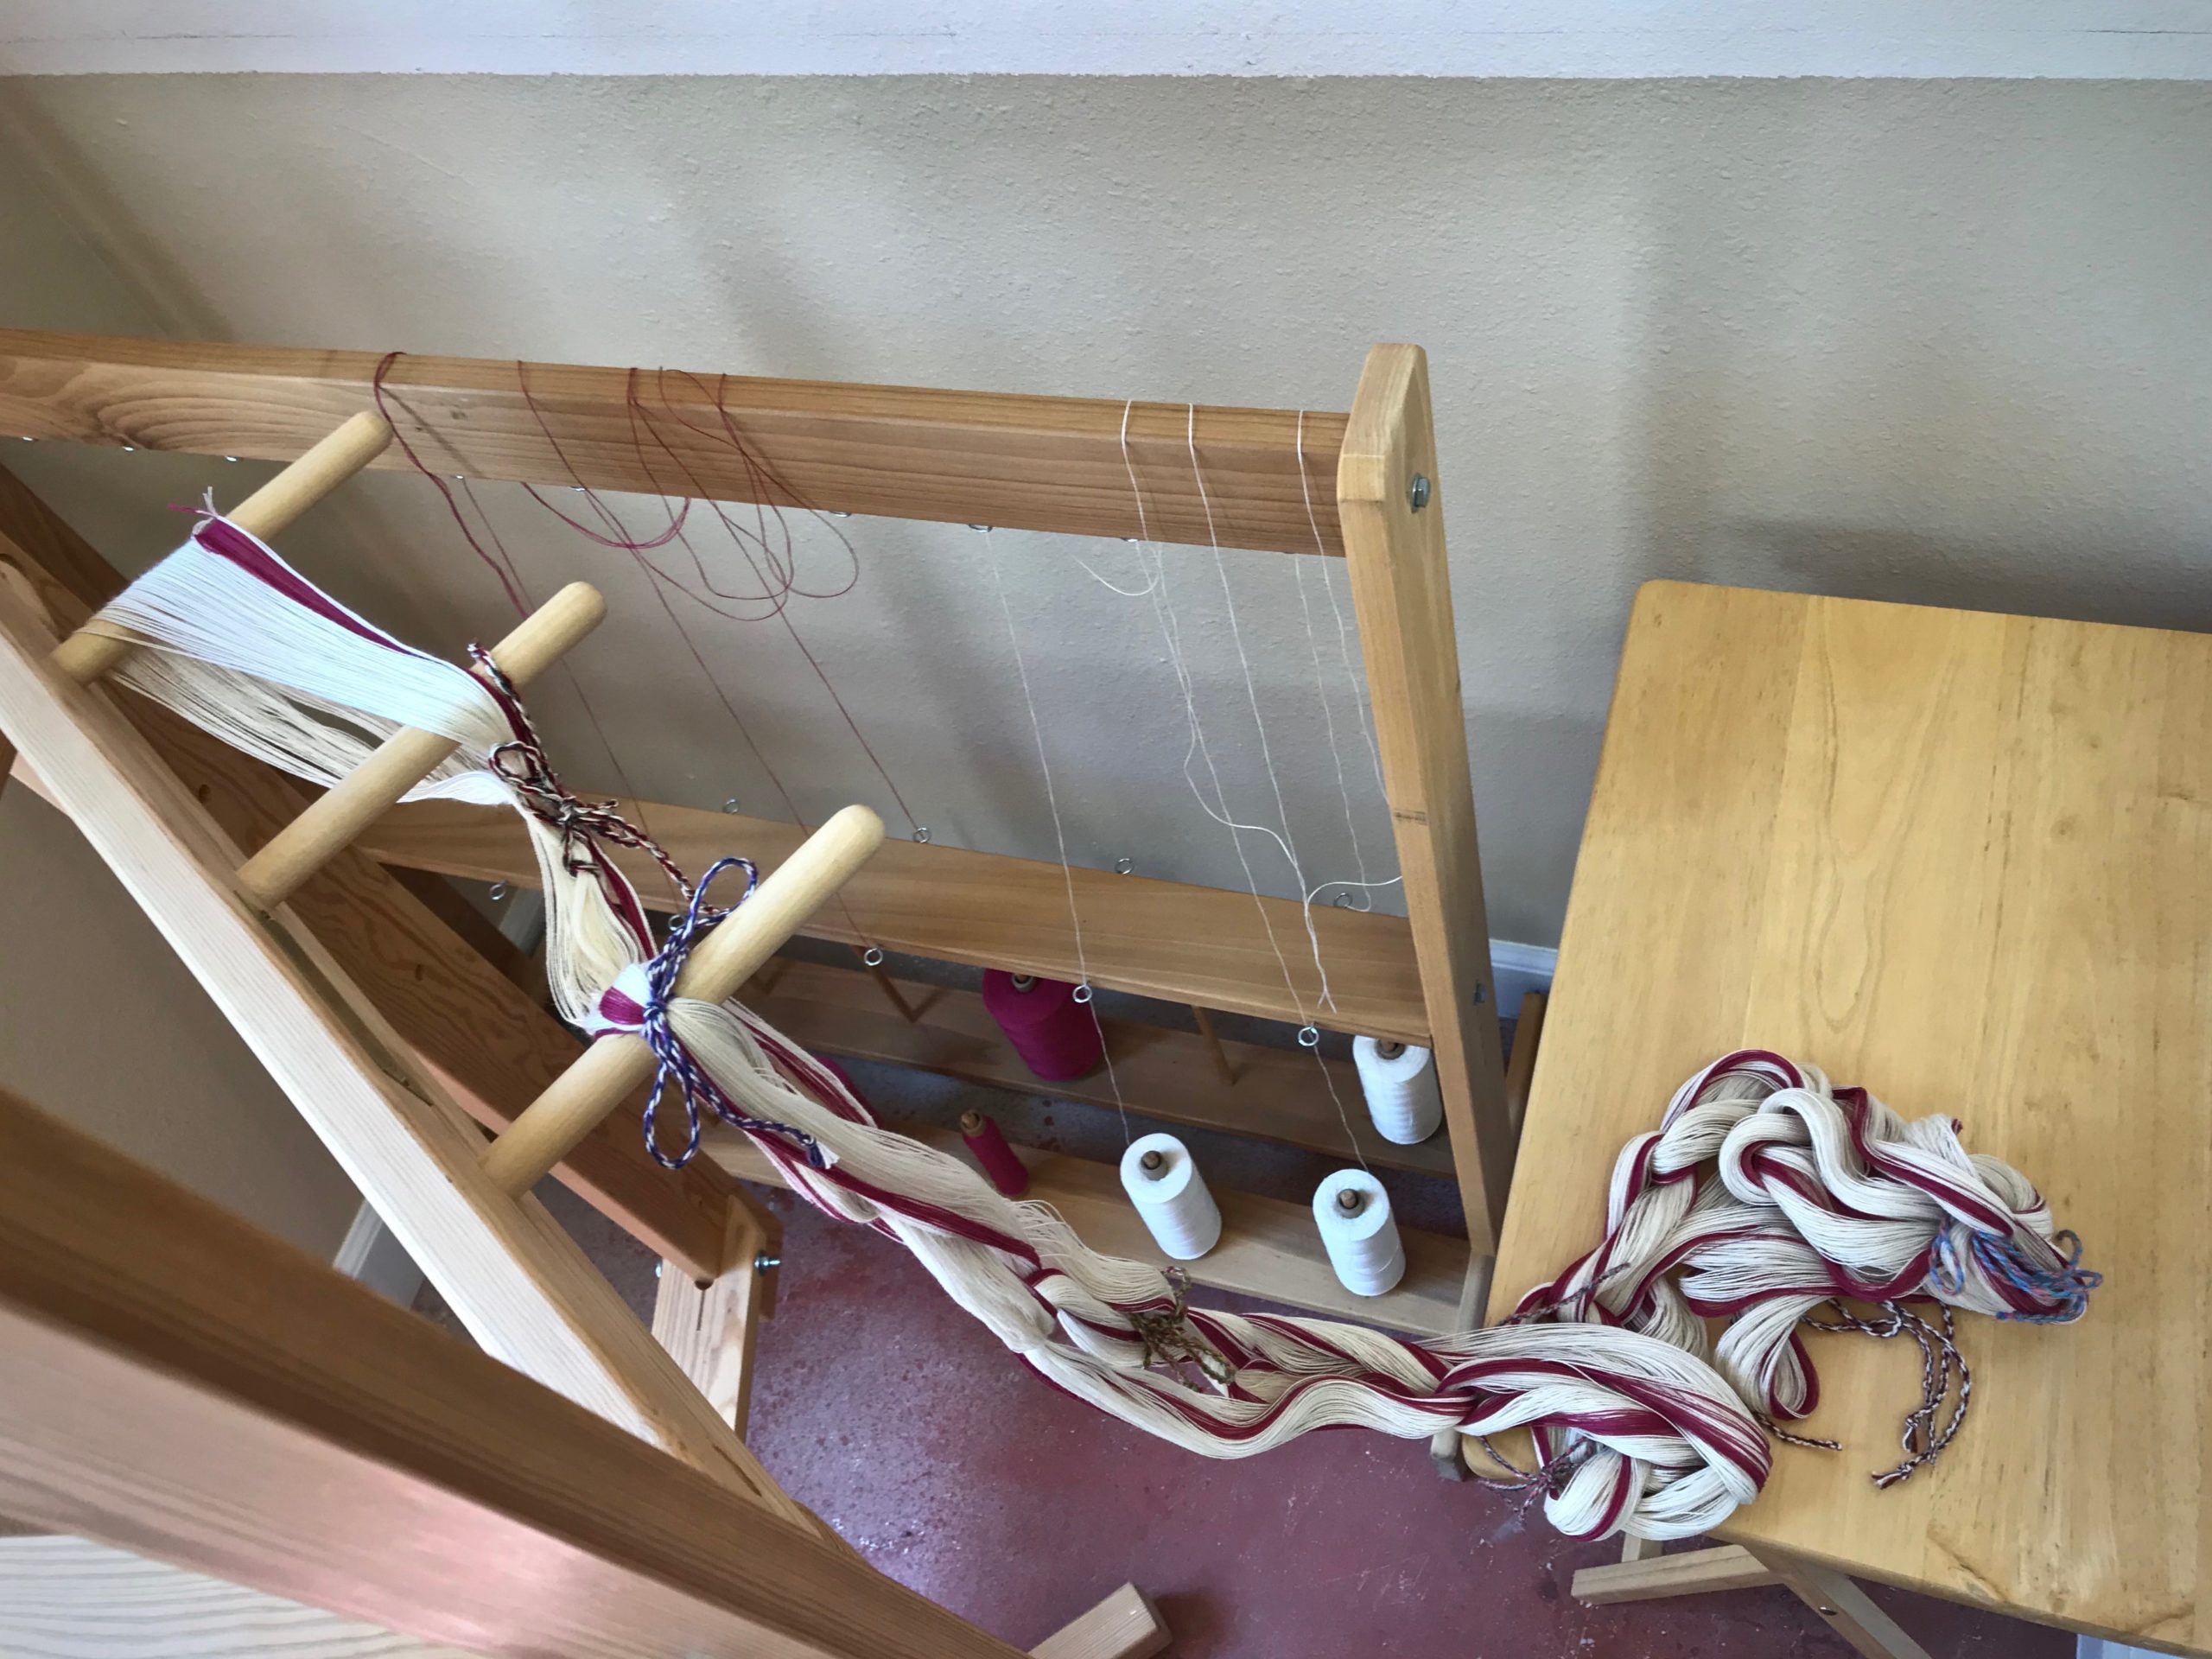
__ Set out the thread on the thread stand. Wind the warp with two or more threads at the same time, for best results.
__ Hang or tape up the project notes at eye level. Project notes show the warp sequence and other vital information.
__ Take note of warp length, number of bouts, and number of ends in each bout. Aim for 25 cm (10”) or less in the reed, or 200 or fewer ends, per bout. For the drawloom, wind the warp in pattern unit increments when possible.
__ Wind first bout, counting warp ends. Use a cord between groups of ends to keep track of the counting.
__ Visually check the warp order. Check to see that the warp order on the warping reel matches the warp sequence on the project notes. (I added this step to my checklist after the time I omitted 6 threads at the center of a warp, discovered after threading the loom.)
__ Tie off around the turning pin or the outside peg. Always wind the last pass with two or more threads together so you can tie them around the pin or peg.
__ Tie the lease cross; and tie choke ties on the warp. Tie the cross first, and tie any passes of the warp directly above the cross. Then, spin the wheel and tie the warp wherever it passes on the side opposite the cross. Also tie at the turning pin, at the top and bottom of the loop.
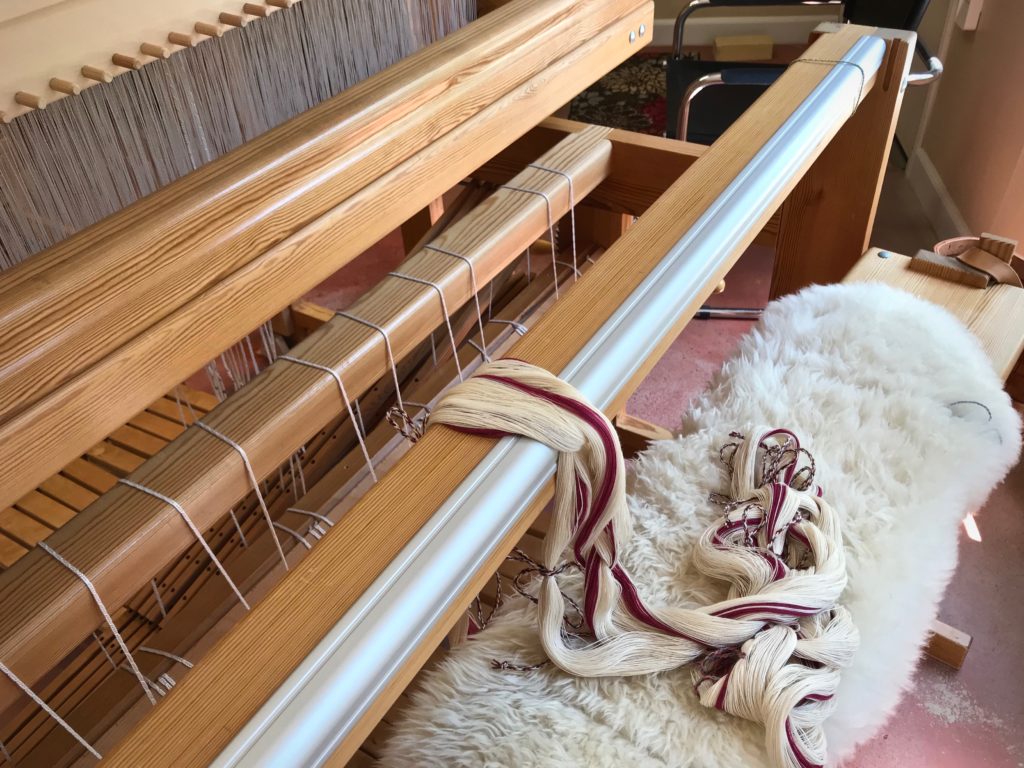
__ Chain the warp bout. Start the chain by holding the loop at the turning pin, and pull out the pin. Chain the warp, ending at the cross. (I use my knee, not so gracefully, to control the turning of the reel as I chain the warp.)
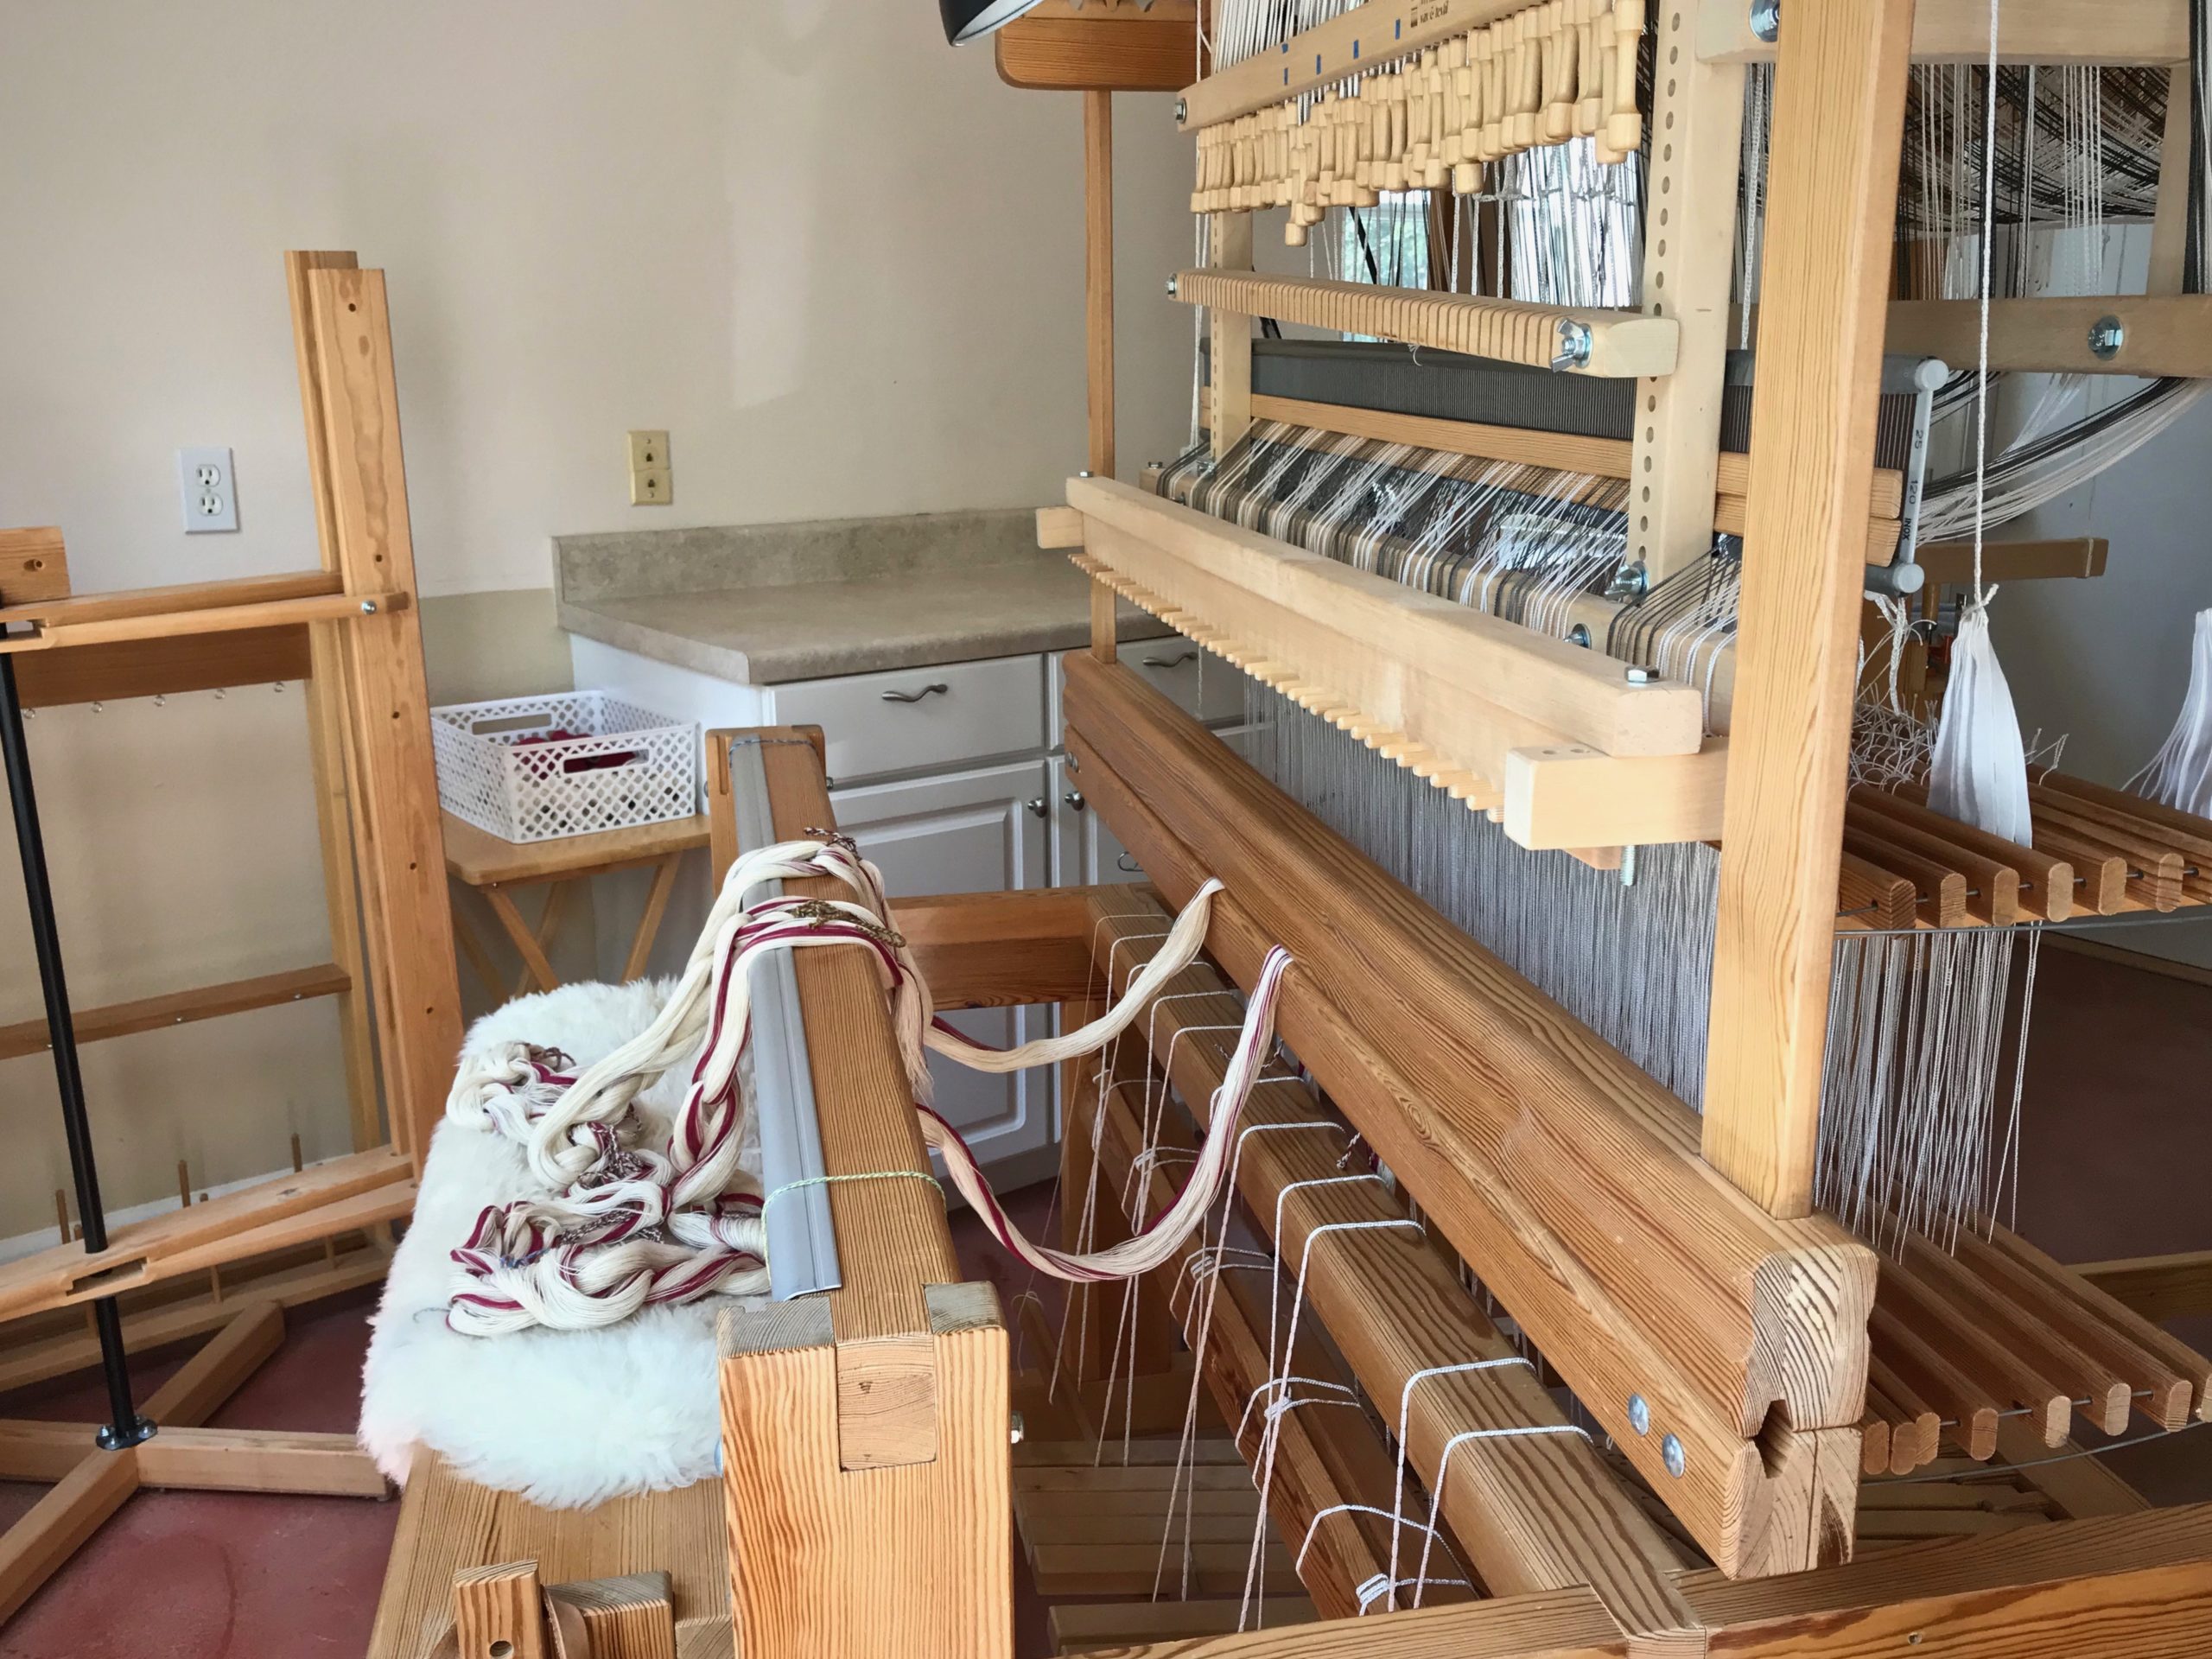
__ Place the warp bout on the loom, with the lease cross end going through the beater.
__ Wind remaining bouts, following the same procedure. When you place the warp chain on the loom double check the warp sequence to make sure the bouts are in the right order.
__ Roll up the thread tubes, replace labels, weigh thread and write down amounts, and place thread tubes in project bin. Each loom has its own project bin to hold the thread for that project.
__ Put away the choke ties, scissors, and thread holder.