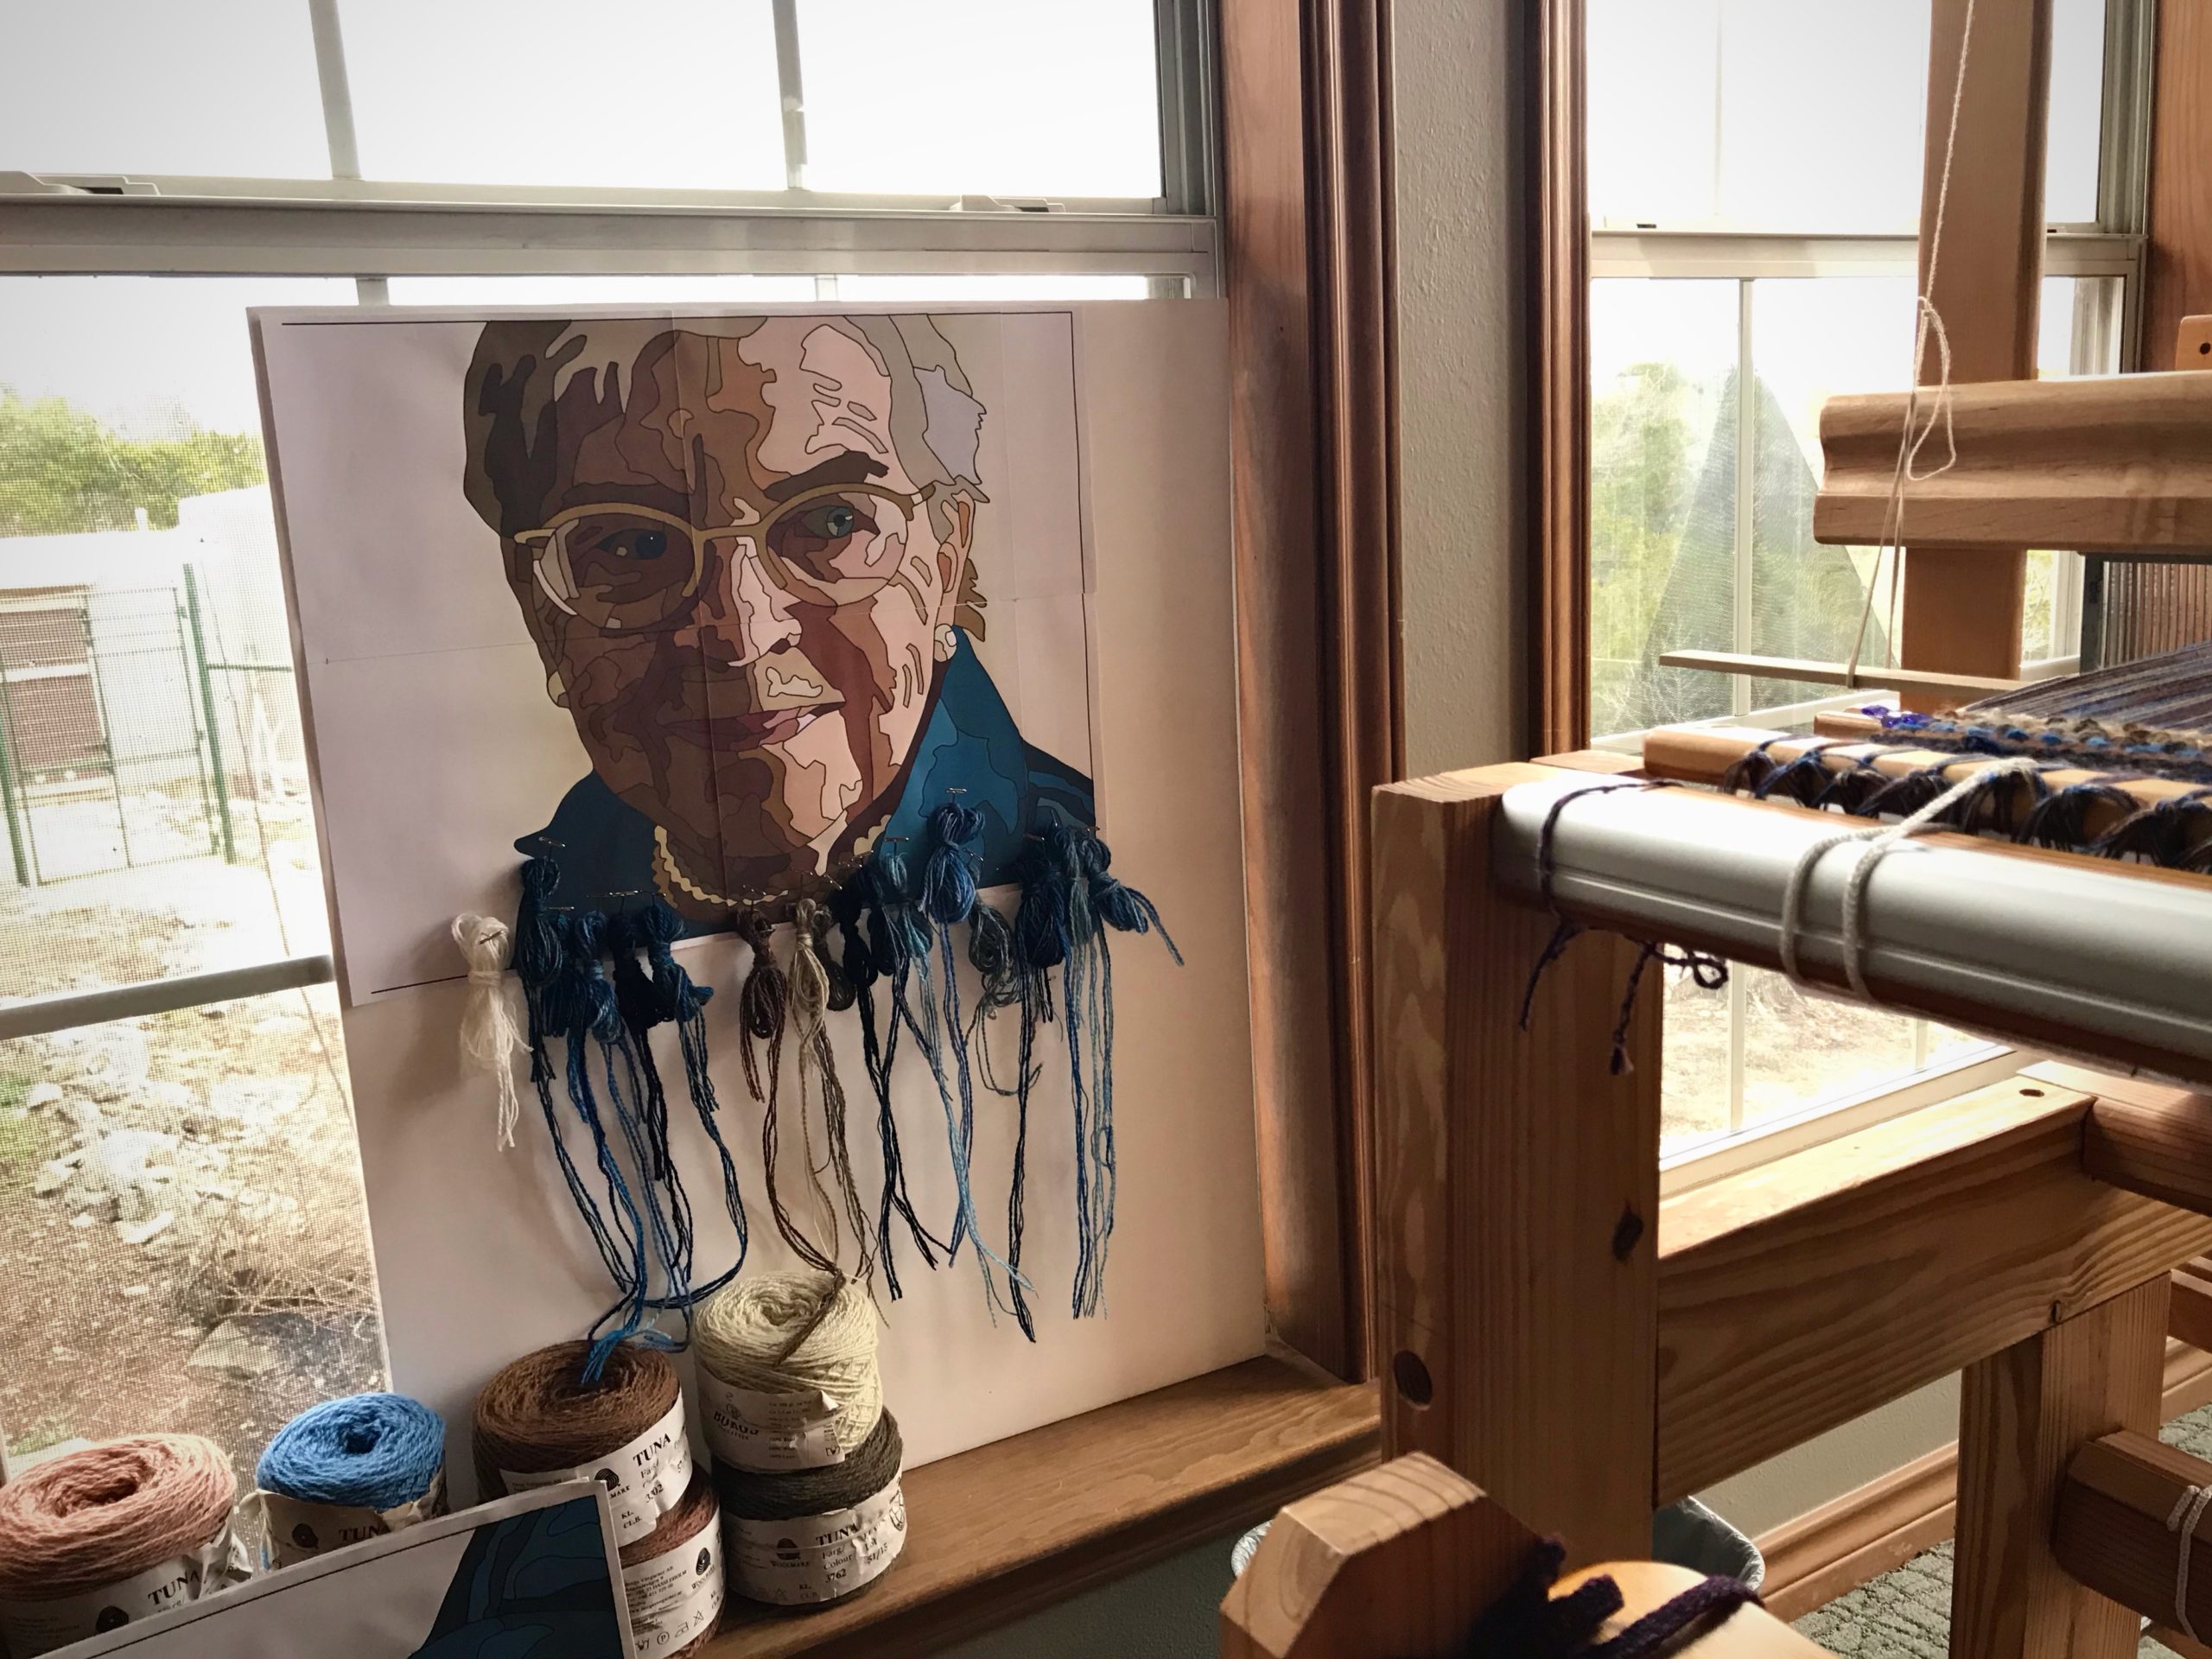
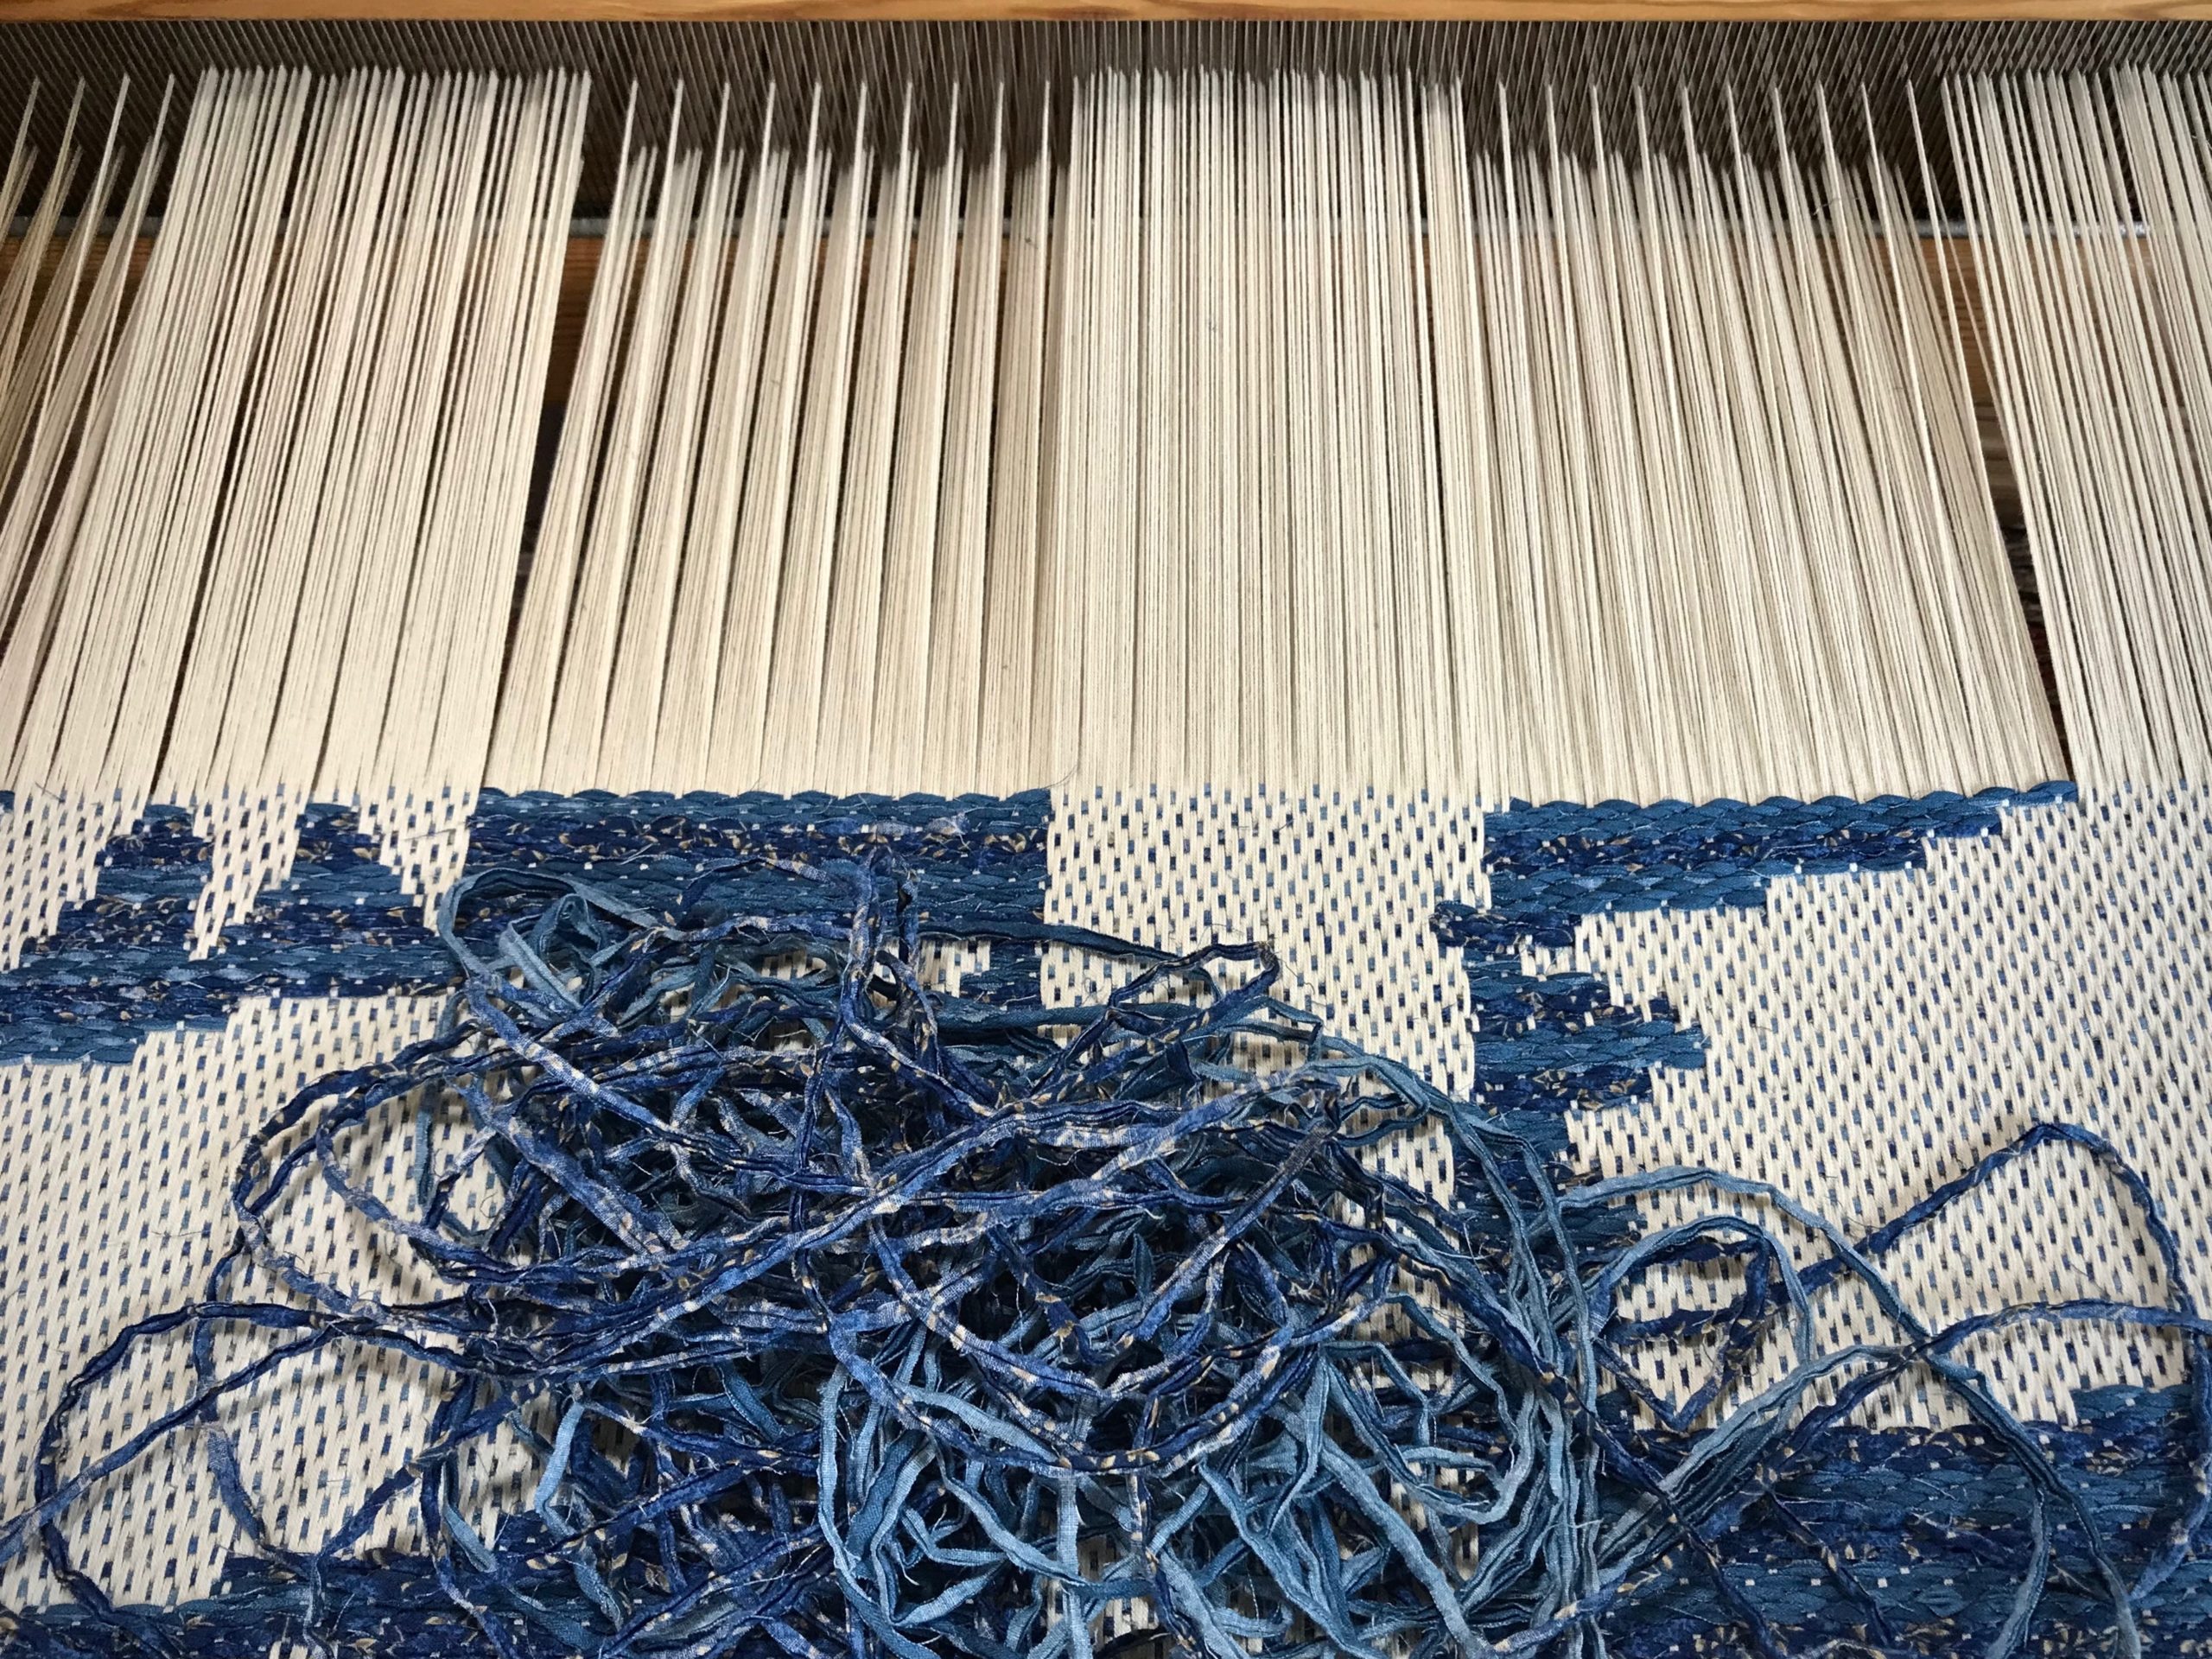
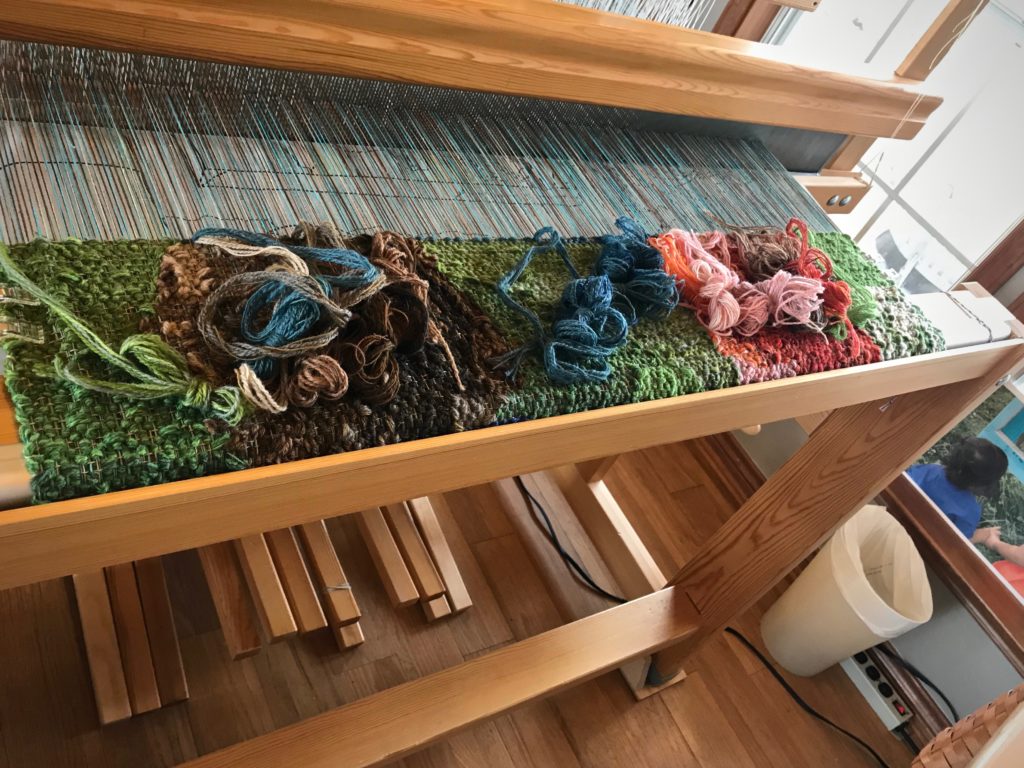
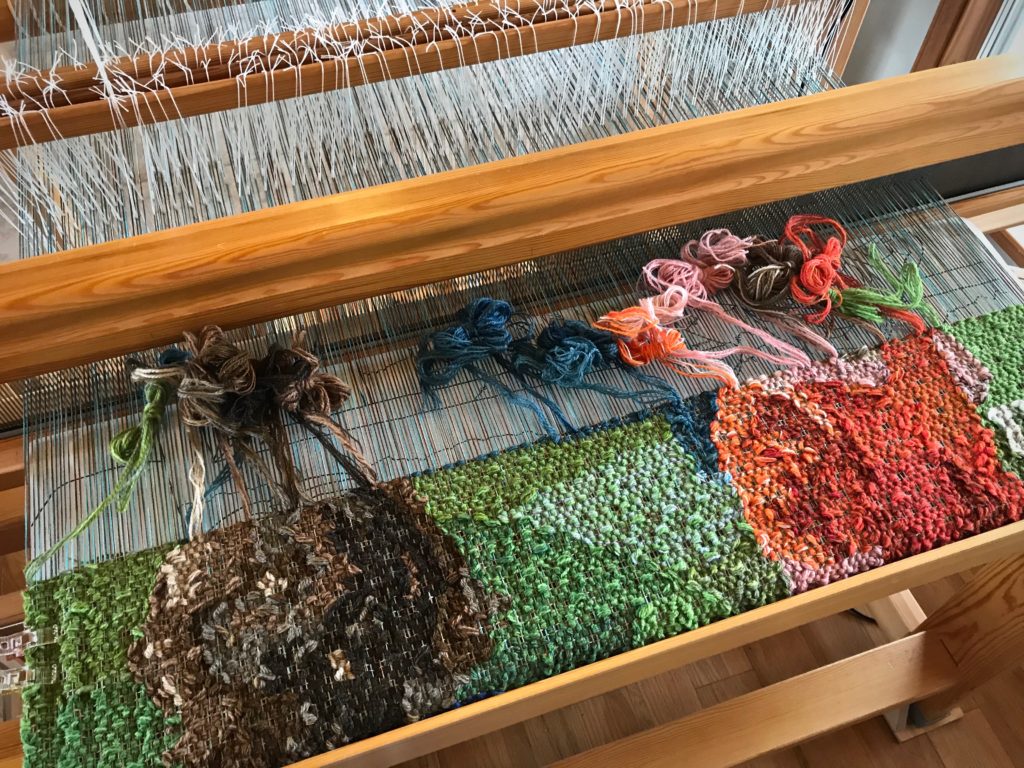
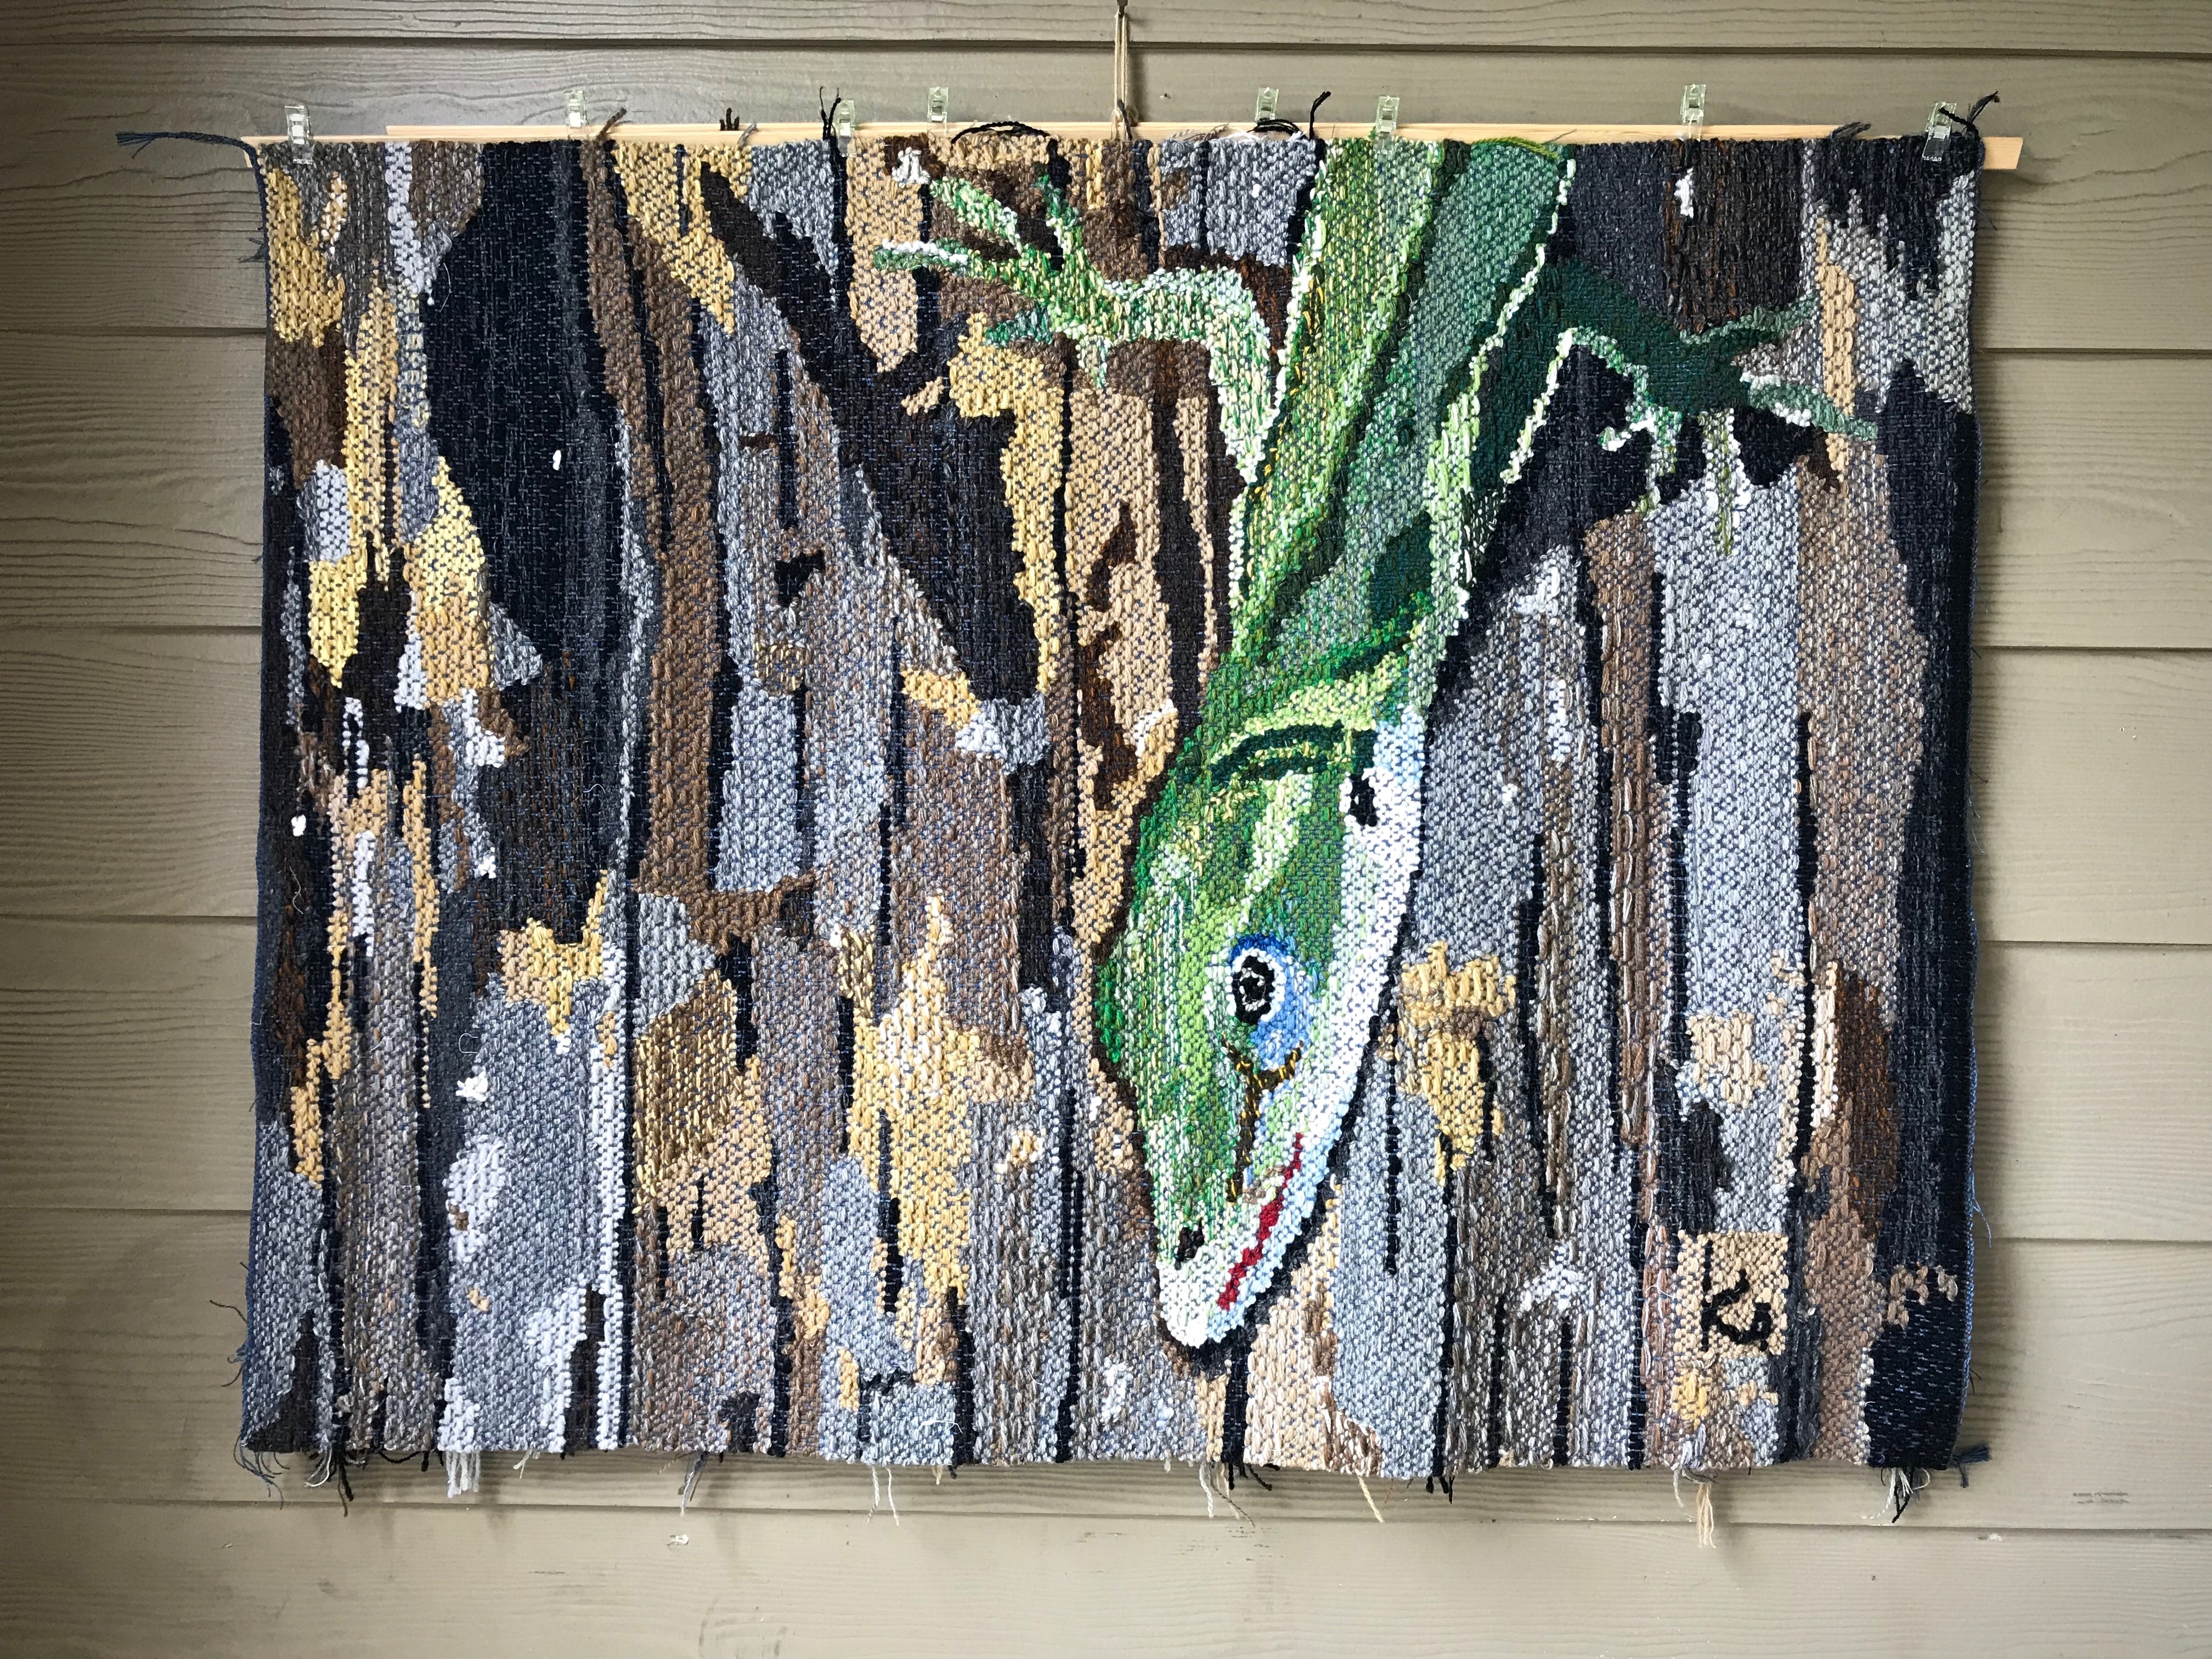
When you want a better photograph you snap another picture. When you want a better tapestry you take out what you’ve woven and weave it another way. I recently showed you my progress on the tapestry of my mother. (See Tapestry of the Heart.) As I viewed the tapestry in photographs I could see that the 6/1 tow linen that weaves between the rows of wool was too bright. The golden bleached linen is lovely on its own, and melts into the background on the sides of the portrait. But this bright linen draws undo attention to itself within the darker portions of the tapestry because of the stark contrast. The day after that post I undid everything back to the starting line.
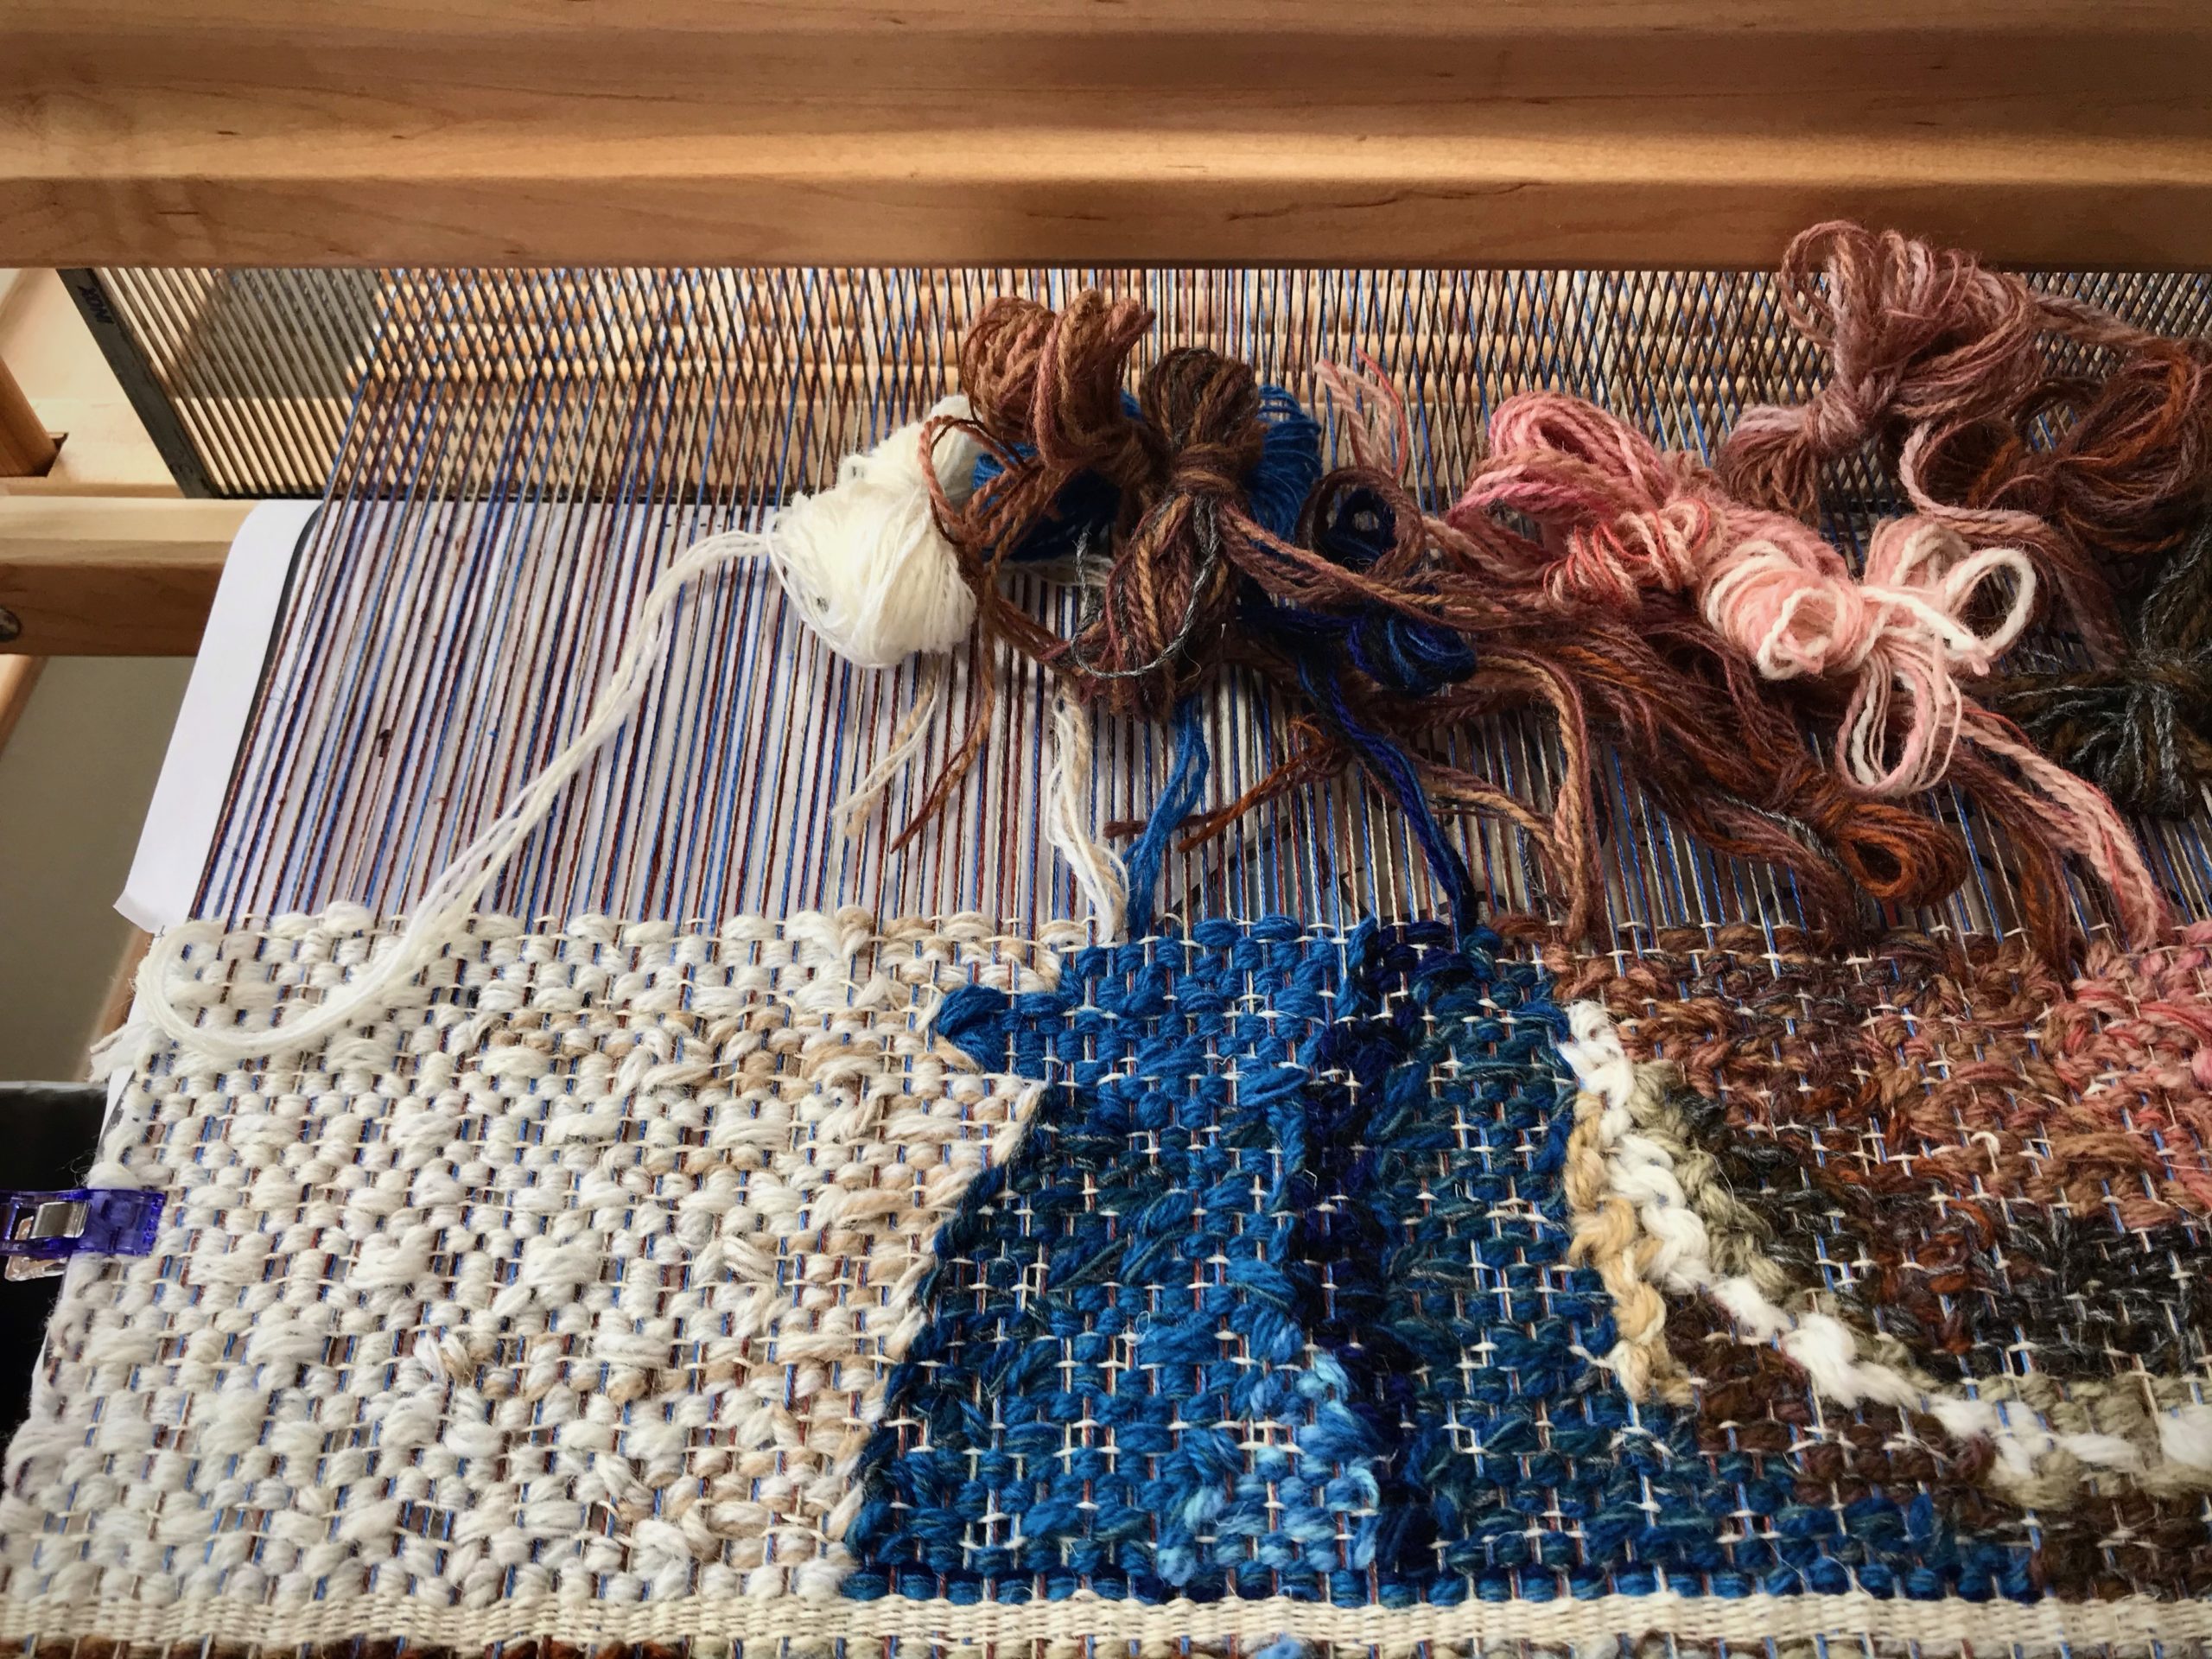
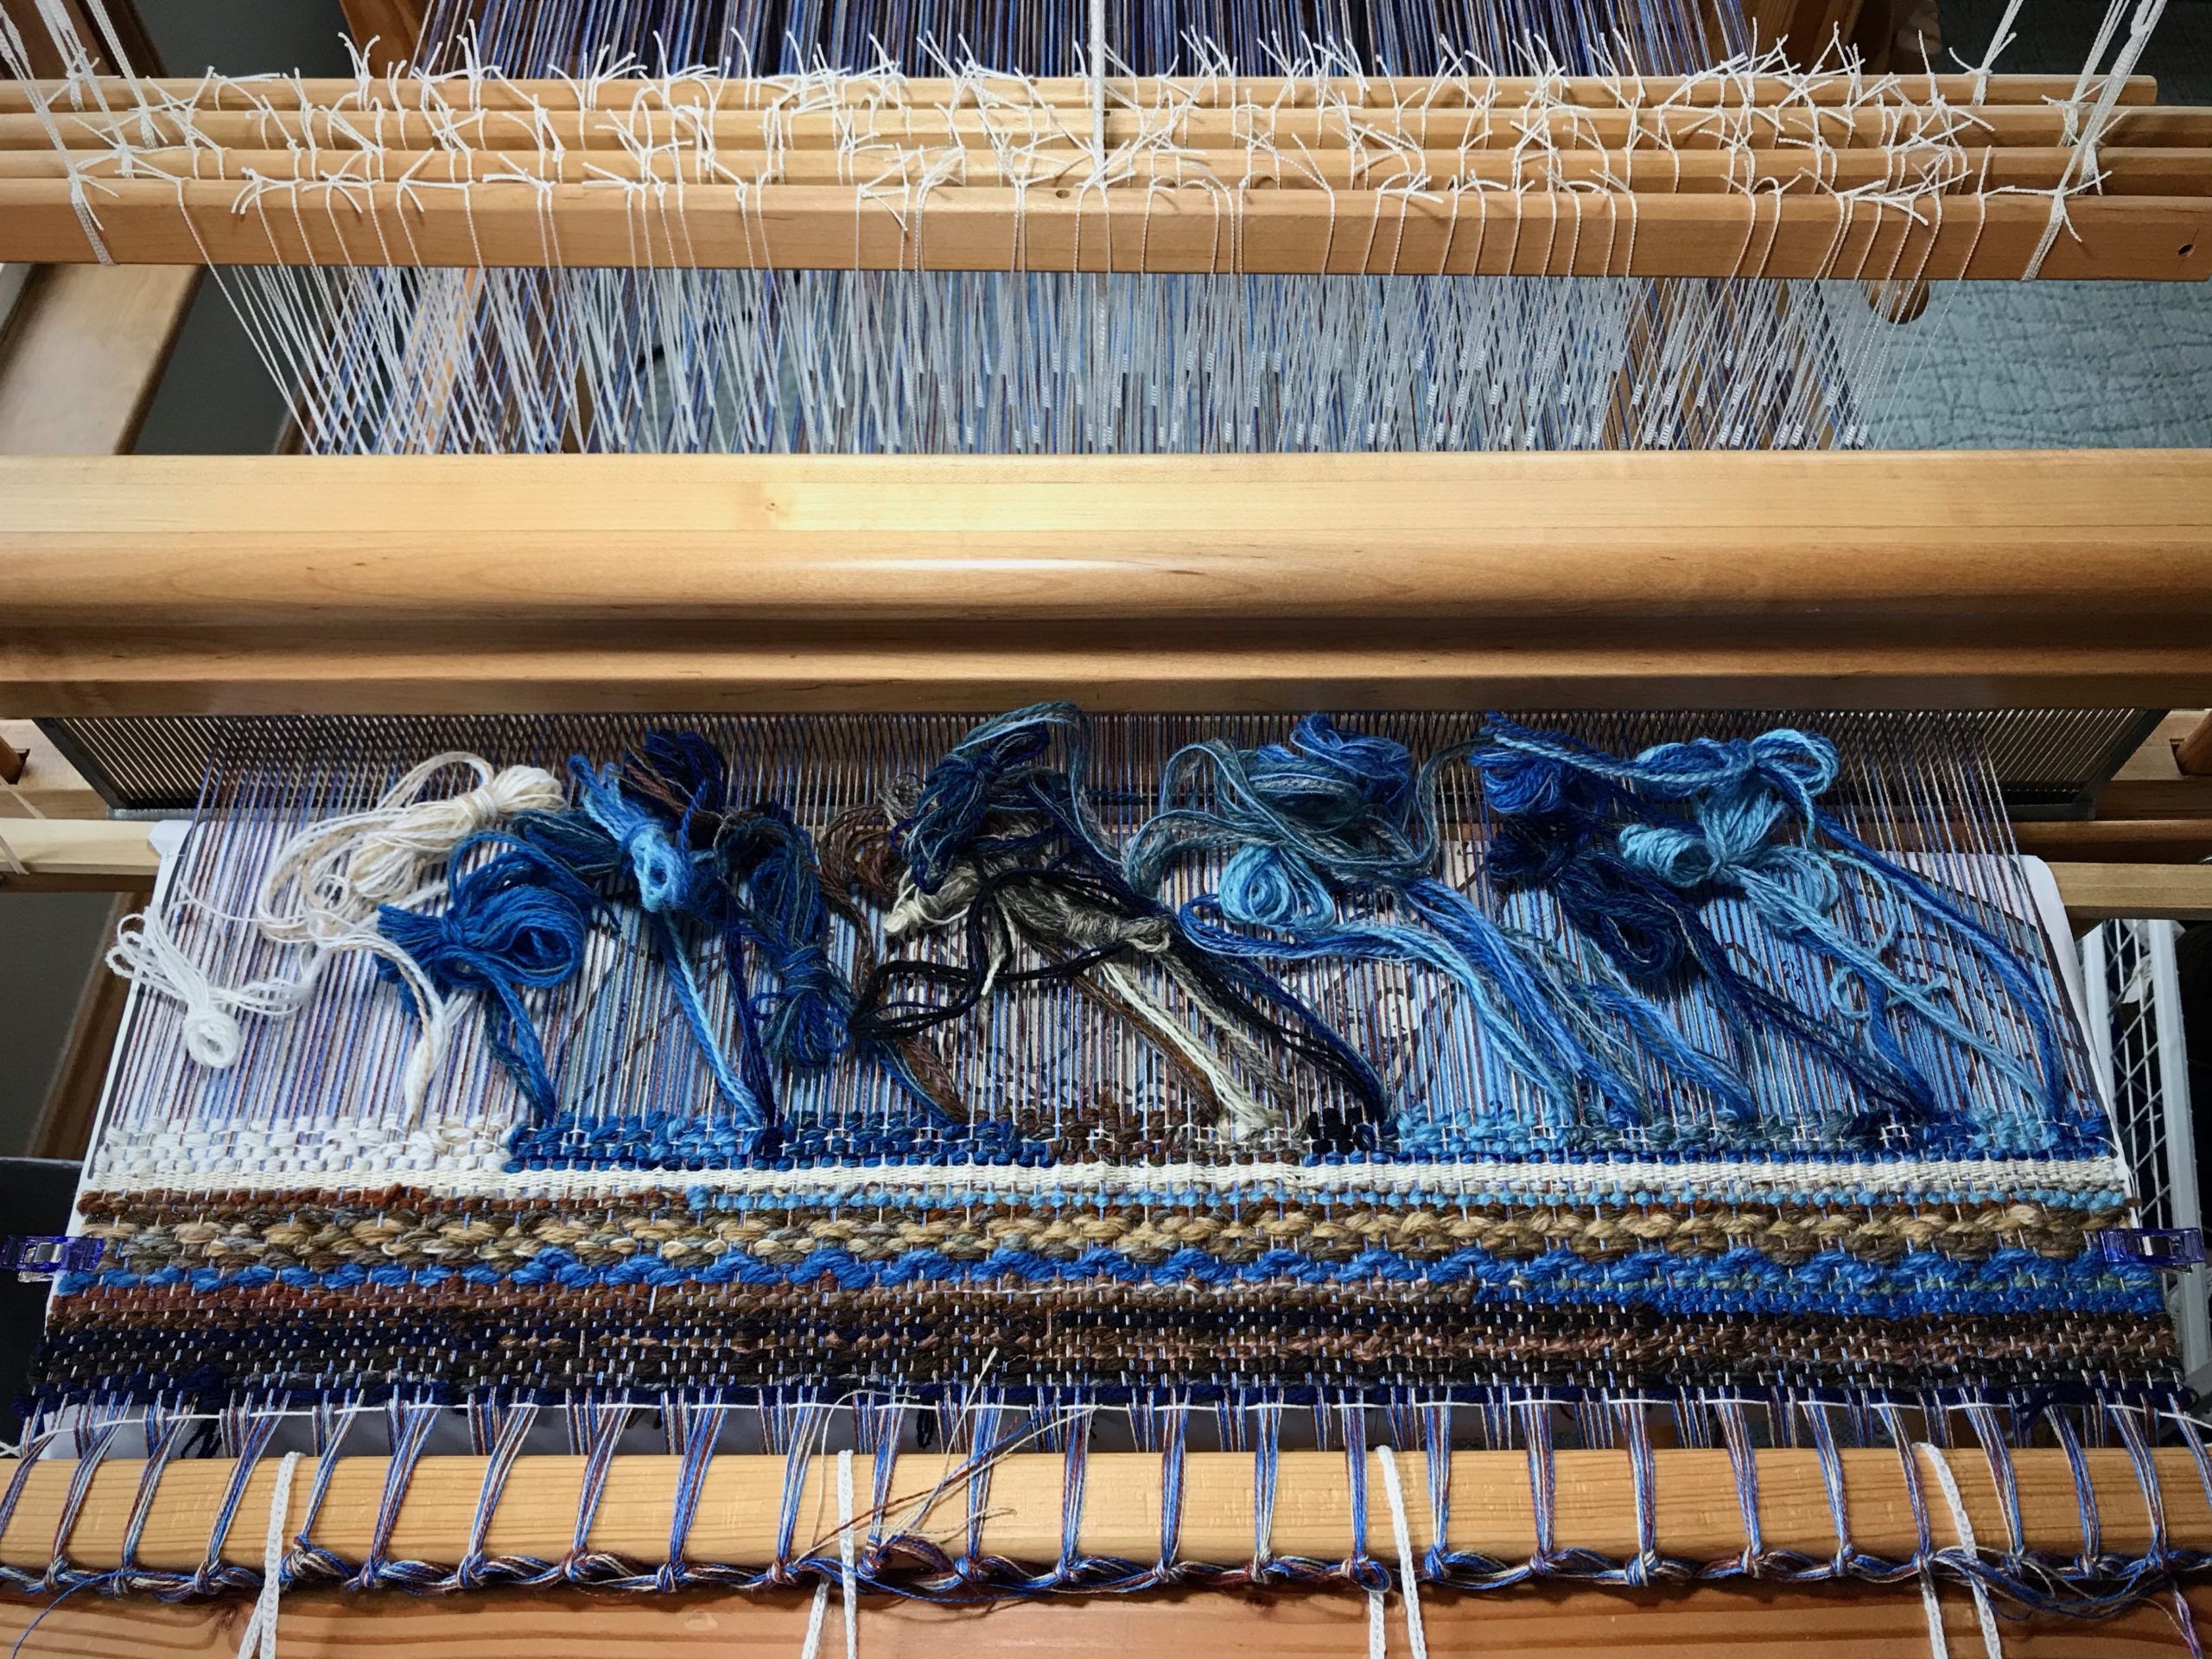
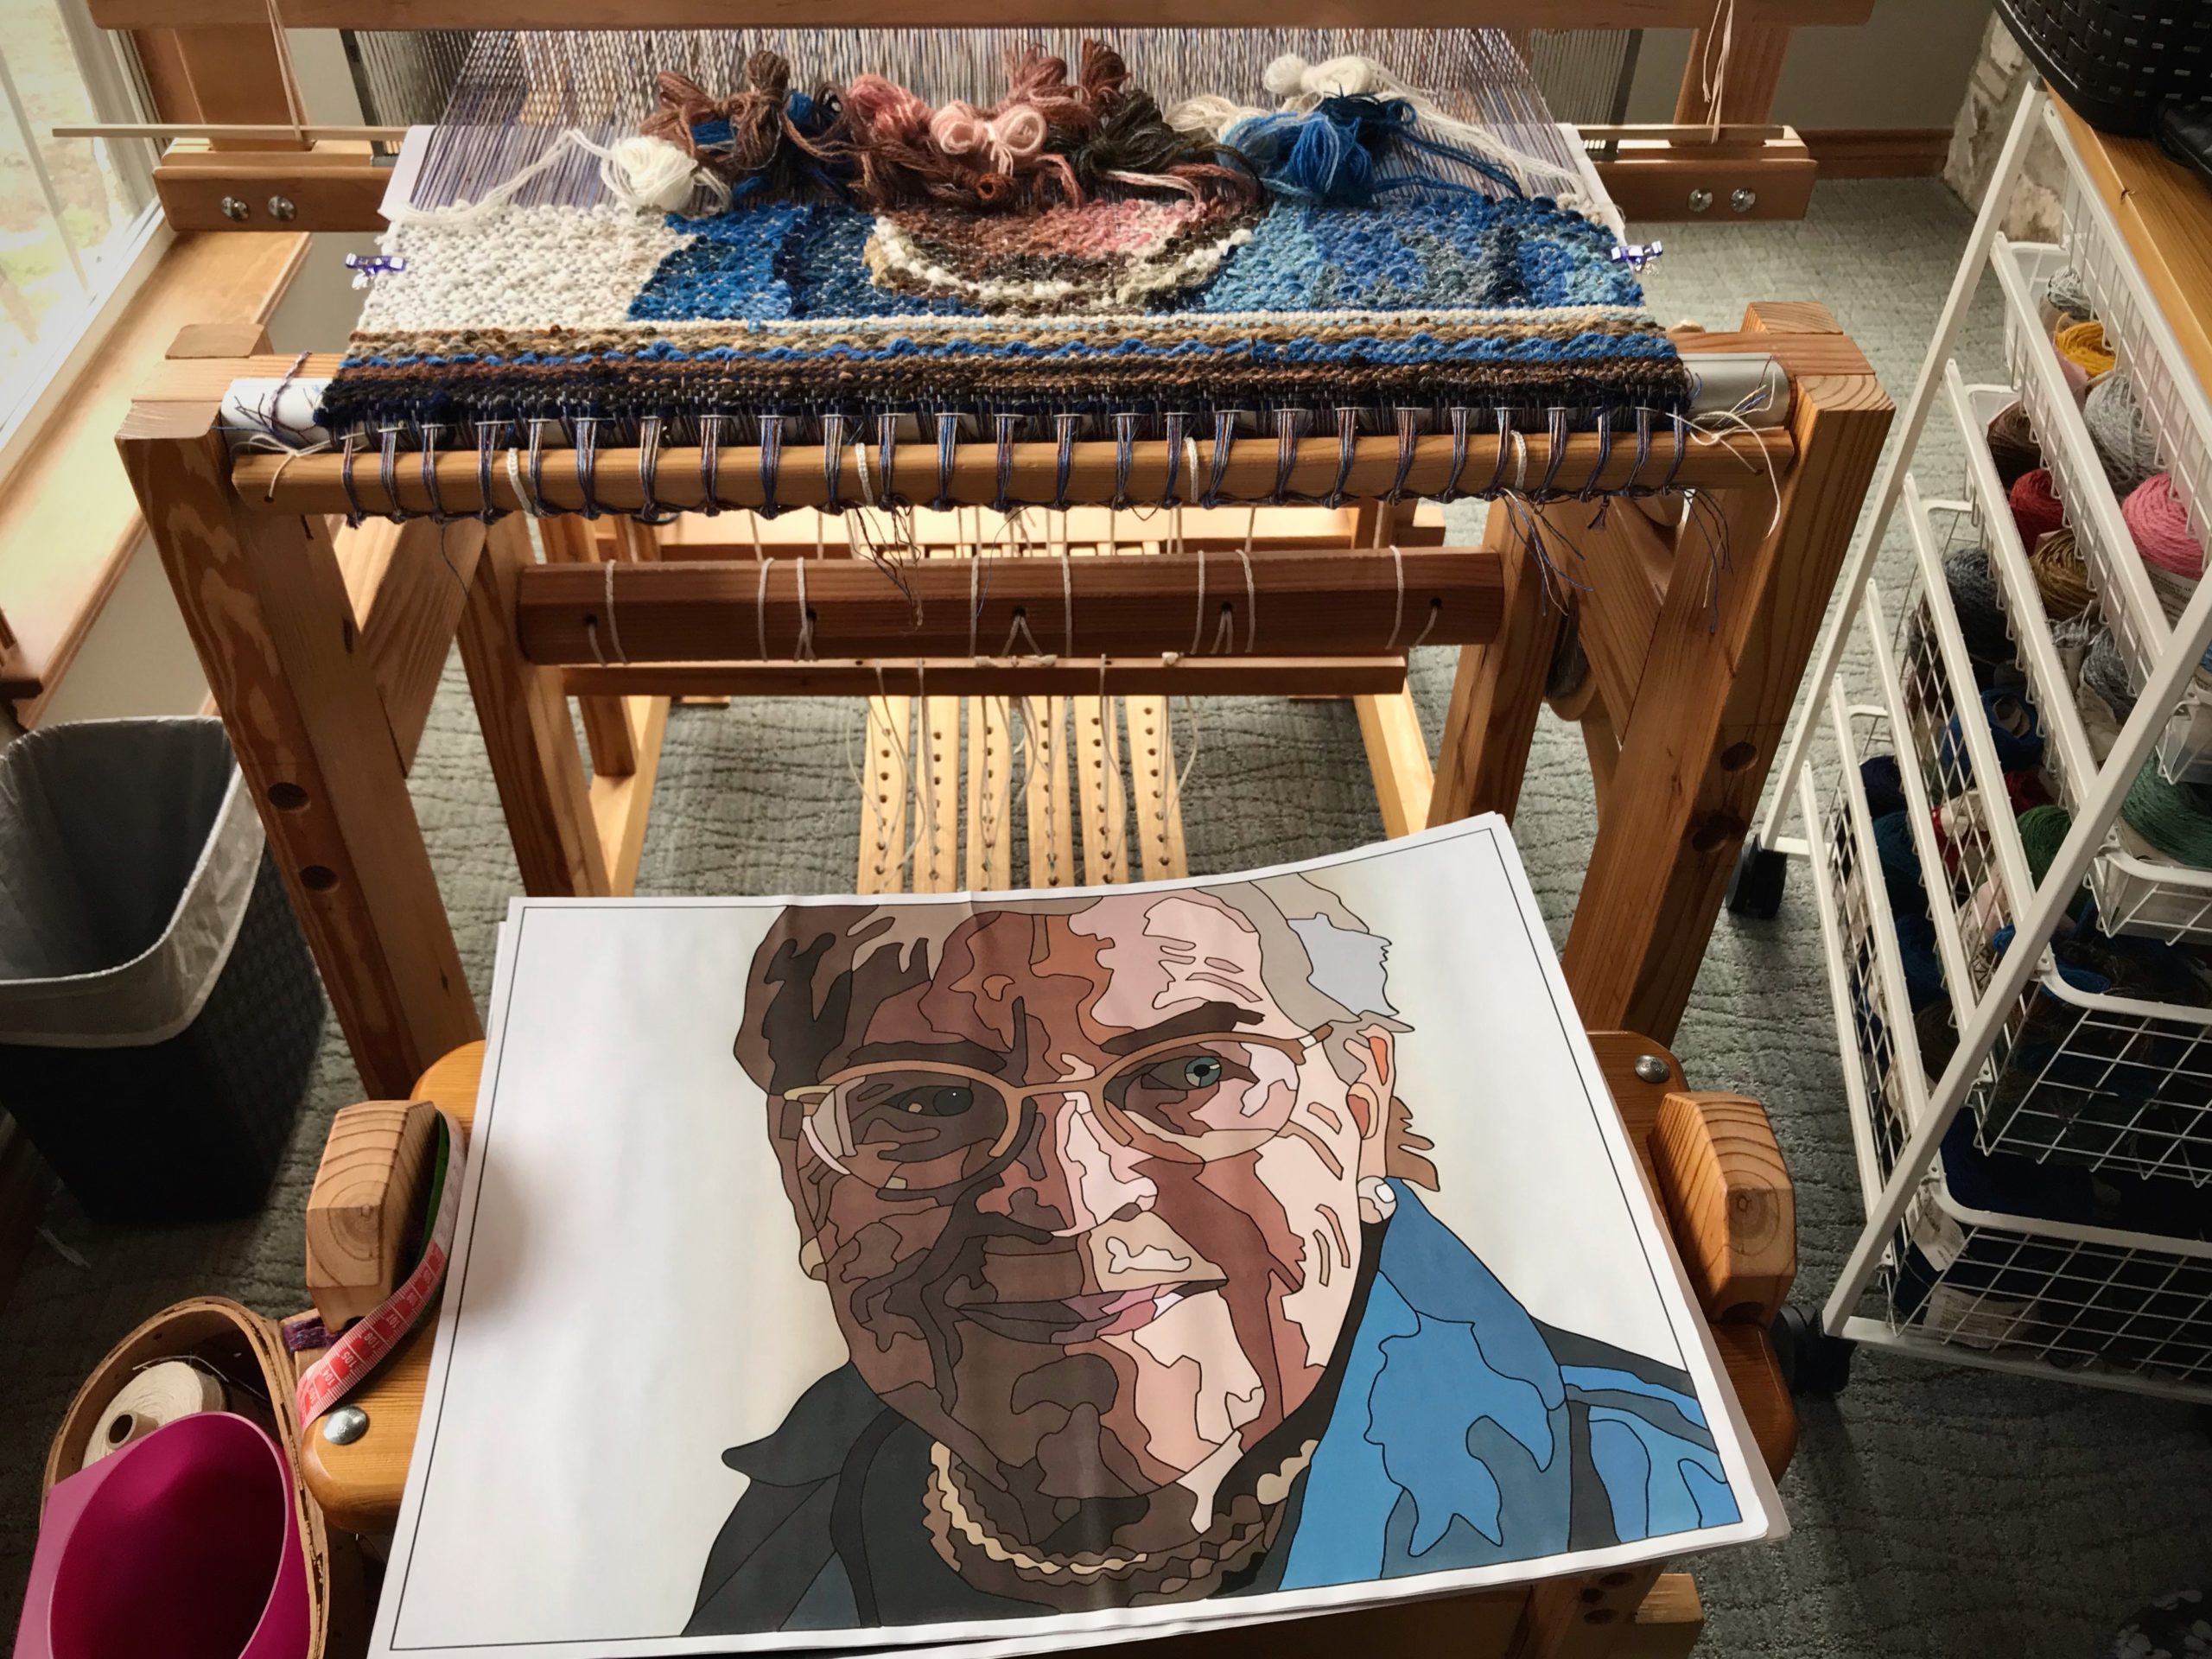
Undoing a few weeks of tapestry weaving is not physically hard to do, but making the decision to undo it is hard, indeed. Since then, I have been weaving every day to get back to the point where I stopped everything. This time, I am using a different color tow linen that will make all the difference.
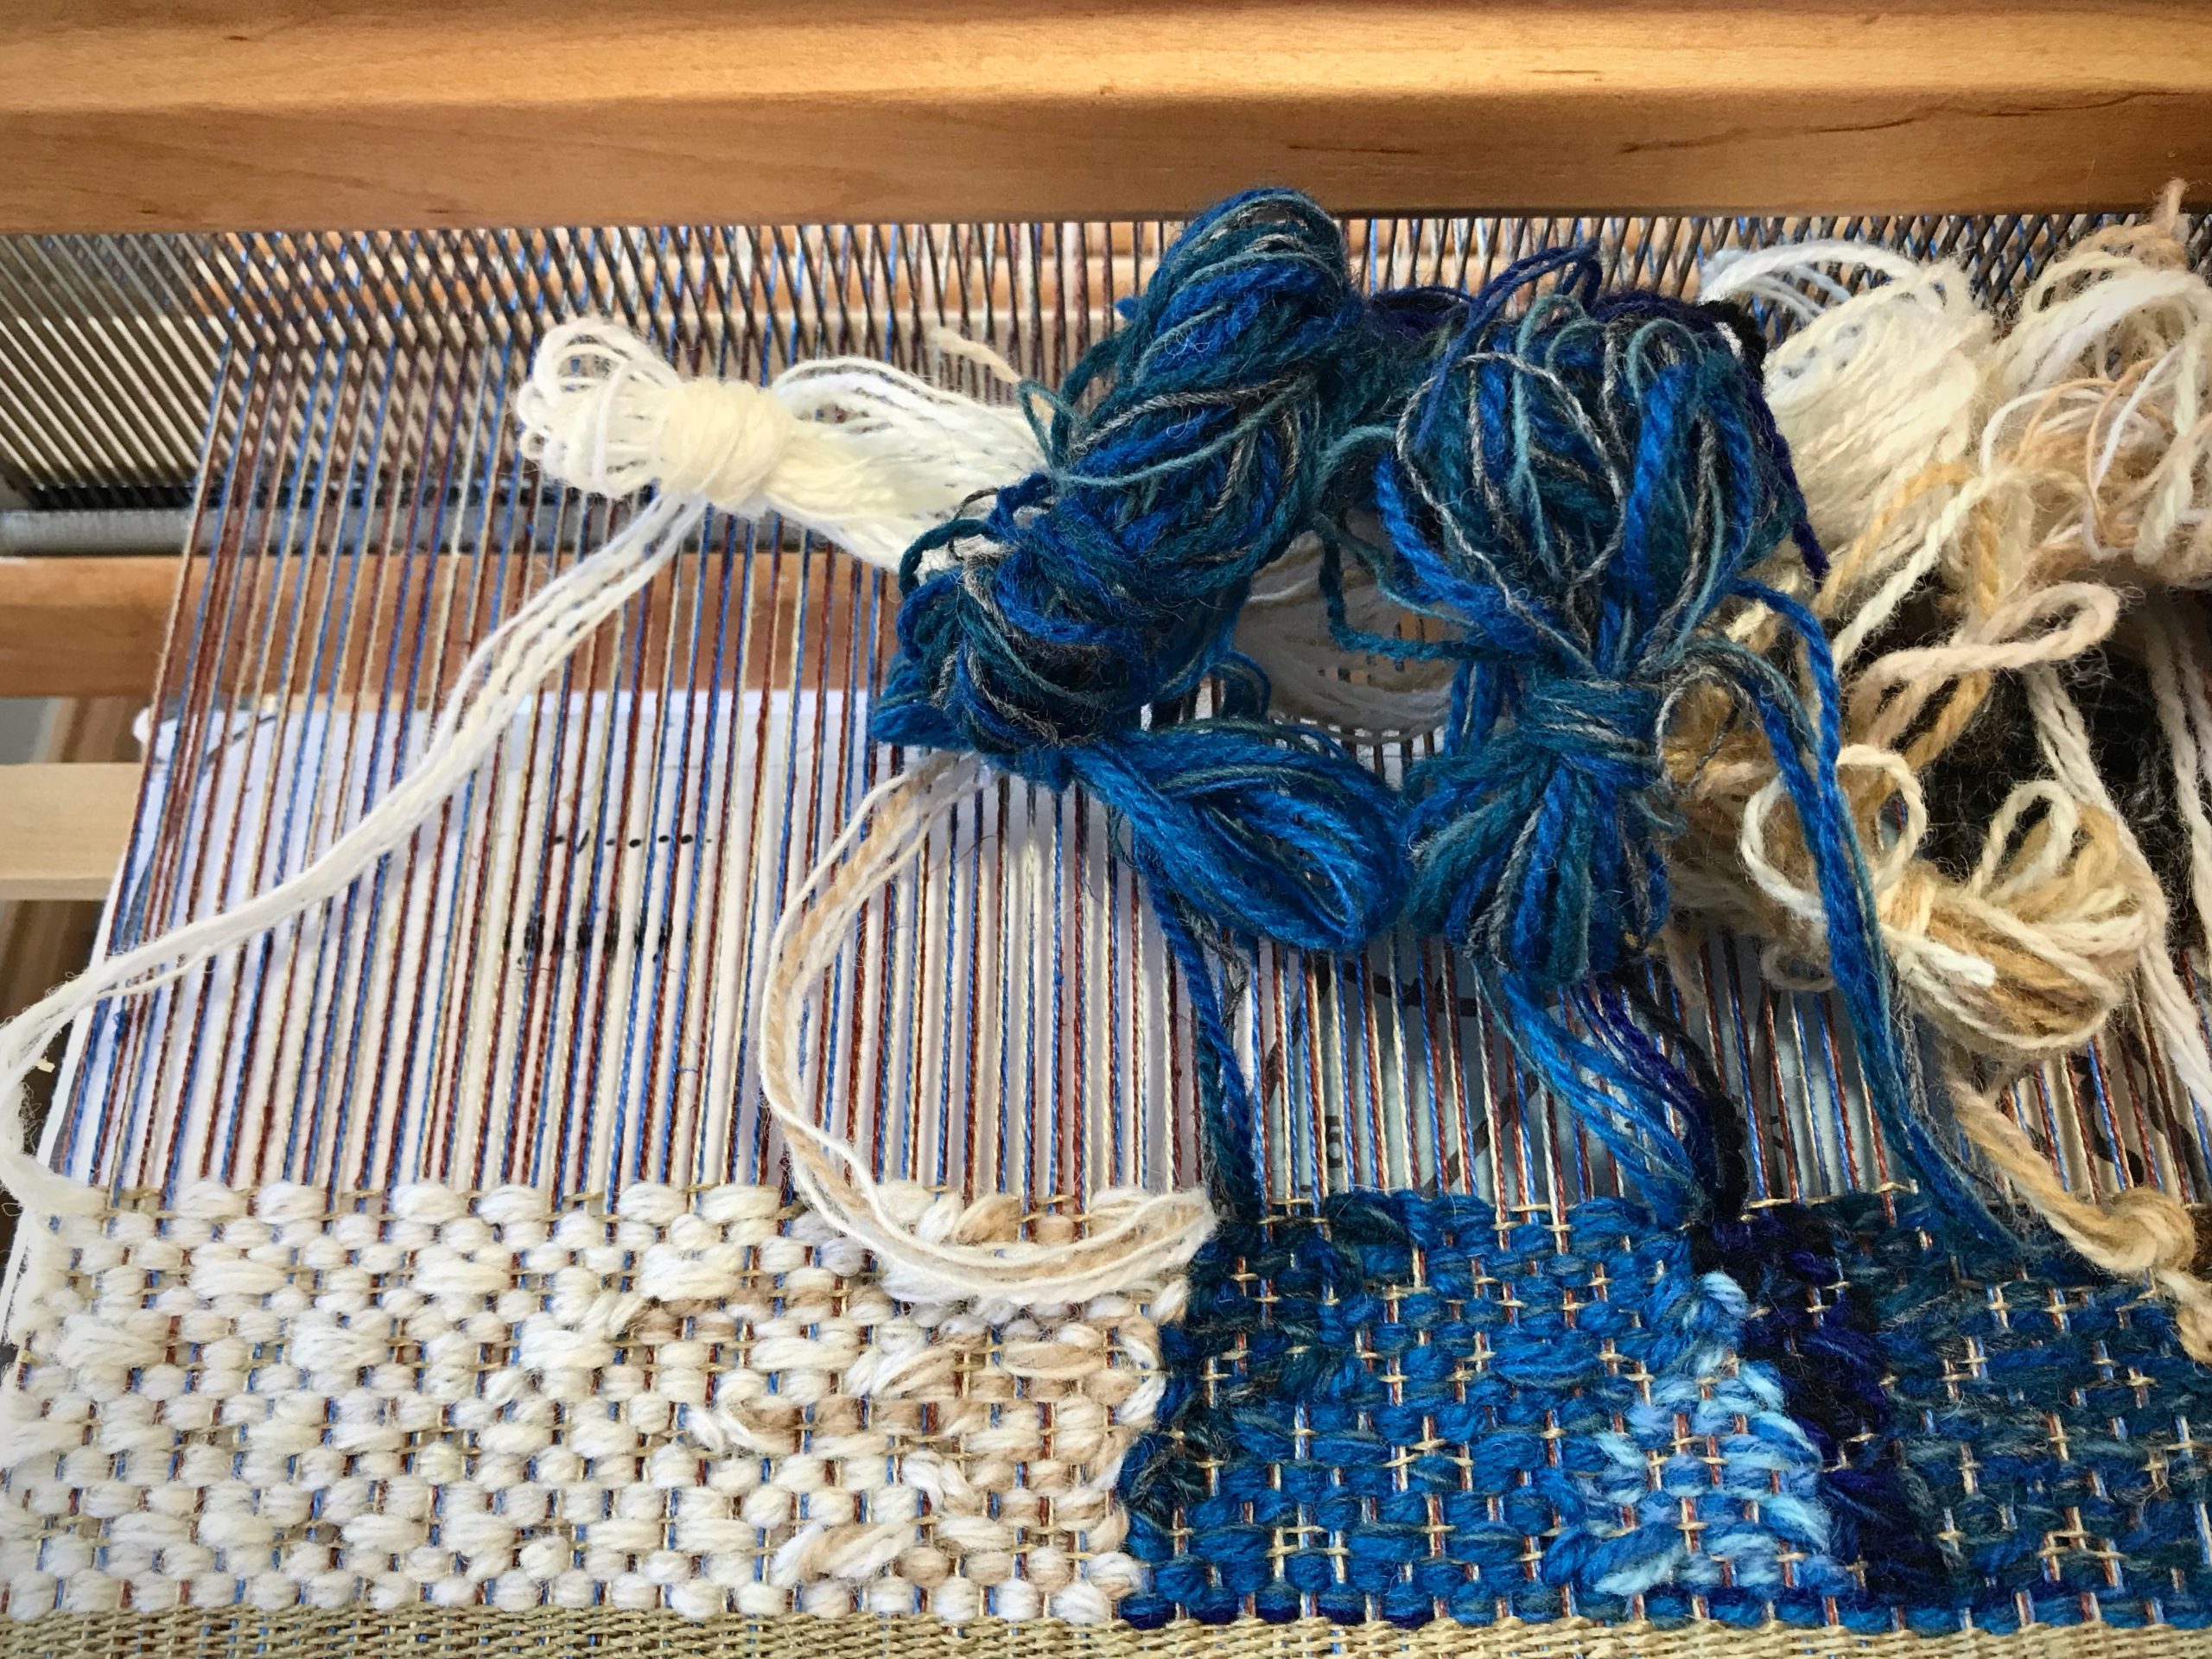
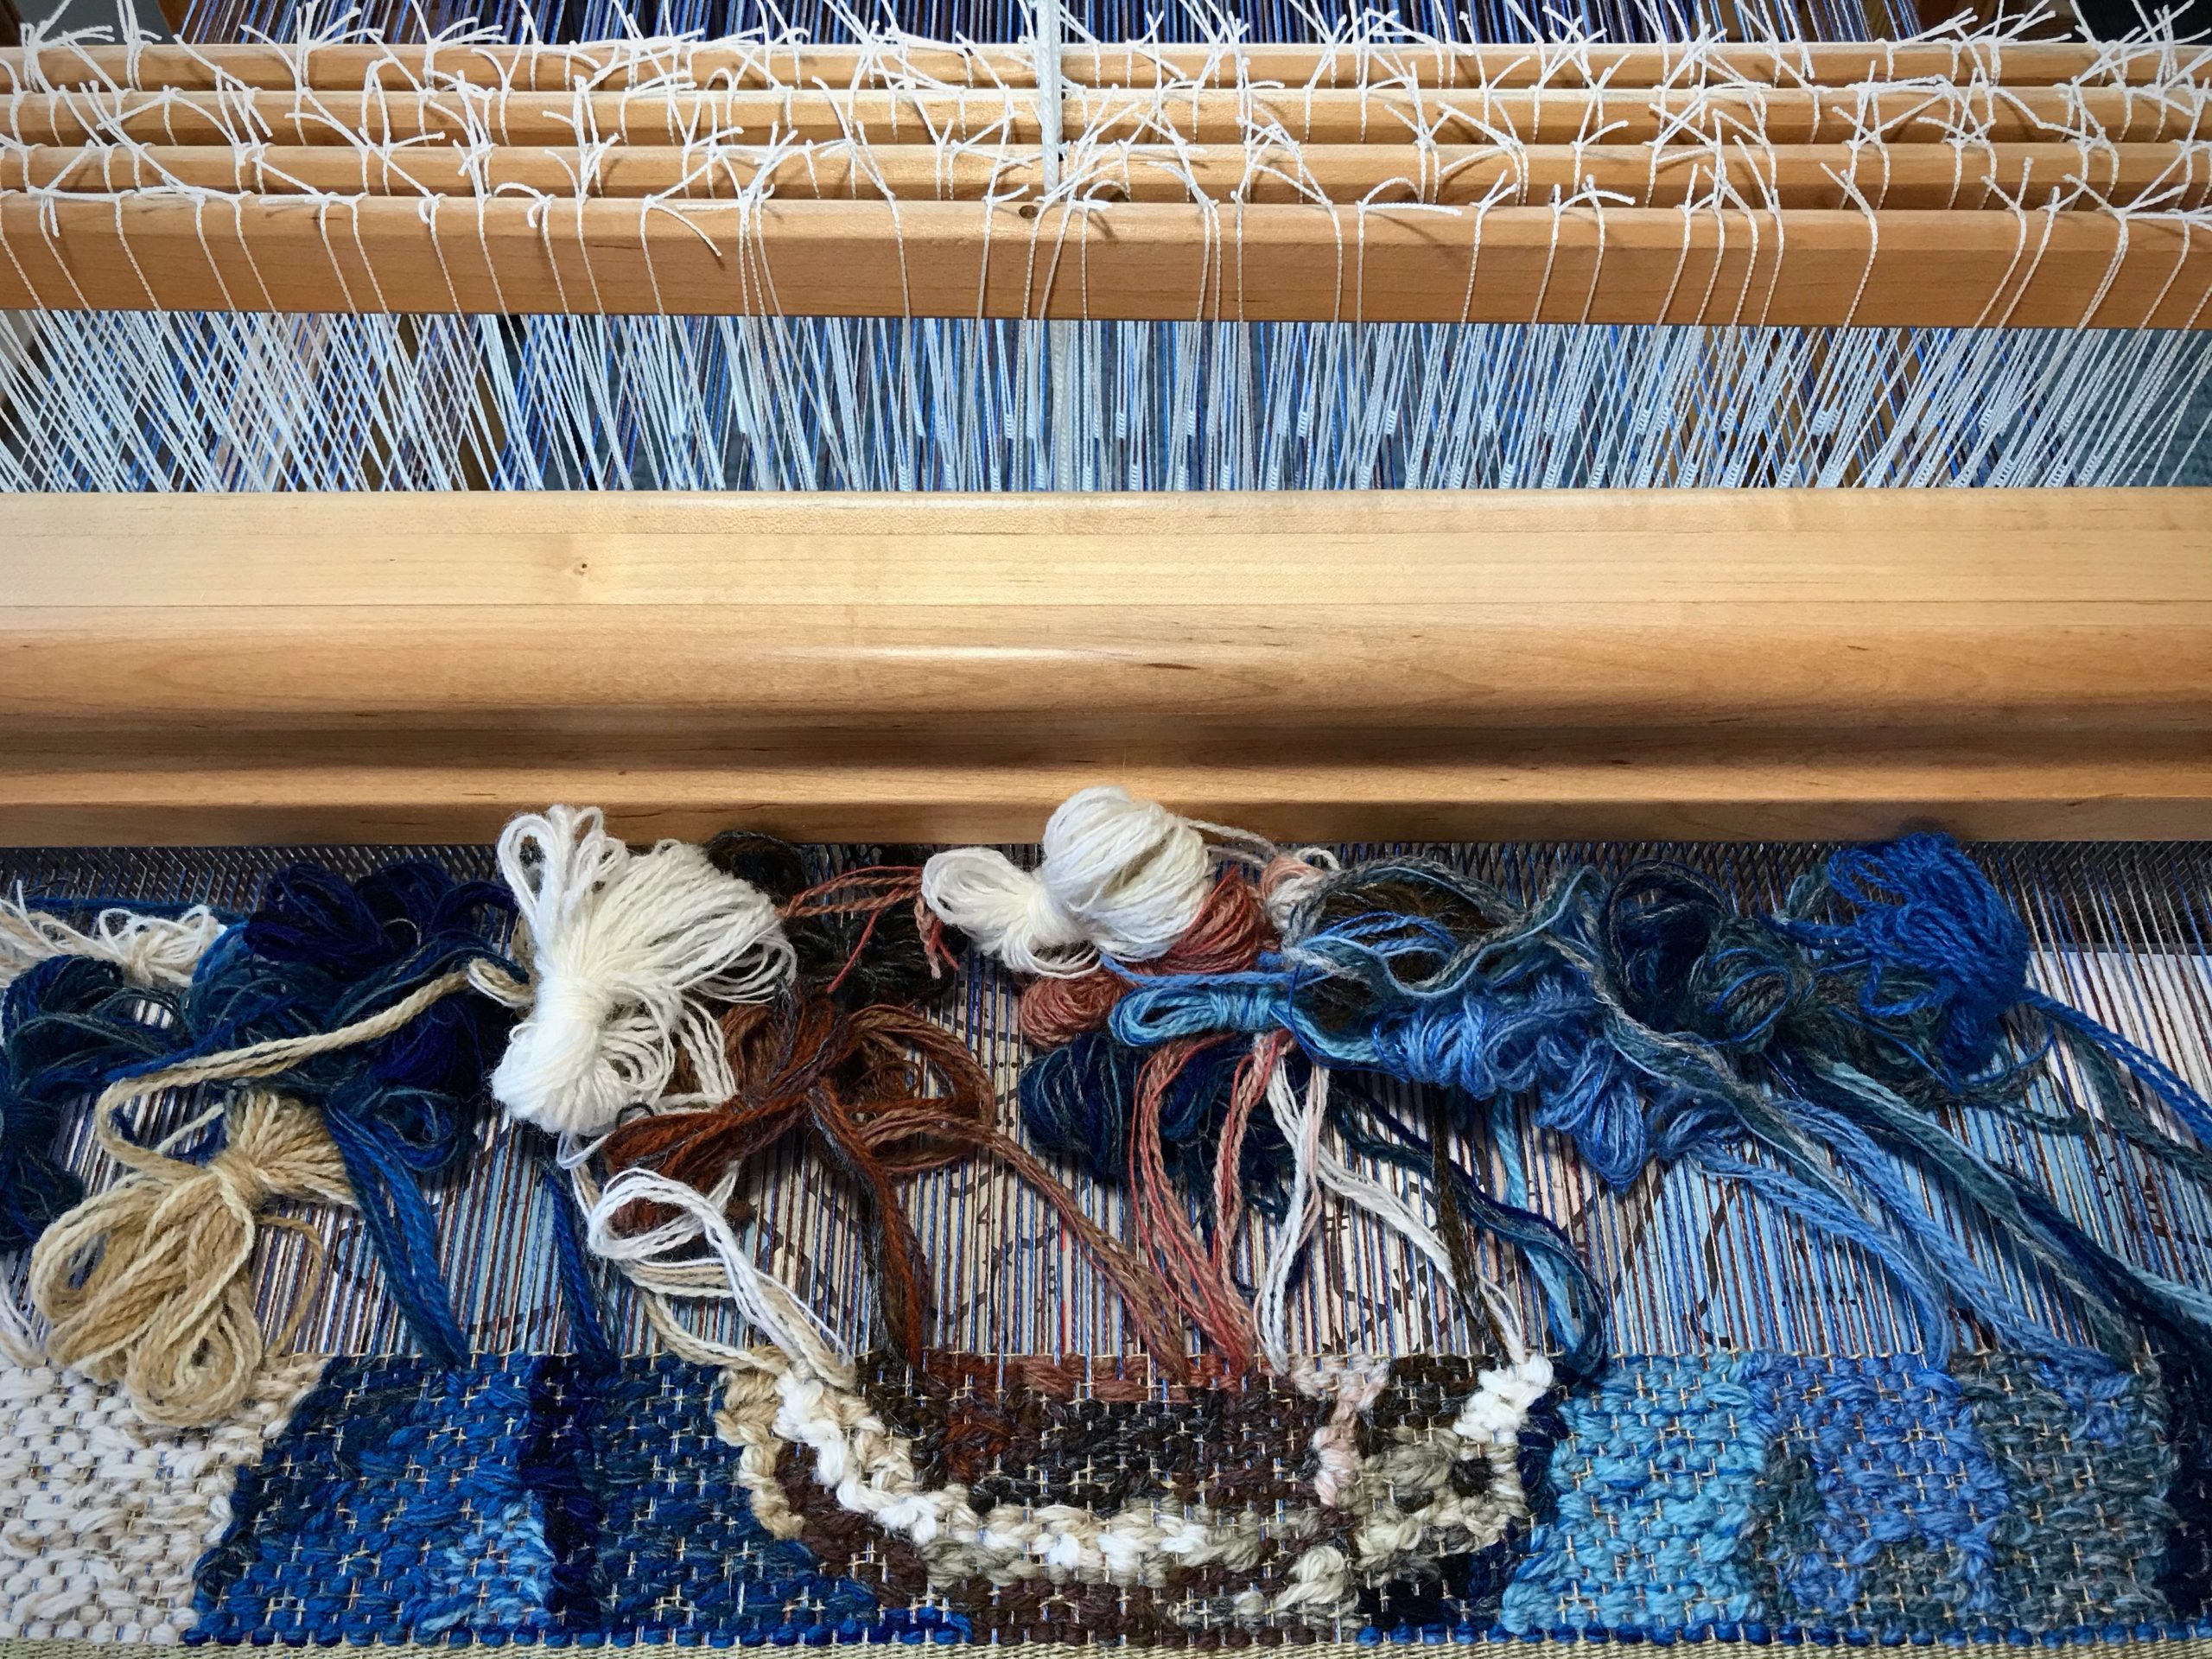
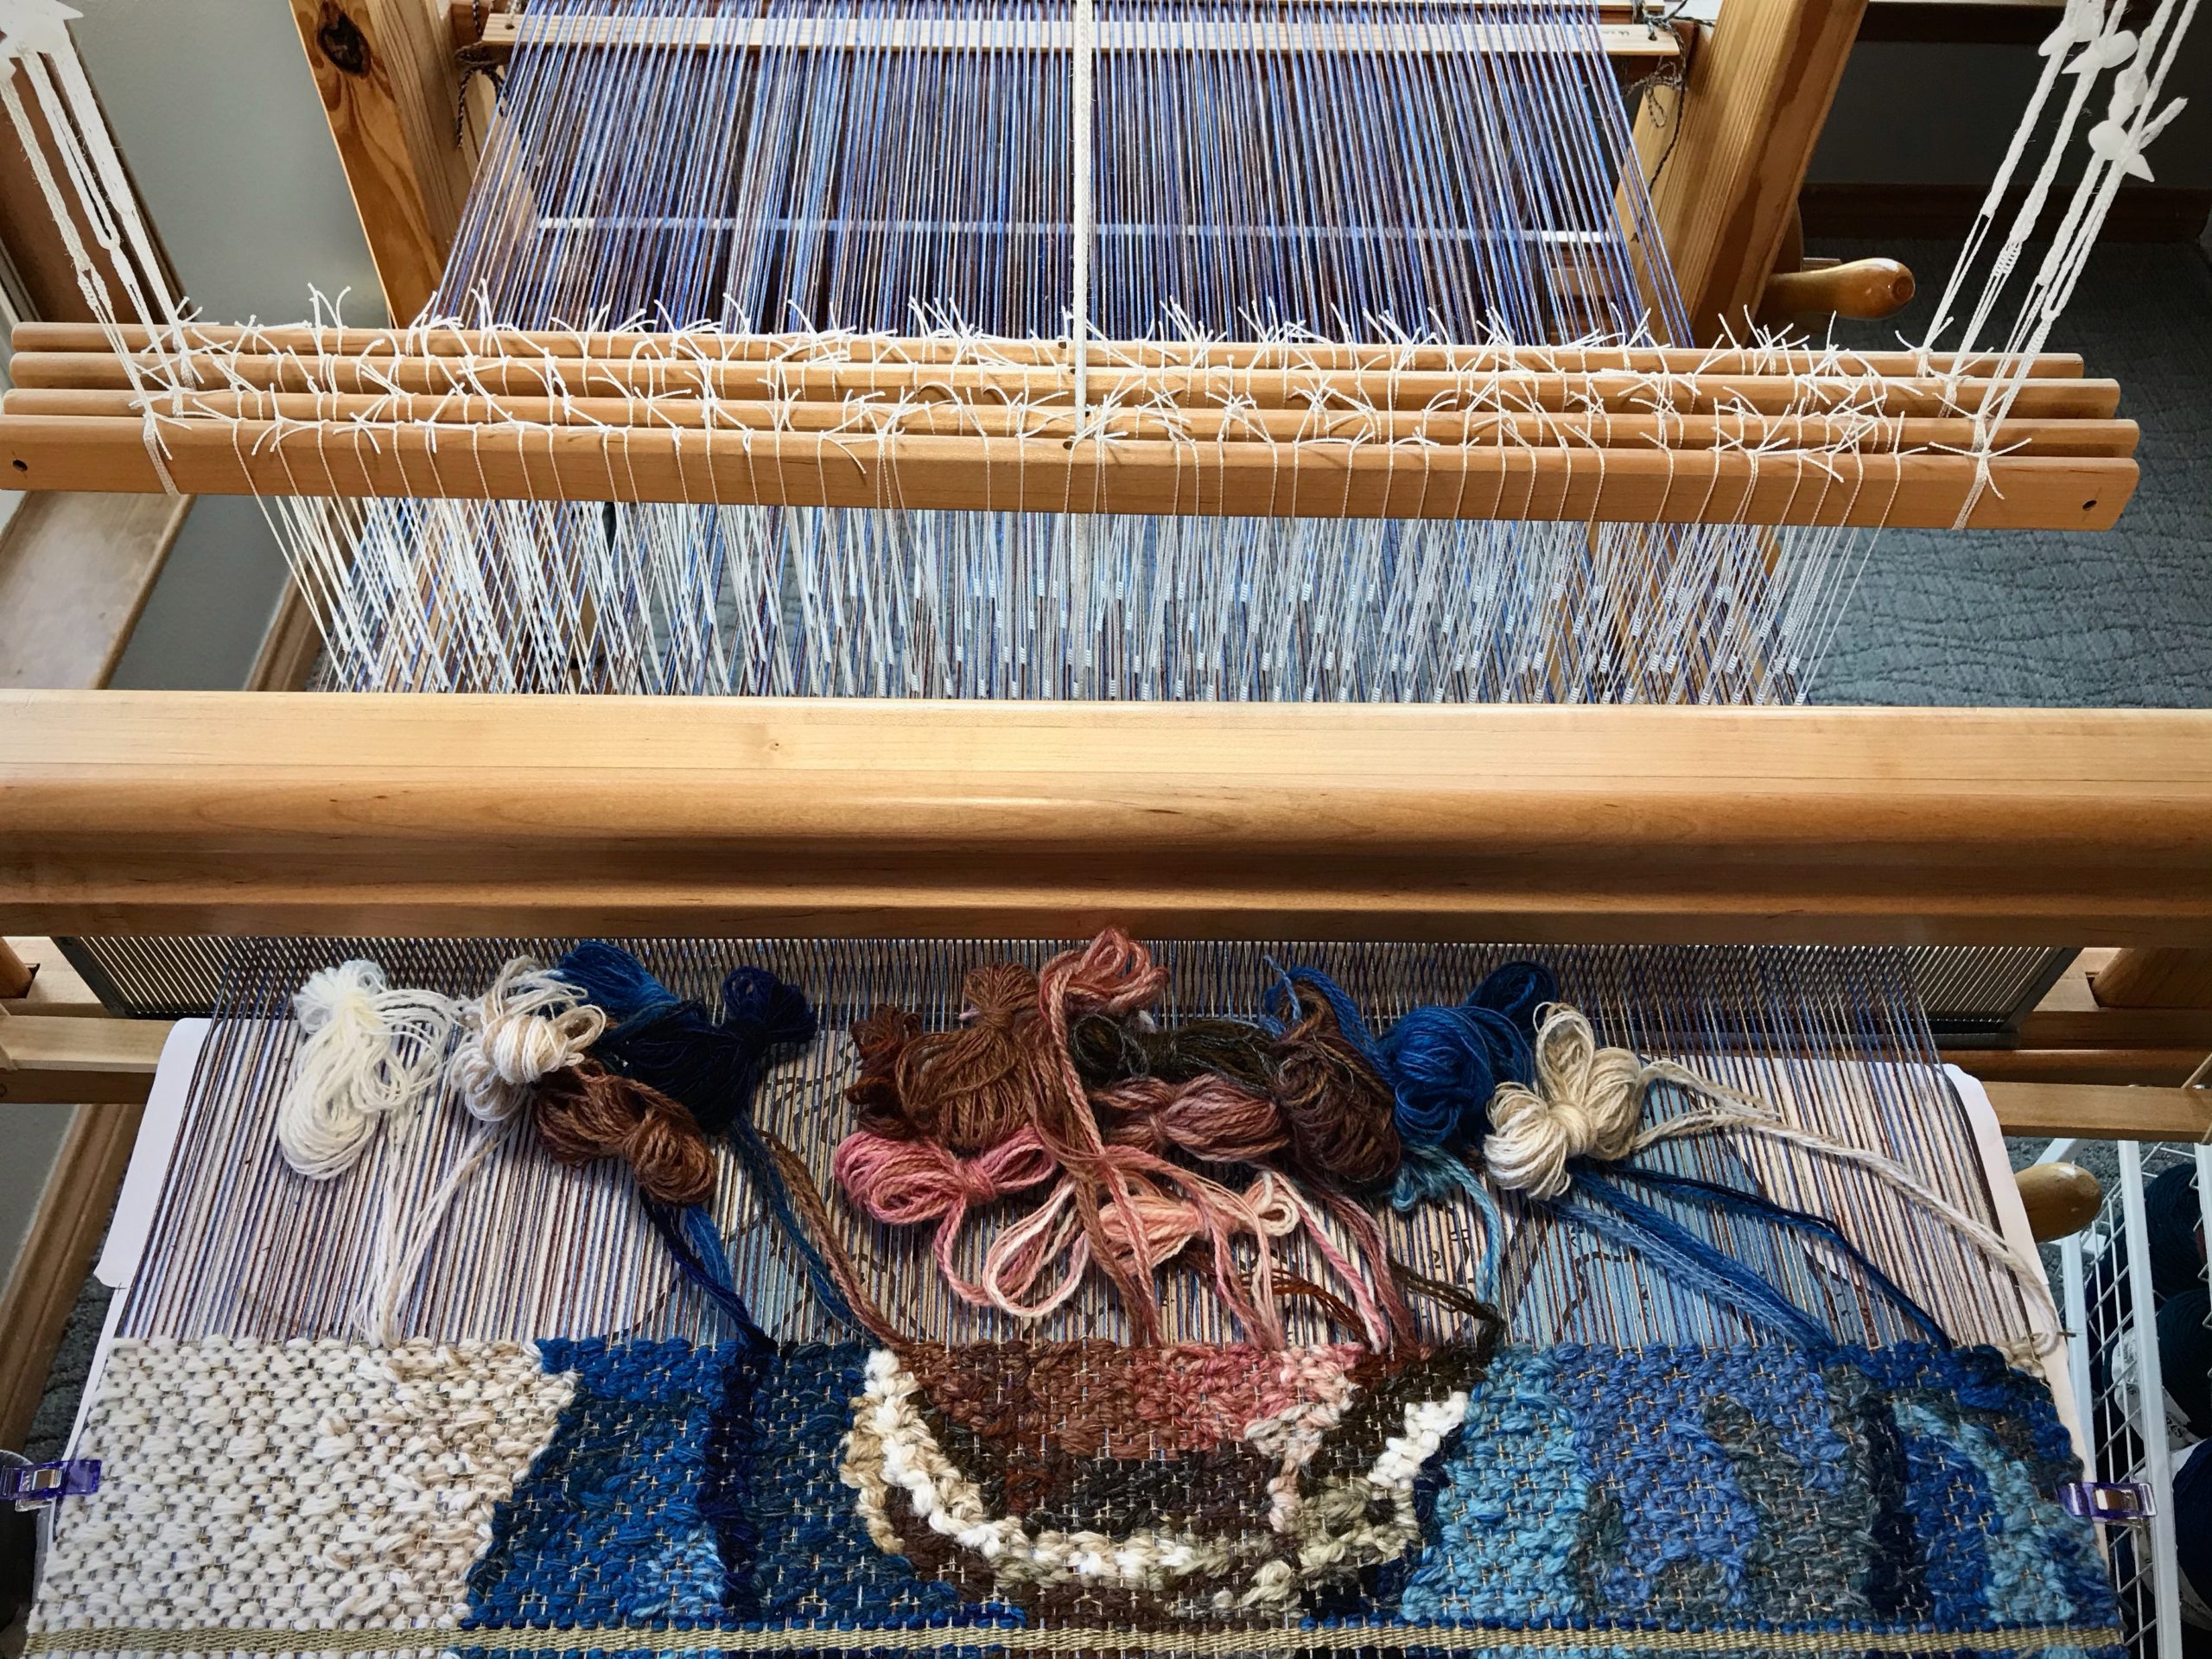
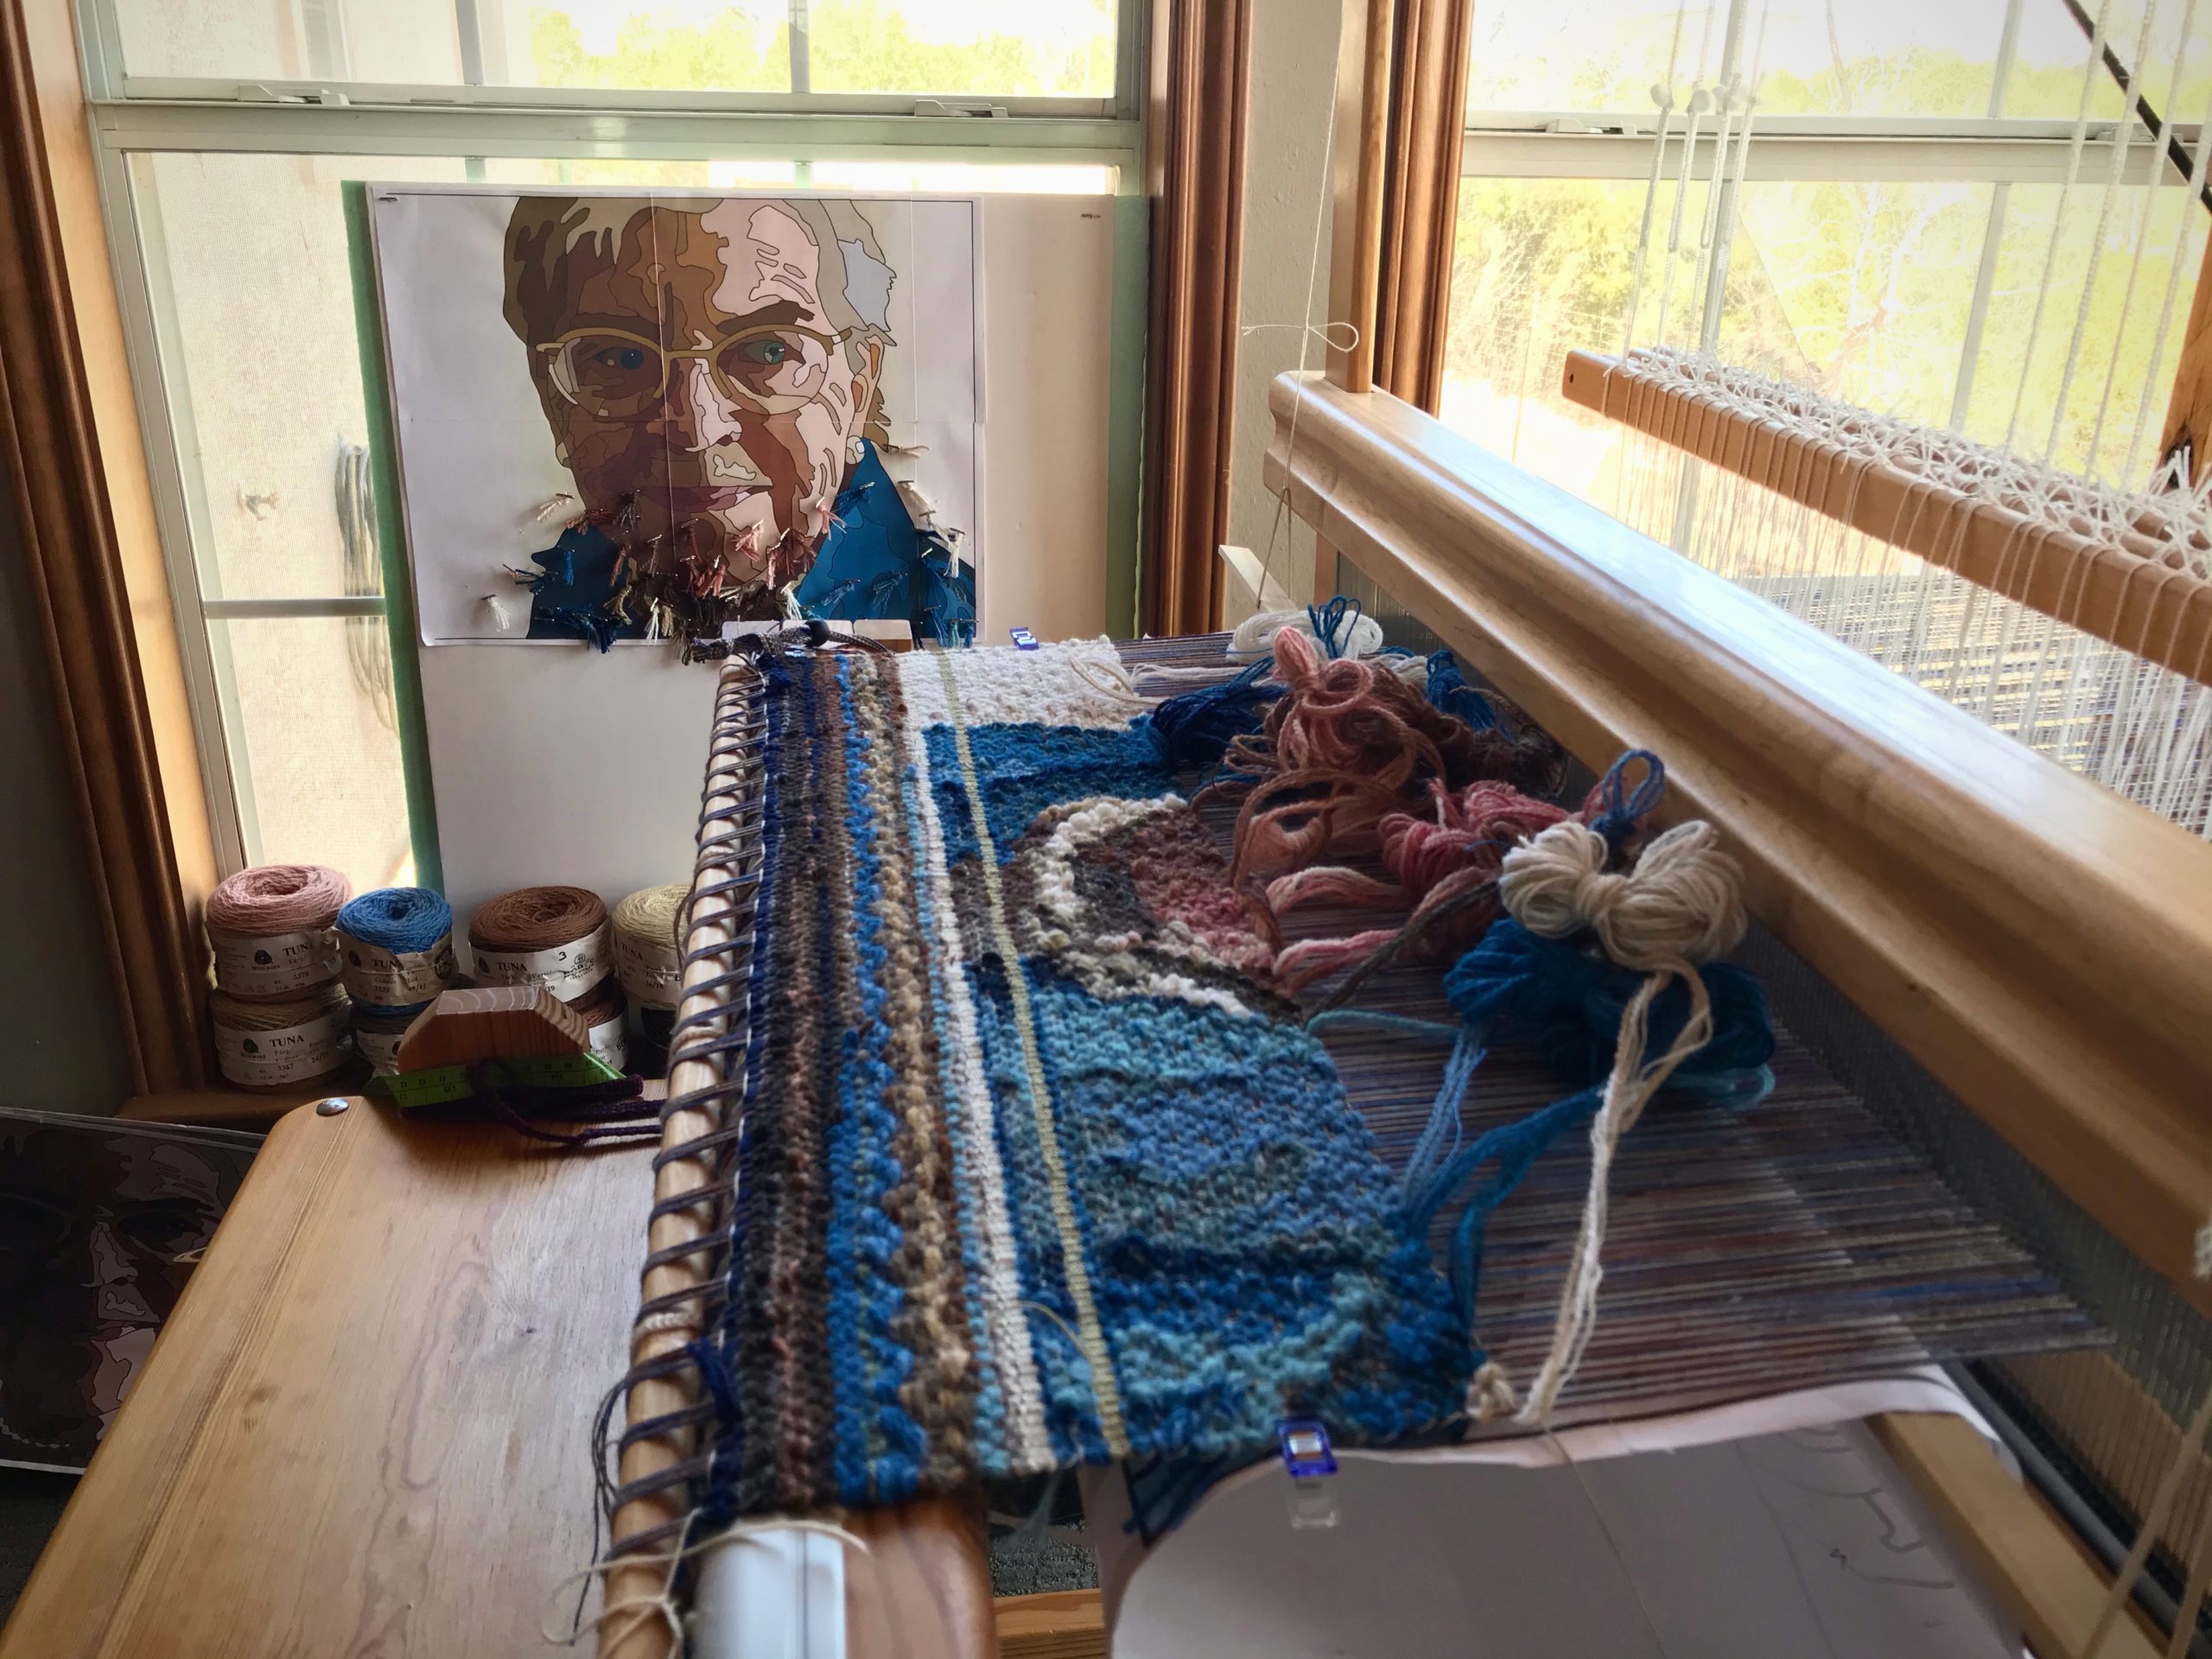
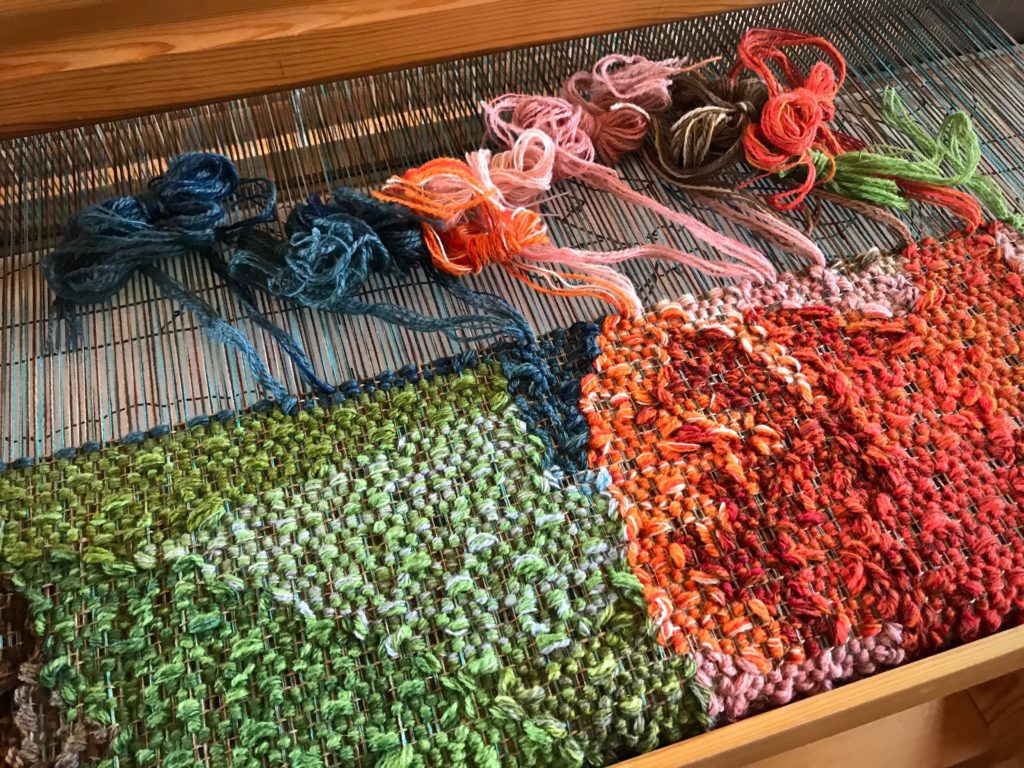
Now, instead of golden bleached, the linen thread is a golden beige that disappears into the fabric, while holding everything together. Come to think of it, that is an apt picture of a mother’s influence.
May you know when to go back to the beginning.
Happy Weaving,
Karen