You Can Prevent Threading Errors

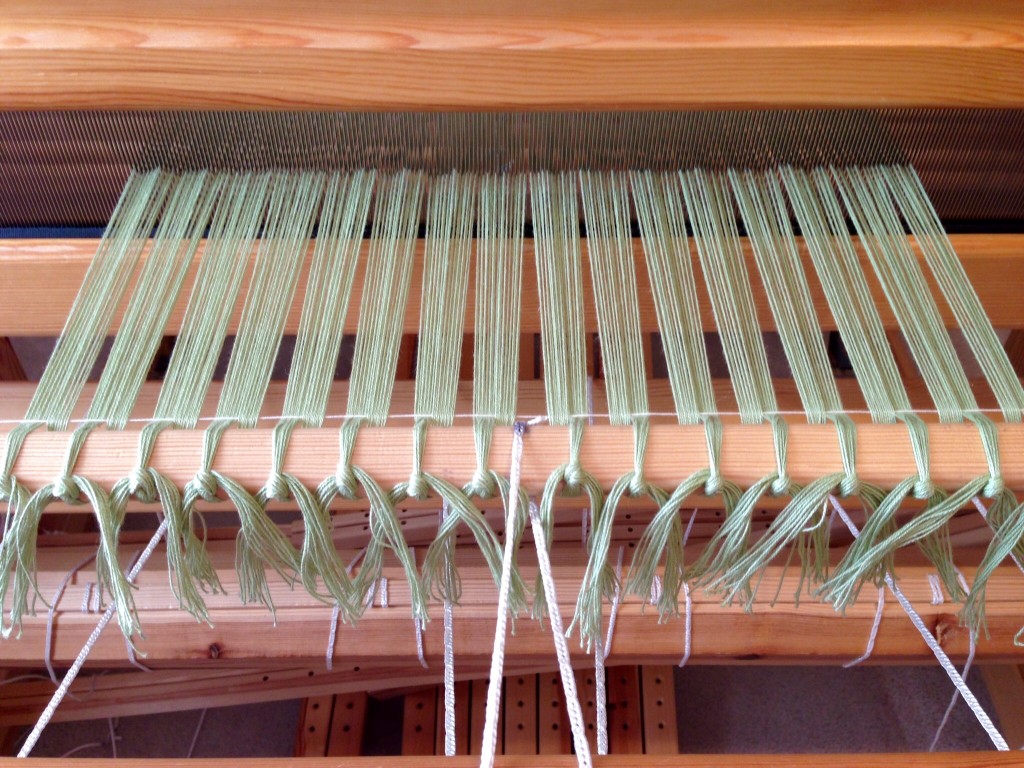
Today I am in my little playhouse in the Glimåkra Standard, threading heddles for halvdräll. This draft requires my strict attention. No multitasking. I have one thing in mind: thread the heddles. Threading errors are rare for me. And I’d like to keep it that way. 
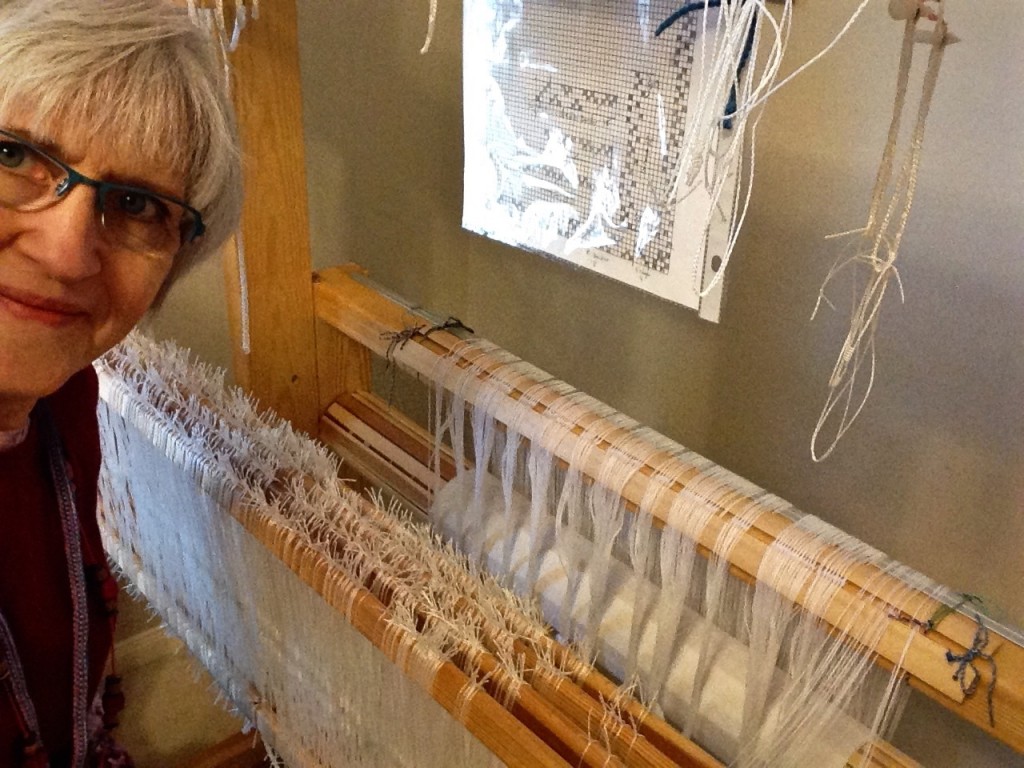
In my Glimakra "playhouse" threading heddles!
Cozy spot for threading heddles. With the threading draft in plain sight, good lighting, and plenty of time, I’m ready to go!

There are several things I do to prevent threading errors, or at least to catch them early while they are easy to correct.

Tutorial for Preventing Threading Errors – (Watch the accompanying video below)

  • Count the warp ends at the lease sticks into logical groupings, and bundle the grouped ends together with a loose overhand knot. (In this case, the groups are: 4 selvedge, 18 right side, 27 block I, 57 block II, repeat the 2 blocks 5 times, 18 left side, 4 selvedge.) I ended up with 2 extra ends at the left selvedge, so I worked my way back, re-counting each grouping until I found the spot where I had mis-counted, almost all the way back to the right selvedge ends. If that happens, re-count and re-tie each grouping until it all adds up correctly.
  • Tape or hang your threading draft where it can be easily seen.
  • Take one bundle of ends at a time, starting on the right-hand side, and thread those ends into their heddles, following the threading draft. It helps me to say the threading order out loud as I do the threading.
  • Check your work. Hold the just-threaded ends taut with your left hand, and with your right hand check every end, one by one, to see that it is going through the correct heddle. Make threading corrections, if needed, by pulling out errant ends and re-threading them. Tie that completed grouping with a loose slip knot. Again, I say the threading order out loud as I check the threading.
  • Repeat steps 4 and 5 until threading is complete.
  • Know when to take a break. Five minutes away from the loom every now and then serves to refresh my ability to concentrate. If I do a nonstop marathon, I’m prone to make errors.

Now, what about a tutorial for living? Grace means that we have been given a free tutorial for purposeful living. Jesus brought the grace of God to us. Christmas reminds us of that. It’s the grace of God that instructs us for living. It’s as if we have an ancient weaving draft; and we’ve been given the grace, the tutorial, that shows how to understand the draft to make meaning in the fabric of our lives.

May you catch all your threading errors while they are easy to fix.

Threading Heddles from Warped for Good on Vimeo.

Be sure to drop by on Friday. I can’t wait to show you what I’ve done with the warp-printed fabric from Warp Stamping Is Over!

On purpose,
Karen

Quiet Friday: Weave a Bag with Handles

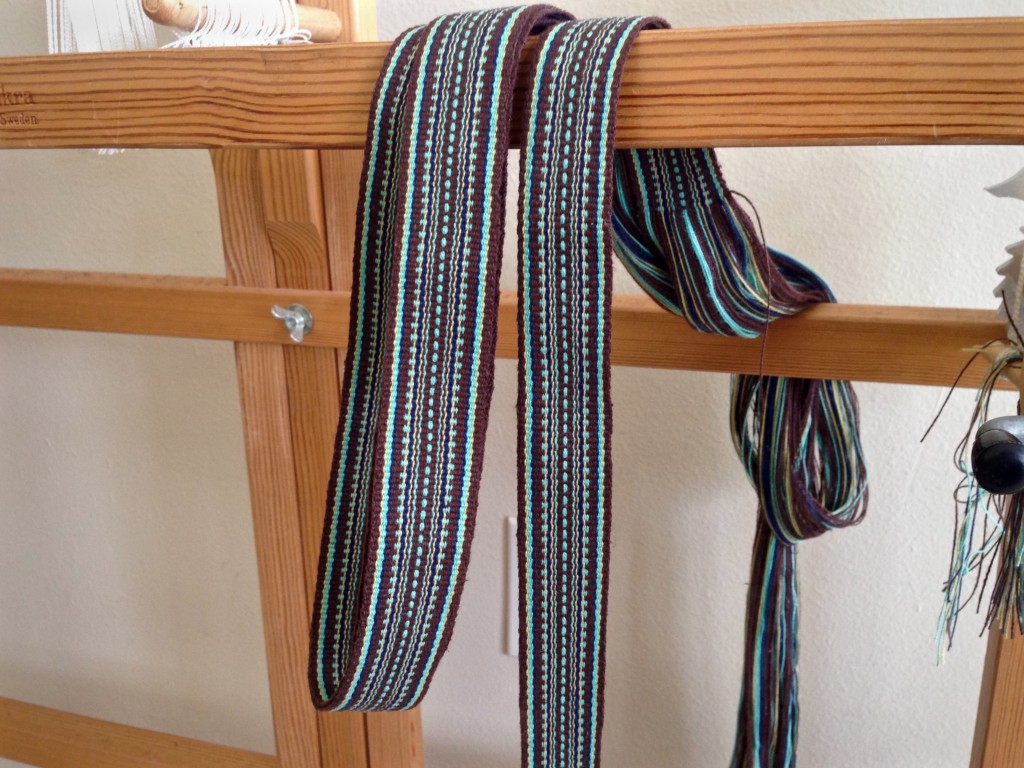
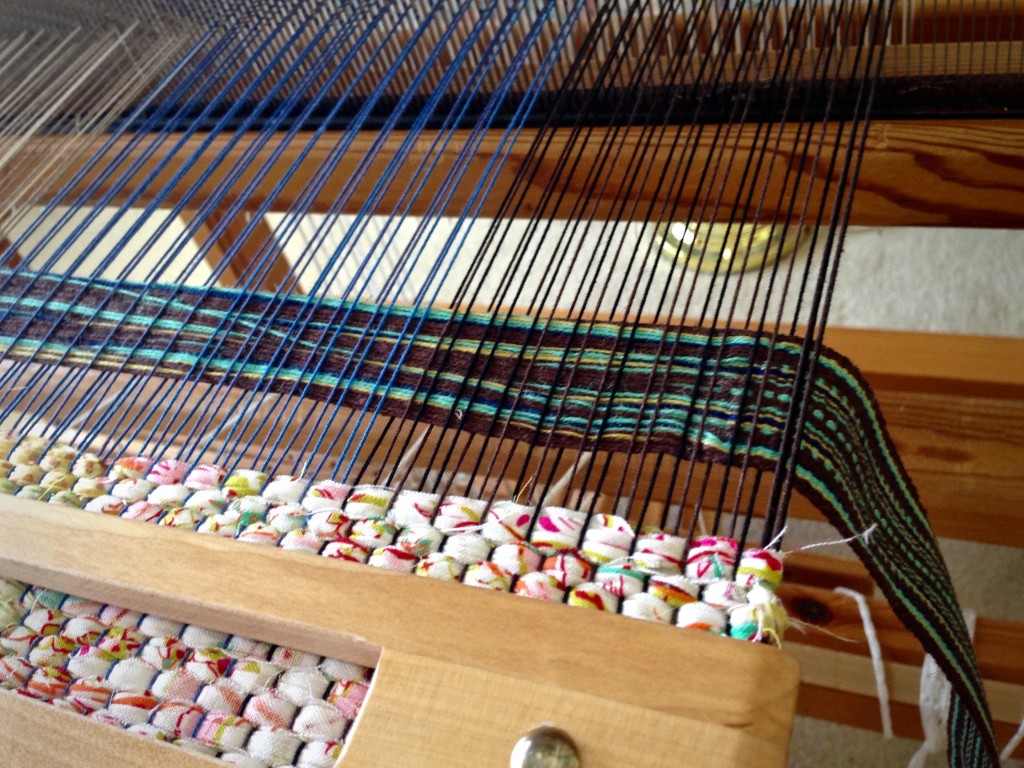
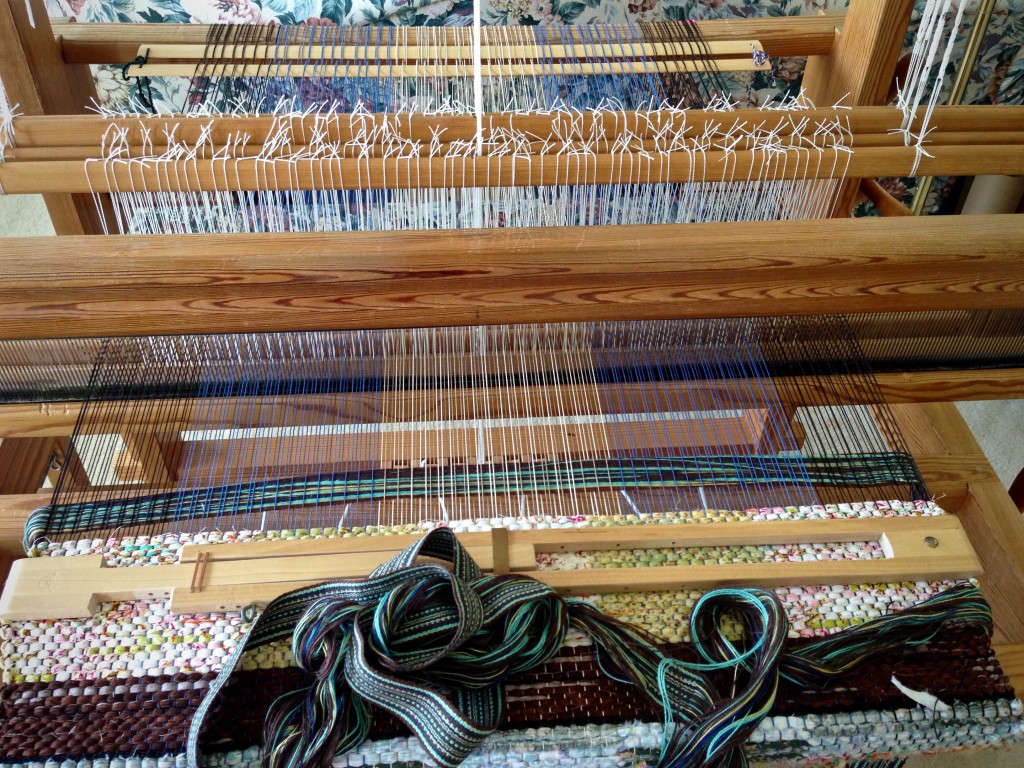
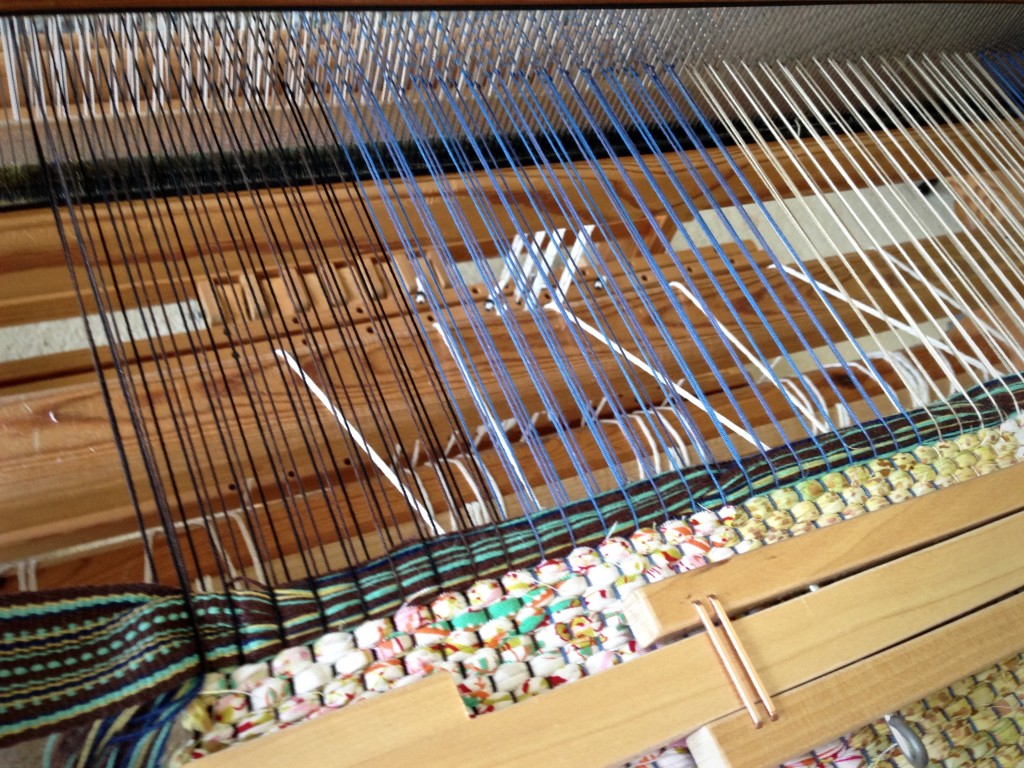
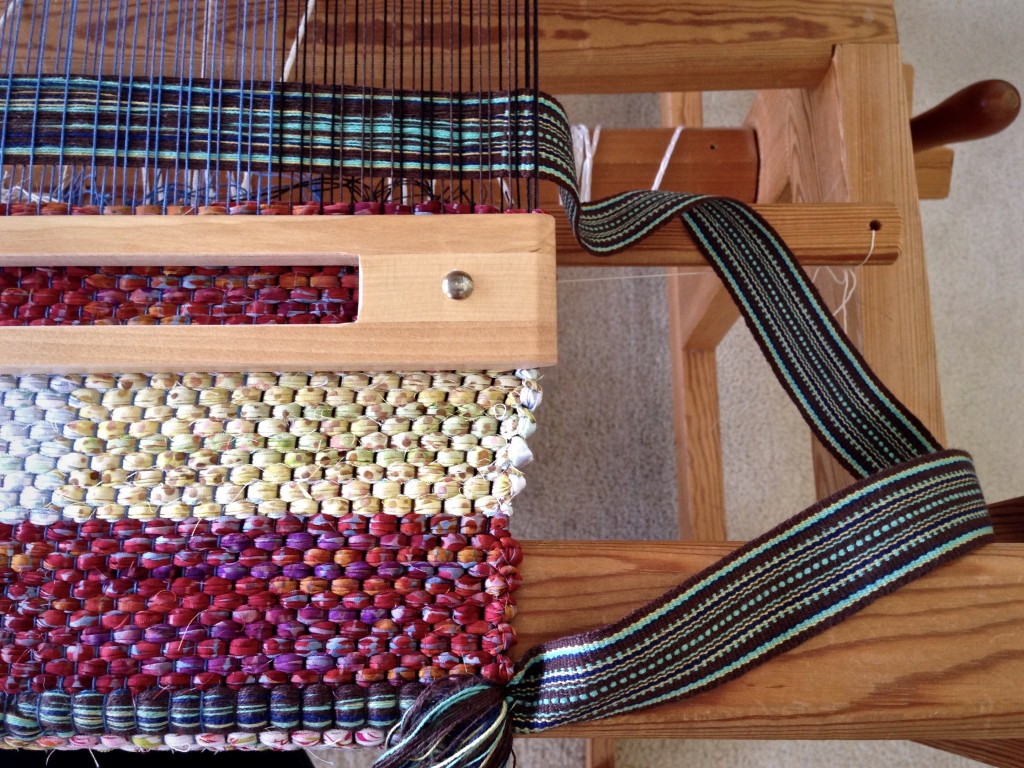
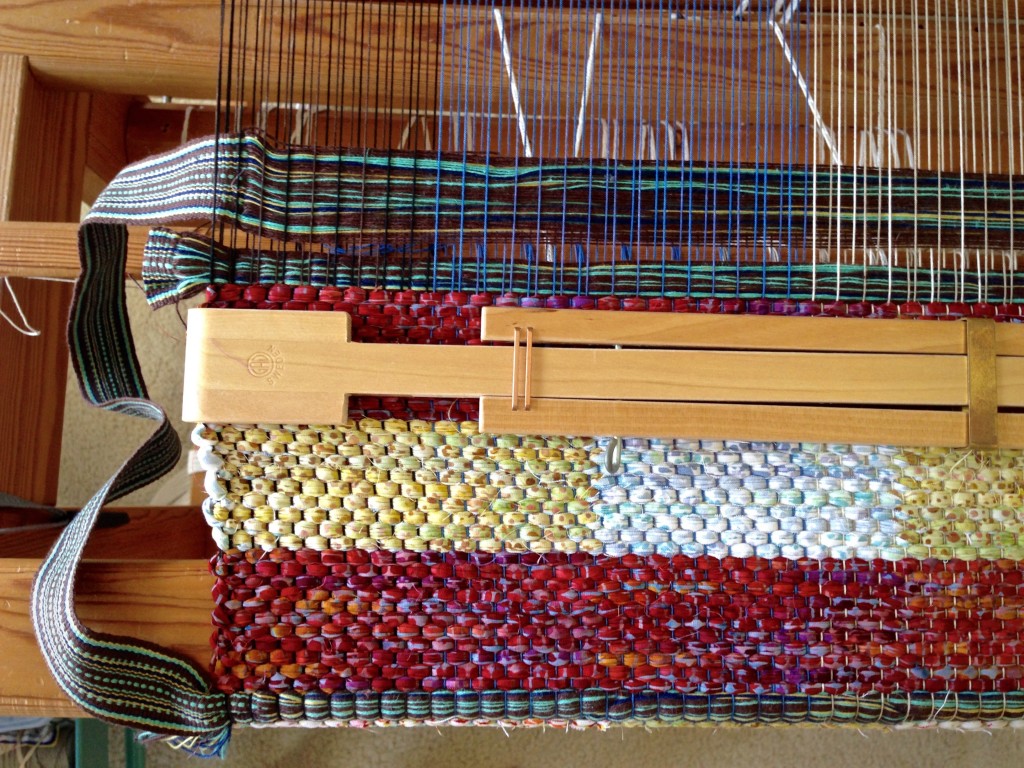
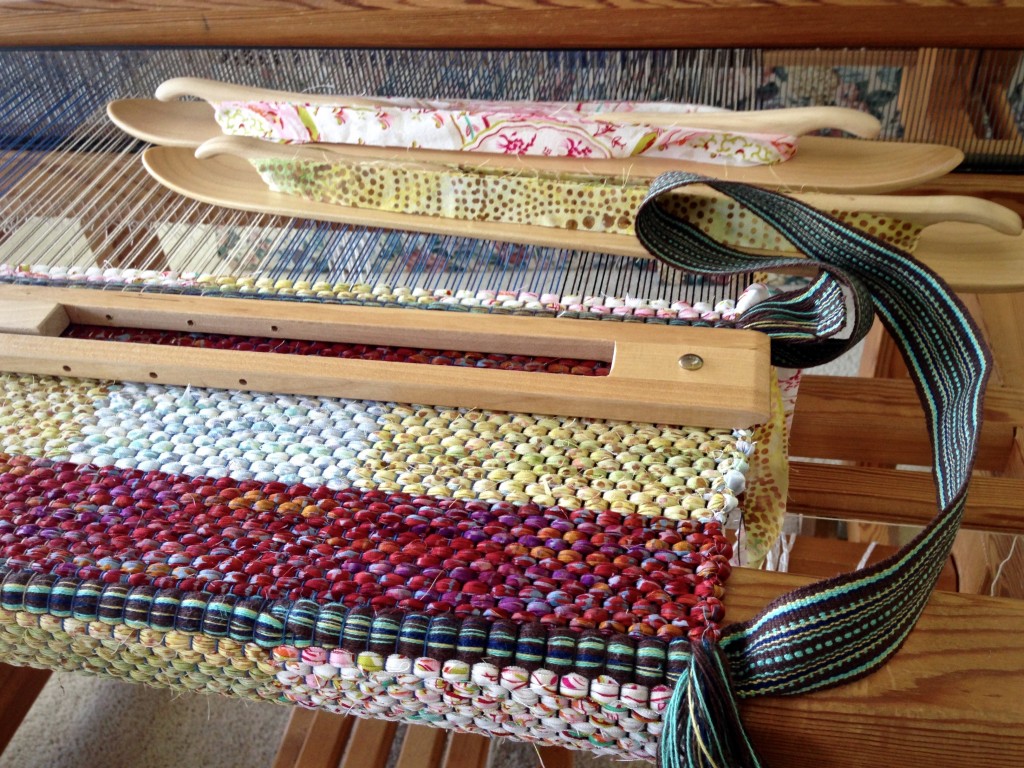
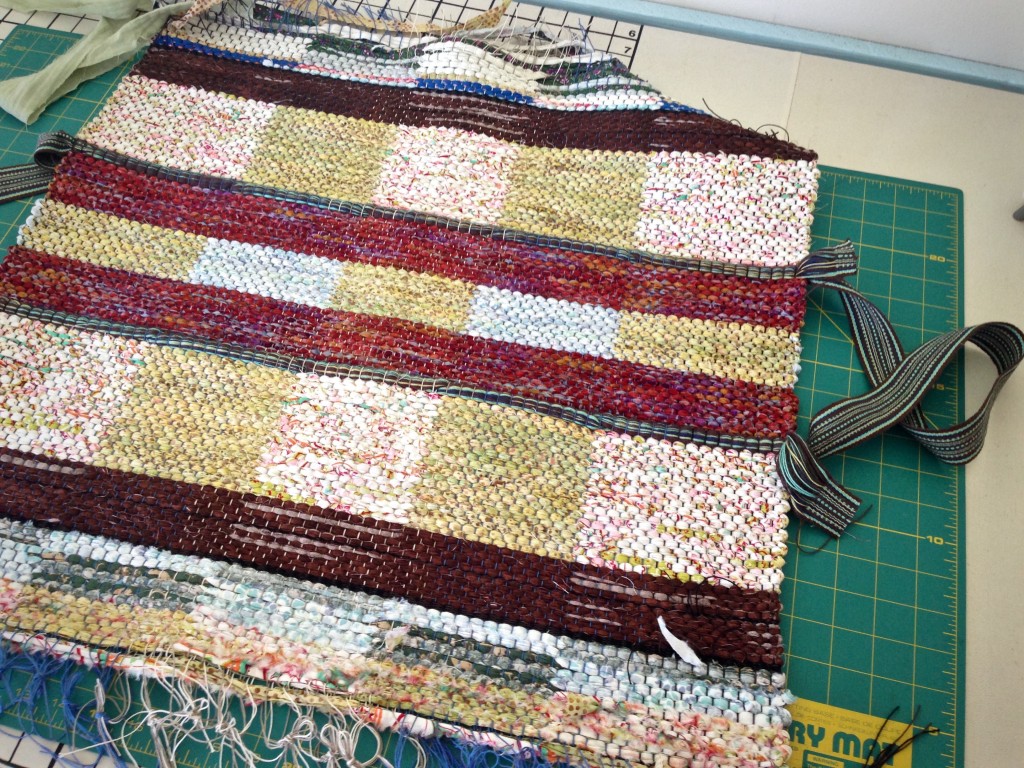
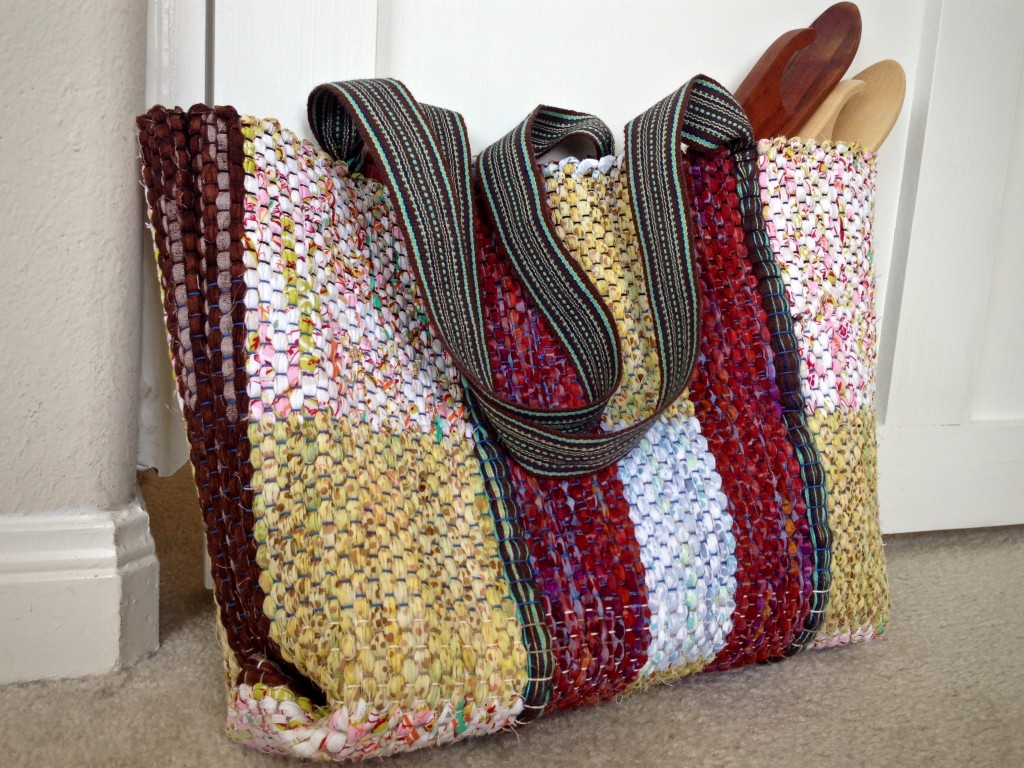
Voila! A rag-weave bag with the handles woven in. First, the handle straps were woven on my band loom. And then, I wove the straps into the rag-weave bag on my floor loom. Lastly, I cut the weaving from the loom and sewed the bag together. This is a warp for double binding rag rugs. I take advantage of this double cloth structure to make handles that are extremely secure. The pictures show how it all comes together. (Quiet Friday: Rag Rug Bag shows my first attempt at this feat. Be sure to read the comments. My amazing readers helped me develop the idea for this workable solution.)

As a bonus, at the end of this post you will see a new video that demonstrates my method of cutting fabric strips for weaving rag rugs.

1. Weave bag handles. (First seen on Is My Weft Showing?)

Unwoven warp (length equal to the rag rug warp width on the loom, plus 2″/5cm) comes before and after each of two bag handles, which are woven to desired length. Unwoven warp is held together at the beginning, and in between the two handles, and at the end, with 1″/2.5cm of woven band.

Bag handle woven on band loom. Karen Isenhower

2. Insert unwoven band warp for one handle.

Weave approximately 1/3 of the bag.

Cut the two handle straps apart in the middle of the 1″/2.5cm woven section that separates the two lengths of unwoven band warp. Entering from the right-hand side, insert one unwoven band warp, used here as weft, into the first shed of the double binding weave, with 1/2″/1cm of the band-woven handle strap reaching into the shed. Tap the weft in with the beater, but do not beat it in firmly, yet.

Steps for weaving handle into rag weave bag.

Weave handle into rag weave bag. How to.

3. Insert unwoven band warp for the second handle.

Entering from the left-hand side, insert the unwoven band warp, used as weft, from the second handle strap into the second shed of the double binding weave, with 1/2″/1cm of the band-woven handle strap reaching into the shed. Beat firmly, packing in both layers of weft together.

Weave handle into rag weave bag on the loom.

4. Weave the center 1/3 of the bag.

Step-by-step weaving handle into bag.

5. Insert remaining unwoven warp of first handle.

Repeat Step 2 with the unwoven band warp attached to the handle on the right-hand side. Make sure the handle strap is not twisted.

Inserting bag handles during weaving. Tutorial.

6. Insert remaining unwoven warp of second handle.

Repeat Step 3 with the unwoven band warp attached to the handle on the left-hand side. Make sure the handle strap is not twisted.

How to insert bag handles into the weaving.

7. Weave the final 1/3 of the bag.

Double binding rag rug bag.

8. Finishing work.

Cut rag-weave bag from the loom. Remove header and knot the ends. Press. (For more about finishing the ends, see Quiet Friday: Rag Rug Finishing and Wear and Tear Rag Rugs)

Finishing ends to make bag.

9. Stitch the bag.

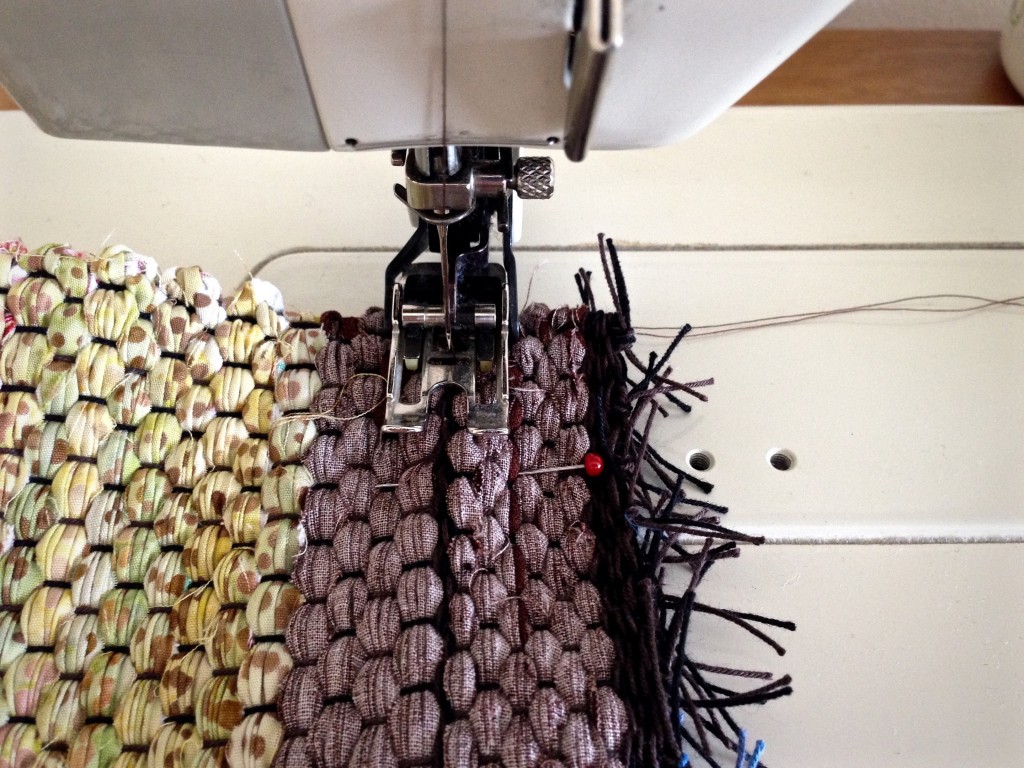
Fold the bag, right sides together. Stitch side seams. Turn right side out. For whimsical detail, form box corners on the outside, and stitch in place by hand with warp thread. (You could form box corners on the inside just as well, stitching flattened corners by machine or by hand.)

Creating a rag rug bag.

10. Take your bag with you wherever you go.

Rag rug bag with woven handles. Karen Isenhower

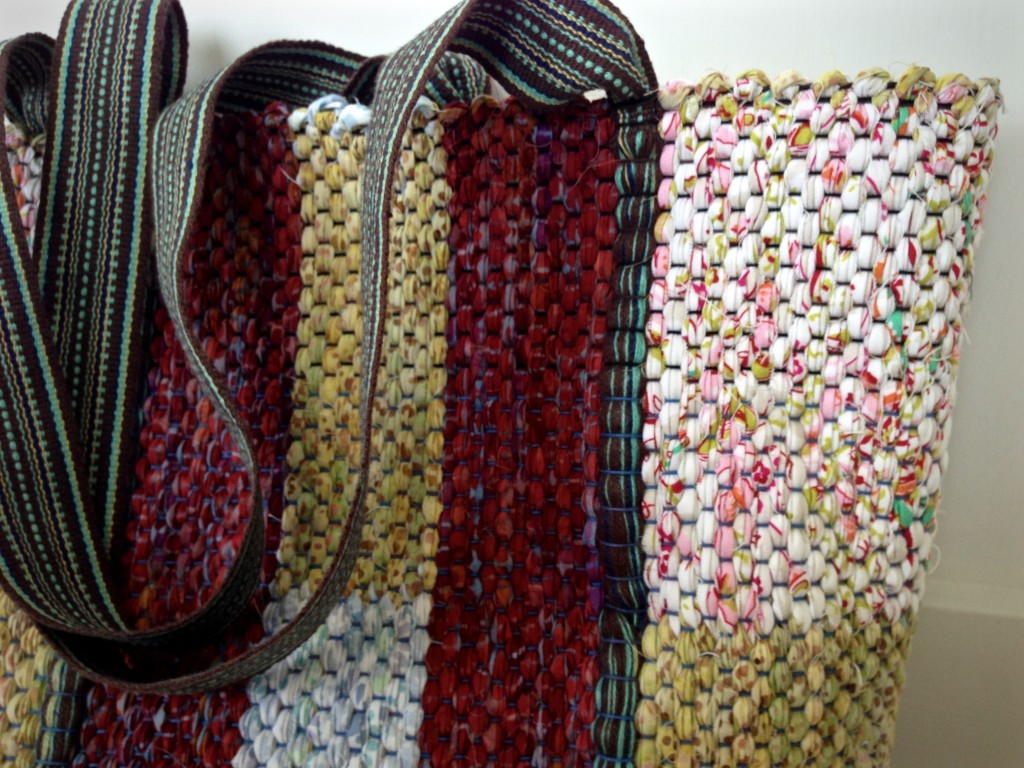
Rag rug bag detail. Karen Isenhower

May your ideas turn into fruitful efforts.

Happy weaving,
Karen
Quiet Friday: Cotton Scarves

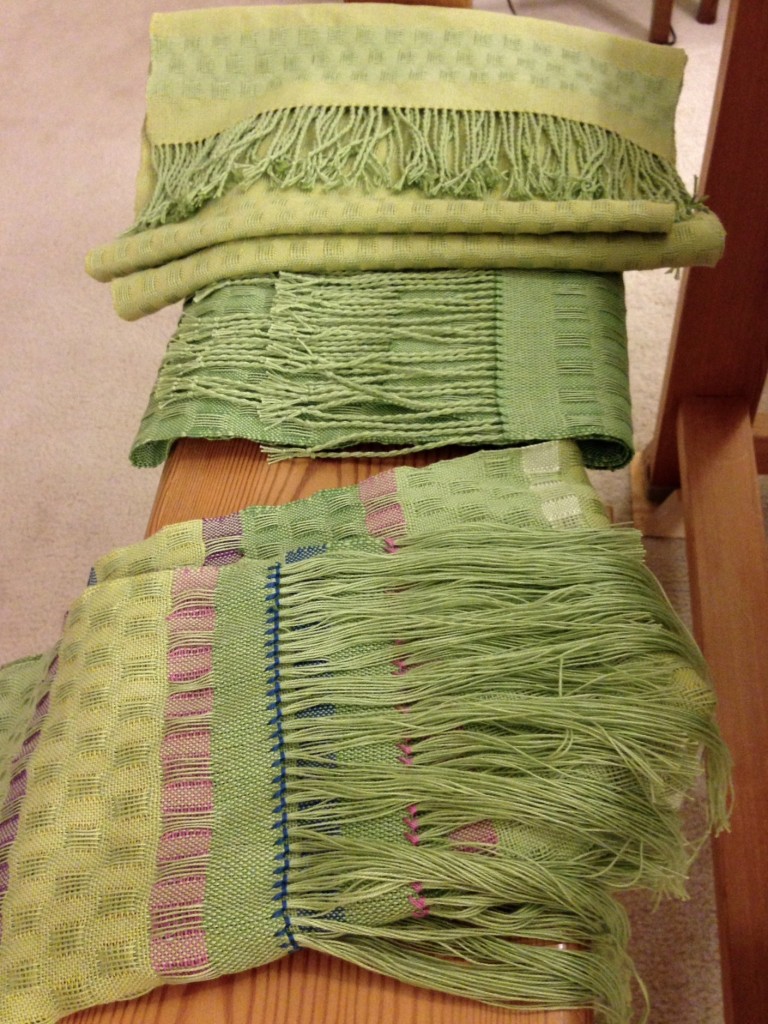
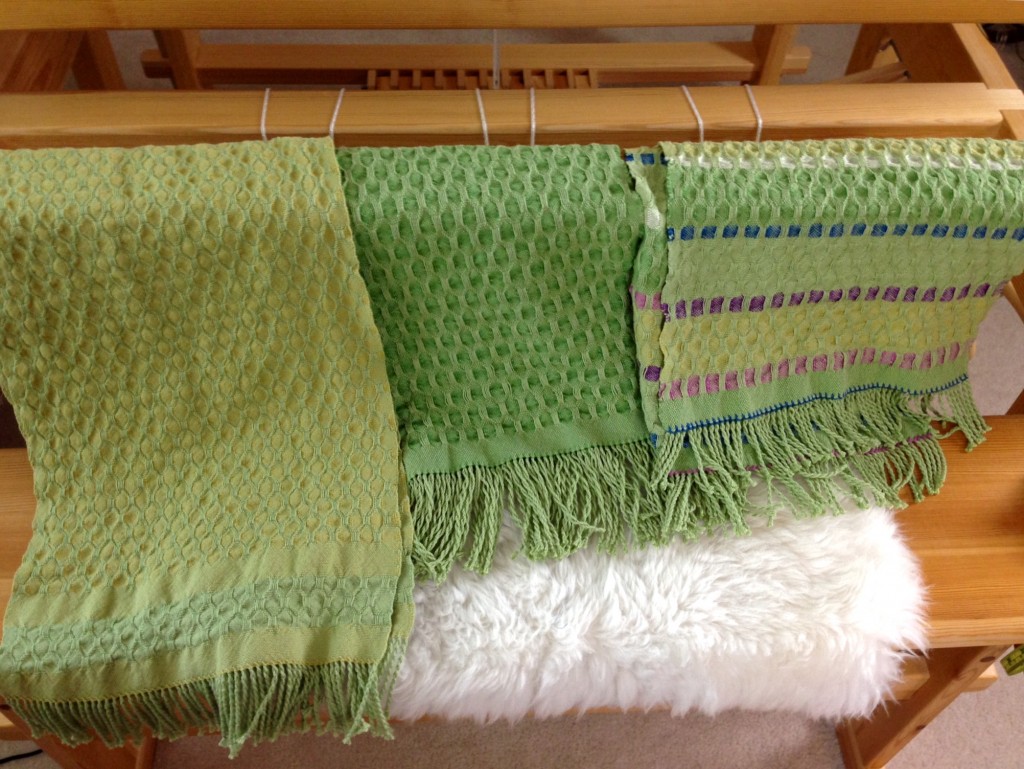
One thing I learned is the scarf with the longest warp floats has the greatest shrinkage rate. Another thing I learned – again – is to plan a longer warp than what I think I need. The third scarf is significantly shorter than the first two because I ran out of warp. Table runner, anyone? I always include length for sampling, but I need to include more, more, more. Still, I am very happy with the finished results. And, you have a new video to watch! (Scroll down to see it.)

Cotton warp for scarves is tied on.
Warp of 8/2 cotton is tied on in 1-inch/2.5 cm sections. The leveling string evens out the warp for immediate weaving.
Cotton lace weave scarf on the loom. Fringe twister video.
First scarf, with dark green weft, has the longest warp floats. This scarf ended up shorter than the second scarf, even though the first scarf’s length on the loom was longer than the second scarf.
Cotton lace weave scarves on the loom. Fringe twisting info, too.
Second scarf, with citrine weft, has a border element created with light green weft (same as the warp), including warp floats. The plain weave before and after the border element helps create a natural ruffle at each end of the finished scarf.
Cotton lace weave scarves on the loom. Springtime colors!
Saving the best for last, I used a series of springtime colors to create this scarf. The varied lengths of the floats give an illusion of colored ribbons crossing the scarf.

I wet finished the scarves in the washing machine, adding a small amount of Eucalan, on the gentle cycle, with warm wash and warm rinse, and very short spin. They went in the dryer on low heat until damp, and then hung to dry the rest of the way. The scarves came out lightly puckered, which is exactly what I had hoped for. I could have washed them in hot water and left them in for a longer amount of time if I had wanted the scarves more dramatically puckered.

Twisting fringe using a fringe twister tool.
Two scarves with fringes twisted. One waiting to be a film star in “Using a Fringe Twister.” This is before wet finishing.
Three cotton lace weave scarves, and fringe twisting video. Karen Isenhower
Wet finishing happens after the fringe has been twisted. These scarves have done it all. They are finished.
My favorite scarf. For now...
First seen on Instagram @celloweaver #warpedforgood

There’s nothing like finishing a fun project! Clearly, I know what to do next… Dress the big loom and keeping on weaving.

May you learn something new every day.

Happy Weaving,
Karen

Quiet Friday: Little Tapestry Diary

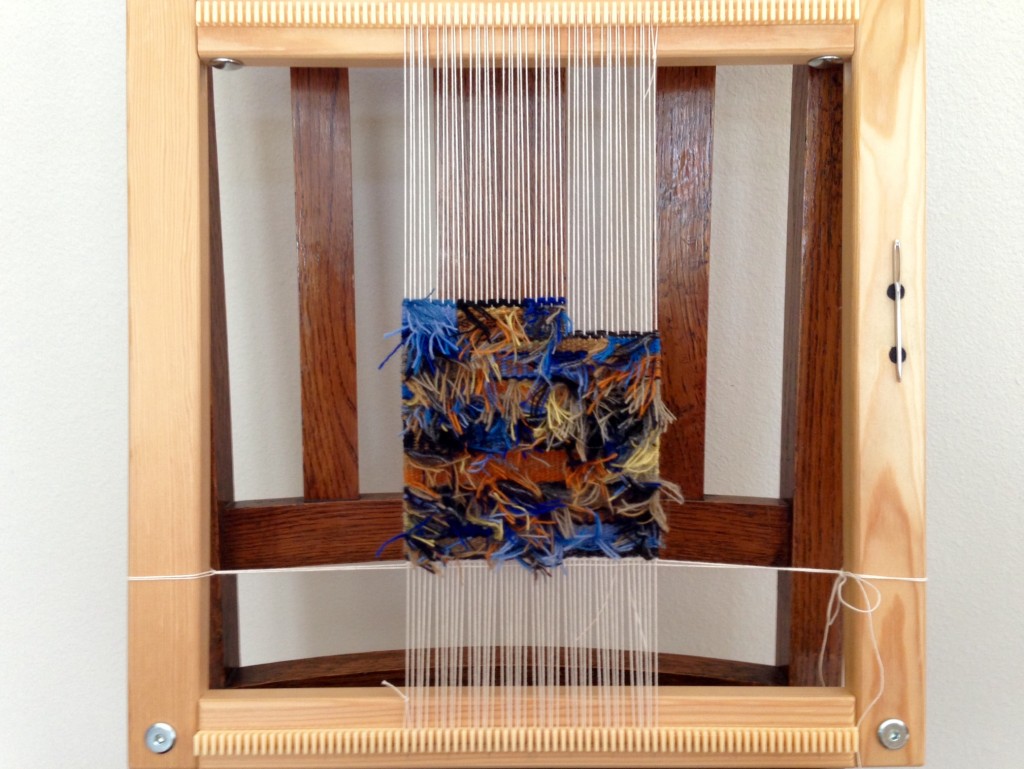
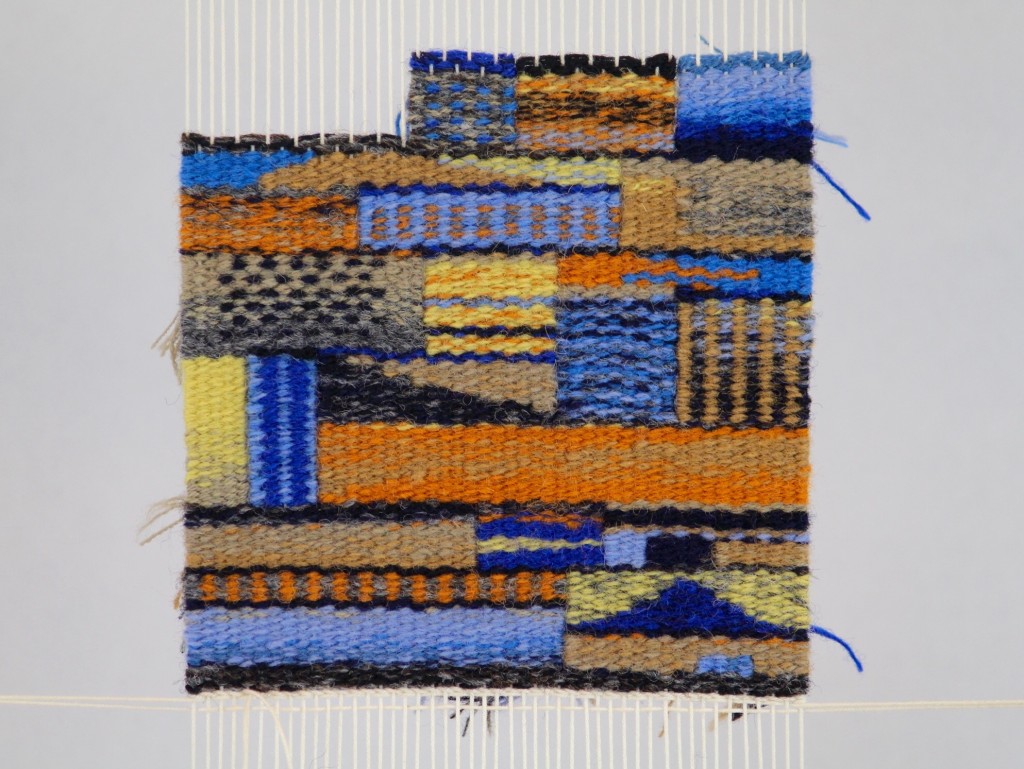
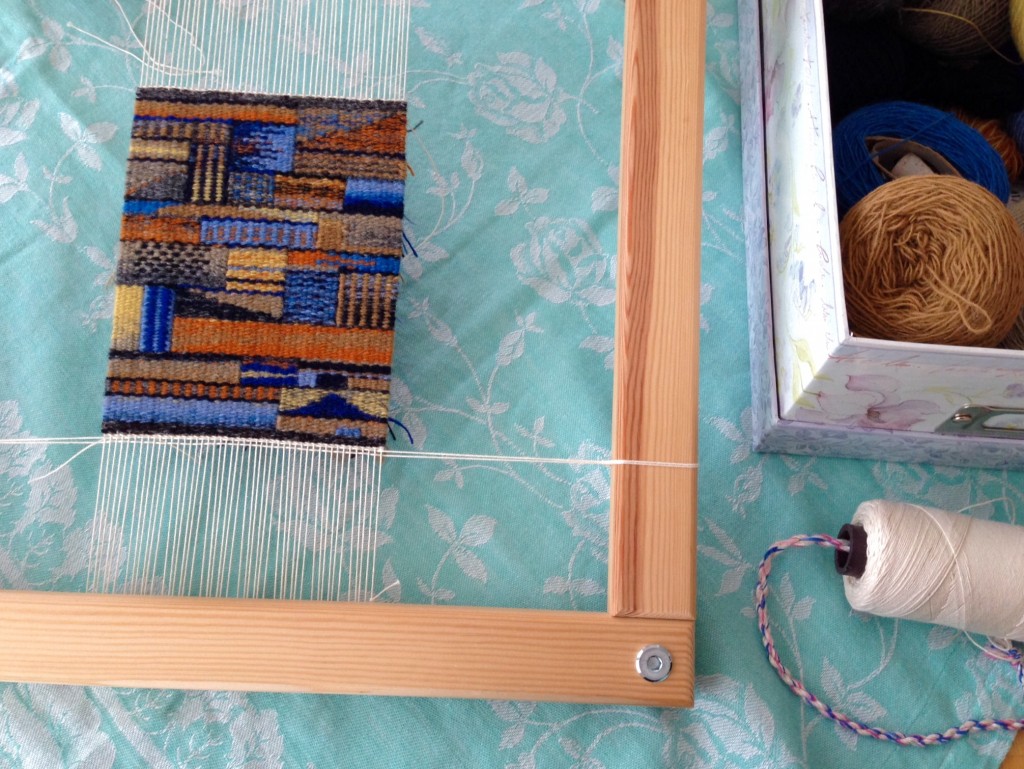
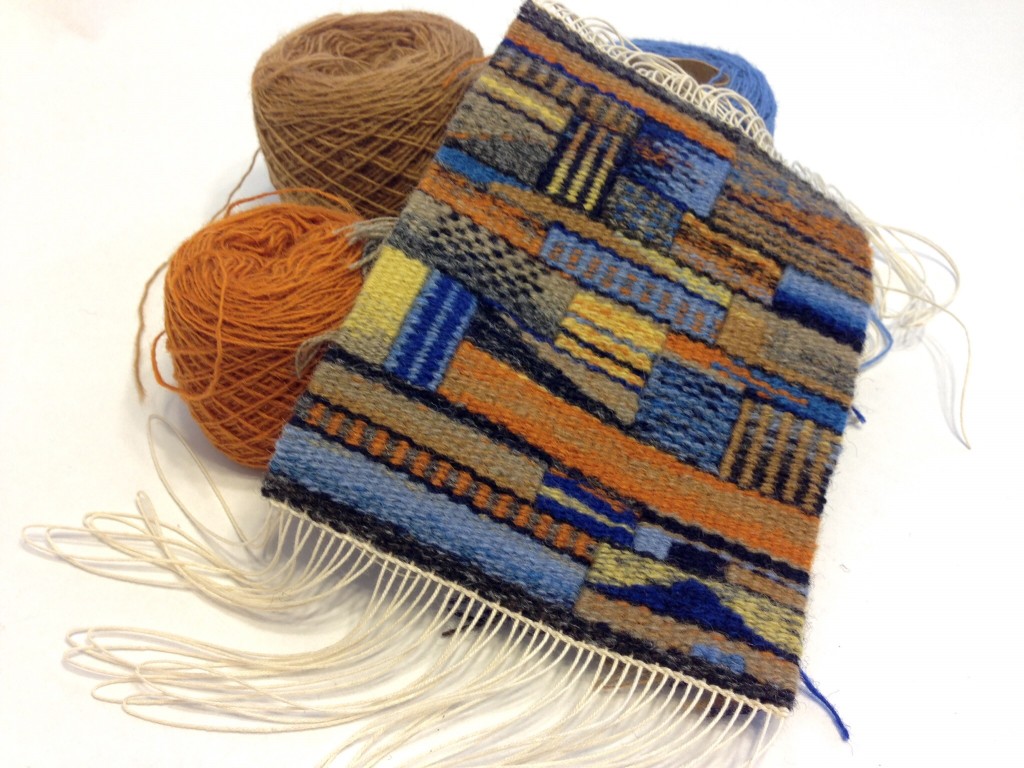
Do you want to develop a good habit? Do that good thing every day for a month, …or so they say. It may be true, because I think my tapestry dabbling is turning into a habit. It seems perfectly natural, now, to end my day enjoying some peace and quiet with my little tapestry frame and a cup of tea. For the month of January, I completed a rectangular or square shape each day. February has no rectangles, only triangles and shapes with slanted sides. January 2015 is finished, and February is almost over. A tapestry dabbling diary is a simple way to mark the passage of time while letting ideas and images escape to become visible.

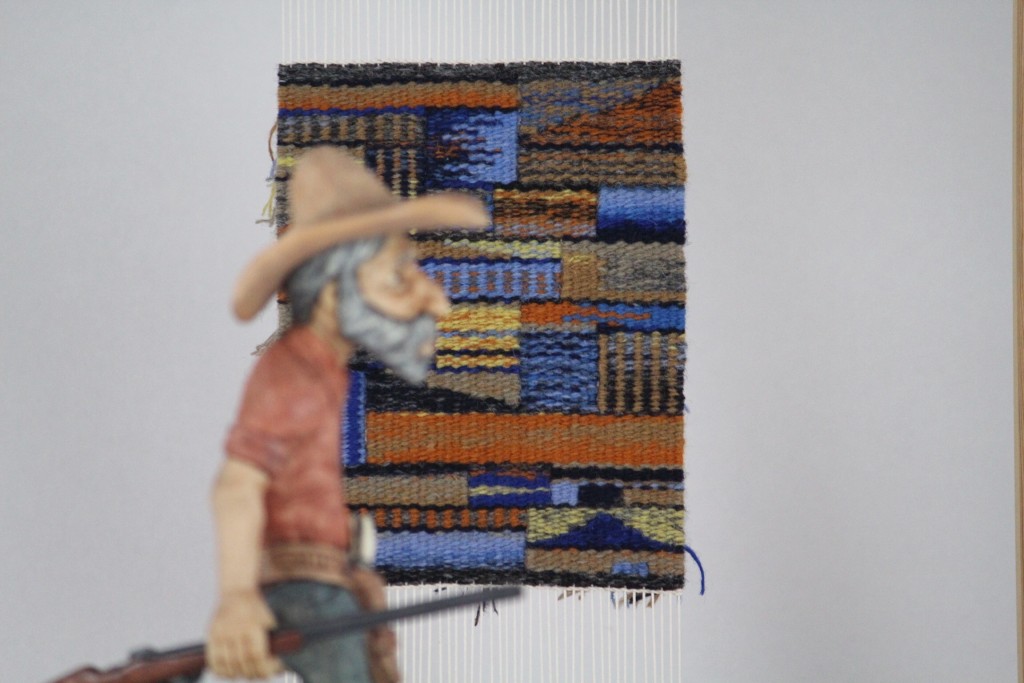
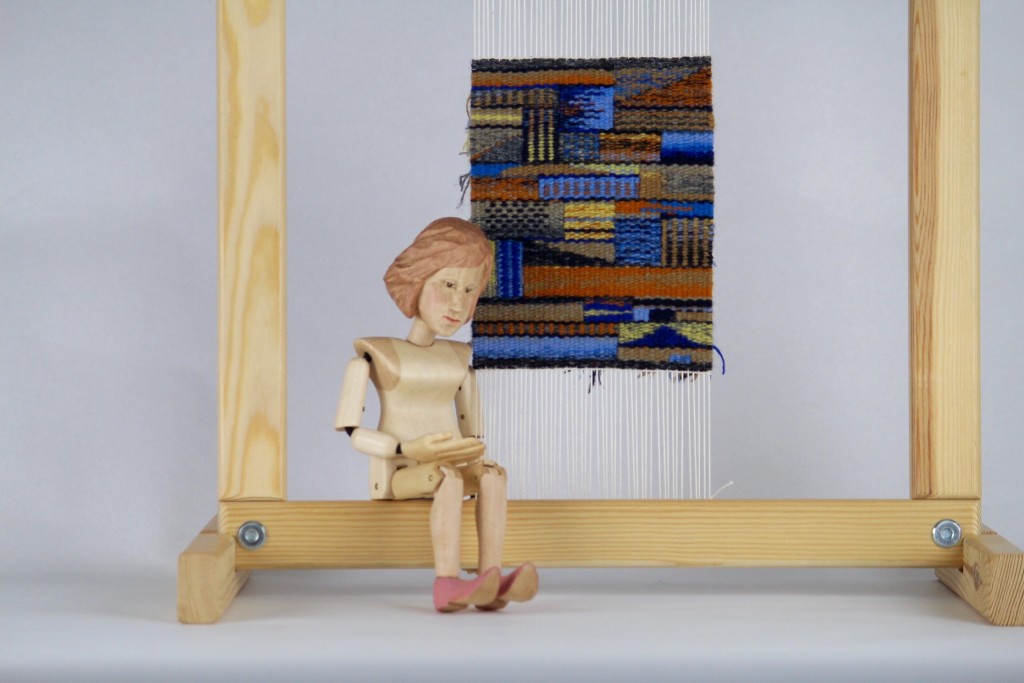
Some of the photos include Steve’s amazing woodcarving handiwork. And be sure to check out the video at the end showing how I create a finished edging for this little January tapestry diary.

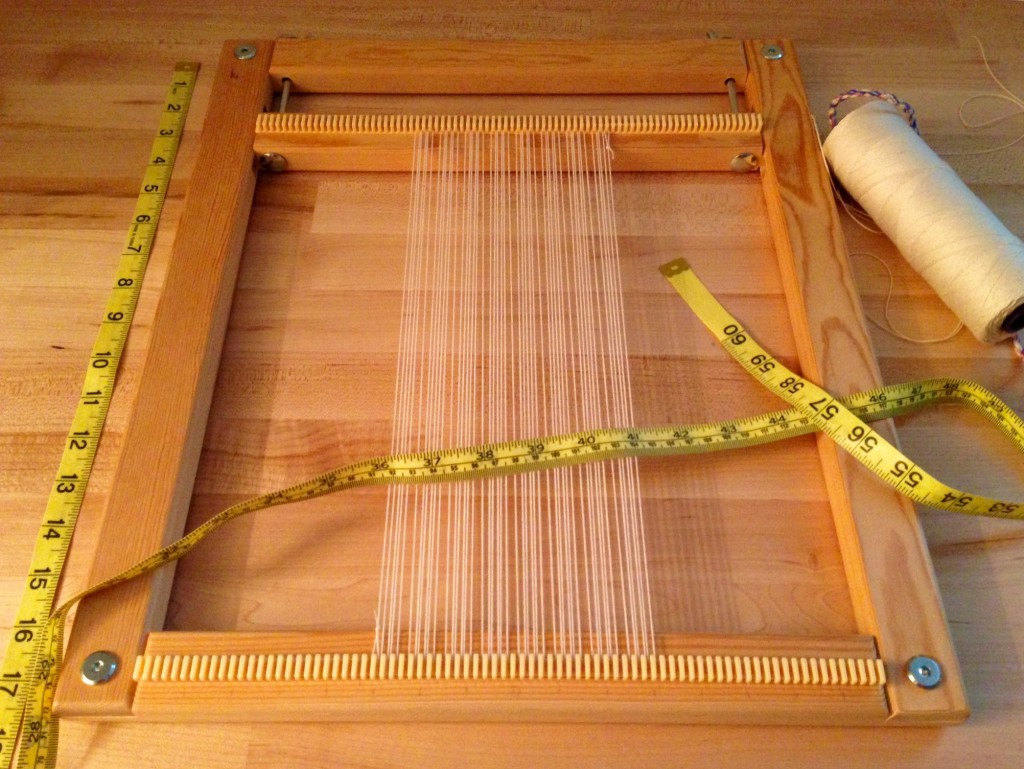
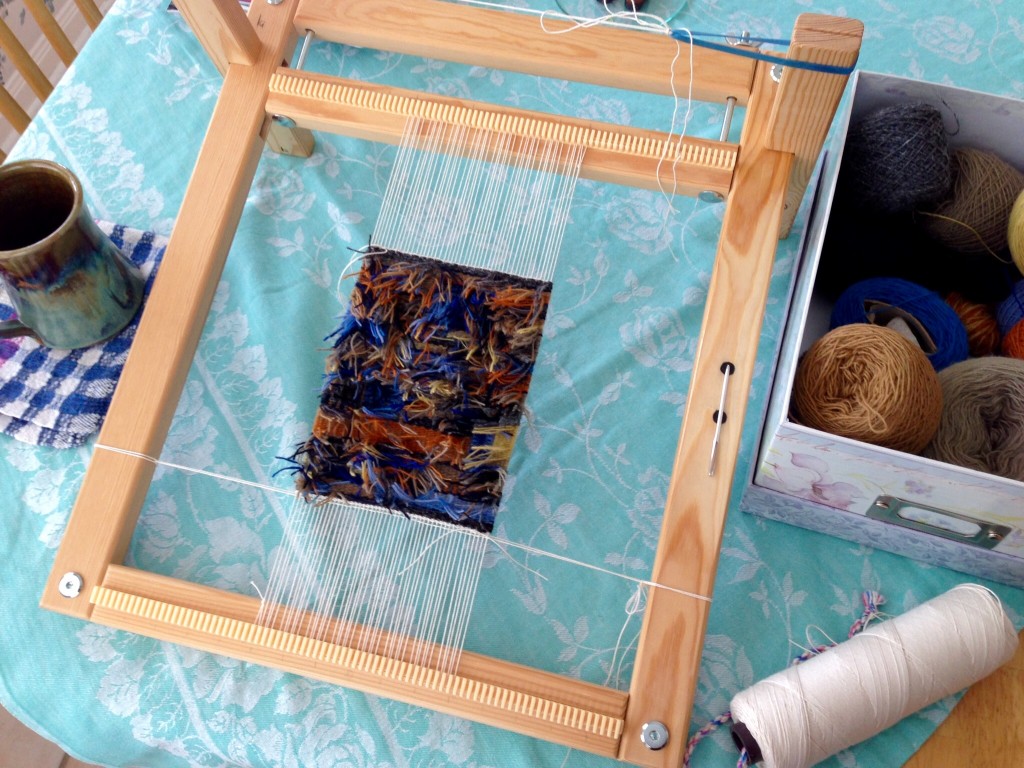
Preparing warp for tapestry diary on a frame loom.
Empty warp ready for January 1st. Blank slate for collecting ideas. (This is the Freja Tapestry Frame by Glimåkra, lap size. Following pictures show the two magnets Steve added for holding my tapestry needle.)

Tapestry woven from the back.

Tapestry diary progress.

Tapestry diary for January is ending. More pics.

January tapestry diary. Pics and video.

Woodcarving and tapestry. The Isenhower's.
Amos is heading somewhere, and will not be deterred.
Woodcarving and weaving. The Isenhower's.
It is possible to be so focused on where you are going that you do not even see the “masterpiece” in the room?

Woodcarving and tapestry.

Hand-carved marionette and tapestry. The Isenhower's.

January tapestry diary off the loom. Karen Isenhower

May you measure time with the good habits you develop.

Happy Tapestry Weaving,
Karen

Wool Double-Width Blankets Finished

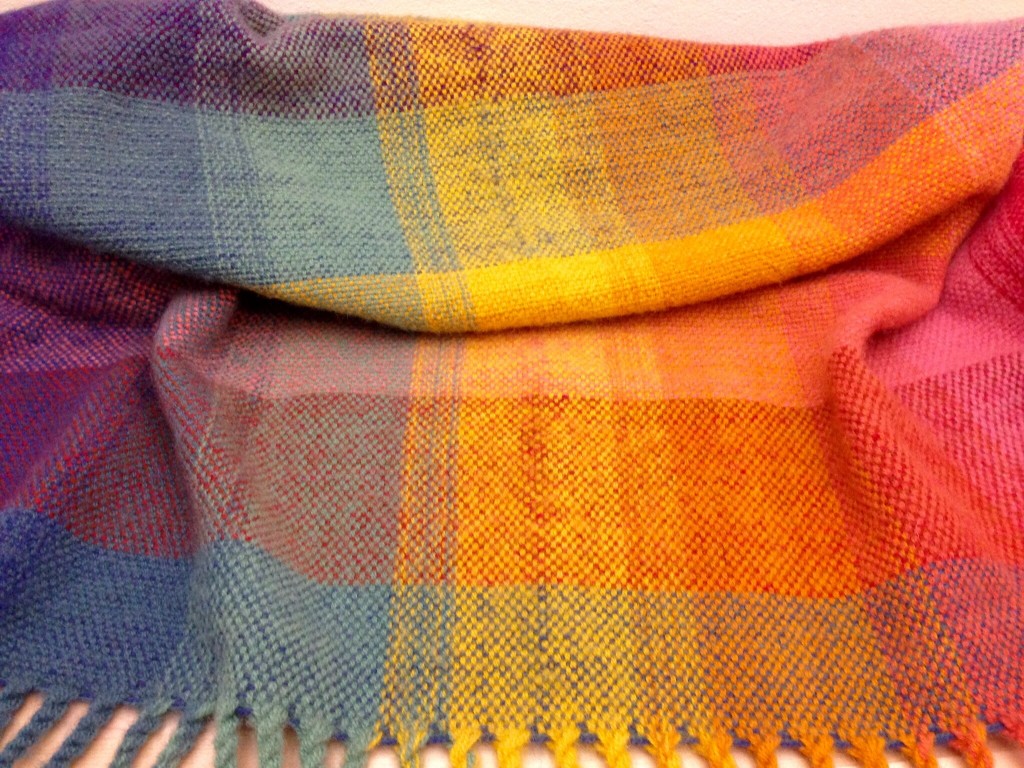
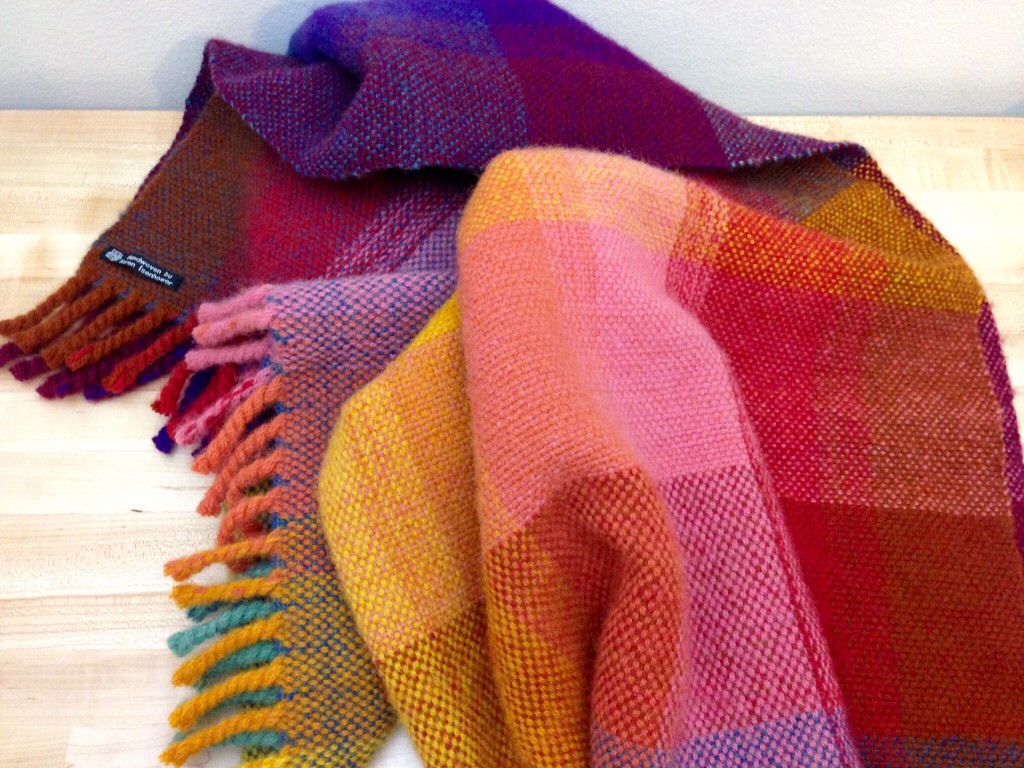
The wool double-width blankets came out even better than I had hoped. It still seems magical to simply weave, and end up with cloth two times the woven width. What did I enjoy most about this project? First of all, the colors. It is so much fun to mess with colors. Secondly, the fringe. I love how the fringe turned out. Those chubby twists are my favorite part of the finished blankets. Knotted, or not. The first blanket has knotted fringe. Watch the Wool Blanket Final Finishing video below to see what happens with the fringe on the second blanket.

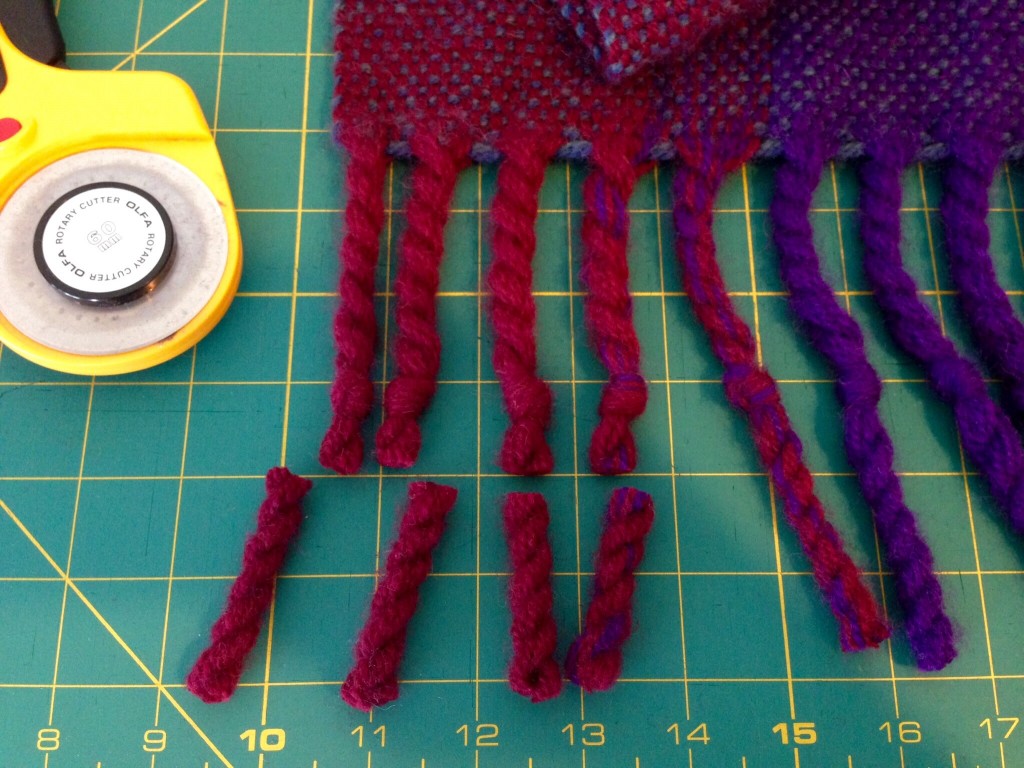
Finishing fringe on wool blanket. Video with more info.
Fringes on the first blanket are finished with knots before the excess is cut away.
Detail of fold of double-width blanket.
Detail of opened and finished fold on double-width blanket.
Finished wool double-width blanket. Karen Isenhower
Finished wool double-width blanket. Final finishing complete.

In this final episode in the Wool Blanket Finishing series, I show you how I brush the blanket and finish the fringe.

In case you missed any of the previous videos in this series:

1. Colorful Cozy Blanket and a Video

2. Quiet Friday: Wool Blanket Finishing

3. Wool Blanket Gets Wet

May your work come back to you as rewards.

Love,
Karen