Handweaver and 'cellist, married to Prince Charming, mother of three superheros and three superhero-in-loves, and Lola to nine little princes and princesses. Life is a handwoven treasure, filled with hidden melodies.
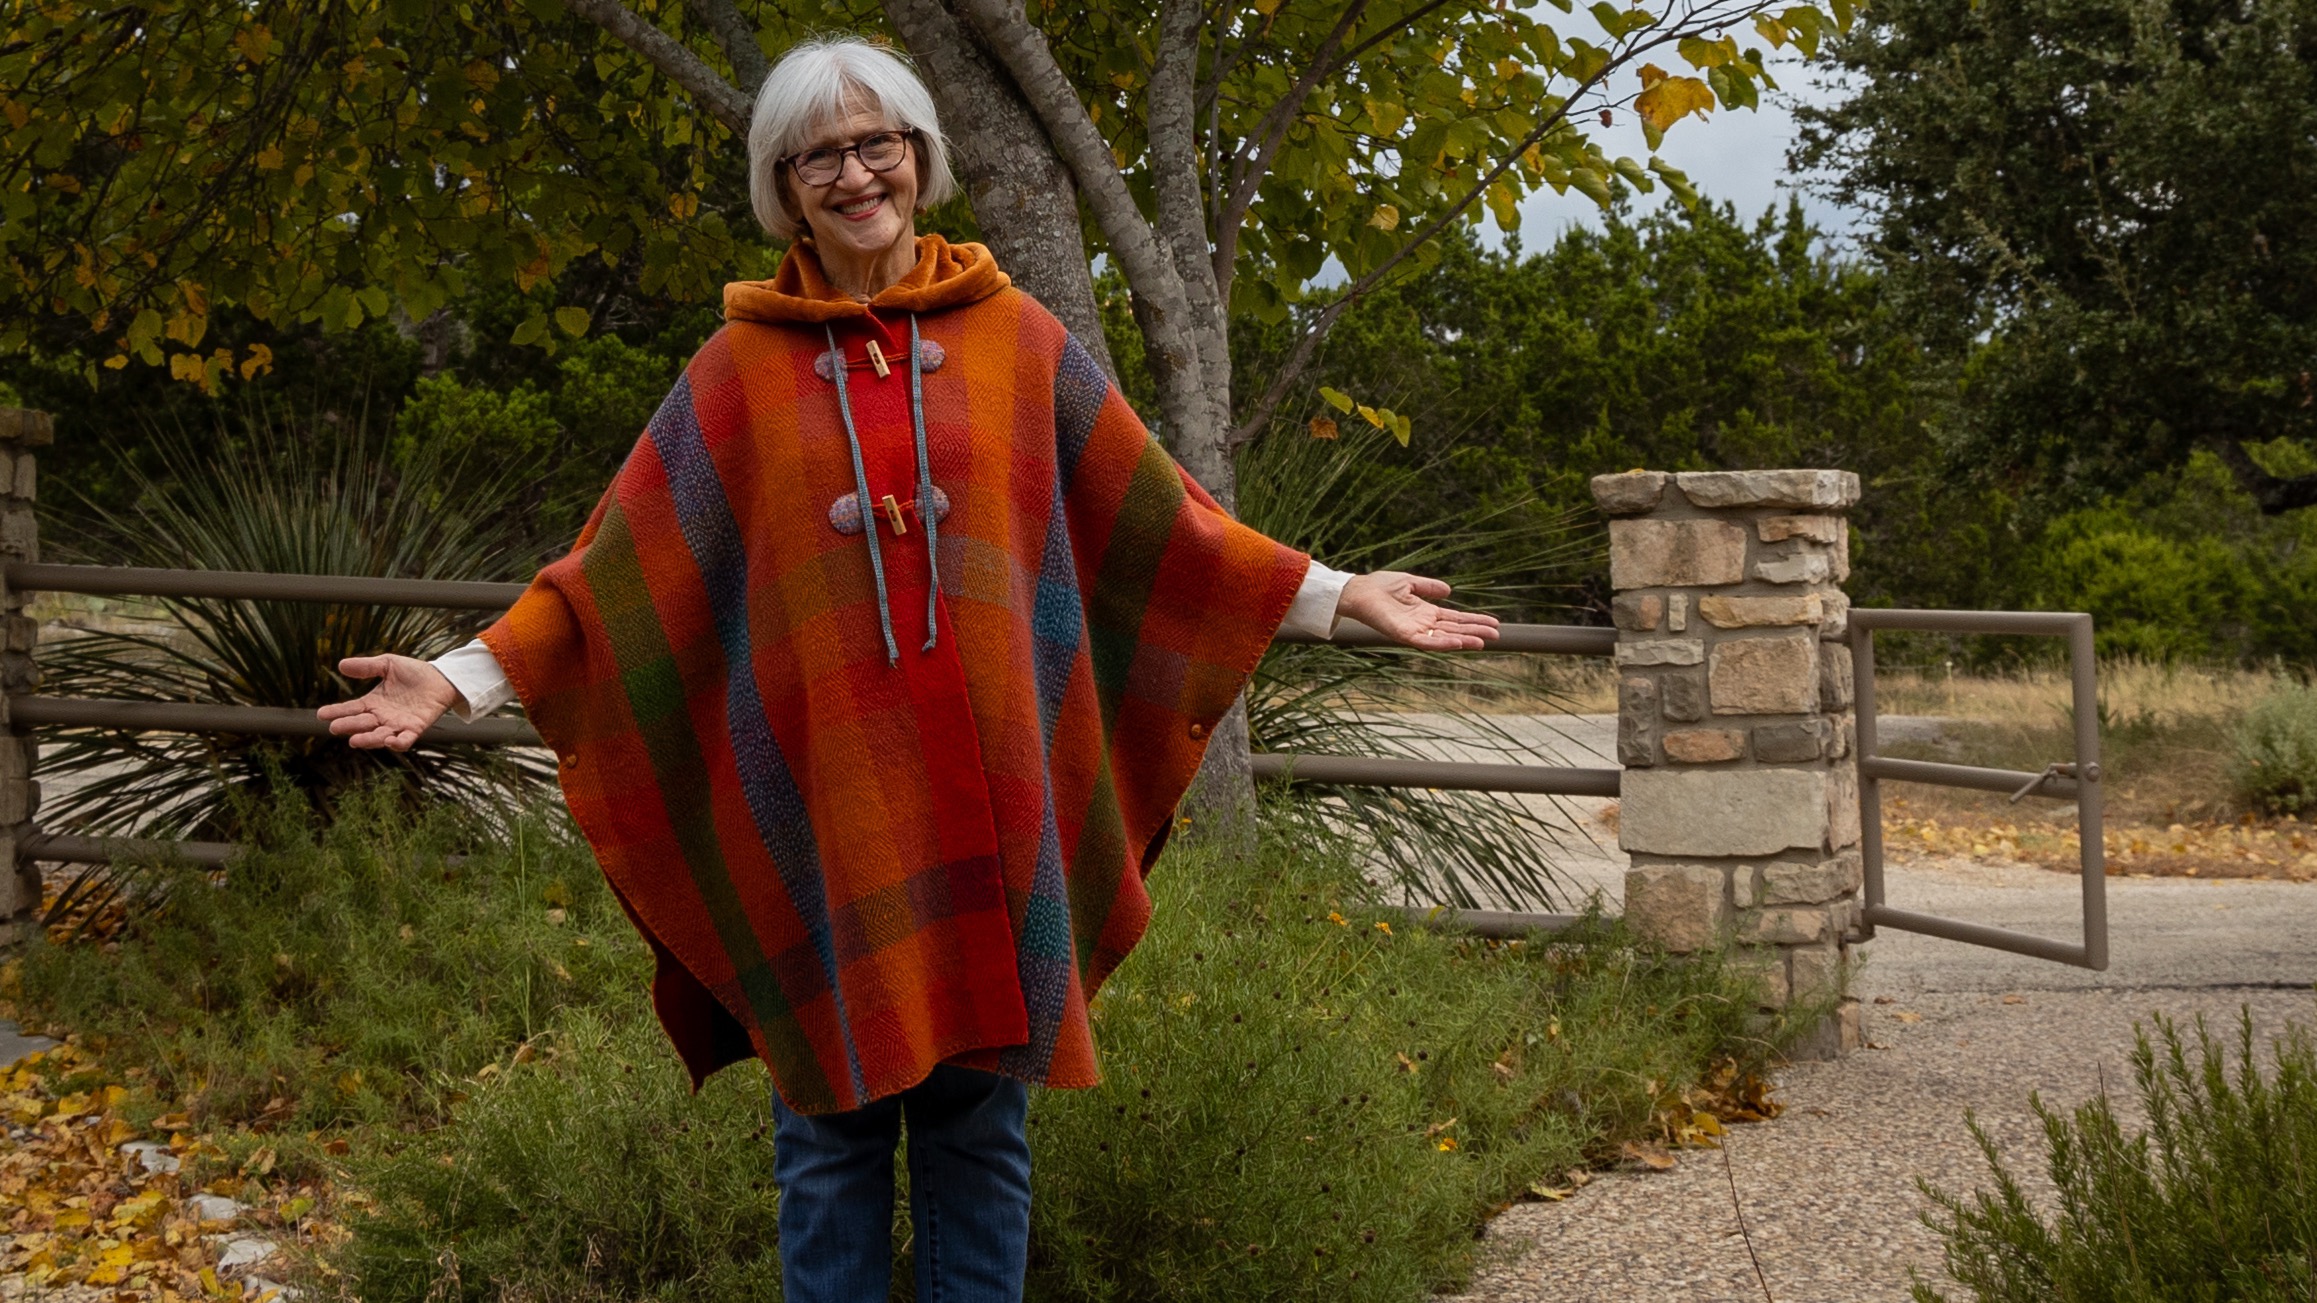
Steve and I plan to return to the North Rim of the Grand Canyon this autumn. When we were there two years ago we were amazed at the rich colors everywhere. Those colors are the inspiration for this wool goose-eye twill cape. It was a joy to weave these colors on my Glimåkra Julia loom, using four shafts. The process video slideshow below will show you the project from start to finish, with a few Grand Canyon views thrown in. I made a prototype cape from dark gray felt before settling on the pattern details for my handwoven material. You will see the felt cape at the end of the film. Enjoy!
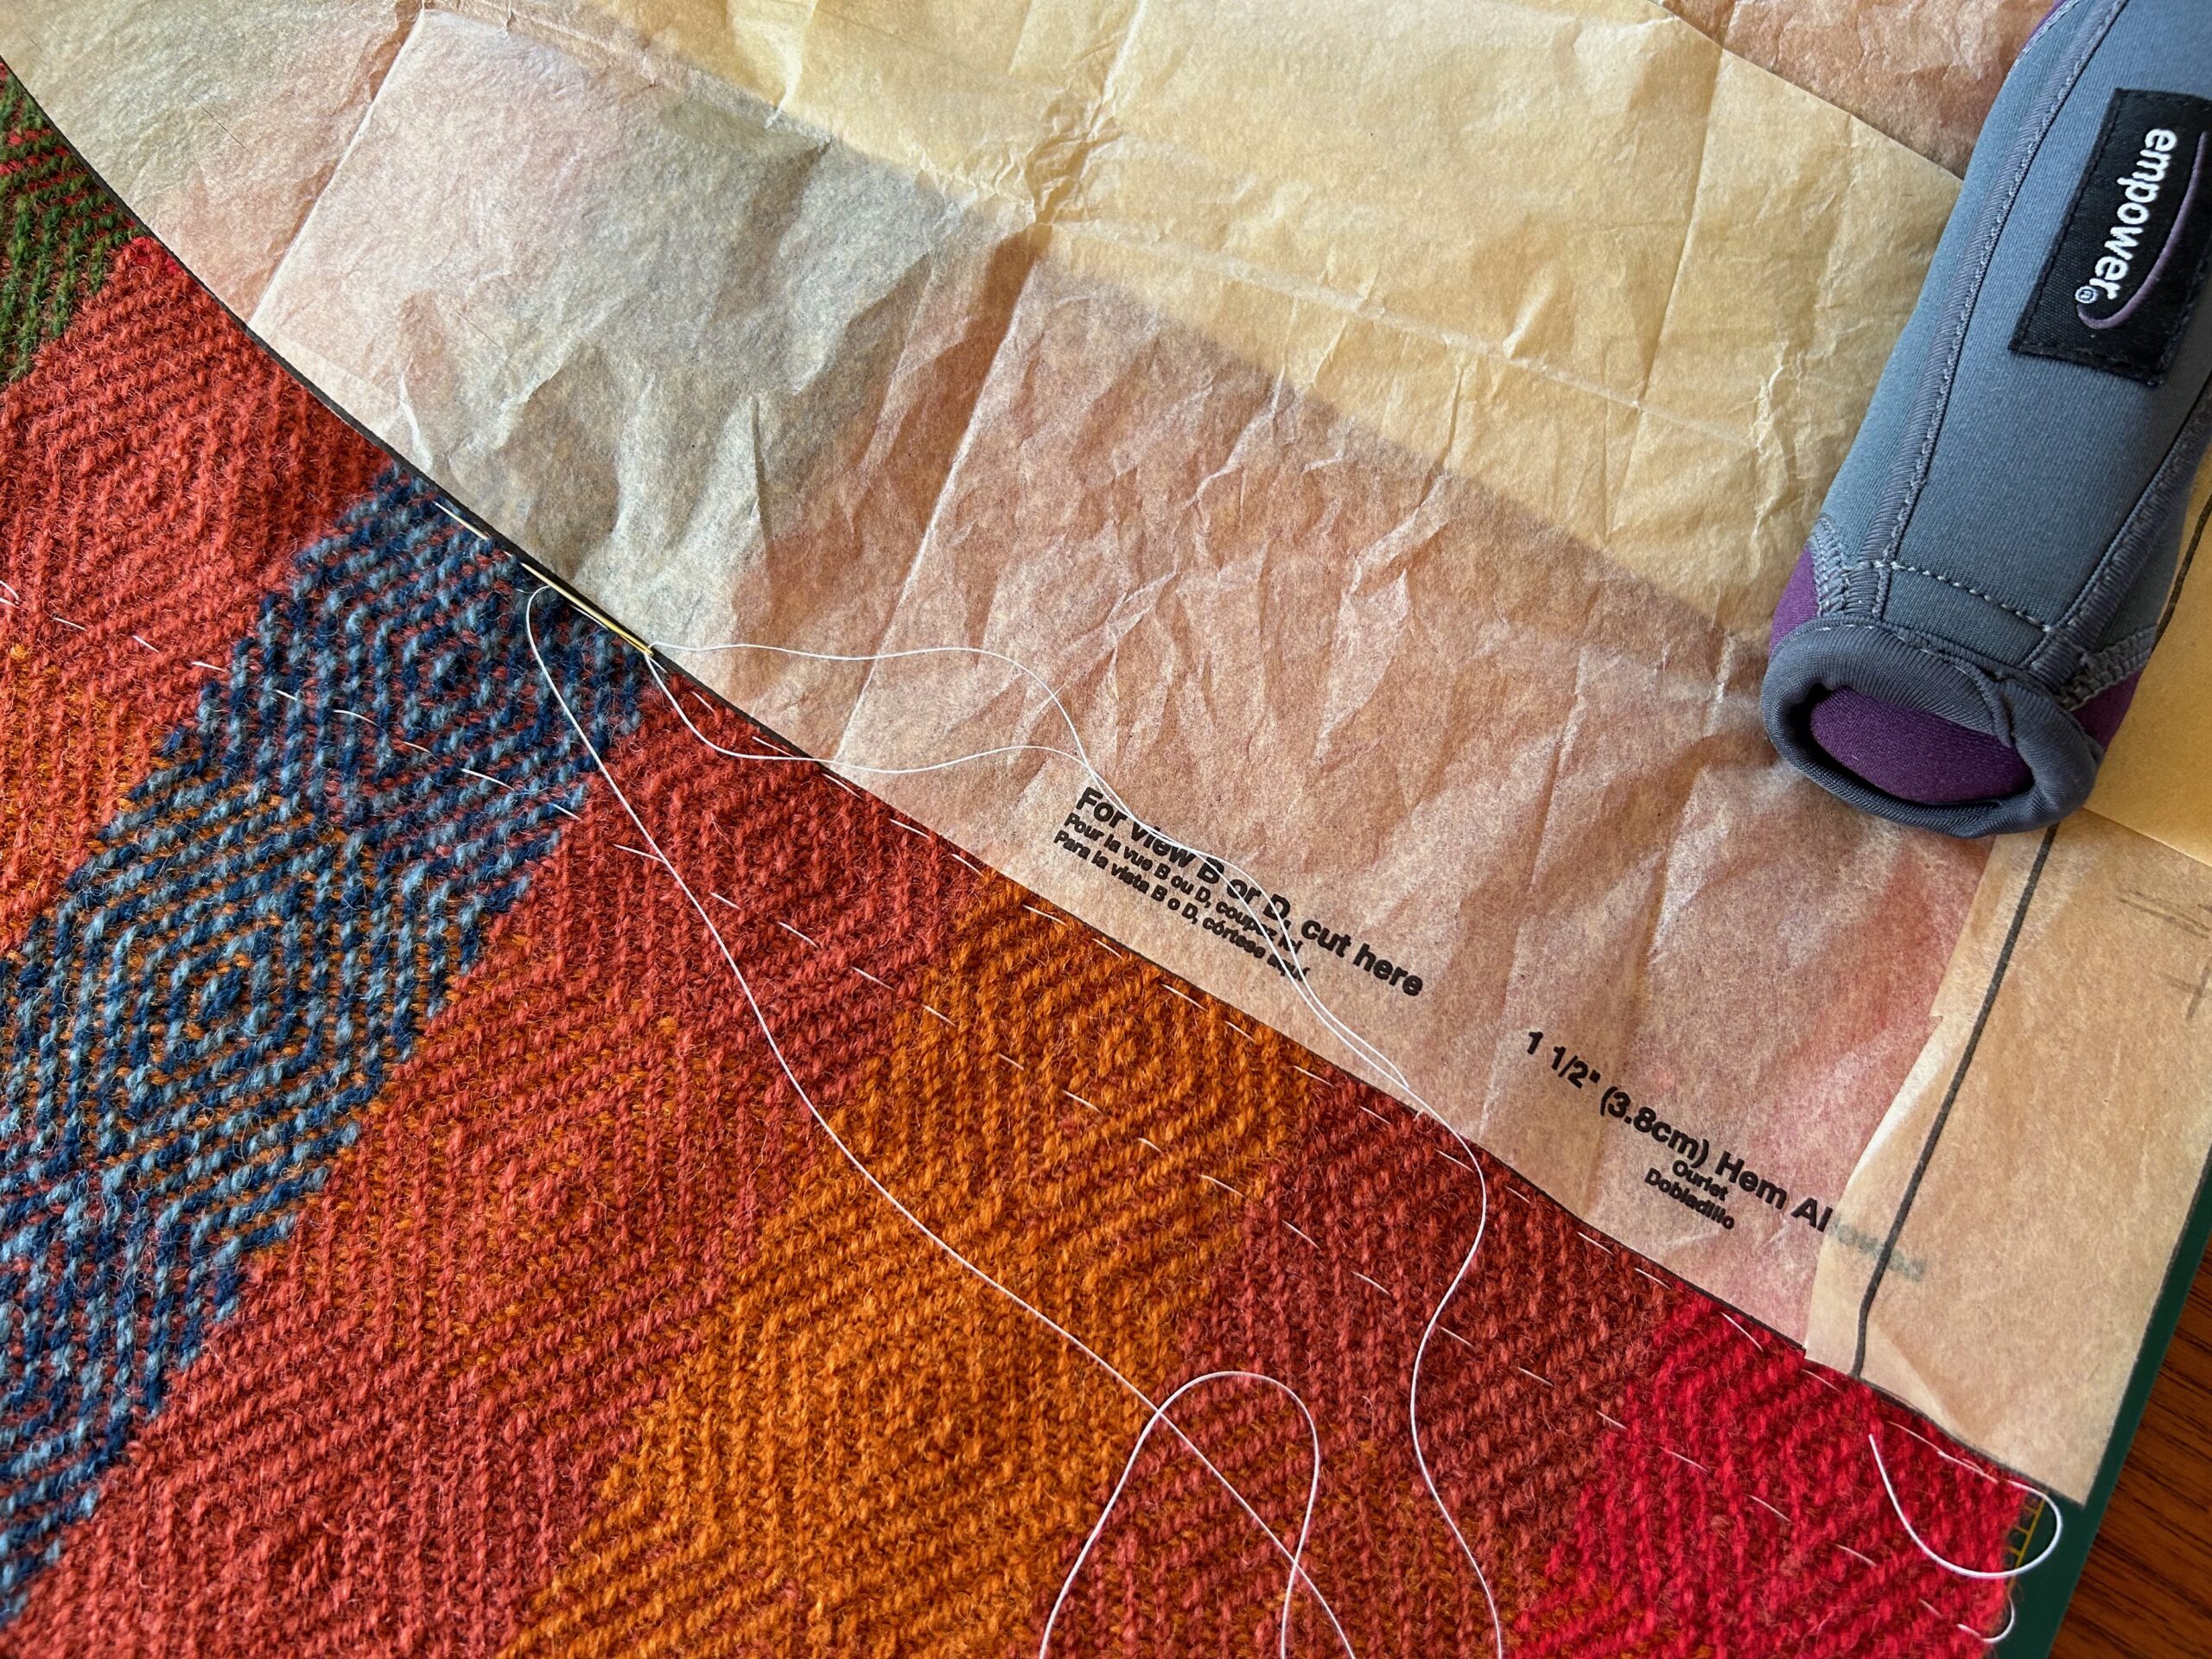
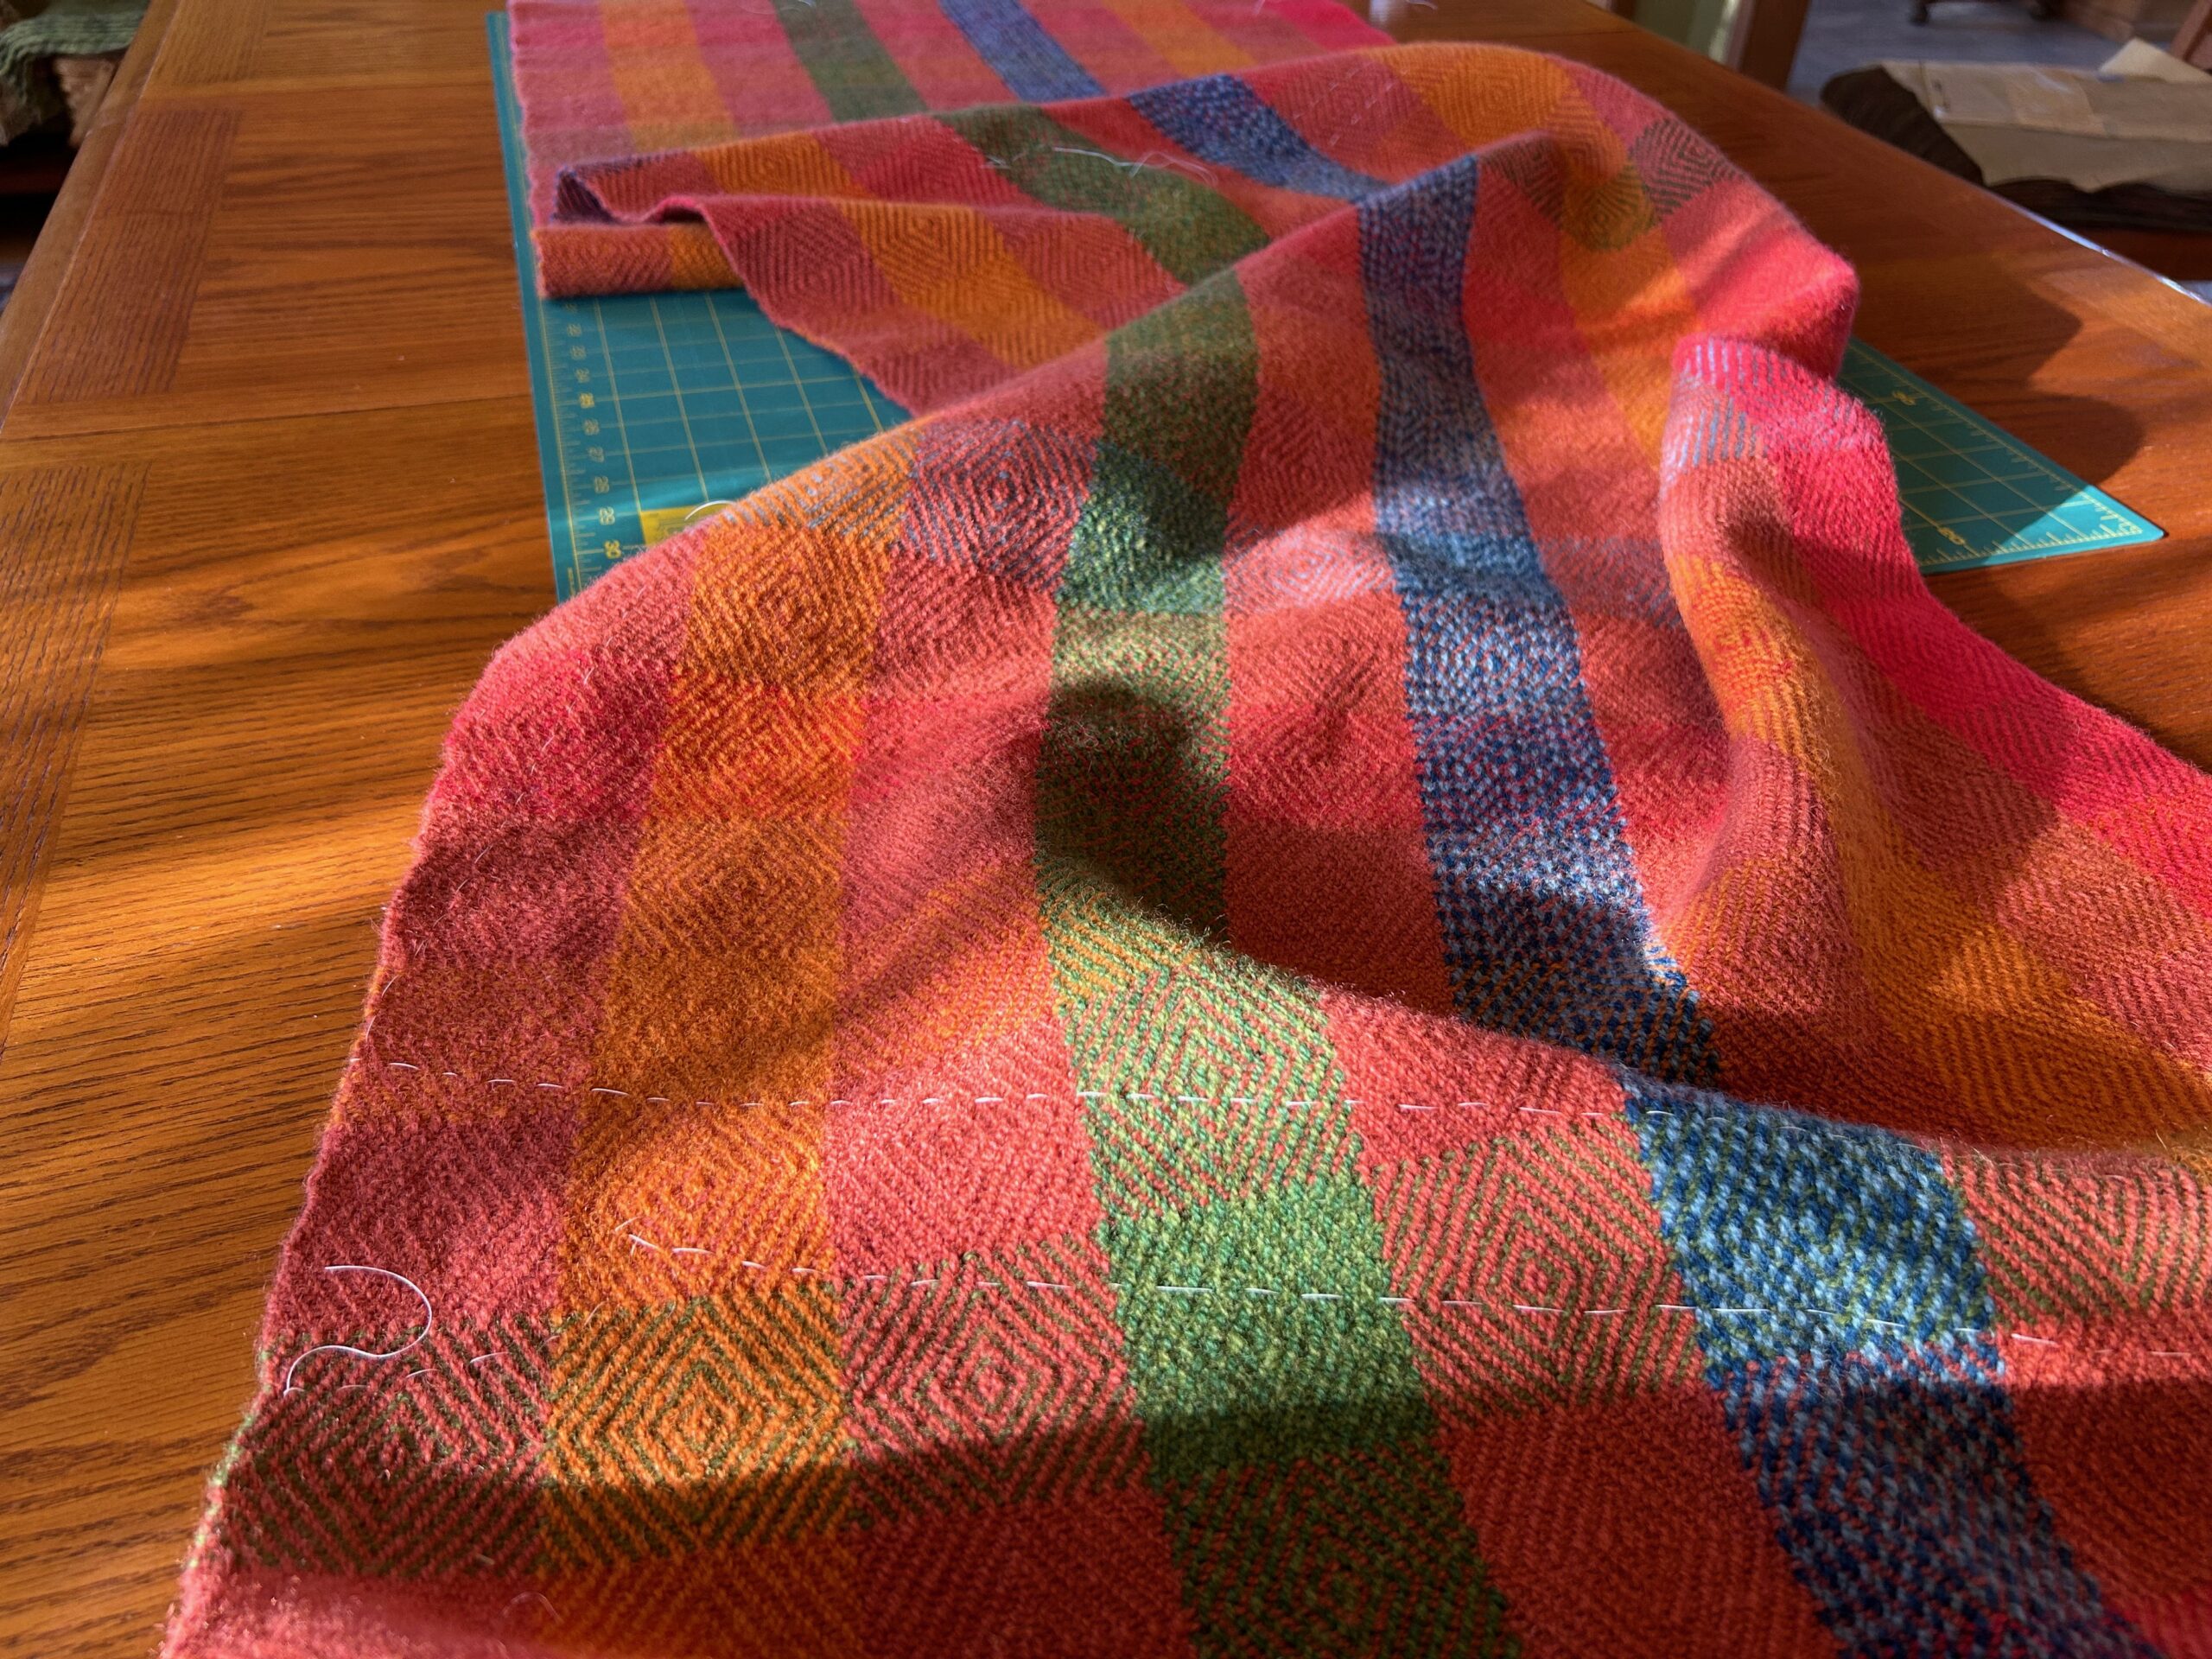
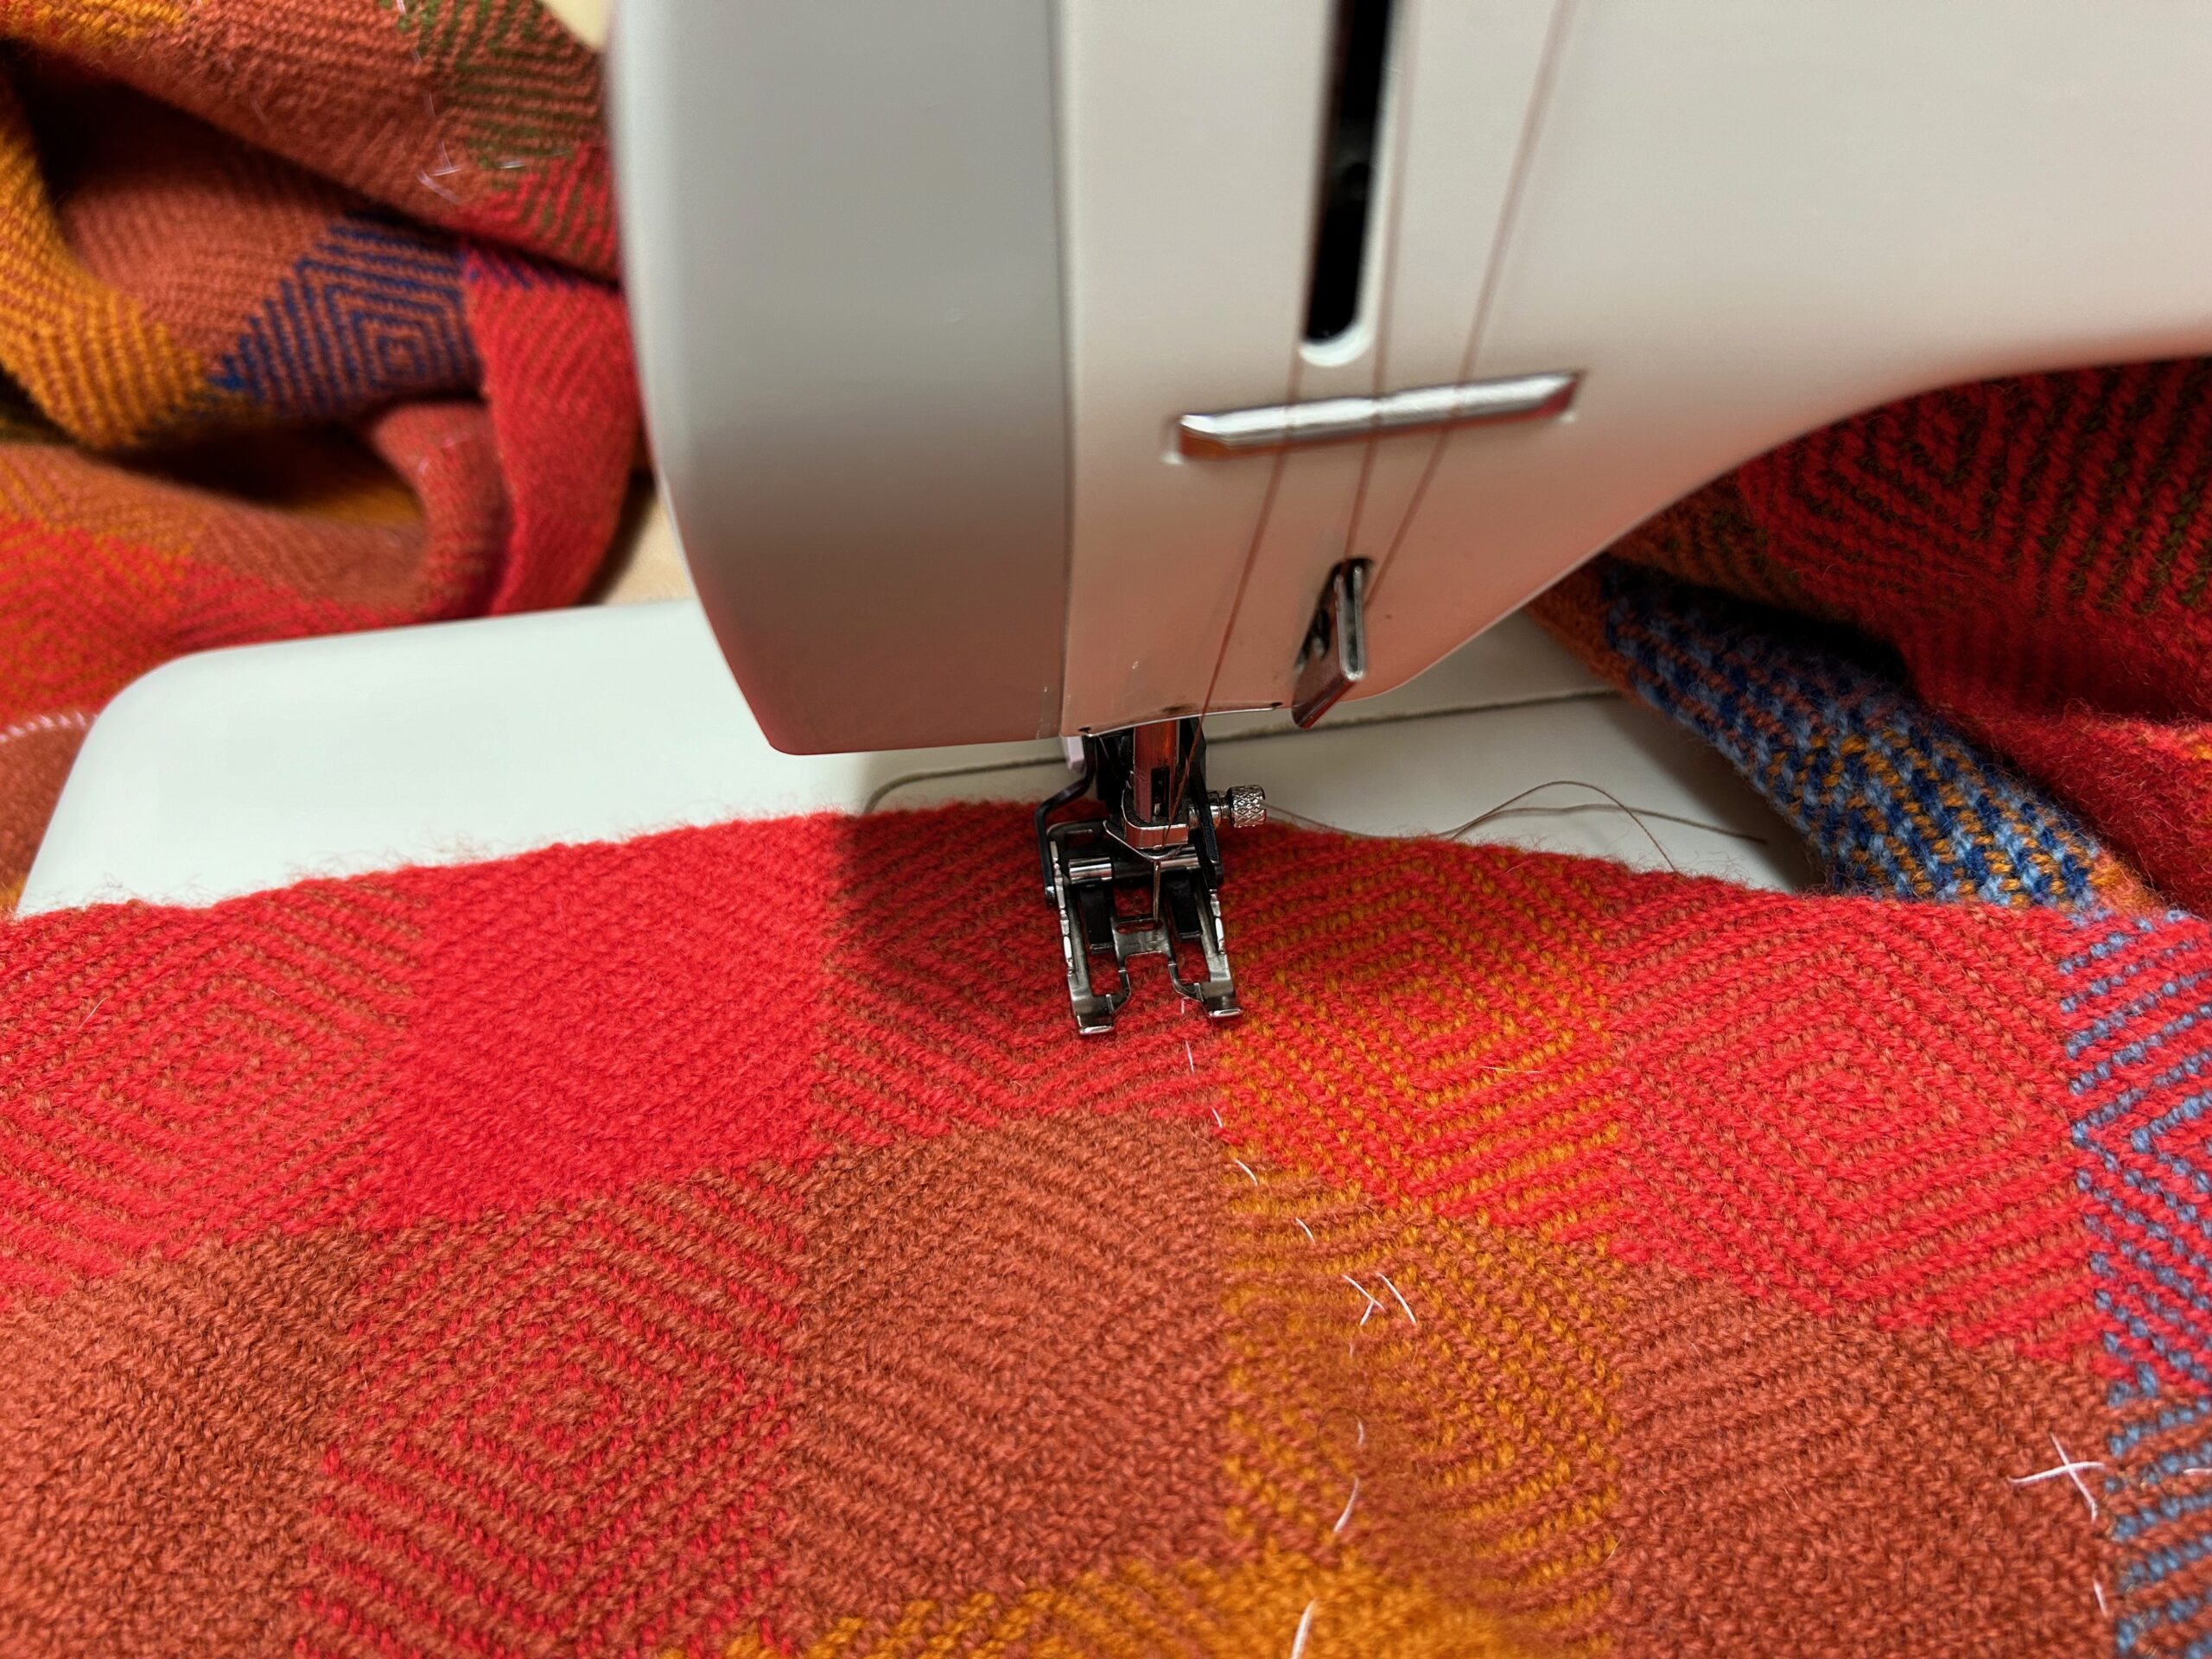
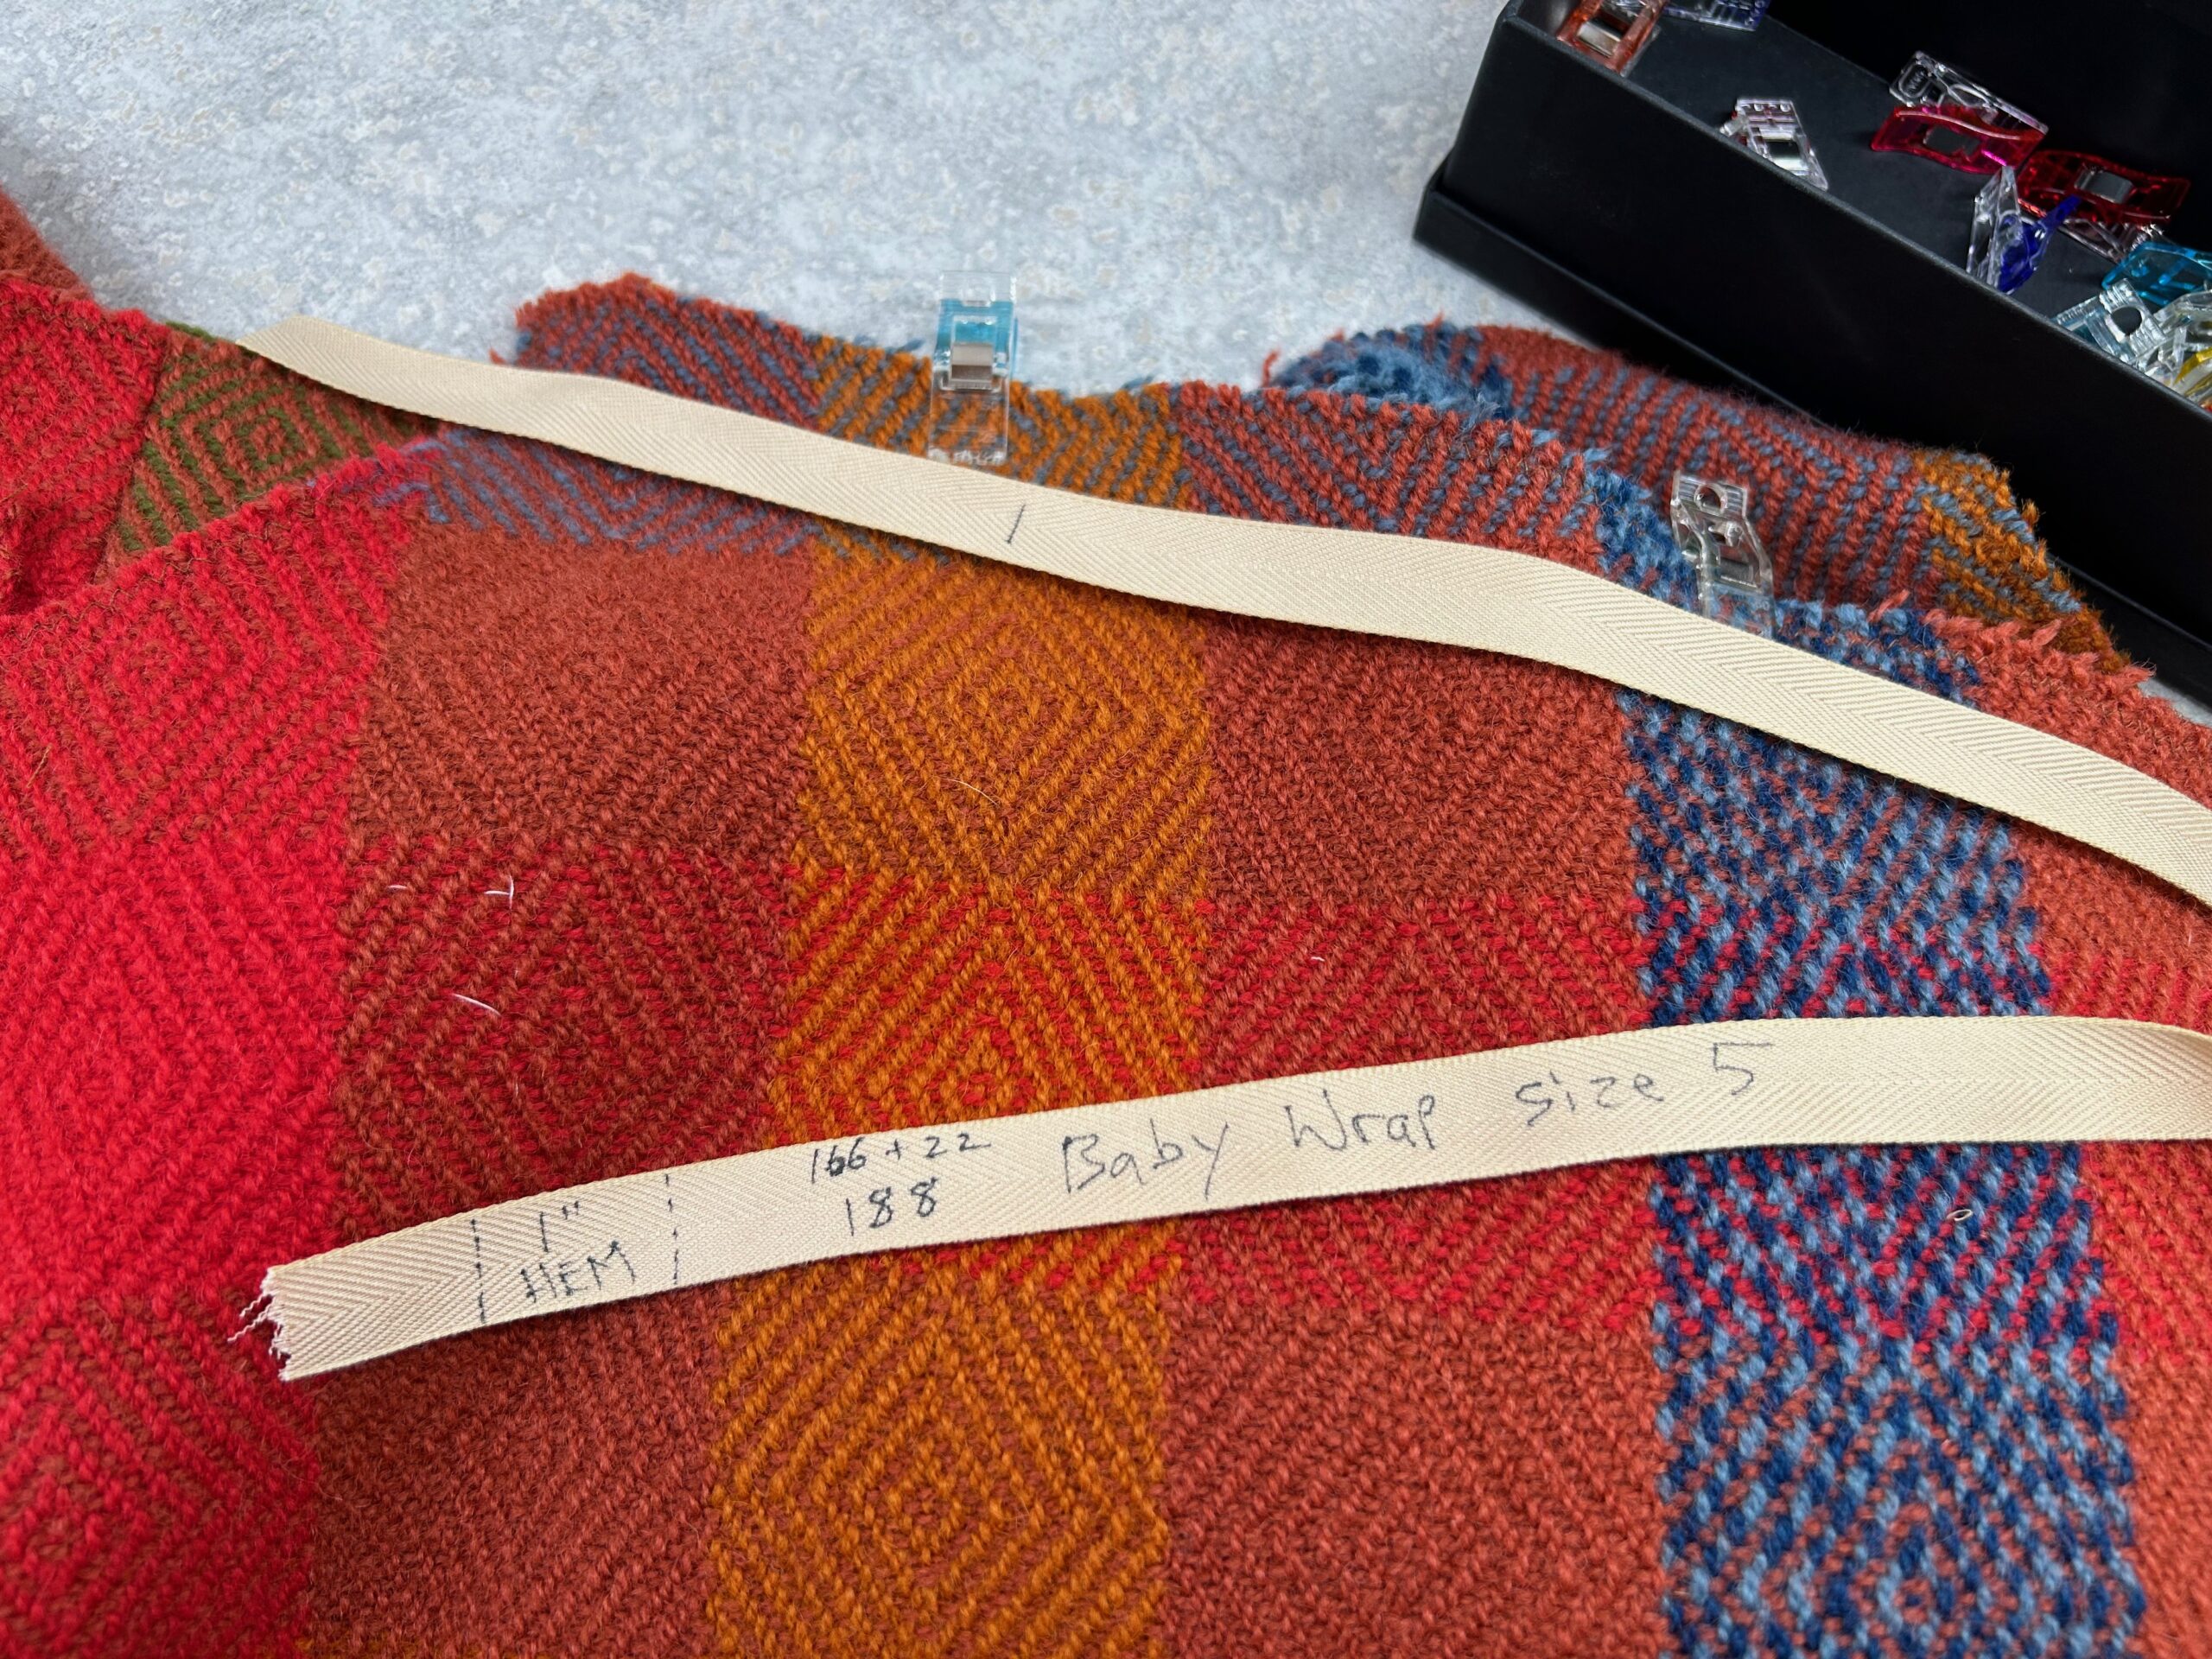
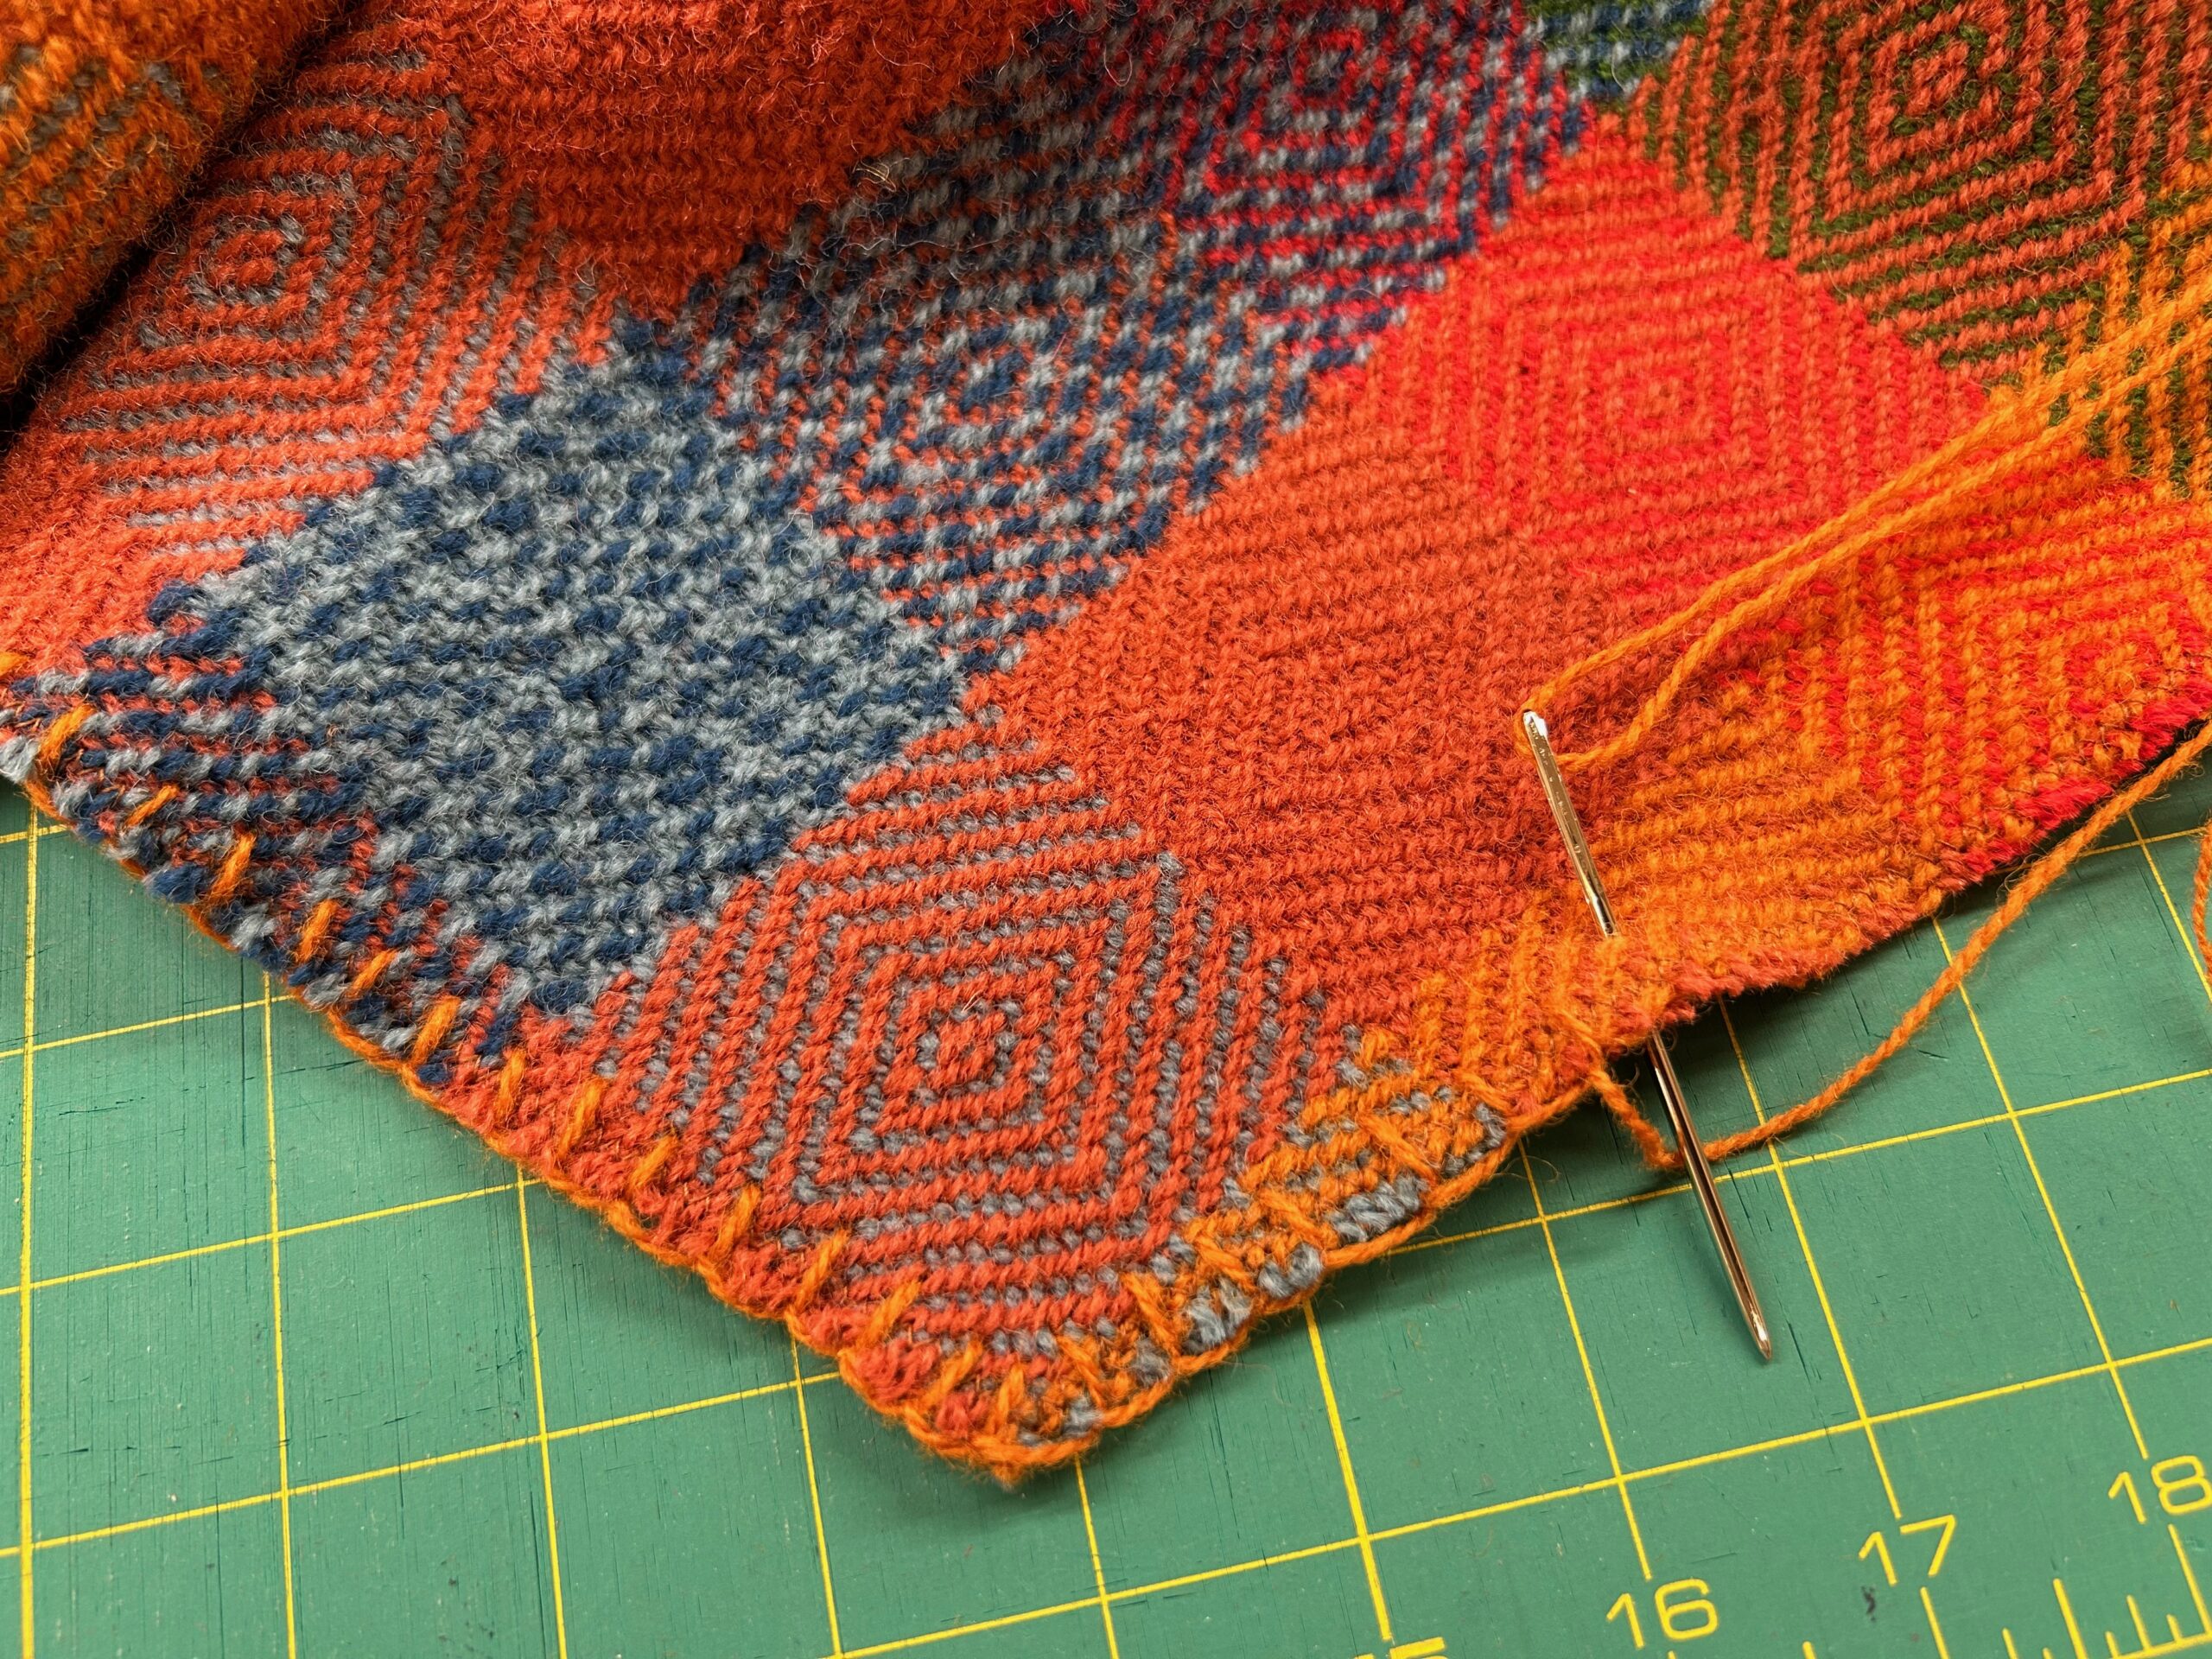
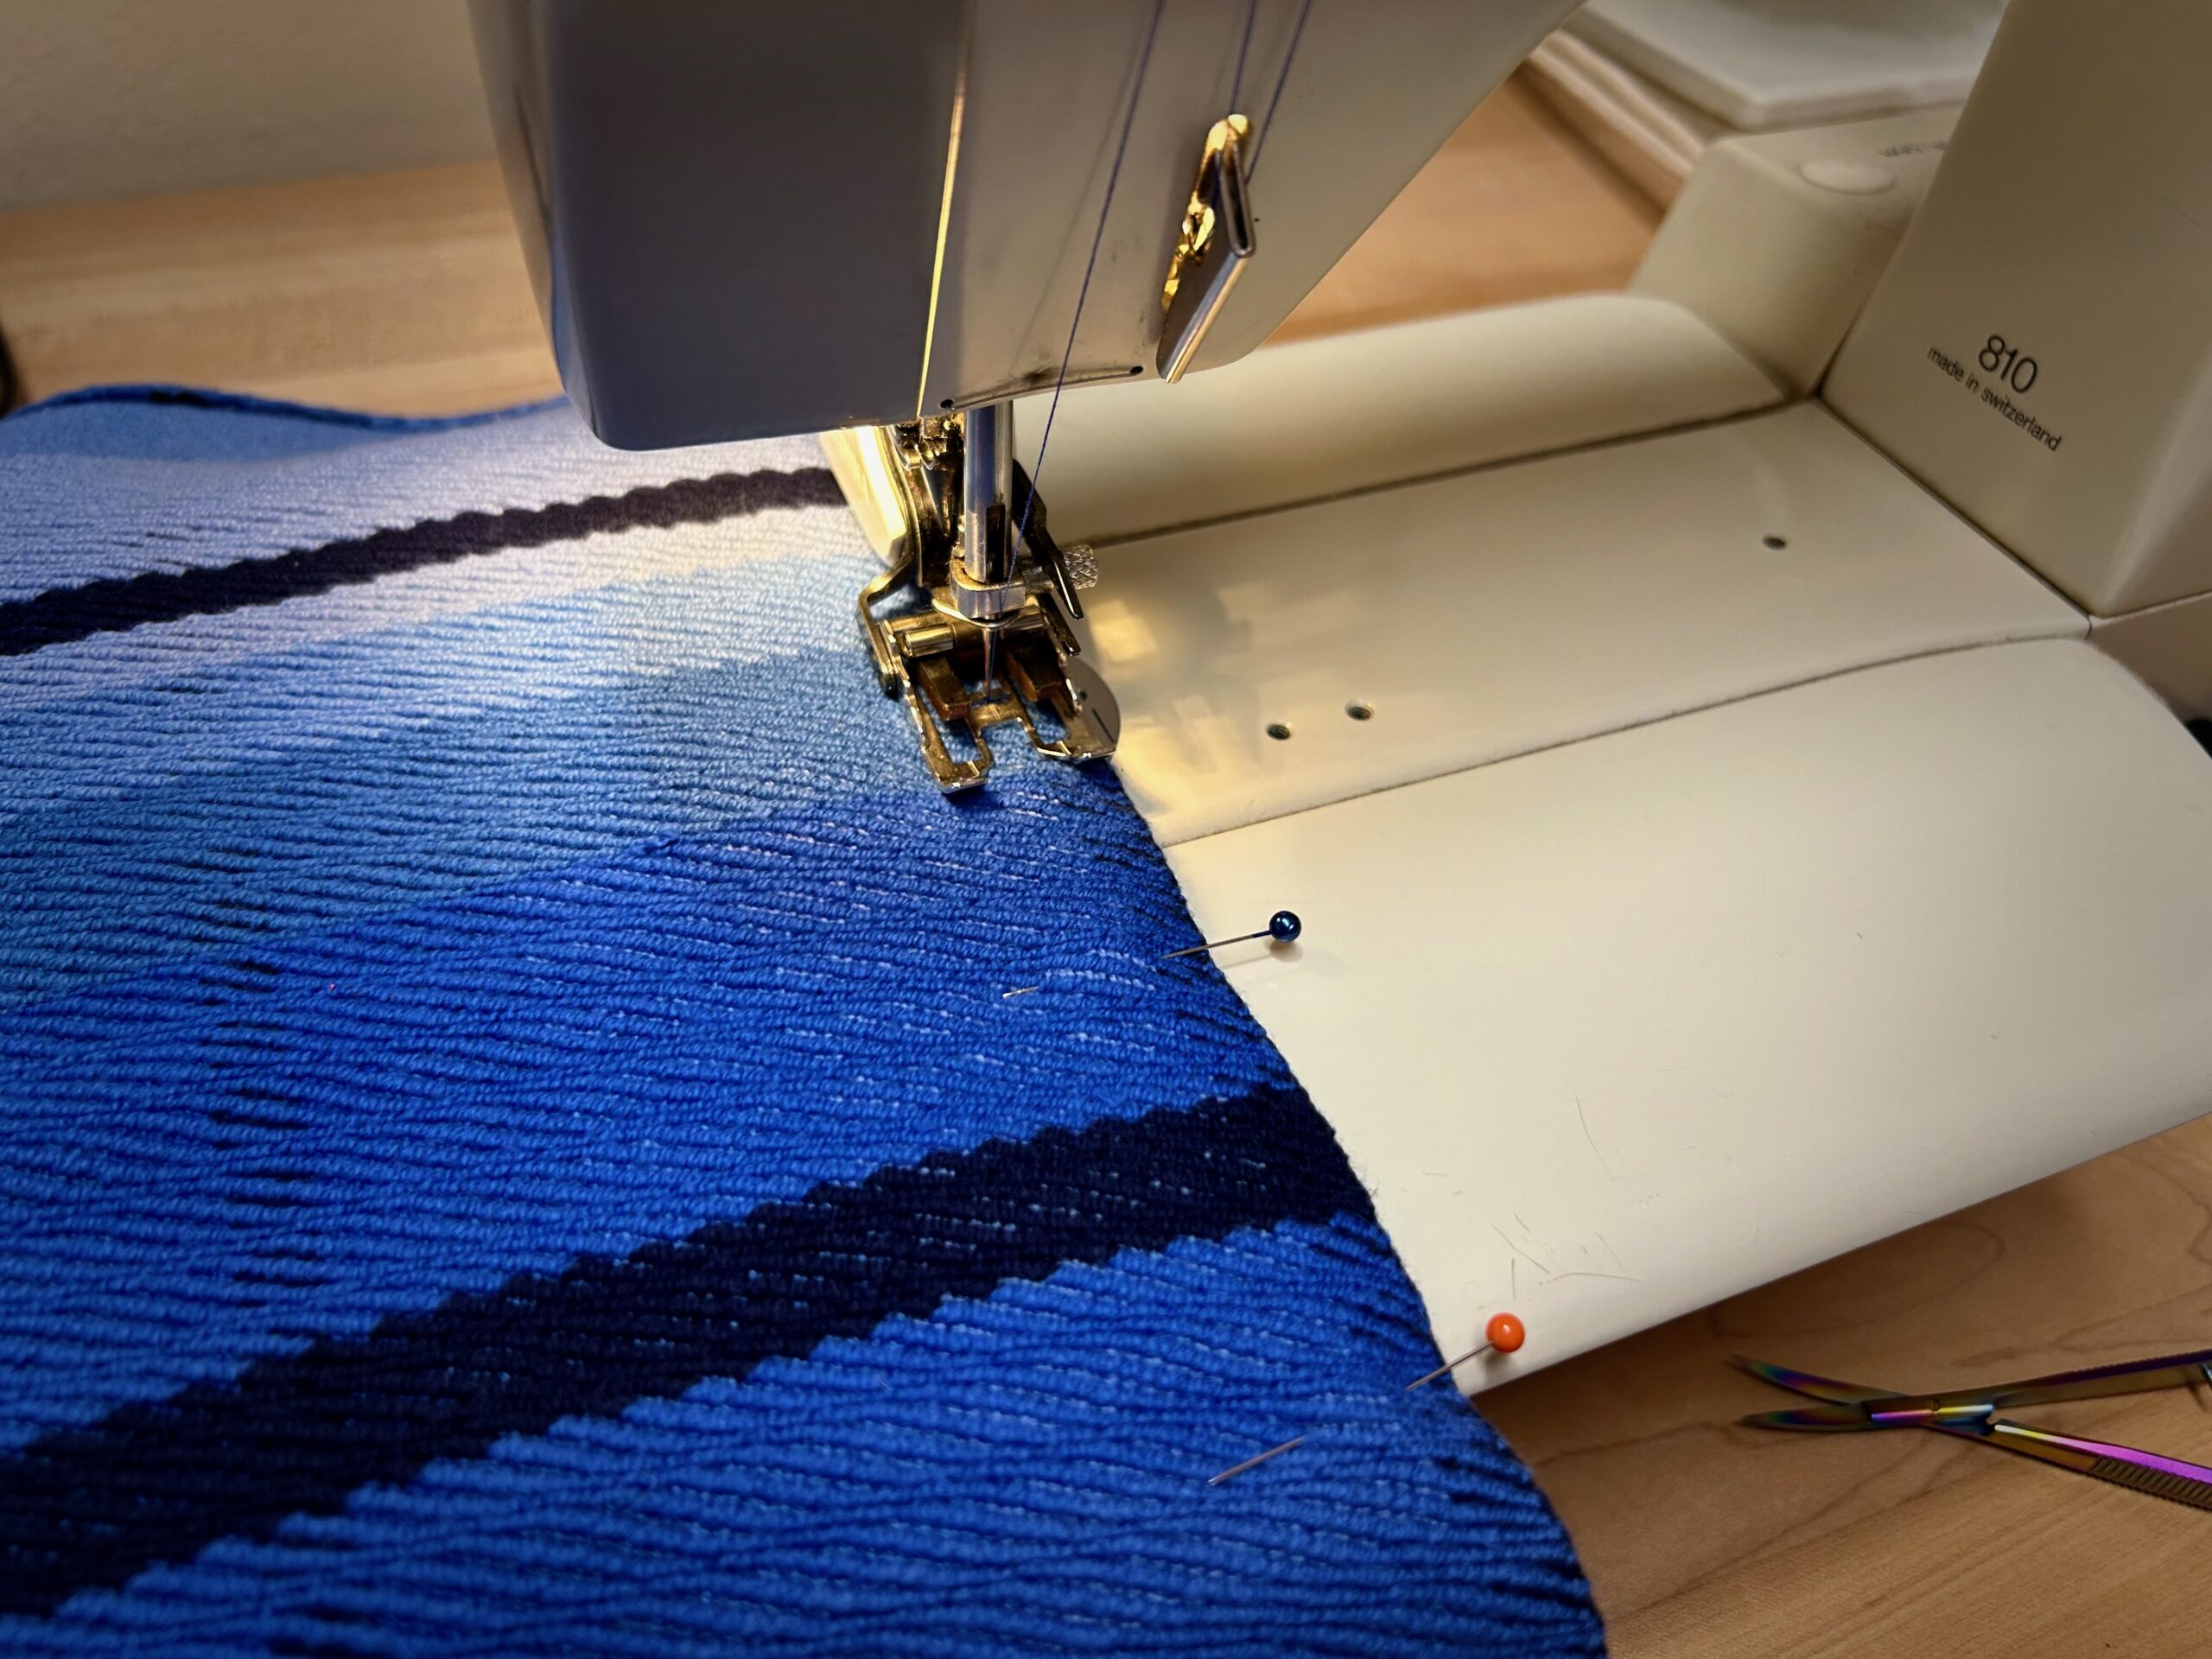
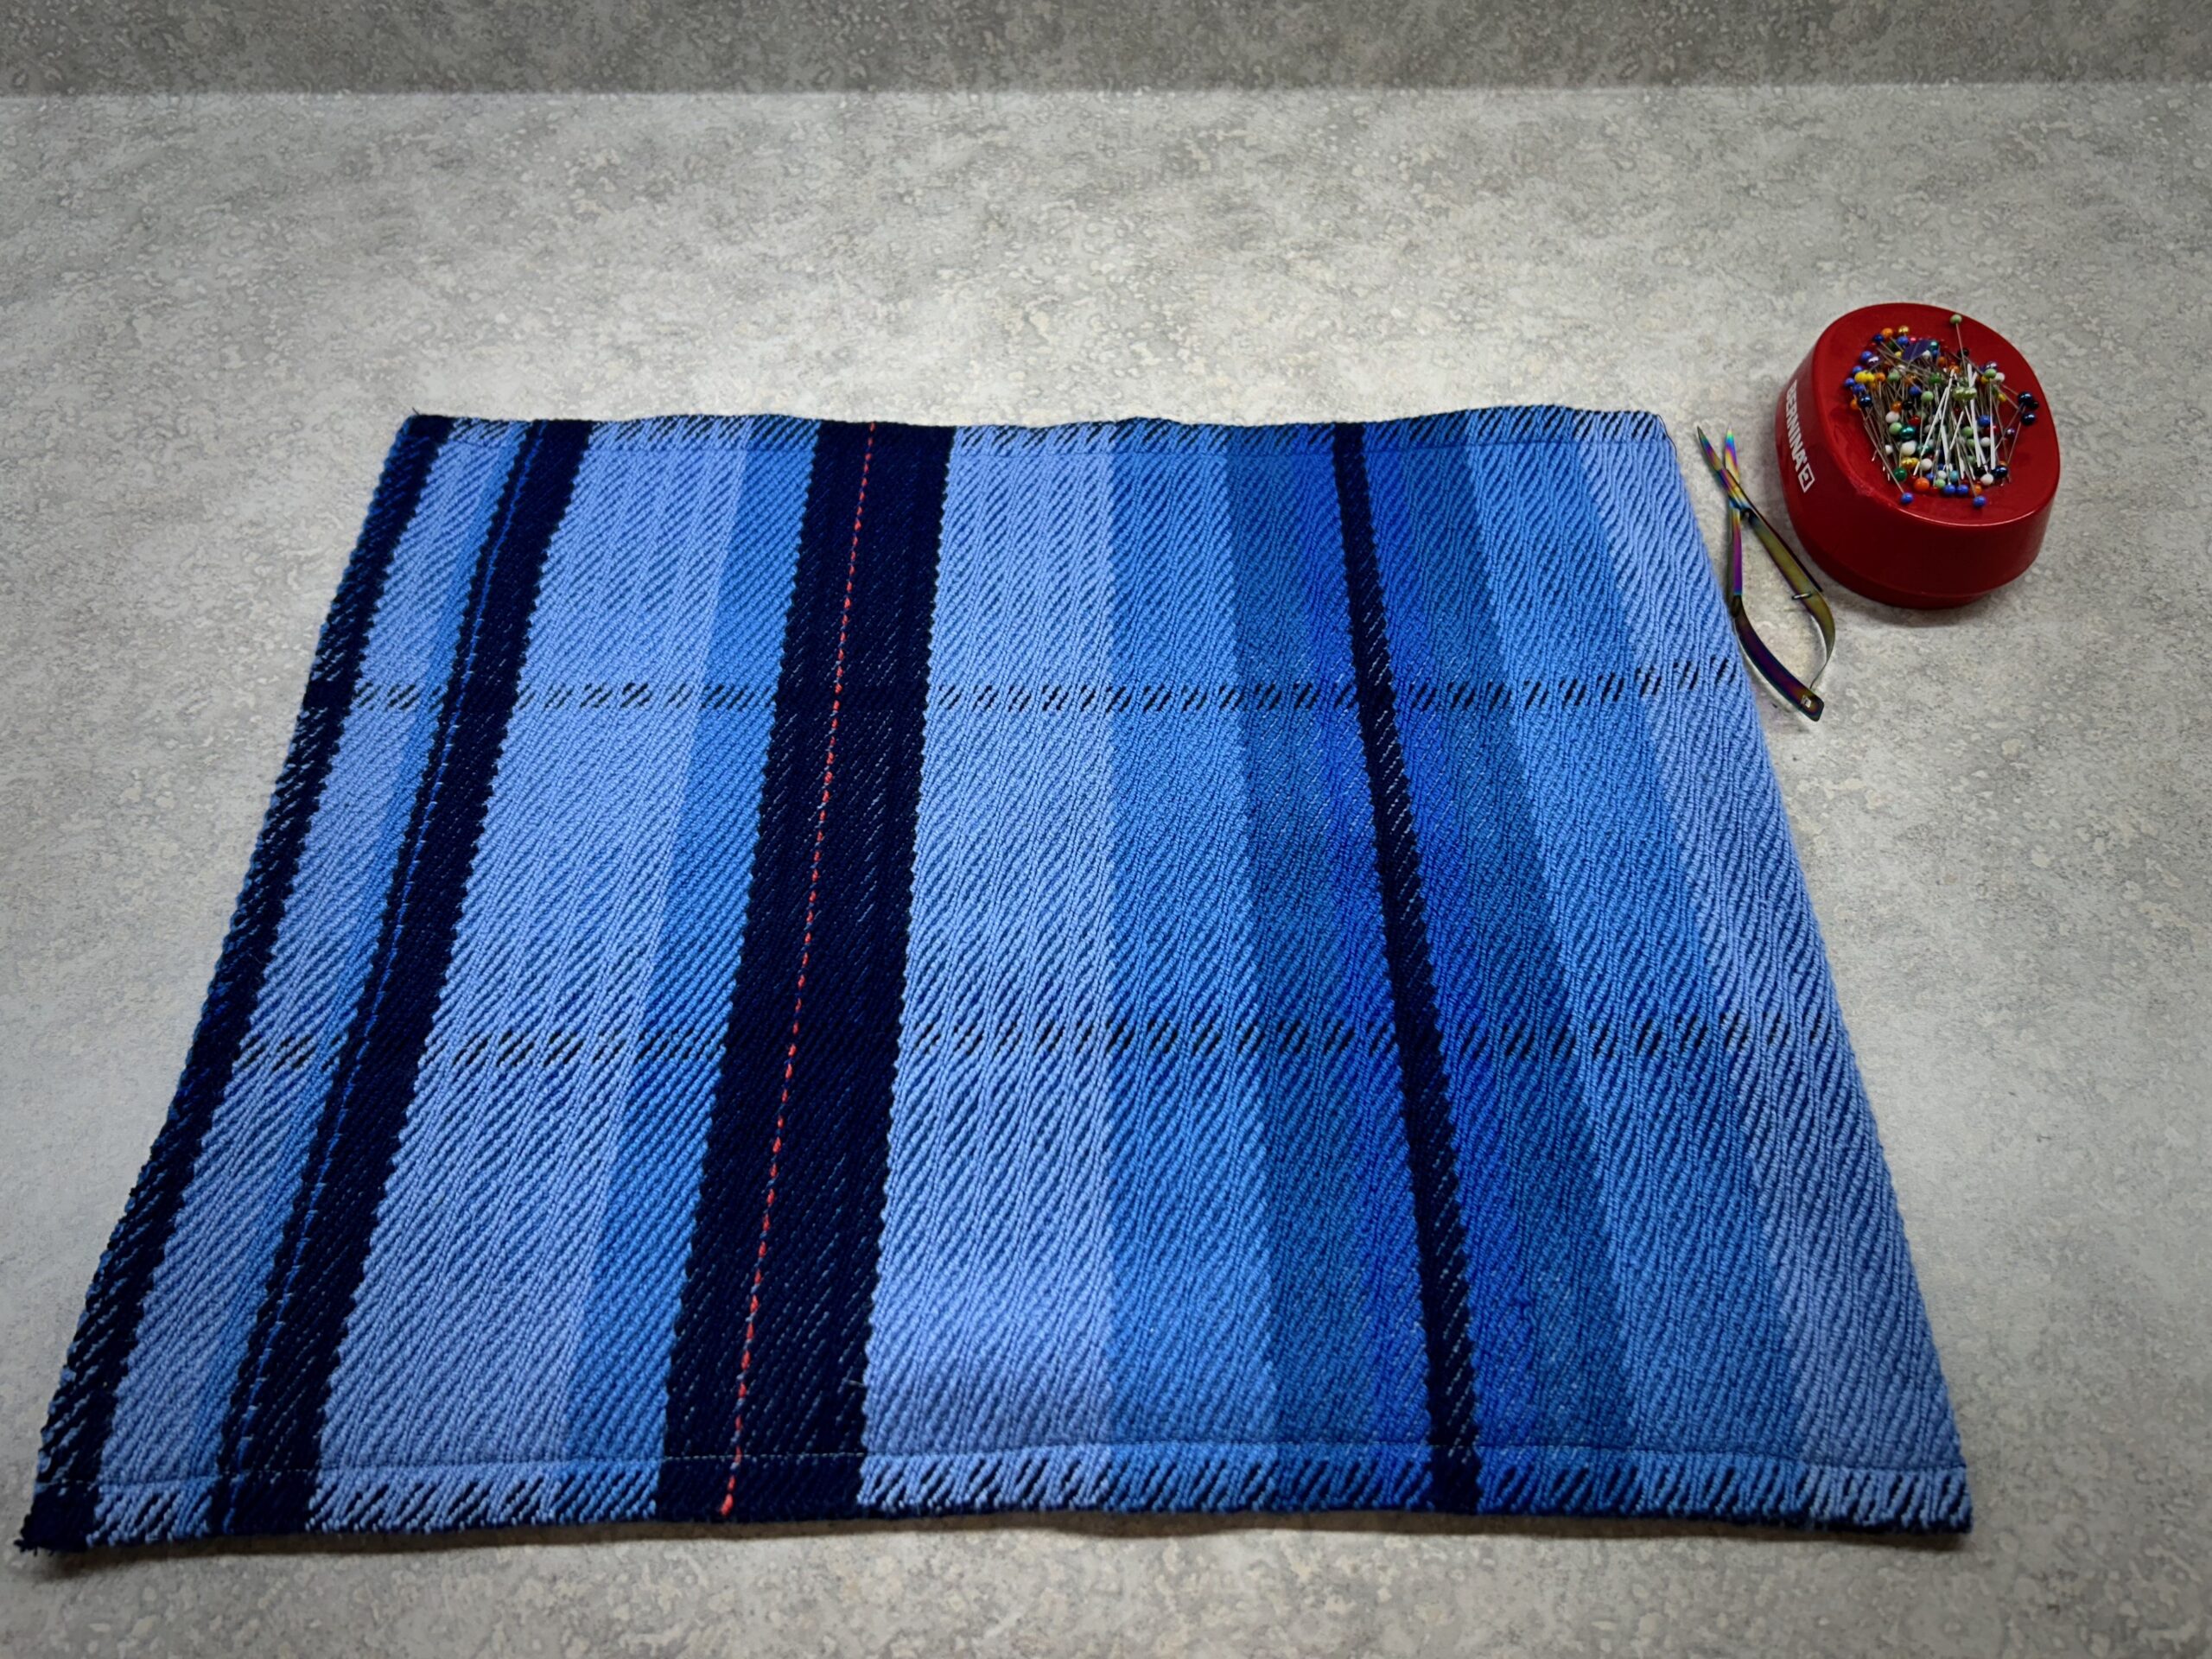
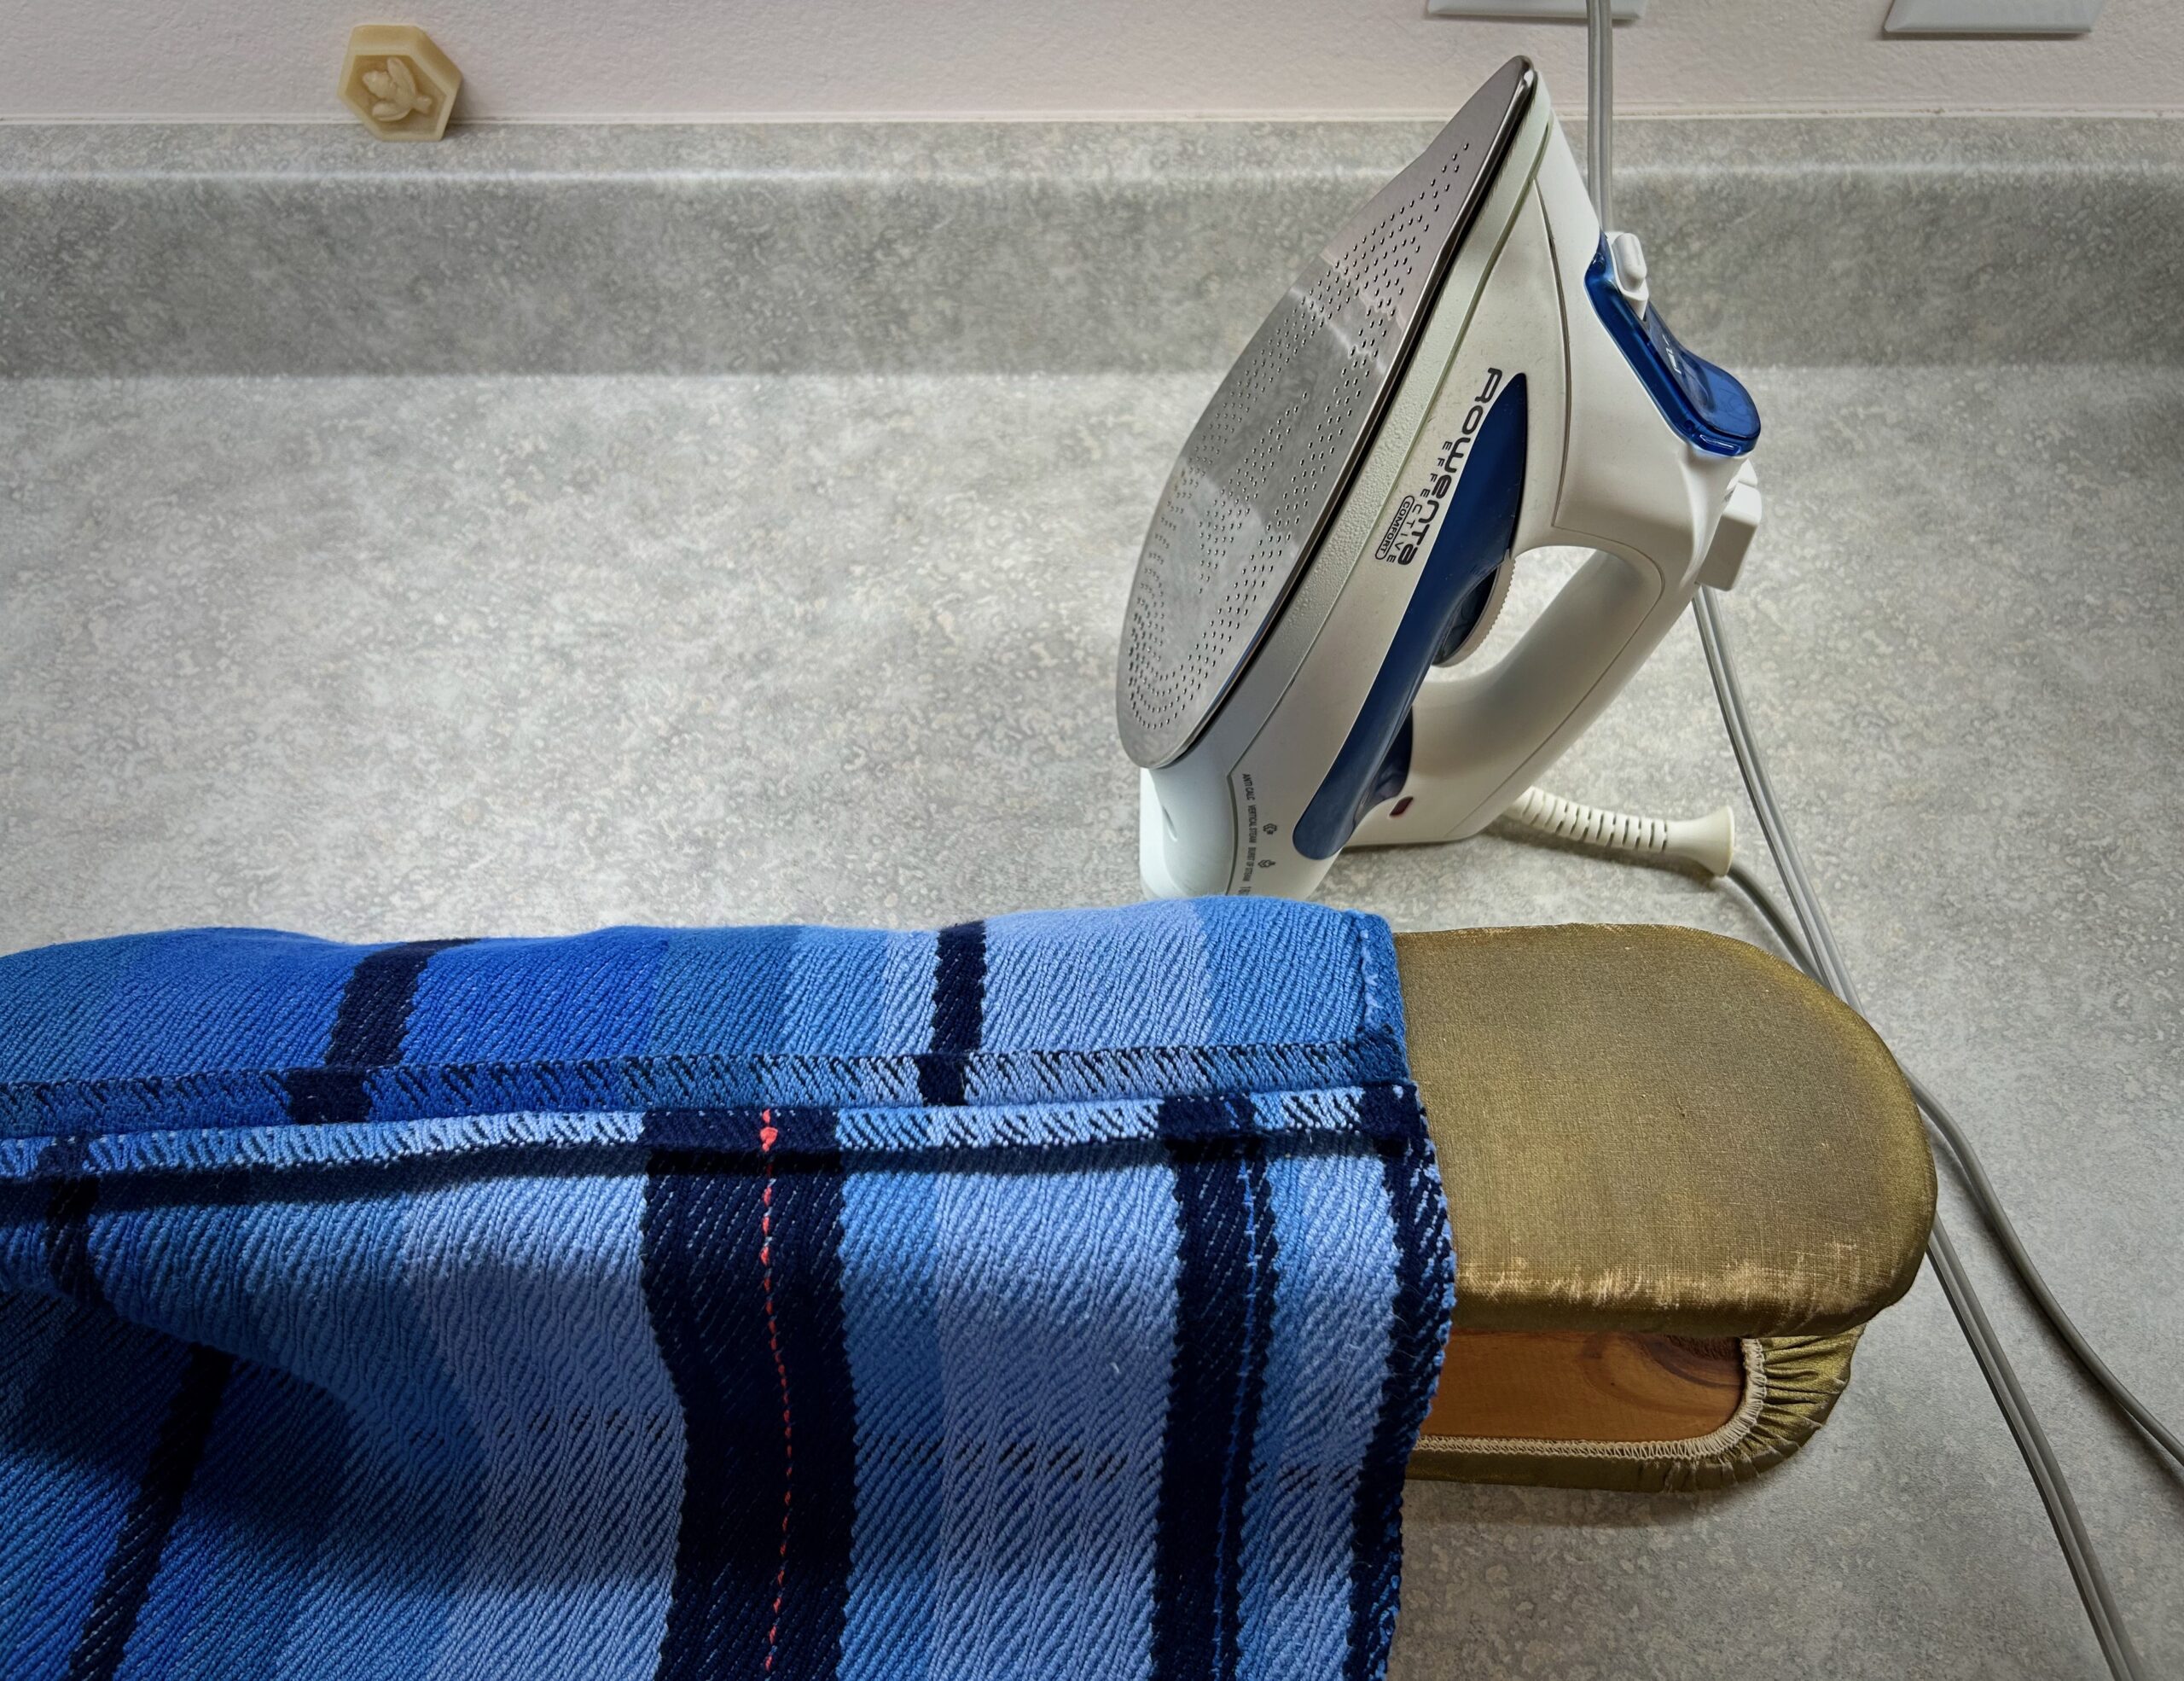
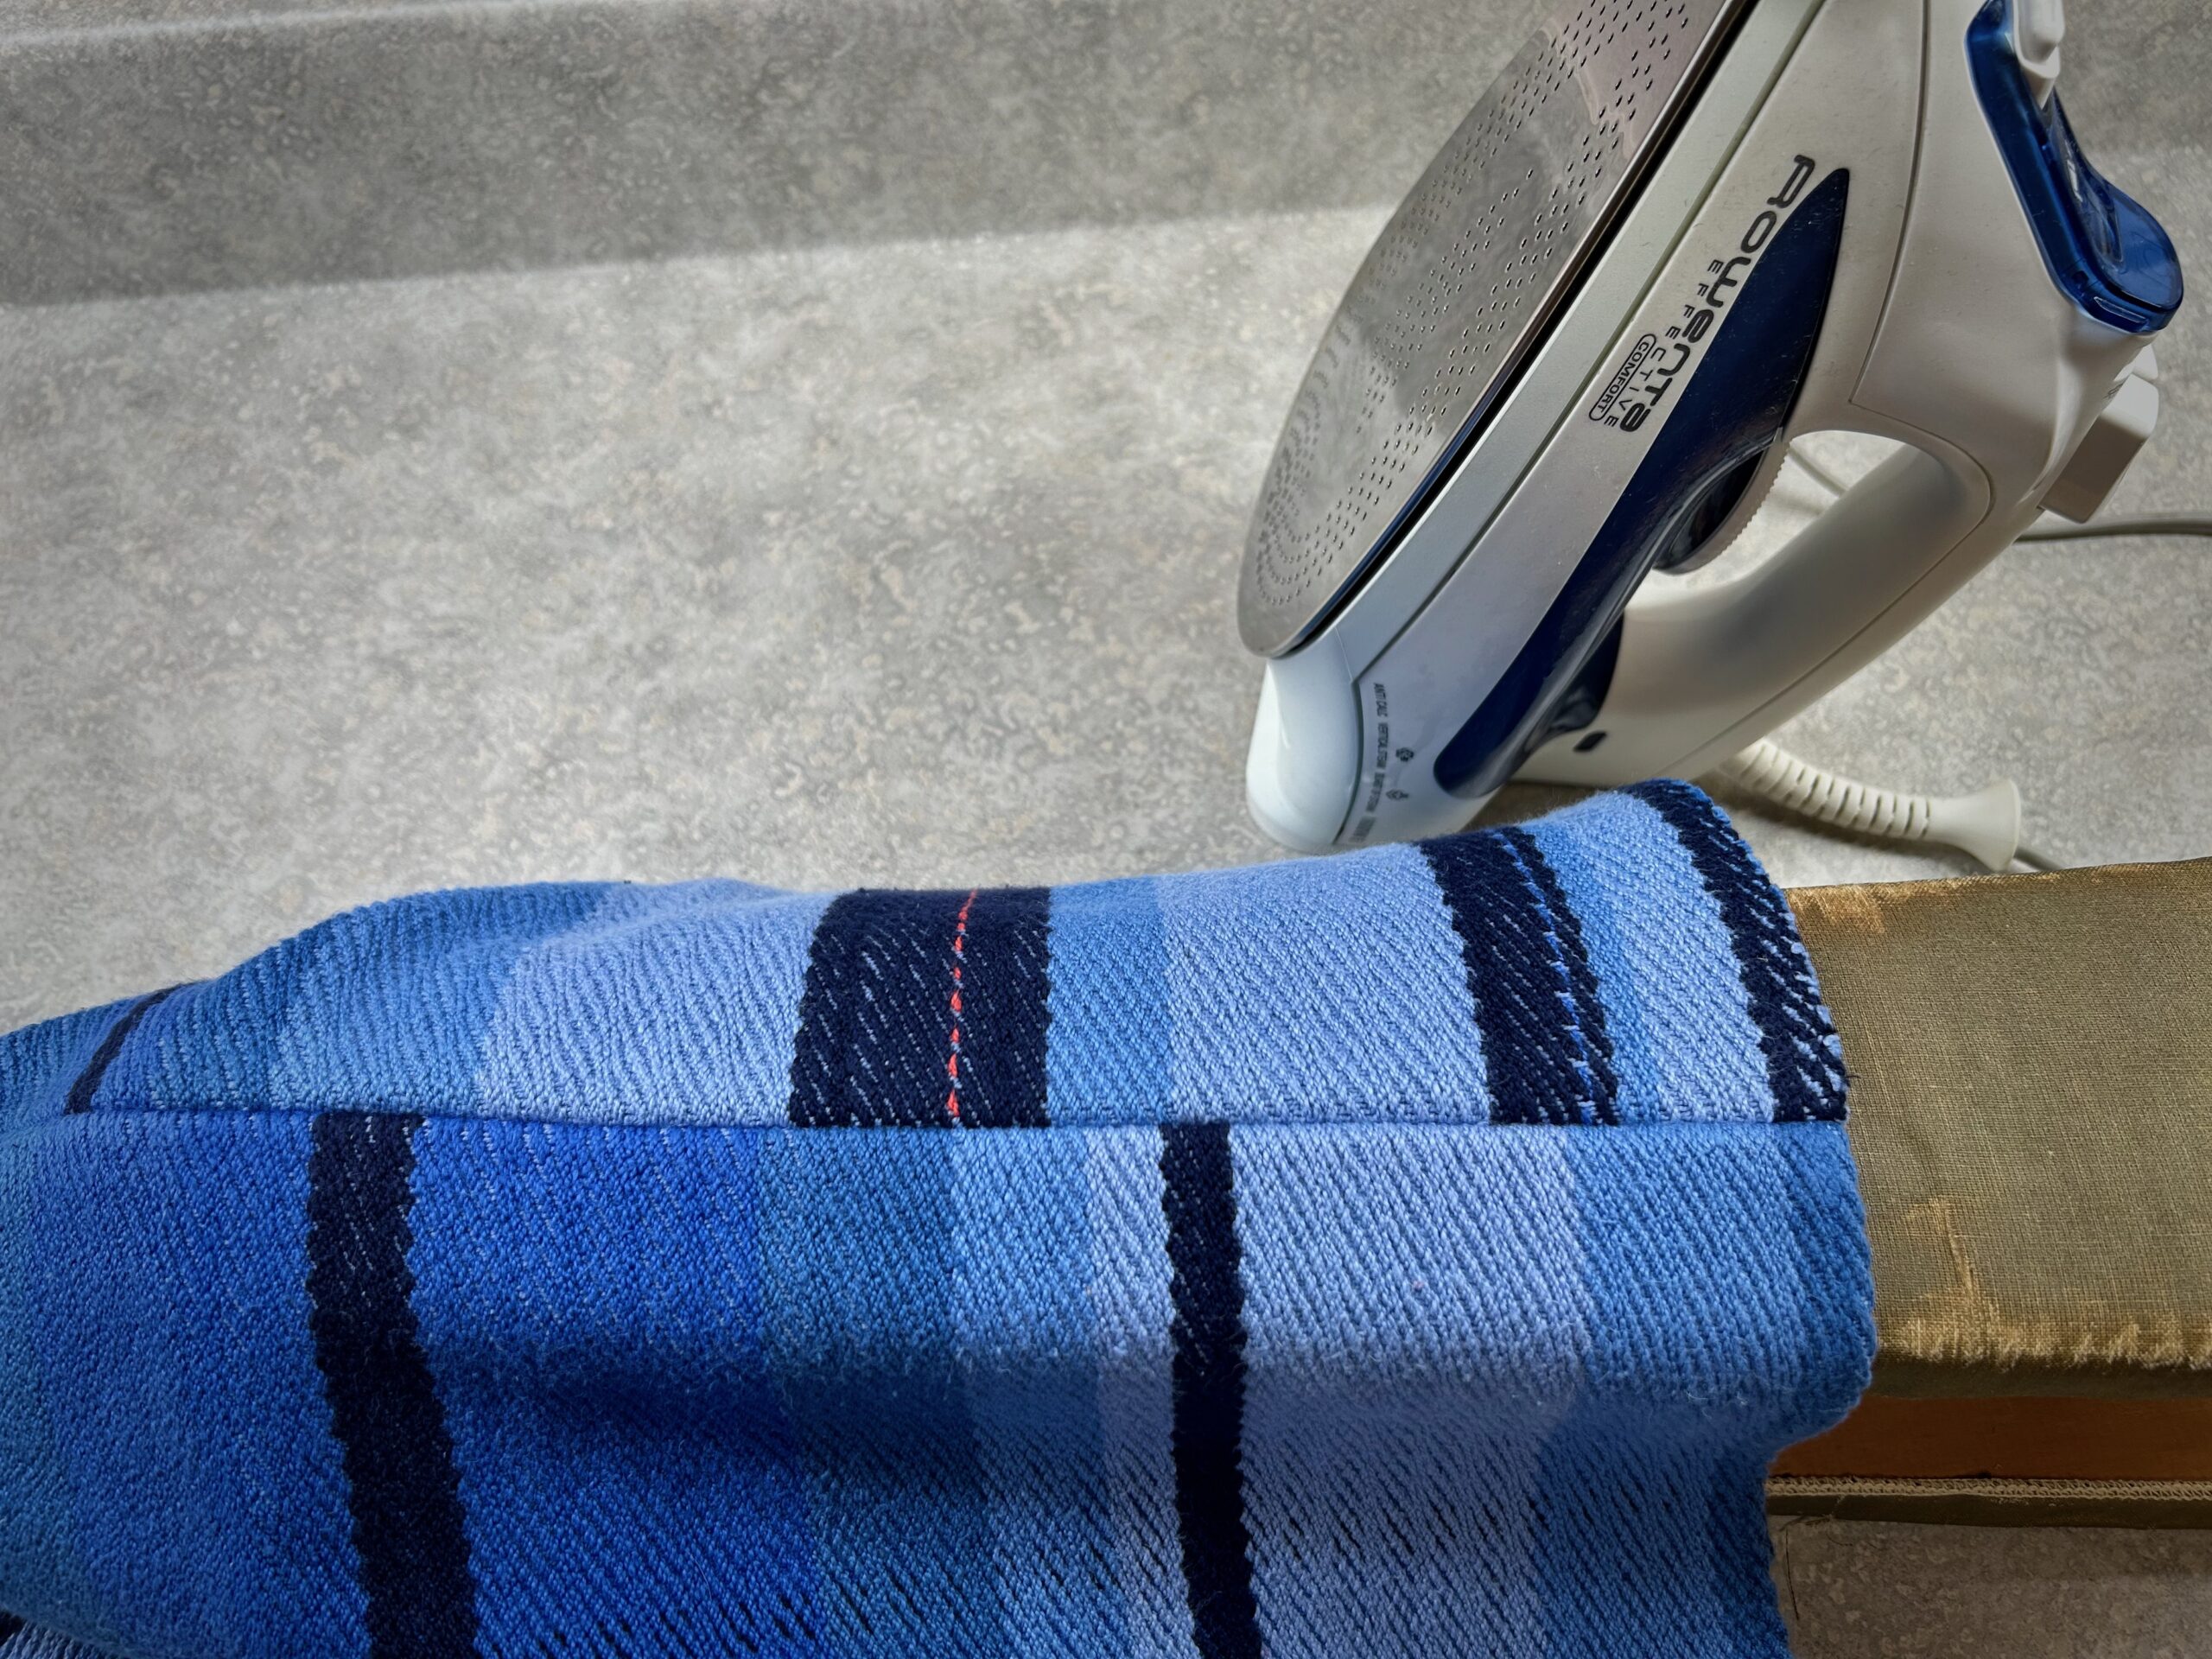
Sunset brings a hush over those who witness it. Colors, textures, and a dramatic ending to the day.Hand-stitched lines follow the edges of the pattern pieces. This alleviates the difficulty of putting chalk or other marks on this fabric.All the pieces are outlined with thread. I was able to match stripes in the front and on one side by carefully laying out the pattern pieces.Machine zigzag stitches inside the thread outlines. After this, I can cut the pieces along the outline, knowing the edges are secure.I saved this measuring ribbon for the babywrap I wove when my daughter was pregnant. The baby for whom I wove the wrap just turned 8 years old. I found the ribbon when I was looking for some twill tape to sew into the shoulder seams for stability. Perfect! Now I have some of this memorable twill tape sewn into my cape!Blanket stitch around all the edges helps hide the zigzag stitching, as well as provide a decorative edge that gives the fabric a finished look.Ready for autumn. And ready for the fun of wearing this Grand Canyon cape at the Grand Canyon!
May you honor the Grand Weaver who designed the Grand Canyon in all its colors and gave it to us to enjoy.
The last few months have been a season for me to put my focus on writing a book about prayer. This has been a season of less weaving than usual. Still, I find a way to get to the looms–a little here, a little there. It adds up. The nice thing about handweaving is that you have something to show for your efforts. Every little weft thread counts. Every day is a gift from the Lord, and every season is an opportunity to acknowledge Him. Thank you, Lord, for every season!
Here’s what I’ve been up to in this weaving season:
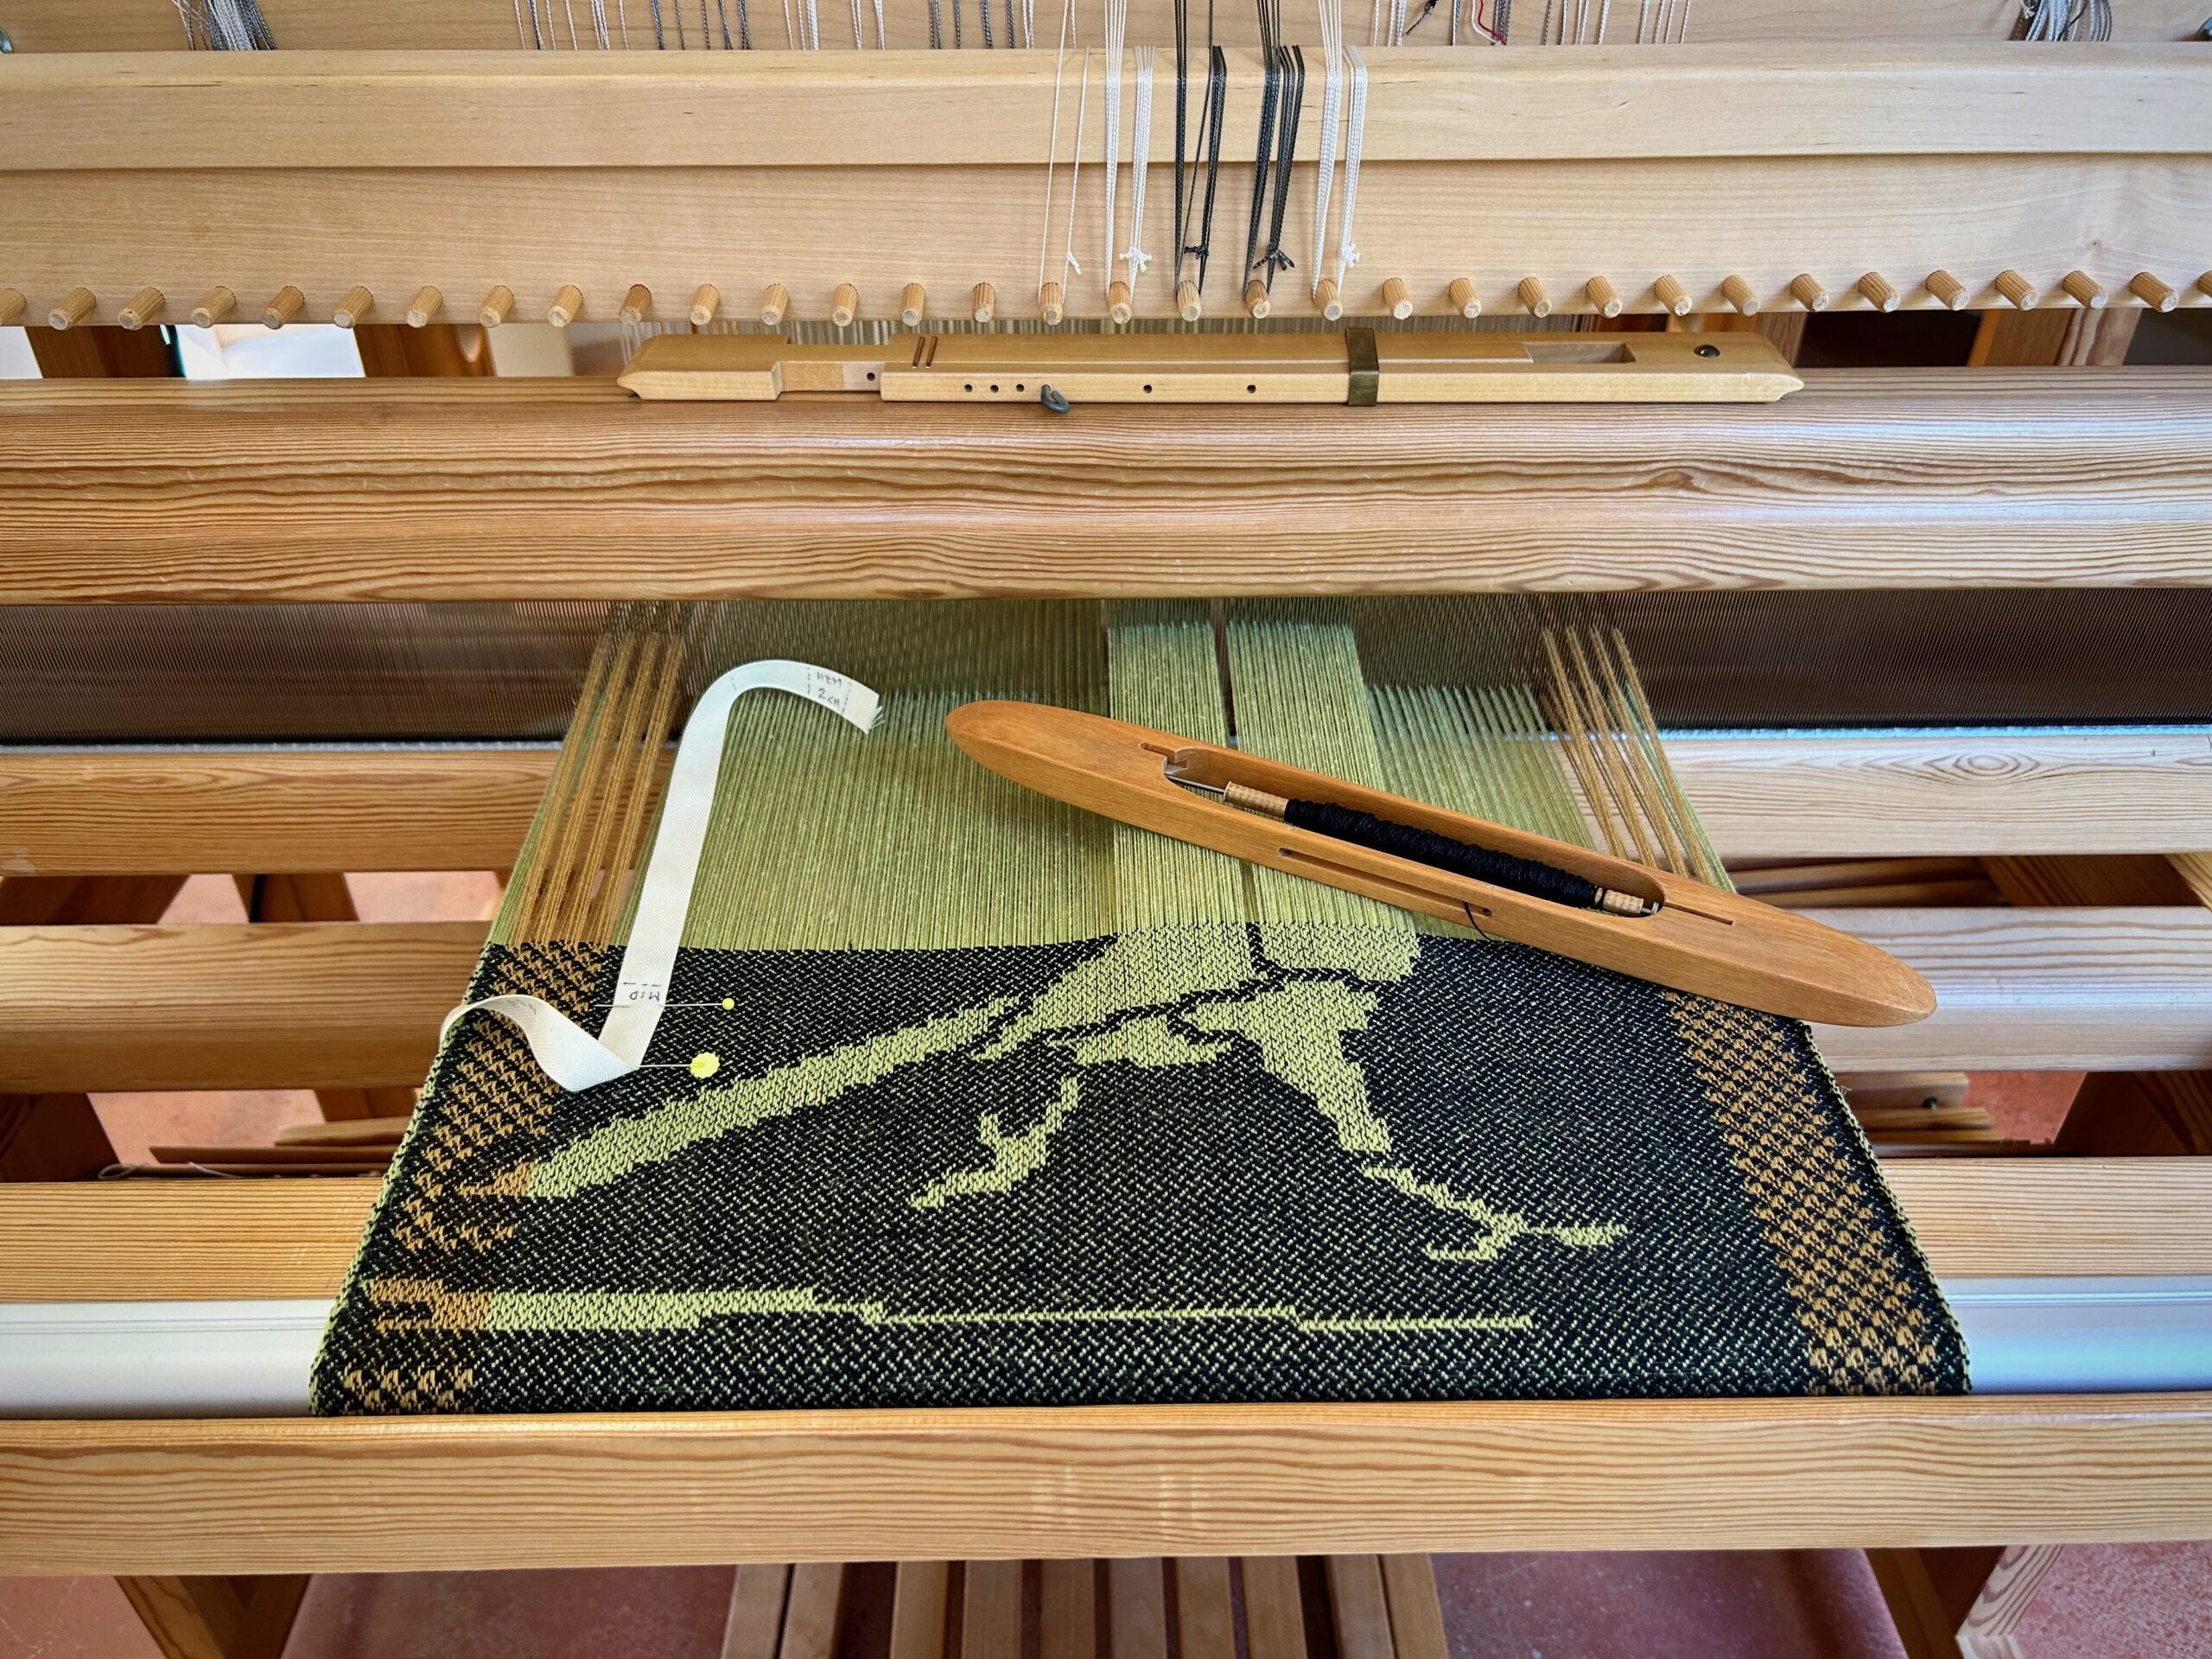
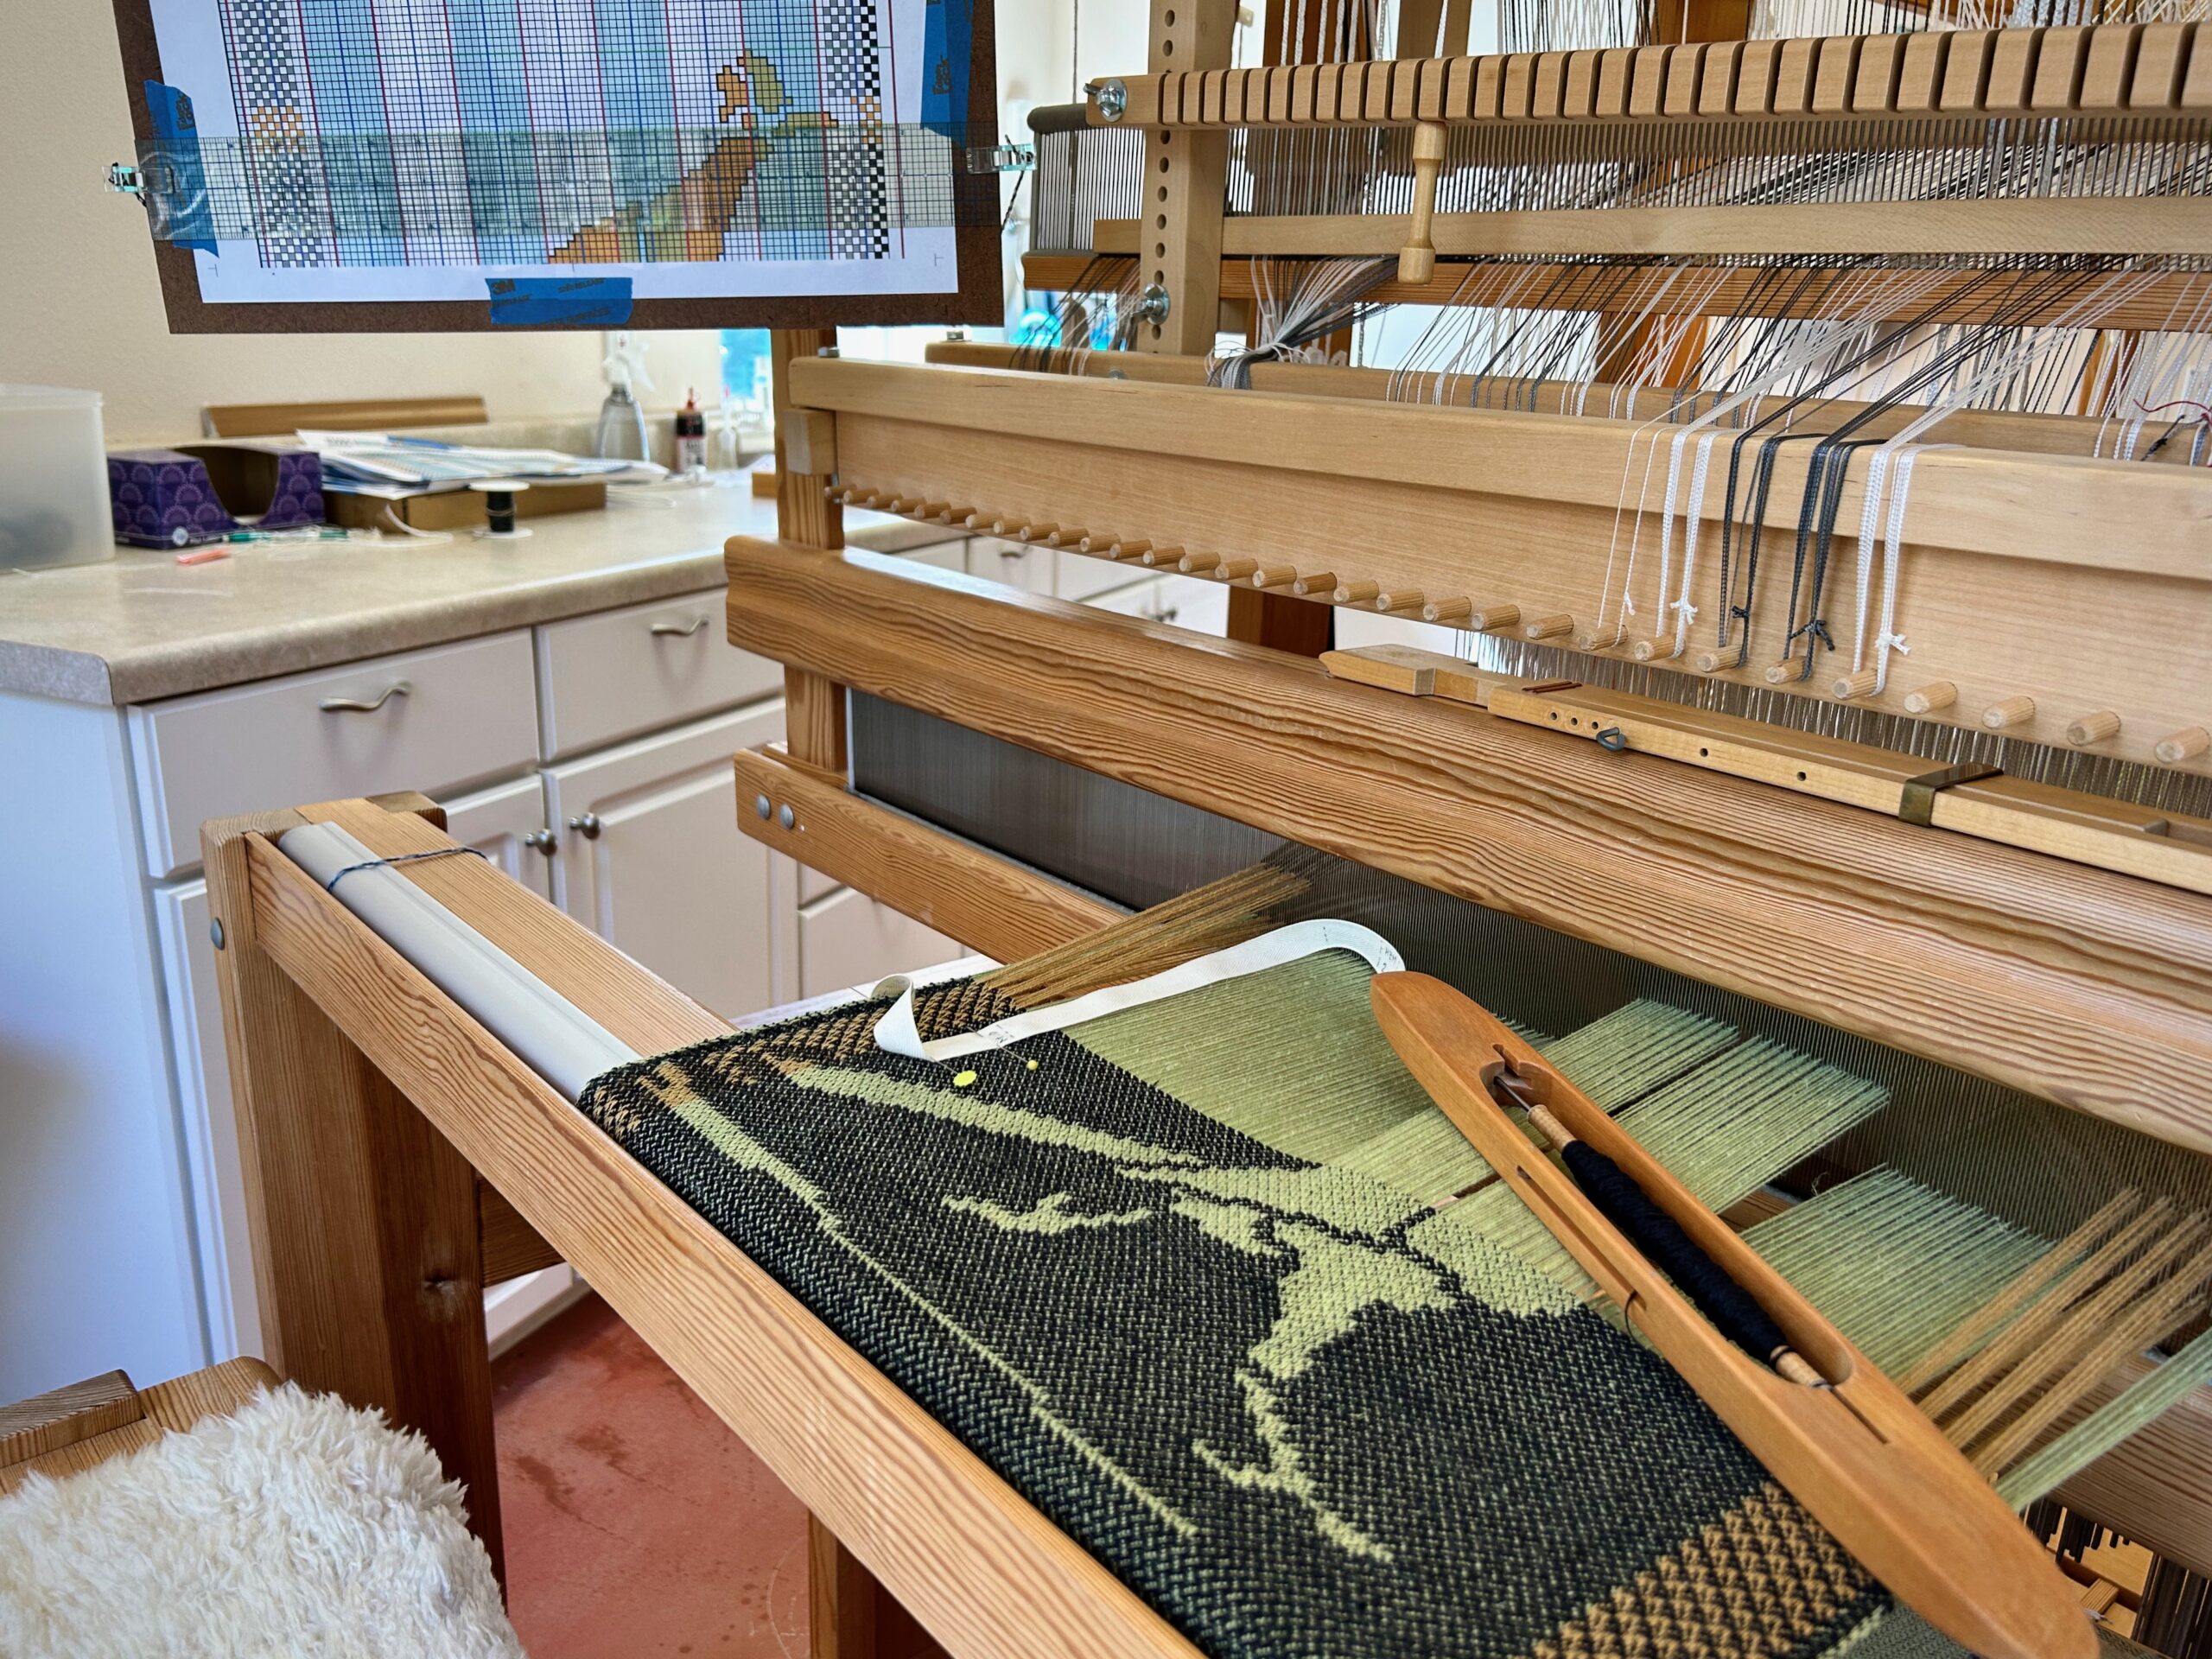
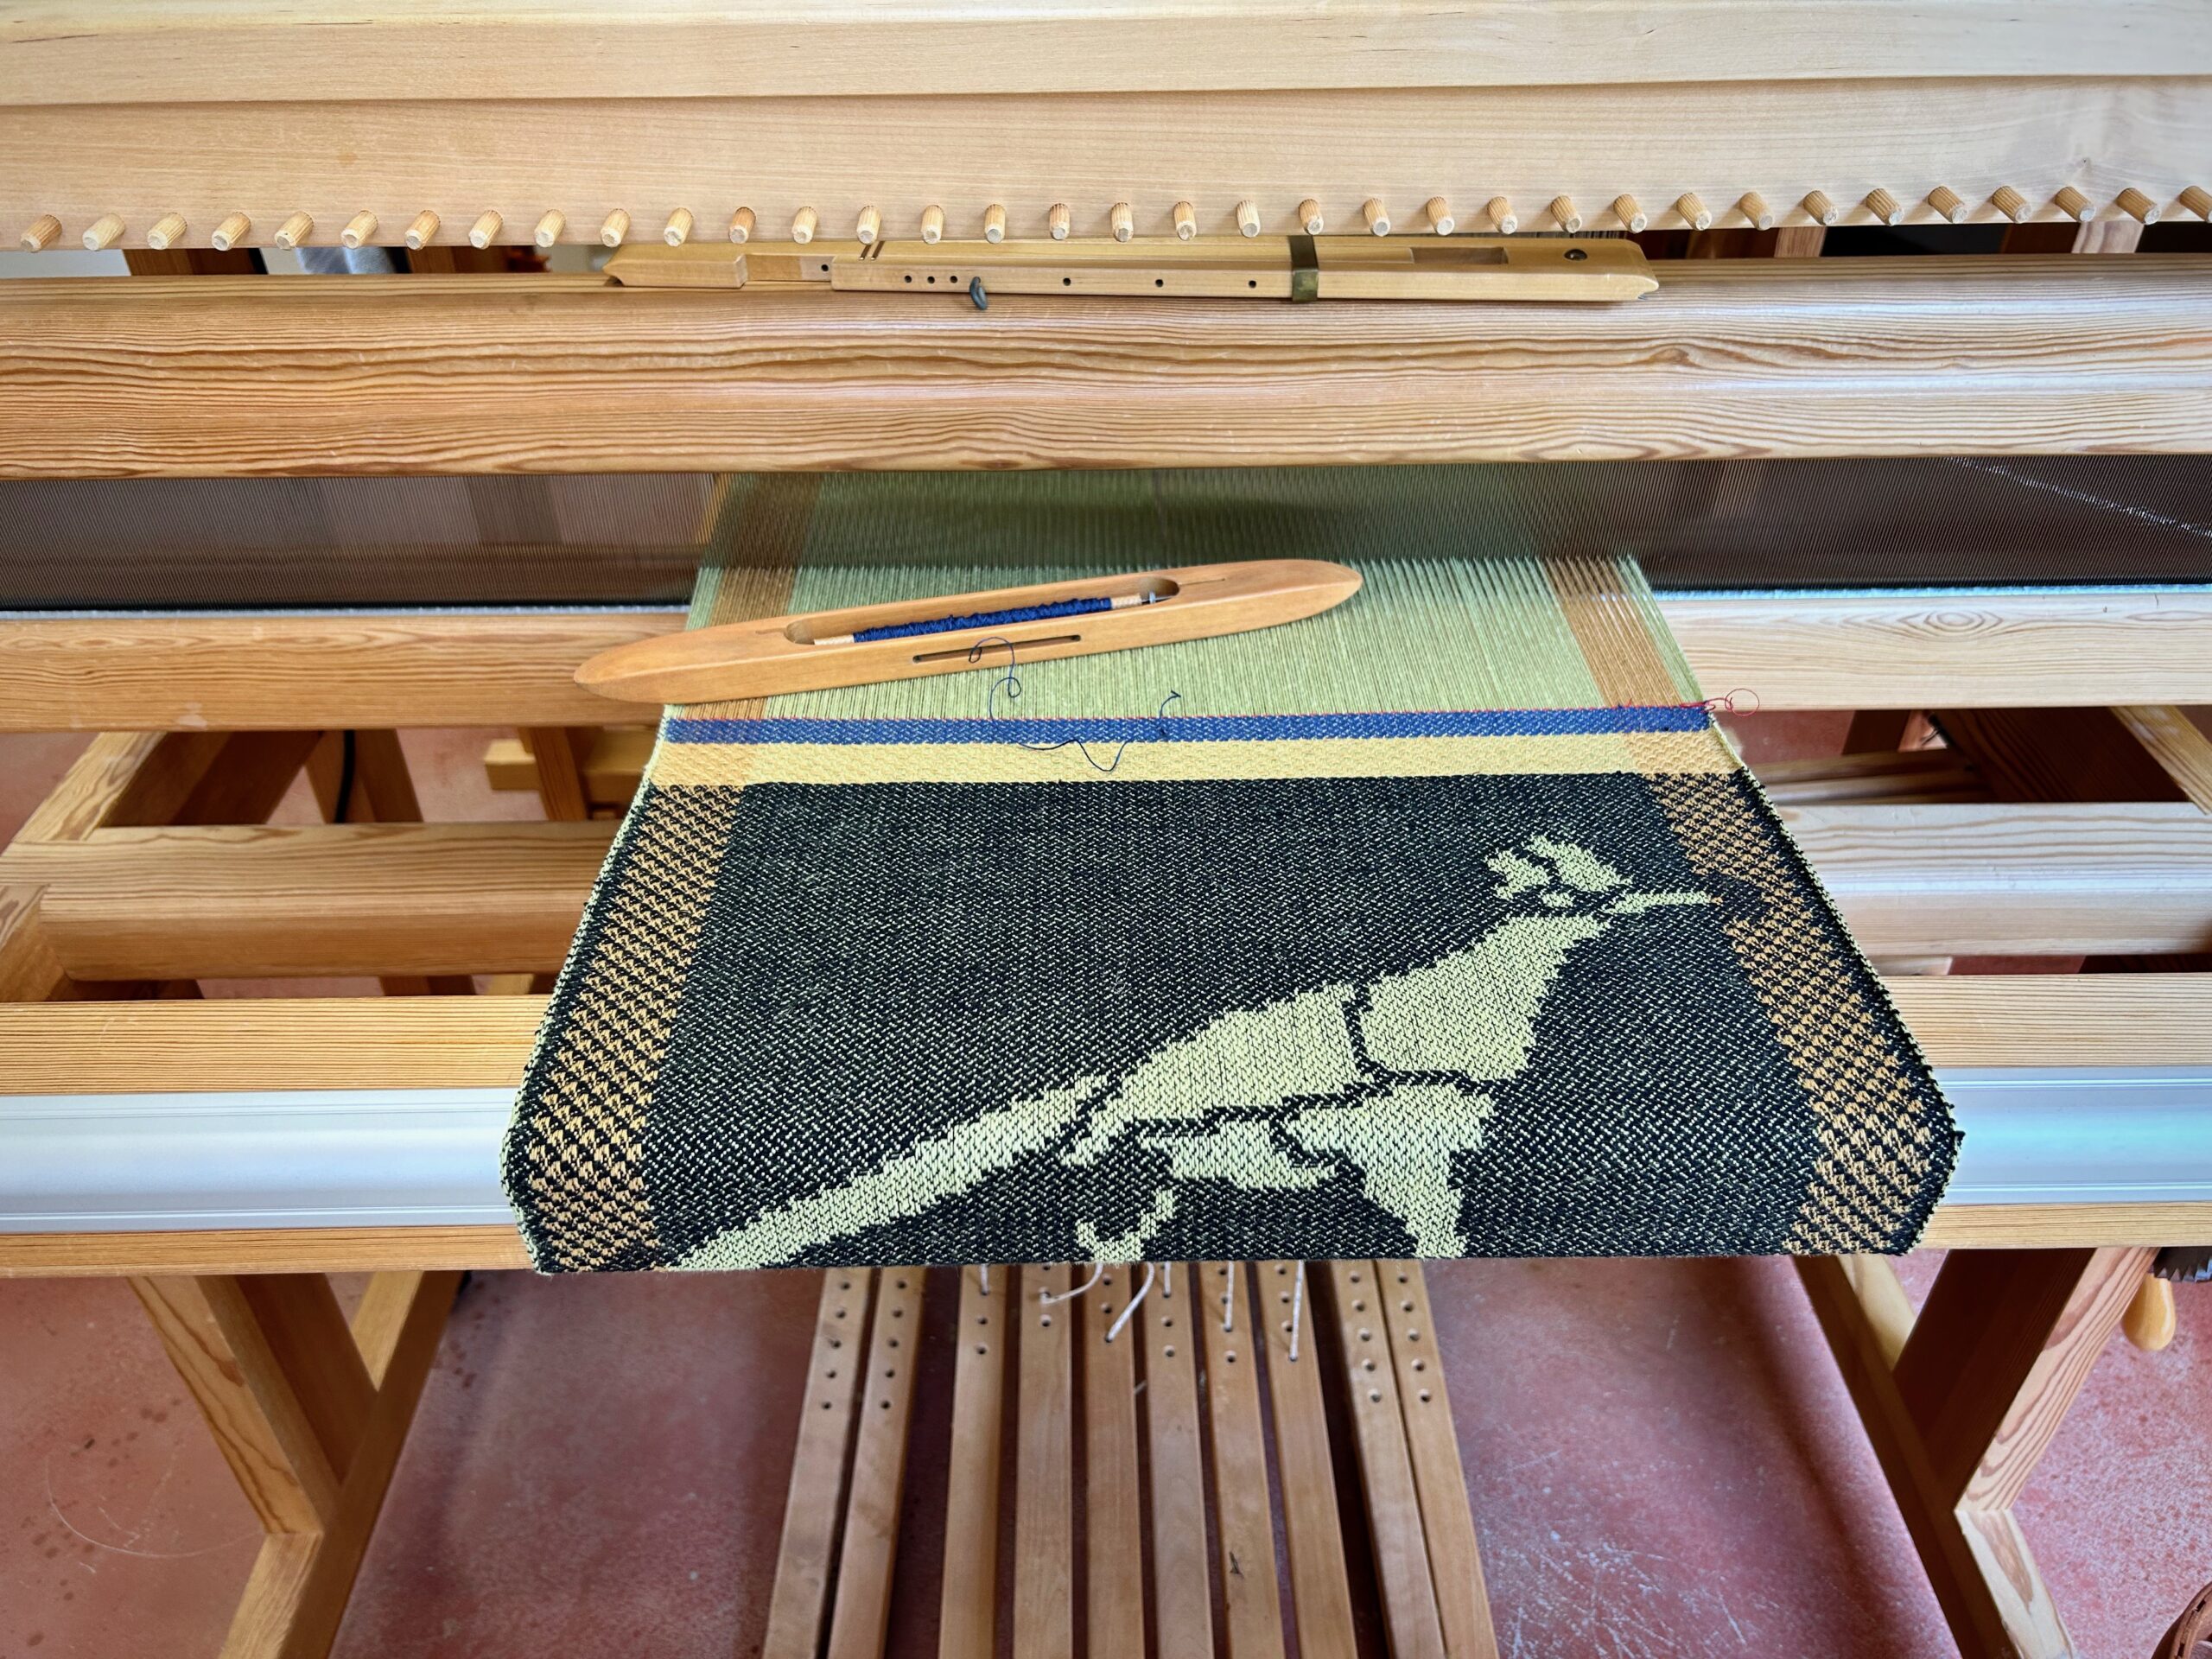
Eight different weft colors for this goose-eye twill. 7/2 Brage Wool.Cloth beam filling up.Standing back and enjoying the colors.Roadrunner on the drawloom. Cottolin and linen. Six groundshafts.Beginning the top half of the roadrunner pattern. Chart hangs for handy reference as I move up the chart, row by row.Roadrunner complete. Next chart to design is the Texas Longhorn. And three more critters after that.Curtain fabric, 24/2 cotton M’s and O’s.Cloth beam filling up.Take a step back and enjoy the process.
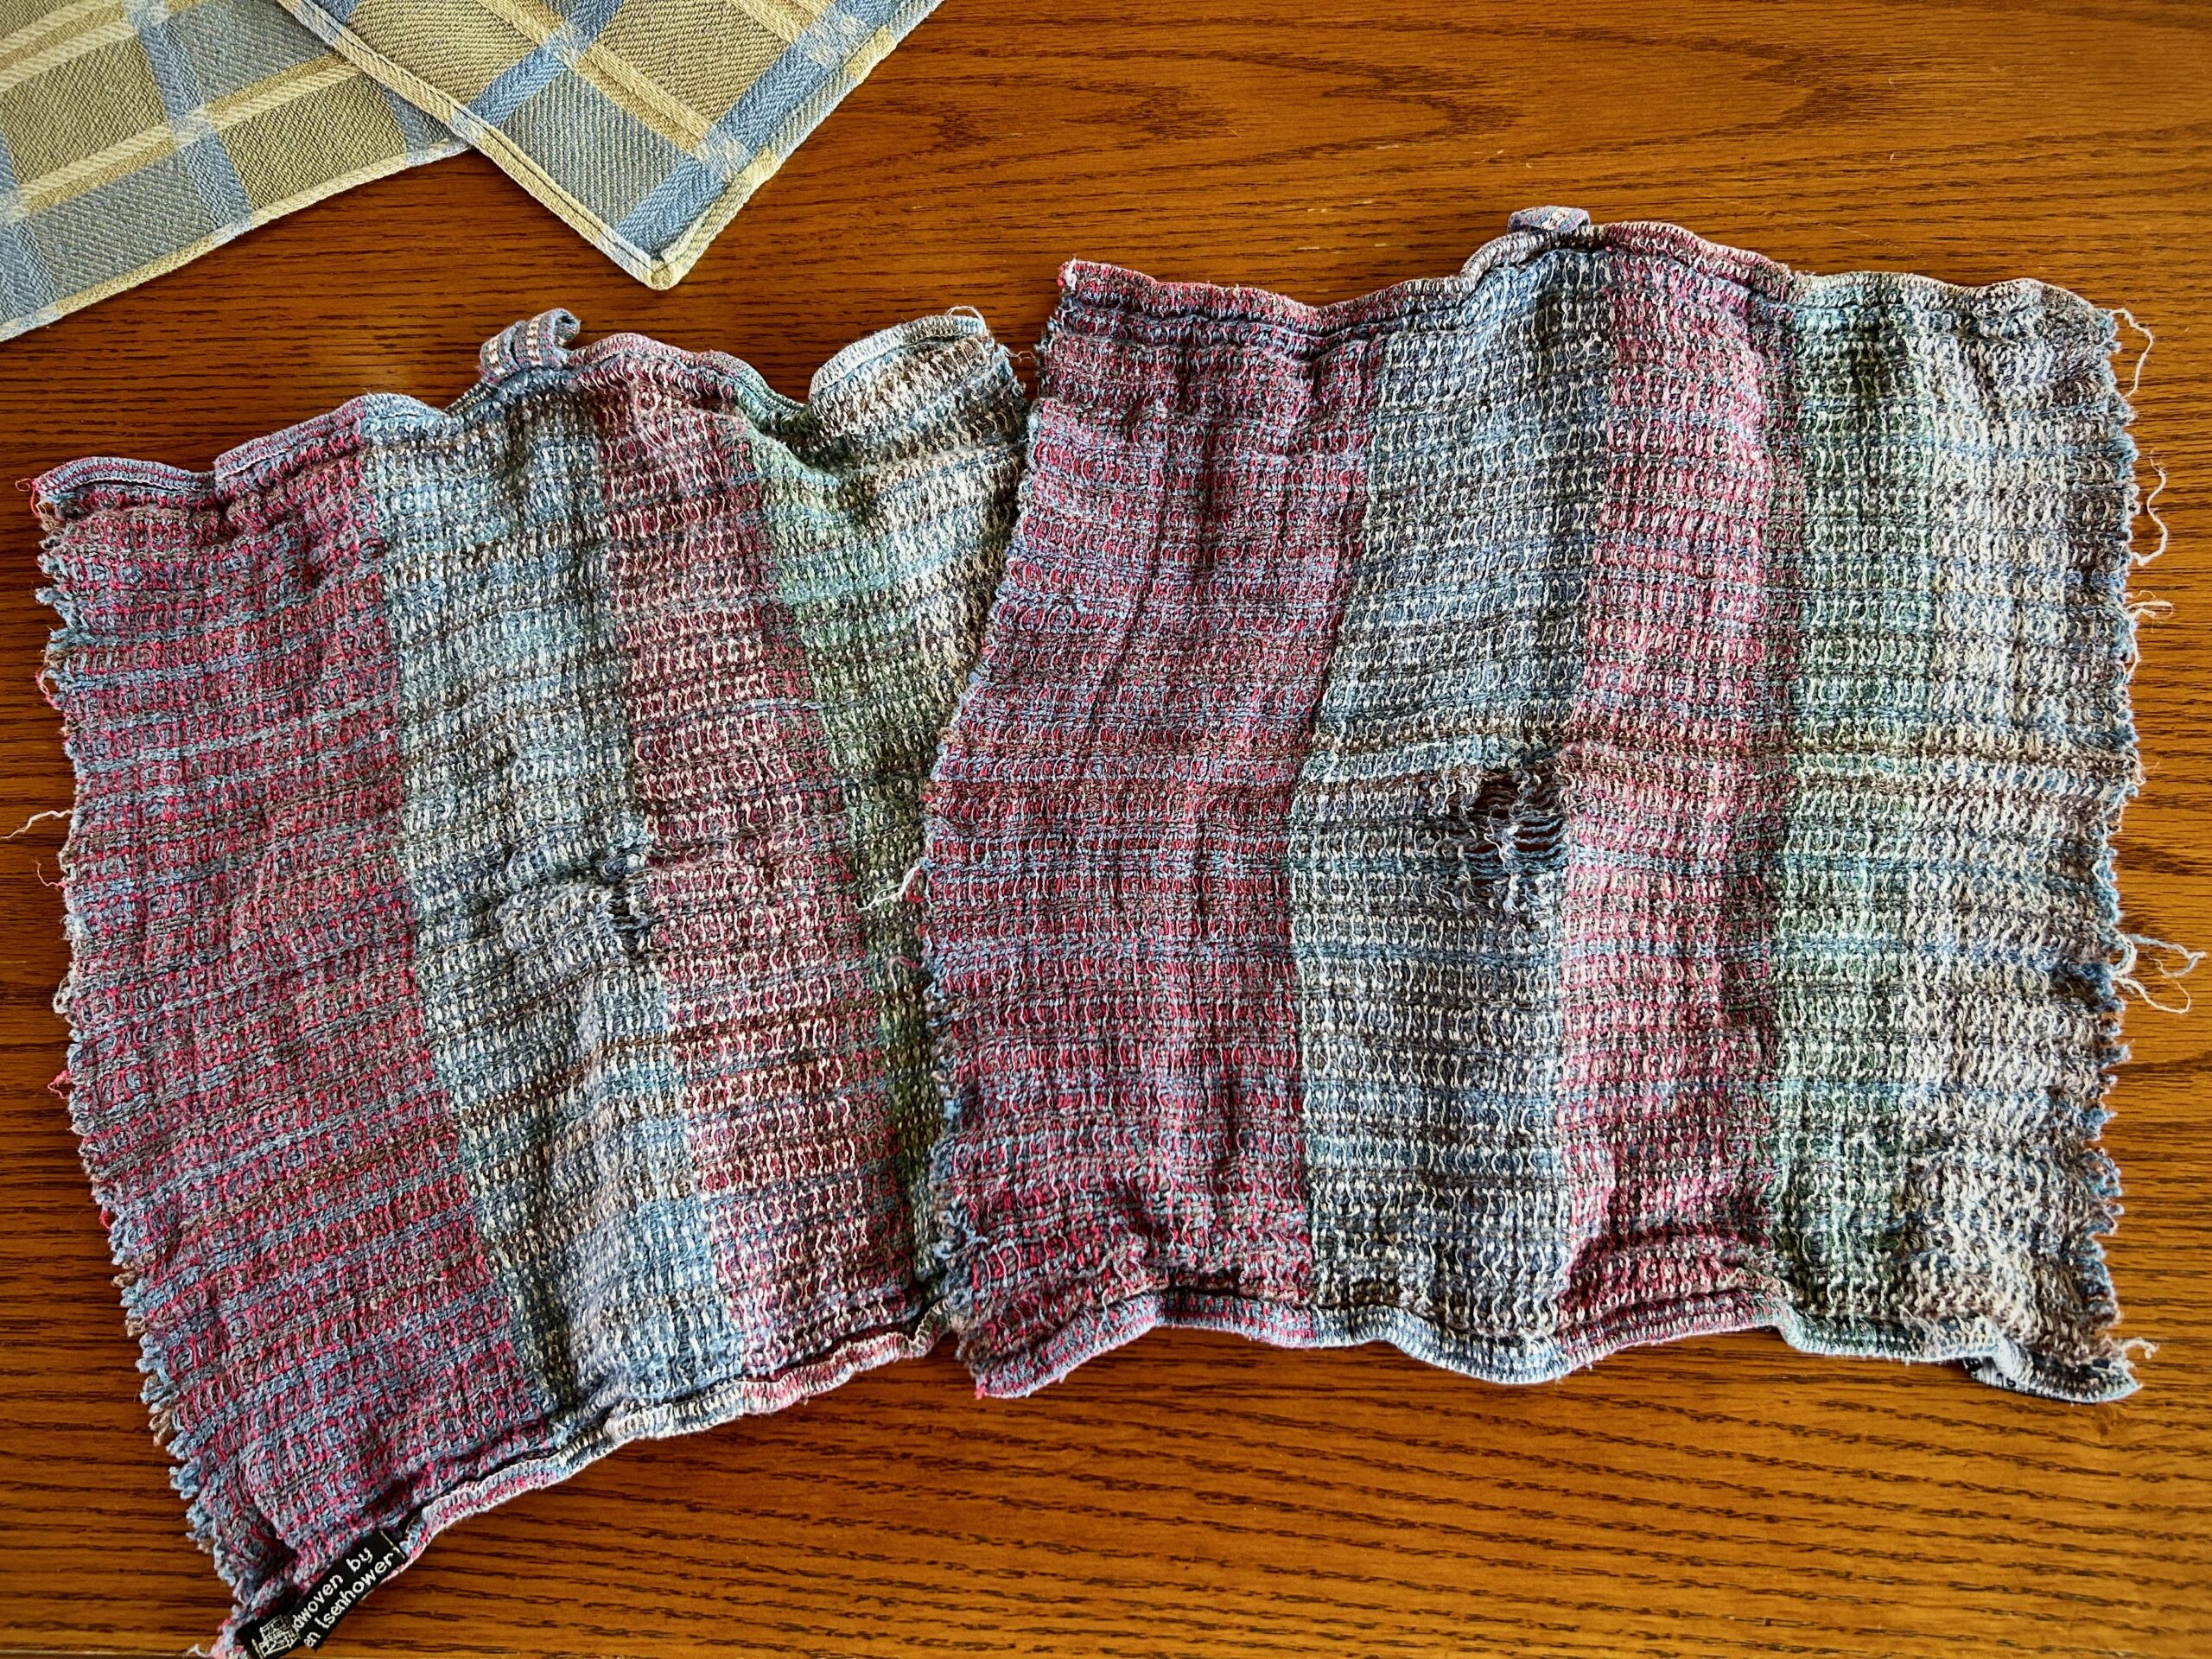
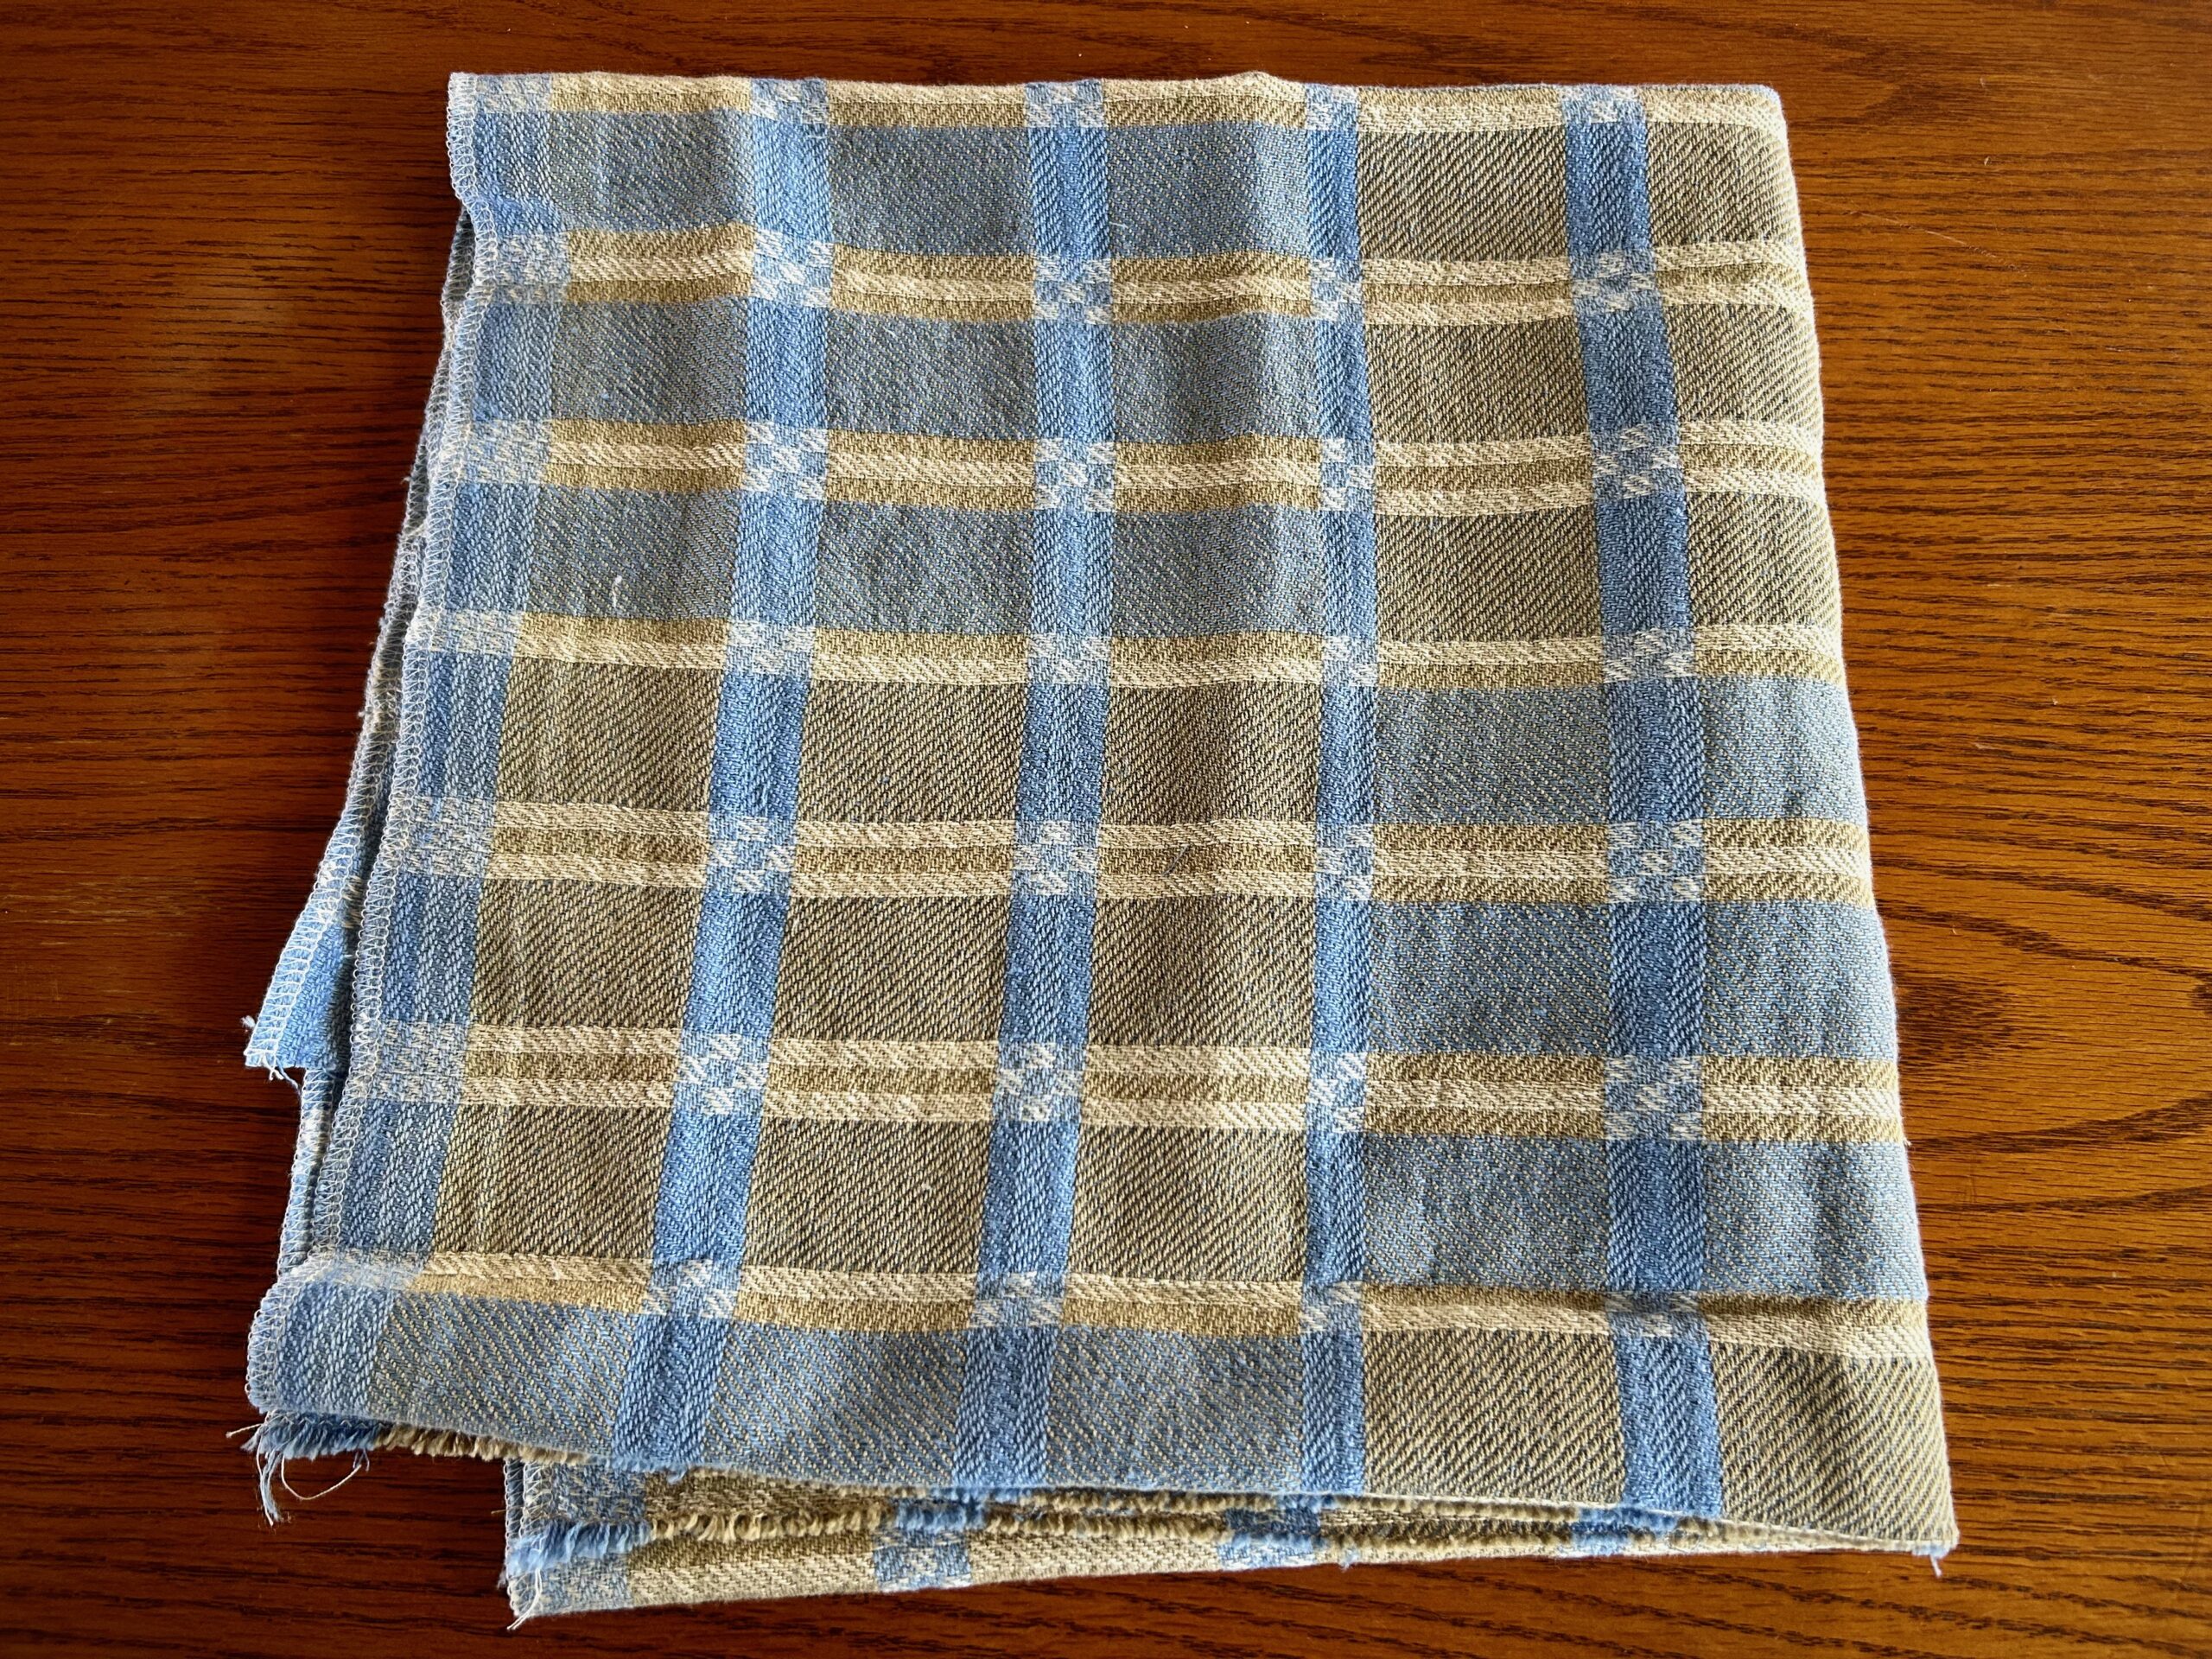
My looms are all occupied, so it will be a while before I can weave some new wash cloths. In the meantime, I am making “new” wash cloths to replace the ones that we have used so much that we’ve worn holes in them. The pictures tell the rest of the story.
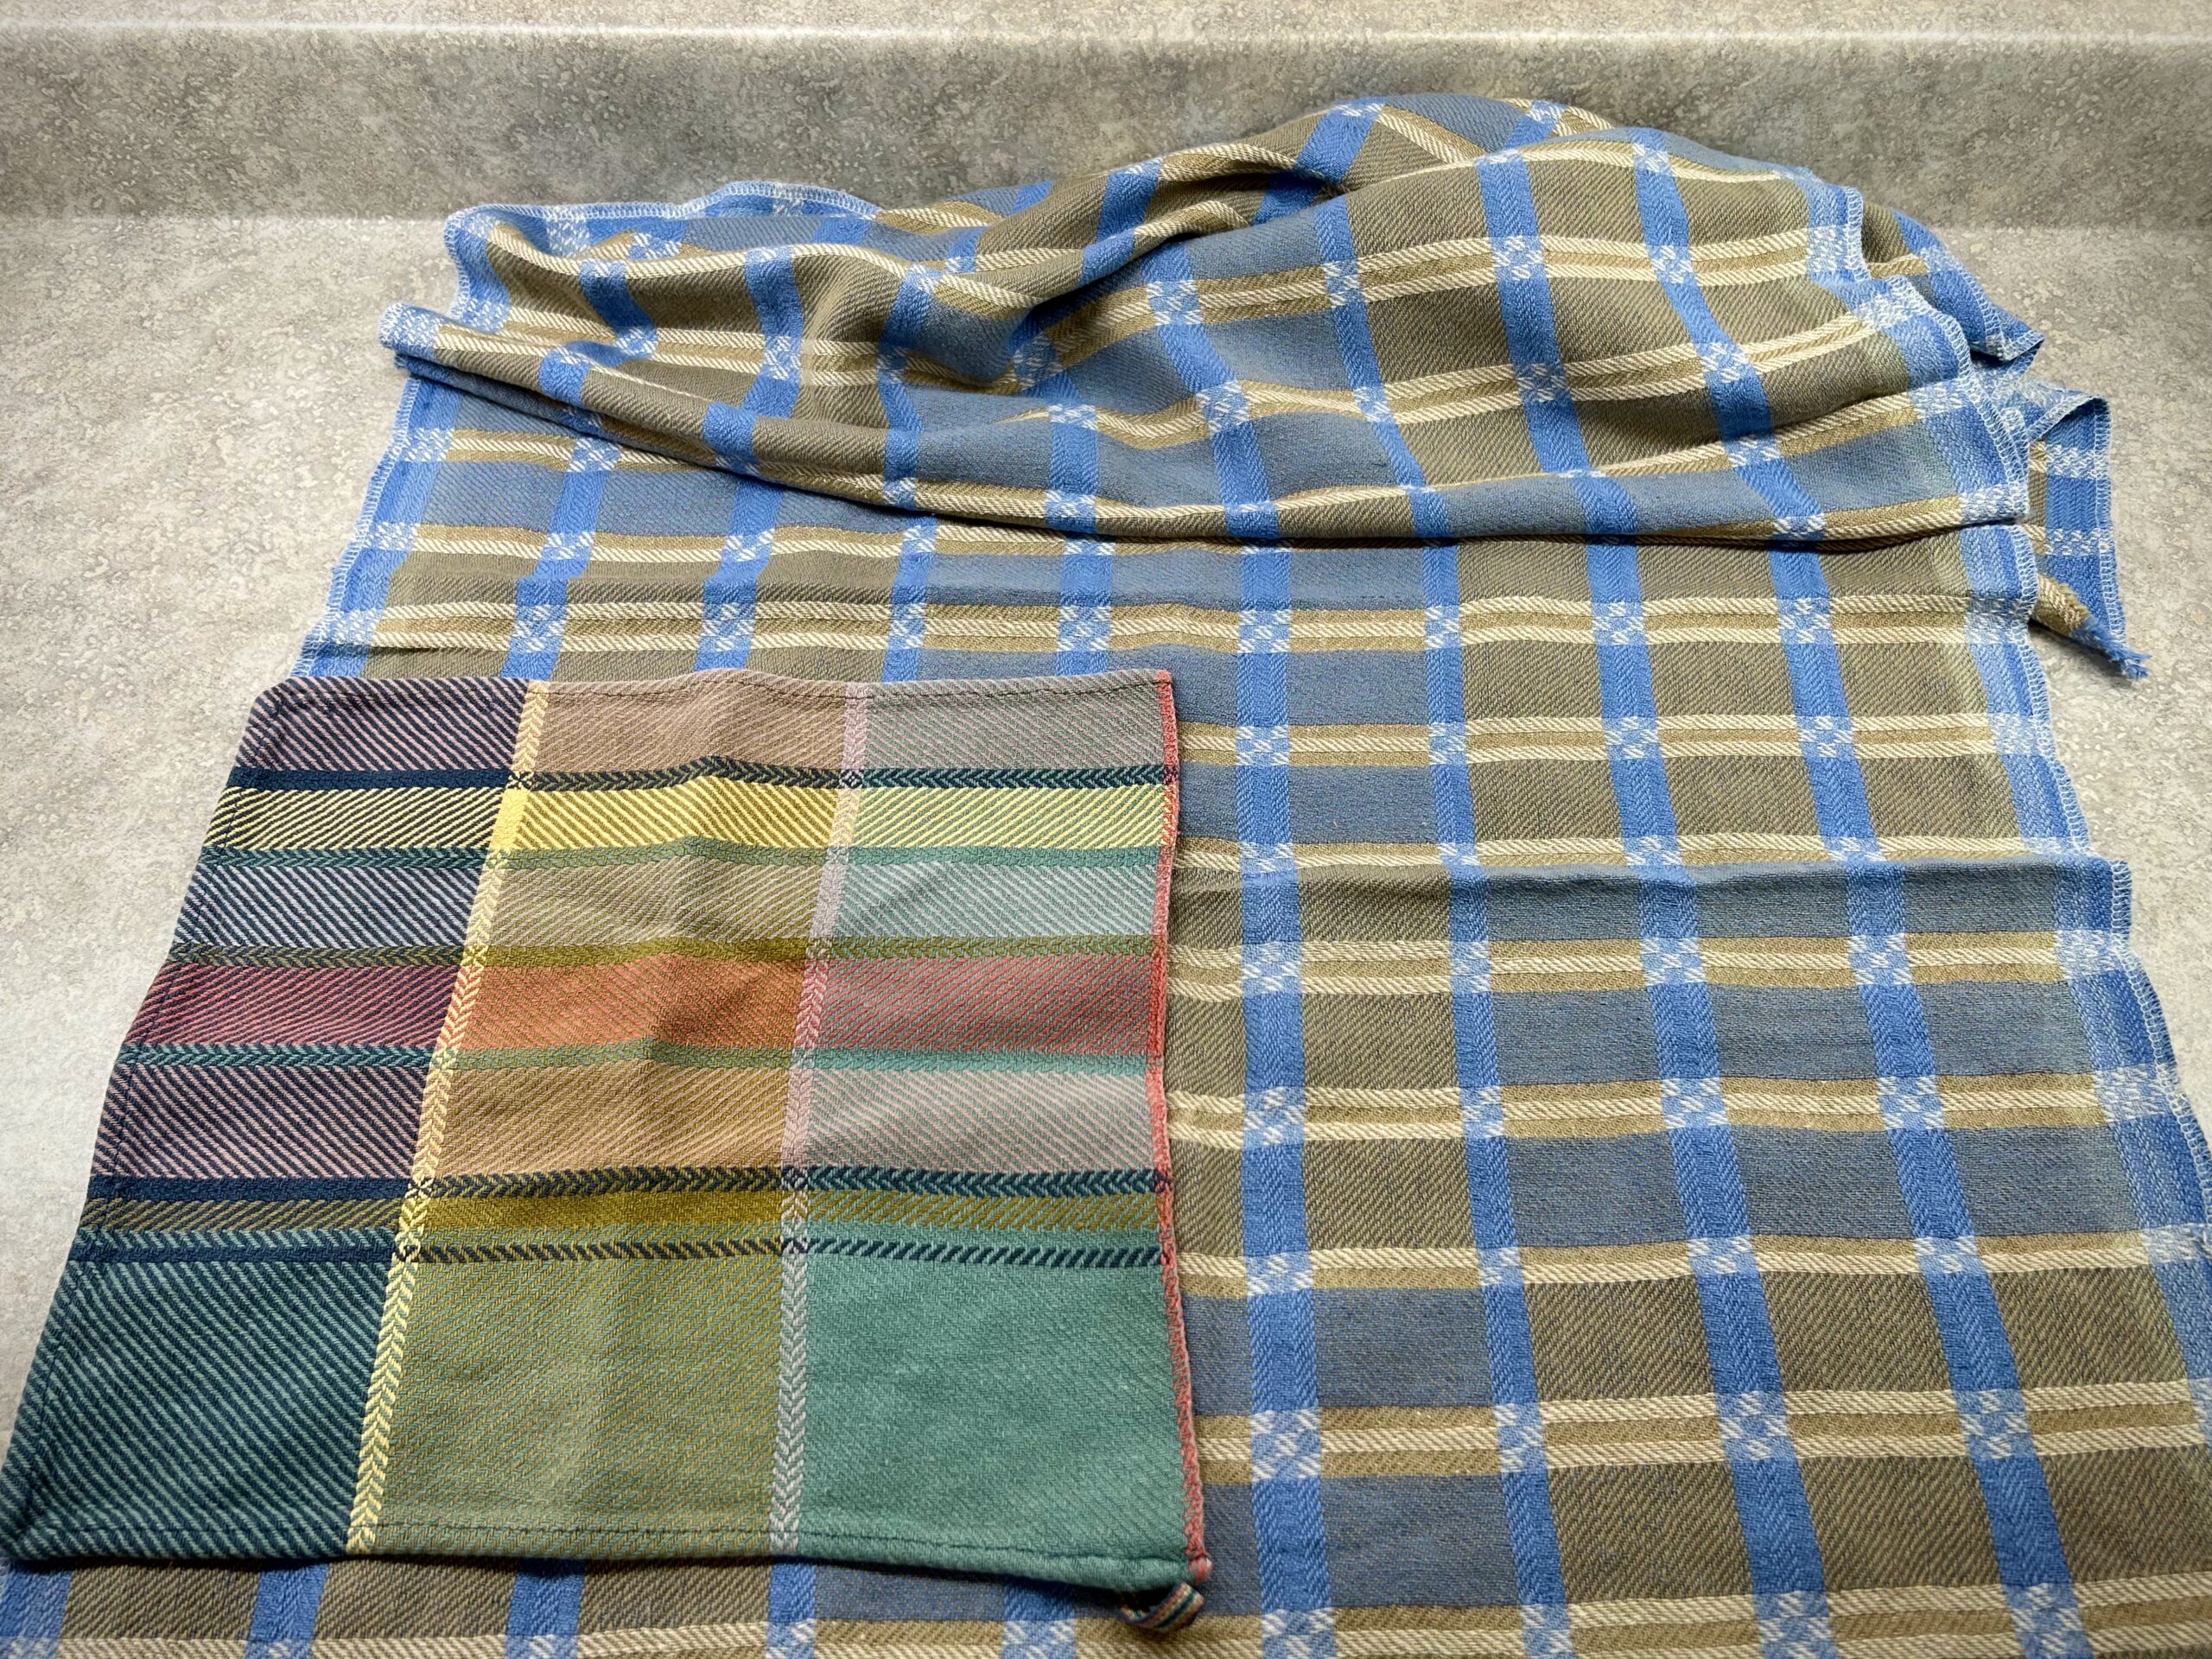
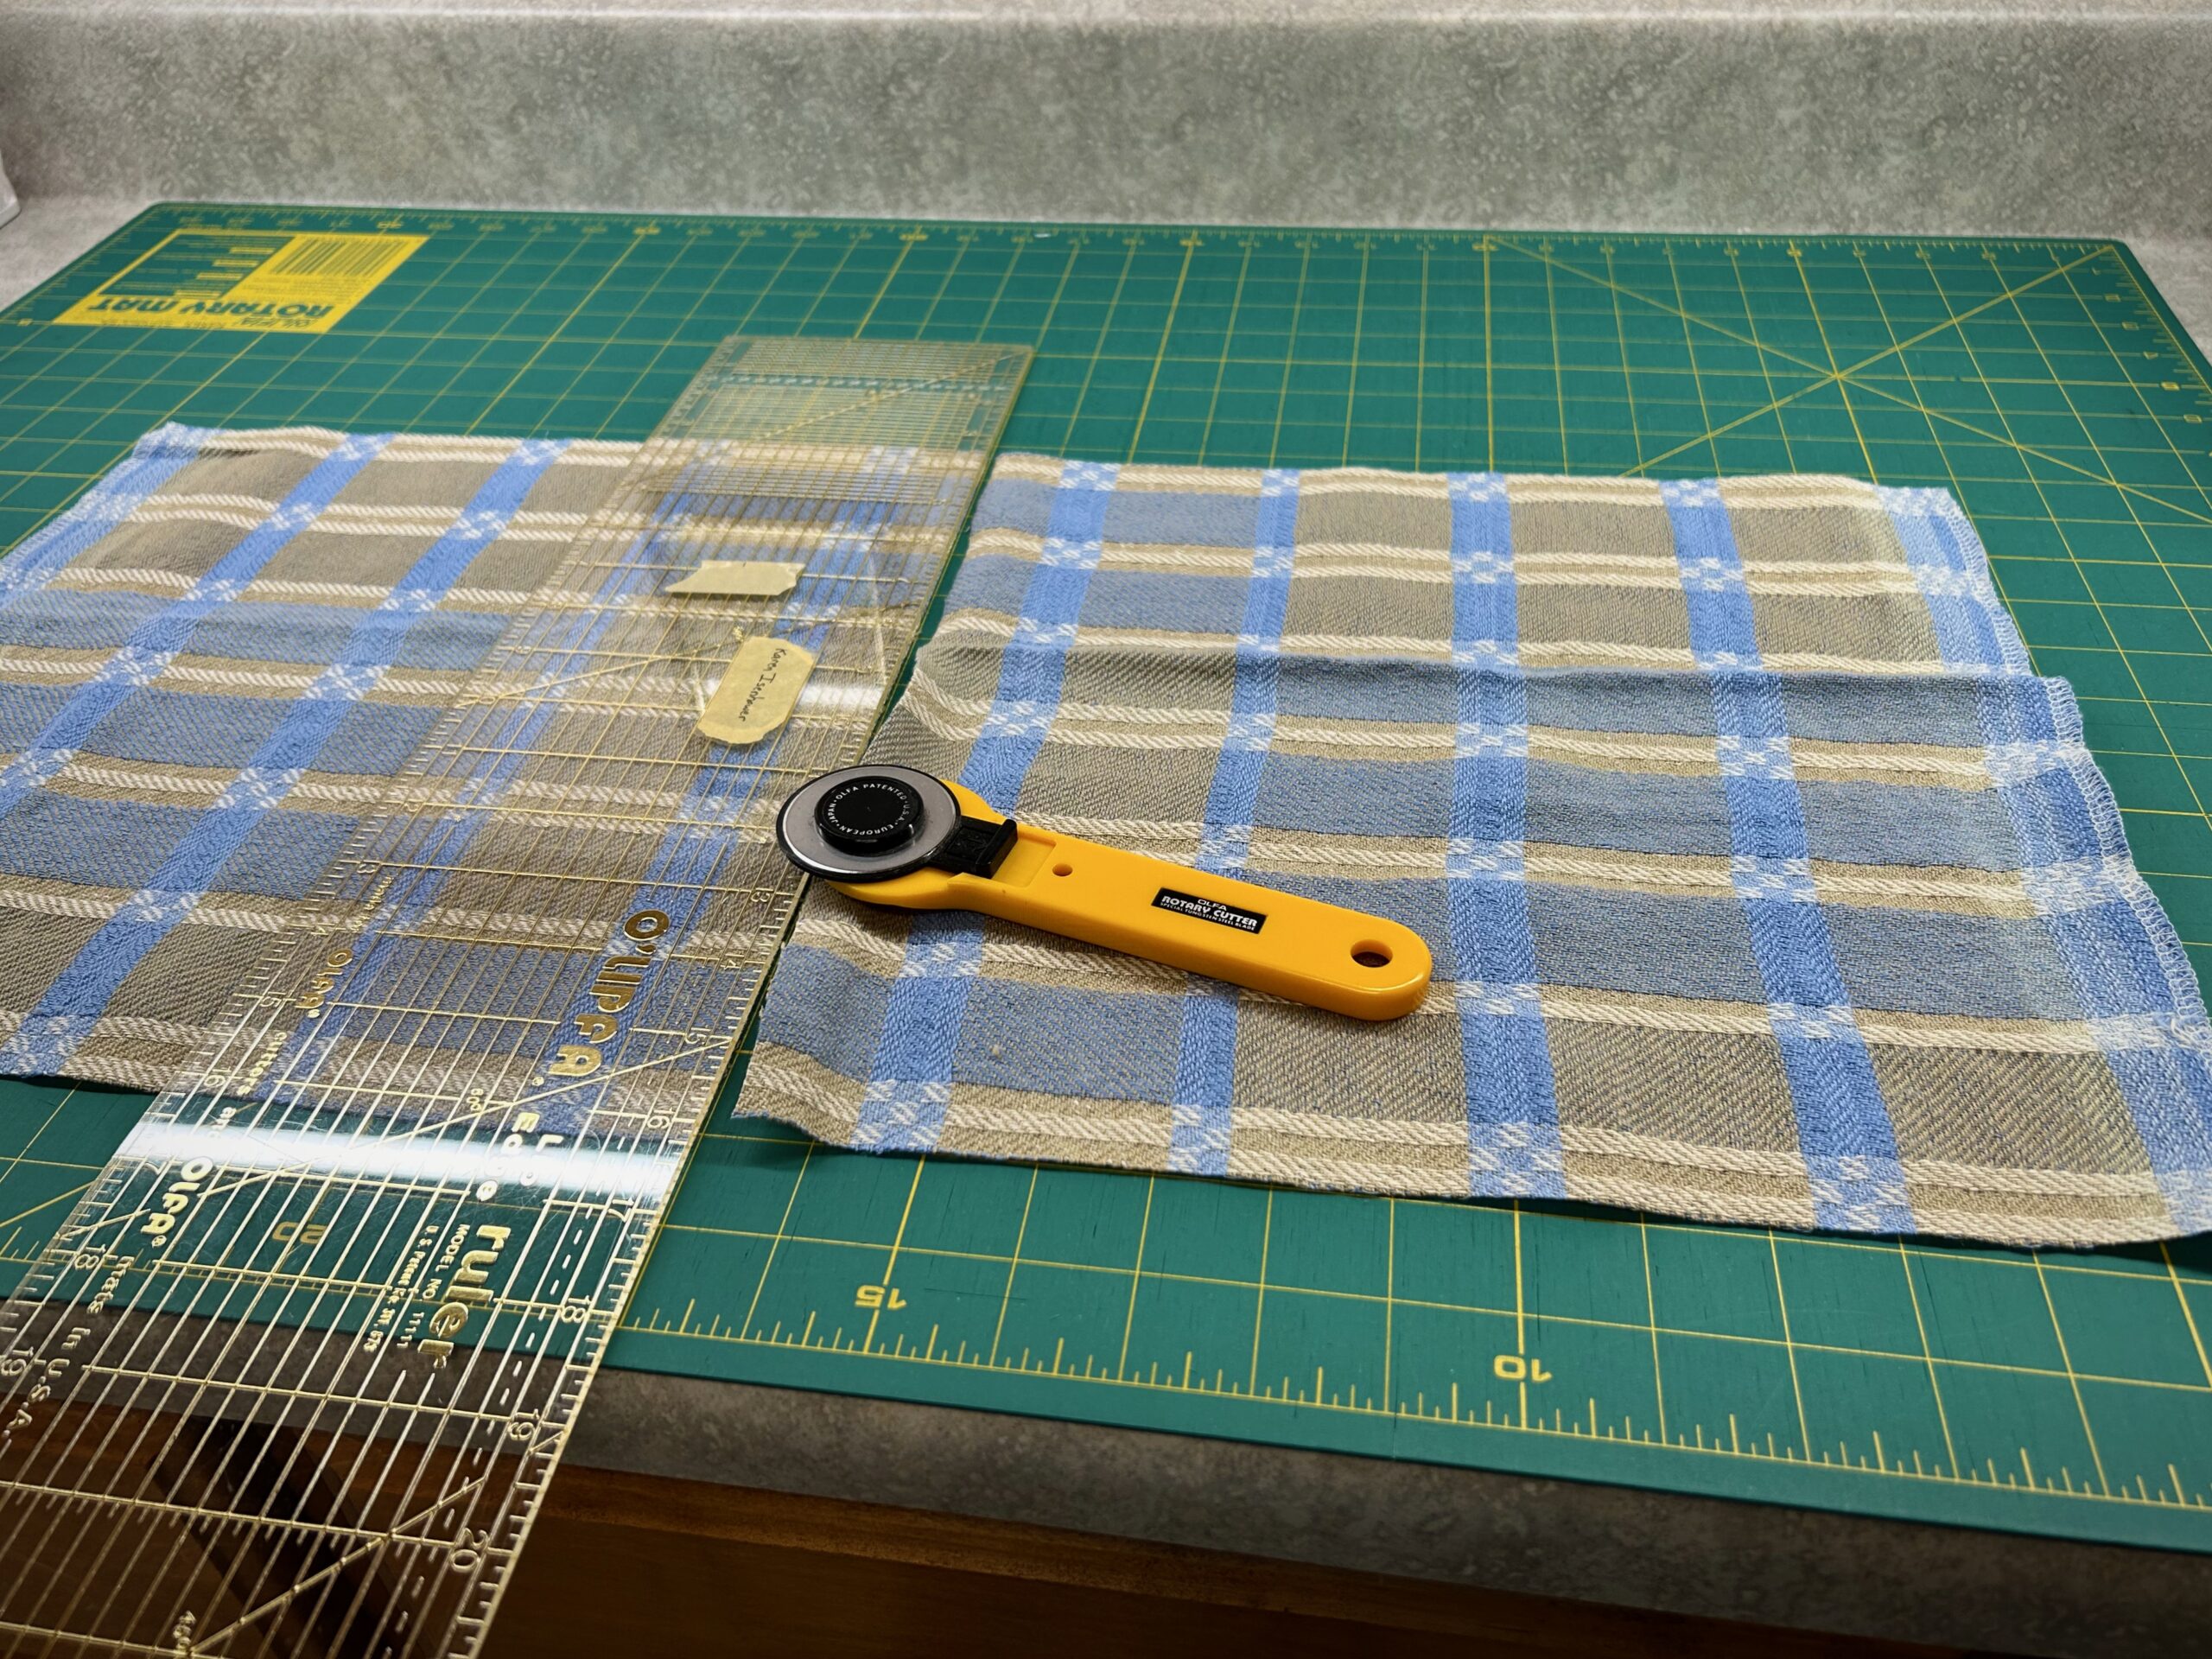
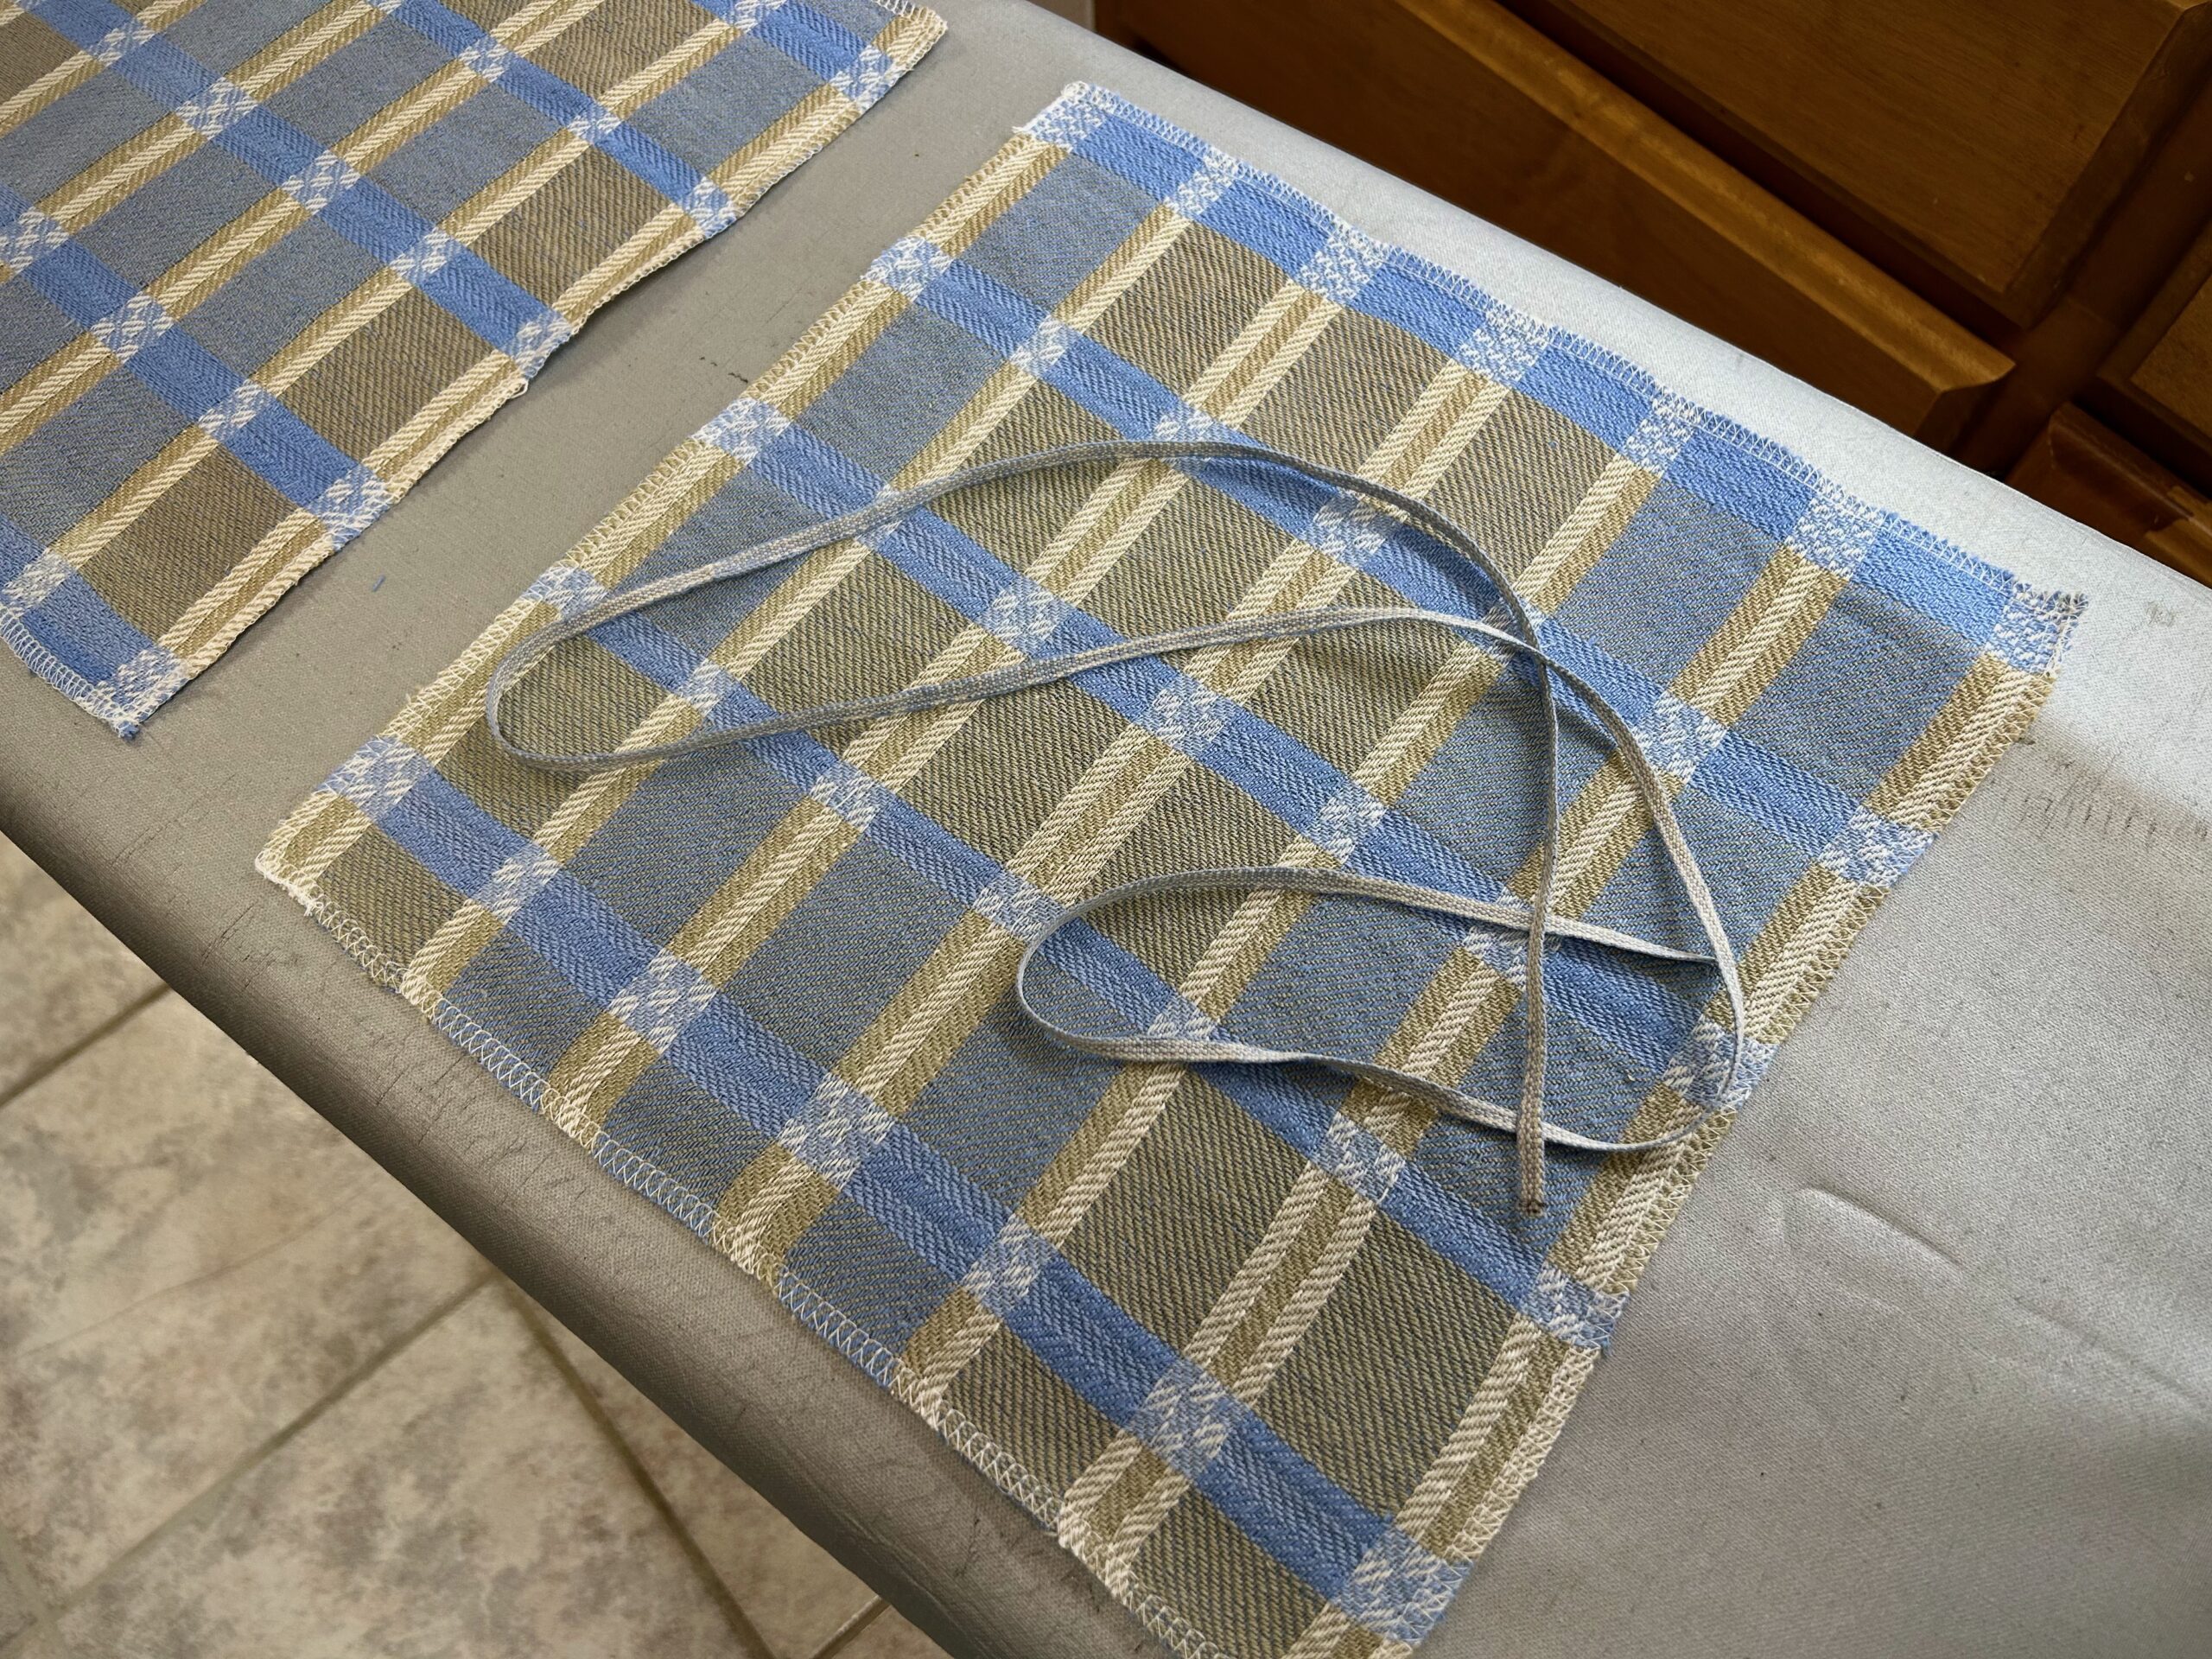
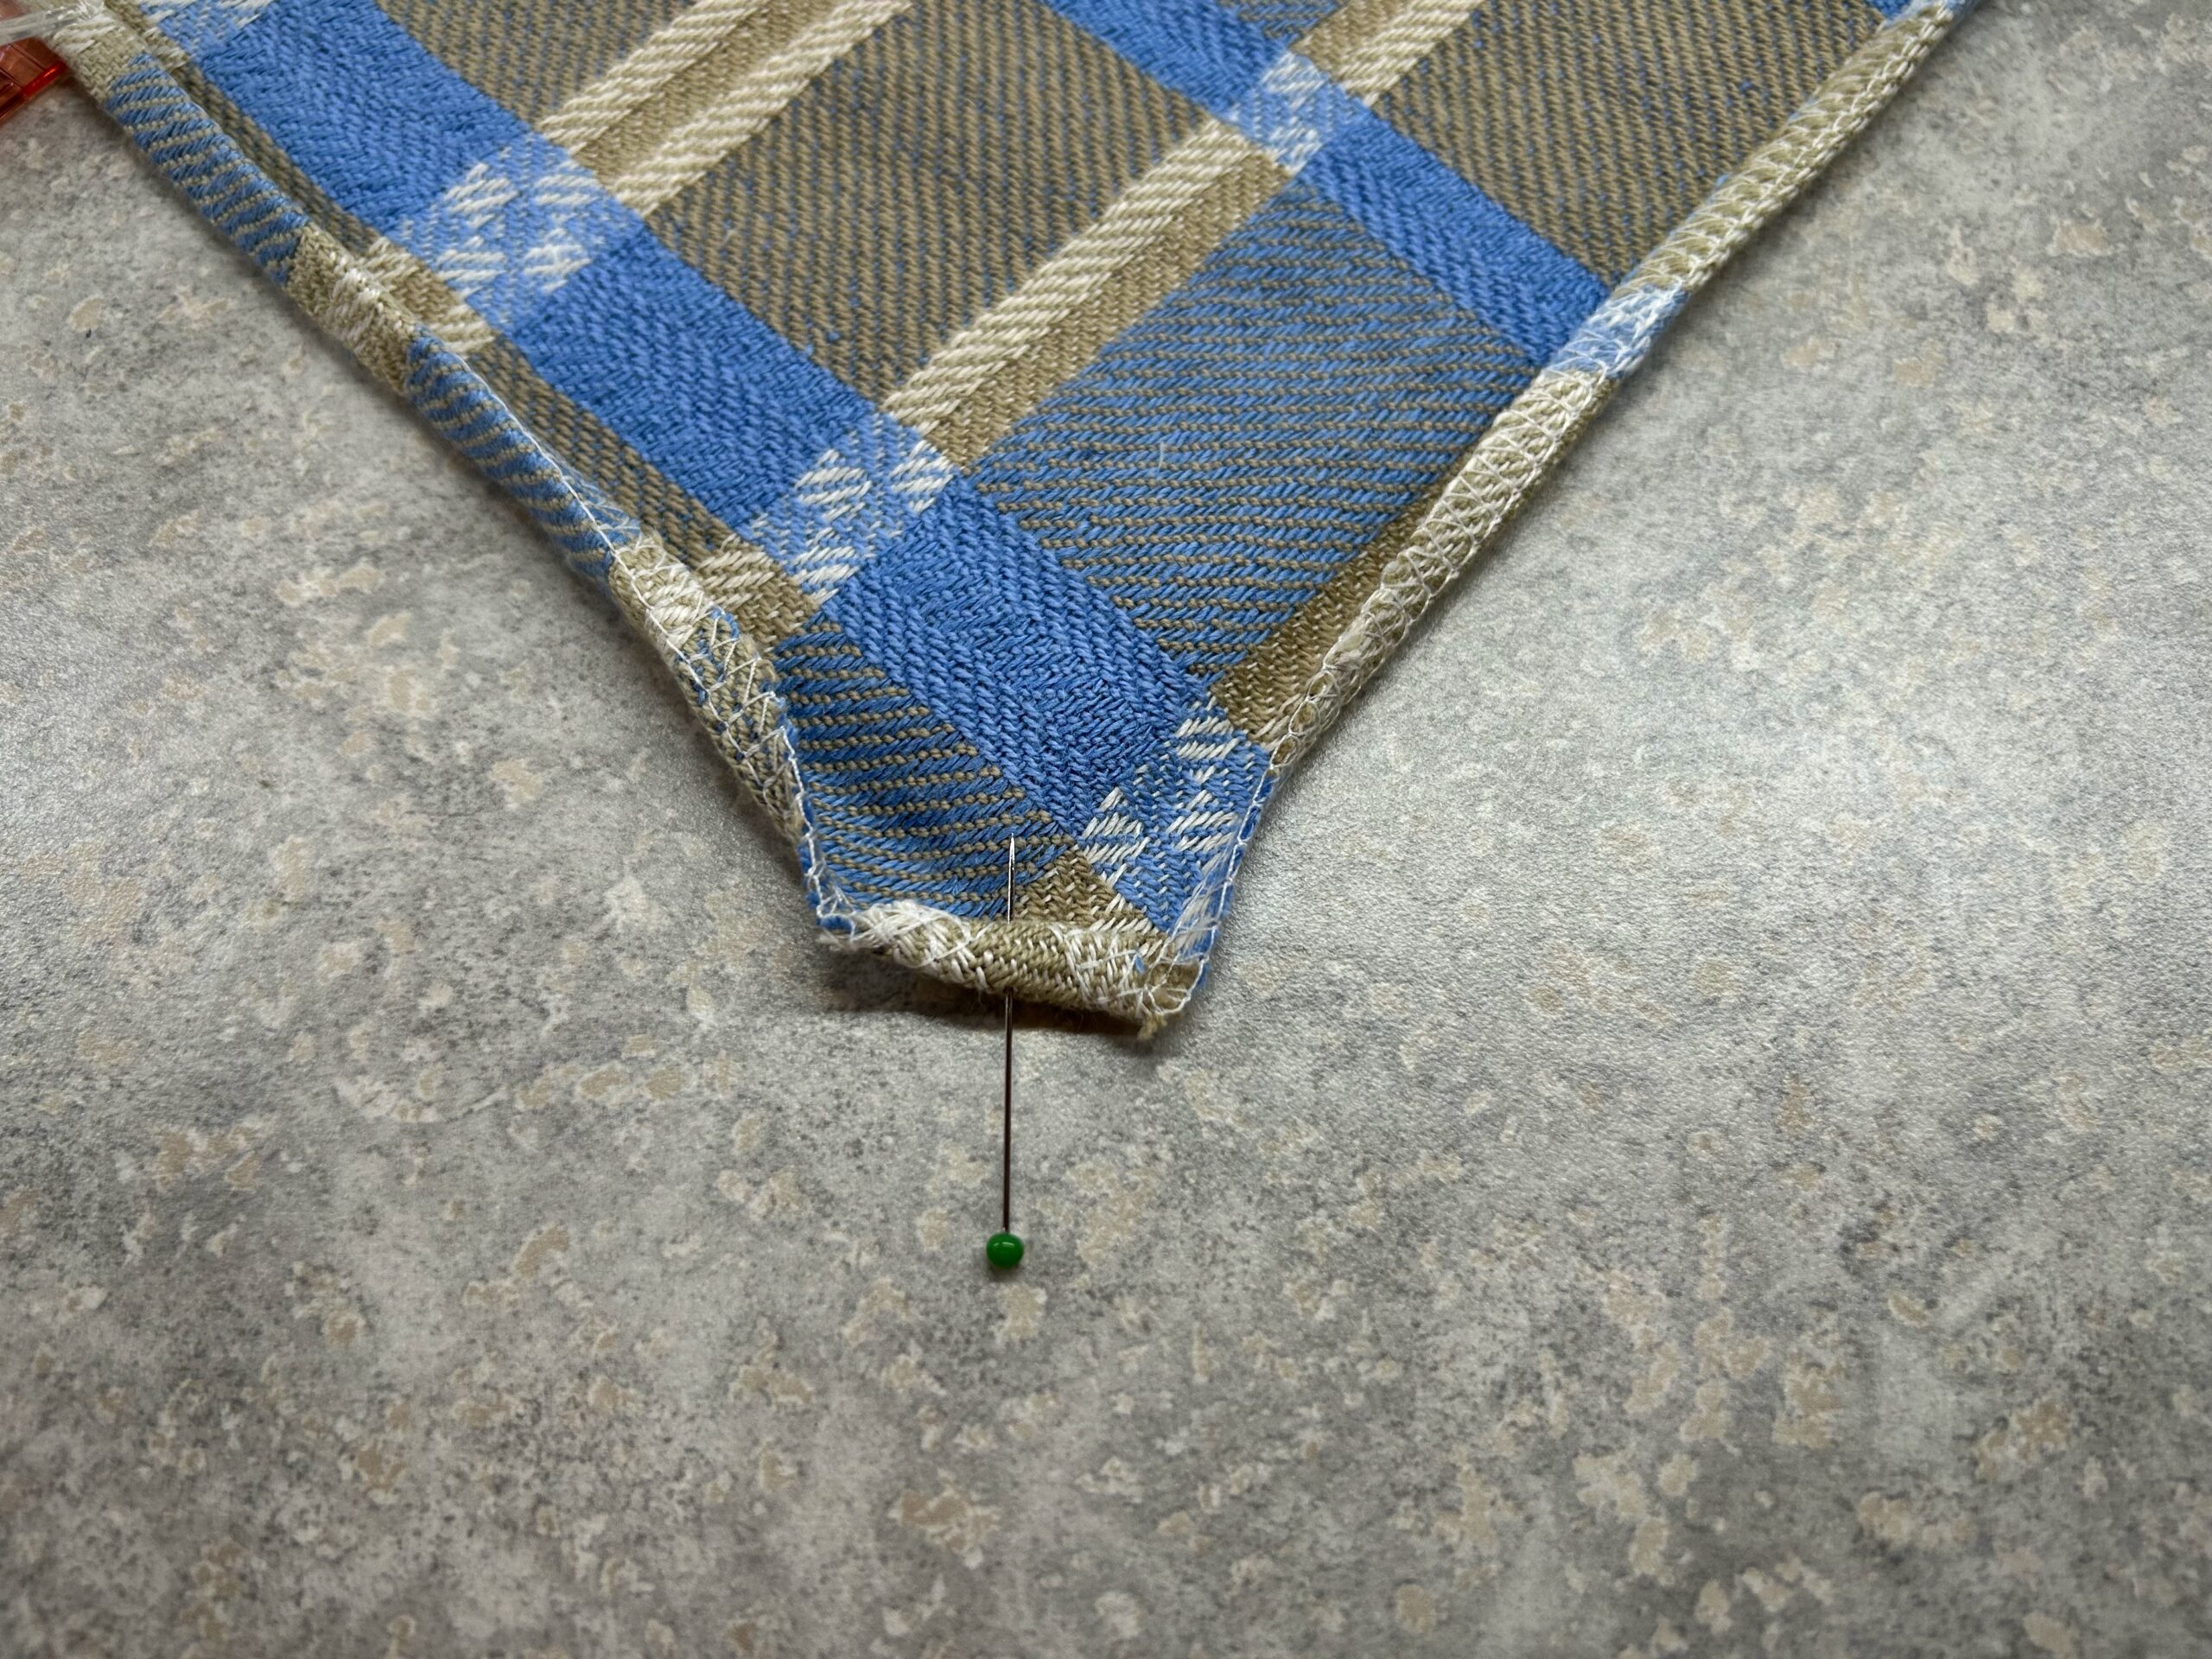
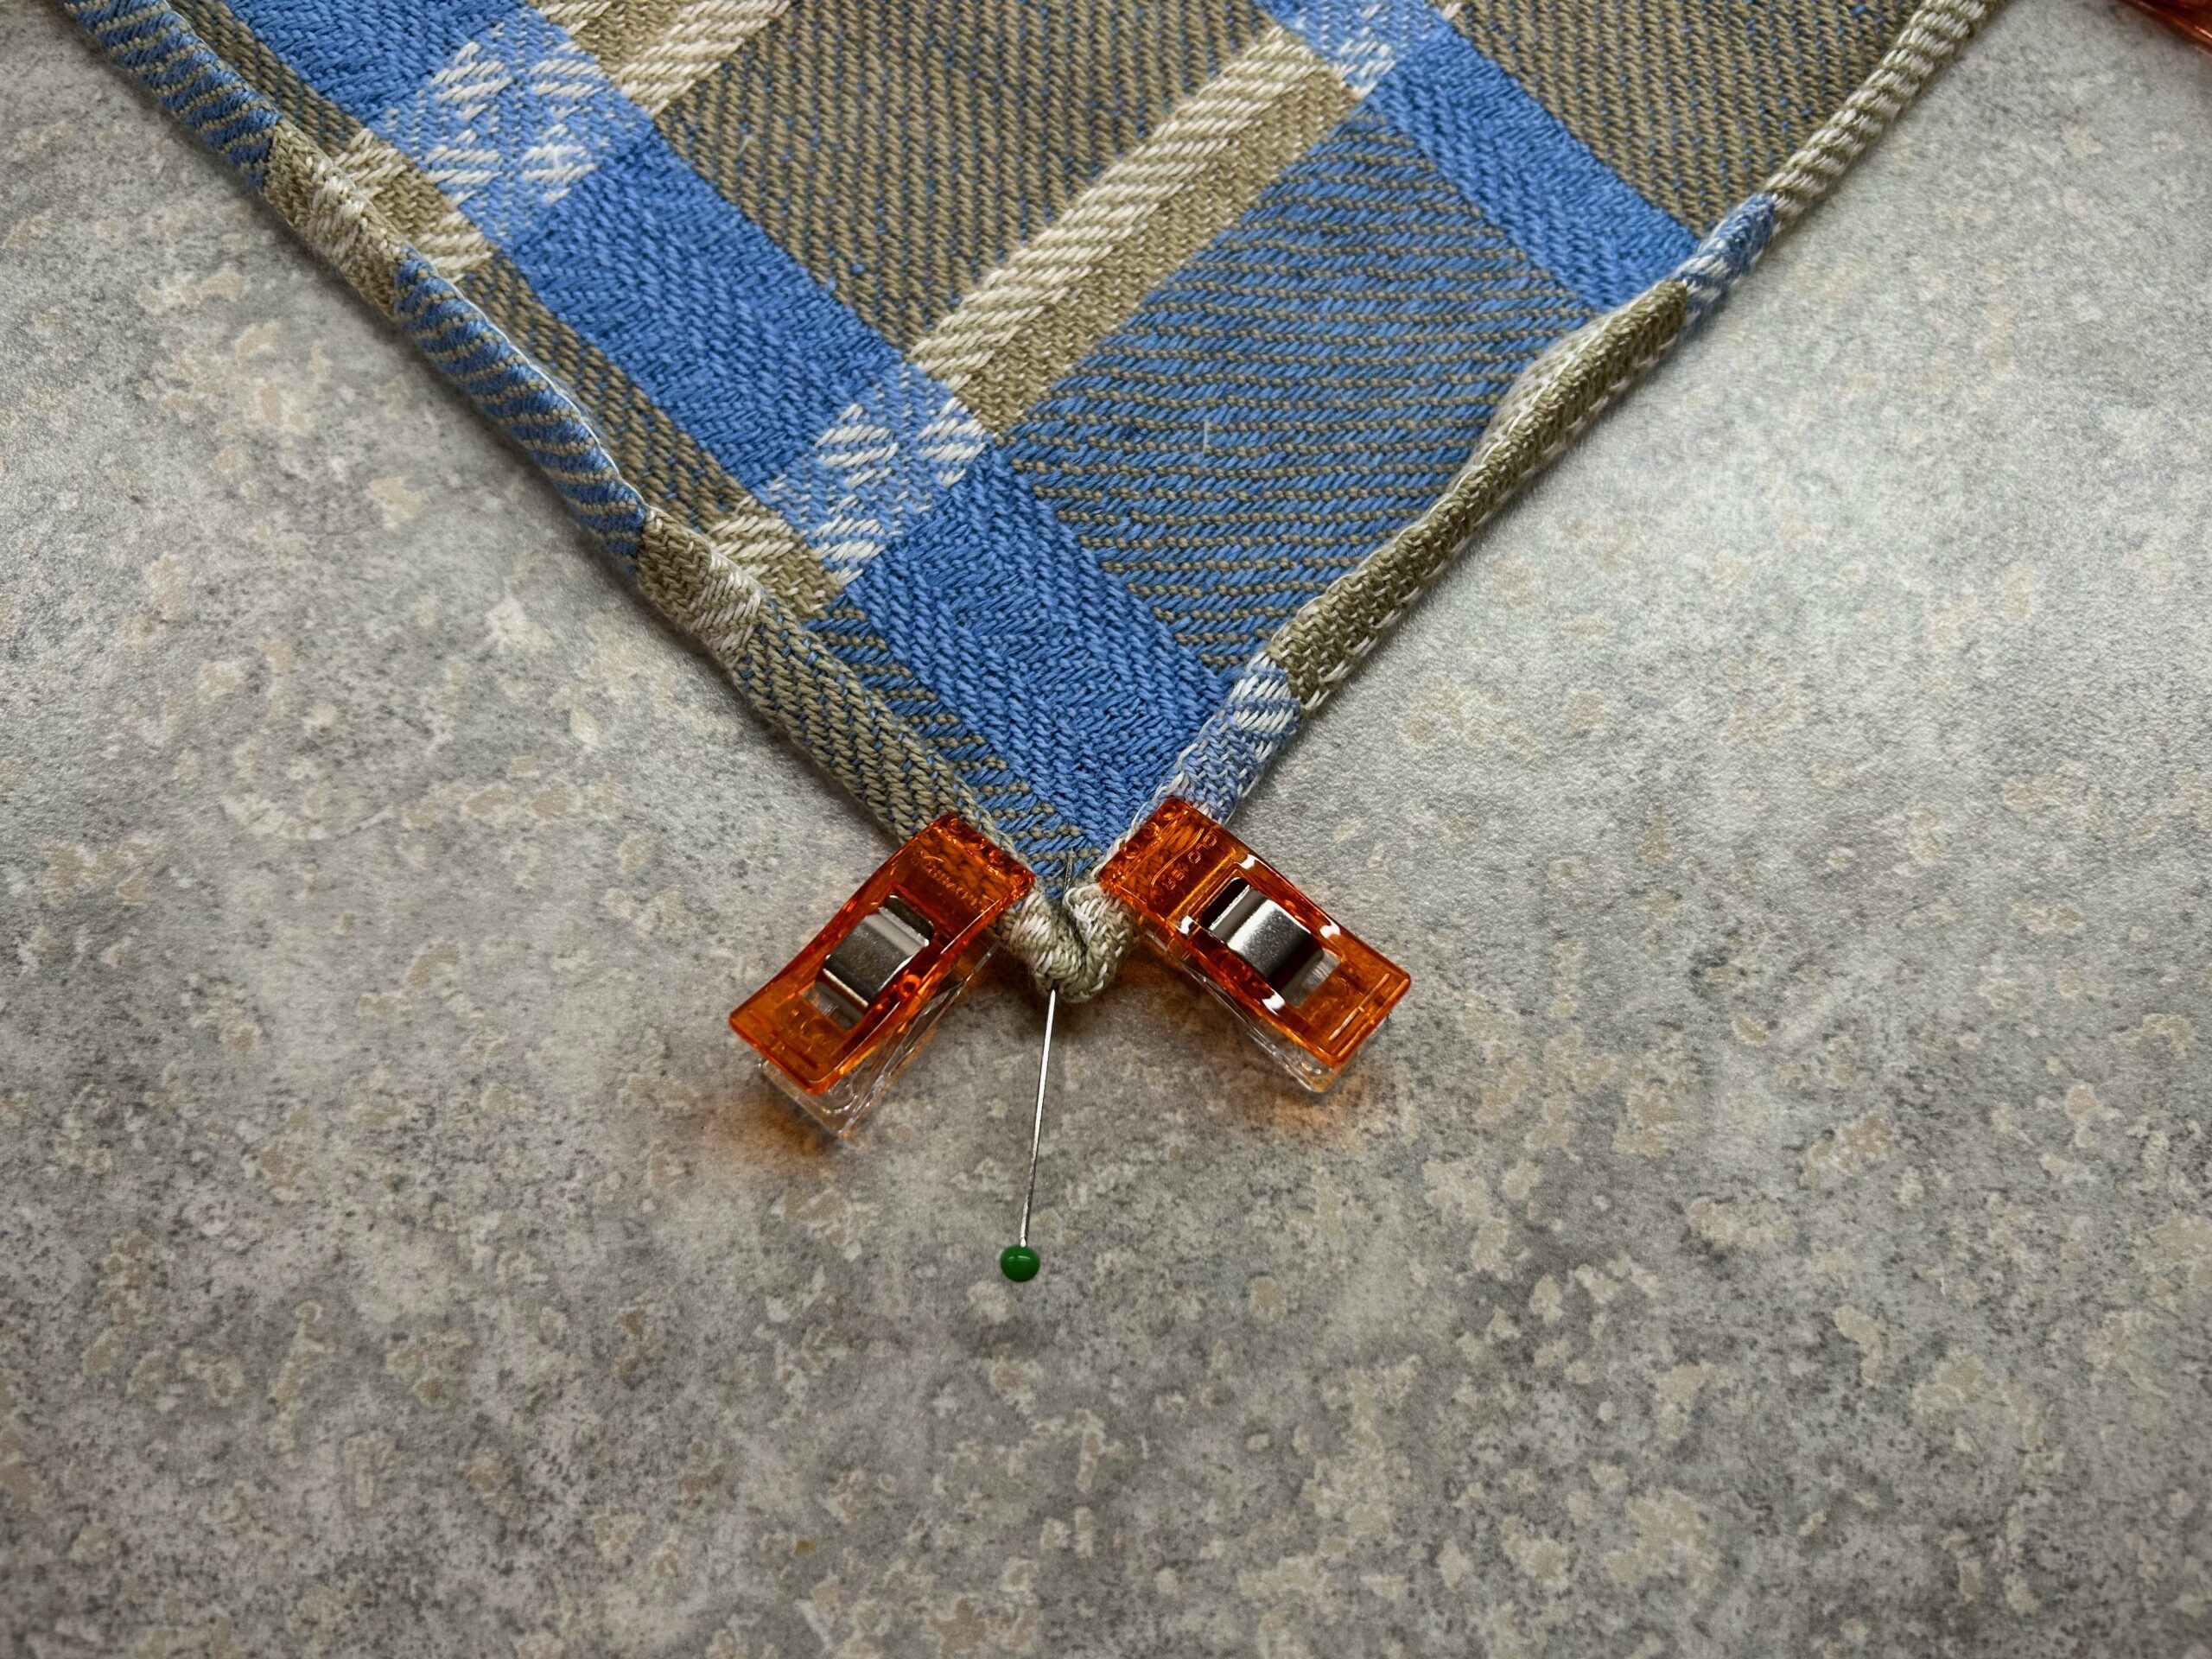
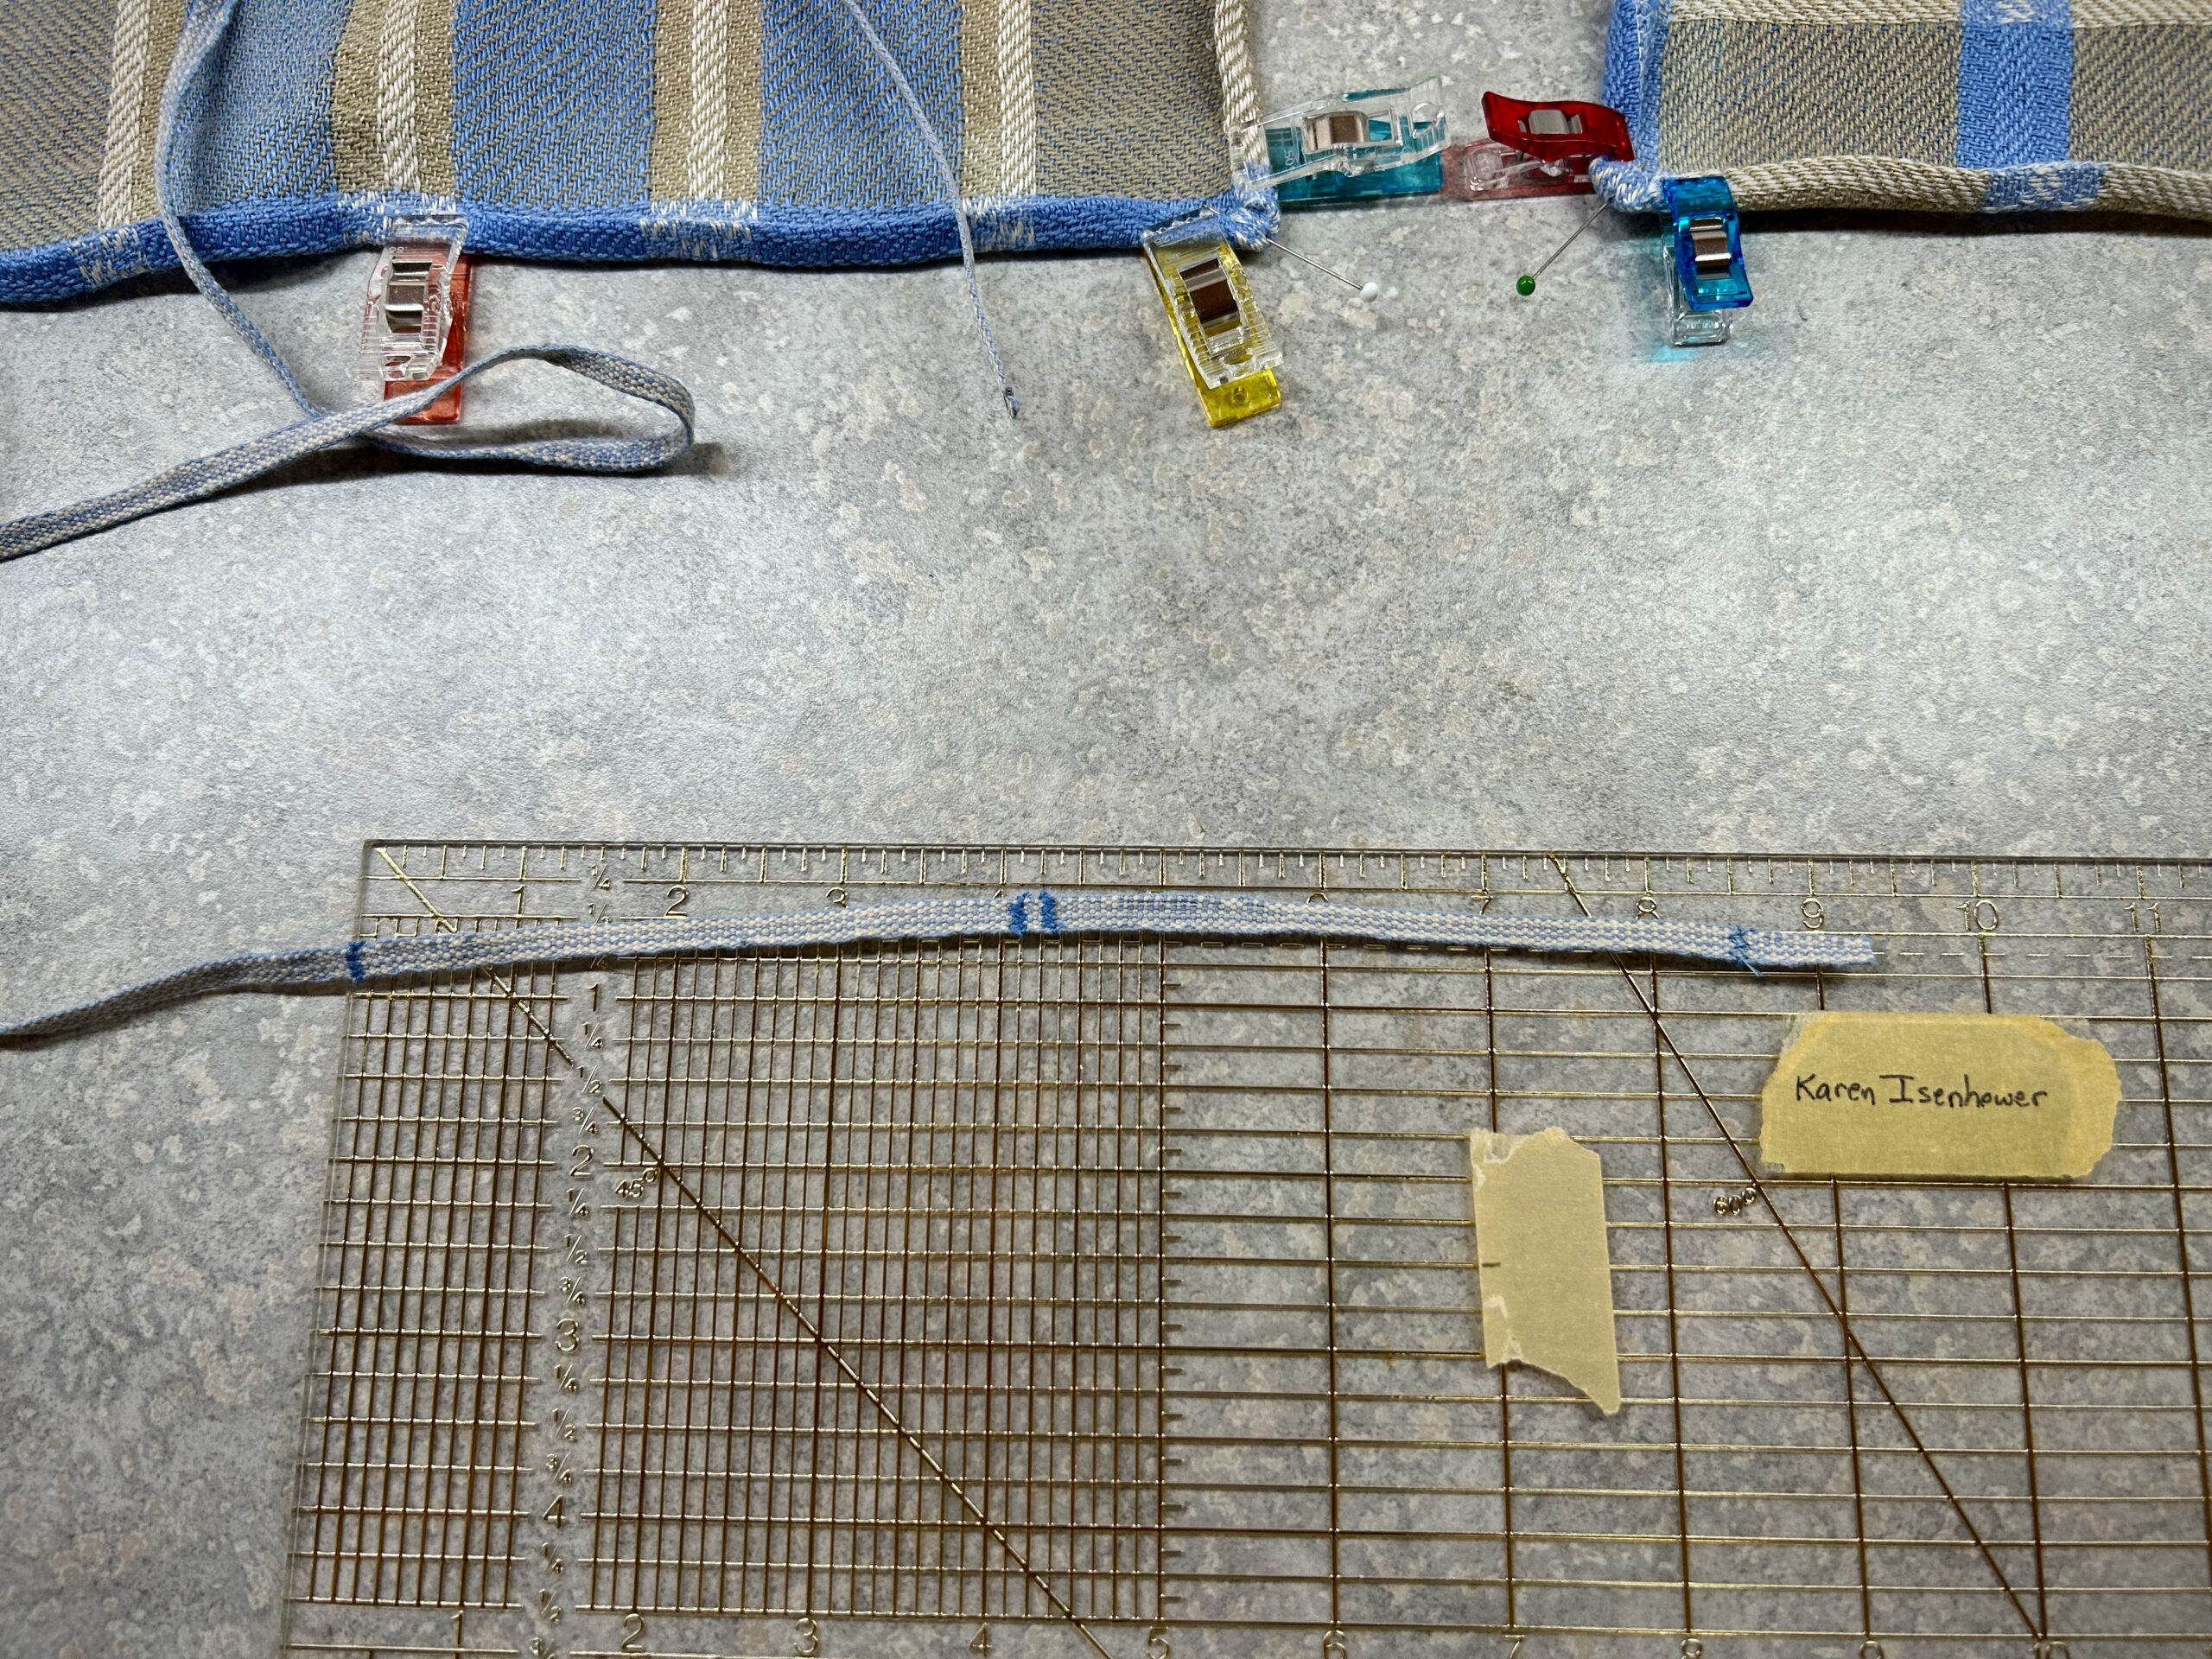
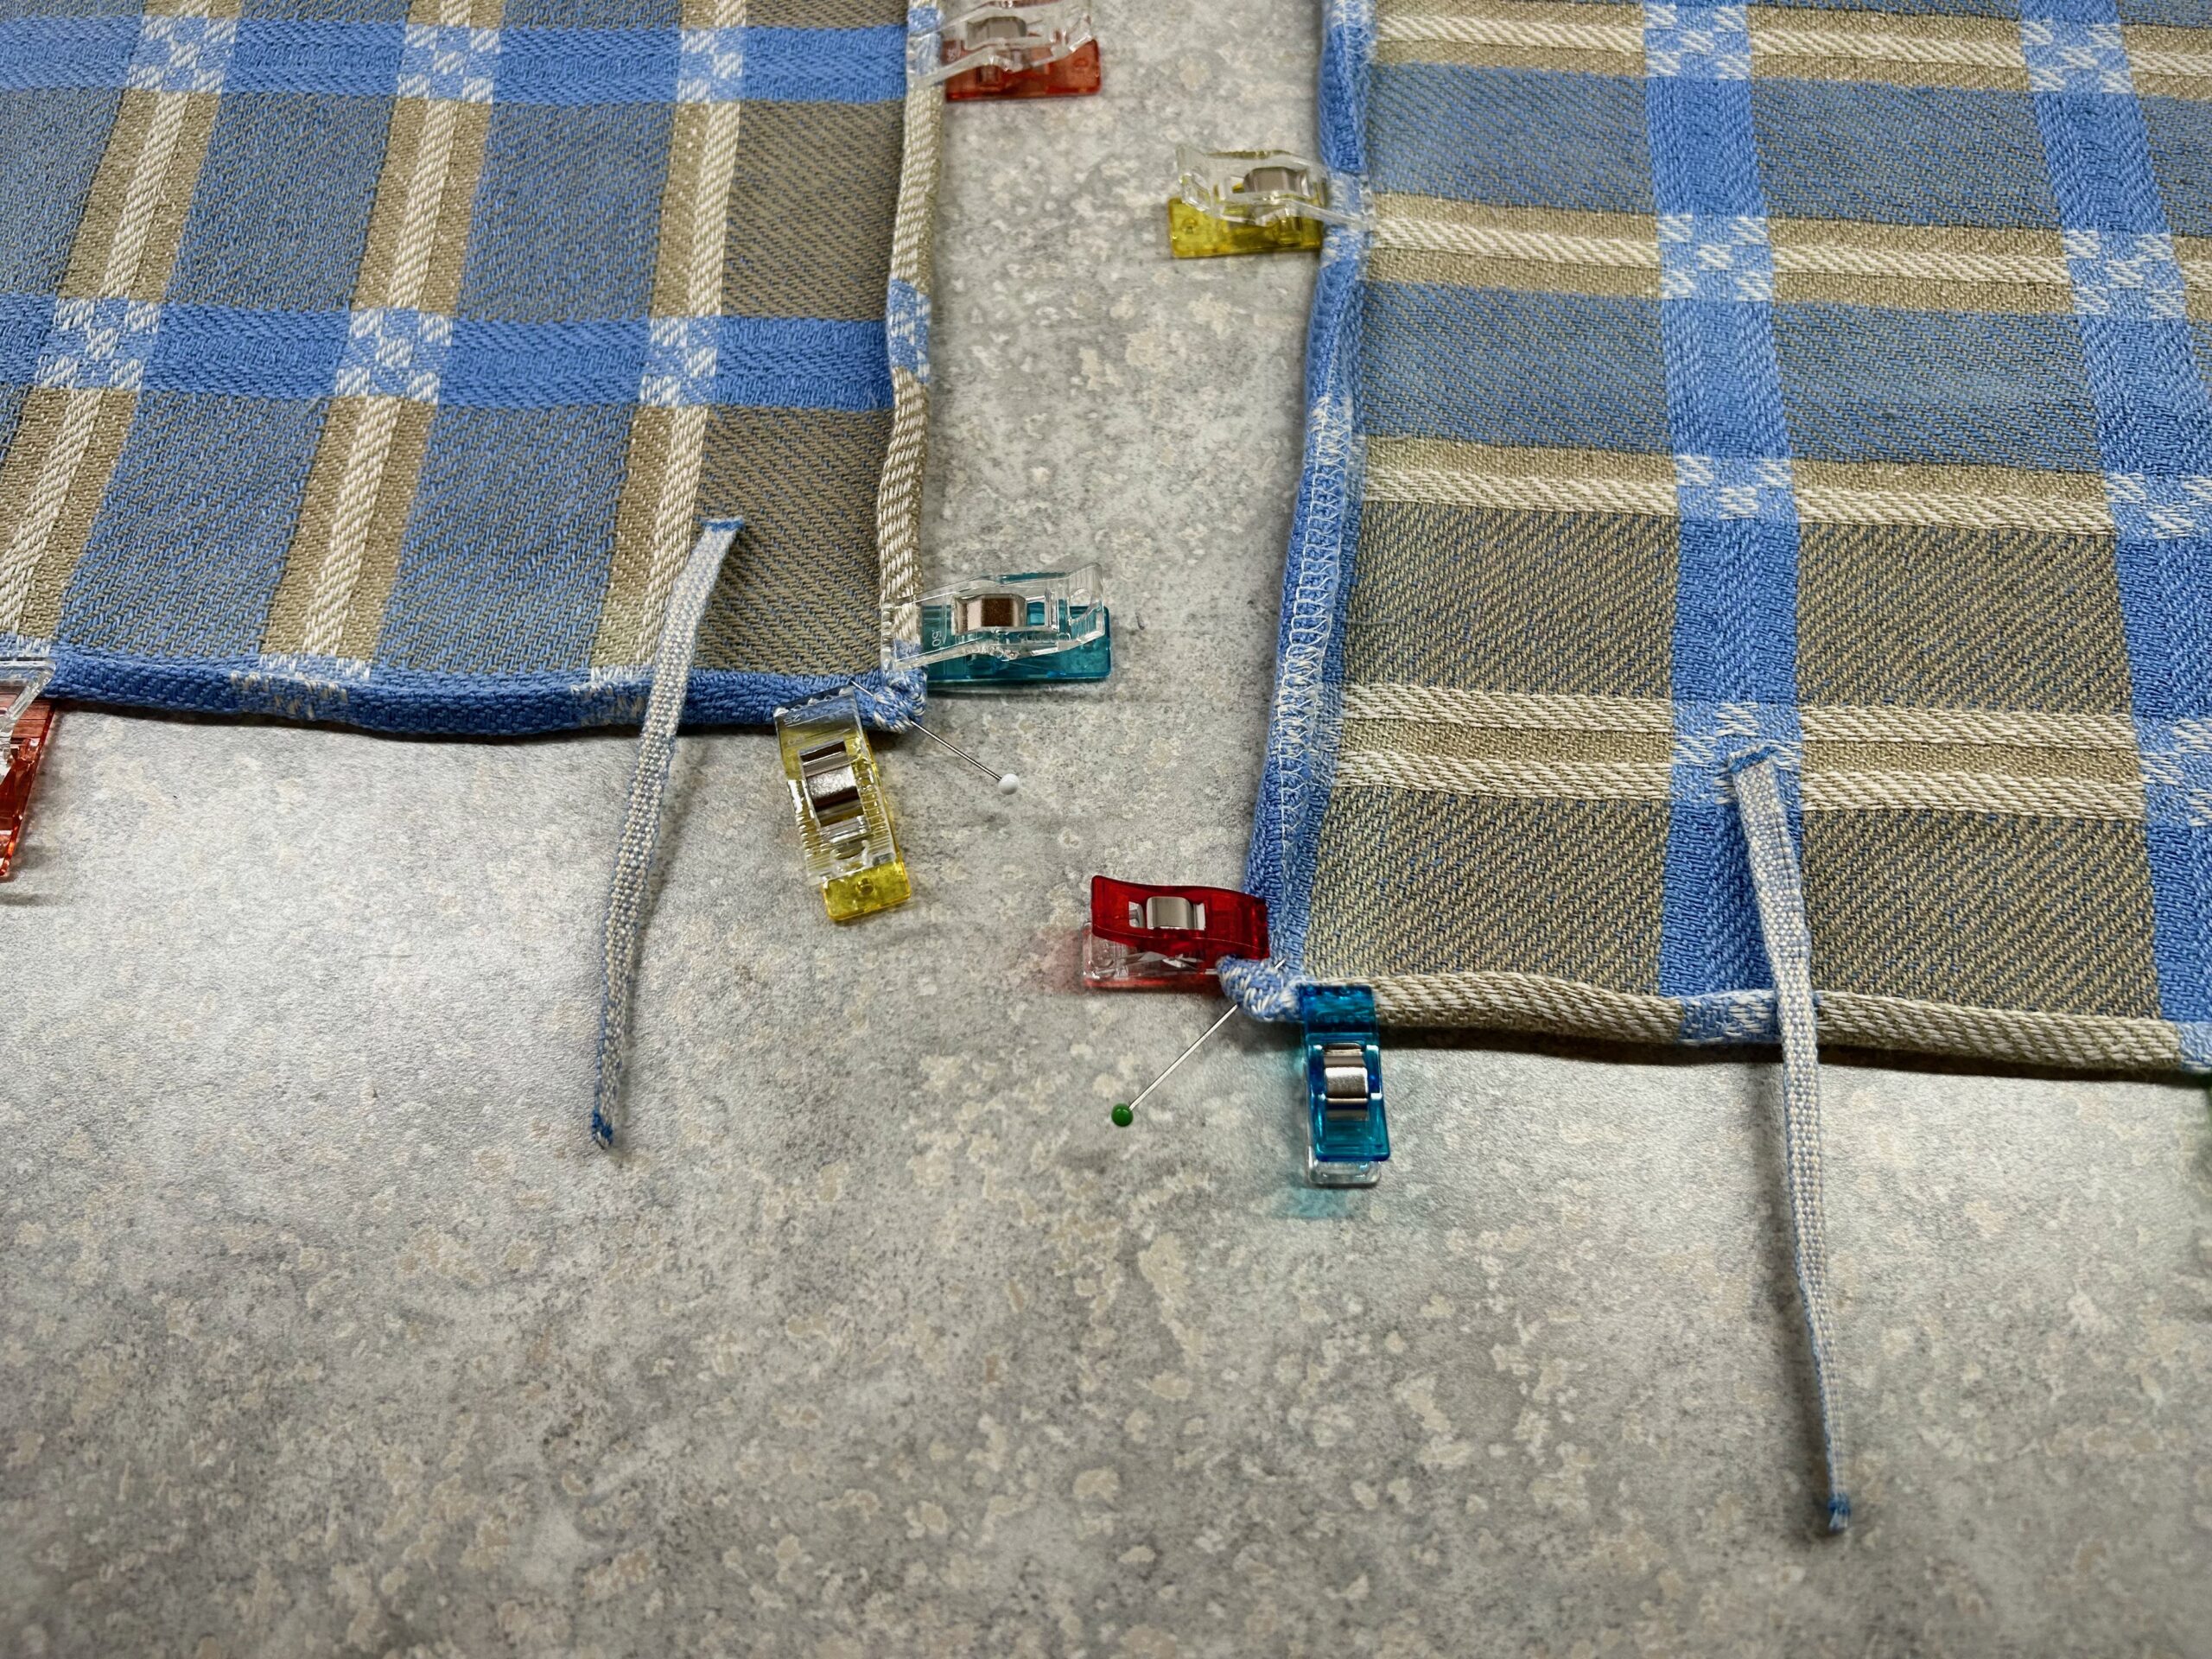
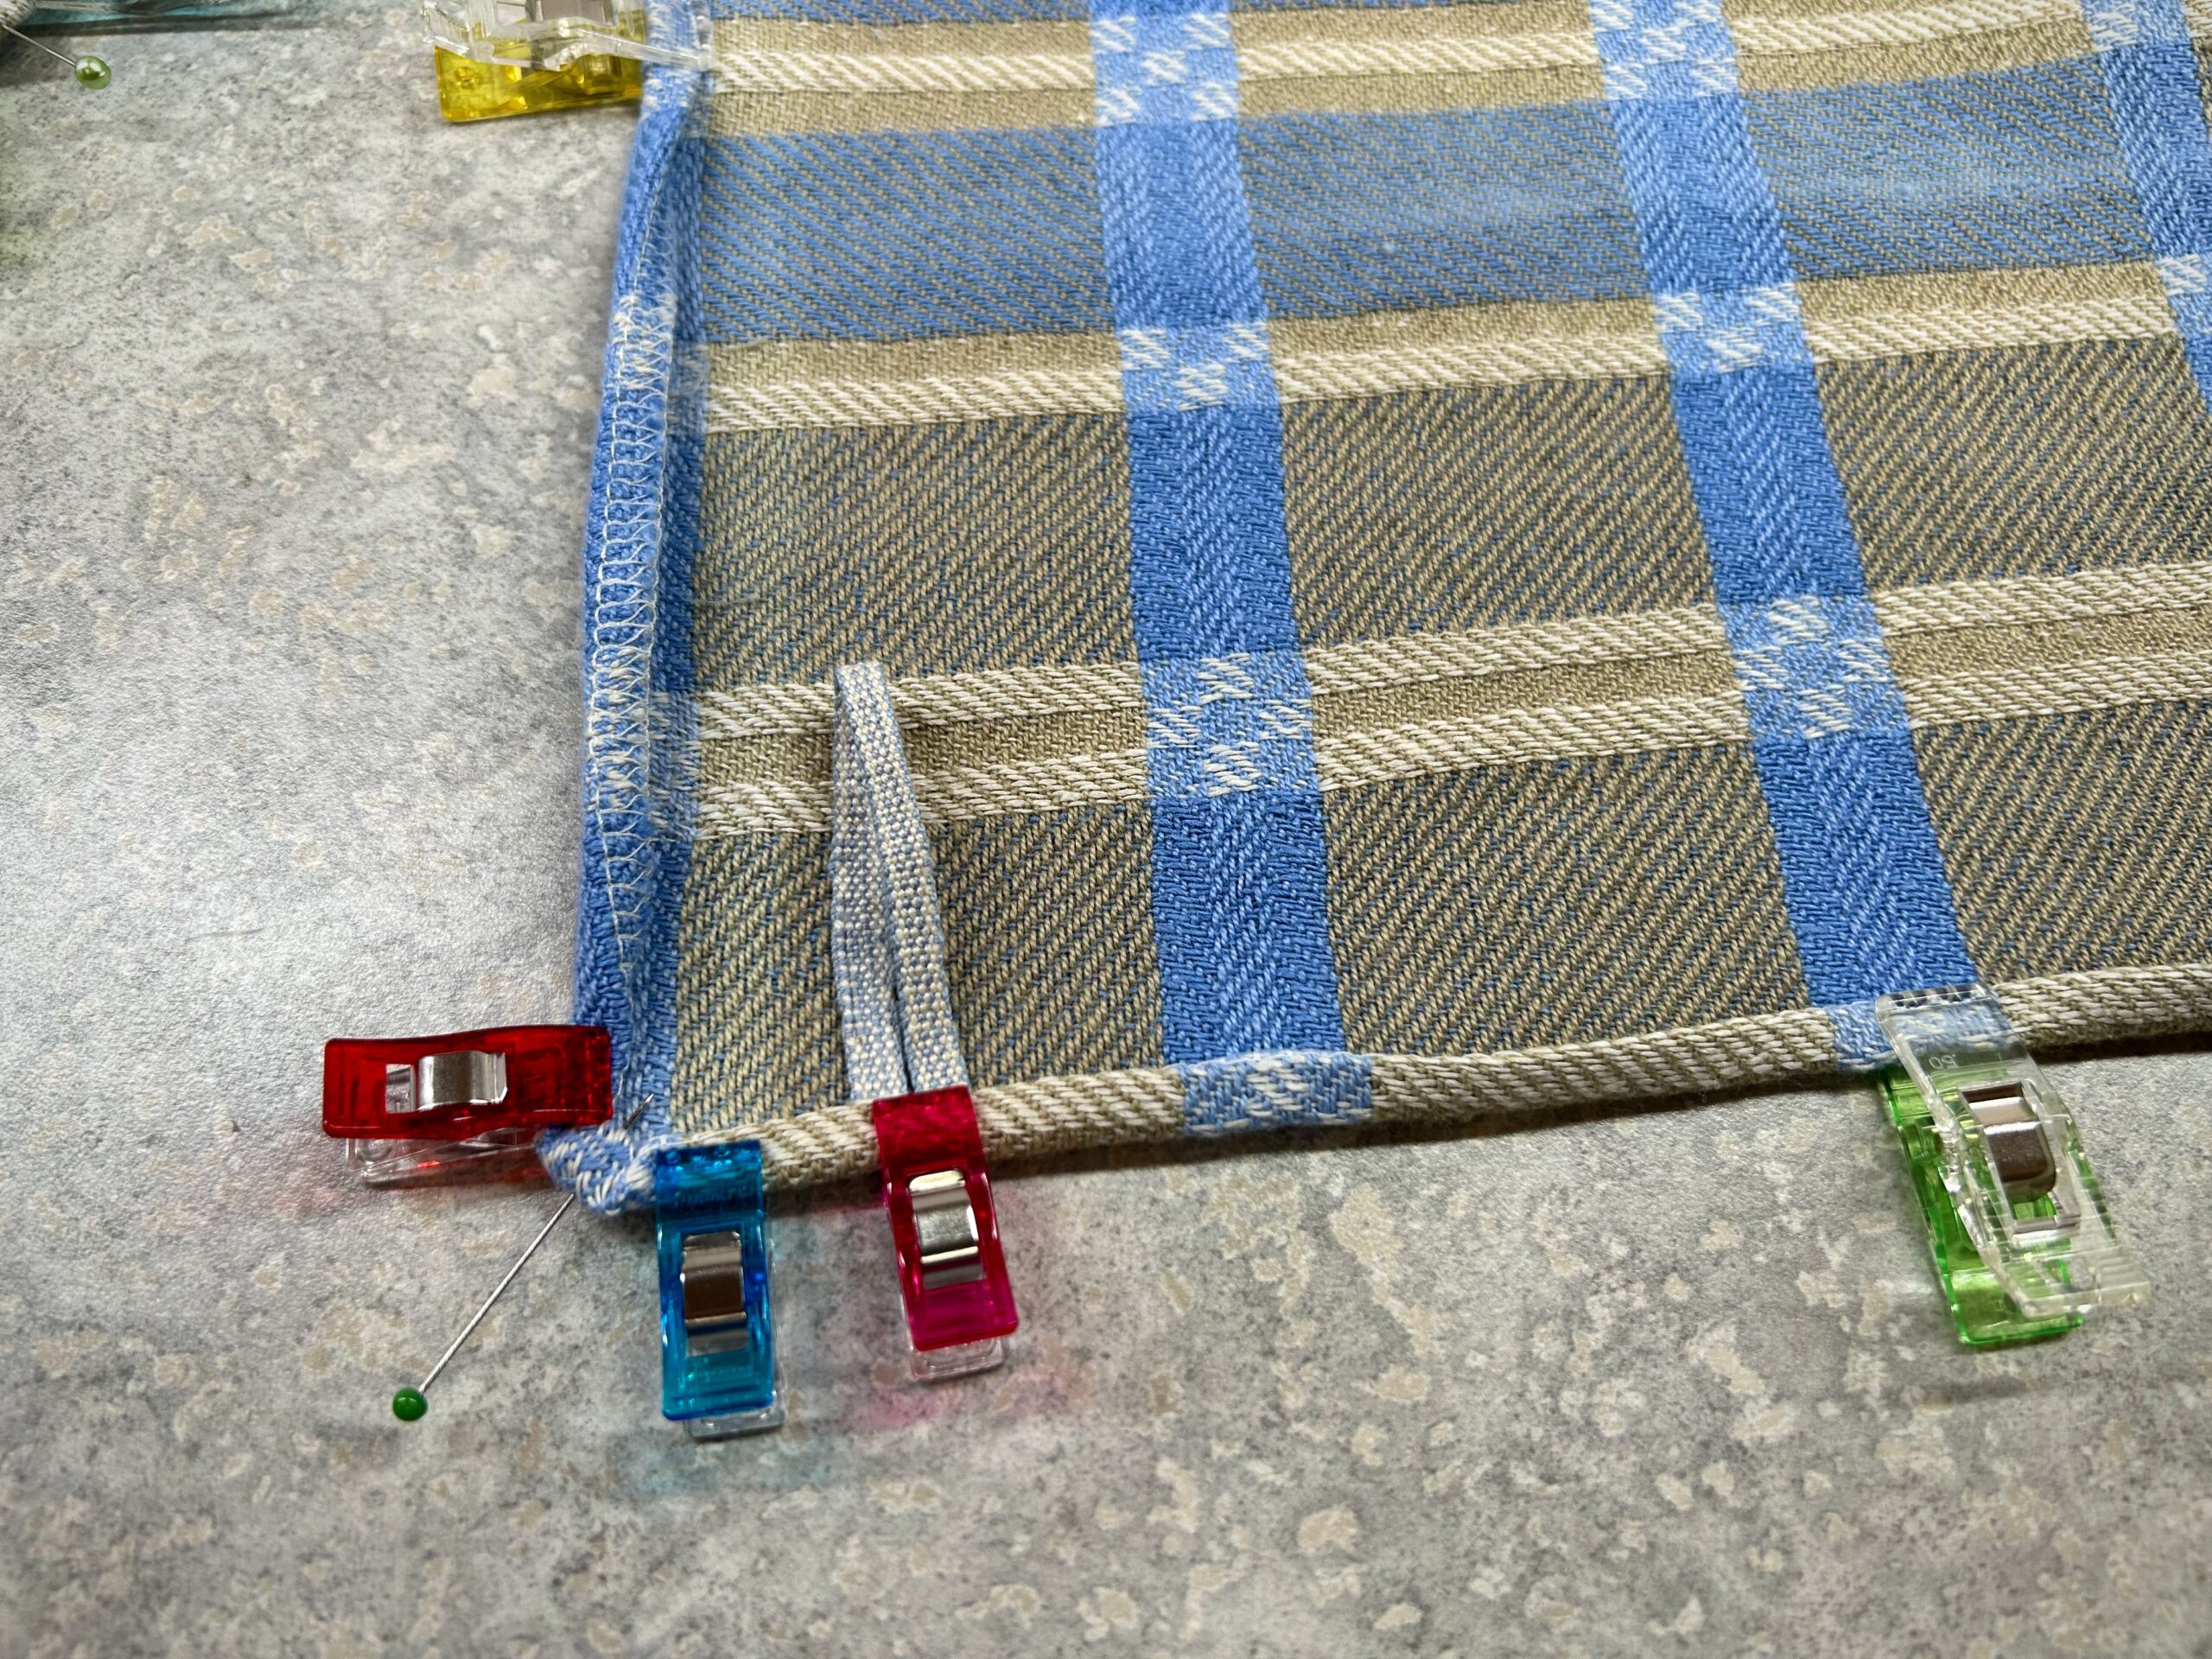
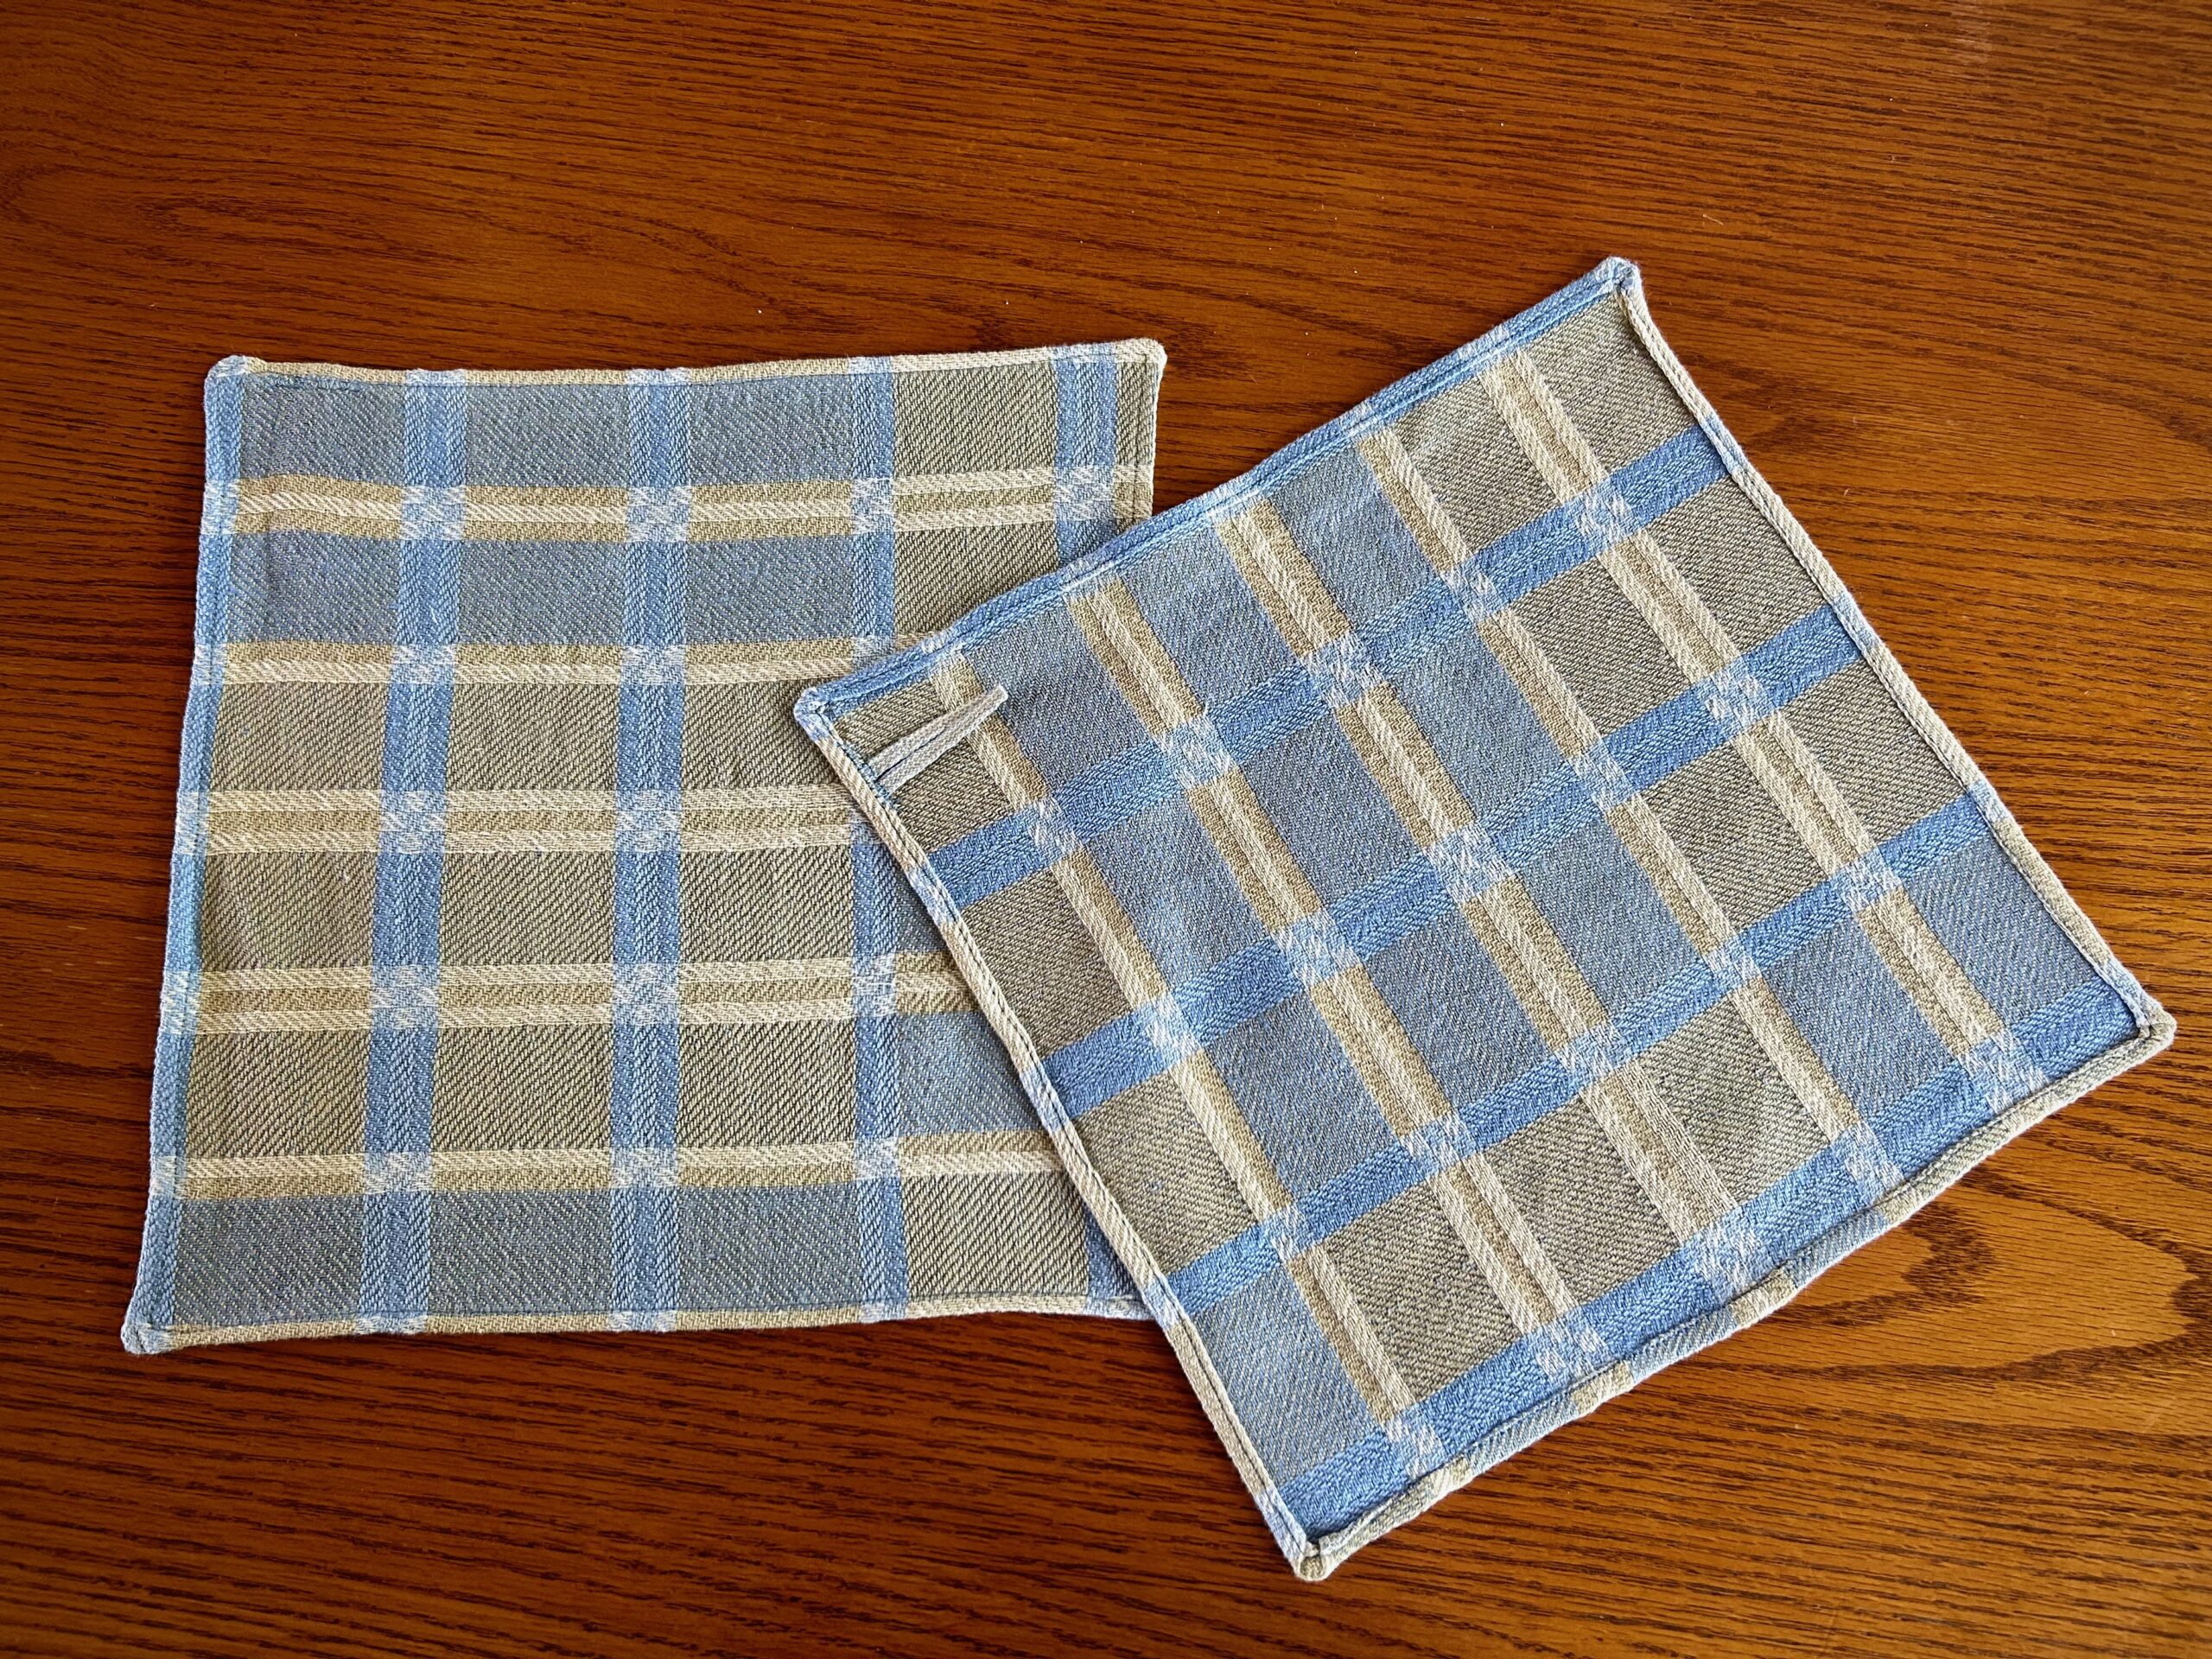
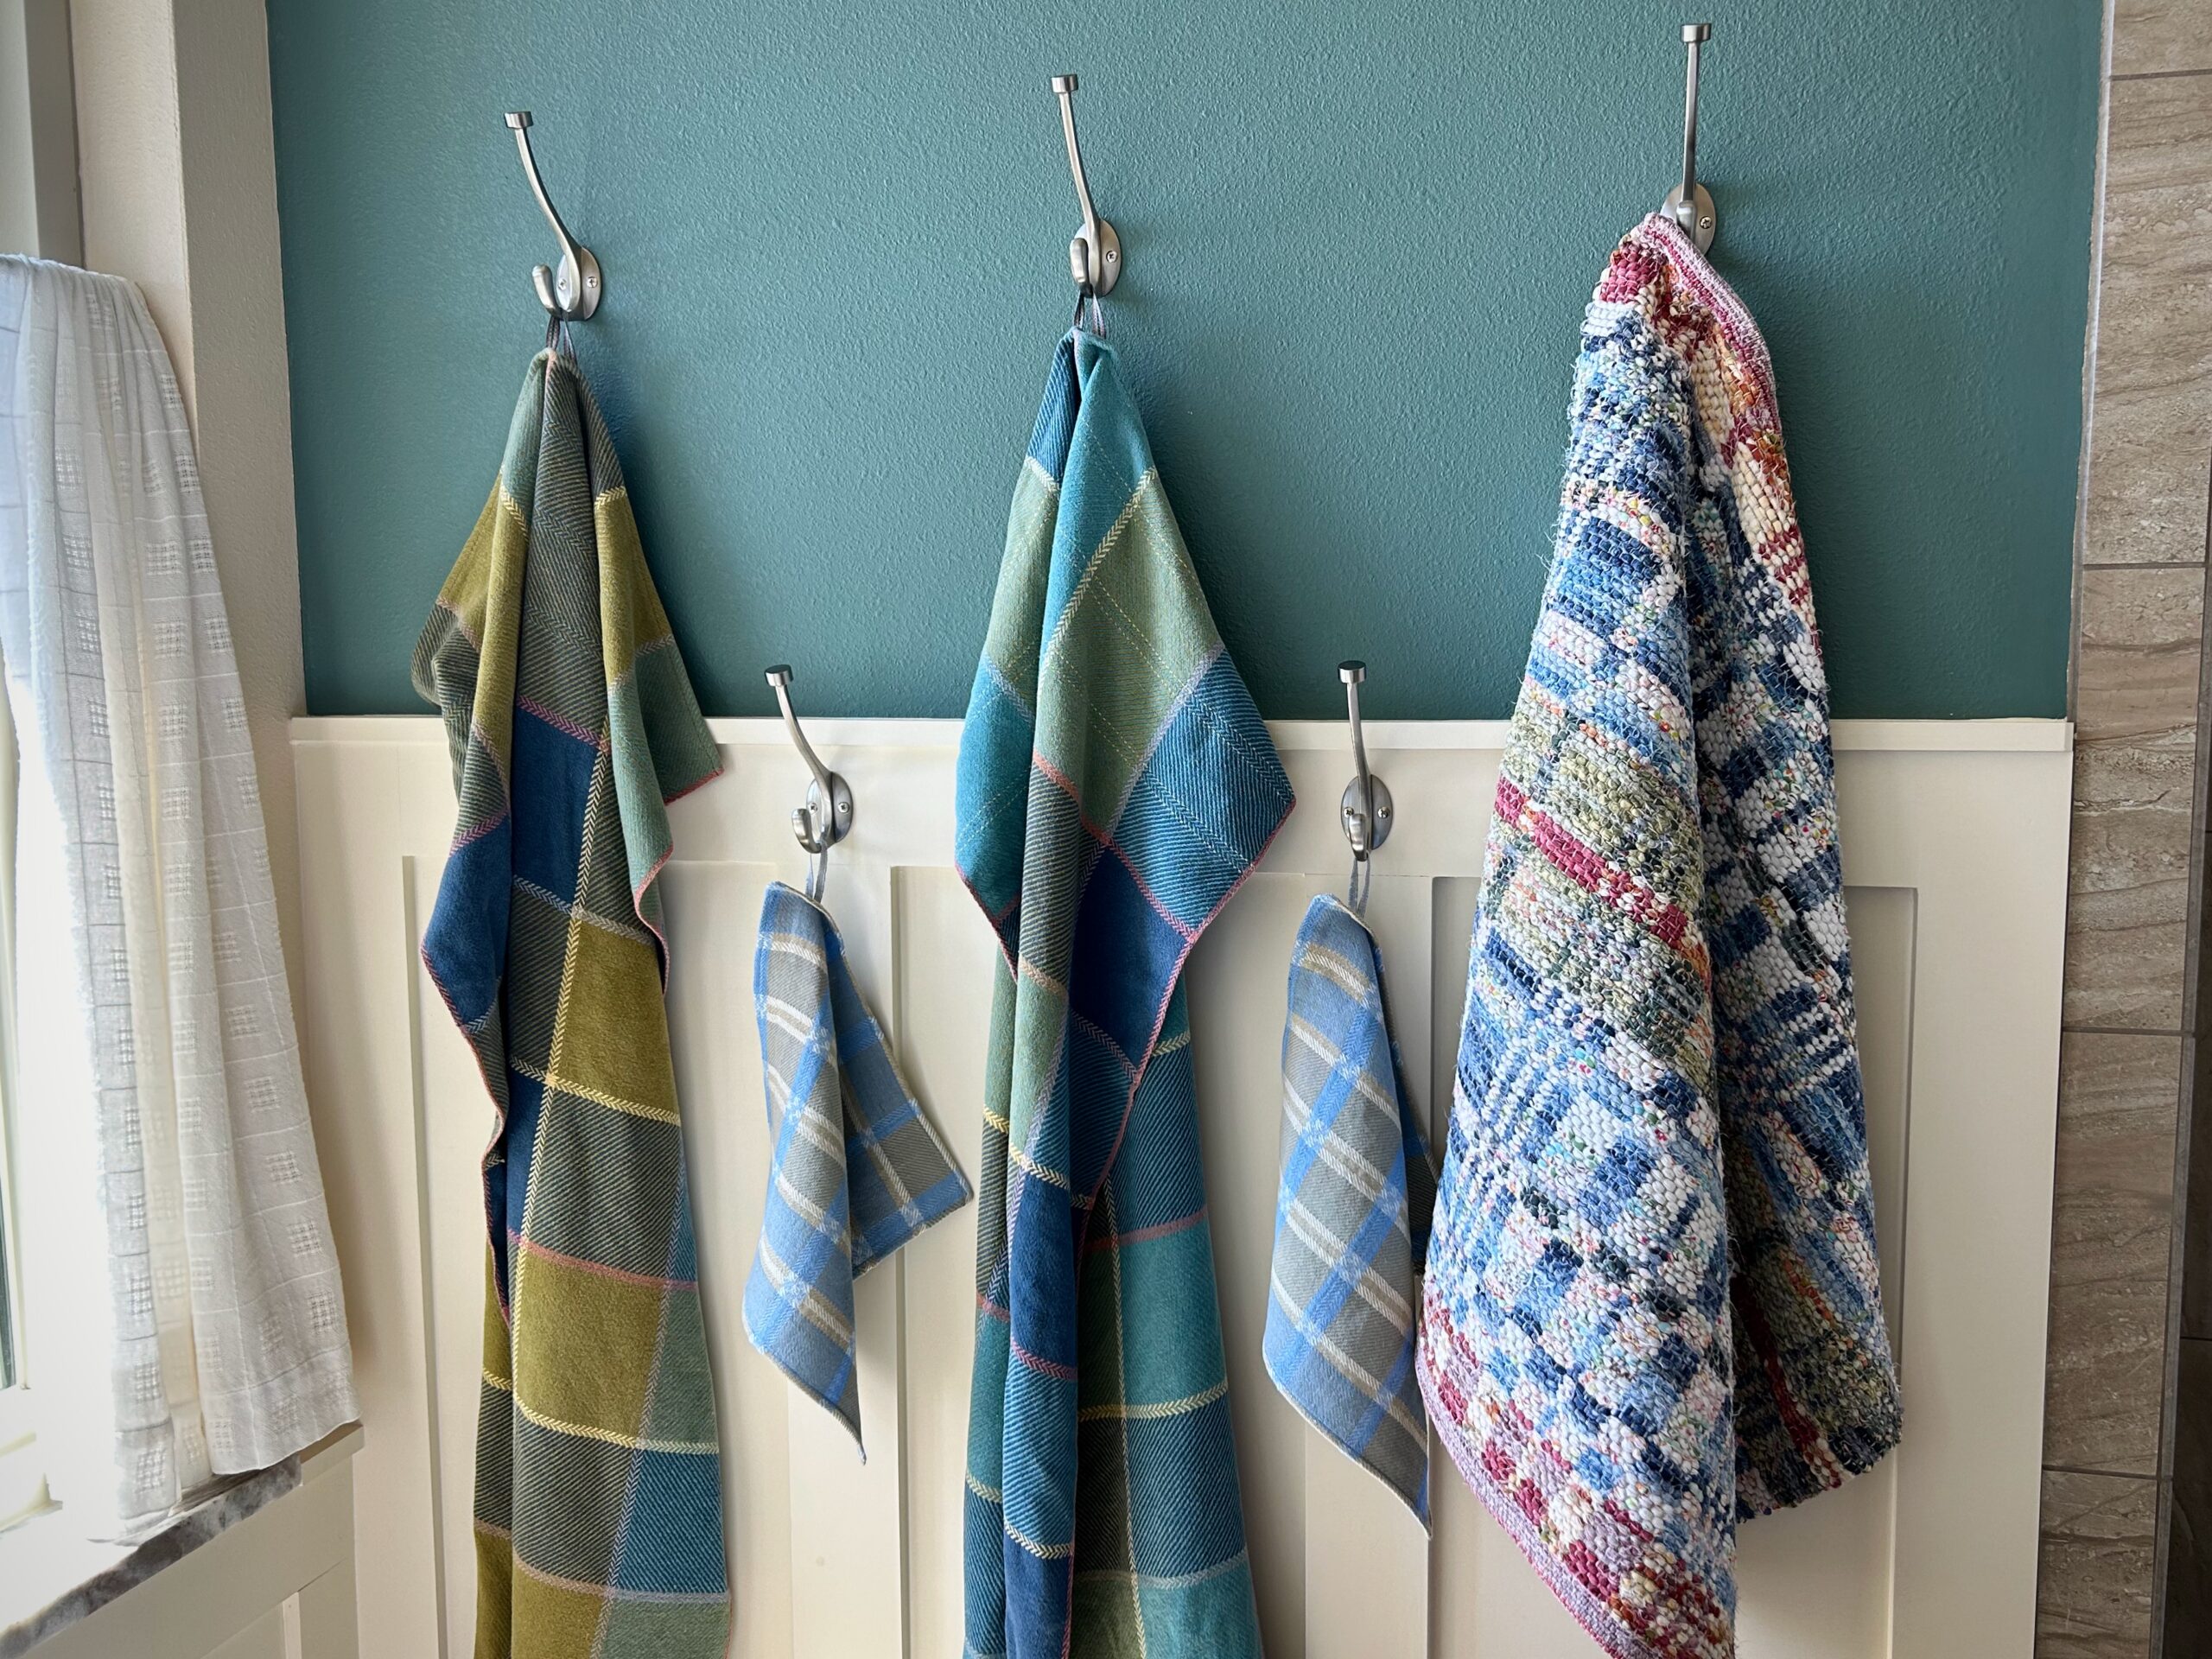
Linen wash cloths have been well loved and well used. Evidently, it is past time to make replacements. These will go in my remnants box and one day I’ll find a use for the parts that haven’t frayed.Cotton warp, linen weft. This two-blocktwill was one of the first projects I ever wove on my beloved Glimåkra Standard first floor loom. I designed this fabric to make a Roman shade for our previous home. Parts of it are faded, but it is still beautiful, useable fabric. Perfect for a set of “new” washcloths.For simplicity, I am using another washcloth to measure the size to cut for the “new” washcloths.Cutting to size, taking into account seams on all four sides.I probably should have pressed before cutting, but I didn’t think of it until now. The long narrow woven band was used for the pull cord on the Roman shades in our previous home. Perfect to pair with these washcloths for the hanging tabs.First step for the mitered corners is to fold in the corner twice, and pin into place.Second step for the mitered corners is to fold in the side hems twice and use quilters clips to hold in place.Approximately 4 inches for each hanging tab. I zigzag the ends and then cut them apart.Then I plan where the hanging tabs will go, testing how the cloth will hang.Clip the hanging tabs into place.Stitch the seams. At the mitered corner, I would like to have about four hands as I remove clips and hold things in place while I walk the presser foot around the corner. Whew!Nearly perfect! Nobody needs to know these are secondhand Roman-shade wash cloths.The new wash cloths are right at home between the other handwoven goods hanging on the bathroom wall.
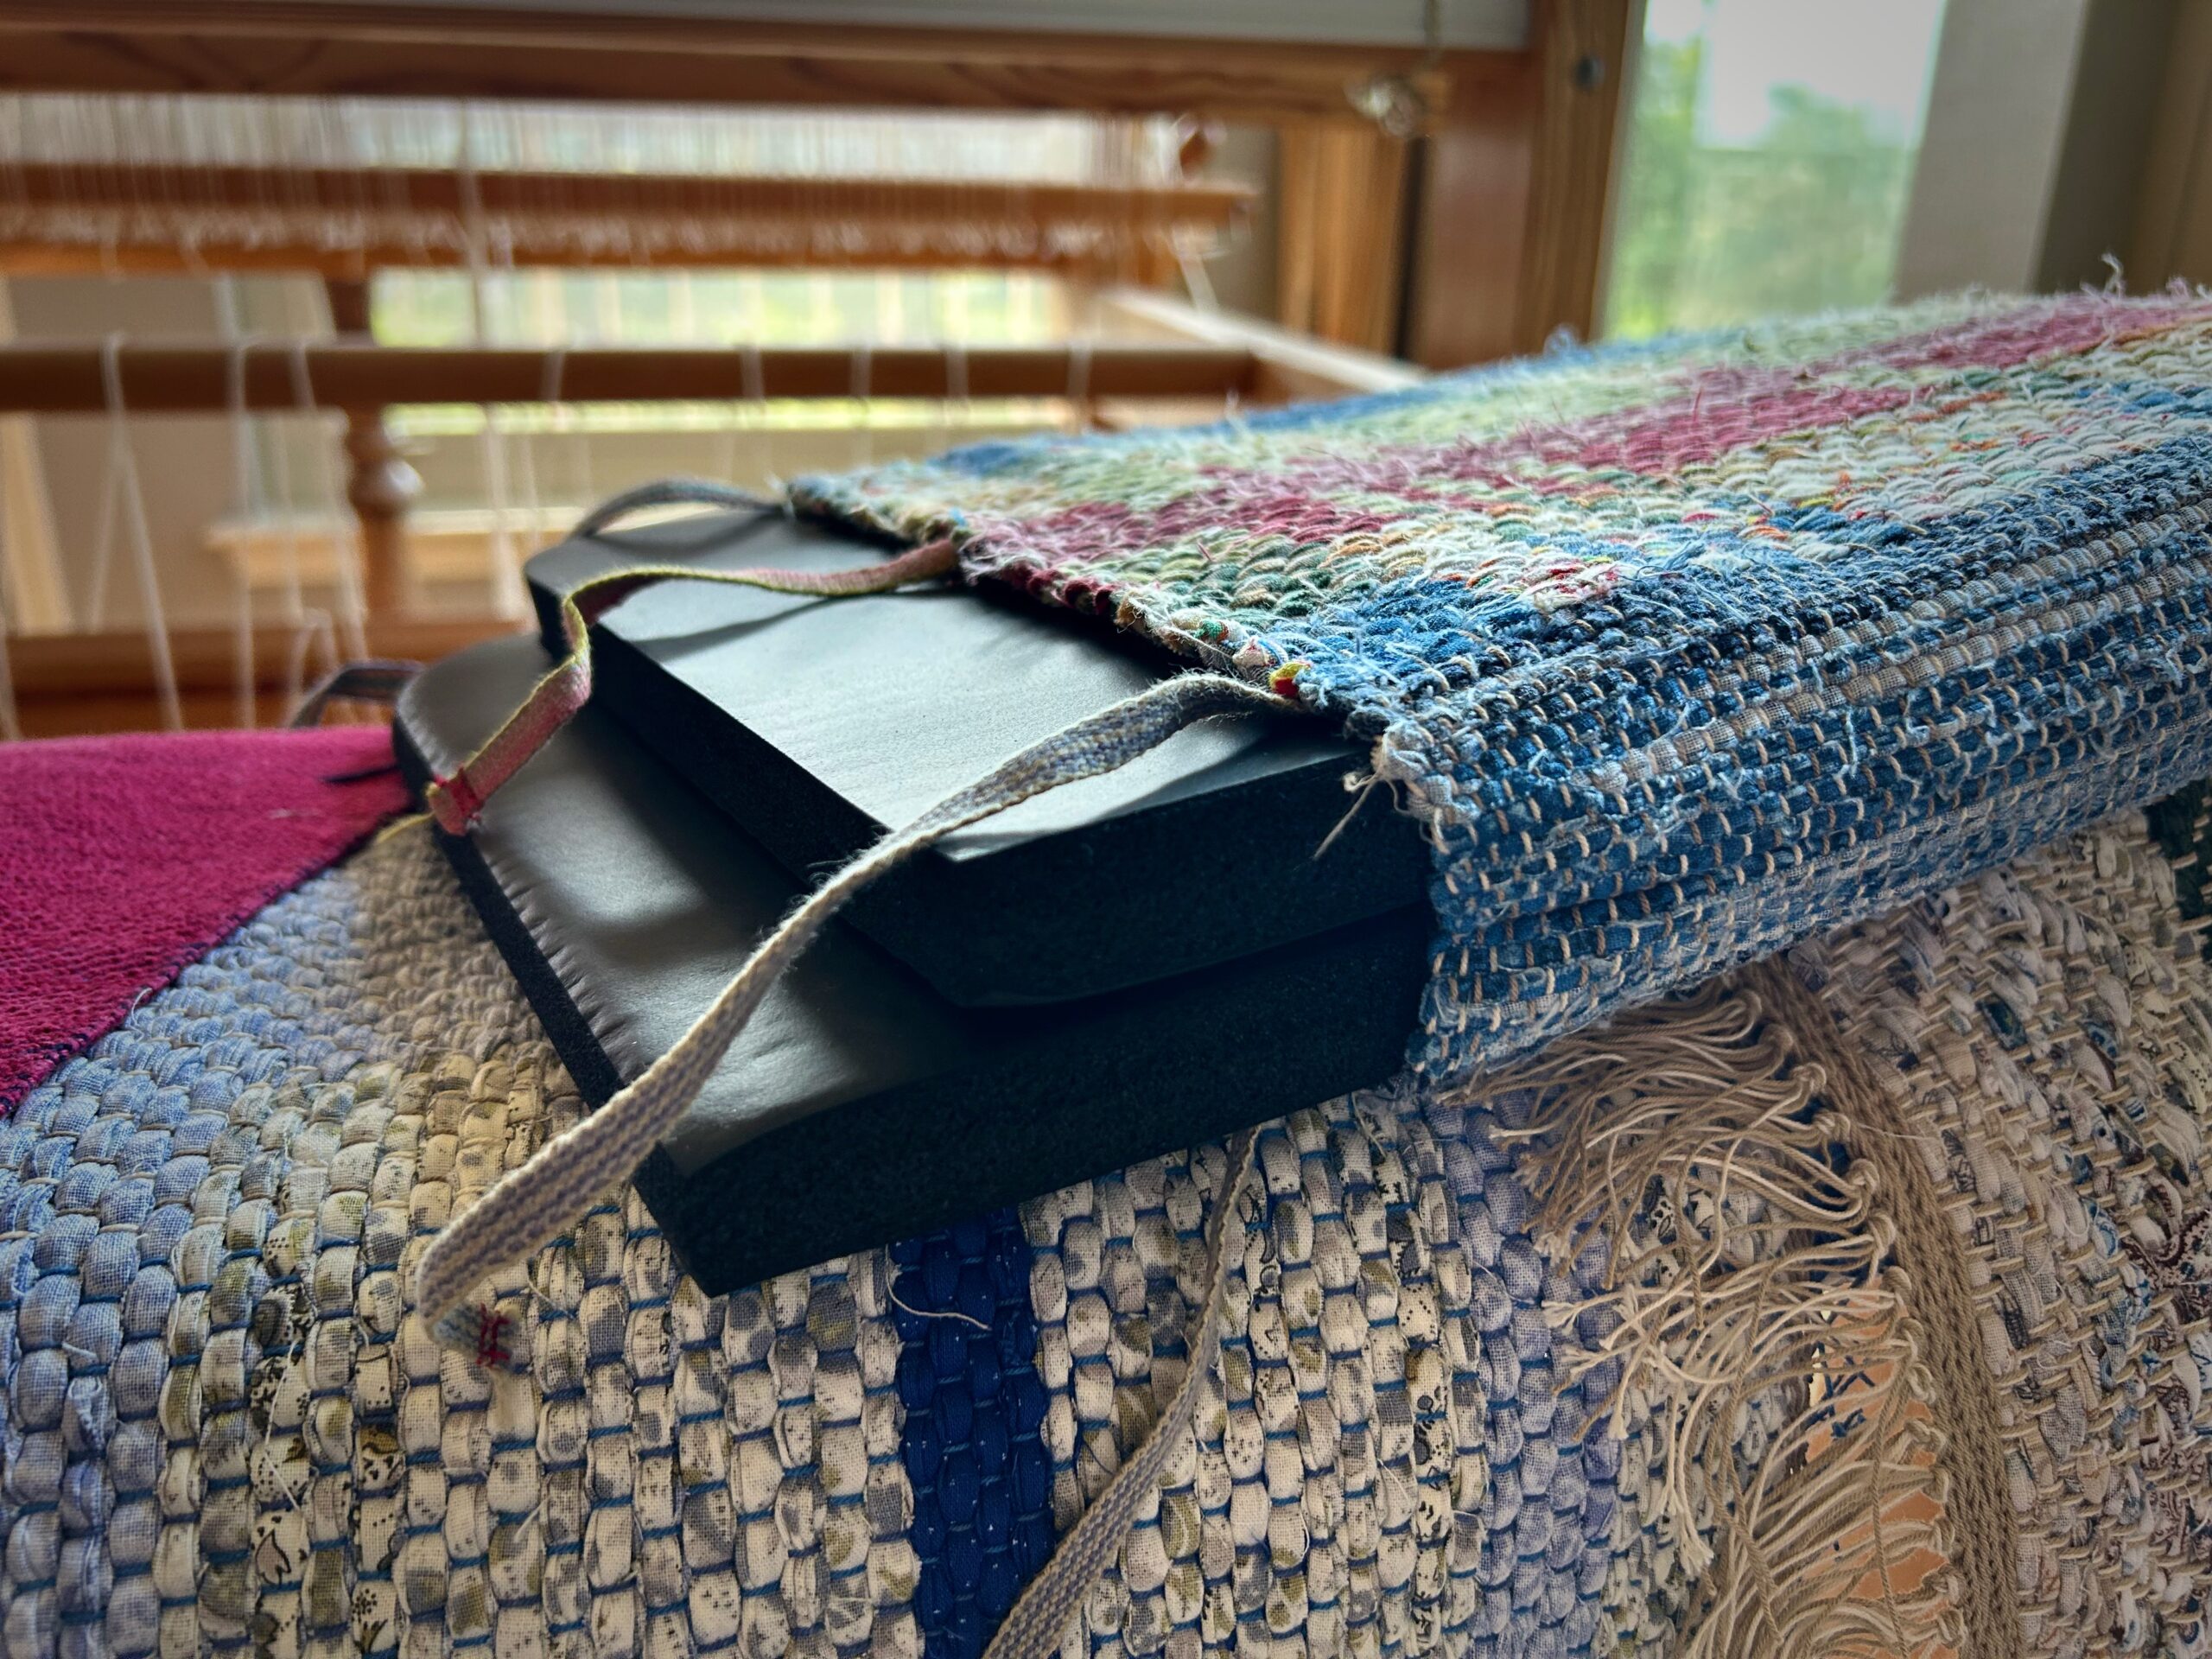
I always put on more warp than I need for a project. That end of the warp is where I play, experiment, and try out crazy ideas, not to mention try to use up the thread from as many quills as possible. Or, for rag rugs, I try to use up as much of the weft fabric strips as I can. I have containers for those odd pieces (remnants). That is where I look when I want to make something.
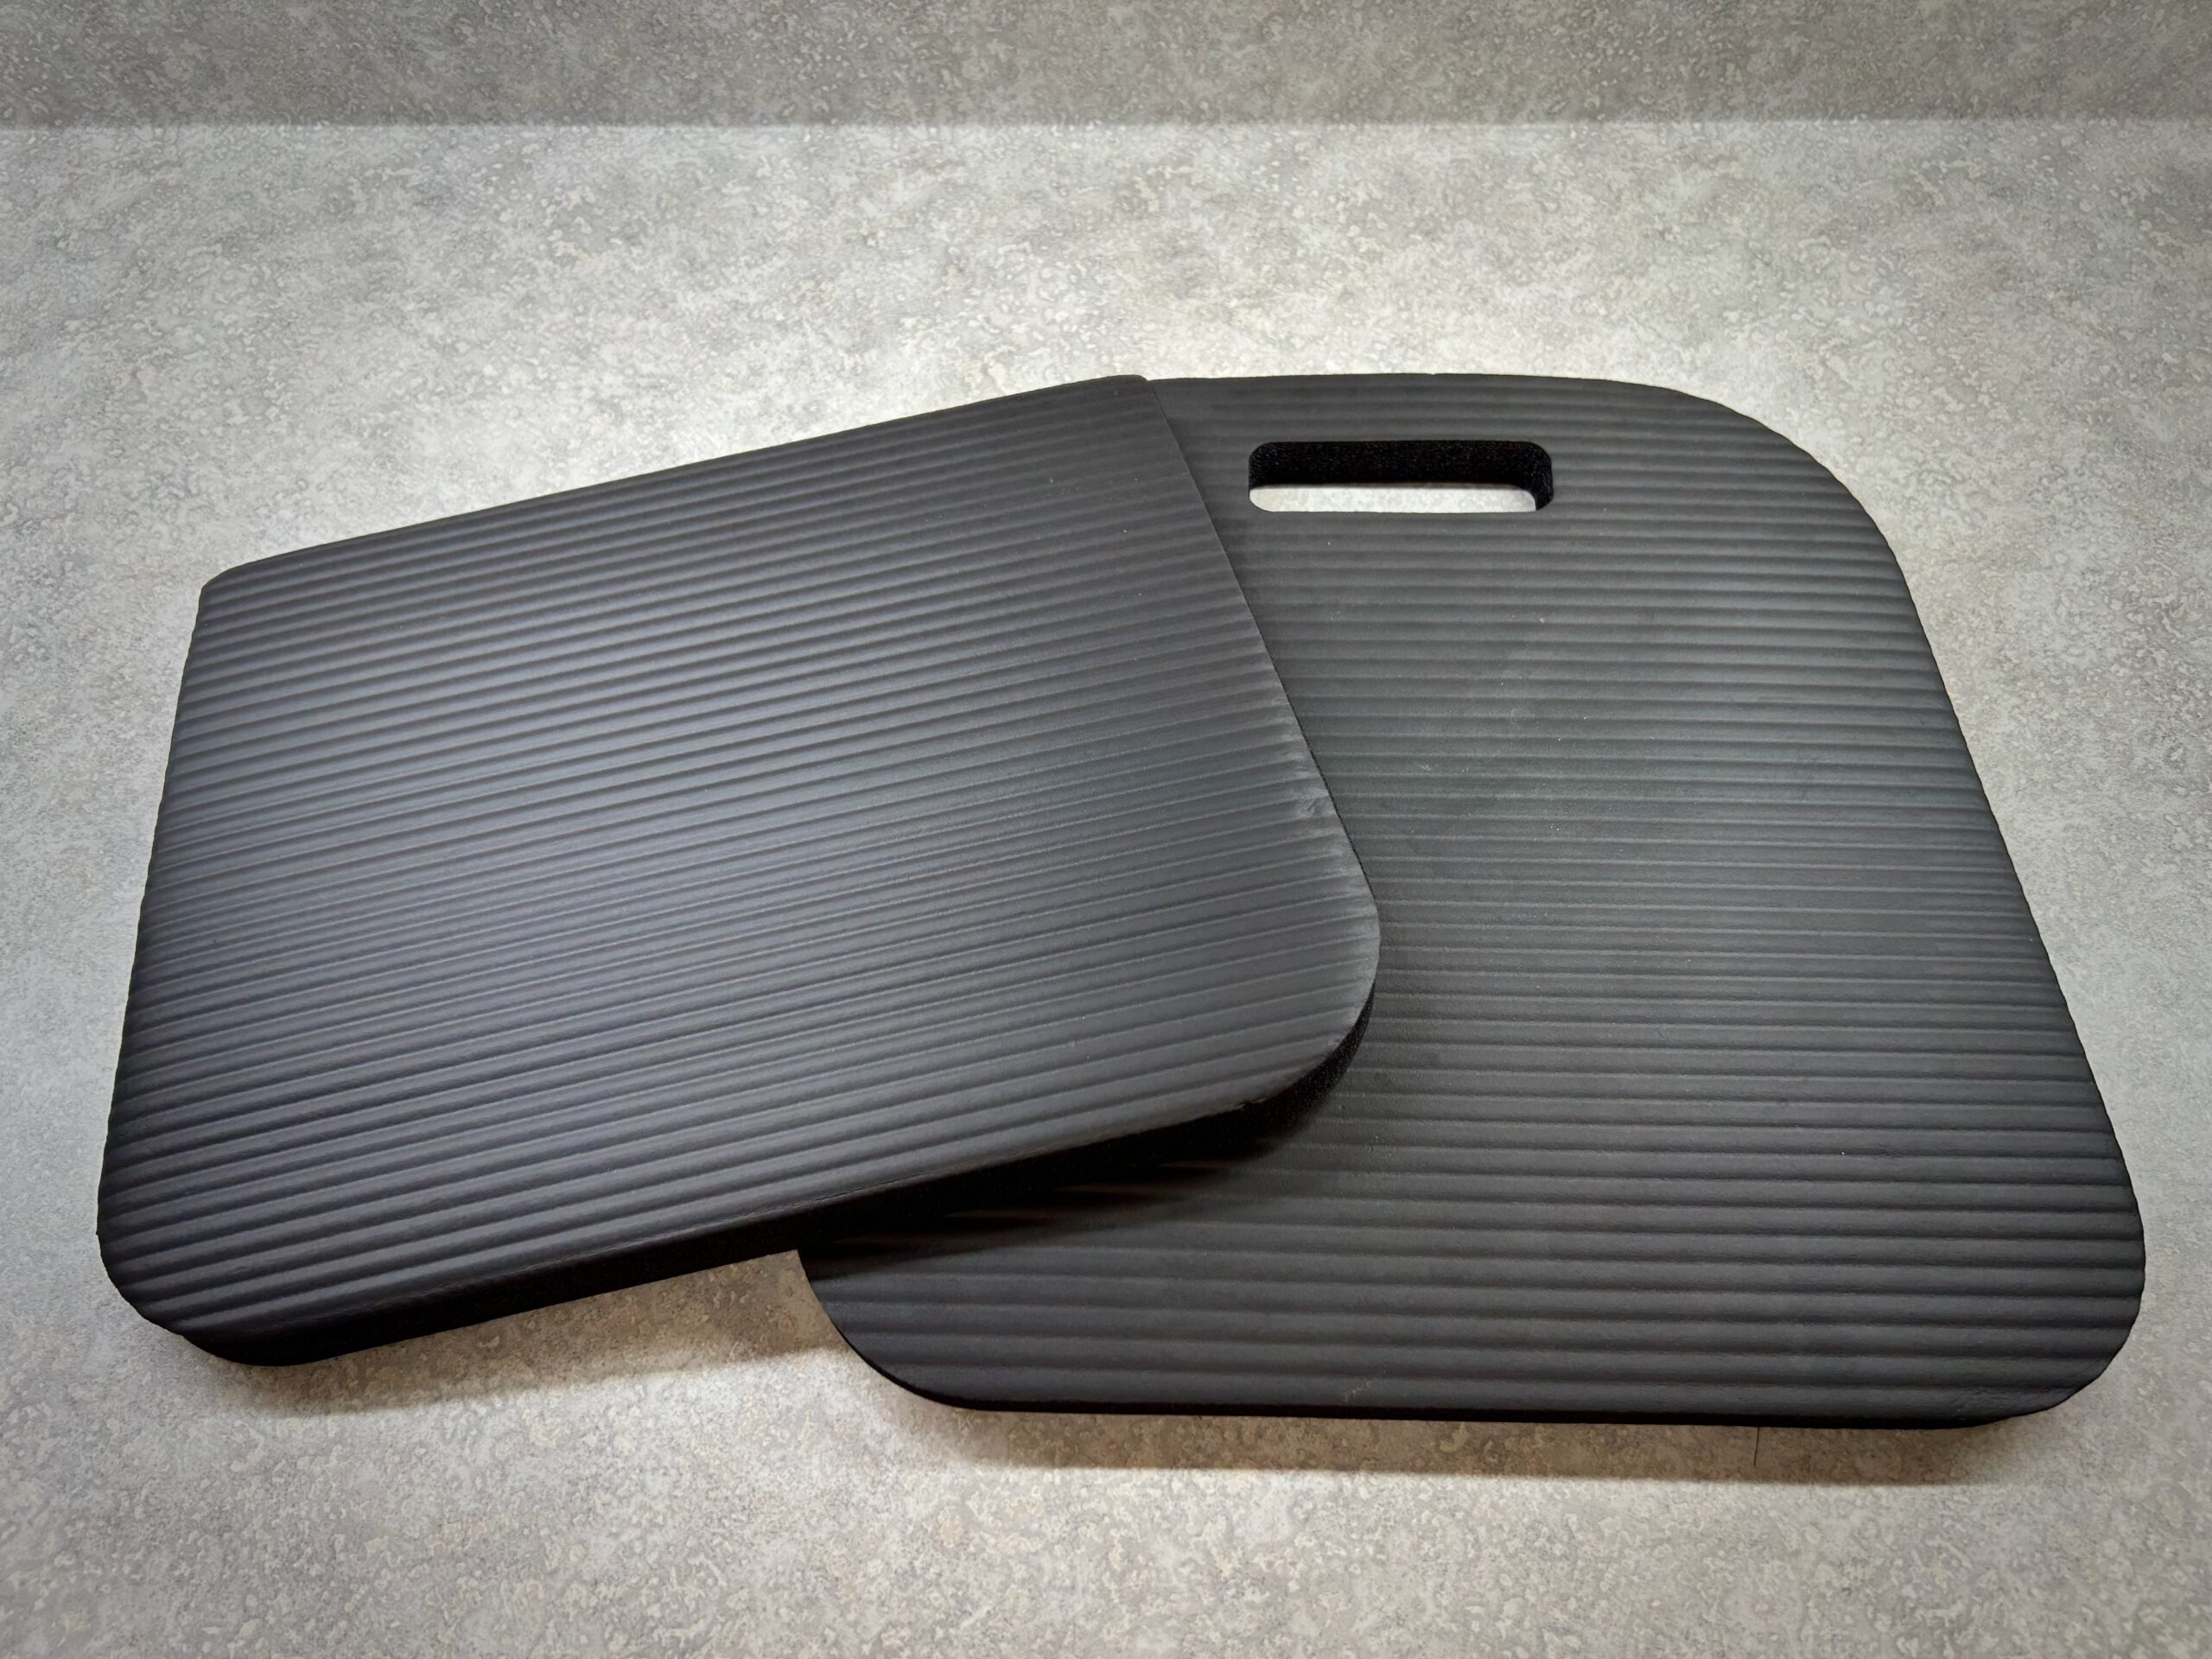
Rag rug “scrap” became a seat cushion last year for me to use in the car.Two cut-to-fit kneeling pads go in the cushion cover. I added handwoven bands for ties. The ties don’t stay tied, and they aren’t really needed. I let them hang as if they are chunky fringe.
The seat cushion I made for myself last year works great. Now I want to make a seat cushion for me to use in the other car. Time to get out that container of “scraps.”
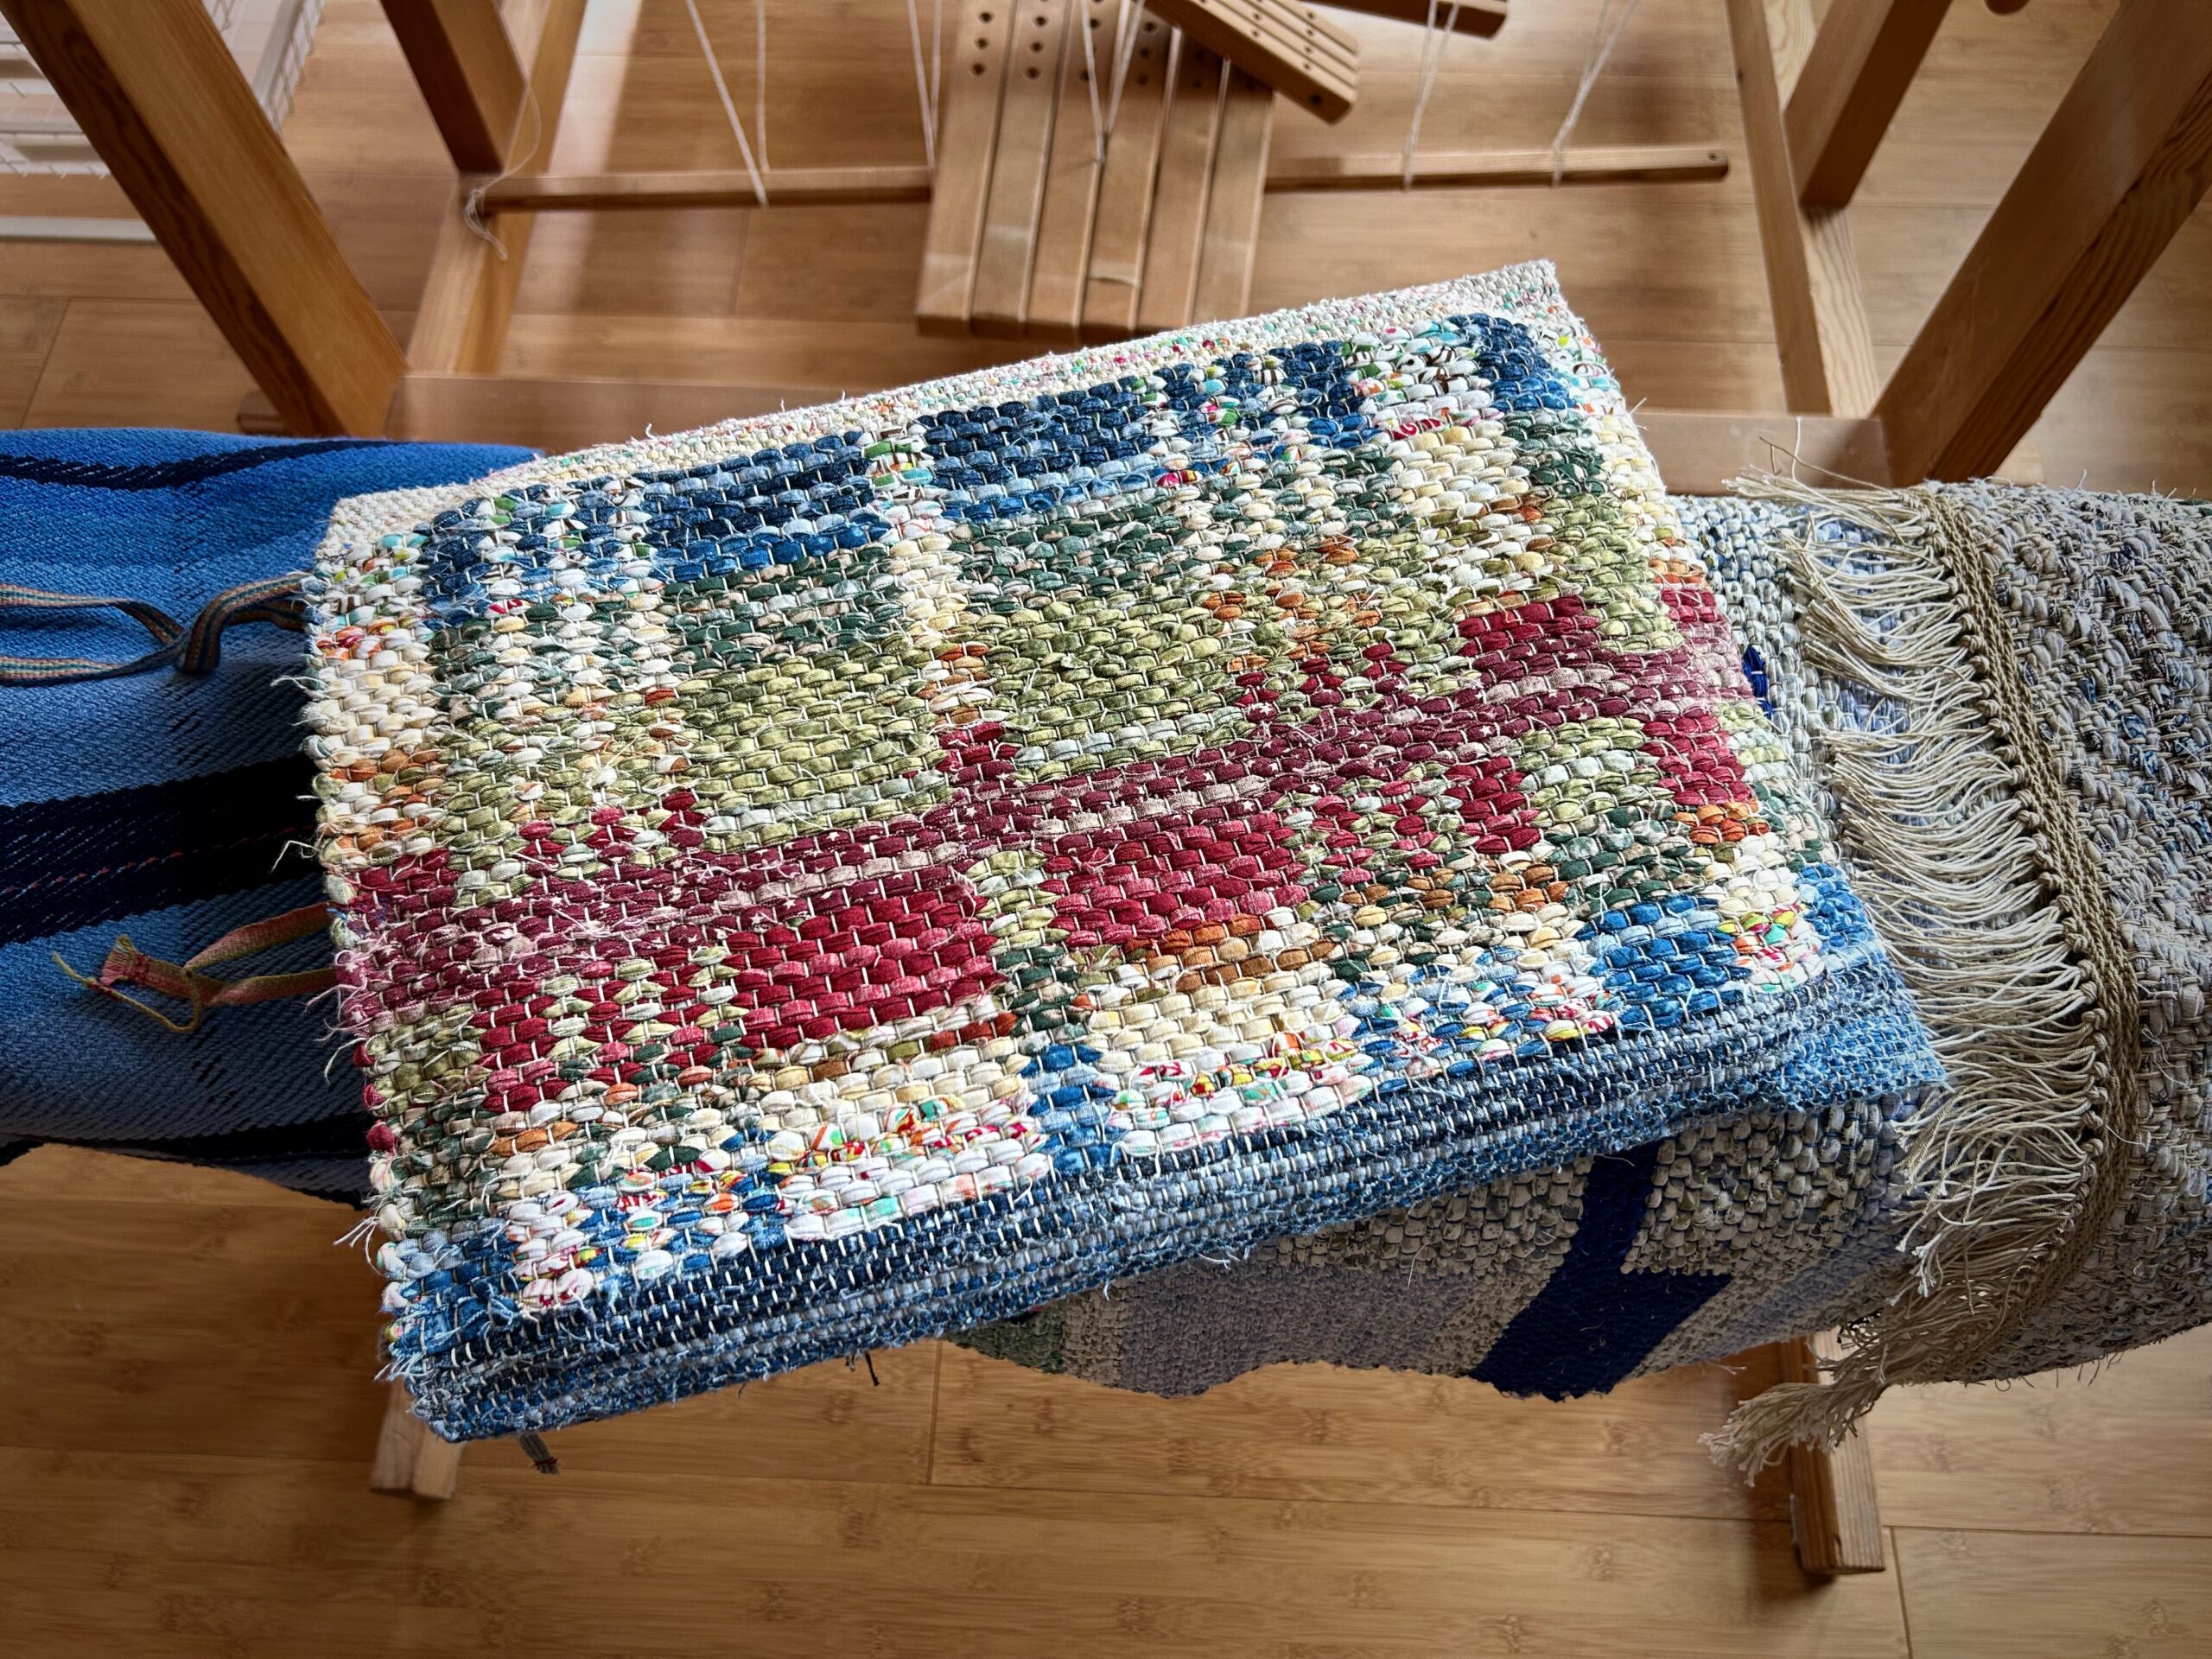
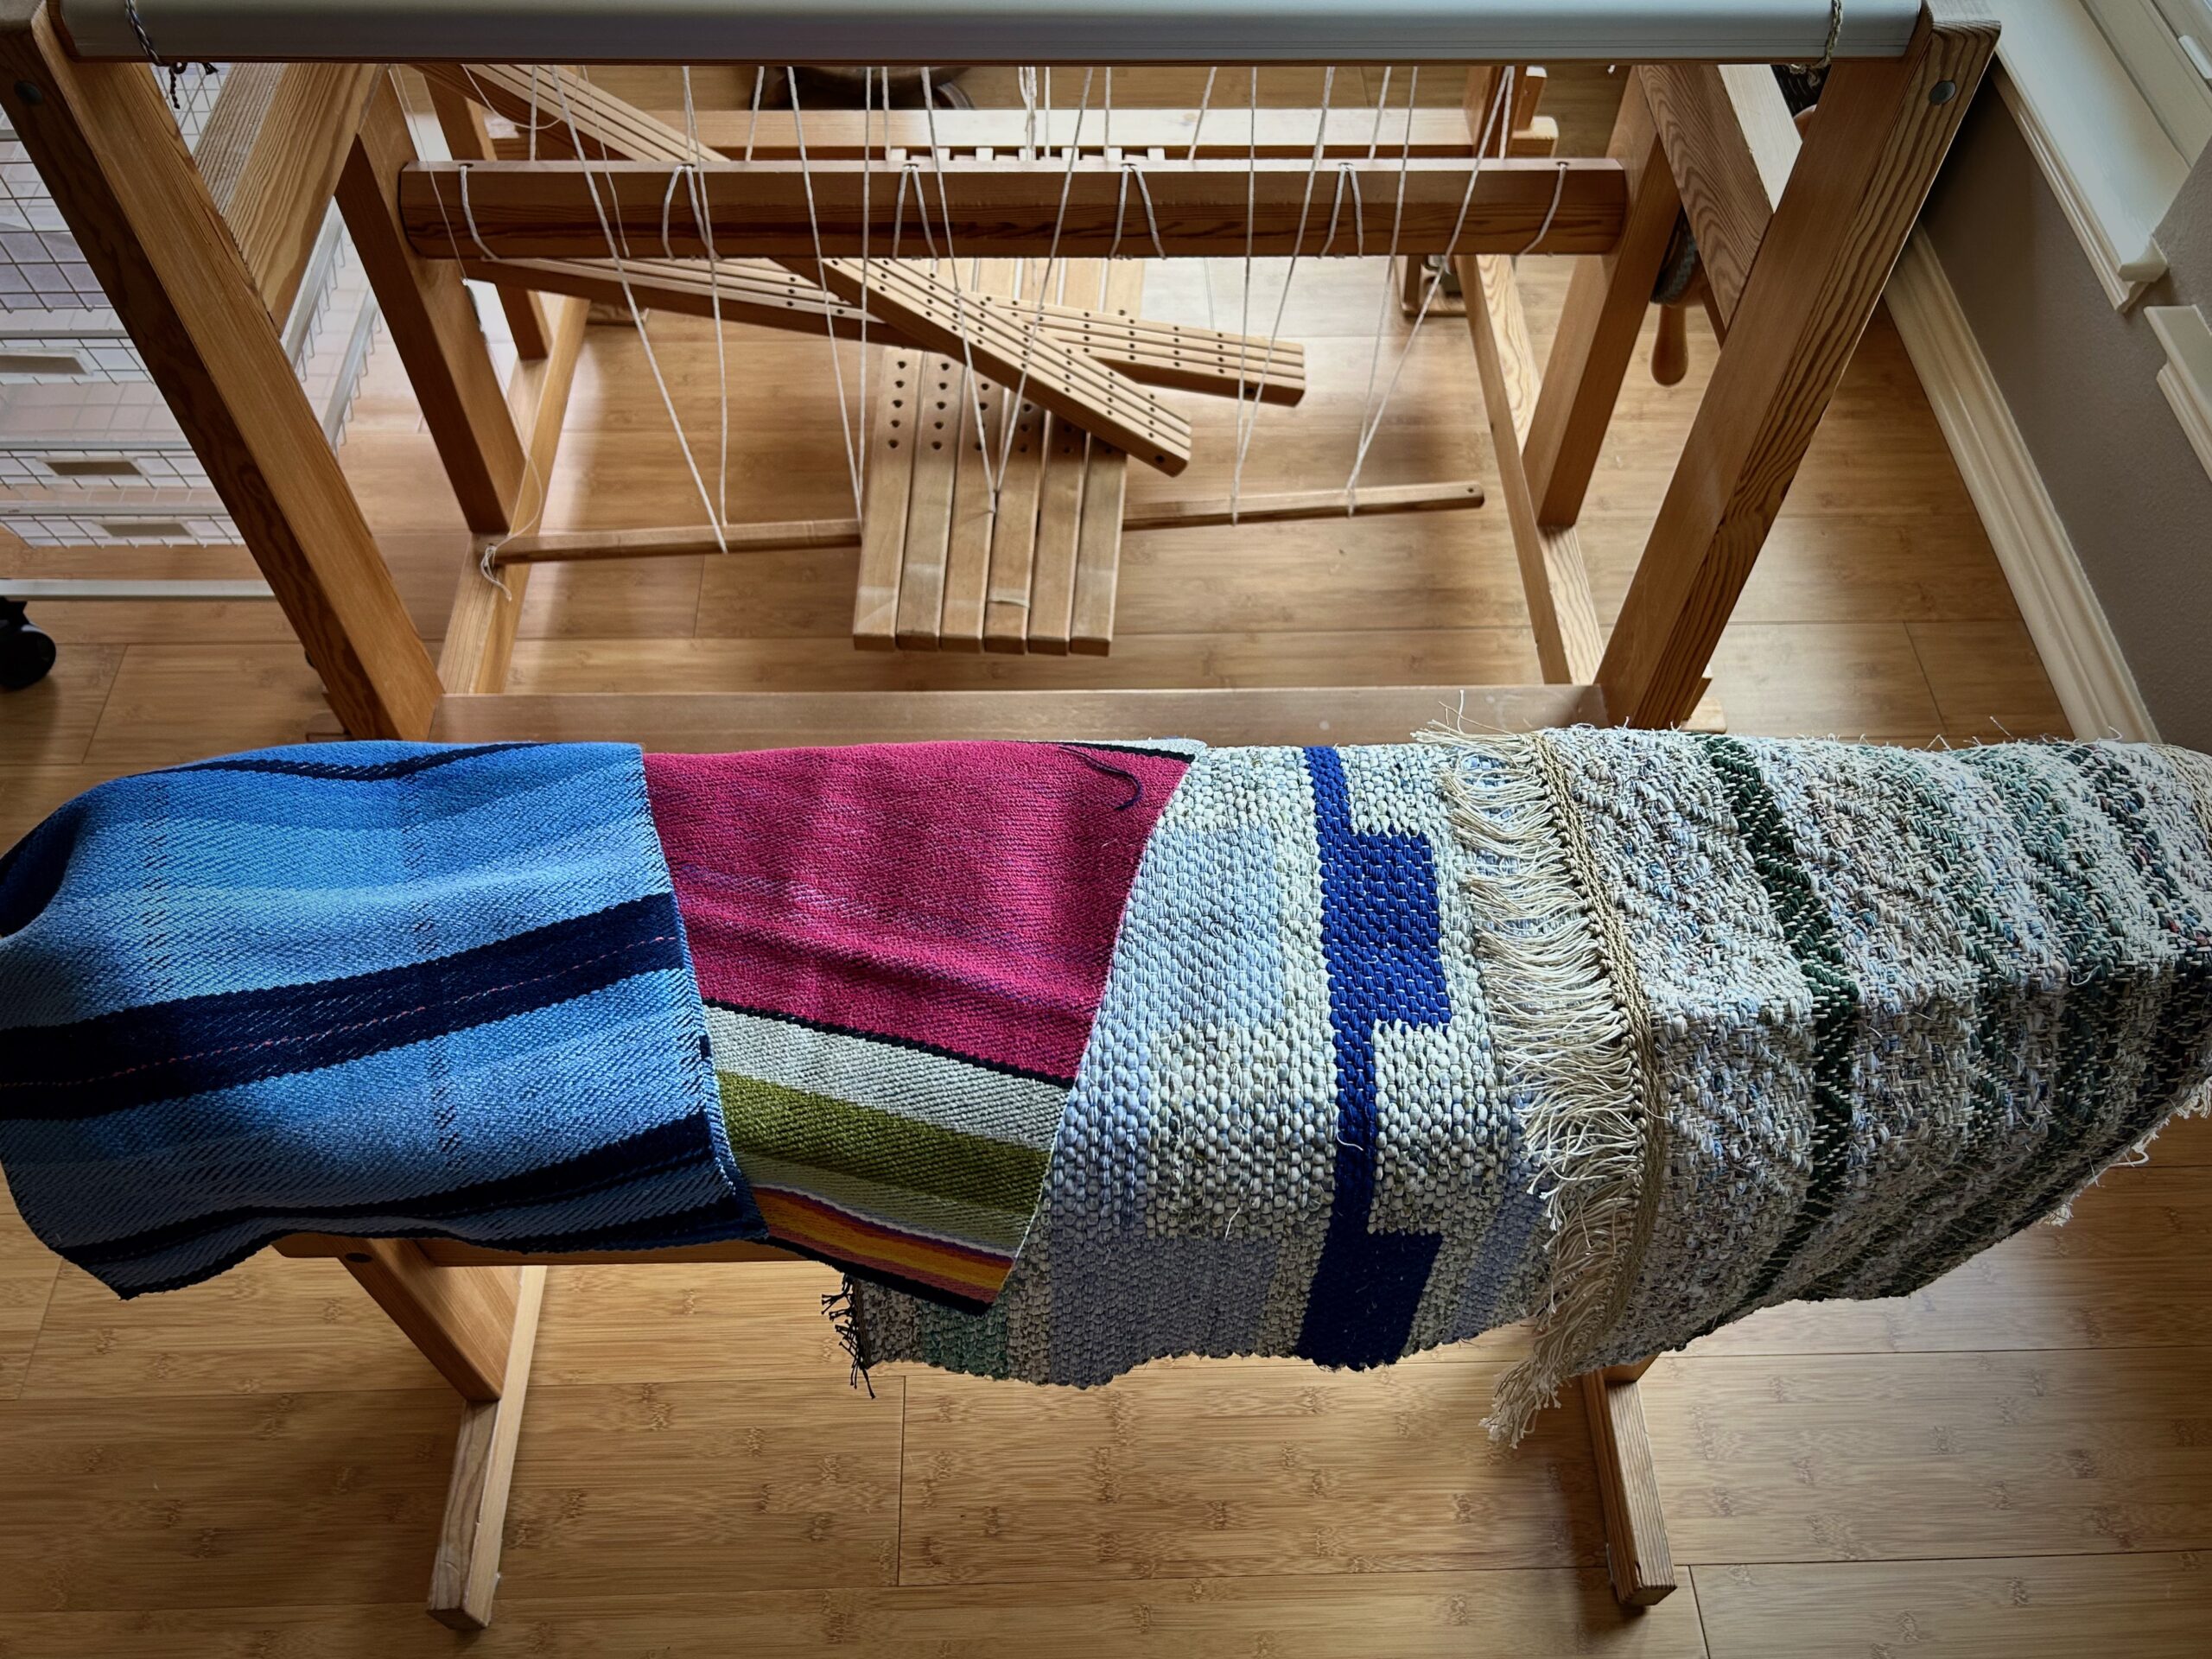
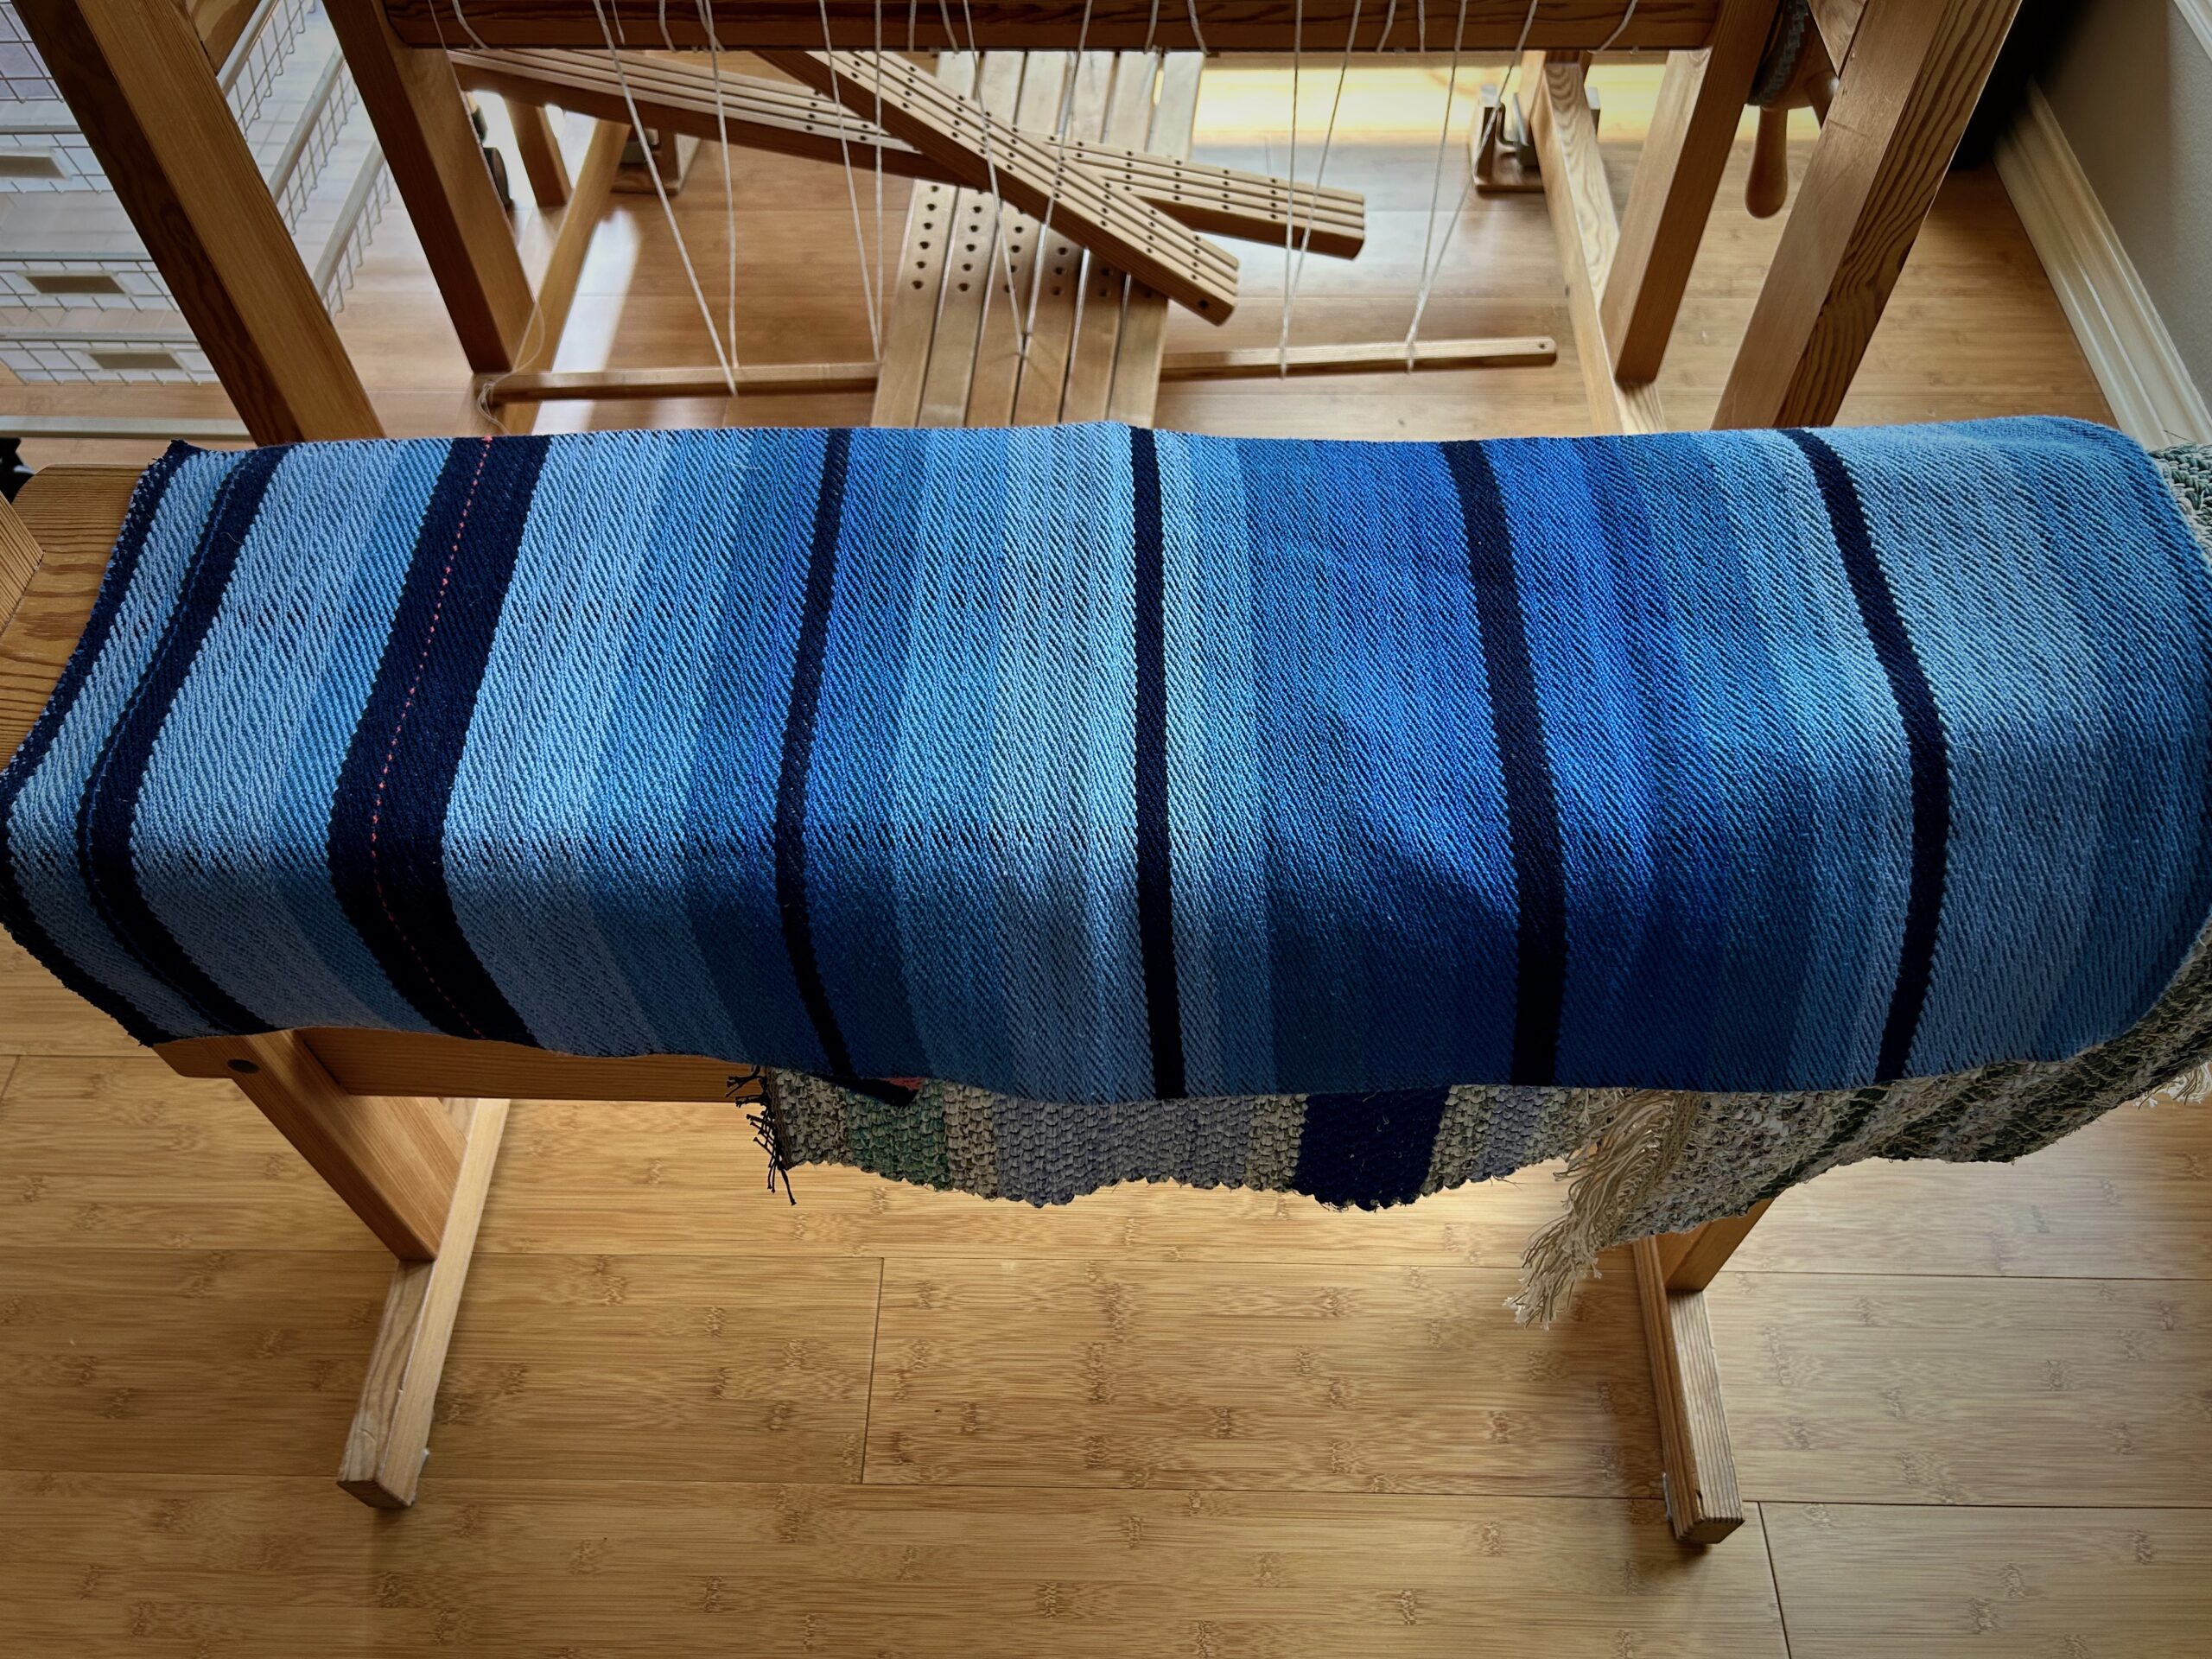
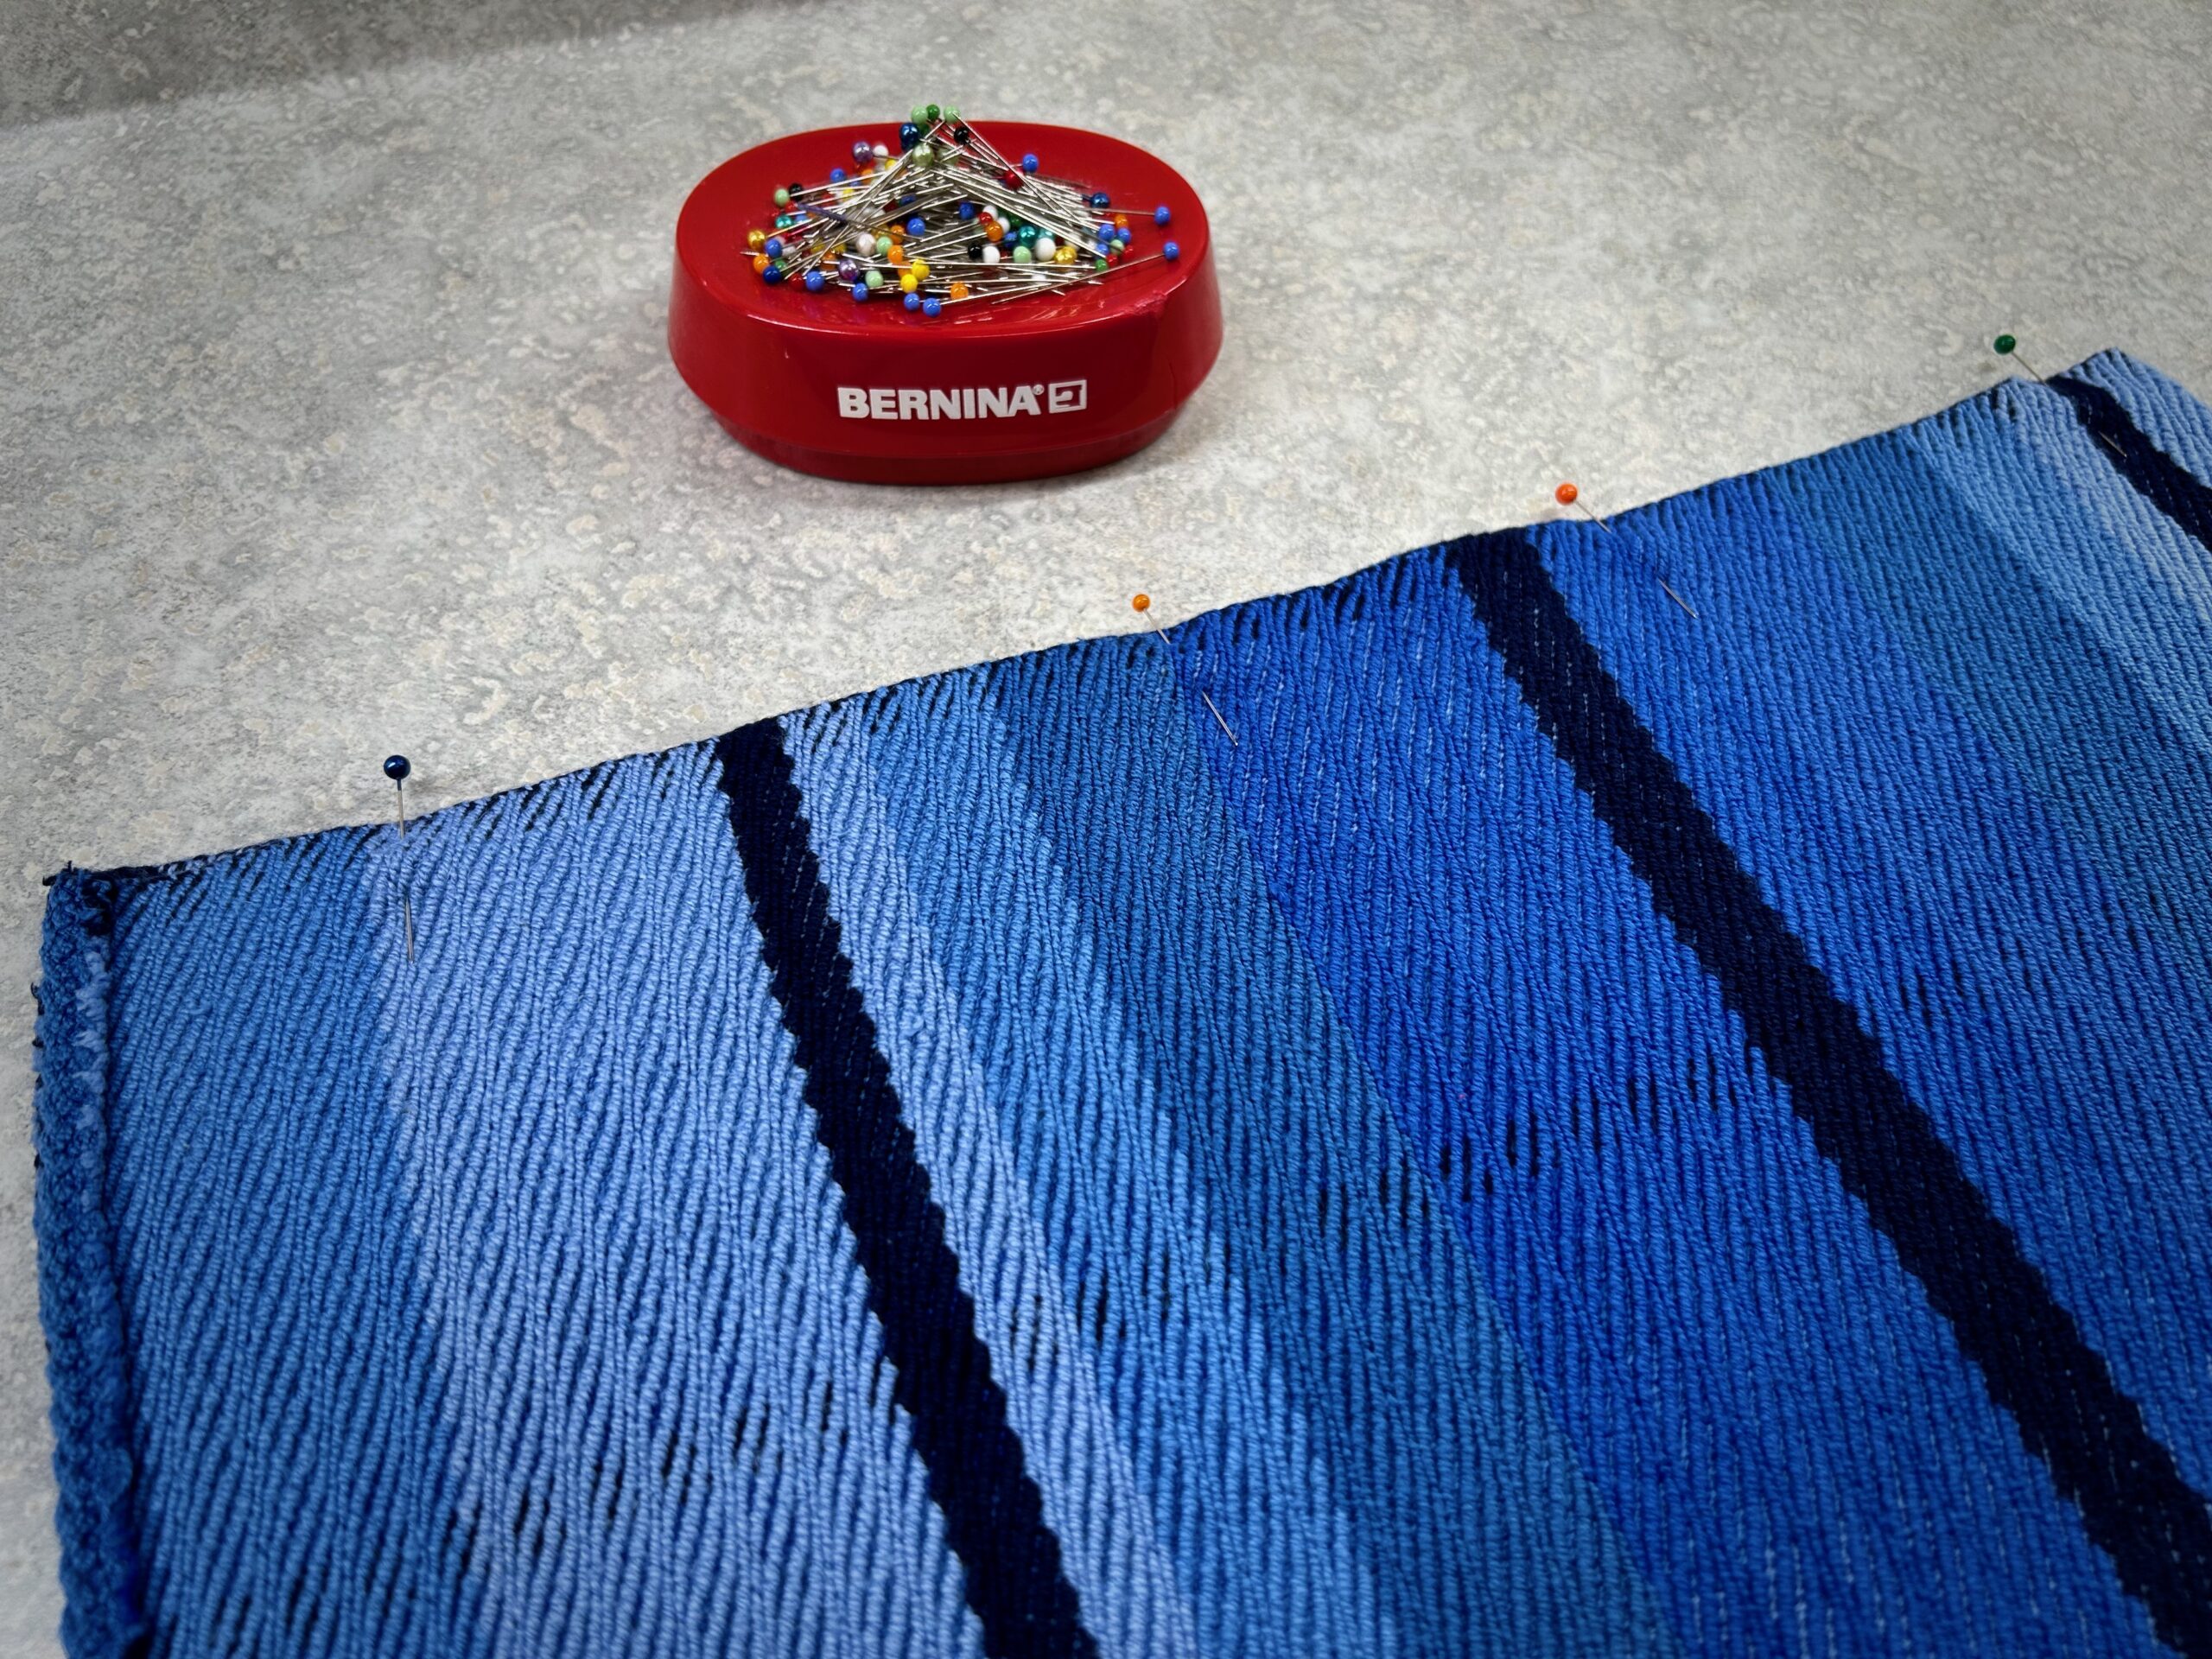
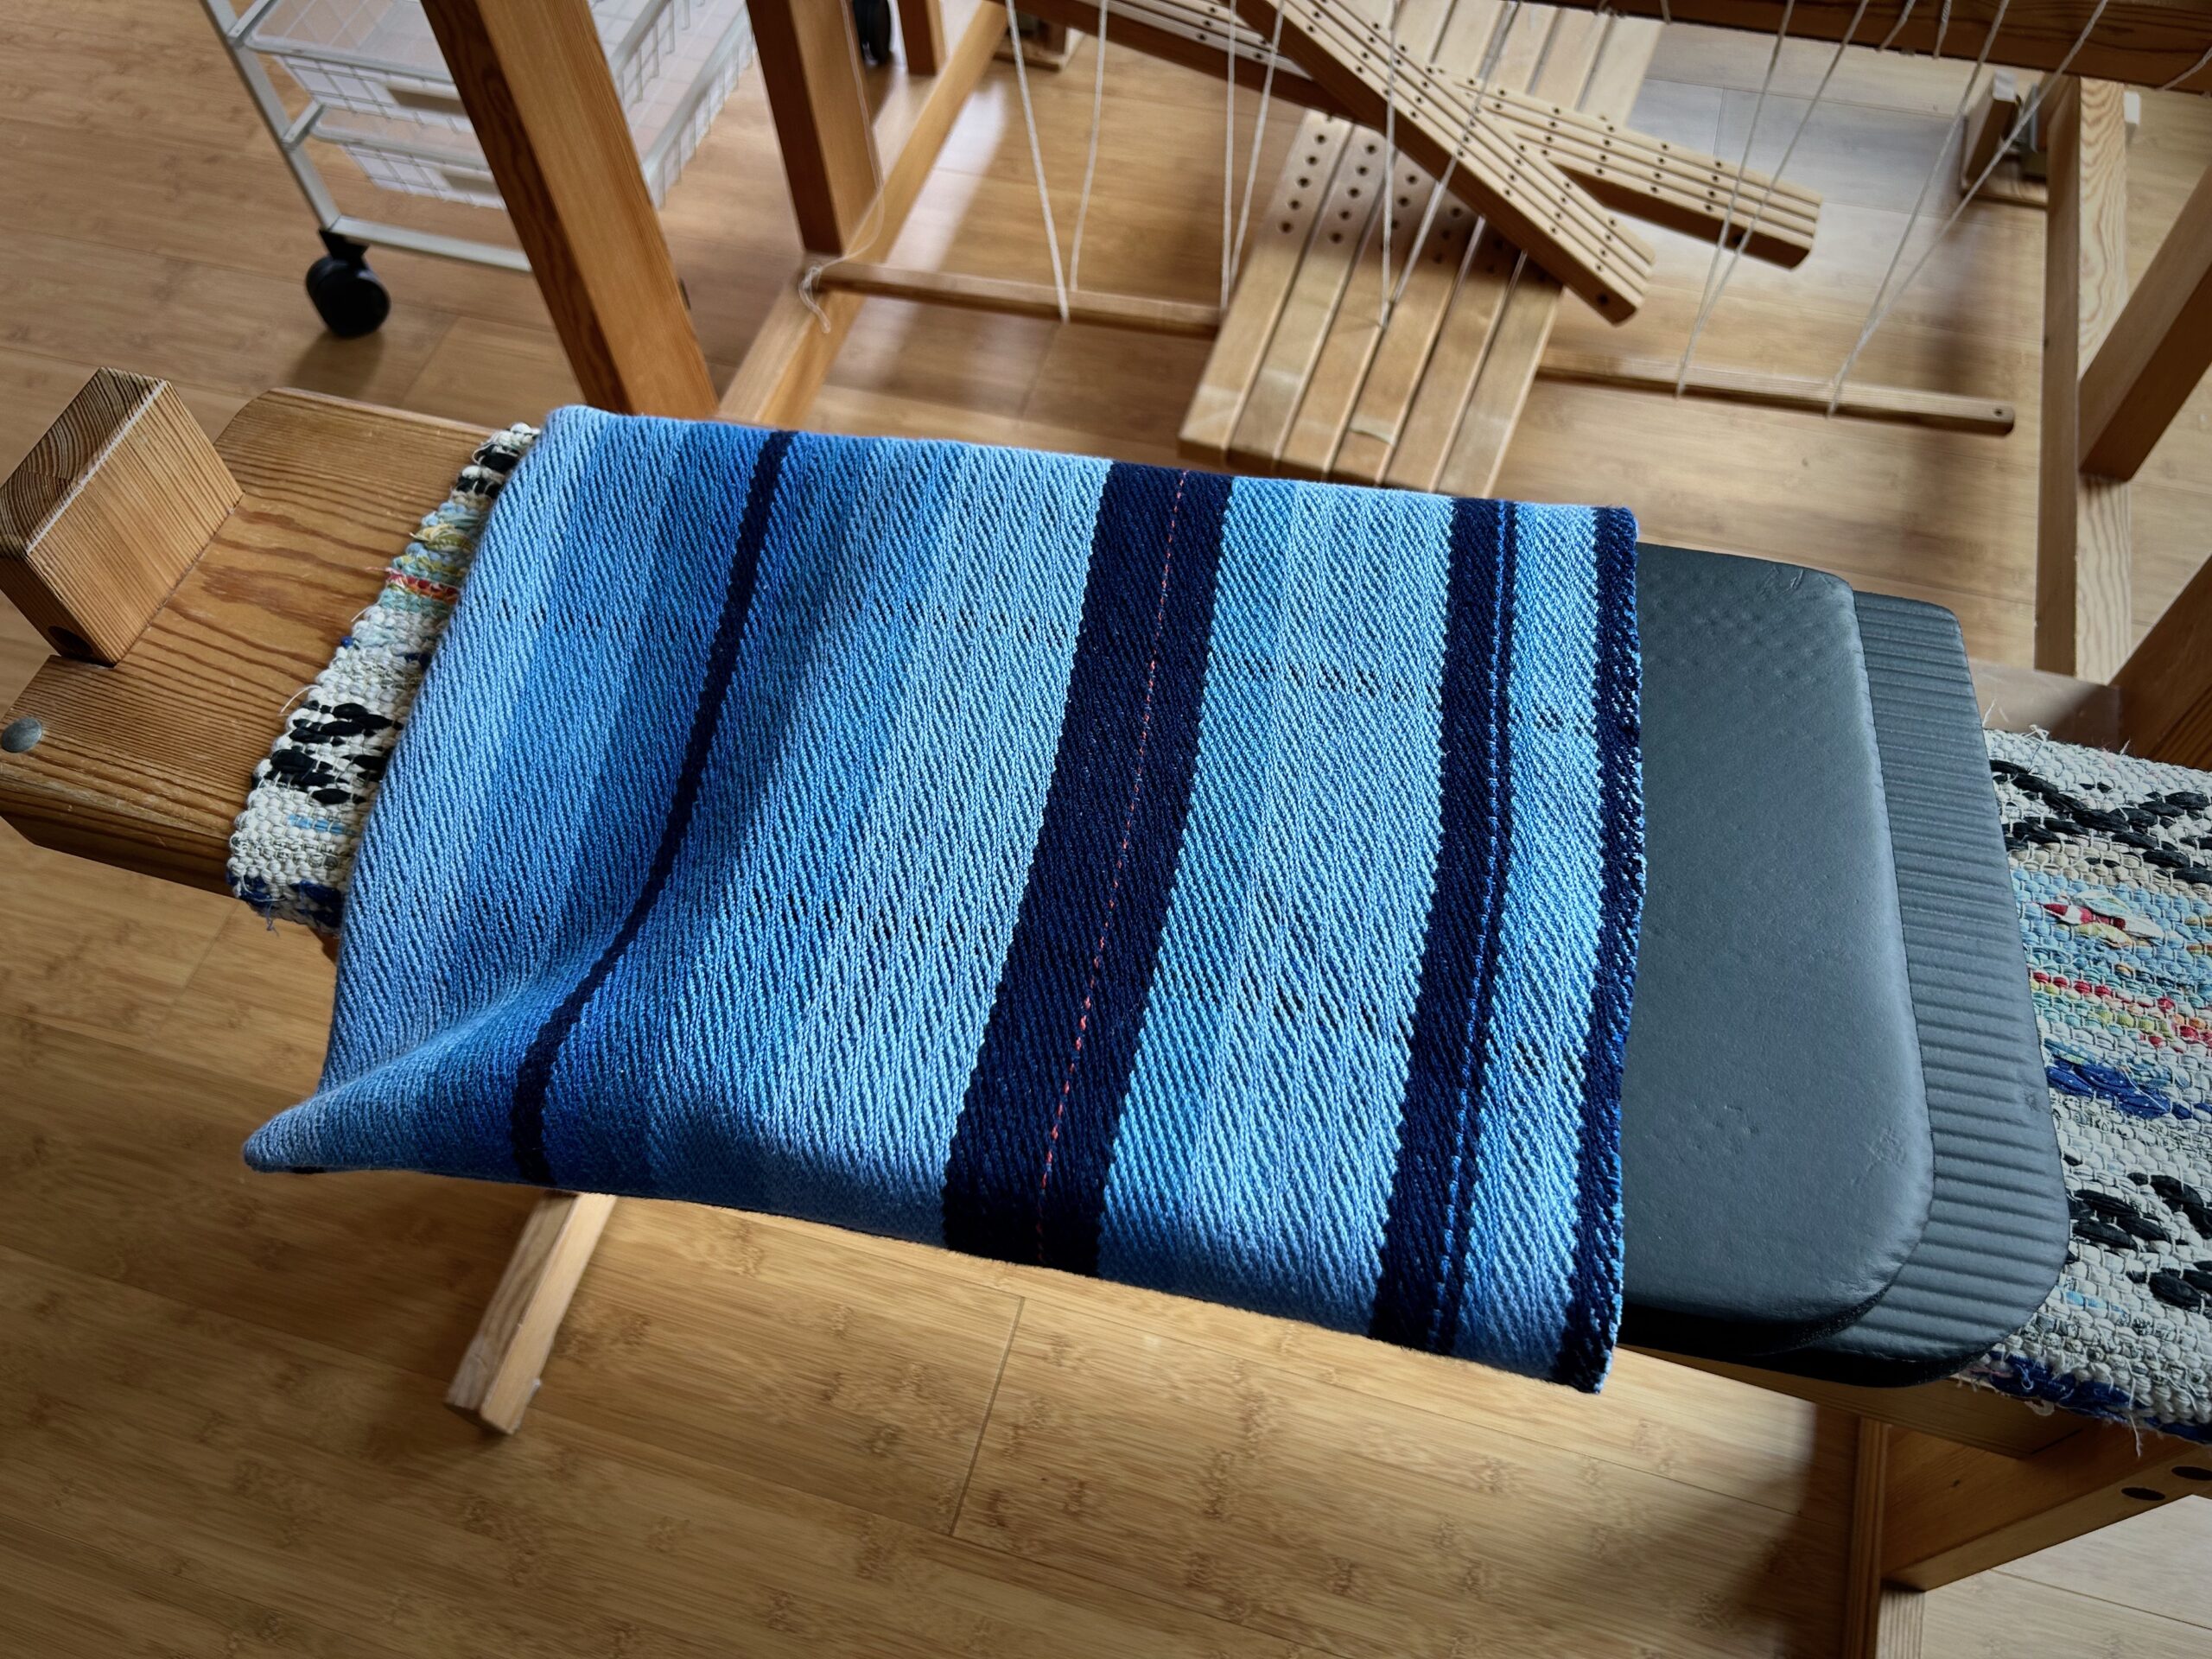
I find four potential “scraps” to use for another cushion cover. The rag rug pieces aren’t quite big enough, but would work if I added some fabric to them. The colorful magenta and stripes piece would work as a top, with some other fabric for the bottom.Blue striped eight-shafttwill in 8/2 cotton is just right! This is fabric I wove a few years ago for chair covers for my mother-in-law. It has a good weight to it, with quite a bit of give. And the blues are very pretty!I am folding the piece in half lengthwise. This fabric has a pretty strong bias pull, so it makes sense to pin the seam before sewing.Walking foot on my sewing machine makes all the difference, especially with this bias-strong fabric. The walking foot helps keep the two layers of fabric together, instead of the top layer stretching ahead of the bottom layer.Two simple seams, and I’m finished with sewing! I am leaving the end open so it is super easy to add or subtract the fillers for the cushion. No ties this time.Press the seams open.Press the seams from the right side. Nothing matches at the seams because this long piece was made with intentionally irregular stripes.Two kneeling pads are cut to fit. They will go inside the cushion cover. This gives me a good firm cushion to elevate my sitting position in the car. There is enough room in the cusion cover that I can add a little more height, or I can remove one of the kneeling pads for a lower sitting position.Two kneeling pads go in.Ready to Go!
Less than thirty minutes for this project, from selecting the fabric to inserting the pads. That’s exactly why I always put on extra warp! You never know when you will need an odd piece of handwoven something…
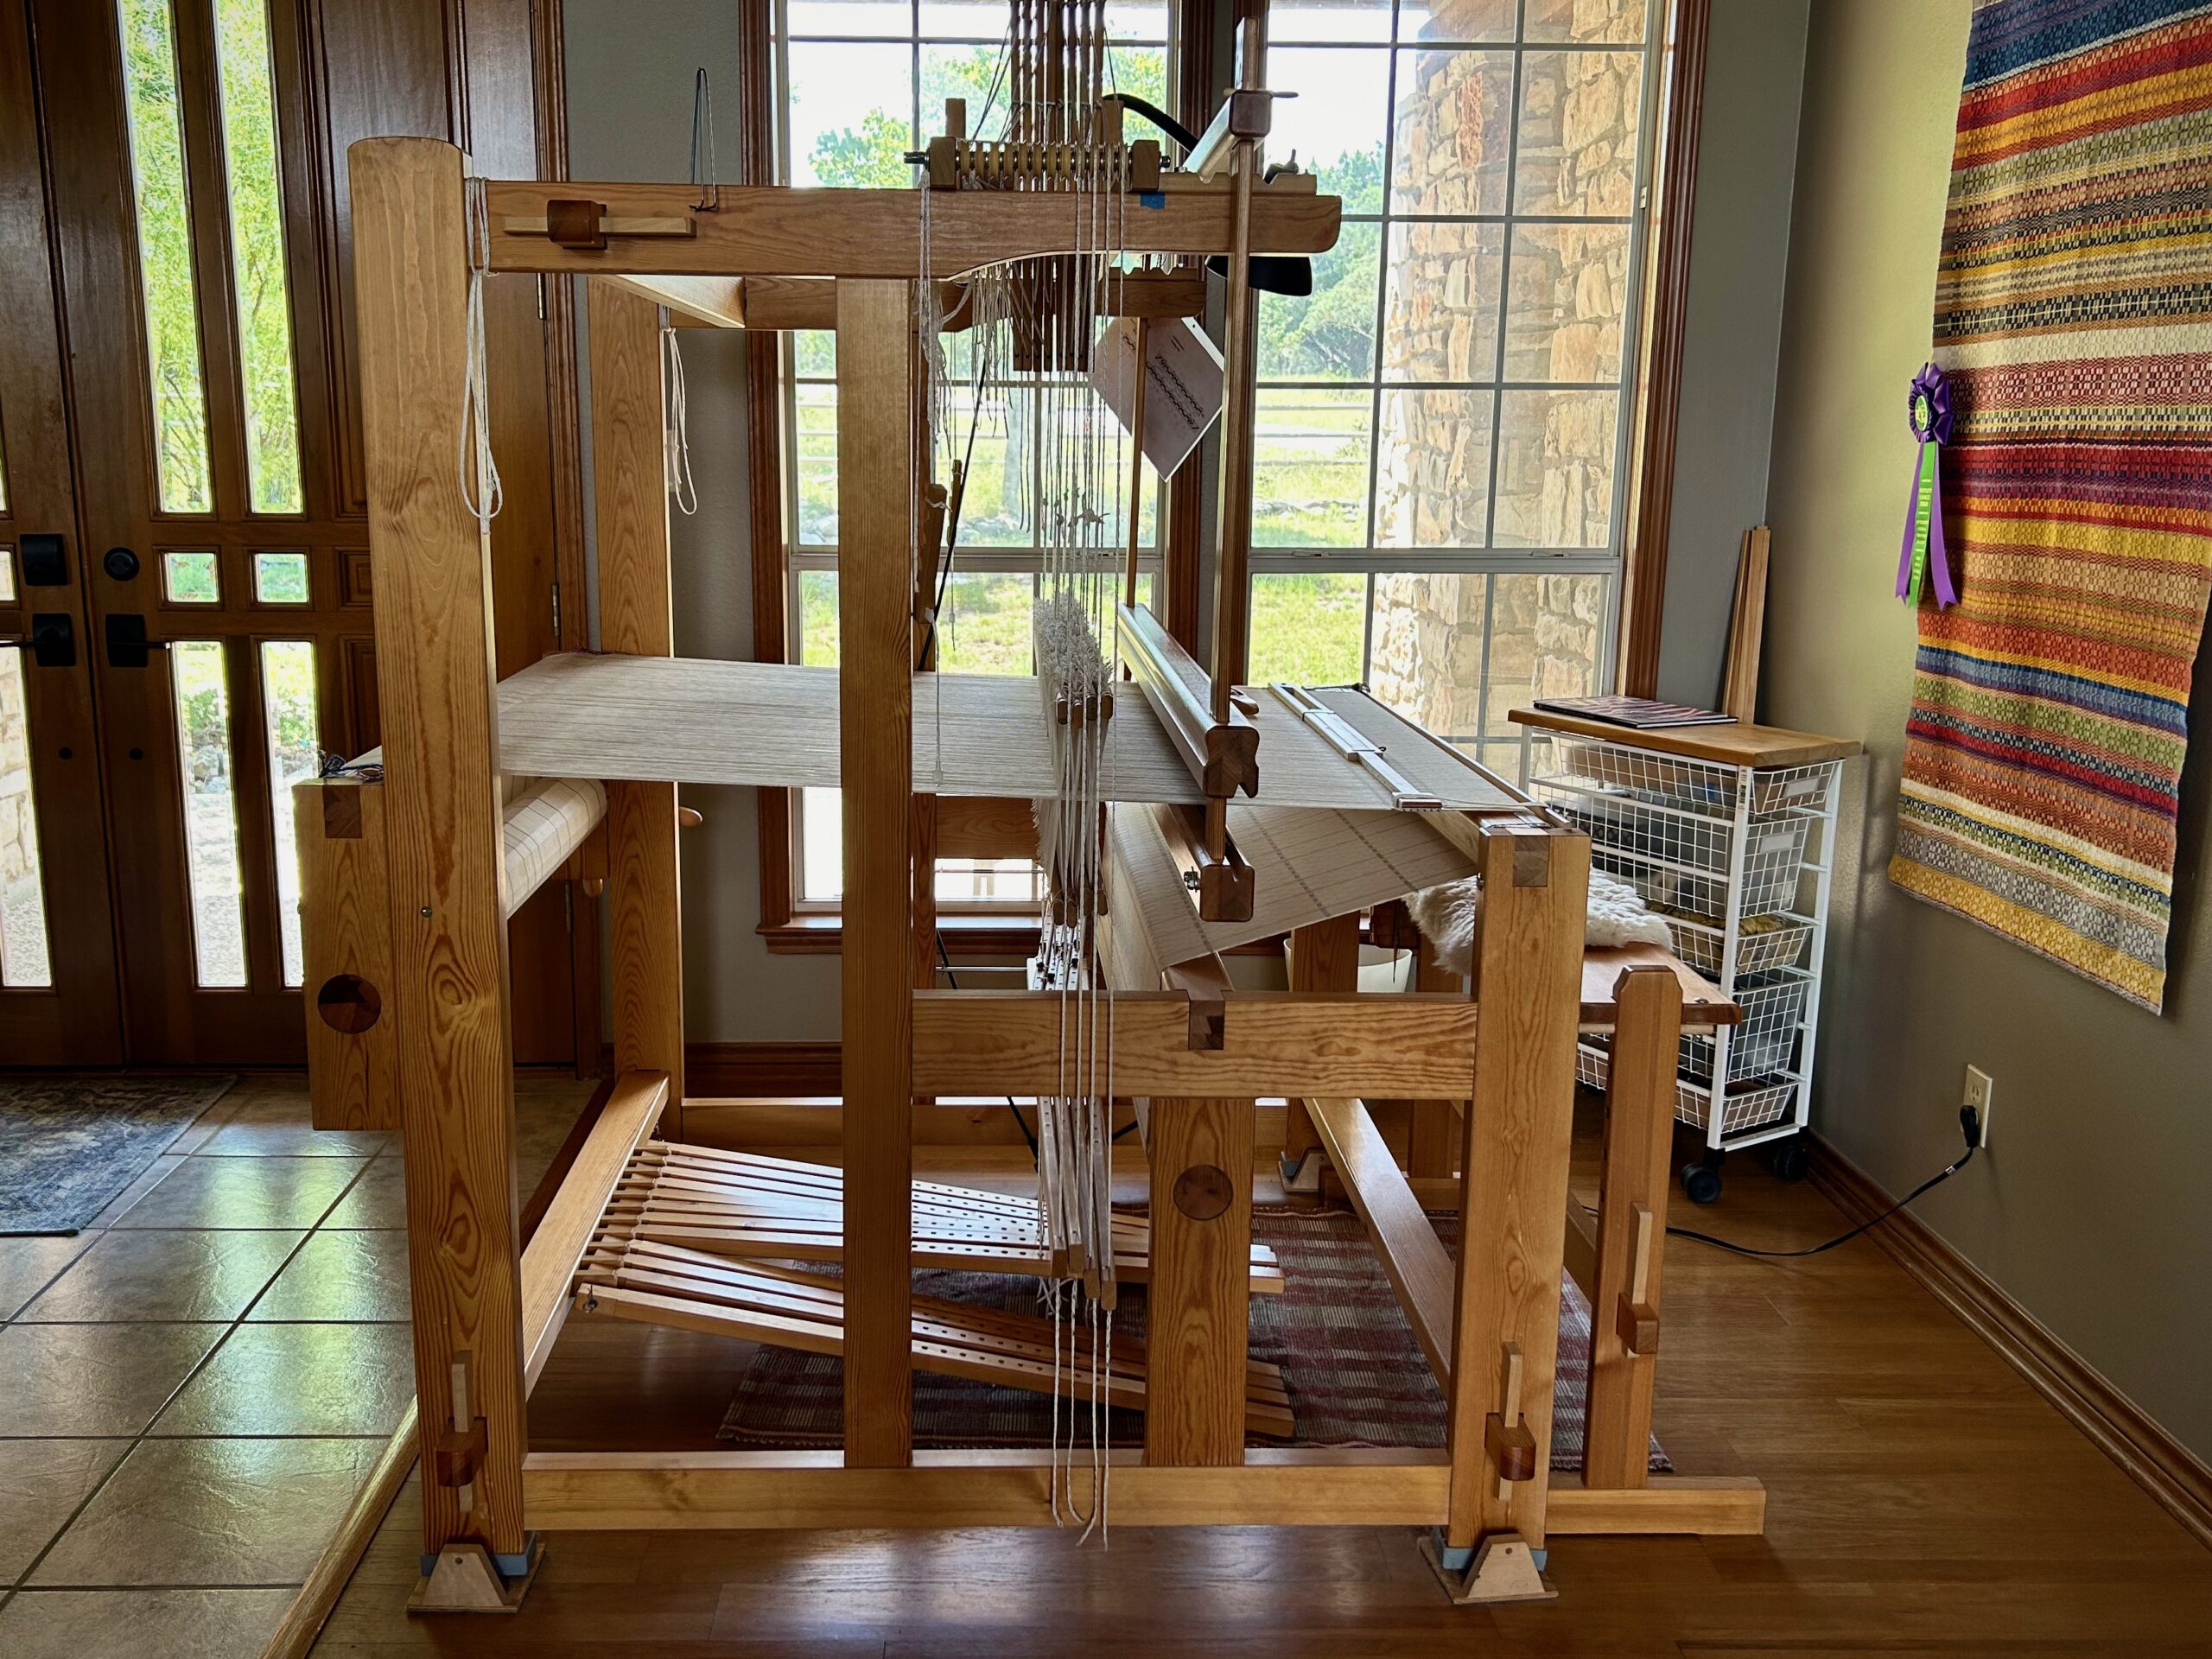
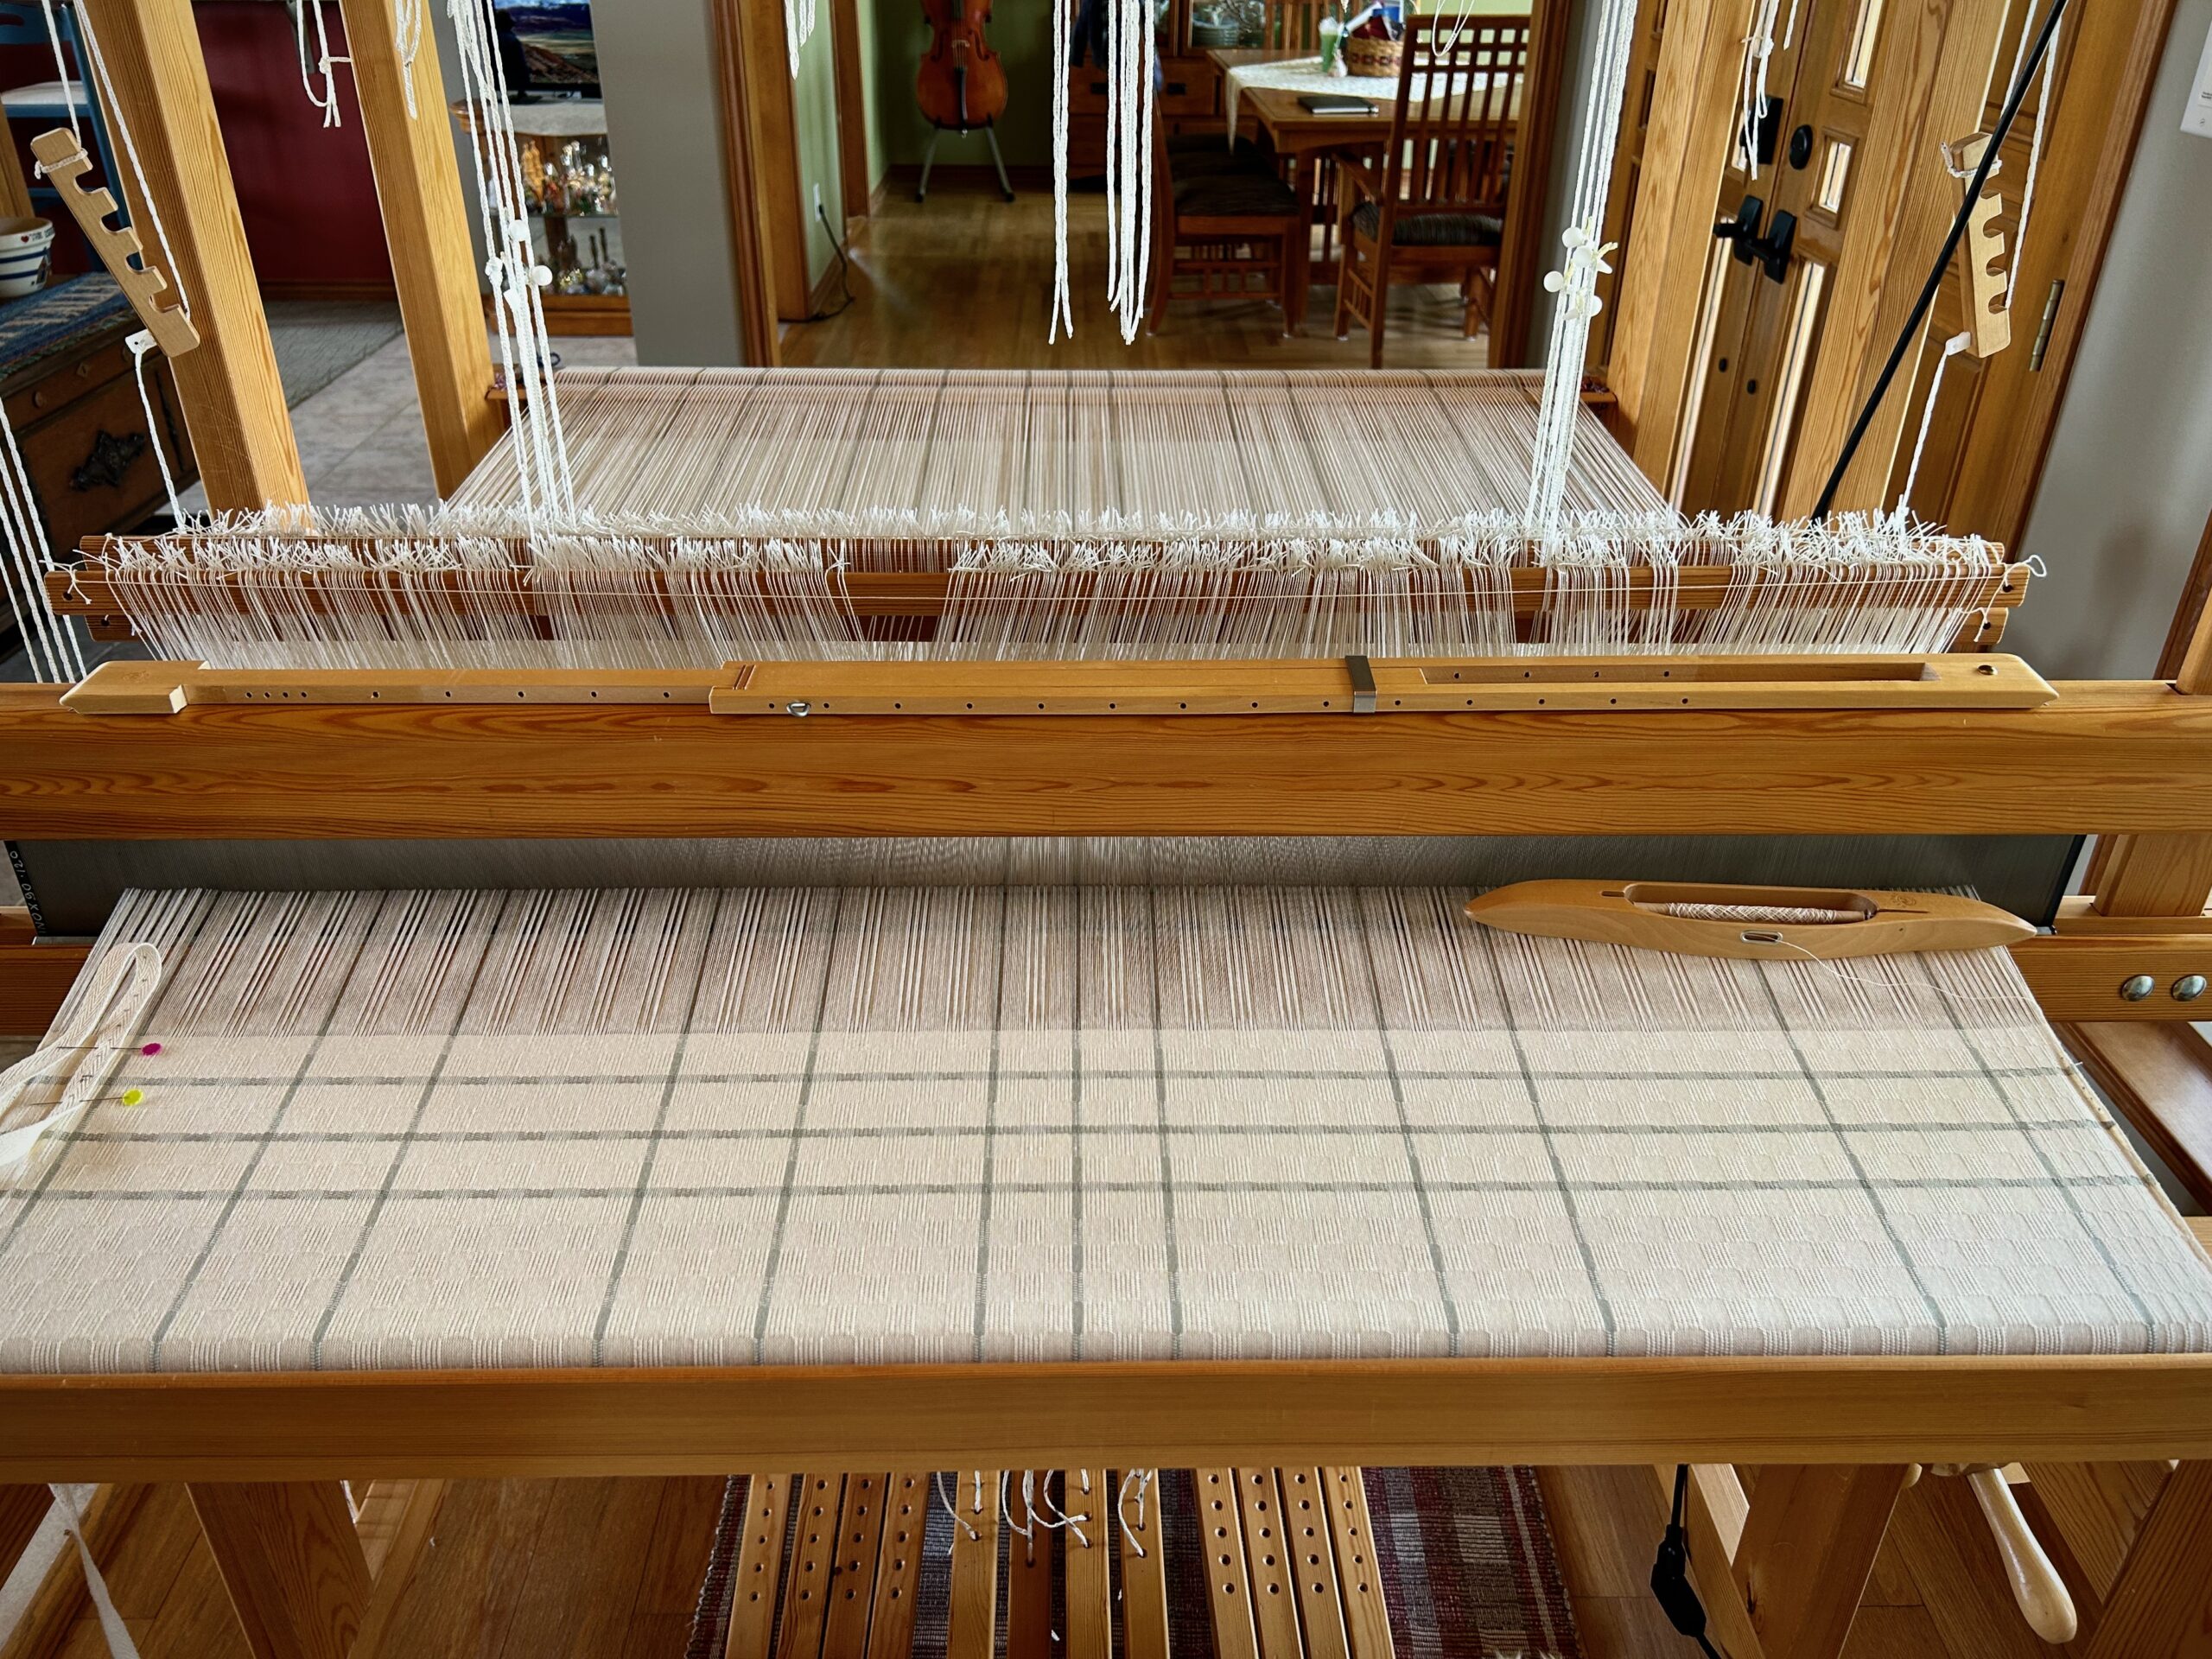
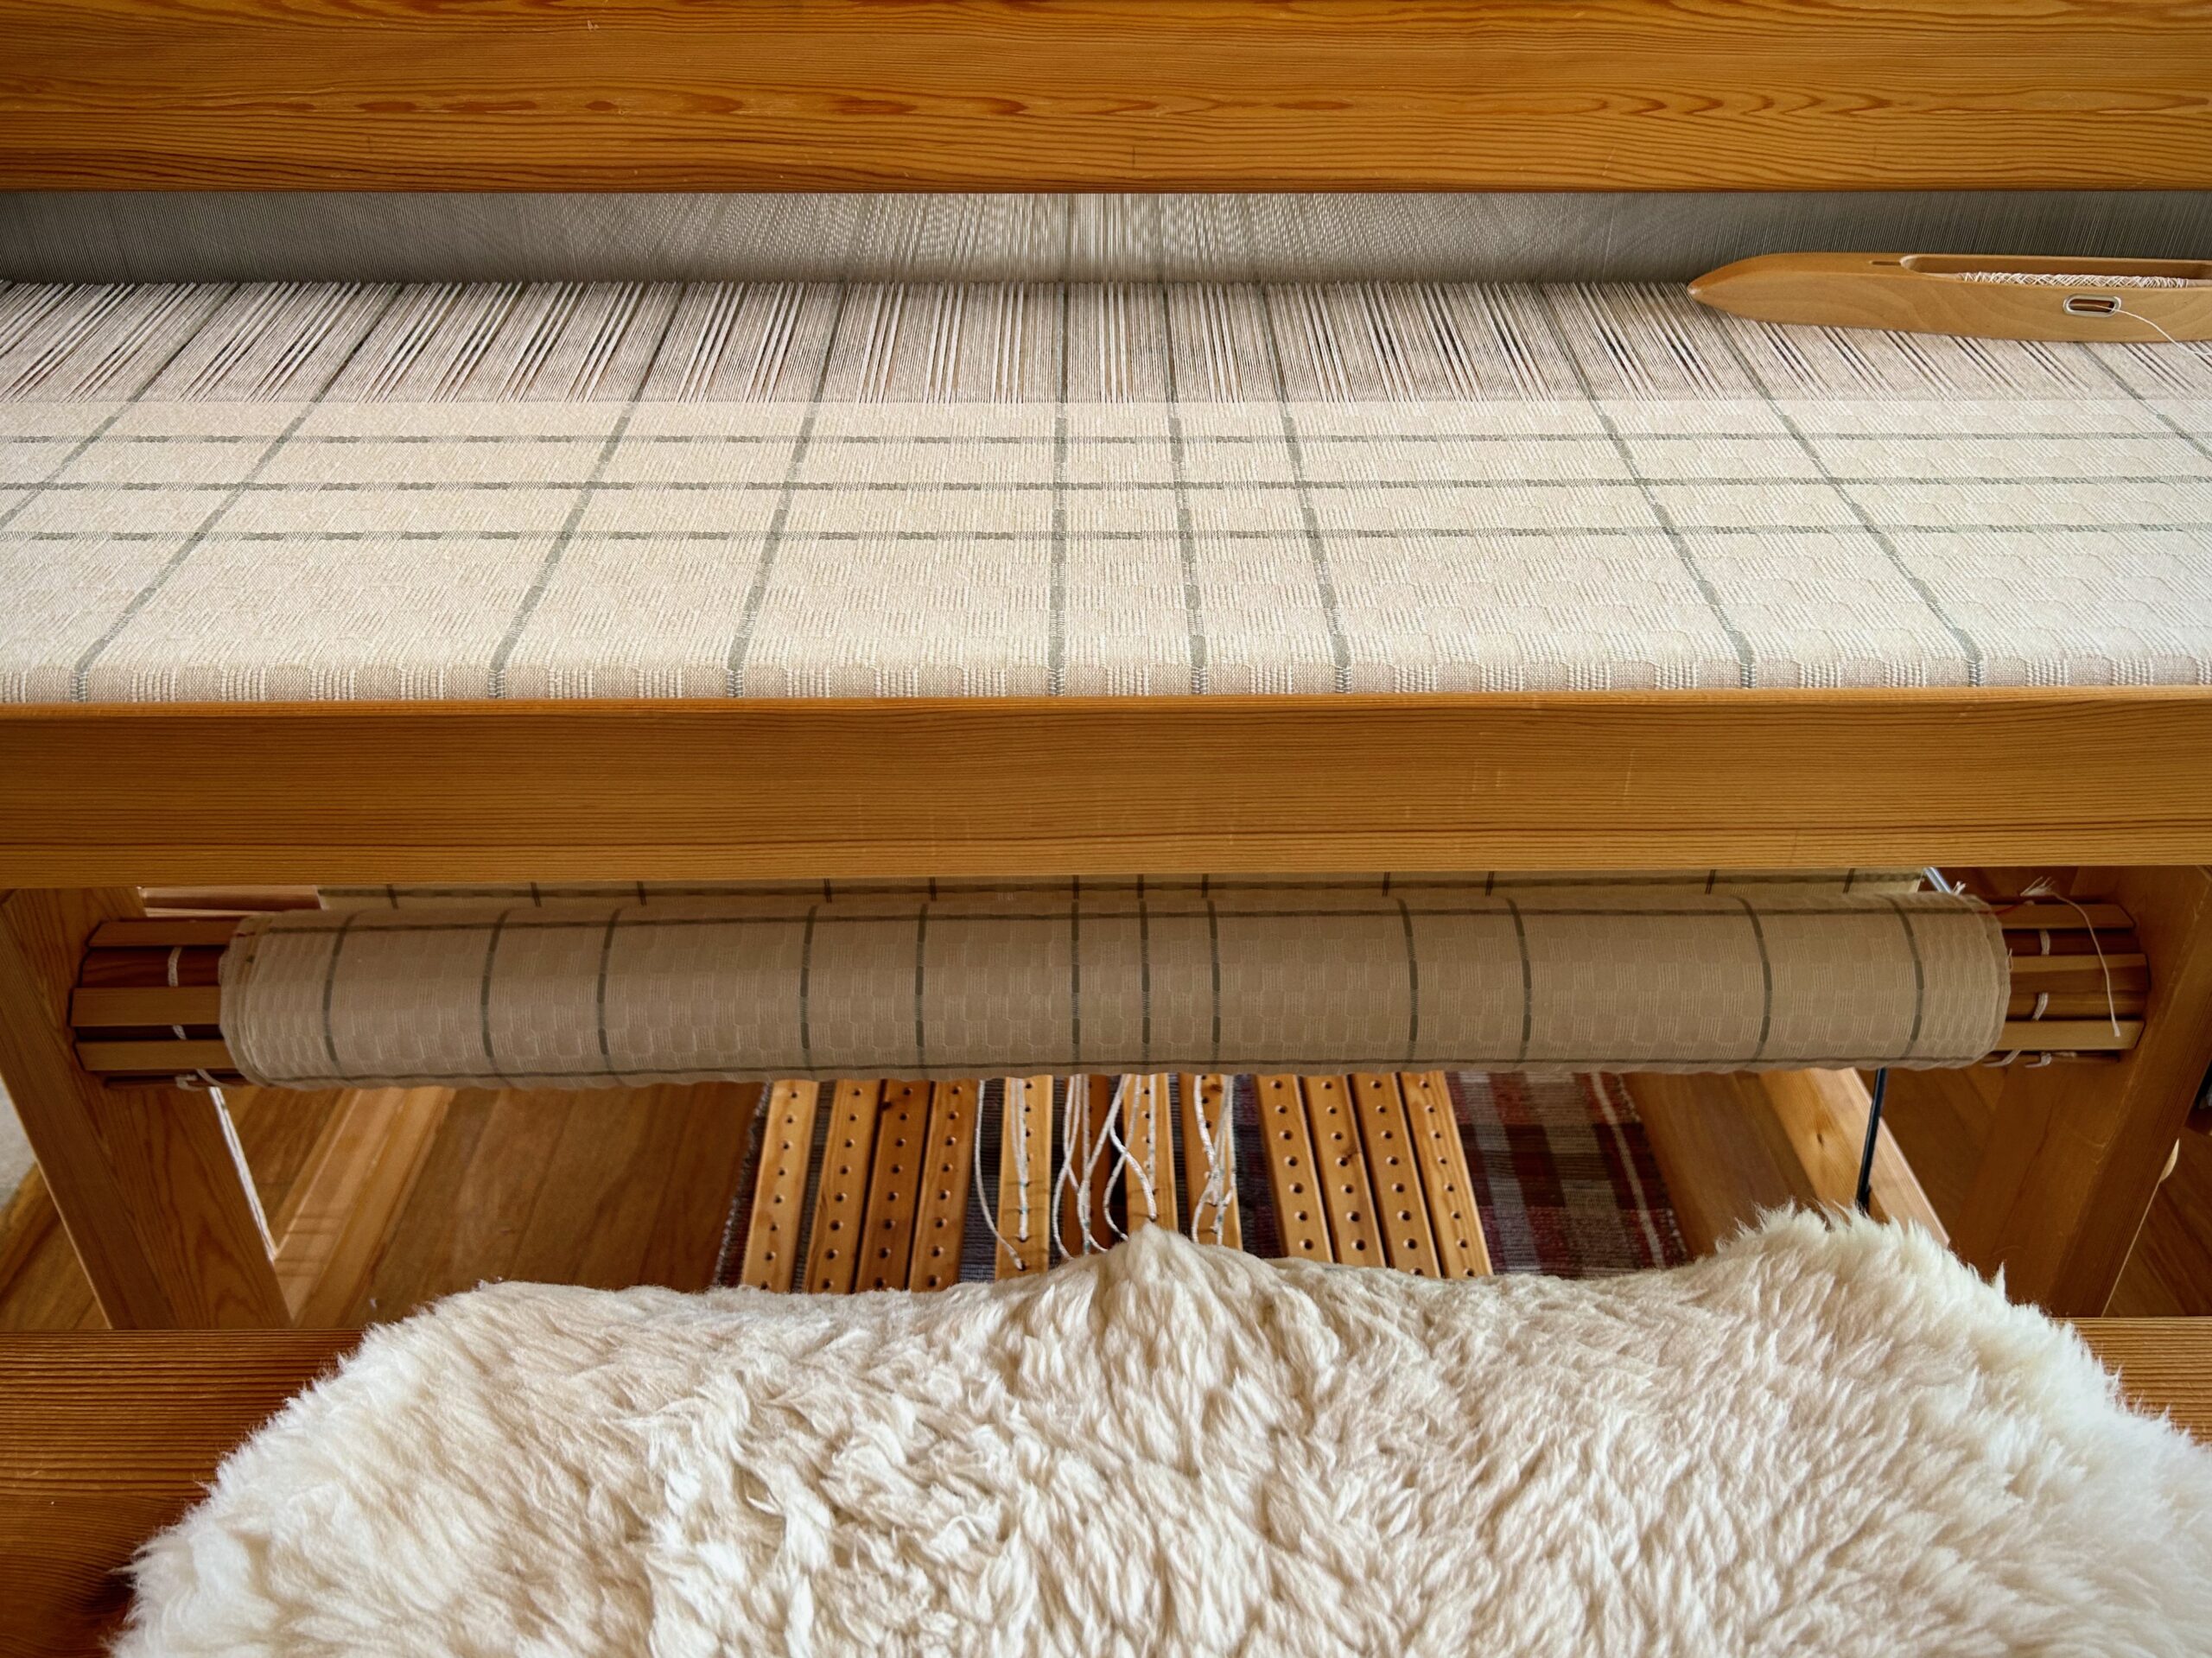
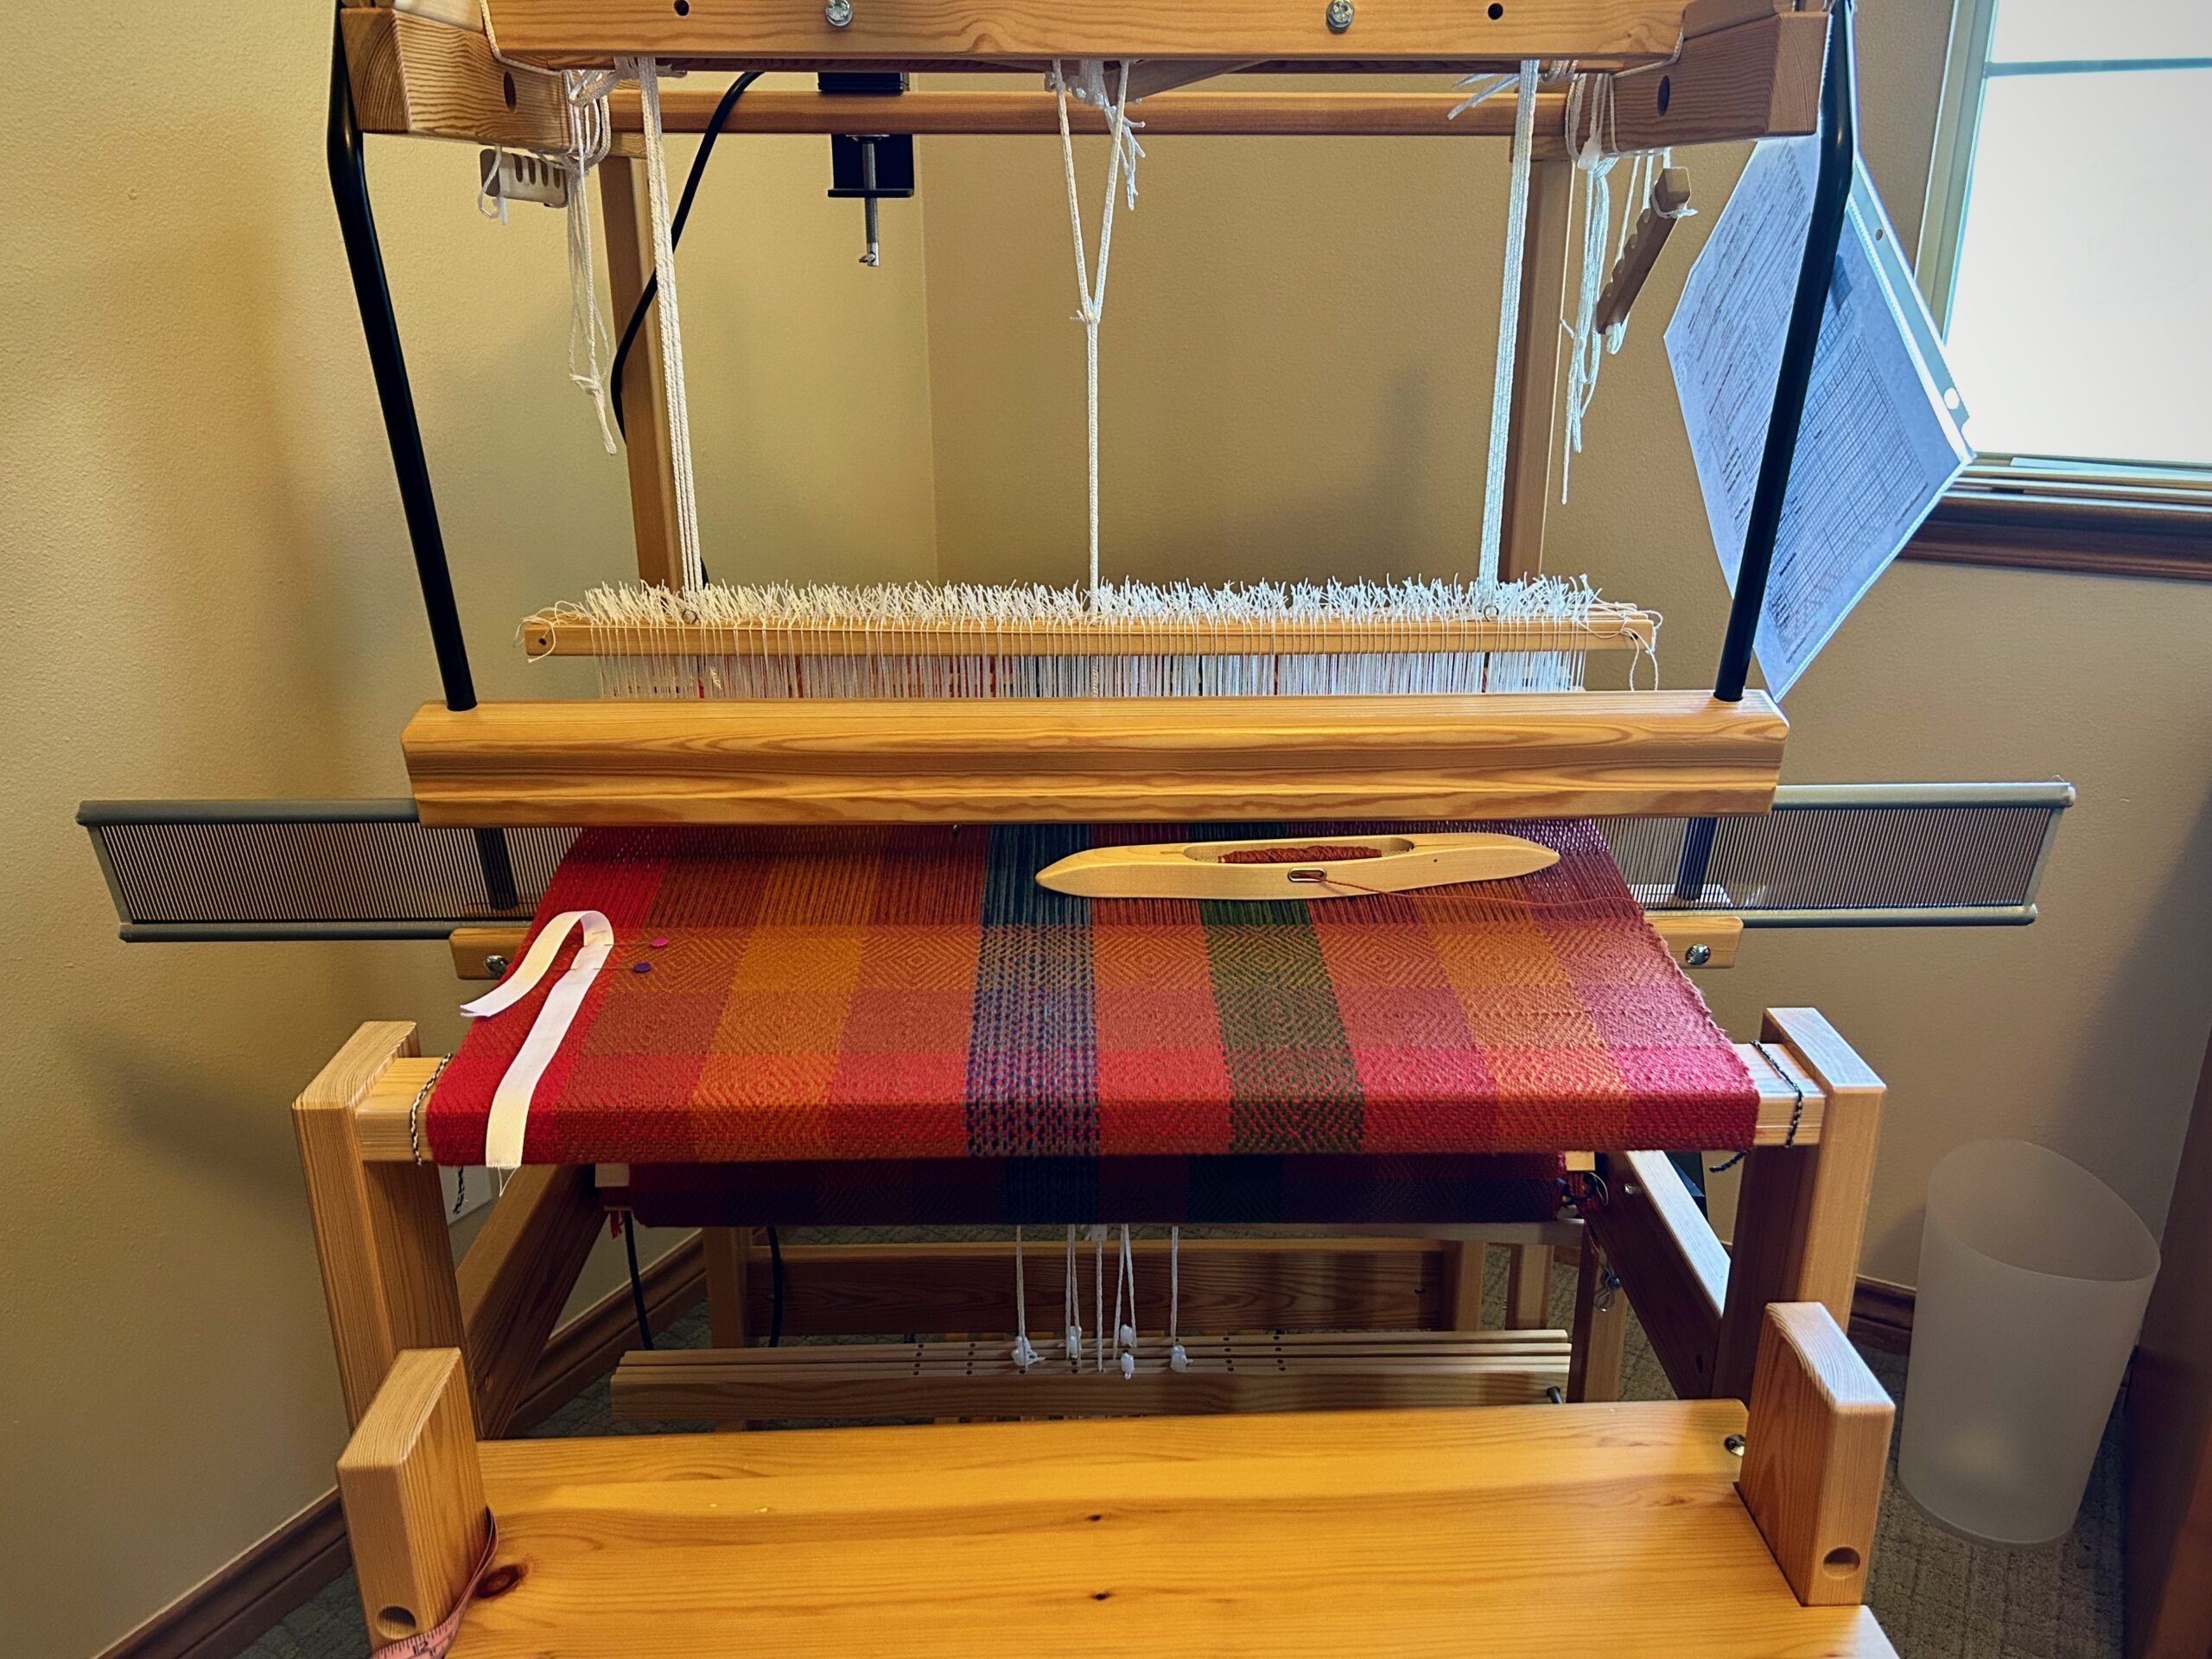
The Glimåkra Standard is where I am most comfortable, even though the reach of the full width is stretching me. The curtains for the bathroom are progressing. No new news, just continuation of adding cloth to the cloth beam.
Still weaving this M’s and O’s curtain yardage. Looking forward to the day the curtains will hang in our remodeled bathroom.Fabric is adding up on the cloth beam.
The Glimåkra Ideal is patiently waiting for a new tapestrywarp. I have a bit more design work to do on the cartoon, and then I’ll be winding the warp with the 16/2 linen I have set aside just for this project. I’m eager to show the new tapestry idea to you! Soon!!
I am finishing up the next critter napkin design for the drawloom. This one is a roadrunner, and it is just…about…ready…to weave.
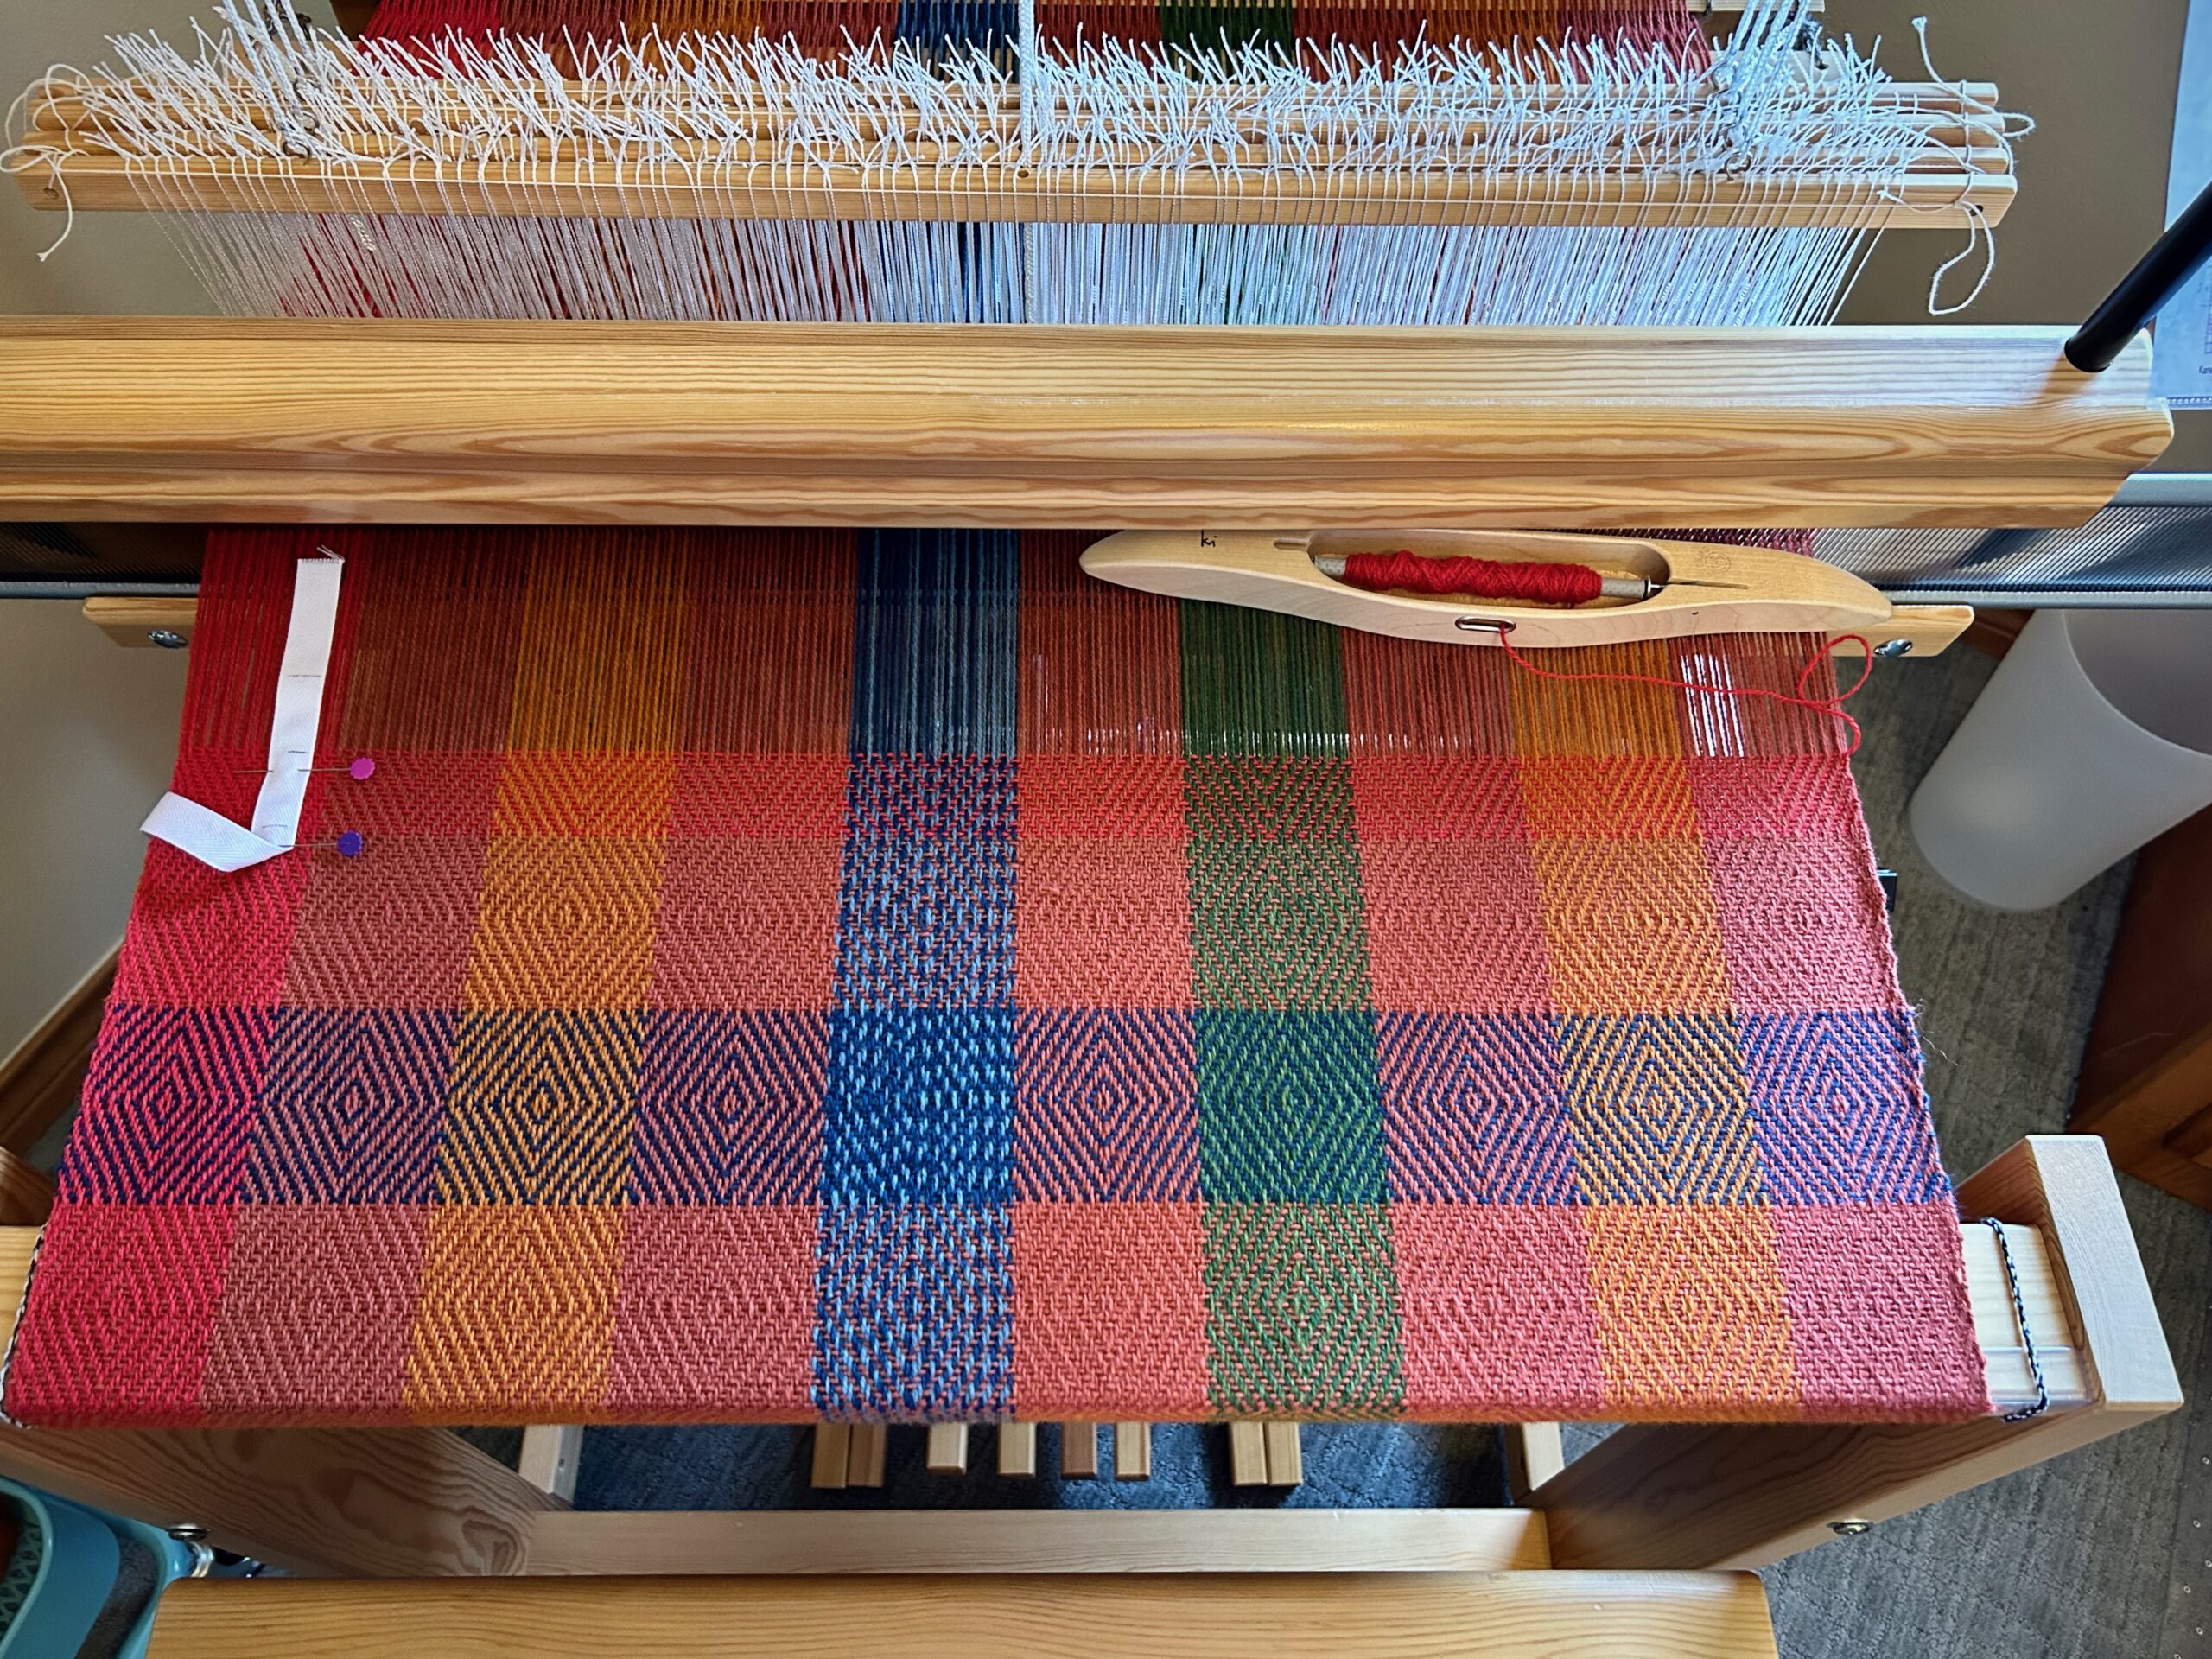
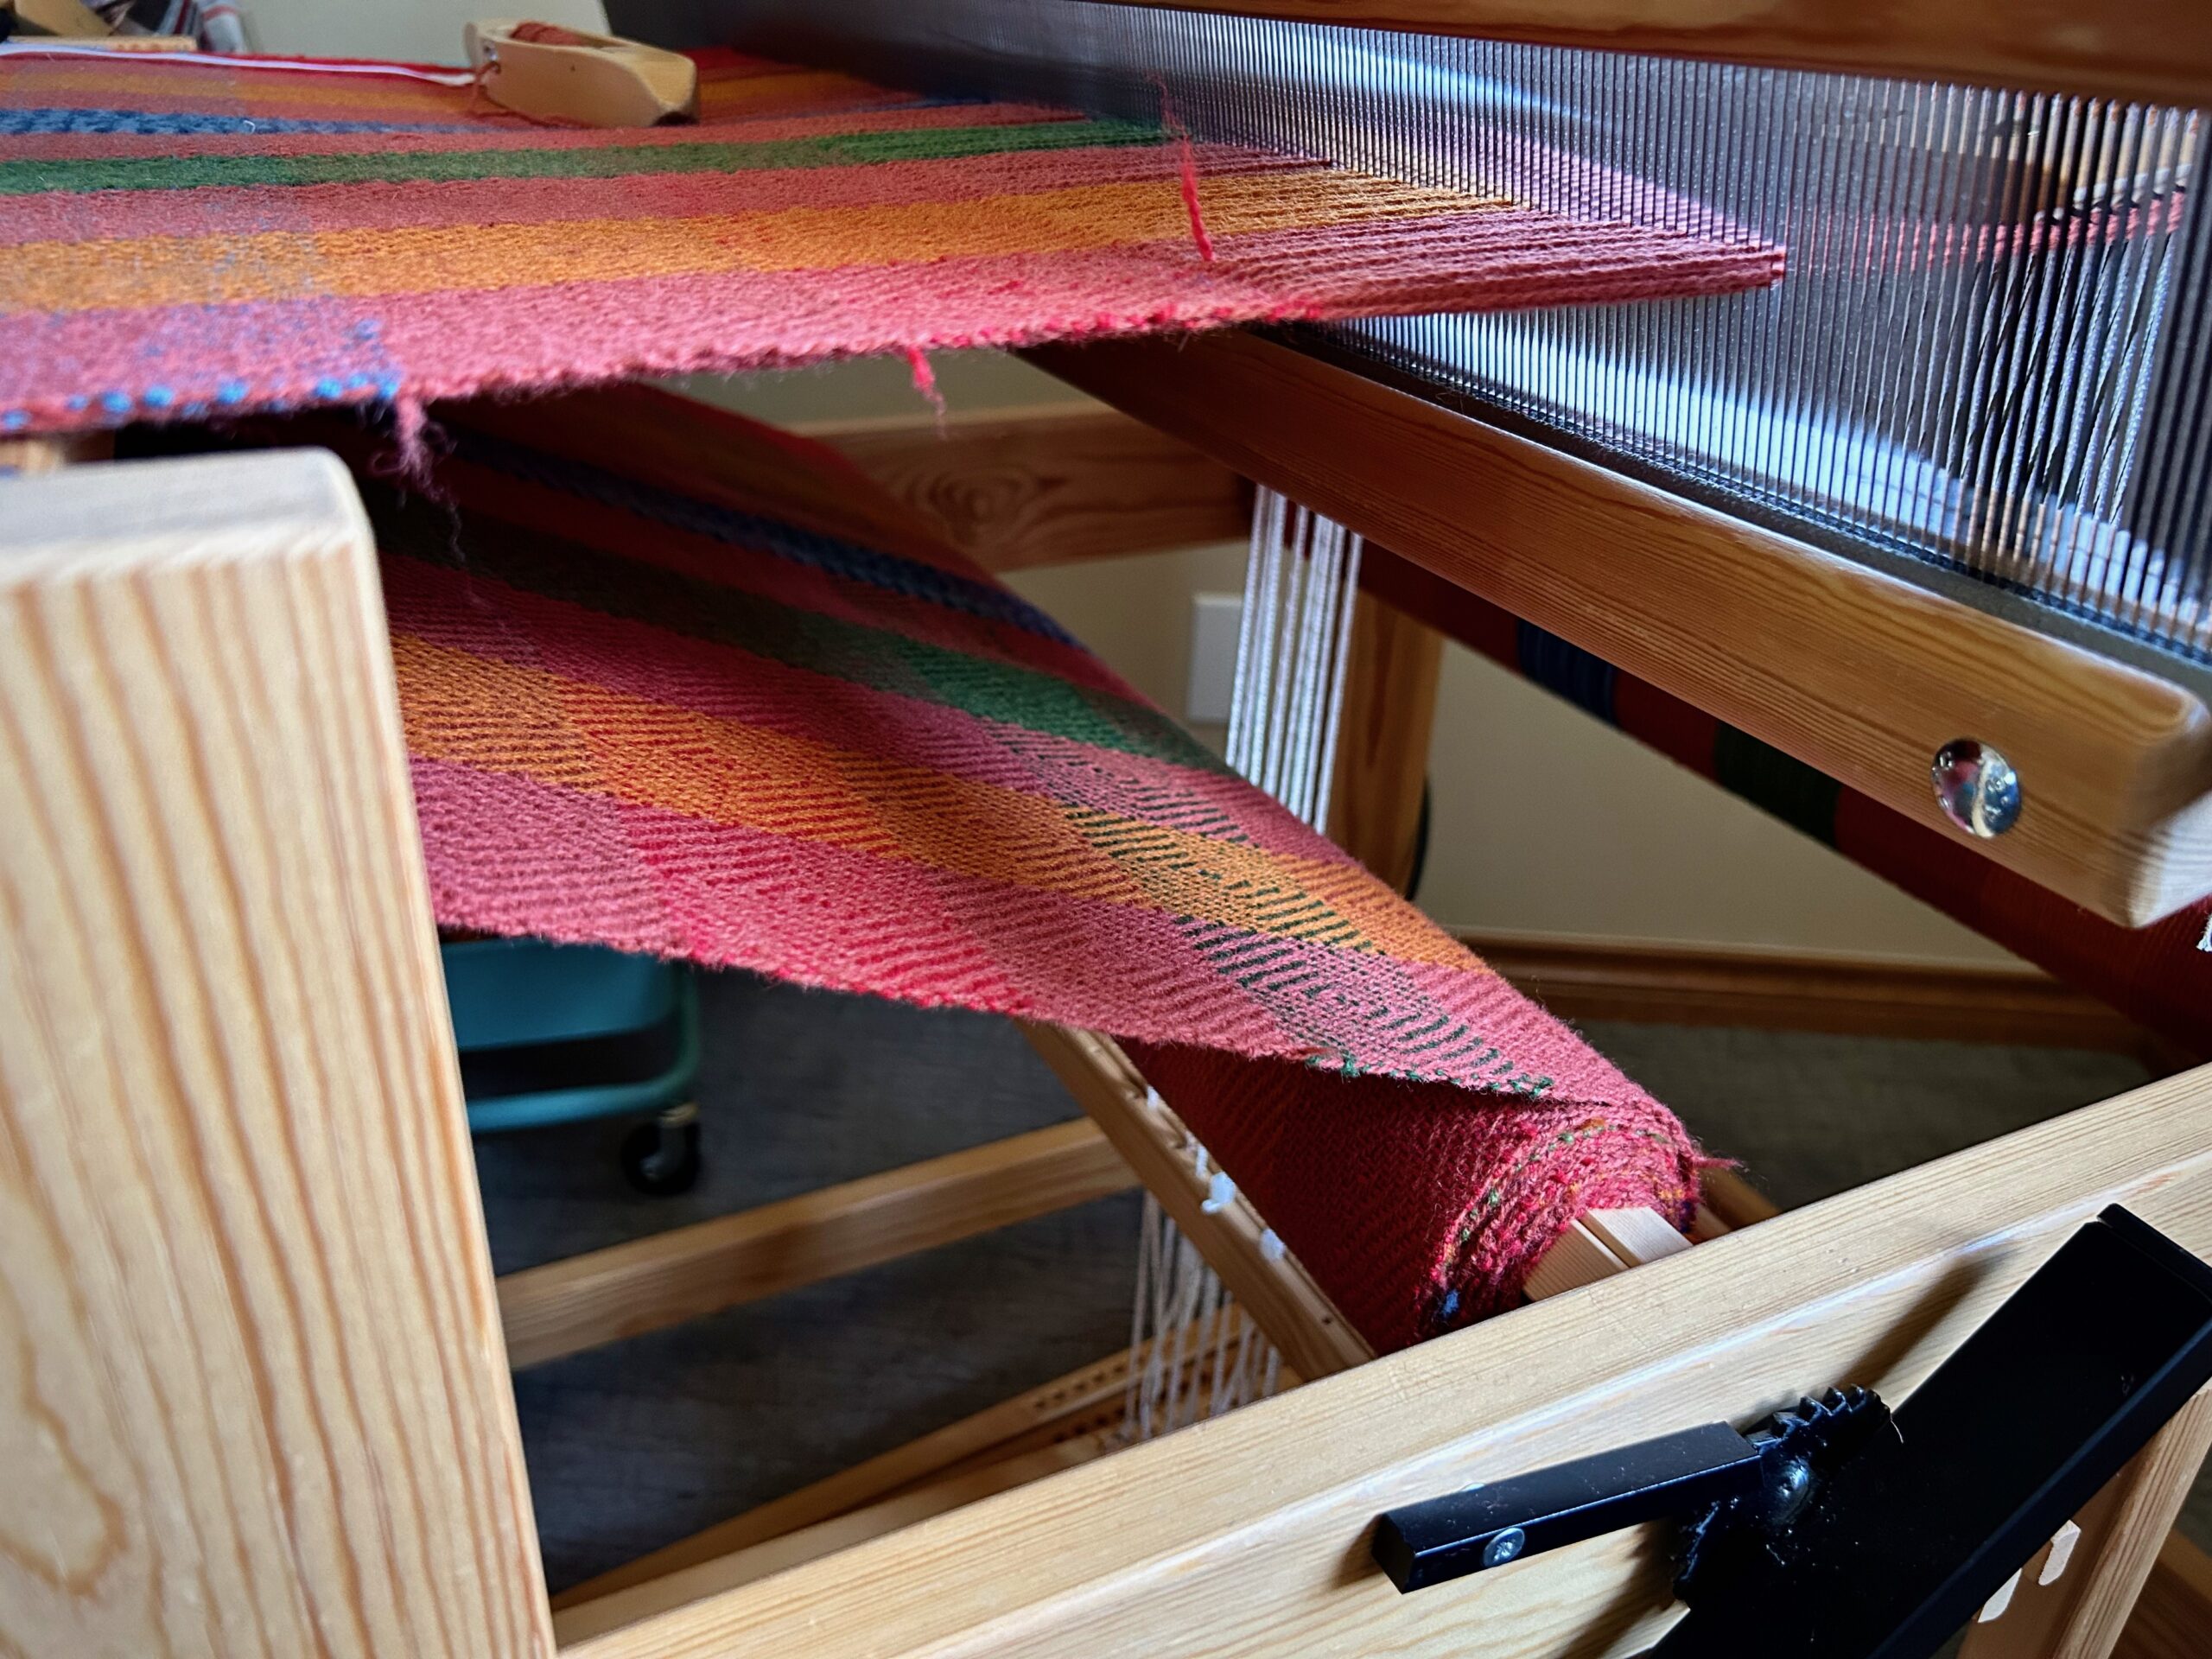
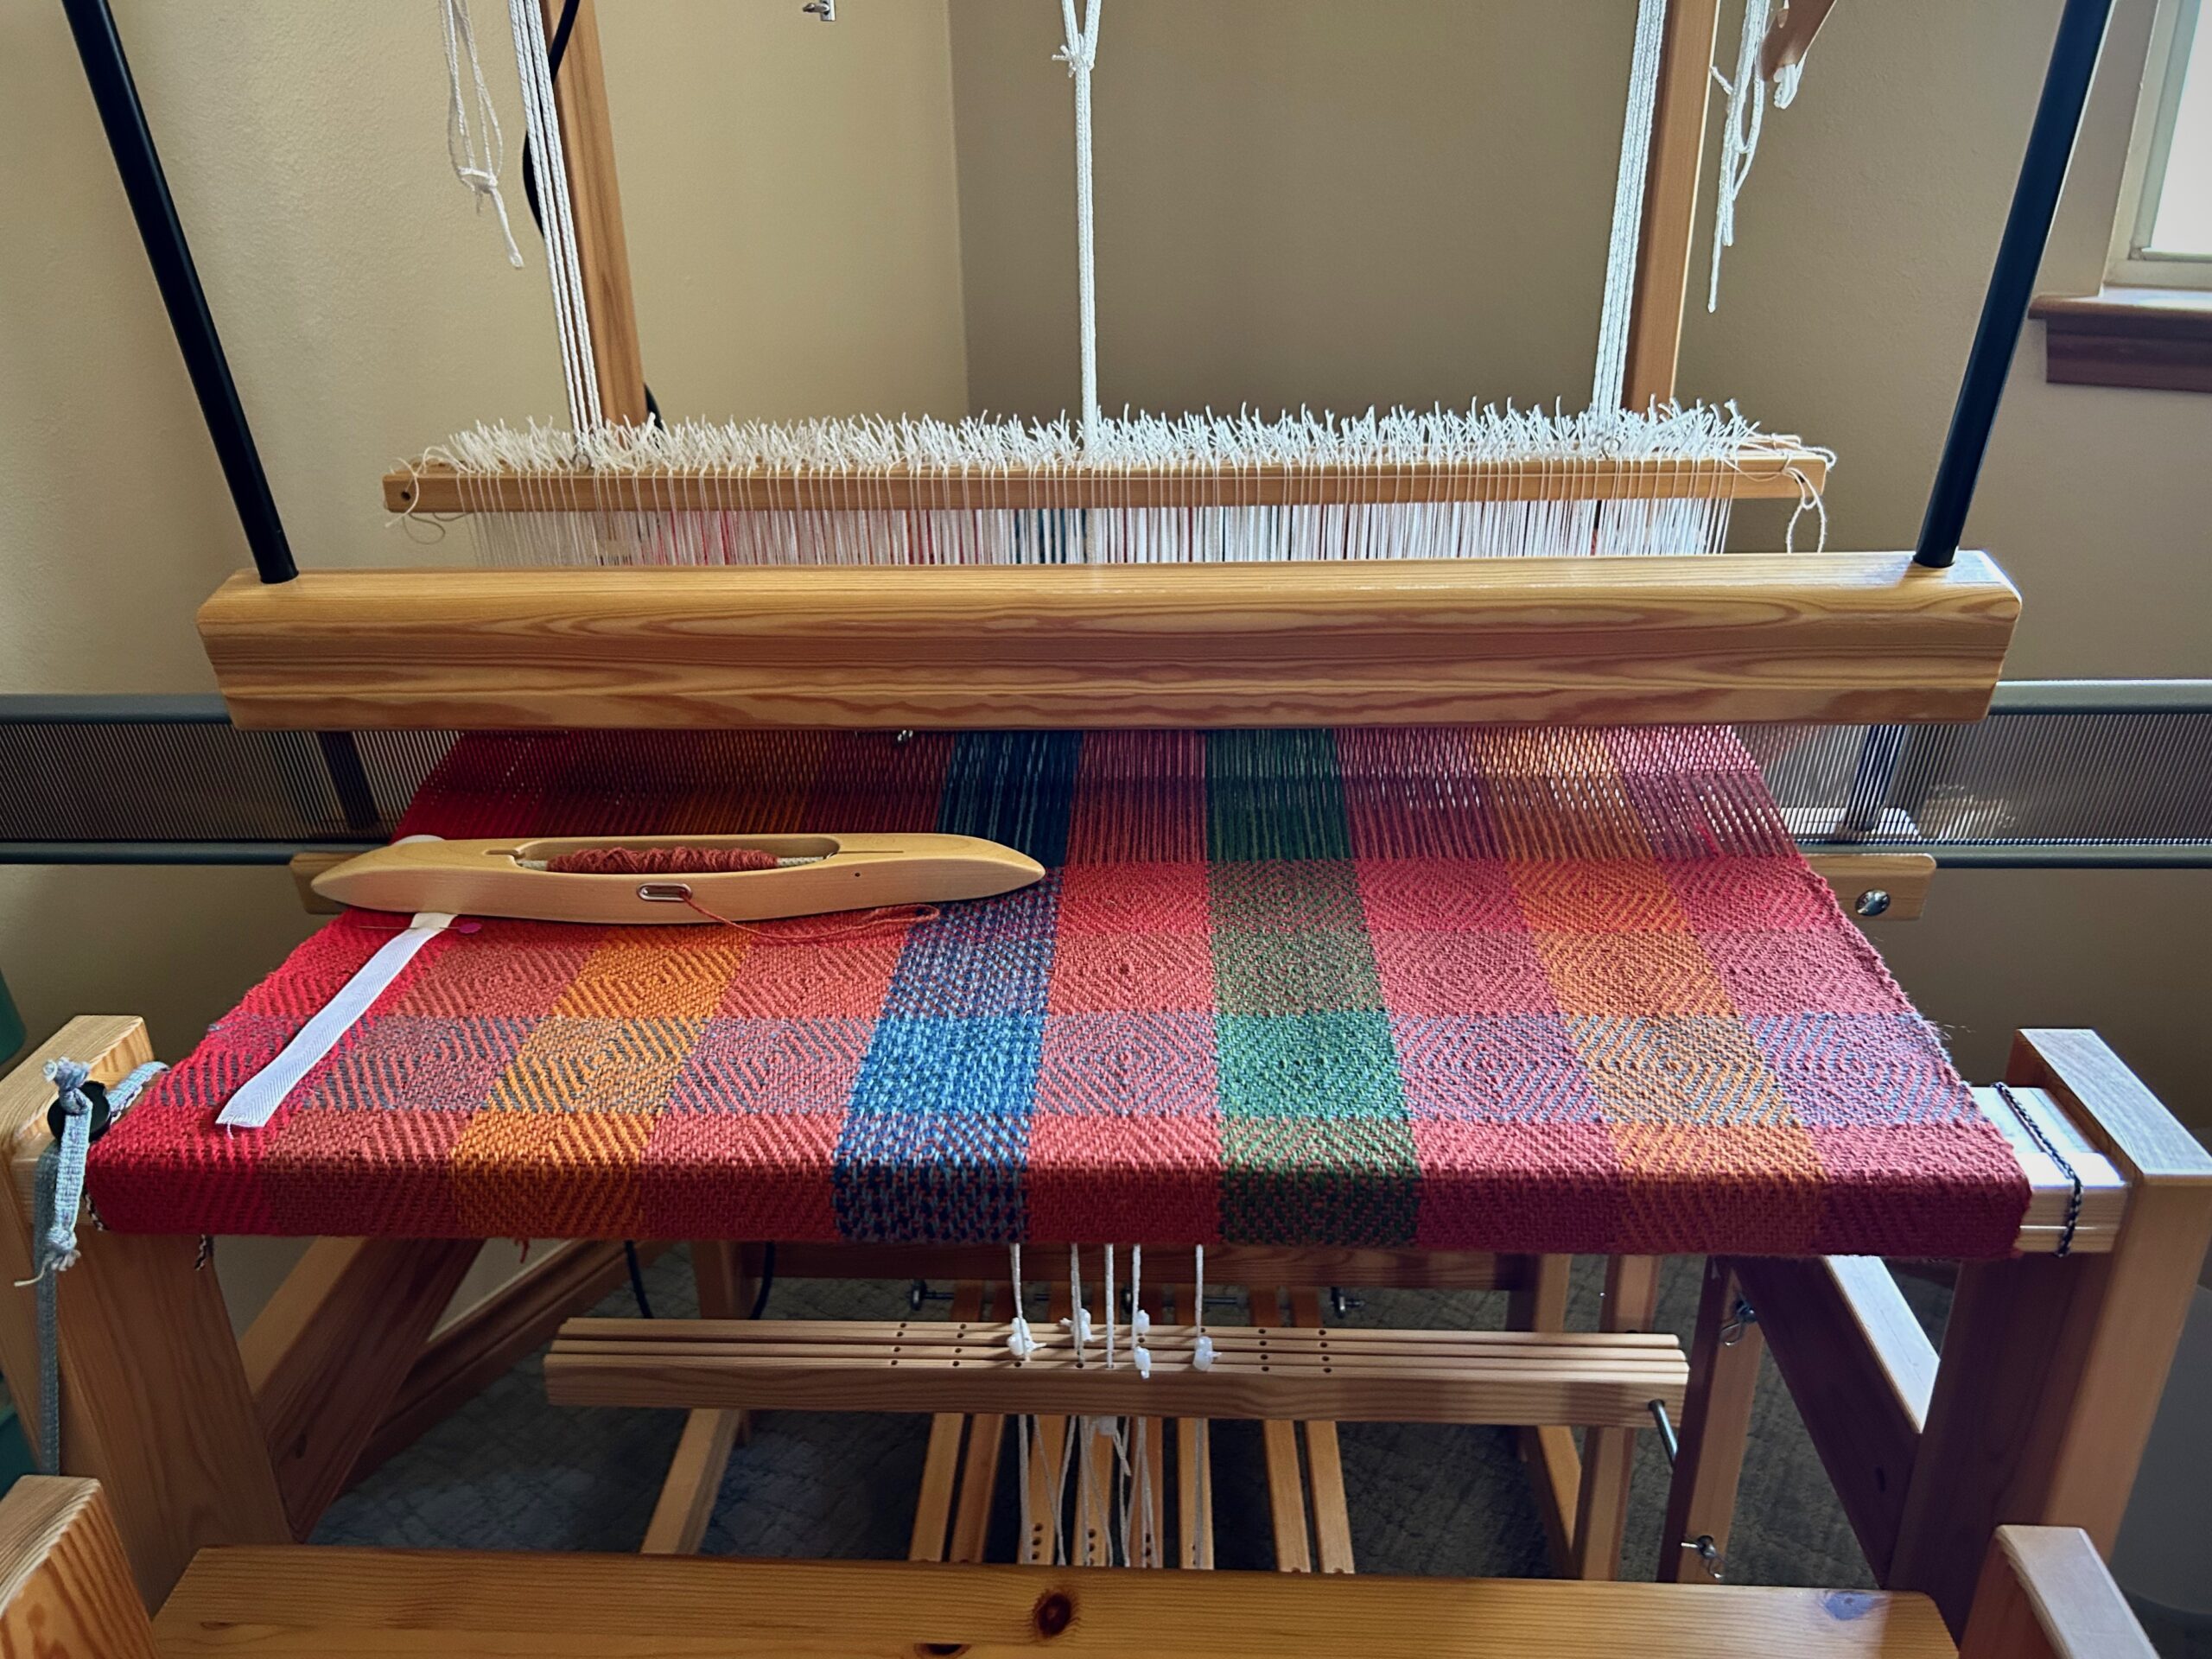
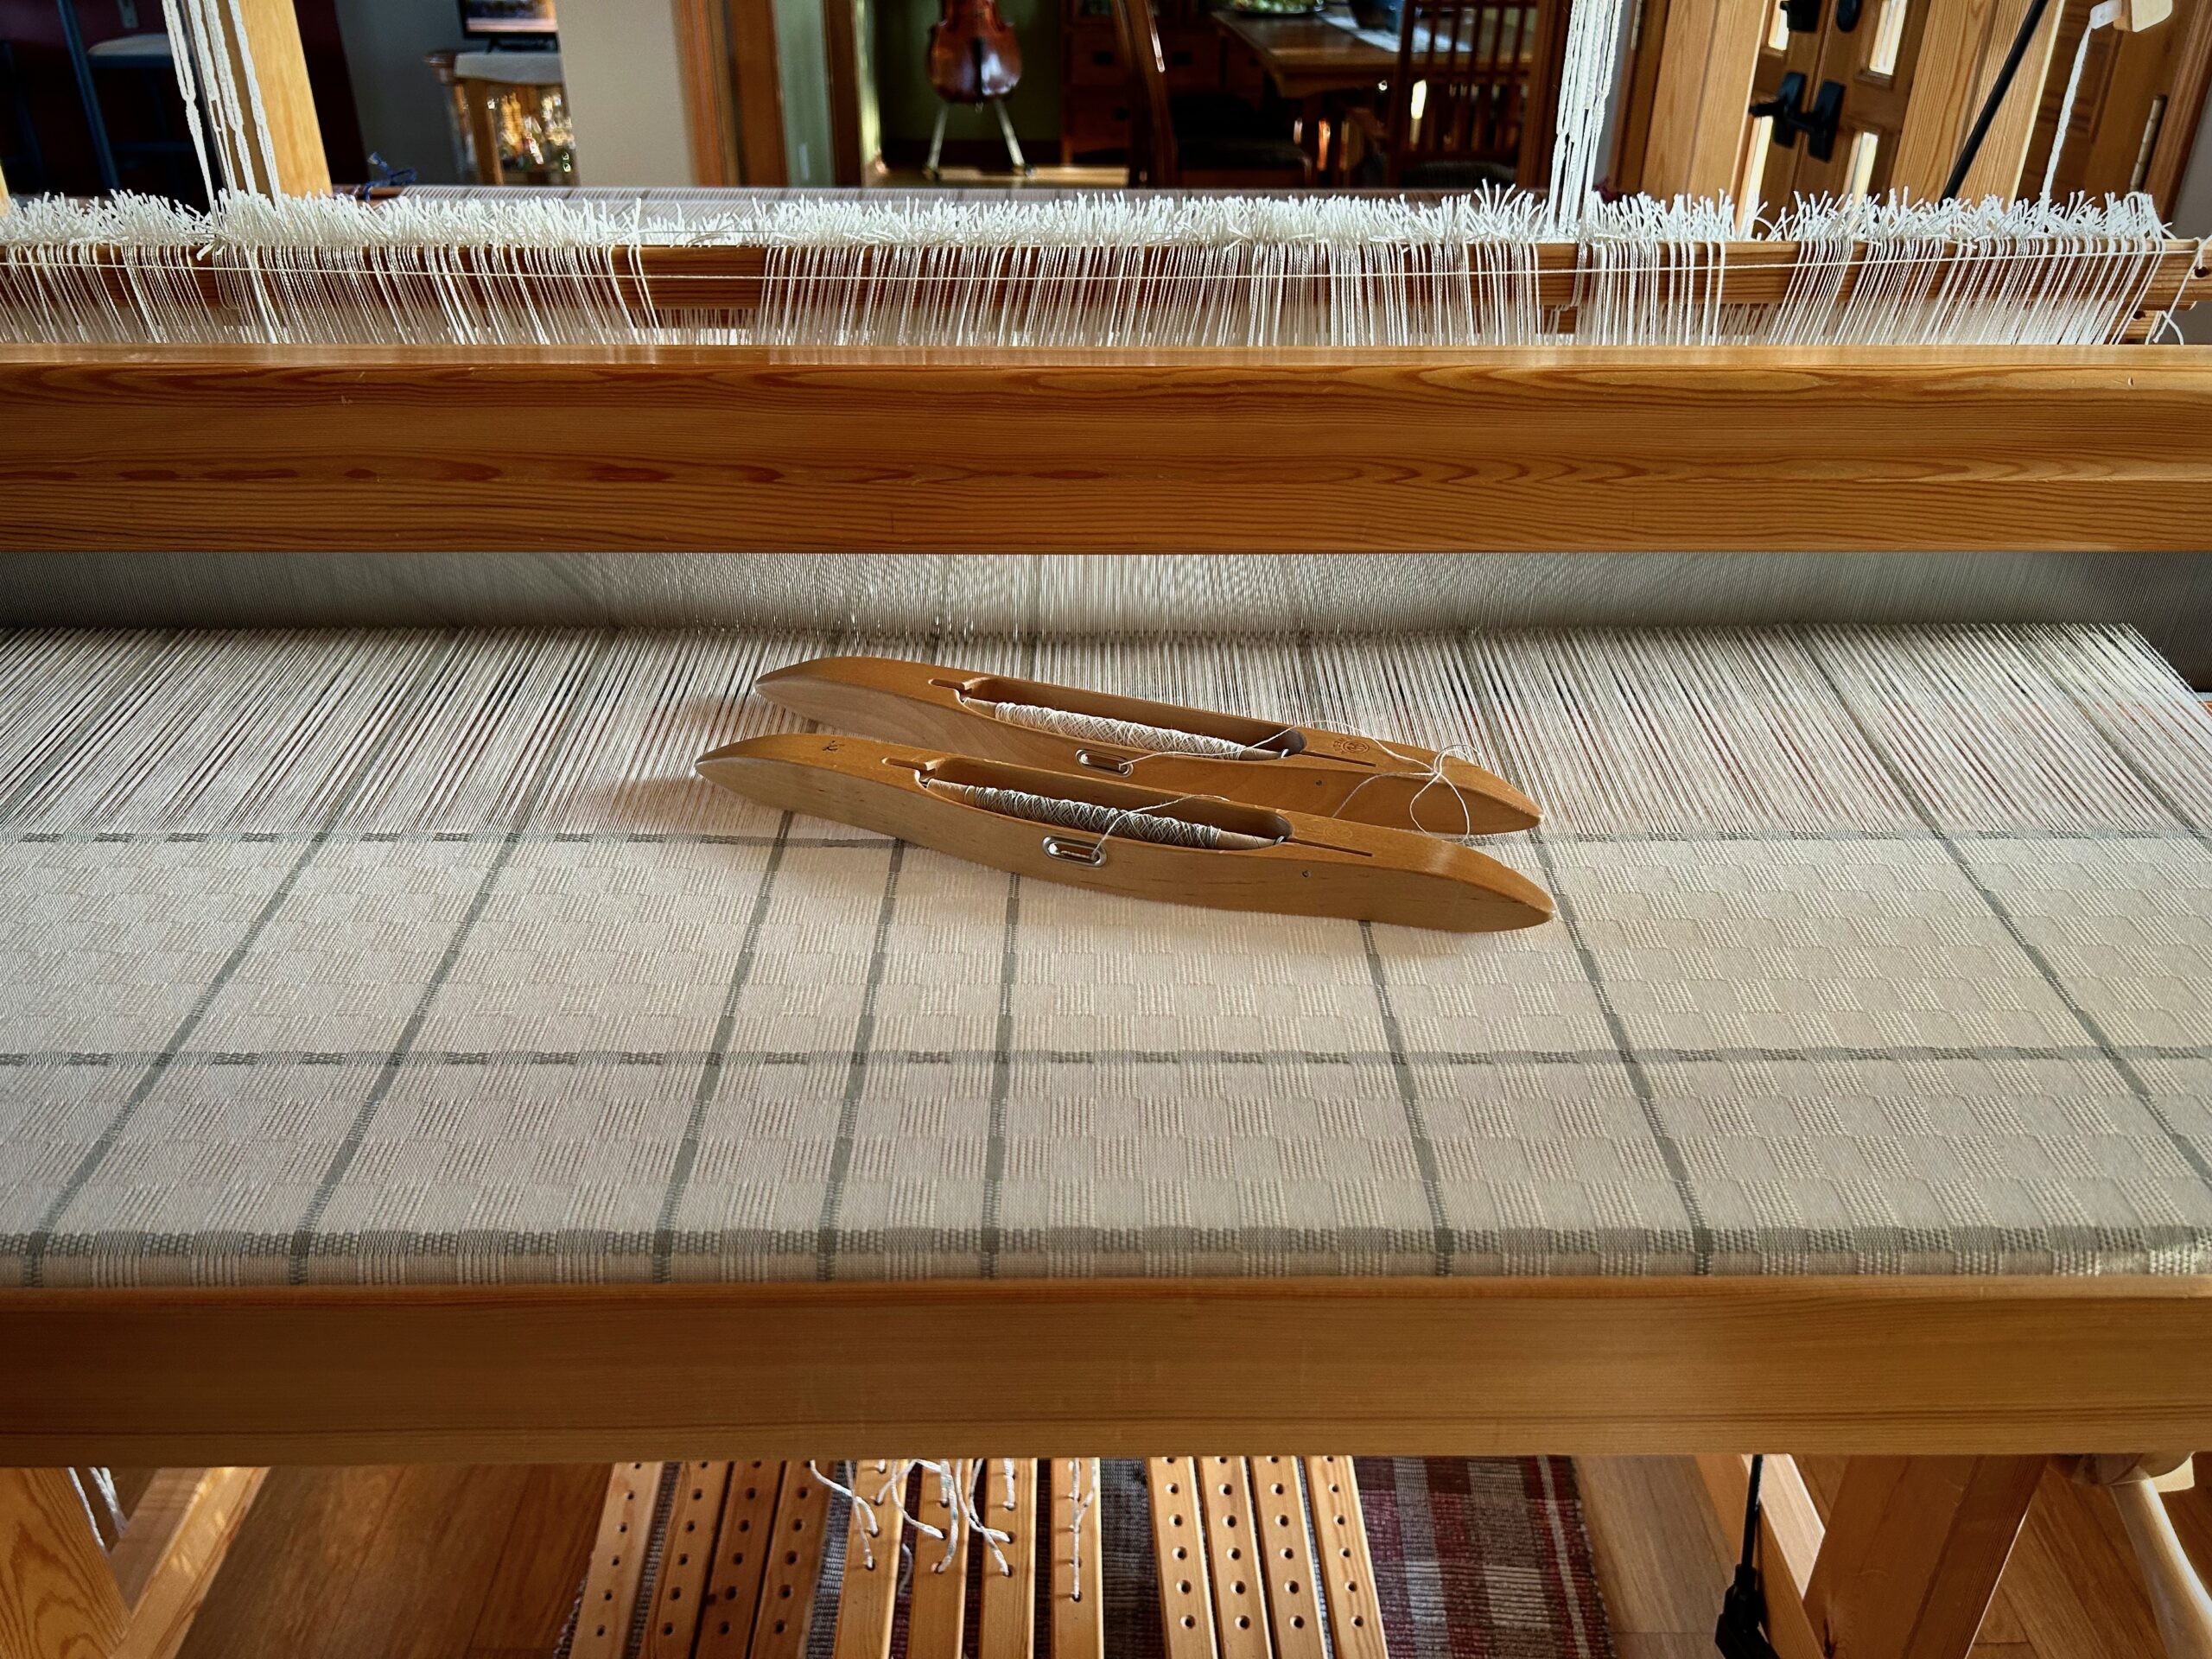
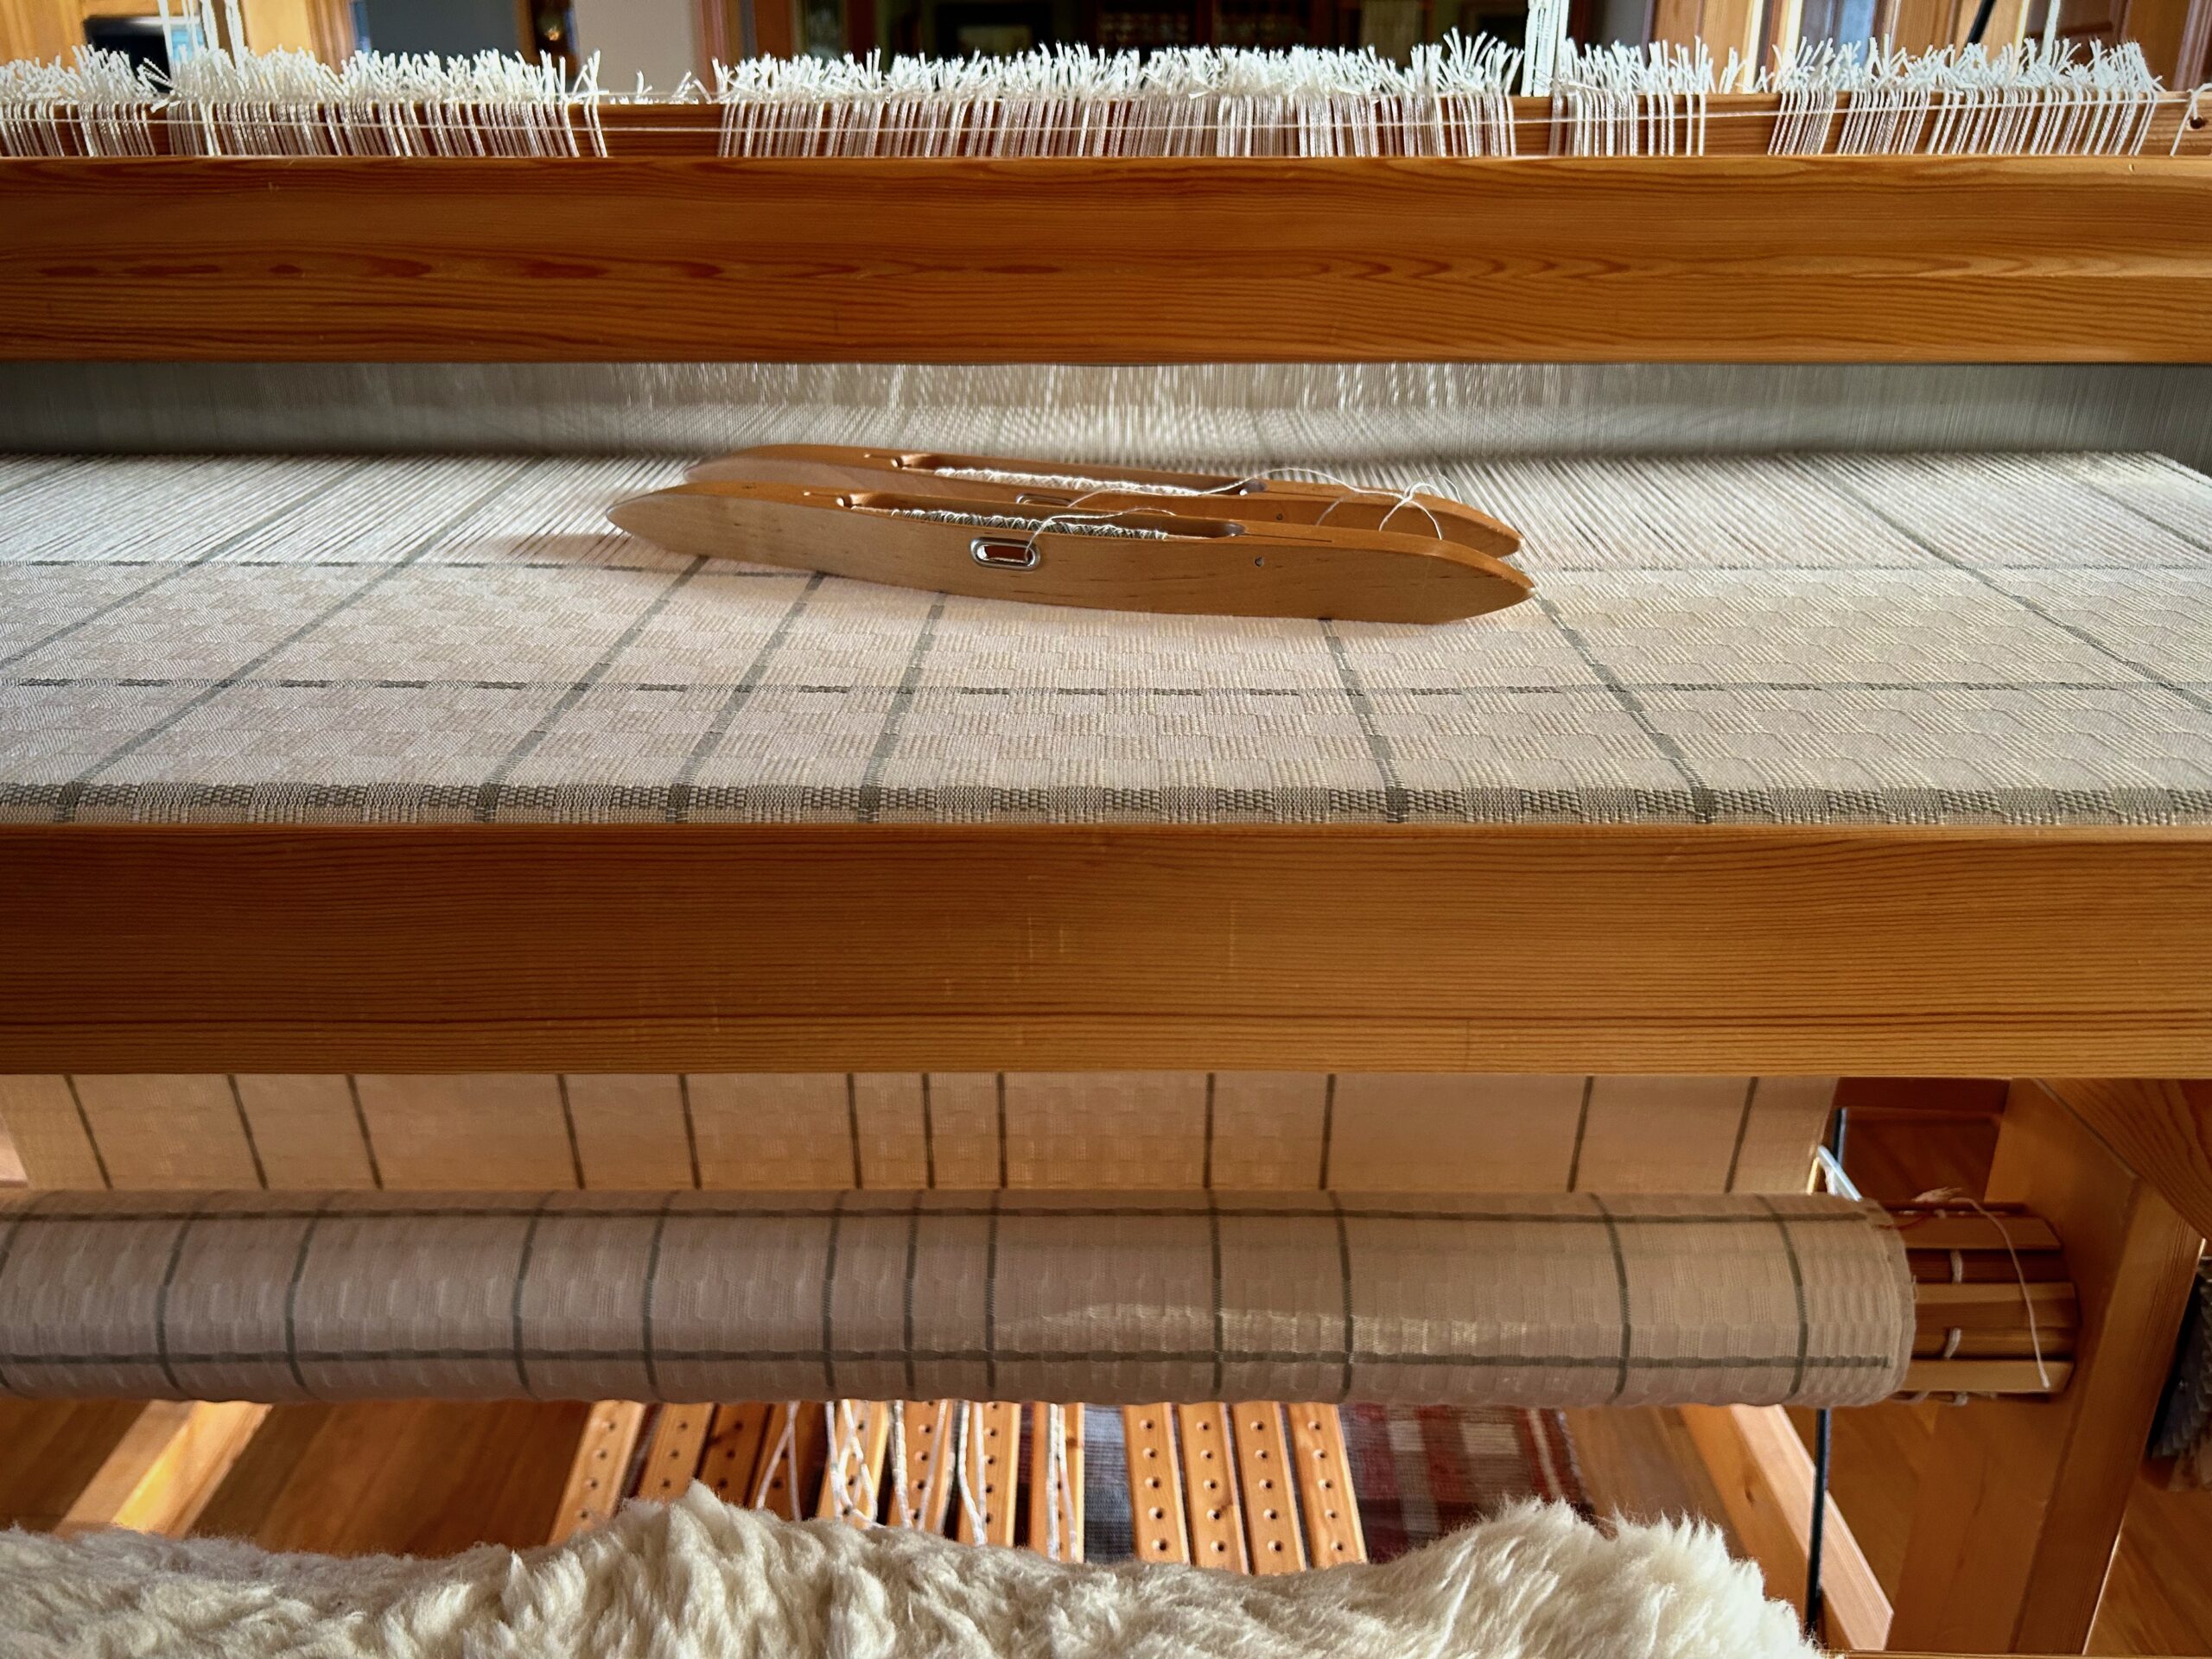
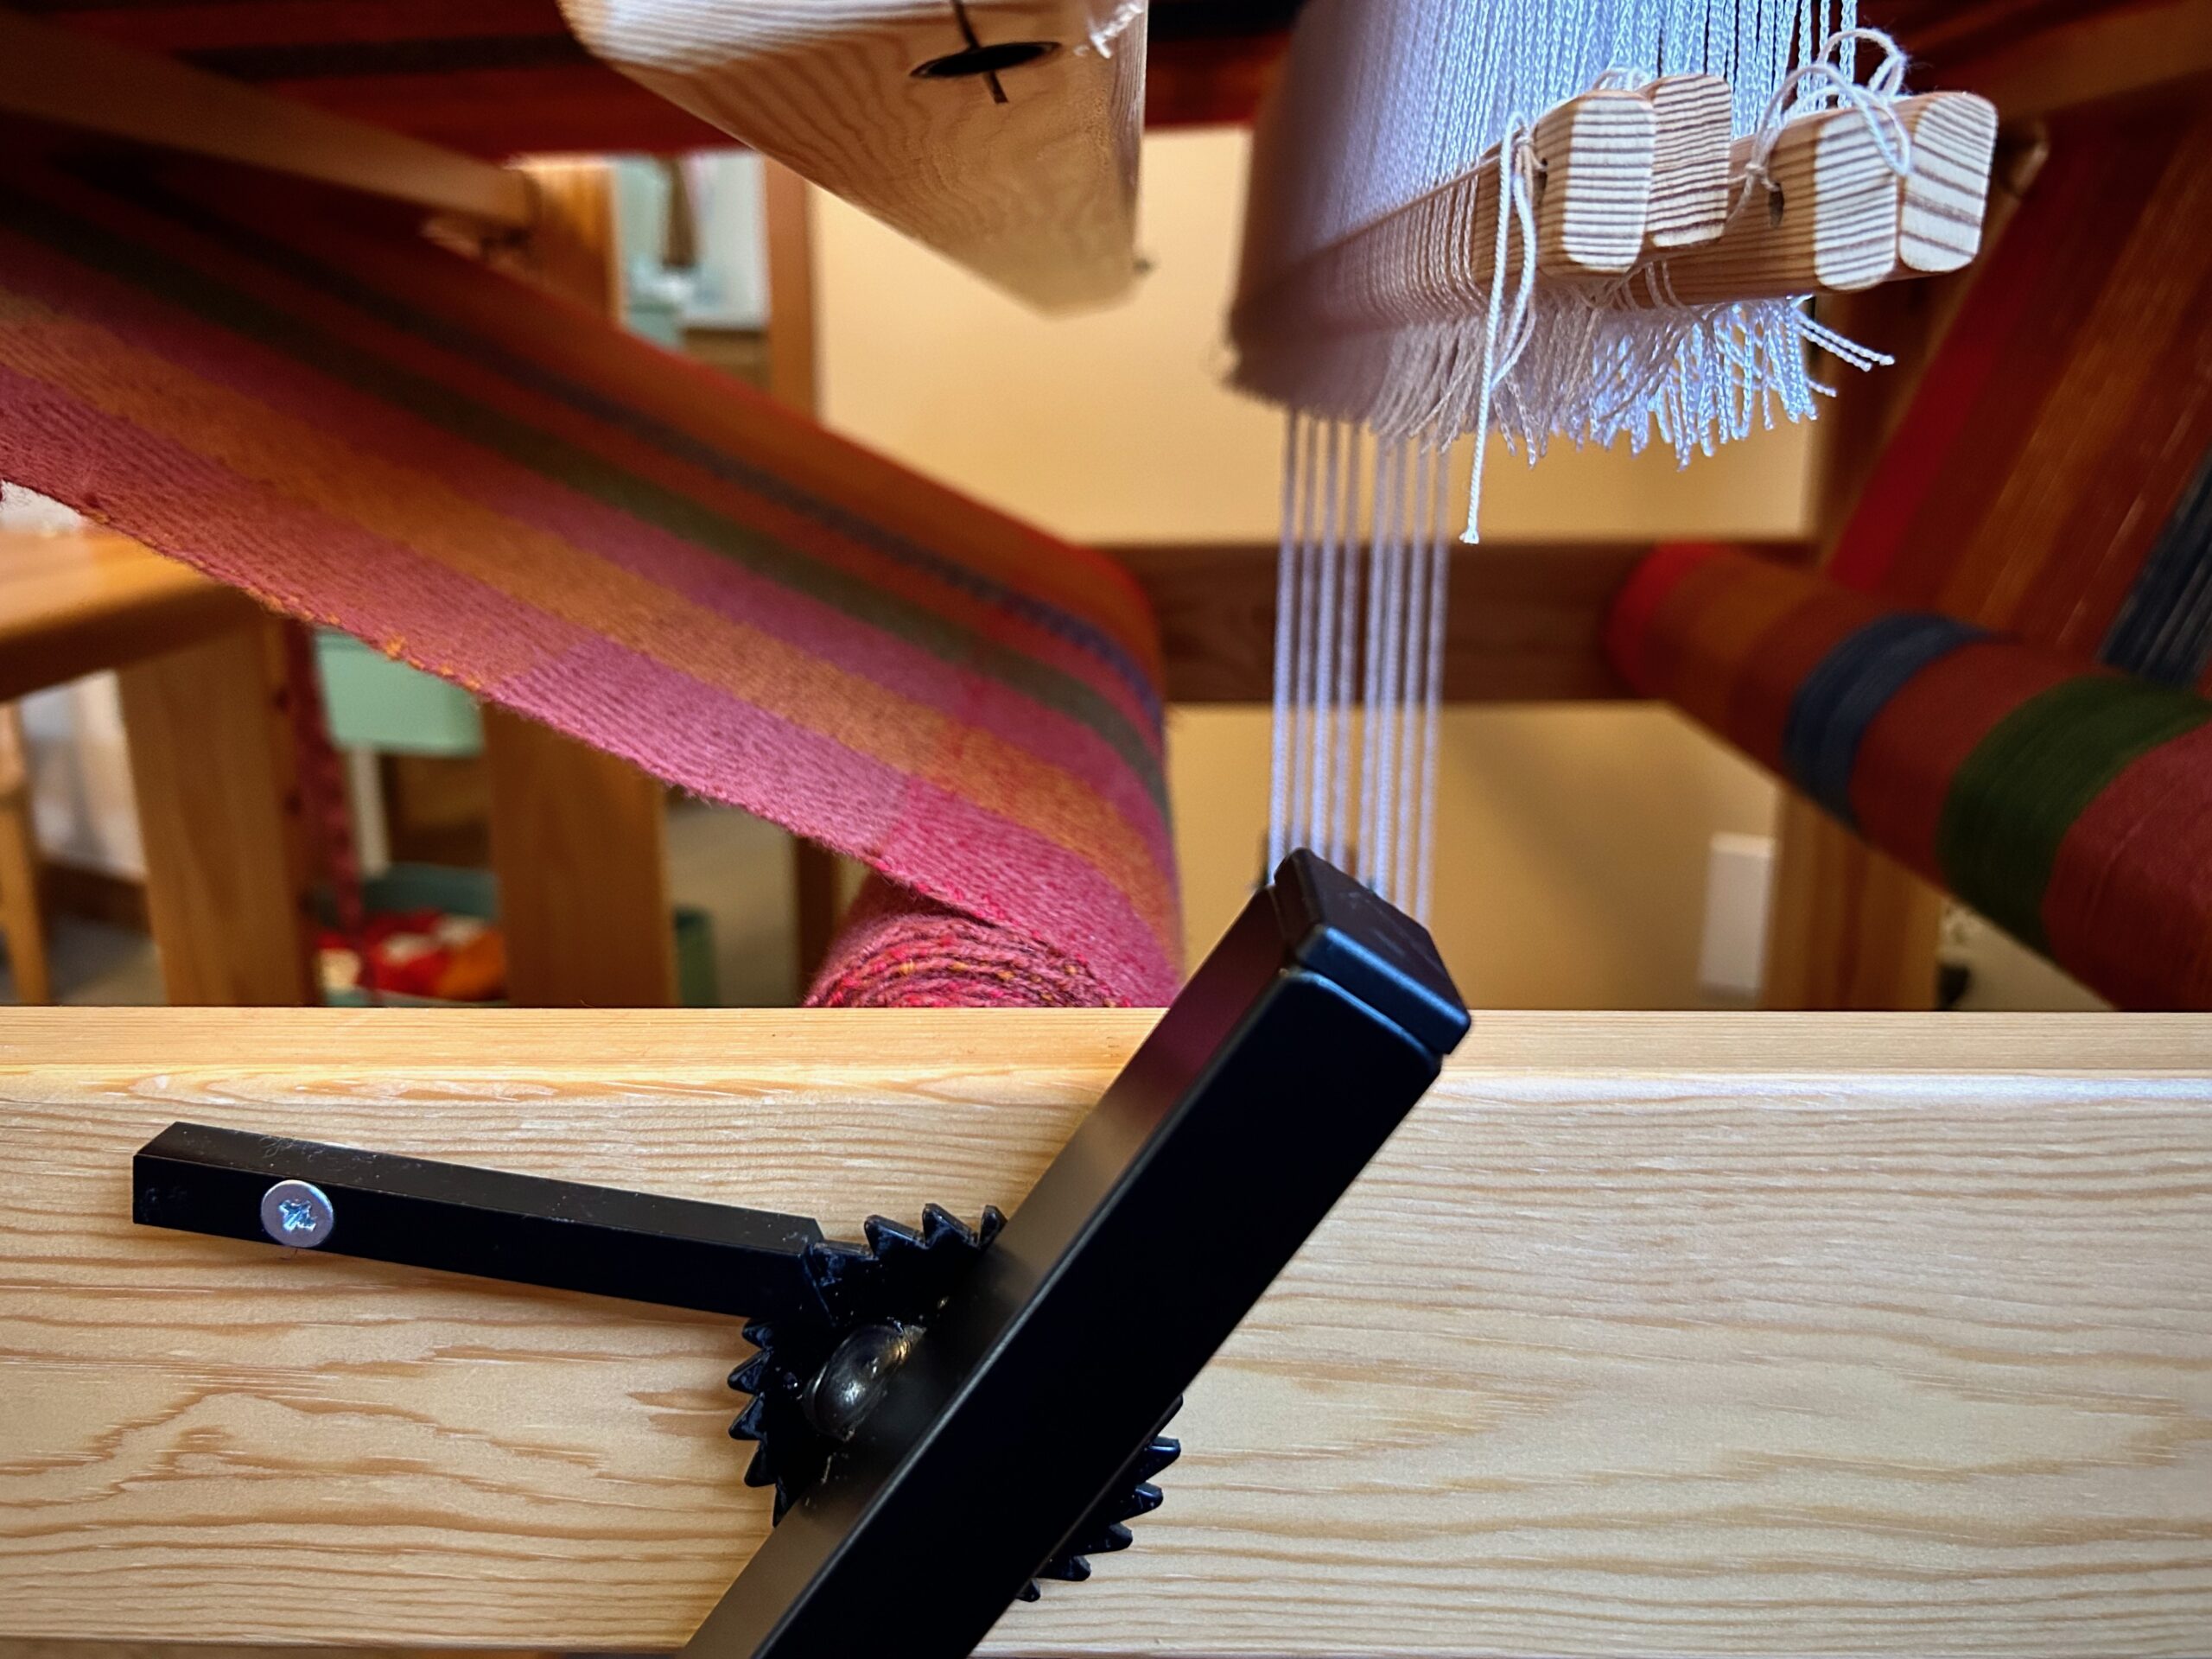
The Glimåkra Julia is getting filled up on the cloth beam, too. This wool goose-eye fabric is going to be fun to sew into a winter cape when it comes off the loom!
I like to check on the cloth beam to see how it is filling up. You can see there is still more warp on the warp beam.Julia with four shafts. Ribbon pinned on the side has marks that help me keep the diamond pattern square.
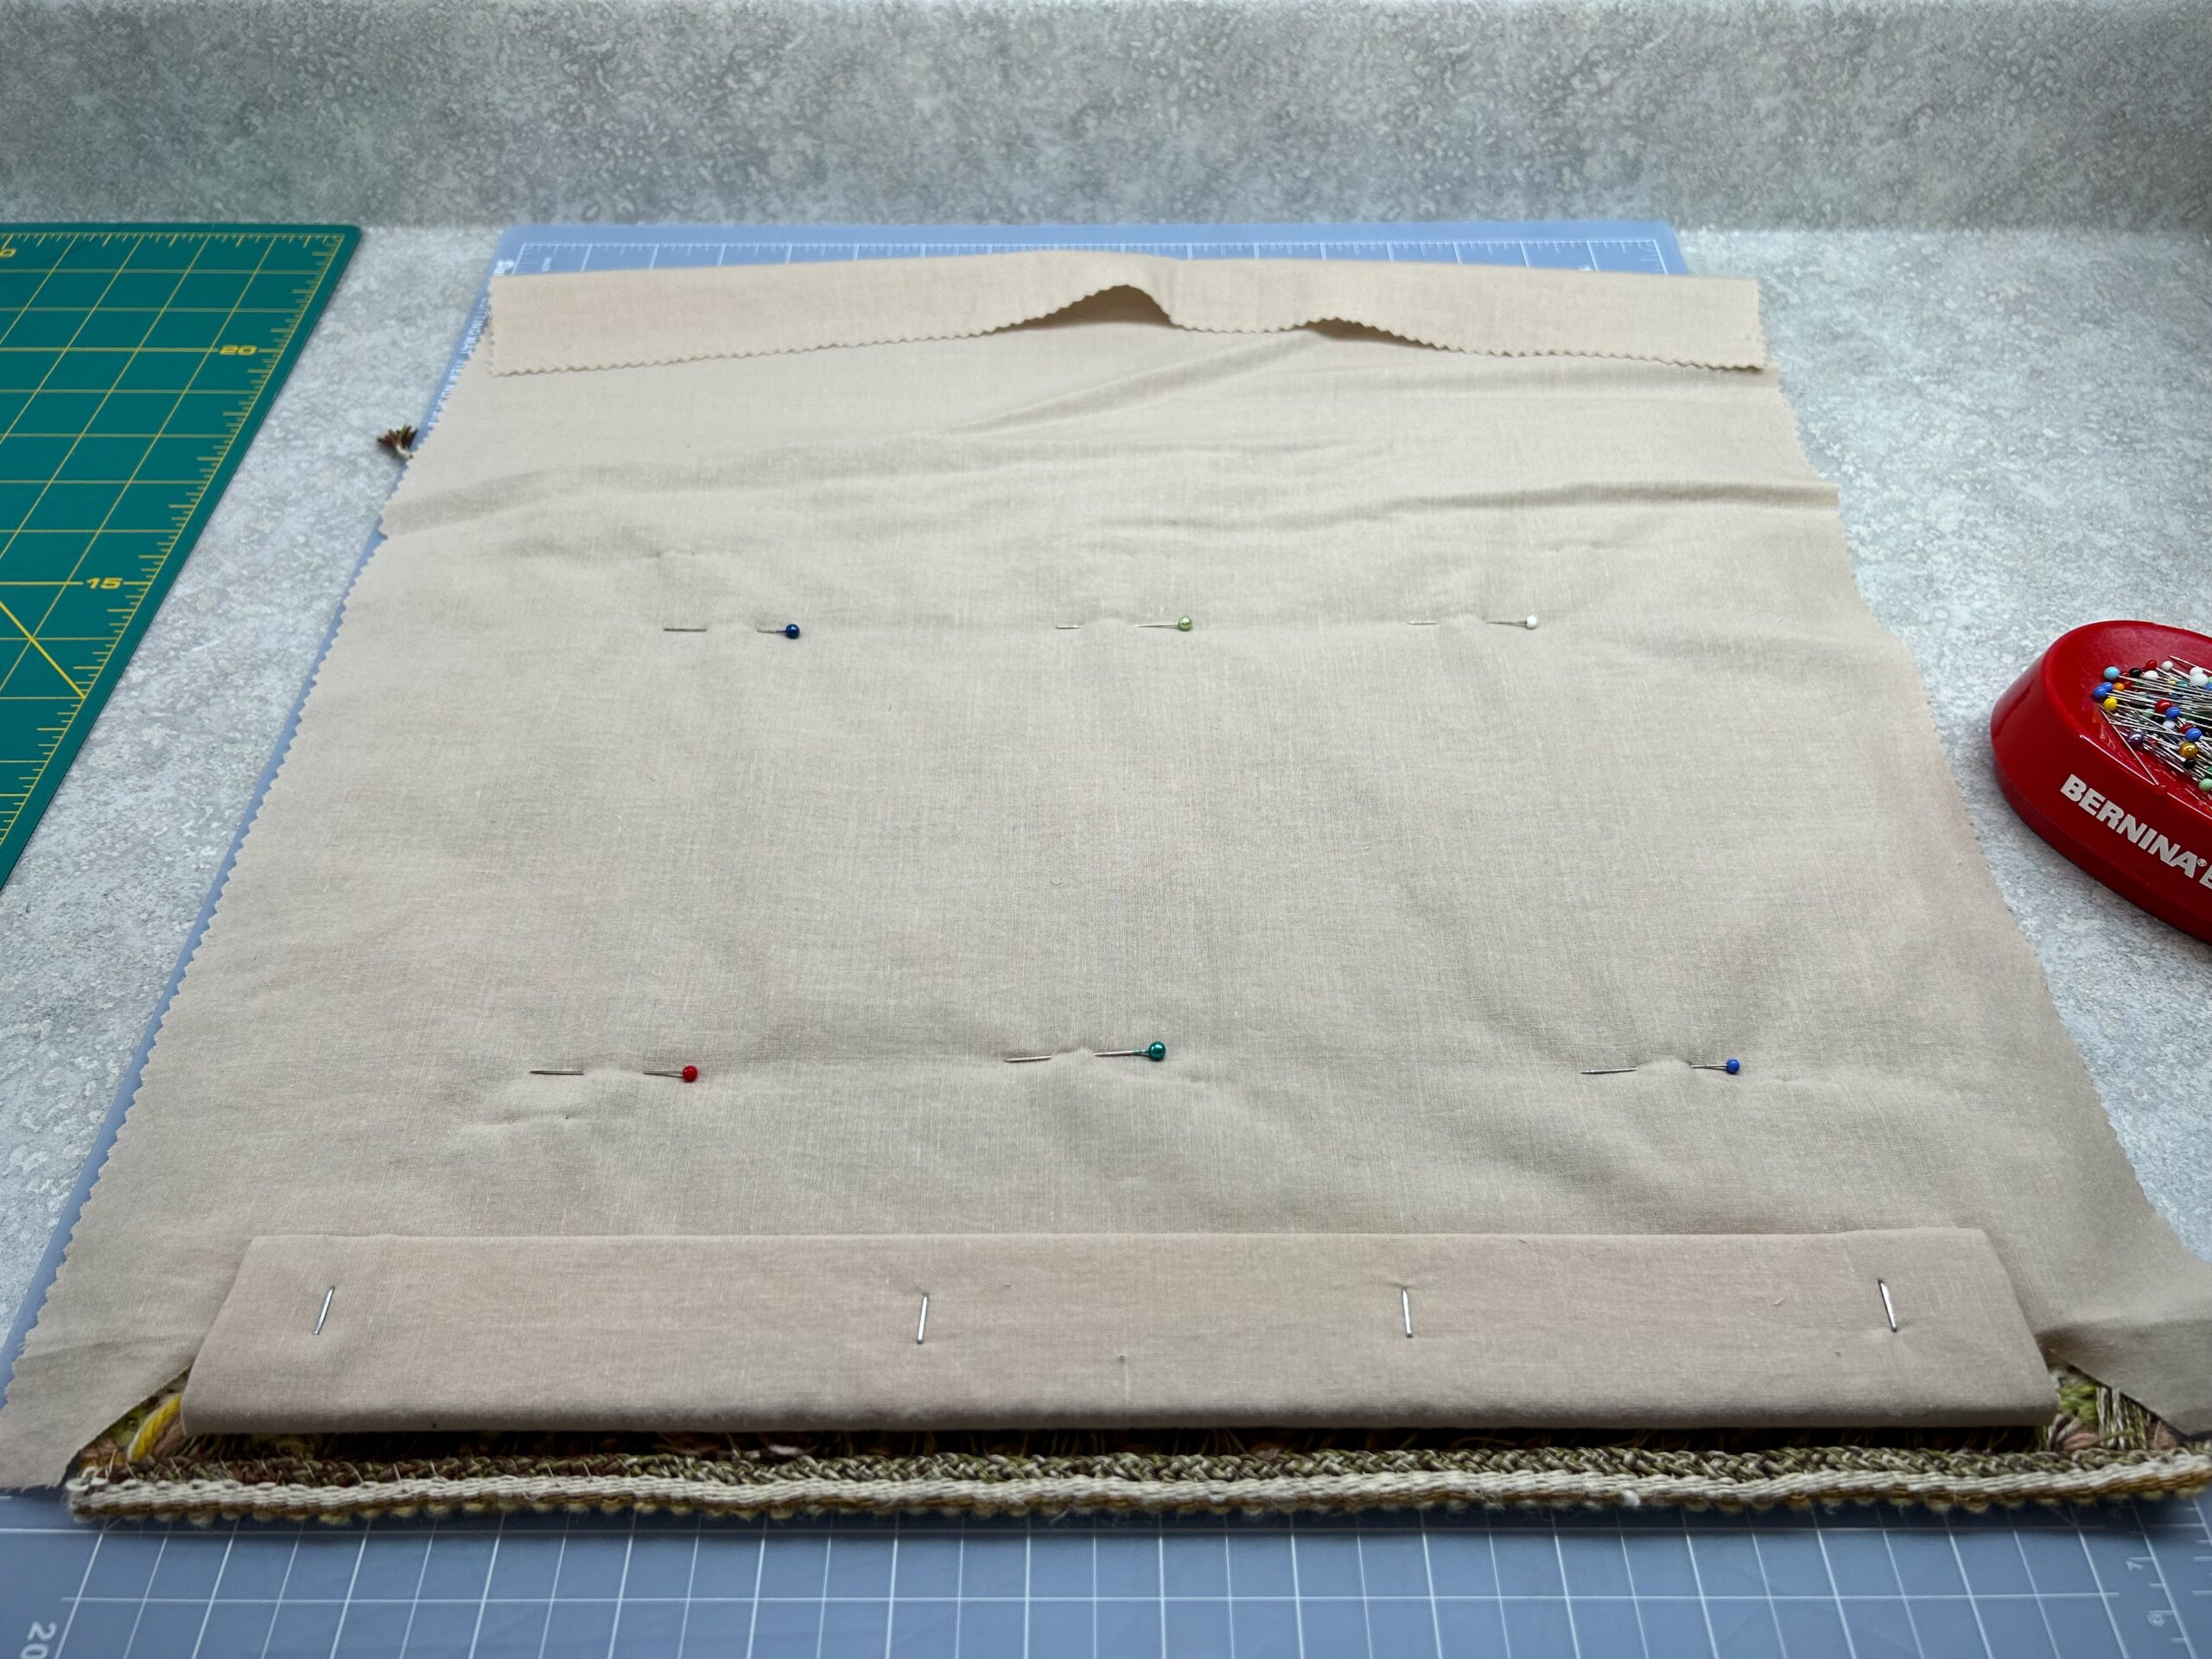
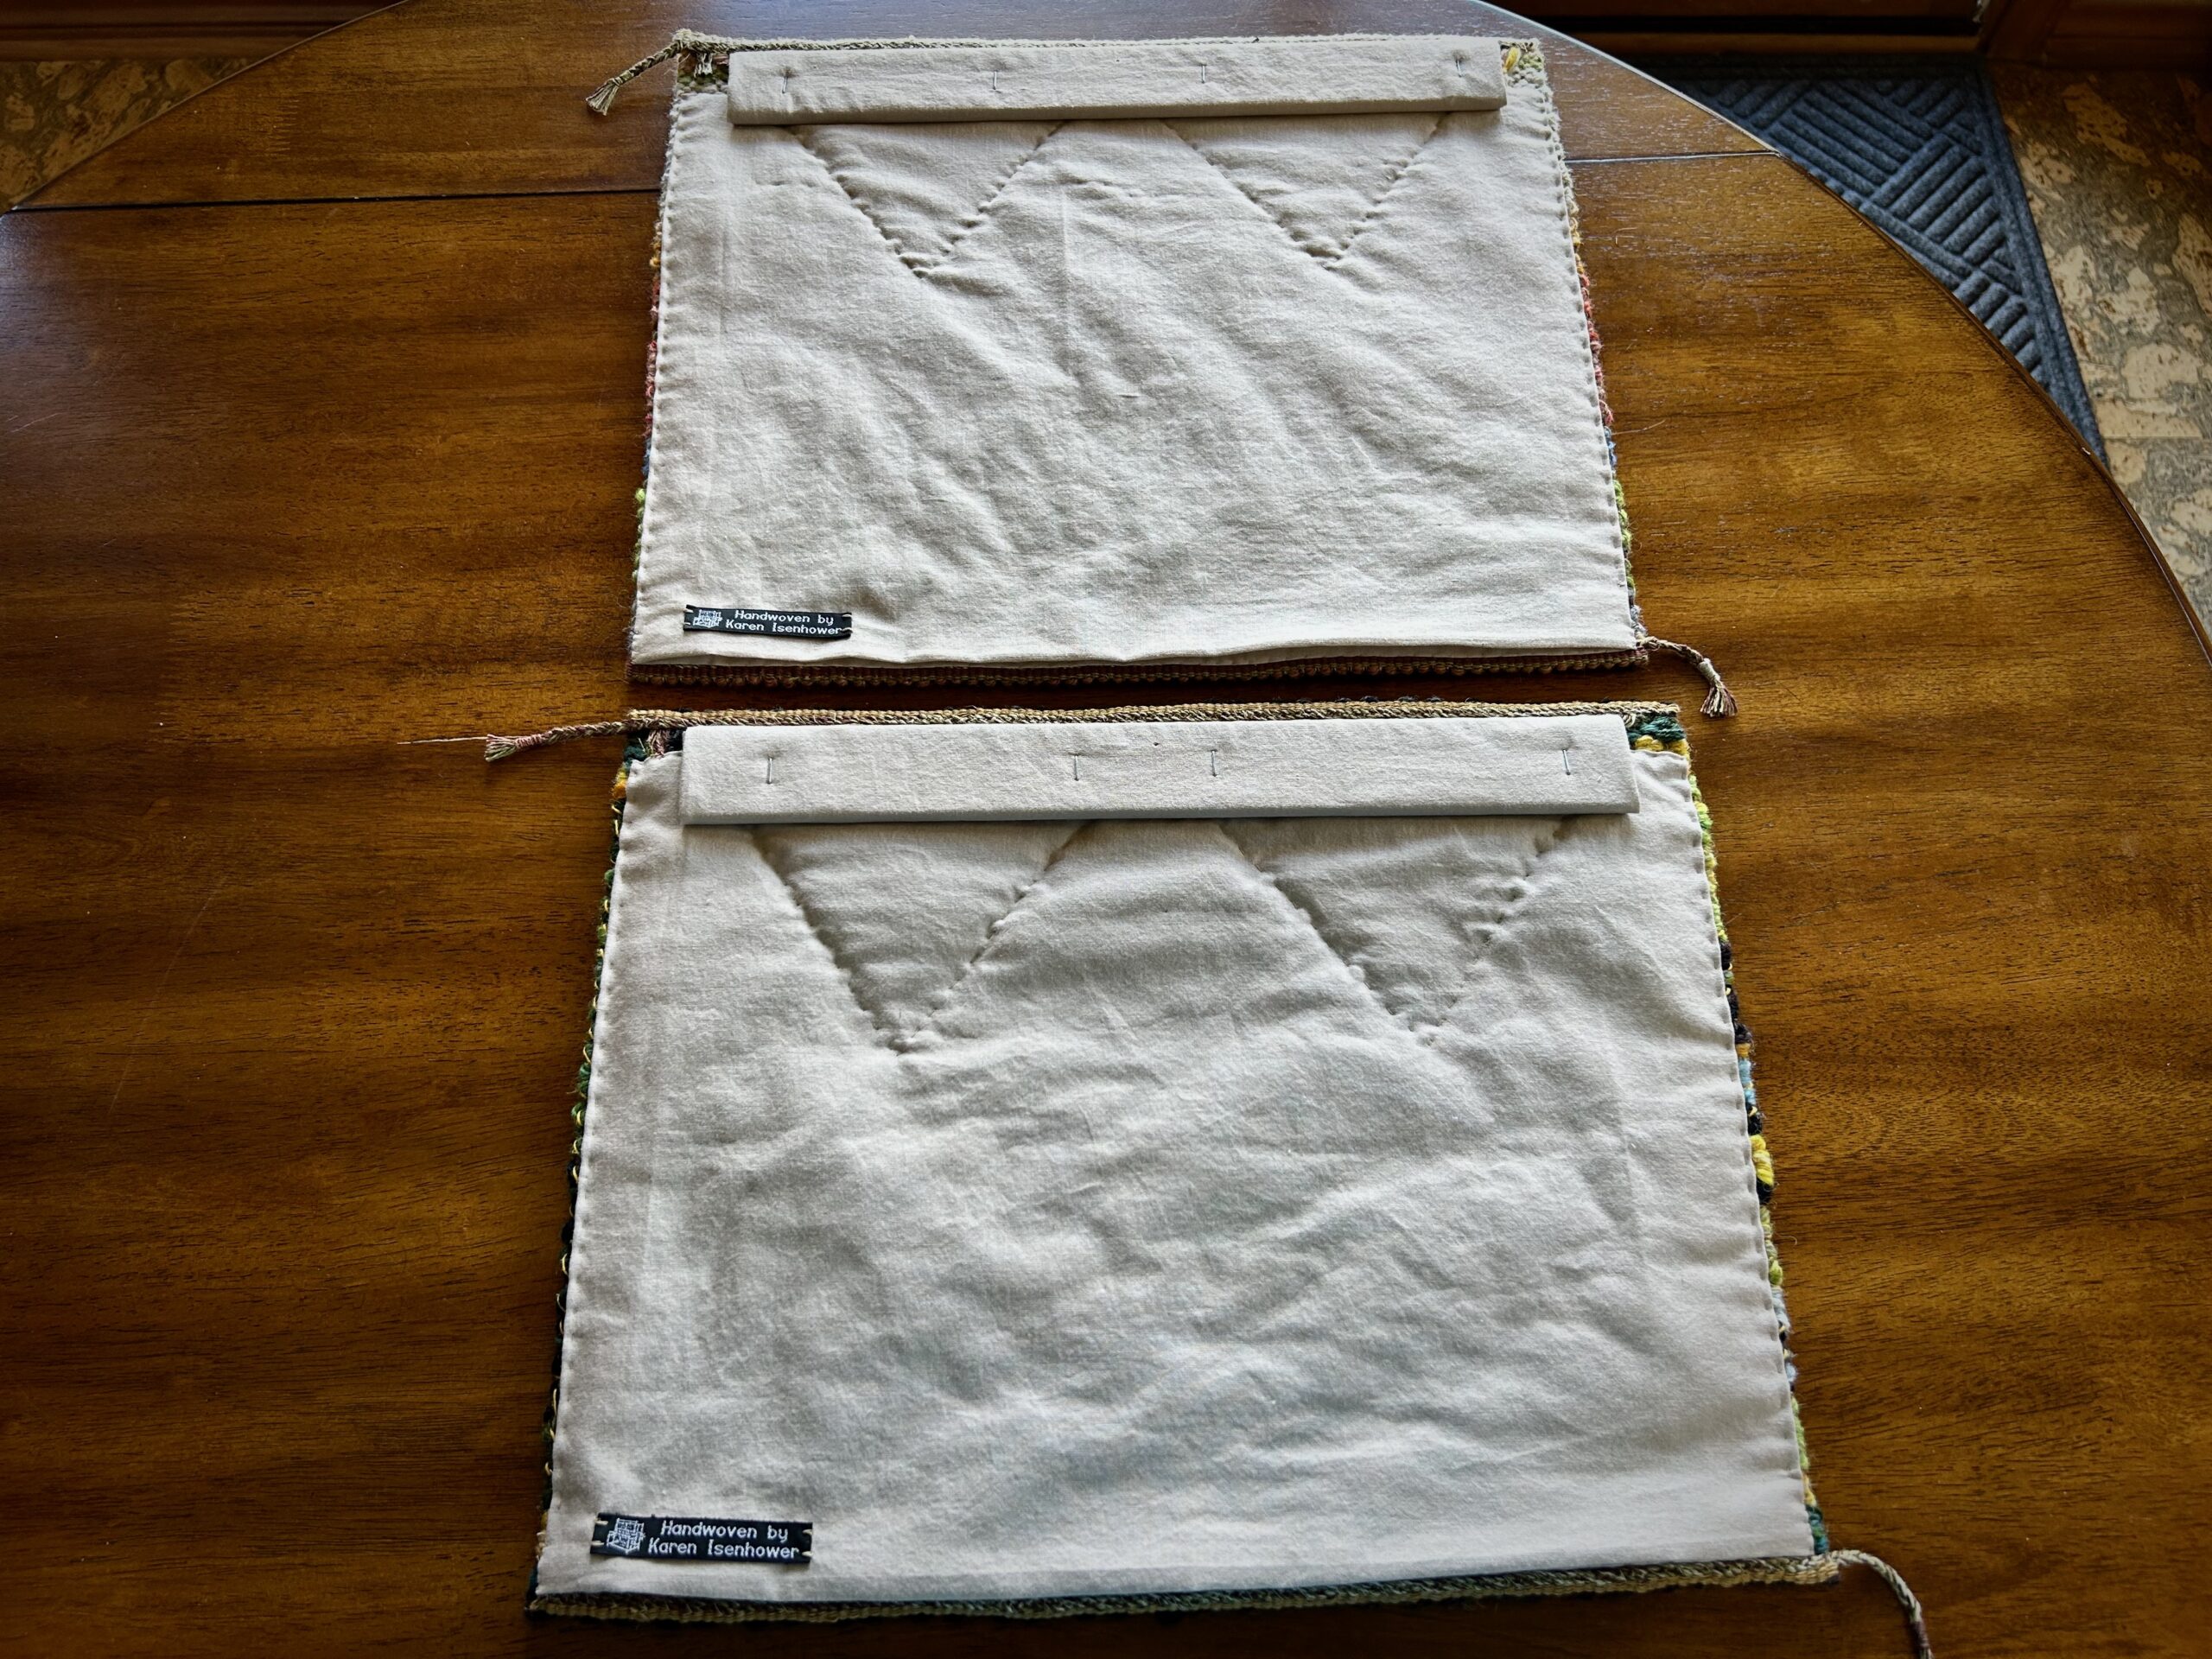
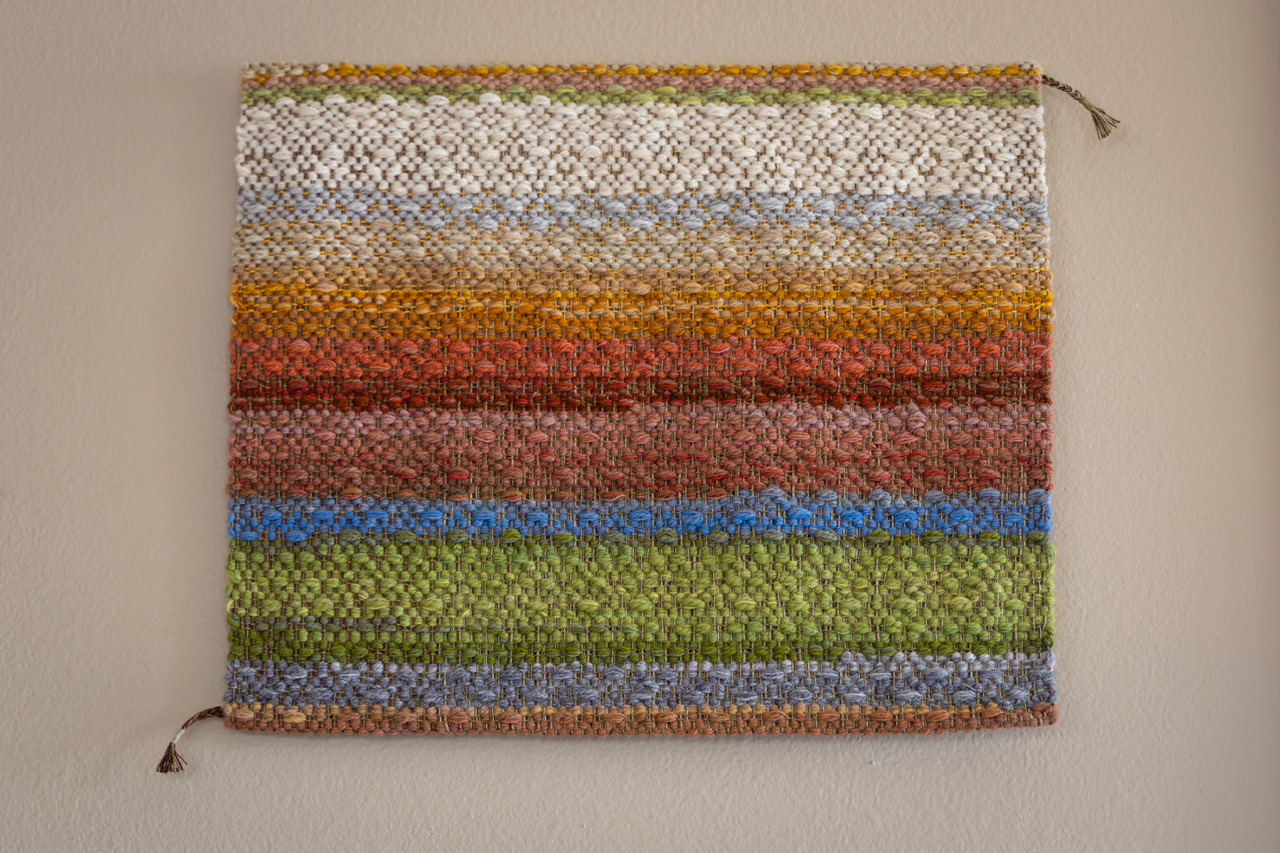
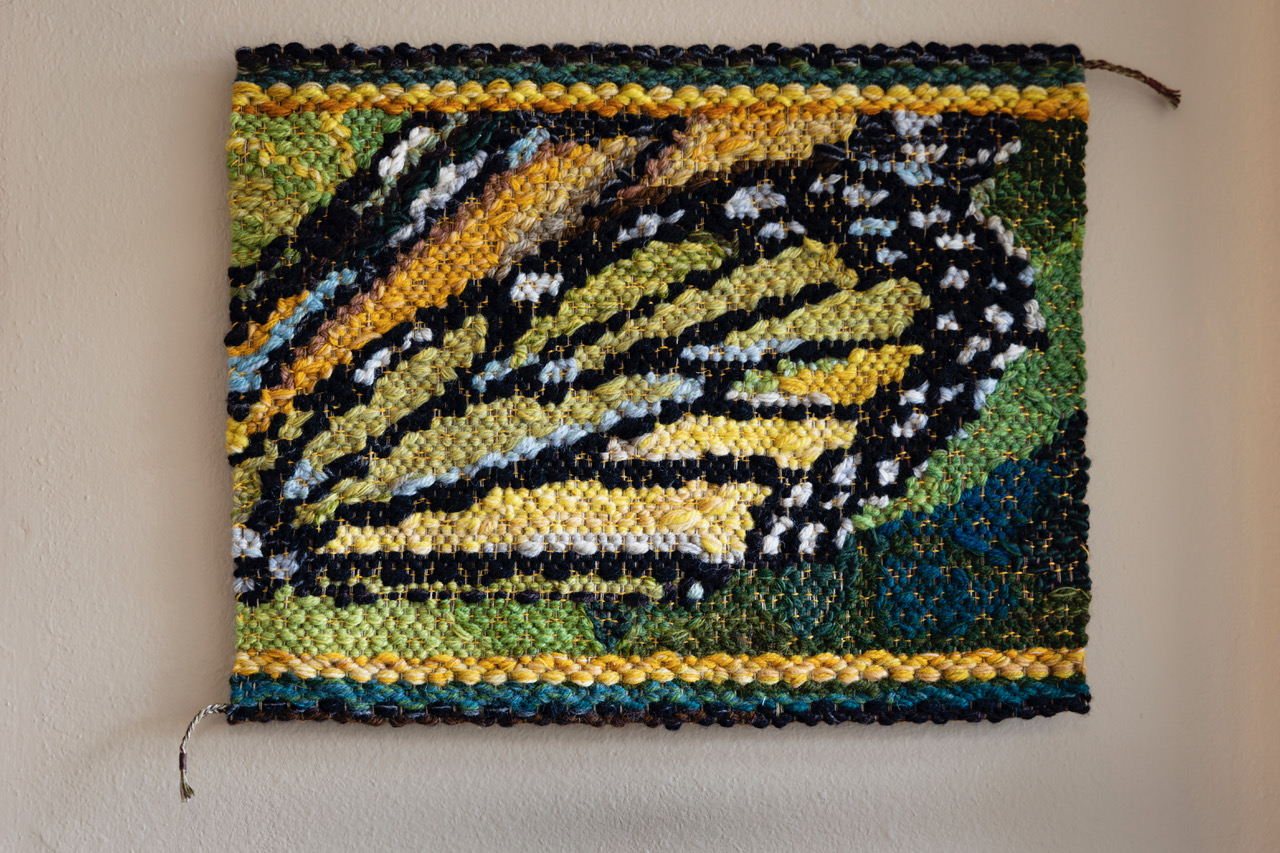
And finally. Drumroll. After a year of sitting on the sidelines after having been cut from the loom, two small tapestries are now hanging on our walls. I did the finishing work of adding a slat for hanging, stitching a backing in place, including some zigzag quilting stitches for support, and stitching up the sides and the hem.
Beginning to mount the tapestry by adding a wood slat at the top.Backing is added to the back of the tapestries. Zigzag stitching at the top helps secure the tapestry so it will not sag. One small nail will hold the tapestry to the wall.Heaven and EarthIntricately Created: Delicate Wing of a Monarch Butterfly.
It is good to finish, even if you do it a year later. Now I am really ready to start the next tapestry.