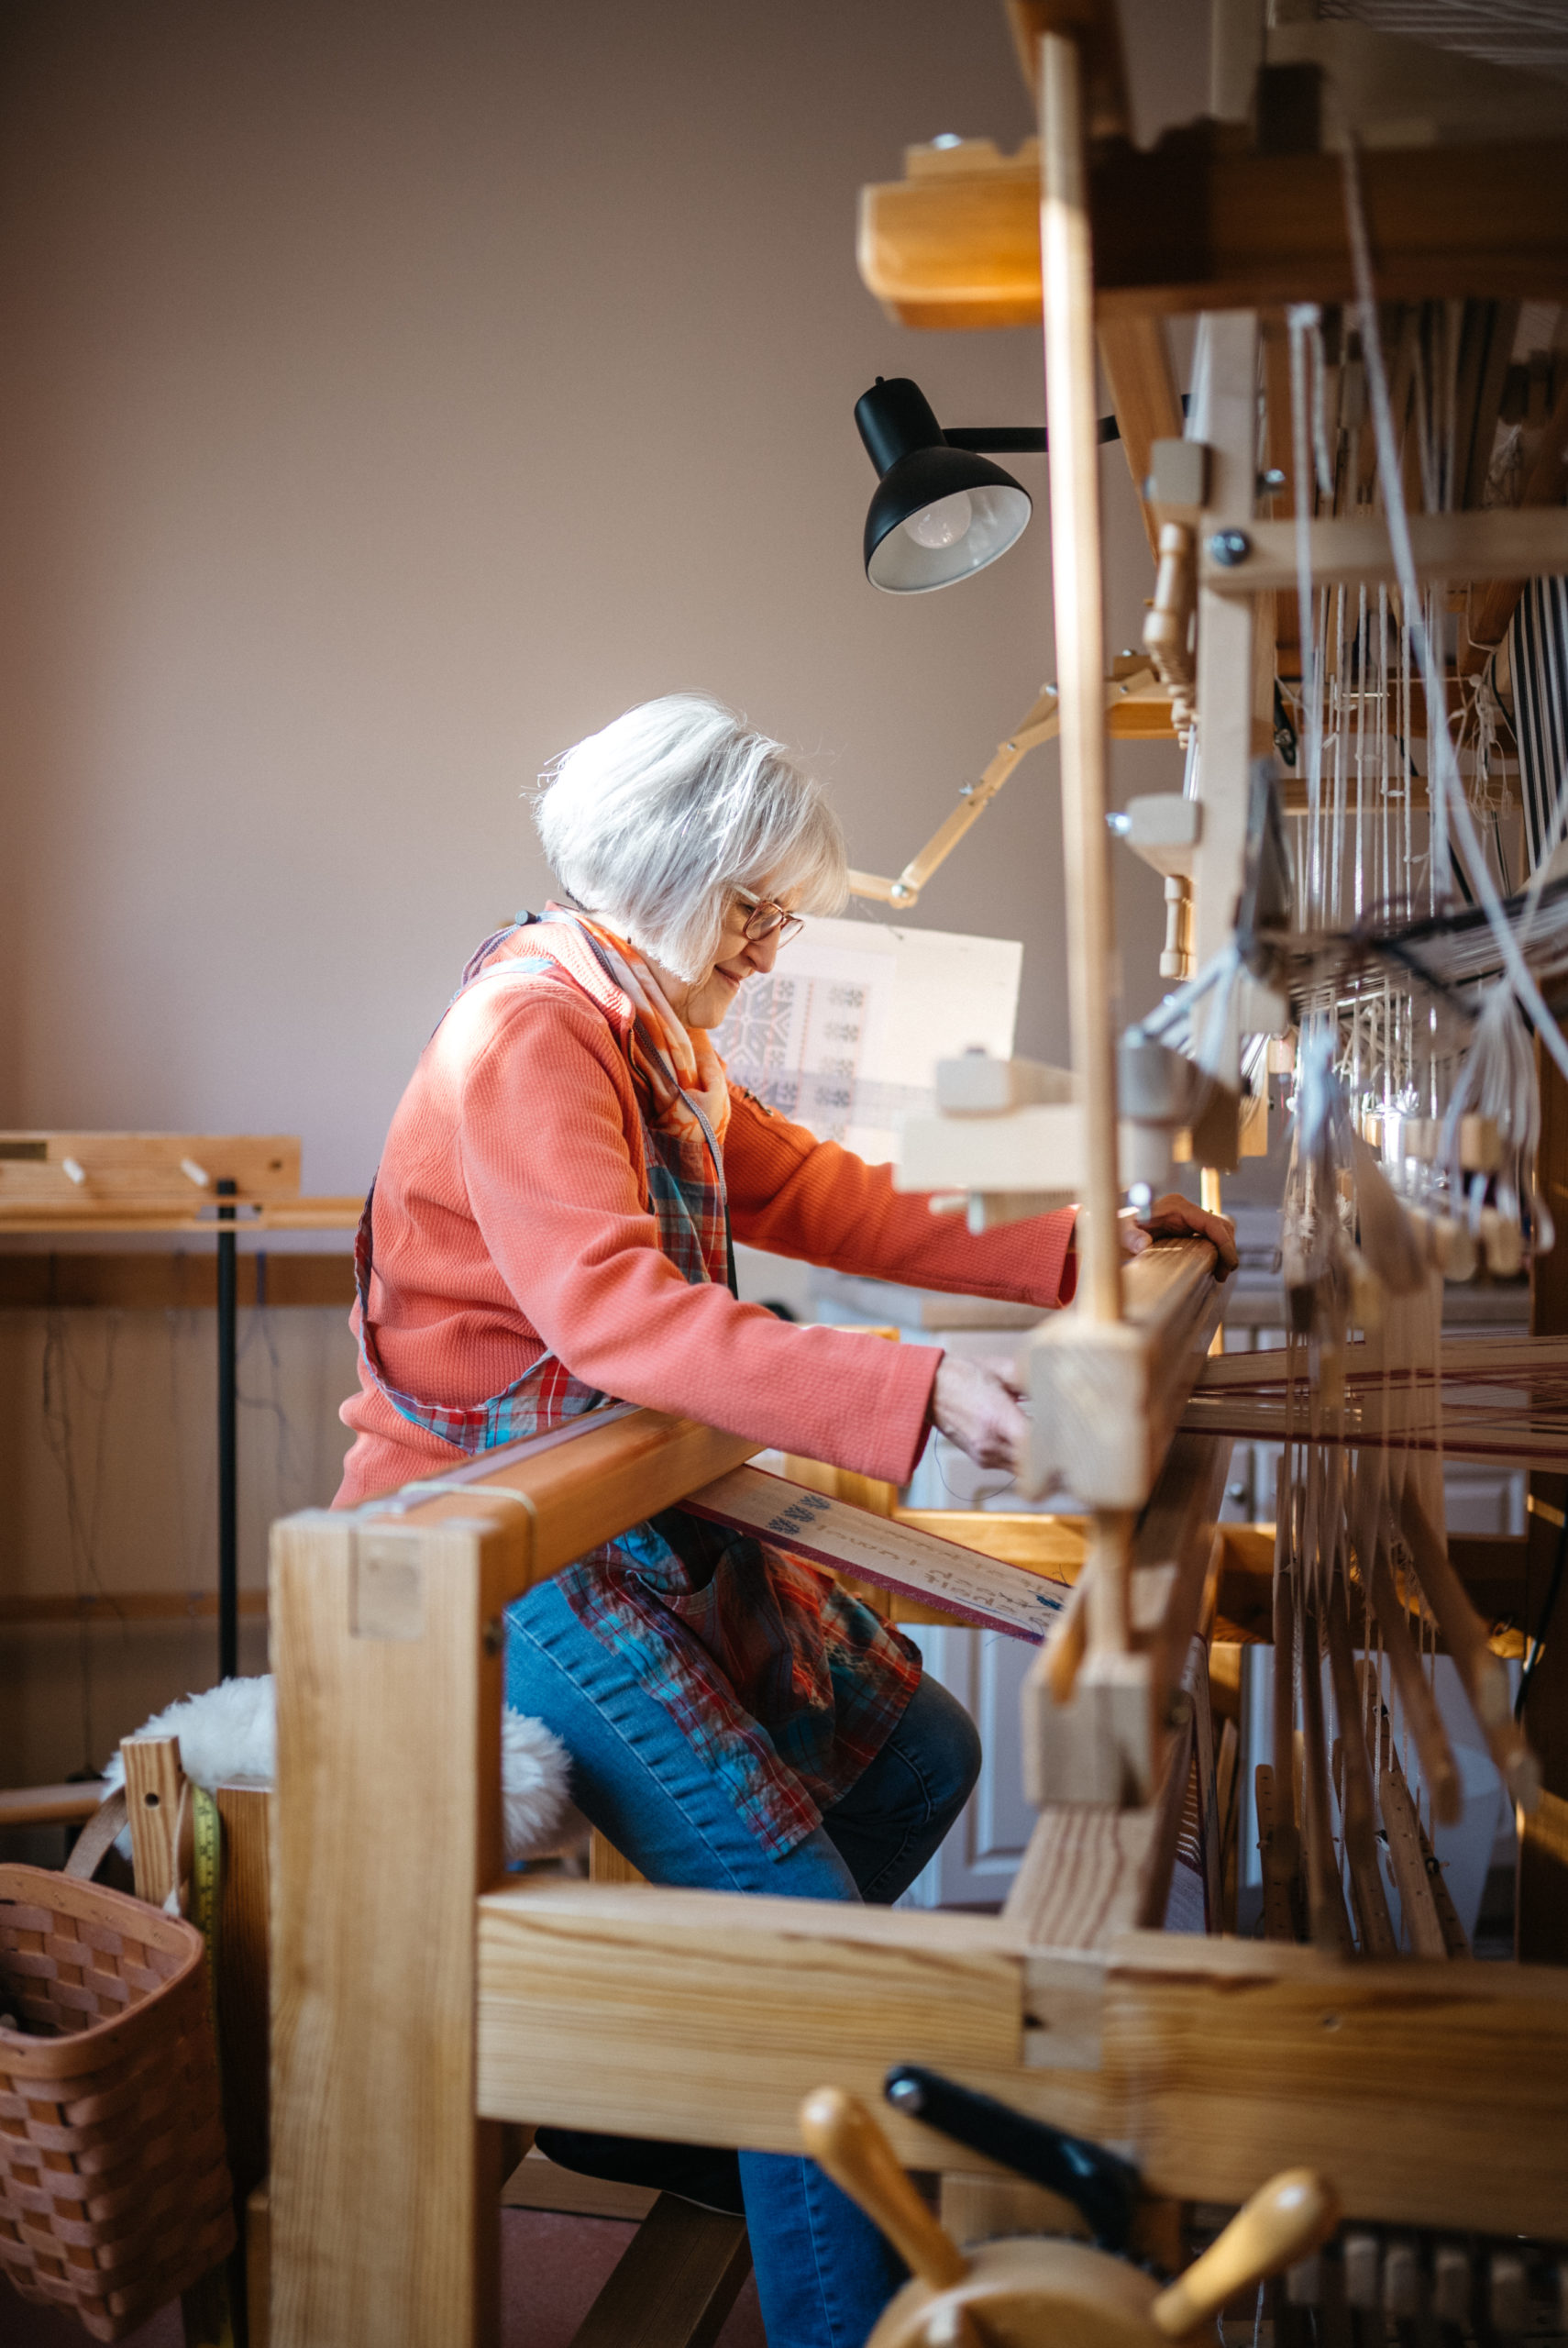
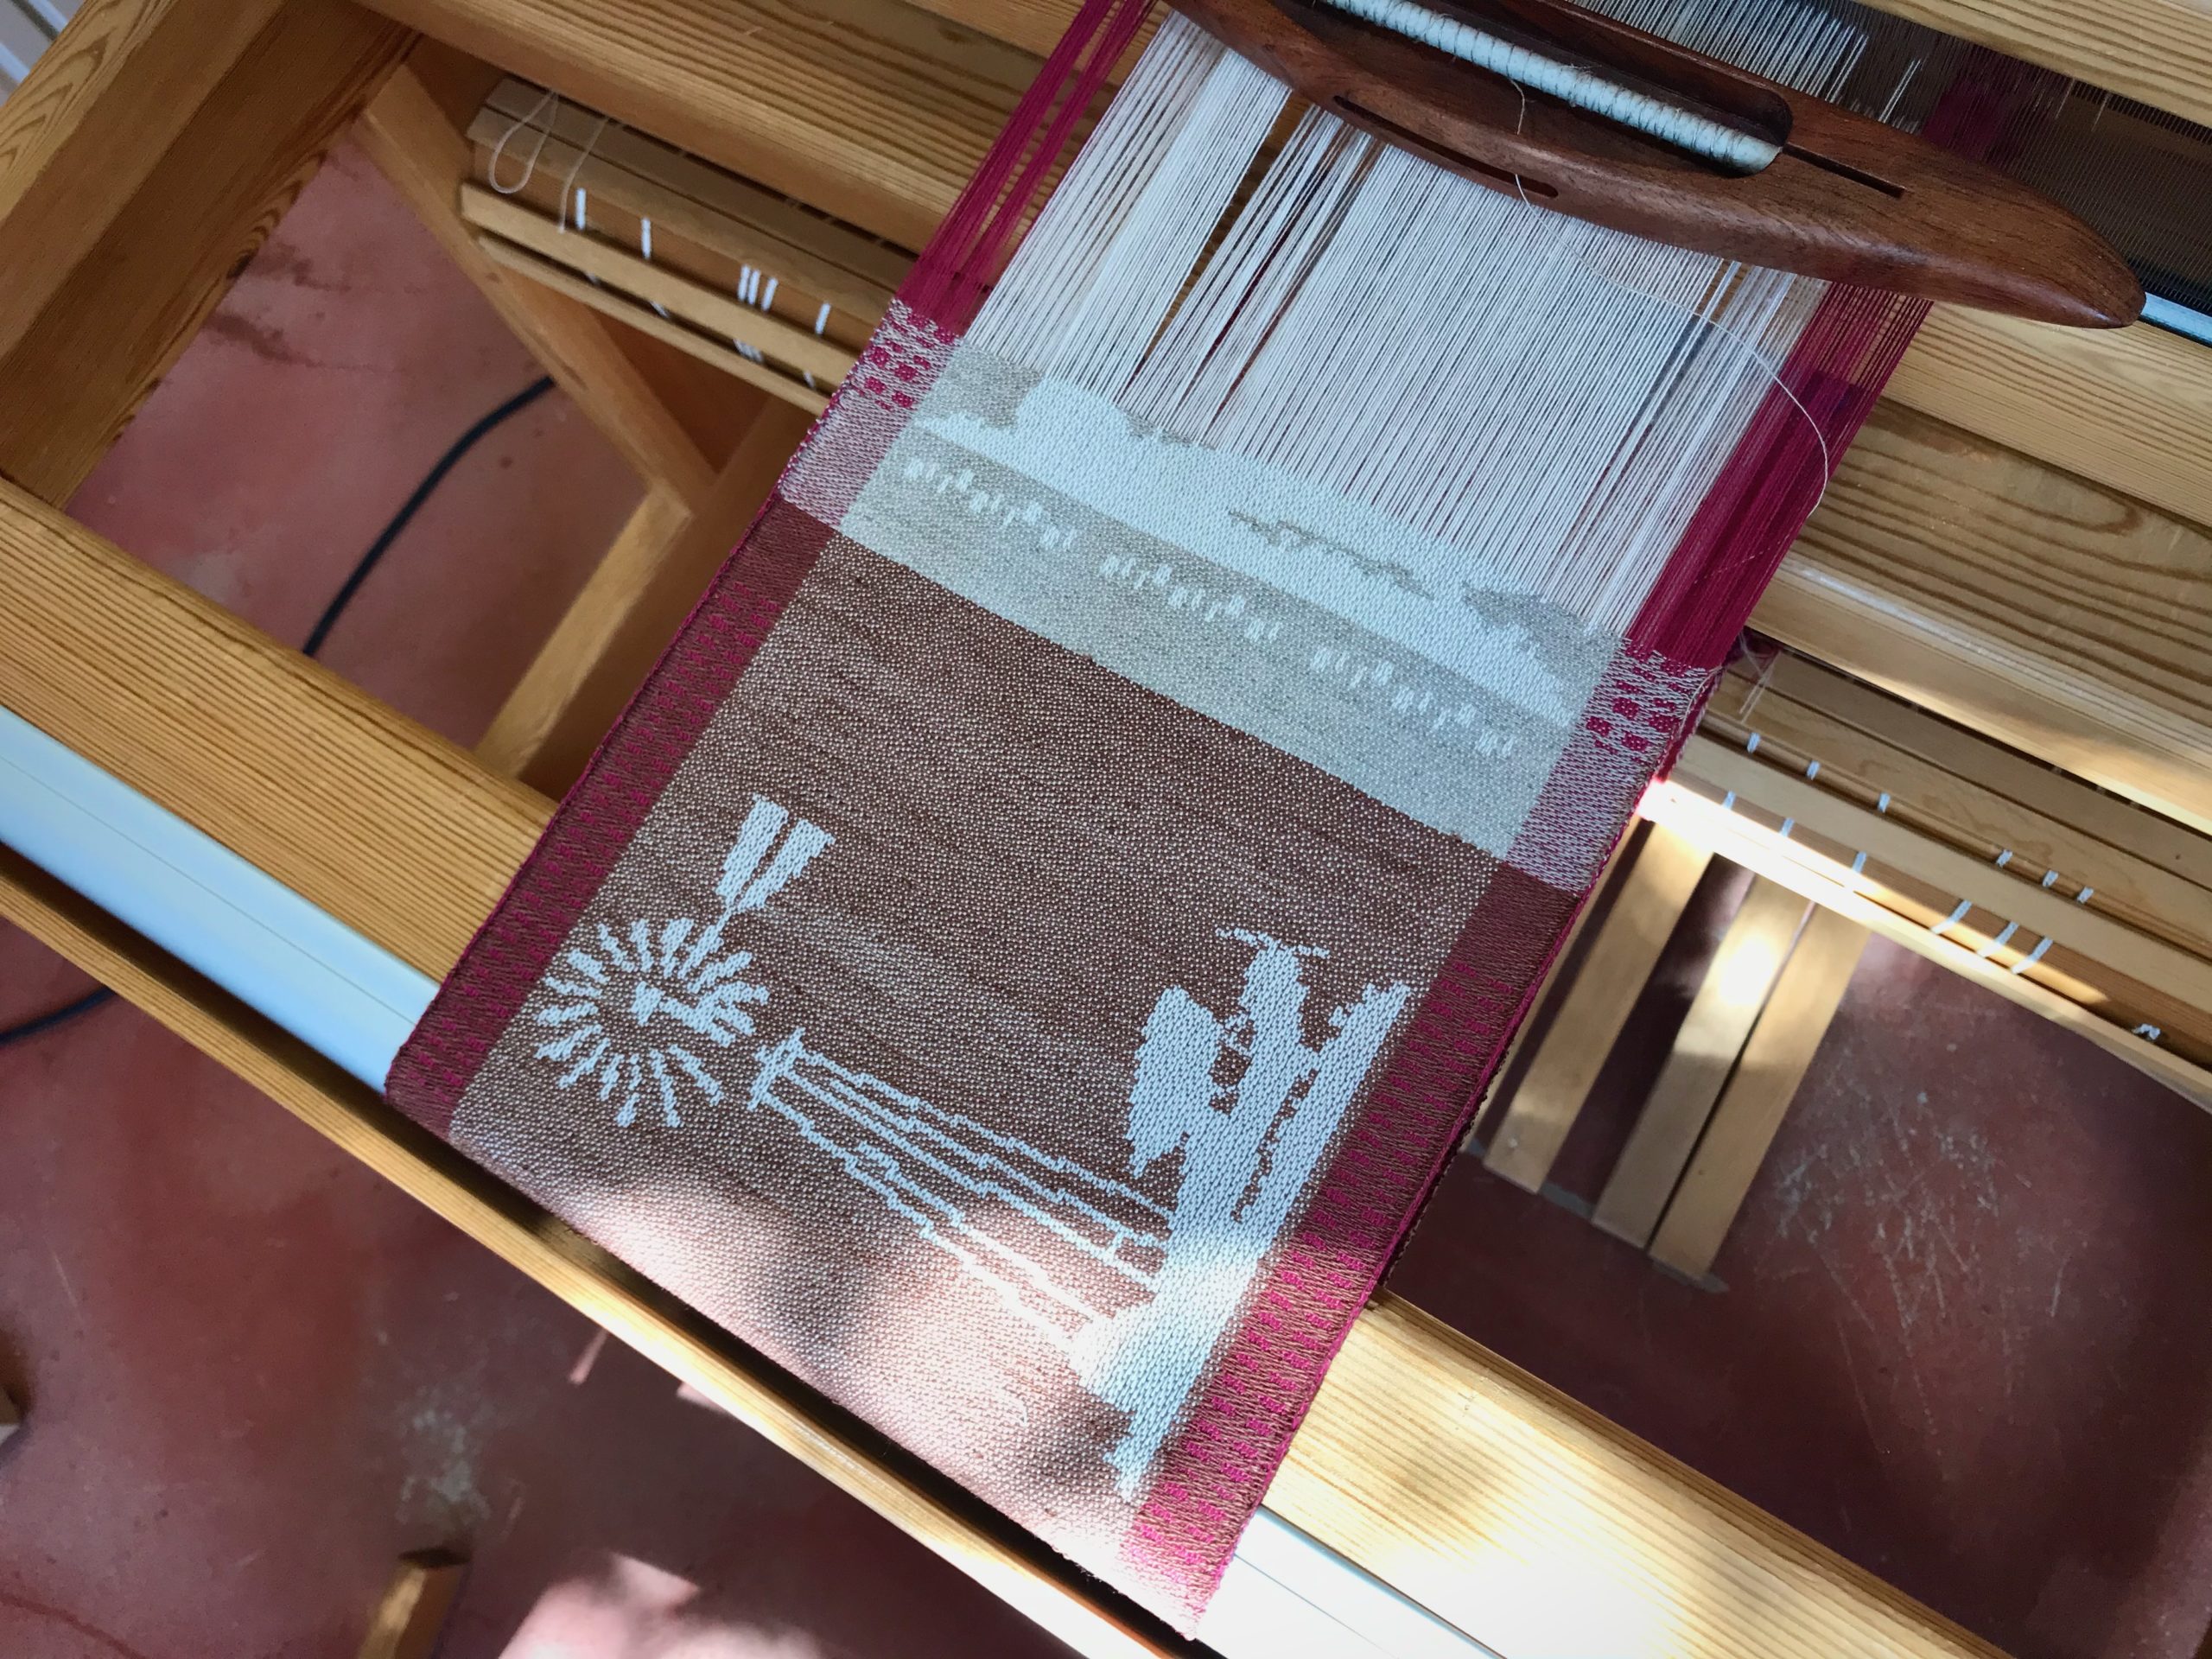
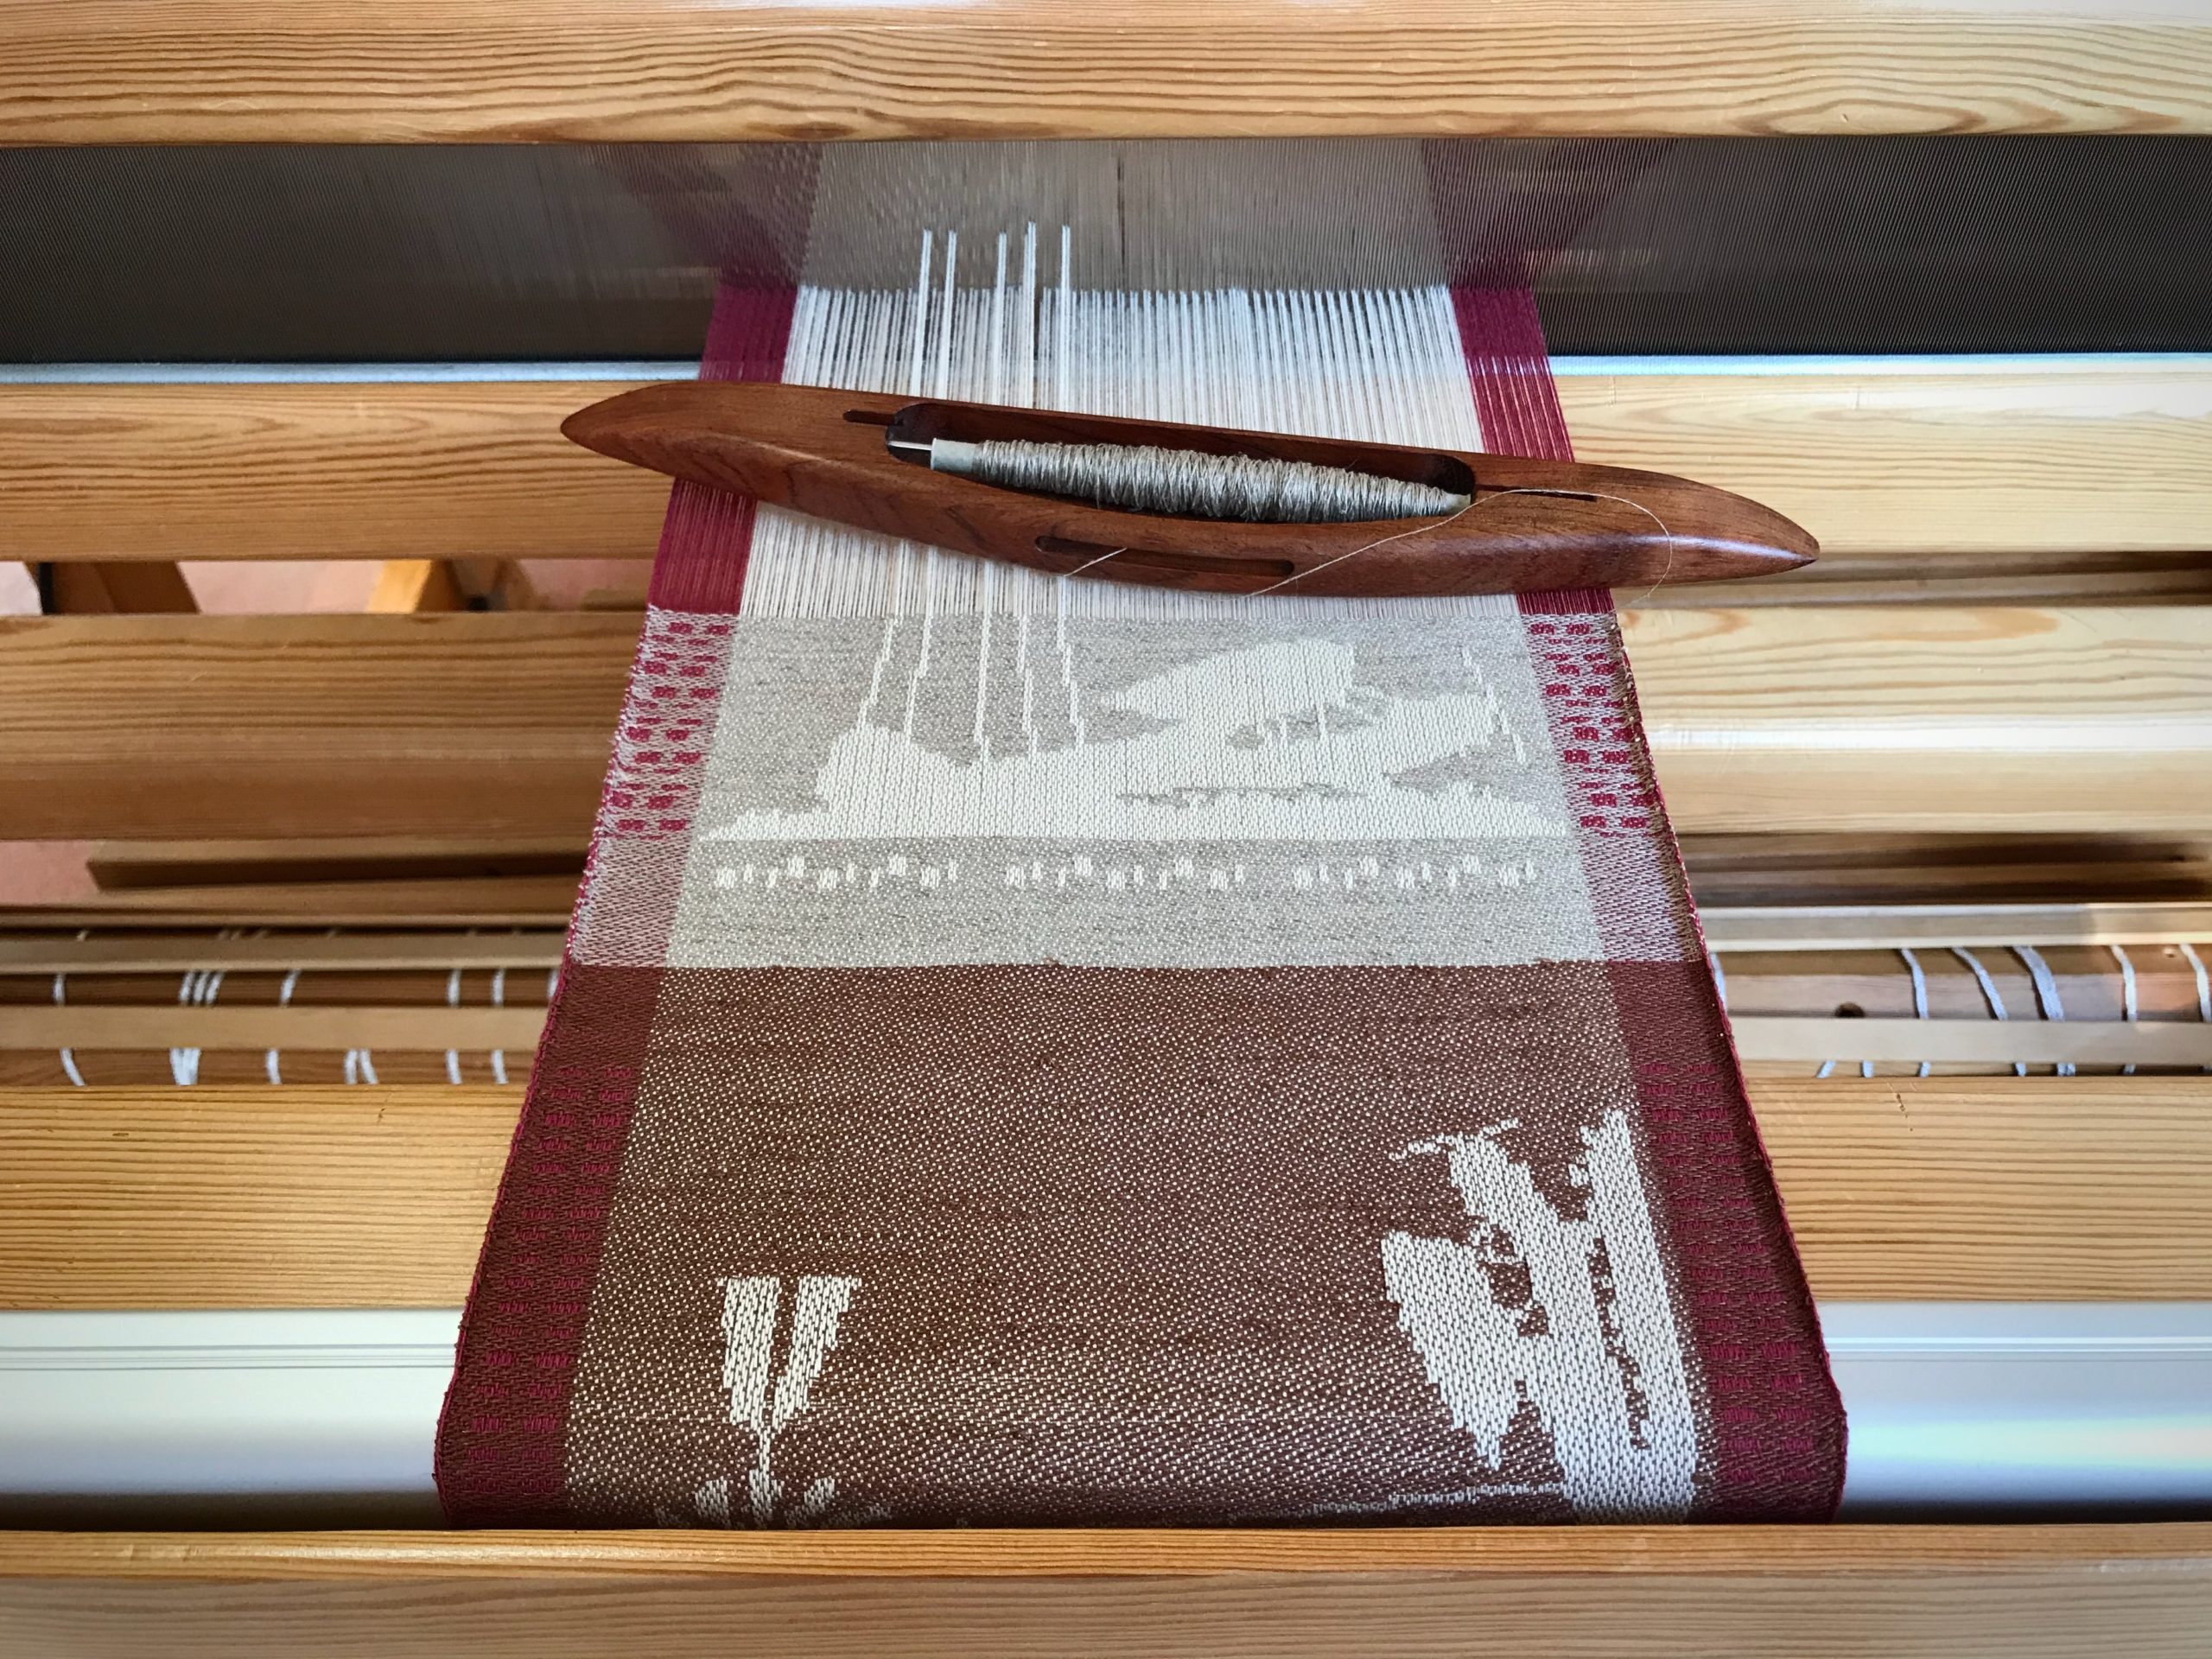
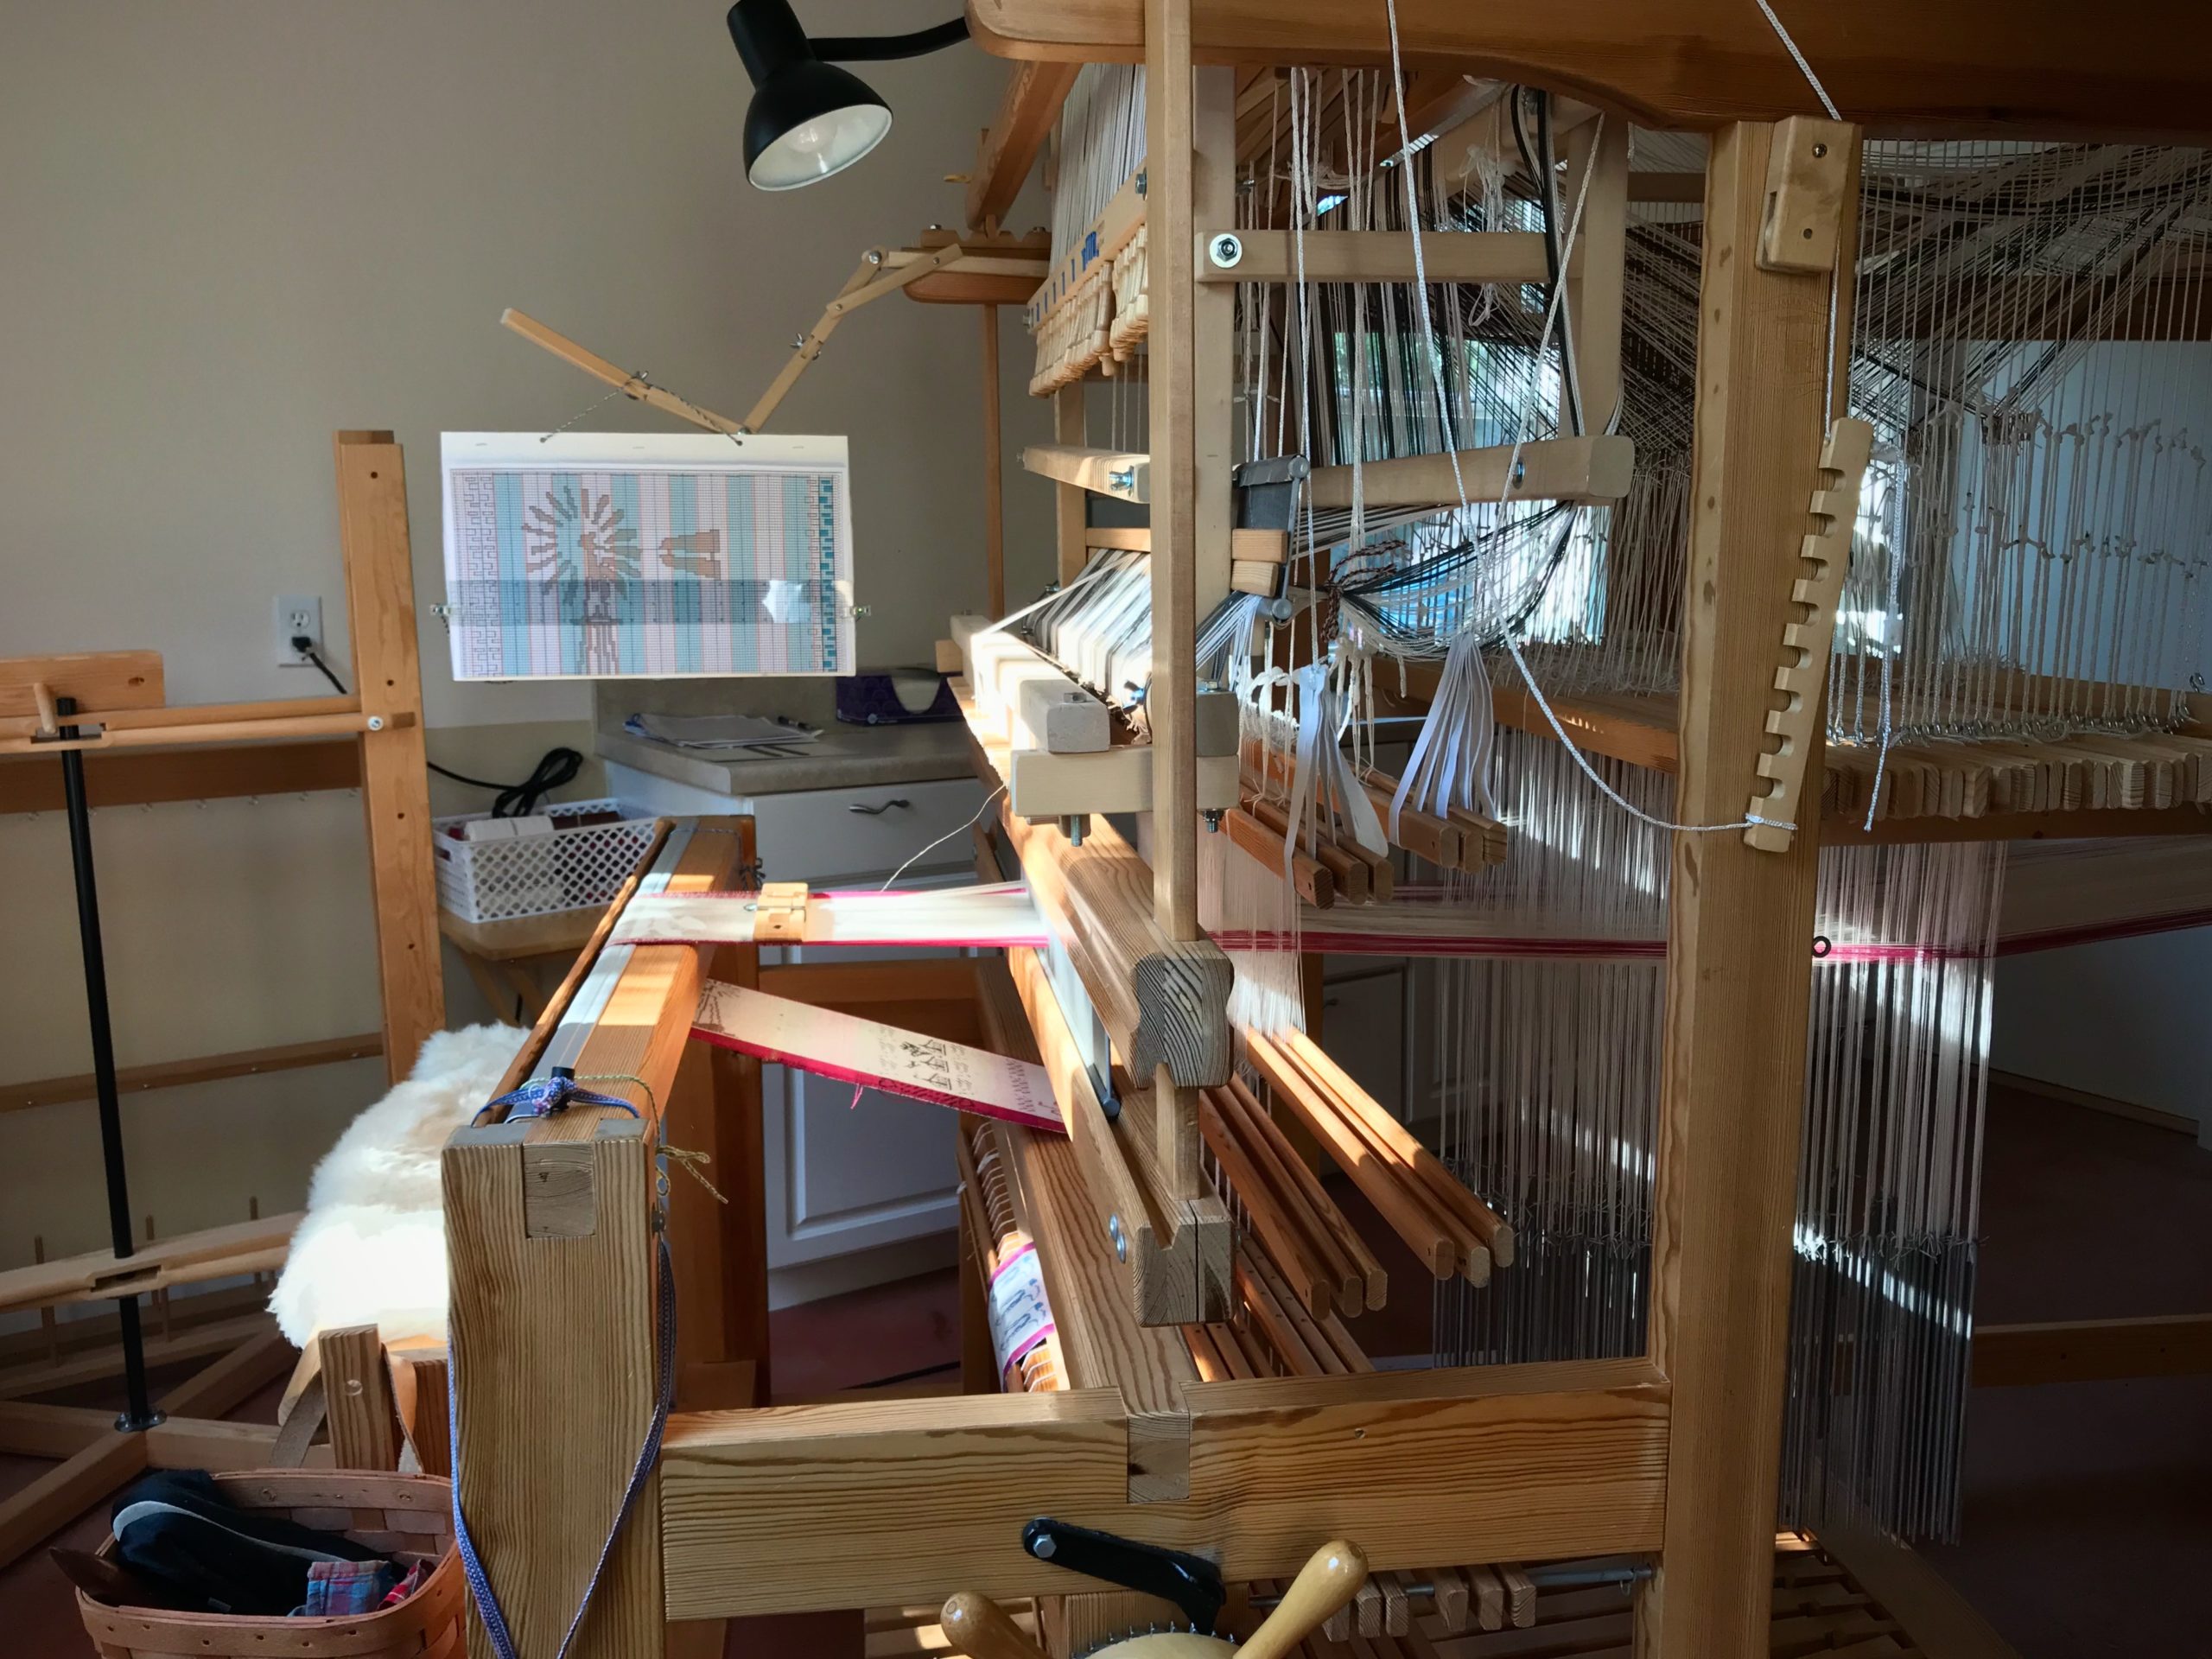
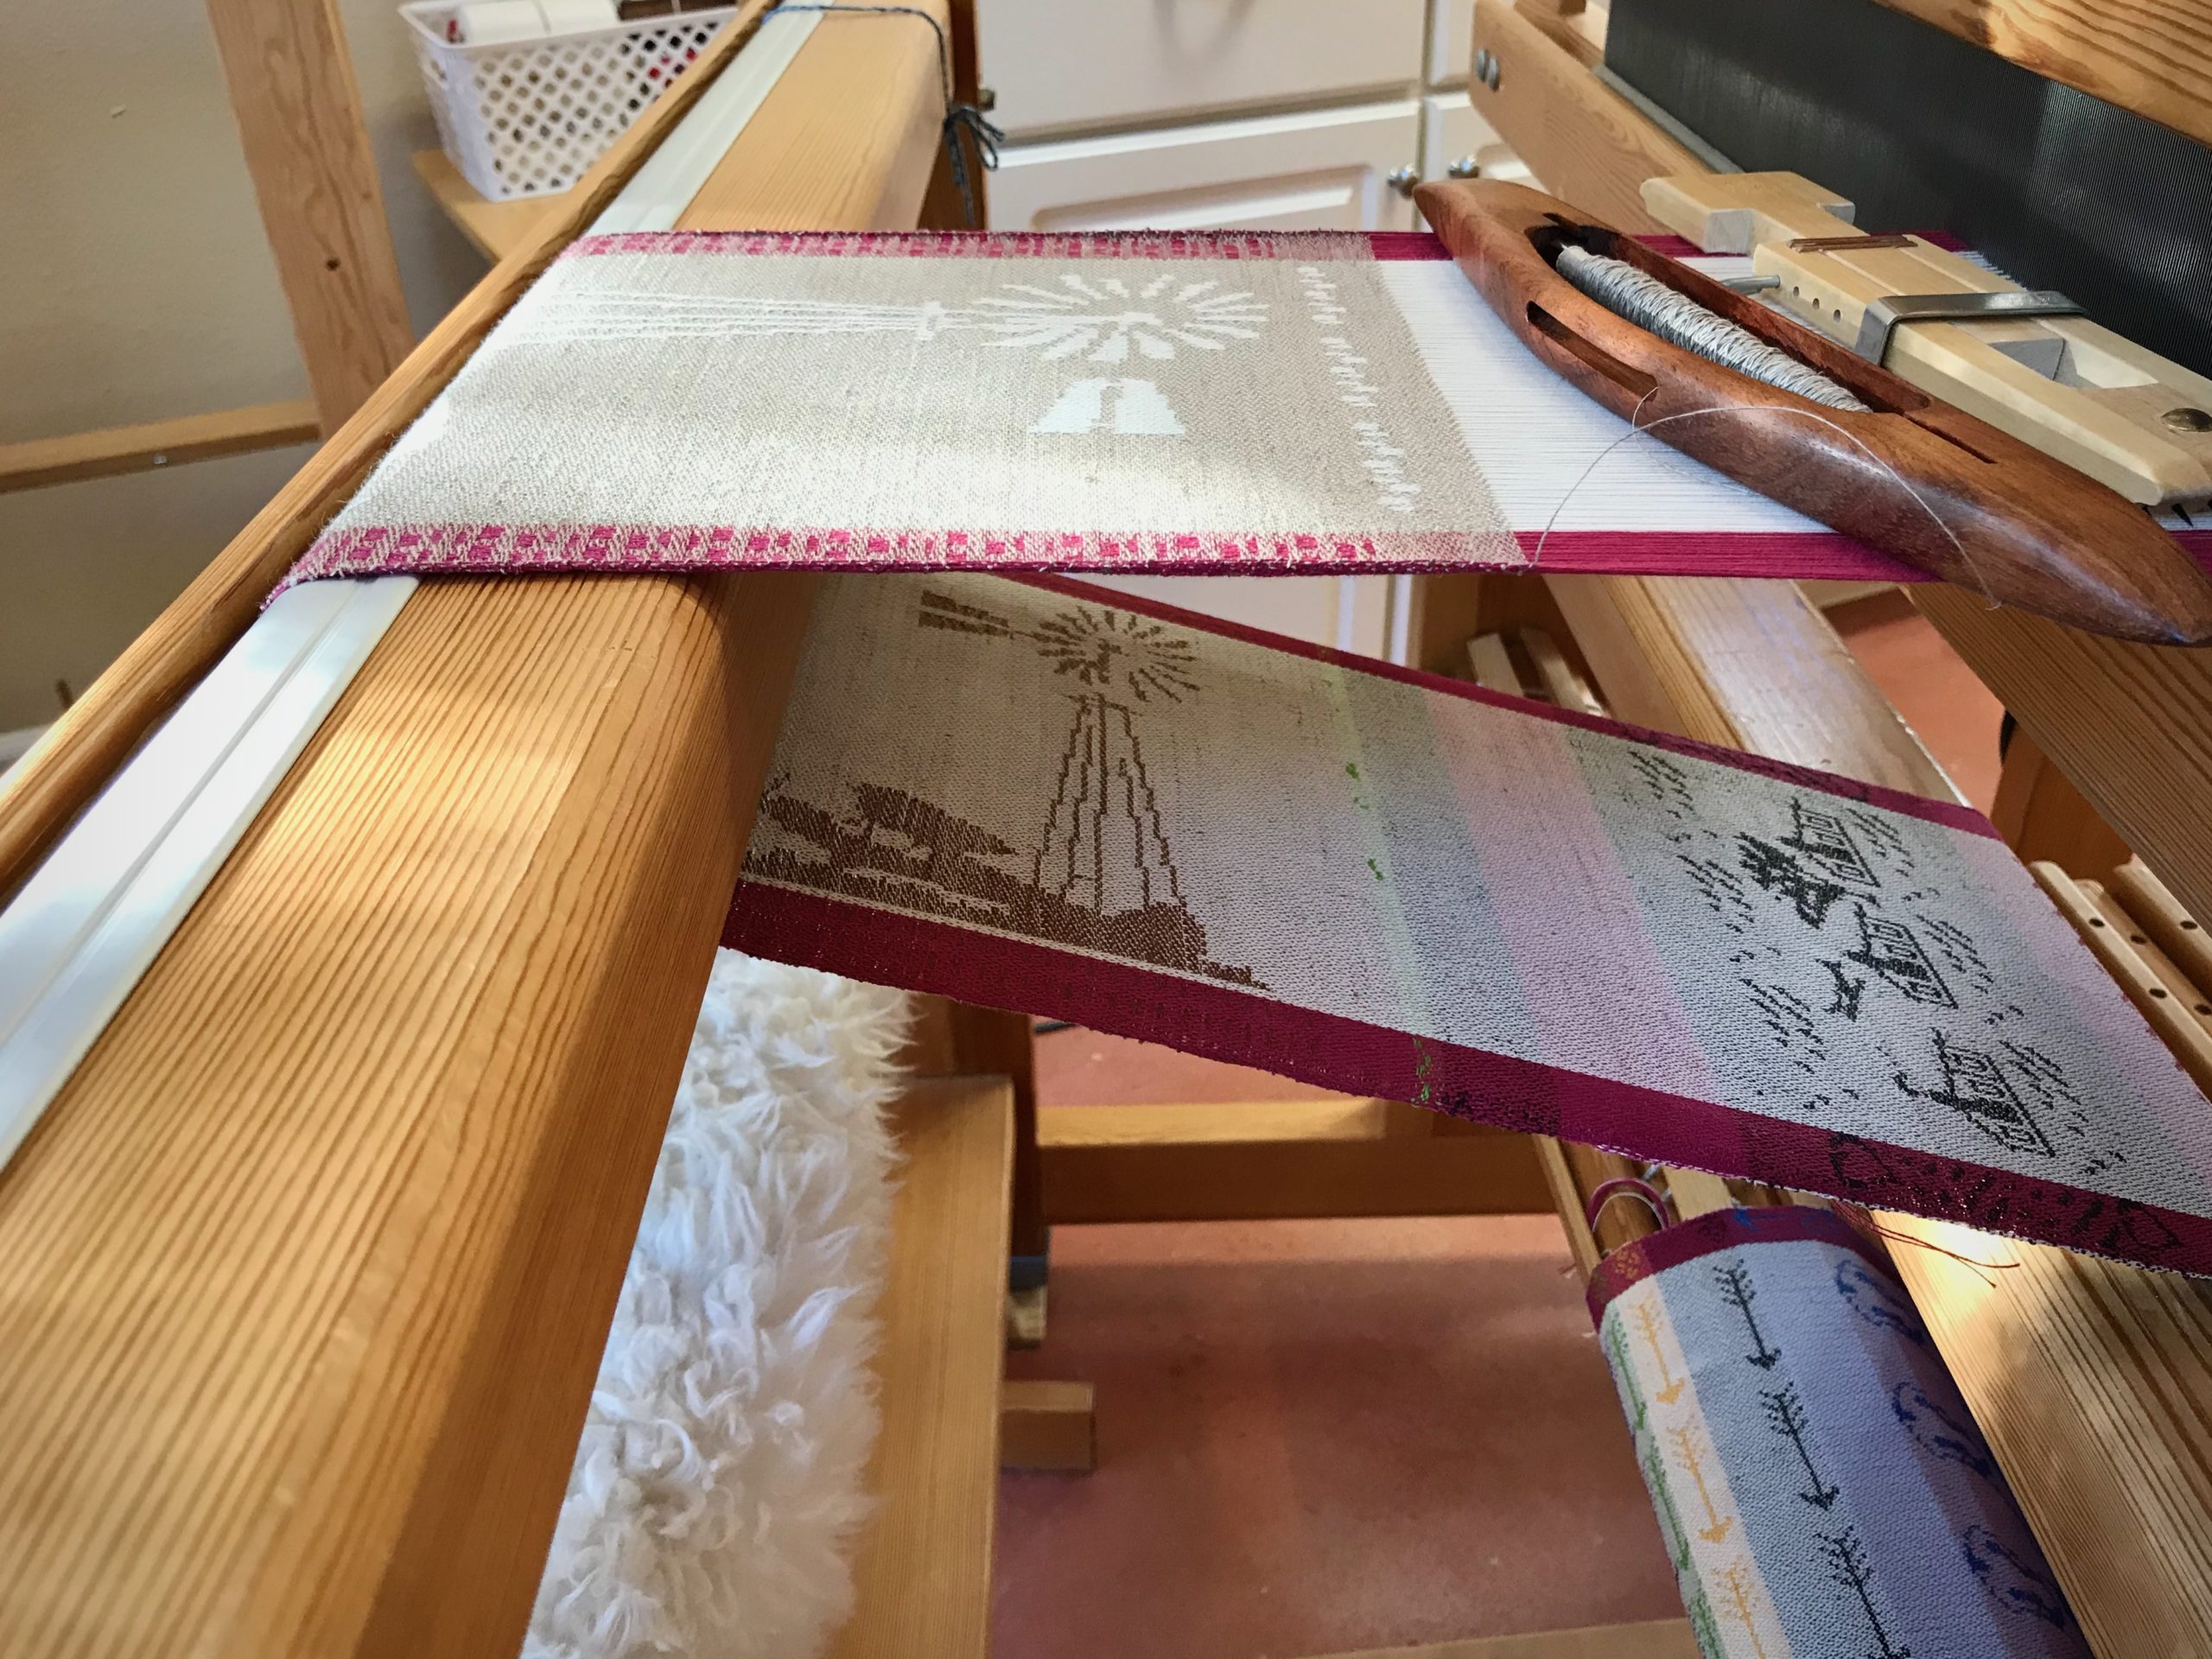
Aside from the two taildragger banners, the sign for our guest powder room, and the Christmas snowflake hanging, these are test pieces and samples. The combination drawloom is a playground for design ideas. Test pieces and samples are not meant for display. I do want them to be seen on occasion, however. (See Time Lapse: Windmill and Taildragger on the Drawloom.)
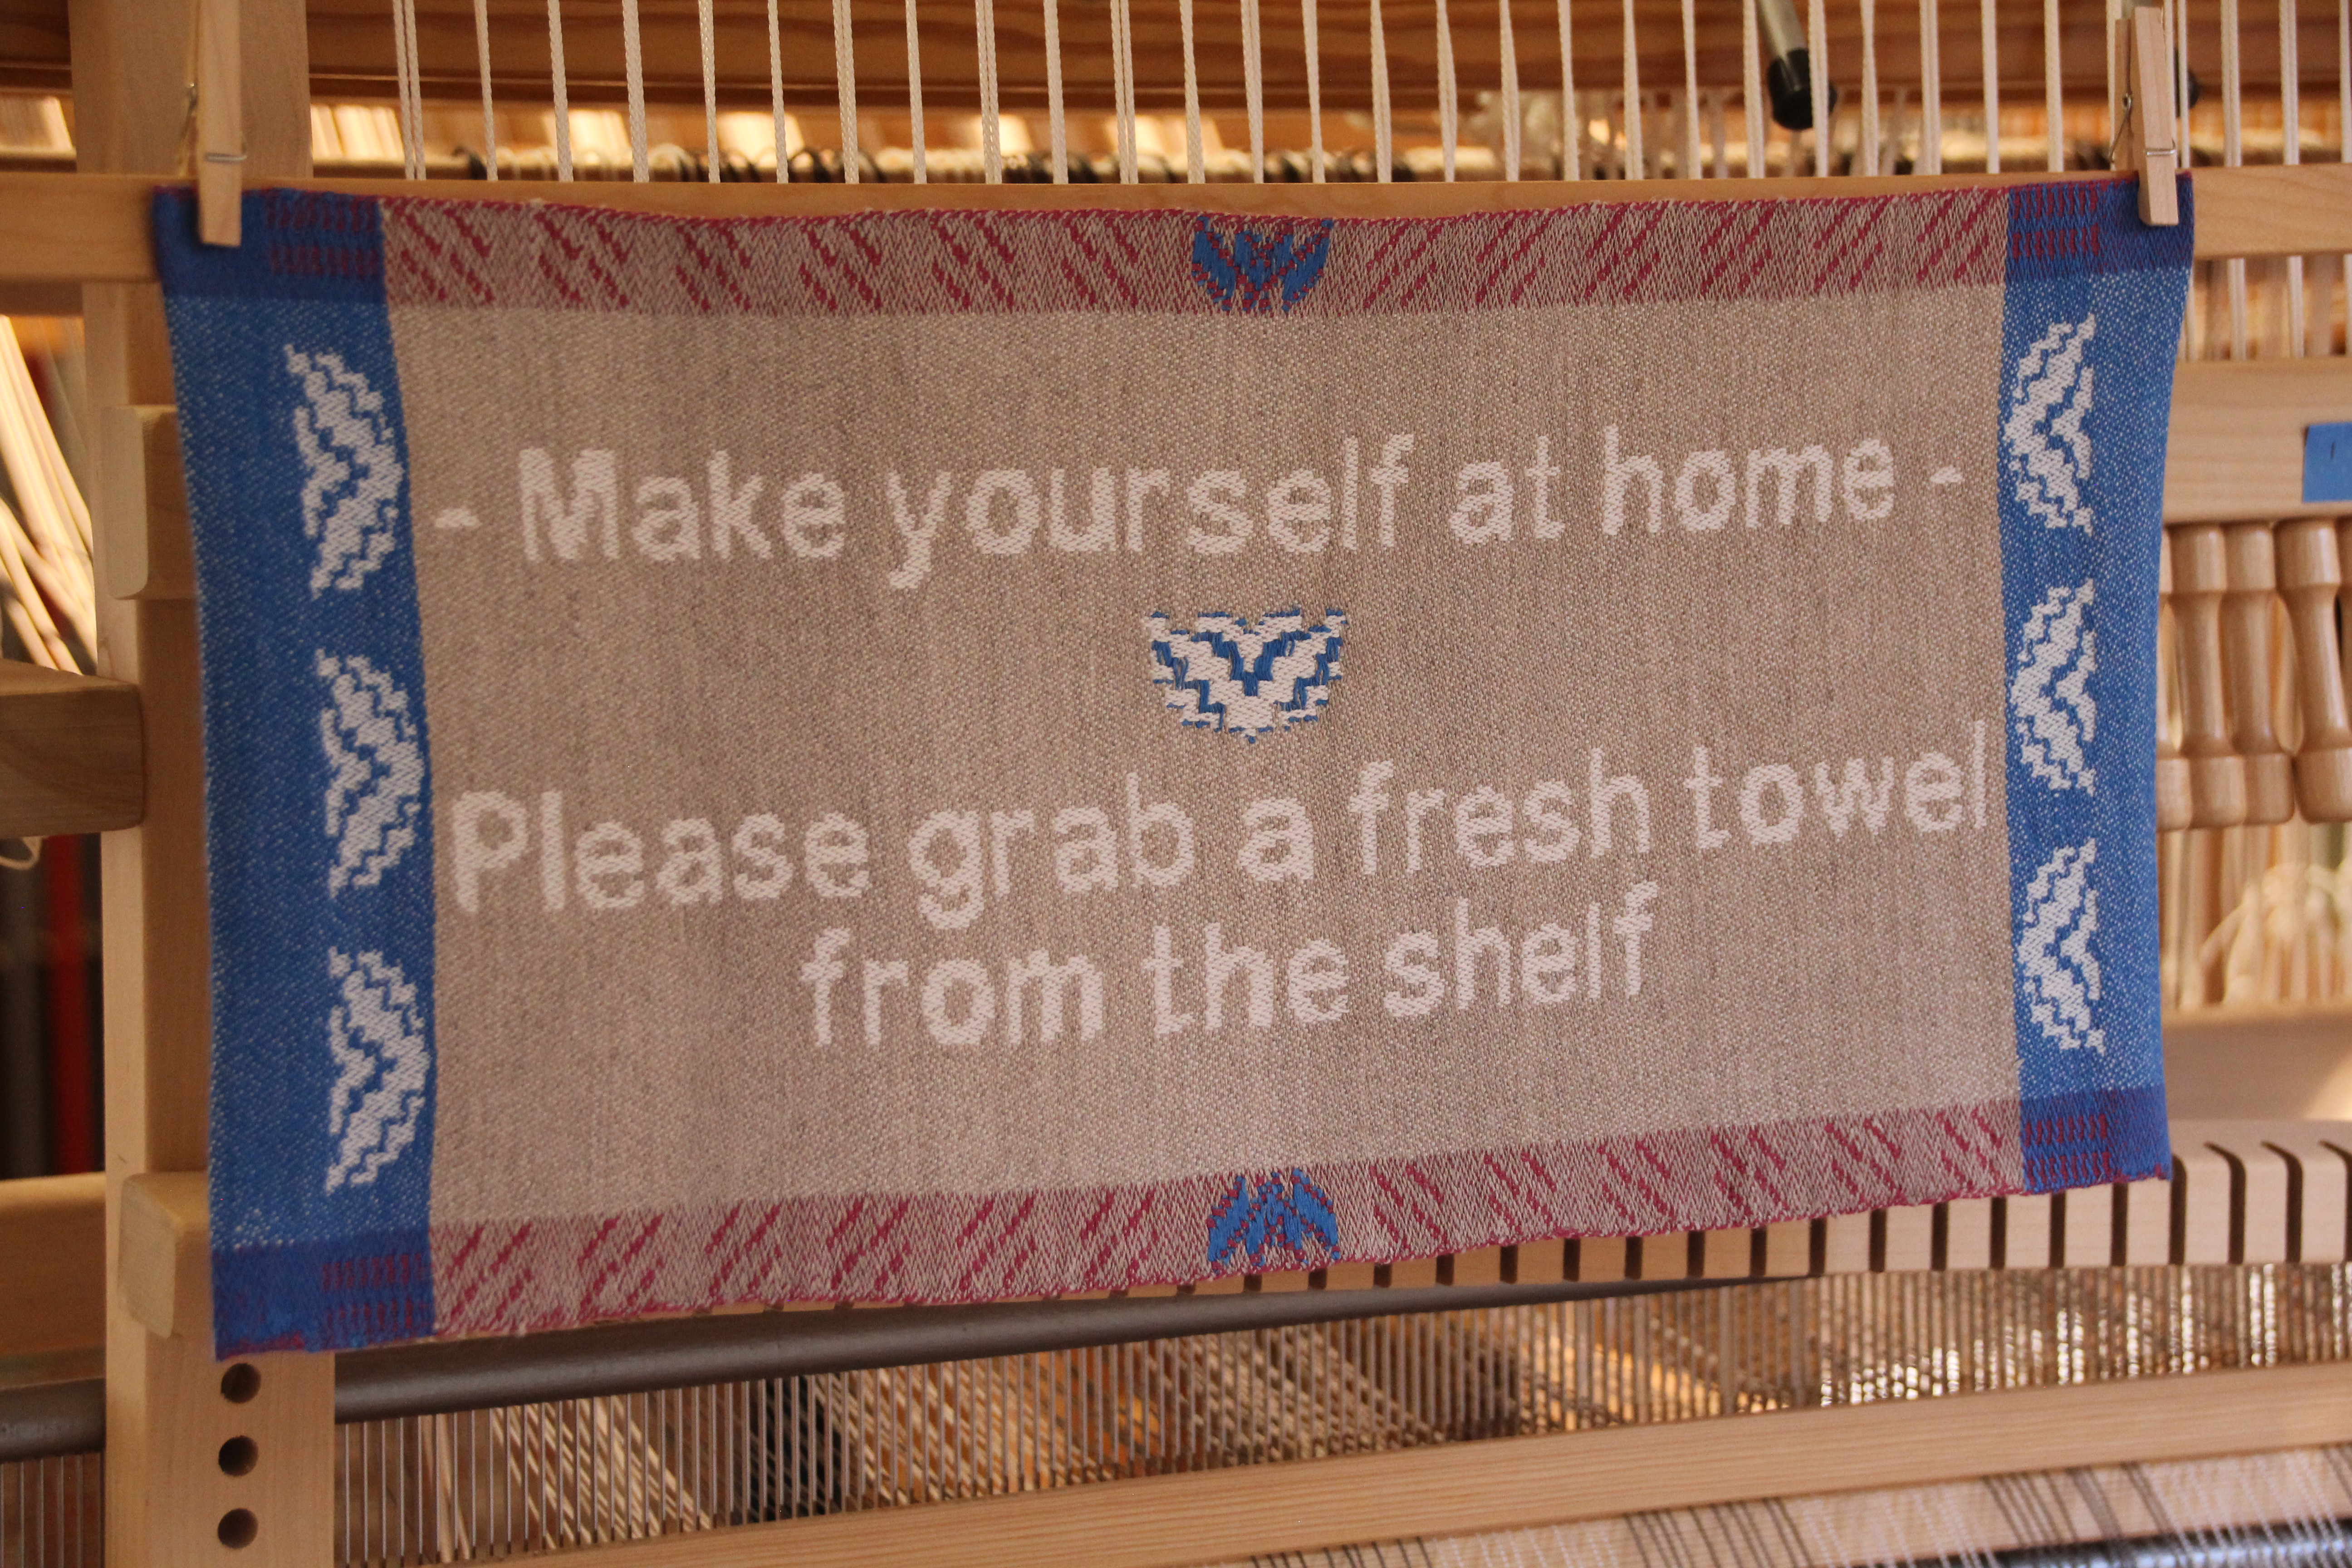
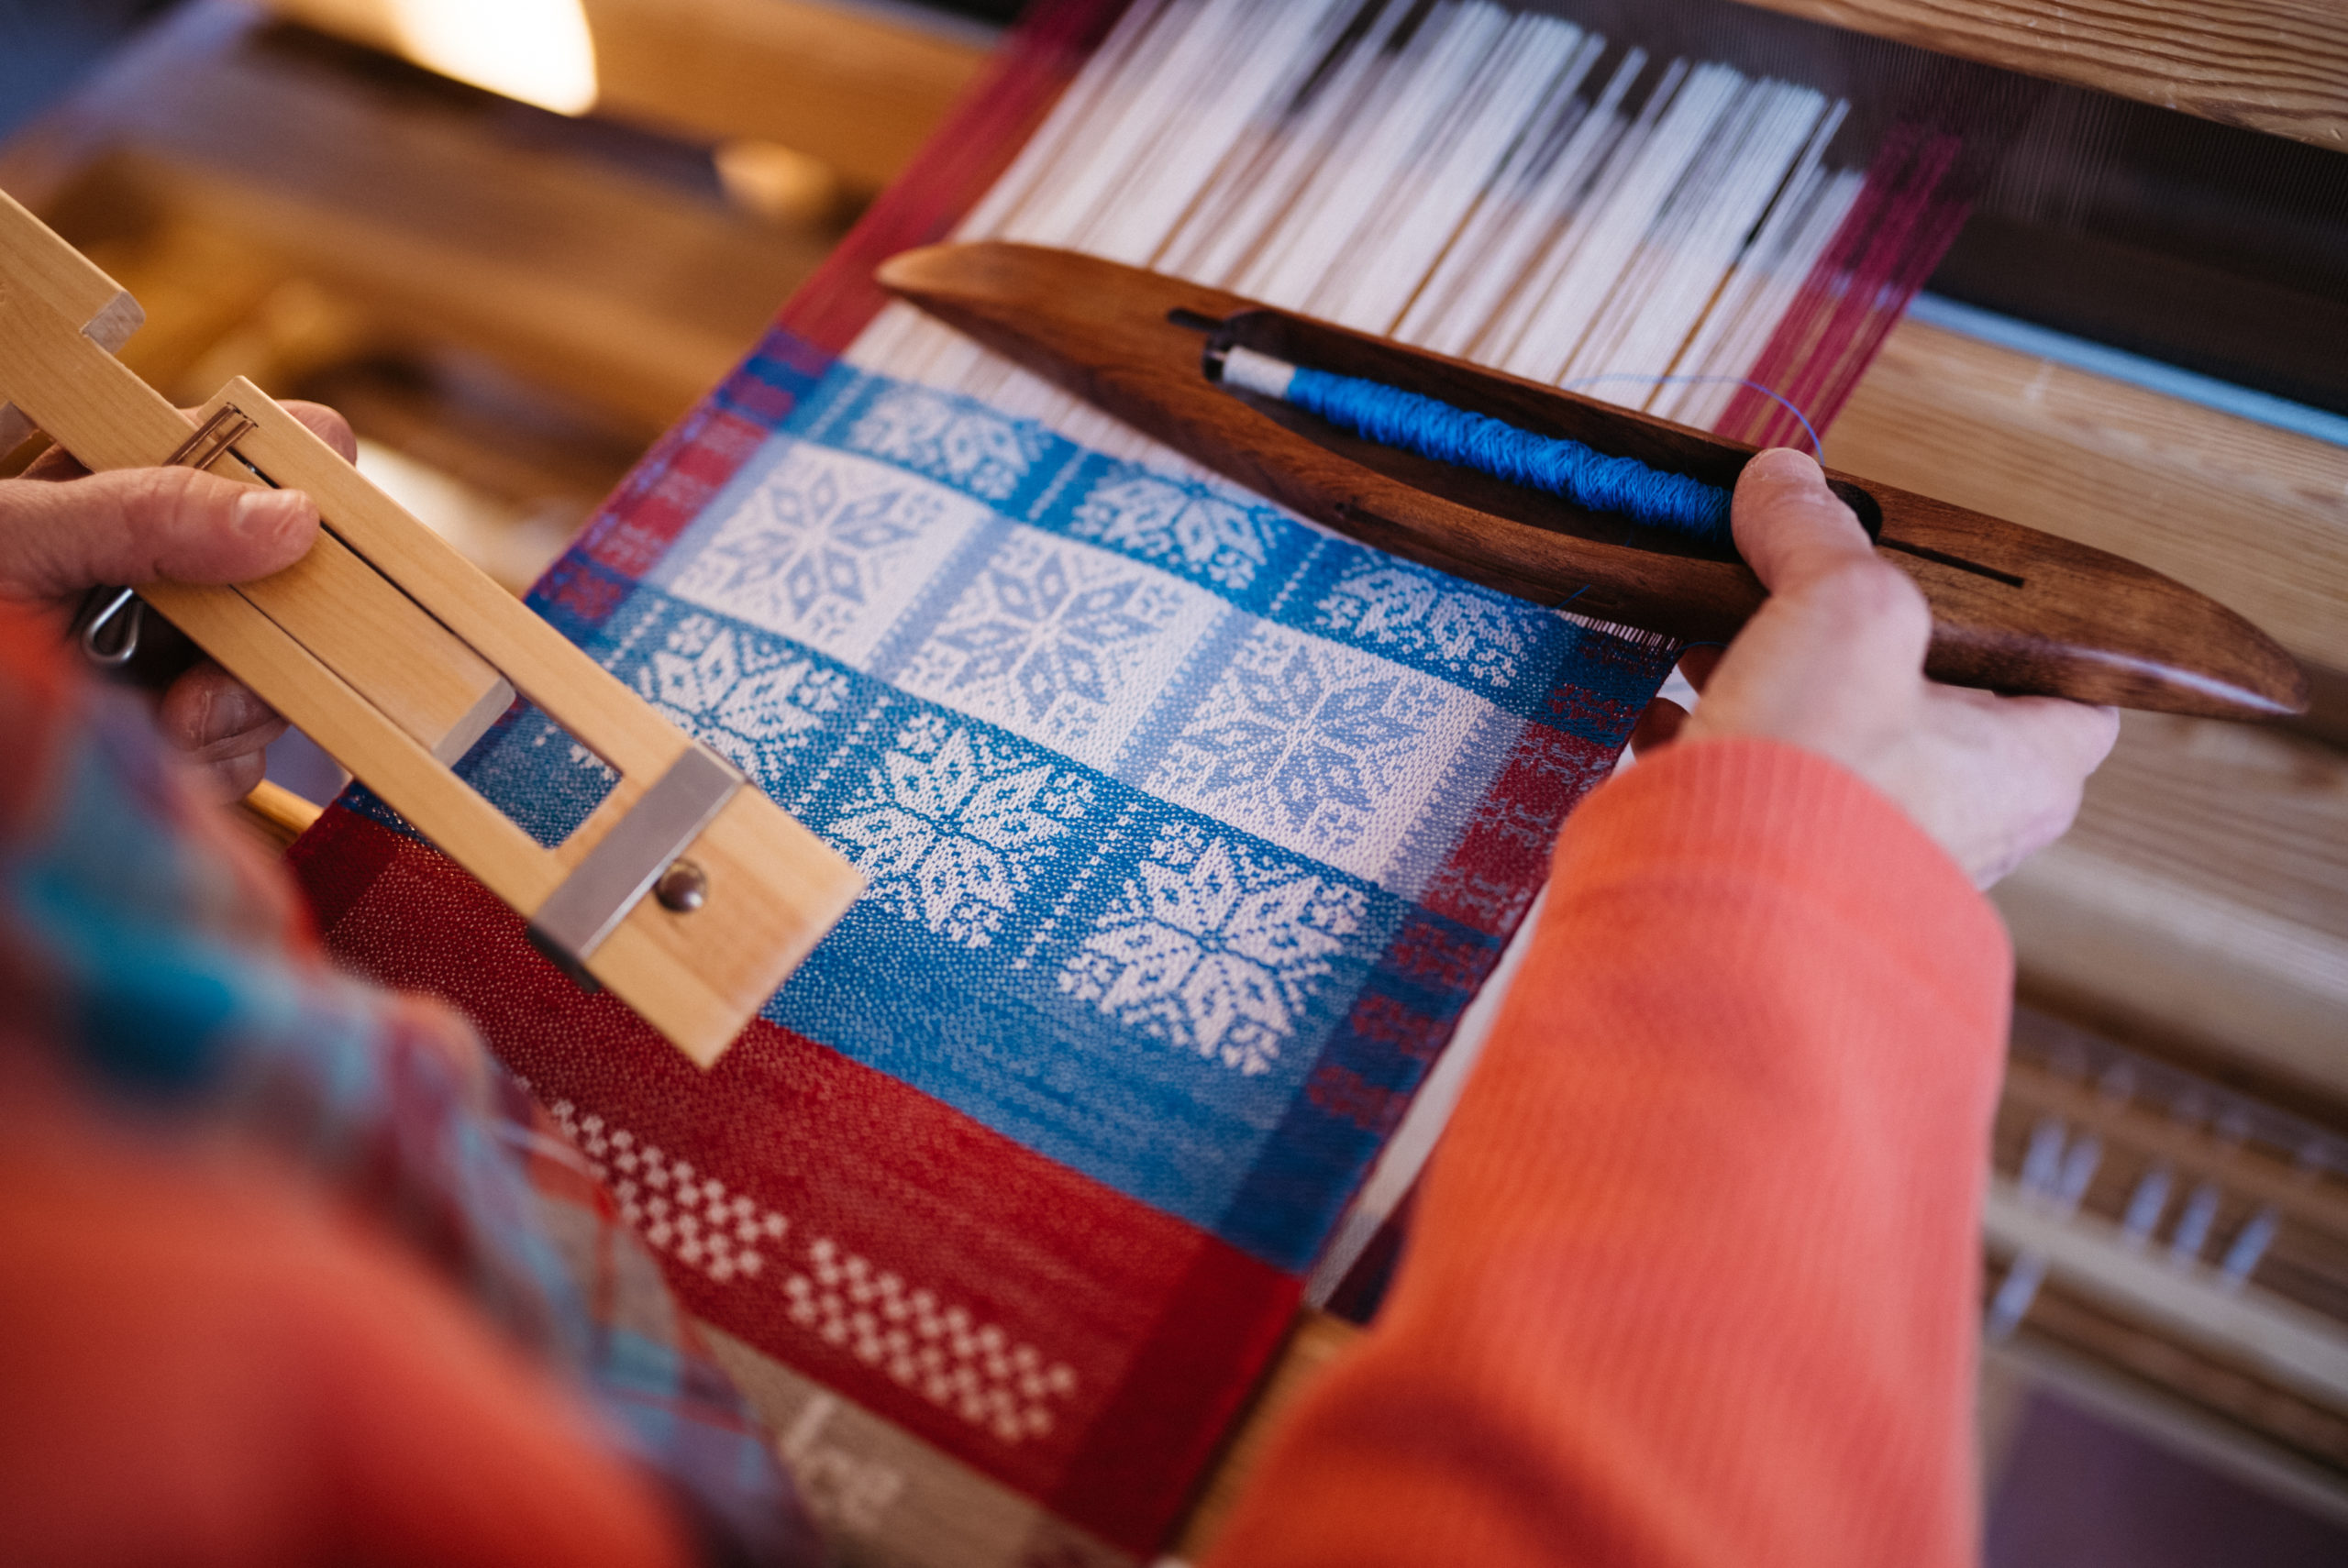
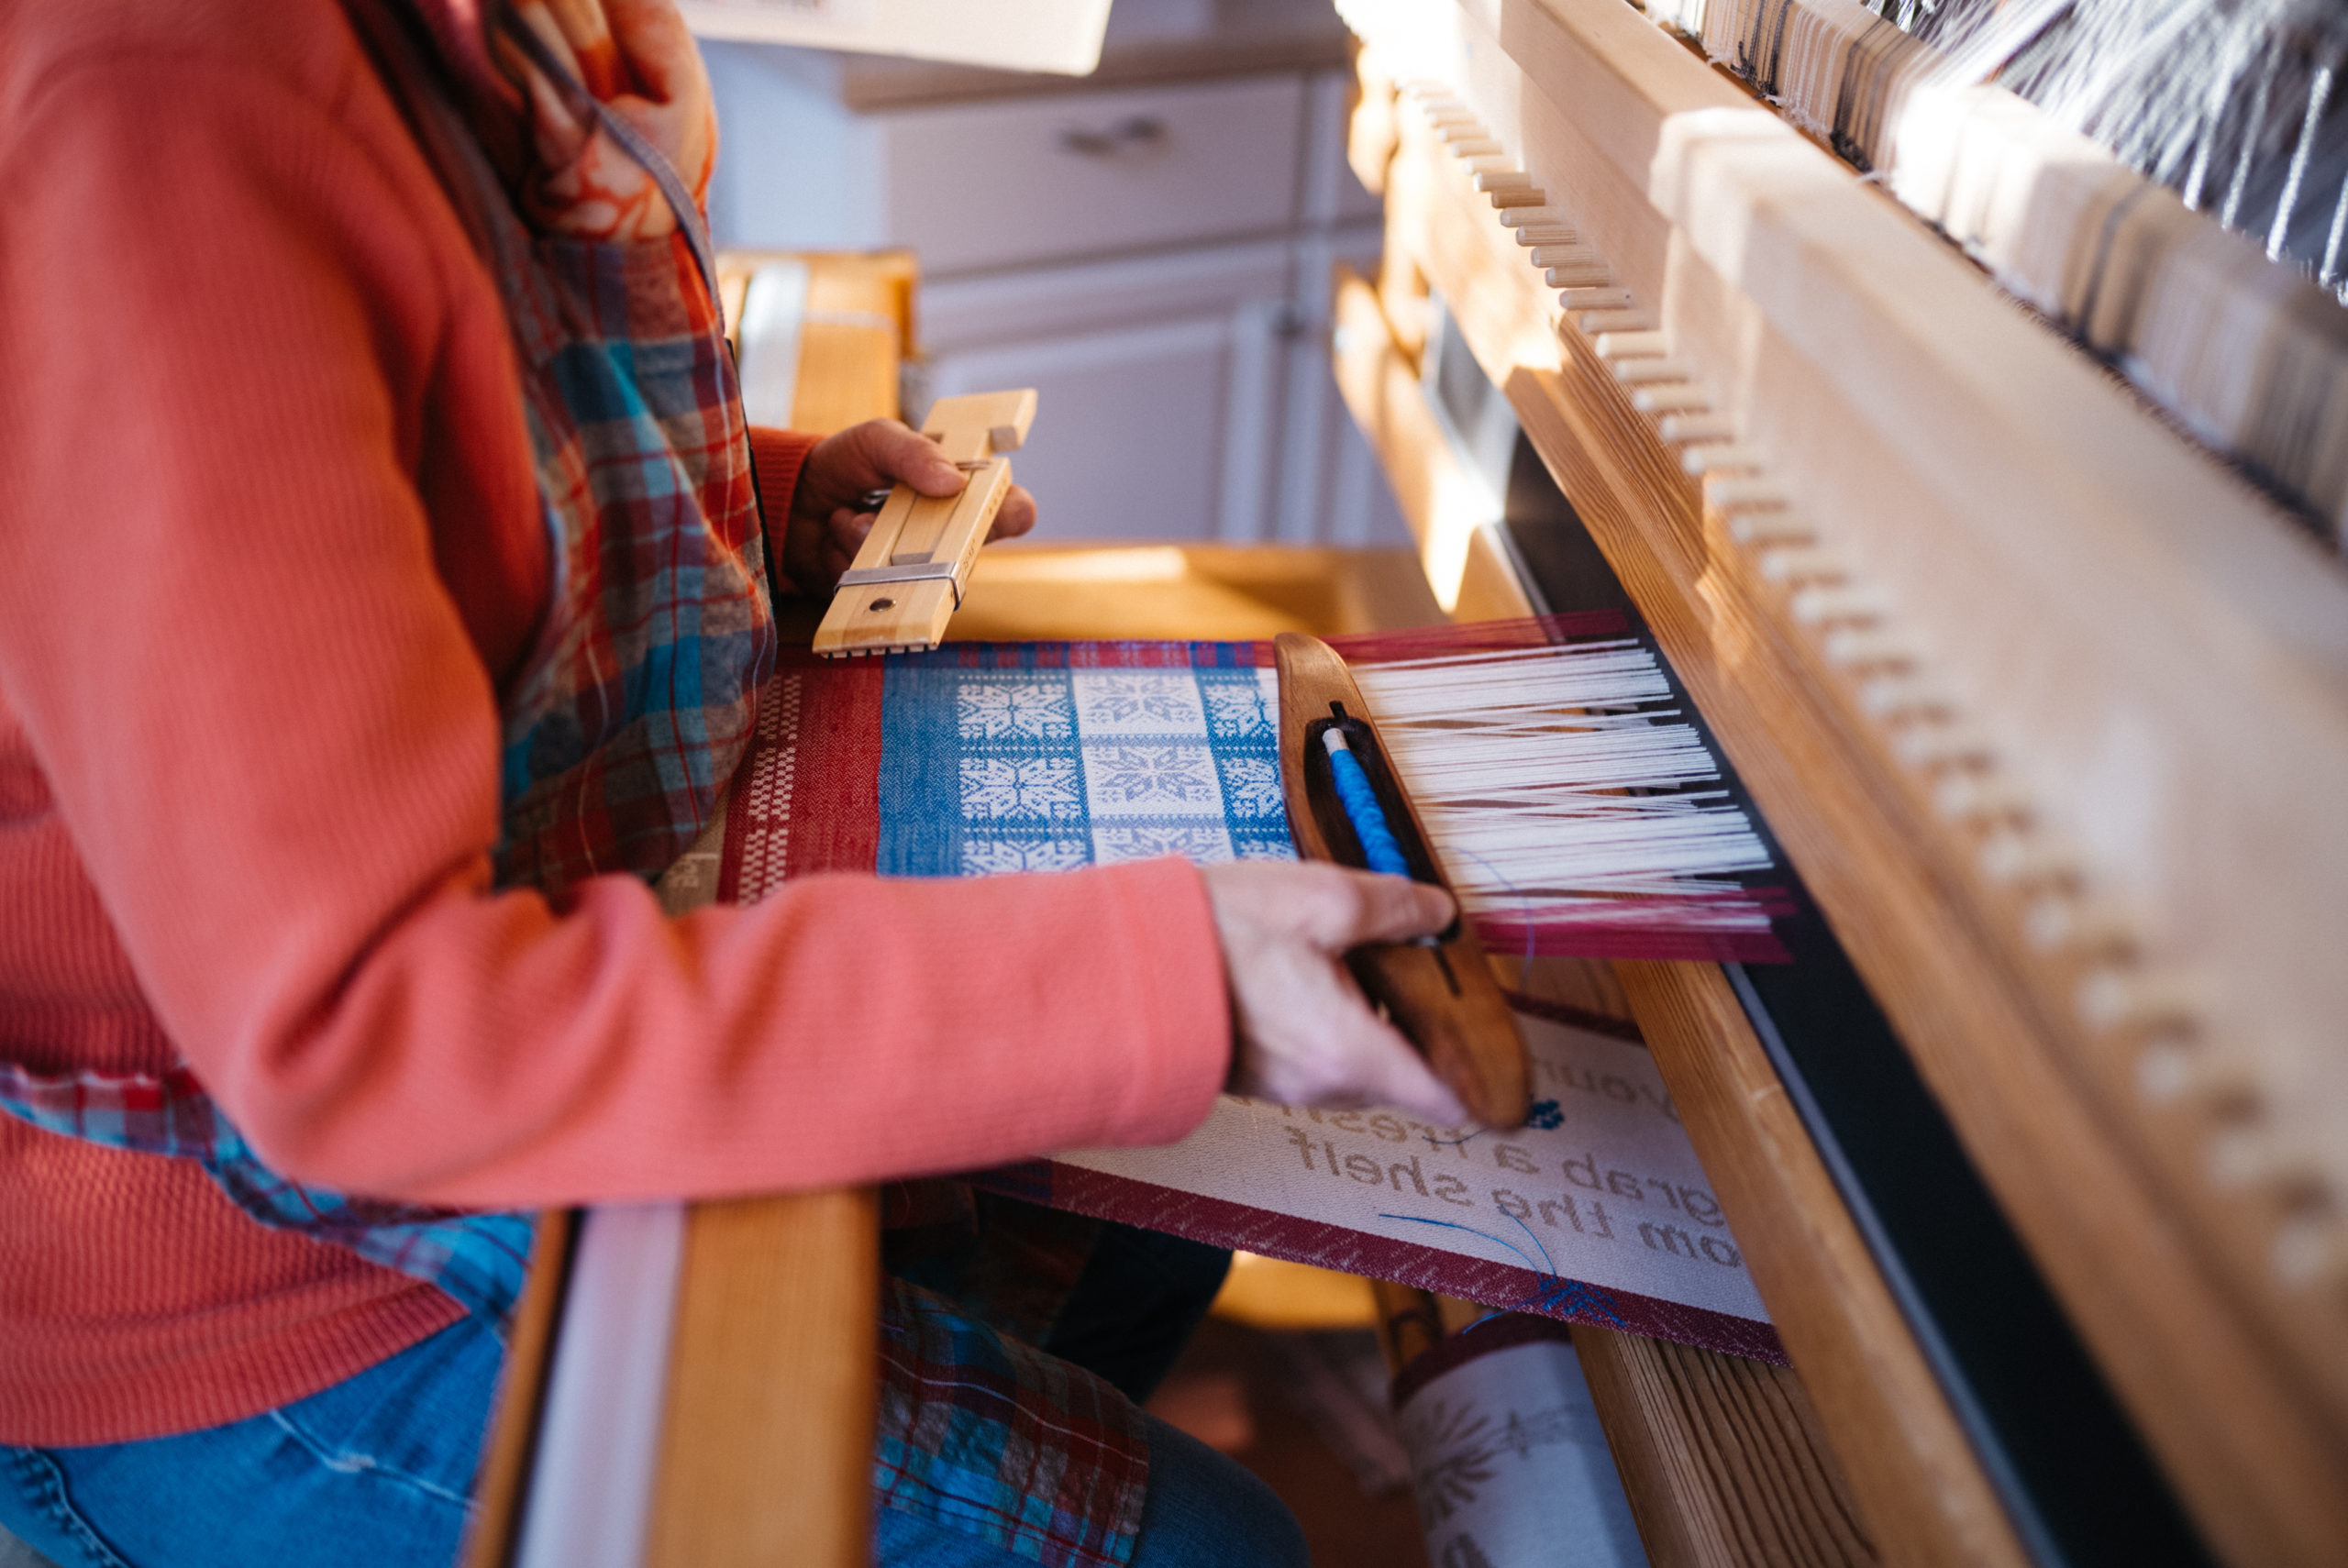
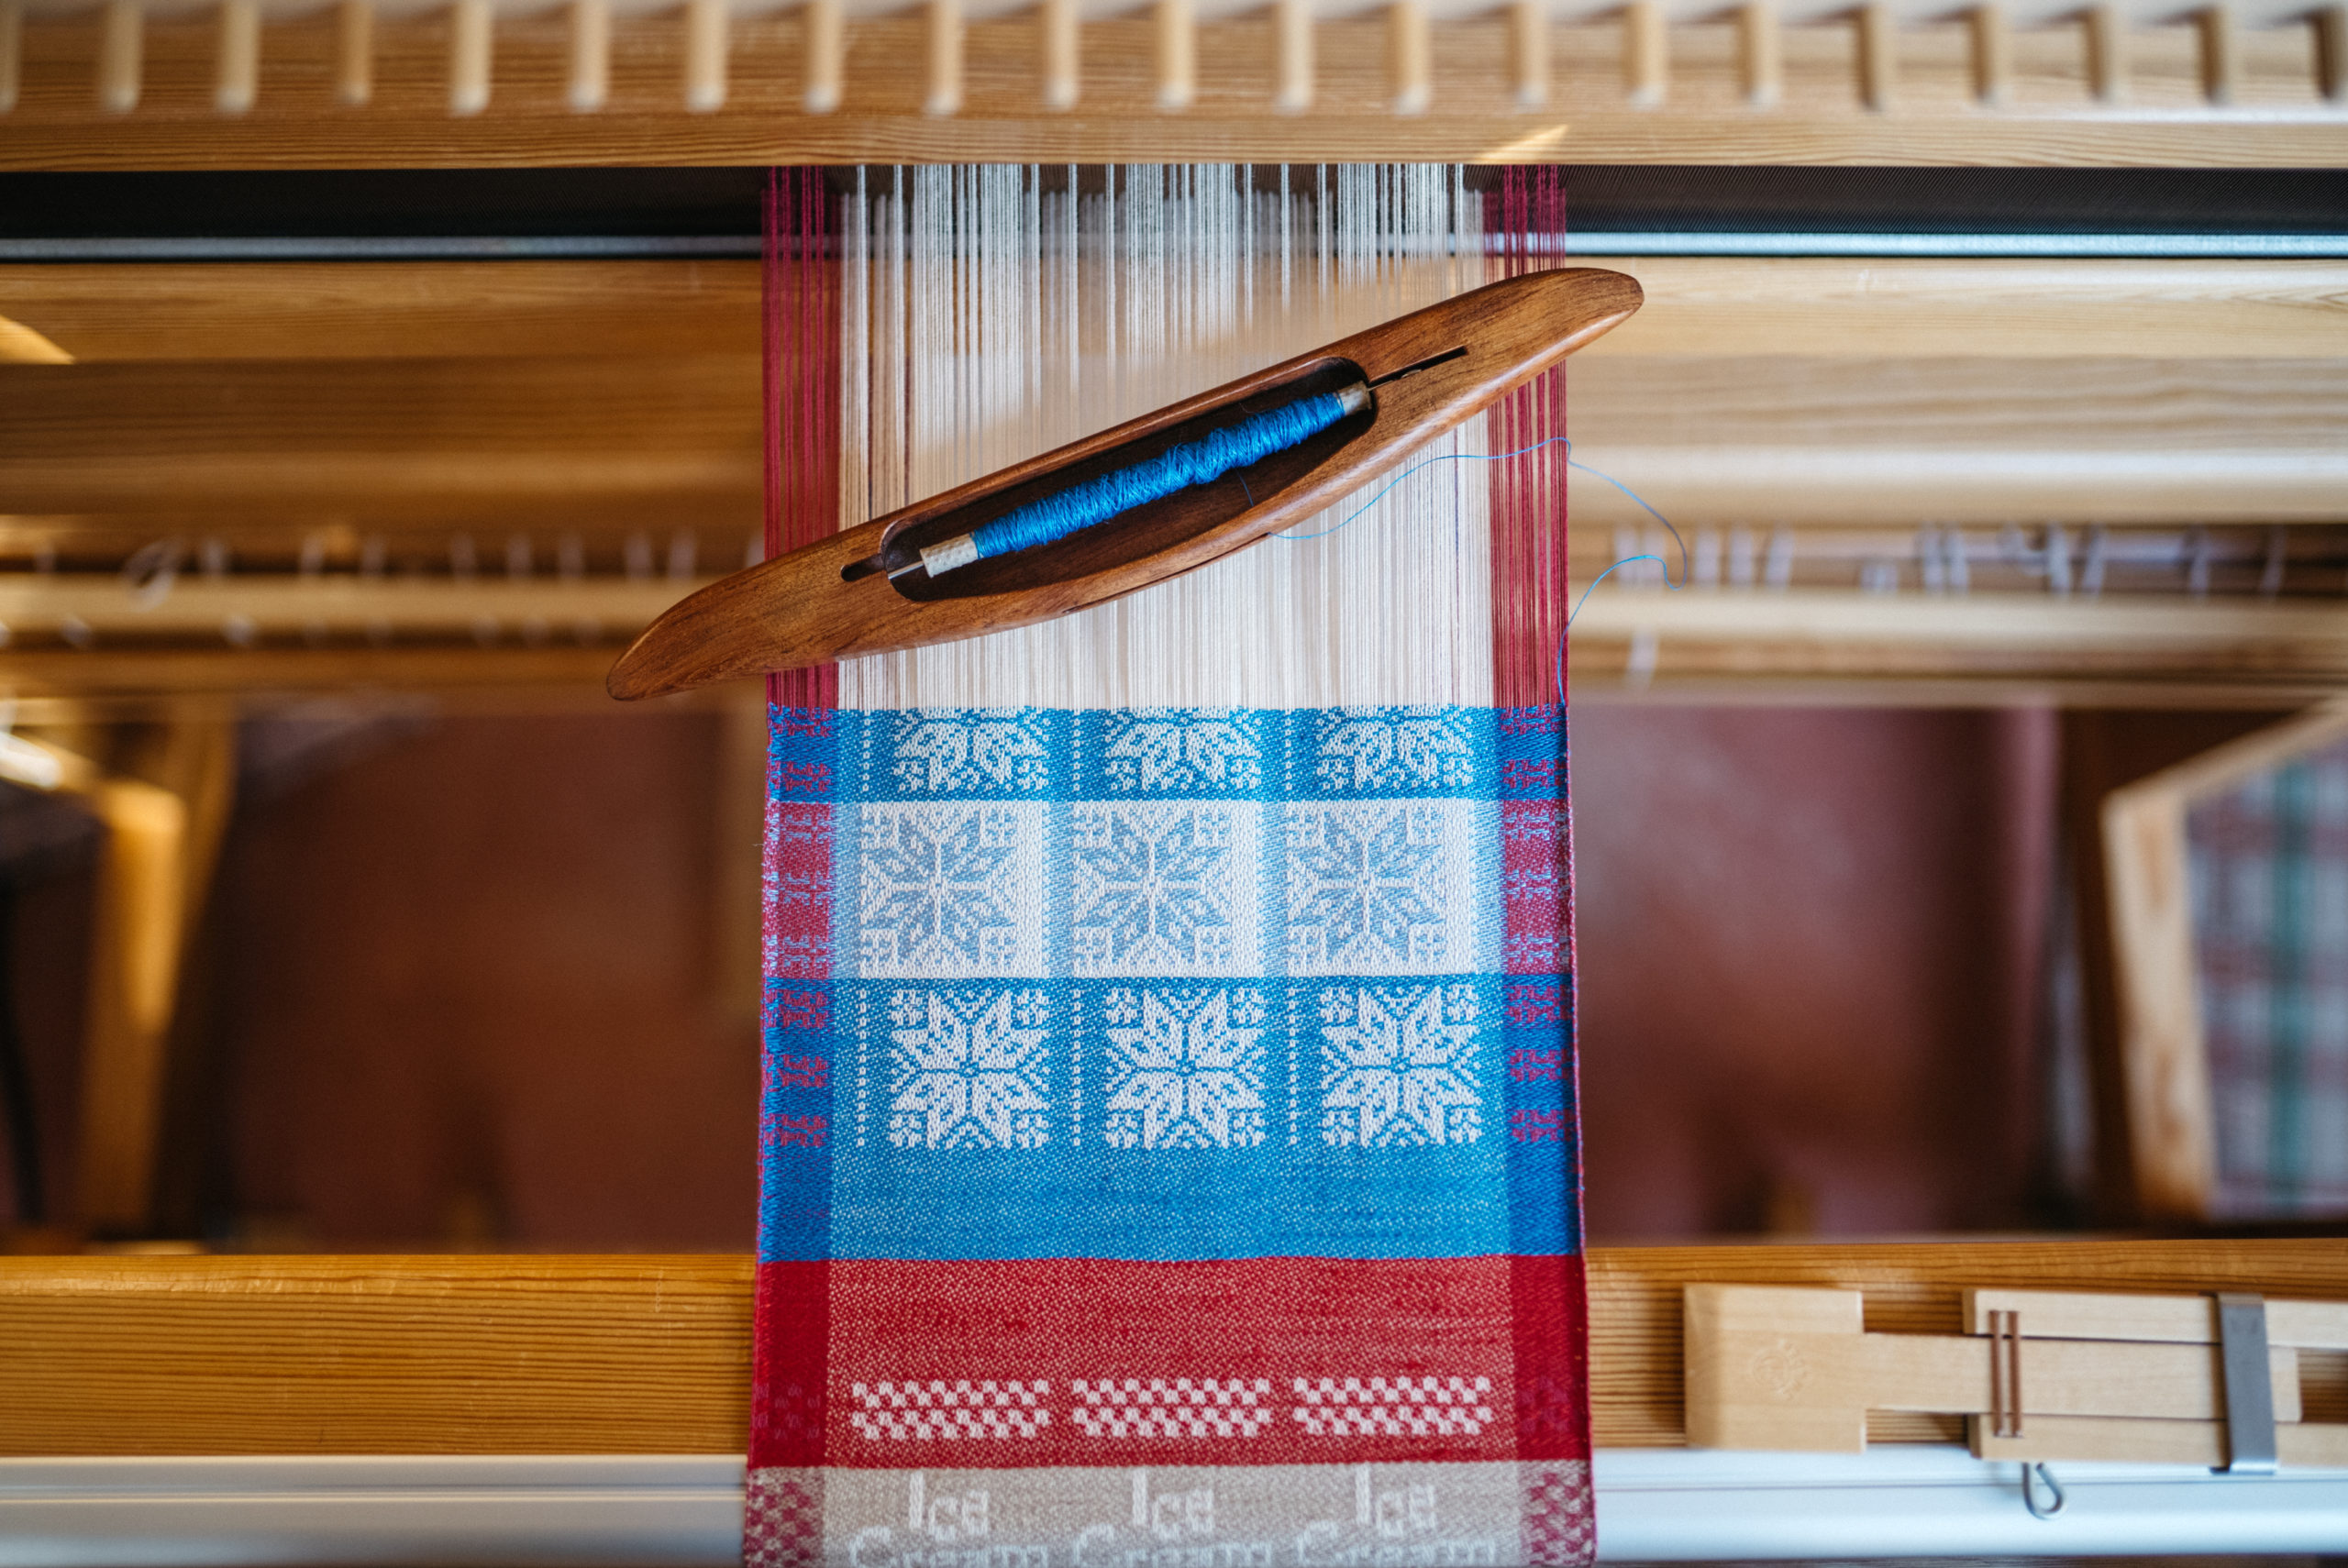
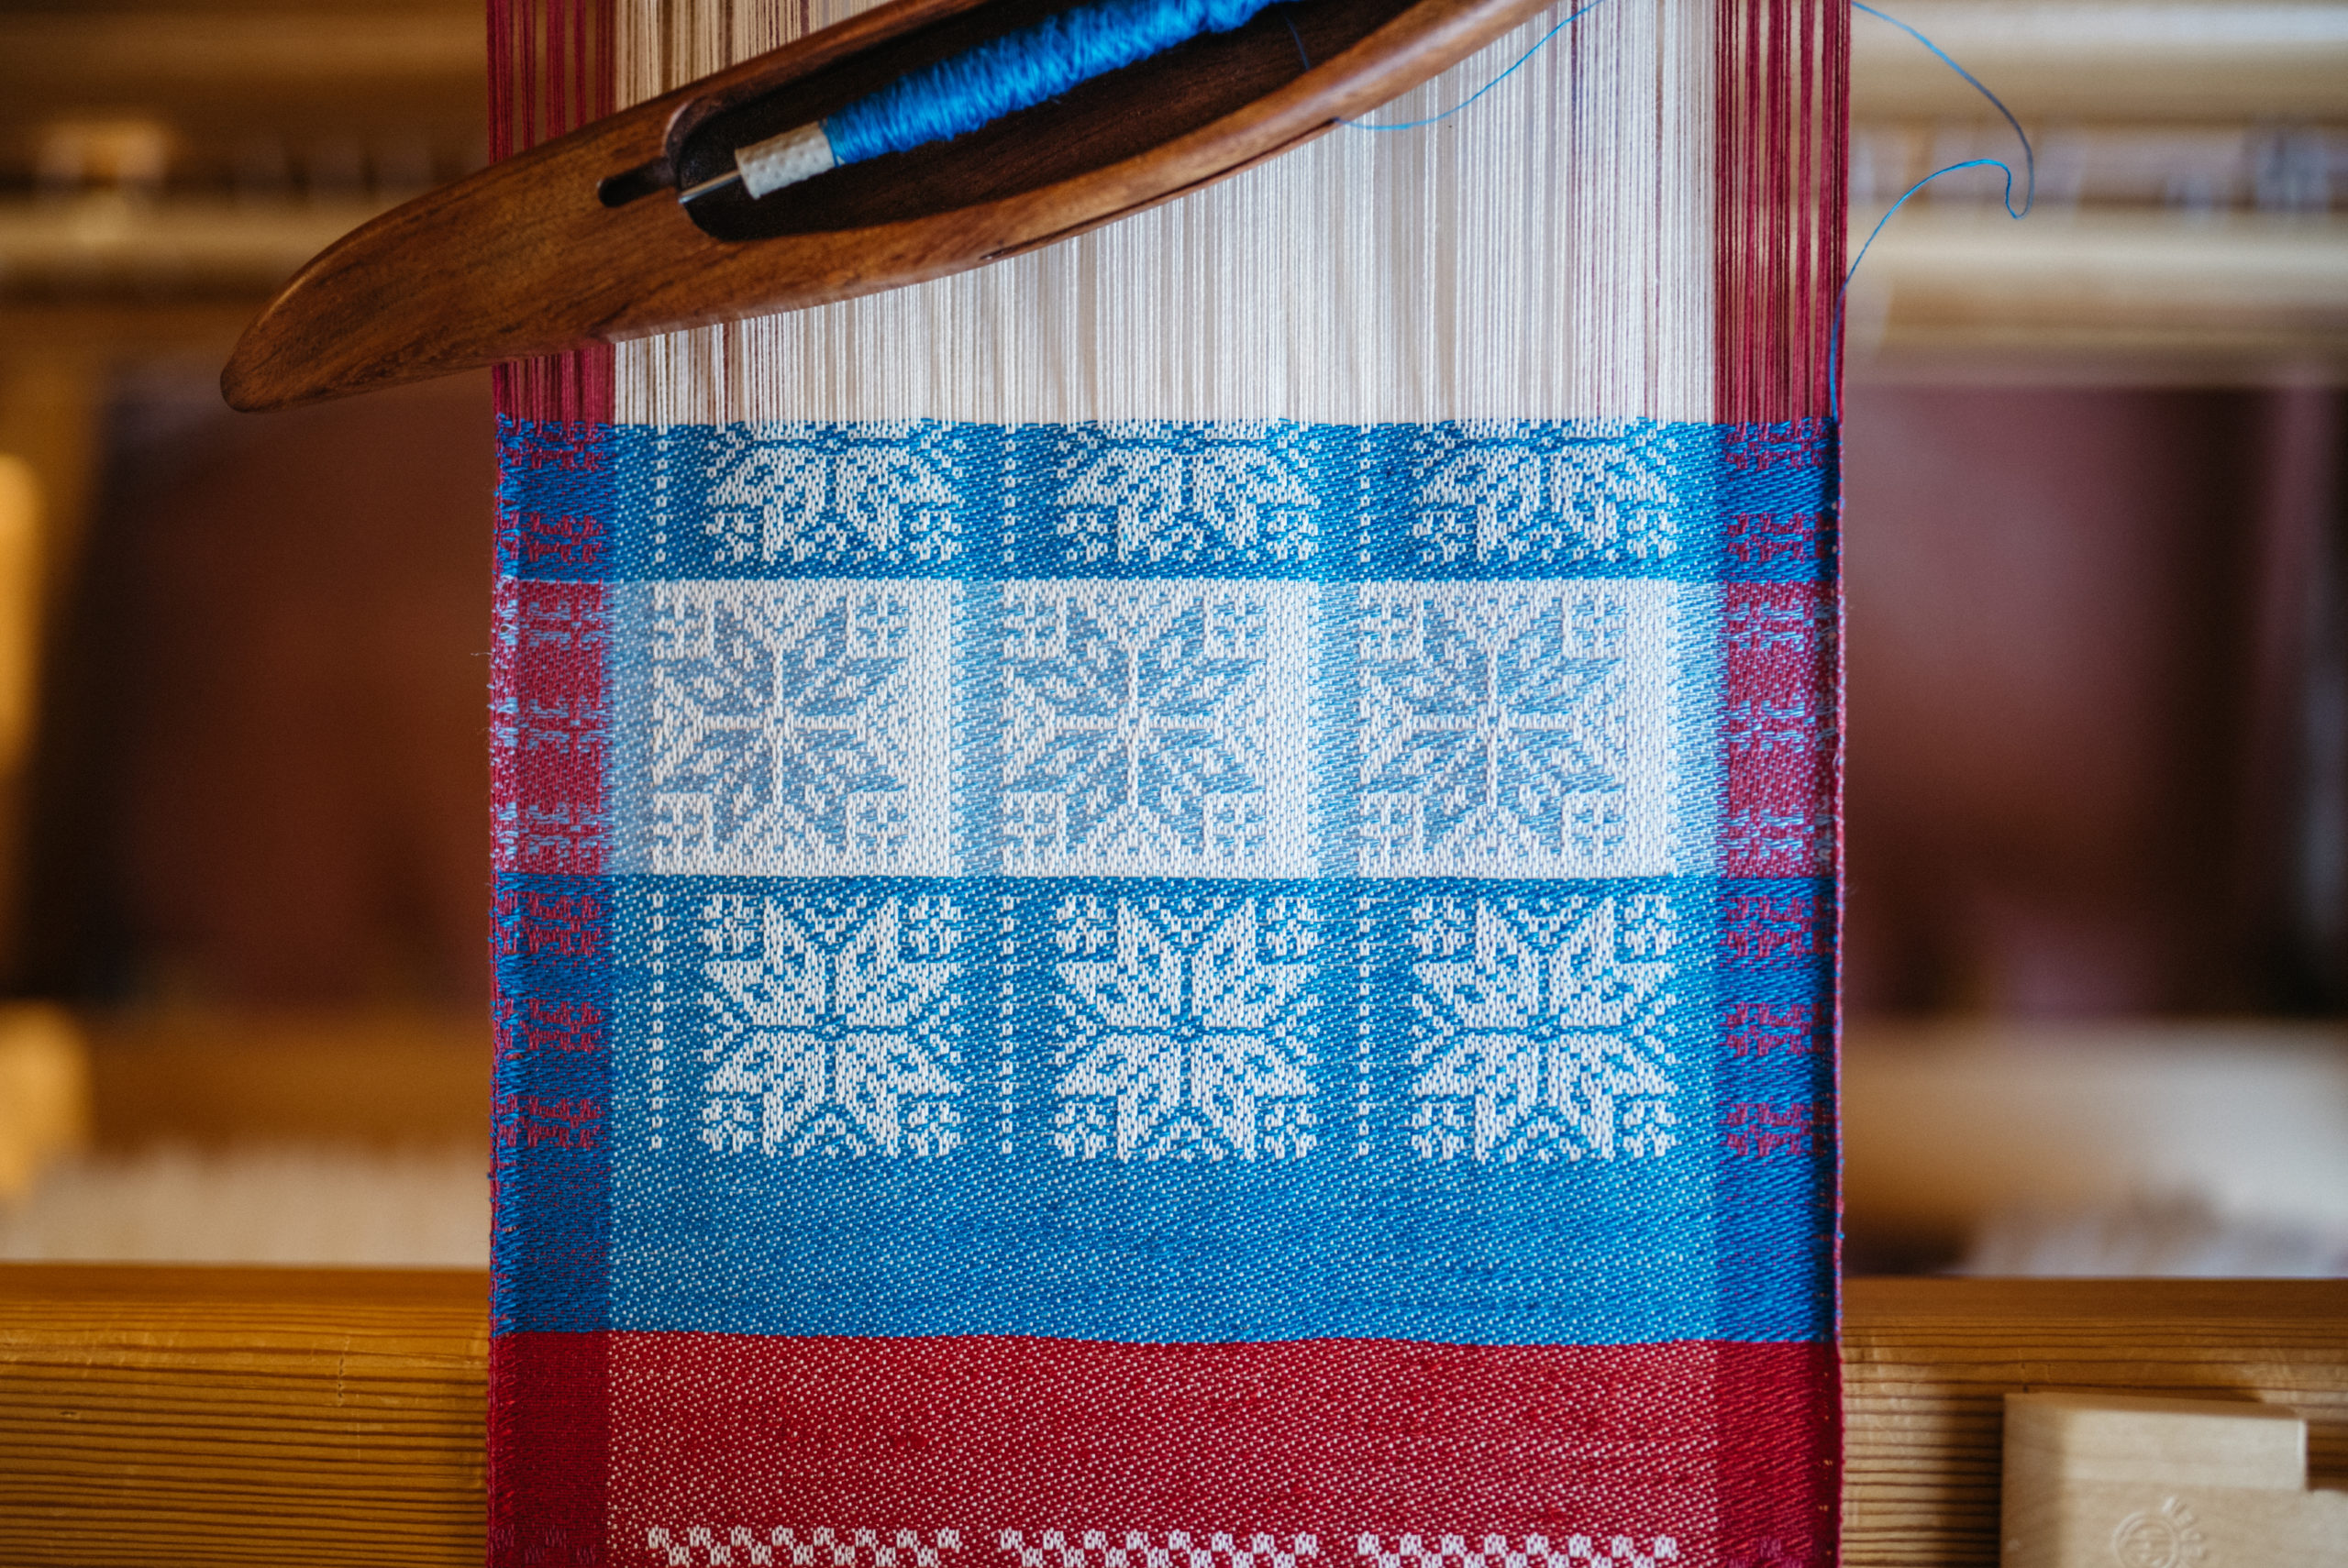
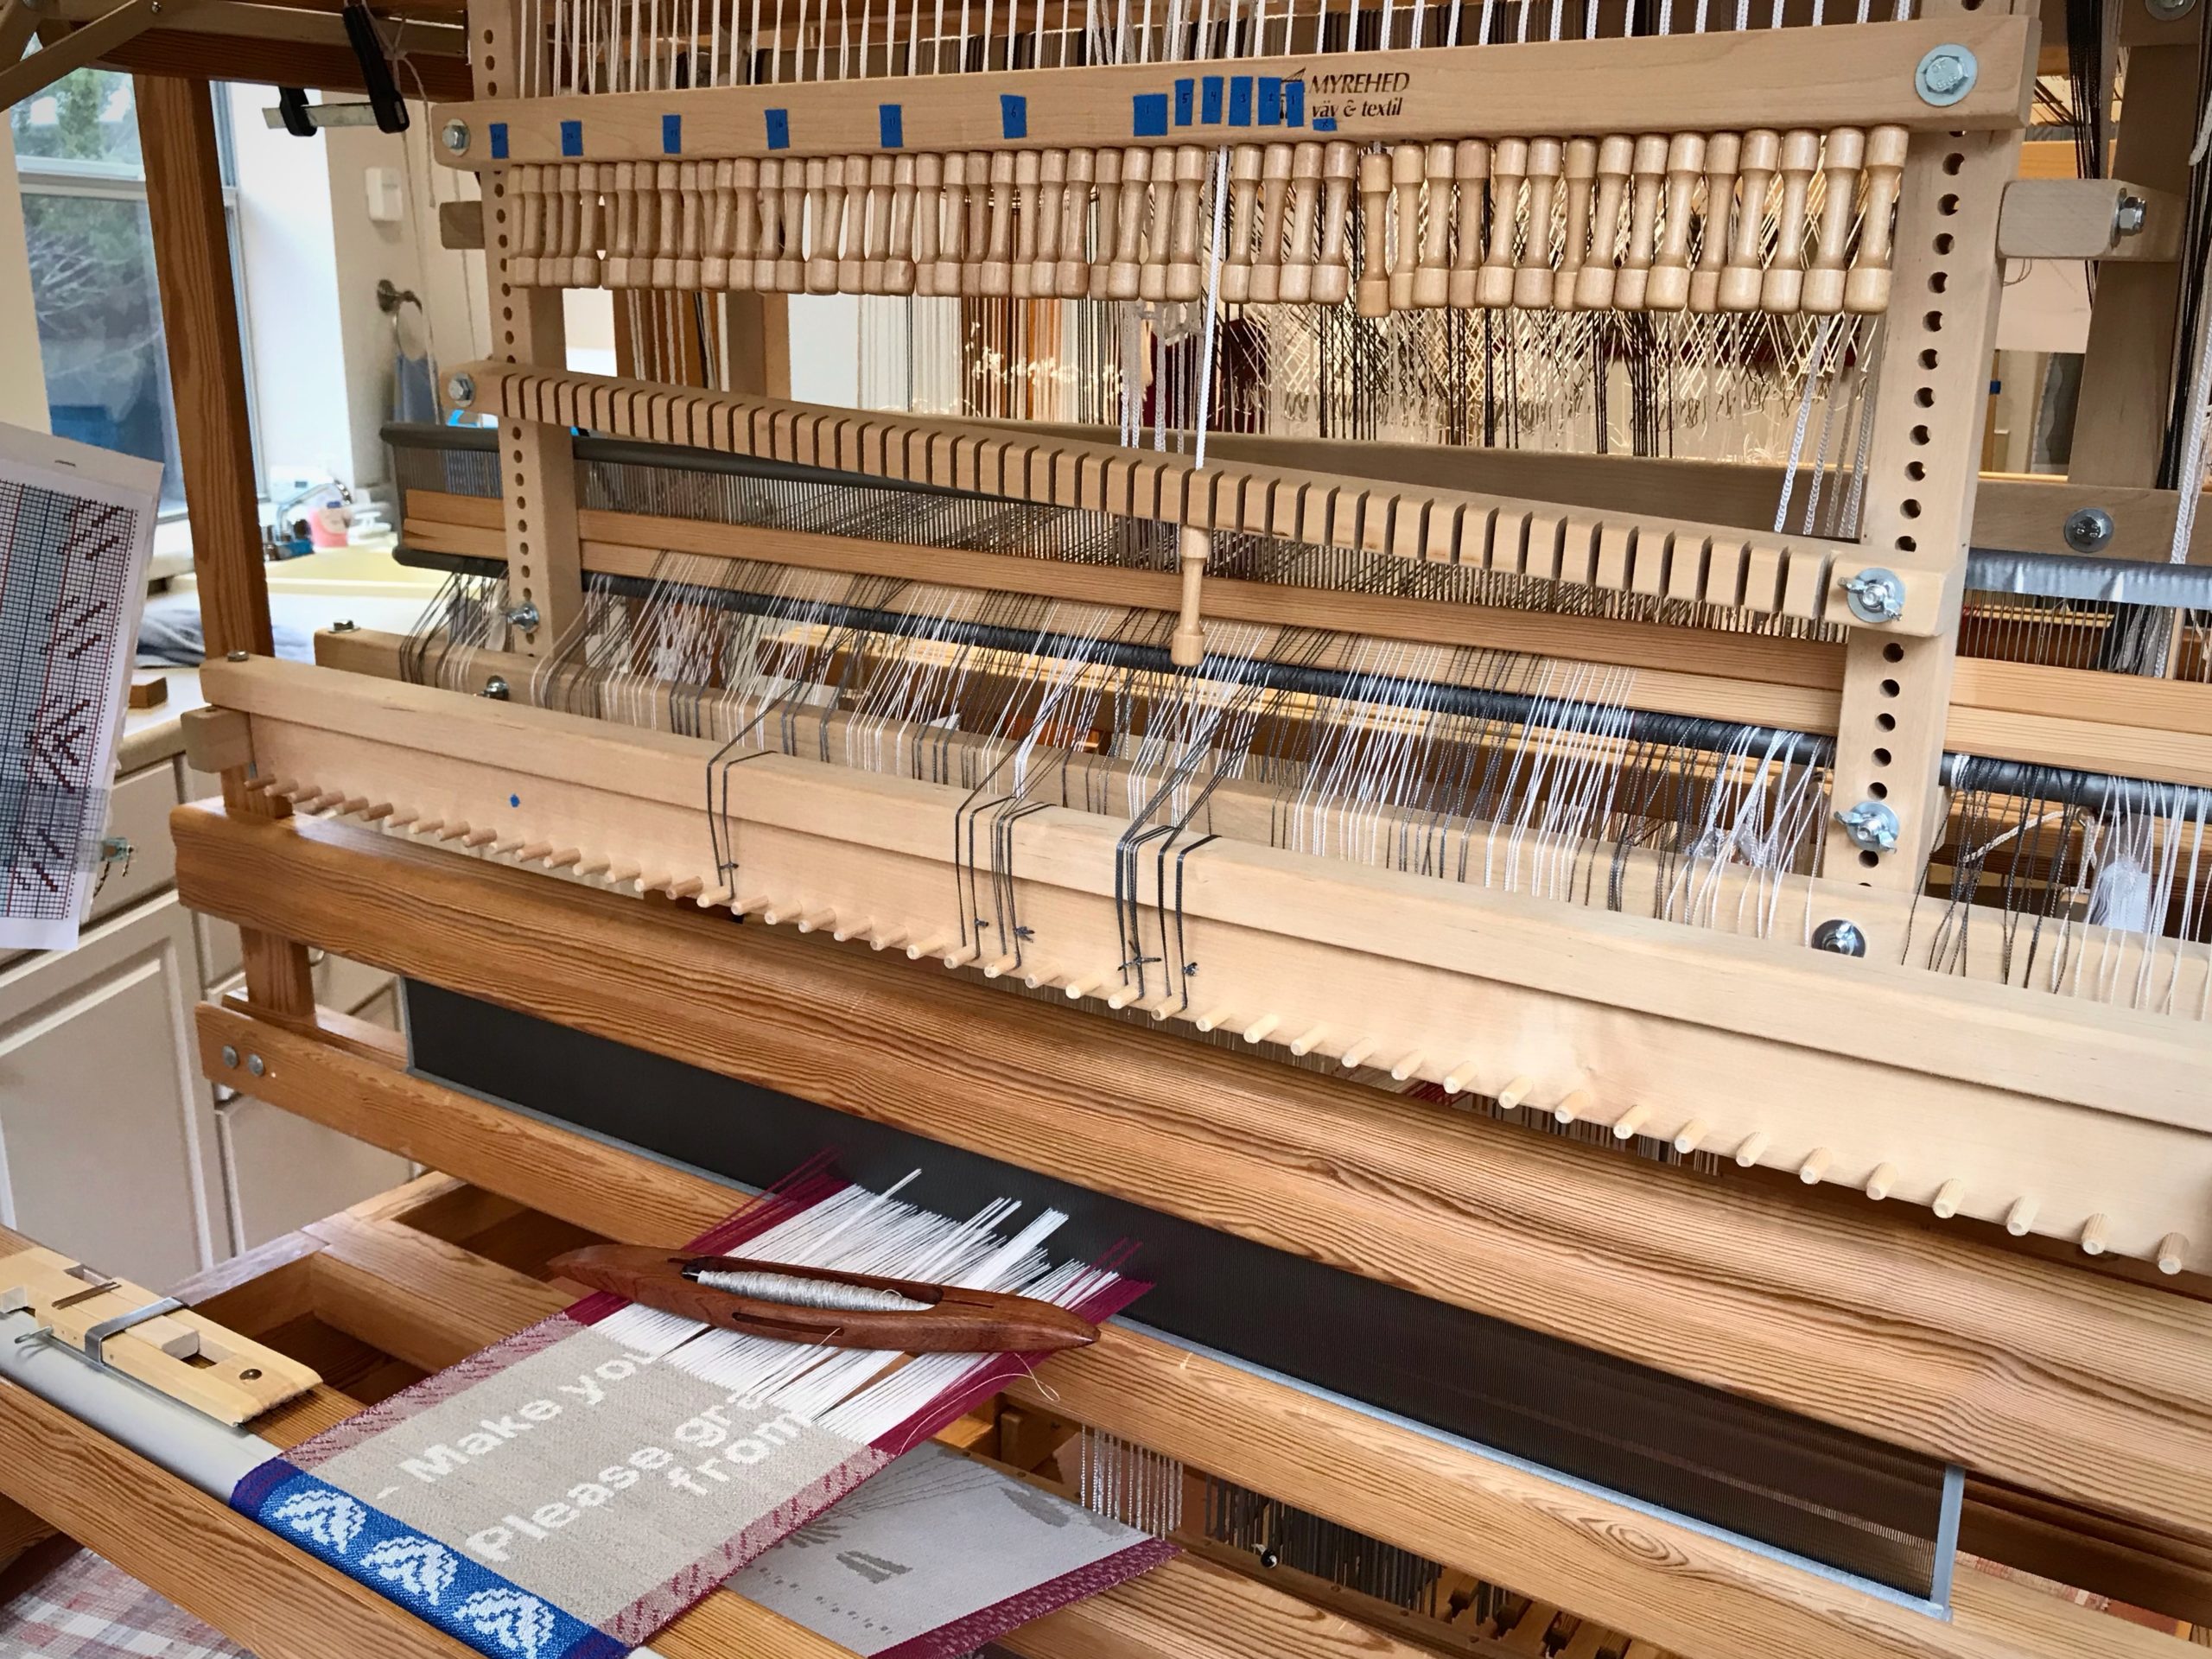
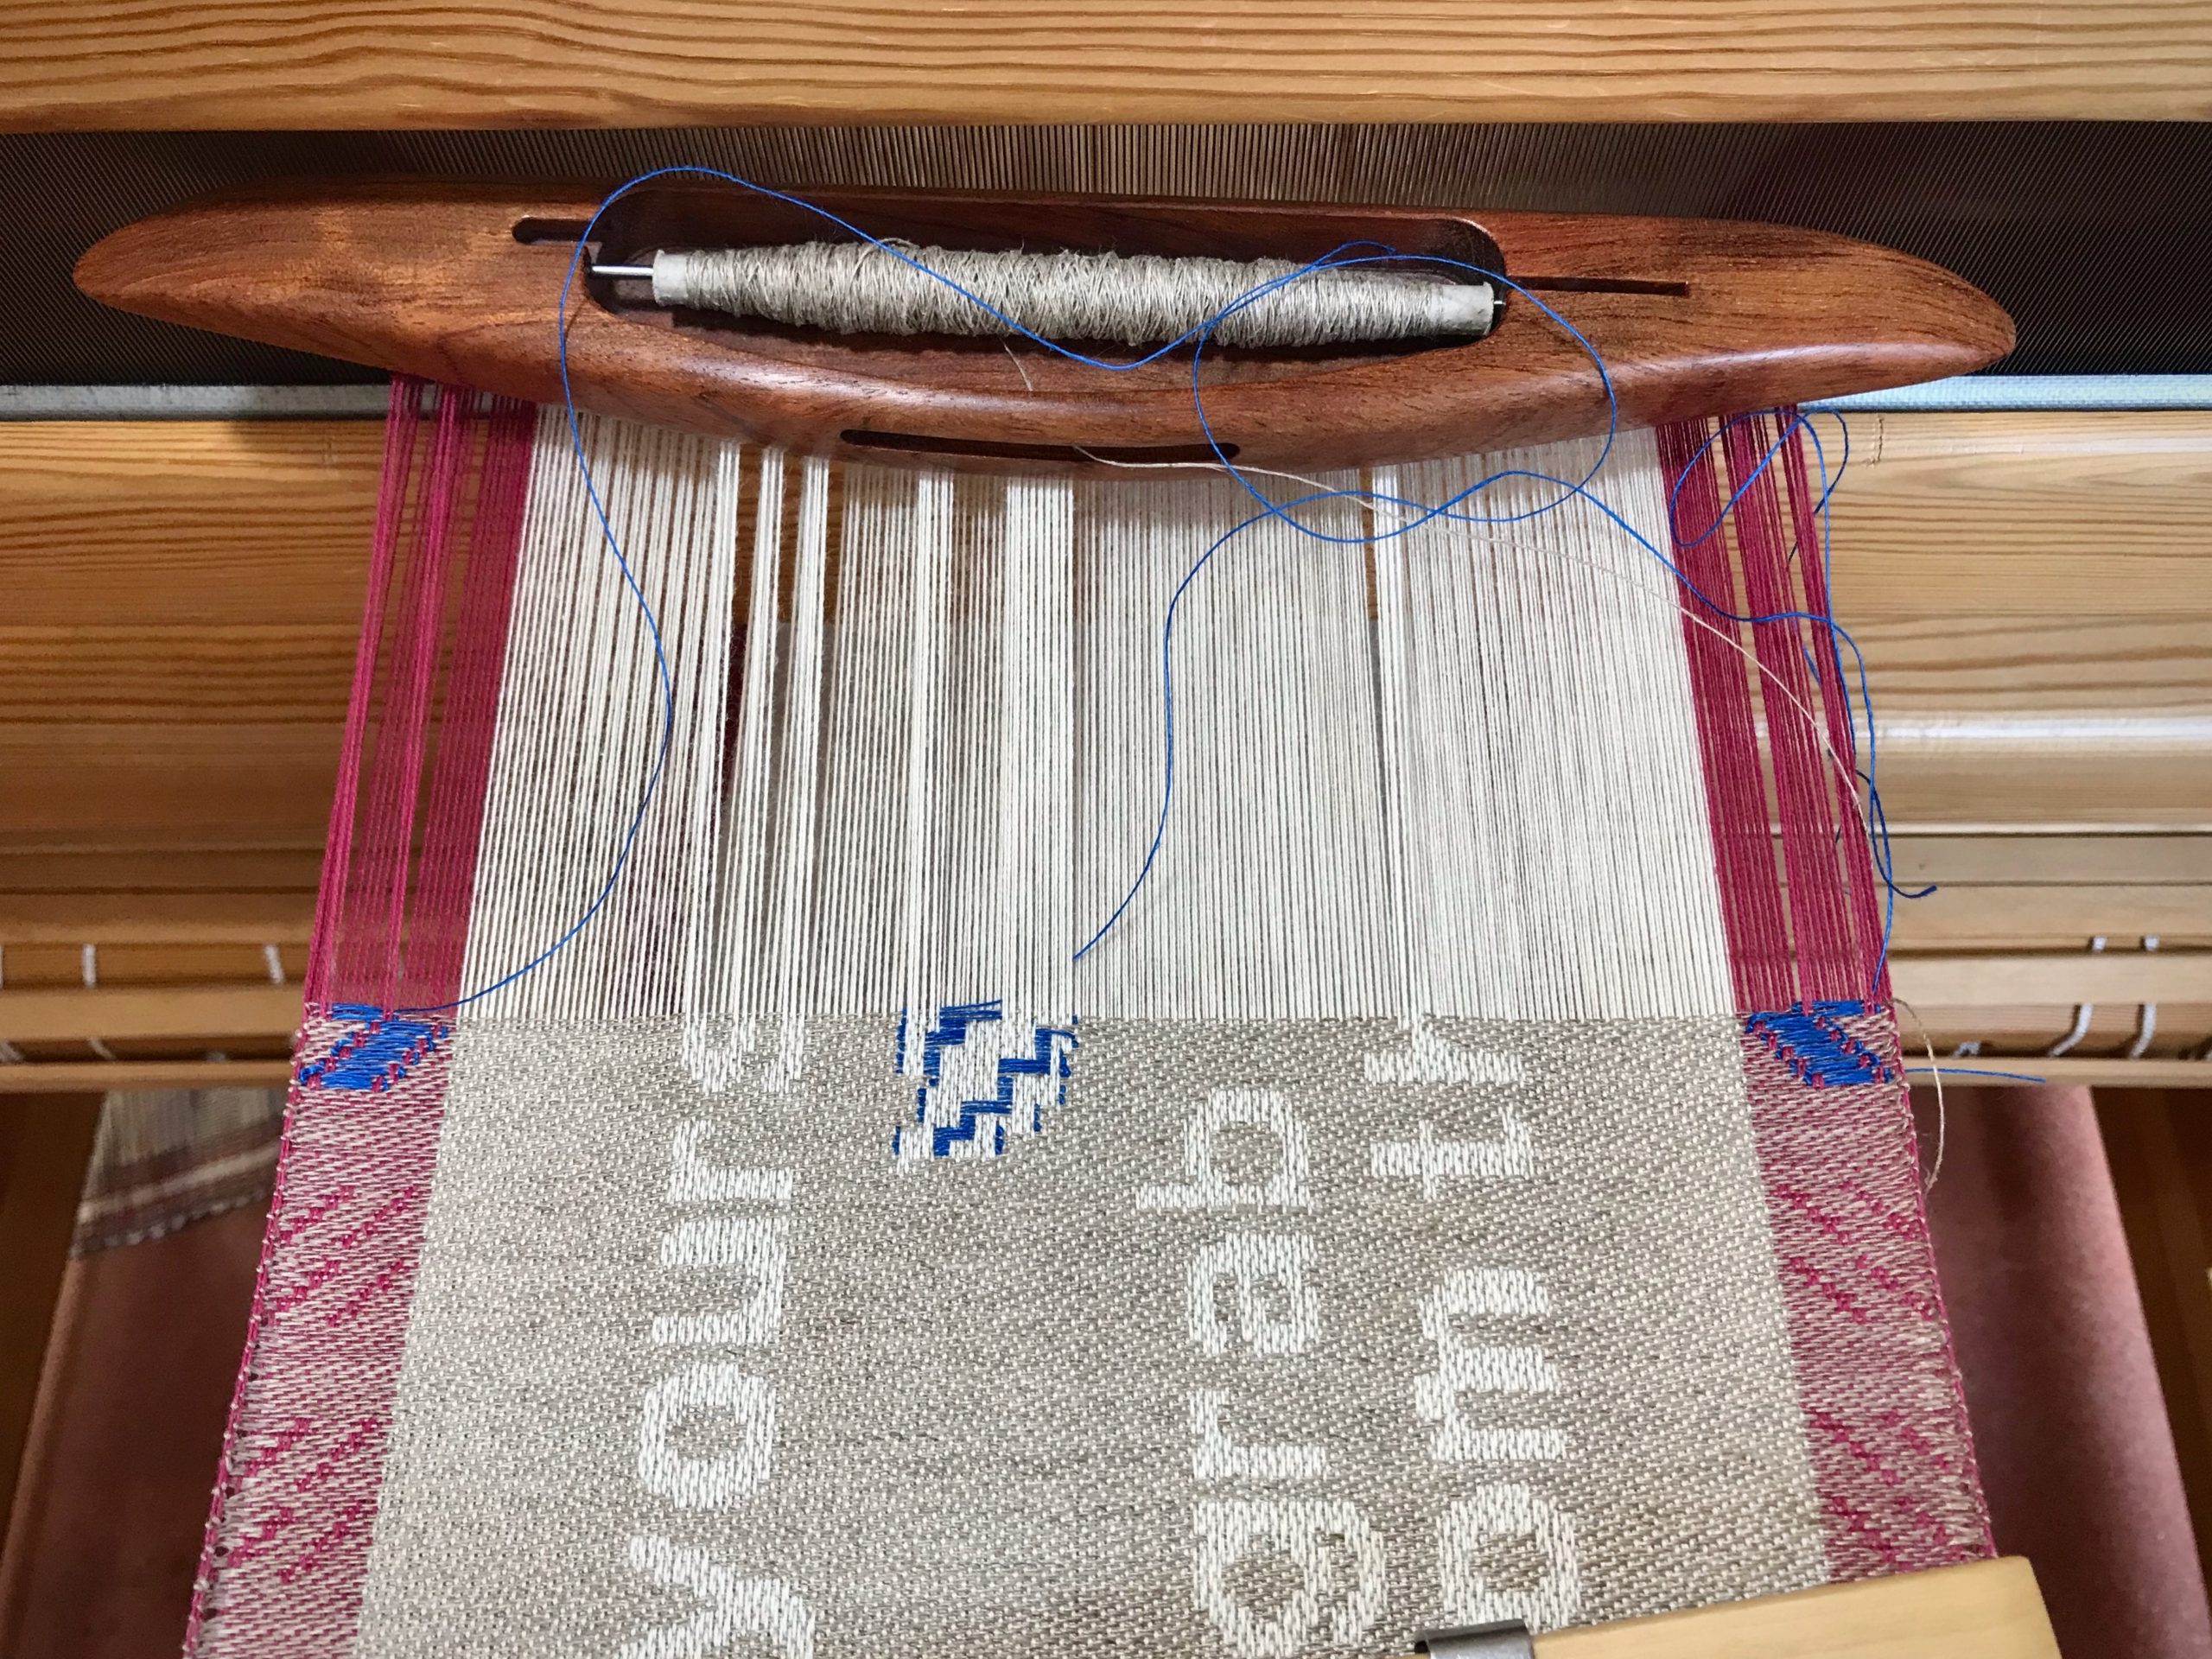
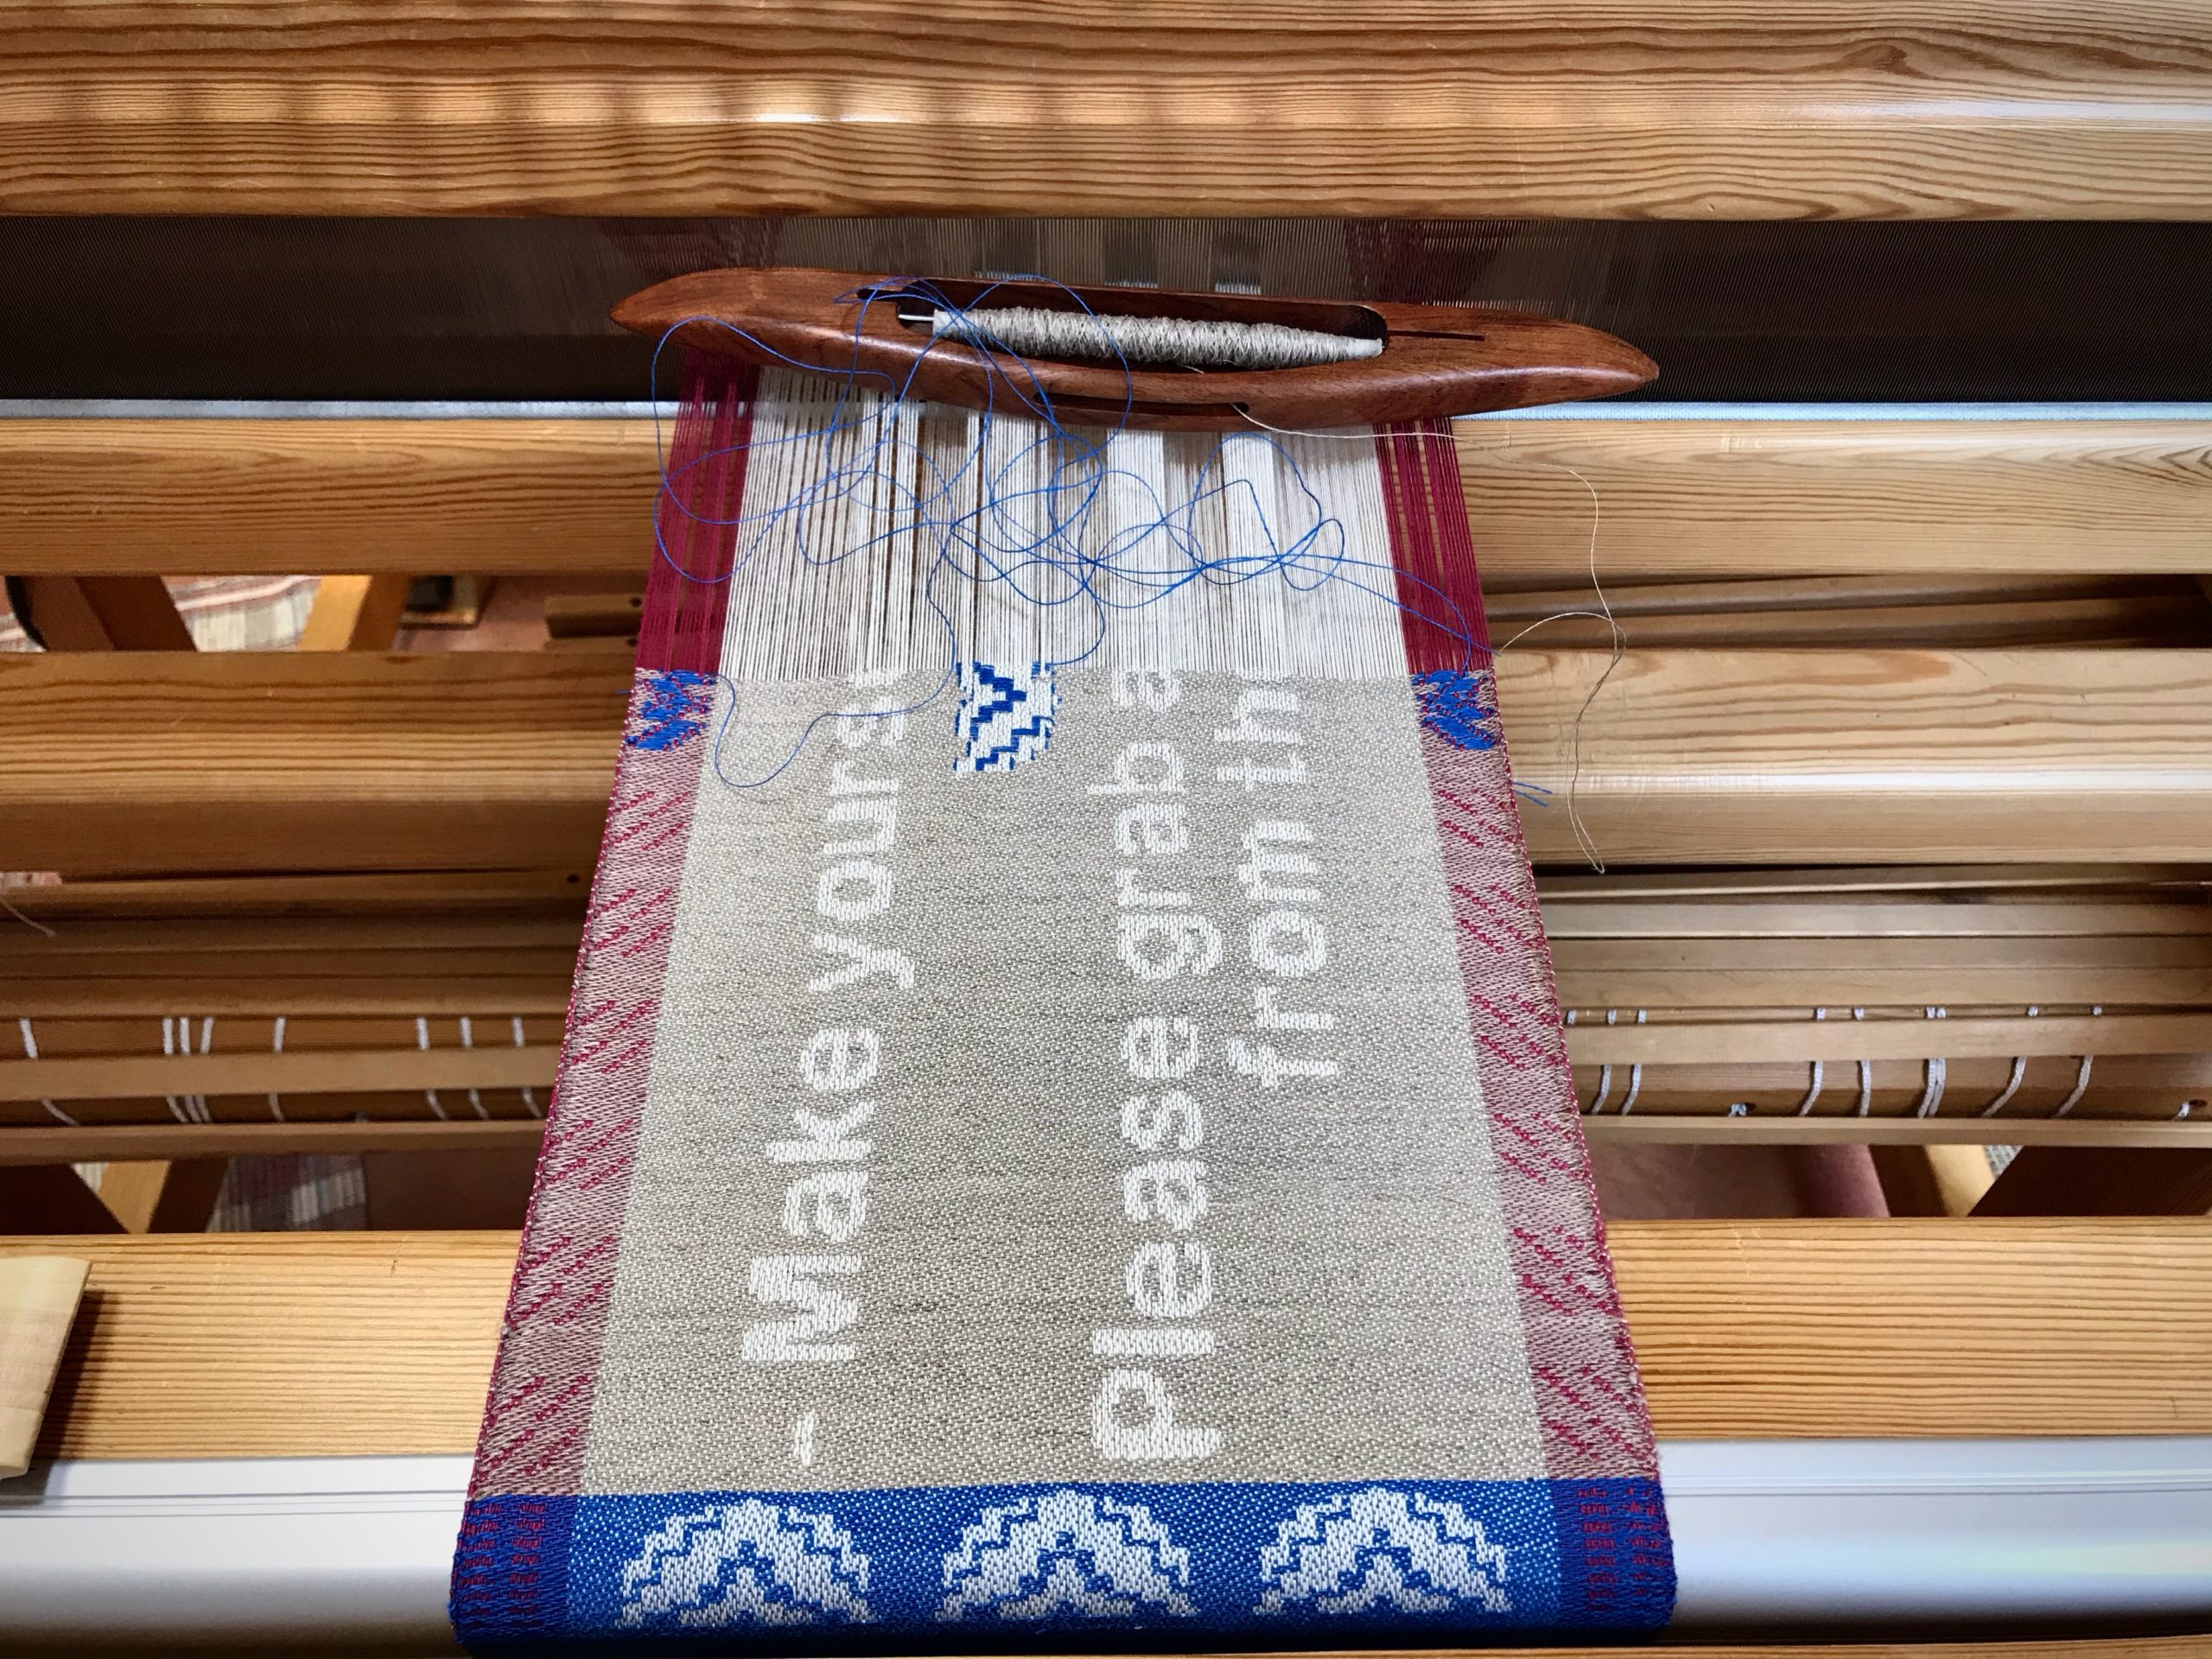
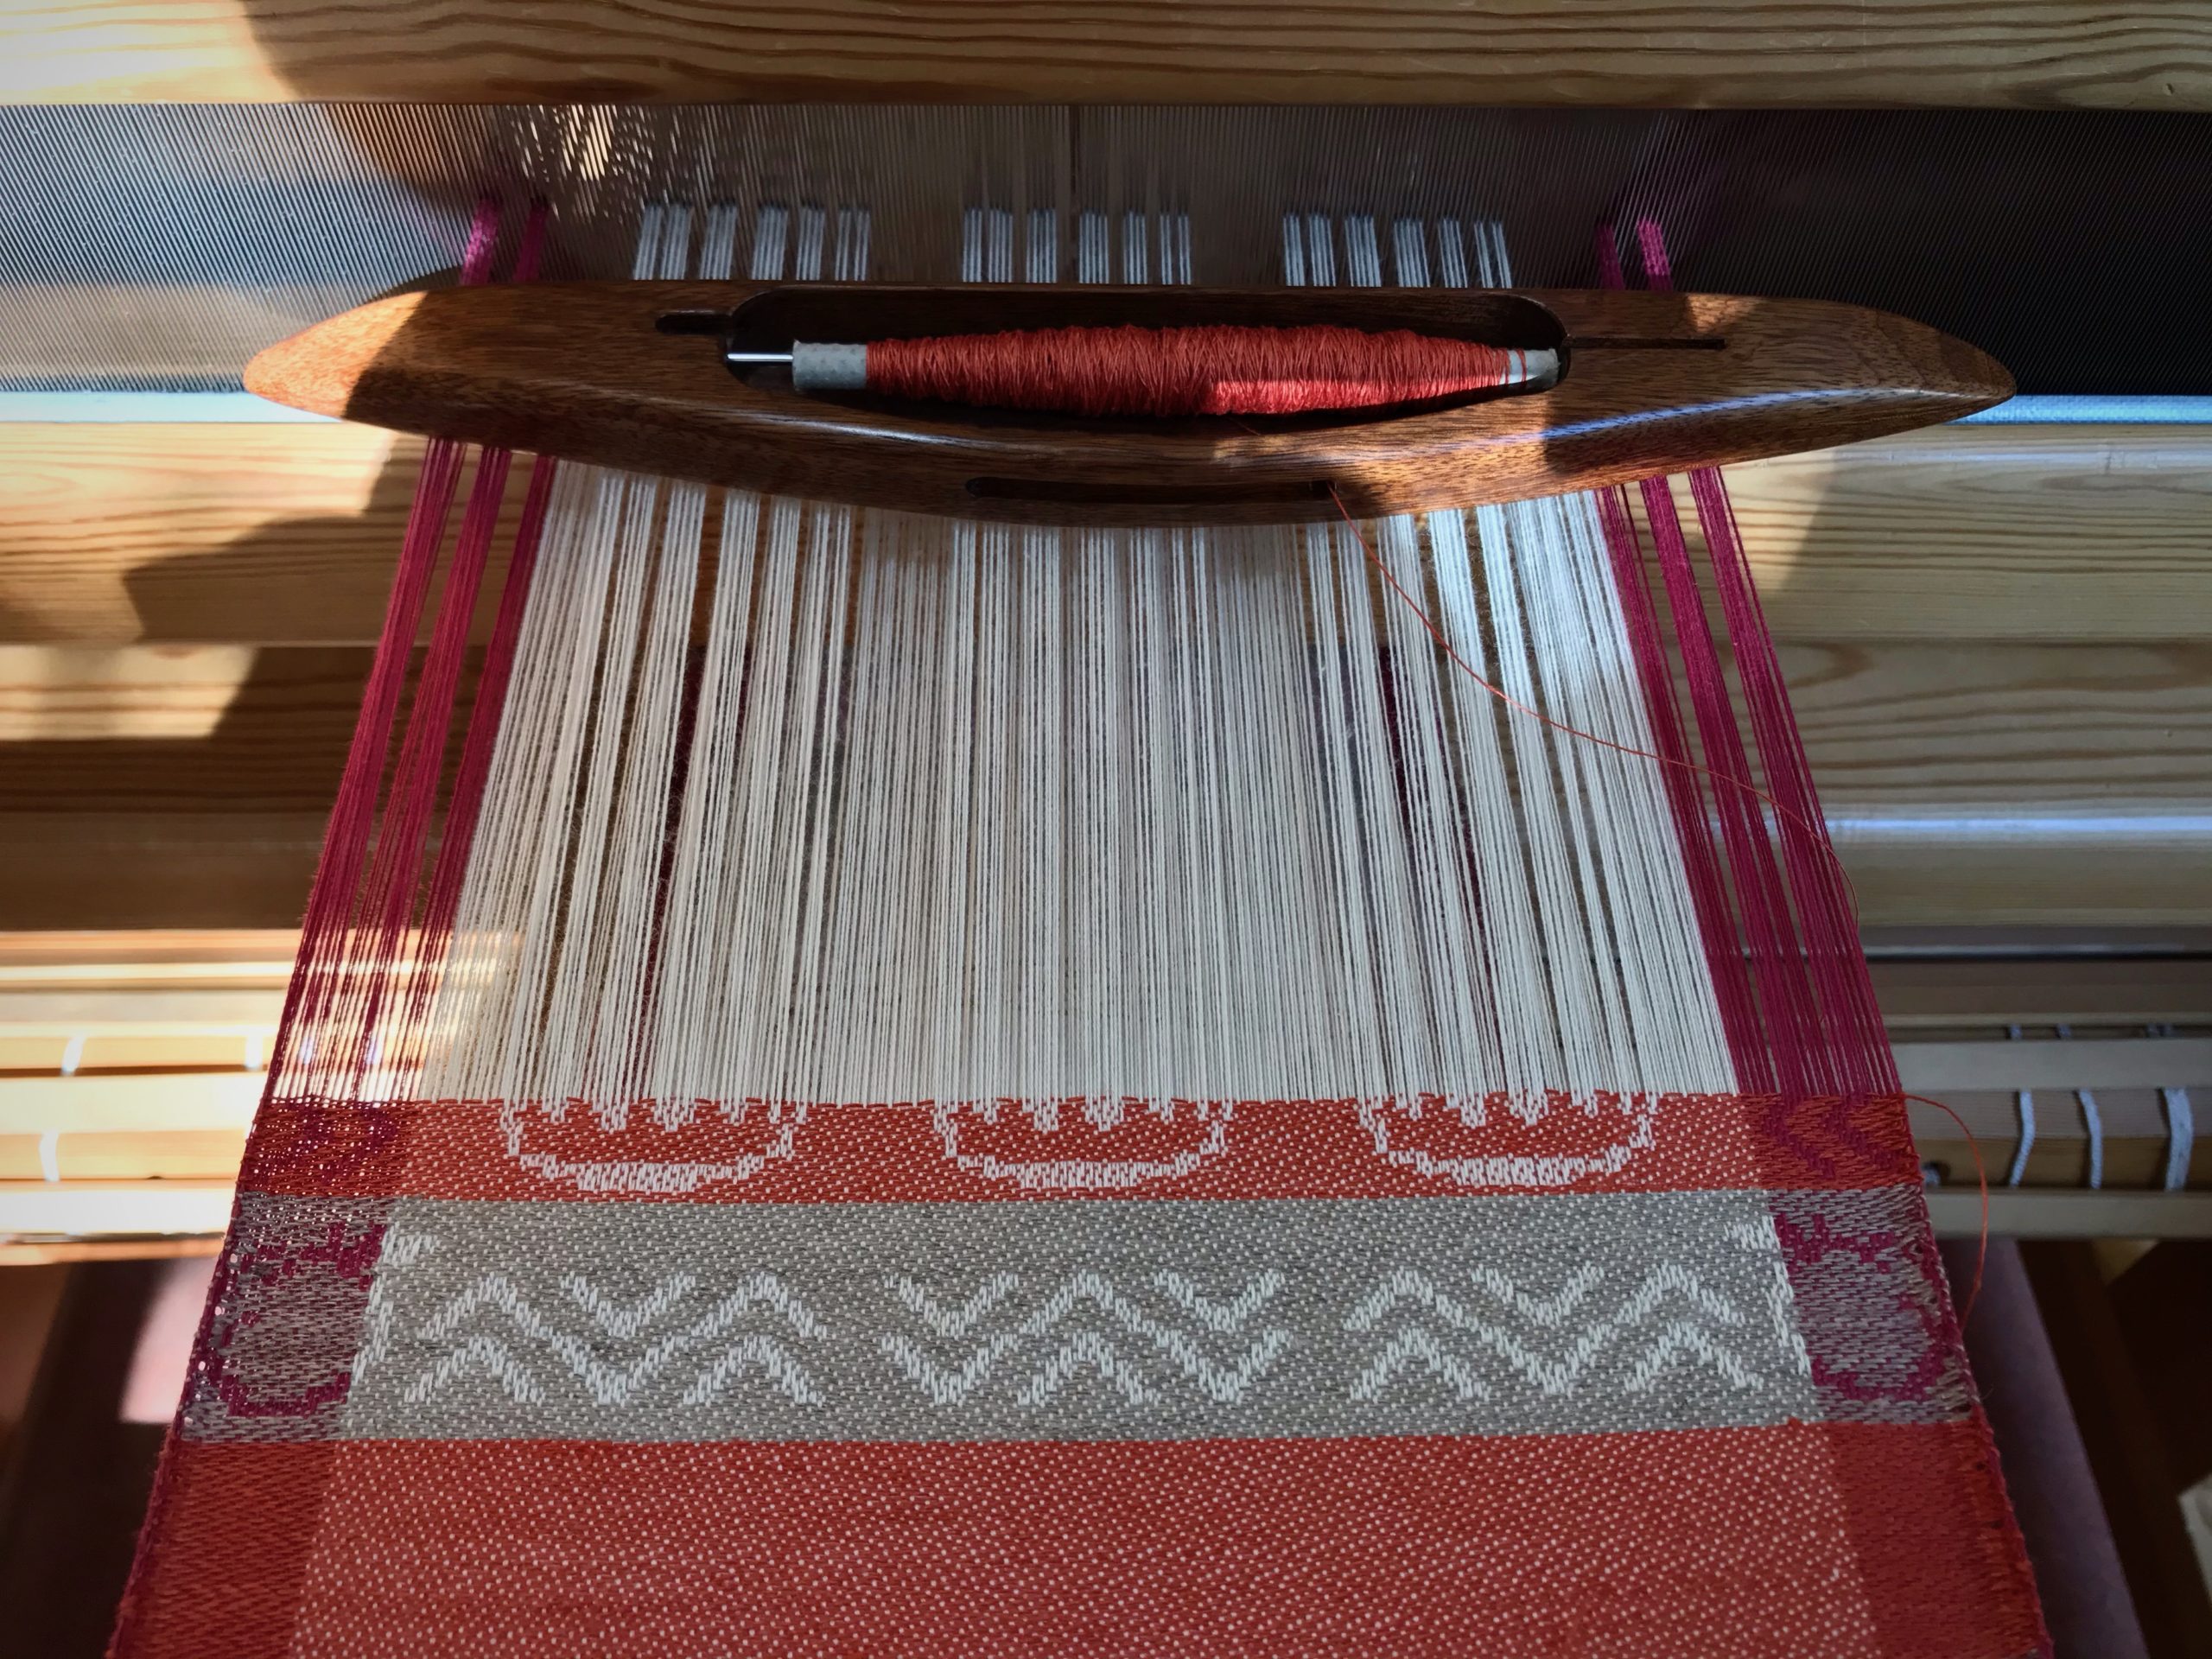
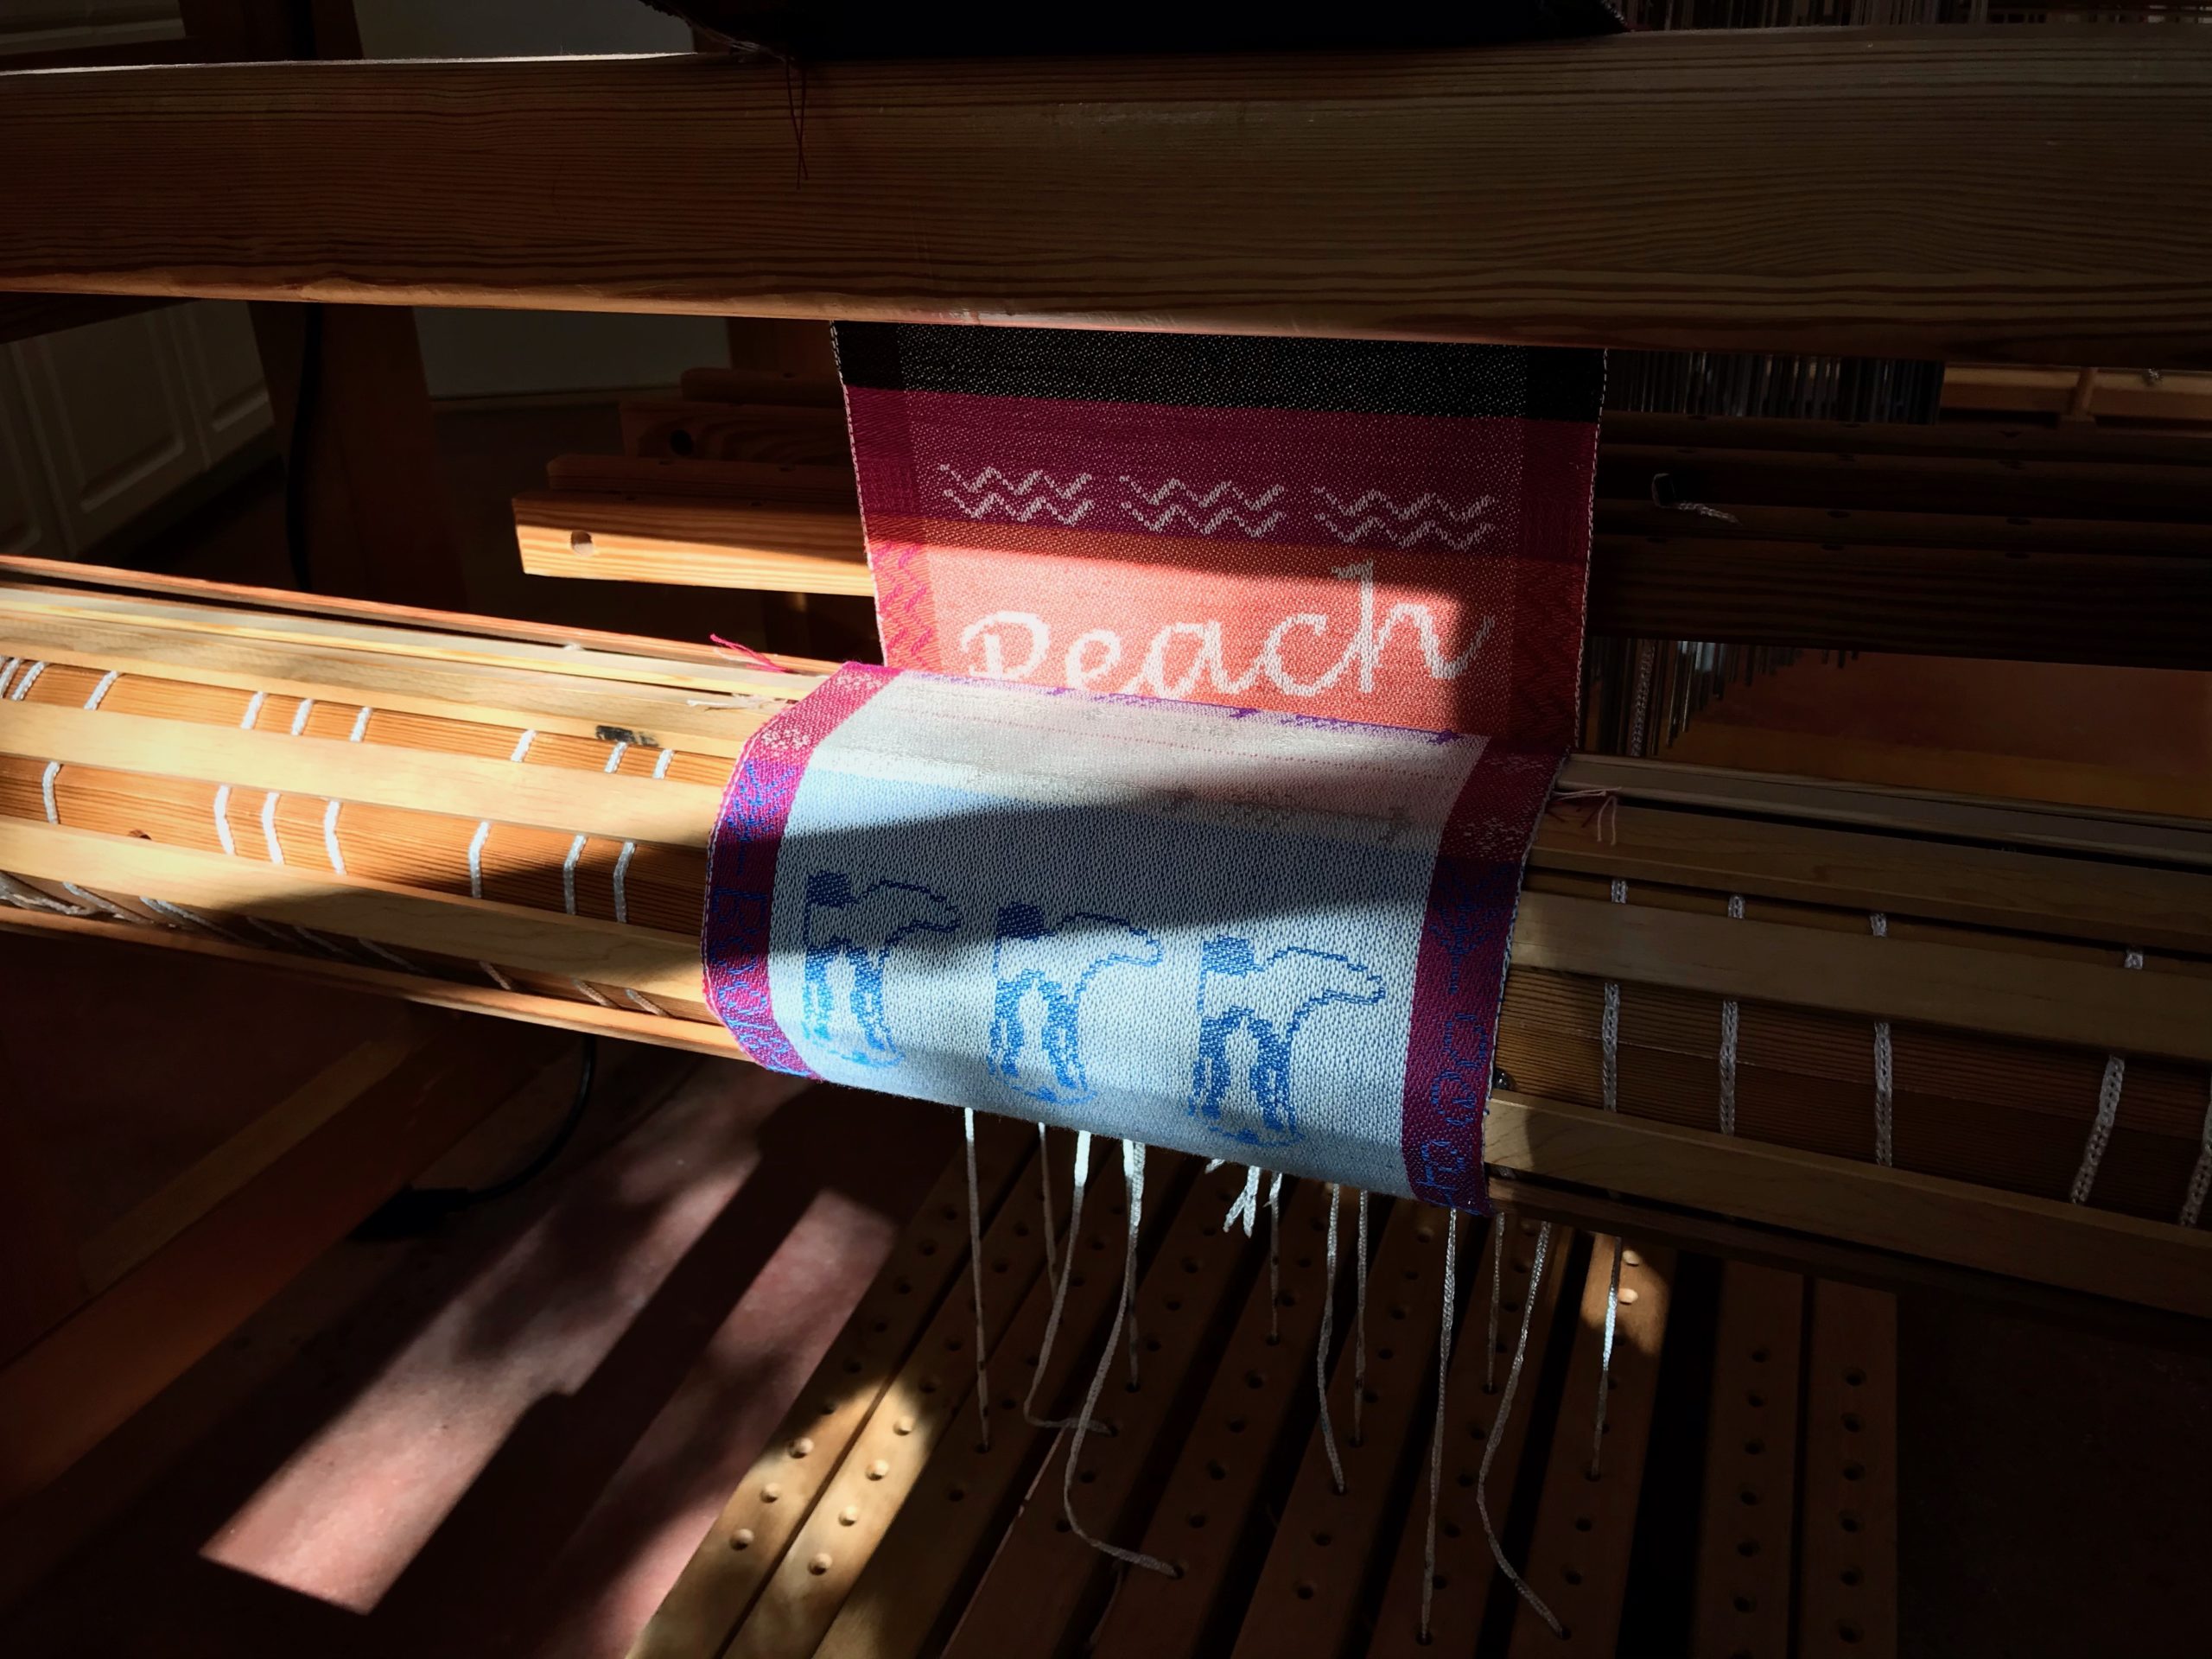
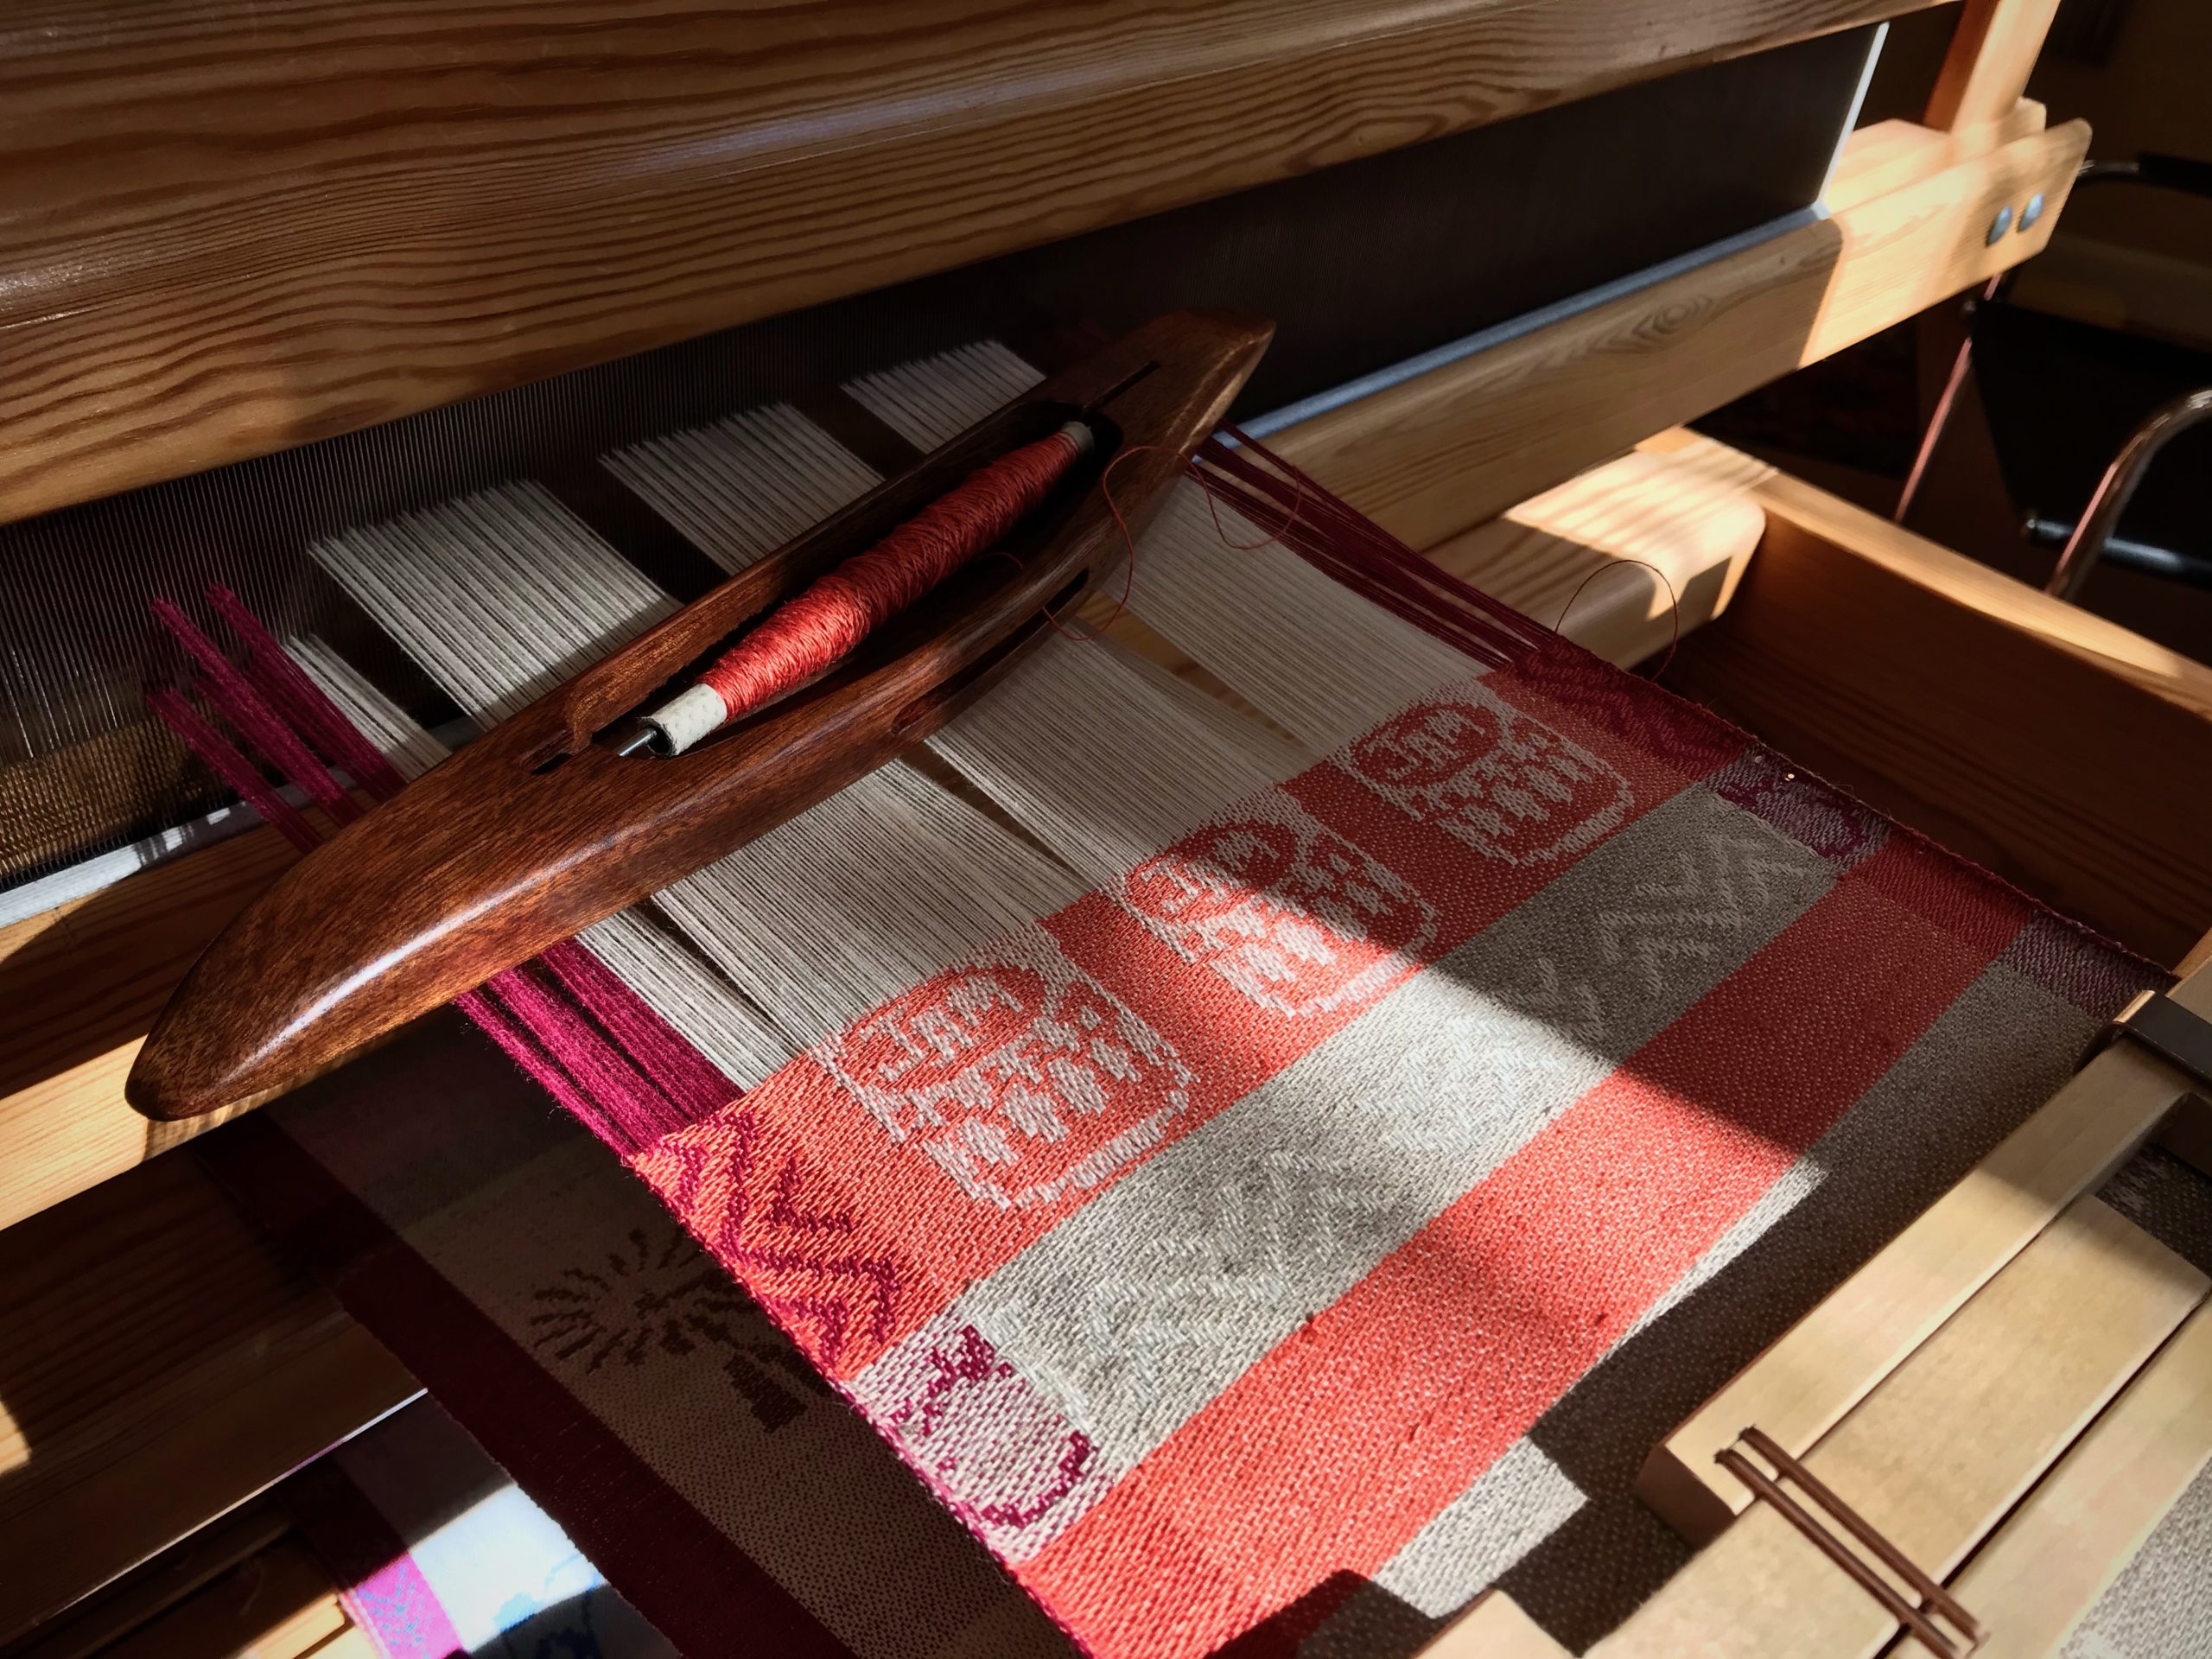
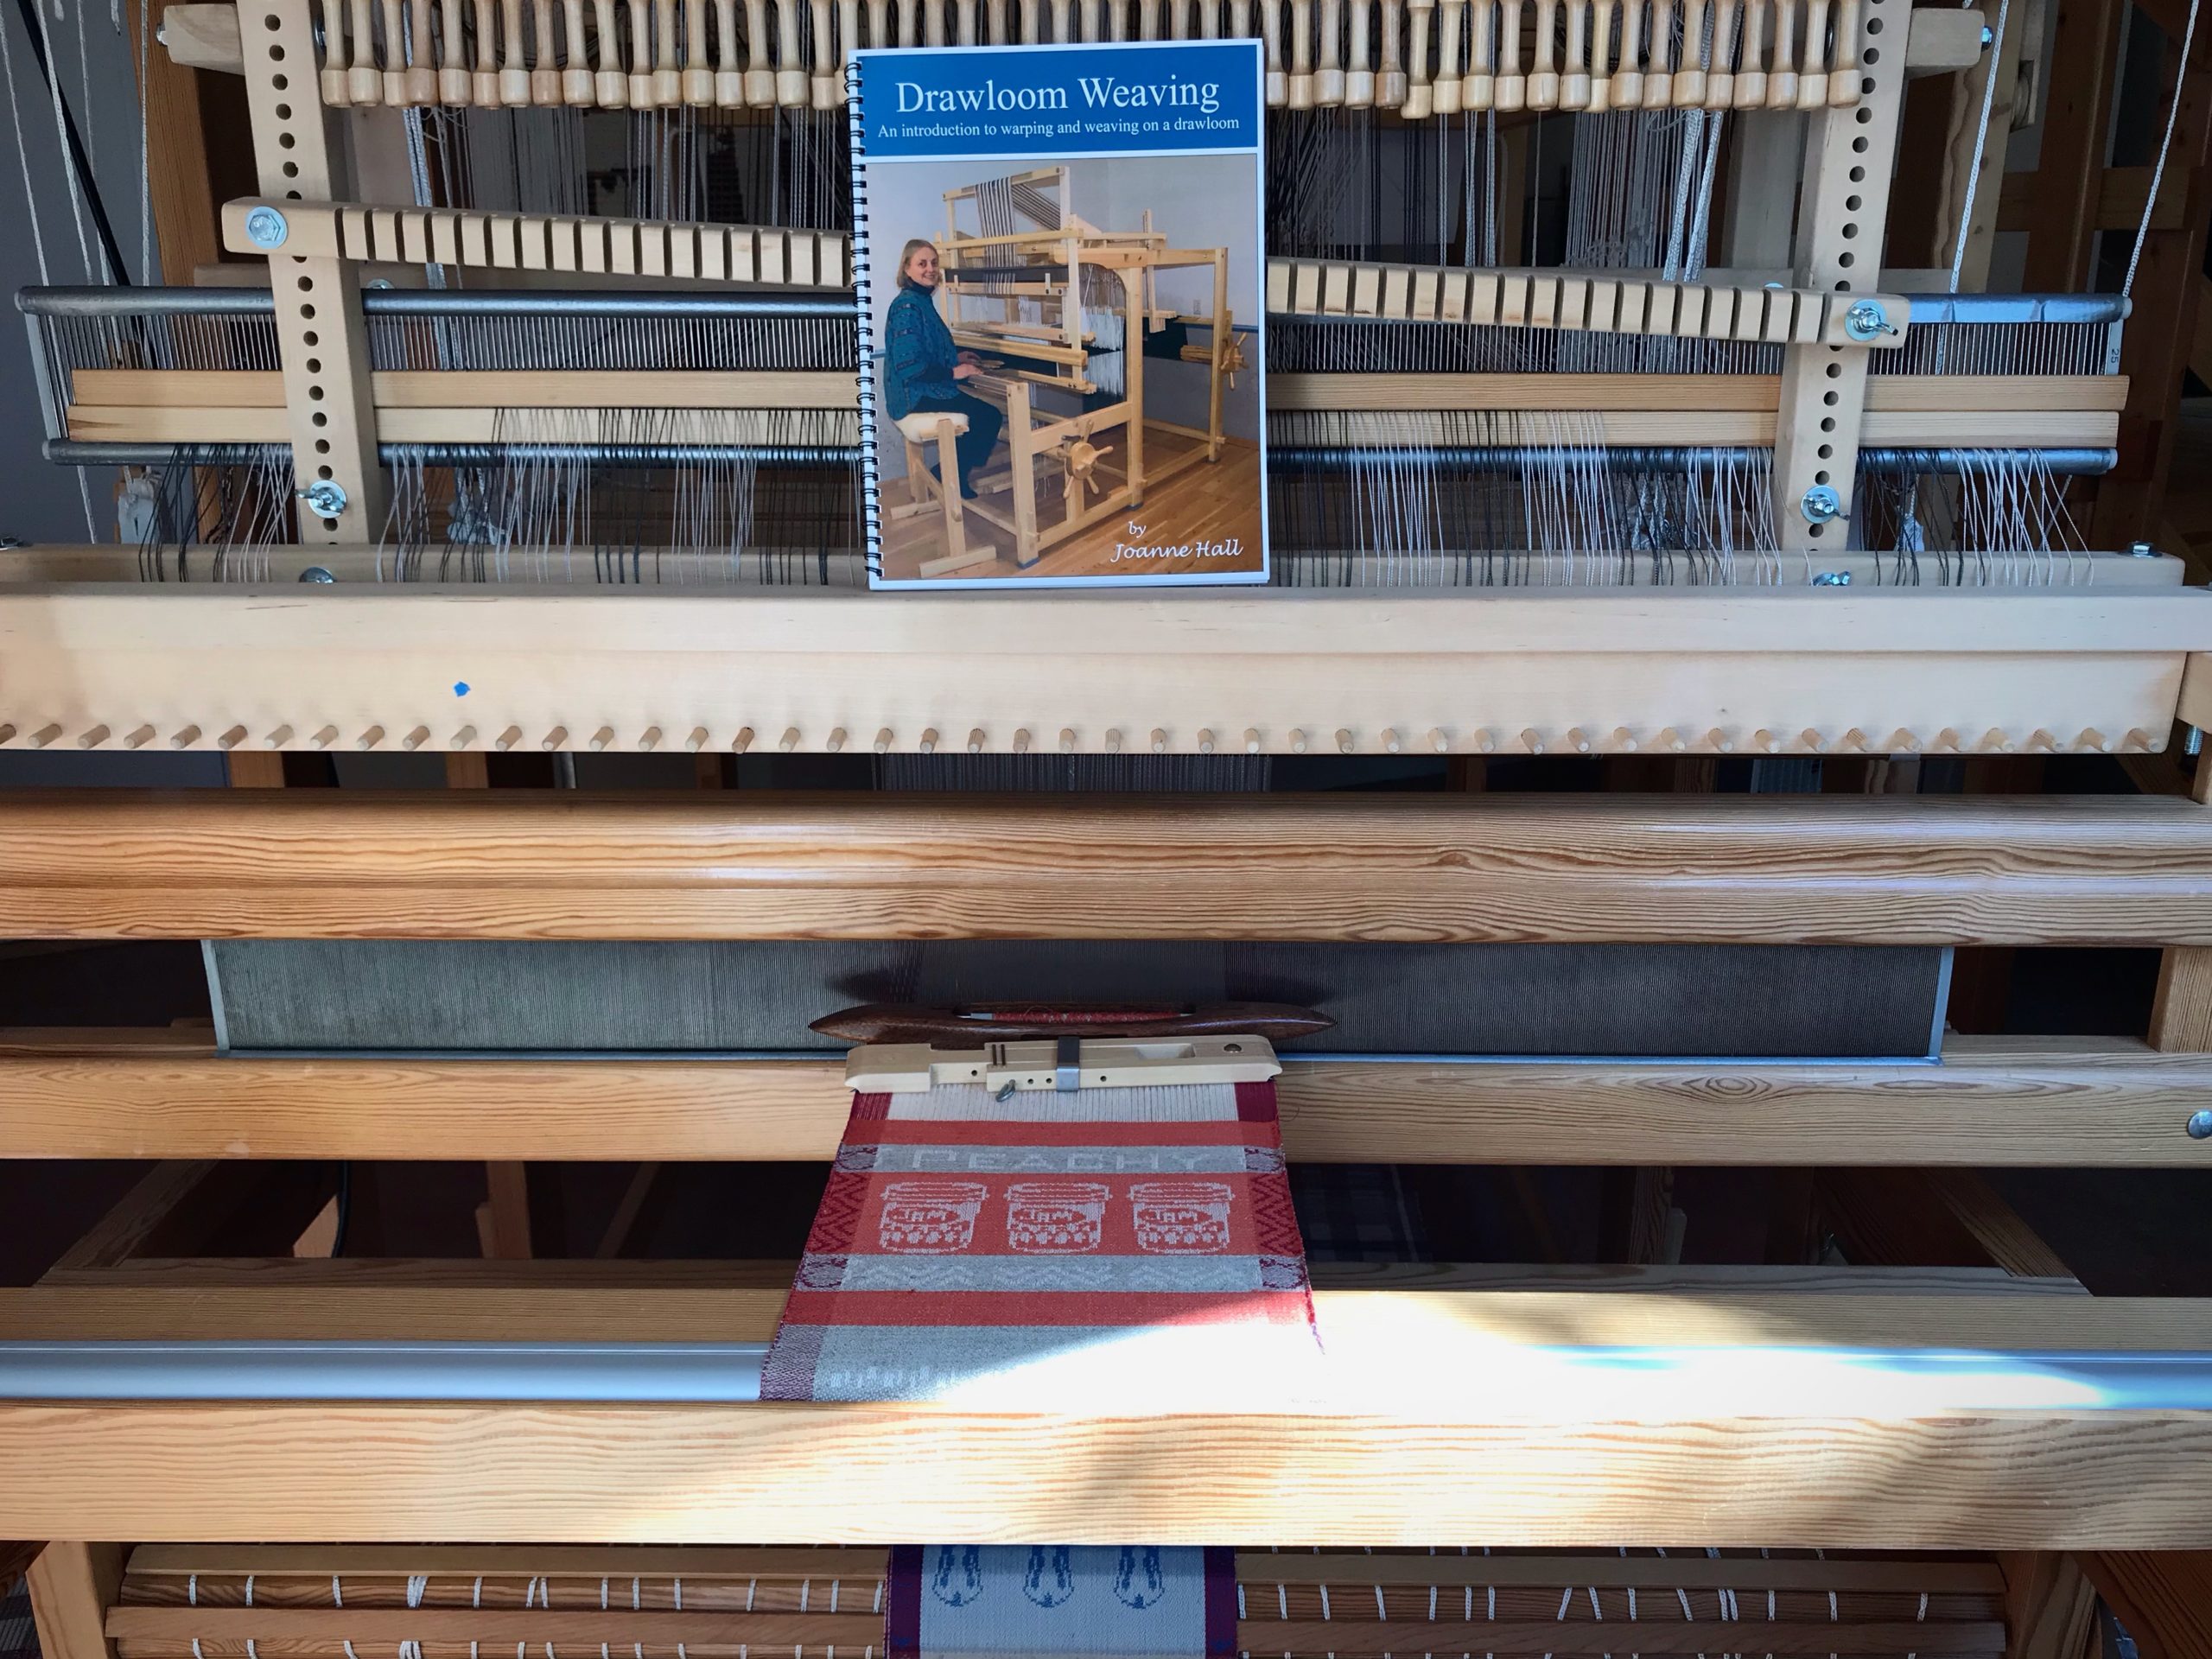
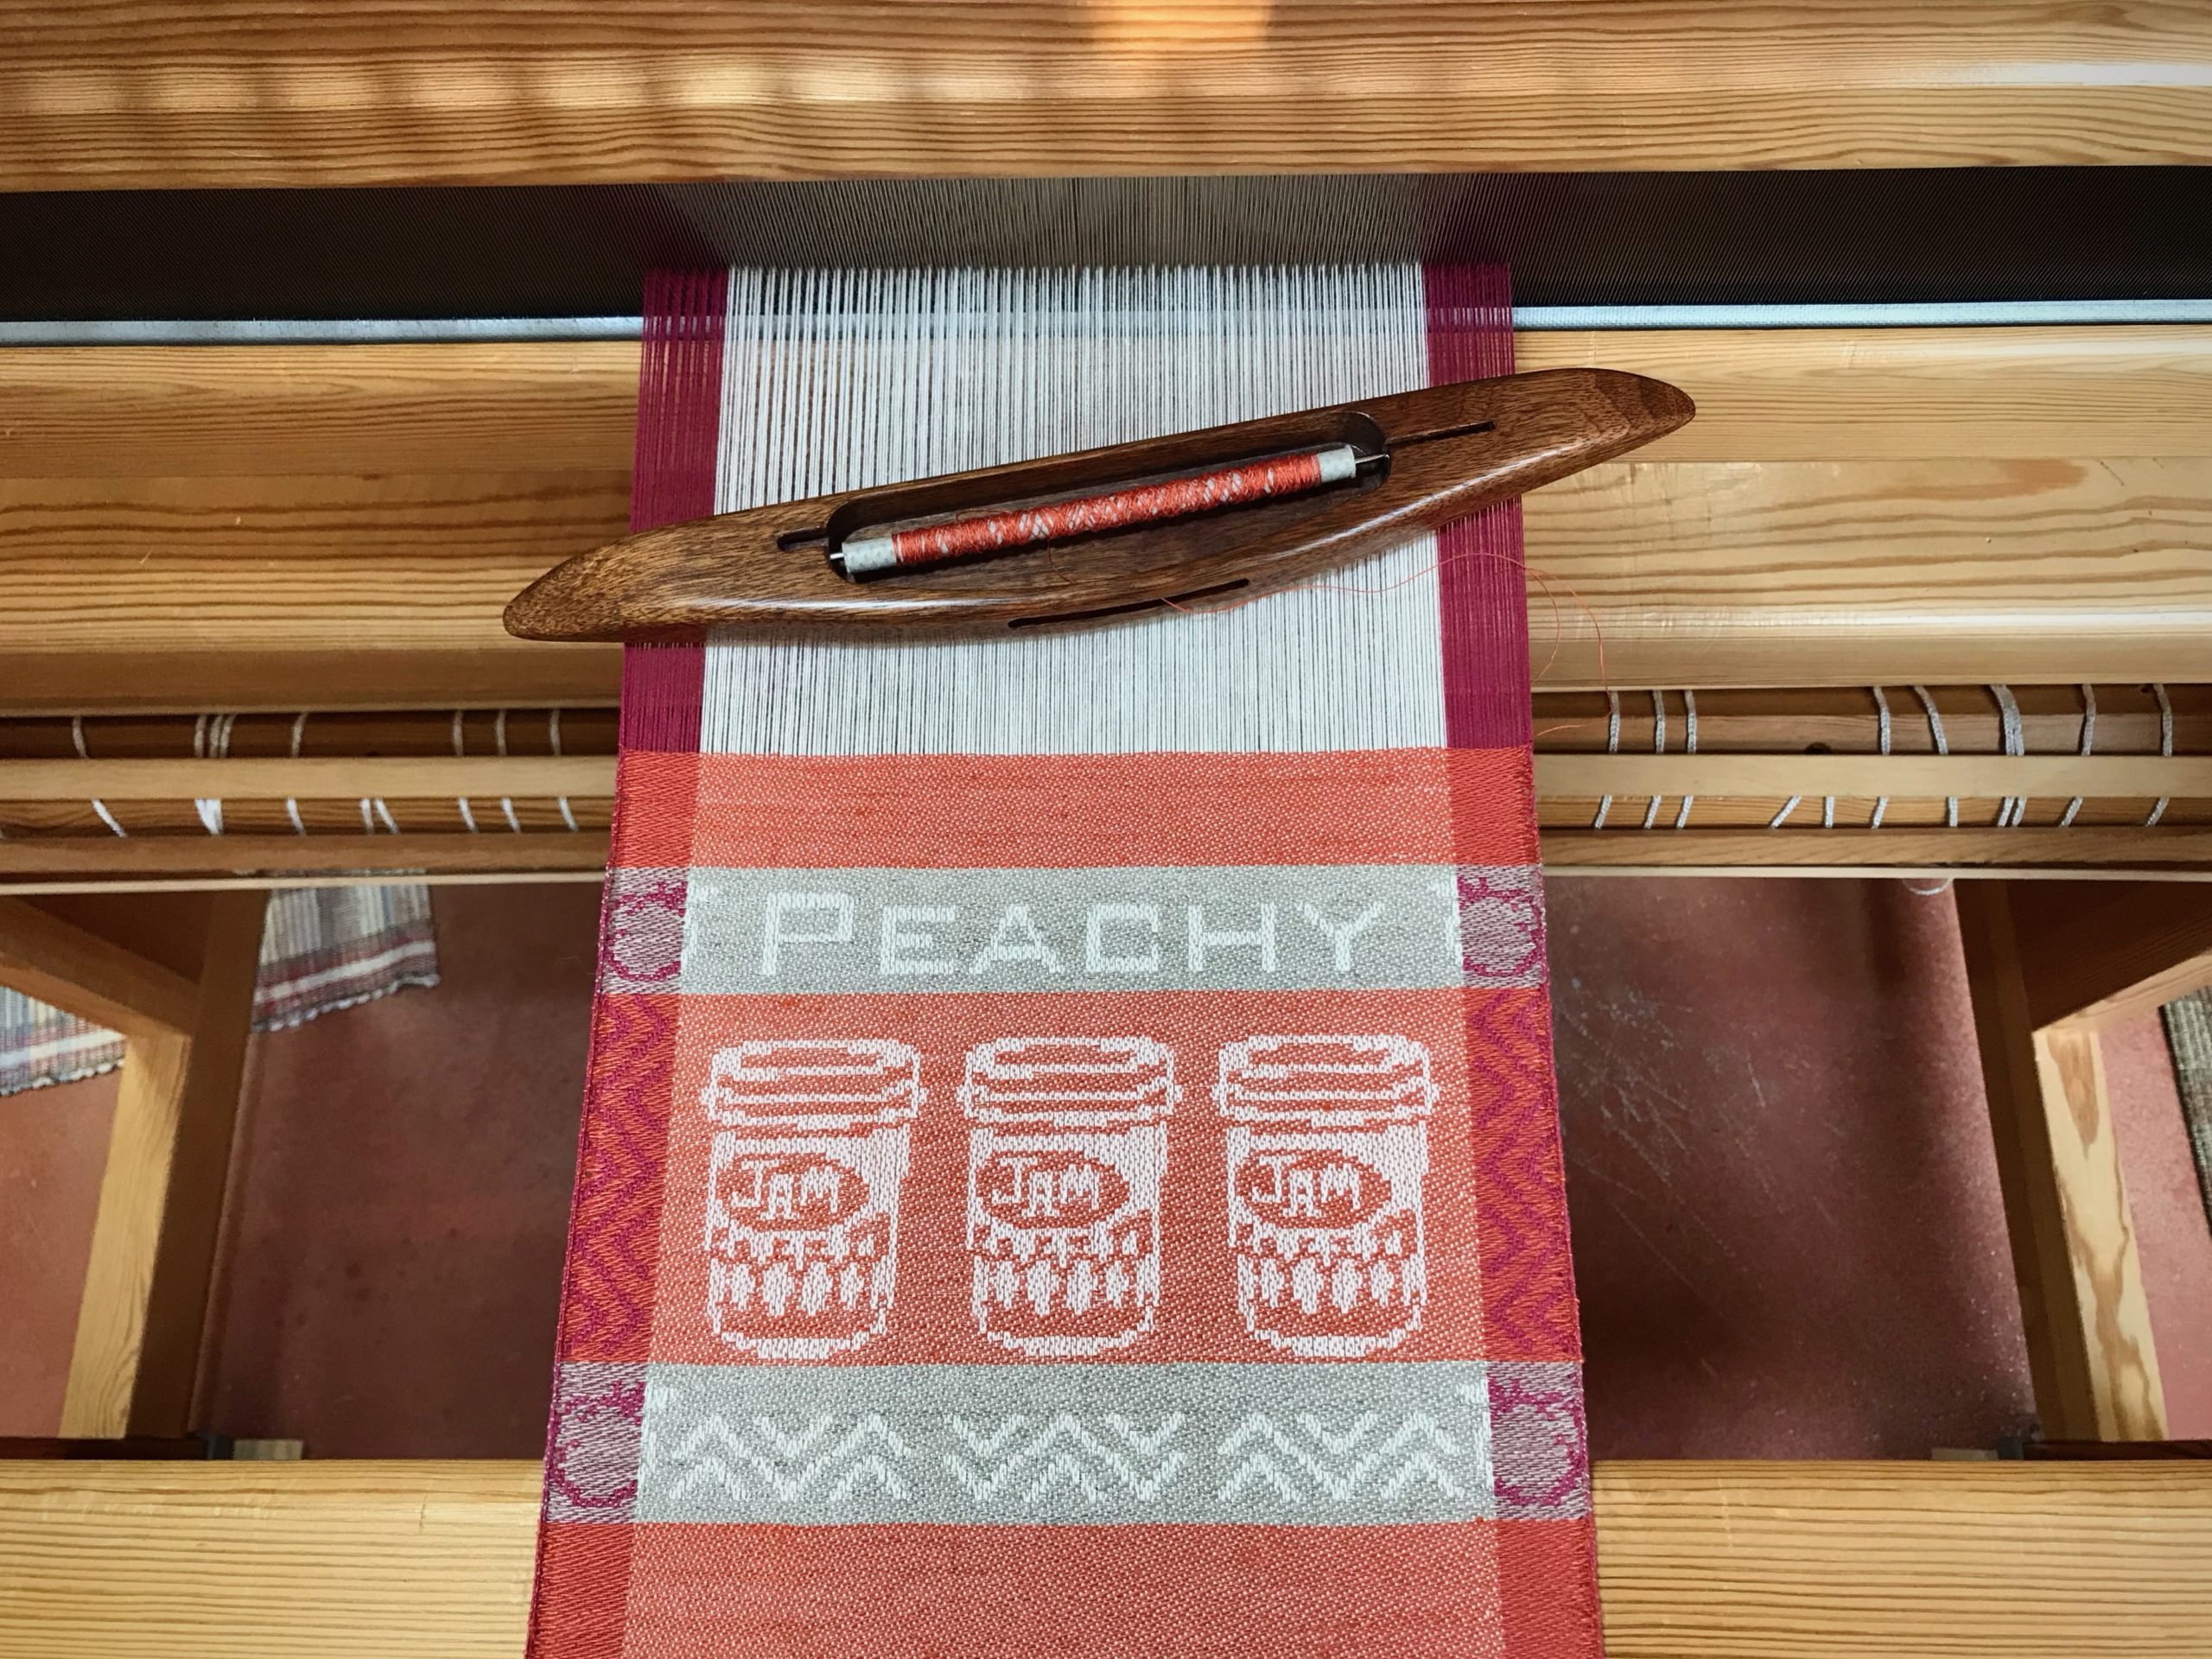
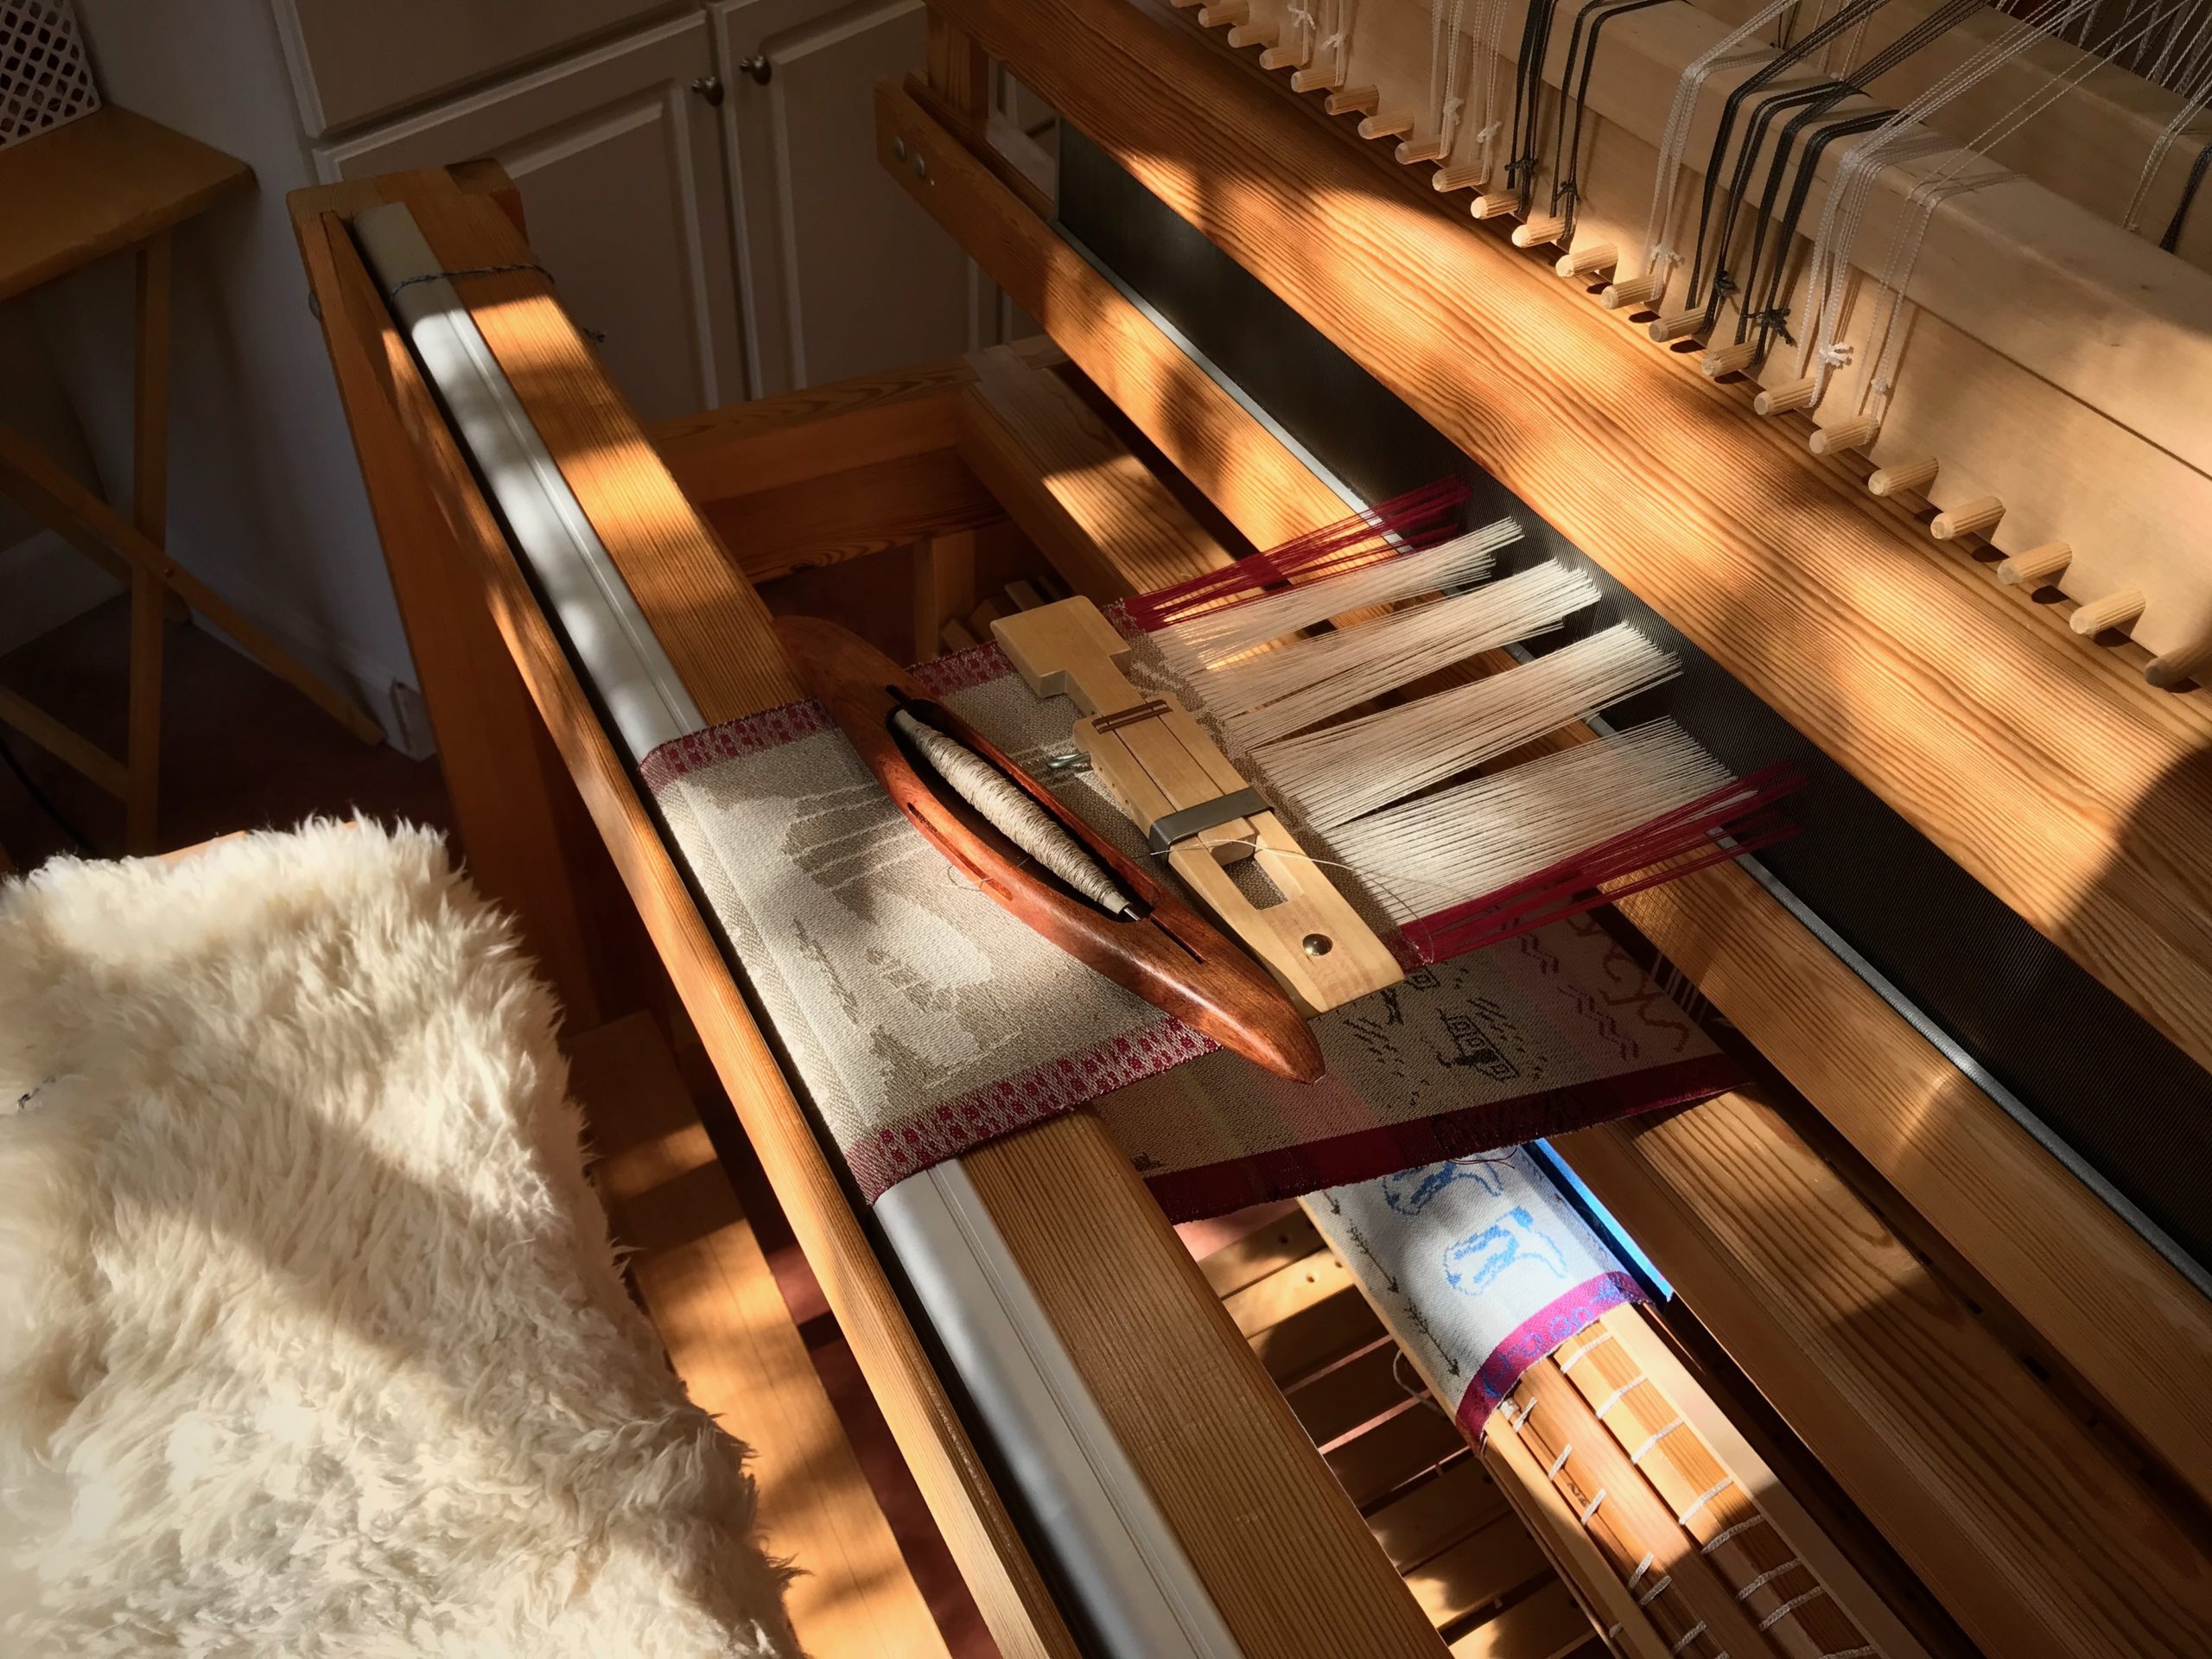
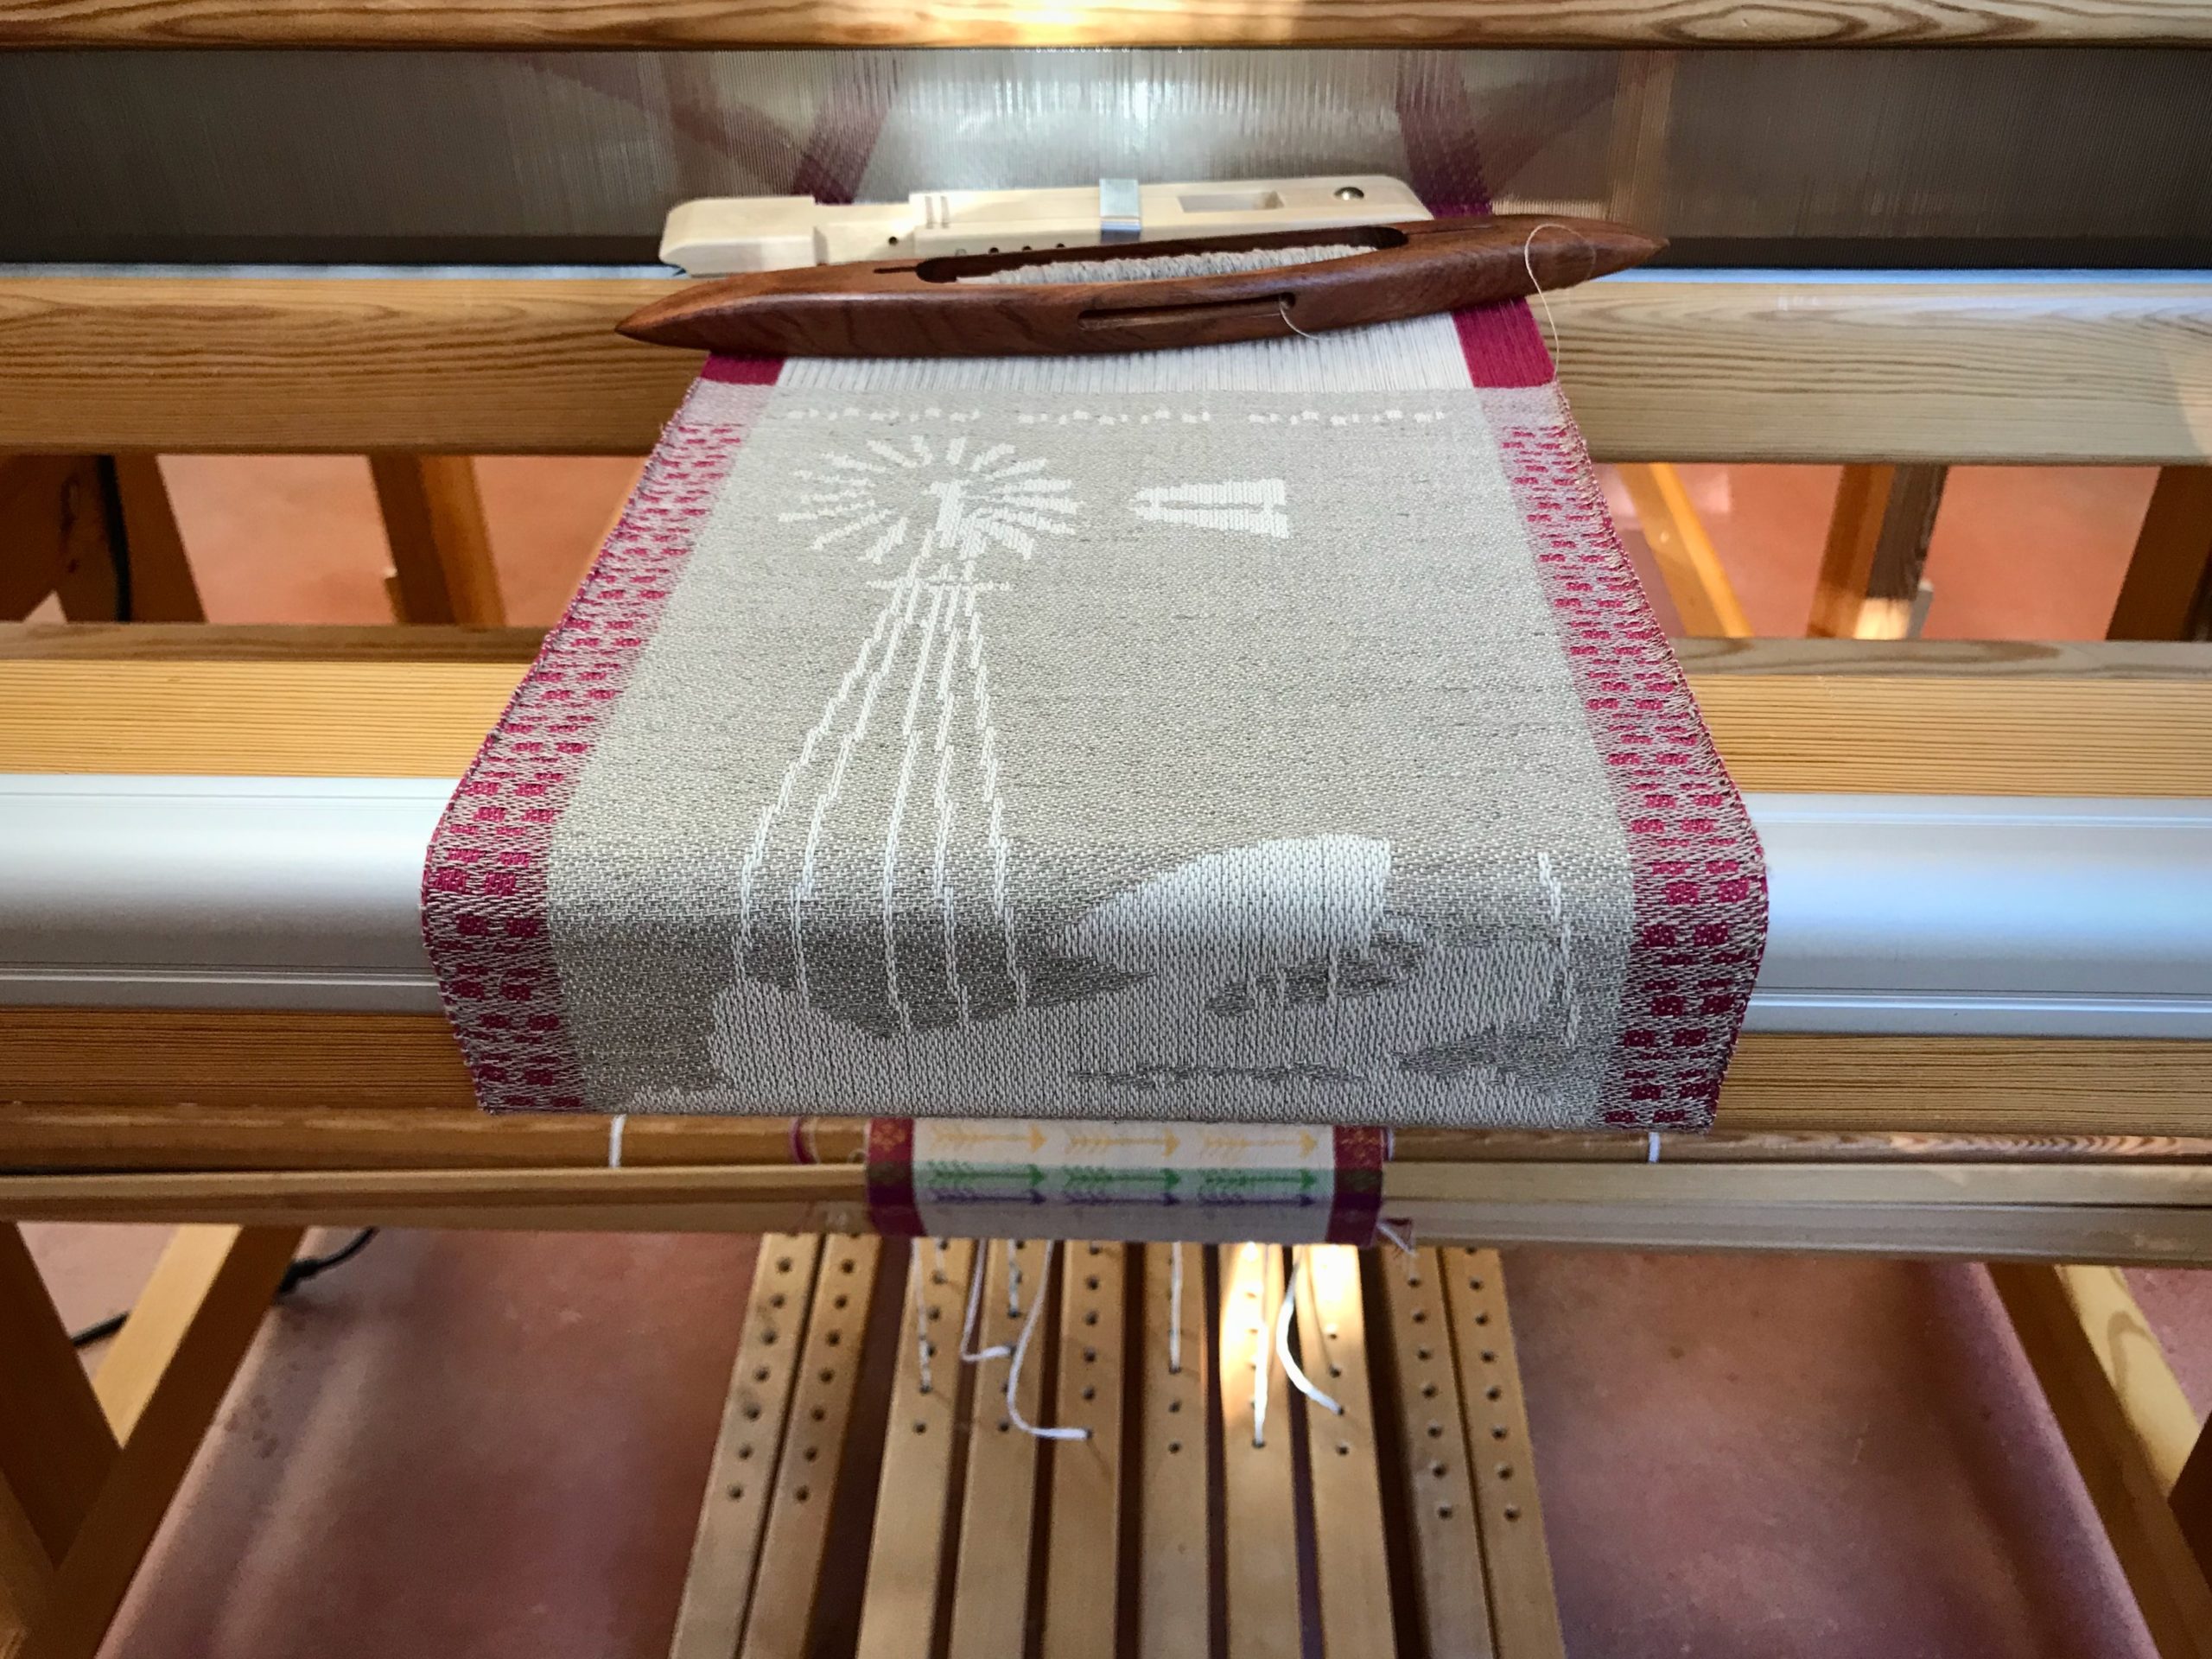
In the September, 2004 issue of Complex Weavers Journal, Jette Vandermeiden wrote about weaving small serviettes to place between her good dishes so they don’t scratch each other. That sparked the idea for me to use my learning experience with the Myrehed combination drawloom attachment to make these small pieces of cloth. The various designs will bring delight as they are uncovered, one by one, when we set the table in our home with the good dishes.
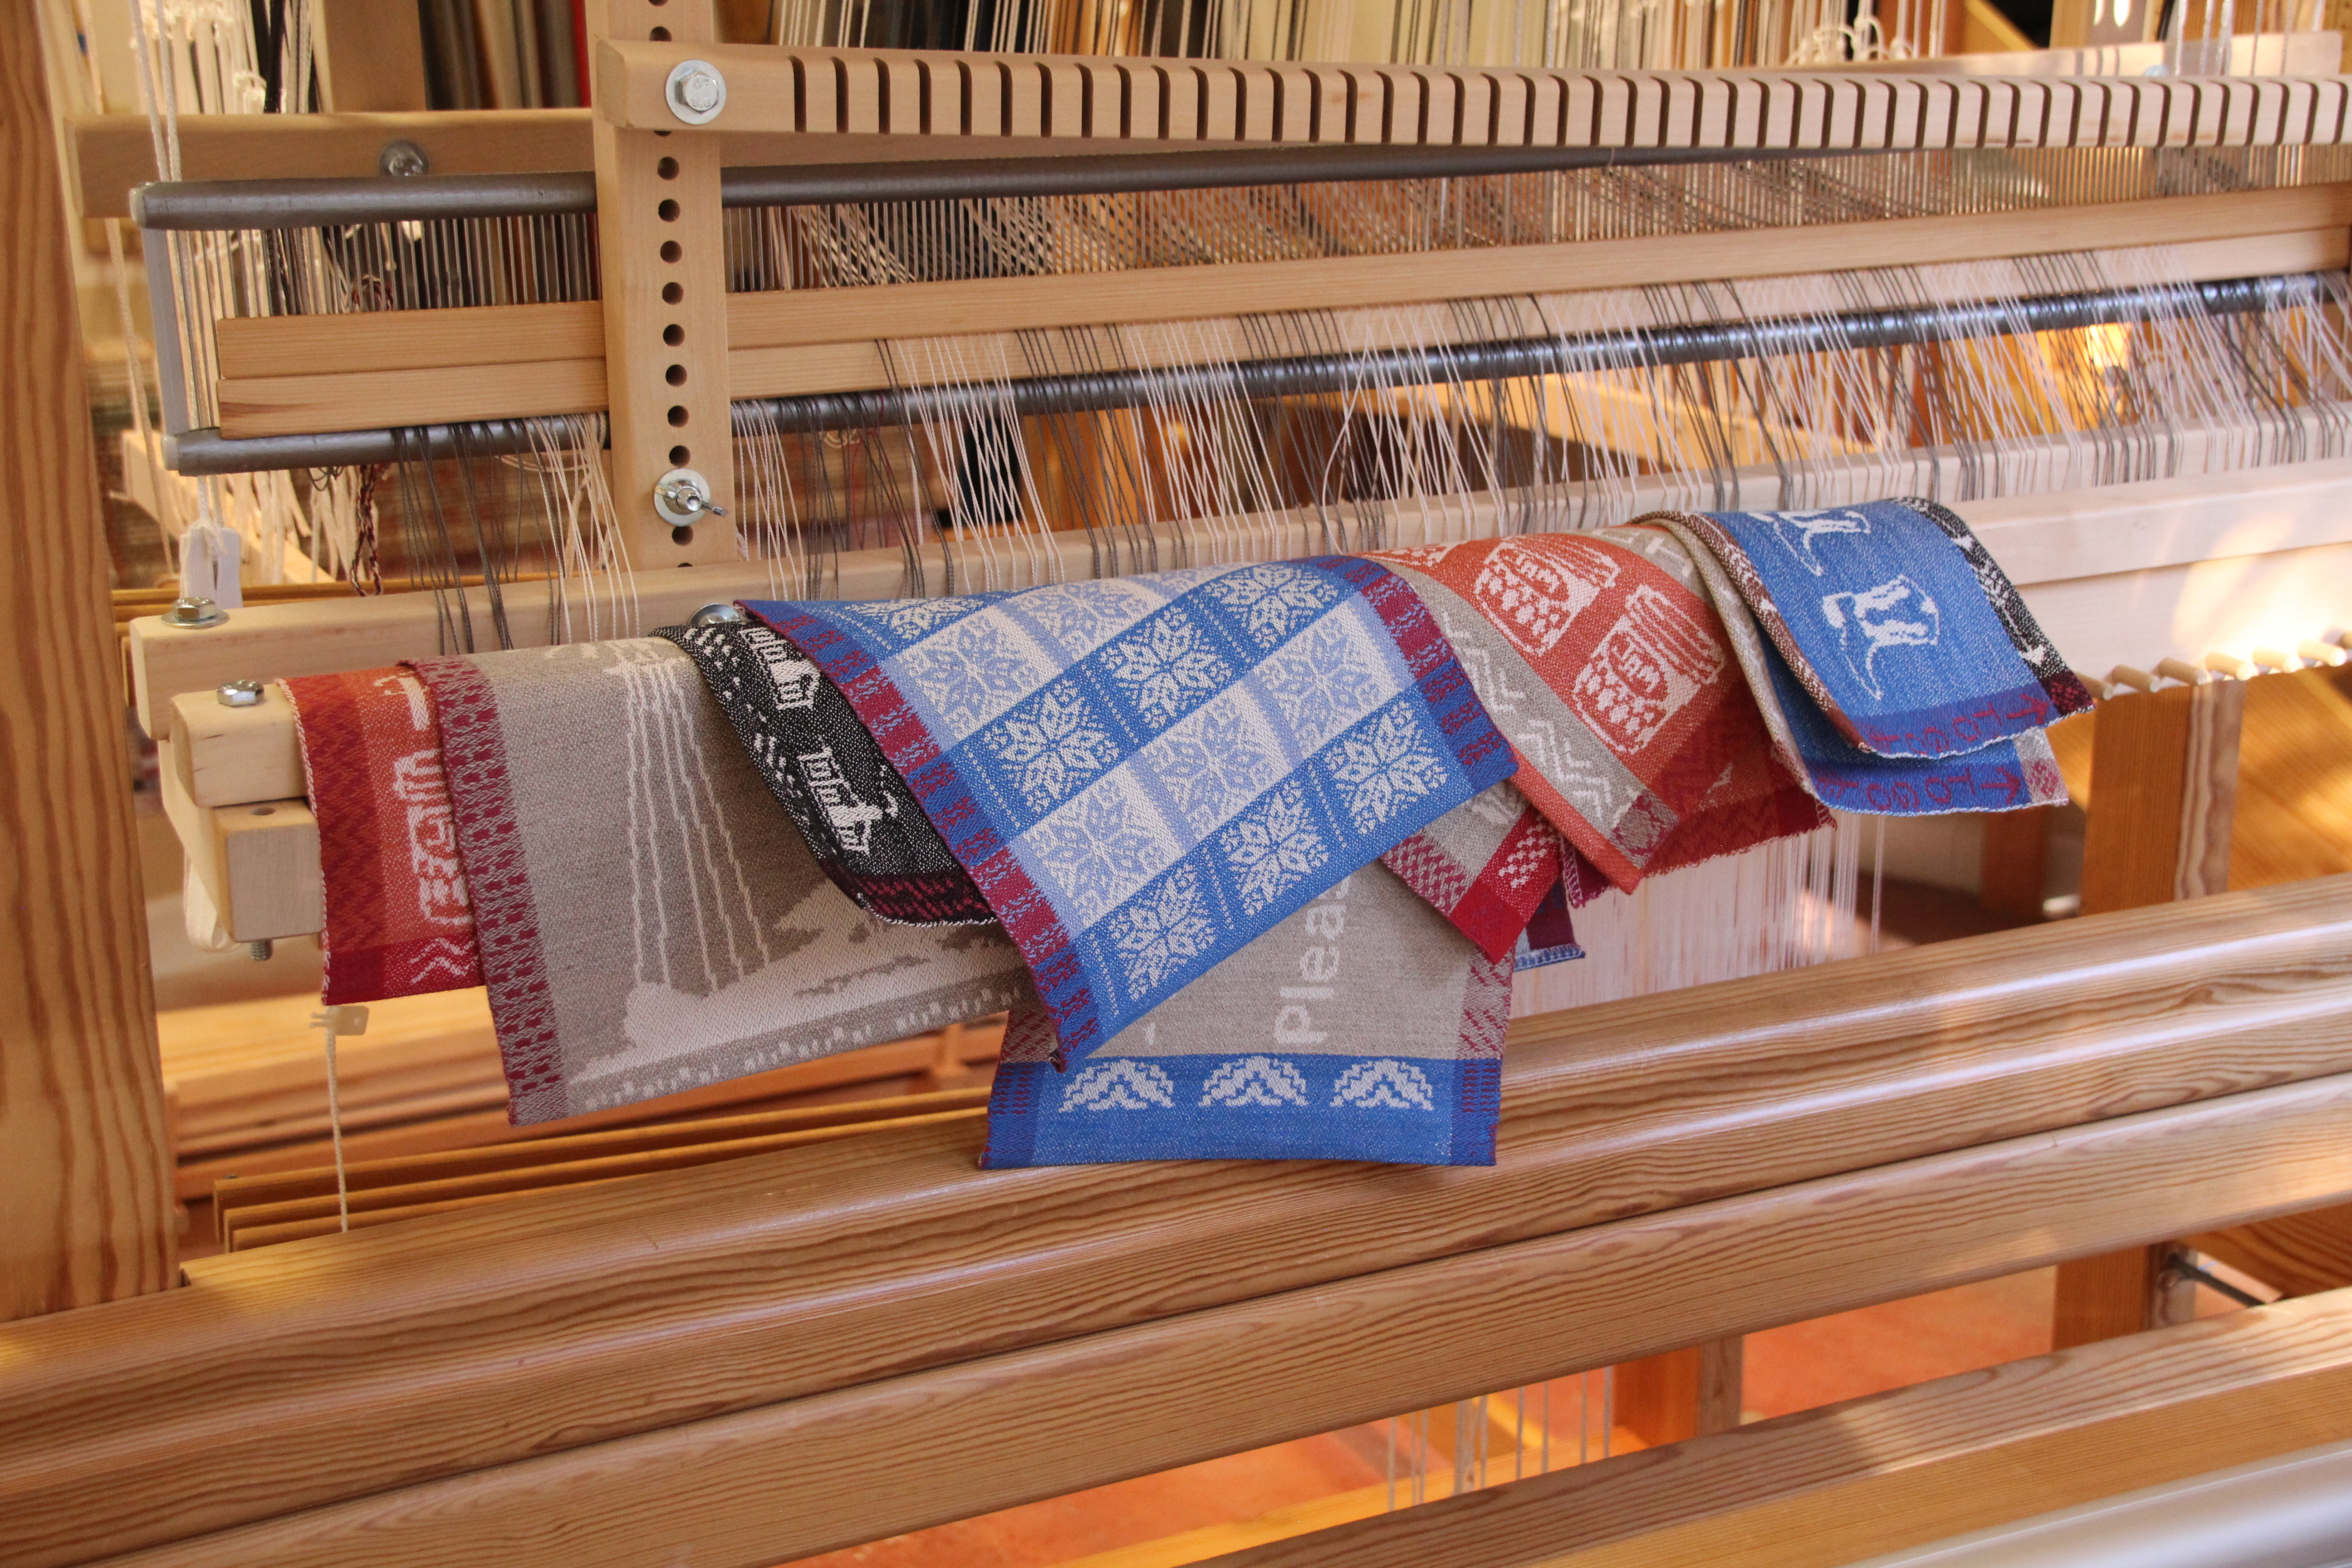
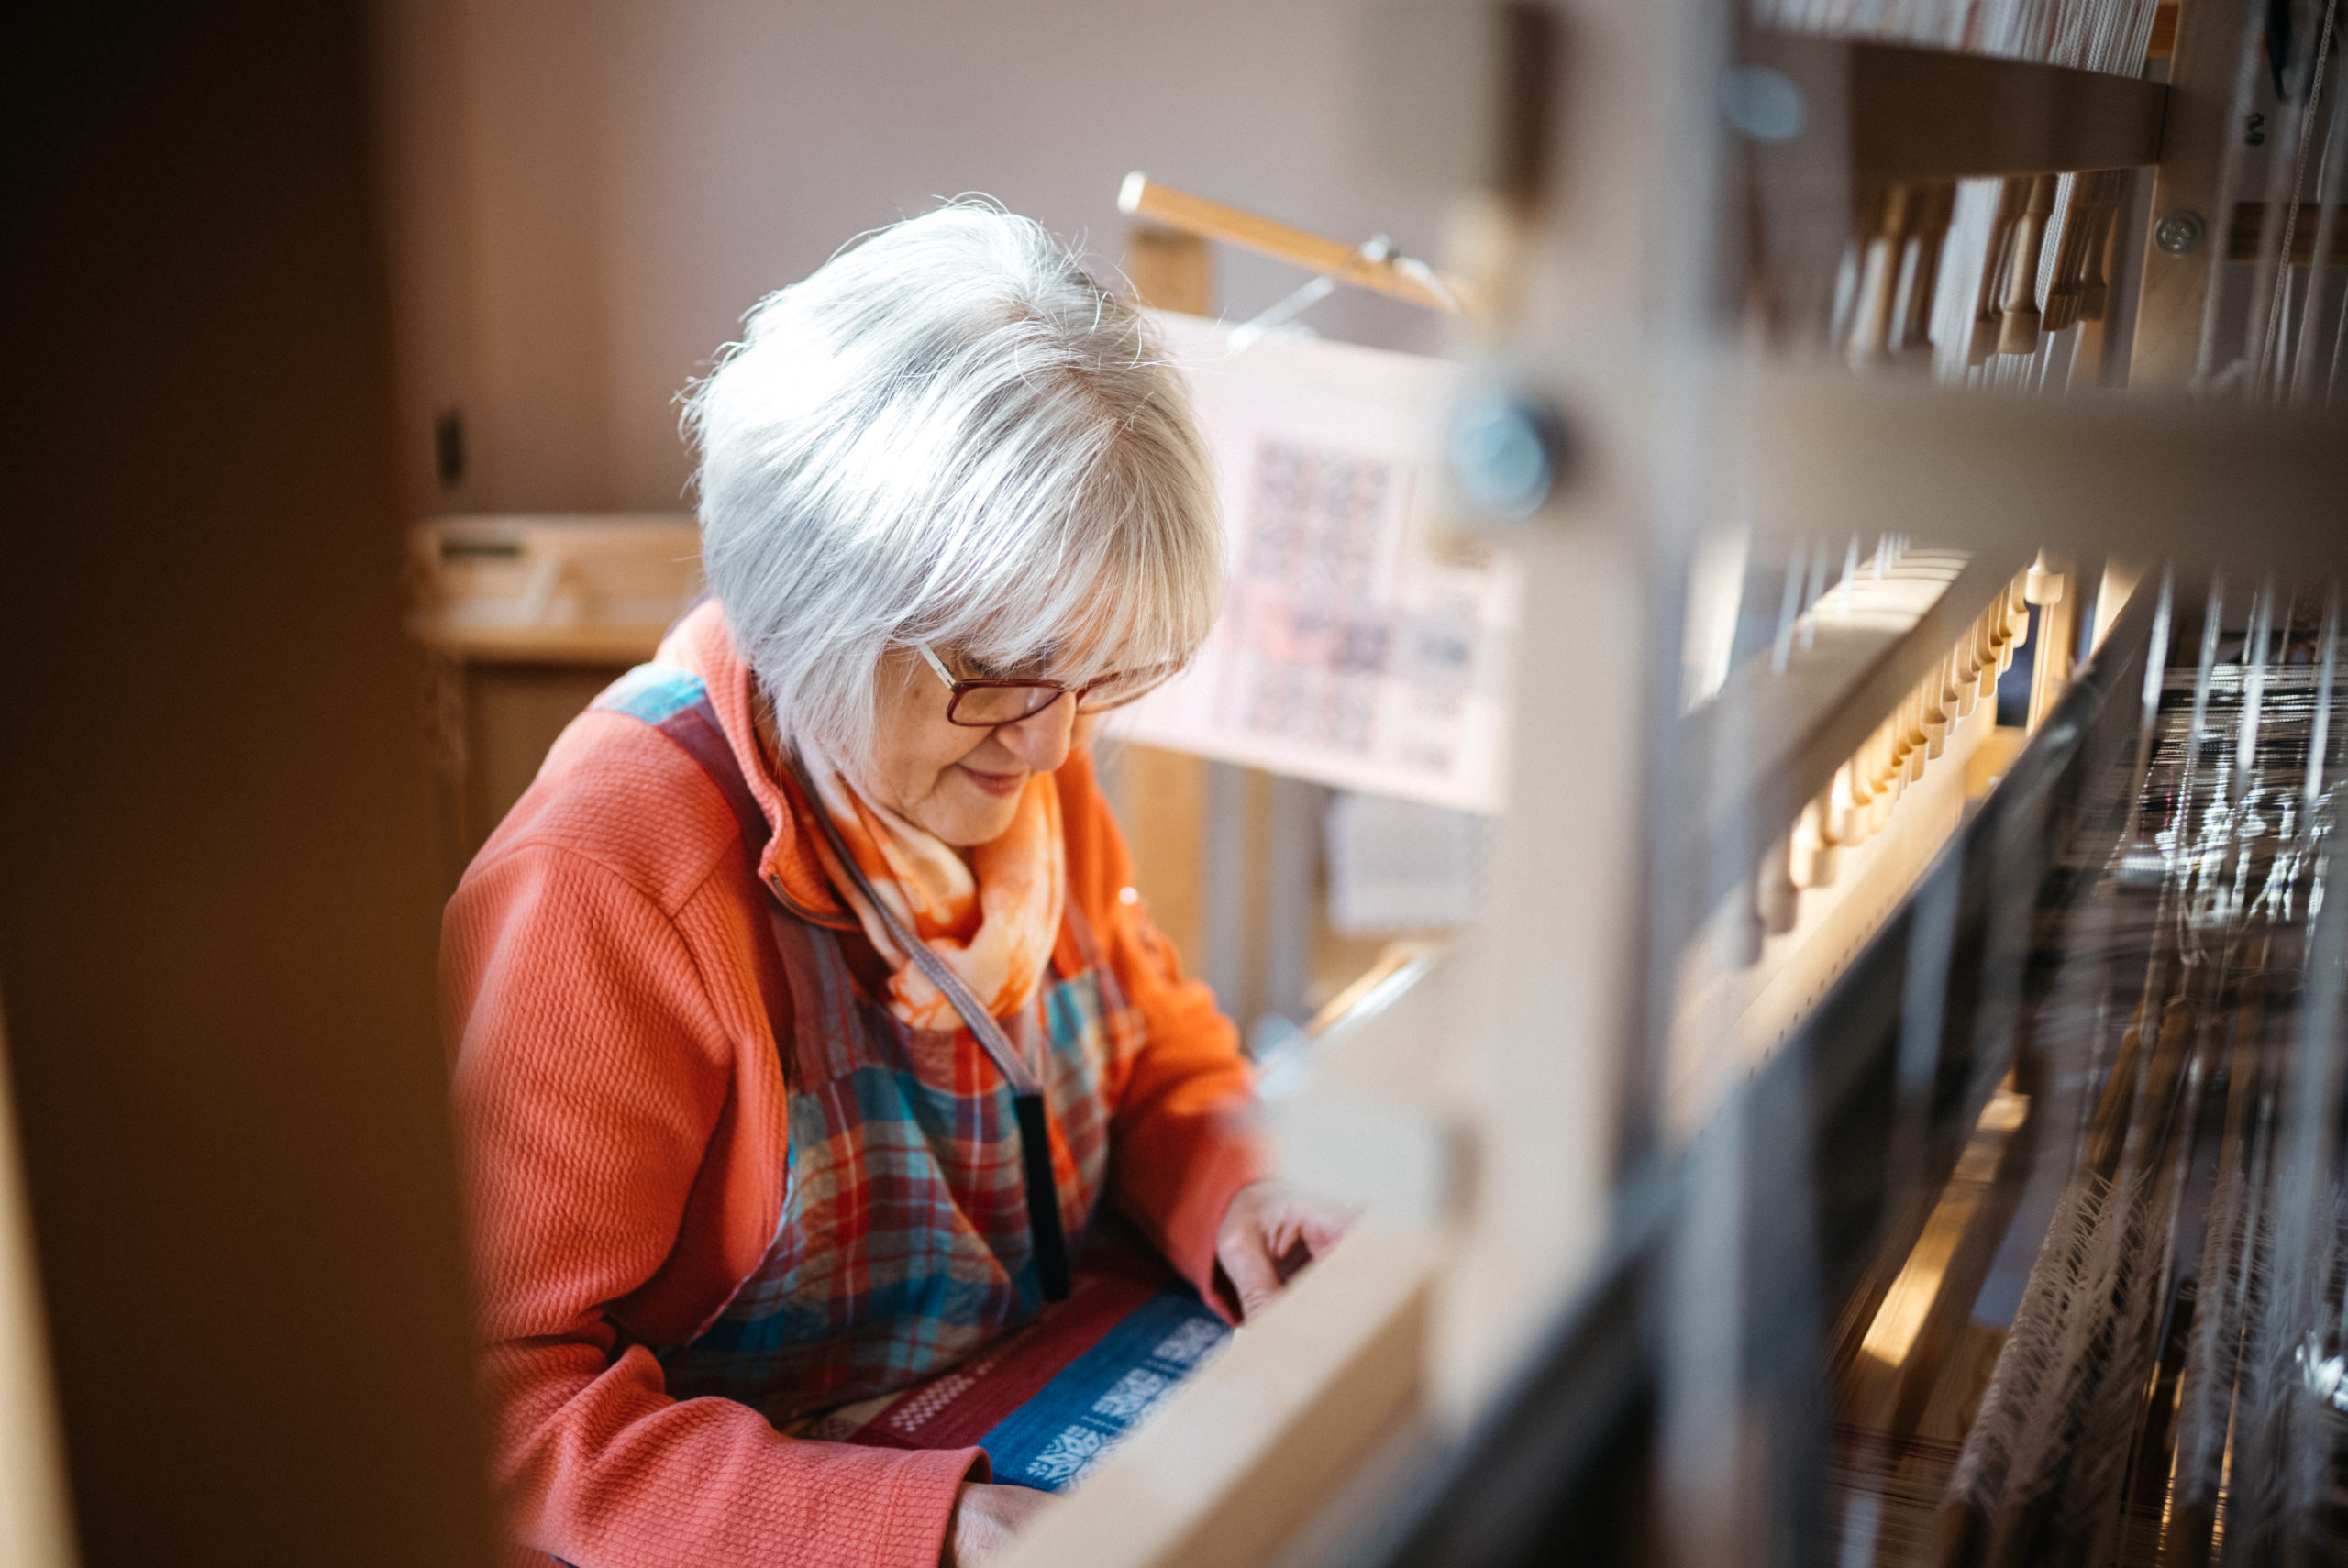
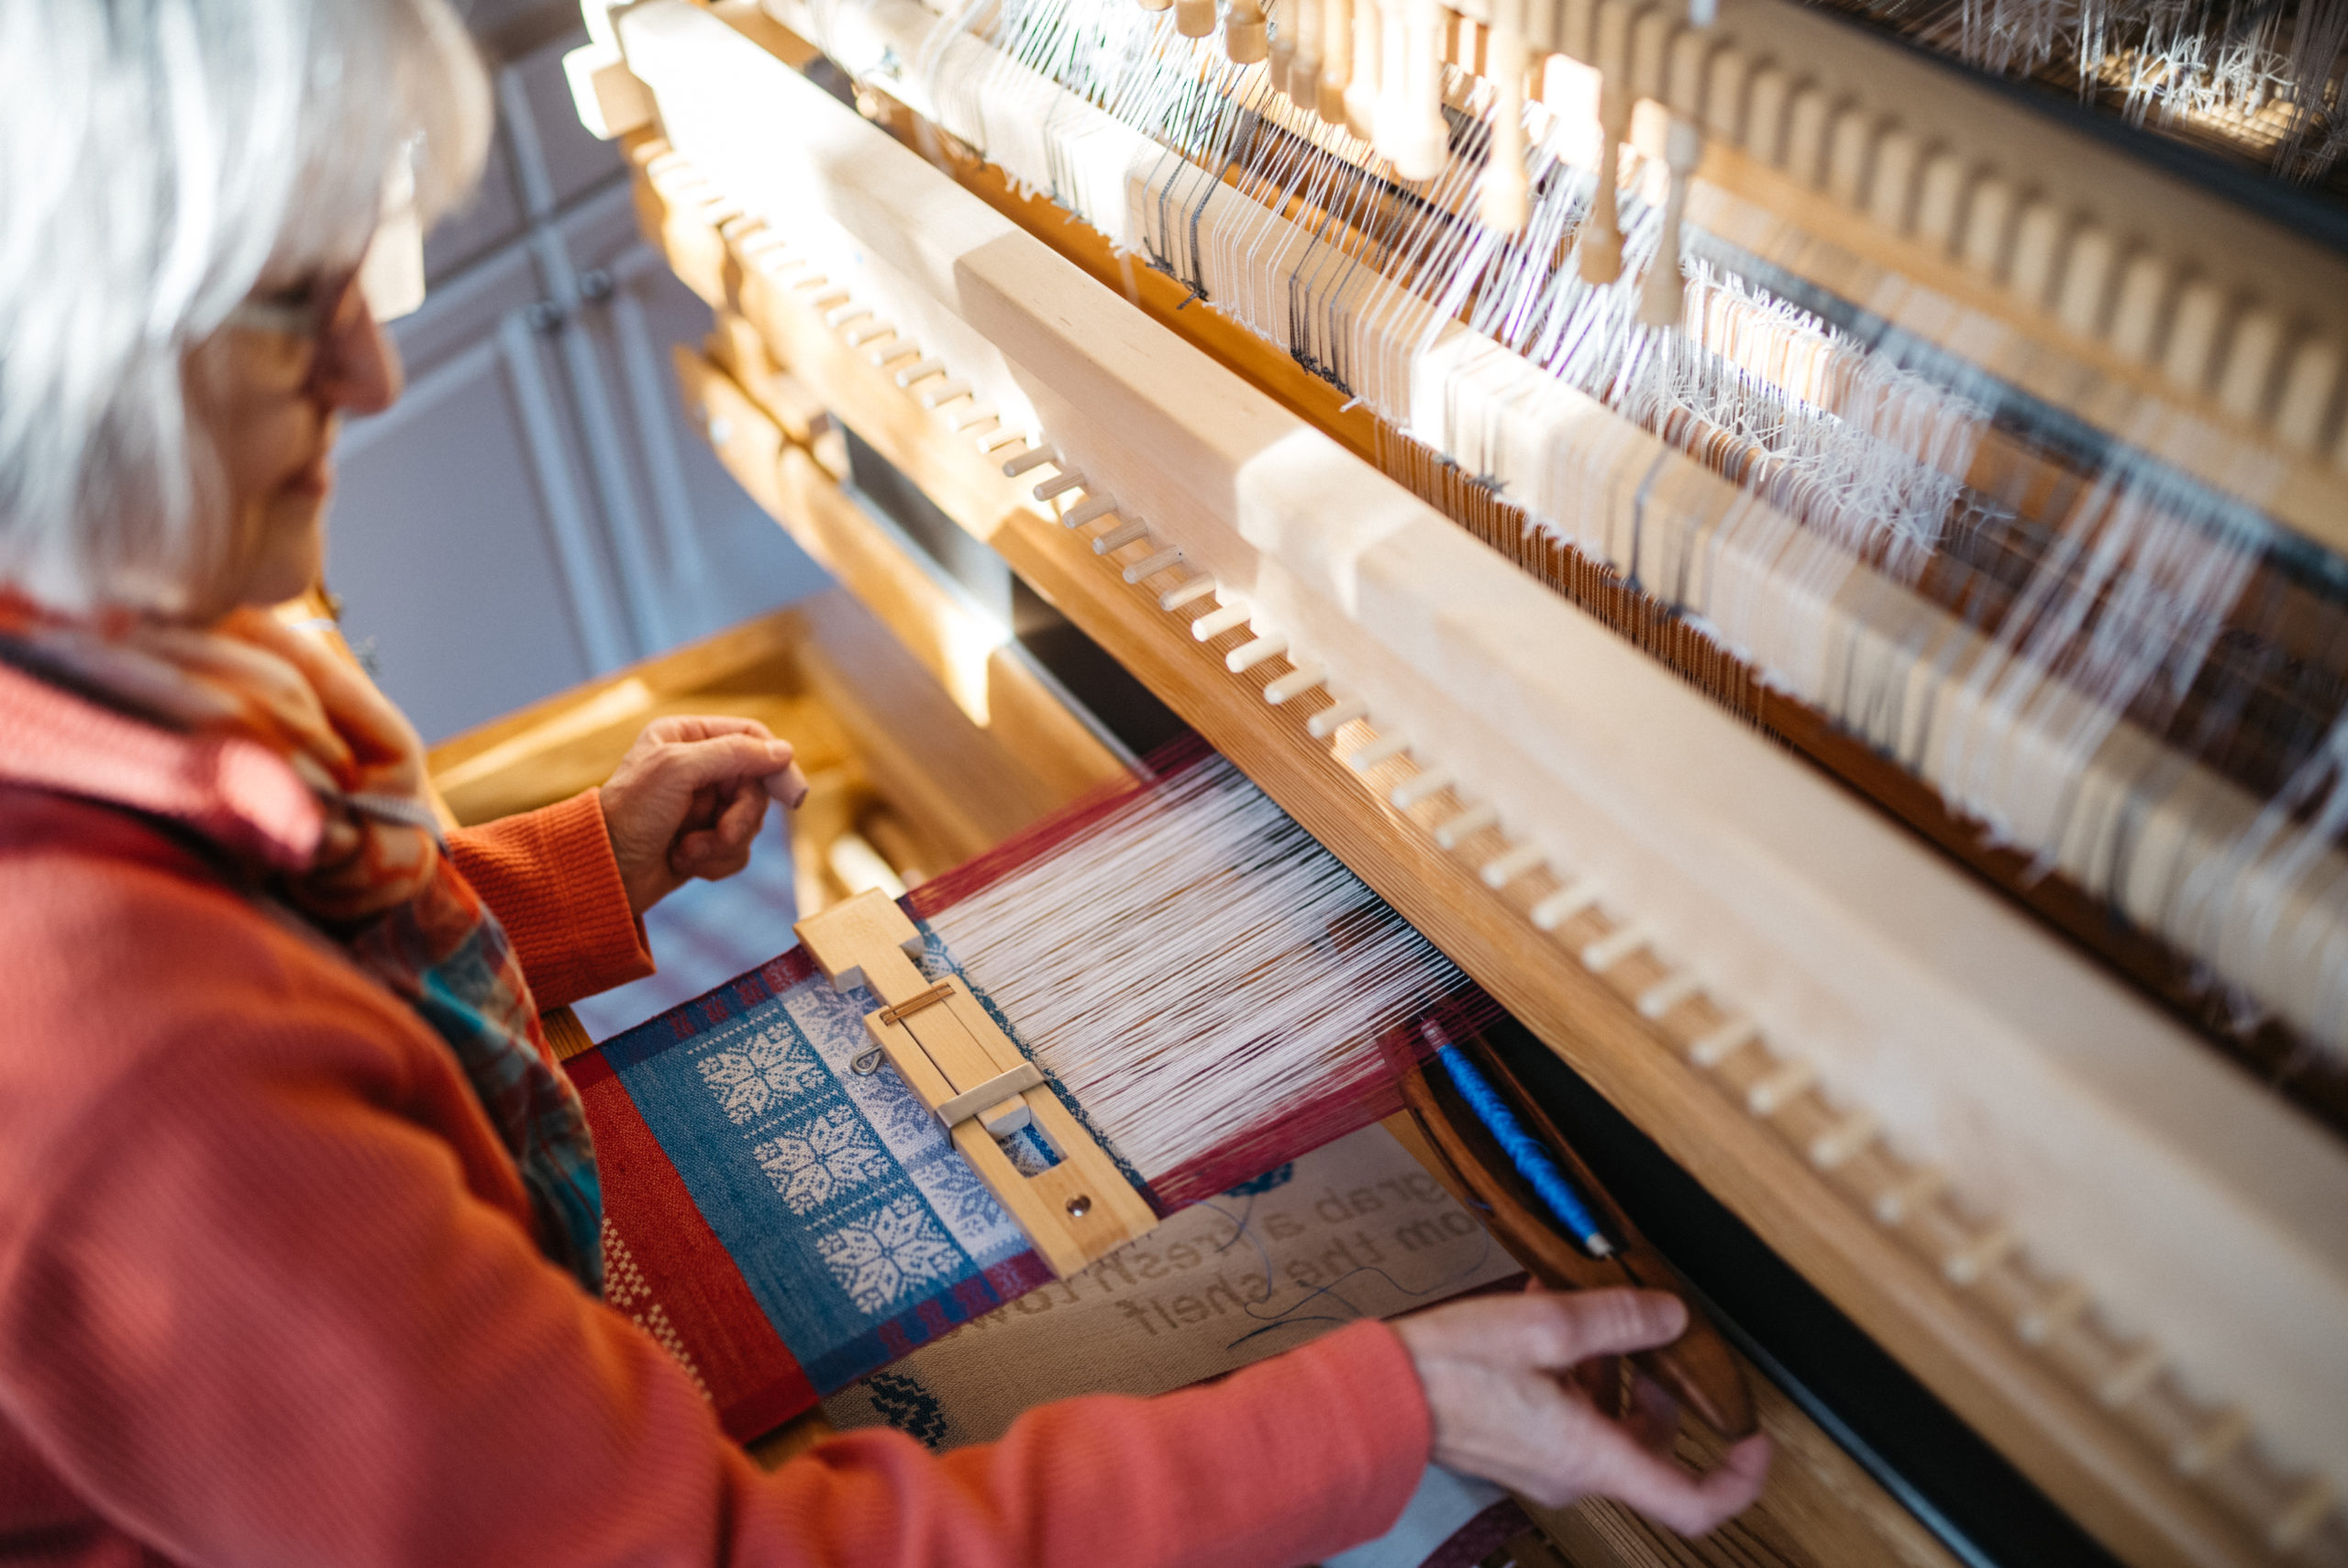
Enjoy this review of the process of setting up and weaving on this playground.
May you have not-so-hidden treasures in your home.
Cheerful Weaving,
Karen