Halvdräll is one of those Swedish weaves that takes your breath away. How can I describe the exquisite simplicity and stunning splendor of this fascinating cloth? With halvdräll, every moment at the loom is pure joy. I keep thinking, I get to weave this! And every weaver knows no comparison to the delight of pulling beautiful just-woven fabric off the cloth beam.
Enjoy the journey with me now as I reflect on the halvdräll fabric from beginning to end.
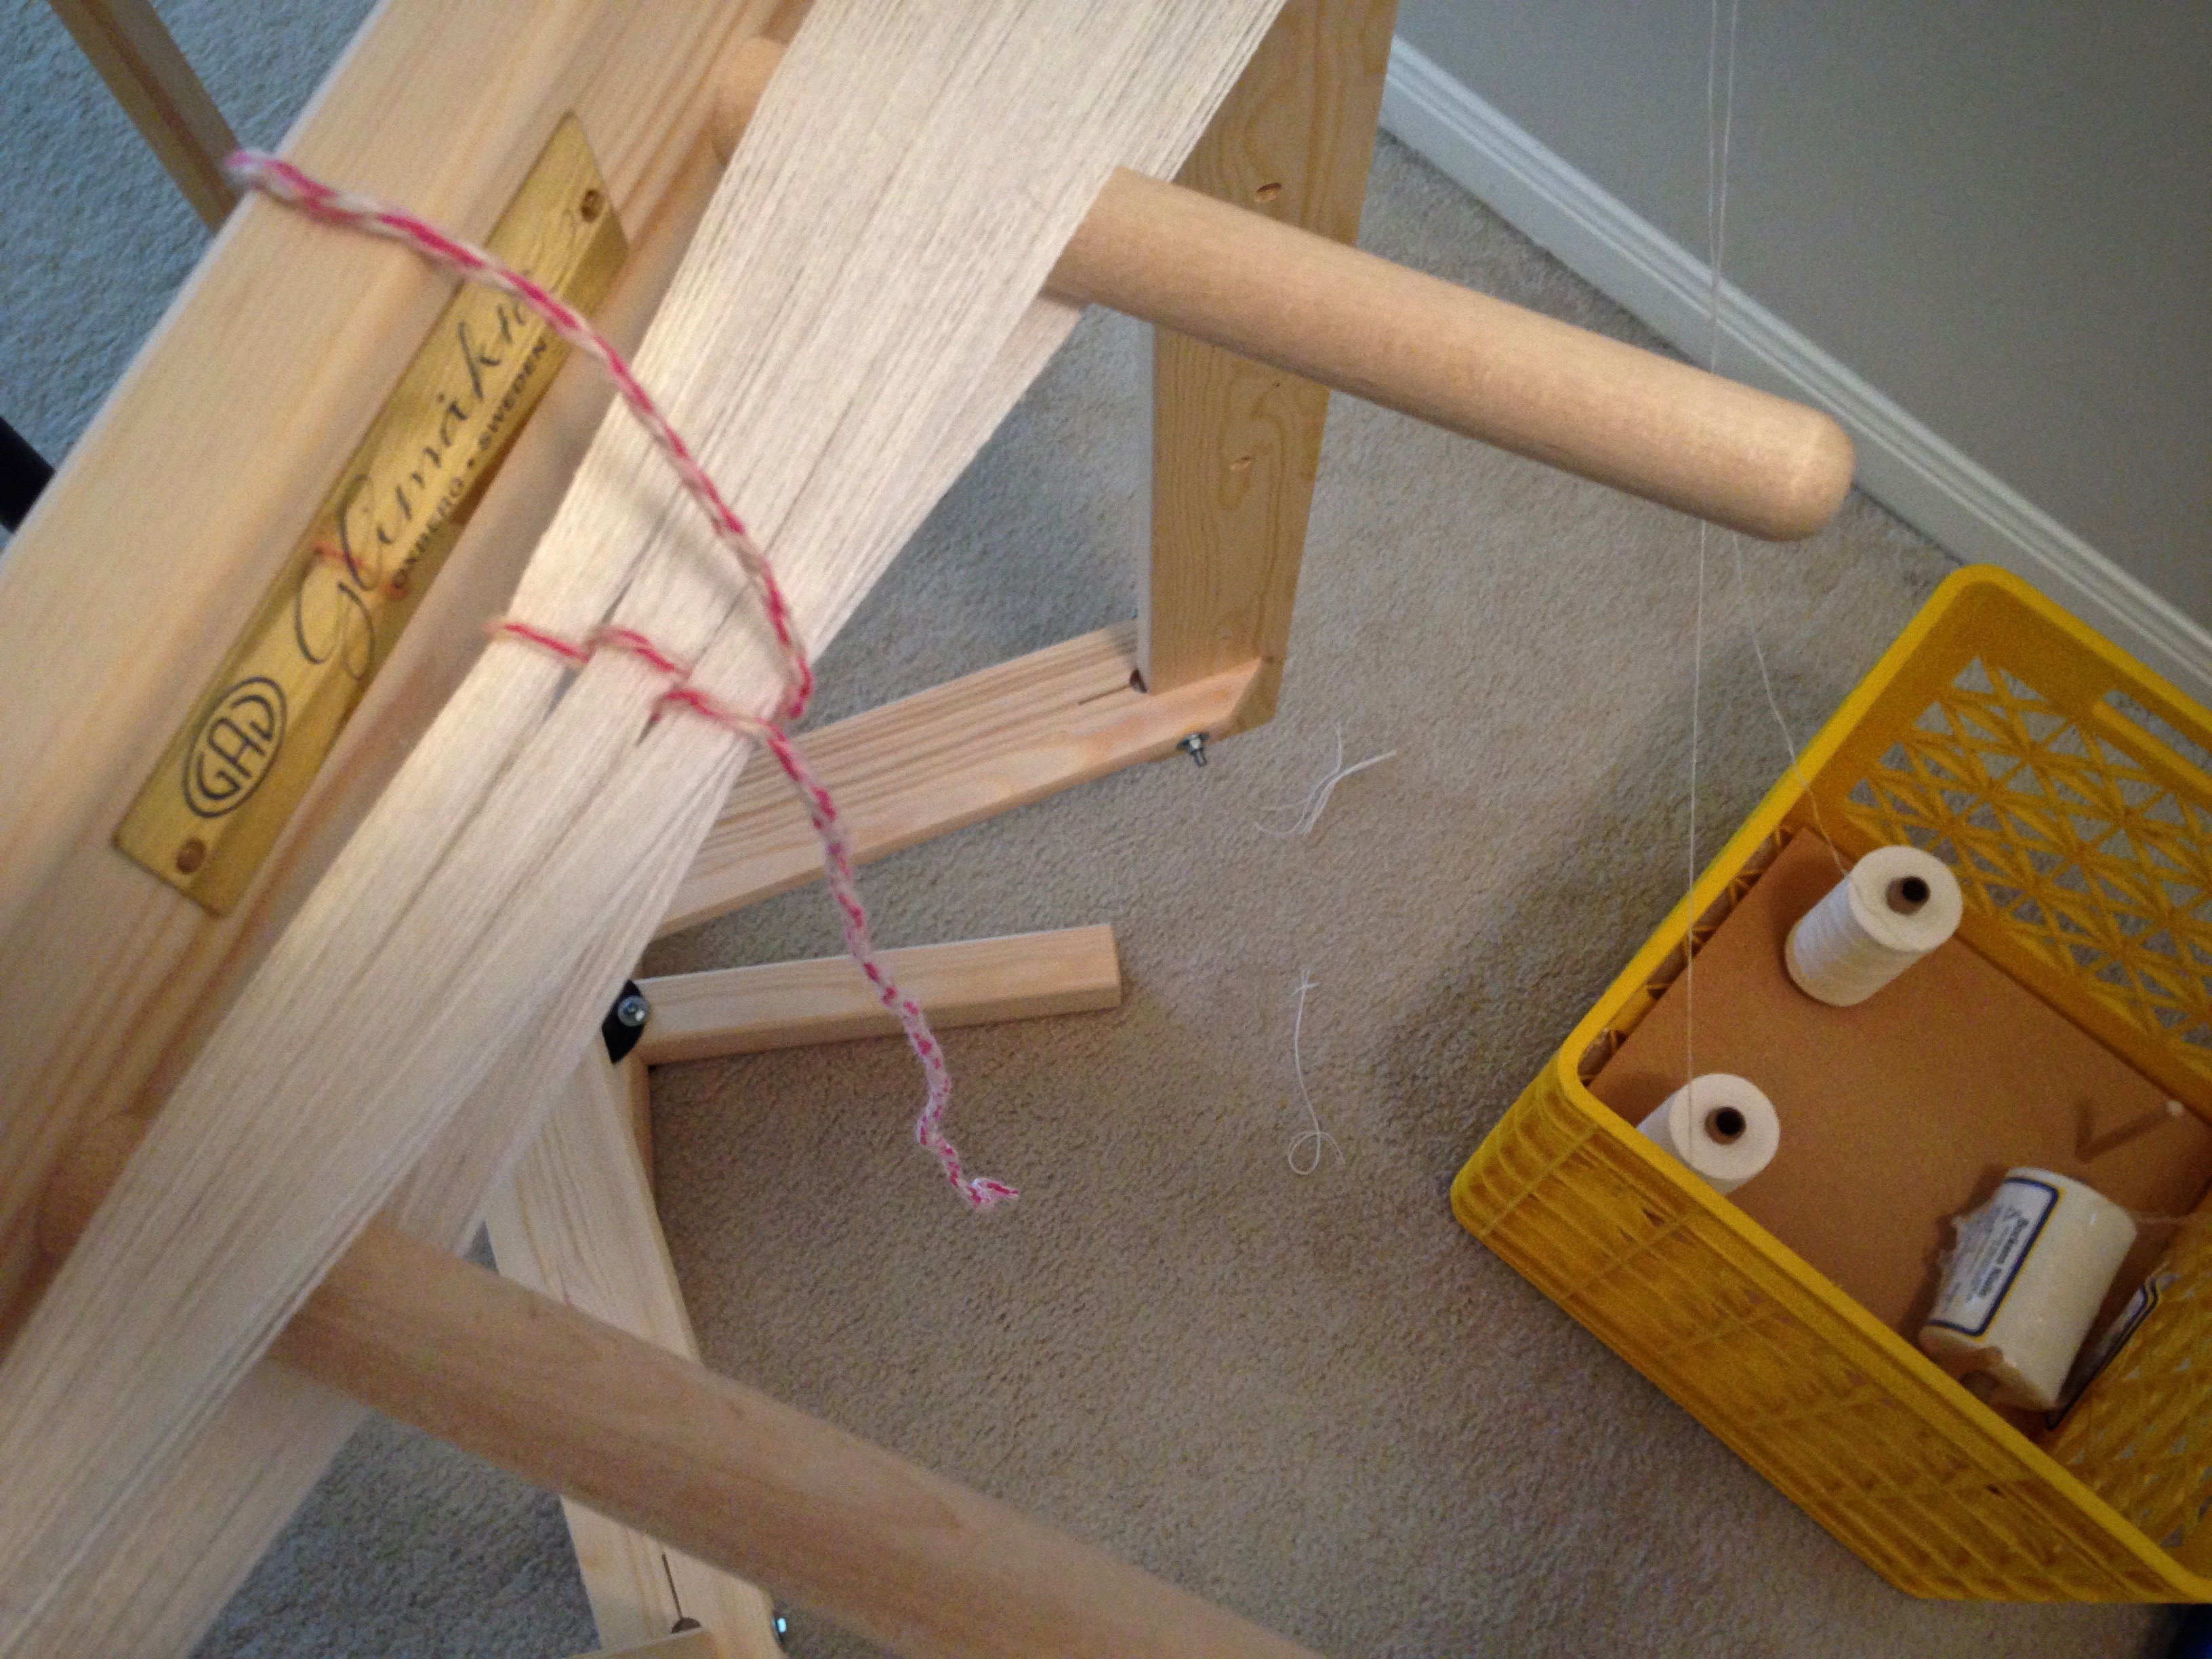
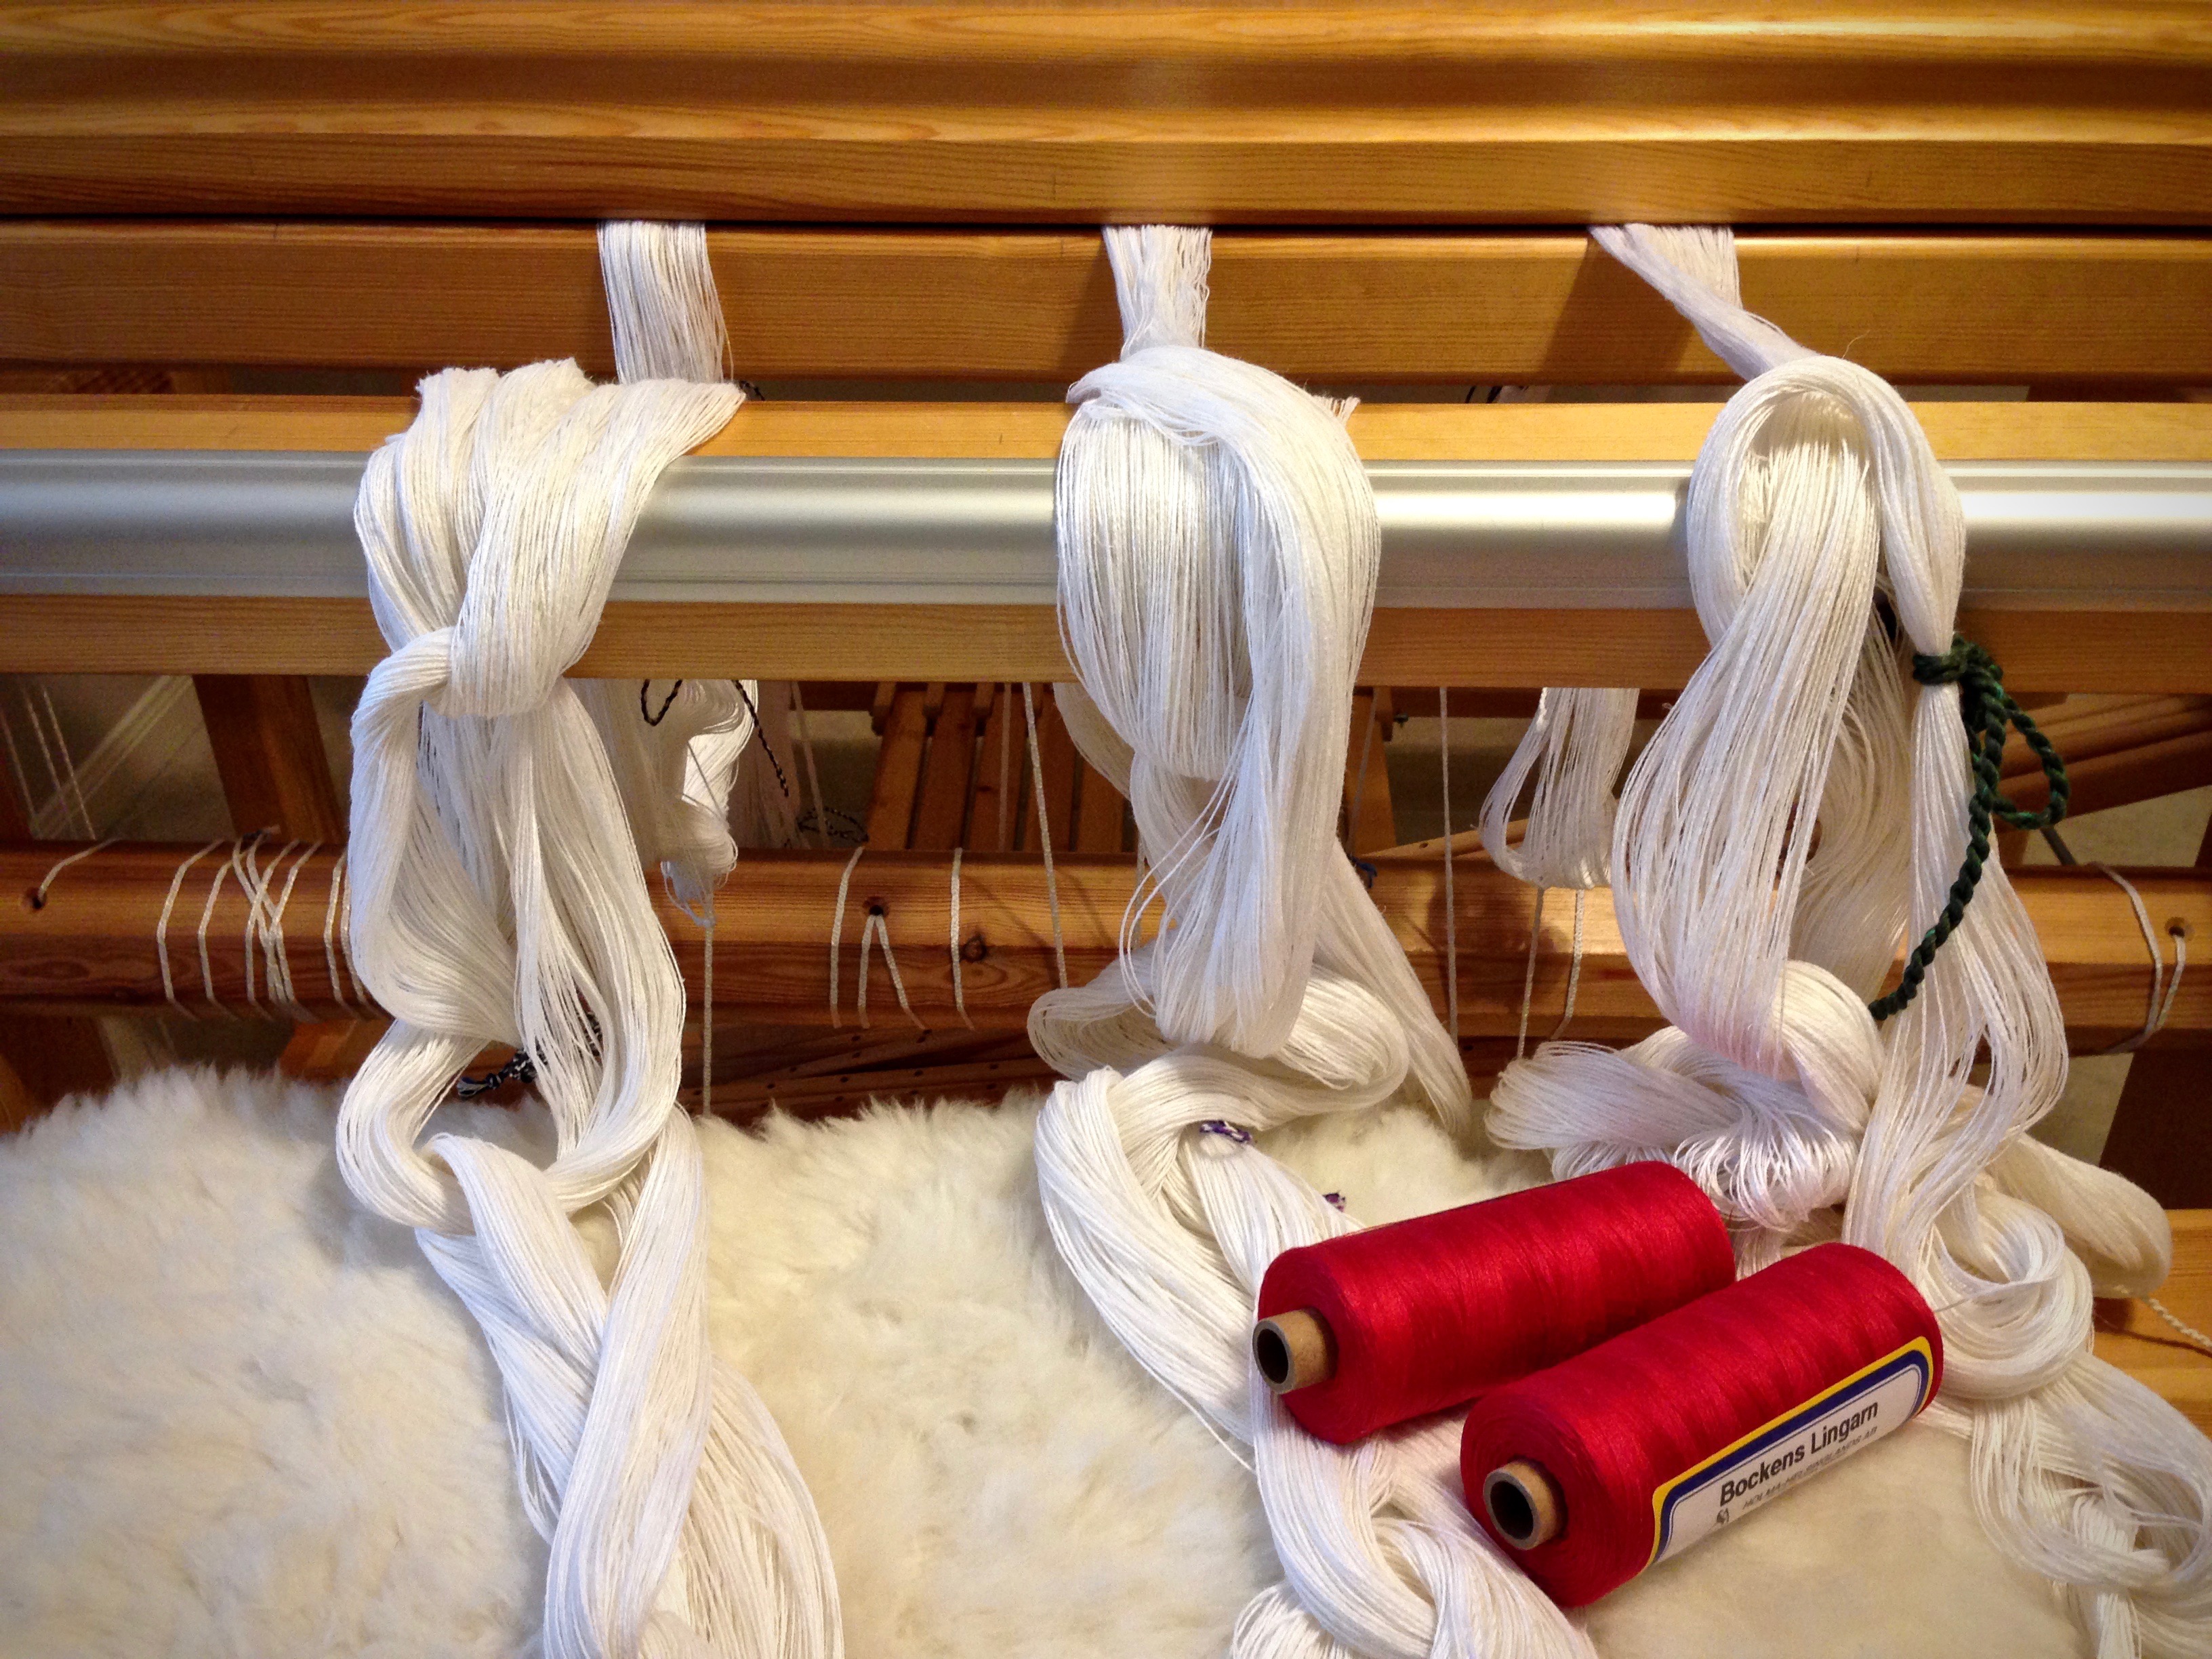
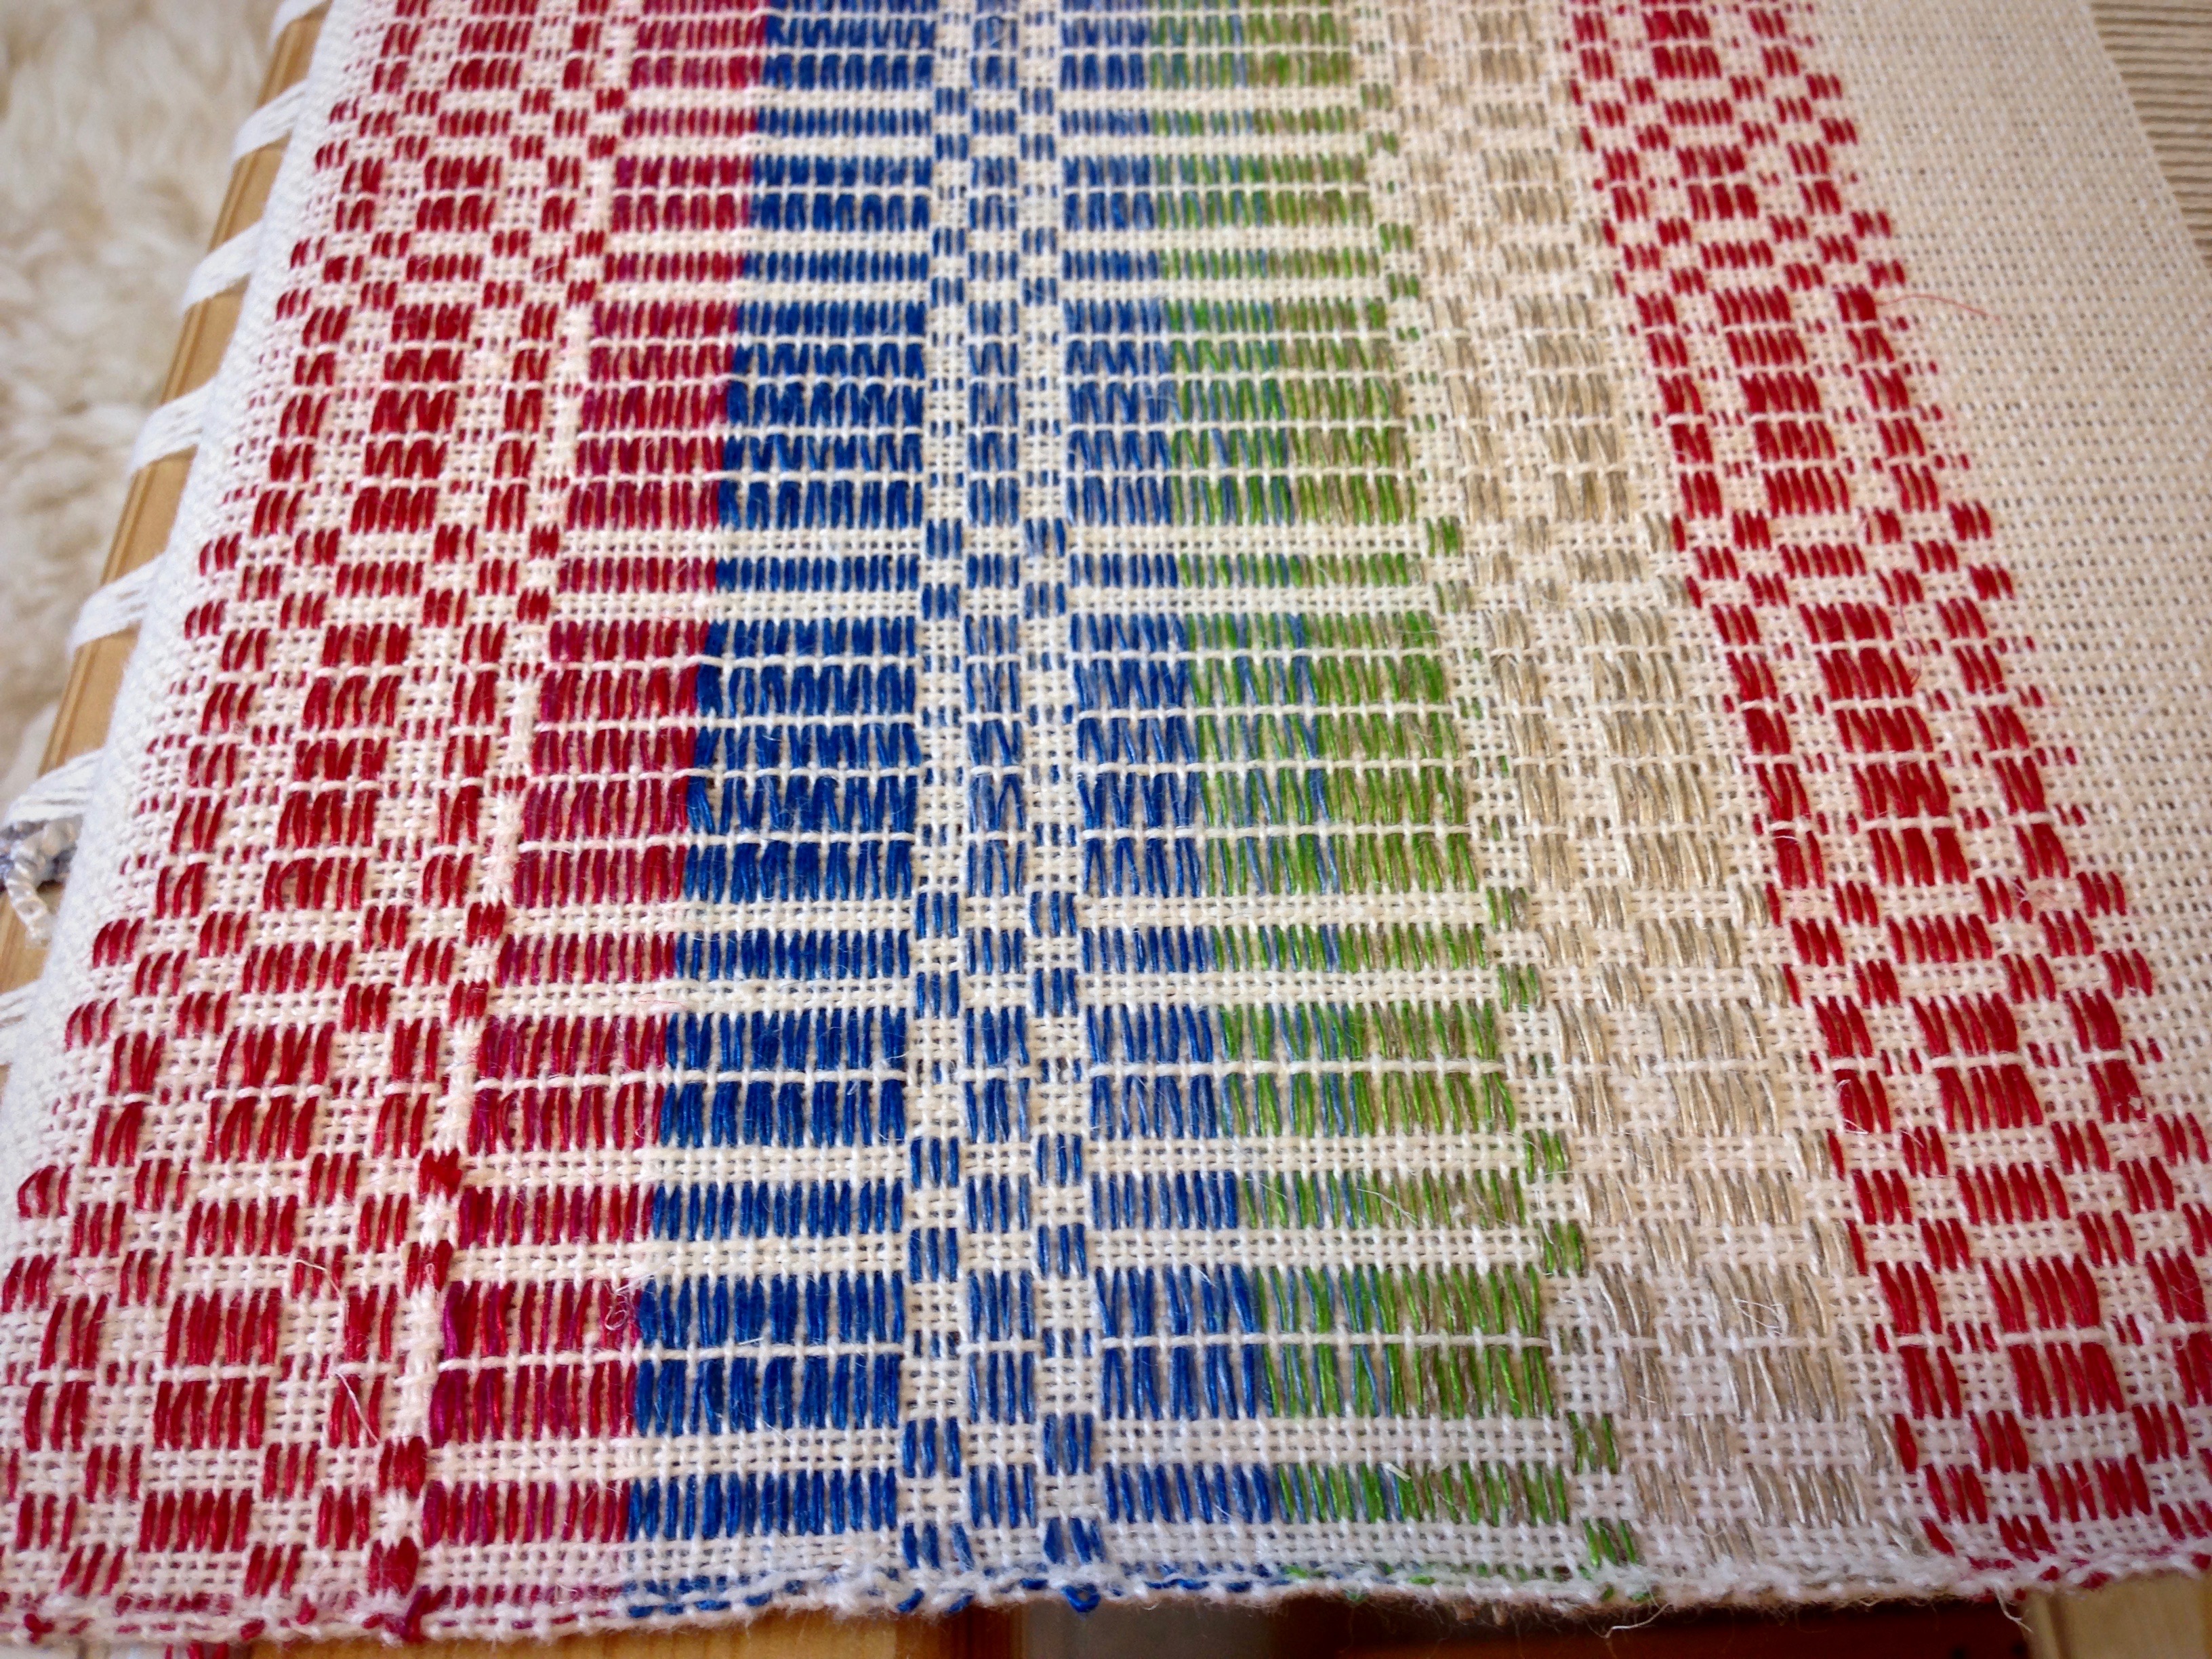
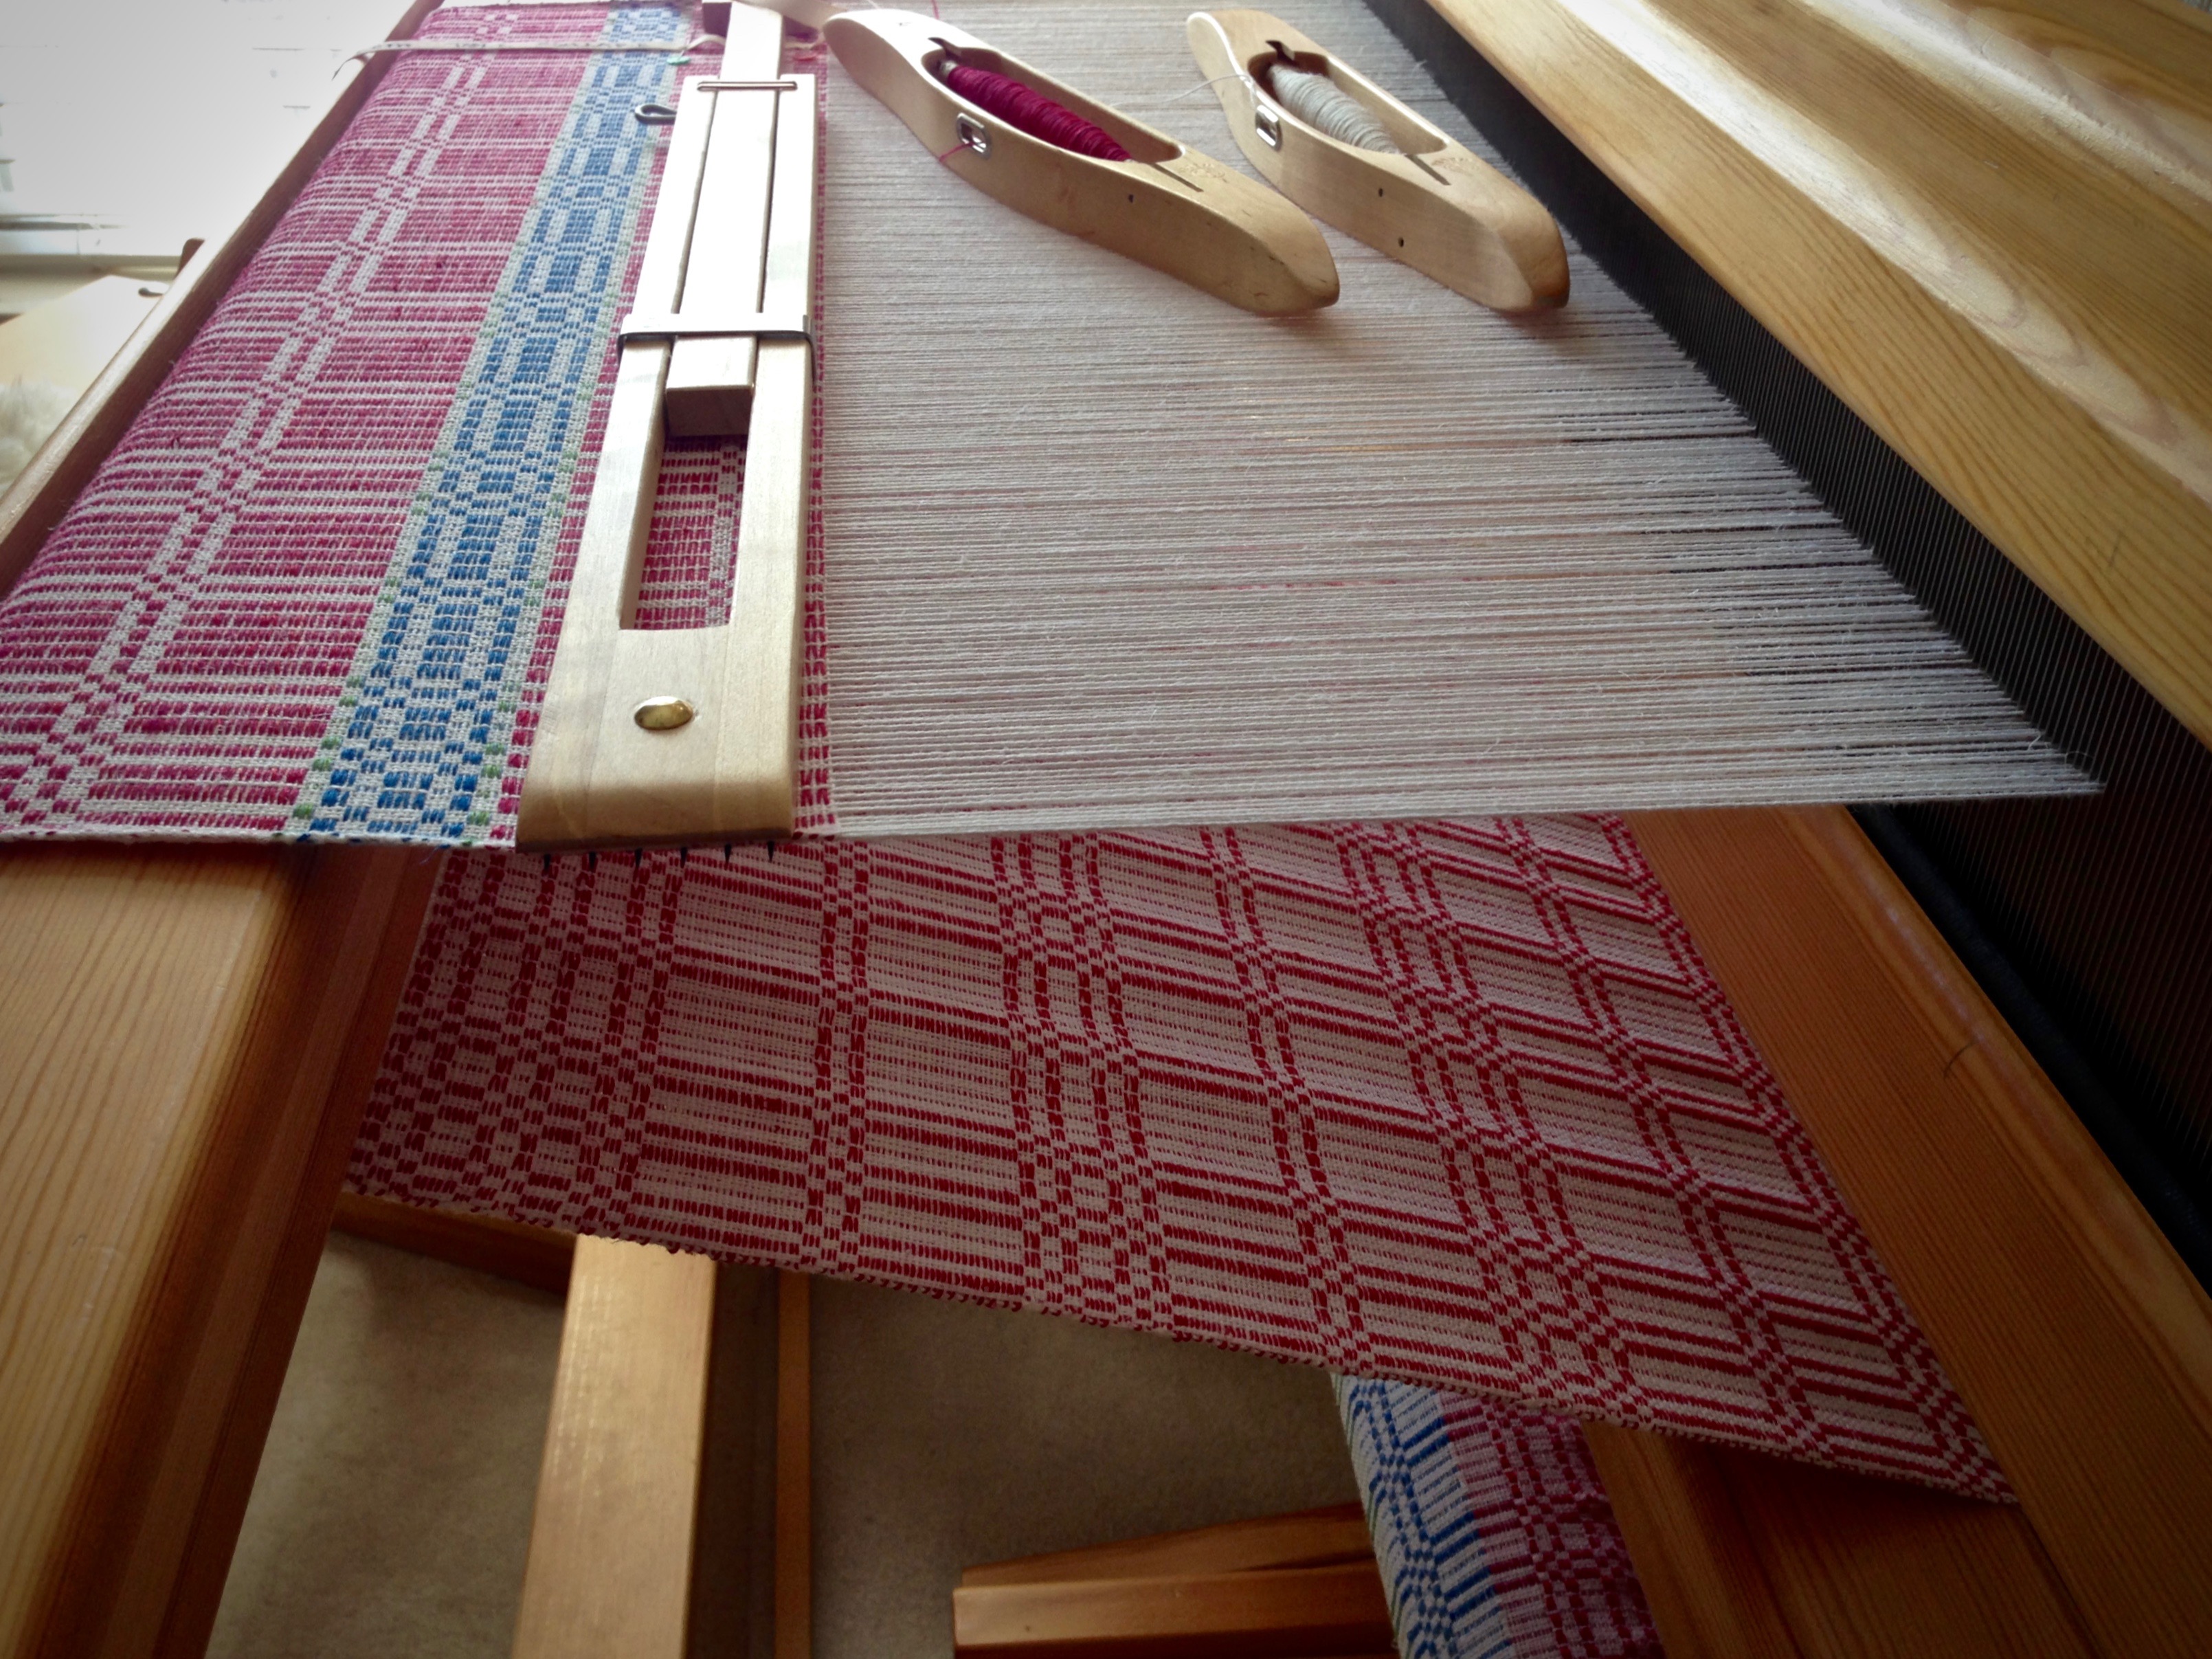
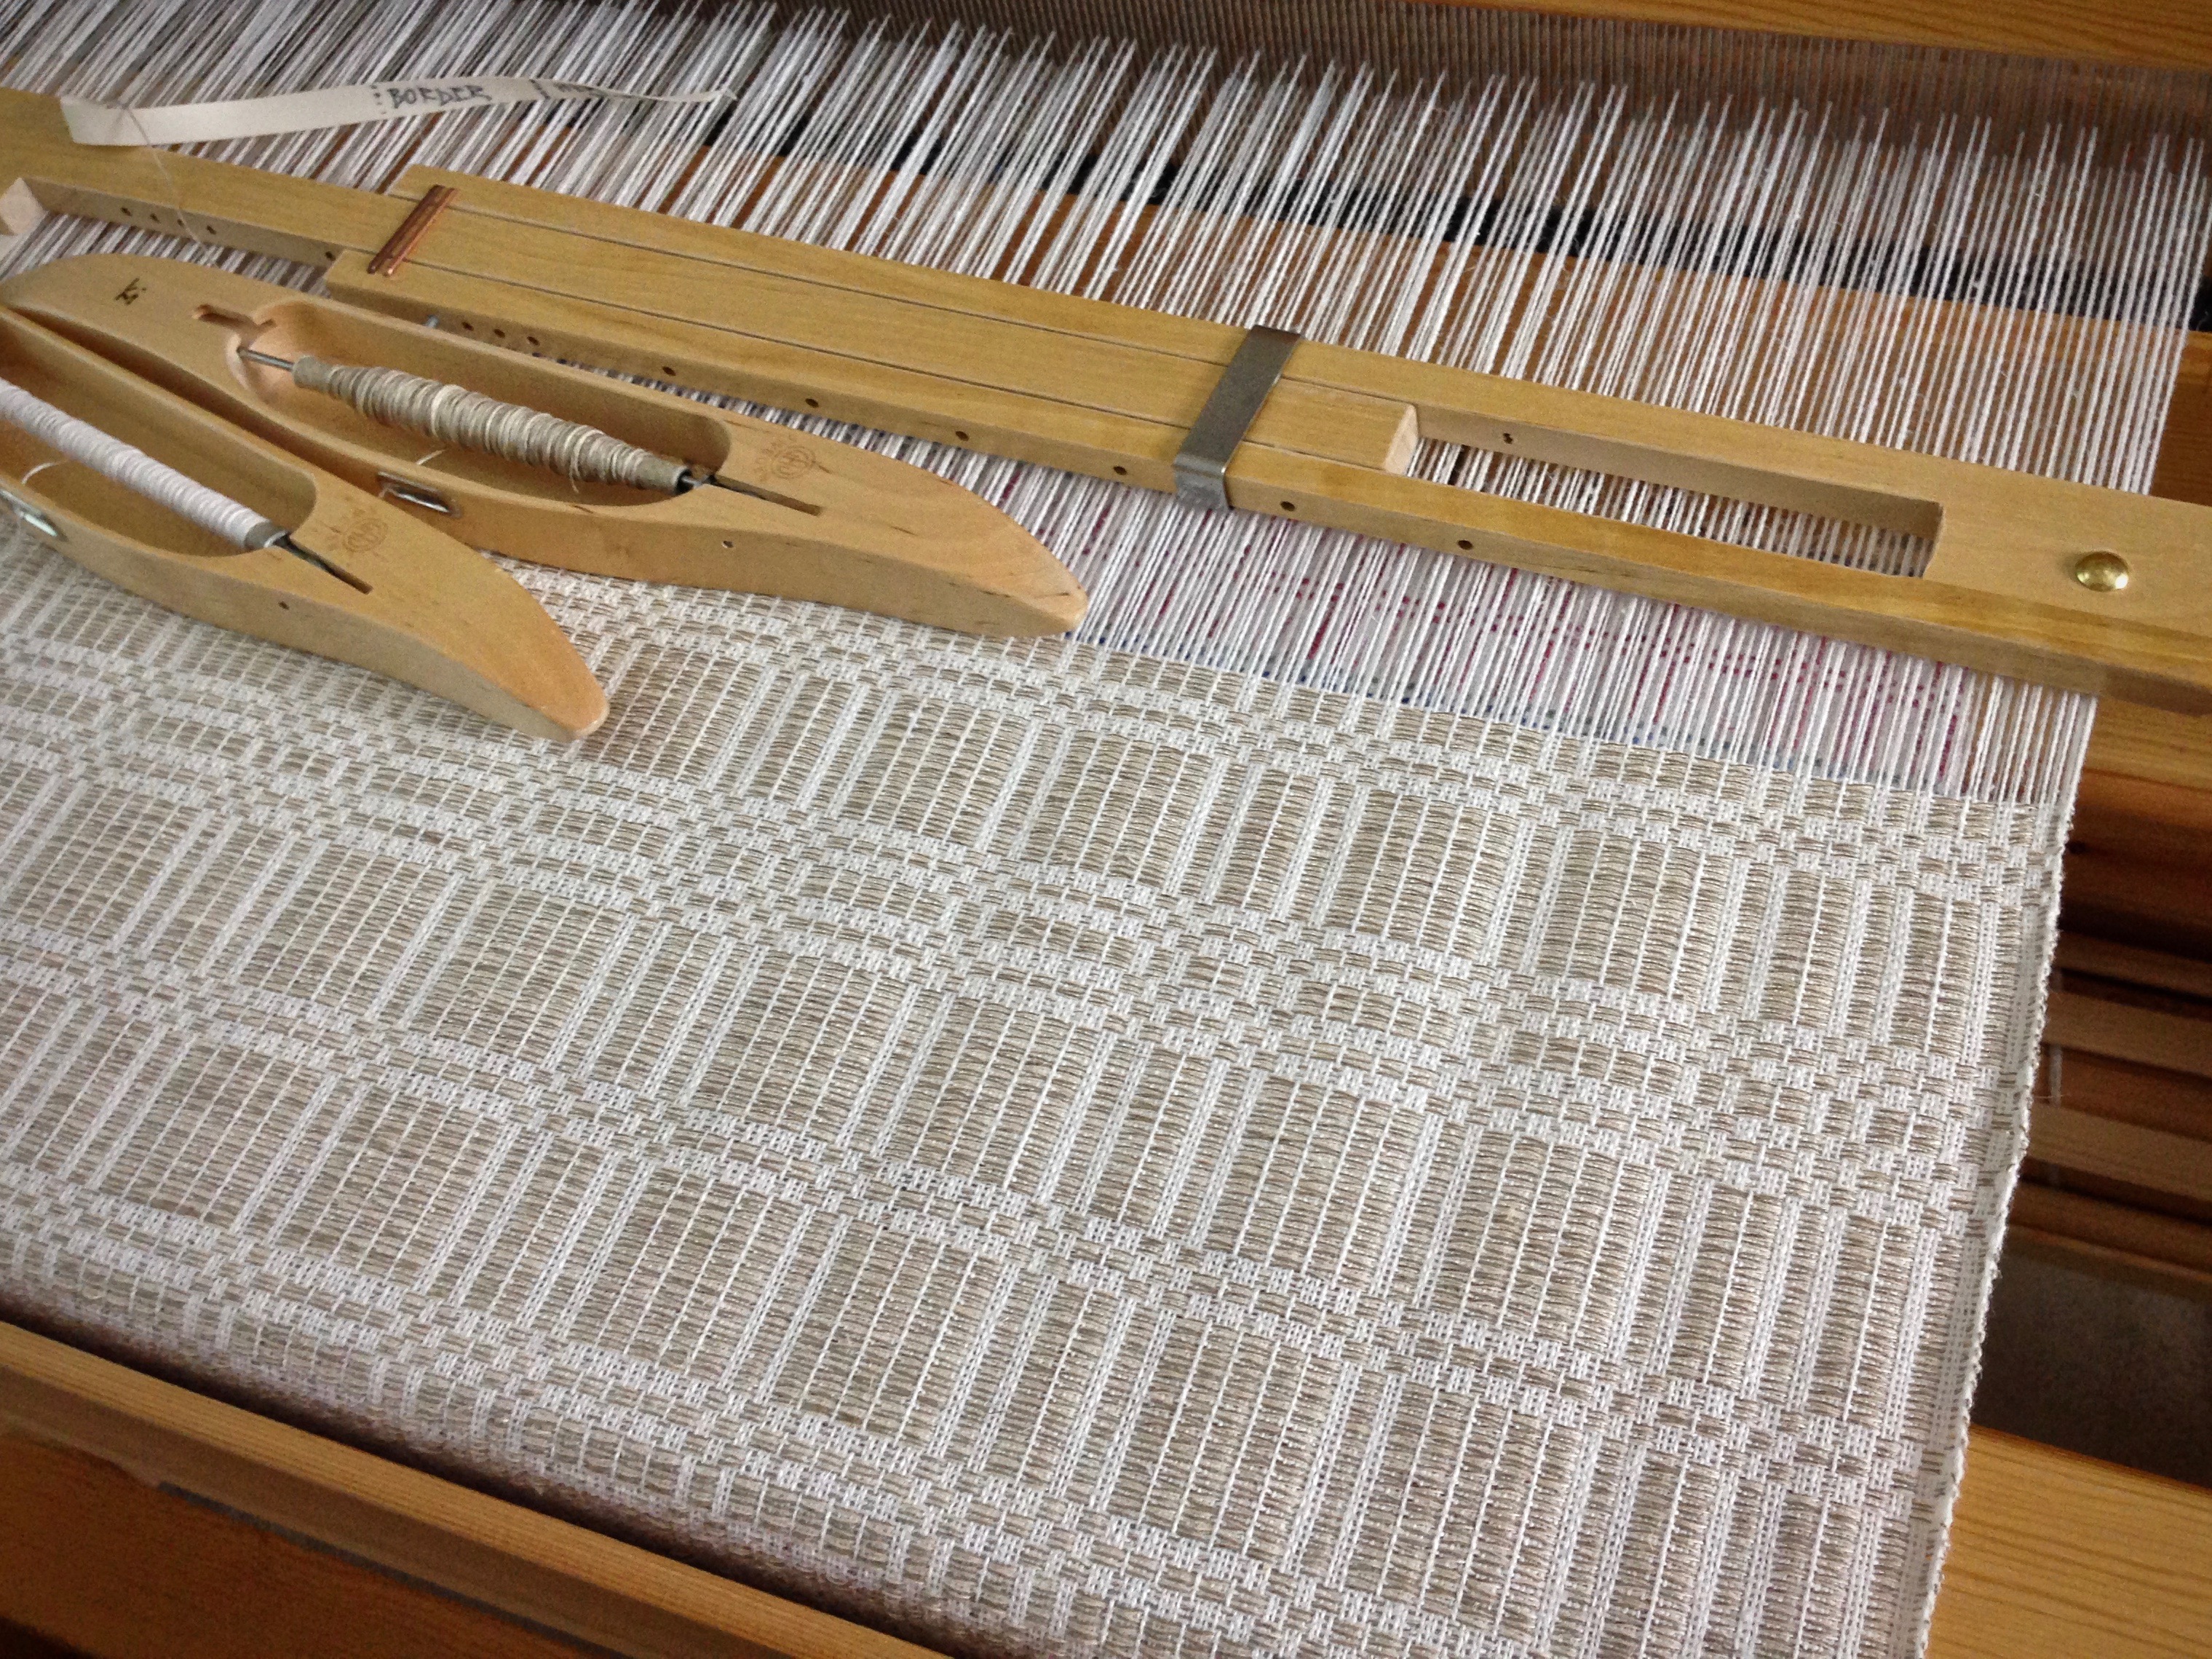
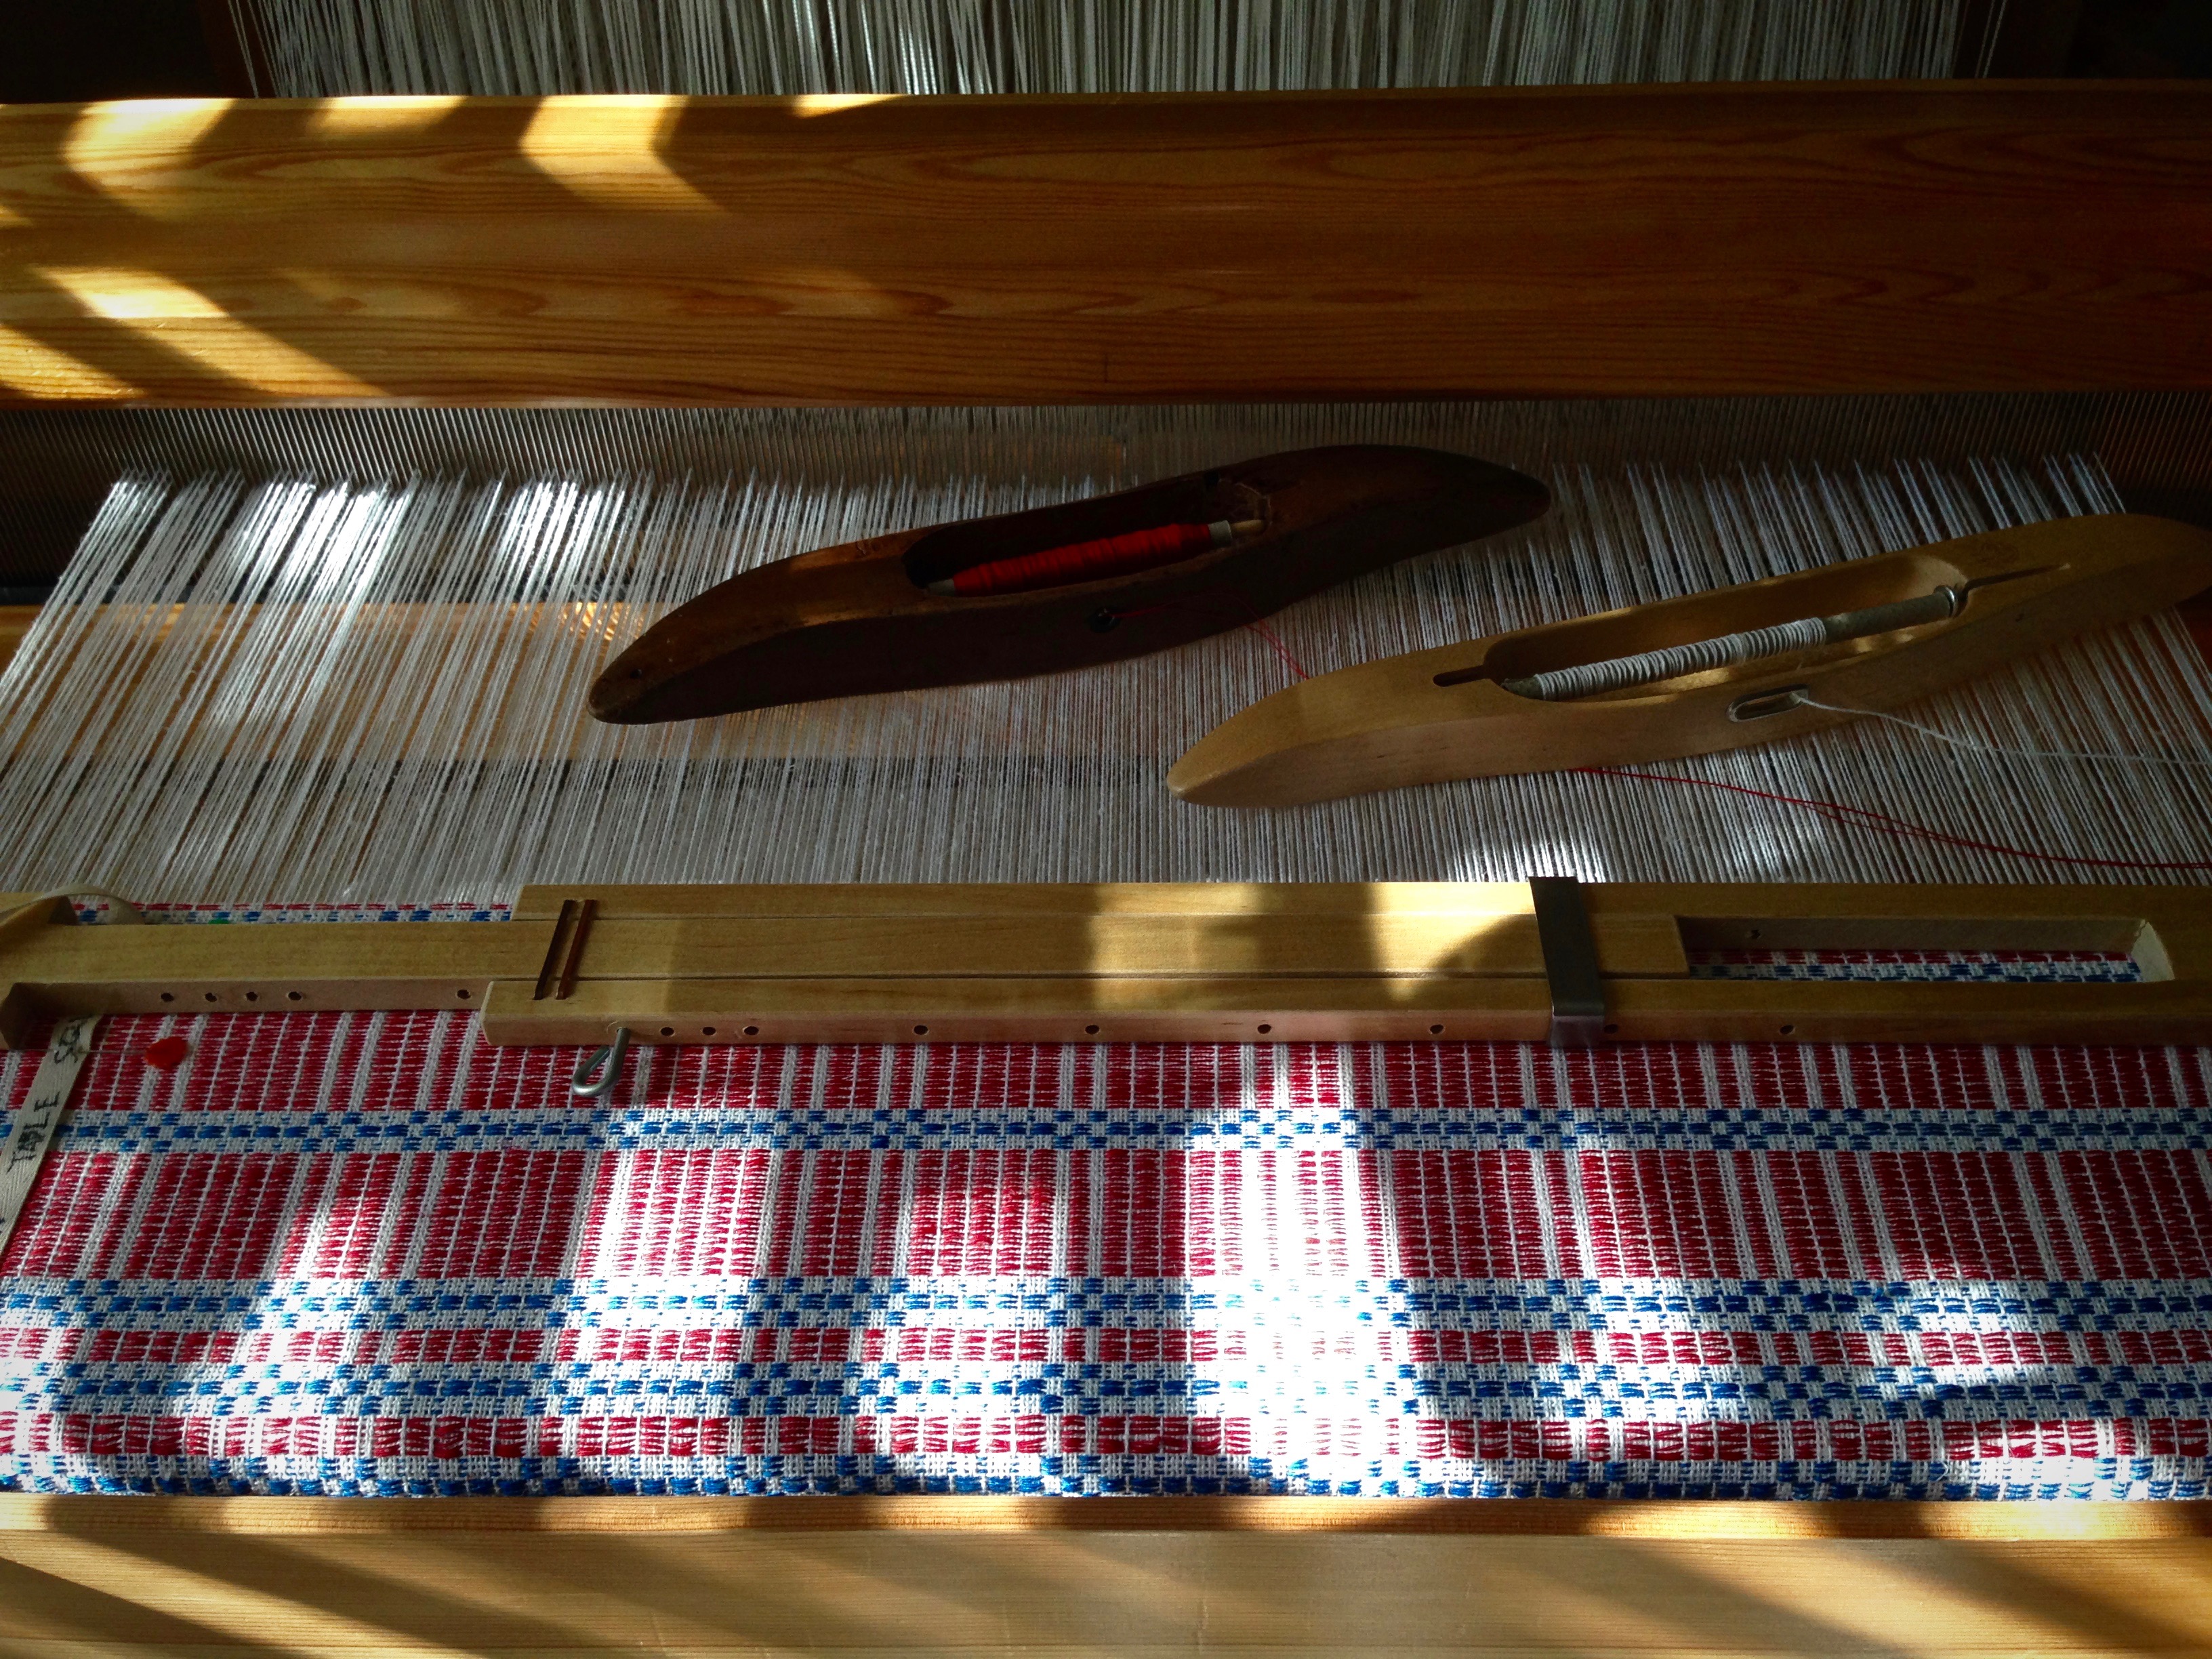
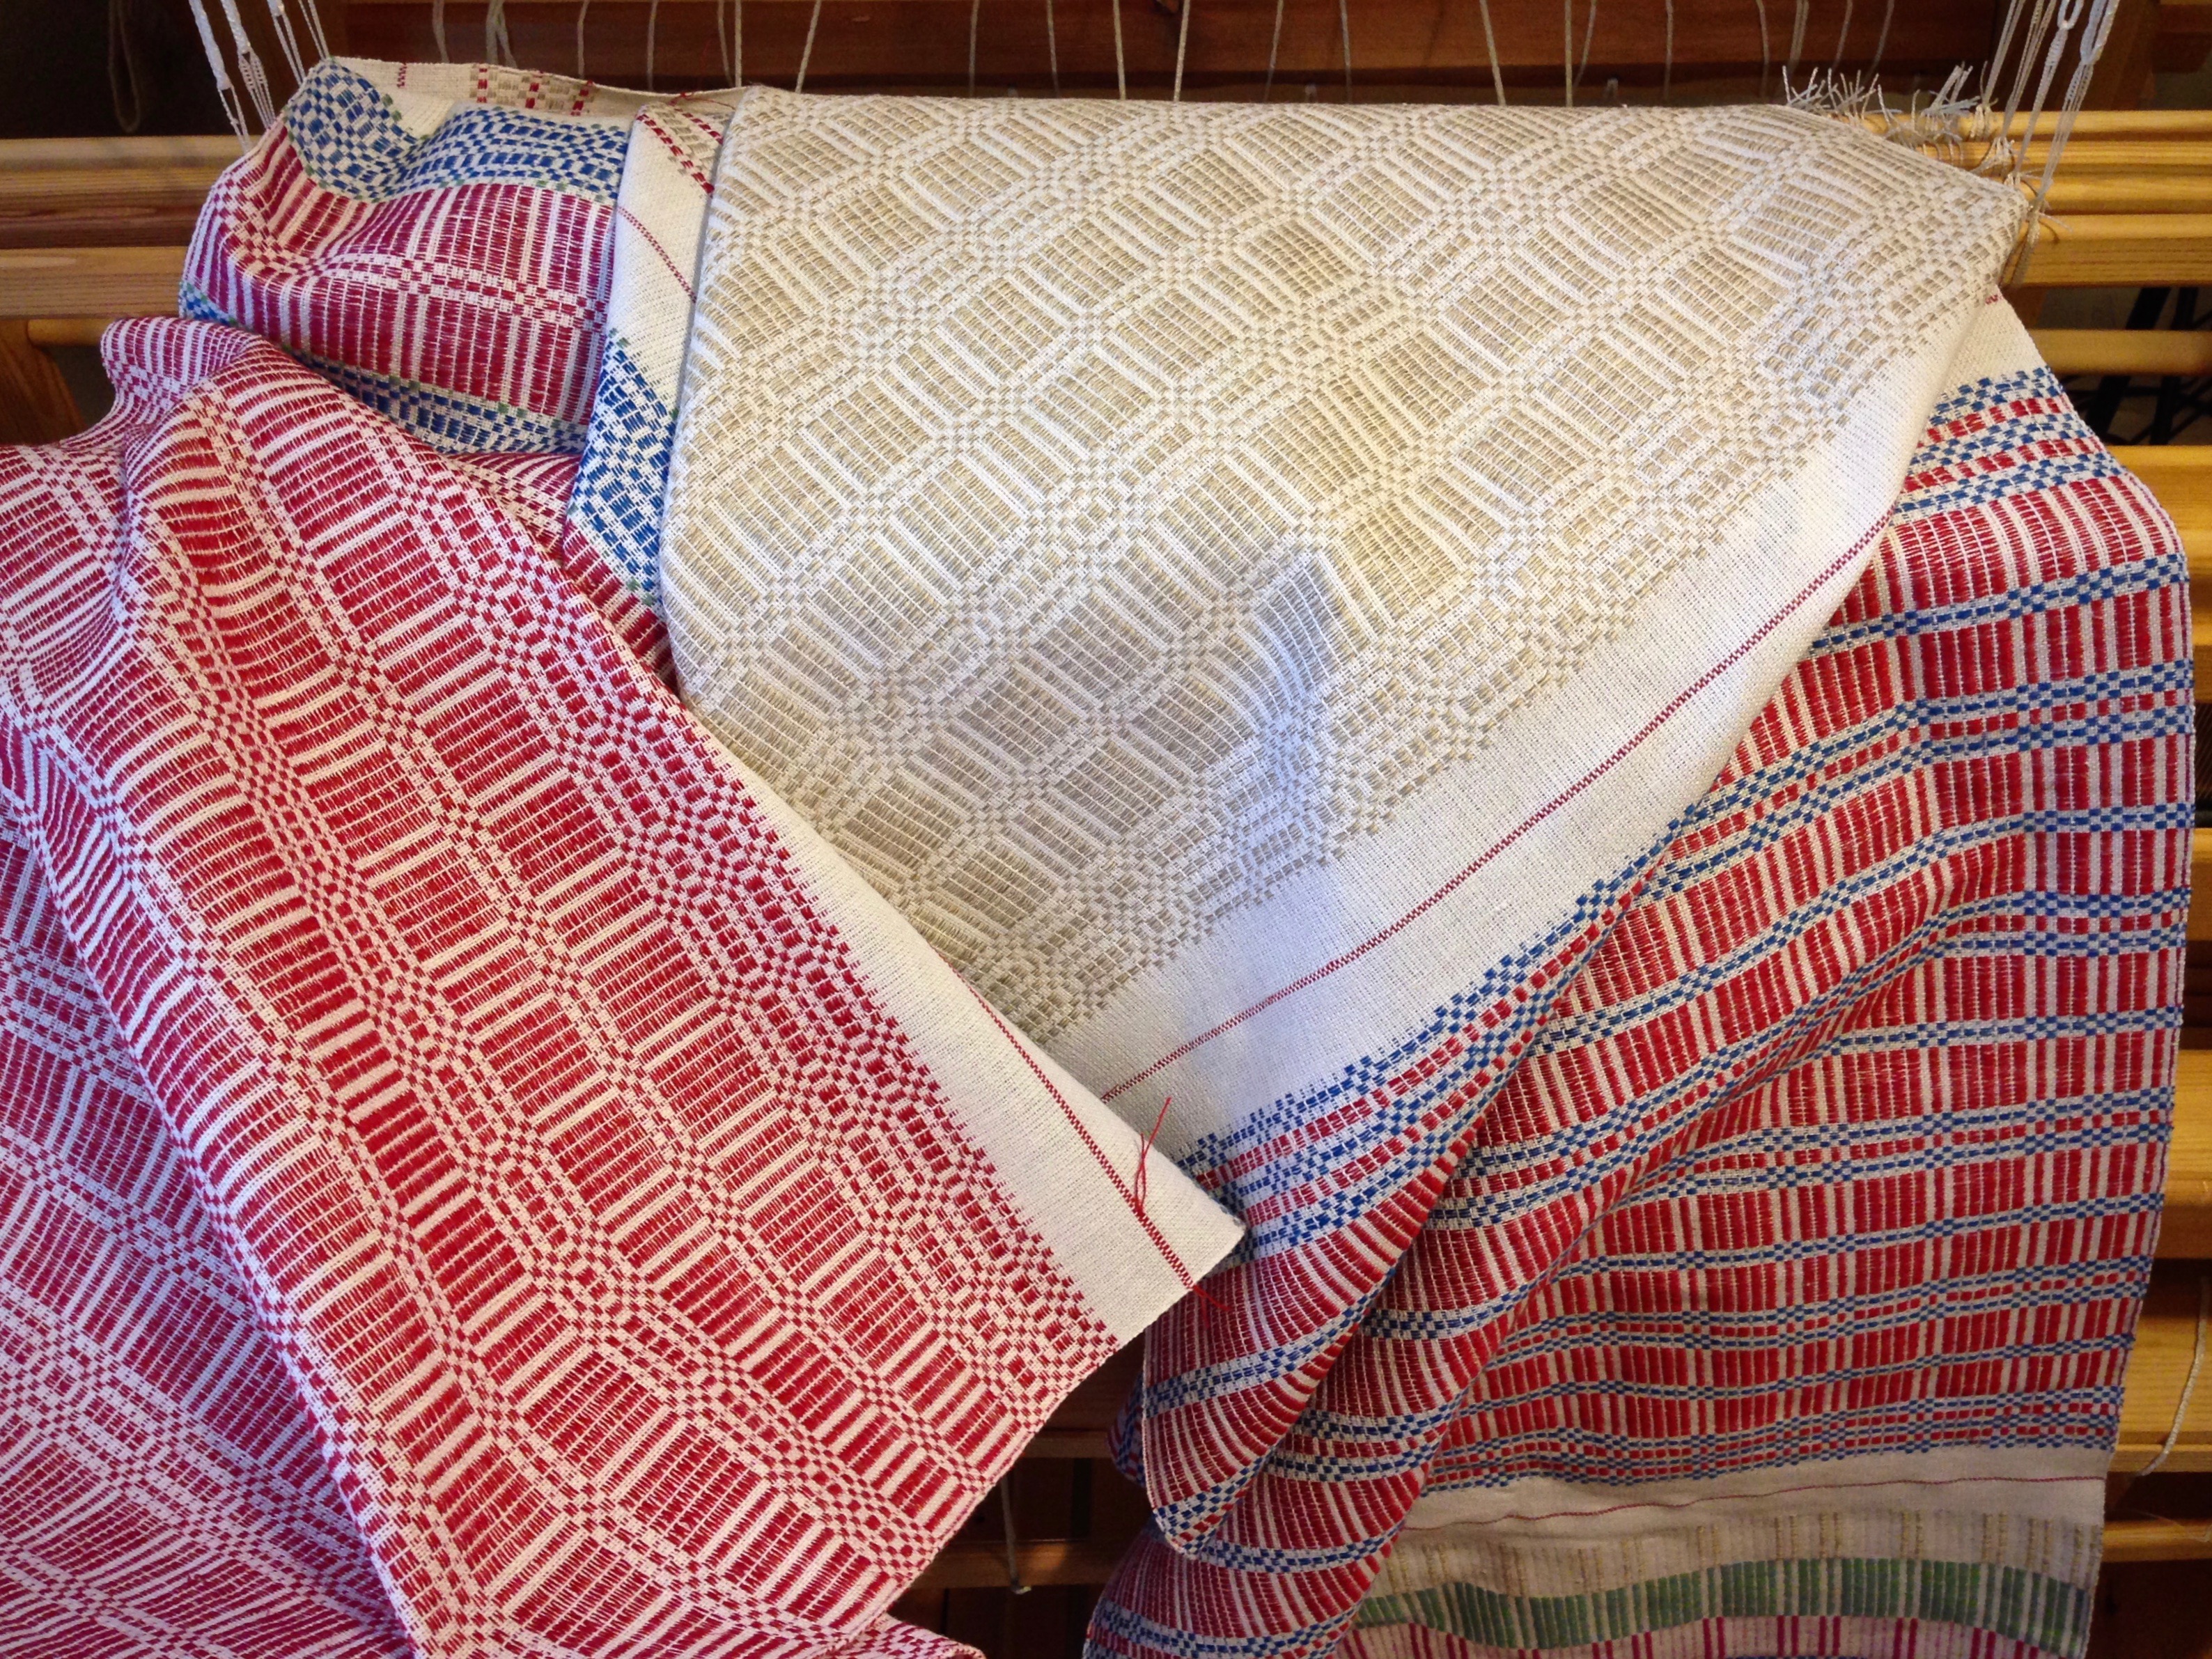
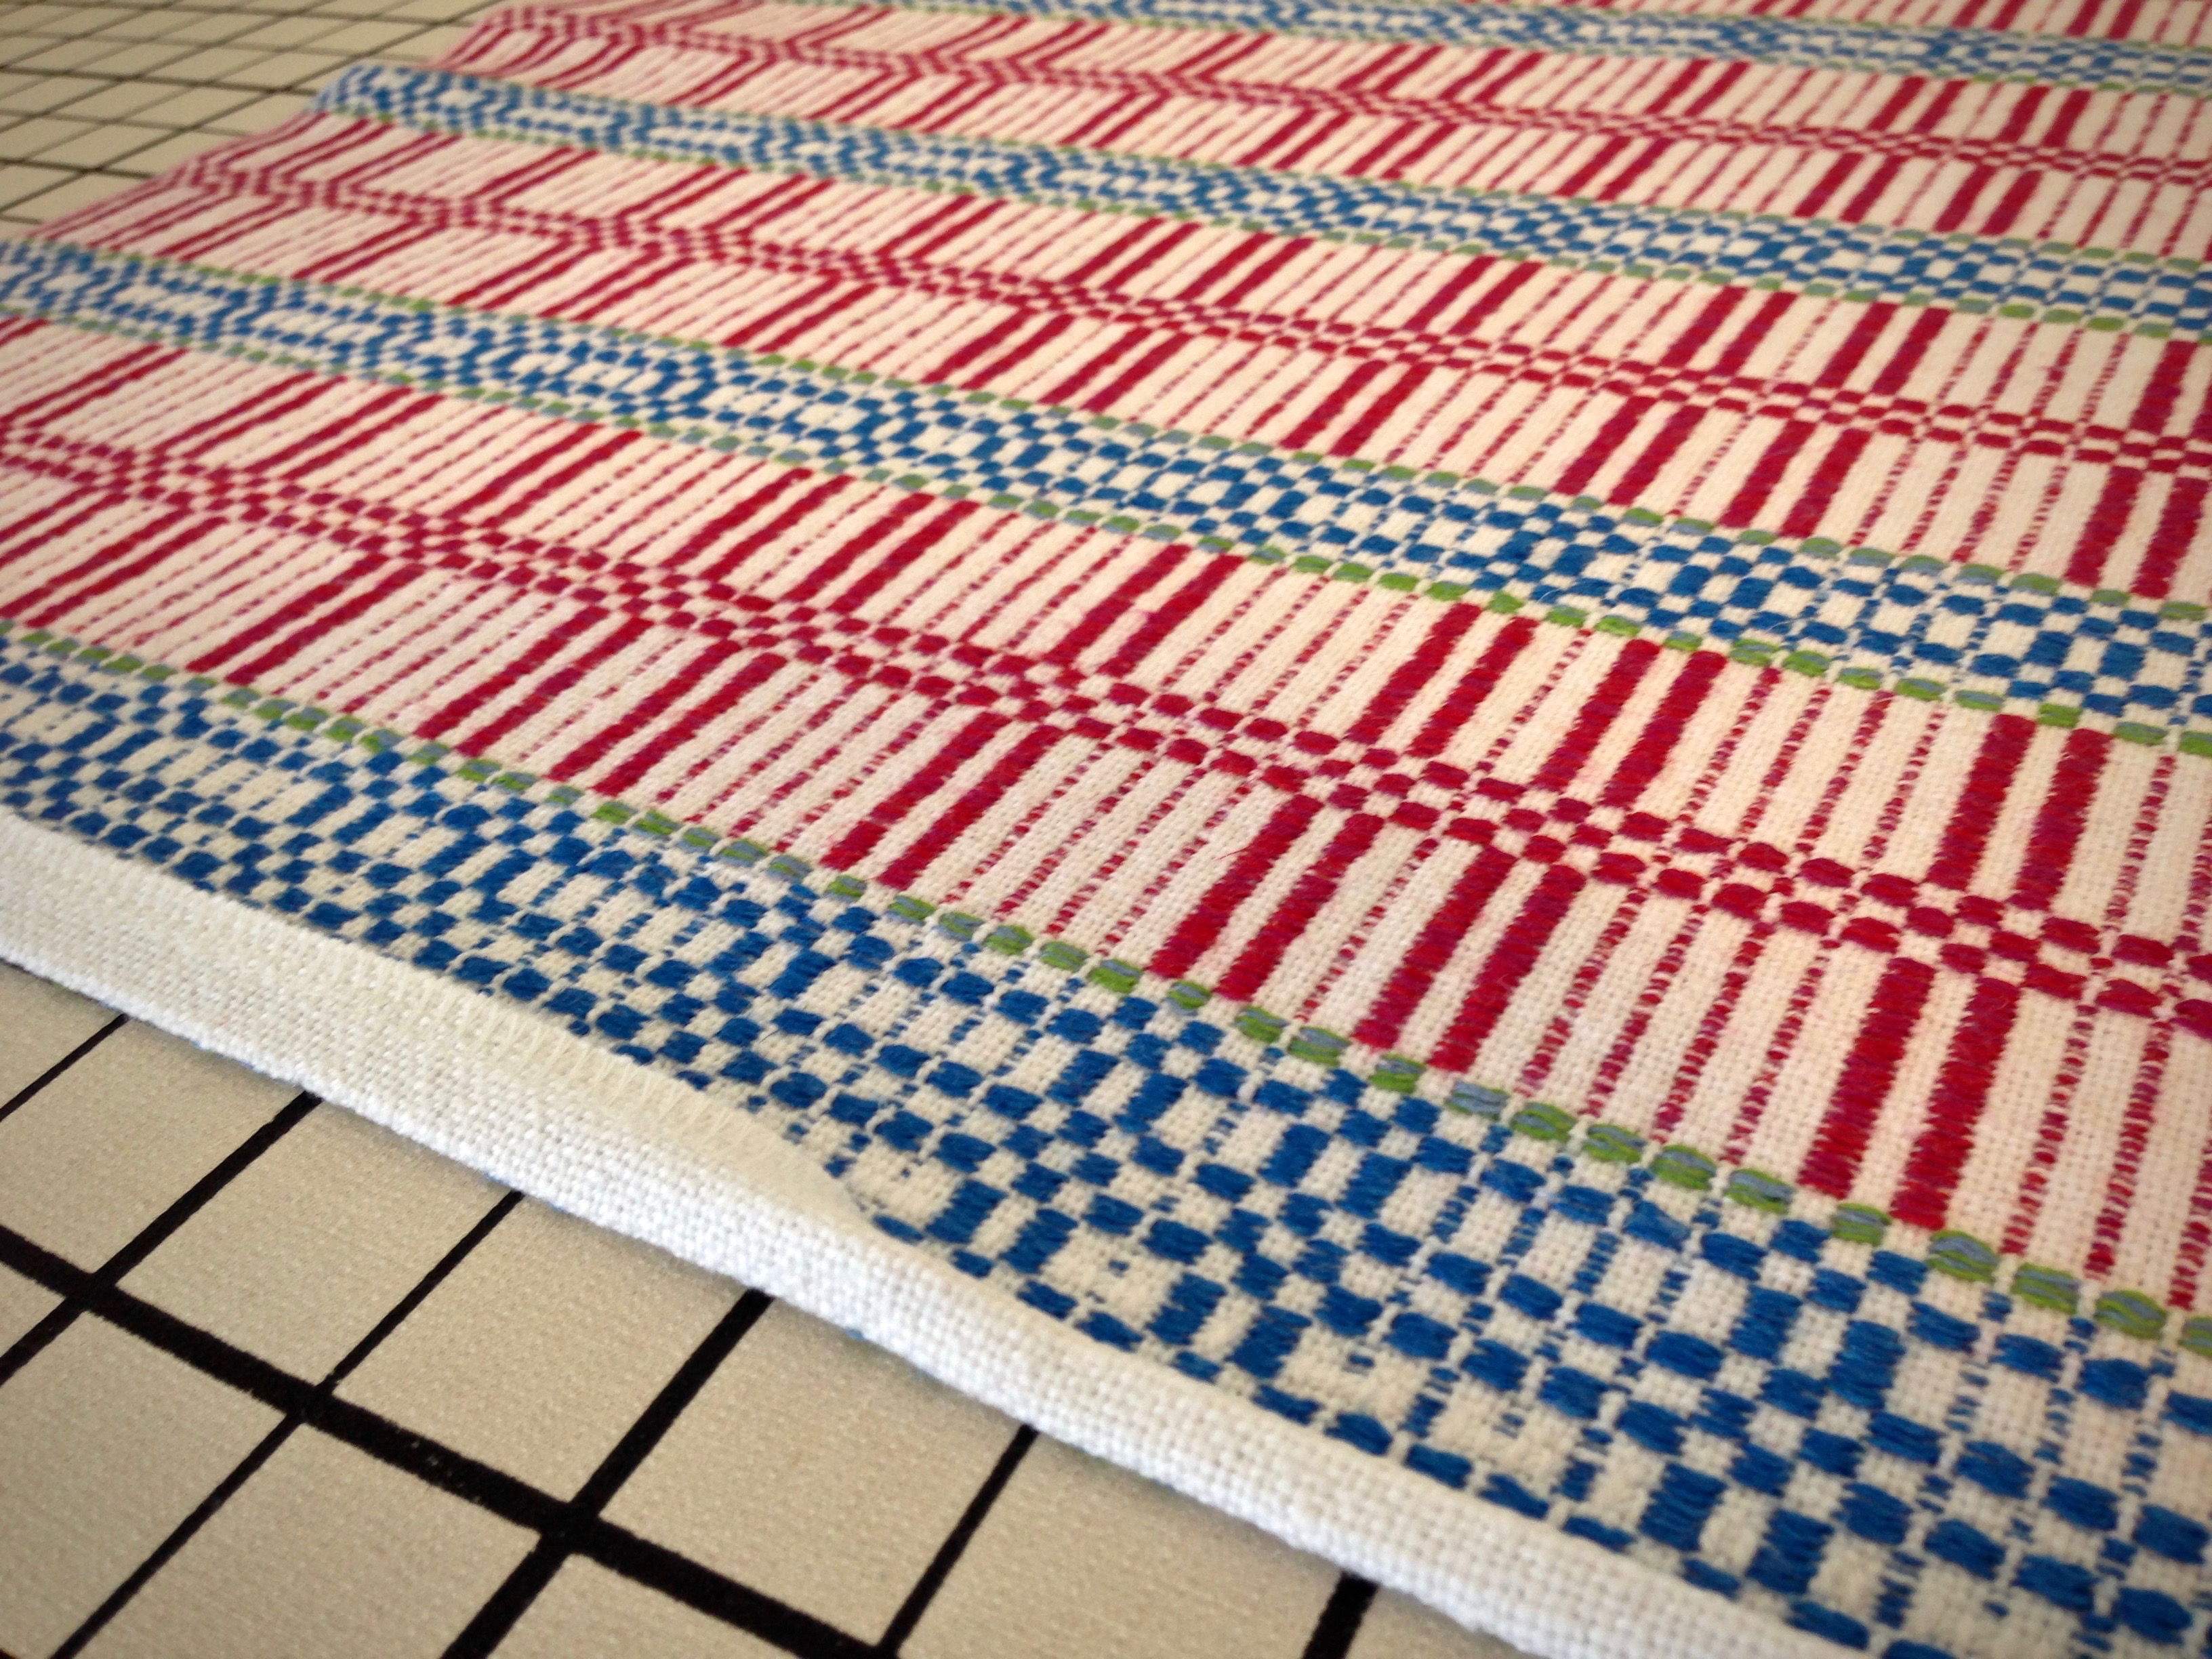
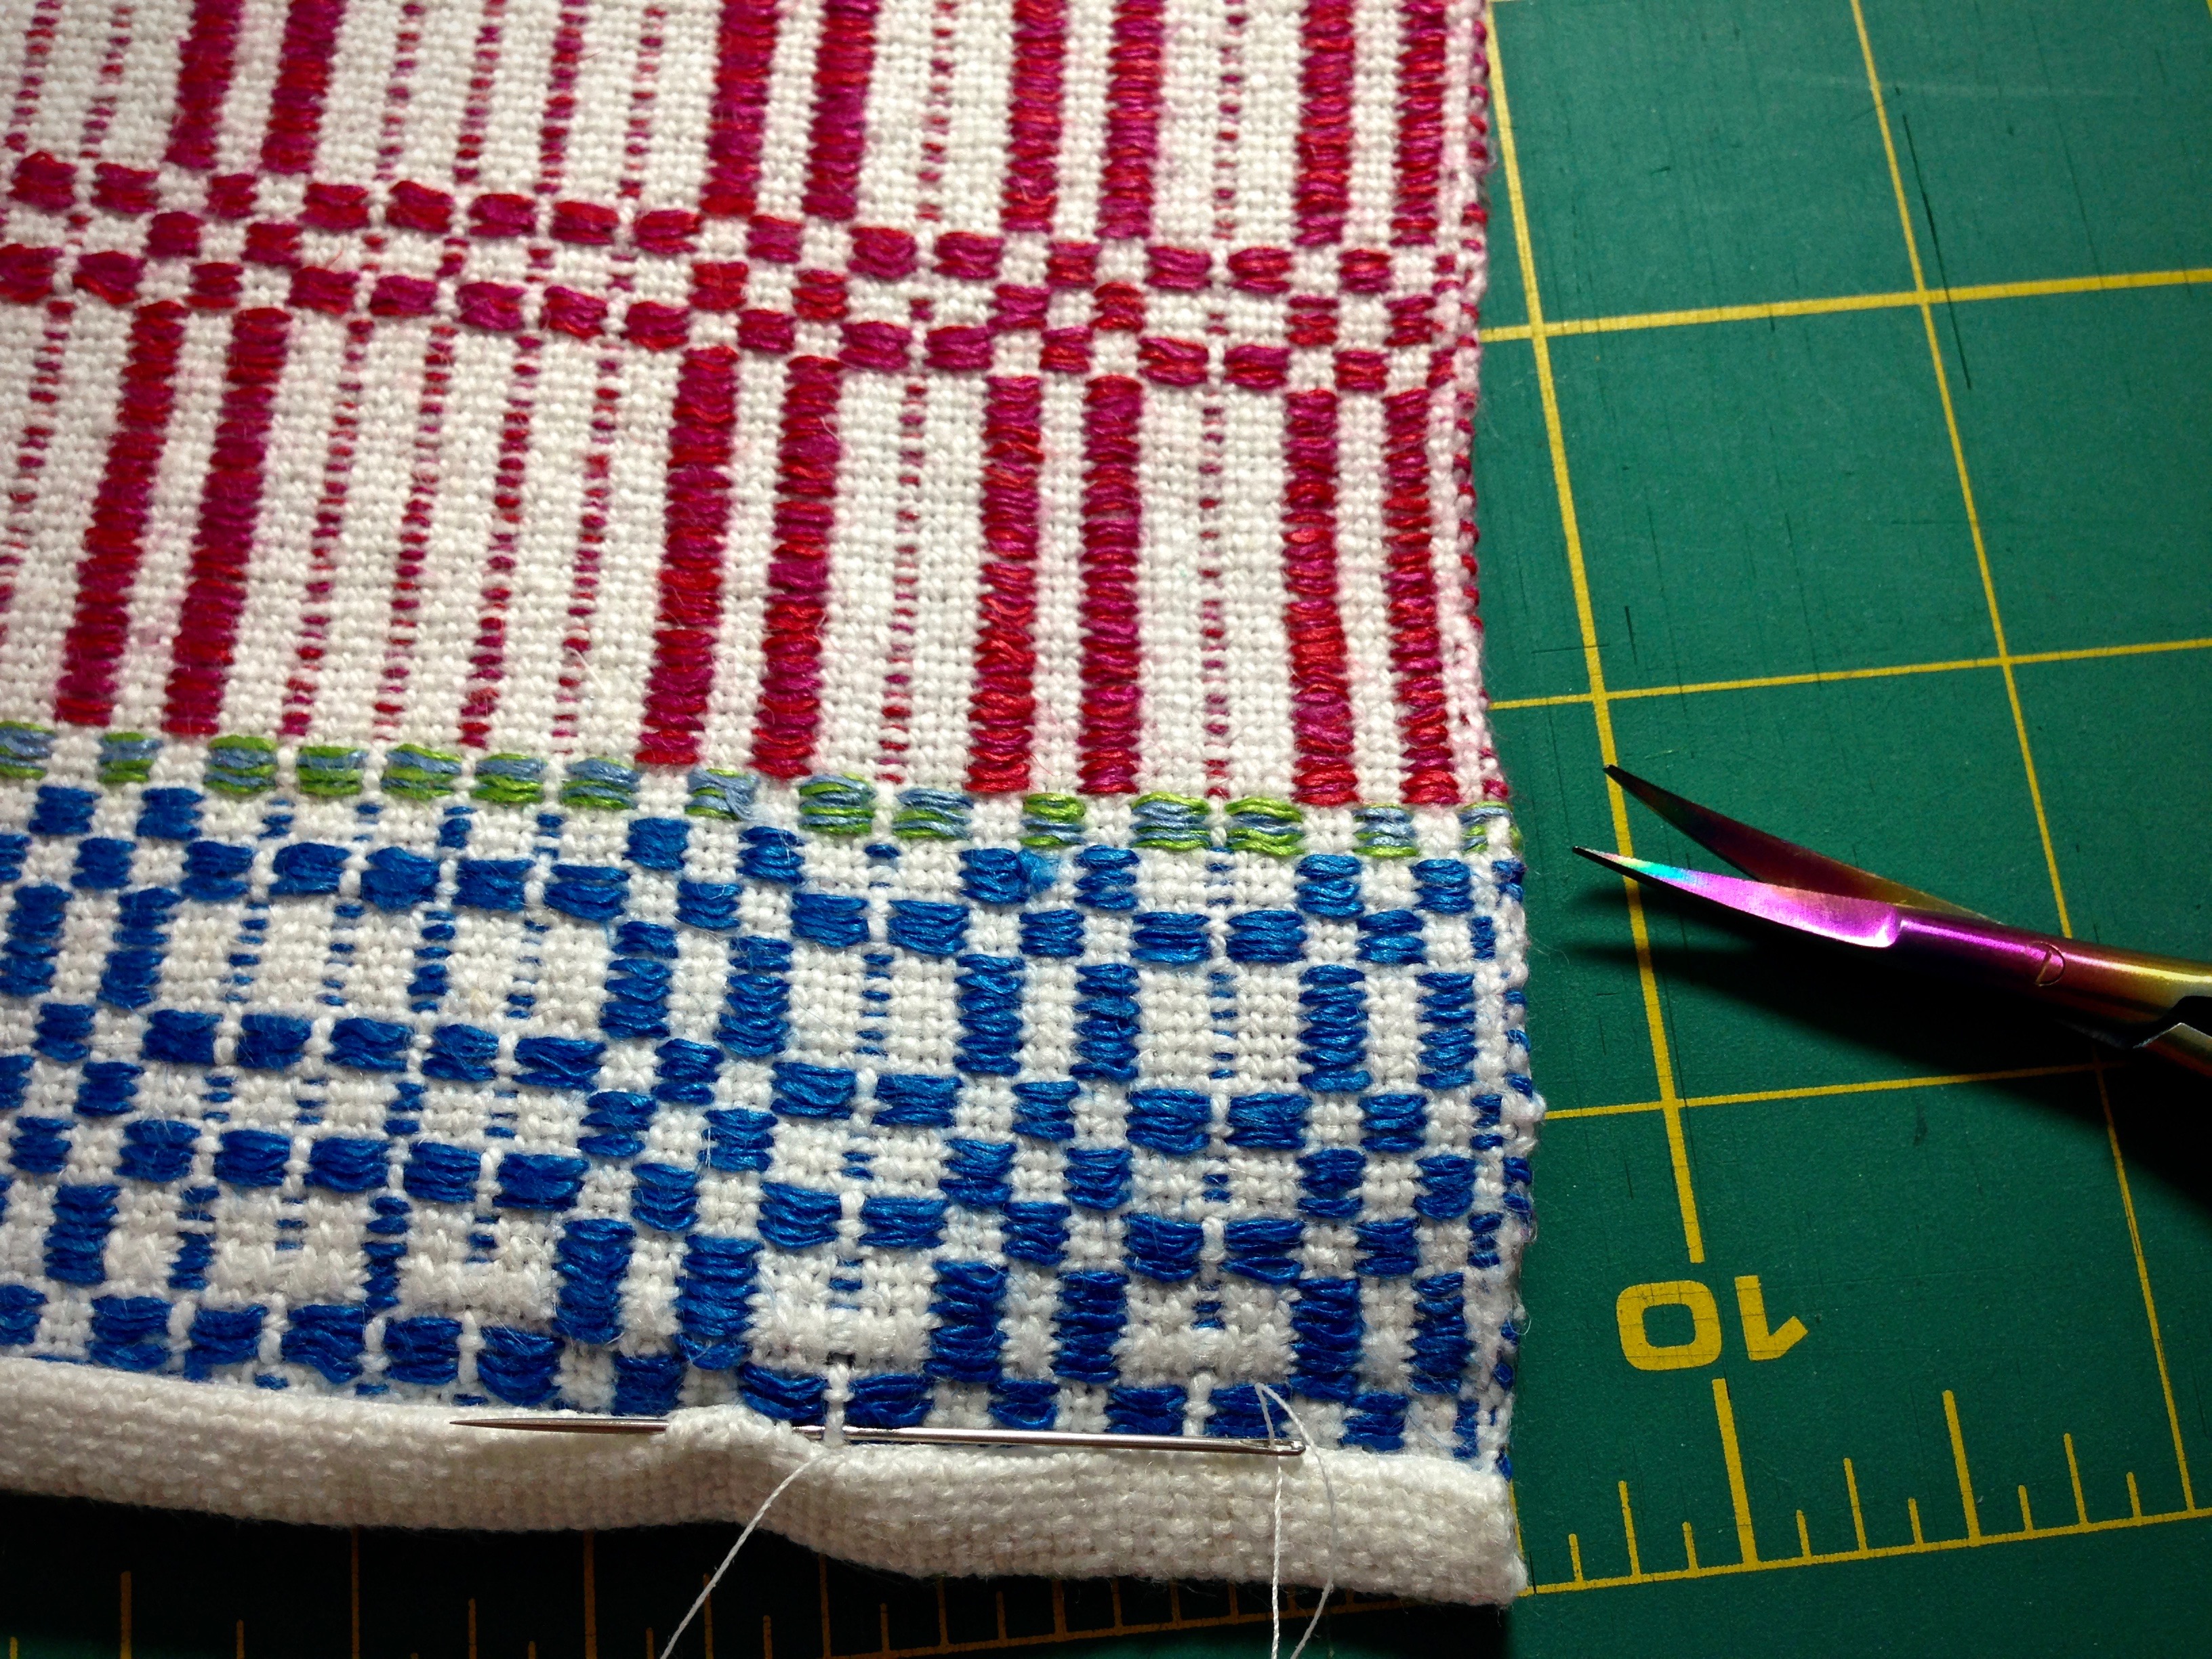
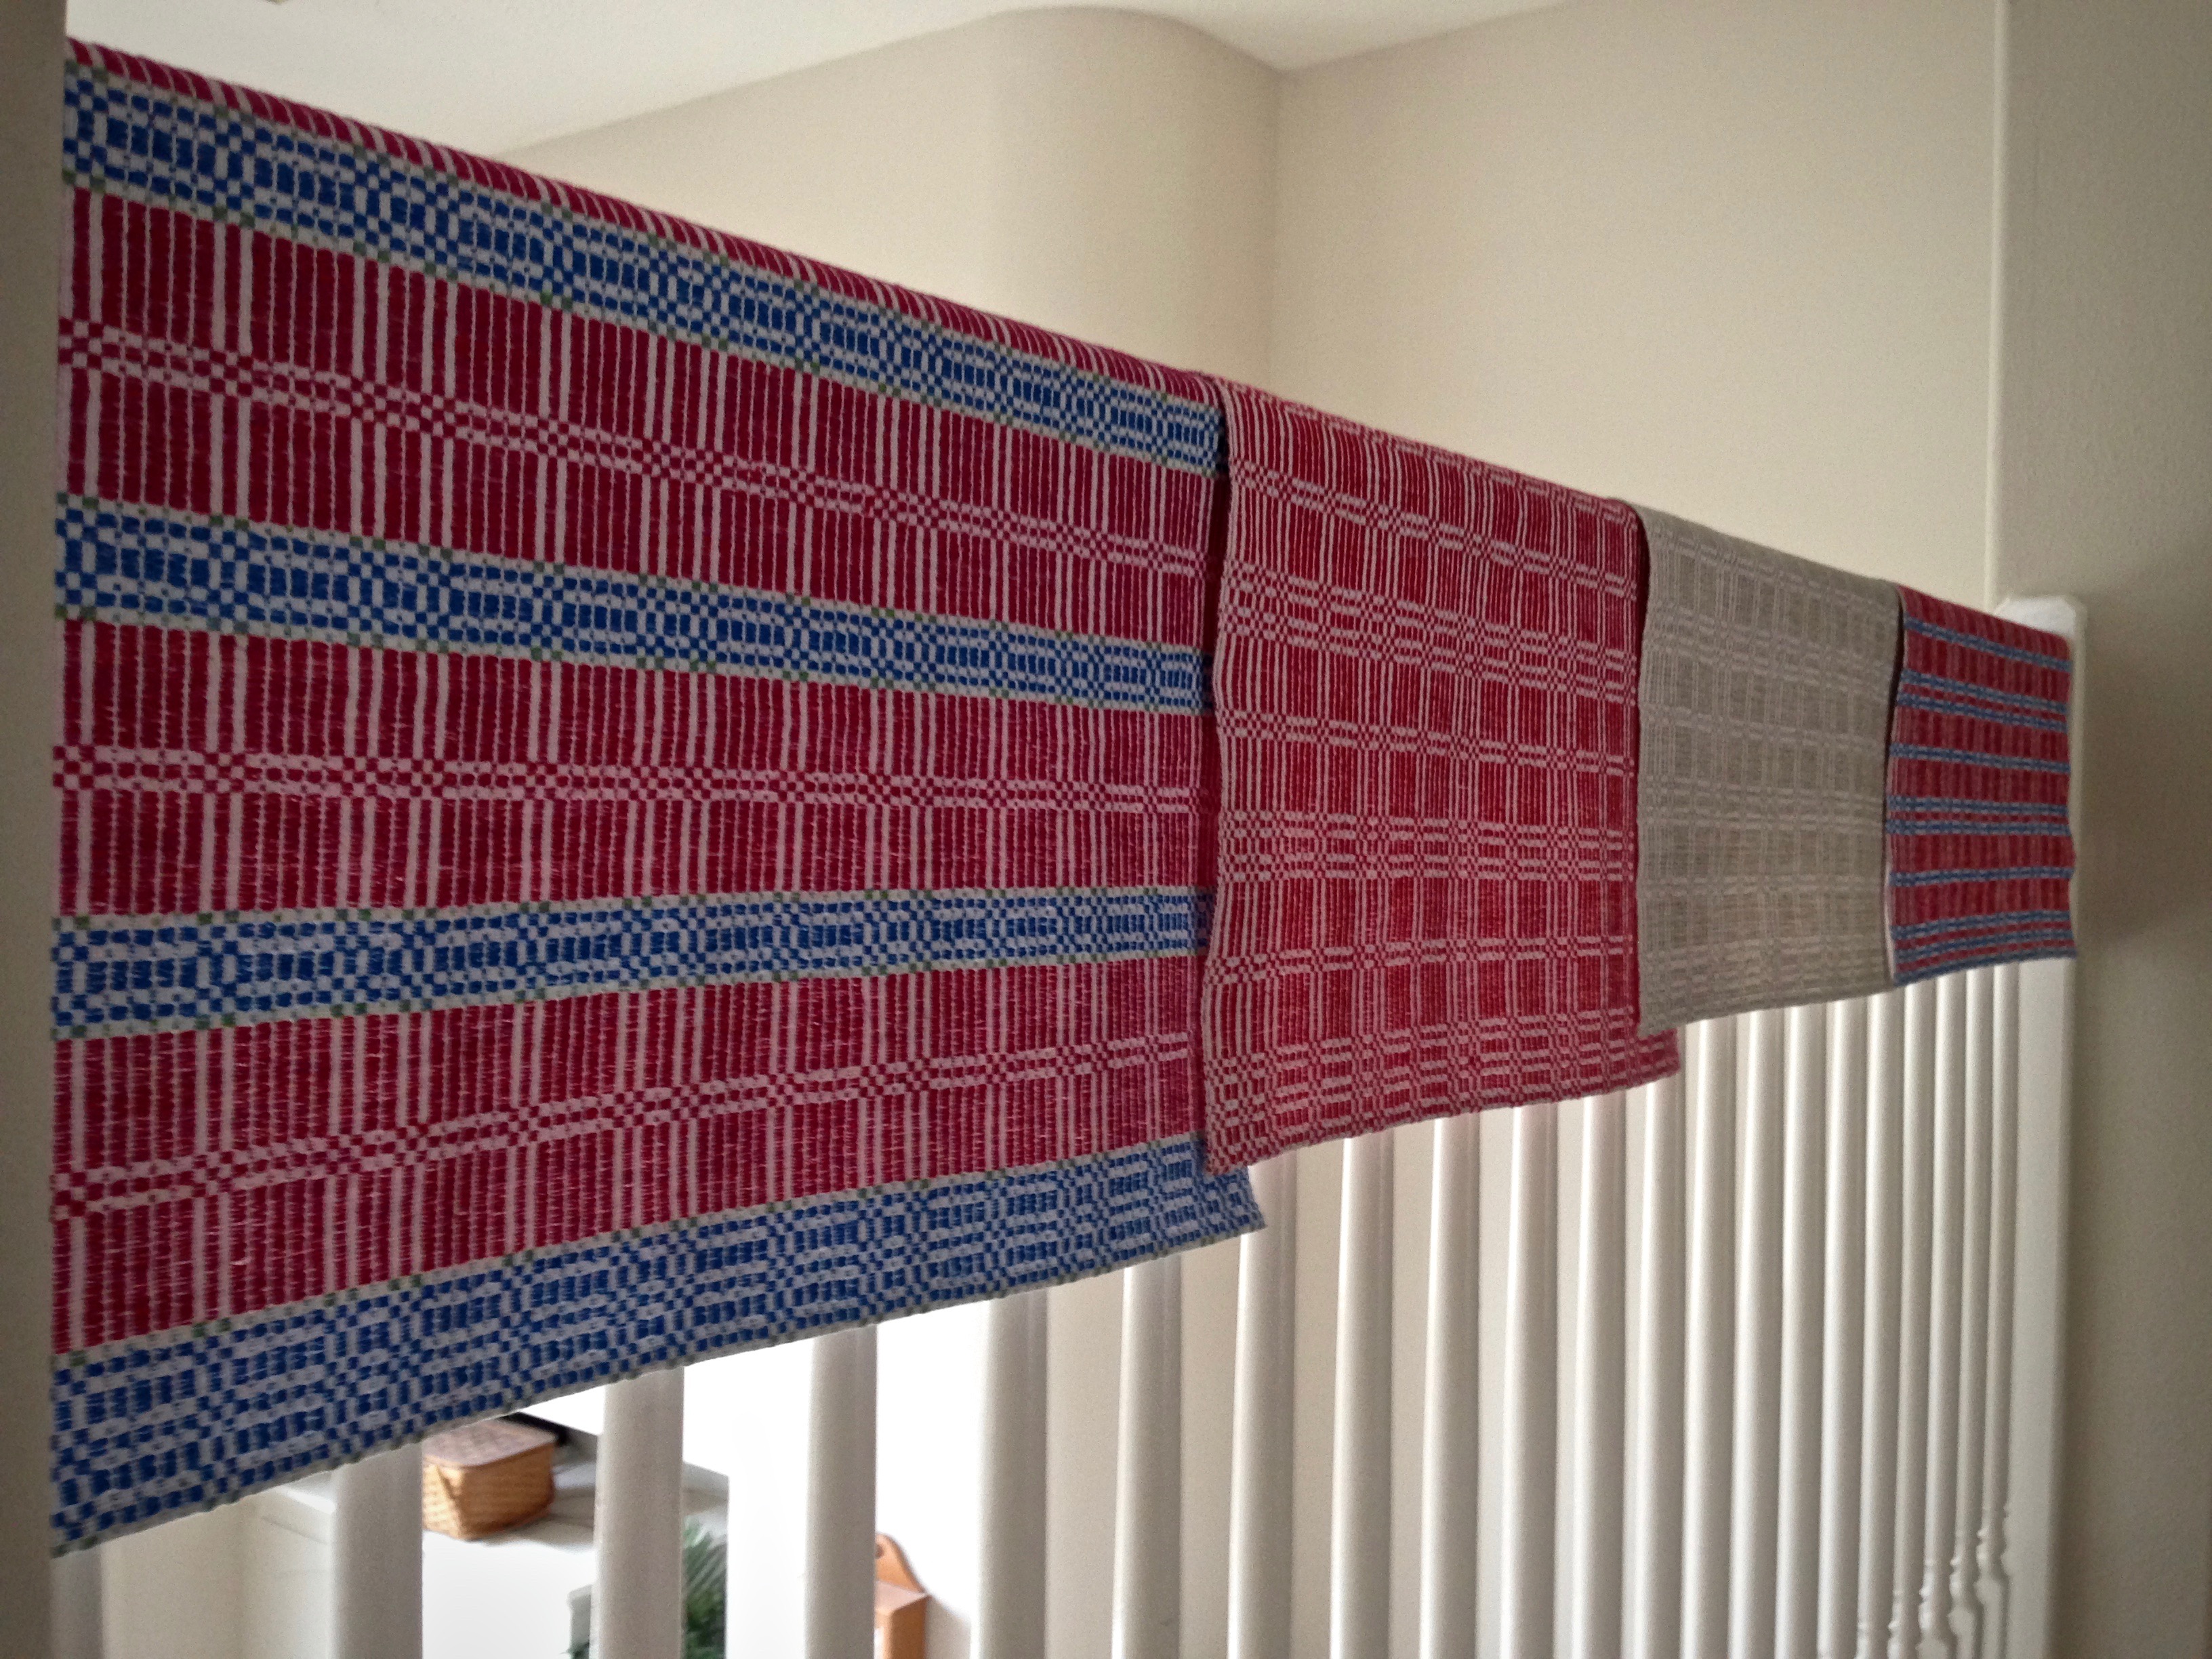
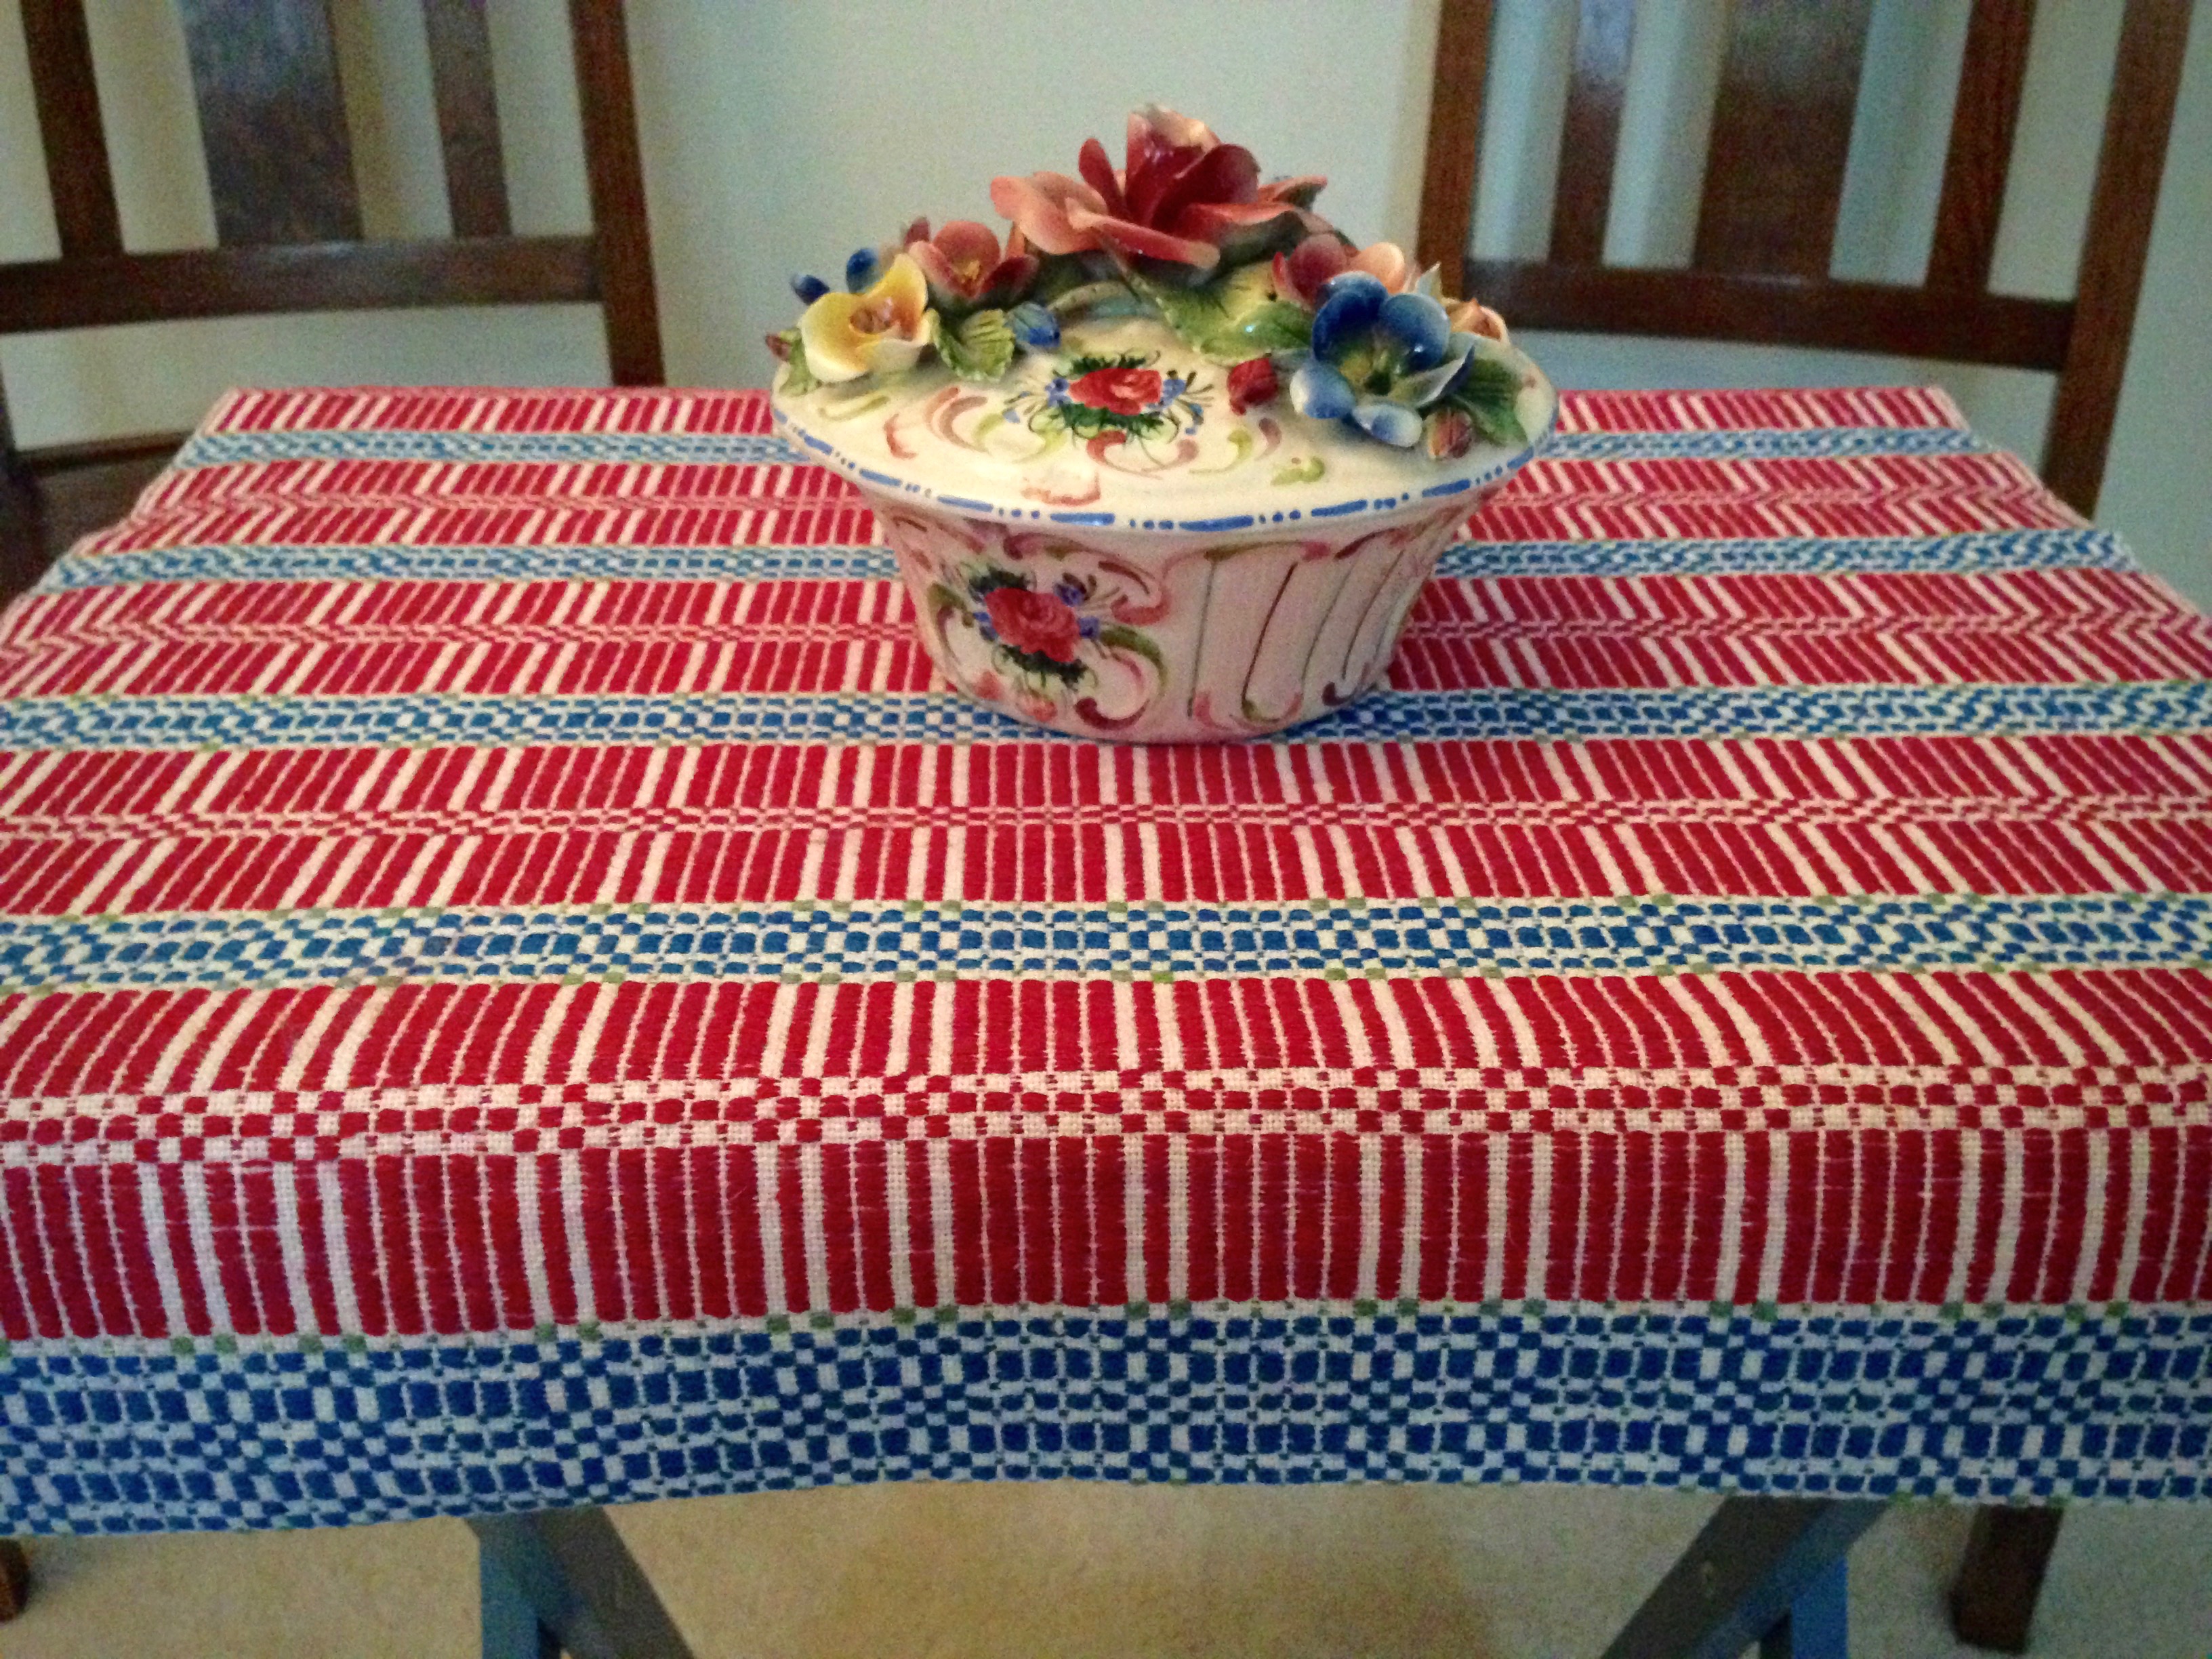
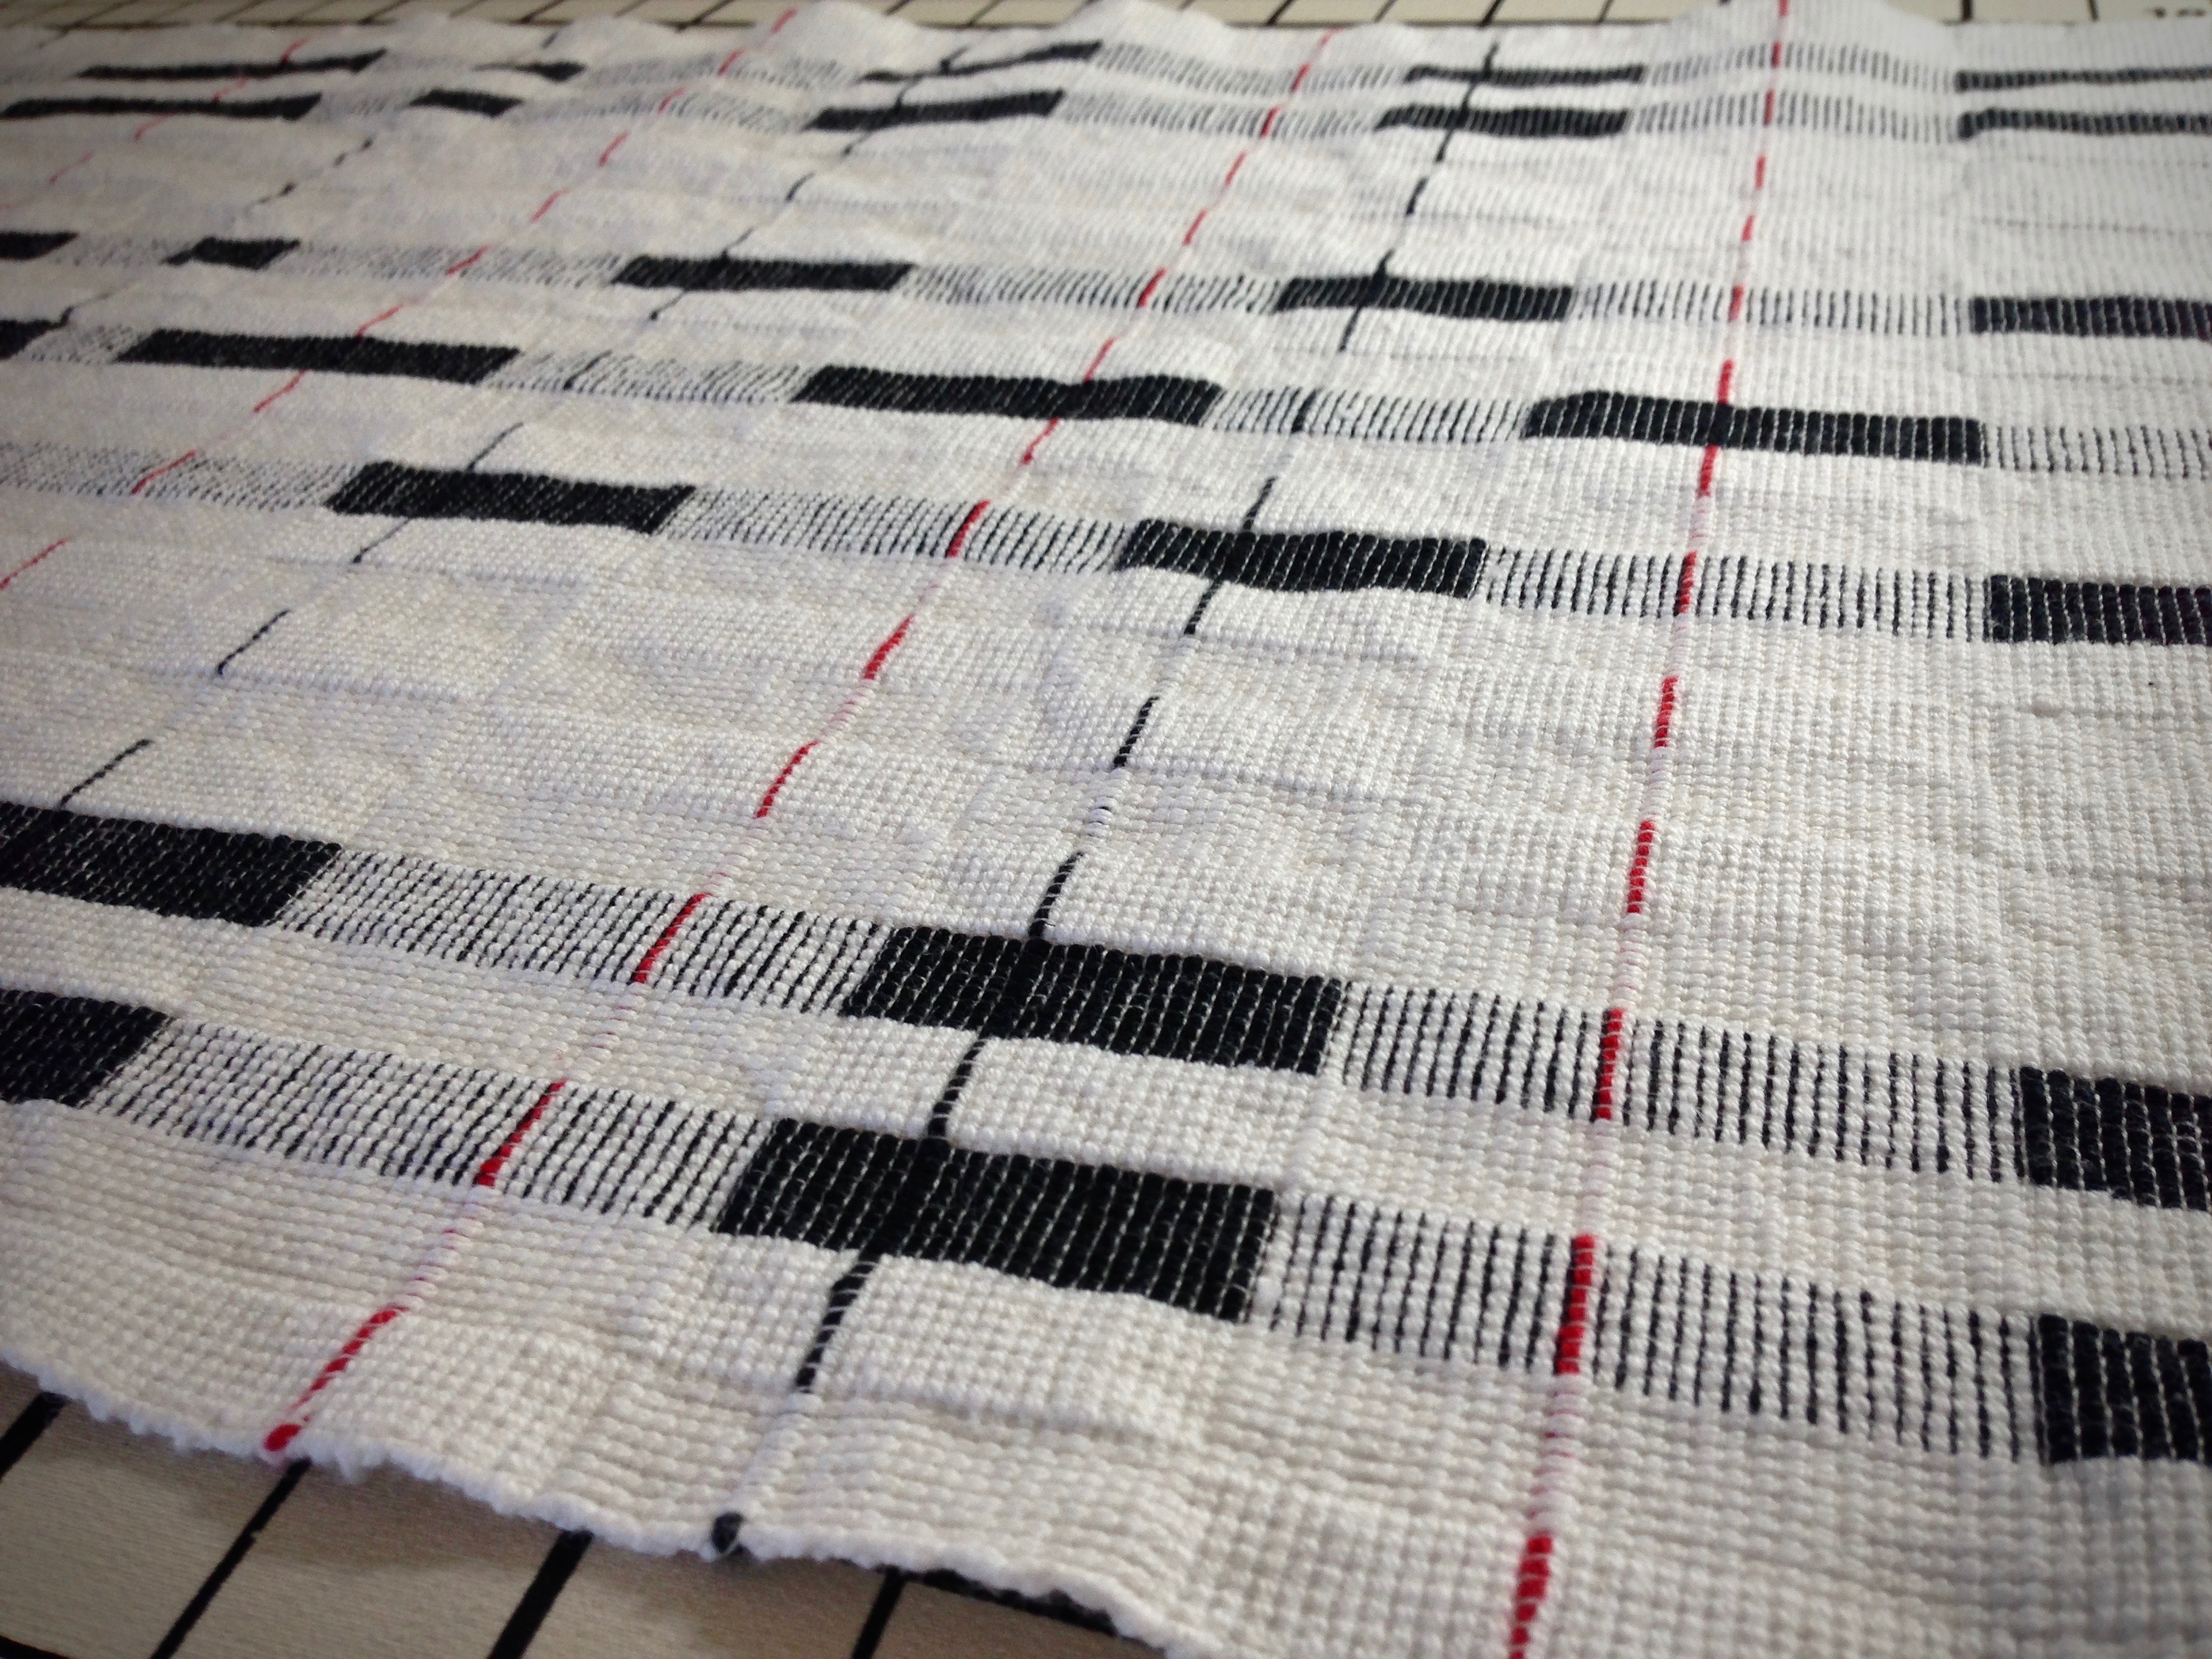
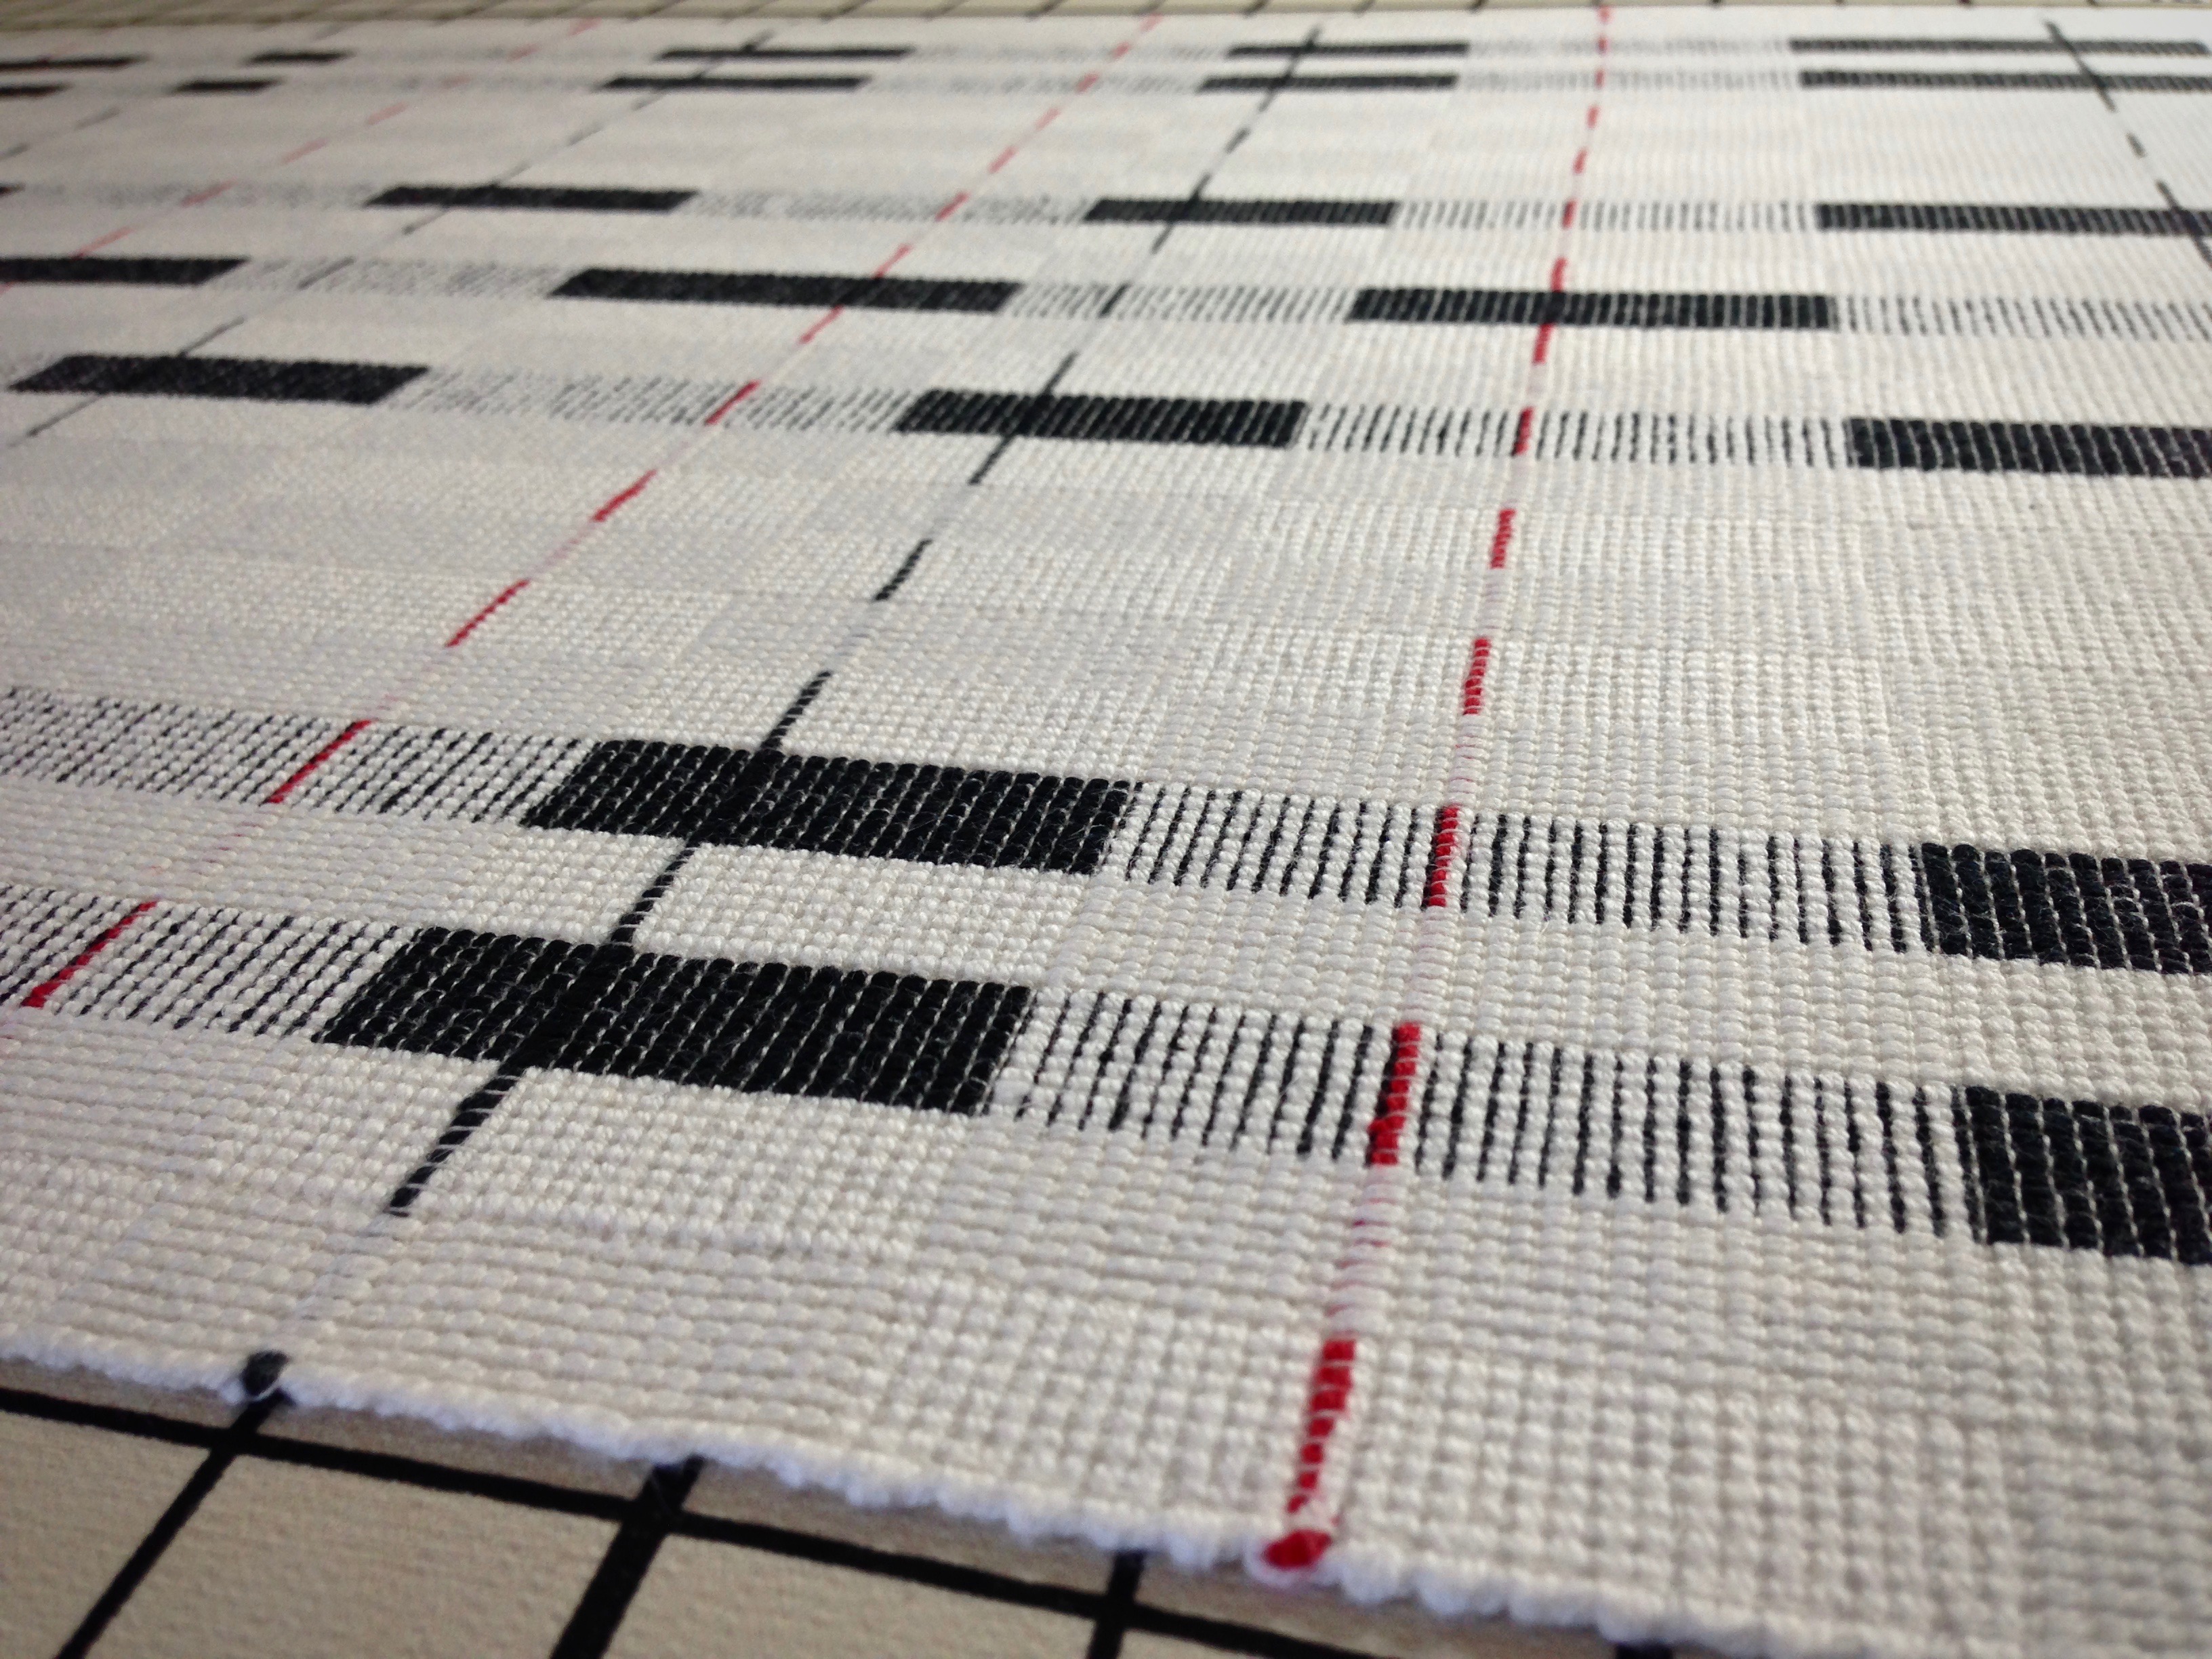
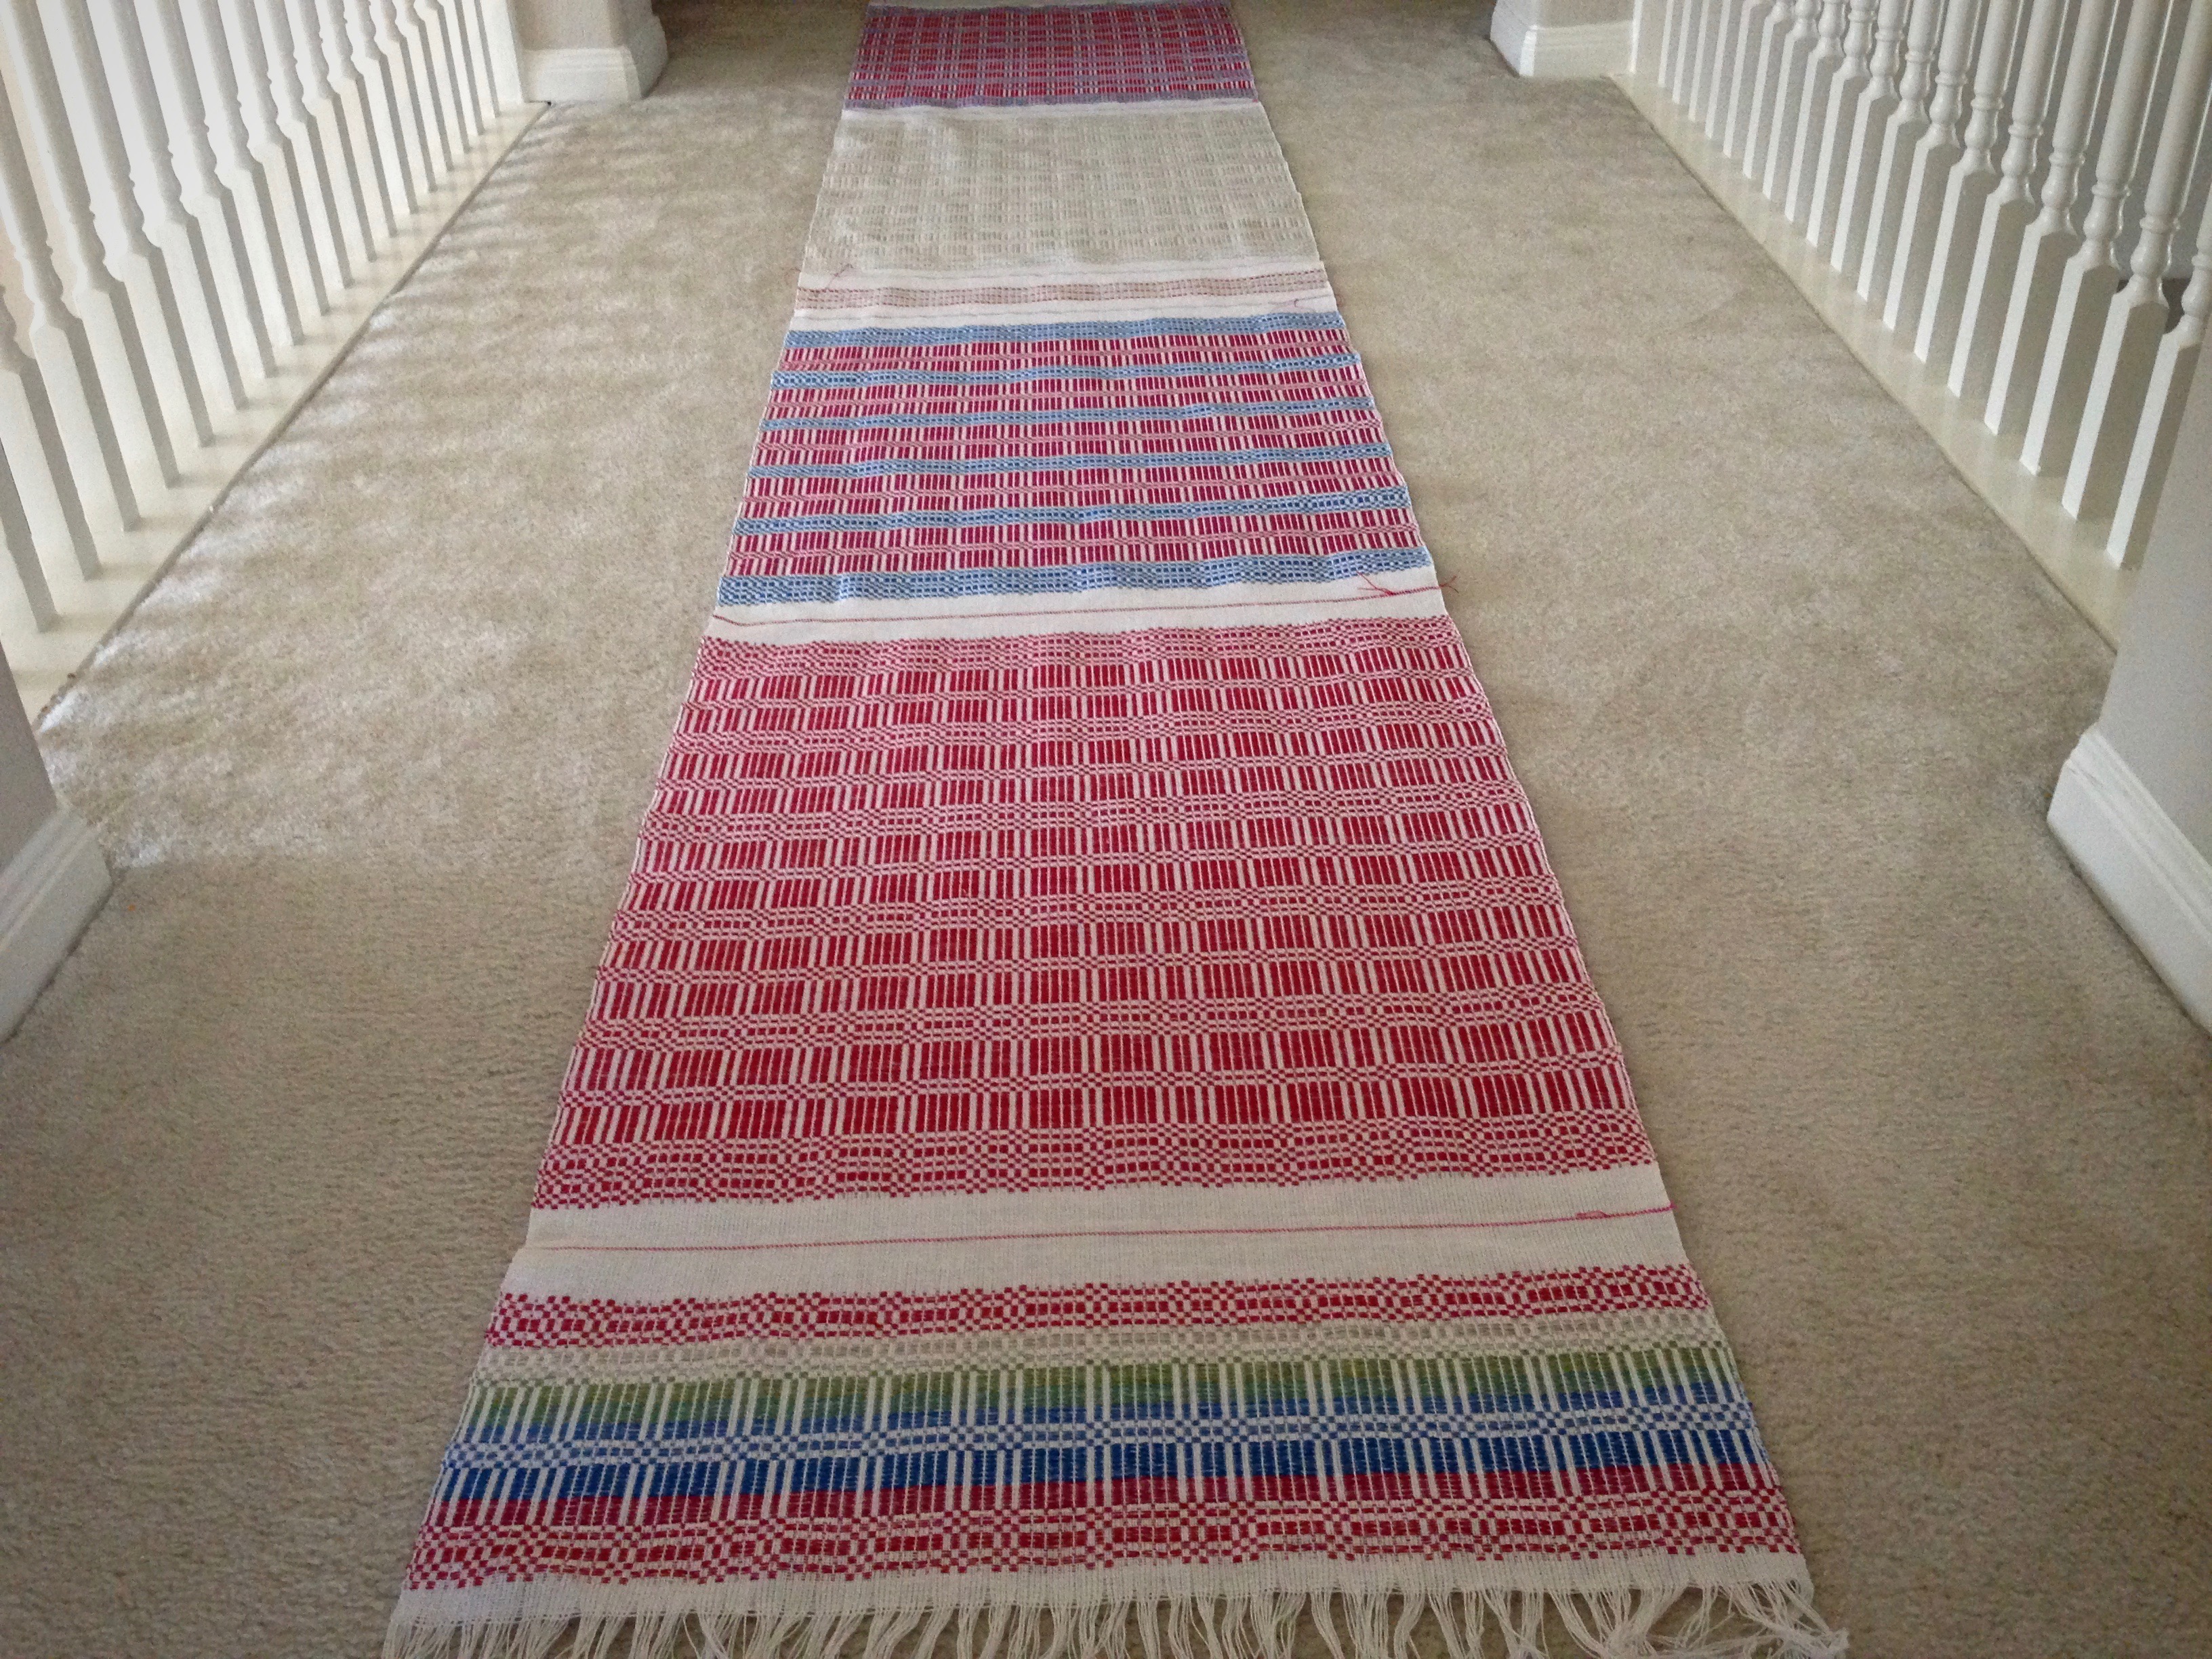
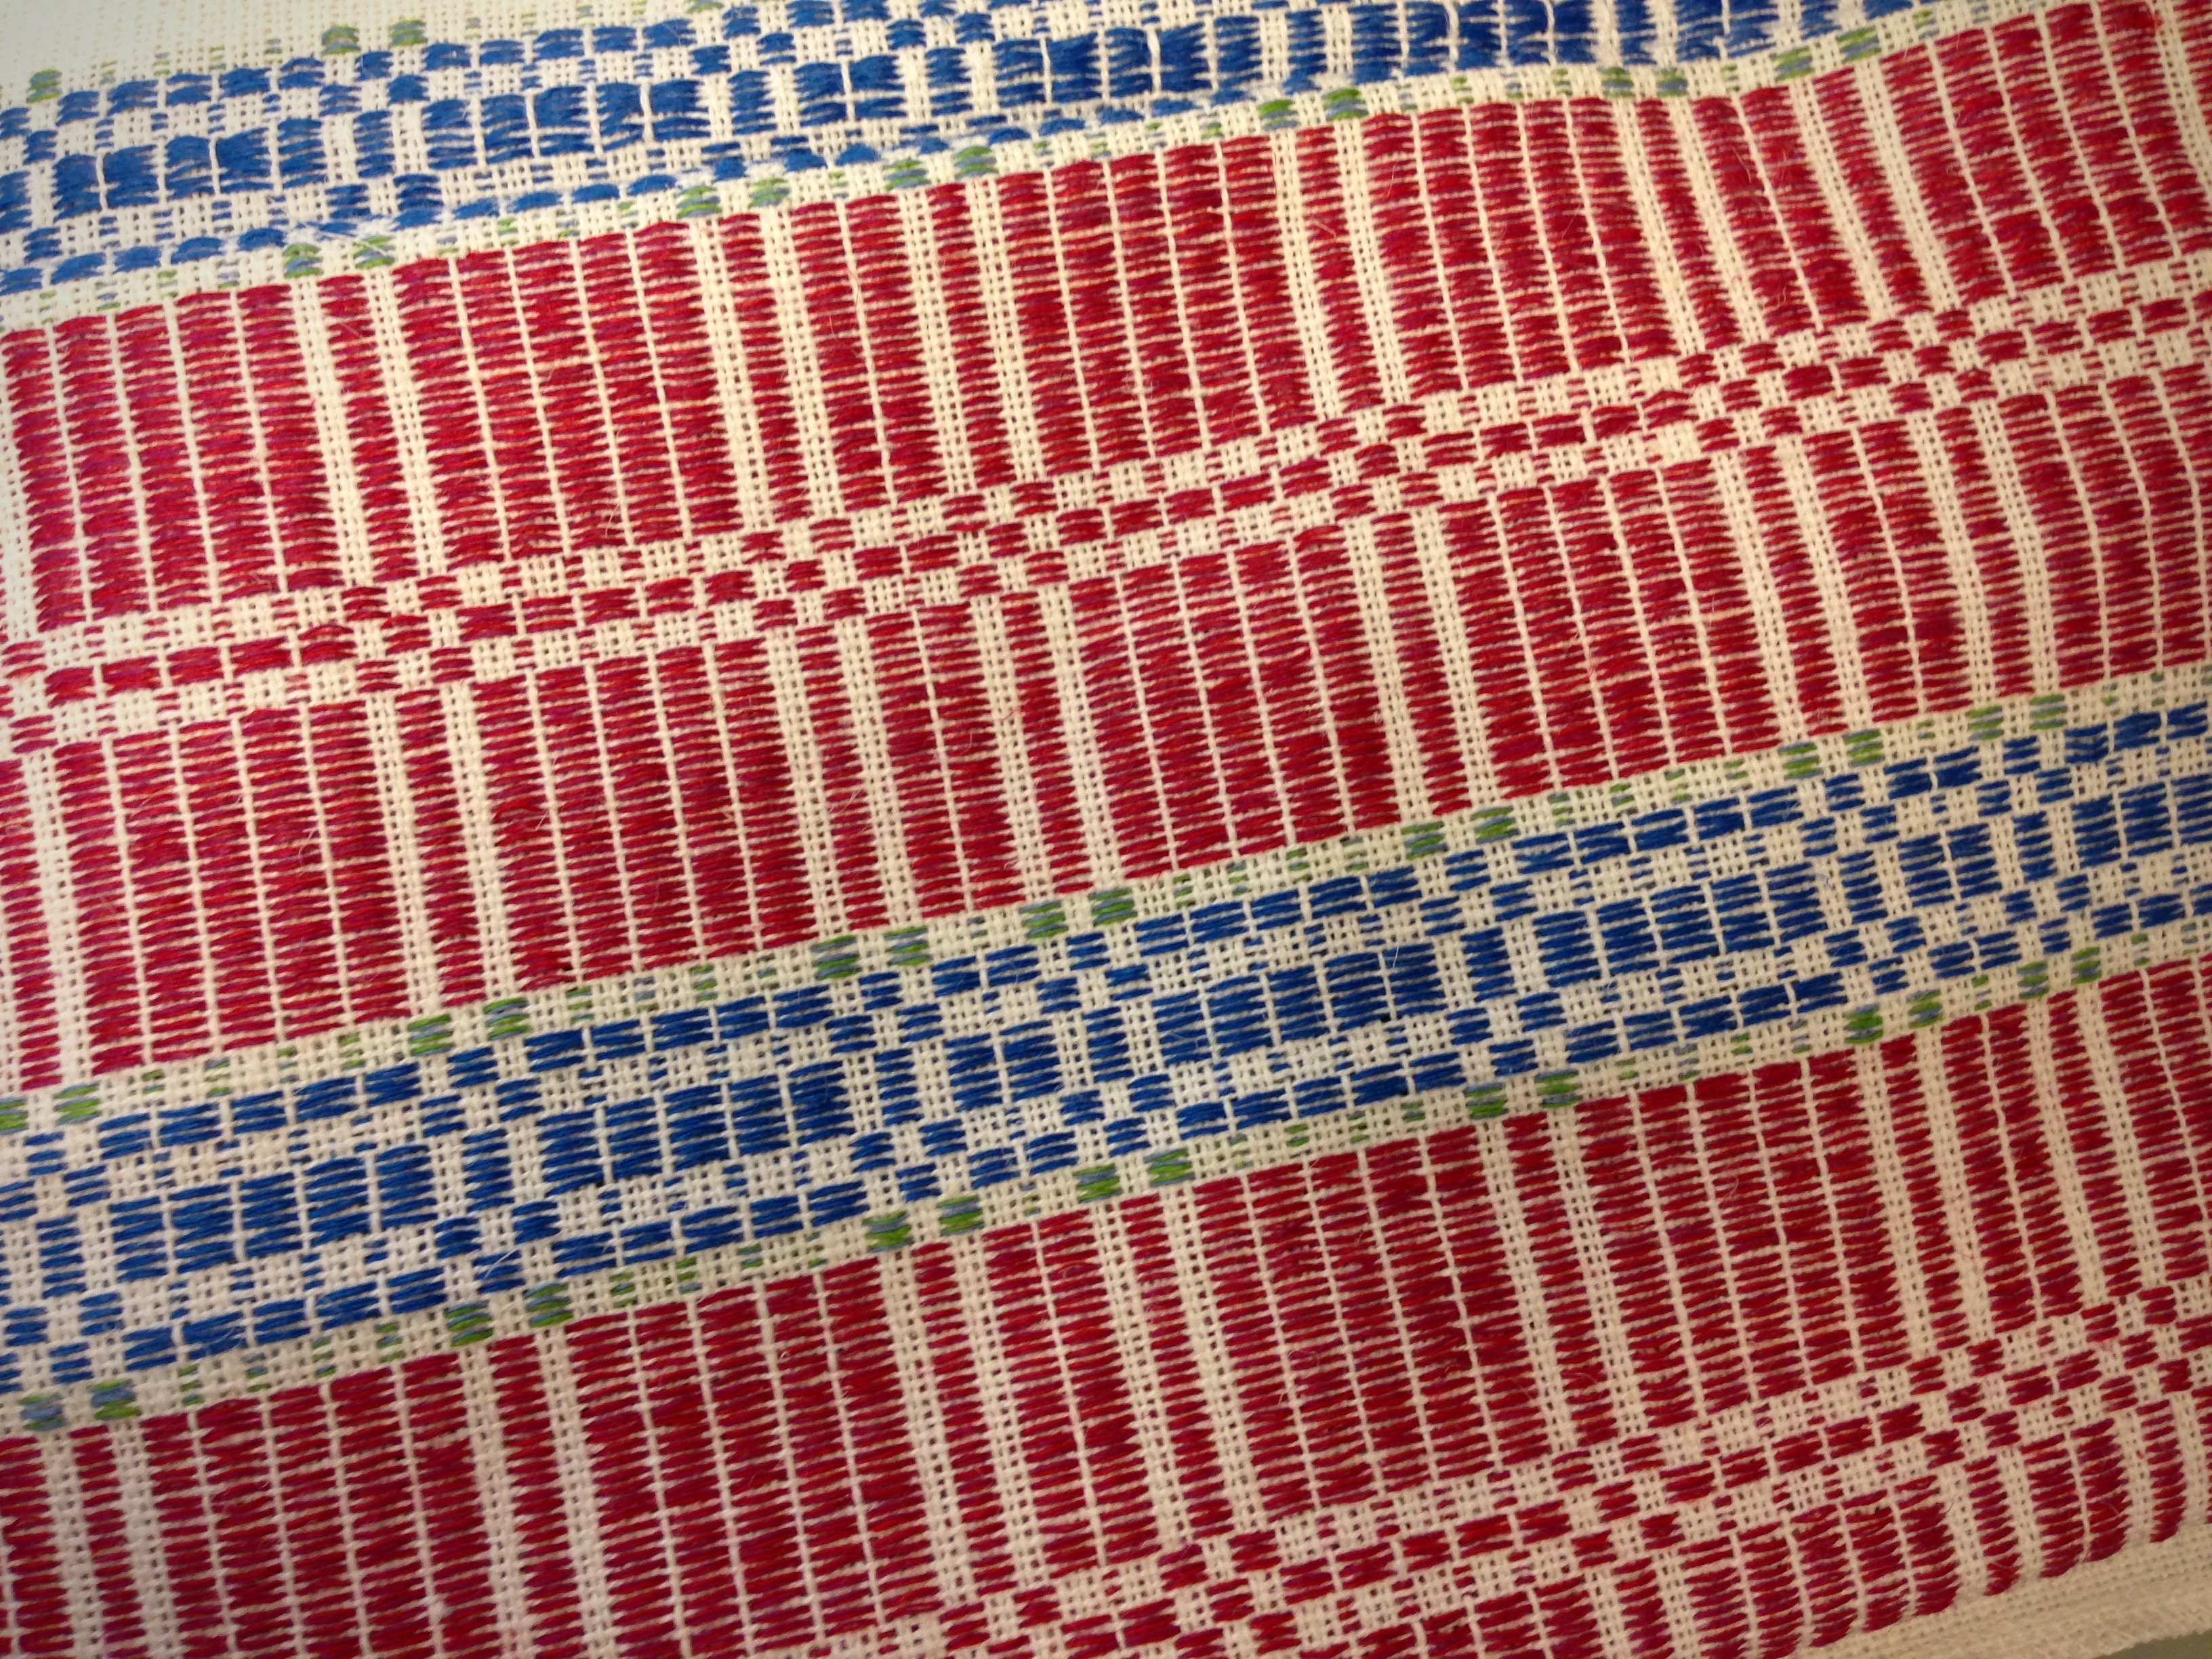
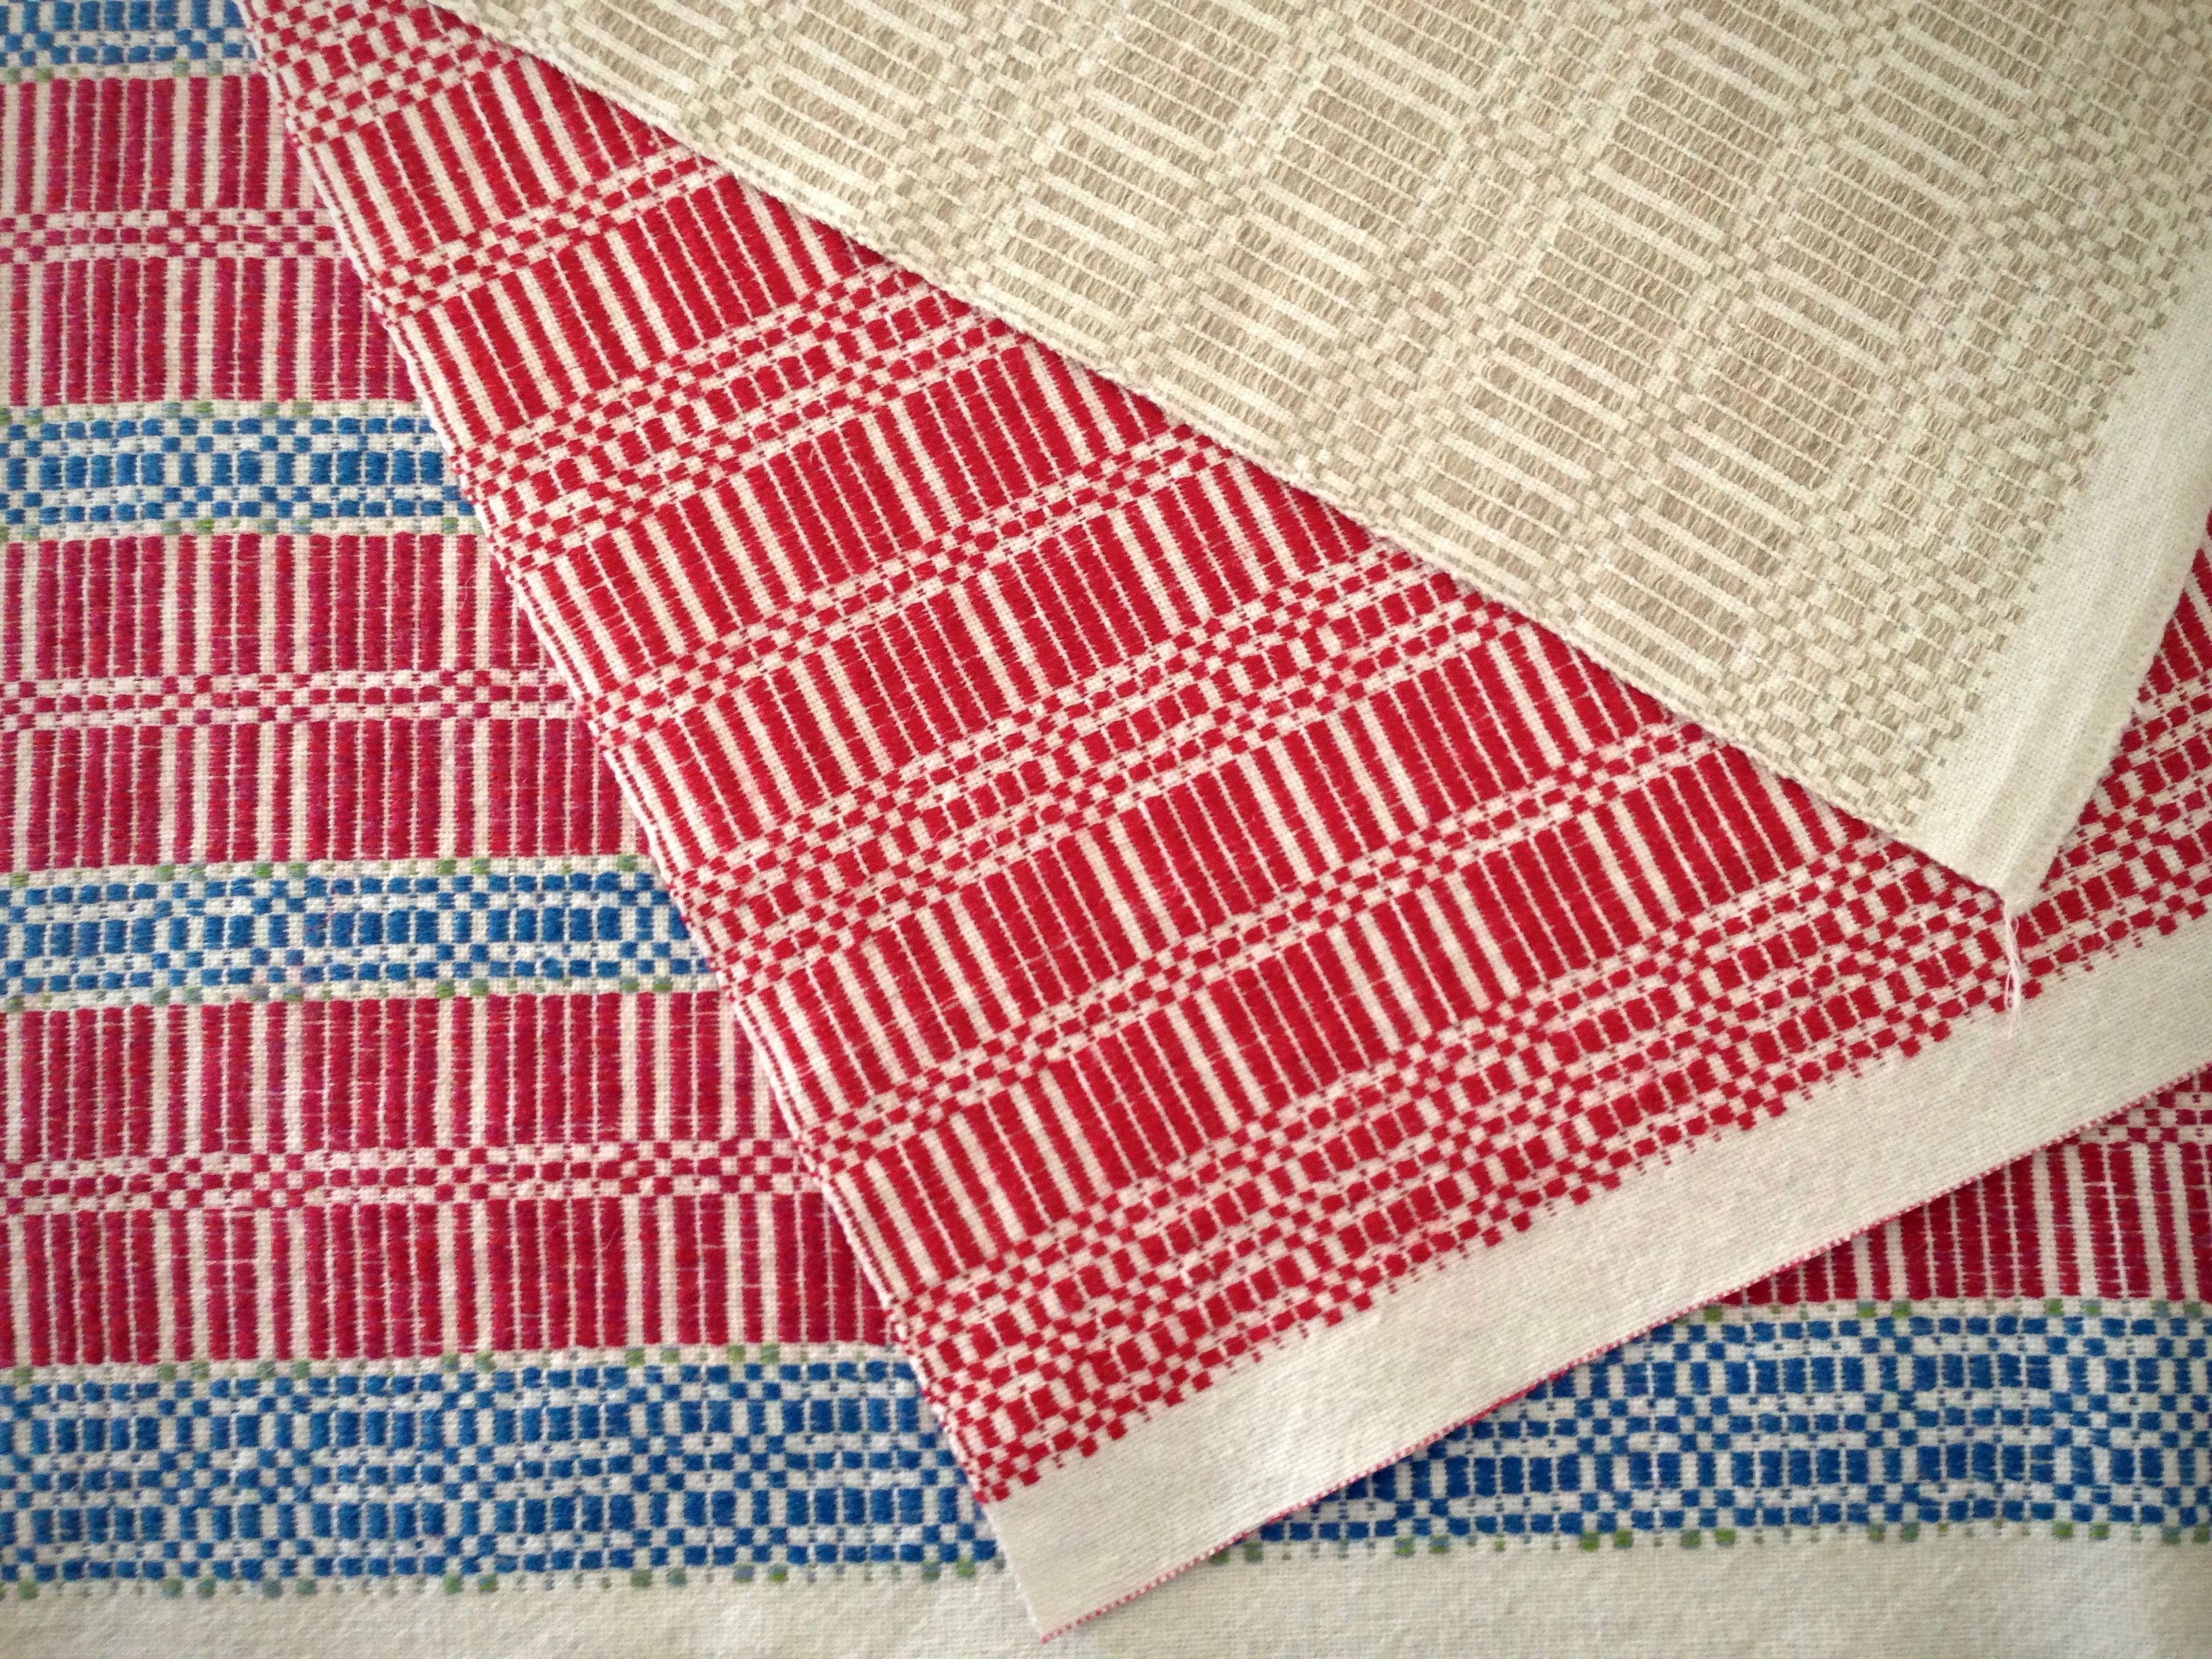
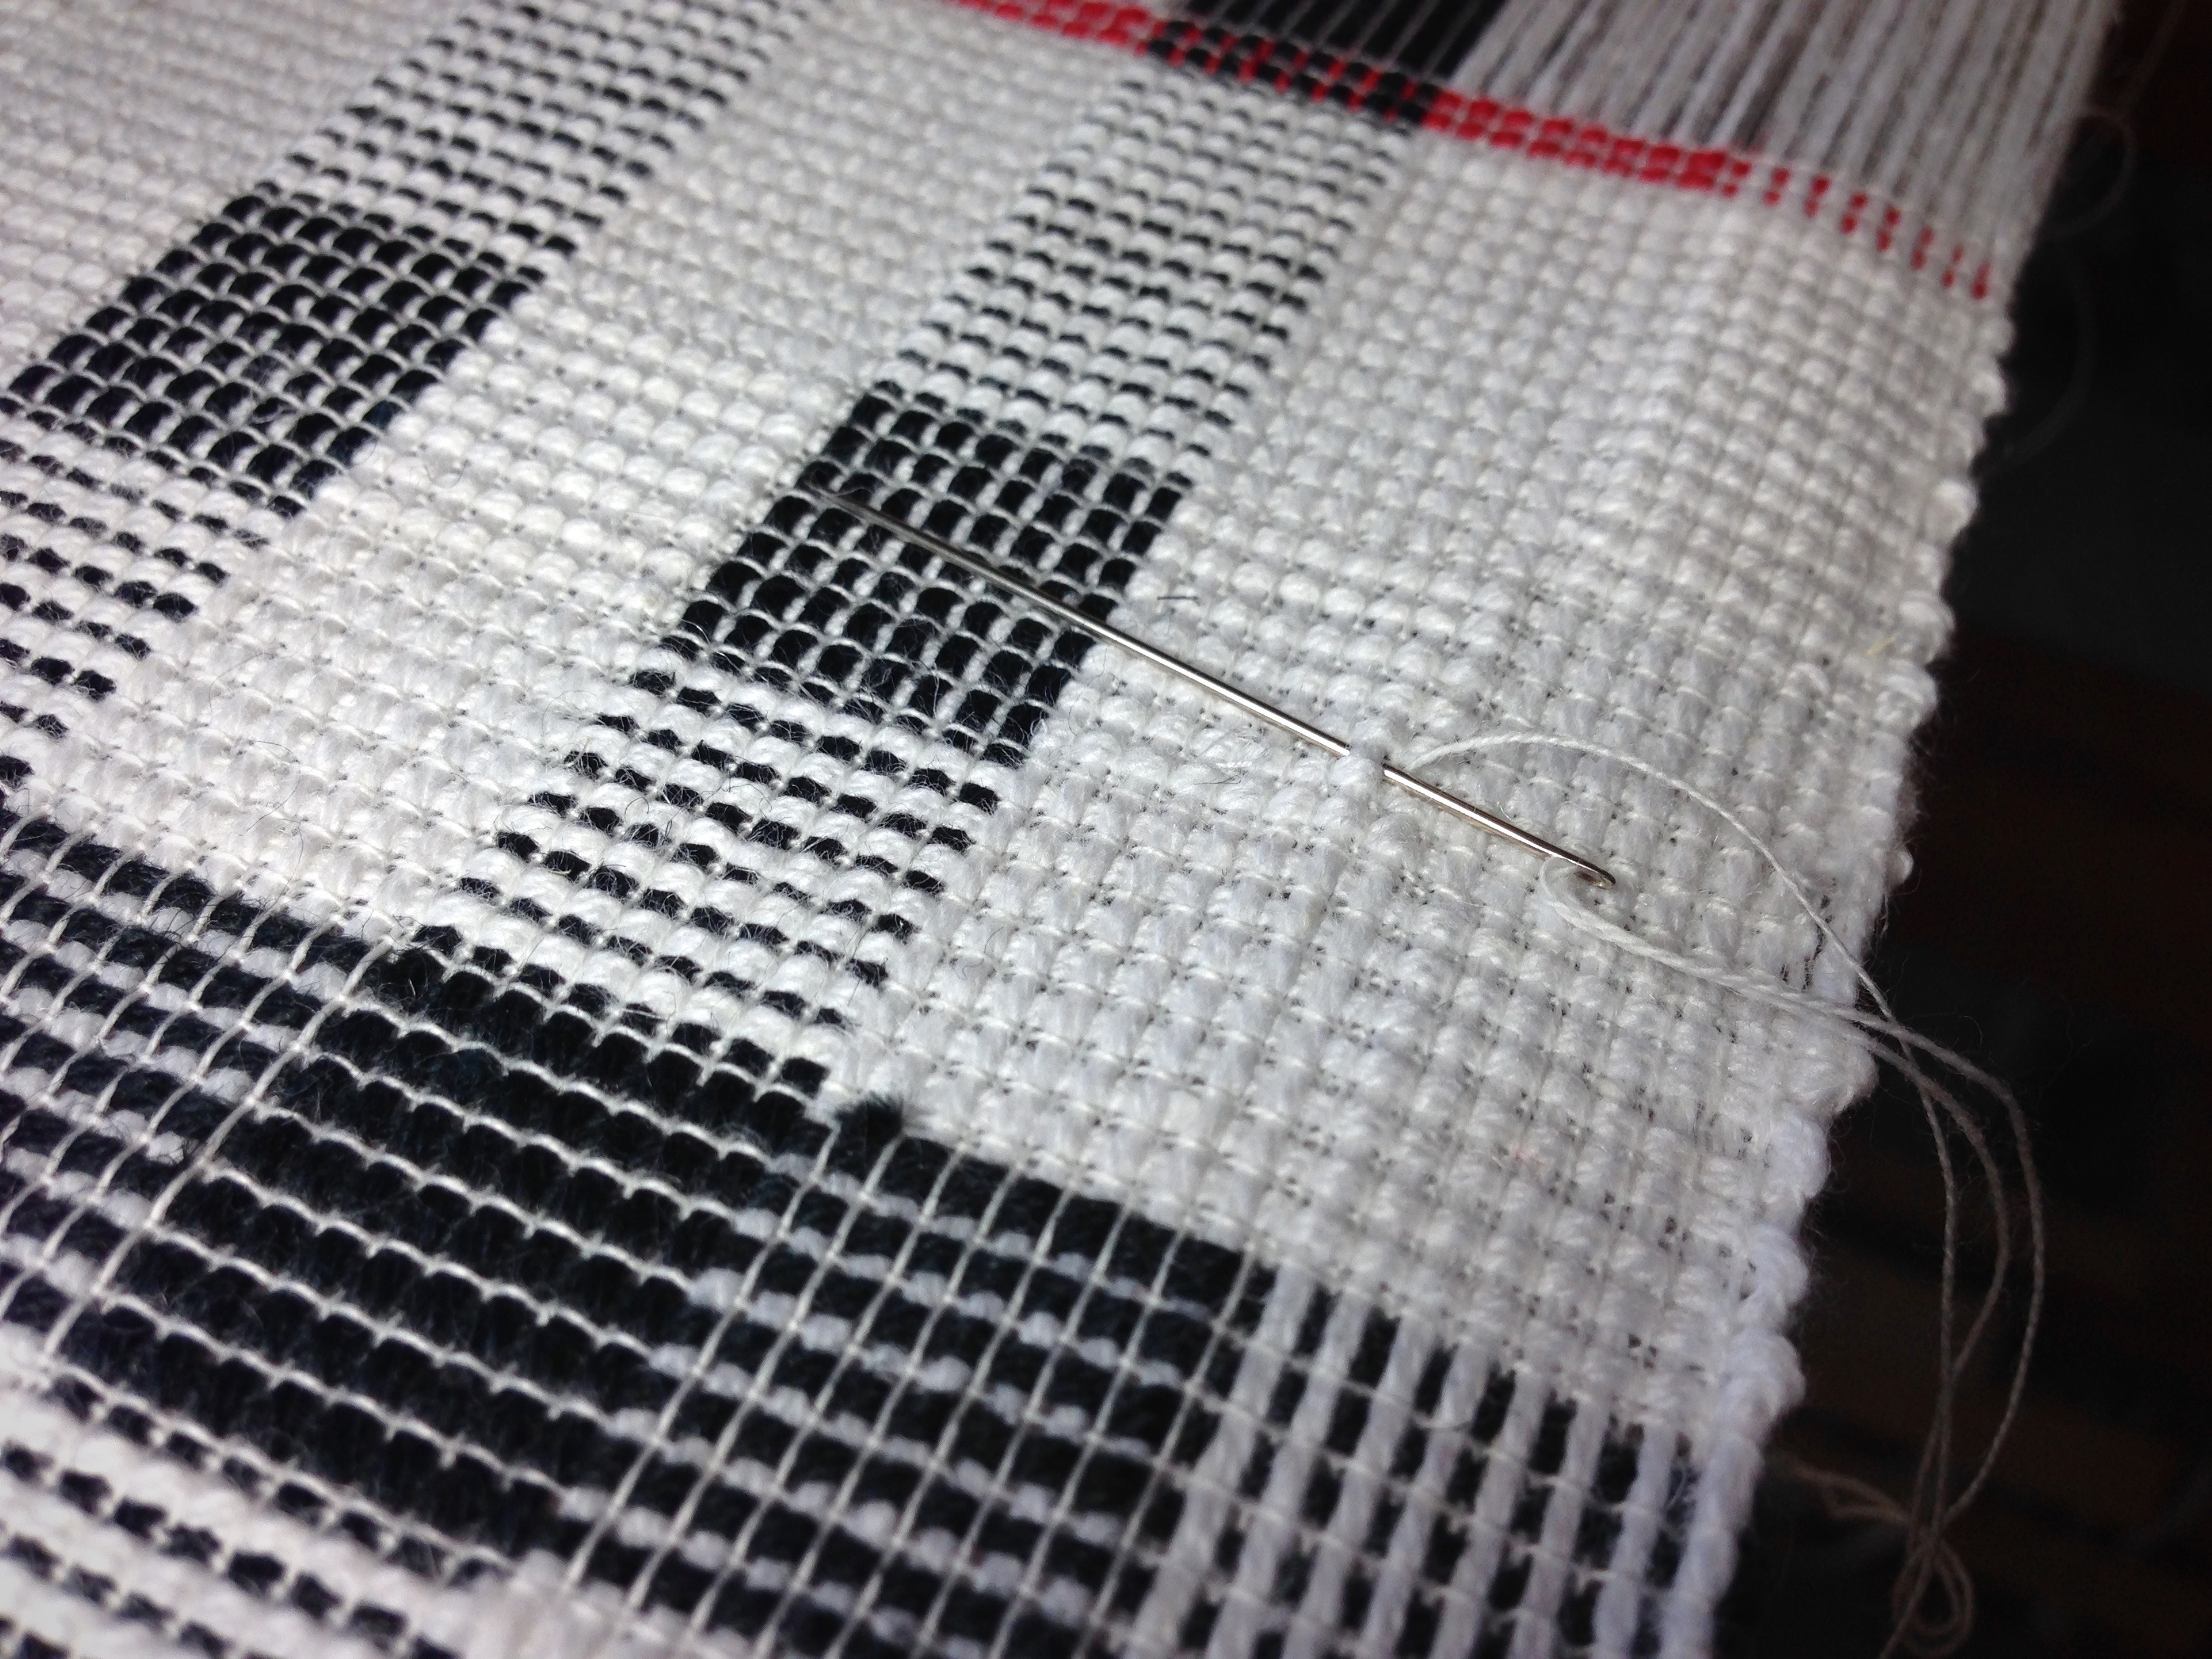
Choke tie serves as a counting thread as the cottolin warp is wound.Red linen is anticipating a starring role as pattern weft.Sampling various color options for the pattern weft. Red may be one star among several.Second table square has blue and green for block I and red for block II. The back of the first table square, with all red pattern weft, is seen between the breast beam and the knee beam.Neutral tones with subtle elegance.Light play dances on the colorful woven fabric.Celebration time! When the cloth is cut from the loom the weaver is able to see a complete view of the woven fabric for the first time. Woo hoo!Wet finished and pressed. Ready for hemming.Blind hem, with sewing needle and thread. Needle goes under one warp end, and is inserted through folded edge of hem for 1/4 inch. Continued stitching across the hem is virtually invisible when complete.Label added.Hemmed, pressed, and ready to dress up a table.
Many, many hours of work have gone into making these handwoven towels. Their stunning capacity as beautiful, absorbant, and useful things isn’t realized, however, until the cloth is subjected to the finishing process. Wet finishing never ceases to amaze me. These towels! They are transformed from special to spectacular!
Towels have been cut apart, ends secured with the serger, and weaving errors repaired. It is time to throw them into the washing machine. Towels with red weft threads go in a separate load — just in case…Towels are removed from the dryer while they are still slightly damp. Now they are ready for pressing. If only I could hand them to you to touch…
I may be intimidated at the thought of wet finishing other items (as I talked about in Weaving Experience), but not towels. Especially cottolin handtowels like these. They are made for a lifetime of everyday use. I do not hesitate to throw them in the washer and dryer, because I know the towels will improve with the washing. And after the washing and drying, they’ll be ready for pressing (the only pressing they will likely ever require).
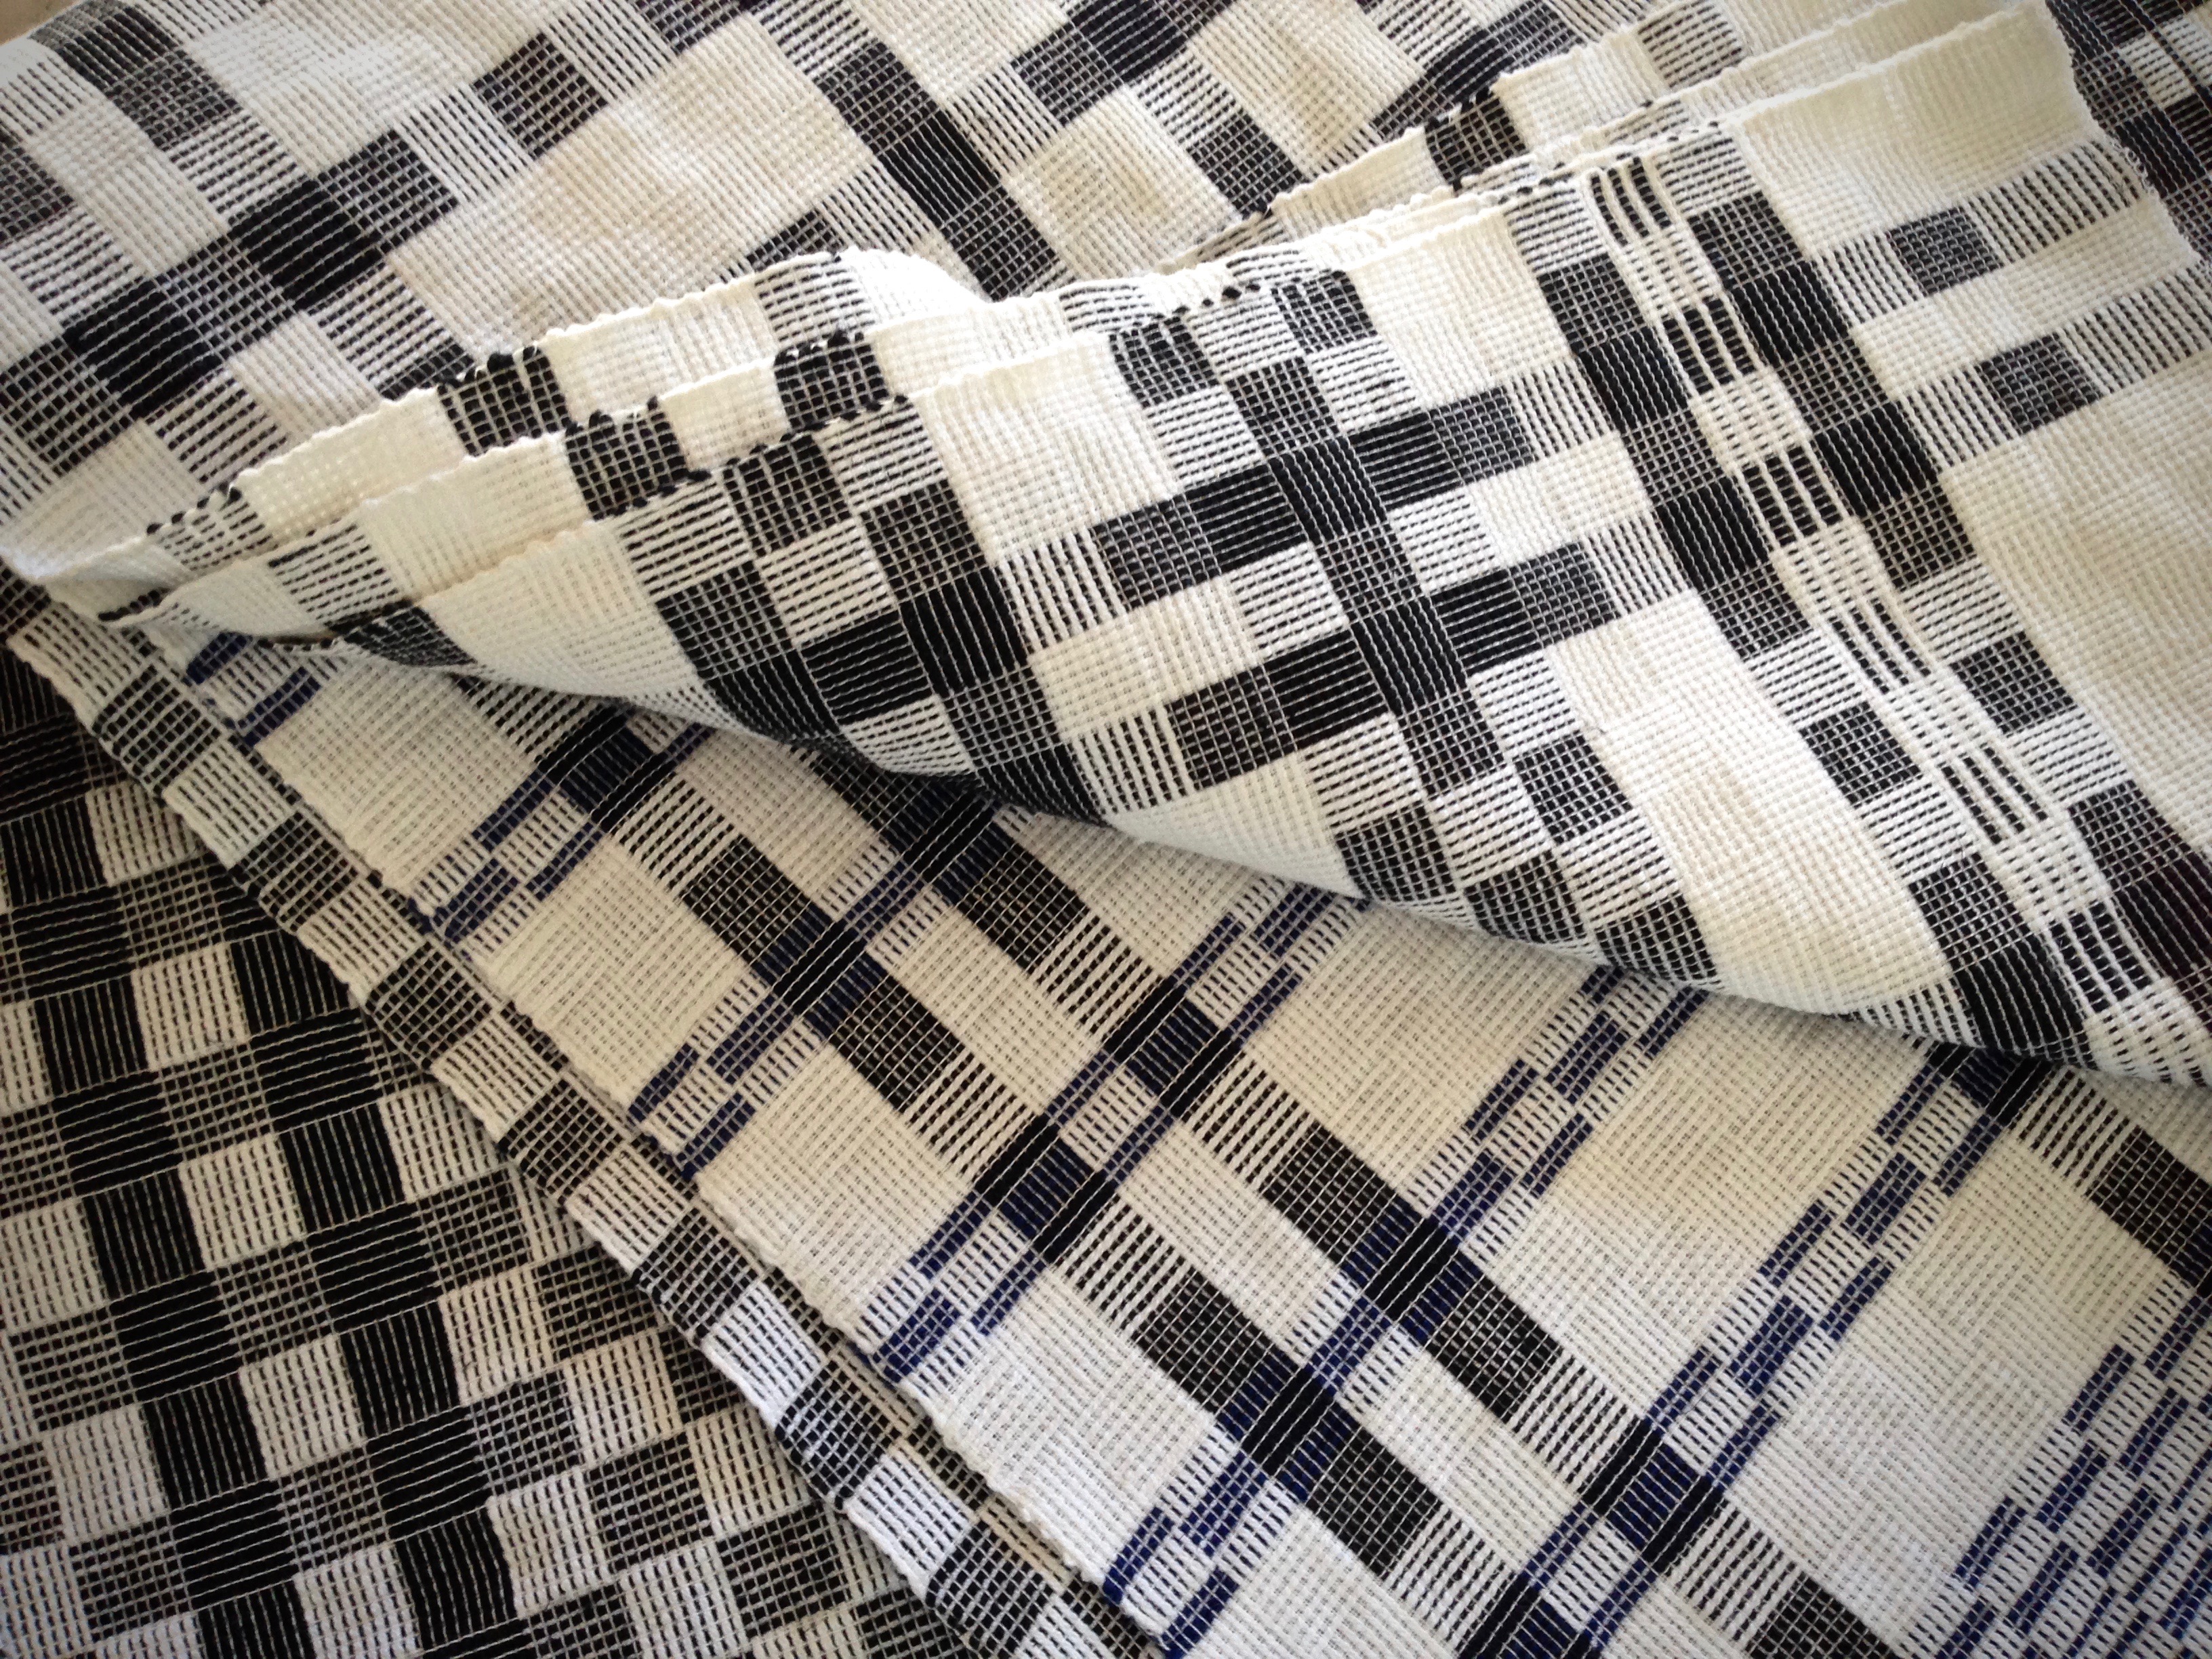
Out of the wash, the towels have a delightful texture that is slightly puckered. Pressing will flatten the towel, but subsequent washings will renew the desired textural element.Normal people do not press their handtowels, right? This is a one-time occurrence. Pressing after the first washing helps set the threads into place (or so I’ve been told). Happily, there is no color bleeding of the black or red threads!
When I drop the towels into the wash, I am making an exchange. I give up the unwashed, rough cloth, and get a softened, fulled fabric in its place. I lay down a burden, and receive a blessing in return. Jesus takes our soul’s heavy burden, a lifetime of self-imposed work, and exchanges it for his light load. You can put your heavy load down. And receive in return a softened fabric, washed, pressed, and ready for daily use.
It is possible to ruin hours and hours of handweaving efforts with a careless or ignorant misstep after the cloth is cut from the loom. Wet finishing intimidates me for that reason. Besides my own limited experience, I rely on instructions from advanced weavers, and any other research I can find. In the end, I take the plunge and hope for the best. If the worst happens, I take notes and chalk it up as a learning experience.
Just off the loom, four halvdräll cottolin and linen table squares await measuring for record keeping.Linen pattern weft is characteristically wiry before wet finishing. Cottolin warp and background weft is somewhat stiff before it gets washed.Pieces are separated at the cutting lines, and cut ends of the cloth are secured with the serger. Then the cloth is placed in the top-loading washing machine, gentle cycle, with Eucalan delicate wash, with warm wash and cold rinse settings, adding several Color Catchers, and omitting the spin cycle. After rolling the wet pieces in clean towels to remove moisture, they are laid flat to dry. While still damp, they are pressed with a hot iron on the back side. And the linen comes out showing its true beauty!Waiting to be hemmed.
Wisdom is gained by those who pursue it. What is wisdom? Wisdom is truth being applied to real life situations. The wise become wiser still by listening with the intent to hear the meaning. Listening and learning. And then wisdom leads you to take action, often irreversible, because you believe the outcome will be right and good. How delightful when the wet-finished fabric exceeds your highest hopes!
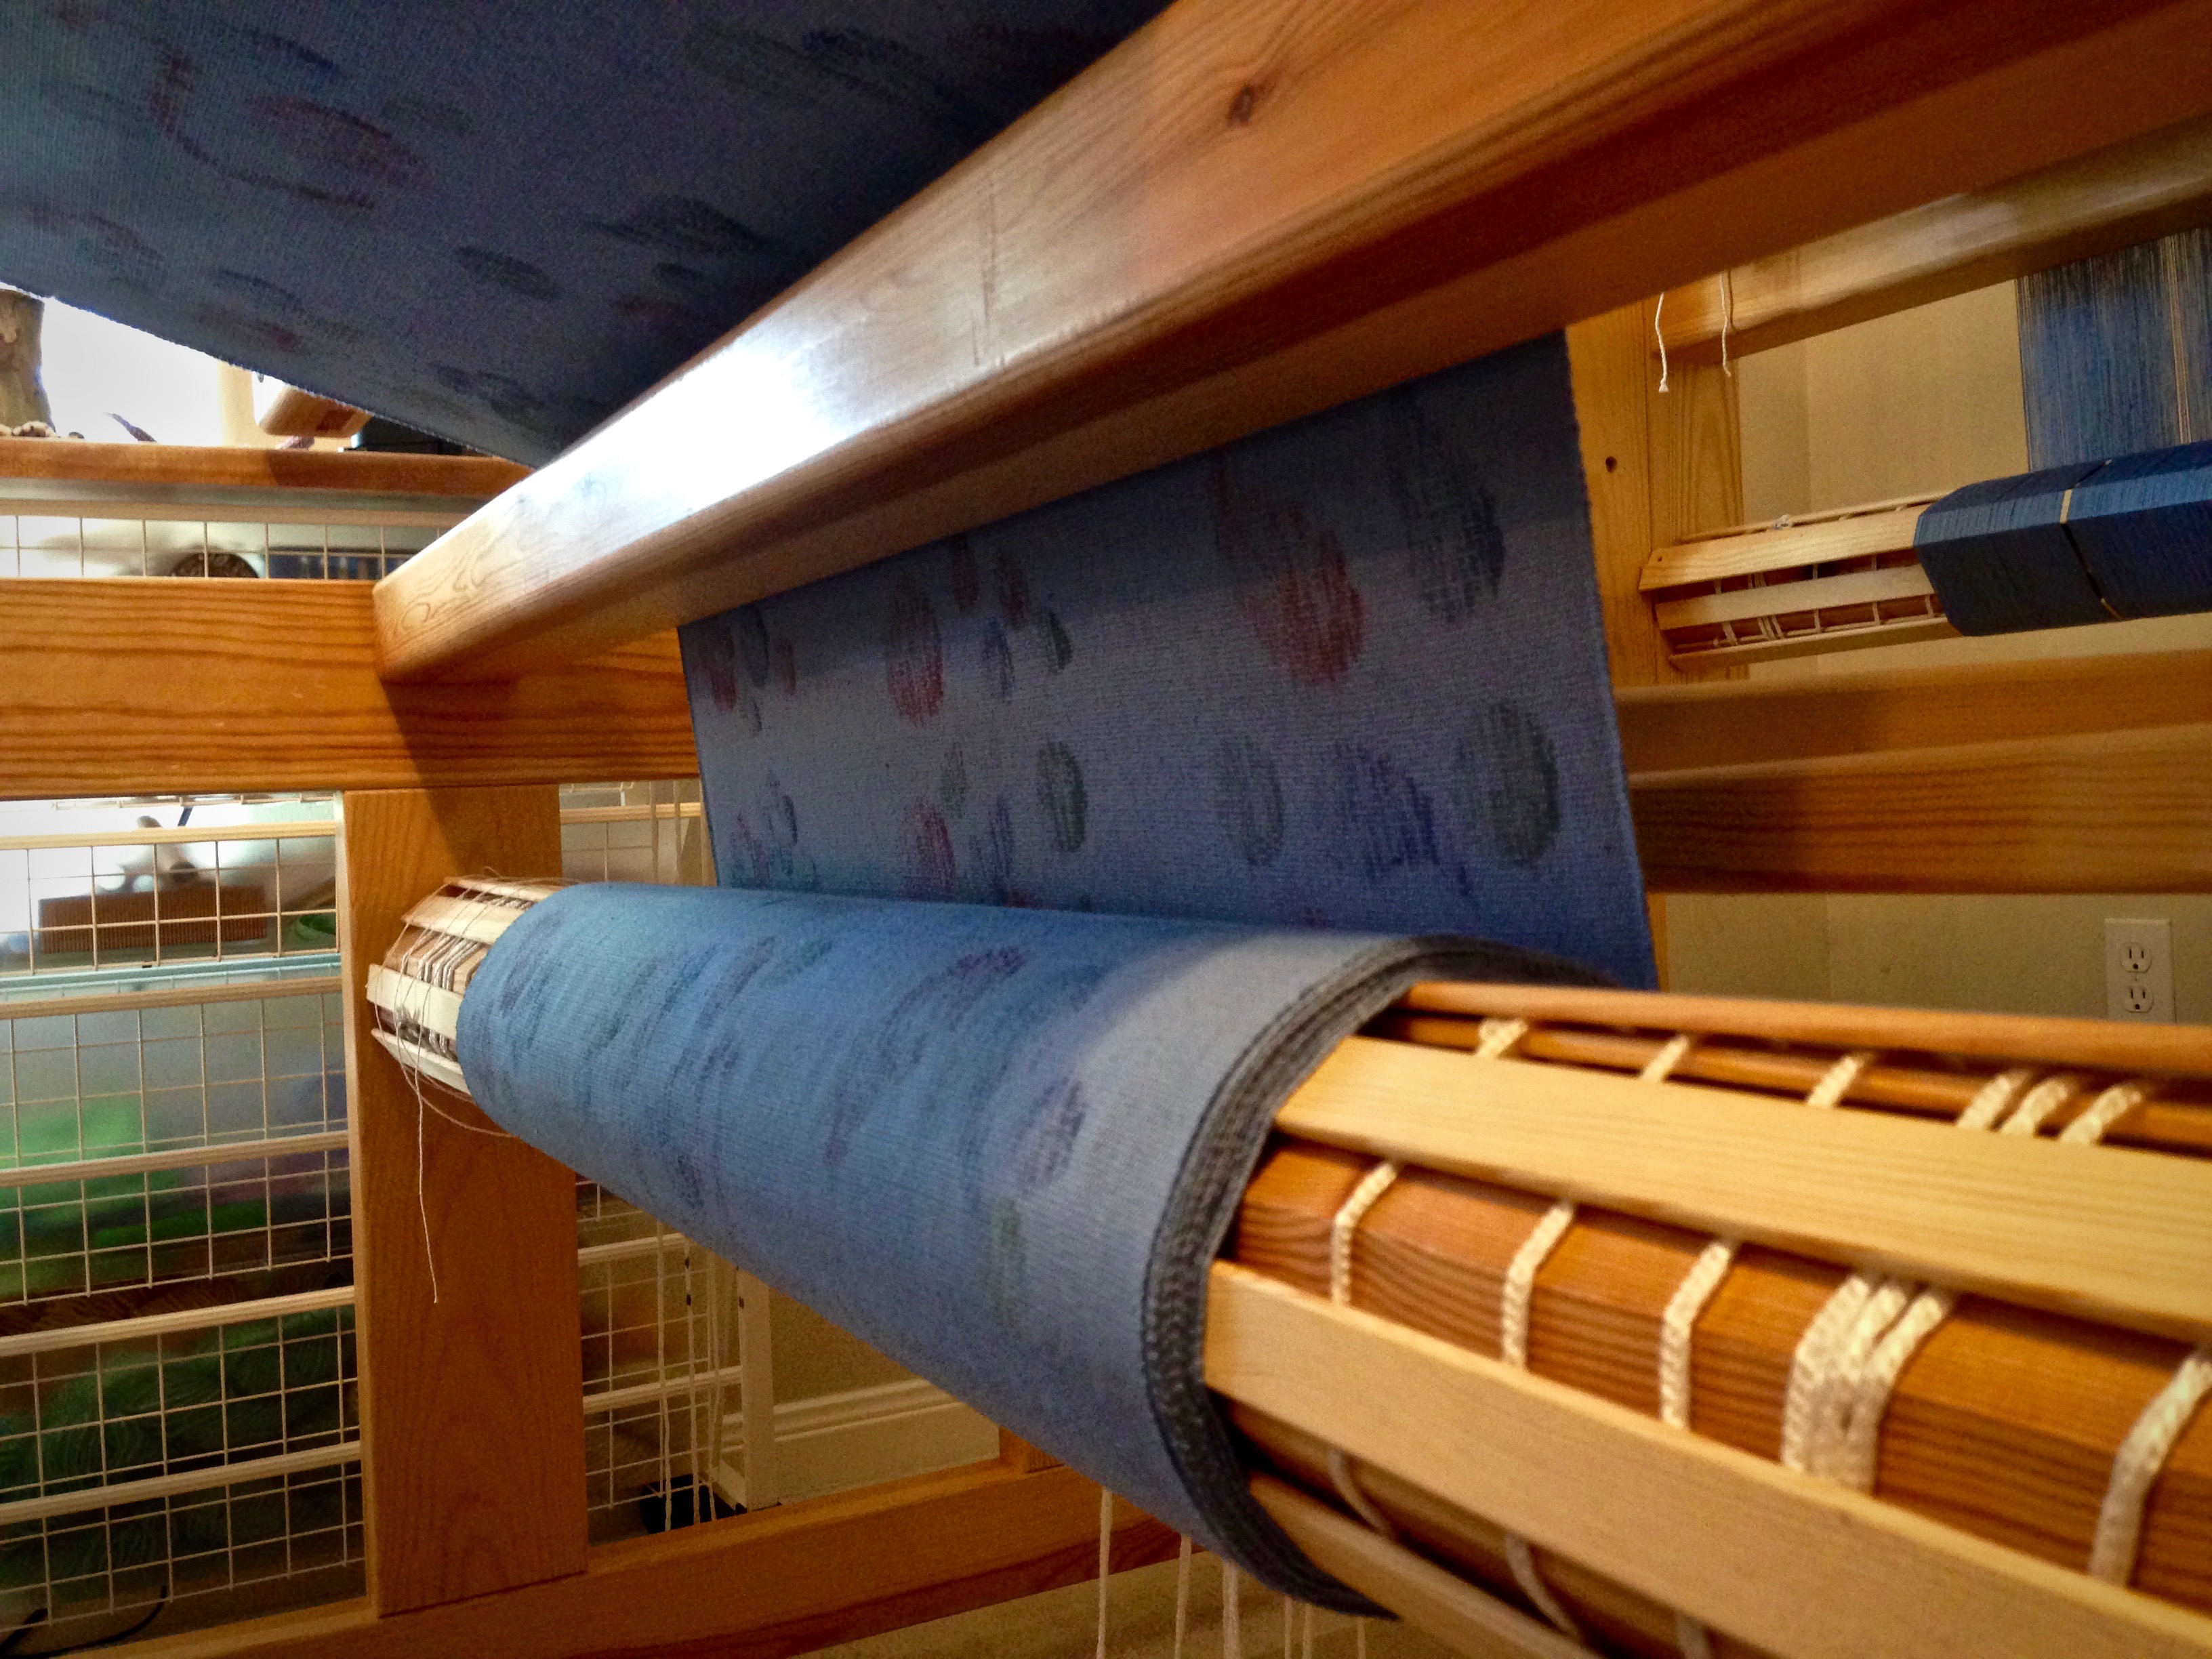
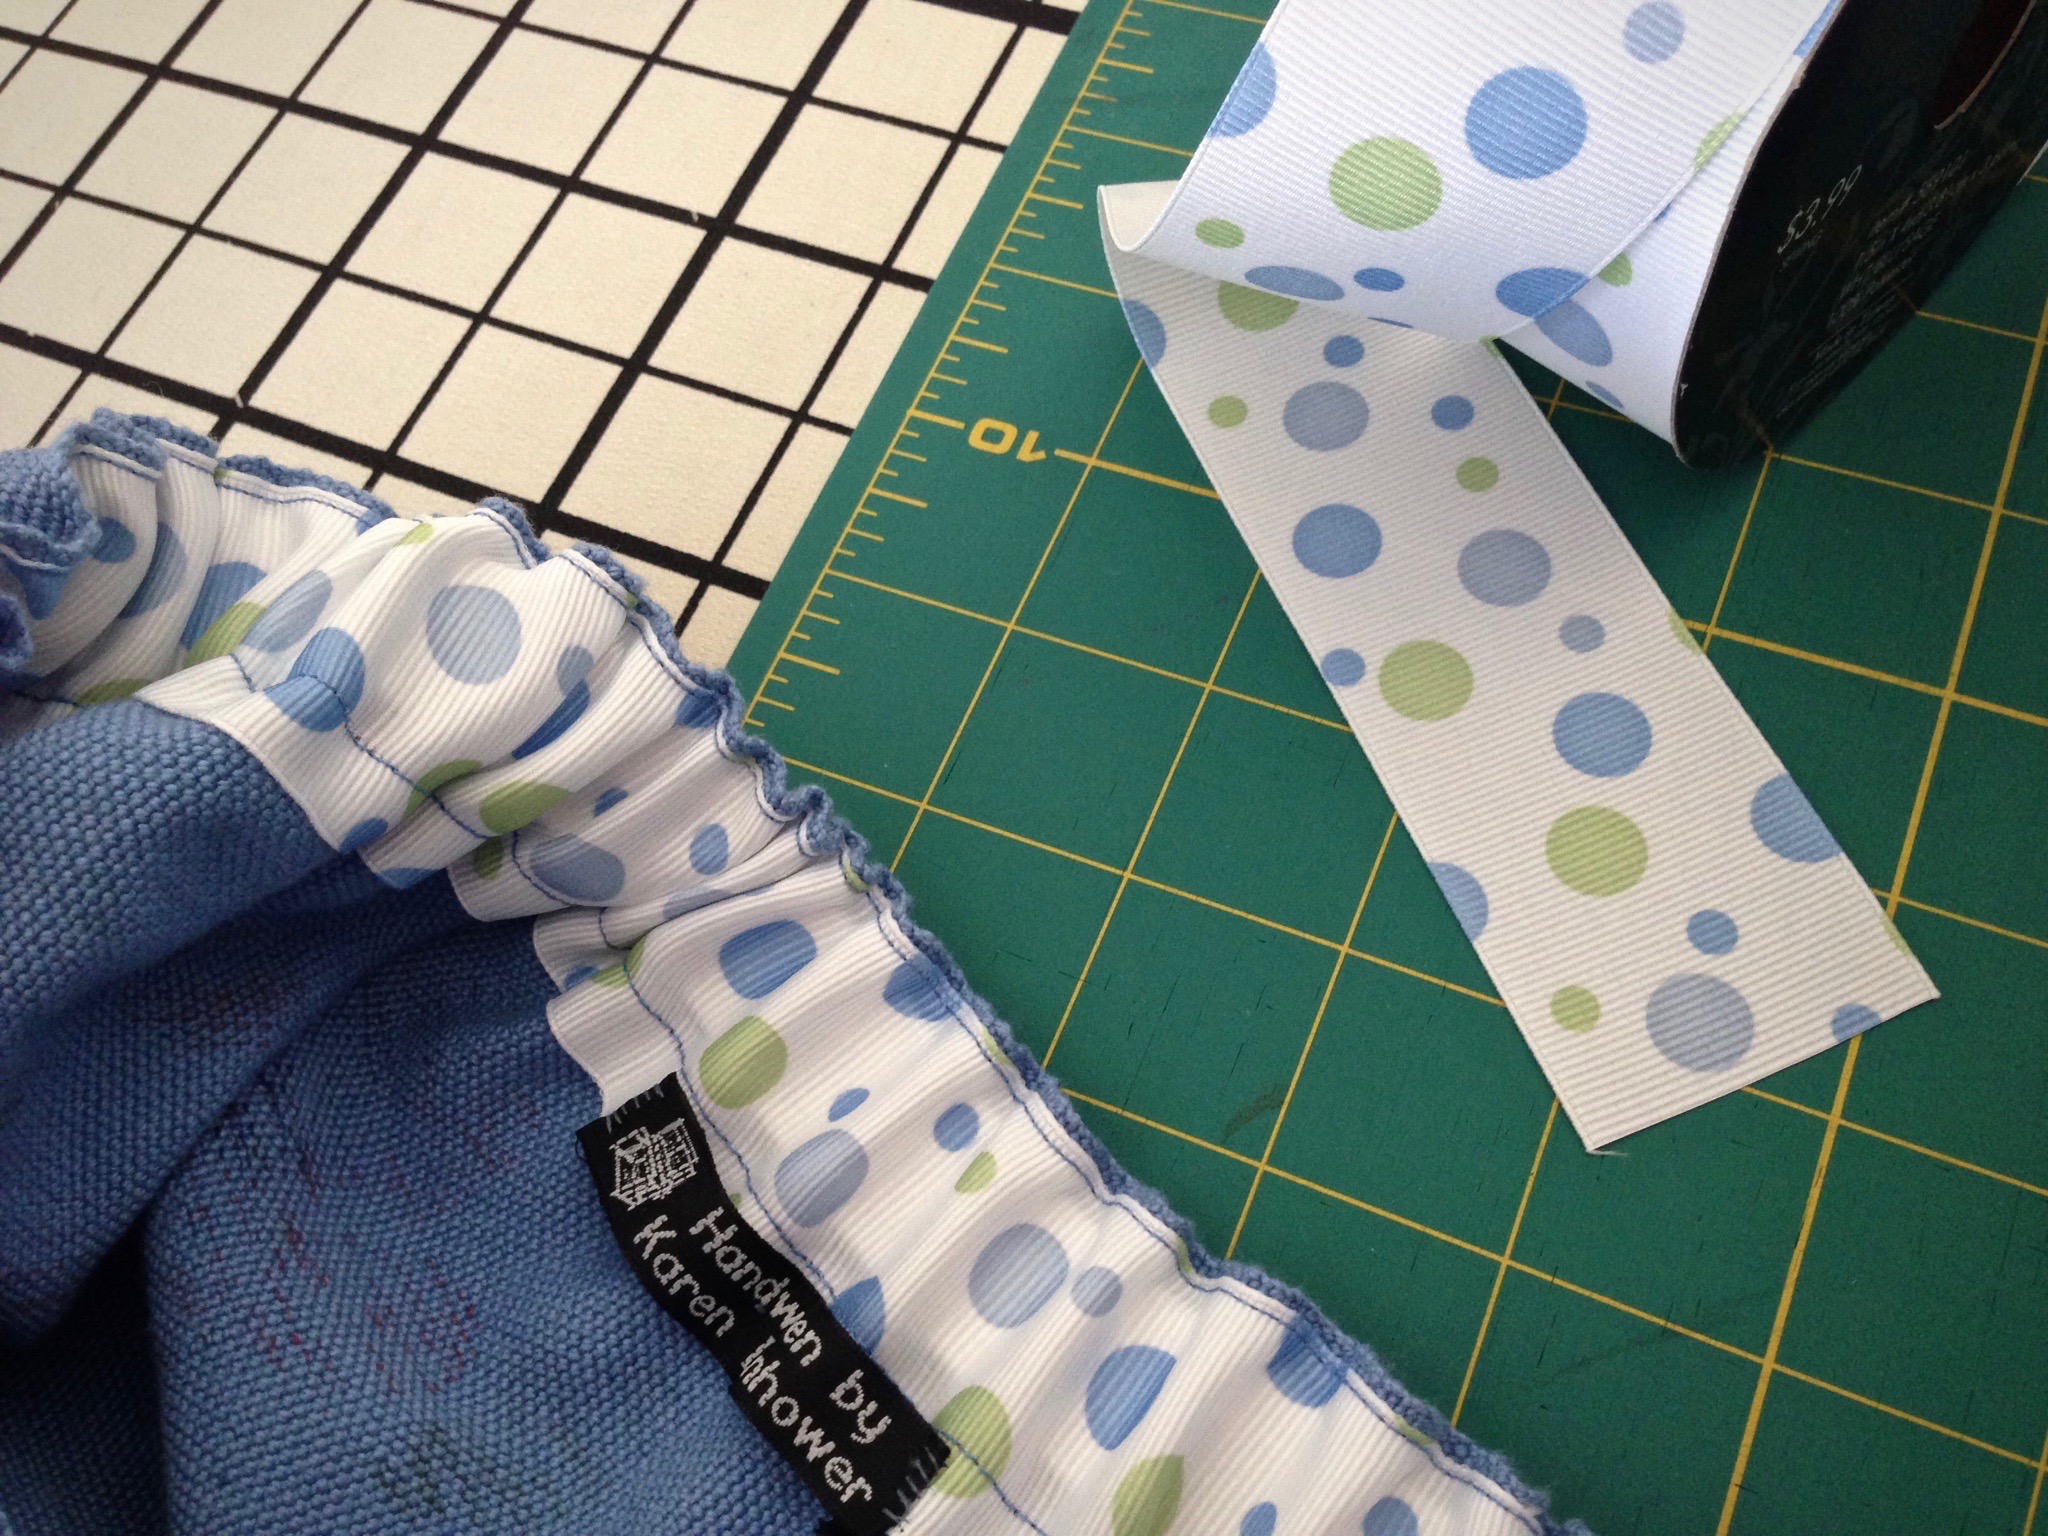
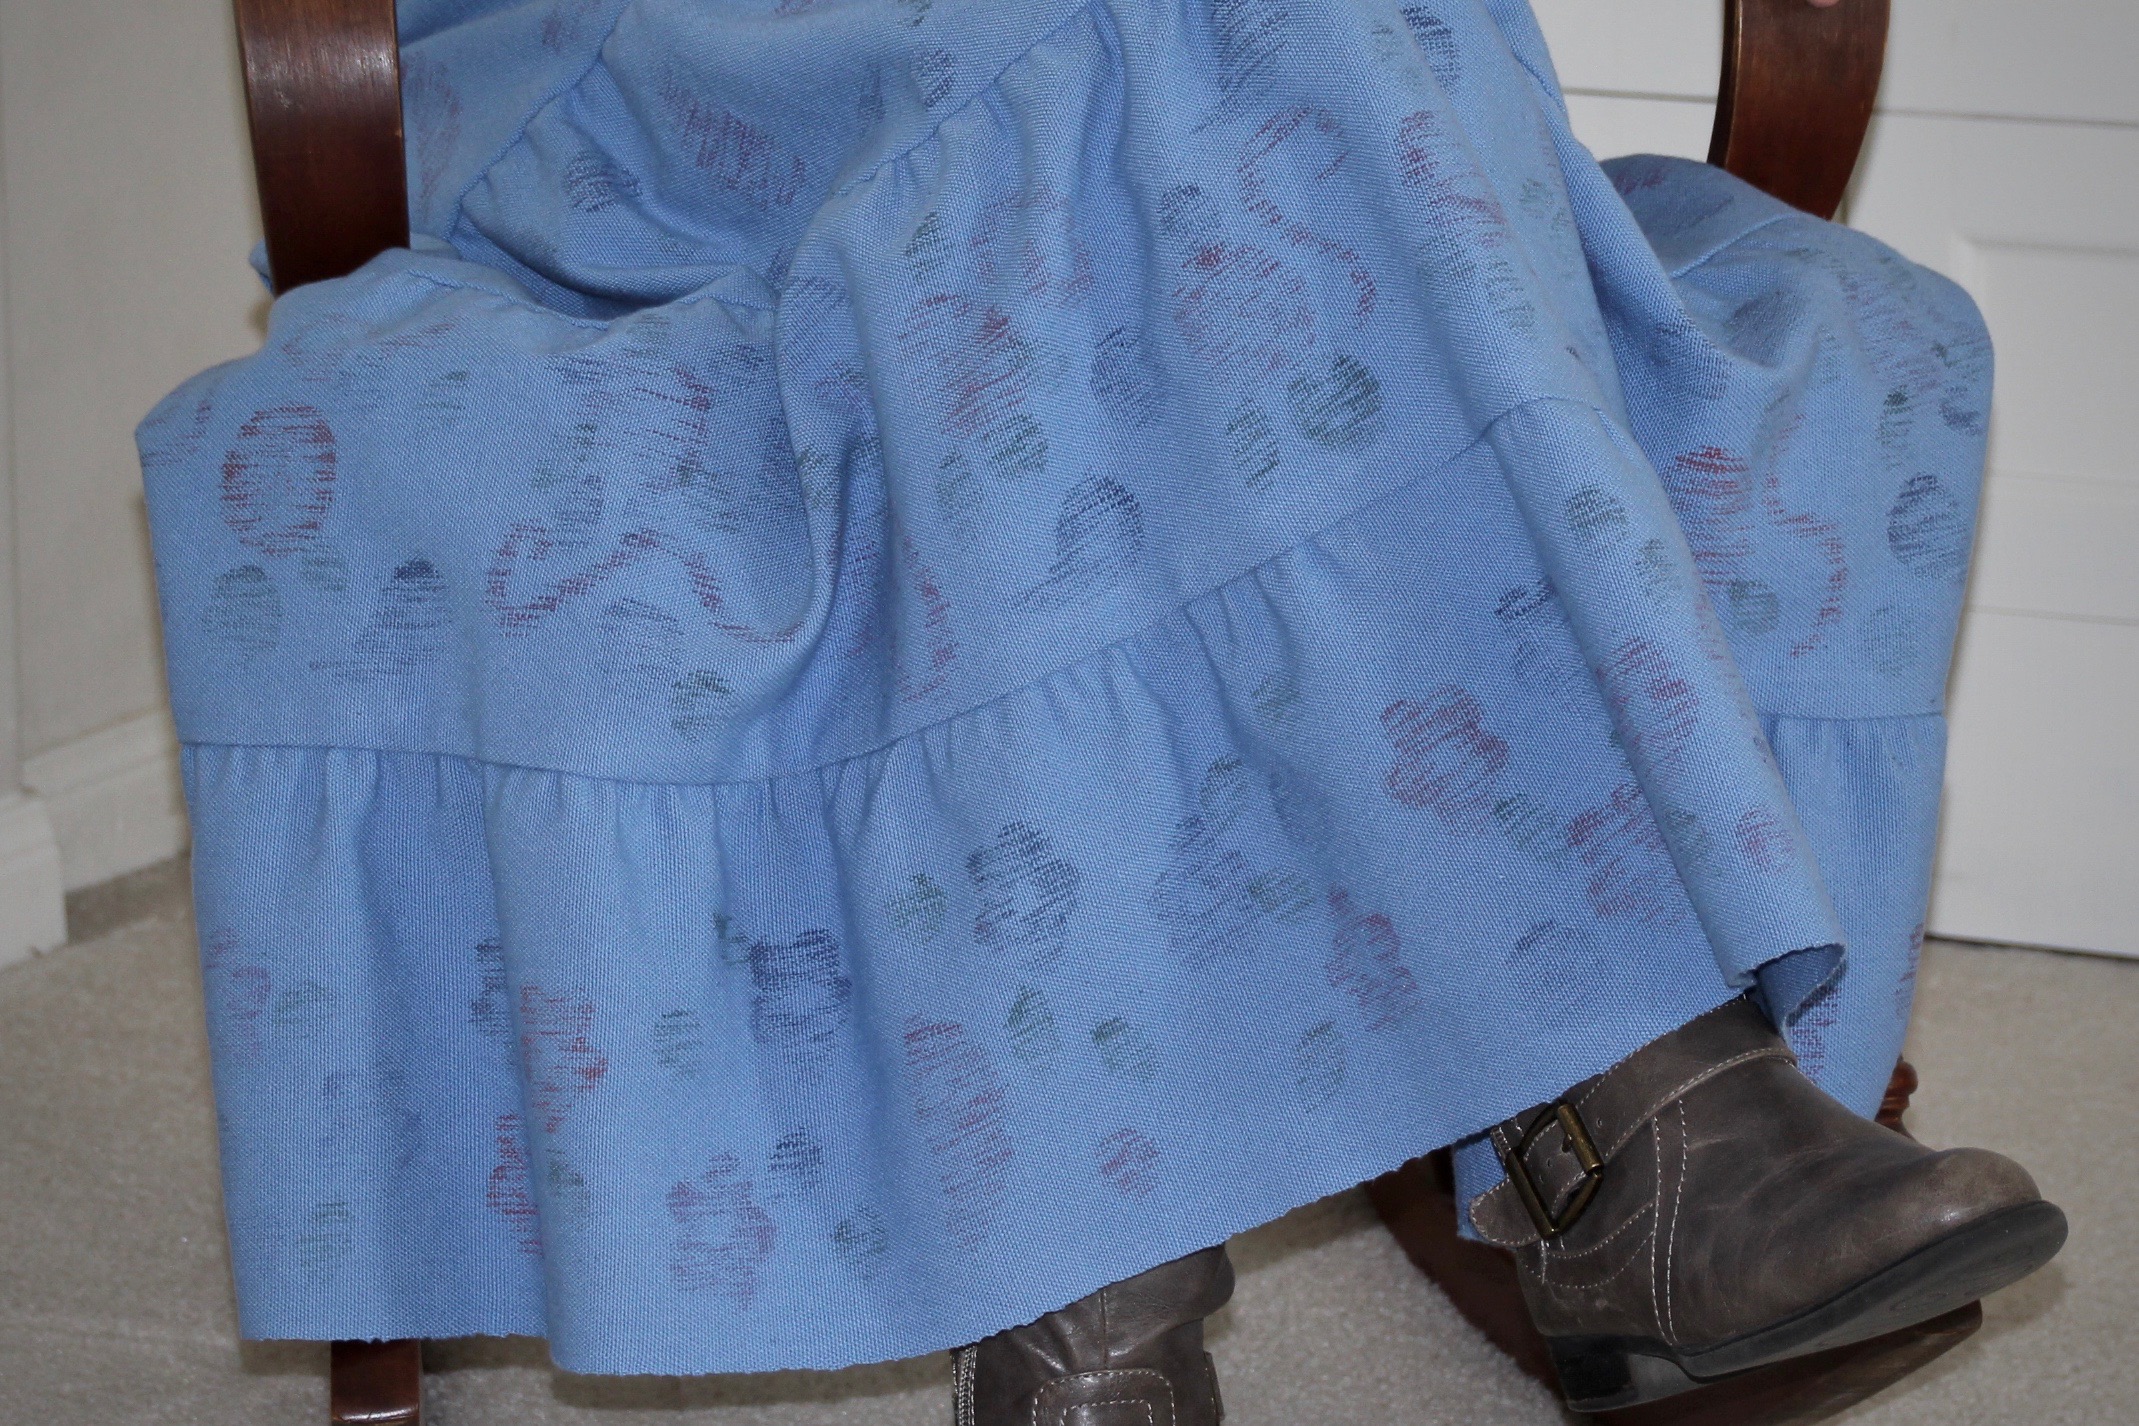
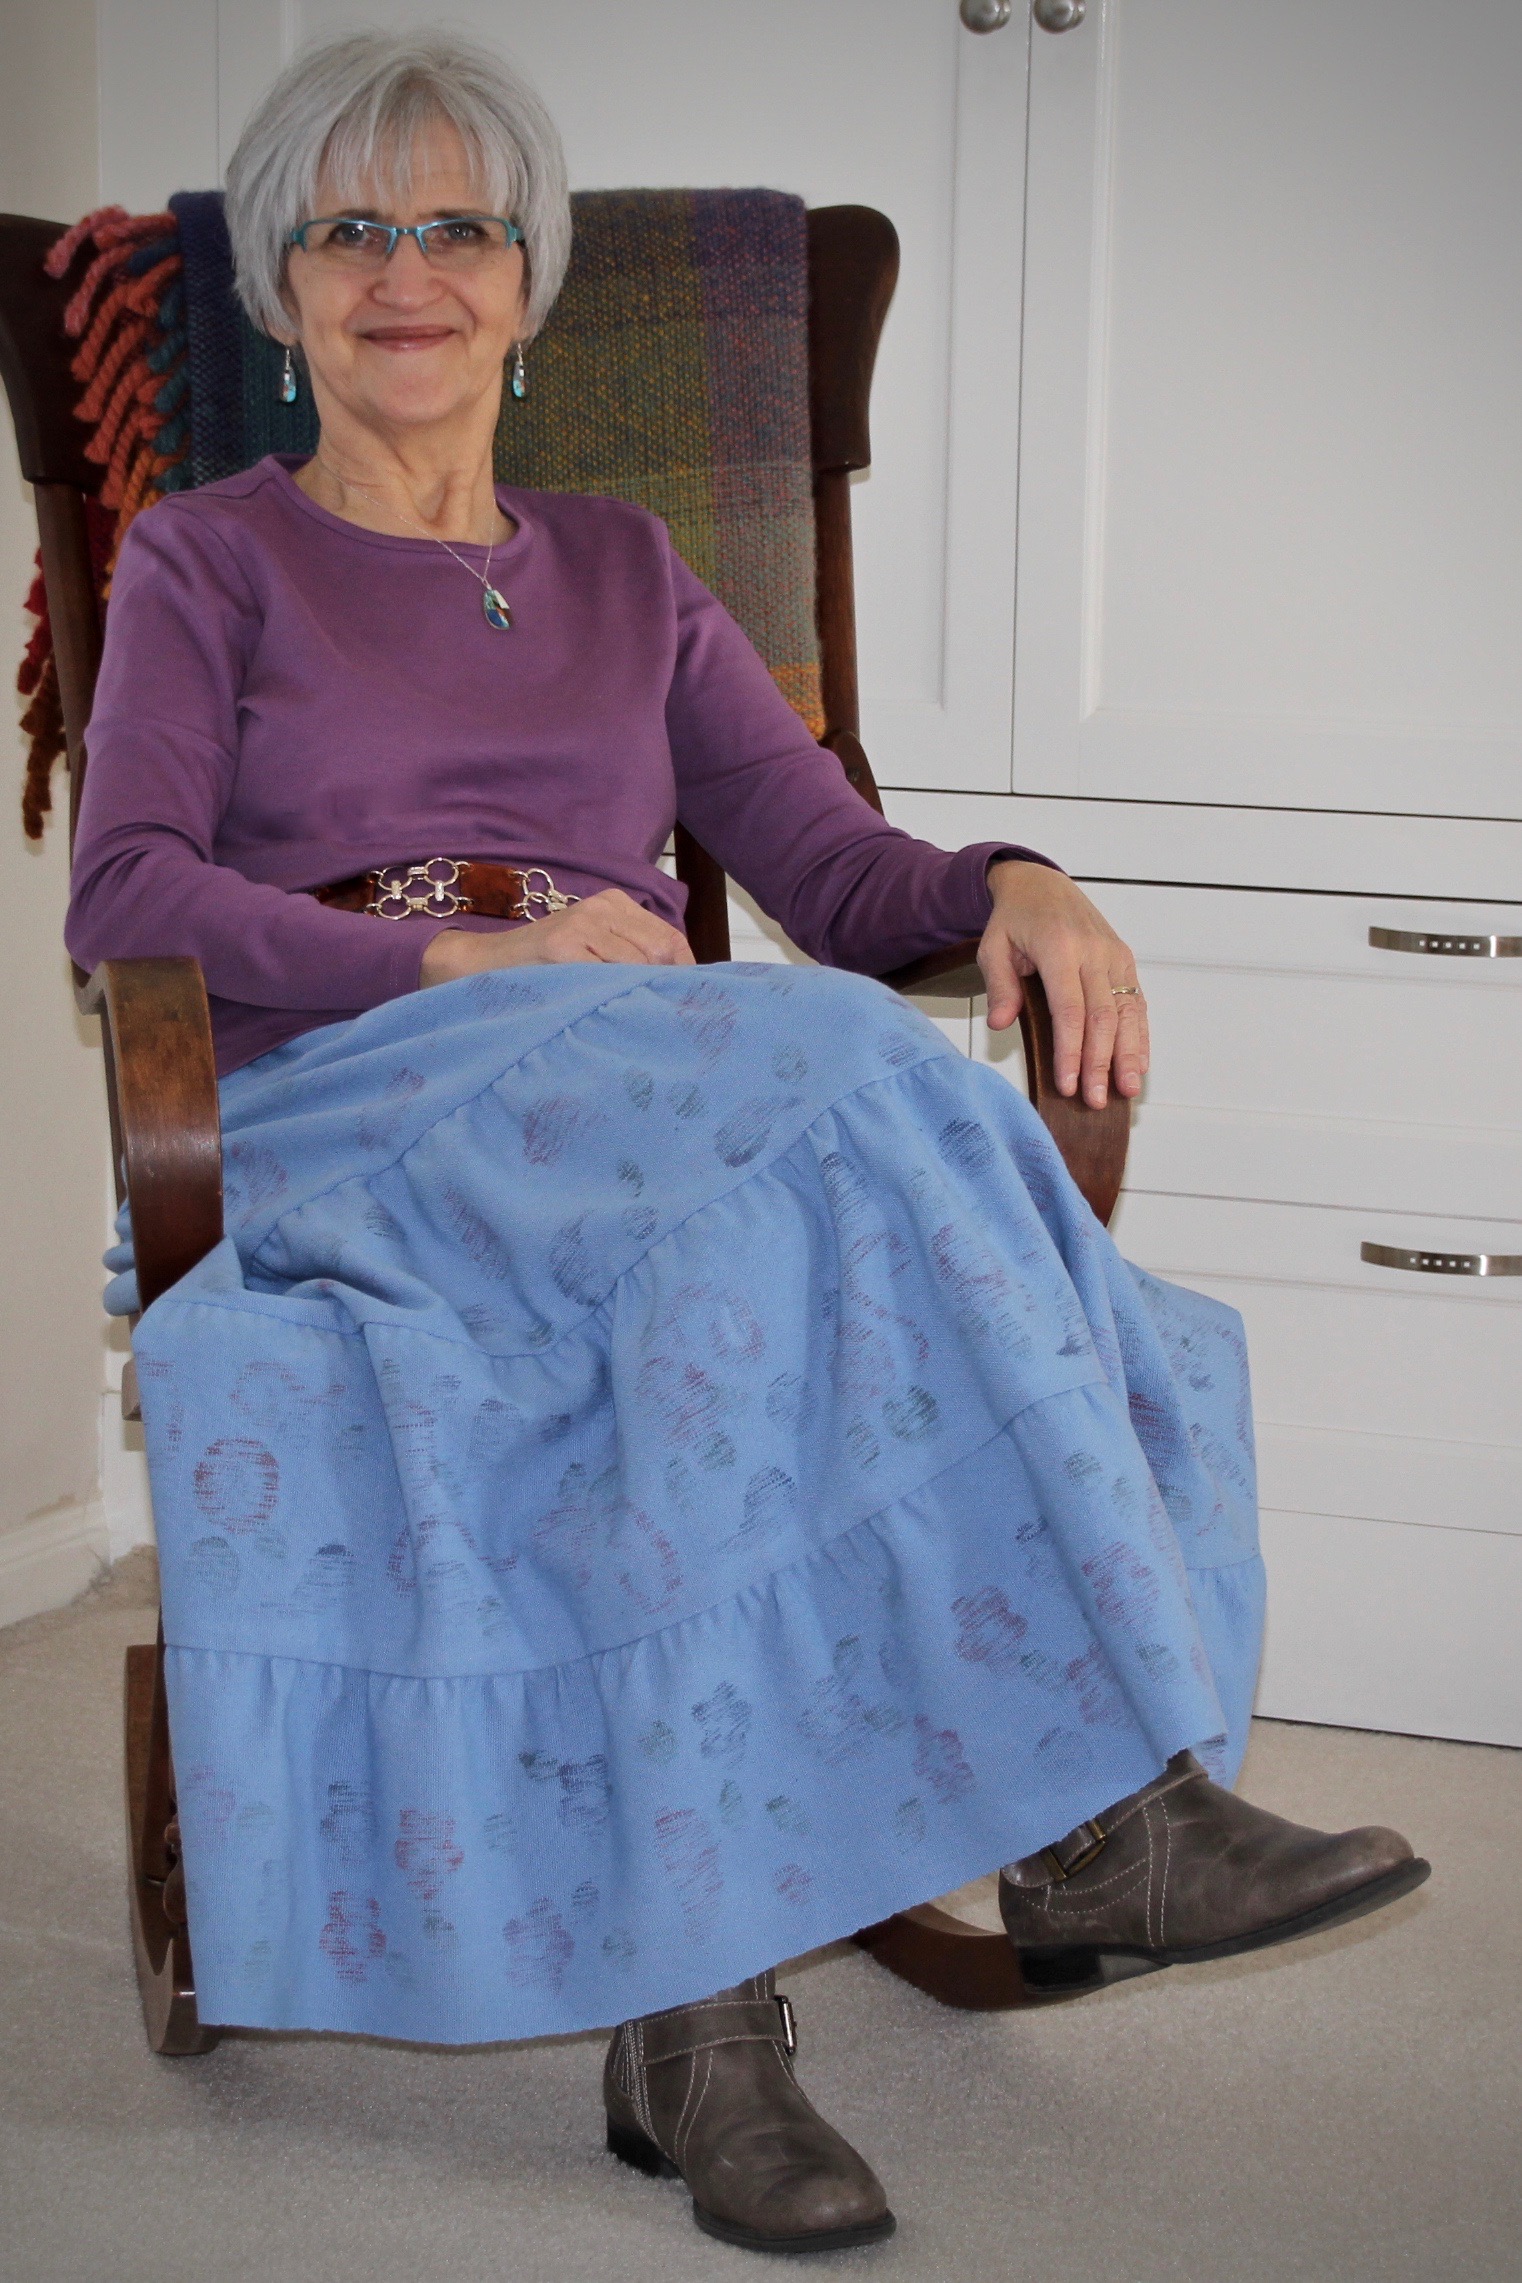
I just crossed an item off my weaving bucket list! Make a ‘cello skirt from handwoven fabric. A ‘cello skirt must be long, and full, and pretty. And if I can wear boots with it, so much the better. A favorite tiered skirt that I made a couple years ago from commercial fabric became the pattern for designing the handwoven fabric for a new skirt. This project included weaving a printed design by stamping the warp on the loom before it was woven. (To see this project develop, check out Related Posts in the sidebar.)
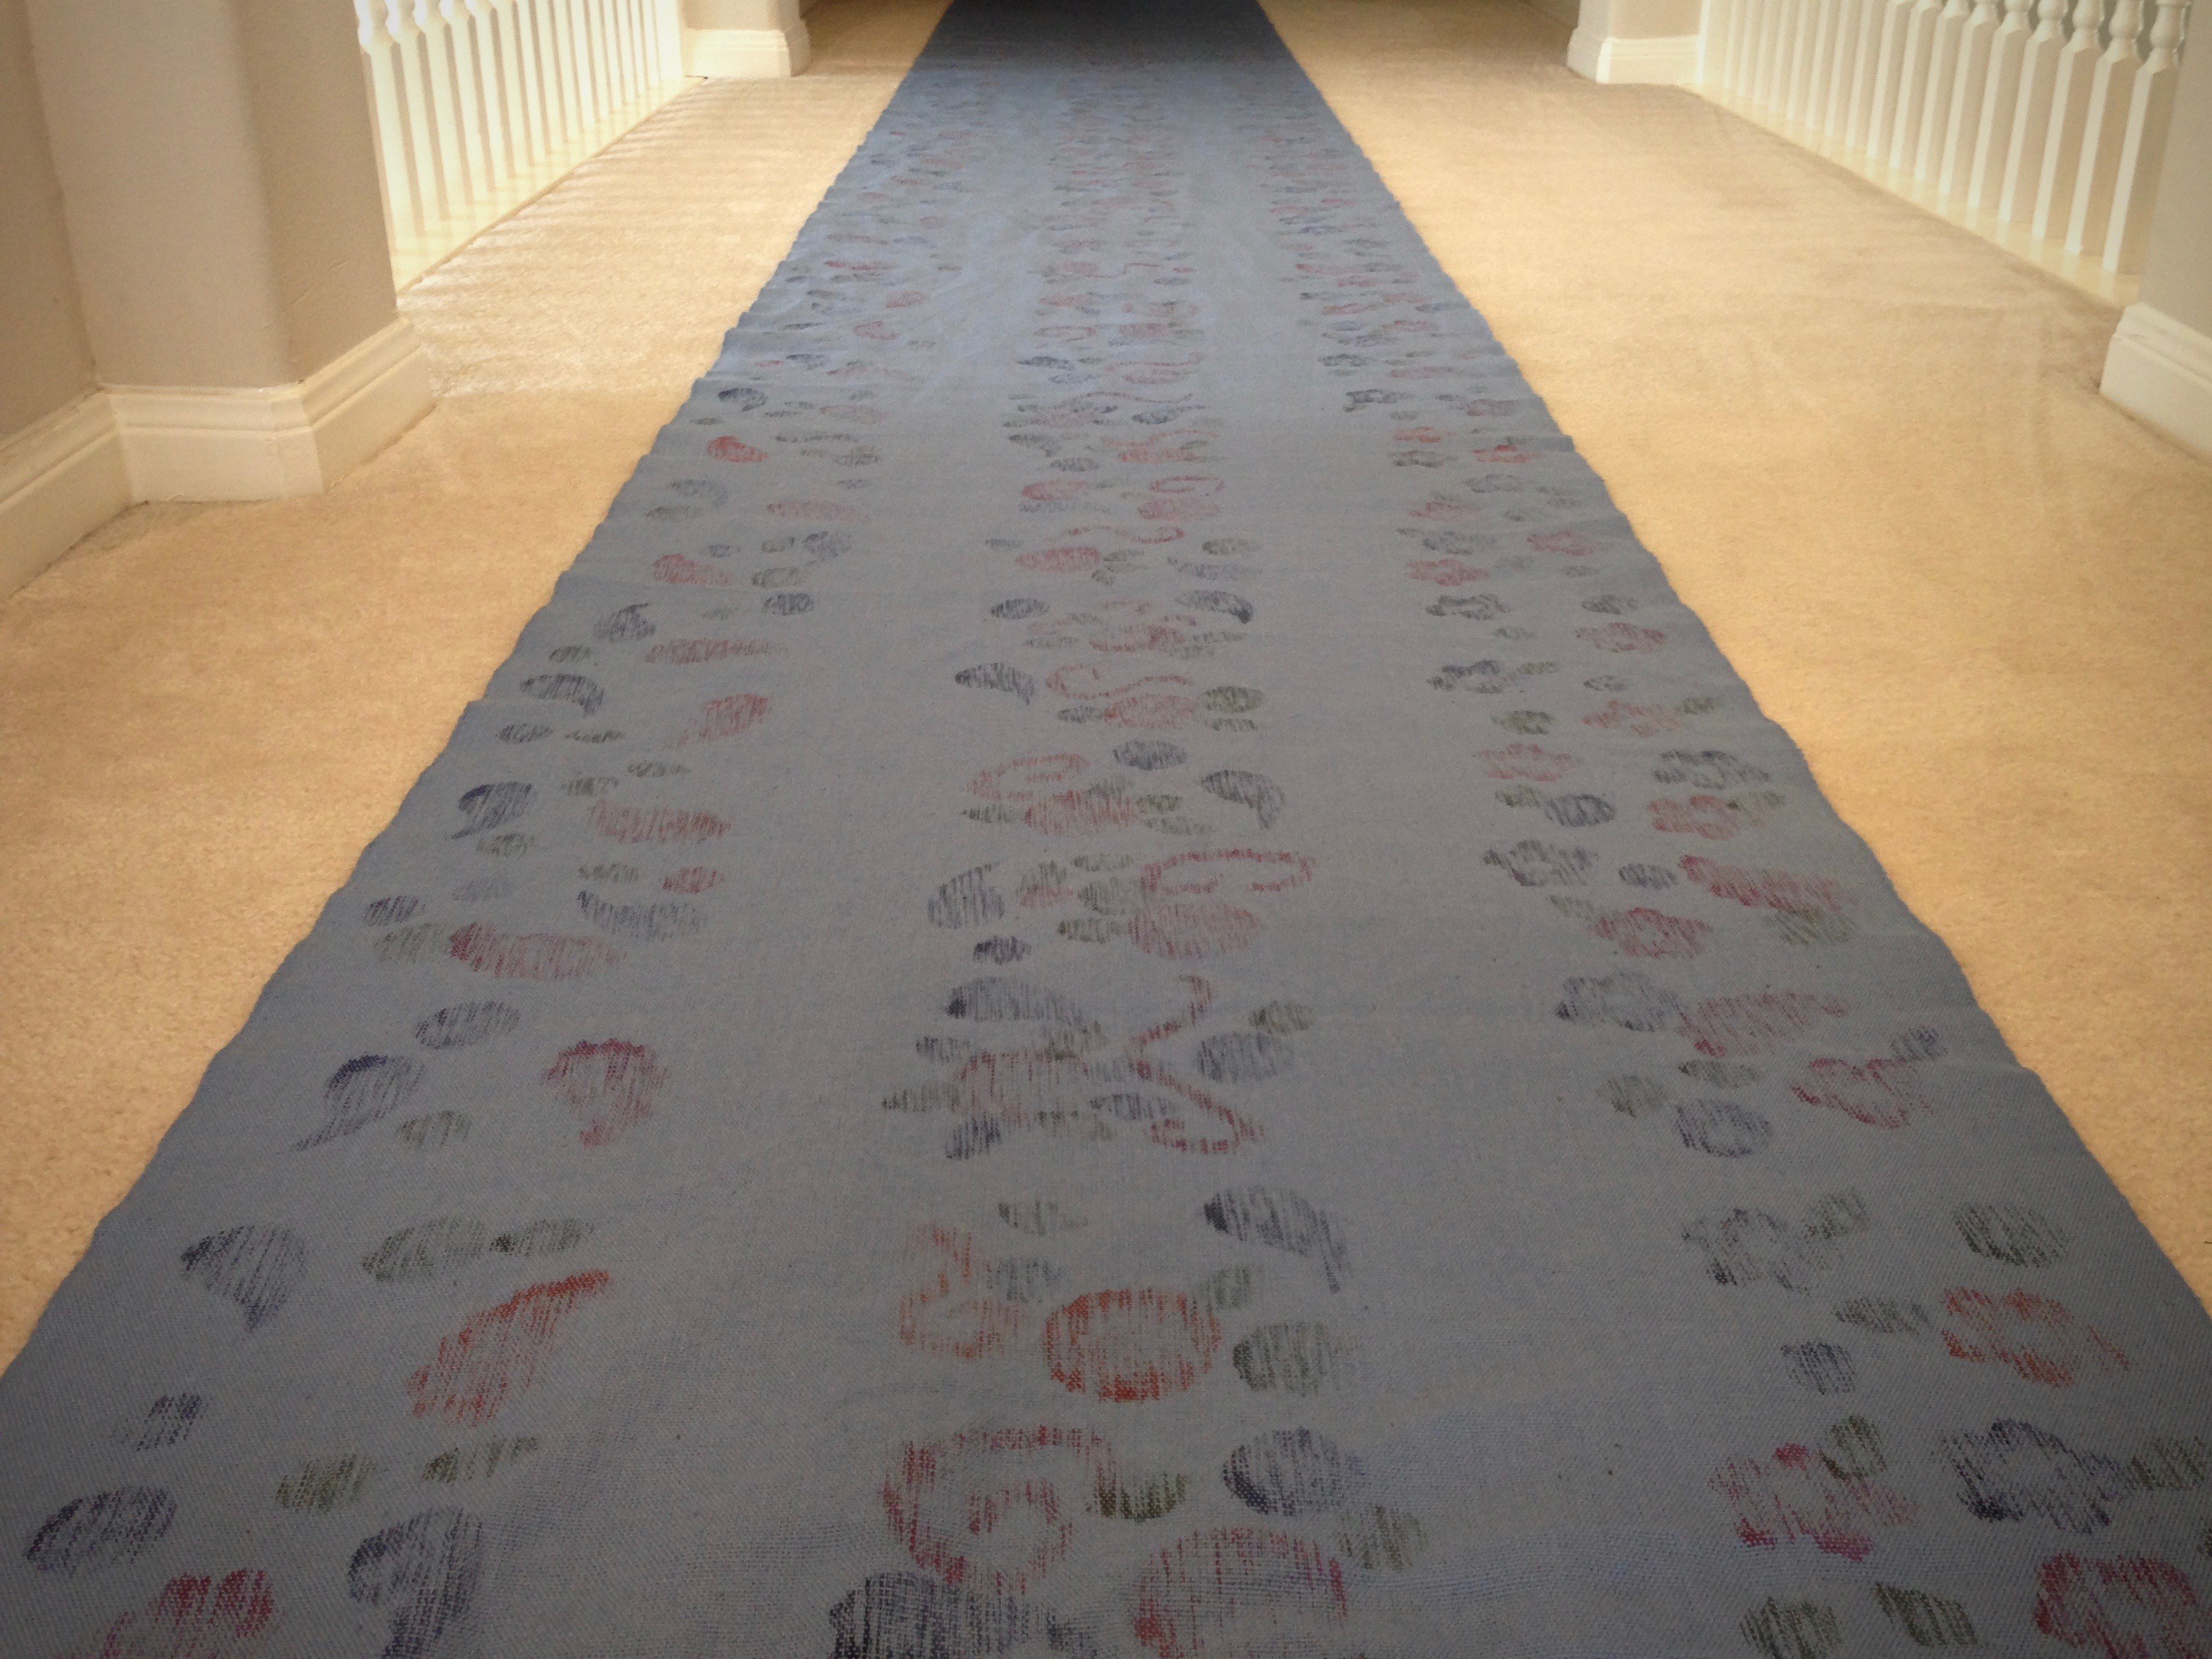
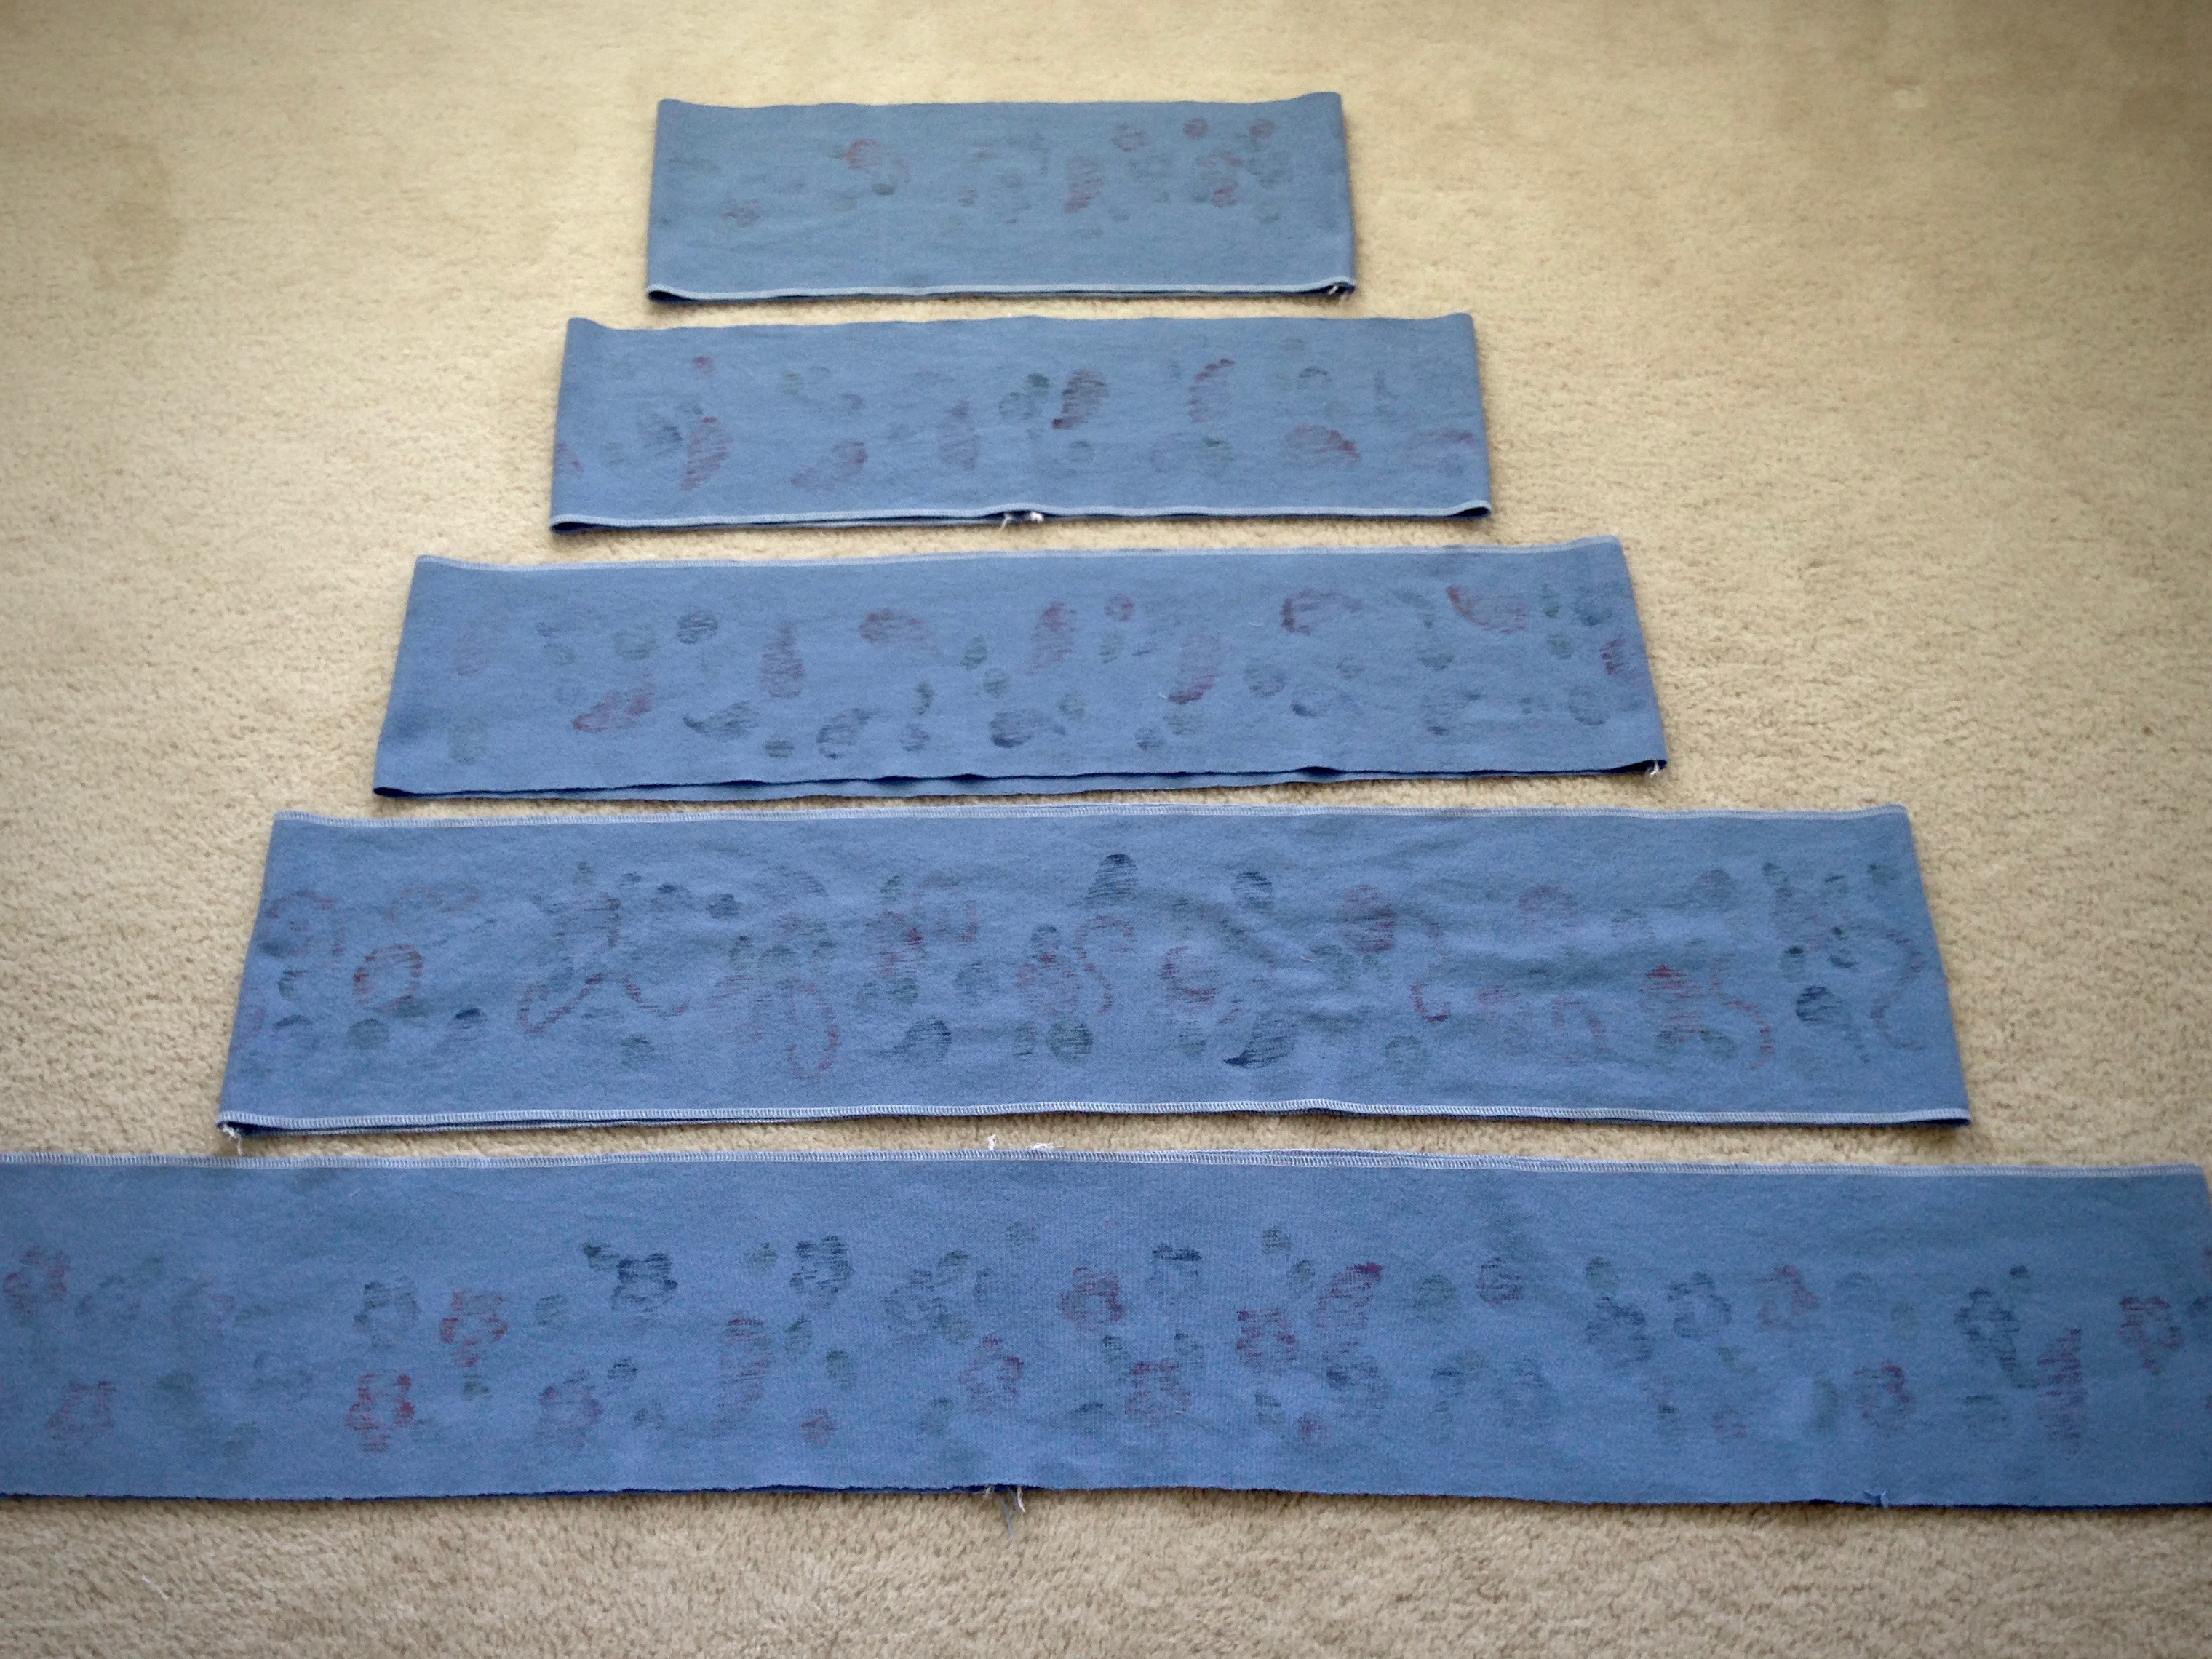
I needed five lengthwise tiers, so I planned it out so that each tier would have a different stamped pattern. This is light blue 8/2 cotton in plain weave, with a dense sett of 30 epi, making a medium-weight fabric. I softened the fabric as much as possible by washing and drying it on hot settings. By strategically placing selvedges at the top and at the bottom of the skirt, I was able to minimize thickness at the waist, and eliminate the need for a hem at the bottom. The finished tiered skirt is long, and full, and has a subtle pretty printed pattern that mildly resembles ikat. And this skirt is made for wearing with boots!
Just off the loom, cloth is rolled out on the floor. Five-tiered skirt was made from lengthwise rows of printed fabric.Tiers are cut and raw edges serged. Each tier seam is sewn. Floor layout helps to plan placement of seams and printed patterns.Bulk is reduced at elastic waistband by adding pretty grosgrain ribbon for the casing, right next to the handwoven fabric’s selvedge.Selvedge forms the bottom edge of skirt, so no hem is needed. Warp-stamped fabric appears as a subtle print.Happy ‘celllist.
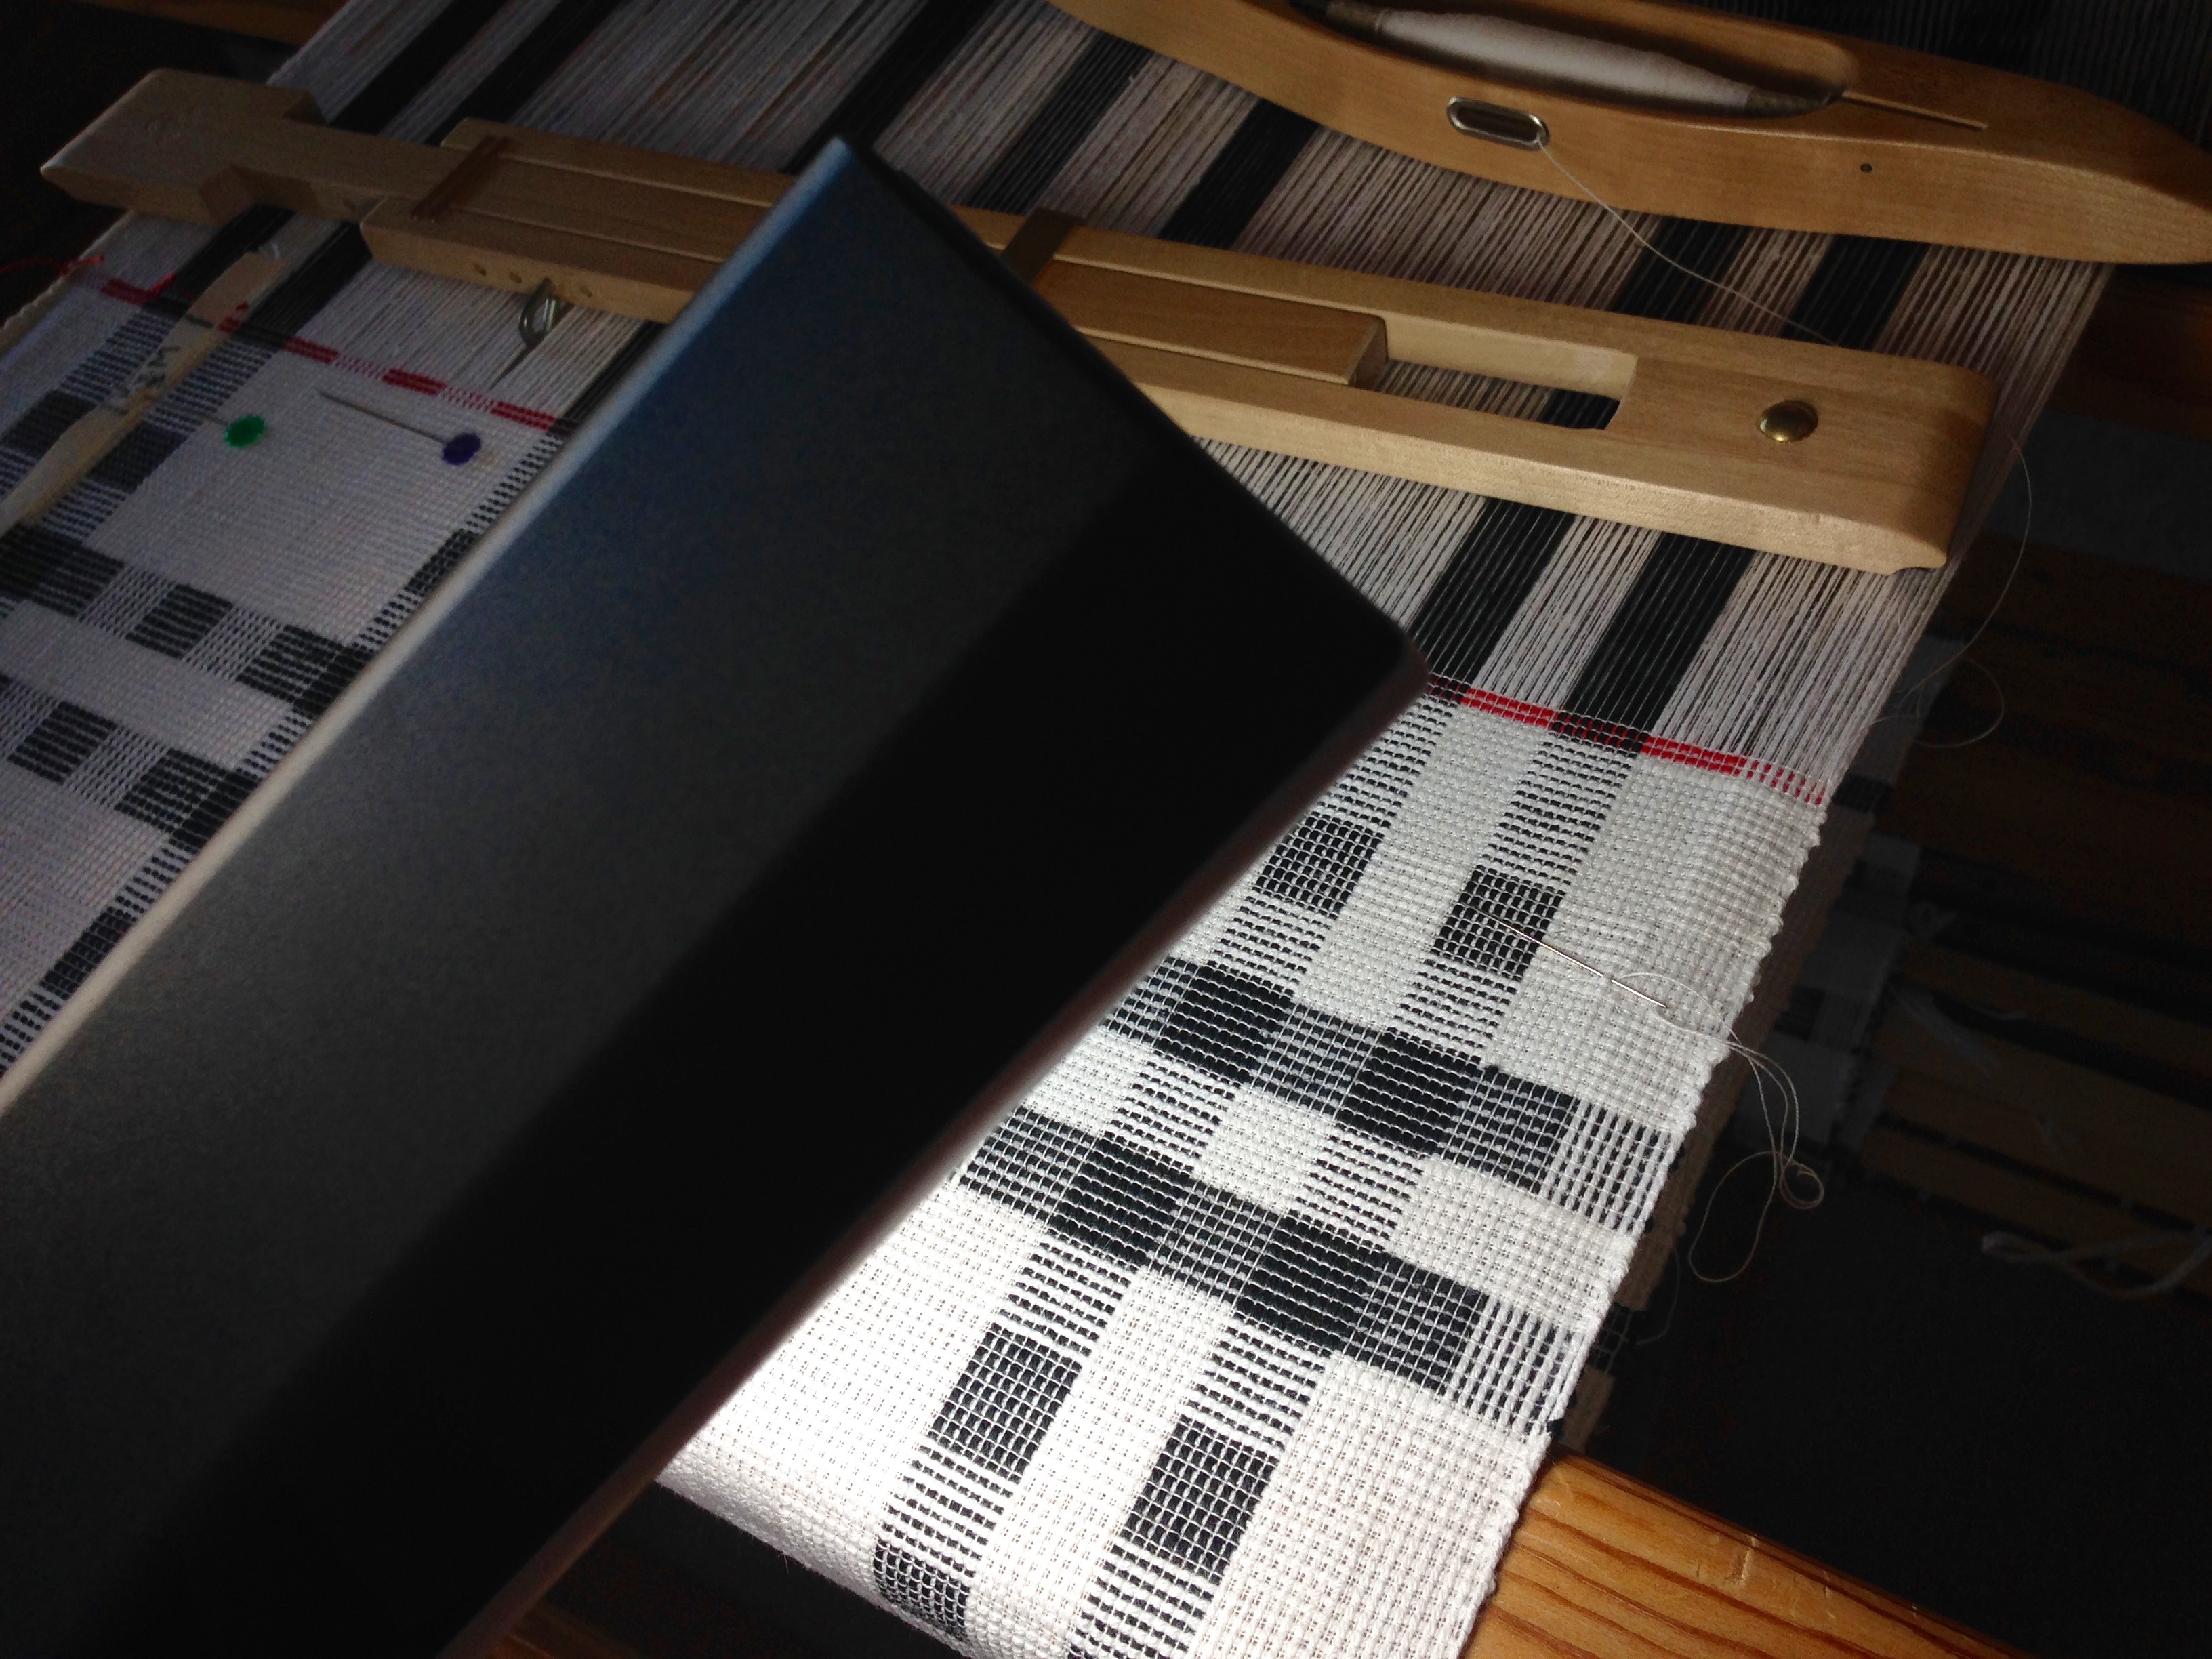
Sunshine coming through the windows is marvelous for weaving. But my eyes need extra light to see small details. This is noticeably true with errors that I mend on the loom and off the loom. I turn on extra lighting at other times, too–when threading fine threads, sleying the reed with fine or dark threads, counting picks per inch on woven cloth, and checking the treadling pattern in a fine weave, for example. And sometimes I turn on extra lighting for no other reason than it’s a cloudy day.
Tools:
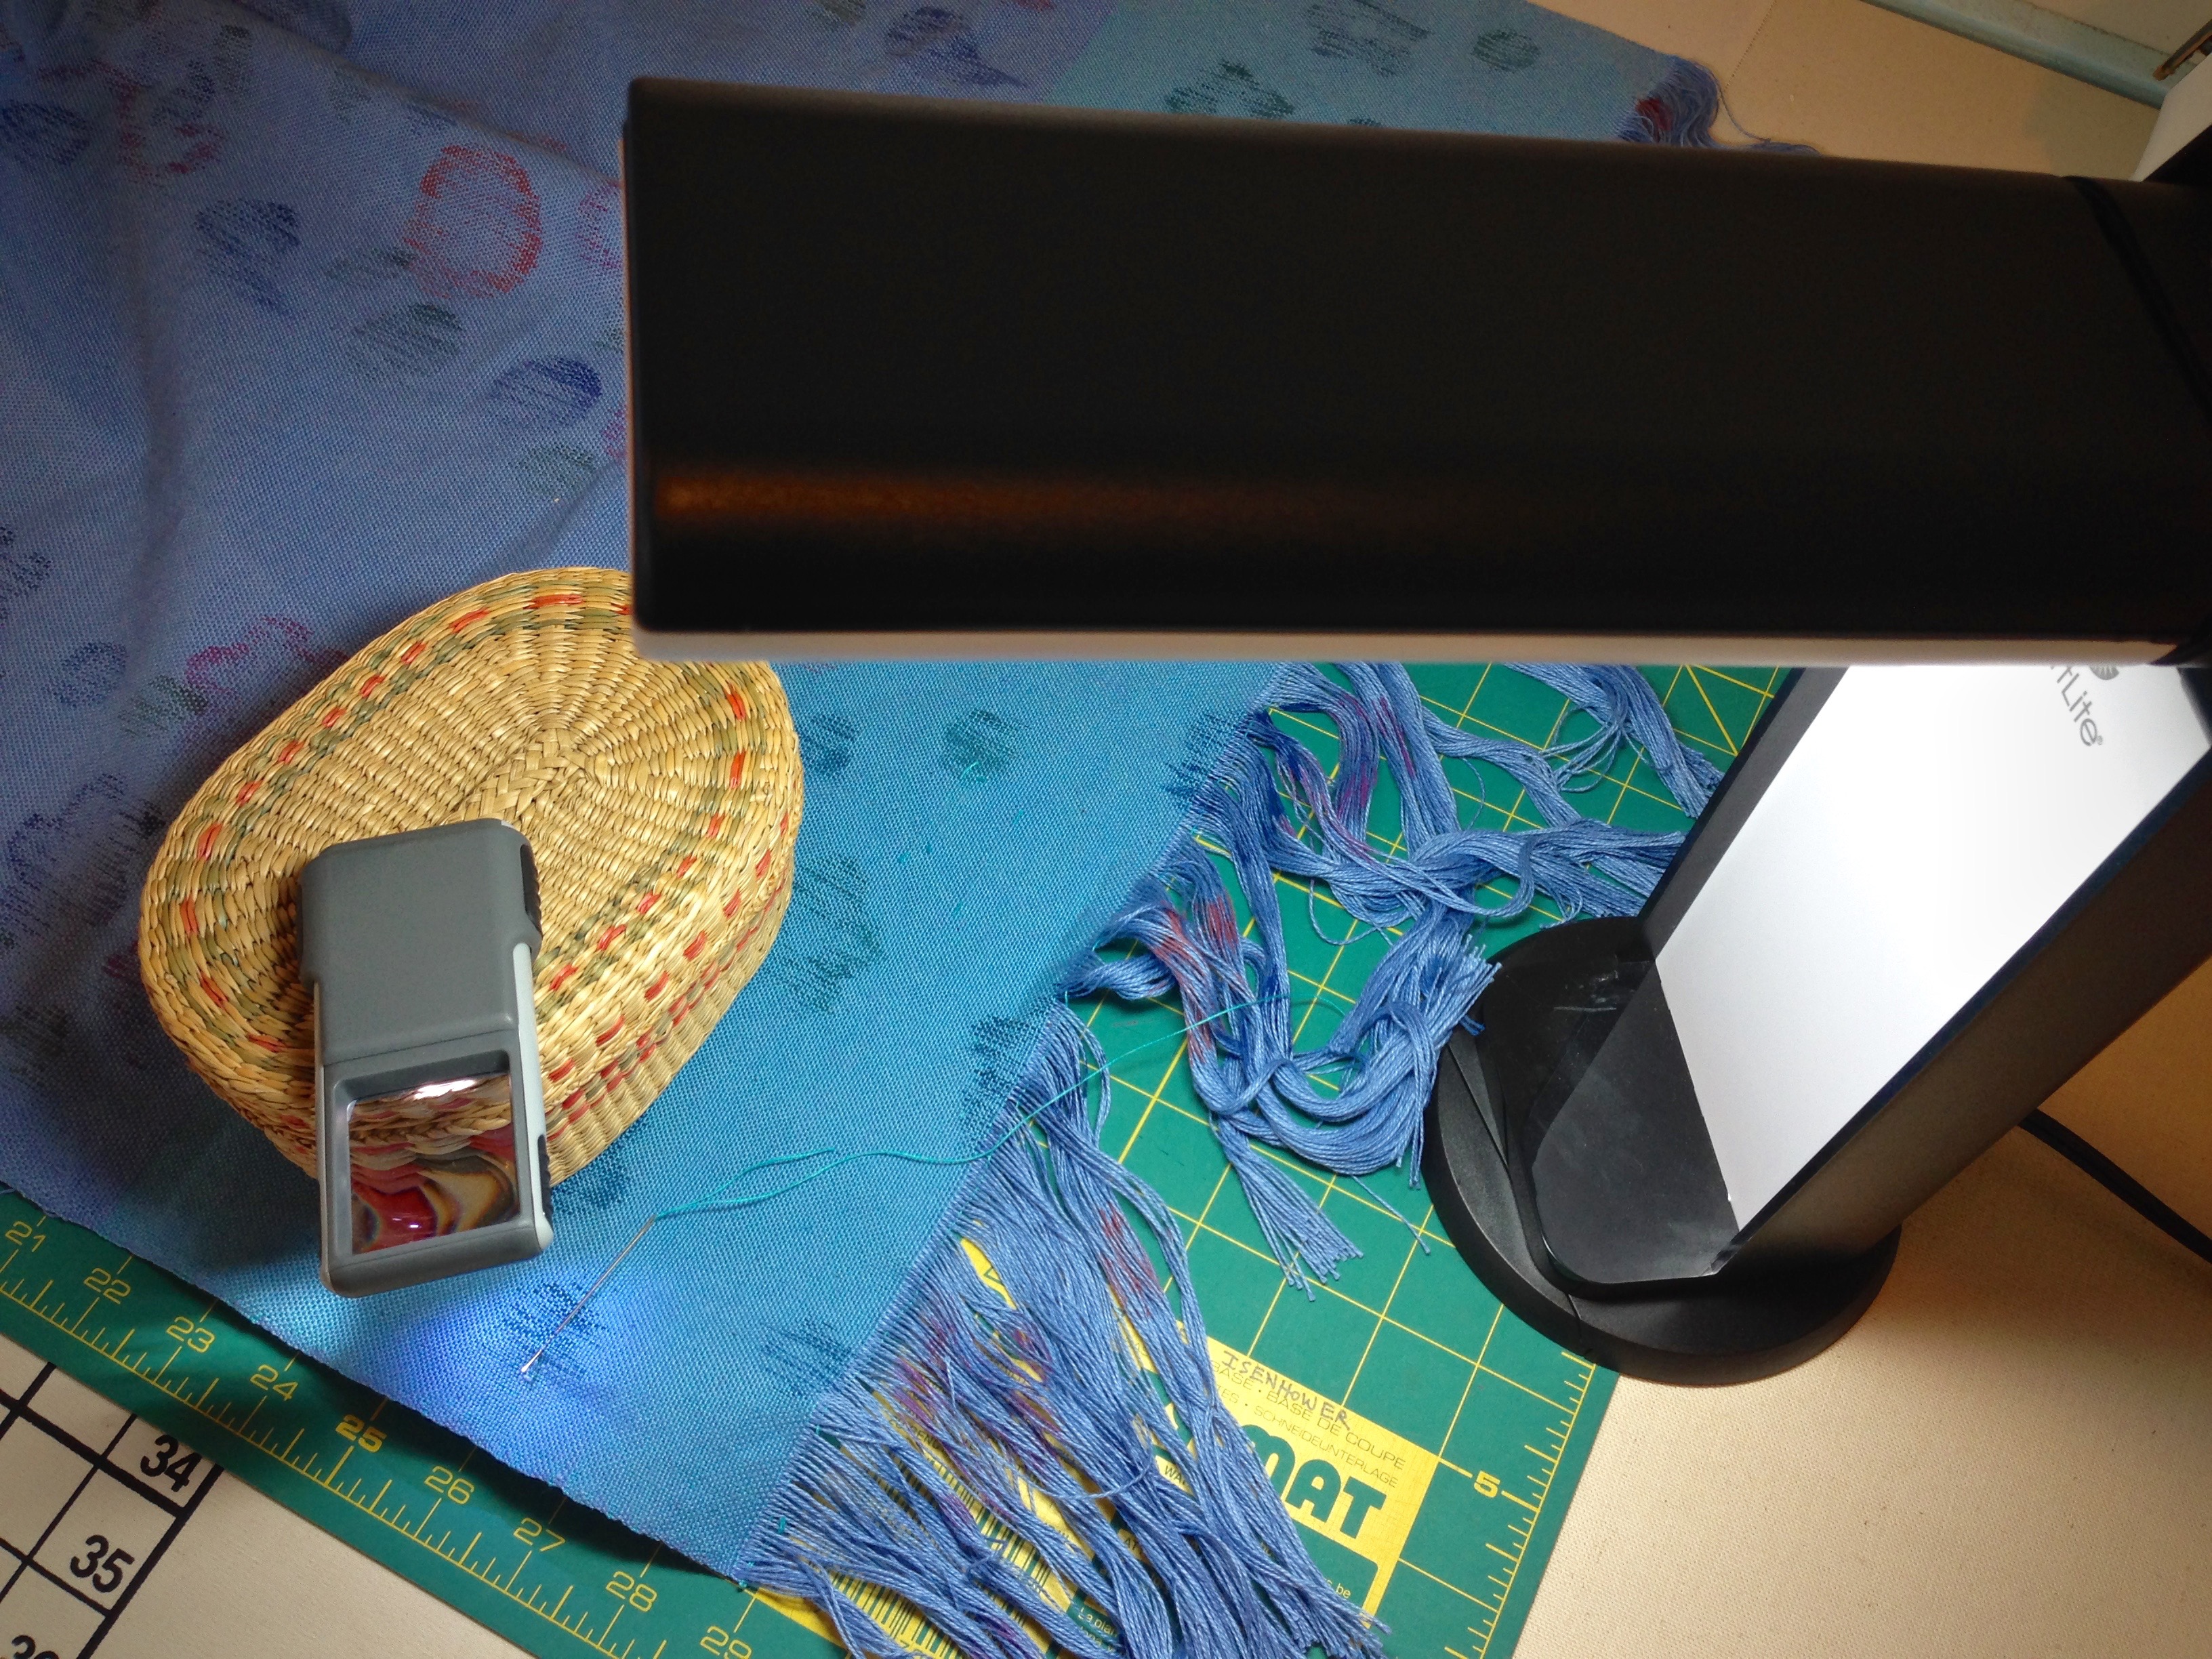
OttLite Task Lamp with Swivel Base
Handheld lighted magnifier
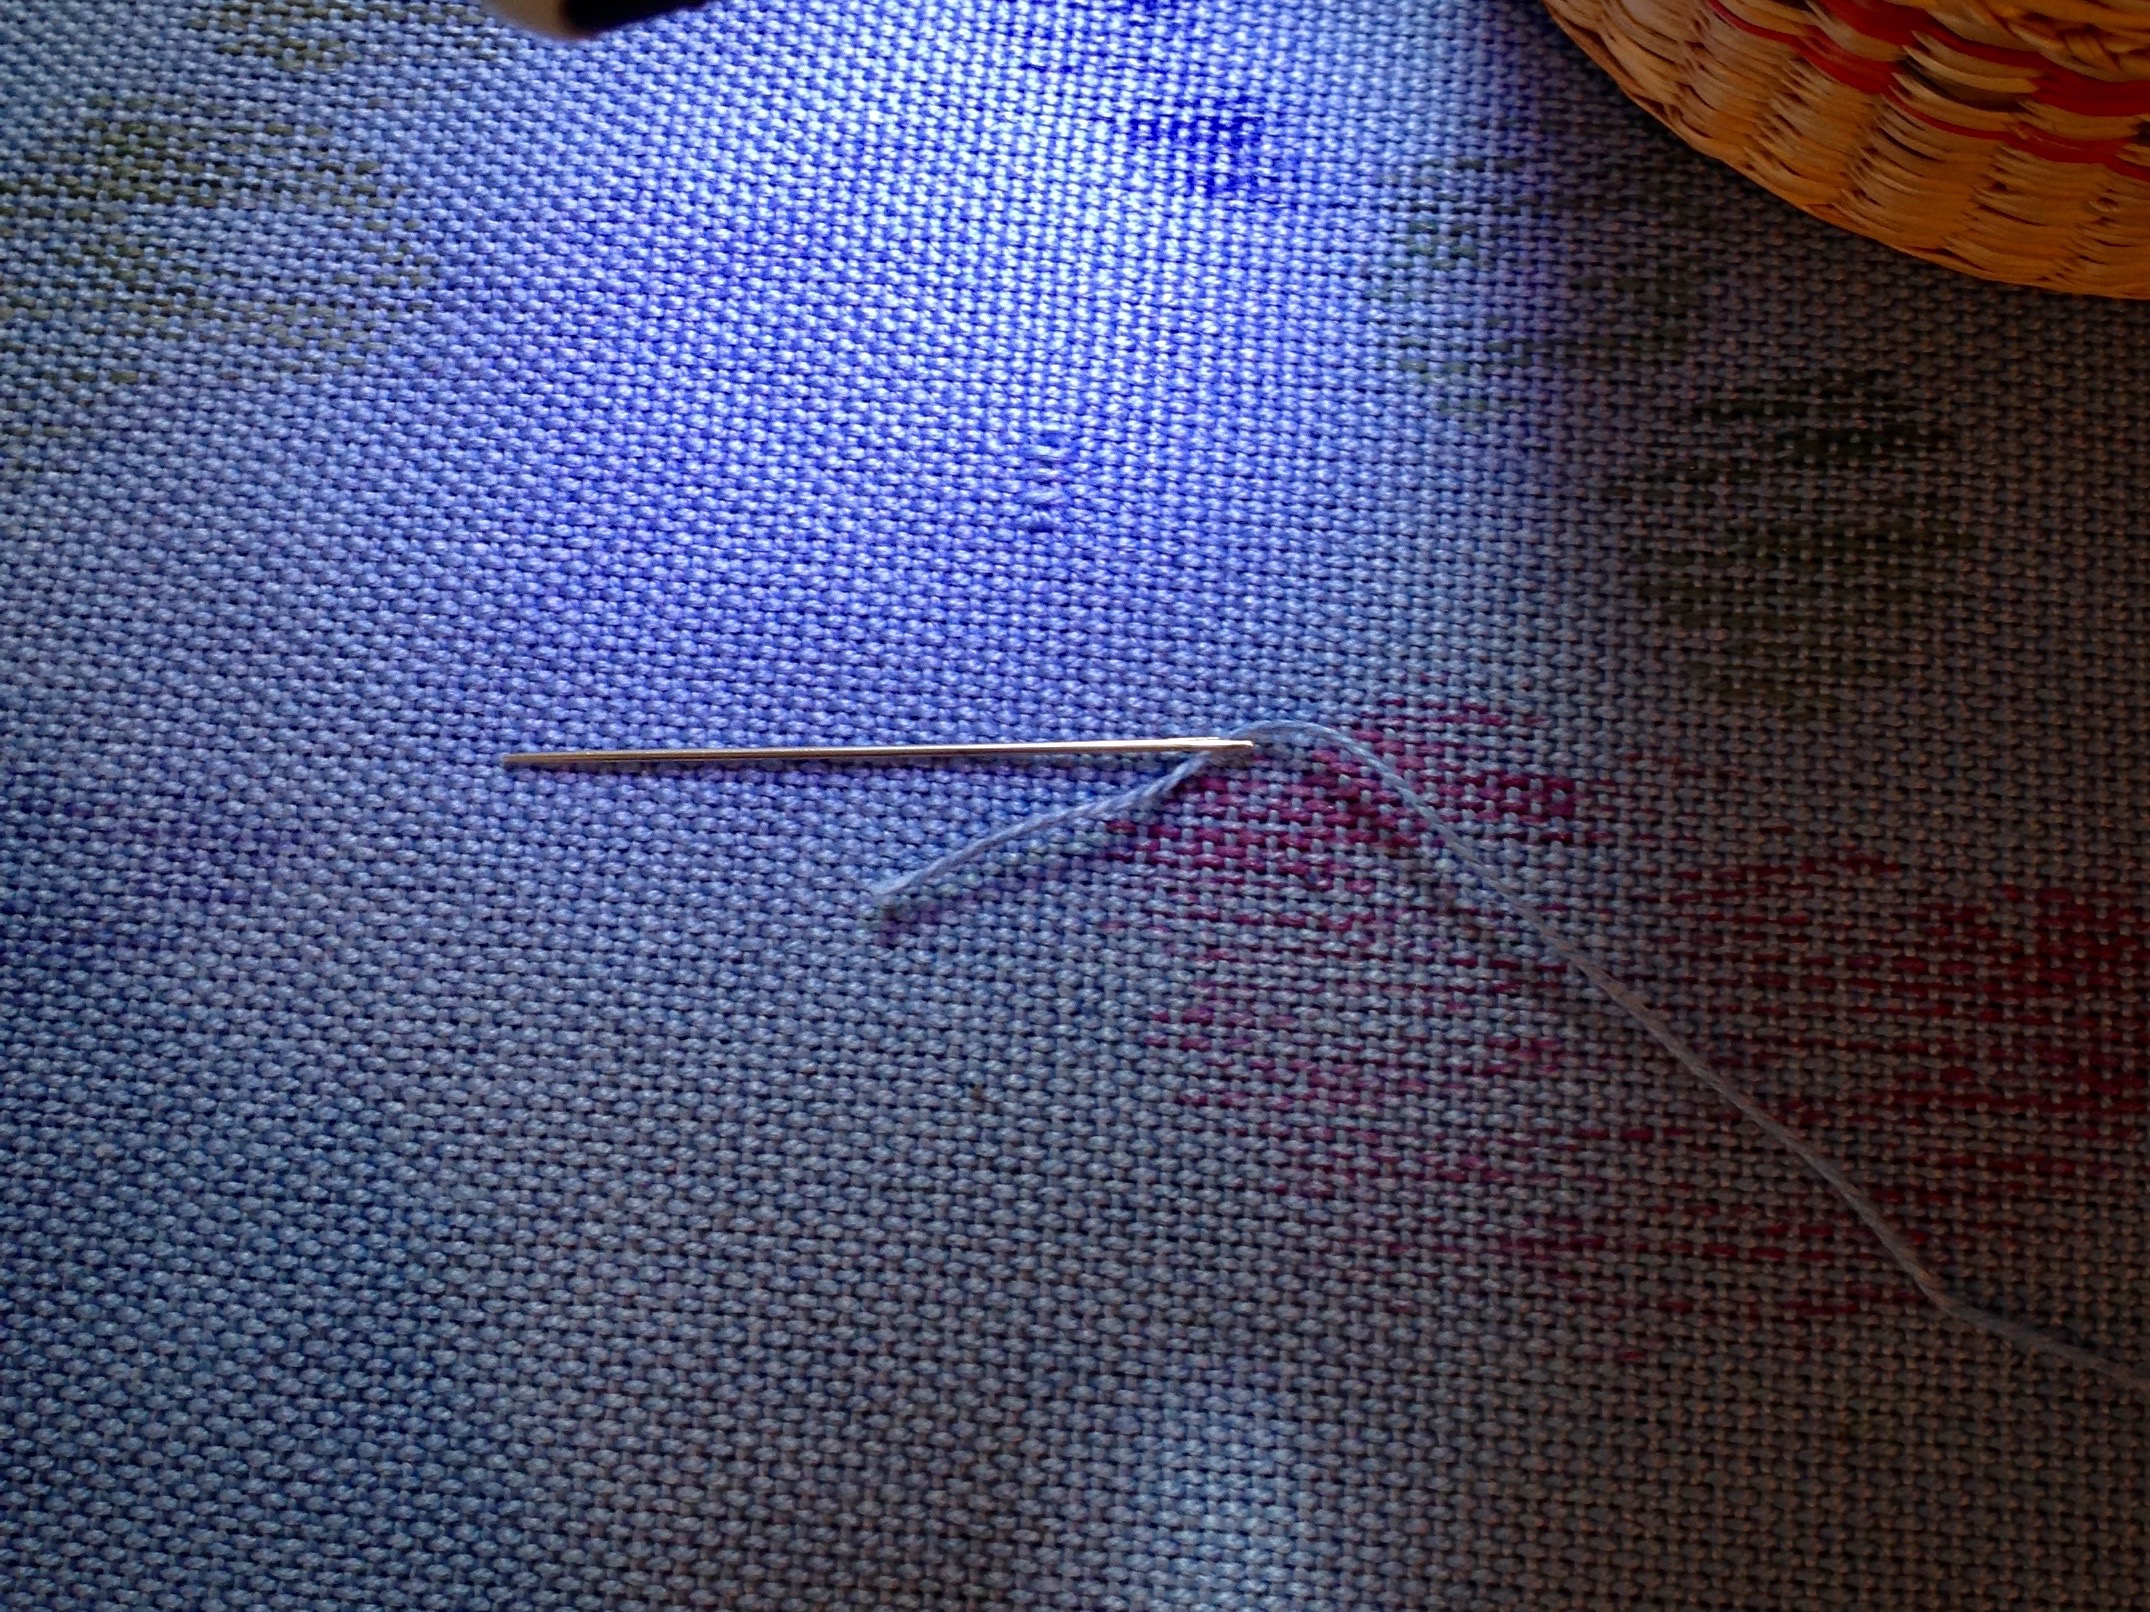
Pin marks the spot where I broke a thin weft thread, 30/2 cotton, with the temple.Repair area is flooded with light from my portable OttLite.Illuminated stitches are easily seen. A replacement length of weft is needle-woven in.Series of errant floats are discovered after this fabric is removed from the loom. At 30 ends per inch, my eyes strain to see where to weave the needle.Needing more than the bright OttLite, I add magnification. Pairing the OttLite with the handheld lighted magnifier does the trick!Lighted magnifier, reflecting the OttLite just overhead, balances perfectly on a small sewing basket. Now I can actually see the threads I am fixing.
To further reduce eye strain, I am considering other lighting options. Have you had success with task lighting? I’d love to hear about it. Share your experience and recommendations in the comments.
My Lighting Wish List:
Full spectrum floor lamp
Adjustable-arm magnifying task light to clamp on table or loom