Warp Stamping Is Over

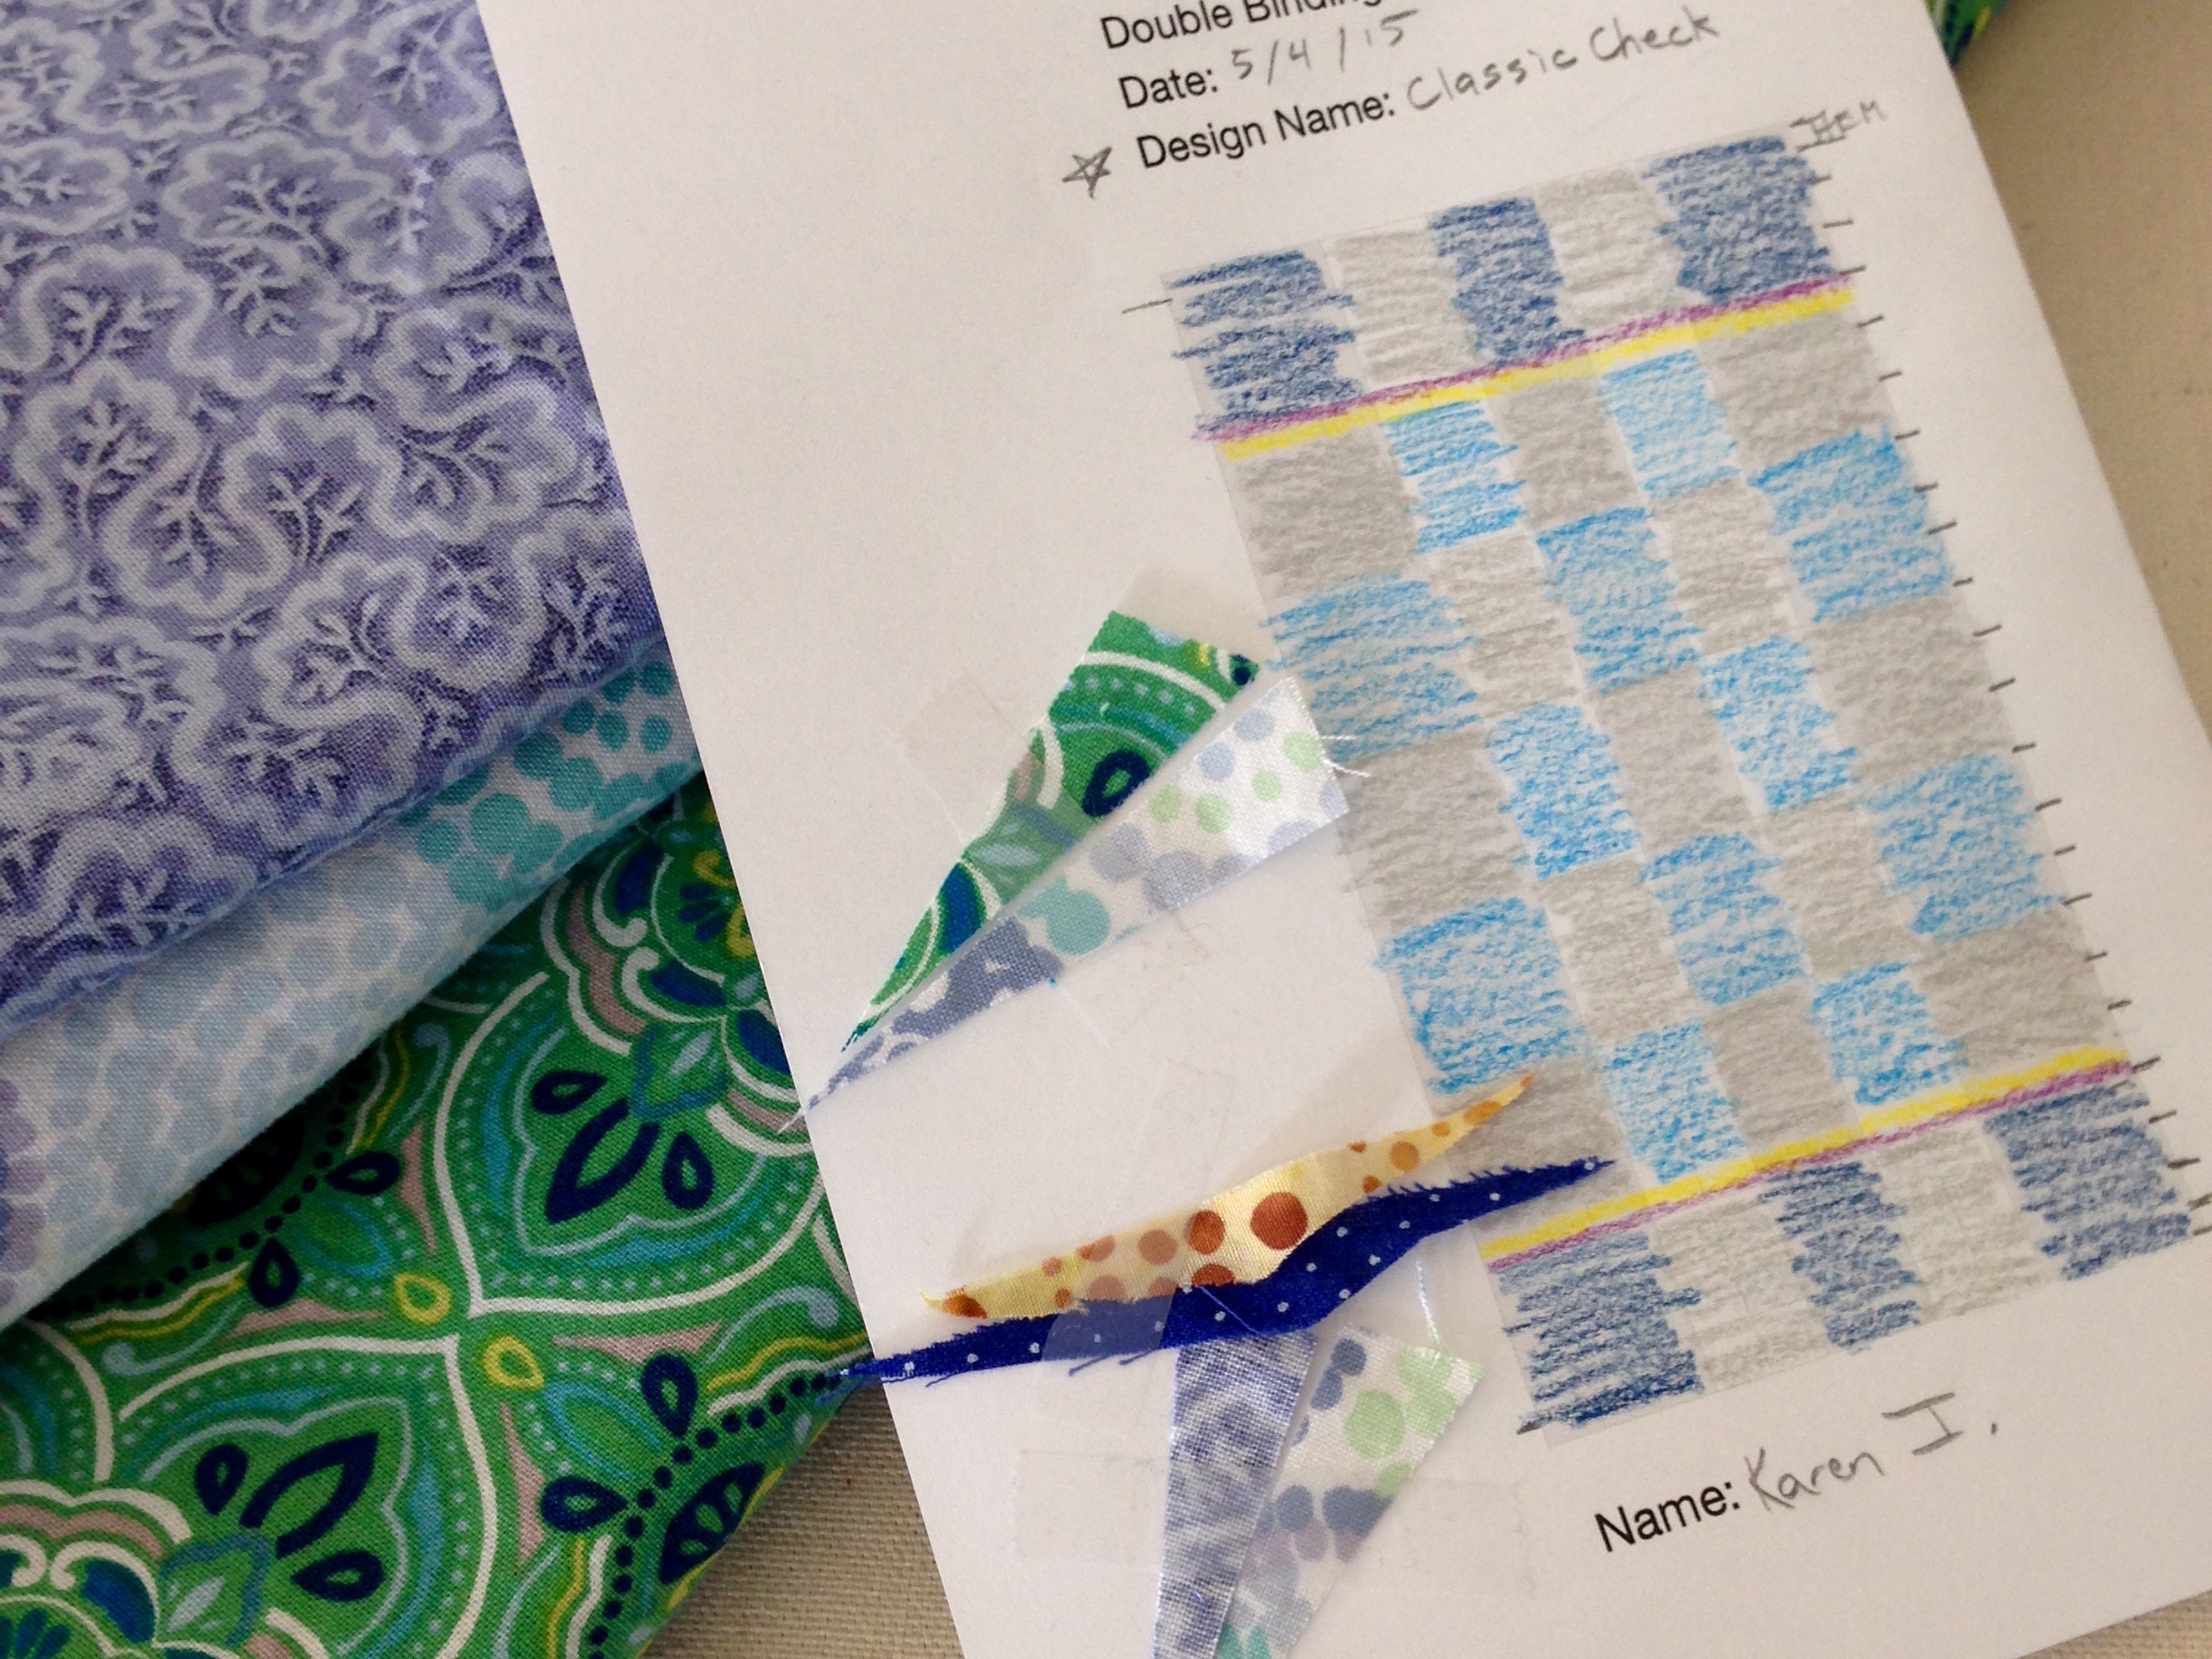
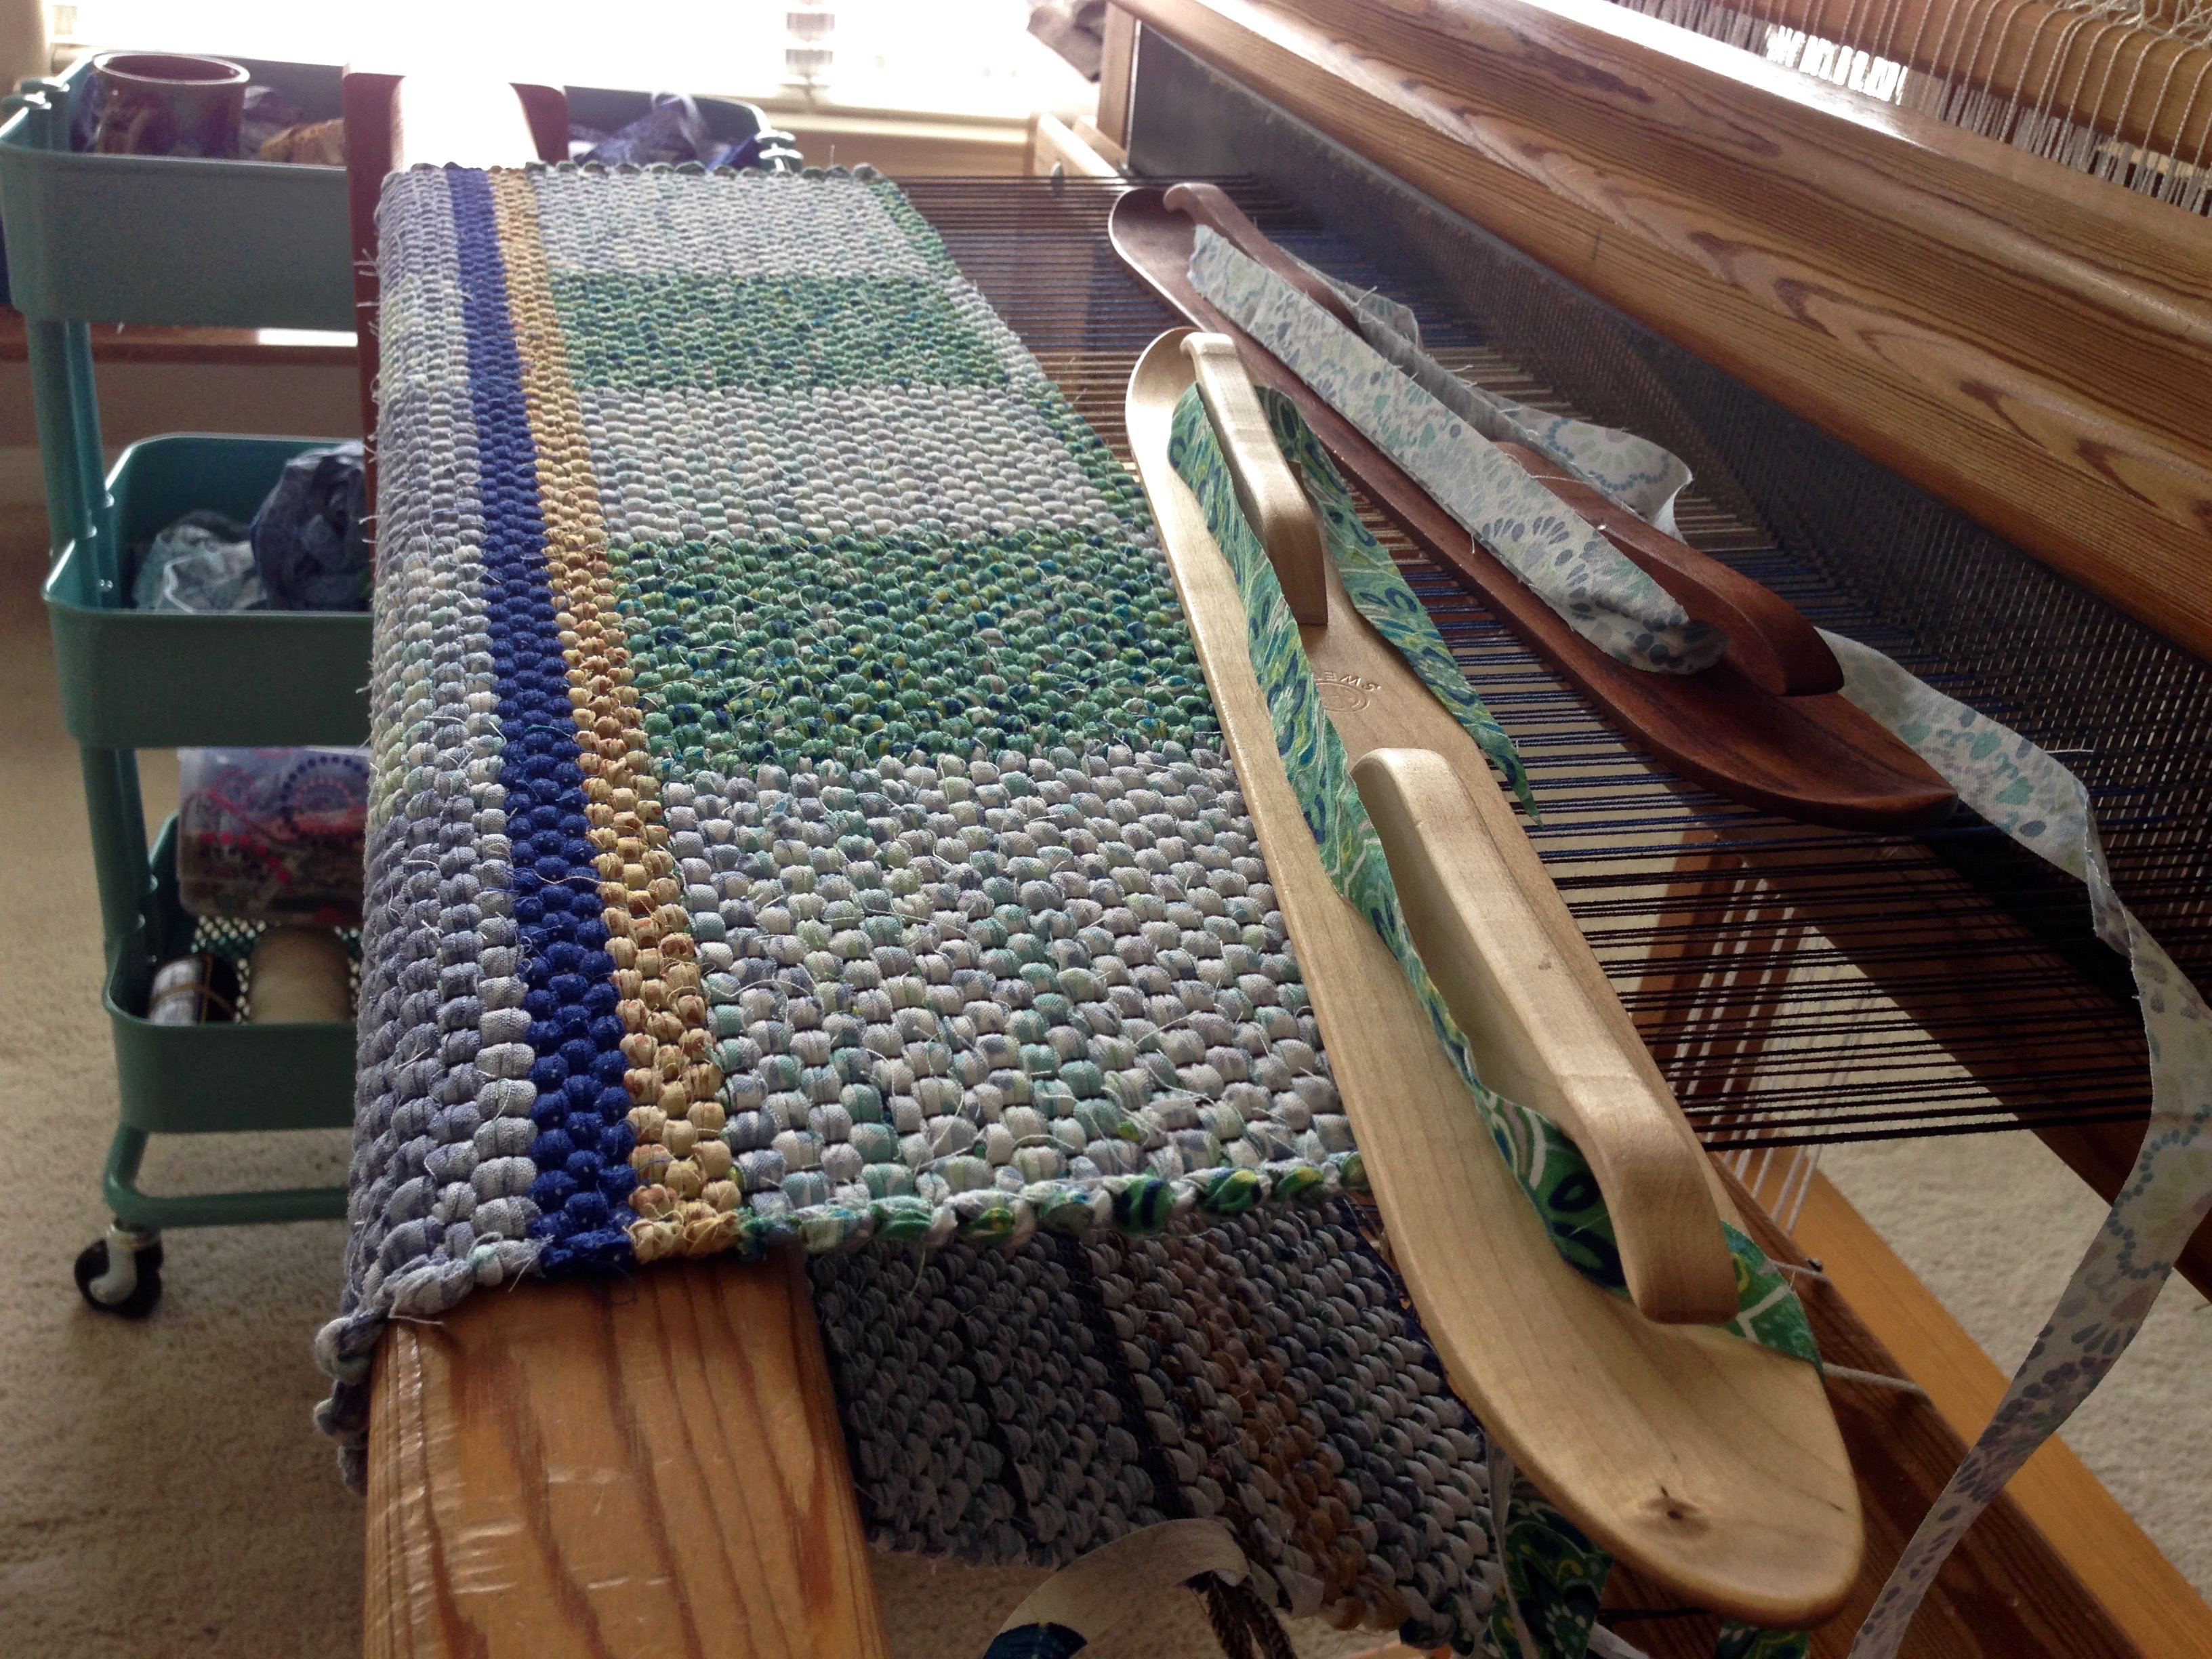
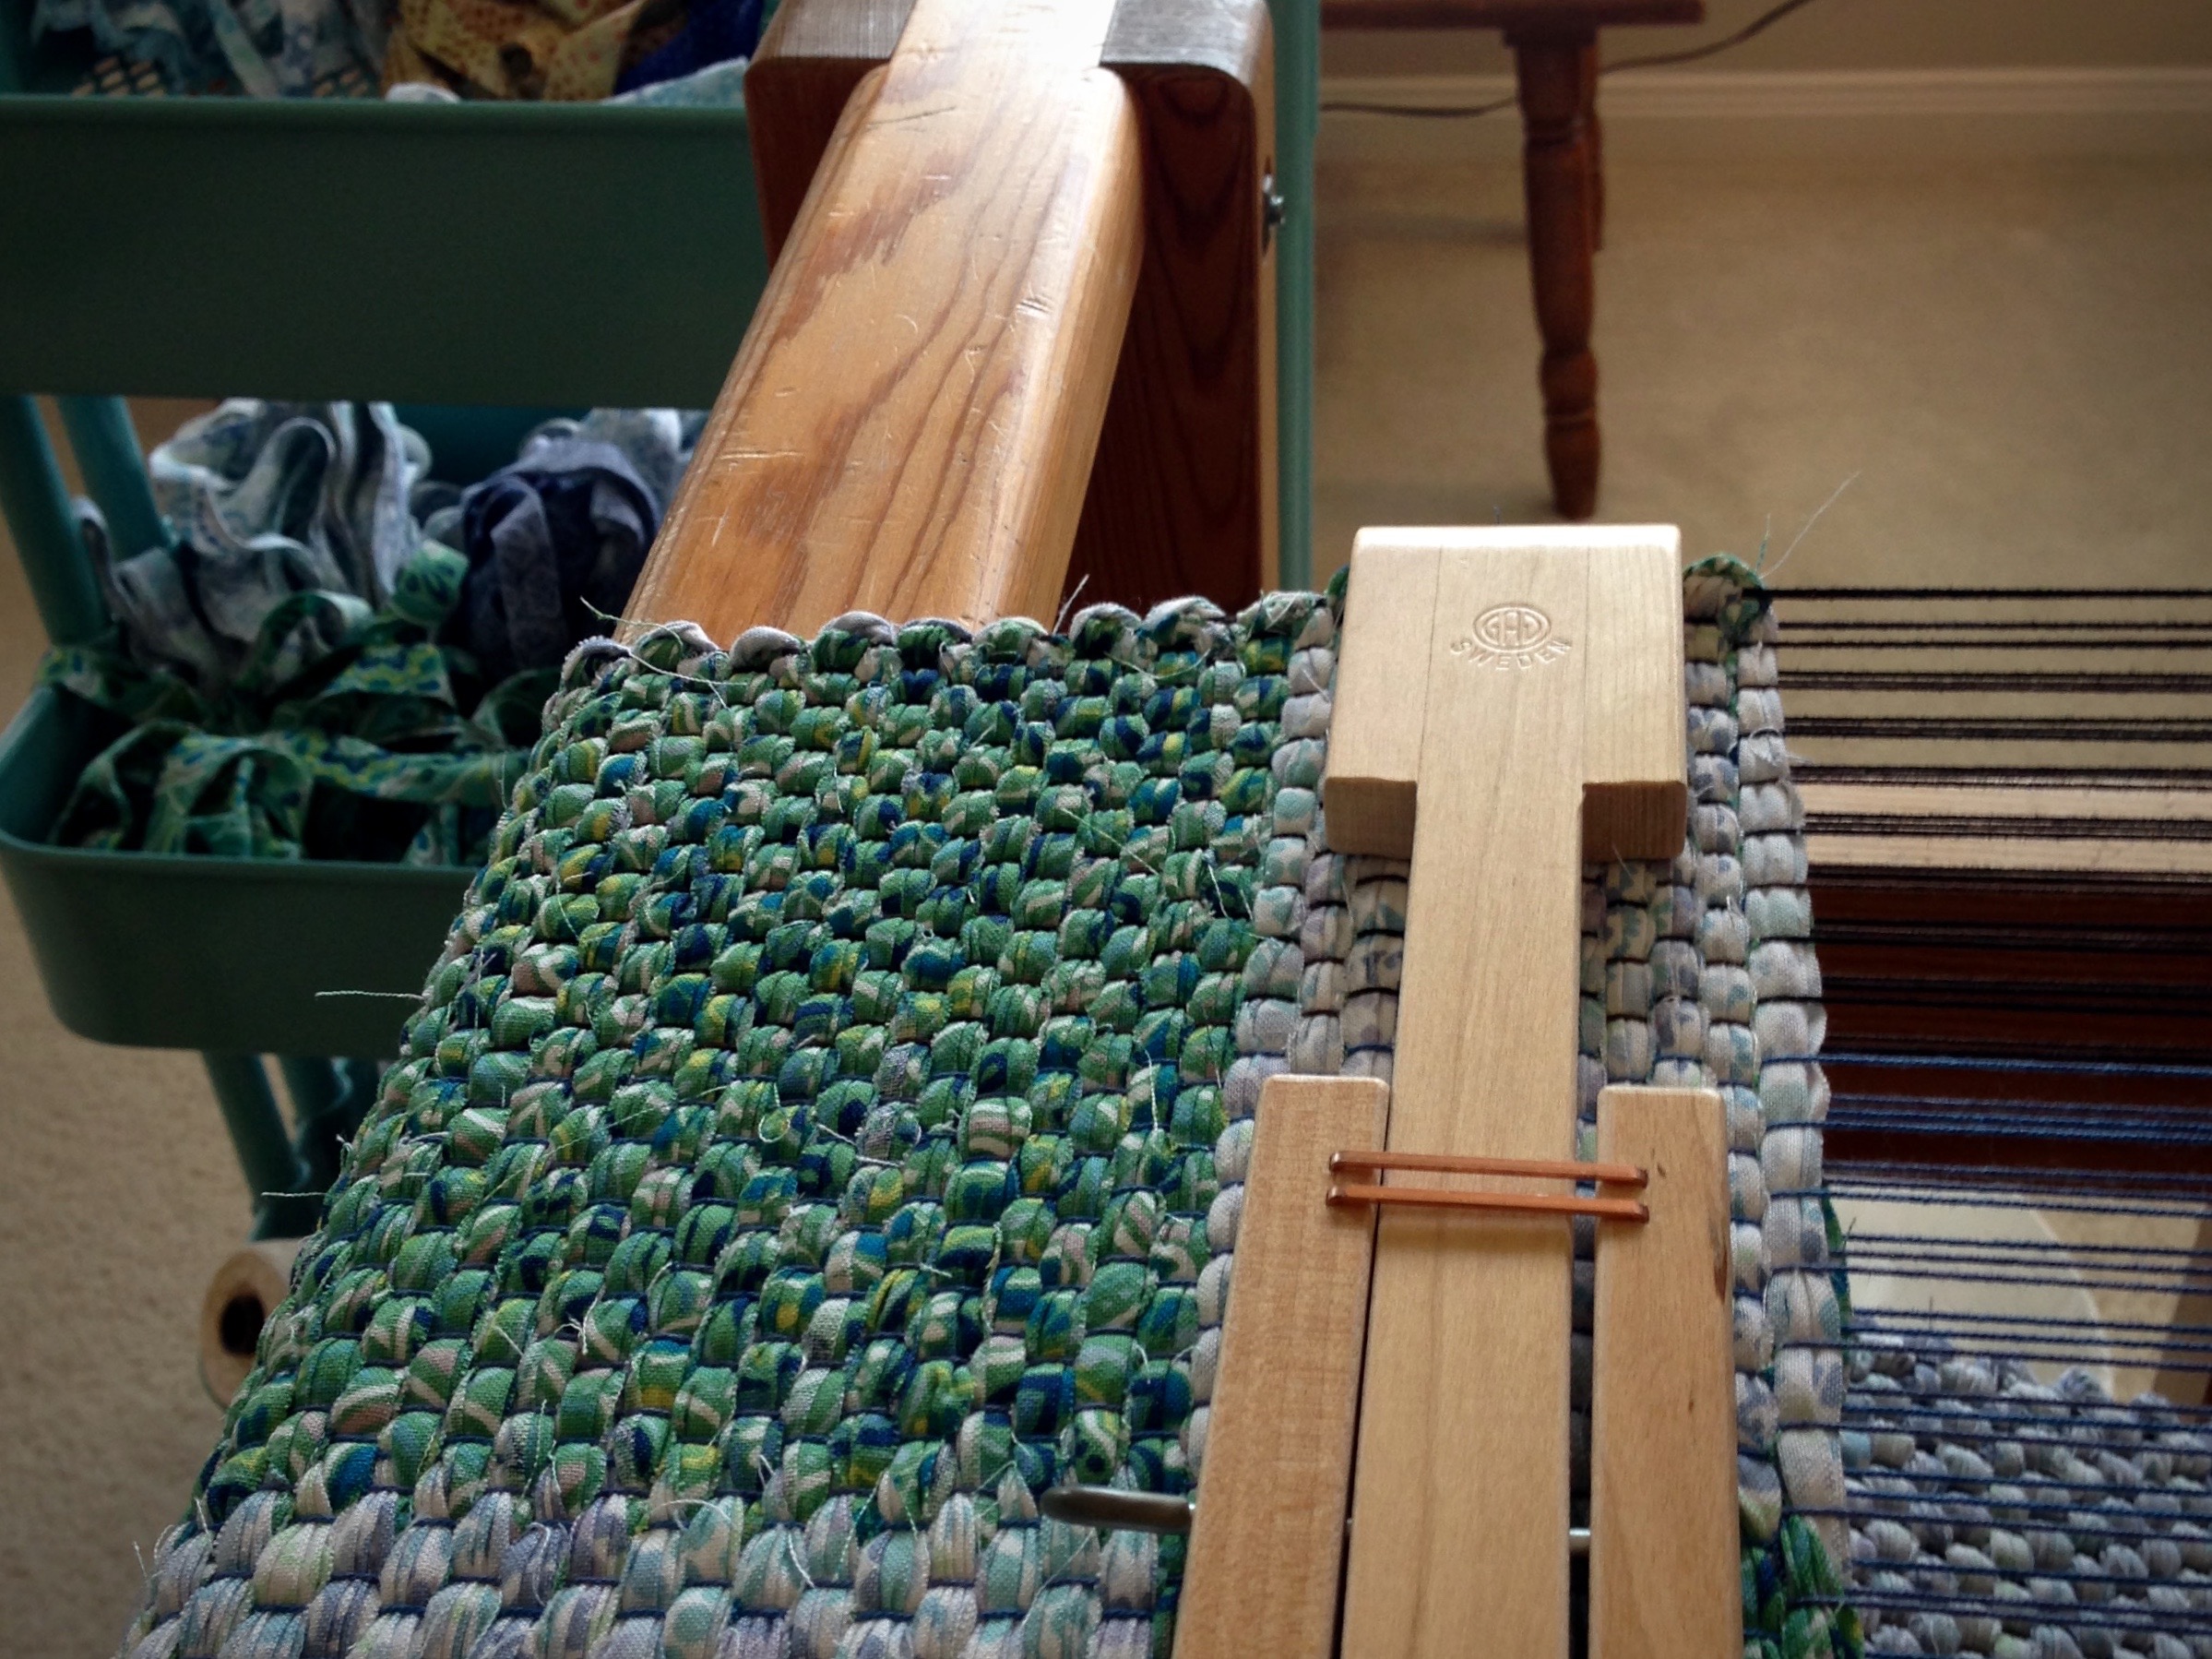
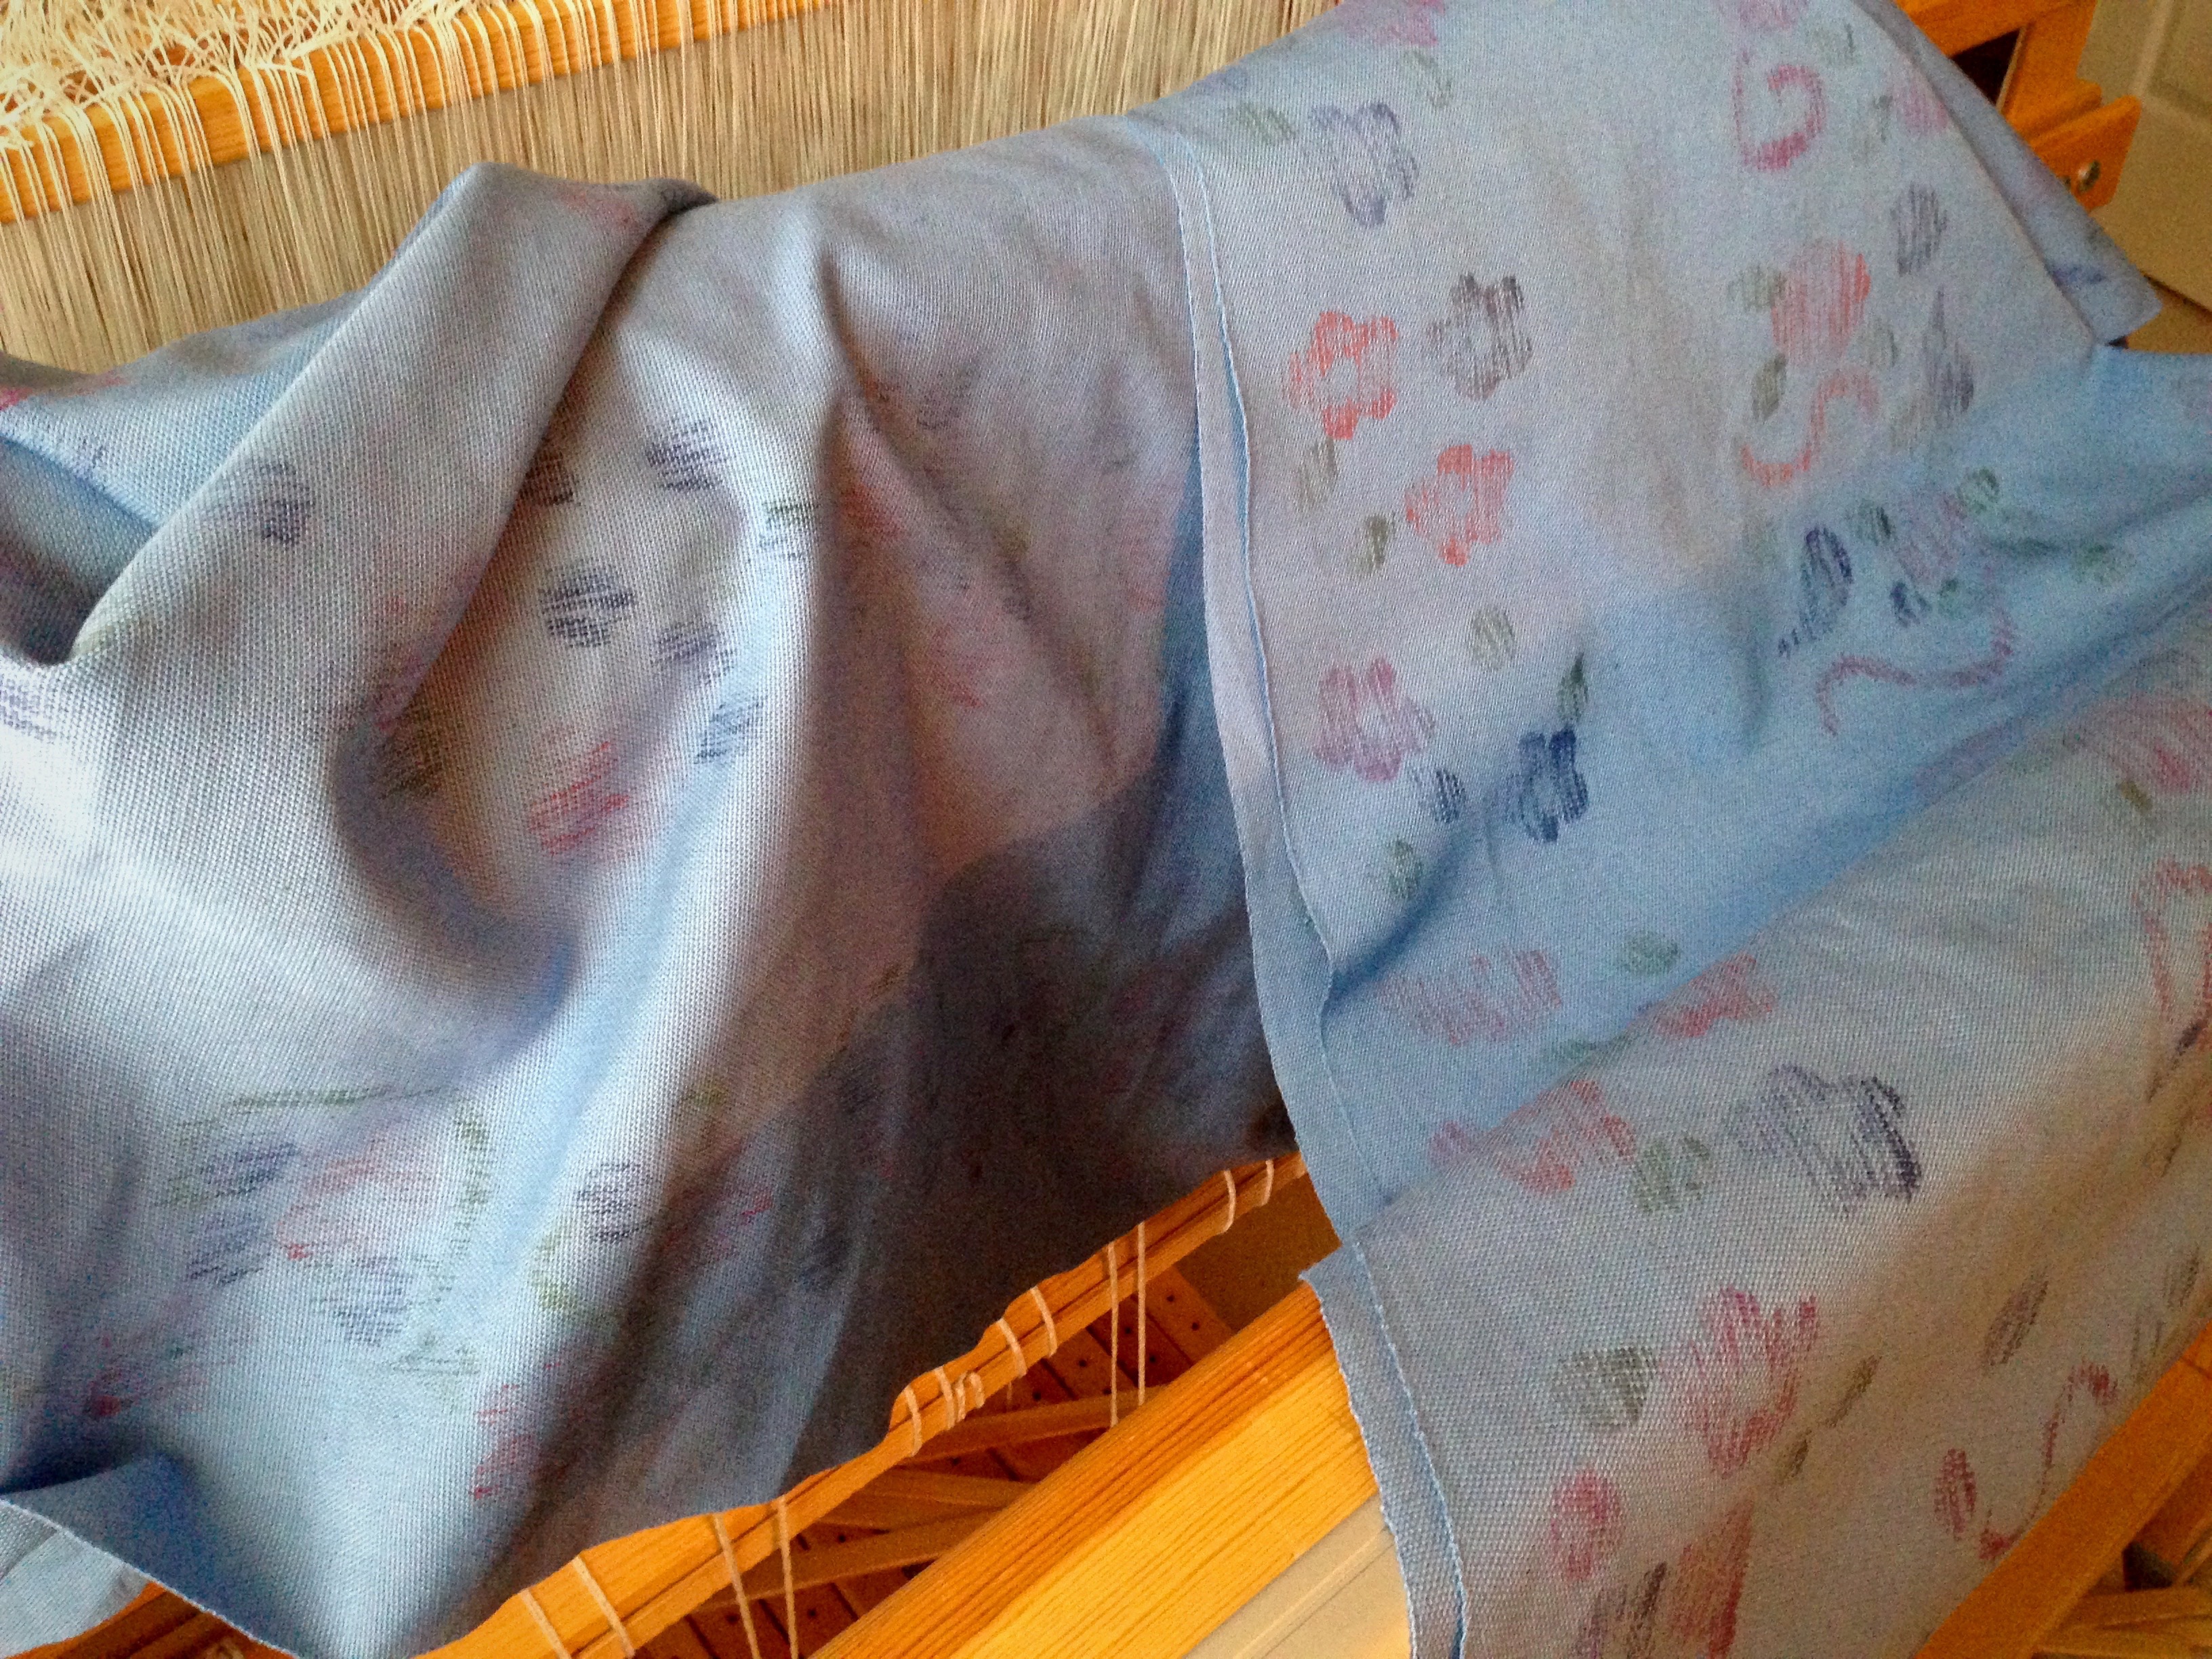
If I could do it over, I would put on a shorter warp for this experimental project. I enjoyed weaving plain weave, with the simplicity of one shuttle and one color. I did not enjoy, however, stopping every six inches to stamp the warp with paint. Clearly, I am not a paint person.

End of the warp is a happy sight!
Bare warp beam, with the end of the warp inches away from coming over the back beam for the final stretch of weaving.

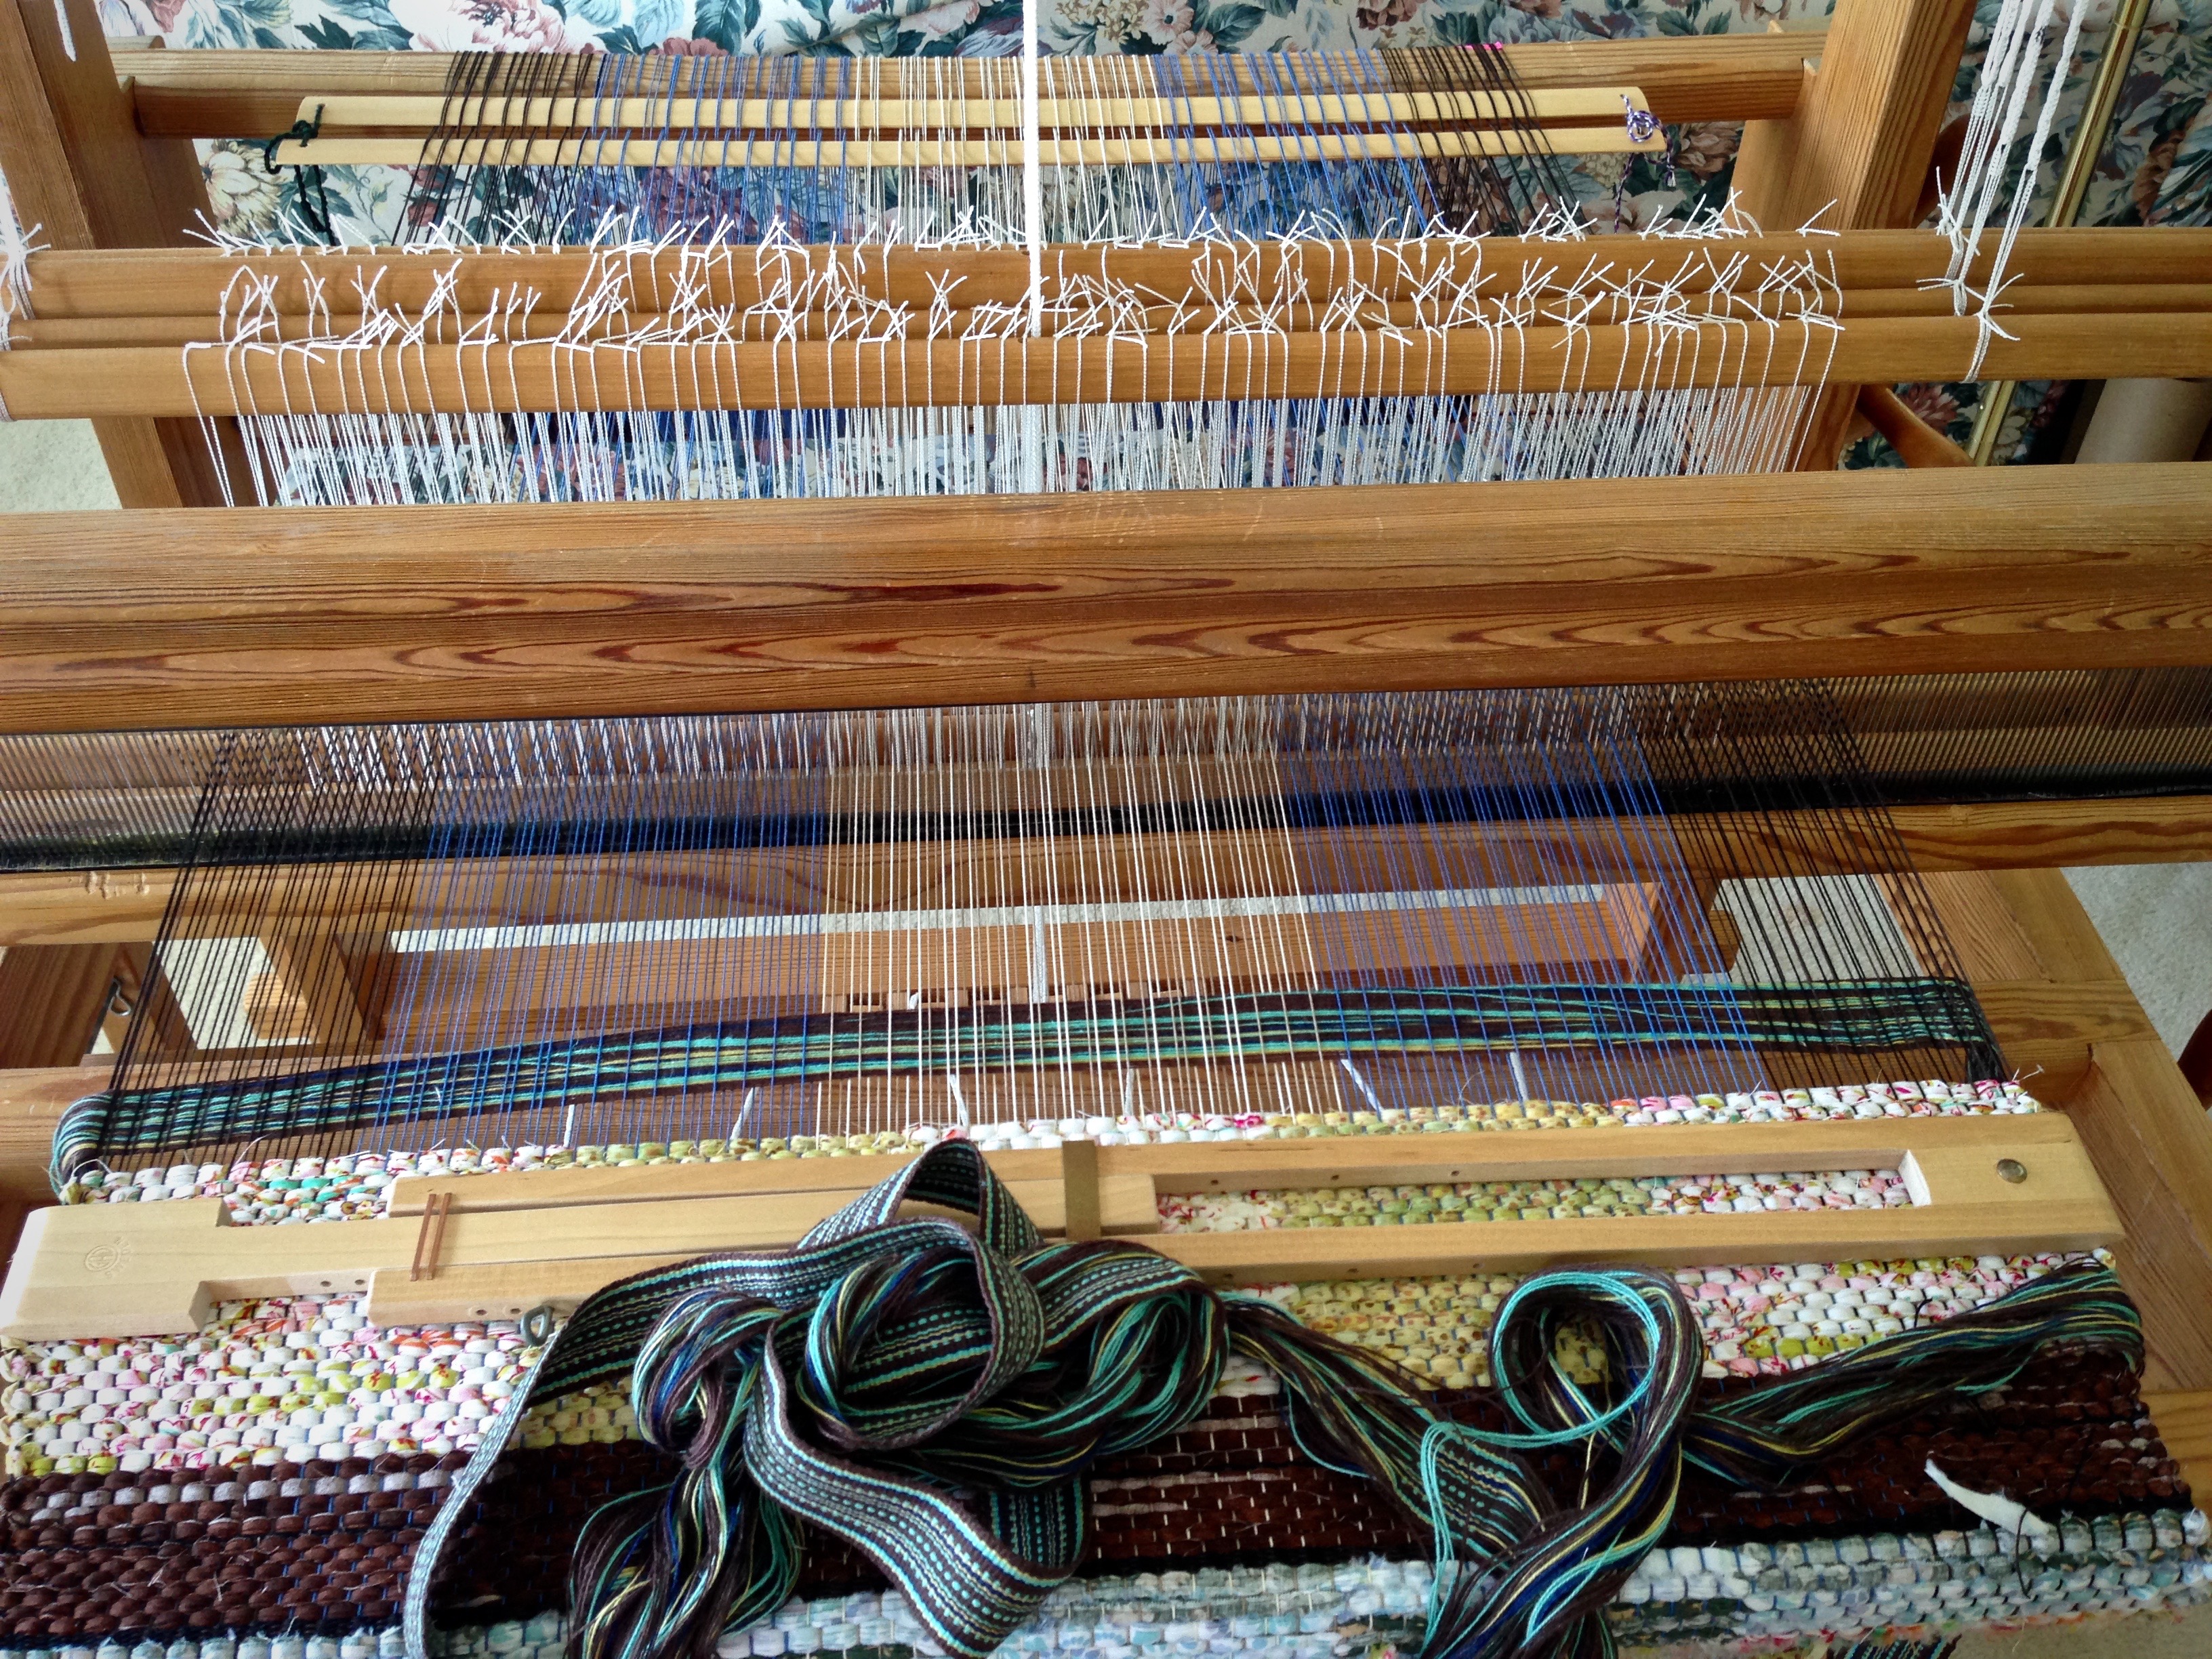
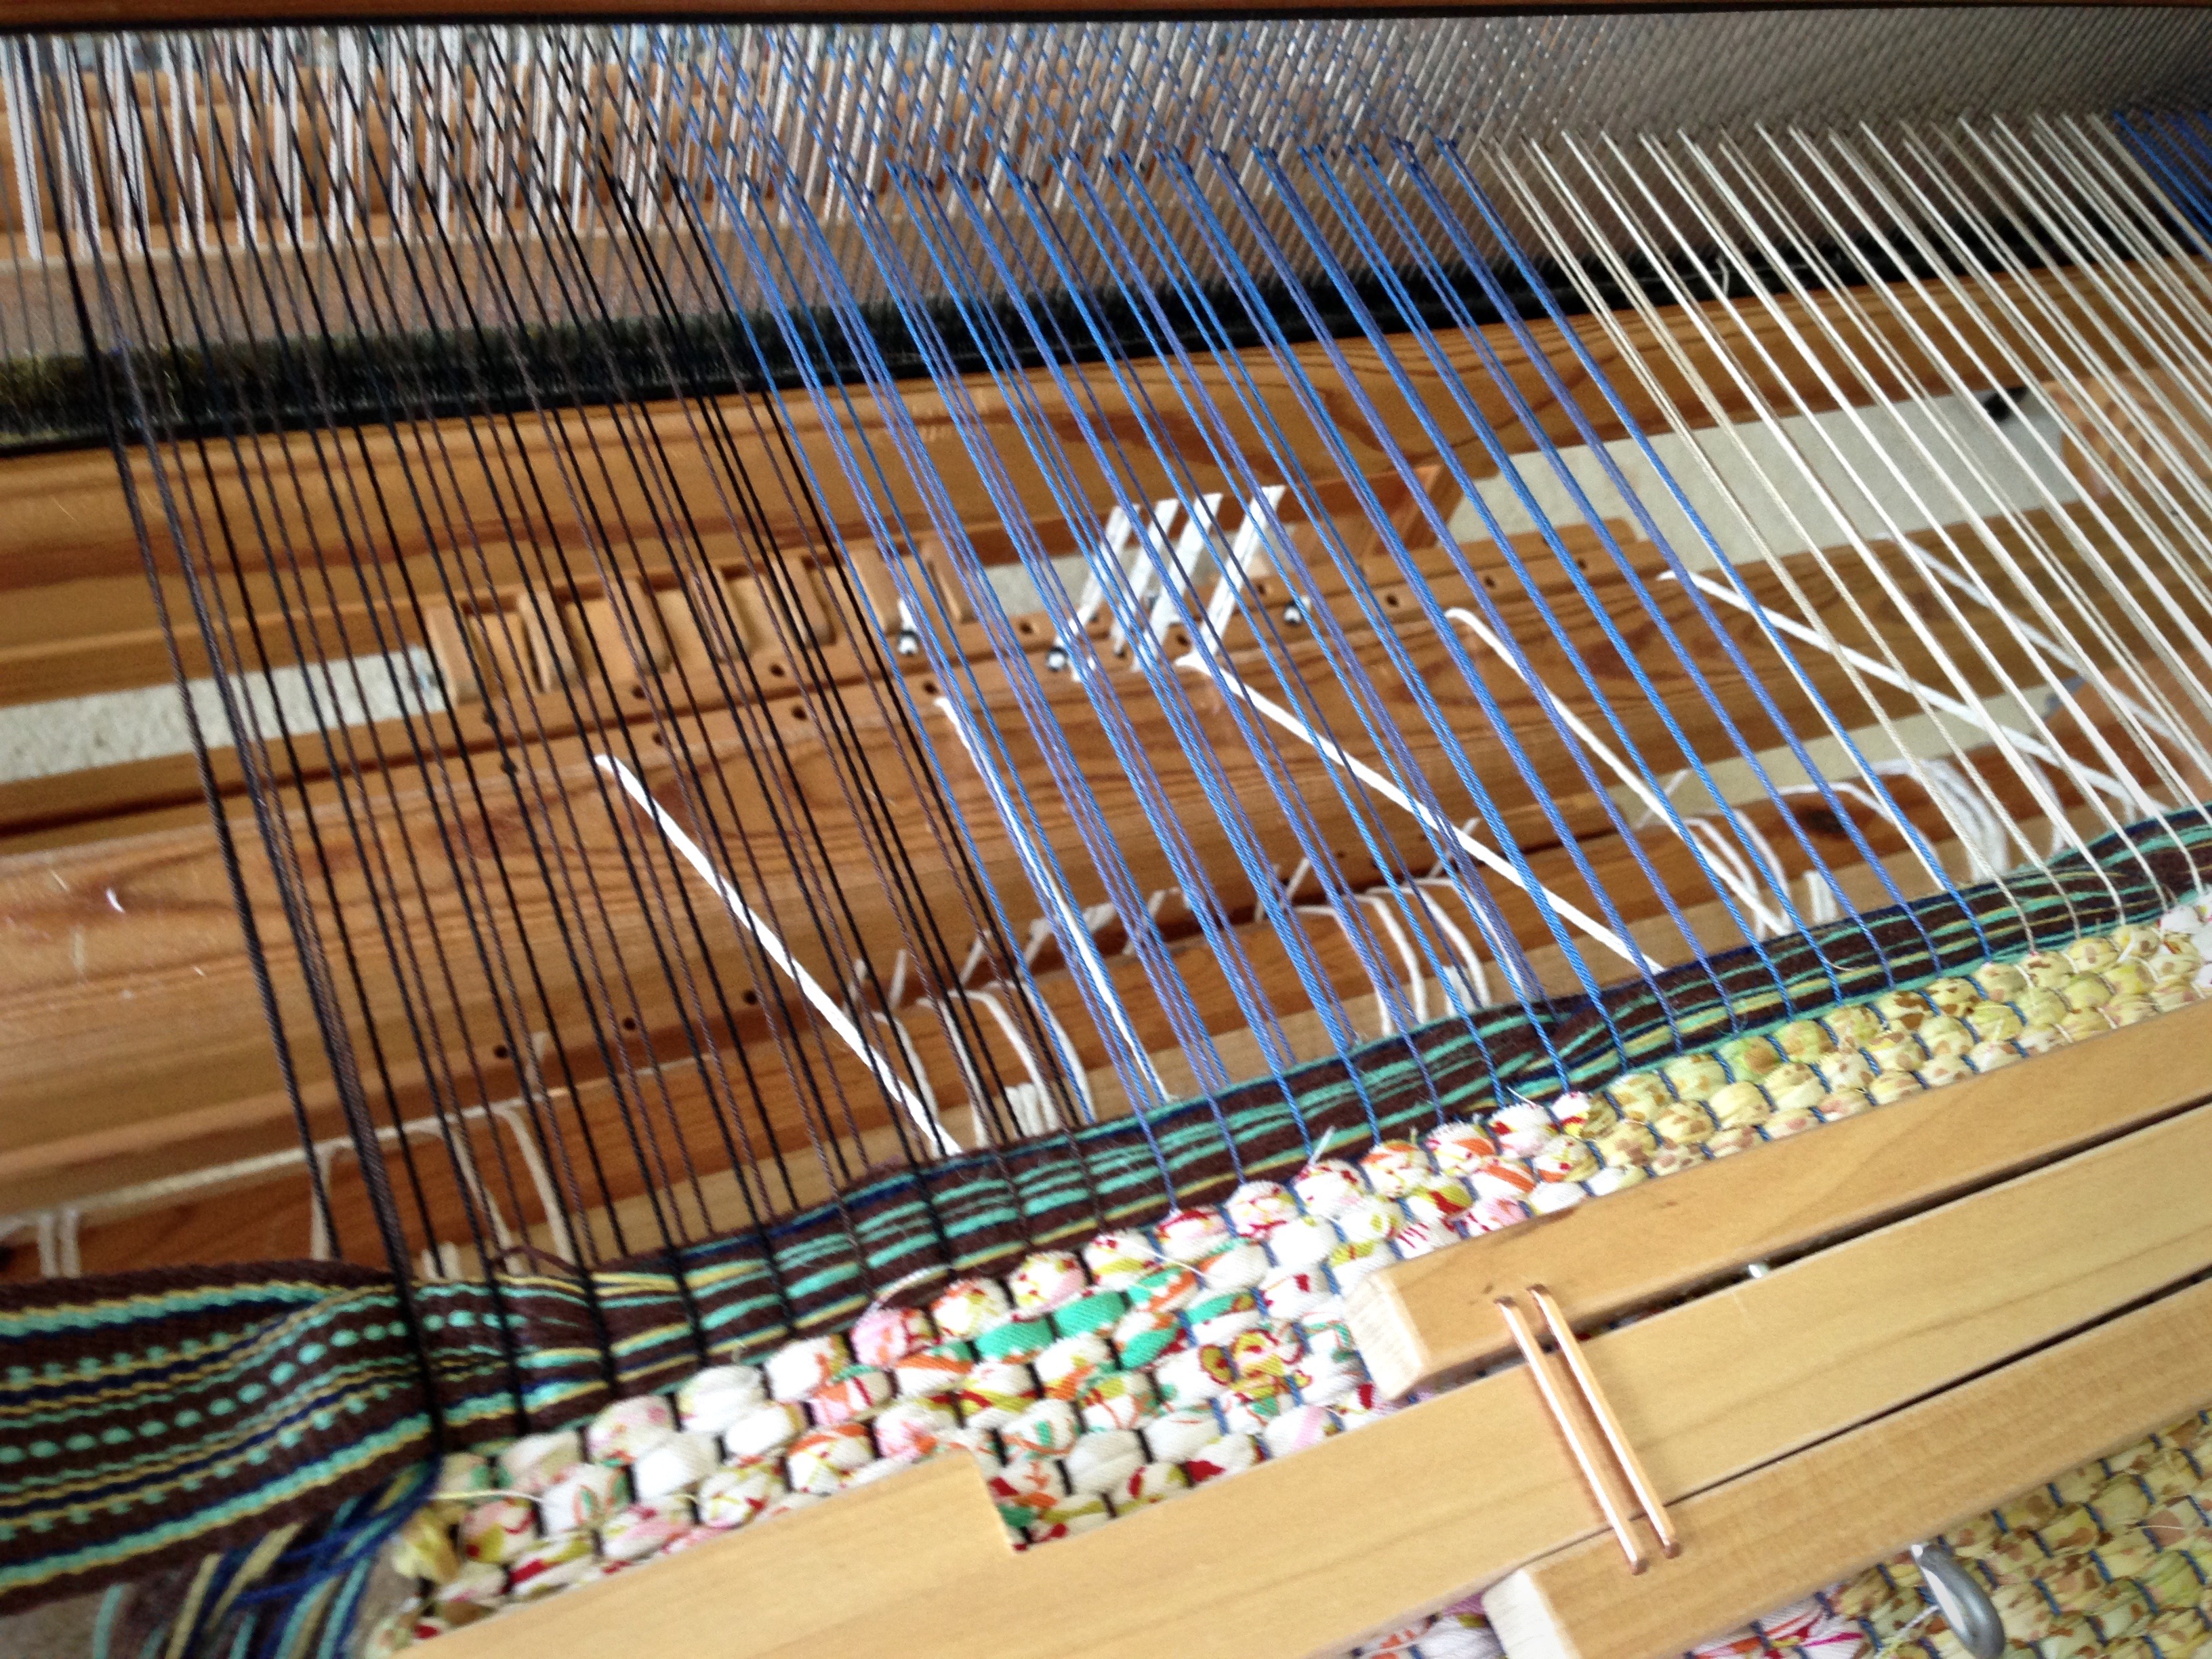
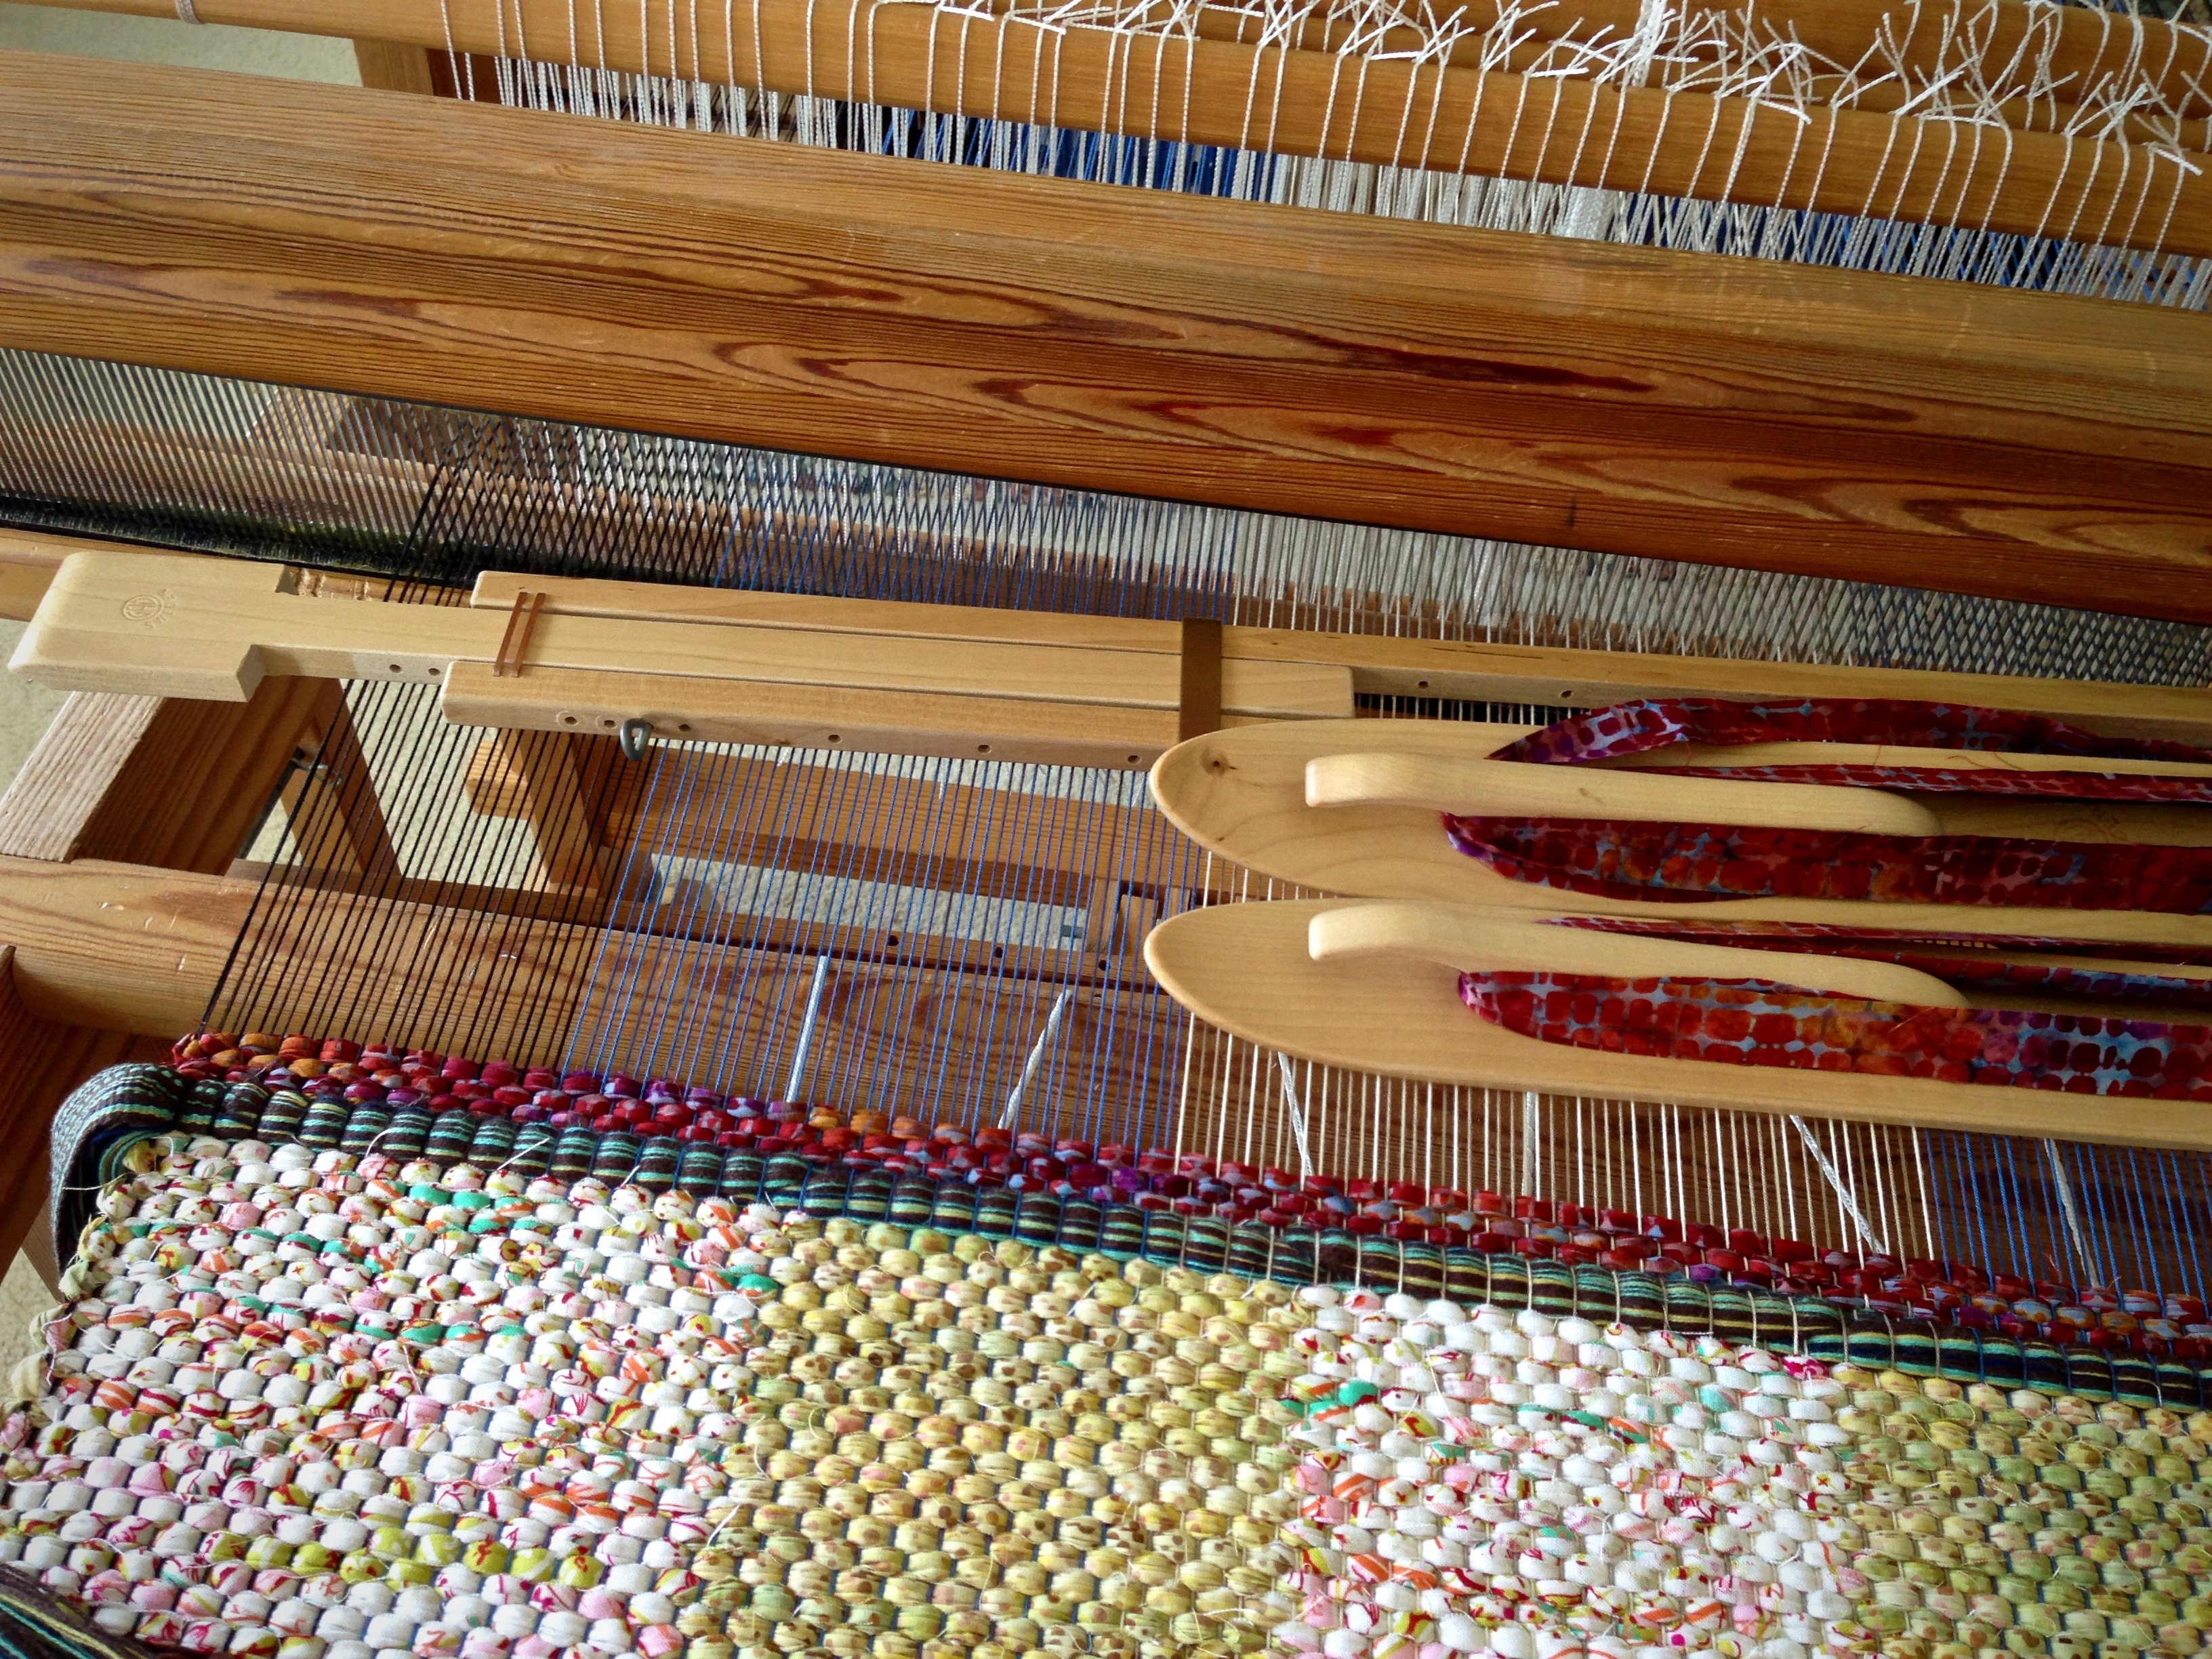
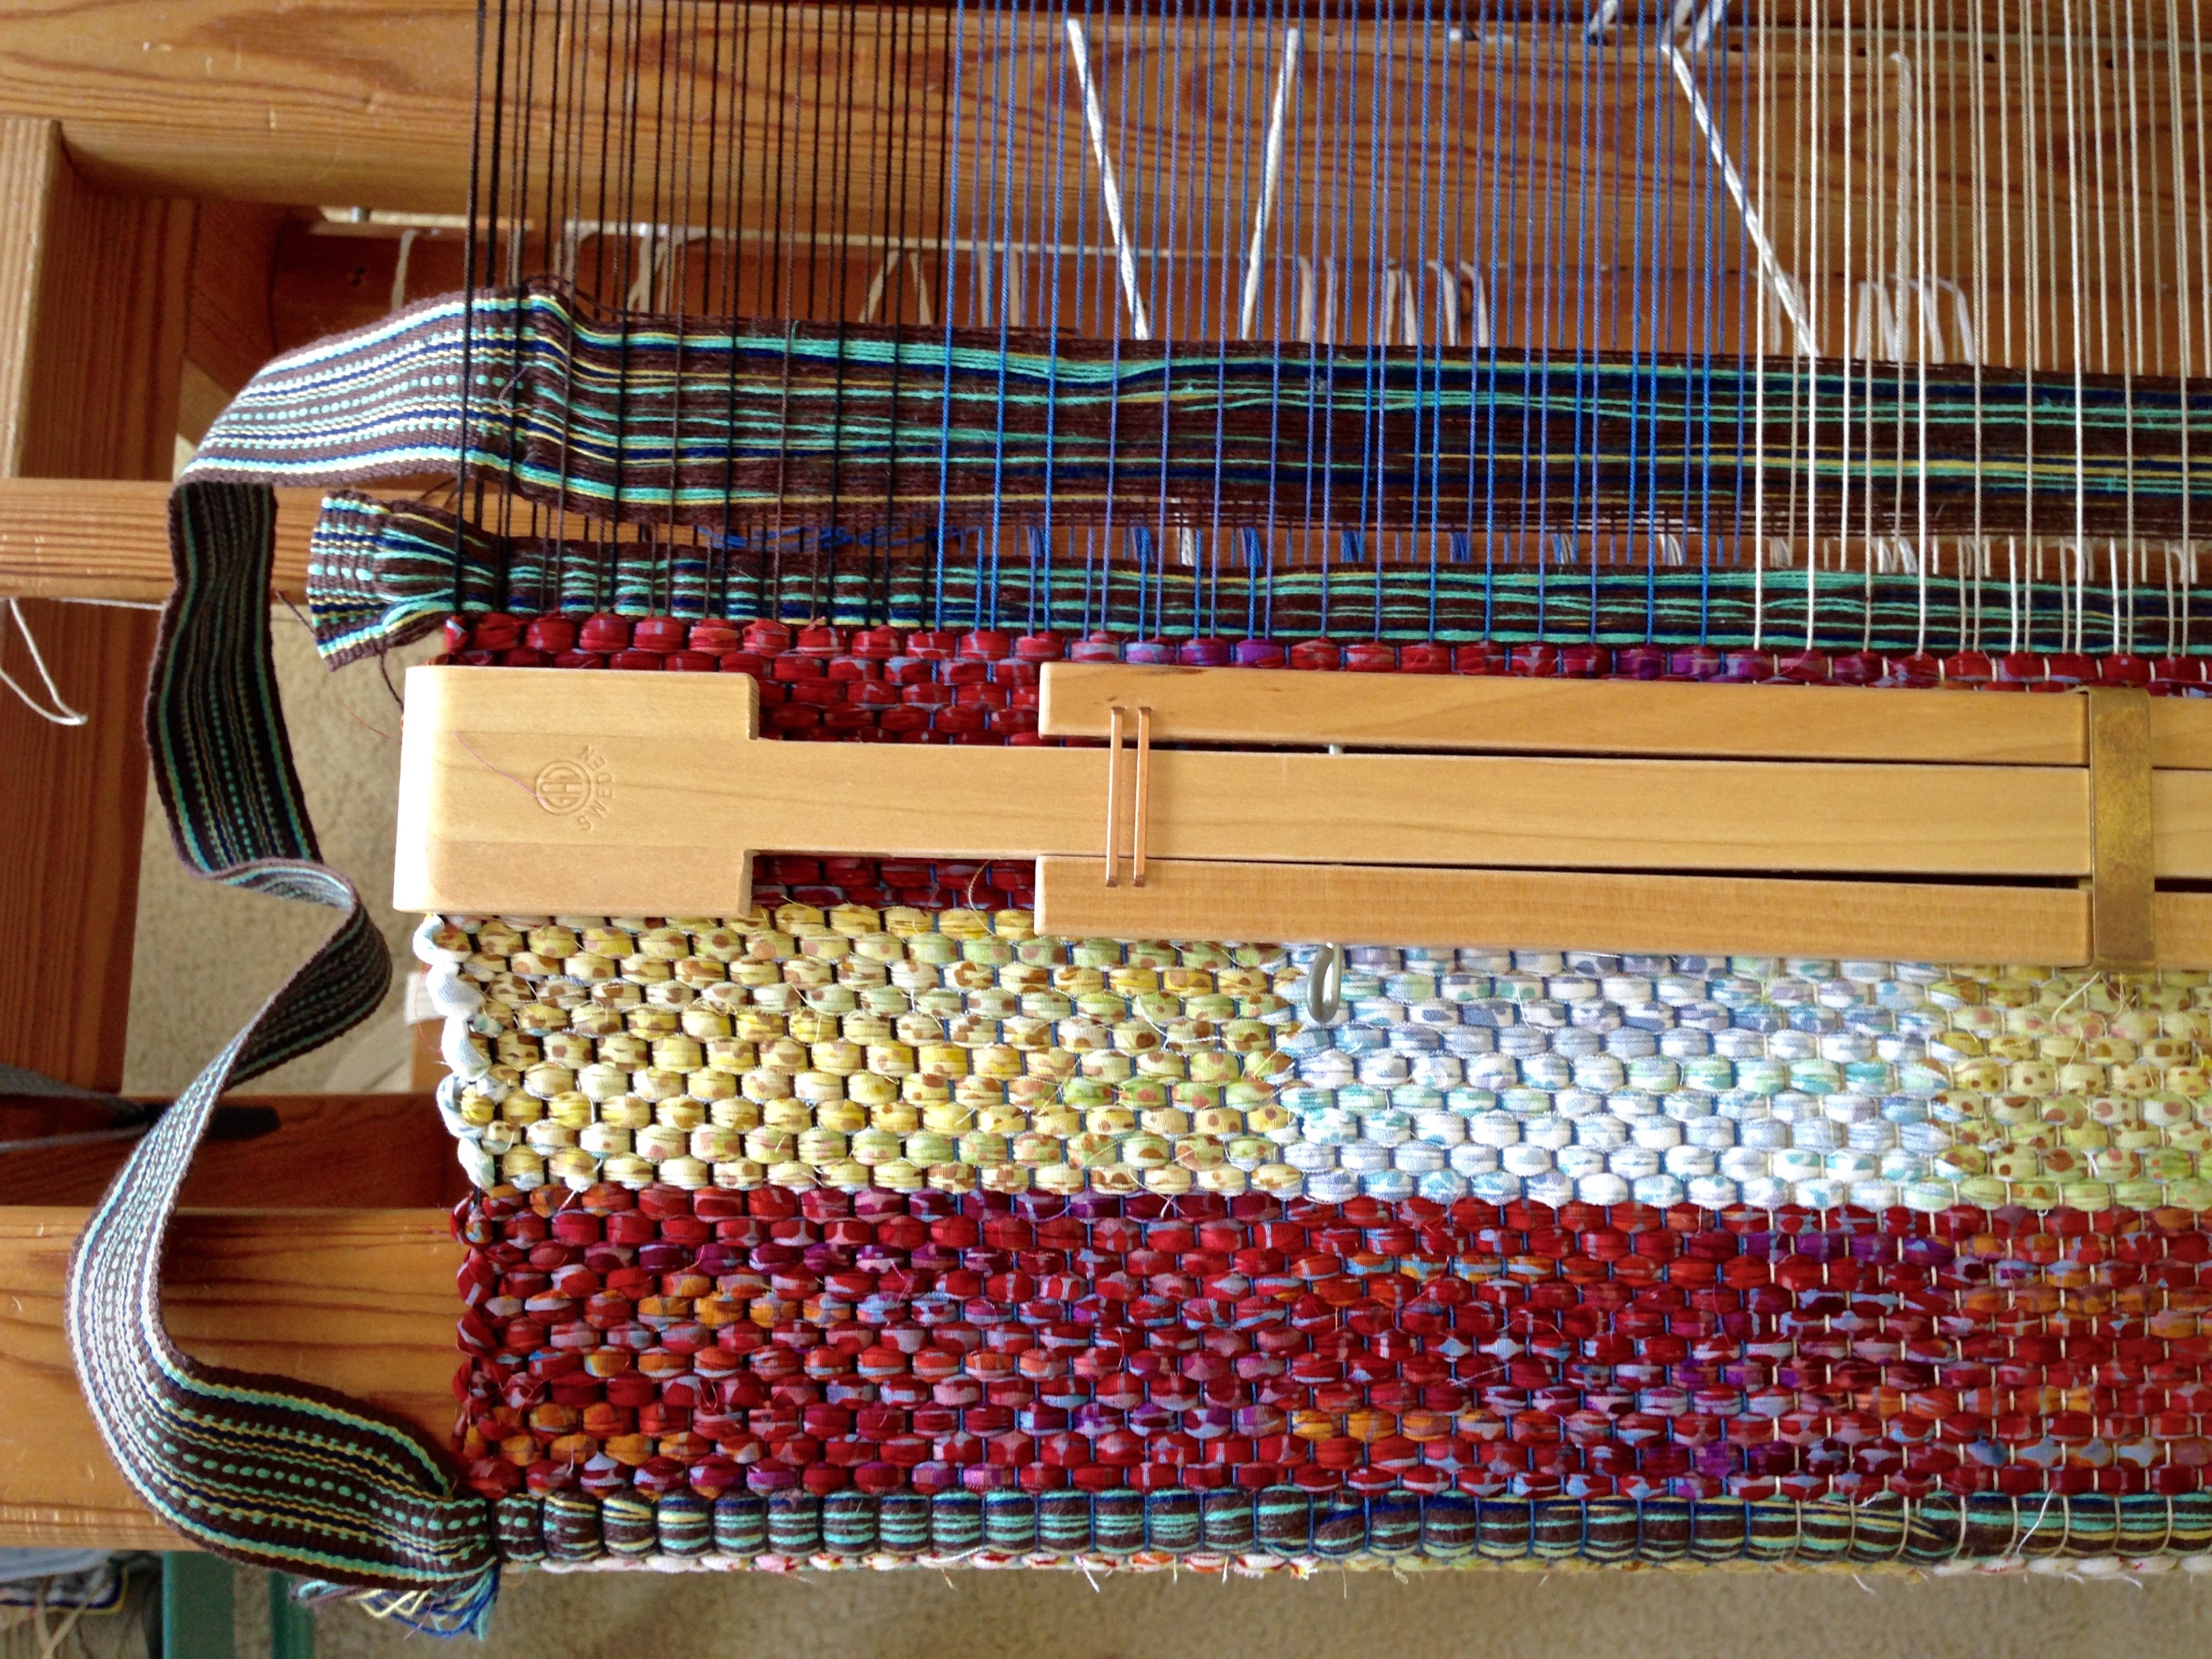
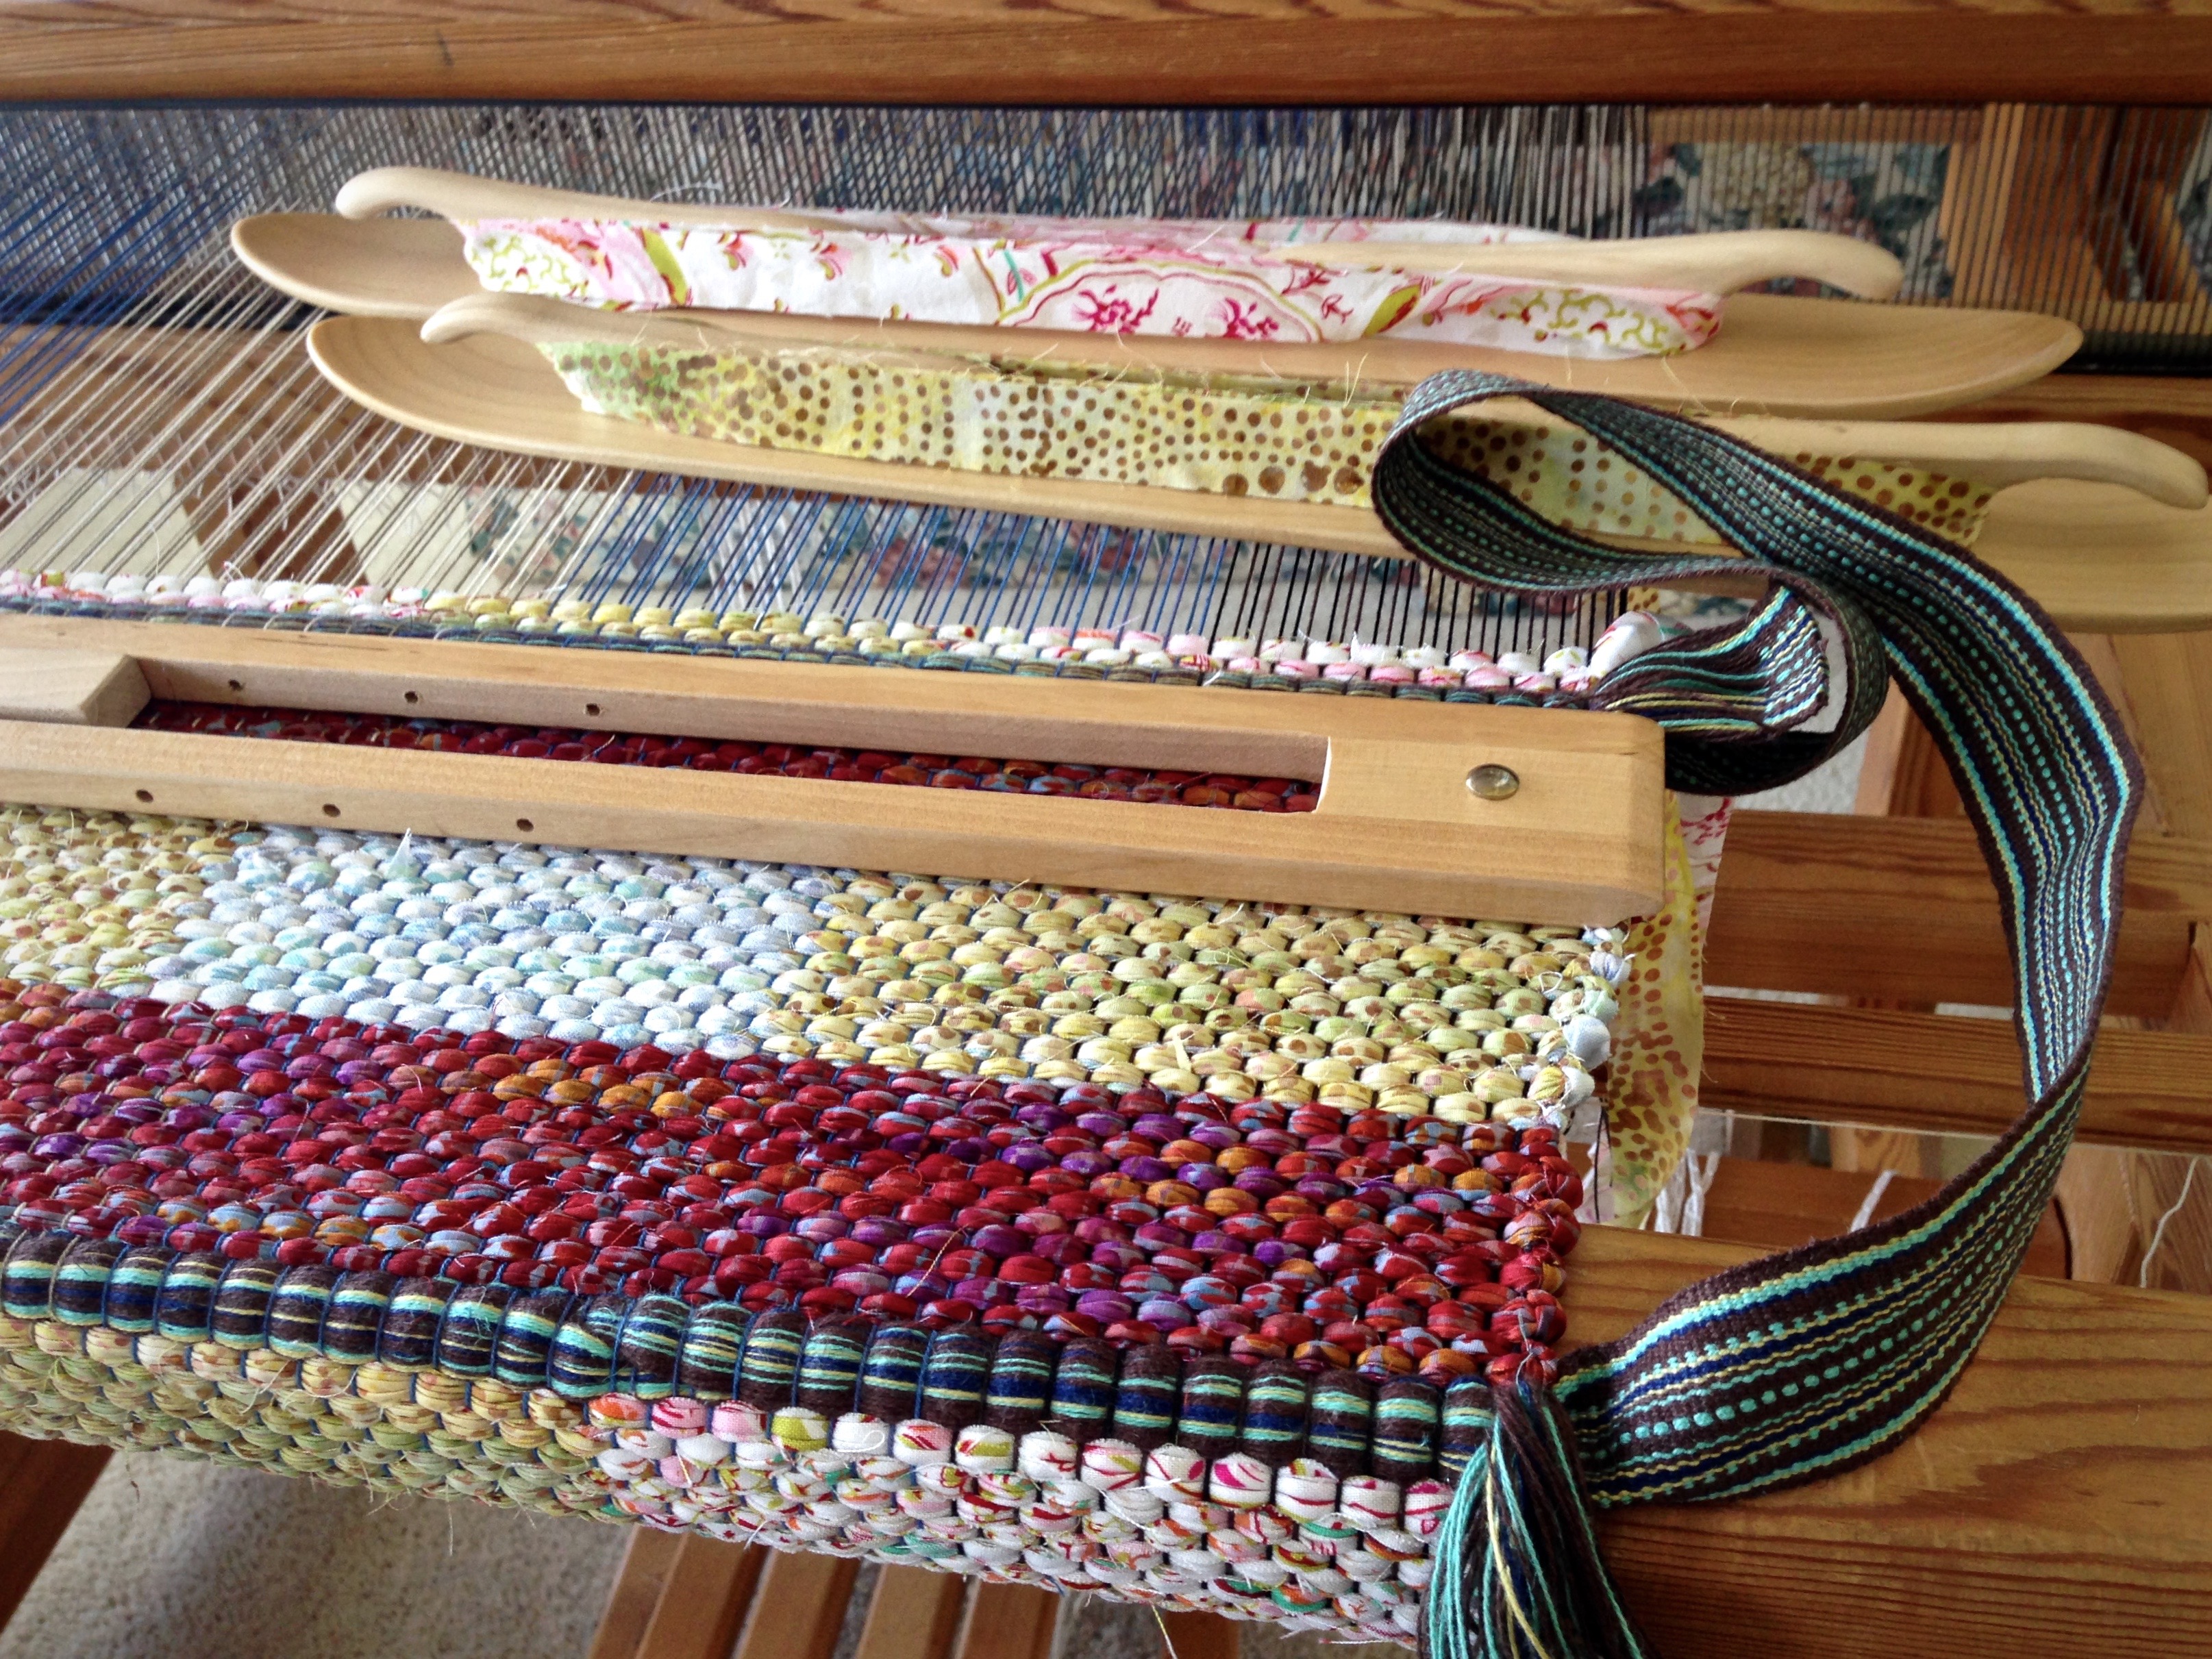
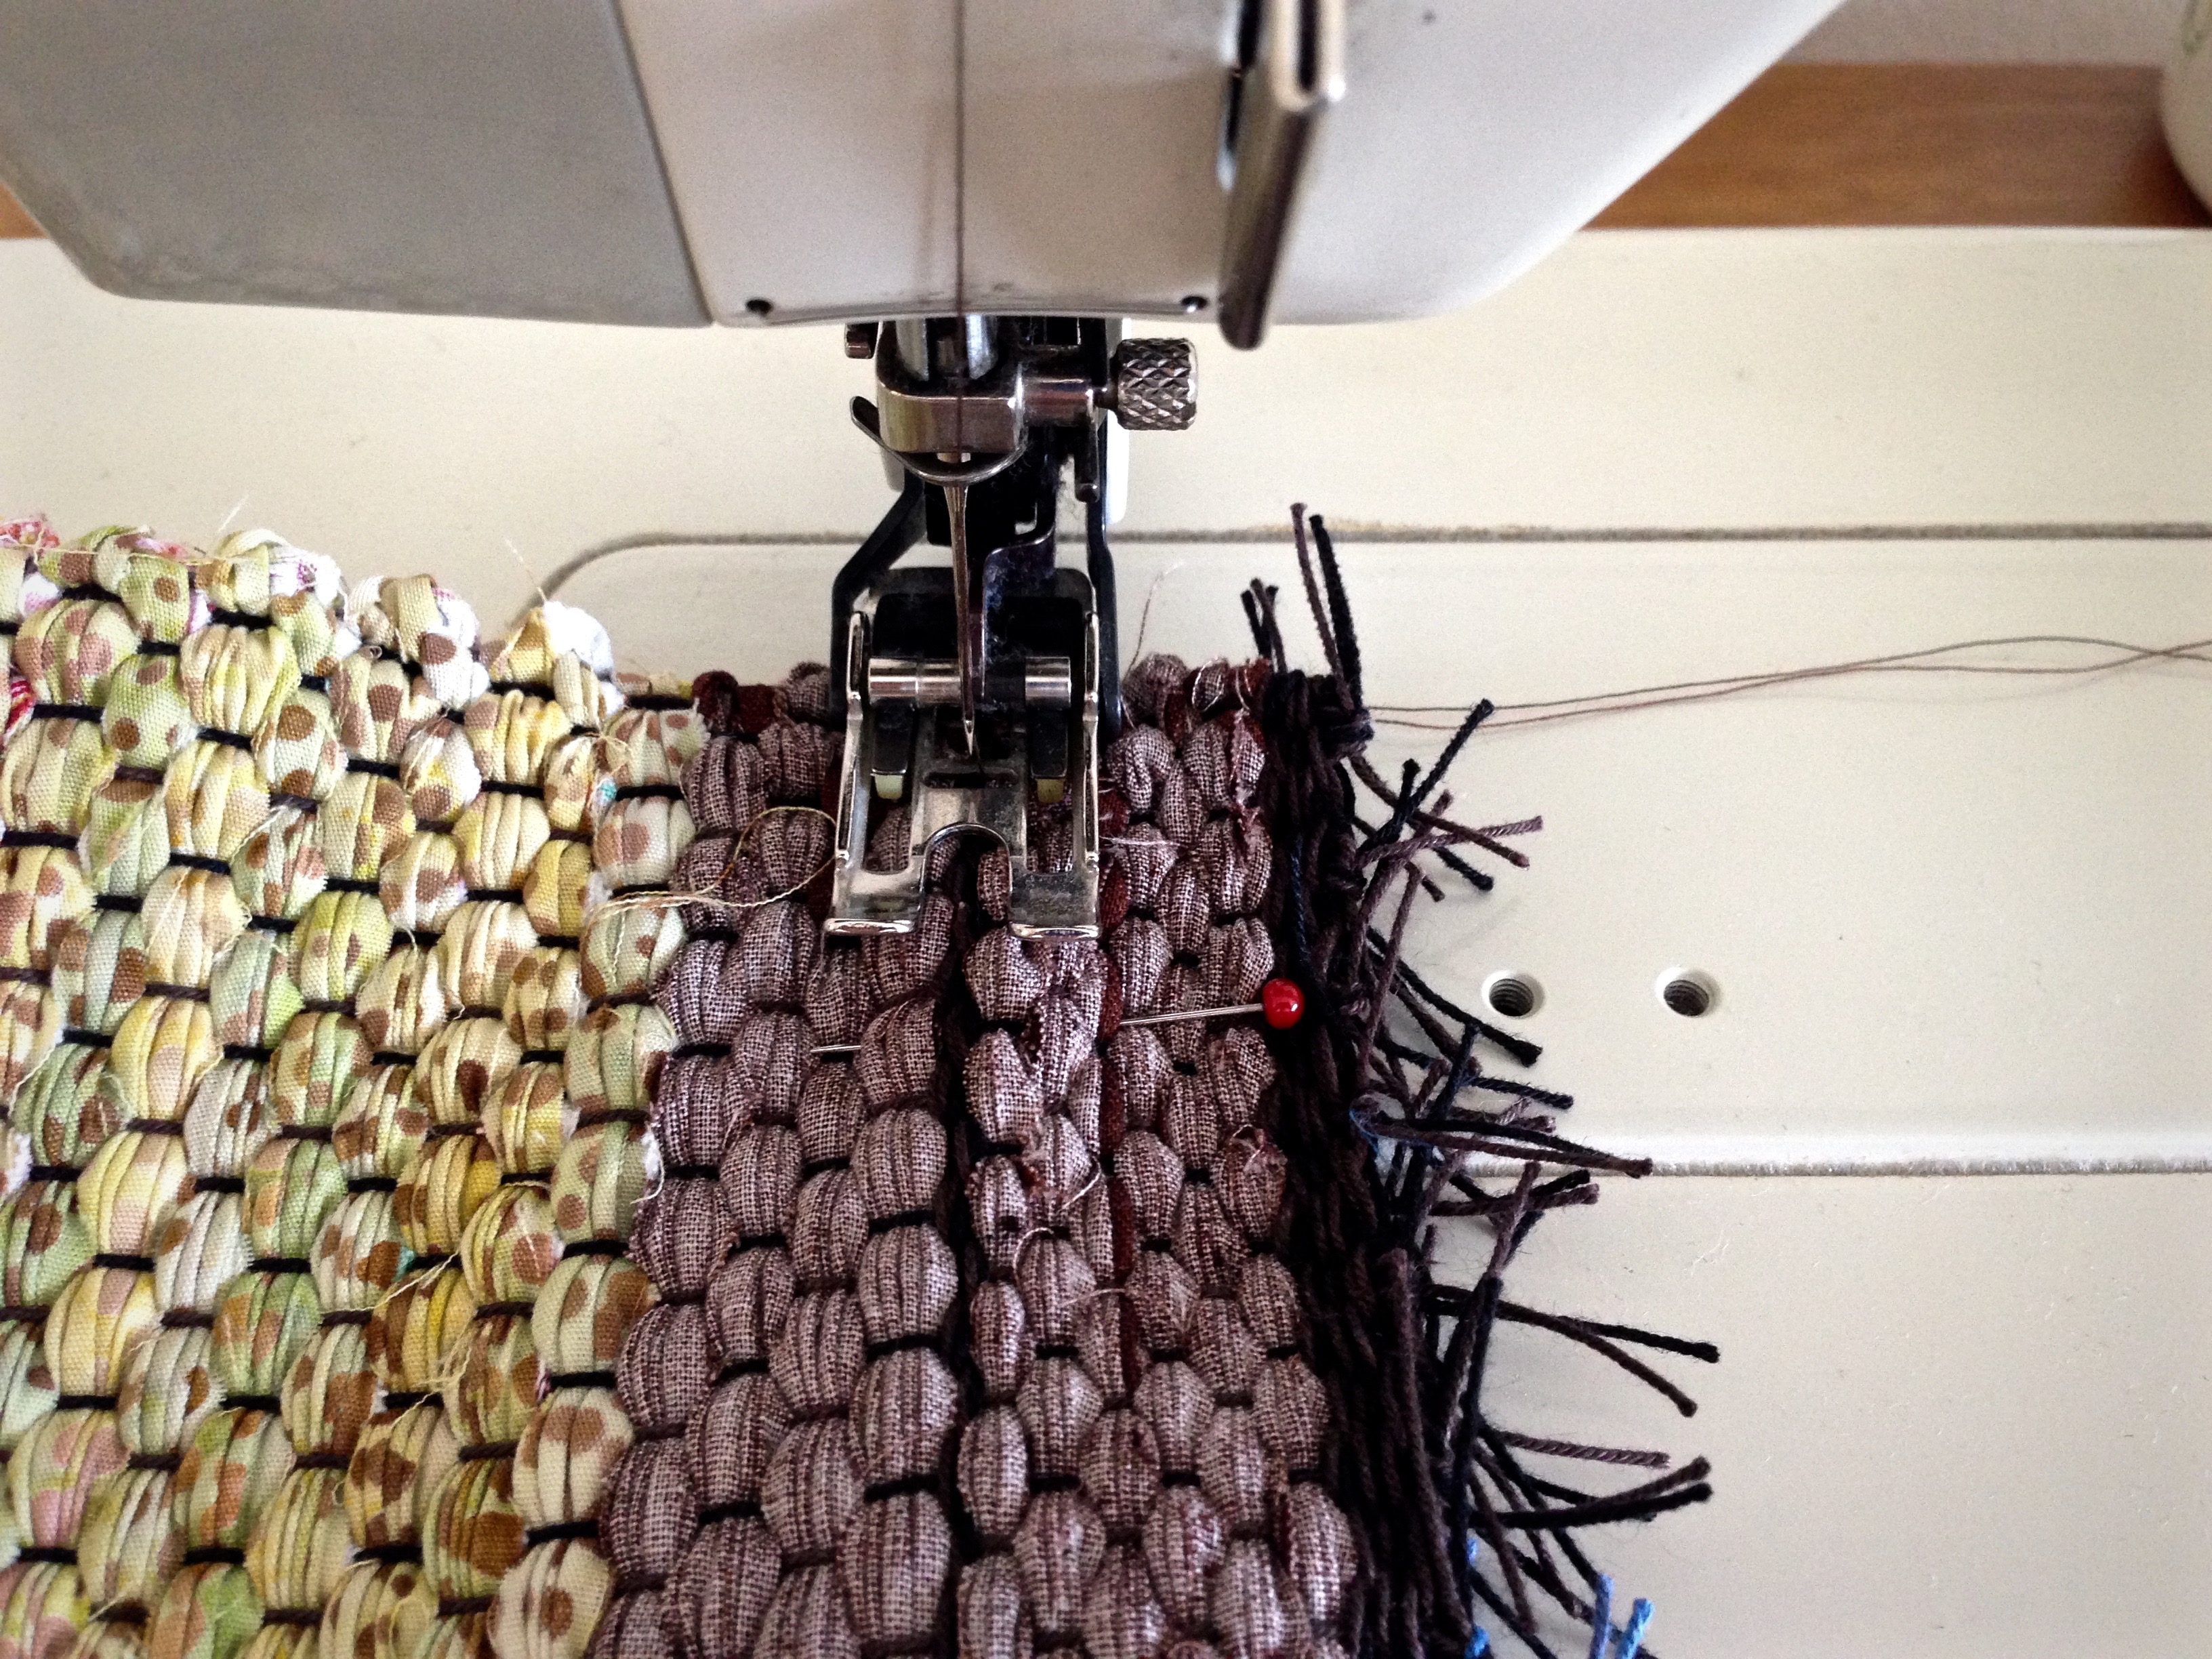
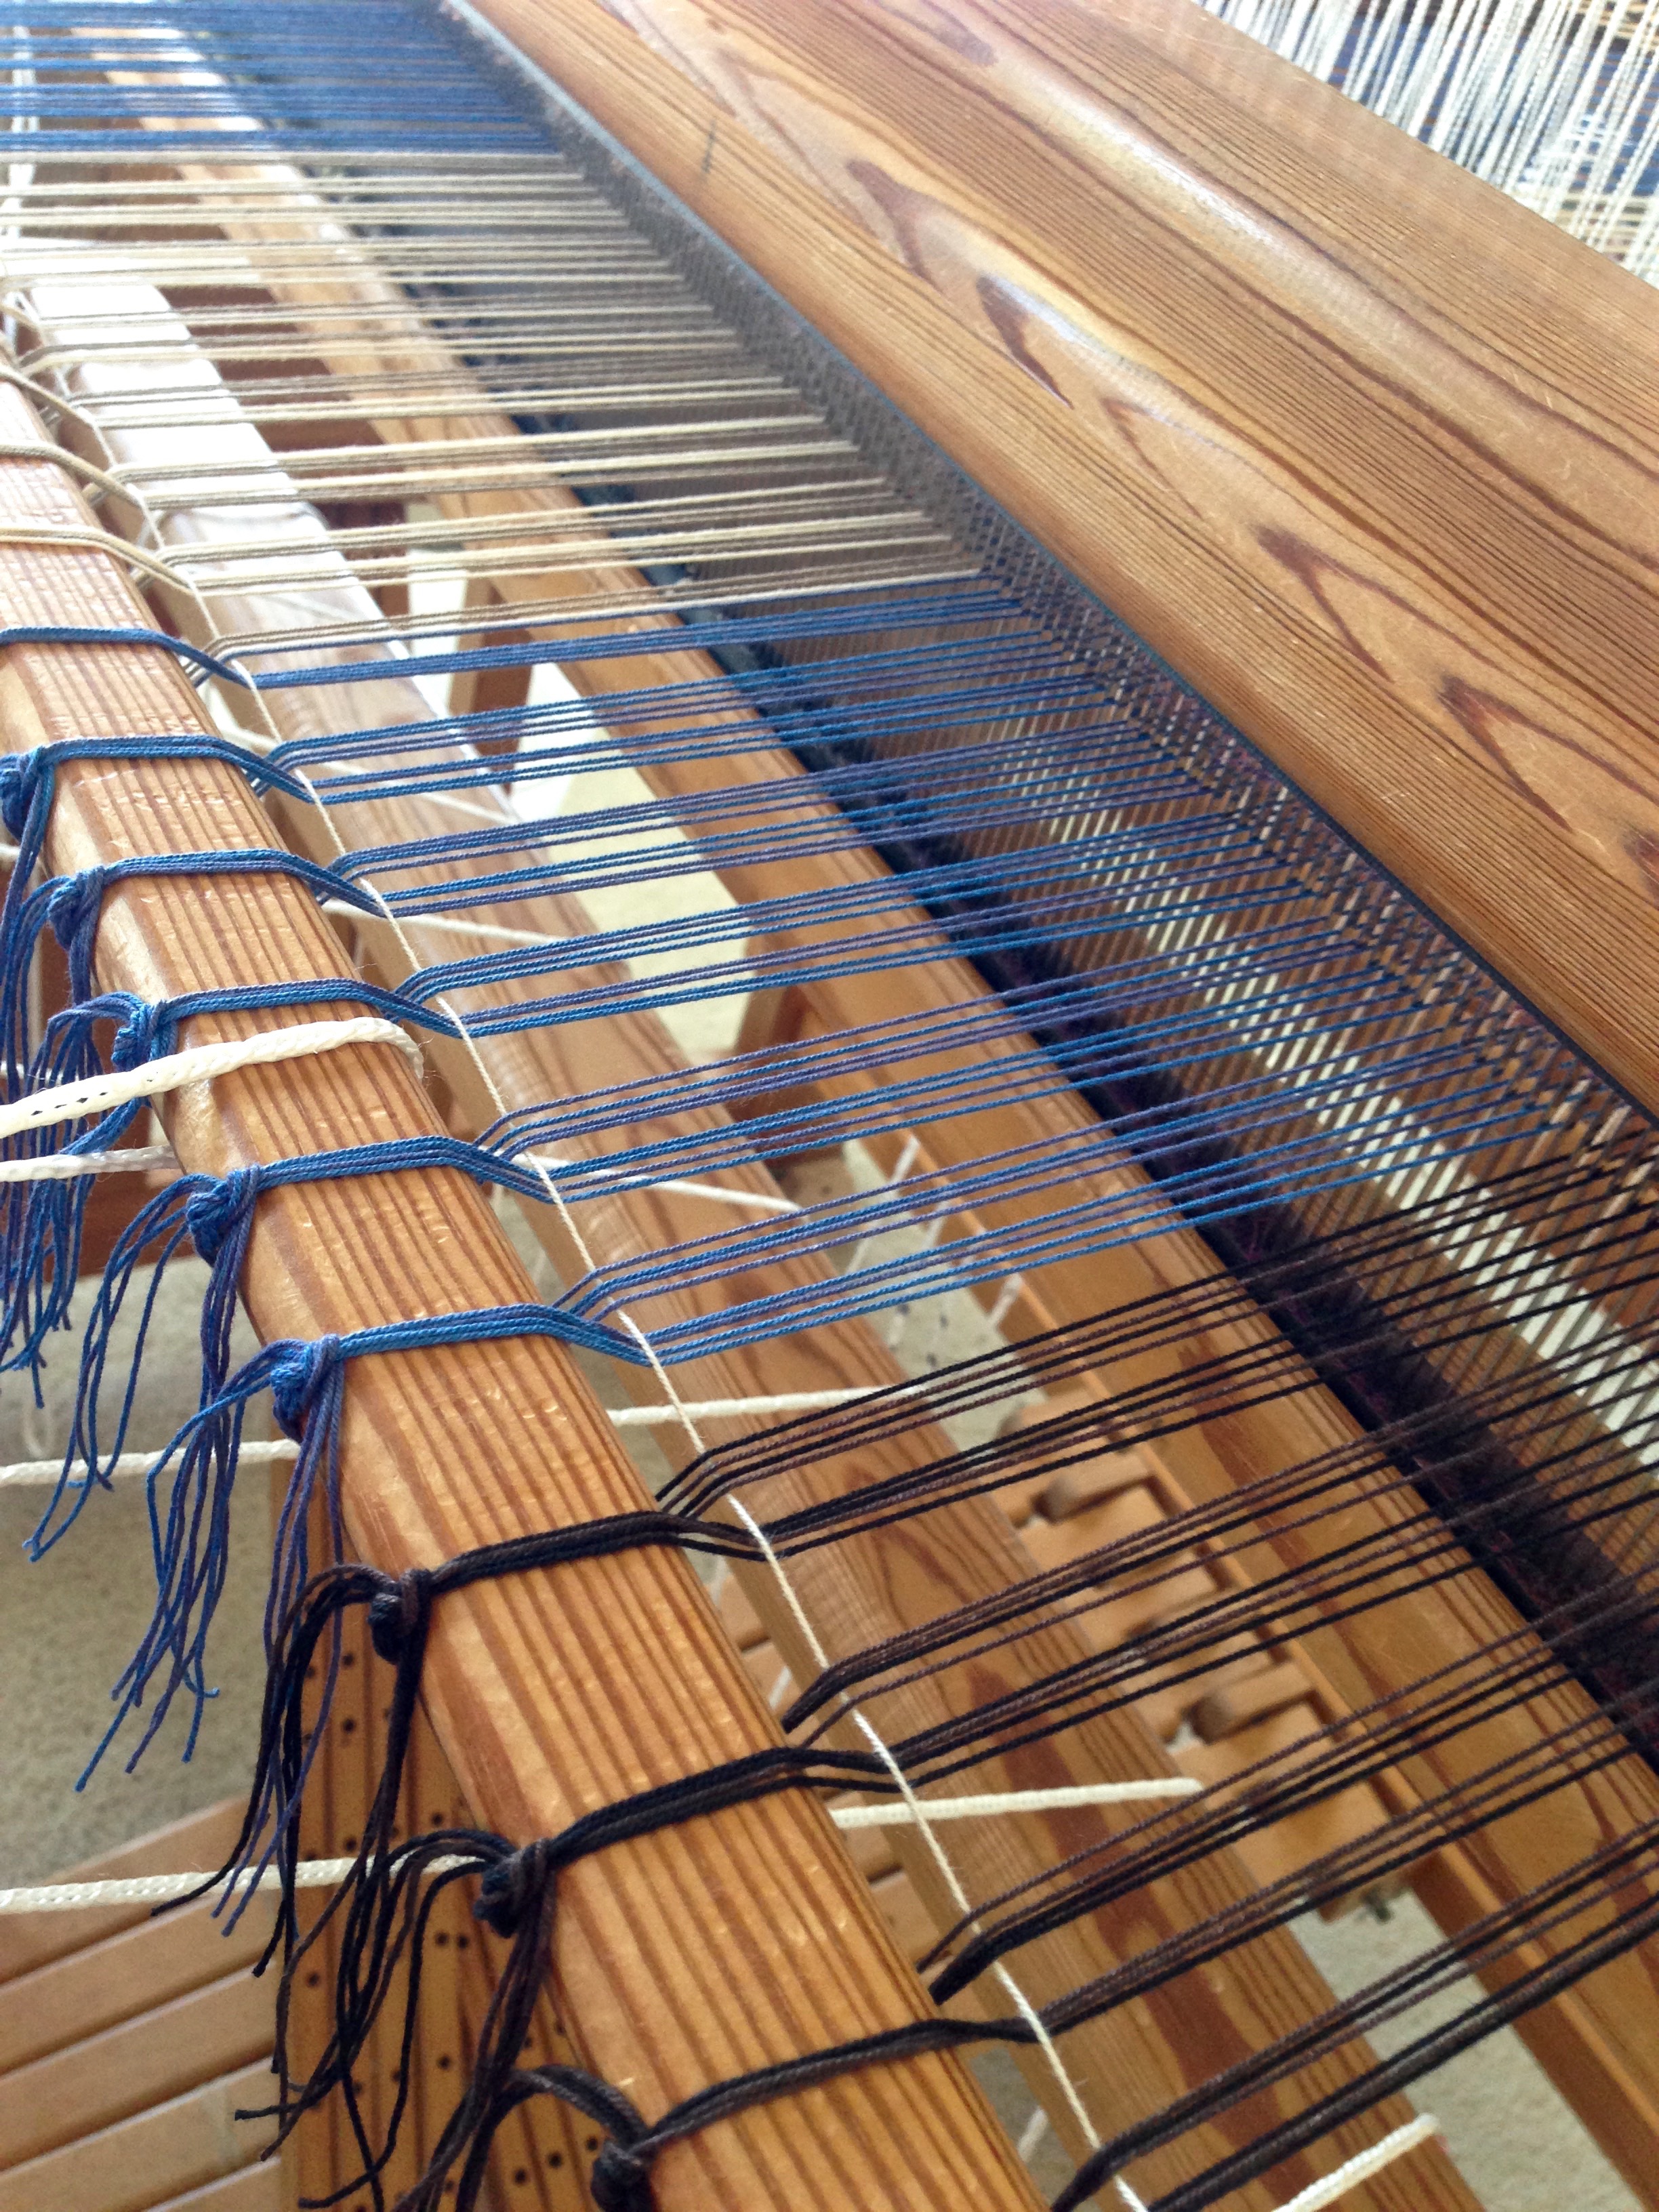
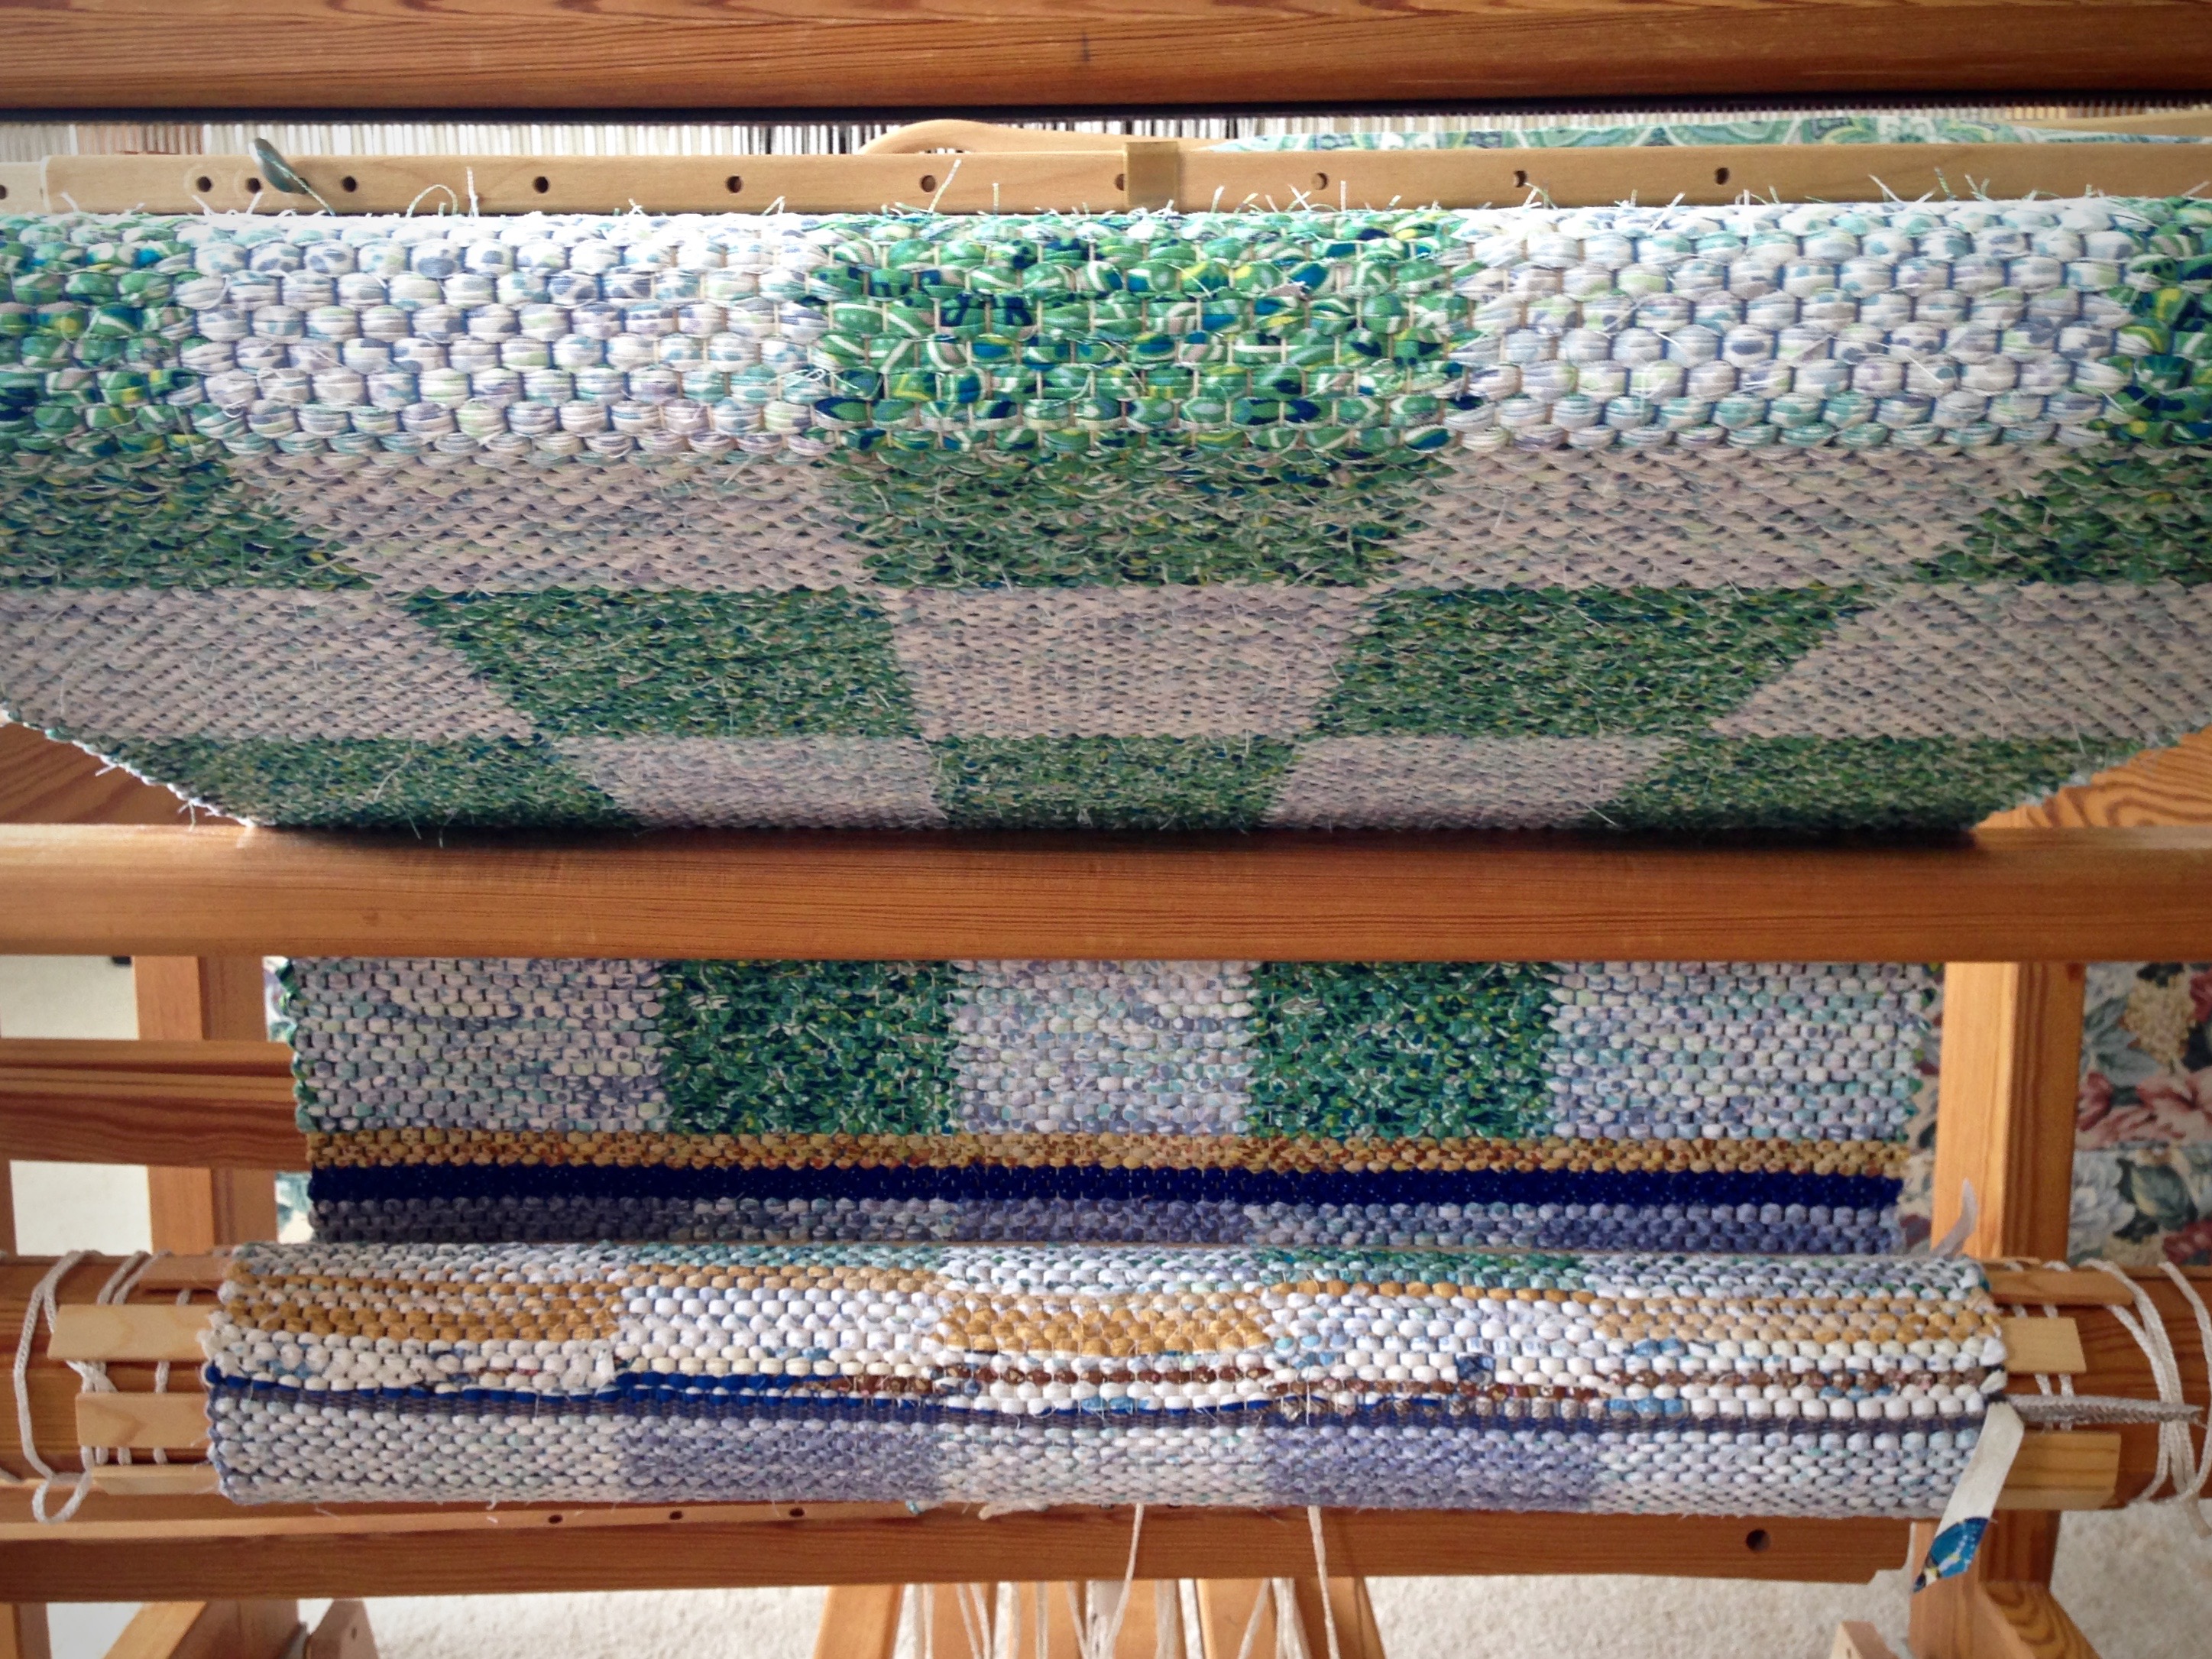
You can guess that I was overjoyed to see the tie-on bar come over the back beam! That hope of finishing propelled me to the end. Of course, I still have work to do–fixing a few floats, wet finishing, and then sewing a tiered skirt. The root of my problem was not that this was long and slow. The root was my uncertainty. Isn’t that always the case? Is all this effort and mess going to be worth it? Will this fabric even work for the skirt I want to make?

Warp was stamped on the loom, using fabric paint, before it was woven.
Printed woven cloth, just off the loom, awaits finishing and sewing. The print was made by stamping the warp on the loom, using fabric paint, before it was woven.

When we are stumbling in the dark, we long for light. It can be discouraging when you are not sure where your decisions will take you. The light of God shines in the darkness, bringing hope. Hope dispels darkness. Much like the tie-on bar at the end of a long warp, when we see hope rounding the corner we know we can make it.

May your path be lit with hope.

By the way, if you are a paint person, I have a set of gently used hand-carved wooden stamps I will send to the first person in the continental U.S. who asks for them. Postage is on me!
Get in Touch to let me know you’d like them.
*UPDATE*
The stamps have been spoken for! Sandy O. is going to use them to experiment on her rigid heddle loom!

Happy plain weaving,
Karen

Quiet Friday: Weave a Bag with Handles

Voila! A rag-weave bag with the handles woven in. First, the handle straps were woven on my band loom. And then, I wove the straps into the rag-weave bag on my floor loom. Lastly, I cut the weaving from the loom and sewed the bag together. This is a warp for double binding rag rugs. I take advantage of this double cloth structure to make handles that are extremely secure. The pictures show how it all comes together. (Quiet Friday: Rag Rug Bag shows my first attempt at this feat. Be sure to read the comments. My amazing readers helped me develop the idea for this workable solution.)

As a bonus, at the end of this post you will see a new video that demonstrates my method of cutting fabric strips for weaving rag rugs.

1. Weave bag handles. (First seen on Is My Weft Showing?)

Unwoven warp (length equal to the rag rug warp width on the loom, plus 2″/5cm) comes before and after each of two bag handles, which are woven to desired length. Unwoven warp is held together at the beginning, and in between the two handles, and at the end, with 1″/2.5cm of woven band.

Bag handle woven on band loom. Karen Isenhower

2. Insert unwoven band warp for one handle.

Weave approximately 1/3 of the bag.

Cut the two handle straps apart in the middle of the 1″/2.5cm woven section that separates the two lengths of unwoven band warp. Entering from the right-hand side, insert one unwoven band warp, used here as weft, into the first shed of the double binding weave, with 1/2″/1cm of the band-woven handle strap reaching into the shed. Tap the weft in with the beater, but do not beat it in firmly, yet.

Steps for weaving handle into rag weave bag.

Weave handle into rag weave bag. How to.

3. Insert unwoven band warp for the second handle.

Entering from the left-hand side, insert the unwoven band warp, used as weft, from the second handle strap into the second shed of the double binding weave, with 1/2″/1cm of the band-woven handle strap reaching into the shed. Beat firmly, packing in both layers of weft together.

Weave handle into rag weave bag on the loom.

4. Weave the center 1/3 of the bag.

Step-by-step weaving handle into bag.

5. Insert remaining unwoven warp of first handle.

Repeat Step 2 with the unwoven band warp attached to the handle on the right-hand side. Make sure the handle strap is not twisted.

Inserting bag handles during weaving. Tutorial.

6. Insert remaining unwoven warp of second handle.

Repeat Step 3 with the unwoven band warp attached to the handle on the left-hand side. Make sure the handle strap is not twisted.

How to insert bag handles into the weaving.

7. Weave the final 1/3 of the bag.

Double binding rag rug bag.

8. Finishing work.

Cut rag-weave bag from the loom. Remove header and knot the ends. Press. (For more about finishing the ends, see Quiet Friday: Rag Rug Finishing and Wear and Tear Rag Rugs)

Finishing ends to make bag.

9. Stitch the bag.

Fold the bag, right sides together. Stitch side seams. Turn right side out. For whimsical detail, form box corners on the outside, and stitch in place by hand with warp thread. (You could form box corners on the inside just as well, stitching flattened corners by machine or by hand.)

Creating a rag rug bag.

10. Take your bag with you wherever you go.

Rag rug bag with woven handles. Karen Isenhower

Rag rug bag detail. Karen Isenhower

May your ideas turn into fruitful efforts.

Happy weaving,
Karen

Tapestry Diary Mistake and Remedy

If you must be in a hurry, then you probably won’t enjoy handweaving. Your hurry up condition will be put to the test even more so with tapestry weaving. And when you make mistakes, the errors can usually be remedied, but it always takes more time. Have patience.

Back of finished small tapestry.
Small tapestry is finished when close inspection reveals a critical omission–there is no twining at the bottom edge of the weaving.

I meant to have this piece finished two months ago, but that’s another story. Now that I have finally woven the last pick I am so eager to take the tapestry off the frame. Wait a minute. What? I forgot to do the twining at the beginning of the tapestry? The twining is essential; it keeps the weft in place when the warp tension is relaxed. Okay, have patience, Karen. Do what needs to be done. Add the twining.

Twining added at bottom of small tapestry.
With little space in which to manipulate threads, the accidentally omitted twining is added in.
Twining added at bottom of small tapestry.
Added twining is pushed into place at the bottom of the small tapestry.
Small tapestry diary. Karen Isenhower
Finished view. Now that the added twining makes a pleasant oultine, I like how the tapestry looks on the frame loom. I may leave it on the frame one more day.

Patience is a virtue. What do you do when your patience is put to the test? Especially with important life issues. Trust in the Lord and be still. Waiting patiently is better than fretting. Is it possible the Lord has some finishing work to do in us, requiring patience, before we move on to the next assignment?

May you find errors while they are still fixable.

Love,
Karen

Linen Gets Wet

It is time for wet finishing. As curious as I am to see how the linen fabric will emerge through the process, I still hesitate when it is time to put the fabric in the water. Fresh off the loom, the fabric is coarse and stiff, but it looks good! I know that the water, mild soap, and gentle washing machine agitation will absolutely change the character of the cloth. Wet finishing should change the cloth for the better… Finally, I look at my notes again from the wet finished sample piece, and gain the courage to put the linen fabric in the water…

Wet finishing linen. Before and after.
Linen dice weave transforms from rigid squares on a stiff open mesh to gently flowing squares on softened cloth, where the threads blossom together to close the mesh. Oh, how the beauty of linen is revealed through washing.

Don’t hesitate to pray. Seek God when things are calm. Today is the best time to pray, when things are going well. Oh yes, there may be changes as a result of your prayers, but the changes are all good.

May you see the positive changes you hope for.

With anticipation,
Karen

Quiet Friday: Checkered Rug

I have another rag rug warp on my Baby loom (Glimåkra 100cm Ideal), playing with the magic of double binding again, this time with four shafts and four treadles. Ten yards / nine meters of warp. I planned an additional twelve inches / 30.5cm between rugs for cutting off and tying back on, so I can cut each rug off as it is finished. Here is the first rug.

Winding warp for another rag rug.
Small warping reel is used to measure the ten yards / nine meters of 12/6 cotton rug warp.
Beaming the warp under tension, using warping trapeze and weights.
Warp chains are undone and lengthened out over the warping trapeze. Several pounds of walking weights hold the bouts under constant even tension for beaming the warp.
Tying on.
All tied on. Ready to weave.
Designing a rag rug.
Design concept is created; and fabric colors are chosen.
Double binding rag rug on the loom. Karen Isenhower
Progress.
Using a temple for weaving rag rugs.
Temple is always in place when I am weaving a rug. I fitted two different temple parts together to get this warp width. Notice the lengthwise gaps between the temple parts…but not a problem.
Rag rug on the loom. Nearing completion.
Around the breast beam, and over the knee beam, to wrap around the cloth beam. Warping slats are placed between the cloth beam and the rug the first time around to make a smooth surface for the woven rug-cloth.
Rag rug on the loom. Woven hem.
Hem is completed with 12 picks of rug warp. Three inches of scrap fabric header comes next, and then the rug is ready to be cut from the loom.
Hand-hemming rag rug.
Warp ends have been knotted and trimmed; and hem folded under and pressed. Now, hemming with a needle and rug warp, the last step is almost complete. The only thing left is to sew on my label.
Checkered rag rug. Karen Isenhower
Notice the subtle changes in color and depth of color where the warp colors change–purposely not aligned with the block changes.
Home sweet home. That's what rag rugs are for.
Home sweet home. A patterned rag rug makes a house feel like home.

May you finish what you started.

Happy Weaving,
Karen