I would like to finish this skirt project in time to wear the skirt this summer. Huckaback (huck lace) is easy to weave, but it takes time. All I need is time.
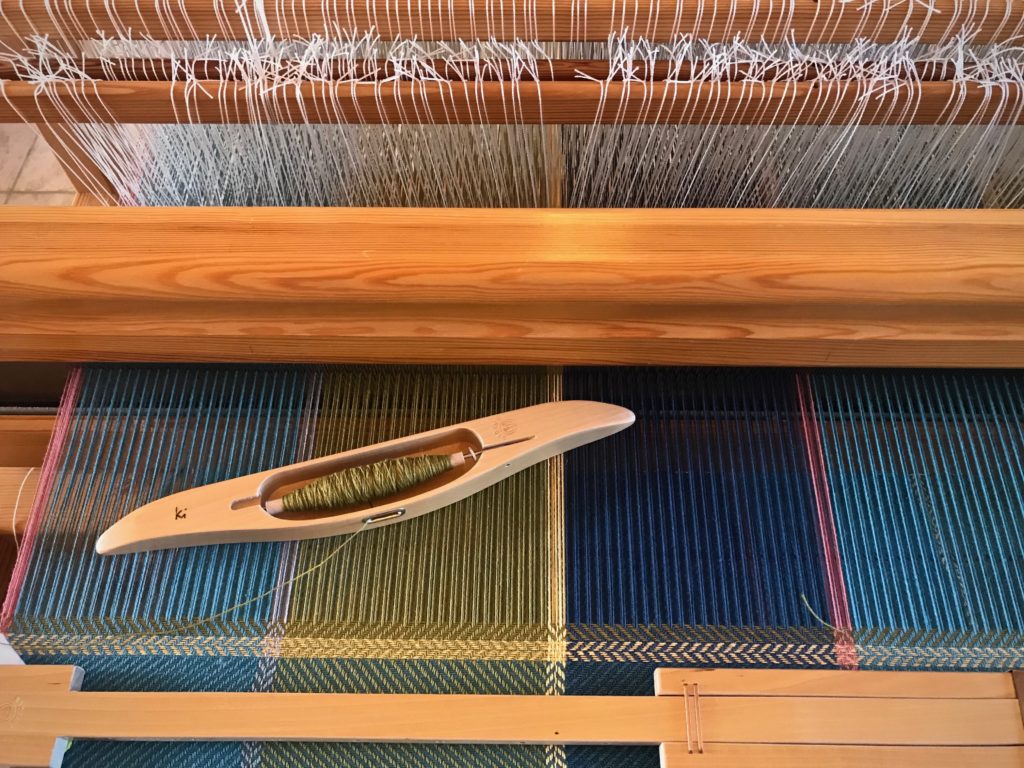
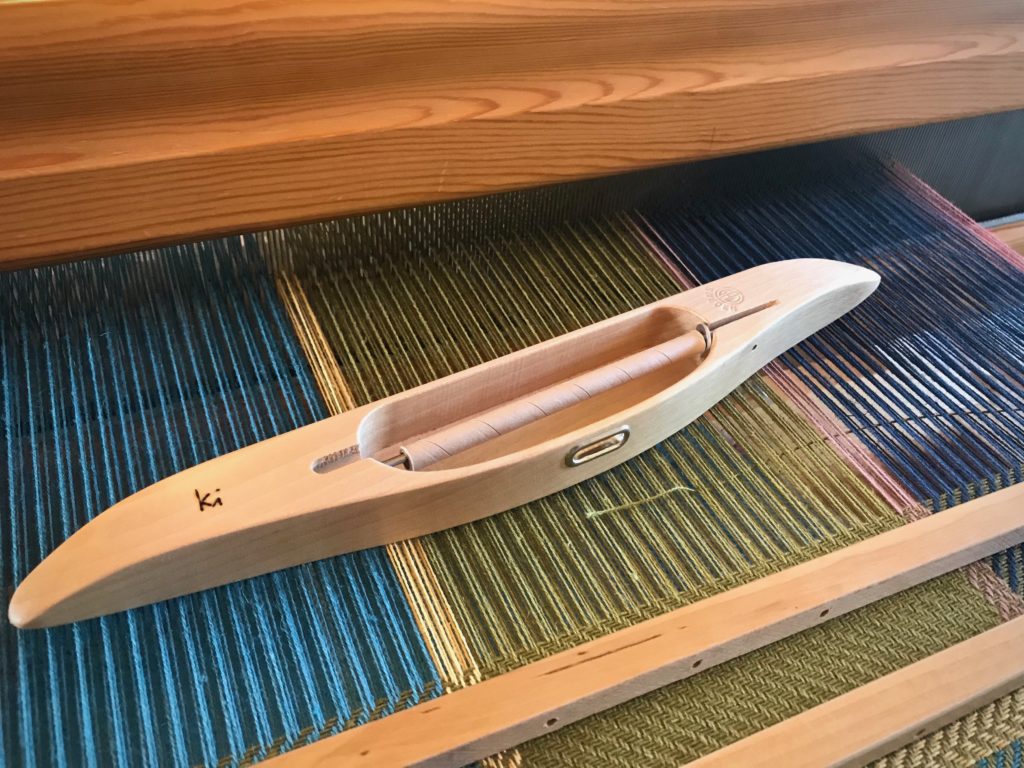
Linen weft threads pack in tighter and make better selvedges when they are dampened. I need a tight weave to square the pattern that is coming on the next two skirt tiers. And the edge of the skirt flounce is a selvedge that will be fully exposed, so tidy selvedges are a must. It takes a little bit of time to hold a damp cloth against the thread as I wind a quill, or to wrap a damp cloth around a quill that’s already wound. It’s worth it. In the scheme of things, that little bit of time is nothing…and everything.
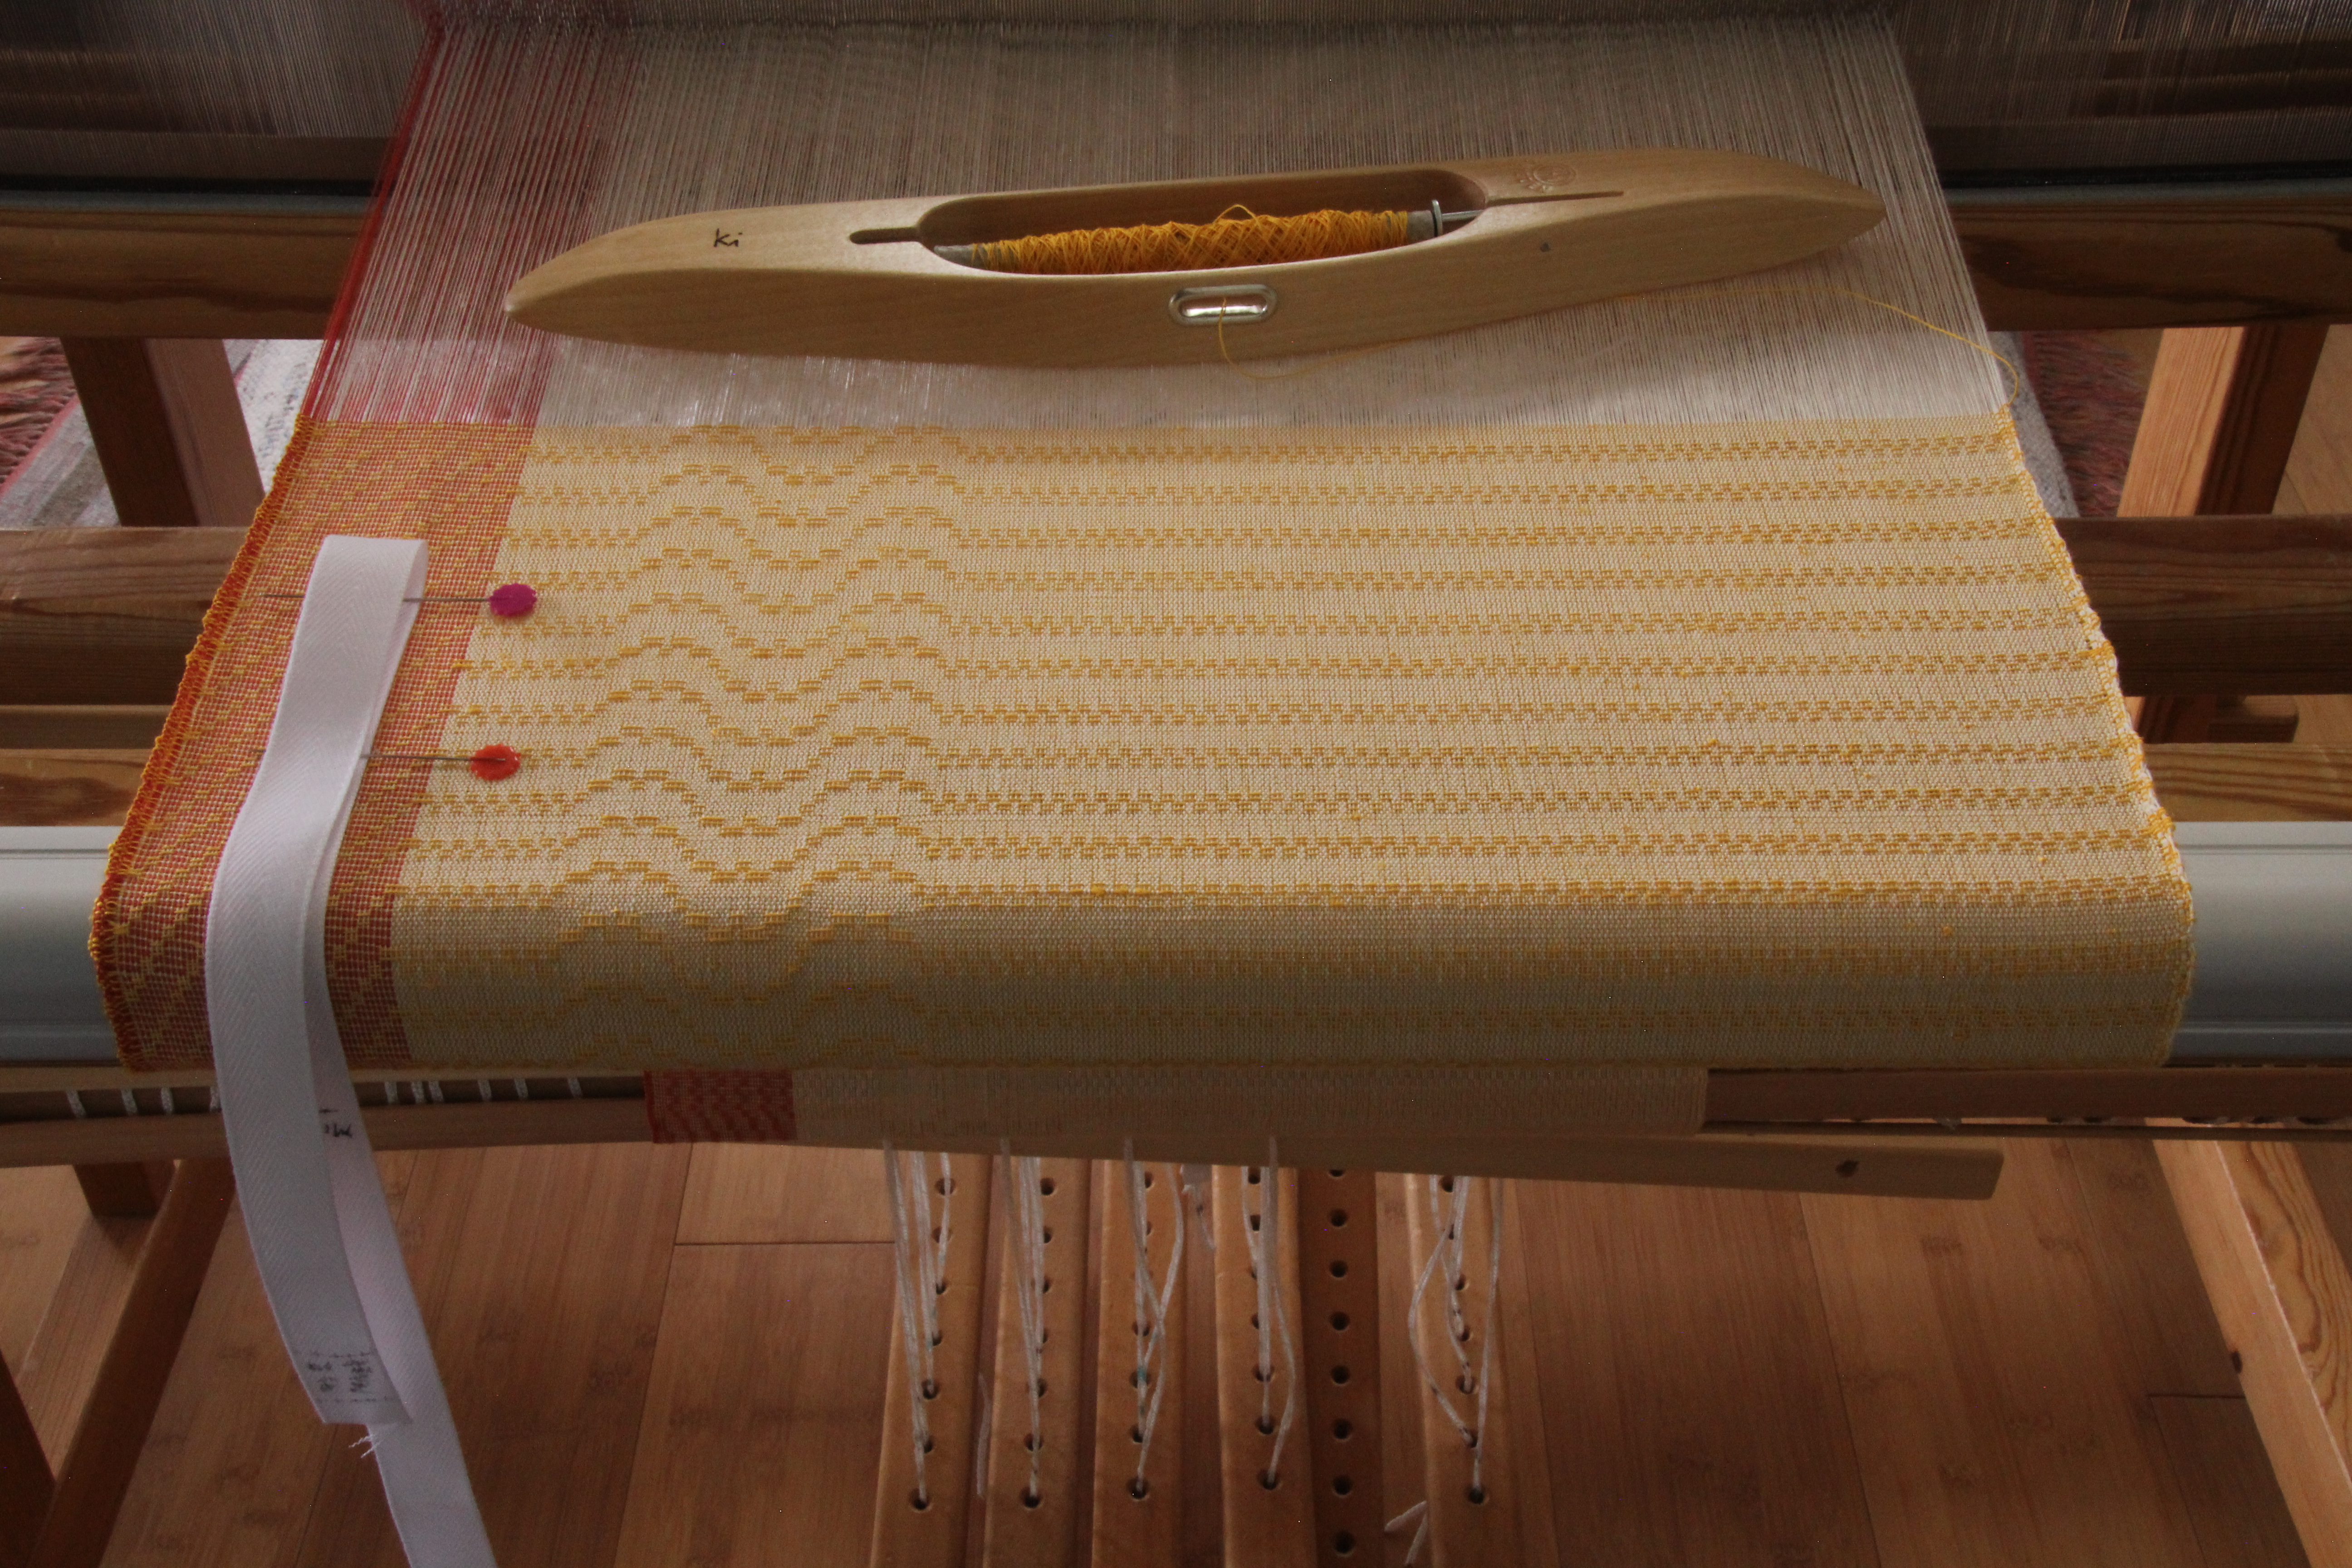
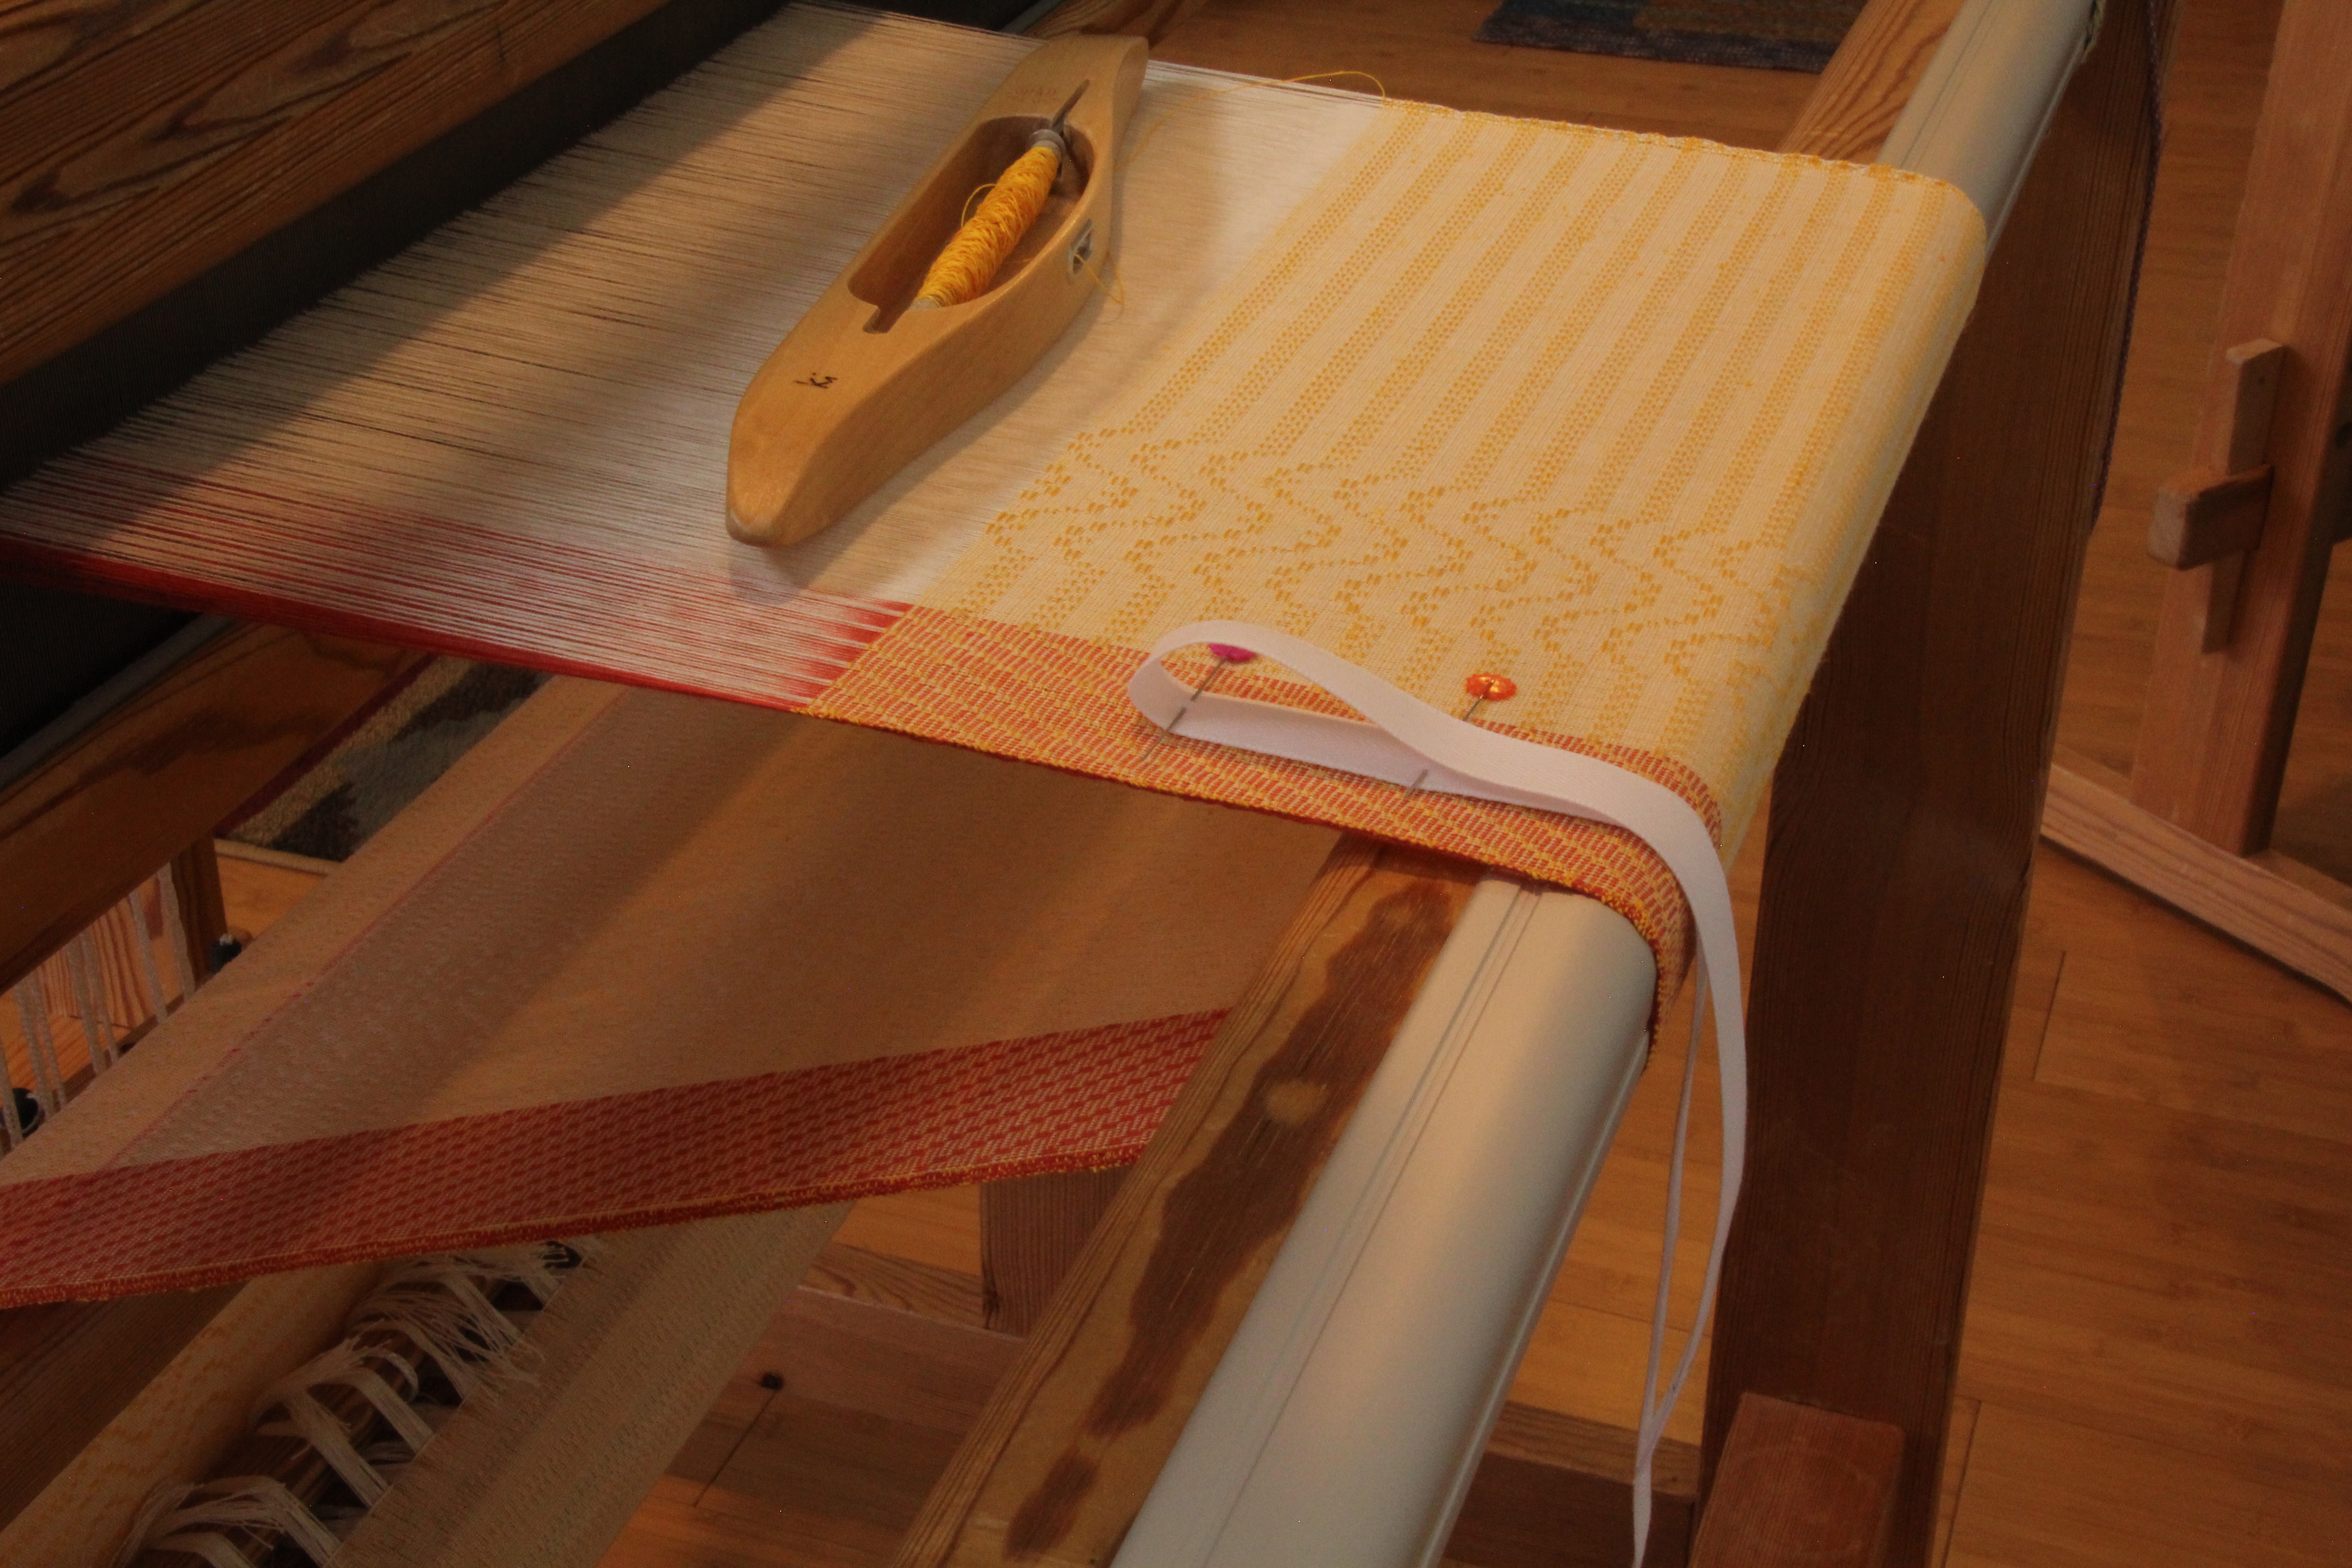
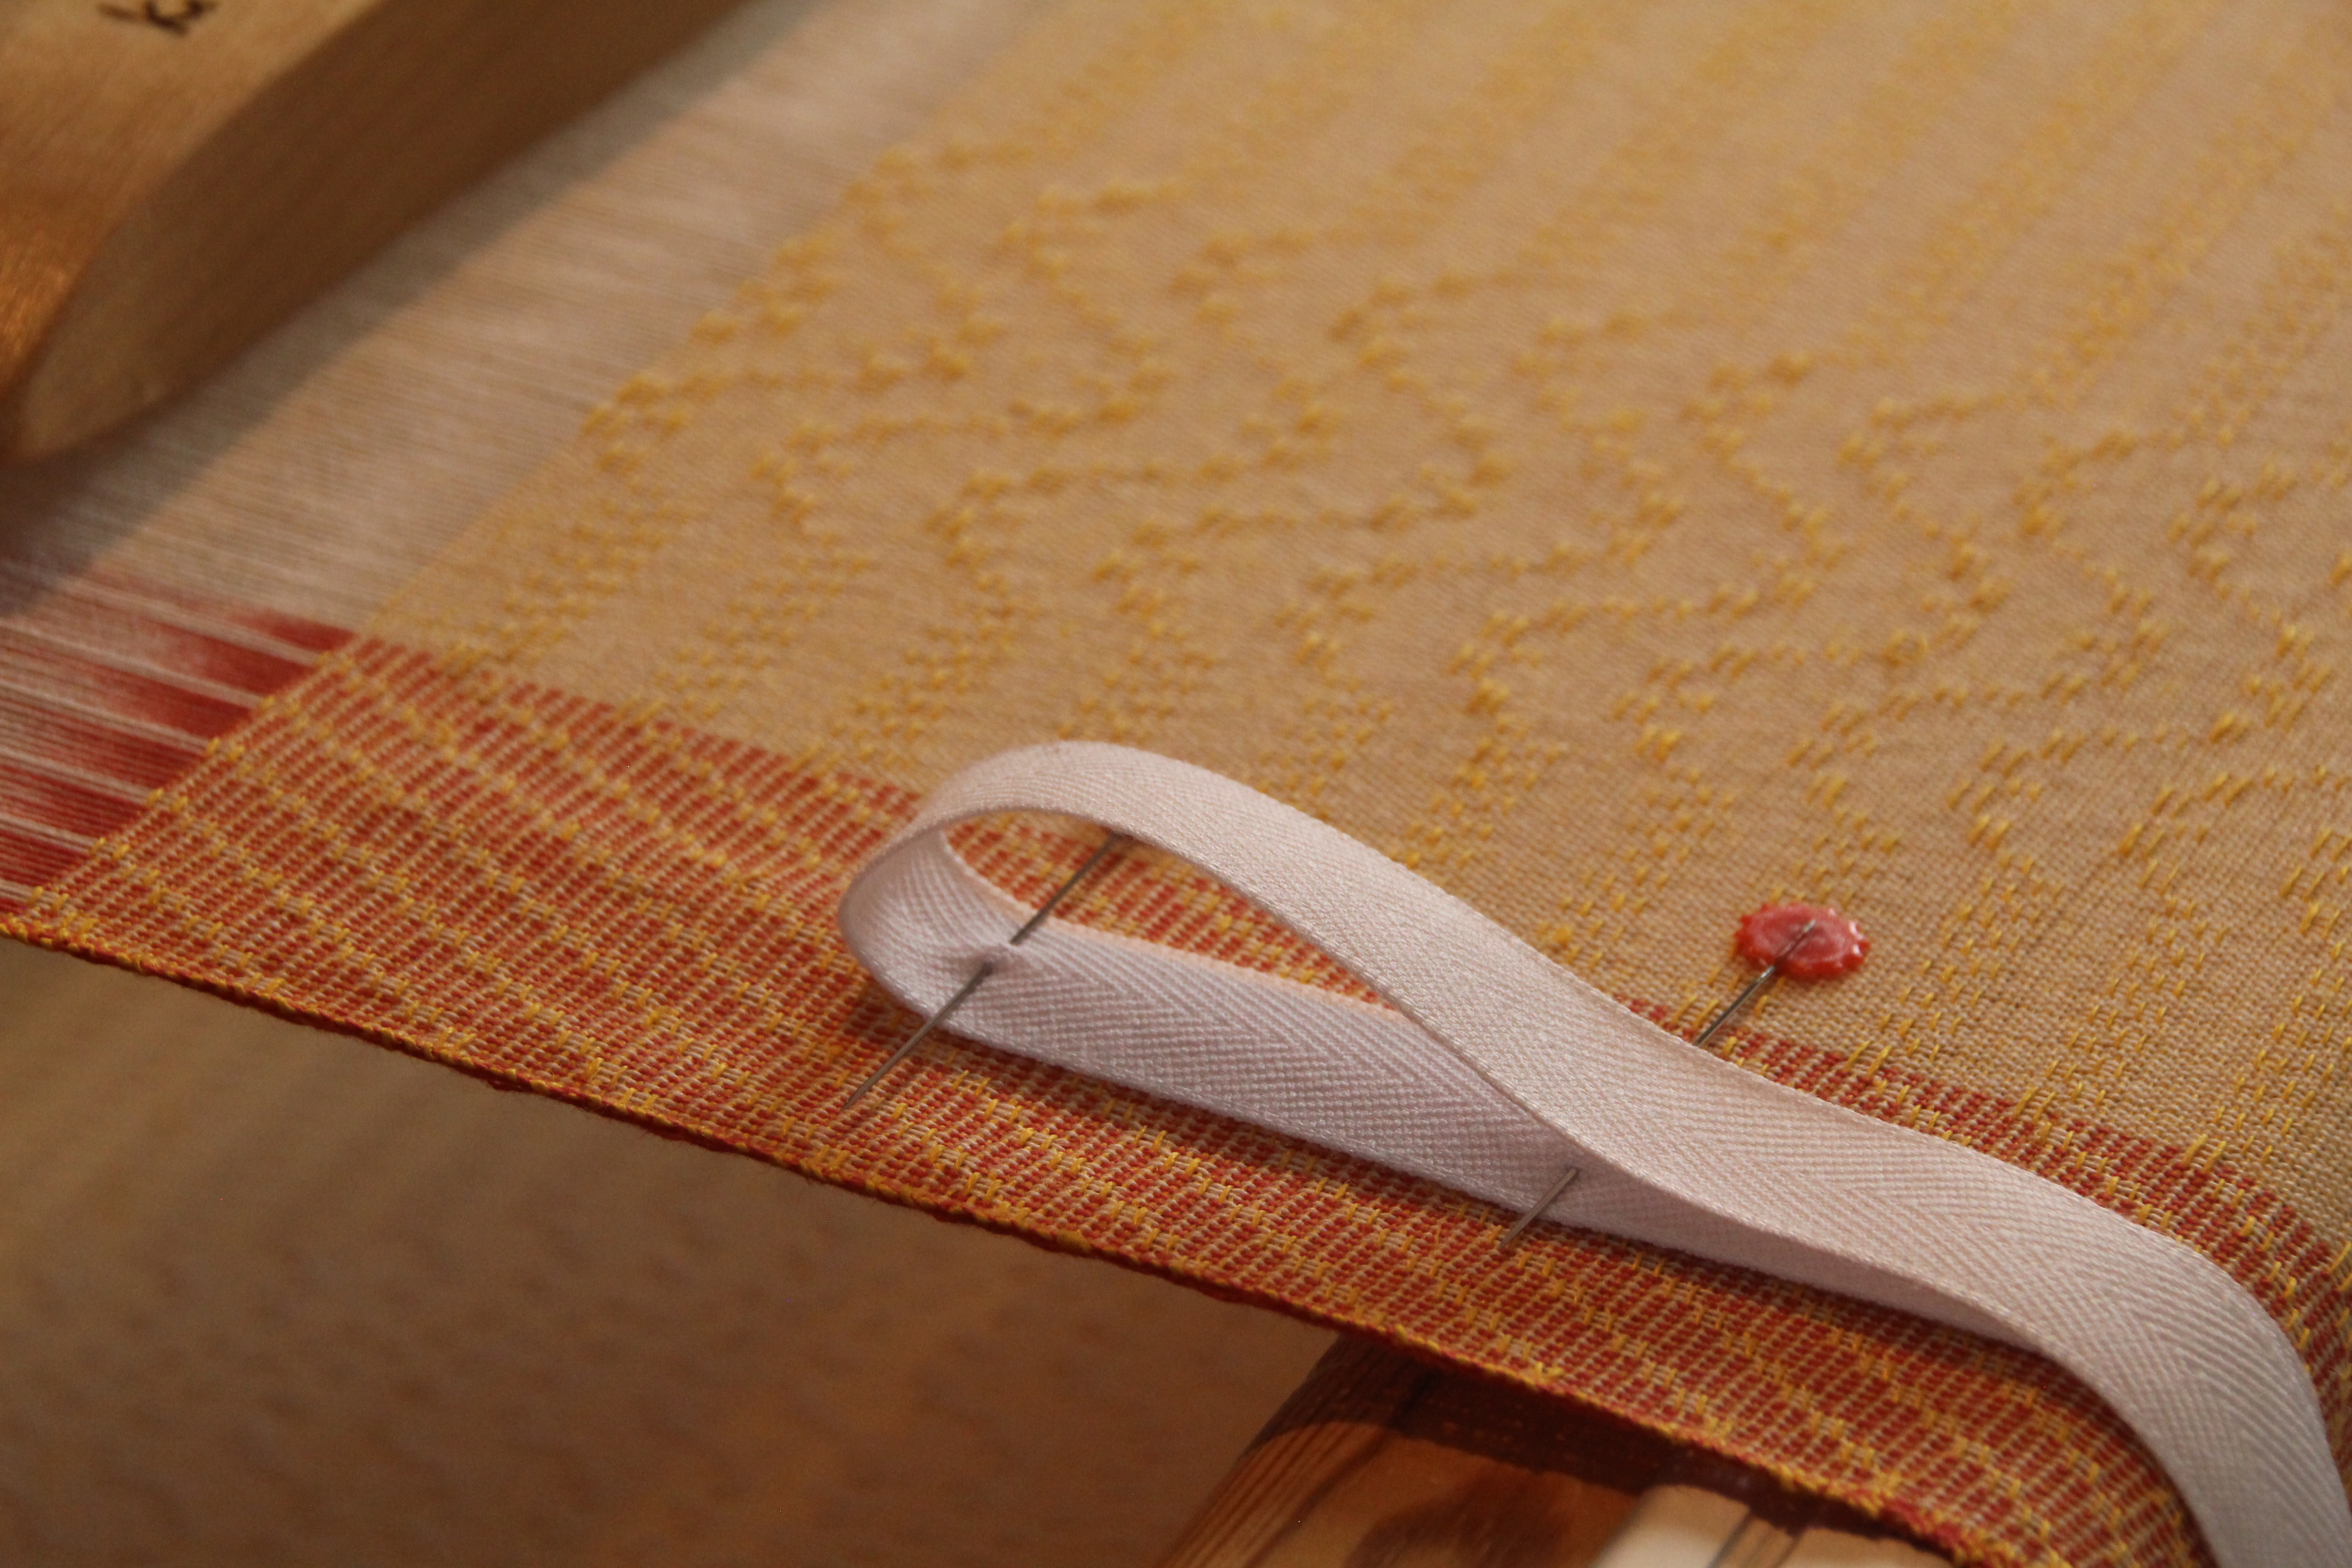
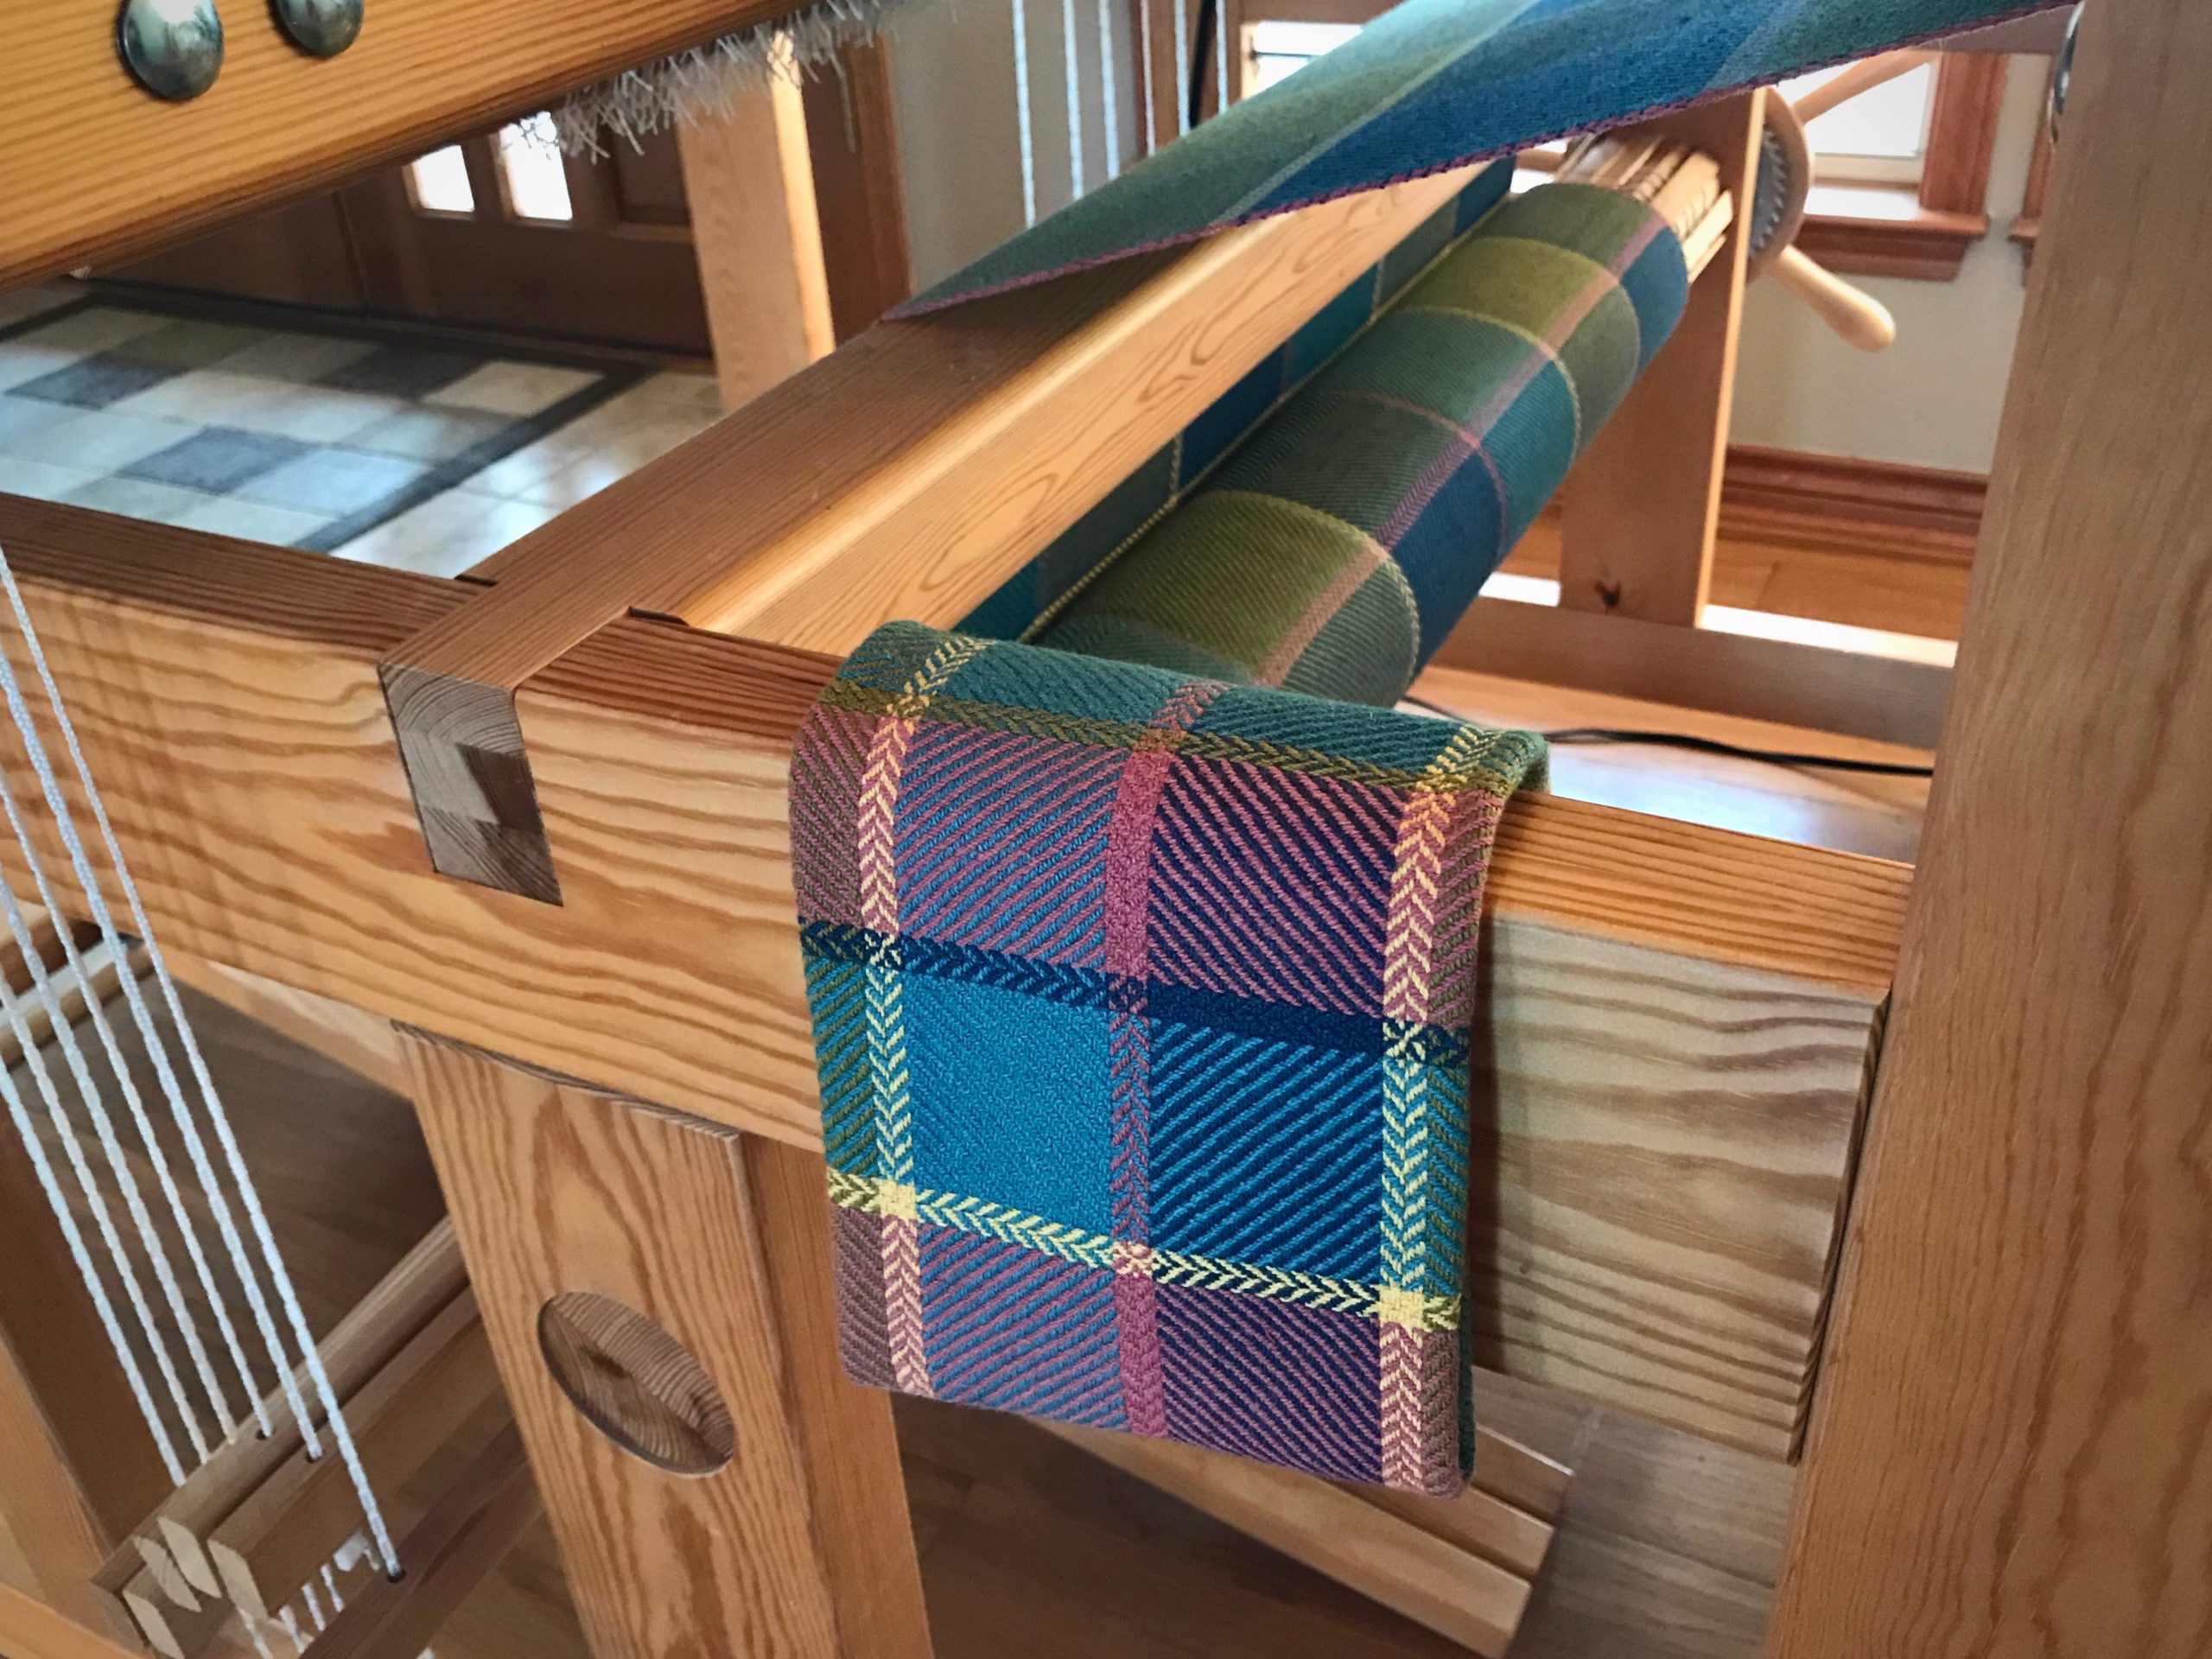
By dampening the 16/1 linen weft I am able to get a tight weave without having to beat as hard.The edge with the poppy-thread border will be the lower edge of each tier on the three-tiered skirt. I’m paying special attention to the selvedge, and dampening the linen weft really helps!
We all have a little bit of time. Look at your hand. A lifespan is no longer than the width of your hand. A lifetime is one moment to God. Our life begins and ends in one breath of God. This little bit of time we have is nothing…and everything. This is how God loved us in our little bit of time: he gave his one and only Son, so that everyone who believes in him would not perish but have timeless life with him.
Slay the dragon. Ride the sleigh. Sley the reed. To succeed in these challenges, you must be prepared, pay attention, and make sure you’re on the right track. Here, I’m going to focus on sleying the reed with success. (For dragon slaying and sleigh riding challenges, I won’t be of much help.) Don’t miss the new video below with tips for sleying the reed.
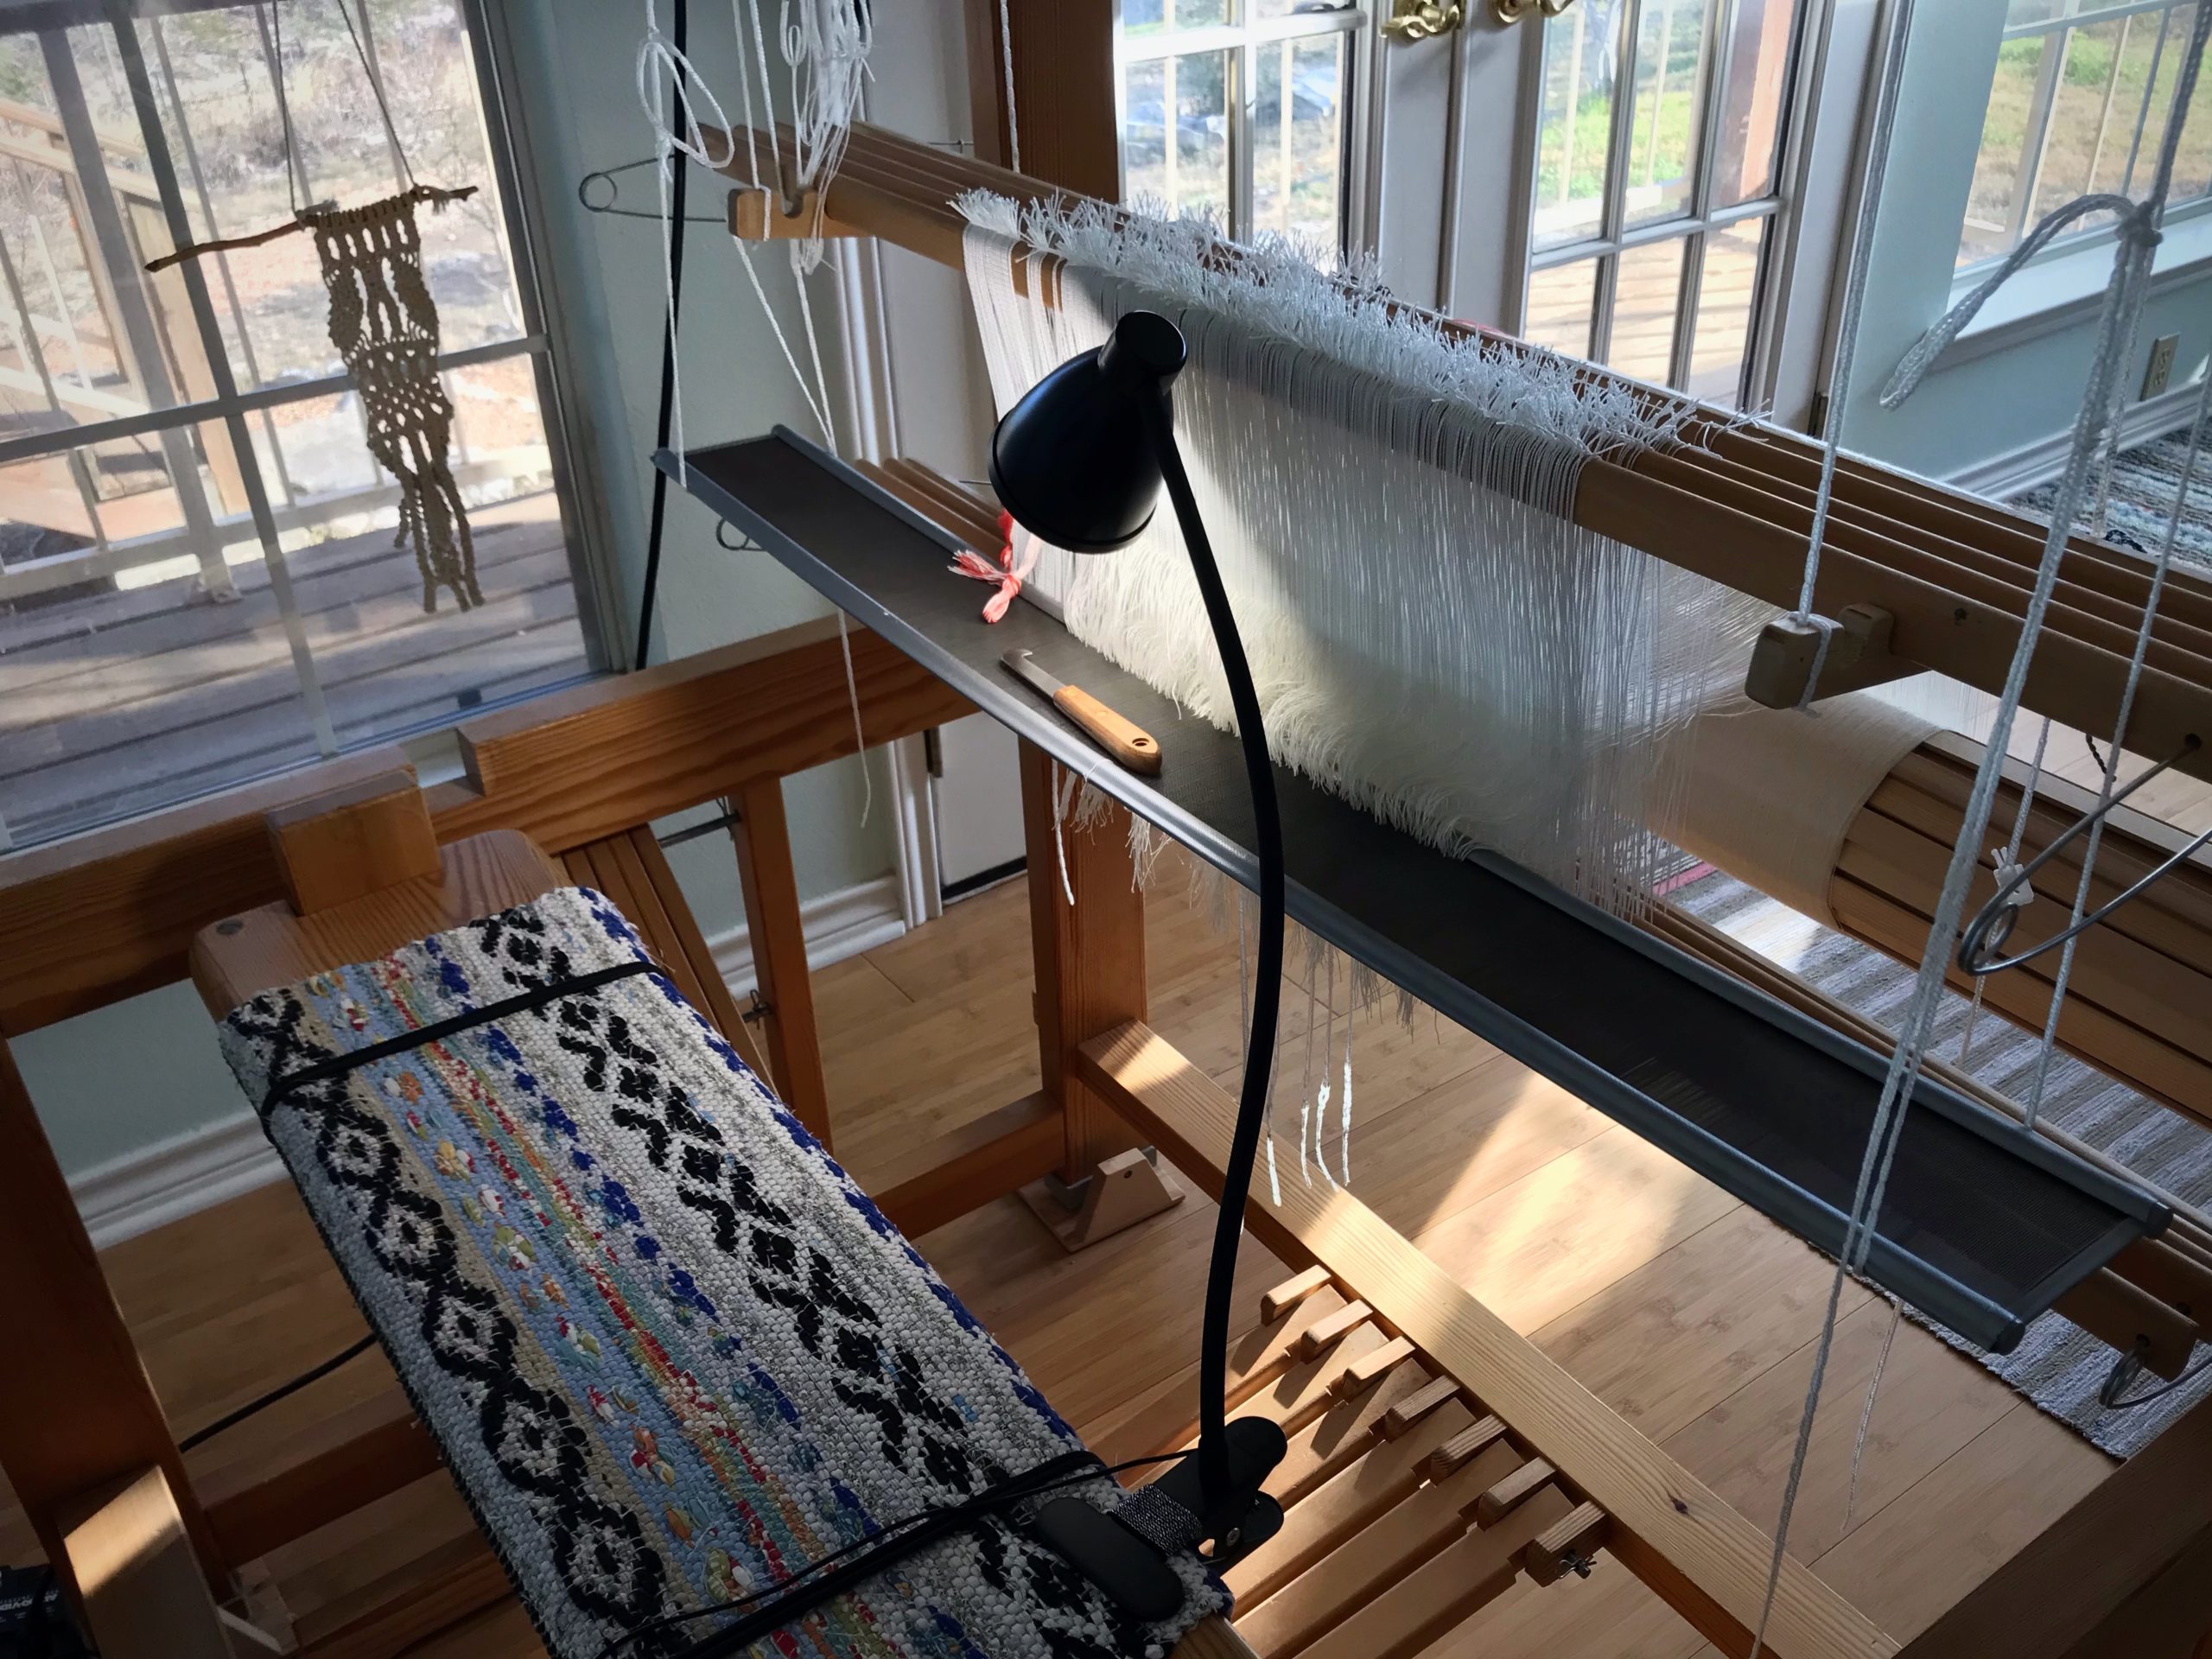
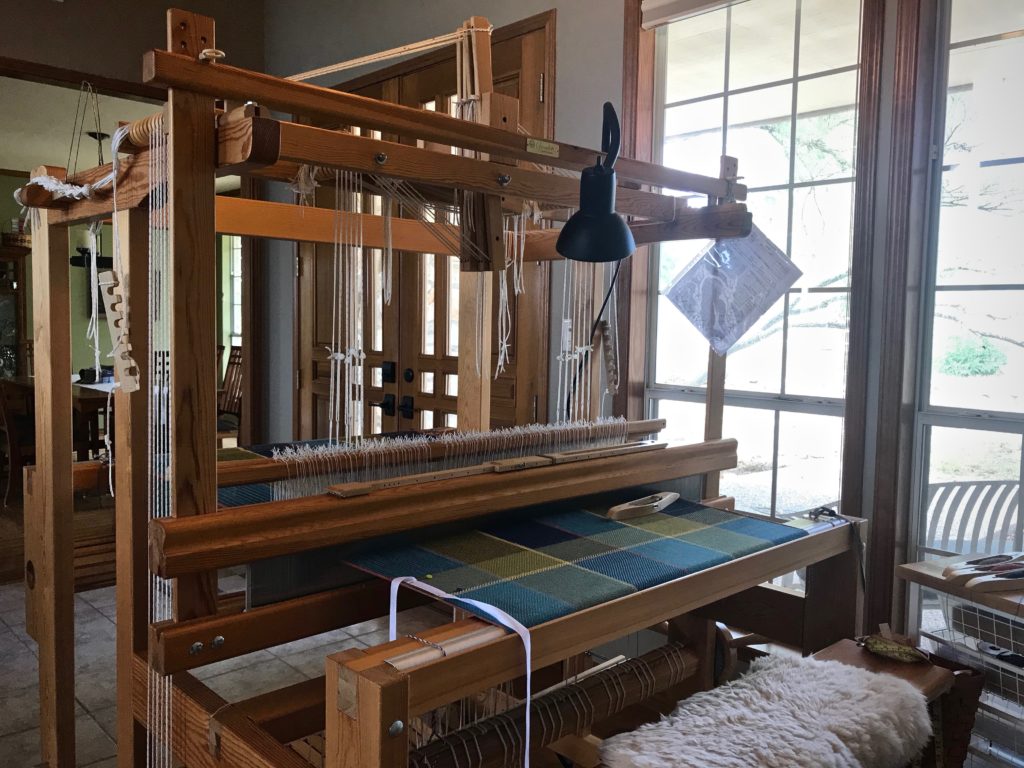
Shop light attached to top of loom provides good general lighting to all working areas of the loom. Smaller clip-on lamp provides directed light for detail work, like sleying a dense reed.Even in a room filled with natural light, a focused bright light on the work area relieves eye strain and reduces errors.
First, make sure you have good lighting. I have a snake arm shop light attached to the top of my loom. (See Tools Day: Loom Lighting for more about loom lighting.) I also have a smaller clip-on gooseneck LED lamp, clipped onto my loom bench, that illuminates my specific working area. With a fine-dent reed, like this metric 100/10- (~ imperial 25-) dent reed, focused lighting makes a difference. It means seeing the dents instead of guessing.
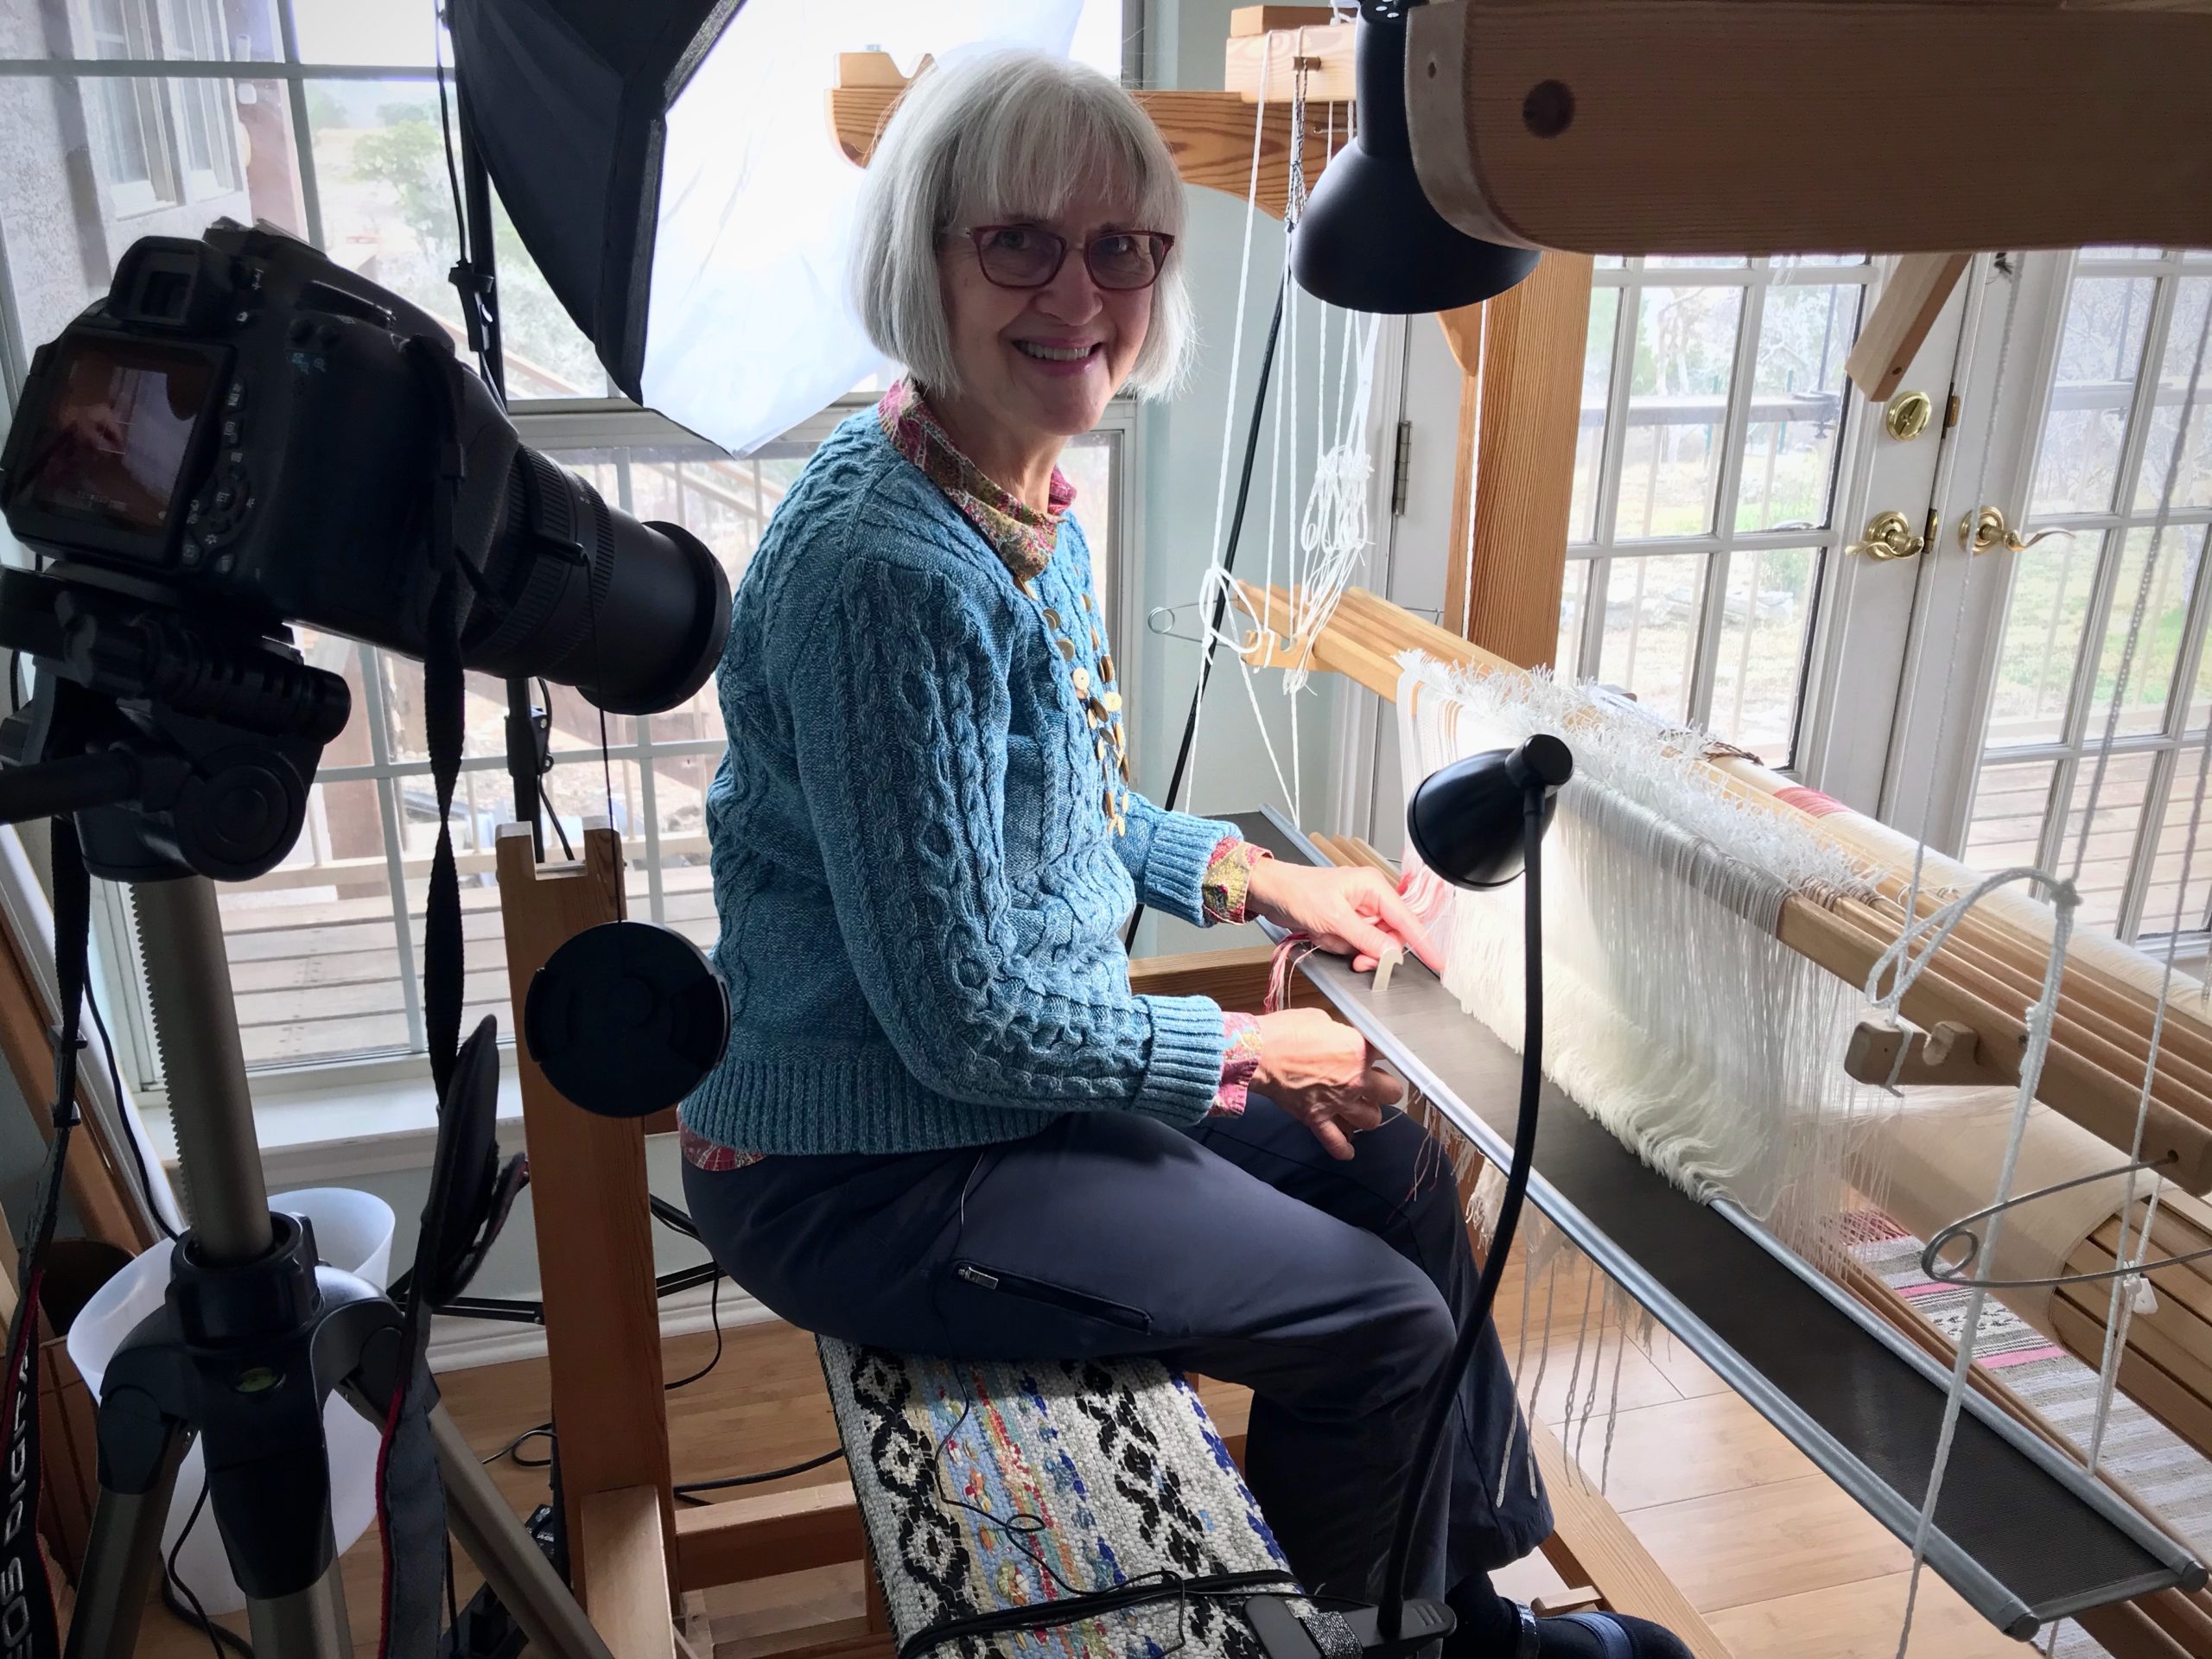
Making a new video. Steve does the filming and I do the editing.
In this video, I share some tips for sleying the reed, with checkpoints to ensure success. (See Tools Day: Click Test for more about the “click test” mentioned in the video.)
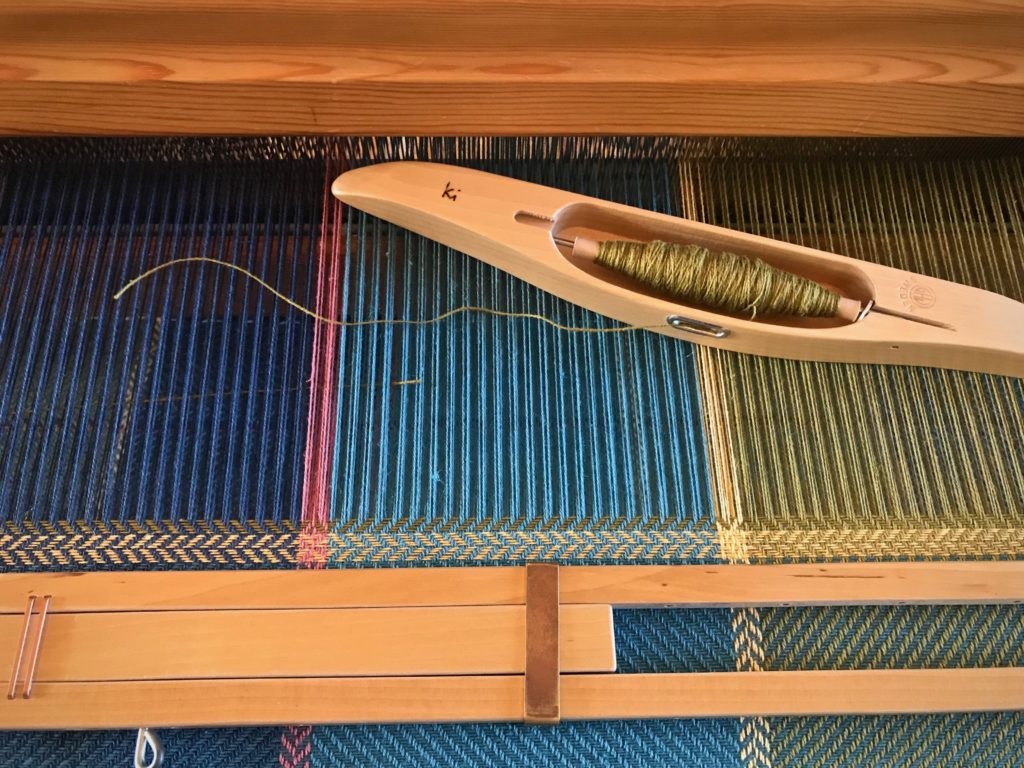
I have an efficient way to handle weft color changes. It’s very simple. This is for those instances when I need to end one weft thread and start a new one. As a rule, I take care of weft tails as I go. I don’t want to come back to them later if I don’t have to. If I tuck in each weft tail at the beginning of the row, thickness from the extra wefts builds up at the selvedge, especially if I’m weaving horizontal stripes. The method I describe reduces the extra wefts, and eliminates having to tuck any tails in.
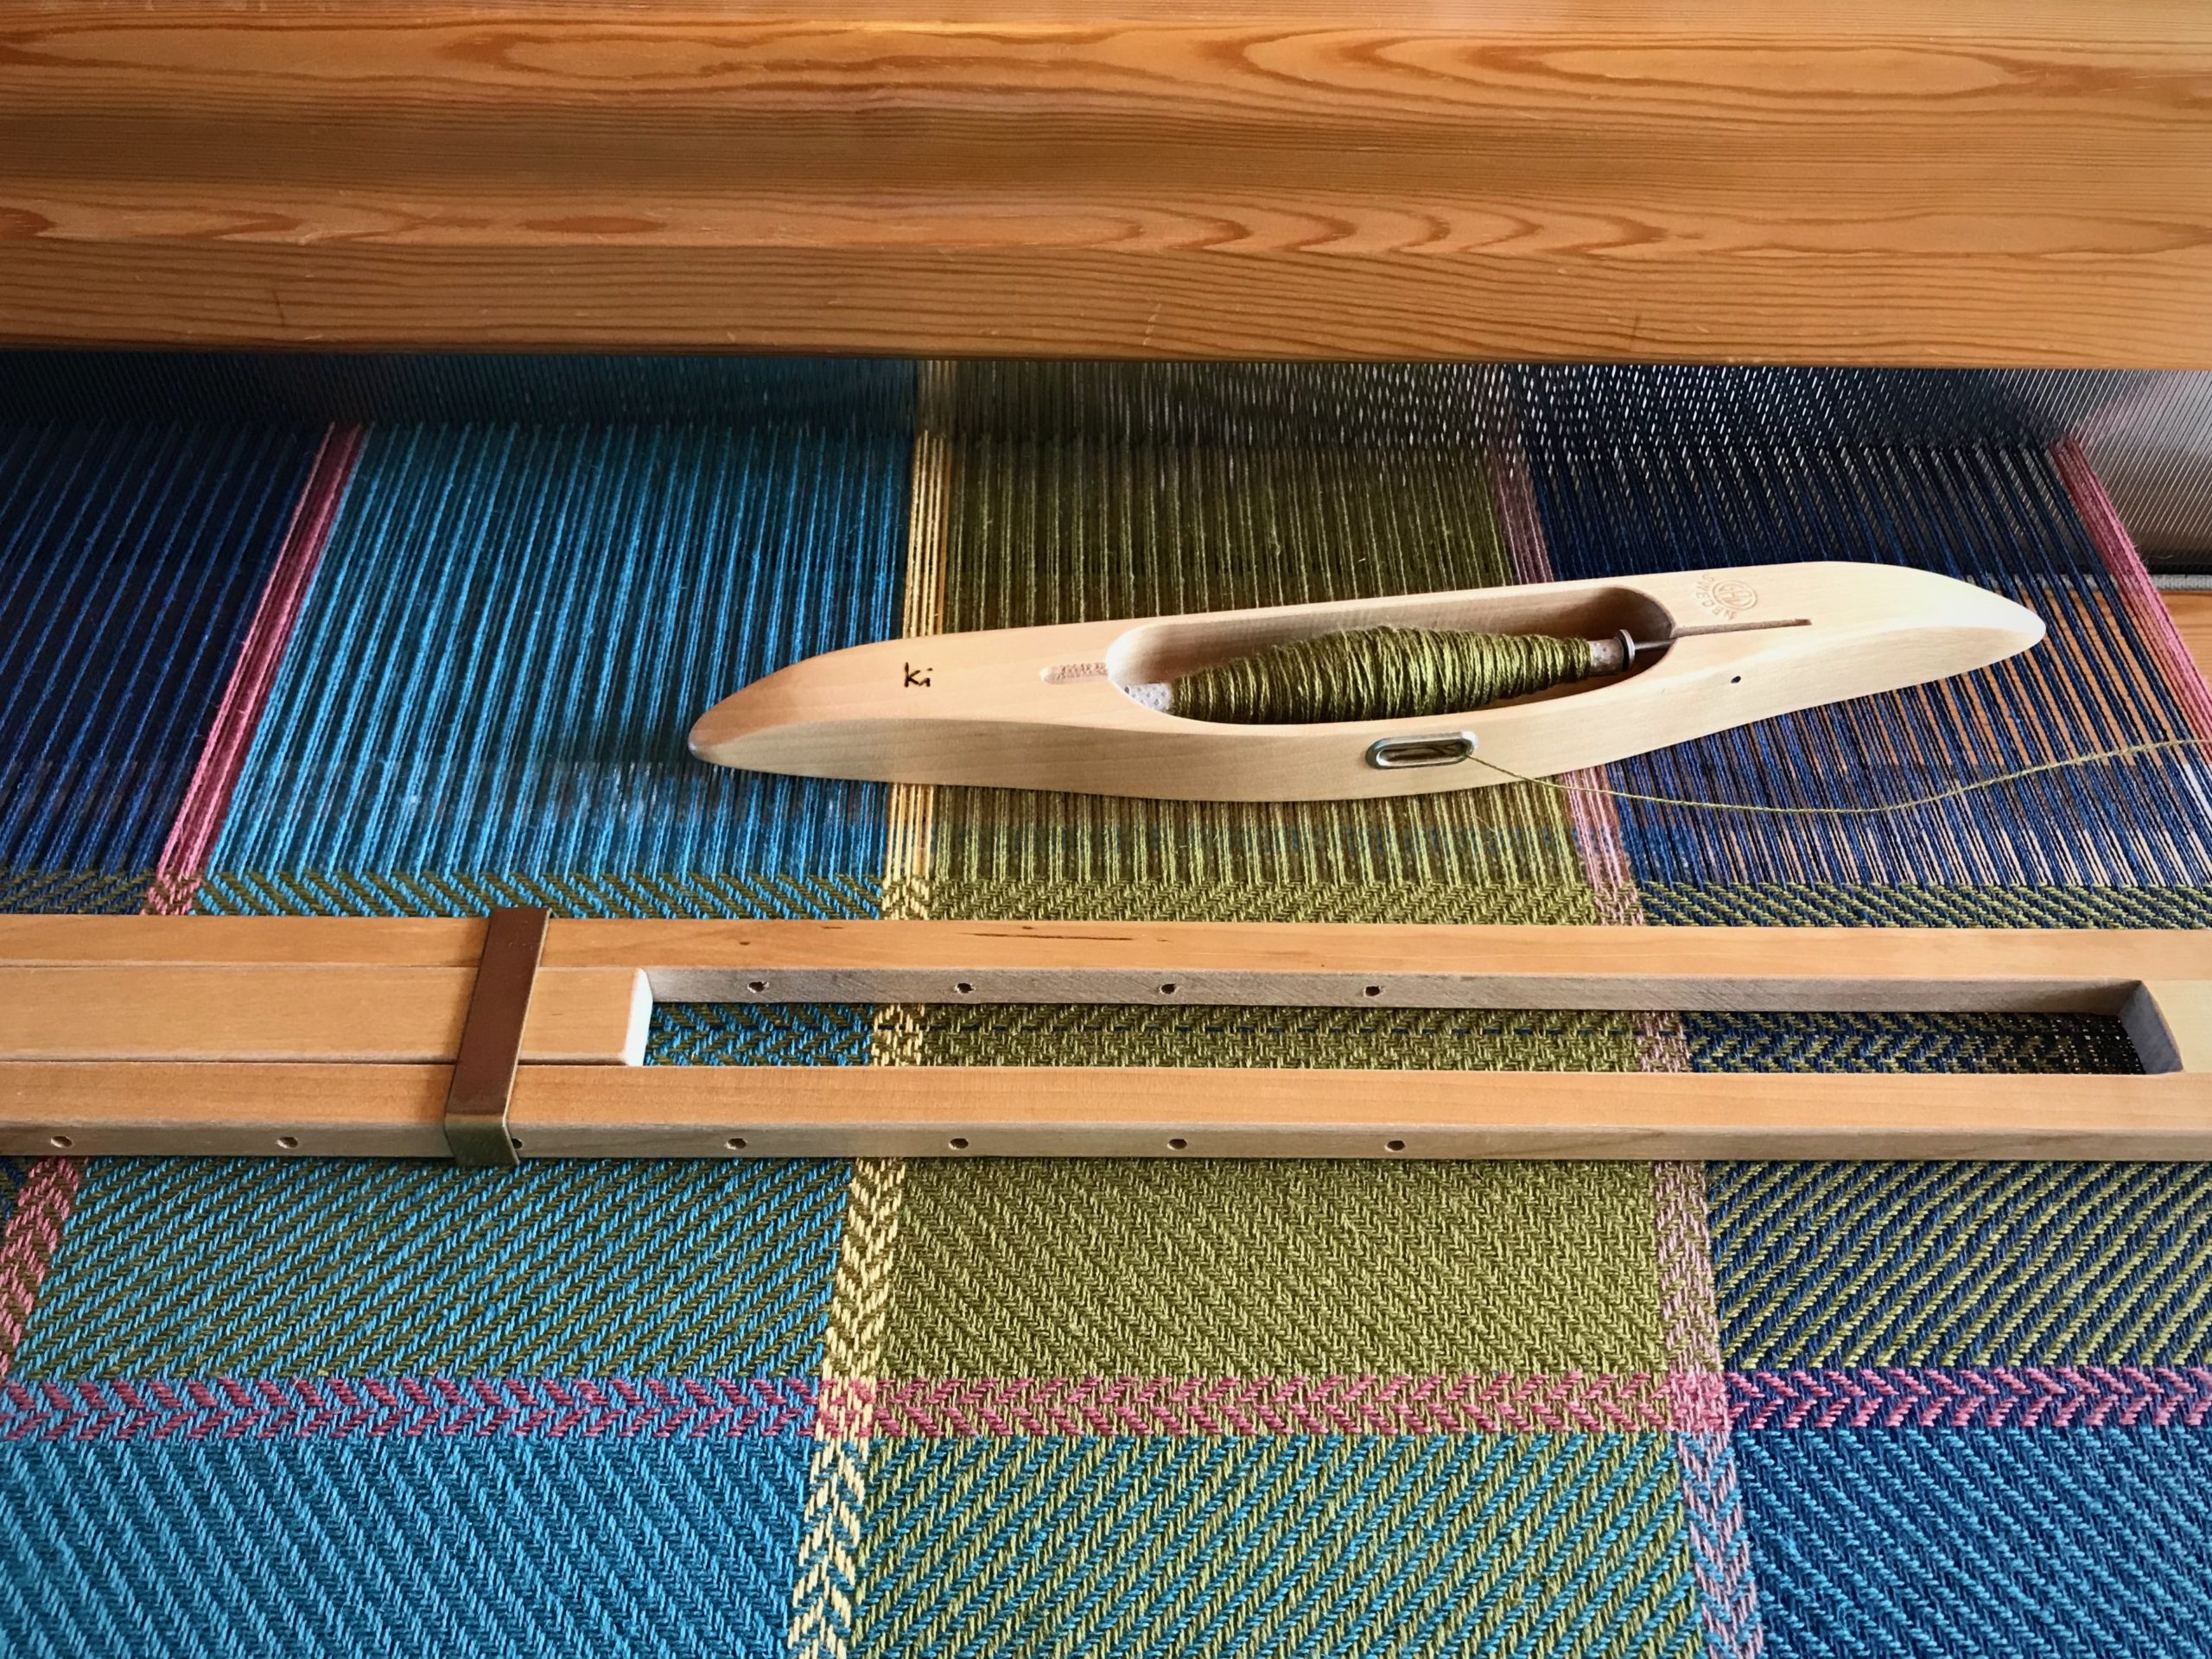
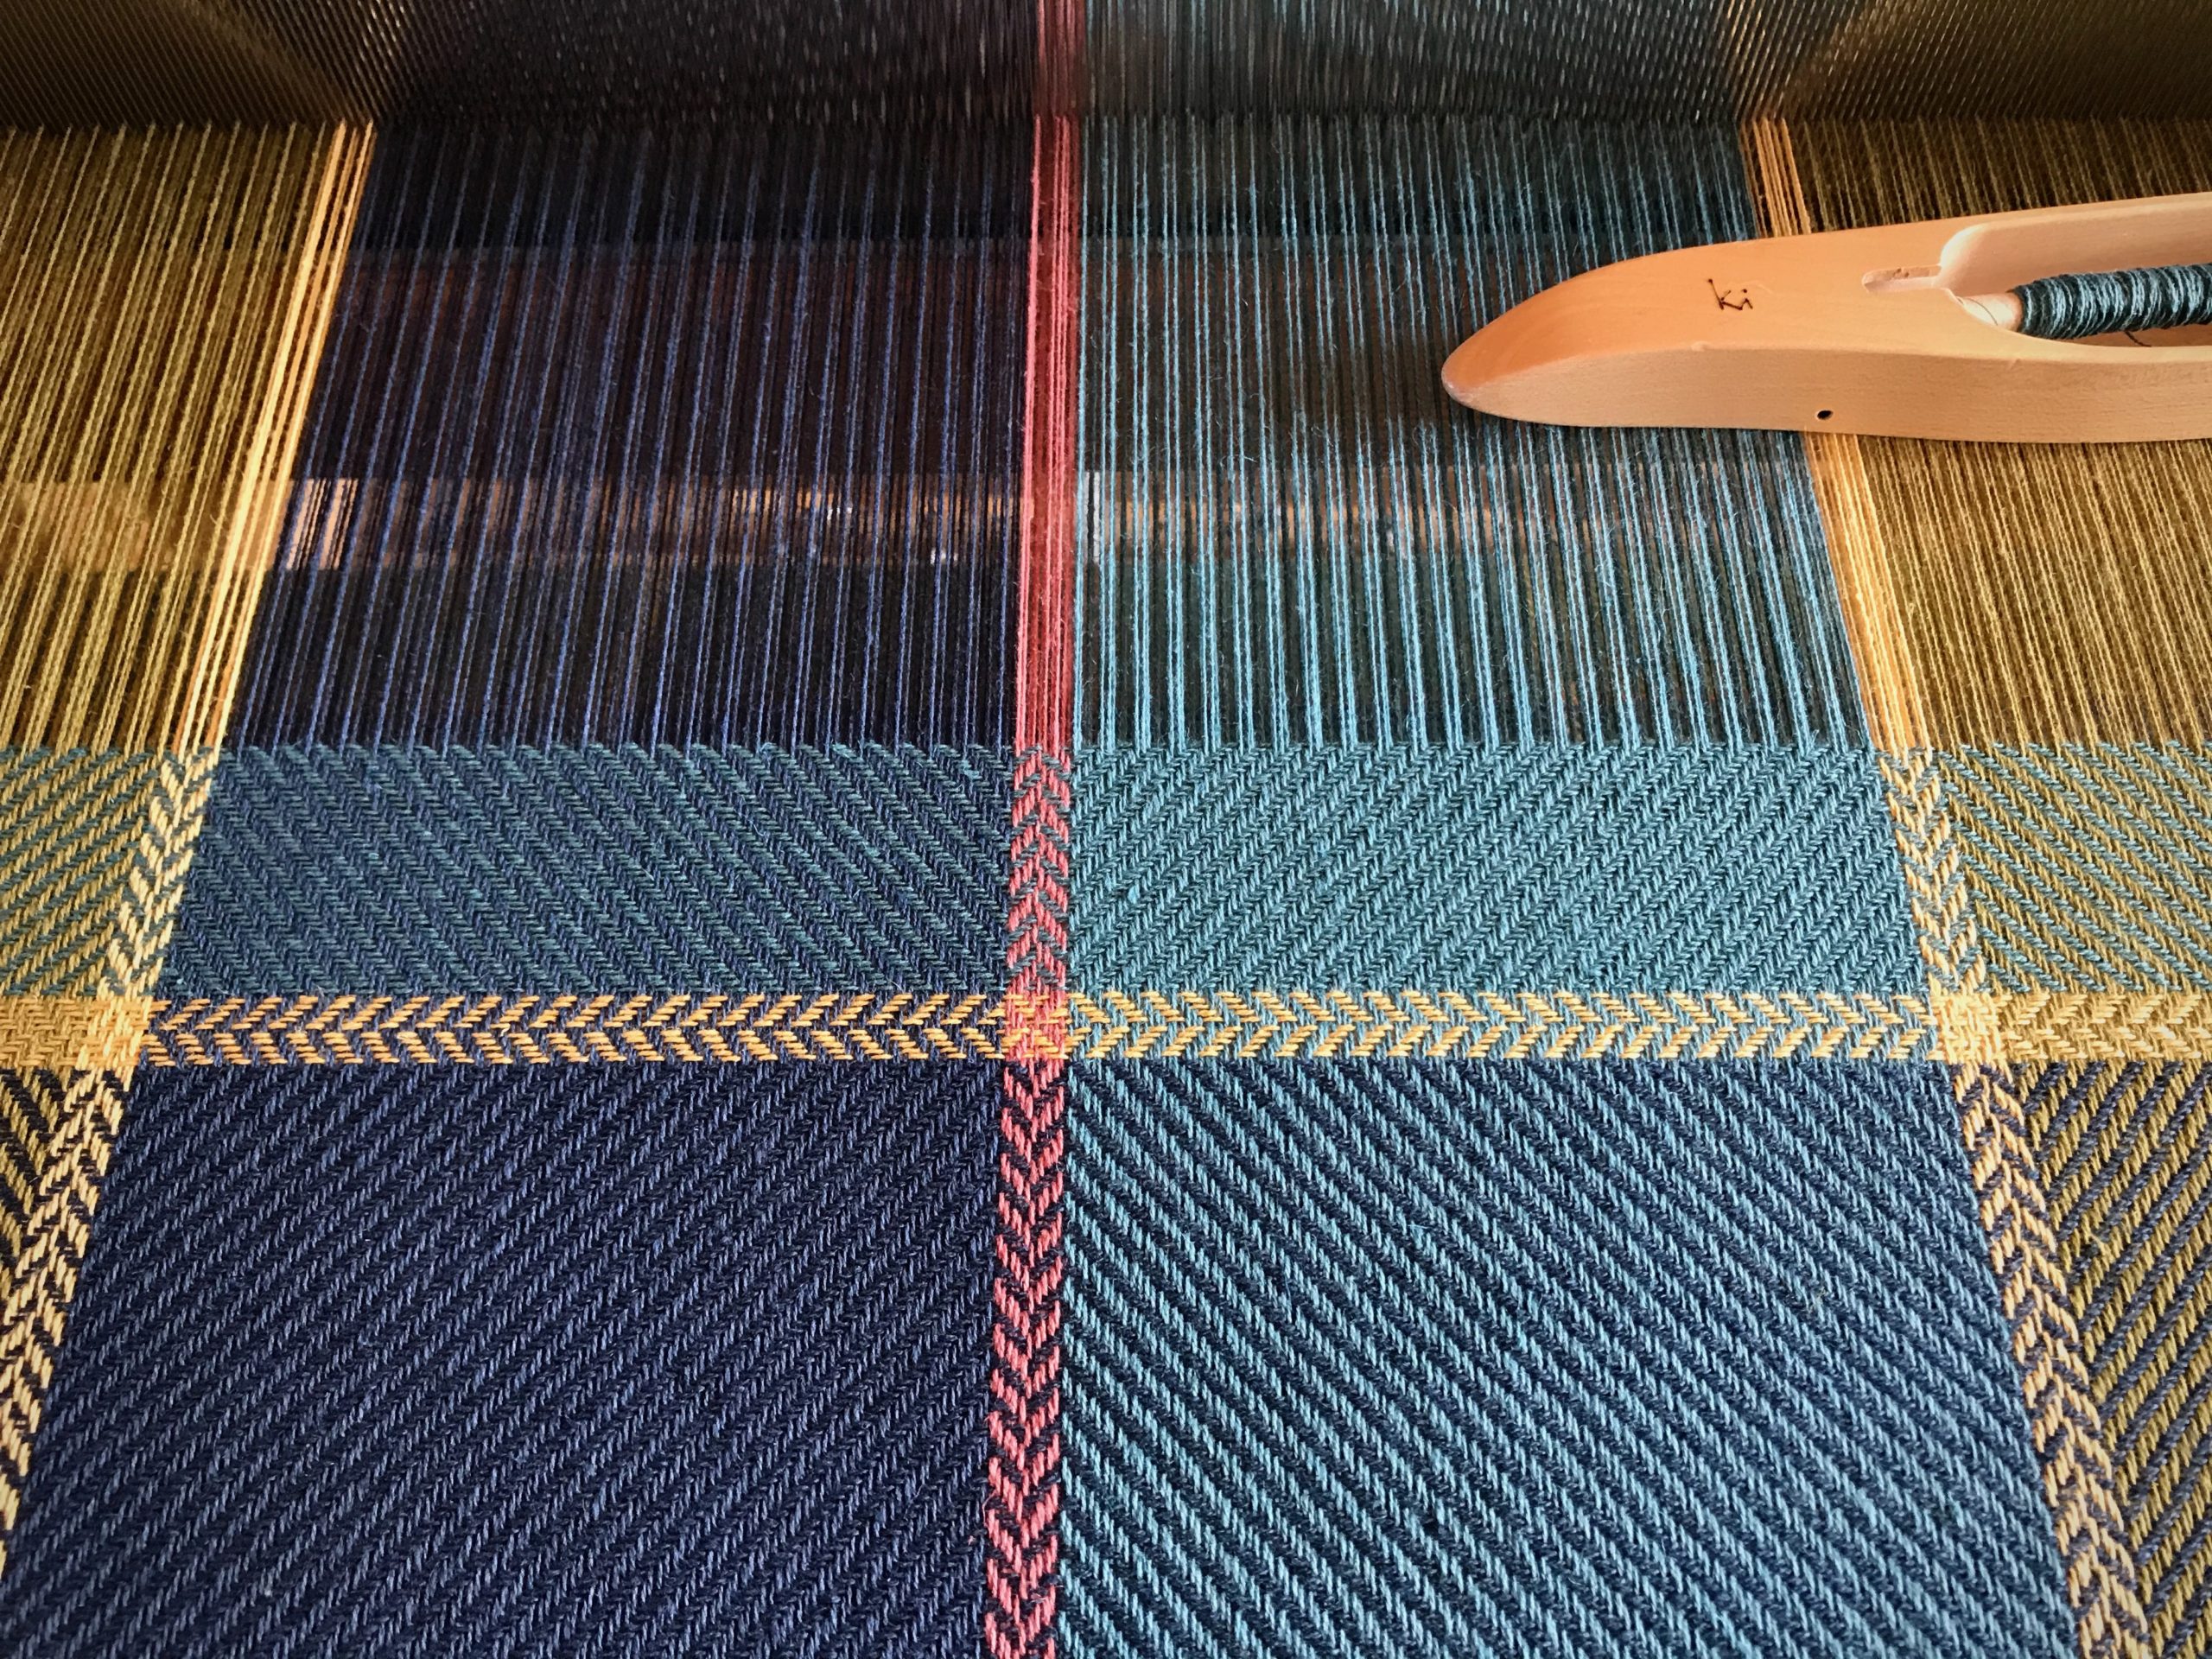
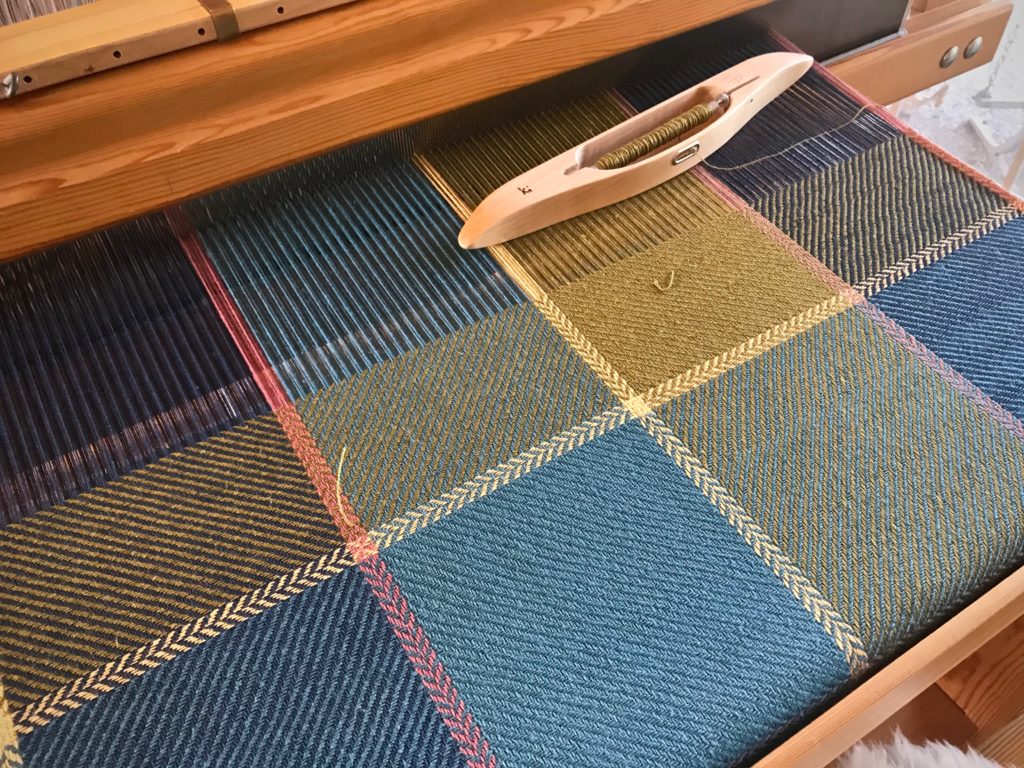
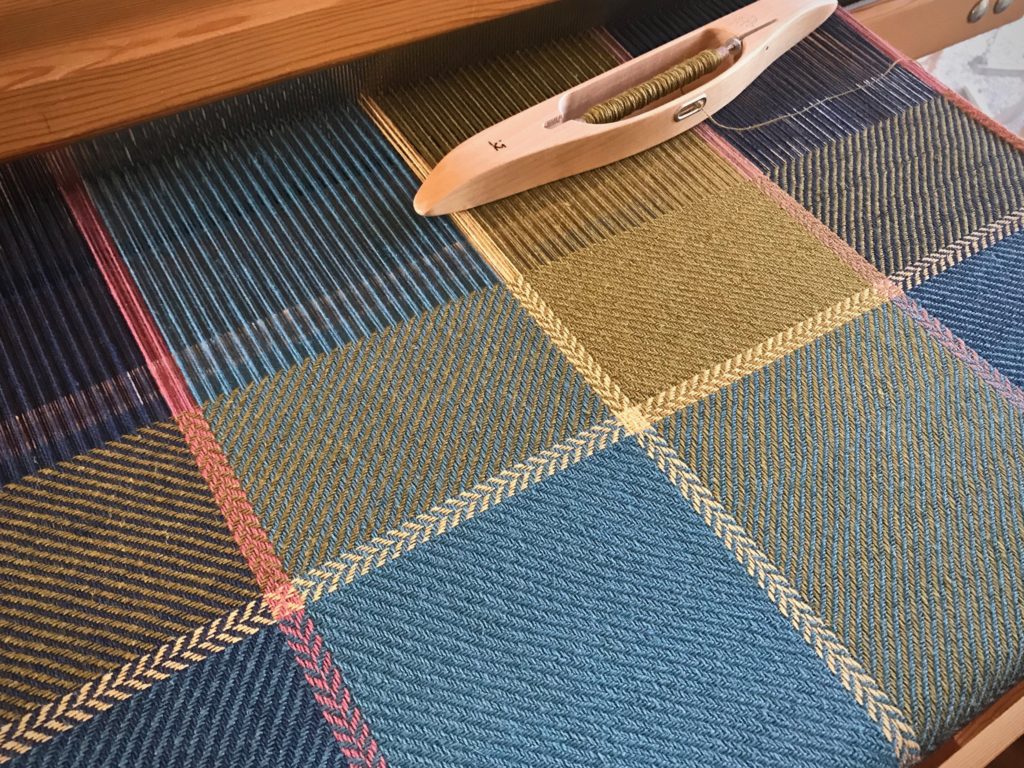
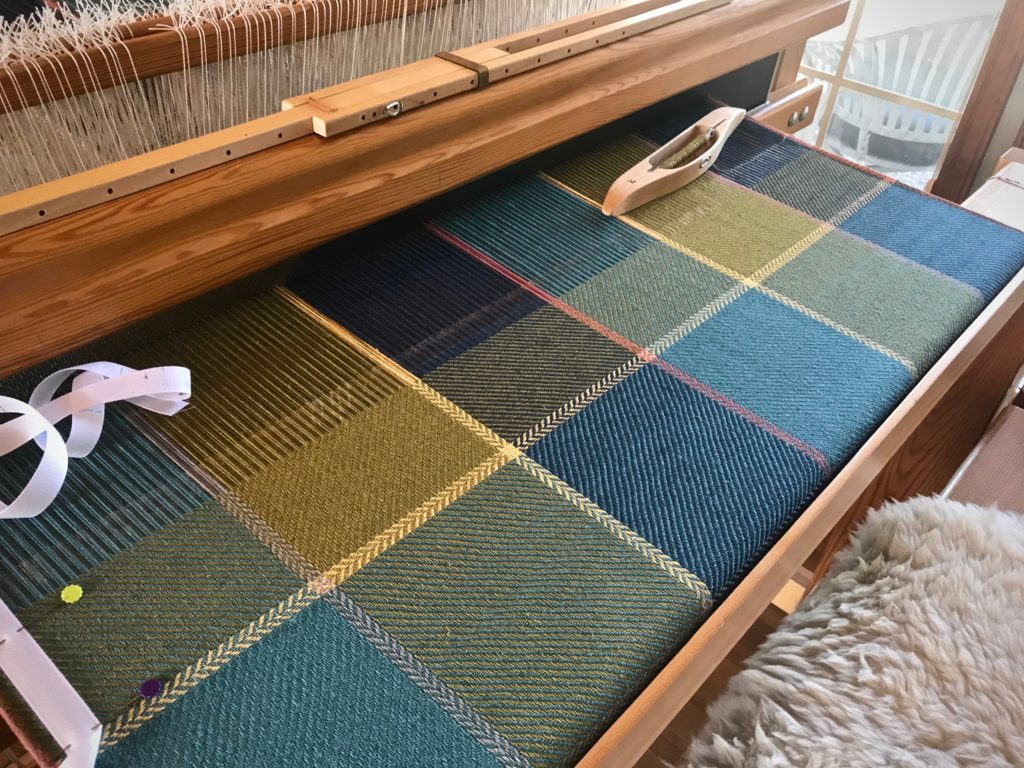
Color changes add to the movement and excitement of the design.Vertical and horizontal narrow stripes in six-shaft broken twill.
Change to the shed needed for the next color. Take the shuttle with the first color into the shed for about about 3 cm (1 1/8”), and bring the shuttle up and out through the top of the warp.
Lightly beat (tap) in the 3 cm (1 1/8”) of thread. Carefully snip off the thread close to the warp.
Weave a pick of the next color, with the end of the new thread overlapping the 3 cm (1 1/8”) of the previous color thread. Position the new thread such that the end is outside the selvedge just a hair.
Beat in the new weft and continue weaving until the next color change.
Ending the third of four bath towels.Hand towels waiting to be paired up with the bath towels…hopefully, before Christmas!
Watch this short video to see me demonstrate this method of changing the weft colors.
May your choice of weft colors give a glimpse of your best qualities.
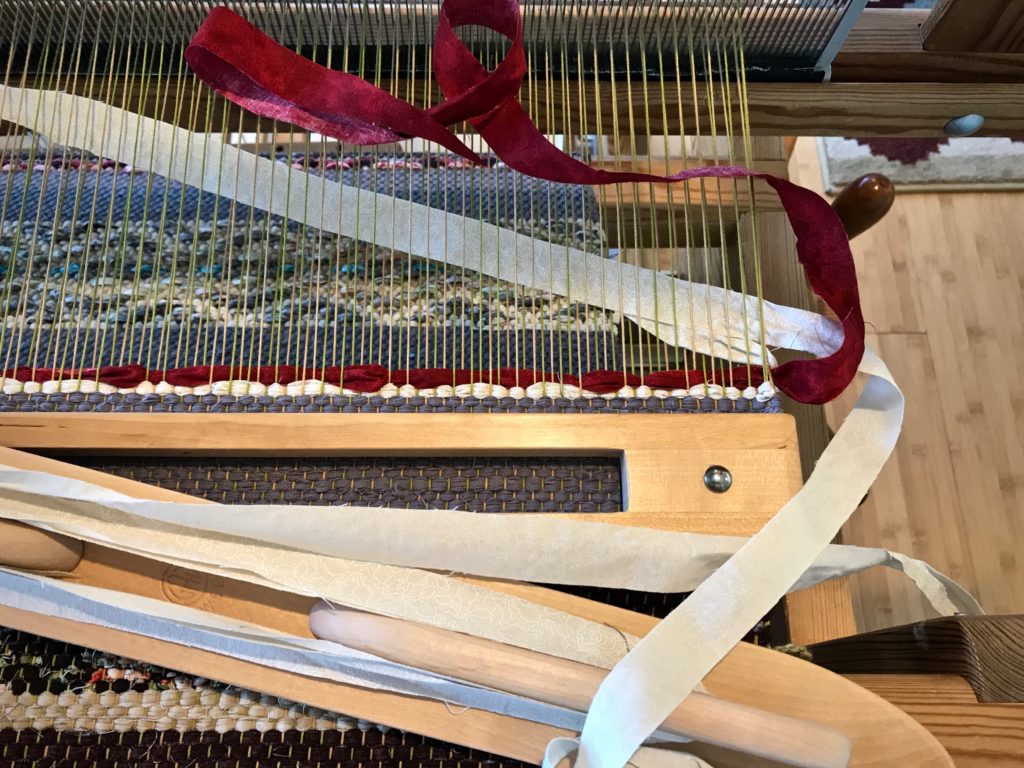
Do not overfill your quills. It may seem efficient to load the quill as much as possible so you can weave as far as possible. Like me, you may have to learn this the hard way. A too-chubby quill that has to be coaxed through the shed takes more time and effort than winding a few extra quills. So much for efficiency.
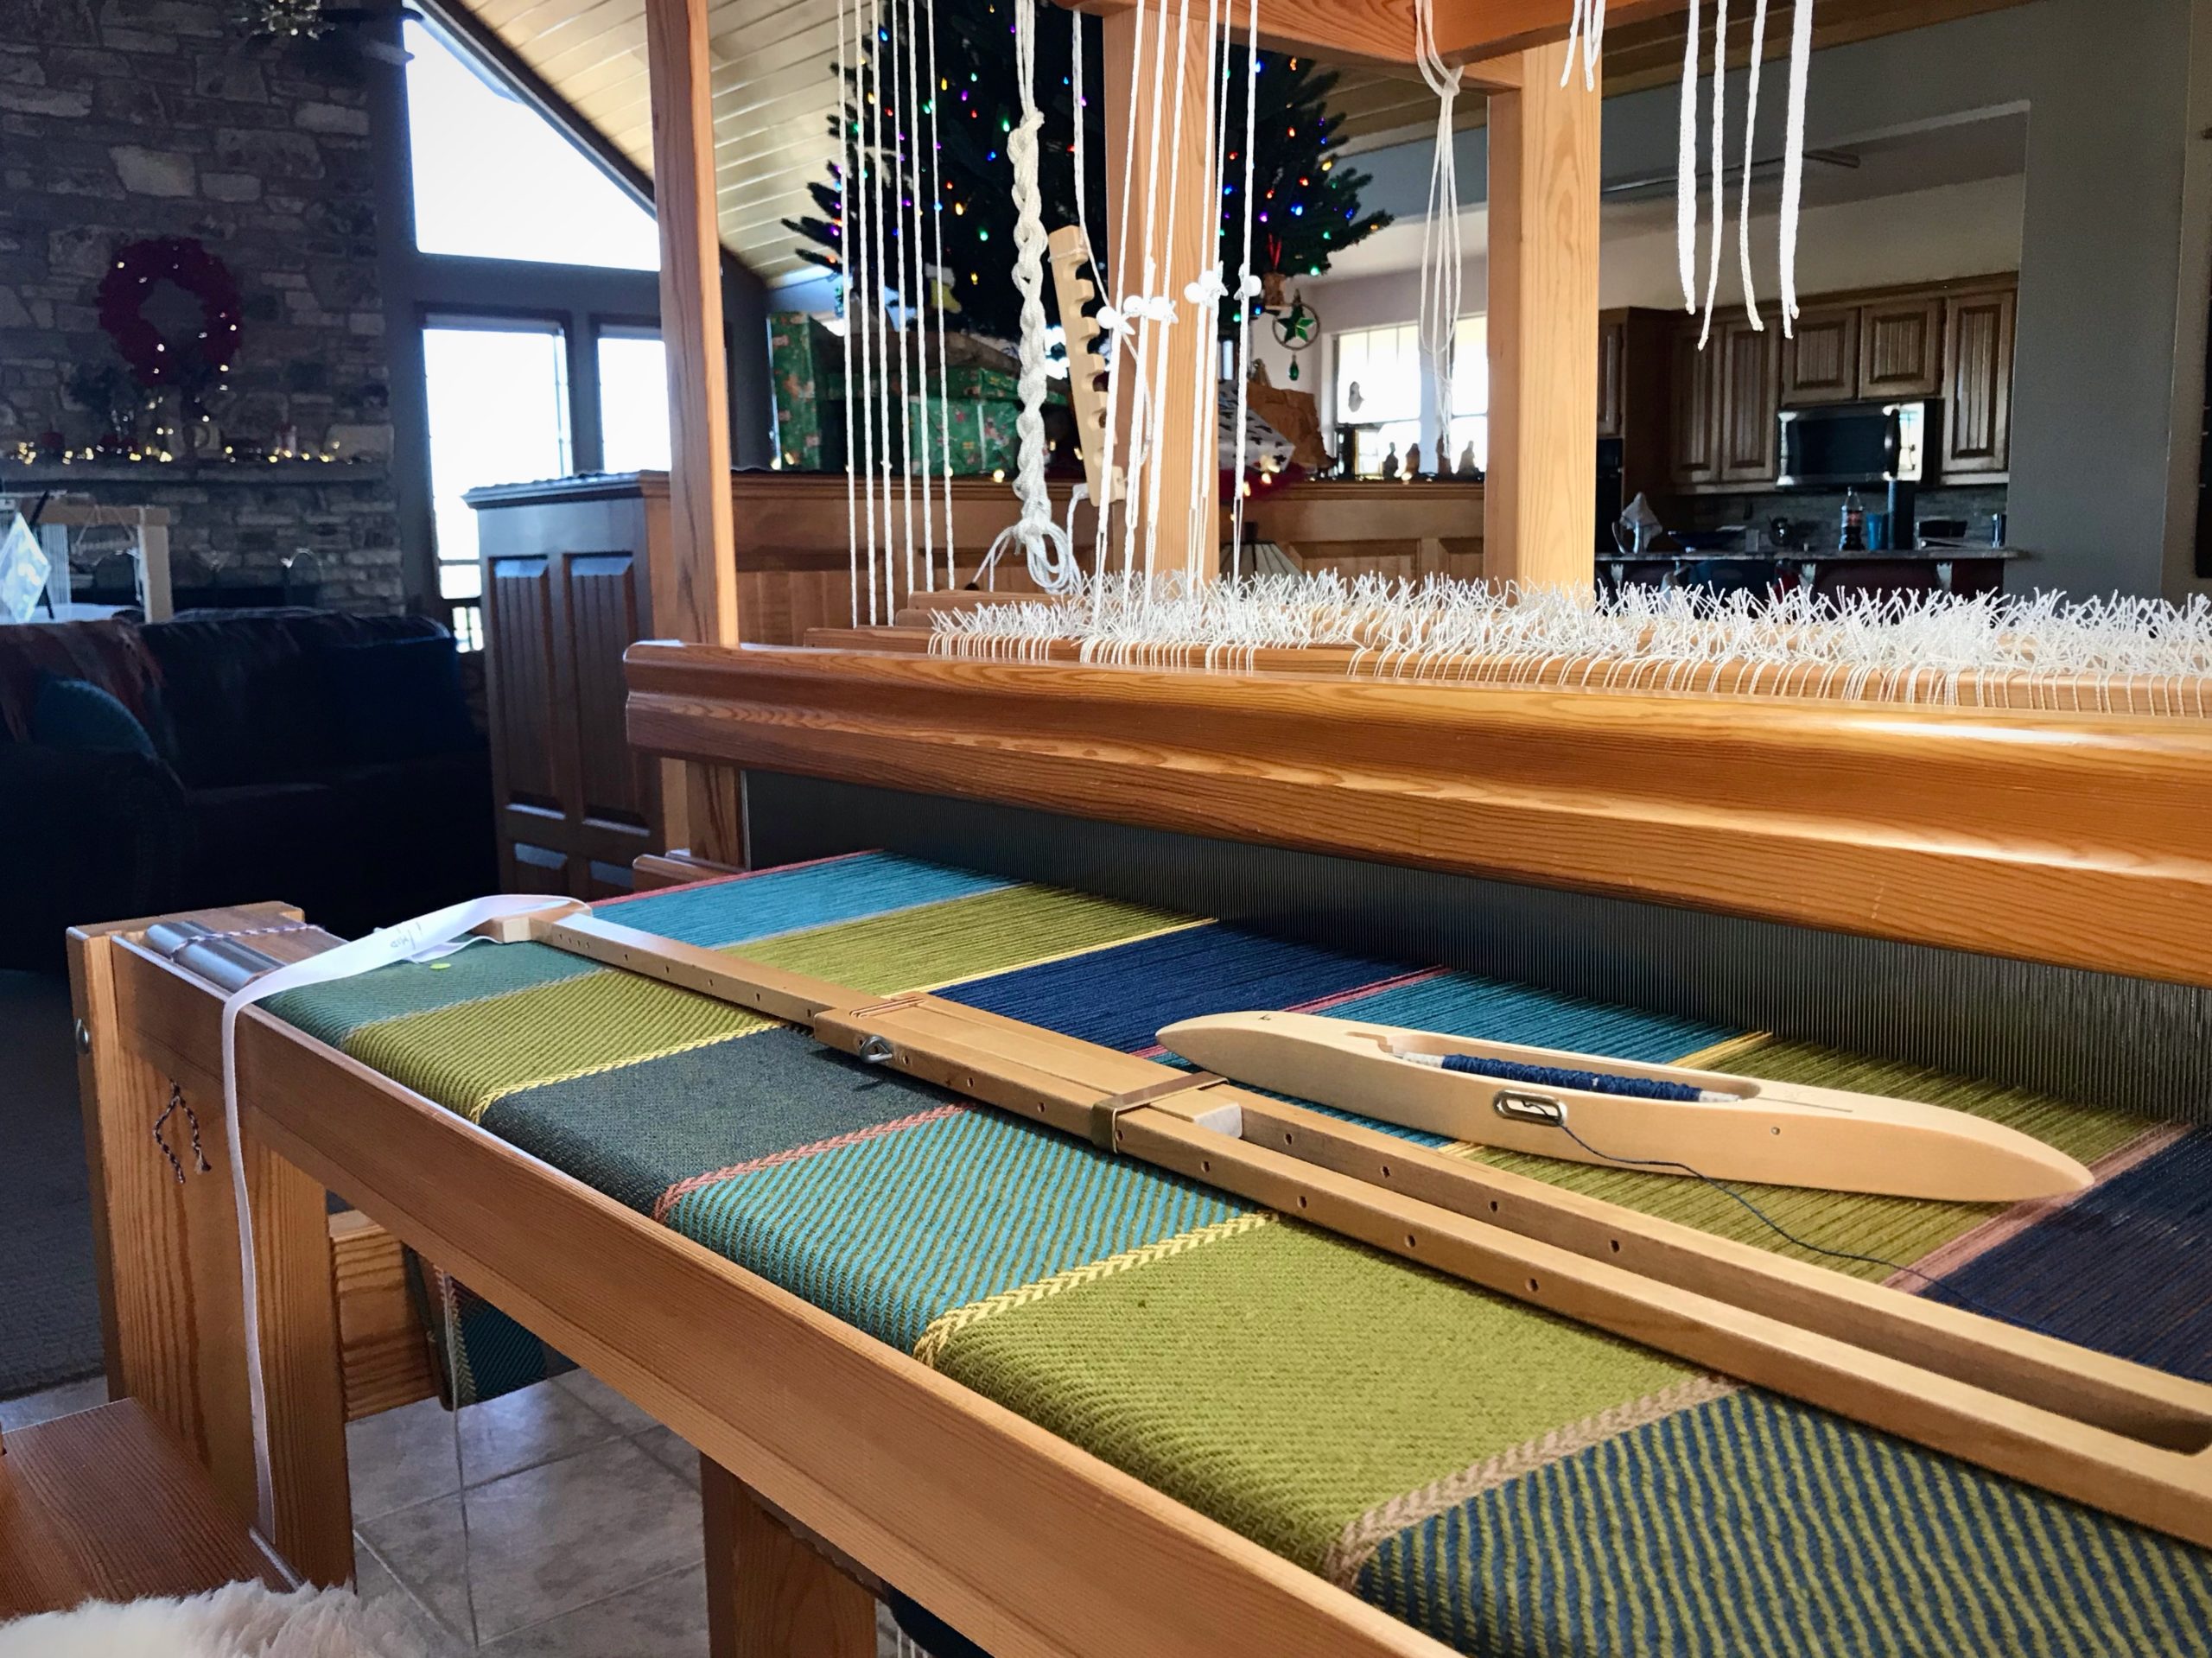
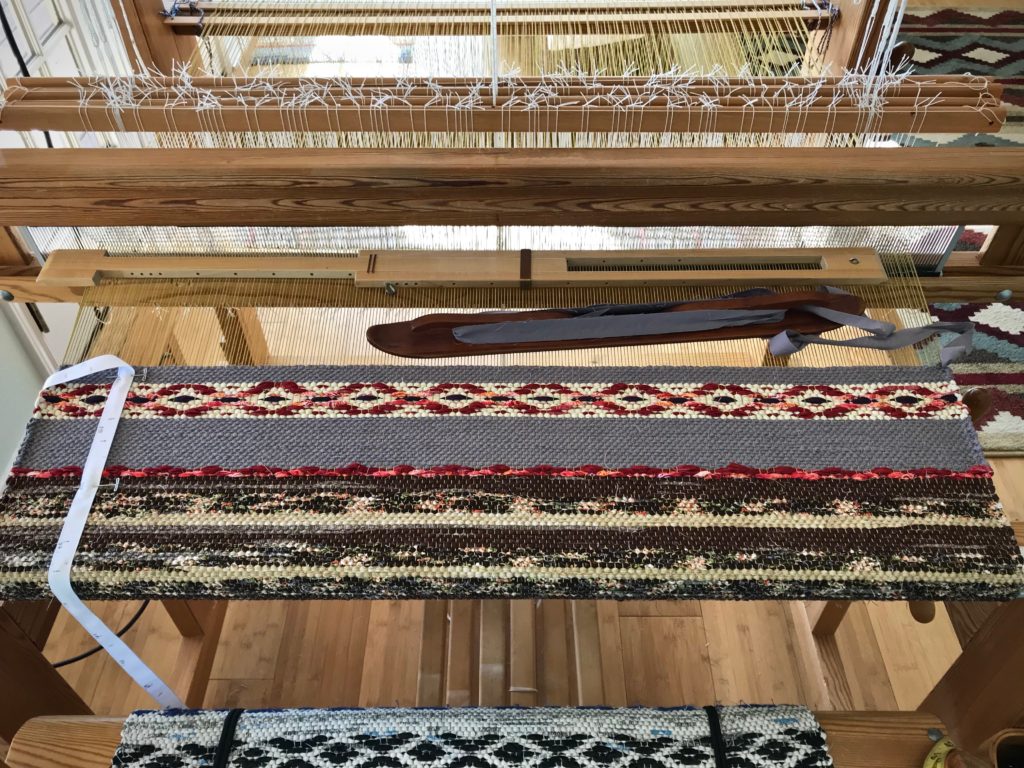
Cottolin bath towels on the Glimåkra Standard, in twill, broken twill, and reverse twill.
It helps to have an idea of how far the thread on a quill will go. With this information, you can wind a few in advance without ending up with an excess of wound quills at the end of your project. I like to have the next quill ready to go when I am weaving so that I can put the new quill in my shuttle and keep weaving with very little interruption. This is especially helpful when the treadling sequence is tricky, like with the reverse twill in every other large color block on these cottolin bath towels. 3-2-1-6-5-4
How to Estimate Weaving Distance for Filled Quills
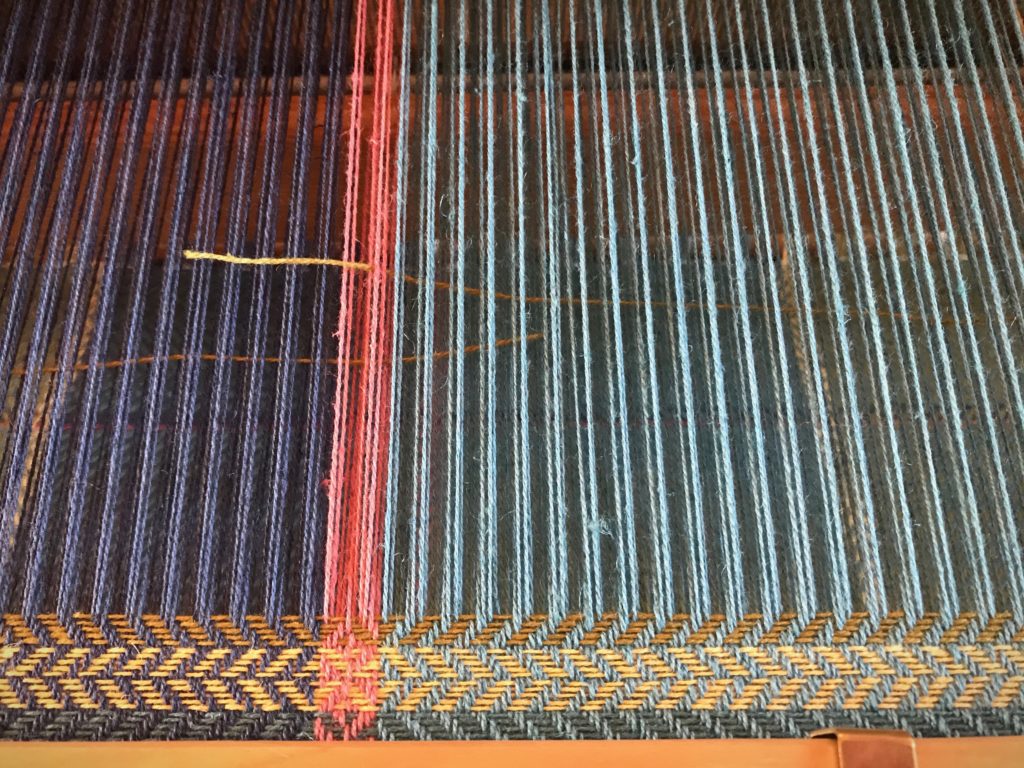
1Start a new quill, leaving a 4 – 5 cm tail on the surface of the cloth. Or, start a new quill at the beginning of a color change.
End of one thread. Ready for a new quill.With the threads overlapping in the shed, the tail of the thread on the new quill lies on the surface.
2 Weave until the quill has emptied. Leave a 4-5 cm tail on the surface of the cloth.
Quill has emptied. Tail is brought out to the surface of the cloth.
3 Replace the empty quill in the shuttle with a new quill and continue weaving 1 – 2 cm further.
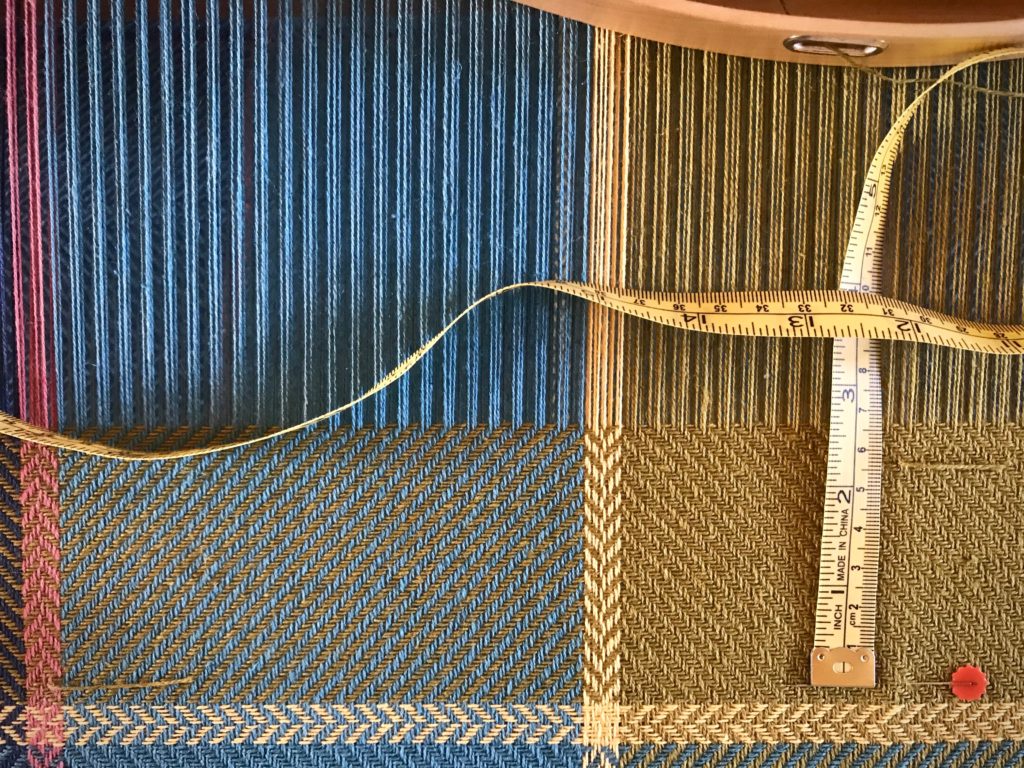
4 Measure the distance from the first weft tail, or line of color change, to the second weft tail. Place a straight pin, in line with the first weft tail, directly under the second weft tail. Measure from the pin to the second weft tail. This is the approximate weaving distance you can expect to cover with a new quill. Notate the quill’s estimated weaving distance on your project notes for future reference.
Measure the woven distance.
5 Trim the weft tails close to the surface.
6 Increase accuracy by repeating the process three times, and then use the average as your quill’s estimated weaving distance.
The large color blocks on this bath towel are 14 cm long. A single full quill will weave 5 1/2 – 6 cm; therefore, I make sure I have 2 full quills, plus at least another half-filled quill before I start a new color block section. It’s nice to be able to leave my foot on the treadle while I change out quills, so I don’t lose my place.
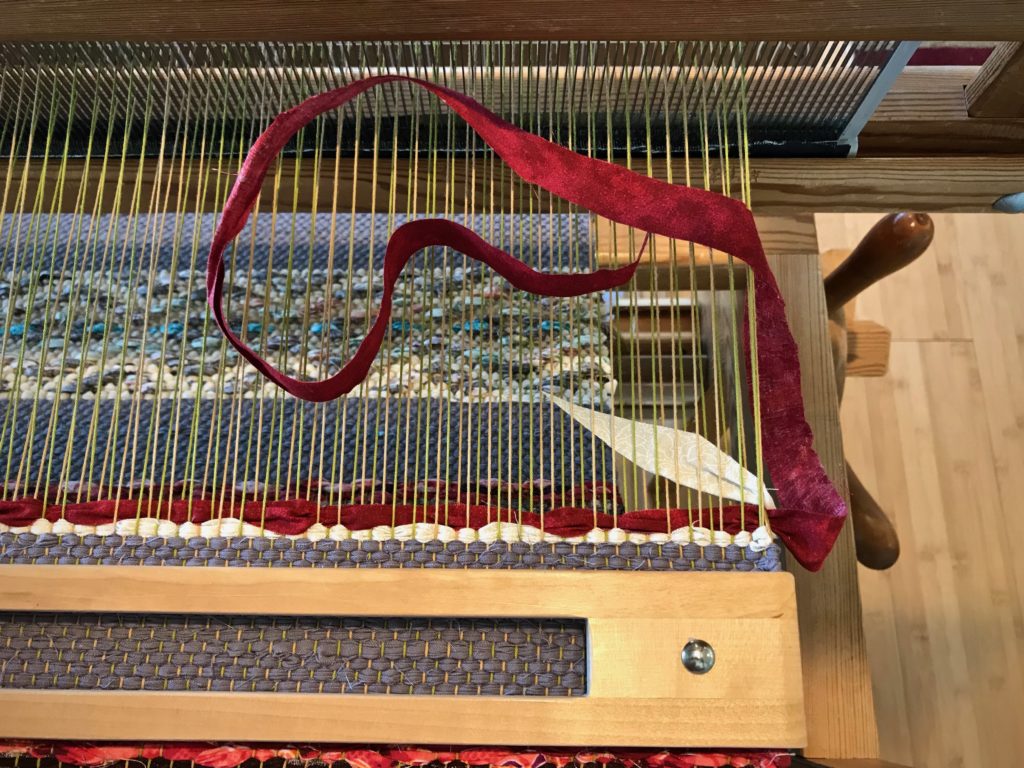
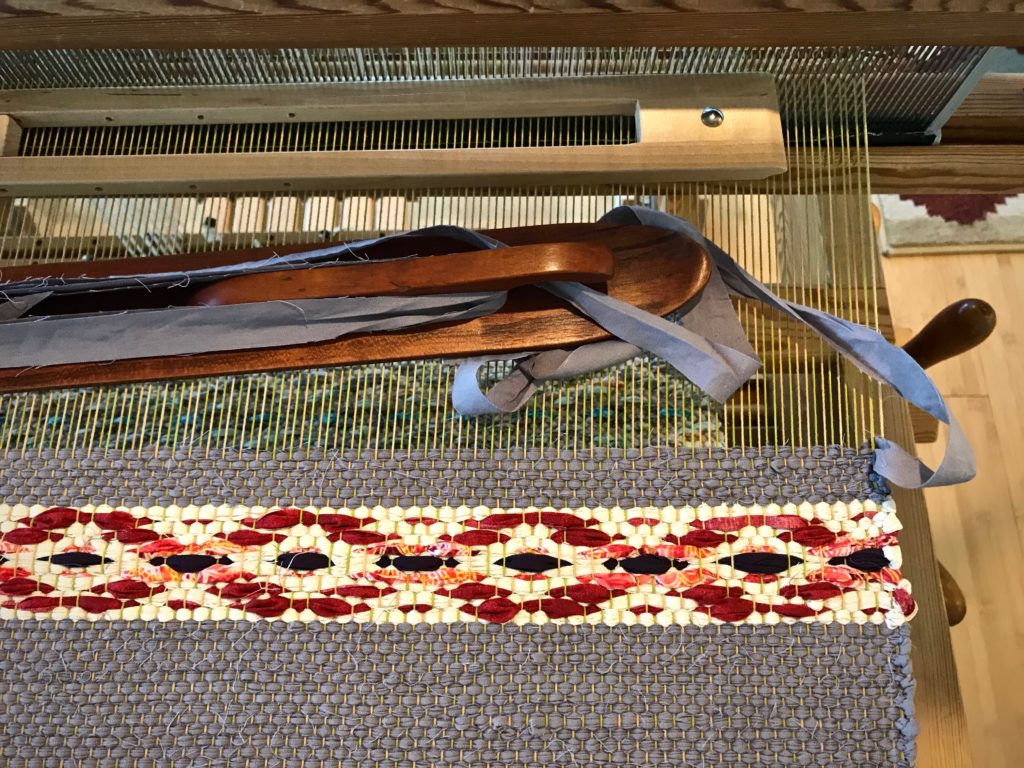
What do you do with weft tails on a rag rug? Normally, you wrap the weft tail around the outer warpend and tuck it back into the shed. But what about color changes? If you have several color changes in a row, you can end up with extra bulk on one selvedge or another from those tucked-in tails.
3 Ways to Outsmart Rag Rug Weft Tails
TWO PICKS For a two-pick stripe, leave a tail of several inches on the first pick. For the second pick, lay the weft tail from the first pick in the shed. Lay in the second pick, and cut the fabric strip to overlap the weft tail in the shed. This eliminates any extra bulk at the selvedges. (All tails are cut at a steep angle.)
CARRY IT When feasible, carry the weft up the side. If a weft is out of play for only one or two rows, do not cut it. When another weft enters the shed, make sure it encircles the idle weft.
DISTRIBUTE Whenever possible, avoid tucking in weft tails two picks in a row. Wait, and tuck in the tail on a subsequent pick.
HERE IS AN EXAMPLE:
Gray weft ends with weft tail tucked in. White tabby weft tail is not tucked in.Rosepath pattern weft for a two-pick stripe. Loooooong weft tail.Tabby weft goes around the rosepath pattern weft, and is tucked in the shed.Tabby weft comes through the shed and lays over the tucked-in tail.Tabby weft is beaten in.Pattern weft is laid in the shed, with tails overlapping near the center of the warp.Tabby weft is beaten in, and weft tail is tucked in. In the middle of the rosepath medallion the orange print weft is carried up the side until it is used again. For the gray strip that follows the last white tabby pick, the weft tail is tucked in on the second gray pick.Rosepath medallion with several color changes.
One more thing. Cut the weft tail extra long if you are tucking it in a row with weft floats, as in rosepath (Like the center pick in this medallion). This helps keep that weft tail from popping out of place. You don’t want those tails to start waving at you.