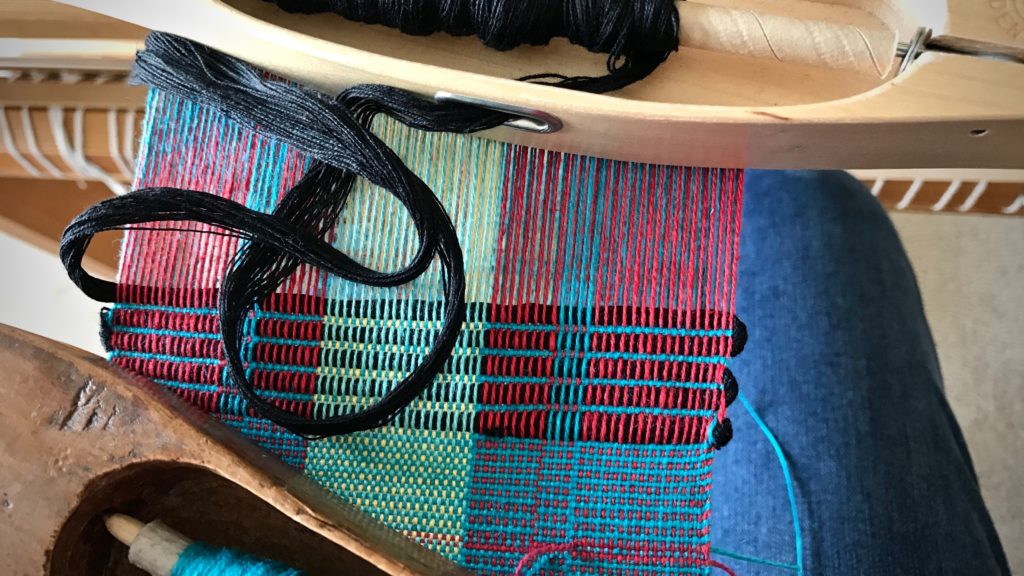
Cutting Off Celebration!

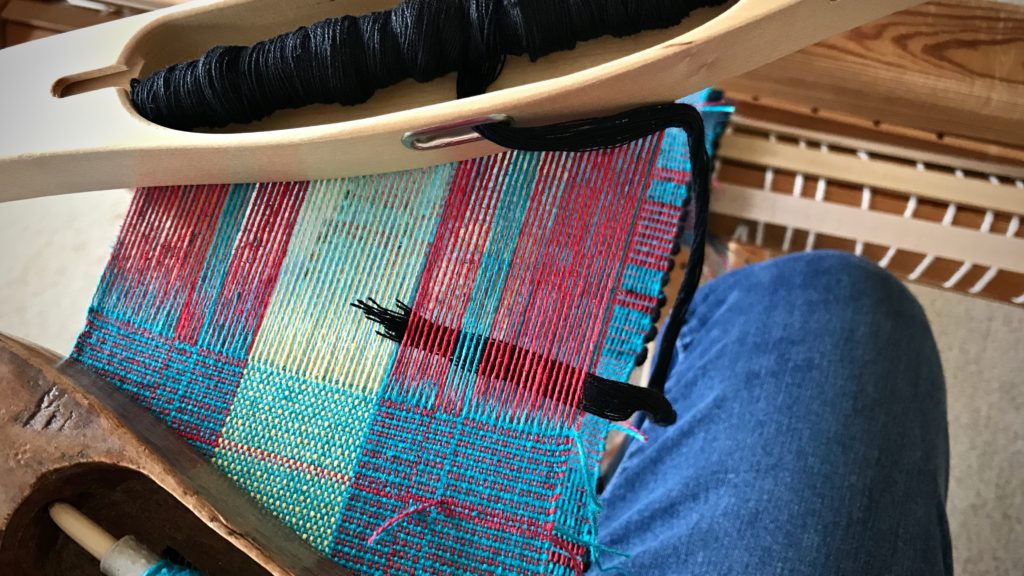
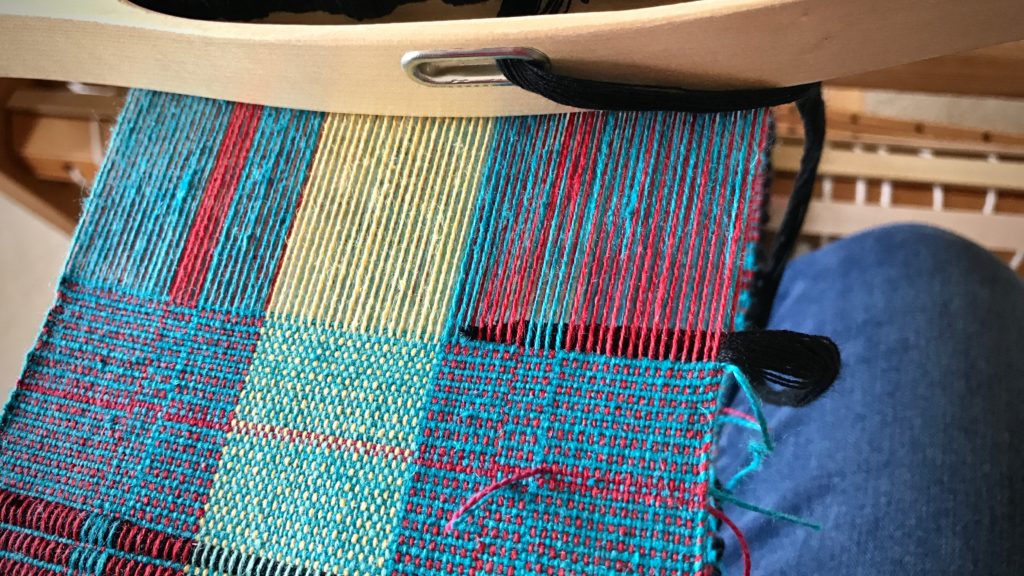
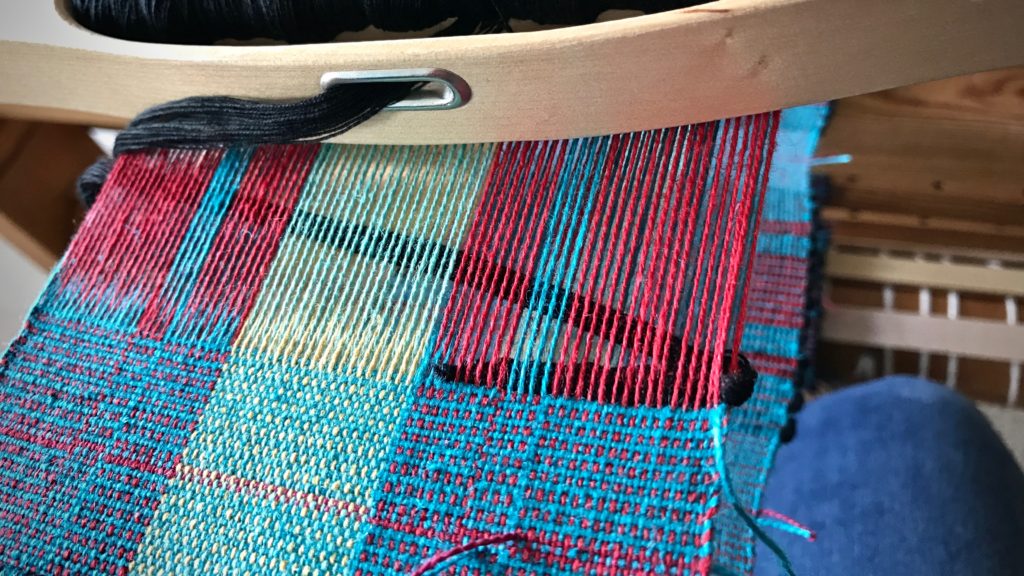
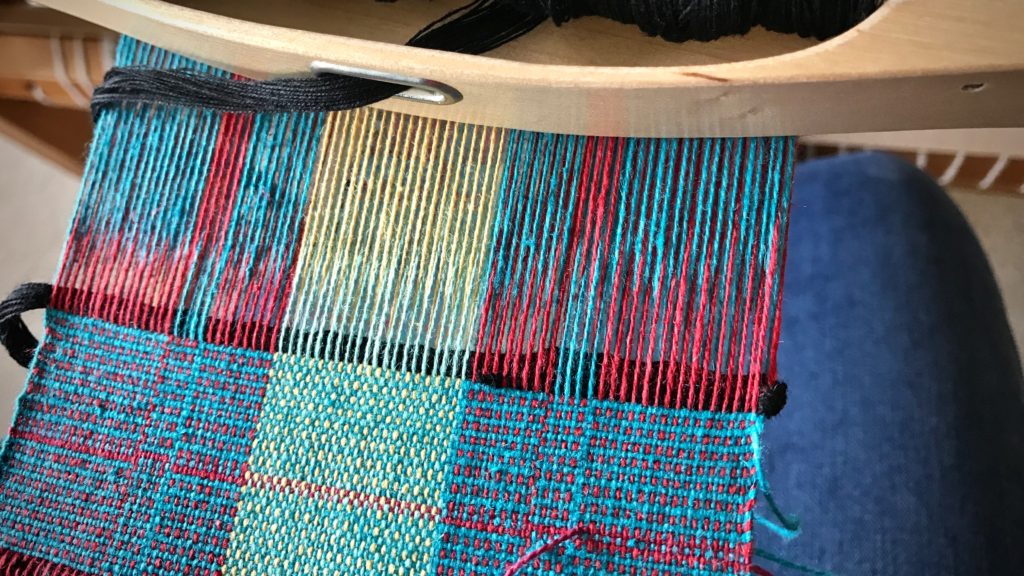
Is there anything as exciting as cutting off? Oh sure, there will be some errors to mend. And only wet finishing will reveal the true nature of the cloth. But after investing hours and hours at the loom, cutting the fabric off is a celebration. This is the moment when the work of this weaver’s hands is finally revealed!

While admiring and examining the fabric as it comes off the loom, I am already moving onto the next step–finishing. Here are a few of my regular practices.

  • Thread-mark the right side of the fabric on each sample and individual piece before completely removing the fabric from the loom. This removes guesswork later. Thread a blunt-tip needle with 6 – 8″ of warp or weft thread, and make a 1/2″ stitch through the fabric. Leaving a loose loop, tie the ends of the thread together in a square knot on the right side of the fabric.
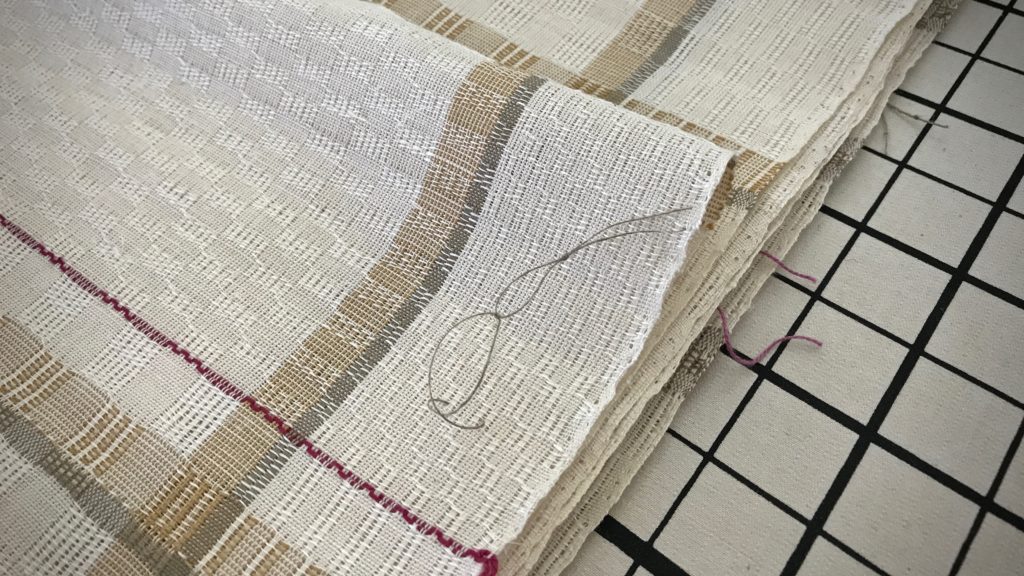
Weaving tip: Thread-mark the fabric.
Knot in the thread tells me that this is the right side of the fabric. Thread marks are sewn onto each piece before removing the fabric from the loom if the difference between the right and wrong side of the fabric is less than obvious. Thread marks remain until hems are turned under.
  • Tie sequential knots in the thread marks. e.g., First towel has one knot, second towel has 2 knots, etc. This enables accurate record-keeping measurements before and after wet finishing for individual items.
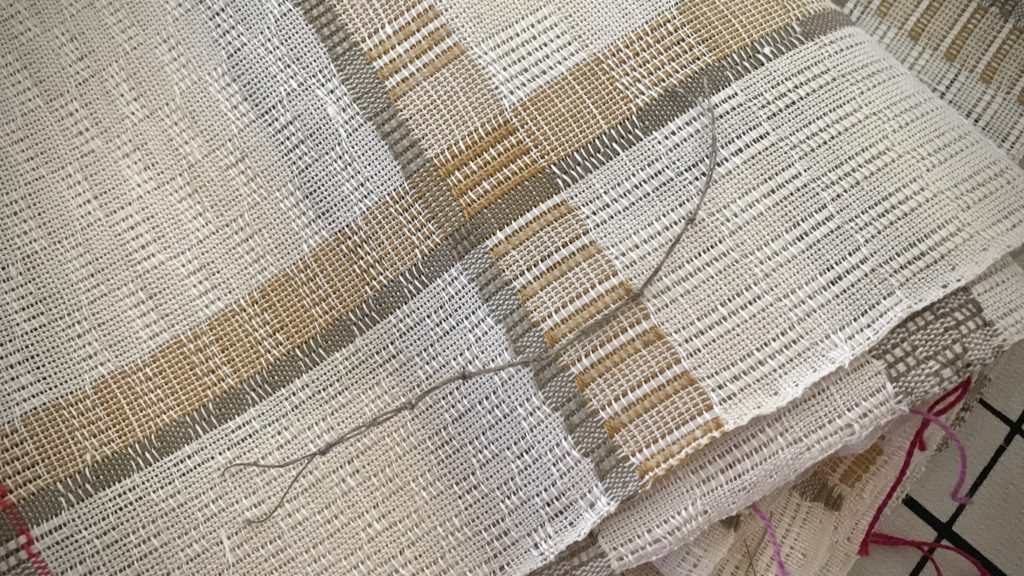
Weaving tip: How I number the towels on a warp.
After washing, I count the number of knots in the thread to know which towel is which. Before and after measurements enable me to calculate the amount of shrinkage that occurs, which helps for planning future projects.
  • Cut pieces apart before washing.

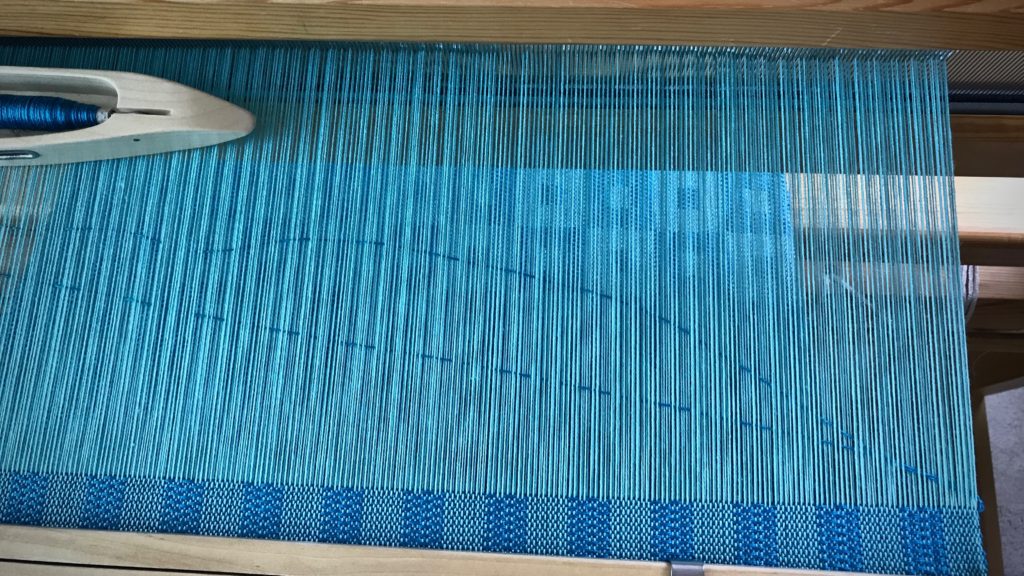
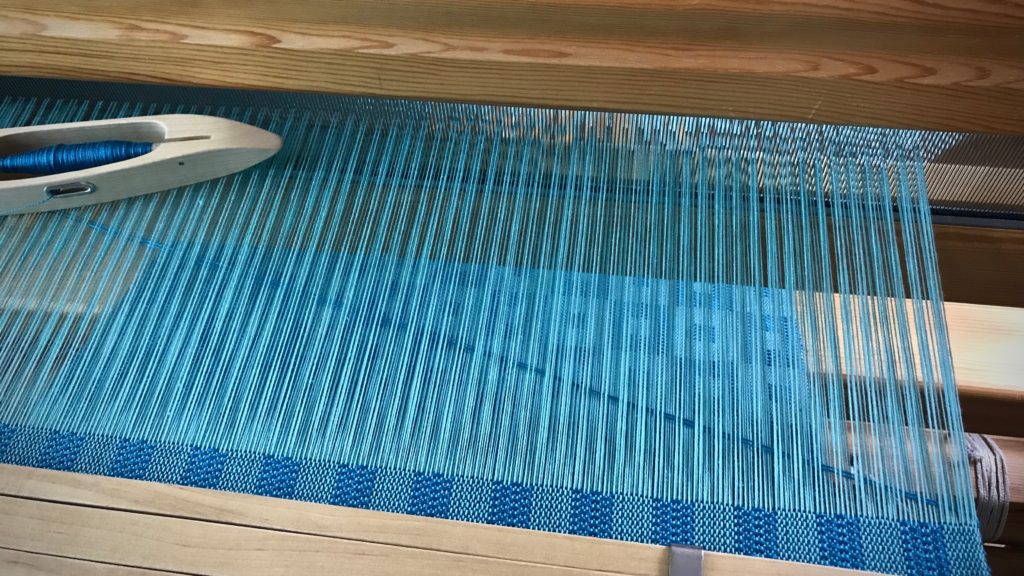
1. Two weft picks have been woven for each cutting line. The two threads make an easy guide path for the scissors.
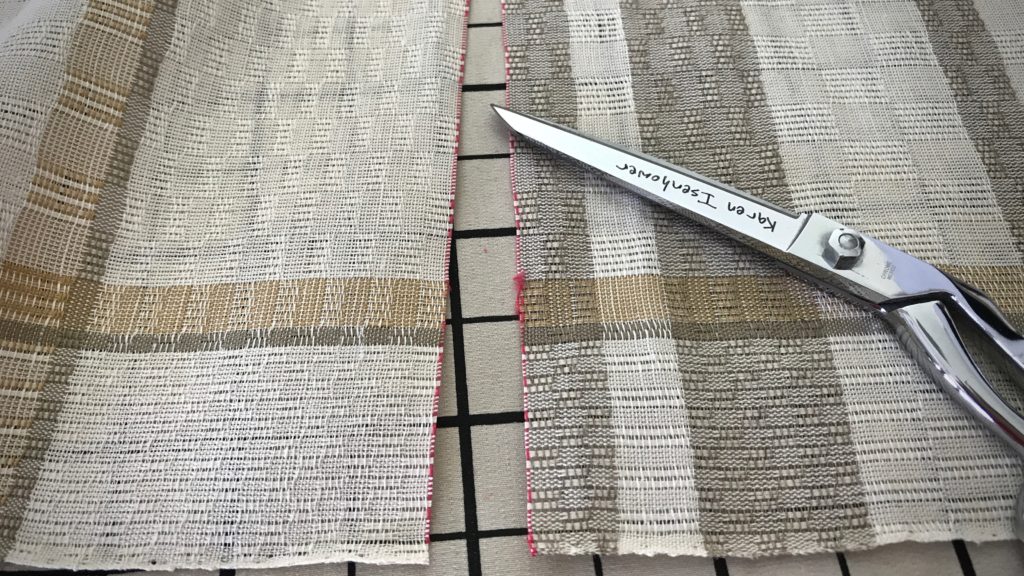
Cutting line between woven items.
Cutting line for separating the woven pieces. Cut between the two red weft threads.

2. Use the same cutting-line color for every project (I use red, unless red is one of the weft colors in the project). This helps prevent accidental cutting at weft design stripes in the piece (which I did once –Oops!– before establishing this rule).

3. Pull out the cutting-line threads. Any remaining thread residue is easily removed with a lint roller.
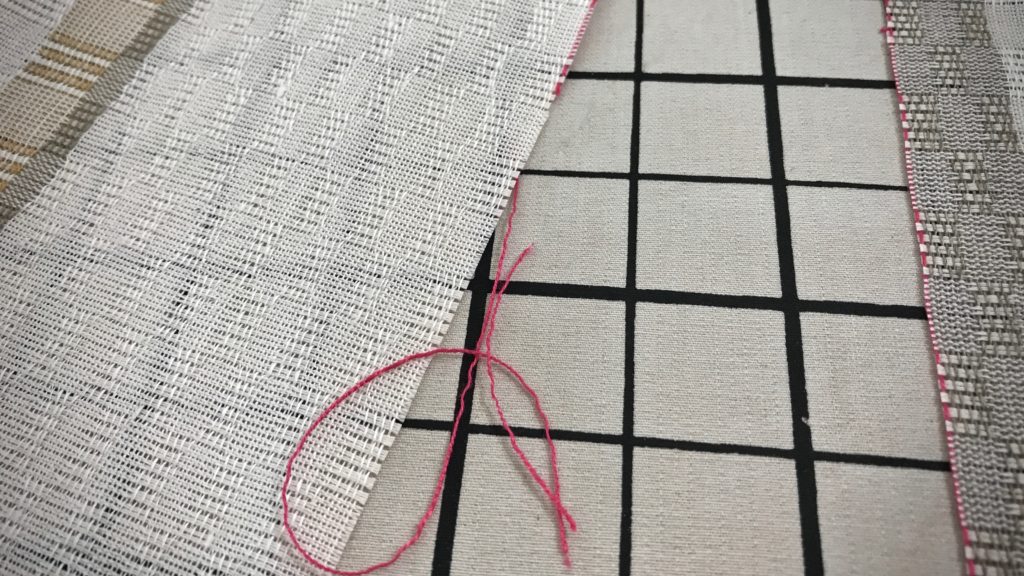
Pulling out the cutting line.
Red cutting line thread pulls off, leaving a straight woven edge for finishing.
  • Finish the cut edges with an overlock stitch on a serger or with a zigzag stitch (preferably a three-stitch zigzag, according to my friend, Elisabeth) on a sewing machine.
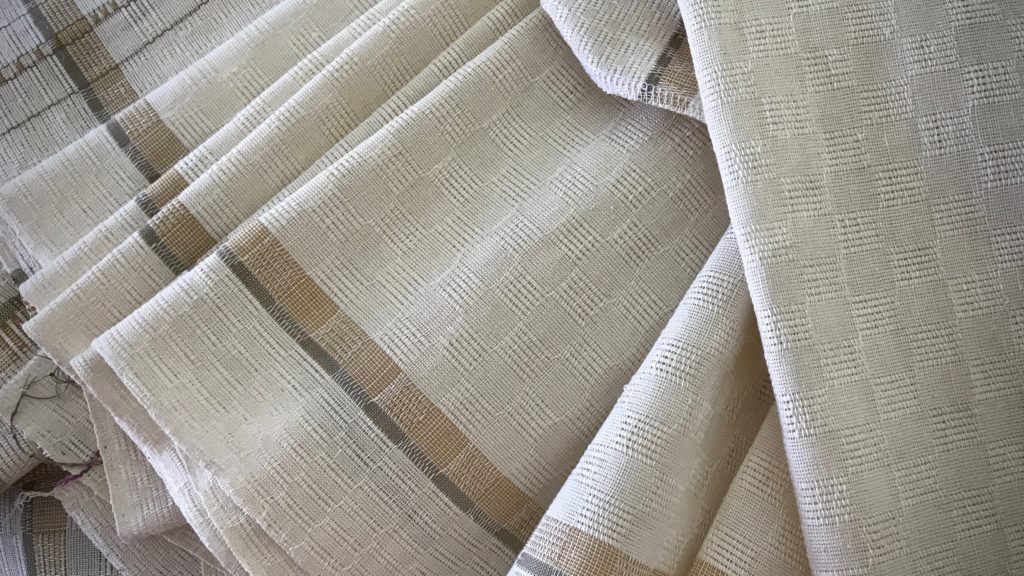
Getting ready to wet finish these M's and O's towels!
All items are prepared for washing. Errors have been mended, and cut edges have been finished with the serger.
M's and O's (Sålldräll) after washing. Karen Isenhower
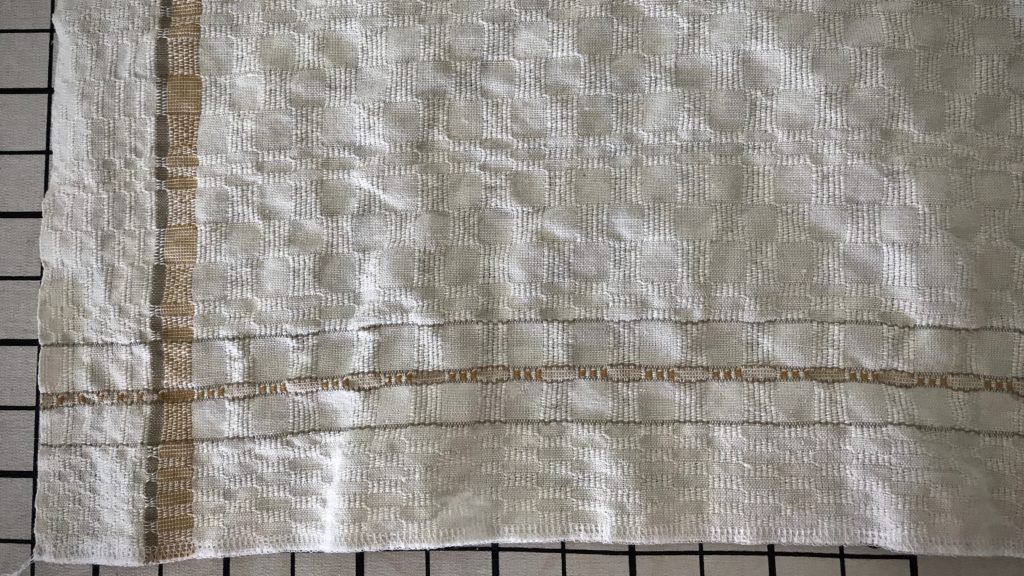
Lovely texture of the M’s and O’s (Sålldräll) structure is revealed after washing. A few more finishing steps remain: pressing, adding handwoven hanging tabs, and hemming.

Humans are not finished until they are loved. Love is patience and kindness at the core. We want to be on the receiving end of that, don’t we? We all need someone to love us–to carry our burdens, to believe us, to hope the best for us, to endure with us. It’s in the finishing that we discover the value, the corrections needed, and the beauty that has been woven in. This is the love of God to us. This is the finishing work of Jesus Christ, and his love in us.

May you have many cutting-off celebrations.

With love,
Karen

PS It’s good to be back with you! I hope you had a pleasant and weaving-full July.

Woven Transparency Cactus

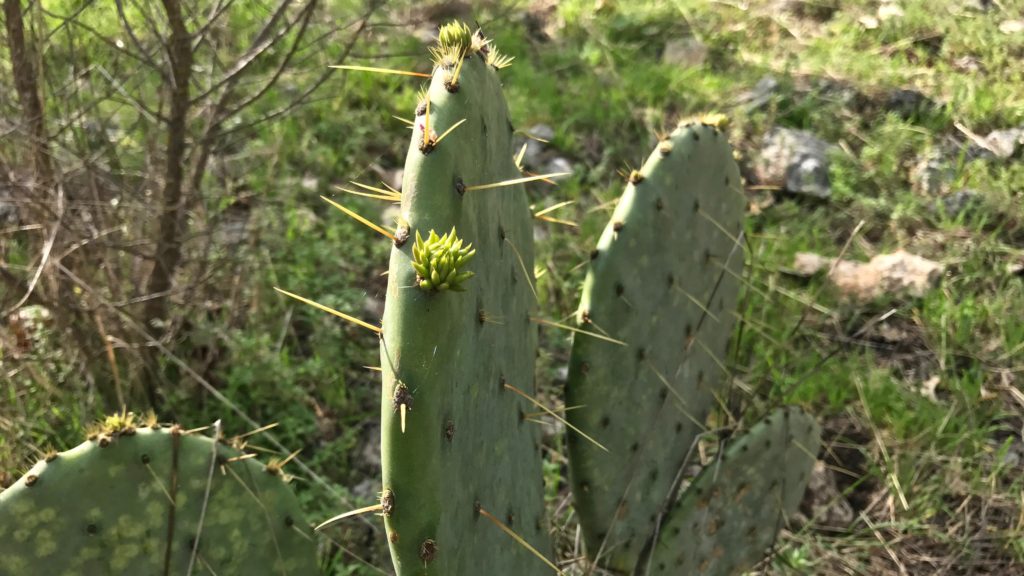
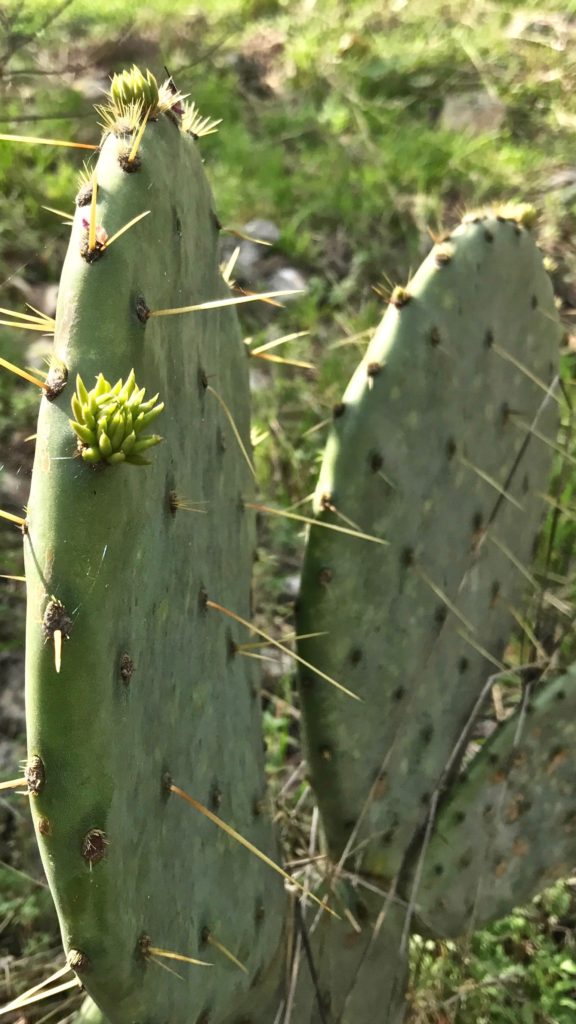
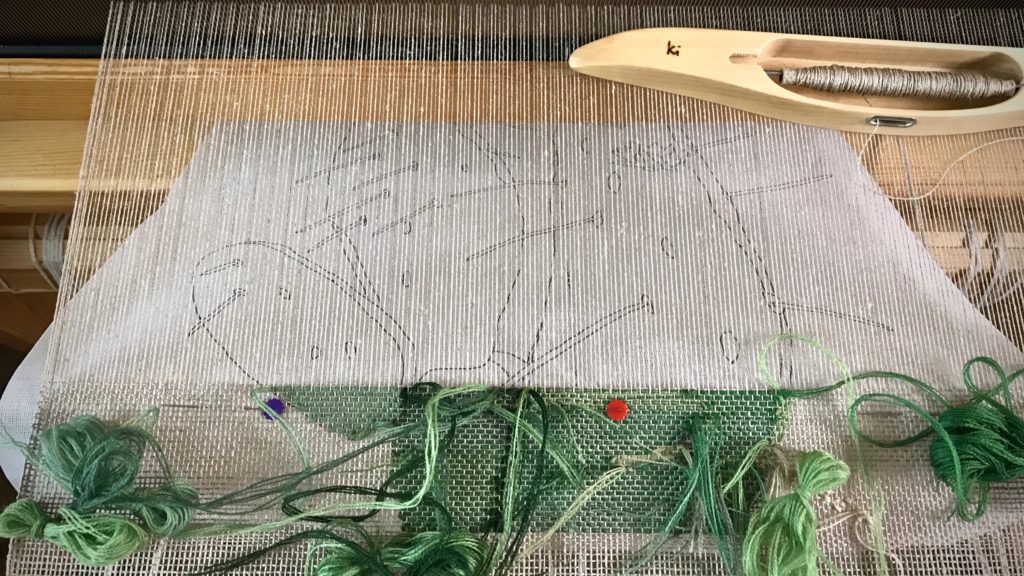
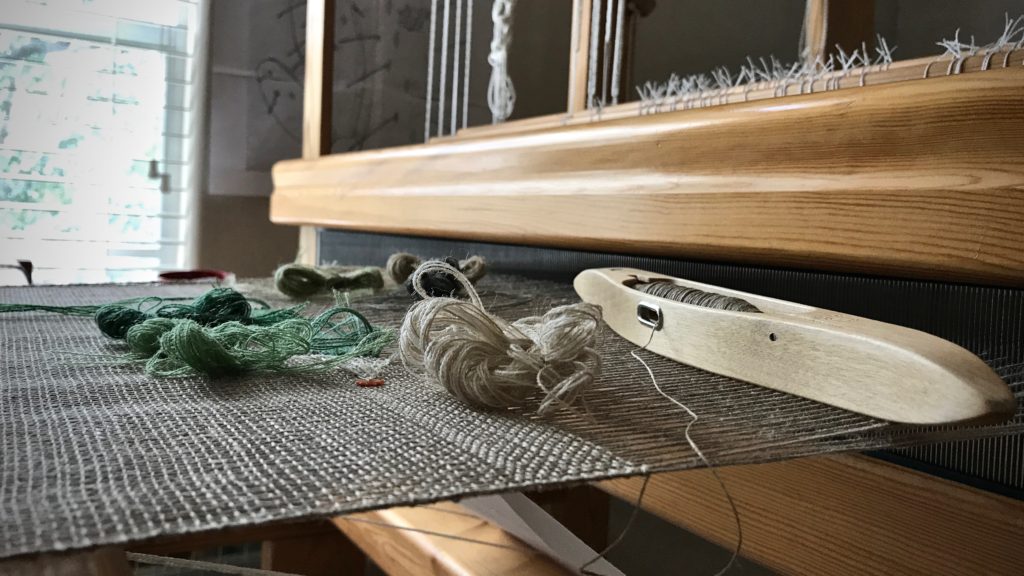
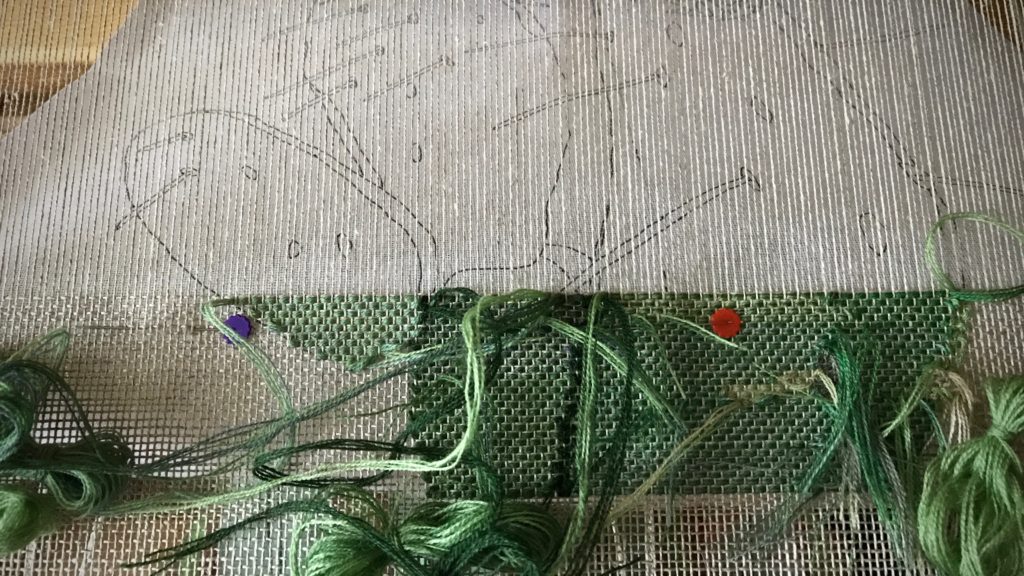
I found a subject for my next transparency. It’s a prickly pear cactus in Texas hill country. Weaving this cactus is a fantastic experience! I started with a photograph, from which I made a cartoon. And I have an outline that shows where to place each color. It’s all based on the timeless beauty of colors in nature. I’m hopeful that when light shines through the final woven transparency we will see a likeness of the original cactus.

Prickly Pear Cactus in Texas hill country.
Prickly Pear Cactus in the front yard of our Texas hill country home.

Make a Cartoon

  • Crop and enlarge the photo. (I use Acrobat Reader to enlarge and print in multiple pages, and then tape the pages together.)

Prickly Pear Cactus in Texas hill country.

  • Outline the main lines of the picture.
  • Turn the enlarged picture over and draw the traced lines on the back to have the reverse image. (This transparency is woven from the back.)

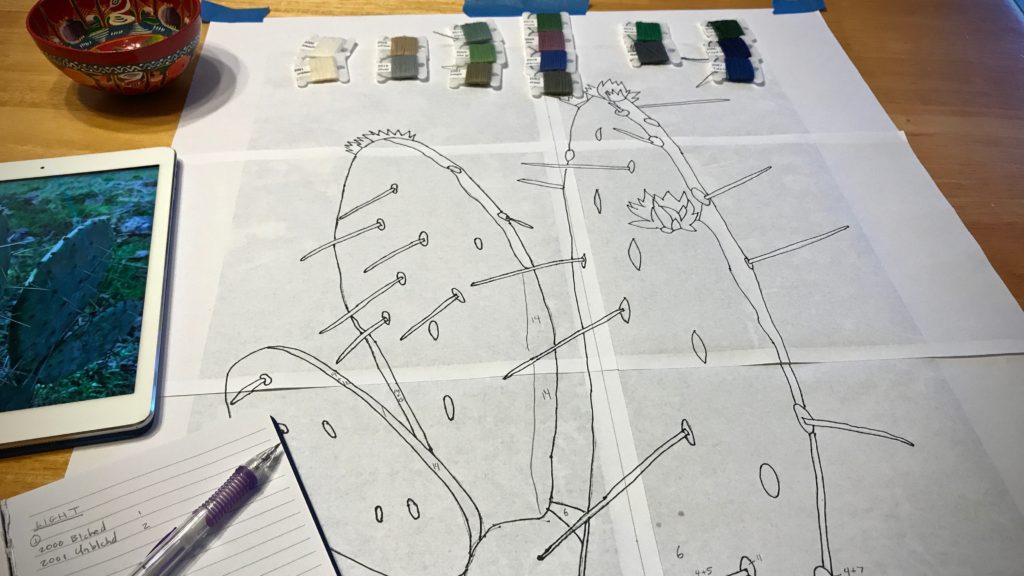
Photo to sketch to cartoon for woven transparency.

  • Trace the line drawing onto a piece of buckram to use as the cartoon.
  • Draw a vertical dashed line down the center of the buckram cartoon.
  • Pin the cartoon under the weaving, lining up the center line on the cartoon with the center warp end. Move the pins, one at a time, before advancing the warp each time.

Buckram used for transparency cartoon.

Color Selection

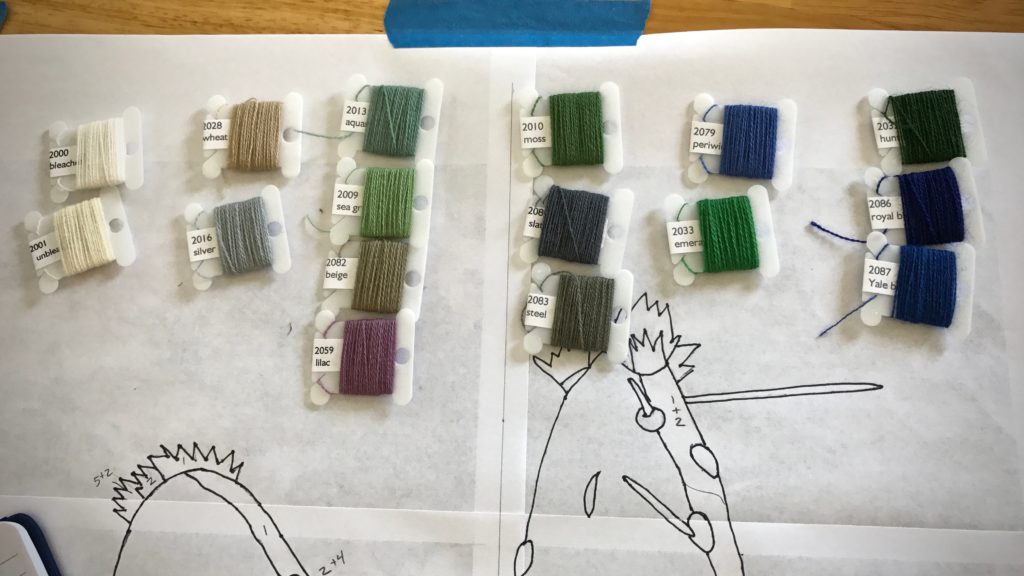
  • Use the photograph to select yarn colors for the transparency. (I used the iPad to view the photo, and selected sixteen shades of 20/2 Mora wool.)
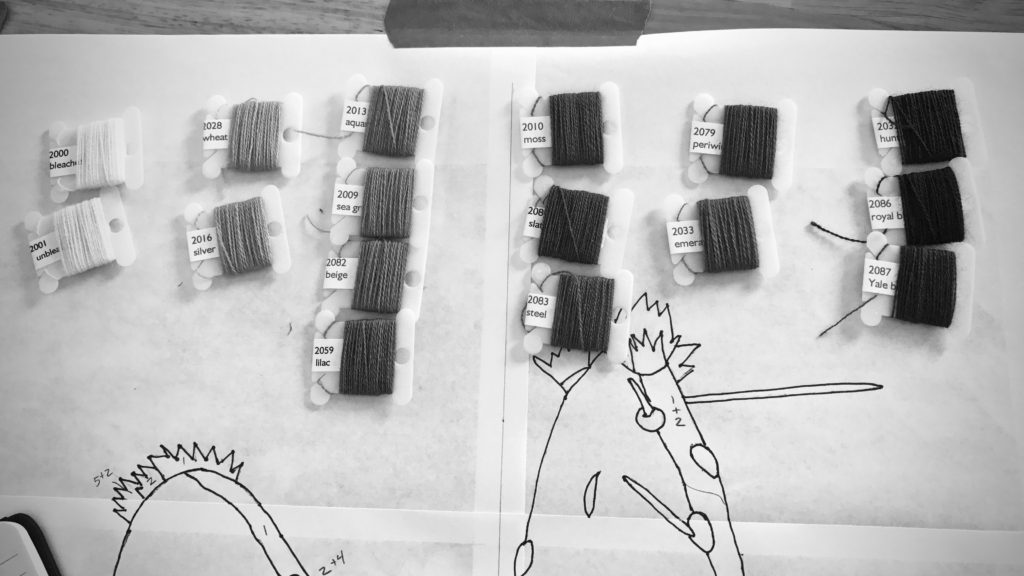
  • Sort the yarn by hues. (I used my iPhone camera black-and-white setting to help in the sorting.) Sorting by hues helps me blend similar-hued colors, and shows me the contrasts that will help define the picture.

Color selection for woven transparency. Sorting by hues.


Sorting colors by hues for woven transparency.

  • Assign a number to each yarn color.
  • Make the enlarged outline into a color-by-number sheet by designating a color or blend of colors for each section. (I taped this sheet to the wall beside my loom, to use as a color guide. The iPad photo also serves as a reference.)

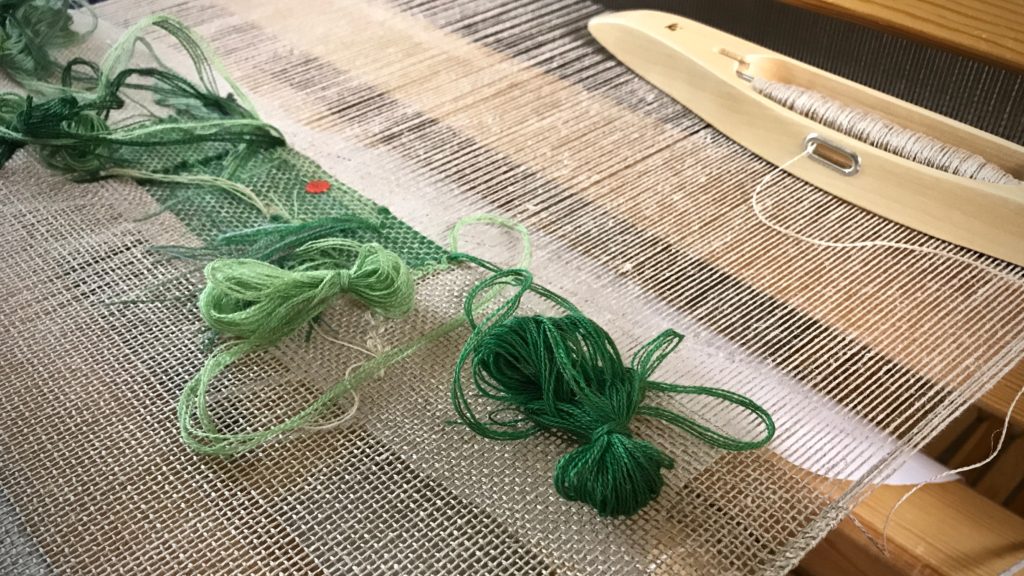
Butterflies of Mora wool for woven transparency.

Virtues are timeless. Virtues are like colors that blend together to weave a masterpiece. When we let the Grand Weaver lay in the weft, these are the colors that appear as light shines through His woven transparency: love, joy, peace, patience, kindness, goodness, faithfulness, gentleness, self-control. And when this occurs, it shows that we are made in His image.

Making a transparency cartoon. Tutorial.


Woven transparency from a photo. How to.

May the next leg of your journey be a fantastic experience.

I’ll meet you back here on Tuesday, August 1st, 2017.
In the meantime, I hope you investigate claims of Jesus. Take time with people. Keep weaving. And the same for me.

Head over to Instagram to stay in touch with my daily journey.

Love,
Karen

Tools Day: Umbrella Swift

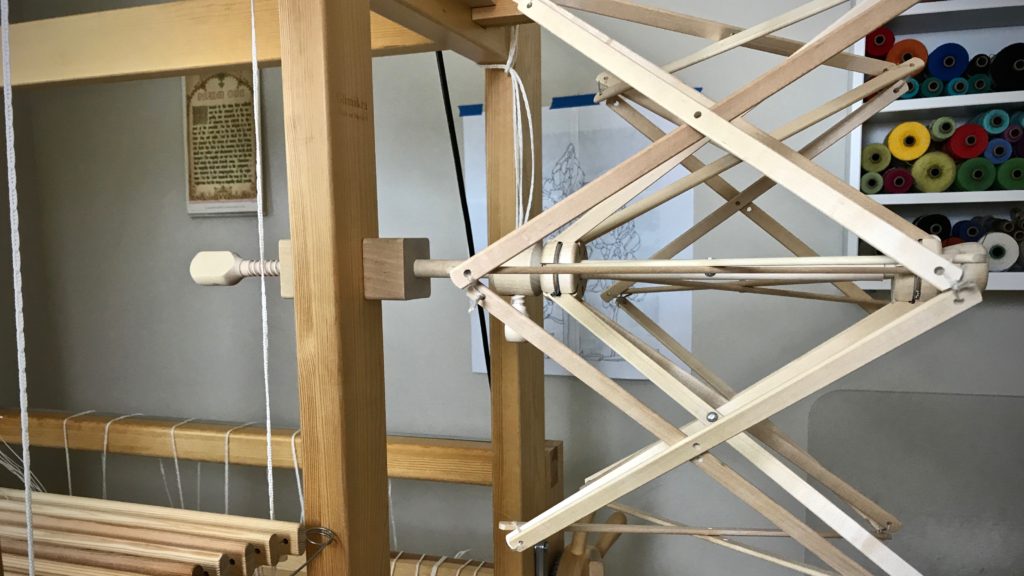
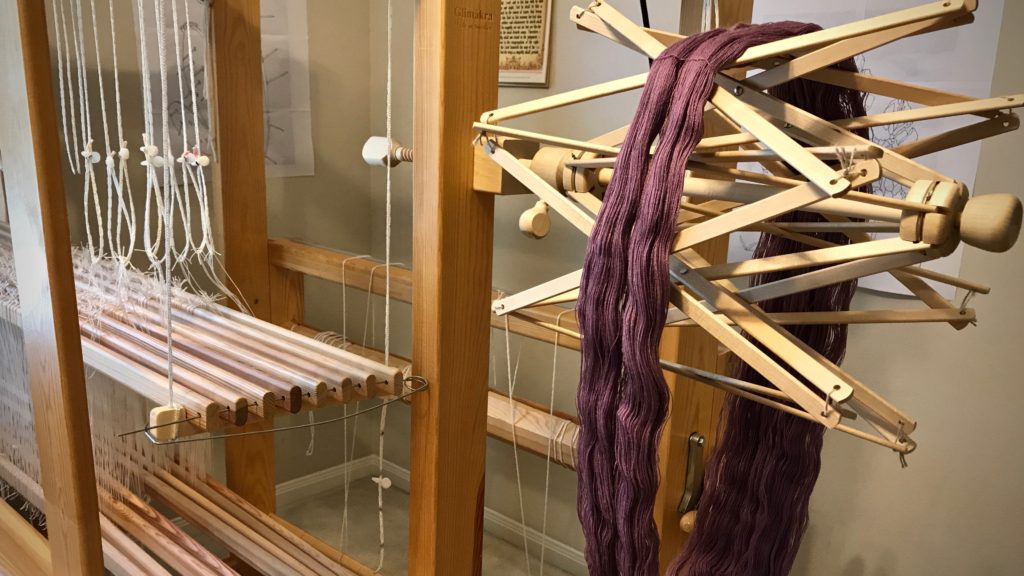
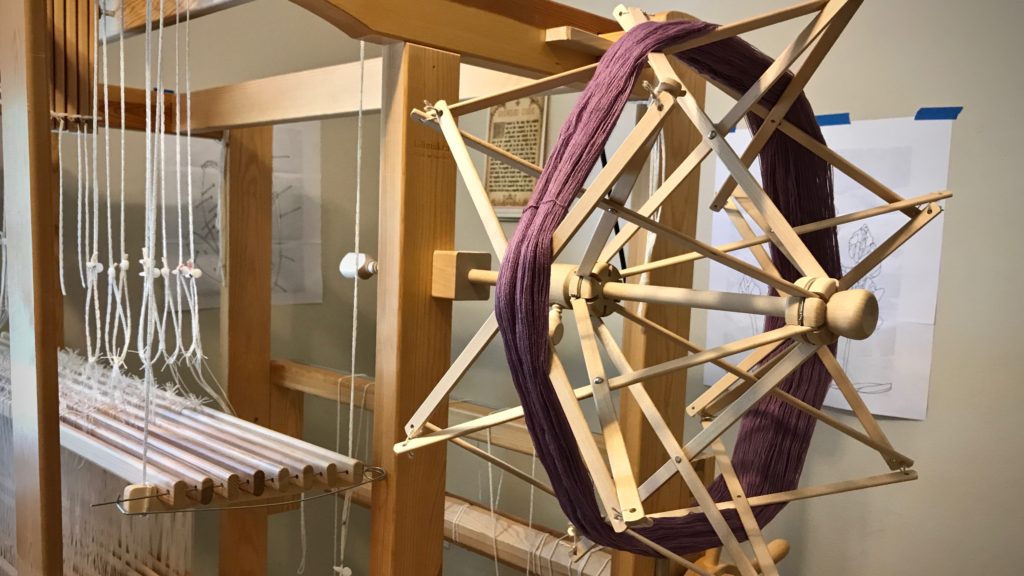
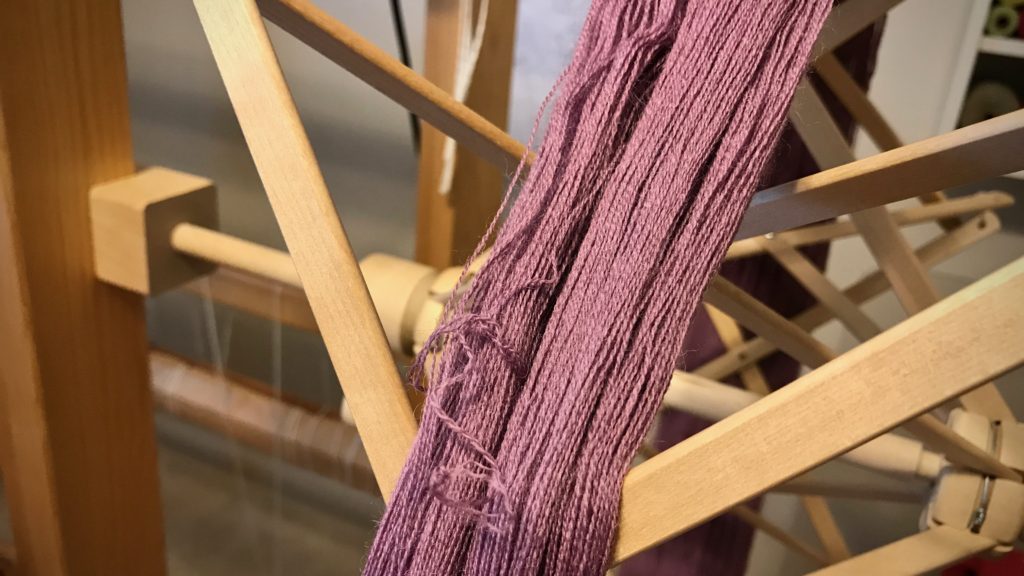
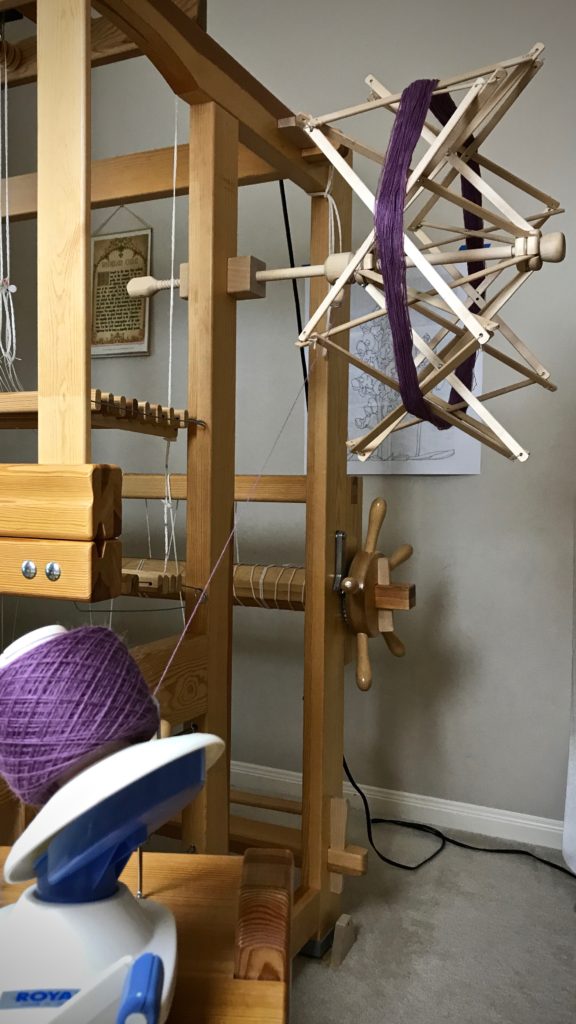
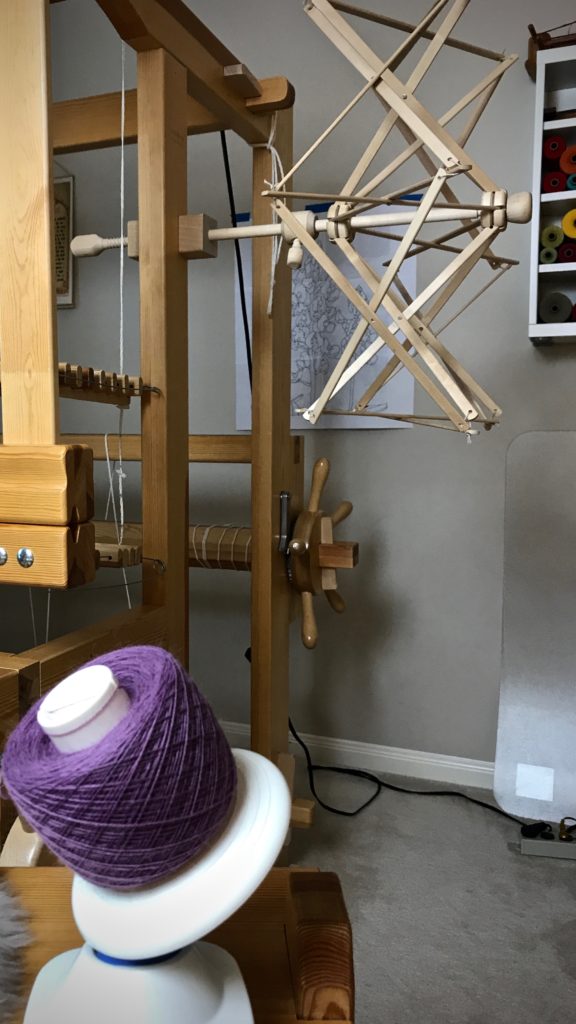
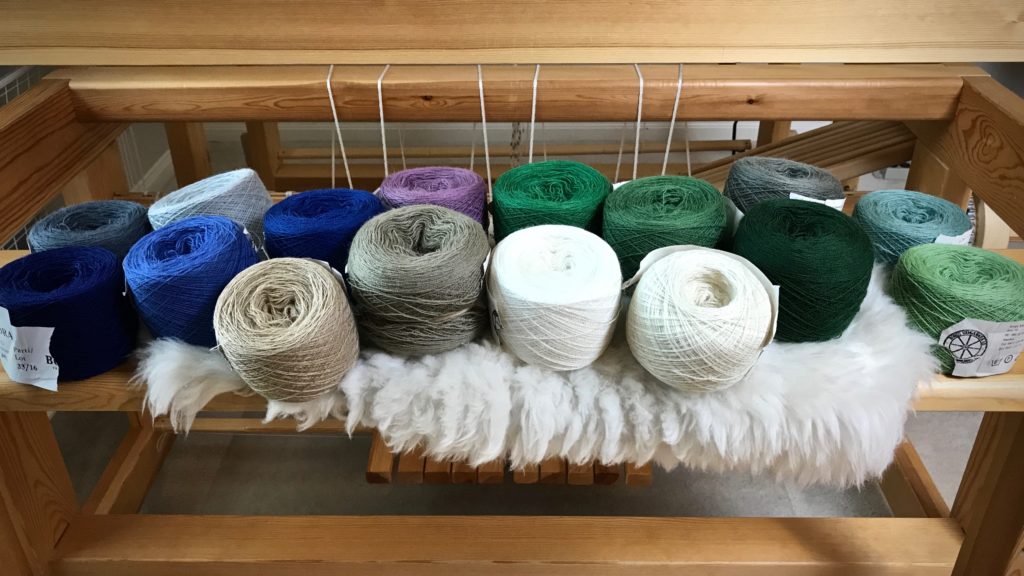
The umbrella swift earns the “Cool Tool” award! I have sixteen skeins of 20/2 Mora wool (as seen in Skeins of Colors). Before making them into little butterflies of color for a woven transparency, I am winding the skeins into balls. This means I get to use one of my favorite tools–the umbrella swift. My Glimåkra swift is simple to use and gives flawless results every time.

How to Use an Umbrella Swift

  • Attach the clamp of the umbrella swift to the side of the loom, or other secure structure, like a table. The swift functions vertically or horizontally. I prefer to position the swift horizontally so the yarn rolls off vertically. Also, I find it easier to hang the yarn on a horizontal swift than to place the yarn on a vertical swift, holding the yarn while expanding the umbrella.

How to use an umbrella swift. Tutorial.

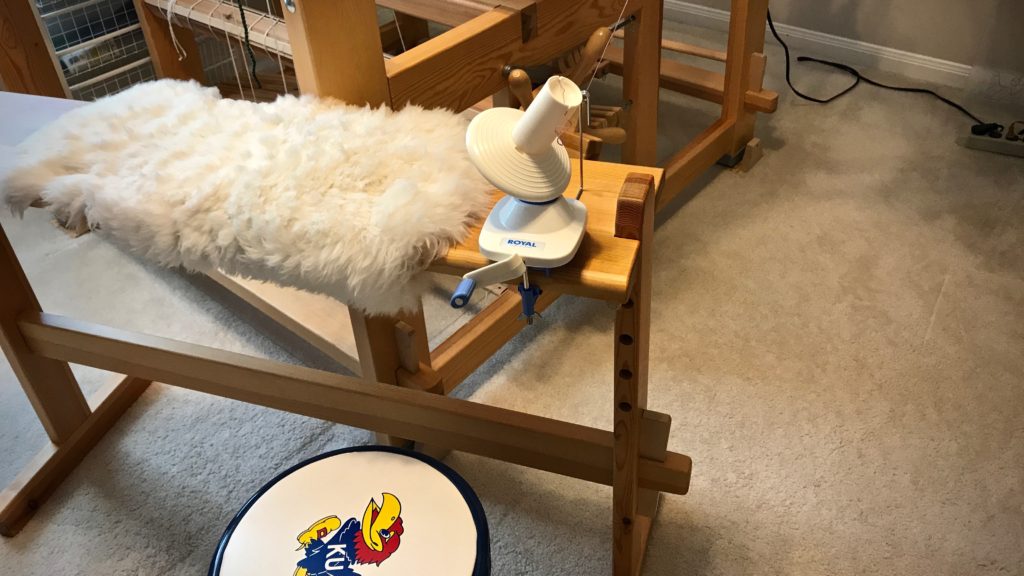
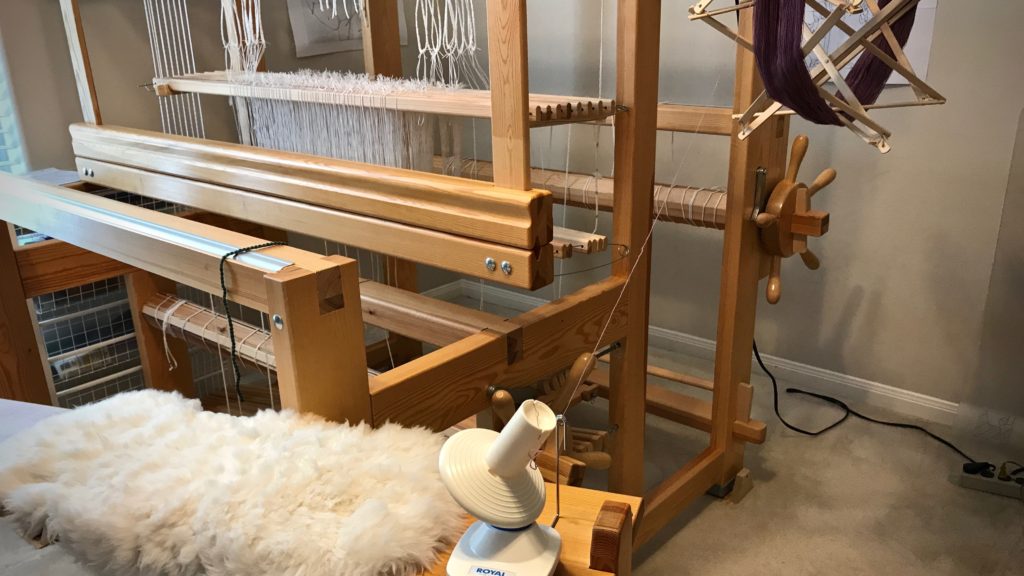
  • Position the yarn ball winder so that it is in line with the umbrella swift, a short distance away. I clamp the yarn ball winder to my loom bench, and sit on a small stool behind the bench.

Yarn ball winder in use with umbrella swift.

  • Remove the yarn skein’s label and put it aside. Carefully unfold and untwist the skein of yarn and open it out to a big circle. Place both arms through the center of the circle of yarn and snap your arms outward. Repeat the snapping action one or two more times, with the yarn repositioned about a quarter turn each time. This helps straighten out the yarn for placing it on the swift.
  • Lower the “umbrella” of the swift by loosing the screw and pulling the bottom screw-piece toward the clamp. Place the opened and prepared skein of yarn around the swift.

Placing the skein on an umbrella swift. How to.

  • Push open the “umbrella.” Spread it open just far enough to hold the yarn taut. Tighten the screw to keep the swift in that position.

How to use an umbrella swift for weaving yarn.

  • Find the place(s) on the skein where the skein has been tied, and untie the knot(s). Identify the end of the yarn that is on the outer side of the skein and connect that end to the yarn ball winder. For consistency among multiple skeins of yarn, I have the umbrella swift turn in the same direction for each one, with the yarn unwinding from the top of the swift.

Putting skein of yarn on umbrella swift.

  • Turn the yarn ball winder until all the yarn has been unwound from the swift.

Set up for using umbrella swift. Tips.

Winding ball of yarn from umbrella swift.

Winding ball of yarn from umbrella swift.

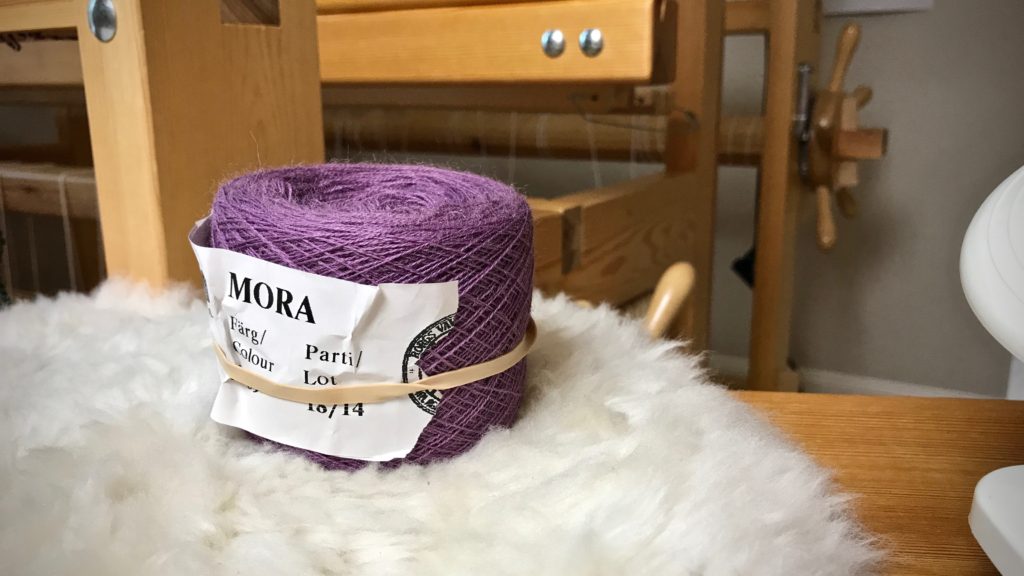
  • Remove the yarn ball from the yarn ball winder and wrap the skein’s label on the new yarn ball.

New ball of yarn thanks to umbrella swift.

  • Collect the new balls of yarn and play with the colors in your imagination.

Mora wool. Getting ready for woven transparency!

May you take pleasure in your work of preparation.

All the best,
Karen

Tools Day: Double-Bobbin Shuttle

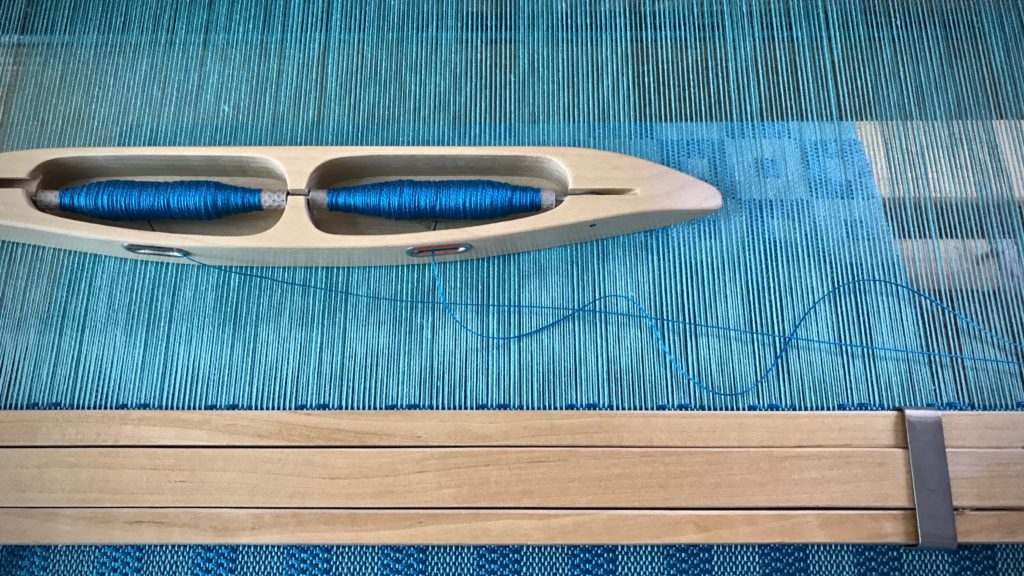
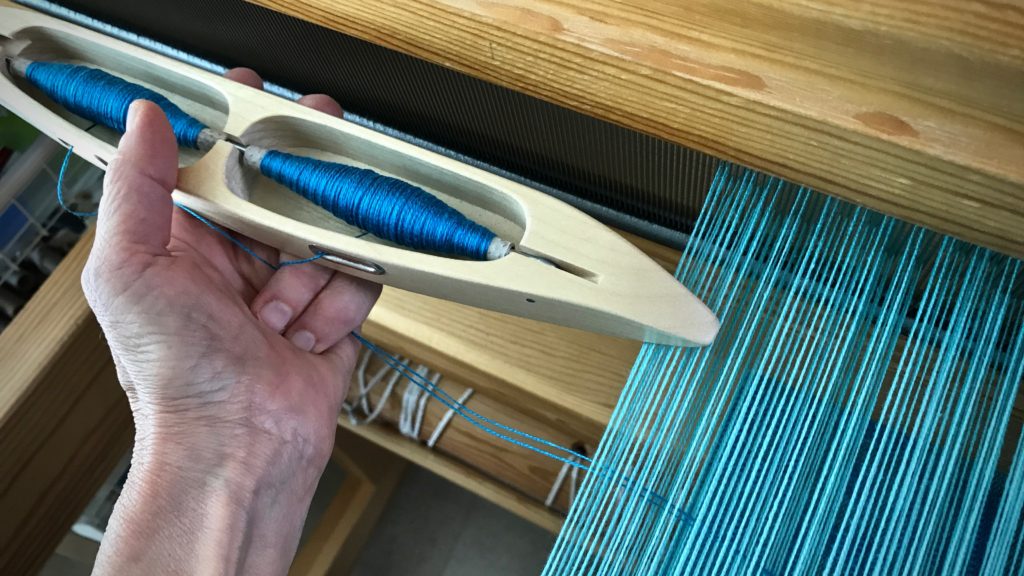
The first time I wove fabric that required a doubled weft I did not use a double-bobbin shuttle. I didn’t own one. I used a regular boat shuttle and sent it across twice, going around the outer warp end. Those first thick and thin towels came out beautifully. So I know it can be done.

Weaving with a double-bobbin shuttle. Tips.
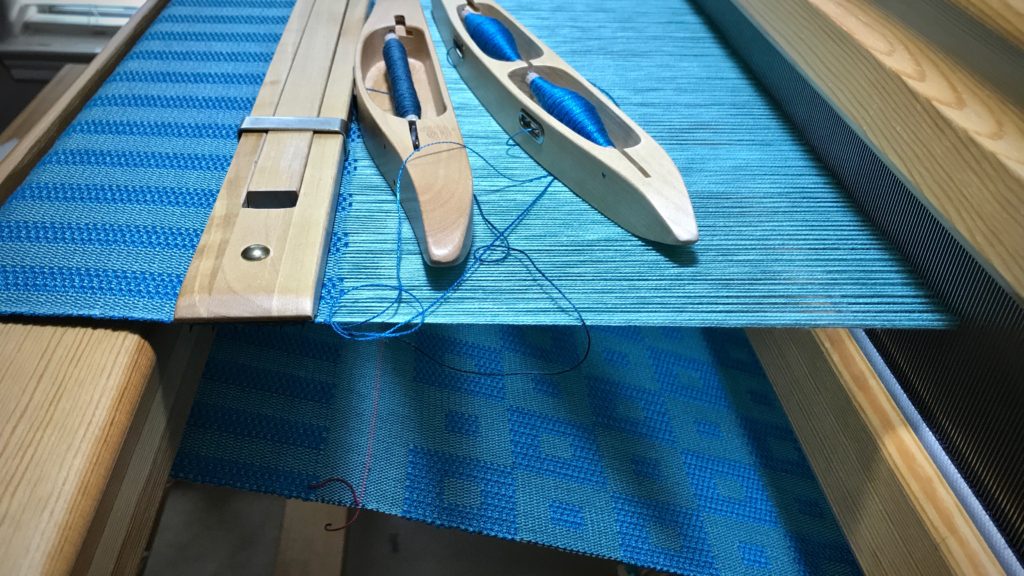
Square pattern peeks through from below. Double-bobbin shuttle carries the doubled tencel weft for this kuvikas fabric.

The first time I used a double-bobbin shuttle I wondered if it was worth it. It was awkward and clumsy in my hands. Since that rocky introduction a few years ago, I have woven many meters with my double-bobbin shuttles. They have become cherished tools and efficient accomplices to some of my favorite fabric-making endeavors!

Tips for Weaving with a Double-Bobbin Shuttle (and a short video demonstration)

  • Practice. Make sure you allow extra warp length for practicing. You will probably need it at first. Have fun and laugh, and refrain from throwing the shuttle across the room.
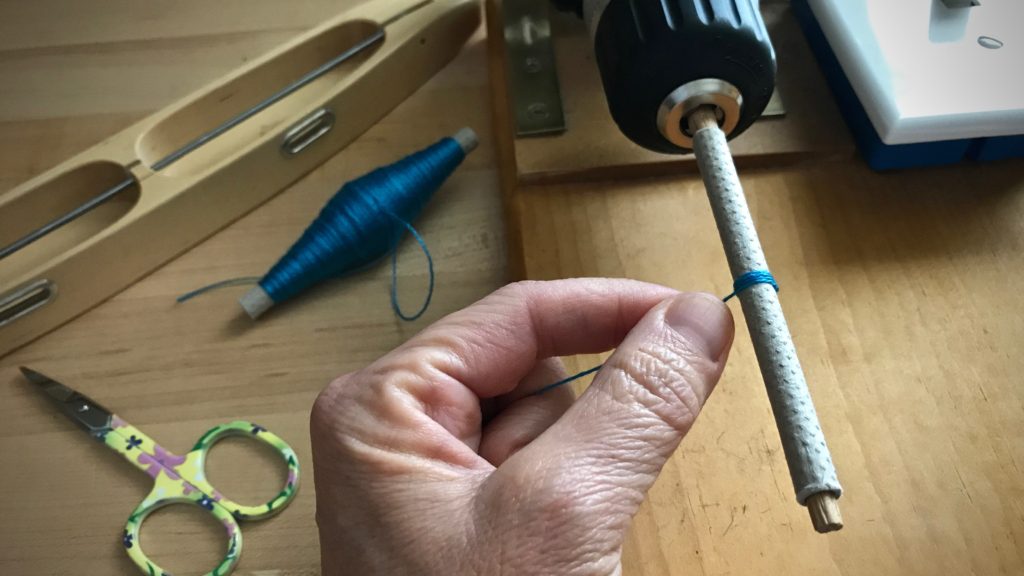
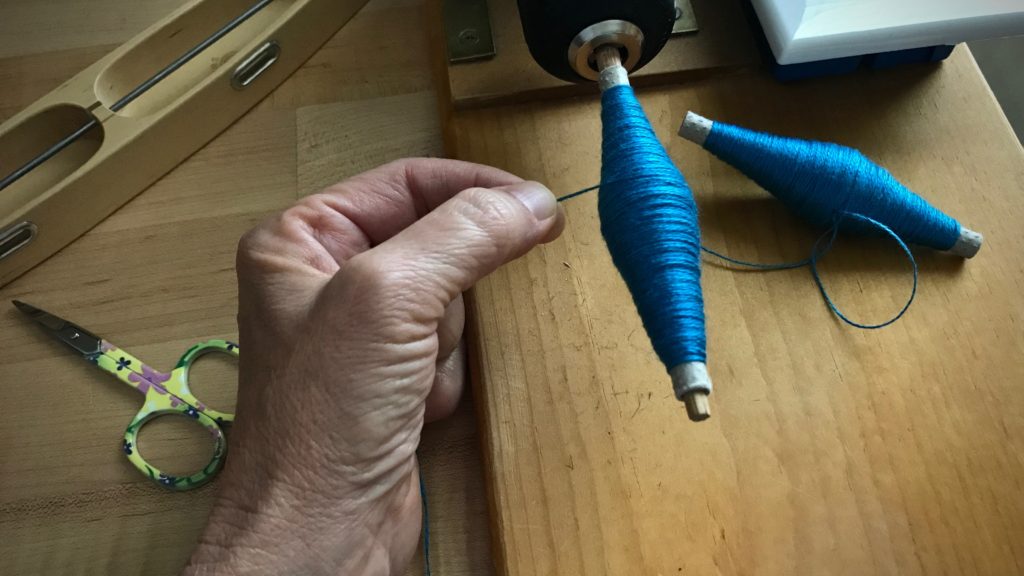
  • Winding Equal Bobbins. Wind the first quill. Lay it close to the bobbin winder where you can see it easily. As you wind the second quill, attempt to match it in size to the first one. (Winding two quills with equal amounts of thread is no small challenge.)
Winding equal quills for a double-bobbin shuttle.
Visibility of the first wound quill is key for judging how much thread to wind on the second quill.
Winding quills for double bobbin shuttles.
Knowing when to stop is the trick. The ideal is for both quills to become empty at the same time. This only happens in your dreams. But sometimes you can get pretty close.
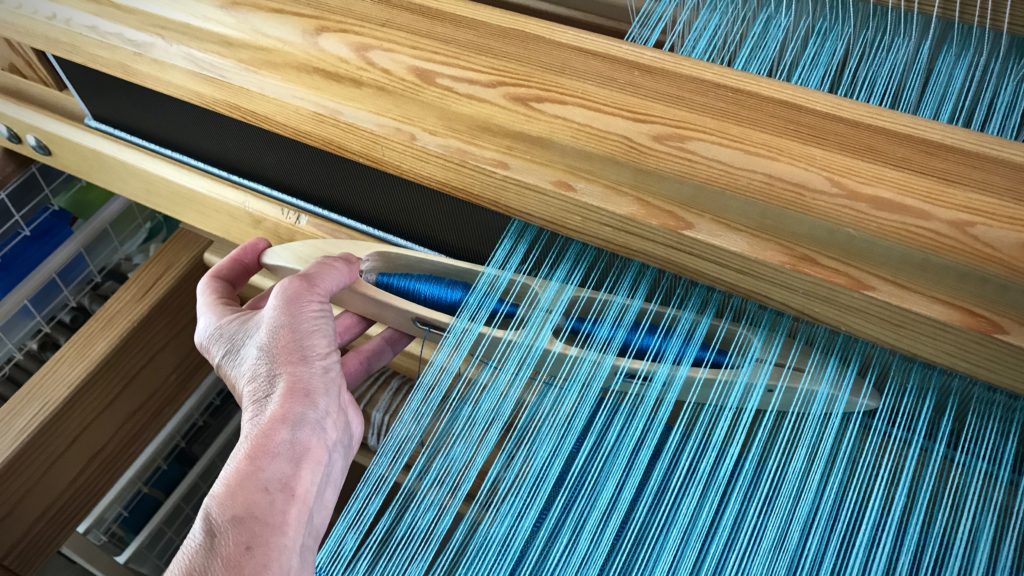
  • Sending the Shuttle. Sending the double-bobbin shuttle through the shed is the same as sending a regular boat shuttle across. The best release is done with a flick of the forefinger so the shuttle speeds across. Then, the doubled weft naturally snugs the selvedge, and the two threads are neatly aligned across the shed. With a slower, more timid shuttle send-off, the quills unwind unequally.
Weaving with a double-bobbin shuttle.
Holding the shuttle palm up, the forefinger launches the shuttle to glide quickly through the shed.
Results of timid shuttle send-off.
Timid or sluggish shuttle send-off lays unequal lengths of threads in the shed.
How to tips for weaving with a double-bobbin shuttle.
Deliberate send-off of the shuttle helps the threads to lay across the shed in equal lengths.
  • Receiving the Shuttle. Receiving the shuttle can be the awkward and clumsy part at first. Especially if you are trying to practice a quicker send-off. I catch the shuttle as for any boat shuttle, palm up. And then, if needed, I fold my two bottom fingers around the threads, guiding them to fall equally across the shed.
Using a double-bobbin shuttle. Tips.
After catching the shuttle, I gently close my fingers around the two threads, as needed, to guide them to fall evenly across the warp.
  • Weave. Enjoy the process.
Shuttle shadows. Karen Isenhower
Shuttle shadows.

May your practice produce perfection. (Well, maybe not perfection, but at least improvement.)

Happy weaving,
Karen

Tips for Taming String Yarn Weft Tails

Those pesky string yarn weft tails! There is a lot of starting and stopping with these mug rugs. Normally, tucking a weft tail back into the shed adds a bit of extra thickness at the selvedge. So, what about this very thick weft? It has the potential to throw everything off balance. A few easy tips help minimize the distortion the thicker weft can cause.

Taming String Yarn Weft Tails

  • Begin the thick weft on alternating sides. This will prevent one selvedge from building up more than the other.
  • Taper the end of the string yarn, cutting it at a steep angle.
  • Starting about 1 3/4″ inside the selvedge, send the shuttle through the shed toward the selvedge, going over or under the outermost warp end. Pull through until almost all of the weft tail is caught.
What to do with string yarn weft tails.
Starting the shuttle from the inside, going outward, is an easy way to catch all the separate threads of the string yarn.

Taming string yarn weft tails.

  • In same shed, send the shuttle back through to the other side, aware of encircling the one warp end.

Tucking in string yarn weft tails. Tips.

  • Beat. (Beat on open shed. Beat again. Change sheds. Beat again.)

How to manage string yarn weft tails.

  • Continue weaving.

Rep weave mug rugs. String yarn weft tails - tips!

  • To end the thick weft, leave a 1 3/4″ tail, and taper the end of the string yarn, as before. Lay the tail back in the last shed, going around the outermost warp end. Beat.

Things happen that throw us off balance. From personal celebrations to unexpected losses. Don’t be afraid. Putting trust in the Lord minimizes the inner turmoil. The Lord is my light. He lights my way. What is there to be afraid of? Wholehearted trust in the Lord pushes fearfulness away.

May you walk in a lighted path.

Happy weaving,
Karen