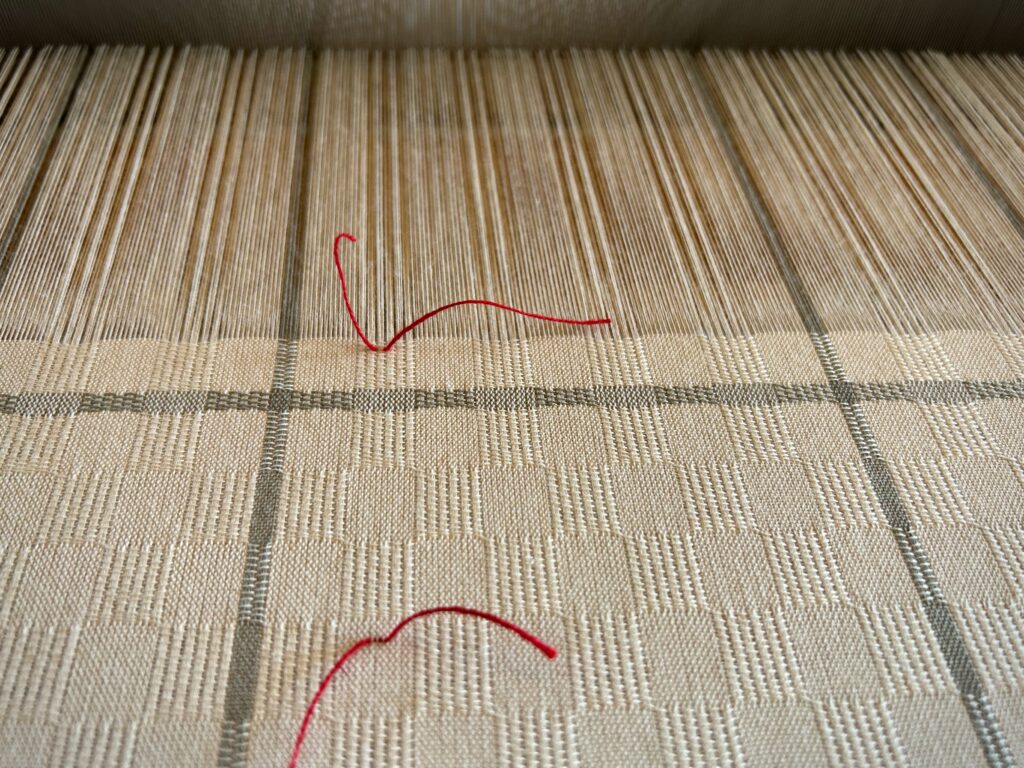
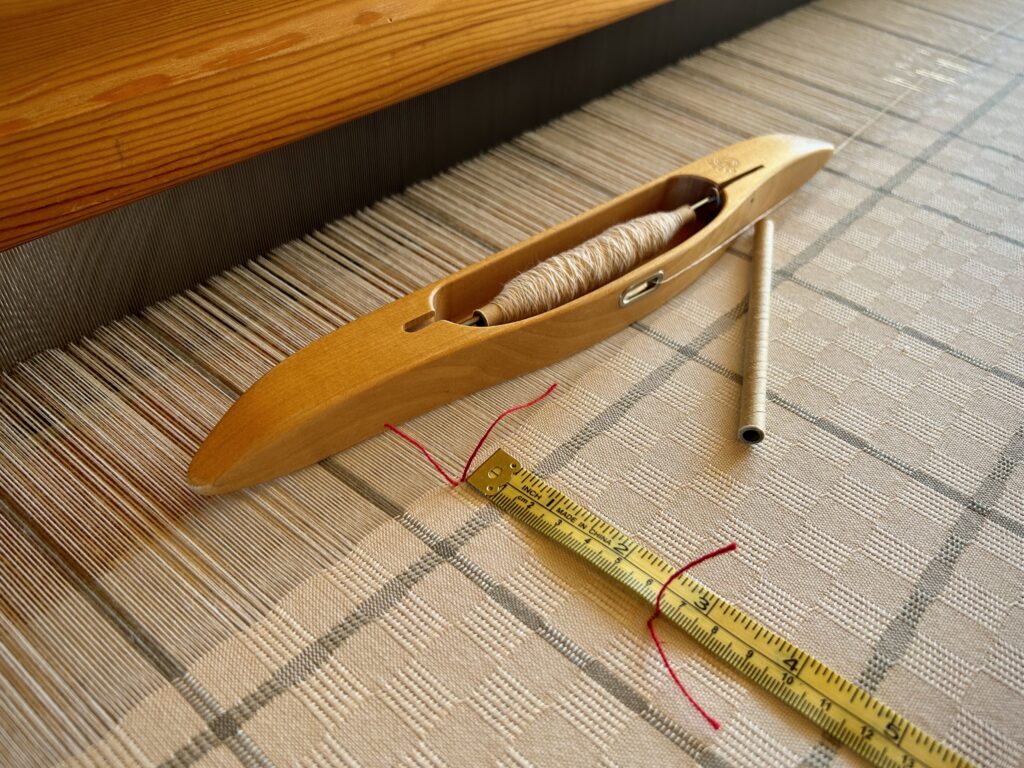
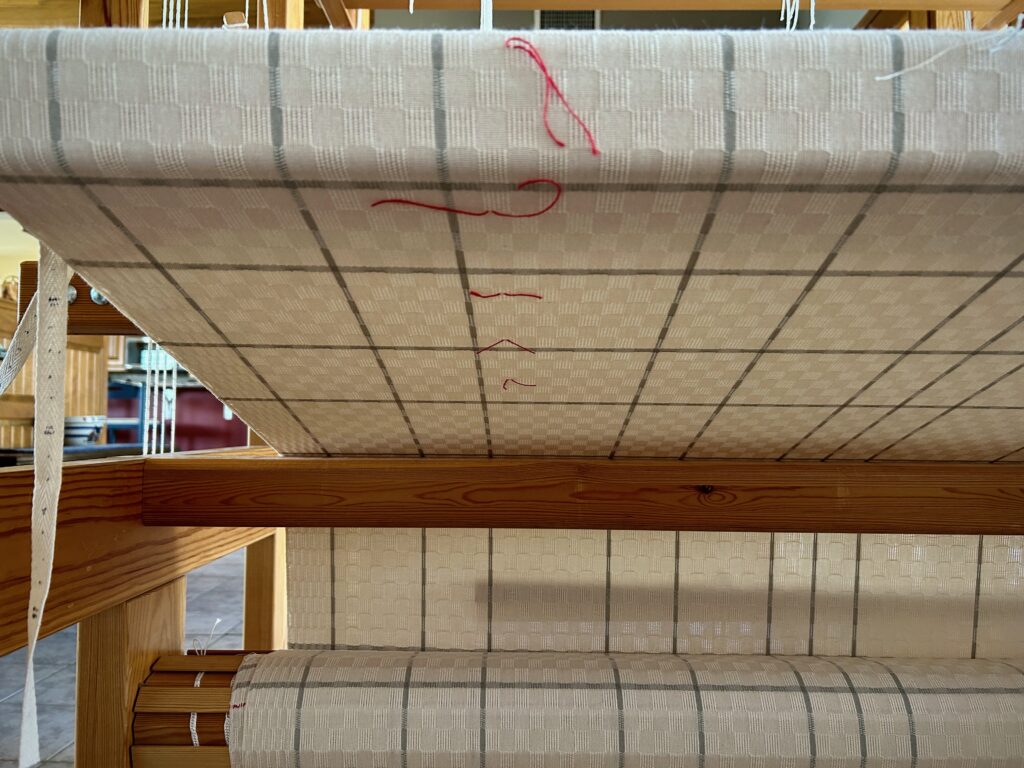
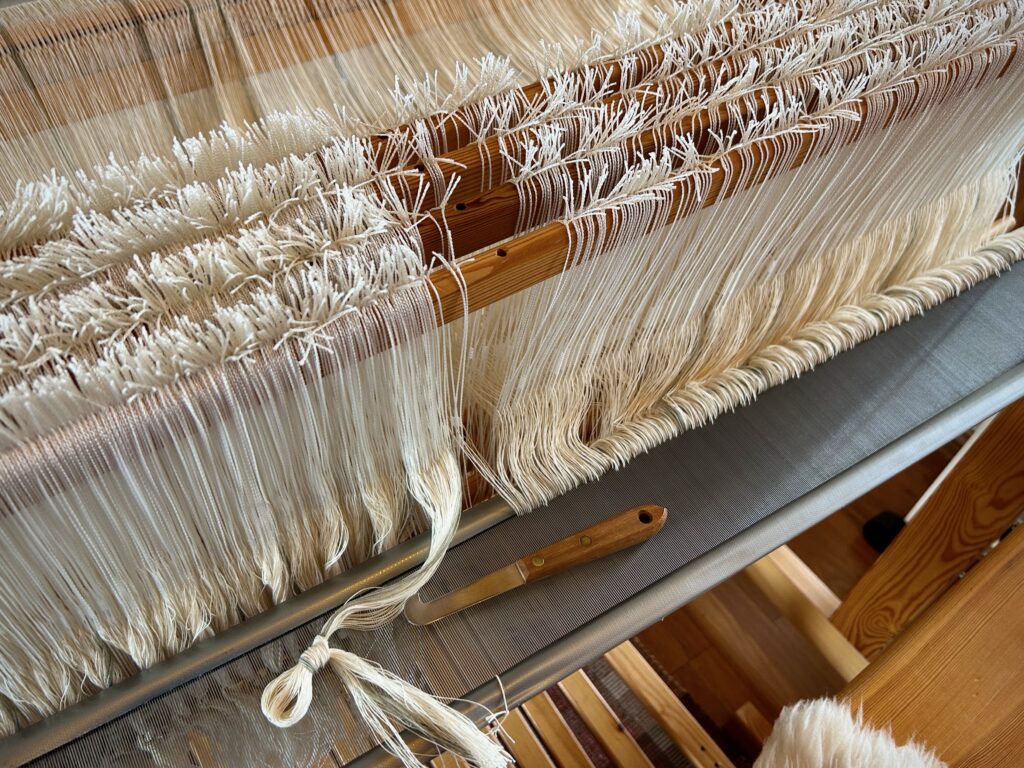
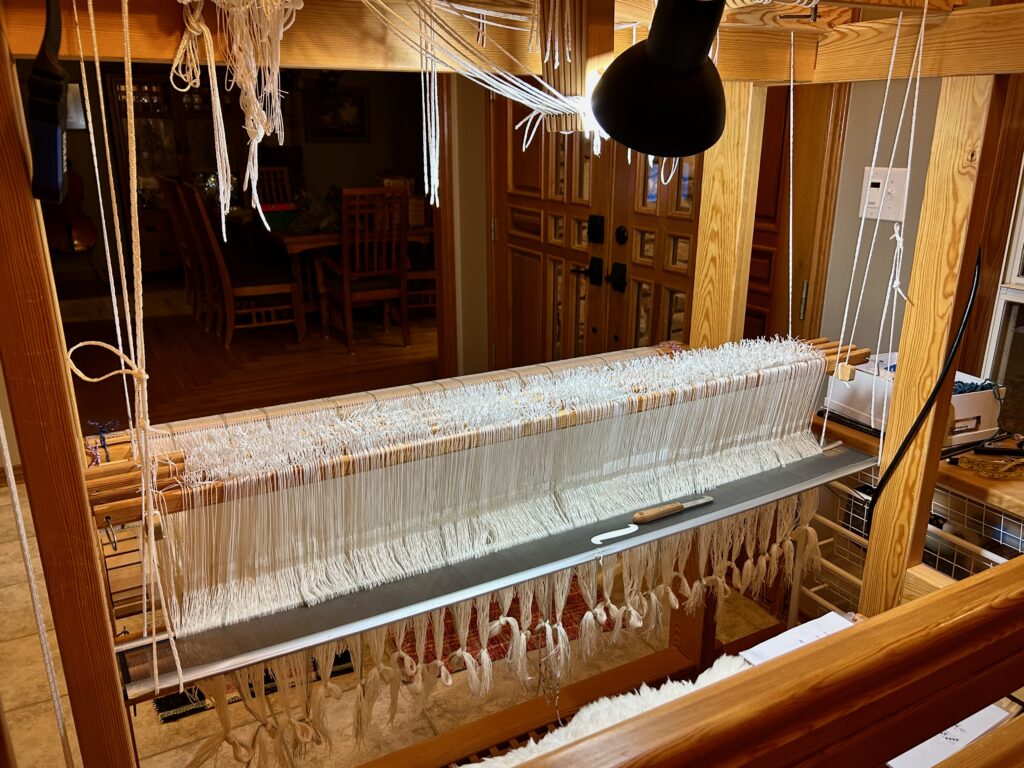
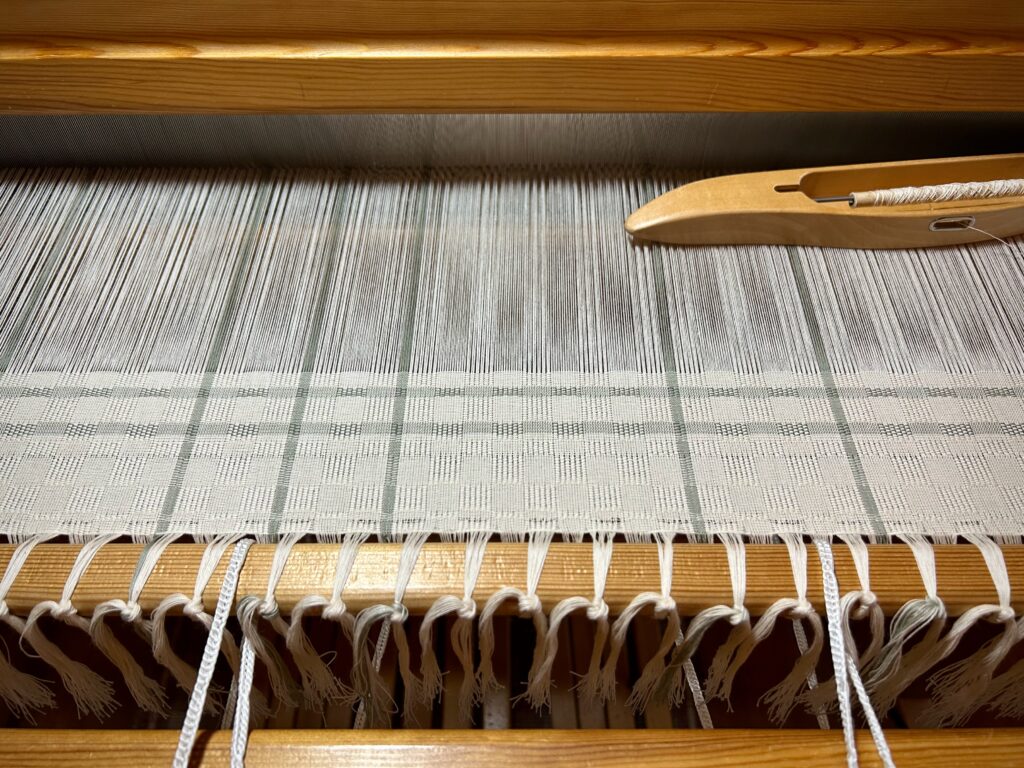
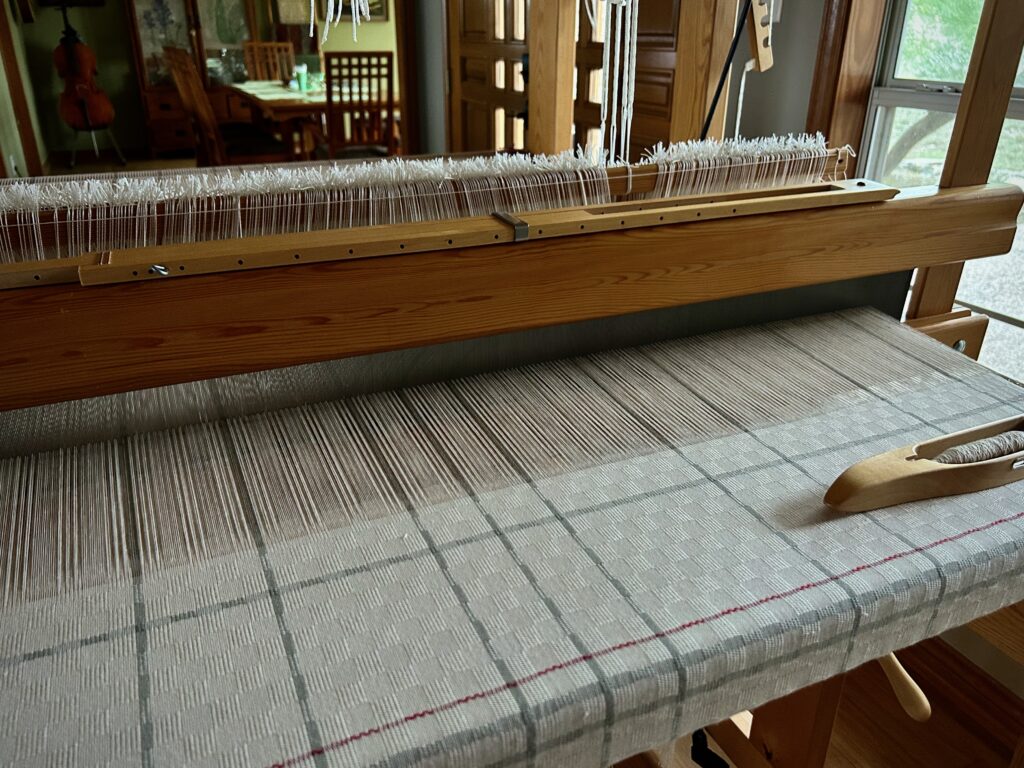
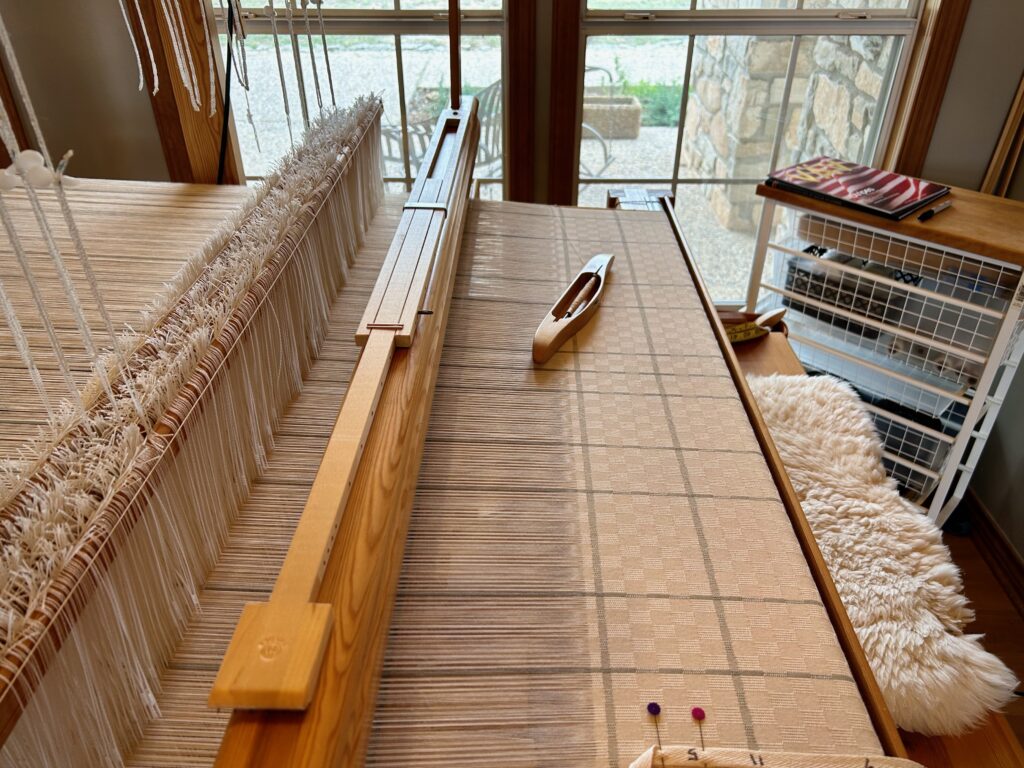
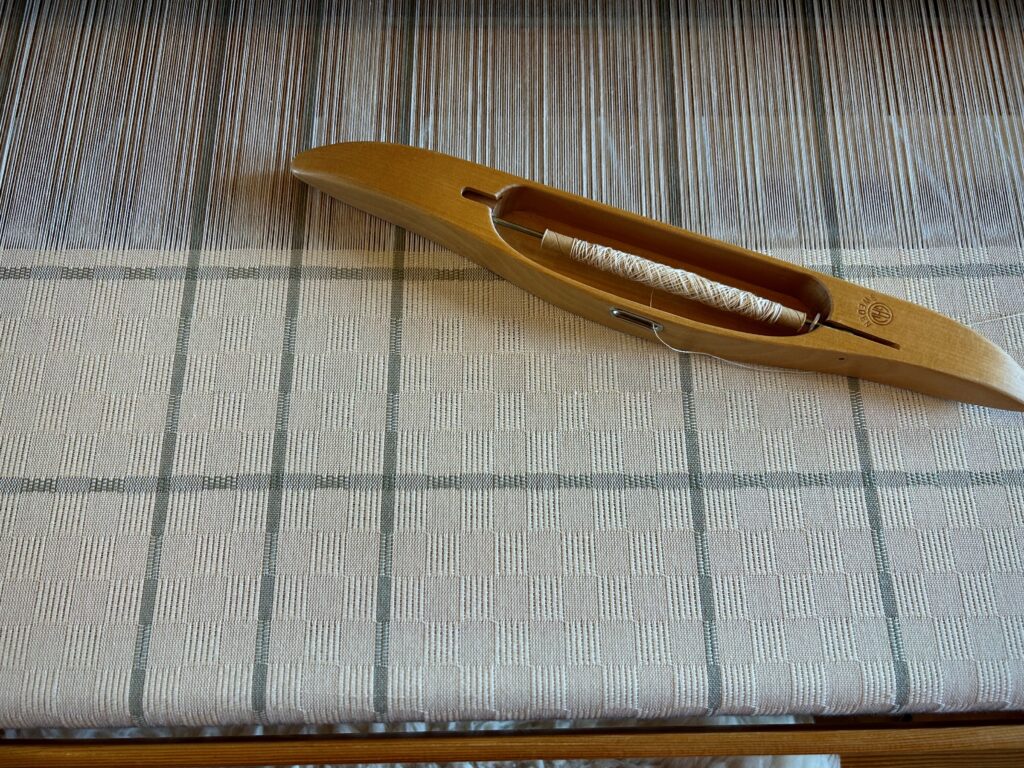
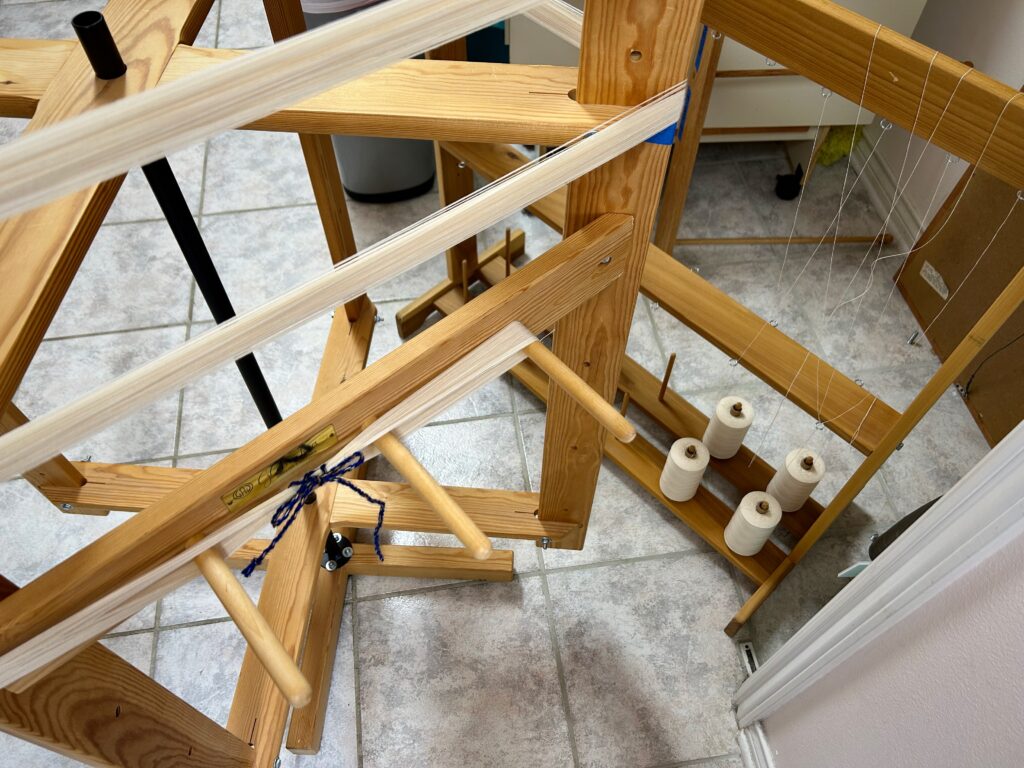
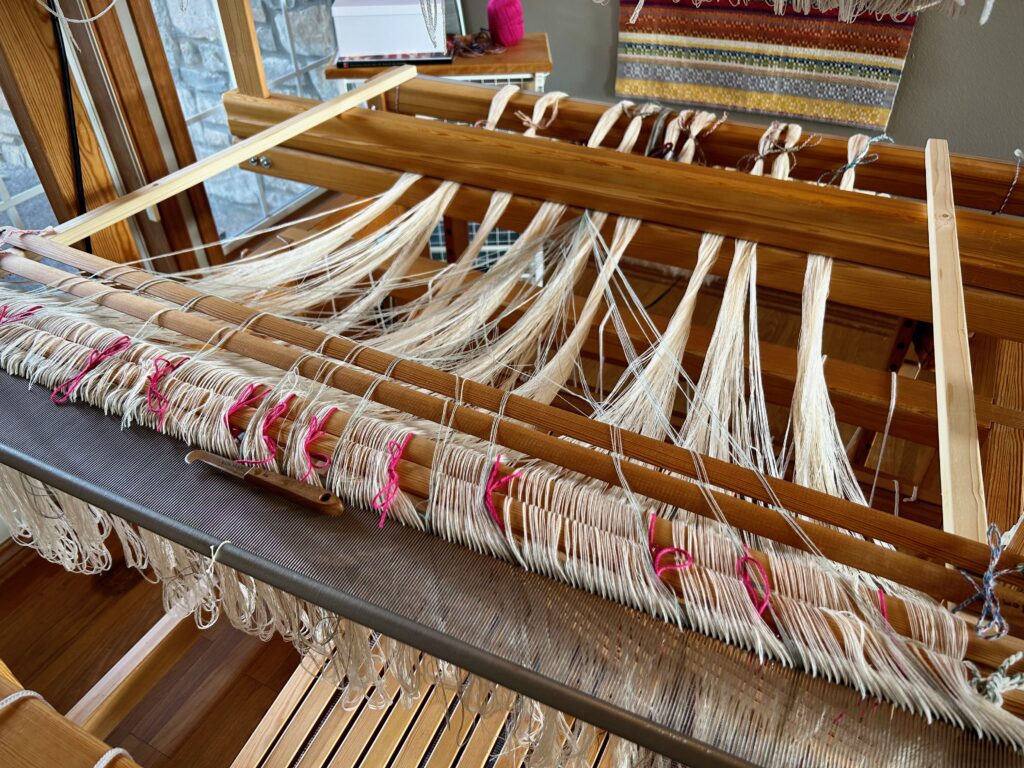
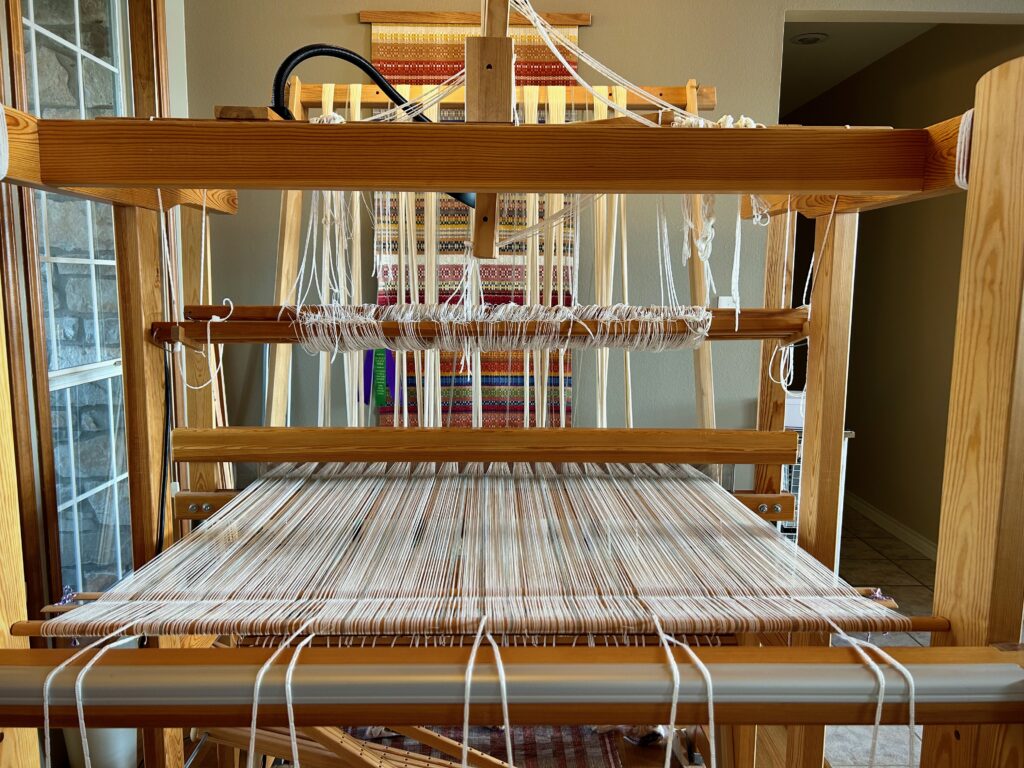
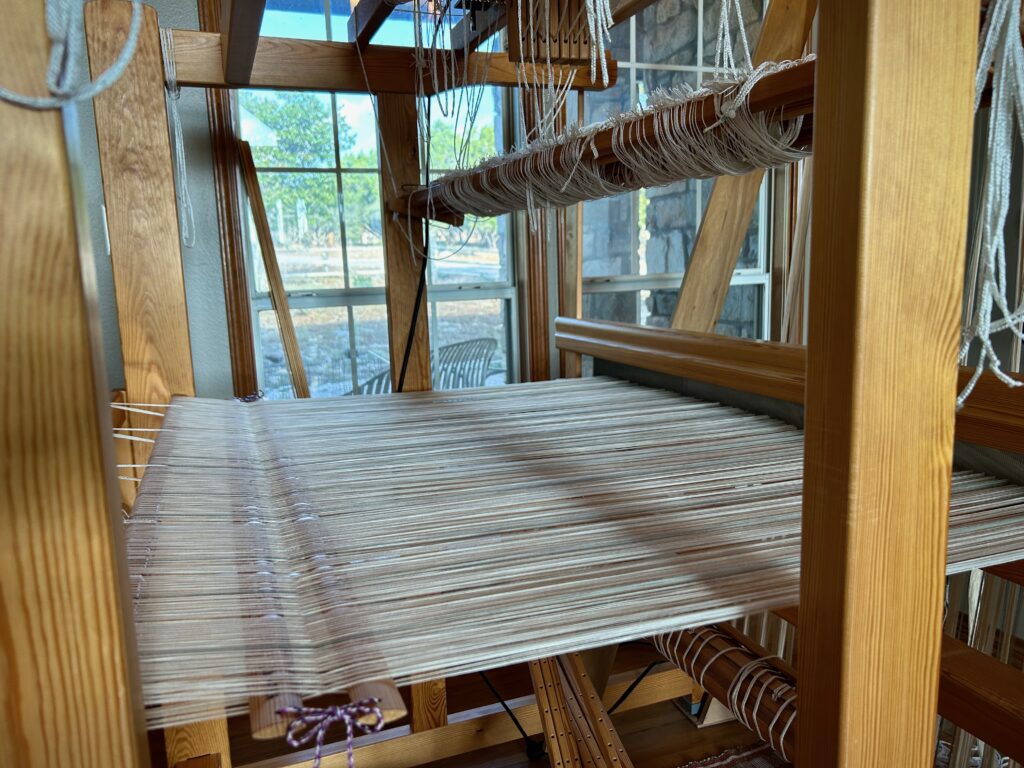
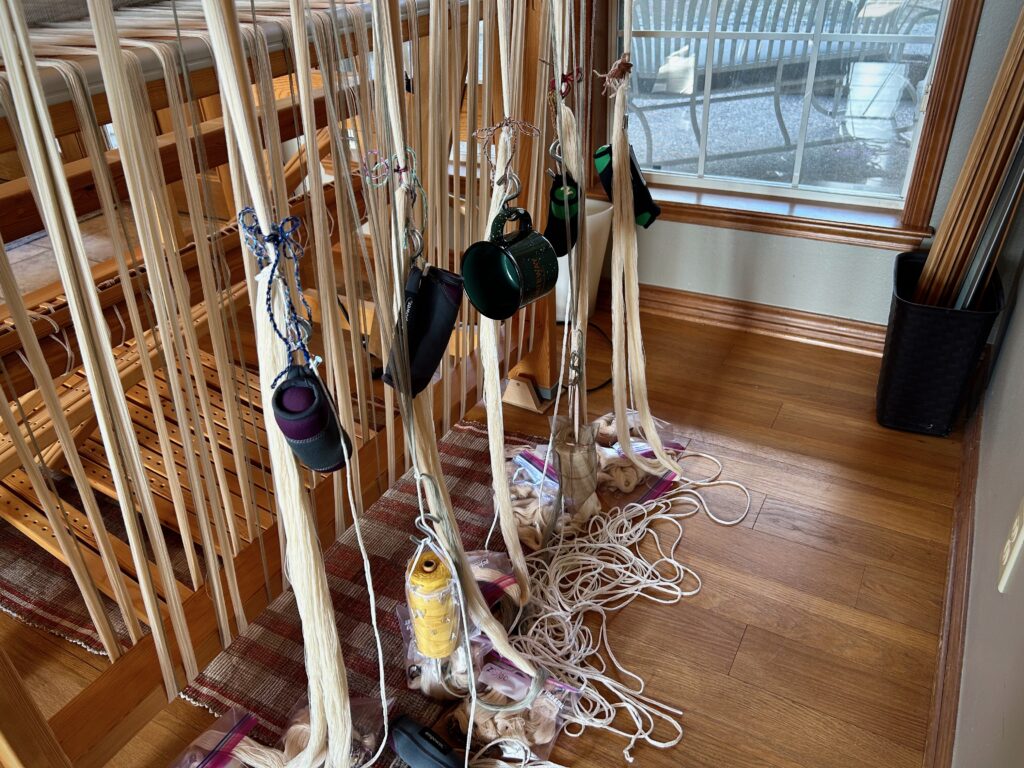
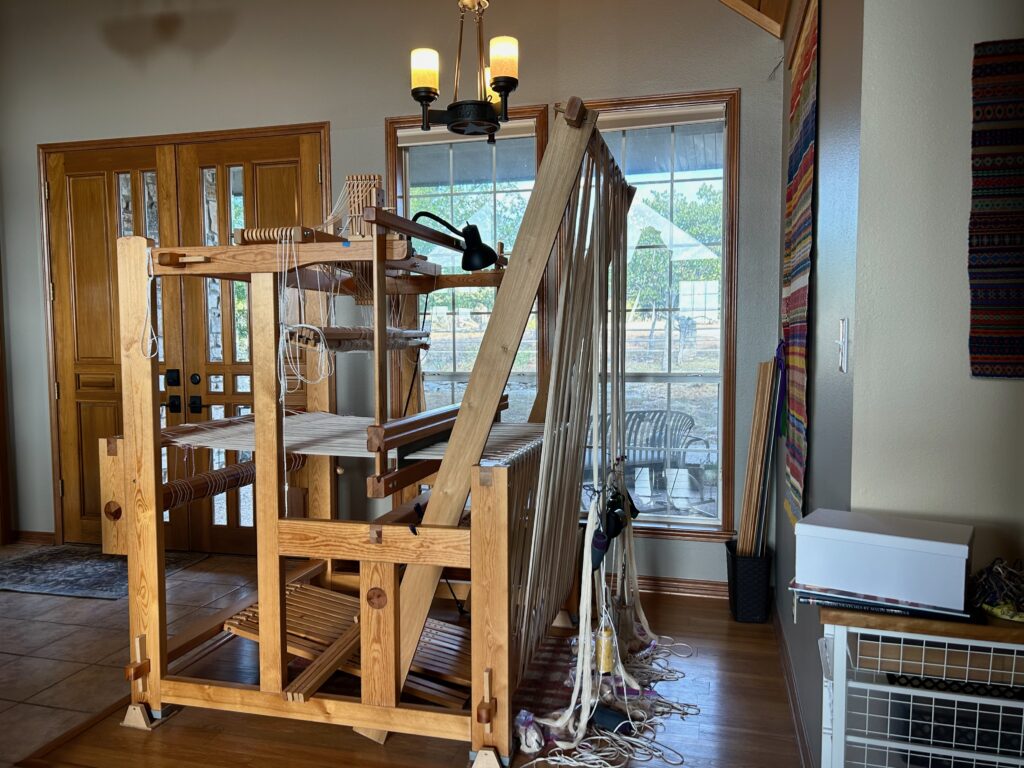
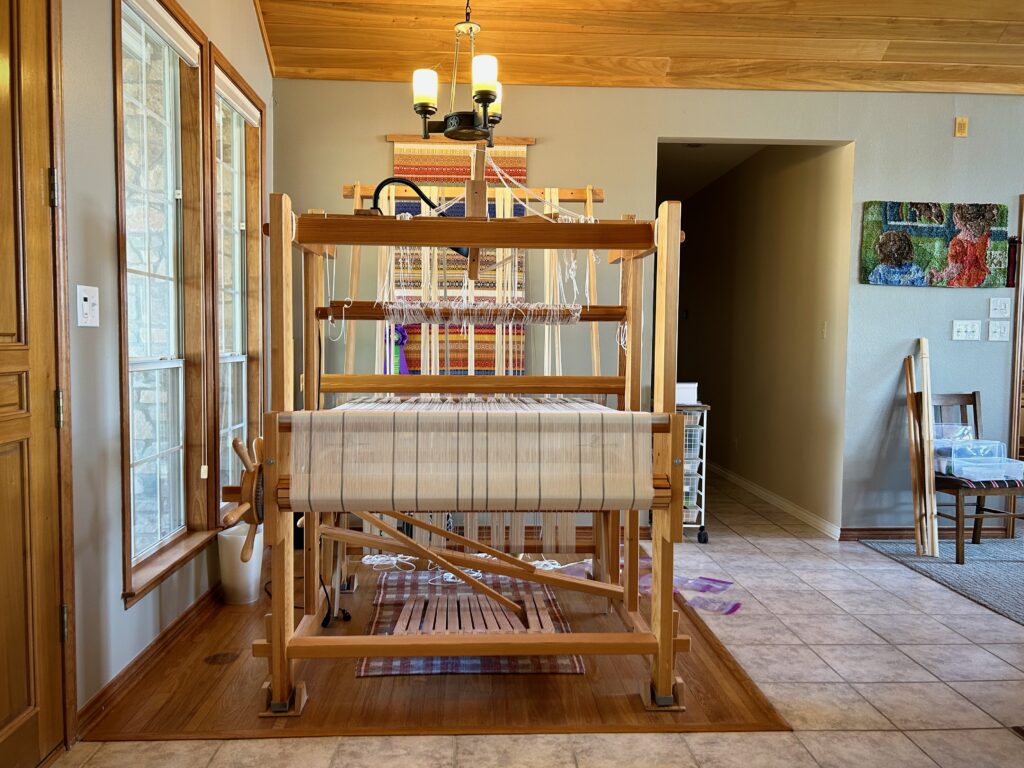
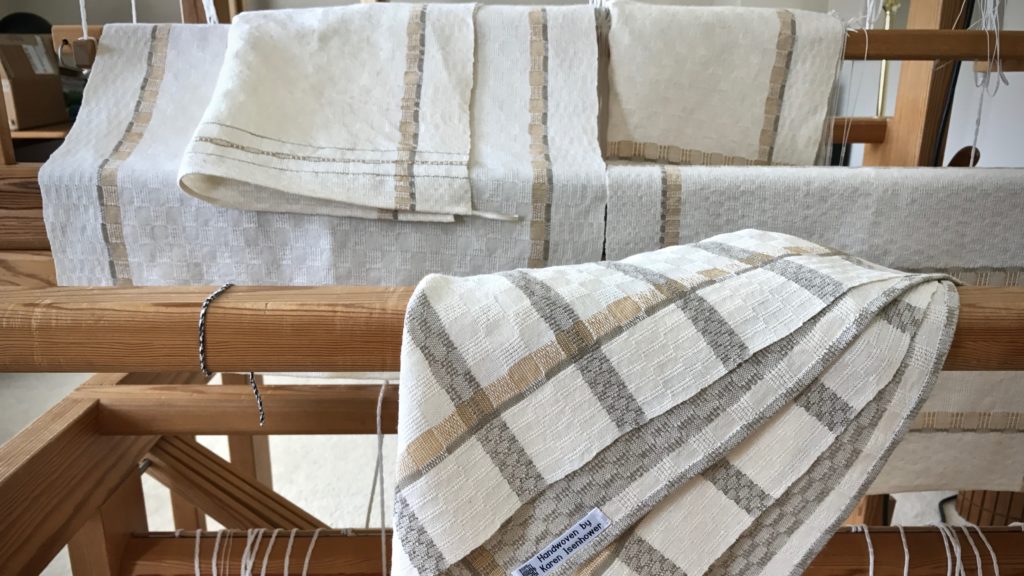
This warp is a triple challenge! 1. Full width (110 cm), 2. Fine threads (24/2 cotton), and 3. Unevenly-spaced narrow stripes. Three hours to wind the warp. Three hours to pre-sley and beam the warp. Seventeen hours to threadheddles, sley the reed, tie on the warp, and tie up the treadles. Why invest this much time and embrace this much difficulty?
Why embrace this challenge? Because I see what no one else sees. I see the curtains that are specially designed for our remodeled bathroom. I understand the draft, the threads, the stripes, and everything that works together in a certain way. I see it. Though not yet visible, I could see it before I started. And so, all the challenges become part of the story, and I’m determined to keep going. I aim to finish strong.
This is a picture of faith. Faith acts on things not seen by others. Faith sees what is not yet visible. With faith in Jesus Christ, all the challenges become part of the story. We go the duration because we have a view of the finished work.
May your challenges stretch your faith in a good way.
It is my husband’s idea for me to make handwoven curtains for the windows in our newly renovated master bathroom. Now that I have had time to think about it, I think it’s a great idea. Fortunately, the yellow rug warp on the Glimåkra Standard is still sitting on the loom bench, so I am putting it aside temporarily in order to put this bathroom-curtains warp on the loom.
I have 1,984 ends to thread and sley. Then, I will be weaving almost full width! It’s exciting!
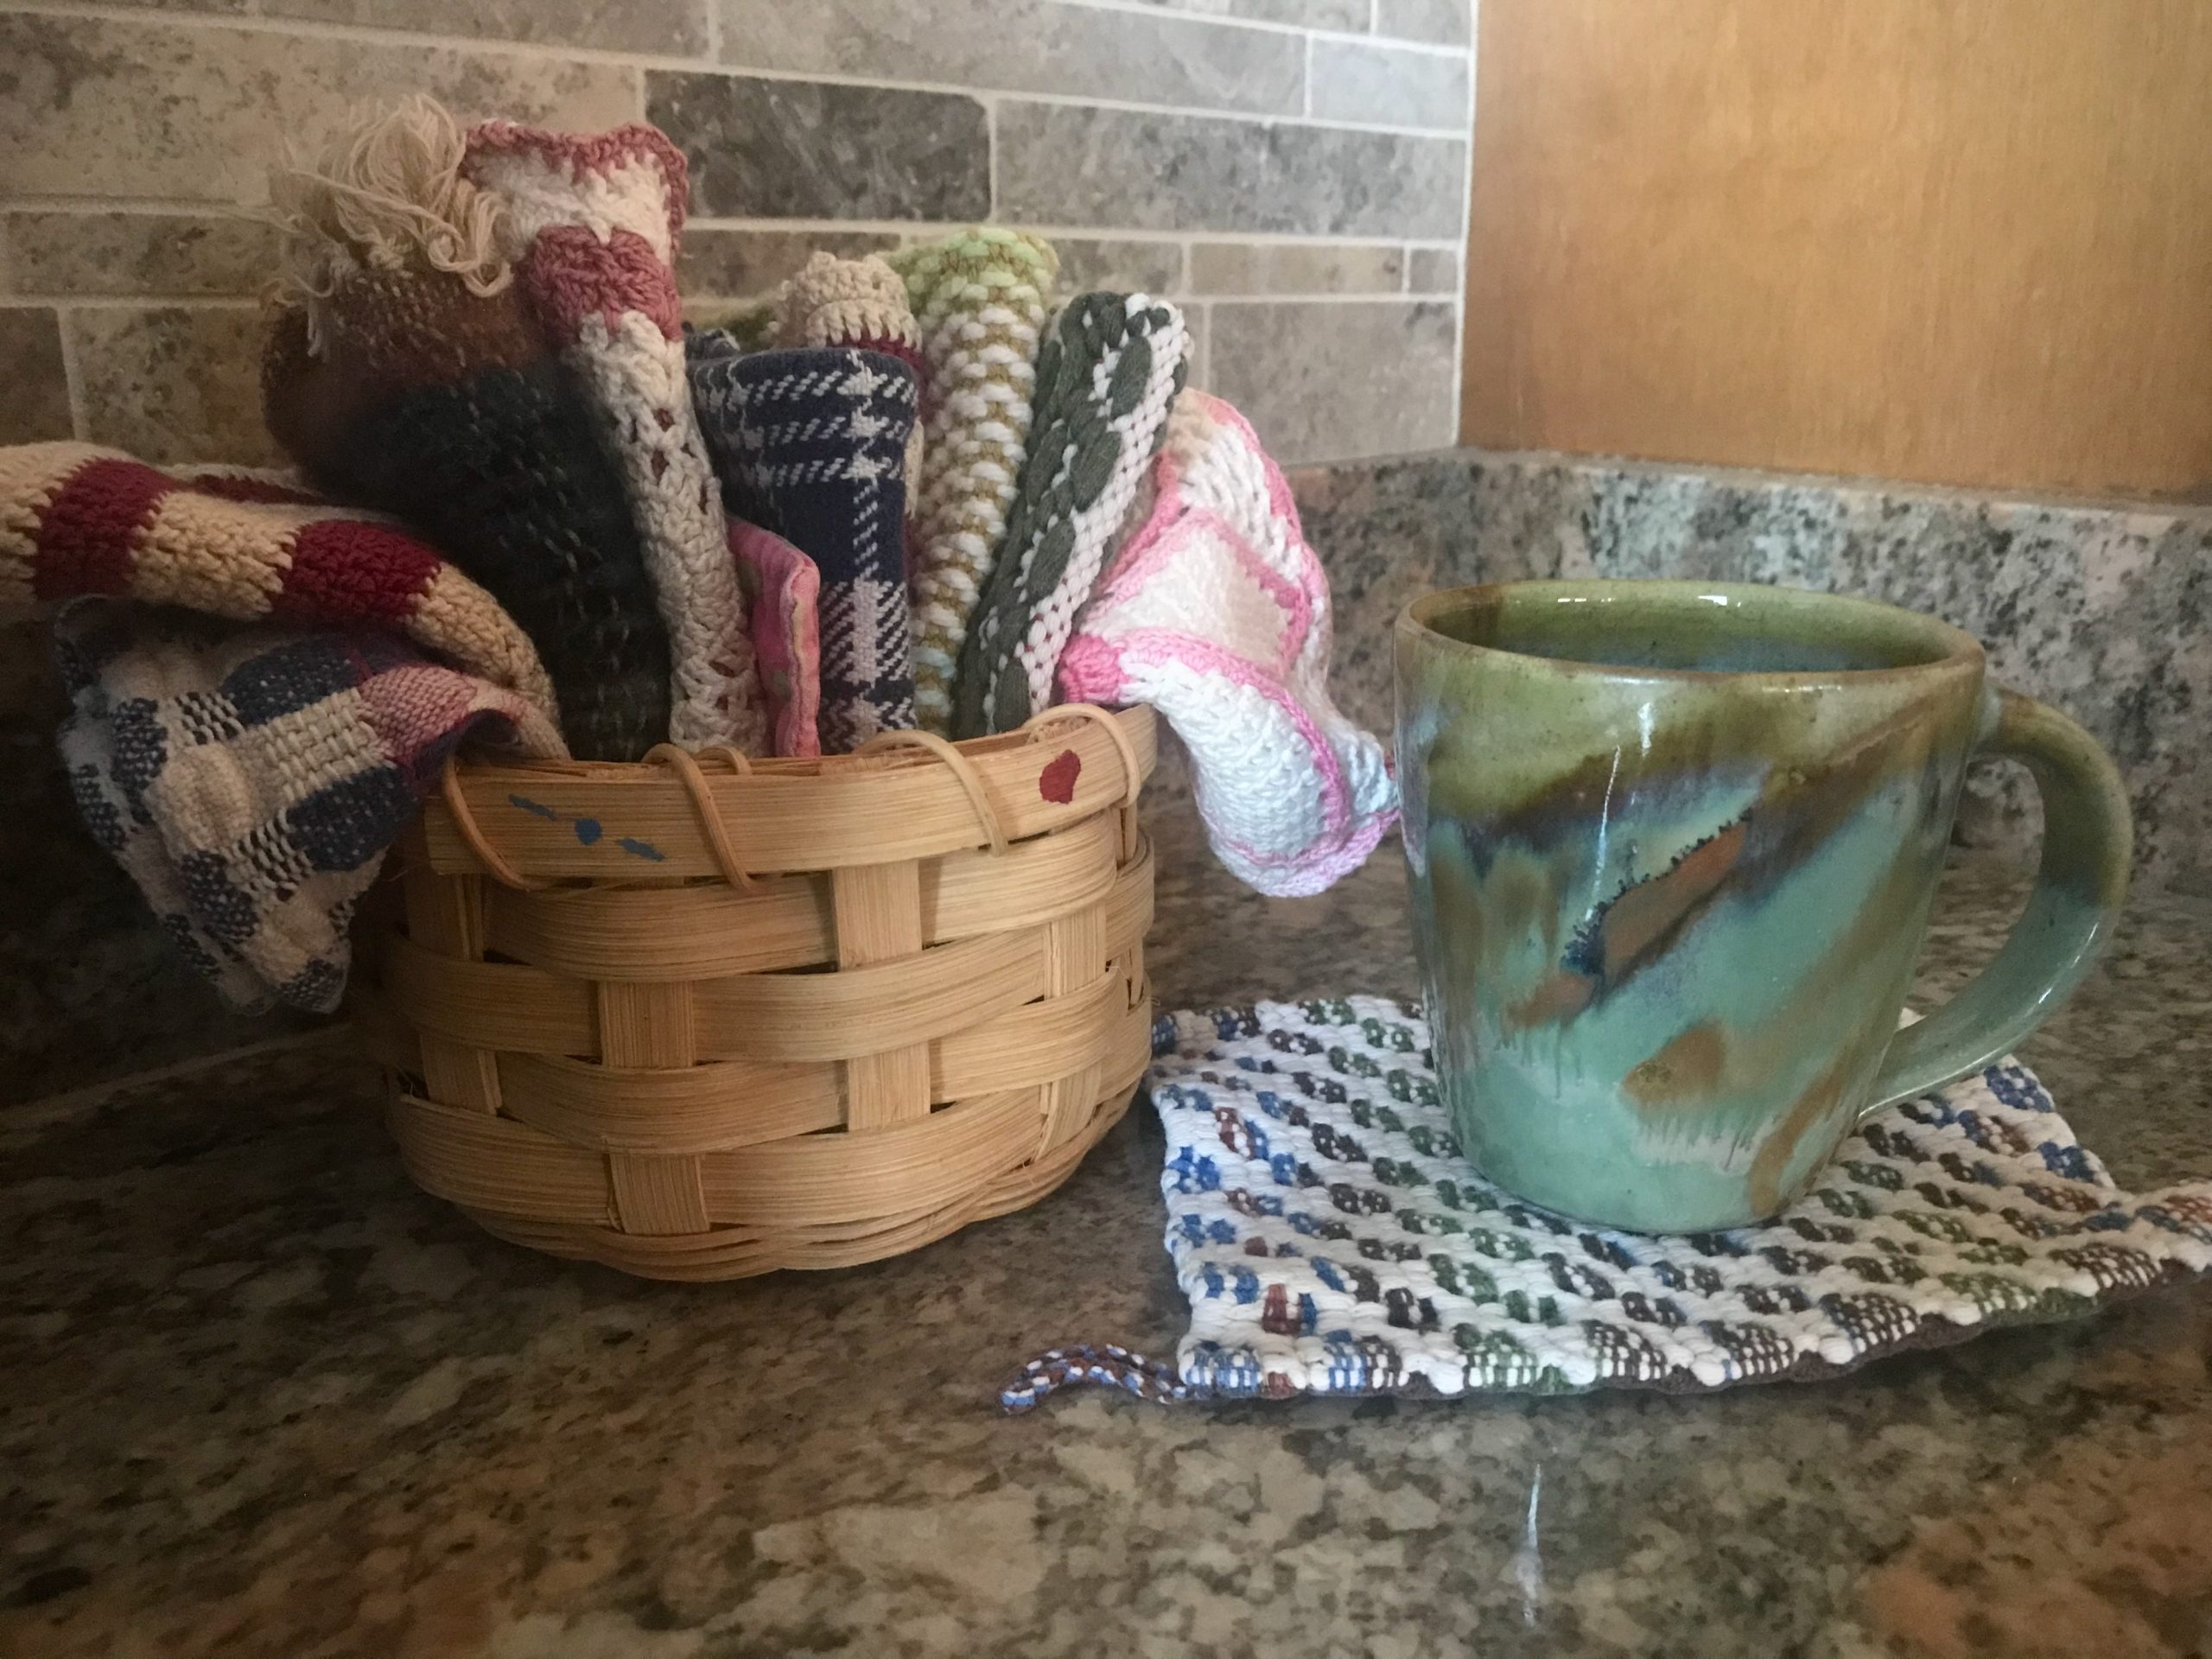
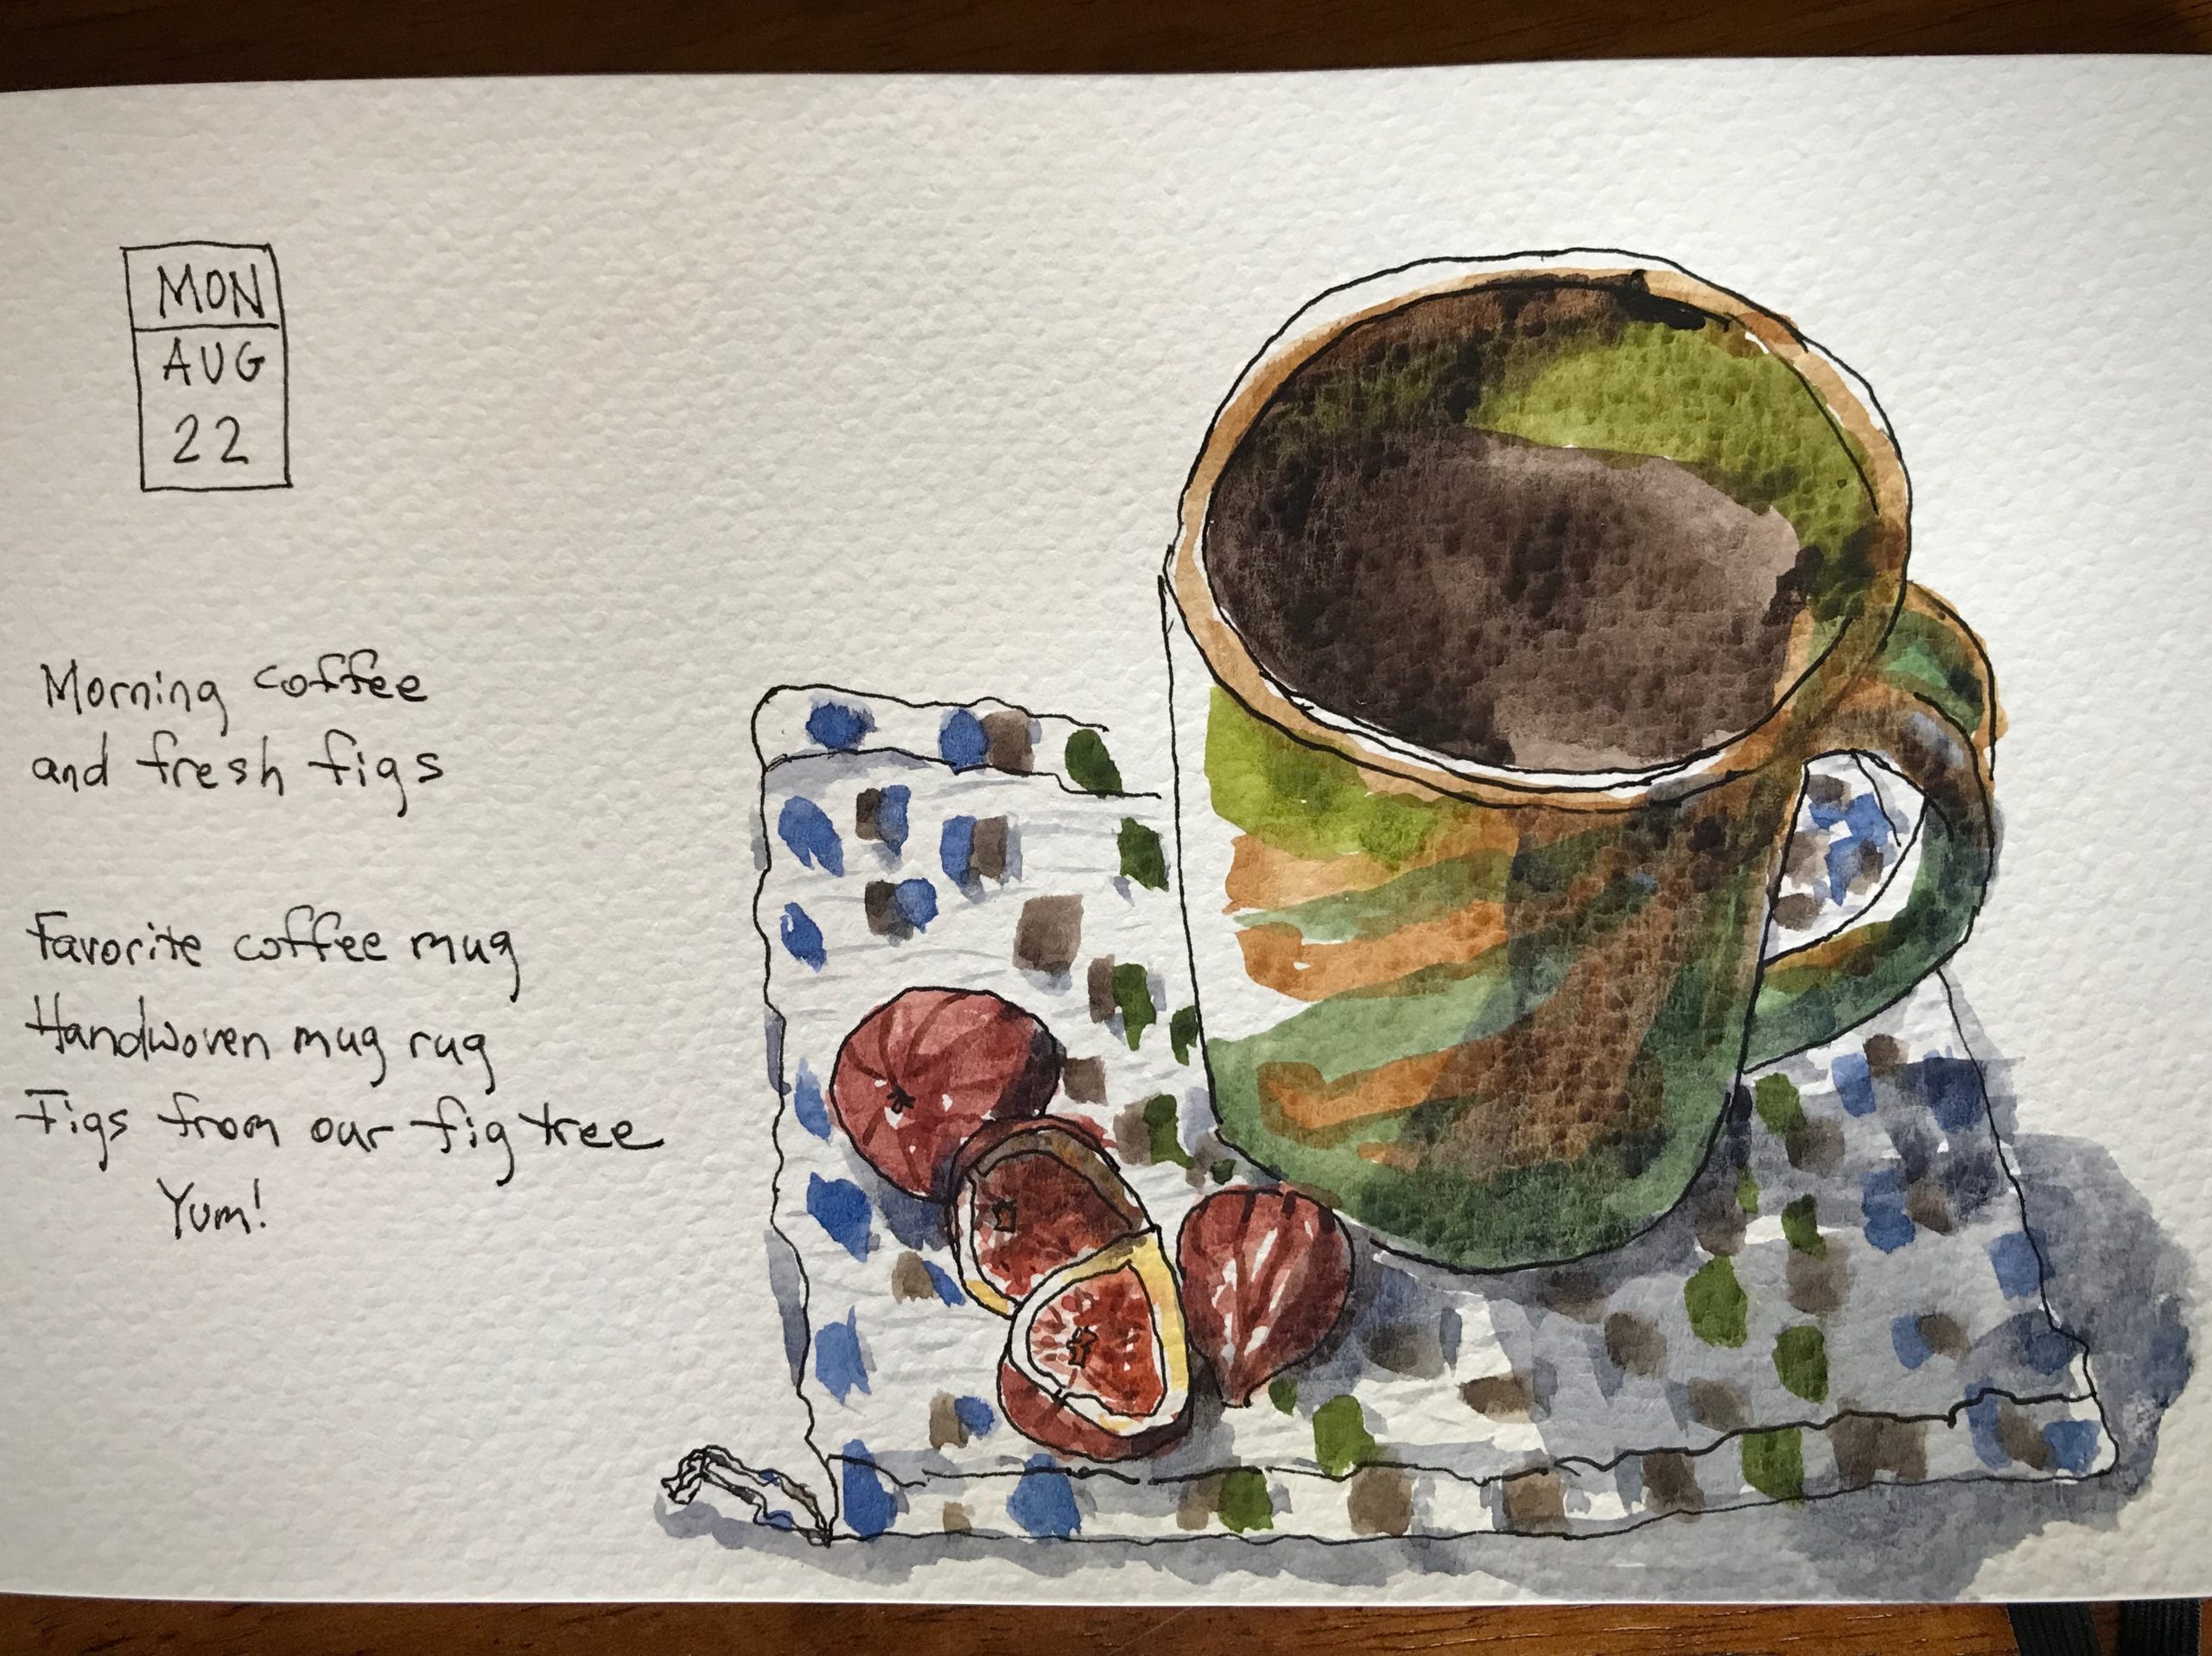
First thing every morning I pour myself a really good cup of coffee. And before I pour that cup, I select a mug rug to put under my coffee mug. A handmade mug rug makes a good cup of coffee that much better. I like having a mug rug under my cup as I walk, to catch any drips. And then, the mug rug protects the table surface, as well. So, in the early morning, with hot coffee and mug rug in hand, I go sit in my favorite chair to read, think, and pray. And I sip my coffee, thankful for a new day.
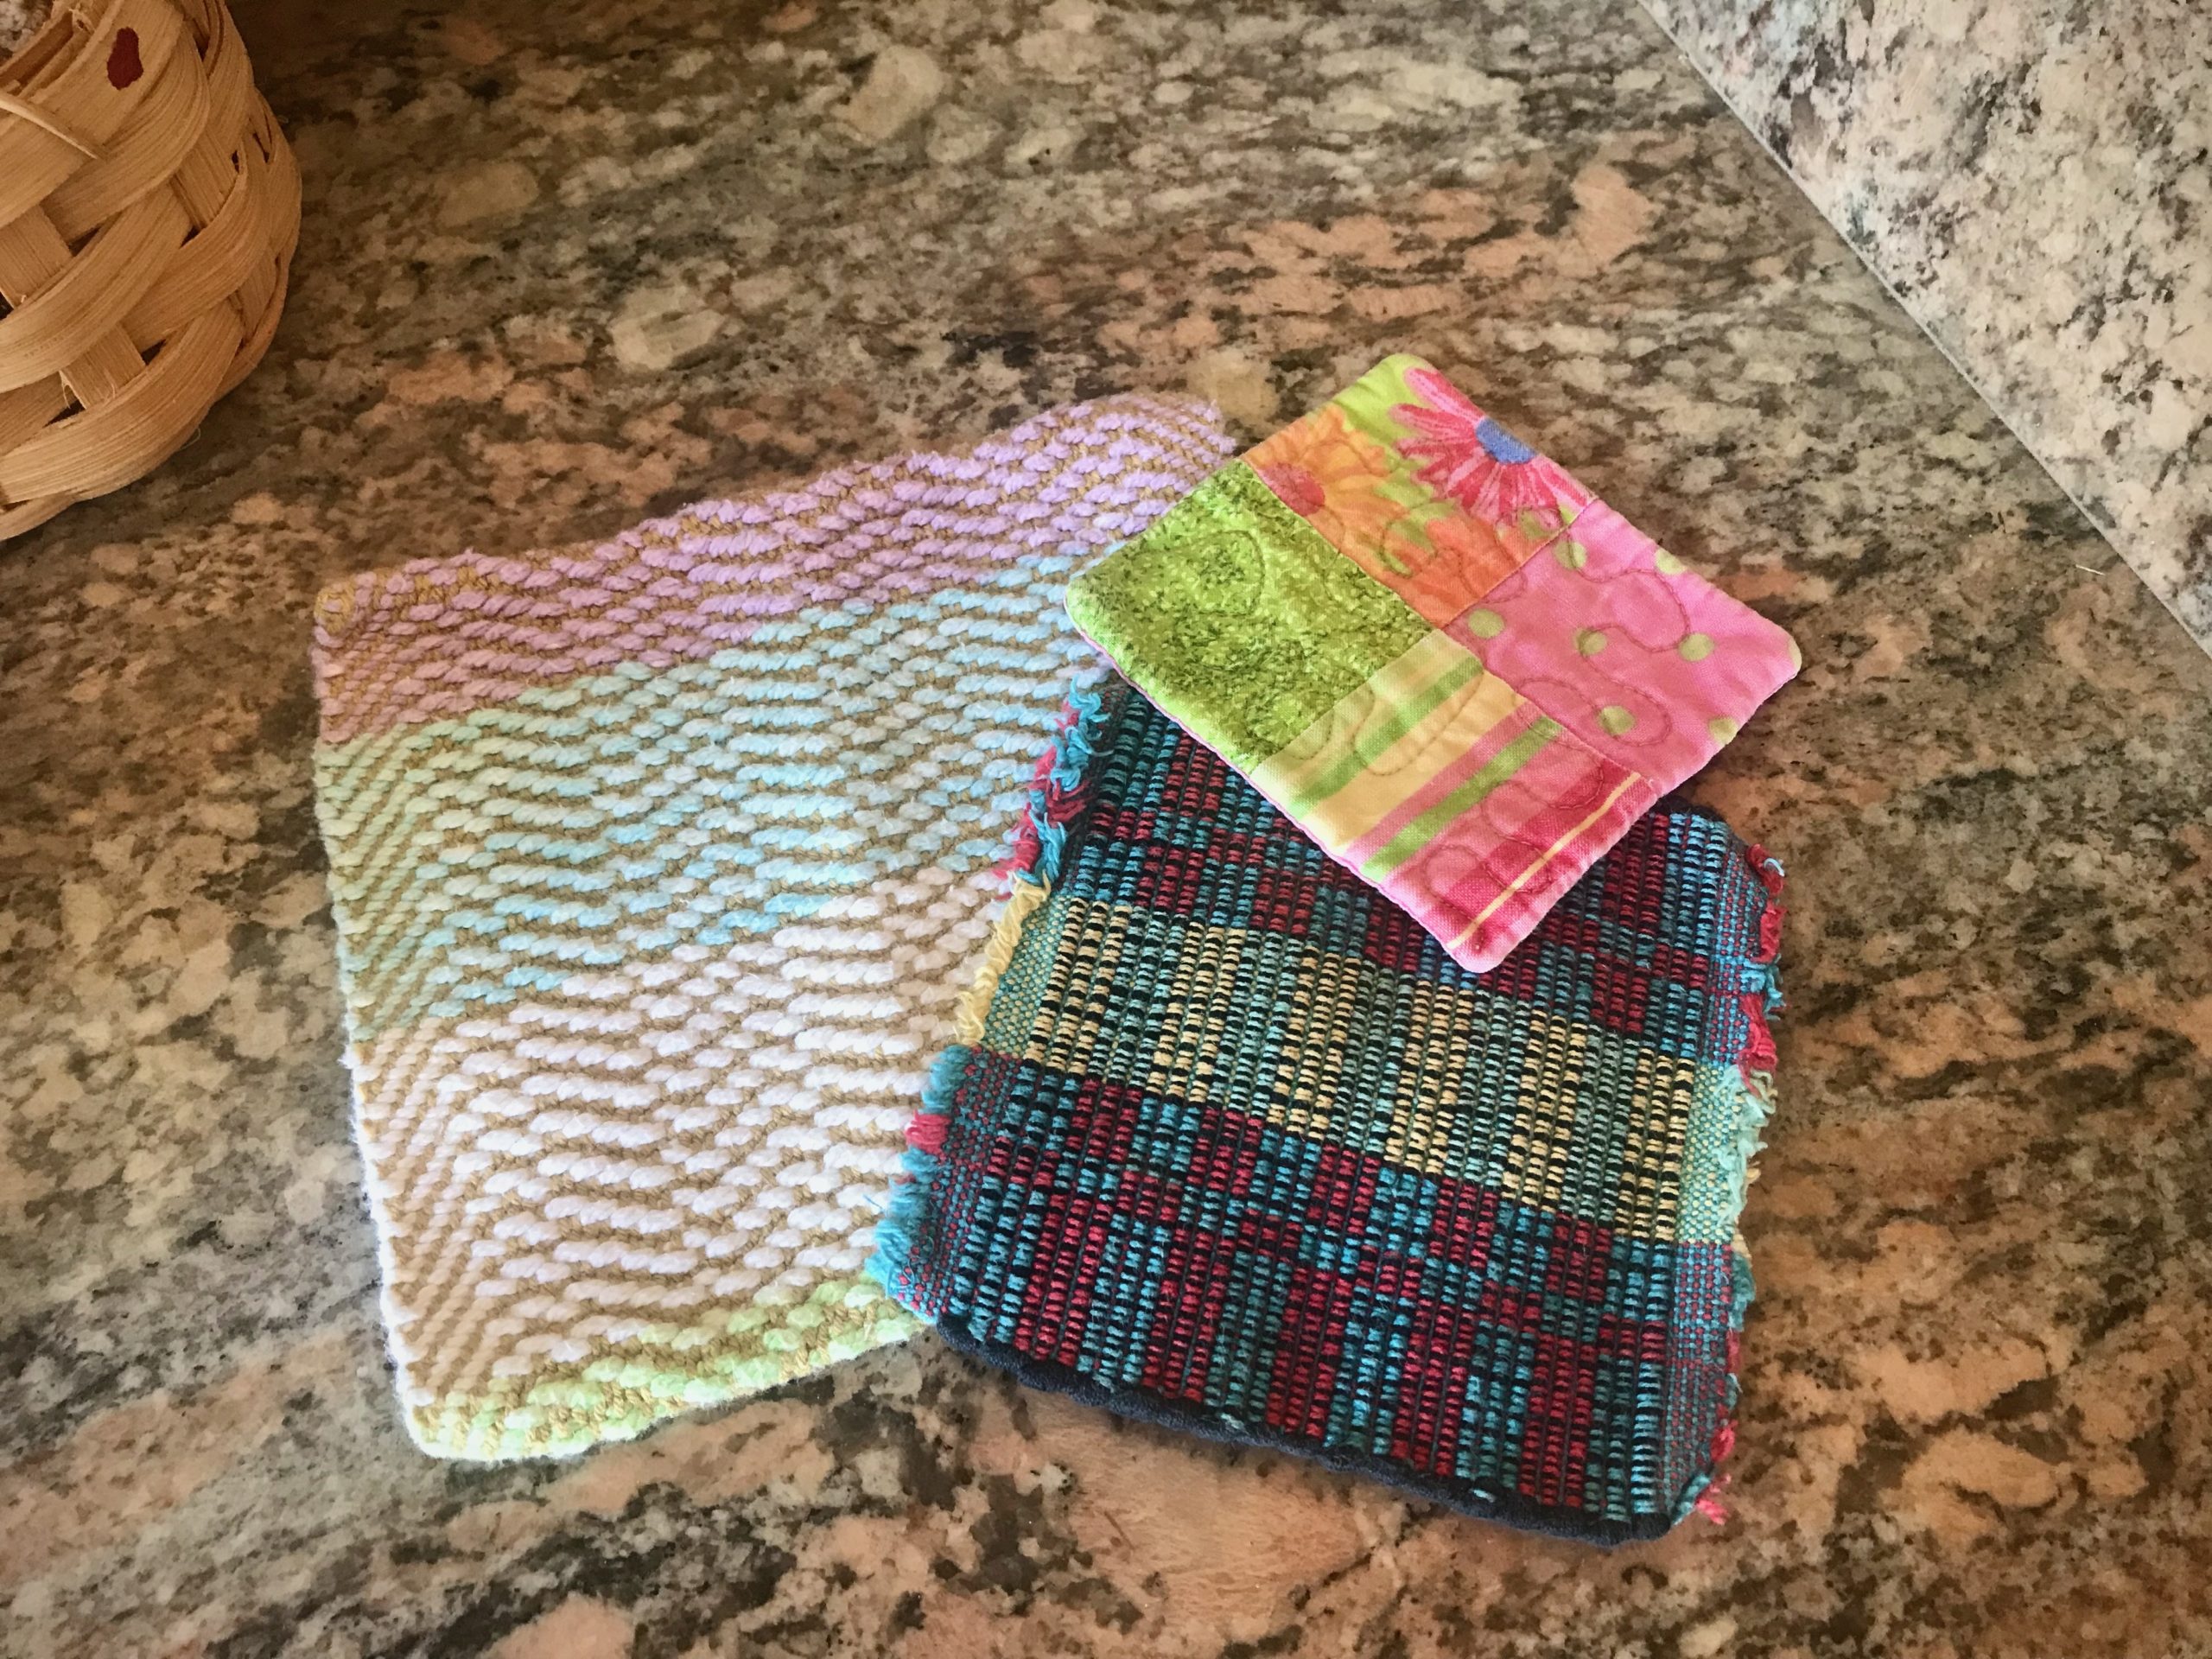
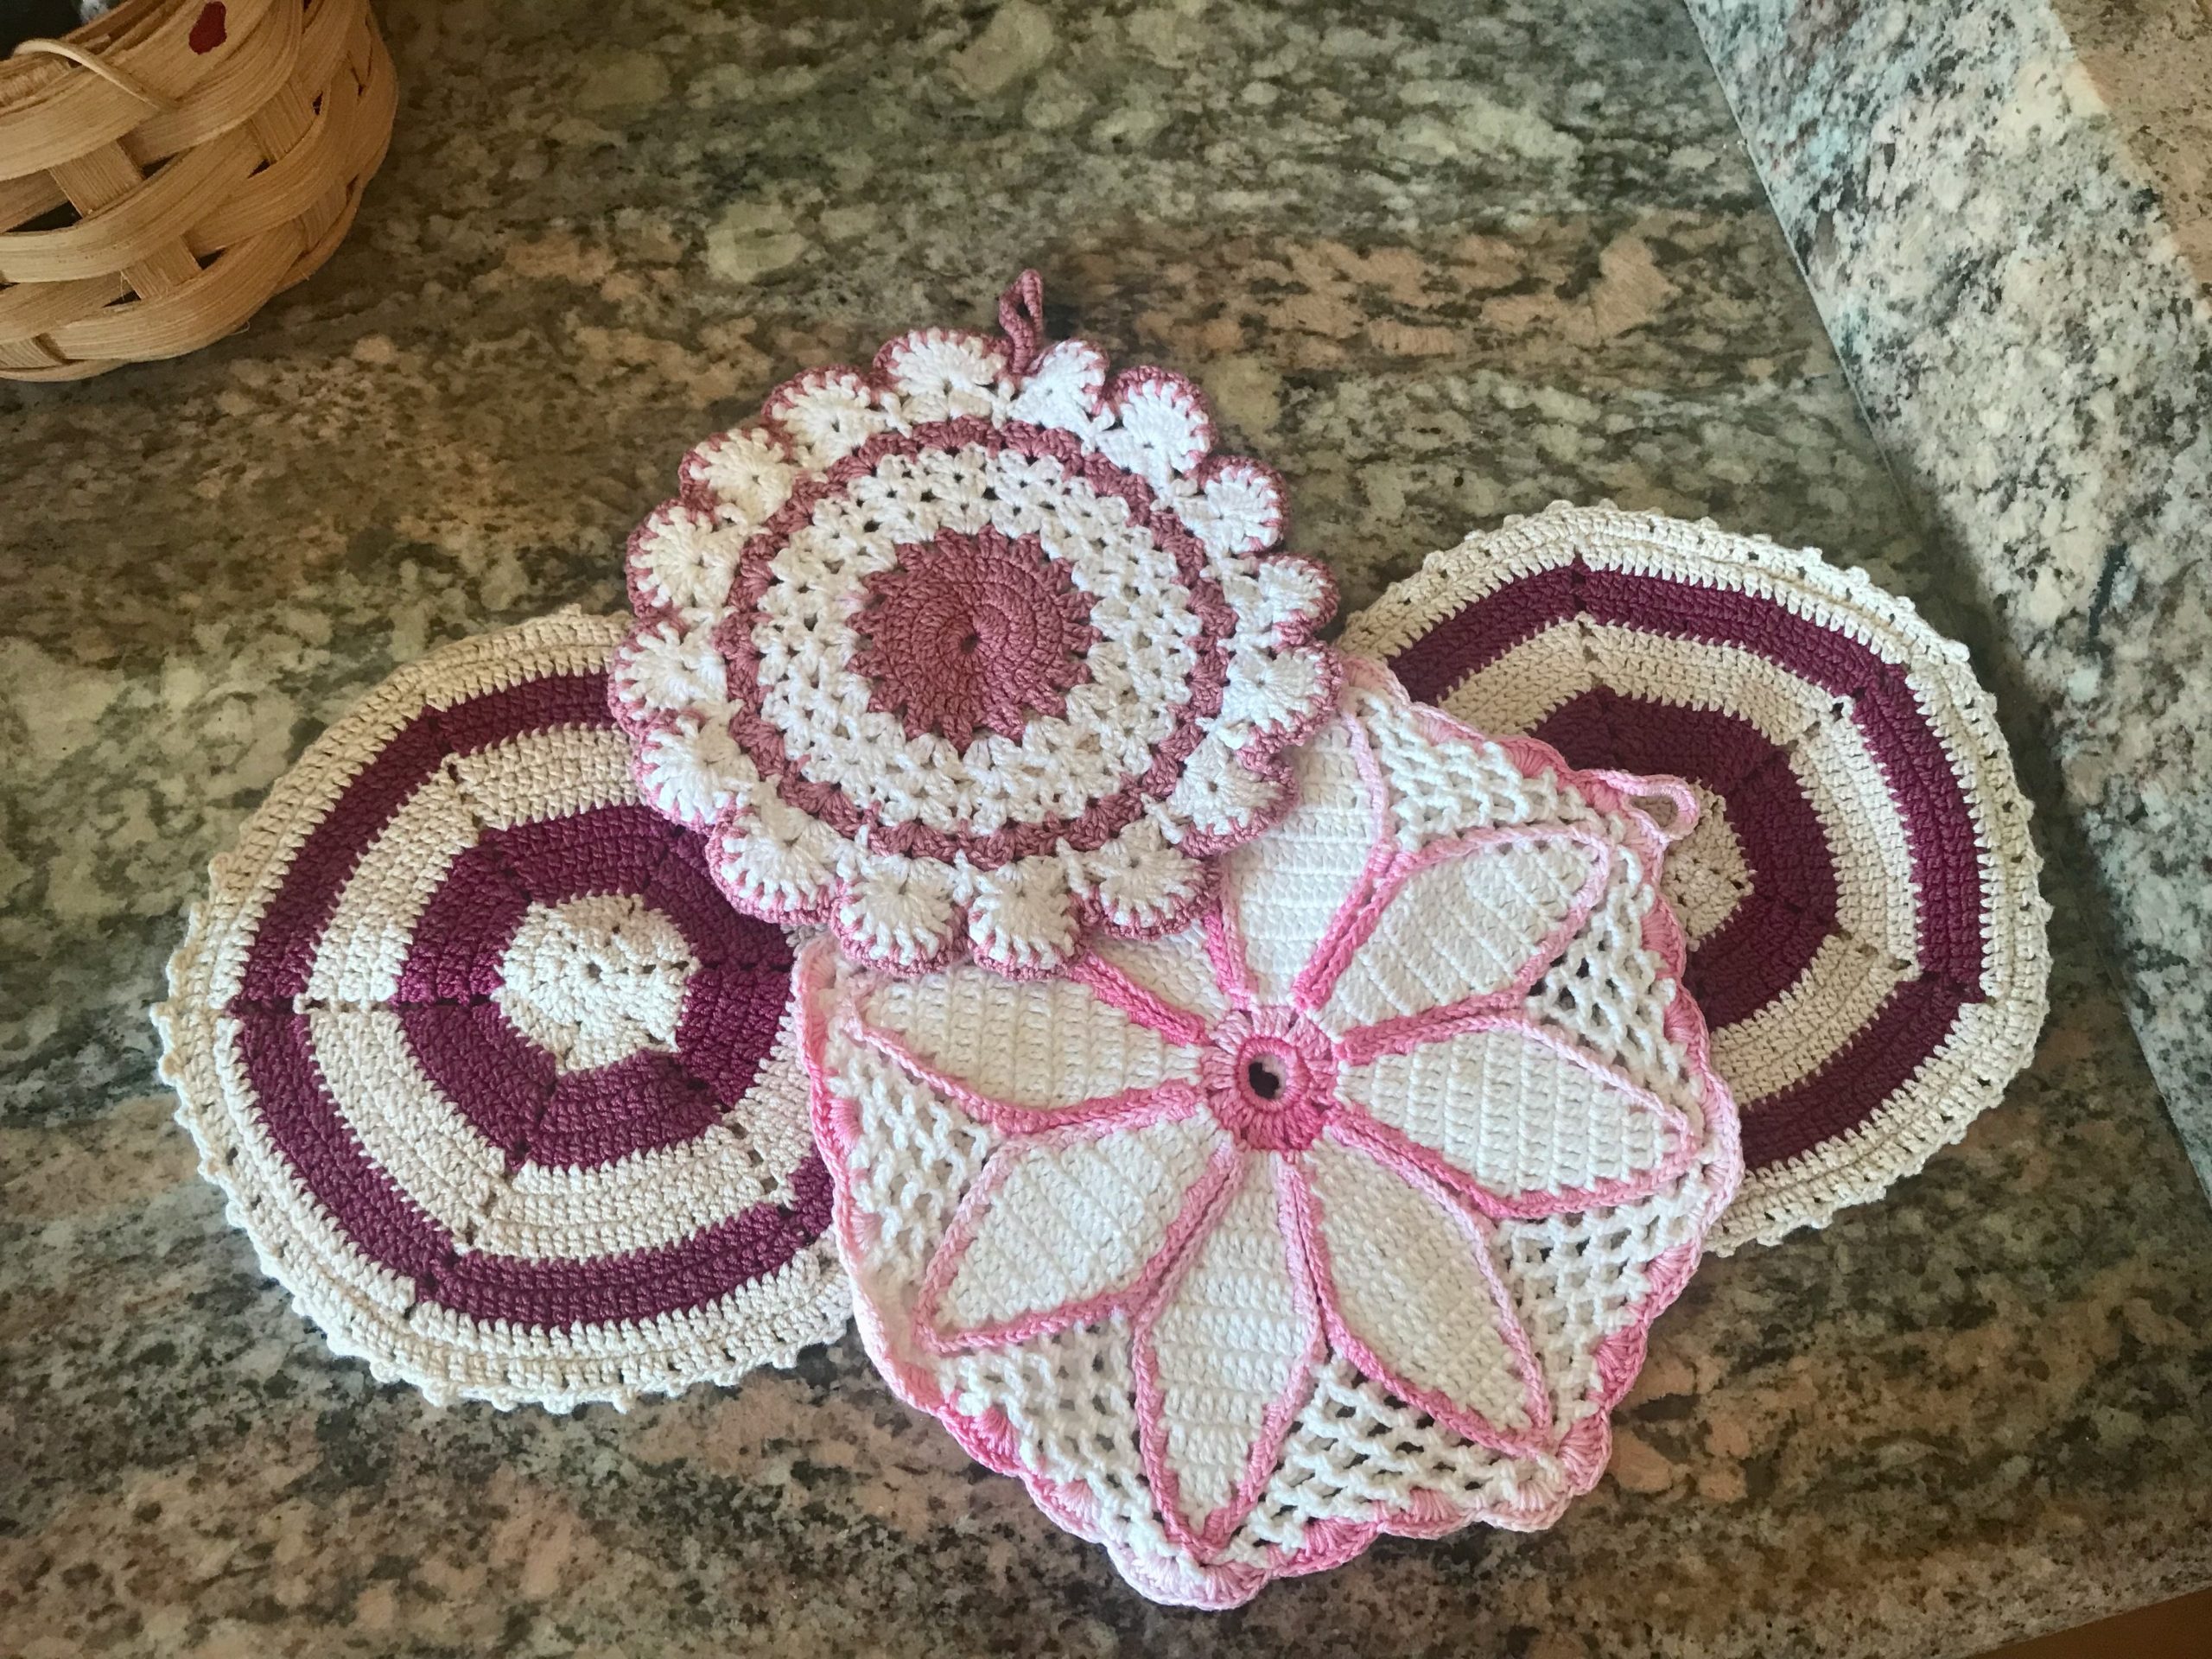
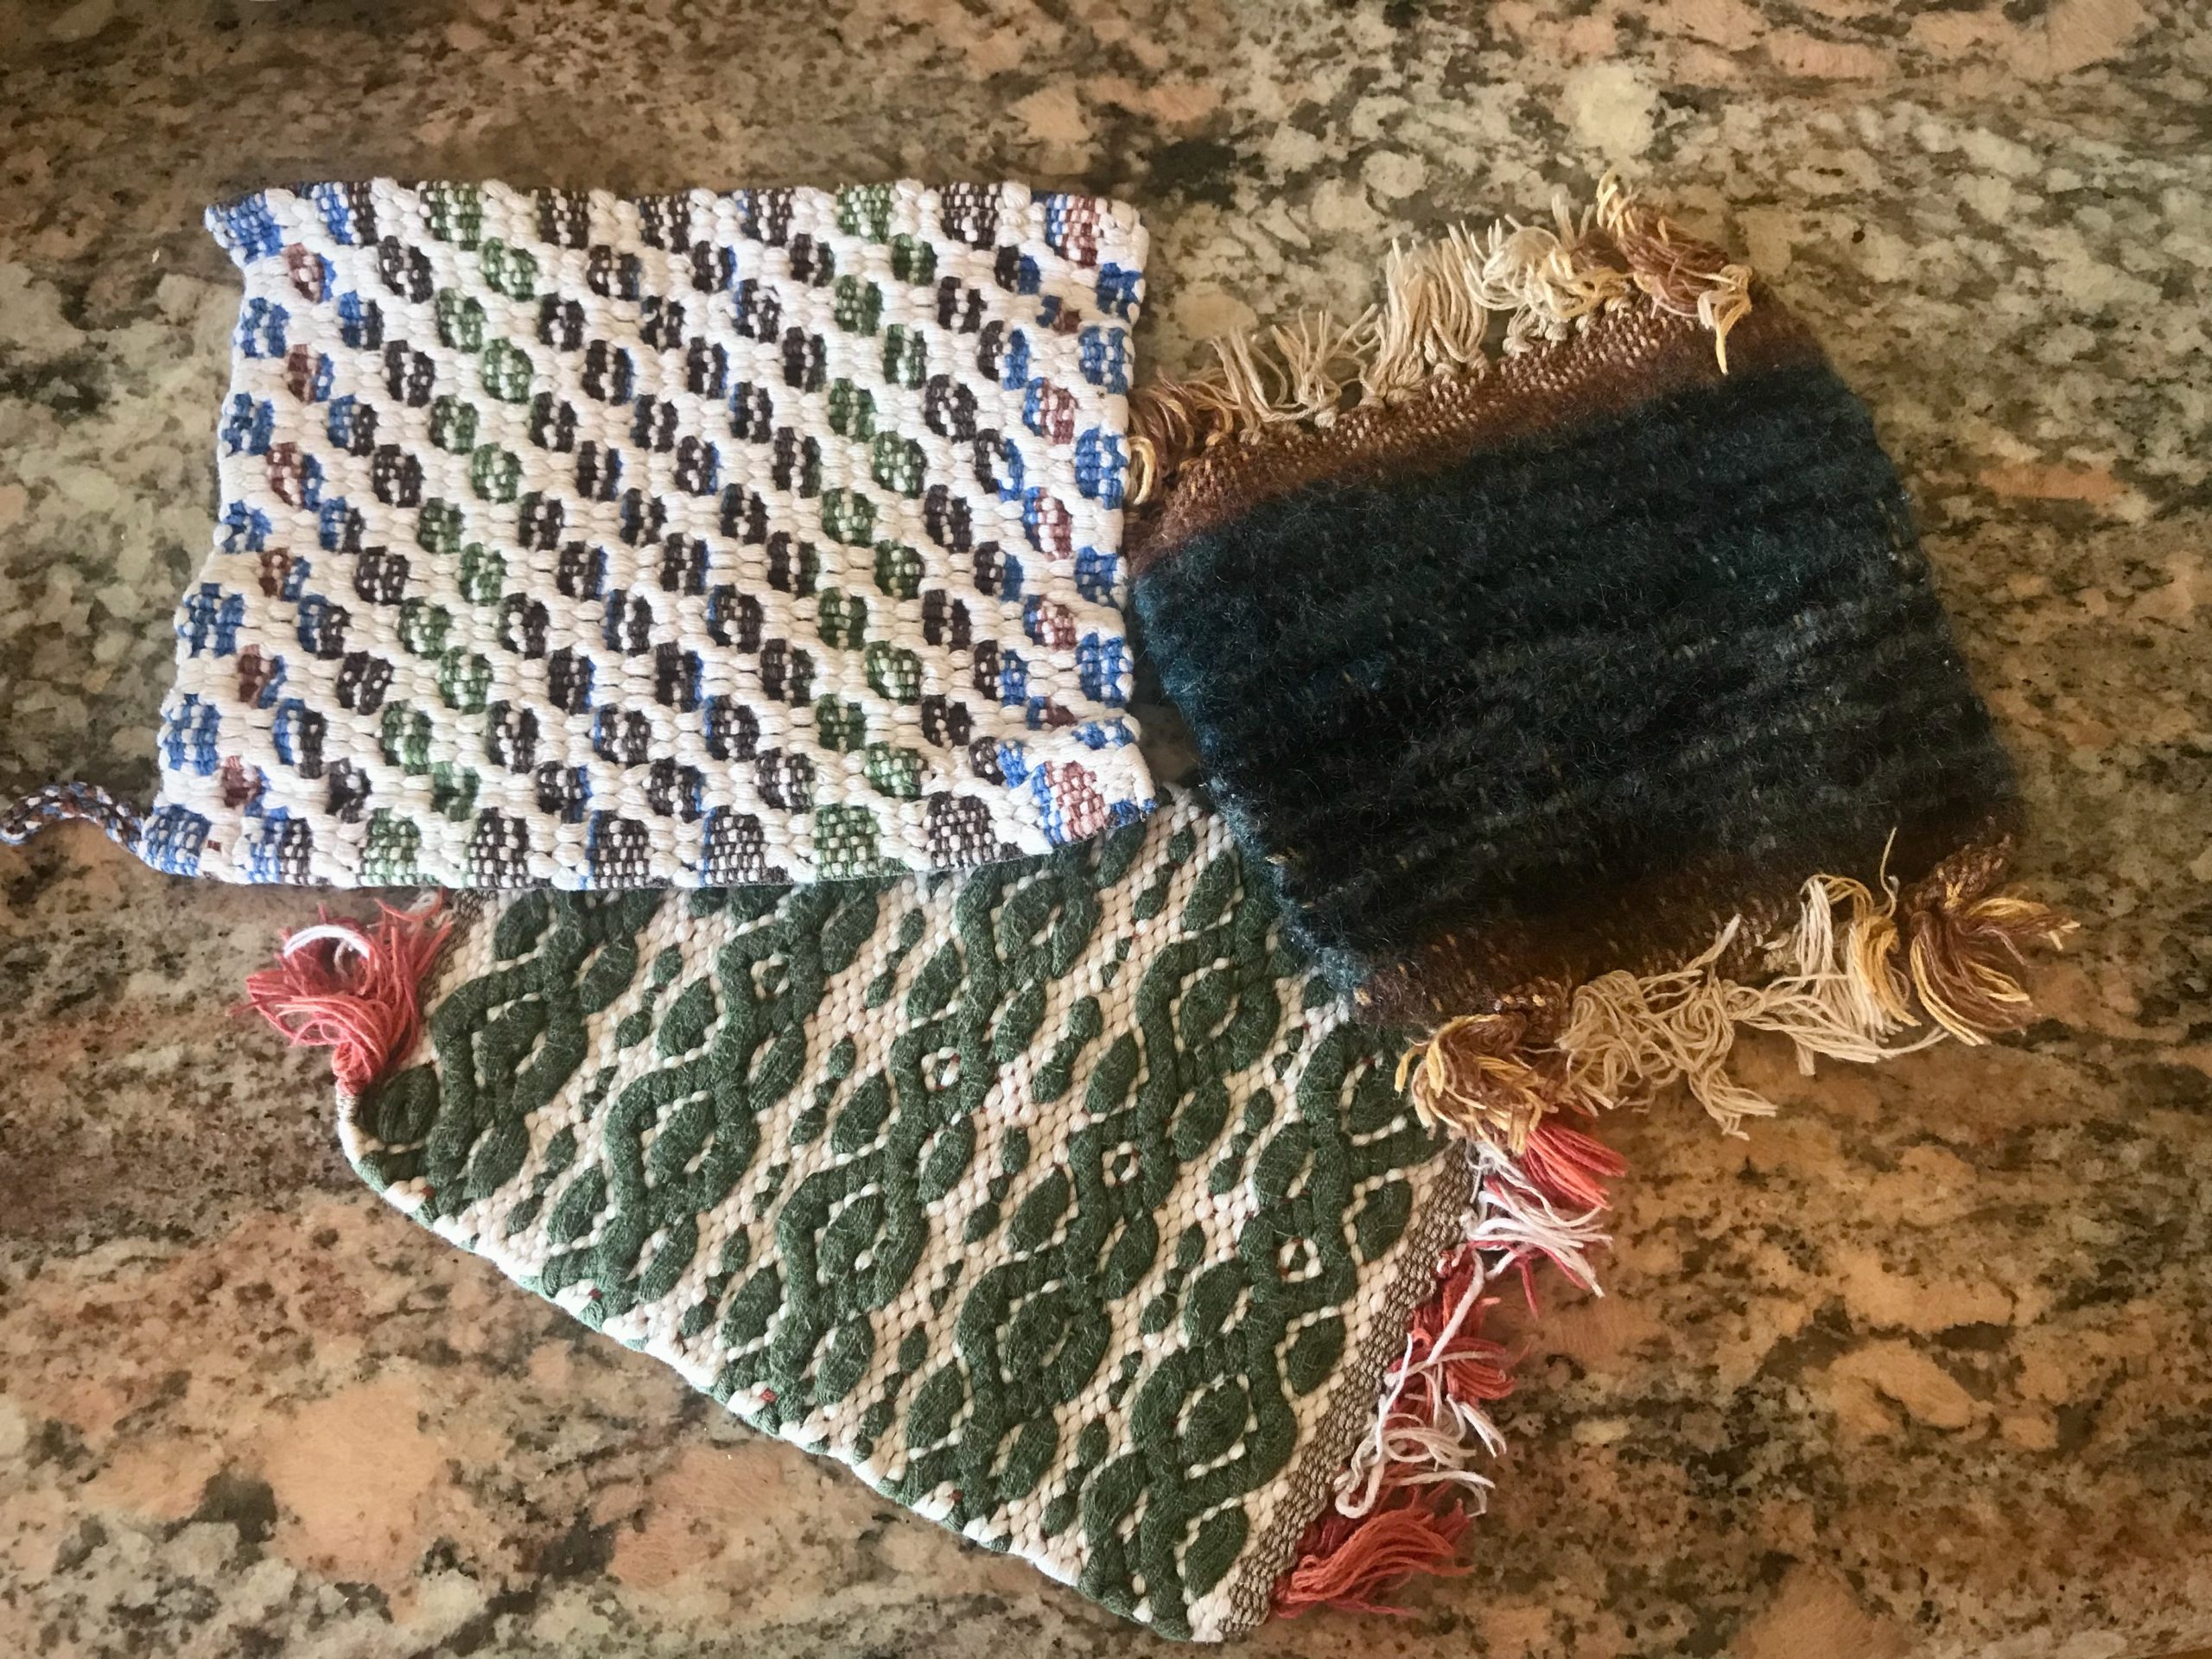
I have made, acquired, and given away too many mug rugs to count. Here are a few favorites that I keep within daily reach.
May your handiwork show up as embellishments for daily living.
The neutral colors and the quiet elegance of these towels say “serenity.” What a pleasure to weave M’s and O’s. This was mostly single-shuttle weaving! Uncomplicated, luxurious, and serene. Five towels, plus one very long table runner that I made specifically for our dining room table. The fine 20/1 line linen weft increases the visual and tactile elegance for me.
I’m still amazed when I see the results that come from threads and a weaving loom. And thrilled that I get to be a part of that experience. Enjoy this short slide-show video of the process.
Hems shouldn’t be noticed. At least, not at first glance. I don’t want the stitching of the hem to detract from the overall handwoven quality. Decorative items, like this table runner, deserve a hand-stitched hem. But for functional pieces, like these tea towels, I stitch the hems on my trusty old Bernina sewing machine. This ensures the durability I want for something that will be thrown in the washer and dryer again and again.
Last year I purchased a Bernina walking foot through my local Bernina repairman. It was one of the best sewing investments I have made. (Don’t be fooled by off-brand “Bernina compatible” products.) The advantage of a walking foot is that it evenly feeds layers of fabric, which is especially useful for sewing handwoven fabric. And for the towel hem, it means the top of the hem won’t become skewed and slanted as you sew, like it might with a regular sewing machine foot.
One of the three sole plates that comes with the Bernina walking foot is a sole for edge stitching. This works beautifully for stitching a narrow hem on lighter-weight fabric, like these airy cotton and linen towels.
My process for a machine-stitched narrow hem
Turn and press the 1/4″ hem twice. Hold the folded edge in place with small fabric clips.
At the sewing machine, attach the edge-stitching sole plate to the walking foot. Align the fold of the hem with the edge-stitching guide.
Adjust the sewing machine needle to the right, so that it catches the fabric just inside the edge of the fold.
Slowly sew a narrow hem, keeping the folded edge next to the walking foot’s edge-stitching guide. Remove fabric clips before they come to the needle.
May your hems be a suitable frame for your handiwork.