Tools Day: Mirror Mirror

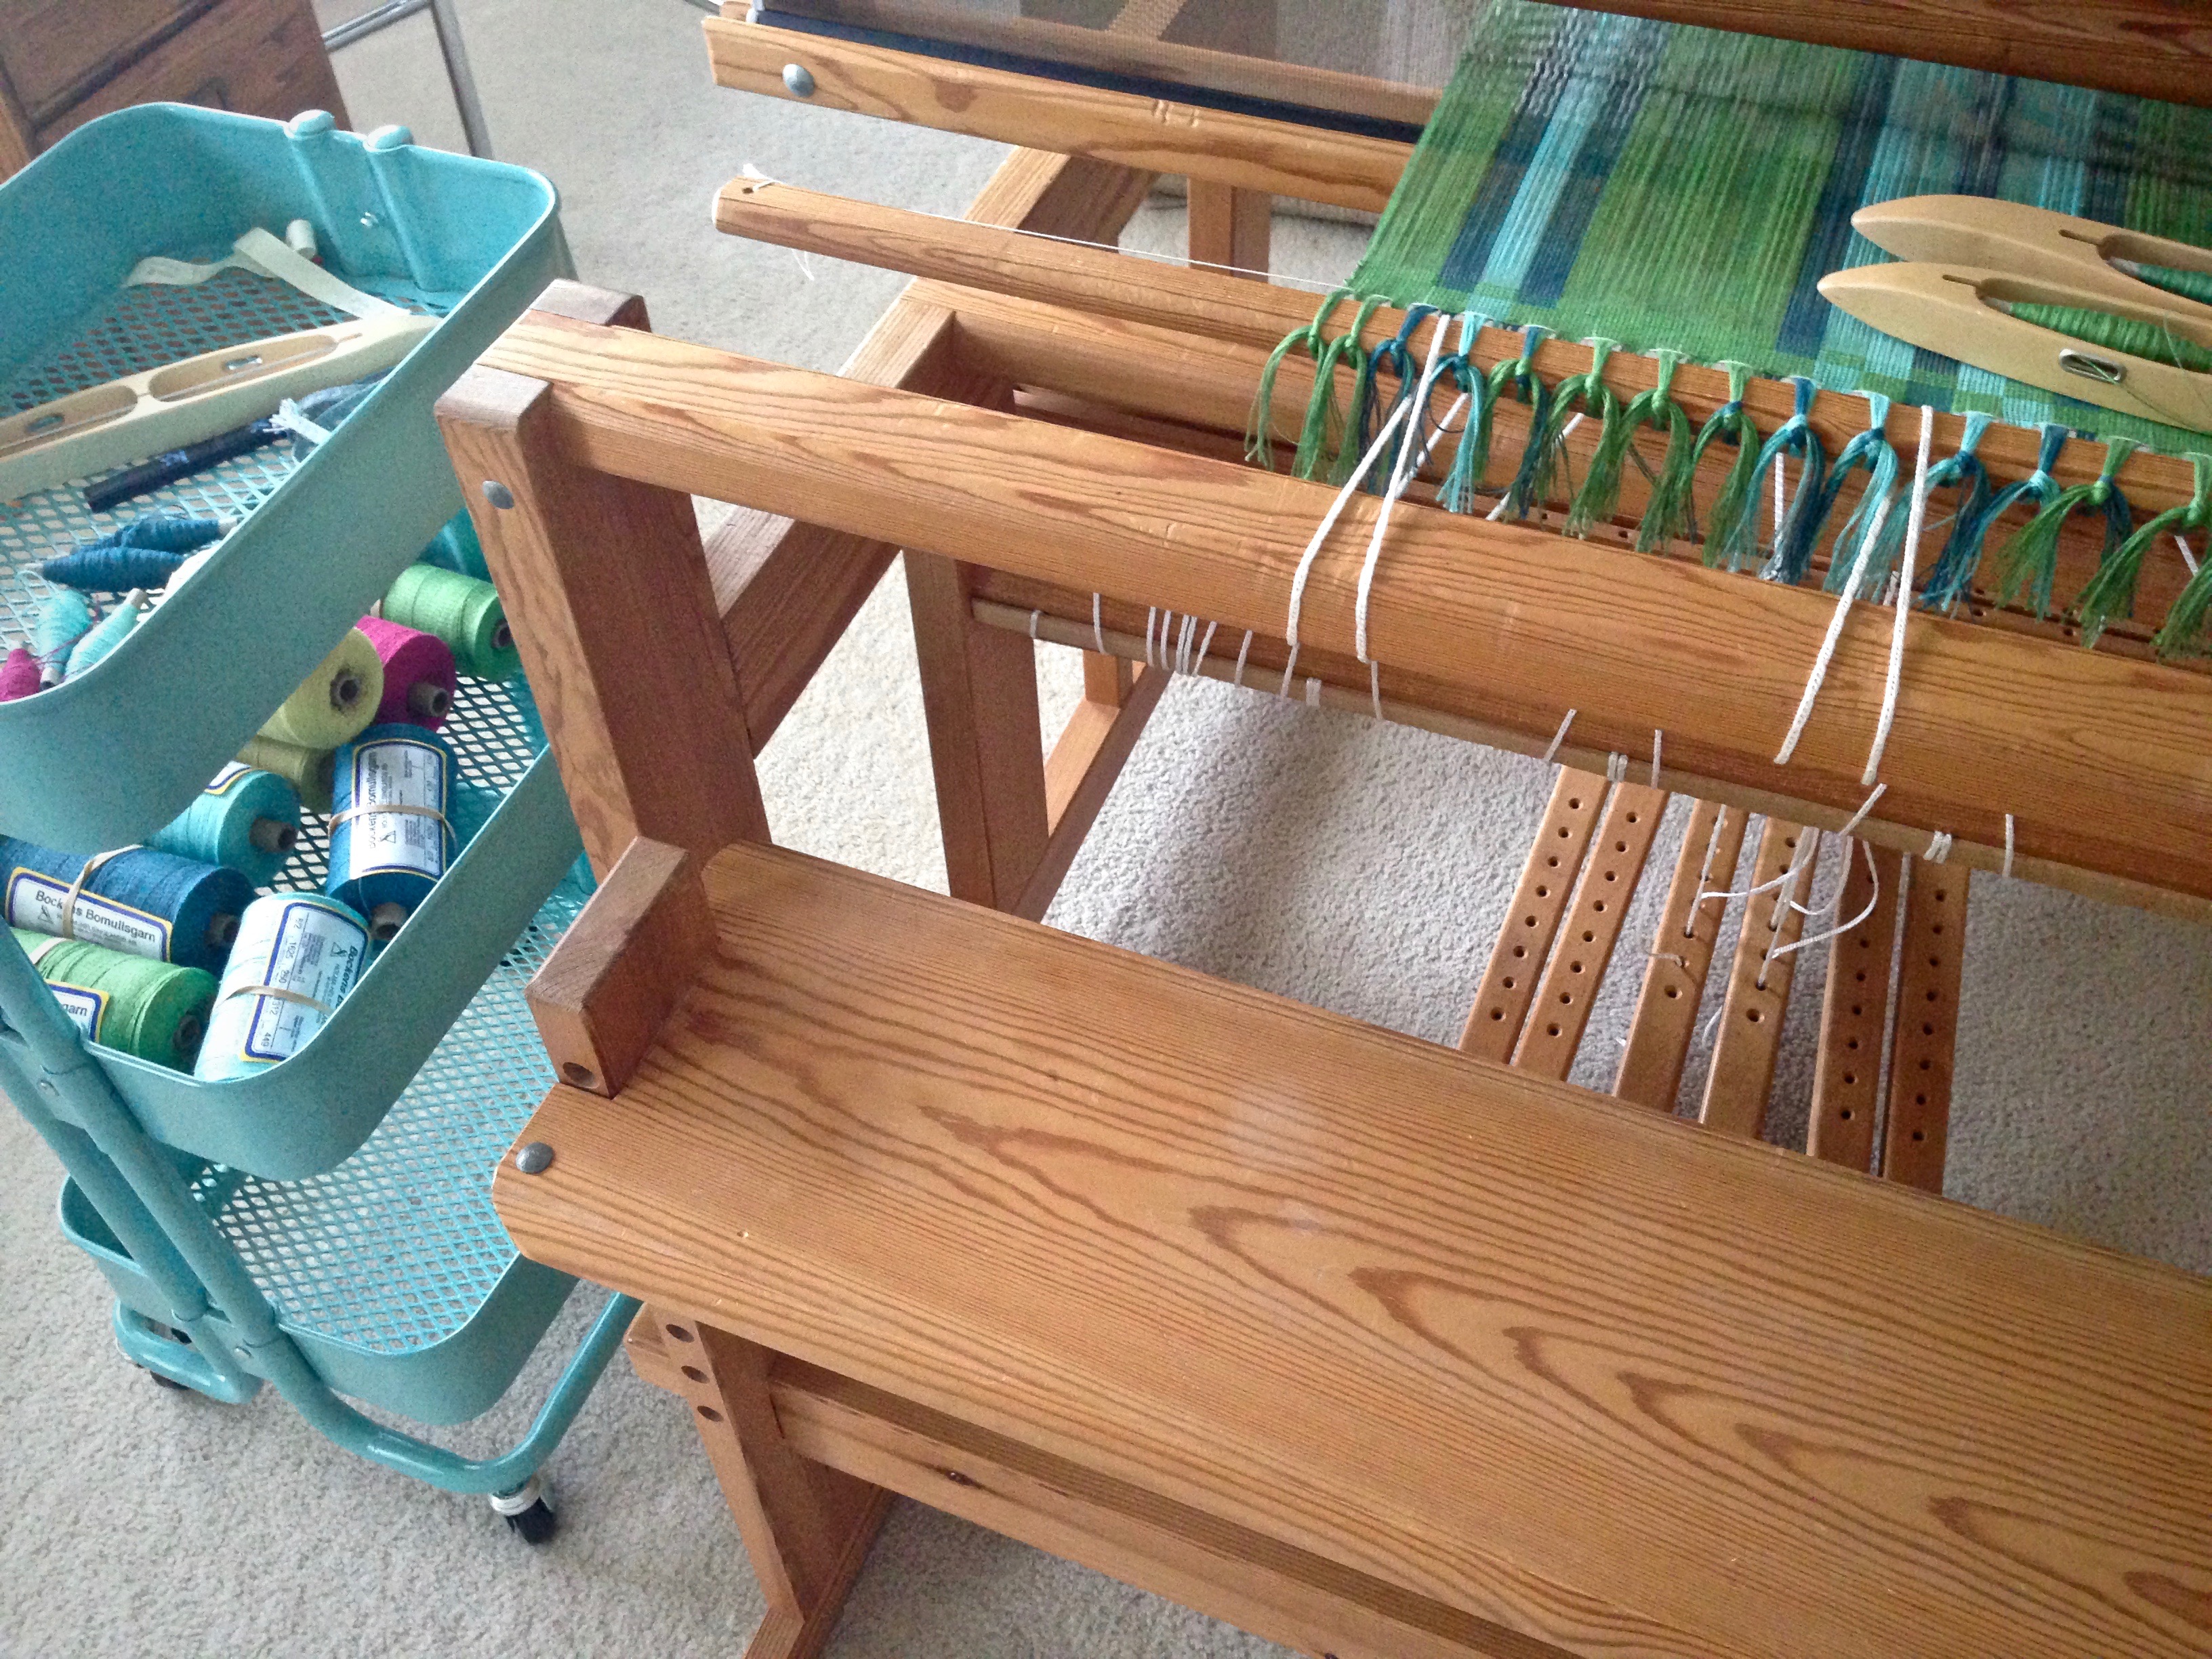
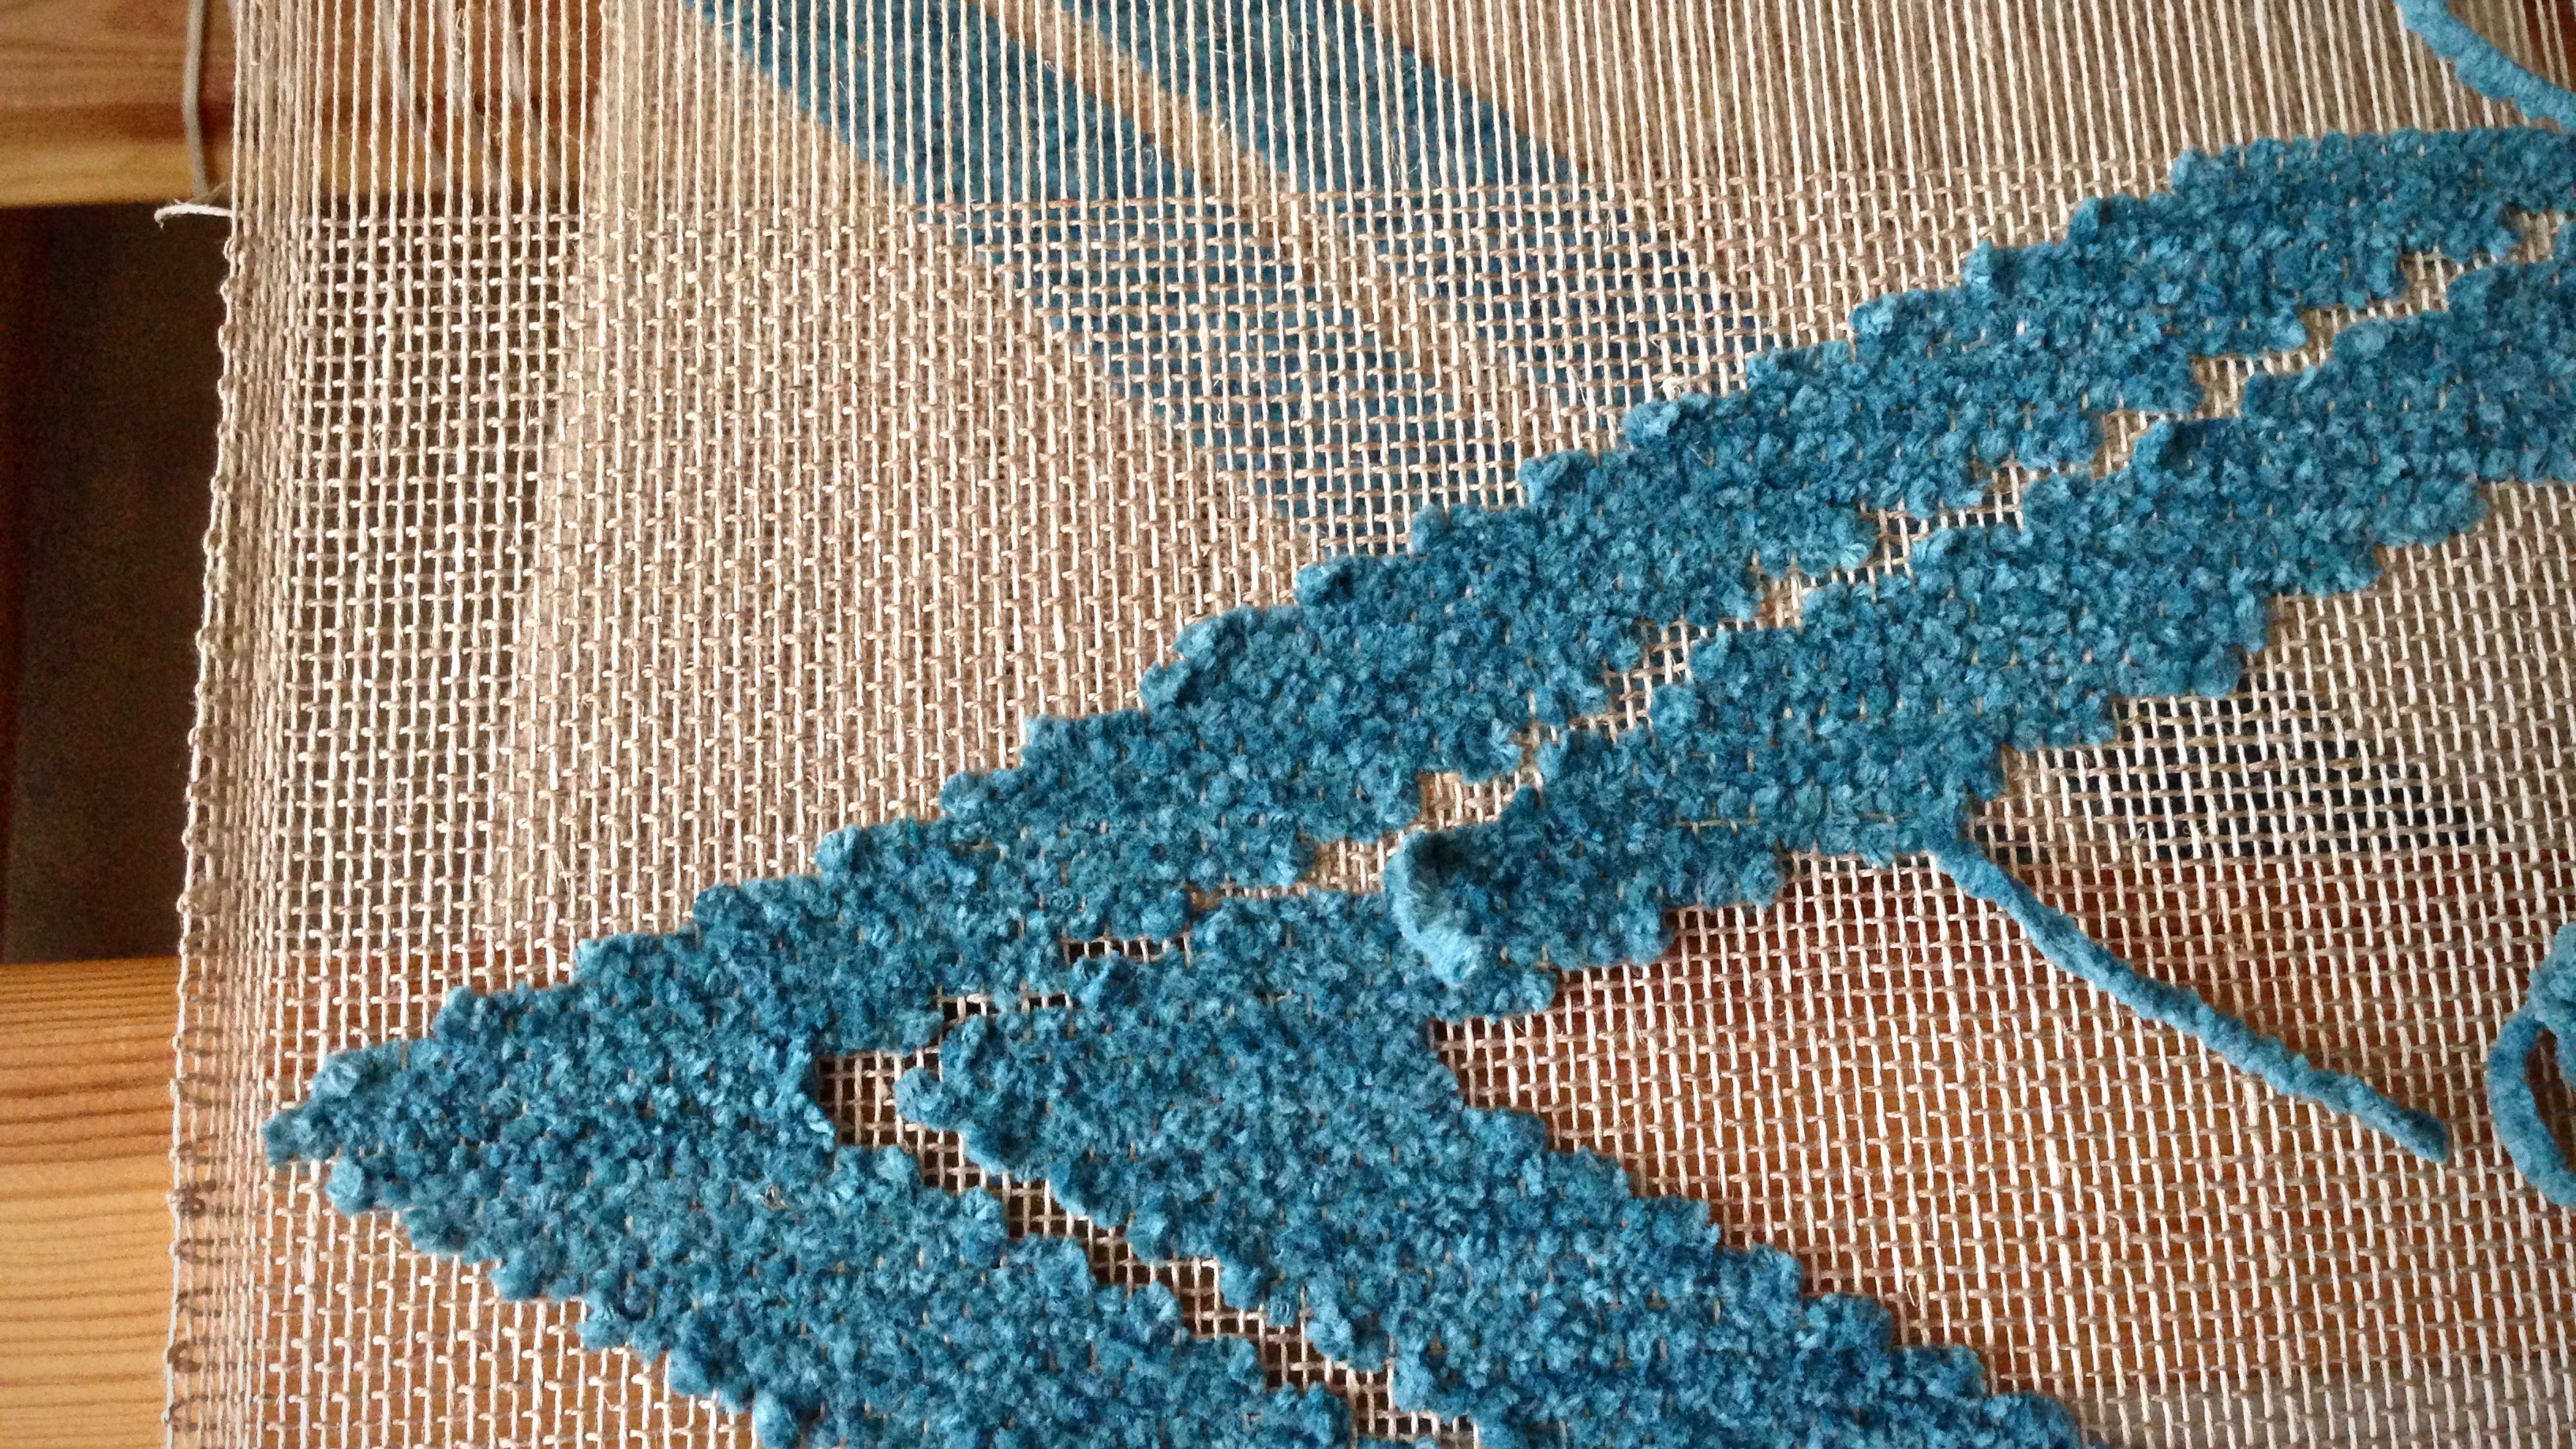
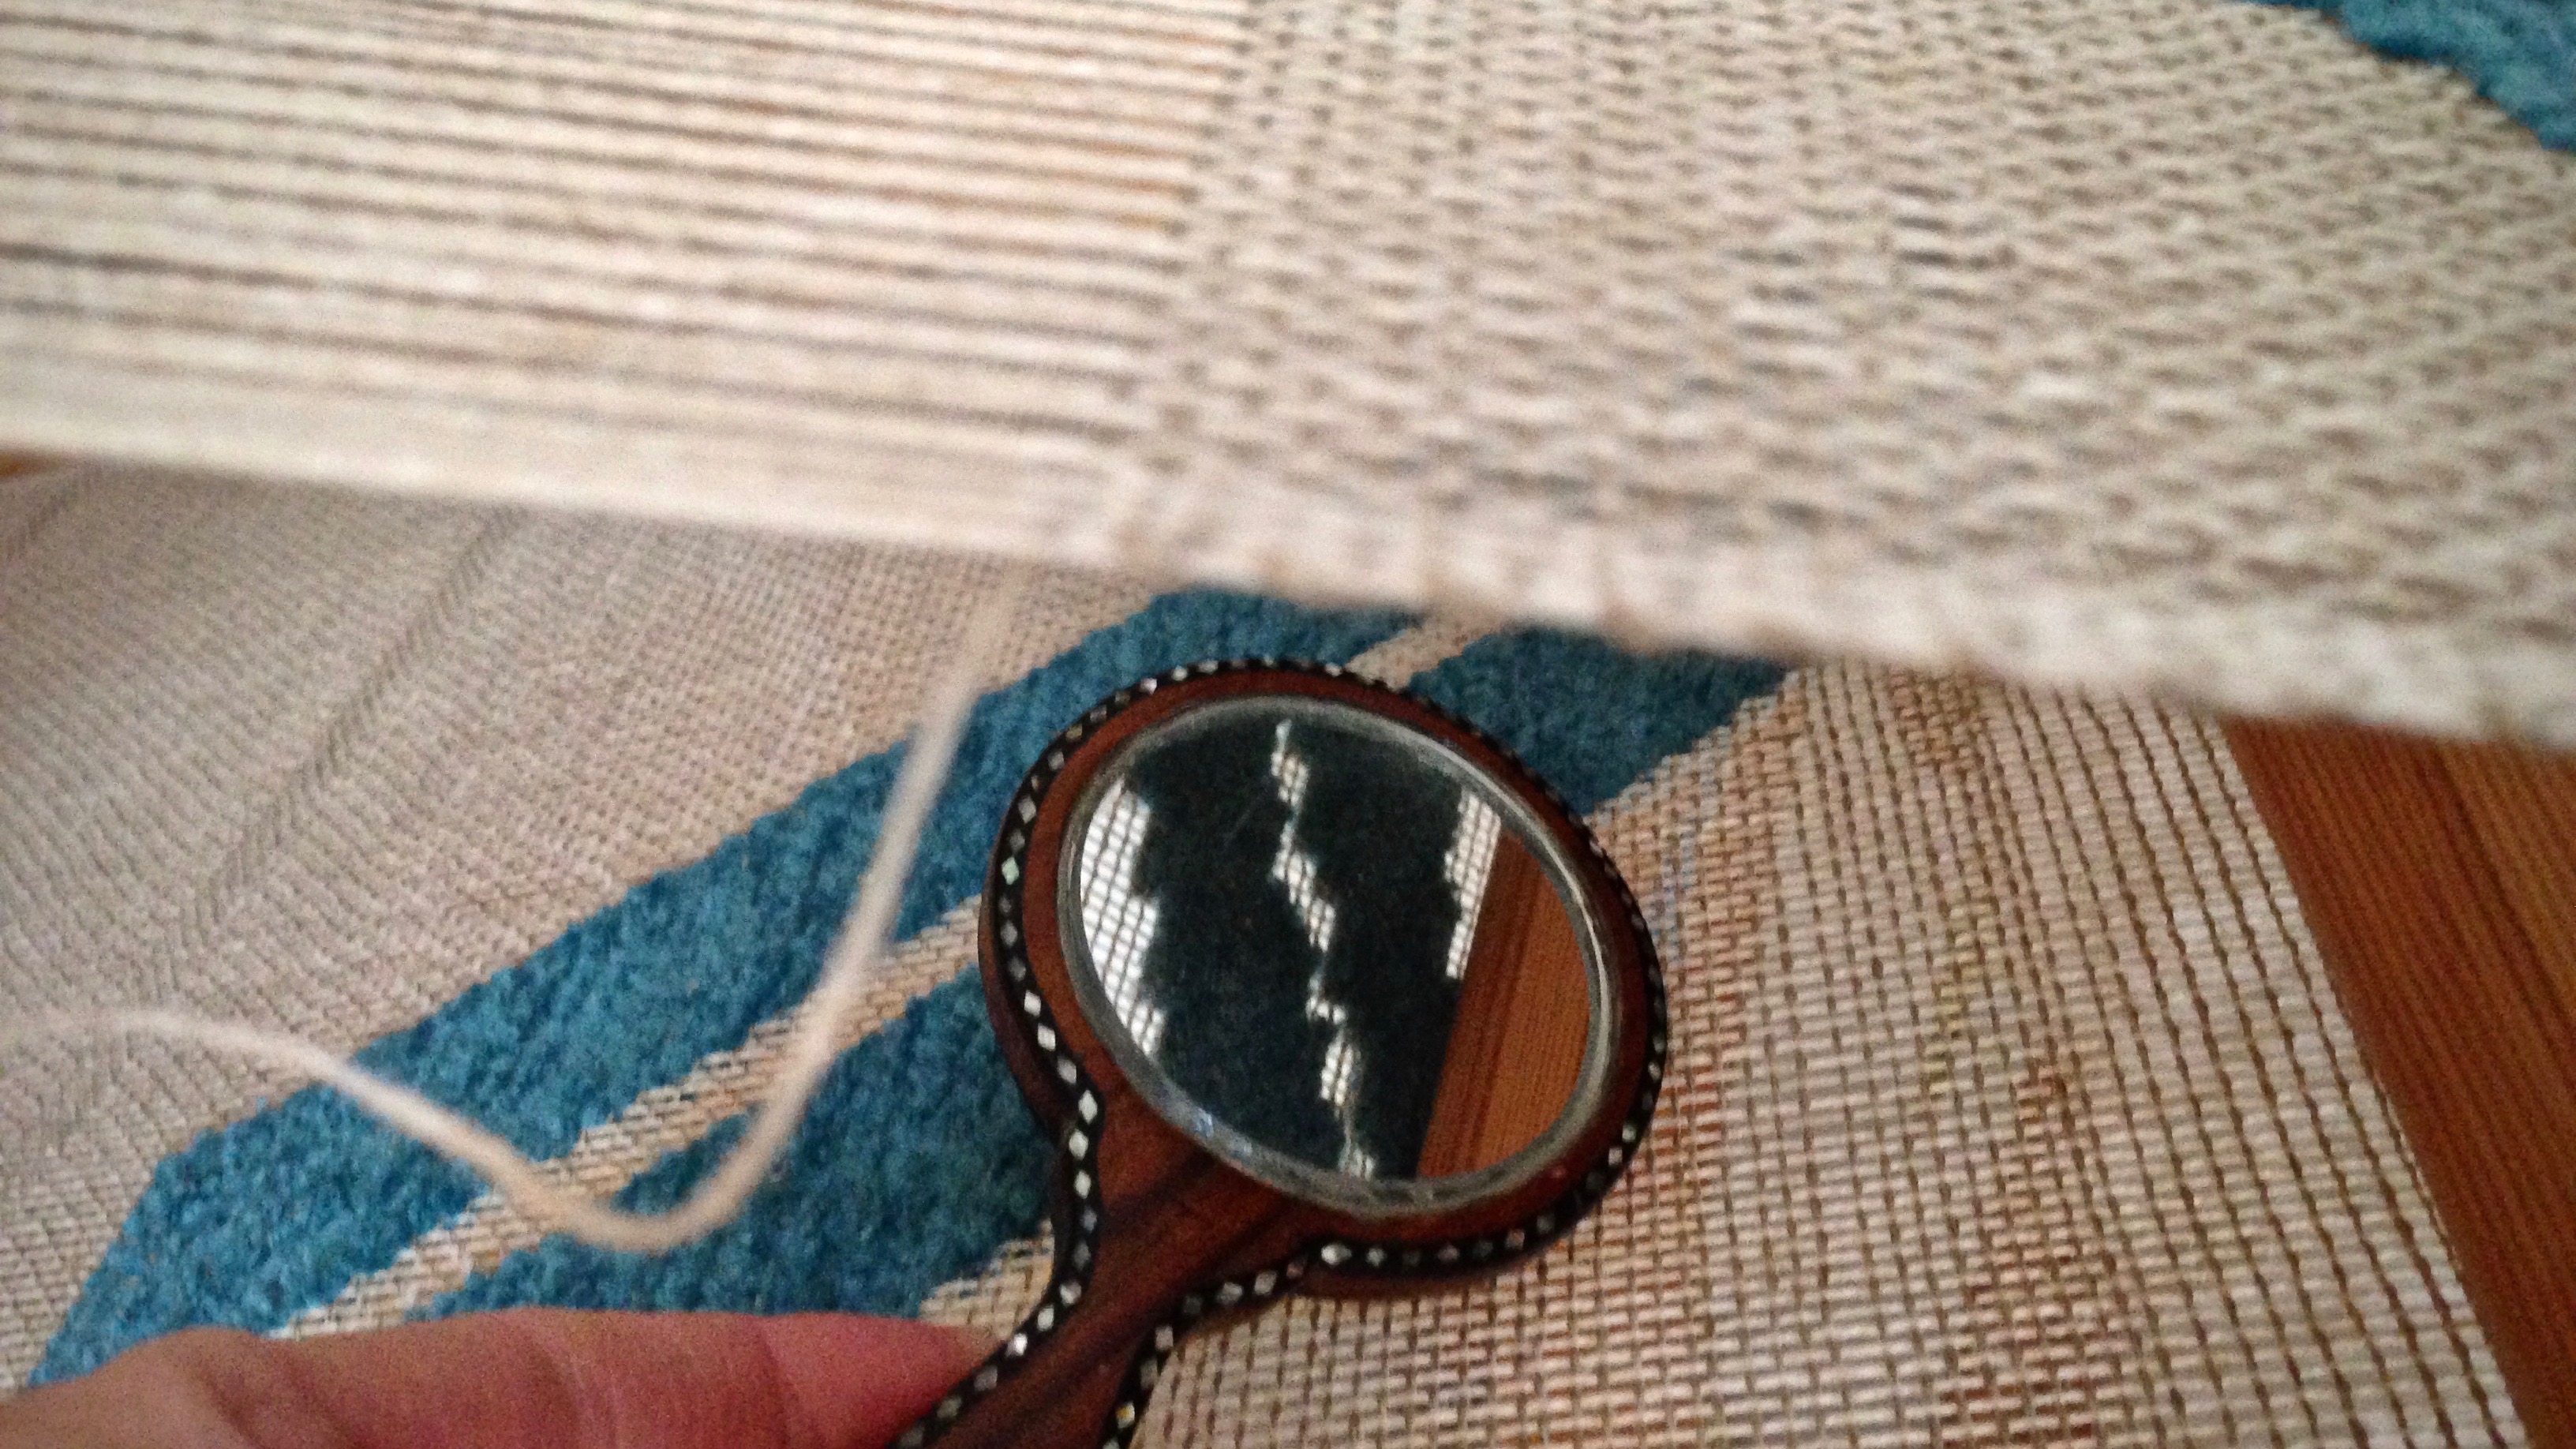
When the front side of the fabric is on the underside, it helps to have a mirror. This is one of those times. A transparency can be woven with the weft turns on the front or on the back. I’m weaving this transparency with the weft turns on the front. The underside, therefore, has the crisper lines, and will (probably) be the right side of the finished transparency.

Weaving cotton chenille inlay on linen for a simple transparency.
Weaving from the back, the inlay weft turns look like scallops along the edge of the pattern area. The pattern on the underneath side of the cloth has smoother edges.

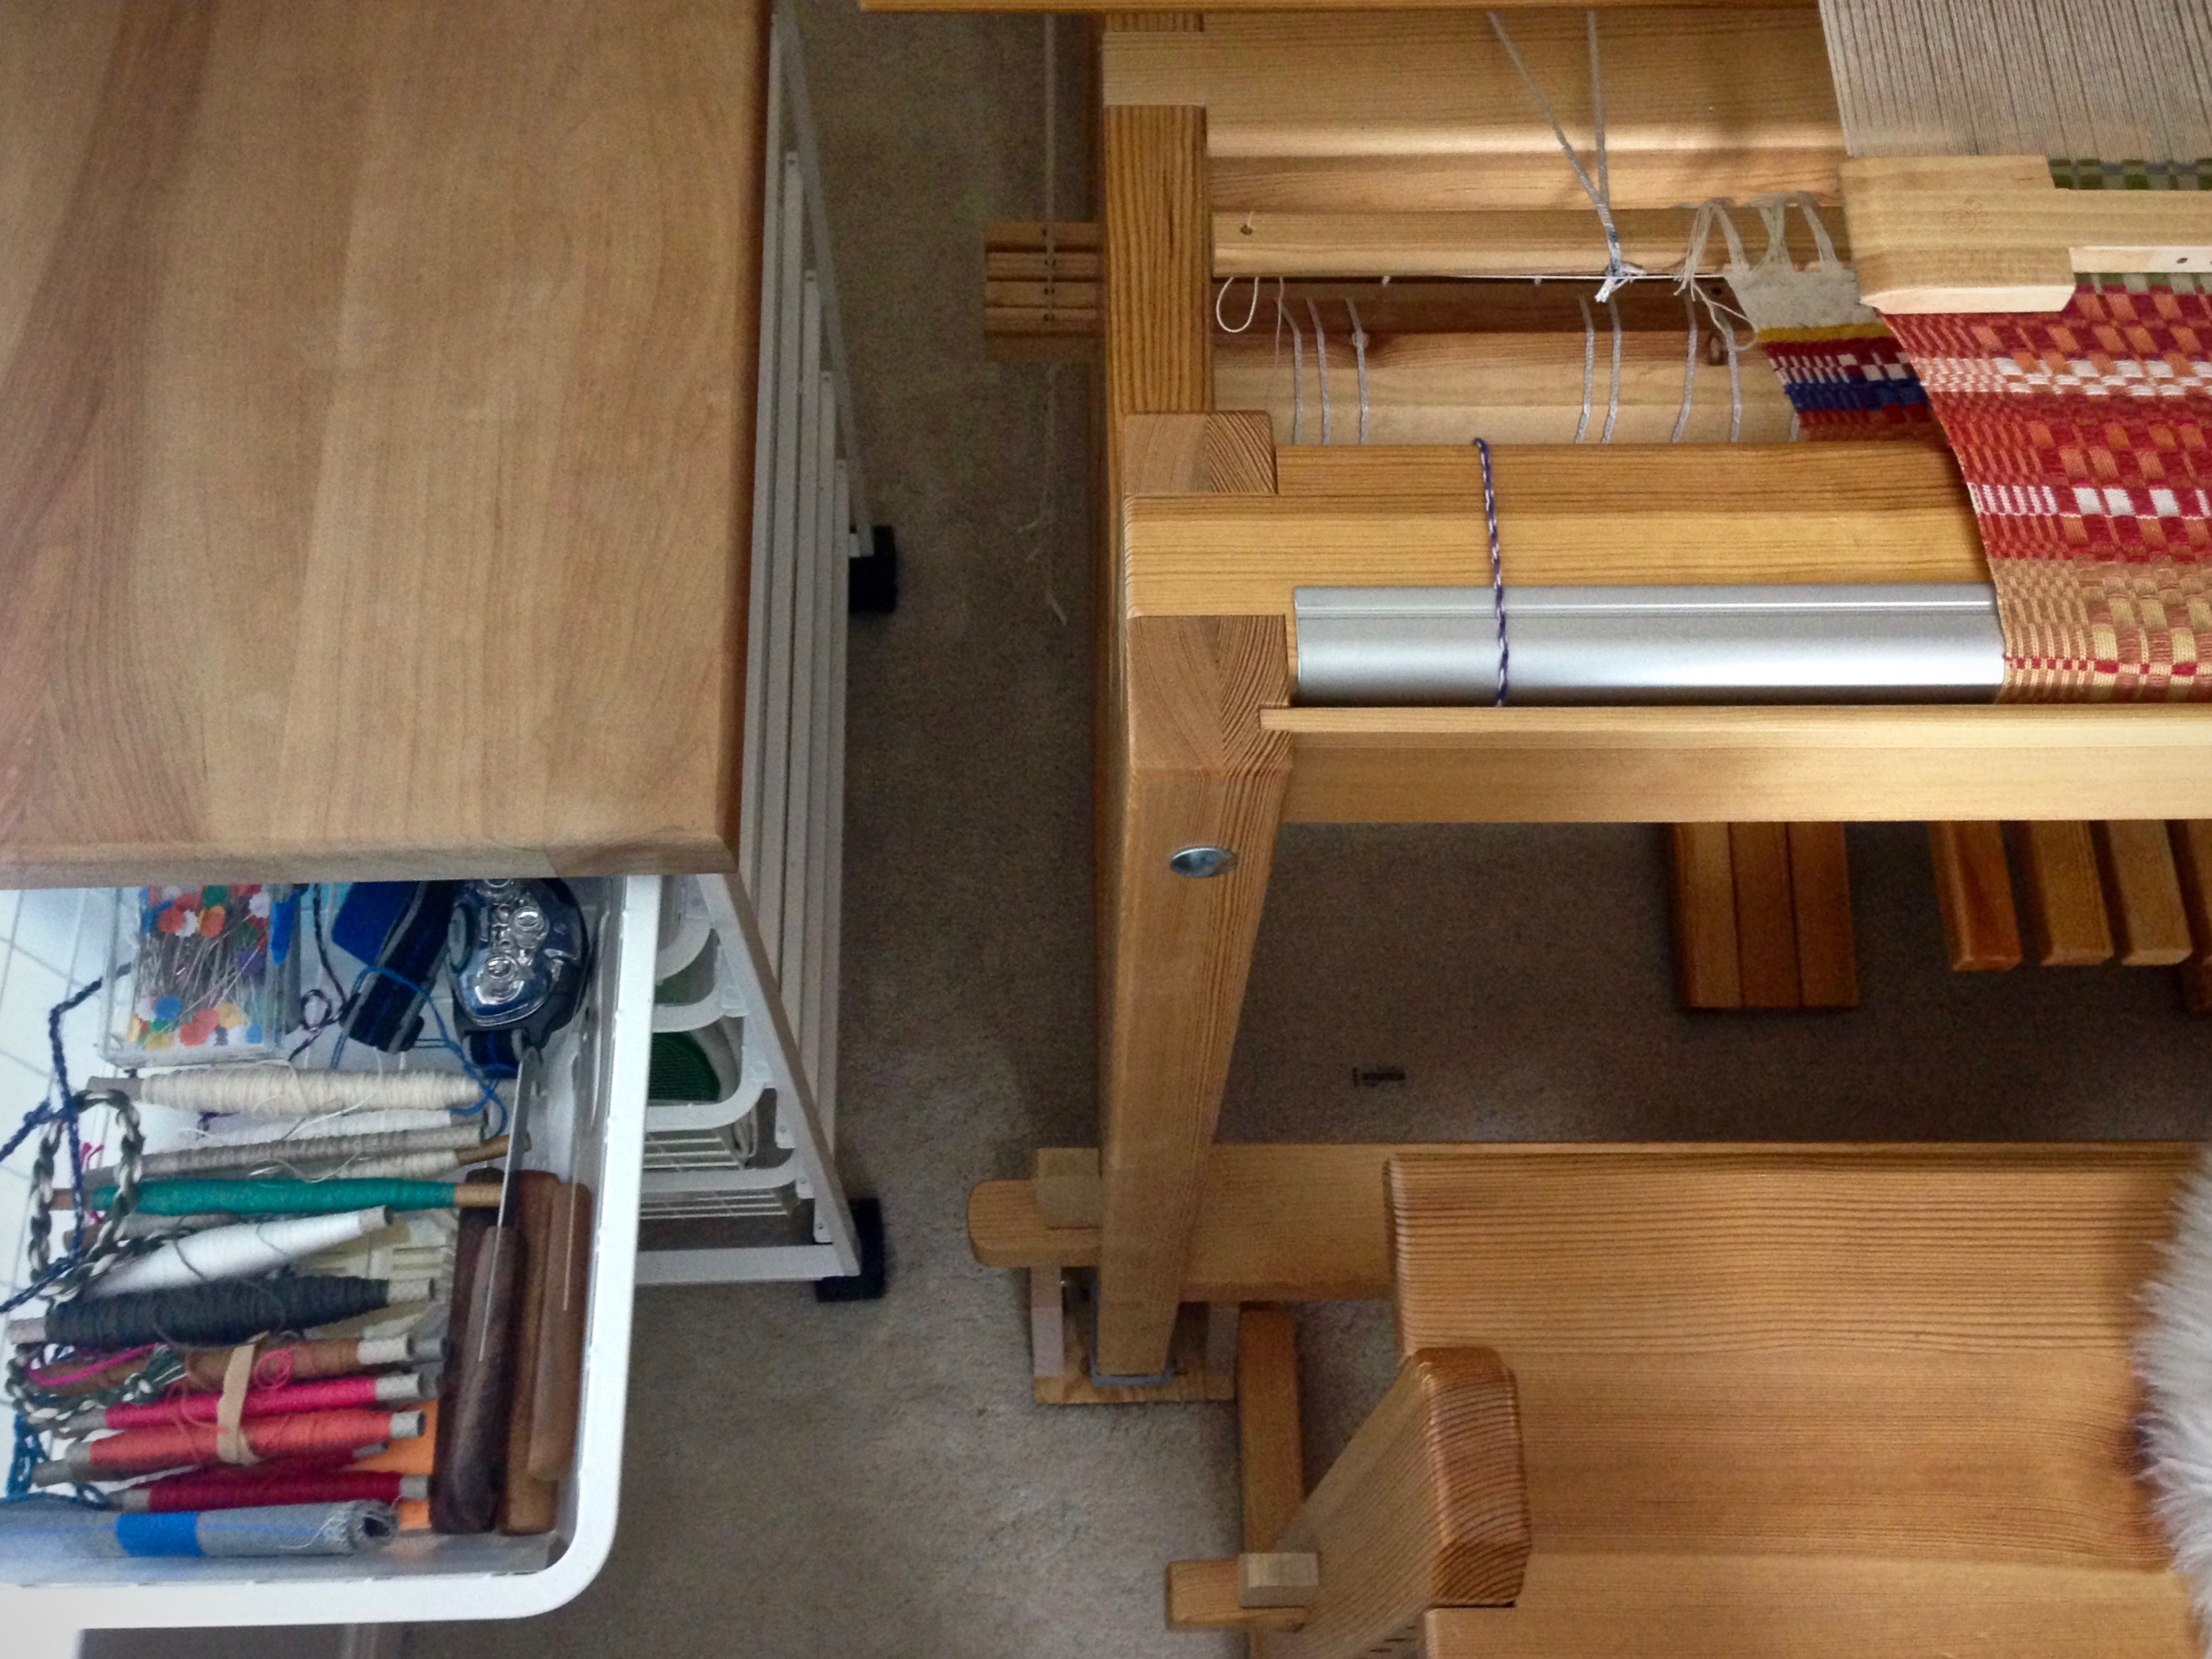
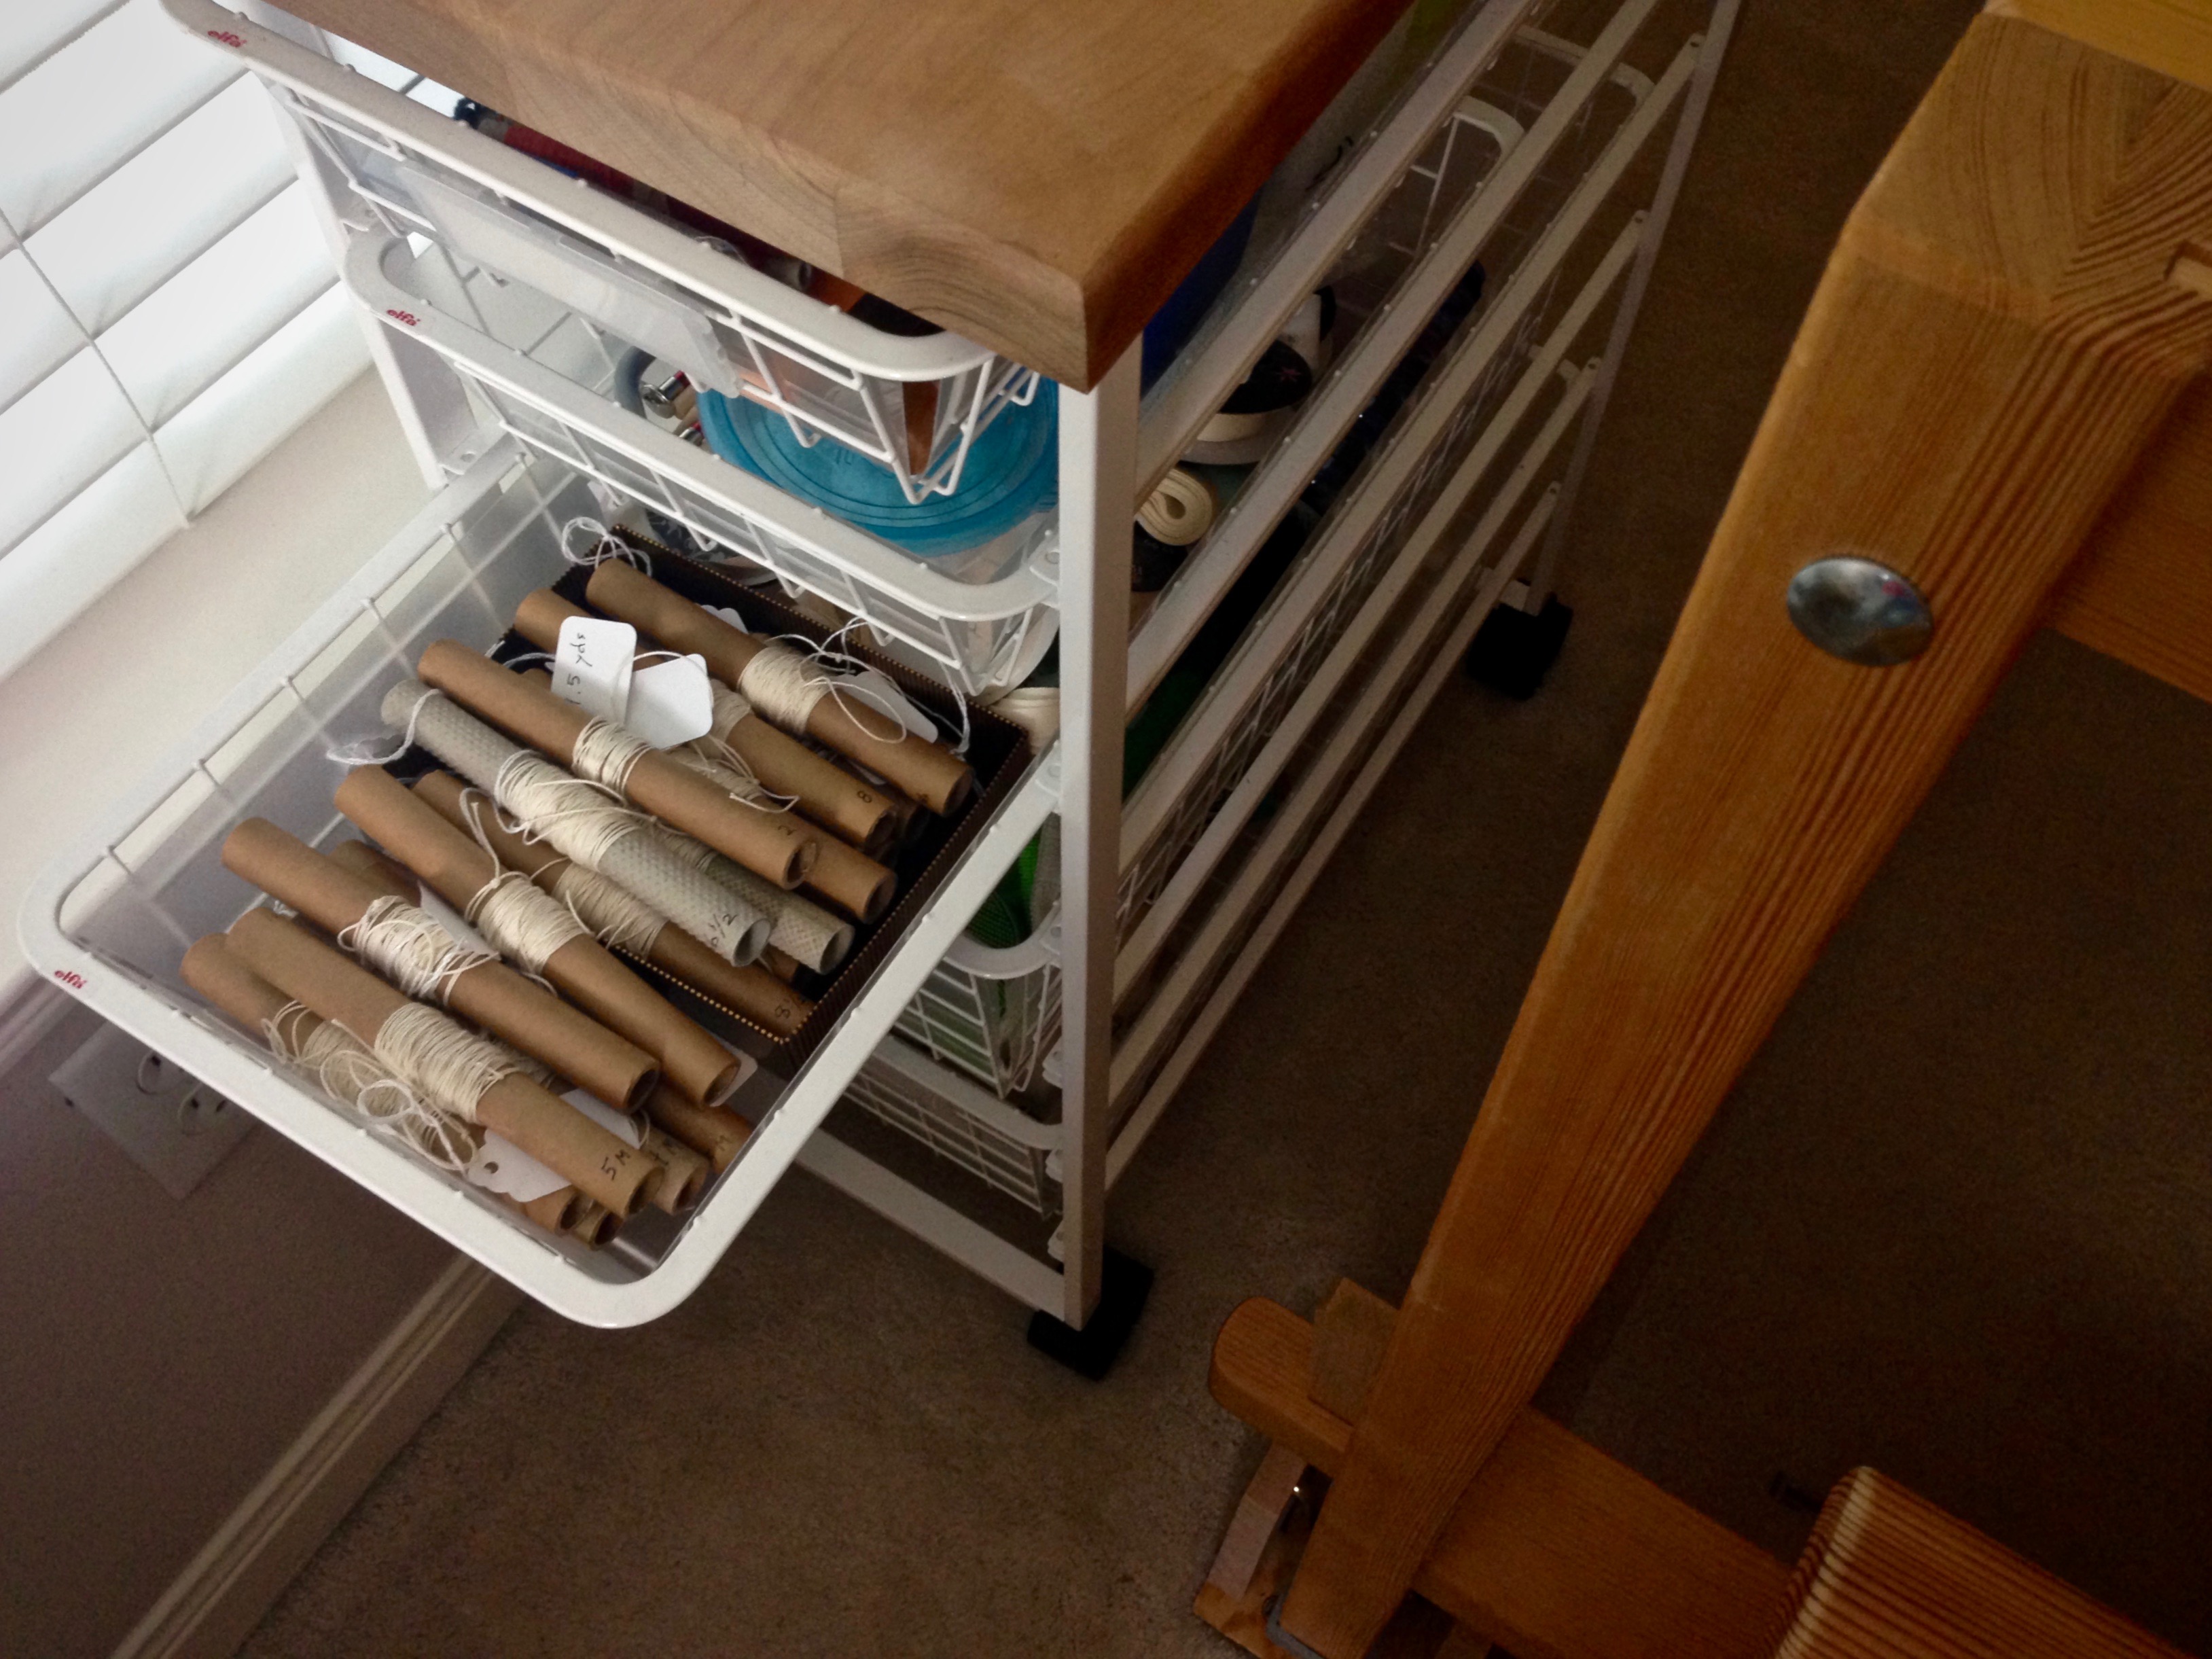
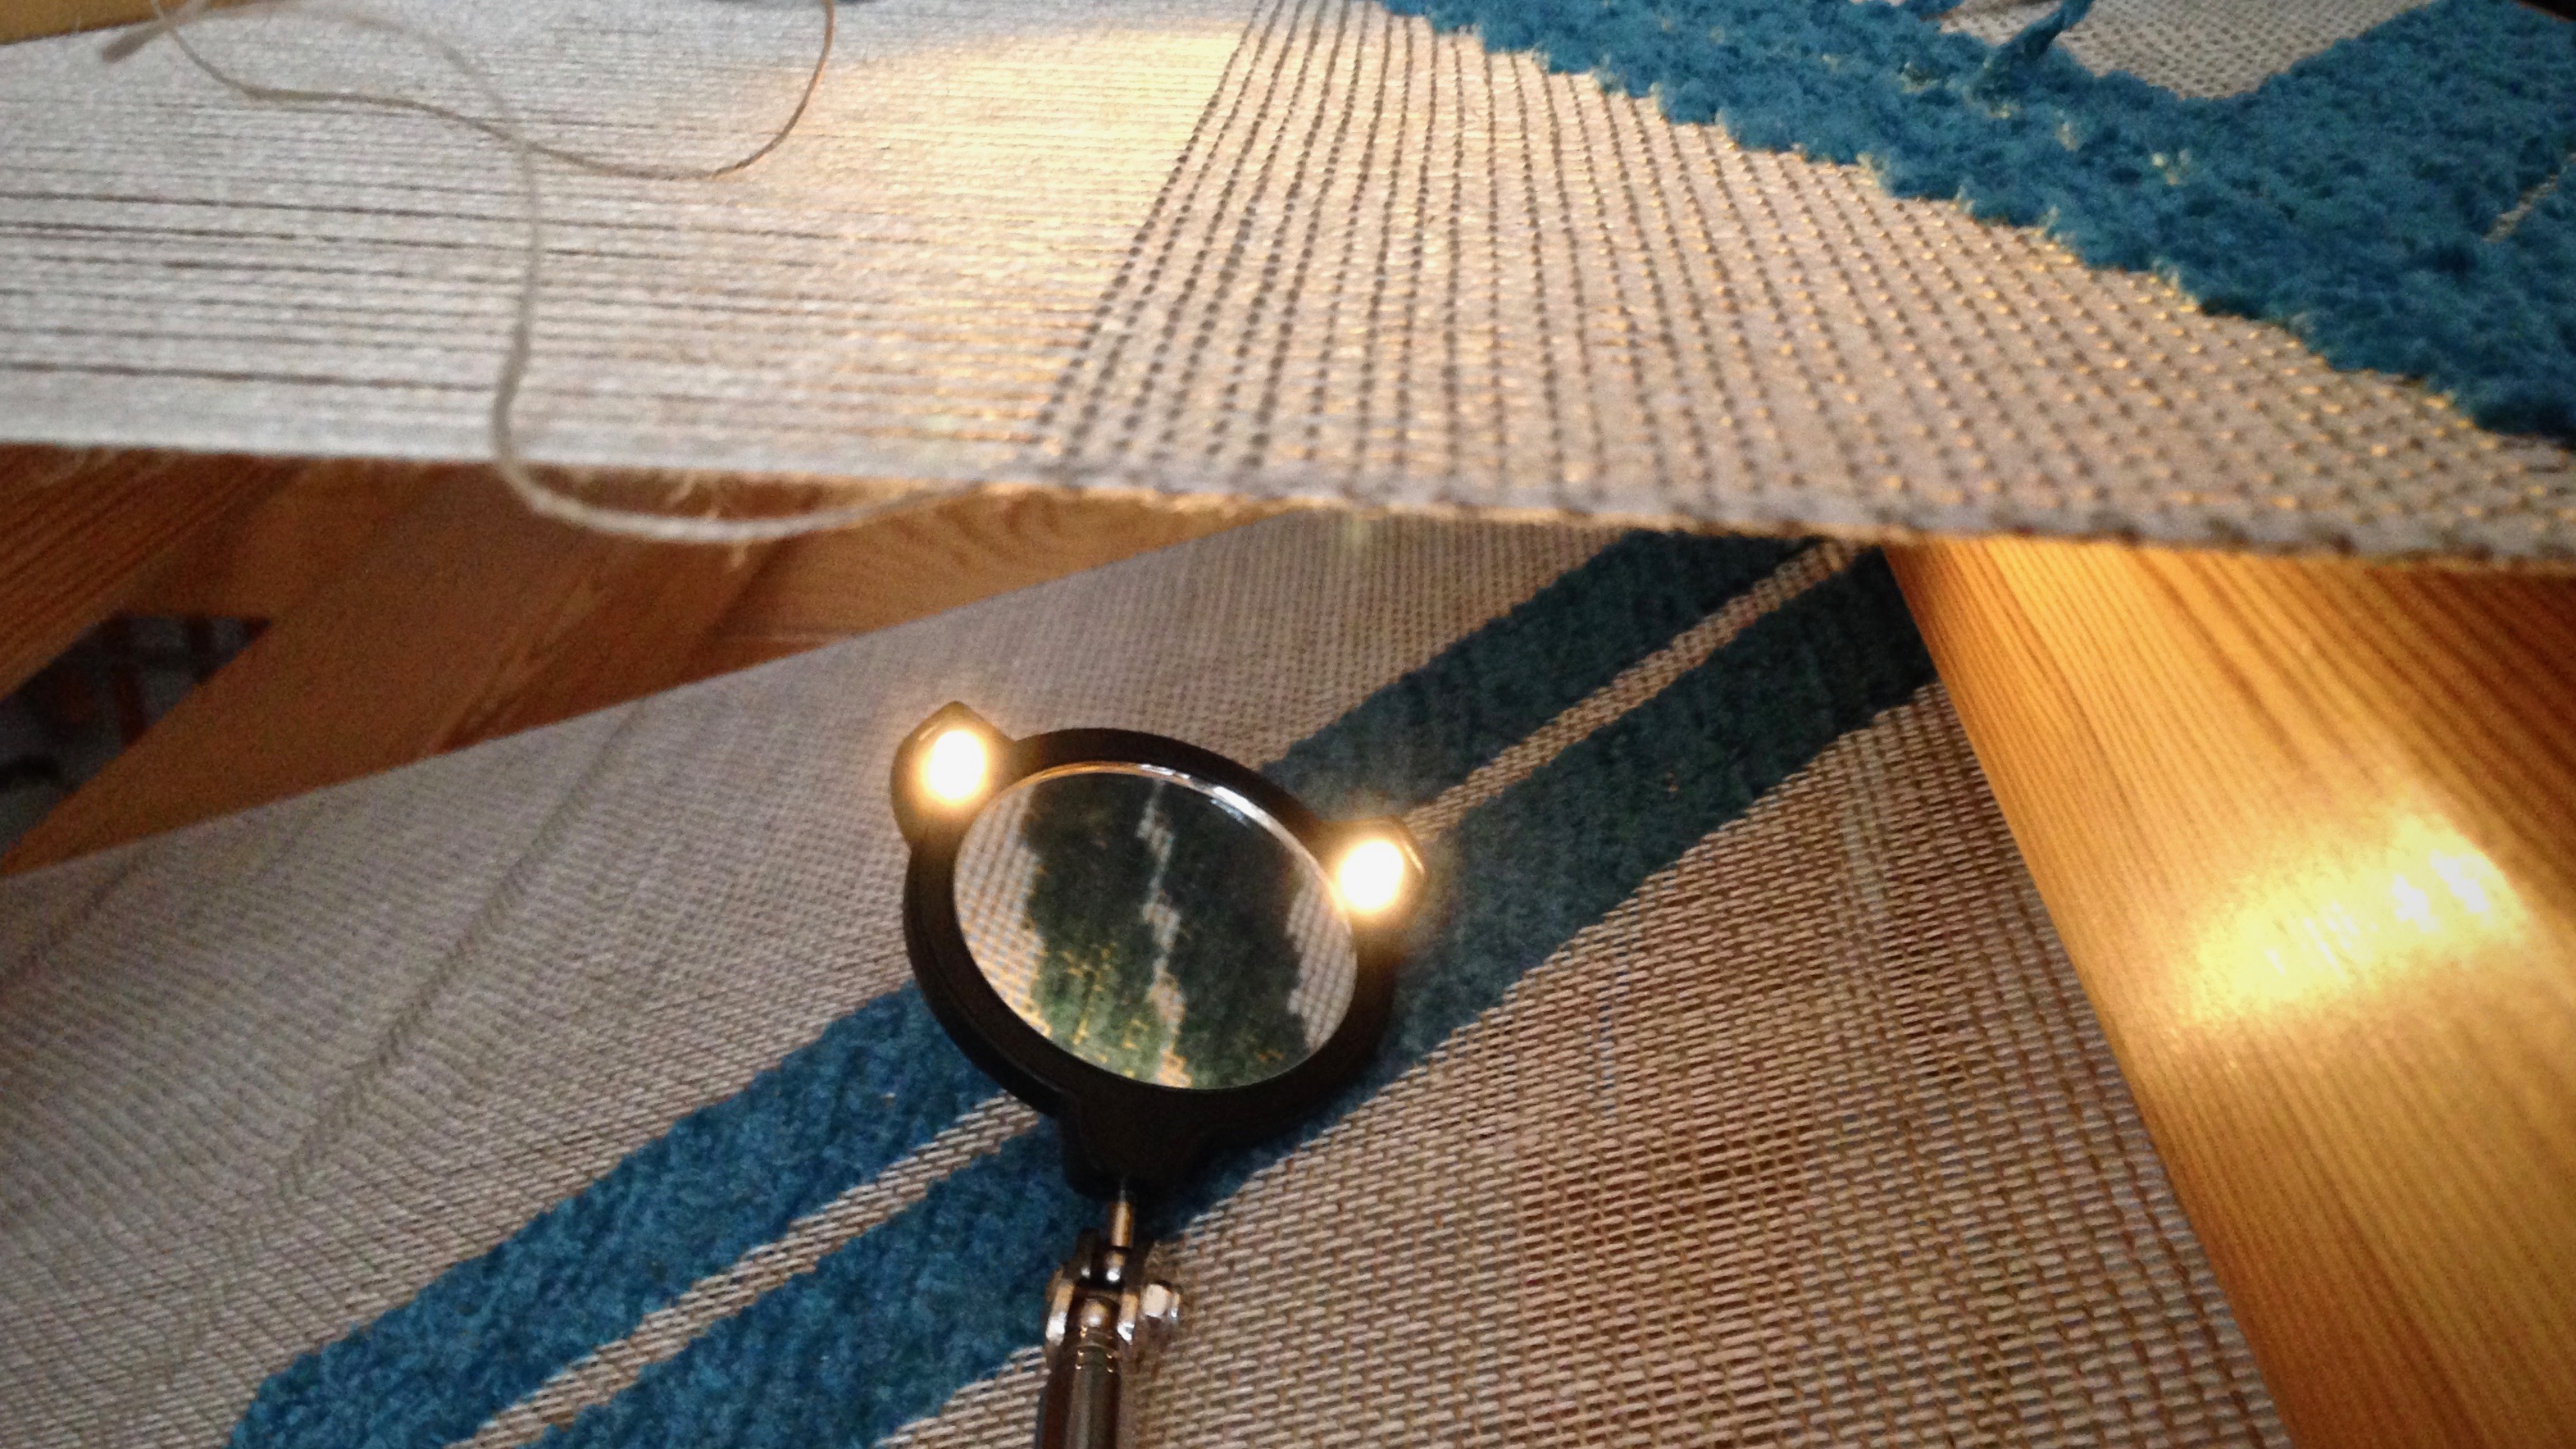
You can think of other weaves, as well, that have a different appearance on the back than on the front. That’s when a little mirror comes in handy. You can use a larger hand mirror, of course; but these are two little mirrors that I keep in the cart by my loom.

Mirrors at hand beside the loom.
Top drawer in the cart beside the loom holds small tools that are used during weaving.
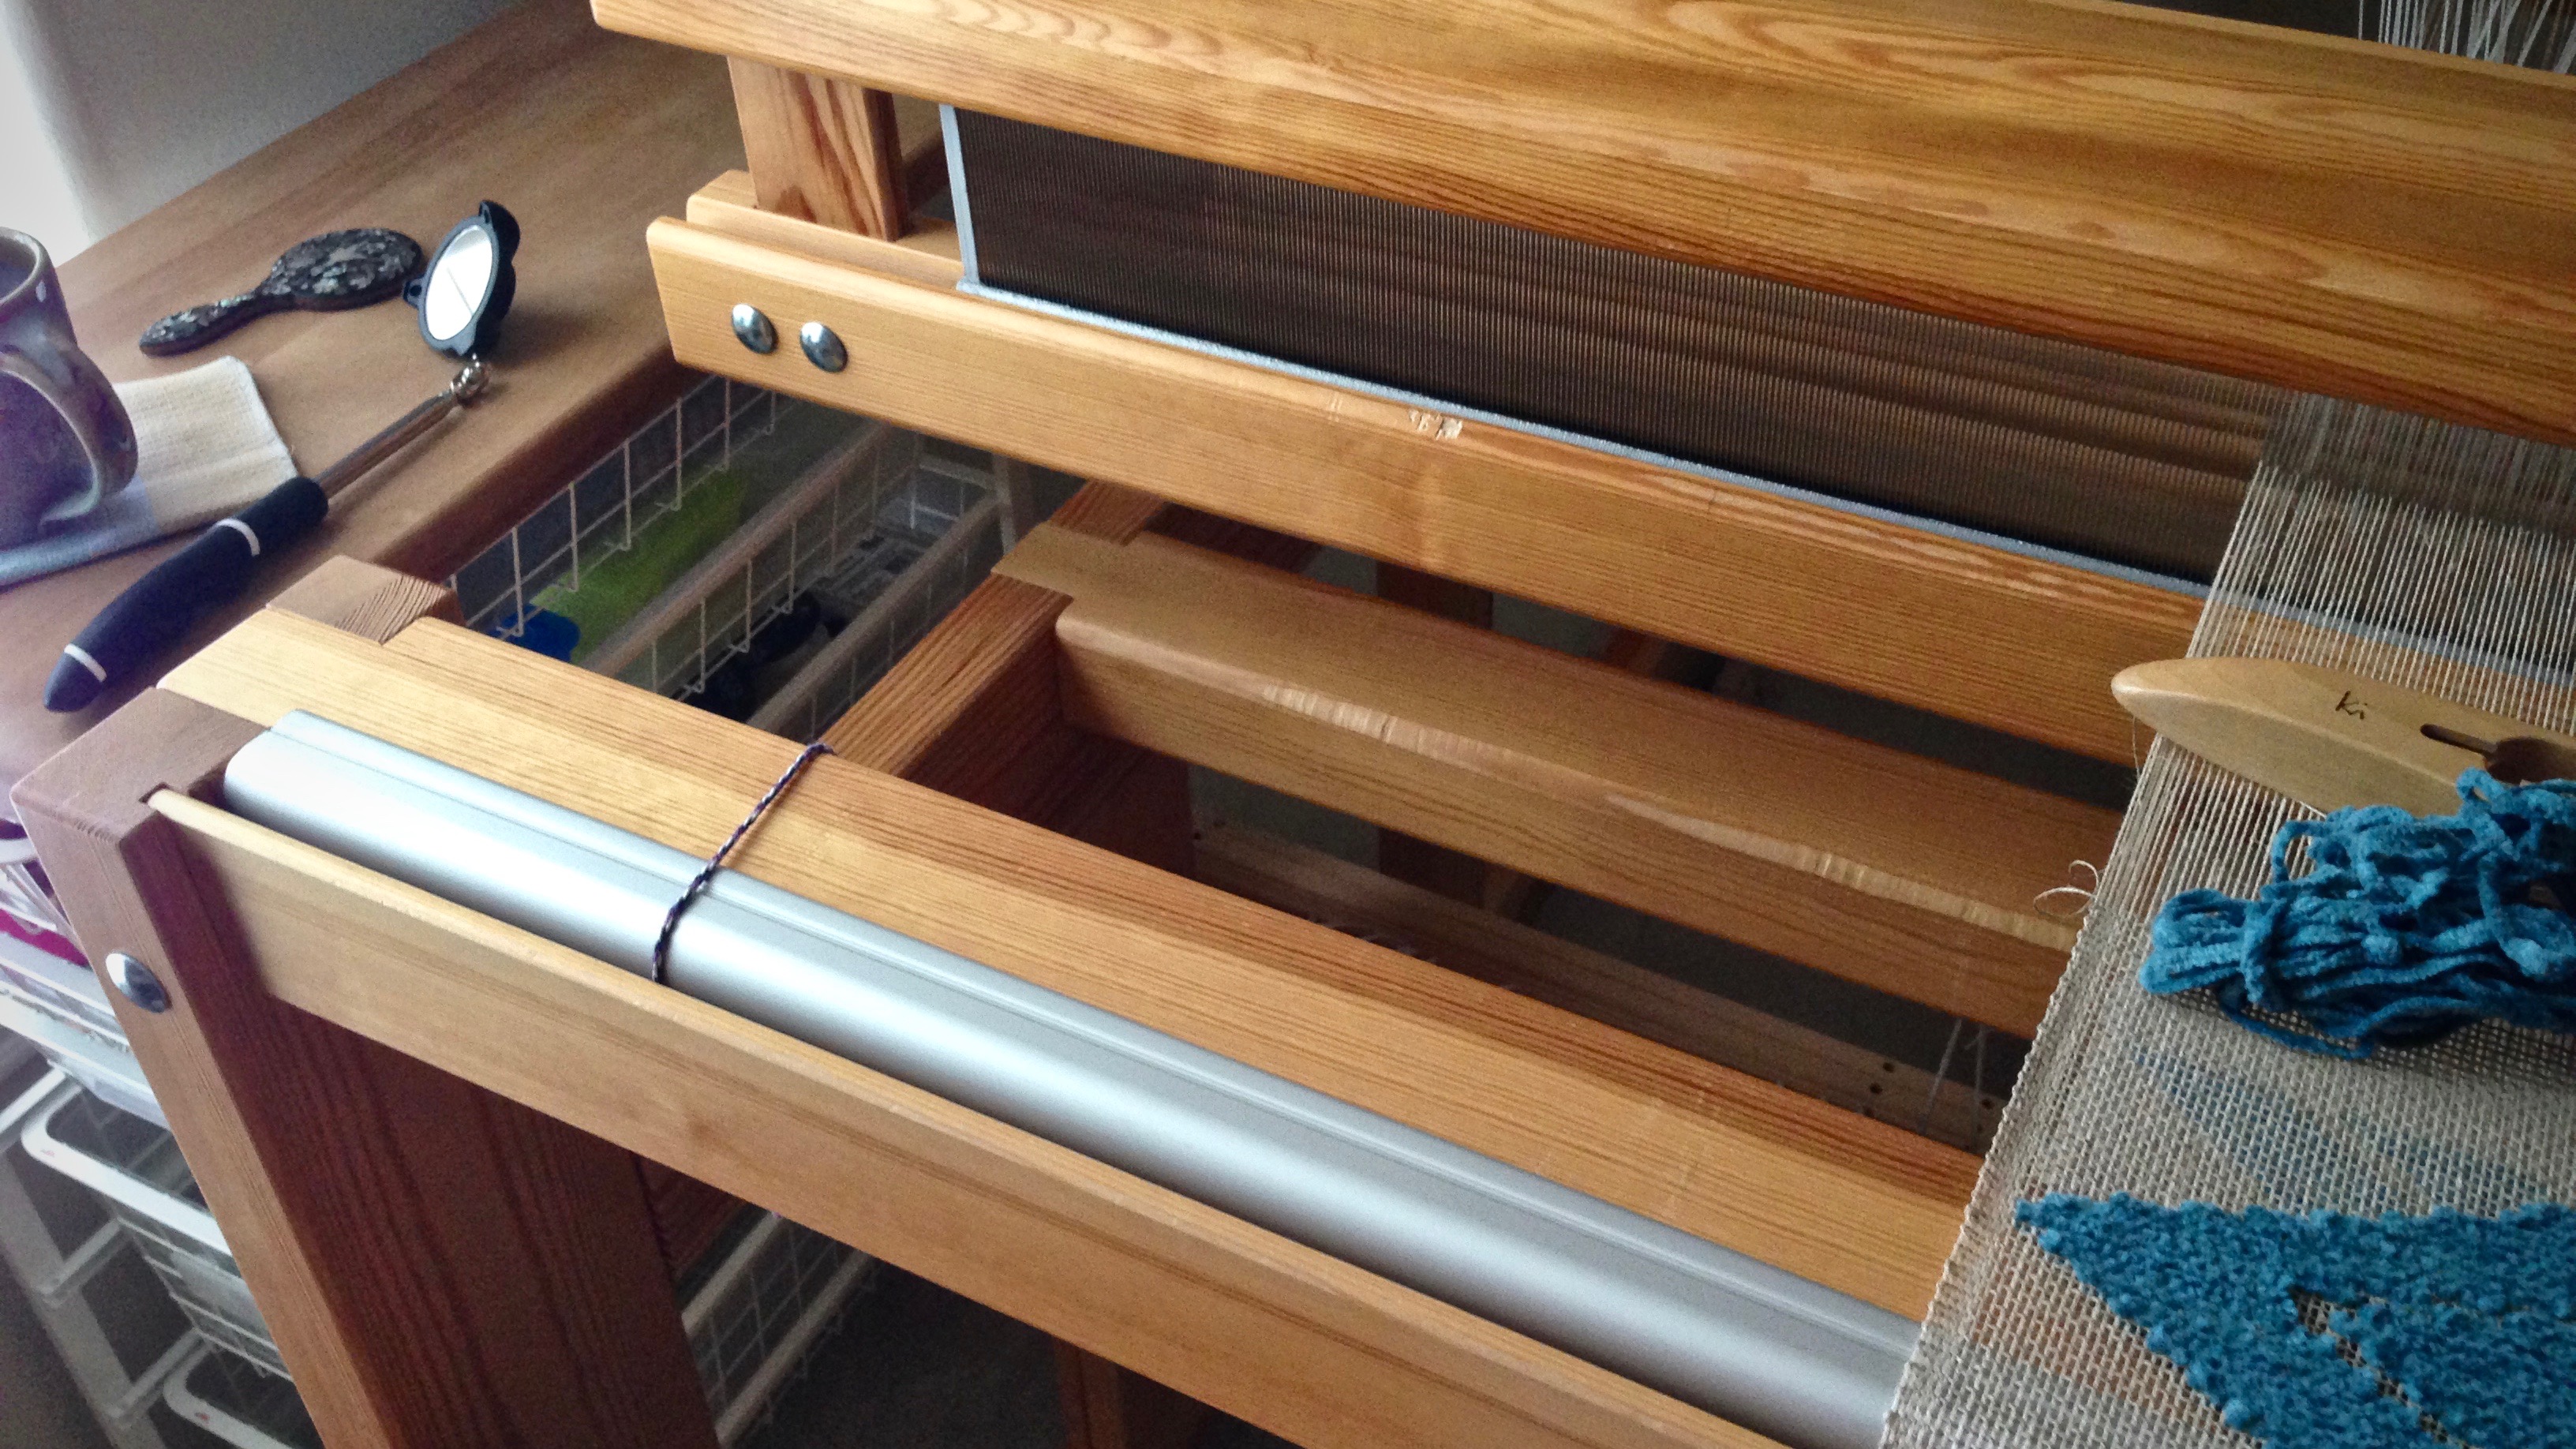
  • A little wooden mirror with mother-of-pearl inlay that I picked up on one of my international travels.
Small hand mirror is used to view the underside.
Small hand mirror is used for a quick glimpse of the underside pattern.
  • A lighted extended little mirror that I picked up on one of my wanderings at Home Depot while my husband was shopping for tools. A Husky Round Lighted Inspection Mirror, “…for inspection of hidden, unlit areas in applications ranging from industrial maintenance and automotive repair to general homeowner DIY applications.” They forgot to add, “…and for handweaver inspections of the reverse side of the cloth.”
Lighted mirror extends to inspect underneath the cloth.
Lighted mirror extends to inspect the underneath side of the woven cloth. The telescoping handle makes it possible to view underneath a wide warp.

May you find tools that serve you well.

Happy Weaving,
Karen

Tools Day: Texsolv Heddle Round Up

The great thing about Texsolv heddles is that they are easy to move around. If you know how to tie them together, it is simple to add heddles, remove heddles, or switch heddles to different shafts. When I’m getting ready to thread the loom, I get my box of bundled heddles and put it on the cart right beside the loom. Then, I can easily add heddles if needed. And when threading is finished, I tie any unused heddles into bundles and put them in the heddle box, ready for the next project.

Threading complete for alpaca scarves. Texsolv heddles.

Tie Texsolv Heddle Bundles on One Shaft

  • Step 1 Take a cord (I use my choke tie cords) through the heddles below the heddle eyes.

How to remove Texsolv heddles. Tutorial

  • Step 2 Wrap the cord one time around, below the heddle eyes.

Removing Texsolv heddles. How to --

  • Step 3 Cross diagonally up with the cord, and take the cord through the heddles above the heddle eyes.

How to tie up Texsolv heddles.

  • Step 4 Wrap the cord one time around, above the heddle eyes.

Tying up Texsolv heddles to remove them.

  • Step 5 Join the two ends of the cord with a bow knot.

Removing Texsolv heddles after threading is complete.


Tie Texsolv Heddle Bundles on More than One Shaft

  • Step 1 Take the cord through the heddles below the heddle eyes, right to left, one shaft at a time, front shaft to back shaft.

Removing Texsolv heddles from multiple shafts.

  • Step 2 Take the end of the cord from the back shaft, and wrap the cord around one time through the heddles, below the heddle eyes, right to left, one shaft at a time, front shaft to back shaft.

Removing Texsolv heddles from multiple shafts.

  • Step 3 Cross diagonally up with the cord, and take the cord through the heddles above the heddle eyes, from right to left, one shaft at a time, front shaft to back shaft.

How to remove Texsolv heddles. Tutorial

  • Steps 4 & 5  Wrap the cord one time around, above the heddle eyes, from right to left, one shaft at a time, front shaft to back shaft. Join the two ends of the cord with a bow knot.

Removing Texsolv heddles. How to --


Remove Heddles from Shafts

  • Step 1 Remove shaft pin from the lower shafts, and slip the bottom of the heddles off the shafts. Replace the shaft pin.

Removing Texsolv heddles.

  • Step 2 Remove shaft pin from the upper shafts, and slip the top of the heddles off the shafts. Replace the shaft pin.

Texsolv heddles are easy to move around!

  • Step 3 Place tied heddle bundles in the heddle box. Put the box away, ready for the next project.

Texsolv heddles ready for the next project!

May you always have enough heddles when and where you need them.

Loom dressing,
Karen

Tools Day: Loom Bench Baskets

Some accessories are so useful they simply become an extension of the loom. That’s how my loom bench baskets are for me. I automatically place an emptied shuttle there without a second thought. It’s where extra shuttles go that are waiting their turn, or extra quills that have been wound, or a few fabric strips that are set aside for one section. For anything I need to drop or pick up–the baskets are always there.

Loom bench basket holds the ski shuttles for a rosepath rag rug.
Deep basket on the bench at the baby loom (Glimakra Ideal) easily holds my ski shuttles for this rosepath rag rug.
Loom bench basket holds the 5 ski shuttles for this rosepath rag rug.
Leather strap on the basket slips over the end post of my loom bench, right by the always-handy measuring tape.
Deep basket, perfect for holding shuttles.
Basket made for this purpose, from Vavstuga.
Loom bench basket with Ikea container inserted to hold quills.
Basket at the big loom (Glimakra Standard) holds a small hanging cup I found at Ikea that is useful for holding small things, like filled and emptied quills.
Loom basket is tied to the bench with an old inkle-woven band.
Old basket I’ve had for years is put to use on the other side of the big loom bench. I tied it on with a wool inkle band I wove many years ago.

May you have what you need at your fingertips.

Happy weaving,
Karen

Tools Day: Narrow Shelf

It’s not easy to keep a table top cleared off. Little things accumulate that intrude on the work space. The wonderful maple work table Steve made for my weaving room a couple years ago provides a needed surface for multiple uses. I do my project planning here; and I weigh out my yarns here; and I wind quills here. It’s time to create a space for the little things, to get them off the table. Steve to the rescue! He built a narrow shelf to go on the wall behind the work table. Pencils, snips, pins and needles, quills with a little bit of thread, and the like. Pegs below the shelf give me a convenient place to hang a few essentials–small scissors, Gingher thread clippers on a cord, a few choke ties, tape measure, and my Väv Calendar.

Hand-crafted maple shelf compliments the maple work table below.
Hand-crafted maple shelf compliments the maple work table below. Frequently used items are within arm’s reach.
Hand-crafted maple shelf above weaving work table.
Re-purposed vessels make colorful holders for small items.

Now, I am ready for anything!

May your creative space work in your favor.

All the best,
Karen

Tools Day: Loom Cart

Having a cart beside my loom is the next best thing to a loom-side assistant! A turquoise utility cart from IKEA sits beside my Glimåkra Ideal. An Elfa drawer system on casters is right beside the Glimåkra Standard, and keeps oft-used tools within arm’s reach.

The IKEA cart (Råskog Utility Cart) serves as a holding space for any project on the Ideal. Since this loom is not in the room where I keep my weaving supplies, it helps to have a rolling cart that holds items as needed. The three tiers hold tools and supplies for dressing the loom, like sley hook, extra Texsolv heddles, and treadle cords. While weaving, I keep extra shuttles and small tools on the top tier. All the weft thread or yarn for the project goes on the second or third tier. When I weave rag rugs, fabric strips that are sorted by design and/or color are piled up on the three tiers.

IKEA utility cart as loom-side assistant.
IKEA utility cart holds thread and wound quills while I try out weft colors on a new warp.

The Elfa cart enhances efficiency at the big loom. It houses frequently-used essentials, especially small tools and supplies needed to dress the loom. It is near my work table where I wind quills, so yarn for the current project goes in the deep bottom drawer. The woodblock top adds a nice touch that compliments the wood of my Swedish loom.

Elfa drawer system with casters for loom-side assistant.
Too many leftover quills from projects sit in the top drawer of the loom cart. Sley hooks, flat head pins, headlamp, pencils, tape, and other small tools and gadgets are in this top drawer.
Elfa drawer system as loom cart. Organized!
Second drawer has anchor pins and arrow pegs for Texsolv cord, box of choke ties, box of long treadle cords, box of short treadle cords. I found the little boxes at IKEA.
Loom room organization. Guide strings wrapped on empty tubes.
Guide strings for measuring warp are wrapped on empty thread tubes. This drawer also holds rolls of twill ribbon used for measuring weaving length at the loom.
Organization at the loom. Elfa cart solution.
Yarn in the bottom drawer is only a half step away from the winding station. All the cotton and wool weft for the current project is in this drawer, making it easy to grab what I need for winding more quills.

May your loom-side assistant serve you well.

Happy Weaving,
Karen