Tools Day: Paper and Yarn

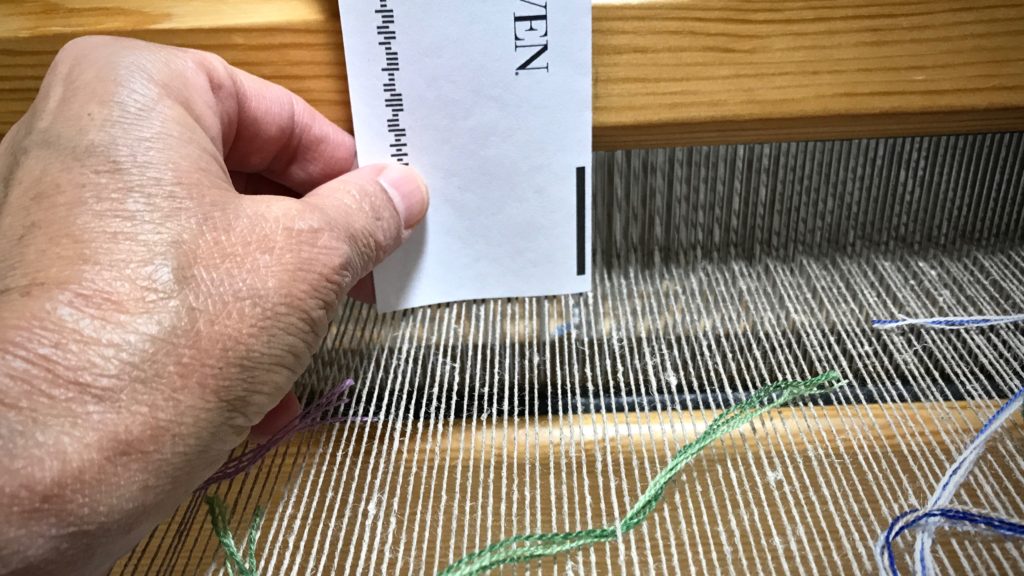
A folded piece of paper and a seven-inch tail from a yarn butterfly become an answer to a small technical problem. When using a cartoon, like I am for this transparency, it’s imperative to identify the center warp end so I can align the dotted-line center of the cartoon with that one end. Finding the center warp end is my technical problem. The paper and yarn work together as the tool that helps remove the guesswork.
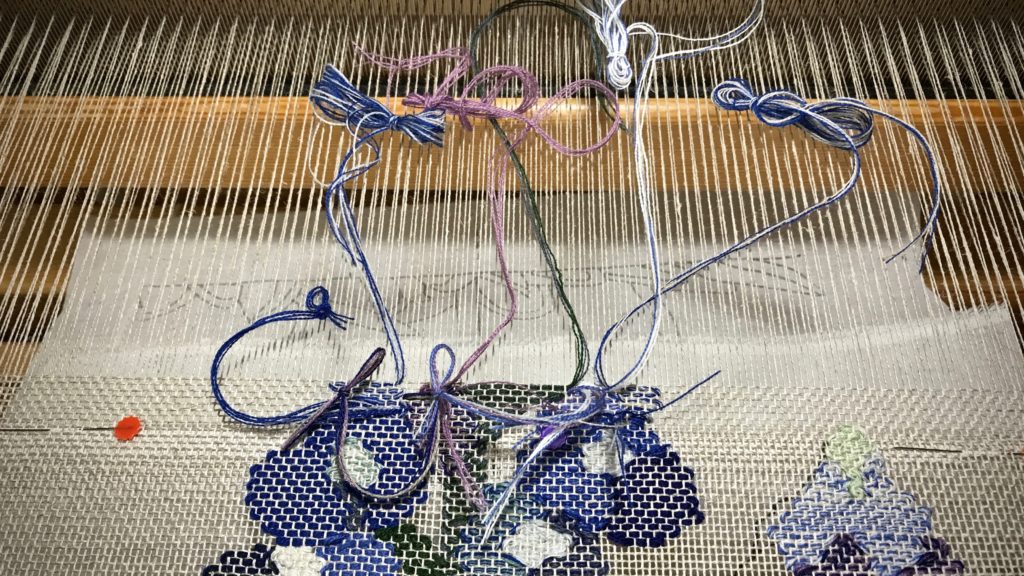
Weaving a transparency. Bluebonnets.
I check the alignment of the cartoon about every inch, and move up the pins that hold the cartoon in place.

With these bluebonnets, if the cartoon slides to the right or left by even one warp end it distorts the picture. It’s not enough to eyeball it. I need a way to make sure I am finding, and marking, the exact center end every time.

How to Find and Mark the Center Warp End

Supplies:

  • Pencil
  • Subscription card from a magazine, folded in half lengthwise
  • Seven-inch tail from a yarn butterfly, or a strand of yarn
  1. Measure the width of the beater and use a pencil to mark the exact center with a vertical line.
  2. Hold the folded edge of the card against the vertical pencil line on the beater, with the bottom edge of the card almost touching the warp.

Finding and marking the center warp end to align with cartoon.

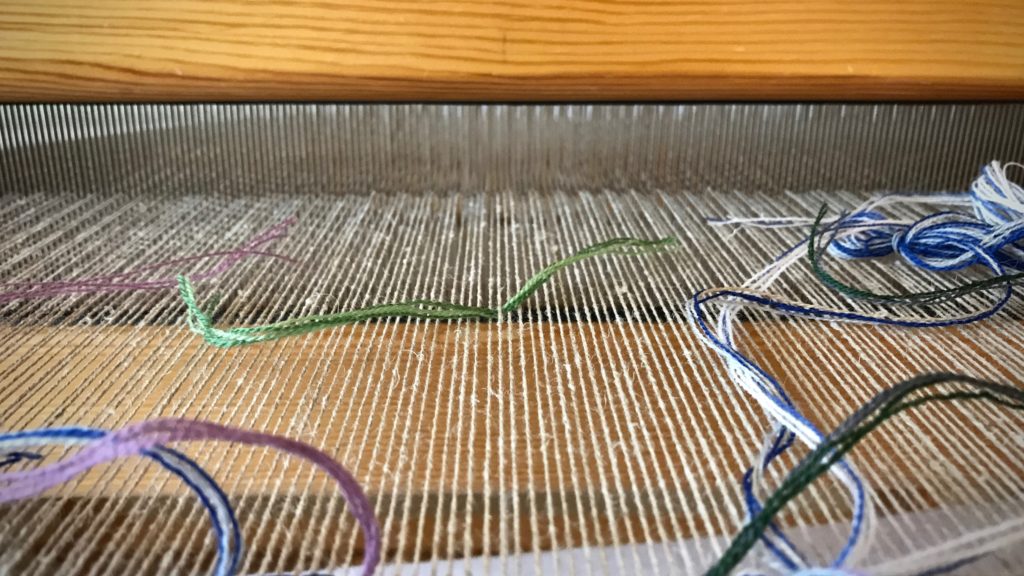
3. Slip the yarn tail under the center warp end, as identified by the bottom corner of the card.

Aligning center warp end with cartoon. Tutorial.

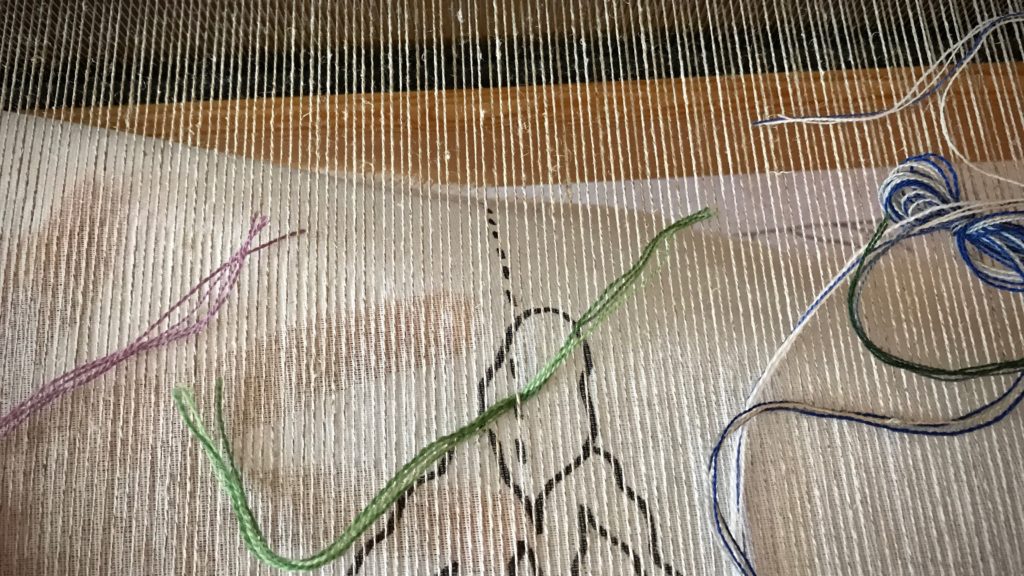
4. Check the alignment of the center line of the cartoon with the center warp end.

How to mark the center warp end.

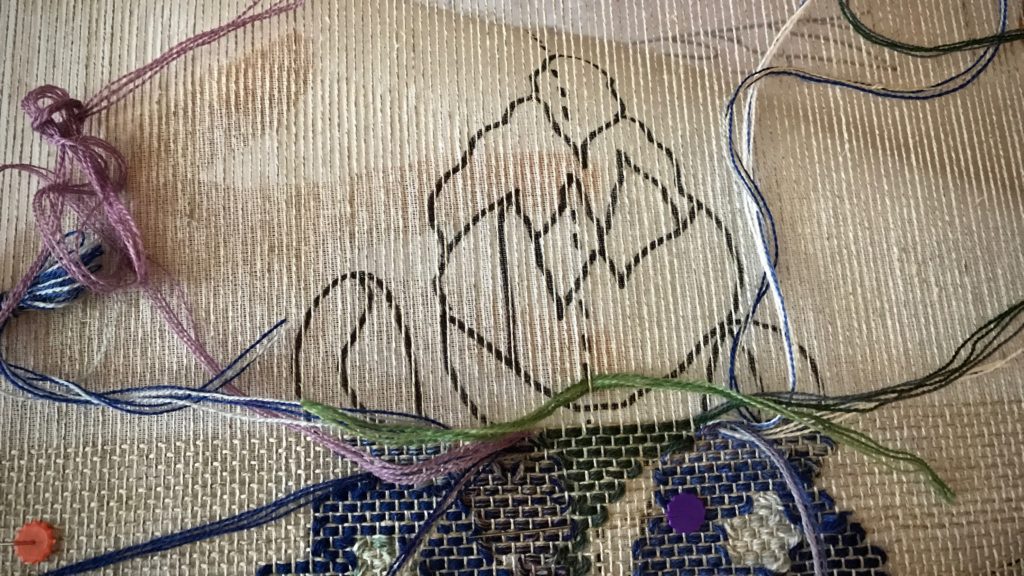
5. Slide the yarn from the reed to the fell line to check the entire length of the alignment. Reposition the cartoon, if needed.
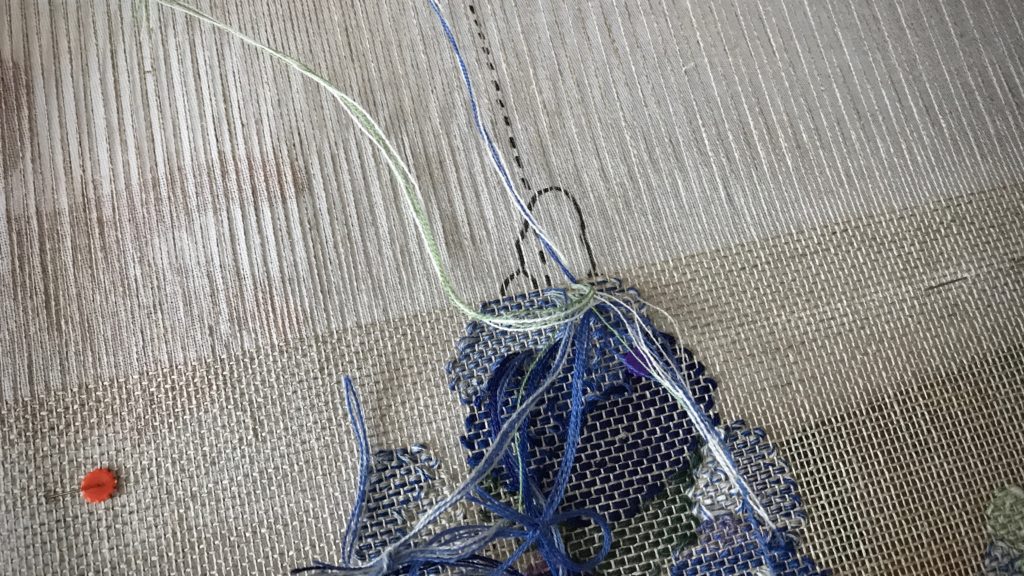
Aligning cartoon with center warp end. How to.

Bluebonnet woven transparency almost finished!
Ready for one last alignment!

May you find a solution that eliminates guesswork.

All the best,
Karen

If a Warp End Is Frayed…

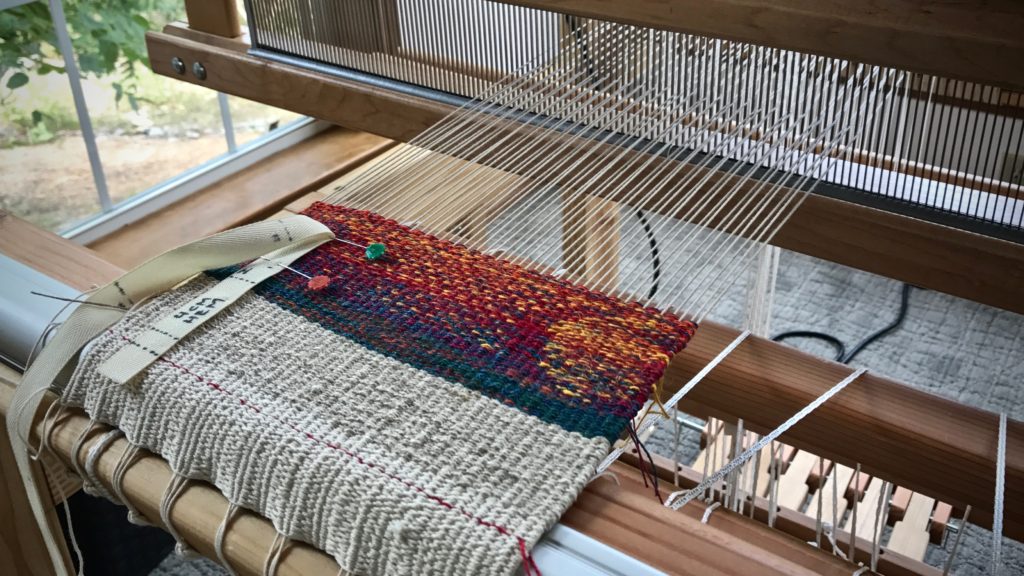
I noticed that a warp end was starting to fray, but I kept on weaving. I thought I could make it past the weak spot. Well, I was wrong. The warp end broke. So much for happy weaving! A broken warp end at the selvedge is no fun, especially on a weft-faced piece like this. Looking back, I wish I had taken time to splice in a new length of thread when I first noticed the weakness. But at the time, I didn’t want to be bothered with that. I just wanted to weave.

Tapestry / inlay sampler on small countermarch loom.
Weaving right along. I start to notice some abrasion on the warp end at the right selvedge. I’ll be extra careful. I can keep weaving and enjoy myself, right???
Broken selvedge end on the right. Ugh.
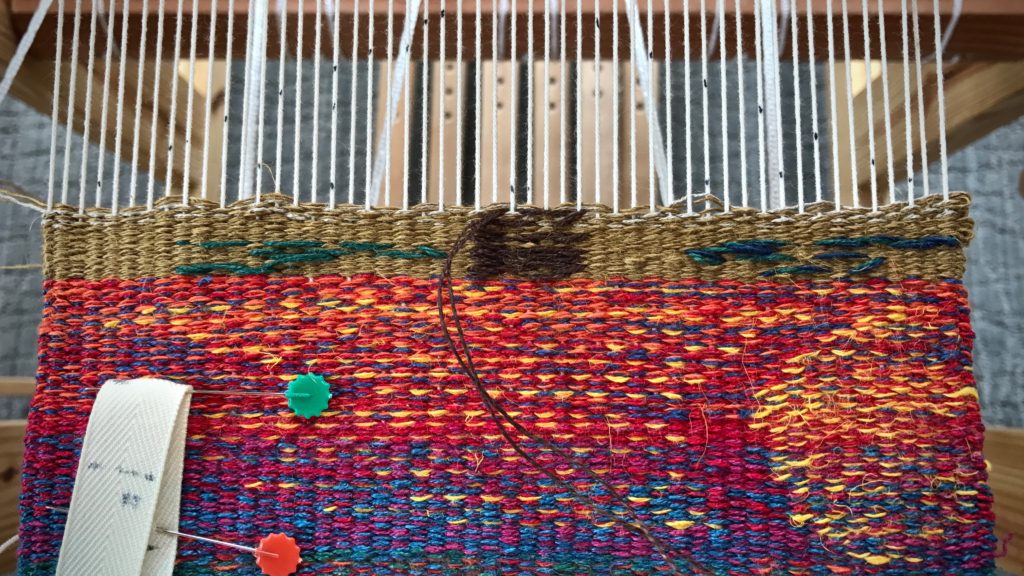
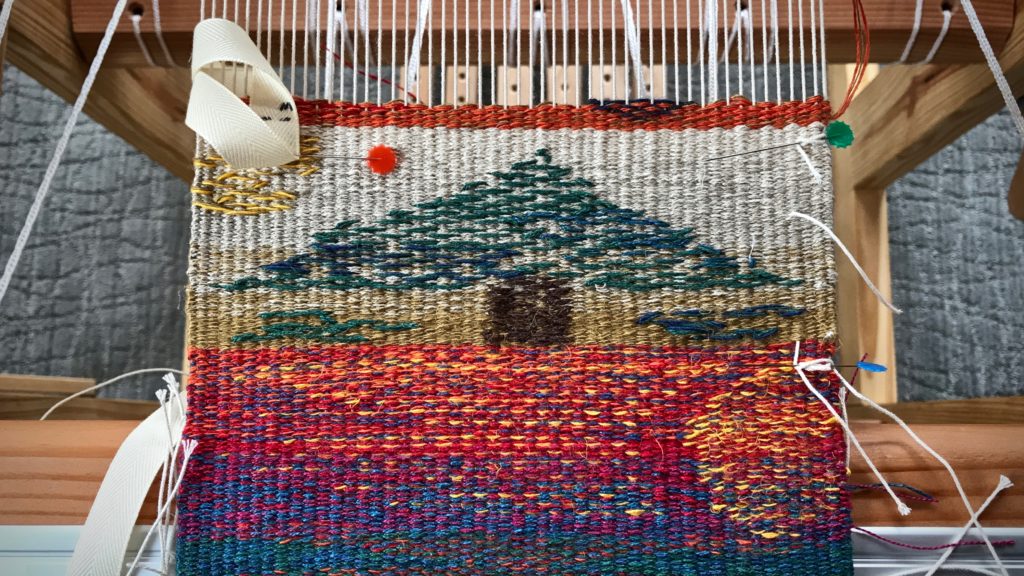
Warp end on the right selvedge frayed to the breaking point. Gone! The weaving must be removed far enough back to reach at least 1/2″ of the warp end in front of the break. That reaches back into the red portion–the first section of the sampler.
Tapestry / inlay sampler on small countermarch loom.
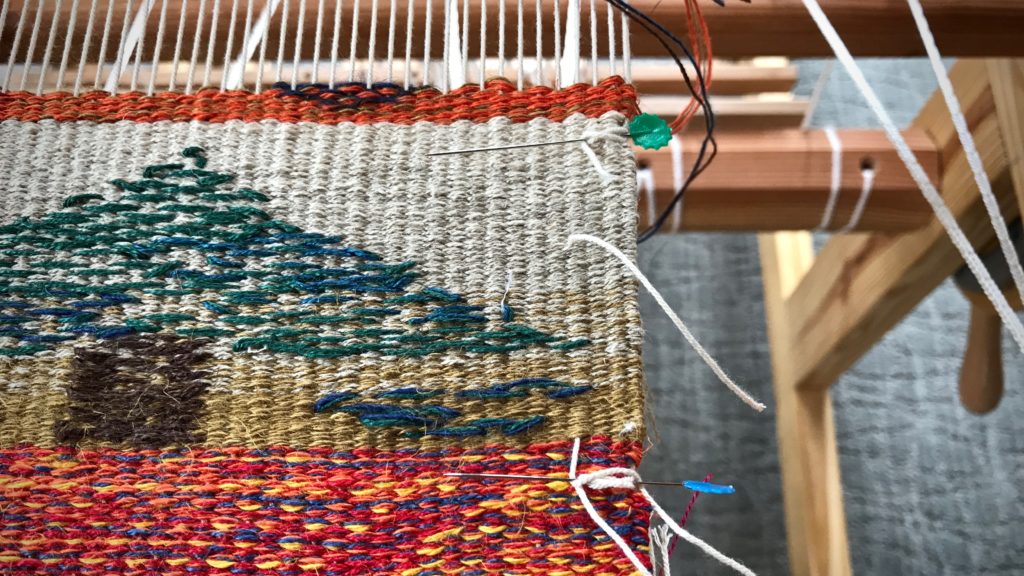
Pin is inserted to secure a new selvedge warp end. The fourth end from the right showed some fraying, so I am splicing in a new piece of 12/9 cotton warp. Learned my lesson.
Original selvedge warp end is now being spliced back in (green flathead pin). Second splice is complete, with thread tail hanging out, to be trimmed after this is off the loom.
Tapestry and inlay sampler. Spliced warp ends fix frayed threads.
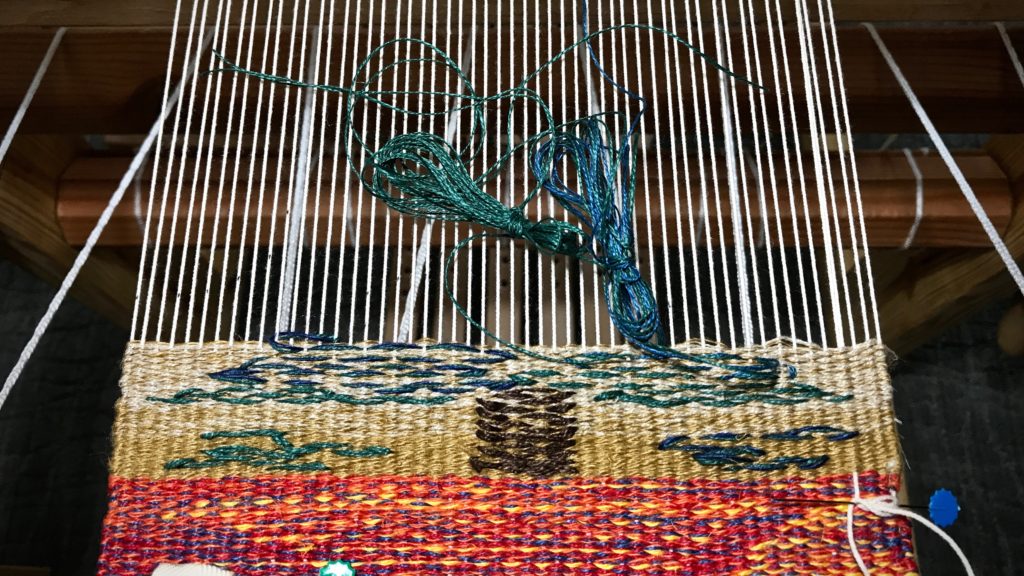
Two sections of the tapestry and inlay sampler are complete.

We tell ourselves if we do what we want, we will be happy. That’s a delusion. Happiness will fail you. It doesn’t last. I was only happy weaving until the thread broke. There is something better than happiness. Faithfulness. It’s better to be faithful in the moment, even if it puts a delay on being happy. Faithfulness lasts. Next time, I hope to choose the long satisfaction of faithfulness over the short-lived gain of happiness.

May your broken selvedge ends be few.

Faithful weaving,
Karen

Cloth Beam Matters

Does it matter what happens at the cloth beam? Why not let the woven fabric go around the beam as is and forget about it? You have worked diligently at every stage to ensure an even warp. Now, preparing the cloth beam for cloth will ensure the warp remains even.

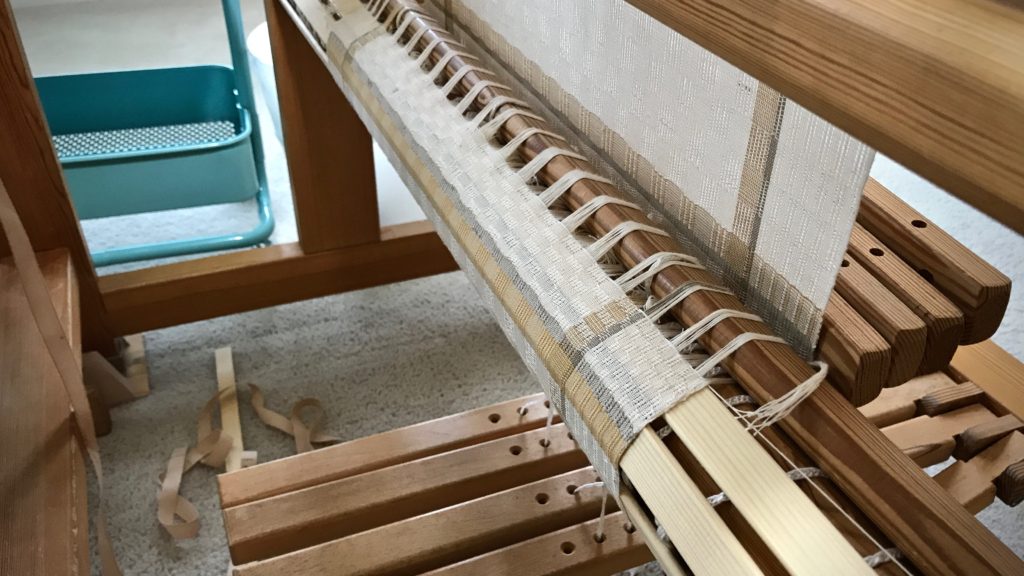
Warping slats are placed on the cloth beam.
Warping slats cover the cords and knots on the cloth beam so the handwoven fabric has a flat surface to lay against.
Warping slat over the tie-on bar prevents the tie-on threads from putting bulges in the fabric. Bulges can distort the fabric and put uneven tension on warp ends.
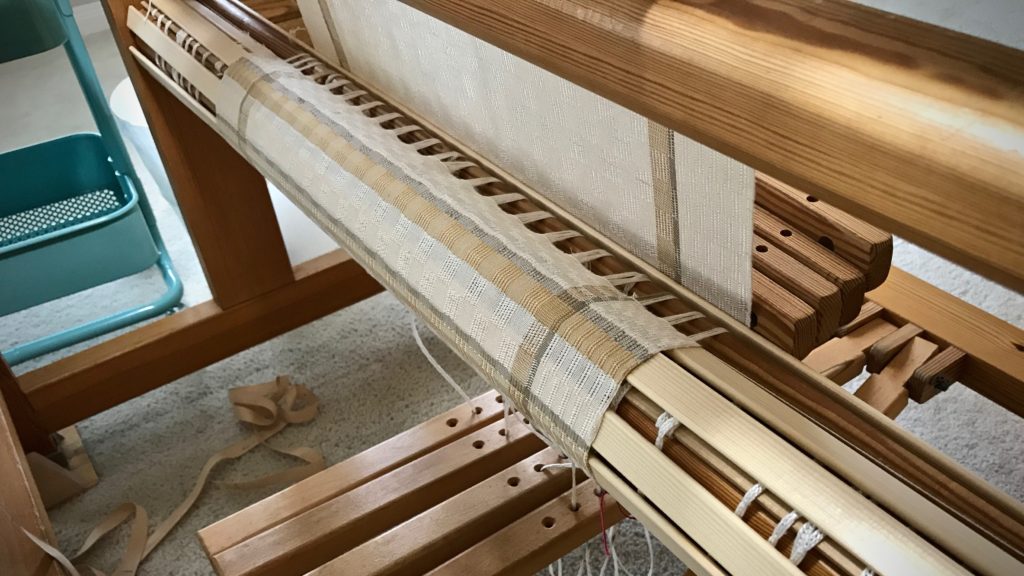
Warping slats around the cloth beam for a smooth start.
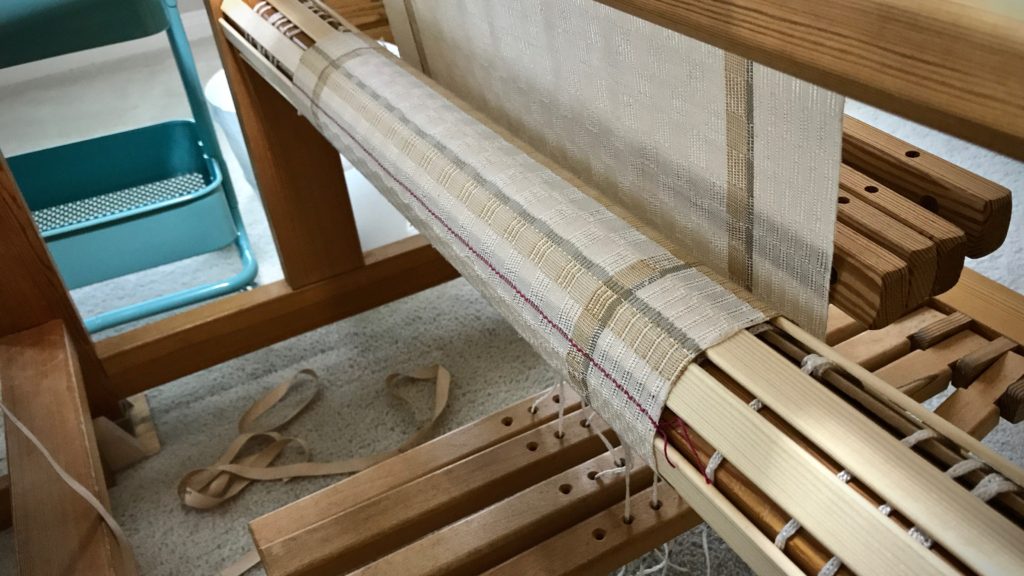
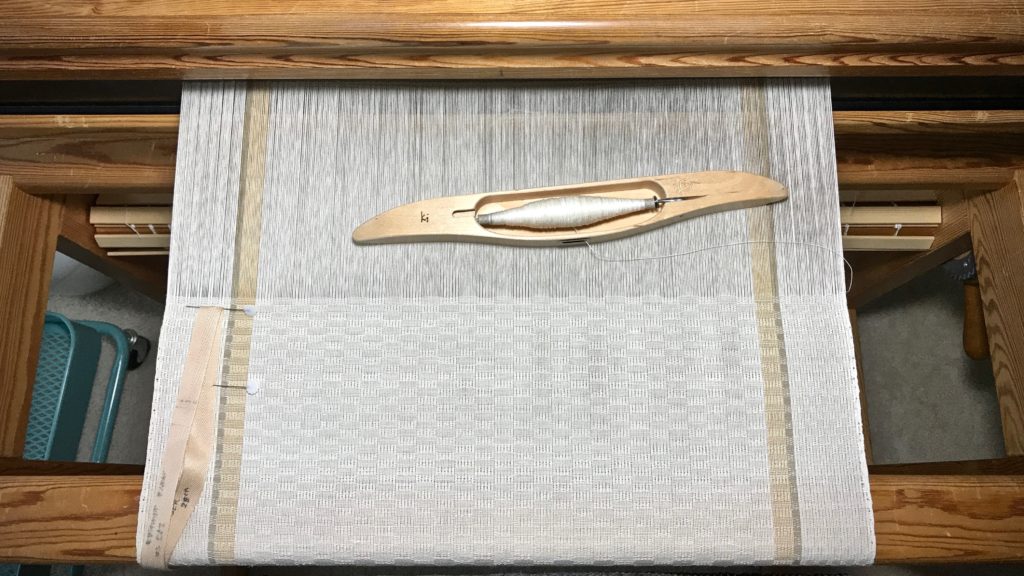
When the warping slats have covered one full revolution of the cloth beam, no more slats are needed. The twill pre-measured tape on the floor gives a clue to the extended length of this table runner on the loom.

The cloth beam holds obstacles that threaten the evenness of your warp. Any raised surface on the beam, like beam cords and tie-on knots, will distort the warp tension as the woven fabric wraps around it. Warping slats solve the problem. I lay in the slats around the beam, one by one, as I advance the warp. This forms a flat surface around which my freshly-woven fabric can hug as the cloth beam turns.

M's and O's long table runner. Linen weft.
Long M’s and O’s table runner on the loom. The sample piece and towel that preceded the table runner have already reached the cloth beam.

Fear makes obstacles for our path that disturb our peace and threaten our well-being. Trust in the Lord. Trust pushes fear aside. The day you are afraid–the moment you are afraid–put your trust in God. Know that the Lord is for you. Your trust in Him forms a firm layer to build your life on. Like the warping slats that are in place for your handwoven cloth, your trust in God is a foundation on which to roll the fabric of your life.

May you walk without fear.

Peace,
Karen

Quiet Friday: Risky Way to Fix a Threading Error

We all have threading errors from time to time. This time I completely transposed the threading on shafts one and two. I saw the error when I started weaving; the pattern in the cloth was not as it should be. After a few days of contemplating, arguing with myself, and studying the error, I decided on an ingenious and risky fix (I hinted at it in My Best Weaving Stunt to Date!). Switch the two mis-threaded shafts. Yikes! One slip up could bring the whole warp down–figuratively and literally. I caught myself holding my breath several times through the process. Gently hopeful, but not 100% sure that my plan would work. Thankfully, it did work.

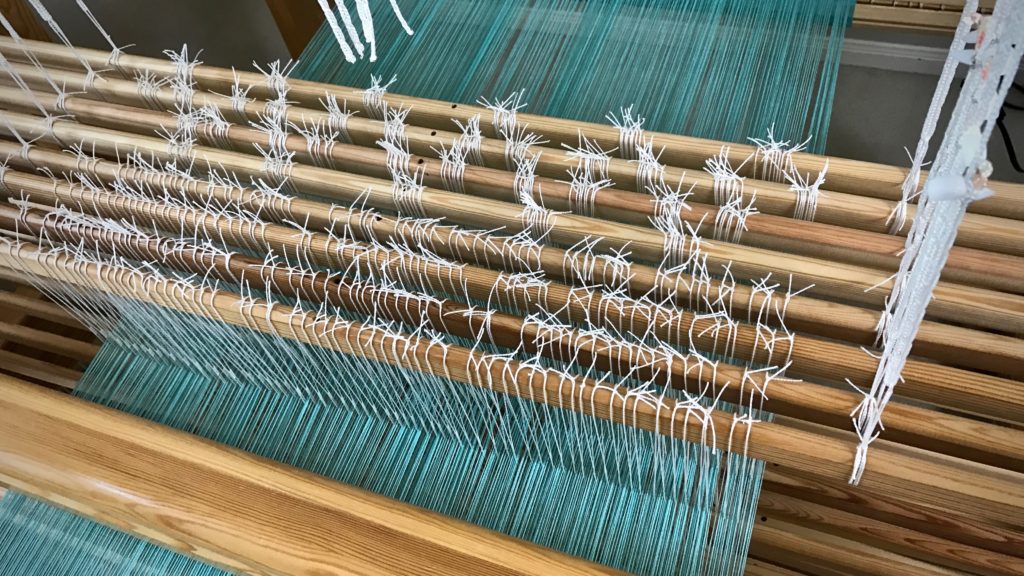
The threading went from this

Threading error and a risky fix. Switch 2 shafts!
Shafts 1 and 2 (counting from back to front) have been threaded incorrectly. Shaft 1 should be 2, and 2 should be 1.

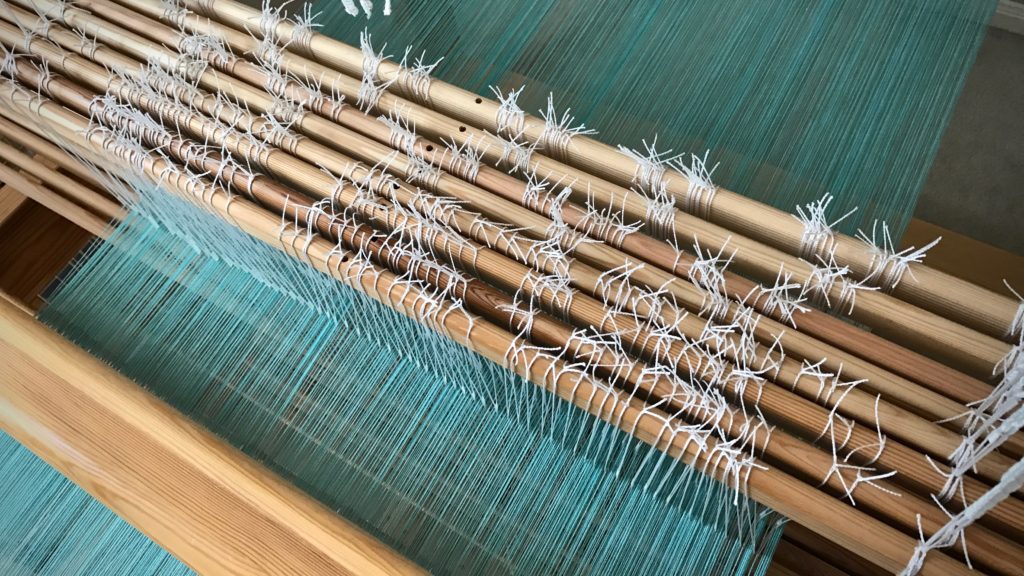
to this

Risky way to fix a threading error. Video.
Shaft bars 1 and 2, upper and lower, have been switched. The operation was similar to transferring lease sticks in the back-to-front warping process.

Here’s a short video that shows the maneuvers I did to correct the error. No re-threading needed! The kuvikas square within a square wins!

May you be brave enough to take appropriate risks when needed.

Happy Problem Solving,
Karen

My Best Weaving Stunt to Date!

Do you ever go out on a limb? I’ve been known to play it safe. But not today! My excitement for weaving this kuvikas structure was severely dampened when I saw that the pattern in the cloth was not the pattern I intended. What happened? I had switched the threading for shafts 1 and 2! Consistently, too–all the way across the warp.

Start of kuvikas (summer and winter), and discovery of threading error.
While testing weft color options, I realize that this is NOT the pattern for which I thought I had threaded. Even though this pattern does reveal an “I” for “Isenhower,” I had my heart set on a square within a square.

I could leave the threading as is. No one would know. Oh, the arguments I had with myself at this point. “Take it out, and re-thread.” “You’d be crazy to take it out and re-thread.” The crazy self won. (I did find myself asking, “What solution would Becky Ashenden, the weaving solution genius, come up with?”) Here is the stupendous thing: I was able to correct the pattern by doing shaft-bar gymnastics. And no re-threading! What?! (I documented the process and will bring it to you in my Quiet Friday post at the end of the month.)

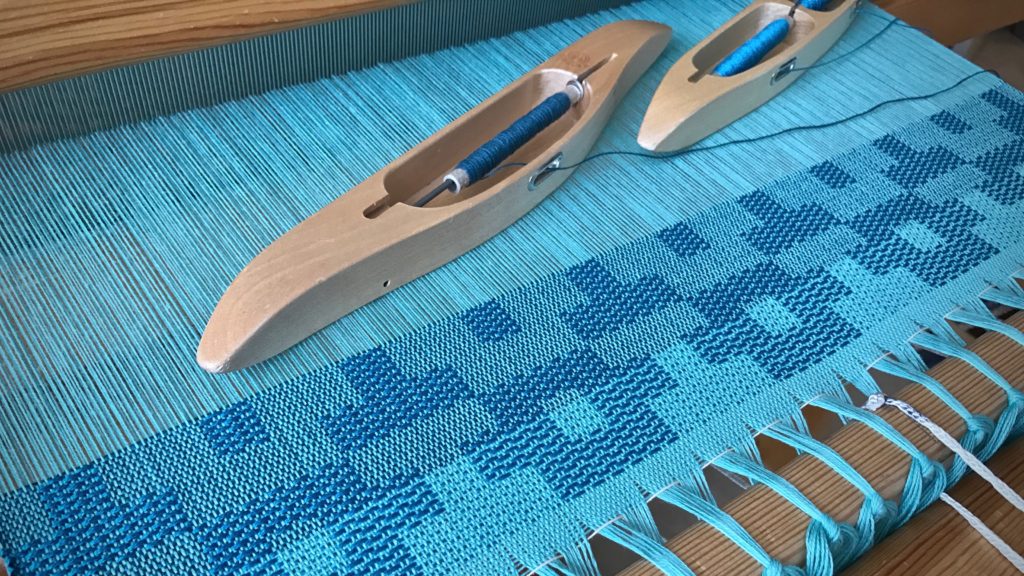
Kuvikas (summer and winter), cotton tabby and tencel pattern weft.
The sight of these little squares within squares makes me extraordinarily happy! 8/2 cotton tabby weft. Doubled 8/2 Tencel pattern weft. Kuvikas, as this weaver intended it to be.

There are times when we are called to go out on a limb. It’s the right thing to do. But the prospect is overwhelming. We ask, “Who? Me?” And “How, Lord?” Trust the Lord, one step at a time. He will be with you. Marvelous things will happen, catching even you by surprise.

May you know when to go out on a limb.

Happy,
Karen