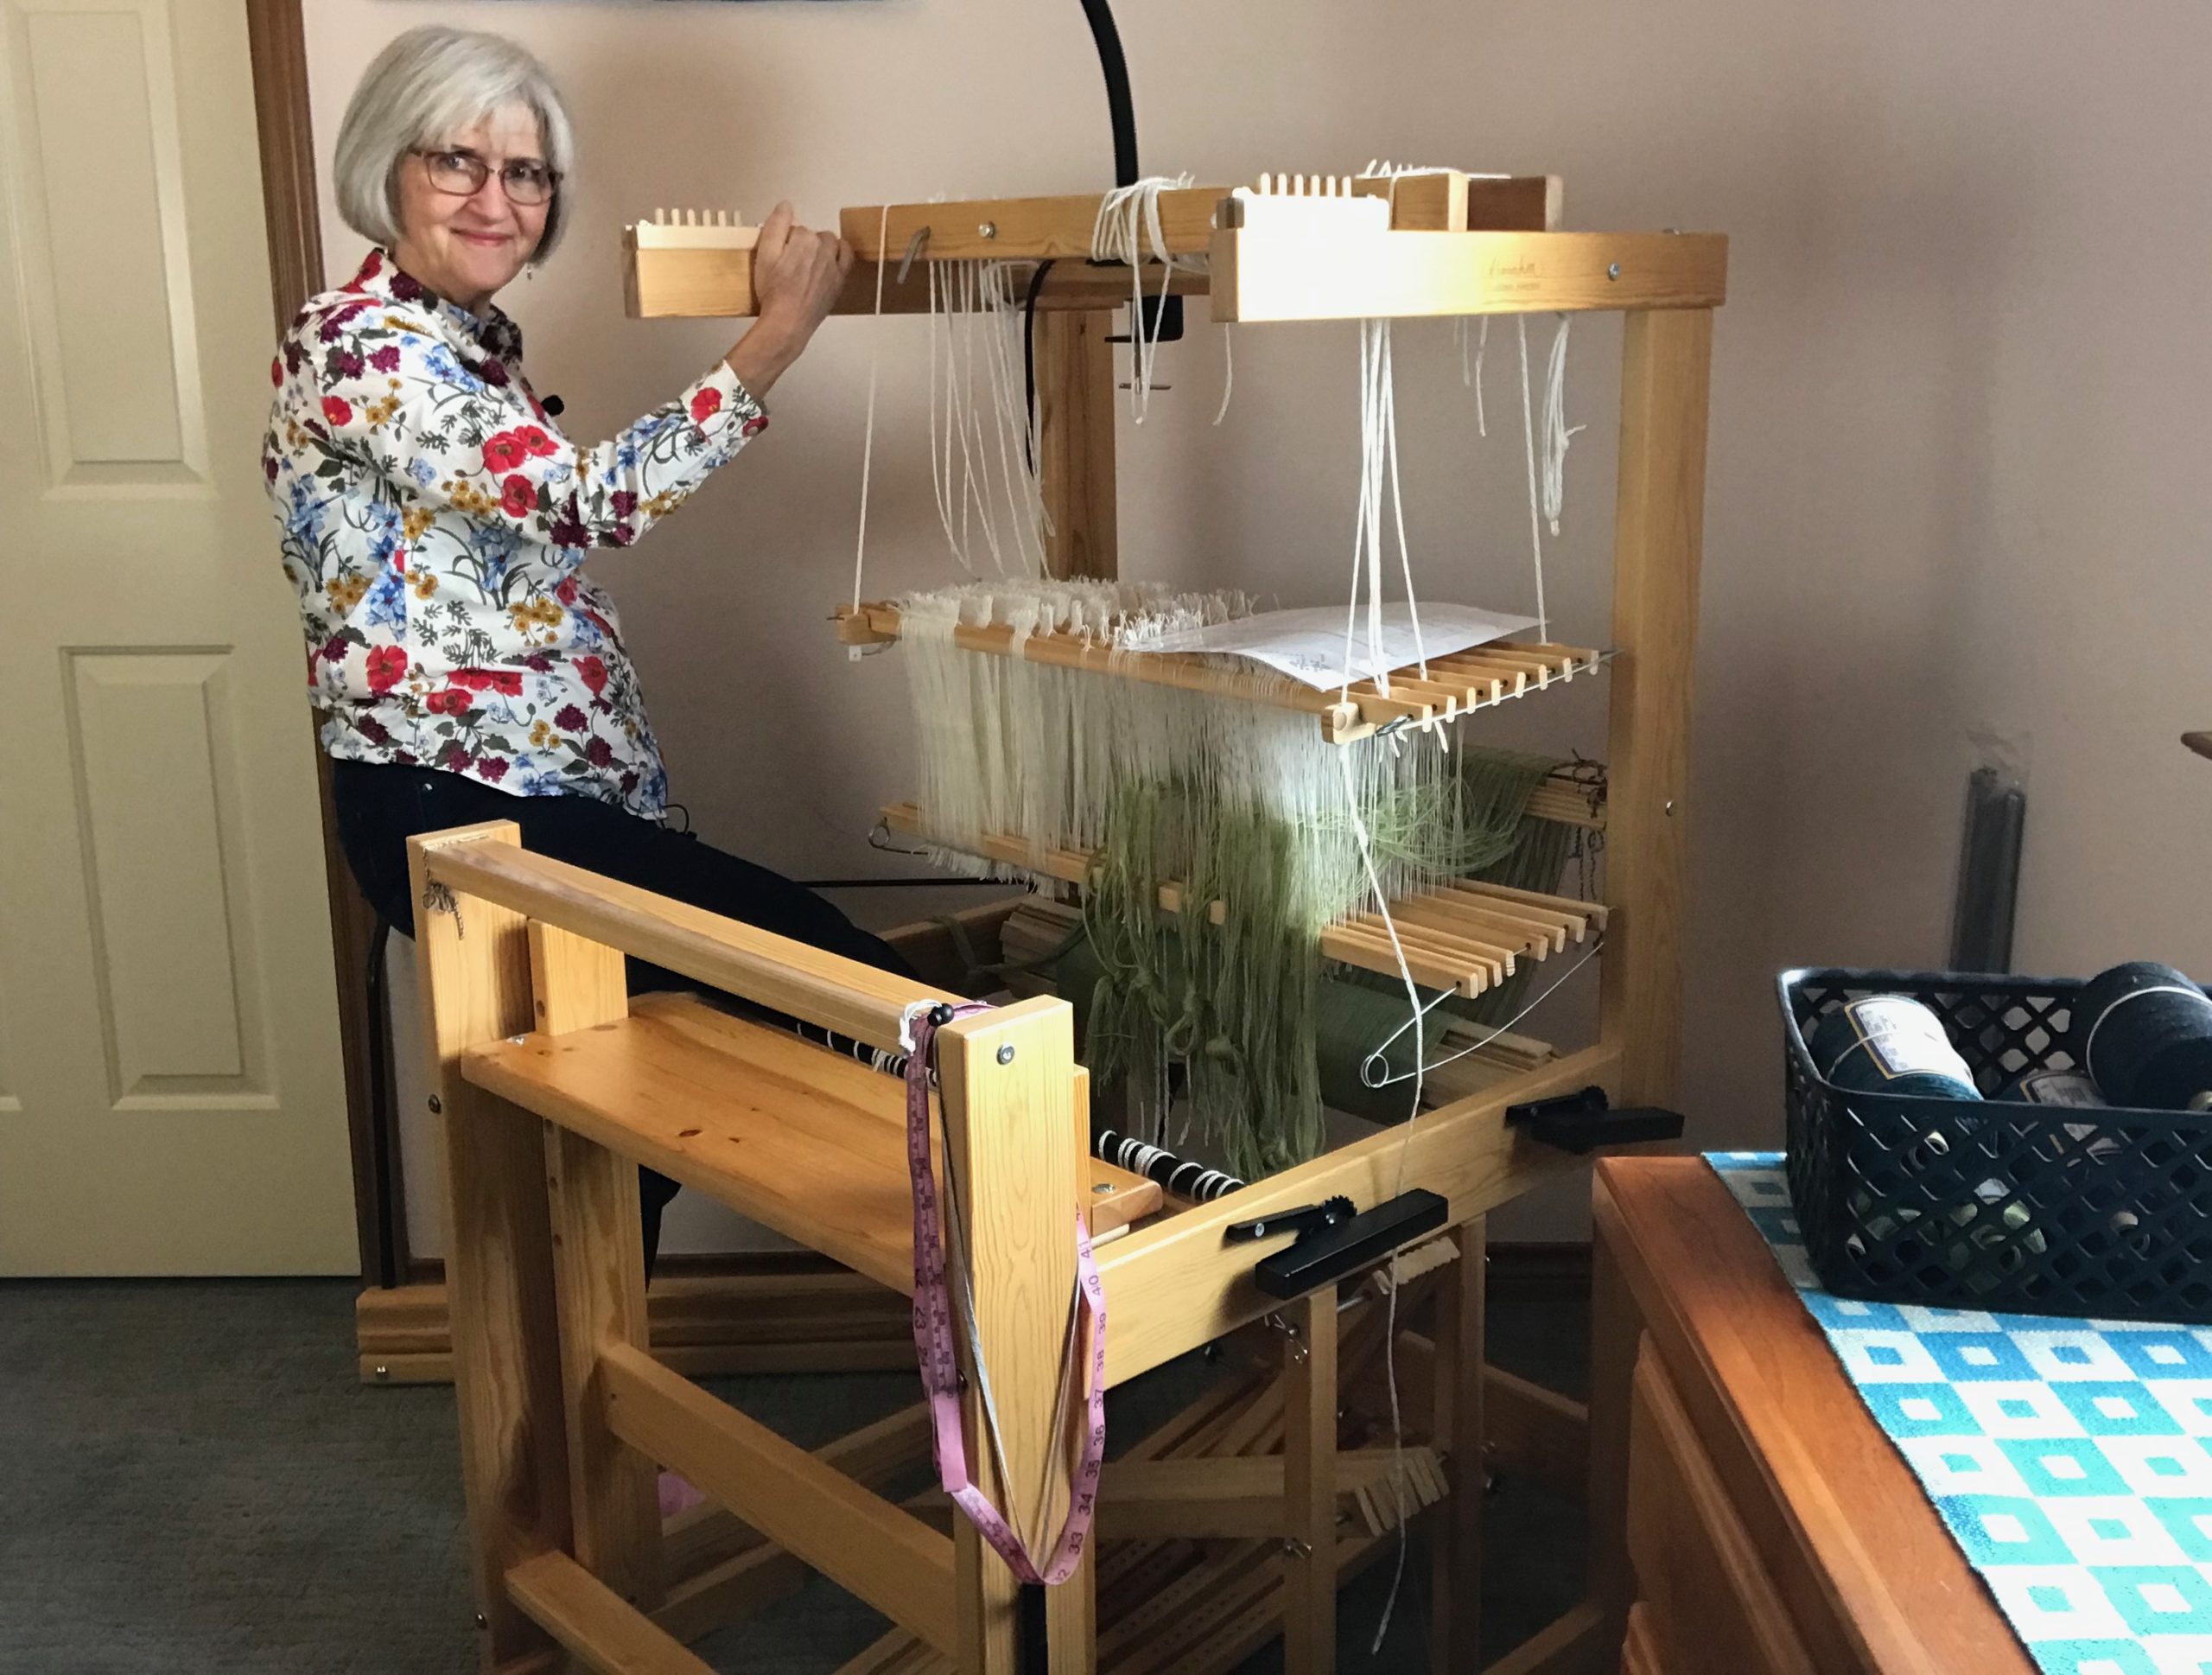
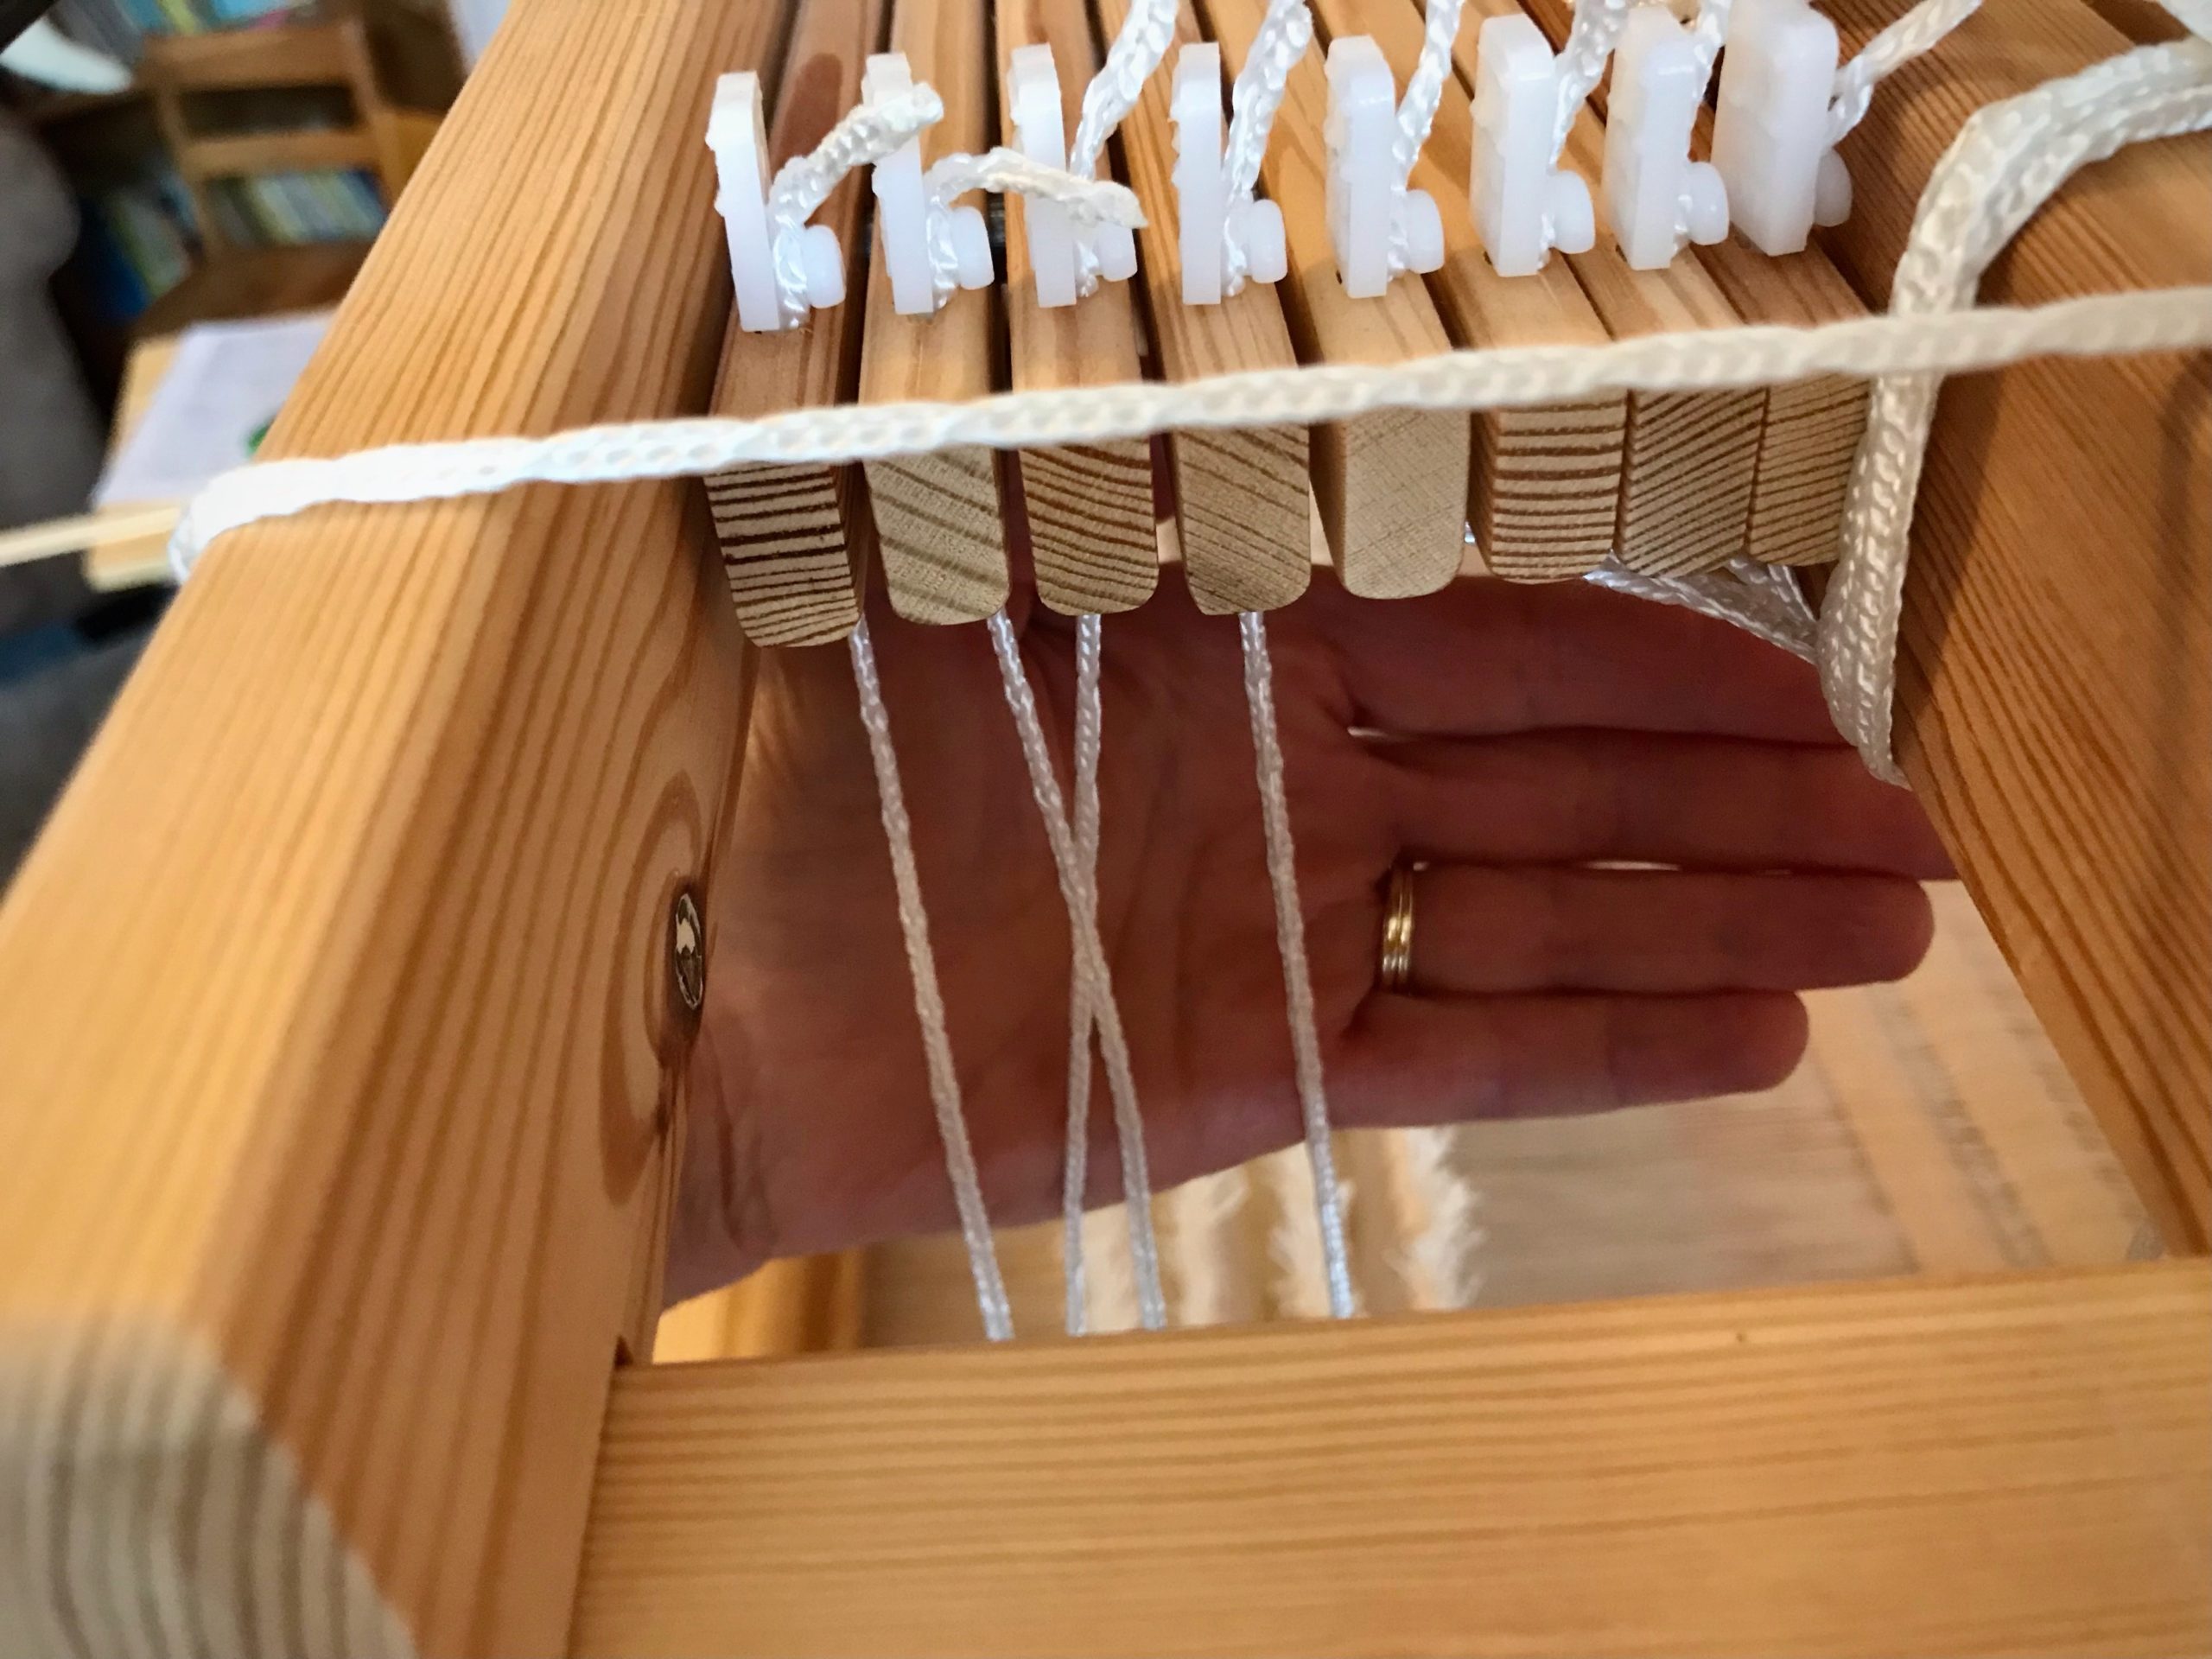
How easy is it to threadheddles on the Glimåkra Julia? It may surprise you that I like to put my loom bench inside the Julia, and then sit there to do the threading. It’s comfortable for me. Watch the video below to see how I get in and get out of the small space.
Climbing into my little “playhouse” for threadingheddles.Sitting in the Julia loom is a comfortable way for me to thread the heddles. I like to keep the shafts low so I can see the back beam, and keep my shoulders relaxed, as well. I look down through the shafts to see the heddles as I thread them.
Don’t worry, that’s not the only way to thread this petite loom. In the video I also show how to bring the shafts forward so you can comfortably thread the heddles while sitting on the loom bench in front of the loom.
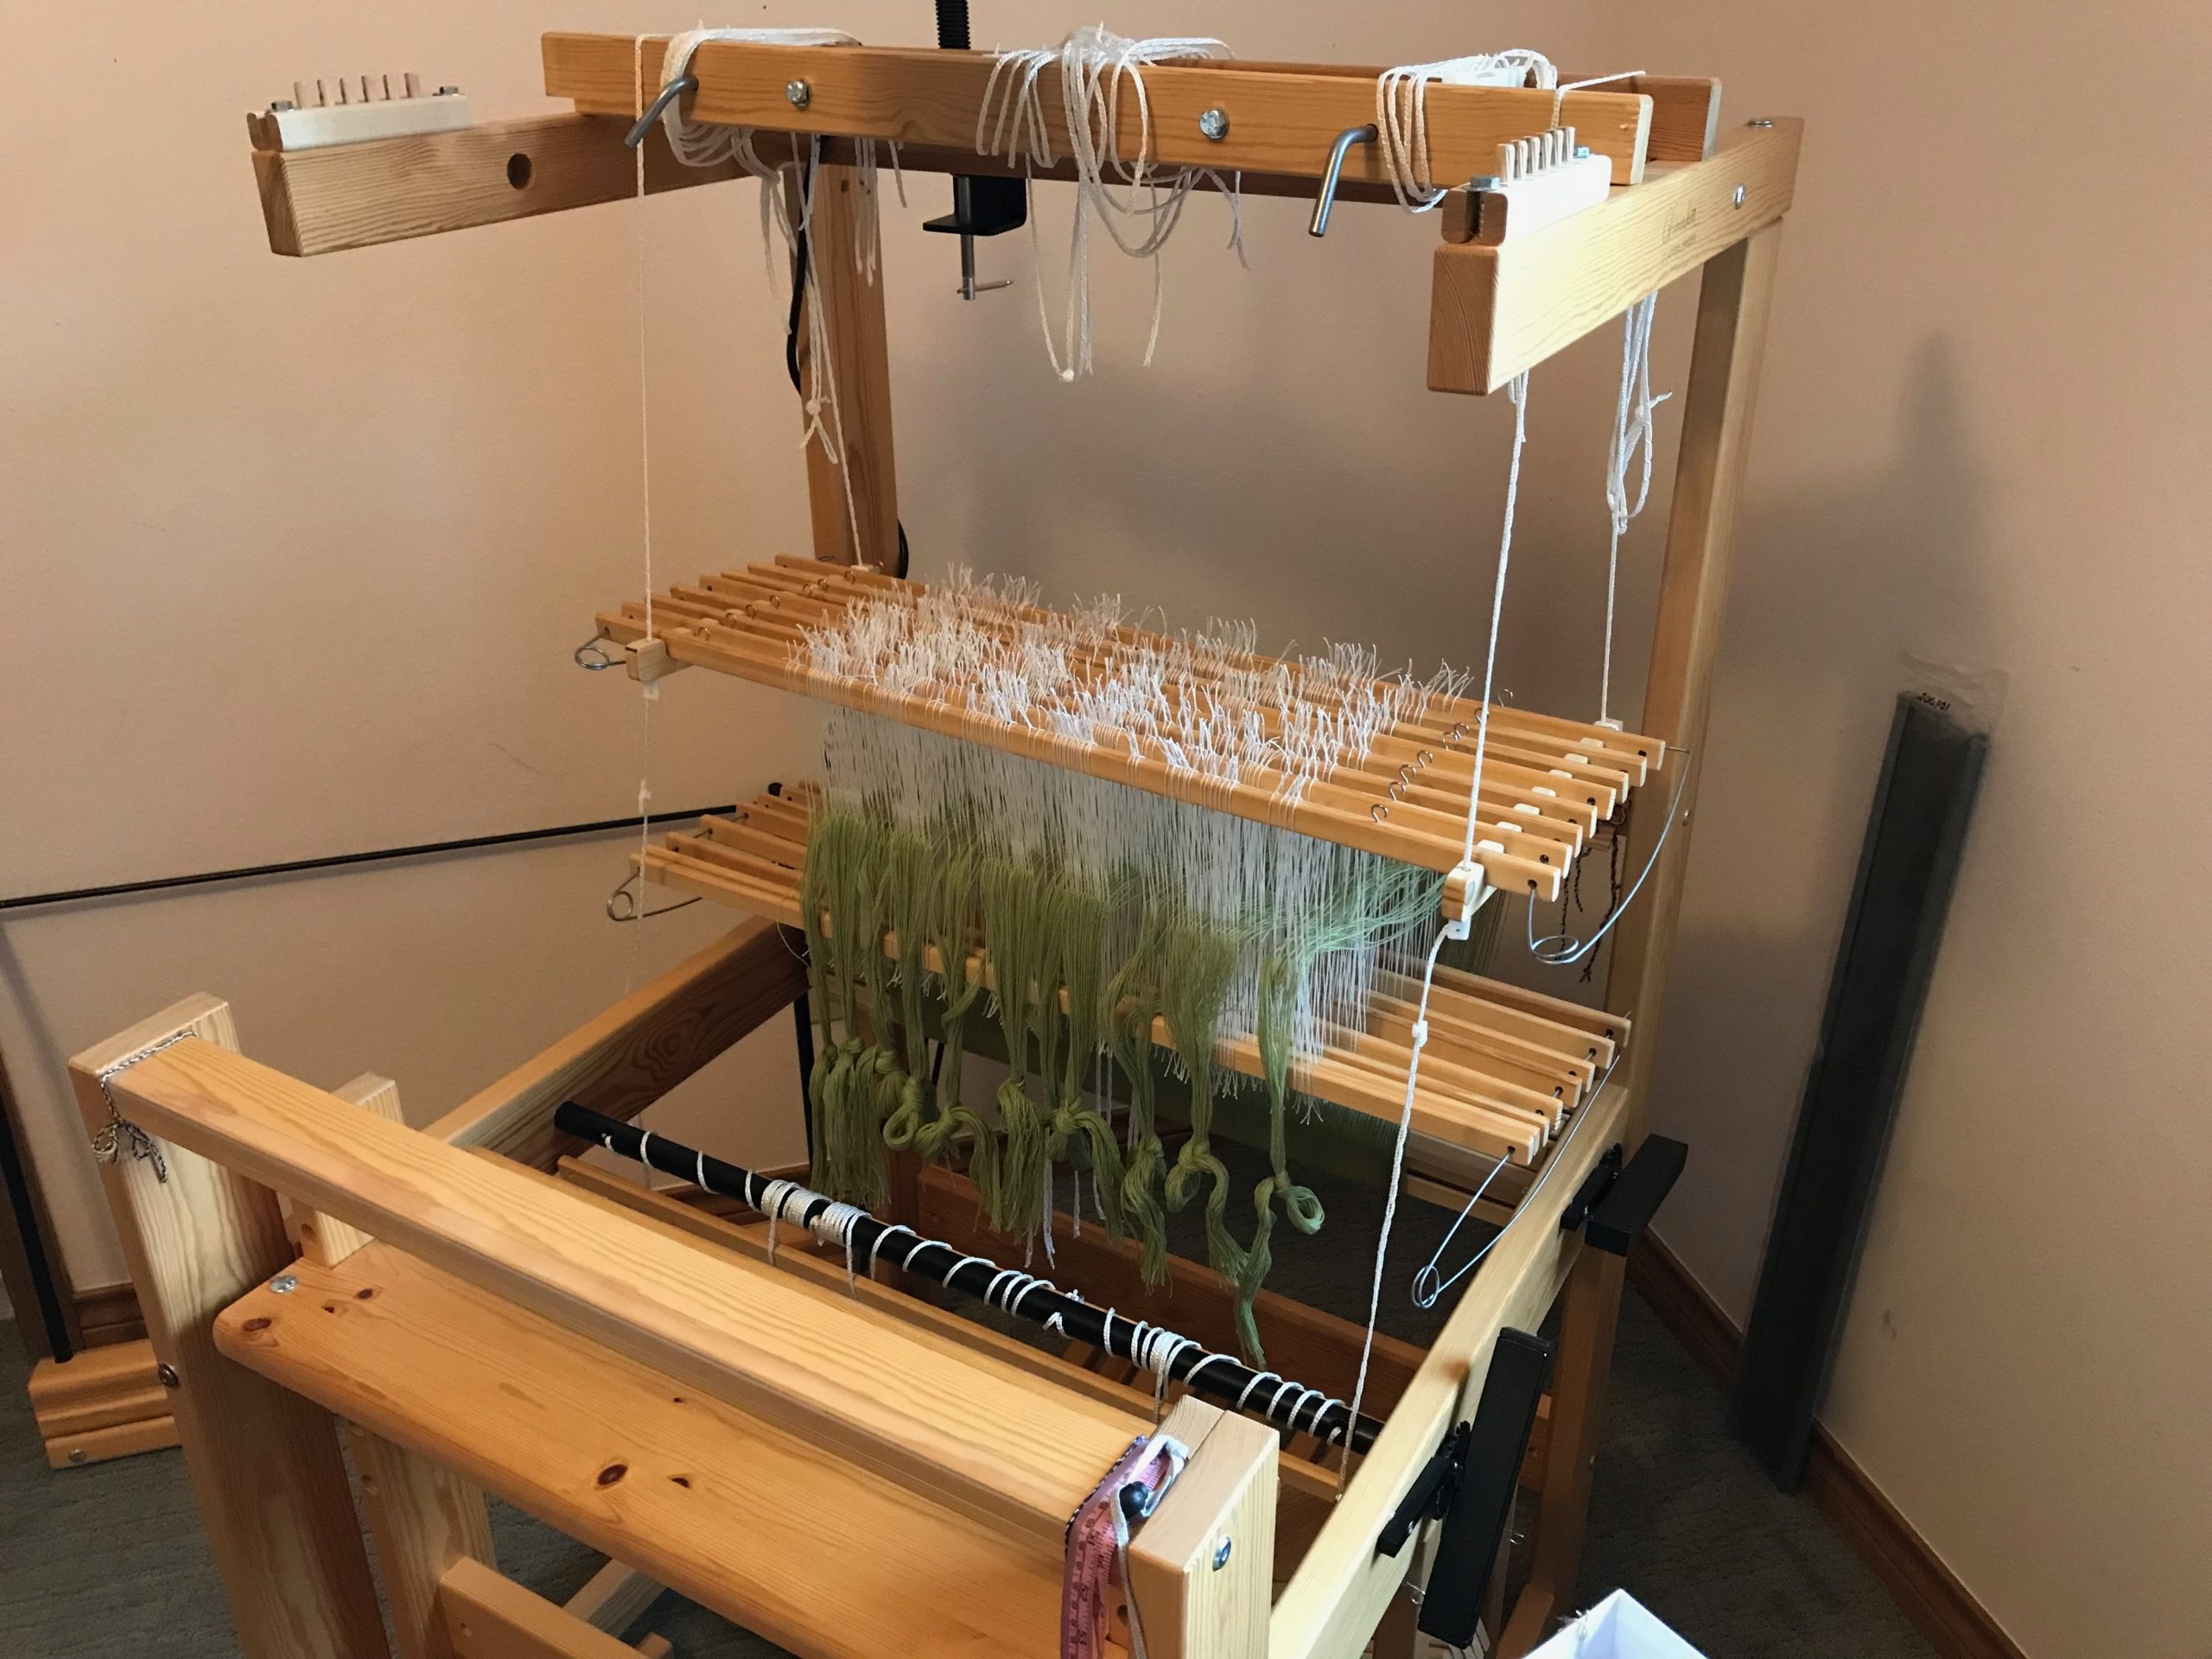
Heddles are threaded. It won’t be long now till we see some woven fabric!
Enjoy!
May you find ways to keep doing what you love to do.
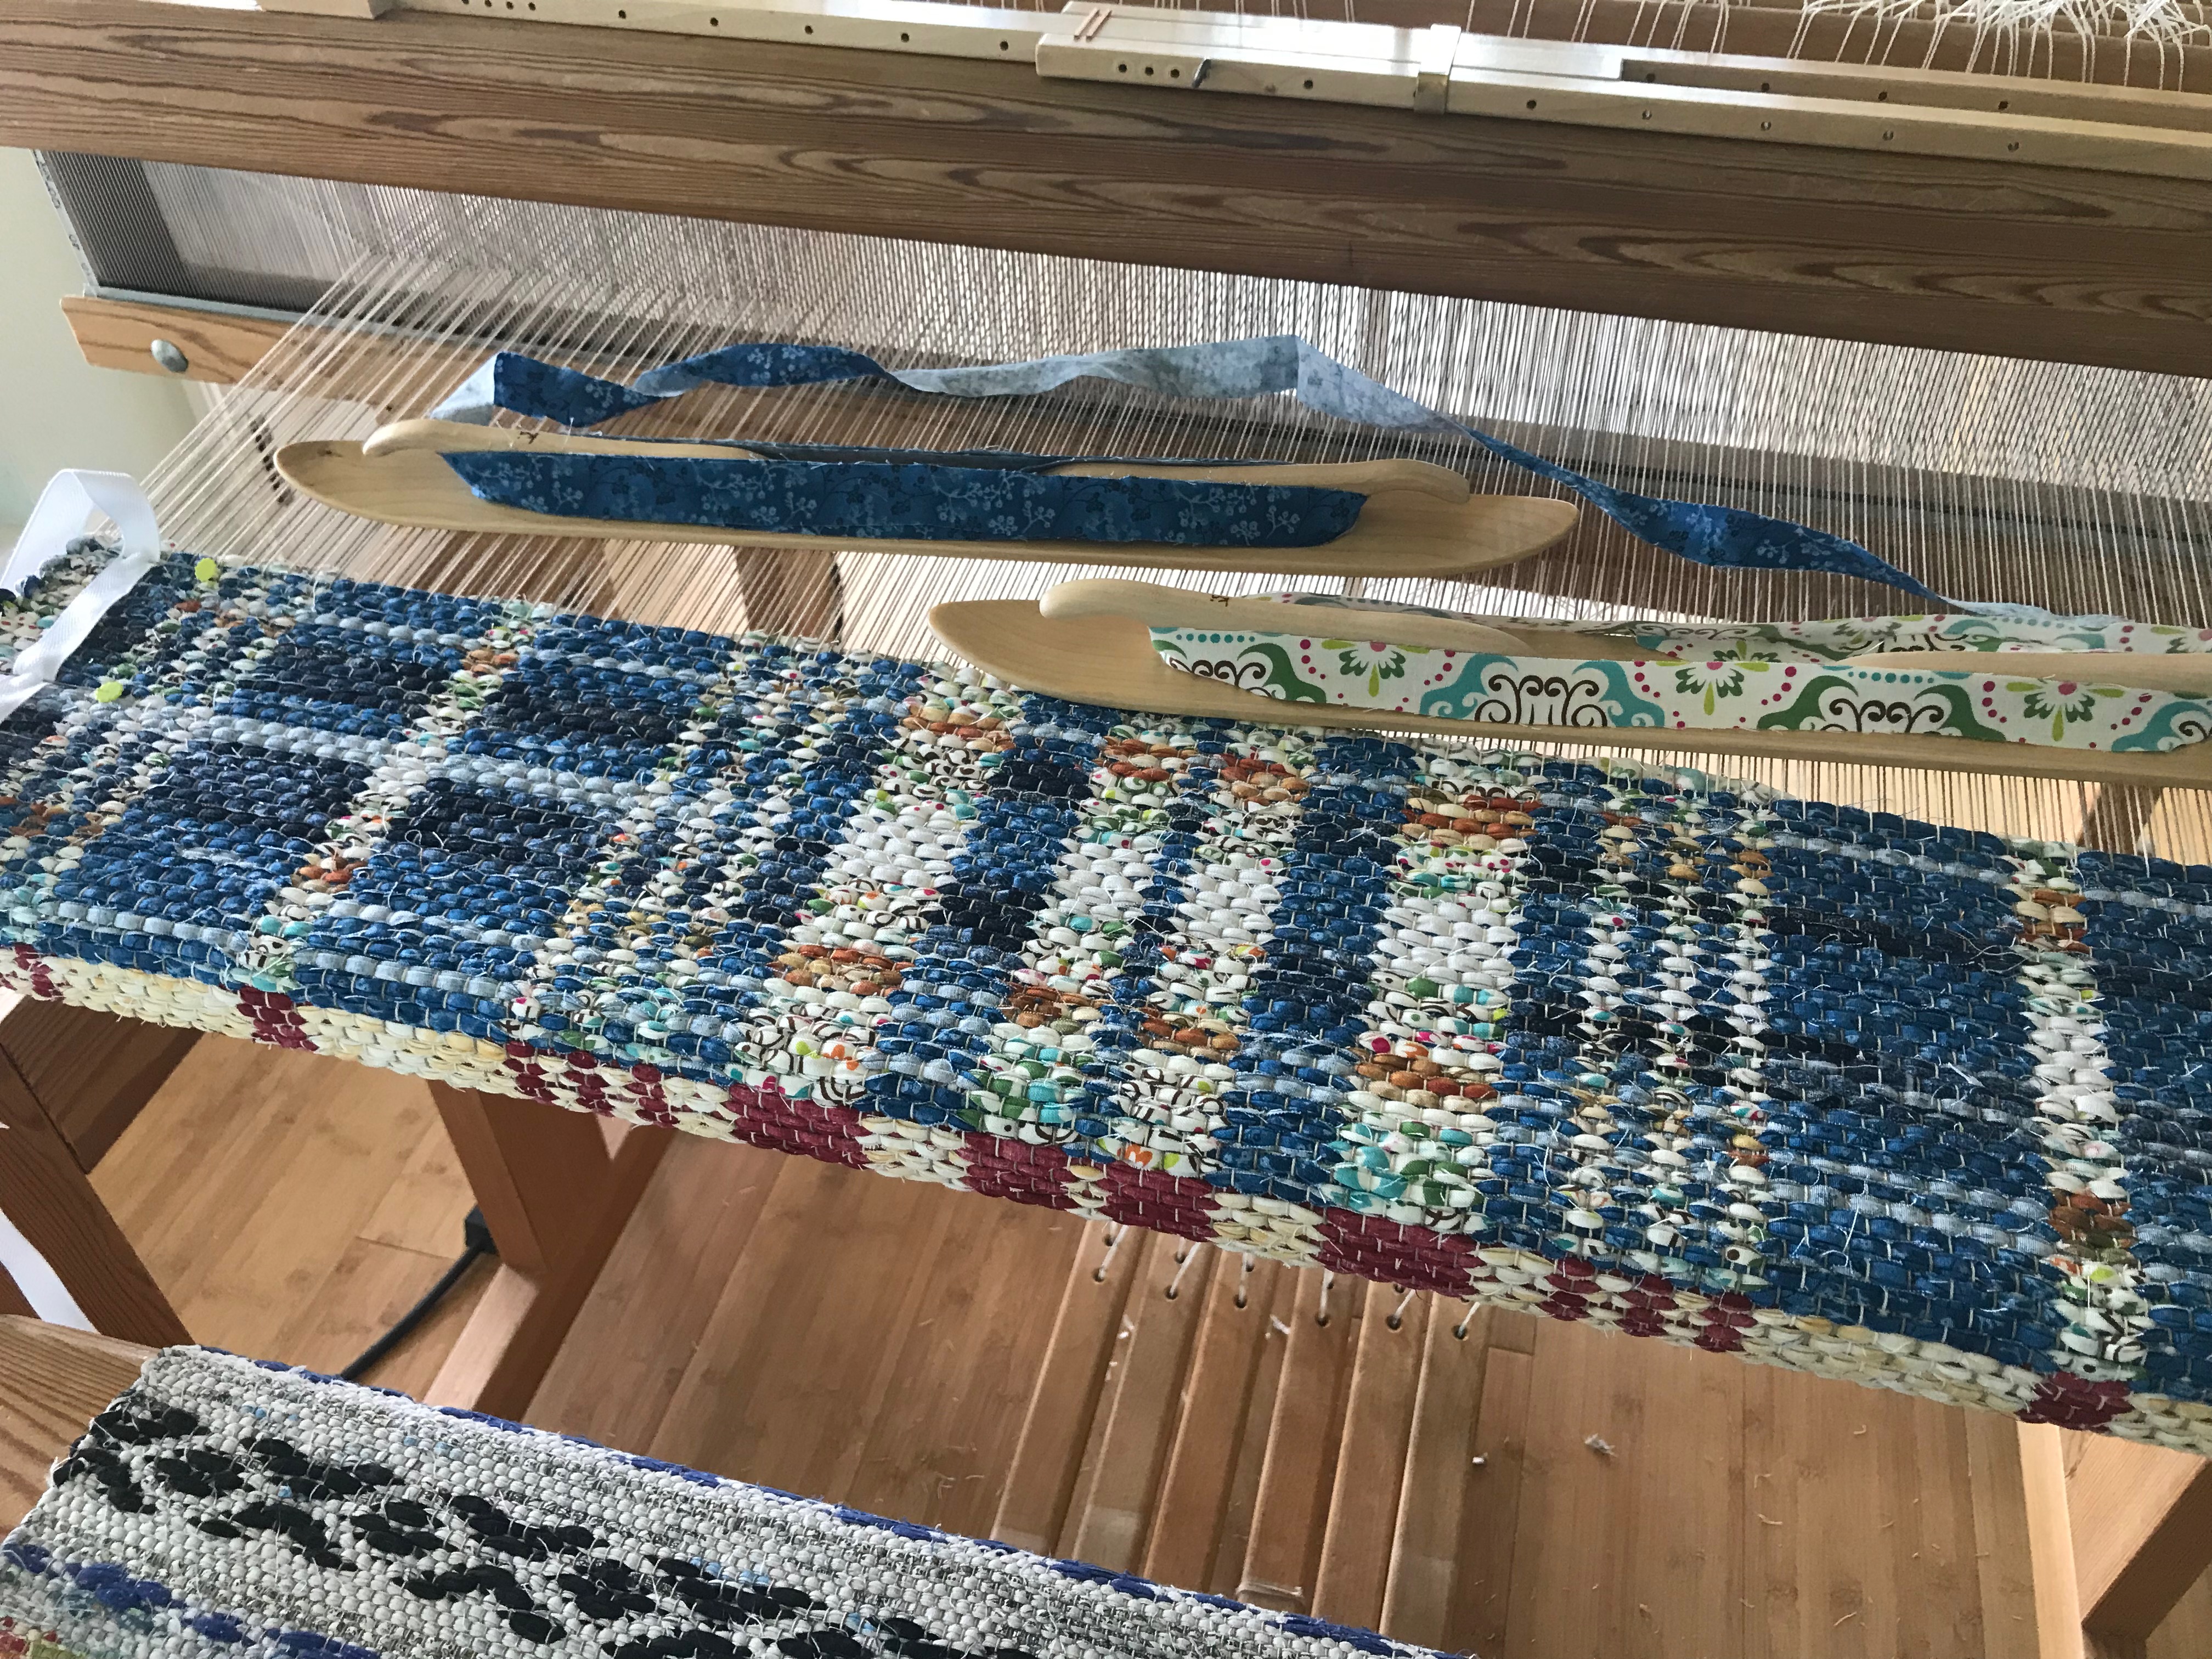
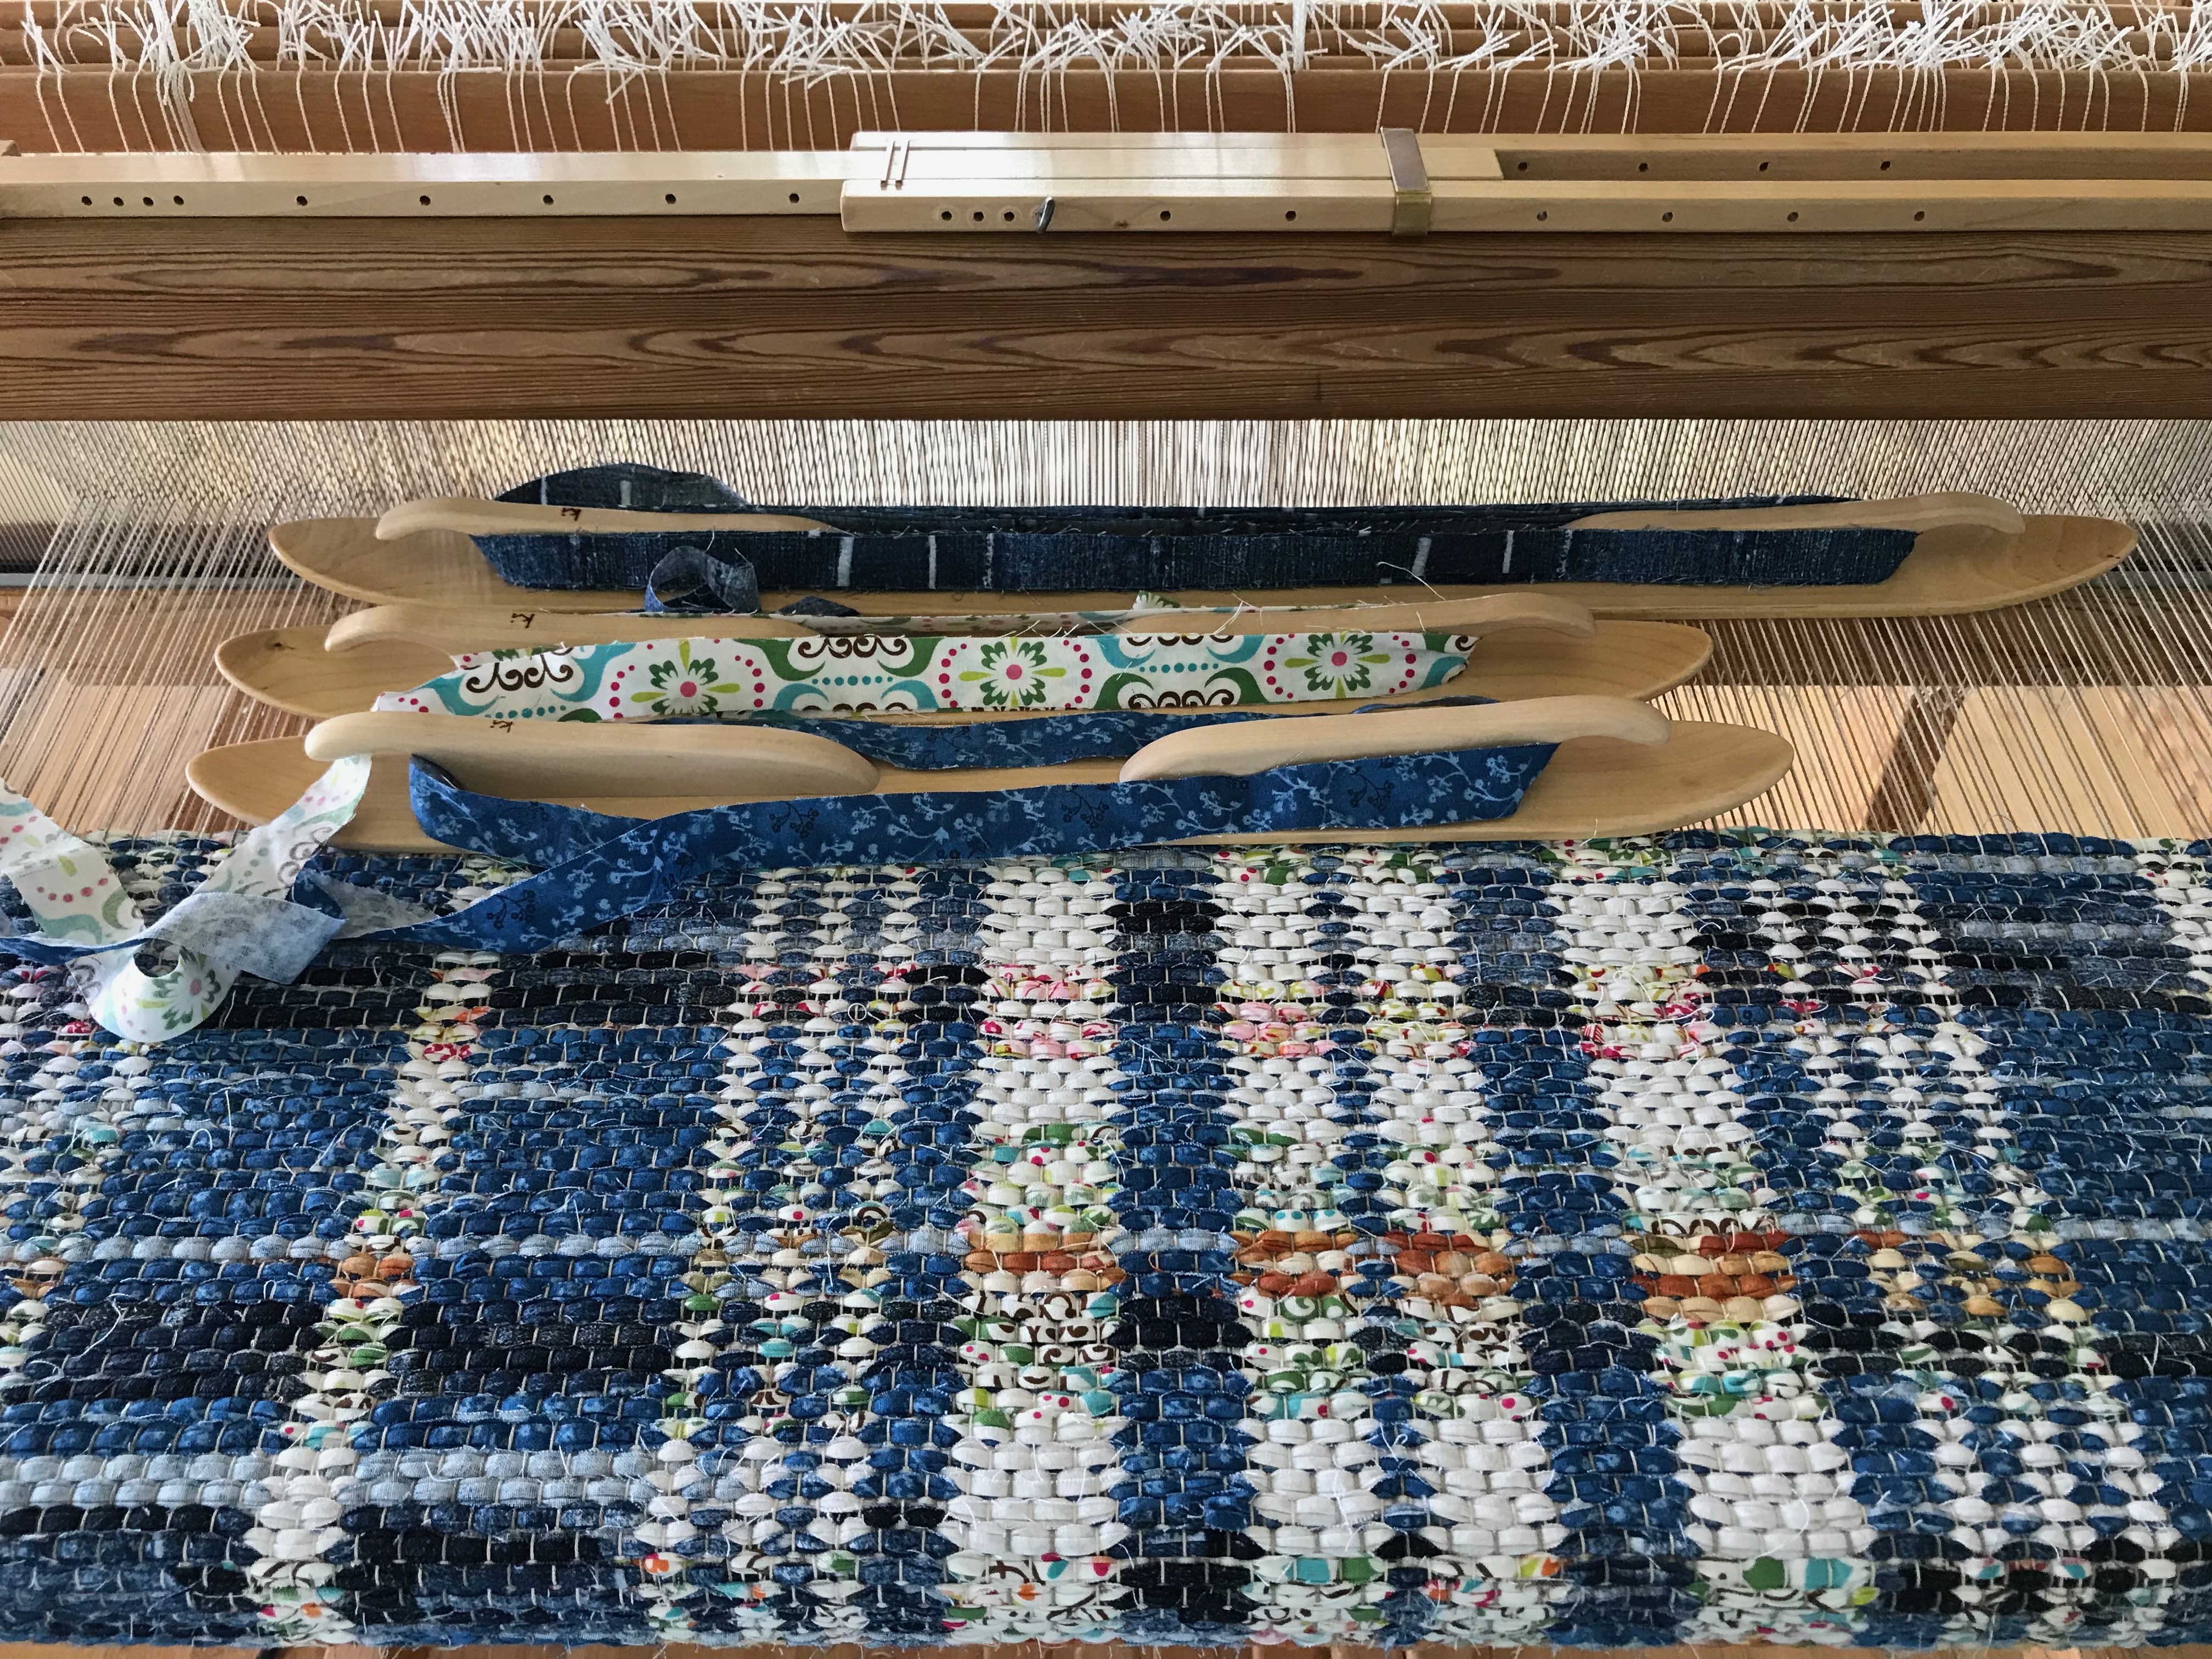
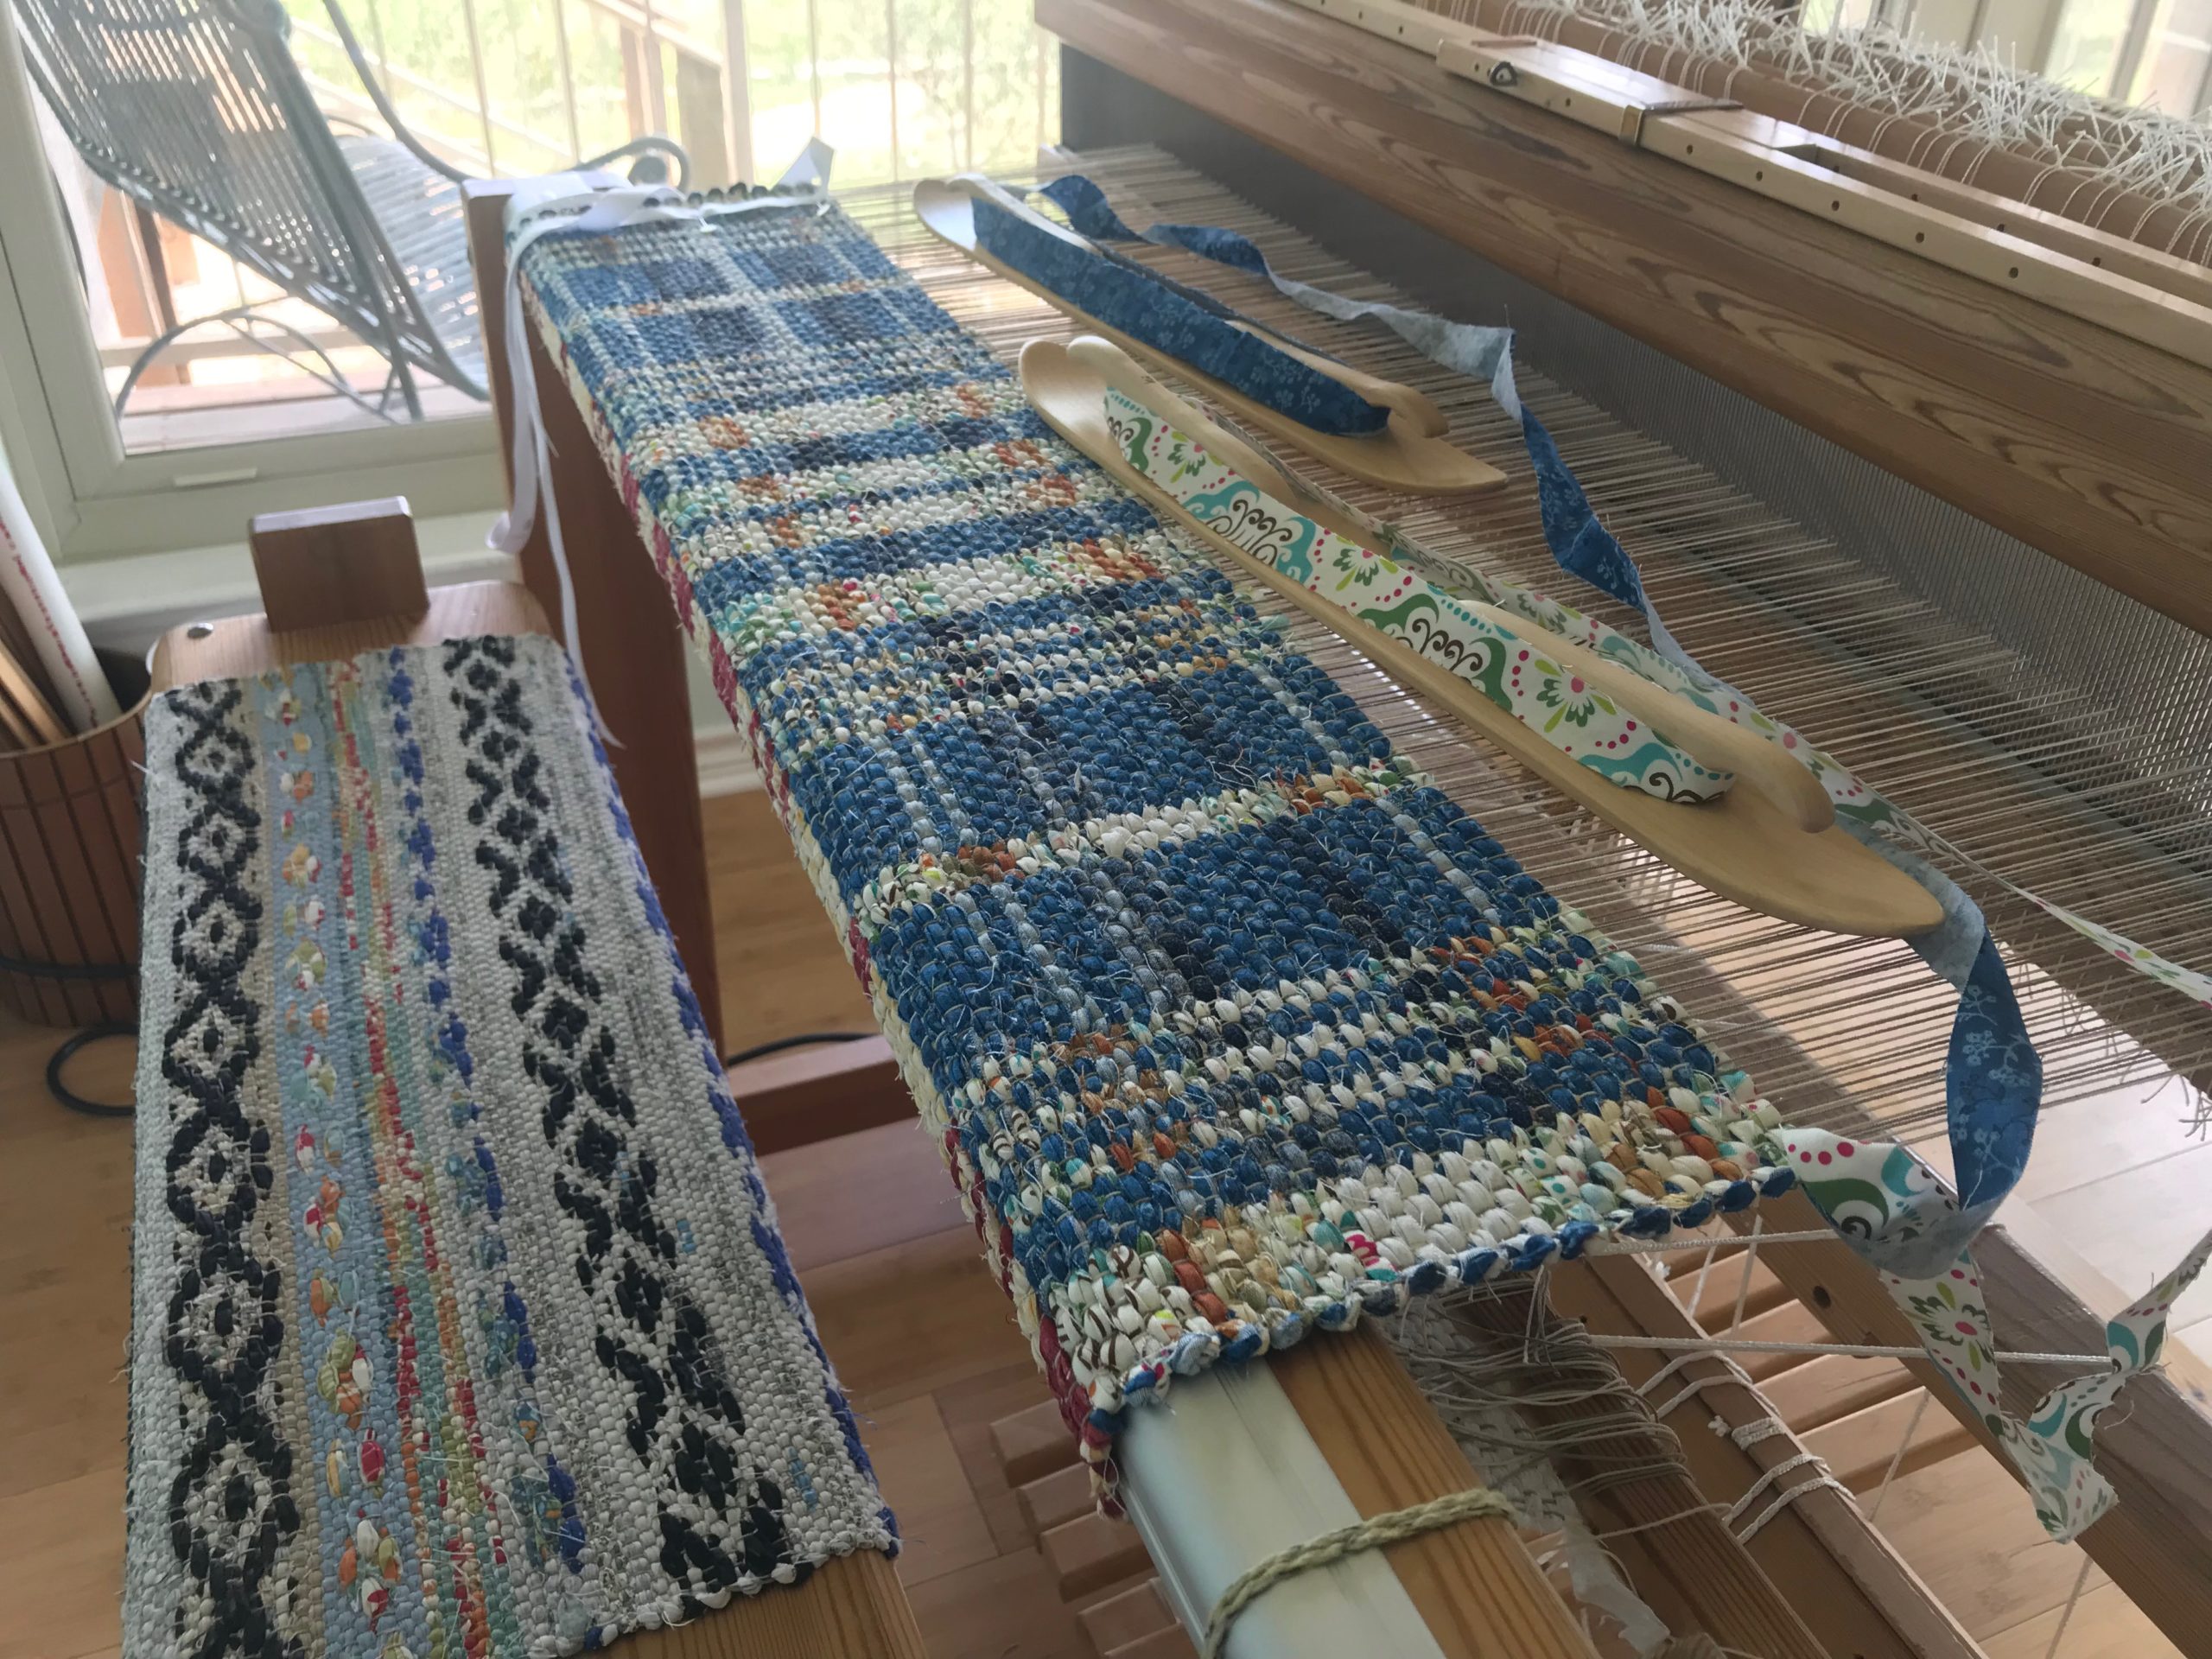
Ski shuttles are a rag-rug weaver’s best friends. A few simple tips for using a ski shuttle make rag-rug weaving even that much more fun.
Ski shuttles are fun tools to use for weaving rag rugs.In the video I explain why I don’t use the longer ski shuttle very much.
In the video below I tell you why I prefer Glimåkra ski shuttles, and how I wind the weft fabric on my shuttle. And I share two quick tips to make weaving with a ski shuttle a bit more manageable. If you are an experienced rag-rug weaver you probably already know these things. Watch to the end to see a short demo, plus a little blooper. Enjoy!
Ski shuttles by Glimåkra are just right for me. They fit nicely in my hands, have a low profile that slides easily through the shed, and are artistic in design.
UPDATE: I no longer use the cheater bar, as it could put too much force on the loom parts. Instead, I loosen the front ratchet first, and then I am able to loosen the back ratchet.
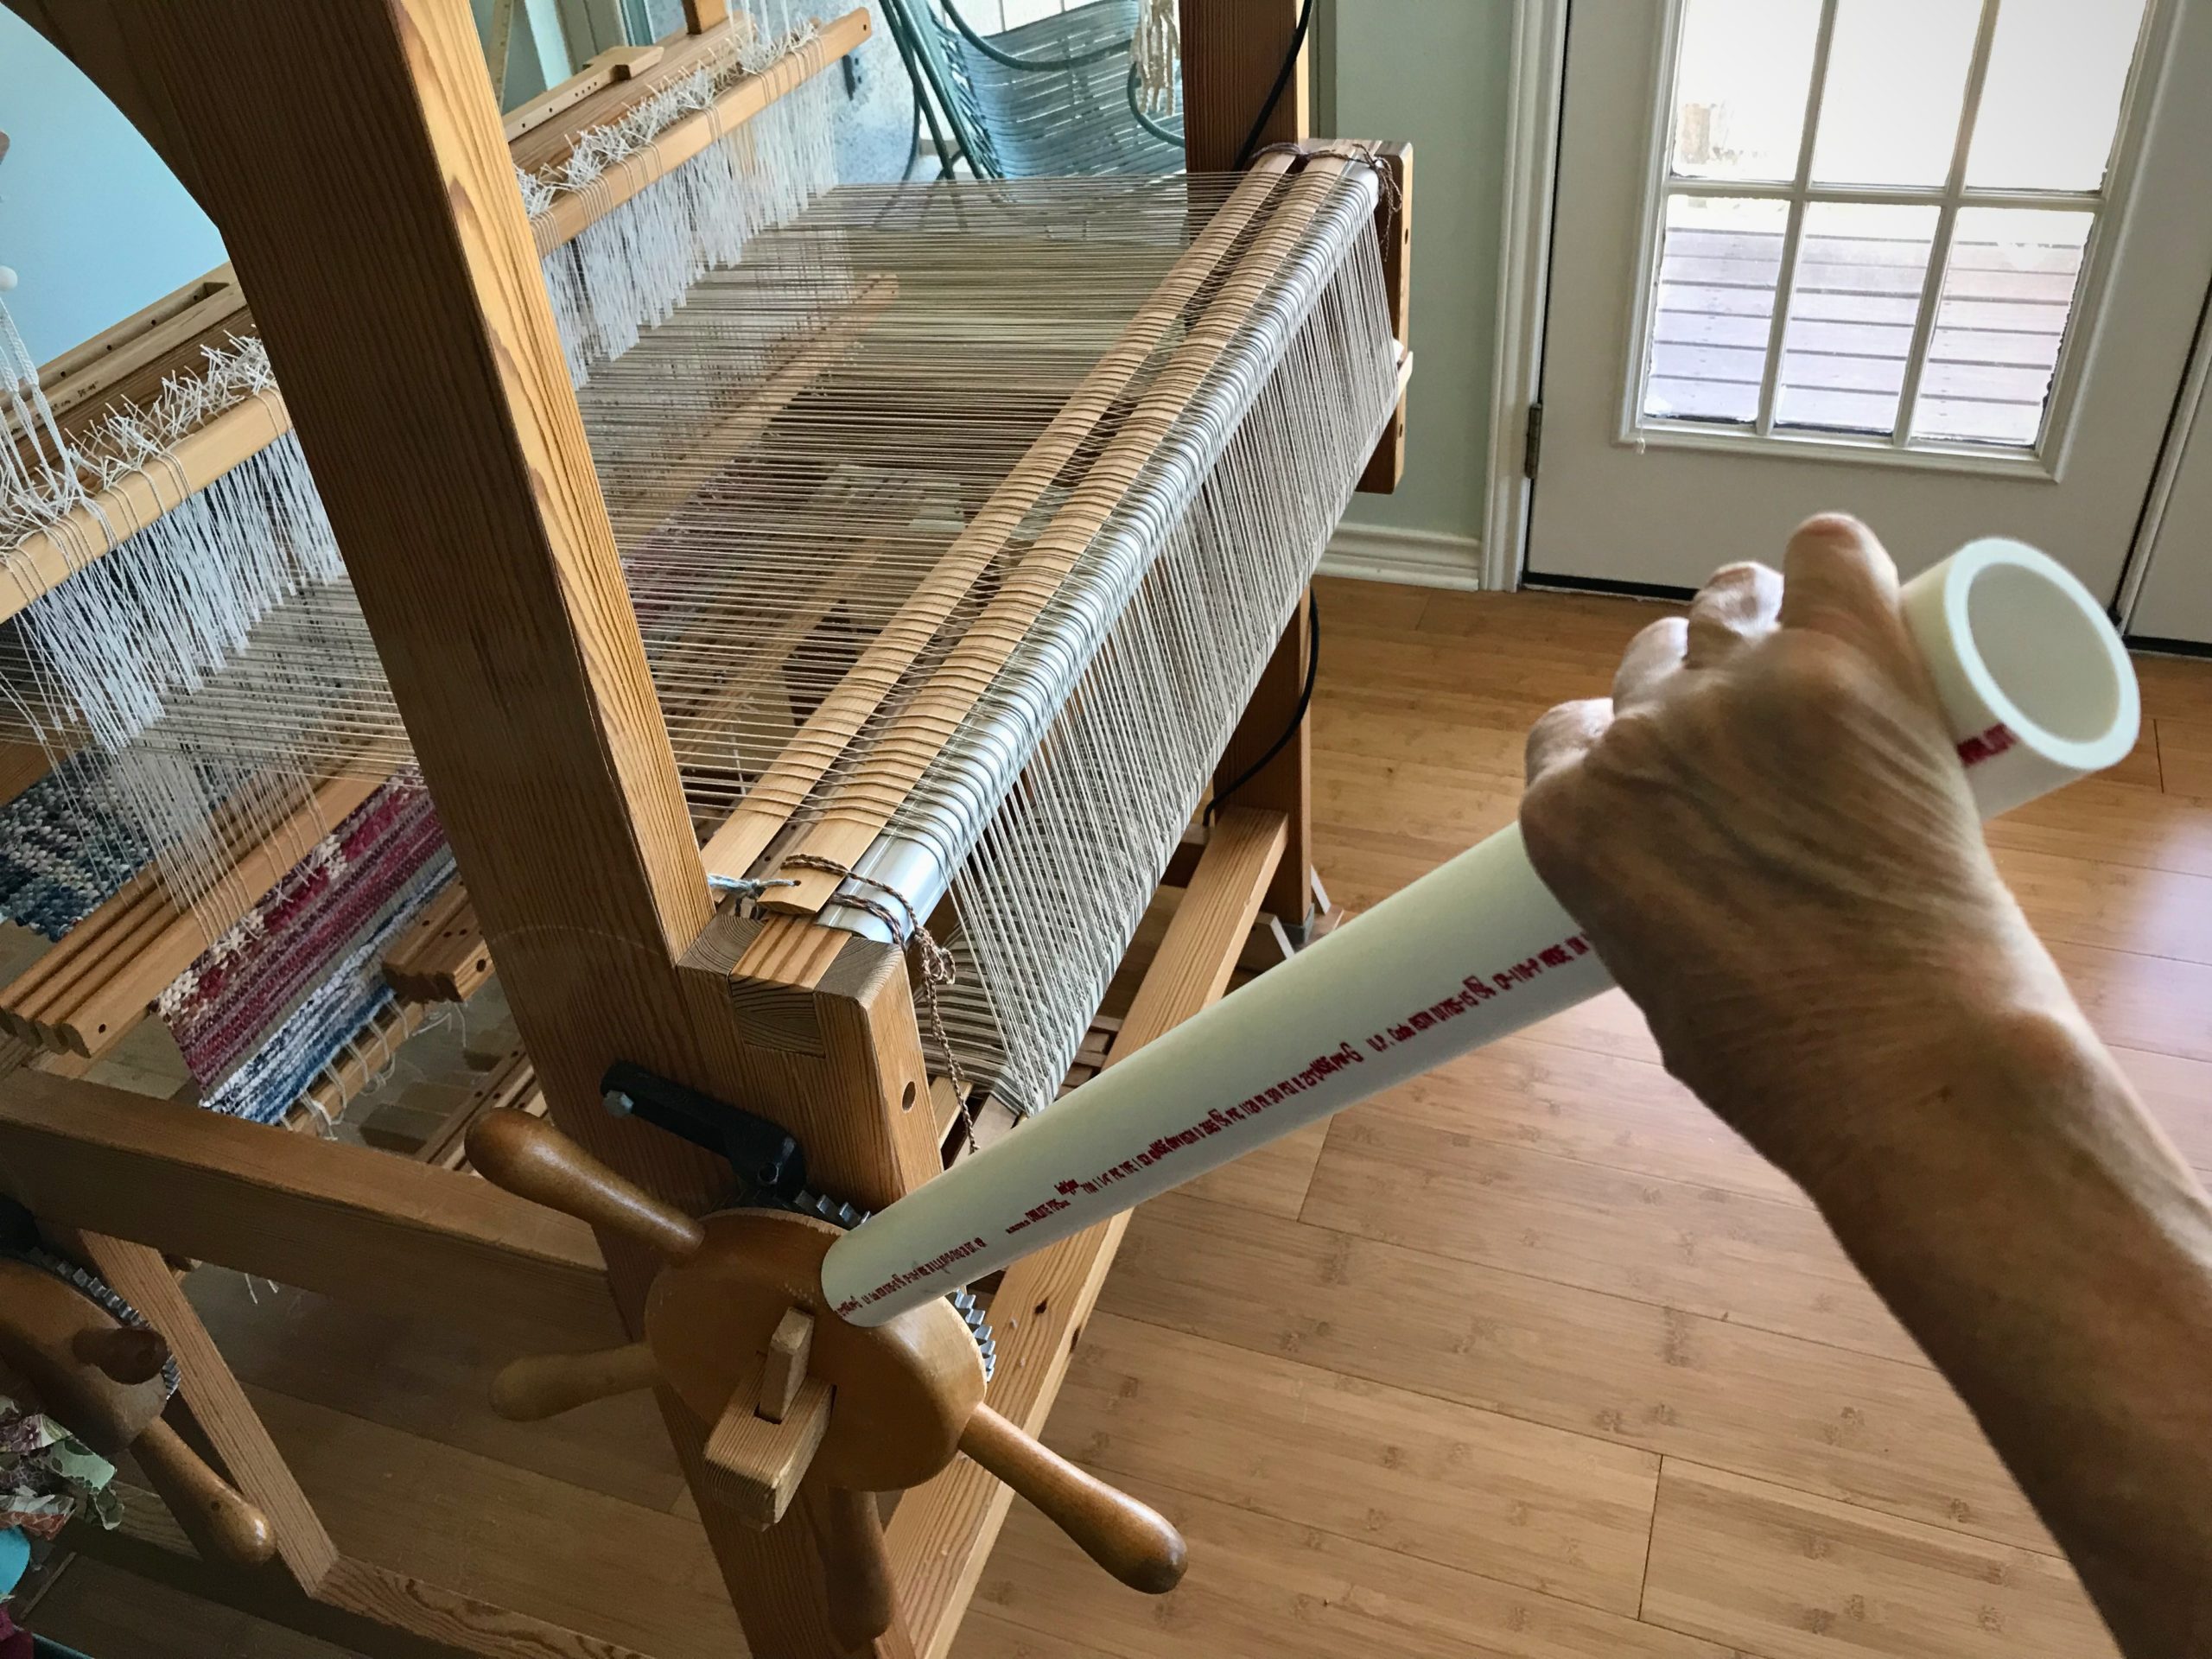
I have a tool that makes me stronger than I naturally am. Warp tension is extremely tight on my loom when I am weaving rugs. After advancing the warp, and locking the pawl on the cloth beam, I tighten the ratchet on the warp beam as much as I can. Then, I put all my weight into tightening the cloth beam. And then, with a bit of oomph, I lean into the handles on that cloth beam wheel to turn it one more notch on the ratchet. I pat myself on the back for exhibiting such strength. But wait, I have just created a problem. The next time I need to advance the warp, I’m not nearly strong enough to release those front and back pawls.
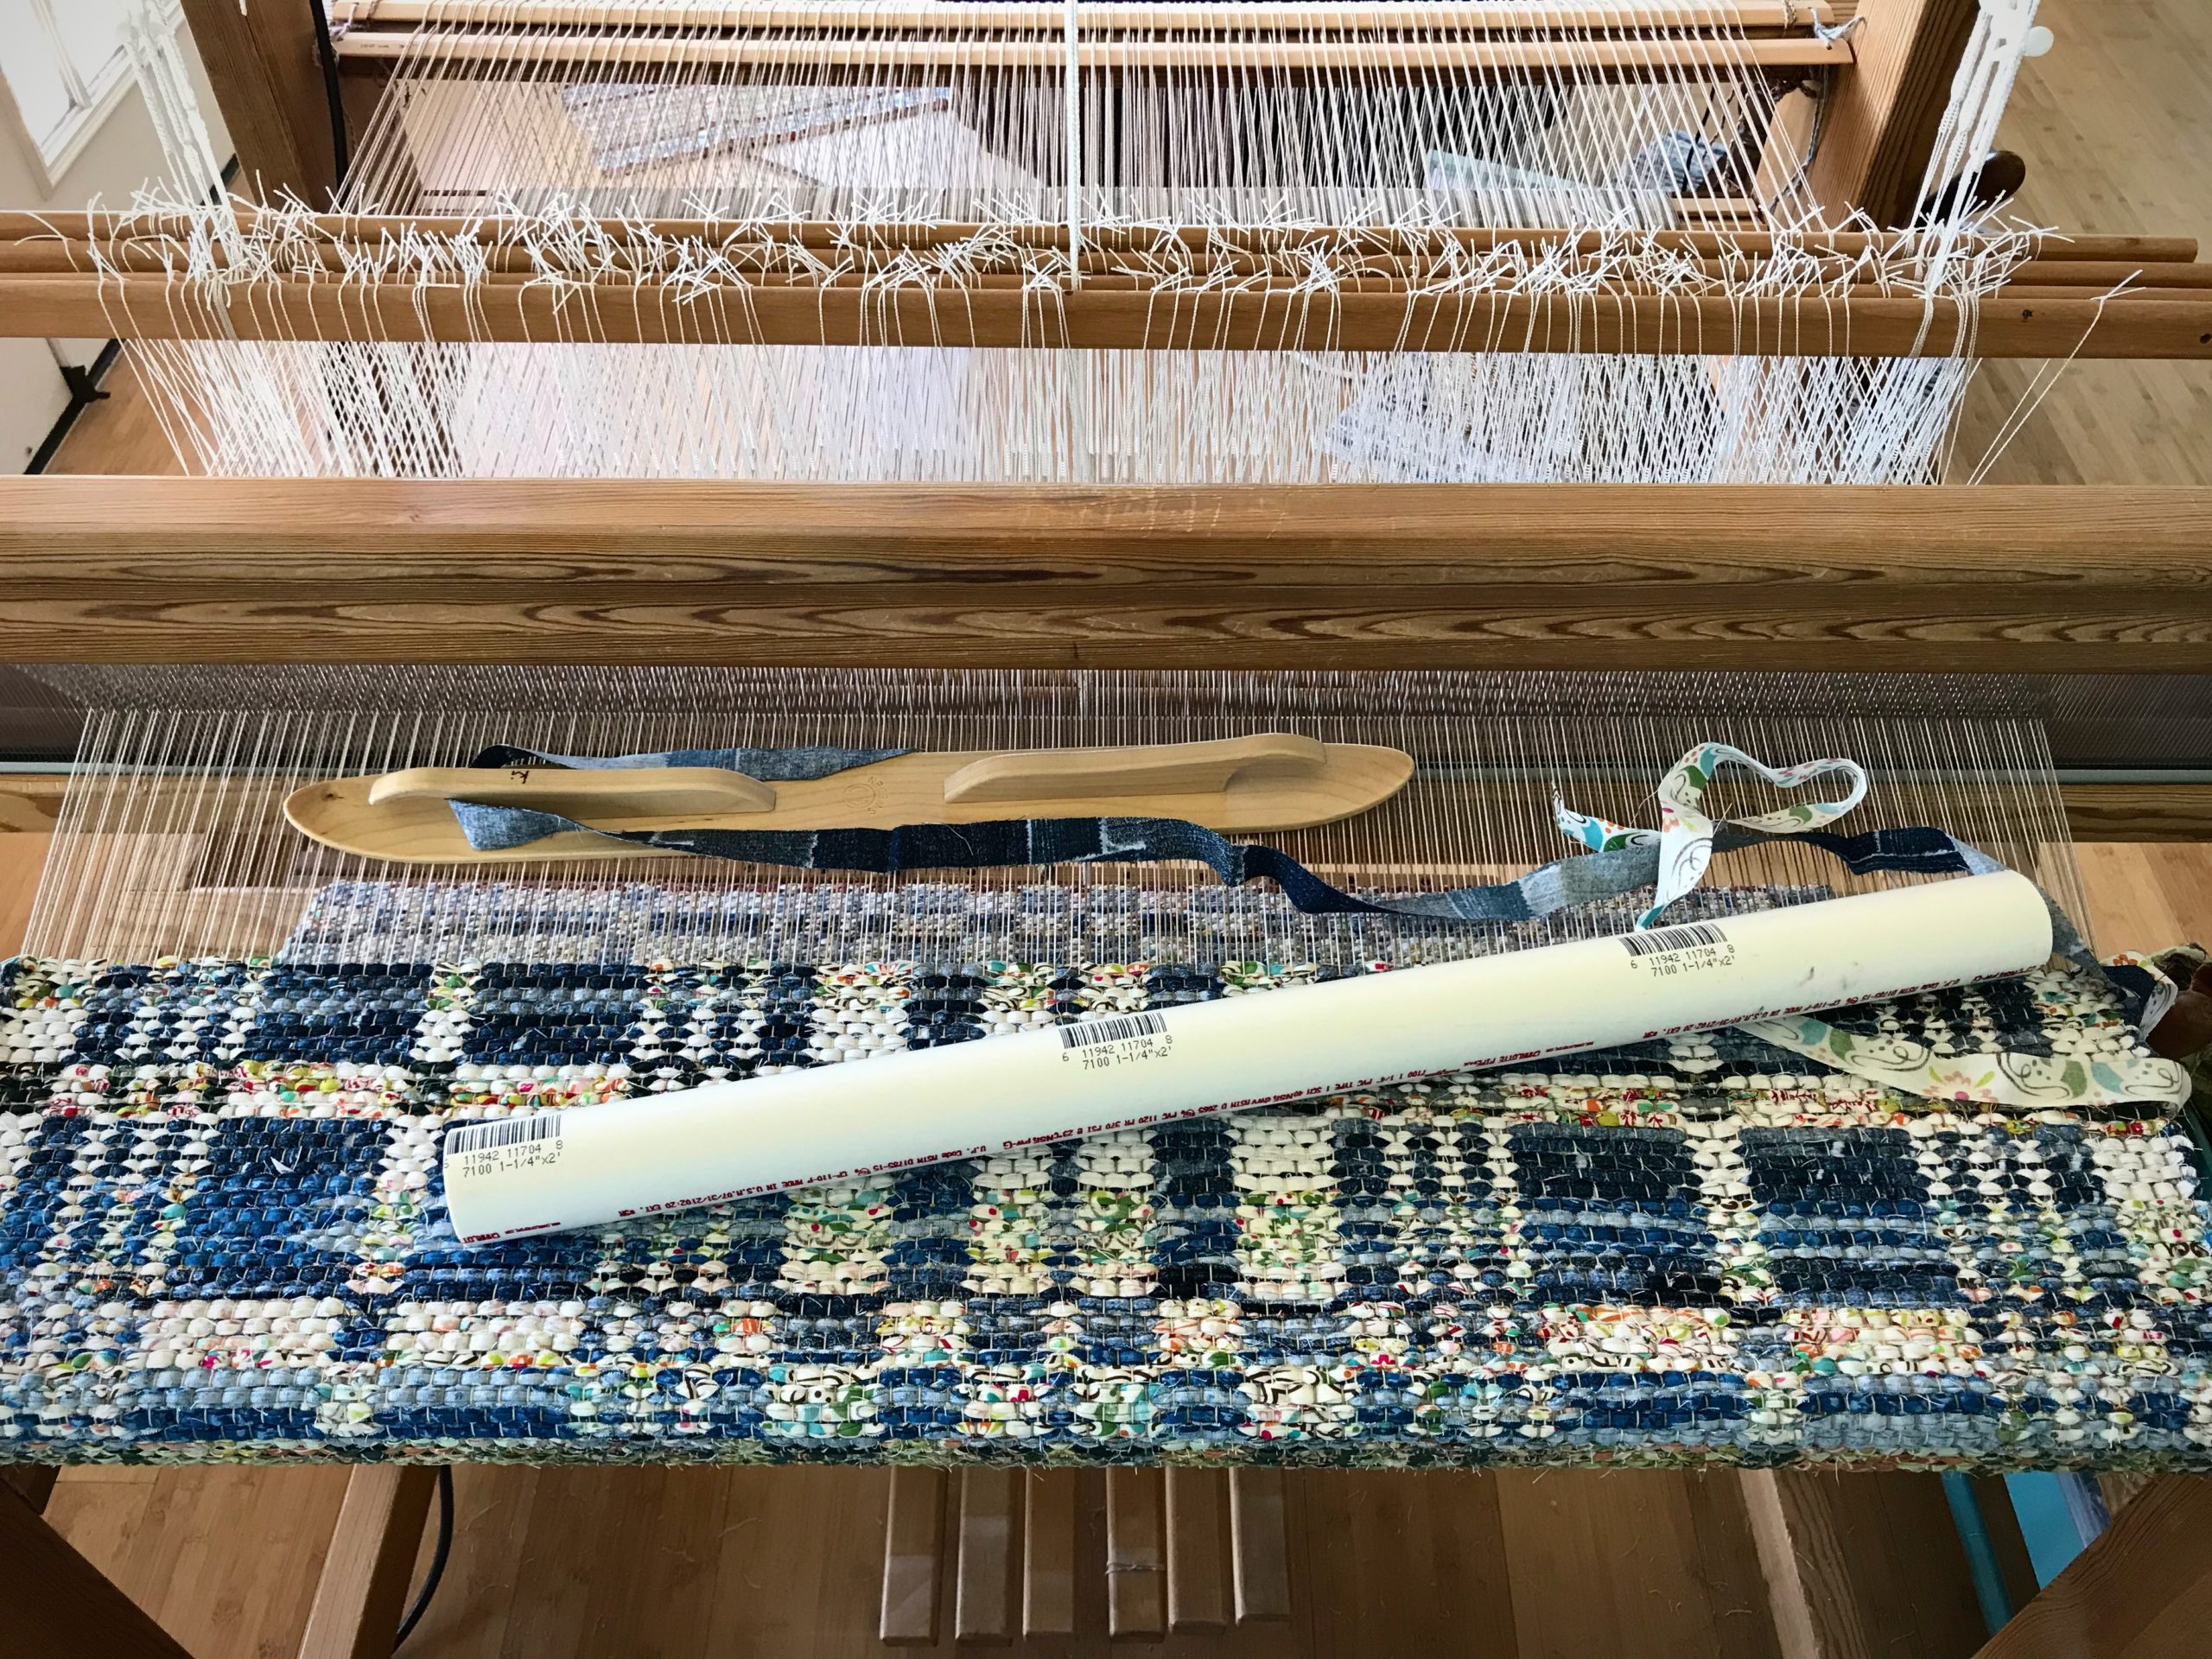
Meet my simplest tool: The Cheater Bar.
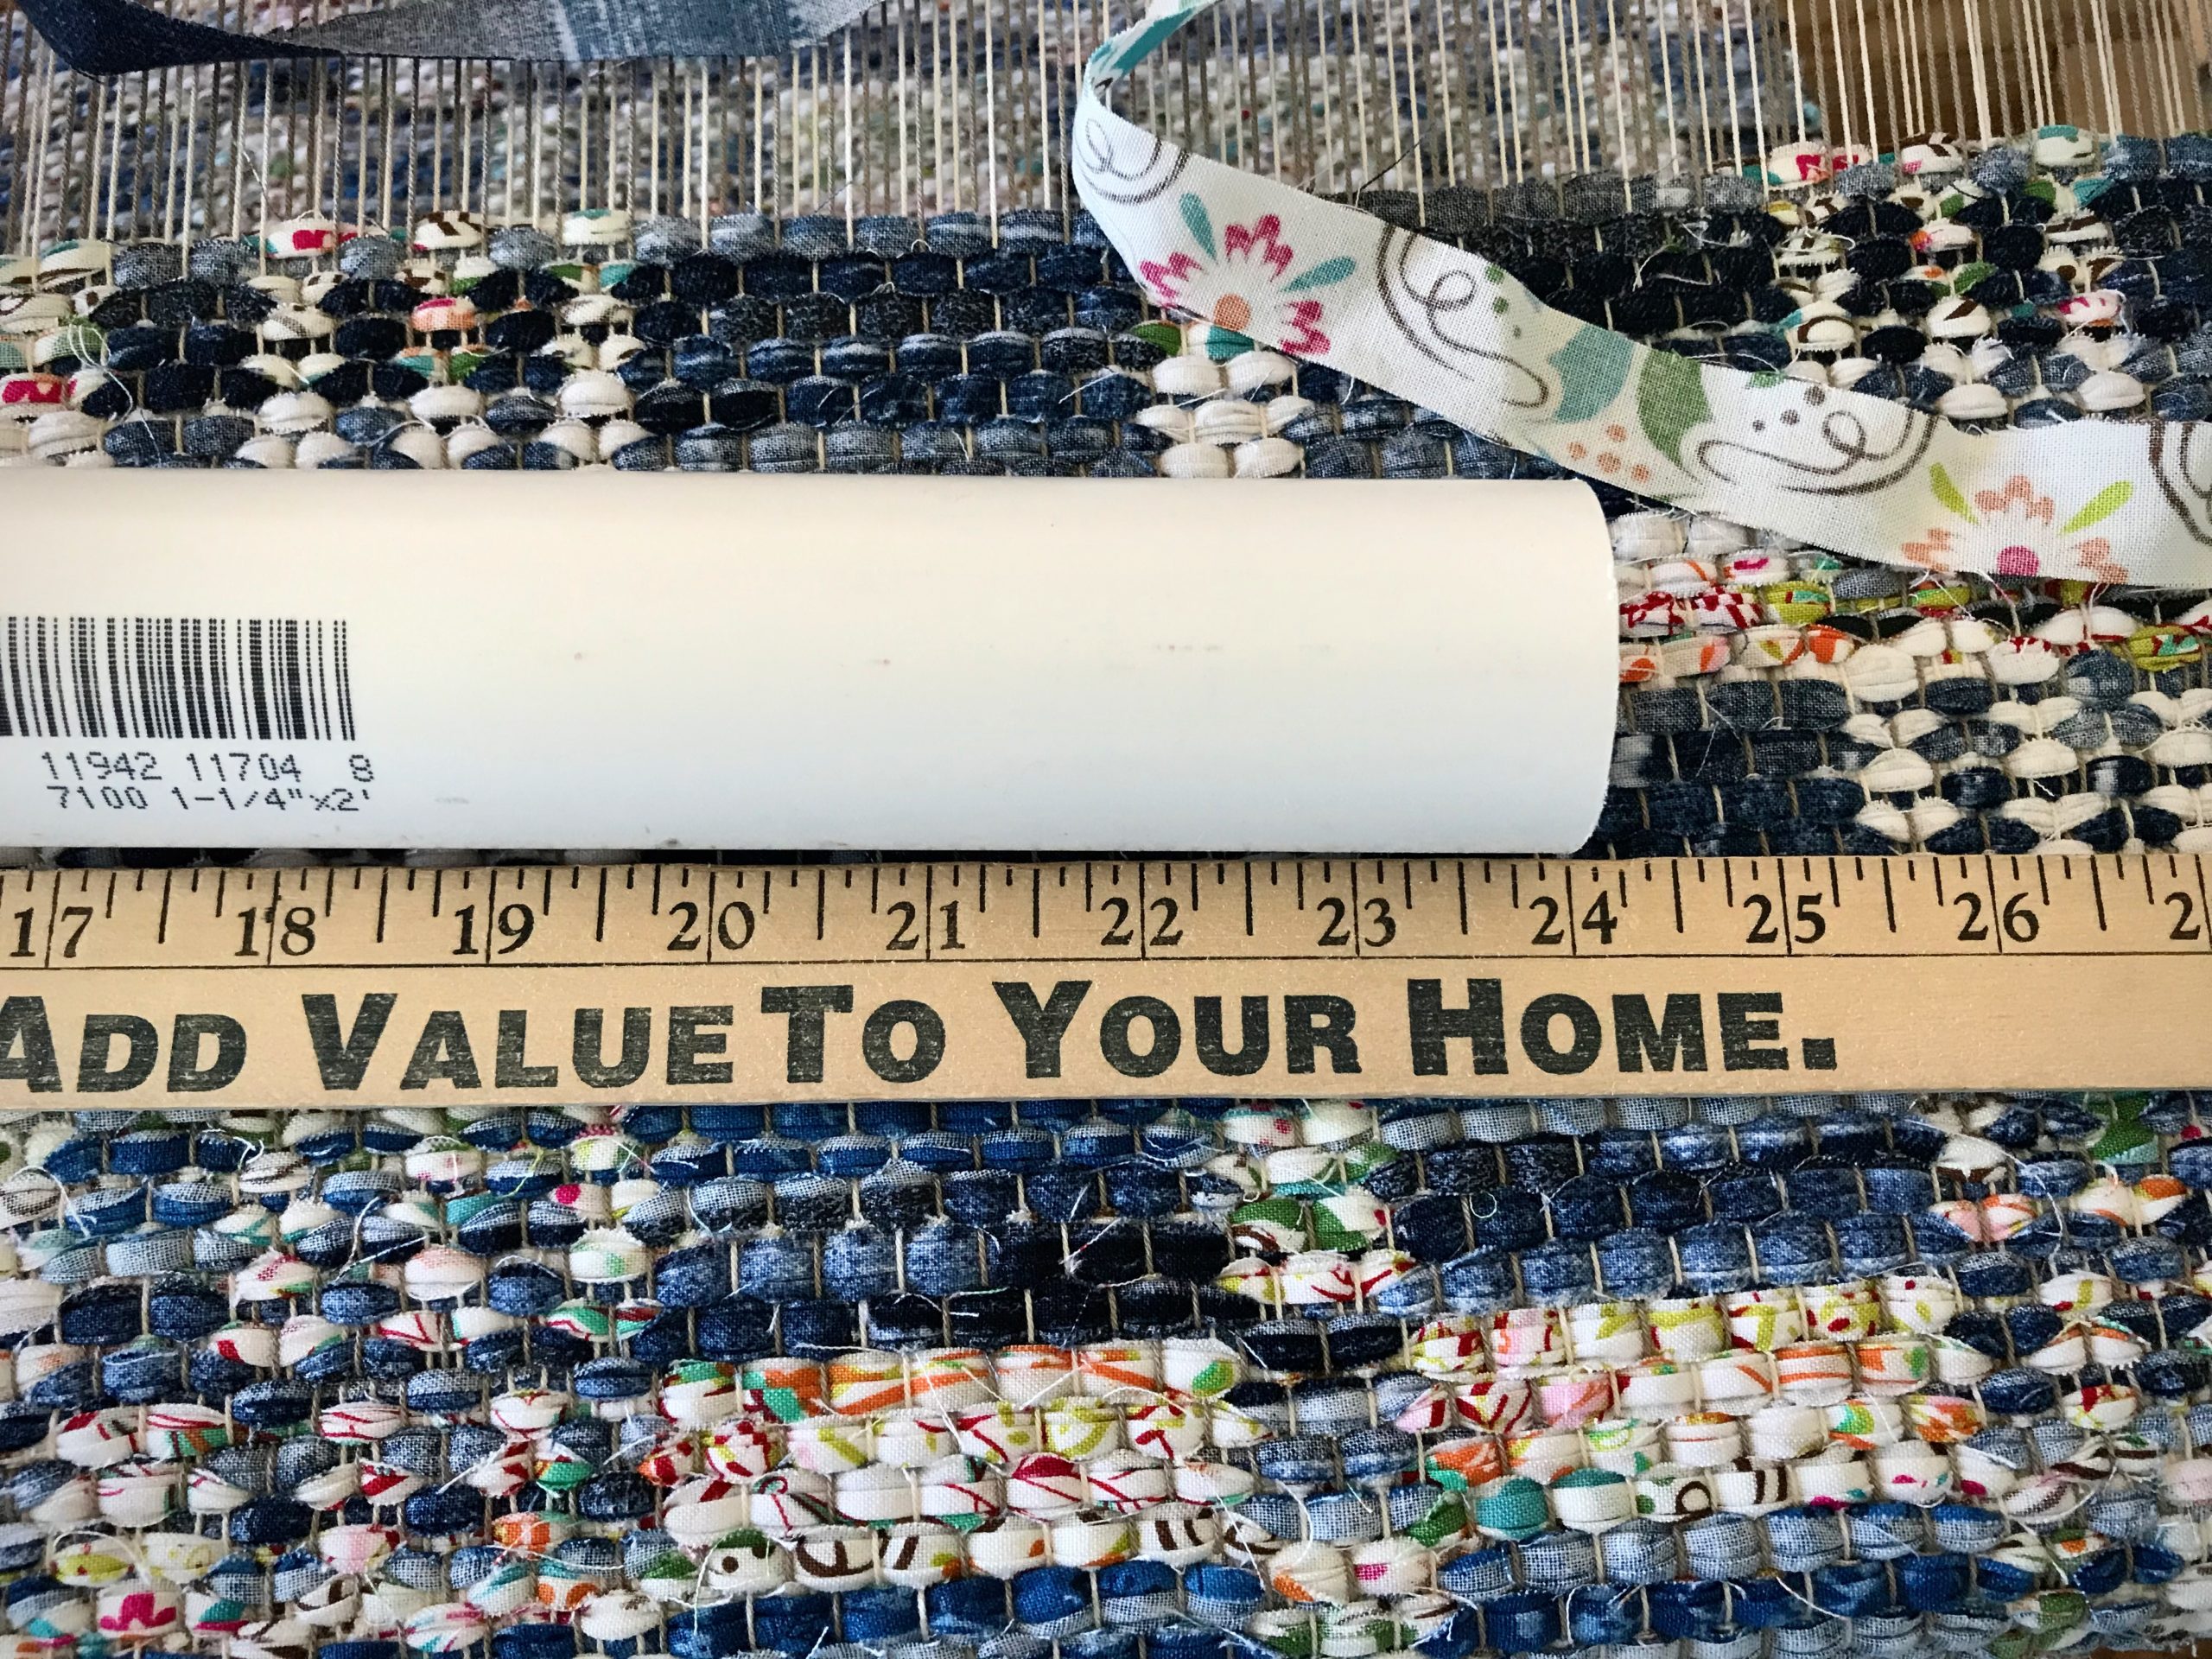
Cheater Bar is PVC pipe to use as a lever.PVC pipe, 1 1/4″ x 24″
With this amazing helper, I can safely release even the most extremely tight warp tension. (But NEVER use the Cheater Bar to tighten the warp.)
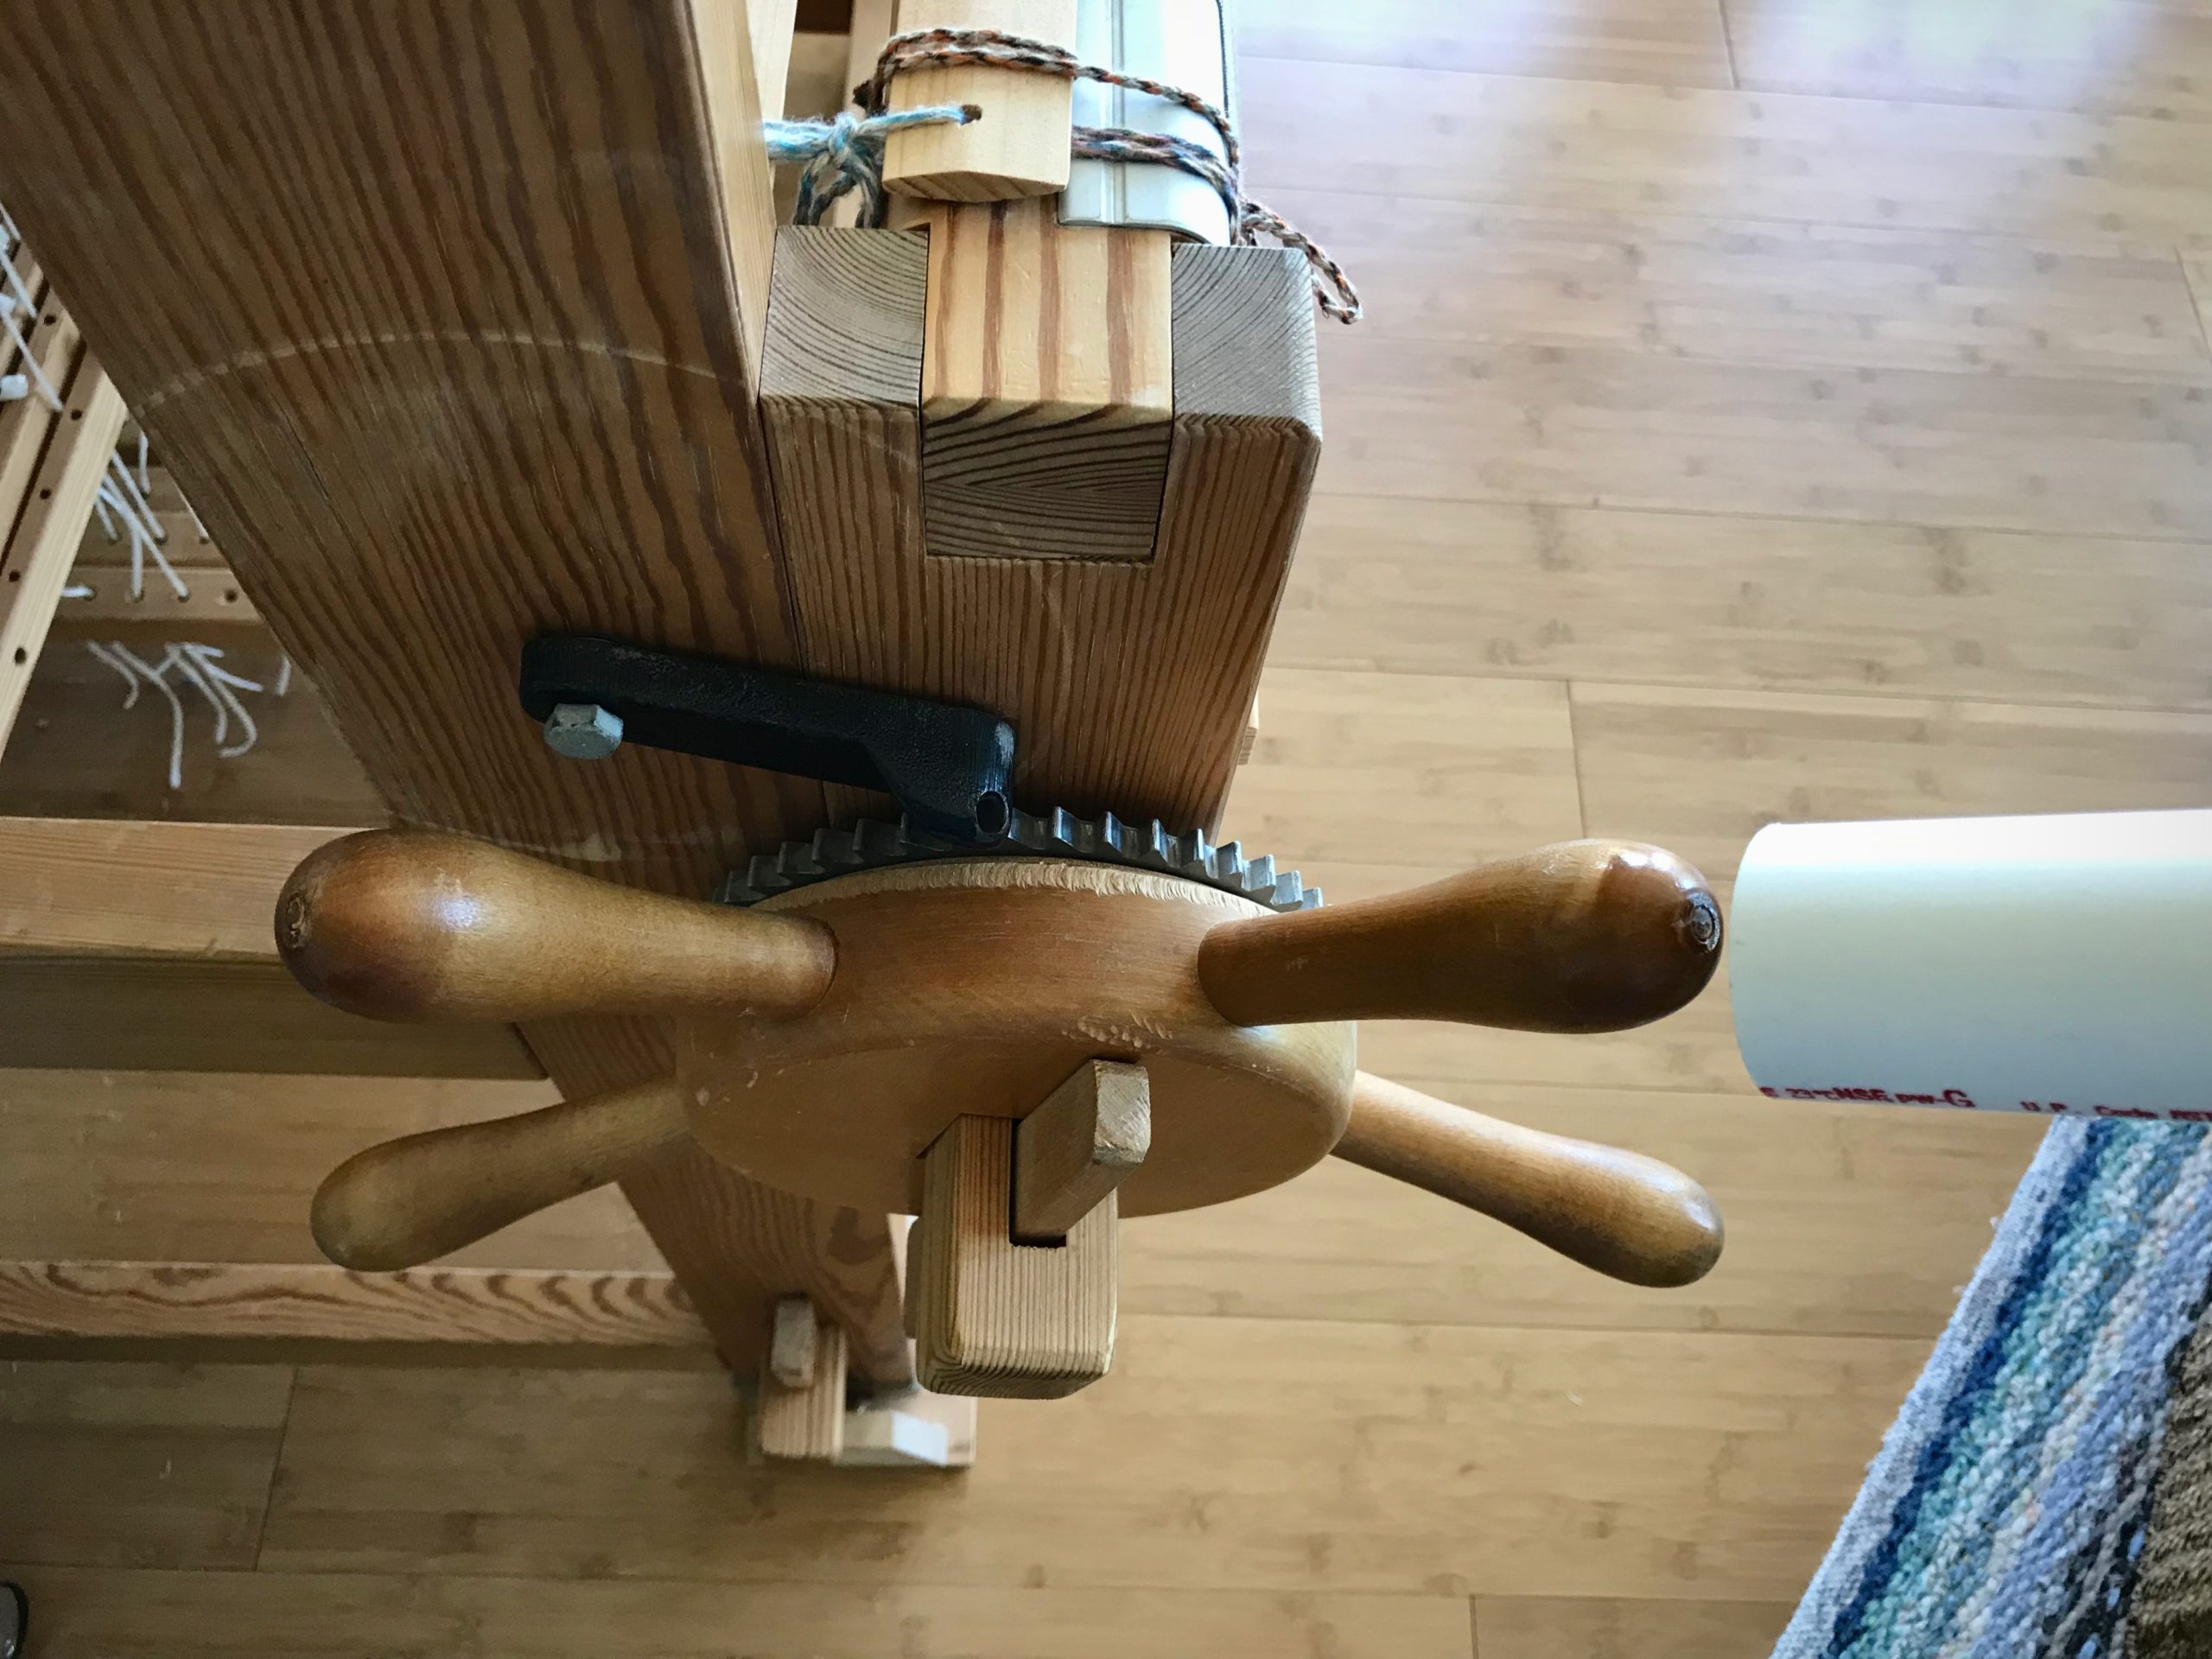
Slip the end of the pipe over a handle on the ratchet wheel.Force of the lever makes it easy to release the ratchet. CAUTION! Do not use the lever to tighten the warp beam or cloth beam. You could easily tighten it more than the loom is made to handle.
I never knew I could be this strong. Celebrate the moment! (A play on words. Steve tells me “moment” is a physics term that has to do with a force’s tendency to cause something to rotate about a specific point or axis.)
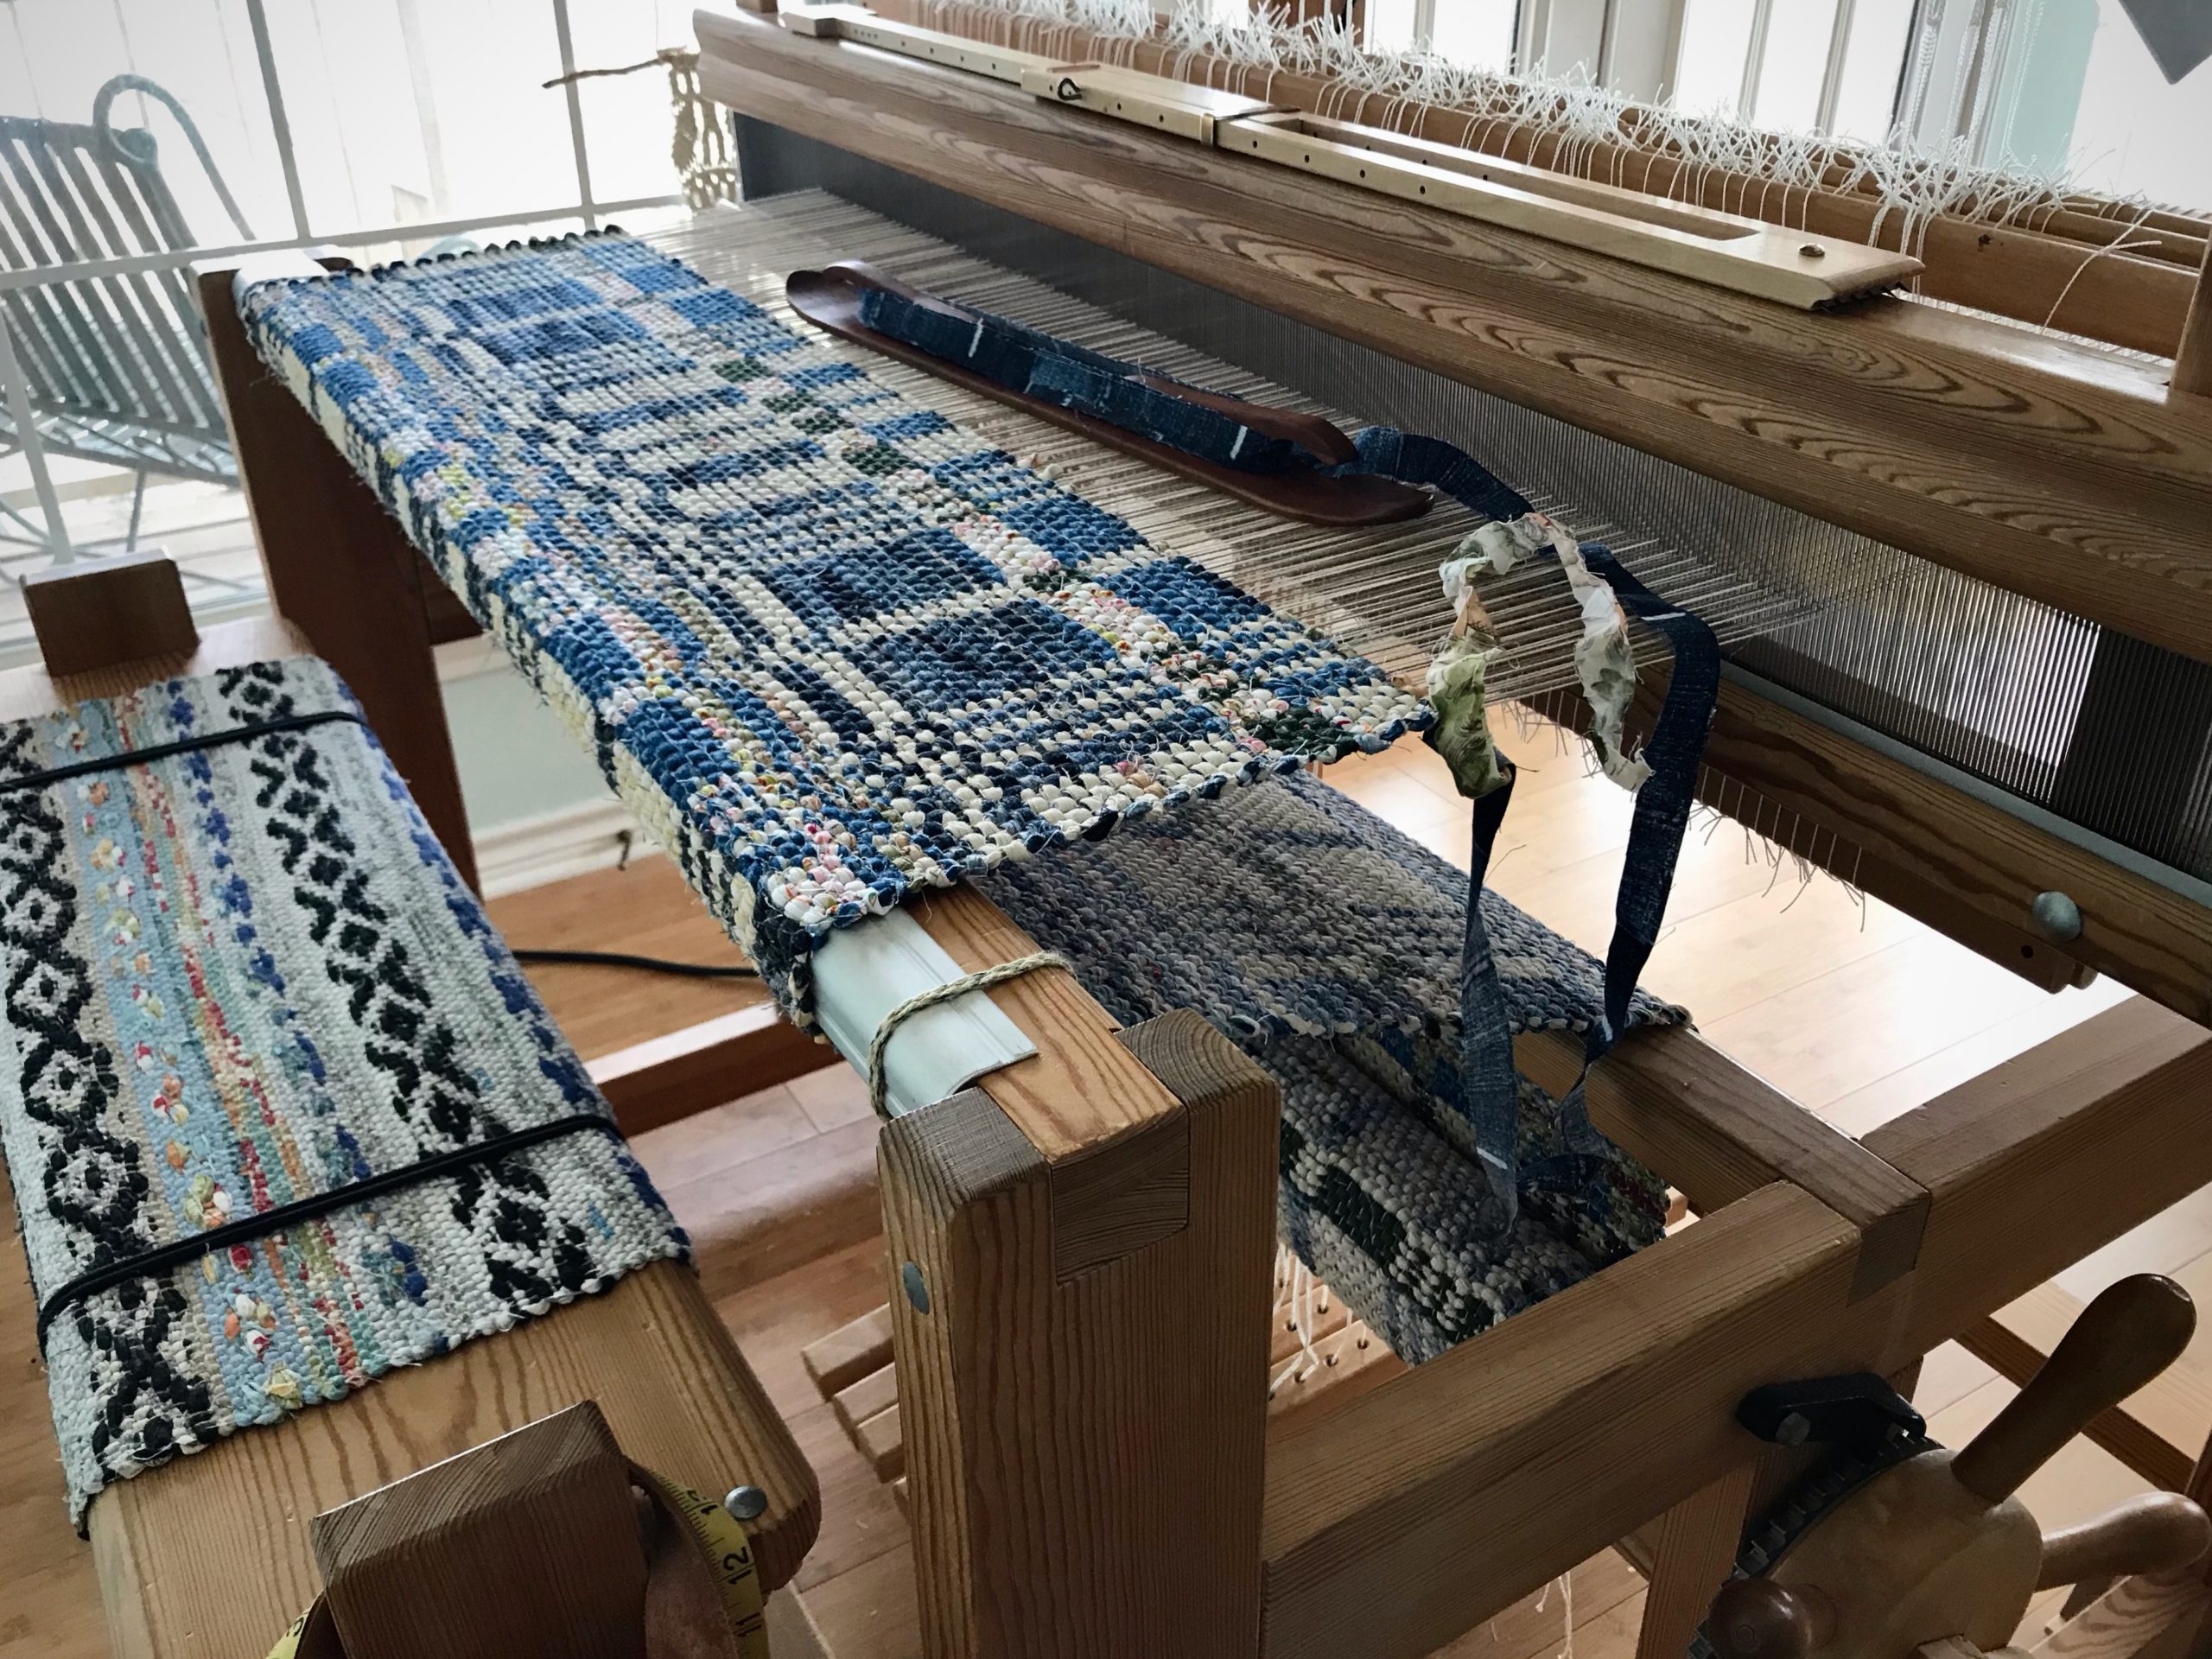
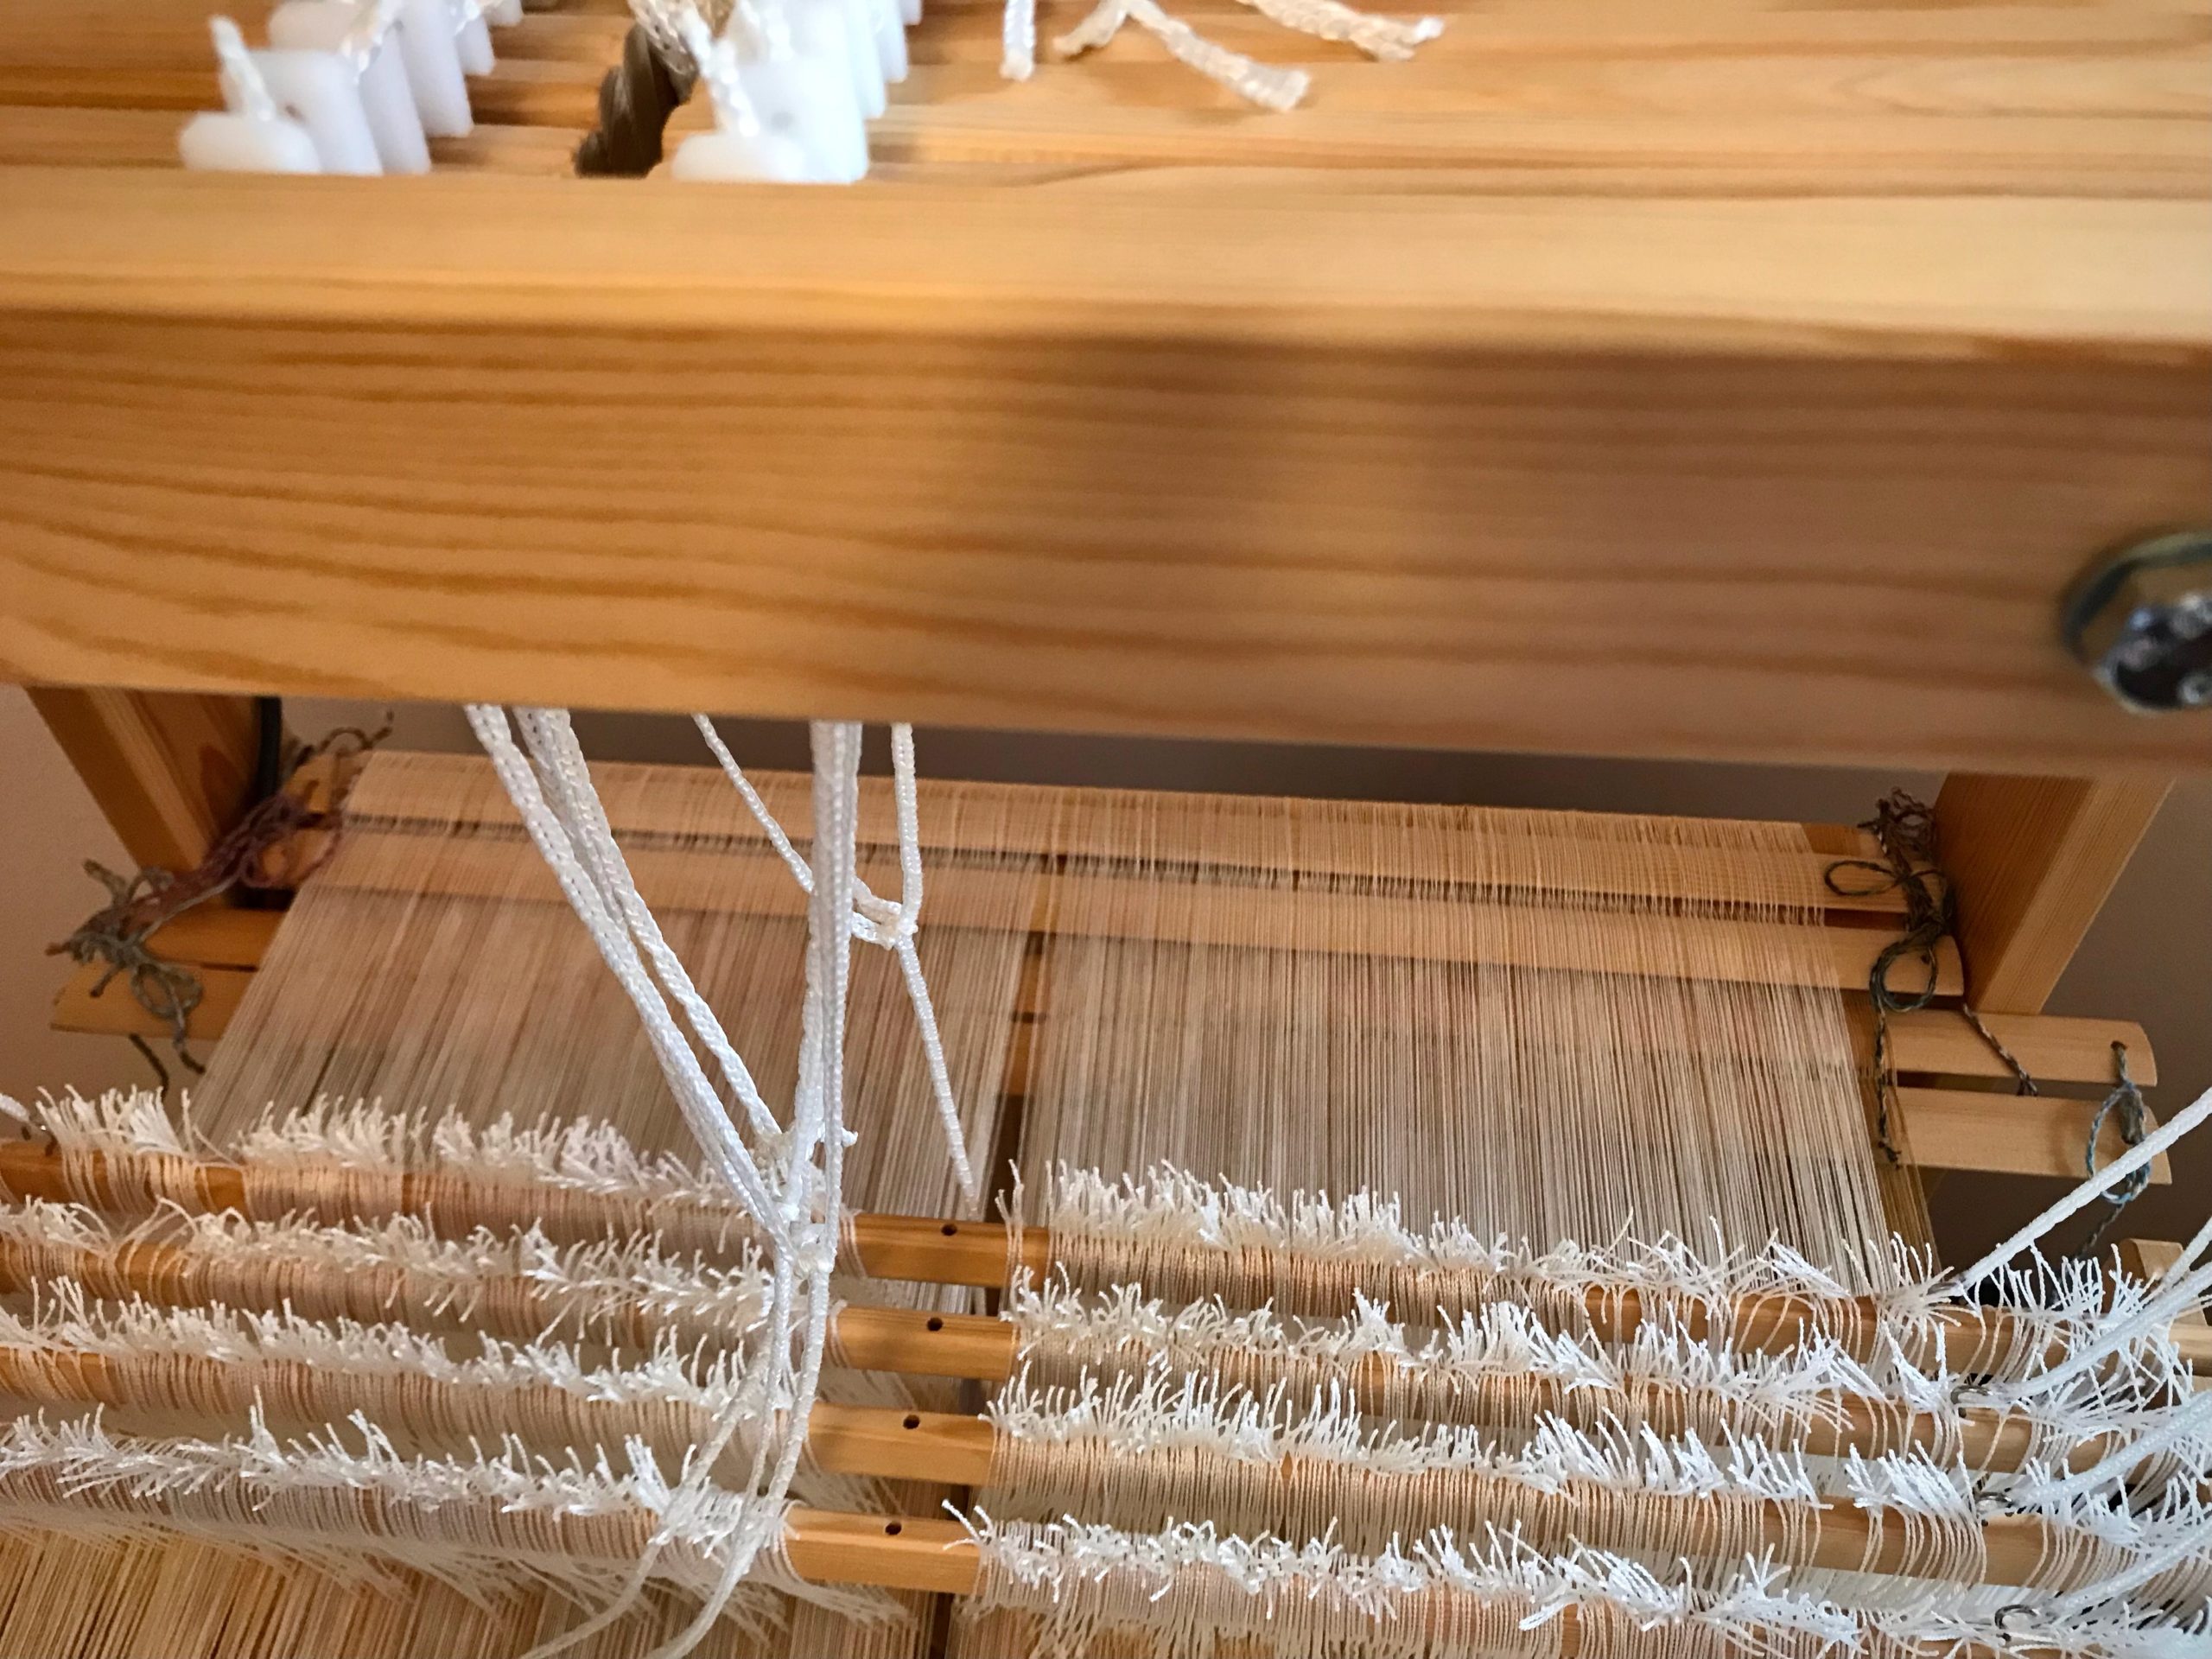
I have good reasons for cutting off this first double-binding rag rug before proceeding with the rest of the warp. This pause and reset ensures happy weaving to the end. Cutting off gives me a fresh start for the next rug.
Reasons for cutting off rag rug before end of warp
Uneven warp tension. I can improve the warp by tying back on.
Large rag rag. I can get a tighter warp tension by removing the rug’s bulk from the cloth beam.
New design. It helps me to see the completed rug before starting the next one, since this is a brand-new design.
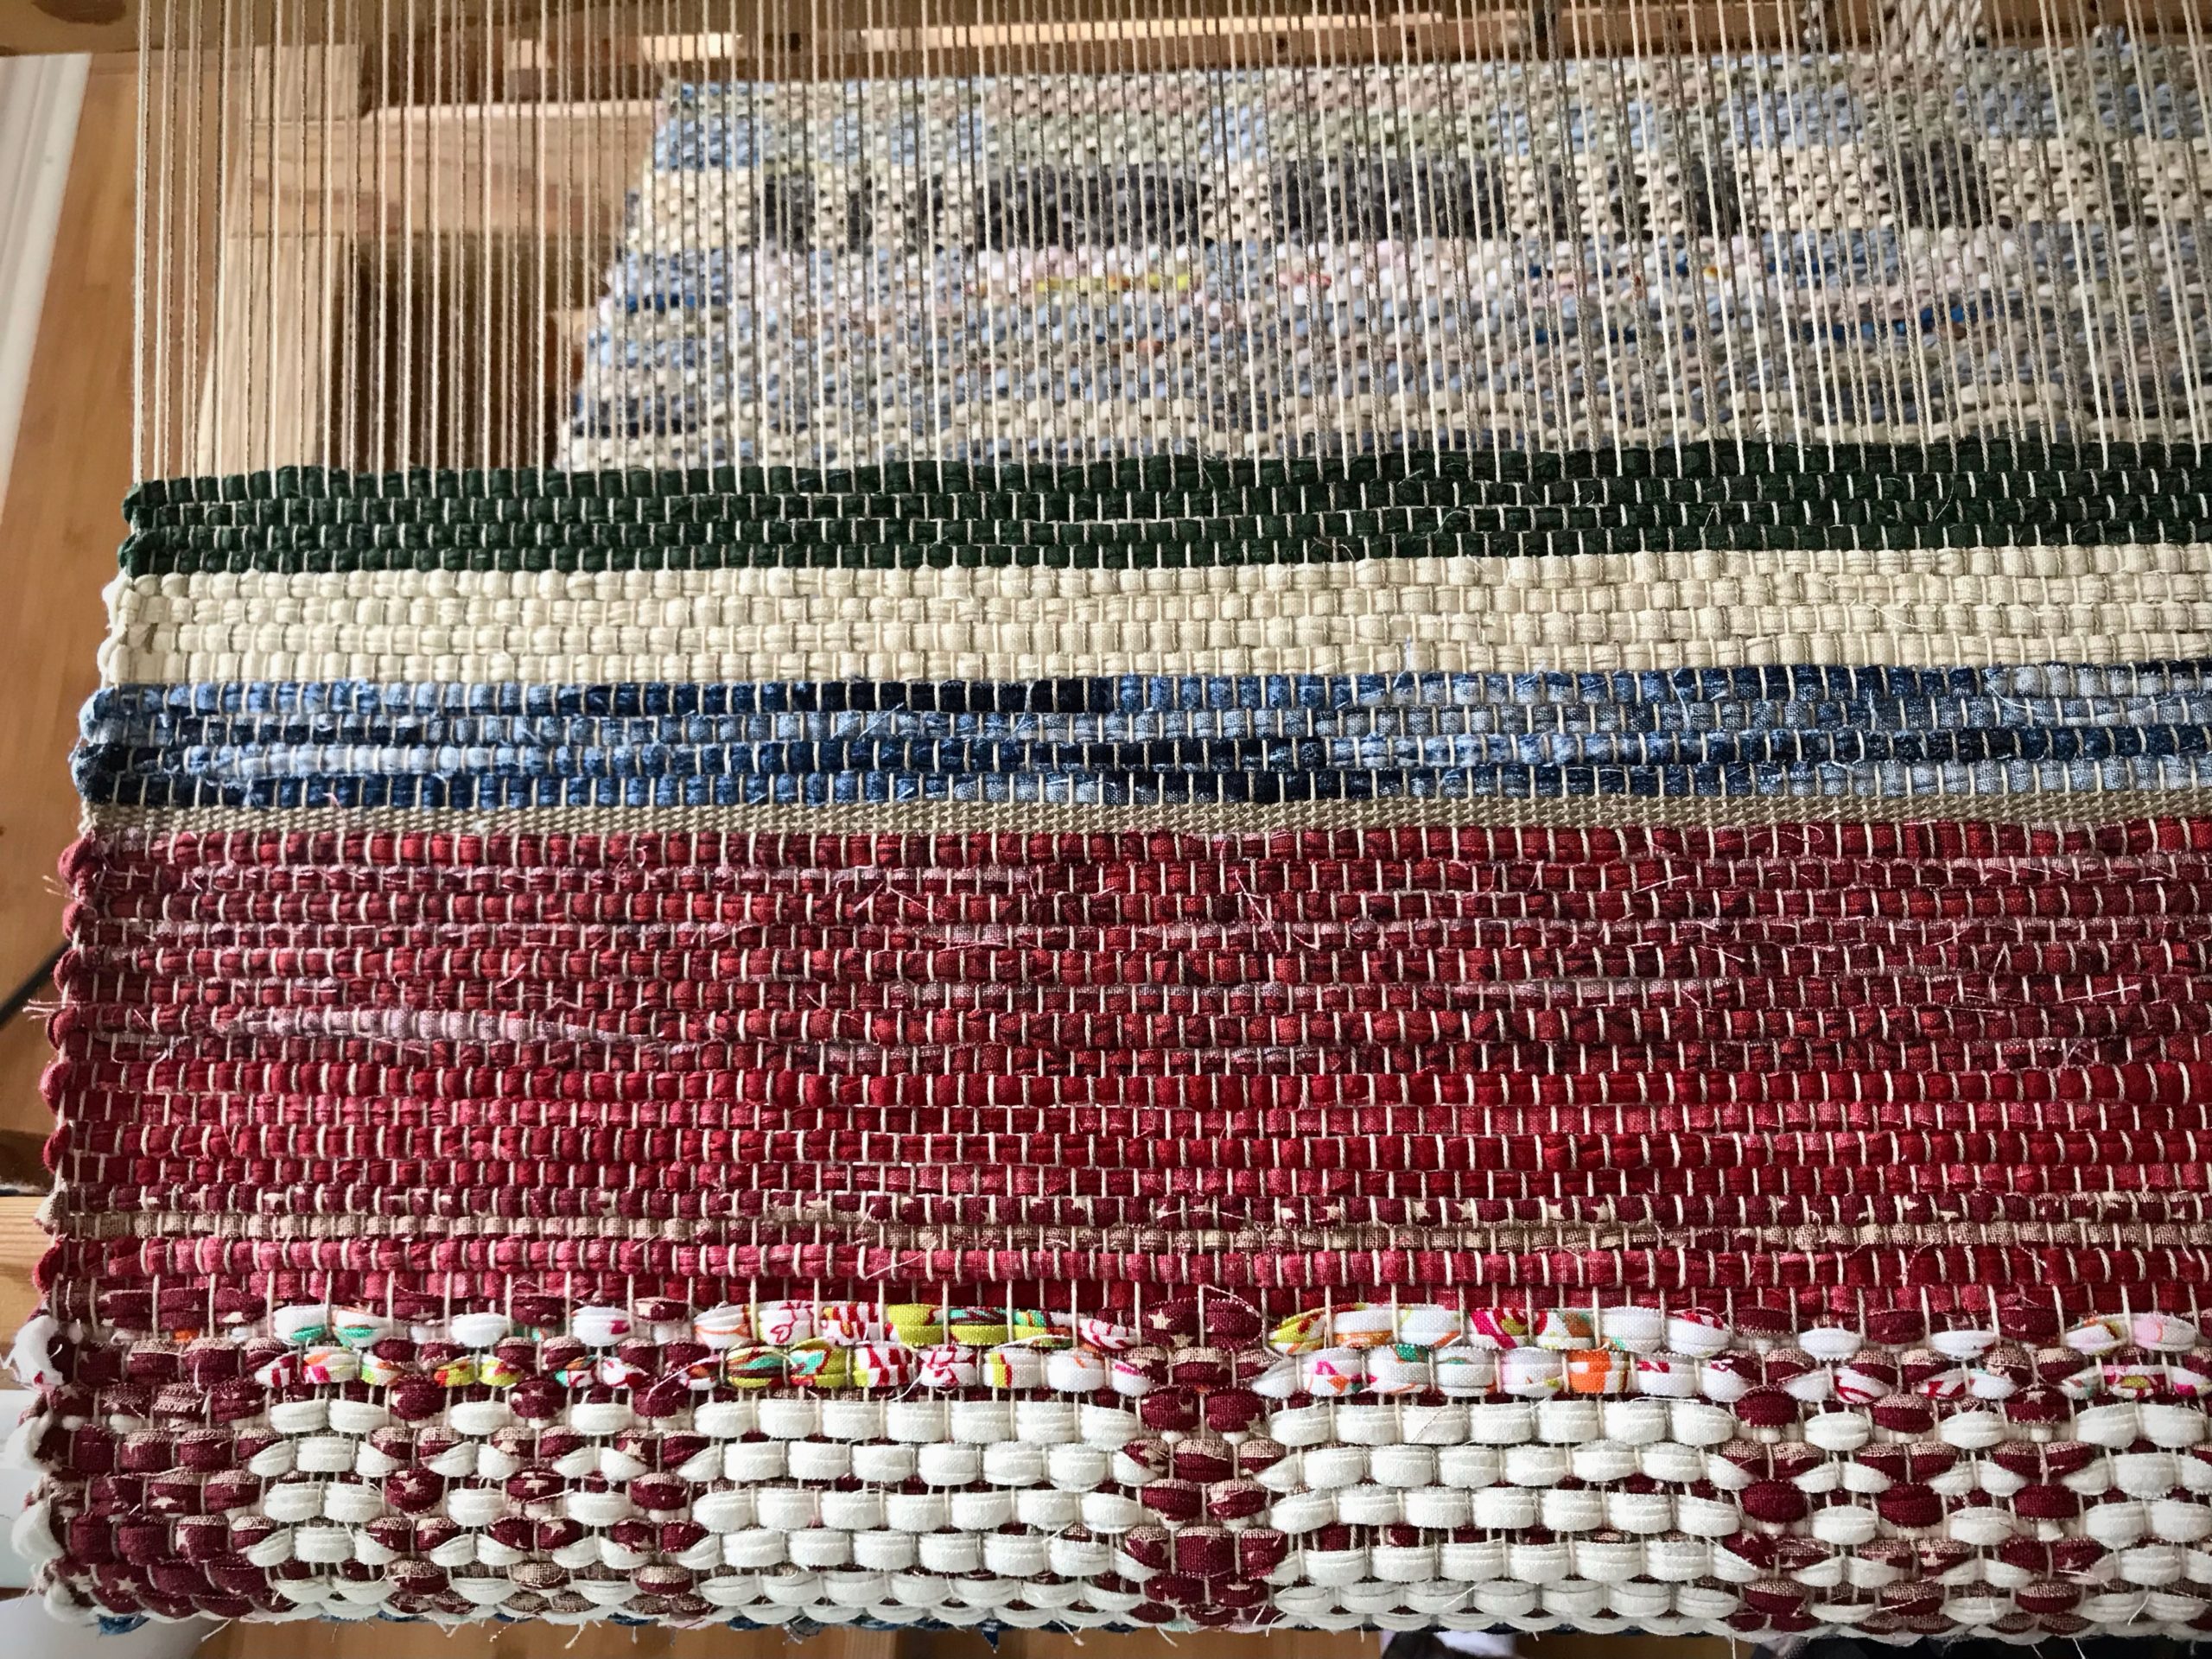
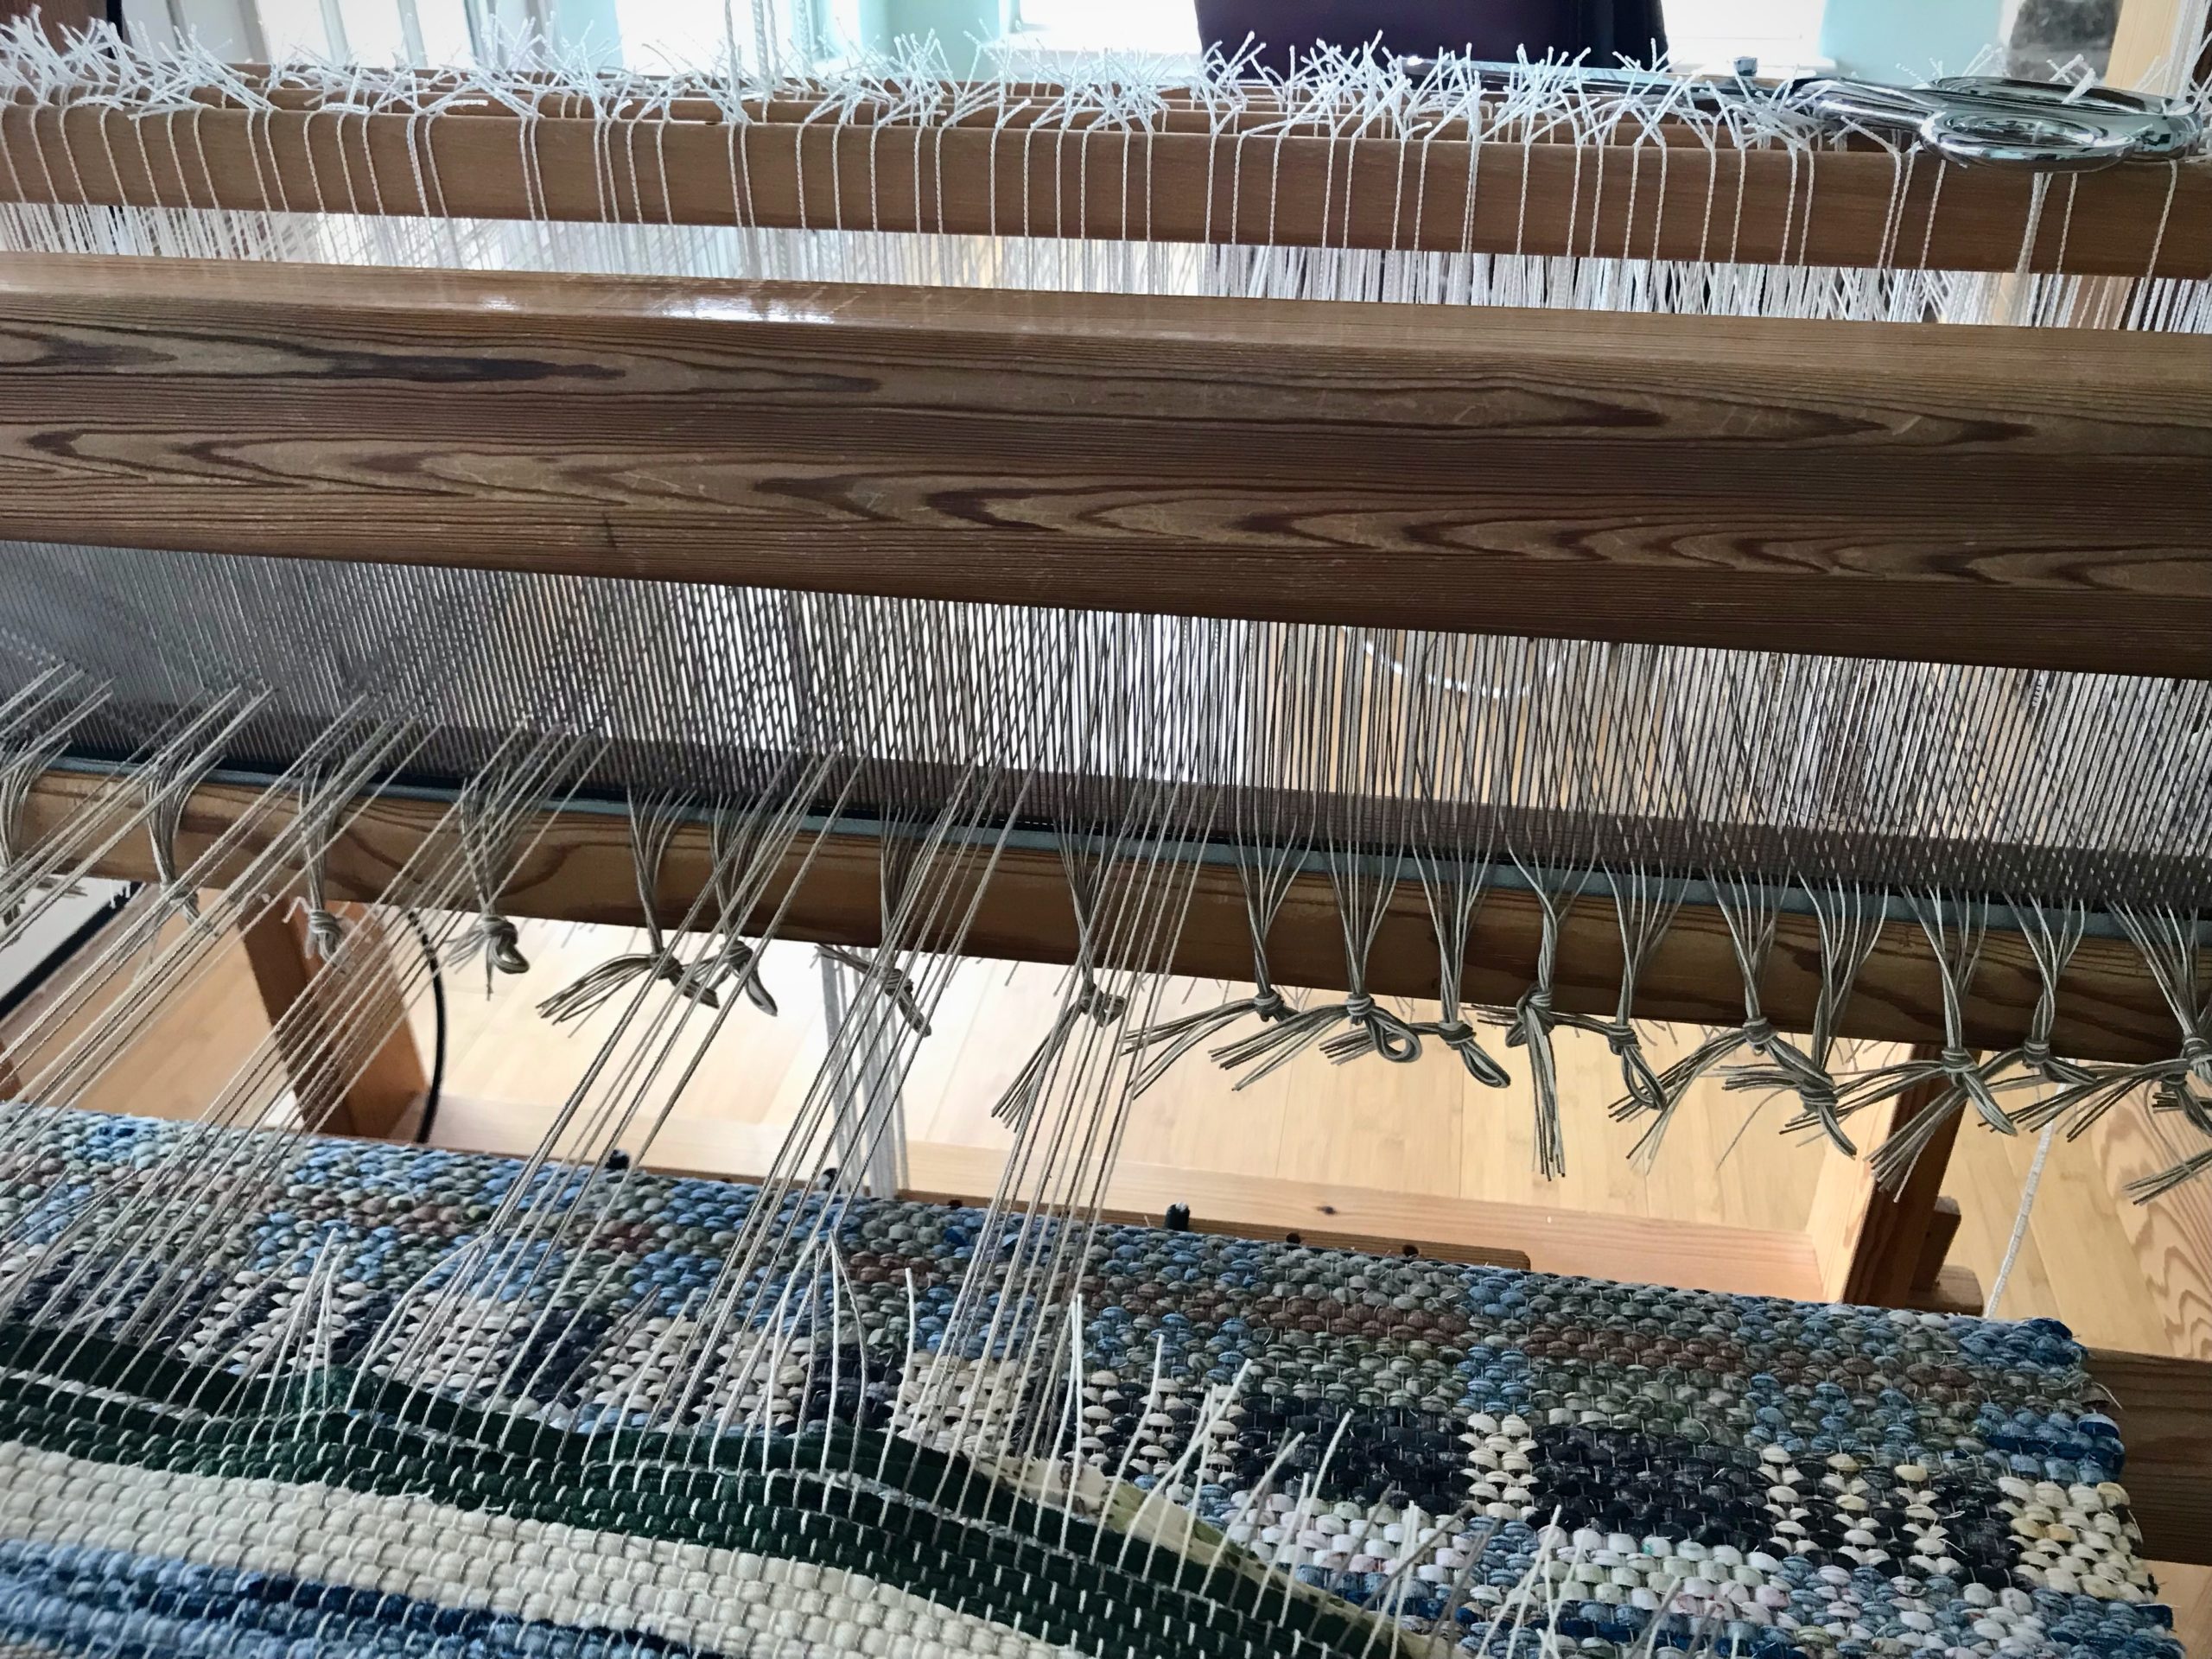
Rug comes to an end with a red border/hem. A warp-thread header follows, and then a few rows of scrap header to help secure the weft until finishing knots are tied.
Steps for cutting off rag rug before end of warp (countermarch loom)
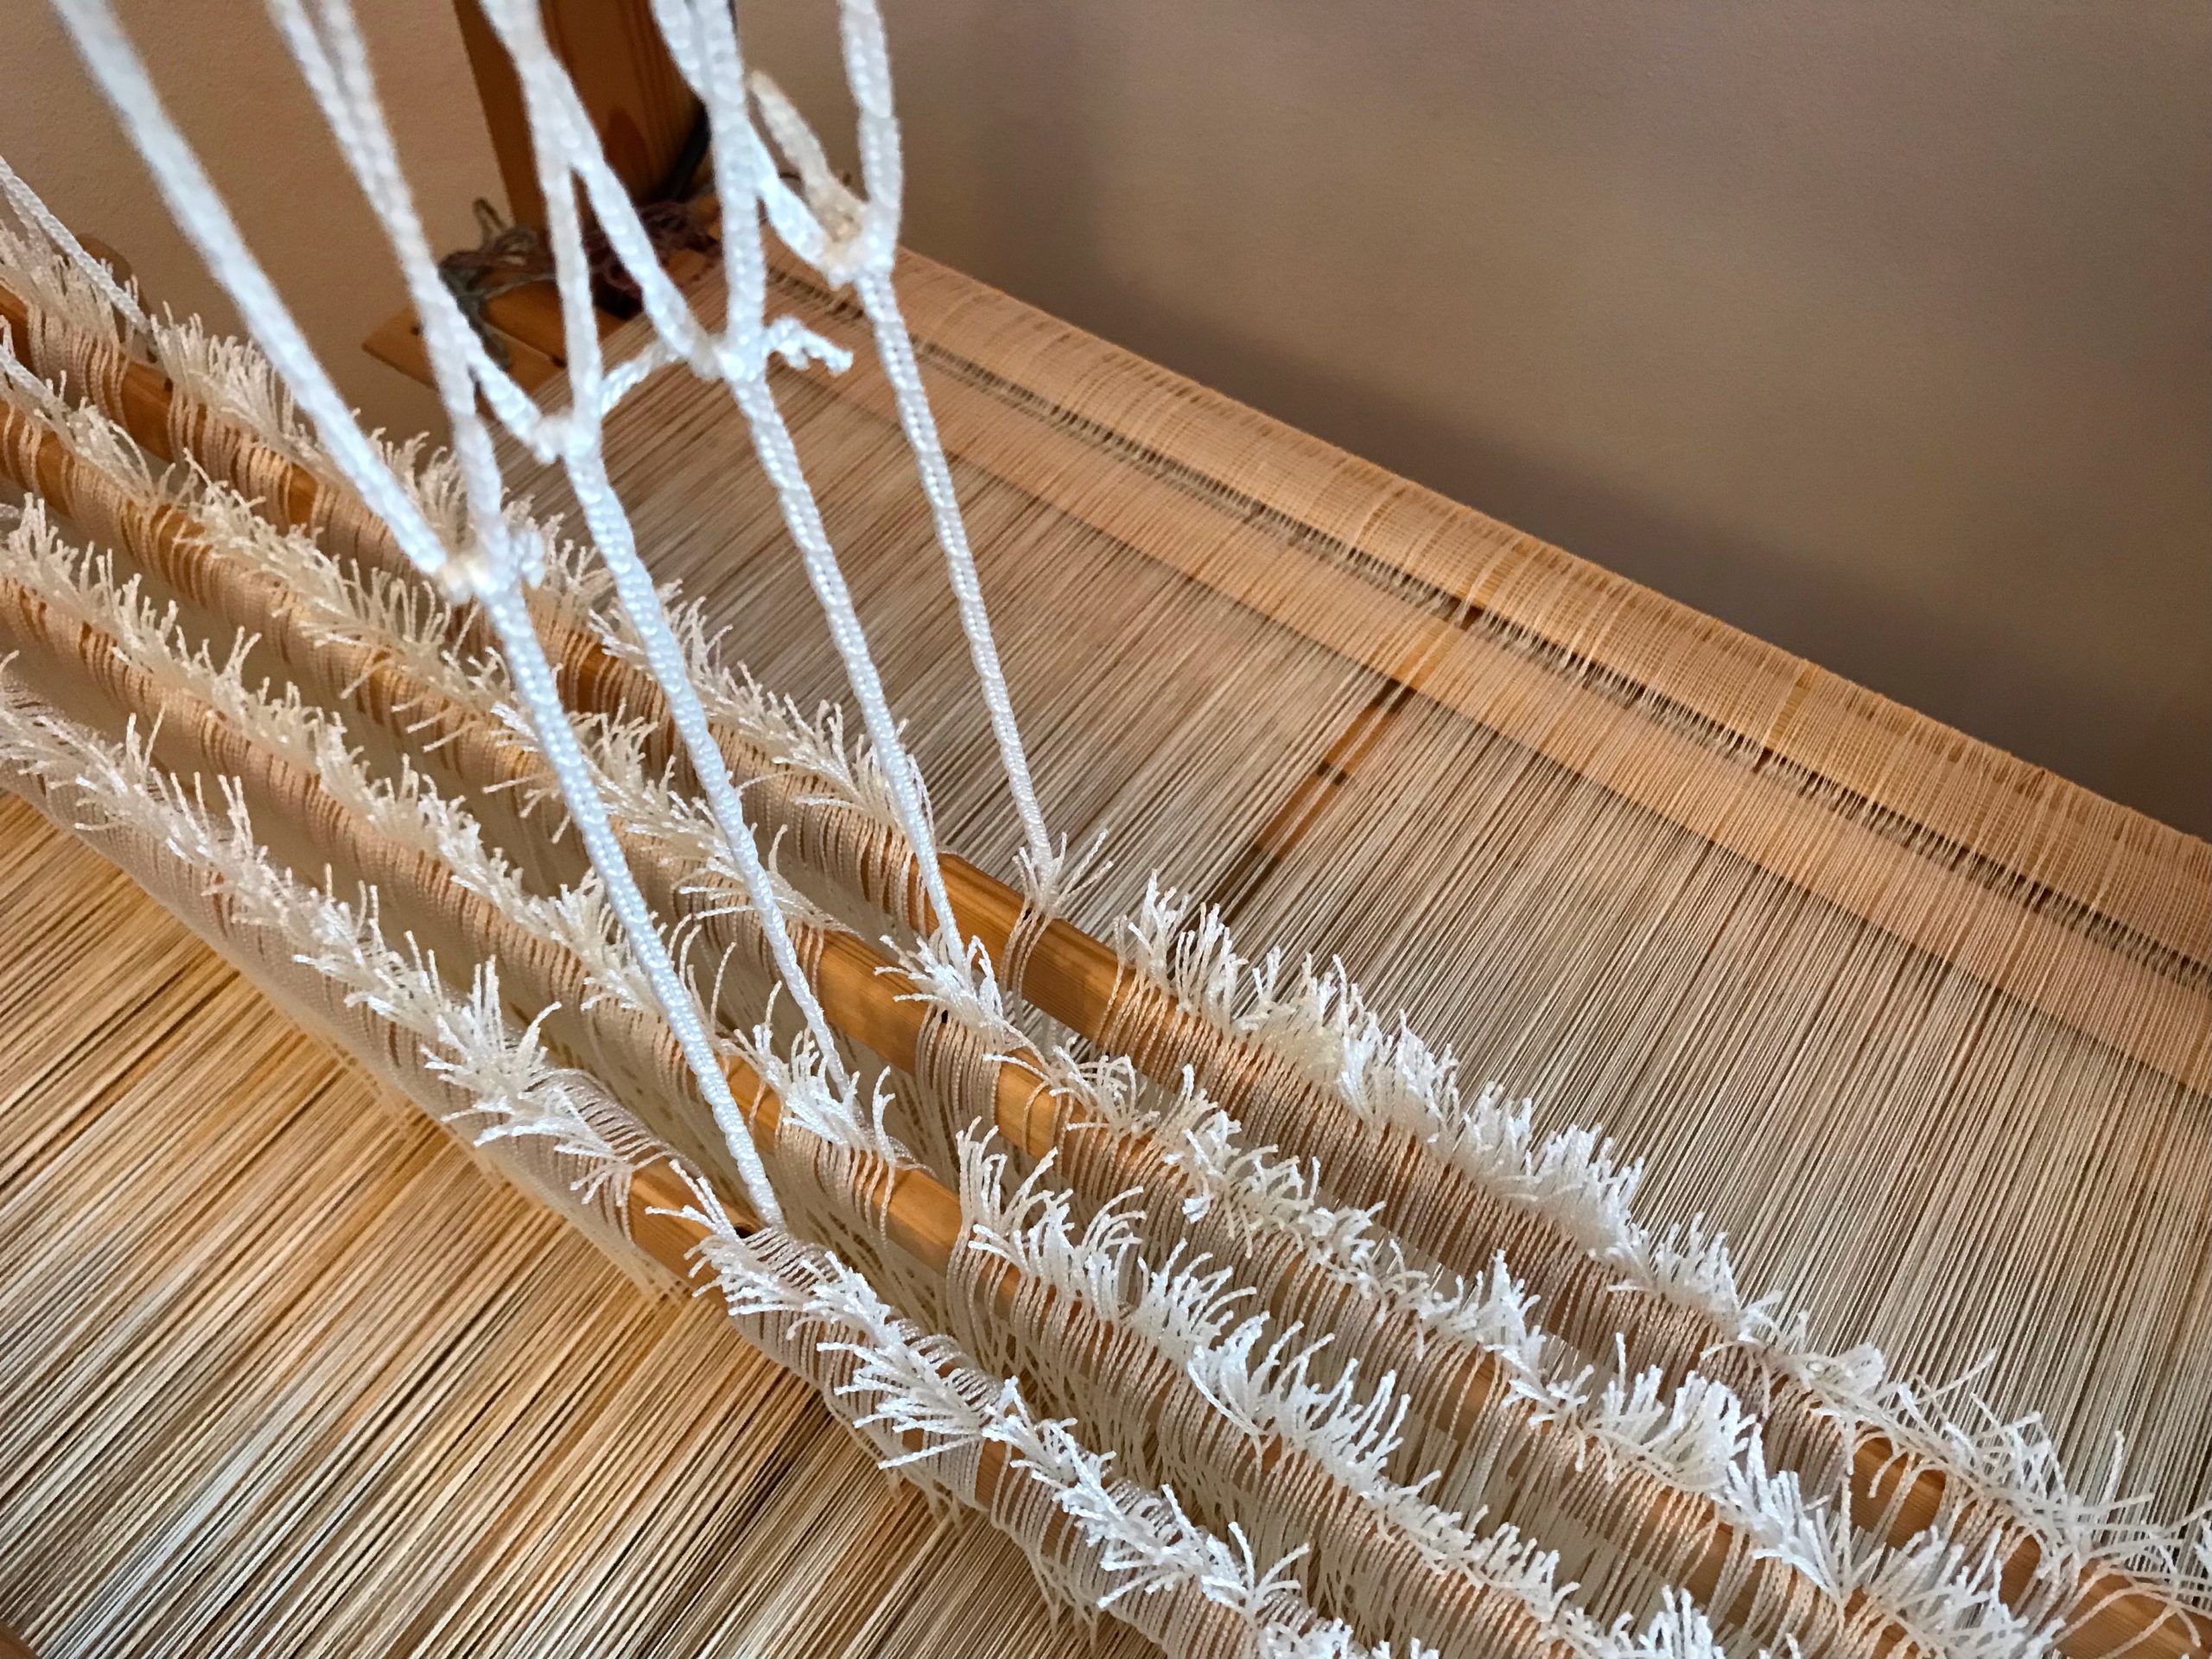
Tension on the warp is released at the back ratchet and front ratchet.
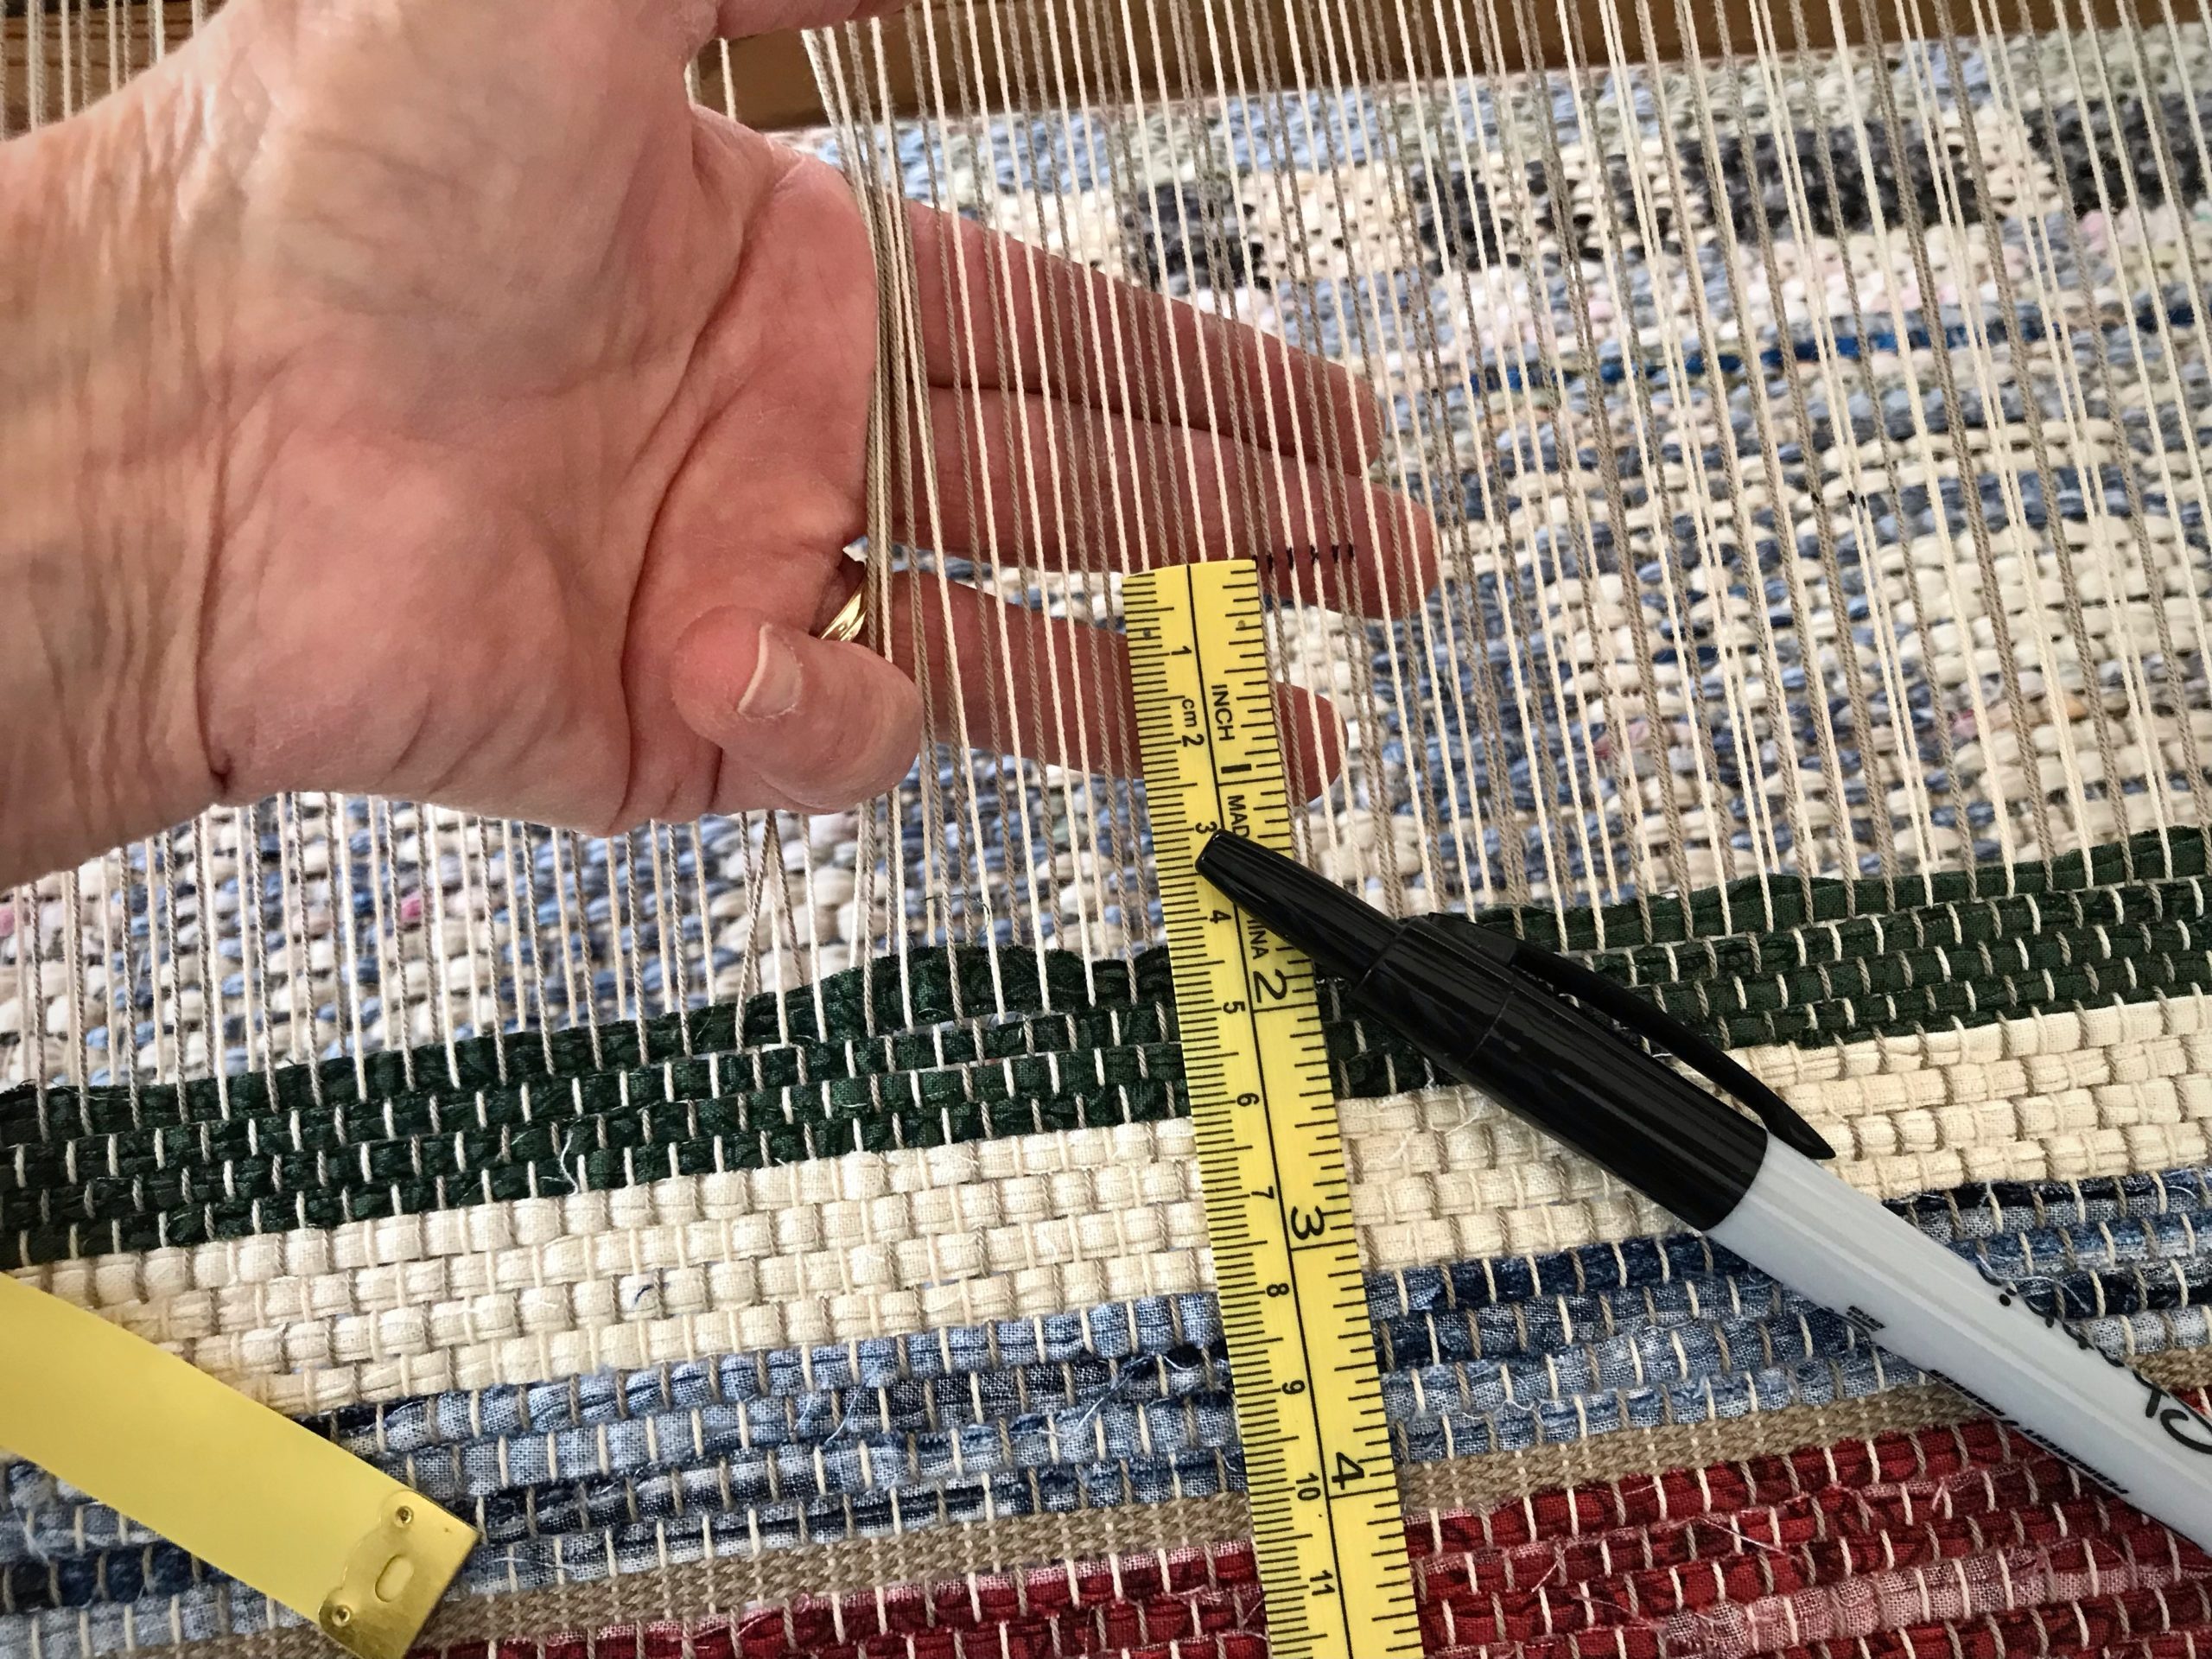
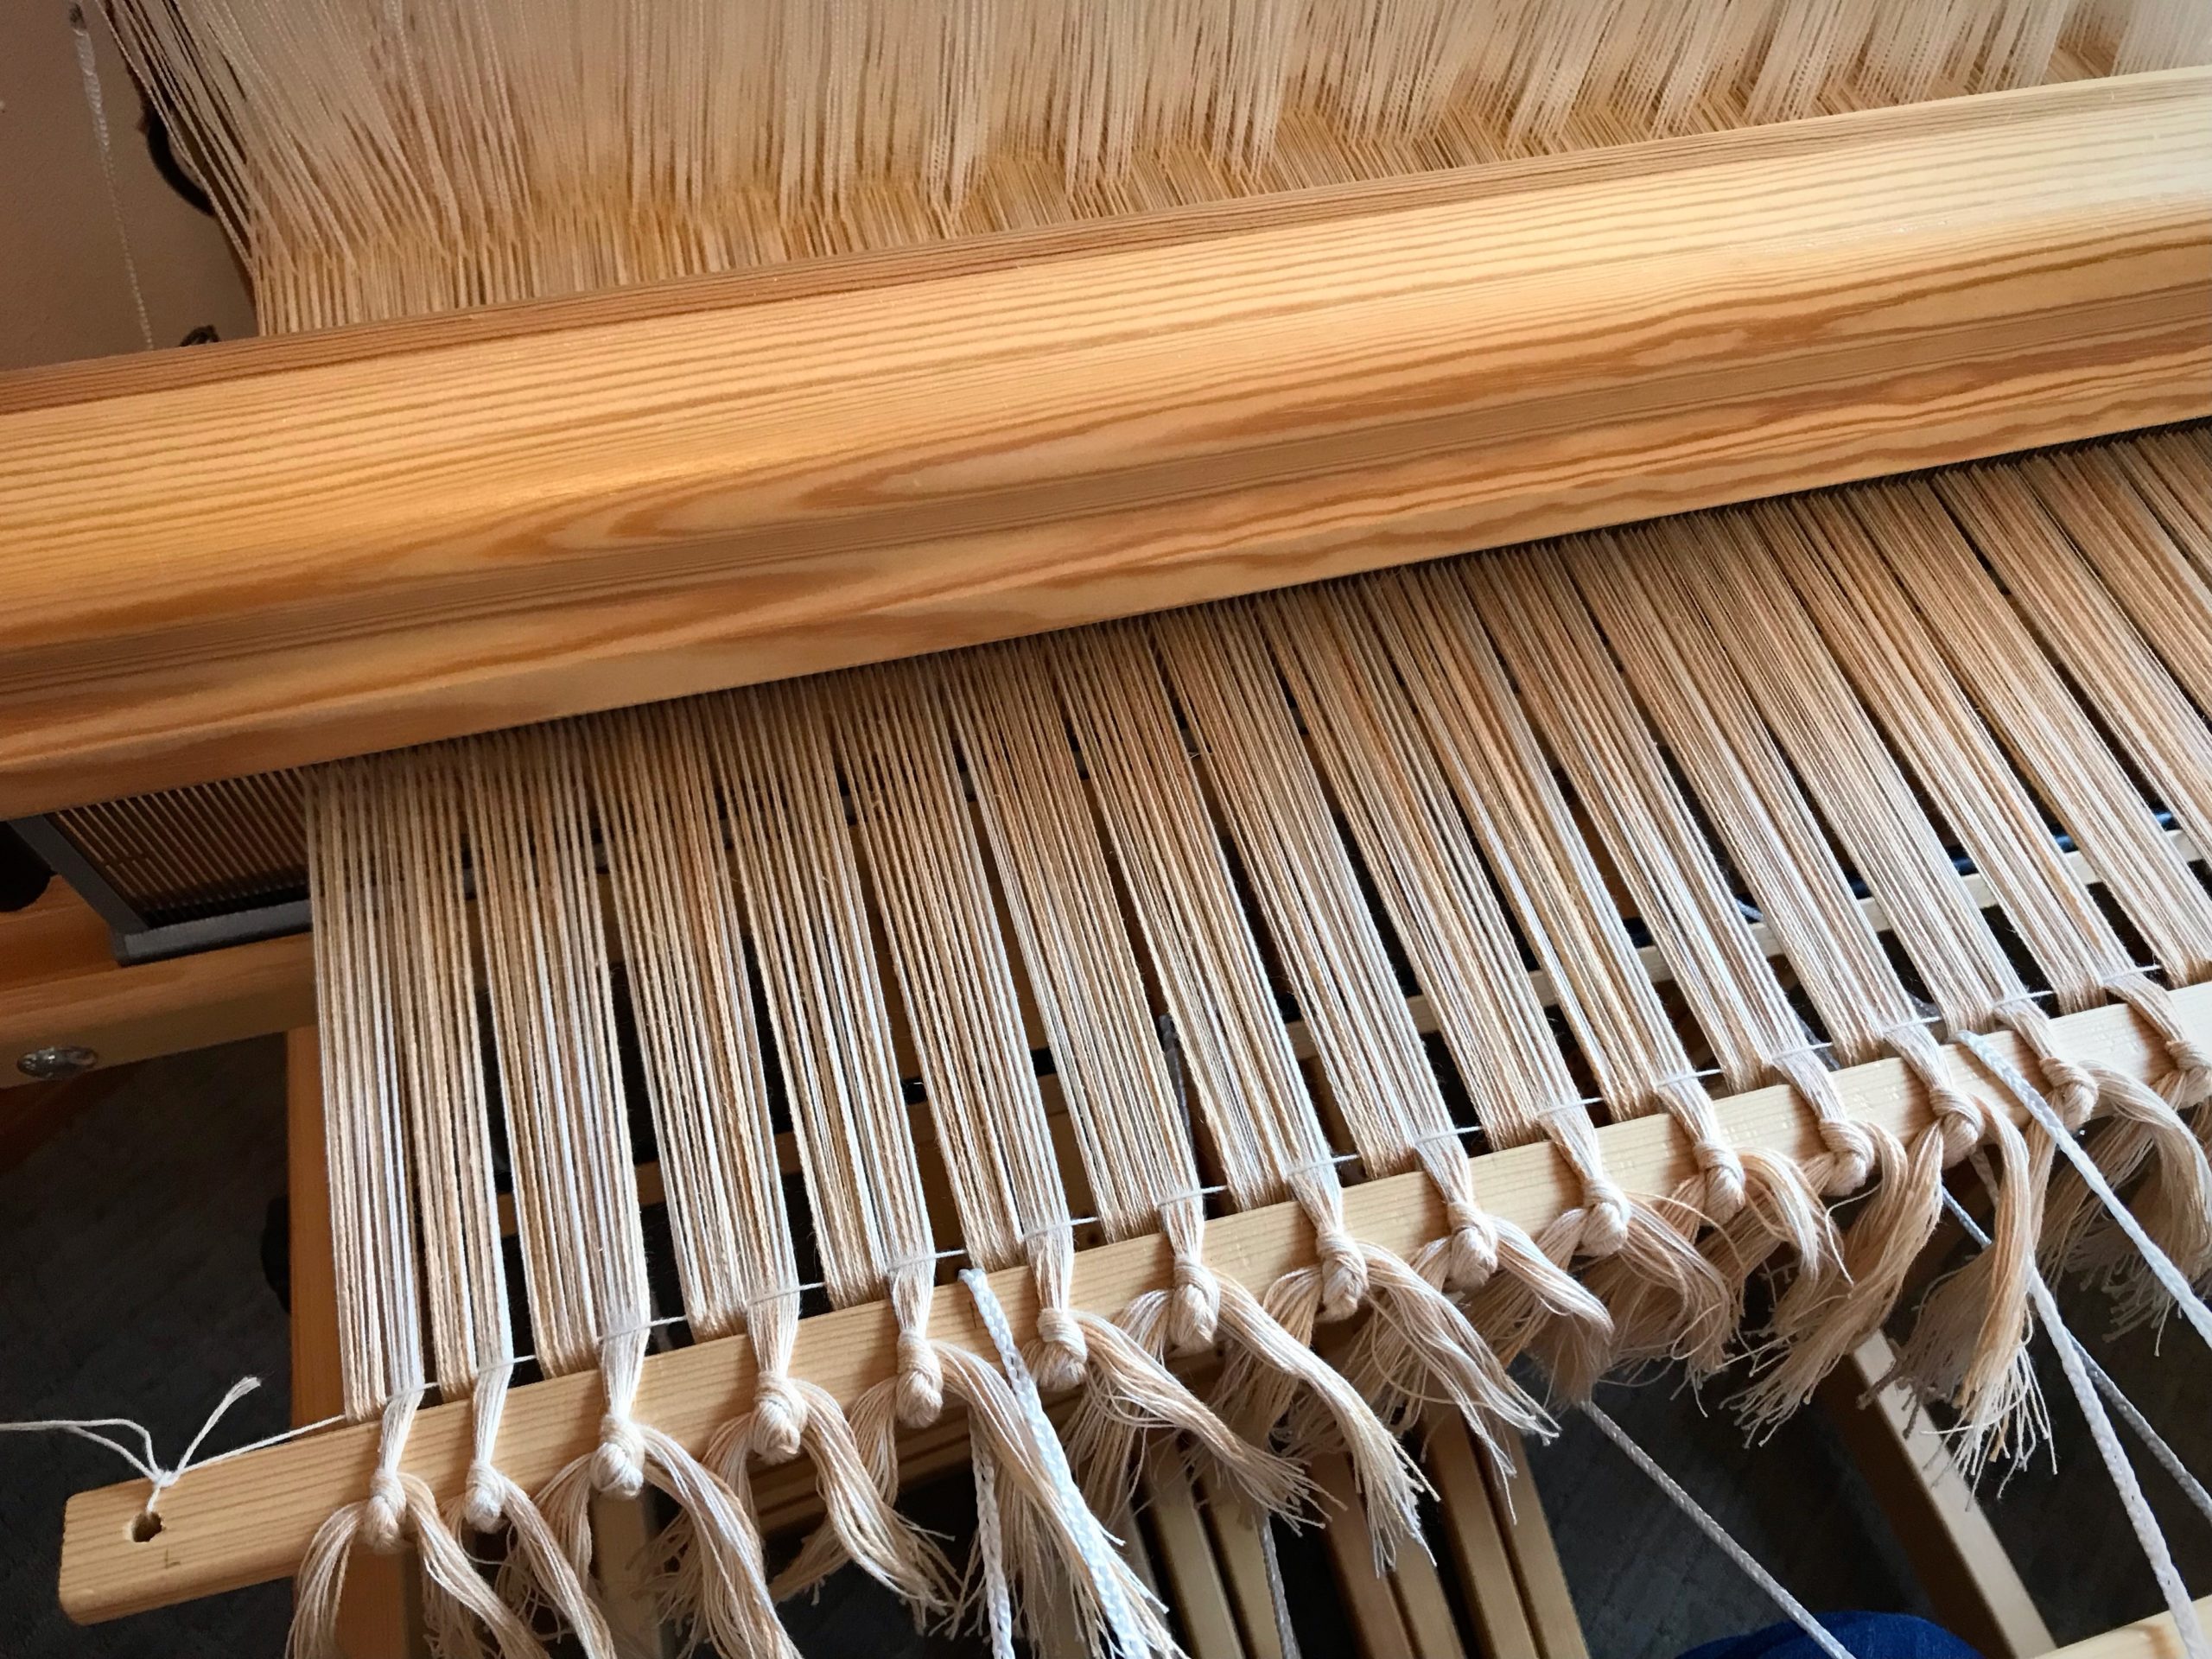
Mark a cutting line across the warp with a black marker. Allow at least 10 centimeters (4 inches) beyond the rug’s warp-thread header for tying knots later that will secure the weft.
Mark a cutting line across the warp. Leave enough warp at the end of the rug to tie overhand knots to secure the weft.
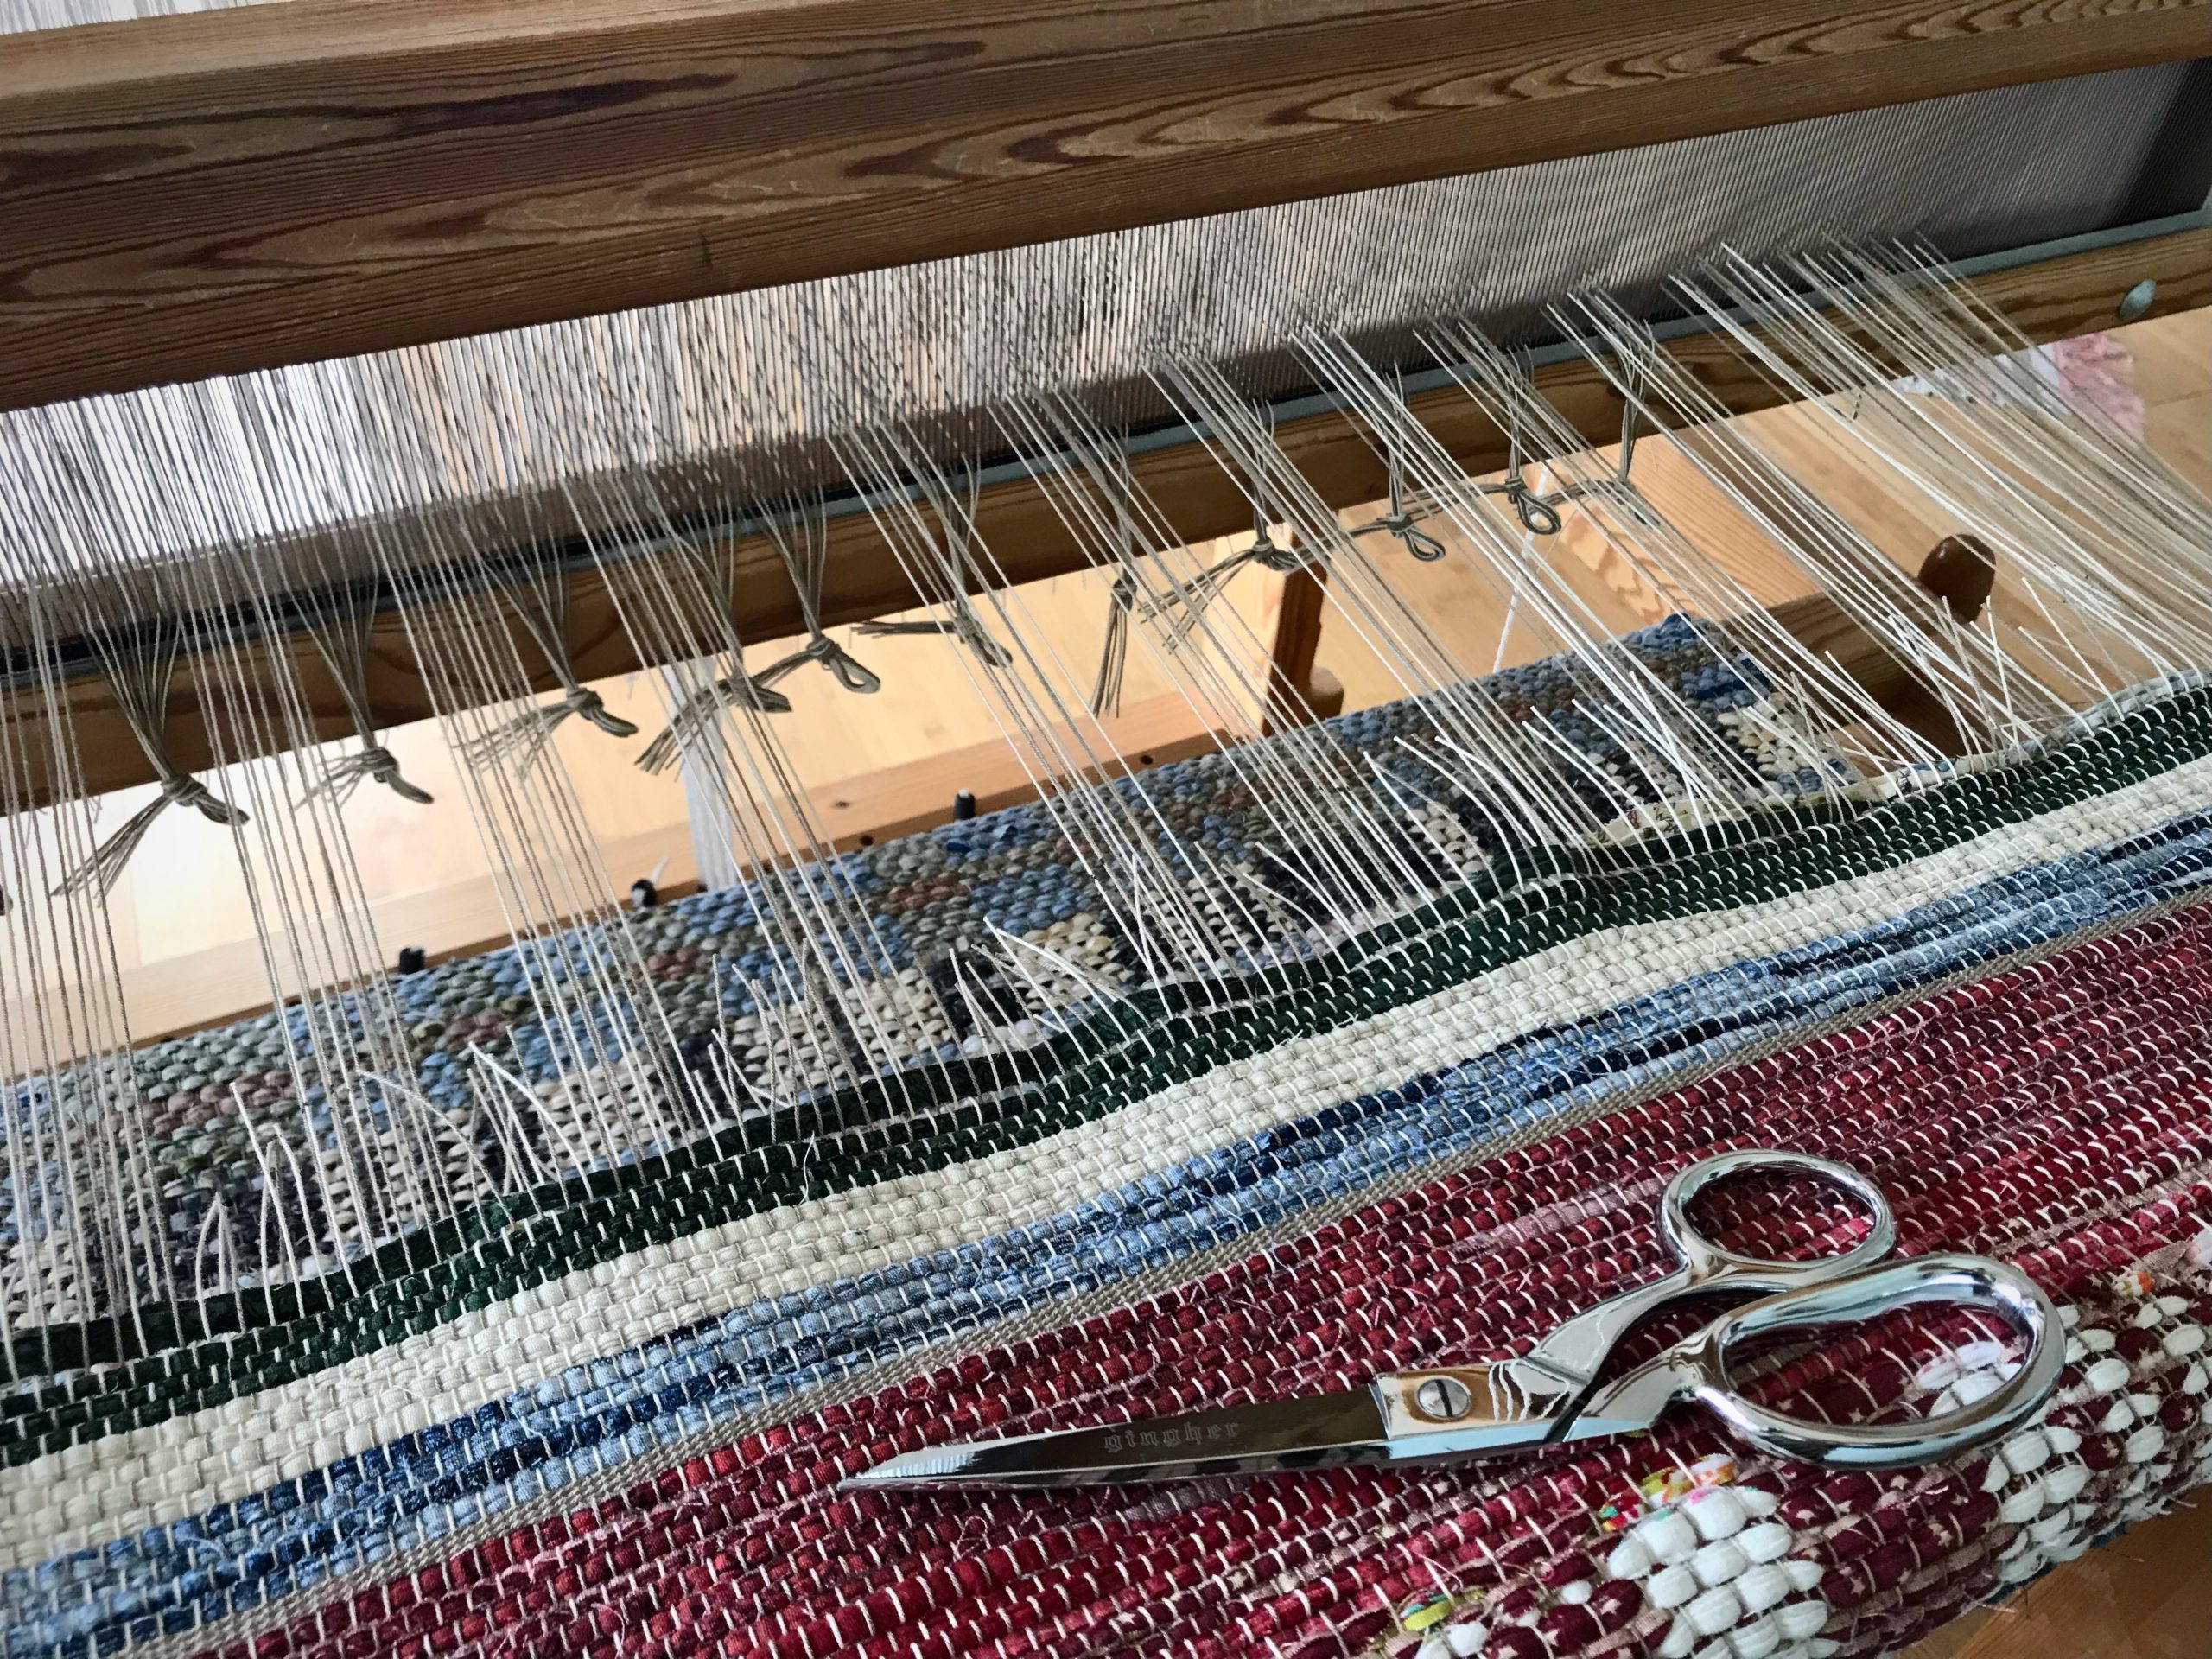
With tying back on in mind, cut one group of ends and skip the next group of ends. Continue across the warp, alternating cut and uncut groups of ends. Tie groups of cut ends in slipknots as you go.
By spacing out the cut ends, the weight of the rug is evenly distributed. There is less pulling and distortion while cutting off. At the same time I am preparing groups of ends for tying back on.
Make a second pass, cutting the remaining groups of ends, and tying them in slipknots.
Continue cutting off groups of ends.
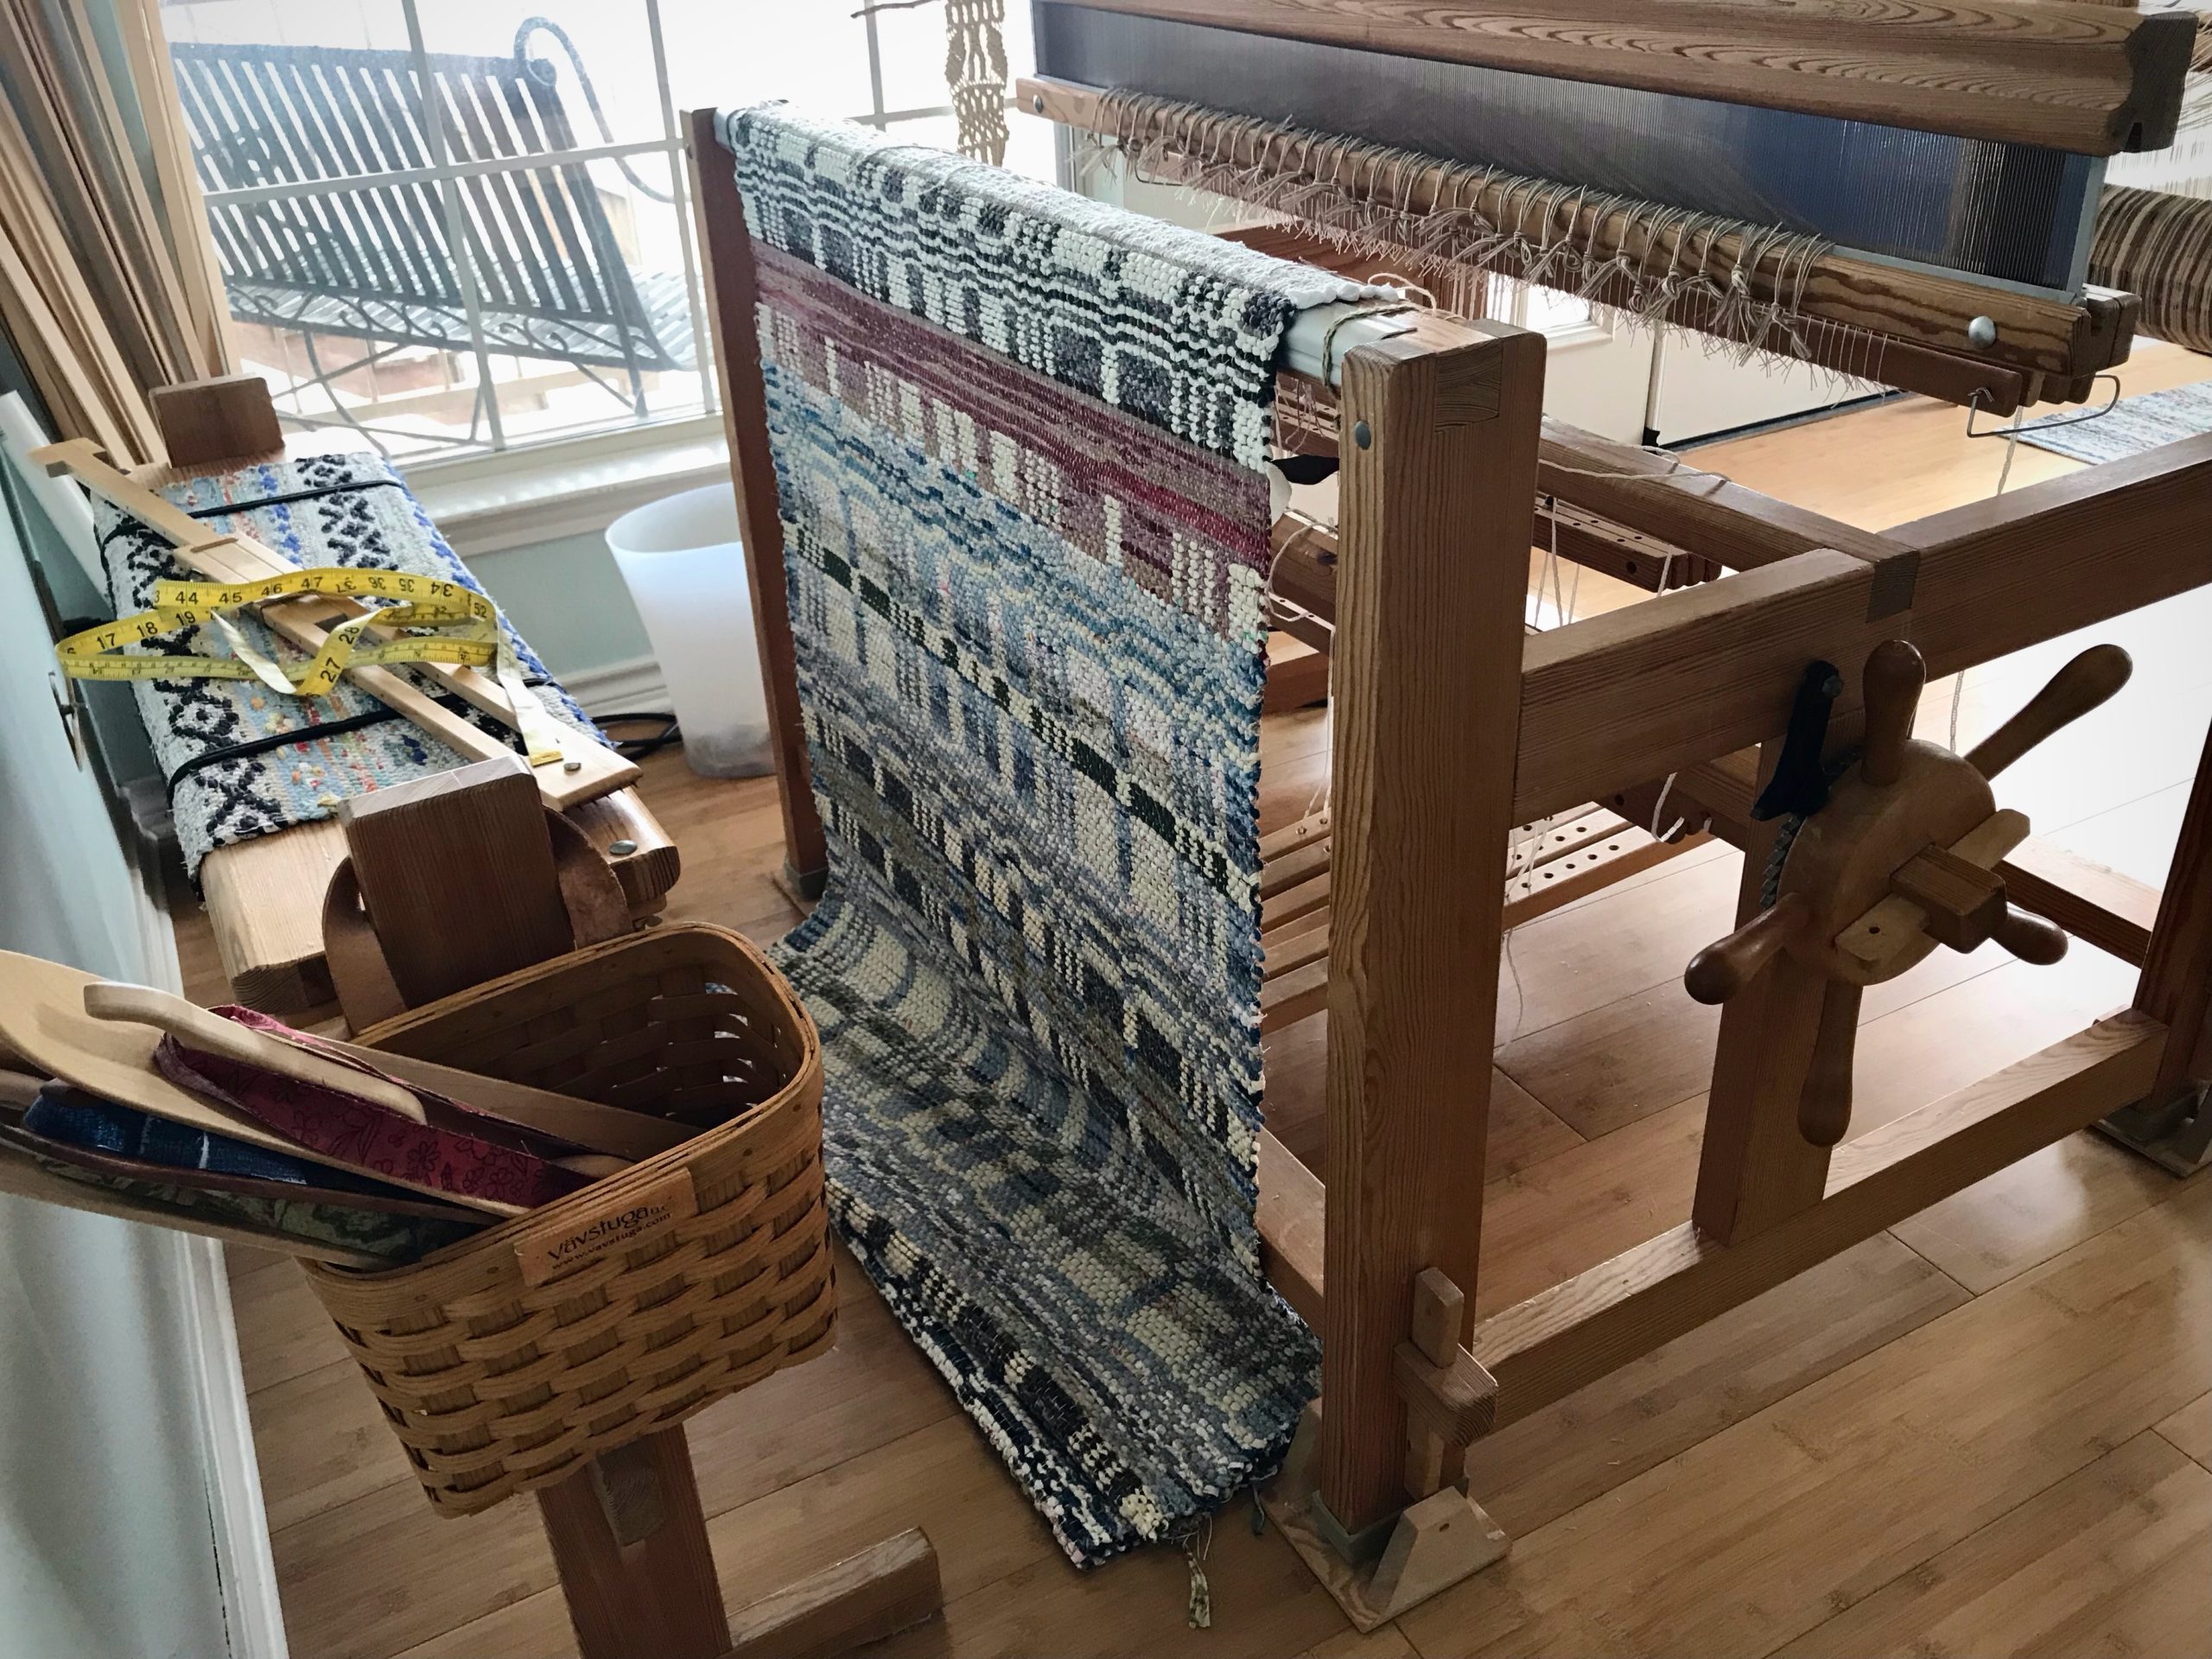
Unroll the rug from the cloth beam. Take a photograph.
First look at the back of the rug.
Lay the rug out on the floor. Ooh and aah.
Double-binding rag rug, ready for finishing and hemming! I let the rug rest on the floor for a couple days to let the warp and weft relax. Next step is to tie ends into overhand knots.
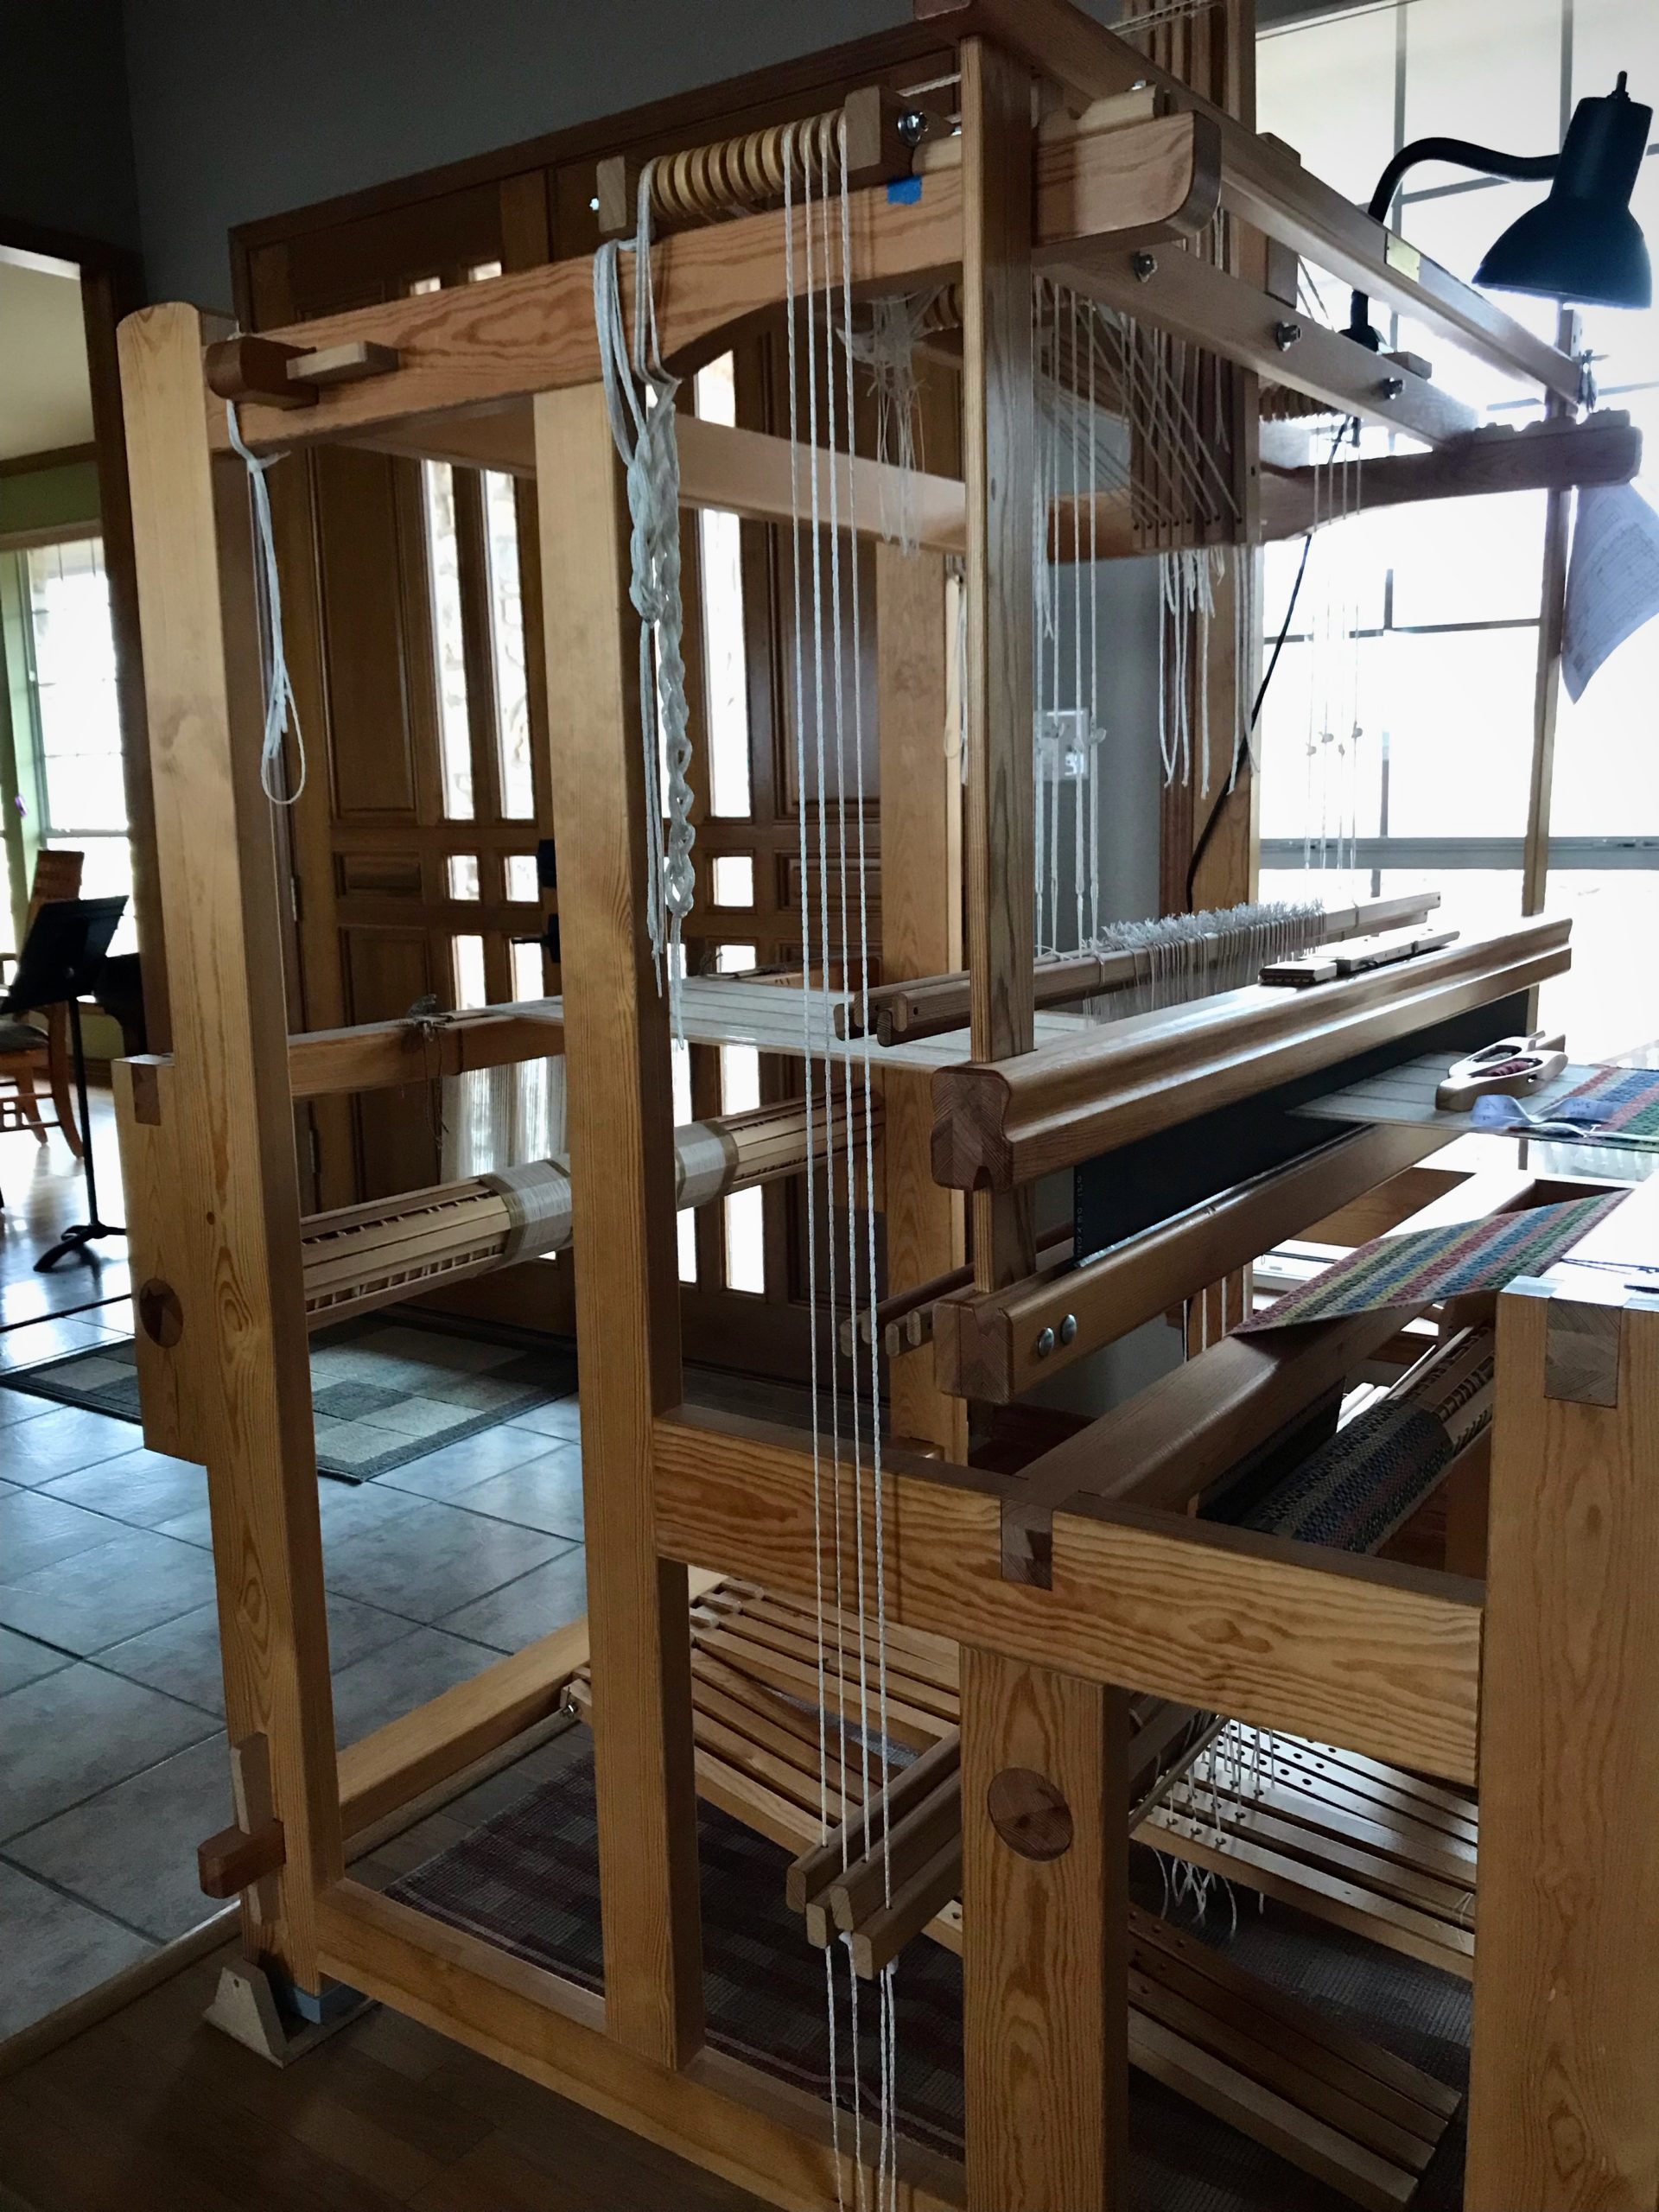
You followed all the instructions for dressing the loom, and have finished the countermarchtie-up. Now, at the moment of triumph you step on the treadles, one by one. Alas! Some or all of the treadles give you nothing you can call a shed. Now what? Maybe you relate to Laura who wrote me recently, “I can’t seem to get the treadles to make a shed.”
The solution is simple. Follow the advice in this sentence on page 37 of Learning to Warp your Loom, by Joanne Hall, “If your sheds are not good, check your loom tie-up from the top down.”
If sheds are missing, there is a good chance you have a crossed cord.
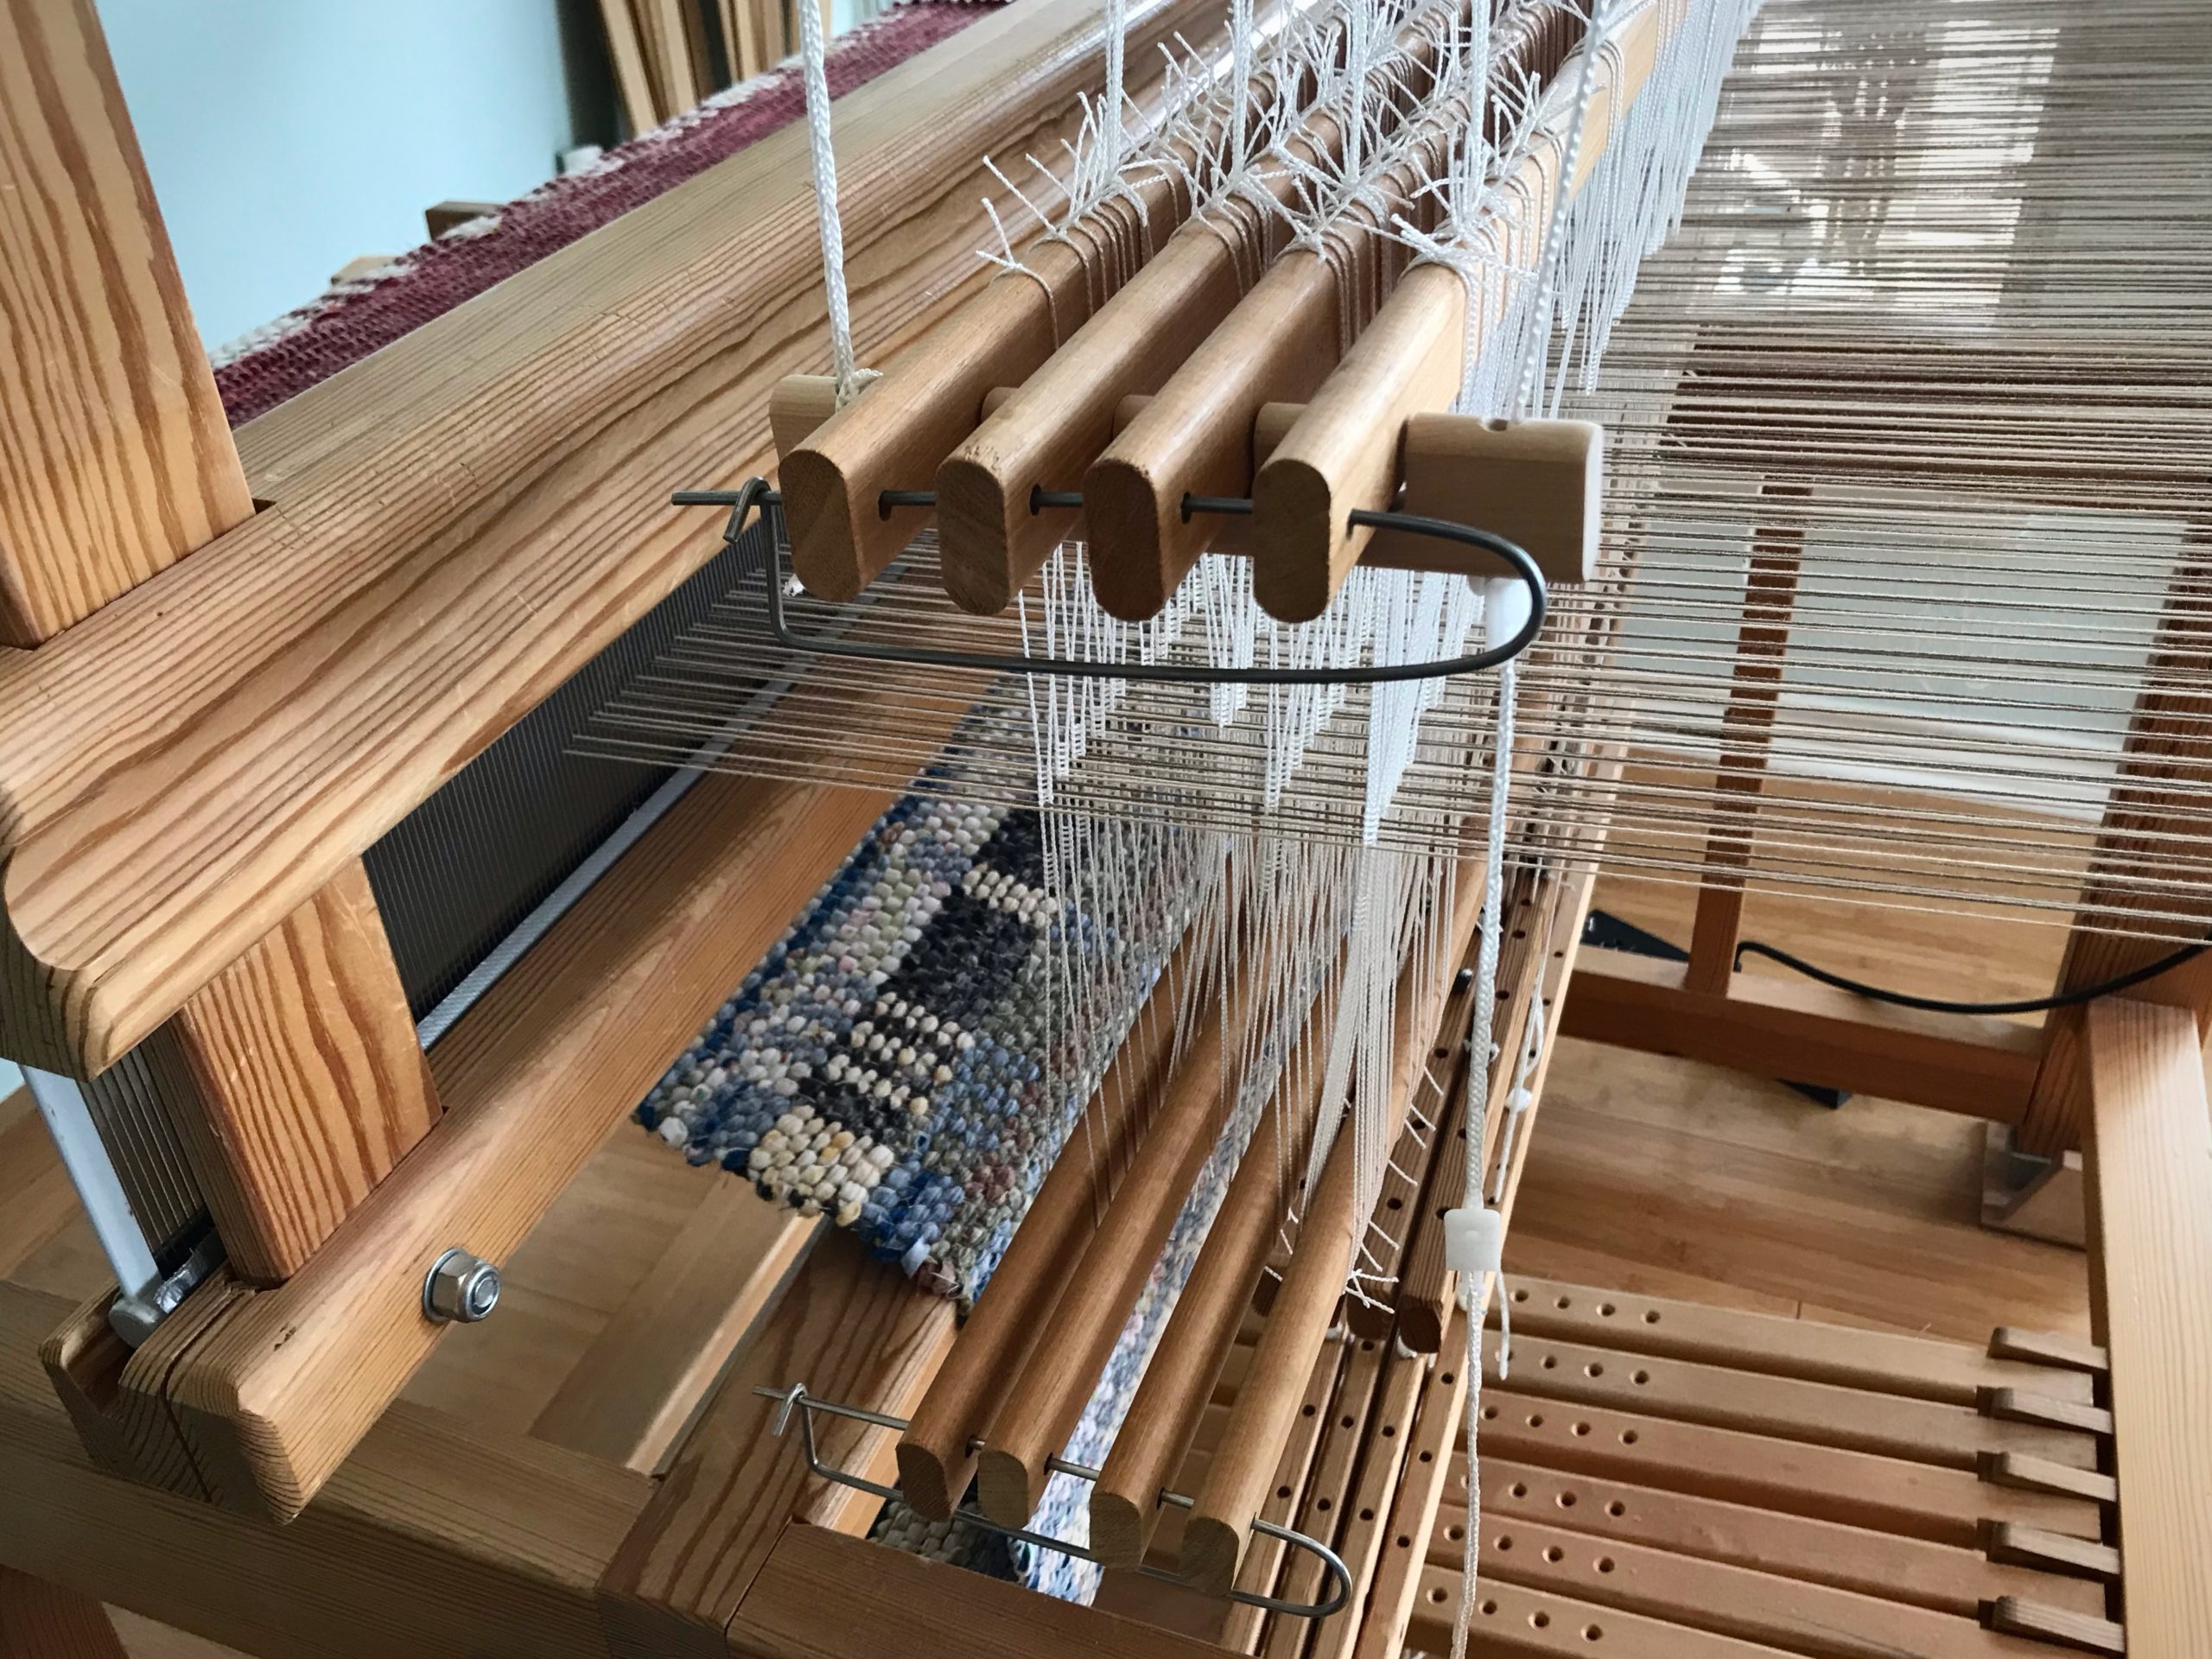
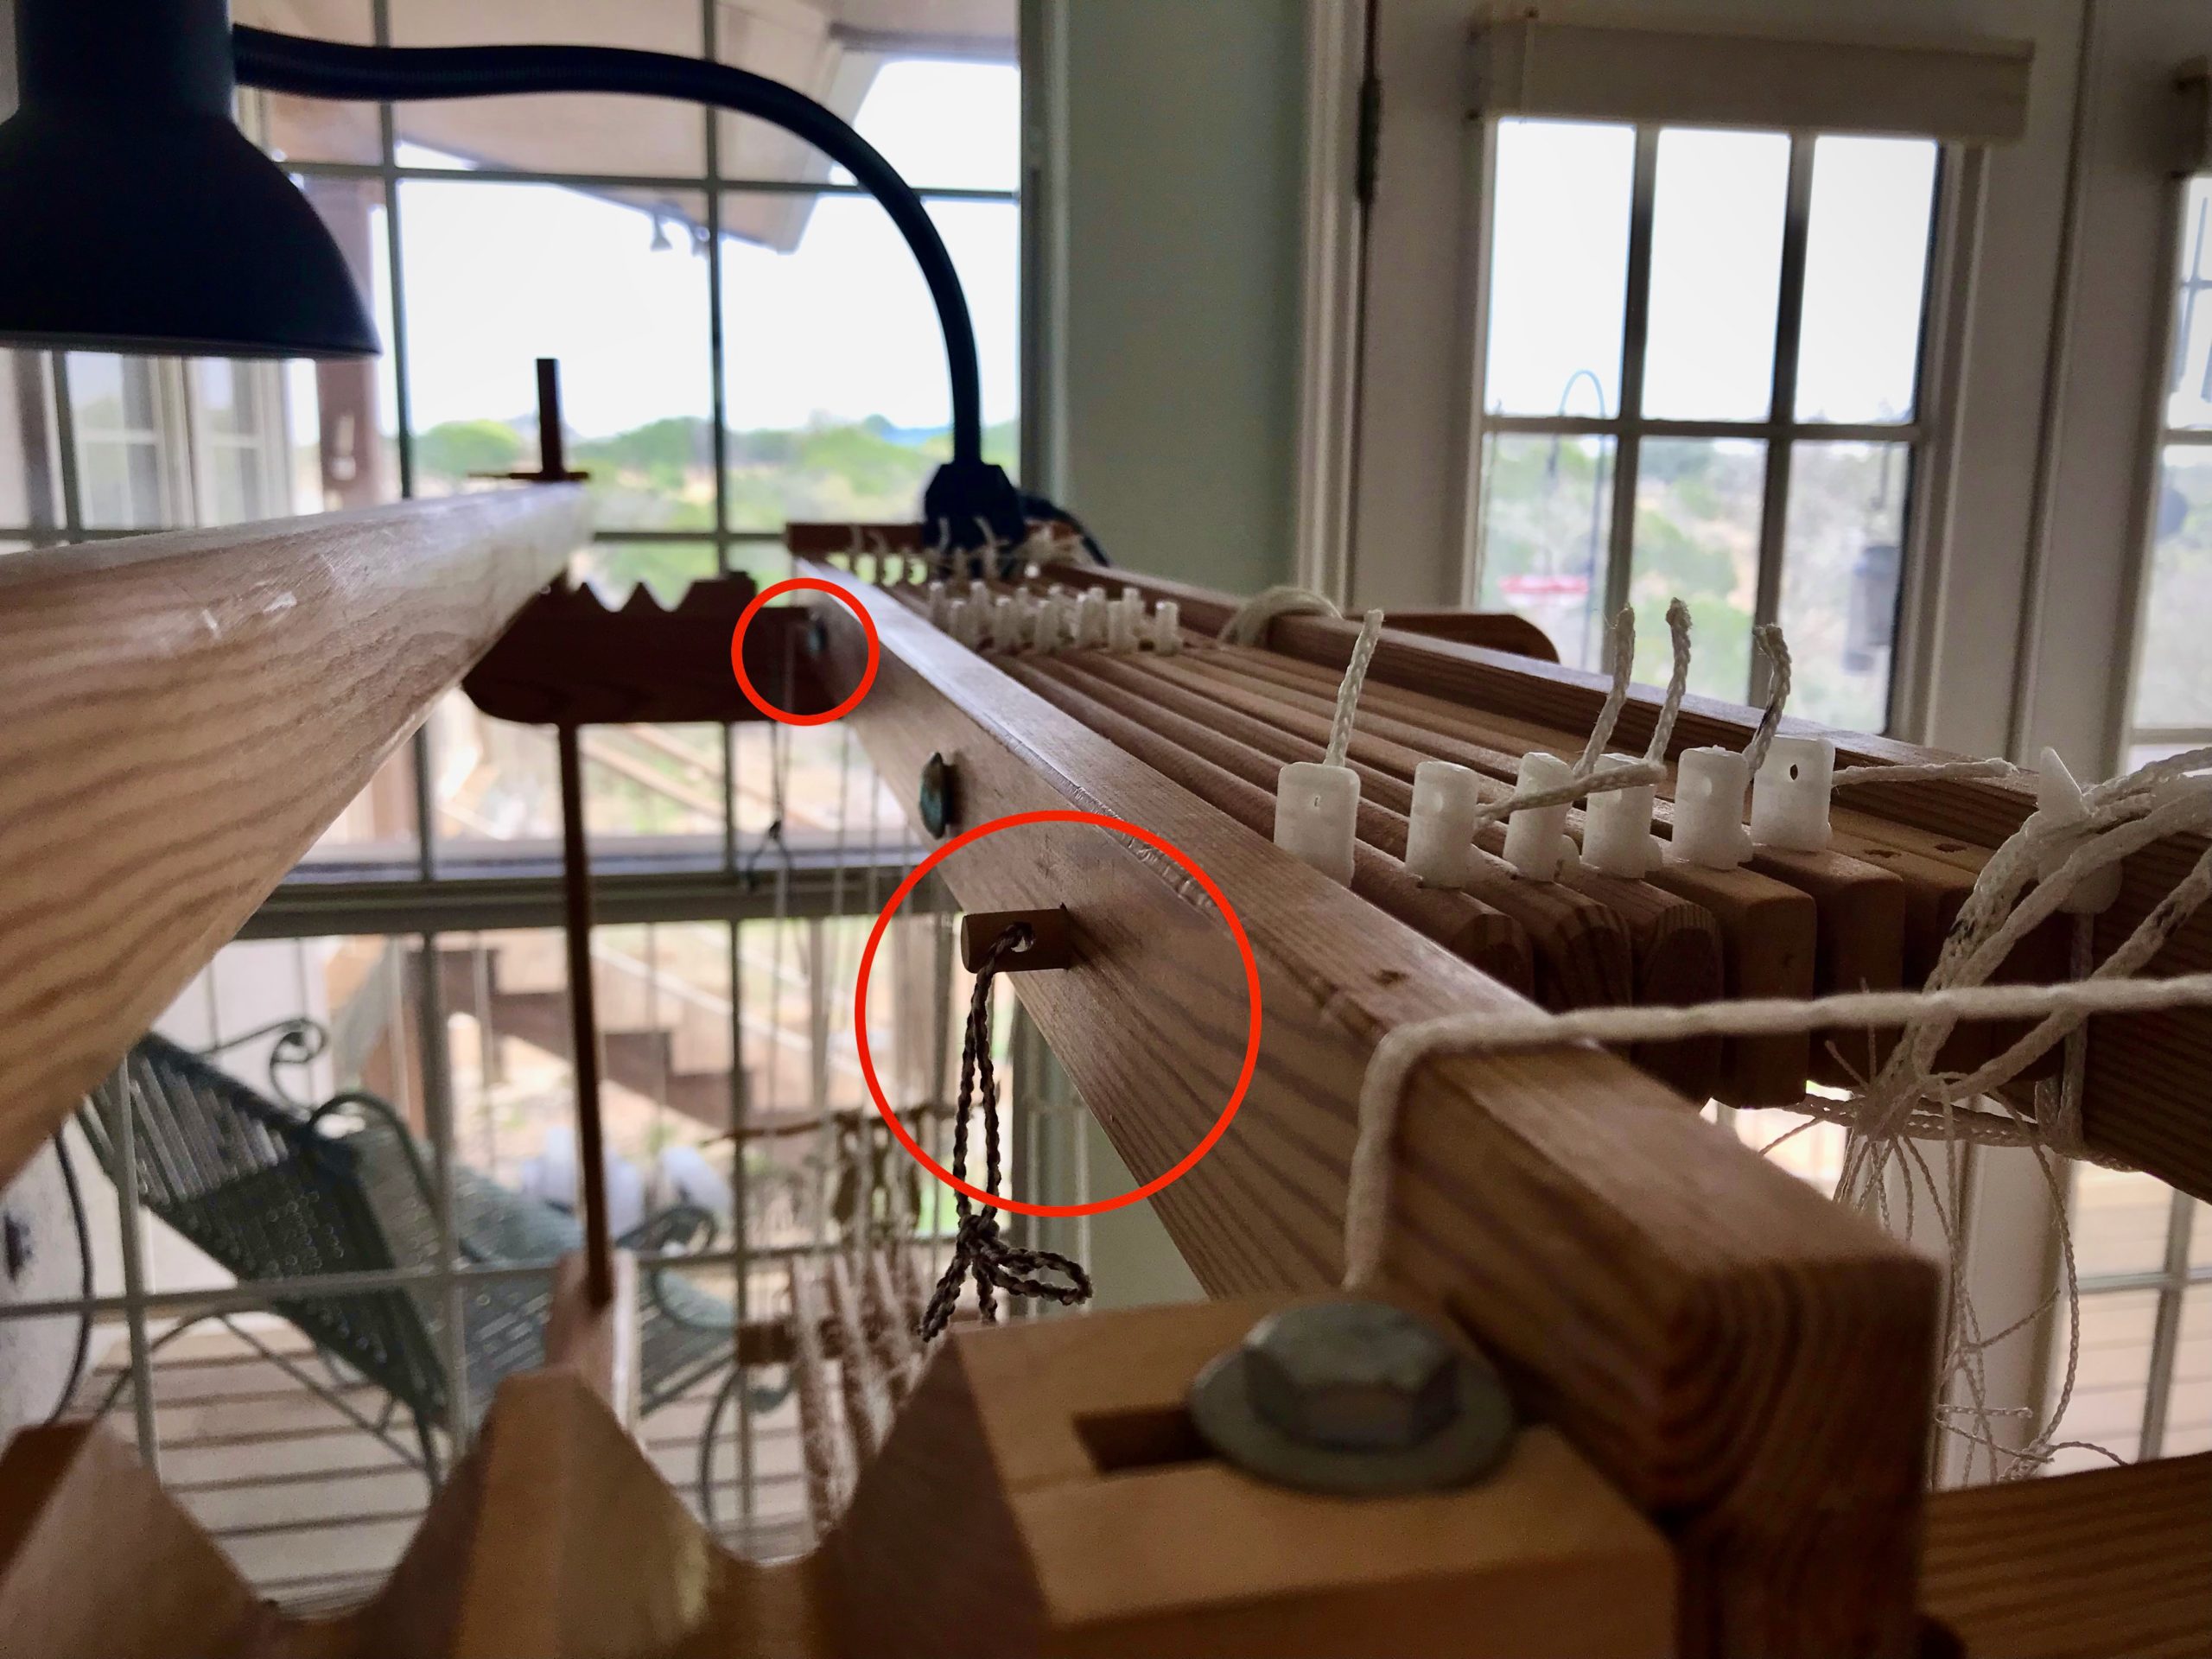
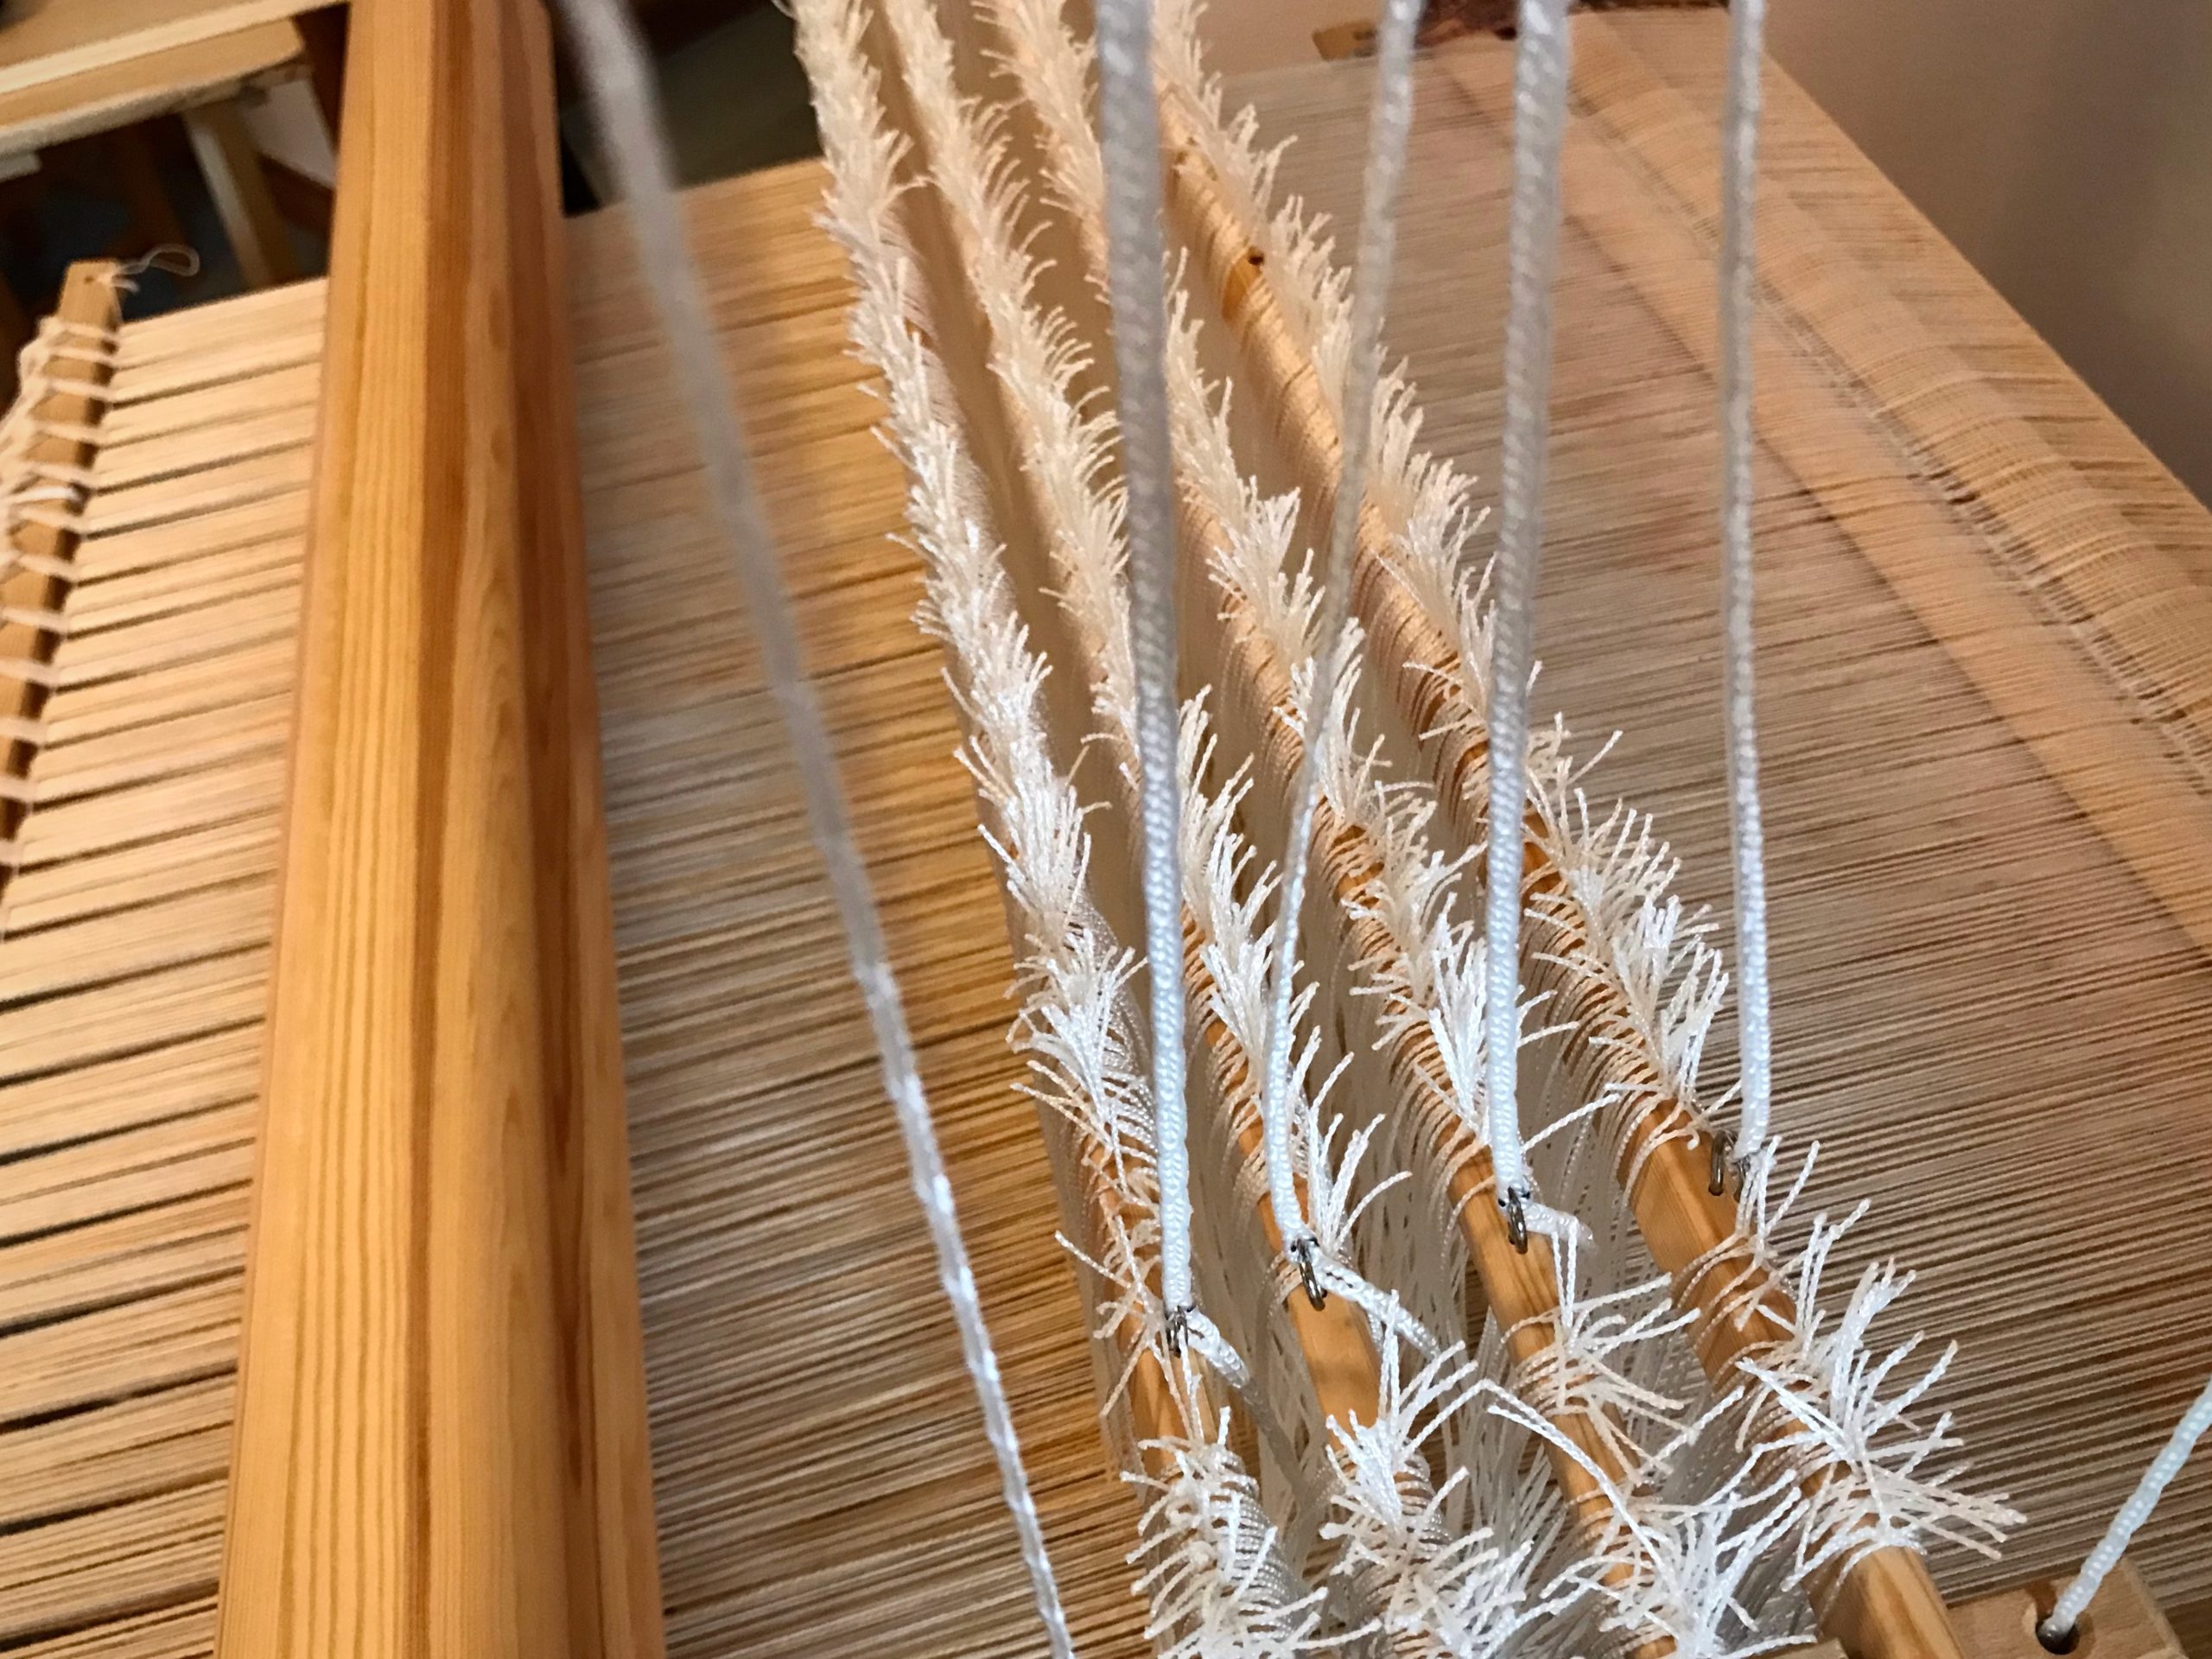
1 Follow each Texsolv cord, starting from the countermarch at top of the loom.
All the shafts are good to go, right? Not quite. Better see what’s happening at the top of those Texsolv cords.
2 Make sure that each cord is connected in the right order at the right place.
Is the first countermarch jack connected to the first shaft, the second jack to the second shaft, and so on?
Misaligned cords as seen from the top of the loom.
Are the cords that go to the lower lamms strictly in order?
– With horizontal countermarch, does each cord fall behind the shafts in order?
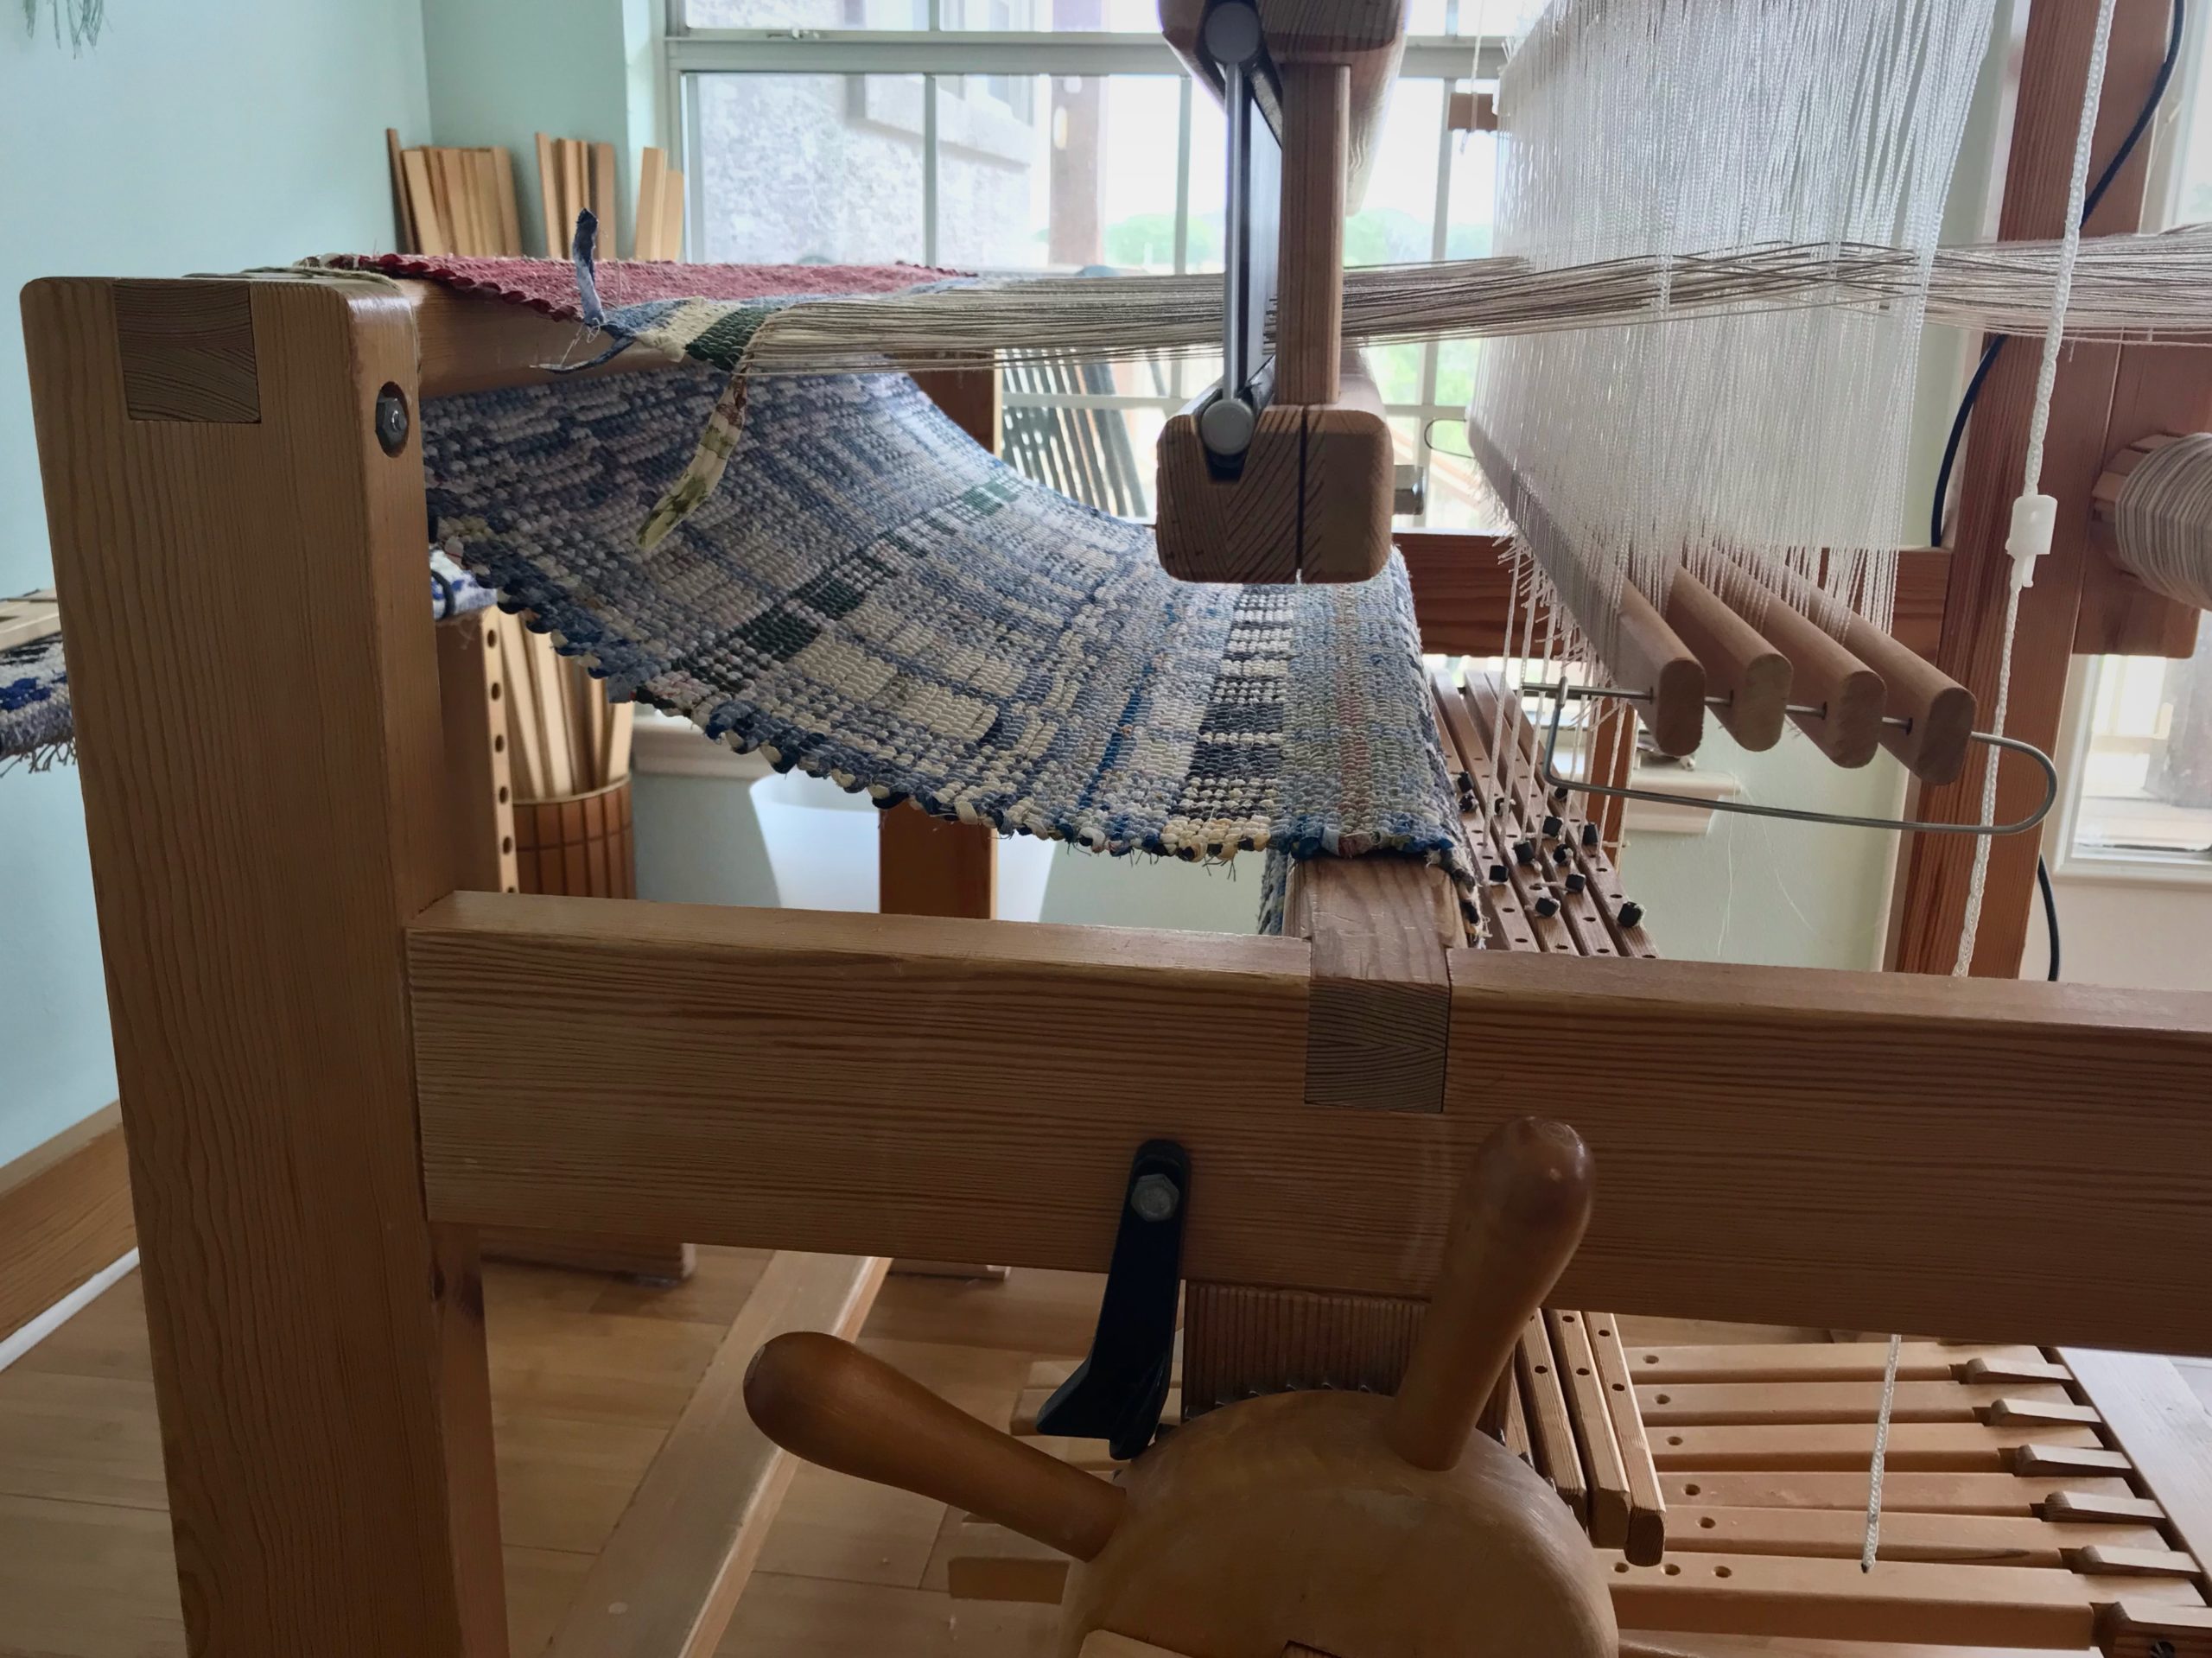
Cords from the horizontal countermarch go through the center of the warp, to be attached to lower lamms below.Make sure each cord goes behind its corresponding shaft bars to the lamms below. When attaching the cords to the lamms, make sure the cords are attached in the correct order. If loom is already tied up, follow each cord to check that it is attached to its corresponding lamm.
– With vertical countermarch, is each cord on its pulley, and connected to lamms in the right order?
Vertical countermarch has cords that go over pulleys on the side down to the lower lamms. I have to be extra careful to keep from attaching a cord to the wrong lamm.
3 Correct any misaligned cord.
Now, step on each treadle, one by one. Decent sheds that just need a little refining? Triumph!
Helpful Habit
When attaching a cord while dressing the loom, start your hand at the top of the cord and slide it down to the point of connection. This helps you take hold of the correct cord.
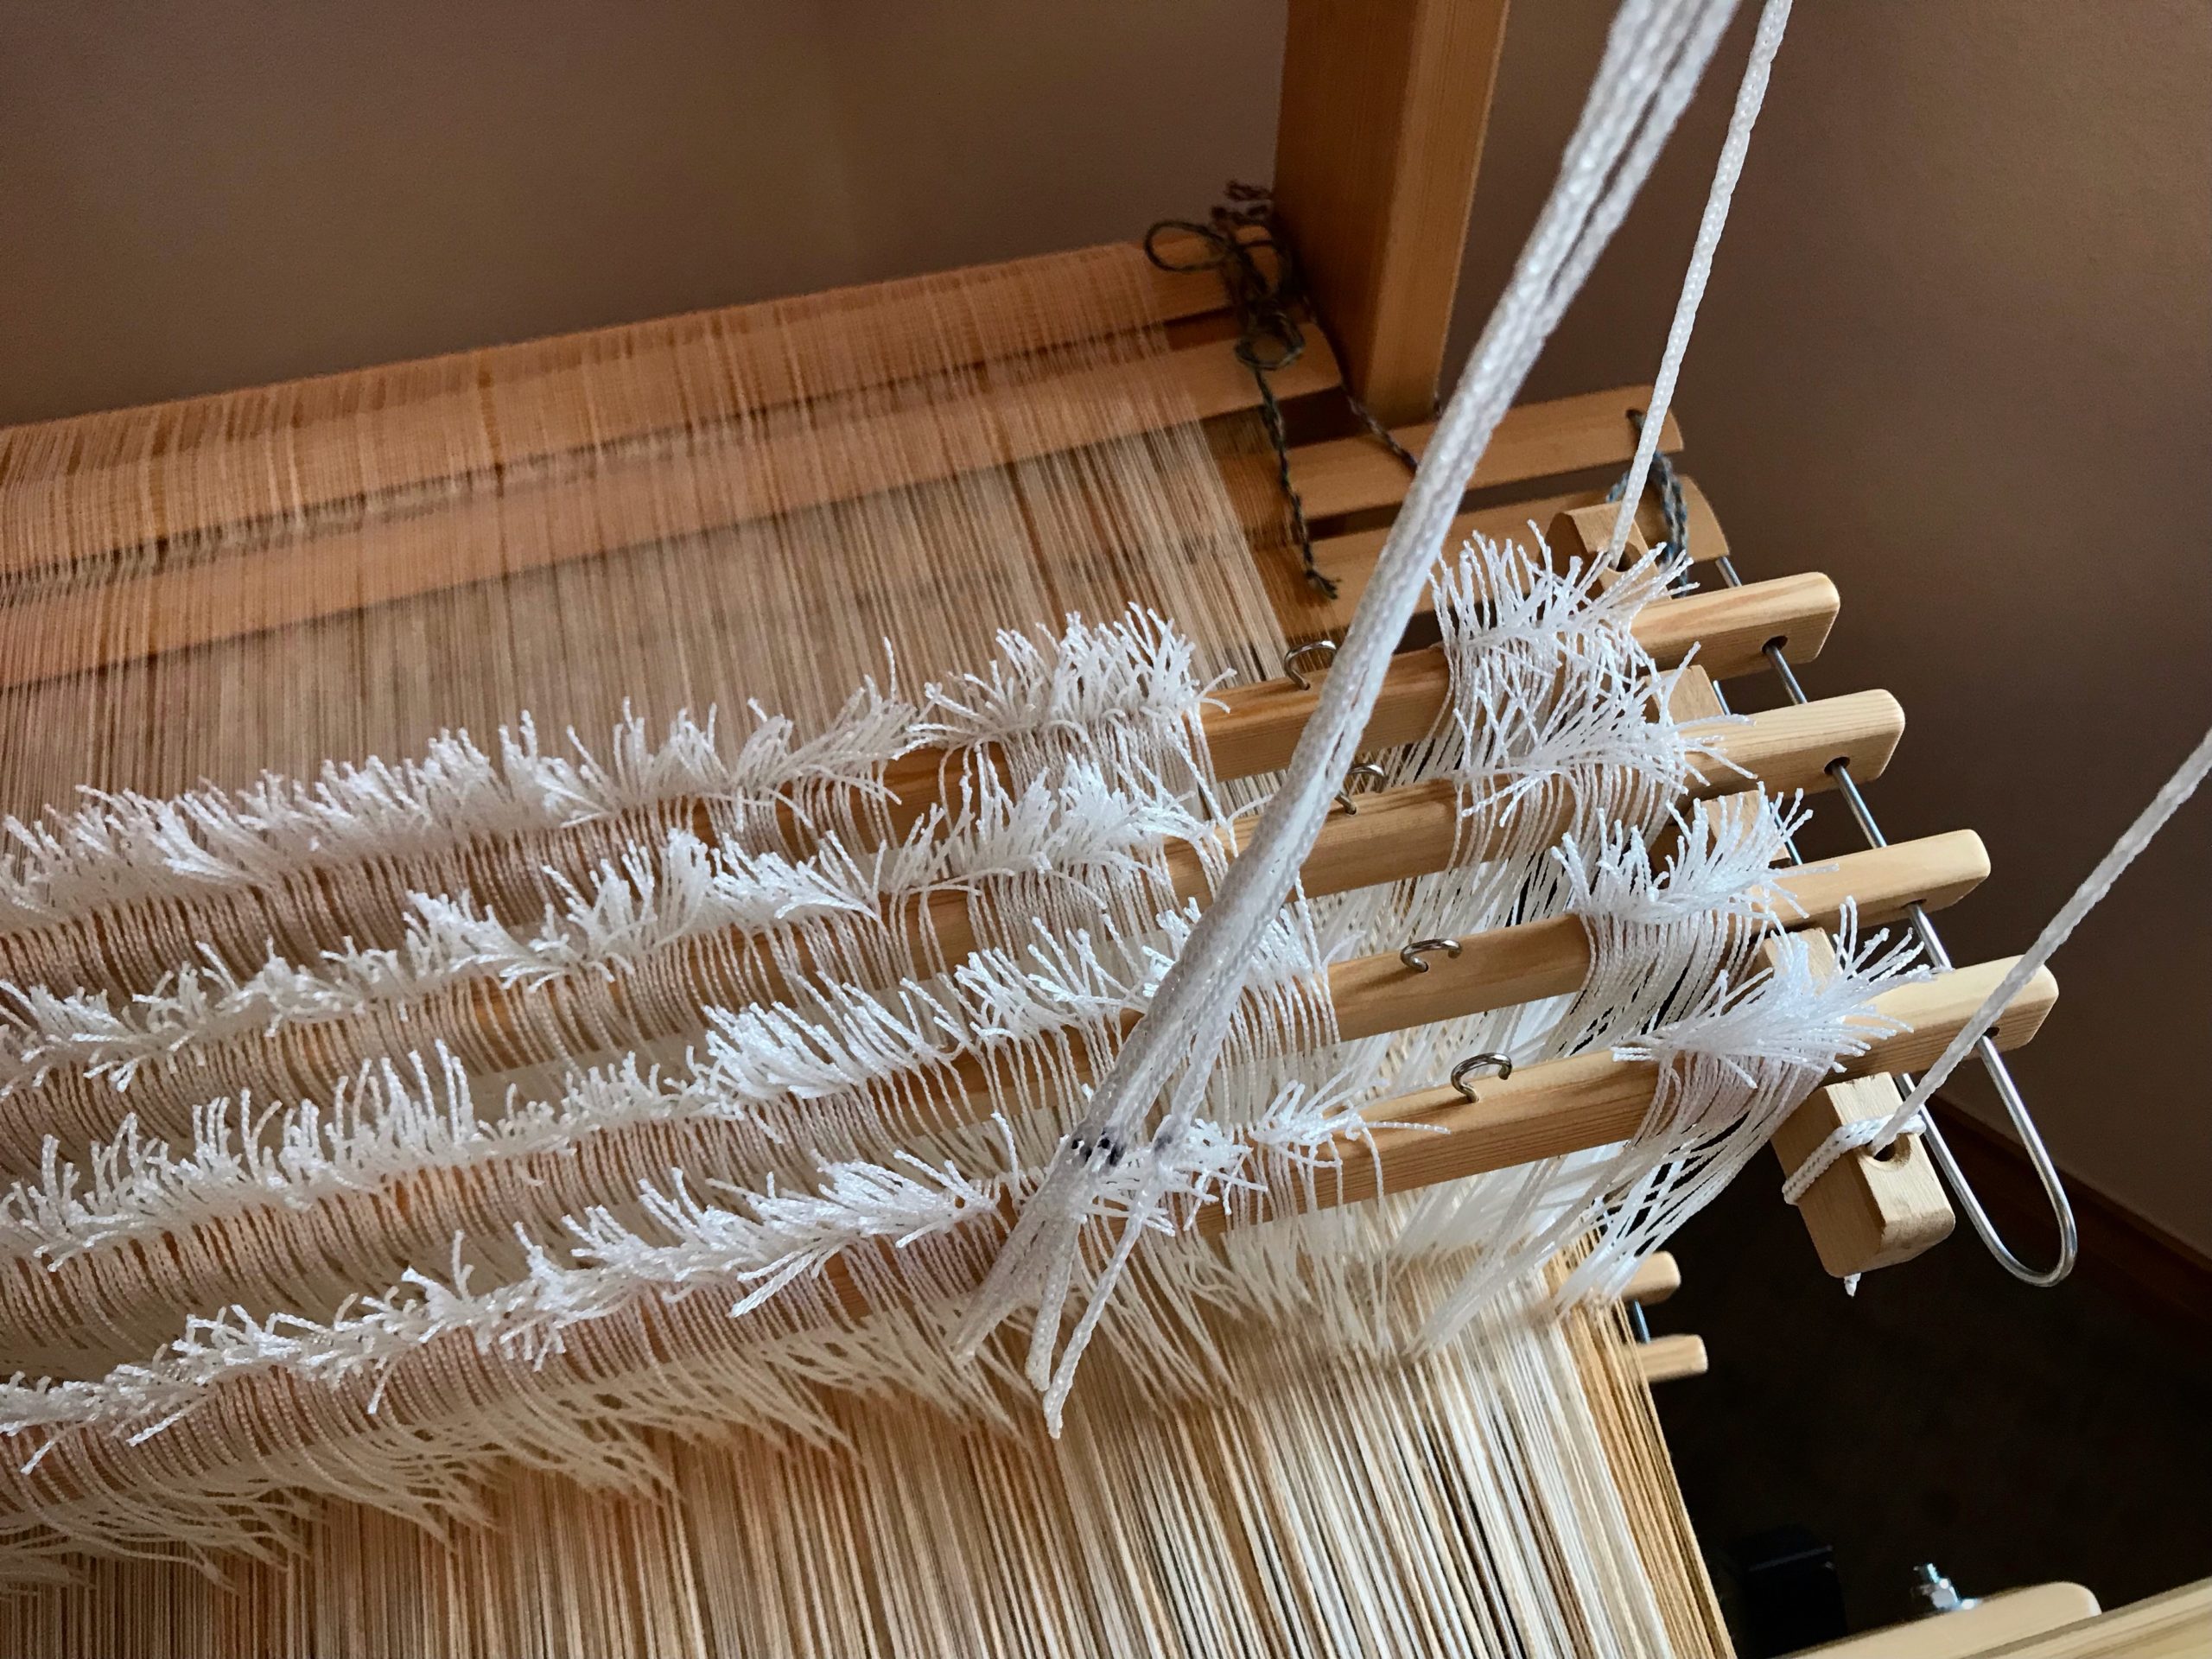
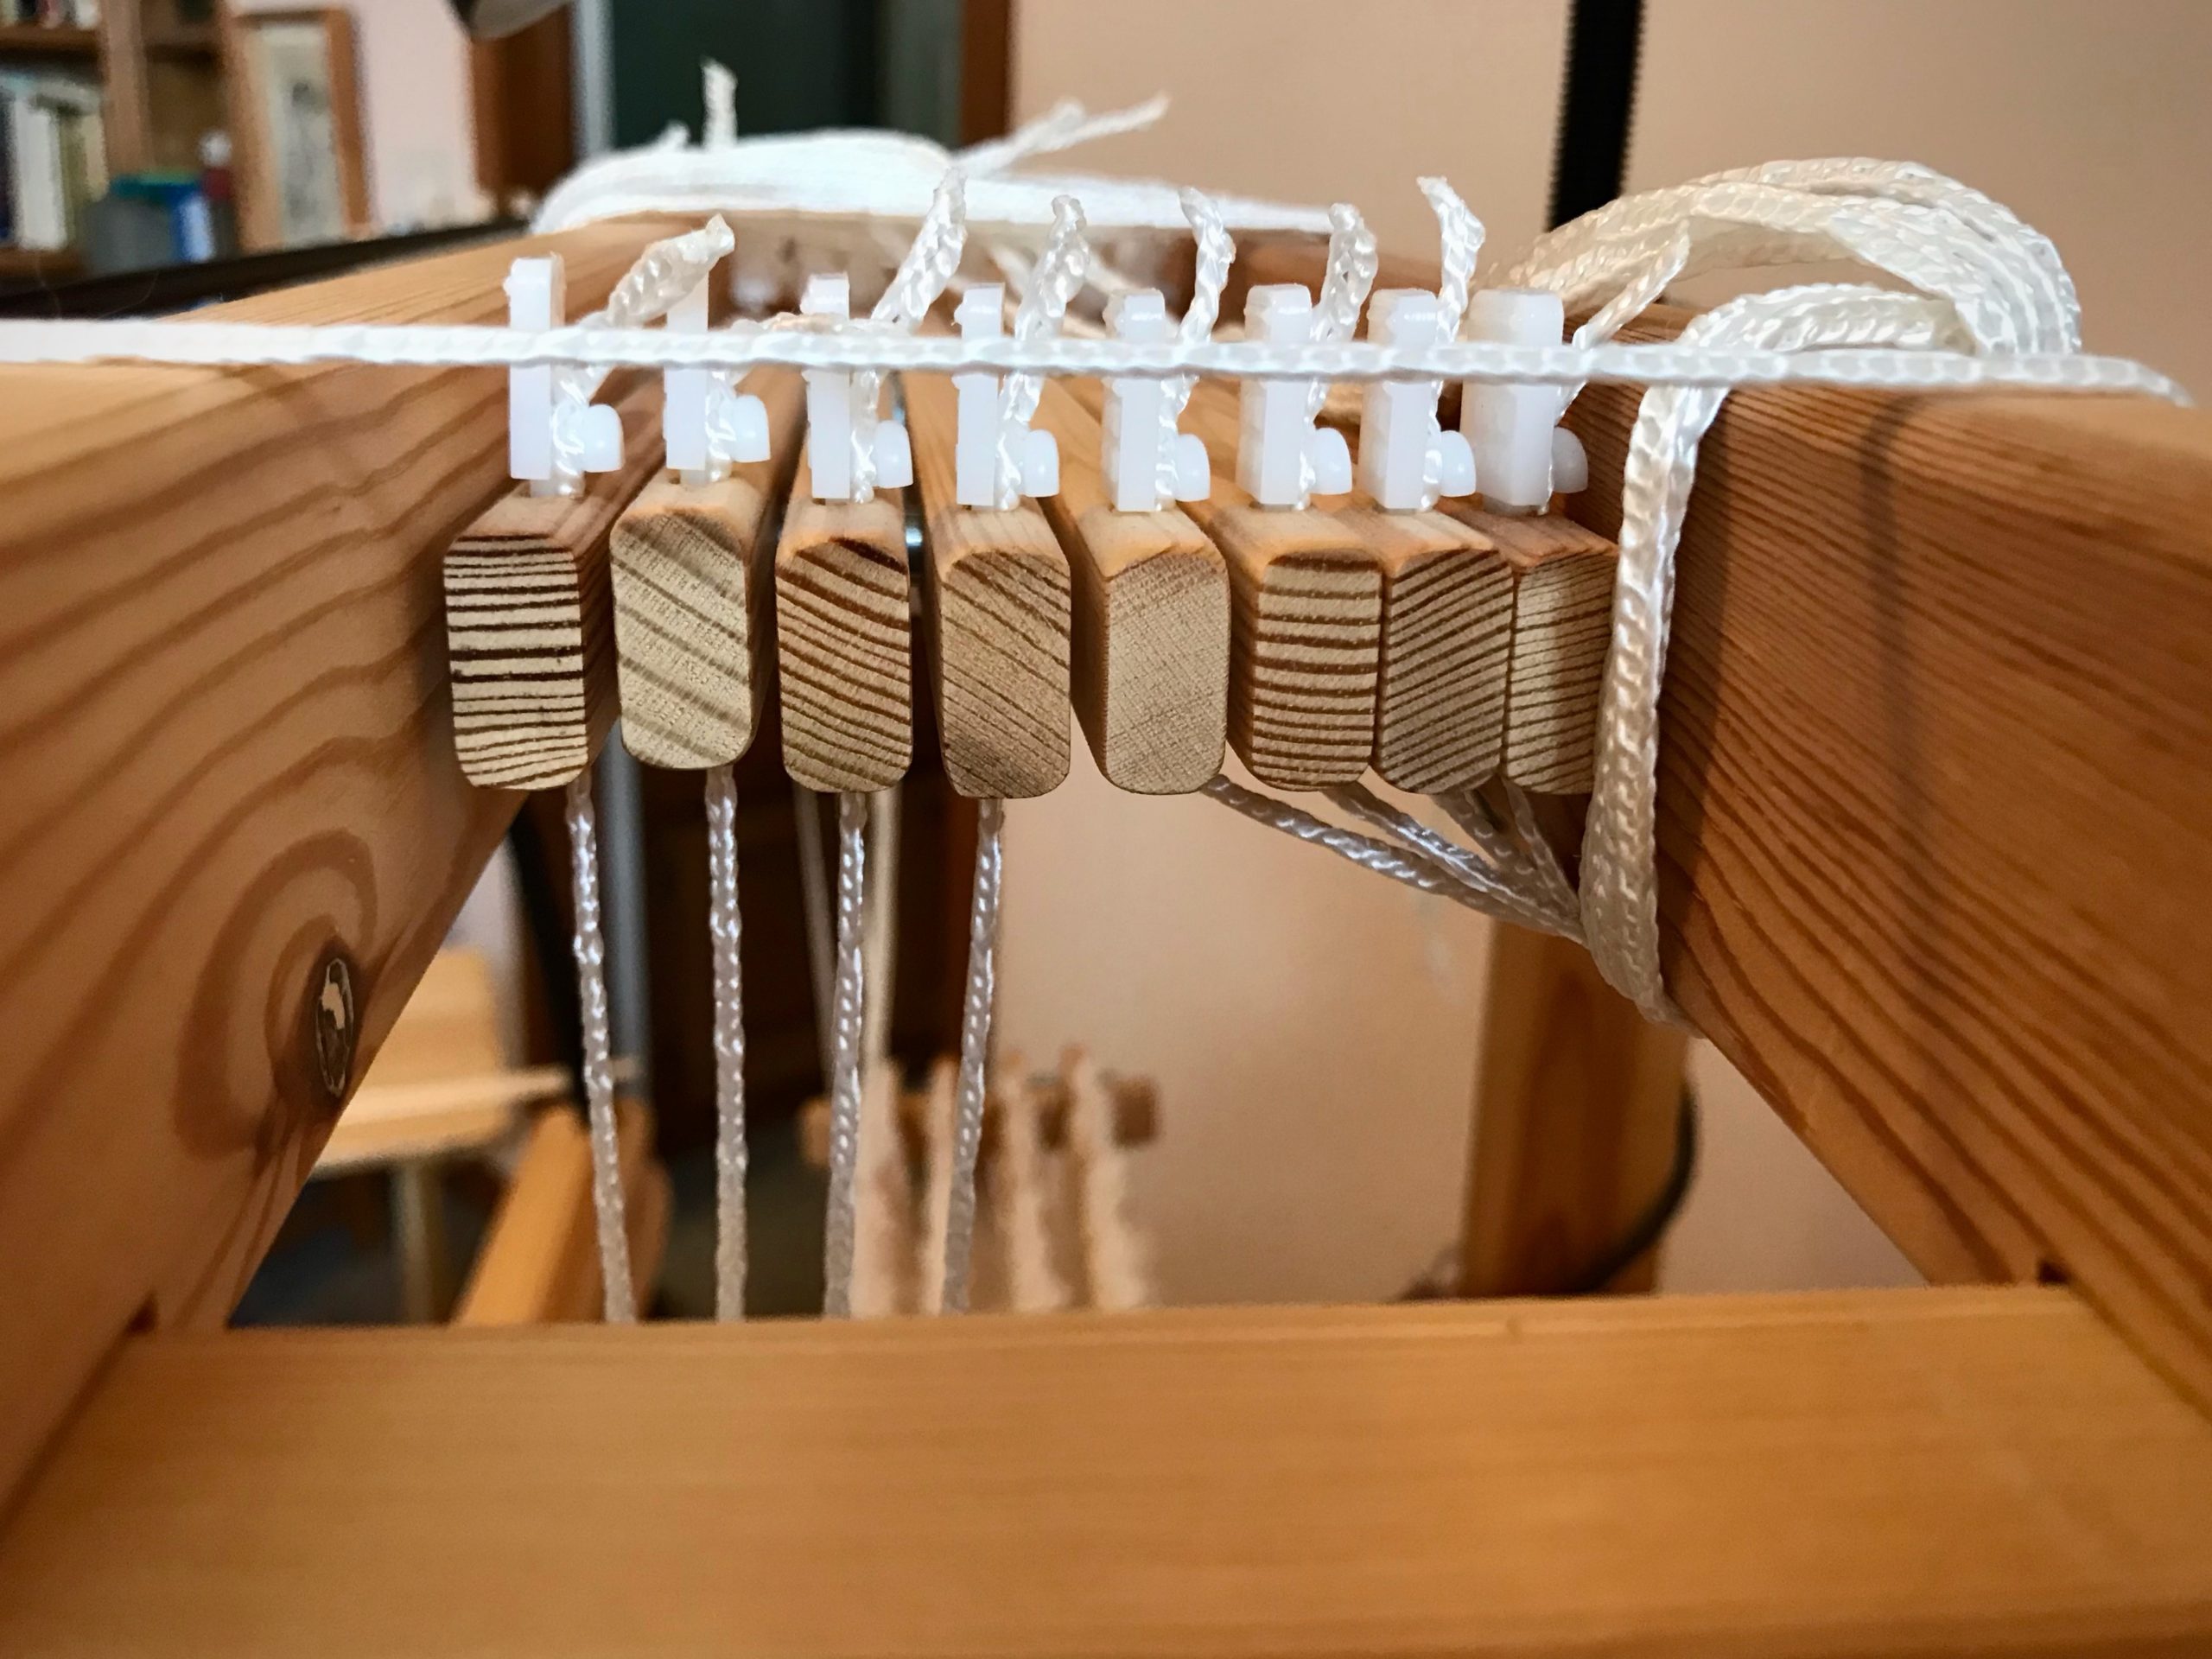
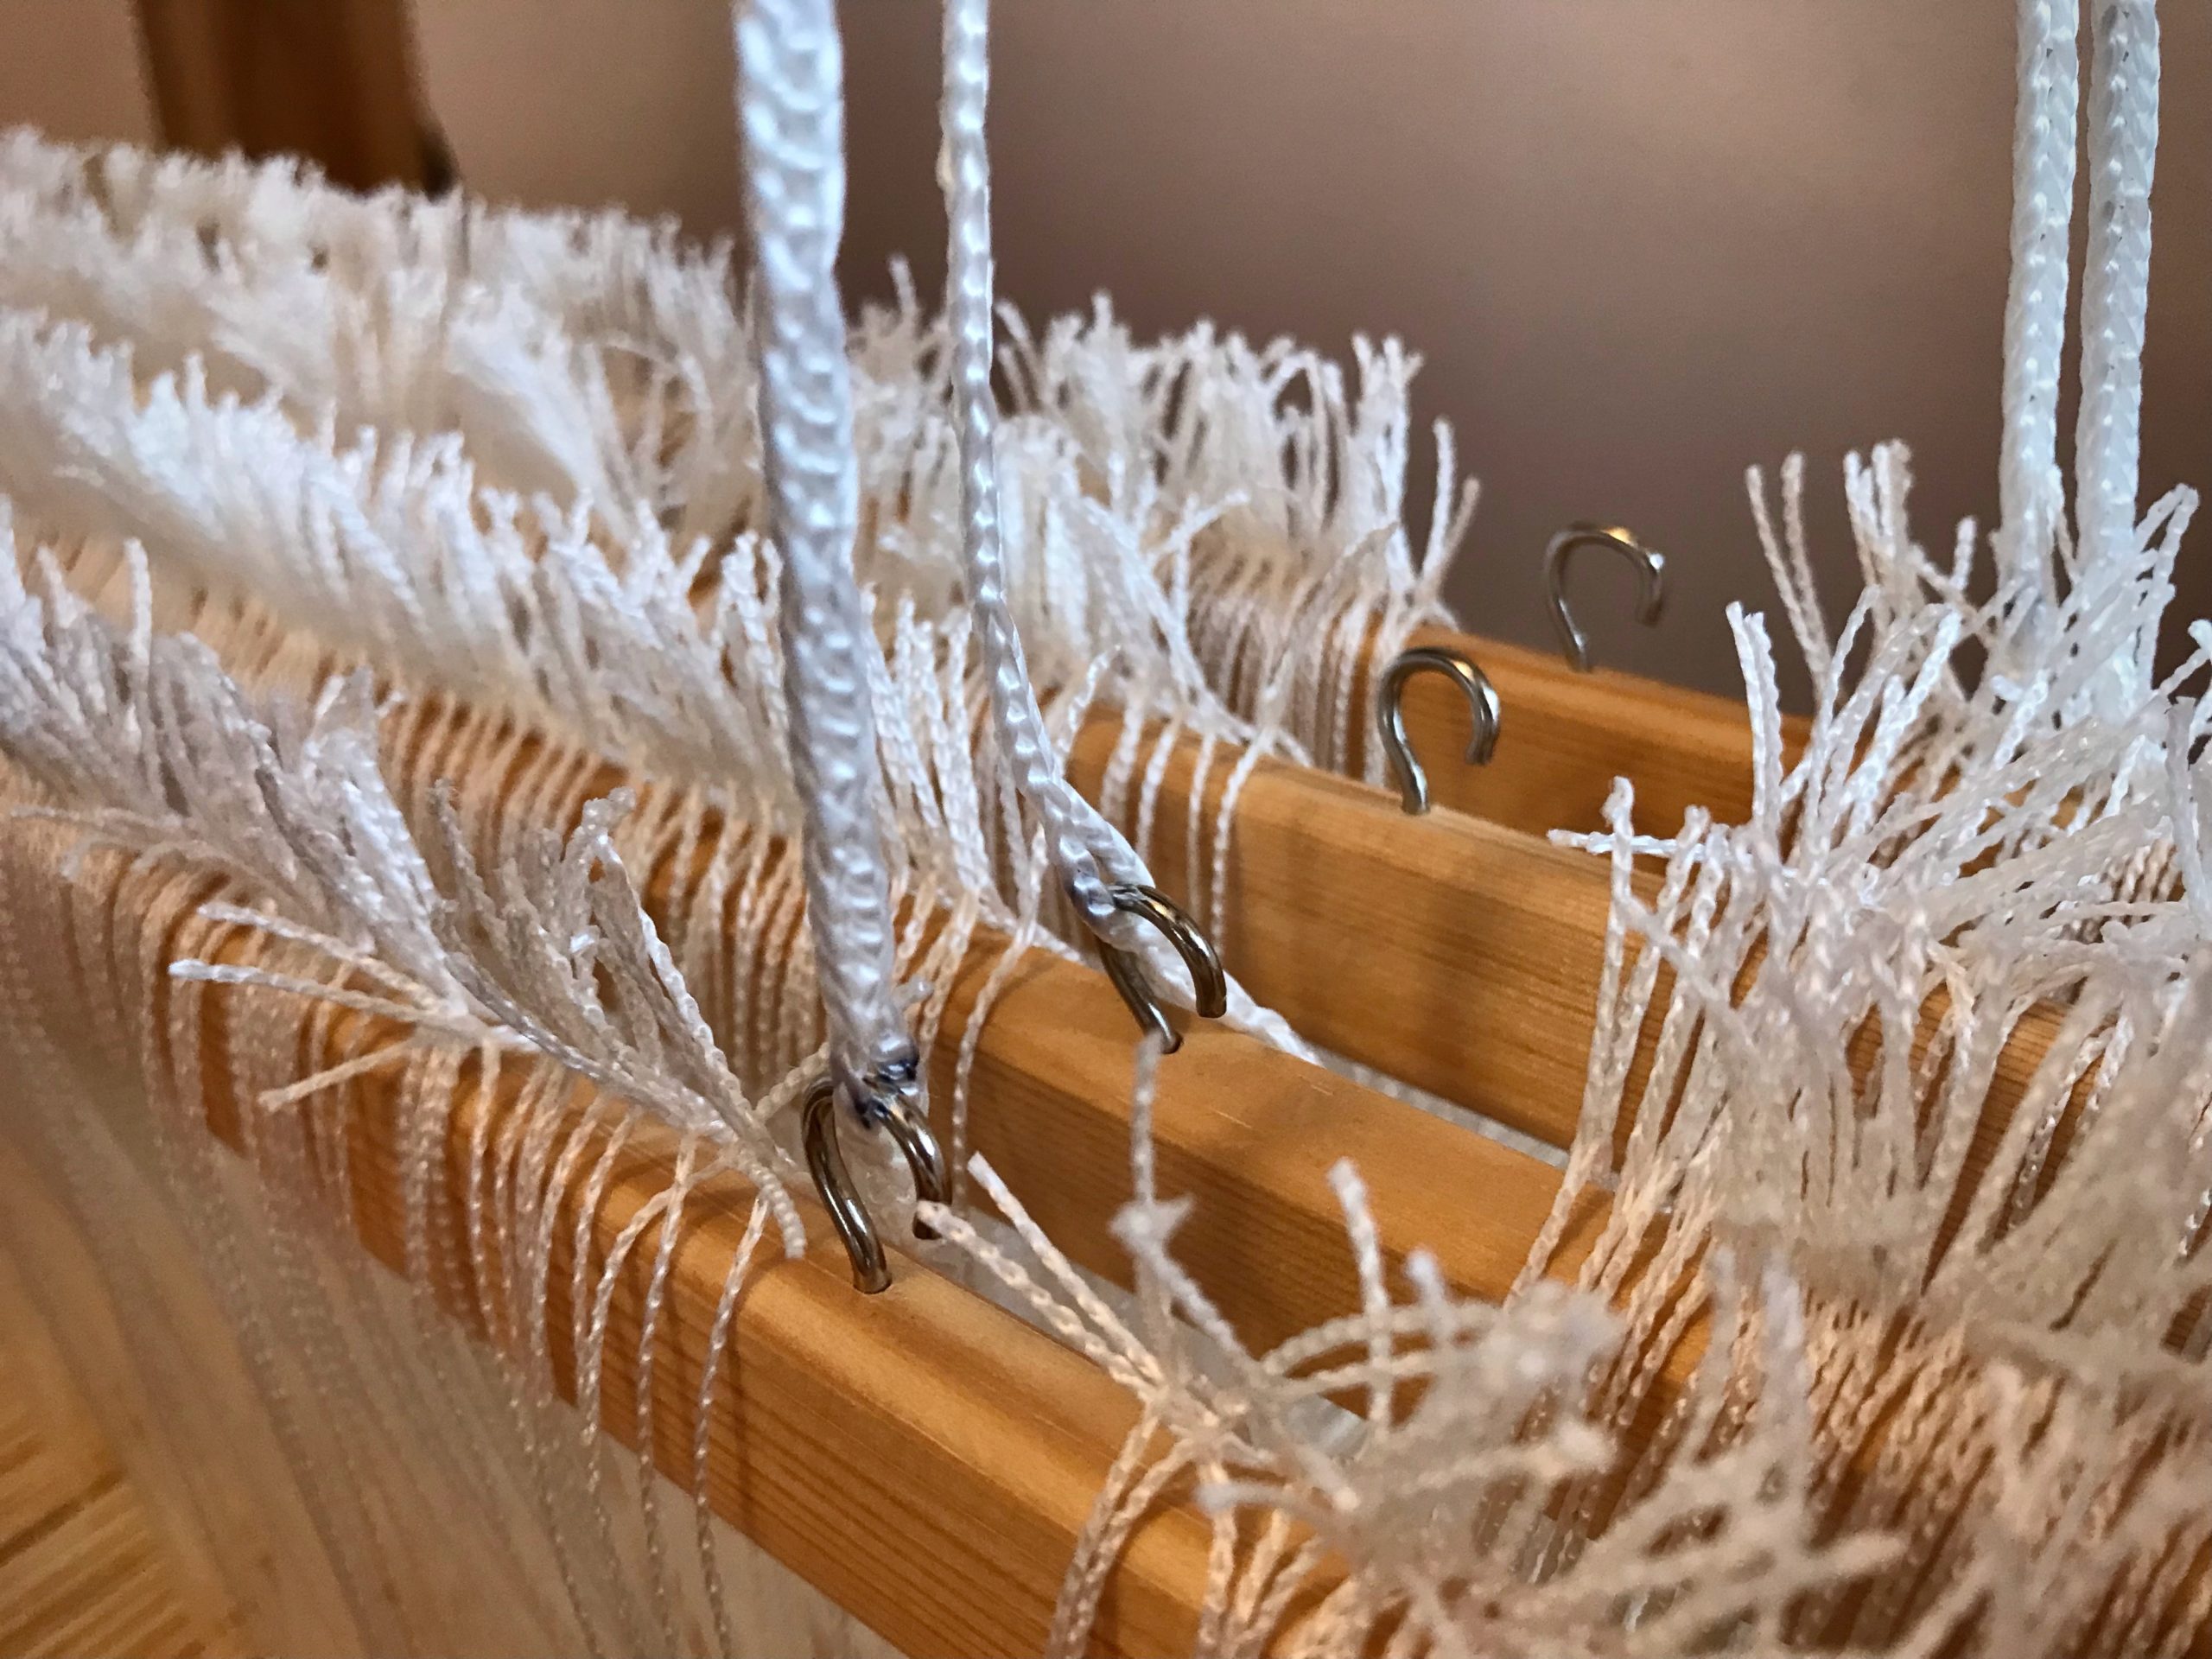
Ready to connect the shaft cords on the Glimåkra Julia, made easy by the small hooks on the shaft bars. Instead of expecting the cords to hang straight down in order, I reach my hand up to the top of the cord.Touching where the cord meets the wood, I know I have the correct cord for the shaft closest to the front of the loom. I do the same for the next cord.My hand slides down the cord and I connect the cord to the correct shaft. Now, all that’s left is tying up the treadles. Then, we weave!