Tools Day: Tapestry Frame on Display

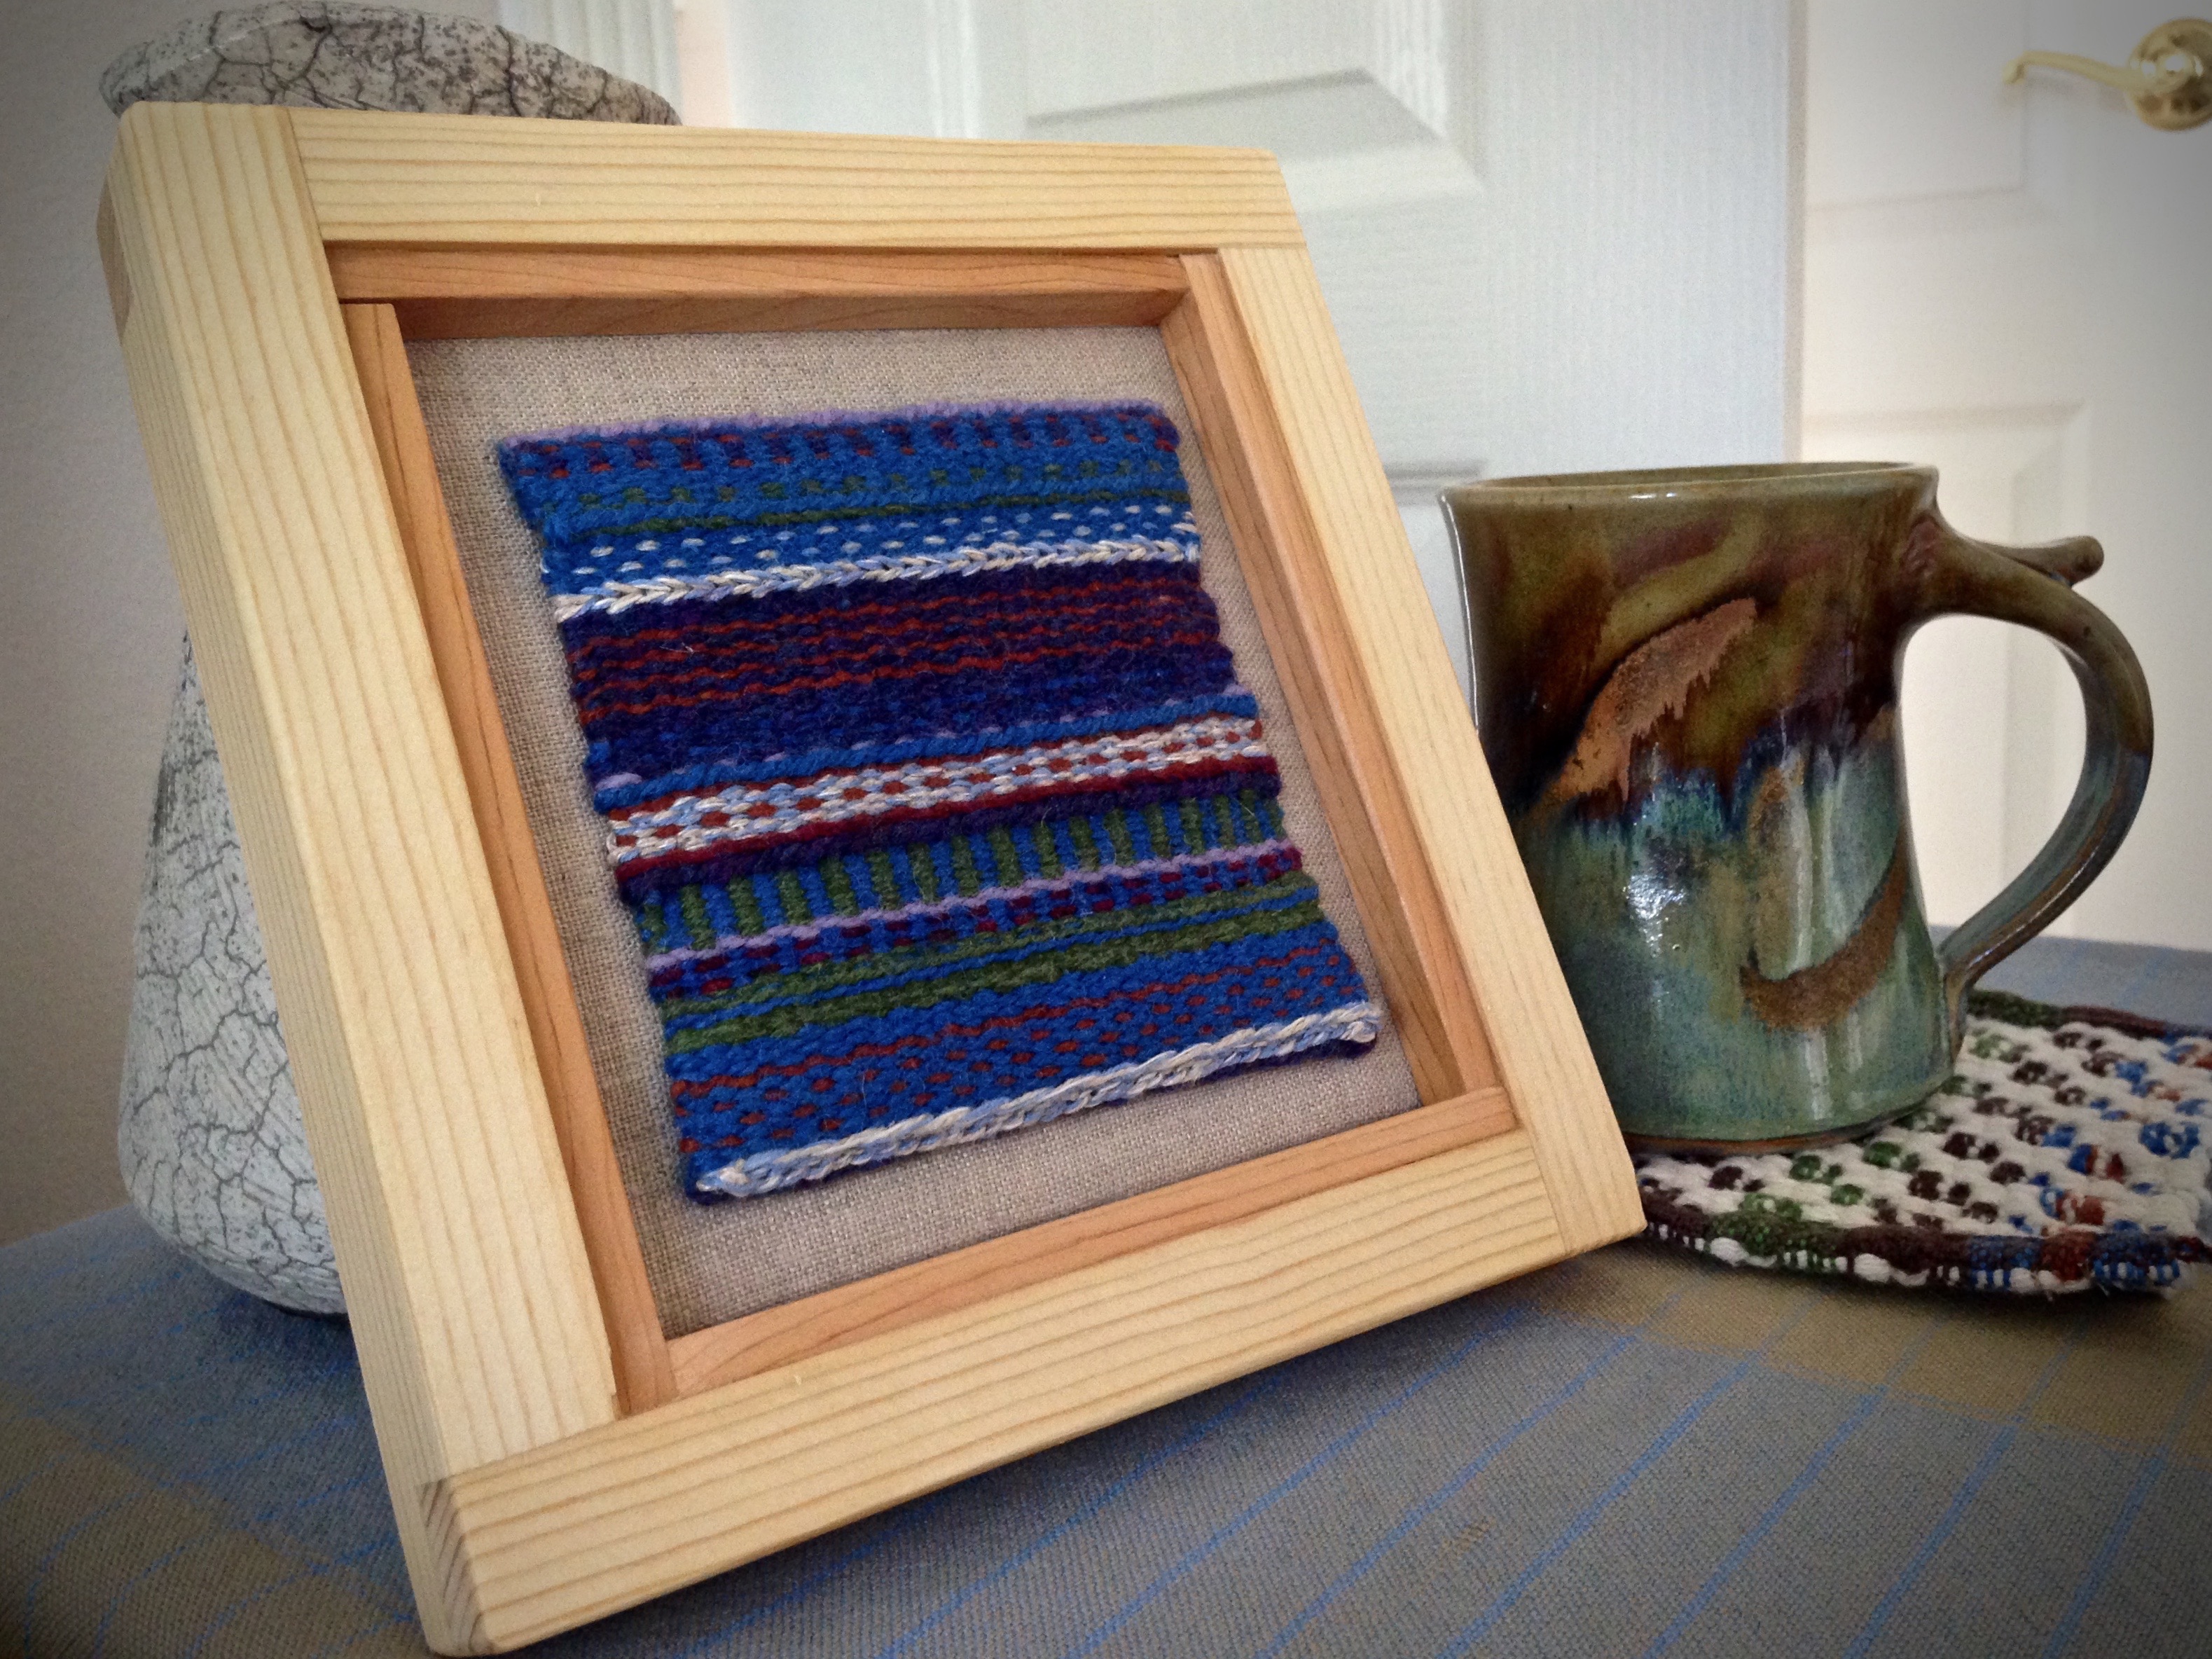
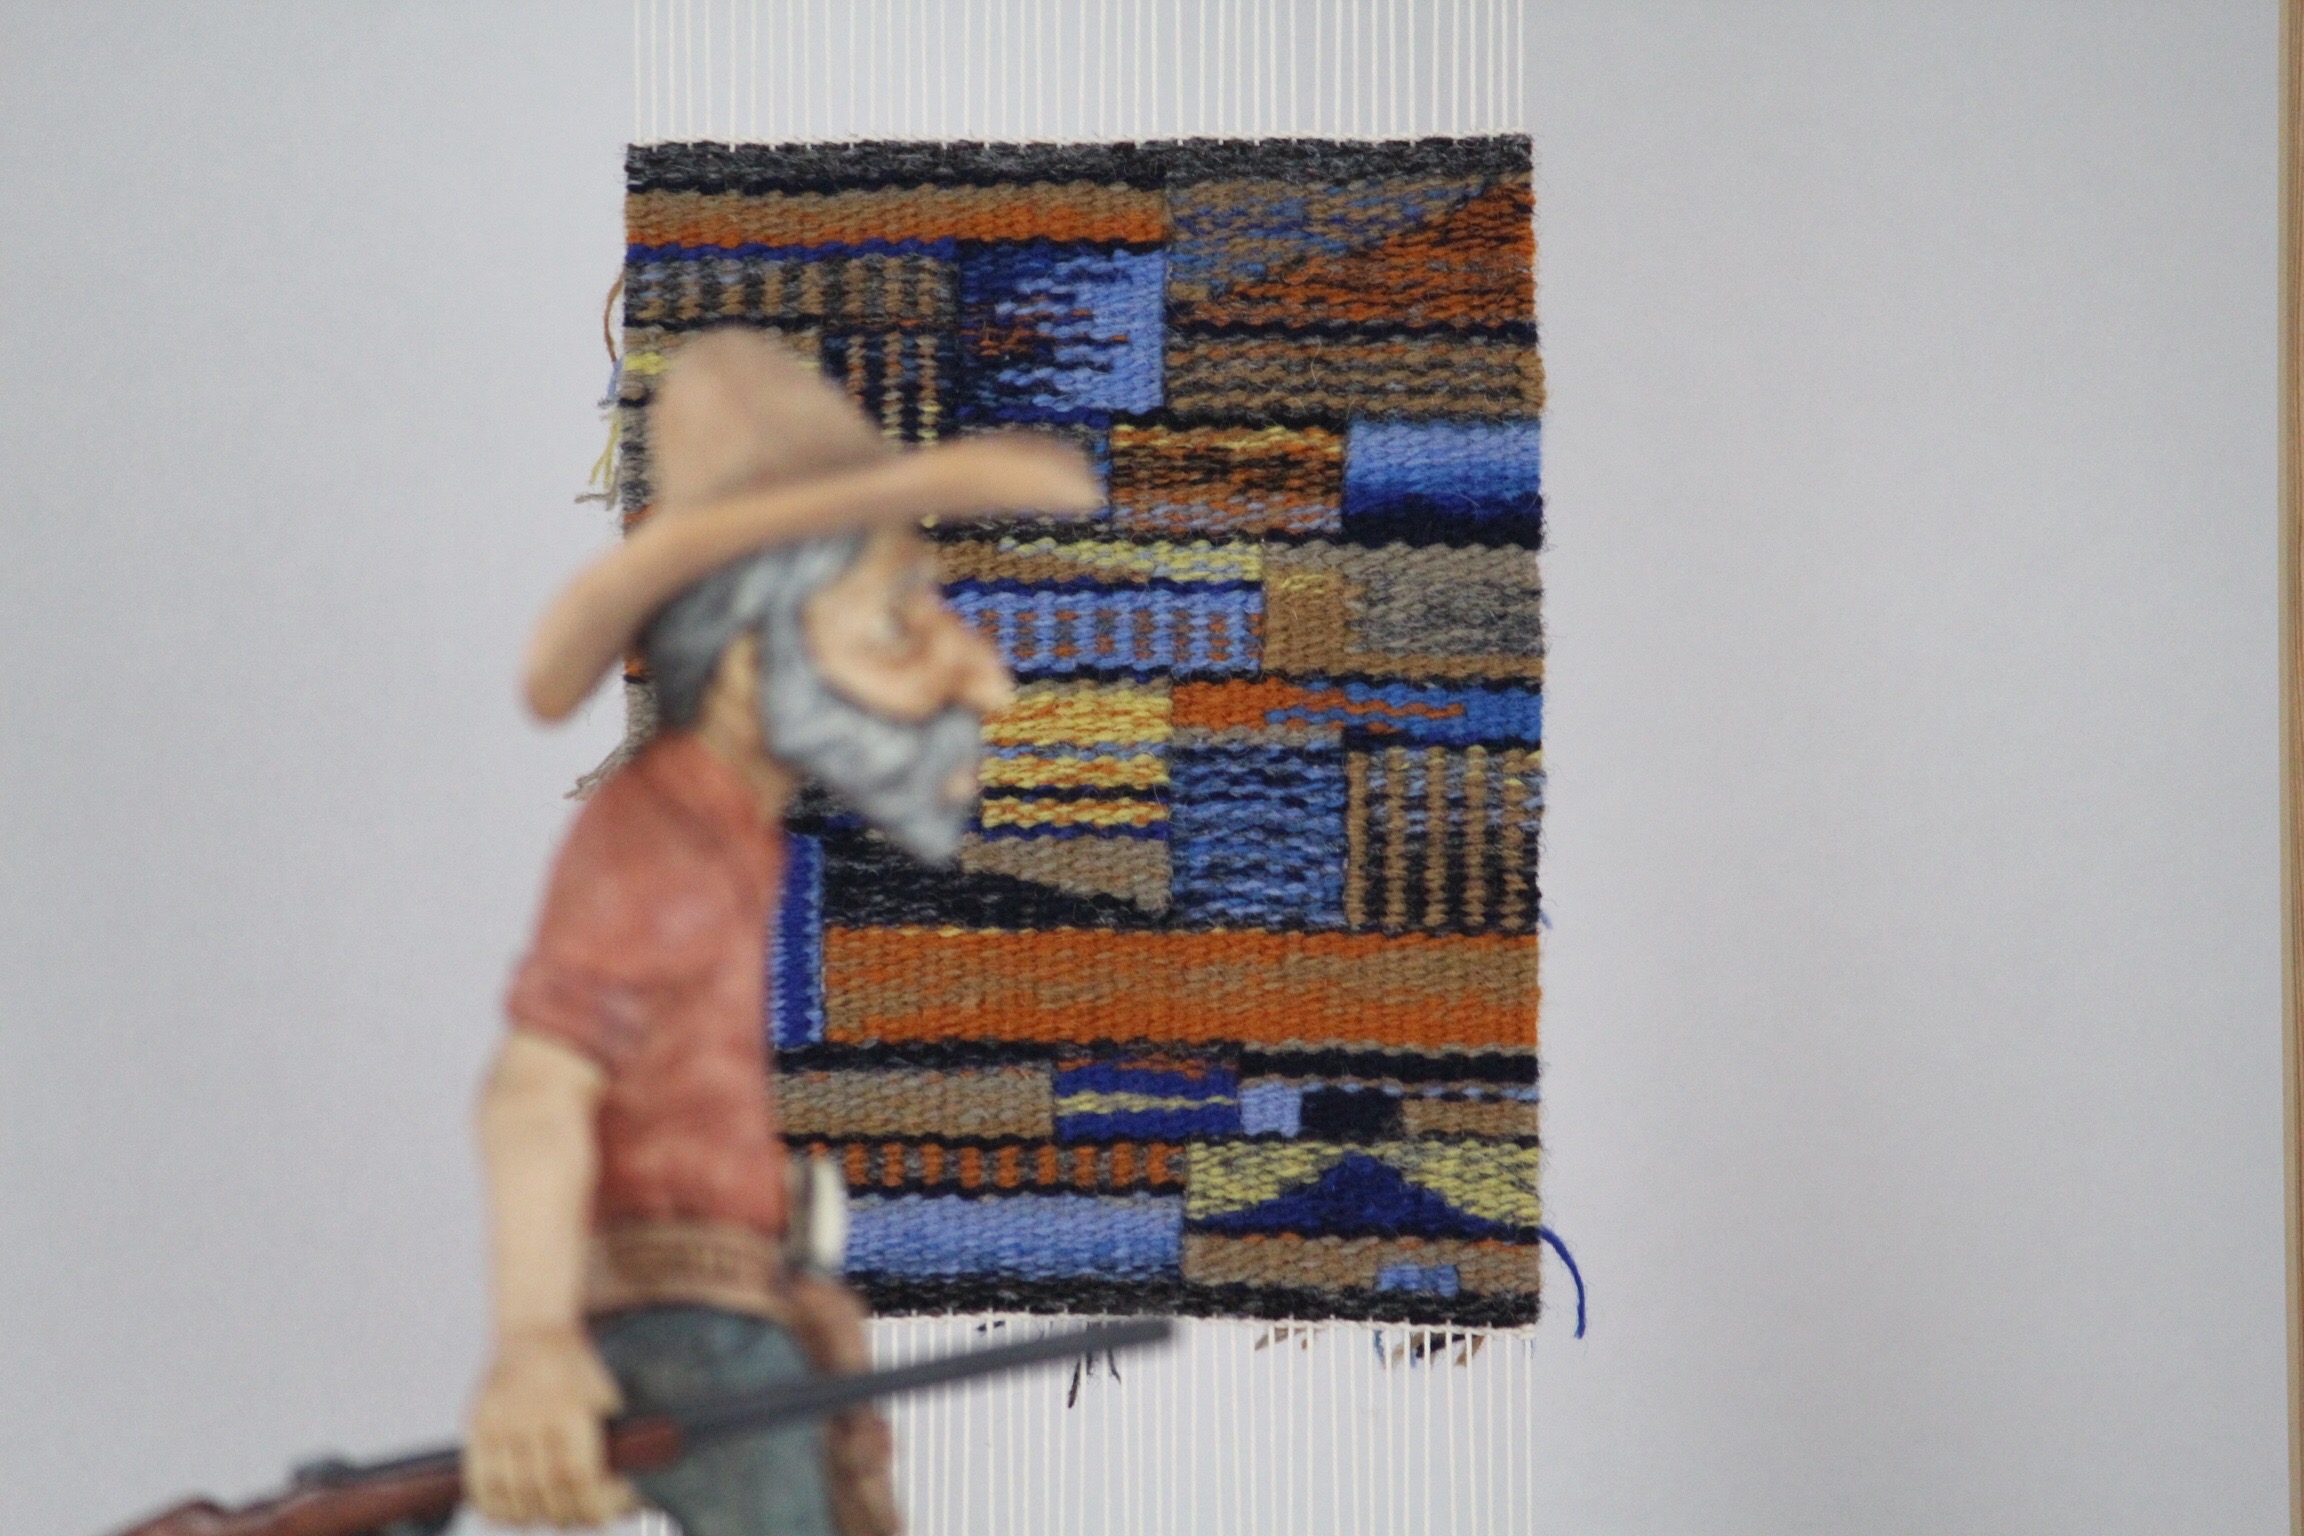
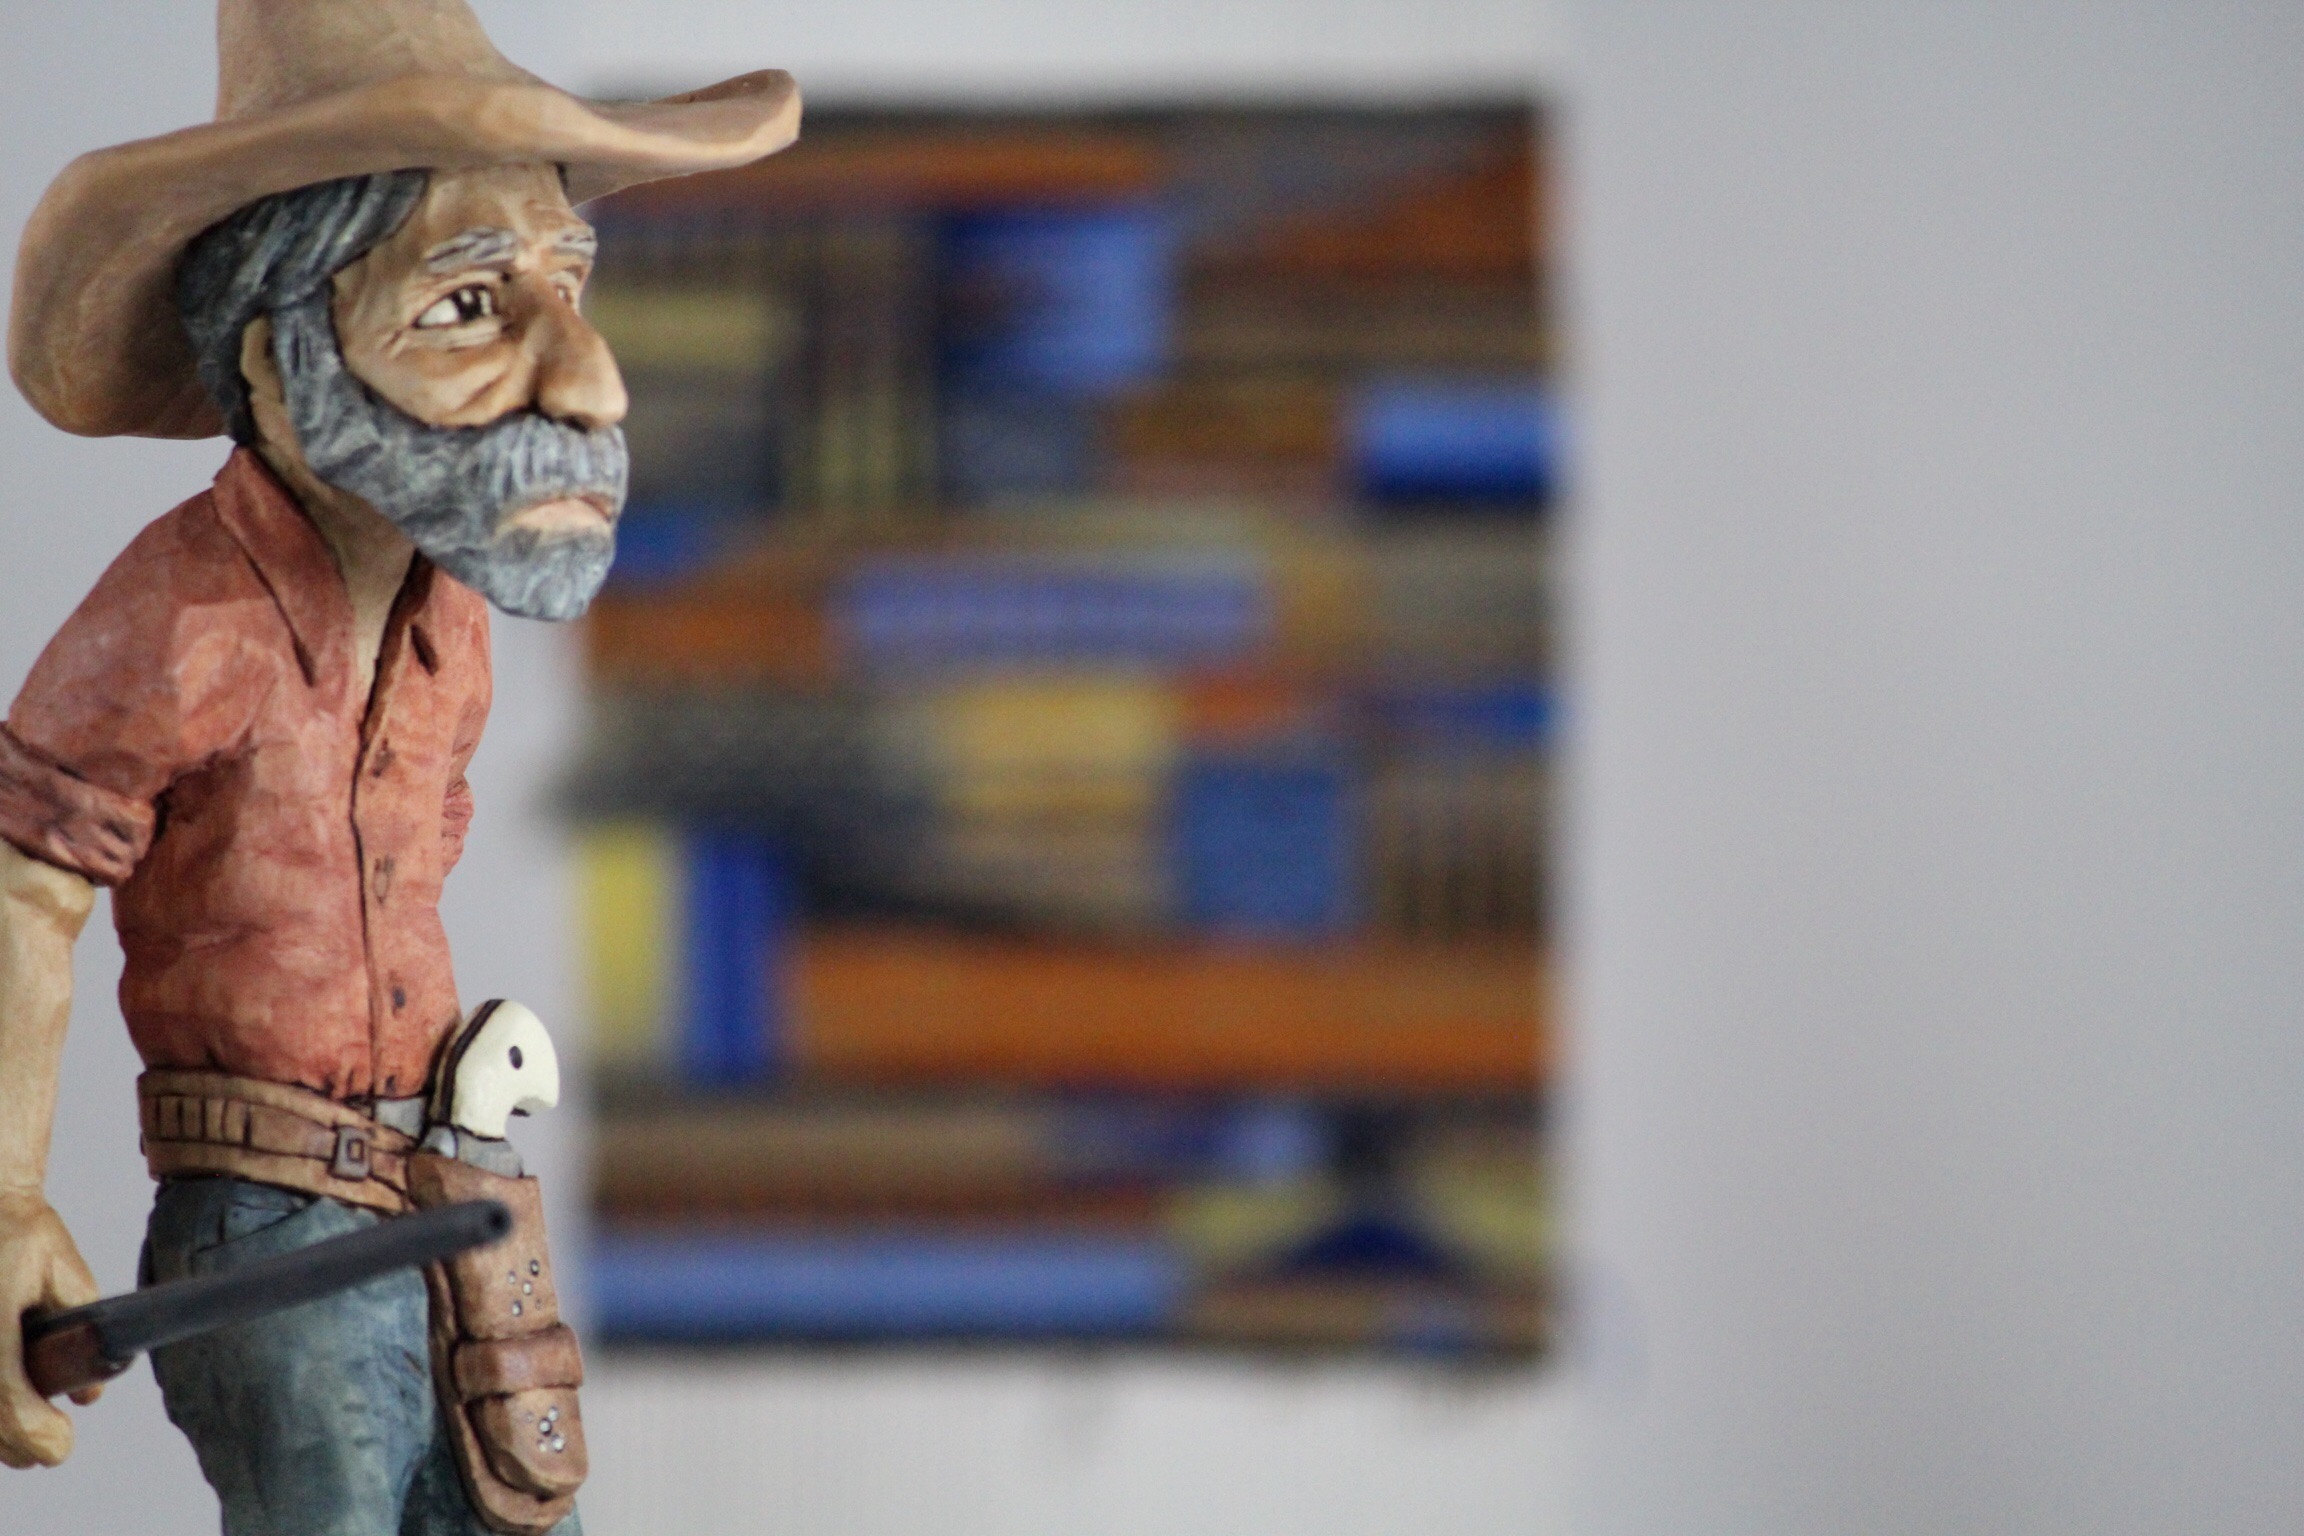
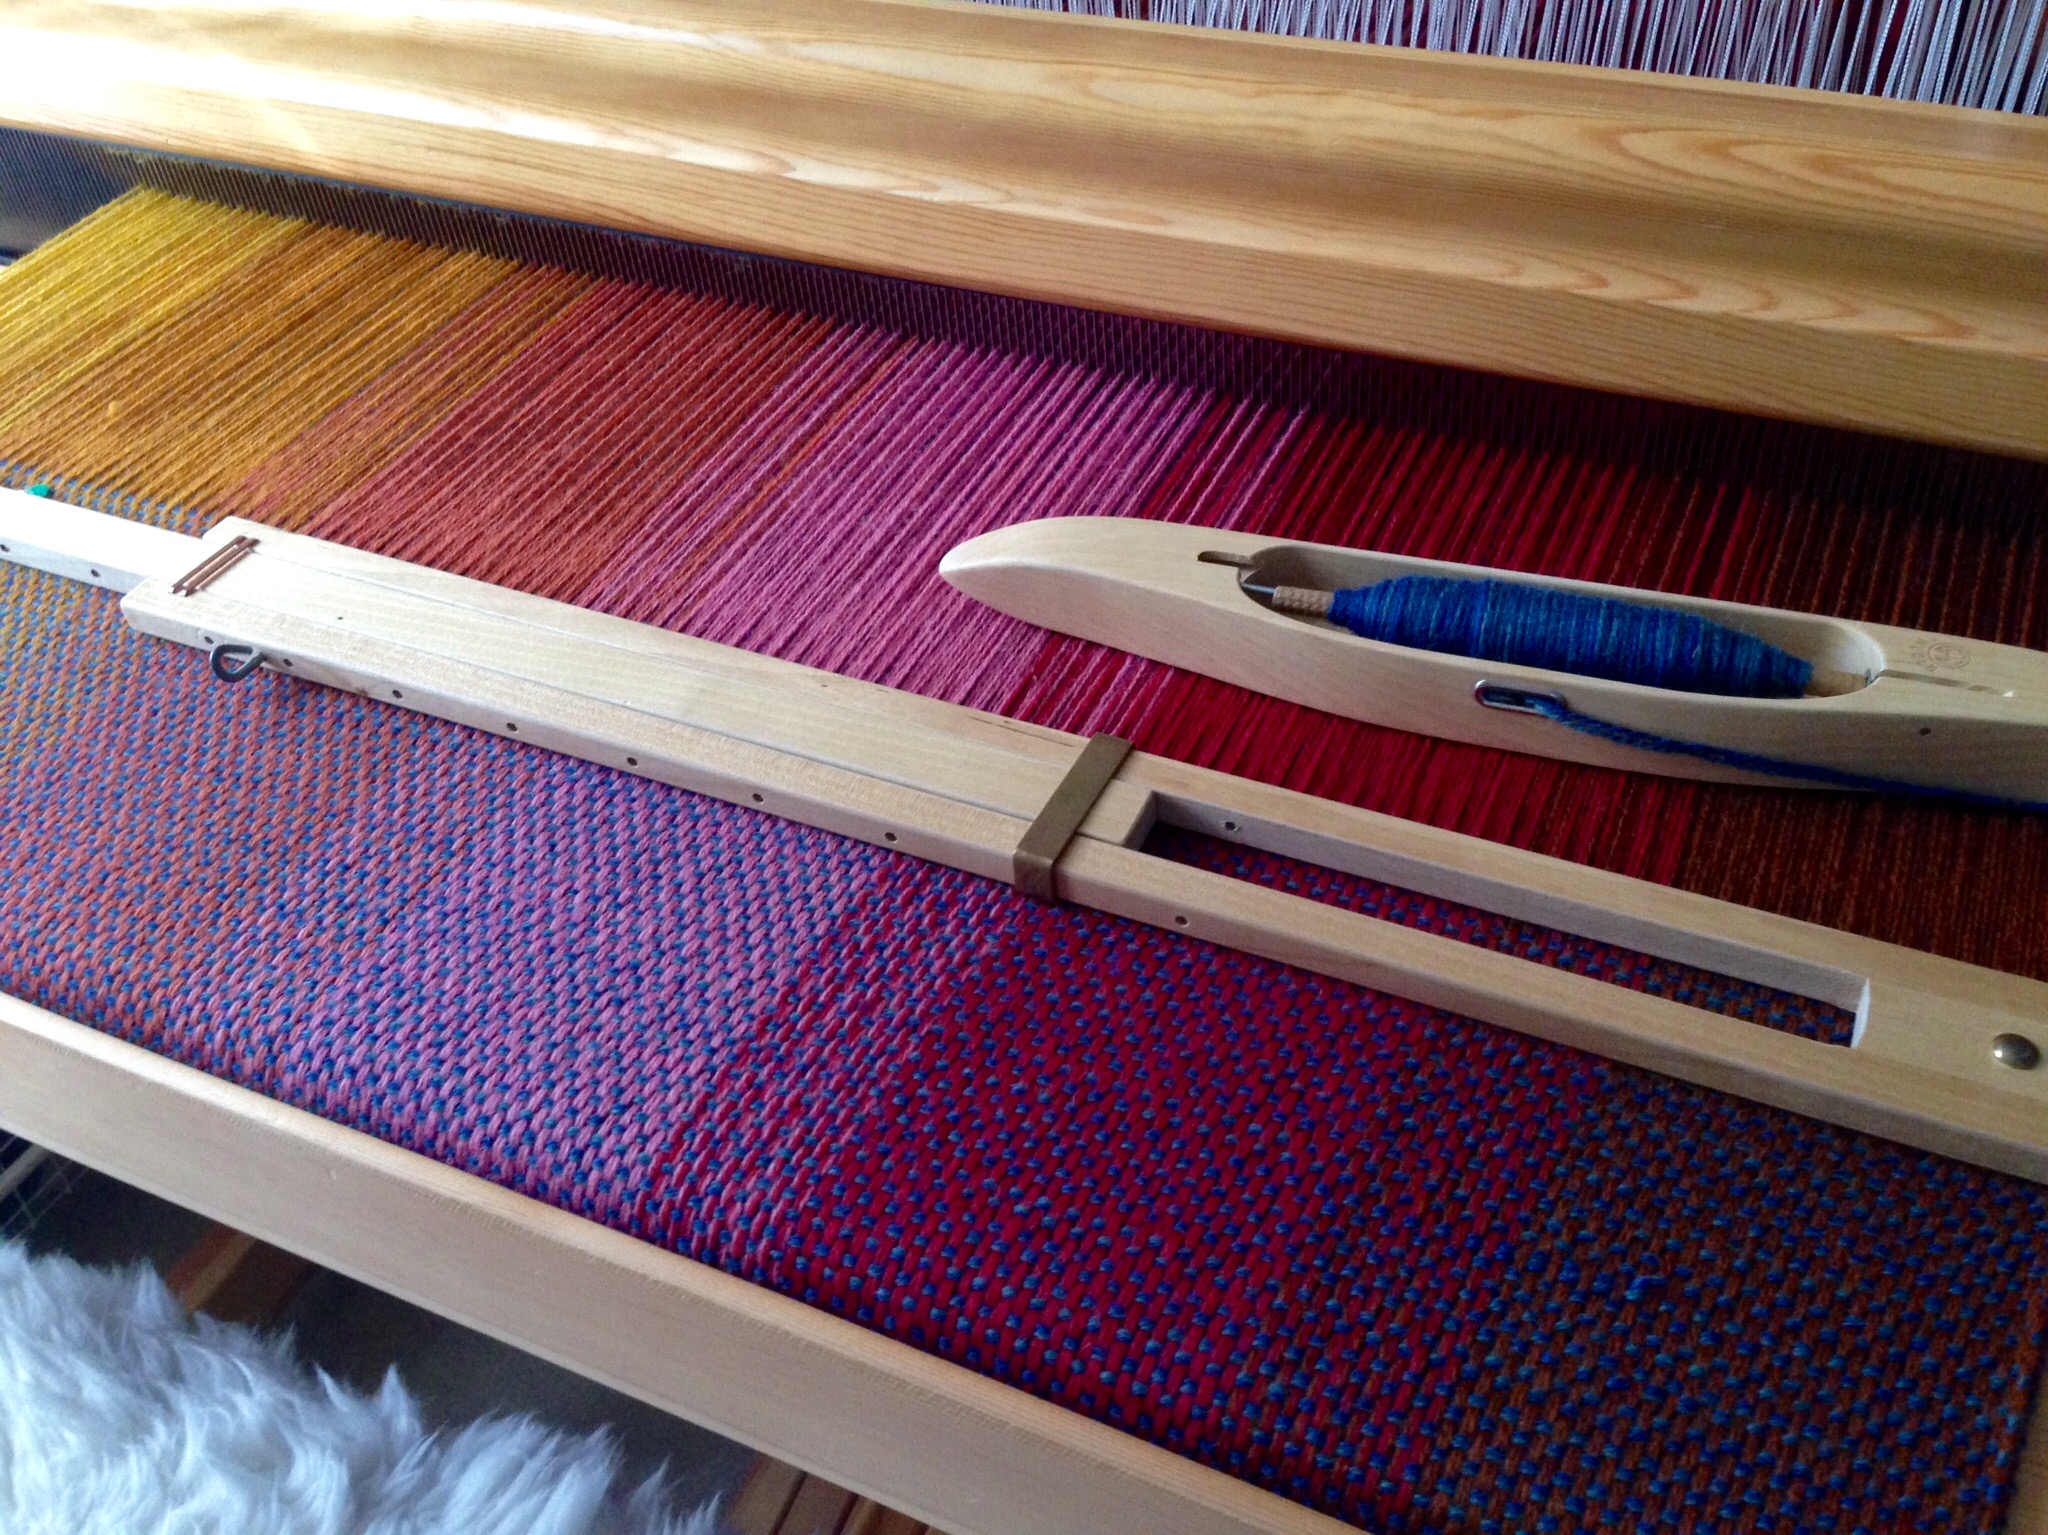
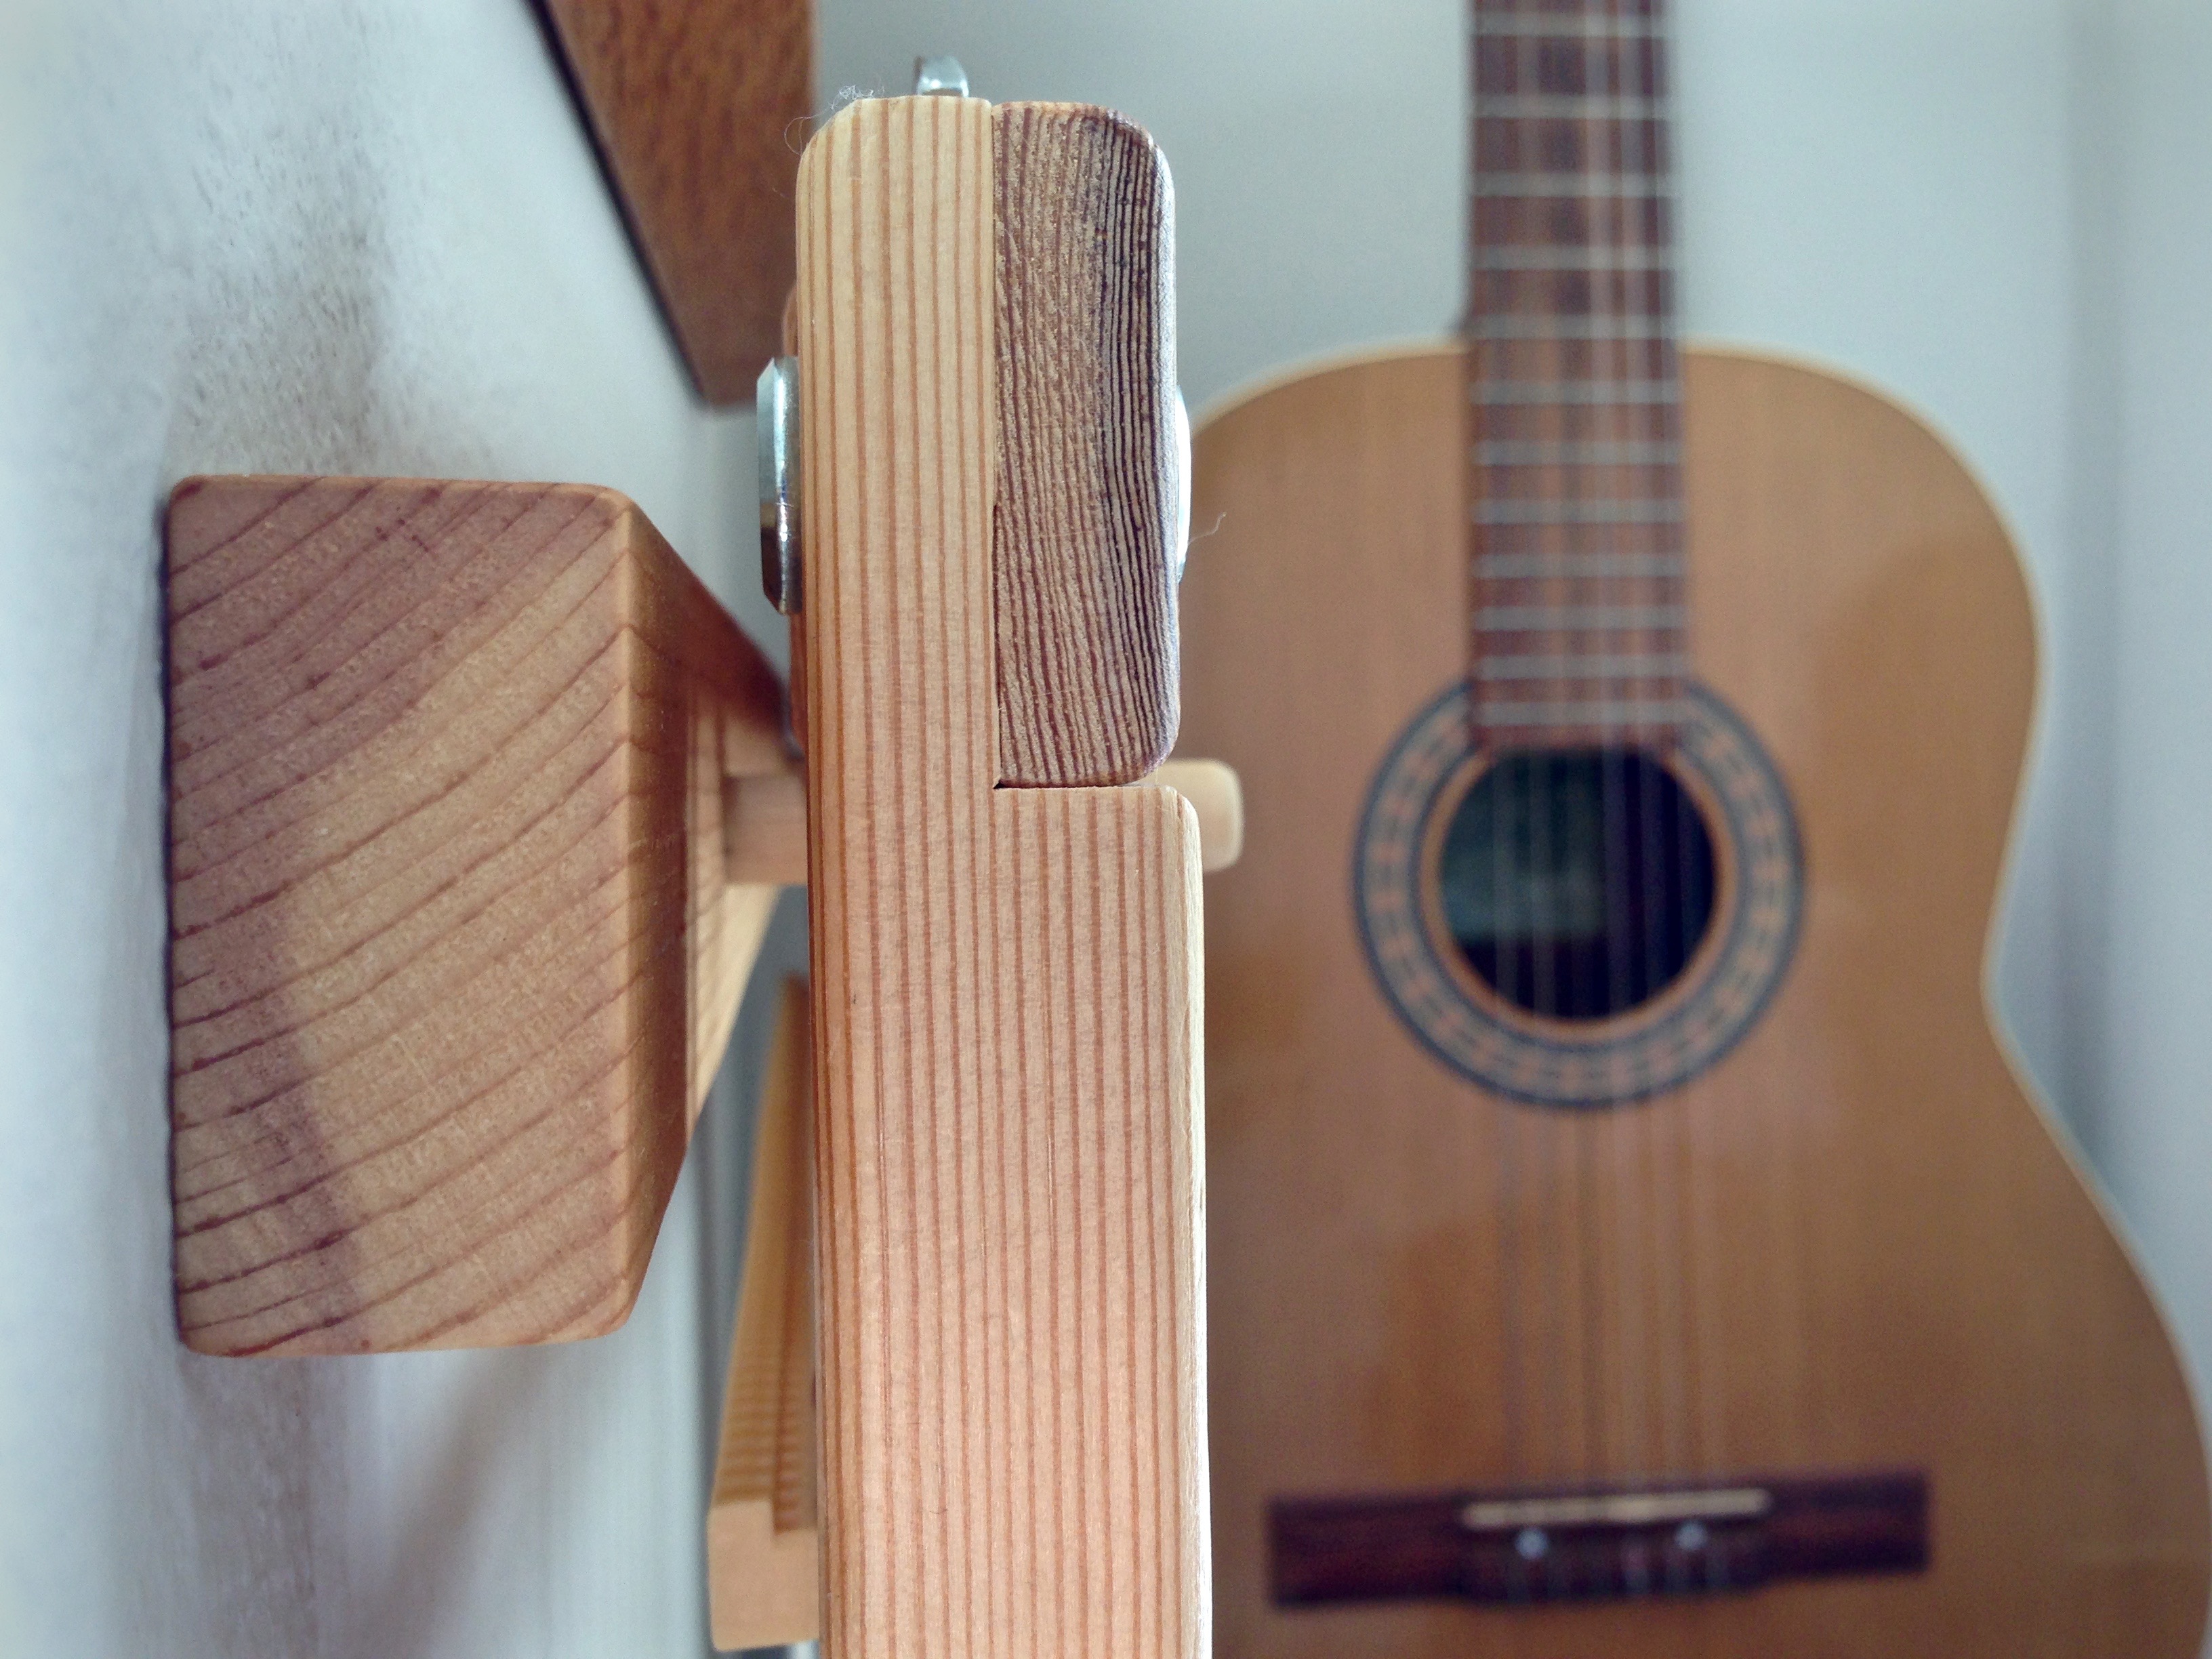
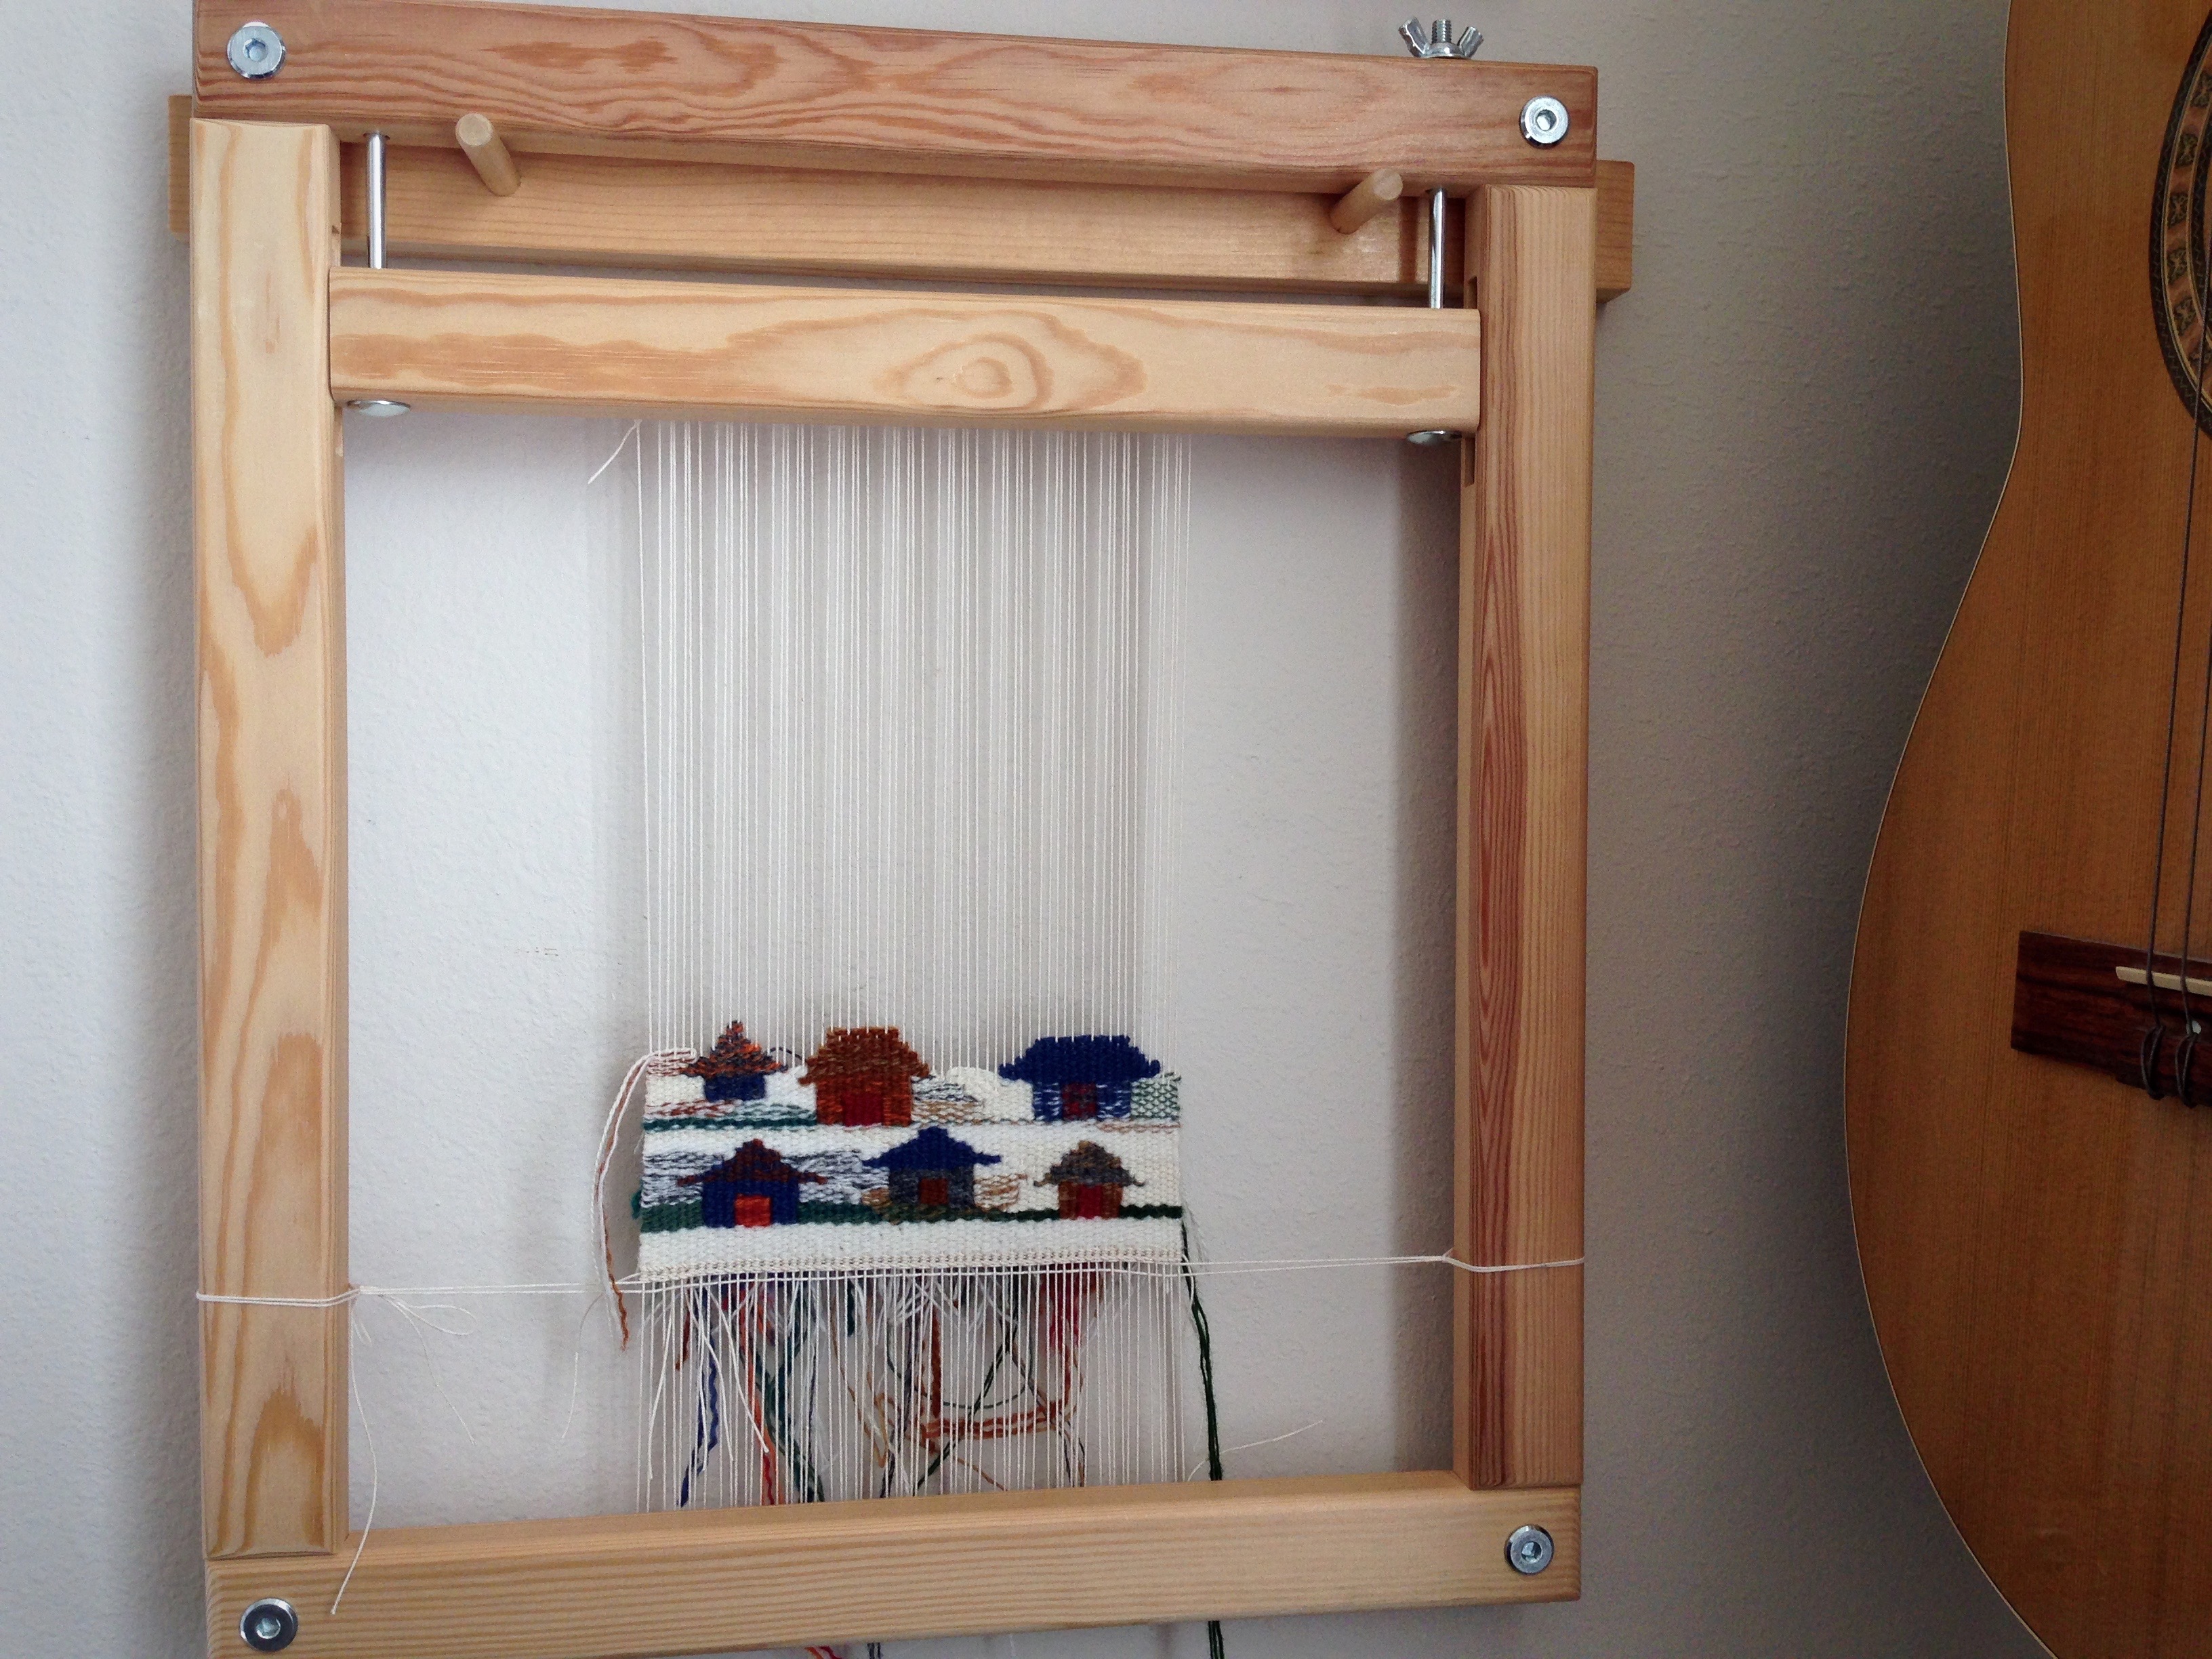
There is nothing that hinders cello practice more than a good old cello case. Out of sight; out of mind. Many years ago I discovered that if my cello sits out in the open on a cello stand in the corner of the room, I am much more likely to practice. The same is true of weaving on my tapestry frame. By hanging the tapestry frame in a corner of our living room, I have a continual reminder to weave. And we get to enjoy a living piece of artwork in the room–artwork that grows a little each day.

Tapestry diary of little houses.

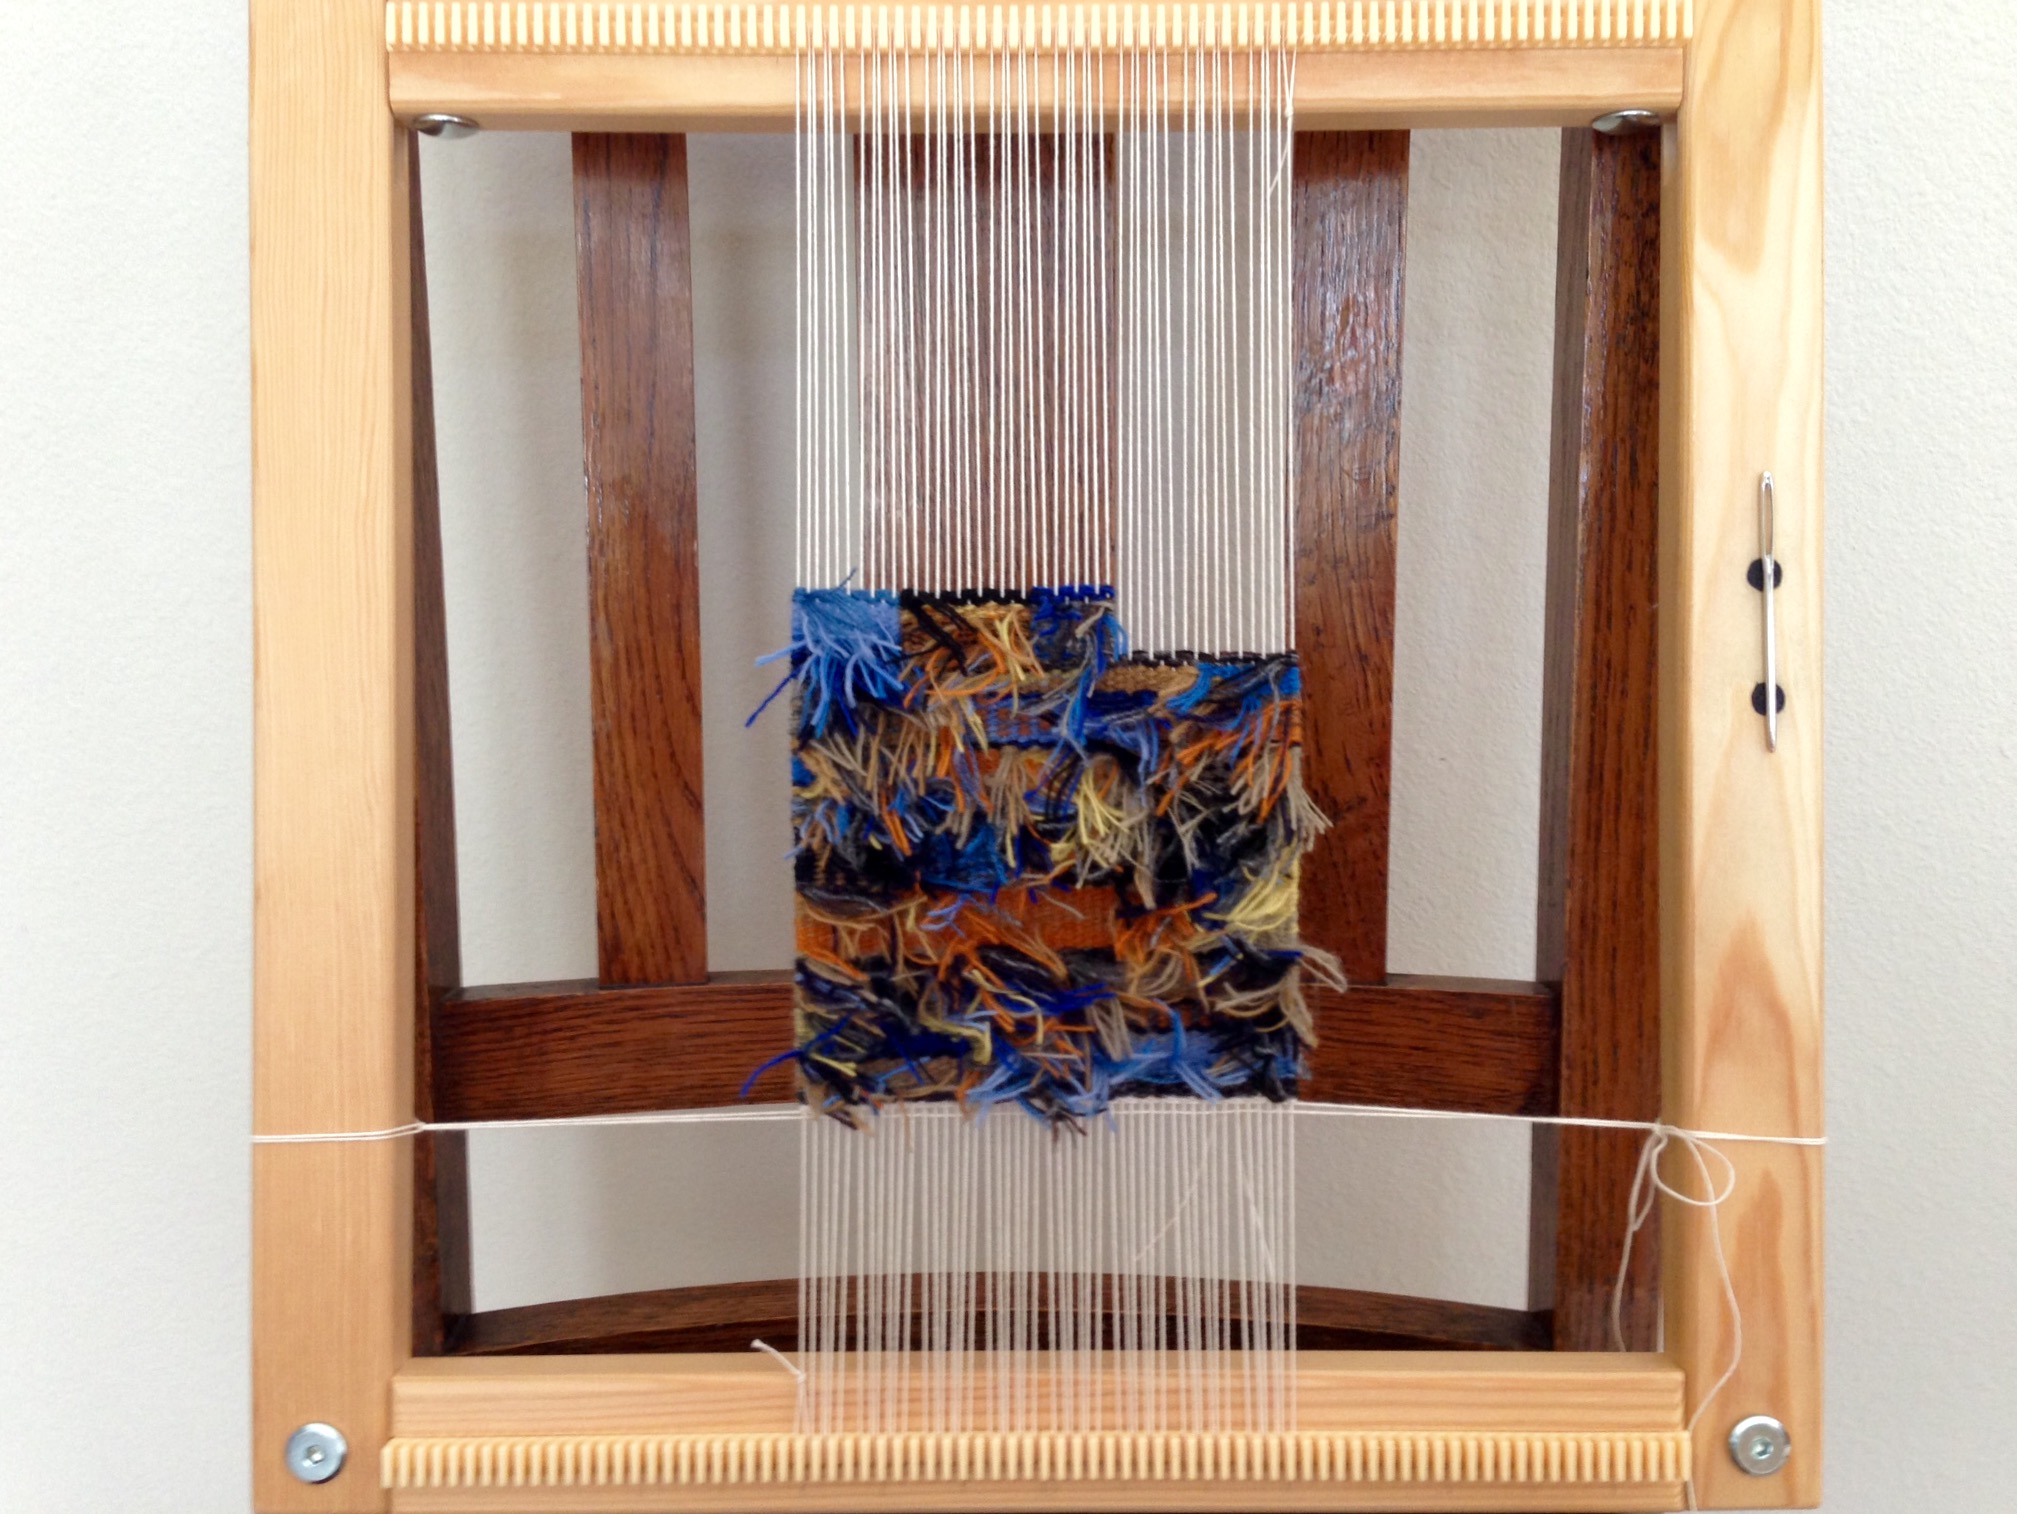
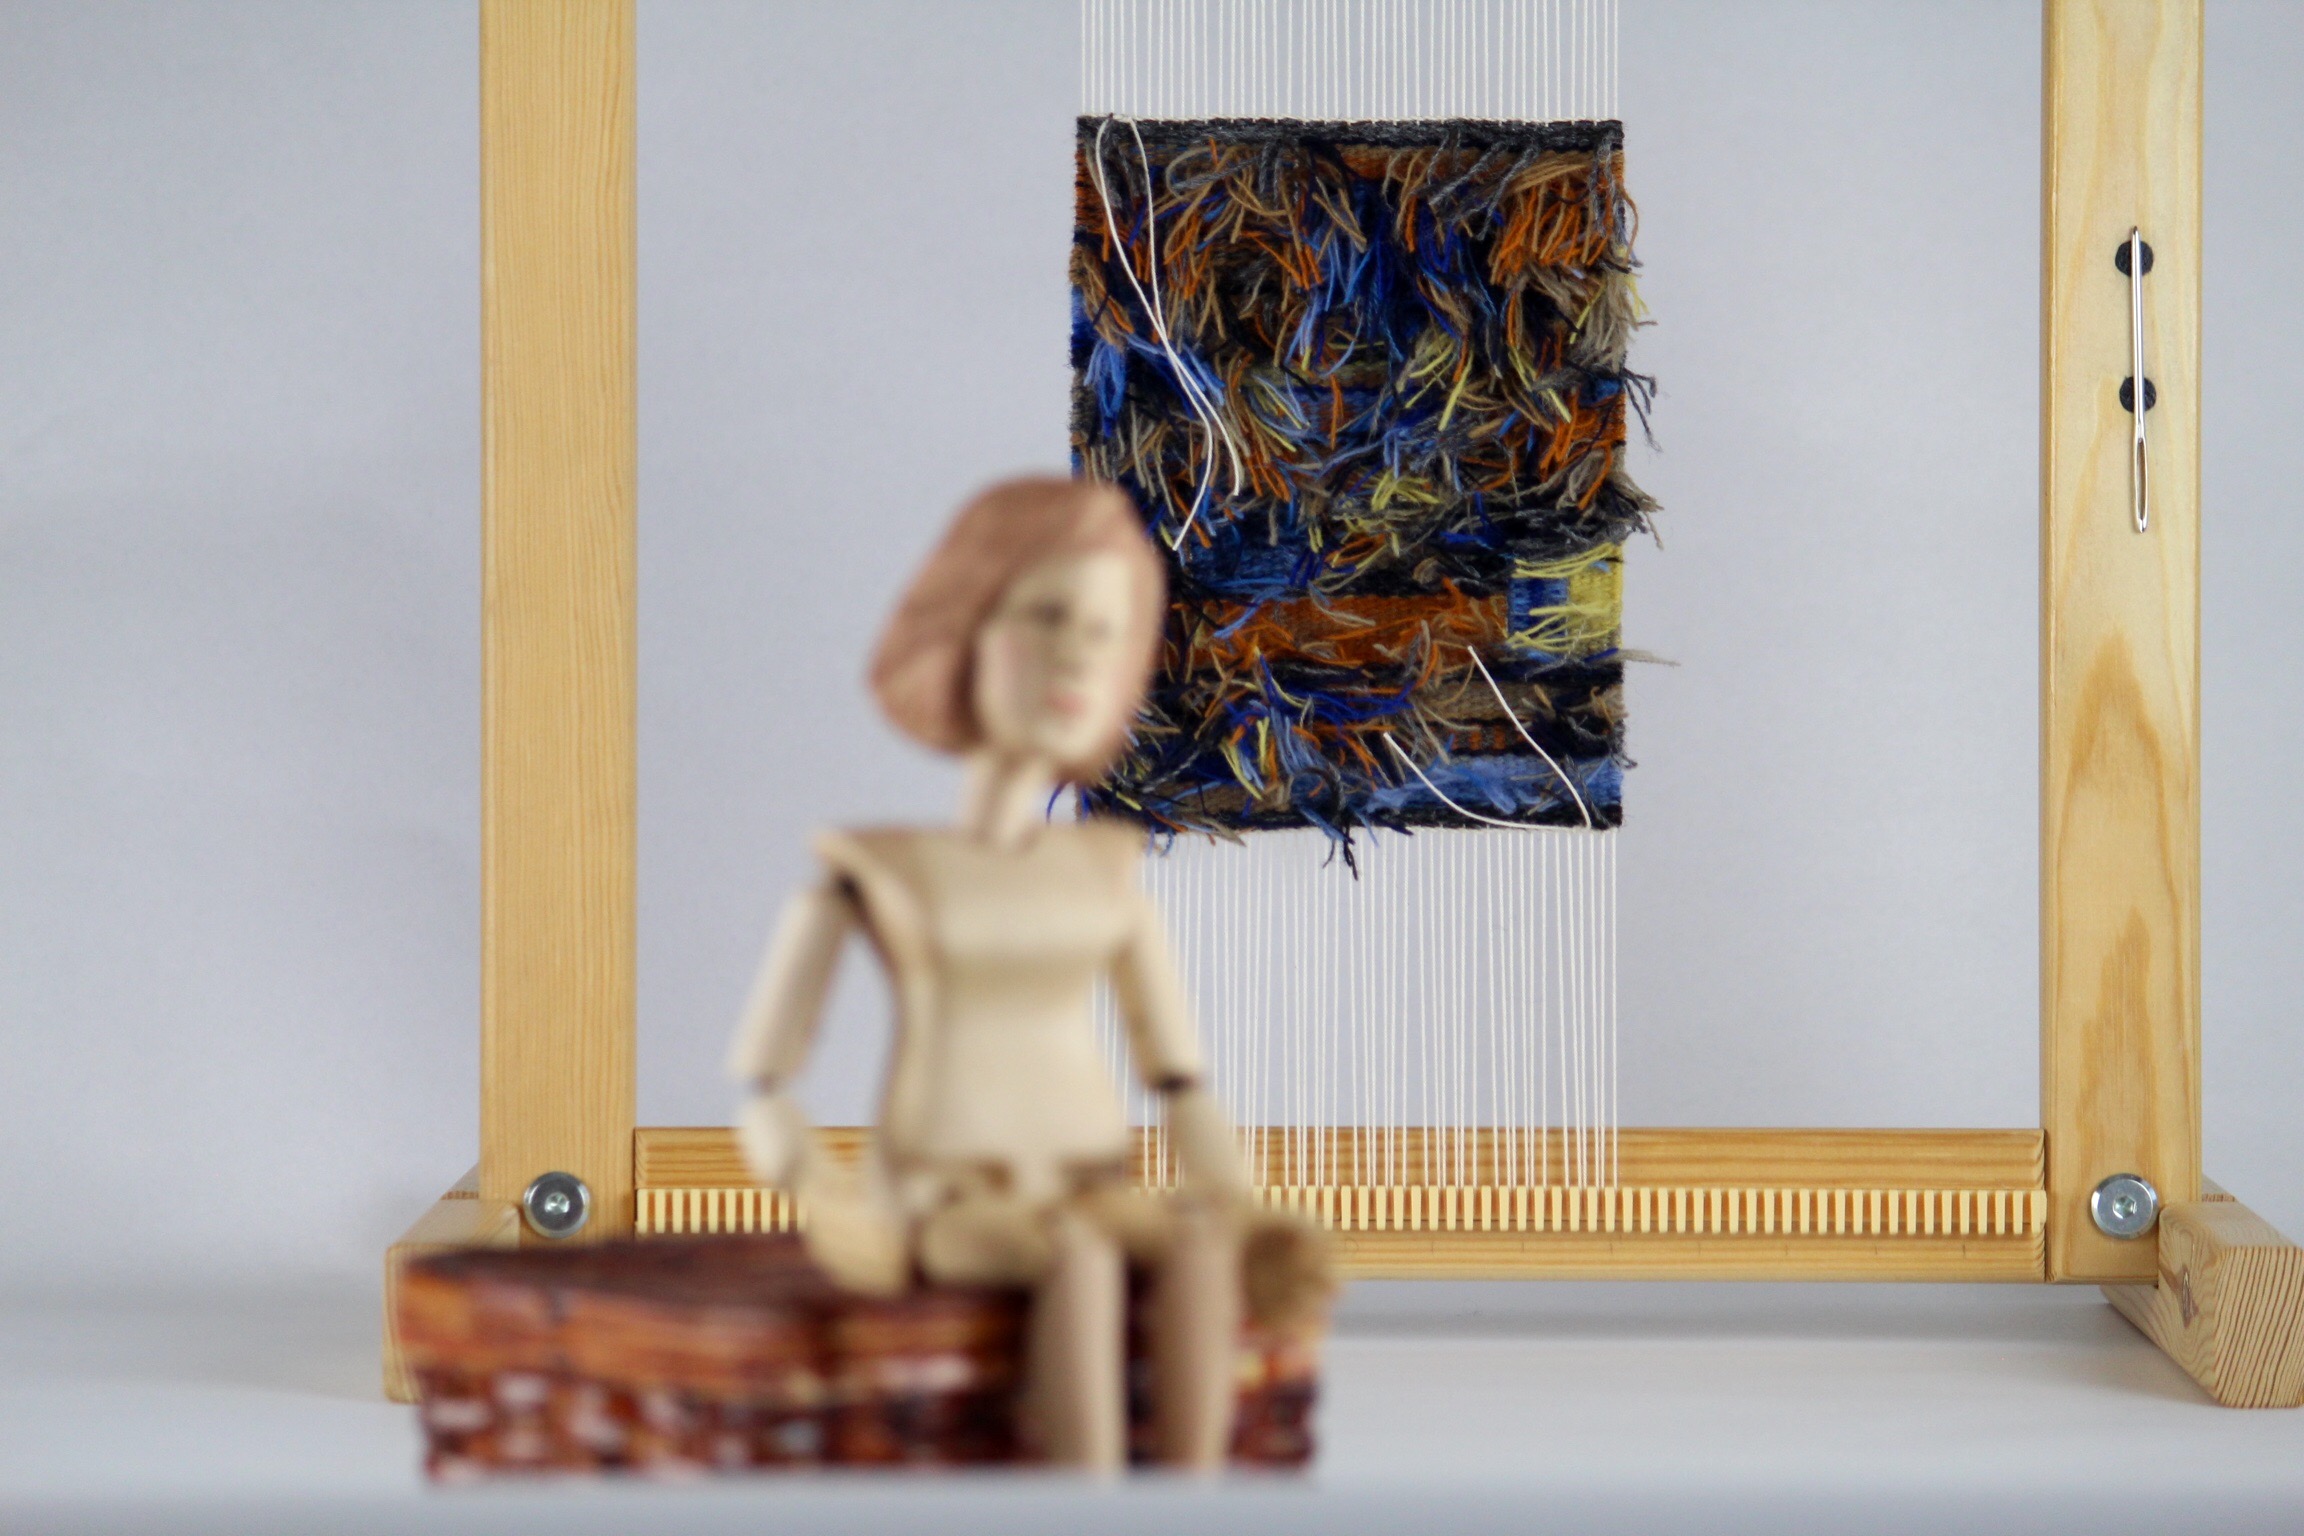
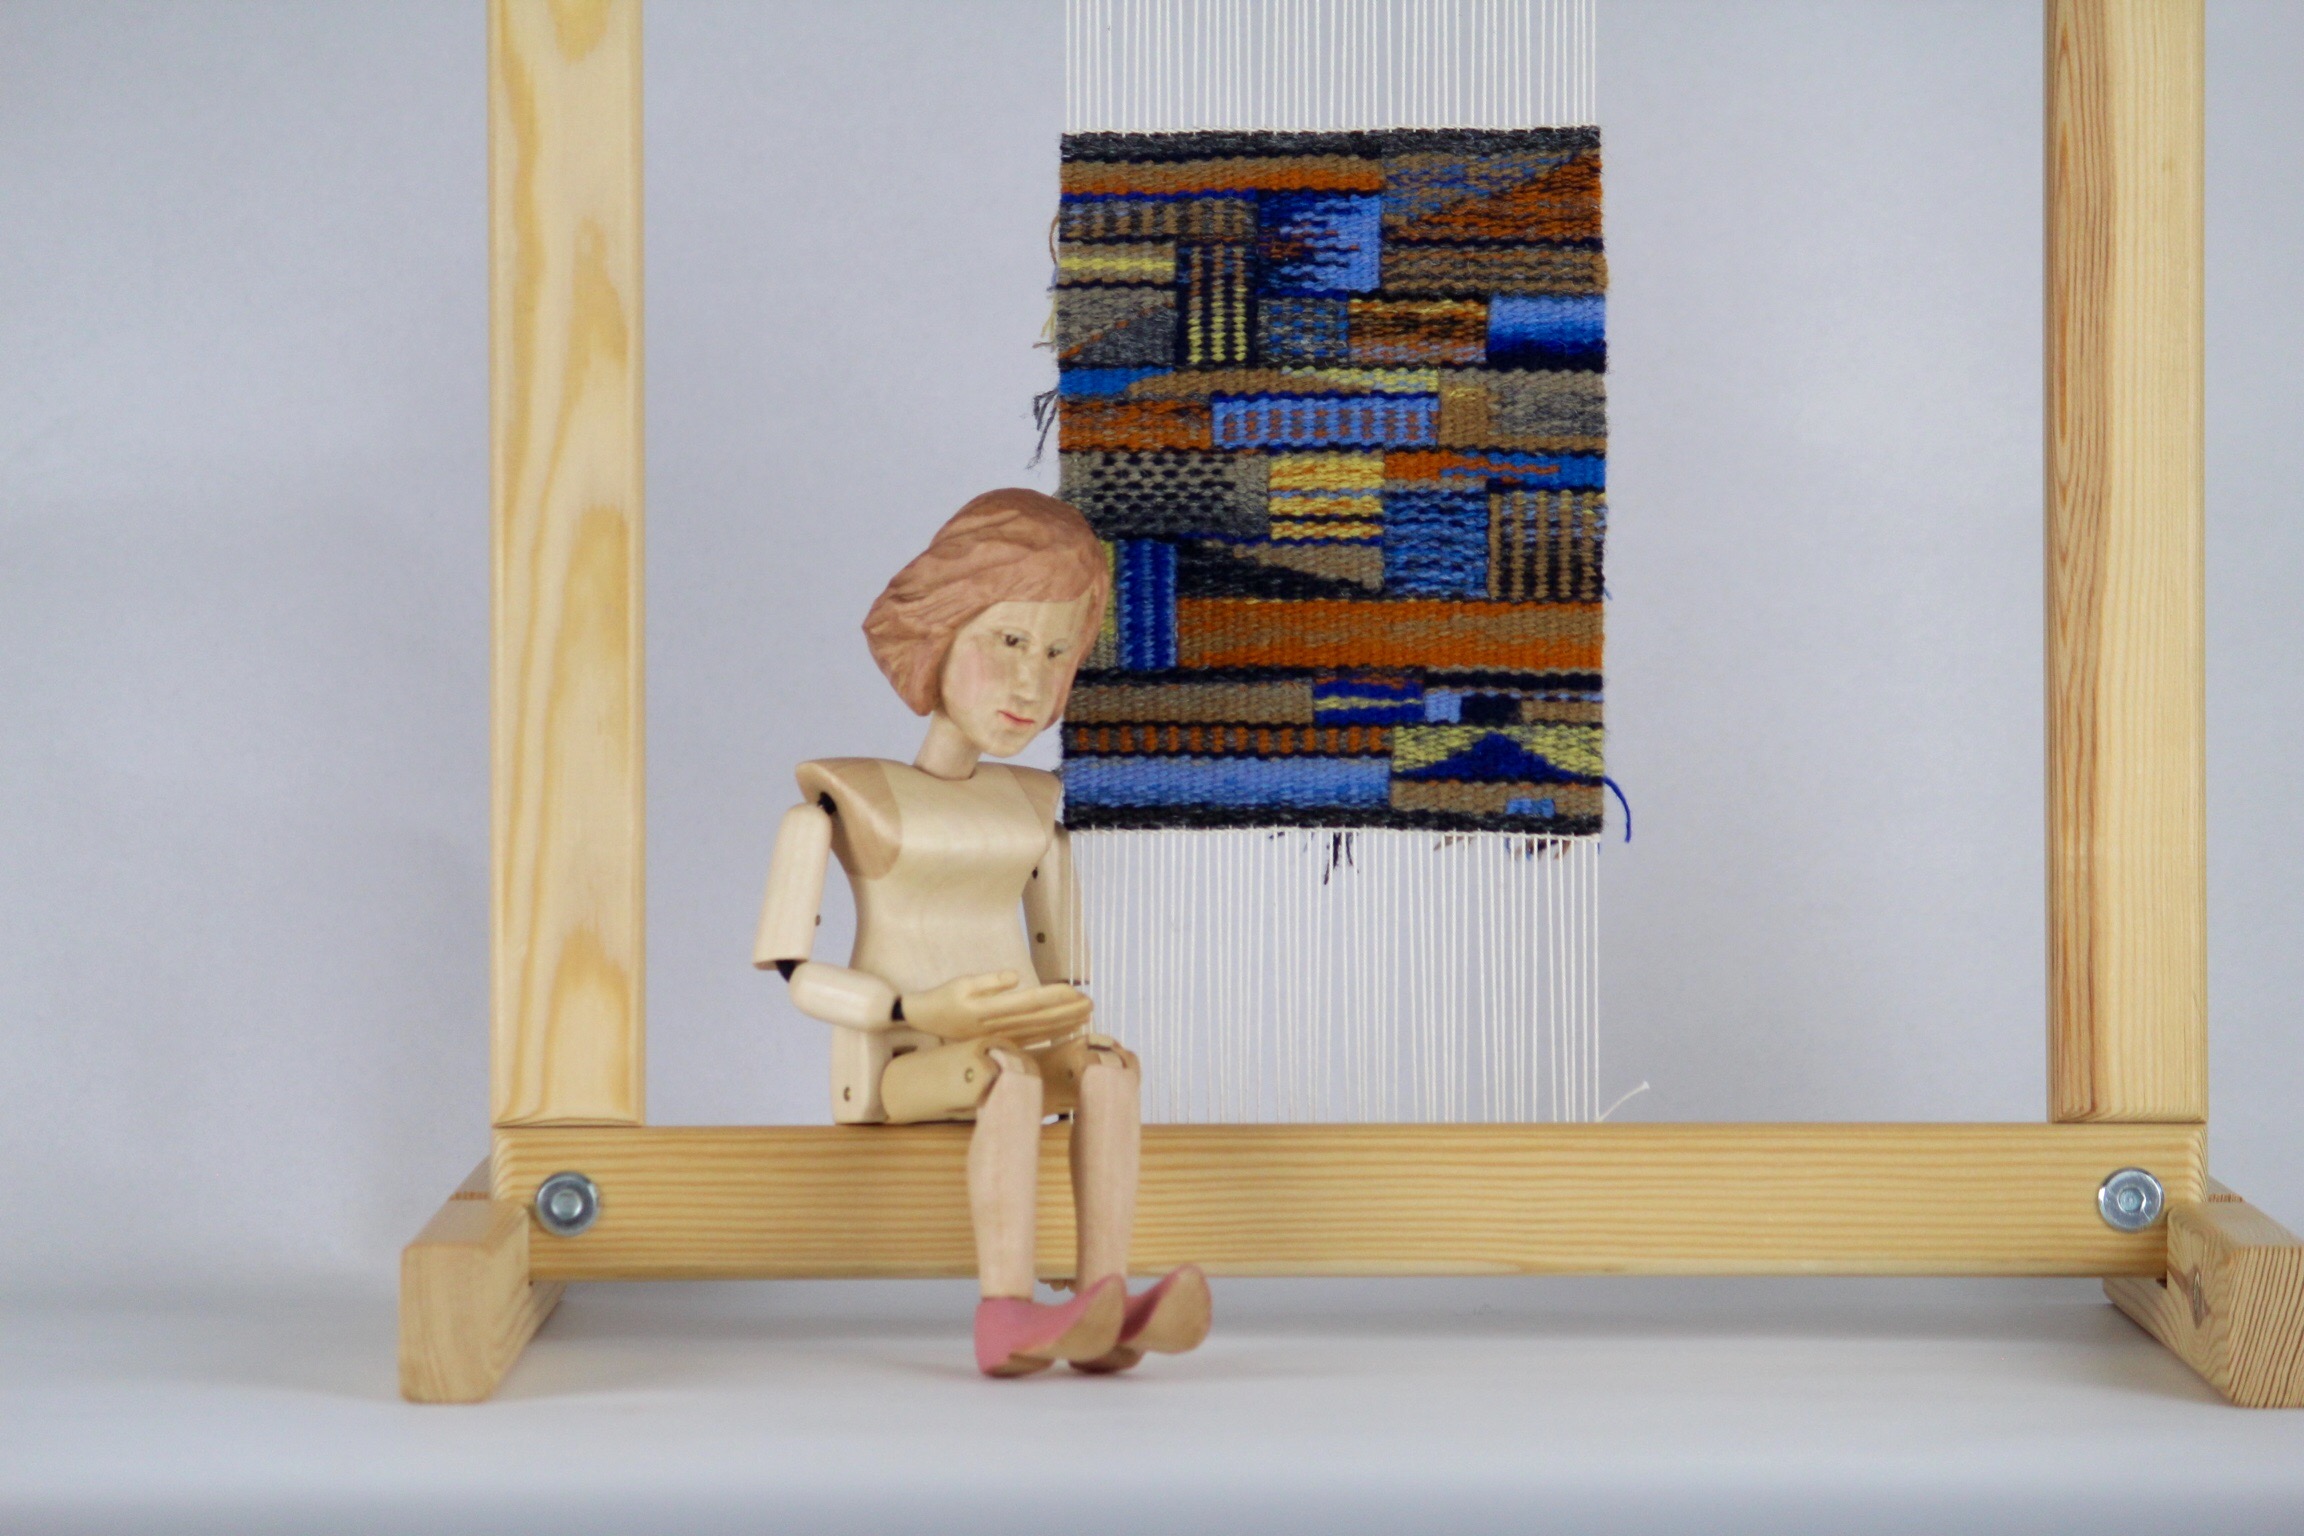
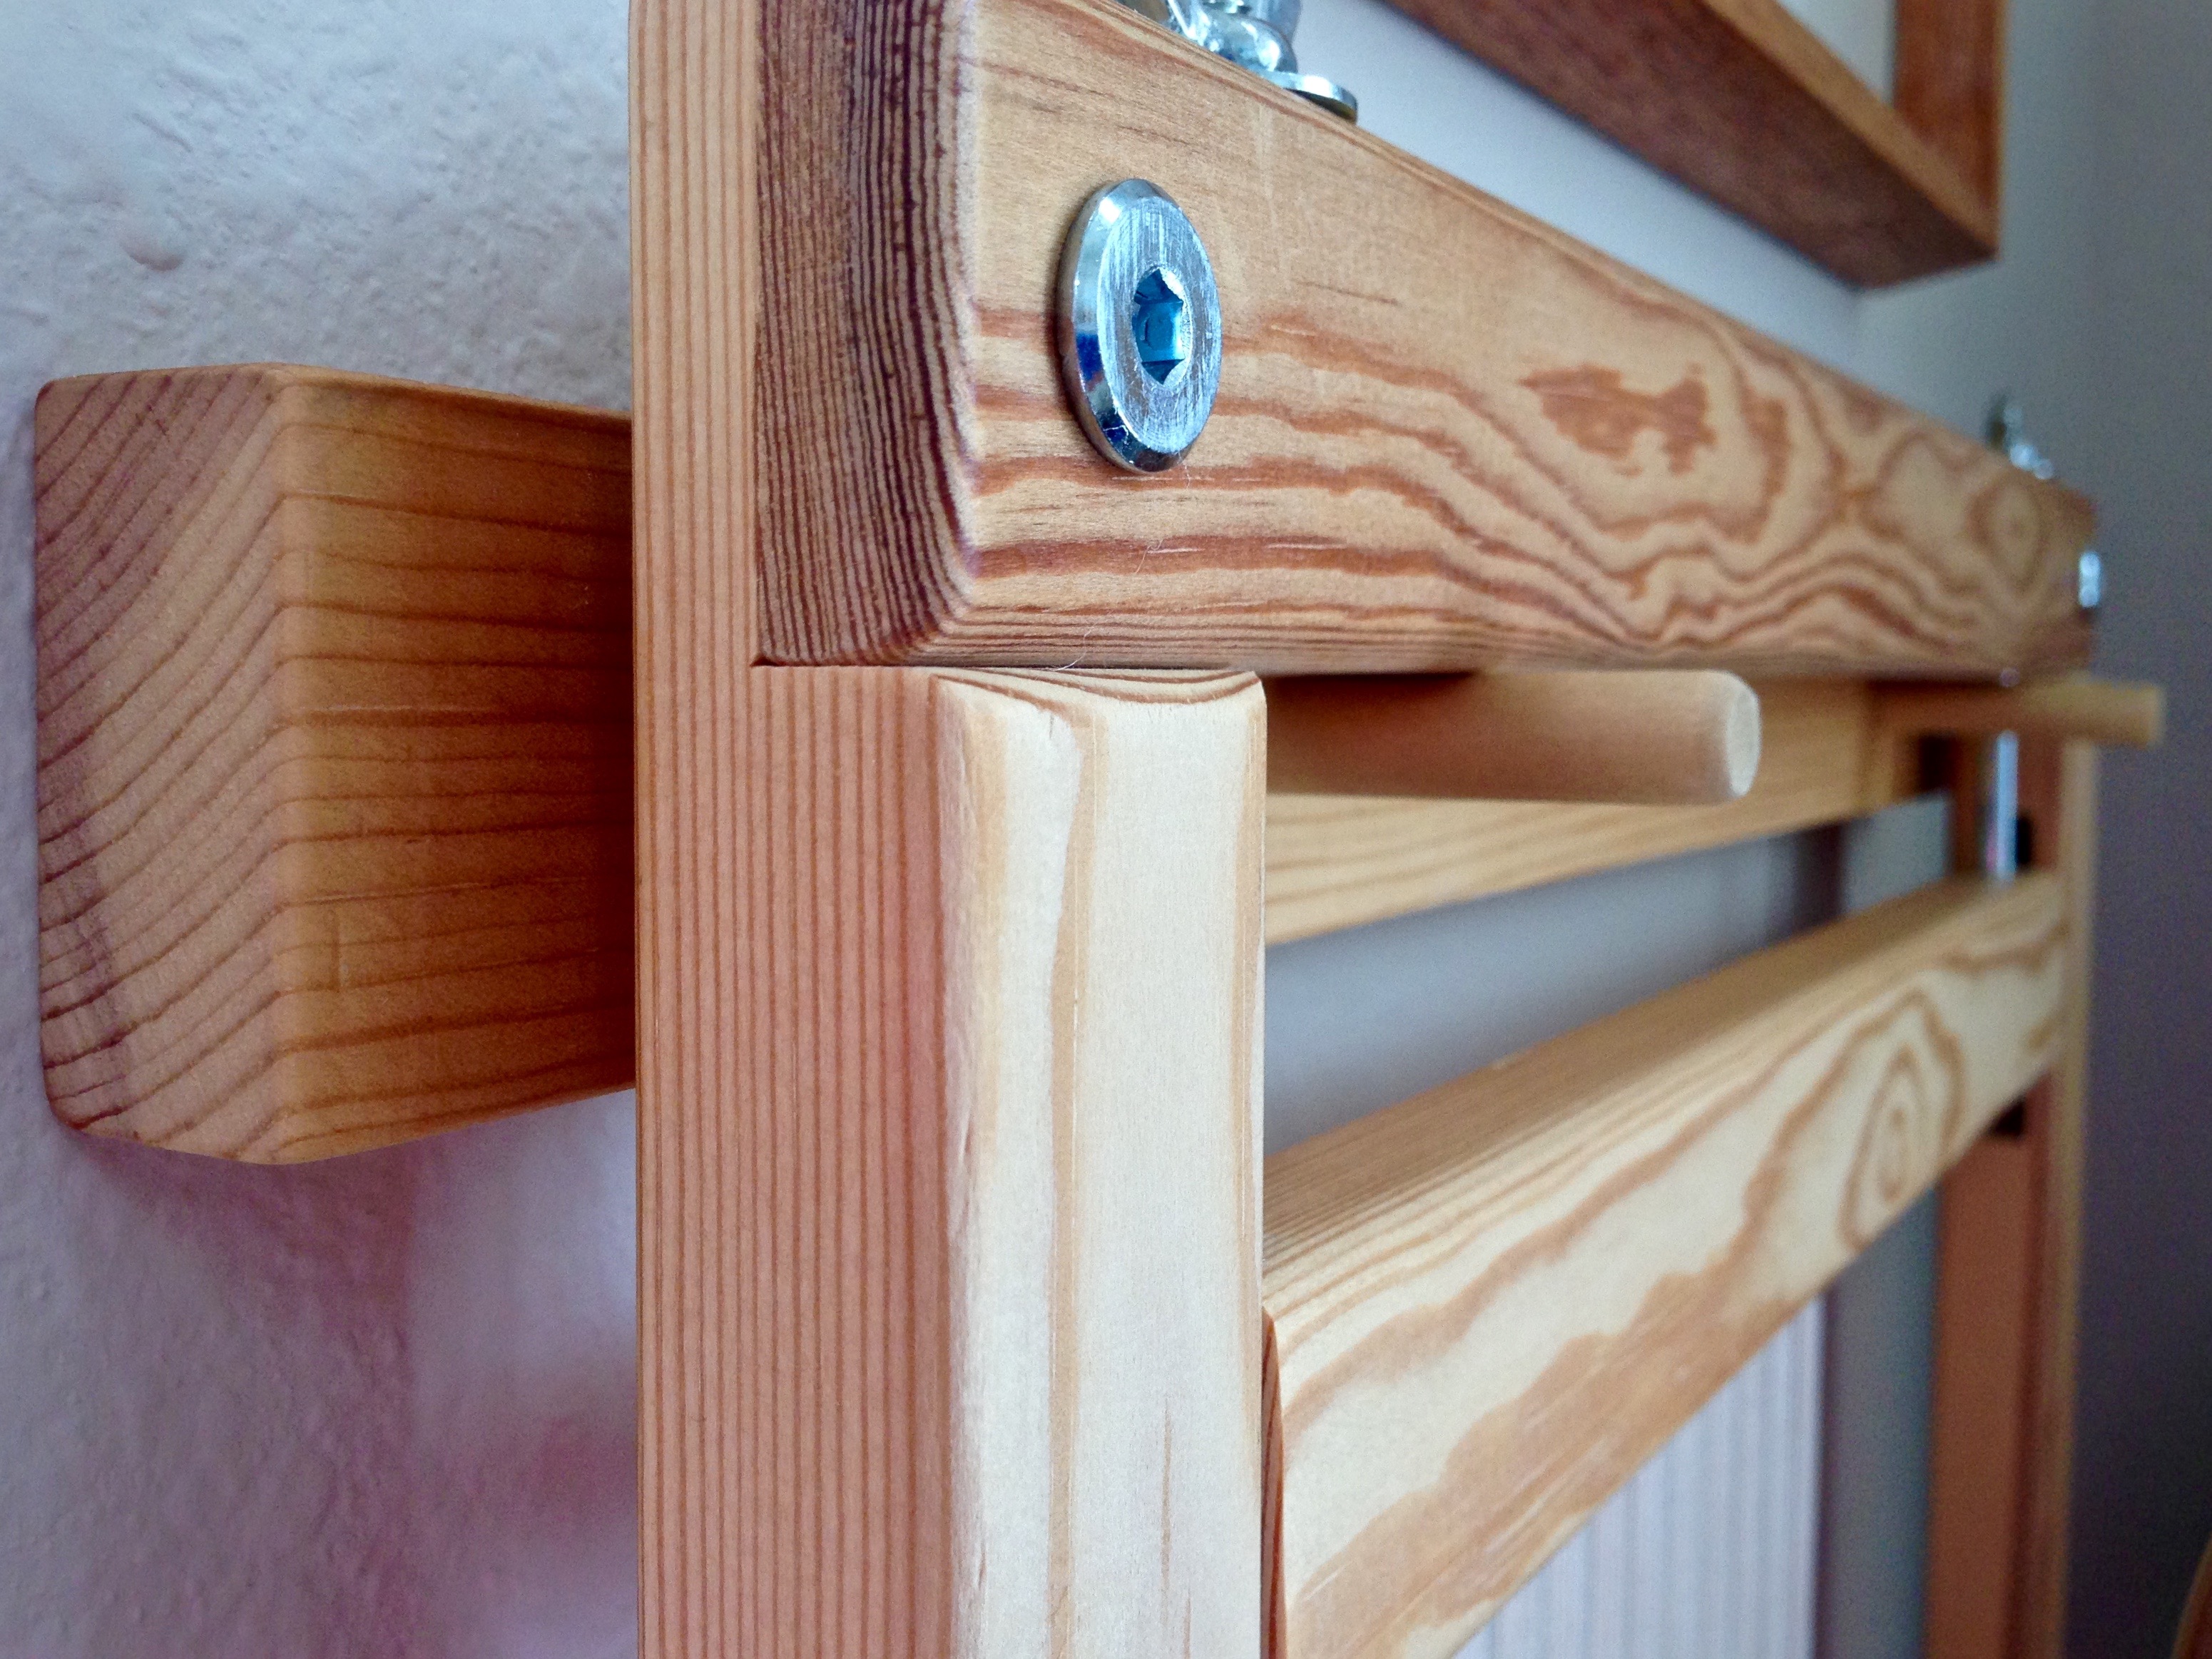
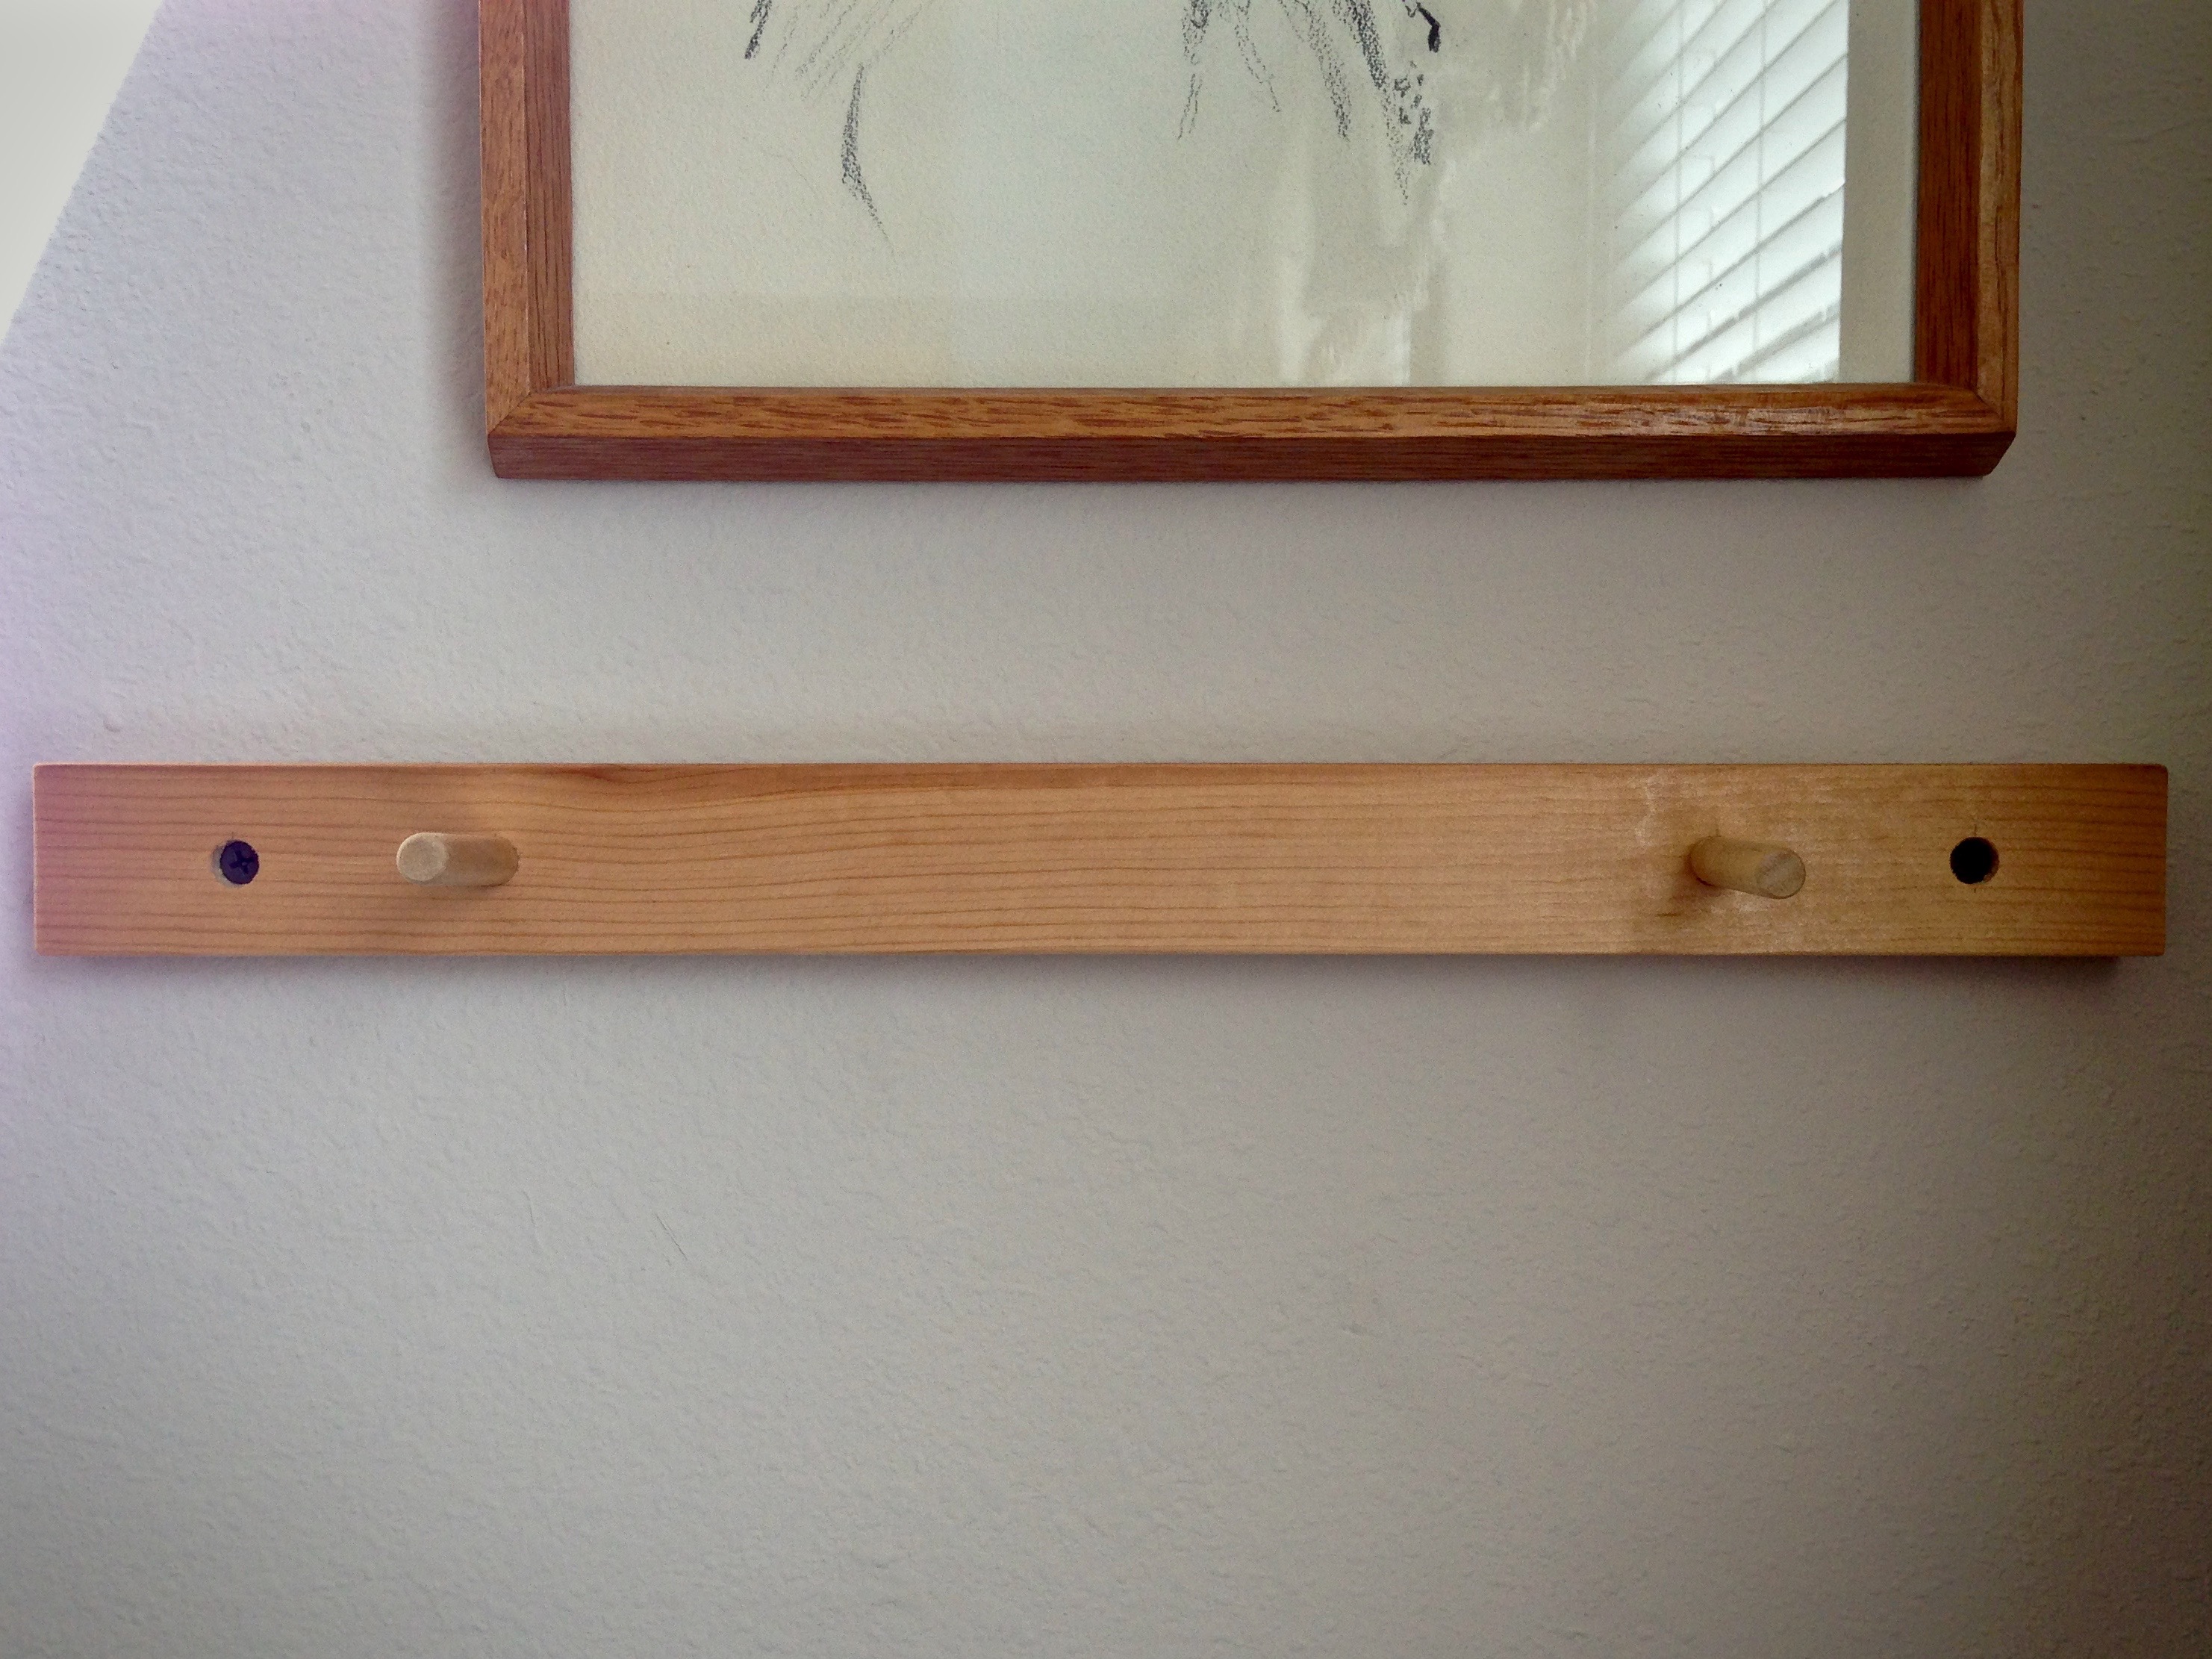
Steve made this simple holder for my tapestry frame. The 3/4″ x 1 1/2″ (2 cm x 4 cm) pine has two dowels, and is fastened to the wall with countersunk screws. The holder practically disappears behind the tapestry that it puts on display.

Pine holder for small Freja tapestry frame.
Pine board has two dowels on which to set the tapestry frame.
Tapestry frame holder.
Accessibility is the secret to daily tapestry practice. To prevent the tapestry frame from being accidentally knocked off its holder, it is placed in a corner of the room that is not in a walkway.
Super simple tapestry frame holder.
Tapestry frame holder is attached to the wall with two countersunk screws.
Small tapestry diary of little houses.
Tapestry diary for July is a village of little houses.

May you have reminders to practice your art.

In progress,
Karen

How I Got Started in Handweaving

In the early 1980’s Steve and I signed up for a pottery class at Johnson Atelier in Tulsa, Oklahoma. We still have the hand-built pitcher Steve made. The big thing that happened for me, though, besides figuring out that I am not a potter, was the rigid heddle weaving class across the hall. I signed up for that class, and lo and behold, I discovered I was a handweaver at heart! I found myself in an exhilarating new story; and I acquired my first loom–a 32″ Beka rigid heddle. Weaving became my means of creative expression. Now, several chapters (and a few more looms) later, I am still a happy handweaver. It’s part of who I am.

Small tapestry, mounted on linen, with frame made to fit. Karen Isenhower
Practice tapestry piece is mounted on linen. Steve made the frame to fit. The frame is leaning on the crackled raku pitcher Steve made in our pottery class so many years ago.

That is how I want my story to be written on the inside, too. Through a discovery that redirects my whole attention. Let a new story be written! A new creation starts on the inside and makes you a new person. The writer of this terrific new story is God, Himself, who makes everything new.

May you find yourself in a true story.

Happily Weaving,
Karen

Quiet Friday: Little Tapestry Diary

Do you want to develop a good habit? Do that good thing every day for a month, …or so they say. It may be true, because I think my tapestry dabbling is turning into a habit. It seems perfectly natural, now, to end my day enjoying some peace and quiet with my little tapestry frame and a cup of tea. For the month of January, I completed a rectangular or square shape each day. February has no rectangles, only triangles and shapes with slanted sides. January 2015 is finished, and February is almost over. A tapestry dabbling diary is a simple way to mark the passage of time while letting ideas and images escape to become visible.

Some of the photos include Steve’s amazing woodcarving handiwork. And be sure to check out the video at the end showing how I create a finished edging for this little January tapestry diary.

Preparing warp for tapestry diary on a frame loom.
Empty warp ready for January 1st. Blank slate for collecting ideas. (This is the Freja Tapestry Frame by Glimåkra, lap size. Following pictures show the two magnets Steve added for holding my tapestry needle.)

Tapestry woven from the back.

Tapestry diary progress.

Tapestry diary for January is ending. More pics.

January tapestry diary. Pics and video.

Woodcarving and tapestry. The Isenhower's.
Amos is heading somewhere, and will not be deterred.
Woodcarving and weaving. The Isenhower's.
It is possible to be so focused on where you are going that you do not even see the “masterpiece” in the room?

Woodcarving and tapestry.

Hand-carved marionette and tapestry. The Isenhower's.

January tapestry diary off the loom. Karen Isenhower

May you measure time with the good habits you develop.

Happy Tapestry Weaving,
Karen

Tools Day: Texsolv Secrets

I am upgrading my “baby loom” from four shafts to six shafts. My woodworker husband fashioned the new pieces for this 100 cm / 39″ Glimakra Ideal countermarch loom. Since I need to add new Texsolv cords to the two new pairs of shafts and accompanying horizontal jacks, I decided to replace the thirty-year-old cords that are on the original pieces at the same time.

Tips for preparing Texsolv cord.
Measuring, marking, and cutting Texsolv cord for new six-shaft shaft holders. Tools, from top to bottom: Cord threader, rotary cutter, black Sharpie, Thread Zapp II.

Tools:

  • Spool of Texsolv cord
  • Rotary cutter with sharp blade, and cutting mat; or, sharp scissors
  • Permanent marker
  • Cordless thread zapper (I got my Thread Zap II at Hobby Lobby)
  • Cord threader (Steve made mine; GlimakraUSA carries a similar one)
Adding new Texsolv cord to updated countermarch loom. Texsolv tips.
Upgrade to six shafts from four meant adding two pairs of shaft bars, two upper lamms, and two lower lamms, plus expanding the jacks at the top of the loom. New Texsolv cord was measured, marked, and cut the same for all six shafts. The cords seen on the lower shaft bars connect to the center hole in the upper (shorter) lamms when the loom is tied up.
Top of Glimakra Ideal horizontal countermarch.
Viewed from above, the horizontal countermarch now has 8-shaft capability. Steve guessed I might eventually want a total of eight shafts, and decided to get the hard part out of the way now. The six jacks in use are connected via a long center Texsolv cord to the lower lamms below when the loom is tied up. The outer ends of the jacks in view have cords that connect to the top shaft bars. Countermarch is a nifty mechanism. Simple, really.

Texsolv Tips:

  • Measure length of Texsolv cord. “Measure twice; cut once.”
  • Cut with very sharp blade on the “line” between holes. A sharp blade reduces the cord’s tendency to fray apart when cut.
  • Use thread zapper tool to melt the cut ends. Roll melted end between fingers to form a firm tip at the cut end.
  • Especially for countermarch looms: This one tip greatly simplifies countermarch loom tie-ups because it eliminates guessing about getting everything even. Use permanent marker to make consistent marks on like cords, to enable even tie-ups; e.g., with the marker, put a mark on the second hole from the top, and on four holes (alternate with unmarked holes) near the bottom end of shaft-to-lamm cord, so that when you attach shafts to lamms, all the cords can be precisely aligned. (All my cords are measured and marked. I keep one of each marked cord in a labeled Baggie as a sample to make it easy to replace or add any cord.)
  • Use threader, if needed, to thread cord through holes in the loom parts.

Quiet Friday: Cutest Loom Ever is a look back to the first renovation this little old loom experienced.

May you find new ways to do old things.

Getting ready,
Karen

Quiet Friday: Double-Width Blanket Progress

Do you ever feel like you are just not making progress? Stopping bad habits and starting good ones can feel like that. Or, what about that craft project you meant to finish before Thanksgiving? The loom is one place where progress is visible. You can’t fool yourself; the cloth beam shows you how far you have progressed. I find it encouraging to see the fabric that has been woven. What starts with an idea shows up as cloth.

Blanket idea with eleven colors of wool.
It all started with an idea and eleven colors of wool.

As we settle into the very end of this year, we know that time keeps rolling on. The warp keeps advancing. This is a great time to look at the cloth beam of our life and see the progress. Like this blanket, much has been accomplished, but there’s more work ahead before it is time to cut it from the loom.

Bottom layer of double weave blanket is spread on the loom.
Bottom layer is spread on the loom.
Upper layer of double weave is spread on the loom.
Upper layer is spread on the loom; and the two layers are combined on the back tie-on bar. Two sets of lease sticks keep all the ends in order.
Beaming on double weave blanket with warping trapeze.
Beaming on two warps at once. After removing the choke ties, I beamed on with the warping trapeze, slowly and carefully. I stopped every few inches to check everything, to make sure nothing was getting hung up anywhere.
Threading heddles for multi-color wool blanket.
Threading heddles.
Sampling helps determine optimum weft colors.
Sampling helps determine weft colors, as well as checking the sett and weft density.
Warp ends ready to tie onto front tie-on bar.
Sample is cut off and warp ends are tied in bundles, ready to re-tie to front tie-on bar.
Wool Blanket sample piece after wet finishing and brushing.
Sample piece, after wet finishing, air drying, and brushing.
Fringe, twisted on the loom, at the beginning of the wool blanket. Follow progress.
Fringe, twisted on the loom, goes over the breast beam as the body of the blanket is being woven.
Pics show double weave blanket progress on the loom.
Progress is revealed. The beginning blanket fringe has reached the cloth beam! The fold edge of the blanket is in view.
Dusk dims, yet enriches, the colors. Karen Isenhower
Dusk dims the colors, yet enriches them at the same time.
Hand-carved Nativity on handwoven bound rosepath. The Isenhowers.
Glad-hearted Christmas to all! The camel is this year’s new figure in the hand-carved Nativity by Steve Isenhower. Bound rosepath provides the backdrop.

May you enjoy reflecting on the progress you have made this year.

Happy Christmas and a Merry New Year,
Karen