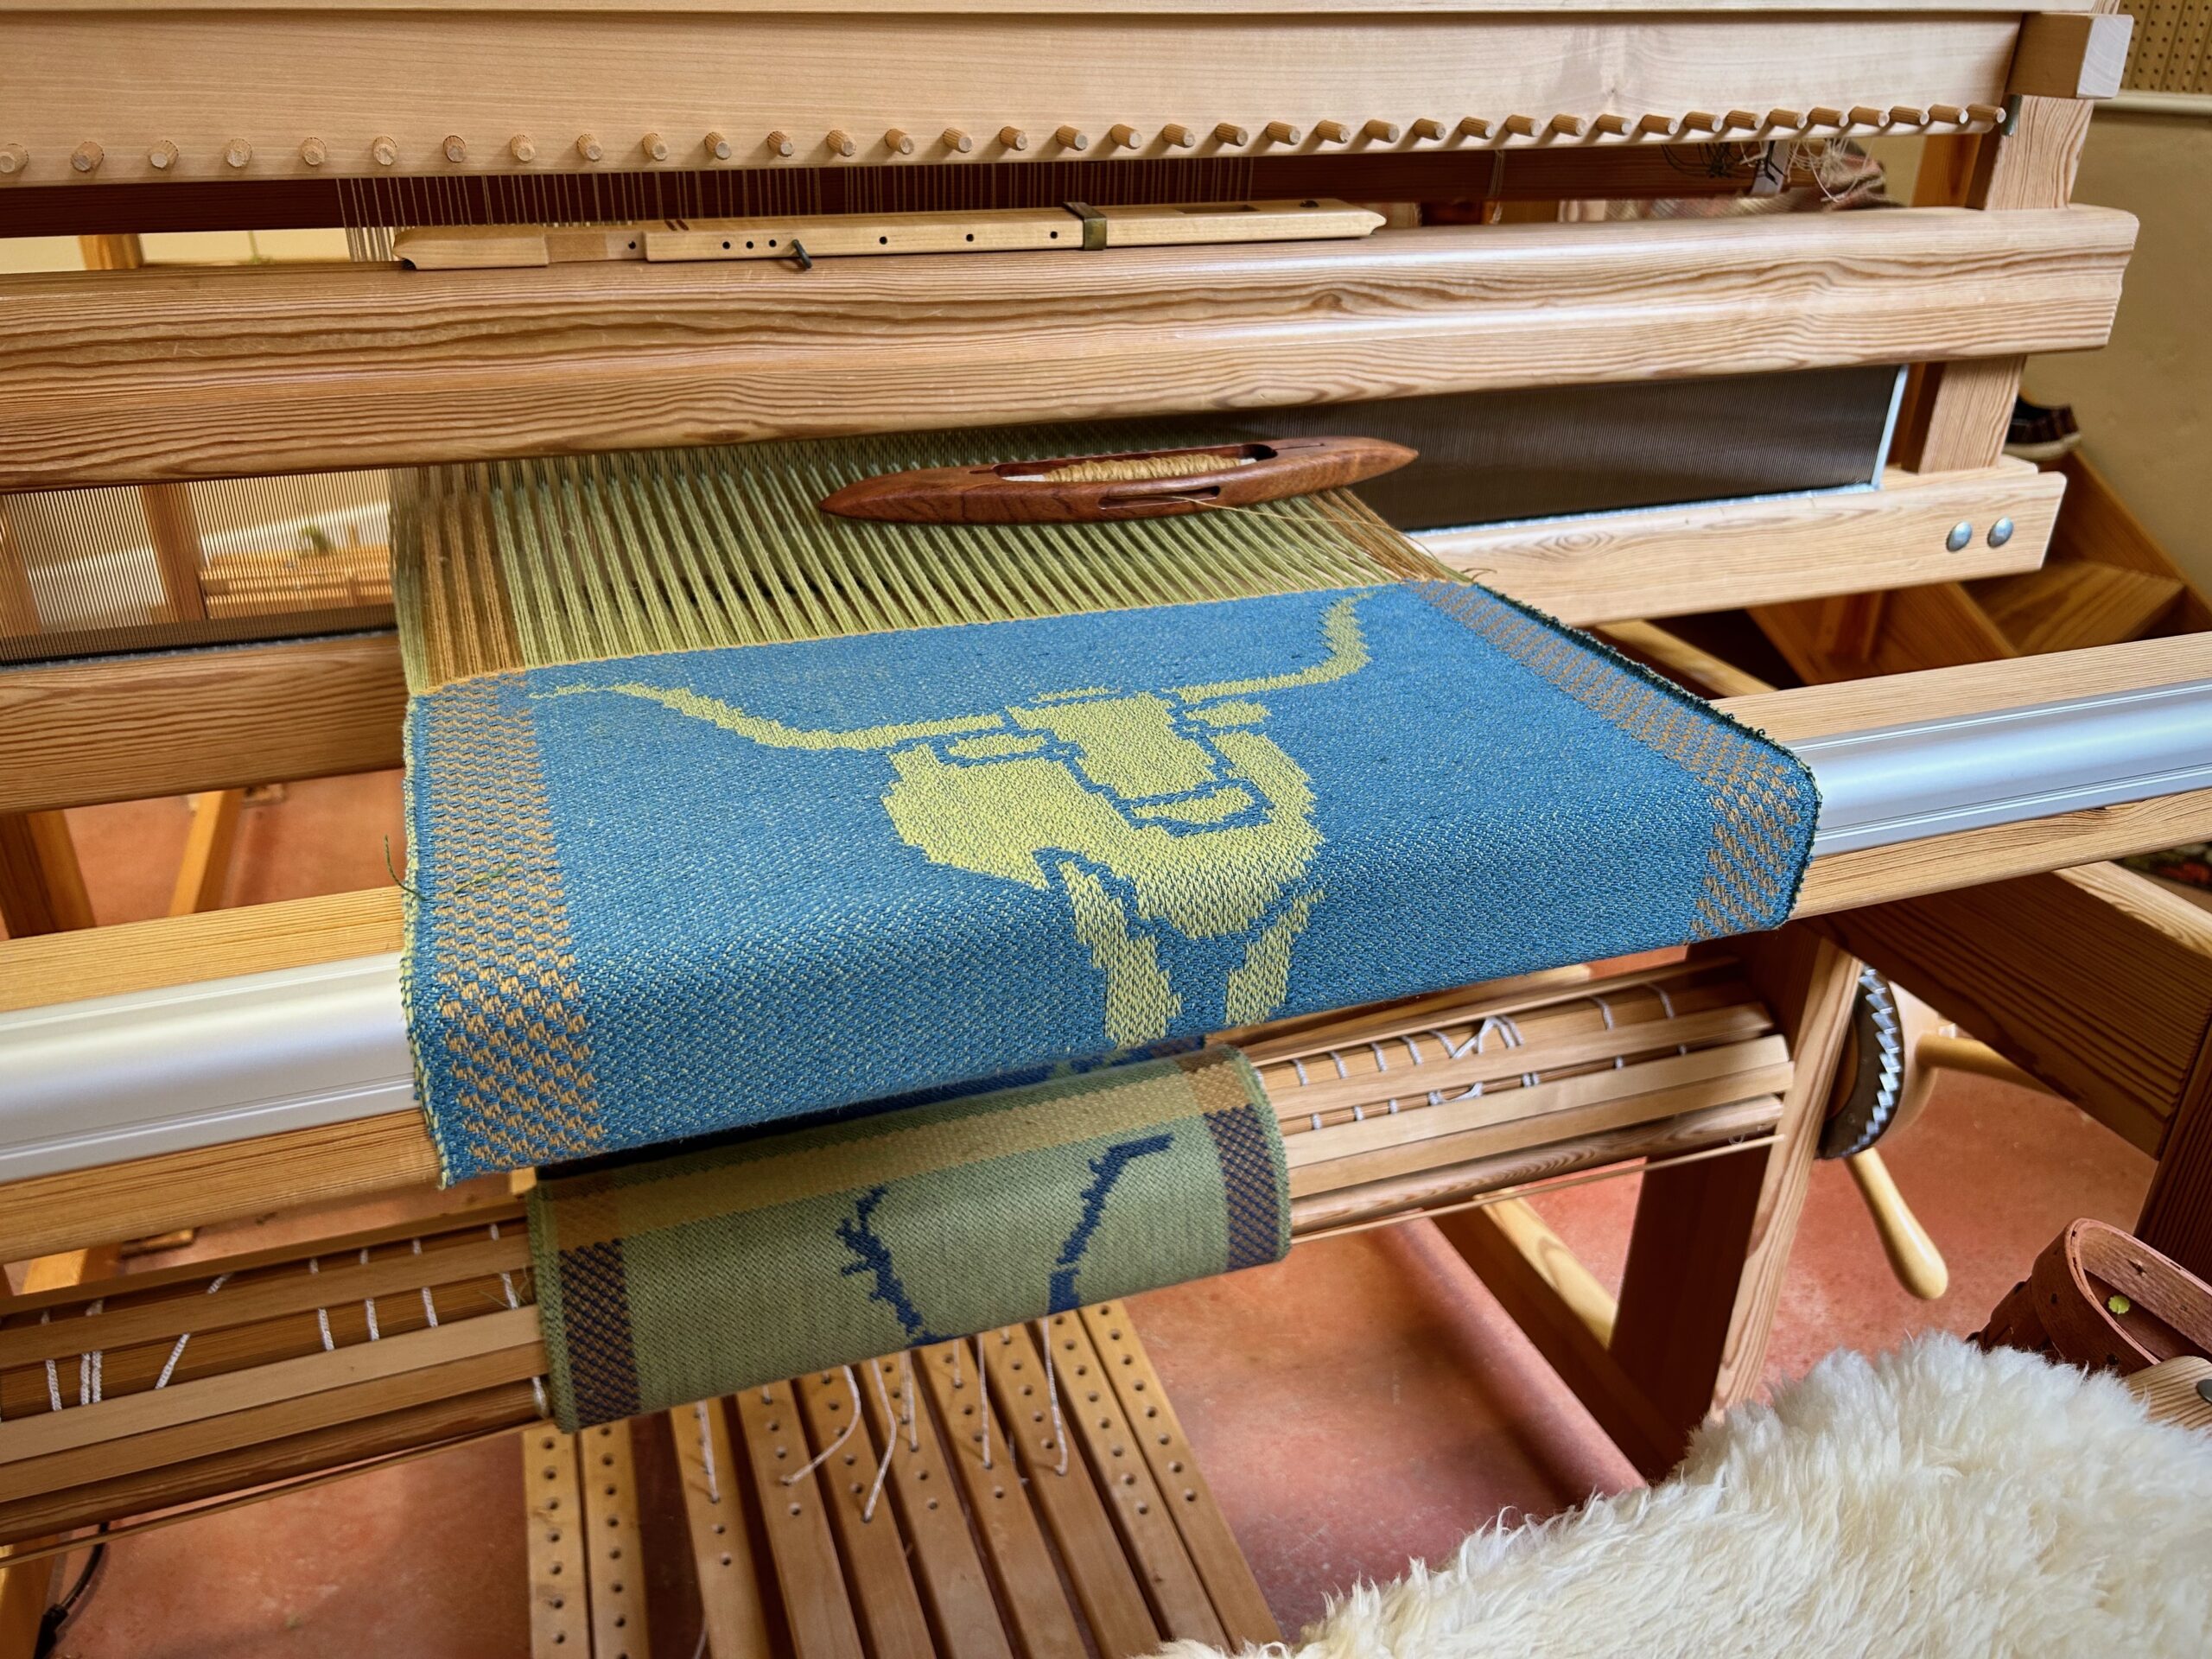
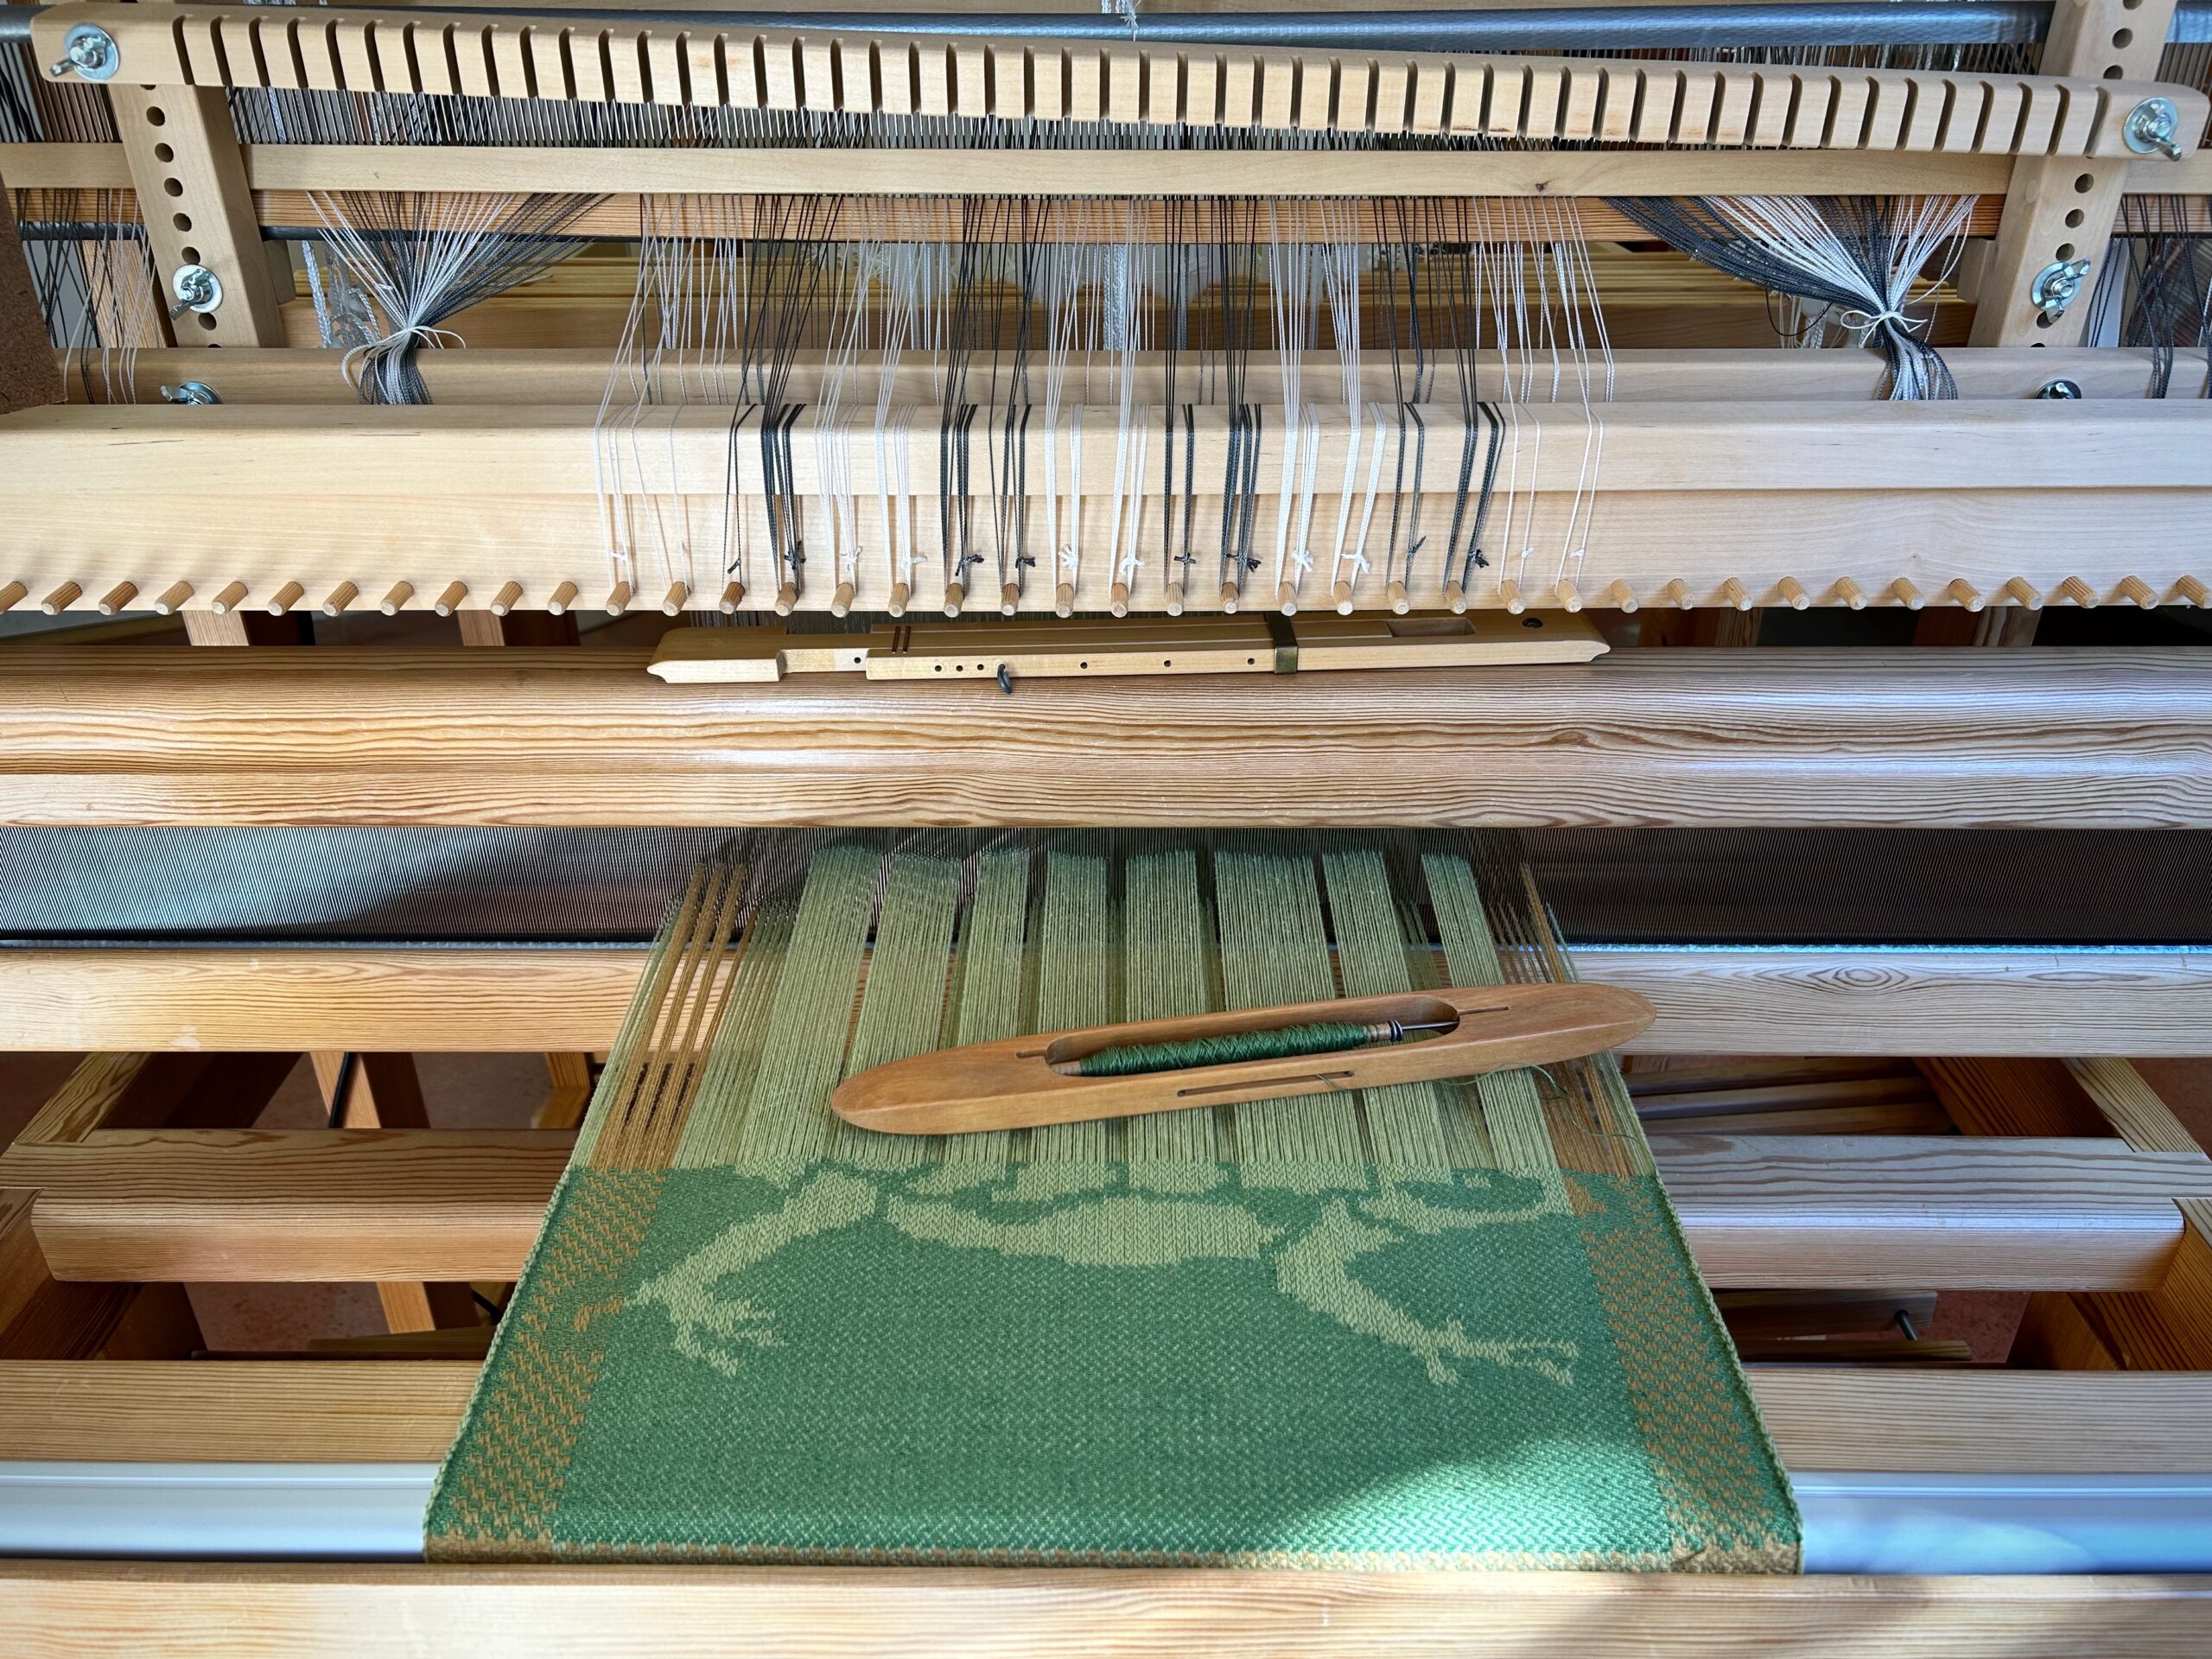
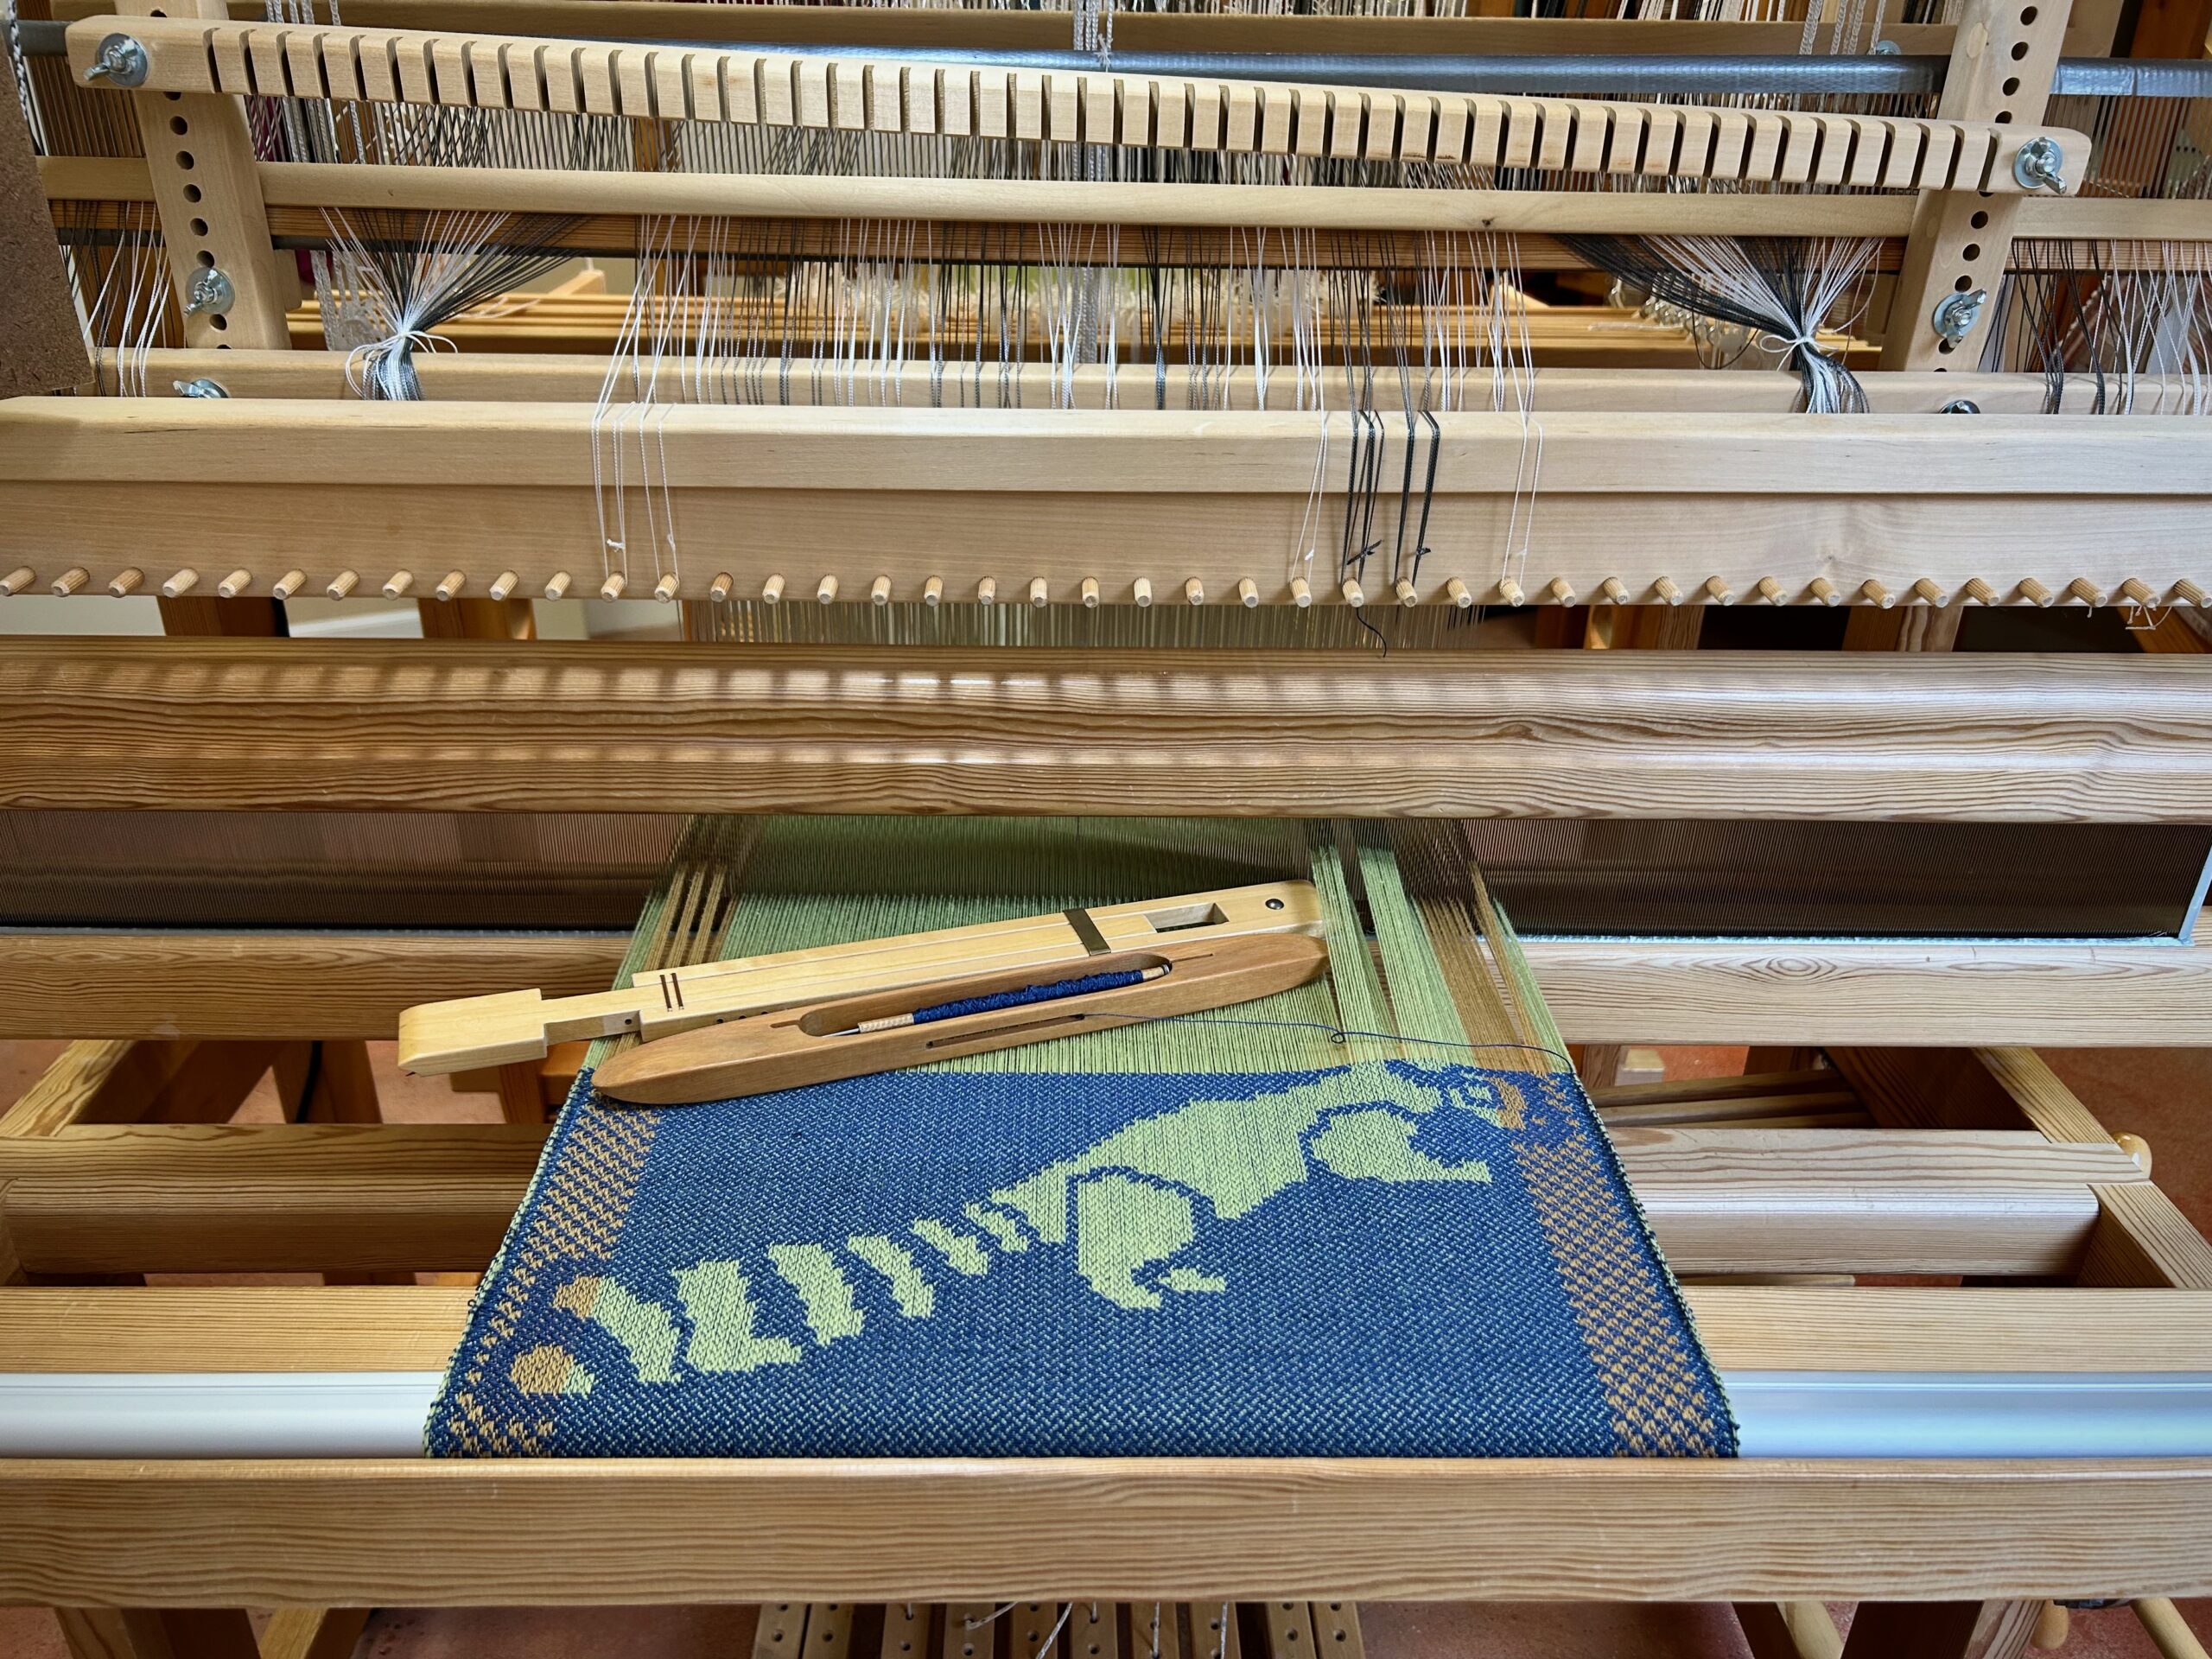
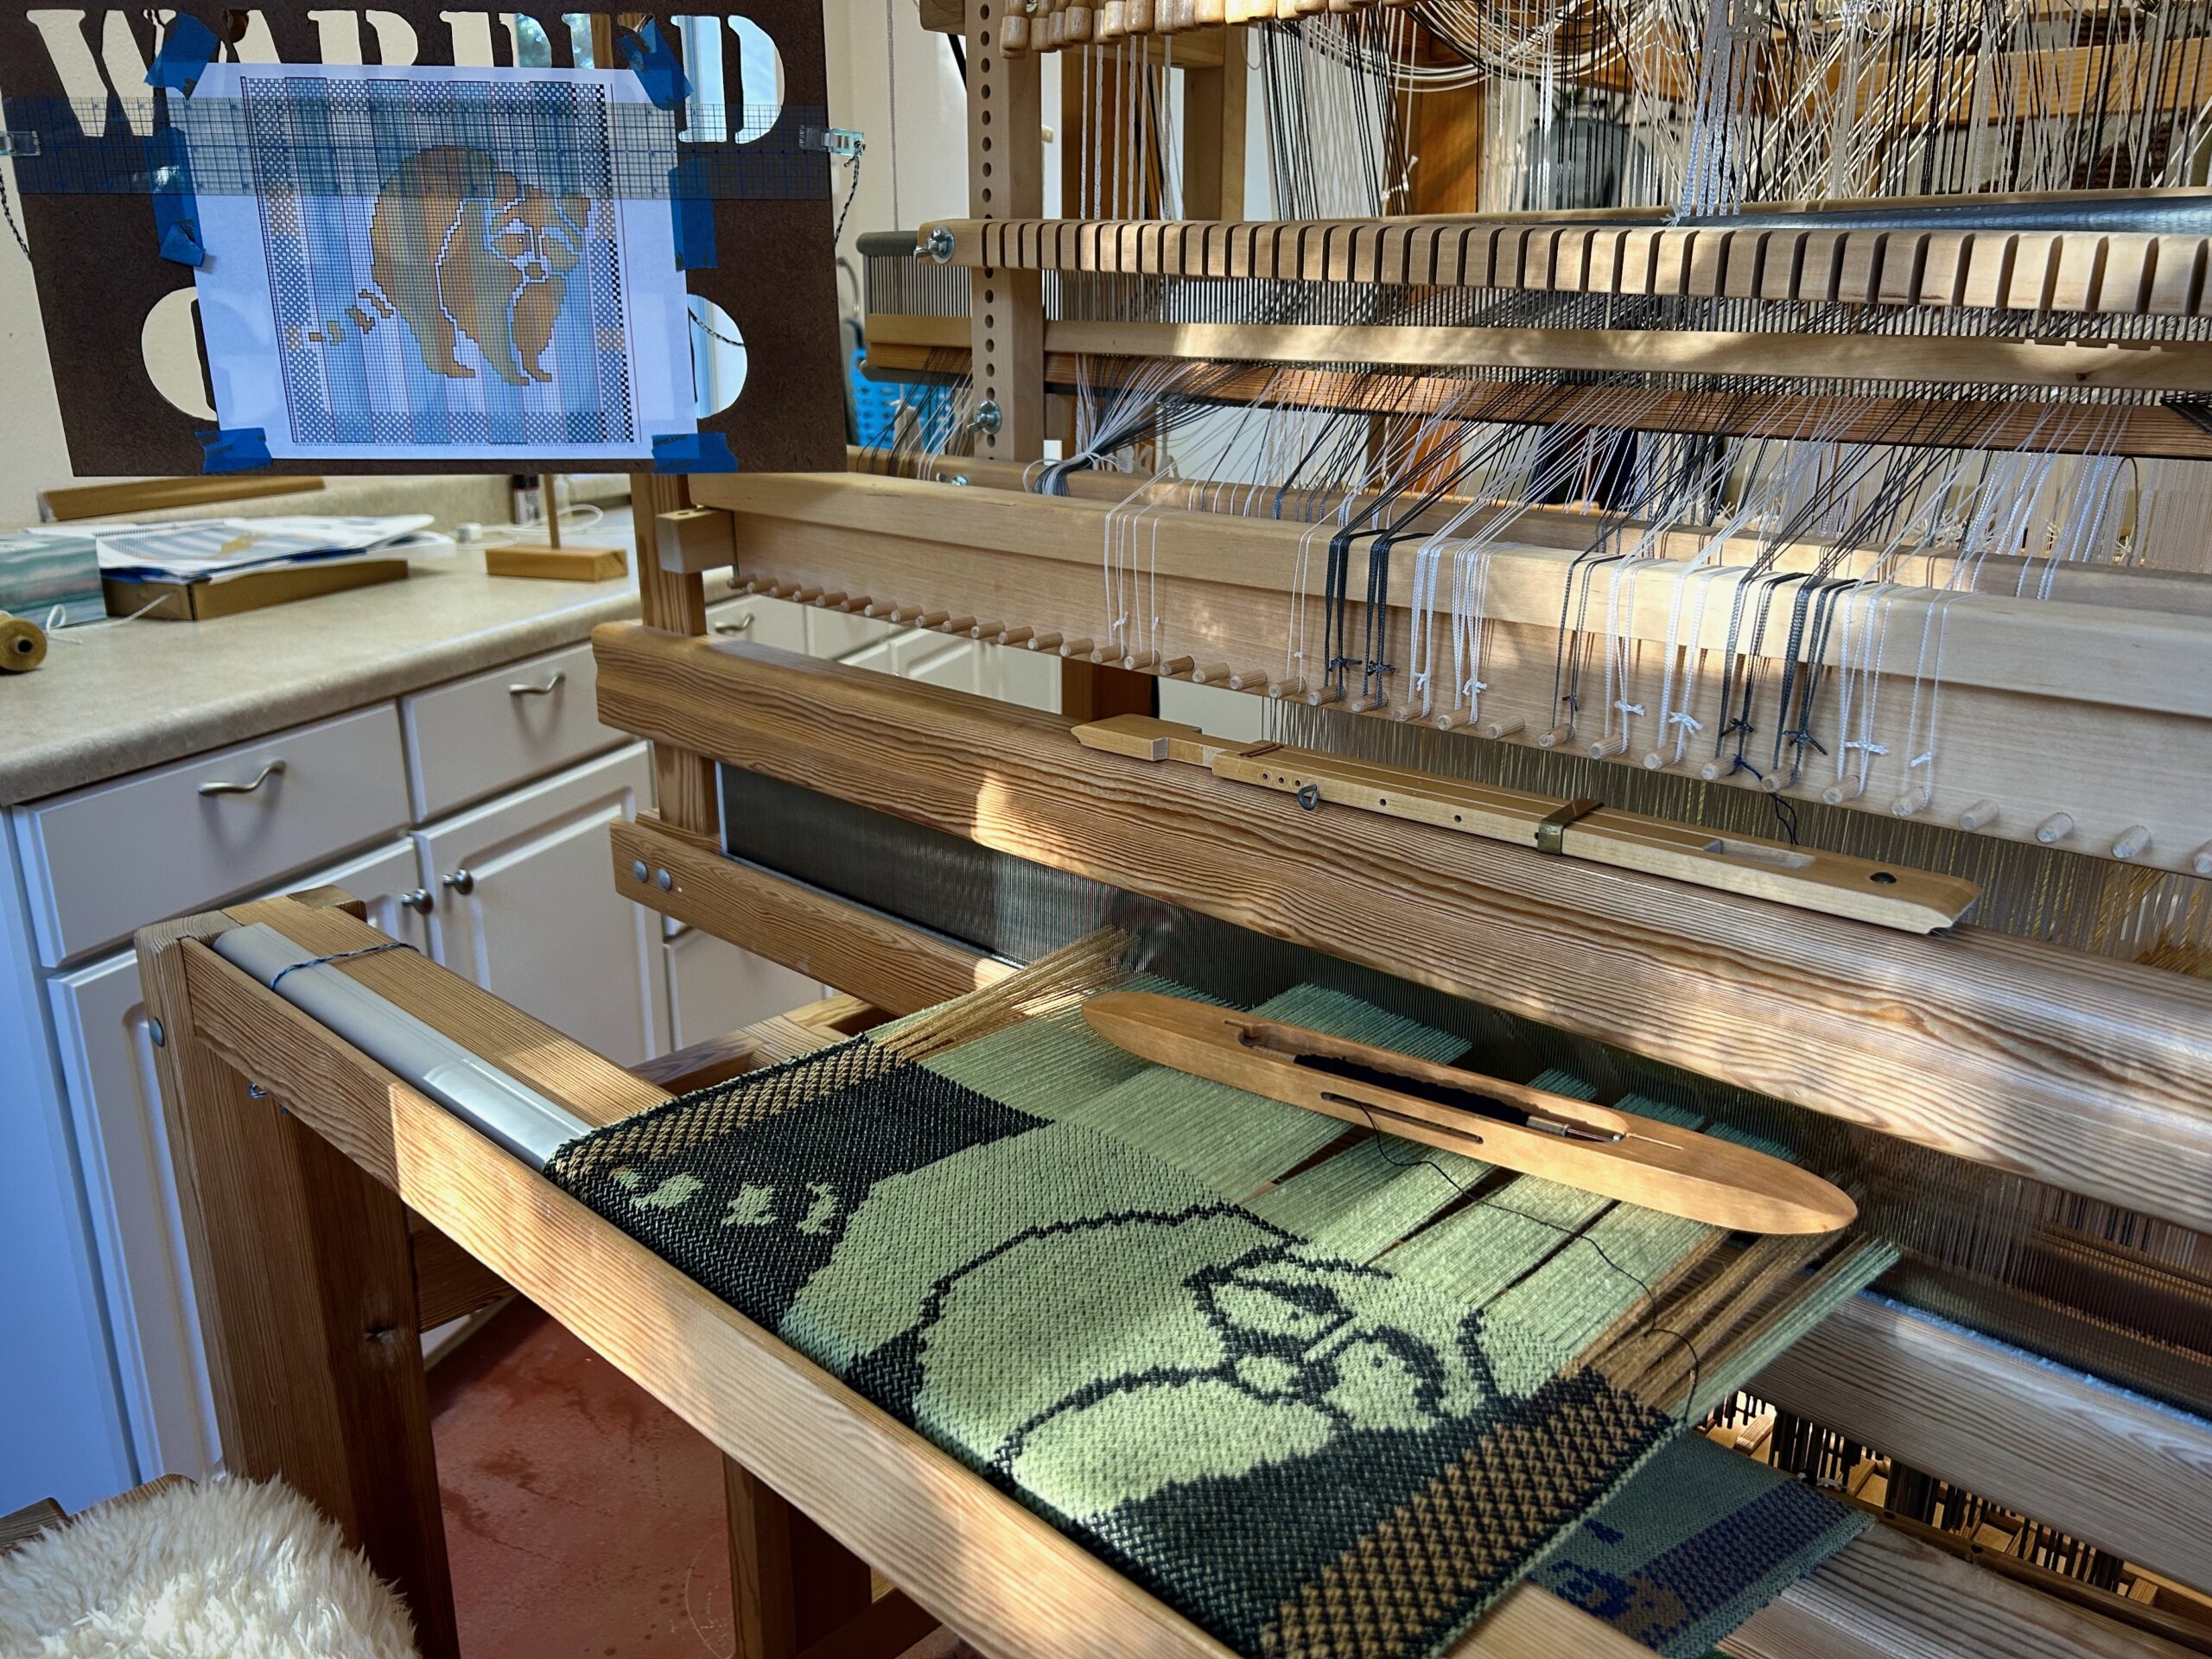
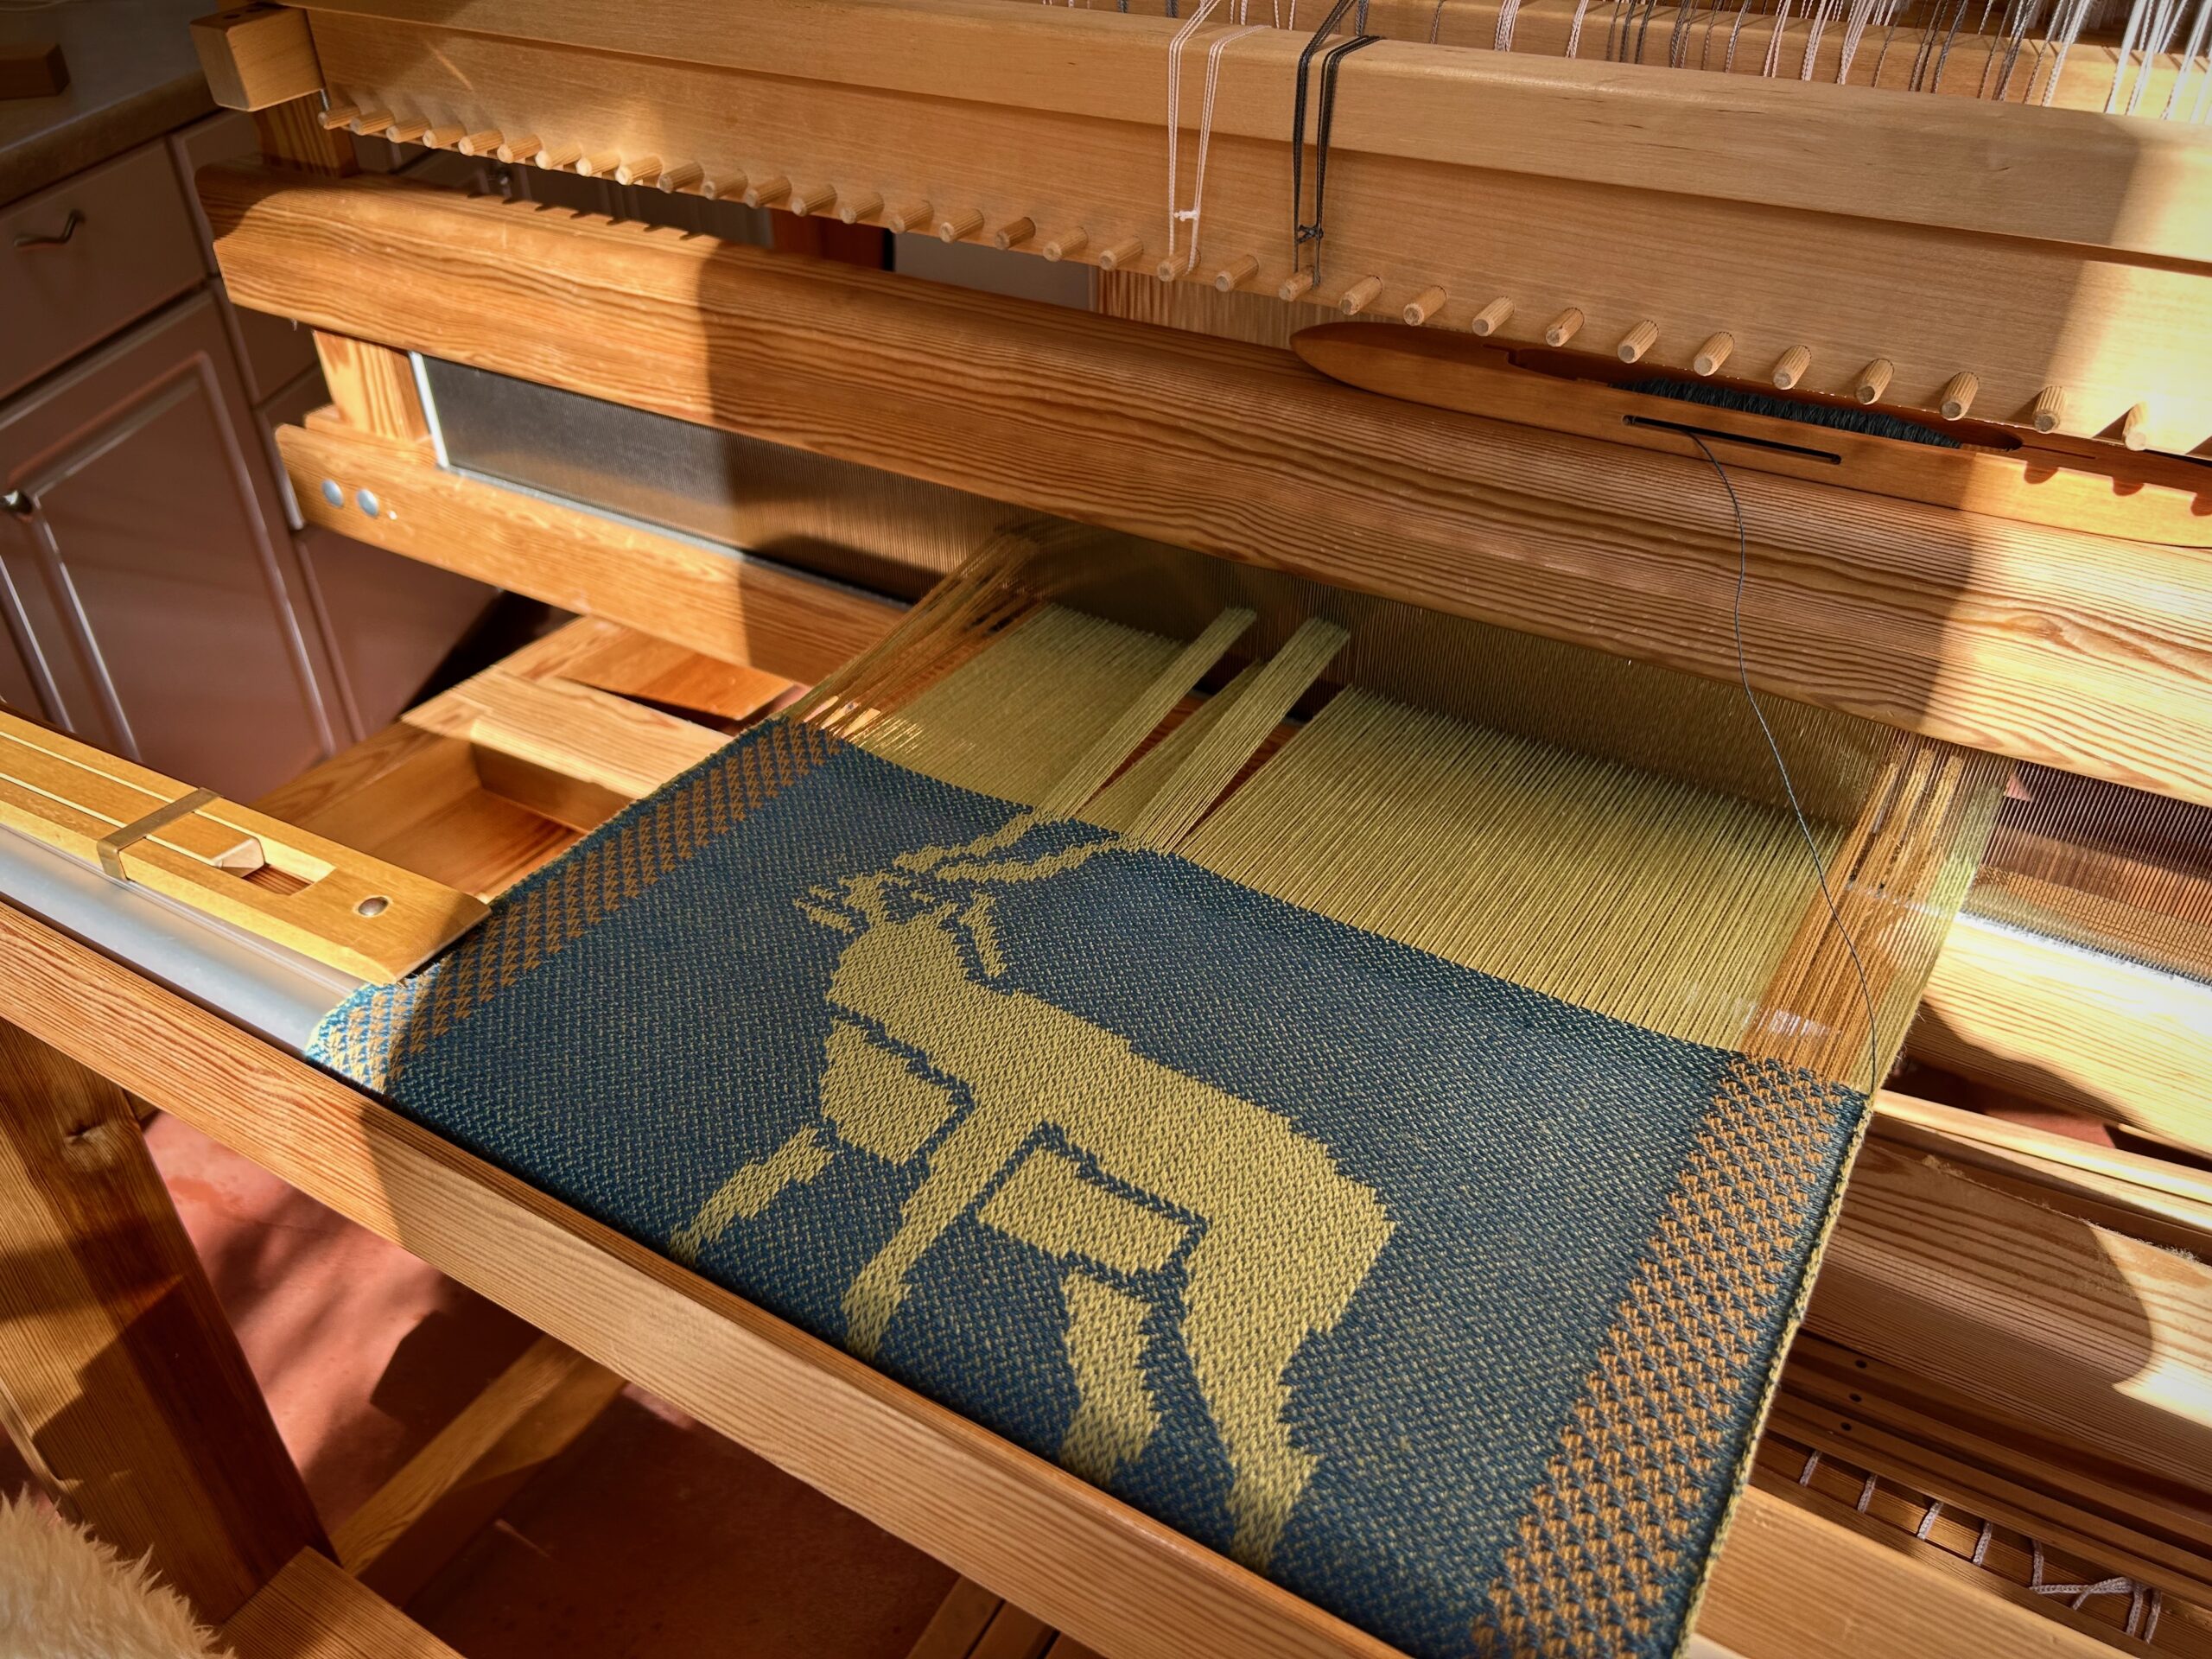
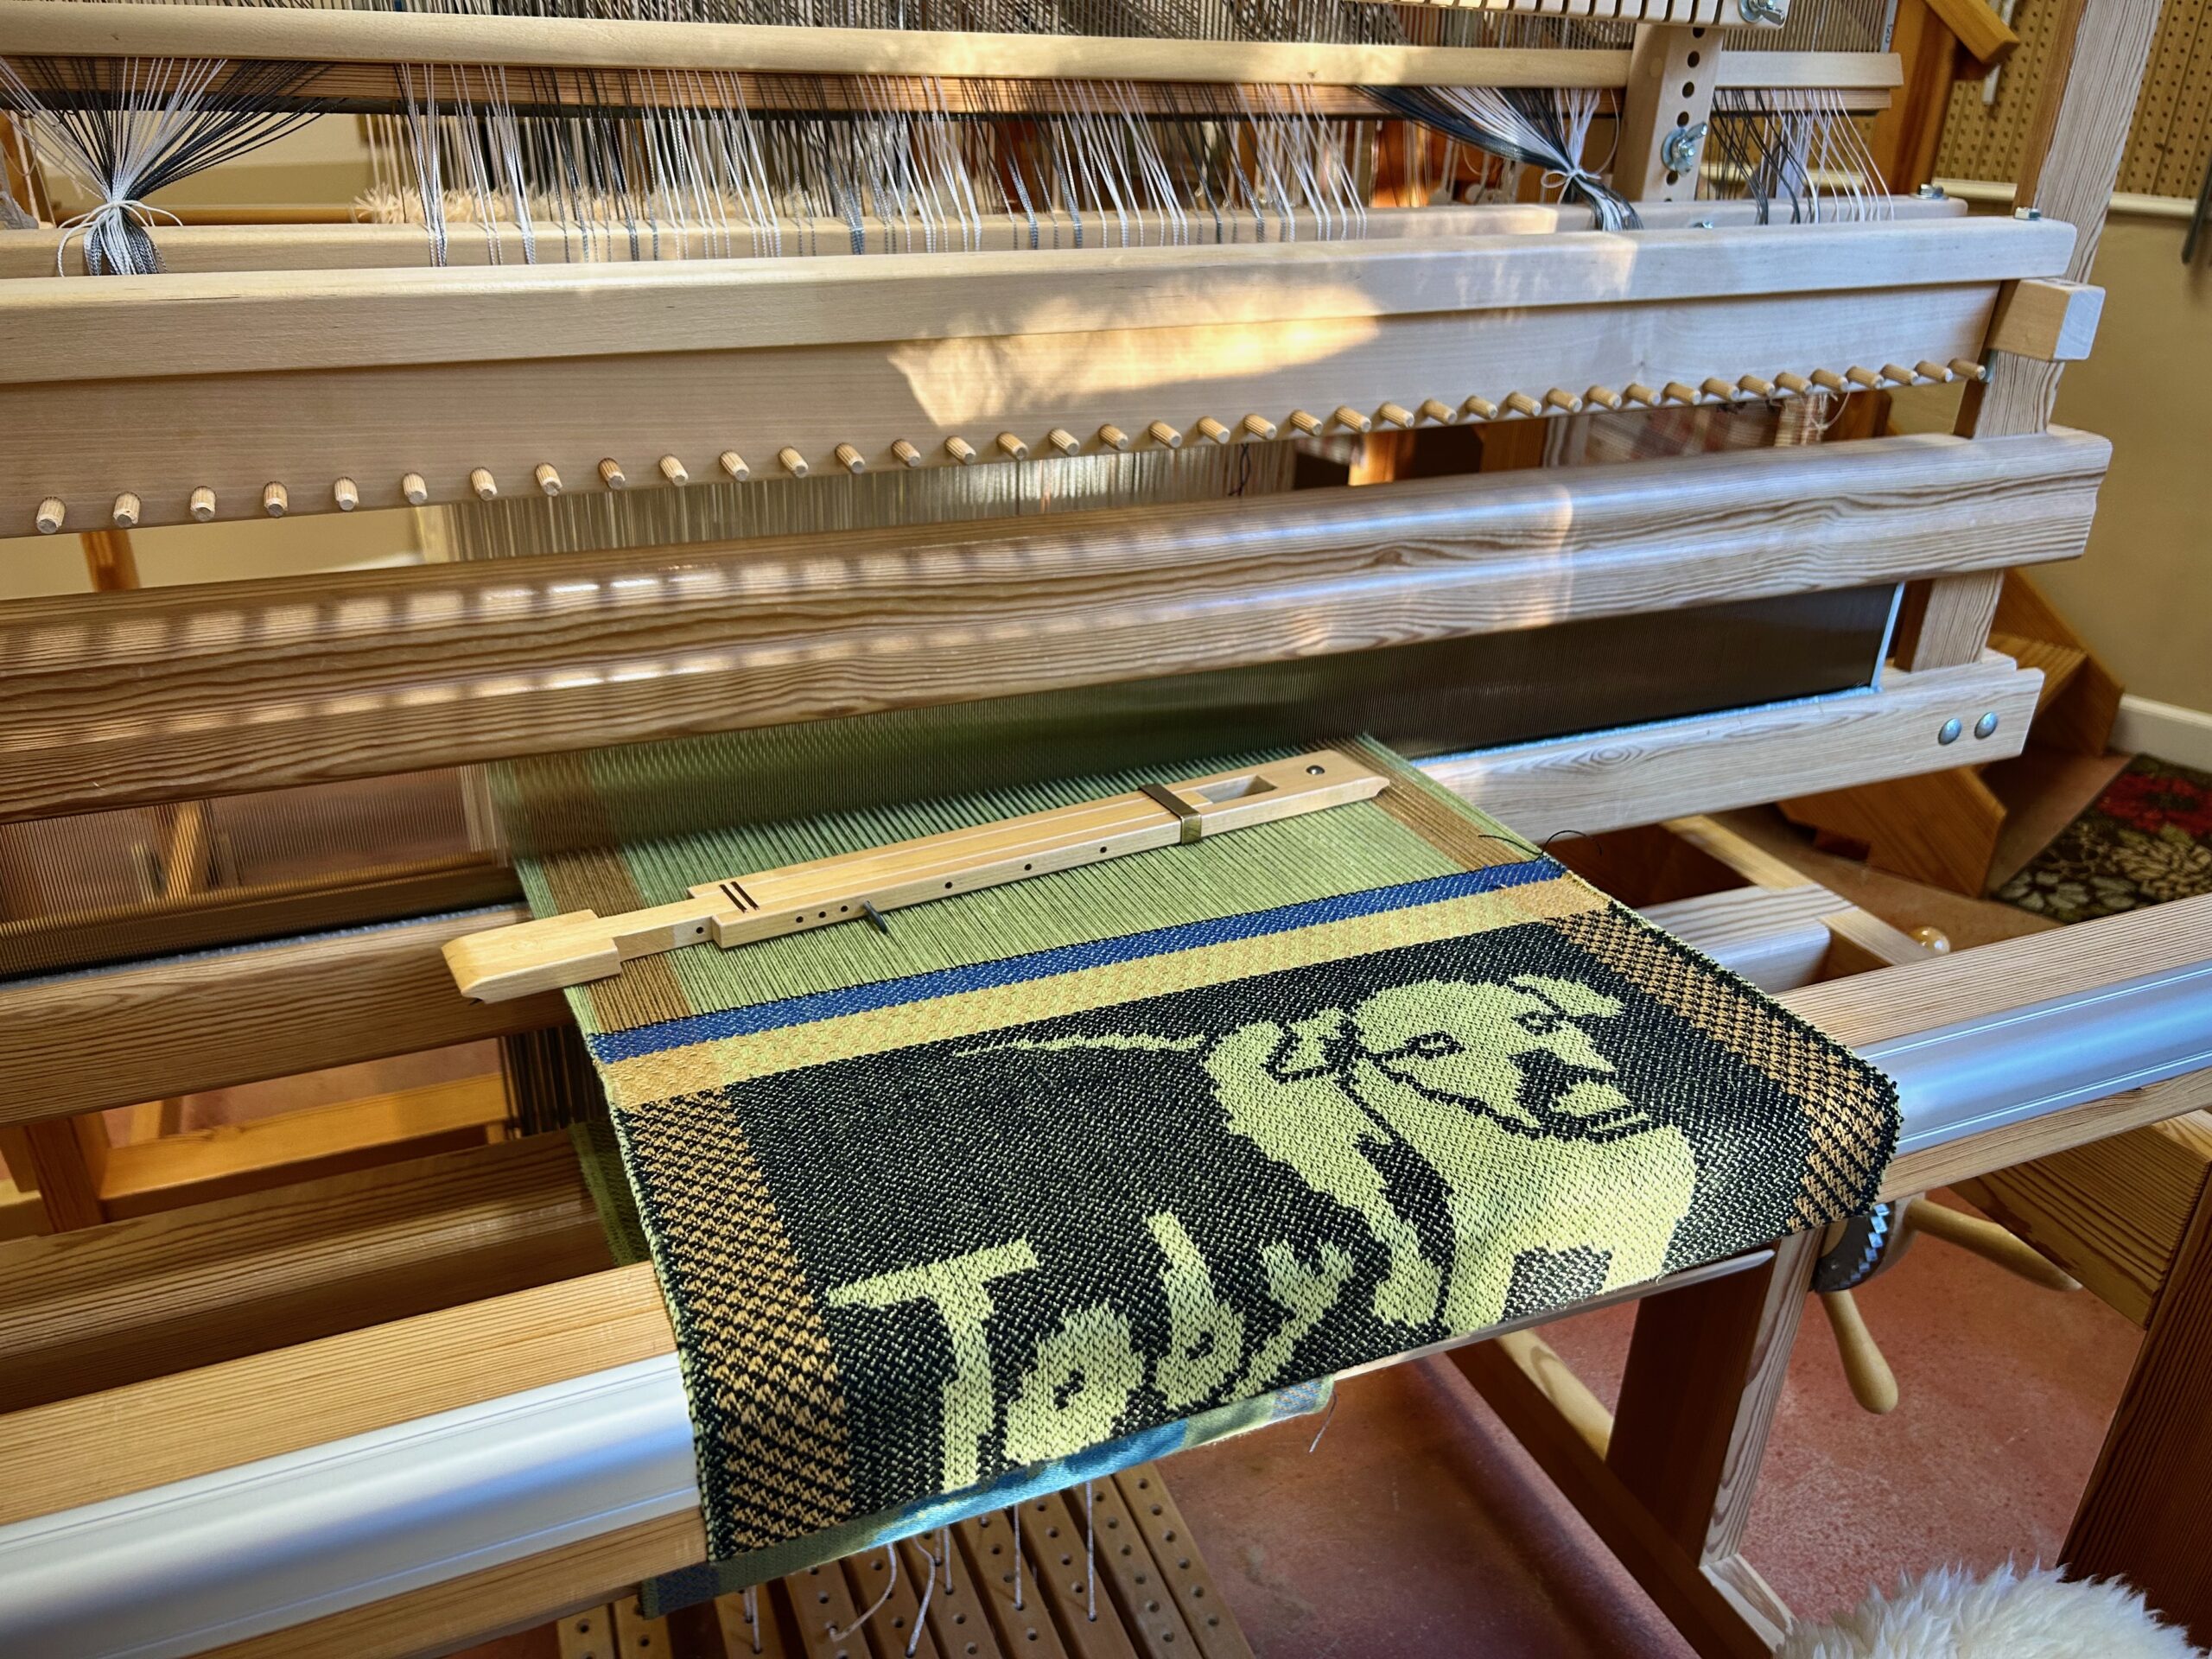
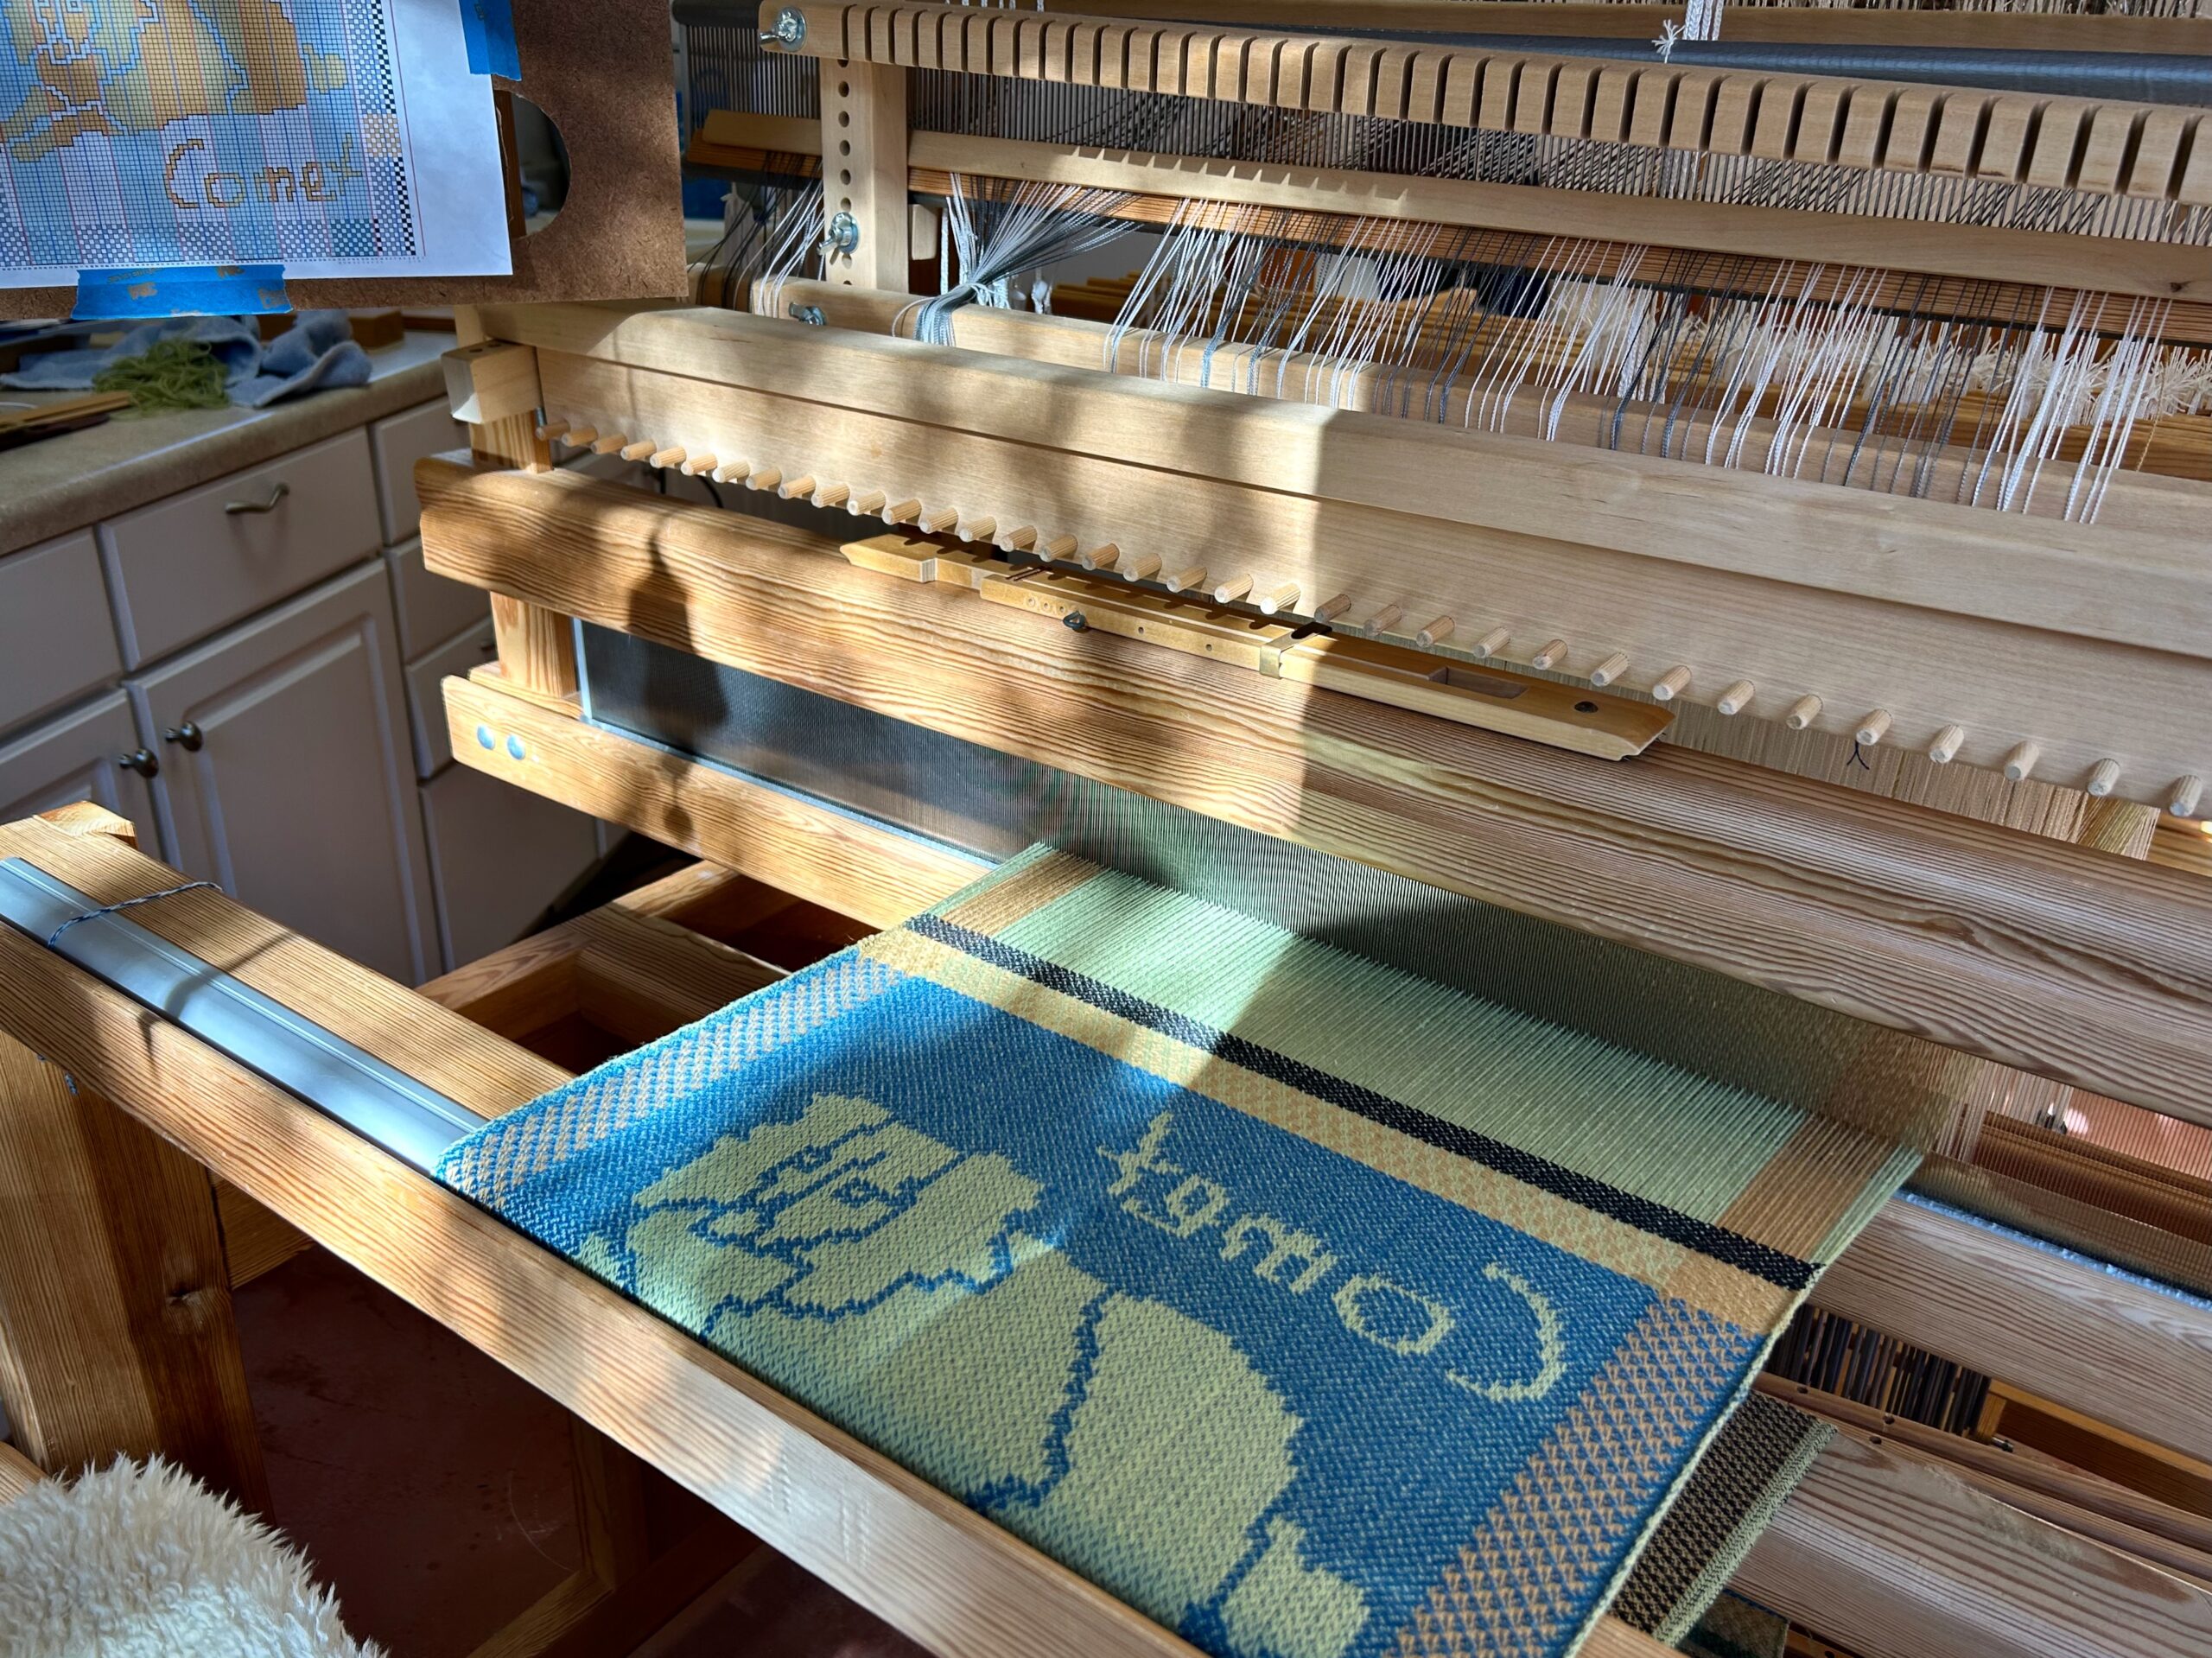
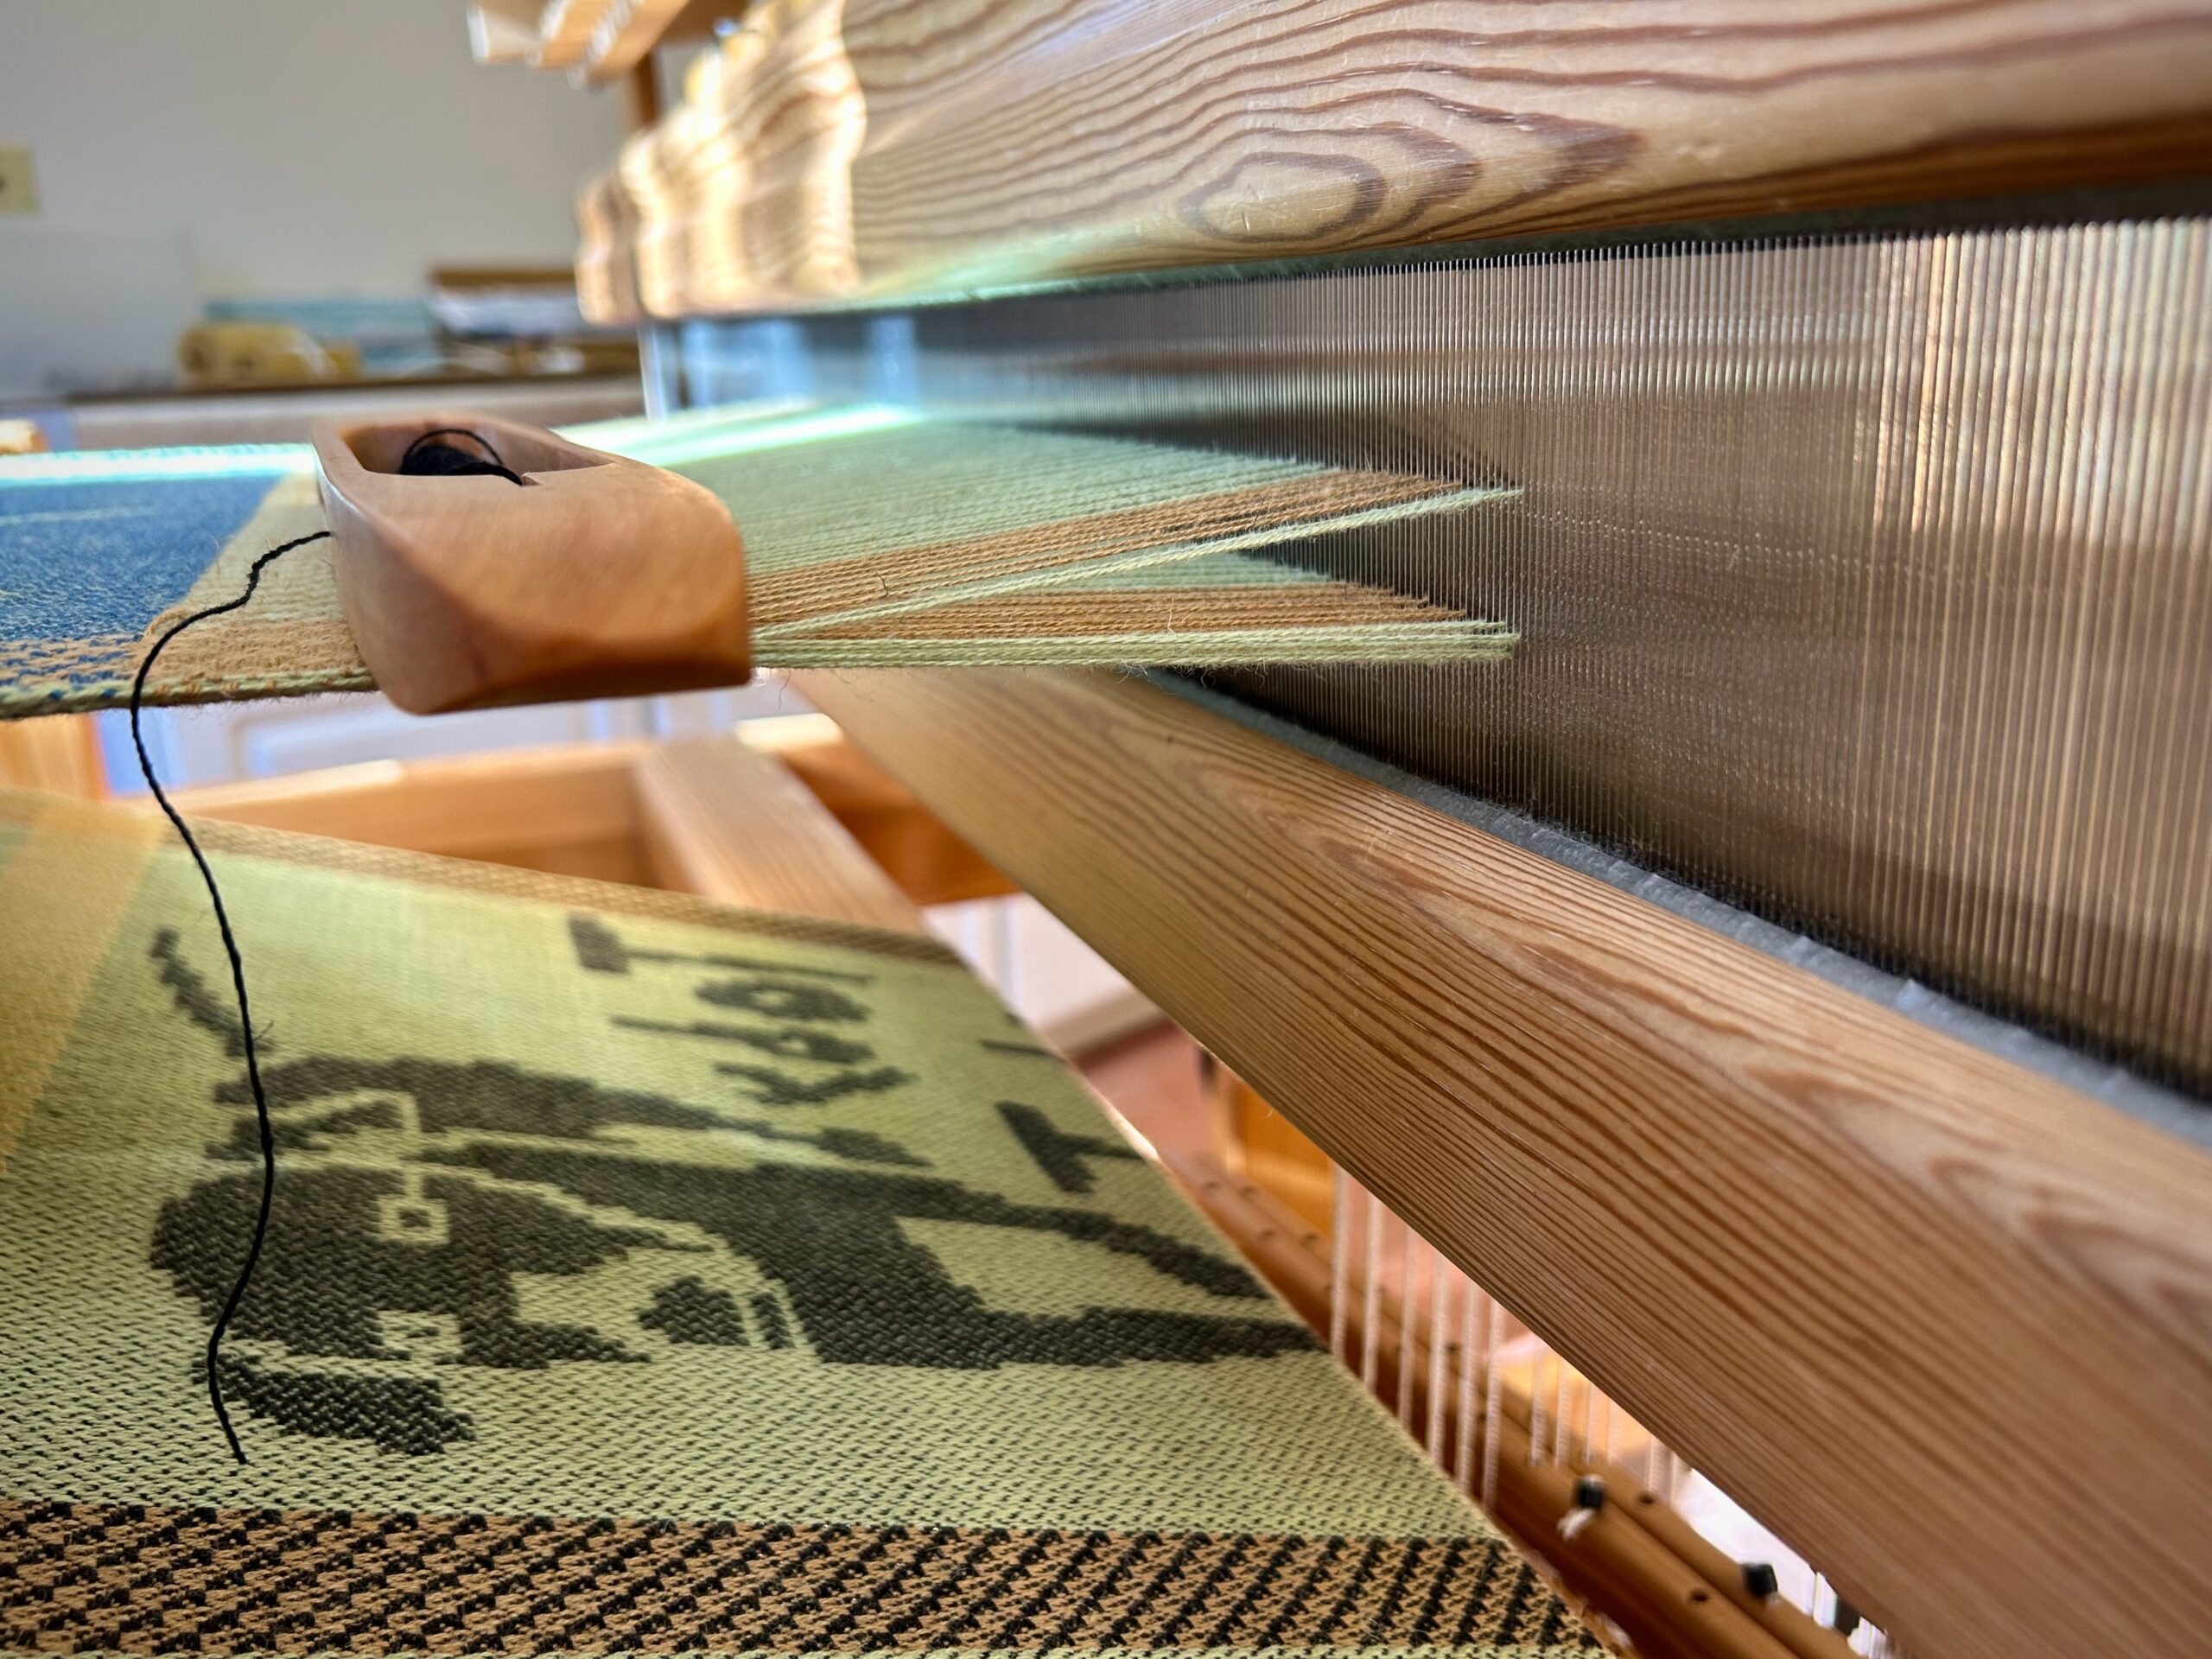
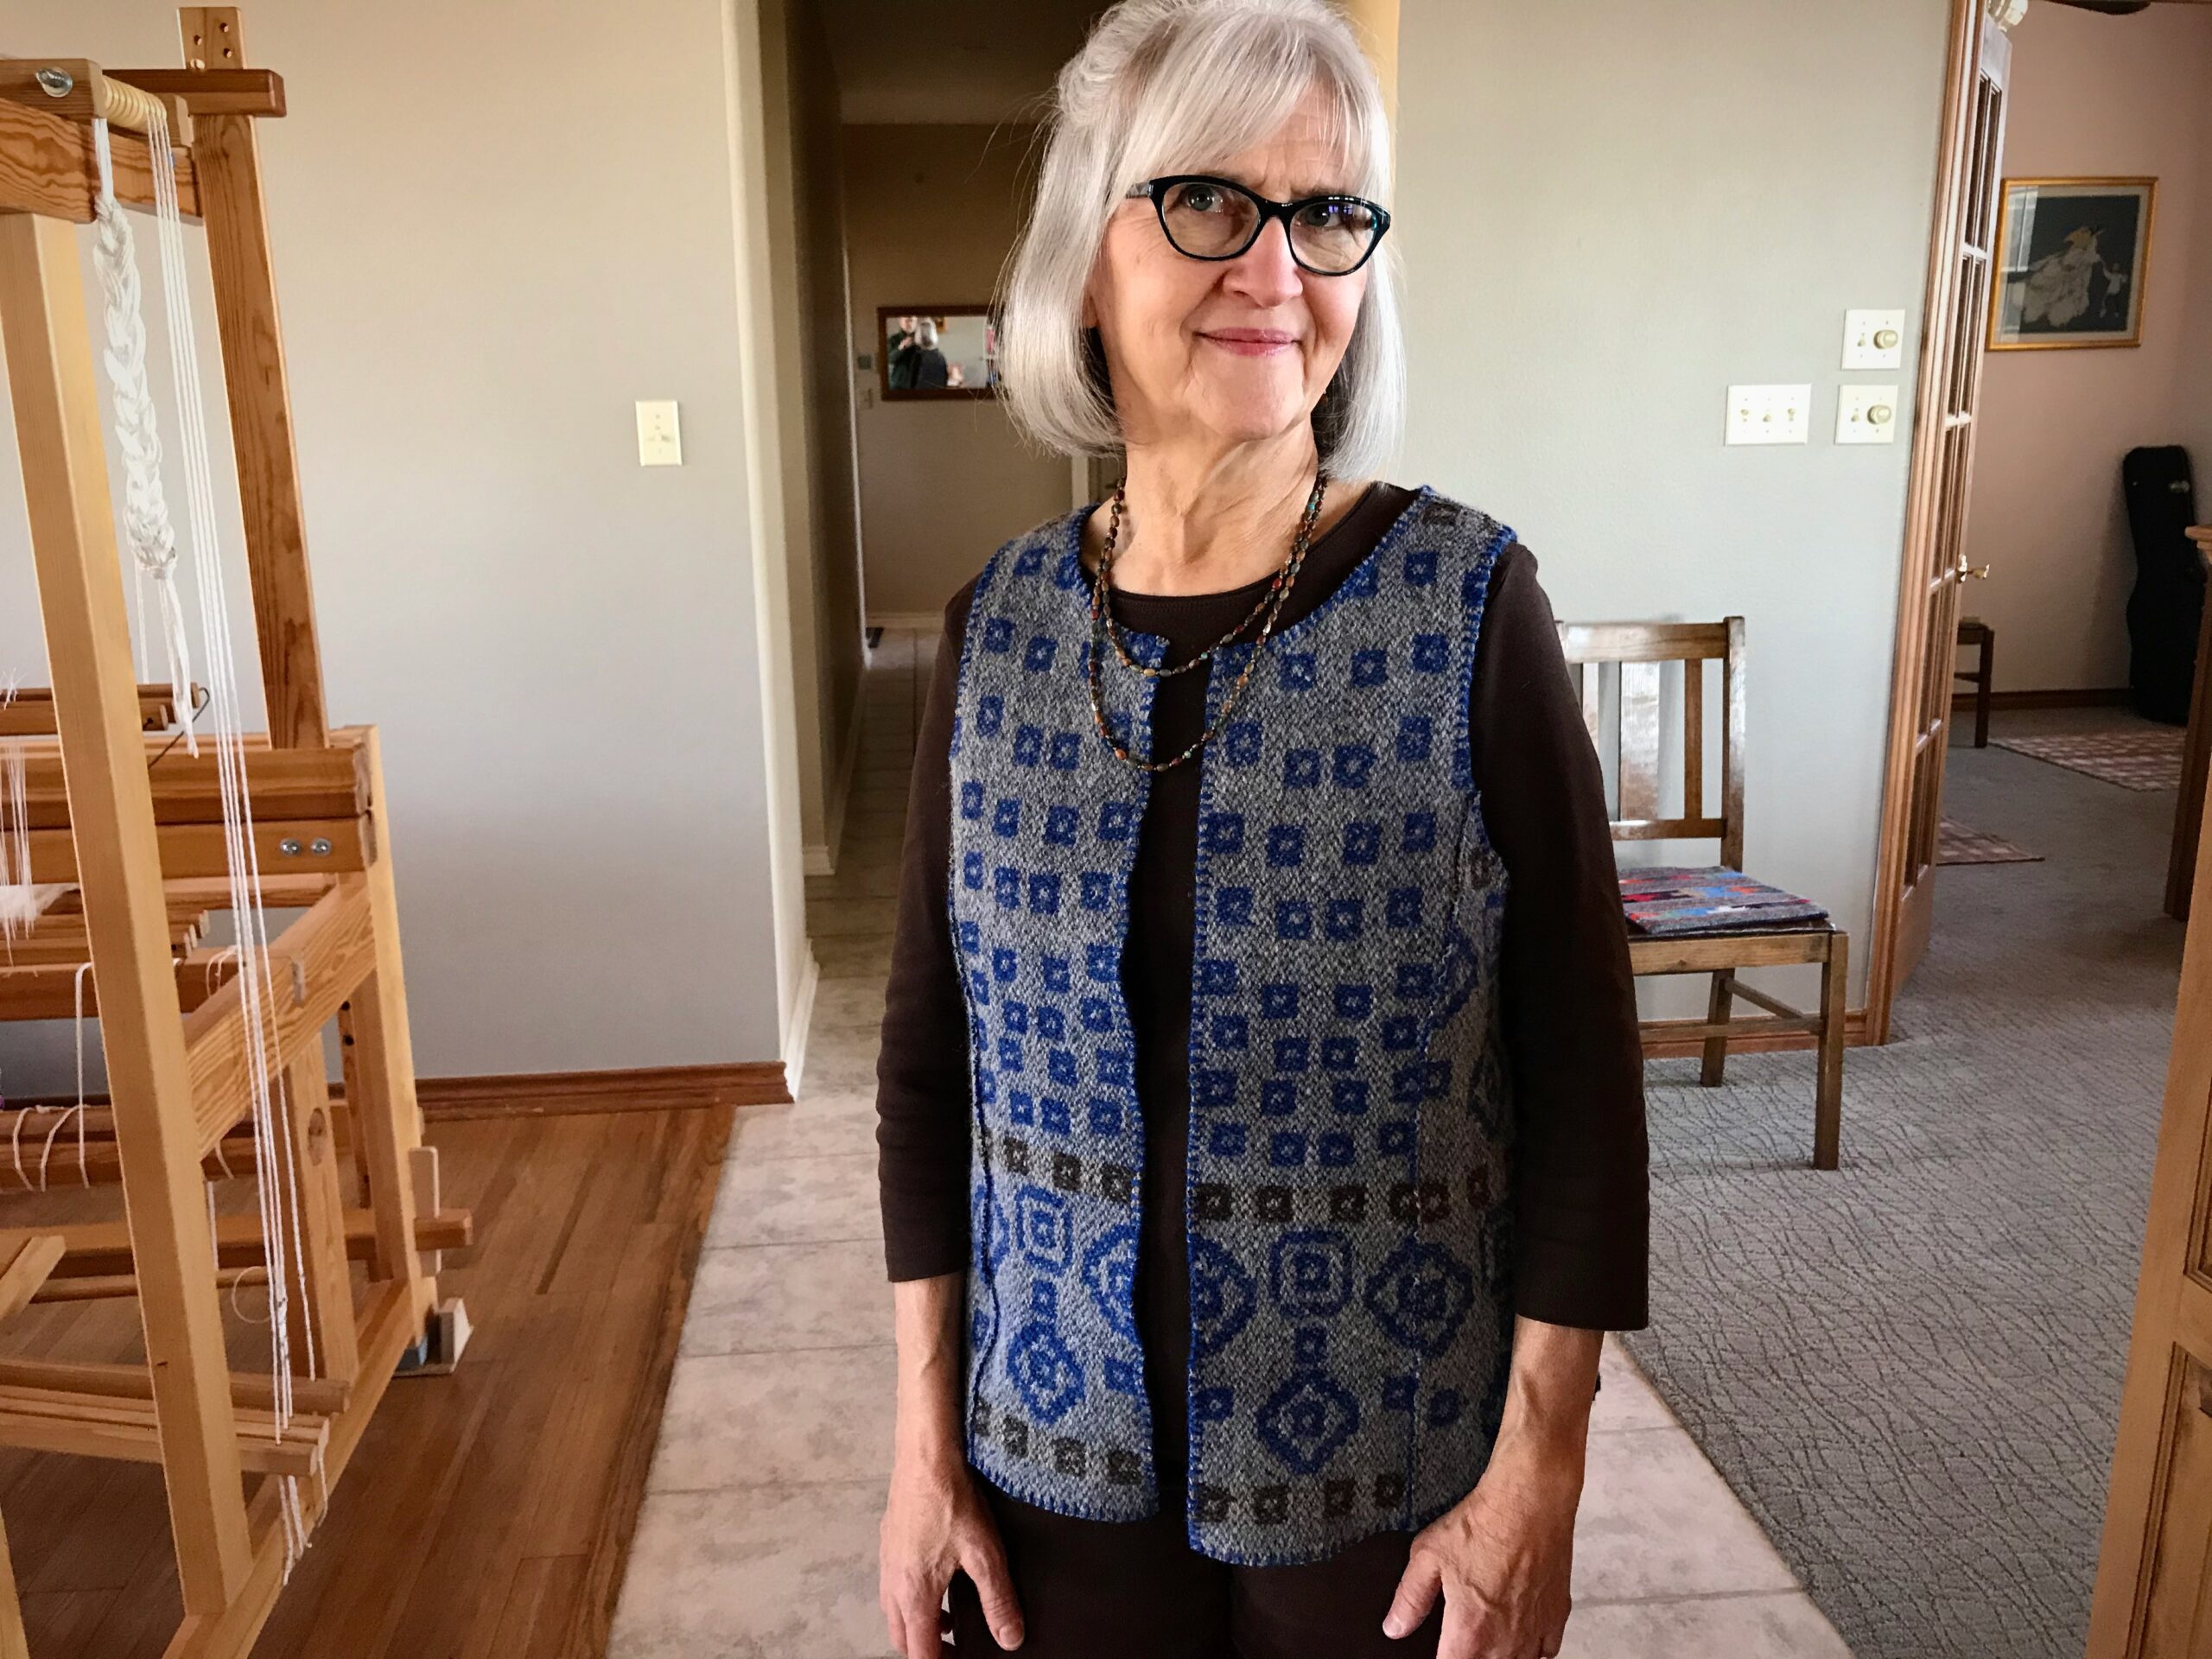
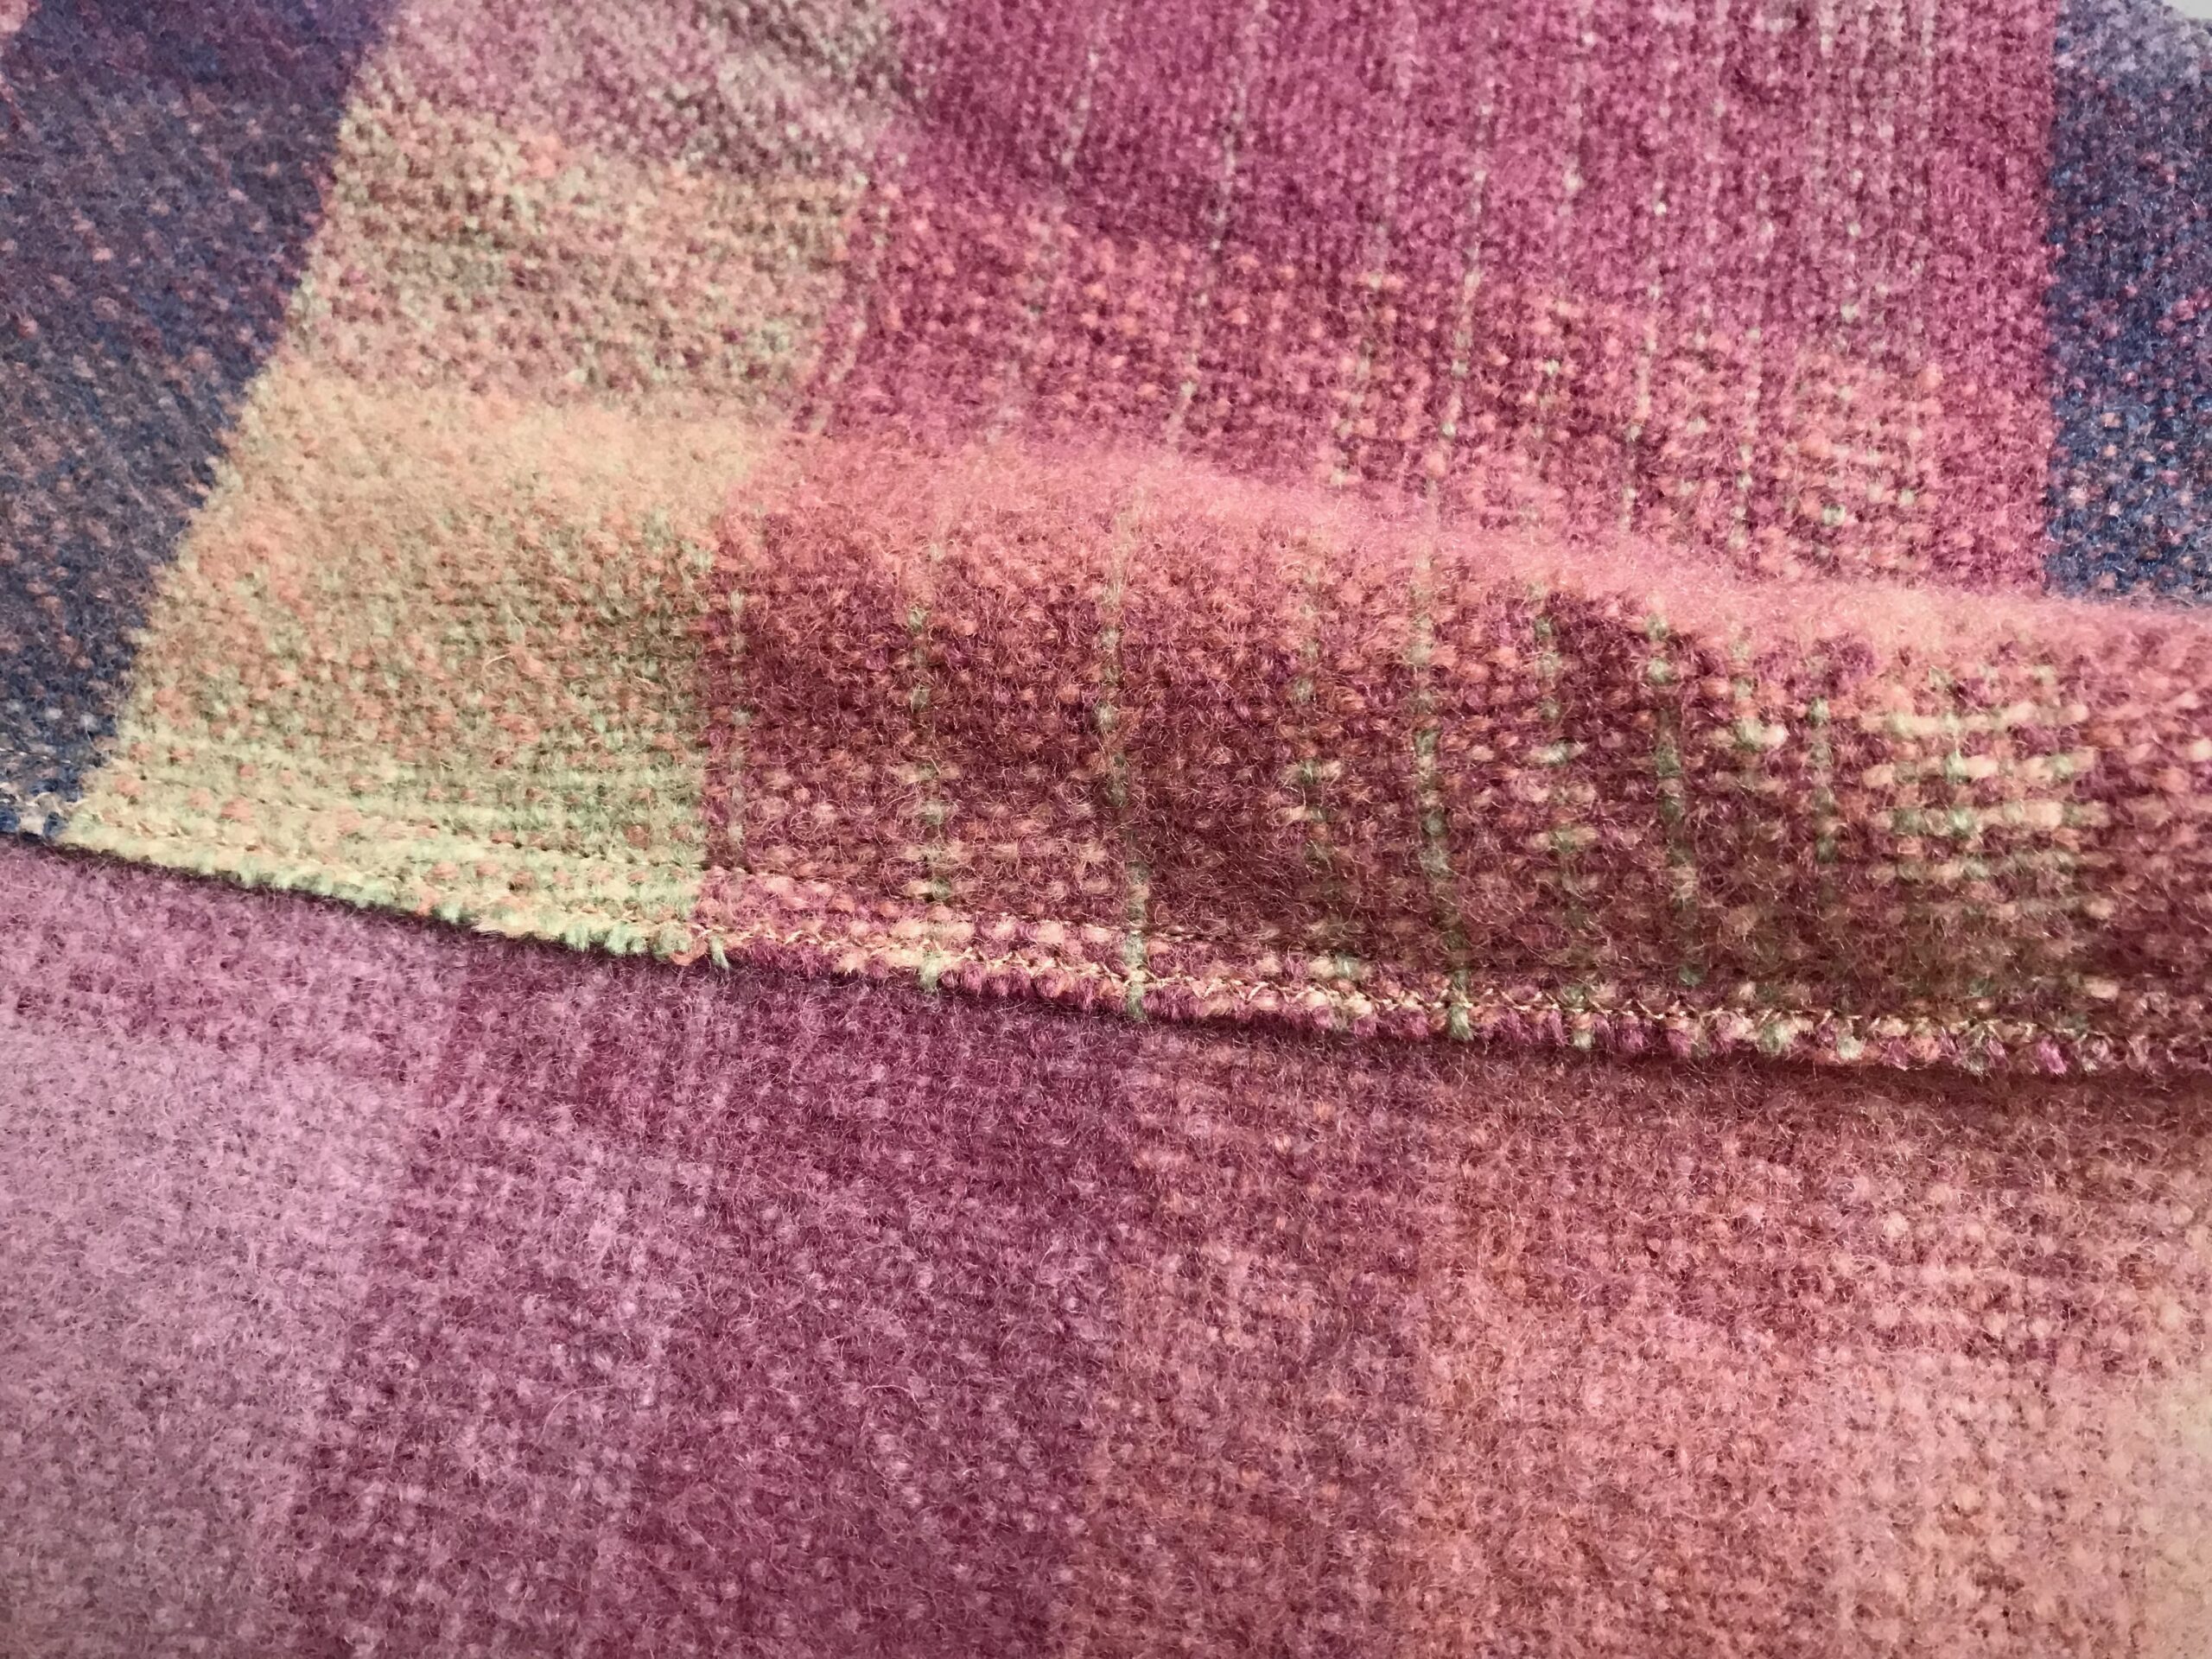
Twelve different critters, designed and woven with checked borders. This is combination drawloom weaving at its best, to create fun napkins that our grandchildren will enjoy using. However, as I unroll the length of 6-shaft broken twill fabric from the drawloom’s cloth beam–critter after critter, a new idea emerges. I’ve been weaving these critter napkins for quite some time, and have never considered another use for these woven animals–all of which have been seen on our Texas Hill Country property at one time or another.
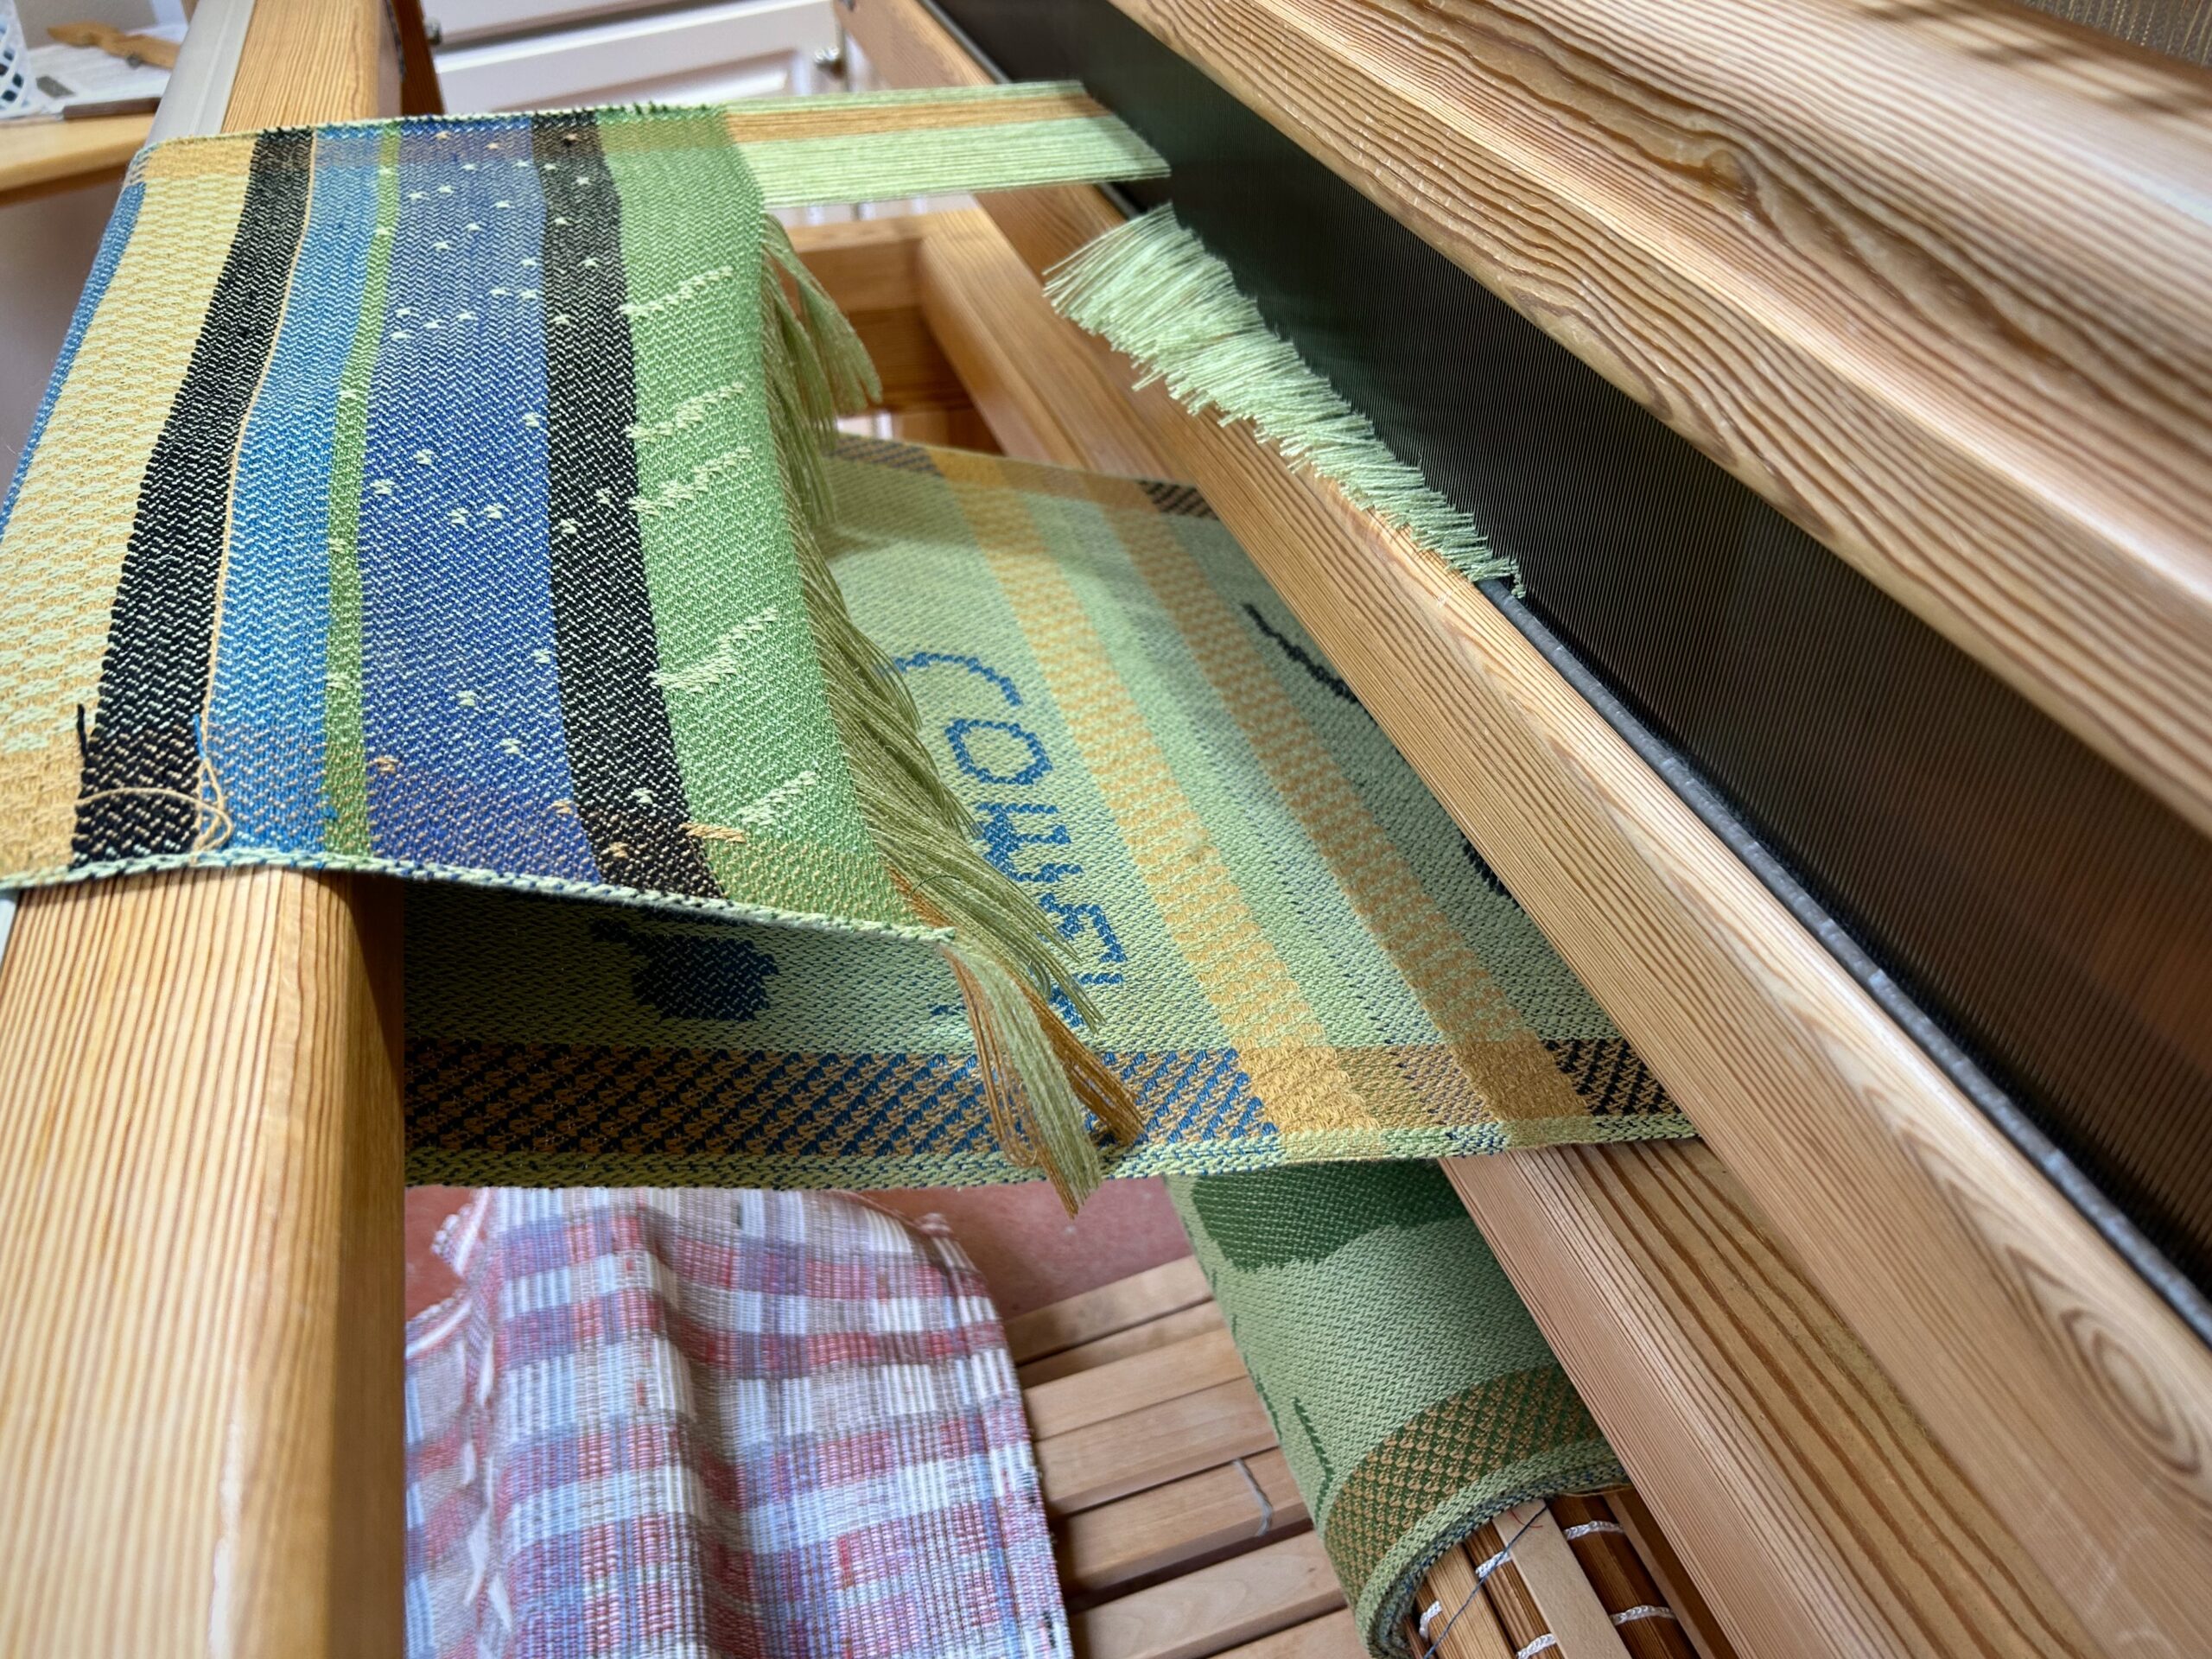
Then, as I lay the fabric out across the floor, the fresh idea crystallizes. This would make a spectacular throw!
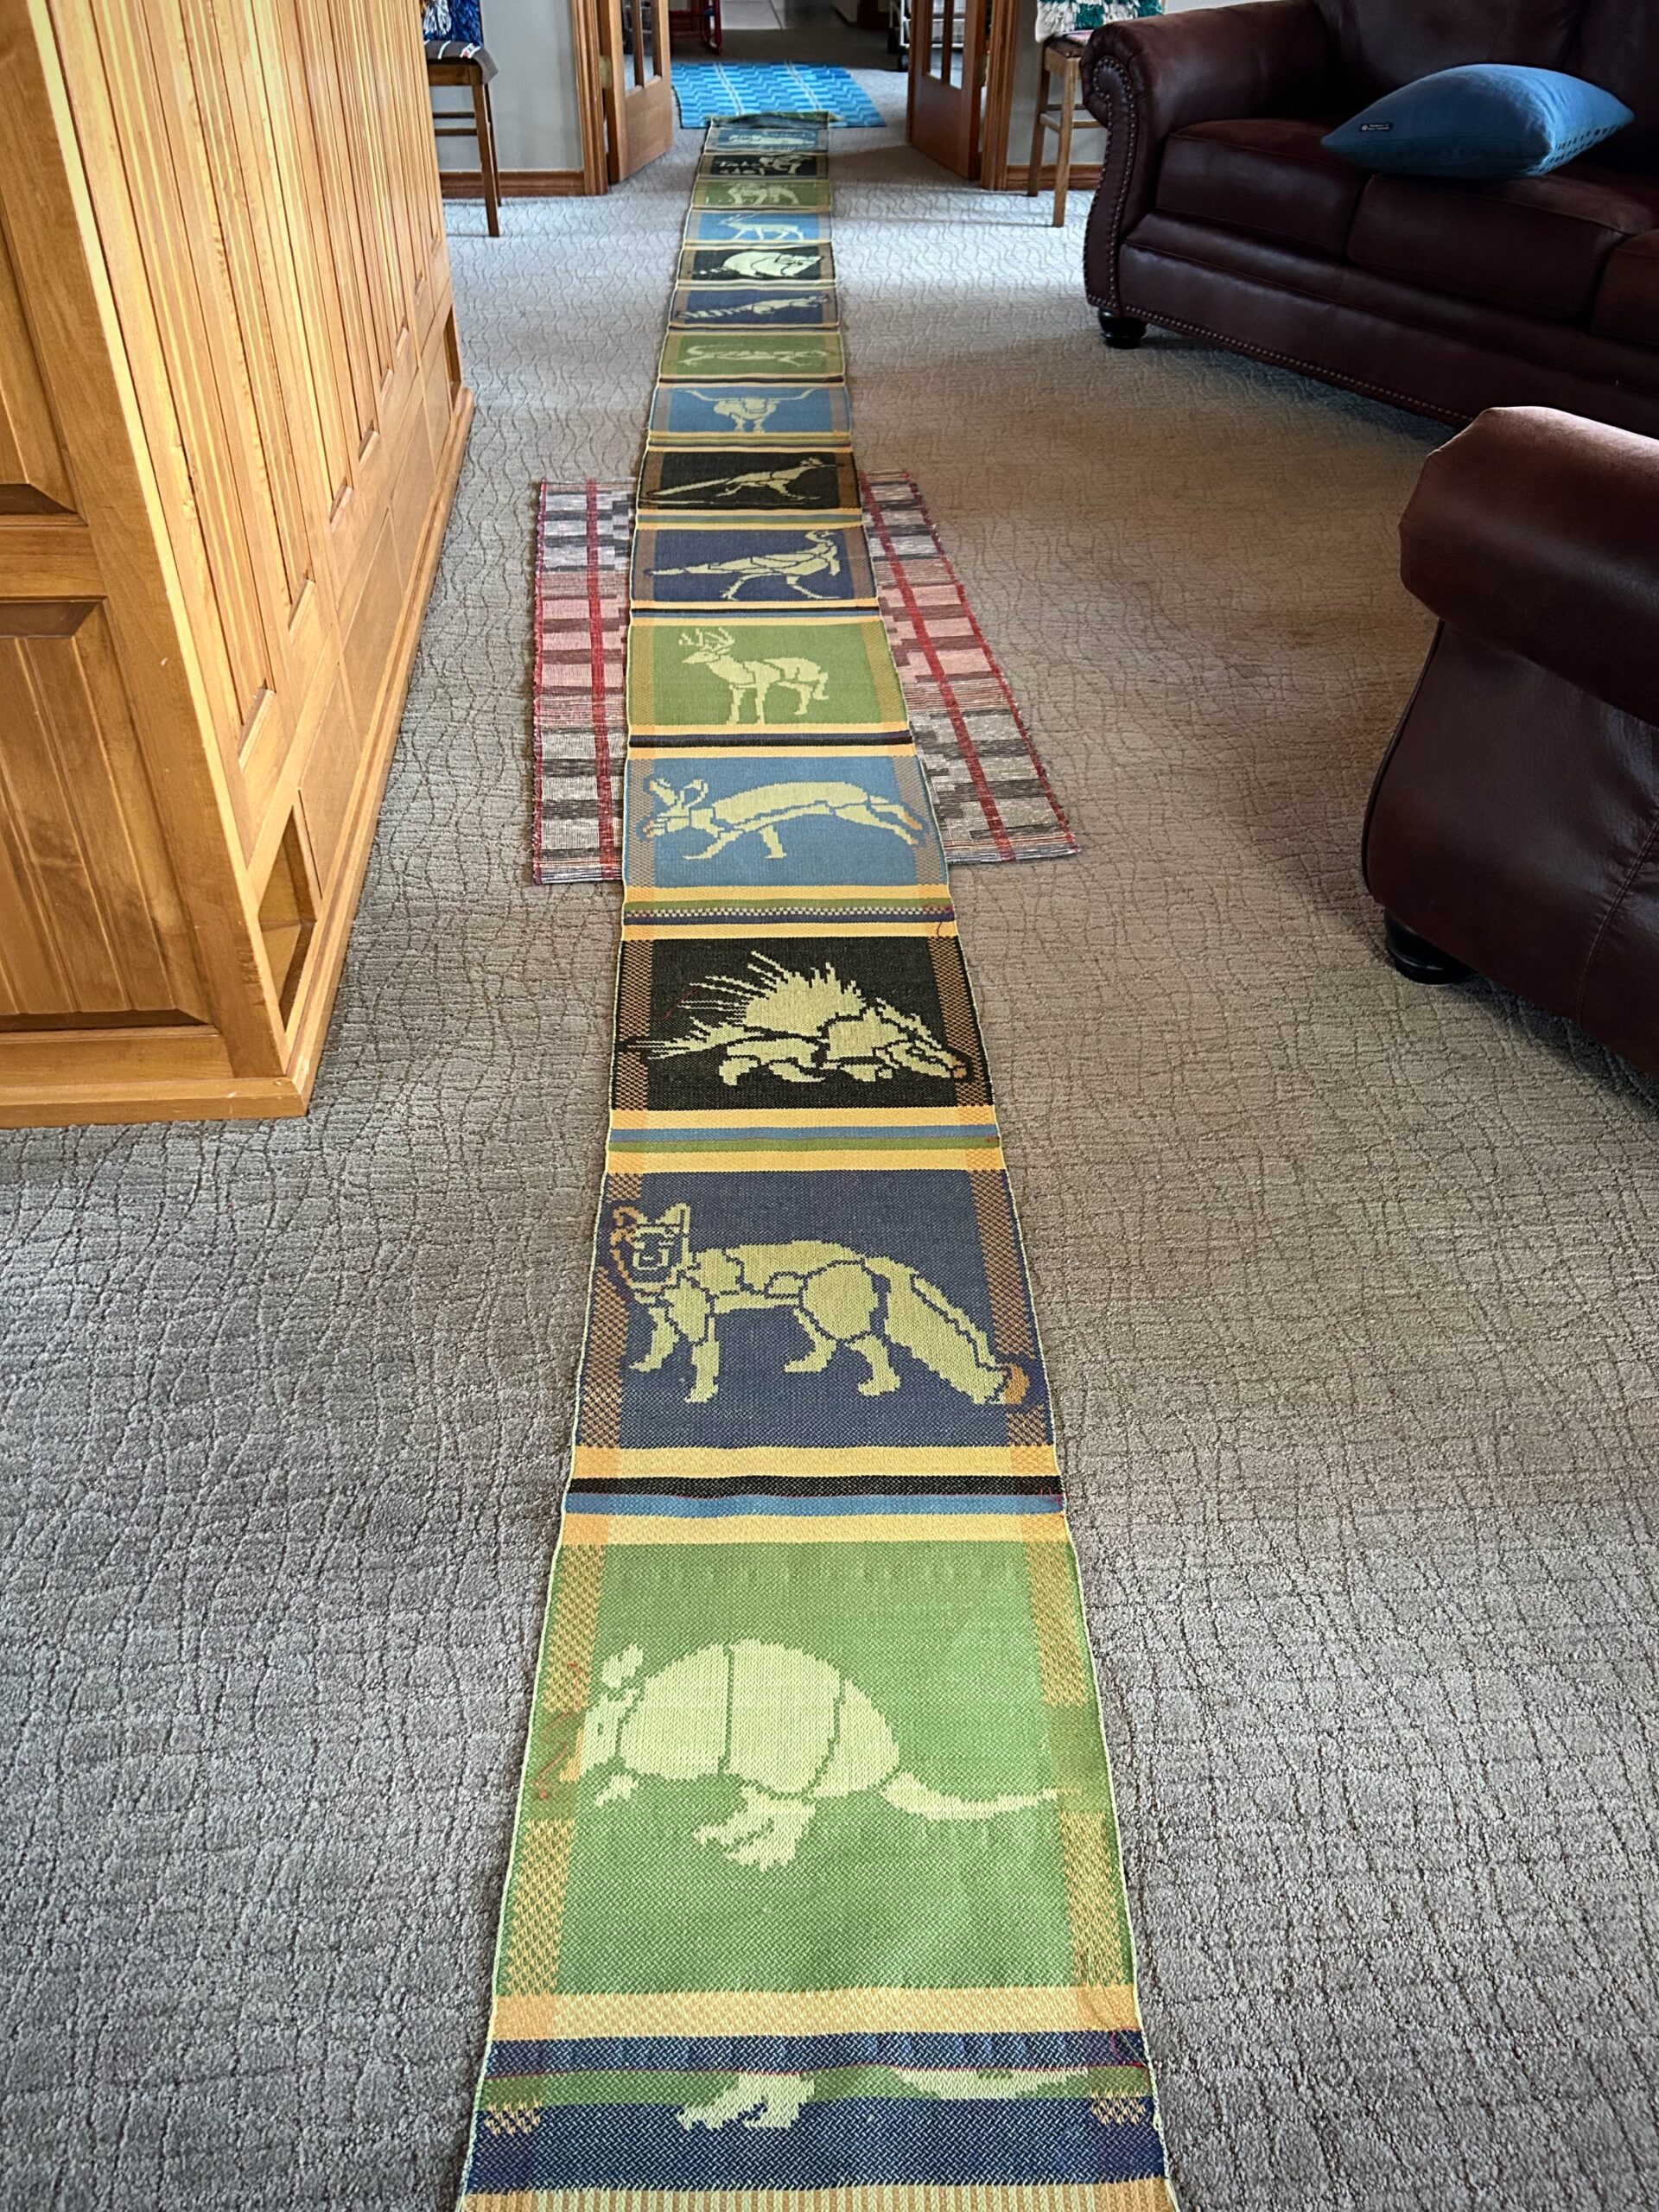
Just like that, and the critter napkins go out the window (figuratively speaking). Now I am imagining three panels of four critters each, sewn together into one large piece.
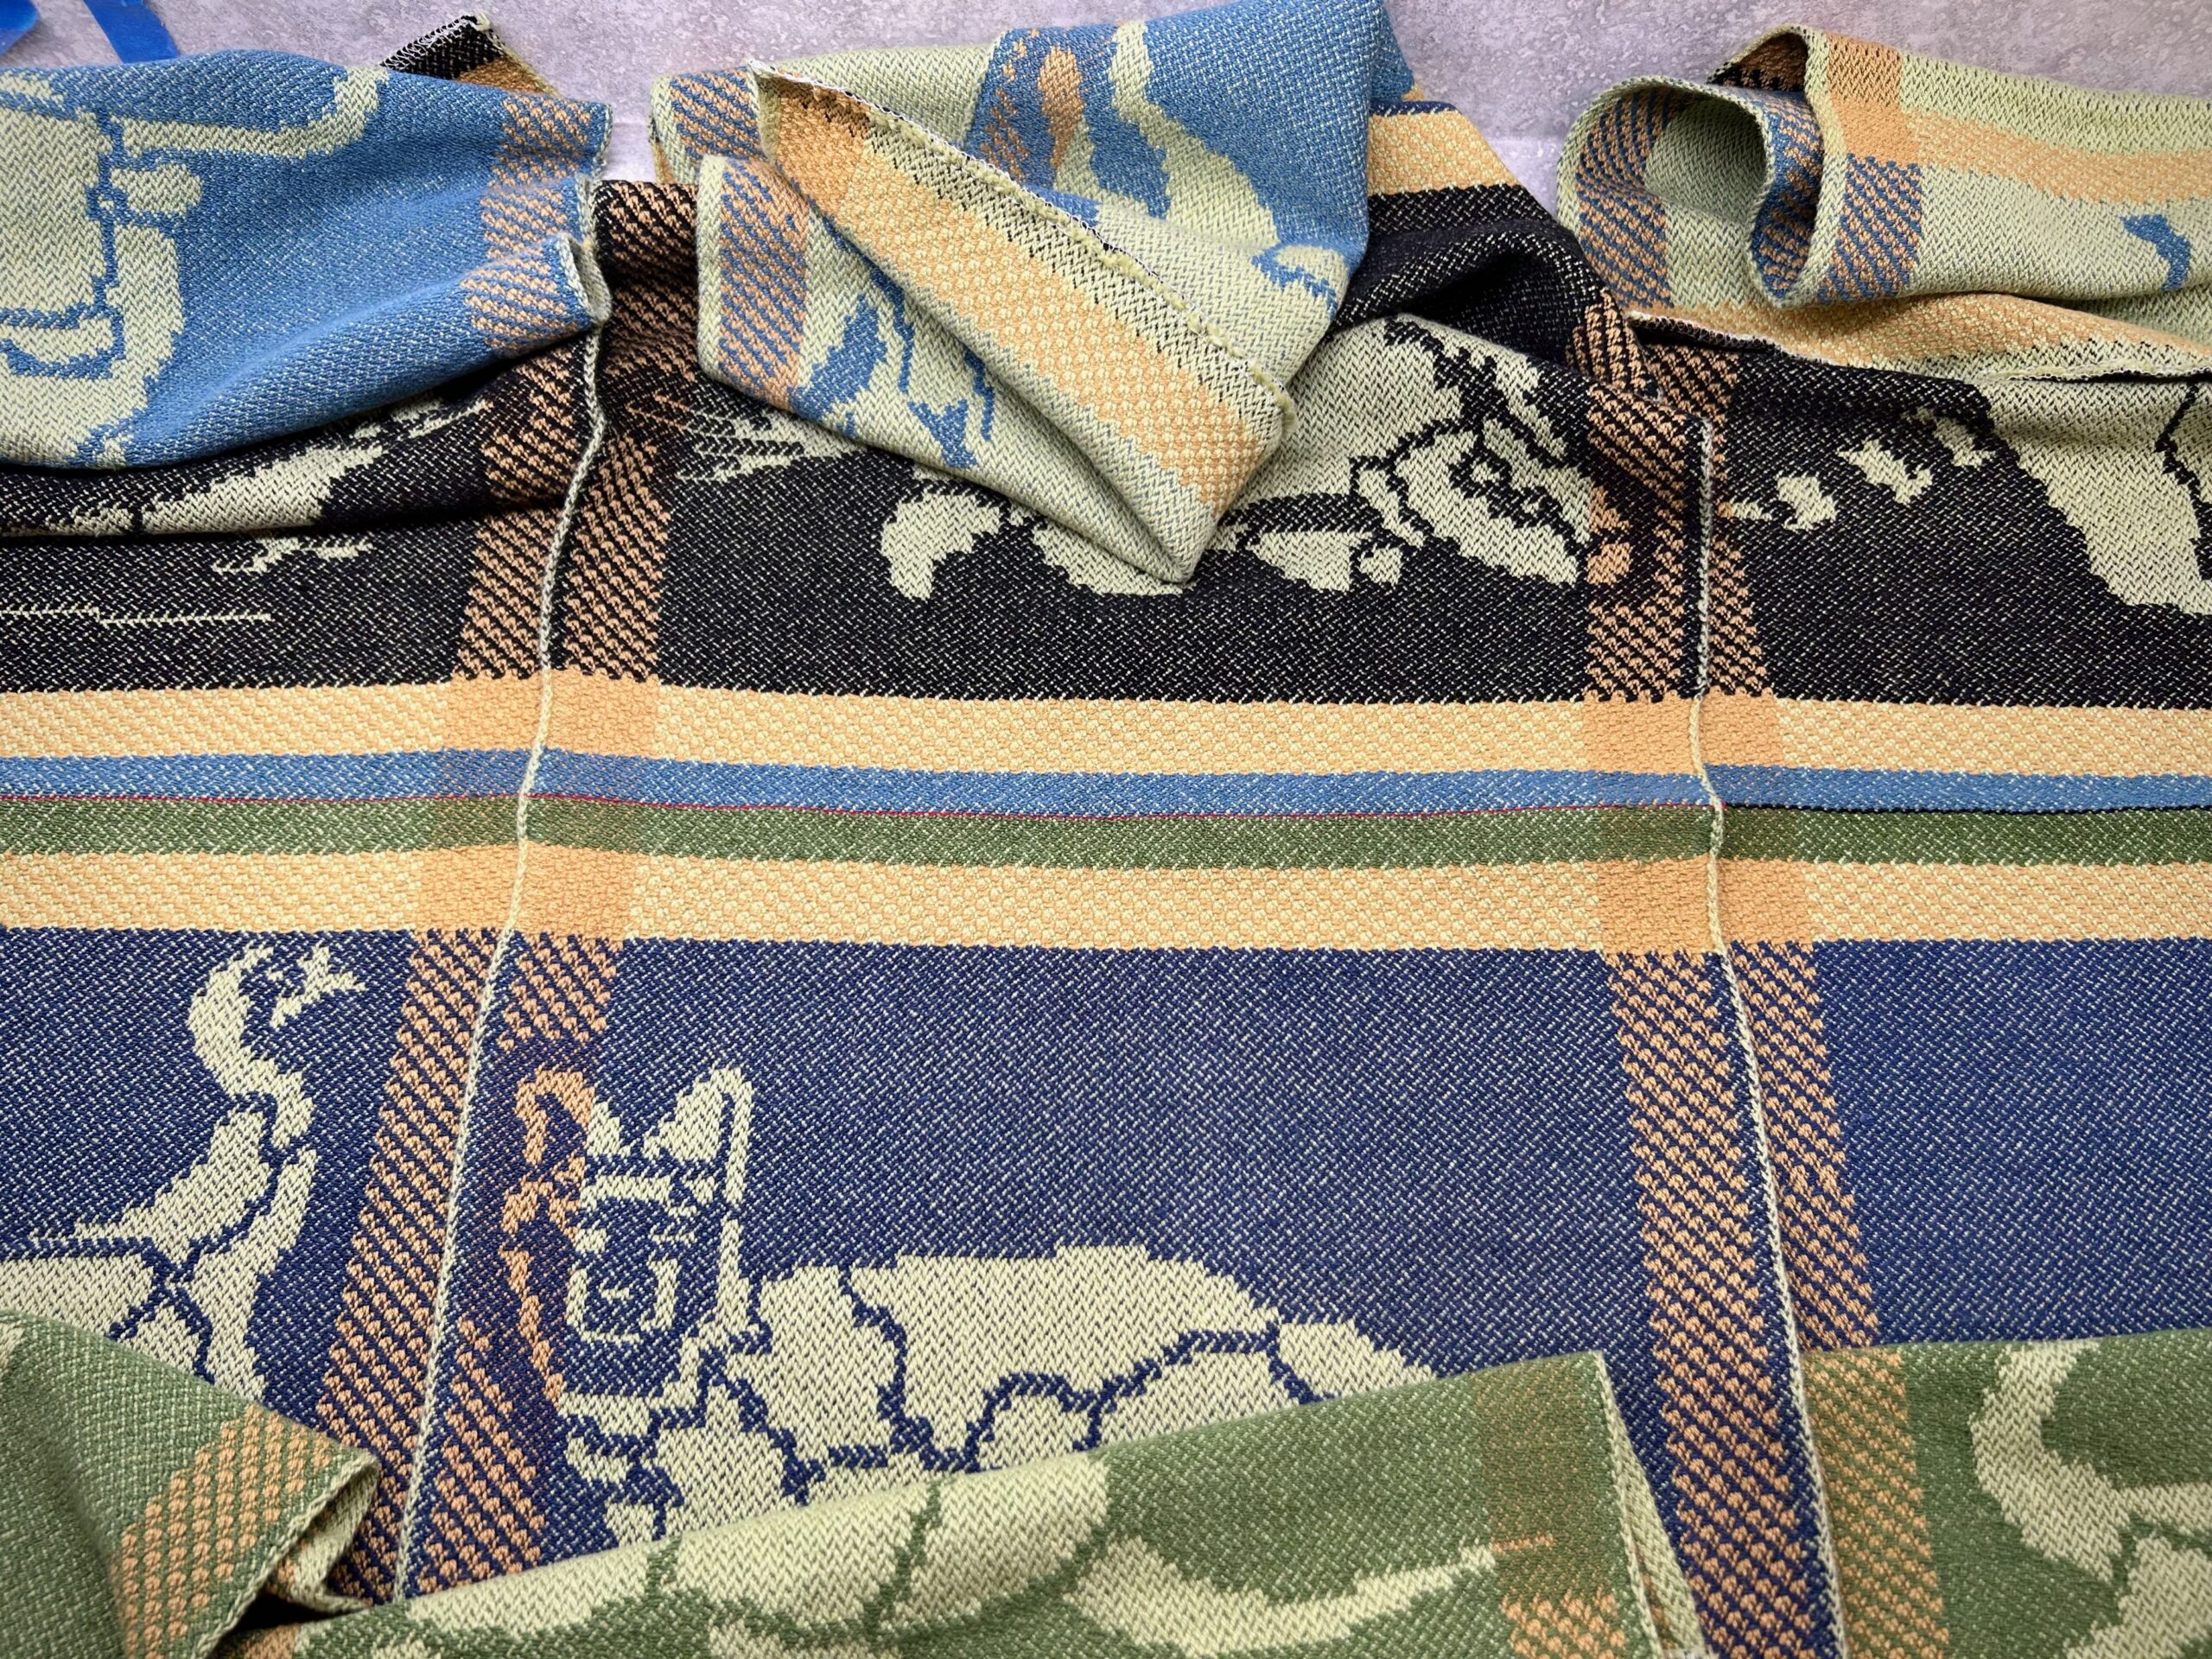
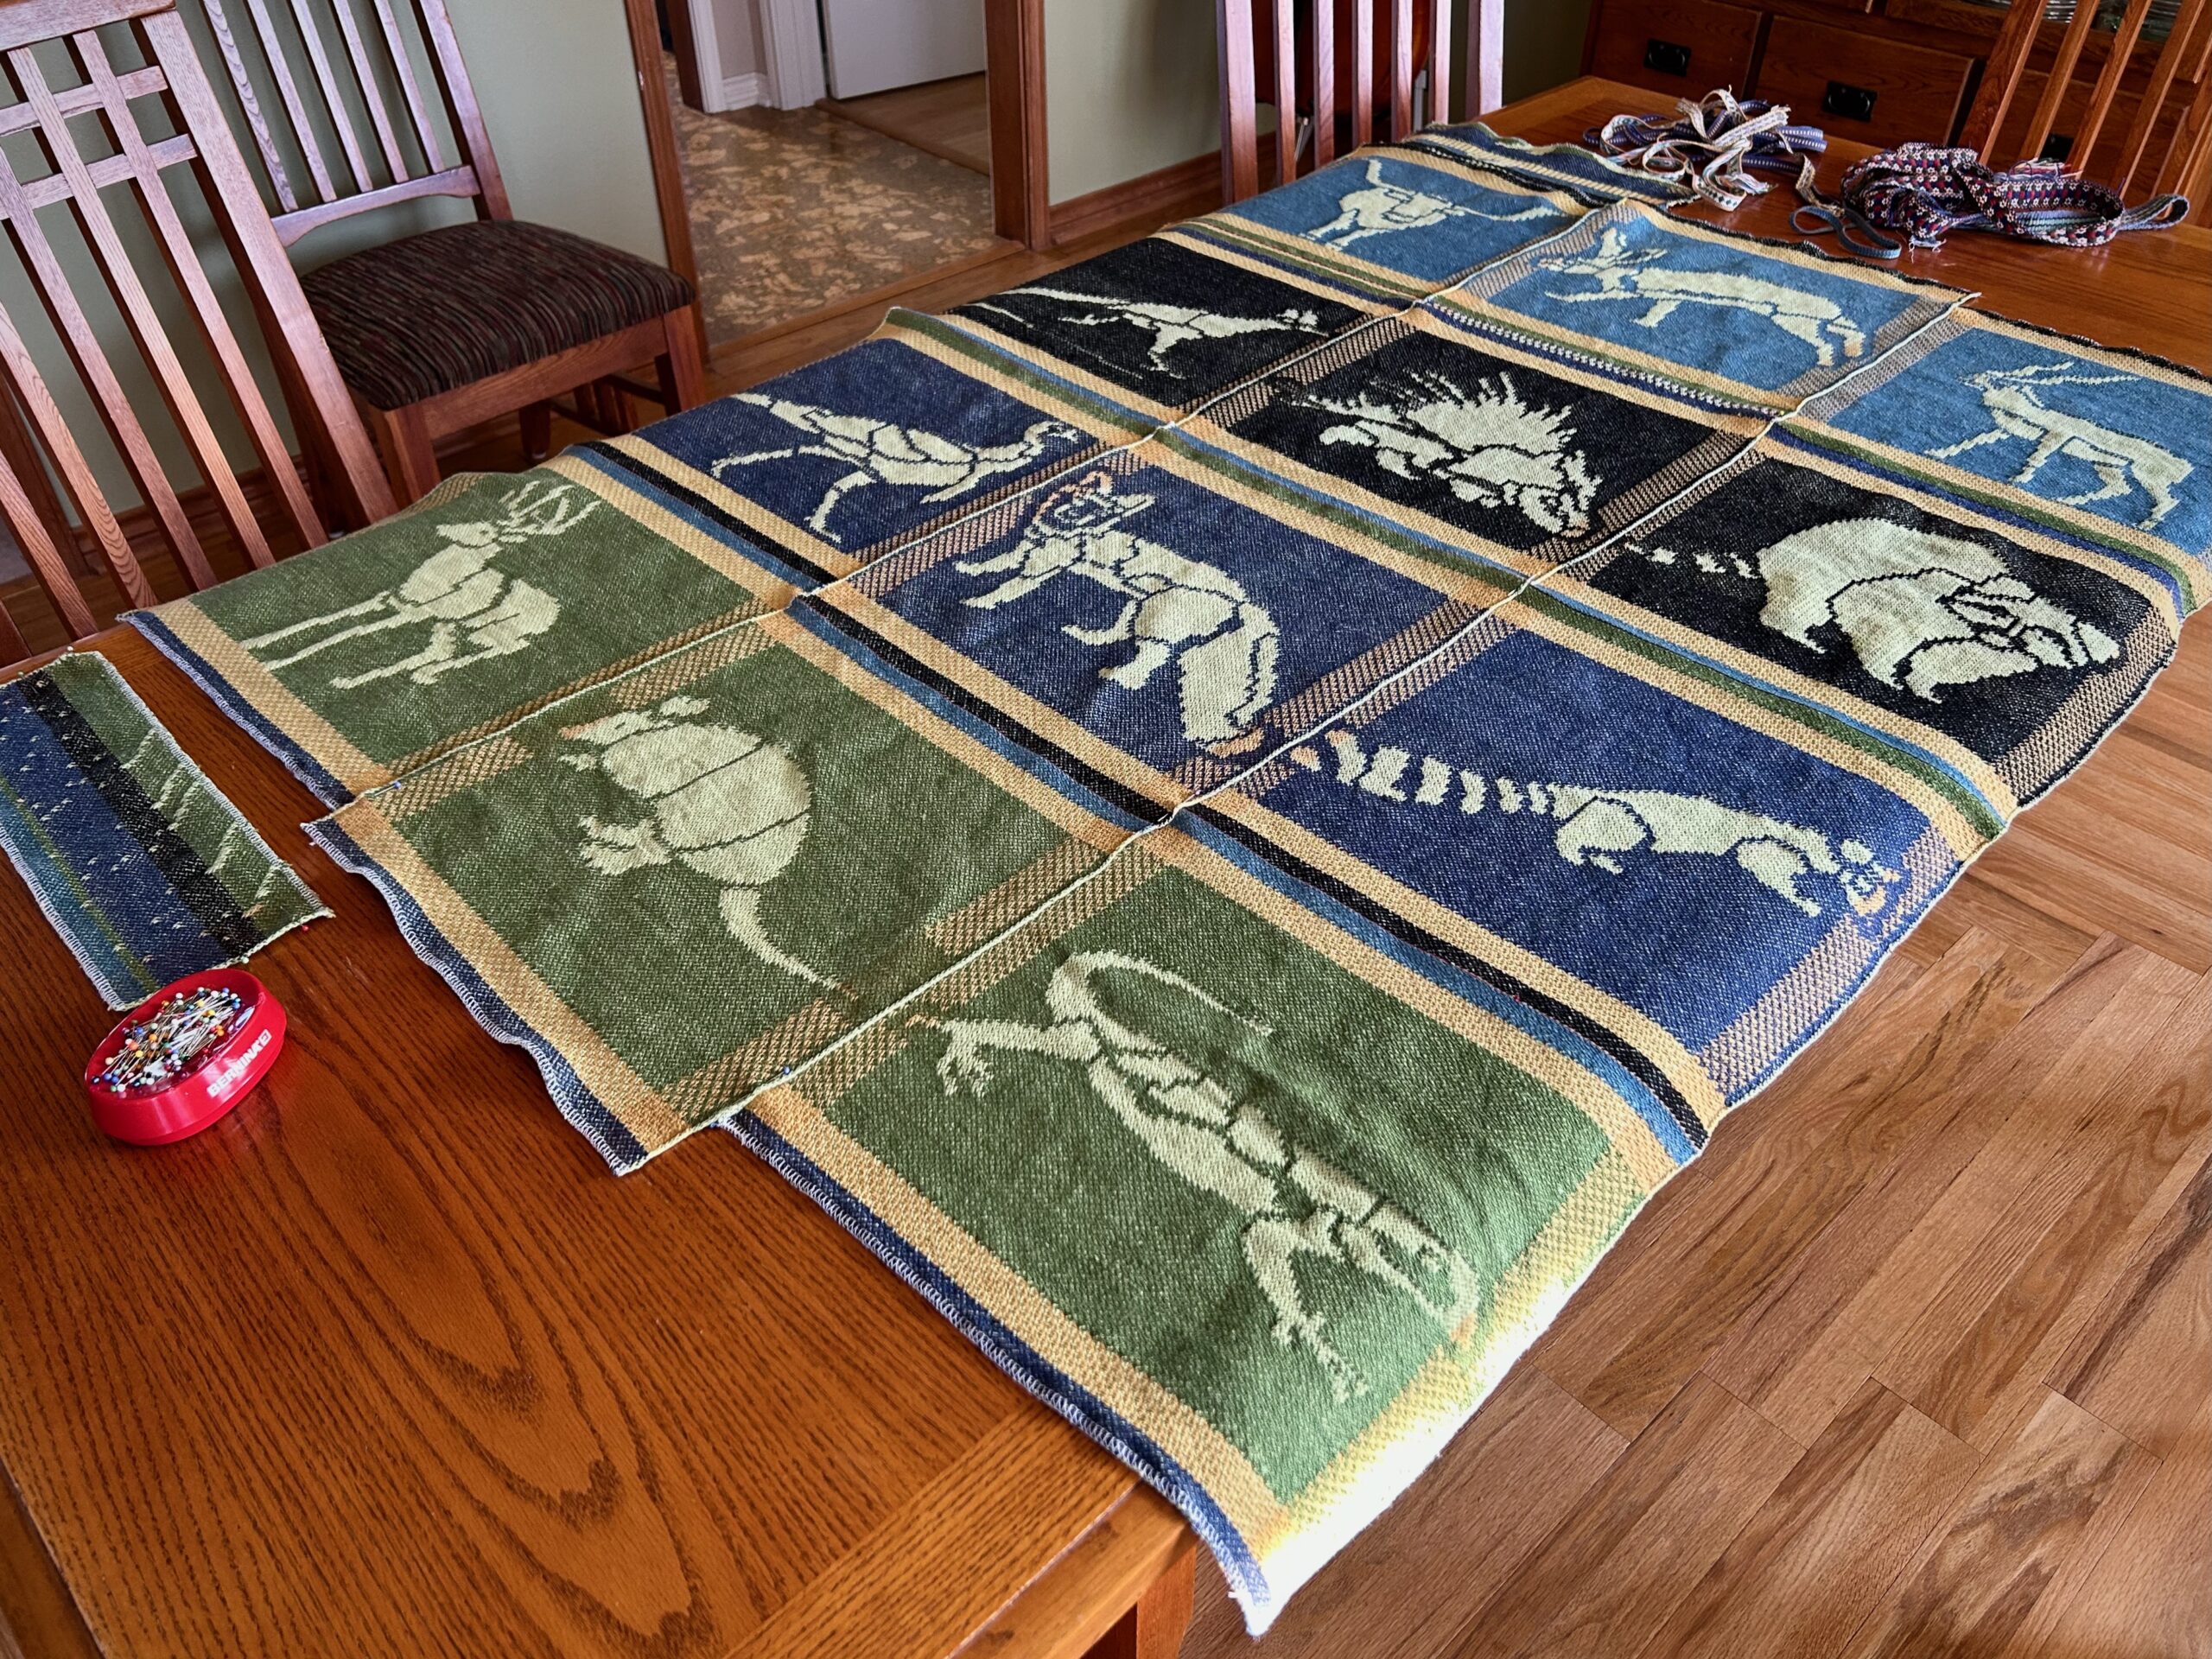
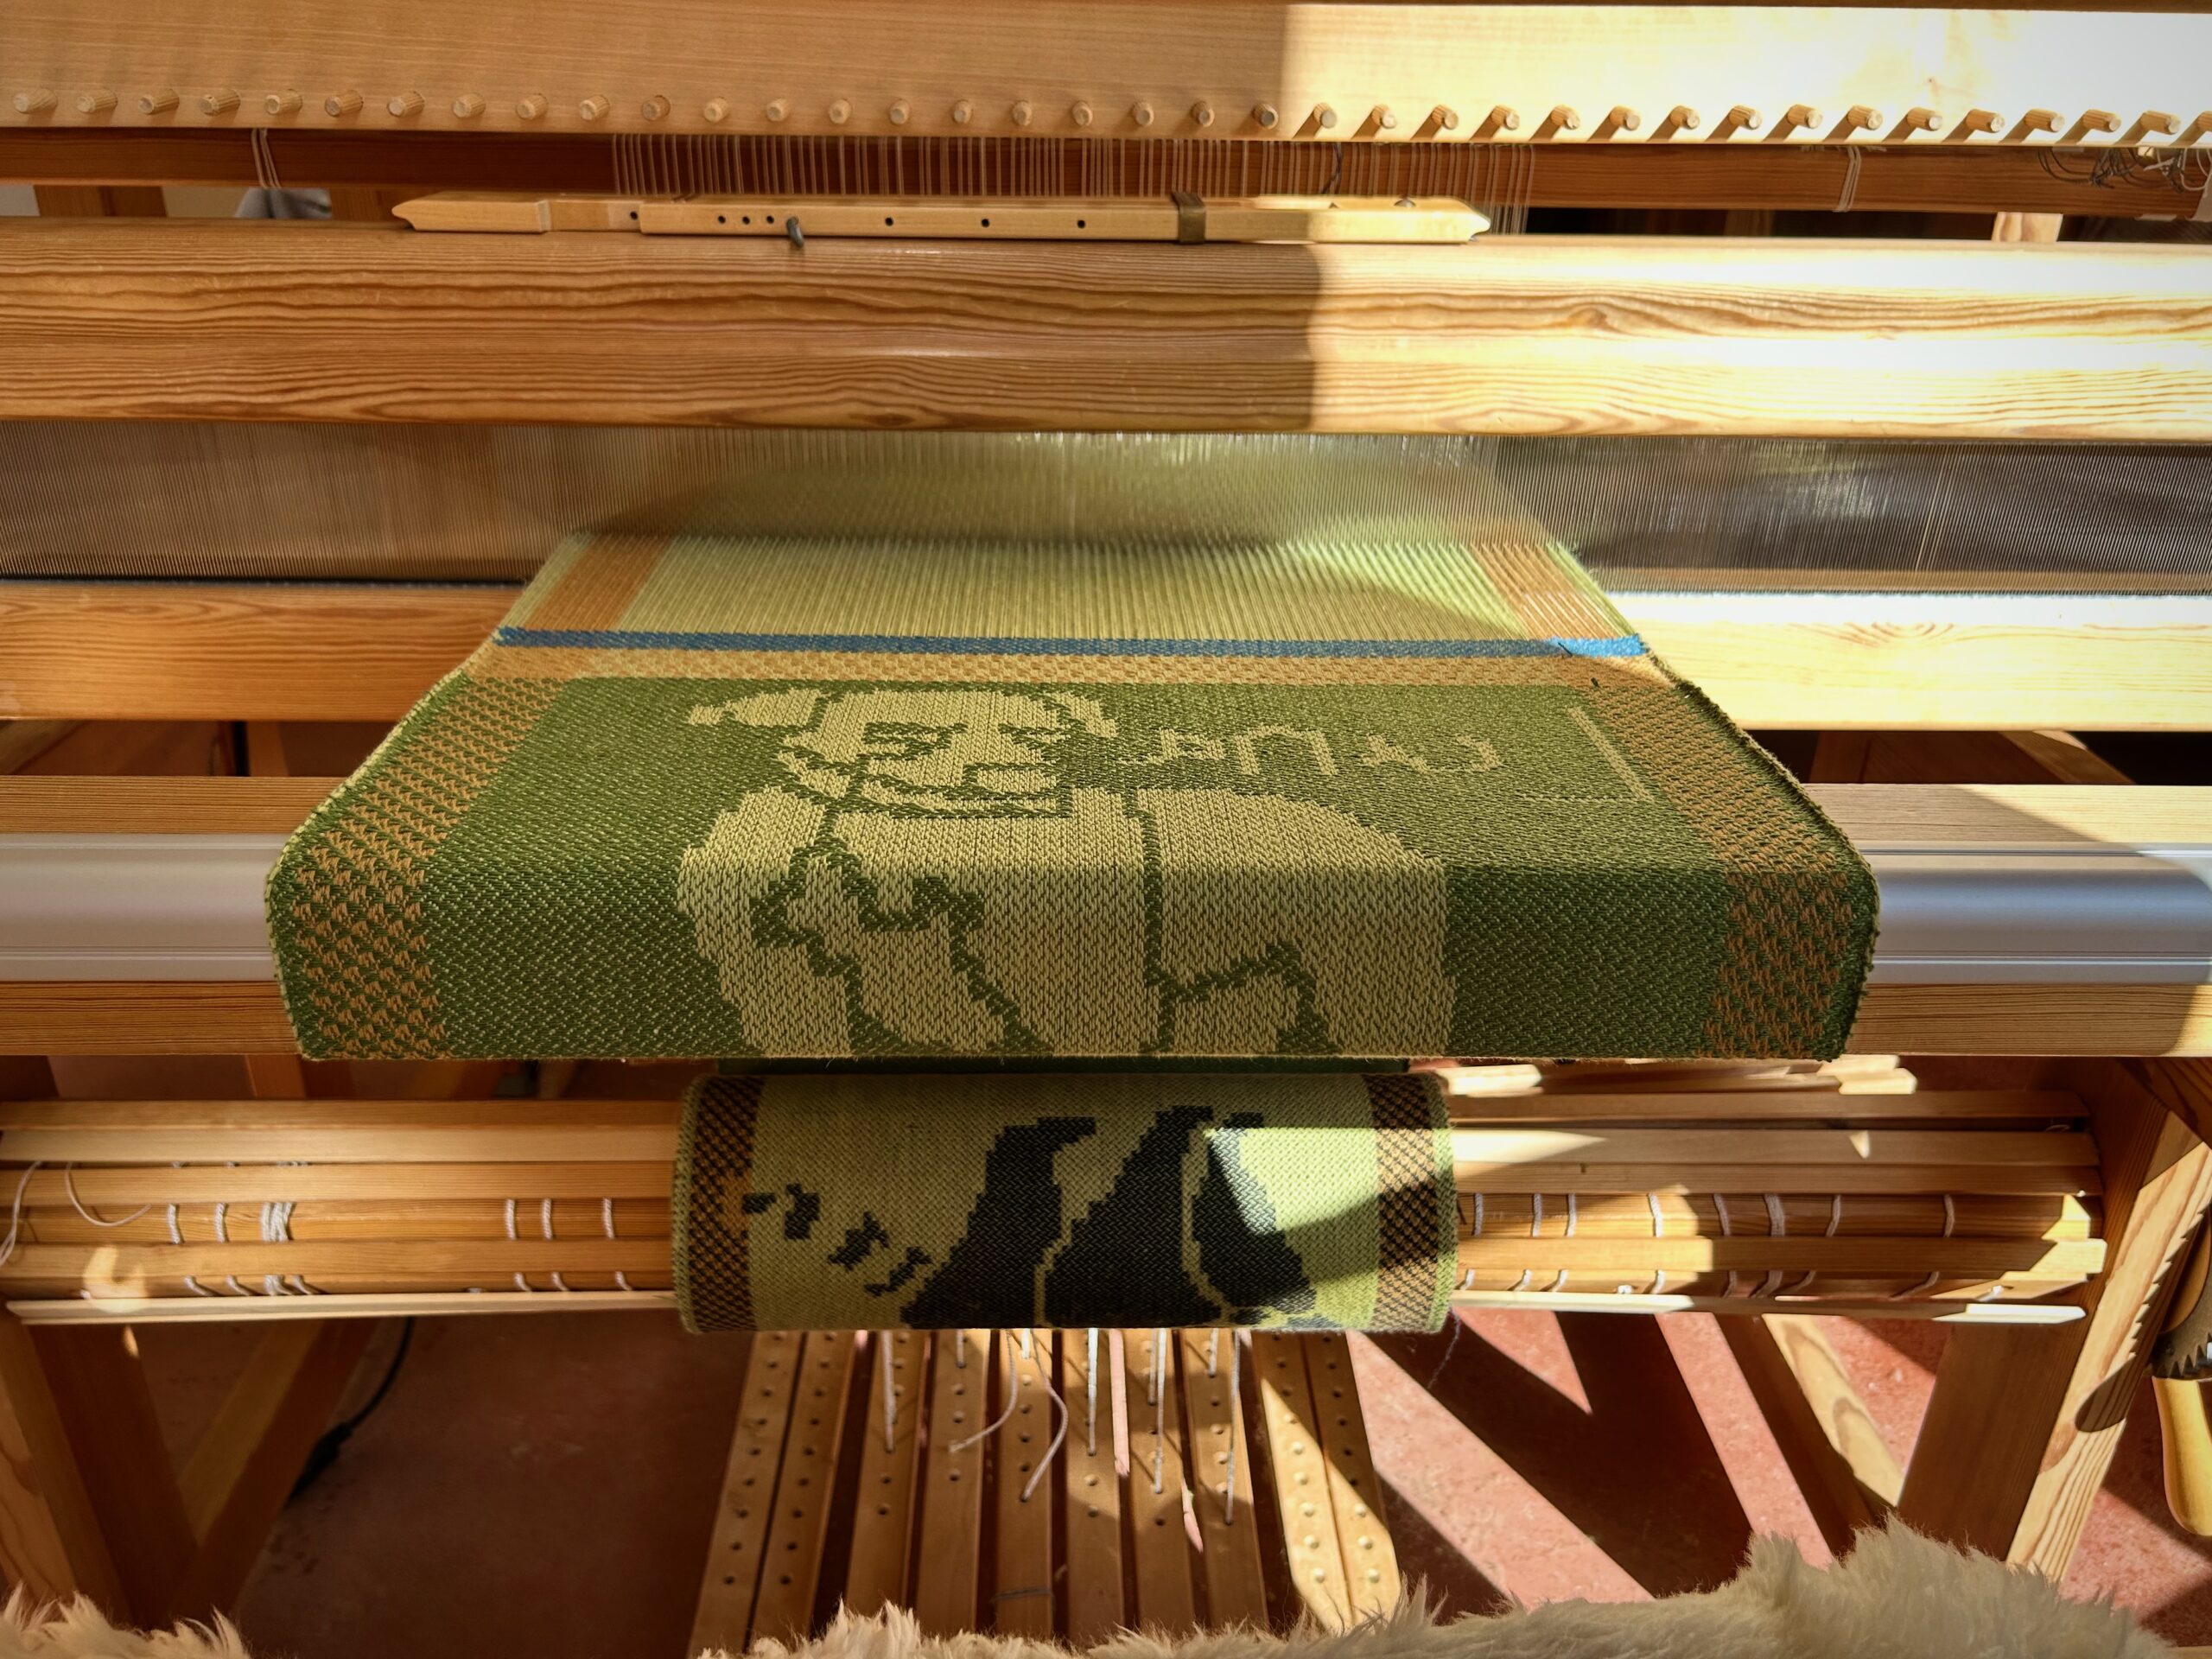
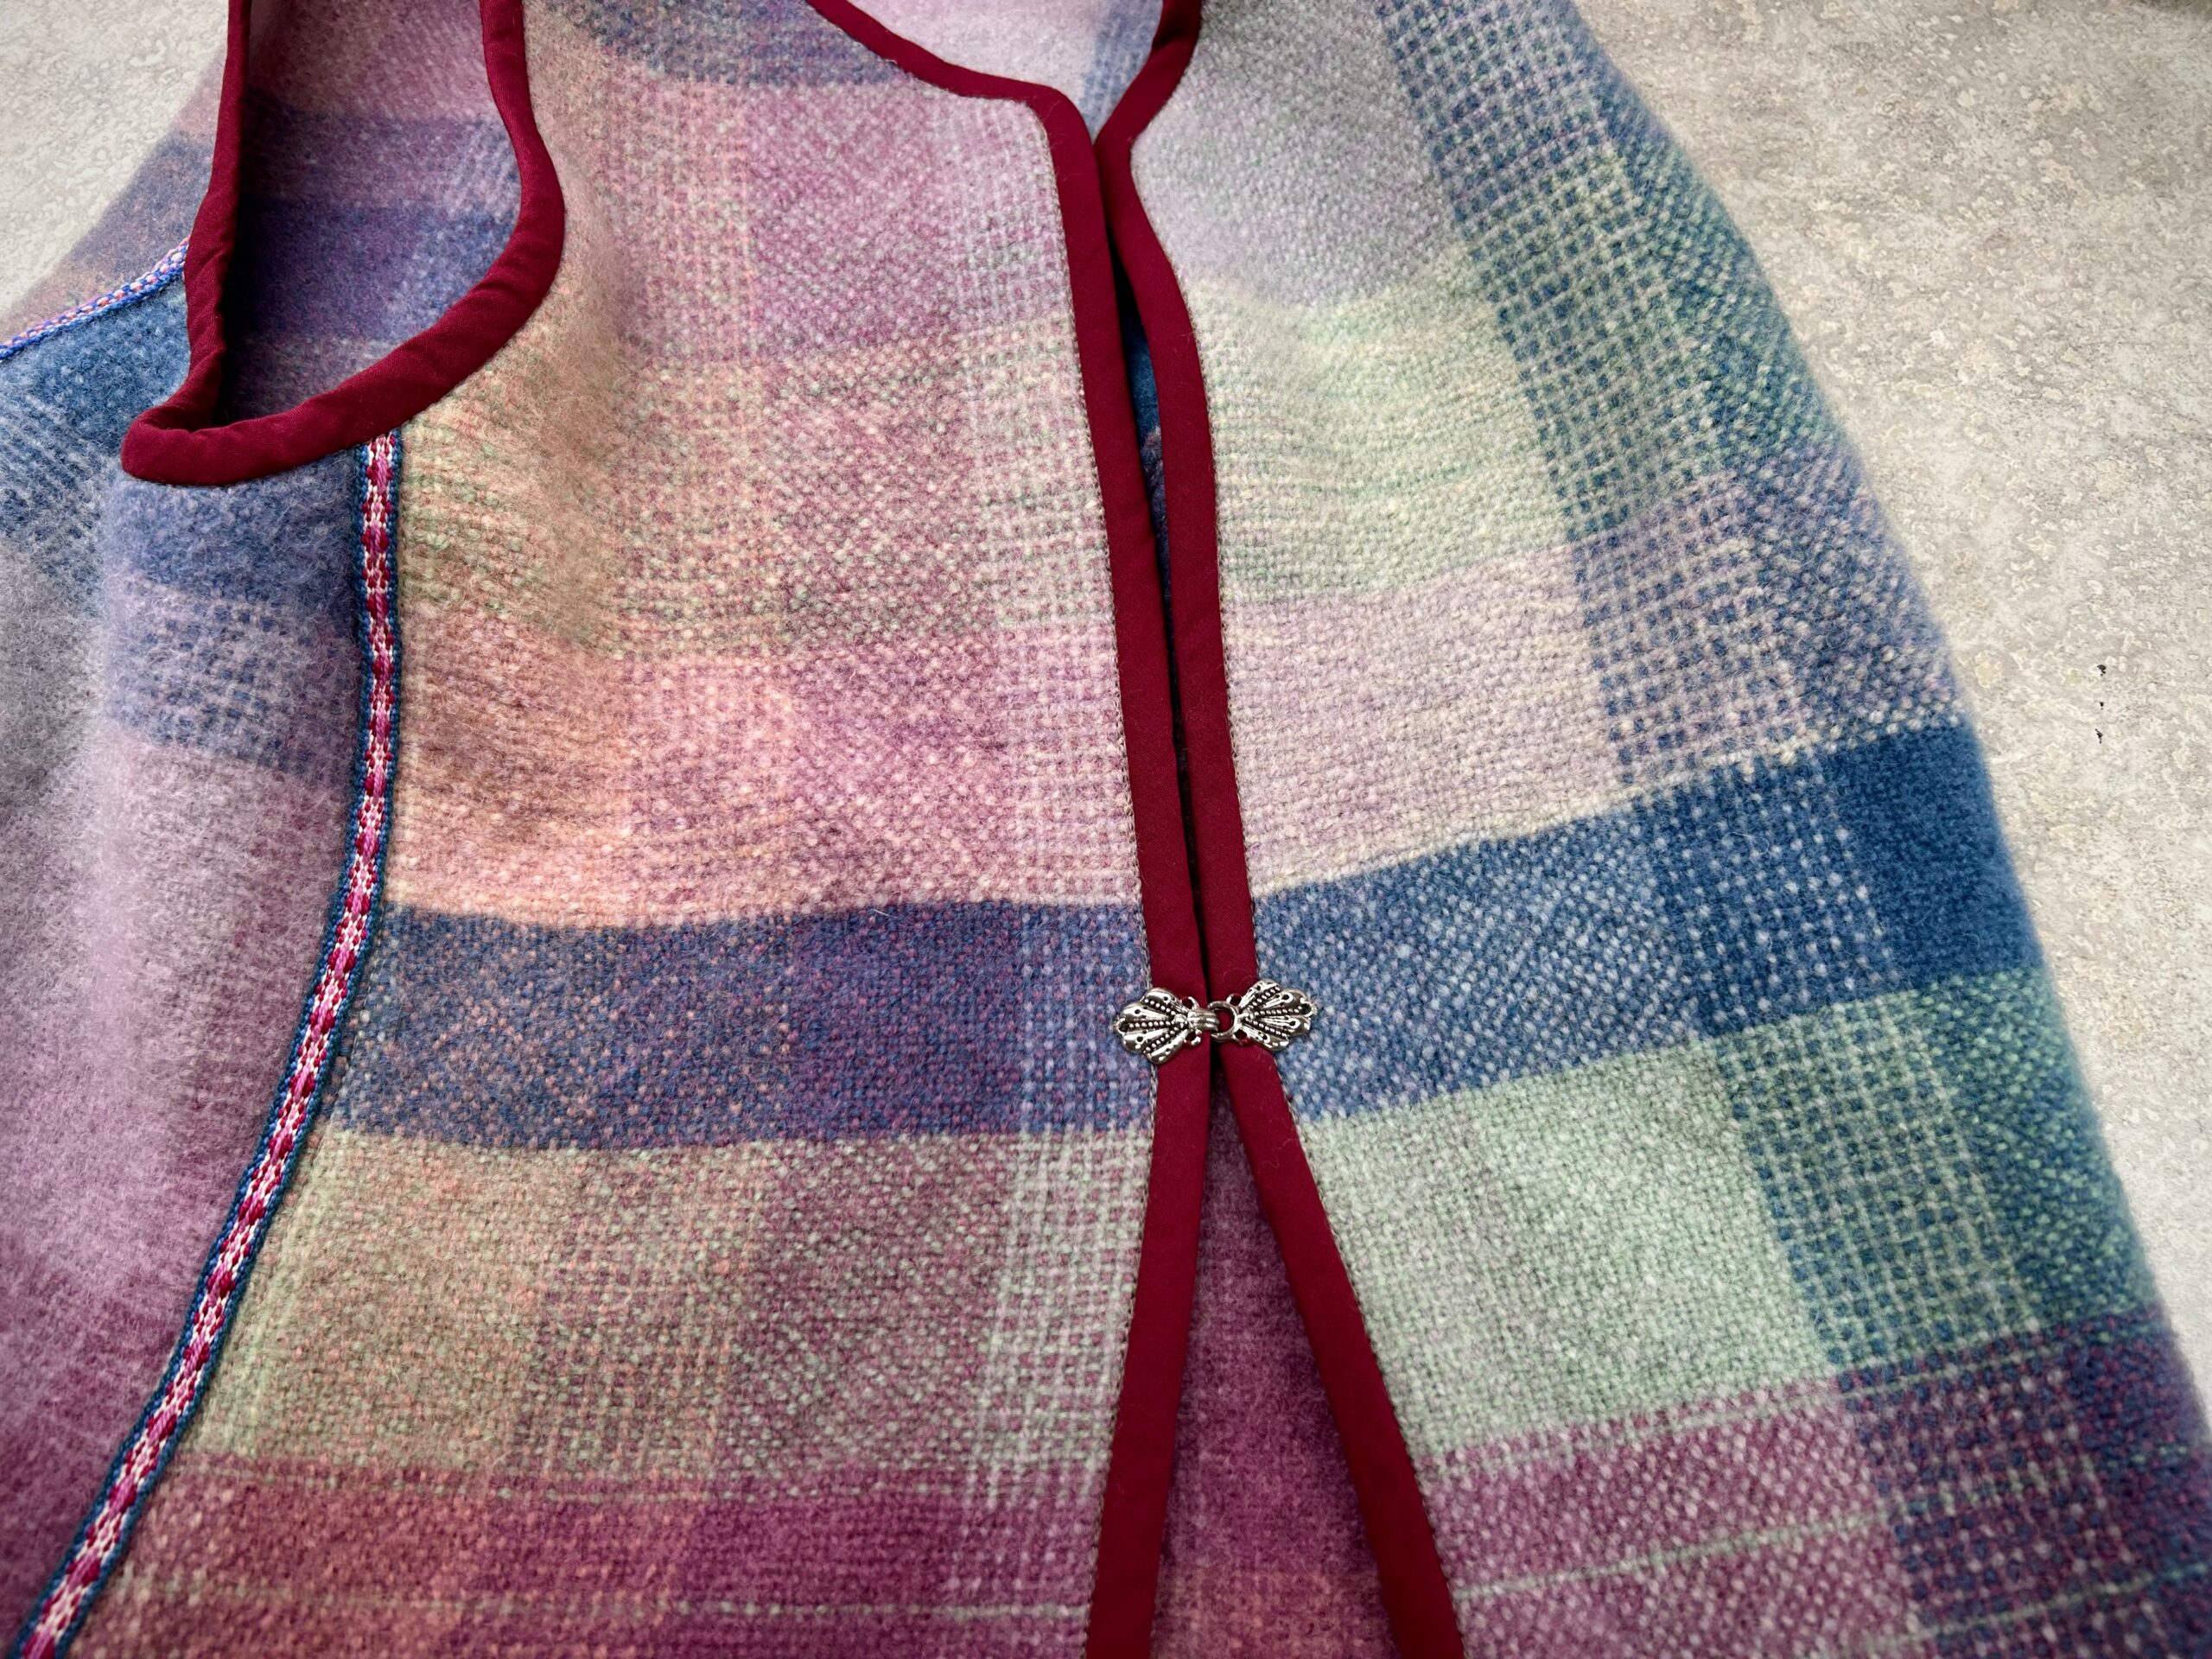
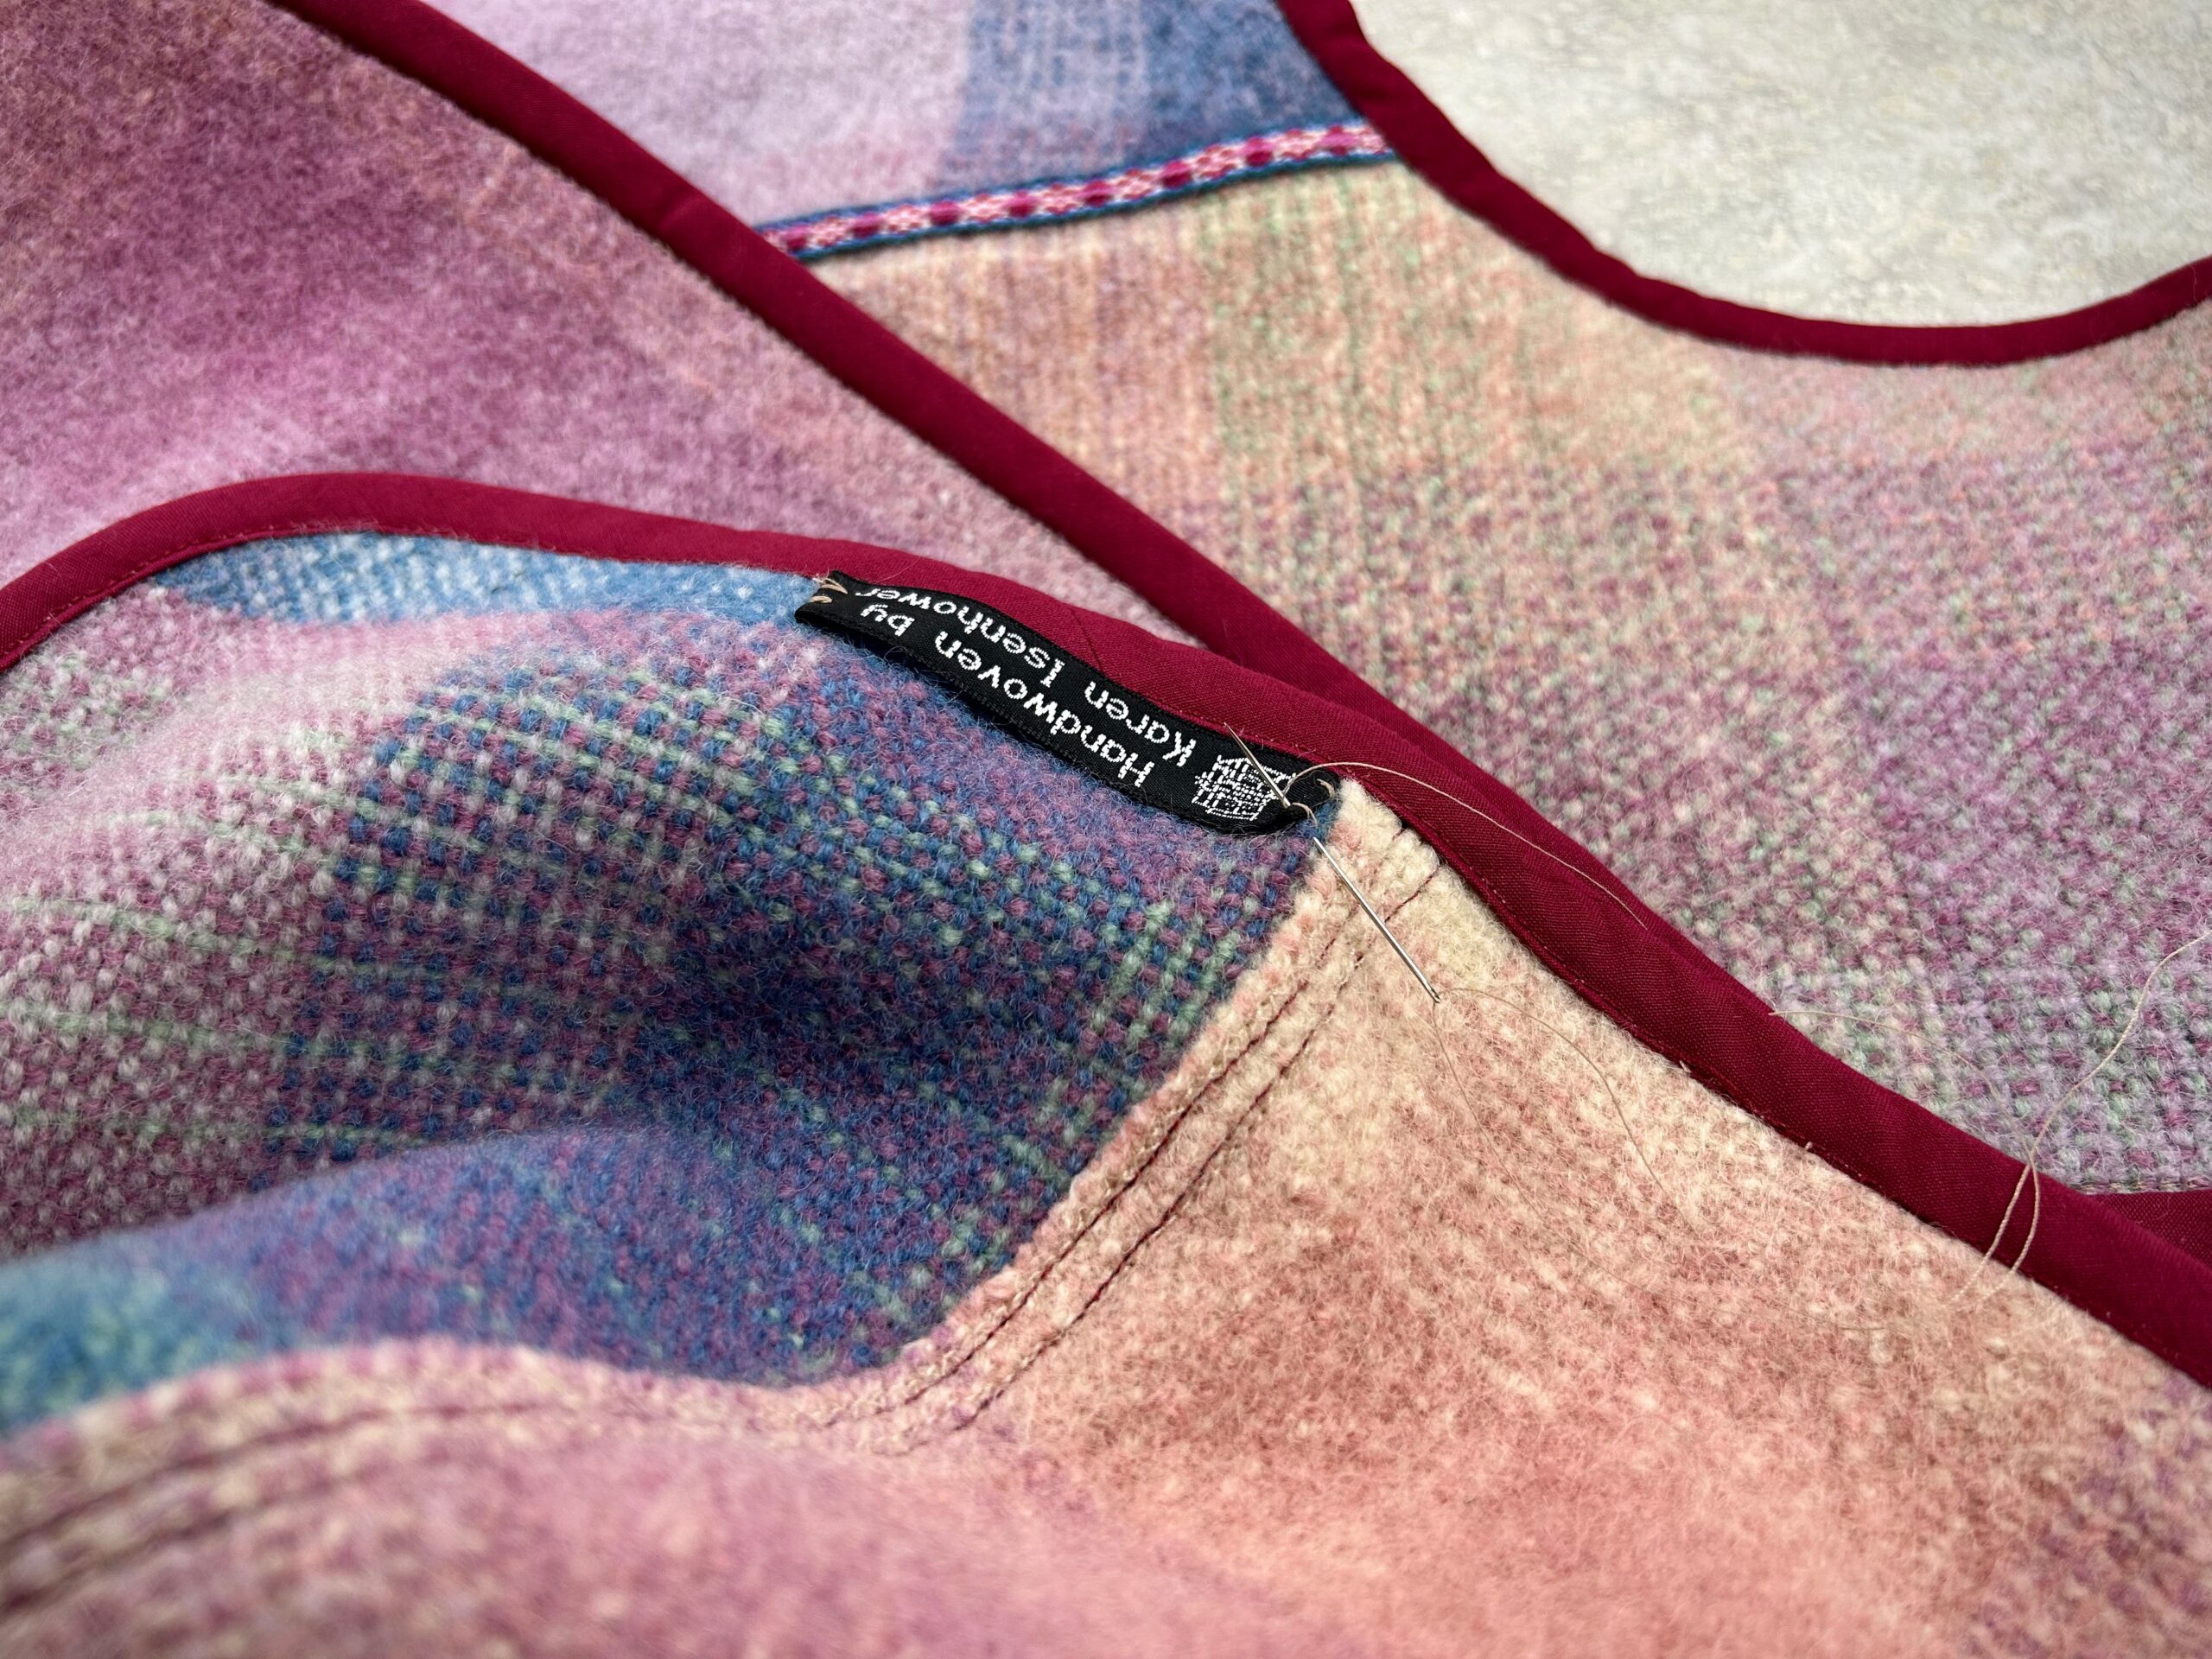
Yes, this is the best use of this woven treasure that I have had so much delight in designing and weaving! All the fascinating creatures can be seen at once, on the front or on the reverse side.
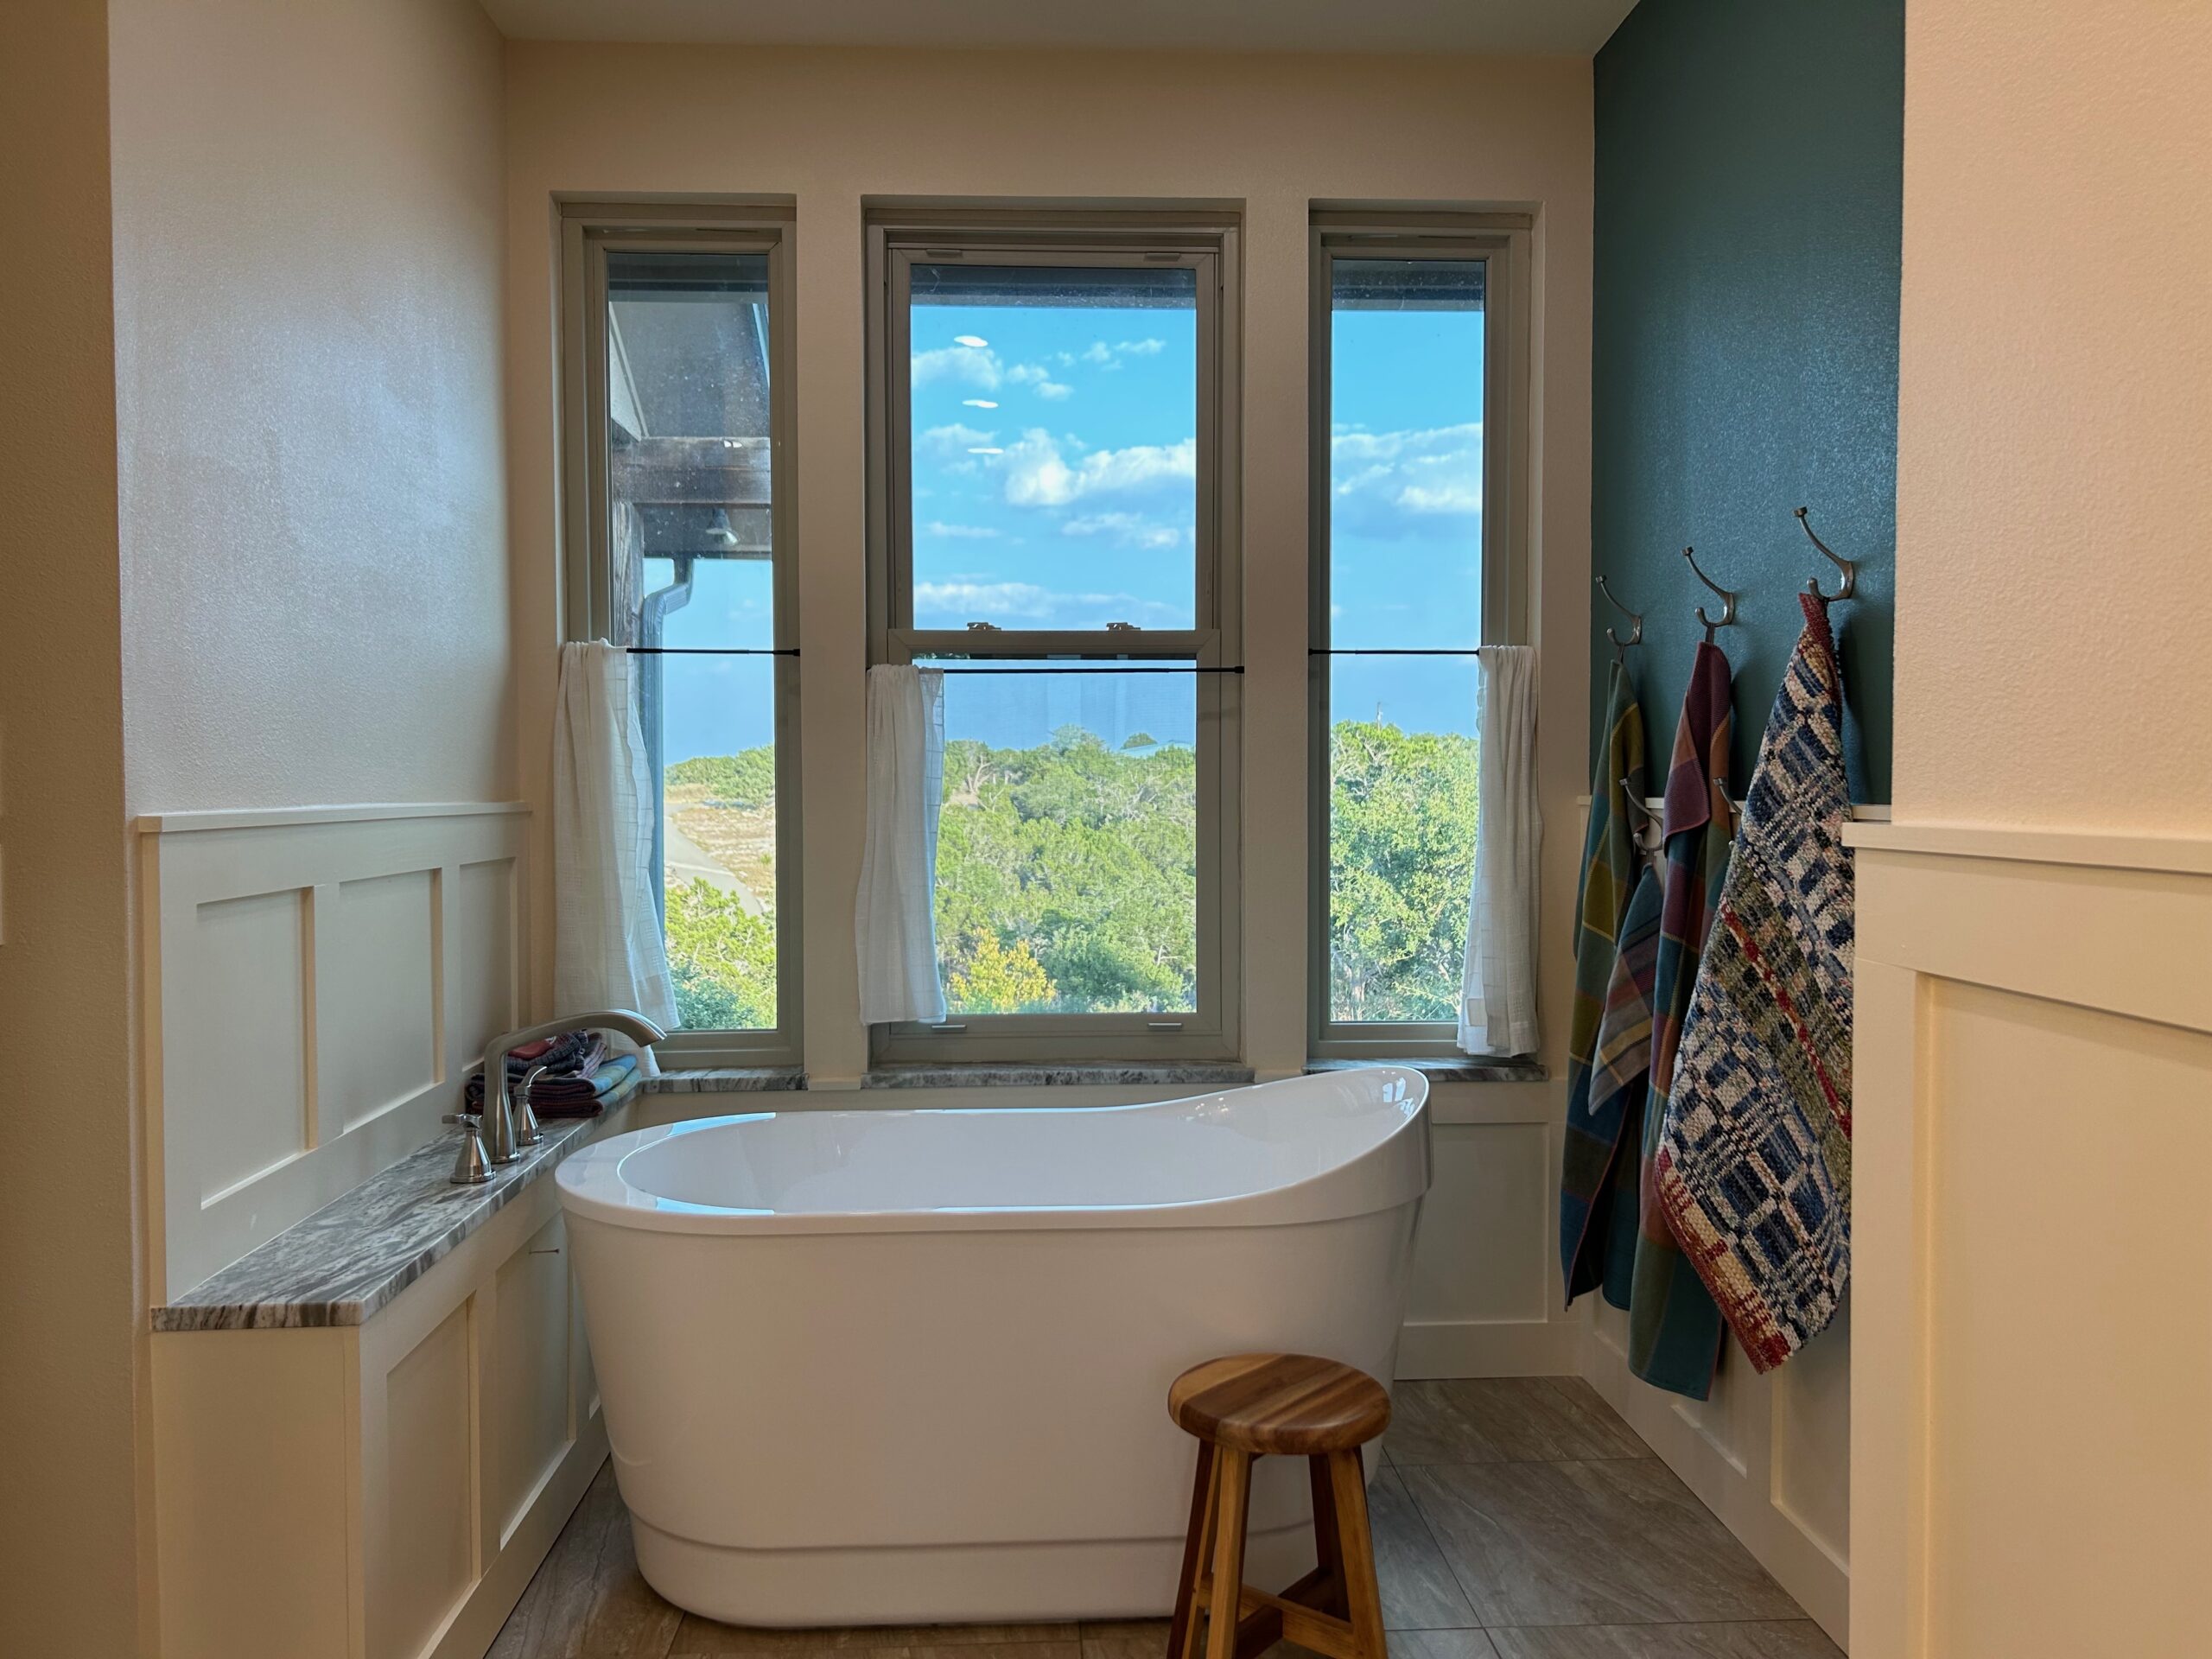
This is something we can enjoy together with our grandchildren when they are at our home!
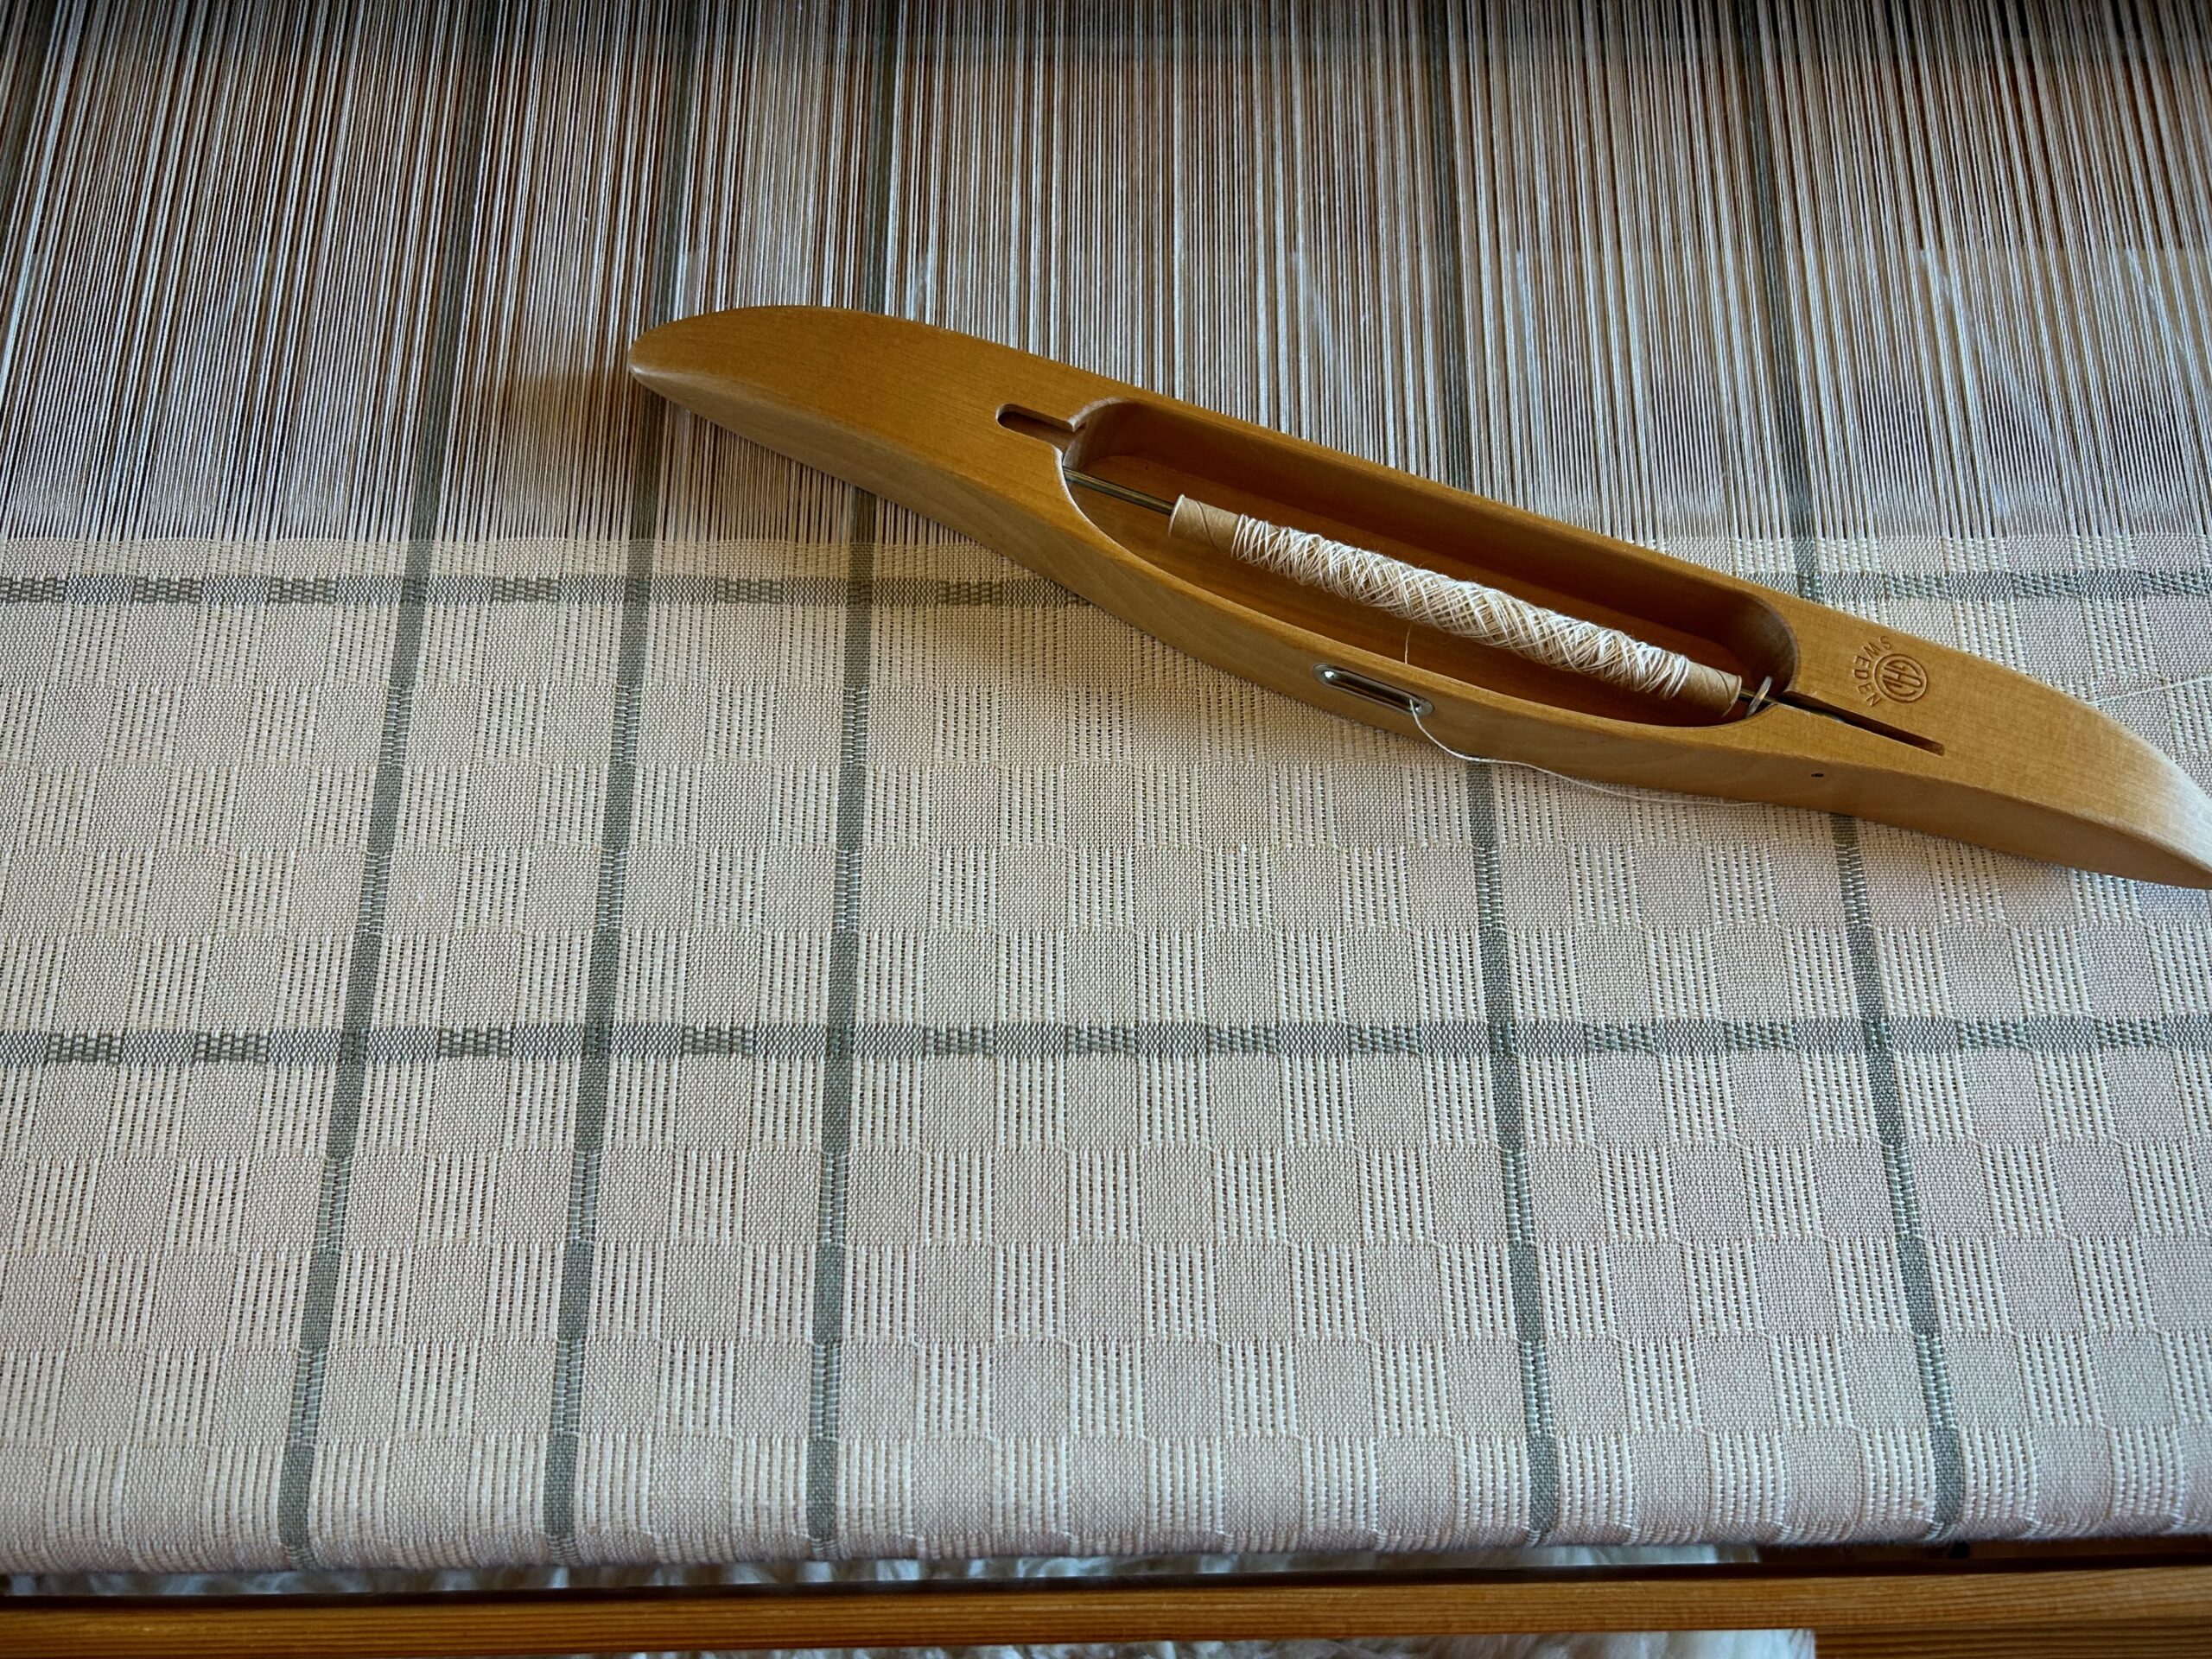
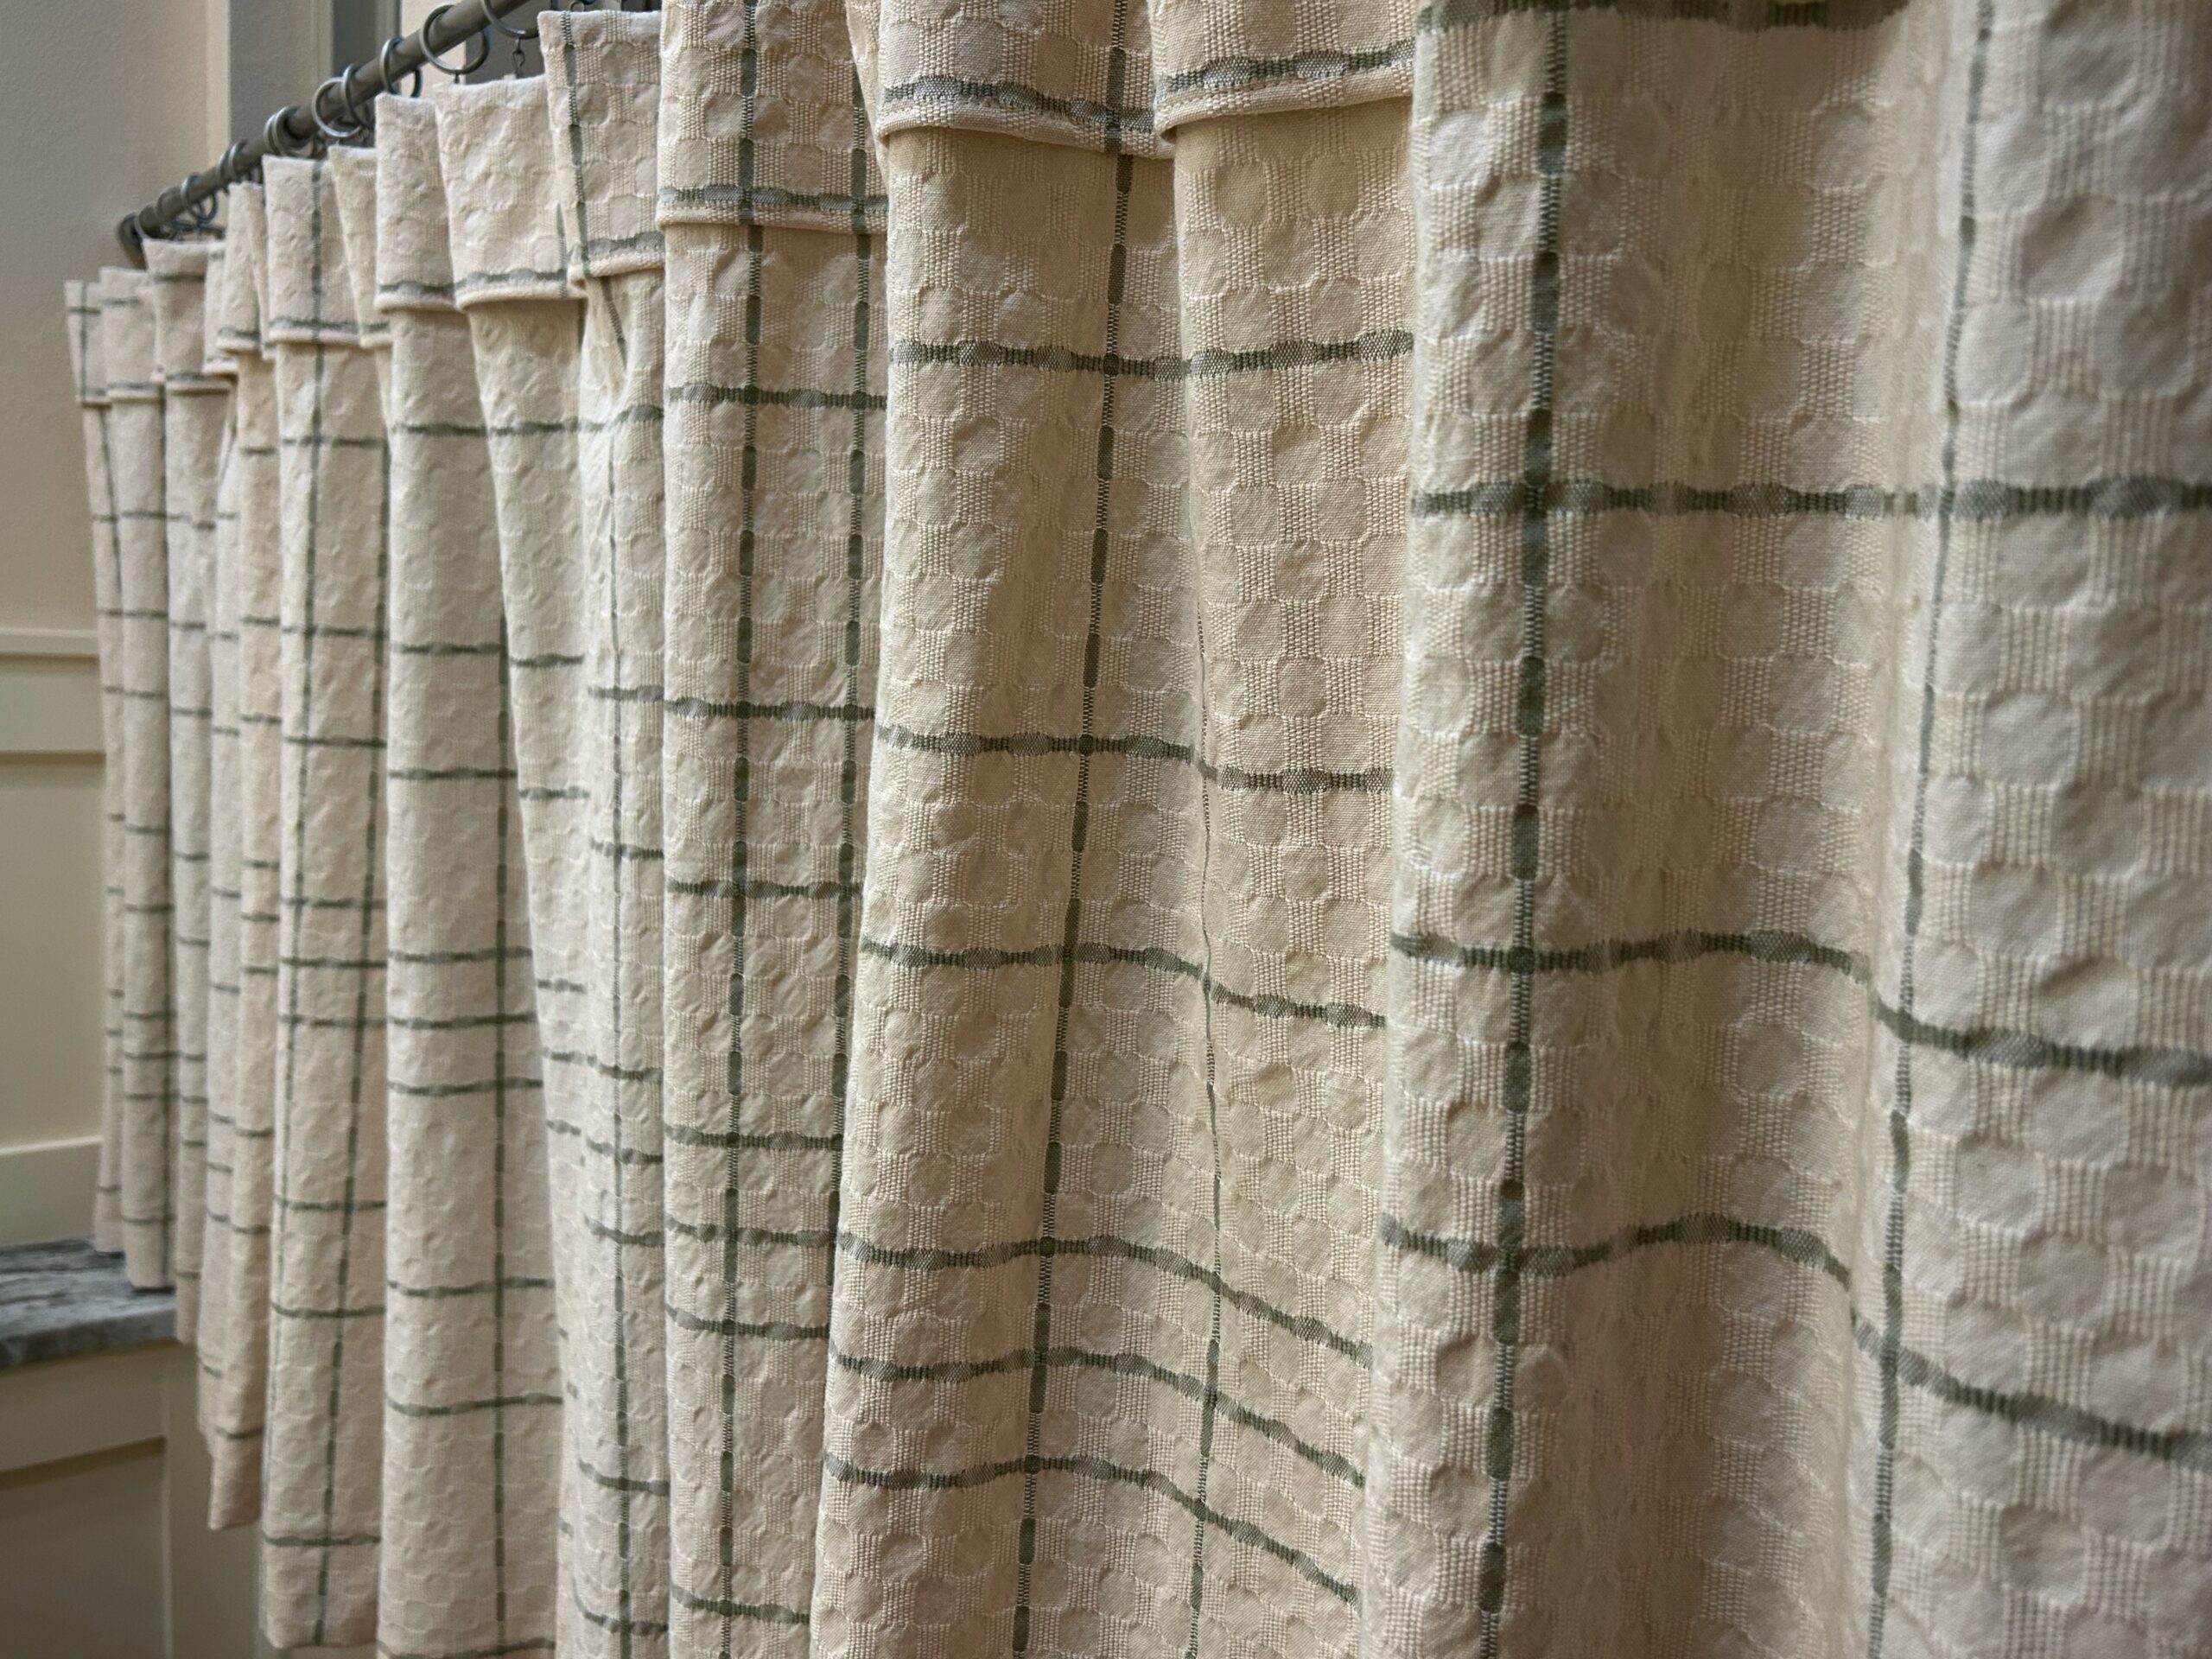
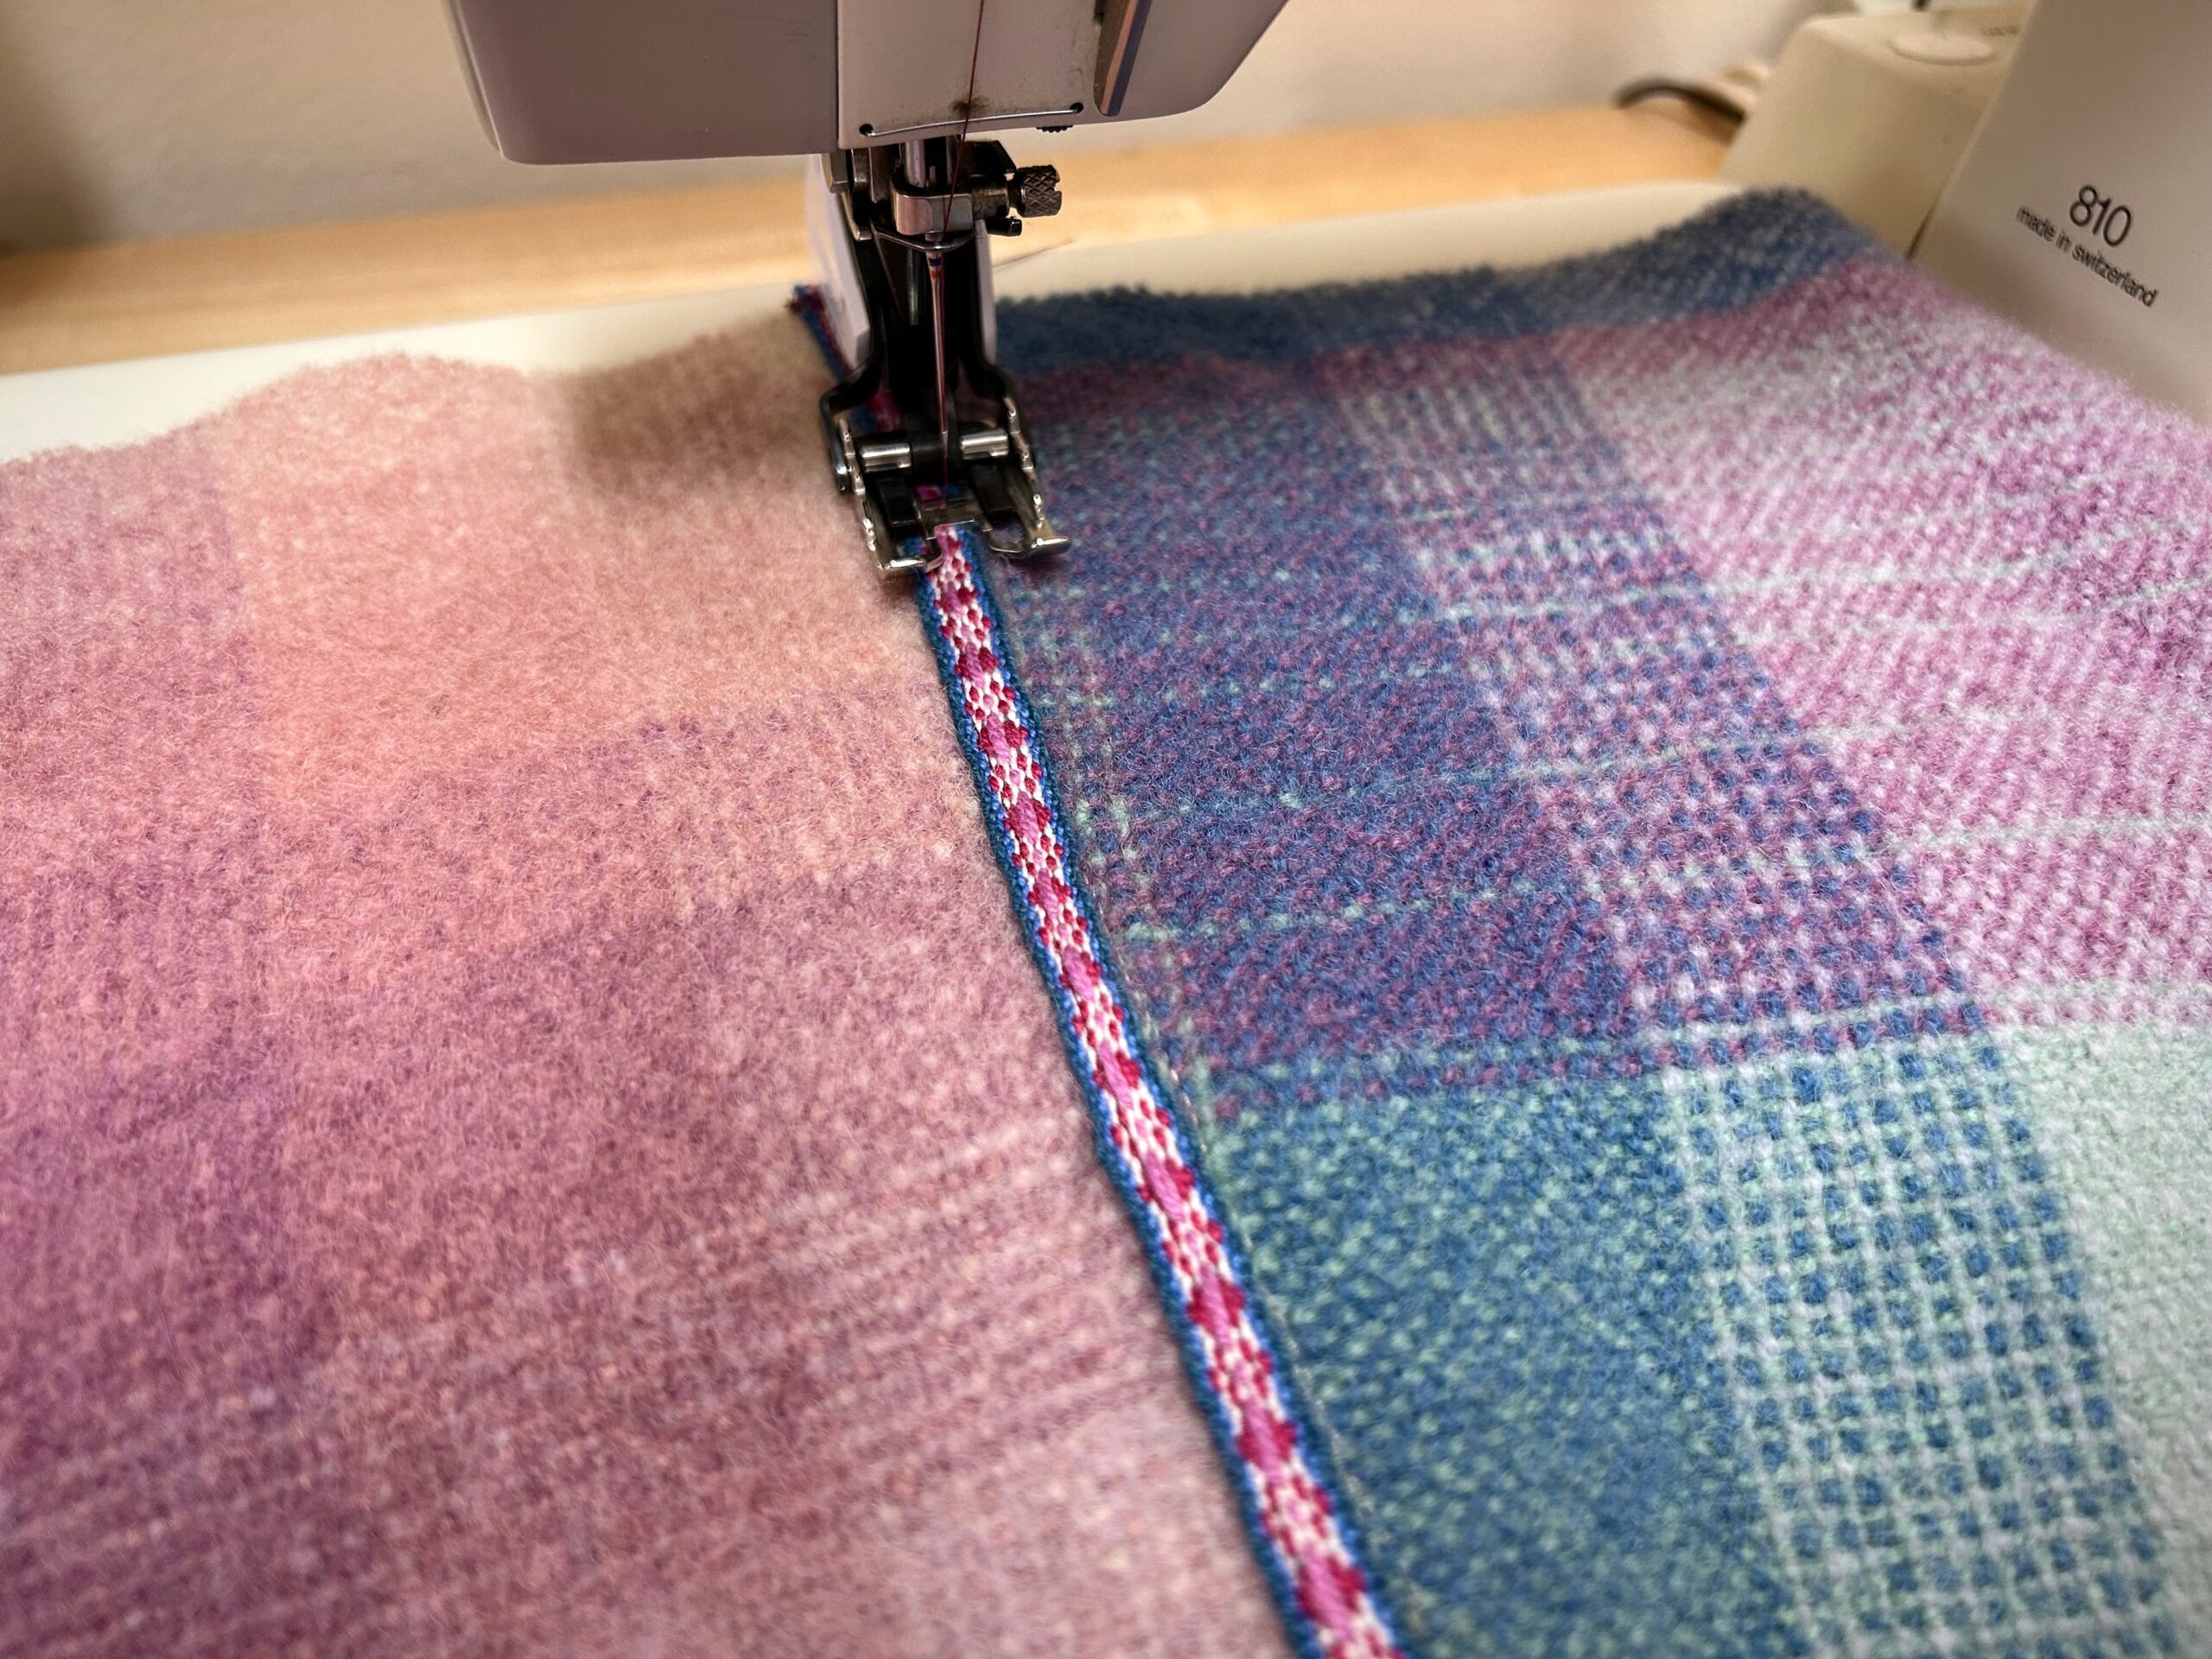
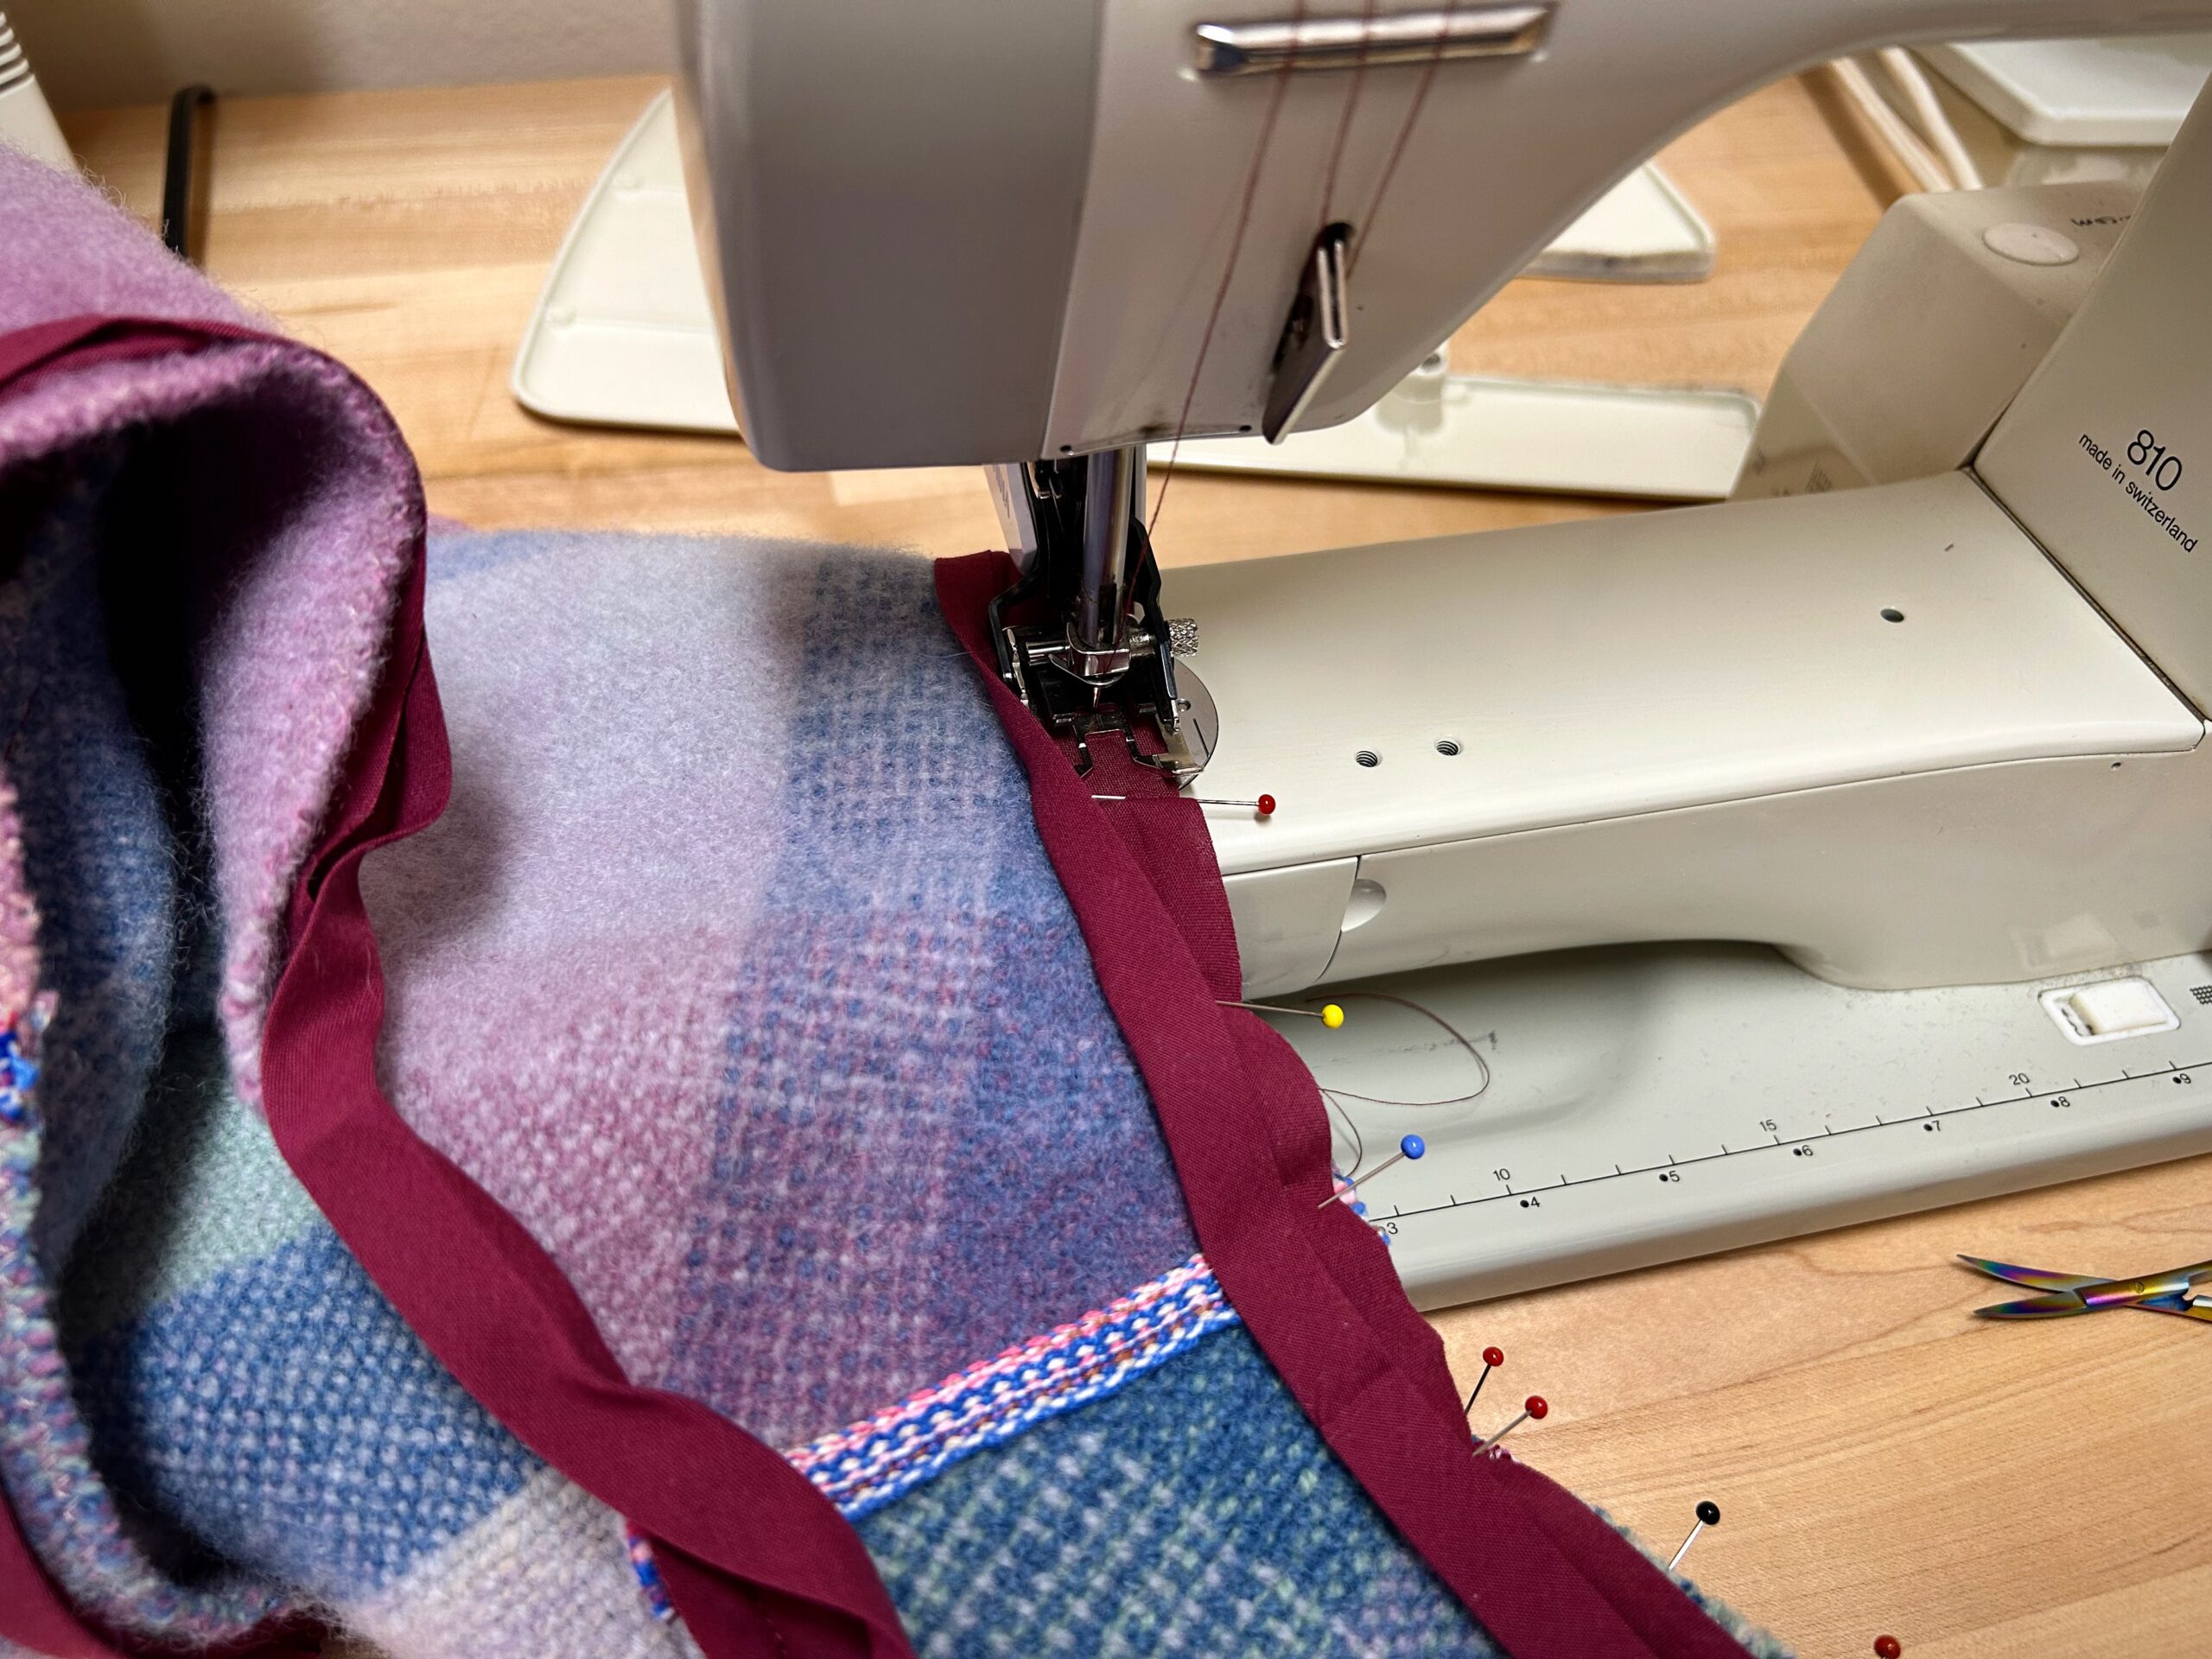
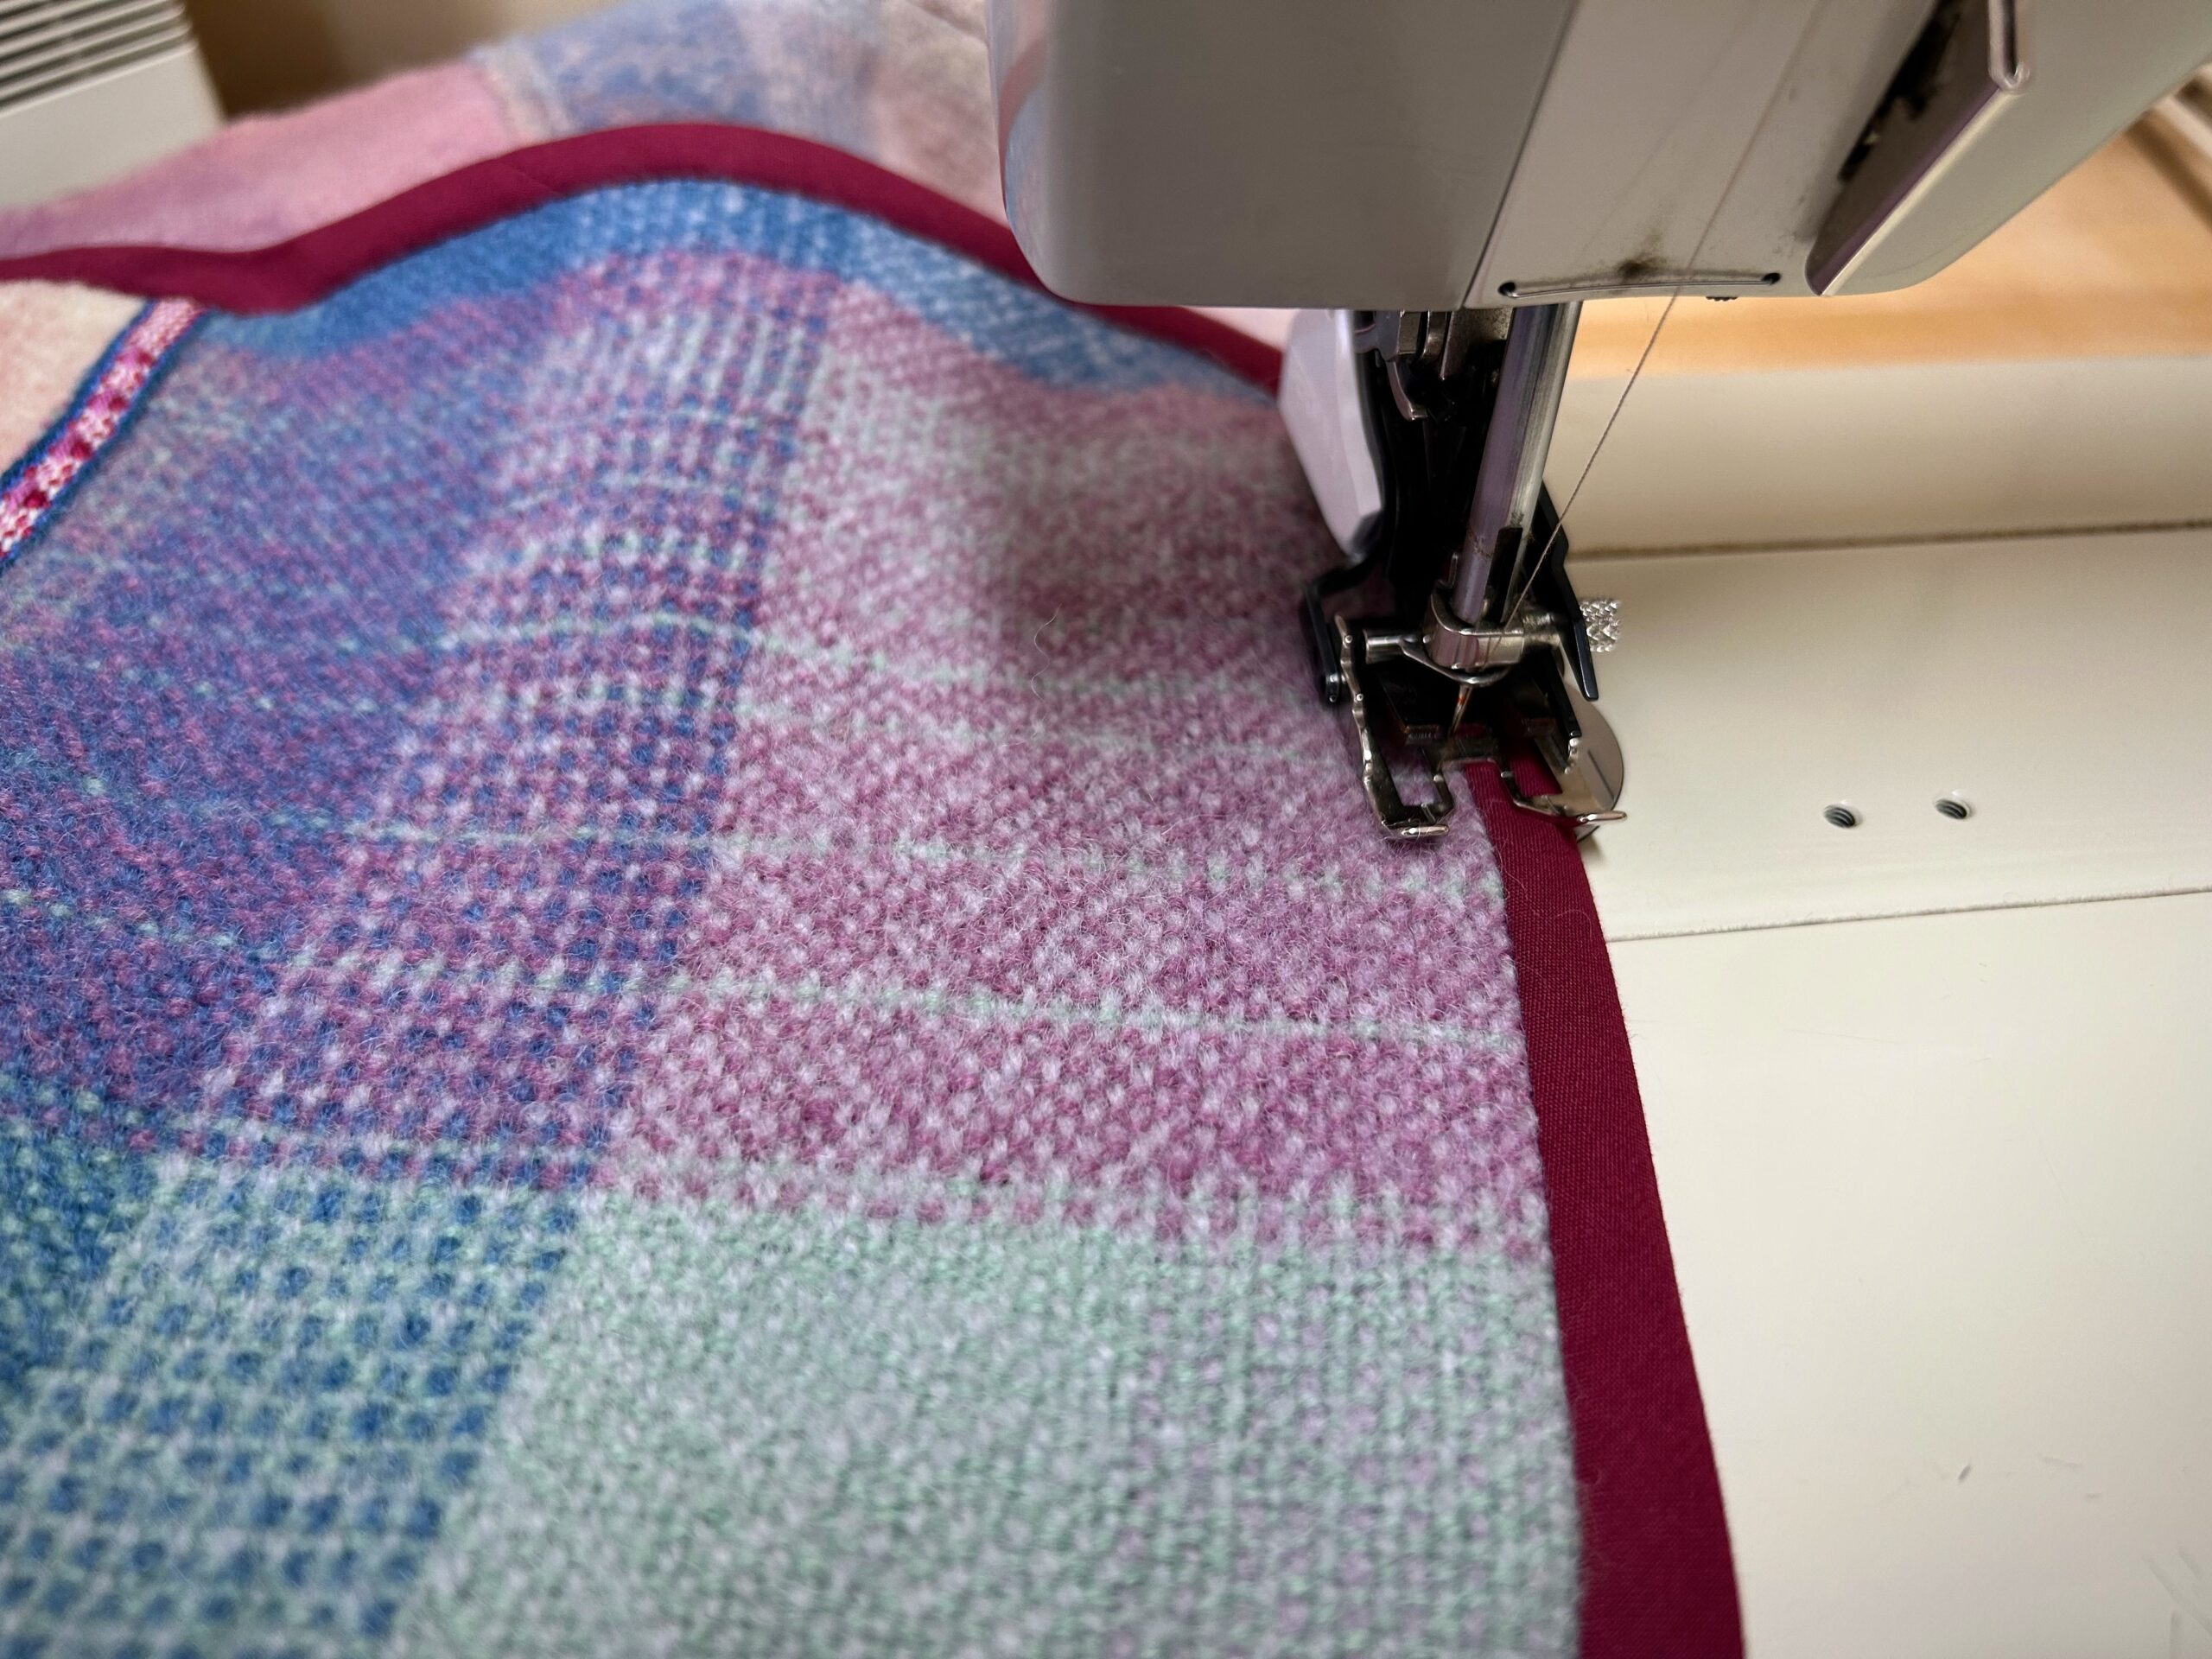
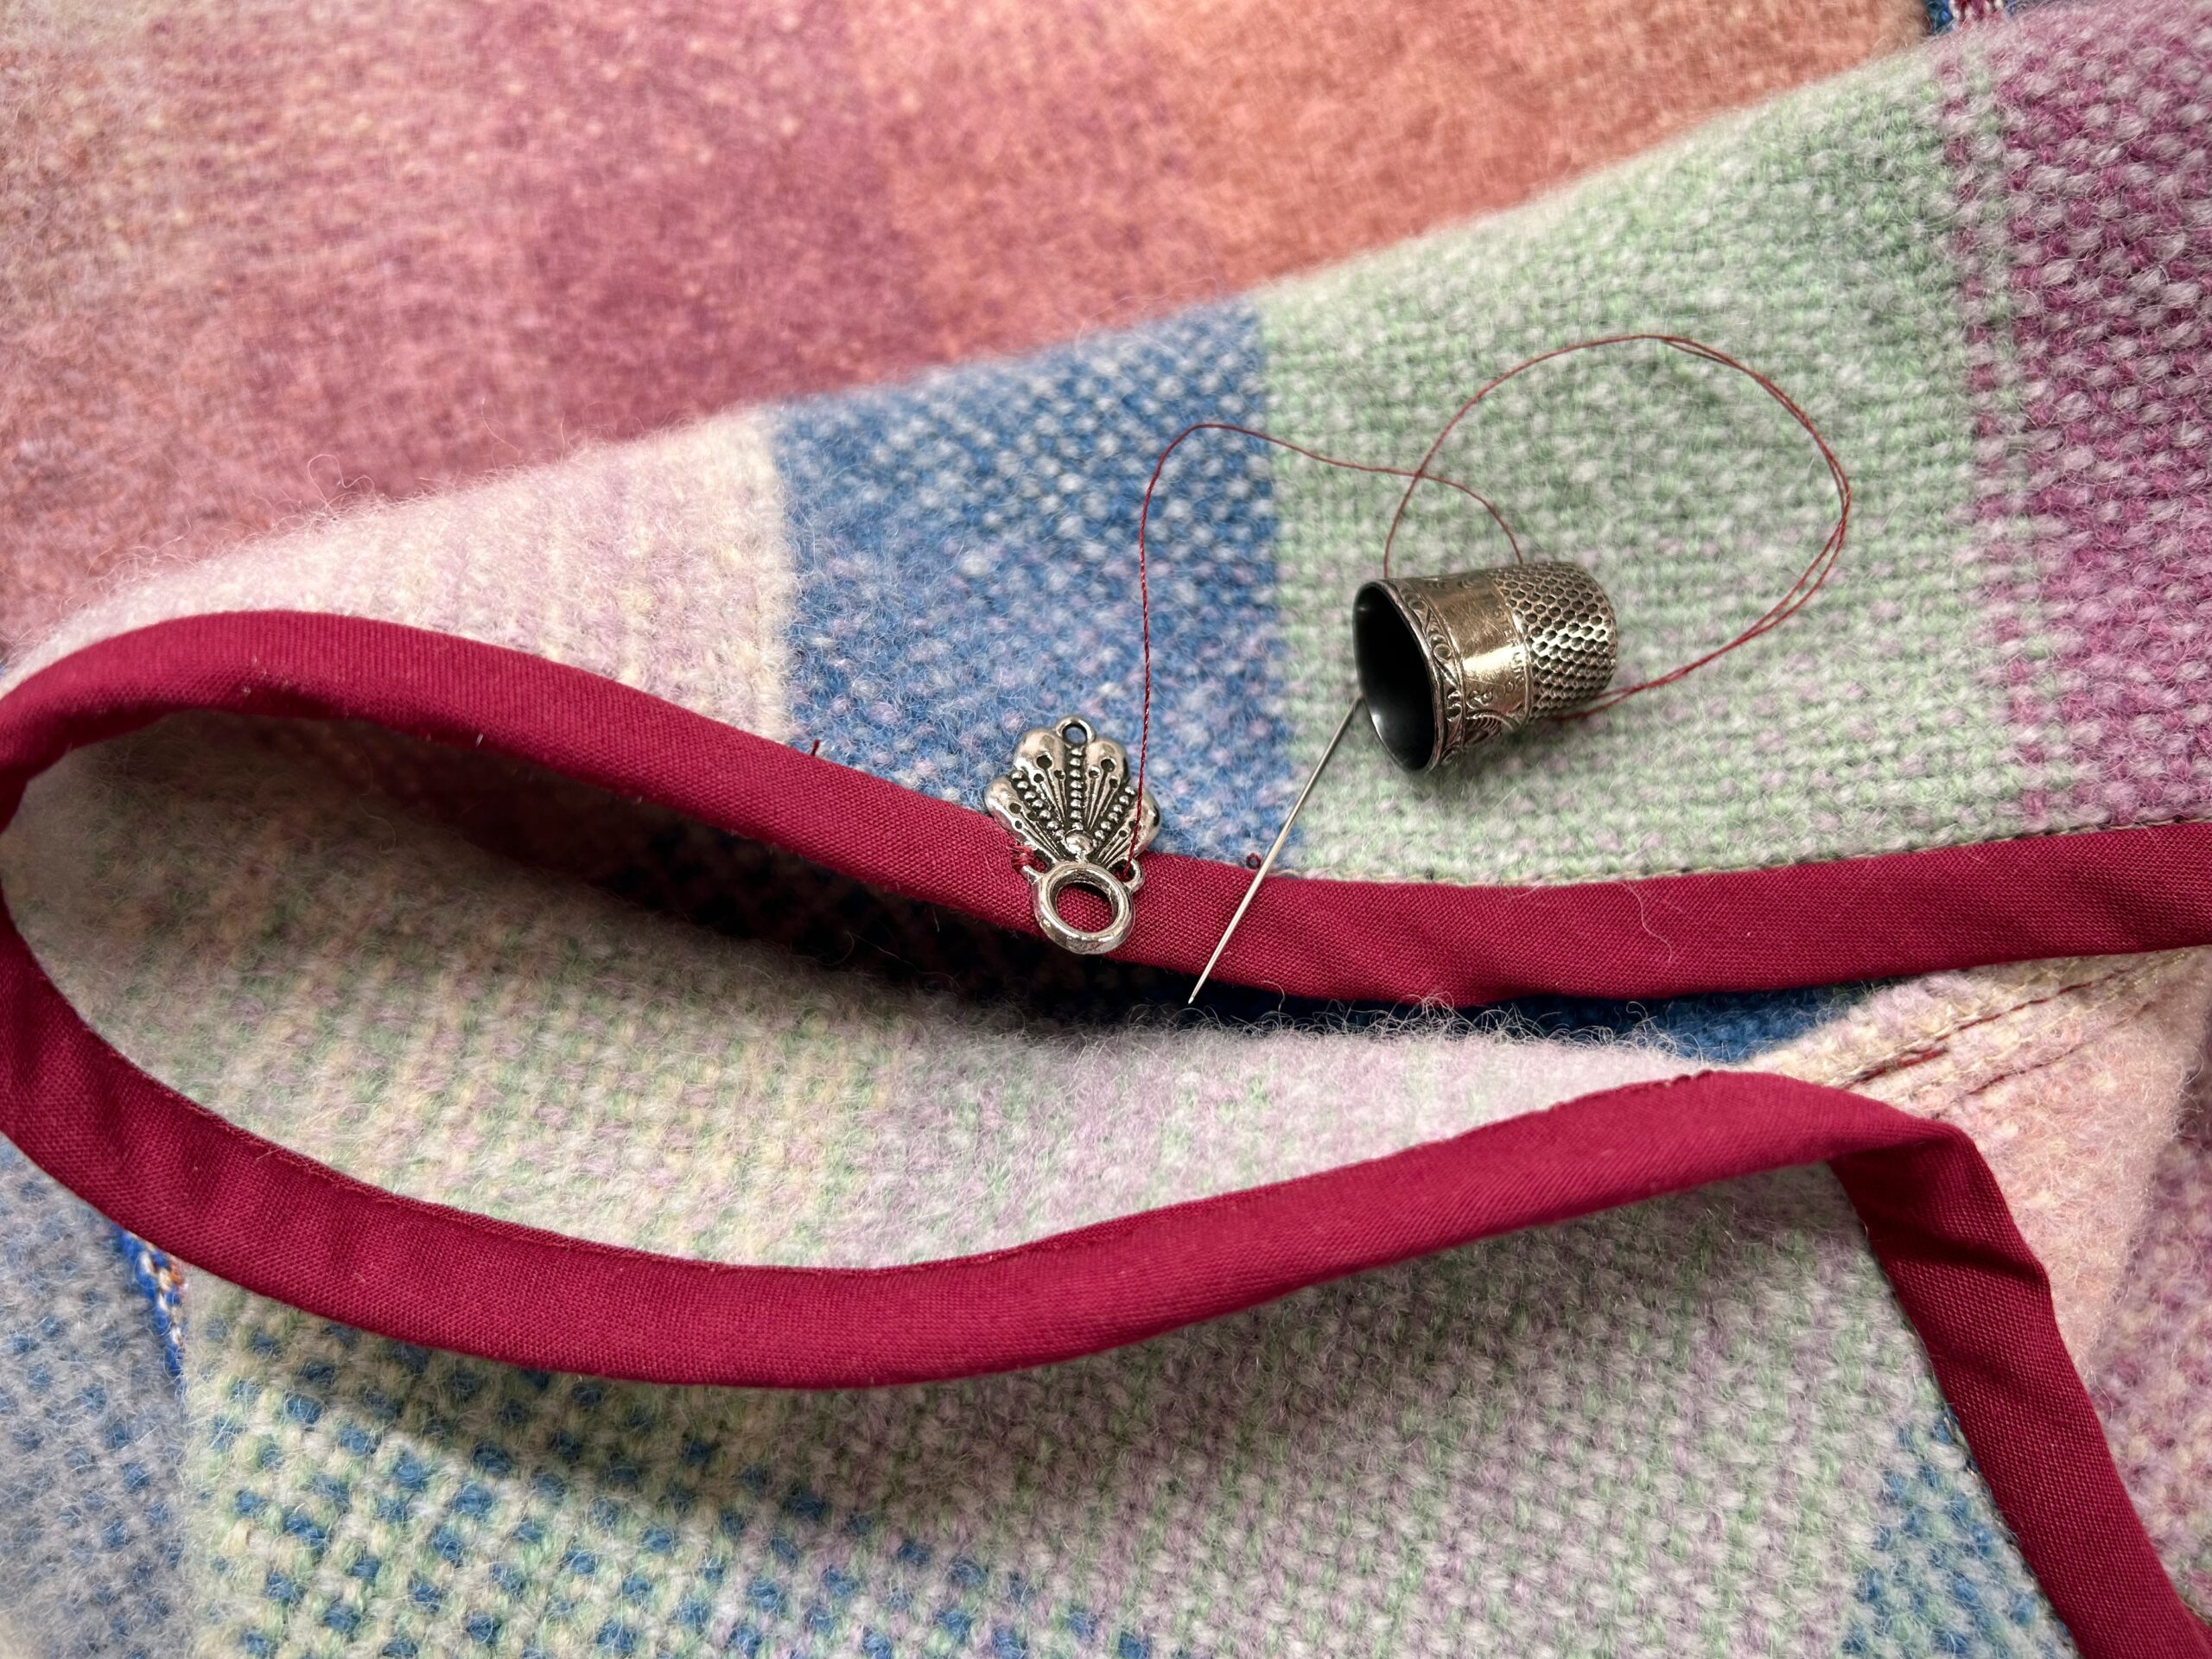
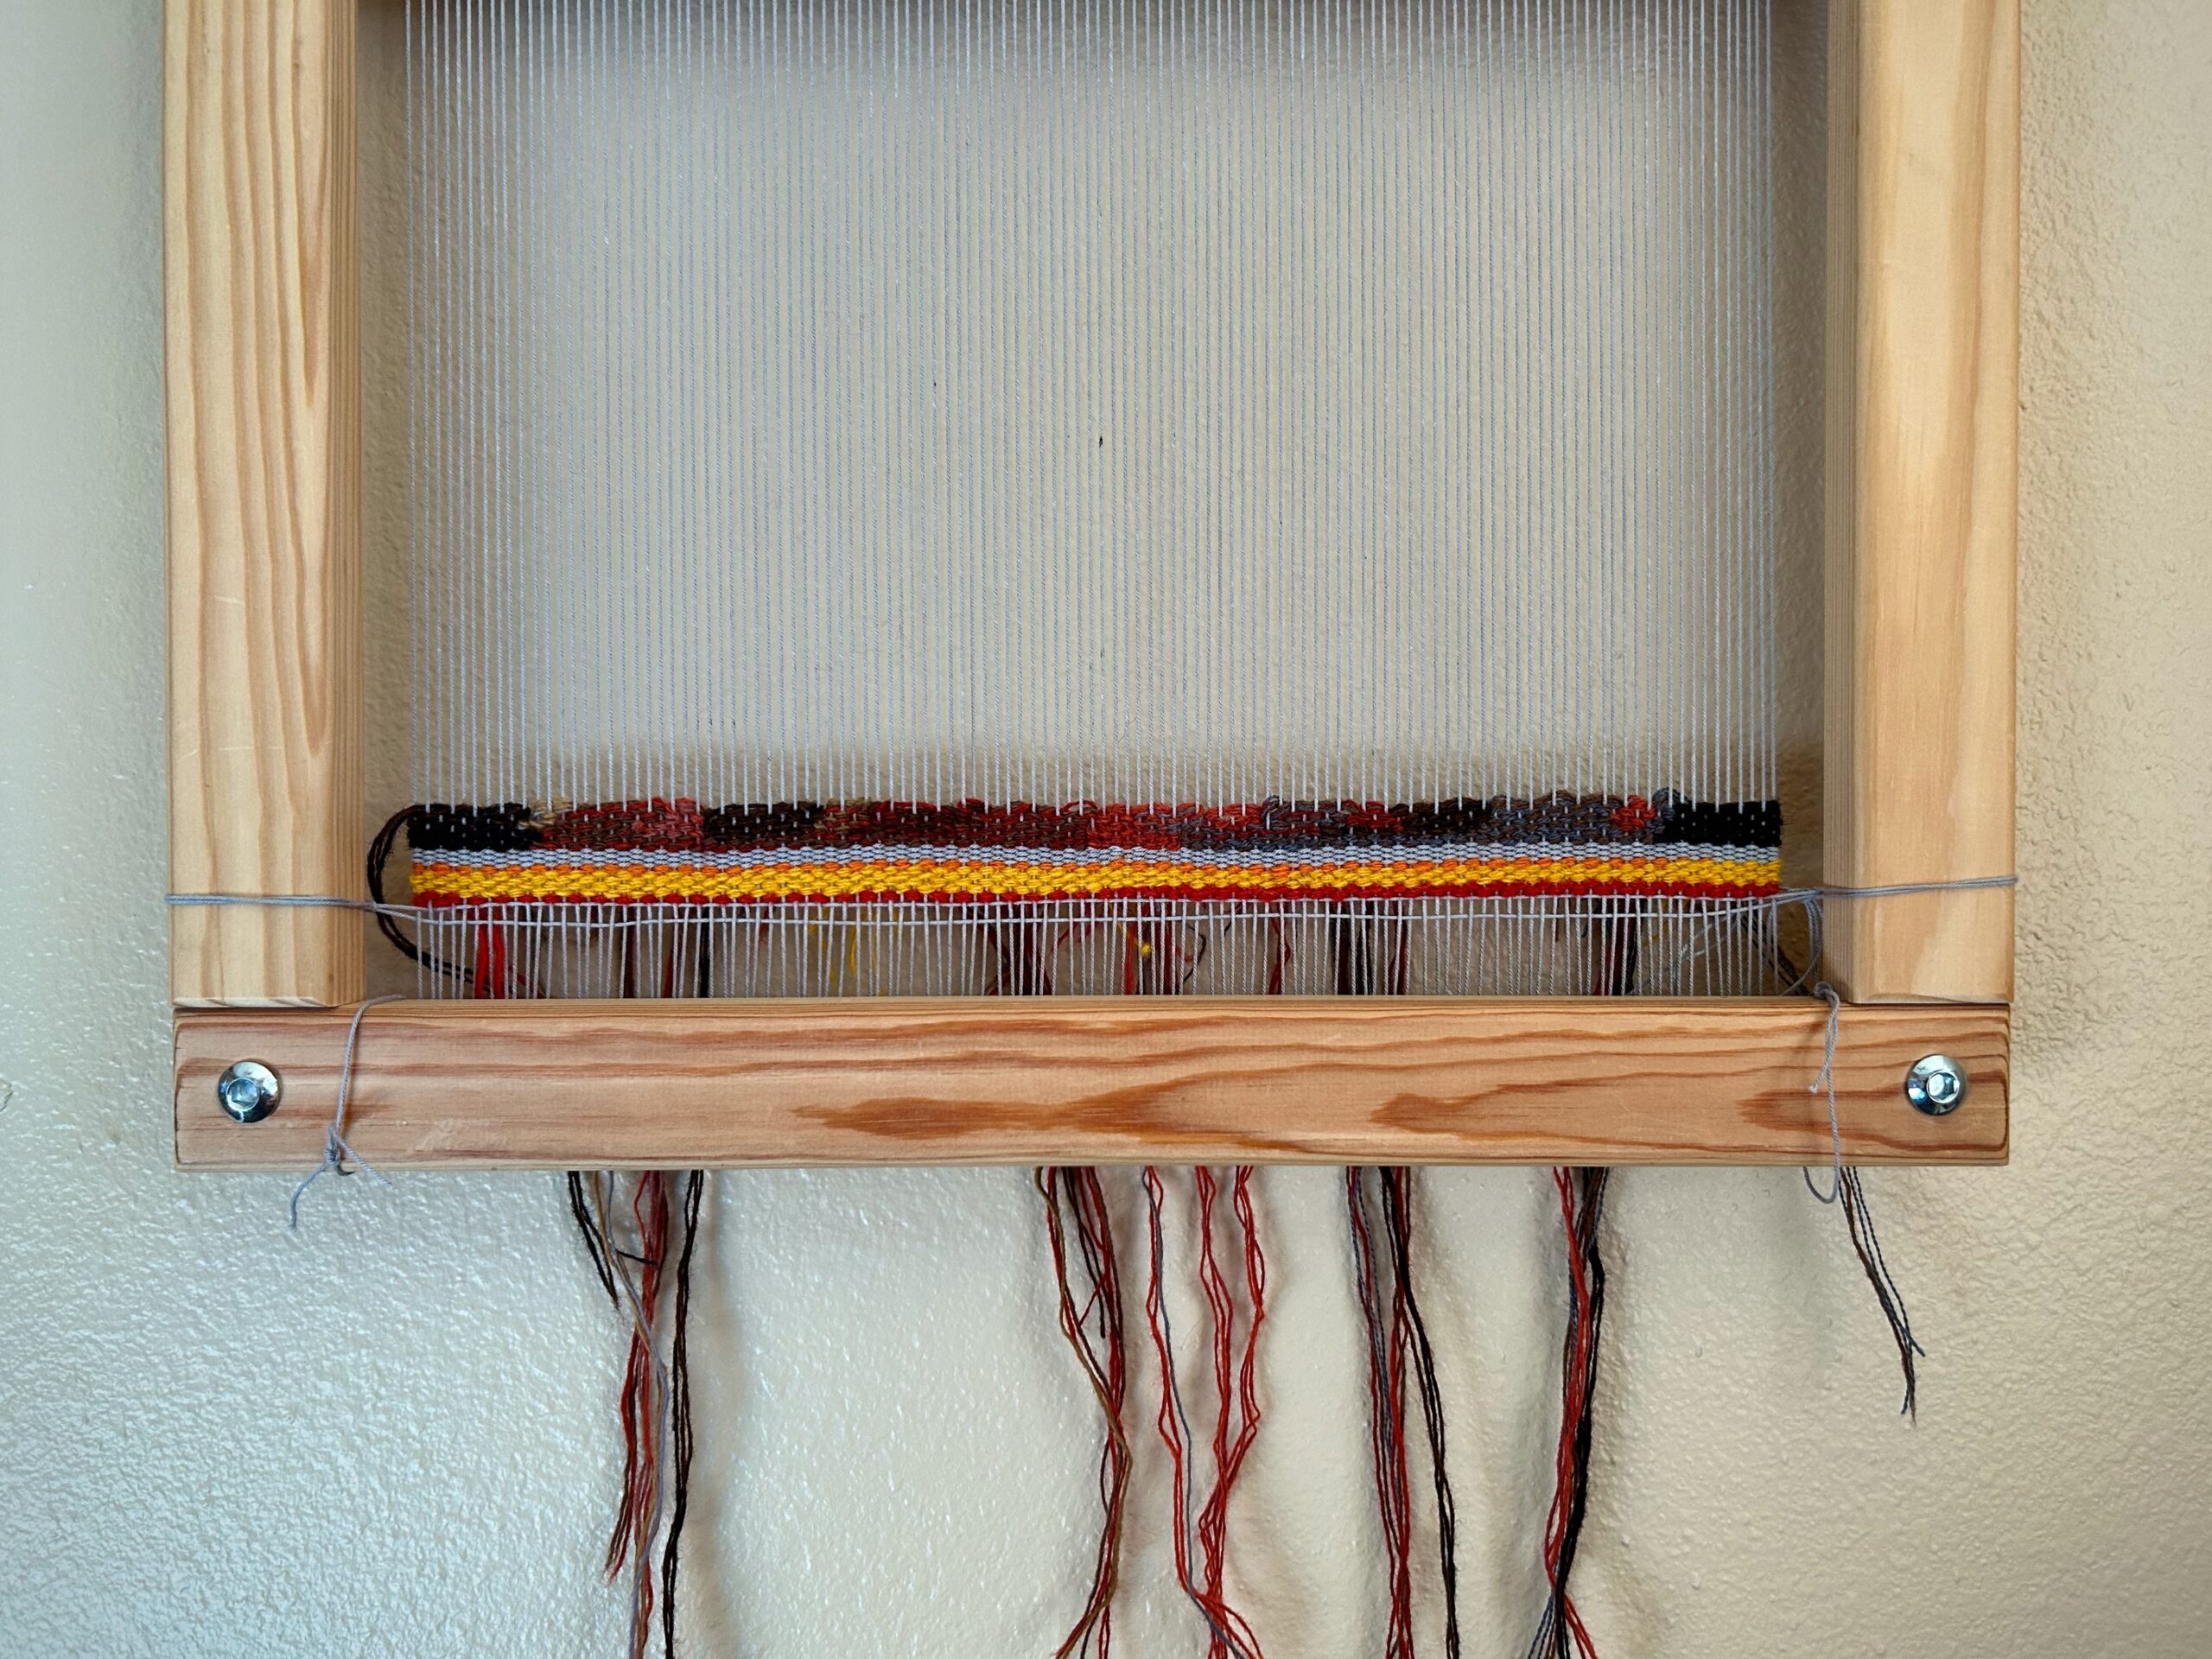
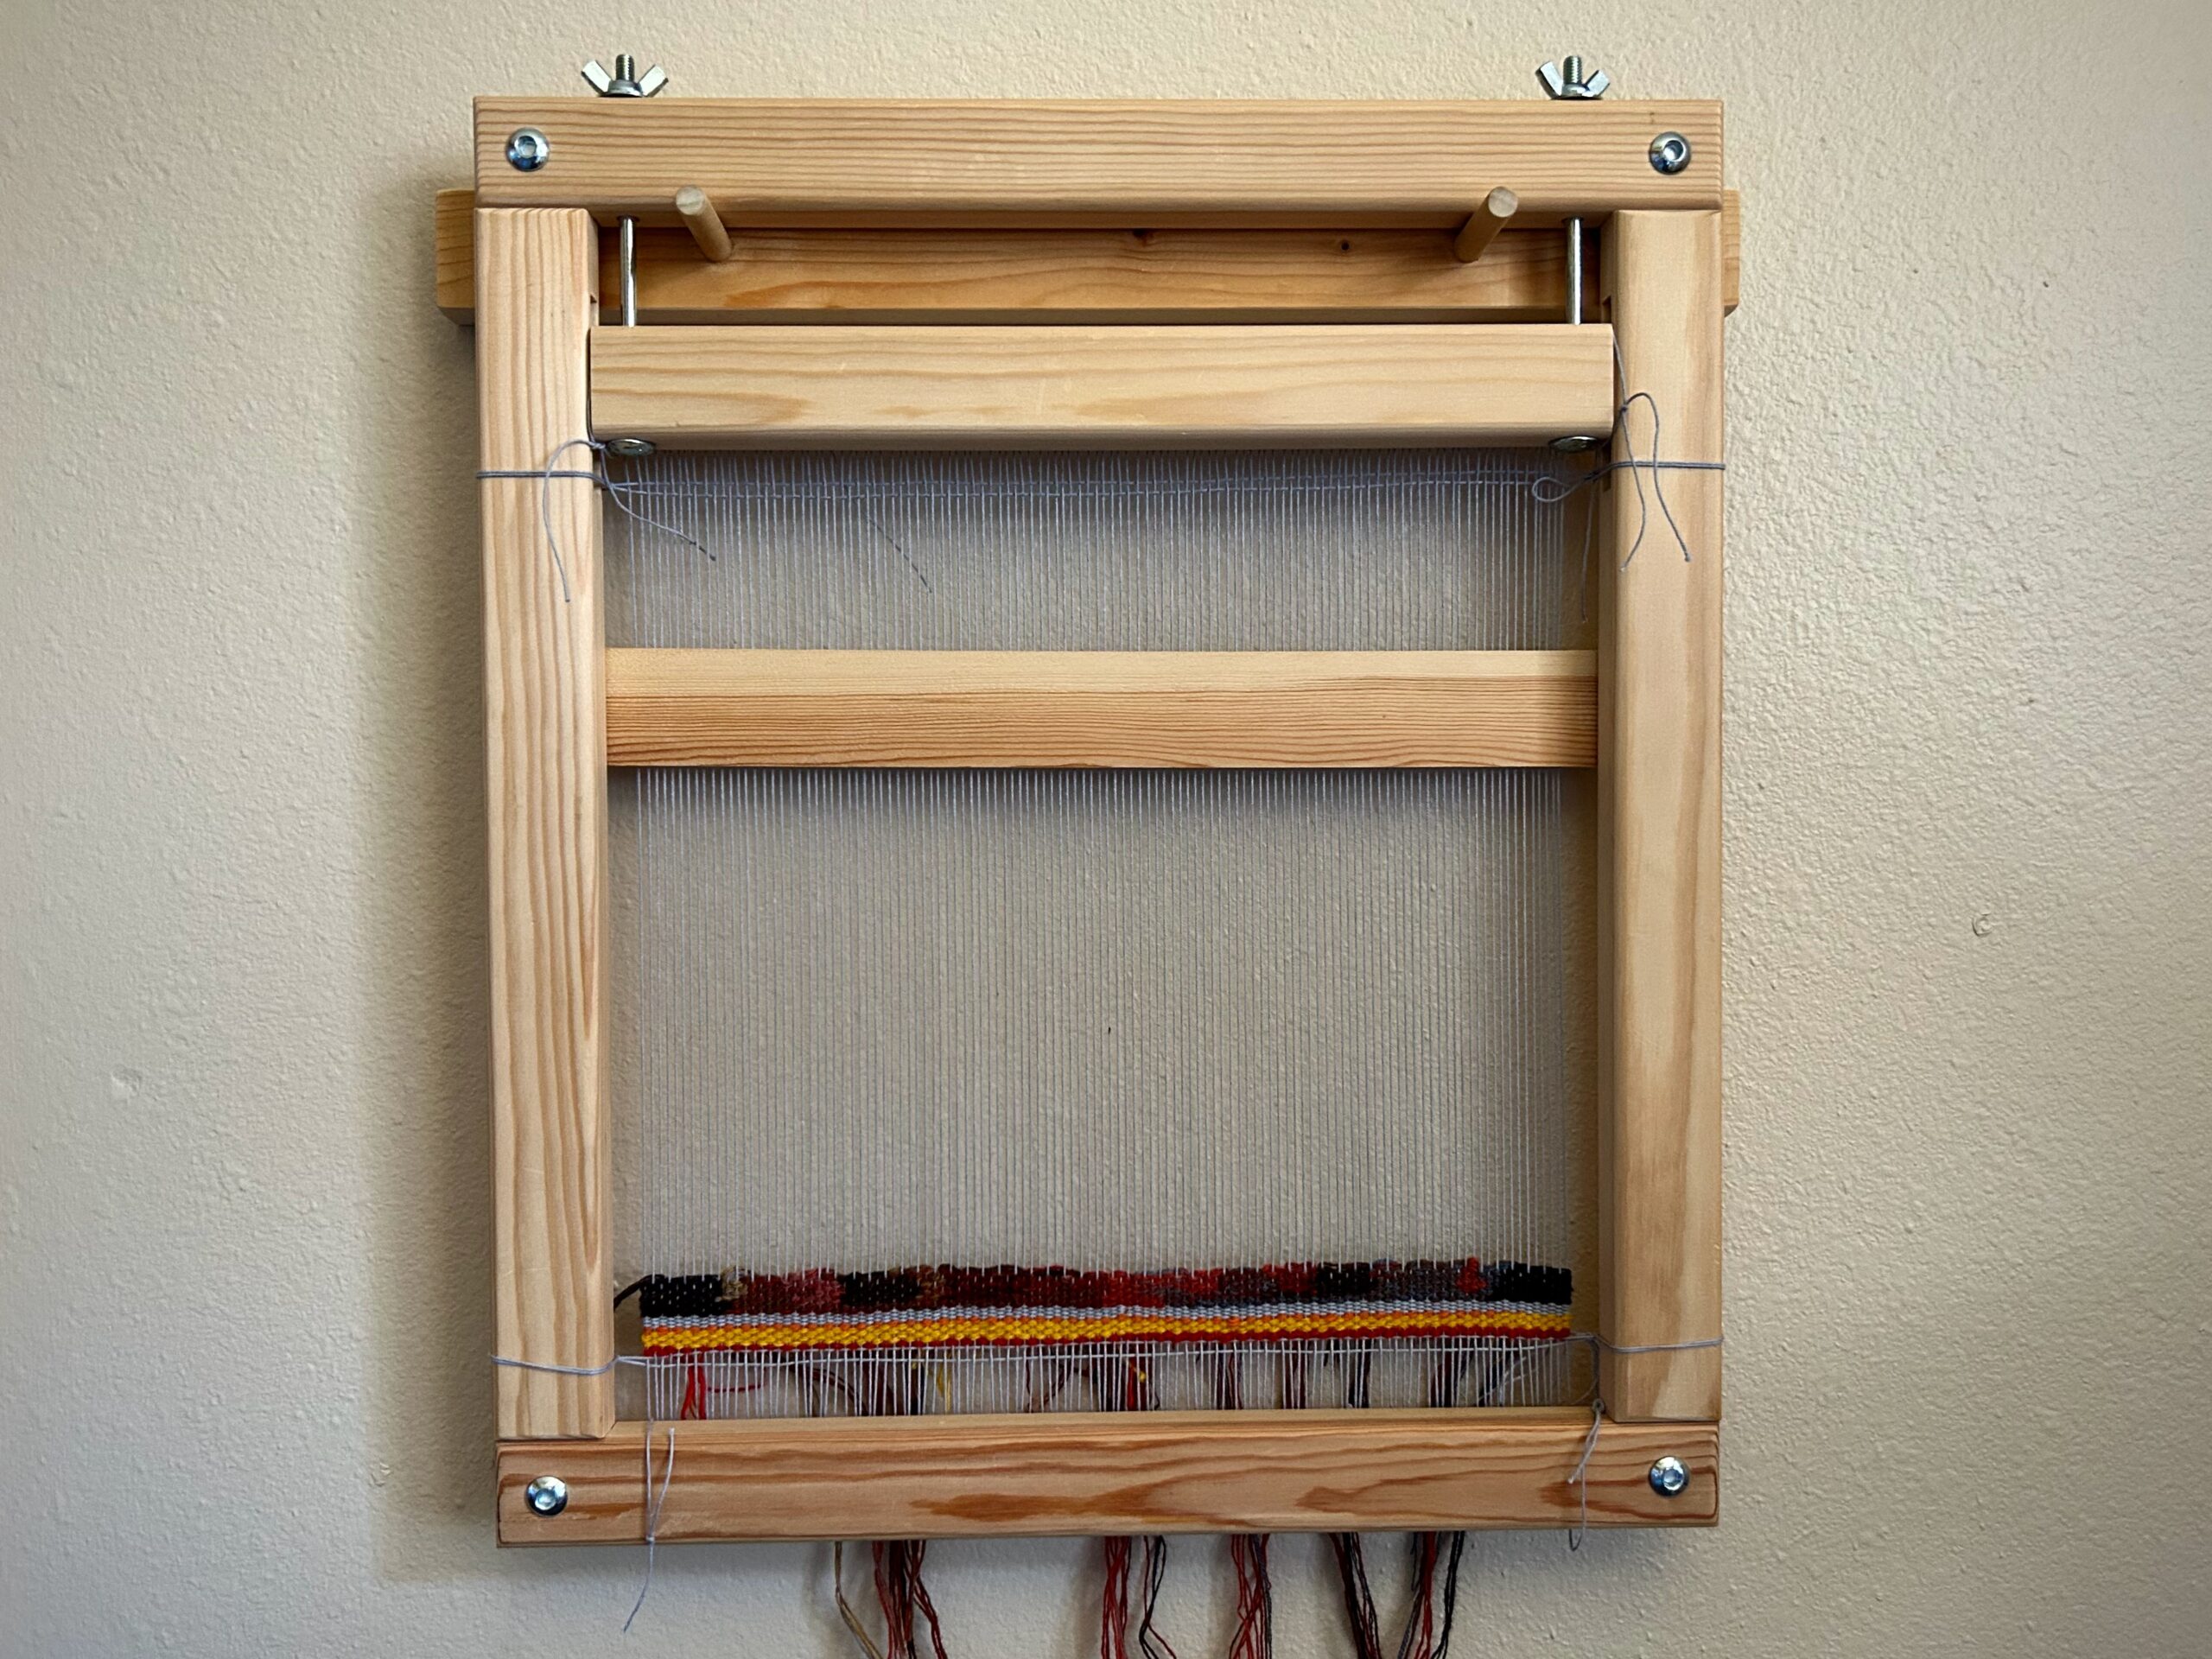
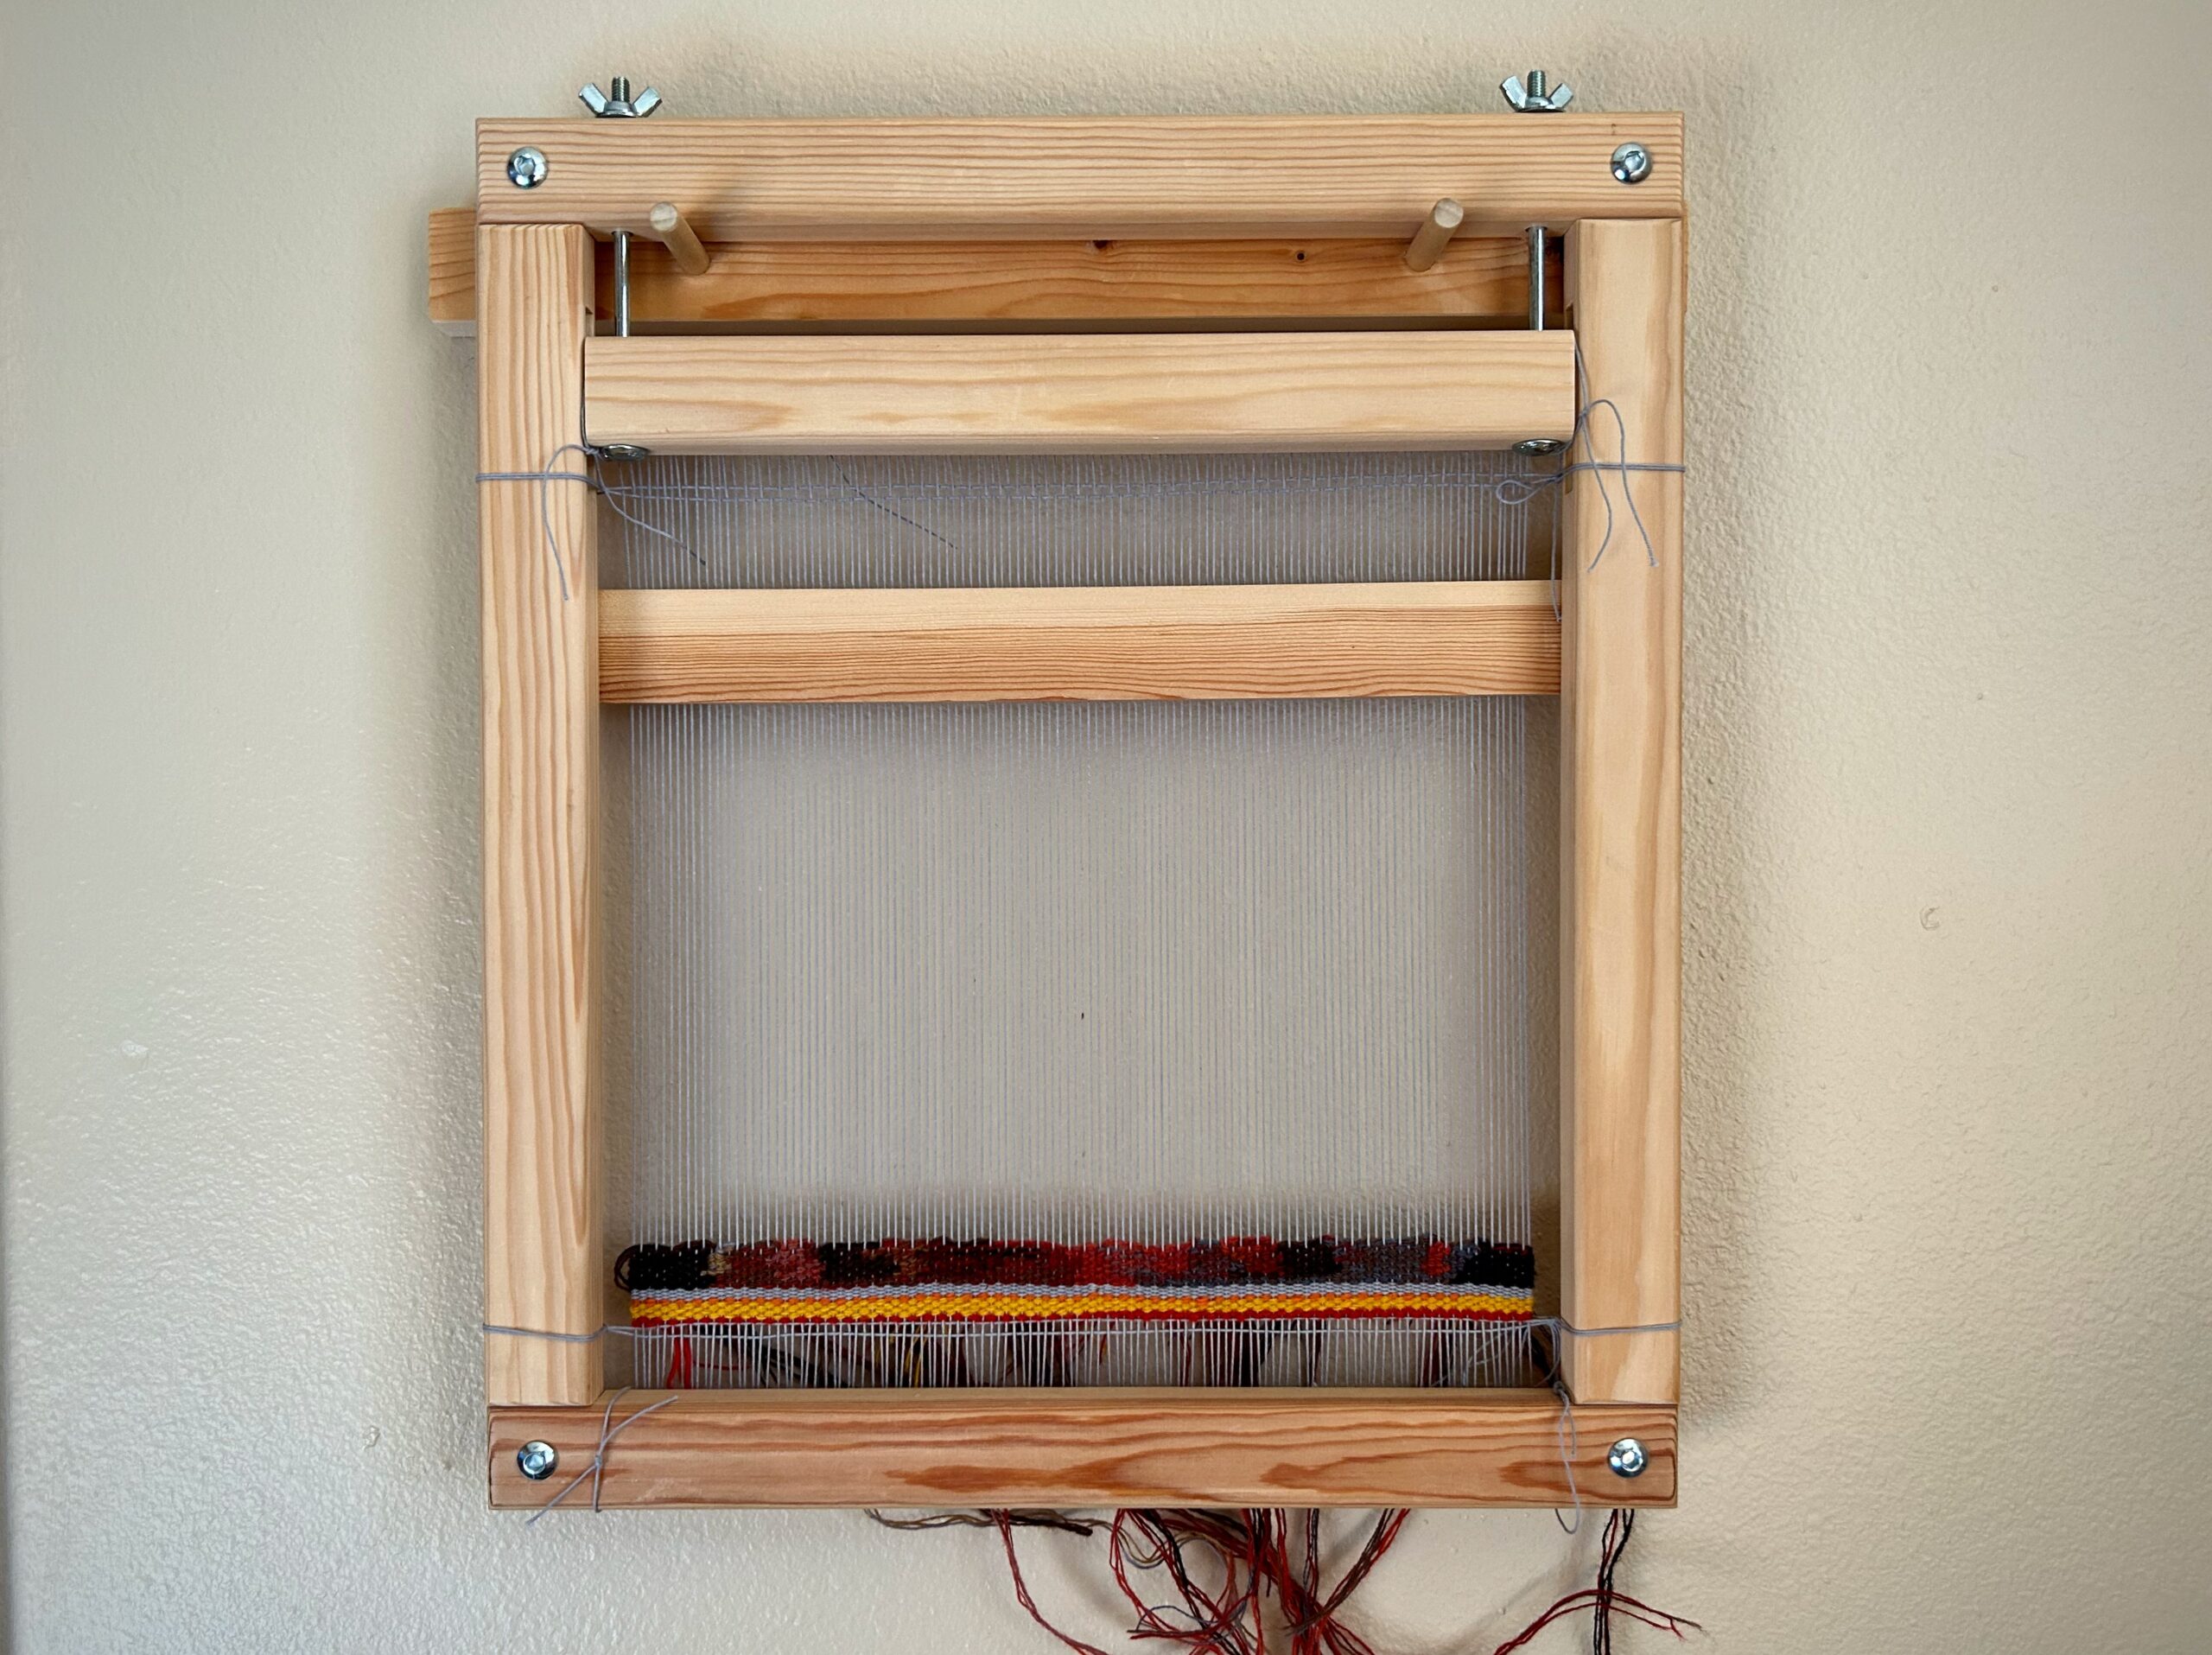
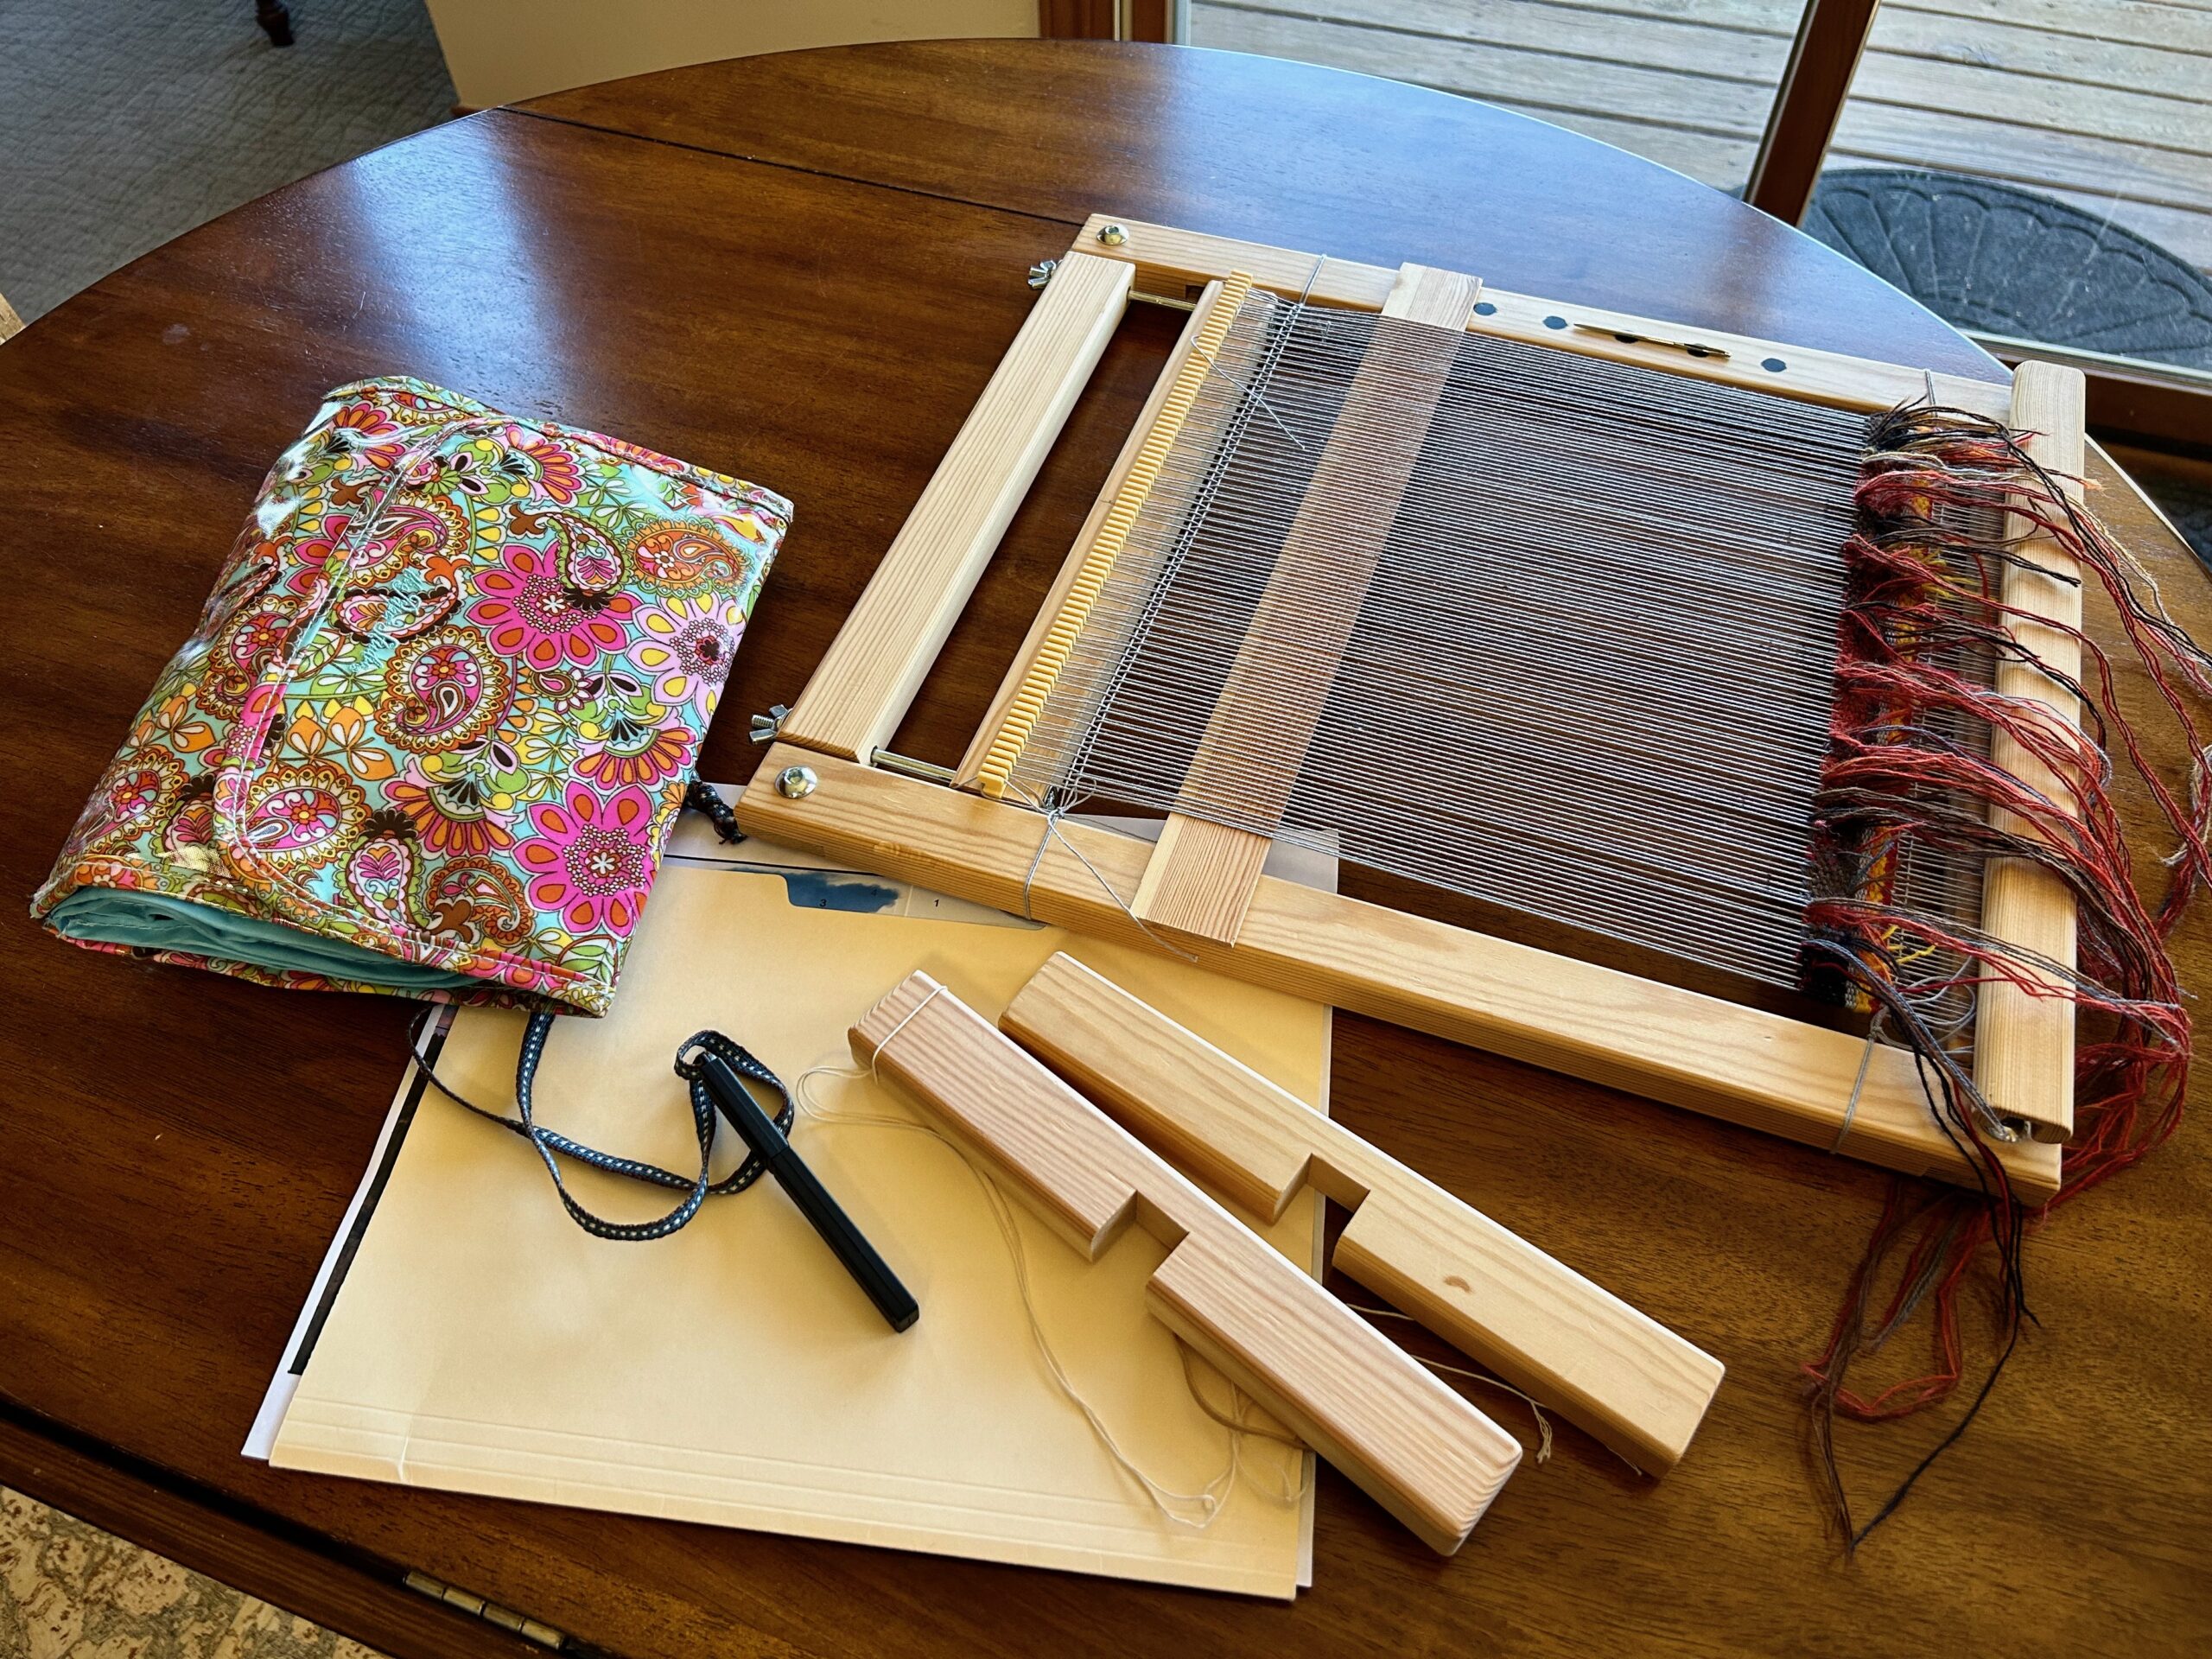
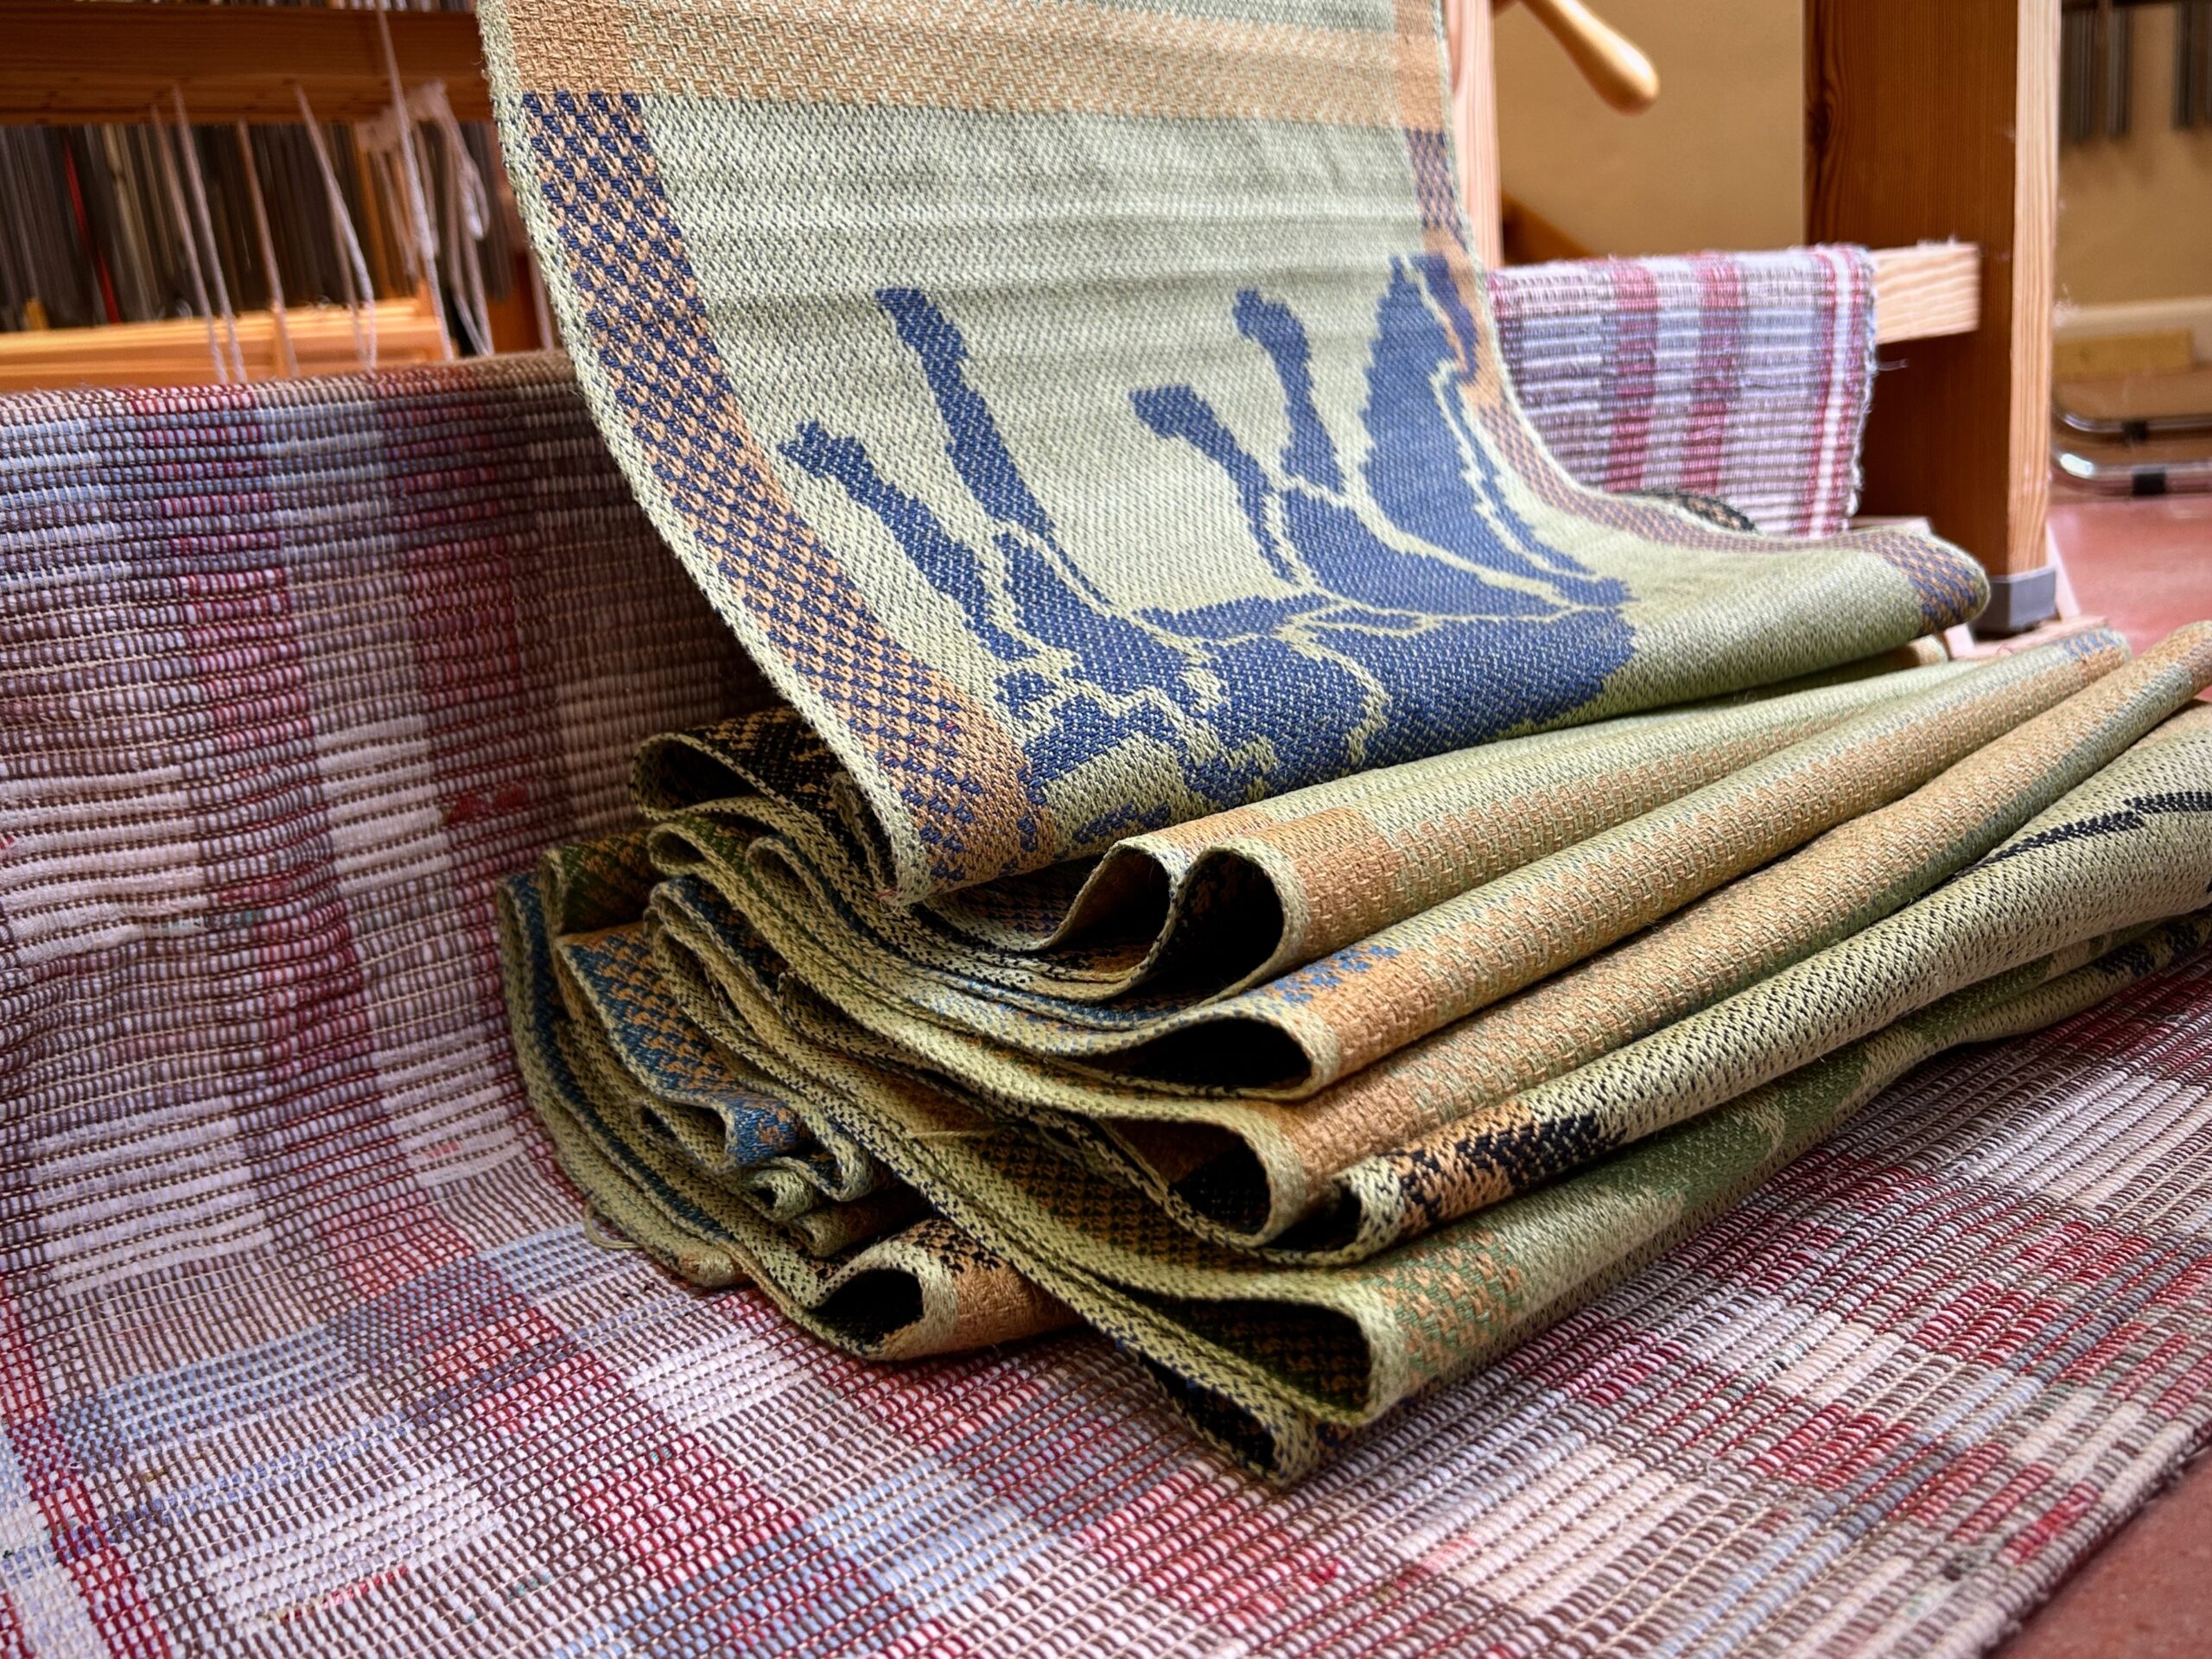
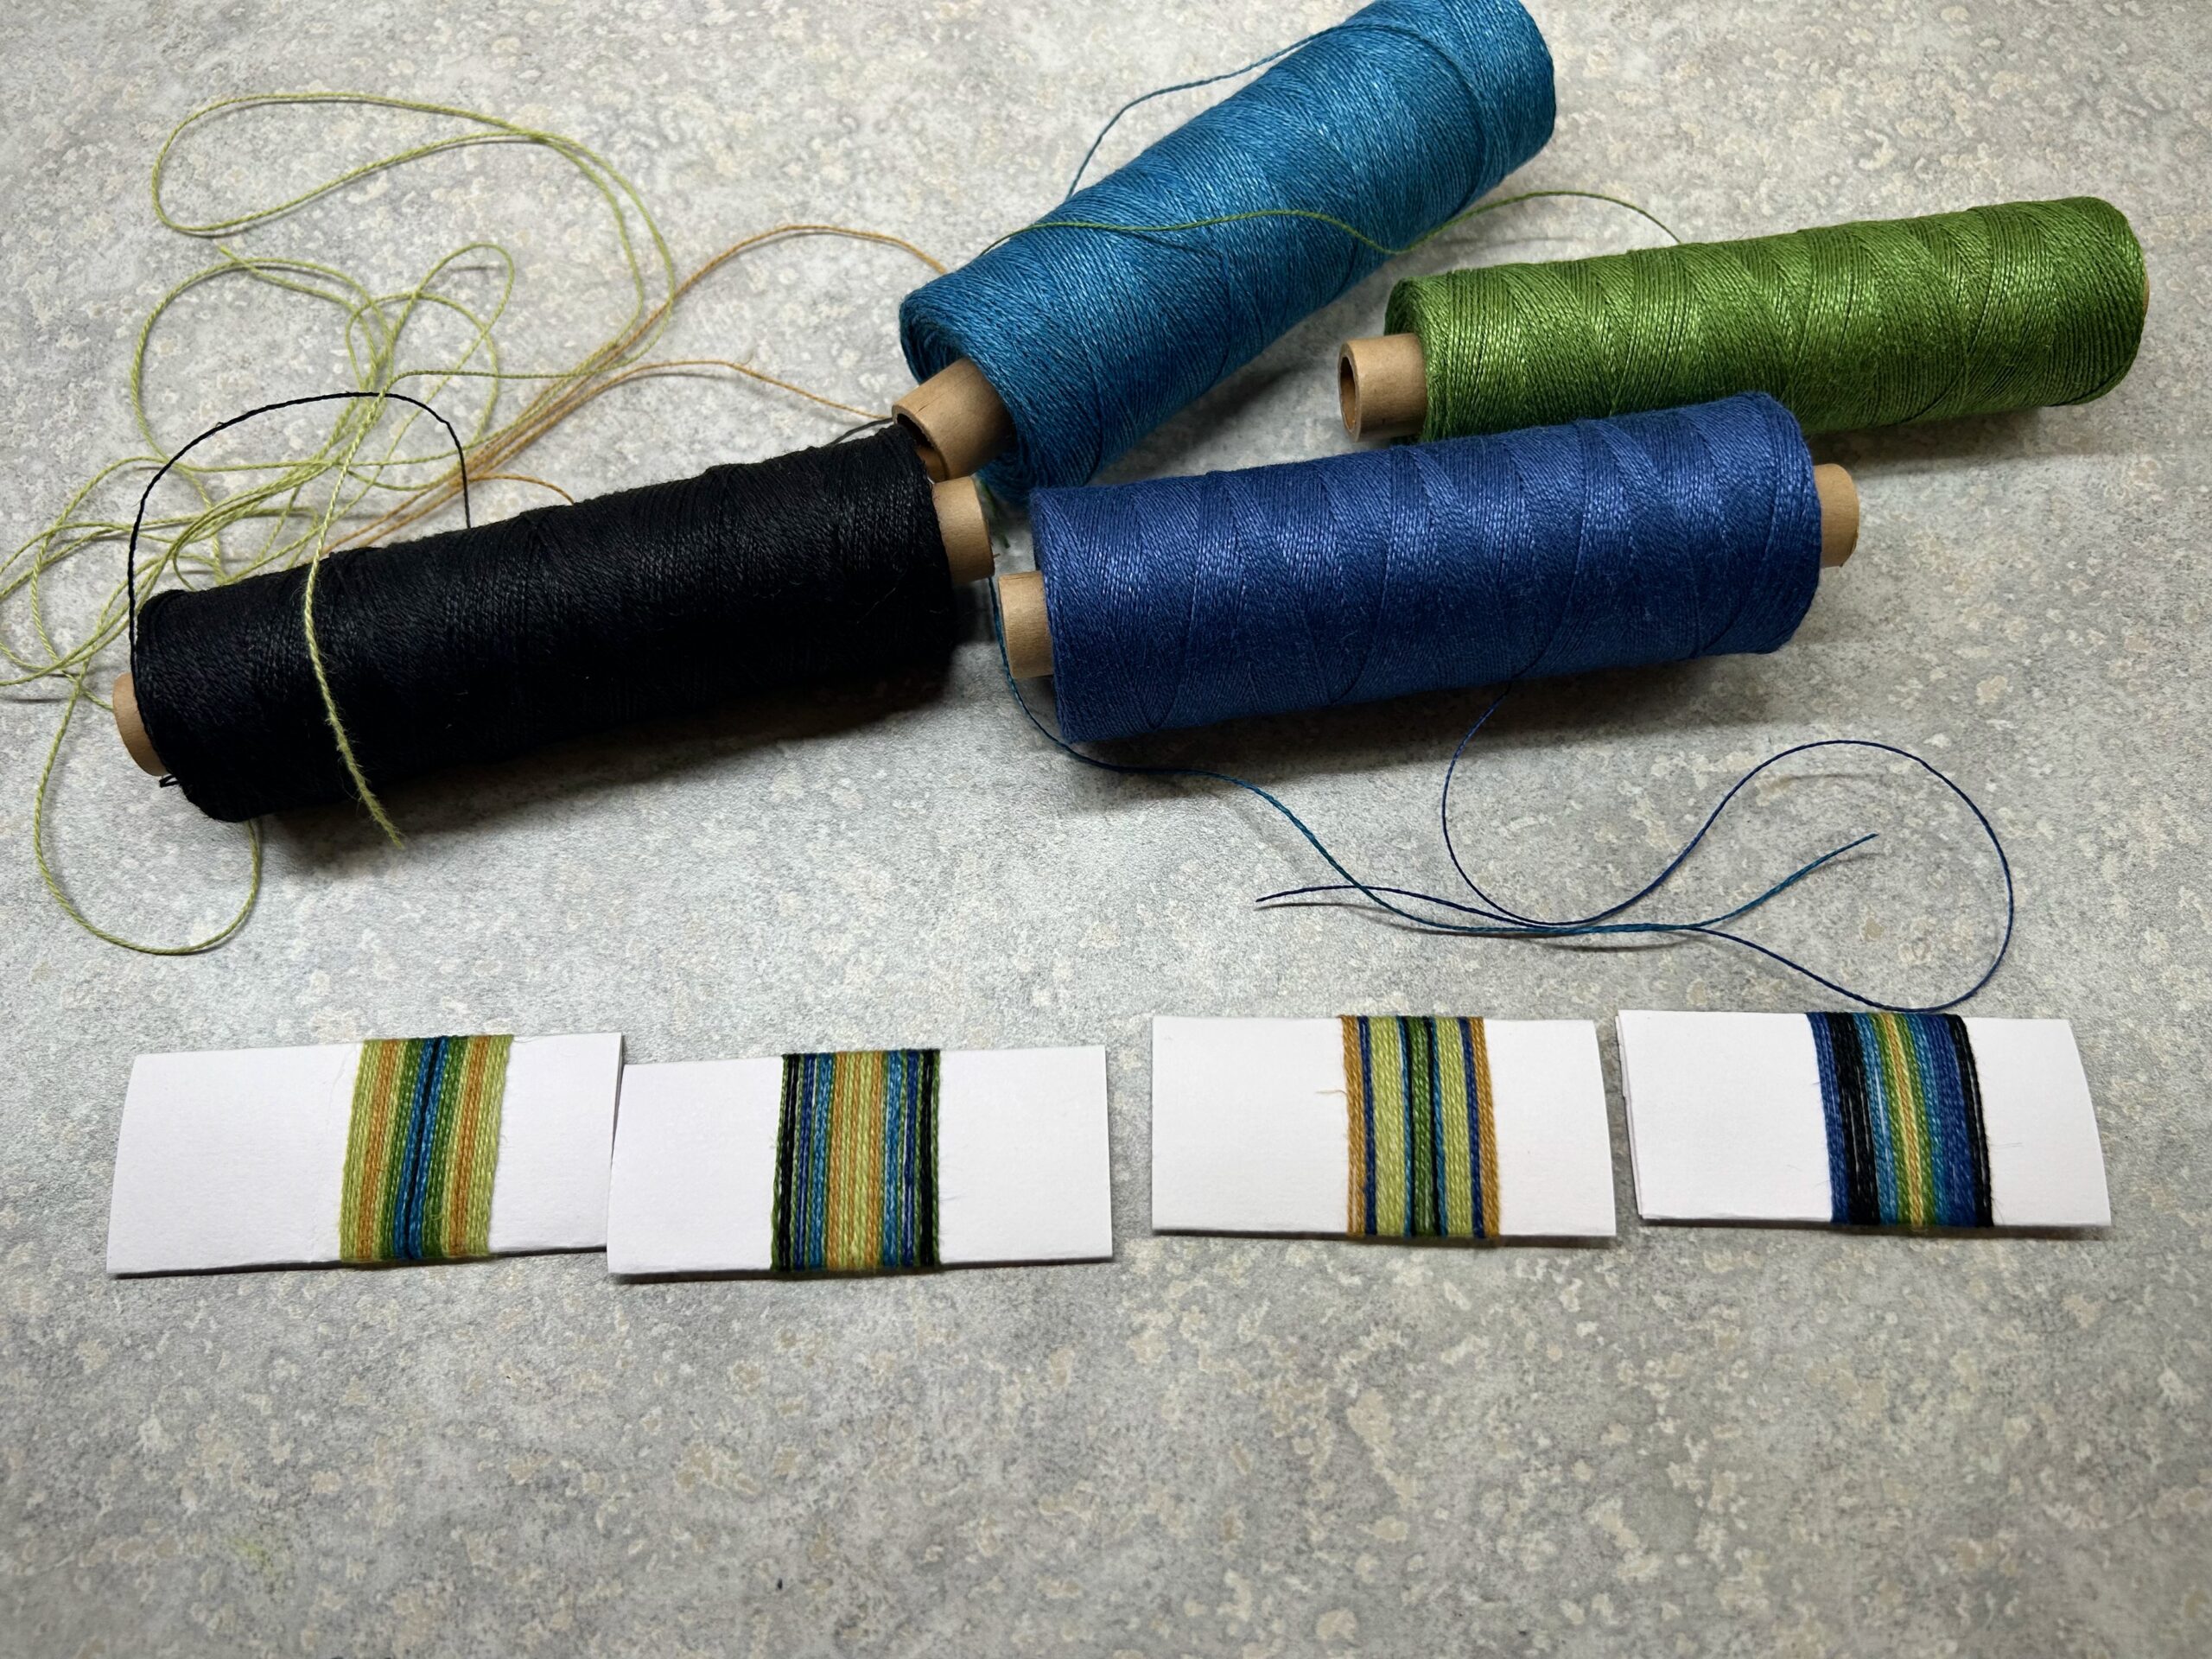
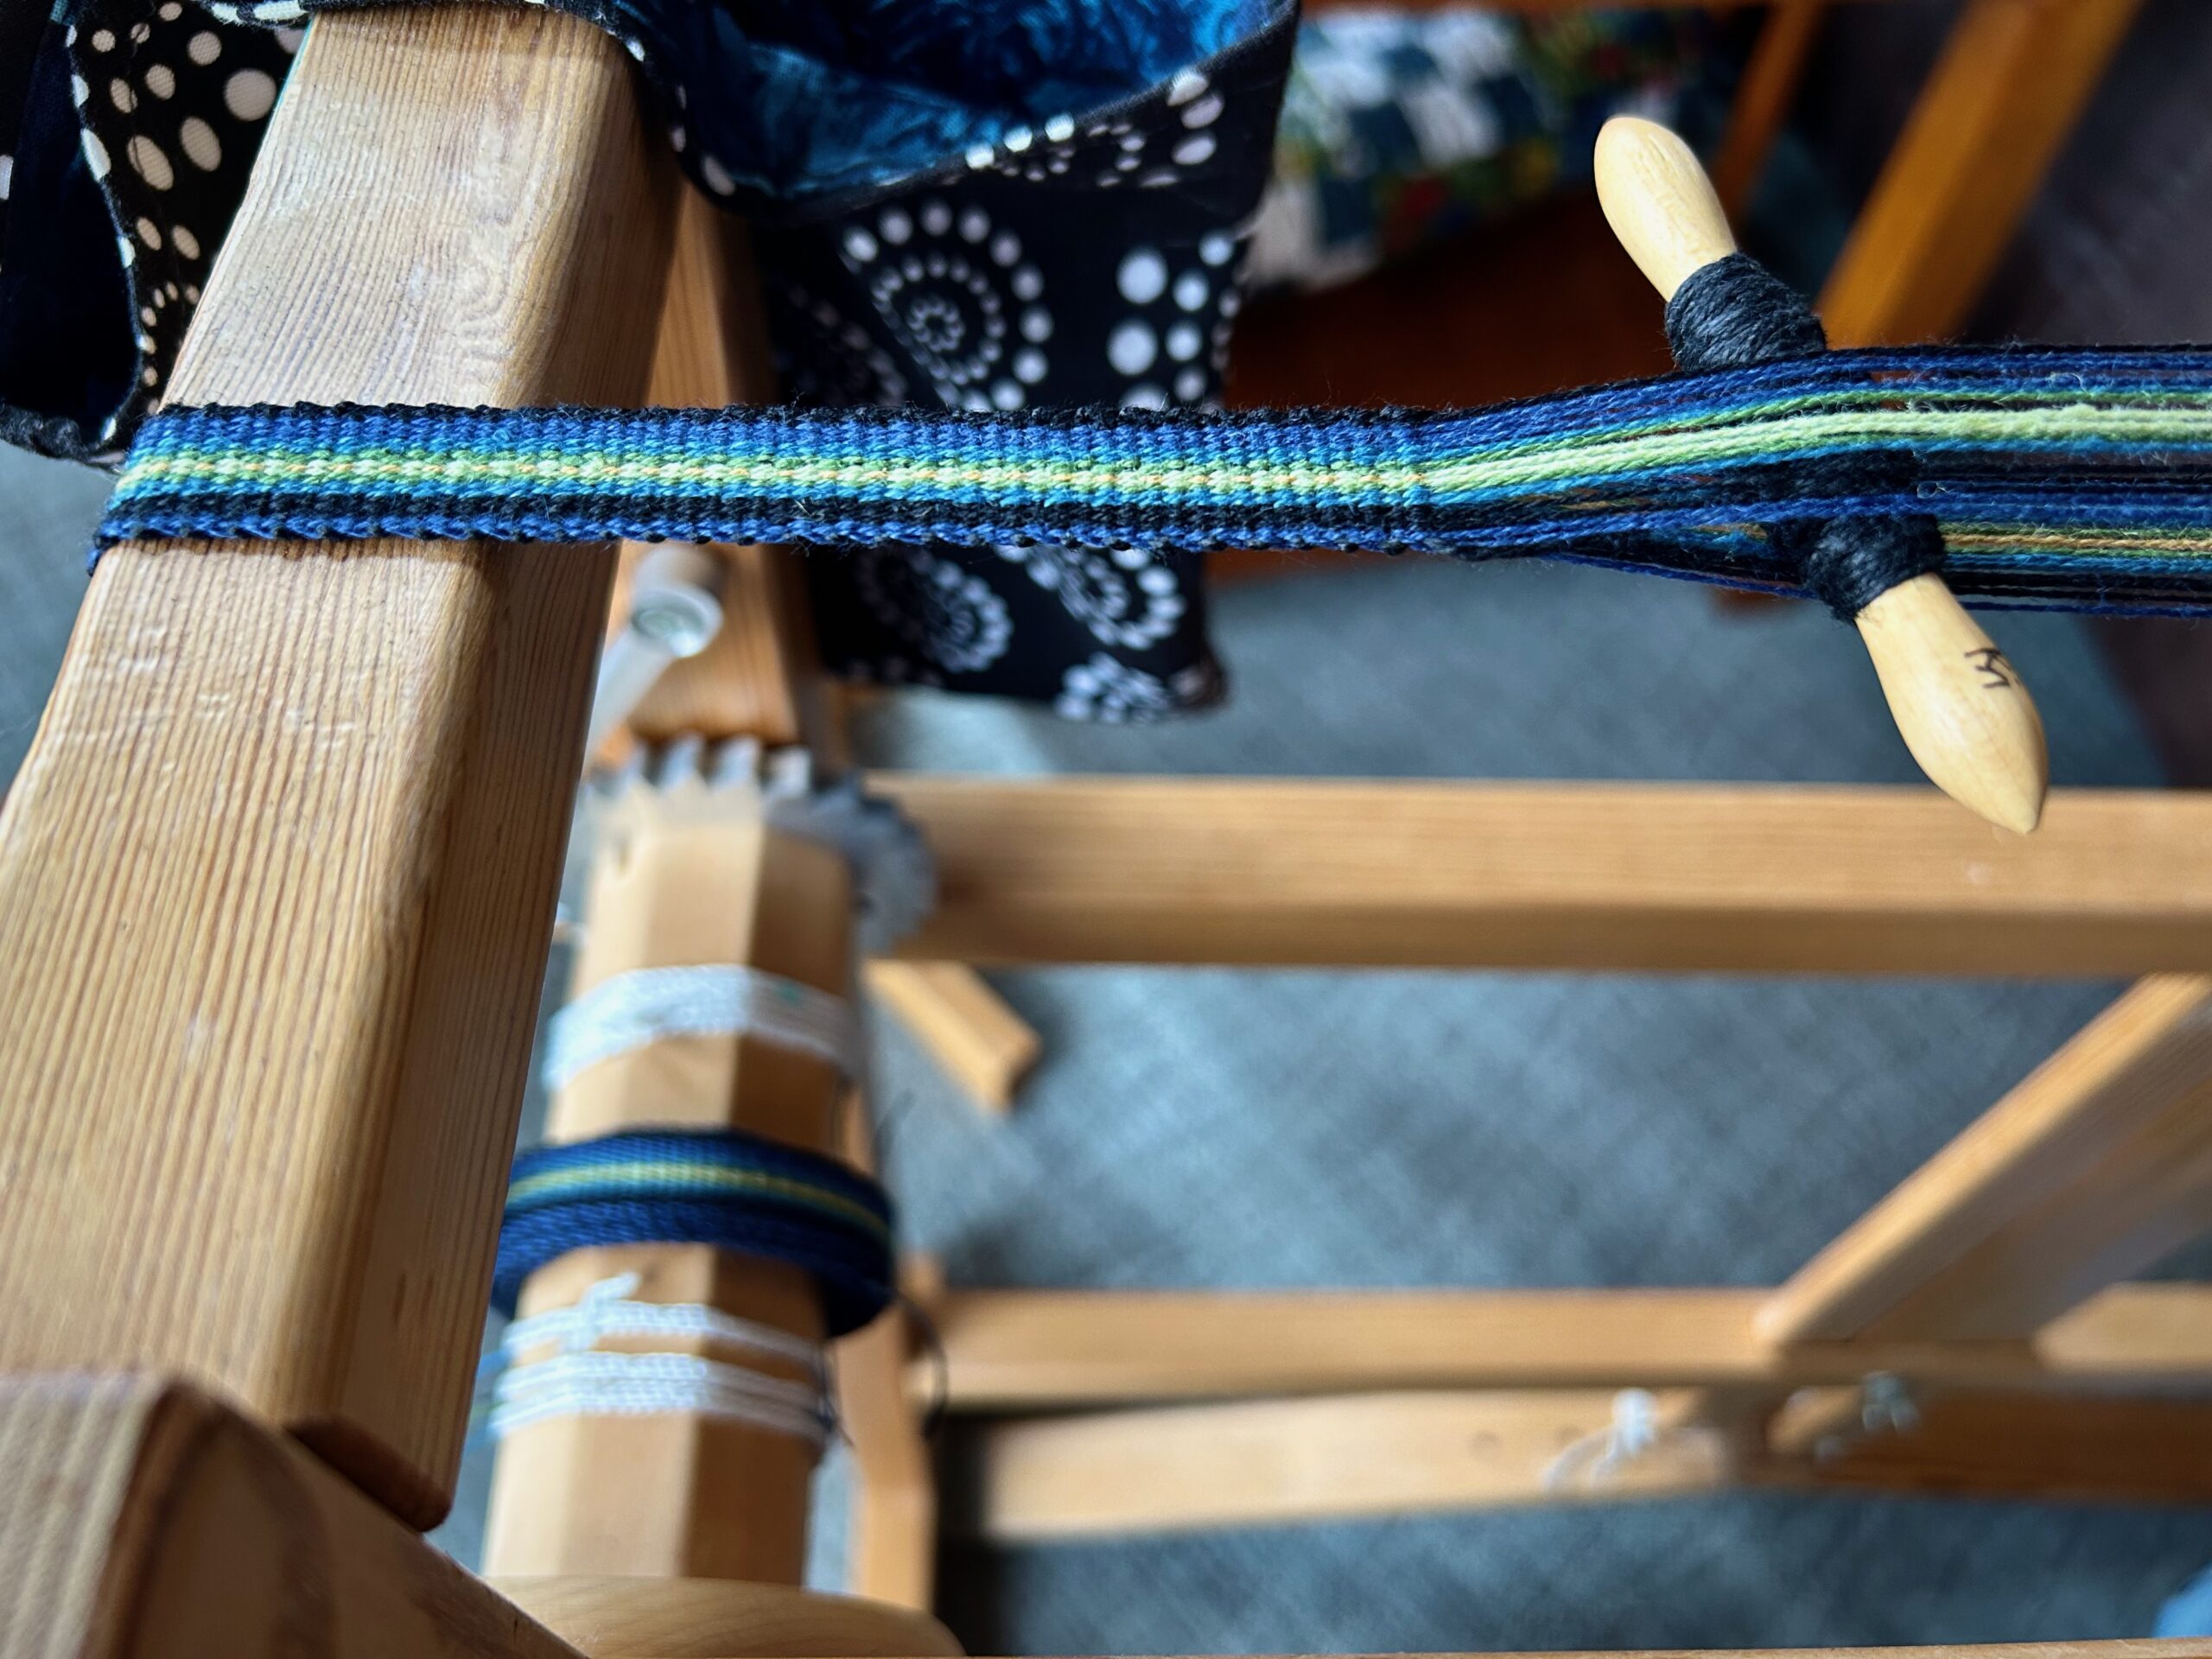
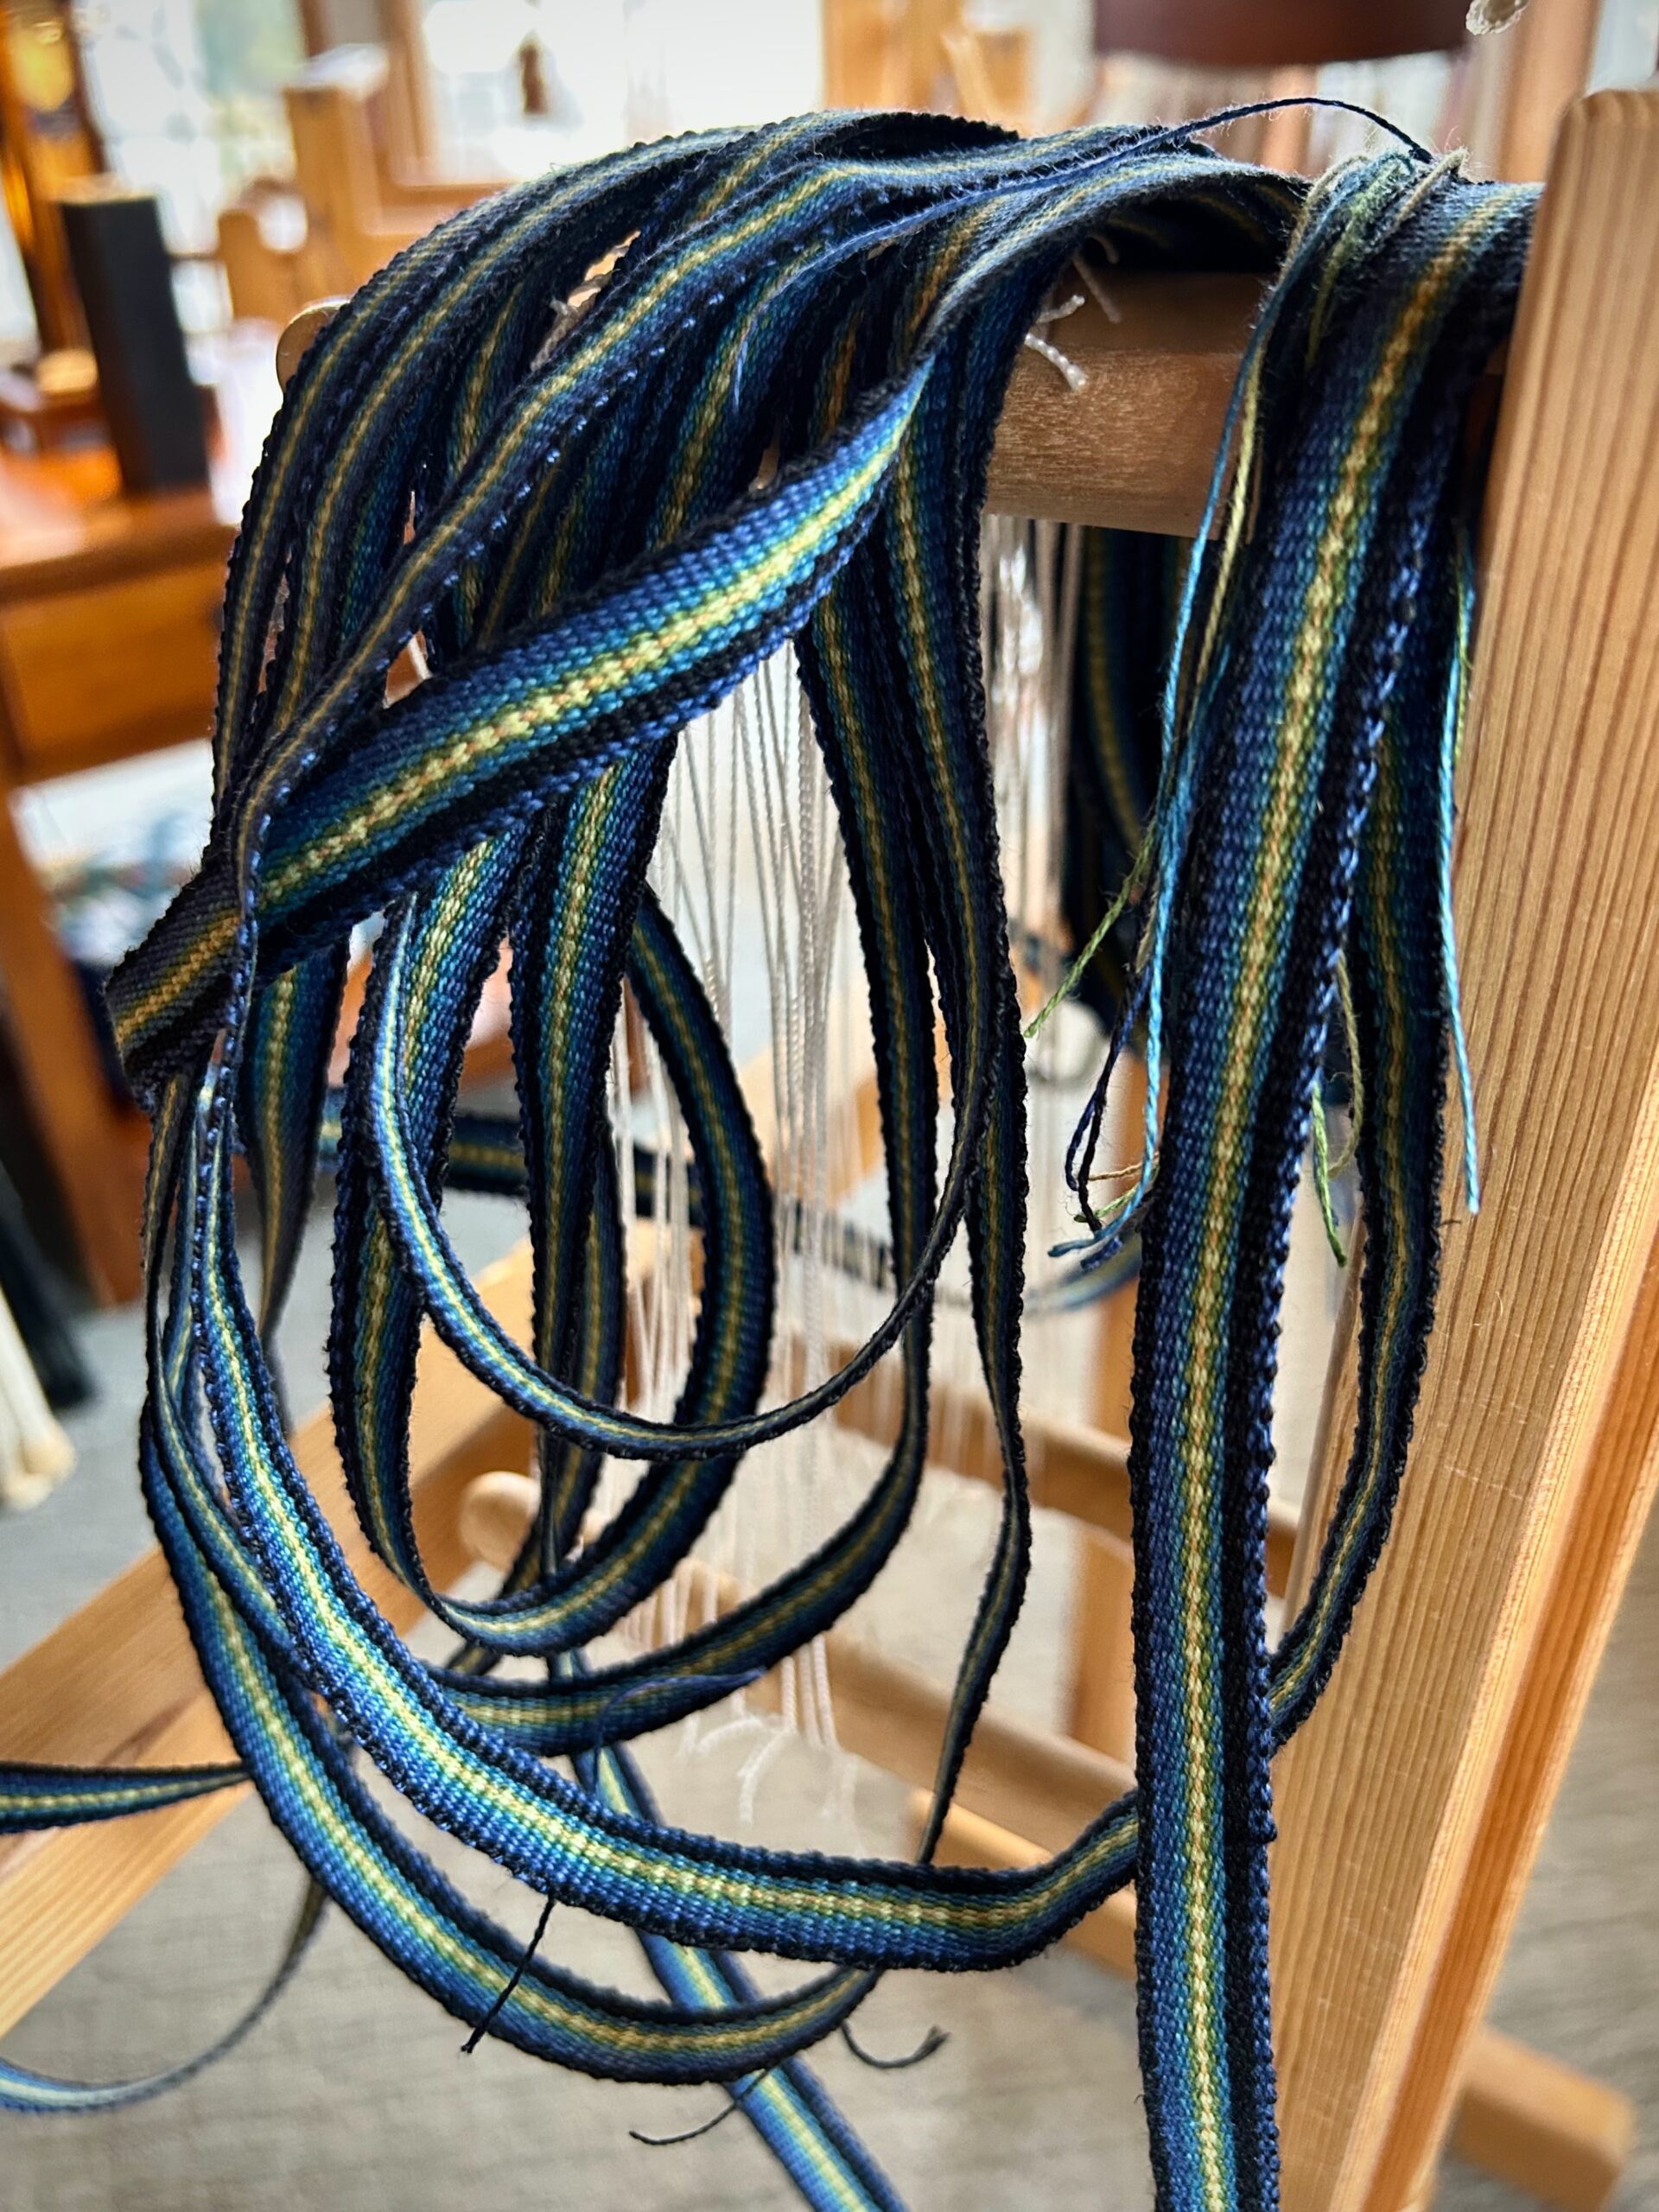
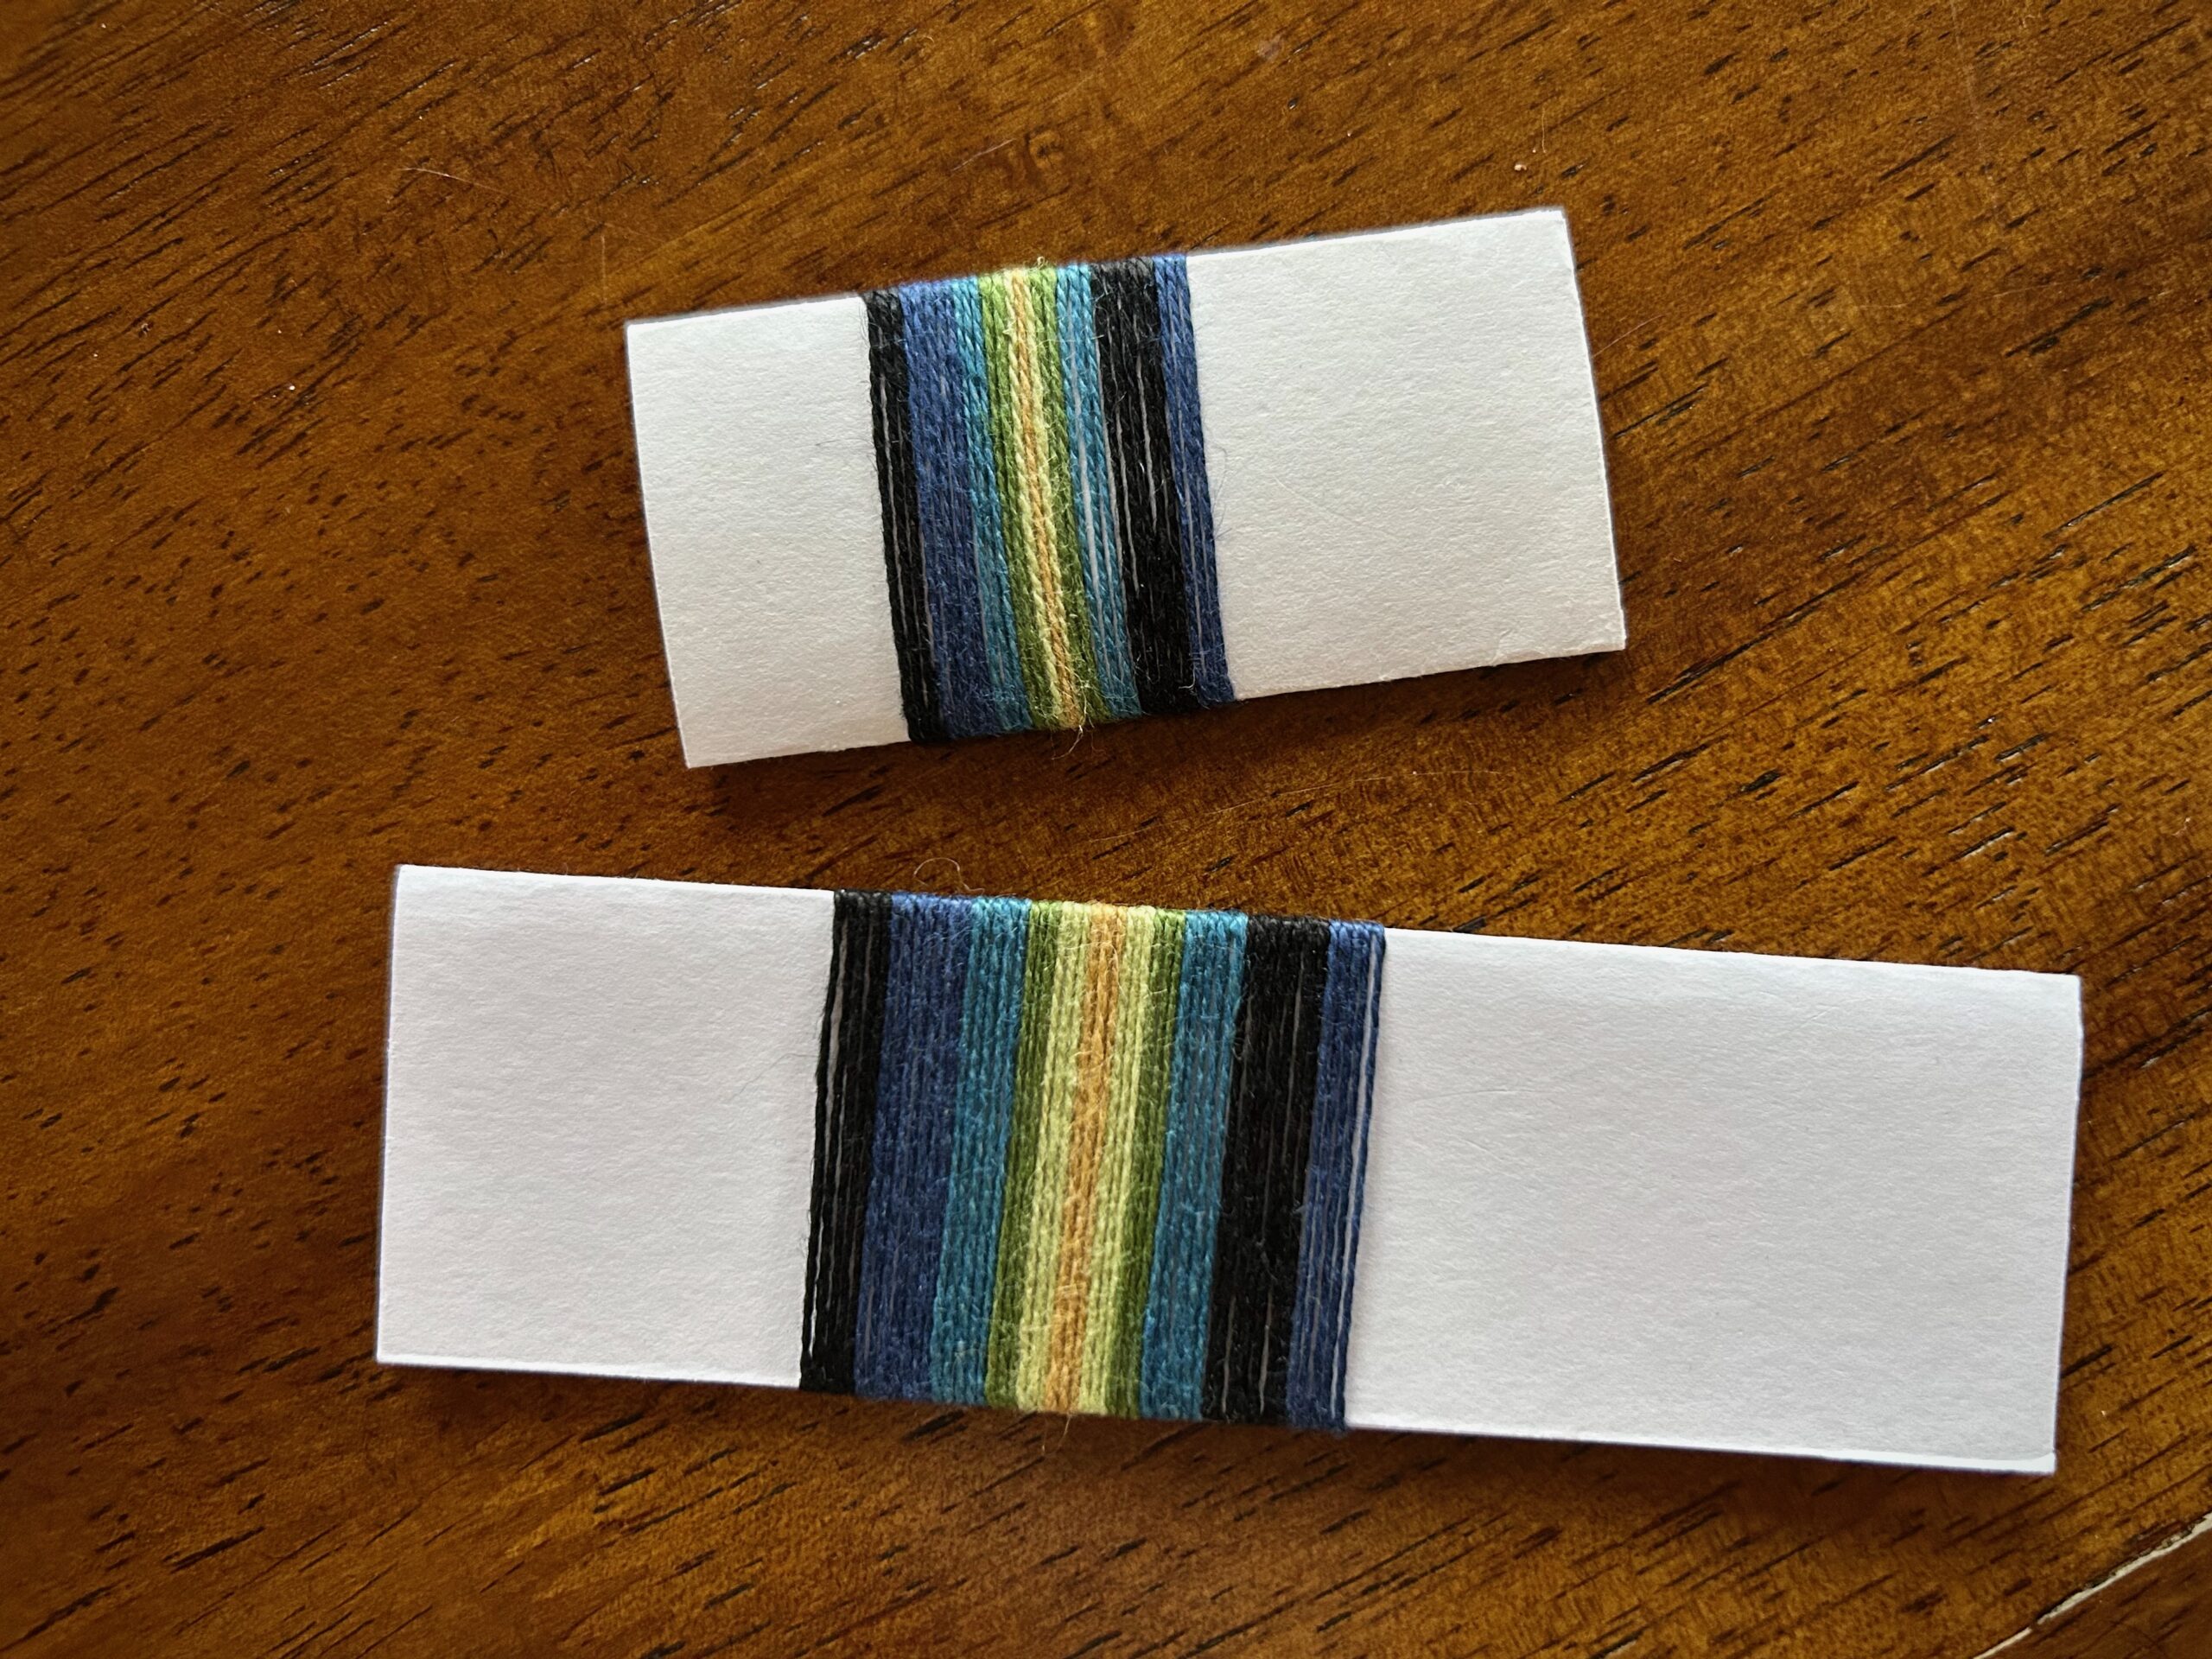
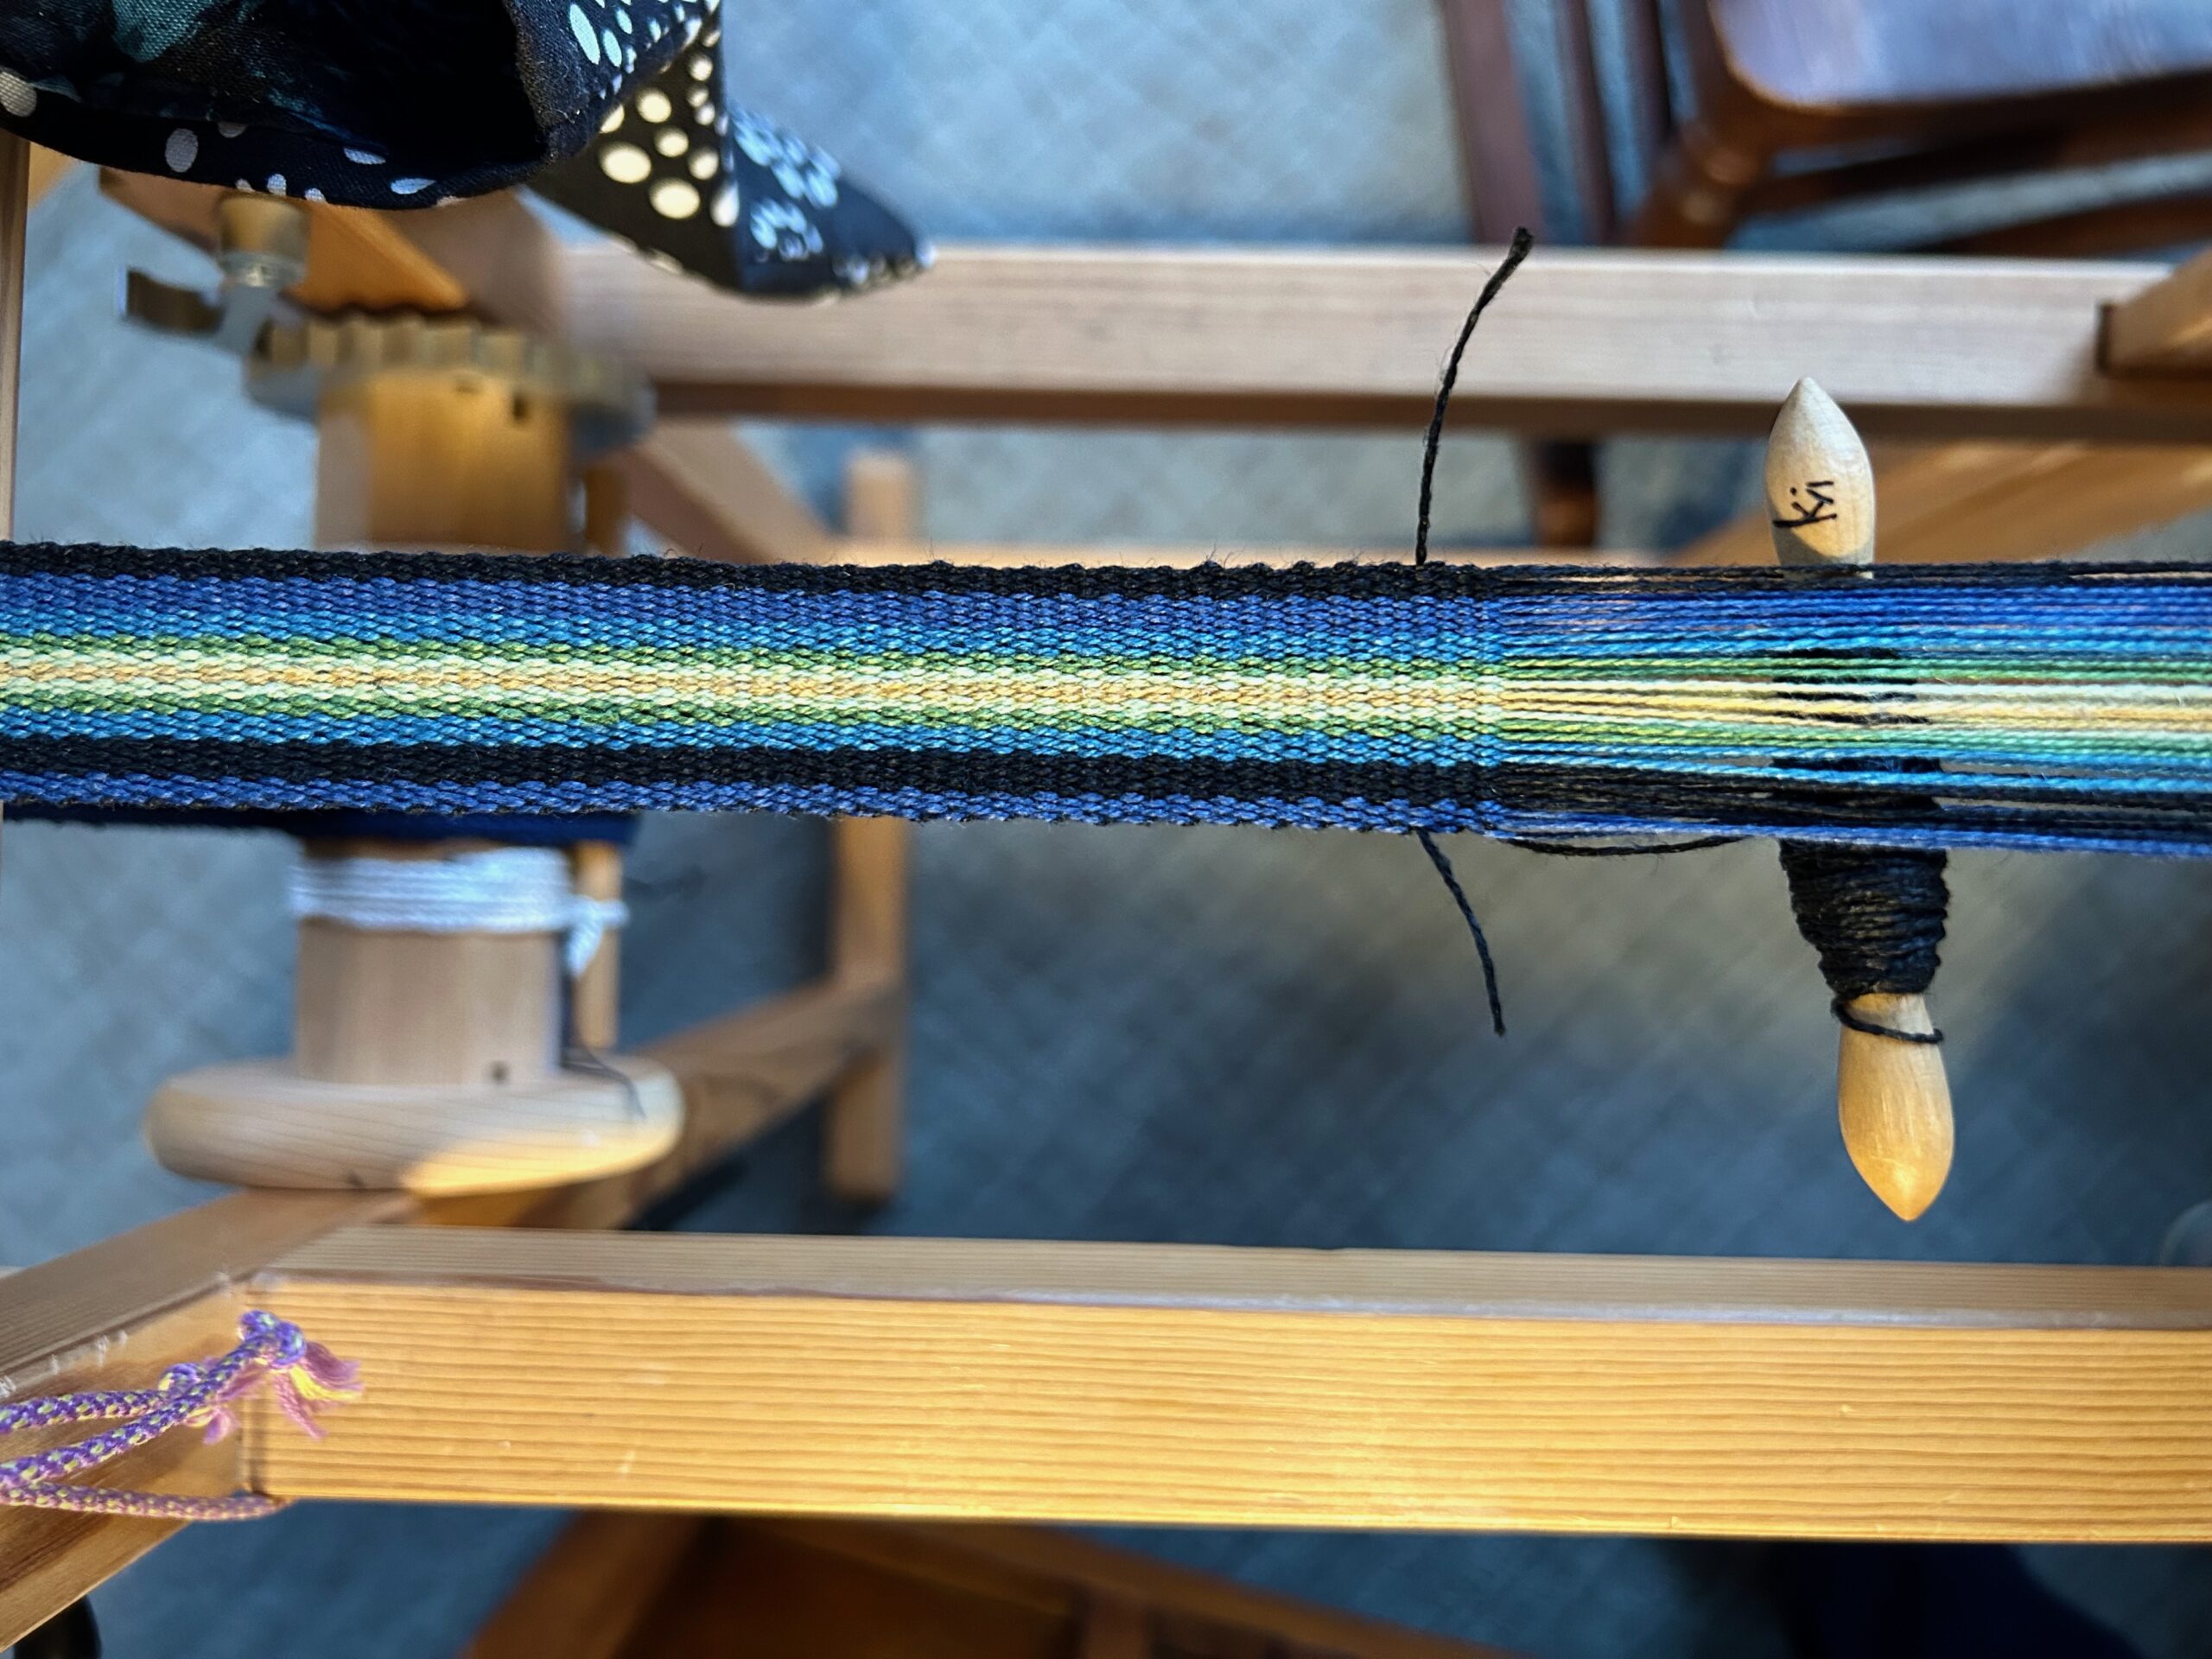
I decide to create a couple handwoven bands from the linen and cottolin threads in the critter fabric. These bands will be the perfect complement with which to finish this project.

Handwoven fabric has surprising lessons for us woven in! We might be certain that we know what we are doing. I knew I was weaving critter napkins, and never questioned it. One view of the bigger picture, though, changed everything. God has a bigger picture of our existence than we realize. He invites us to see life from his view through faith in Jesus Christ. In the moment we give him our heart, everything changes, and that’s when we see what we were really made for.
May your changes be for the better.
Happy Weaving,
Karen