Quiet Friday: Lizard Tapestry

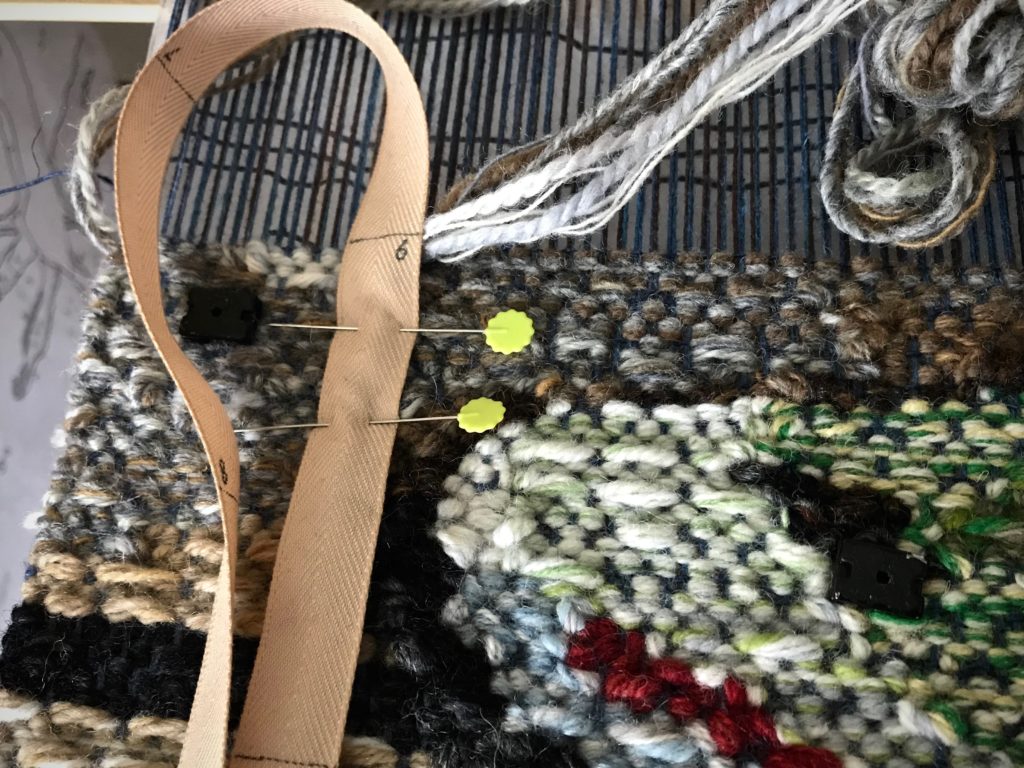
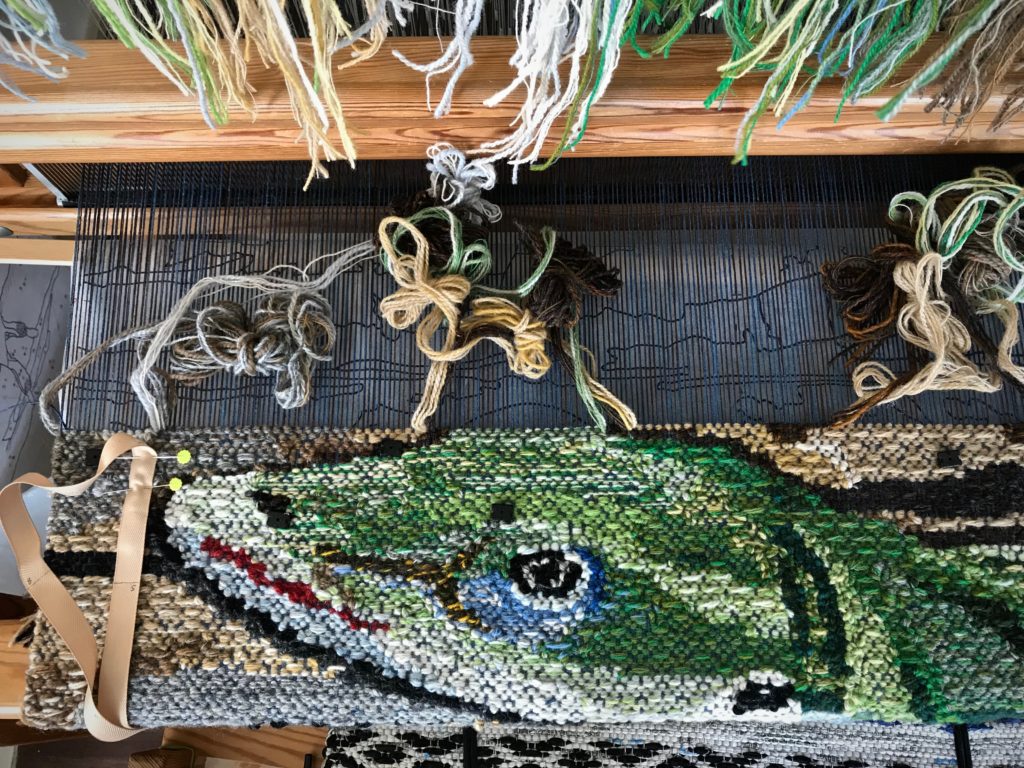
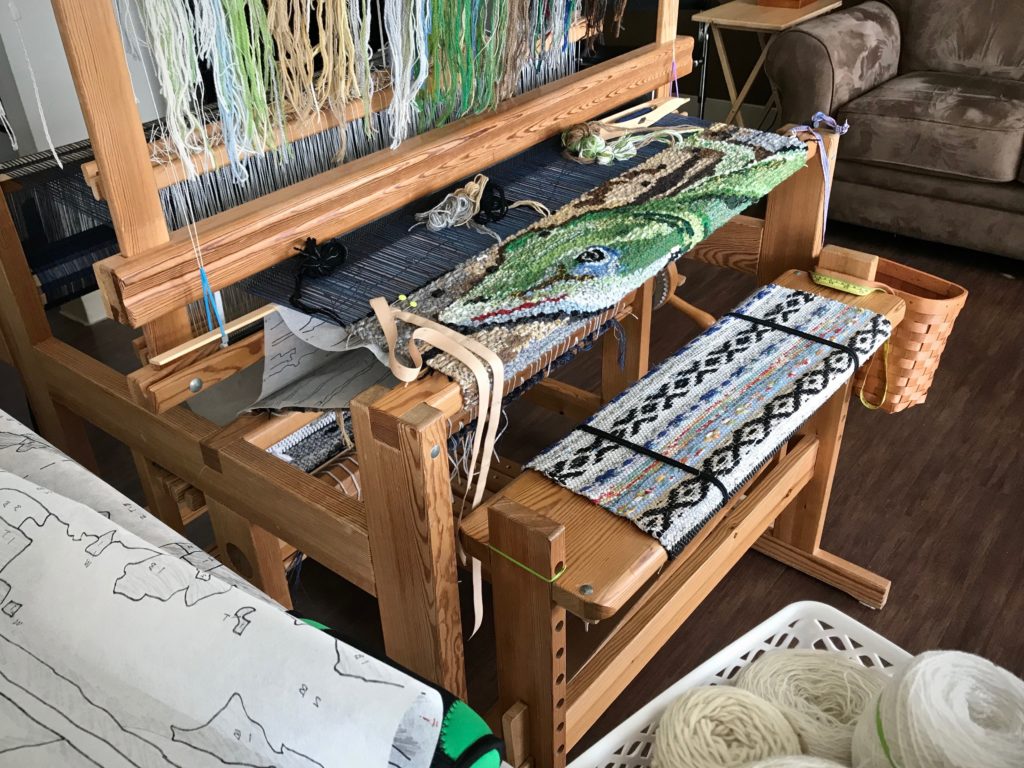
This is the moment we’ve been waiting for! We finally get to see the whole tapestry. This lizard has given me quite a ride! I have learned plenty. Things I’m happy with myself about, like drawing a cartoon from a photograph, following the cartoon details, making and keeping track of butterflies. And some things I’d like to improve, like choosing colors that give the best contrast, managing the cartoon under the tapestry, and choosing where to pick the floats. I’m eager to do four-shaft tapestry again so I can learn some more!

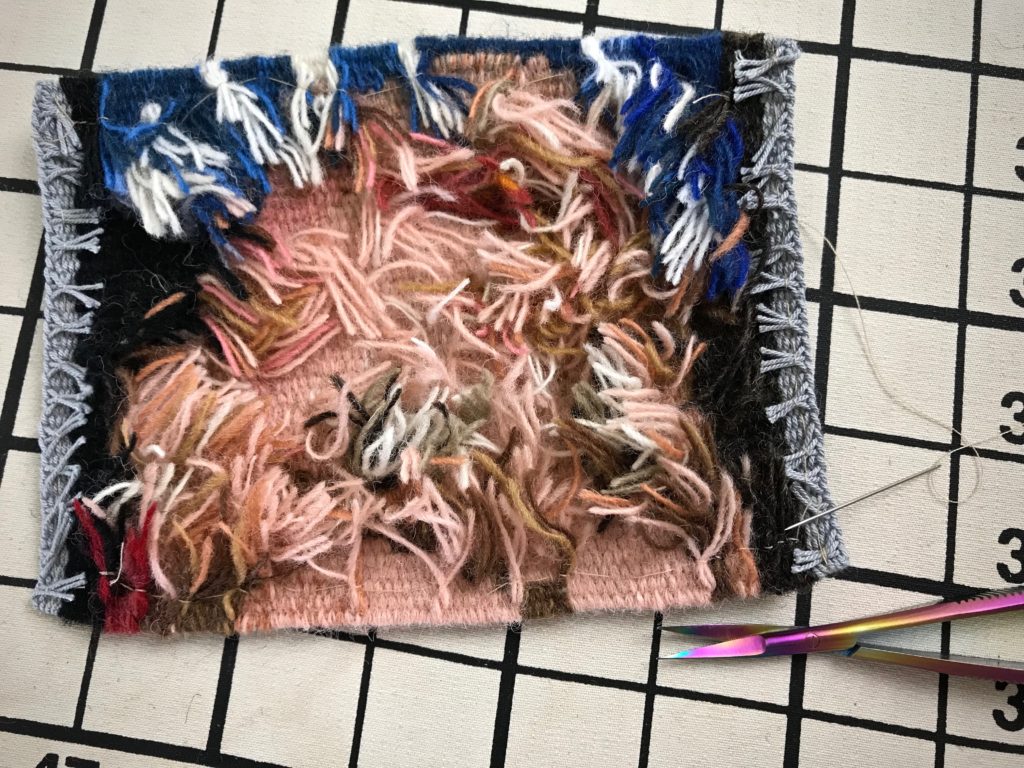
I wove the fringe into an edging, ending with a small braid. Next, I will tack the edging and braids to the back, clip weft tails on the back, and sew on a backing fabric. And then, I’ll find a special place to hang this Lizard tapestry in our Texas hill country home, just a half mile from the place I saw and photographed the cute little green anole in the first place.

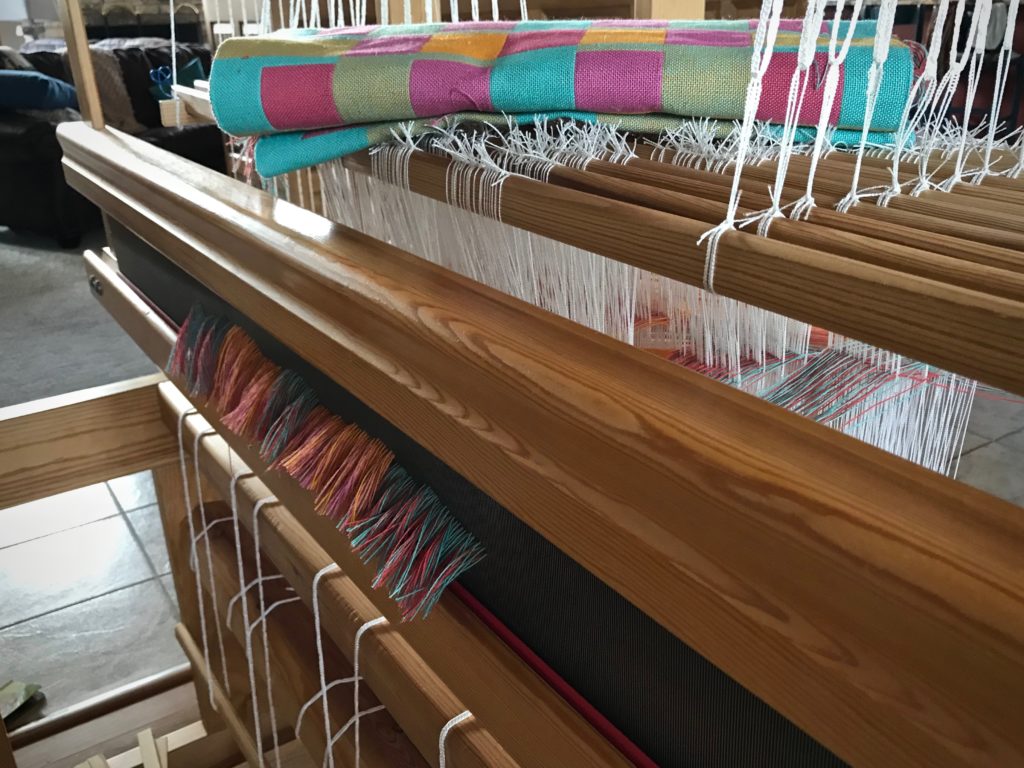
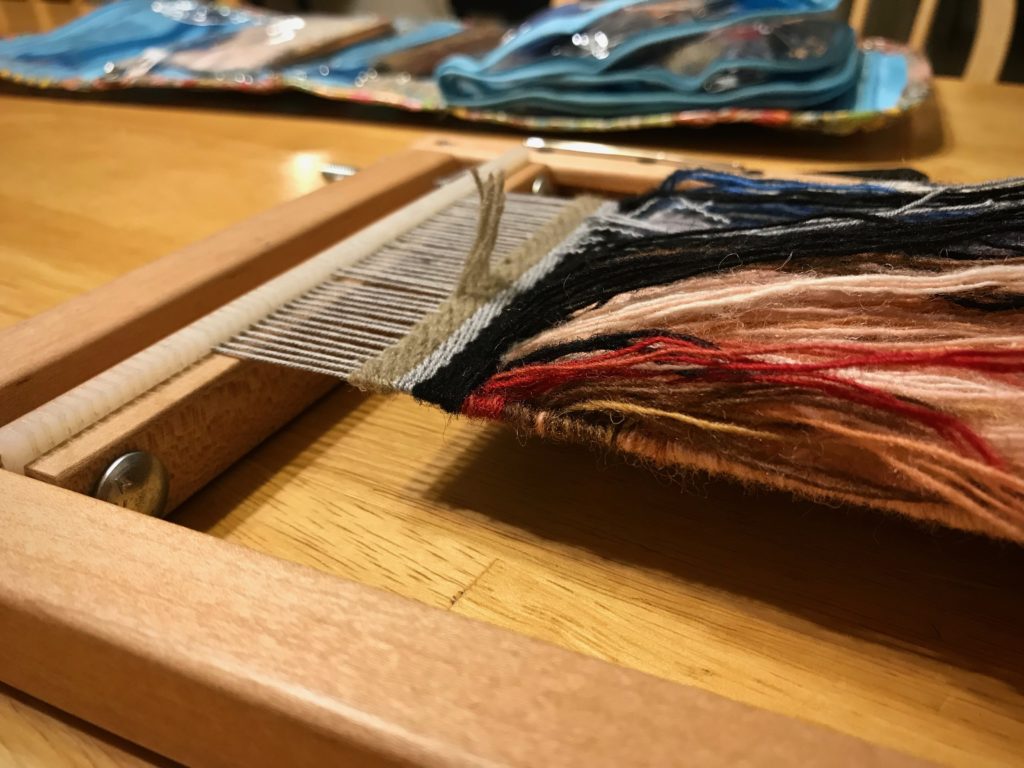
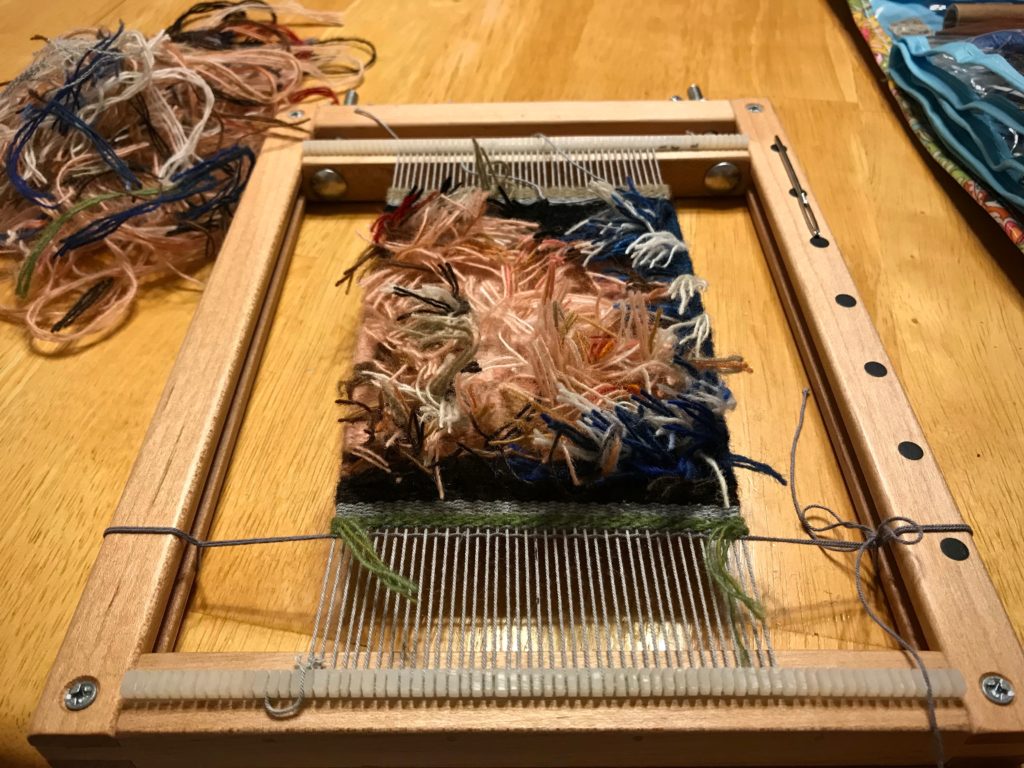
Finishing the ends on the Lizard tapestry.
Finishing the ends.


Lizard Tapestry.
Lizard Tapestry. Next steps are clipping weft tails on the back, adding a backing, and hanging in our Texas hill country home.

May your learning experiences take you for an exciting ride.

Happy Weaving,
Karen

~Change Is Coming~
With Steve’s approaching retirement, I am implementing some adjustments for Warped for Good. Friday posts will become less frequent, and by December you will receive new posts only on Tuesdays. Today is my final Quiet Friday post, something I’ve enjoyed doing once a month for the five and-a-half years Warped for Good has been active.

I invite you to continue joining with me on this weaving journey at Warped for Good!

Quiet Friday: Threads of Love

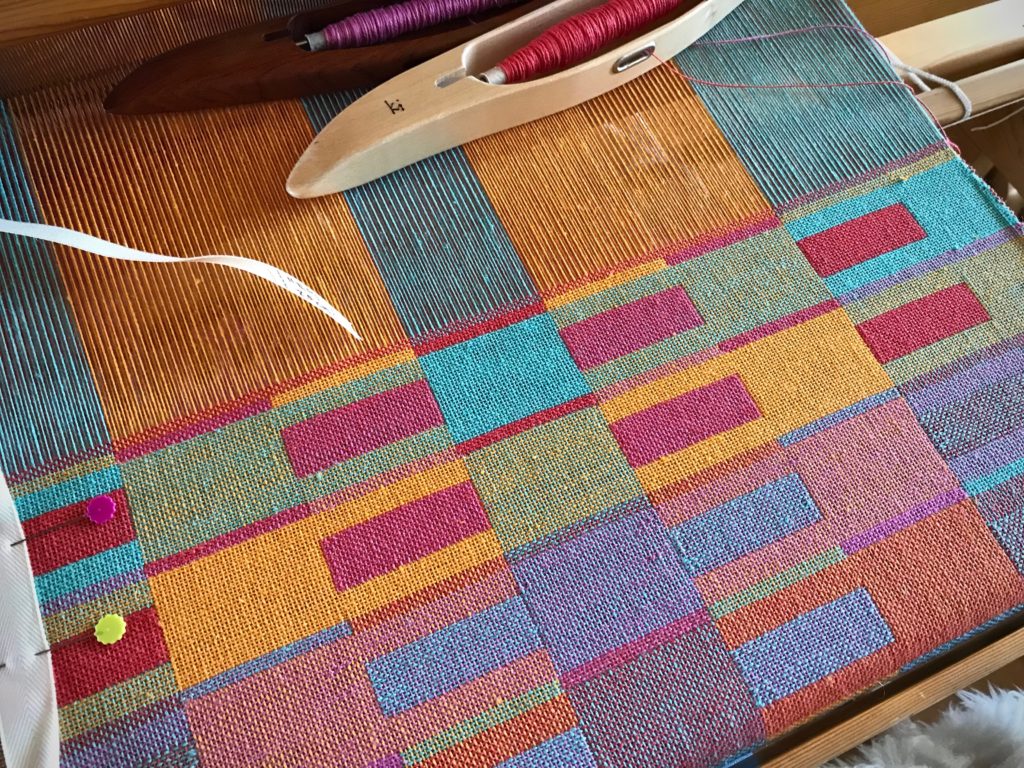
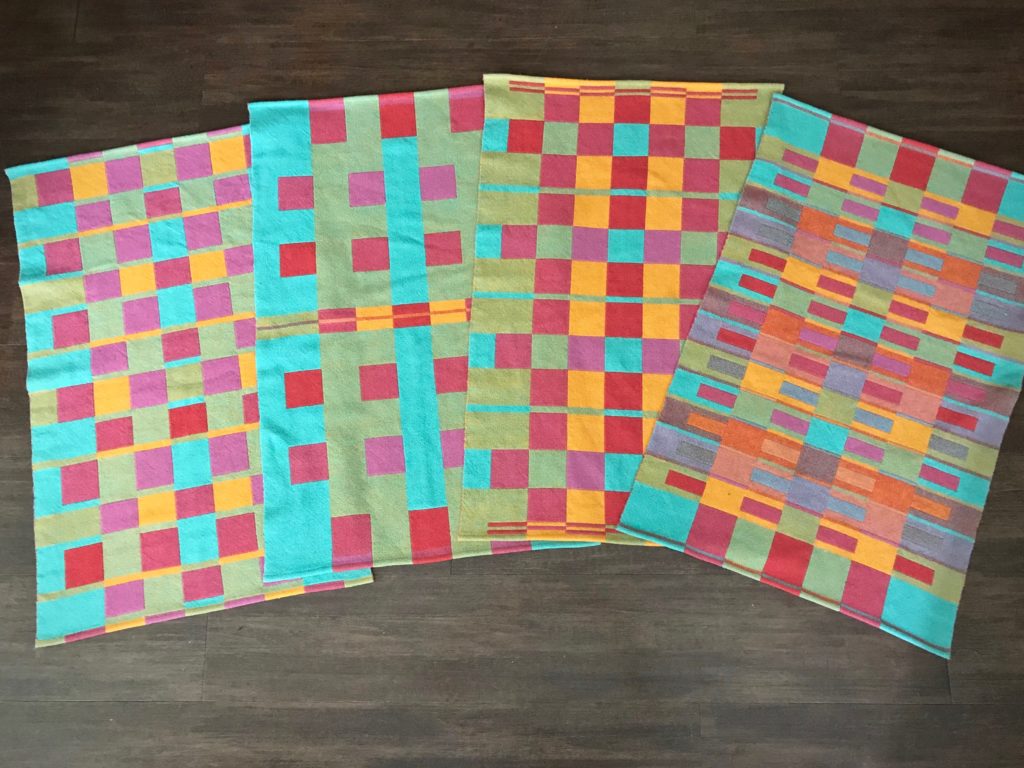
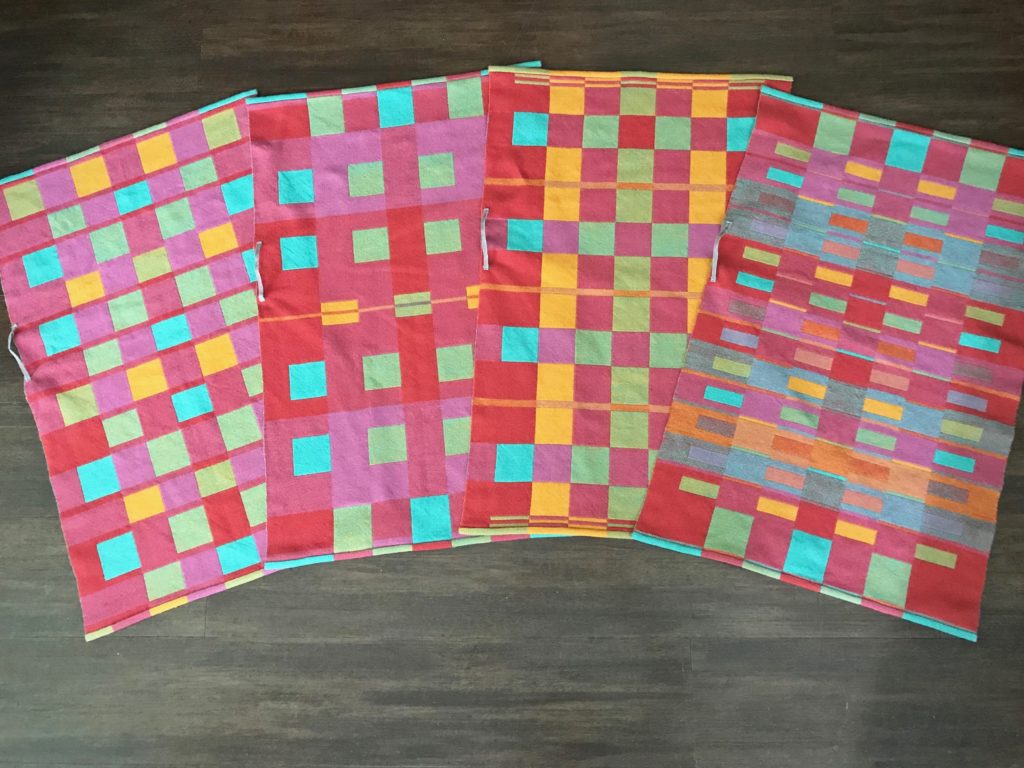
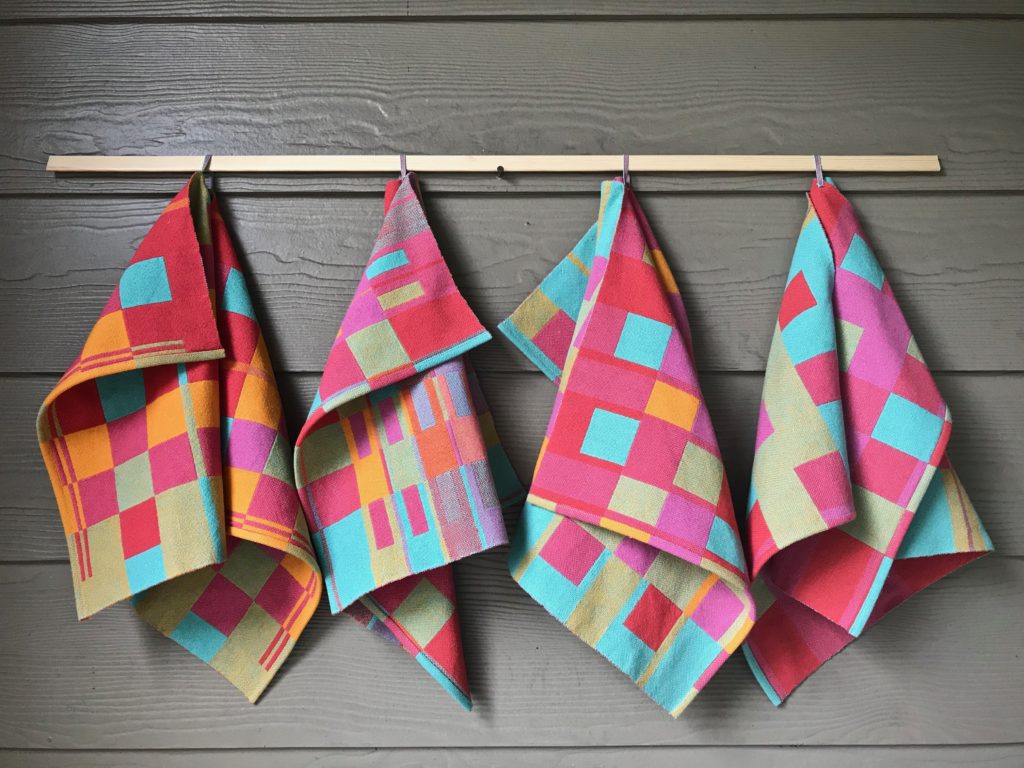
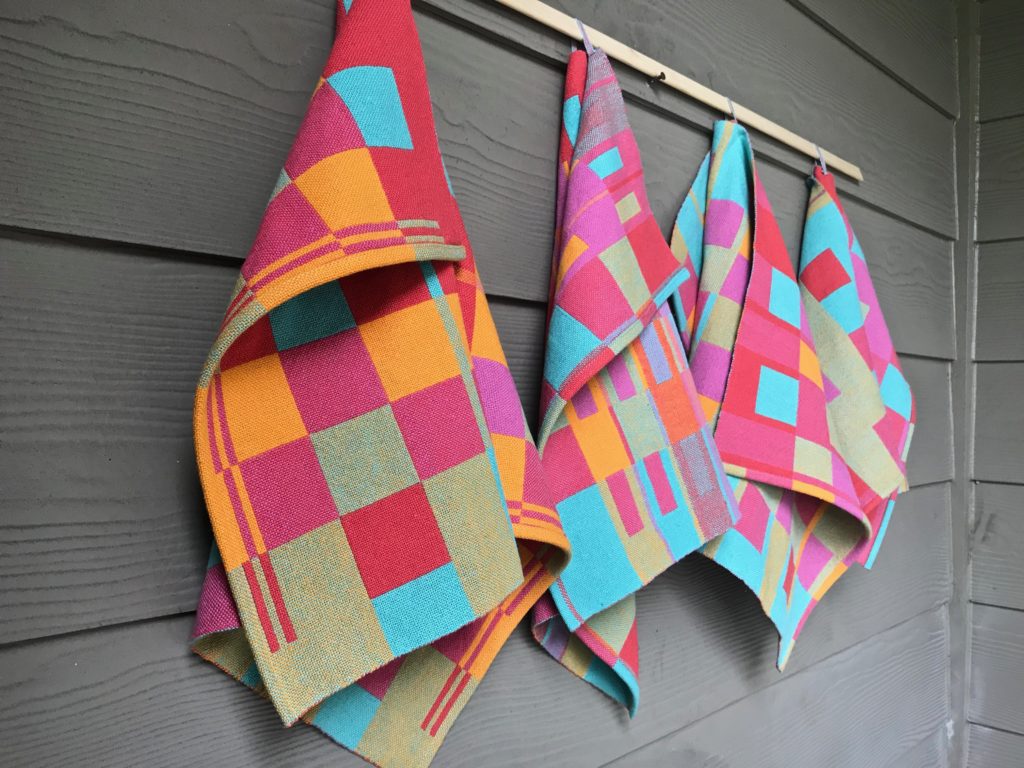
Talk about thick and thirsty towels! Double weave makes these hand towels thick. And the linen in the cottolin threads makes them highly absorbent. The colors are fantastic together. When our daughter Melody moves with her little family to Chile, she can set up her new home with these made-for-her towels. My love is woven into every single pick.

I have included two short little videos just for the fun of it. Enjoy!

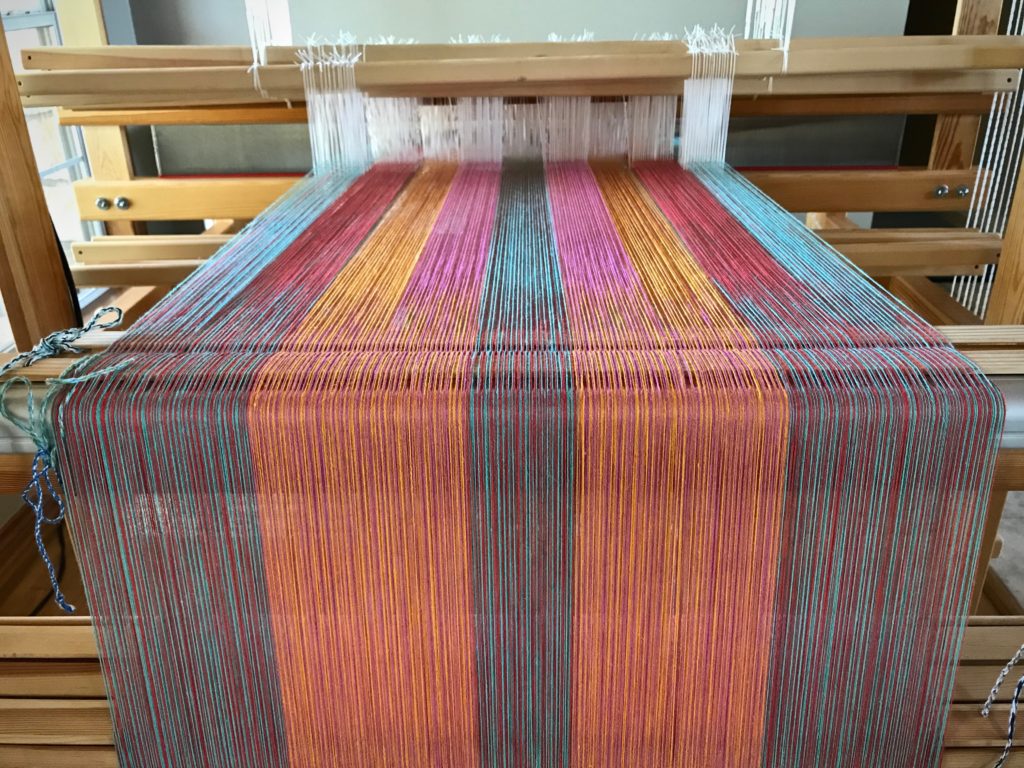
This project started in my weaving studio in our Houston home, where I beamed the warp.

Colors for Towels

Winding a warp for double weave towels.

Beaming the warp for towels.

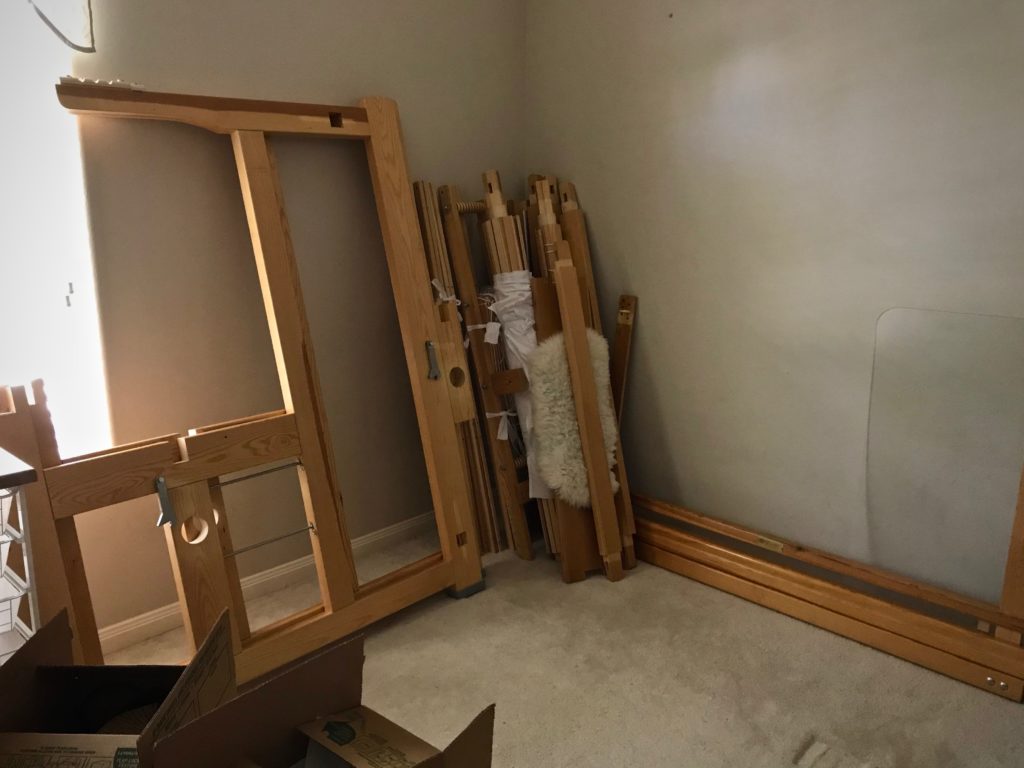
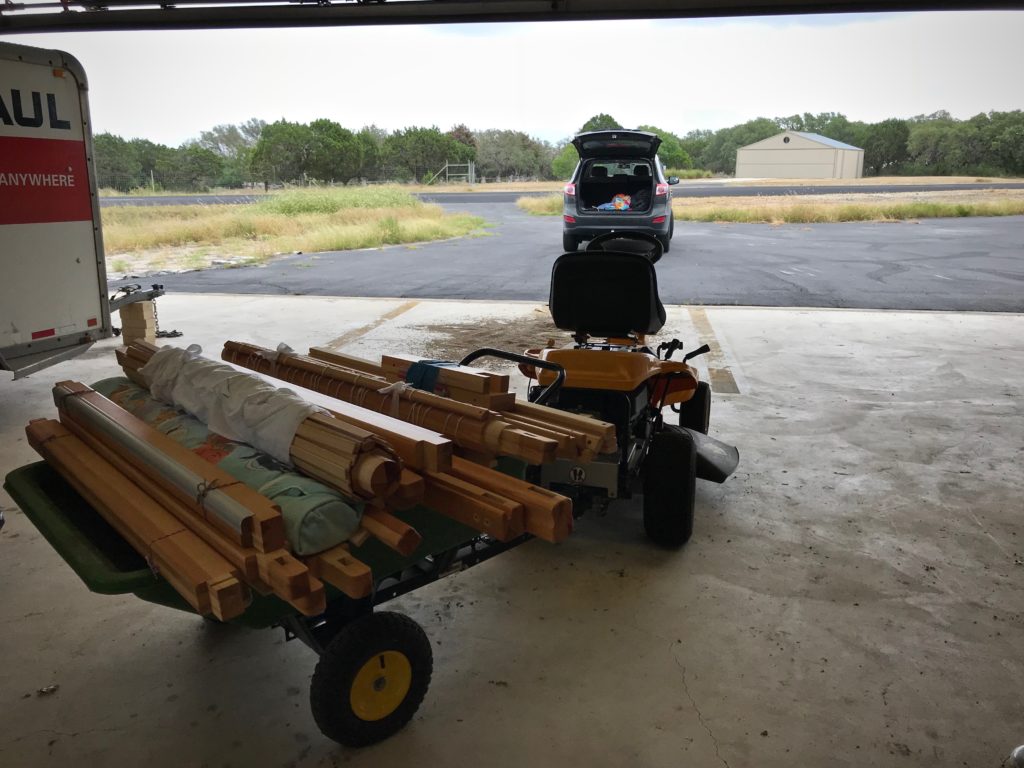
And then we decided to move! We sold the house and moved into an apartment. The big loom was dismantled, with the towel warp on the back beam. Then, we moved all the pieces to our Texas hill country home.

Dismantled loom for moving.

Moving a Glimakra Standard loom.

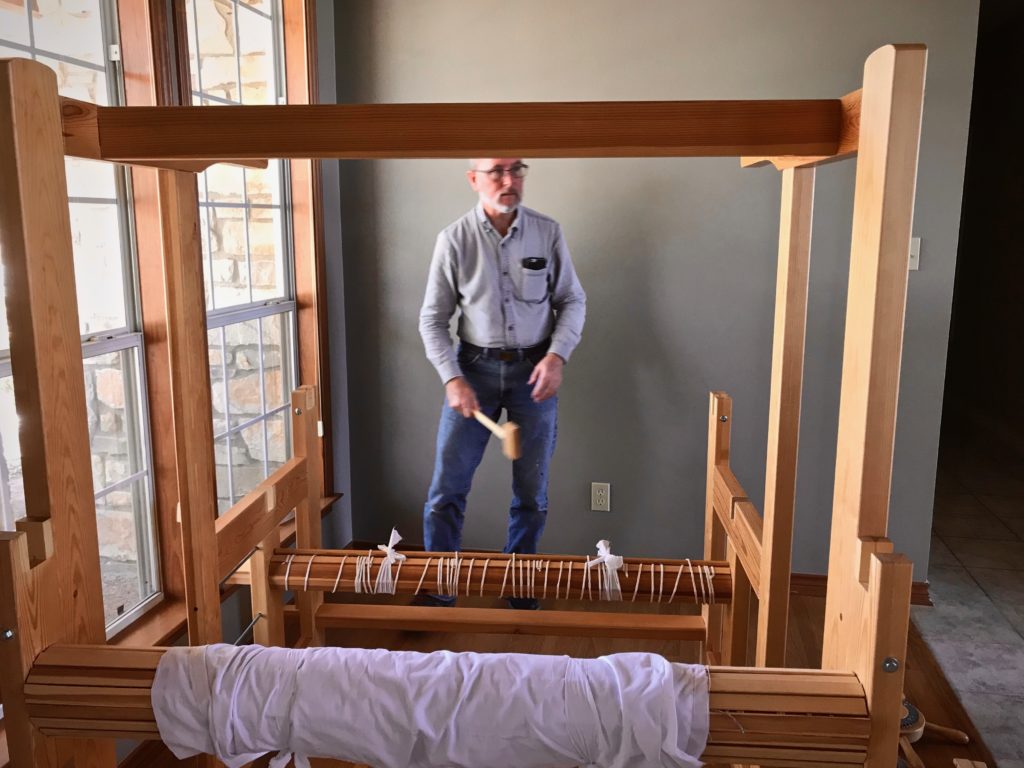
Putting the Glimakra Standard loom back together.

Recently, I spent a week there to finish dressing the loom and weave all four towels. Whew! (Here’s what I did that week: Testing Color Surprises with My Little Helper and Weaving Deadline)

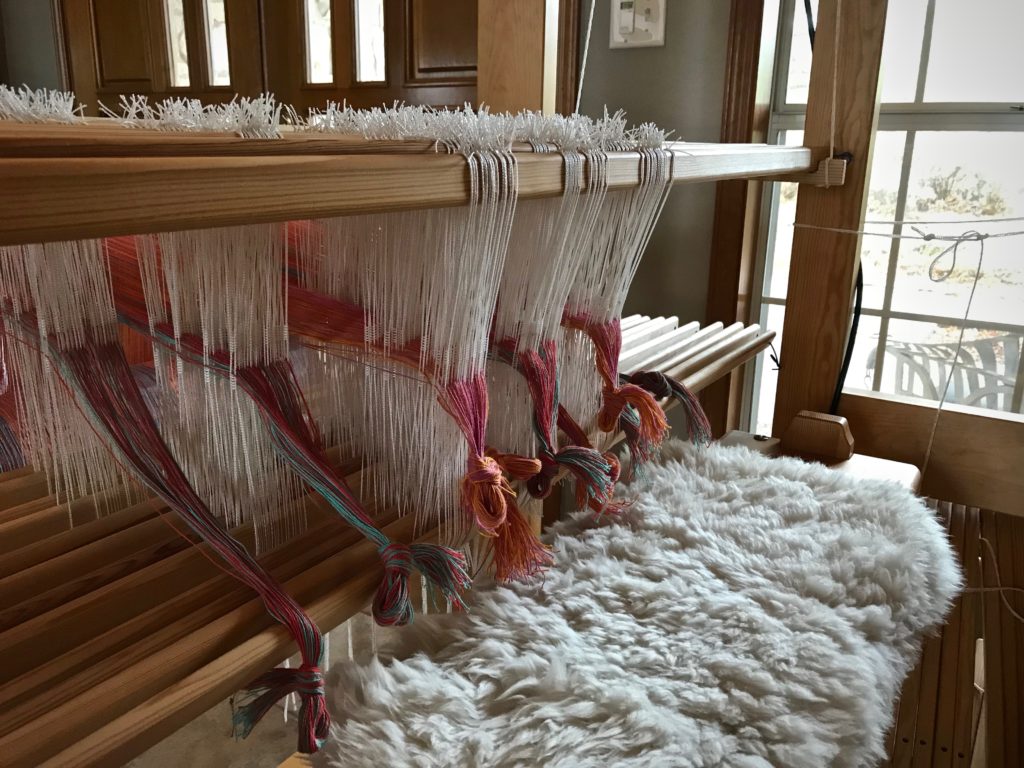
Threading 12 shafts. Double weave towels coming!

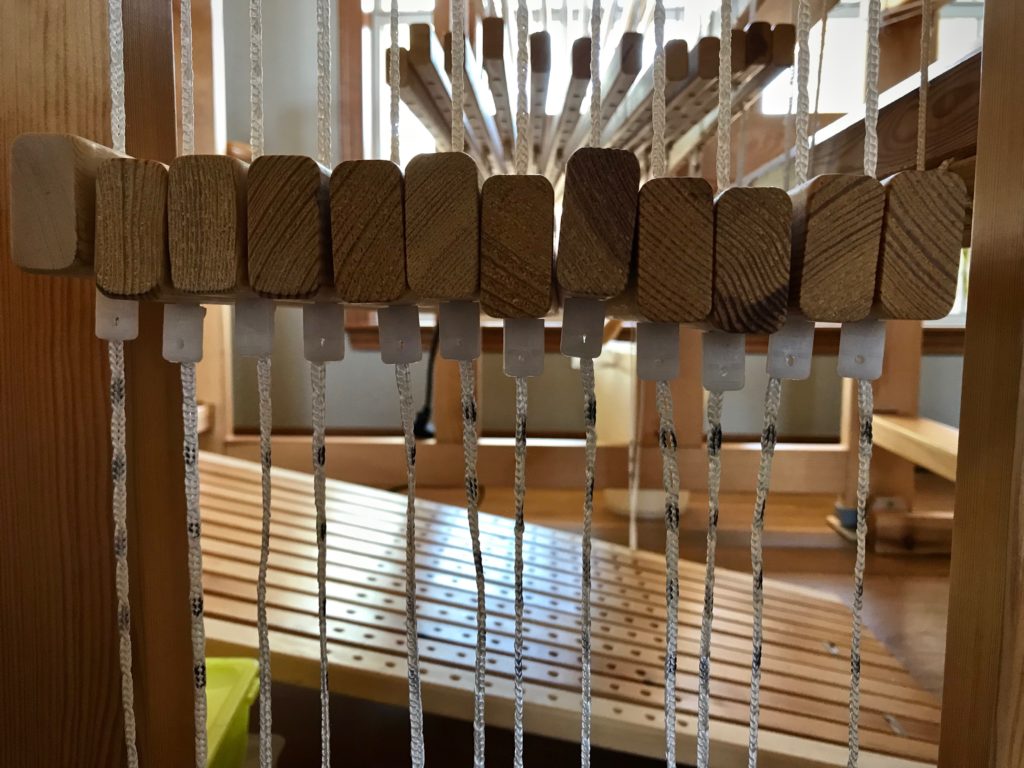
Lower lamms ready to go!

Starting the hem on double weave towels.

Double weave cottolin towels on 12 shafts. Karen Isenhower

From the back beam. Double weave on 12 shafts.

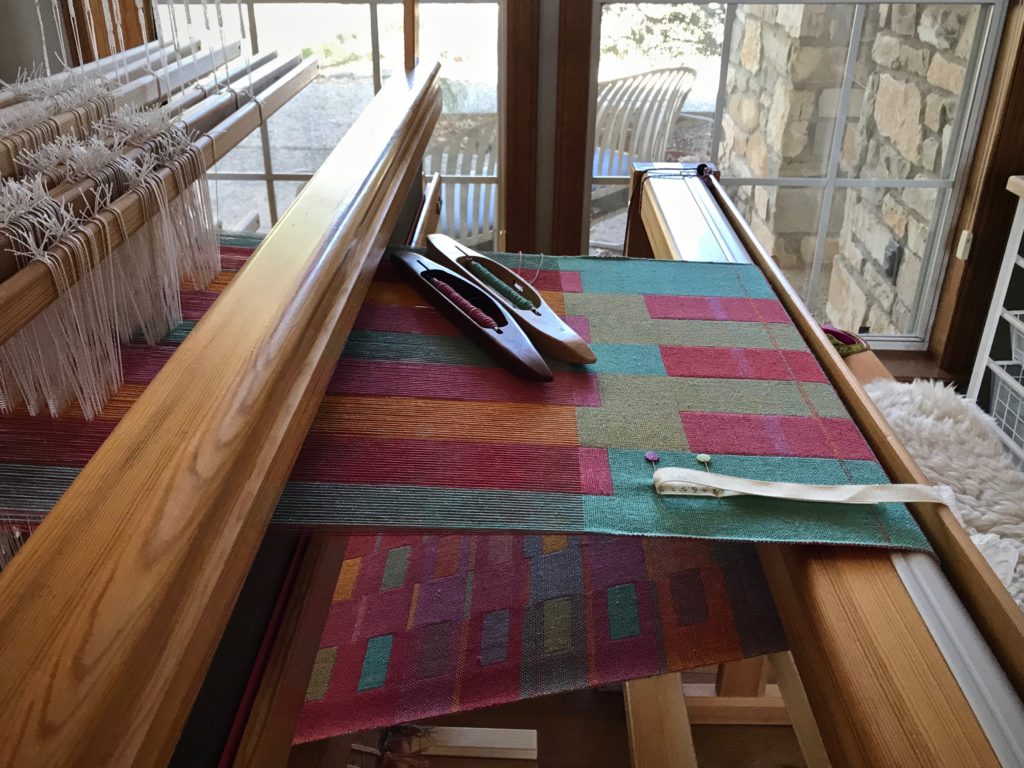
Double weave towels. Loom with a view!

Squares in a double weave towel.

Towels on the cloth beam. Karen Isenhower

Double weave towels on the loom.

Double weave cottolin towels on the loom. Karen Isenhower

Towels on the cloth beam.

Glimakra Standard loom in Texas hill country.

Cutting off!

Cutting off! Double weave towels.

Fresh double weave towels, ready for finishing.

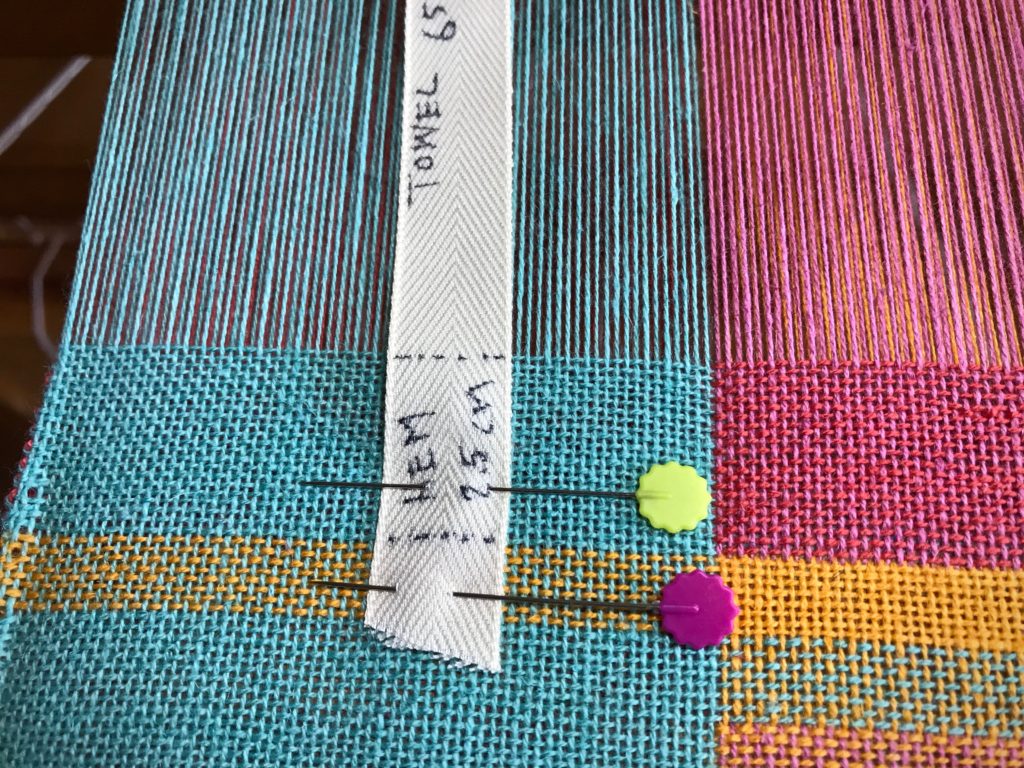
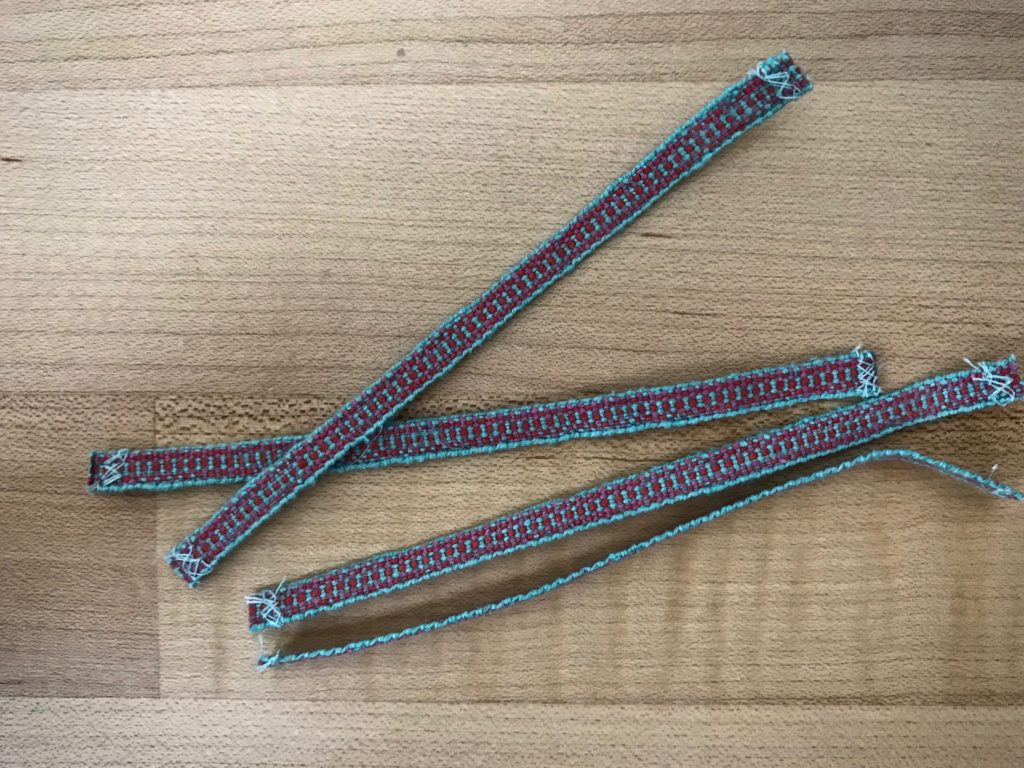
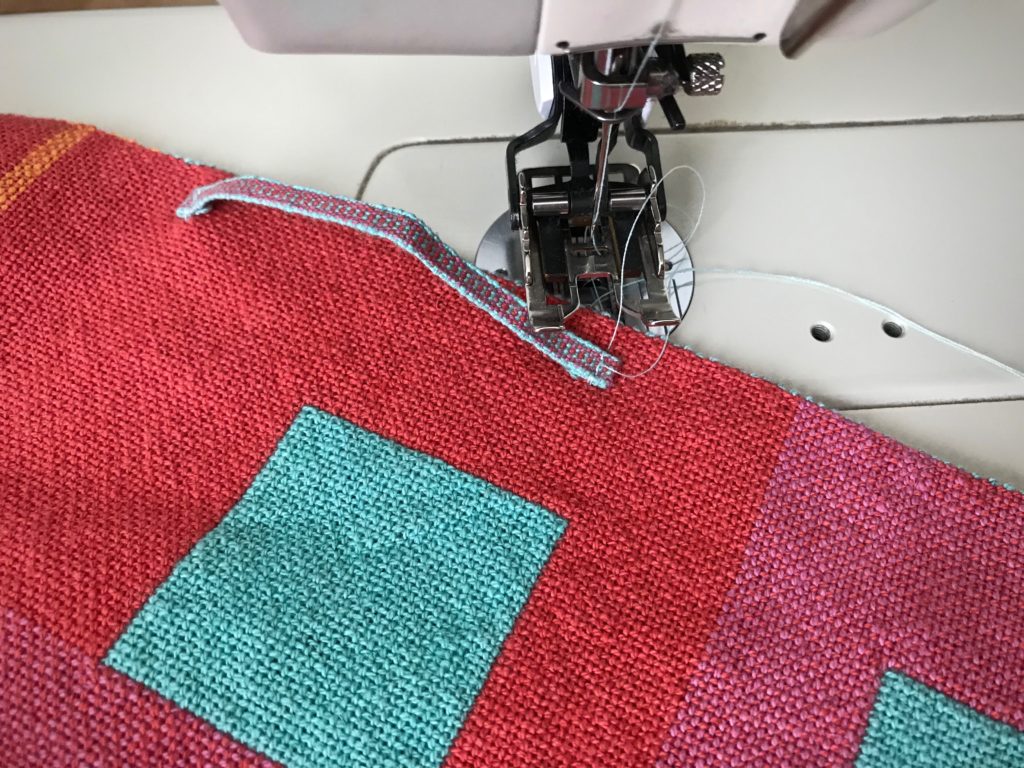
I wove hanging tabs on my band loom. And I discovered that I could showcase both sides of the colorful towel if I stitch the hanging tab on the side of the towel, off center.

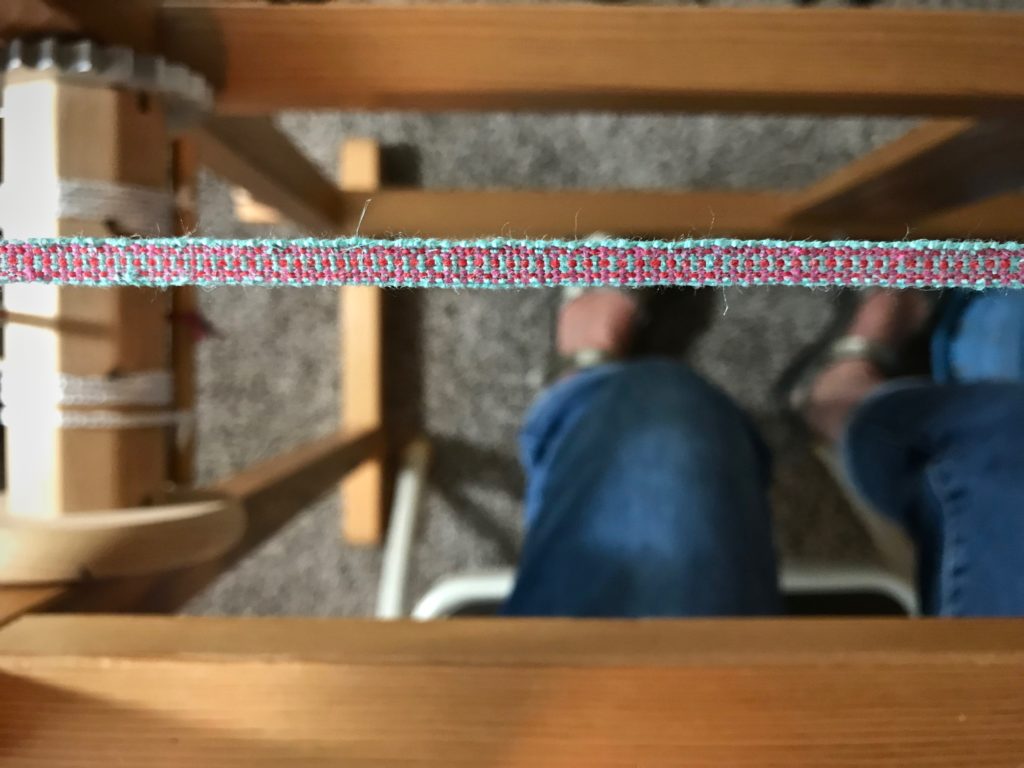
Glimakra band loom.

Hanging tabs for towels woven on Glimakra band loom.

Hanging tab stitched to side of towel.

The towels are hemmed and pressed, ready to brighten the day!

Double Weave cottolin towels. Side A.

Double weave cottolin towels. Side B.

Double weave cottolin towels! Karen Isenhower

Cottolin towels, hanging from the side. More pics on the blog.

May you put threads of love into everything you do.

Love,
Karen

Quiet Friday: Tapestry in Transition

There is no room for timidity at the loom. It takes courage to dismantle a loom that has a tapestry on it. Dismantling and reassembling a loom doesn’t scare me. But taking a loom apart in the middle of a cherished project? That’s another question altogether. The hardest part was the waiting in between. You can imagine my mix of emotions through the tapestry transition—up, down, and every which way! And then, the moment of truth…Finally…When the warp is evenly tensioned, and the butterfly wefts make their first pass through. The lizard has been awakened. Hallelujah!

This slideshow video takes you through the steps of taking the loom down…And putting it up again.

Weaving continues now as if there had been no interruption.

Almost at the halfway mark on this tapestry.
Five more centimeters will be halfway! The “6” is sixty centimeters.
Lizard tapestry. Top of the head almost finished.
Finishing up the top of the head.
Lizard tapestry. Progress!
Lizard is making himself at home.

May you see the rewards of your courage.

Happy Weaving,
Karen

Quiet Friday: Woven Radiance

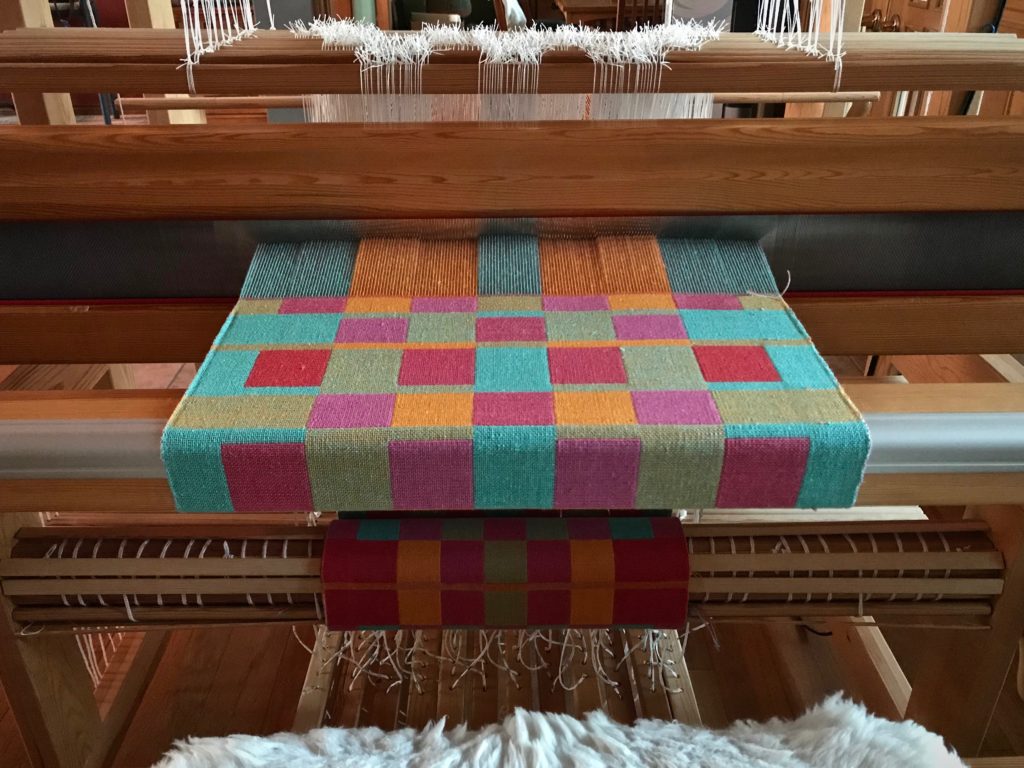
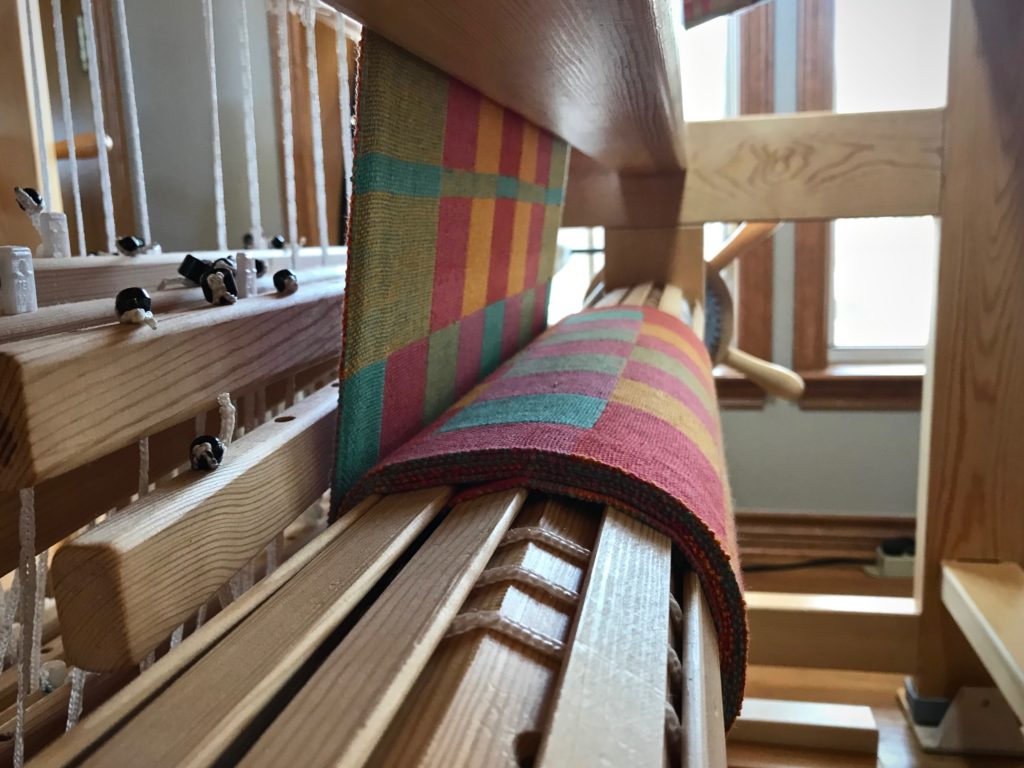
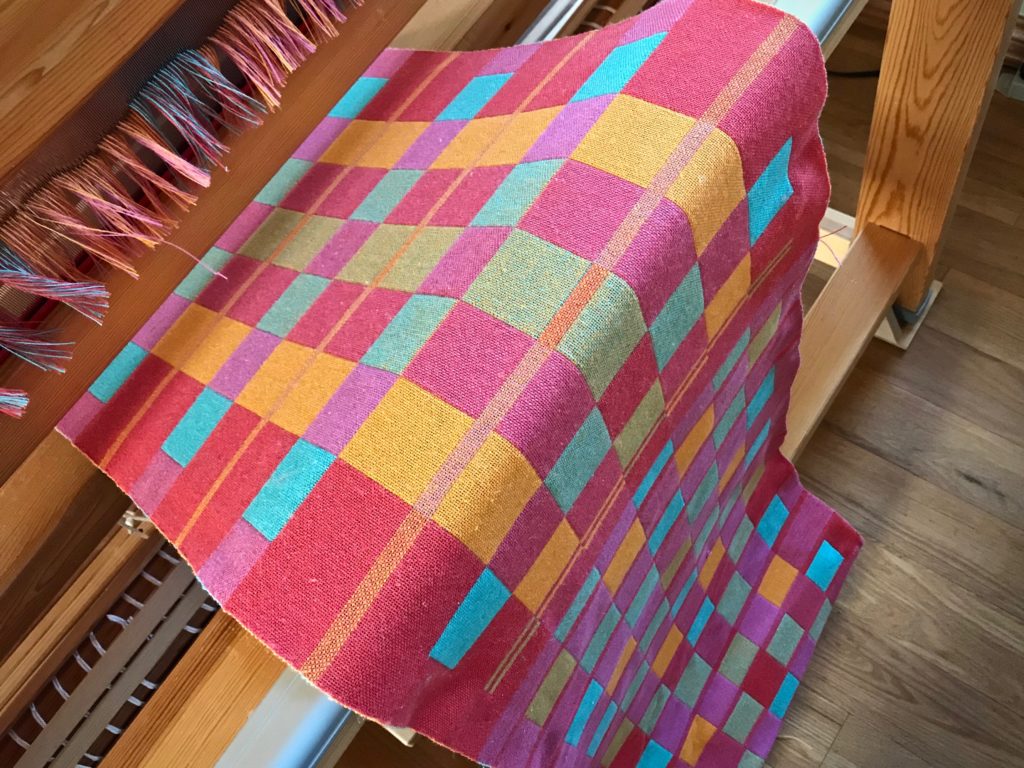
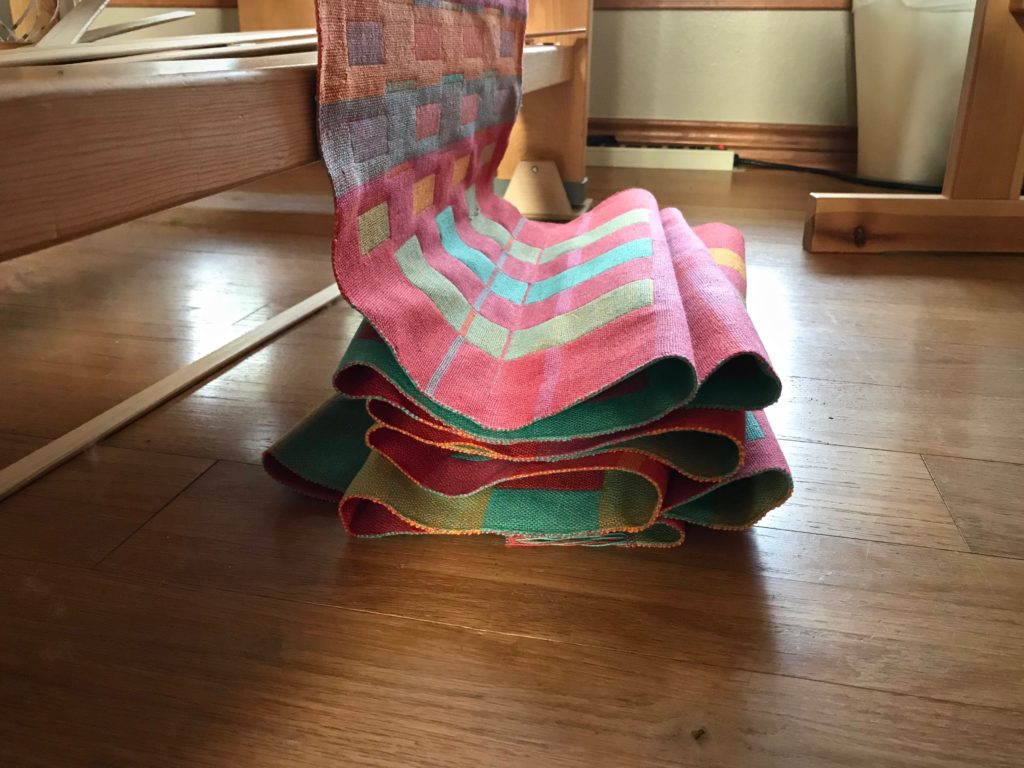
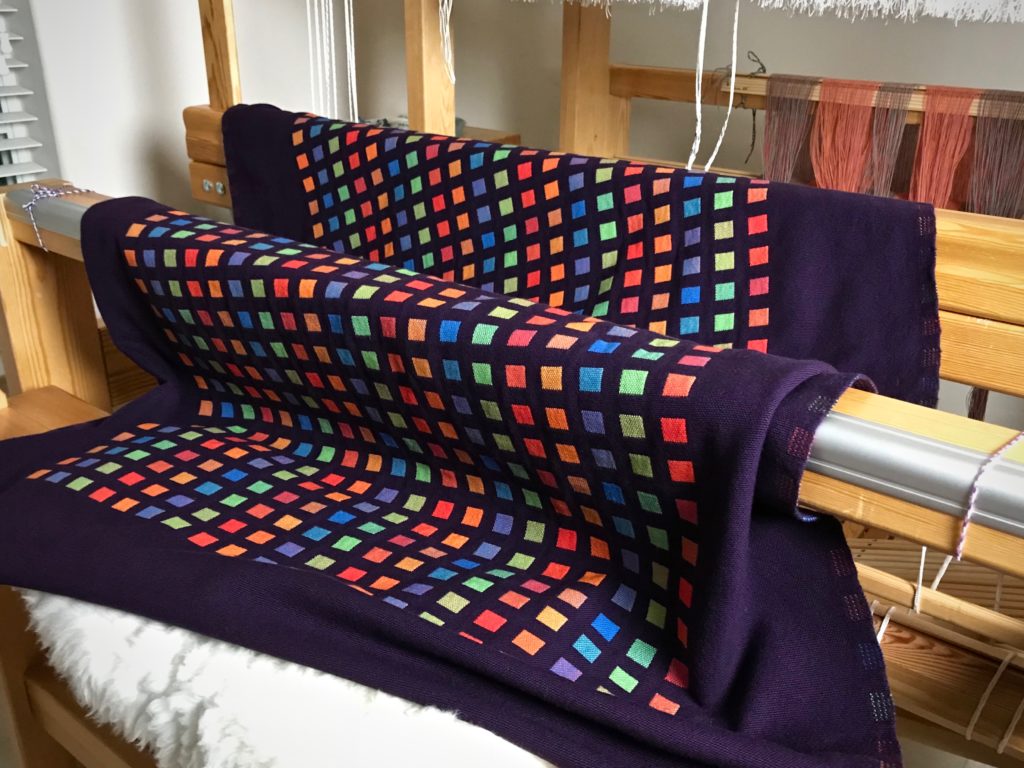
The first of my Christmas promise gifts is now complete. This large throw in vivid colors fills the request from my daughter-in-law Marie. How fitting for a mother of three exuberant little boys to wrap up on the couch in her own fabric hug of exuberant color! This colorful cotton double weave throw is Woven Radiance.

Radiance. Large cotton doubleweave throw. Karen Isenhower
Radiance. Large cotton throw with radiant blocks of color. The warp for the next Christmas promise gift is wound and waiting on the warp beam.

Double weave, with eight shafts and eight treadles, and 2,064 ends, is a challenge. But results like this make all the effort worthwhile. My heart sings as I see these brilliant threads intersect to make sensational cloth! I am filled with amazement and gratitude that I’ve been given the opportunity to play with colorful threads on a weaving loom.

I hope you enjoy the process photos in this little slideshow video I created for you.

Happy Weaving,
Karen

Quiet Friday: Lucia Portrait Tapestry

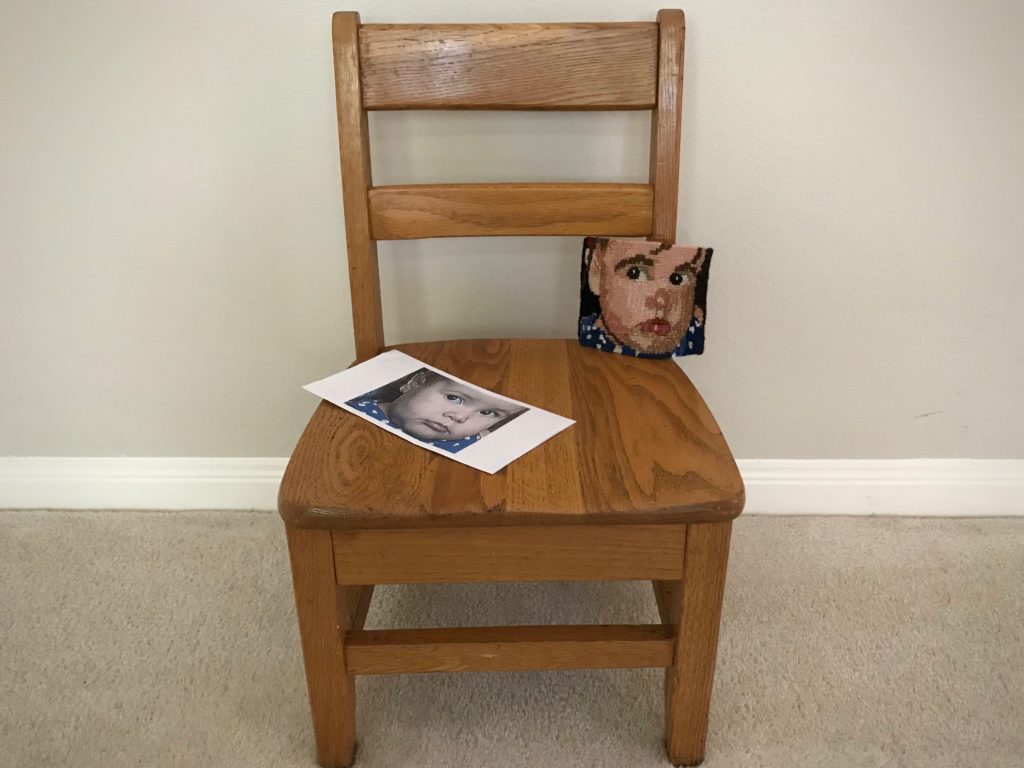
A little here, a little there, and eventually I finish another small tapestry. This little woven portrait of my granddaughter Lucia was a huge challenge. I knew that from the beginning. In fact, I had about three beginnings with this intimidating project. My aim is not to make a masterpiece, but to keep making. And making, and making. Every time I go beyond what I think I can do, I learn more.

This Lucia Portrait Tapestry is best viewed from a distance. Up close, the details seem abrupt and harsh. But when I look at her from across the room, I see the picture of a child’s face.

I trimmed the weft tails on the back, steamed the piece, and made a half Damascus edging. The edging and the weft tails near the sides are stitched down. The hems are turned under and stitched. I plan to mount this on a linen-covered square, and hang the finished piece where it can be easily viewed from a few steps back.

Ending a small frame loom tapestry.
Small tapestry ends with a short hem, warp thread header, and a scrap header. I overestimated how far I could comfortably weave. This is a less-than-optimal distance from the end of the warp for weaving.
Trimming weft tails on the back of the little tapestry.
Most of my tapestry weaving is done in the evenings as part of my winding-down routine. In this session the back of the tapestry gets a haircut.
Finishing a small tapestry. Cute slideshow video.
Straggler weft tails are reigned in with a little sewing thread.
Small tapestry portrait. Slideshow video of the process!
Finished Lucia Portrait Tapestry is 4 1/4″ x 4 7/8″.

Enjoy this slideshow video. The ending is sure to make you smile!

May you keep making.

Love,
Karen