New Life for an Old Rigid Heddle Loom Blanket

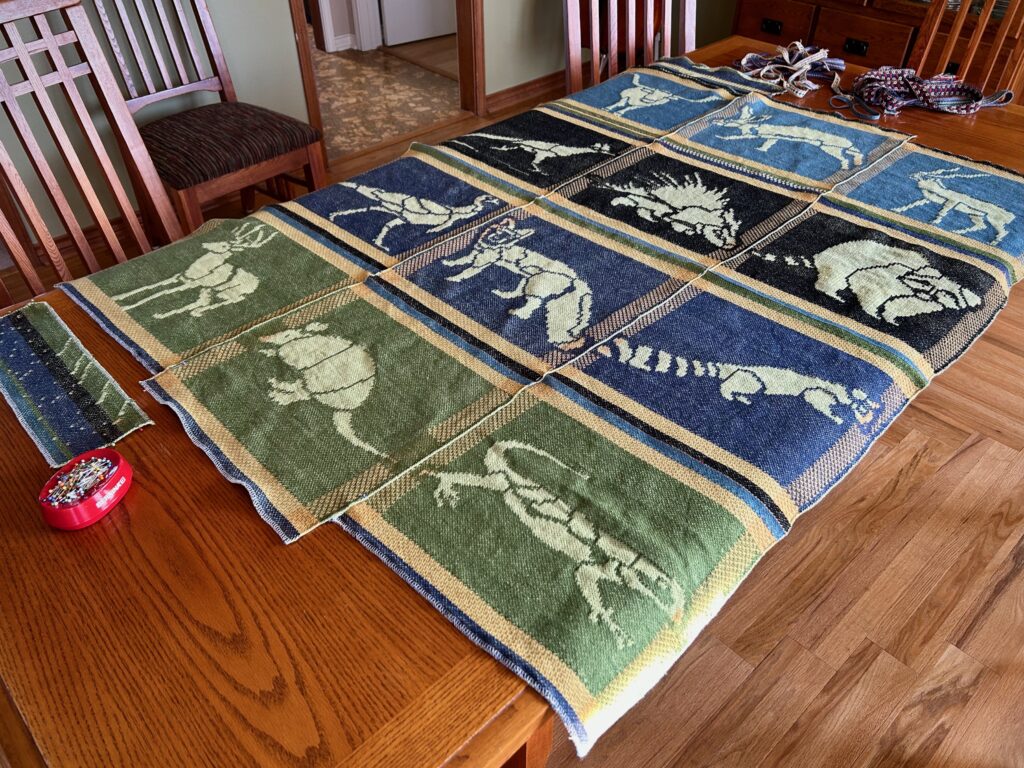
My weaving interest started in 1982 when I happened across a rigid heddle loom class by Lynn Tedder at Johnson Atelier in Tulsa, Oklahoma. I acquired a 32-inch Beka Rigid Heddle Loom and began weaving during snippets of time as I was being a full-time mommy to one, two, and then three little ones. One of my very first projects on that simple loom was a wool color gamp sampler. I wove full width for a length equal to two panels that I then hand-stitched together to make a small blanket. That little blanket got a lot of use and wear, and at some point I packed it away because some of the edges had become a little ragged over time.

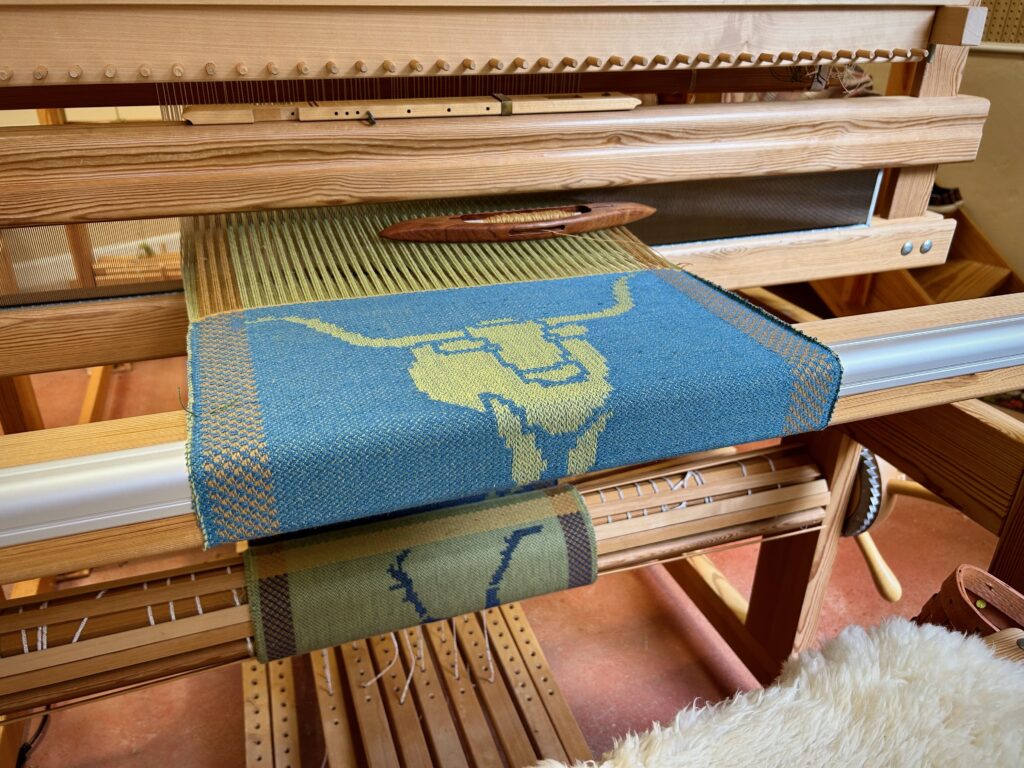
In 2019 I finished one of my first warps on the drawloom–Tuna wool fabric in which I wove designs for a simple vest I would make for myself. I created the pattern for the vest, and after doing several muslins, I wanted to do a mockup in similar weight to the wool fabric from the drawloom. I dug out that old rigid heddle loom blanket! Perfect for this assignment as a mockup.

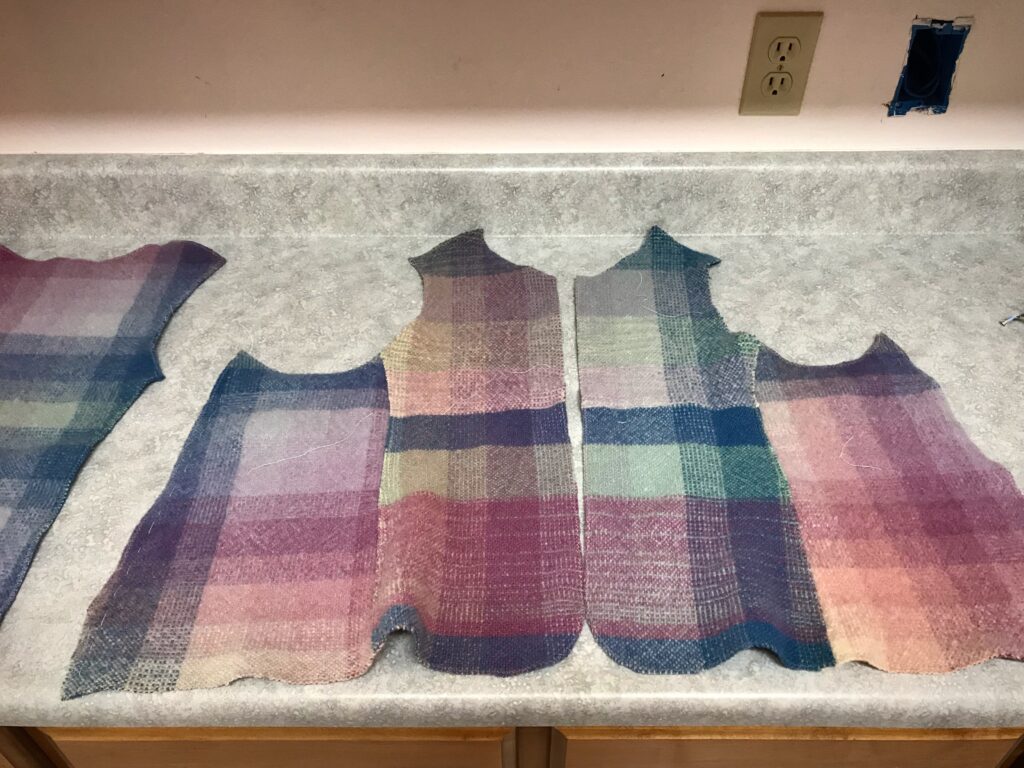
I made a mockup for the drawloom vest. I cut the mockup vest from a plain weave color gamp sampler blanket I wove on my 32″ Beka rigid heddle loom in 1982. The blanket was made from two panels hand-stitched together down the middle.
Wool vest made in January 2020 from fabric woven on the drawloom.

Why not make that color gamp mockup into a wearable vest on its own? That is what I have finished this week. The pictures that follow tell the story.

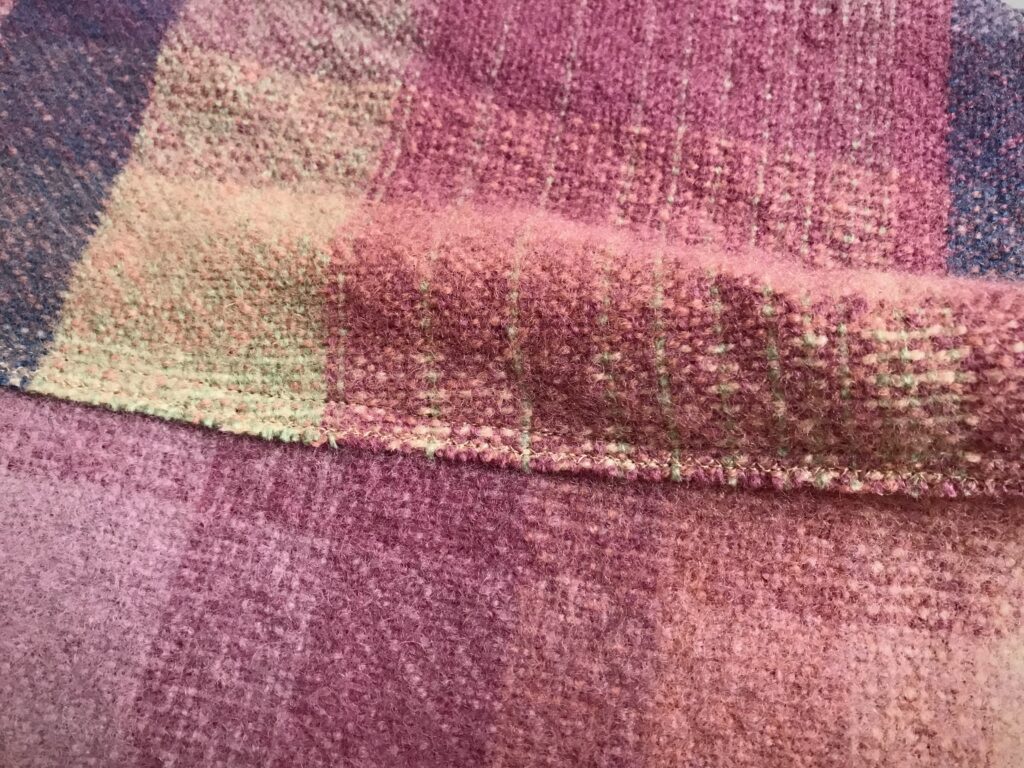
I made the mockup vest with overlapped seams.
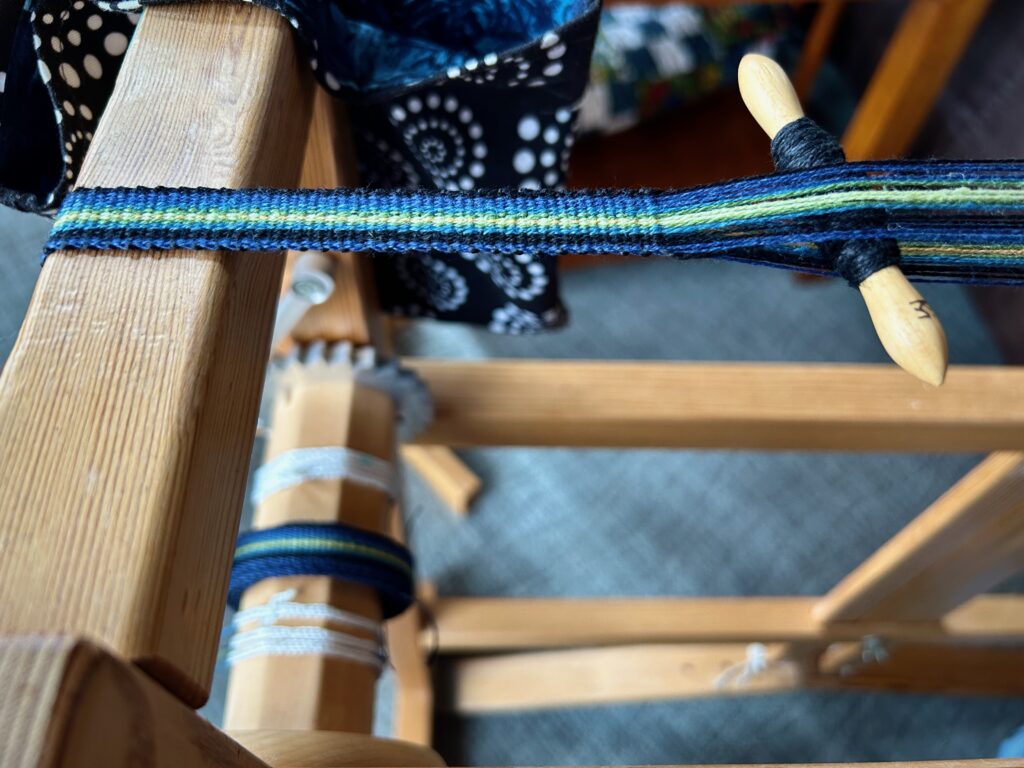
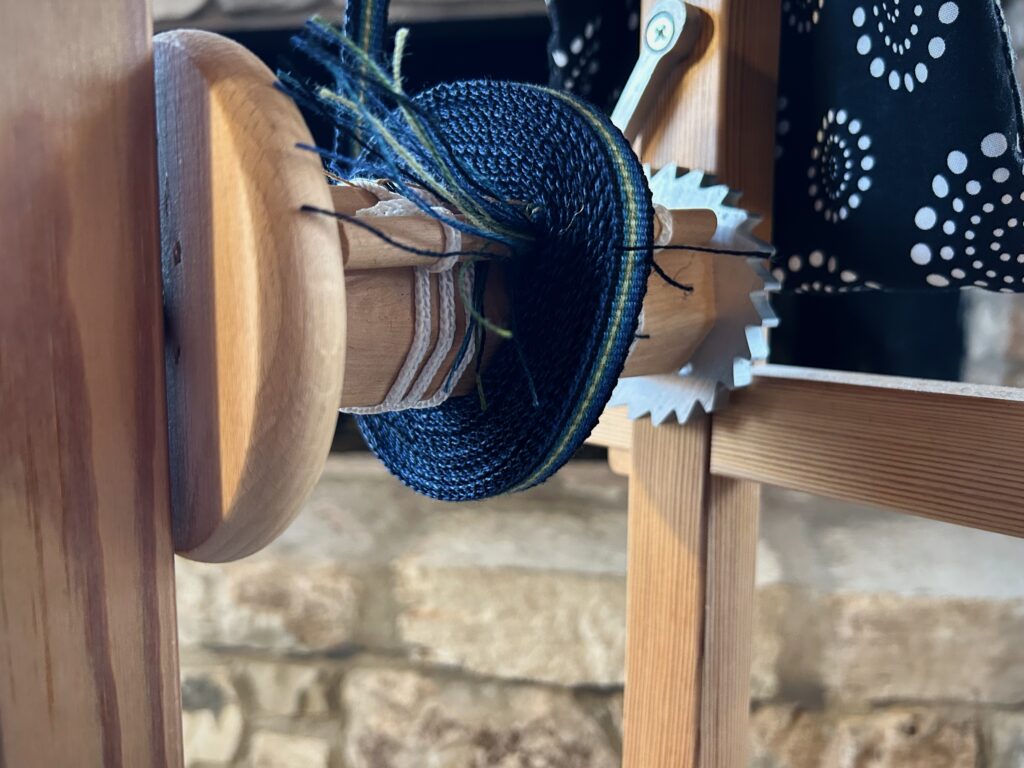
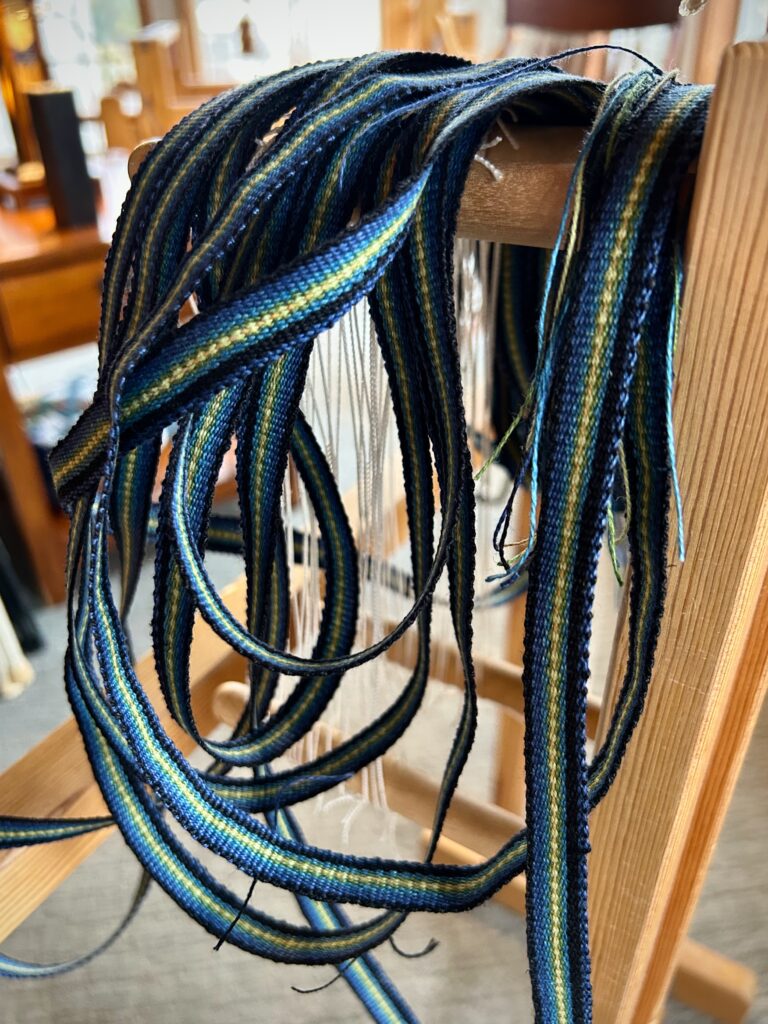
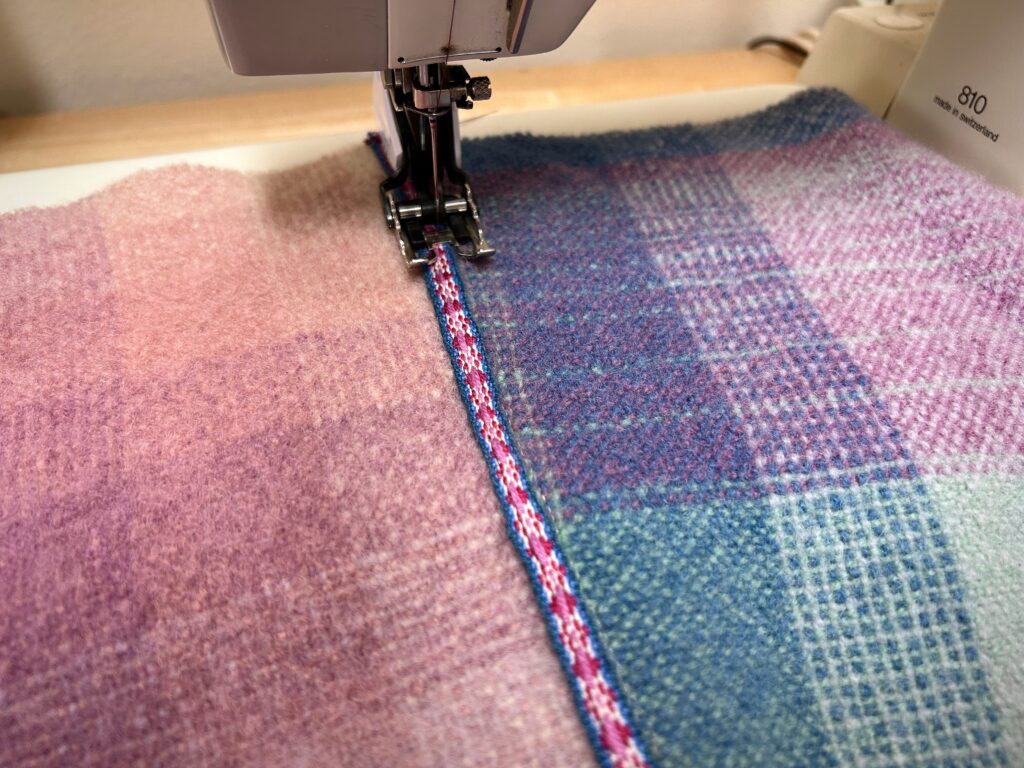
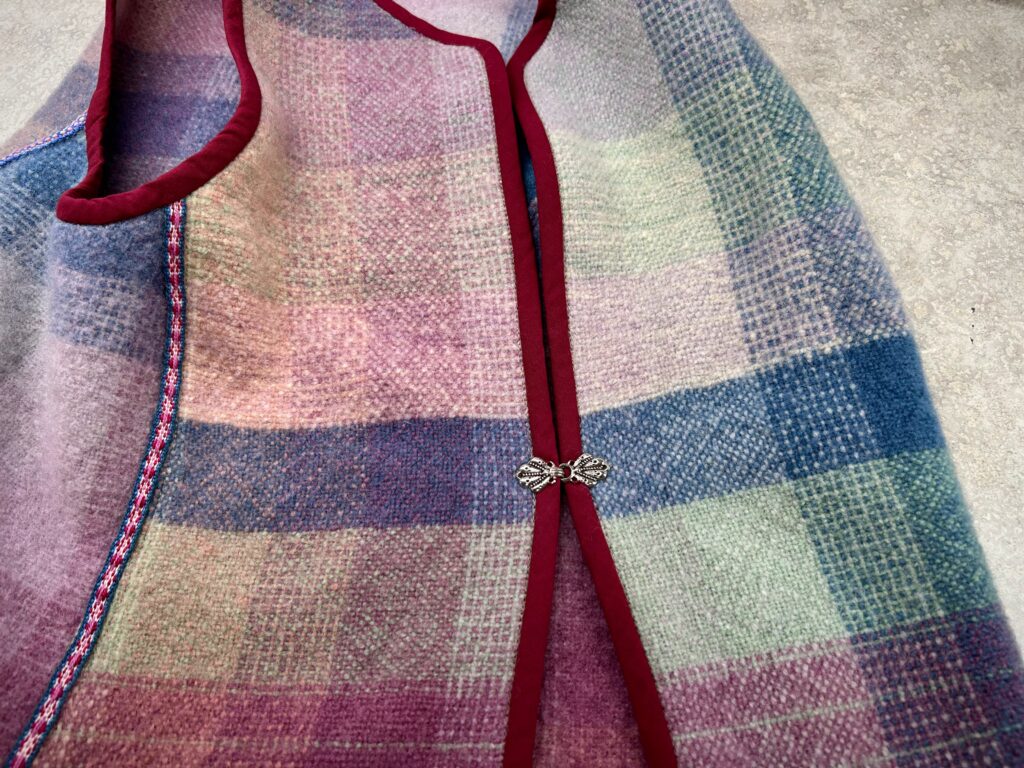
I am using handwoven bands to cover the seams on the vest. This pretty band was woven a couple years ago on a small band heddle that Steve made for me.
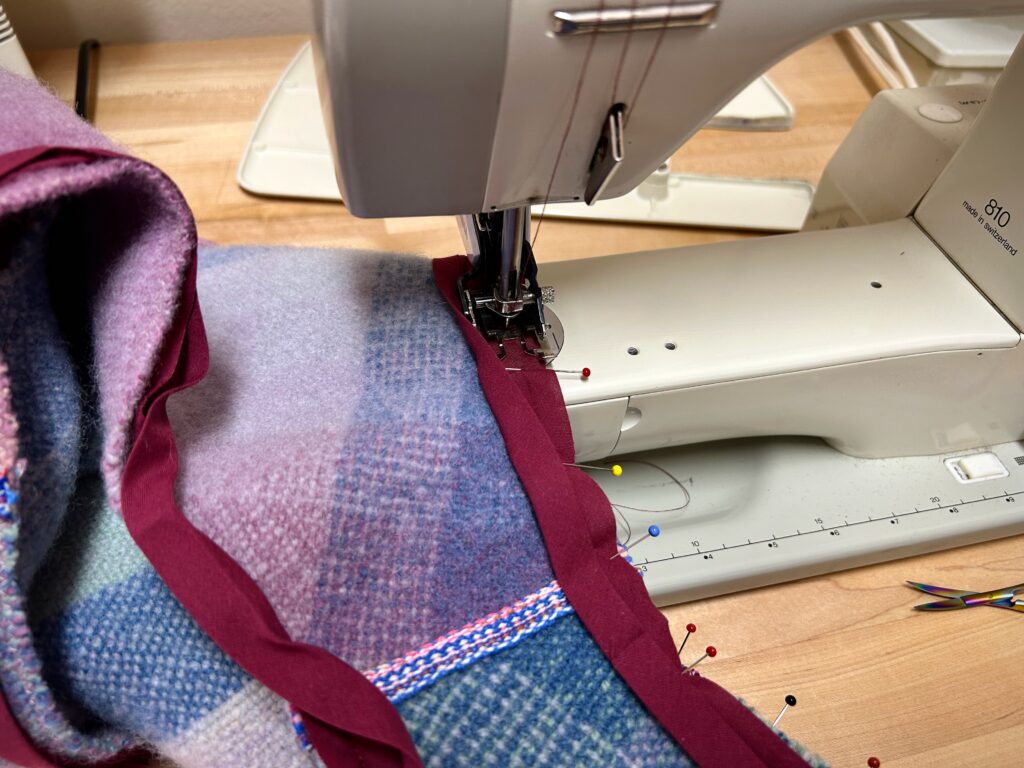
Double fold bias tape covers all the edges of the vest. First I stitch the tape to the edge of the vest, right sides together. You can see another handwoven band that I am using to cover the shoulder seams.
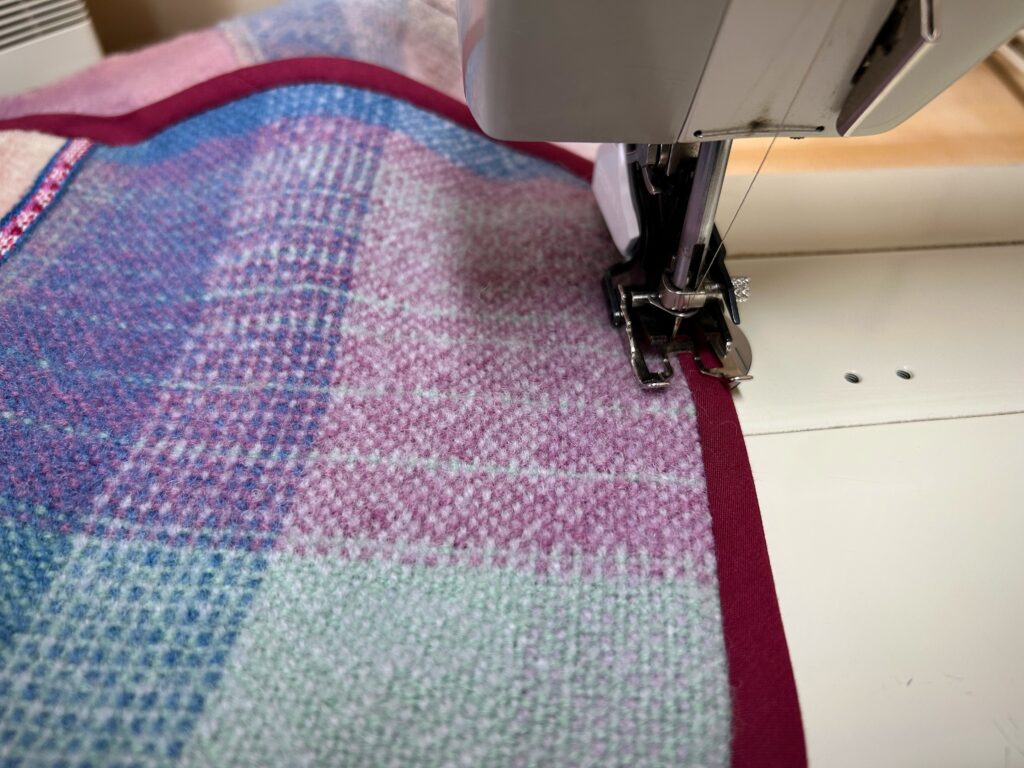
Next, I fold the bias tape around the edge and to the inside, and “stitch in the ditch” to catch the edge of the bias tape on the inside of the vest.
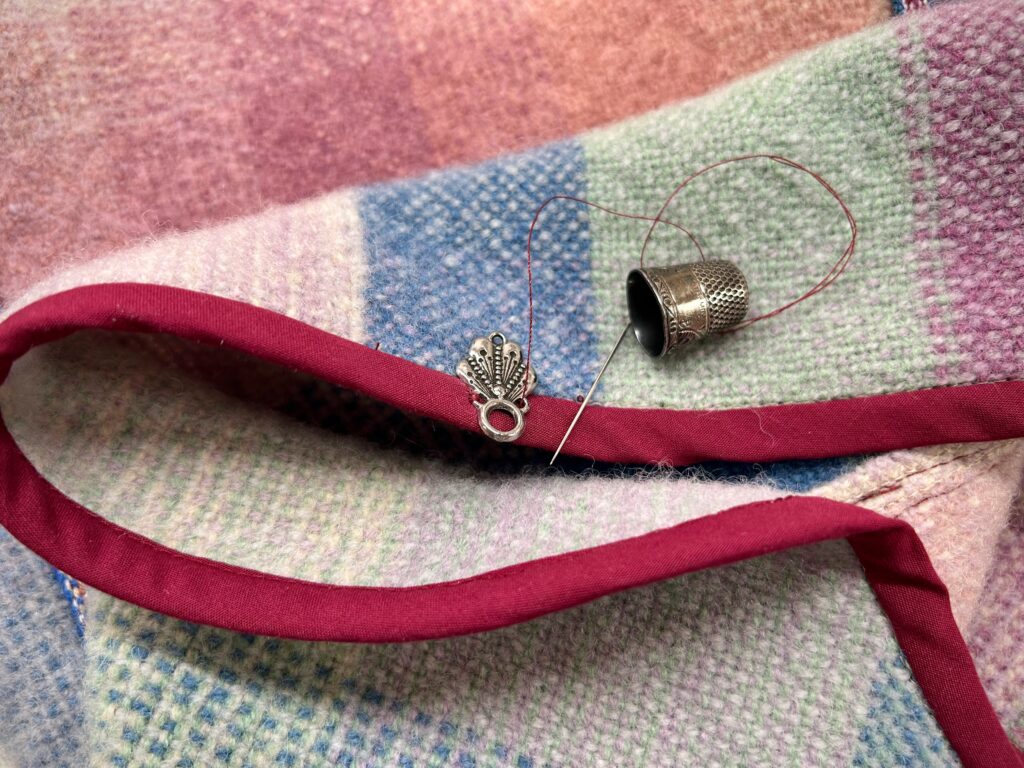
I found this two-part metal closure in my box of sewing odds and ends. It’s perfect for this vest. The thimble is one my grandmother used in her many hand-sewing projects.
Simple closure for a simple vest.
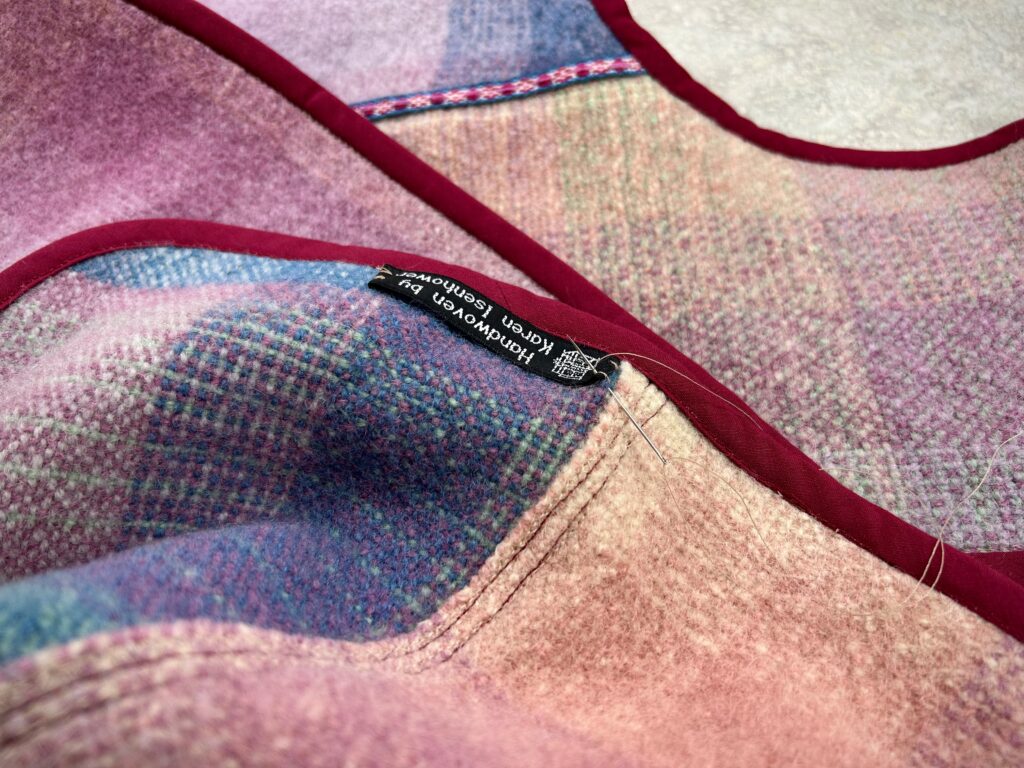
Sewing my handwoven label on the lower edge of the inside is the finishing touch.
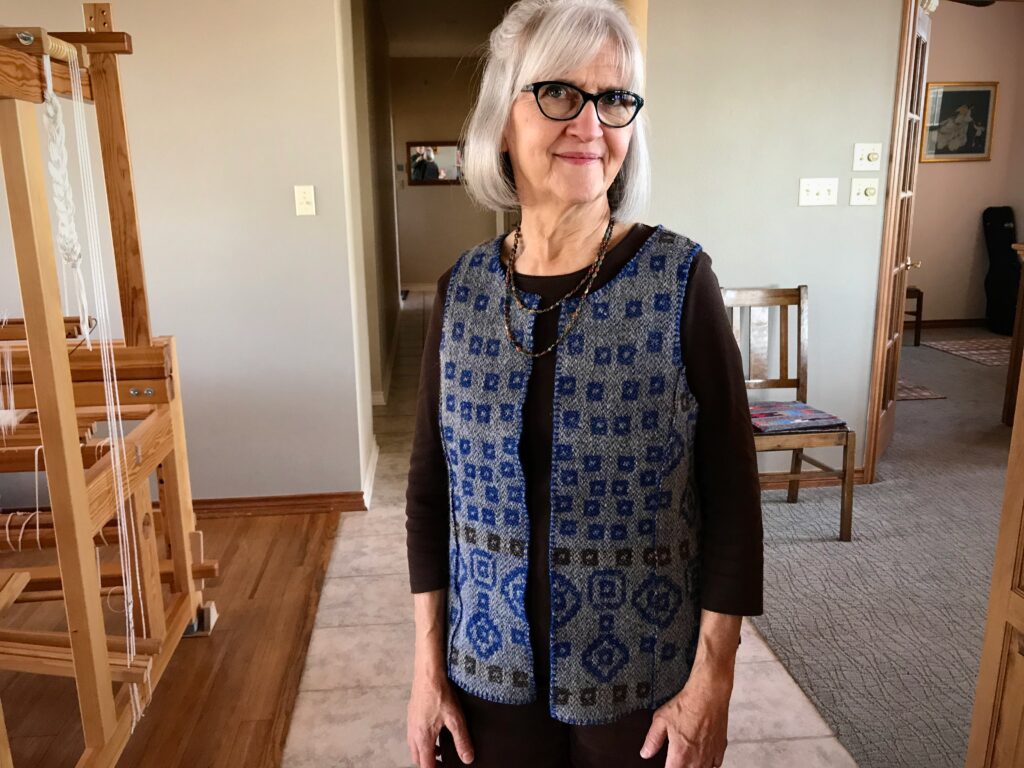
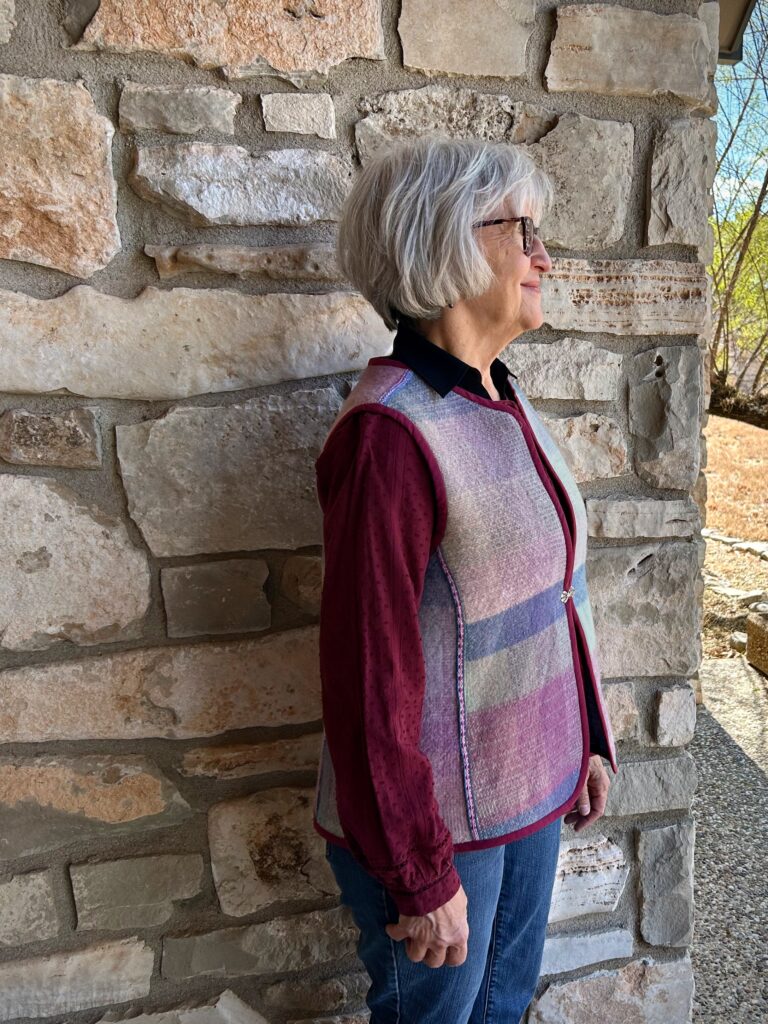
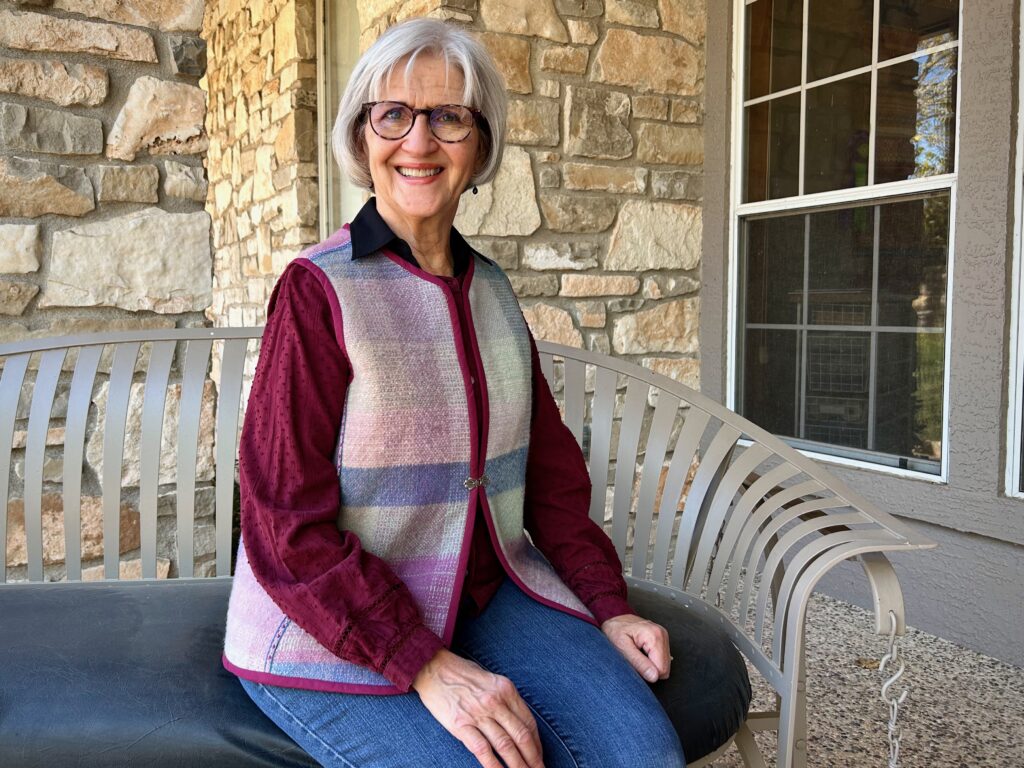
Rigid heddle blanket, now a wearable vest!

When I think about how the Lord allowed me to discover the joy of weaving on a simple little frame loom… And how He has allowed me to enjoy growing in these skills, and how I get to have the pleasure of weaving on a not-so-simple large drawloom… It reminds me of Psalm 16:11 “You reveal the path of life to me; in Your presence is abundant joy; at Your right hand are eternal pleasures.”

Happy to wear a remnant of my rigid heddle loom days!

Thanksgiving: Giving thanks to the Lord for allowing us to know the joy of walking in His path of life.

Happy Thanks Giving, Karen

Daily Tapestry Weaving

I planned a small tapestry project to take with me on our travels to Grand Canyon North Rim last month. I was rushed in the planning of the cartoon and in the selection of the yarn colors. Sitting by our travel trailer at the campground, with the rim of Grand Canyon in view, I had an inspiring environment for weaving.

After returning home, I could see changes I’d like to make in the cartoon, and some adjustments needed in the hues and values of my yarn selection. The cartoon is a photo of a Grand Canyon North Rim sunset from our visit there two years ago. I reworked the cartoon in Photoshop and edited my yarn selection. Then I undid everything that I had already woven. I’m starting over and it is looking better already!

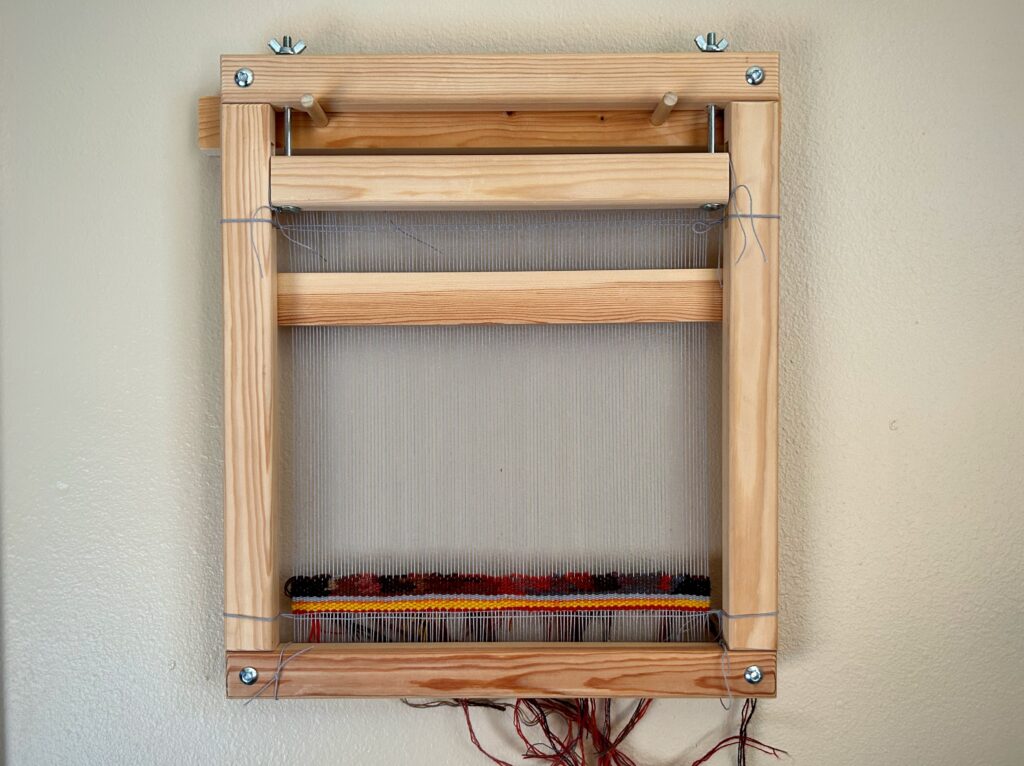
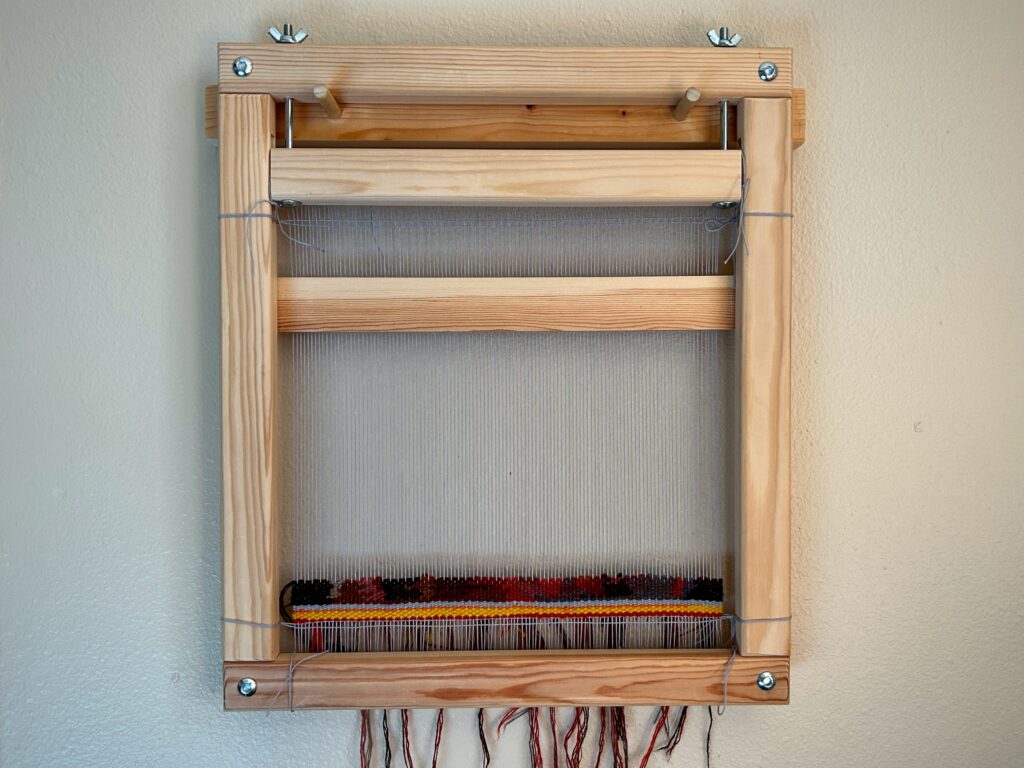
Every evening, now, I bring my Freja Tapestry Frame to our small breakfast table in the kitchen and weave for a little while. Steve made a holder for me to hang the tapestry frame on a wall in the study. I take a picture every morning. I will end up with a series of photos that show how the tapestry grows, row by row, over time. This daily tapestry weaving gives me a constant reminder of how beautifully creative the Creator of our universe is, and how His planning is never rushed, nor His selection of colors short sighted. His work is perfect from the start.

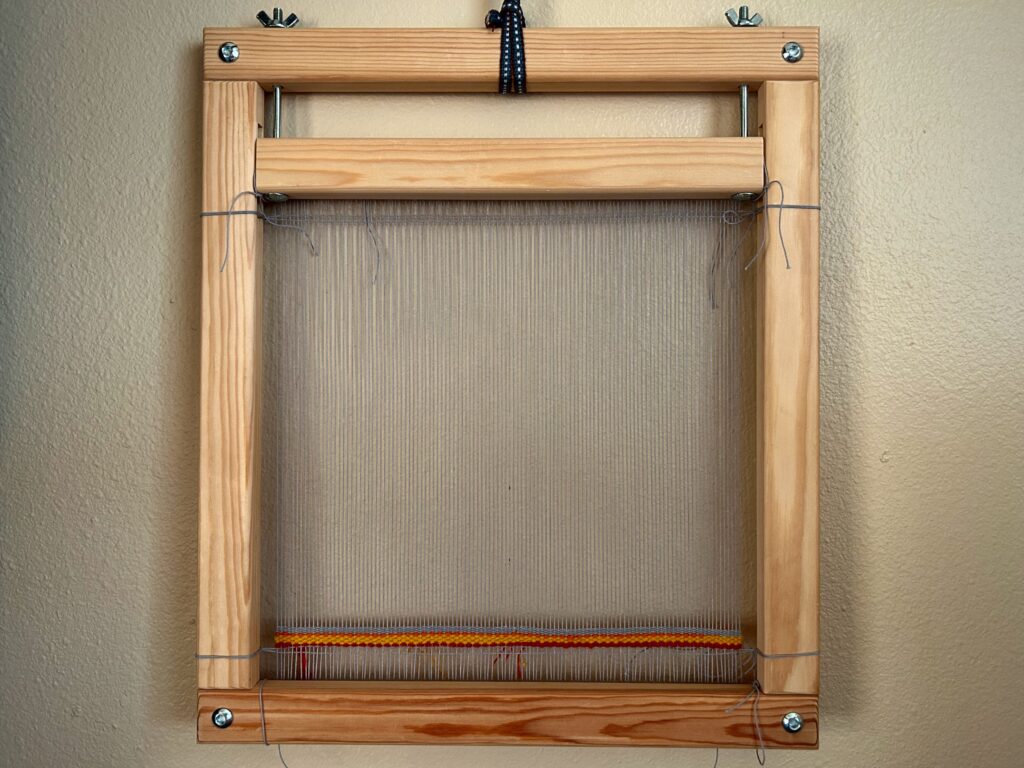
First, we found a place to hang this Freja Tapestry frame on the wall. Bright yarn is the scrap yarn for beginning to space the warp. Six rows of 12/6 cotton warp thread finish the job of spreading the warp evenly. I also added two quick rows at the top to help keep uniform spacing from bottom to top of the warp.
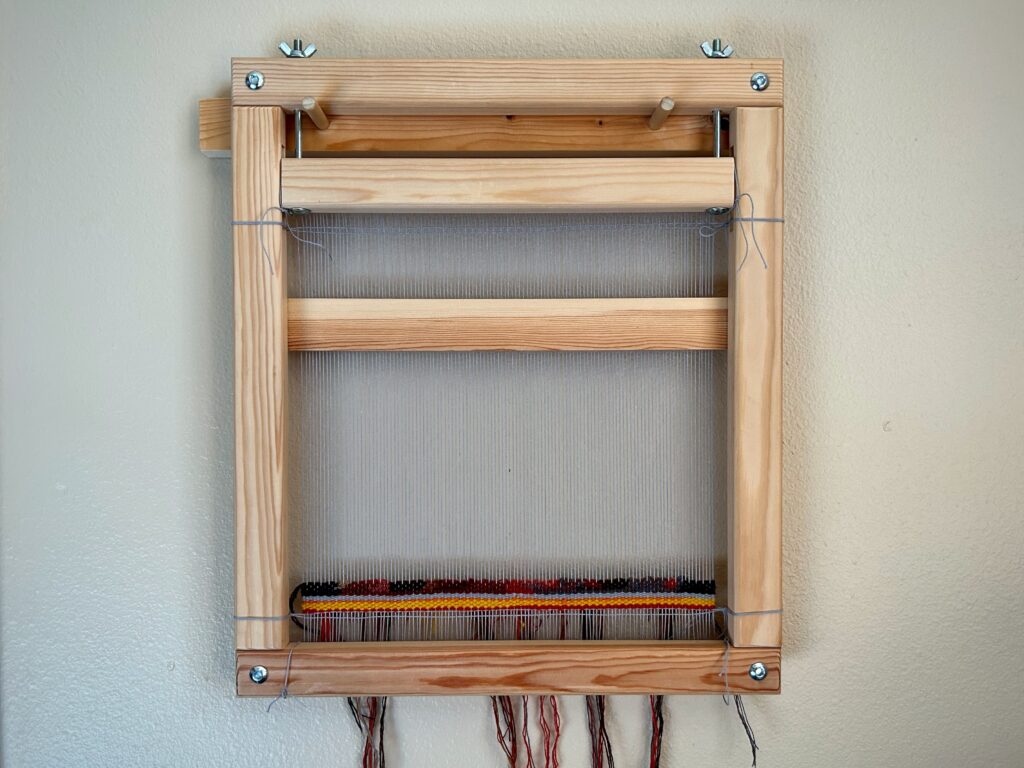
Steve’s simple mounting rack is just right for holding the tapestry frame. I can view the right (or wrong) side of the tapestry and watch it grow day by day. I completed these six rows in the first couple days back home.
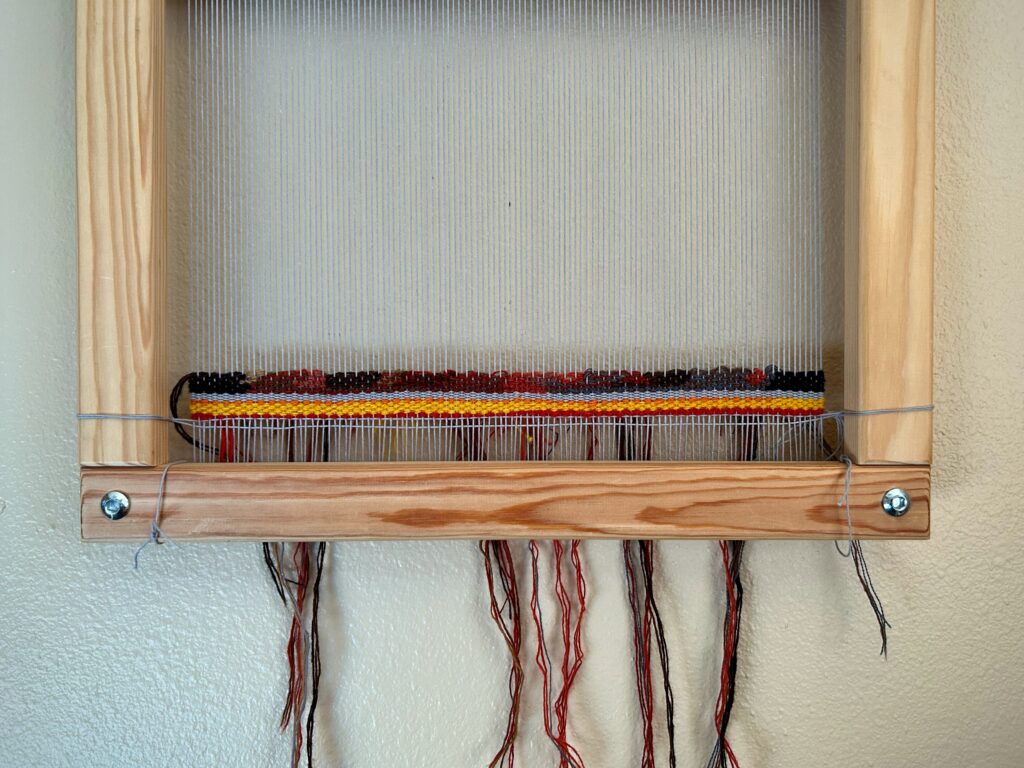
Detail view of the right side of the first six rows. This tapestry is being woven from the back.
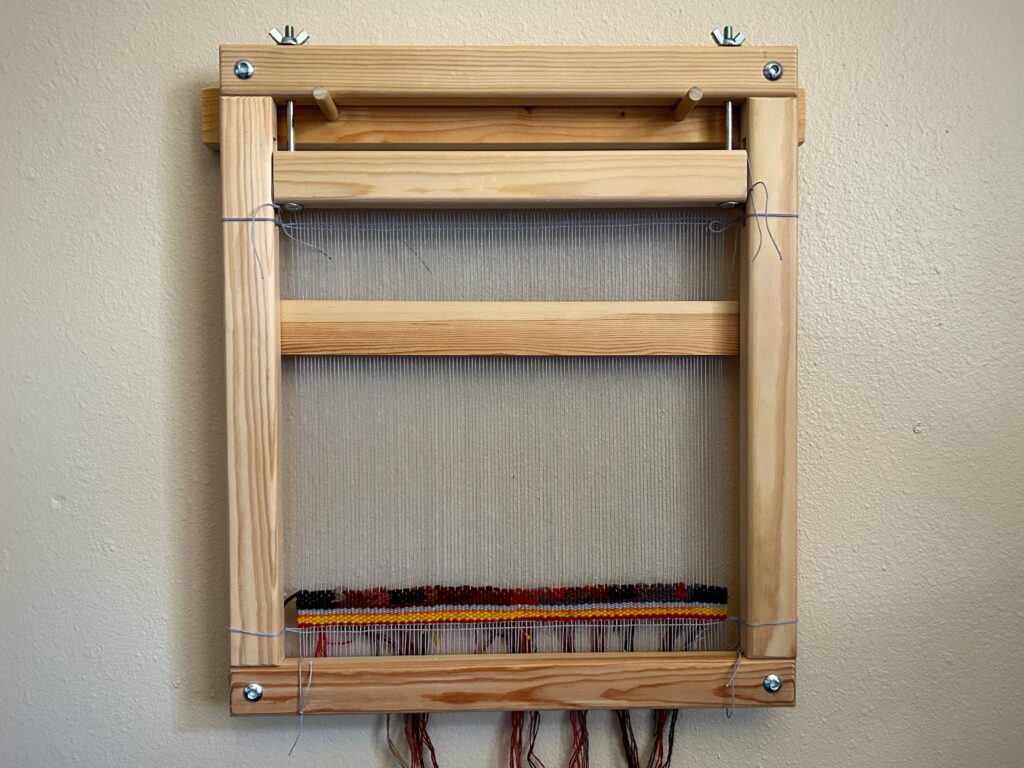
Adding rows two at a time.
So far, this is simply colors and shapes.
Sitting down in the evening and completing one pass (two rows) is a satisfying way to wind down for the day.
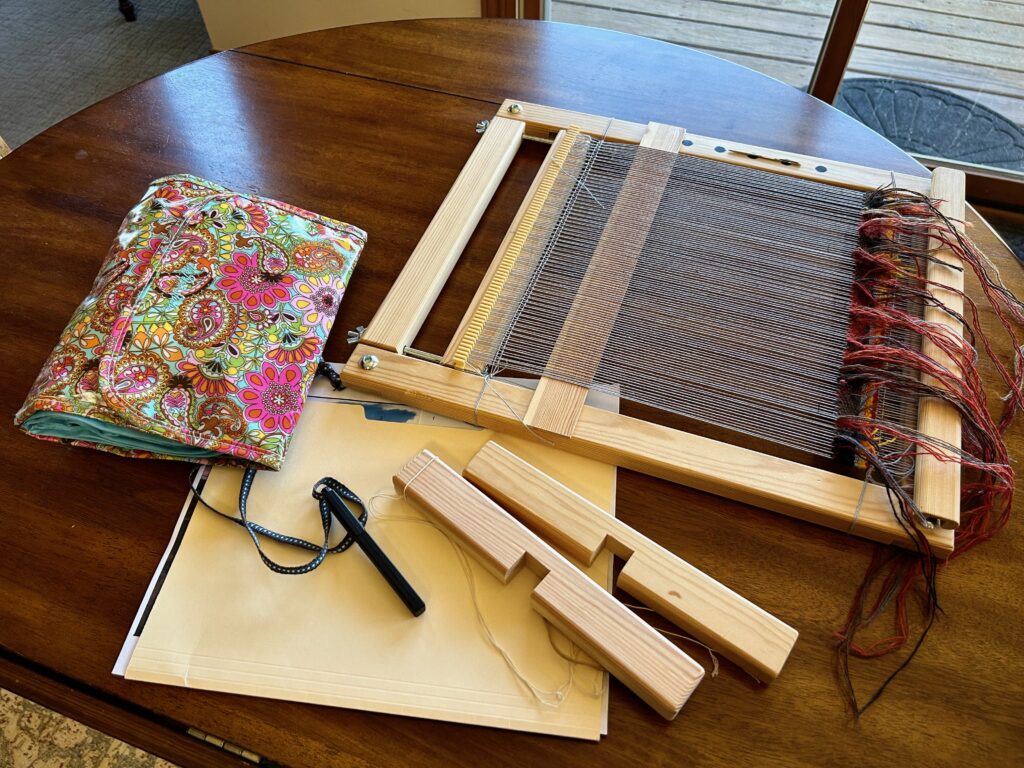
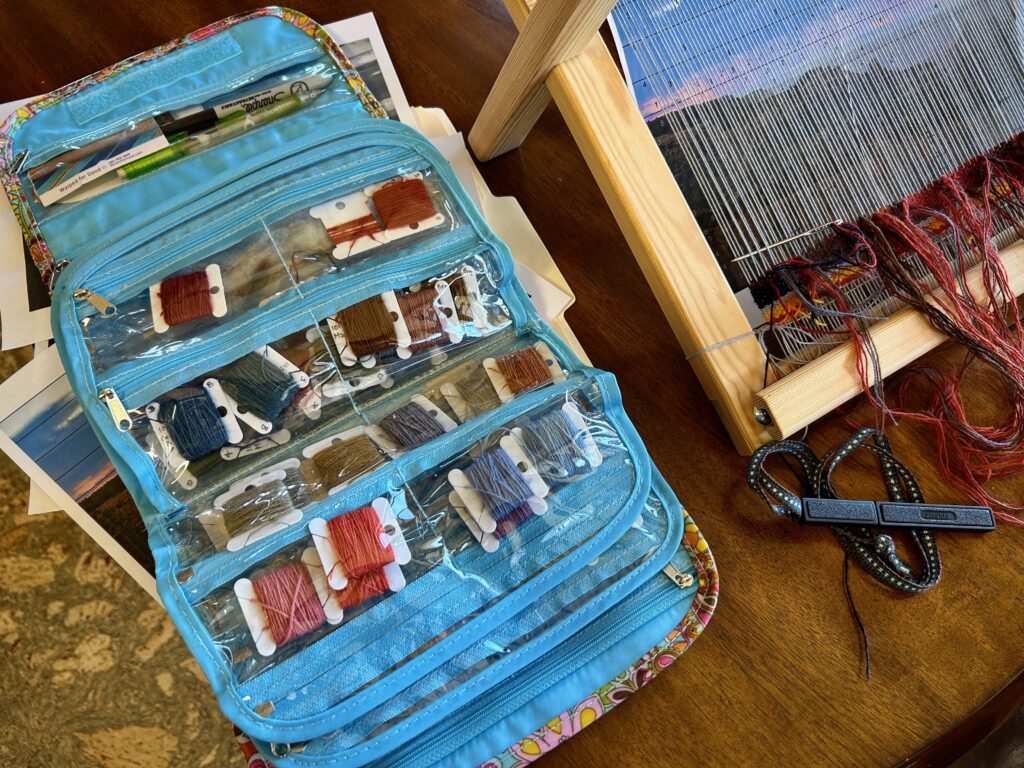
Pouch with yarn, Gingher snips on a handwoven band to wear around my neck, legs to hold the tapestry frame at a comfortable angle on the table, folder with tapestry cartoon and a few go-by’s. And, the Freja Tapestry frame, with slat that holds the cartoon, and tapestry needle held by earth magnets that Steve inlayed into the face of the right side of the frame, and a wood cover that slips over the bottom teeth on the frame that keeps anything from snagging on the teeth.
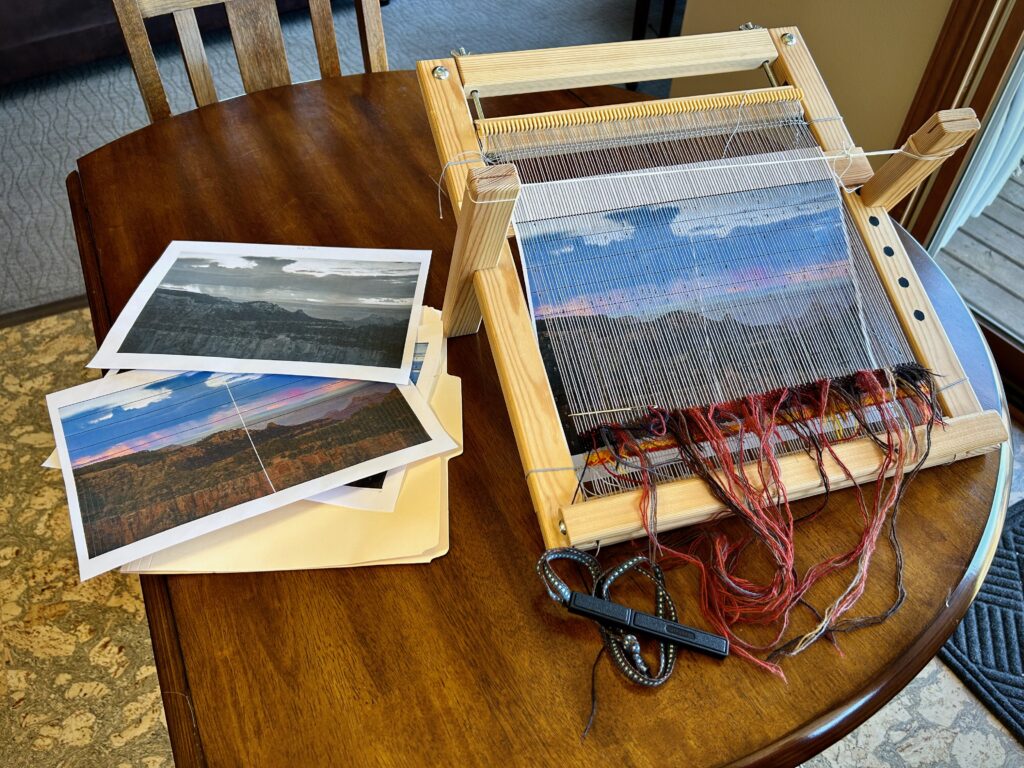
This is my simple setup. Most evenings I take my place here at our small breakfast table and set up my tapestry frame. I have a black-and-white, and a full-color go by. I refer to these constantly as color reference and value reference.
This is my “crayon box” of colors, carefully selected by value and hue. Most of the weft yarn is 6/1 Fårö wool, with a few colors of 20/2 Mora wool added in. I have the yarn sorted by value. There are five sleeves in the pouch, so 1, 2, 3, 4, 5 – for a five-point value scale. The yarn is wound on floss bobbins left over from my counted cross-stitch days. This makes the whole project very travel friendly.

May the colors of creation bring you joy.

Happy Weaving, Karen
Wild Turkey and More

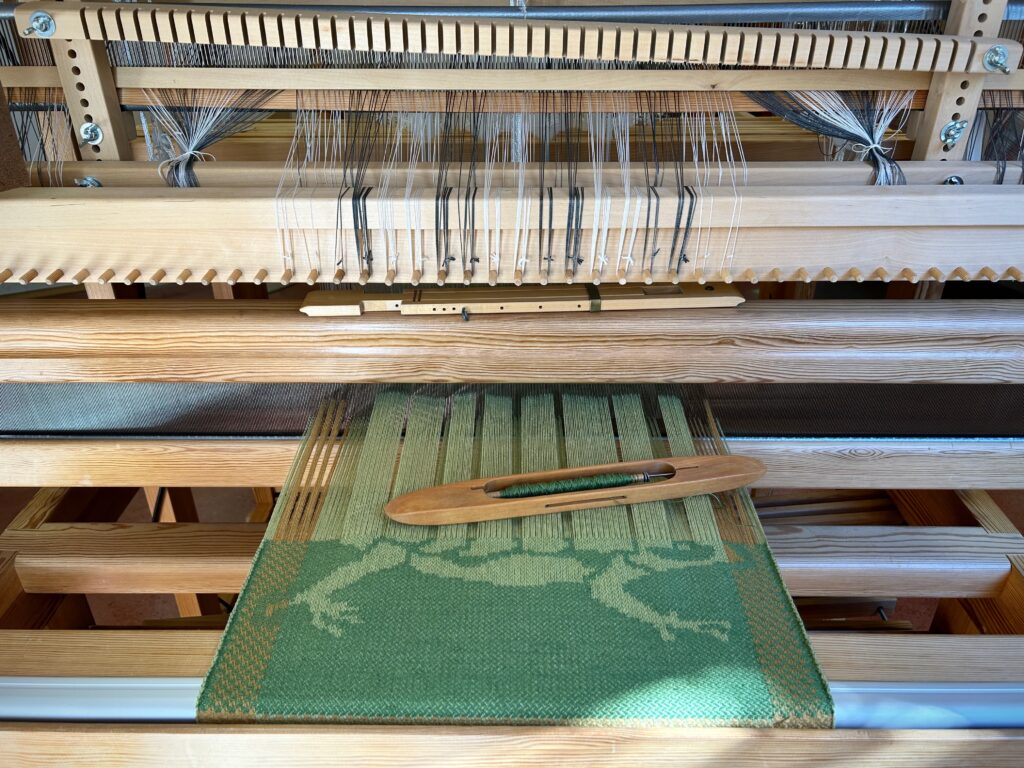
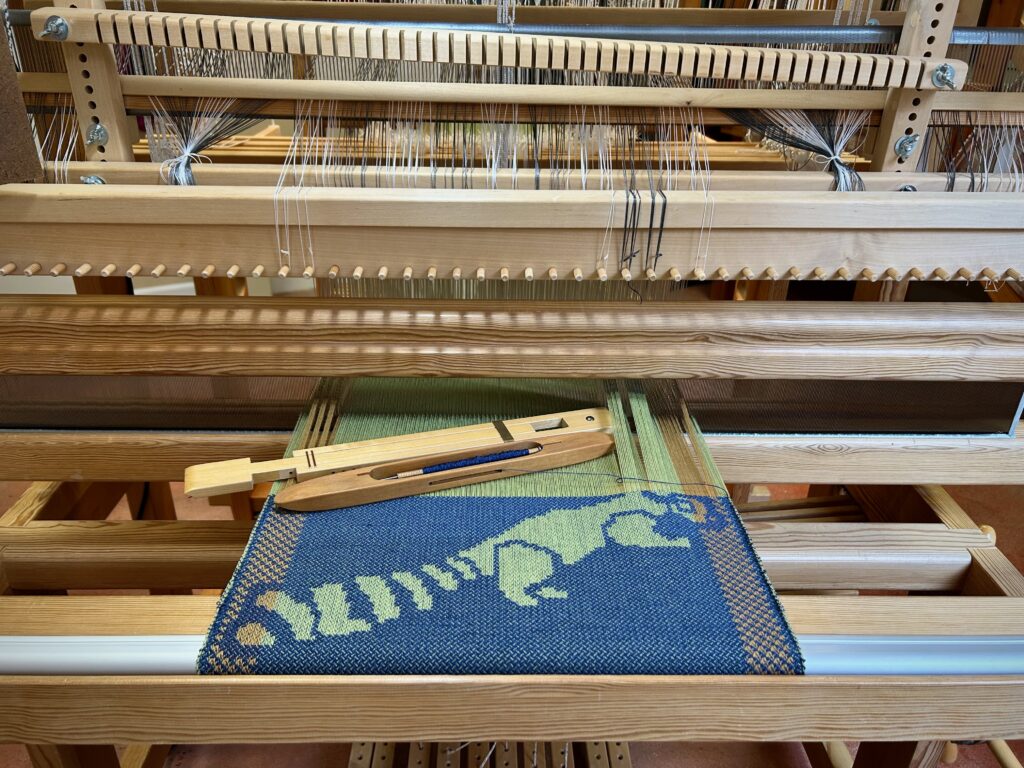
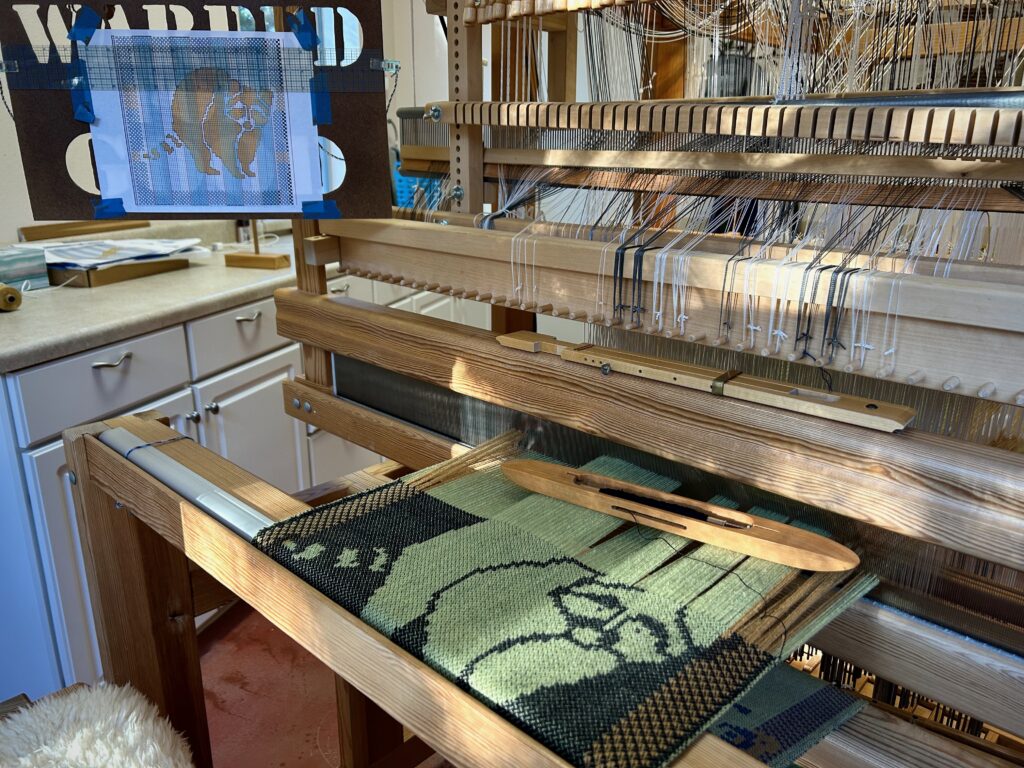
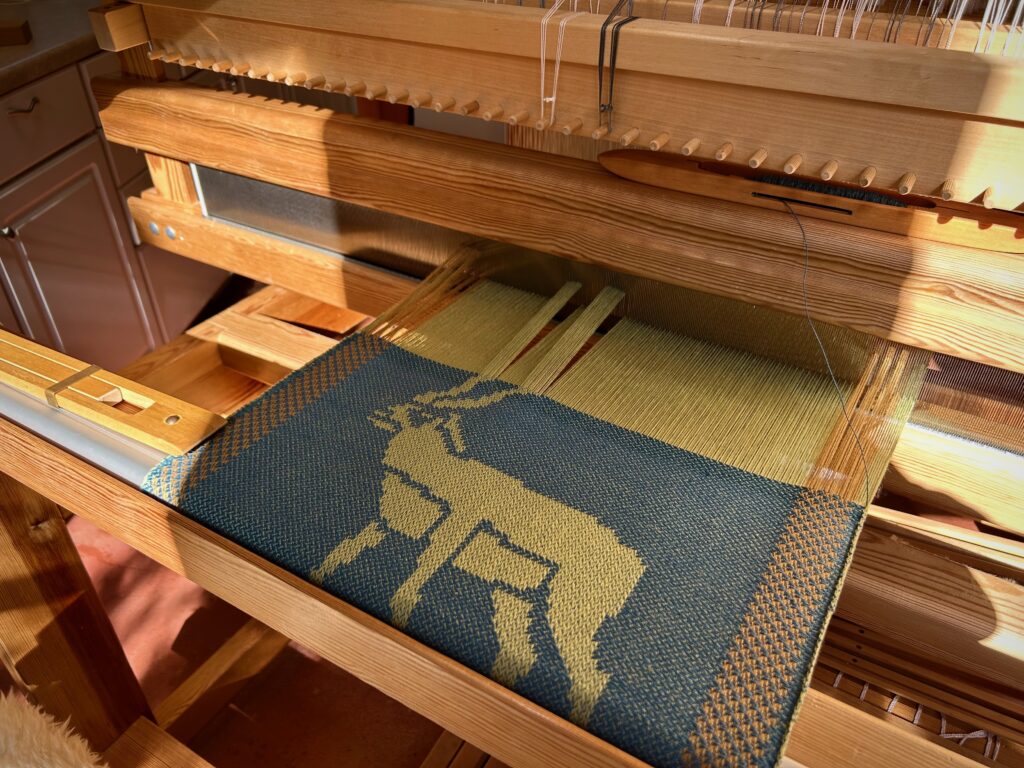
Three looms are active right now. The drawloom has the napkin project, with a wild turkey on this one.

Wild turkey feet and legs weave up quickly. There are only a few single unit draw cords to pull at a time, plus one pattern shaft draw handle for the side borders.
Wild turkey feathers require many more single unit draw cords. Even the borders at this place in the pattern are done with single units. The cast shadow on the loom from the bell that hangs in the window makes a funny face at this time of day. Could be a silly turkey face? 🙂

The Julia has the wool goose-eye twill fabric that I plan to use for making myself a simple winter cape. Next winter should be here soon enough.

Wool cape fabric in goose-eye twill.

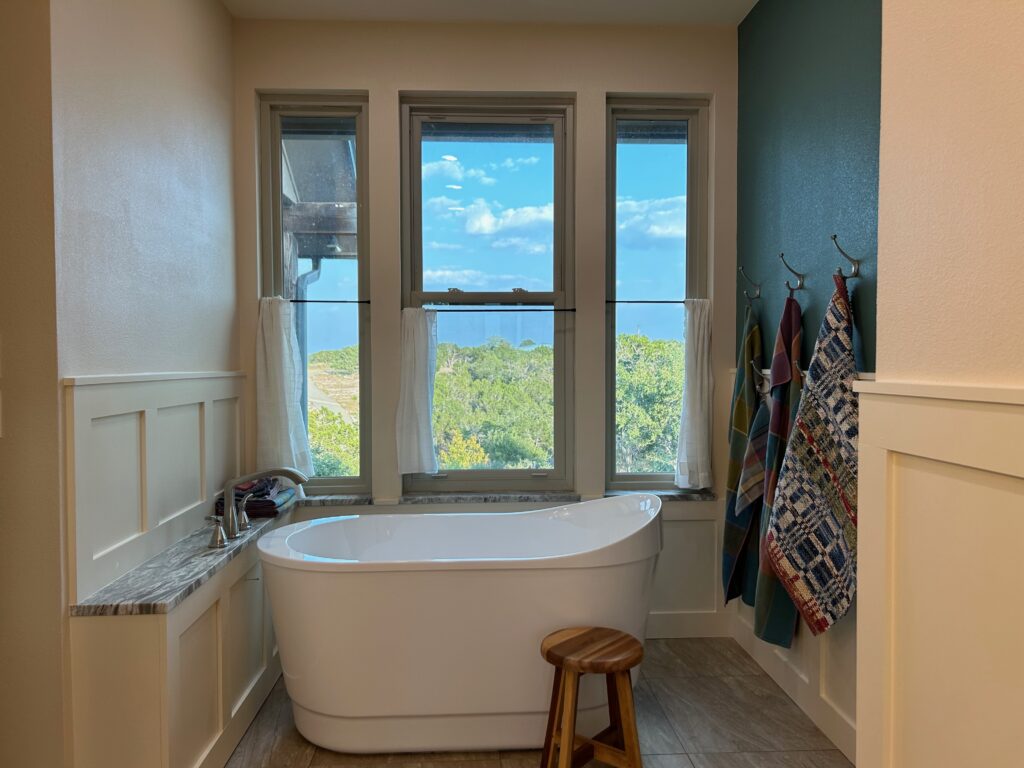
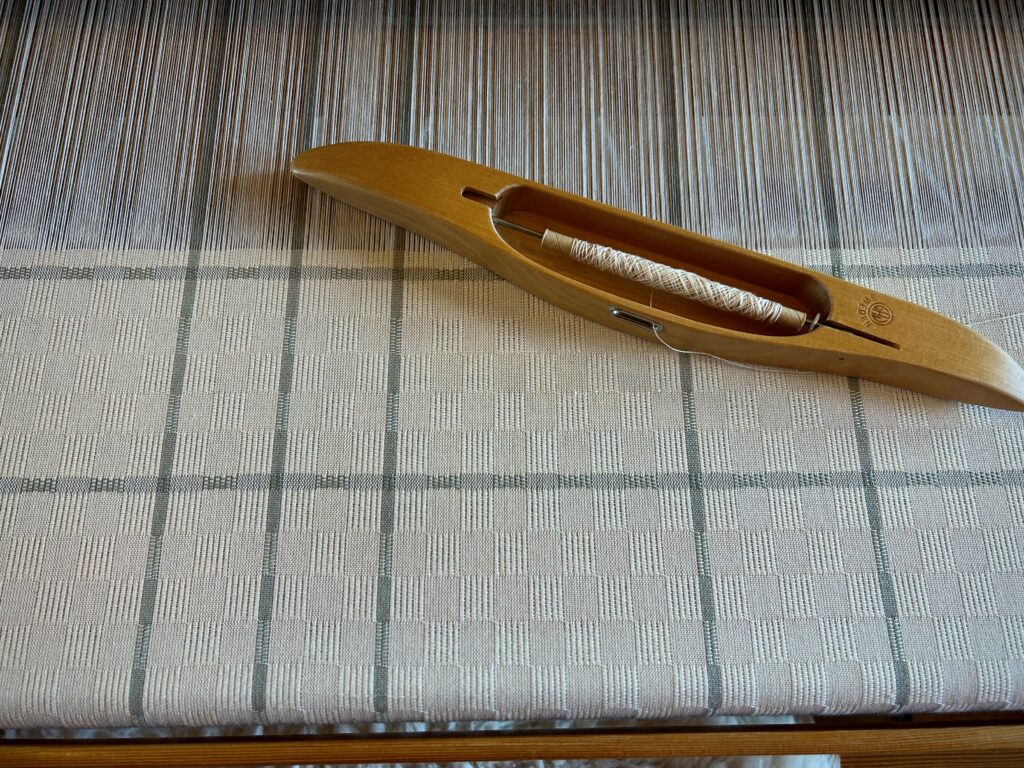
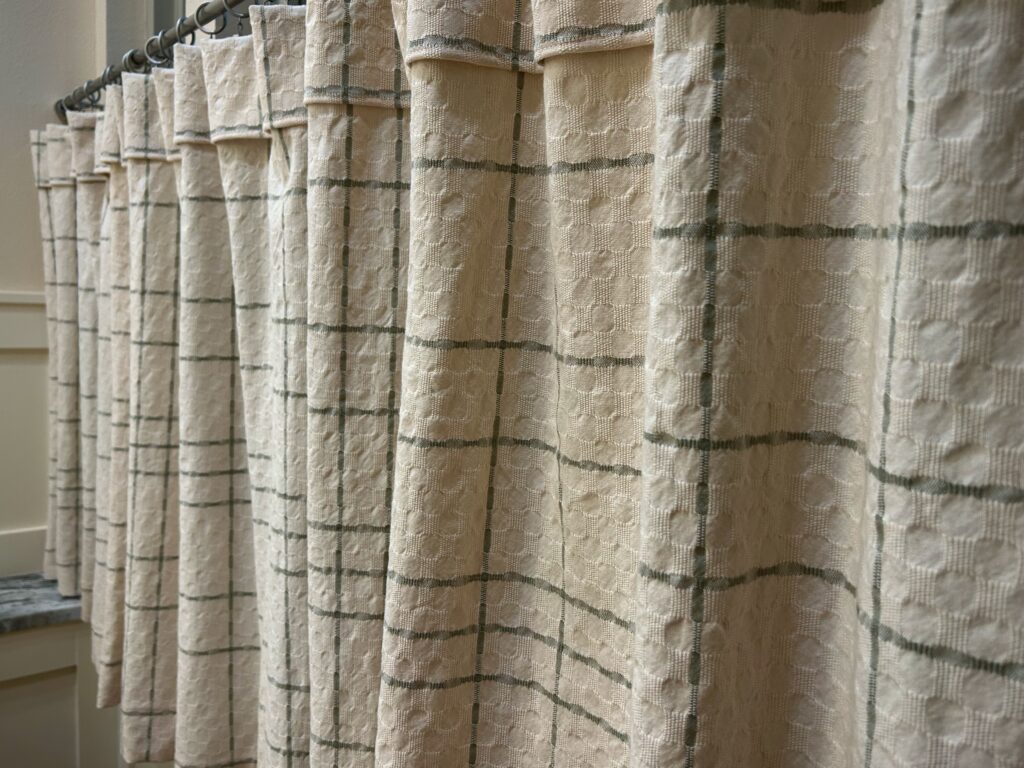
Last but not the least at all is the Glimåkra Standard with curtains for our remodeled bathroom. This is a big project and I will be weaving on this for a while. M’s and O’s is enjoyable to weave. I like the counting for the squares and stripes, and the trading off of feet that this project gives me.

Curtain fabric in M’s and O’s is winding up on the cloth beam.

Happy Weaving,

Karen
Can You Count? 1984 Warp Ends

If at first you don’t succeed, count, count again! 1984–I’m not talking about the year, nor the book title. I’m talking about the number of 24/2 cotton ends in this 8.5-meter warp. I made it excruciatingly challenging for myself by putting in narrow stripes of 8 ends that are irregularly spaced. It will all be worth it if these curtains come out as I envision them. Time will tell.

After beaming the warp I count all the ends into threading groups. This step is usually straightforward and quick. This time, however (because of my uneven spacing of stripes and because of the fineness of the ends), I miscount the ends once or twice, or three times… I am determined to get all the threads into threading groups before moving on, so I keep at it until all the numbers line up as they should. Whew! Finally!

Counting (and re-counting and re-counting) ends into threading groups.
Threading four shafts in M’s and O’s is refreshingly easy after all the challenges of beaming the warp and counting ends.
System of heddles holding warp ends never ceases to amaze and enchant me.
Bring on the heddles! Two batches of 100 heddles are on each pair of shaft bars, just waiting to be called into action. There are more 100’s in a box beside the loom, which I will add as needed.

Now we are at the fun part. This is smooth sailing and I am caught up in the breeze of it, relaxing into the hours of calmly threading heddles. Before we know it, the shuttle will be flying in here! And I’ll have new curtains in the bathroom. I’m excited about that!

May you press through to the fun part.

For as long as it takes,

Karen
Do You Think about Weaving?

Nothing beats a new delivery of weaving supplies! Paper plans become active when tubes of thread arrive. First, the Julia is getting dressed, using plans I have written out for placemats. For the Ideal, I’m thinking of a new pictorial tapestry, with a rosepath draft I’ve prepared for that. The imagined tapestry will move forward after I finish the double-binding rag rugs that are on that loom now. Another draft I’m working on is for the next drawloom project. I’m doing the math for napkins in a six-shaft satin variation with three-shaft twill. There’s a lot of thinking going on around here.

Opening a box of weaving supplies is always exciting! Warp thread, weft thread, more 6″ quills, and one more set of 4-shaft shaft holders and pins.
Linen for weft. There is always room for a few more tubes of linen.
Warp chains of 22/2 cottolin are placed through the beater. I have added enough shafts and upper and lower lamms to have eight of each. Just about ready to beam the warp. Reed leaning against the wall will be used for spreading the warp, so it doesn’t matter that it is a bit long for this little Julia loom.

Ideas come and go. But if I can put ideas on paper there’s a good chance they will become something. Everything begins with plans on paper.

May you have an idea of what comes next.

Happy planning,
Karen