Tried and True: Rag Rug Block Party!

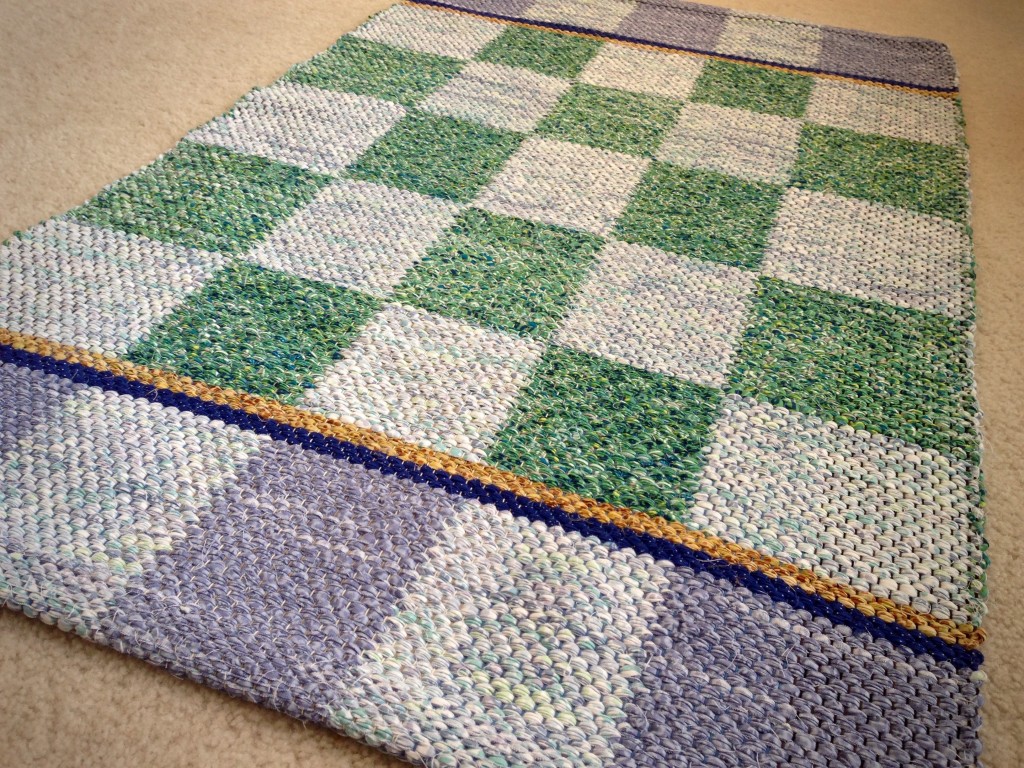
I am happy to say that with only four shafts we have exactly what we need for a checkerboard rag rug. Thank you to Megan for asking about it. ”I am searching for a 4-shaft draft for a checkboard pattern. I am limited to only 4 shafts.” Double binding opens up a world of opportunity!

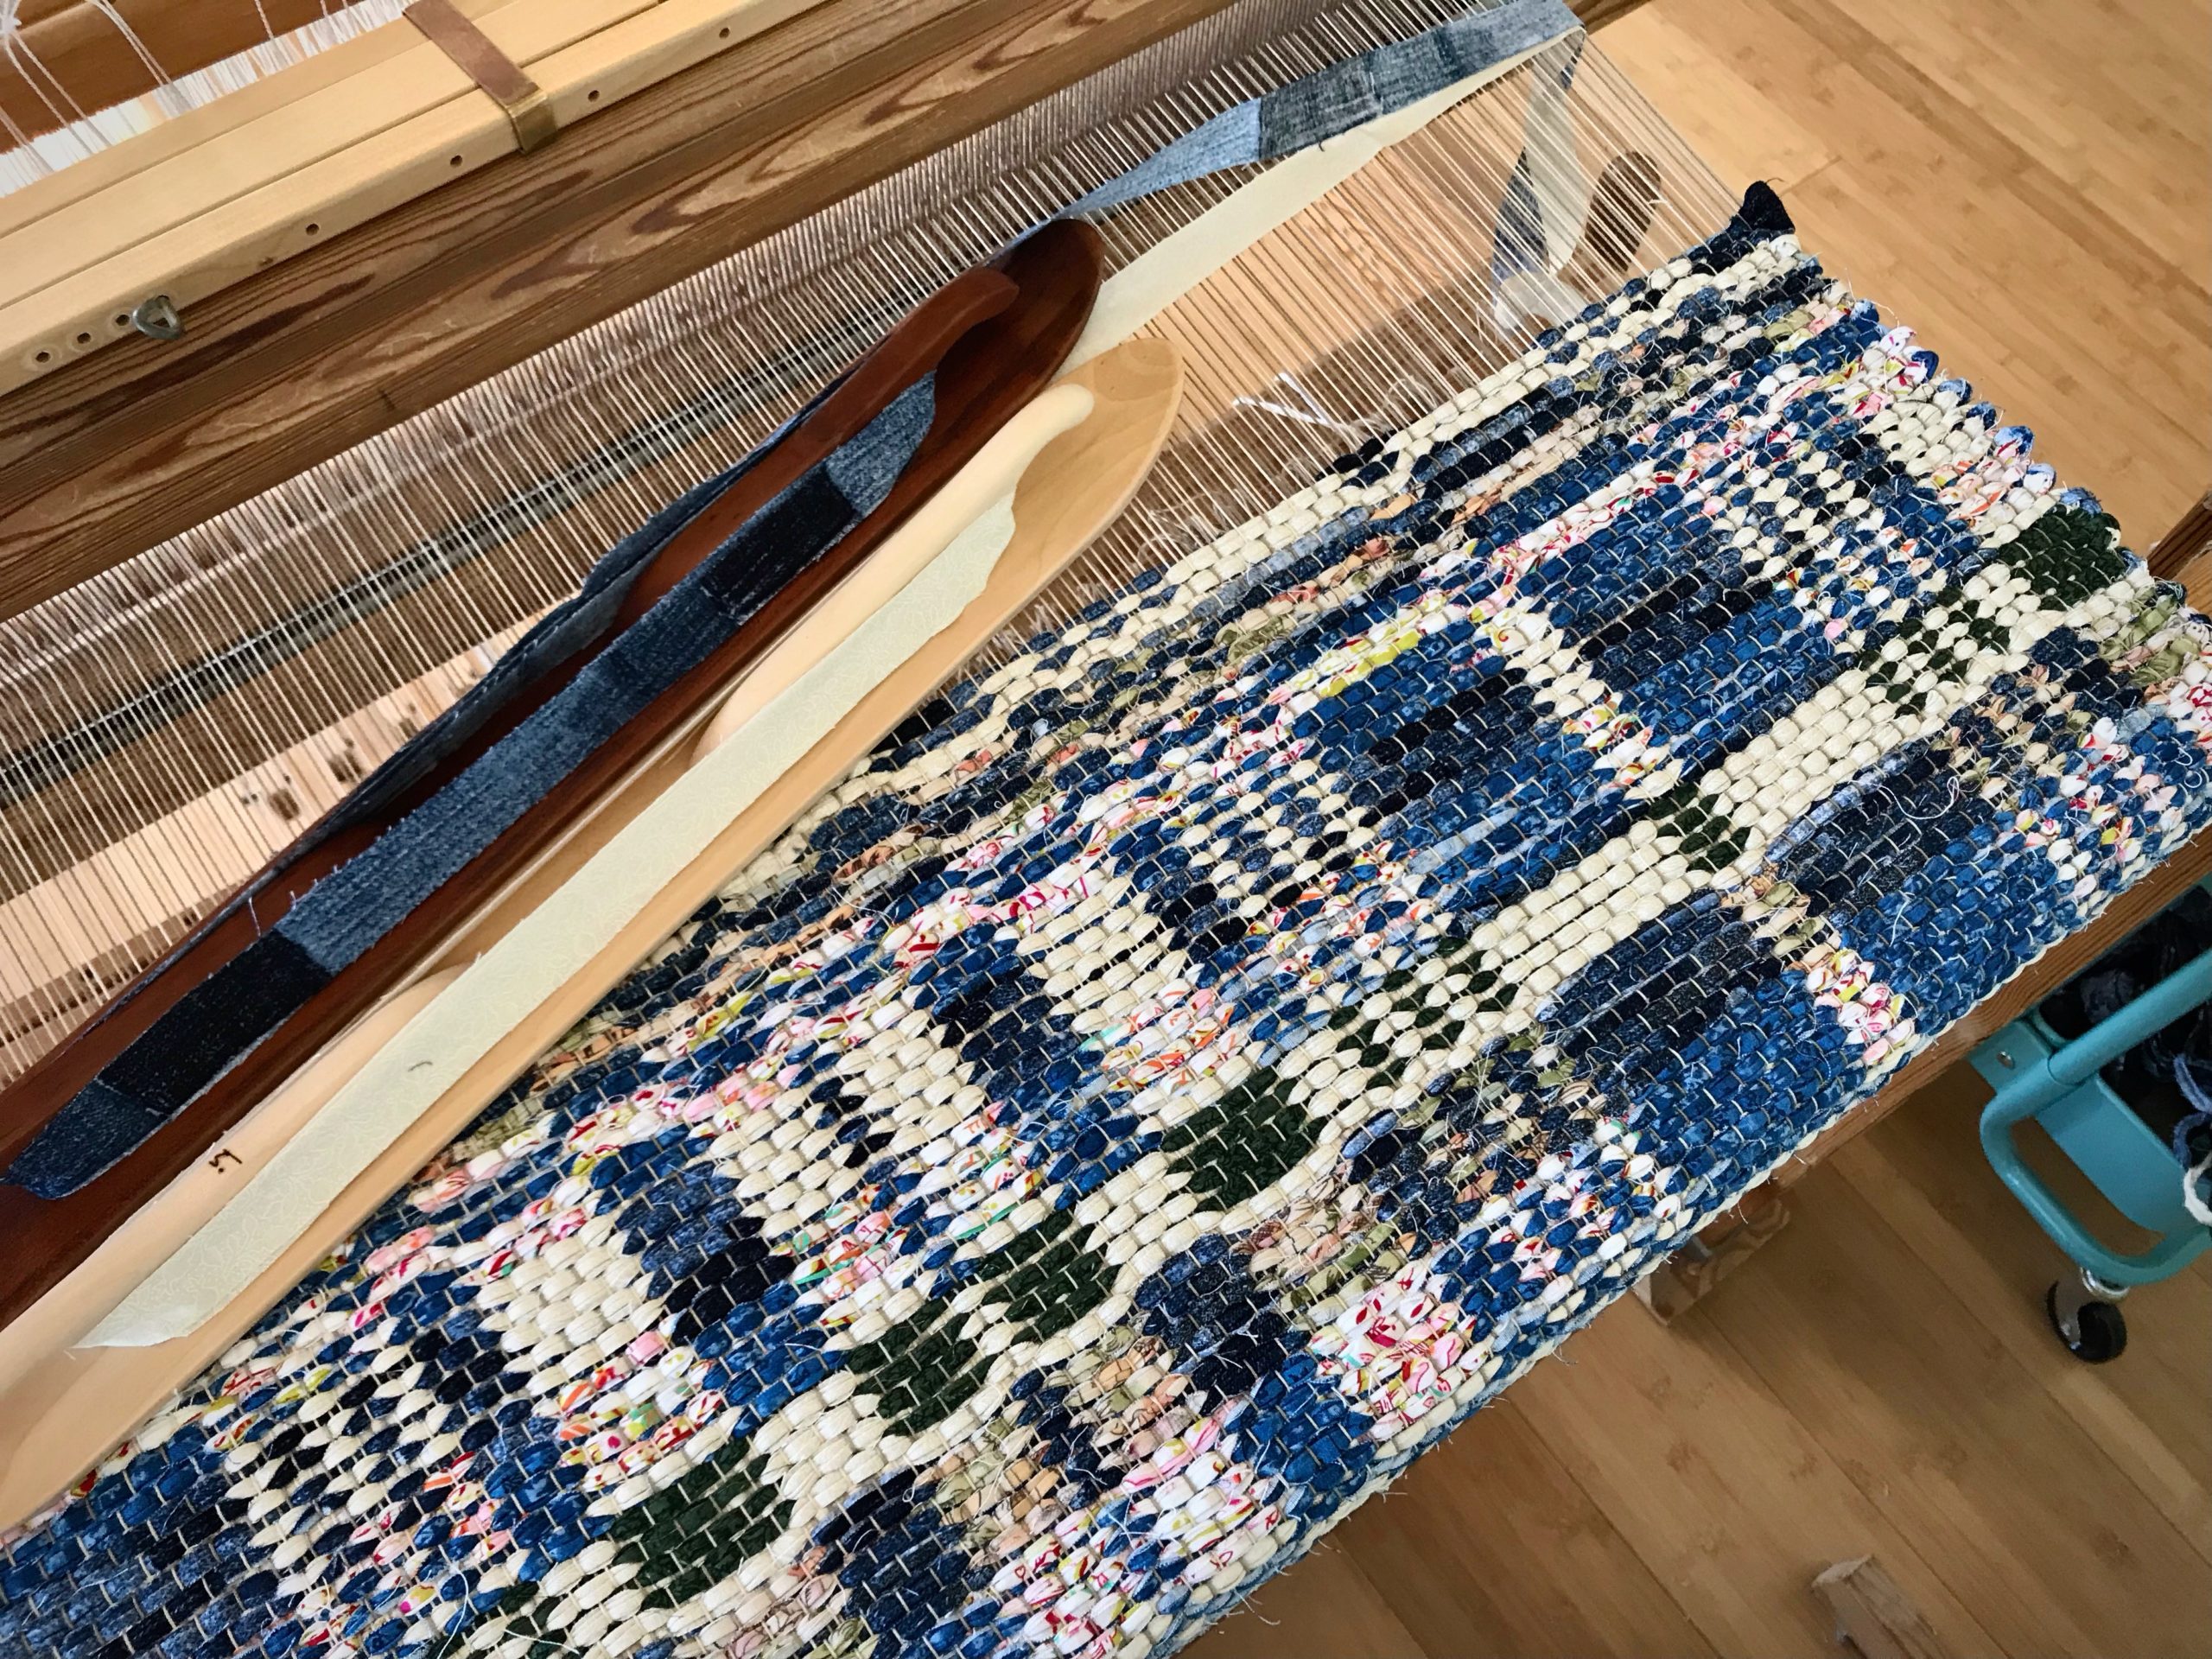
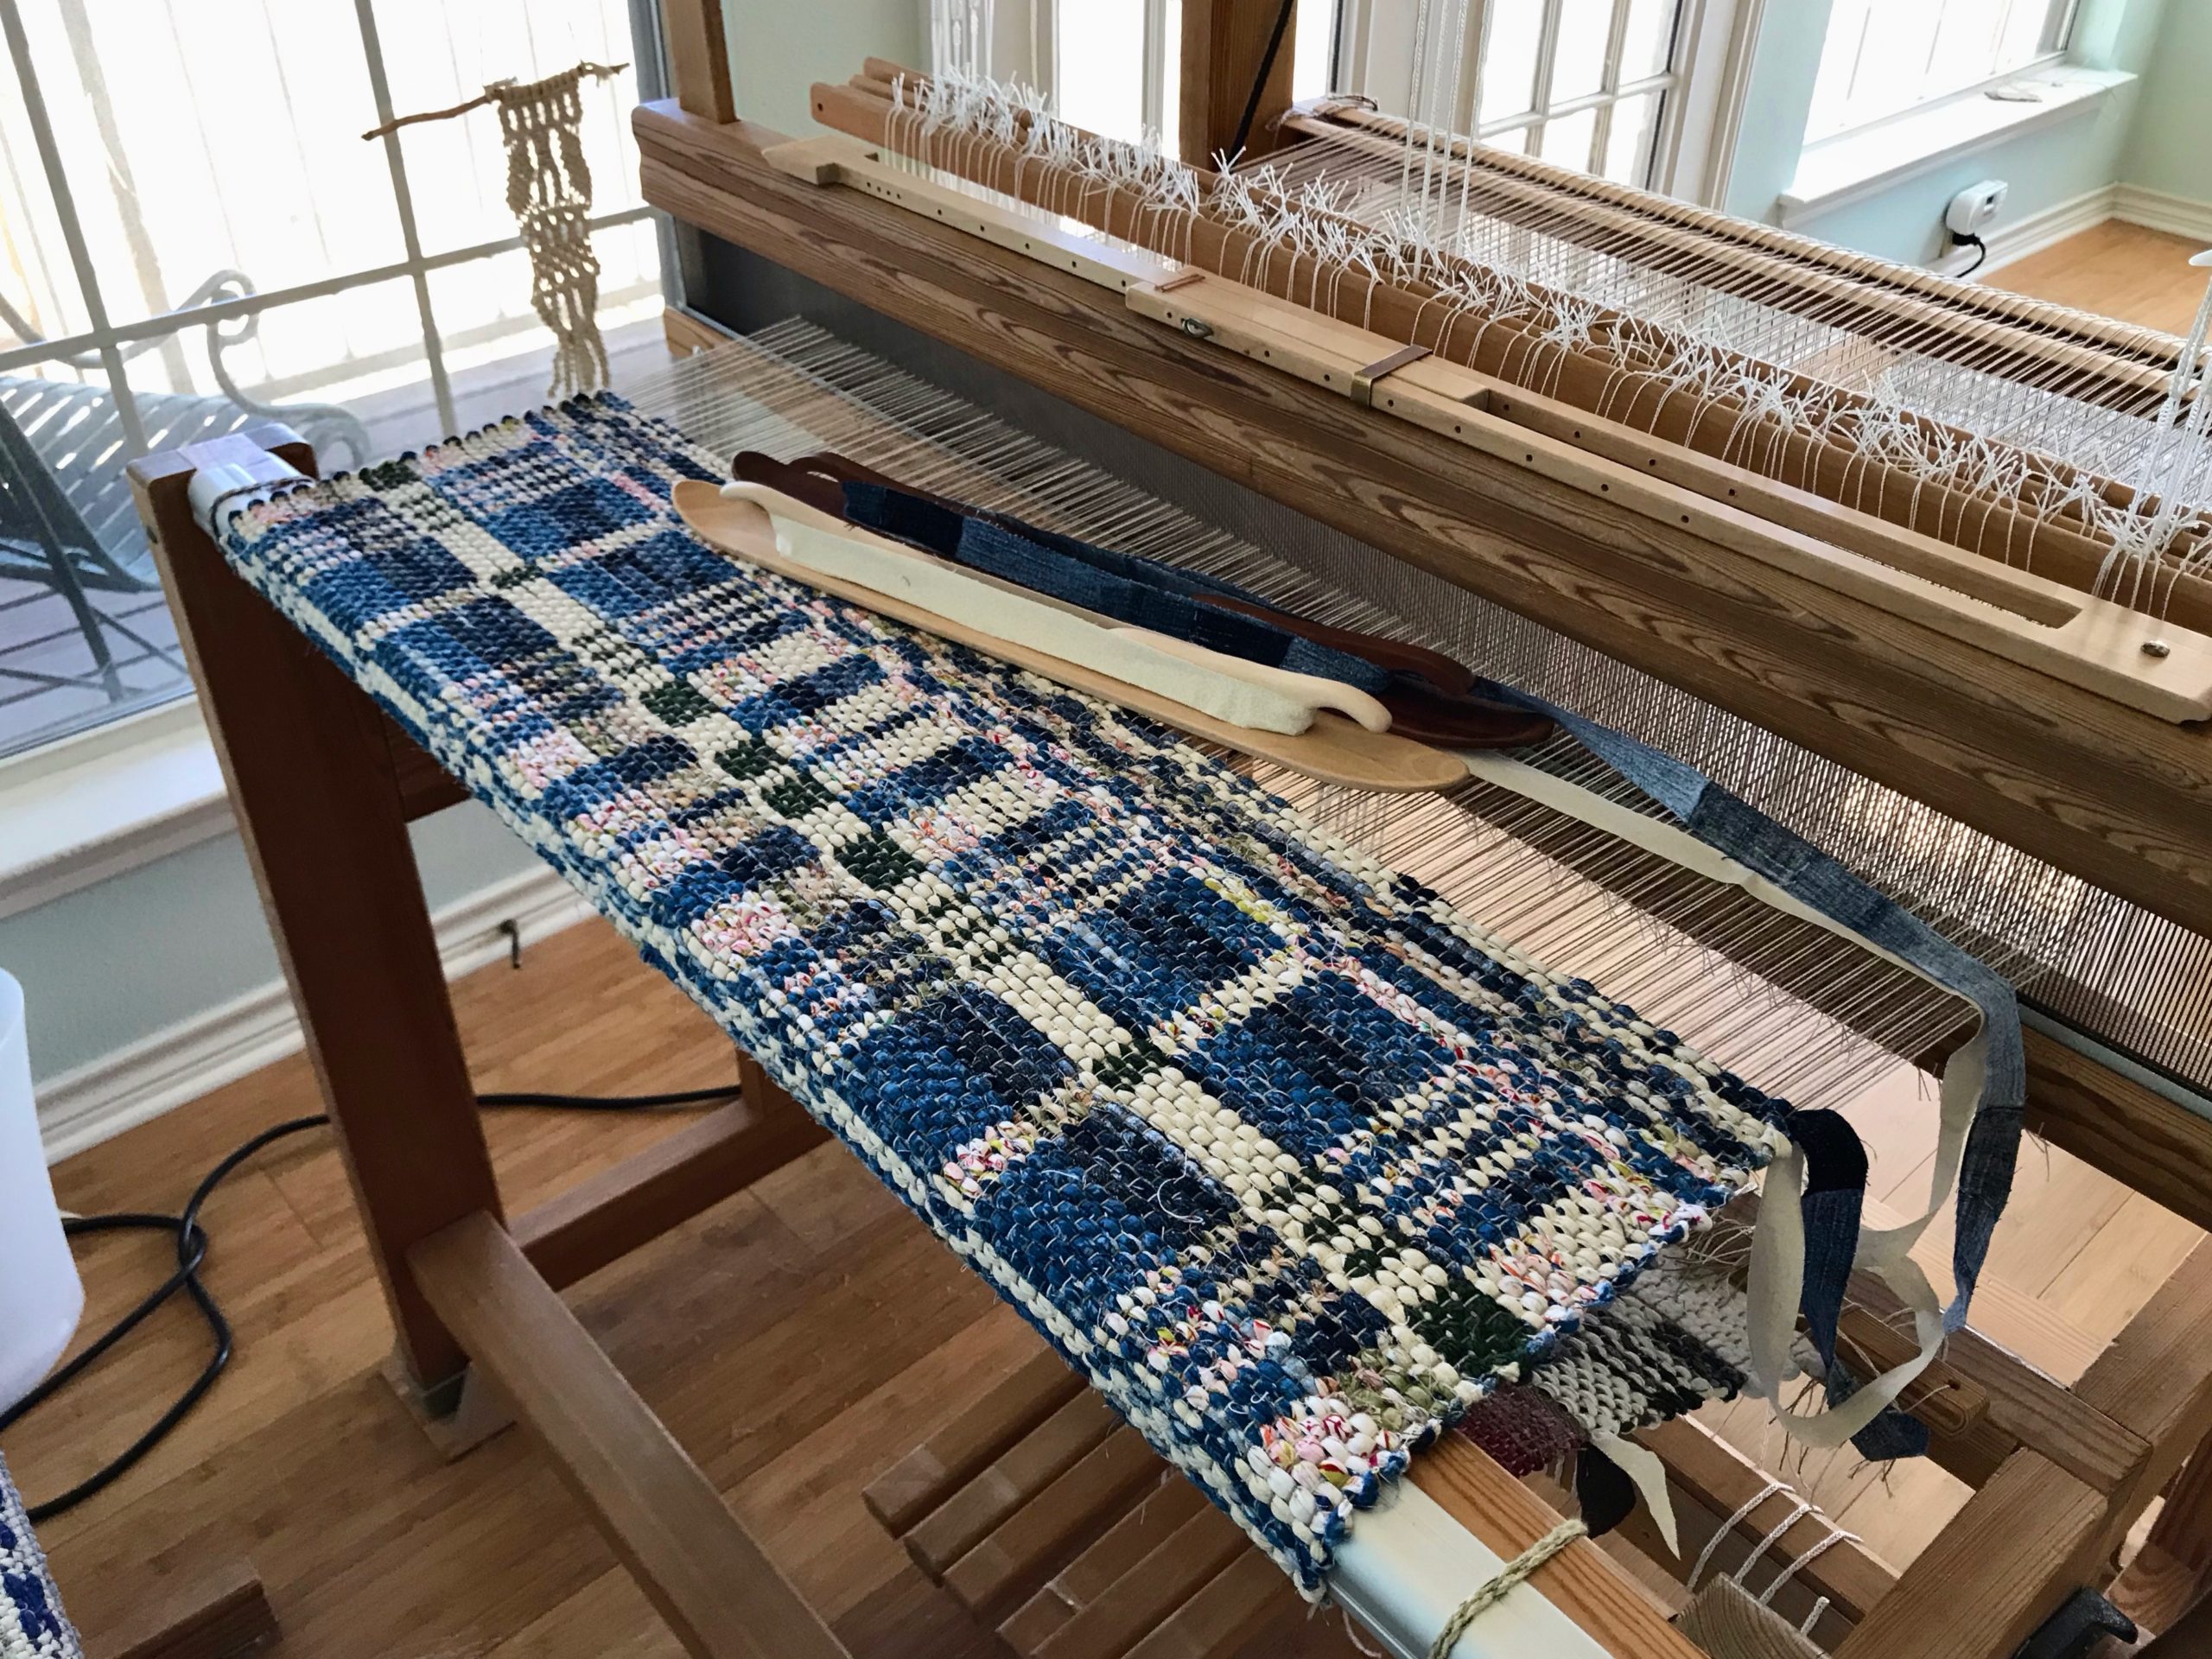
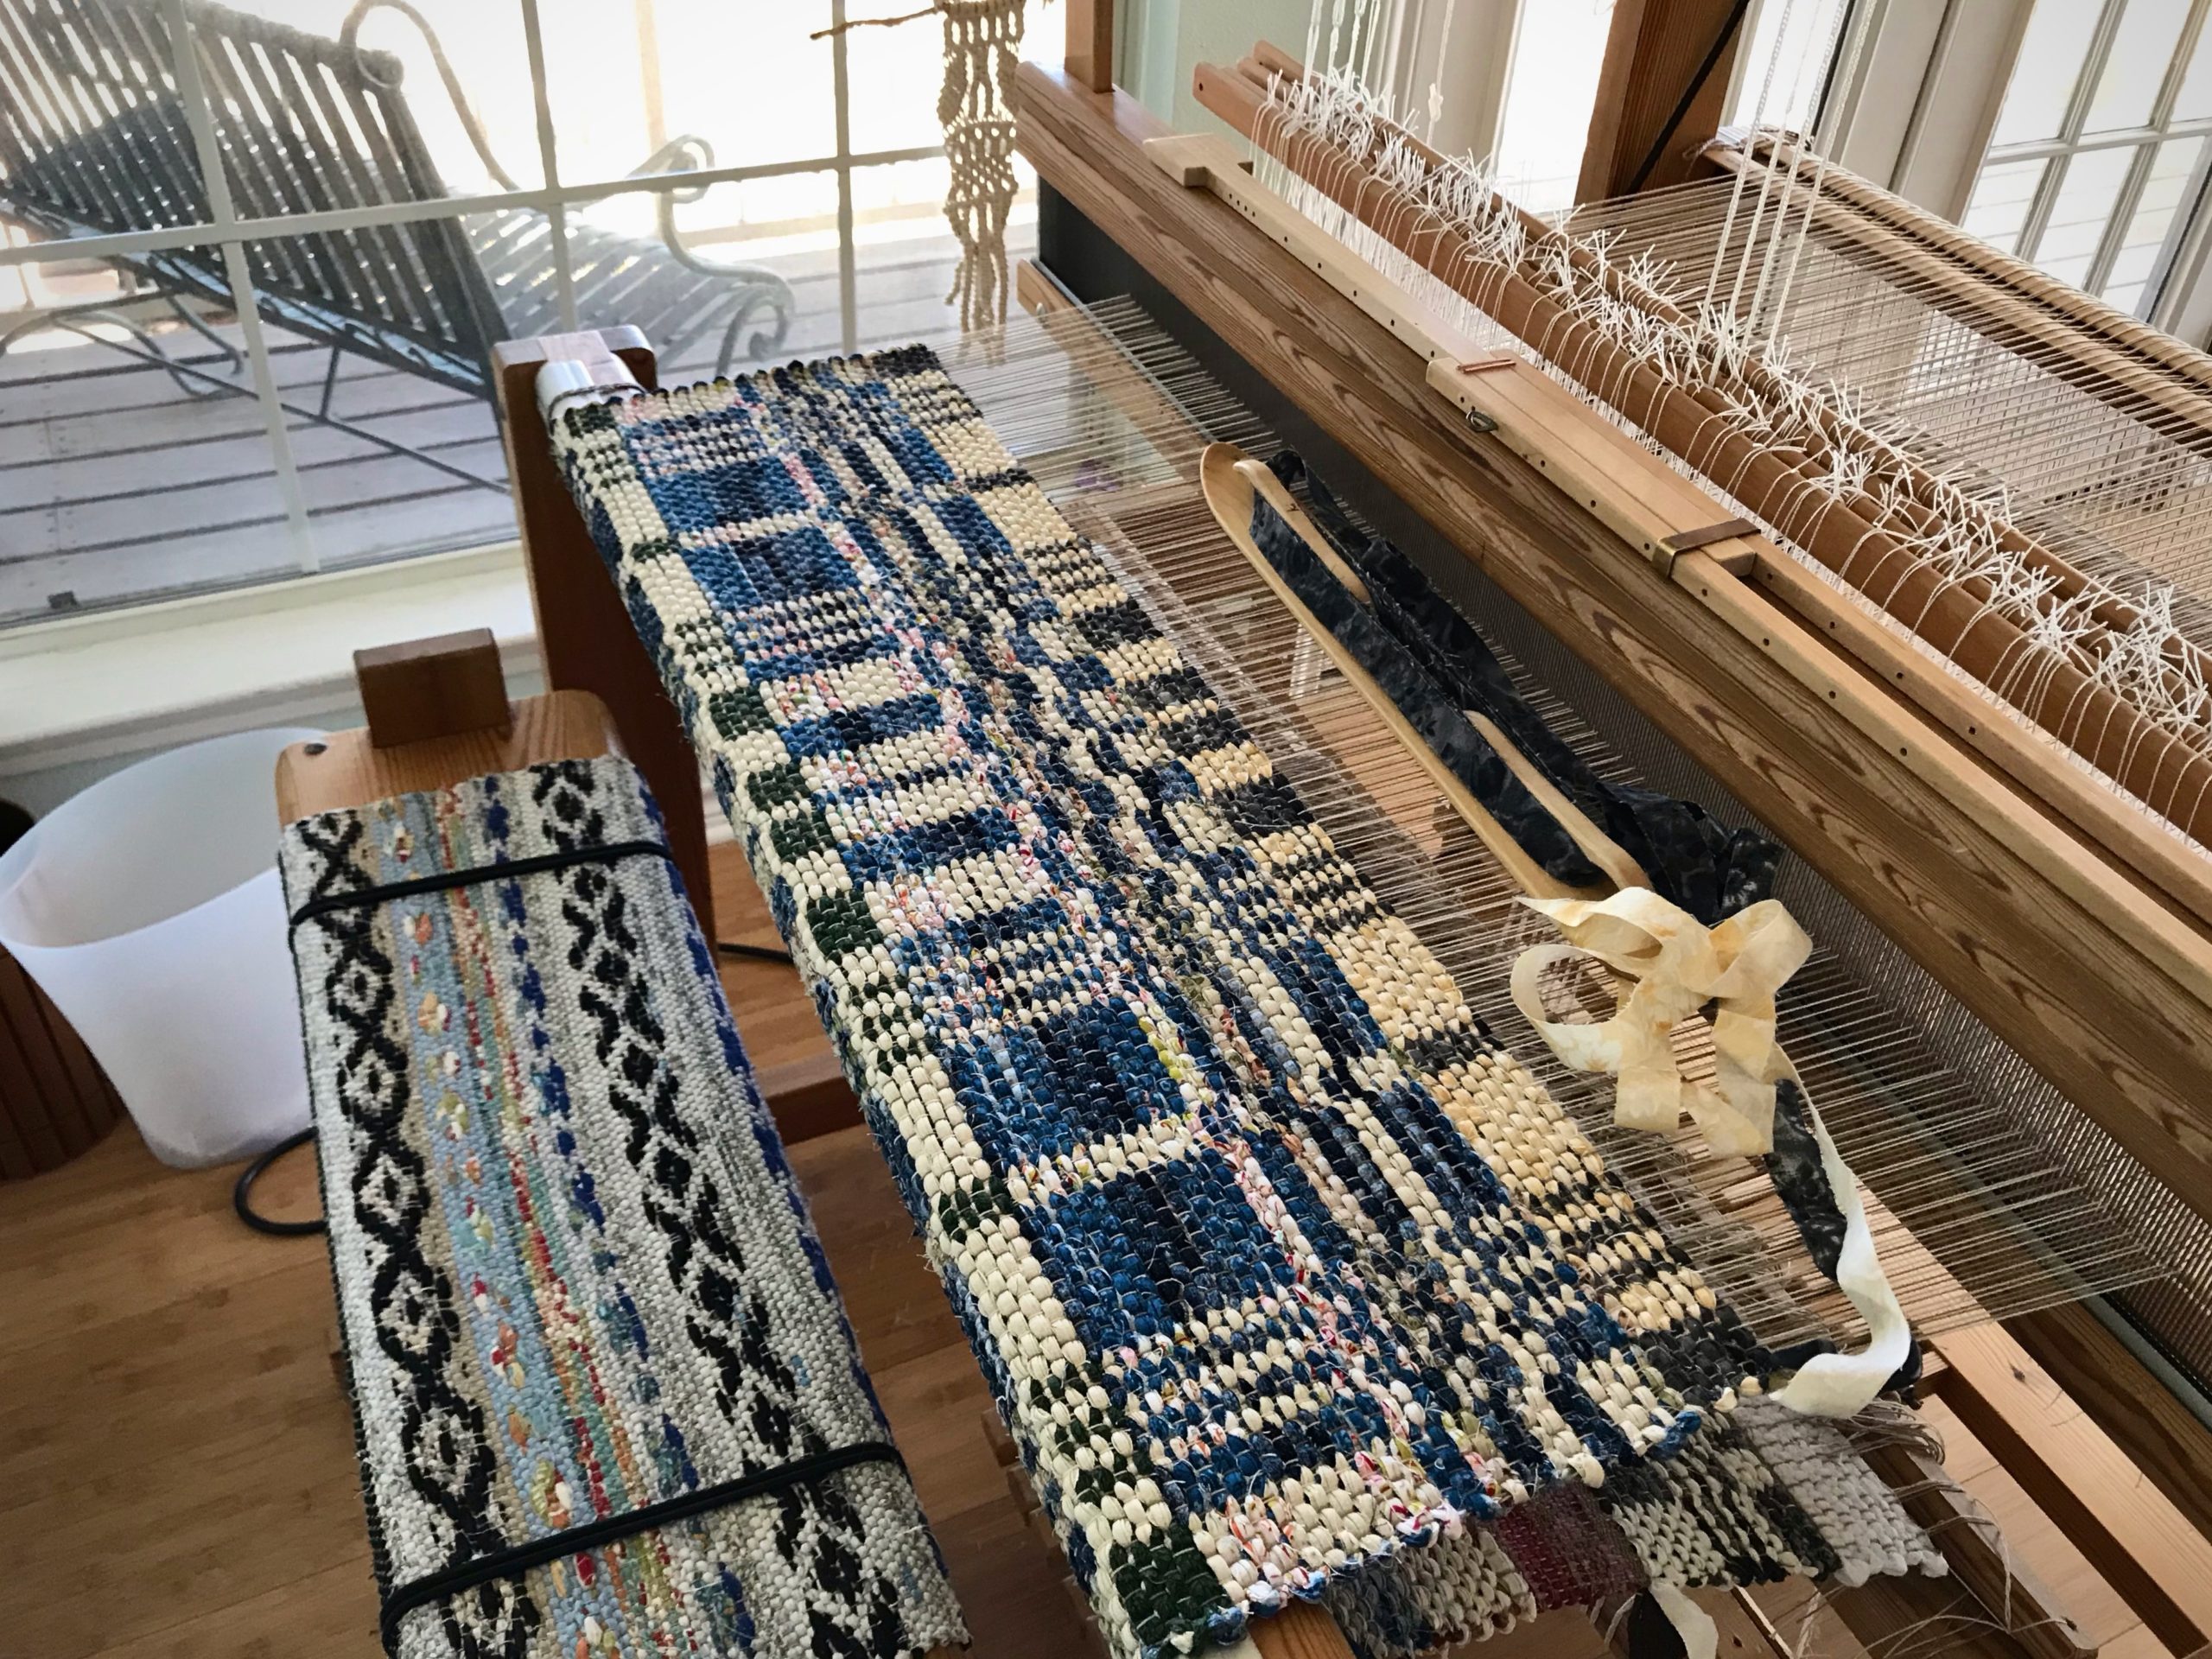
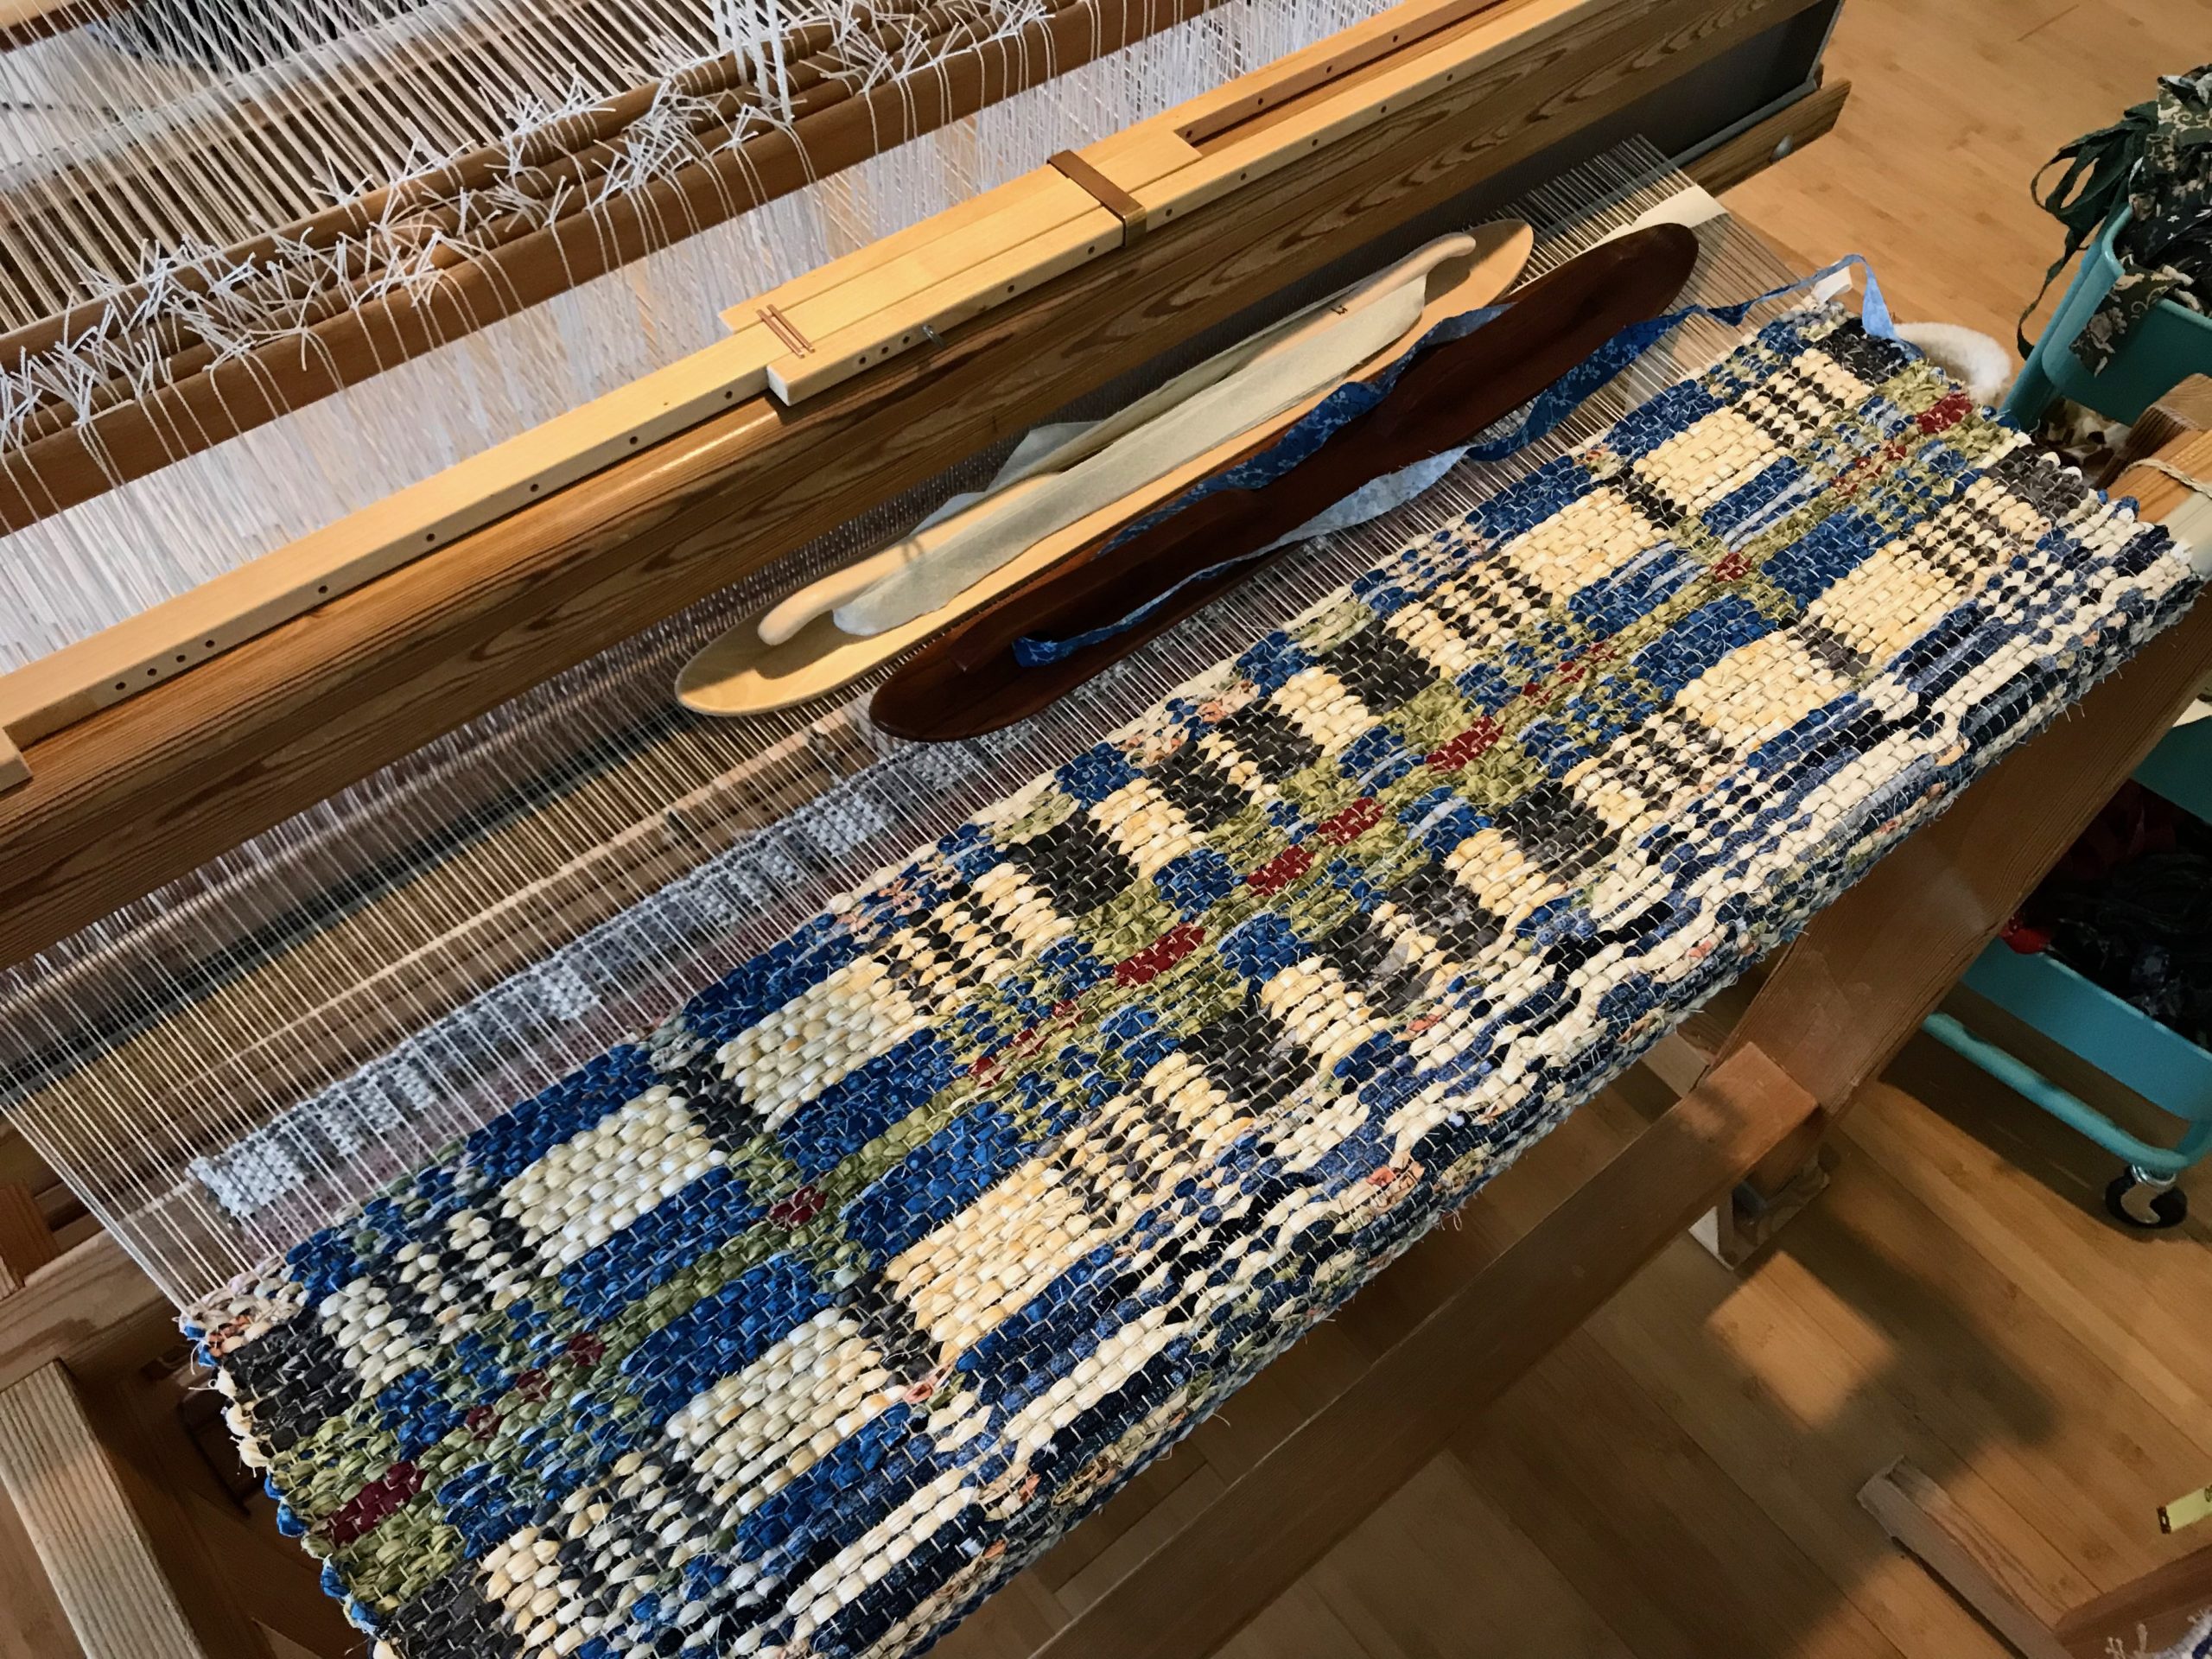
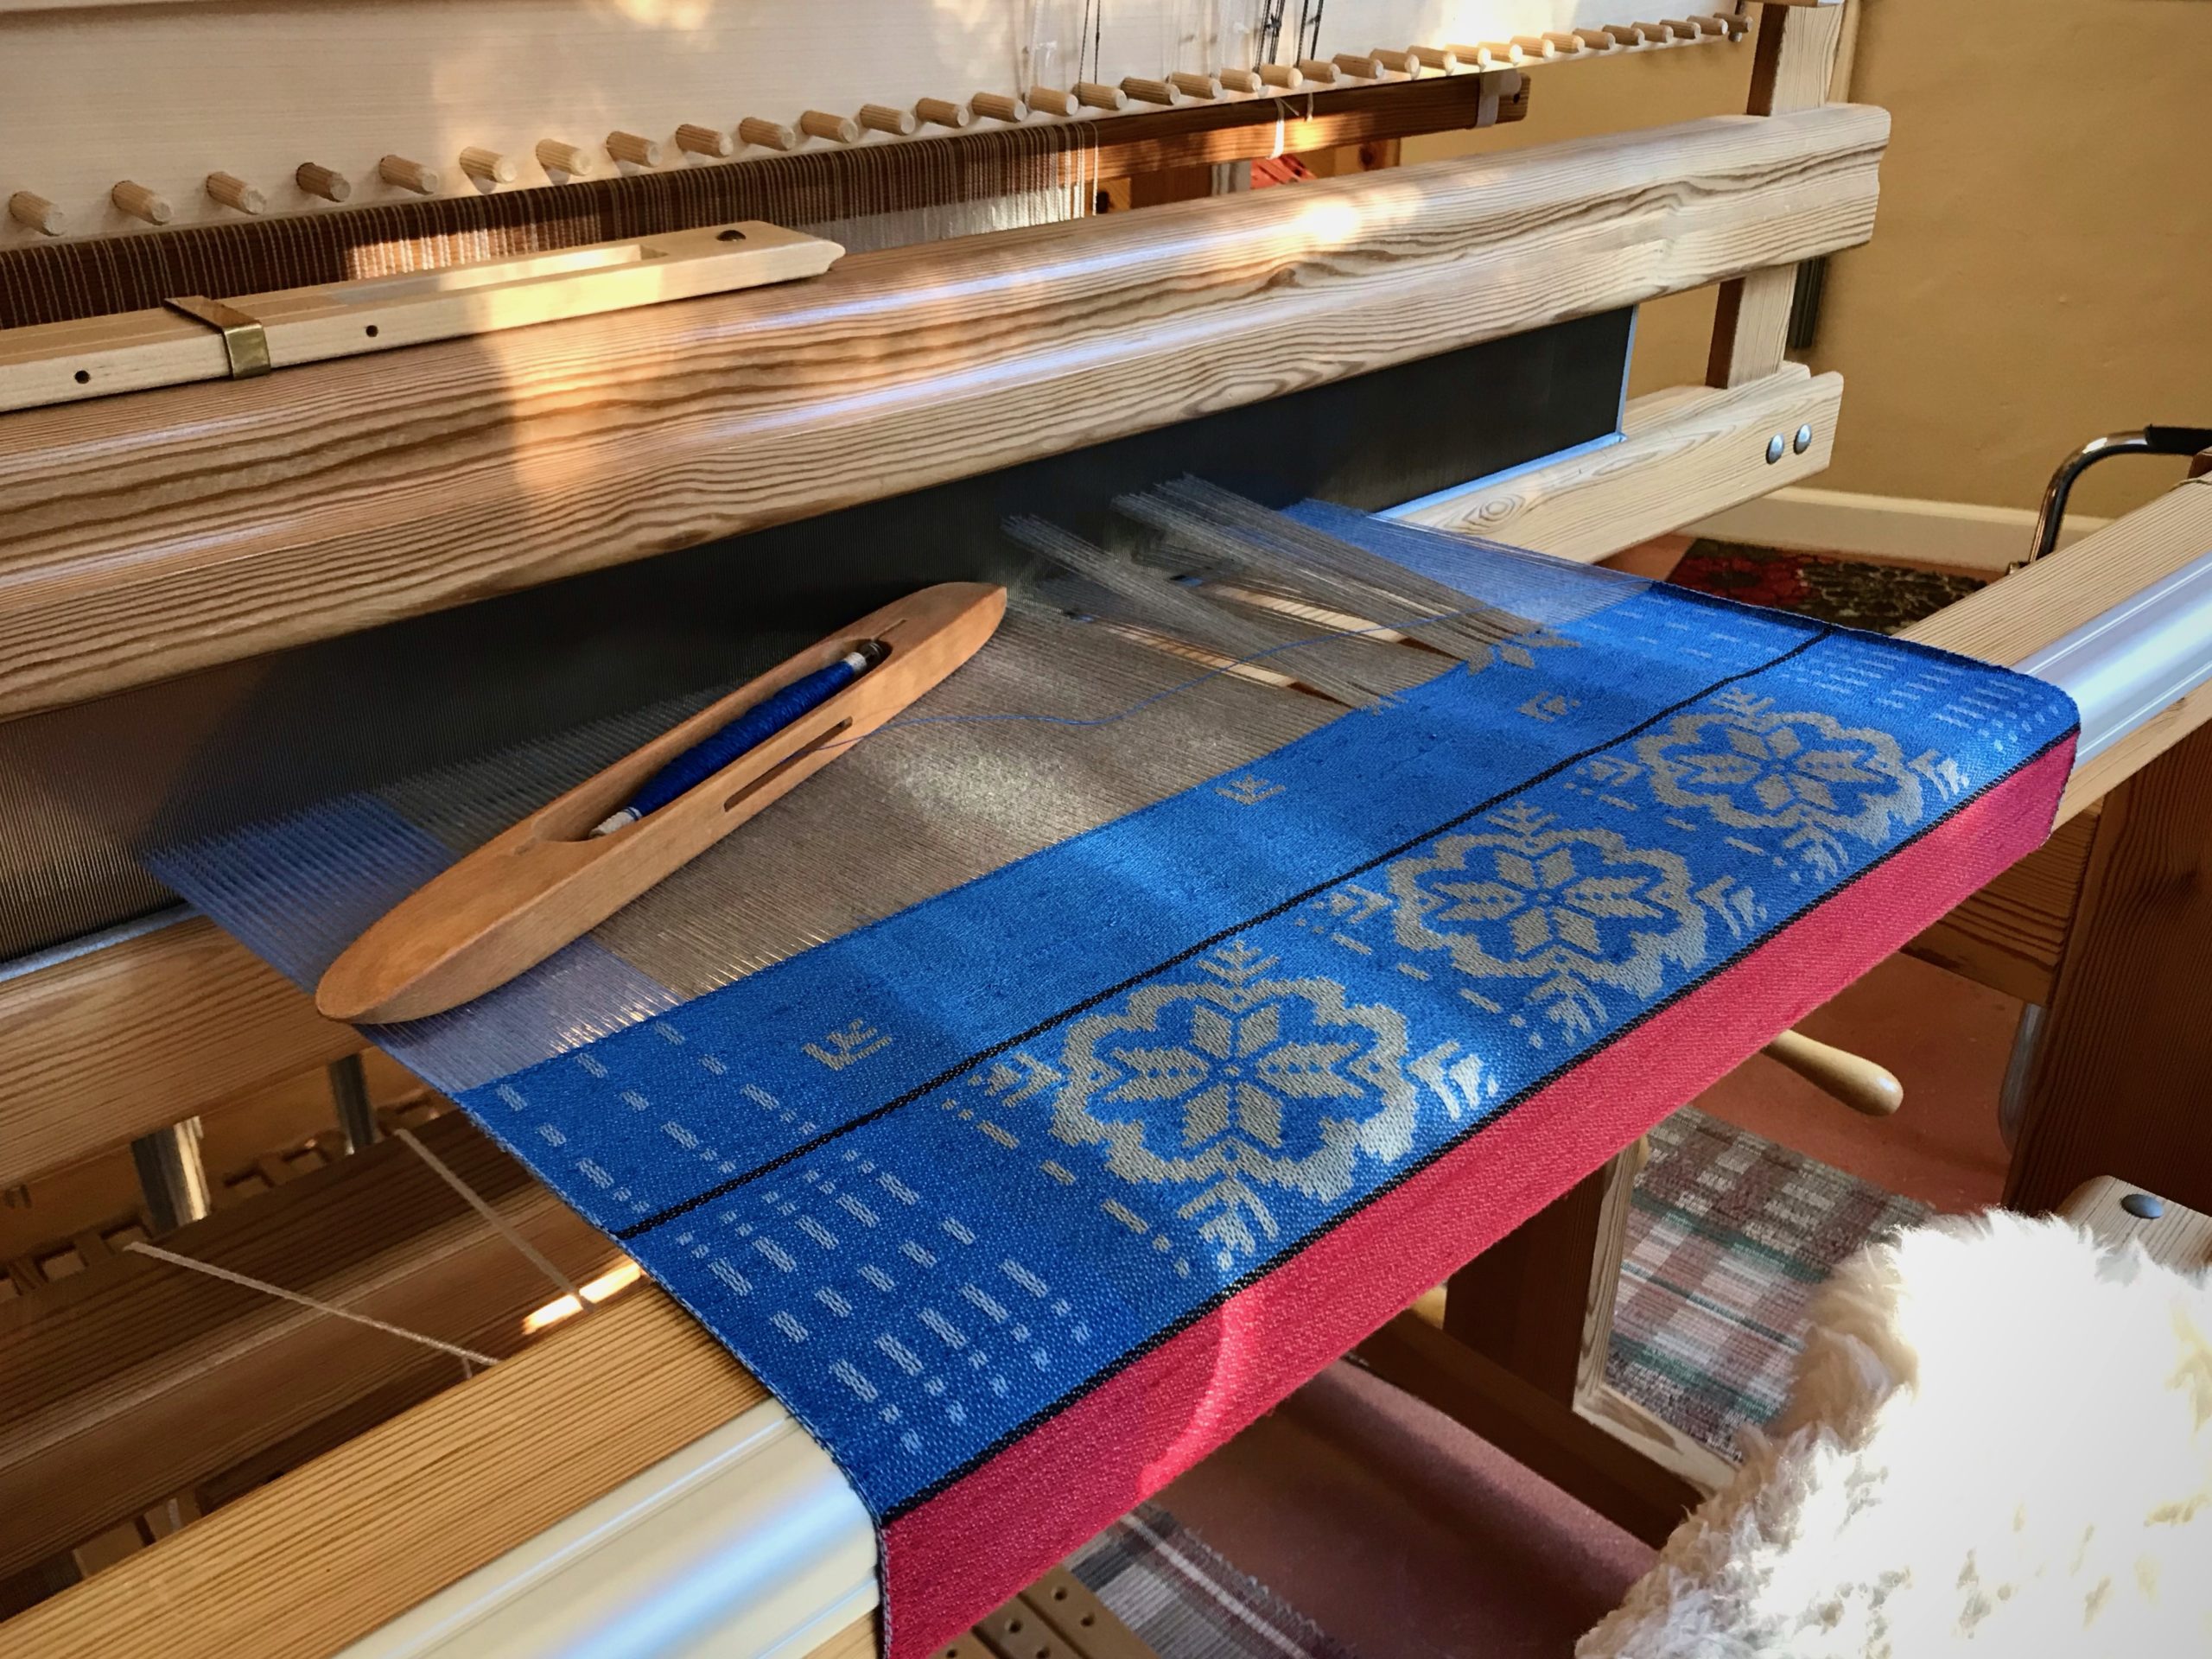
Checkered rag rug. Karen Isenhower

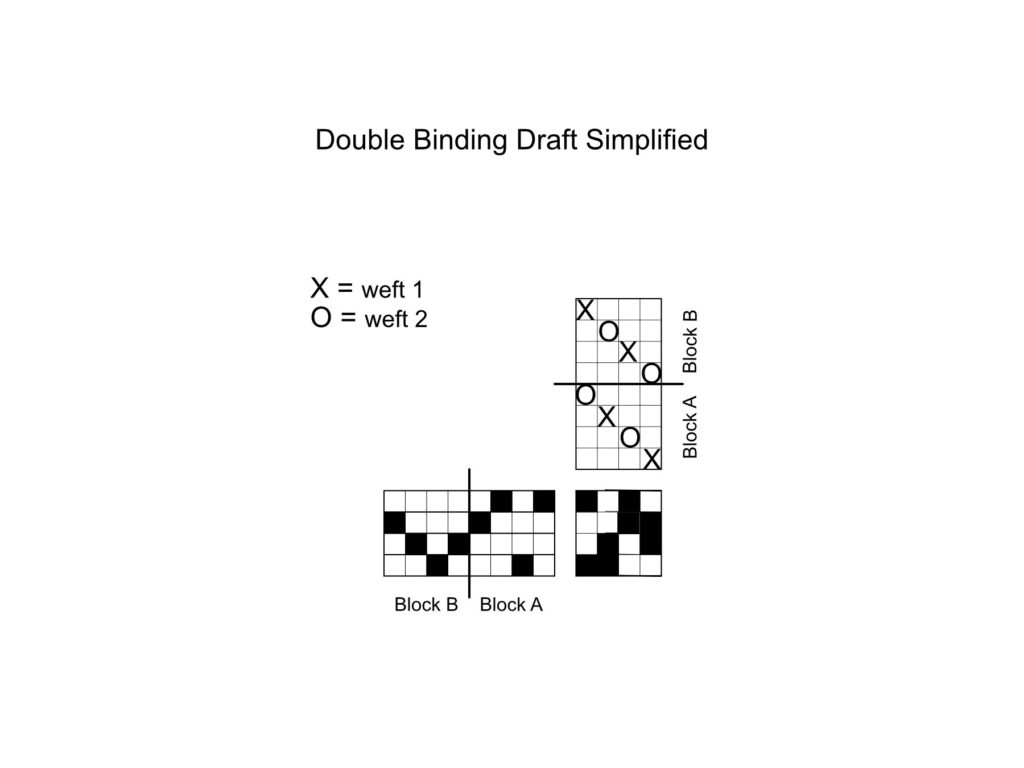
Let’s talk about blocks. A block is a specific sequence of warp ends or weft picks. Double binding on four shafts has two blocks for the warp and two blocks for the weft.

One of several possible threading and tie-up plans for double binding. Add two plain weave treadles if you want to weave plain weave hems.
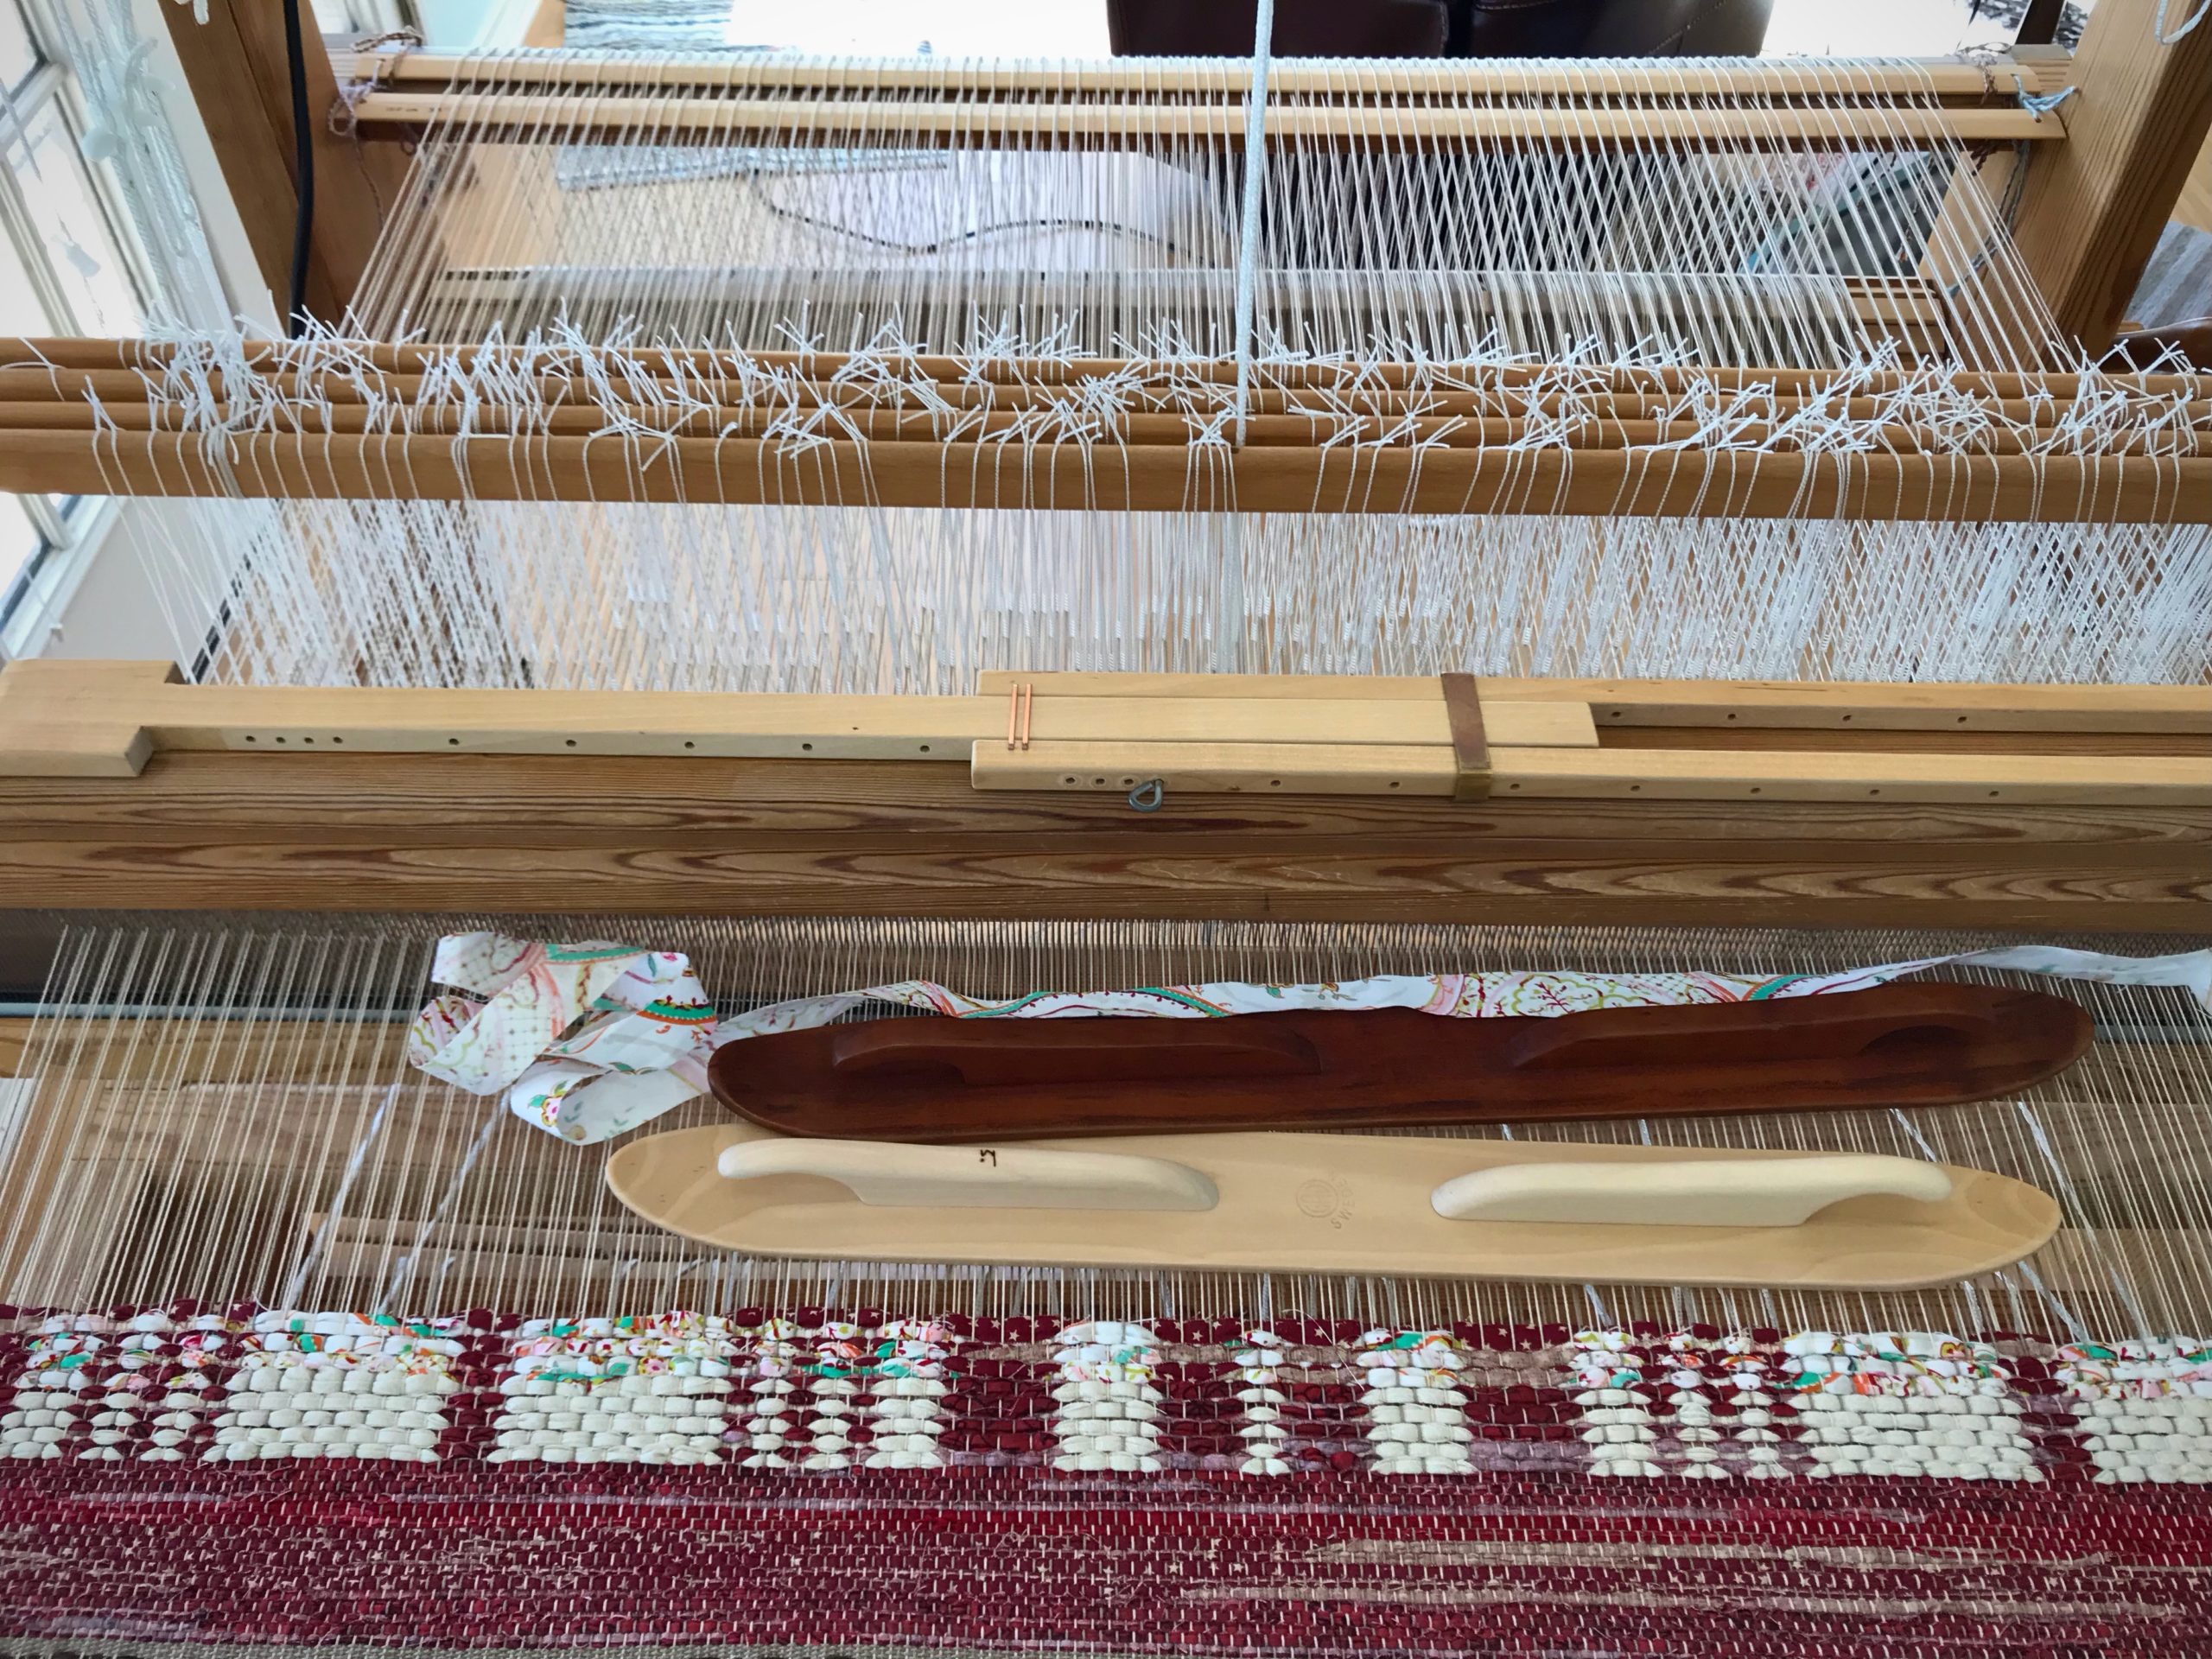
Plain weave hem starts a new double-binding rag rug.

Have a Block Party!

→ Use graph paper to plan the configuration of your blocks.

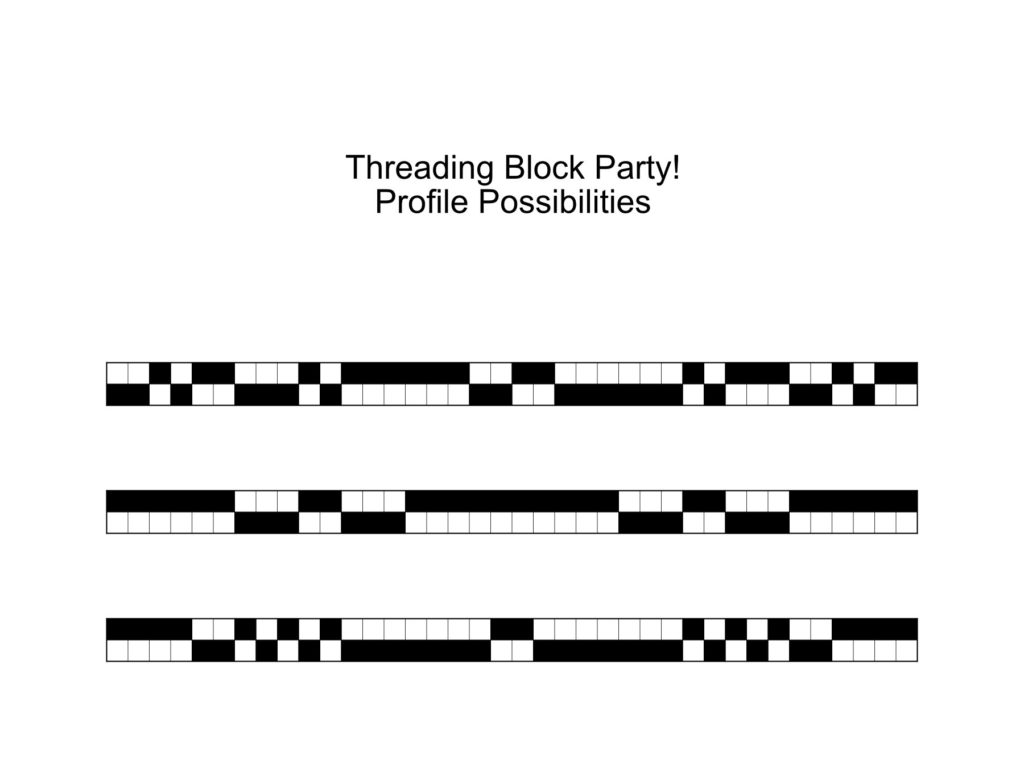
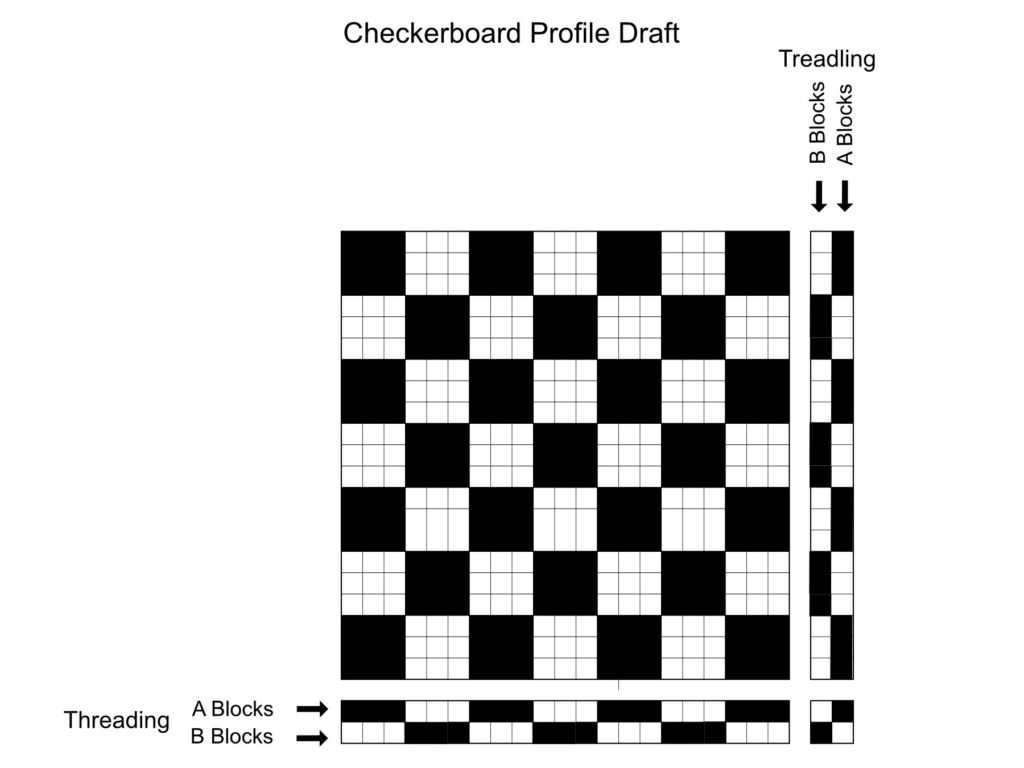
For the threading blocks, use two rows of squares. One row is for Block A and one row is for Block B. Each square on the paper represents one threading unit. You can make a checkerboard pattern by uniformly alternating the A blocks and B blocks. Or, you can make a wildly different geometric pattern by varying the size of alternating blocks. Your two-row graph becomes a profile draft to use as your threading key.

For the weft blocks, use the same arrangement of blocks as for the threading, and turn them vertically for the treadling draft. Or, use your creativity to make a unique configuration of weft blocks. The sky is the limit!

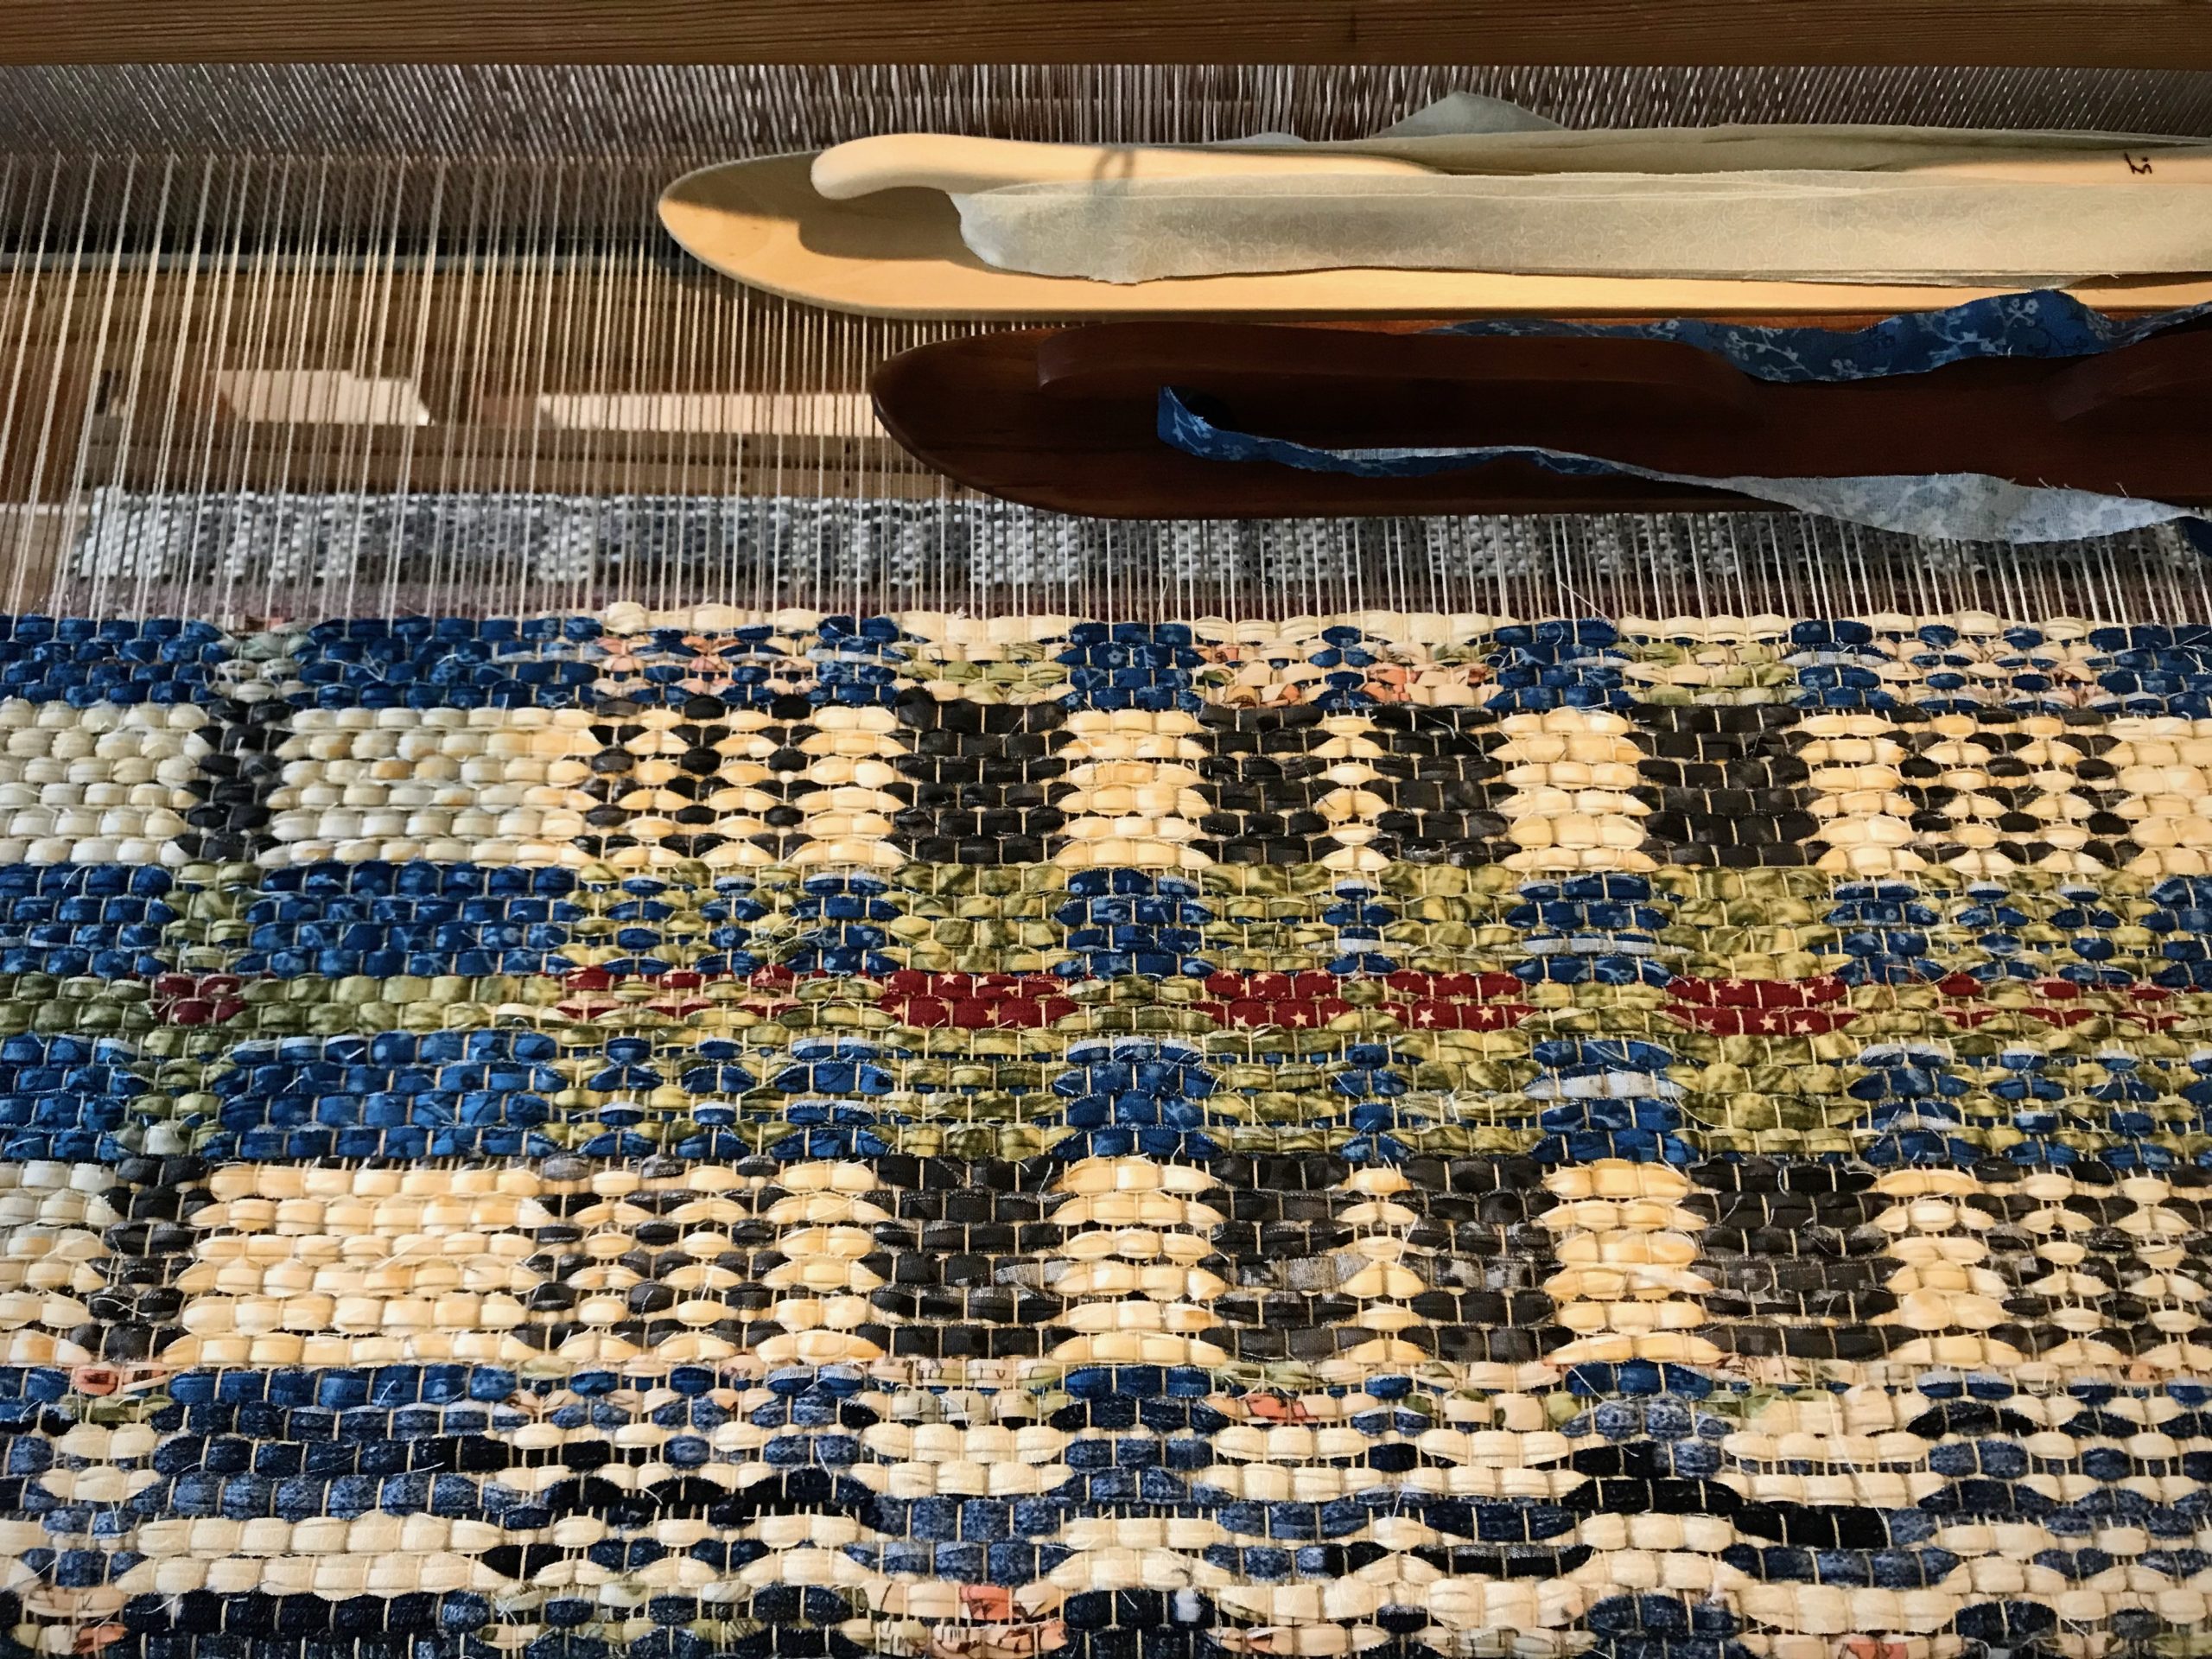
Three possible block configurations for the threading. The bottom example is a part of the sequence for the rug currently on my loom.
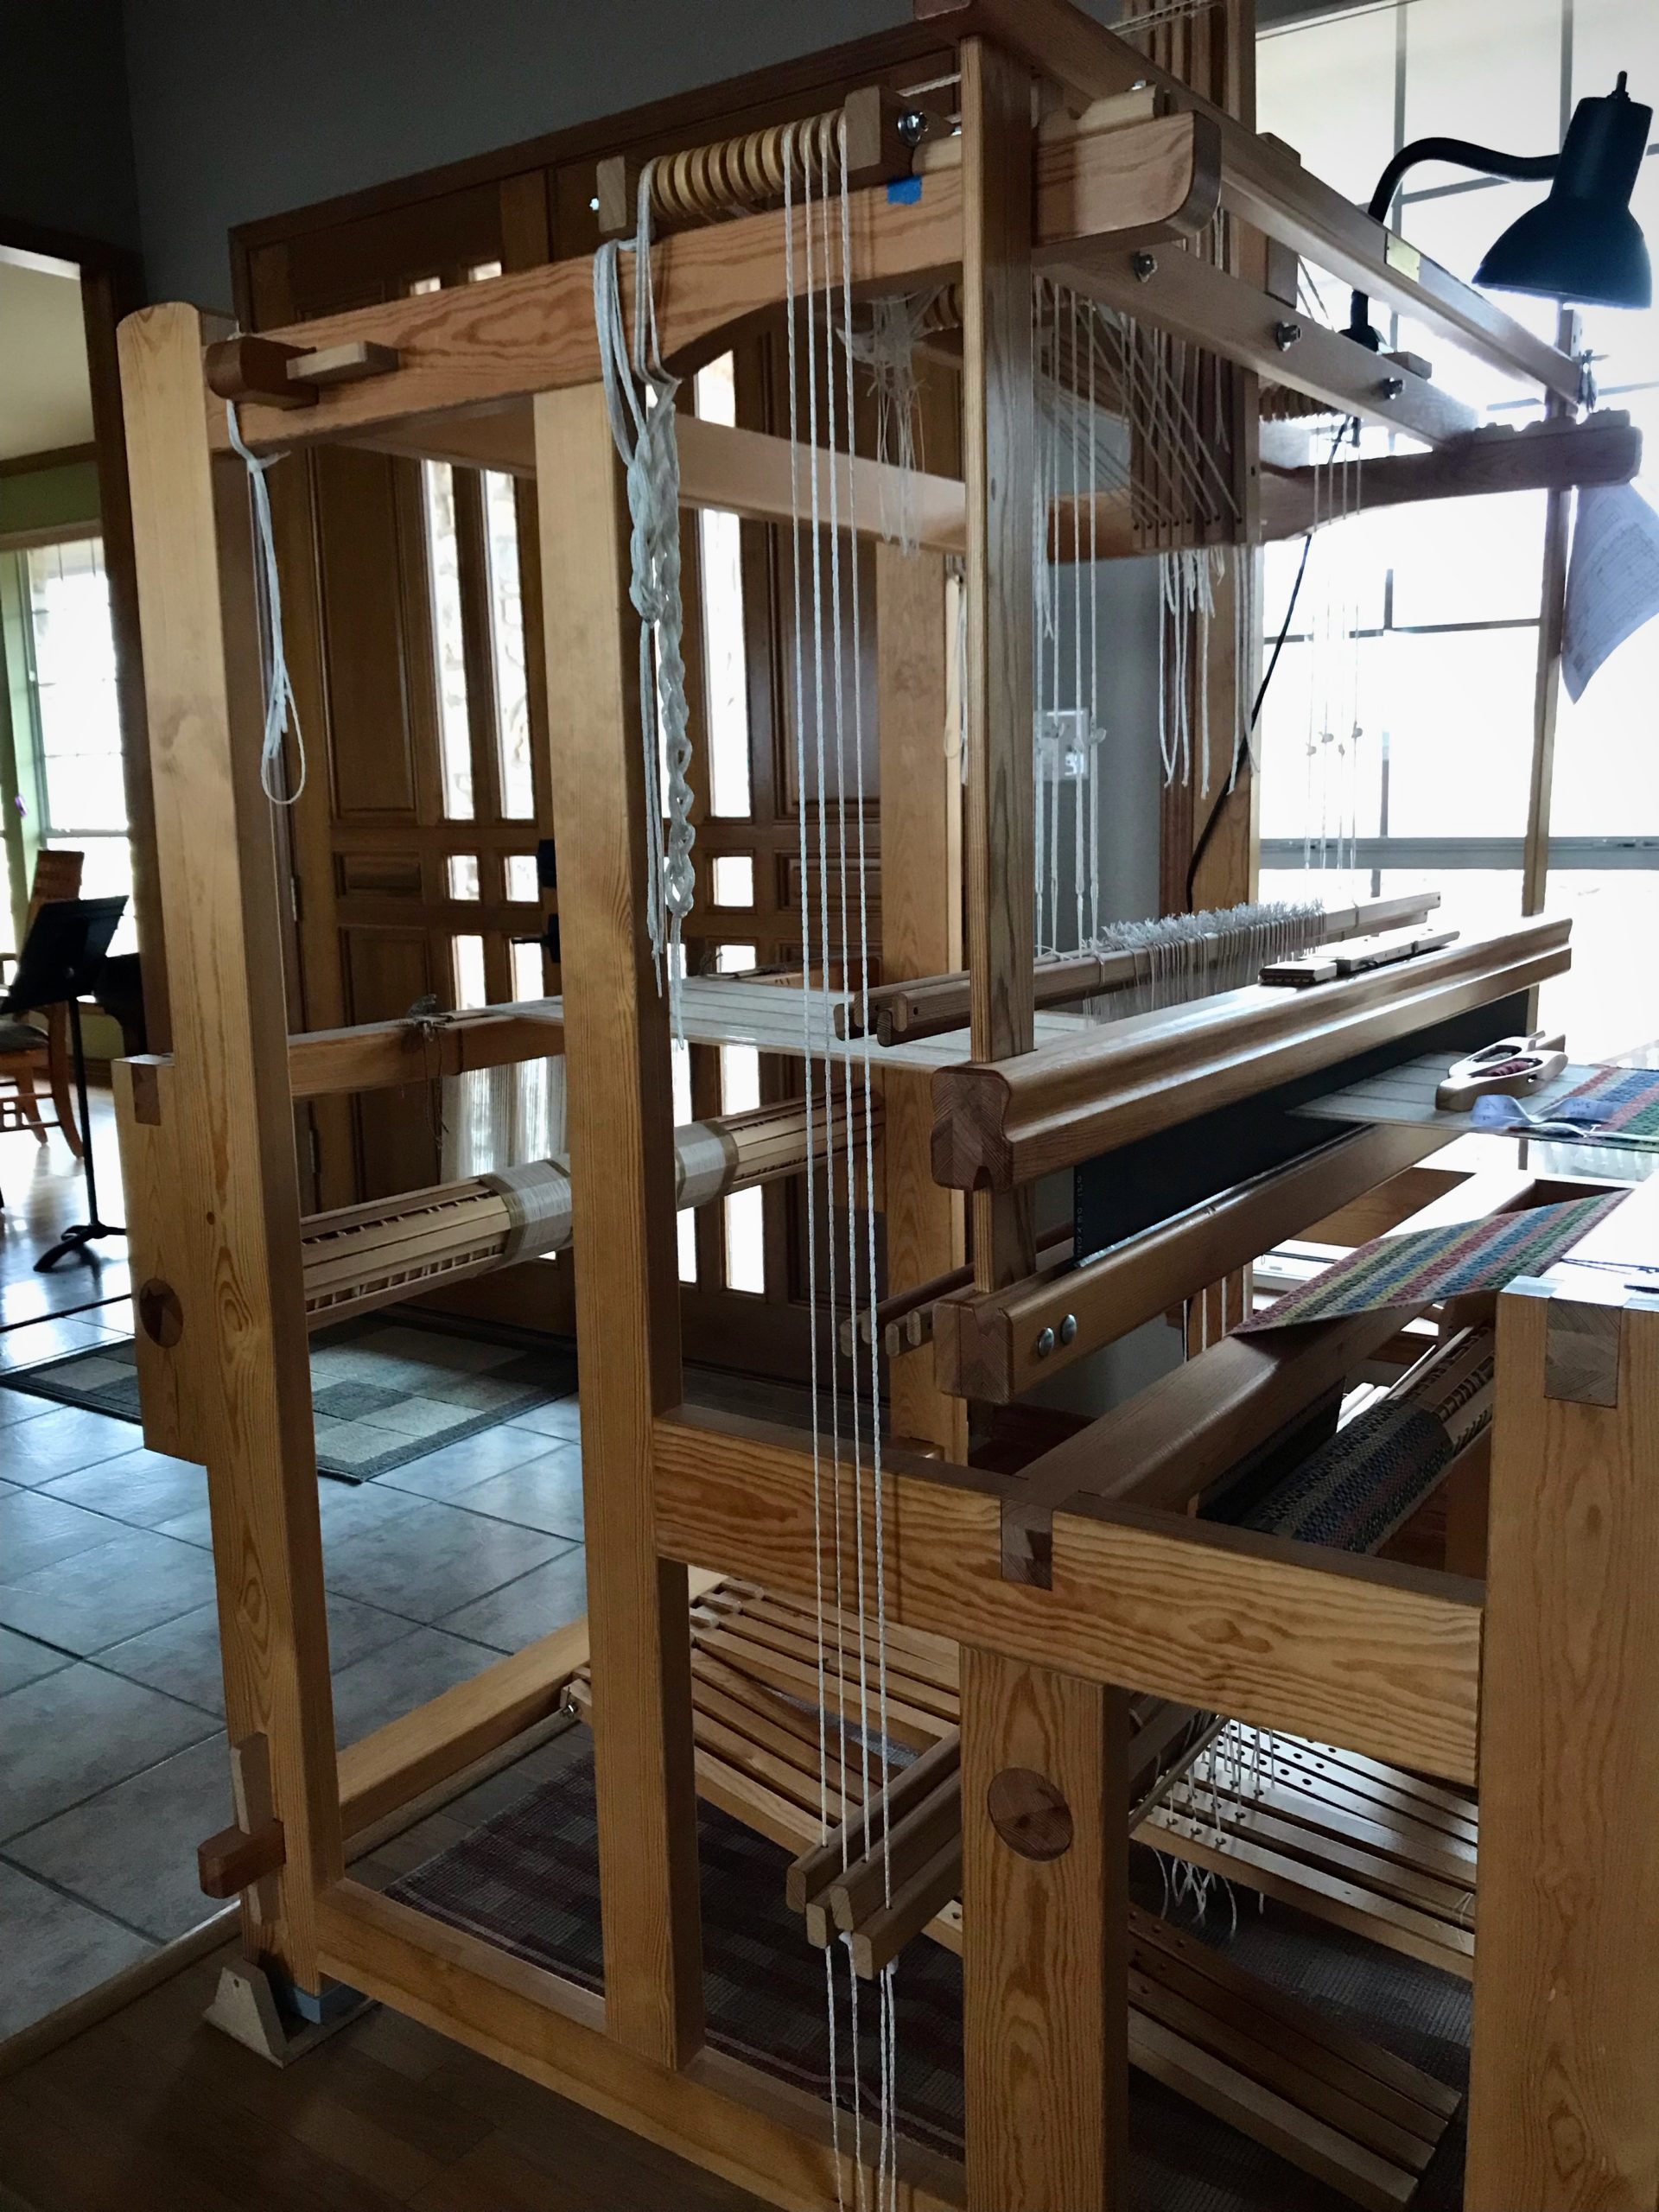
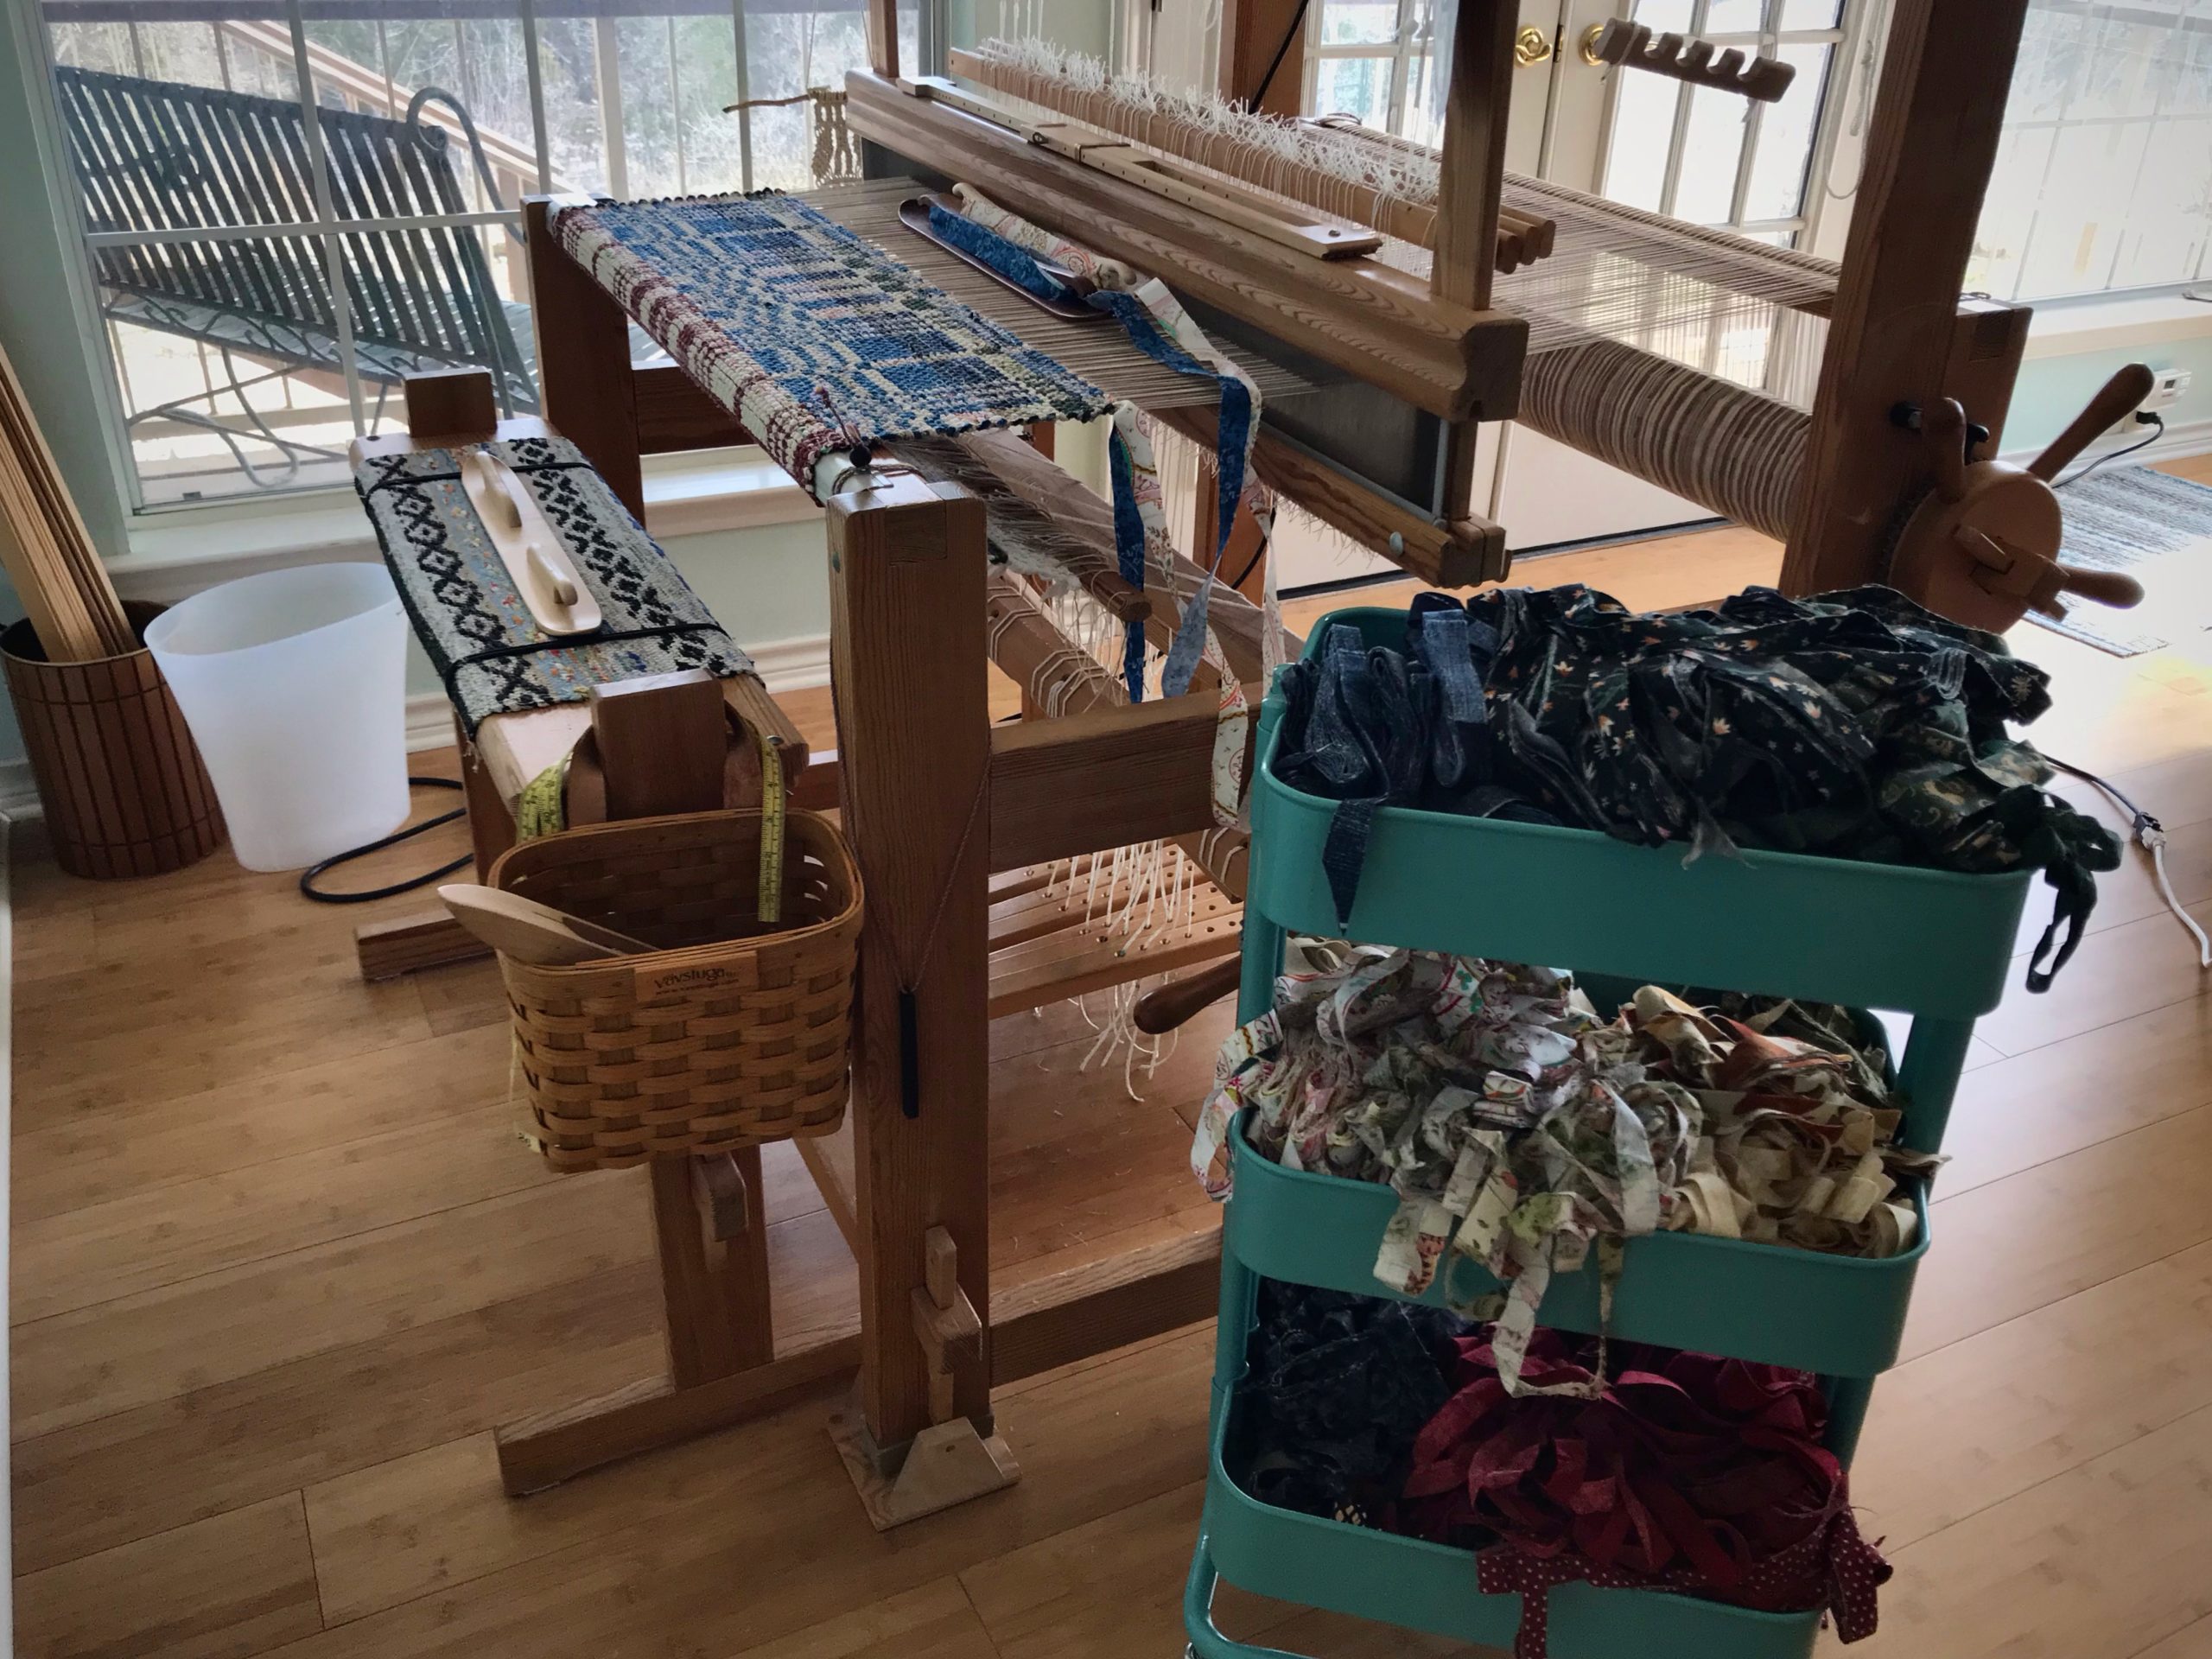
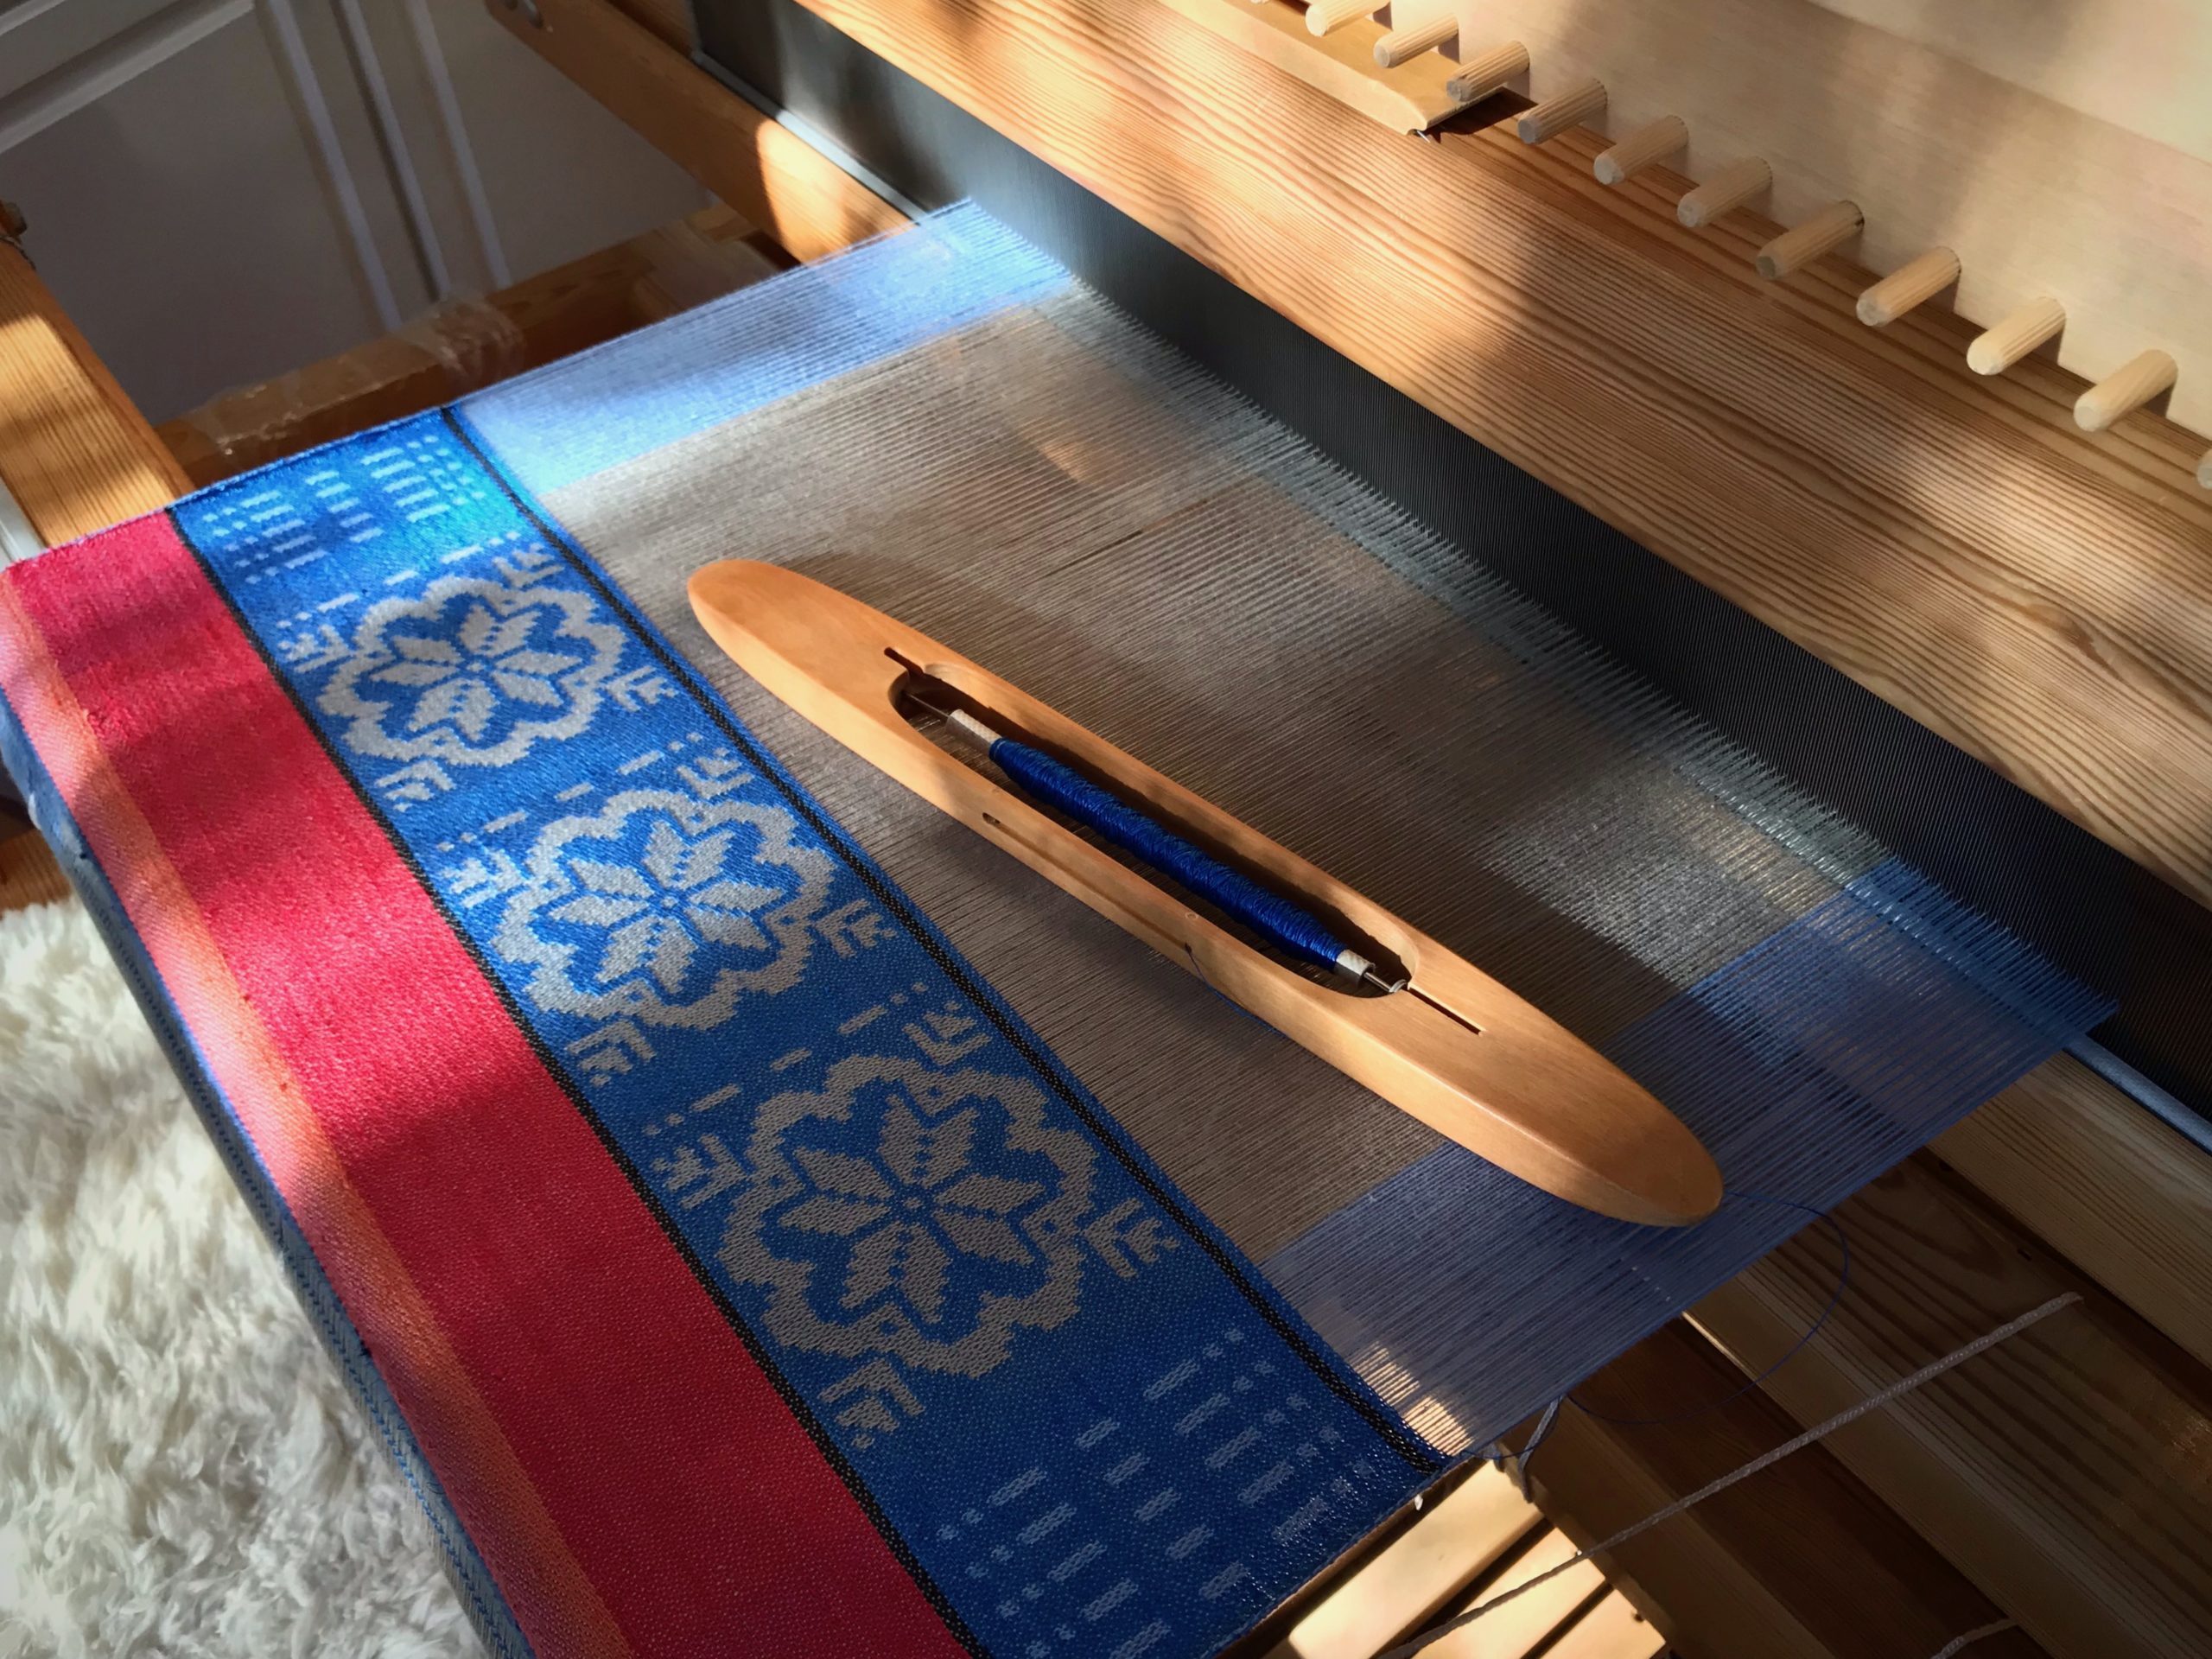
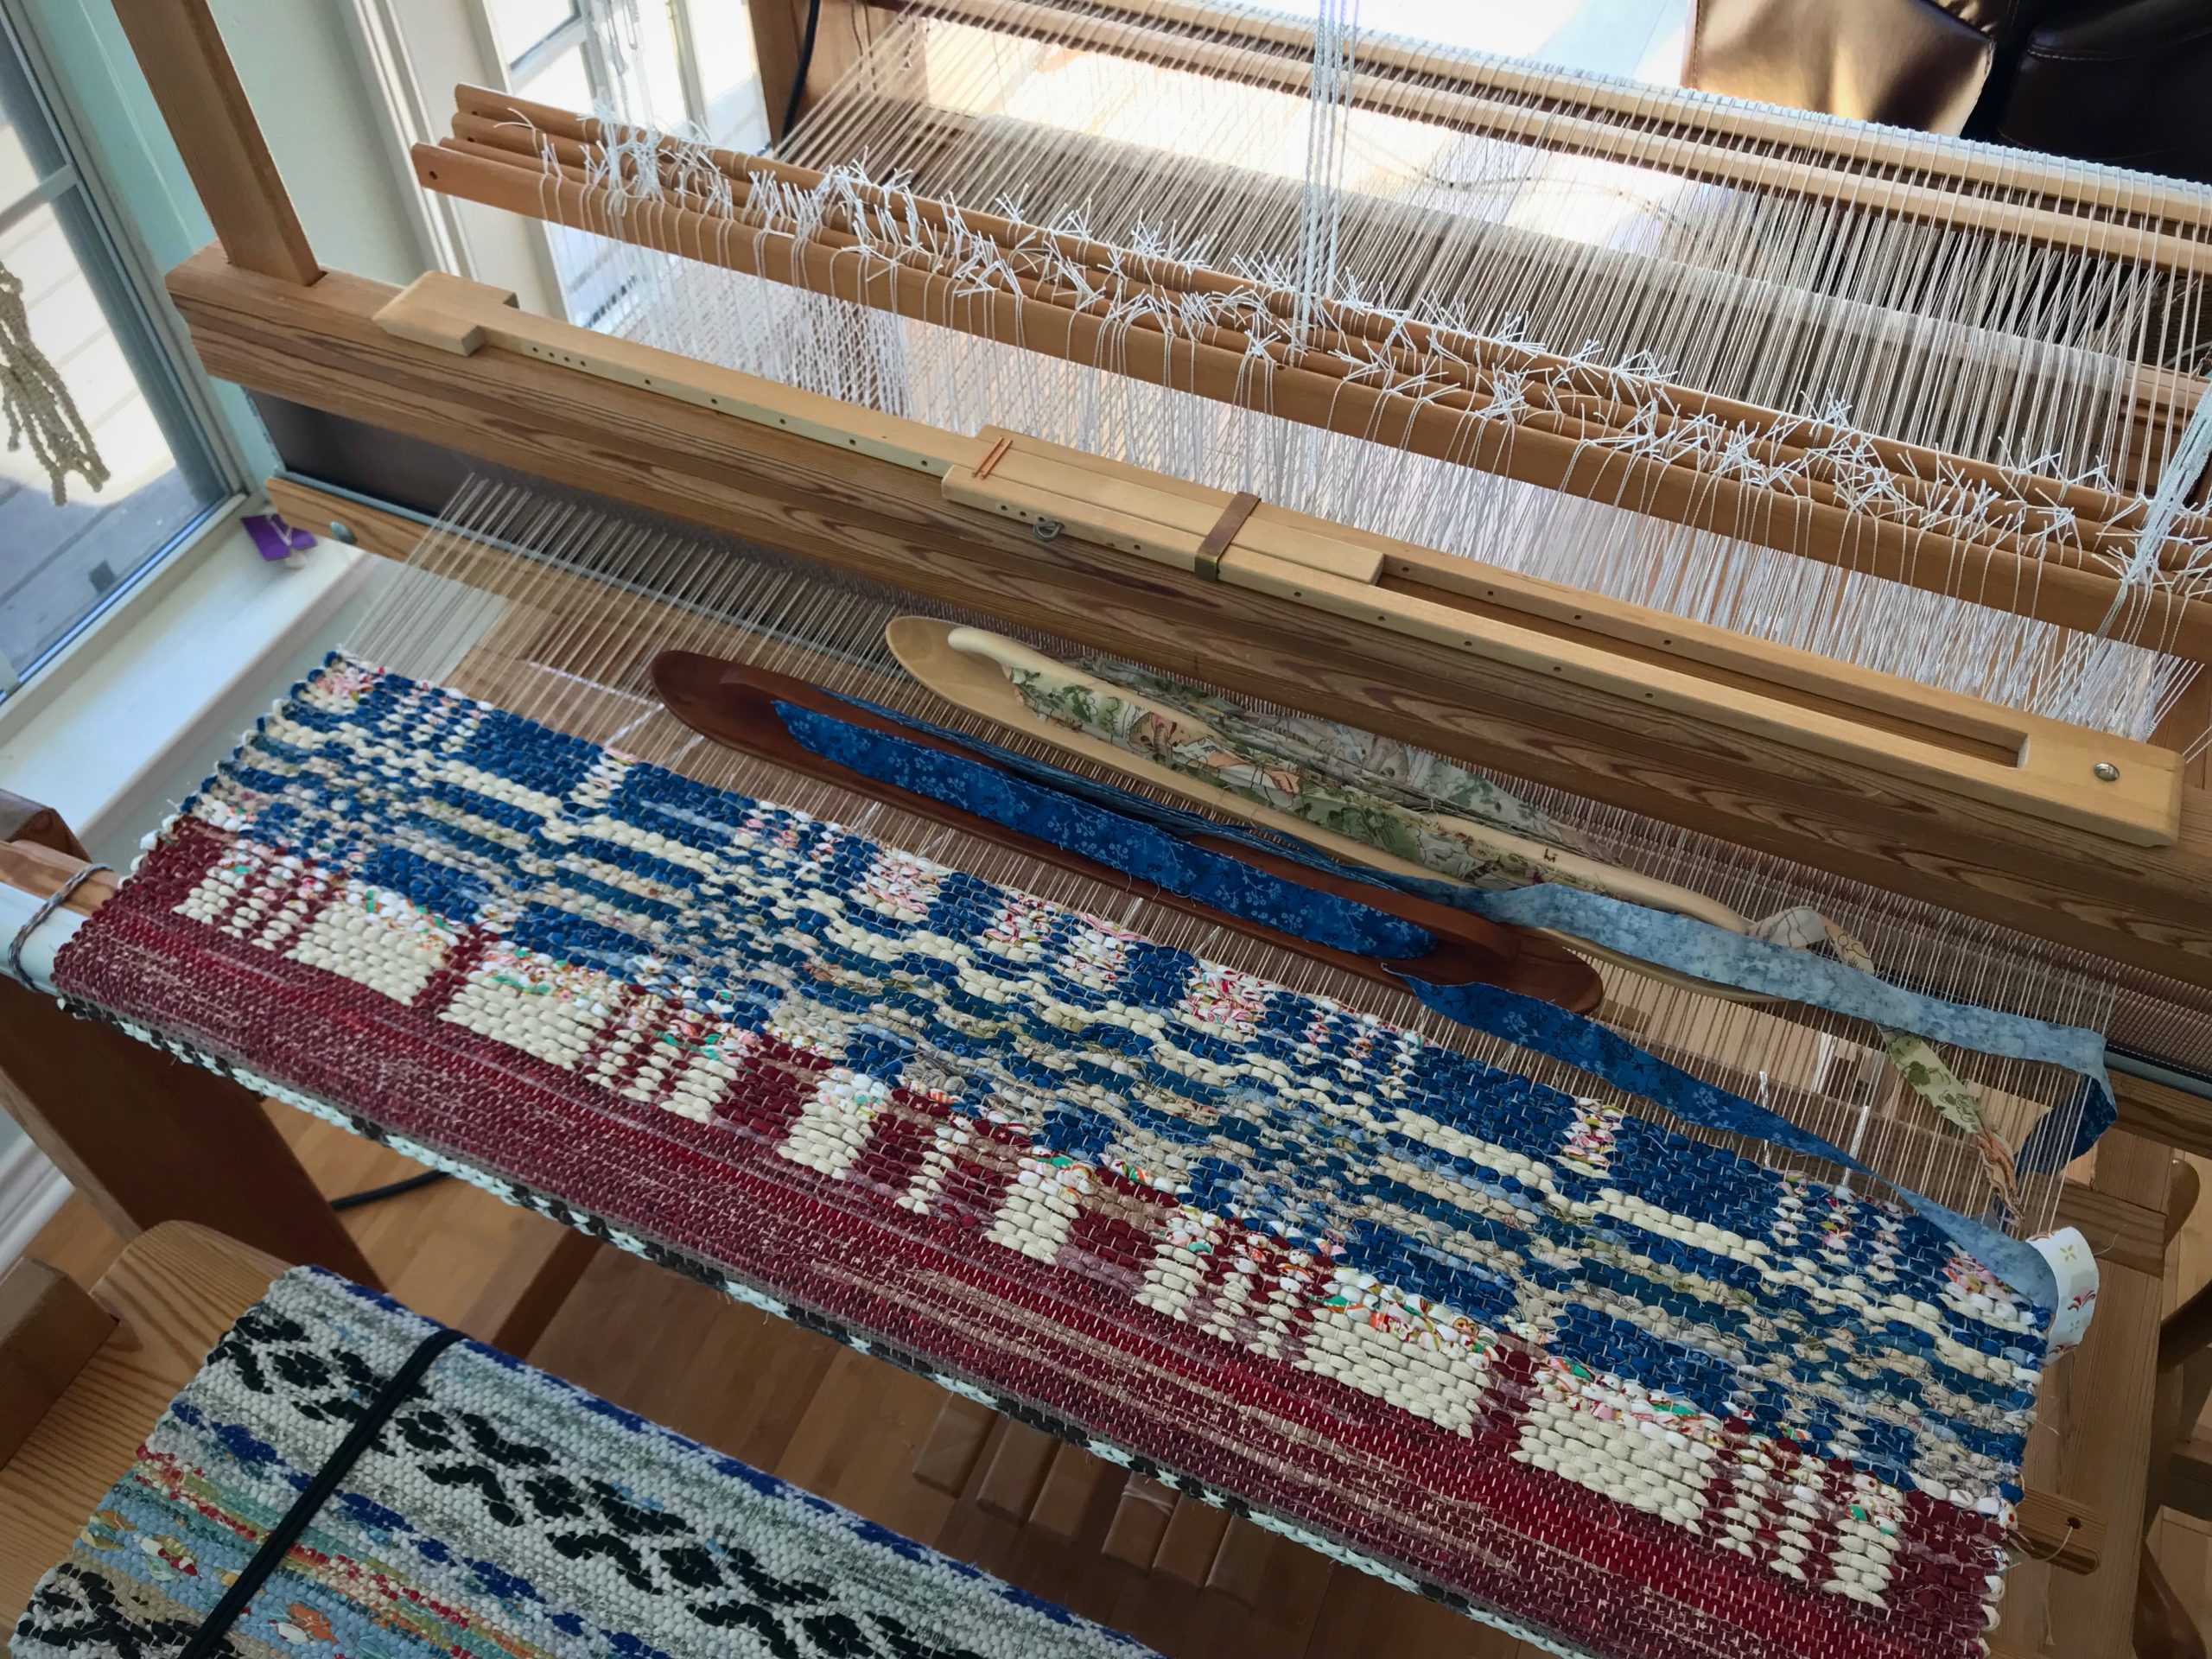
Weaving with two ski shuttles. Glimåkra Ideal. 4 shafts, 6 treadles.
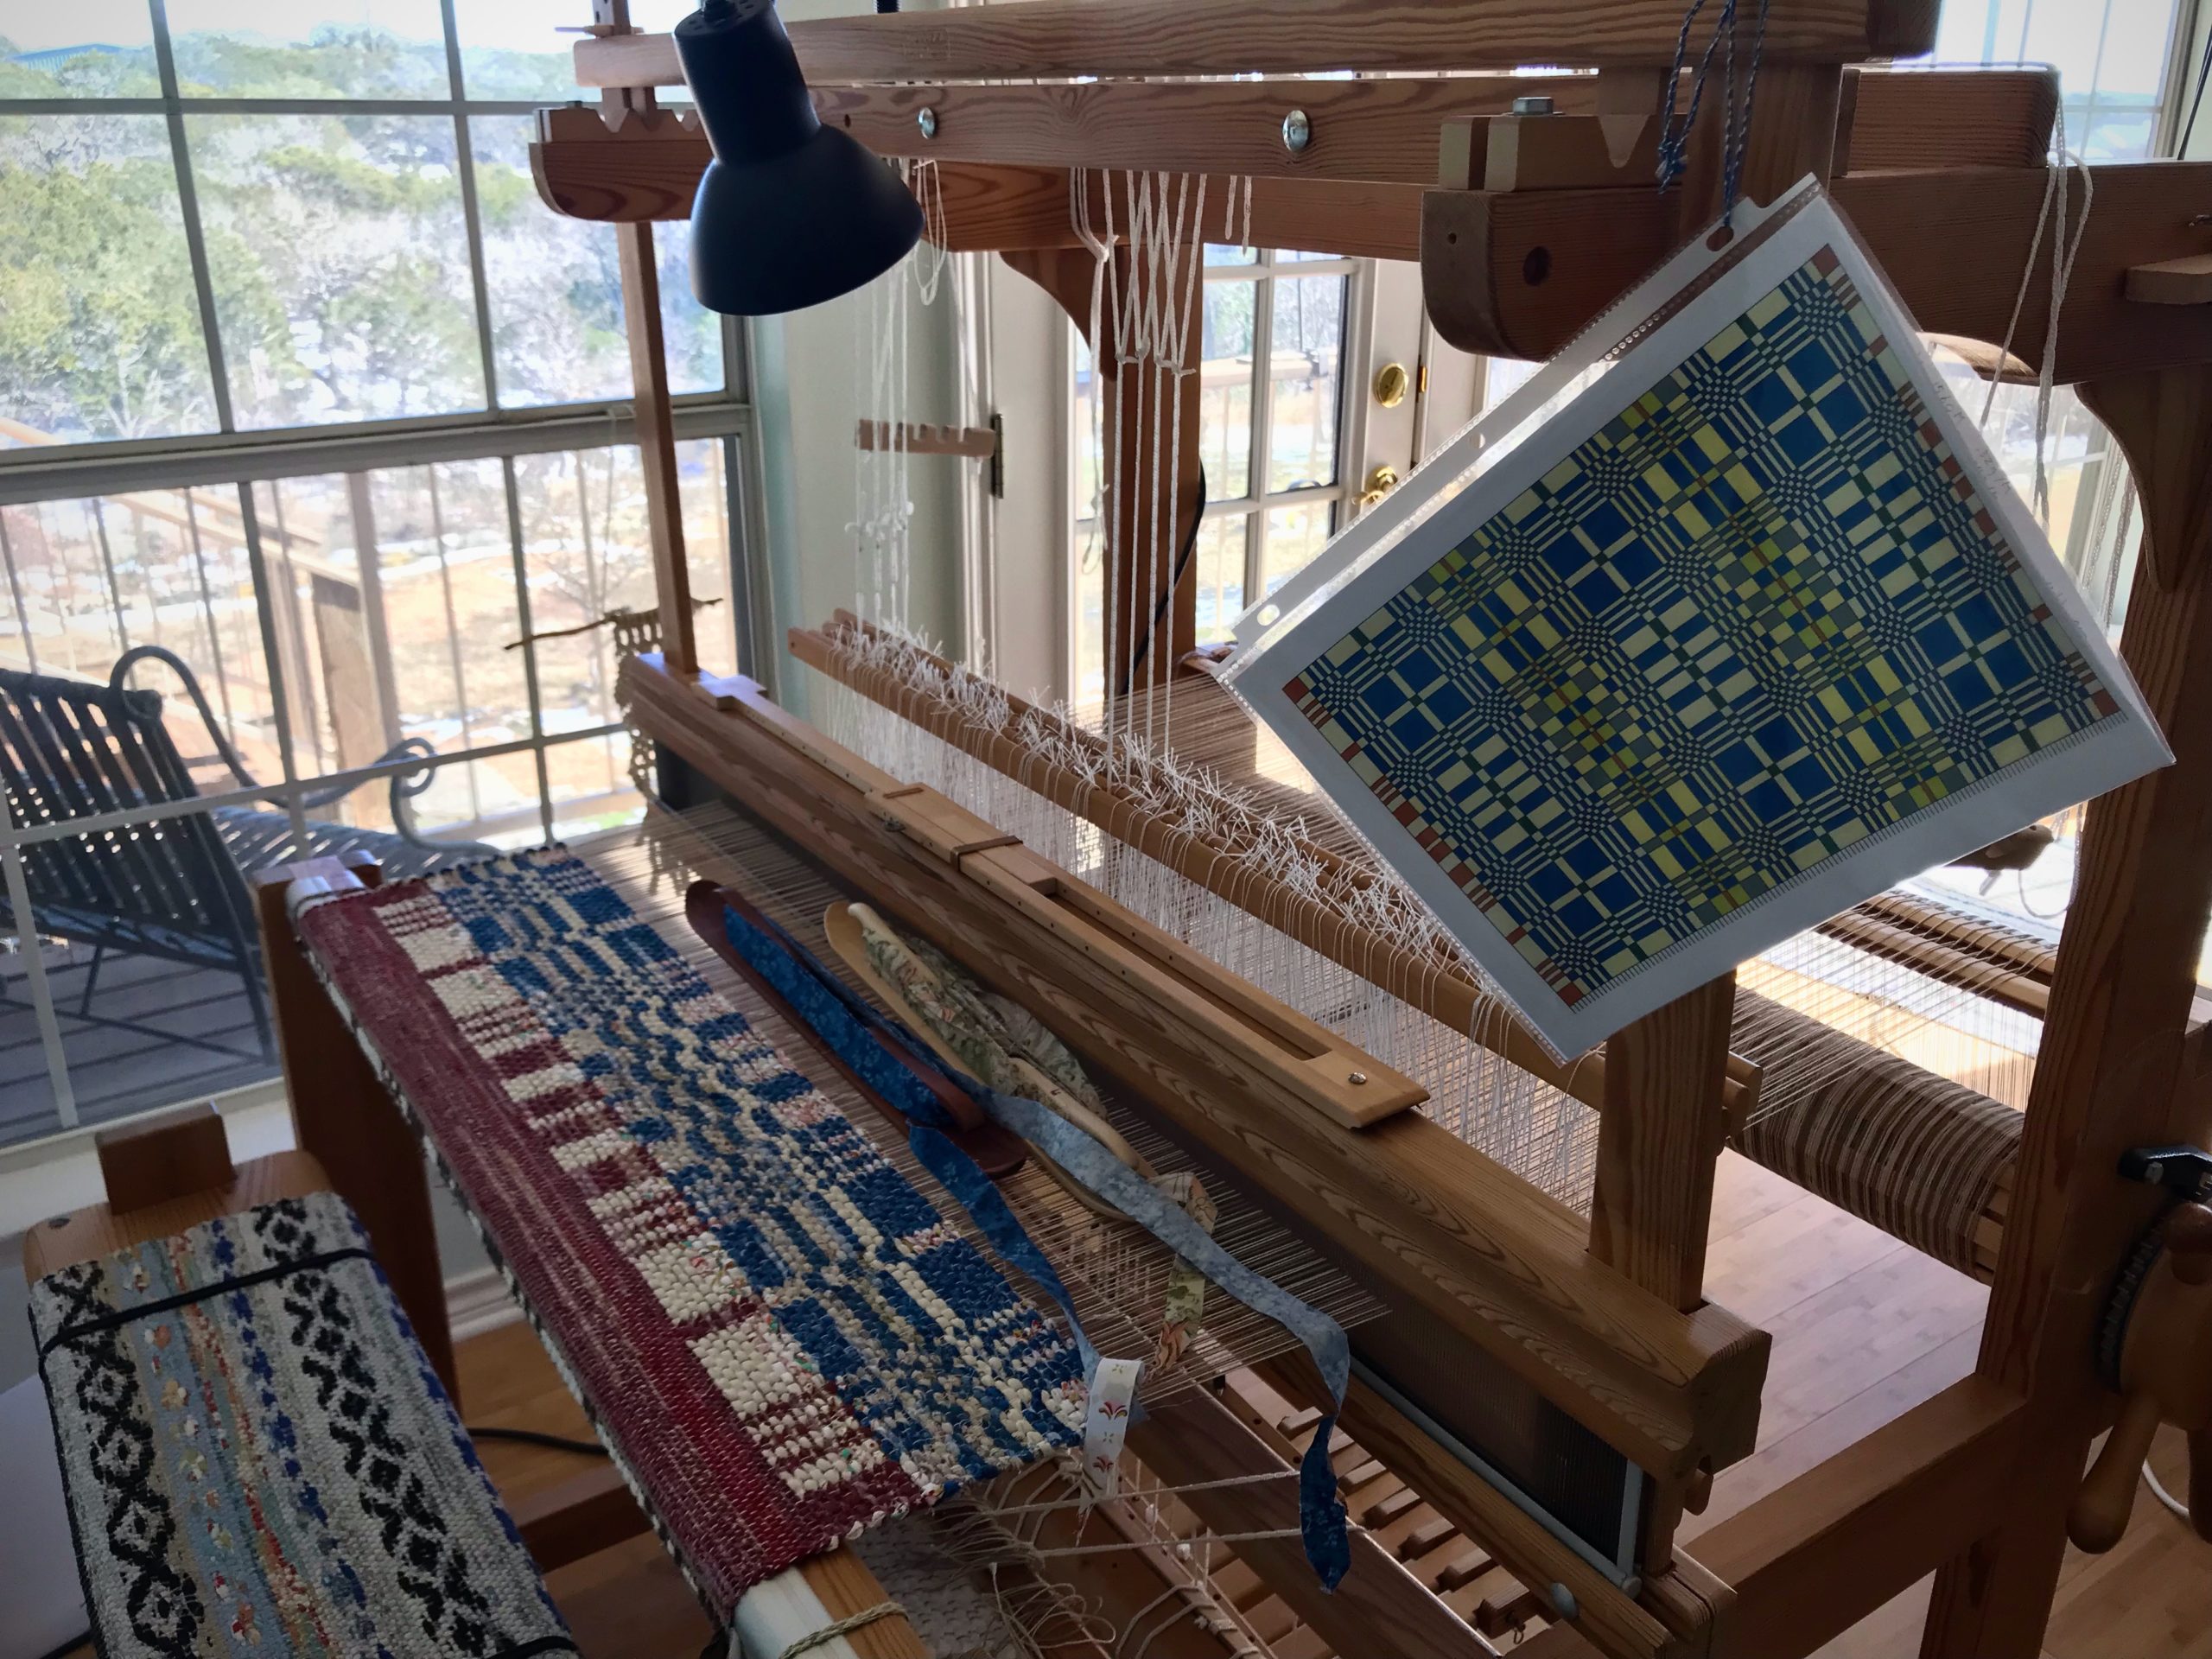
Printout shows me where the blocks change in the weft.

Check out these resources for more double-binding rag rug ideas: Alla Tiders Trasmattor, by Monica Hallén and Ann-Kristin Hallgren; Så Fint med Trasmattor, by Monica Hallén and Ann-Kristin Hallgren; Älskade Trasmattor att väva som för, by Monica Hallén and Ann-Kristin Hallgren; Swedish Rag Rugs 35 New Designs, by VävMagasinet; Happy Weaving, from VävMagasinet.

May you discover a world of opportunity.

Happy Weaving,
Karen
Tapestry Story

It’s as if every row ends with a cliffhanger, and I want to see what will happen next. I know the end of the story, but I’m still eager to see how it plays out. This is how I experience tapestry weaving. I linger here as long as I can. When I do walk away from the loom, I’m already anticipating the next time I get to do this.

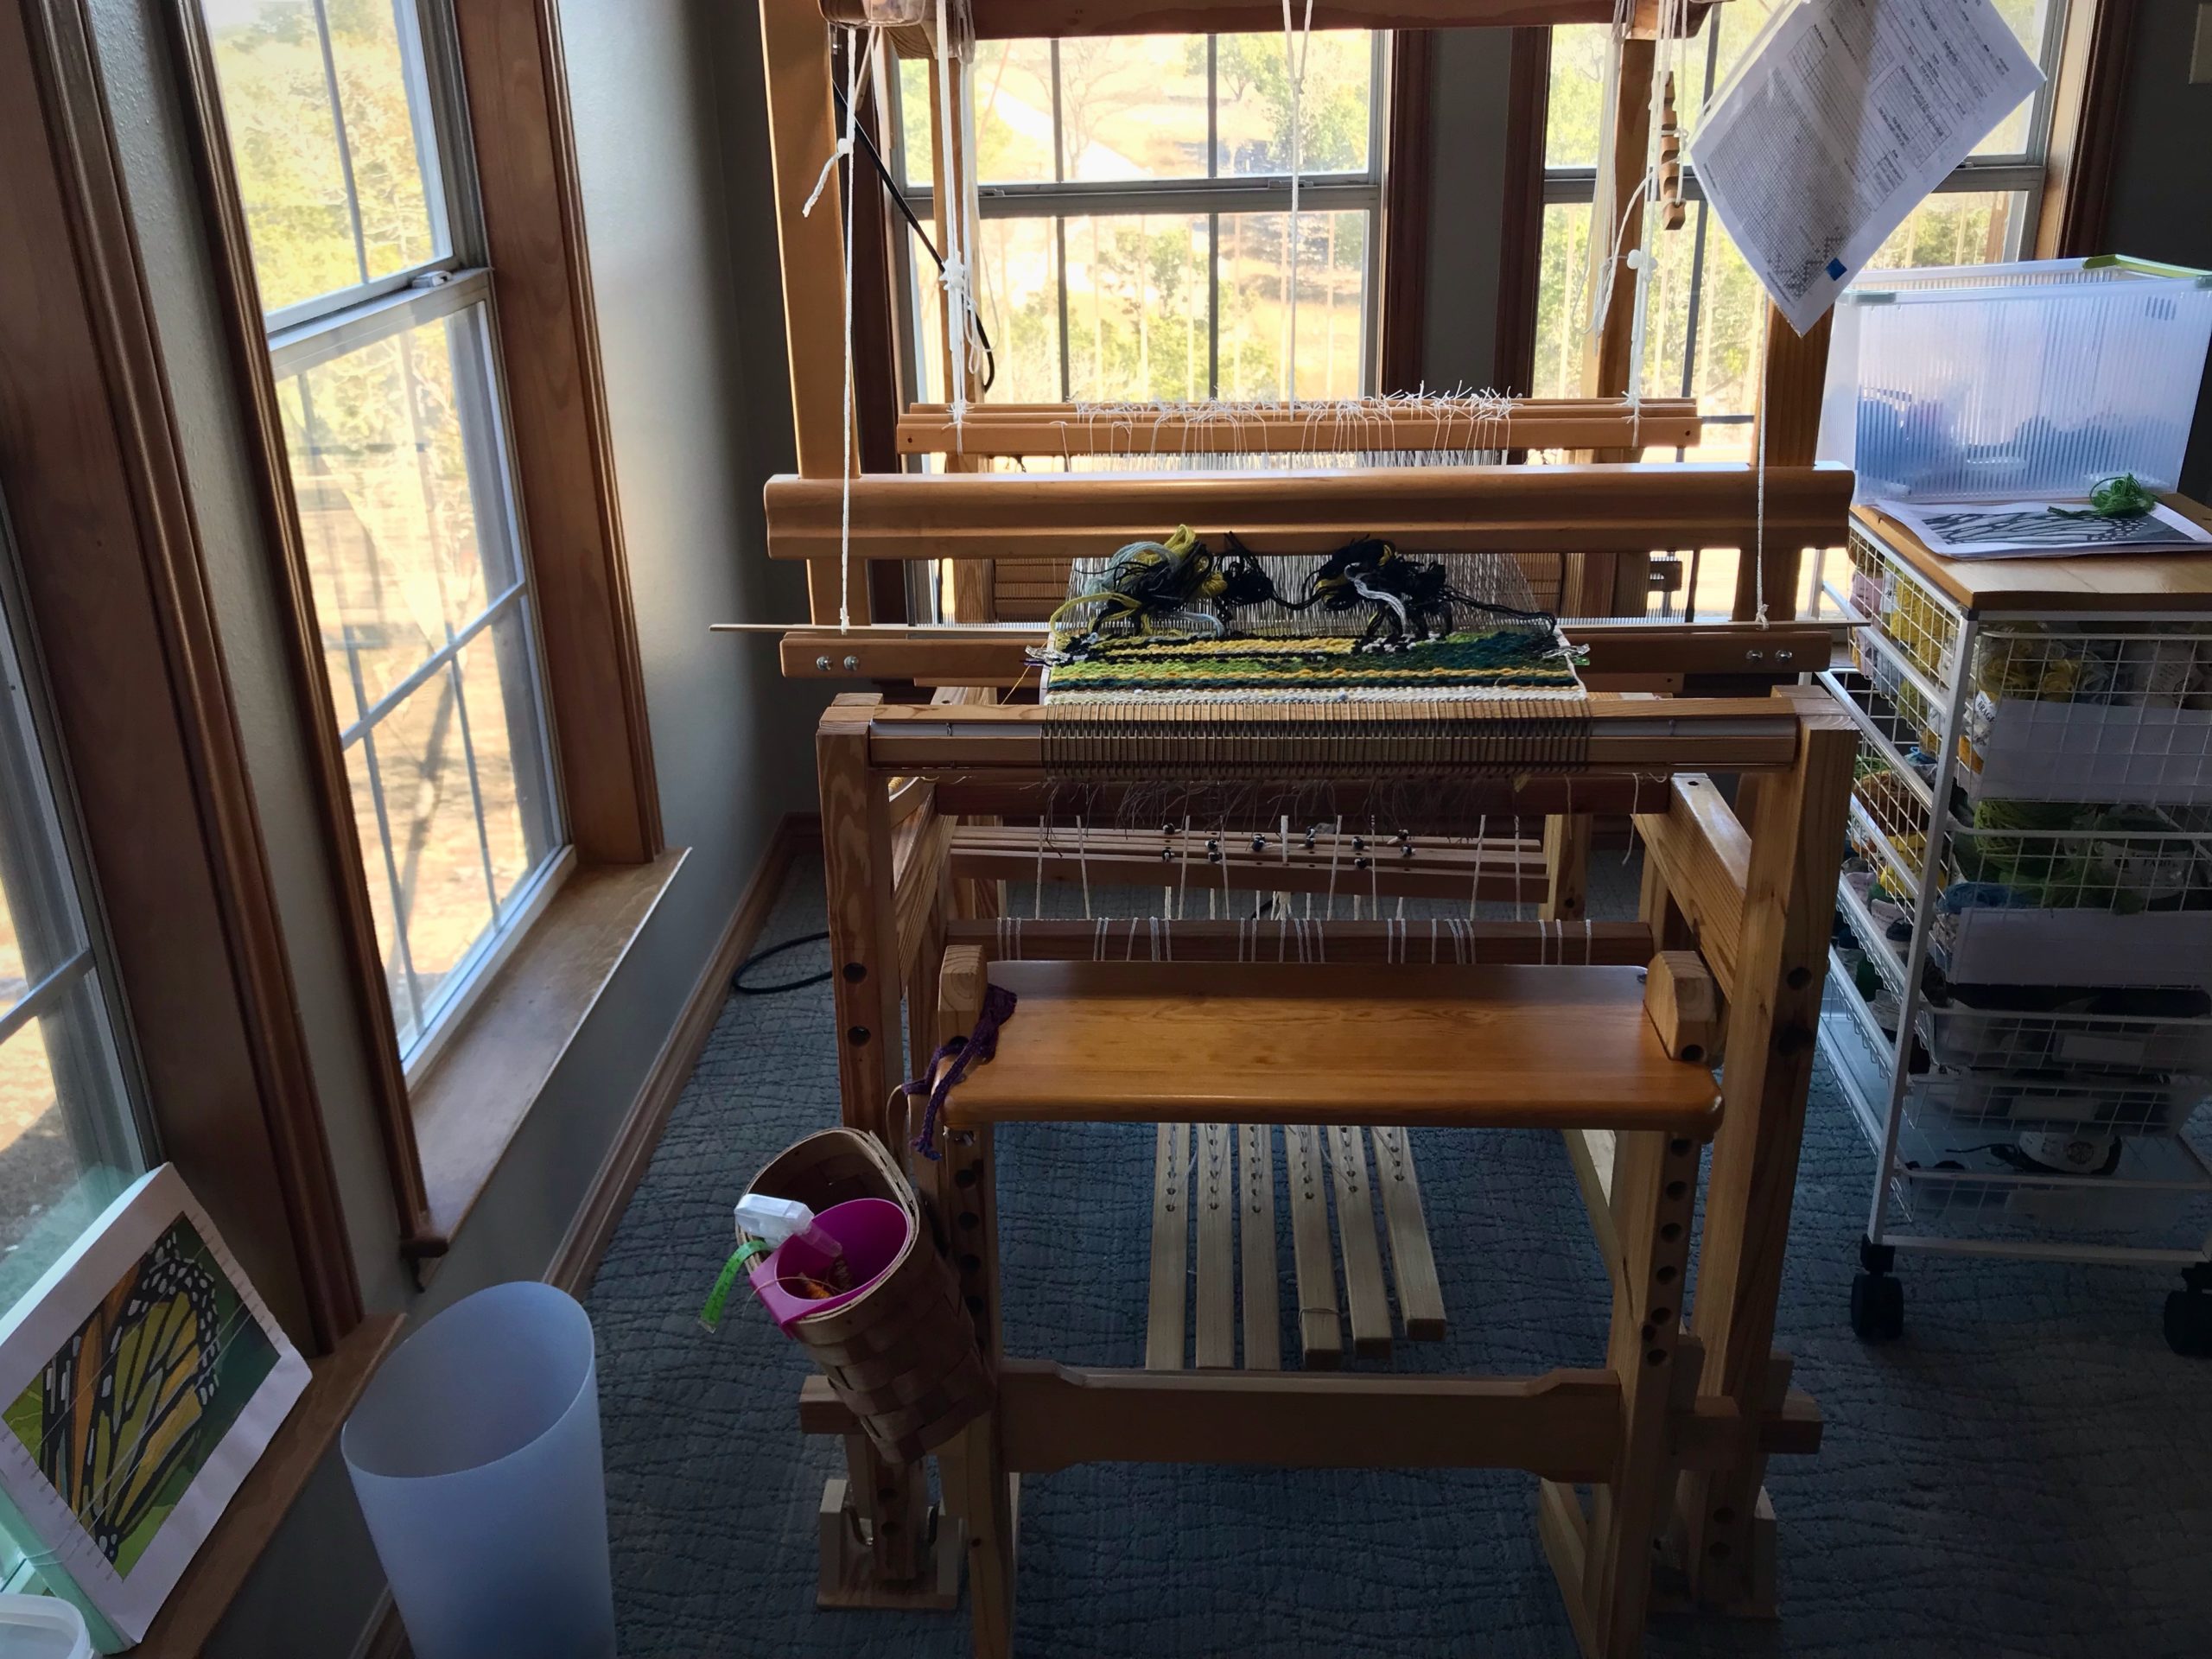
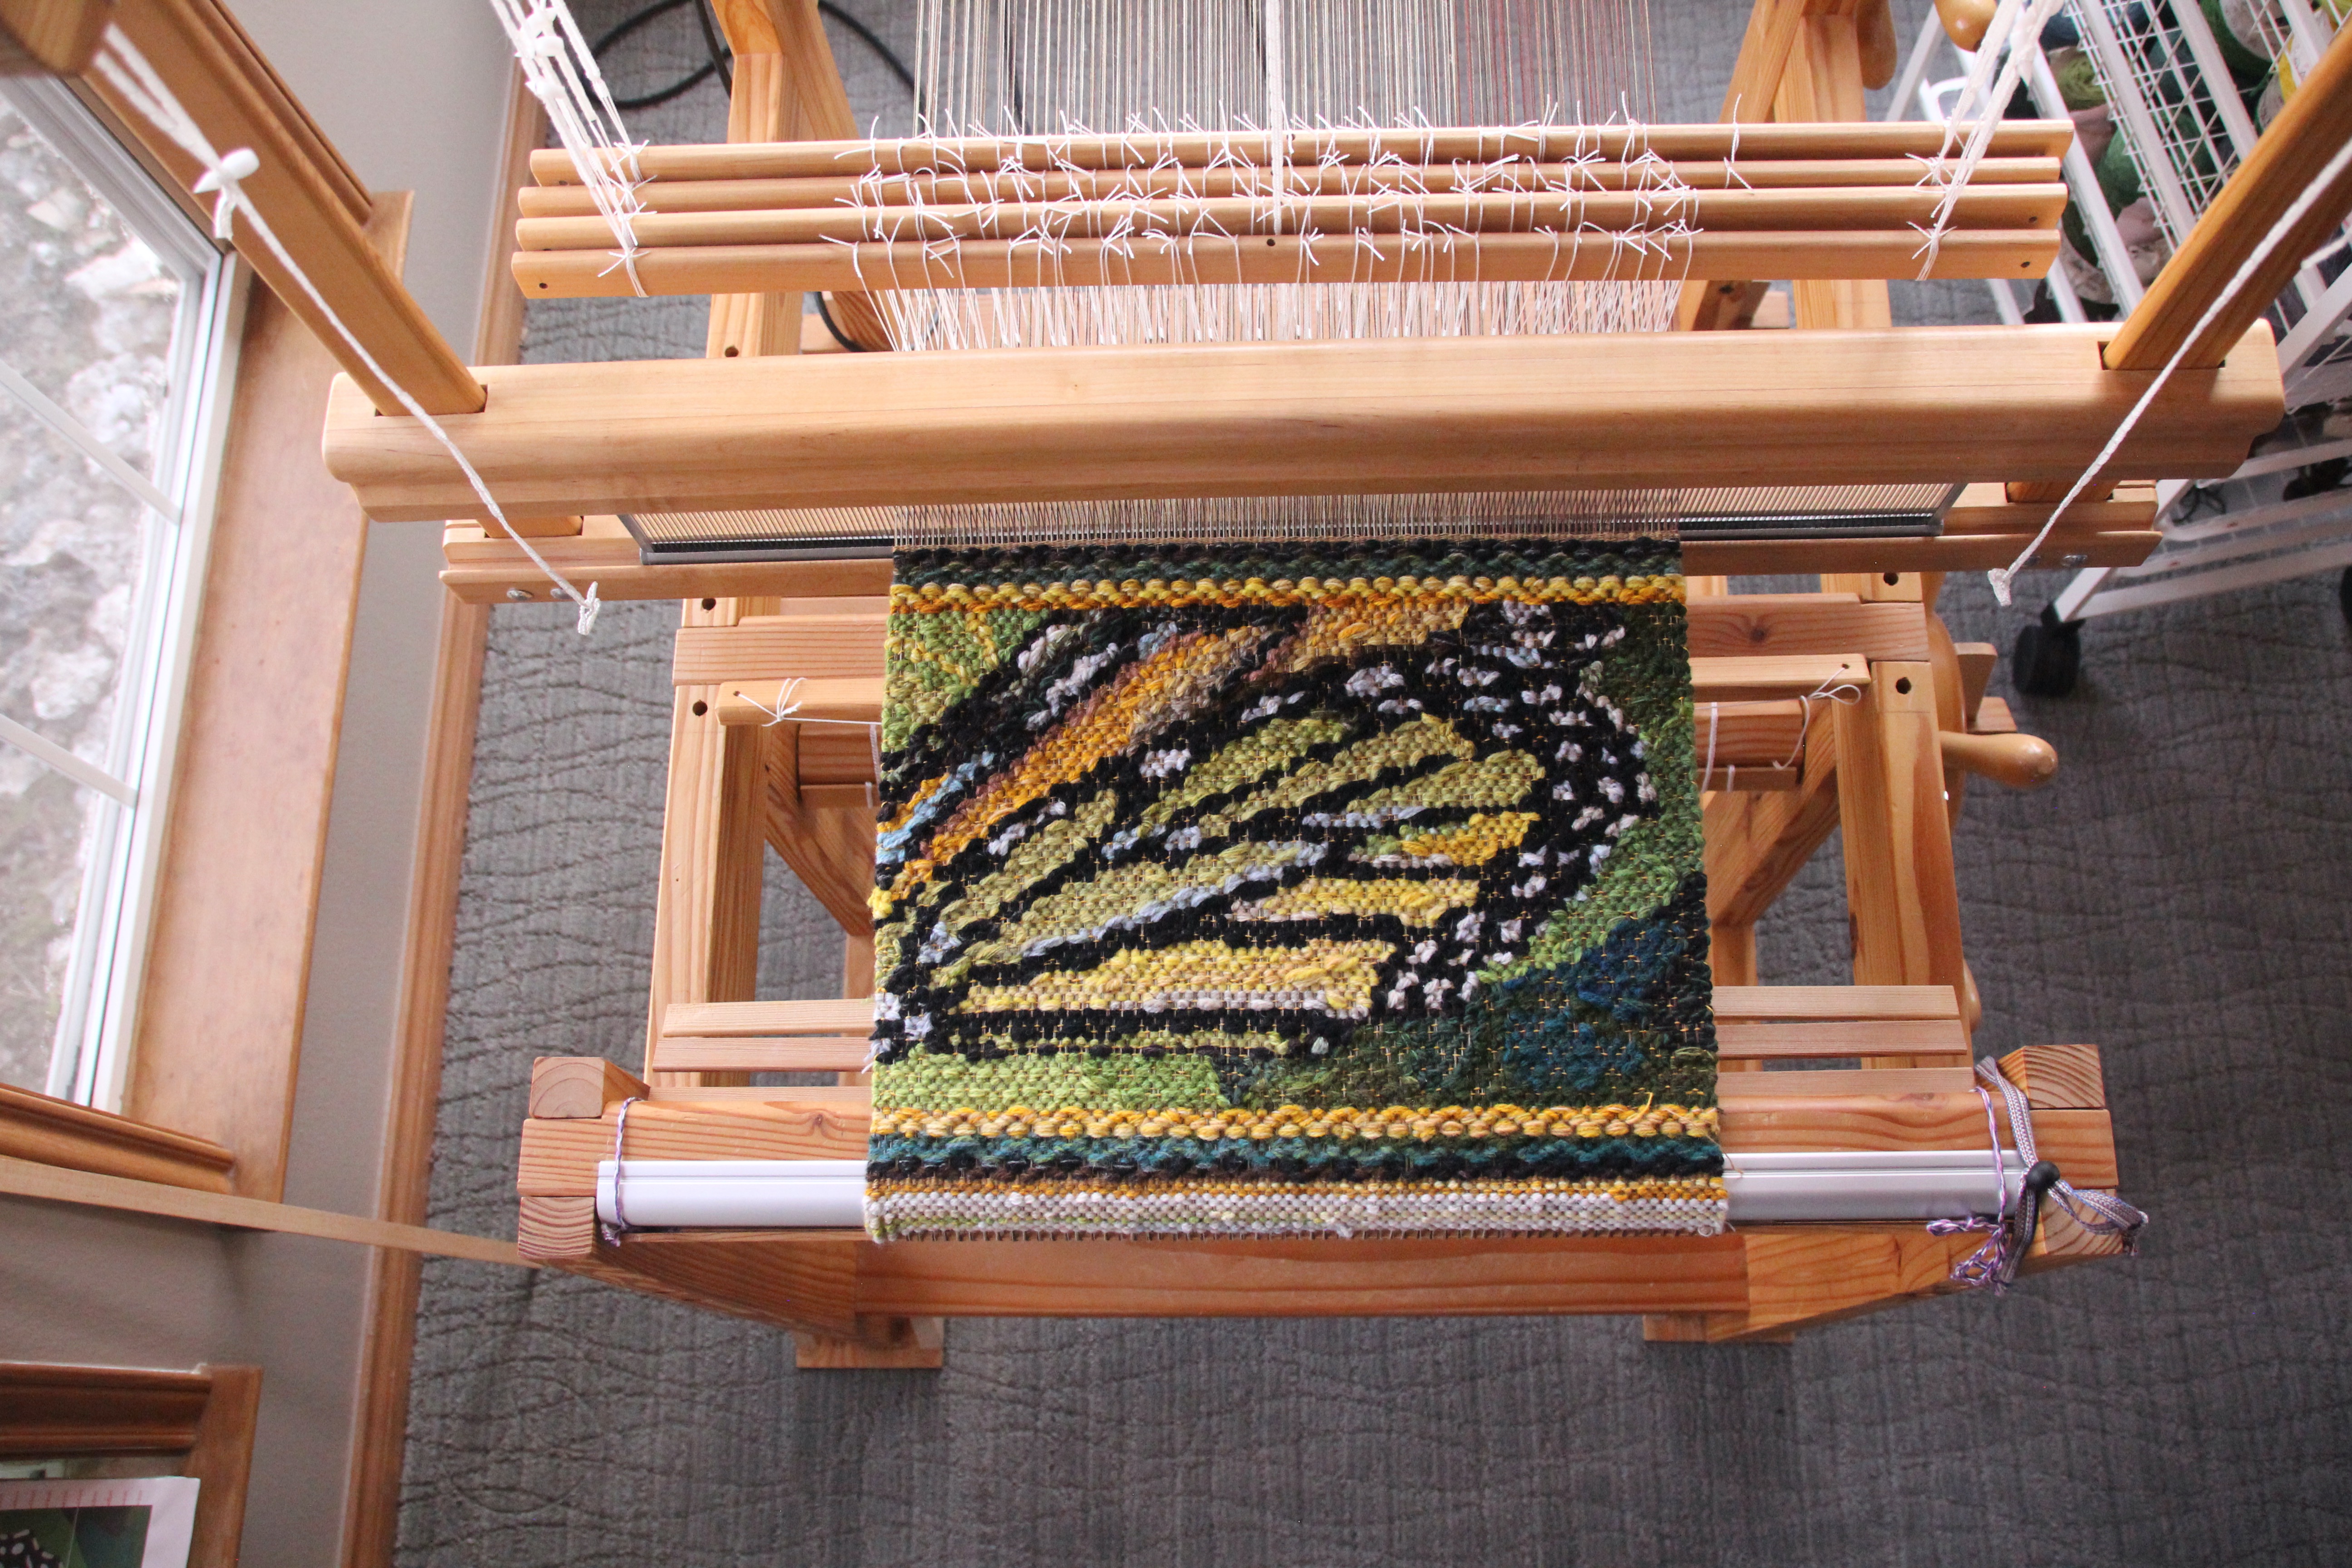
Butterfly wing. This second butterfly image shows more detail than the first butterfly image on this warp (which is now beginning to touch the cloth beam).
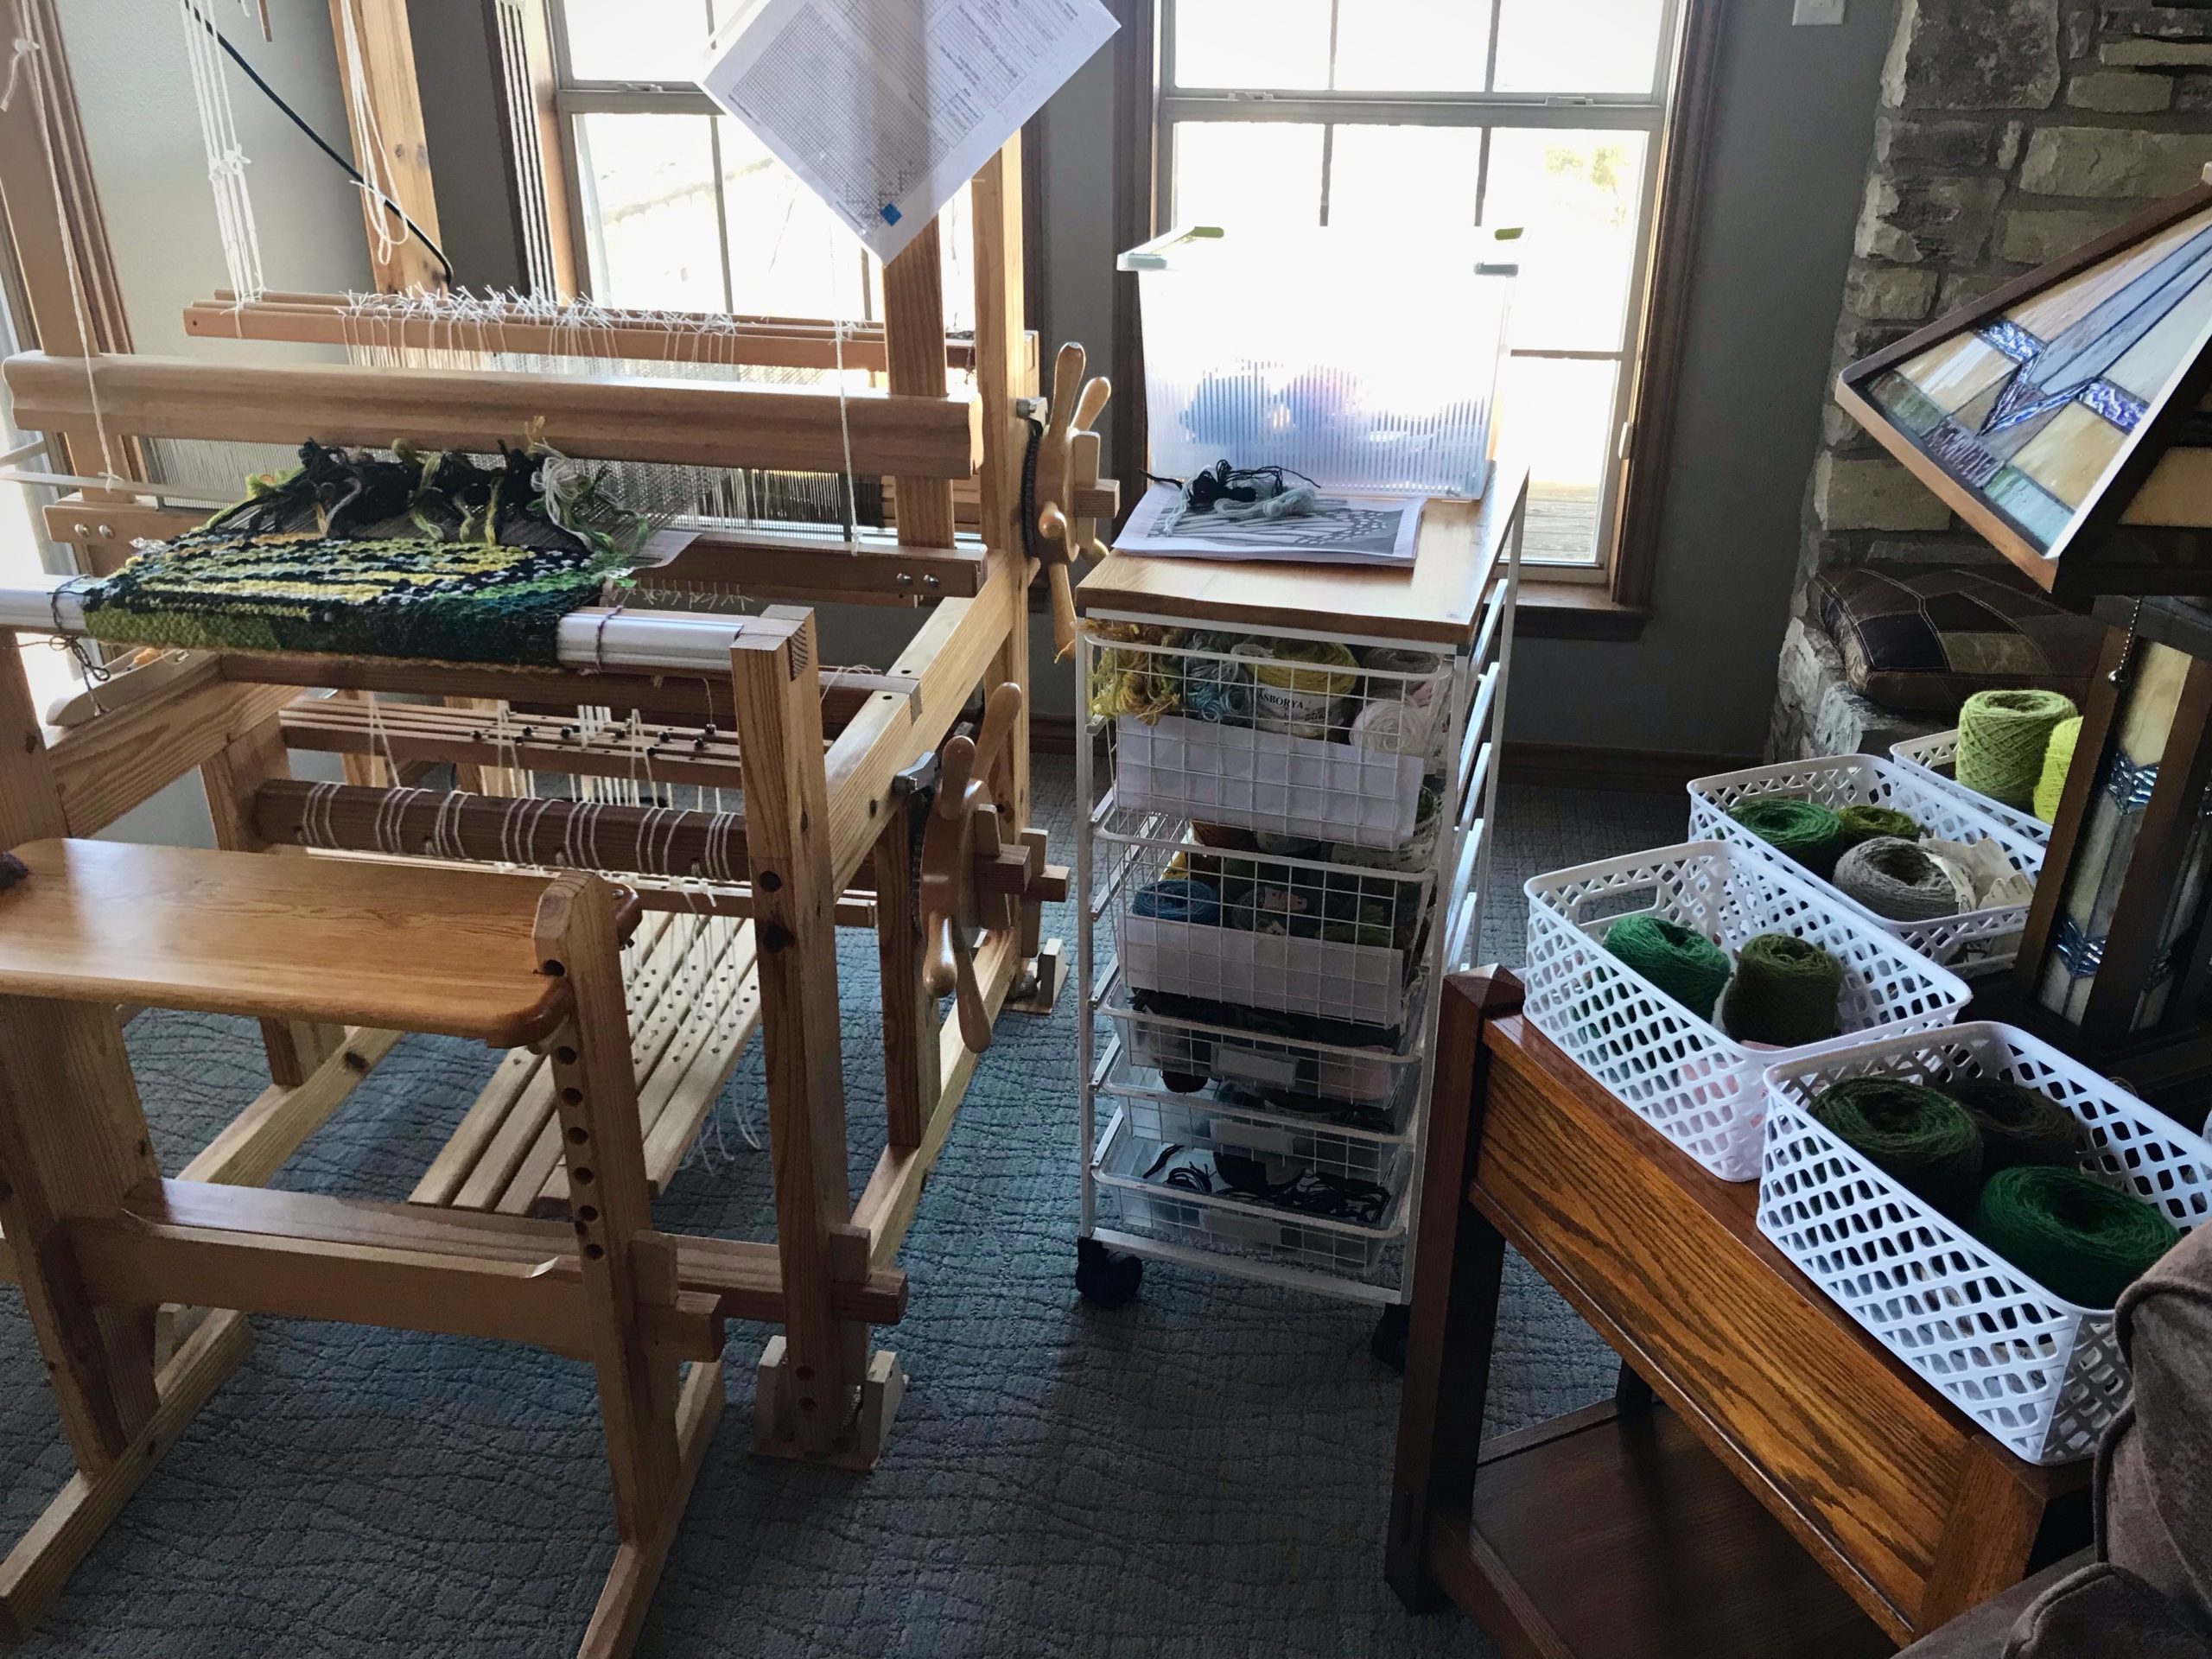
Cart with balls of wool yarn sits beside the loom for making new yarn butterflies as I go.

I use a cartoon of reduced size as a color reference for making butterflies. A black-and-white version shows me value contrasts. I twist strands of yarn together to find a specific hue and value. Each new butterfly becomes integral to the cliffhanger story. At the loom, my thoughts are fully engaged in the details of this story.

I combine various wool yarns until I find the right combination for the color I want to add to the tapestry. The thickness of each bundle of strands for a butterfly is approximately equivalent to the thickness of 4 strands of Borgs 6/2 Tuna wool yarn.
Every row brings new excitement.
Reduced-size cartoon helps me find the needed hue (color) and intensity (relative brightness or dullness) for yarn butterflies. The black-and-white version helps me see the value (range of light to dark as seen on a gray scale) in comparison to neighboring values.

When I pray, my thoughts are fully engaged in the details of life. Prayer answers our heavenly Father’s invitation to come and be alone with him. He listens as we talk to him about our life’s cliffhangers. Prayer is so much more than making requests. It’s about consulting with our Father to gain his heavenly point of view for the tapestry he is creating. When we see the strands come together just so, we know our life’s story is in the Grand Weaver’s hands.

May your cliffhangers have happy endings.

Your friend,
Karen

Process Review: Threading Preparation and Two Pairs of Lease Sticks

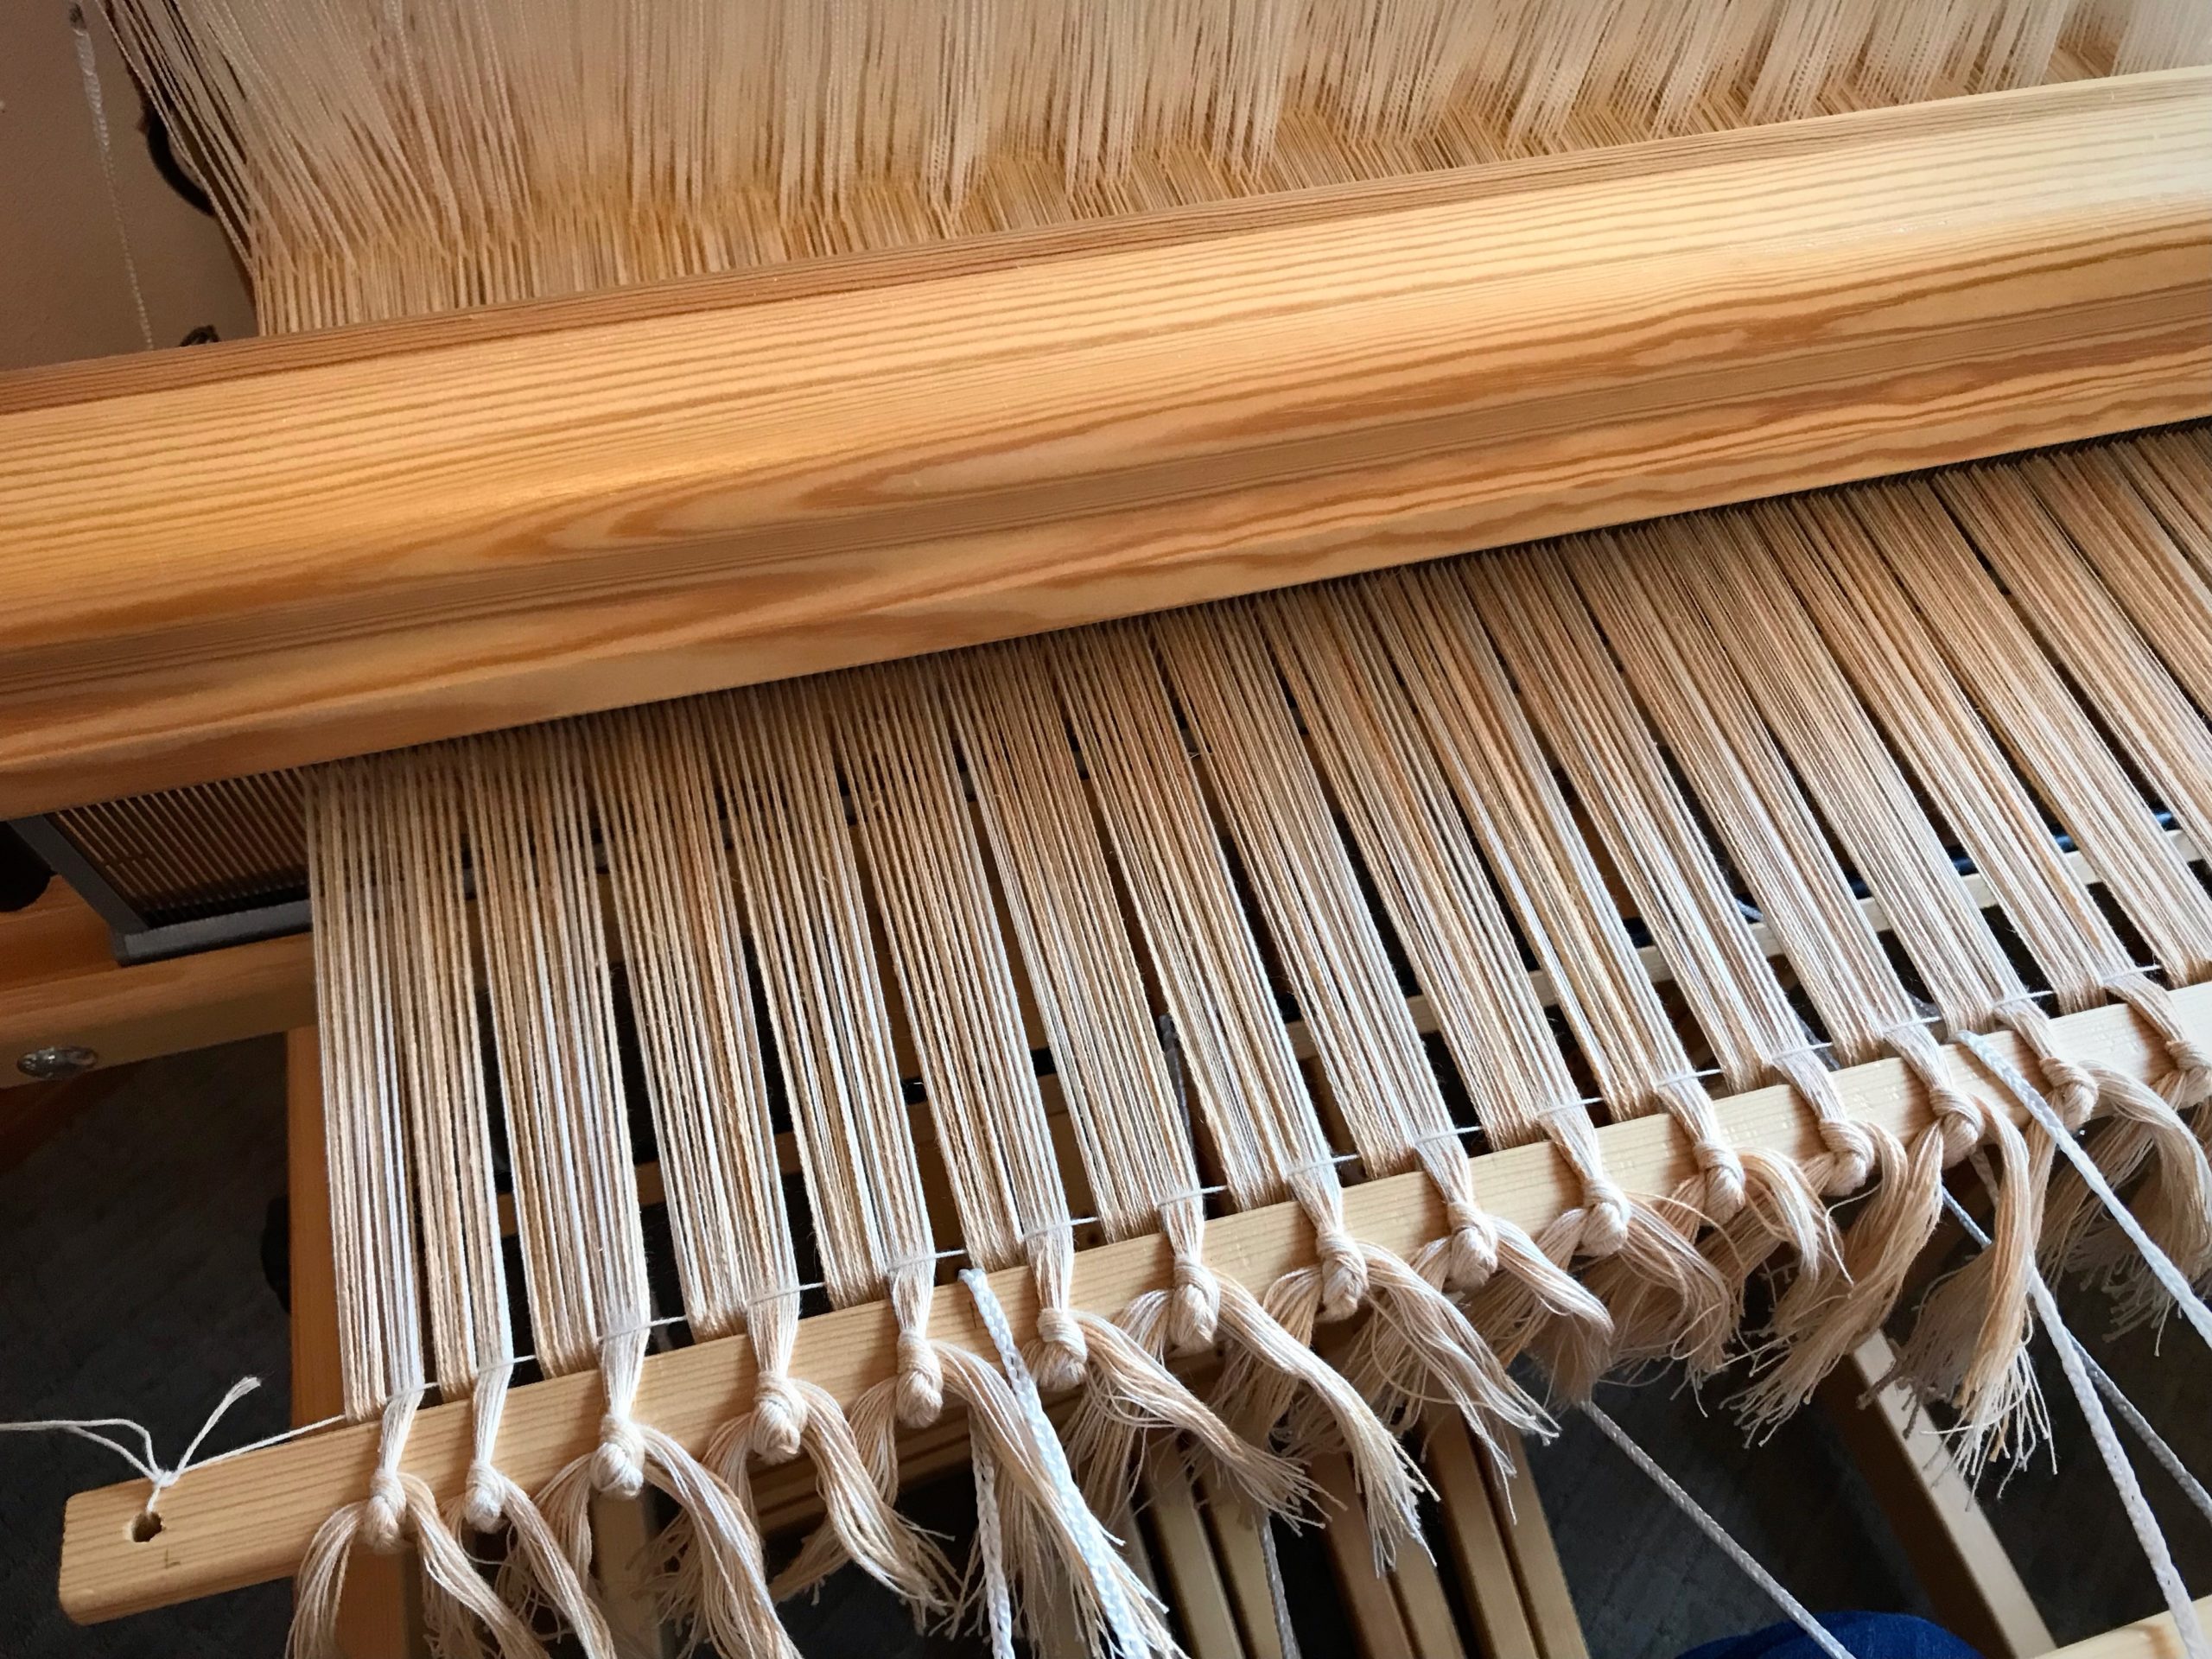
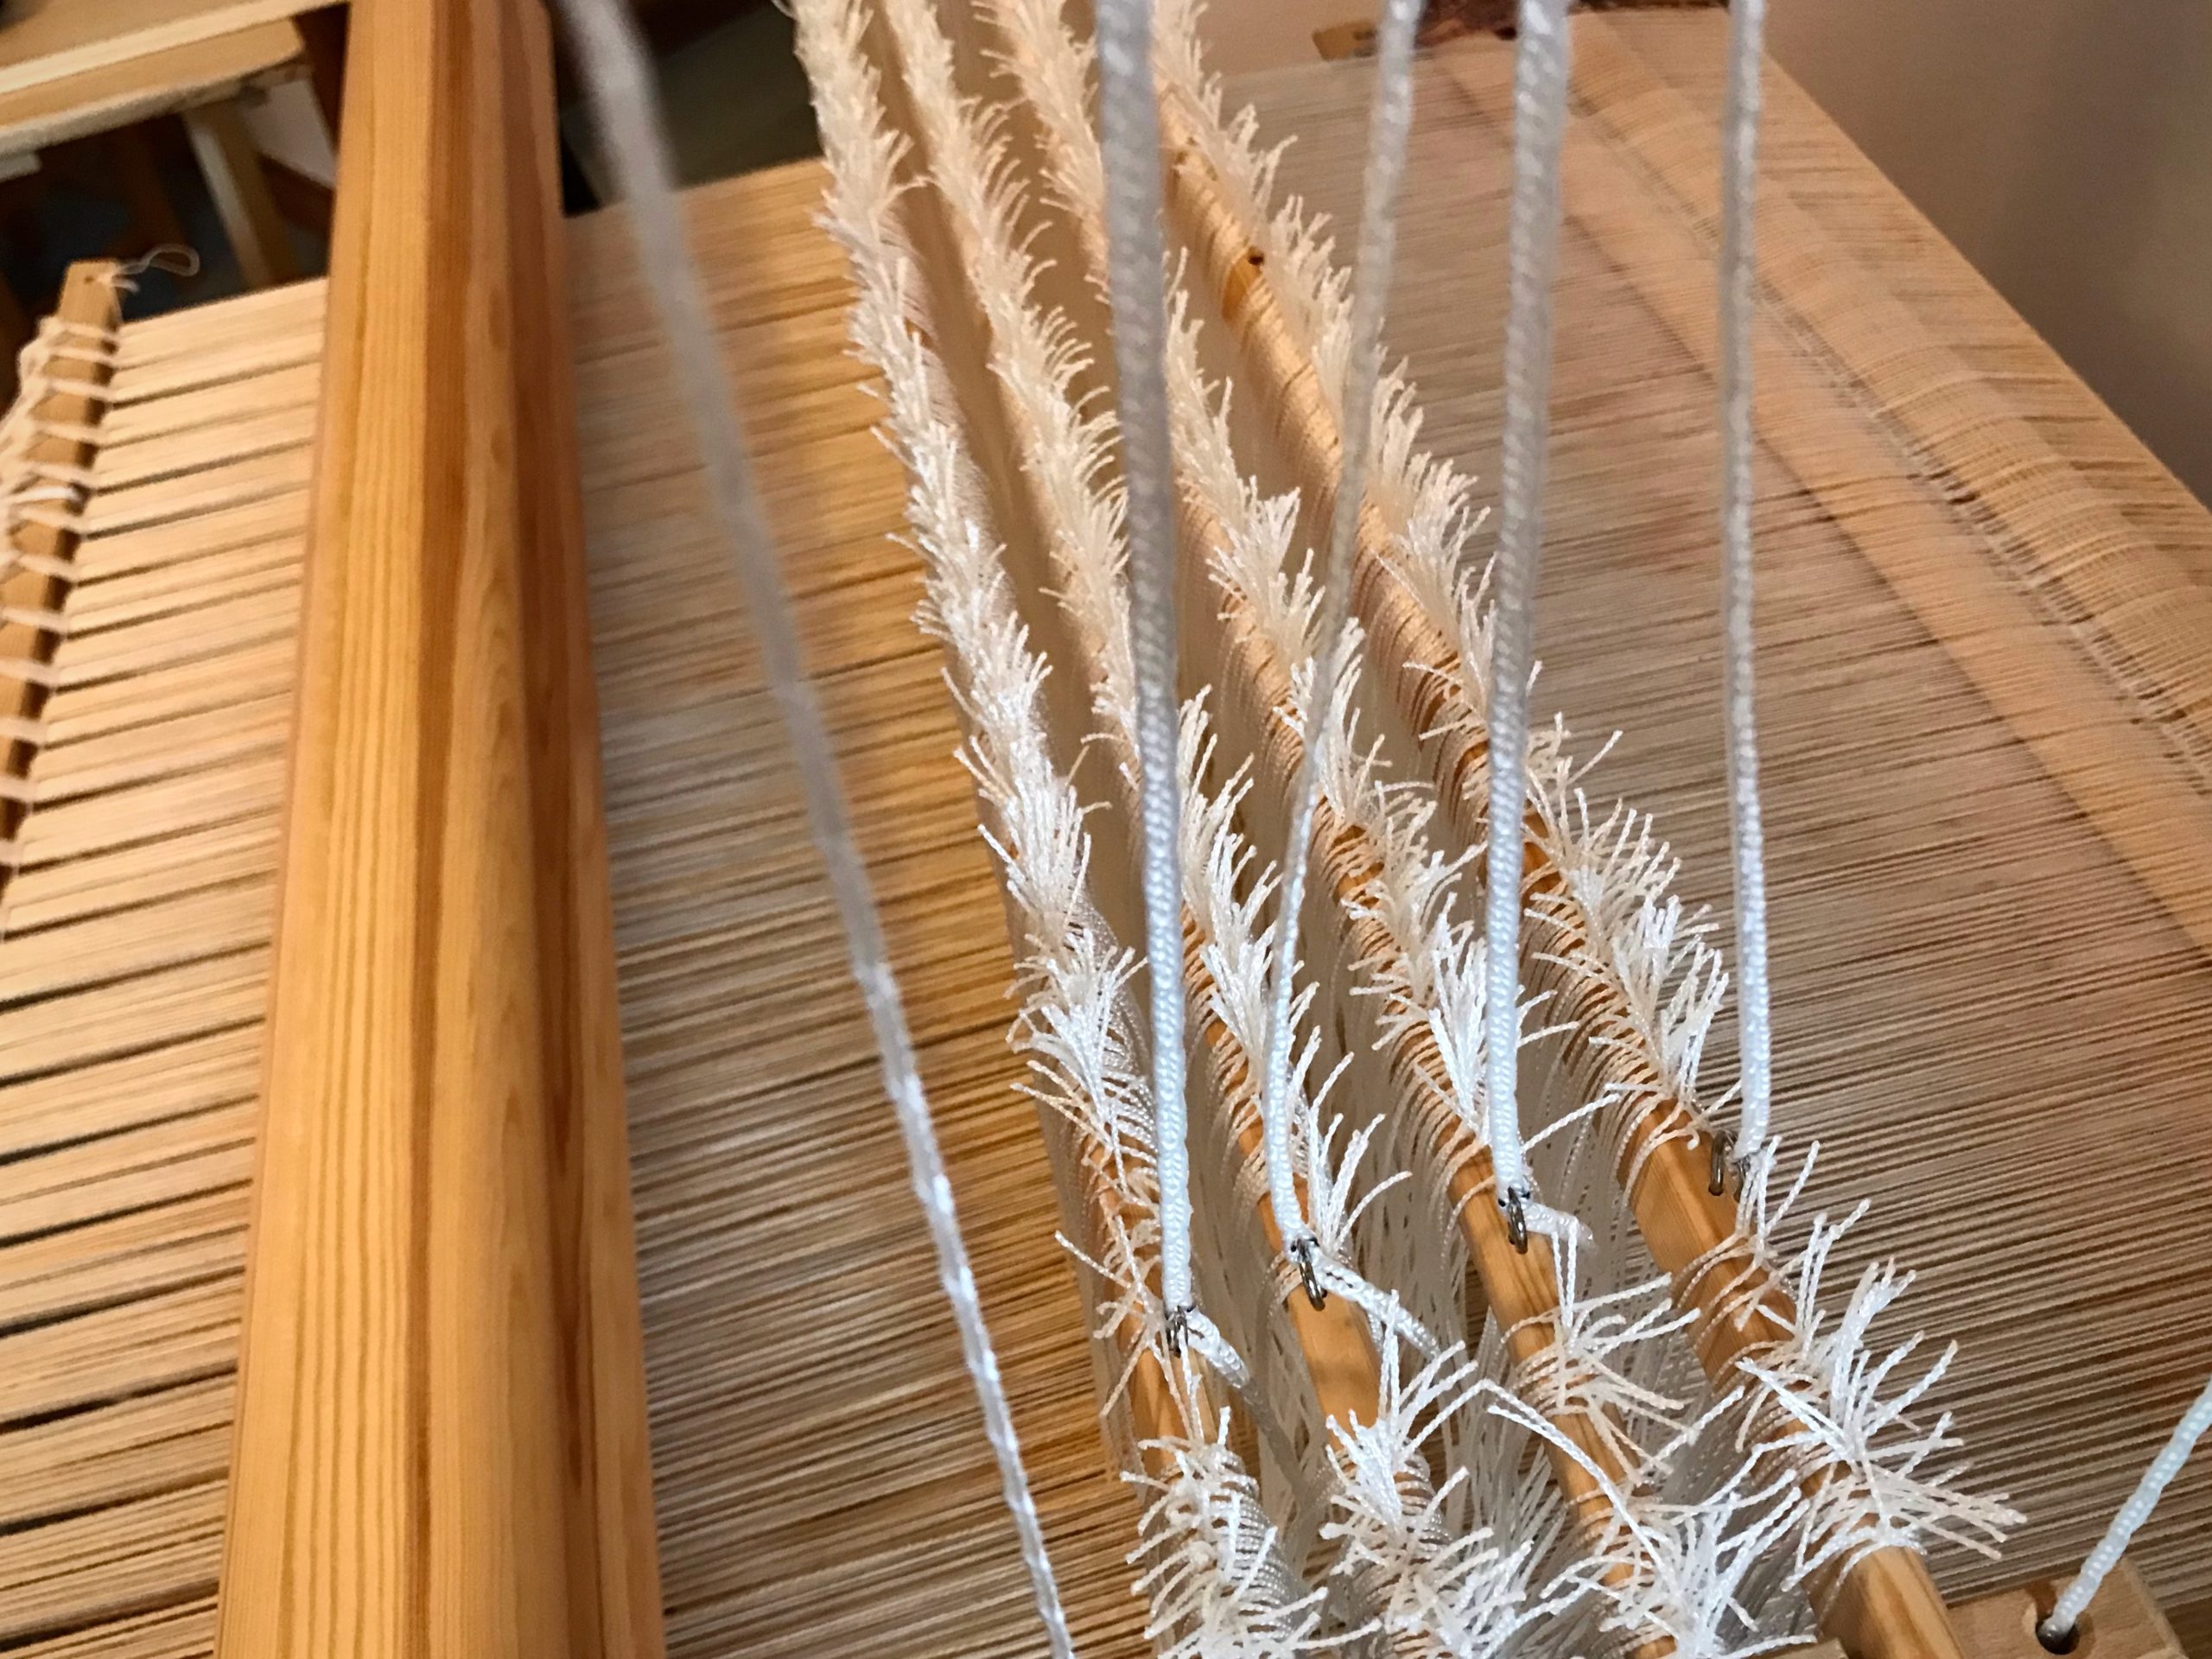
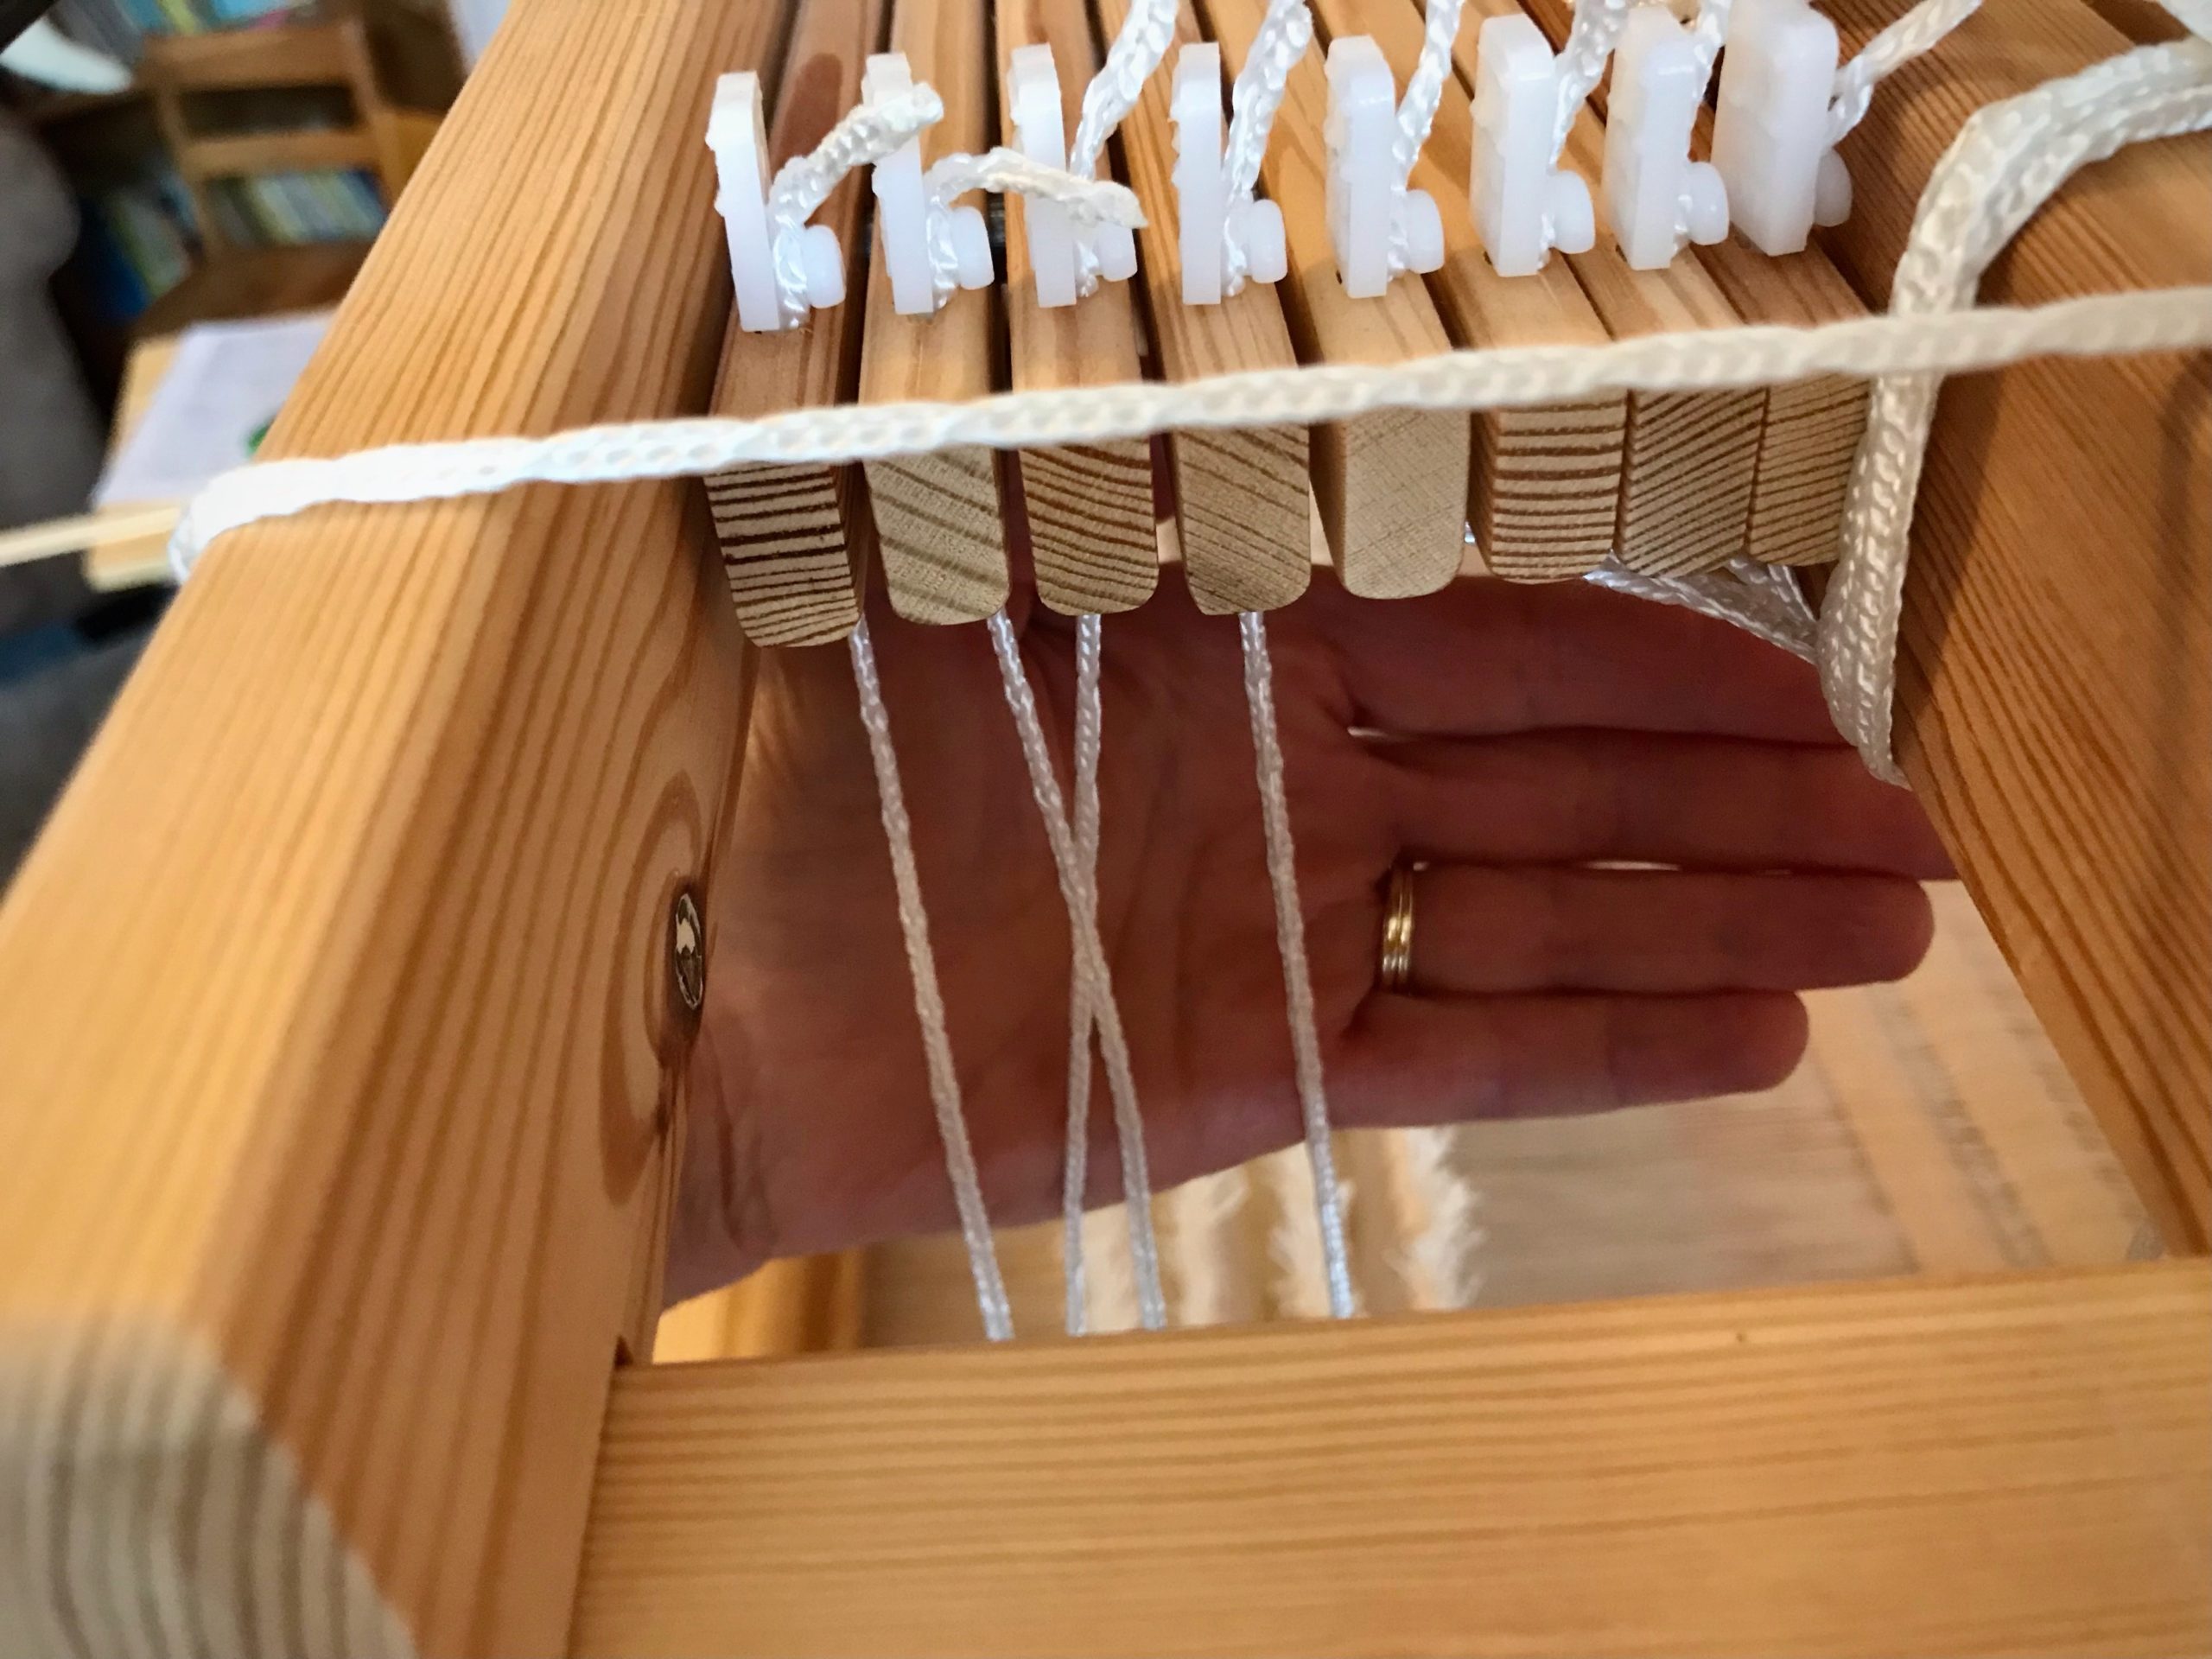
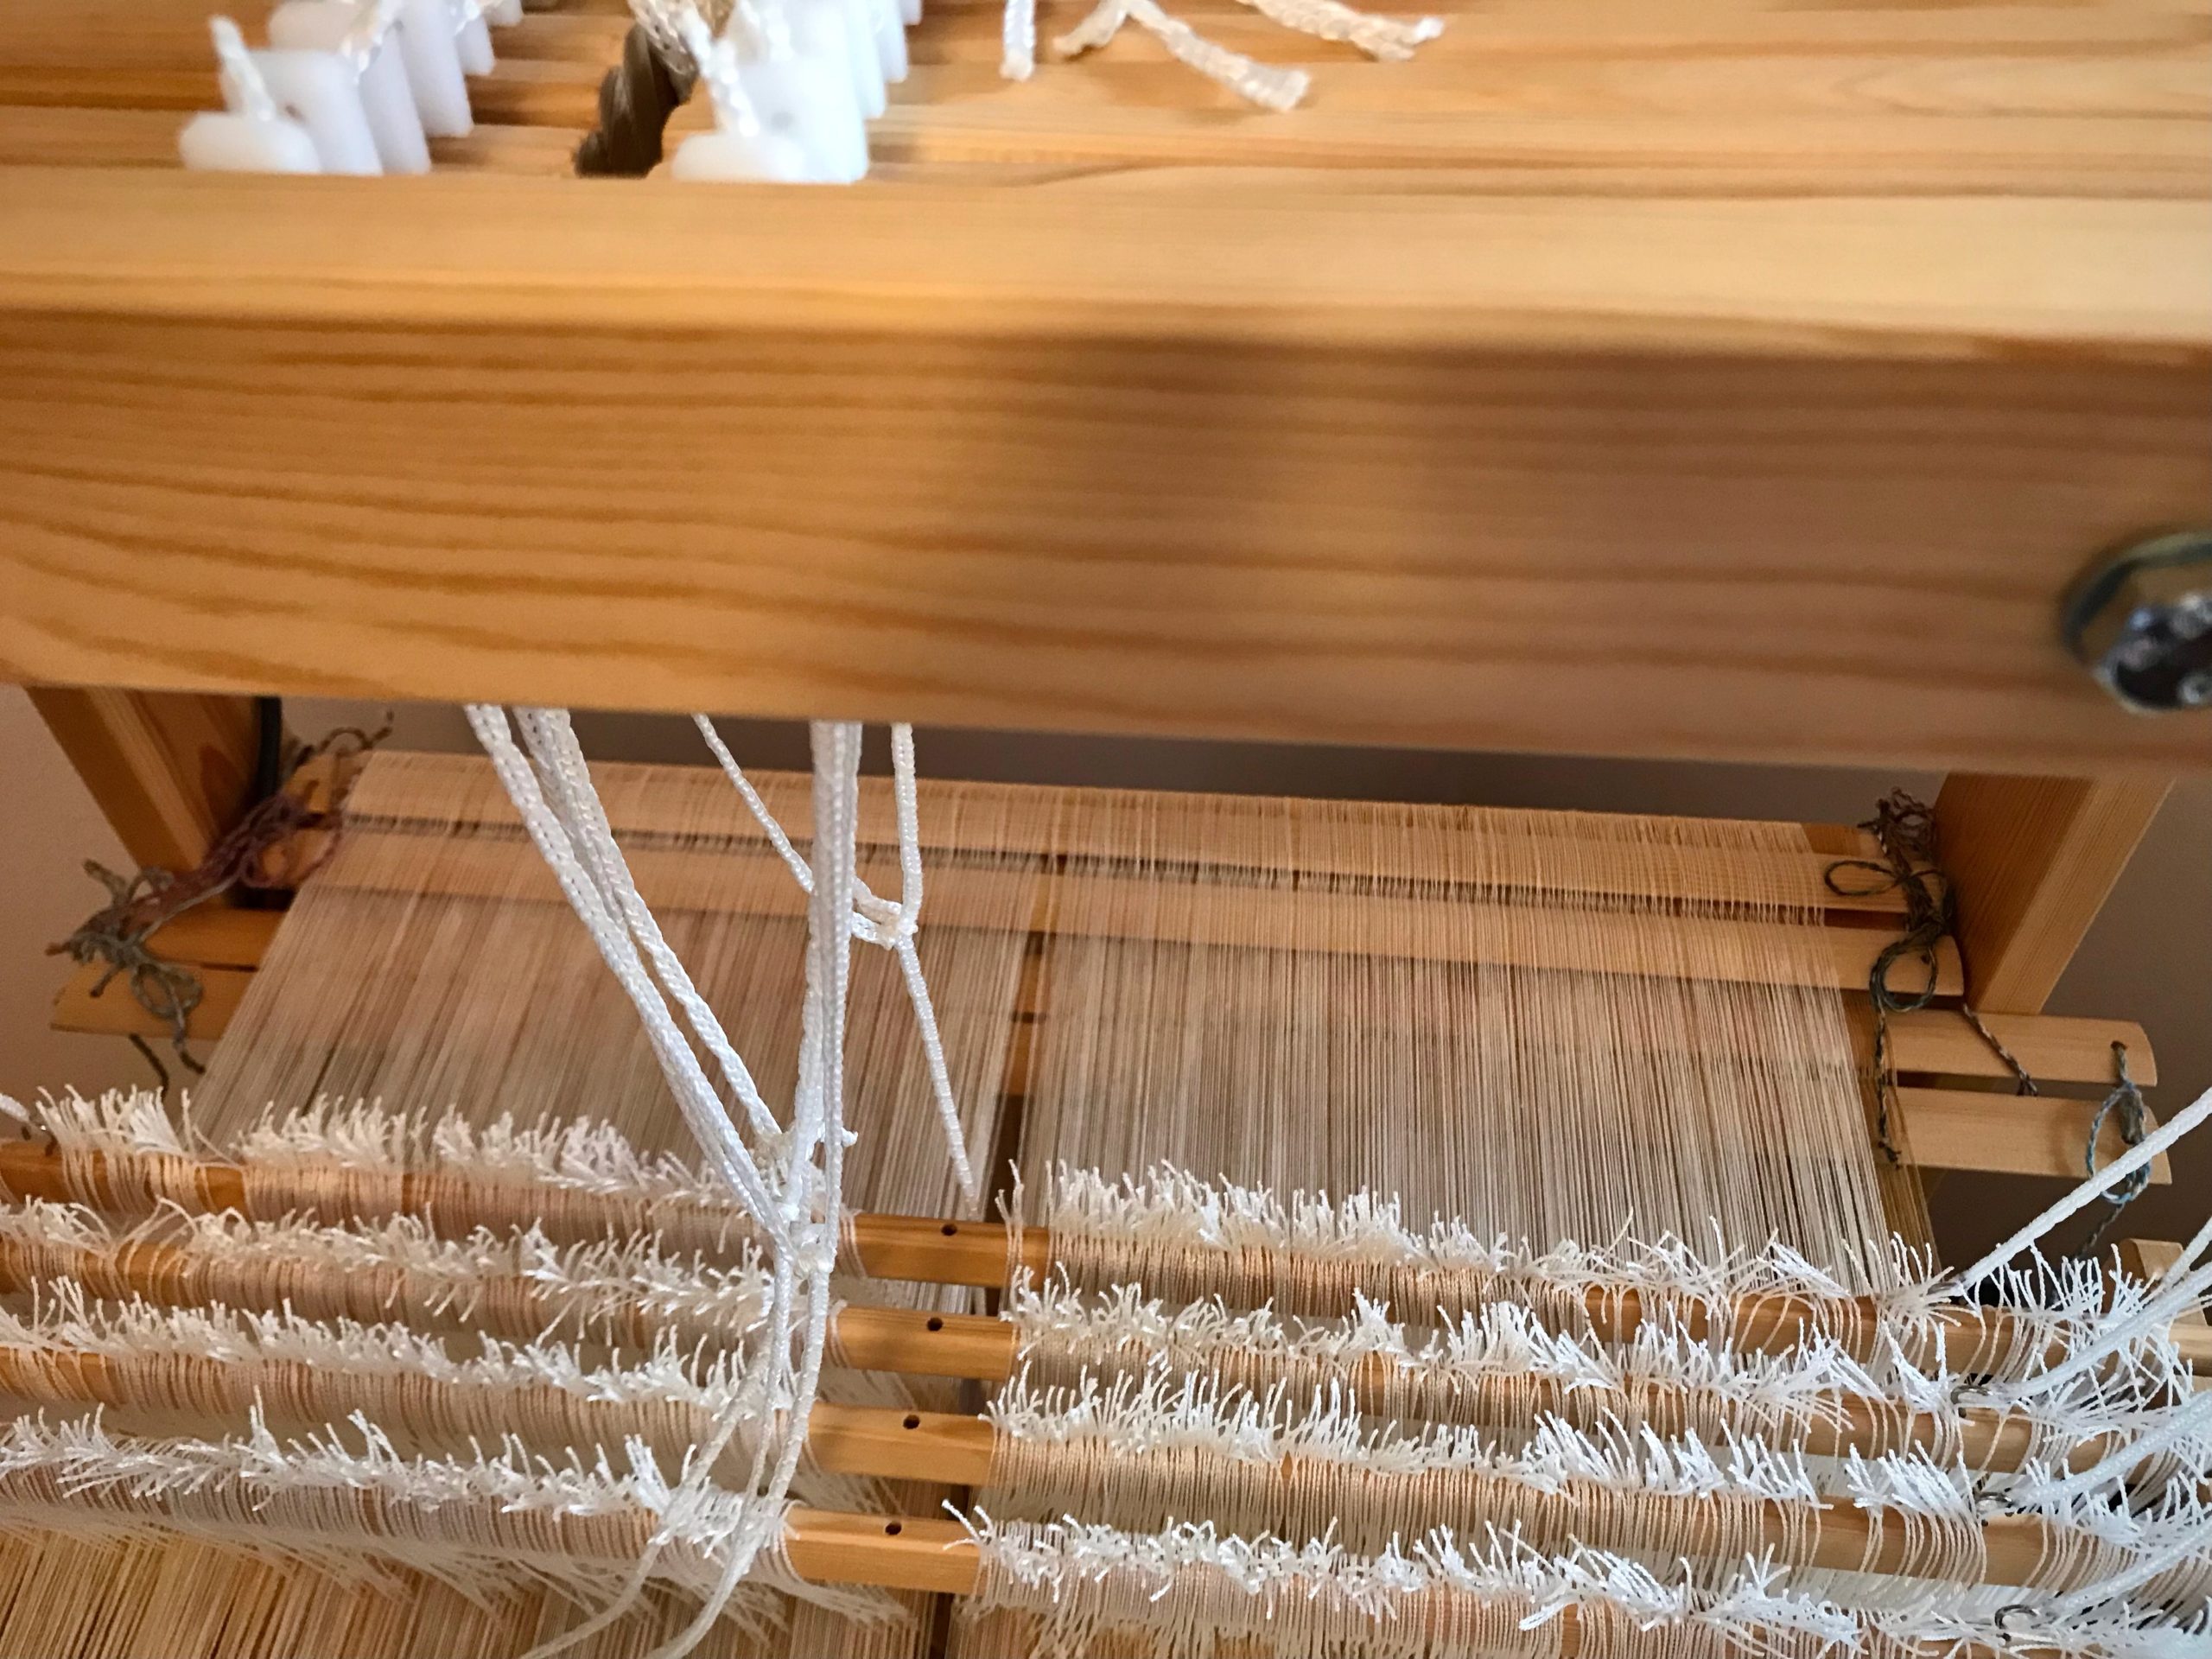
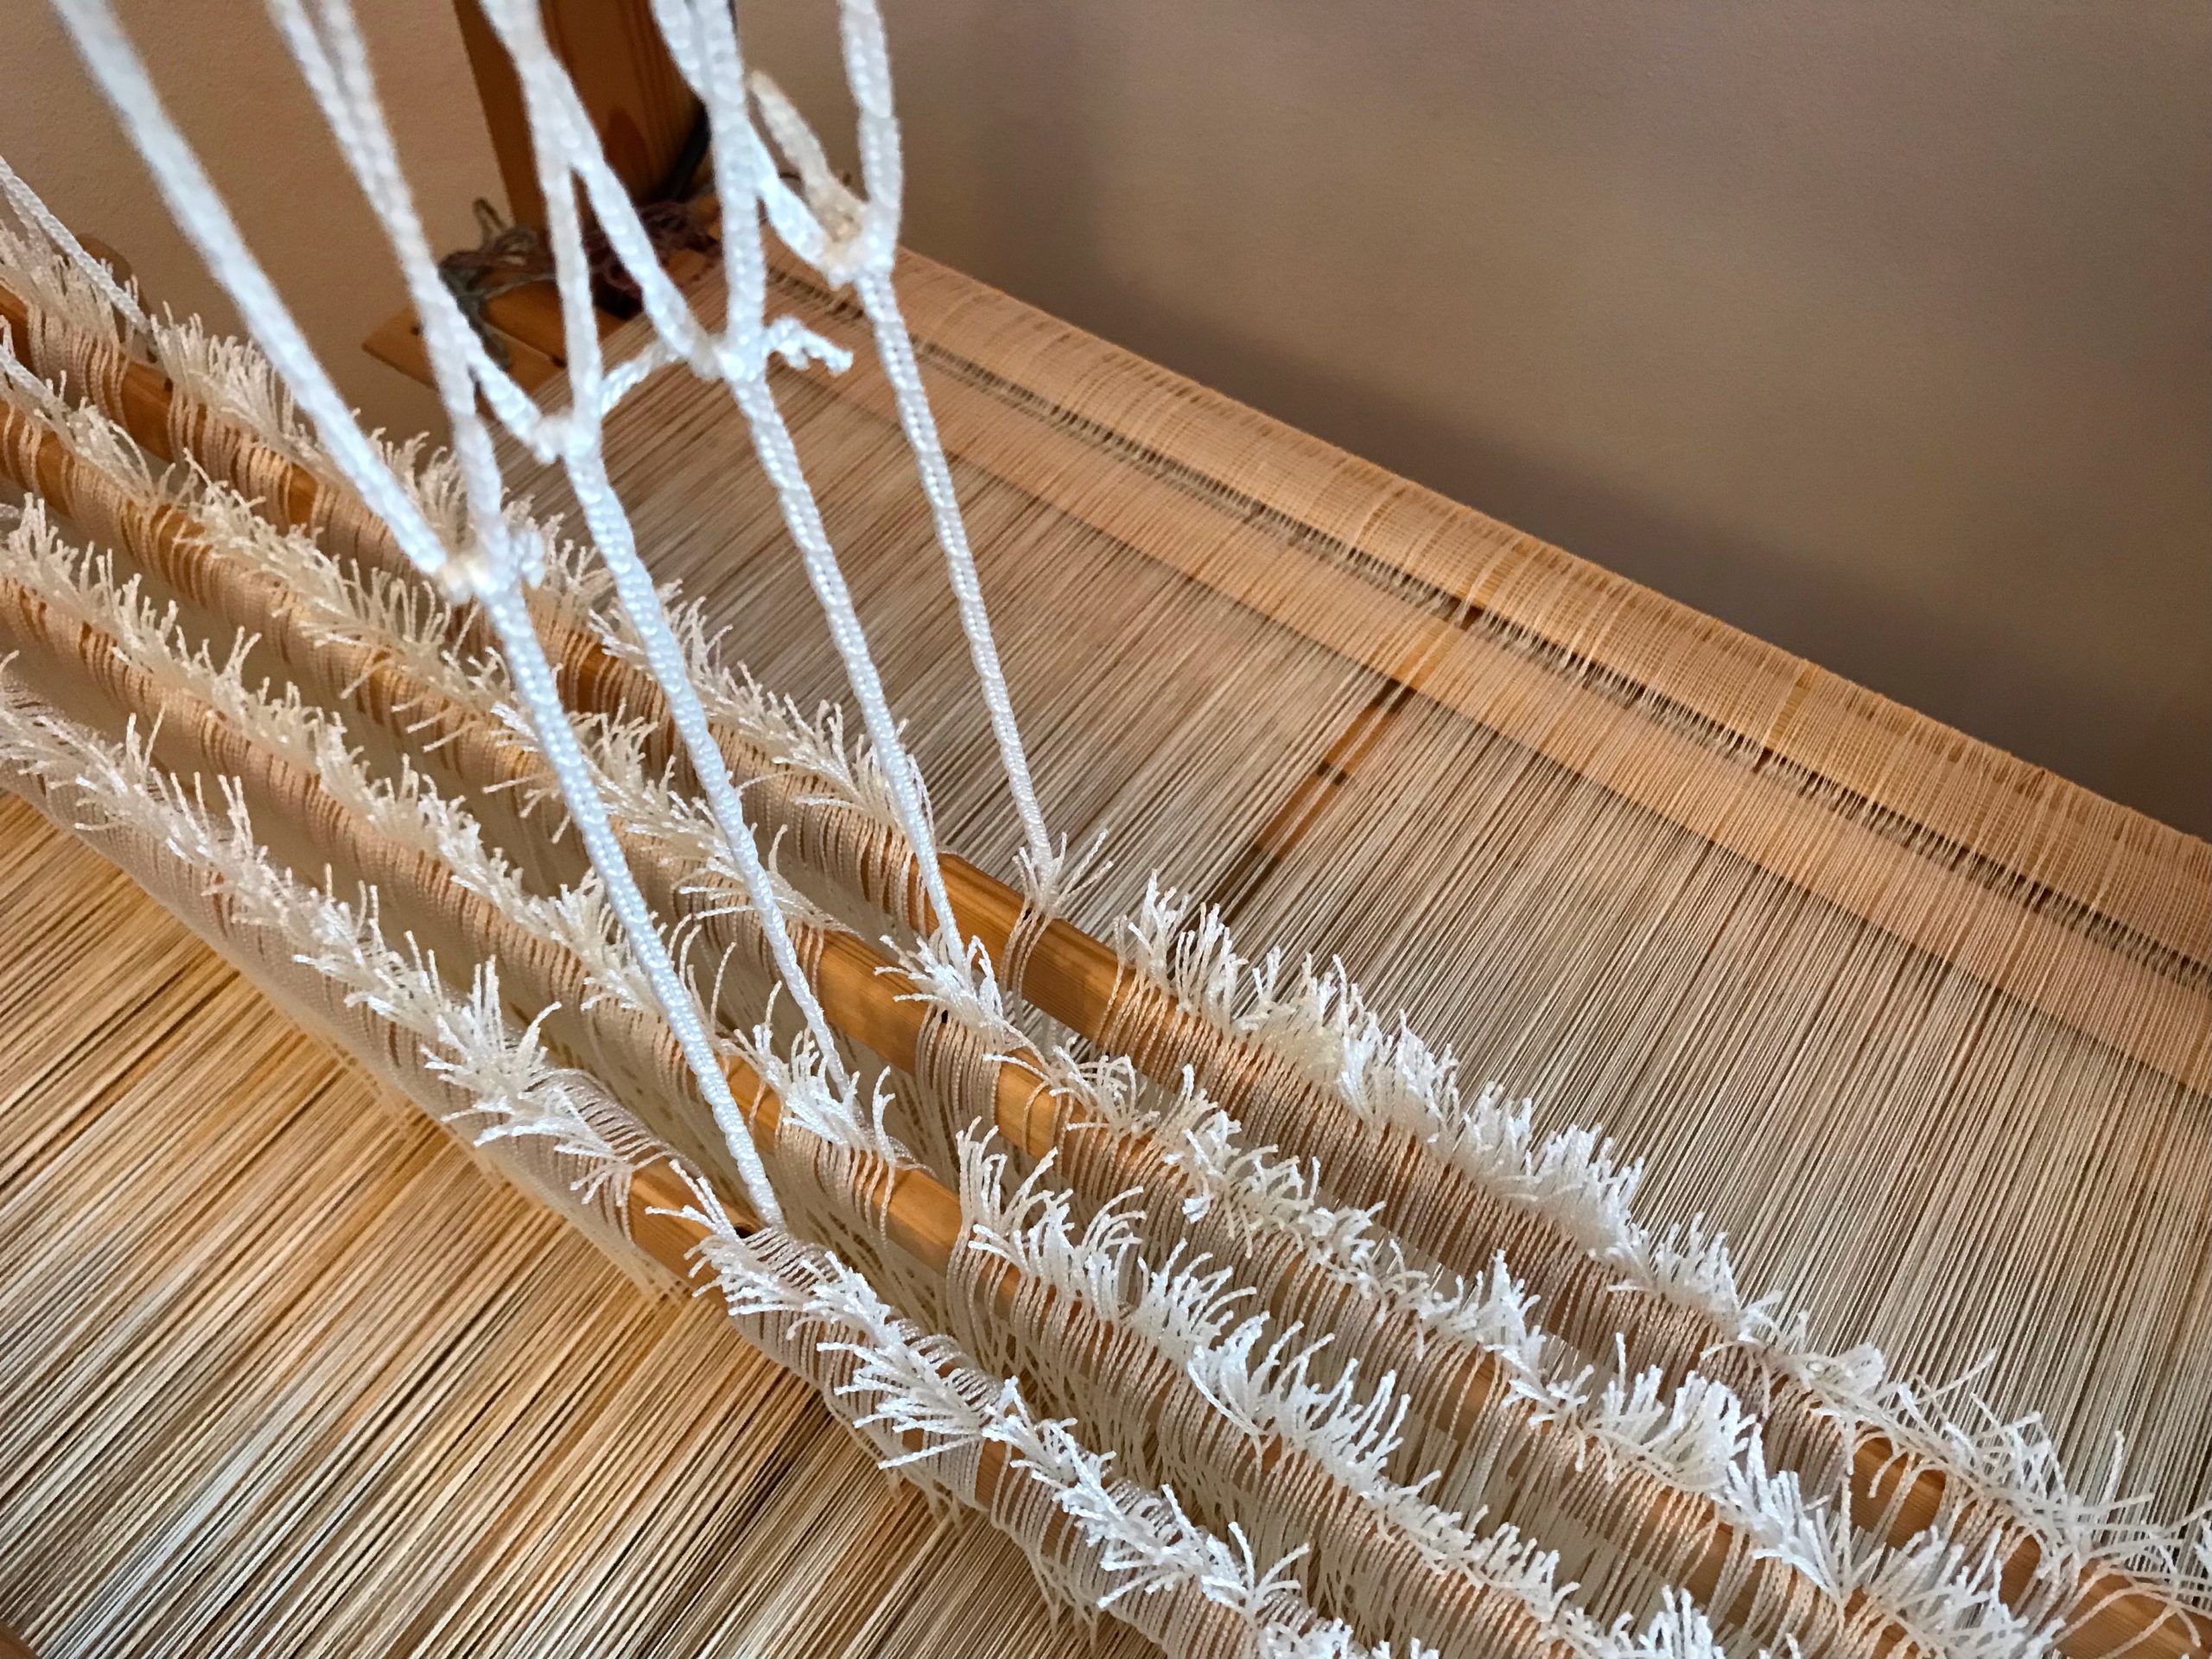
Dressing the loom with two sets of lease sticks keeps me on my toes. It means I am thinking carefully as I transfer lease sticks from in front of the reed to behind the reed. And, after beaming the warp(s), it means I am counting carefully as I put ends into threading groups of 48 threads each—32 ends of 20/2 cotton, and 16 ends of 22/2 cottolin.

Two set of lease sticks have been carefully moved from in front of the reed to behind the reed. After straightening all the warp ends, I will beam the warp.

I group ends together before threading. Then, when threading, if there is a discrepancy in the number of ends, it alerts me to find a threading error. Counting out these delicate unbleached cotton threads is challenge enough. Having the layer of cream cottolin threads underneath presents additional complexity. With all these ends, this part of the process is tedious. Still, it’s worth it if it lessens my chance of making threading errors with these 1,472 ends.

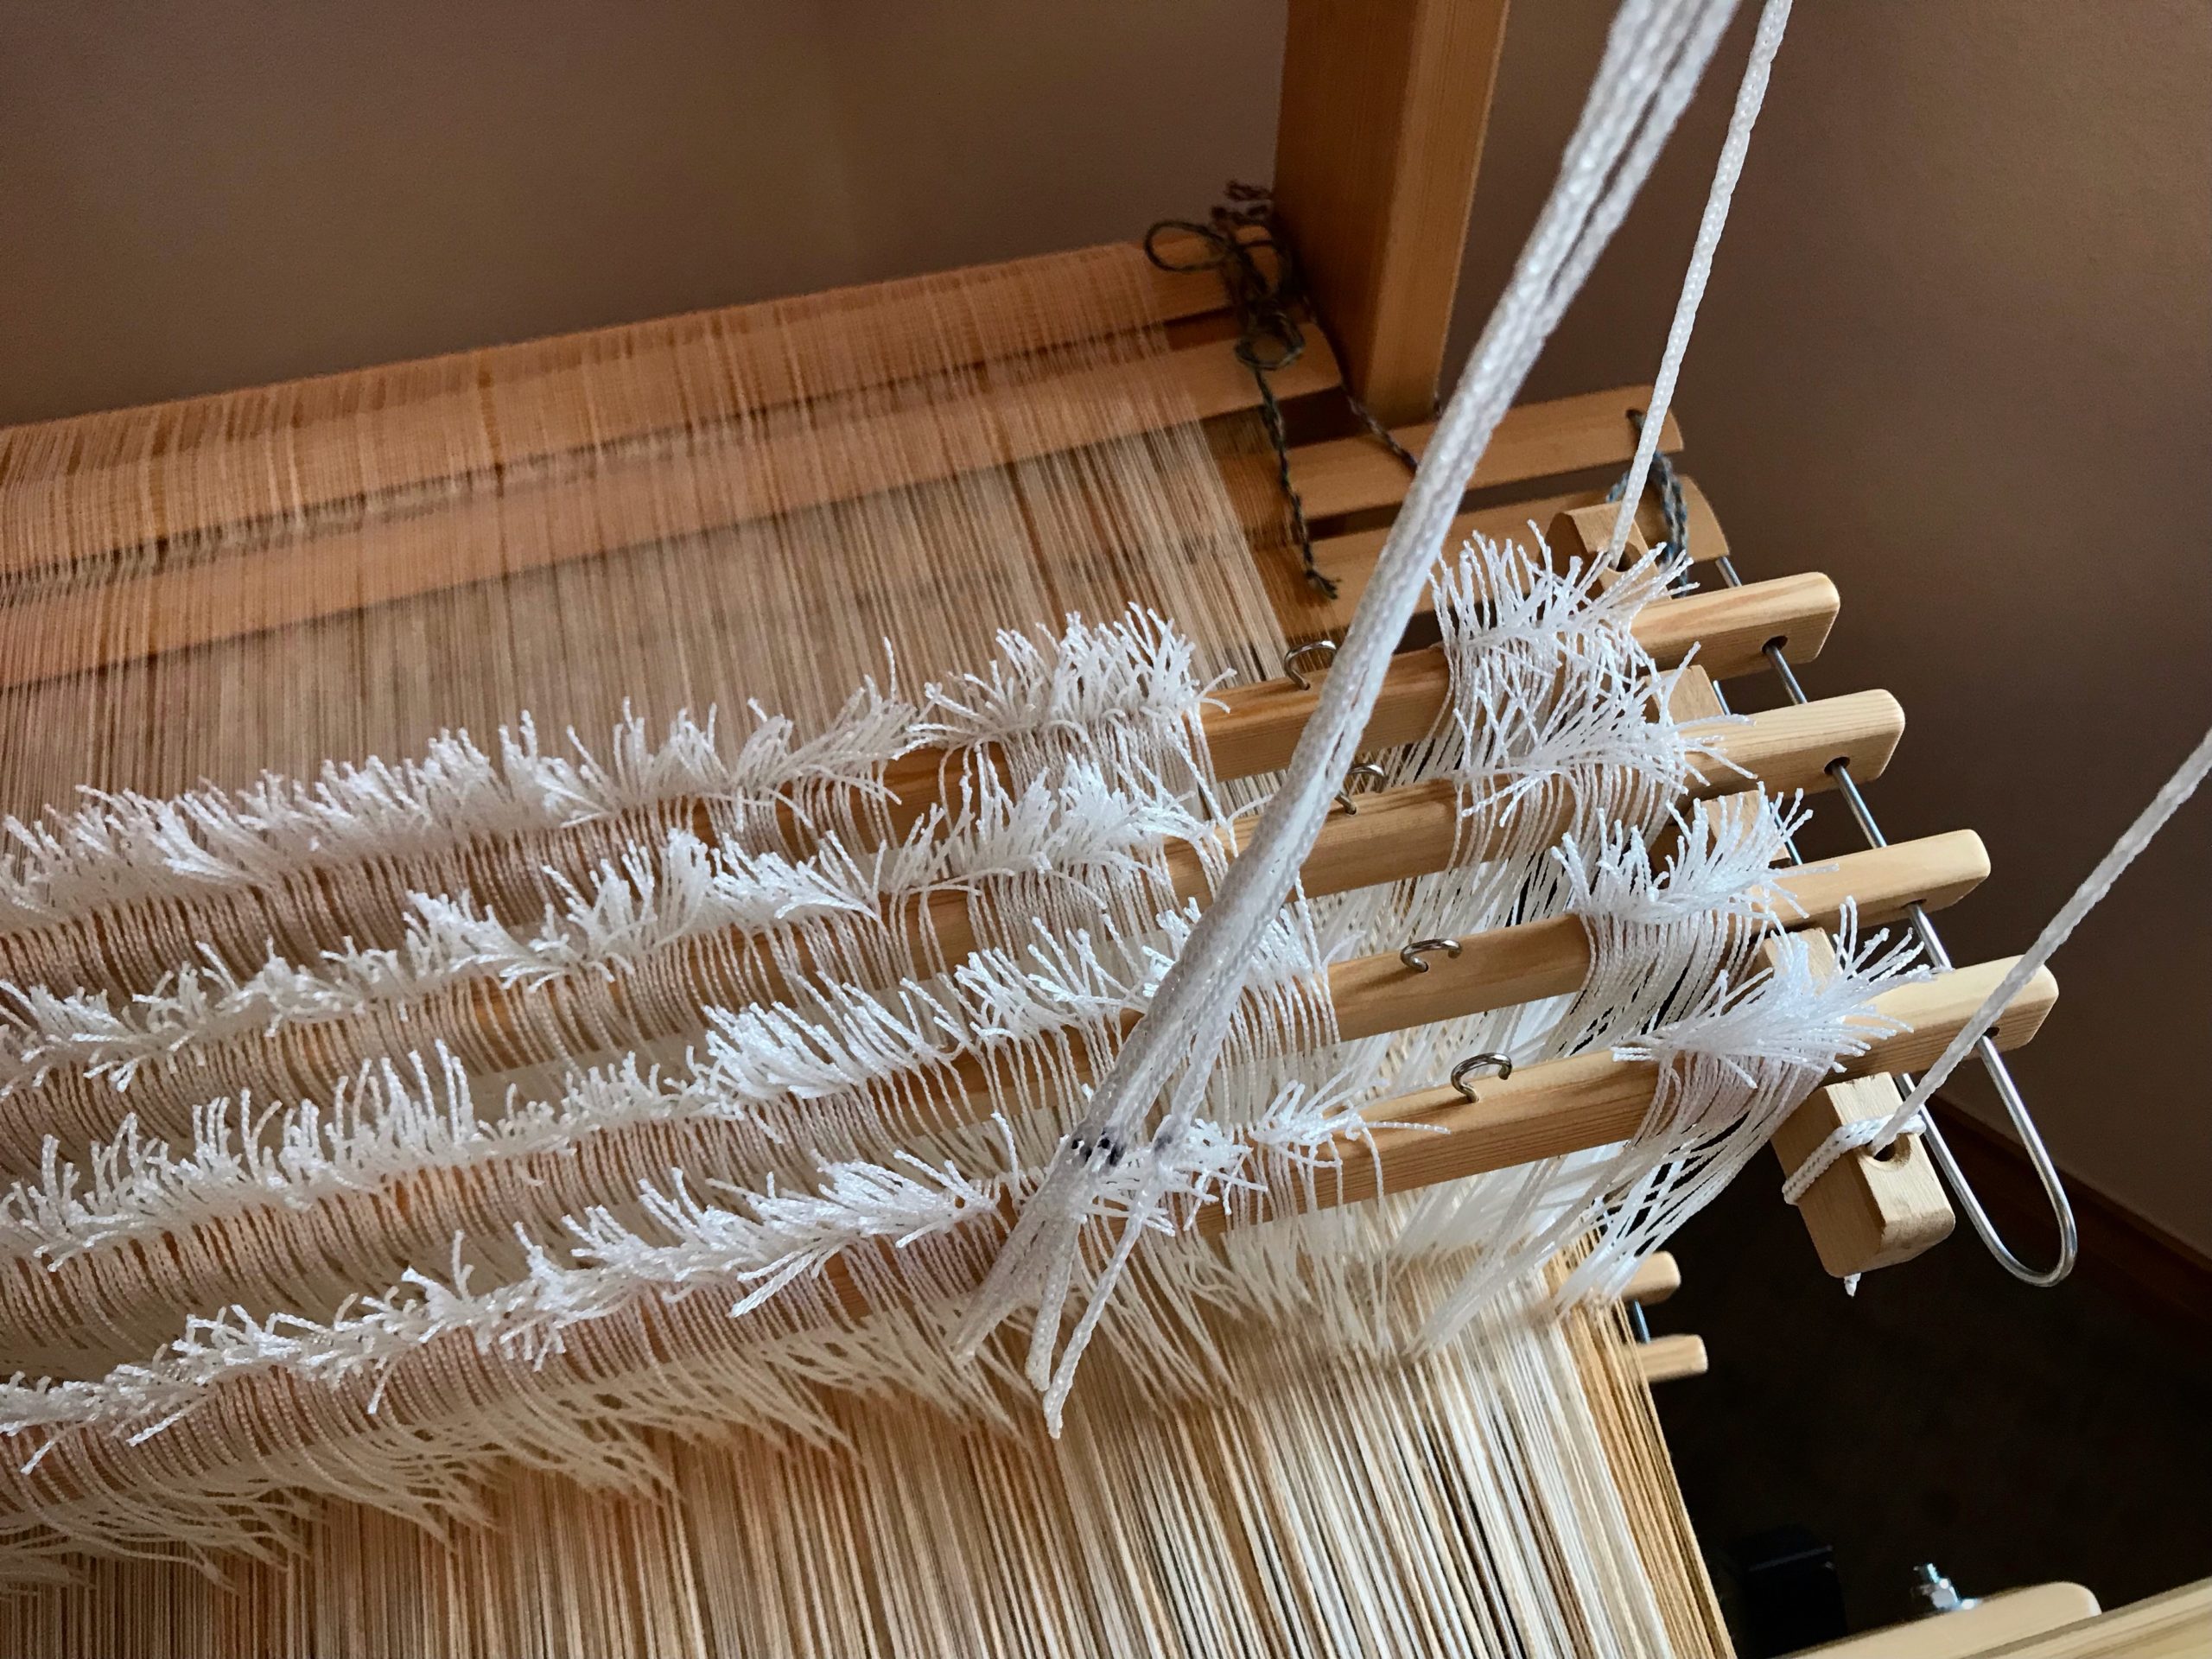
Preparation for threading. Ends are gathered into threading groups and tied together with a loose slip knot.
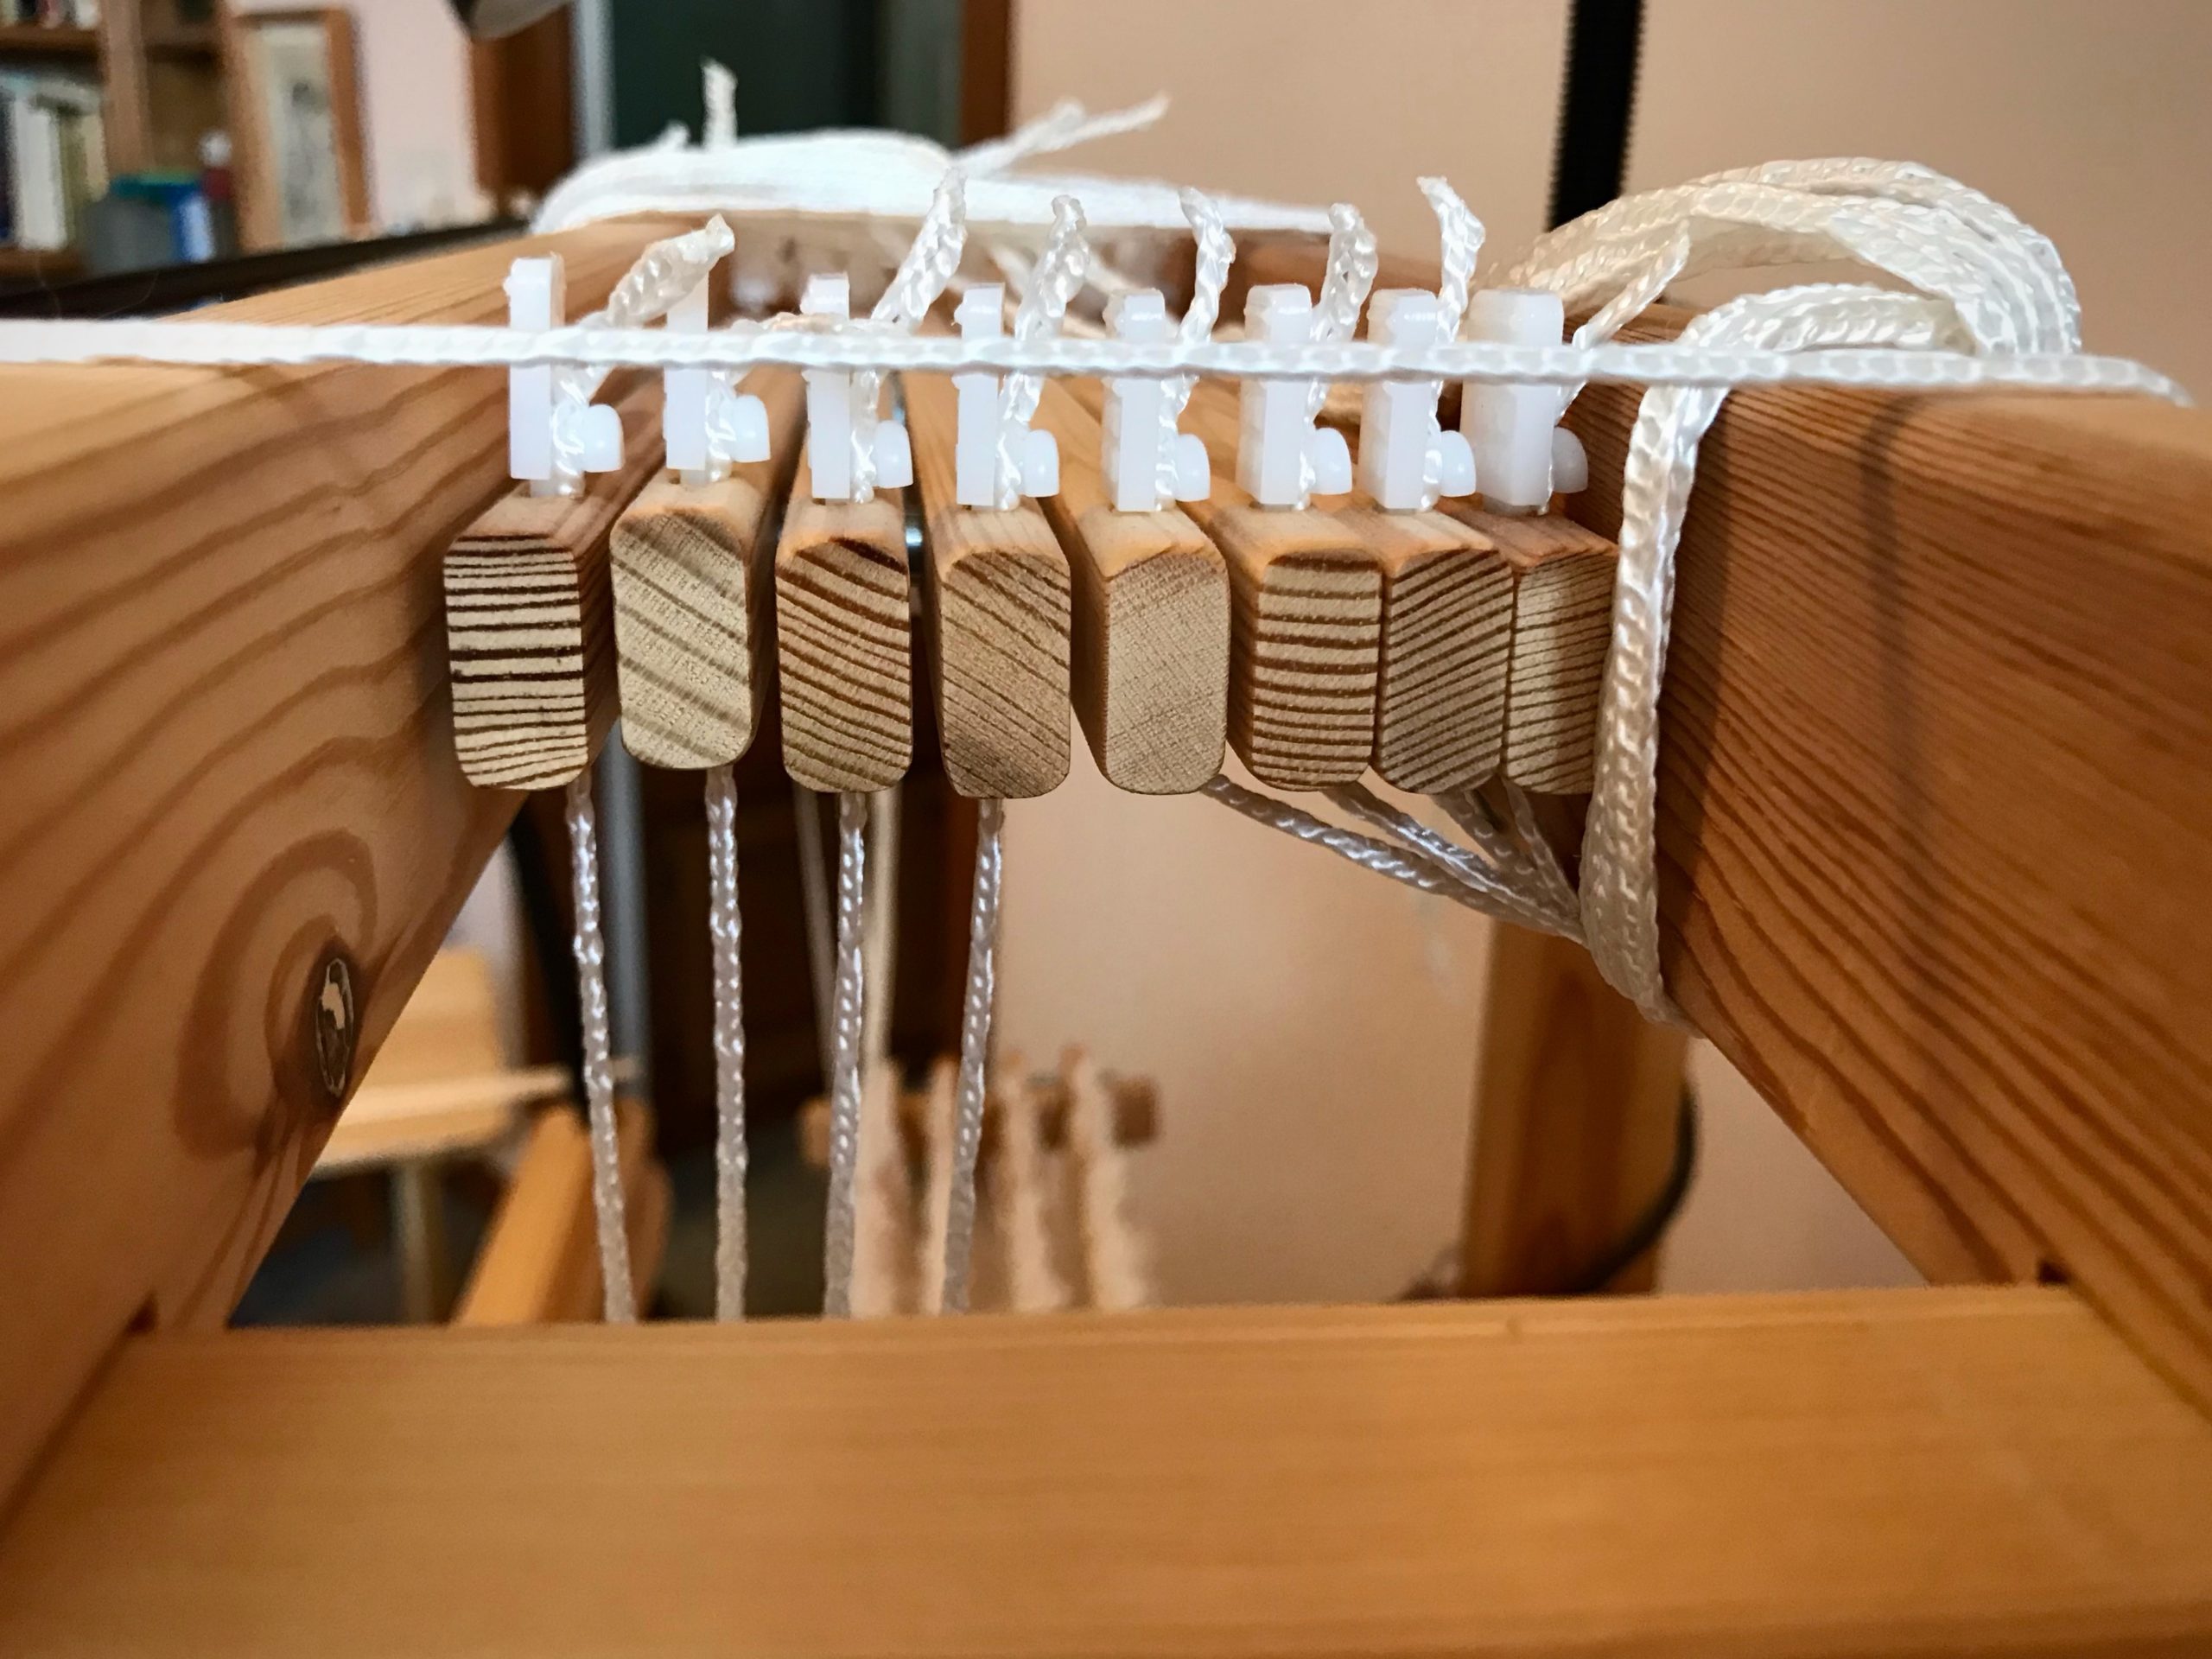
Each set of lease sticks is tied to the back beam separately, so they can hang at different heights. The lower set is tied around the side frame and over the back beam.
If I stand behind the loom, my back is in a leaning-forward position and not comfortable for long. I placed a child’s chair and cushion behind the loom. Kneeling behind the loom at this height gives me good visibility and access to the threads.
View from the back of the loom. Ends are counted at the center of a pair of lease sticks. These counted ends are tied together in a loose slip knot.
View from behind the loom. Loop of unbleached ends just counted lay on top to clear the view. Ends on lower pair of lease sticks are counted and tied separately. I tied the cotton threads and the cottolin threads separately to make it easier to find an error if I miscounted along the way (which, fortunately, didn’t happen).
Counted ends are dropped into hanging position before moving on to the next grouping. (After taking this picture, I re-tied the lease sticks closer together, making counting easier.)
Threads remain in the reed. I pull threads out of the reed when they are counted.
Pretty sight of counted ends. Ready for threading!

One step at a time.

May you enjoy the process you are in.

Happy Loom Dressing,
Karen

Spreading Two Warps at Once

I am spreading this warp (two warps, actually) at the worktable. One warp is 22/2 cottolin, with a narrow selvedge border of 16/2 cotton. The other warp is 20/2 cotton. This intriguing double-width project is in the Nr.3 – 2021 issue of Väv MagazineWinnie’s Linen-Cotton Crinkly Tablecloth, by Winnie Poulsen, p.52. Despite some intrepidation, I am jumping in!

Spreading 2 warps for a double-width project.
First warp has been pre-sleyed, and the loops are held in place on the cloth beam tie-on bar. Now spreading the second warp, and placing both warps’ loops on the long stick in front.

Coordinating two warps onto a single tie-on bar is tricky business. The last time I did the two-warp maneuver at the loom I nearly lost a lease cross and my sanity. The advantage of pre-sleying these warps at the table is that everything is secure. Nothing is teetering. At the worktable I can clearly see what to do for each step. Within minutes, I’m hopeful that this adventure will indeed be worth it. (Pre-sleying a warp on the table is expertly explained in Learning to Warp Your Loom, by Joanne Hall, pgs.19-20.)

Two warps for one double-width project.
Second stick holds both warps’ loops.
Spreading two warps in the reed.
Tie-on bar slides in and warps’ loops are secured by tying a string from one end to the other.
Getting ready to weave some differential shrinkage!
Extra stick is removed. Two warps, each with its own set of lease sticks, have been spread in the reed. No mishaps along the way!
Glimakra Julia ready for a new fun warp!
Warp bouts are in the basket. The two sets of lease sticks, the reed, and the cloth beam tie-on bar sit on top. We’re ready to beam this warp on the Julia!

Spreading a warp (or two) is a lot like spreading hope. We come to the Lord Jesus weary, having tried hard to make things work on our own. He welcomes us with open arms and reveals the time-tested way of trusting him, one step at a time. Now, like threads being sleyed across the dents of a reed, threads of hope spread throughout our being. The threads are secured. Come weary; receive rest; spread hope.

May you be ignited with hope.

Your friend,
Karen

Tried and True: Measurement Tape

You can measure what you are weaving. A set of towels will all be the same length. A table runner will fit the table as planned. A rug will be the right size for the designated floor space. All it takes is a dependable way to measure. (Thanks to Elisabeth S. for writing me, “I’d love to have a better way to measure my work as I’m weaving it.”)

Dependable way to measure on the loom!

Measurement Tape (accompanying video below)

Supplies:

  • Calculator
  • Project notes
  • 5/8” polyester twill tape
  • Fine point indelible marker
  • Tape measure
  • 2 flat-head straight pins

Make Calculations

  • Determine the finished length.
    • Consider the Golden Ratio, 1:6.
    • Consider where the finished textile will be placed.
  • Estimate take-up and shrinkage.
  • Include these measurements in your project notes.

Prepare a Measurement Tape

  • Draw the beginning line about 2 cm from the end of the tape. If there is a hem, draw a second line to mark the hem’s length.
  • Write the item description on the tape.
  • Write ” ___ (finished length) + ___ (take-up and shrinkage) = ___ (total length)” on the tape.
  • Measure the total length from the first line (or from the hem) on the tape. Draw a line at the end (add hem, if needed).
  • Cut the tape about 2 cm after the ending line.
  • Find the middle of the tape. Draw a line and write “MID”.
How to measure your weaving on the loom.
Place the first line of the measurement tape directly over the beginning picks of the woven article.

Prepare a Half Measurement Tape

  • Do the same as for a full-length measurement tape, except divide the total length measurement in half. Draw a line on the tape at the halfway point. Write “MID” before the line.
  • Cut the tape about 2 cm after the MID line.

Weave and Measure (Always with the warp under tension)

  • Use two straight pins to pin the measurement tape to the weaving near one selvedge. Place the beginning line of the tape directly over the beginning of the woven article.
  • As weaving progresses, remove the pin closest to the breast beam. Leapfrog over the remaining pin. Reinsert the removed pin through the tape near the fell line.
Using a measurement tape for weaving consistent lengths.
Move one pin at a time. I usually move the pin right before I advance the warp.
  • If using a half measurement tape, weave past the MID line. Mark the spot with a pin. Remove the measurement tape. Turn the tape and pin into place to weave the second half.
How to make a half measurement tape.
When you reach the MID line on a half measurement tape, keep the measurement tape in place until you have woven a few more centimeters.
How to make and use a Measurement Tape for weaving accurate lengths.
Place one pin through the cloth, pointing to the MID line. Then, it’s safe to remove the measurement tape and turn it around. Go your merry way, weaving the second half of the Monksbelt runner, or whatever you have on your loom.

Here’s a demonstration of making and using a measurement tape:

(For a previous discussion of this topic, see Tools Day: Measured Weaving.)

Since you can measure what you are weaving, do relax and enjoy the ride.

May you reach the mid point at just the right time.

Happy Weaving,
Karen