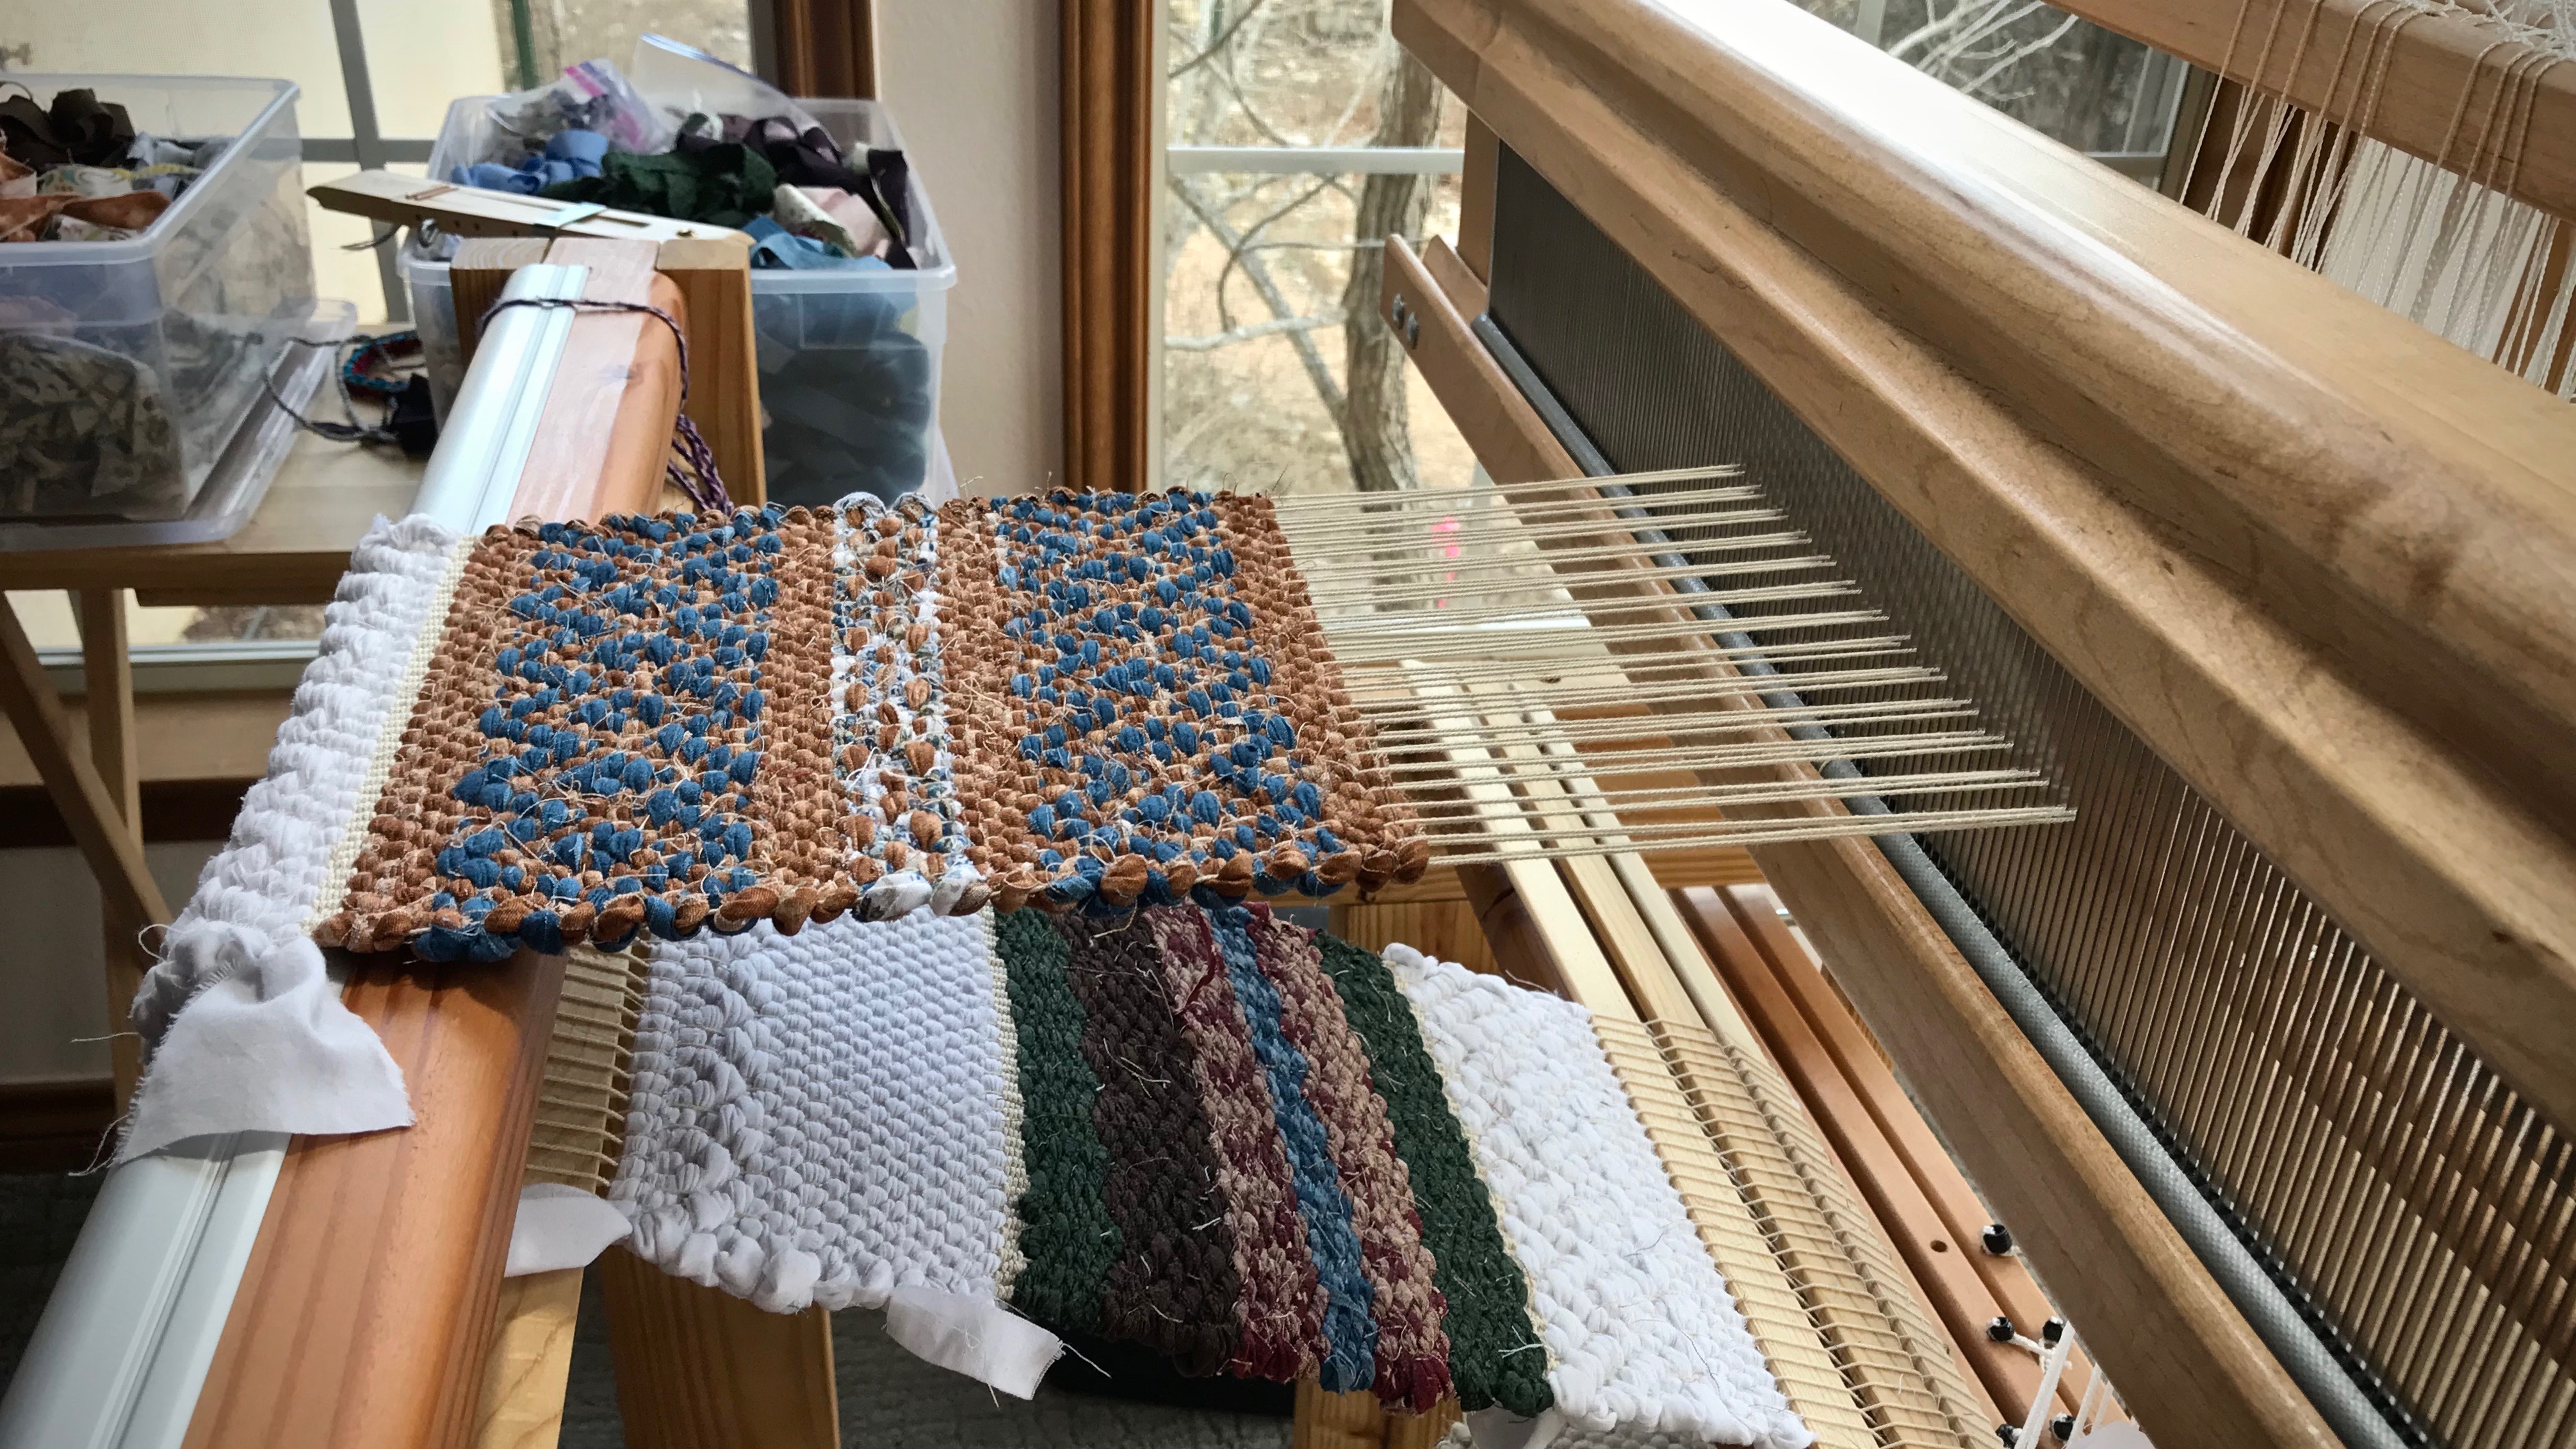
What a delight to share the weaving experience with a friend! Two of these hot pads were woven by friends with no prior weaving experience. Miniature rag rugs make great hot pads, and provide a perfect learning experience for a guest weaver.
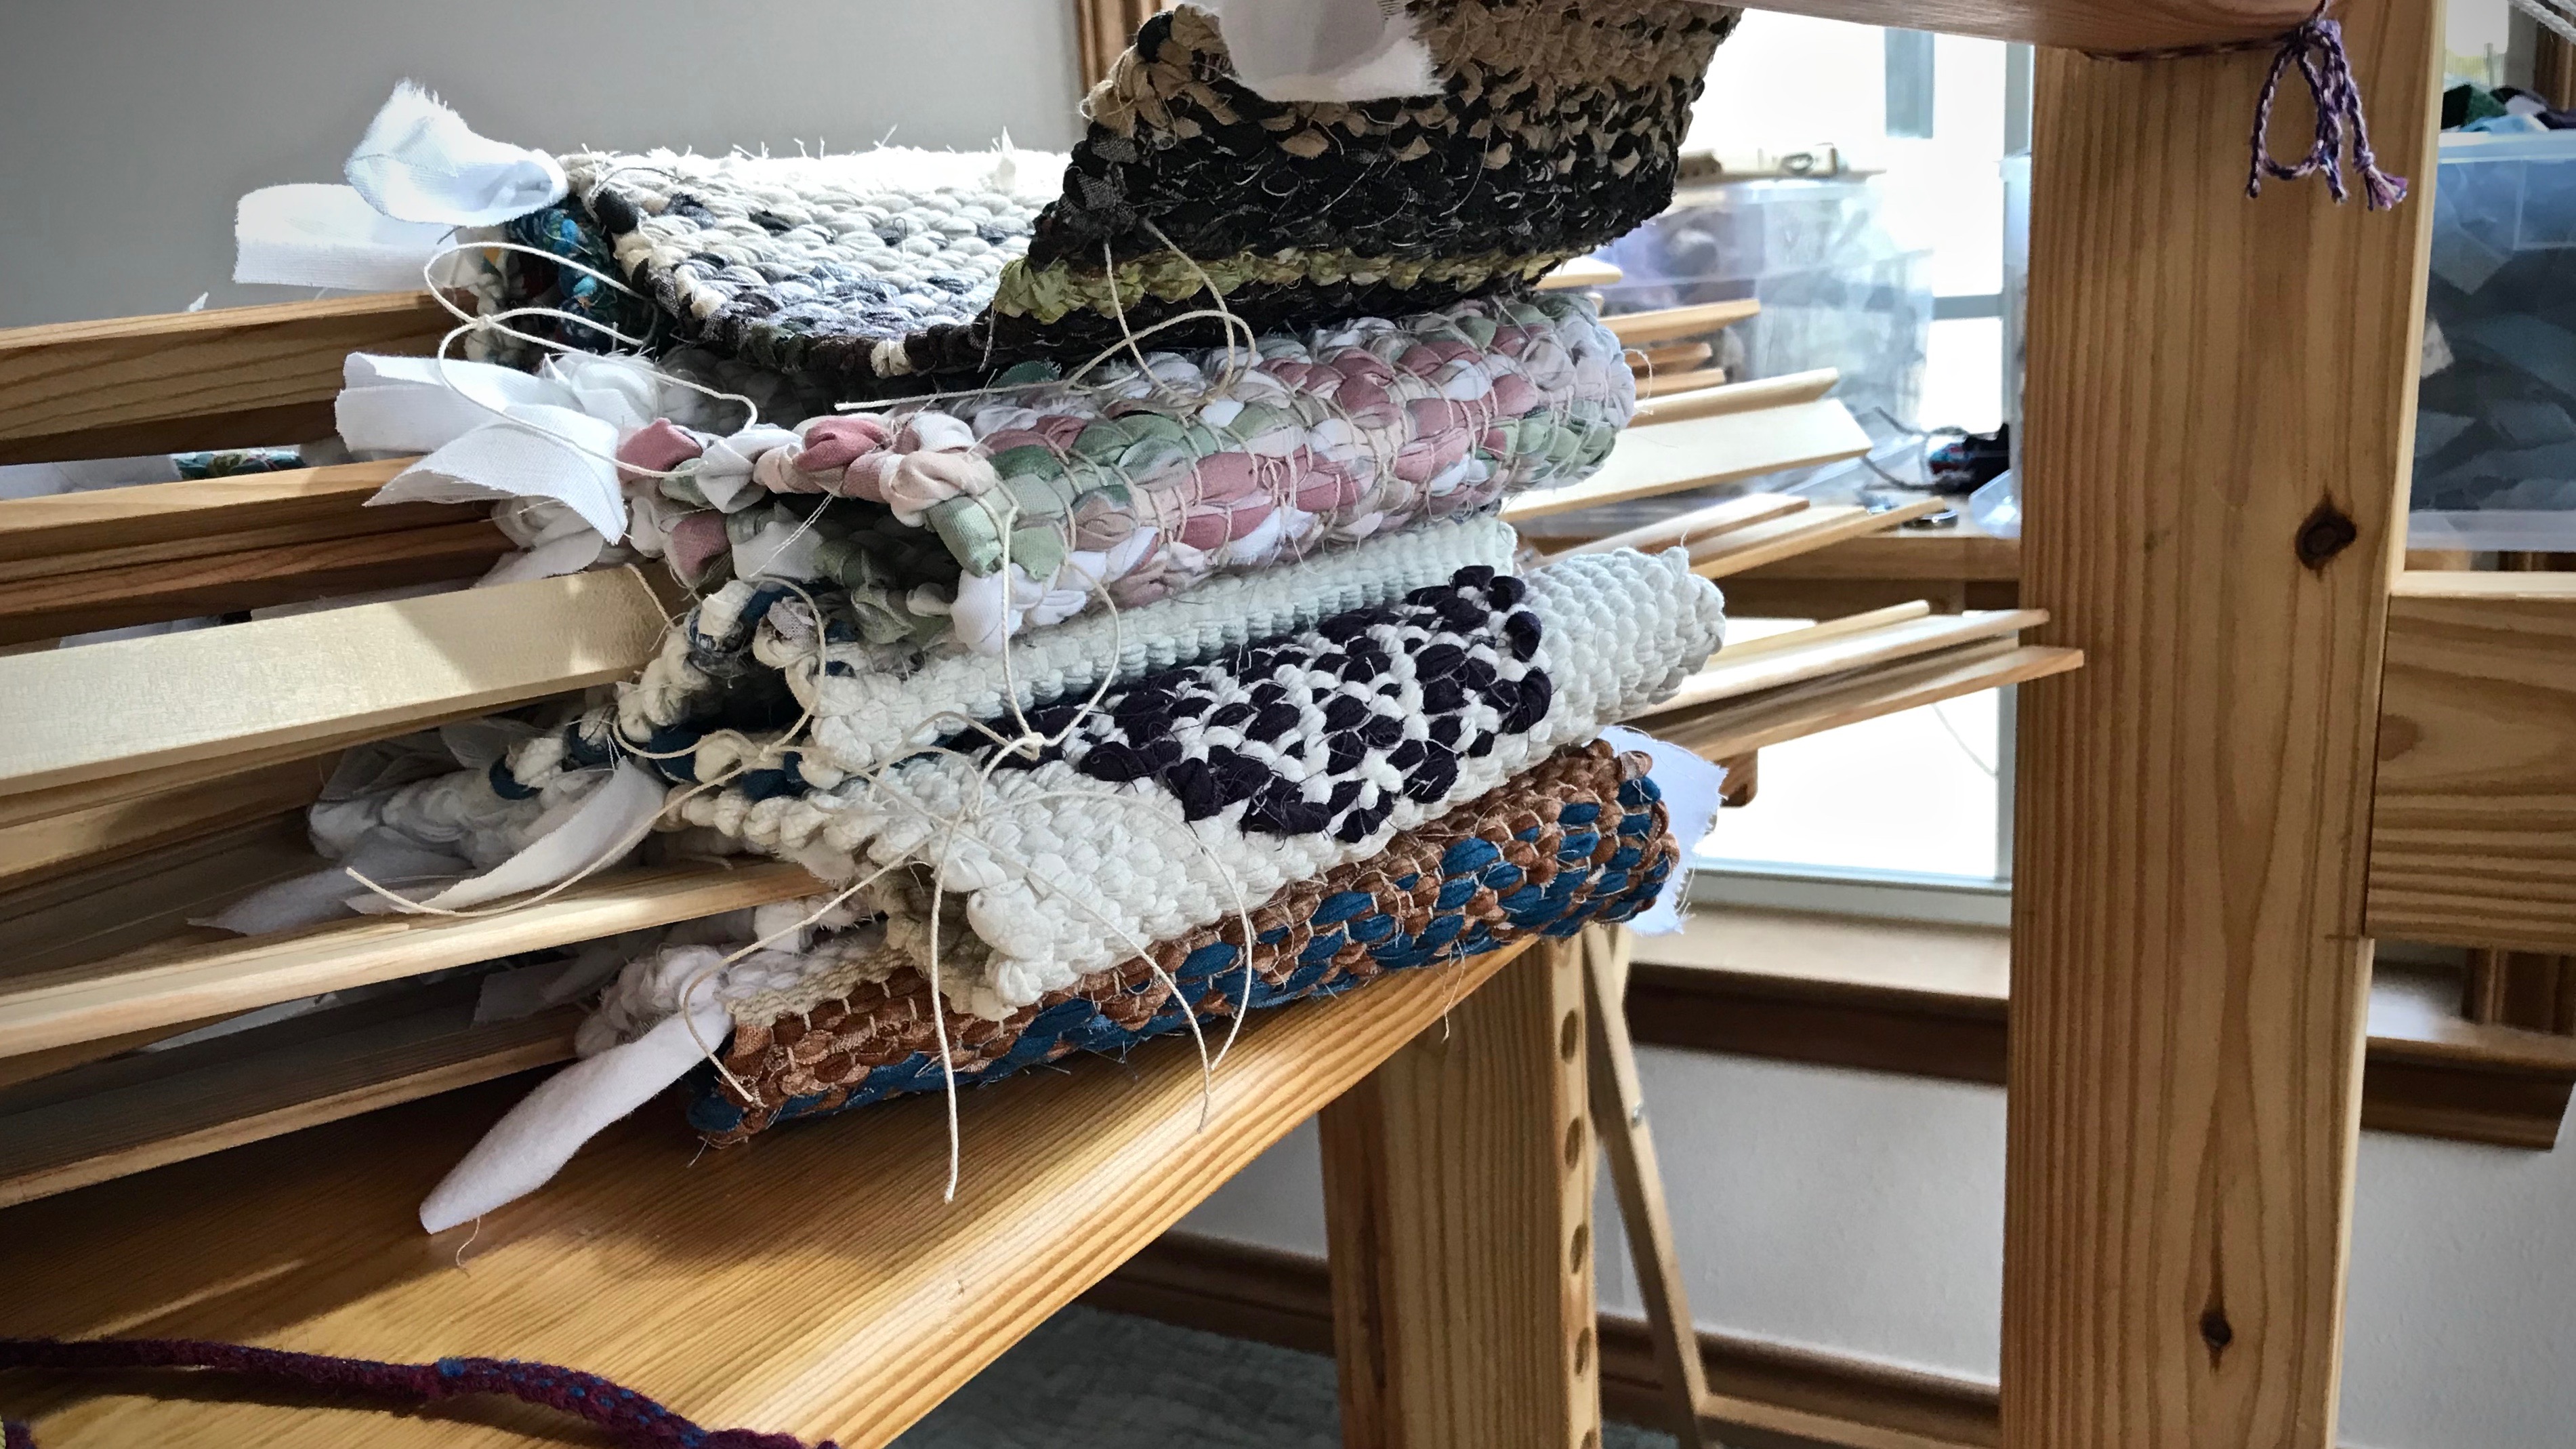
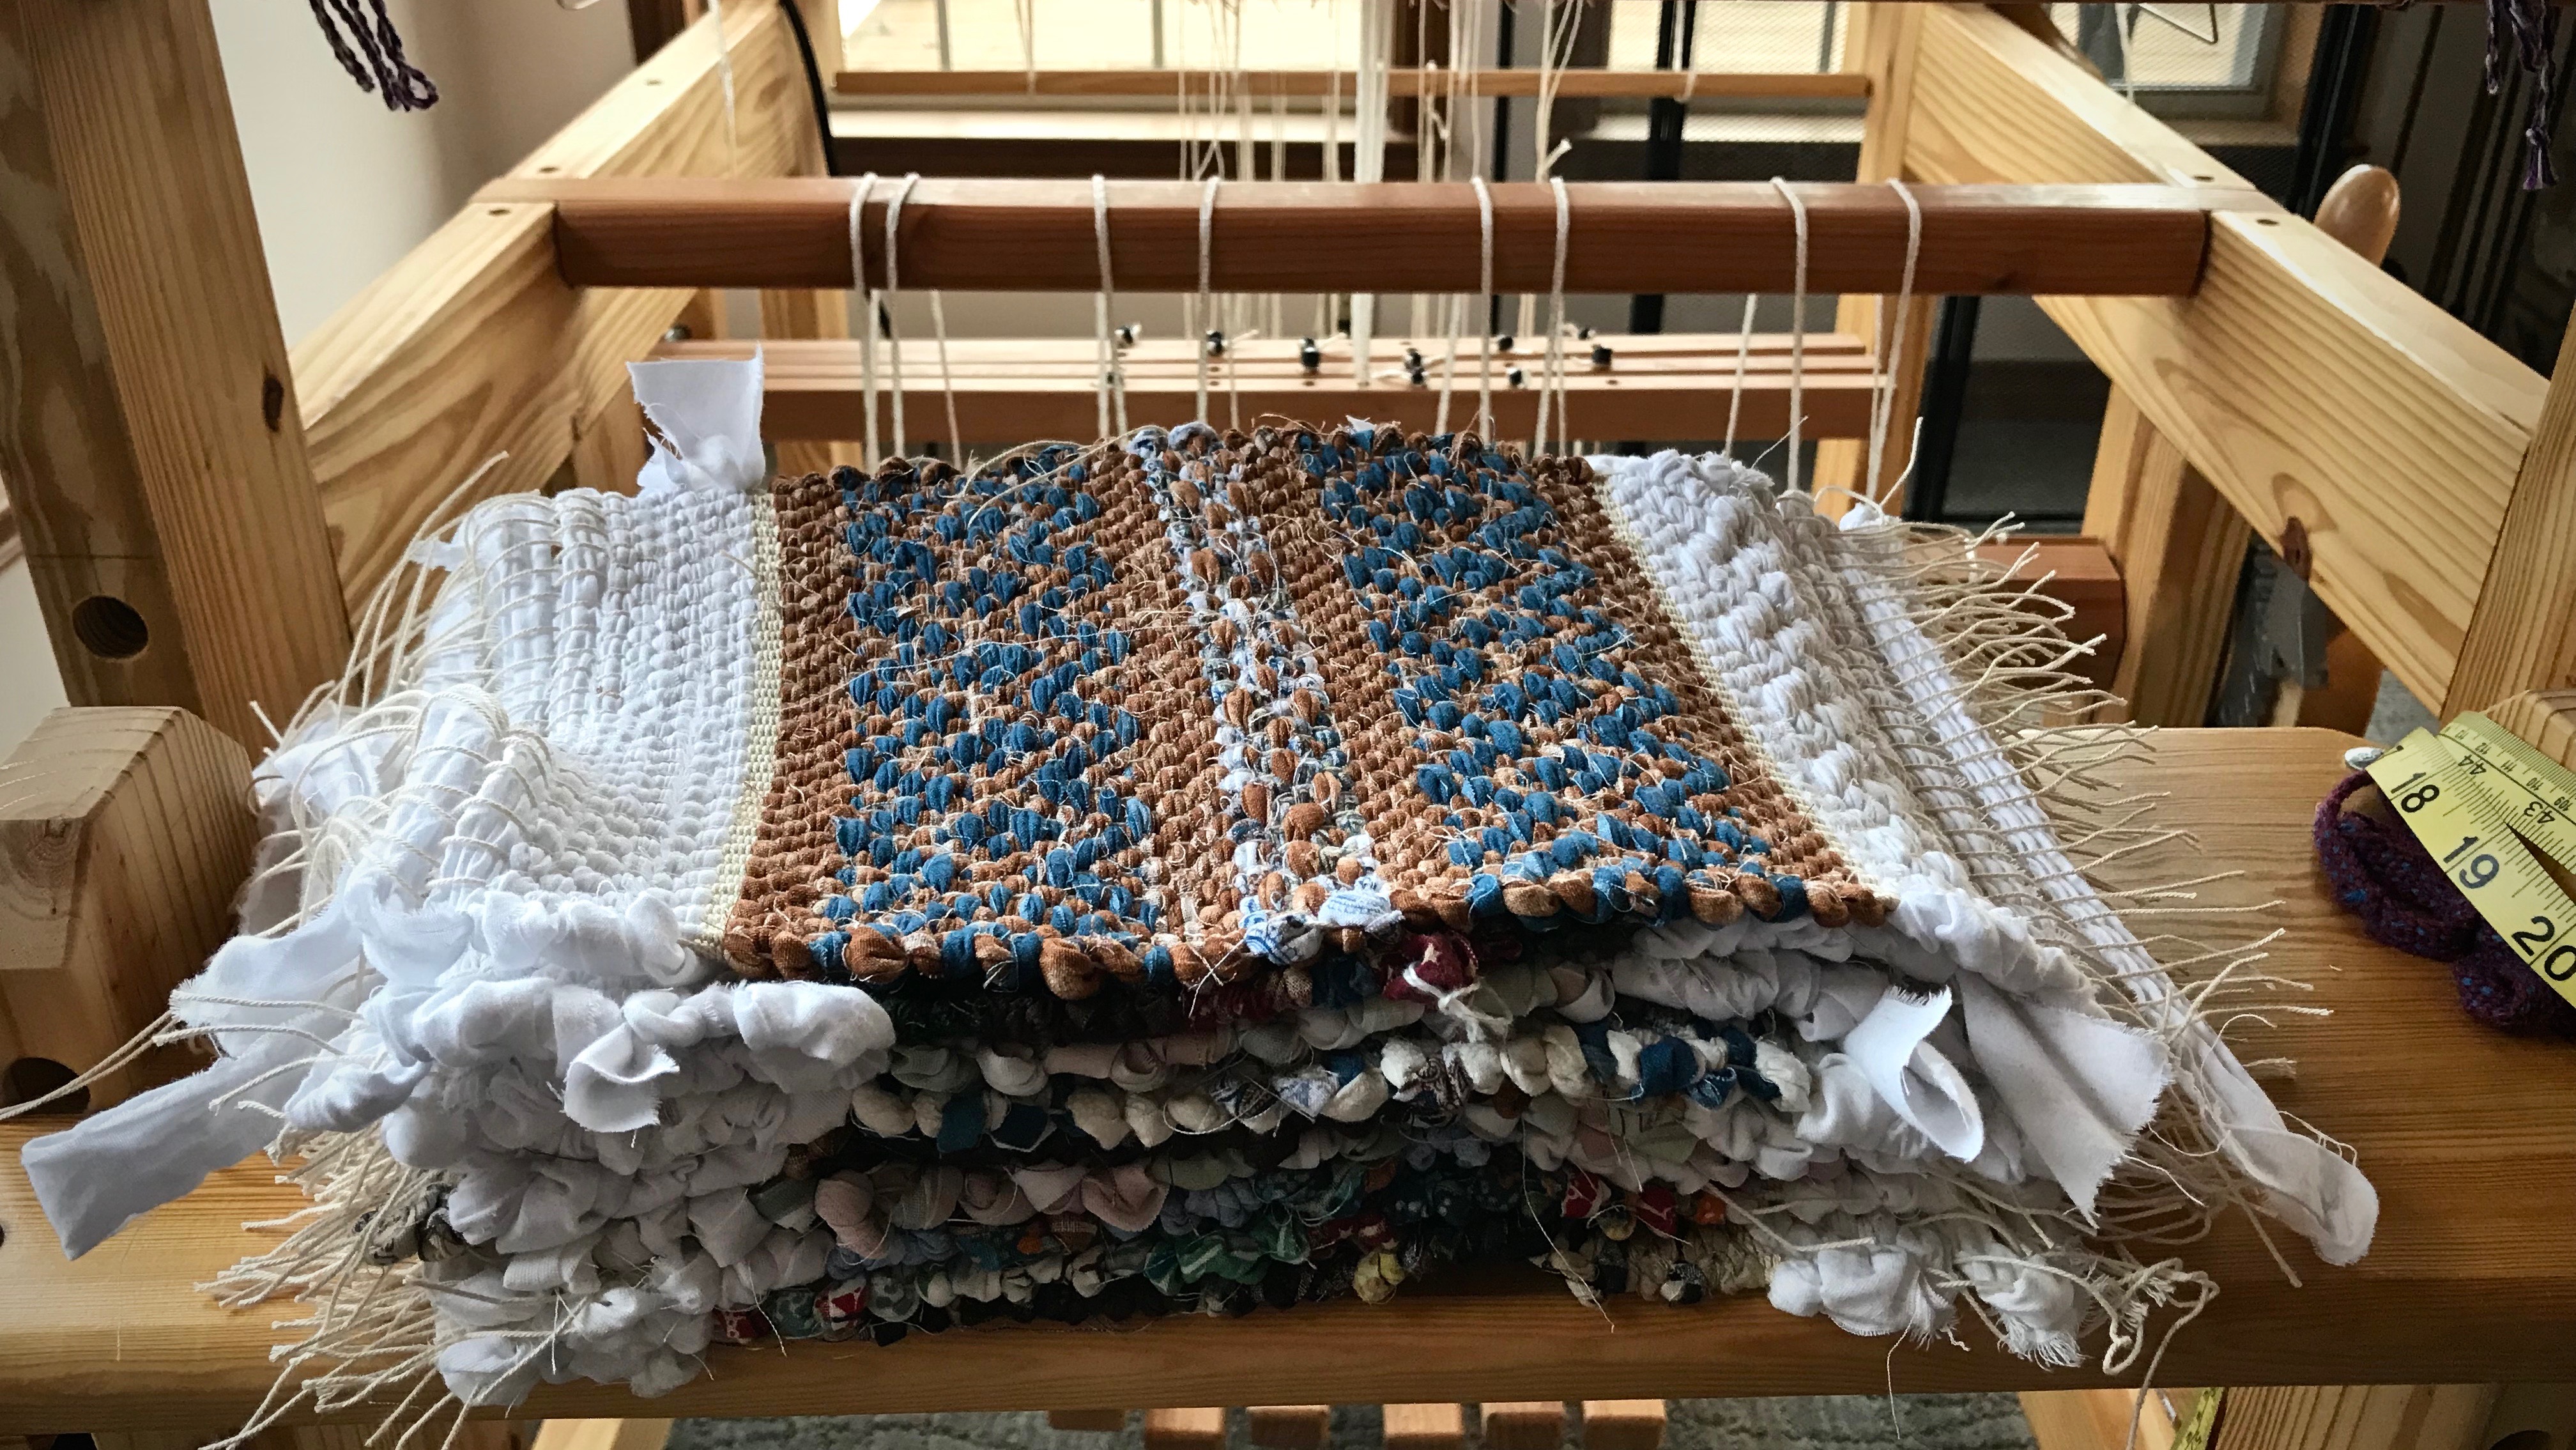
Tenth hot pad, woven on 12/9 cotton warp. Fabric strips, previously cut for rag rugs, are used for the weft.Ten hot pads are cut from the loom.Ten hot pads ready for finishing.Ends are tied in overhand knots and trimmed. Ready to be used!
I hope you are finding opportunities to share your joys with friends. The Christmas season reminds us that we have someone greater who shared His joy with us. He stays by our side, waiting for any call for help, but allows us to make the mistakes that teach us life lessons. As with weaving, every error can be forgiven. There is a remedy for any hopeless situation. Take courage, God is a rescuer. He sent Jesus on a mission to rescue us. And absolutely nothing can stop the mission of God. I am amazed at what he can do with the threads of a willing soul. Joy to the world, the Lord has come. Let earth receive her King.
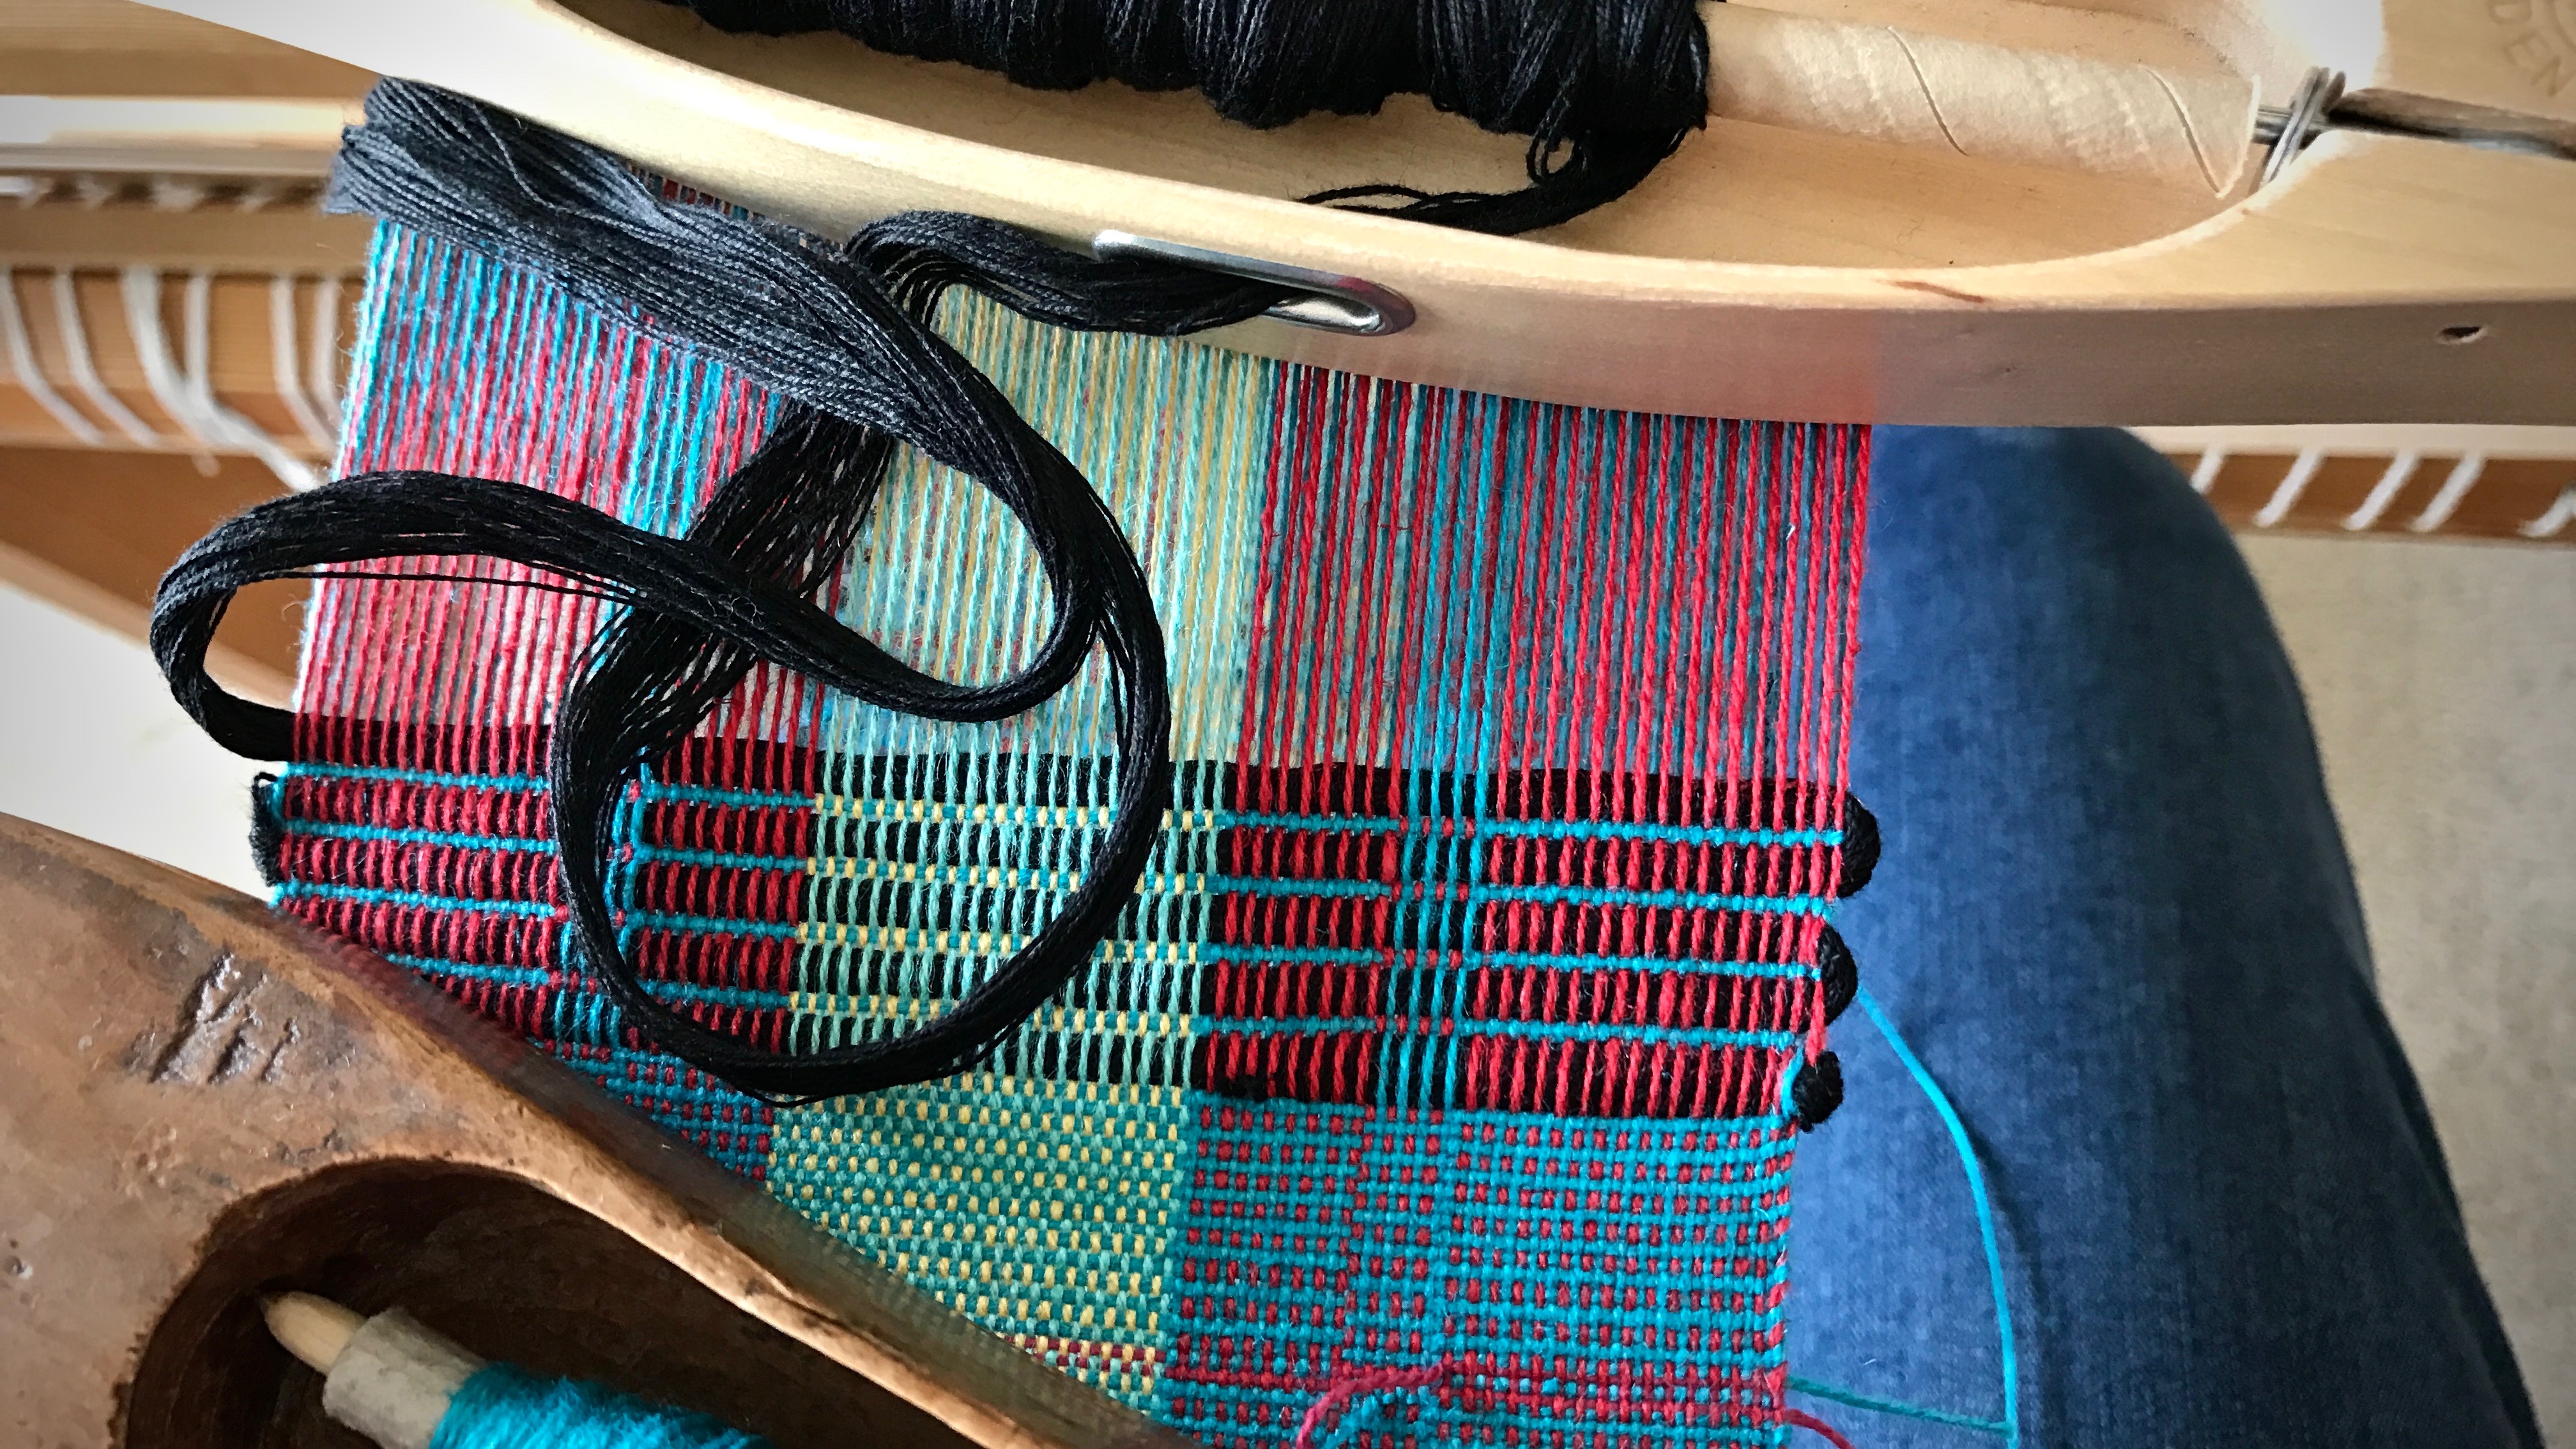
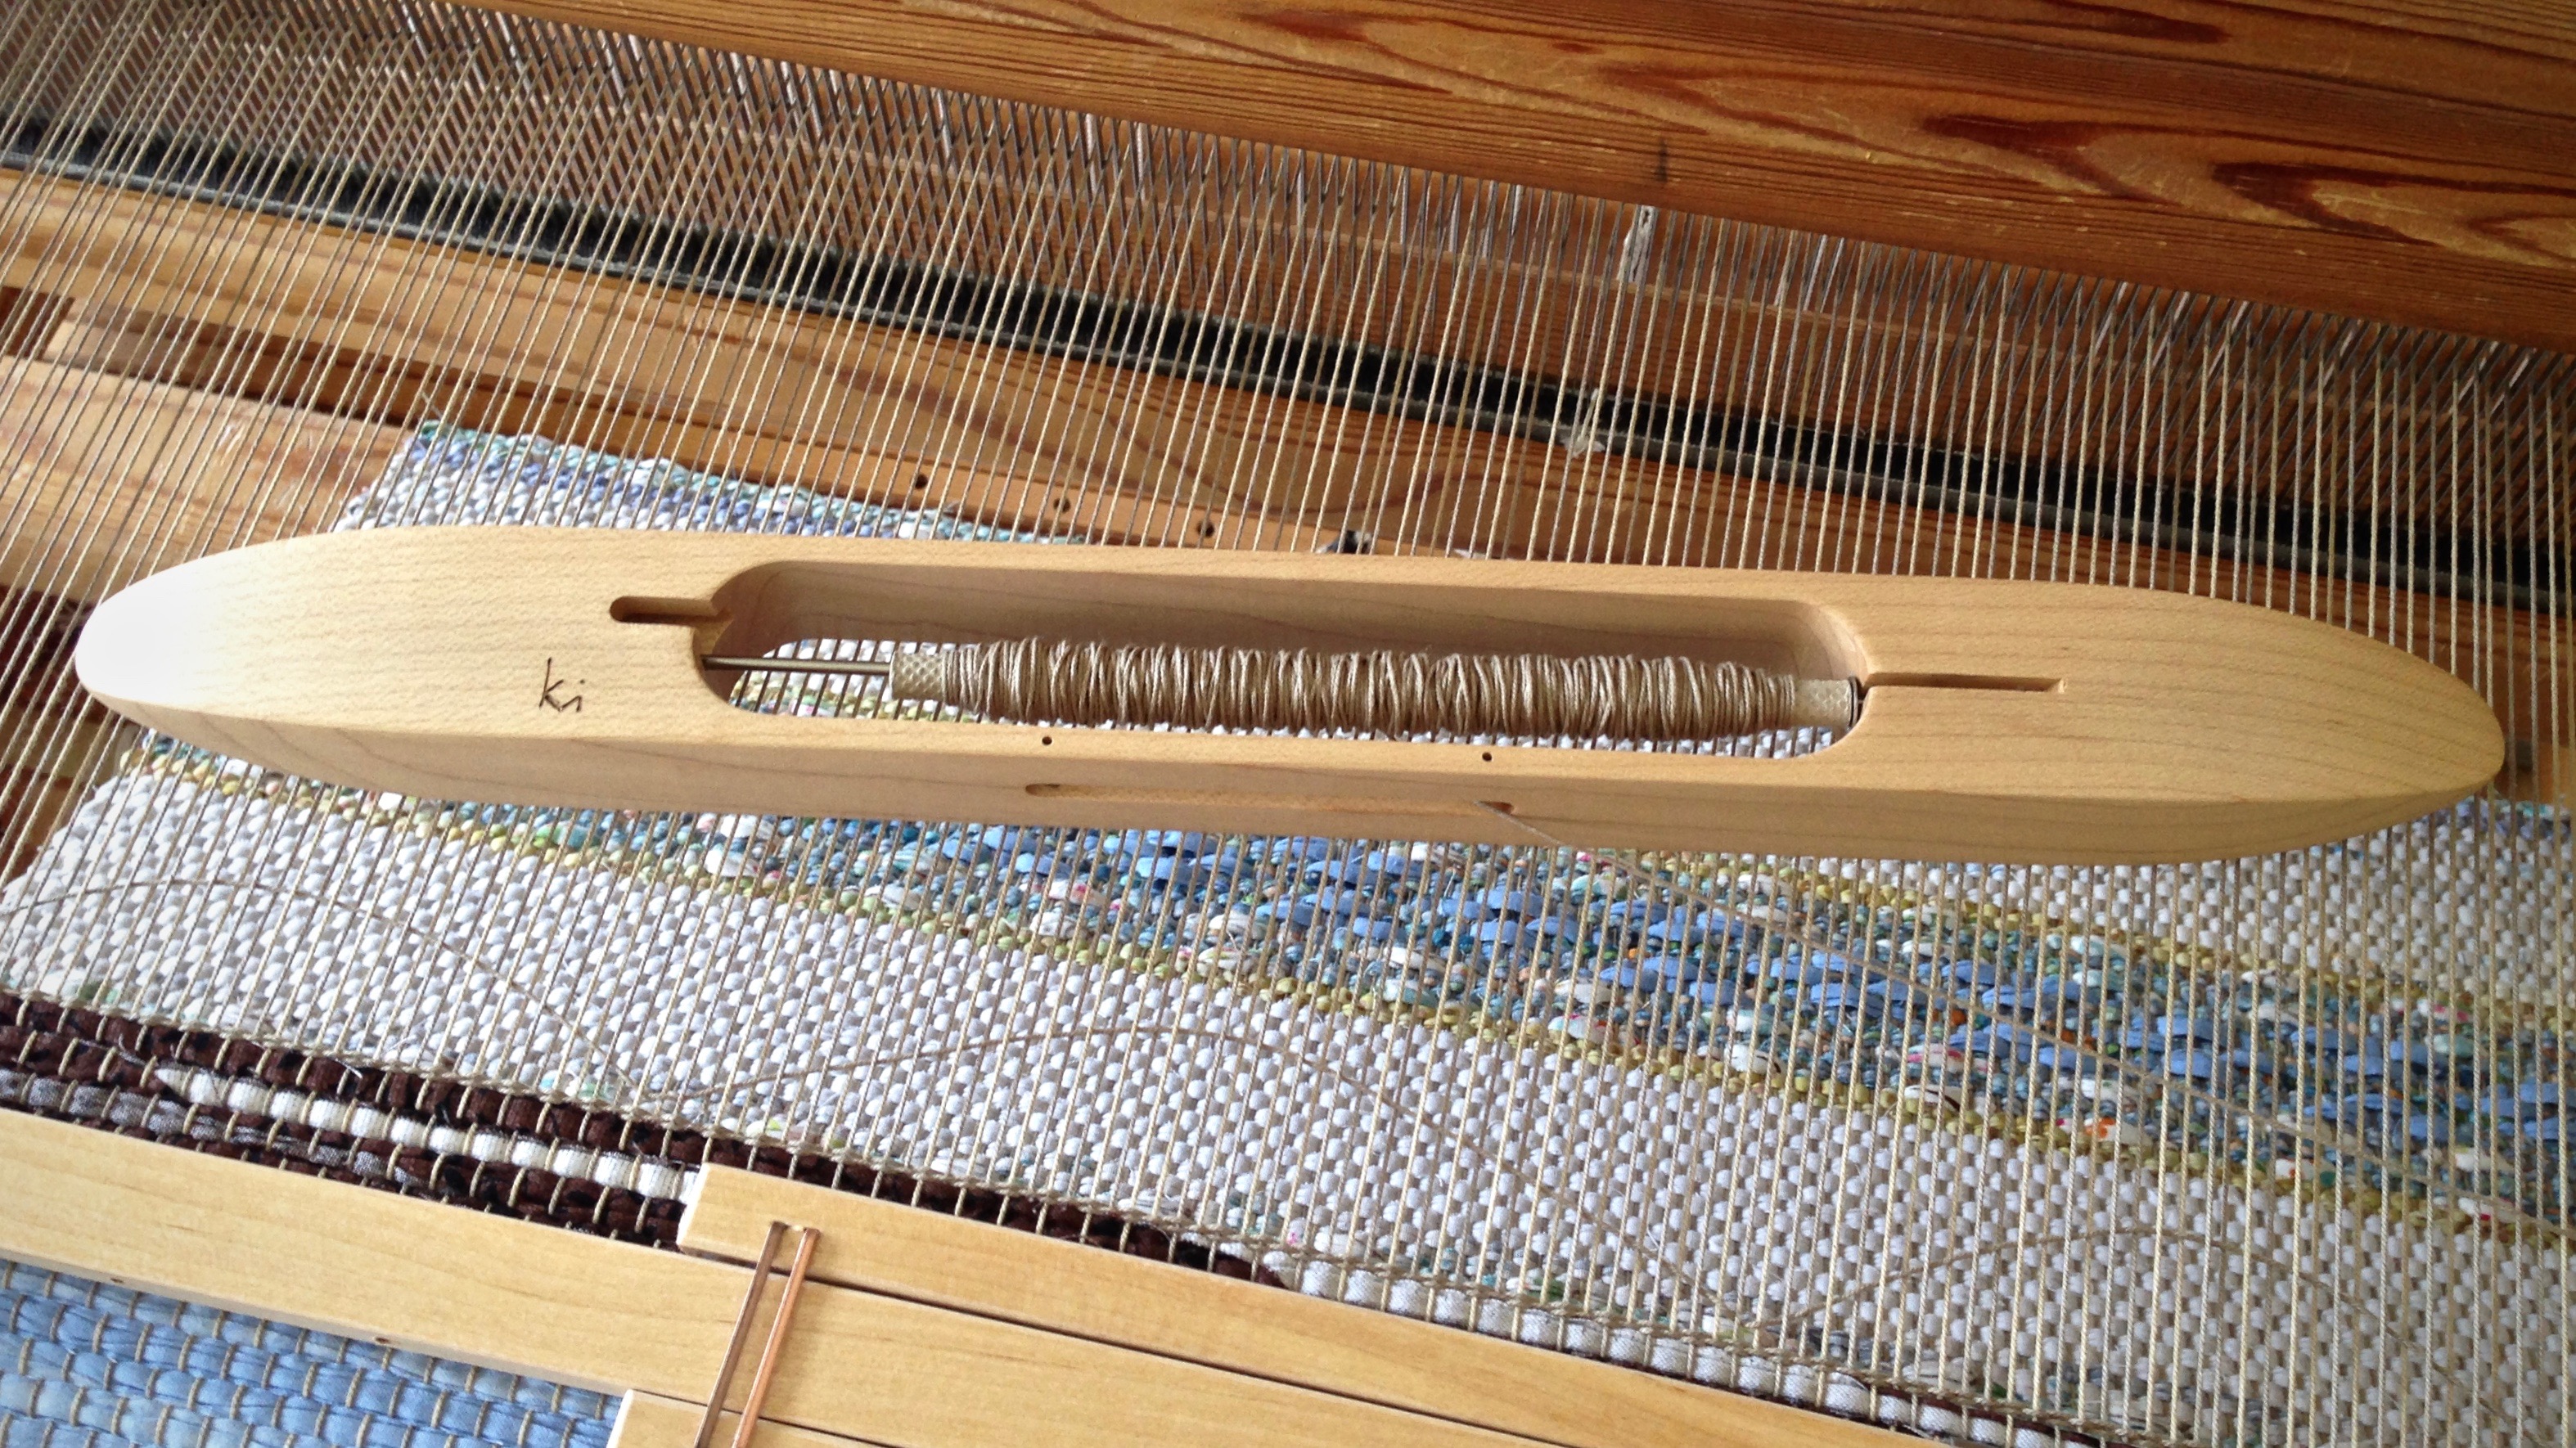
Those pesky string yarn weft tails! There is a lot of starting and stopping with these mug rugs. Normally, tucking a weft tail back into the shed adds a bit of extra thickness at the selvedge. So, what about this very thick weft? It has the potential to throw everything off balance. A few easy tips help minimize the distortion the thicker weft can cause.
Taming String Yarn Weft Tails
Begin the thick weft on alternating sides. This will prevent one selvedge from building up more than the other.
Taper the end of the string yarn, cutting it at a steep angle.
Starting about 1 3/4″ inside the selvedge, send the shuttle through the shed toward the selvedge, going over or under the outermost warpend. Pull through until almost all of the weft tail is caught.
Starting the shuttle from the inside, going outward, is an easy way to catch all the separate threads of the string yarn.
In same shed, send the shuttle back through to the other side, aware of encircling the one warp end.
Beat. (Beat on open shed. Beat again. Change sheds. Beat again.)
Continue weaving.
To end the thick weft, leave a 1 3/4″ tail, and taper the end of the string yarn, as before. Lay the tail back in the last shed, going around the outermost warp end. Beat.
Things happen that throw us off balance. From personal celebrations to unexpected losses. Don’t be afraid. Putting trust in the Lord minimizes the inner turmoil. The Lord is my light. He lights my way. What is there to be afraid of? Wholehearted trust in the Lord pushes fearfulness away.
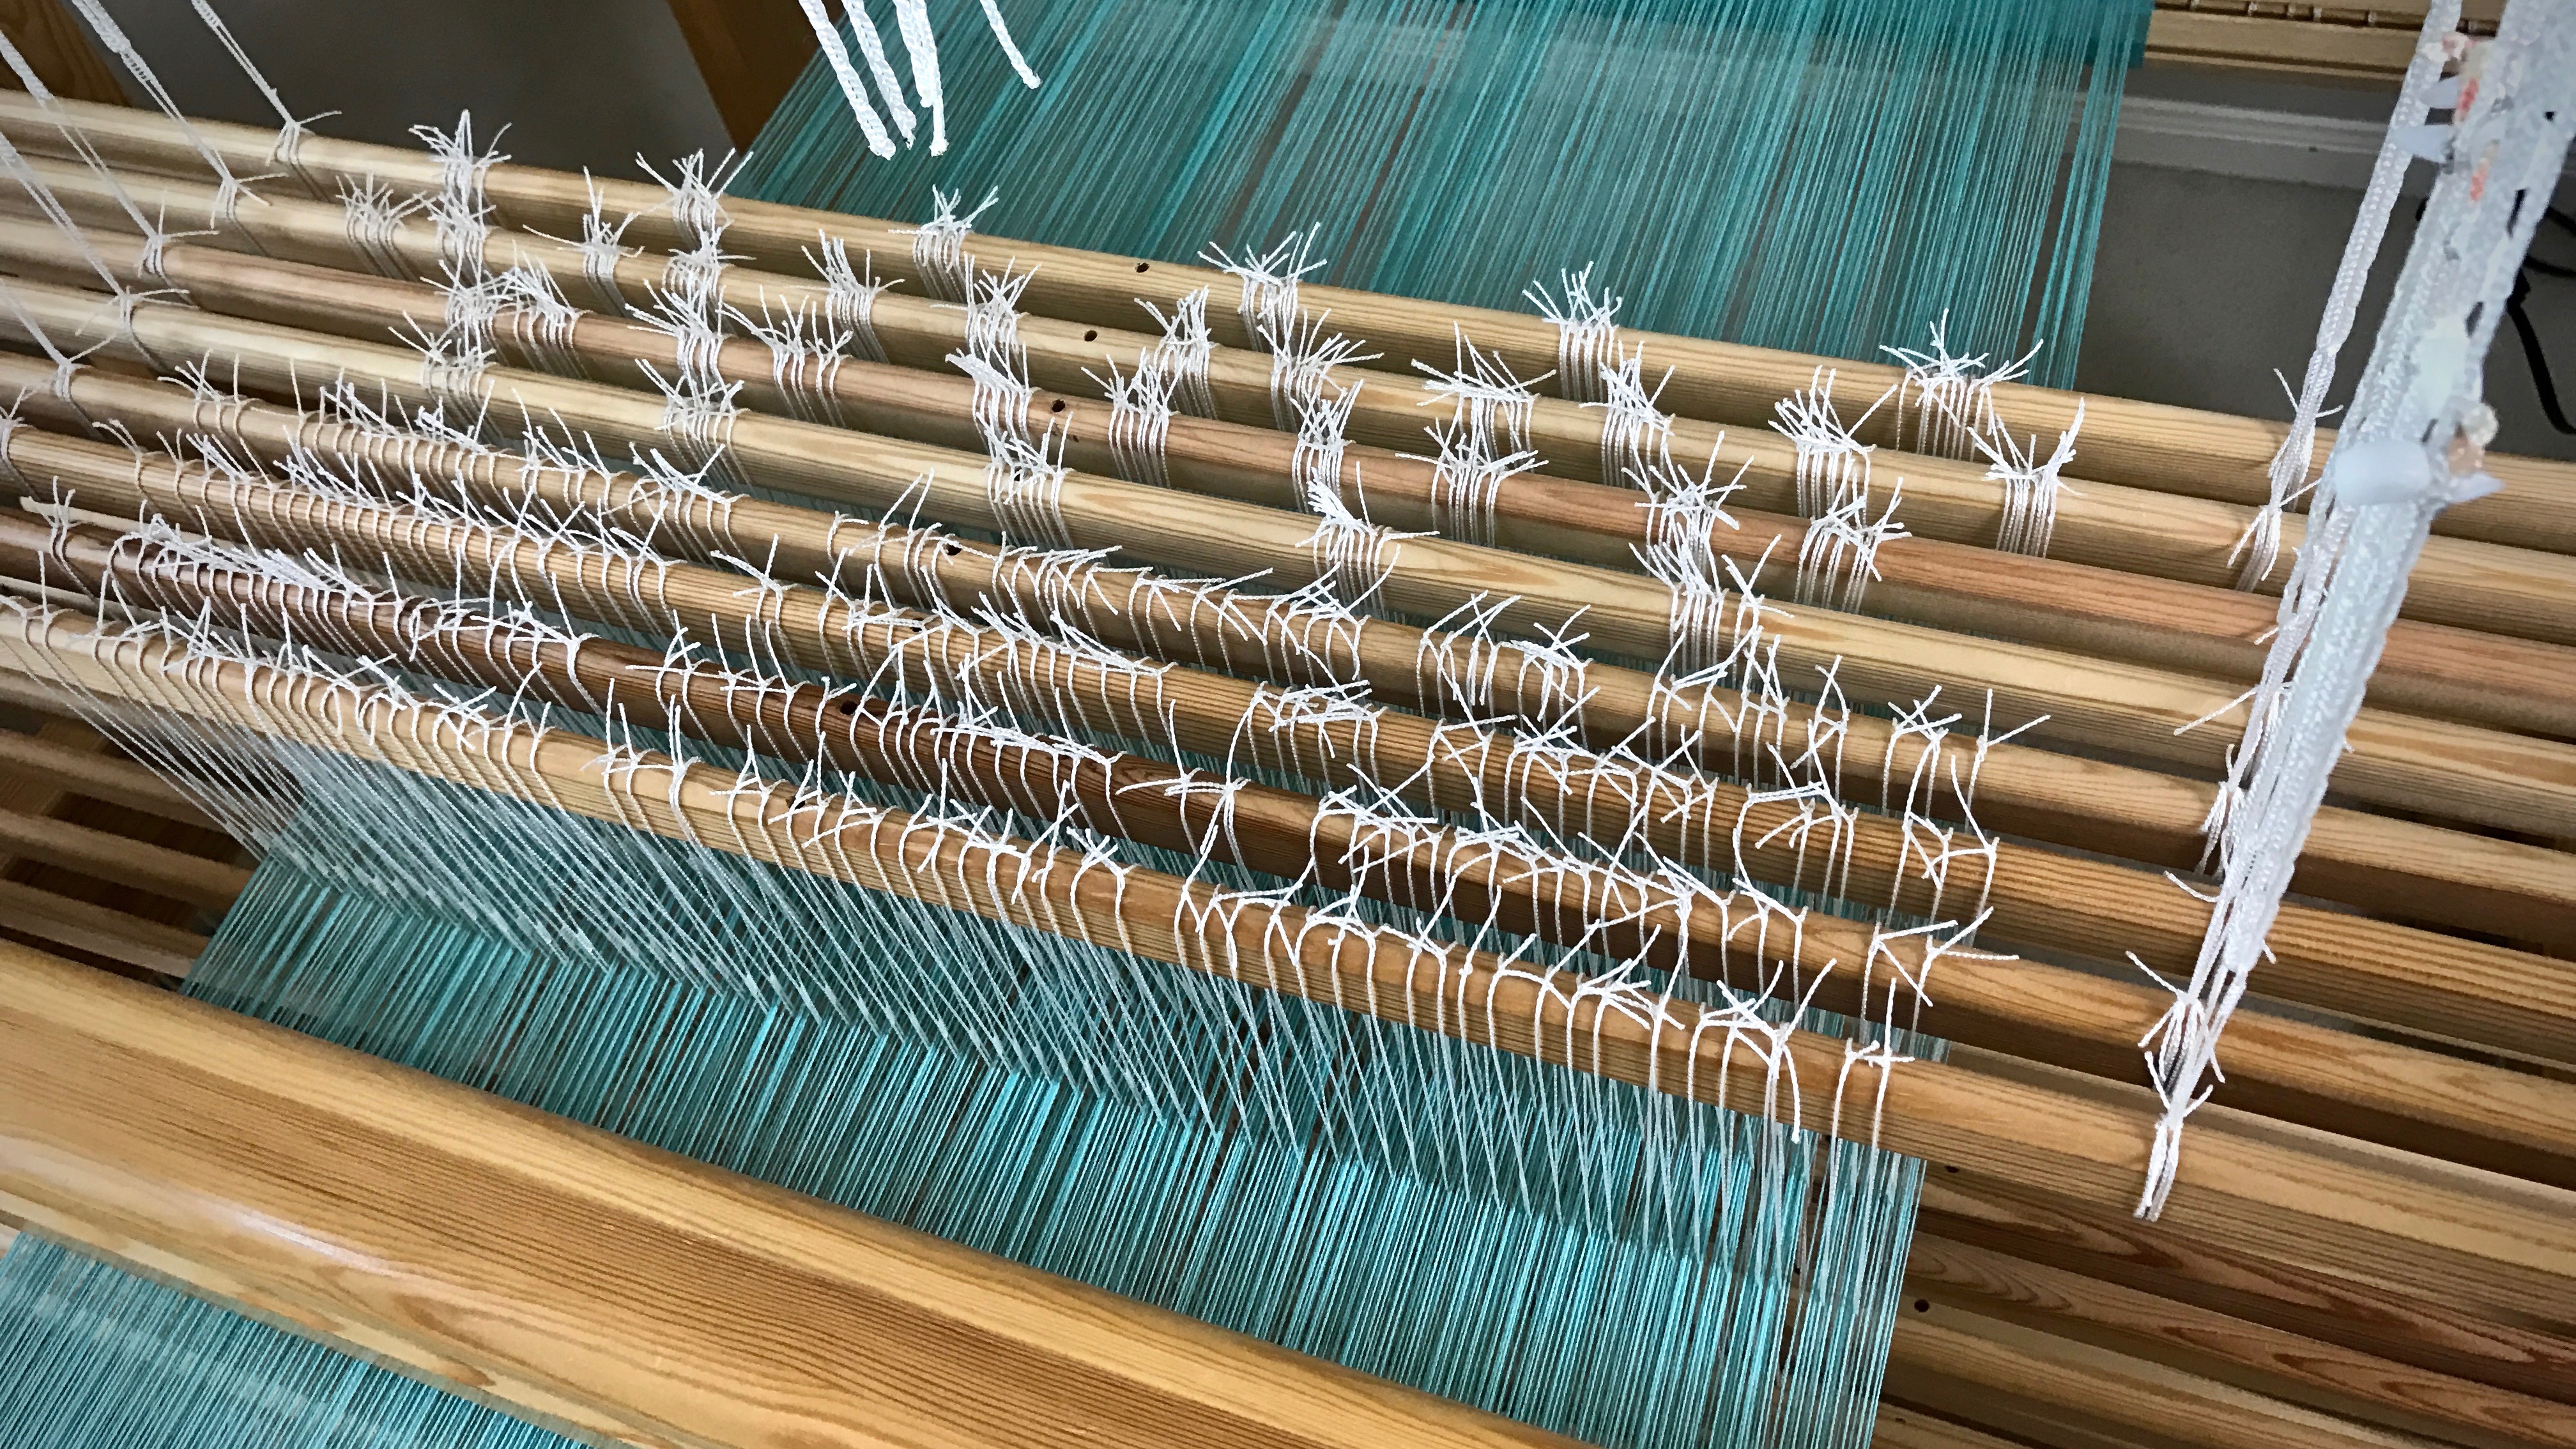
We all have threading errors from time to time. This time I completely transposed the threading on shafts one and two. I saw the error when I started weaving; the pattern in the cloth was not as it should be. After a few days of contemplating, arguing with myself, and studying the error, I decided on an ingenious and risky fix (I hinted at it in My Best Weaving Stunt to Date!). Switch the two mis-threaded shafts. Yikes! One slip up could bring the whole warp down–figuratively and literally. I caught myself holding my breath several times through the process. Gently hopeful, but not 100% sure that my plan would work. Thankfully, it did work.
The threading went from this…
Shafts 1 and 2 (counting from back to front) have been threaded incorrectly. Shaft 1 should be 2, and 2 should be 1.
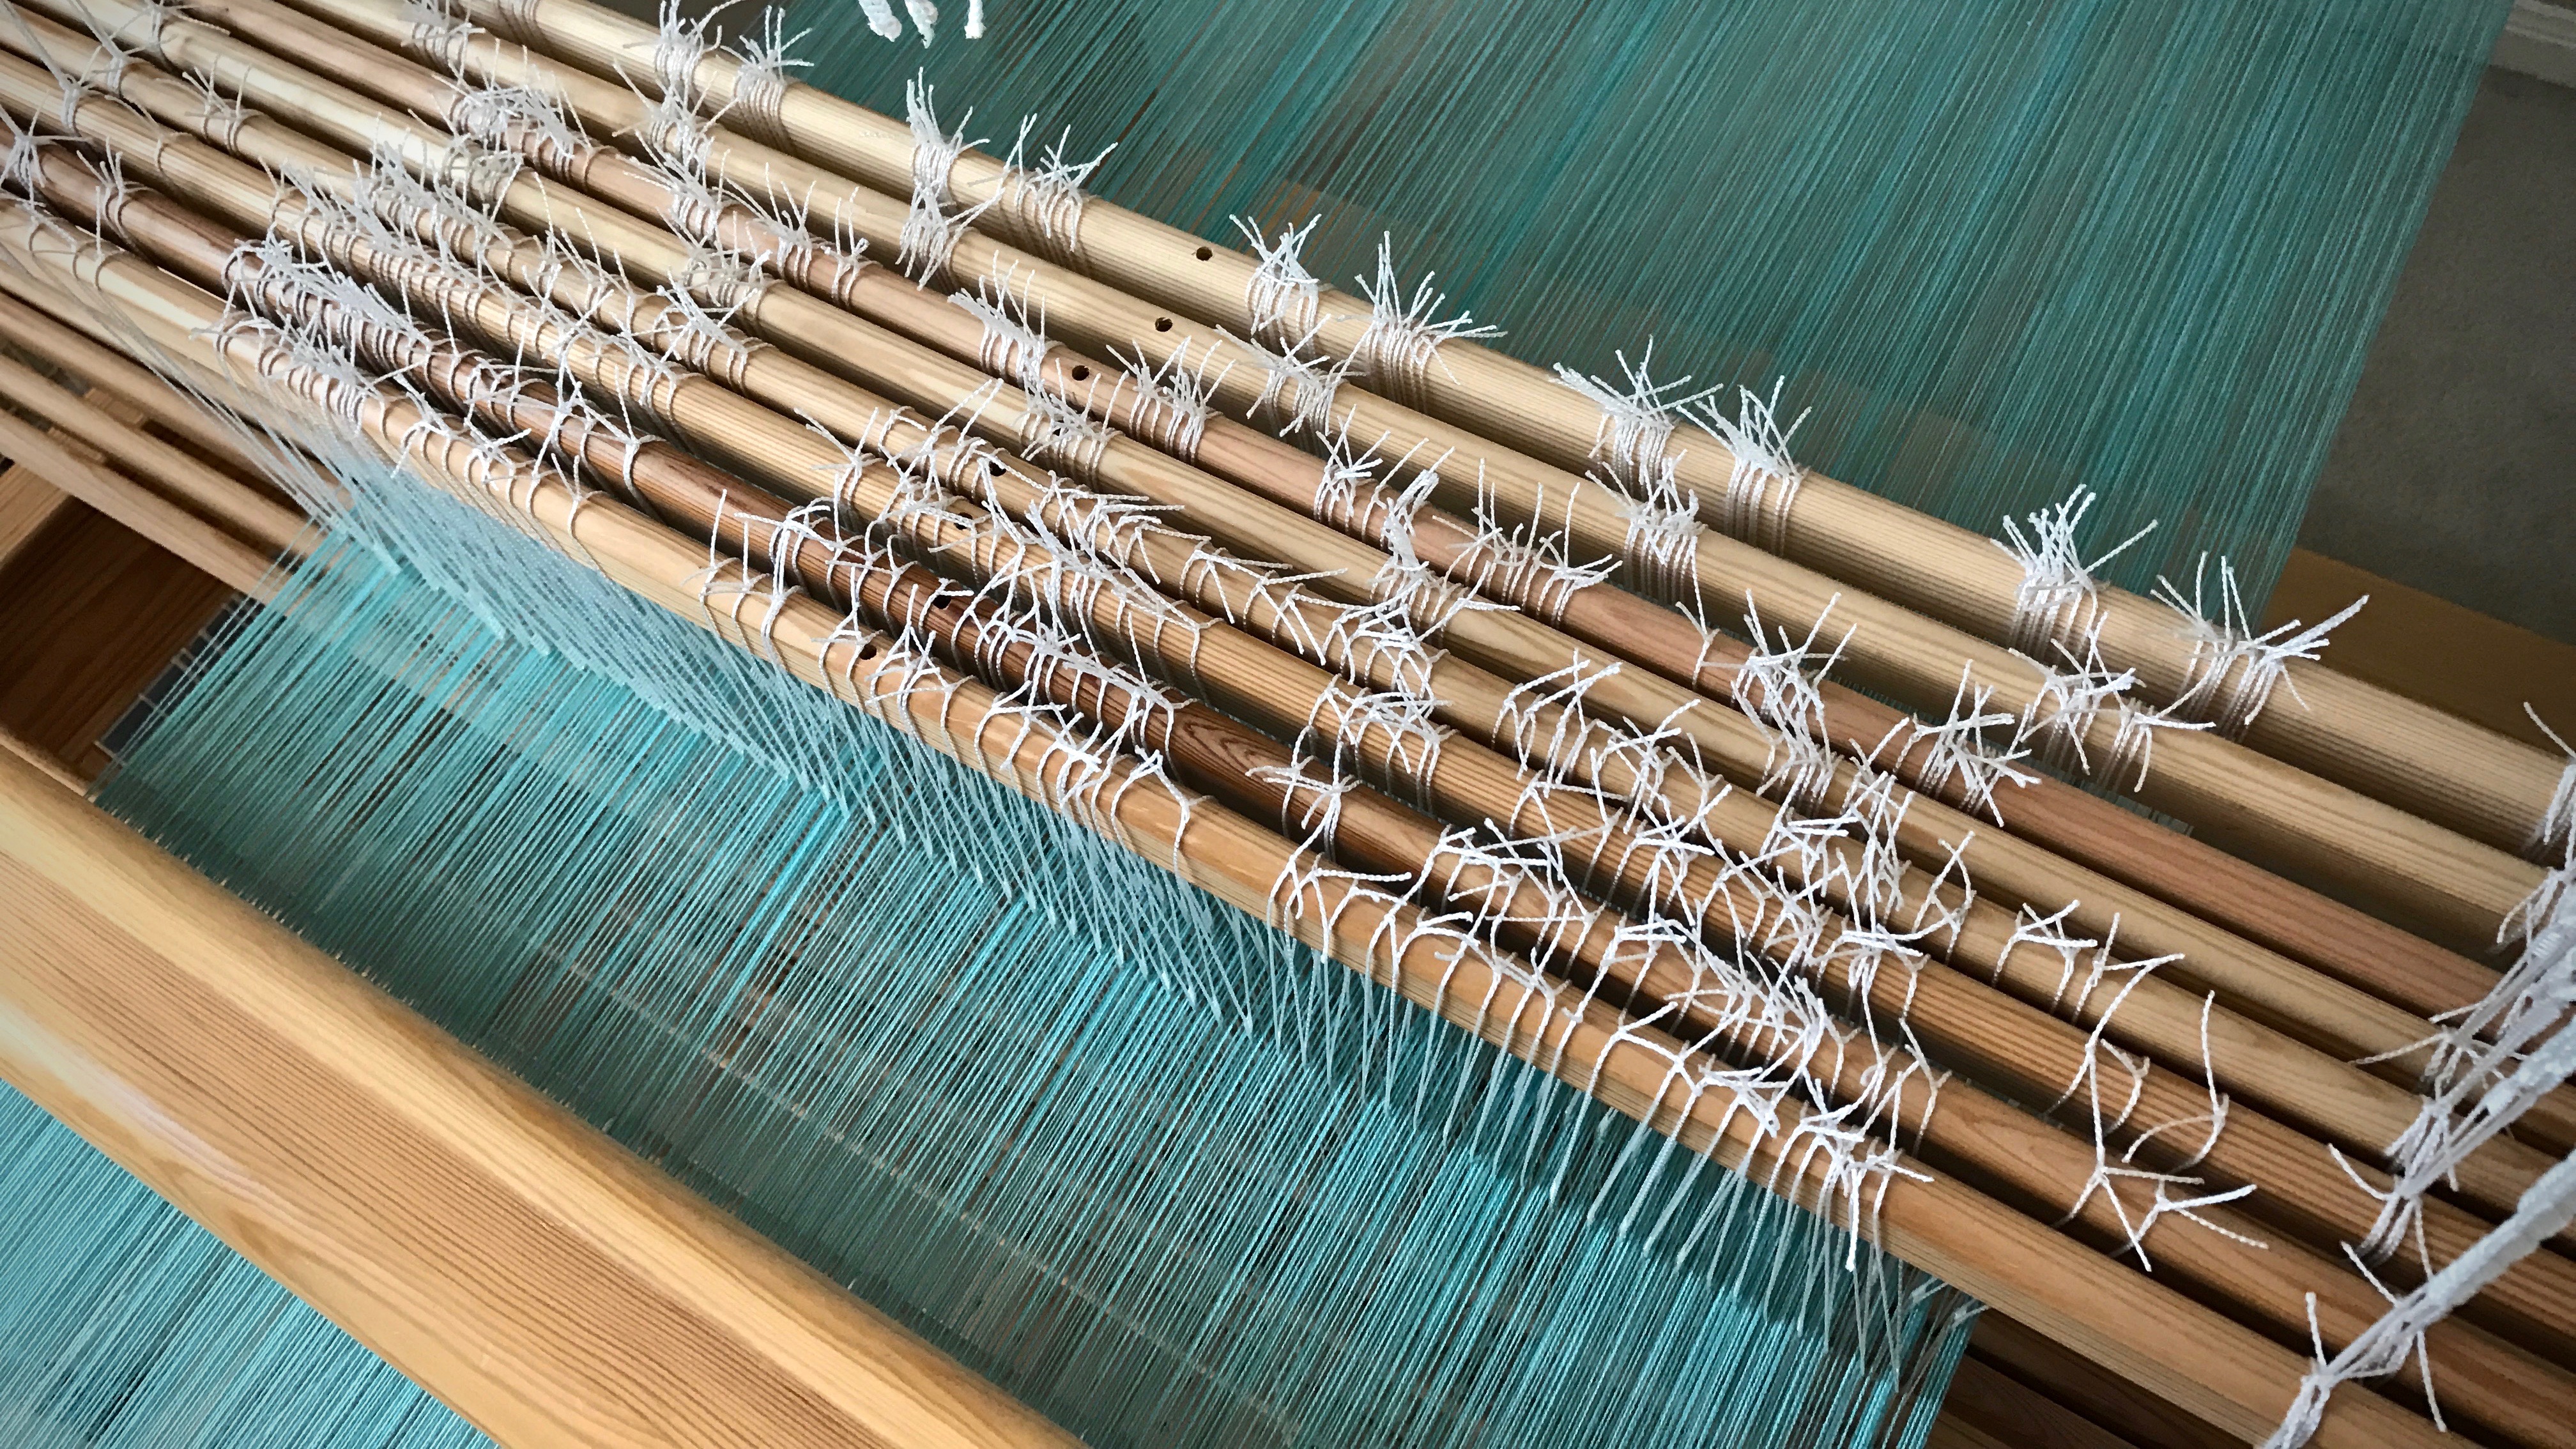
to this…
Shaft bars 1 and 2, upper and lower, have been switched. The operation was similar to transferring lease sticks in the back-to-front warping process.
Here’s a short video that shows the maneuvers I did to correct the error. No re-threading needed! The kuvikas square within a square wins!
May you be brave enough to take appropriate risks when needed.
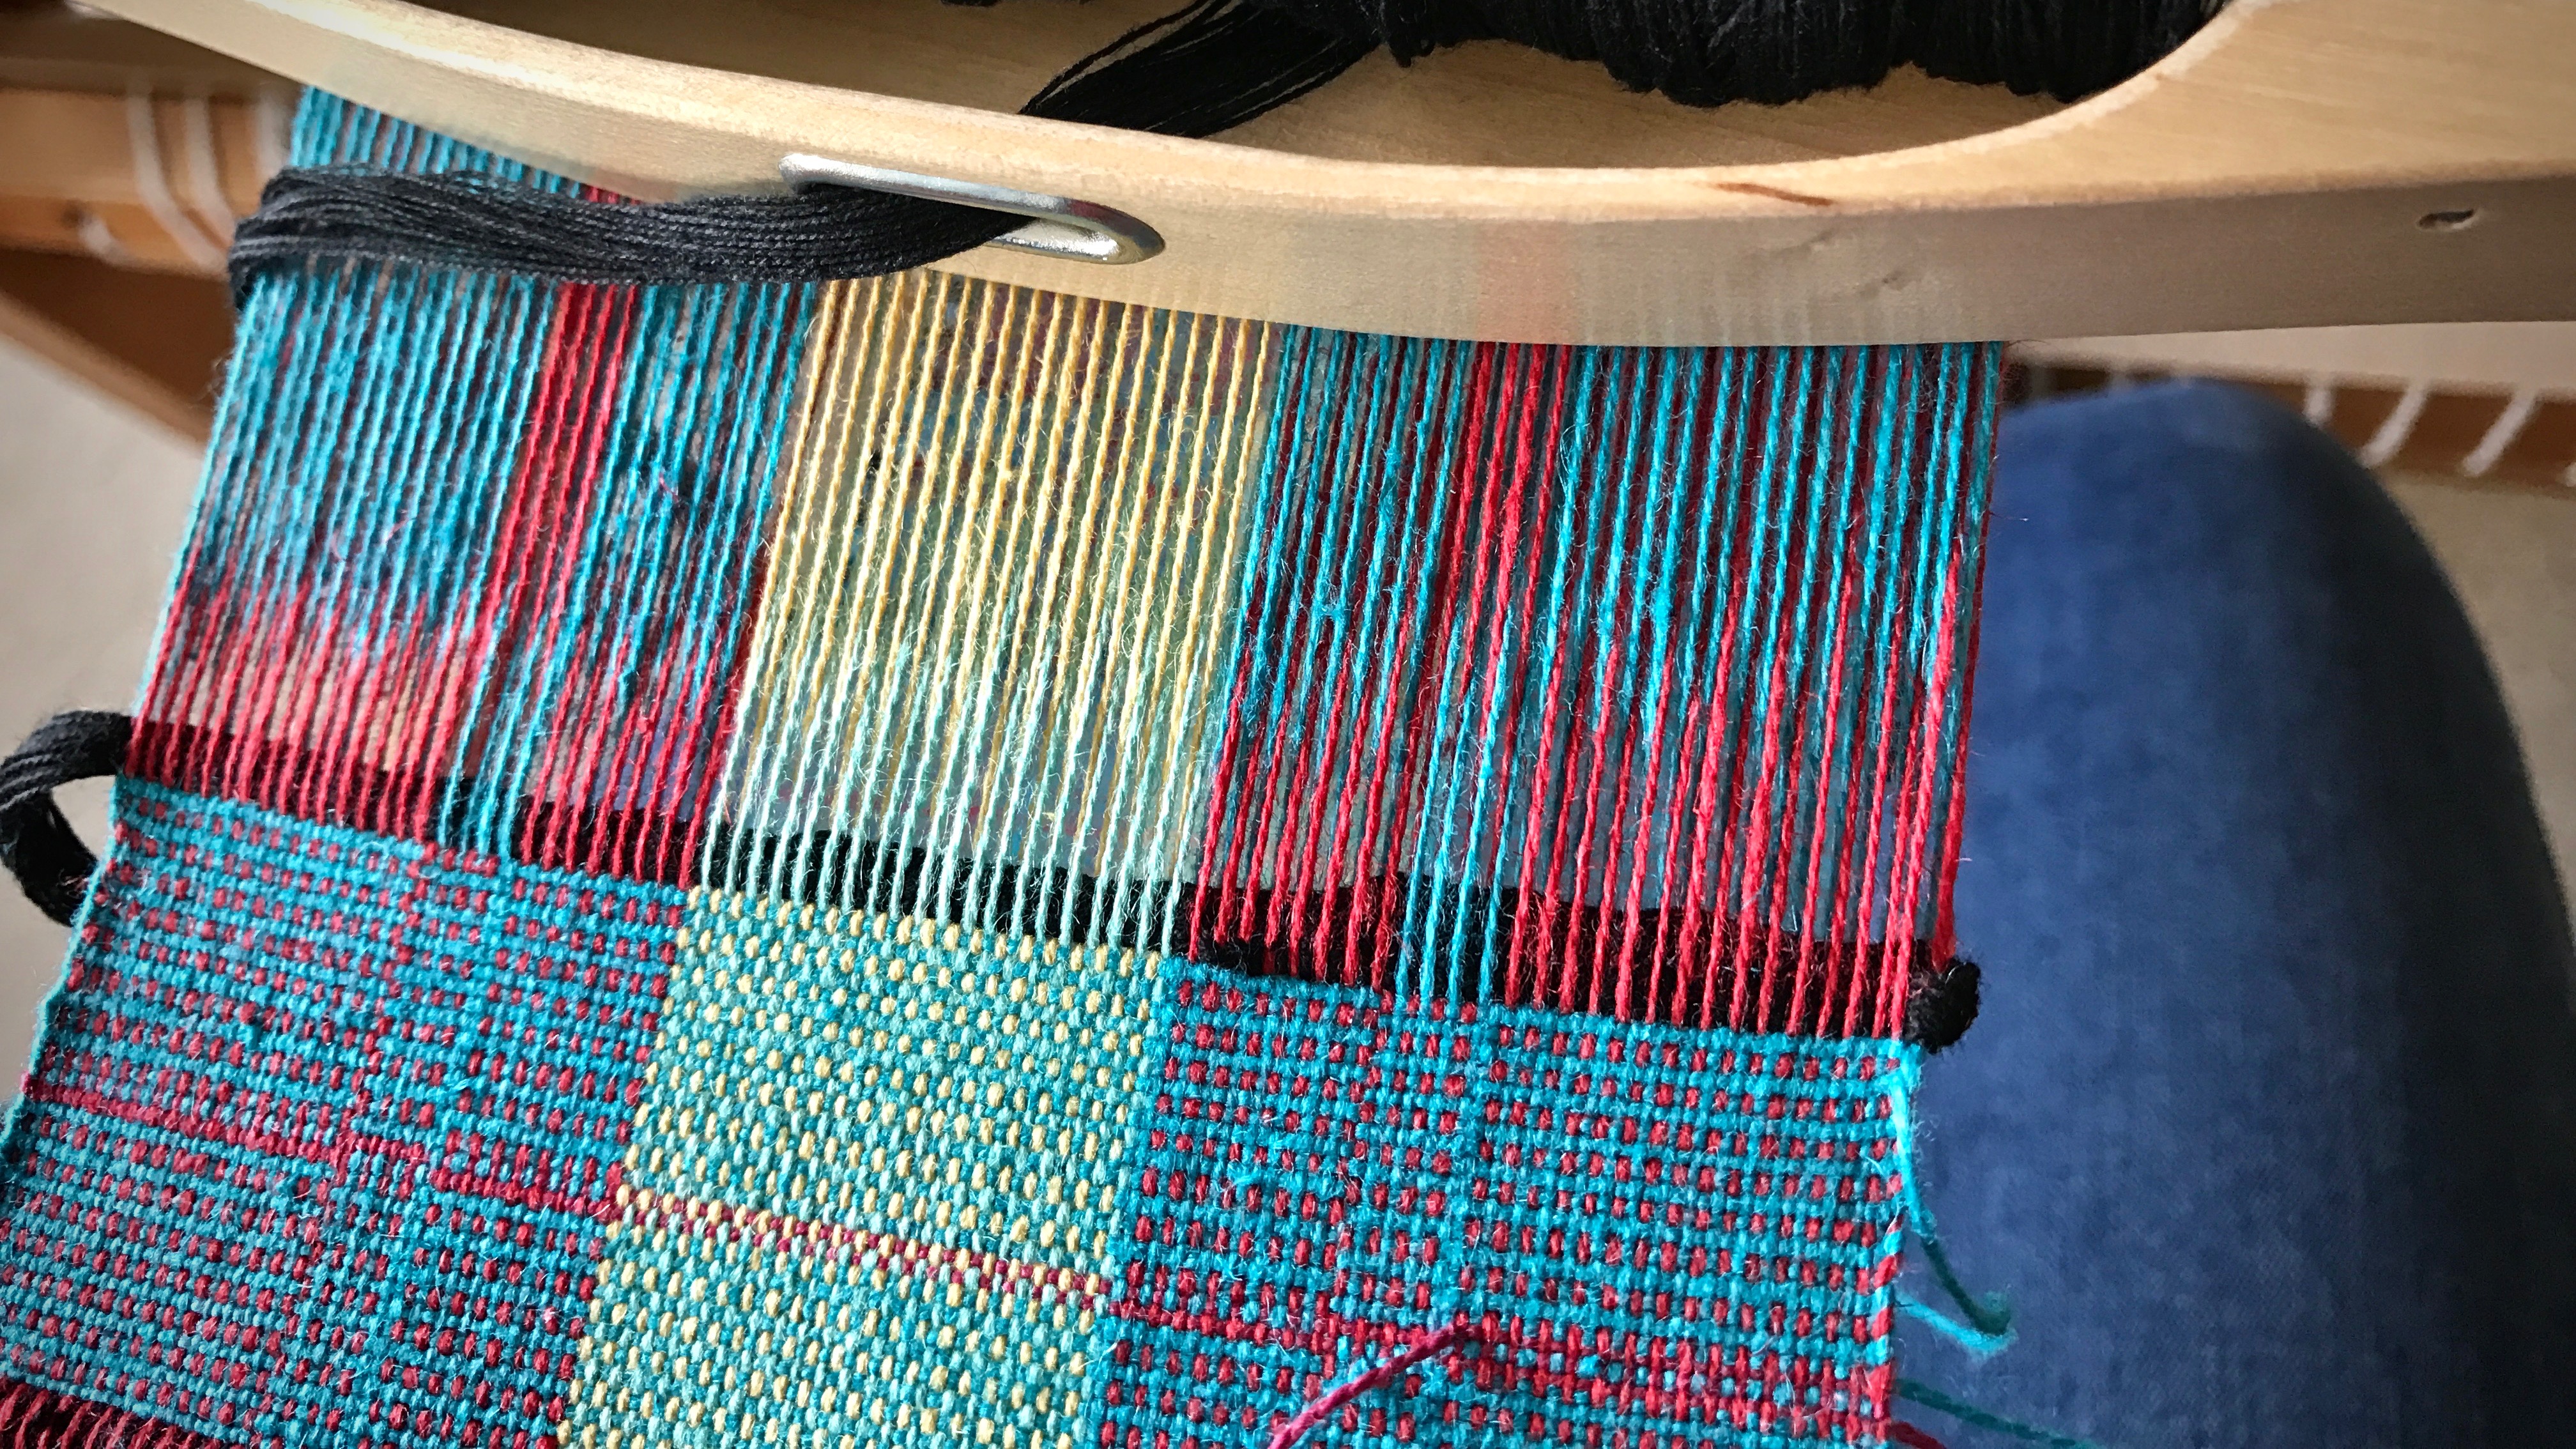
It is not enough to be pretty; a good rag rug must also be sturdy. Four crucial steps give a rag rug the solid foundation it needs to get off to a great start, and to be ready for the strong beat required to make a rug that lasts.
How to Begin a Rag Rug
1 Space
leave enough warp to tie and finish ends after the rug is cut from the loom
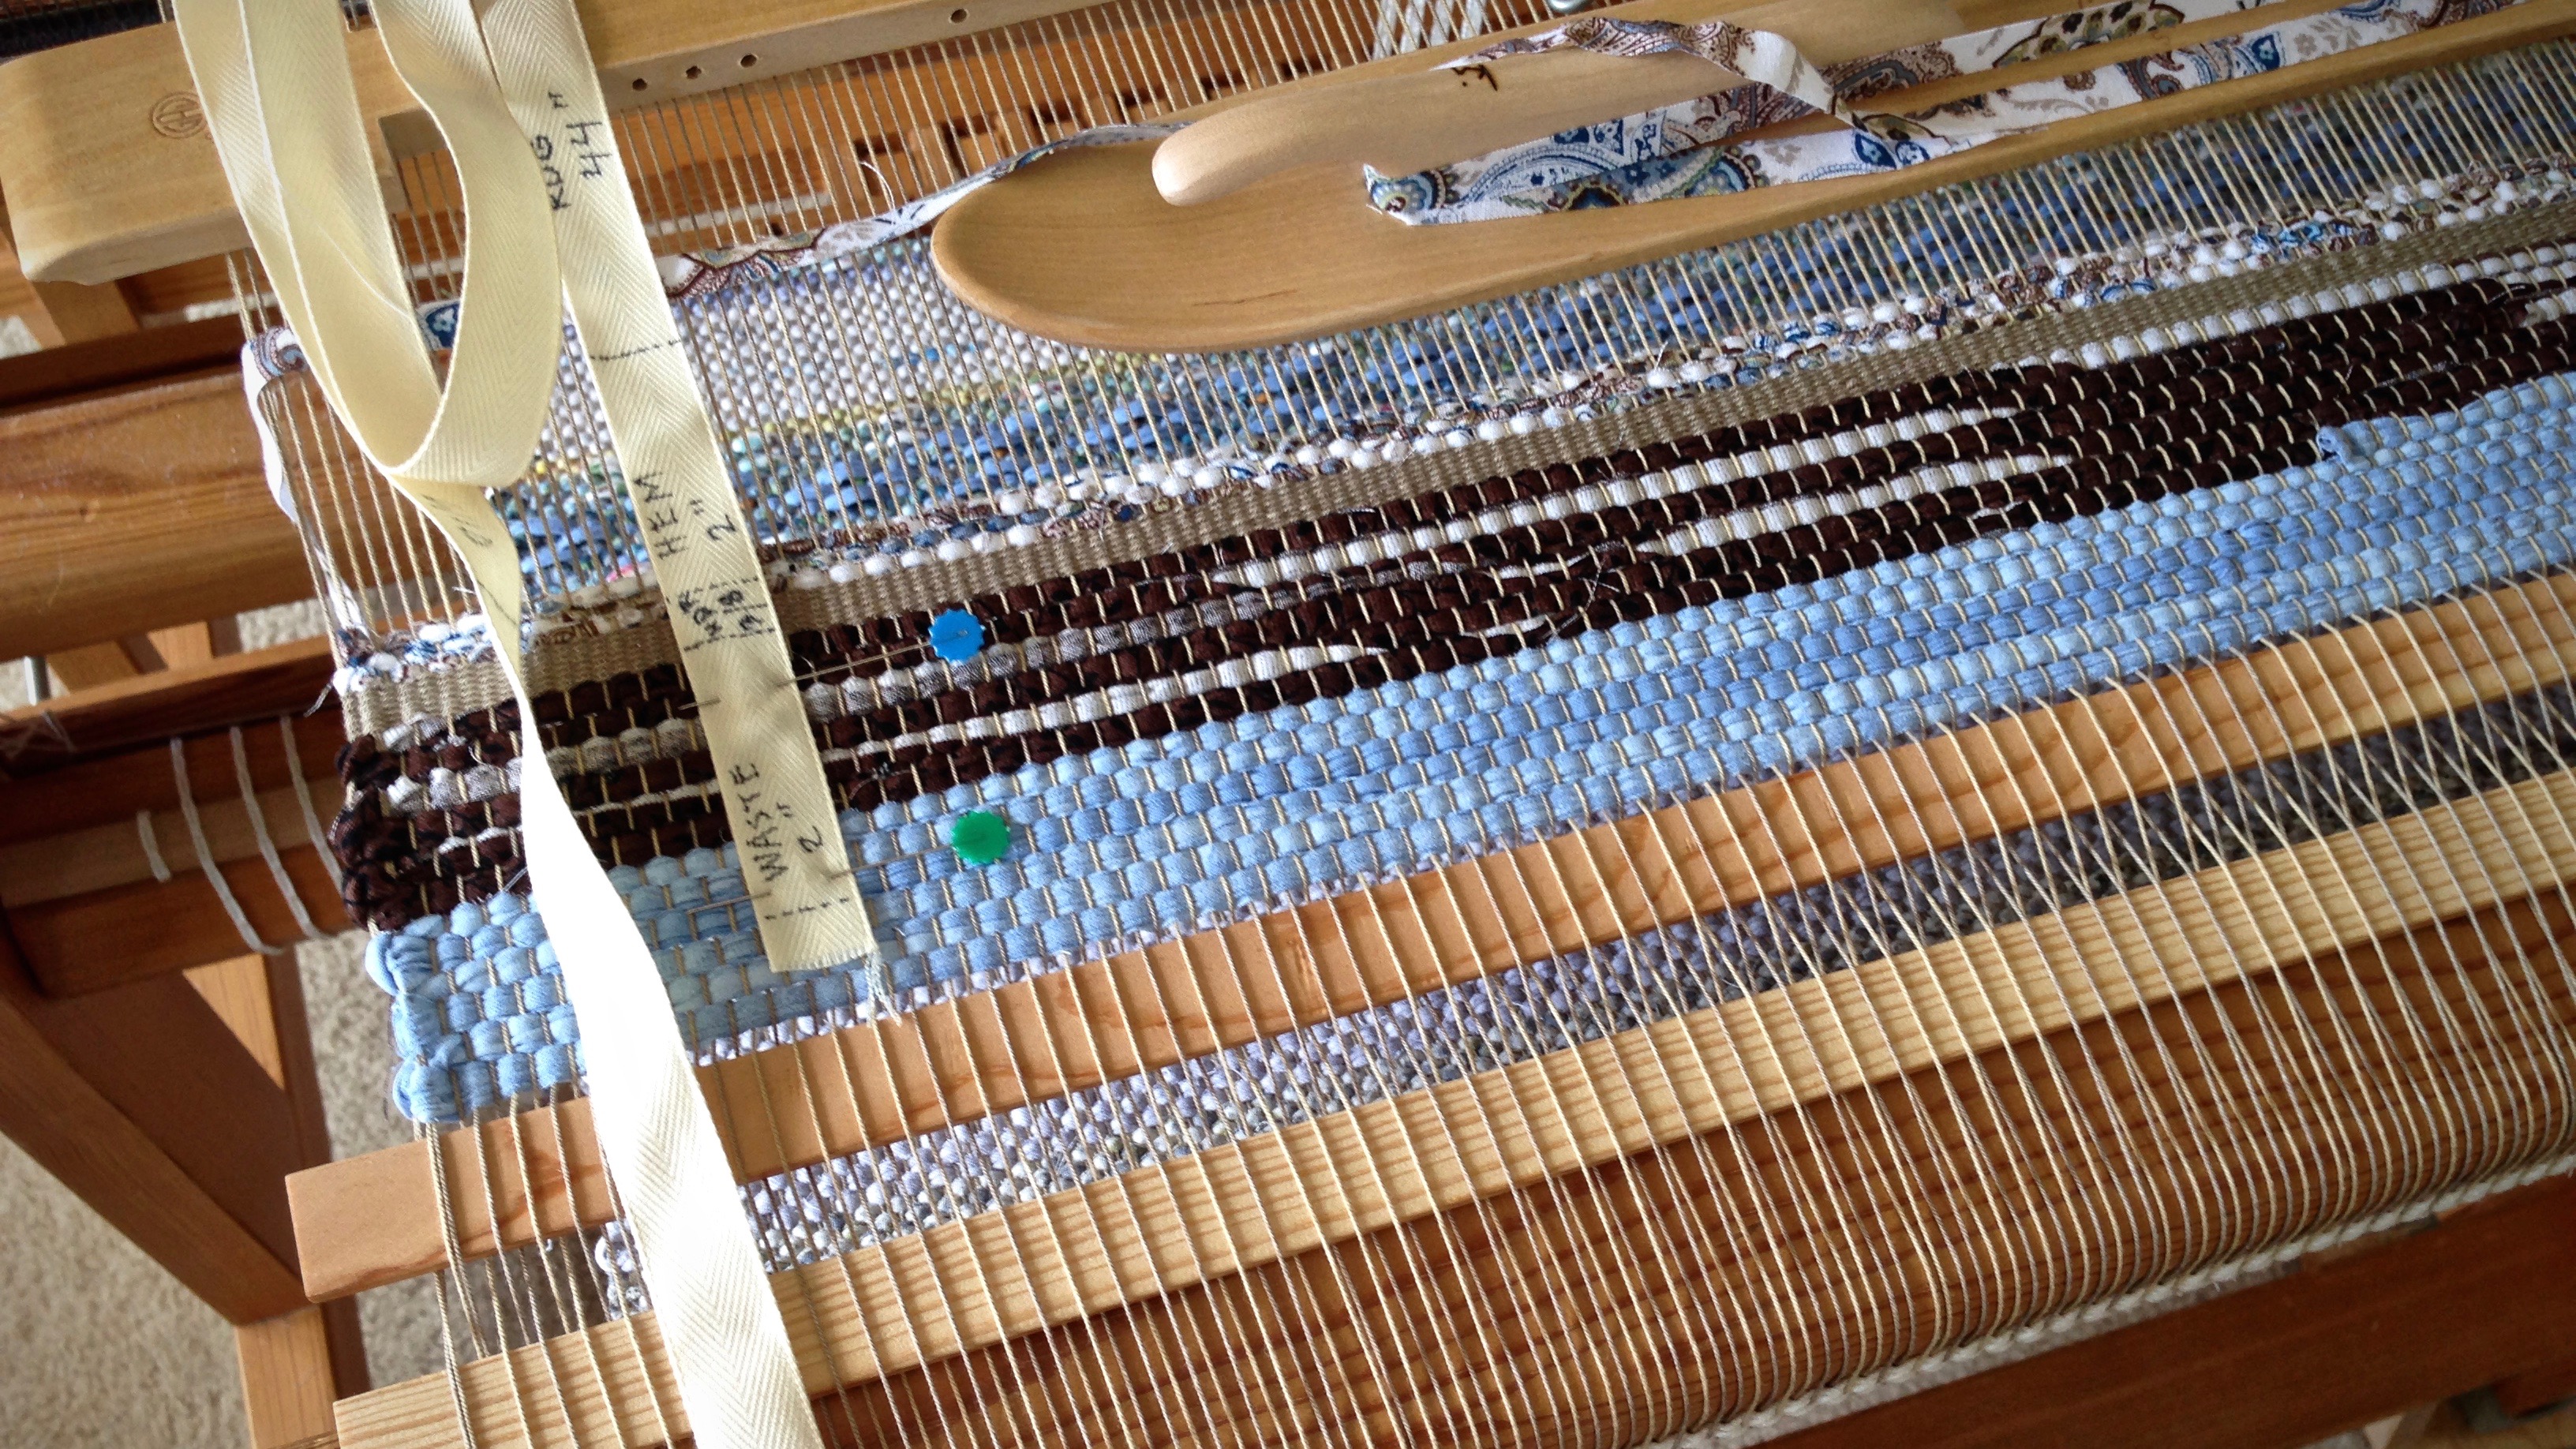
Assuming there is a sample at the beginning of the warp, leave space after the sample. Leave about 4″ (10 cm) of empty warp. Then, using two warping slats, place one slat in each plain weaveshed. The slats act as a spacer, and as a firm backstop for beating in the waste rags. (Leave about 8″ / 20 cm of space between each rug, from header to header.)
Empty warp is followed by a pair of warping slats, scrap weft, warp yarn header, and beginning of hem. Measurements are marked on twill tape for reference while weaving.
Use warp yarn to weave a 3/8″ (1 cm) weft-faced header. Arrange the weft in small arcs across the width of the shed. Treadle the next shed and beat in the weft.
With temple in place, the header is woven with 12/6 cotton, the warp yarn. Forming small waves in the weft places more weft in the shed, which helps prevent draw-in.
4 Hem
thinner rag weave, to be turned under and stitched
Cut fabric into narrow strips, 1/4″ (.5 cm) wide. Weave hem to desired length, with enough to fold under itself for finishing.
–Repeat the four steps in reverse order at the end of the rug.–
Ready for the body of the rug! A good, strong beat will not disturb this layered foundation.
It takes courage to live by faith. Courage is the backbone against which life circumstances can push. Faith is knowing God has a higher purpose for the circumstances we find ourselves in. A rag rug with this firm starting point will not only look good, but be ready for a purpose. And so will we.
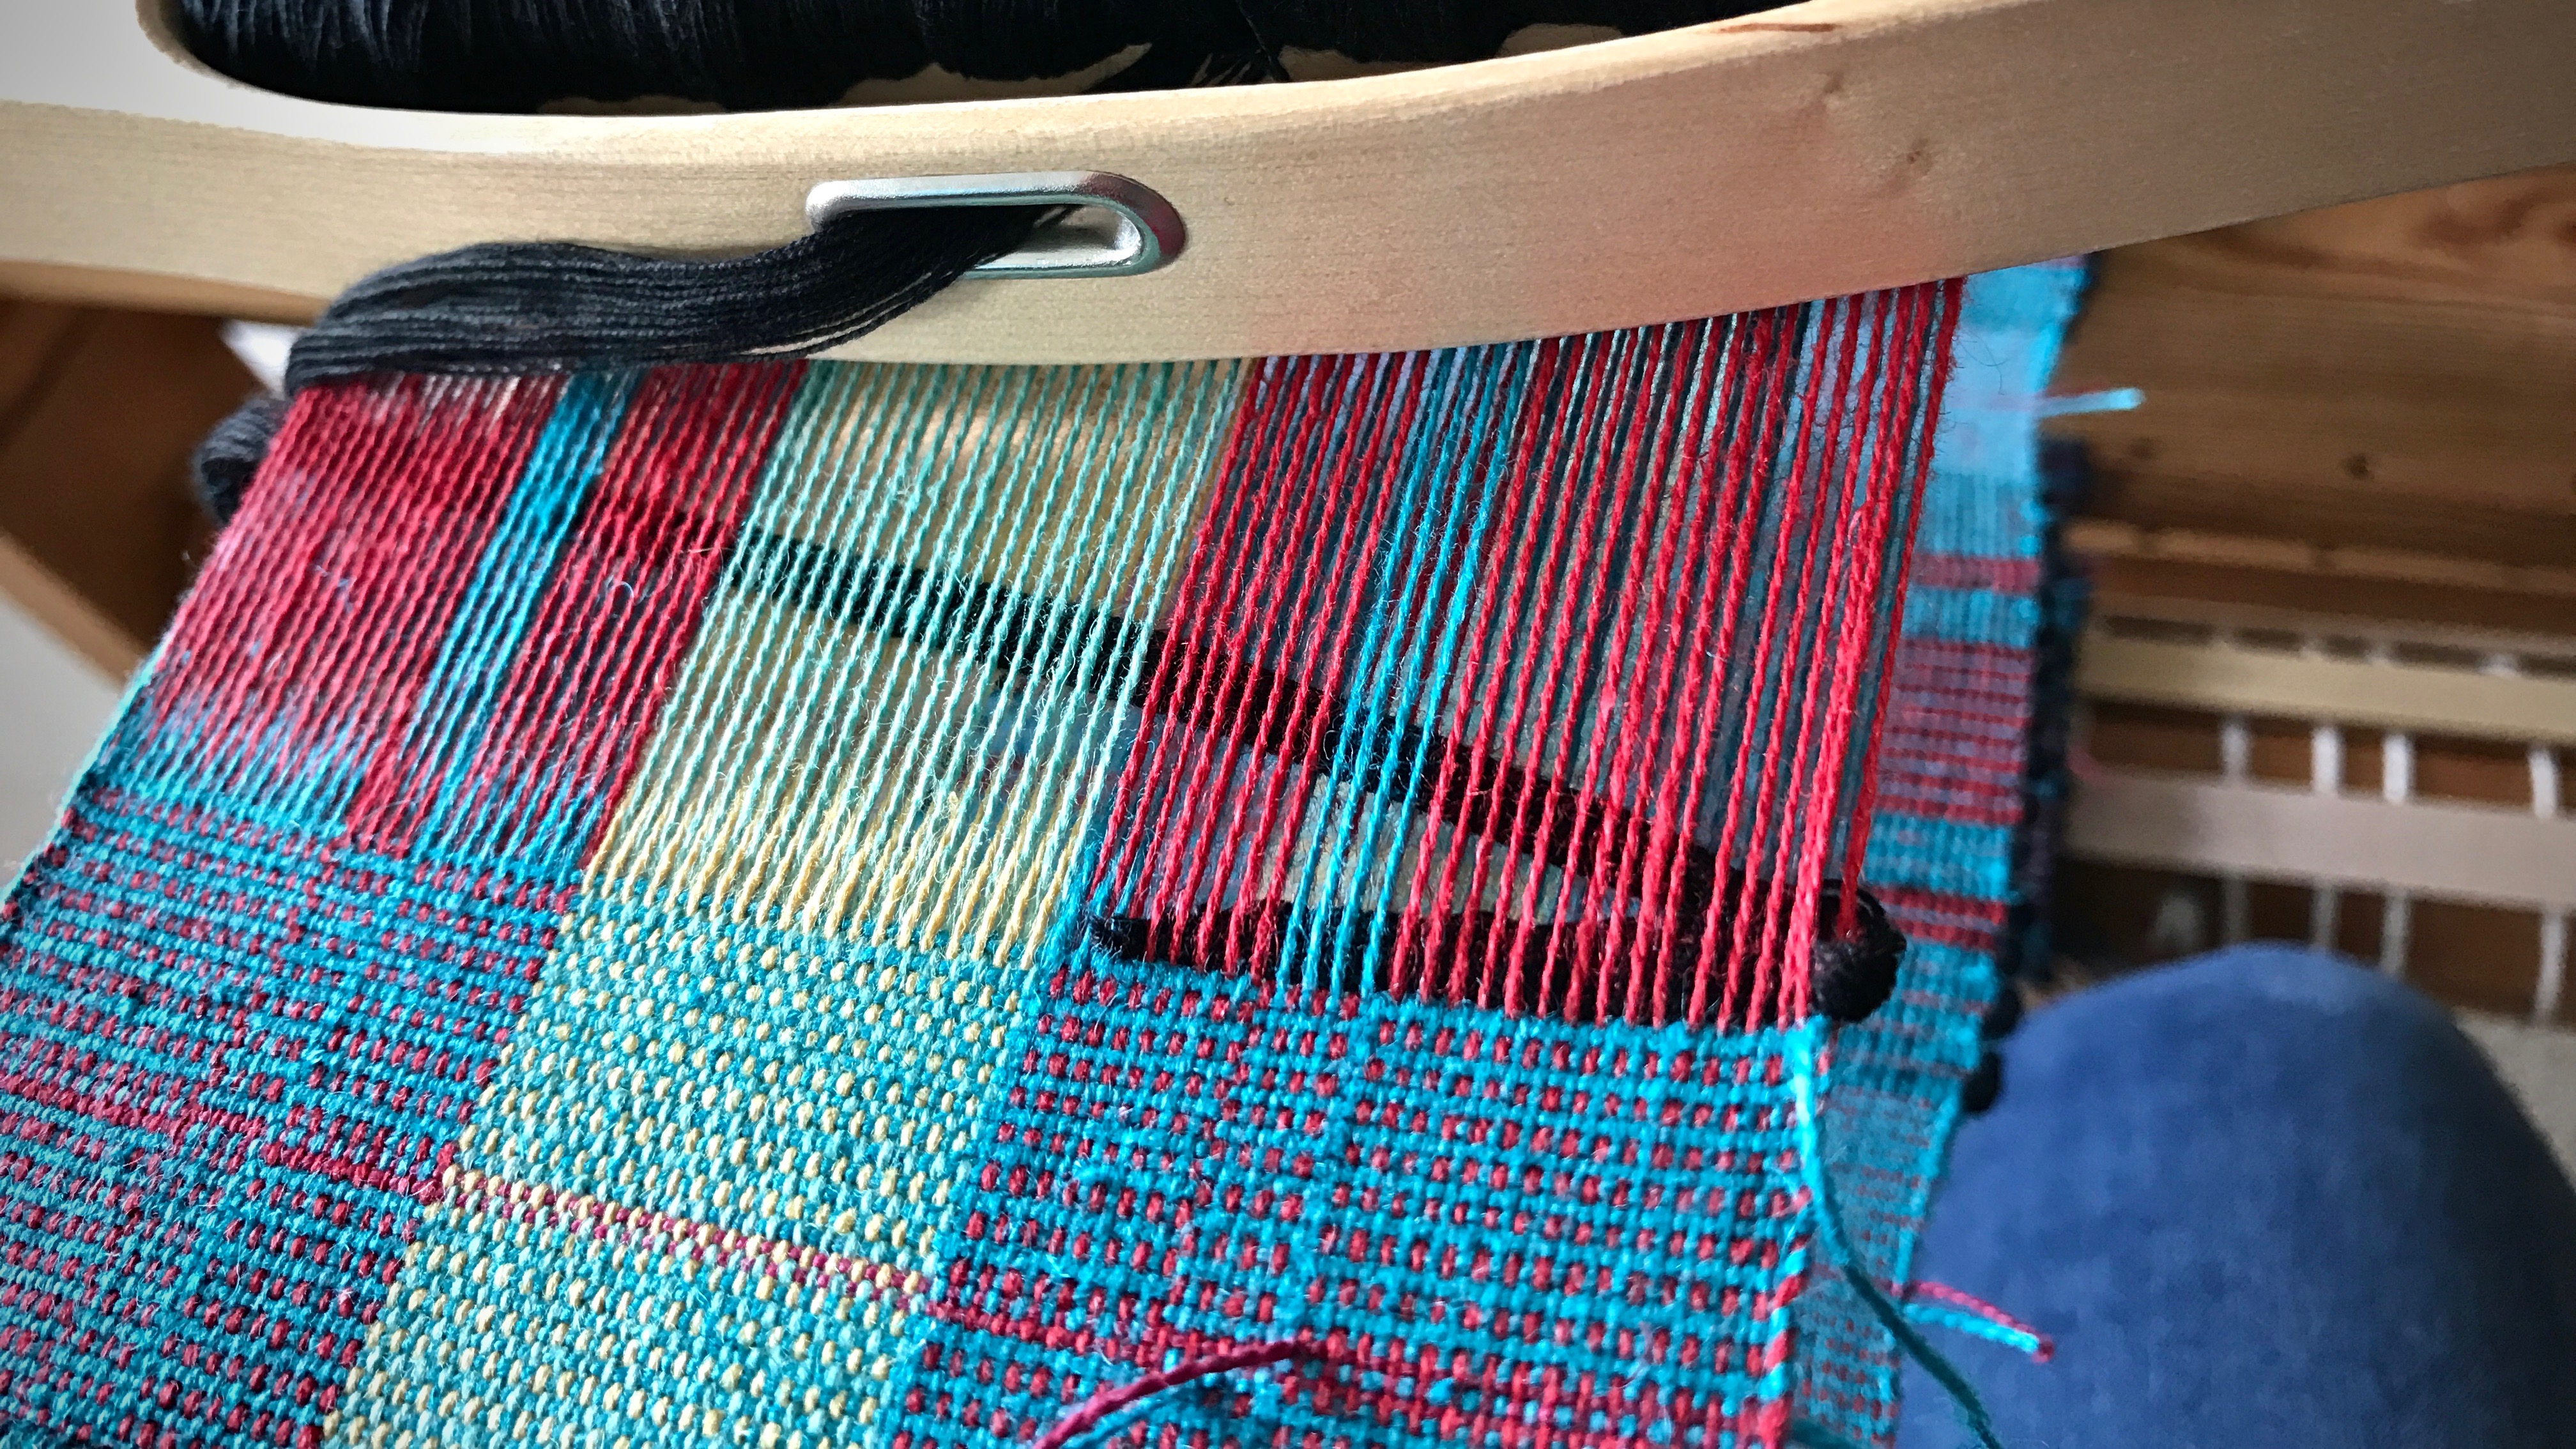
I almost kept going. But something was off. Maybe the tabby hadn’t been beaten in as tight between the lavender pattern picks. In that case, a few more rows would obscure the slight difference. I did not want to undo; and wishful thinking tempted me to avoid taking a closer look. Sensibility won, though. I did stop to examine the cloth.
Weft threads are carefully snipped back to the point of error. I did this very slowly, with a bright light shining on the area being snipped.
Even under close inspection, my eyes could not identify the error. I struggled to see the fine details. Magnifying glass to the rescue! Magnification revealed two extra tabby picks. Aha! Two fine threads out of place are enough to throw off the pattern. If not corrected, this errant line across the finished cloth would draw the attention of every eye. Knowing precisely where the error is gives me courage to face the necessary operation. Snip, snip, snip. Undo. Fresh start.
Magnifier reveals two extra tabbypicks (16/2 cotton) that must be removed.Weft threads are pulled out one by one, and then discarded.
An honest report tells it like it is. When we are trusting the Lord, we have courage to stop and examine errors, bypassing wishful thinking. Faith is like a magnifying glass that enables us to see clearly. Courage comes alive through the eyes of faith. The difficult and painful process of undoing errors and making corrections is worth it when you consider the high value of the finished fabric.