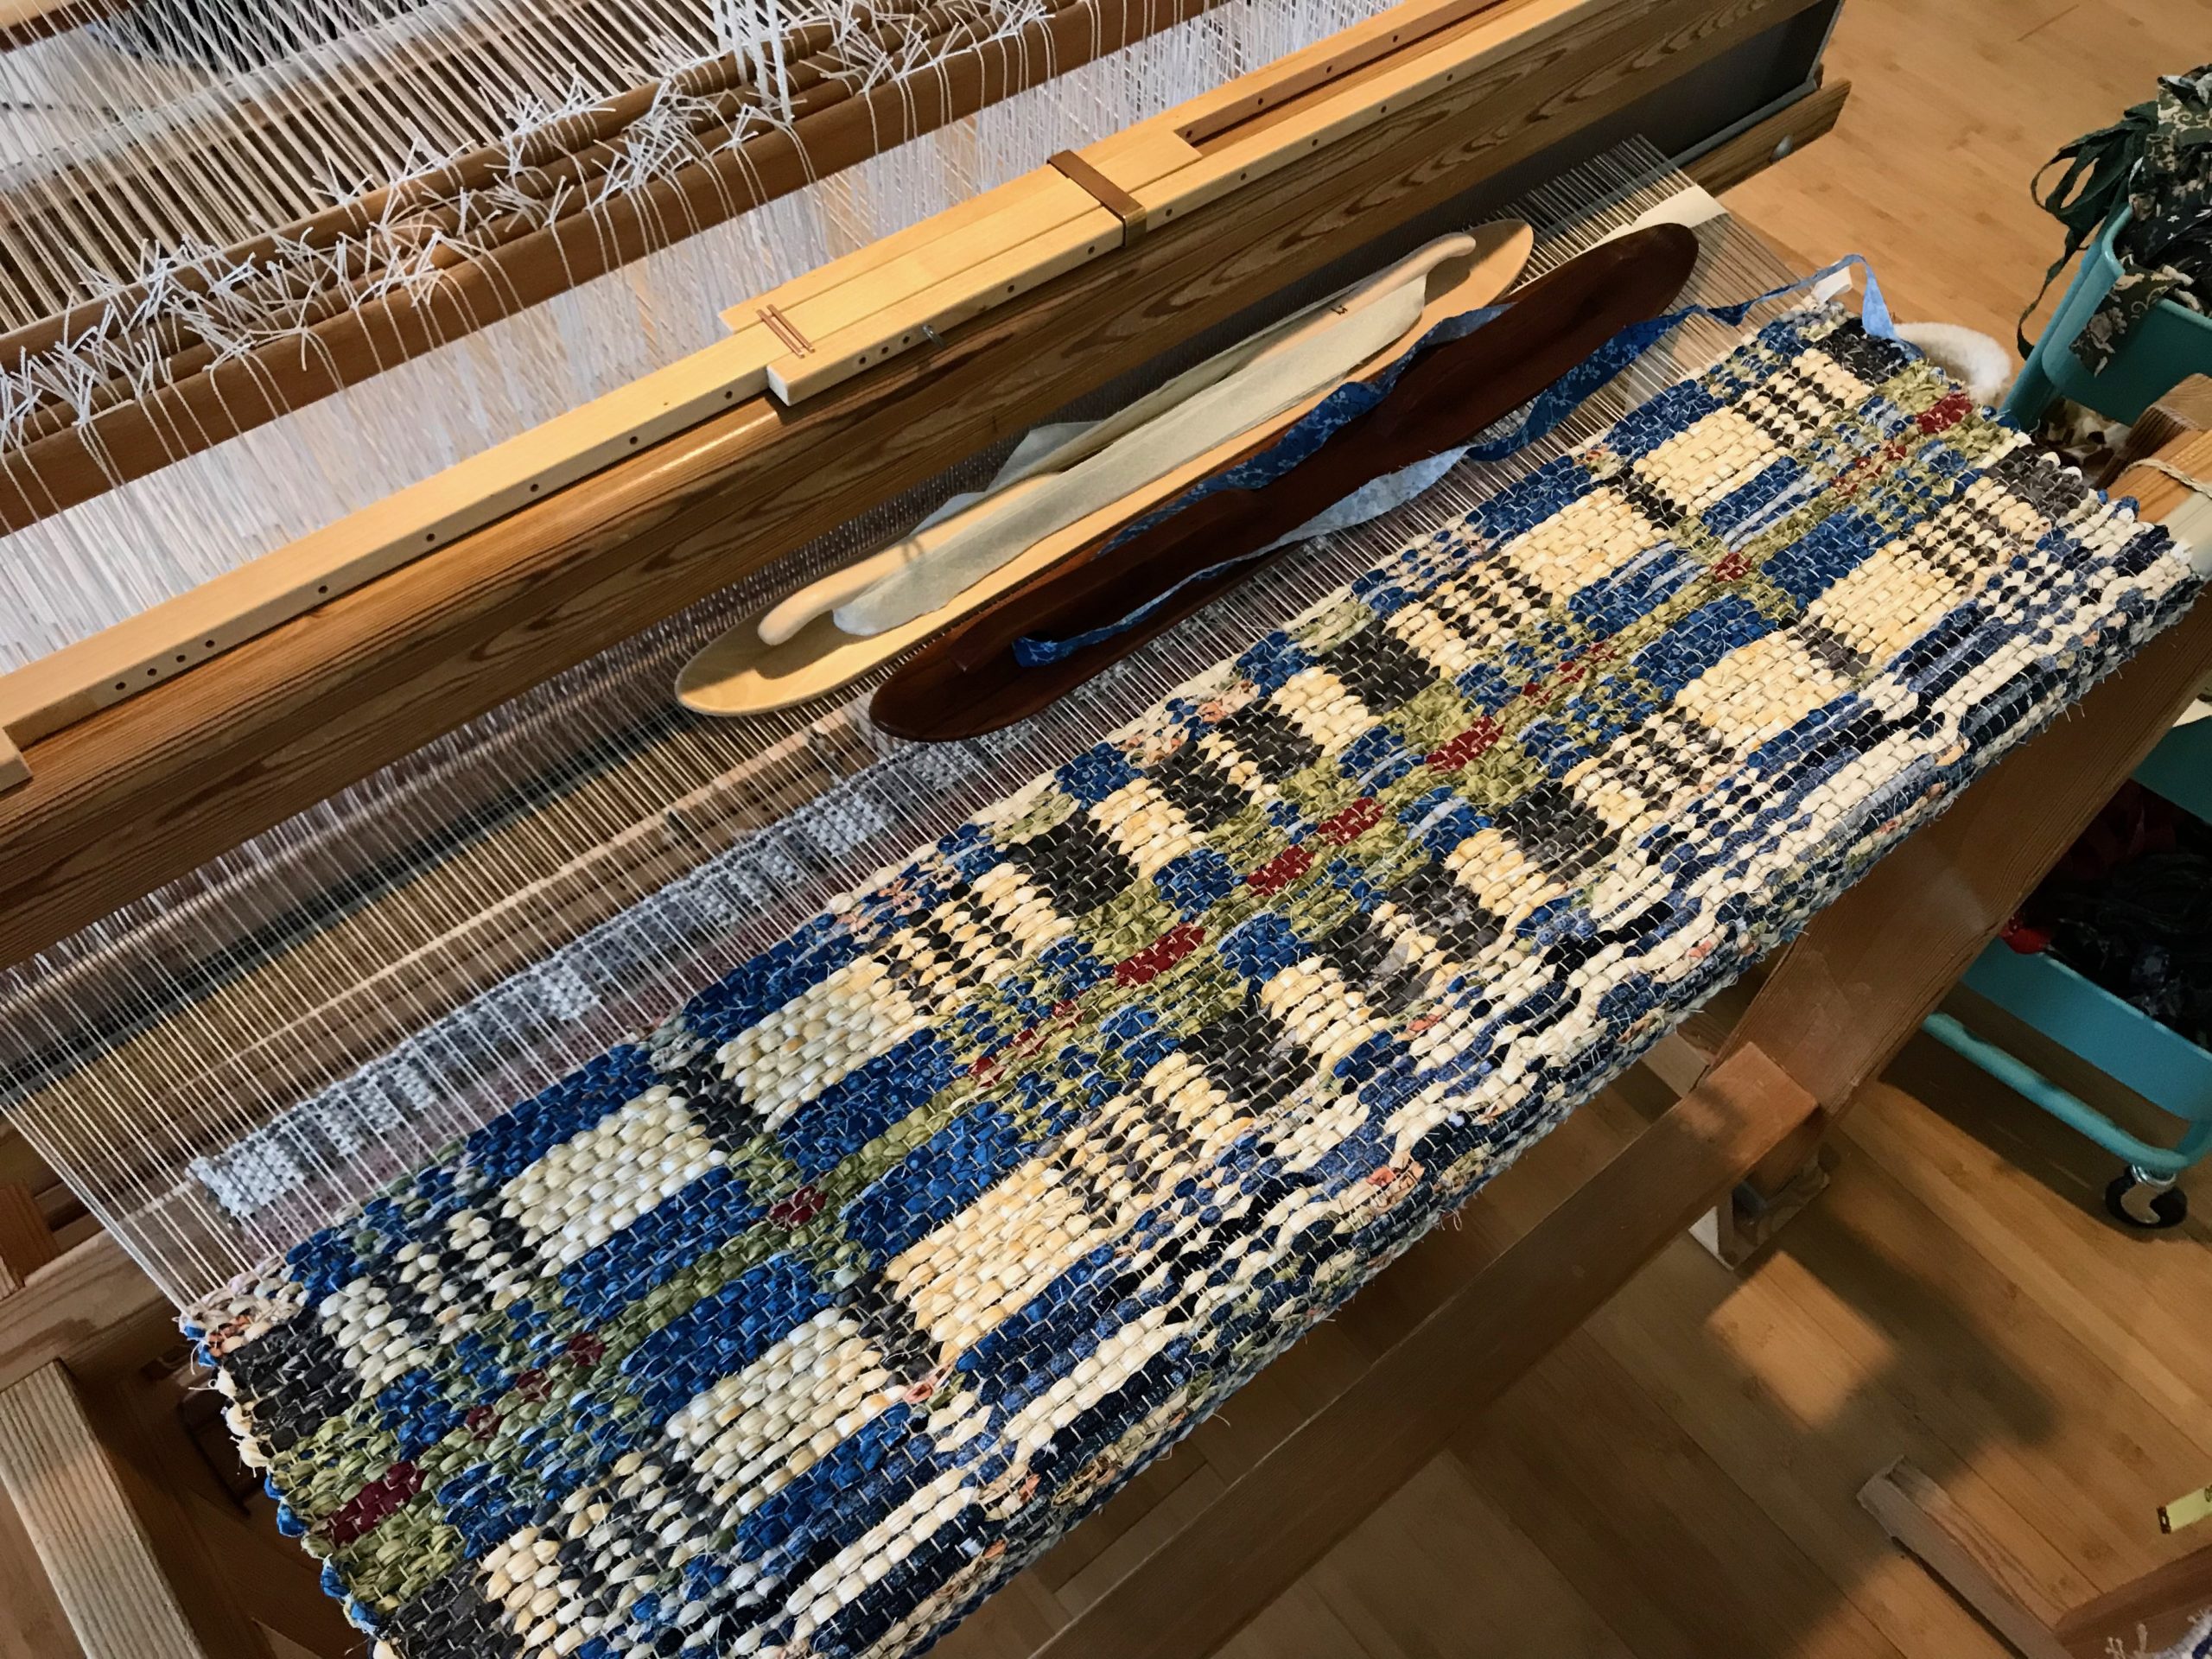
Tried and True: Cheater Bar

UPDATE: I no longer use the cheater bar, as it could put too much force on the loom parts. Instead, I loosen the front ratchet first, and then I am able to loosen the back ratchet.

I have a tool that makes me stronger than I naturally am. Warp tension is extremely tight on my loom when I am weaving rugs. After advancing the warp, and locking the pawl on the cloth beam, I tighten the ratchet on the warp beam as much as I can. Then, I put all my weight into tightening the cloth beam. And then, with a bit of oomph, I lean into the handles on that cloth beam wheel to turn it one more notch on the ratchet. I pat myself on the back for exhibiting such strength. But wait, I have just created a problem. The next time I need to advance the warp, I’m not nearly strong enough to release those front and back pawls.

Meet my simplest tool: The Cheater Bar.
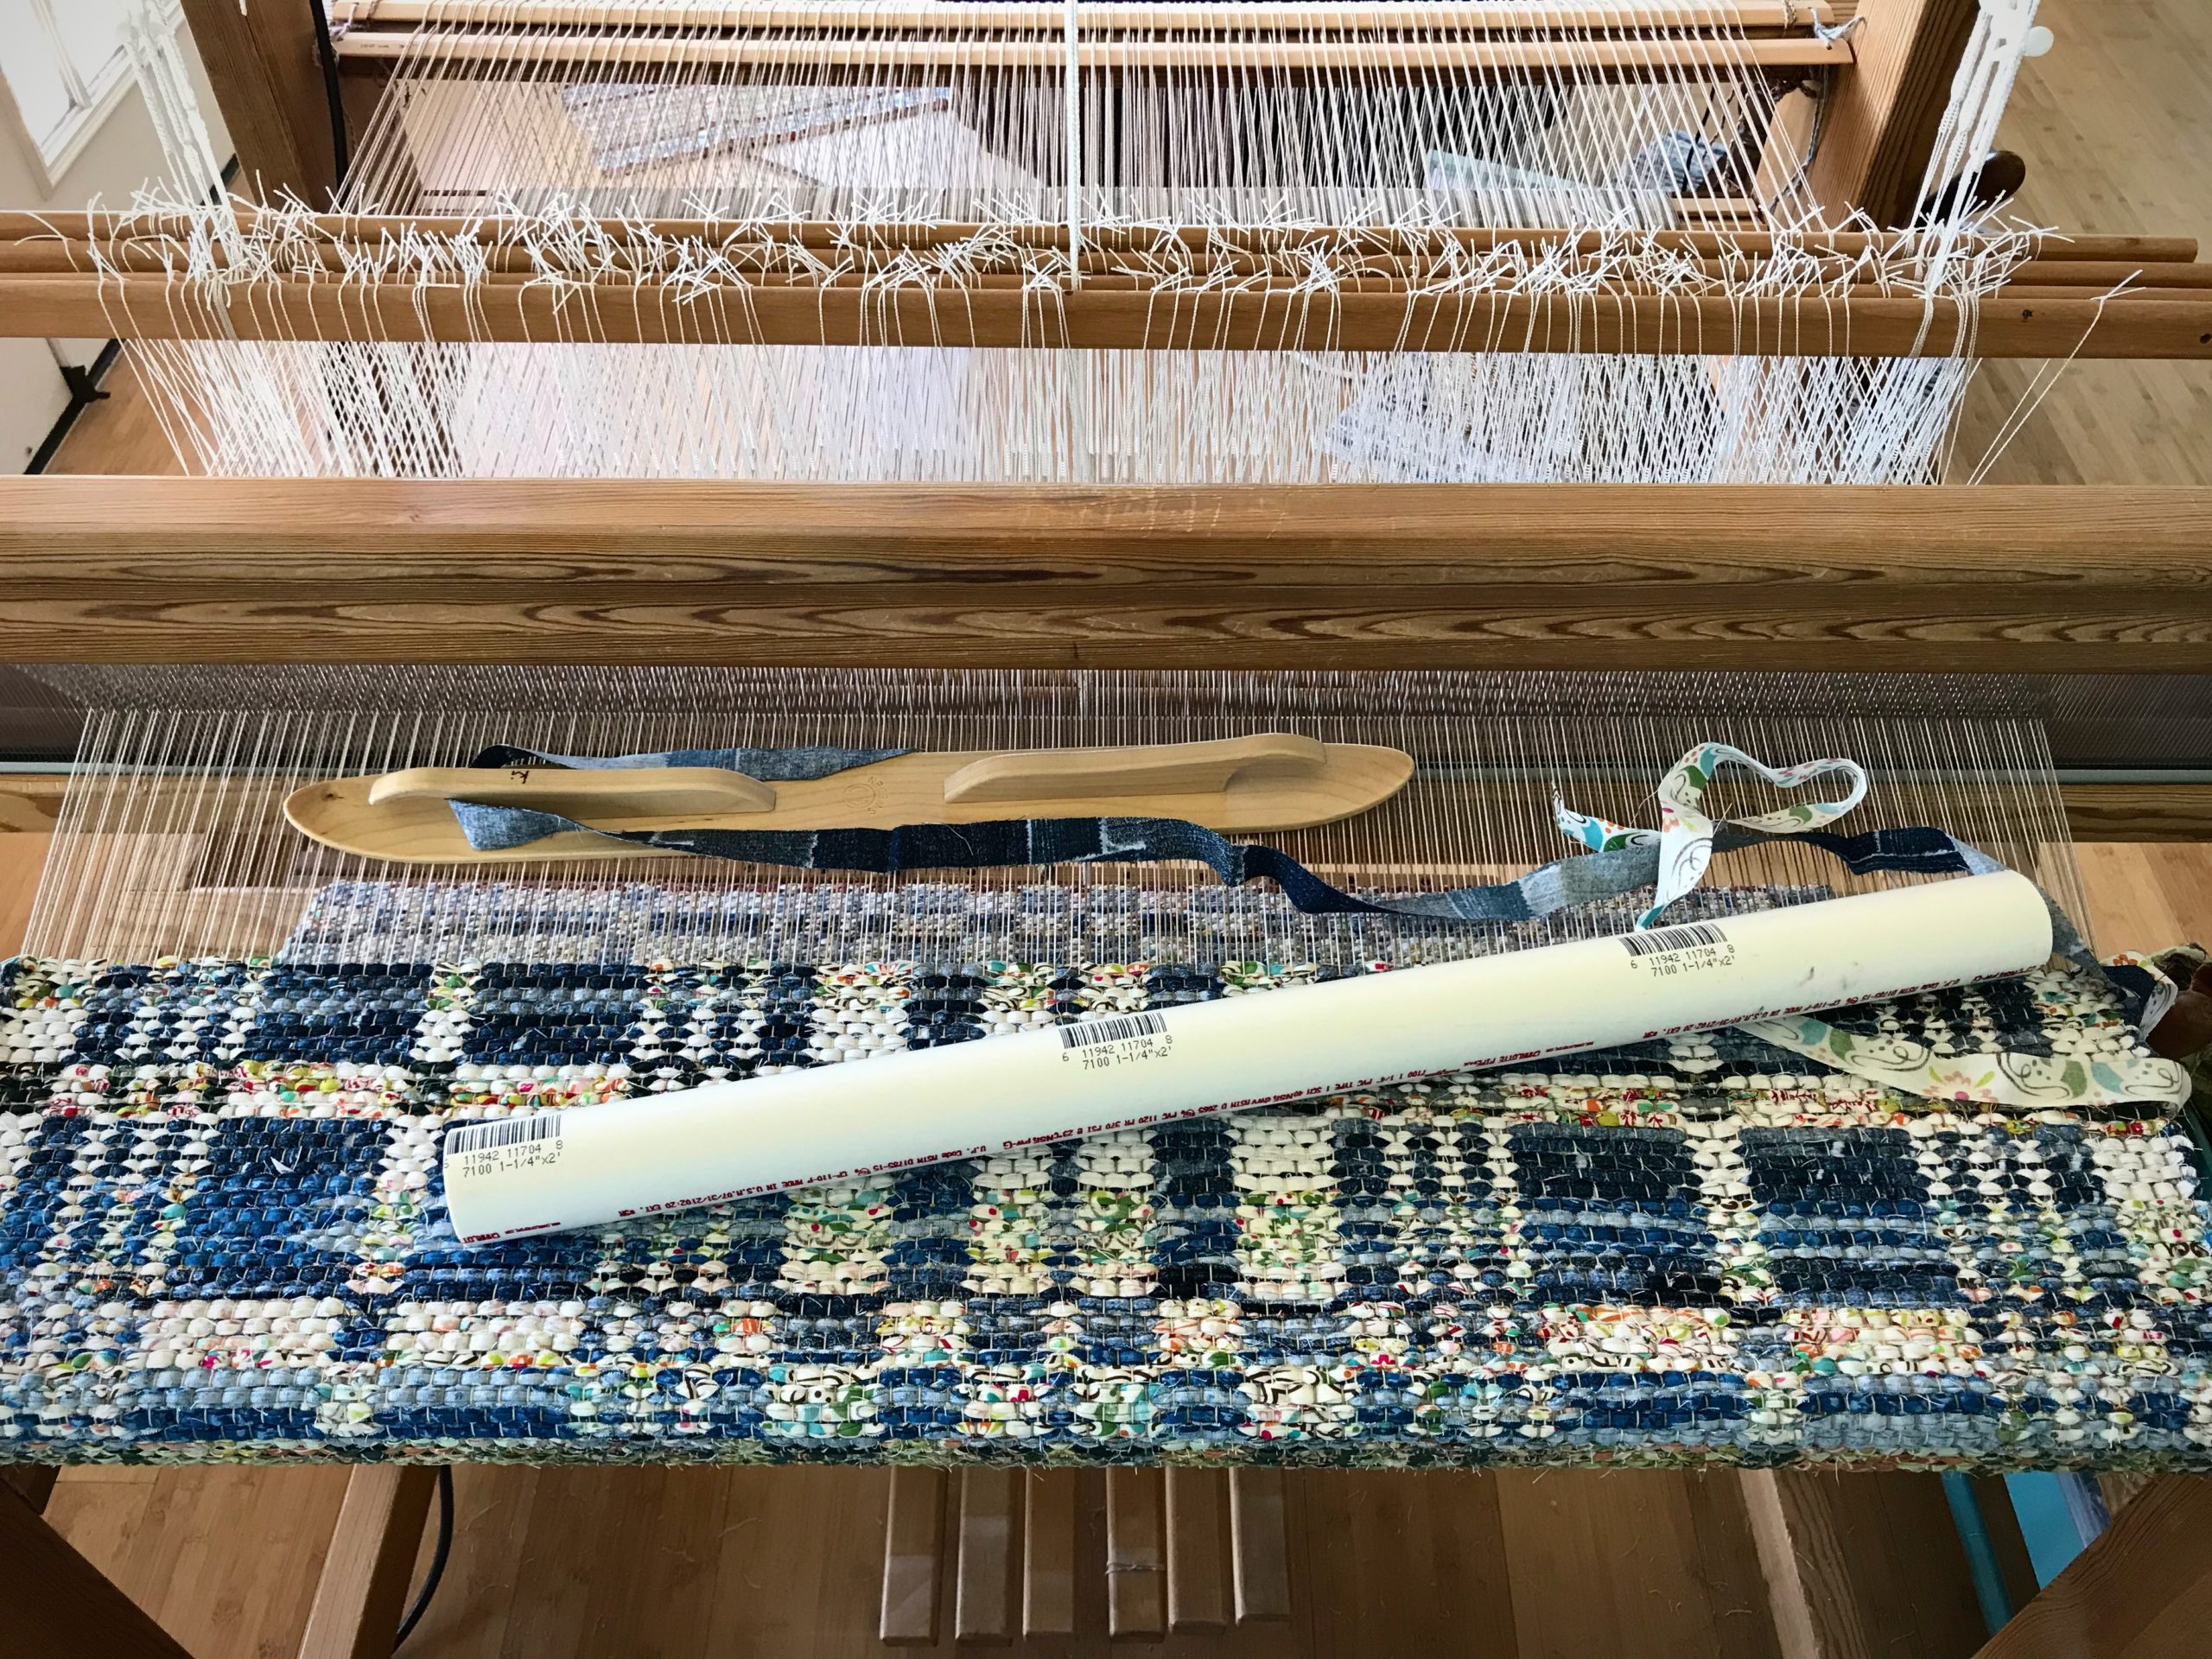
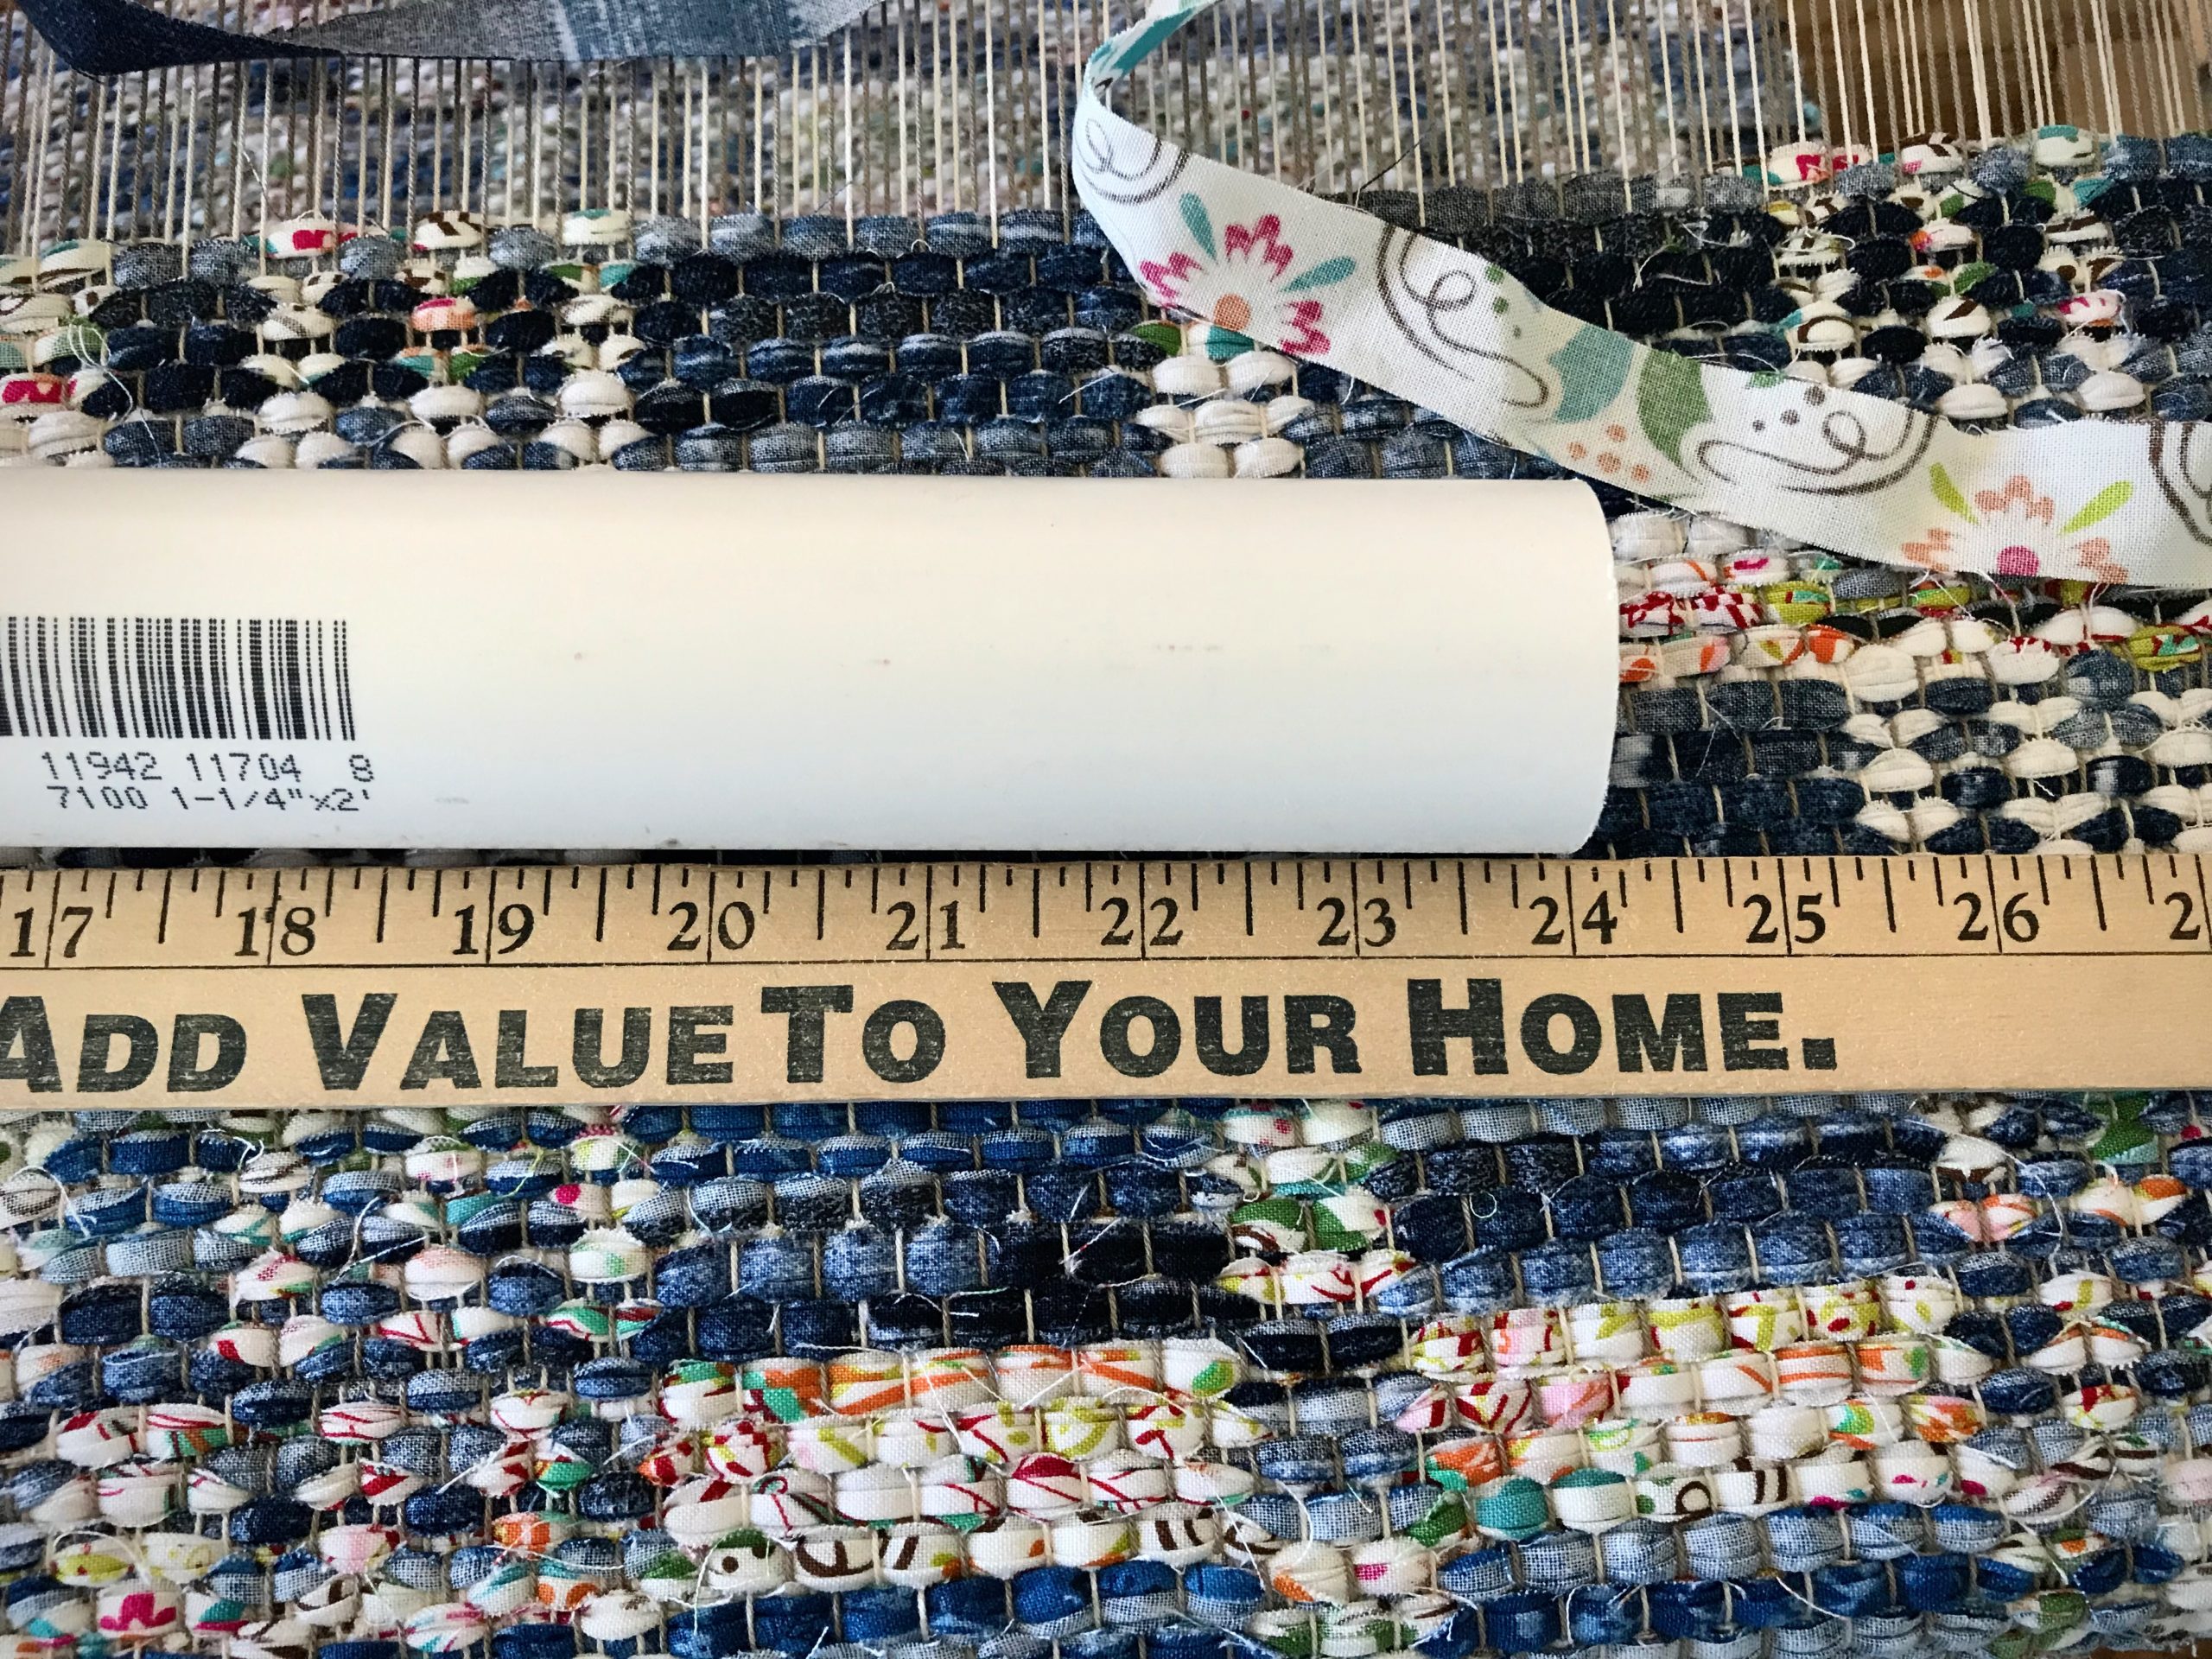
Cheater Bar is PVC pipe to use as a lever.
PVC pipe, 1 1/4″ x 24″

With this amazing helper, I can safely release even the most extremely tight warp tension. (But NEVER use the Cheater Bar to tighten the warp.)
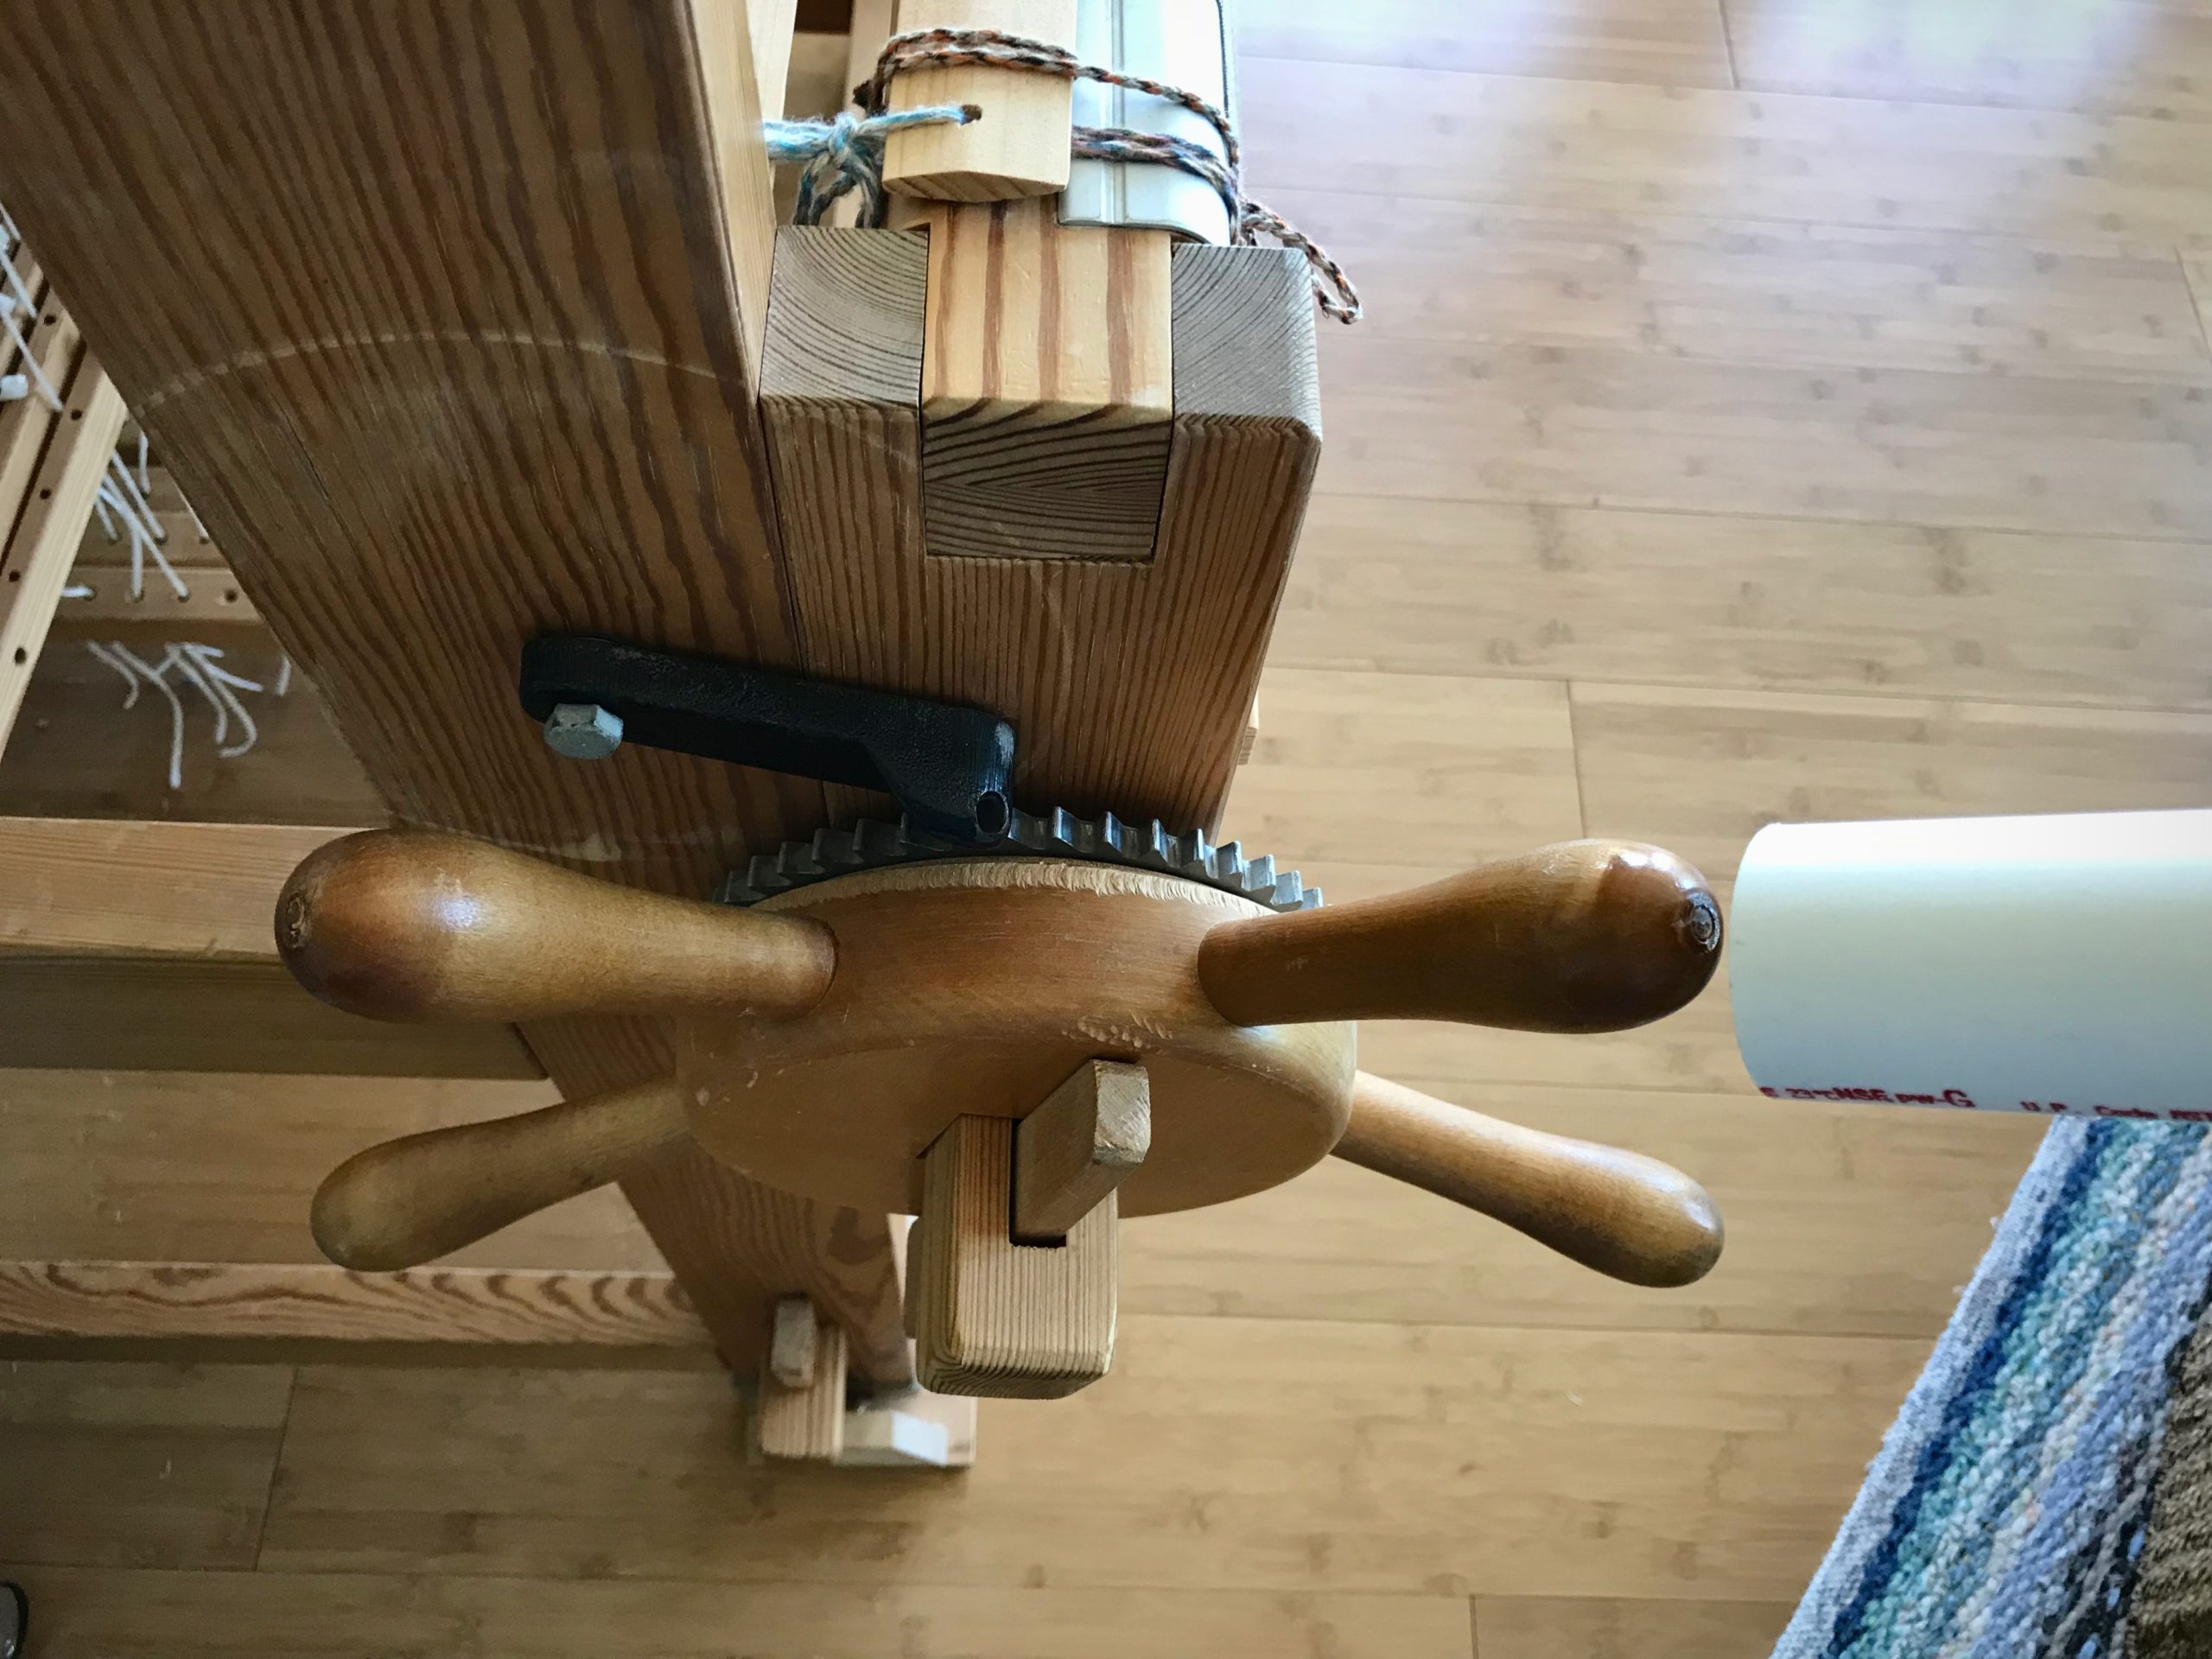
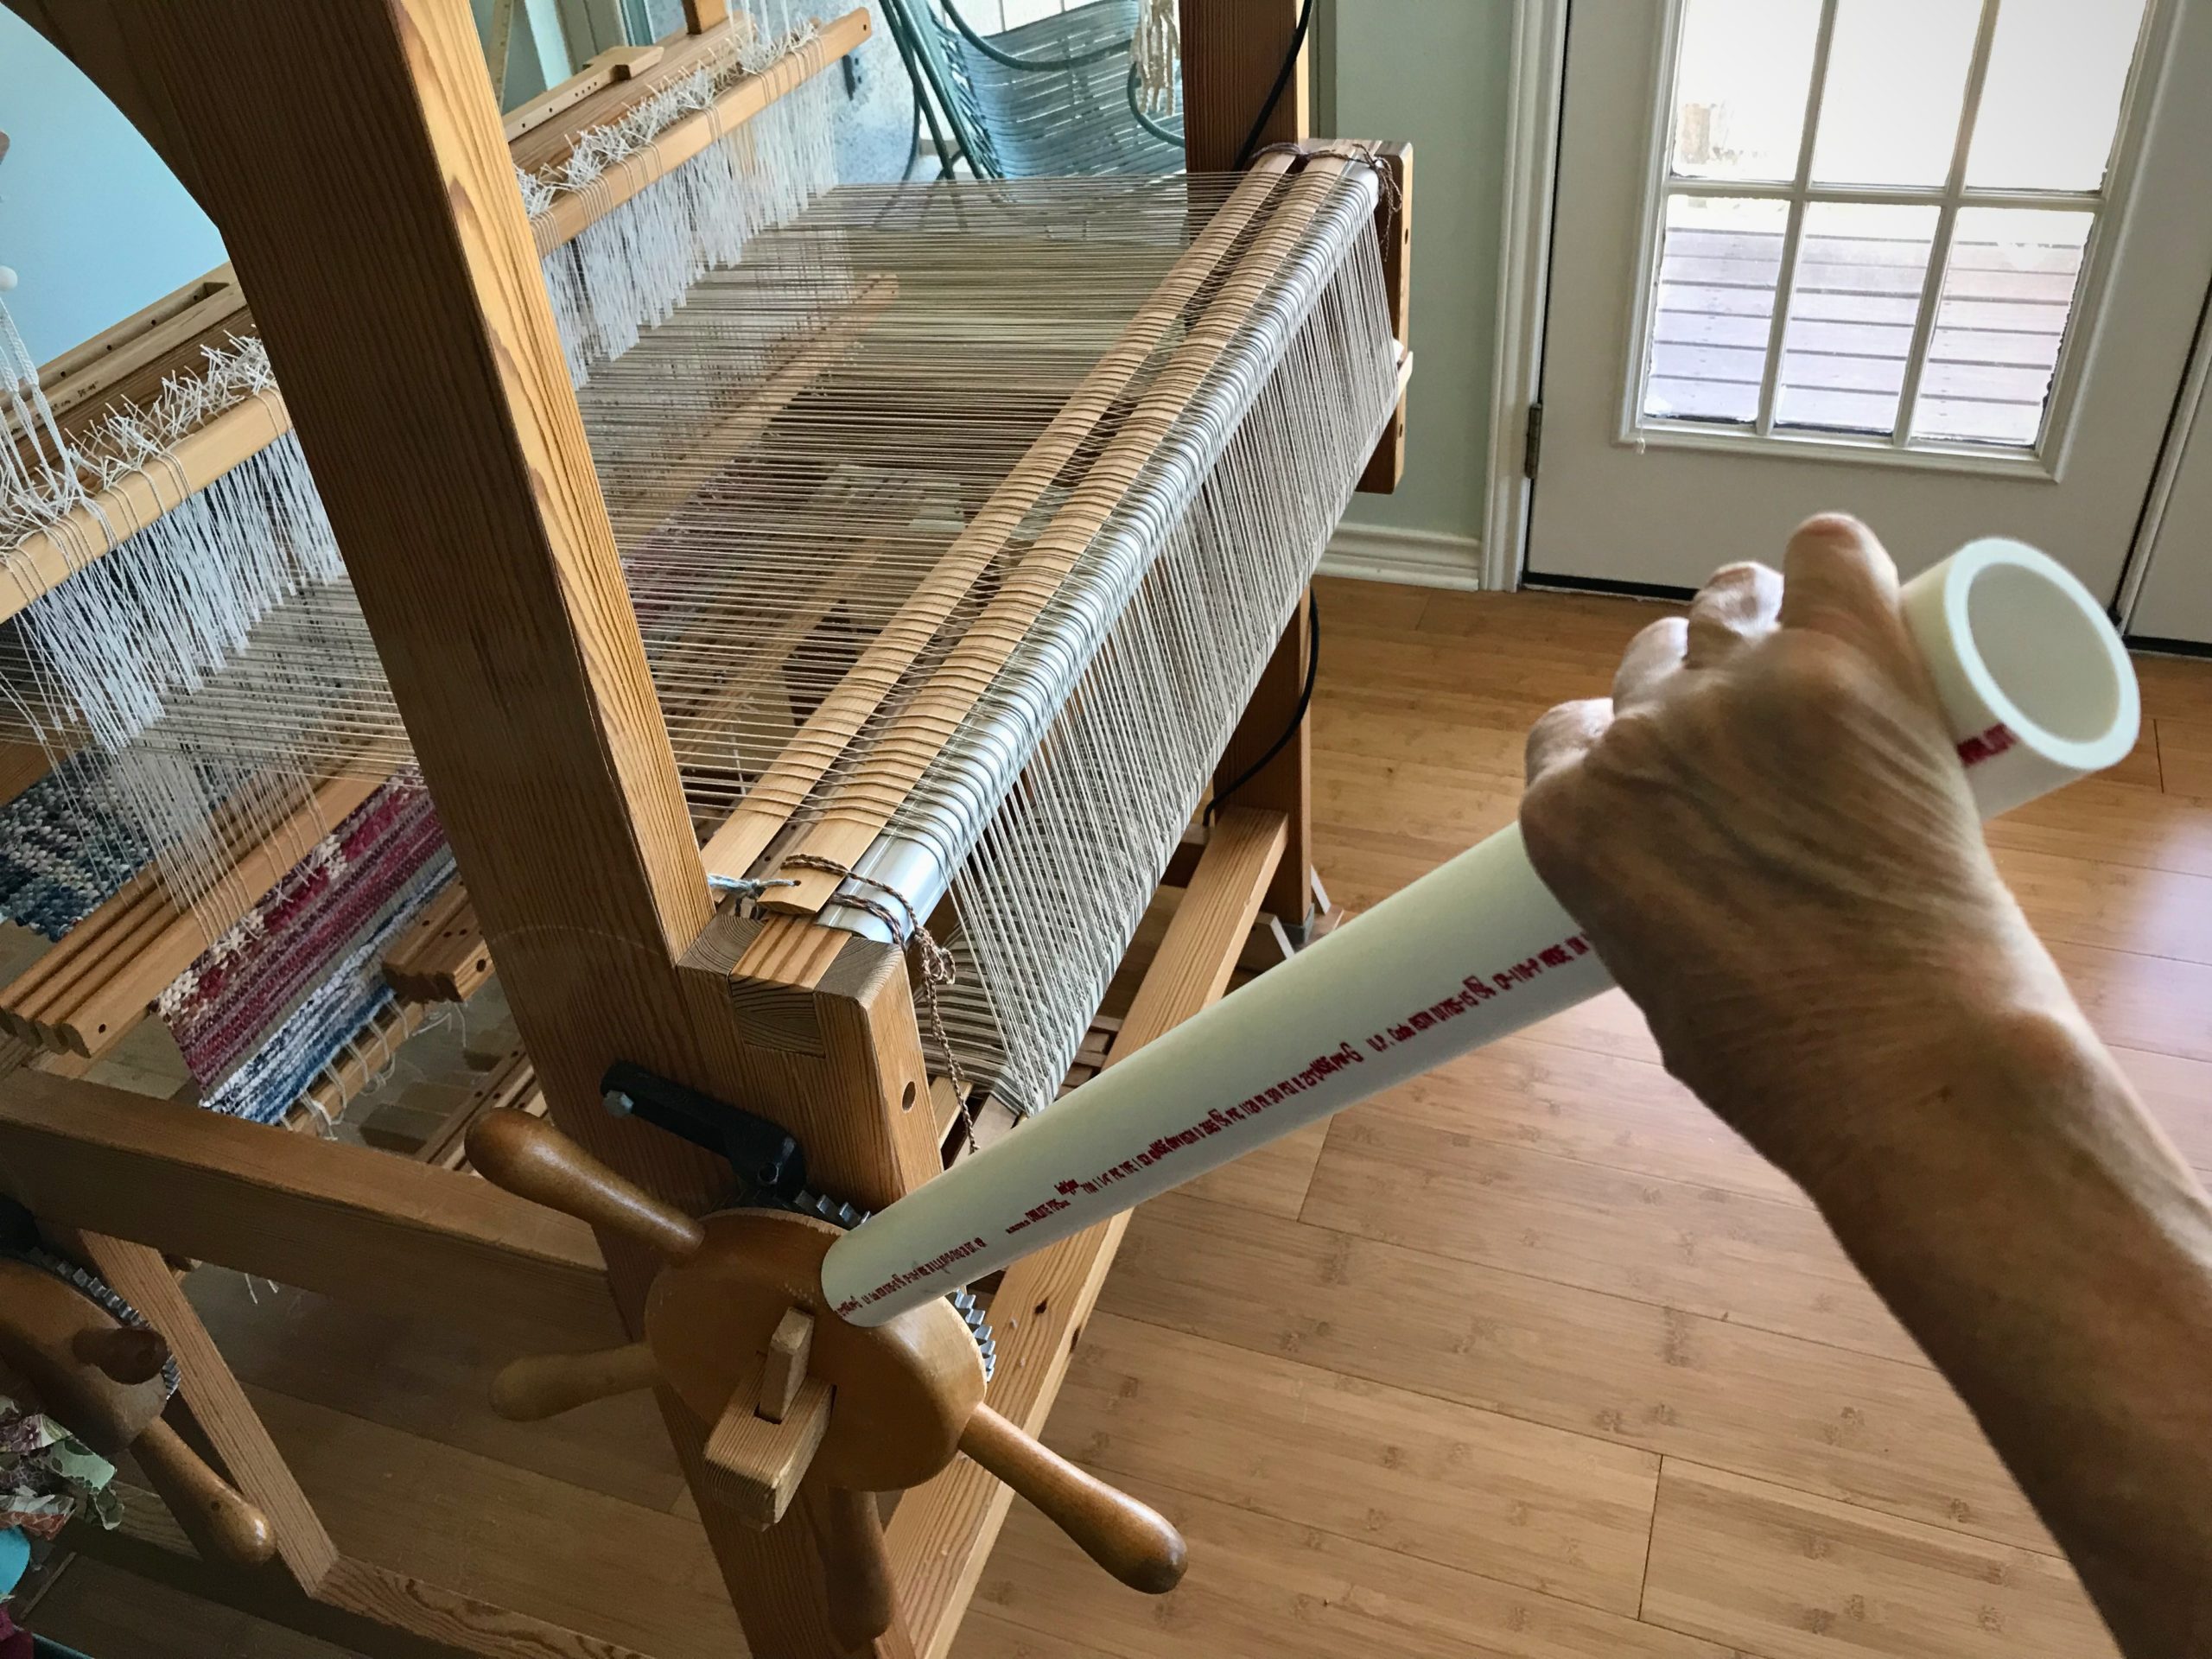
Slip the end of the pipe over a handle on the ratchet wheel.
Force of the lever makes it easy to release the ratchet. CAUTION! Do not use the lever to tighten the warp beam or cloth beam. You could easily tighten it more than the loom is made to handle.

I never knew I could be this strong. Celebrate the moment! (A play on words. Steve tells me “moment” is a physics term that has to do with a force’s tendency to cause something to rotate about a specific point or axis.)

Good tools make hard things easier.

May you find strength you didn’t know you had.

Happy weaving,
Karen

Double-Binding Is My Framework for Floor Art

I can make an ordinary rug. But it’s more exciting to weave something extraordinary. That’s what I like about making rag rugs. I can infuse them with beautiful patterns and colors. Double binding, in particular, gives me a useful framework for my “floor art.”

Double binding is a framework for creating art for the floor.

The thing I like about double binding is the way two consecutive wefts overlap and interchange in the shed. As the blocks change, the weft on top and the weft underneath change places. Most double-binding rugs, including the ones I have made previously, are simple checkerboard designs. The threading pattern you see here has significantly more block changes than usual. What began as a “what if?” has opened up a new dimension of rag-rug weaving for me! This opens the door to extraordinary.

Each row has two interchanging wefts.
Red stripe is the mid point for this double-binding rag rug bath mat.

God made you for purpose. It’s no accident that you are endowed with certain skills. When our skills and desires merge in meaningful ways, we enjoy a sense of purpose. Whether it’s weaving, singing, or growing seeds, do what you were made to do. And let all you do point to the glory of your Maker. When he made you, he had extraordinary in mind!

May you live out the purpose for which you were made.

Happy Weaving,
Karen

Short Rug – Big Splash

This colorful double-binding rag rug is going to make a big splash. At least, it will catch a big splash. It’s a bath mat, after all.

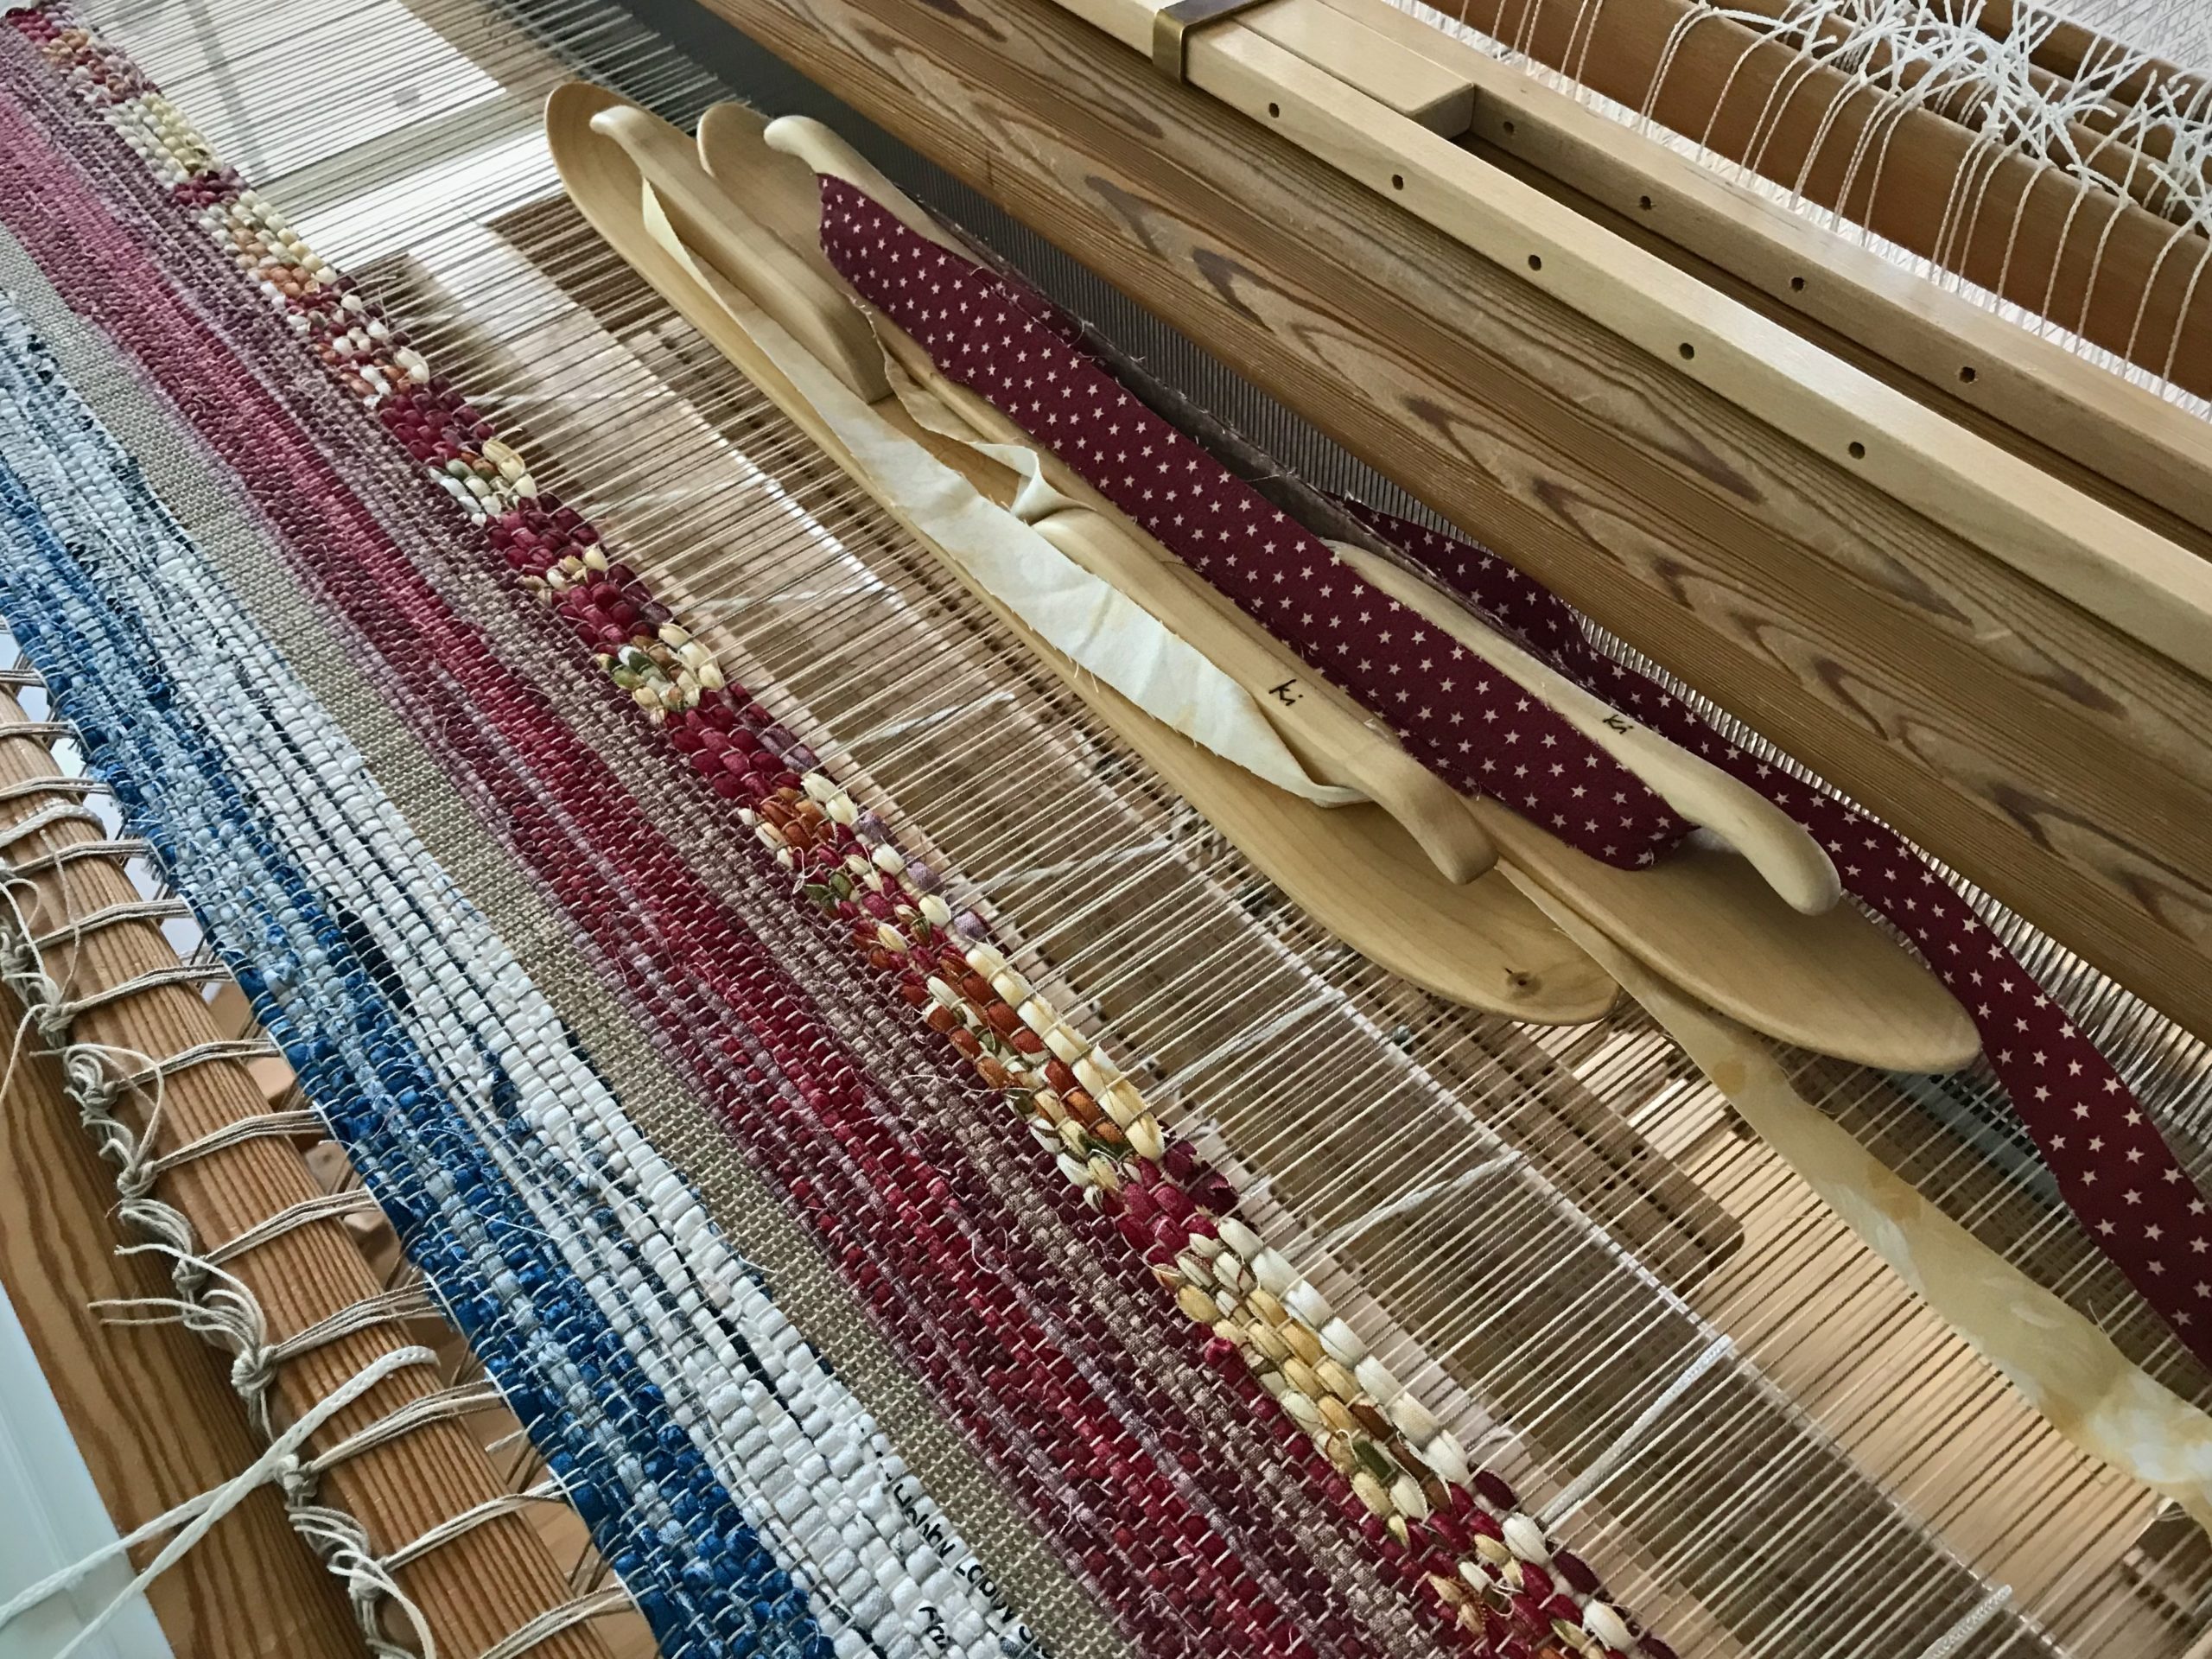
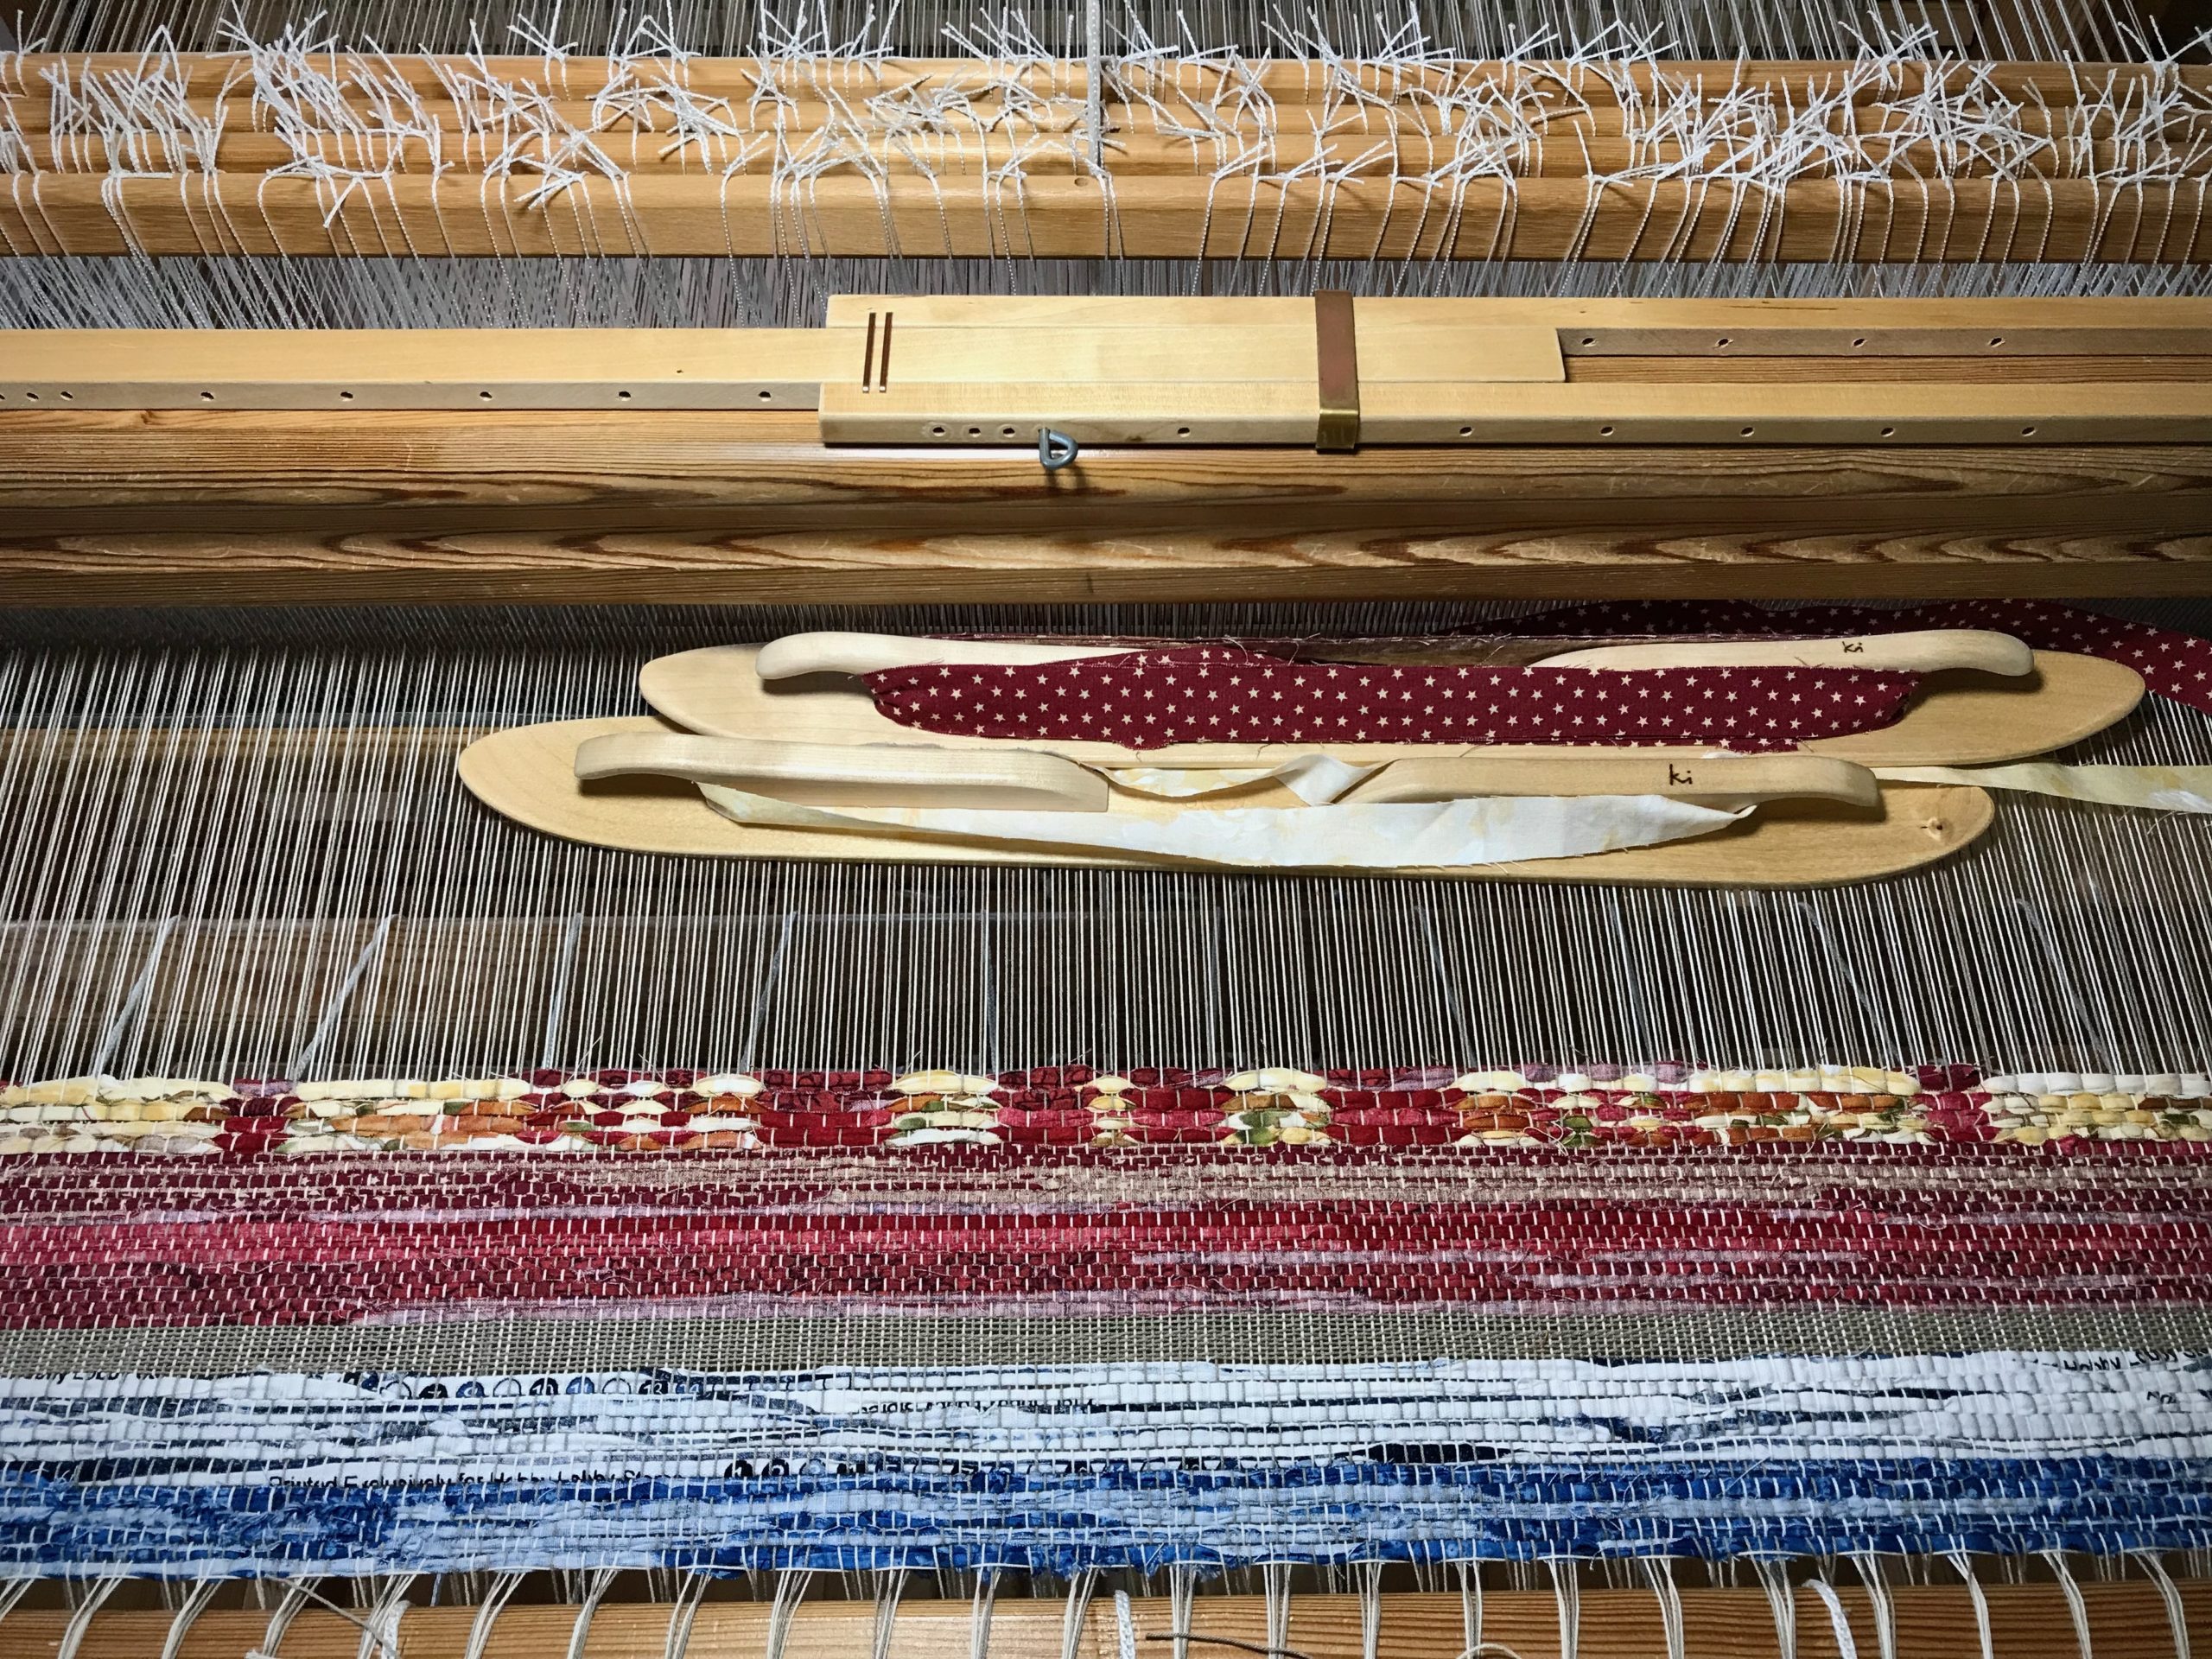
From left to right: Warp is tied on. Leveling string. Blue and white scrap header. Warp thread header. Red plain weave hem. First four rows (eight picks) of double-binding rag rug. Ski shuttle for light-color weft. Ski shuttle for dark-color weft.

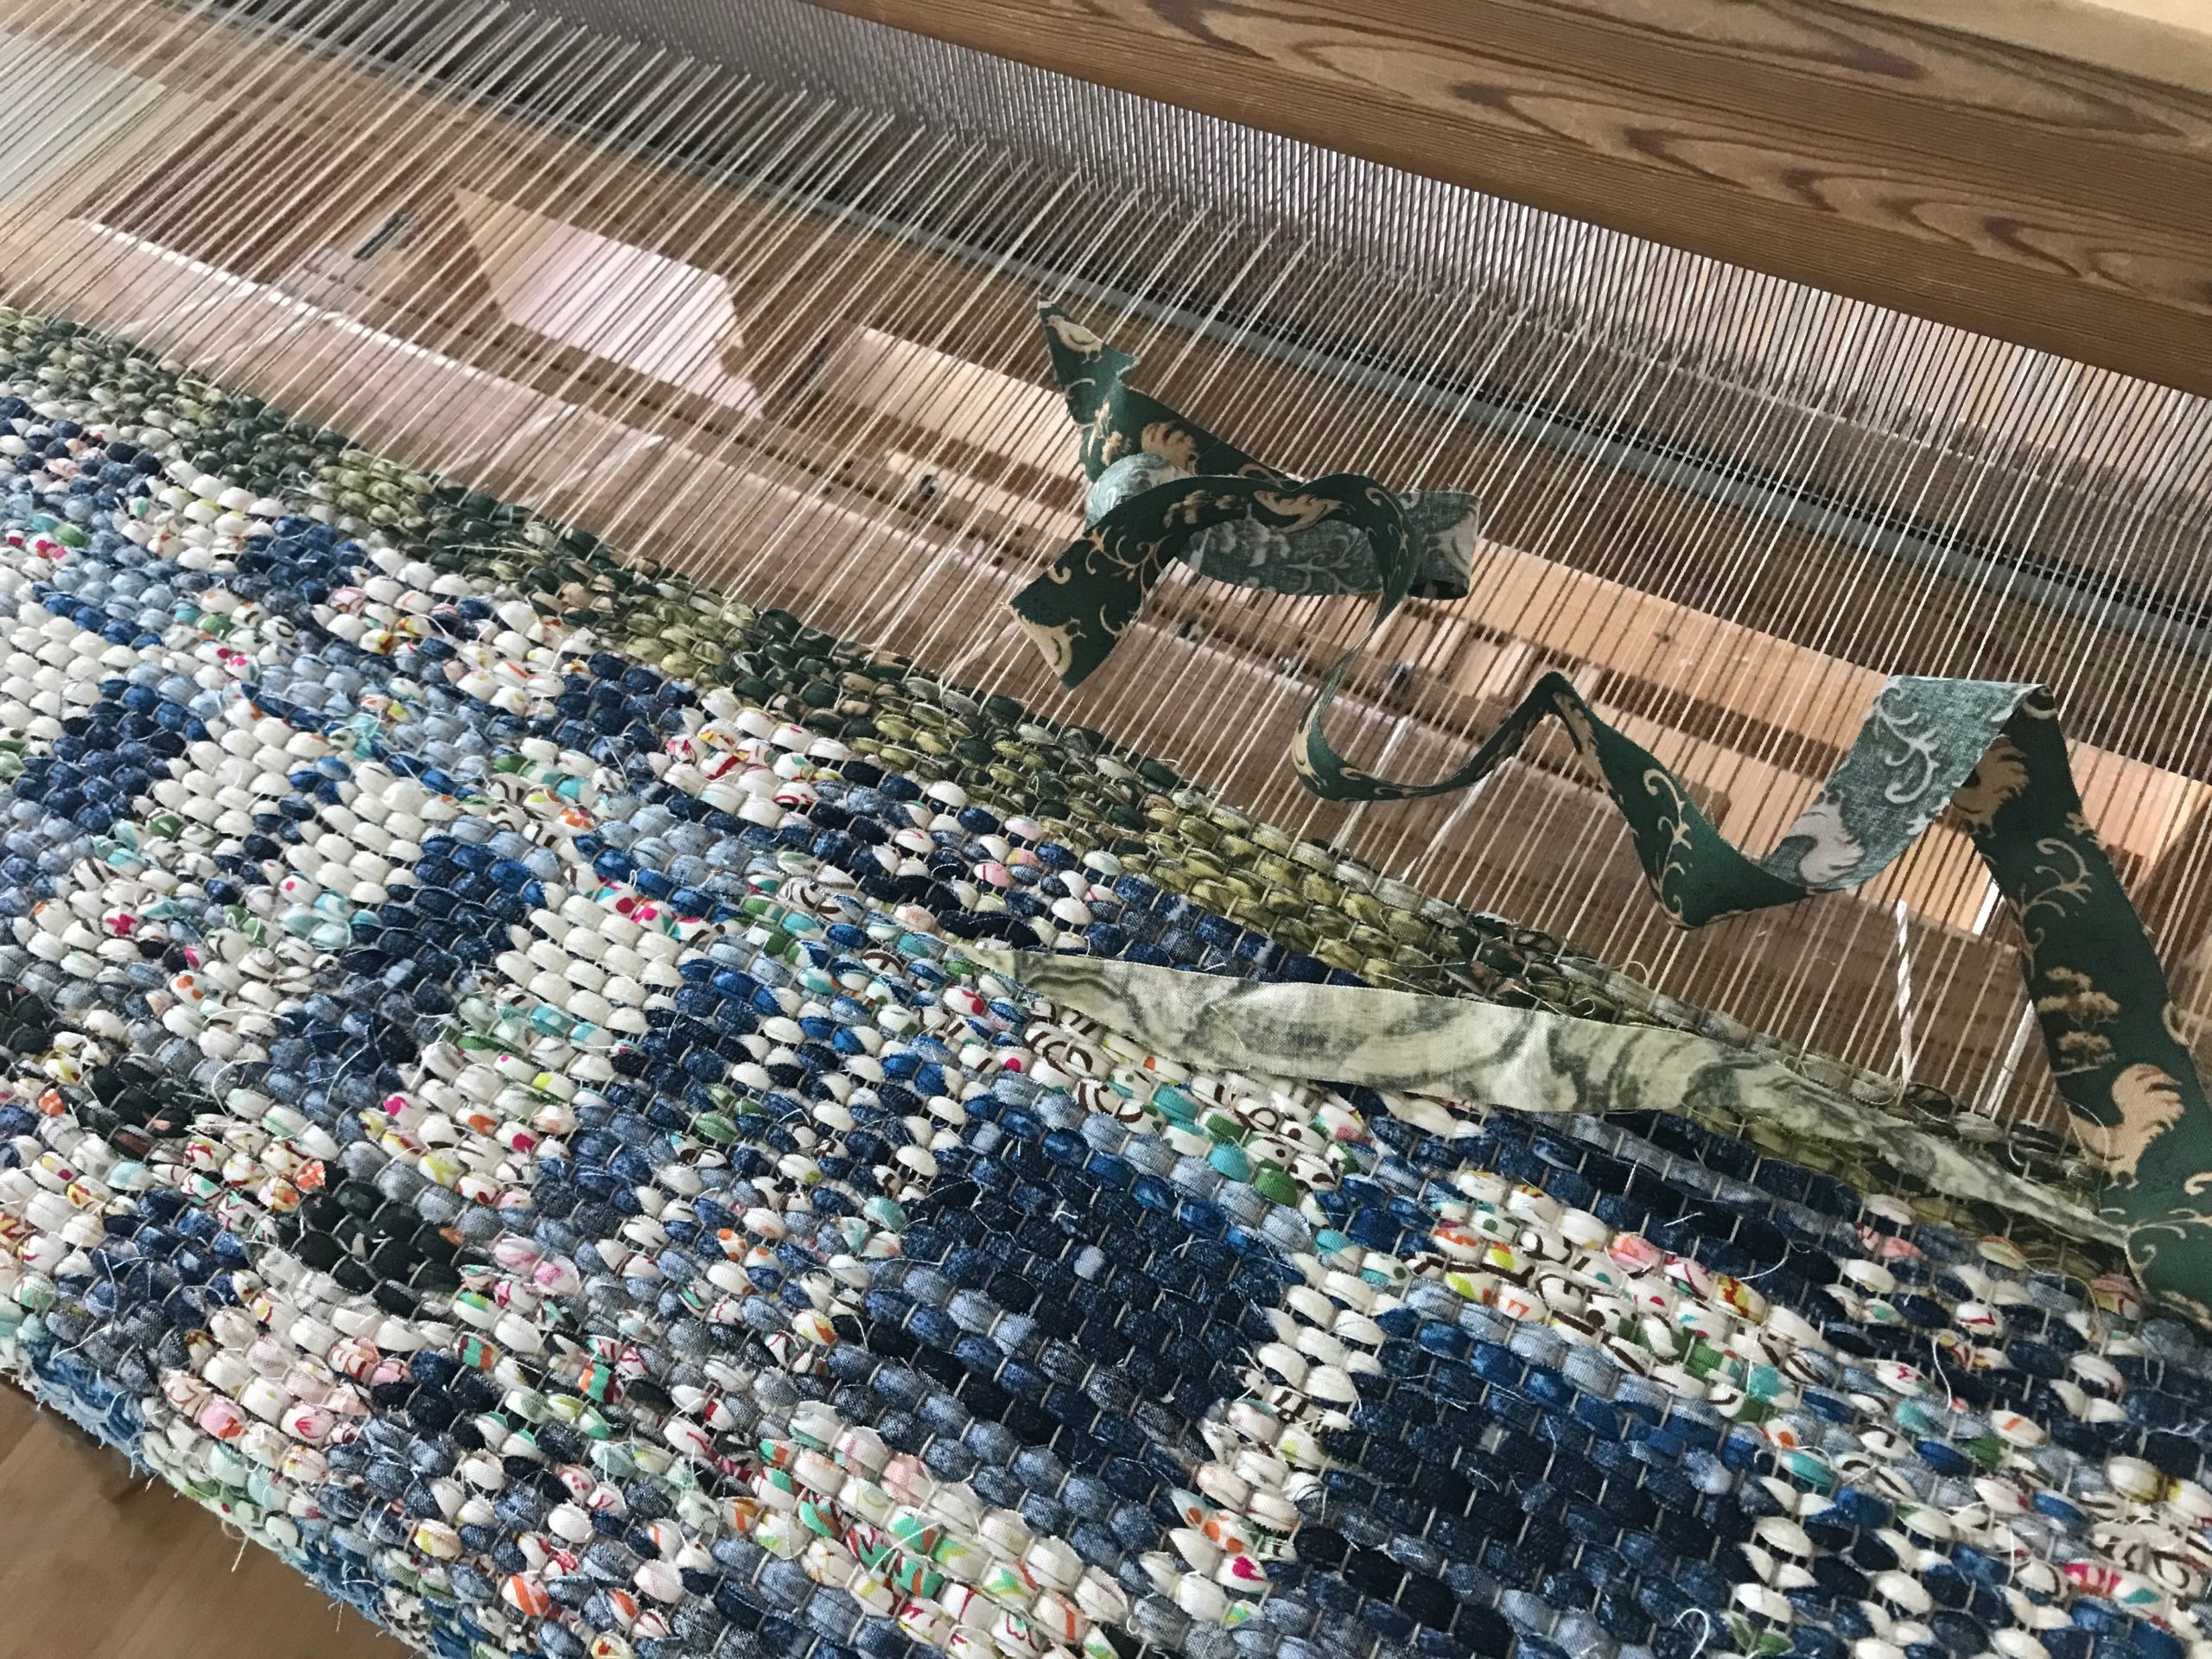
I am not fiddling with the weft fabric strips. Instead of making the right side of the fabric always show on top, I am letting the fabric strips fall as they may. The resulting variance in the weft gives the rug a vintage-like appearance. Also, I am using print fabric for some of the the light color of the double binding that purposely obscures the contrast of dark and light in some places. This is to give the rug a softer, more playful appearance.

Some of the red fabric for the rug’s hem has a wrong side that is much lighter than its right side. I am letting some of that lighter fabric show on top. Besides giving the rug a vintage-like appearance, this variance also makes the rug more reversible. The front and back side of the rug will be similar to each other, instead of one dark side and one light side.
Glimåkra Ideal, with the beginning of a burst-of-color short rug to be used as a bath mat.

Home is where we make our true expression. The textiles from our hands speak without saying a word.

May your home represent you well.

Happy Weaving,
Karen

Tried and True: Cutting Off for a Fresh Start

I have good reasons for cutting off this first double-binding rag rug before proceeding with the rest of the warp. This pause and reset ensures happy weaving to the end. Cutting off gives me a fresh start for the next rug.

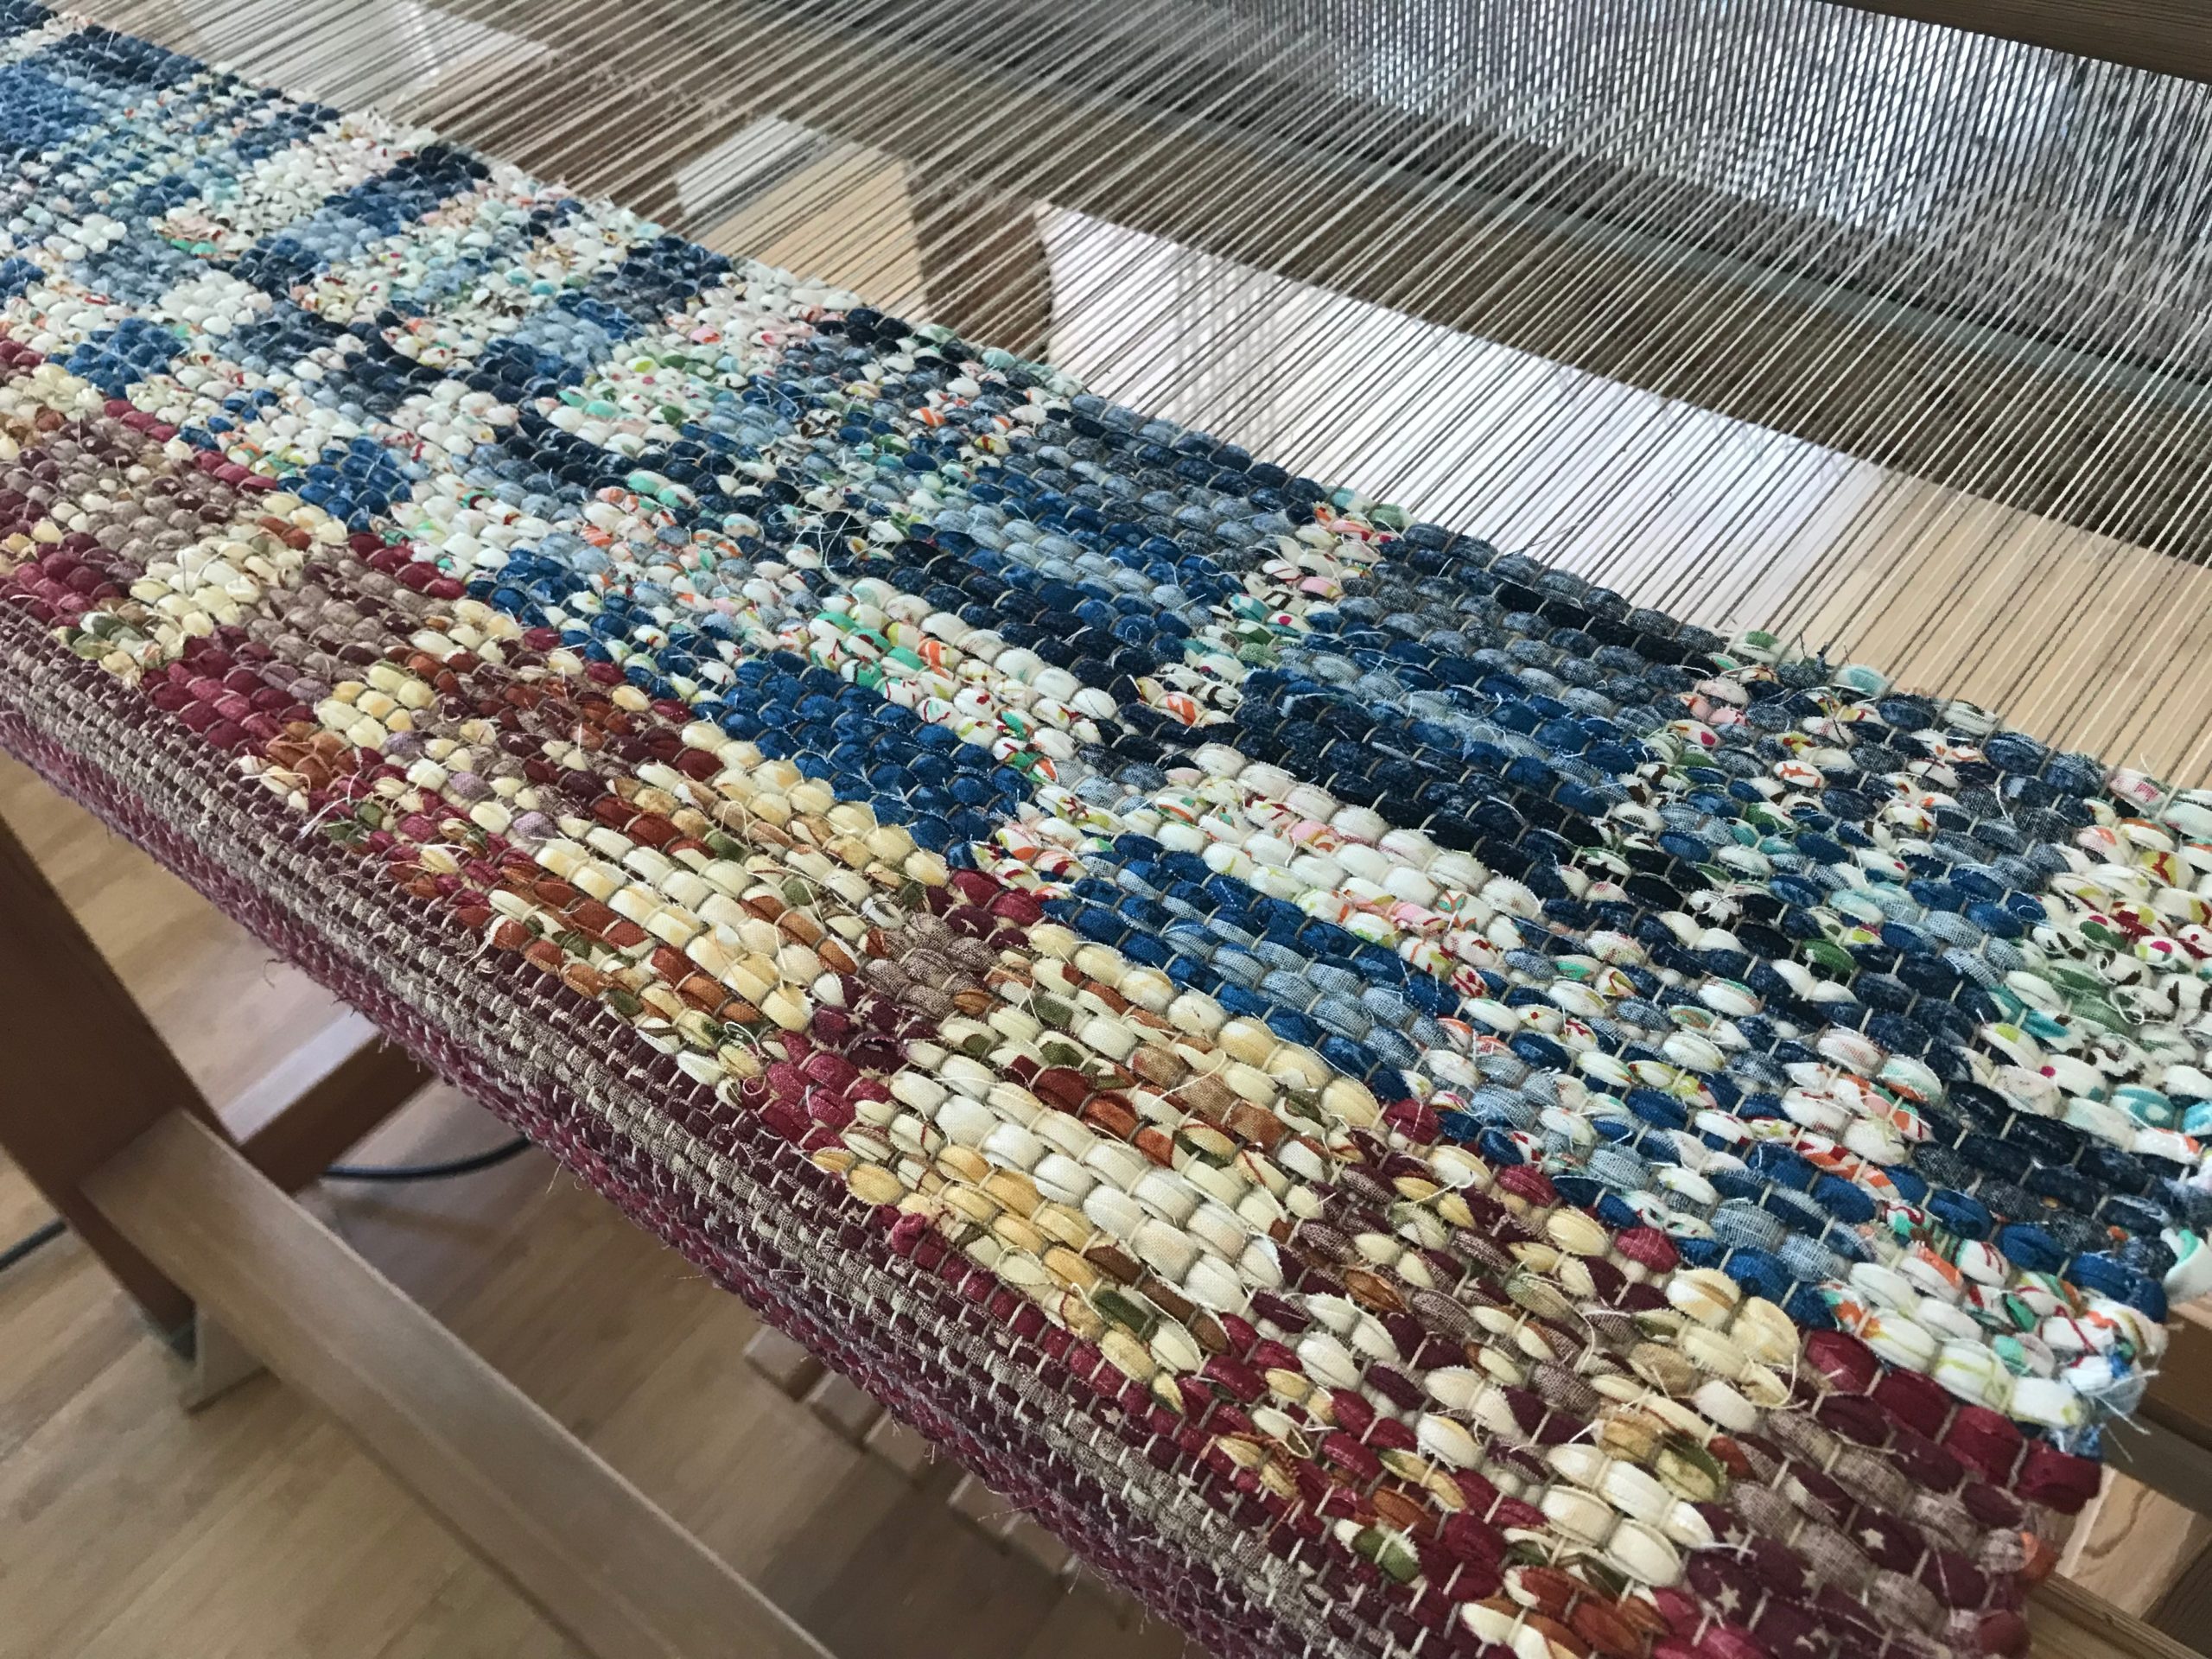
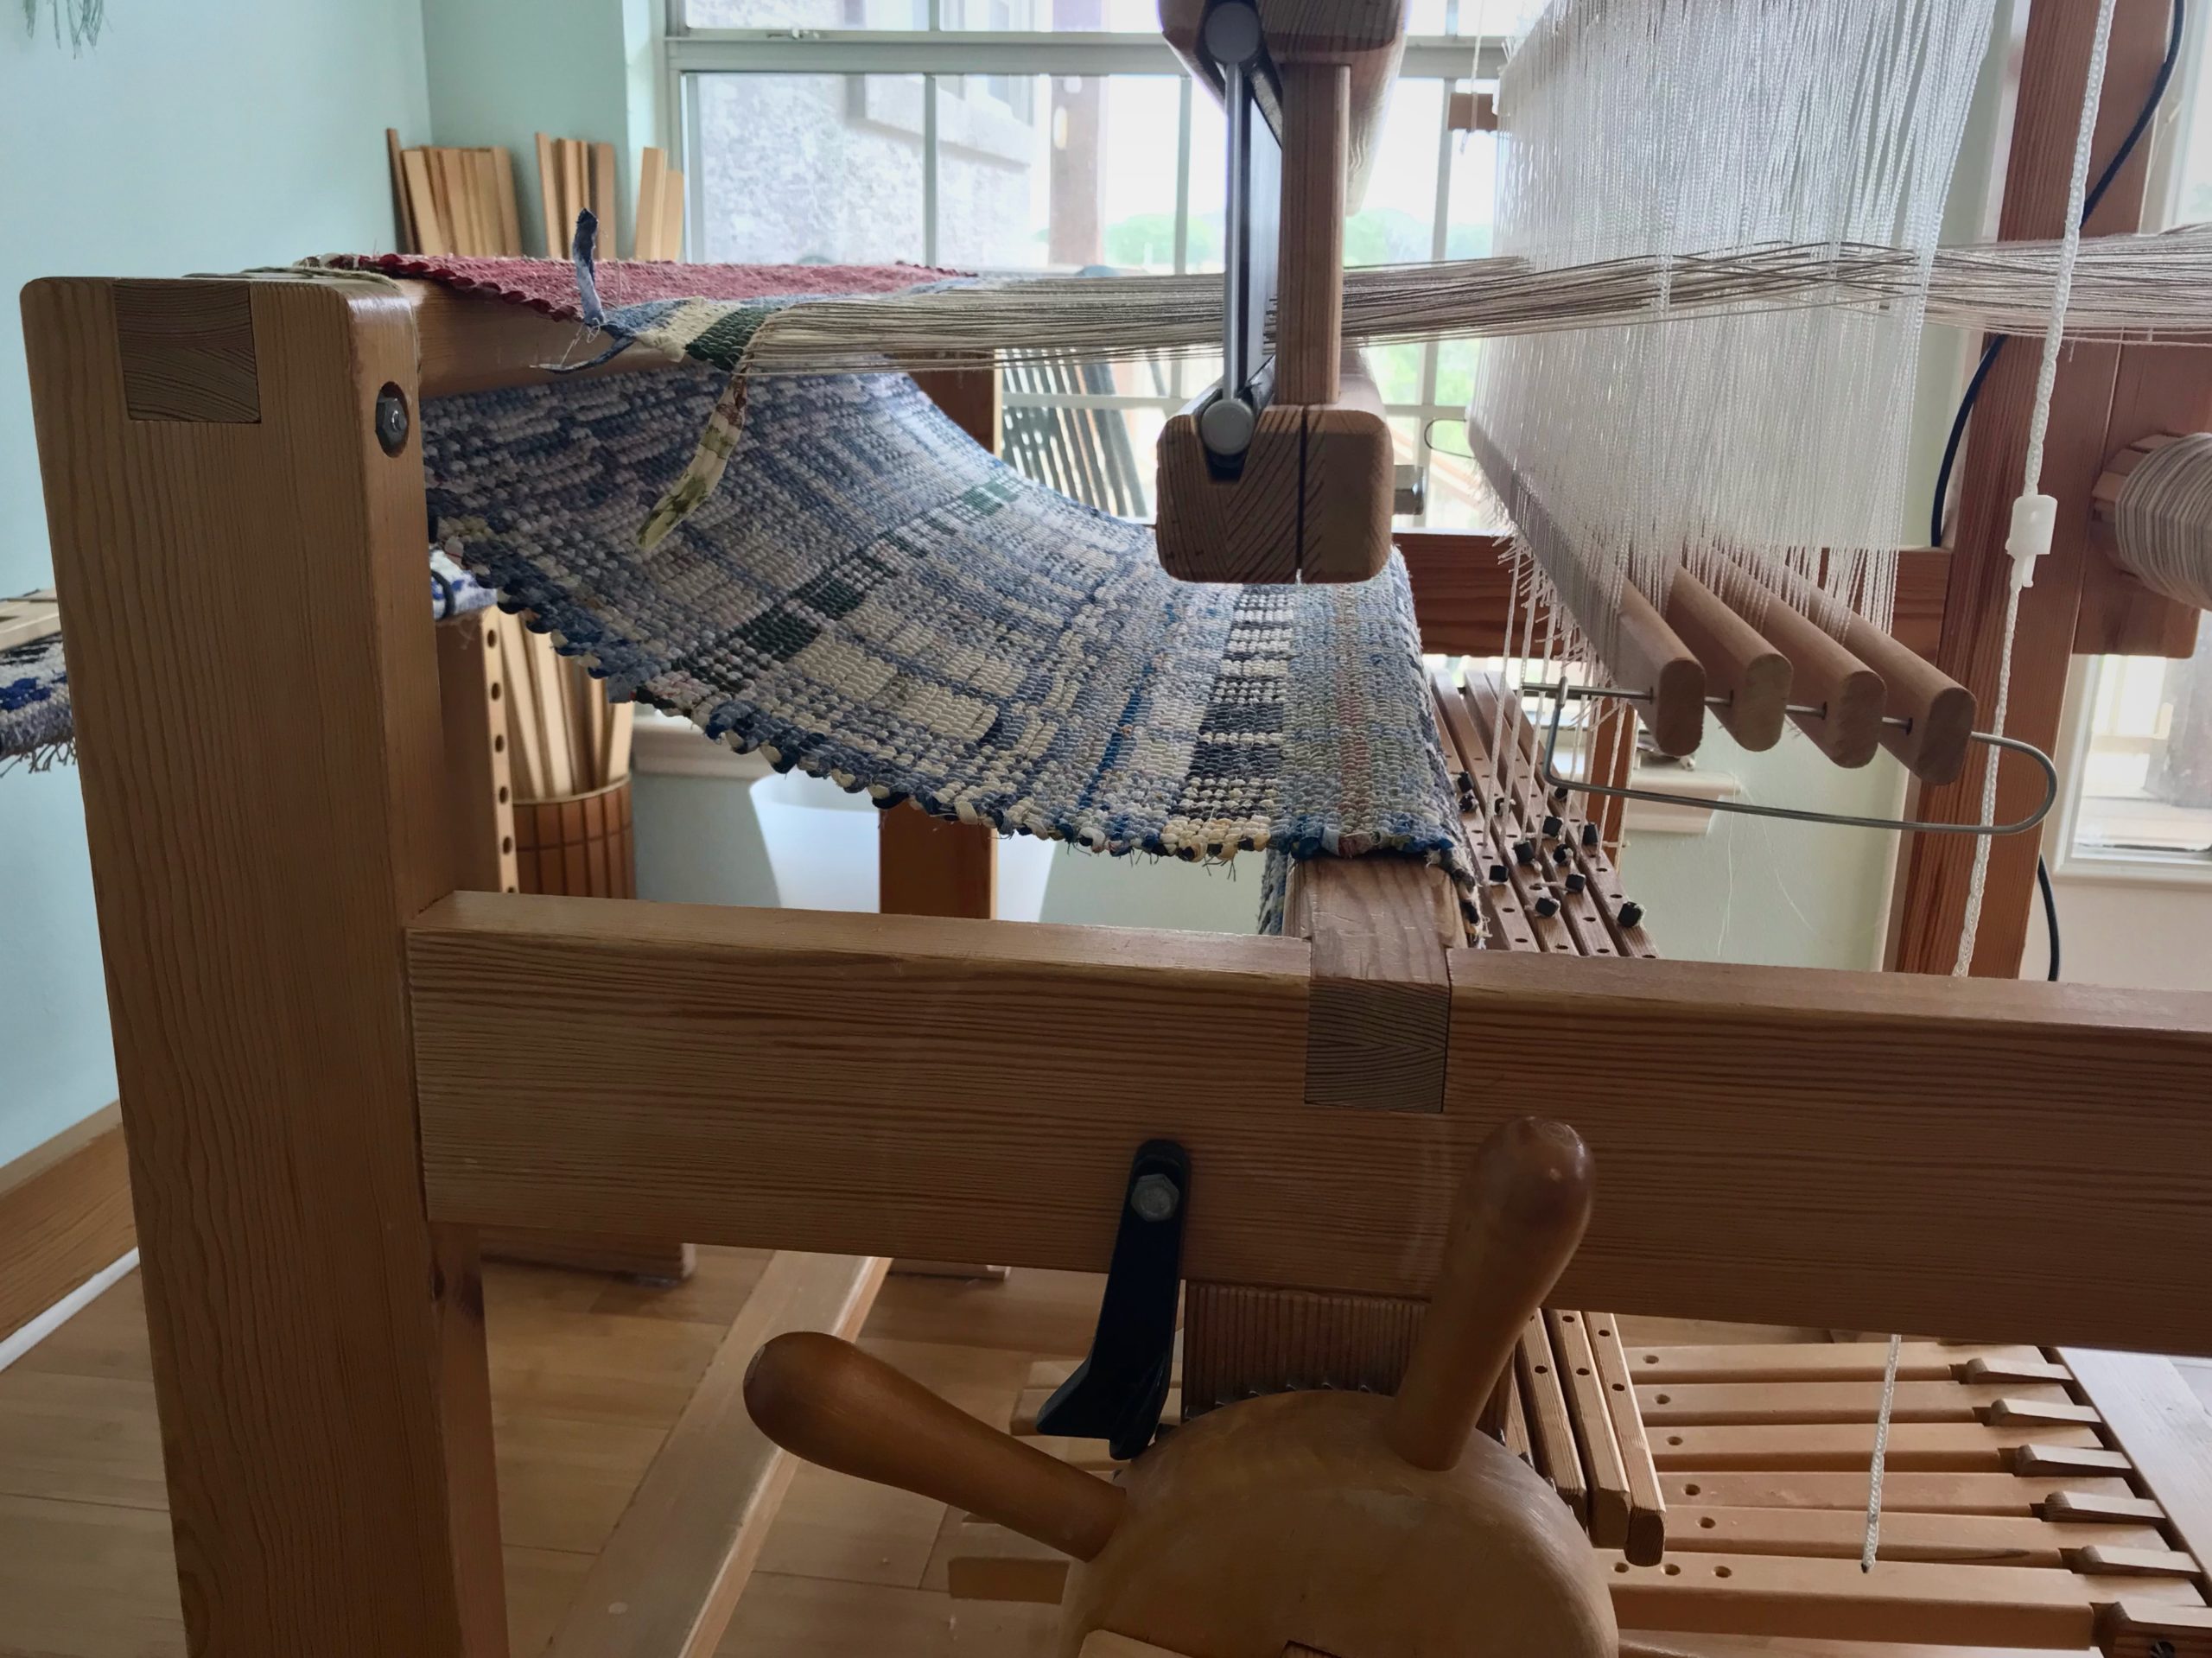
Rug is wrapping around the cloth beam.

Reasons for cutting off rag rug before end of warp

  1. Uneven warp tension. I can improve the warp by tying back on.
  2. Large rag rag. I can get a tighter warp tension by removing the rug’s bulk from the cloth beam.
  3. New design. It helps me to see the completed rug before starting the next one, since this is a brand-new design.
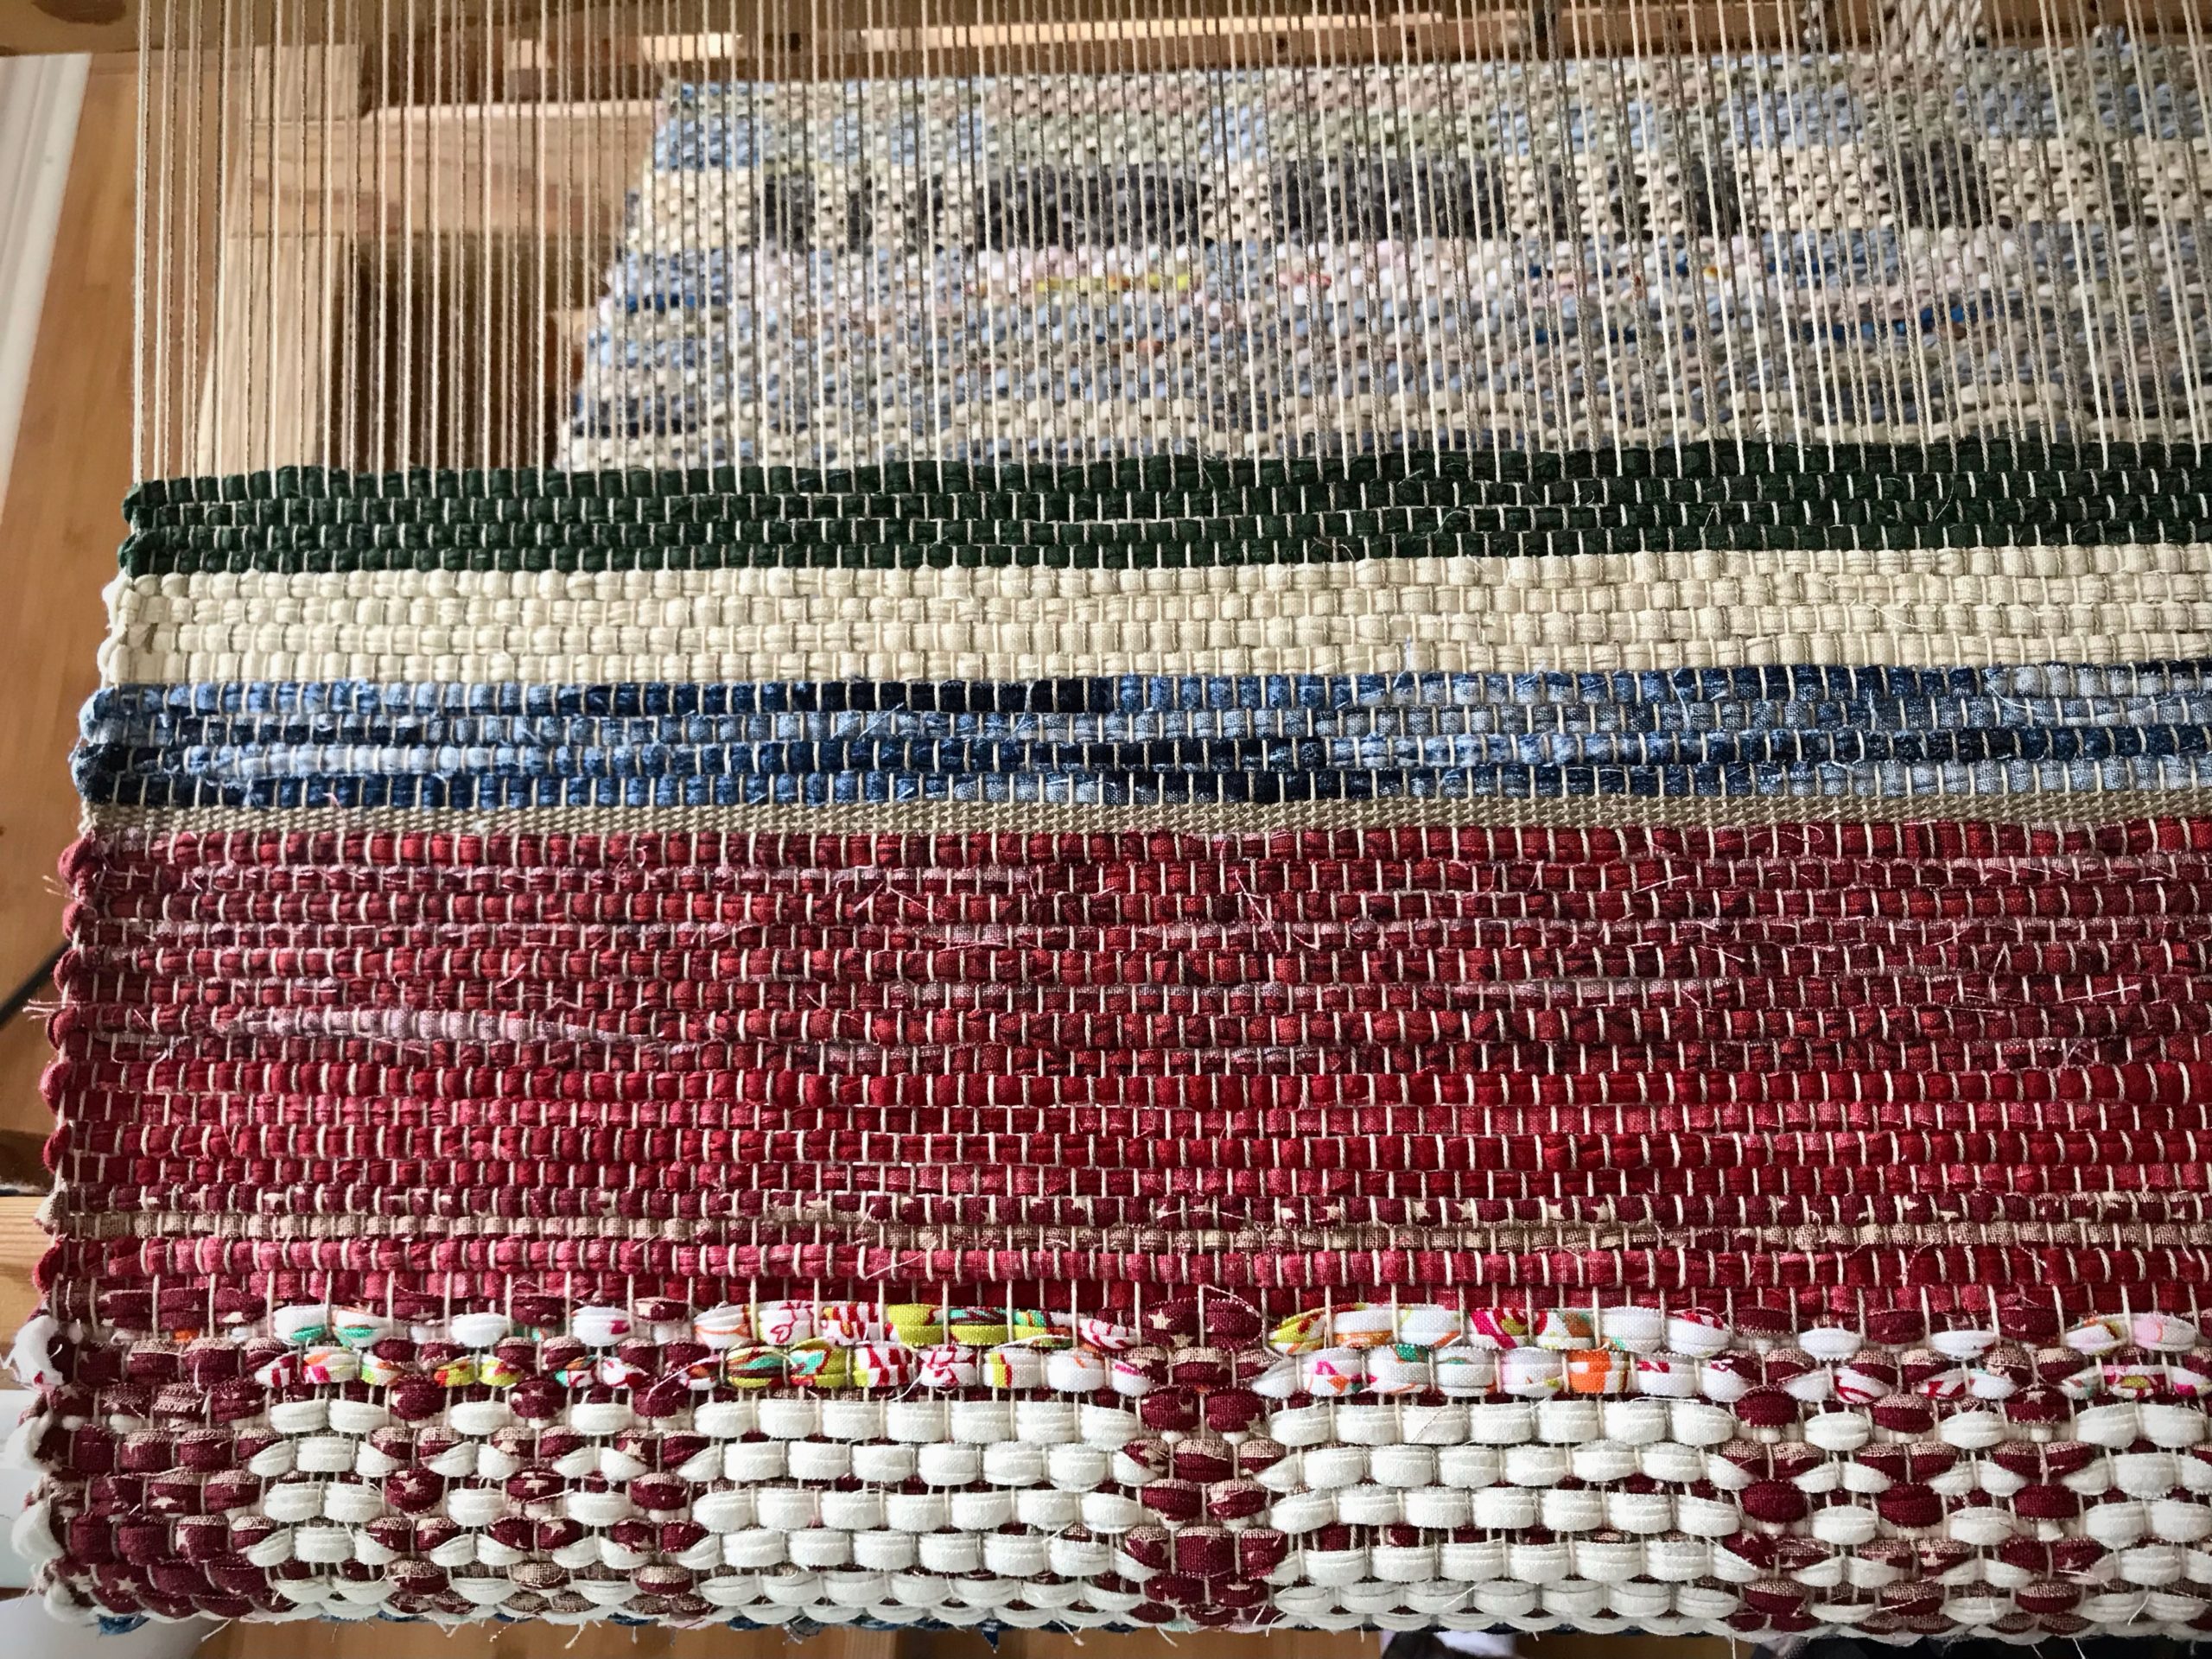
Rug comes to an end with a red border/hem. A warp-thread header follows, and then a few rows of scrap header to help secure the weft until finishing knots are tied.

Steps for cutting off rag rug before end of warp (countermarch loom)

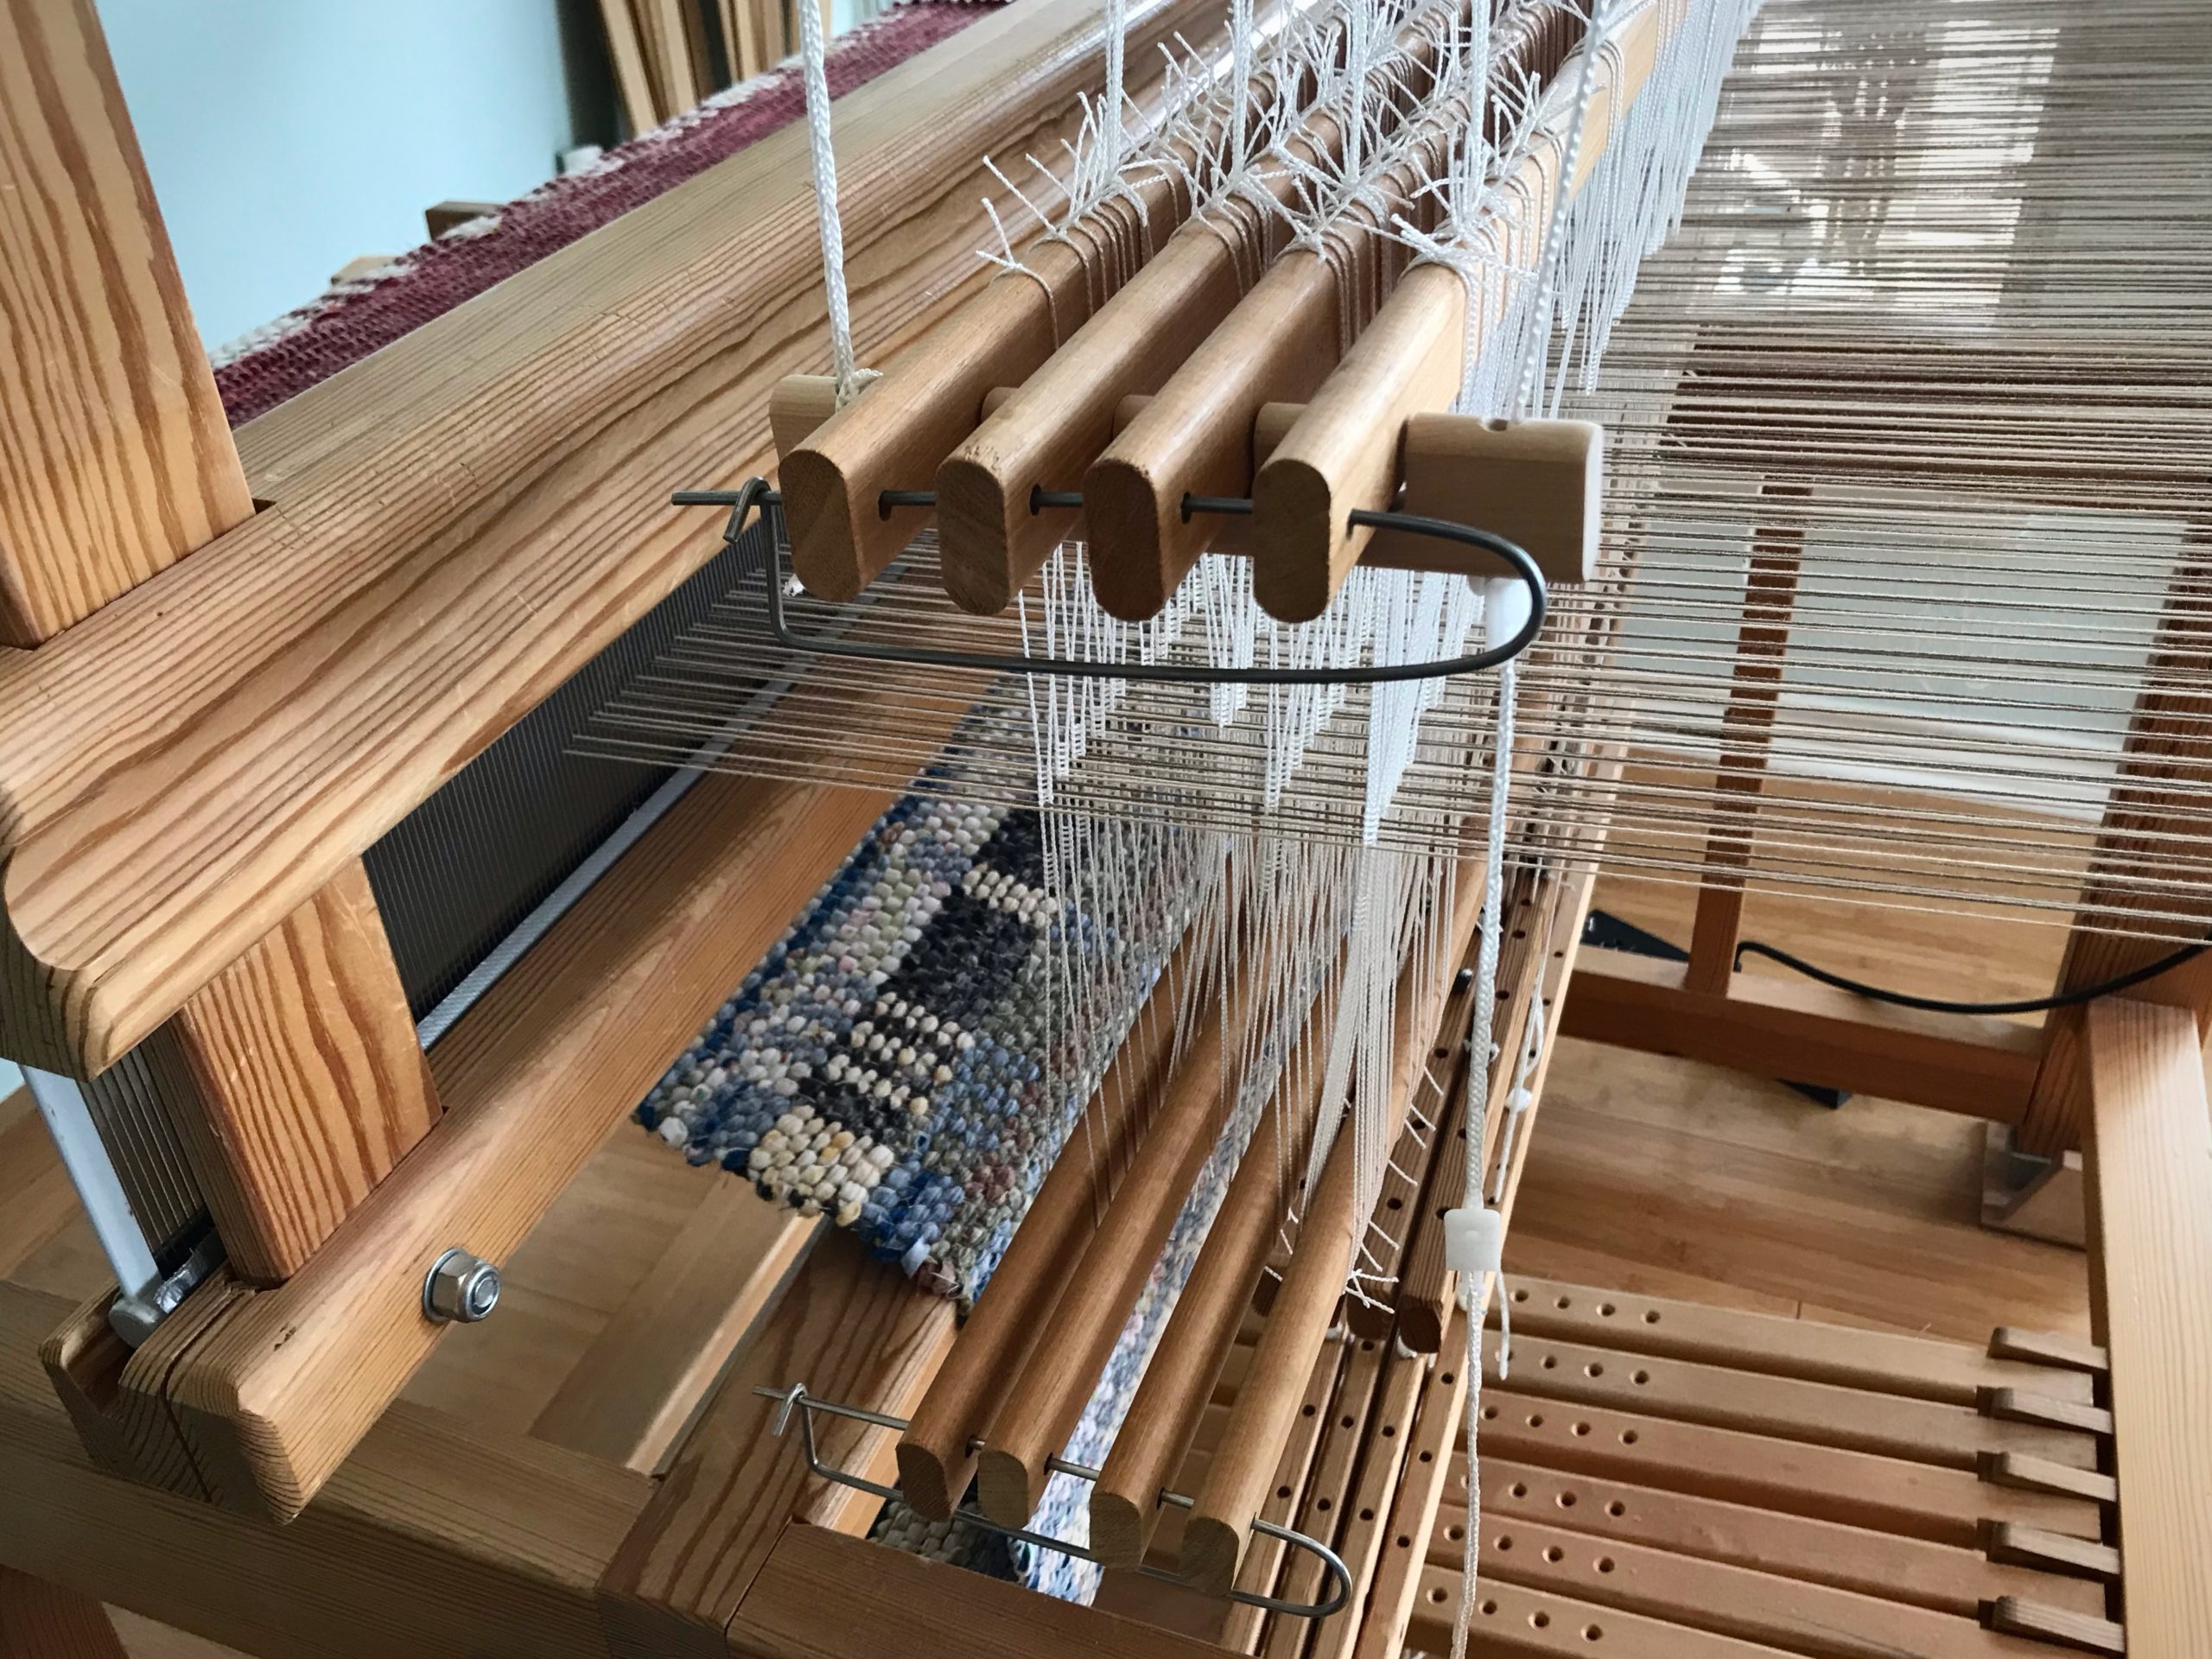
Secure everything before cutting off. Shaft bars are in shaft holders and shaft pins are put back in place.
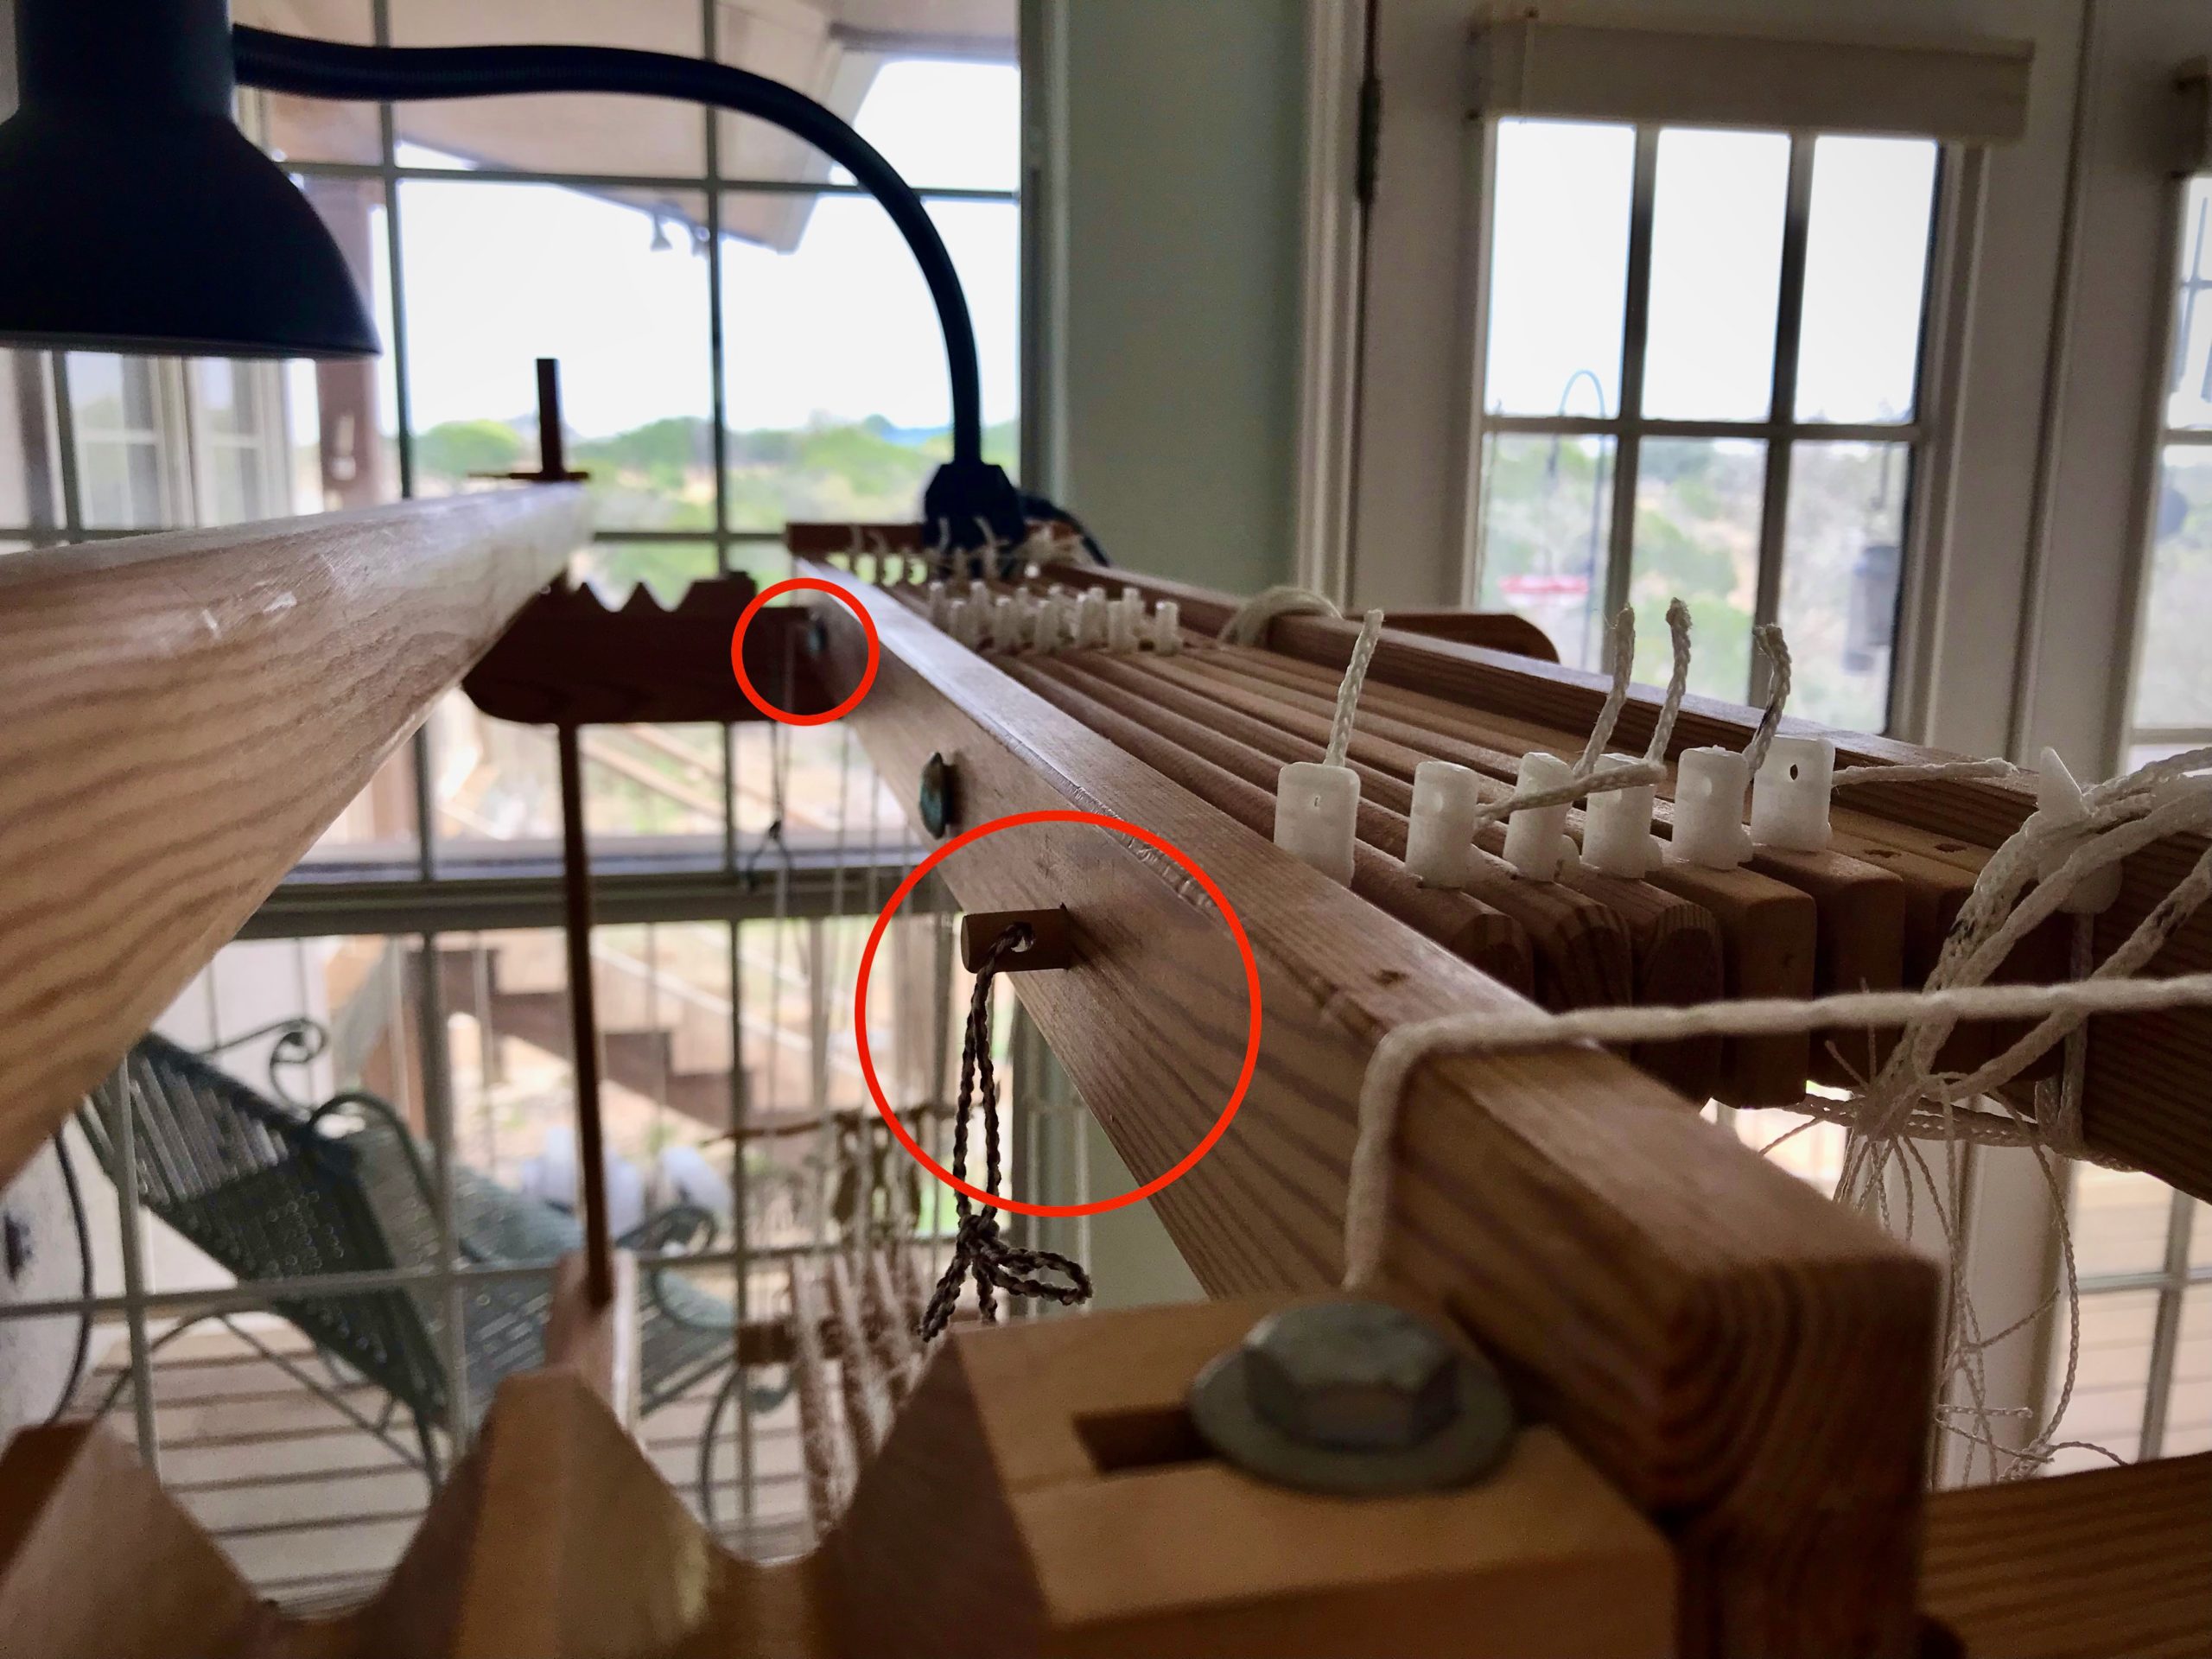
Countermarch locking pins on this Glimåkra Ideal are wooden dowels that go through the all the holes in the countermarch jacks.
Tension on the warp is released at the back ratchet and front ratchet.
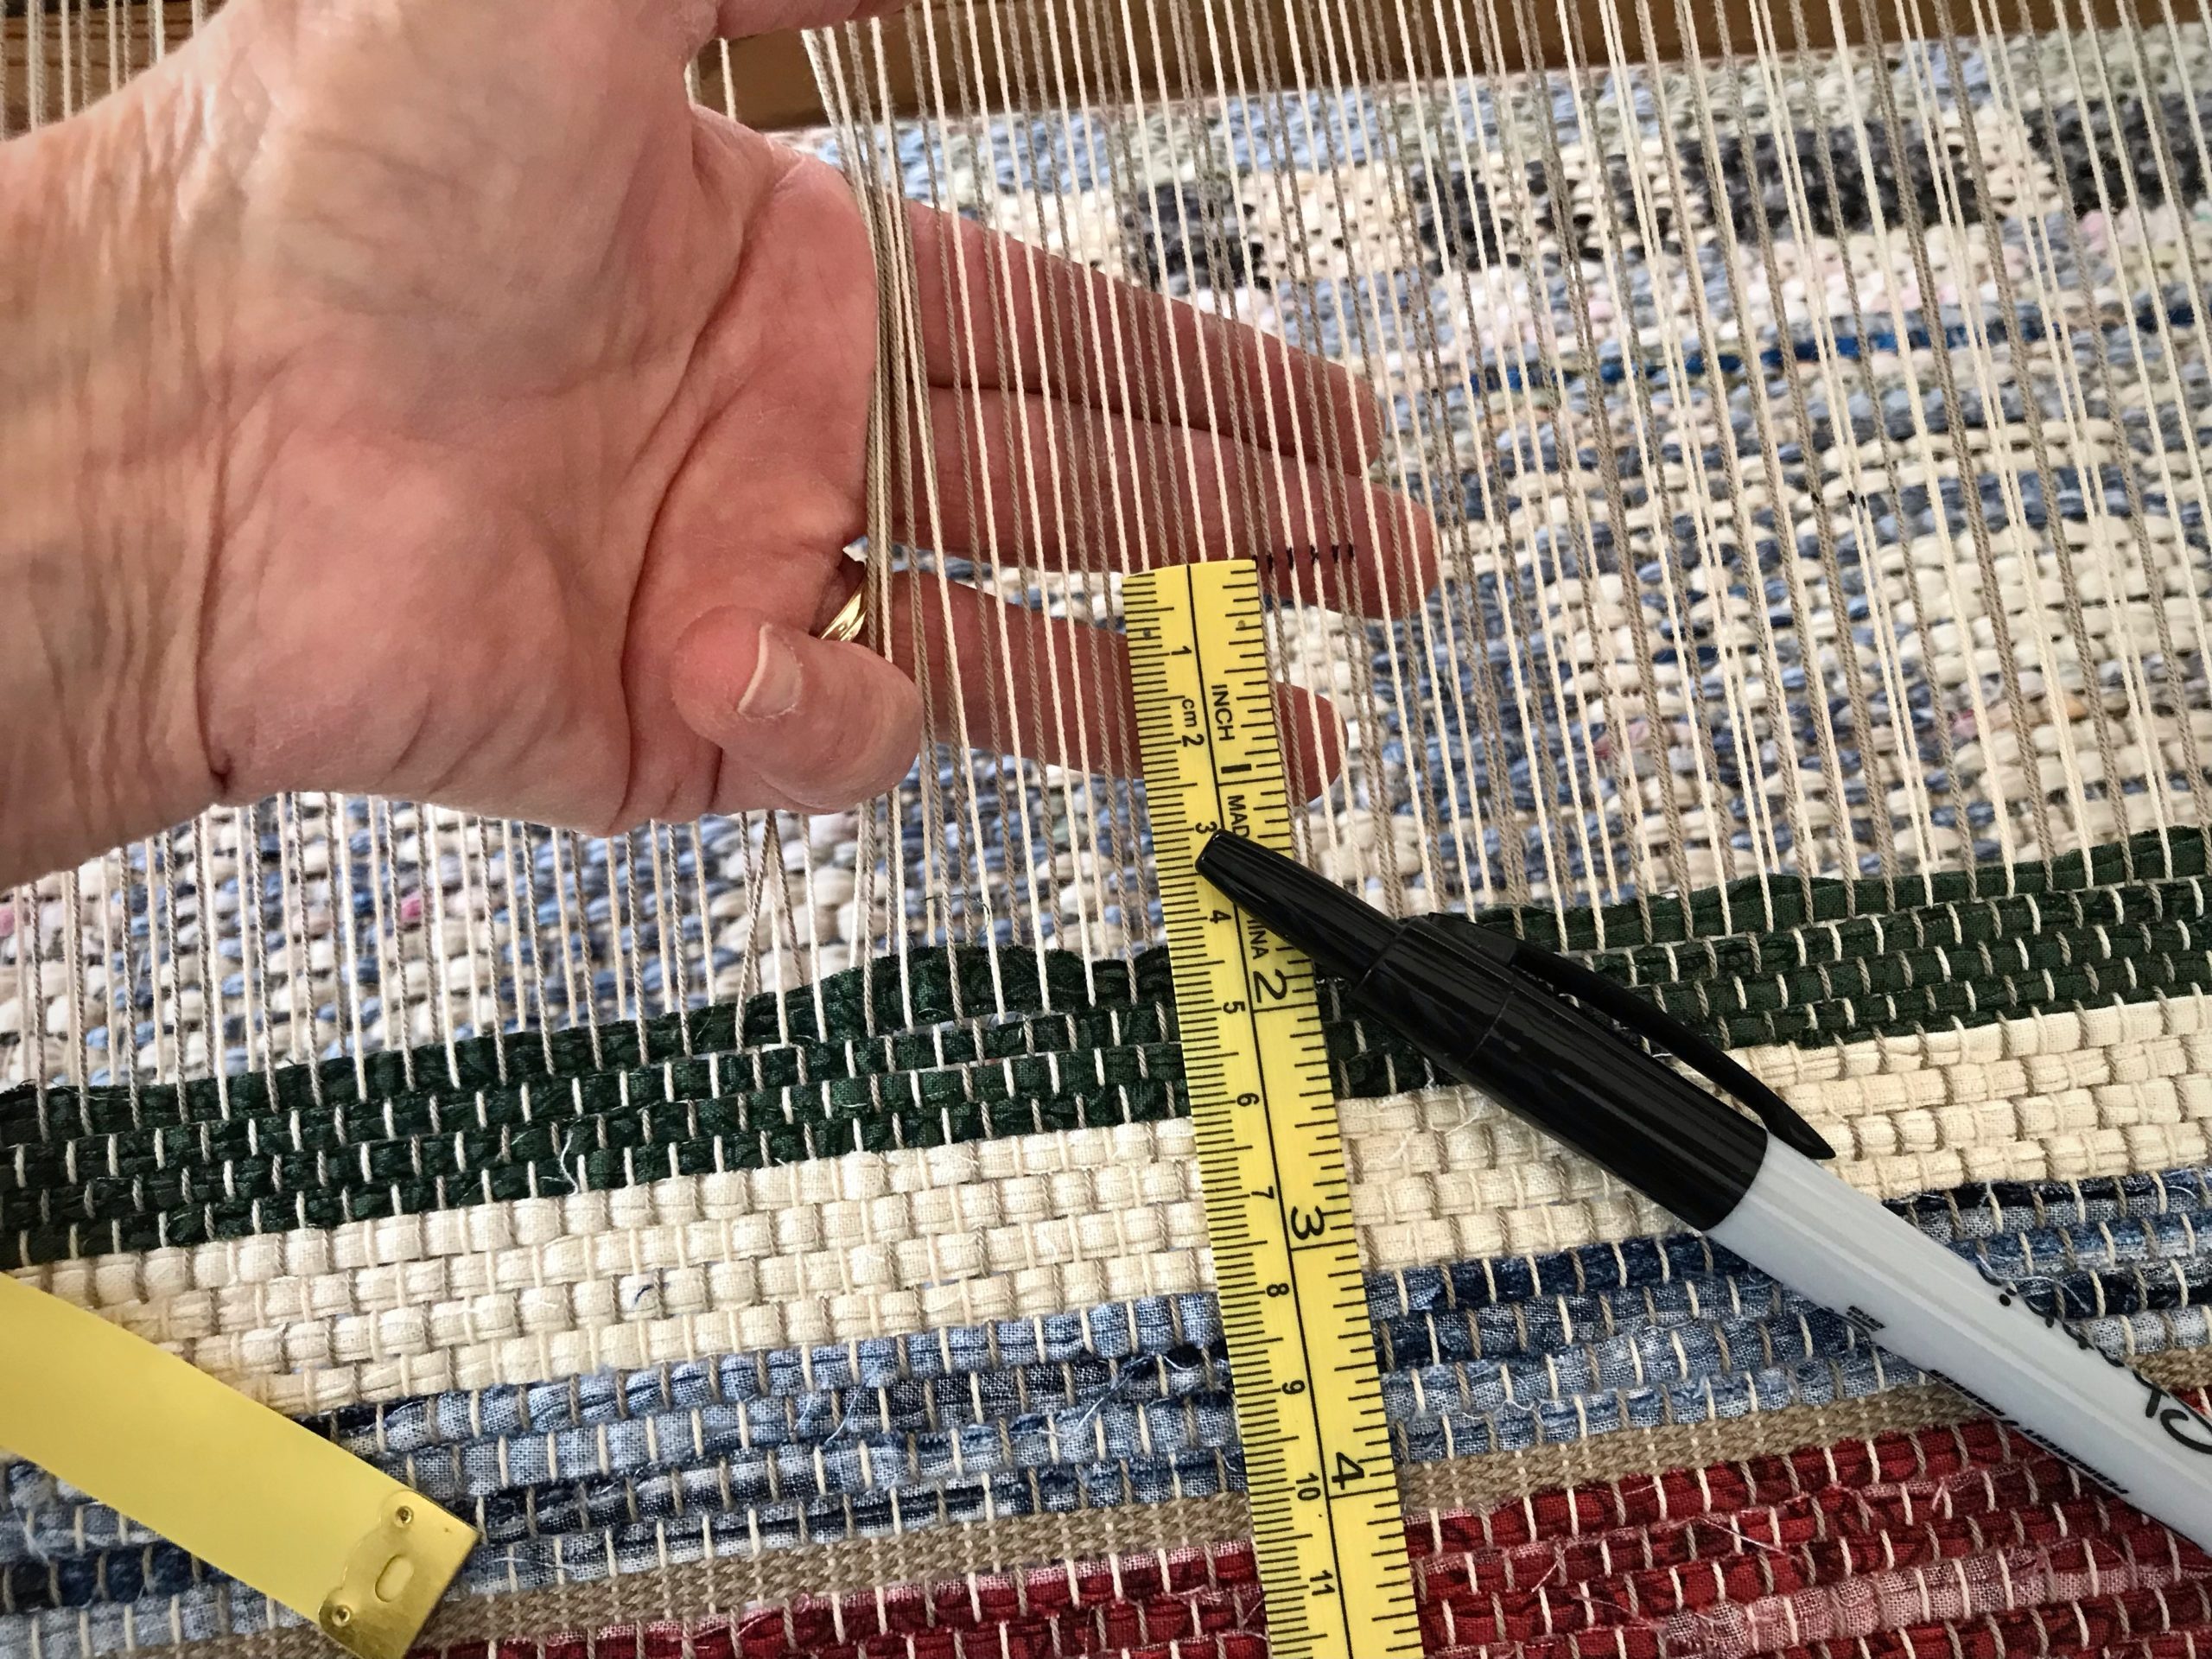
  • Mark a cutting line across the warp with a black marker. Allow at least 10 centimeters (4 inches) beyond the rug’s warp-thread header for tying knots later that will secure the weft.
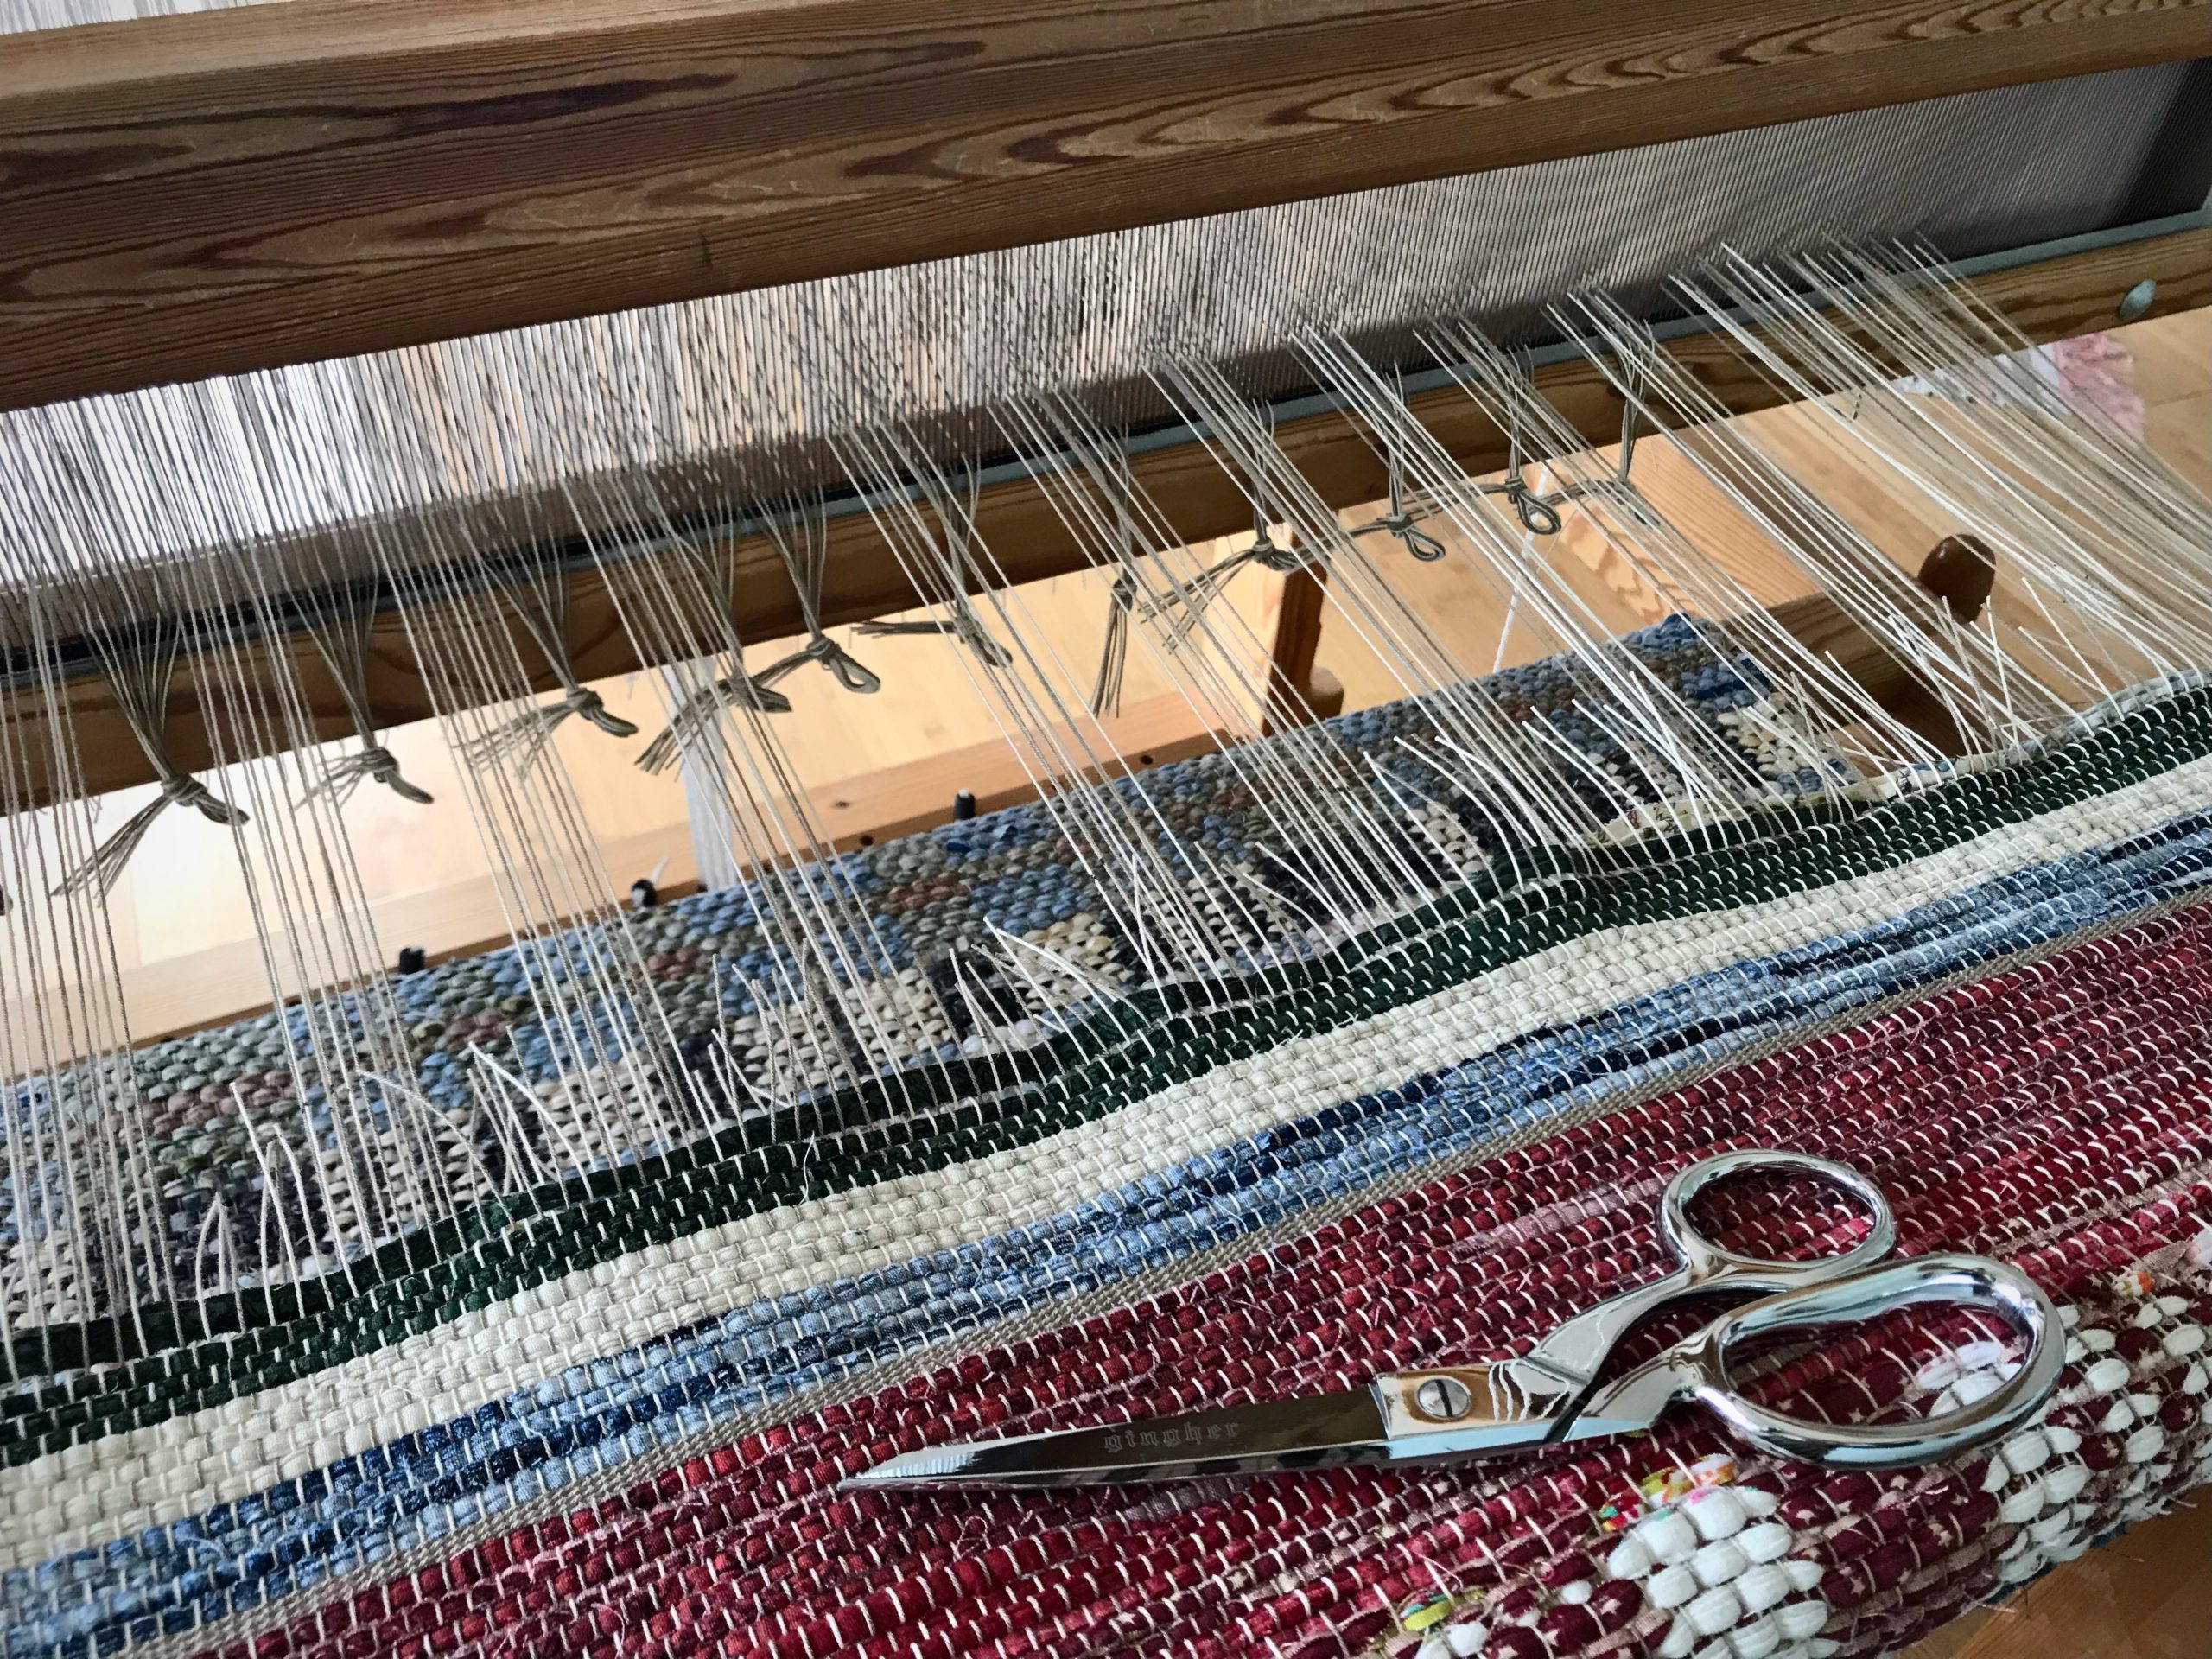
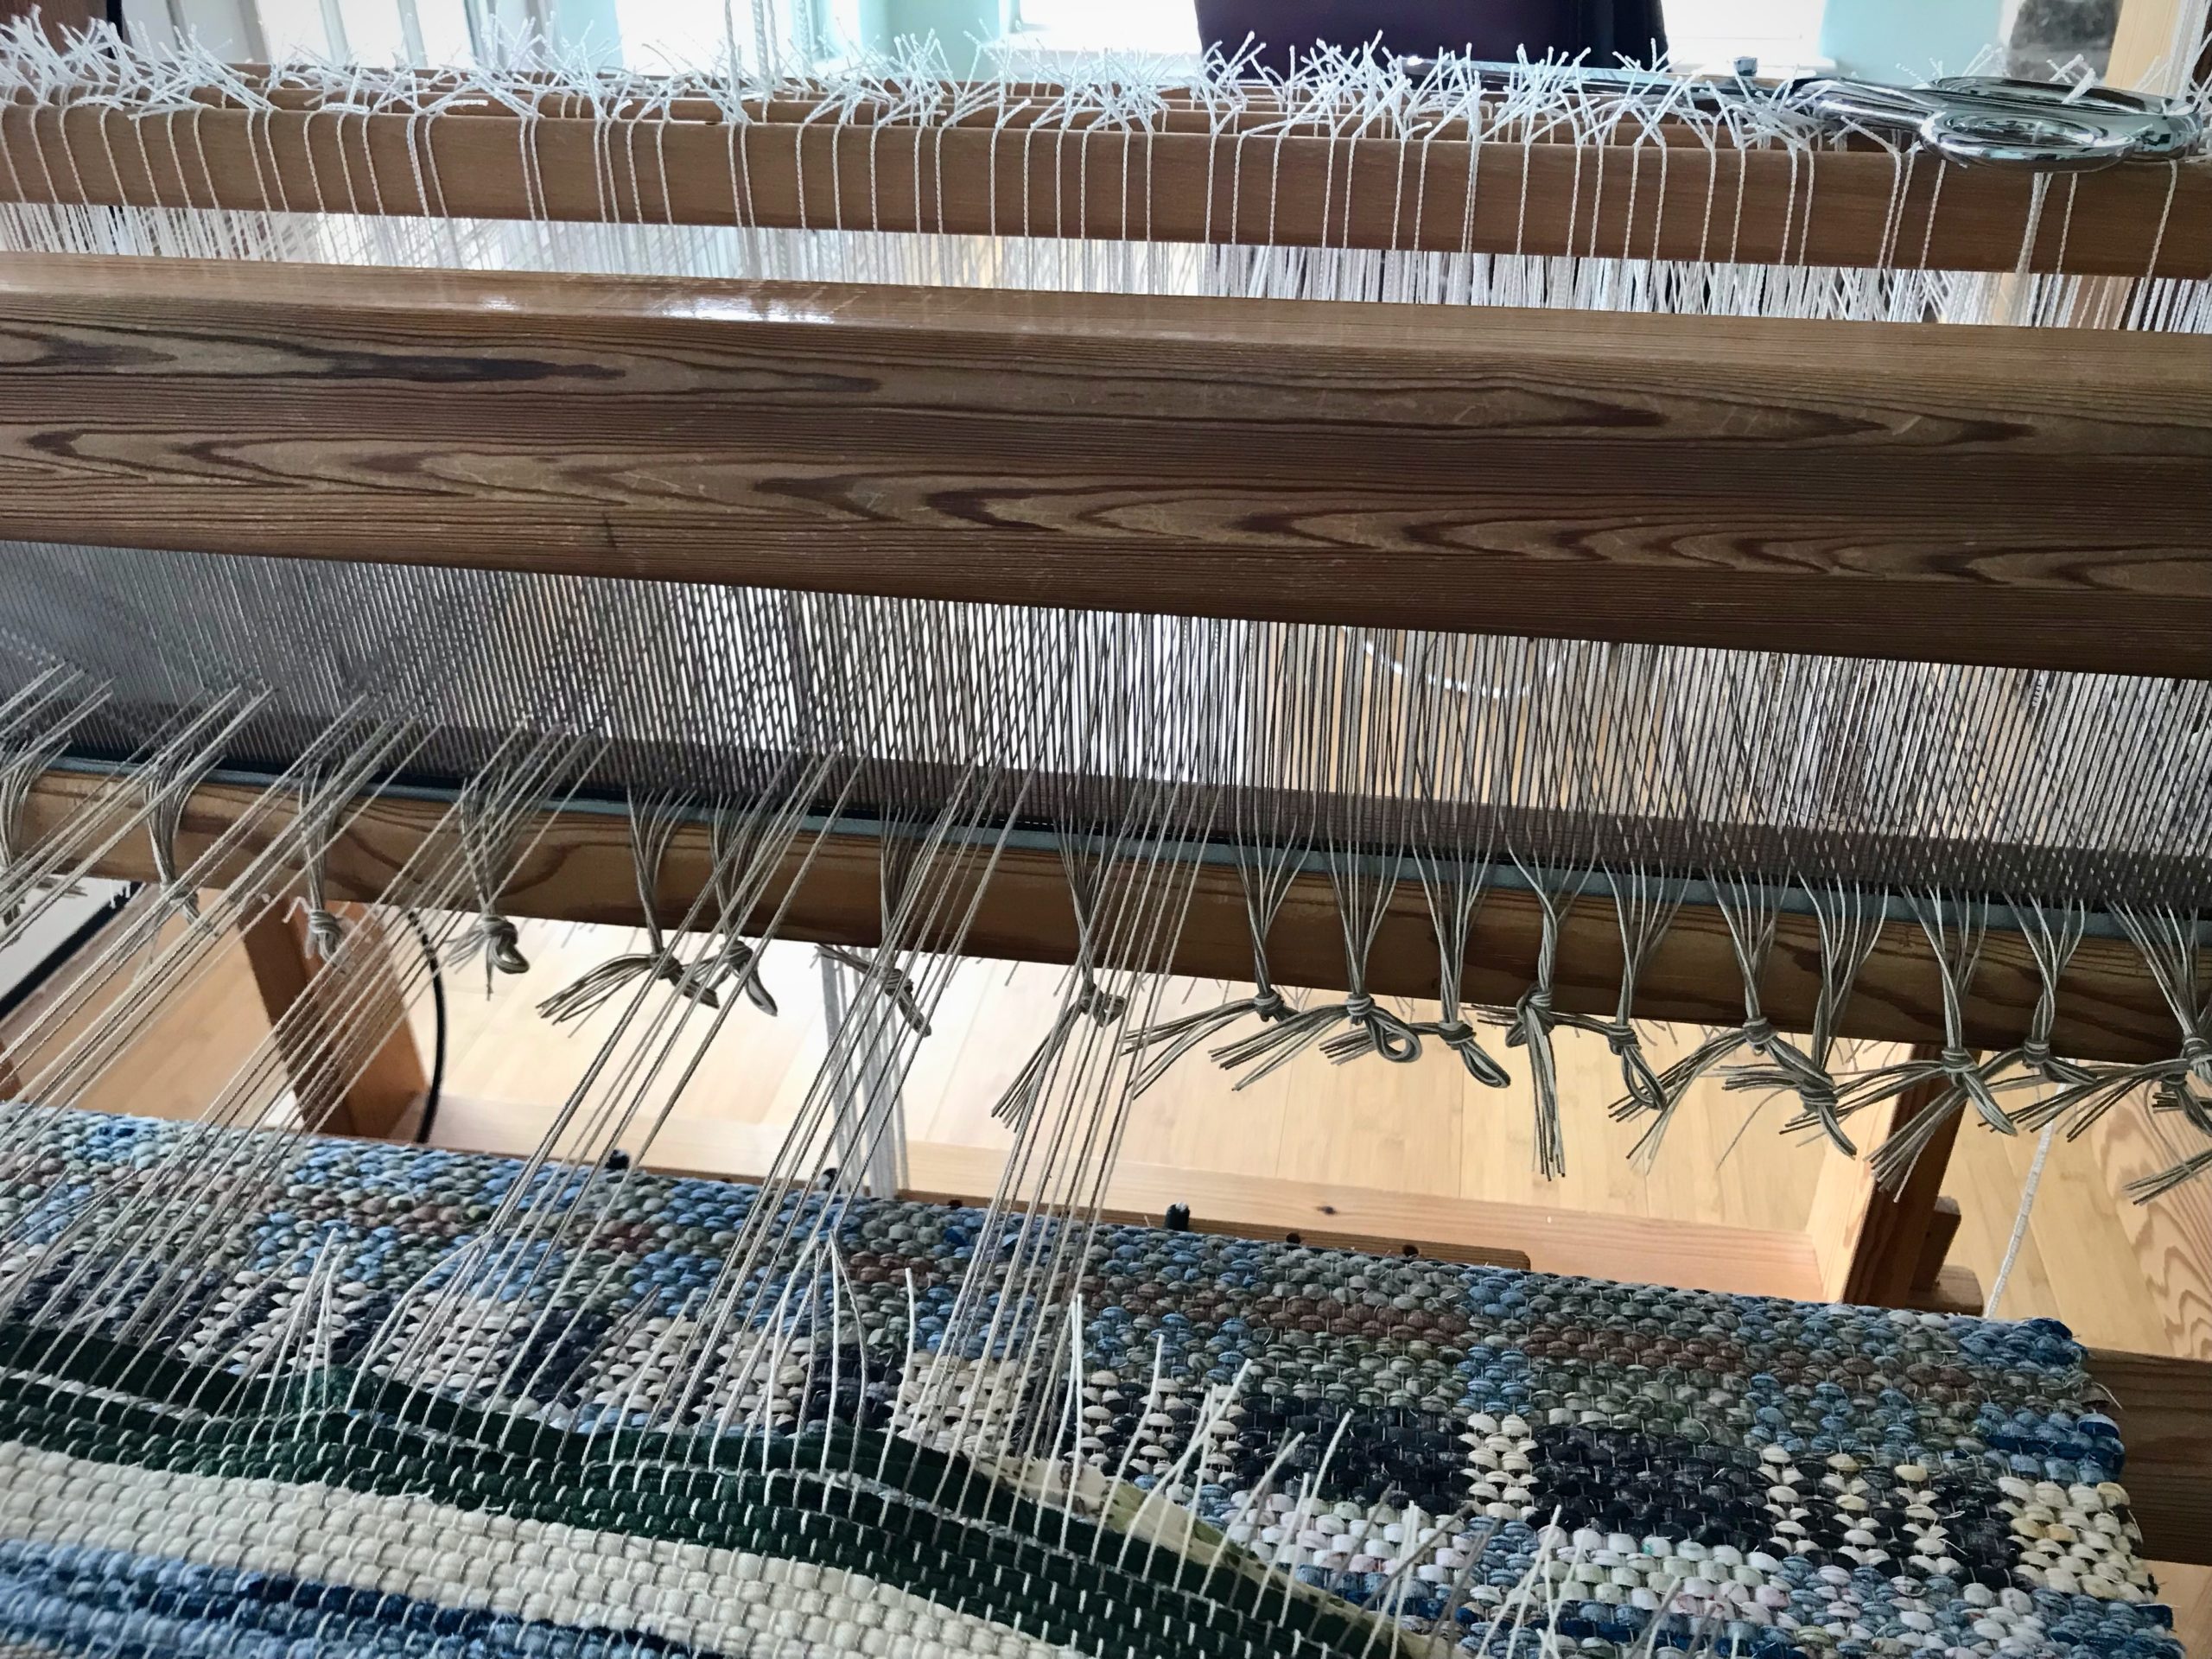
Mark a cutting line across the warp. Leave enough warp at the end of the rug to tie overhand knots to secure the weft.
  • With tying back on in mind, cut one group of ends and skip the next group of ends. Continue across the warp, alternating cut and uncut groups of ends. Tie groups of cut ends in slipknots as you go.
By spacing out the cut ends, the weight of the rug is evenly distributed. There is less pulling and distortion while cutting off. At the same time I am preparing groups of ends for tying back on.
  • Make a second pass, cutting the remaining groups of ends, and tying them in slipknots.
Continue cutting off groups of ends.
  • Unroll the rug from the cloth beam. Take a photograph.
First look at the back of the rug.
  • Lay the rug out on the floor. Ooh and aah.
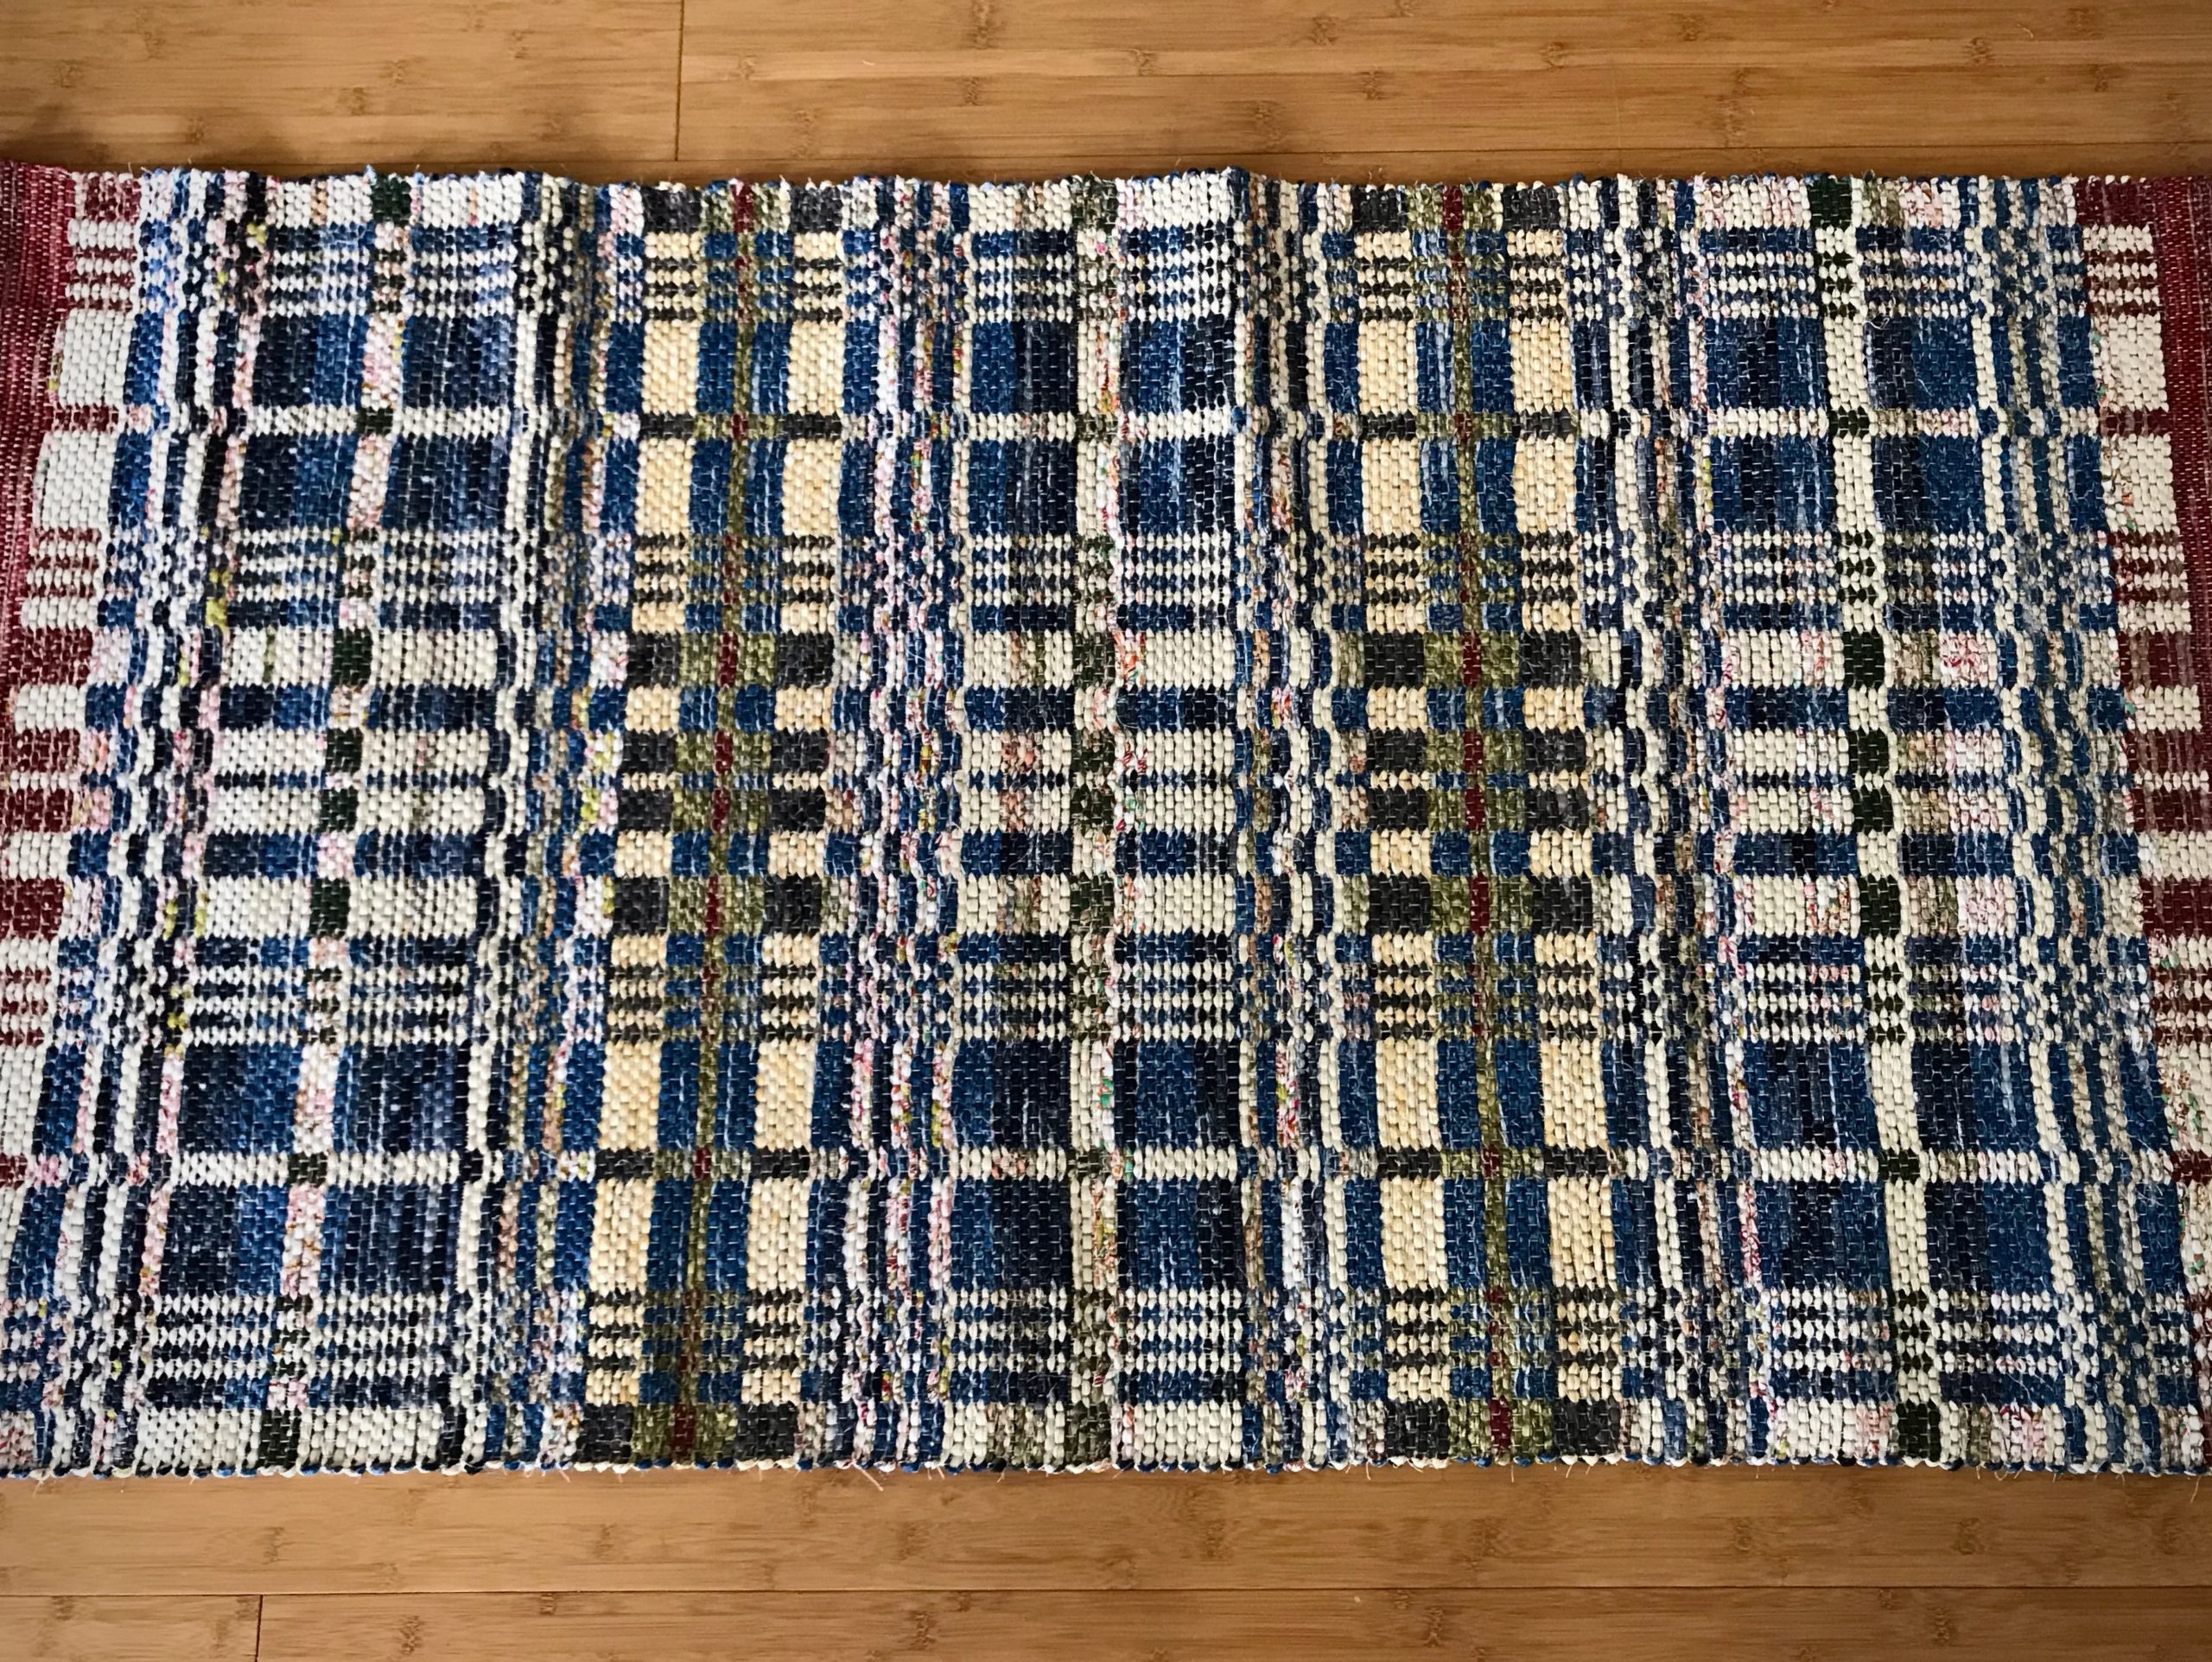
Double-binding rag rug, ready for finishing and hemming! I let the rug rest on the floor for a couple days to let the warp and weft relax. Next step is to tie ends into overhand knots.

May you get a fresh start whenever you need it.

Happy Weaving,
Karen

Coverlet Rag Rug

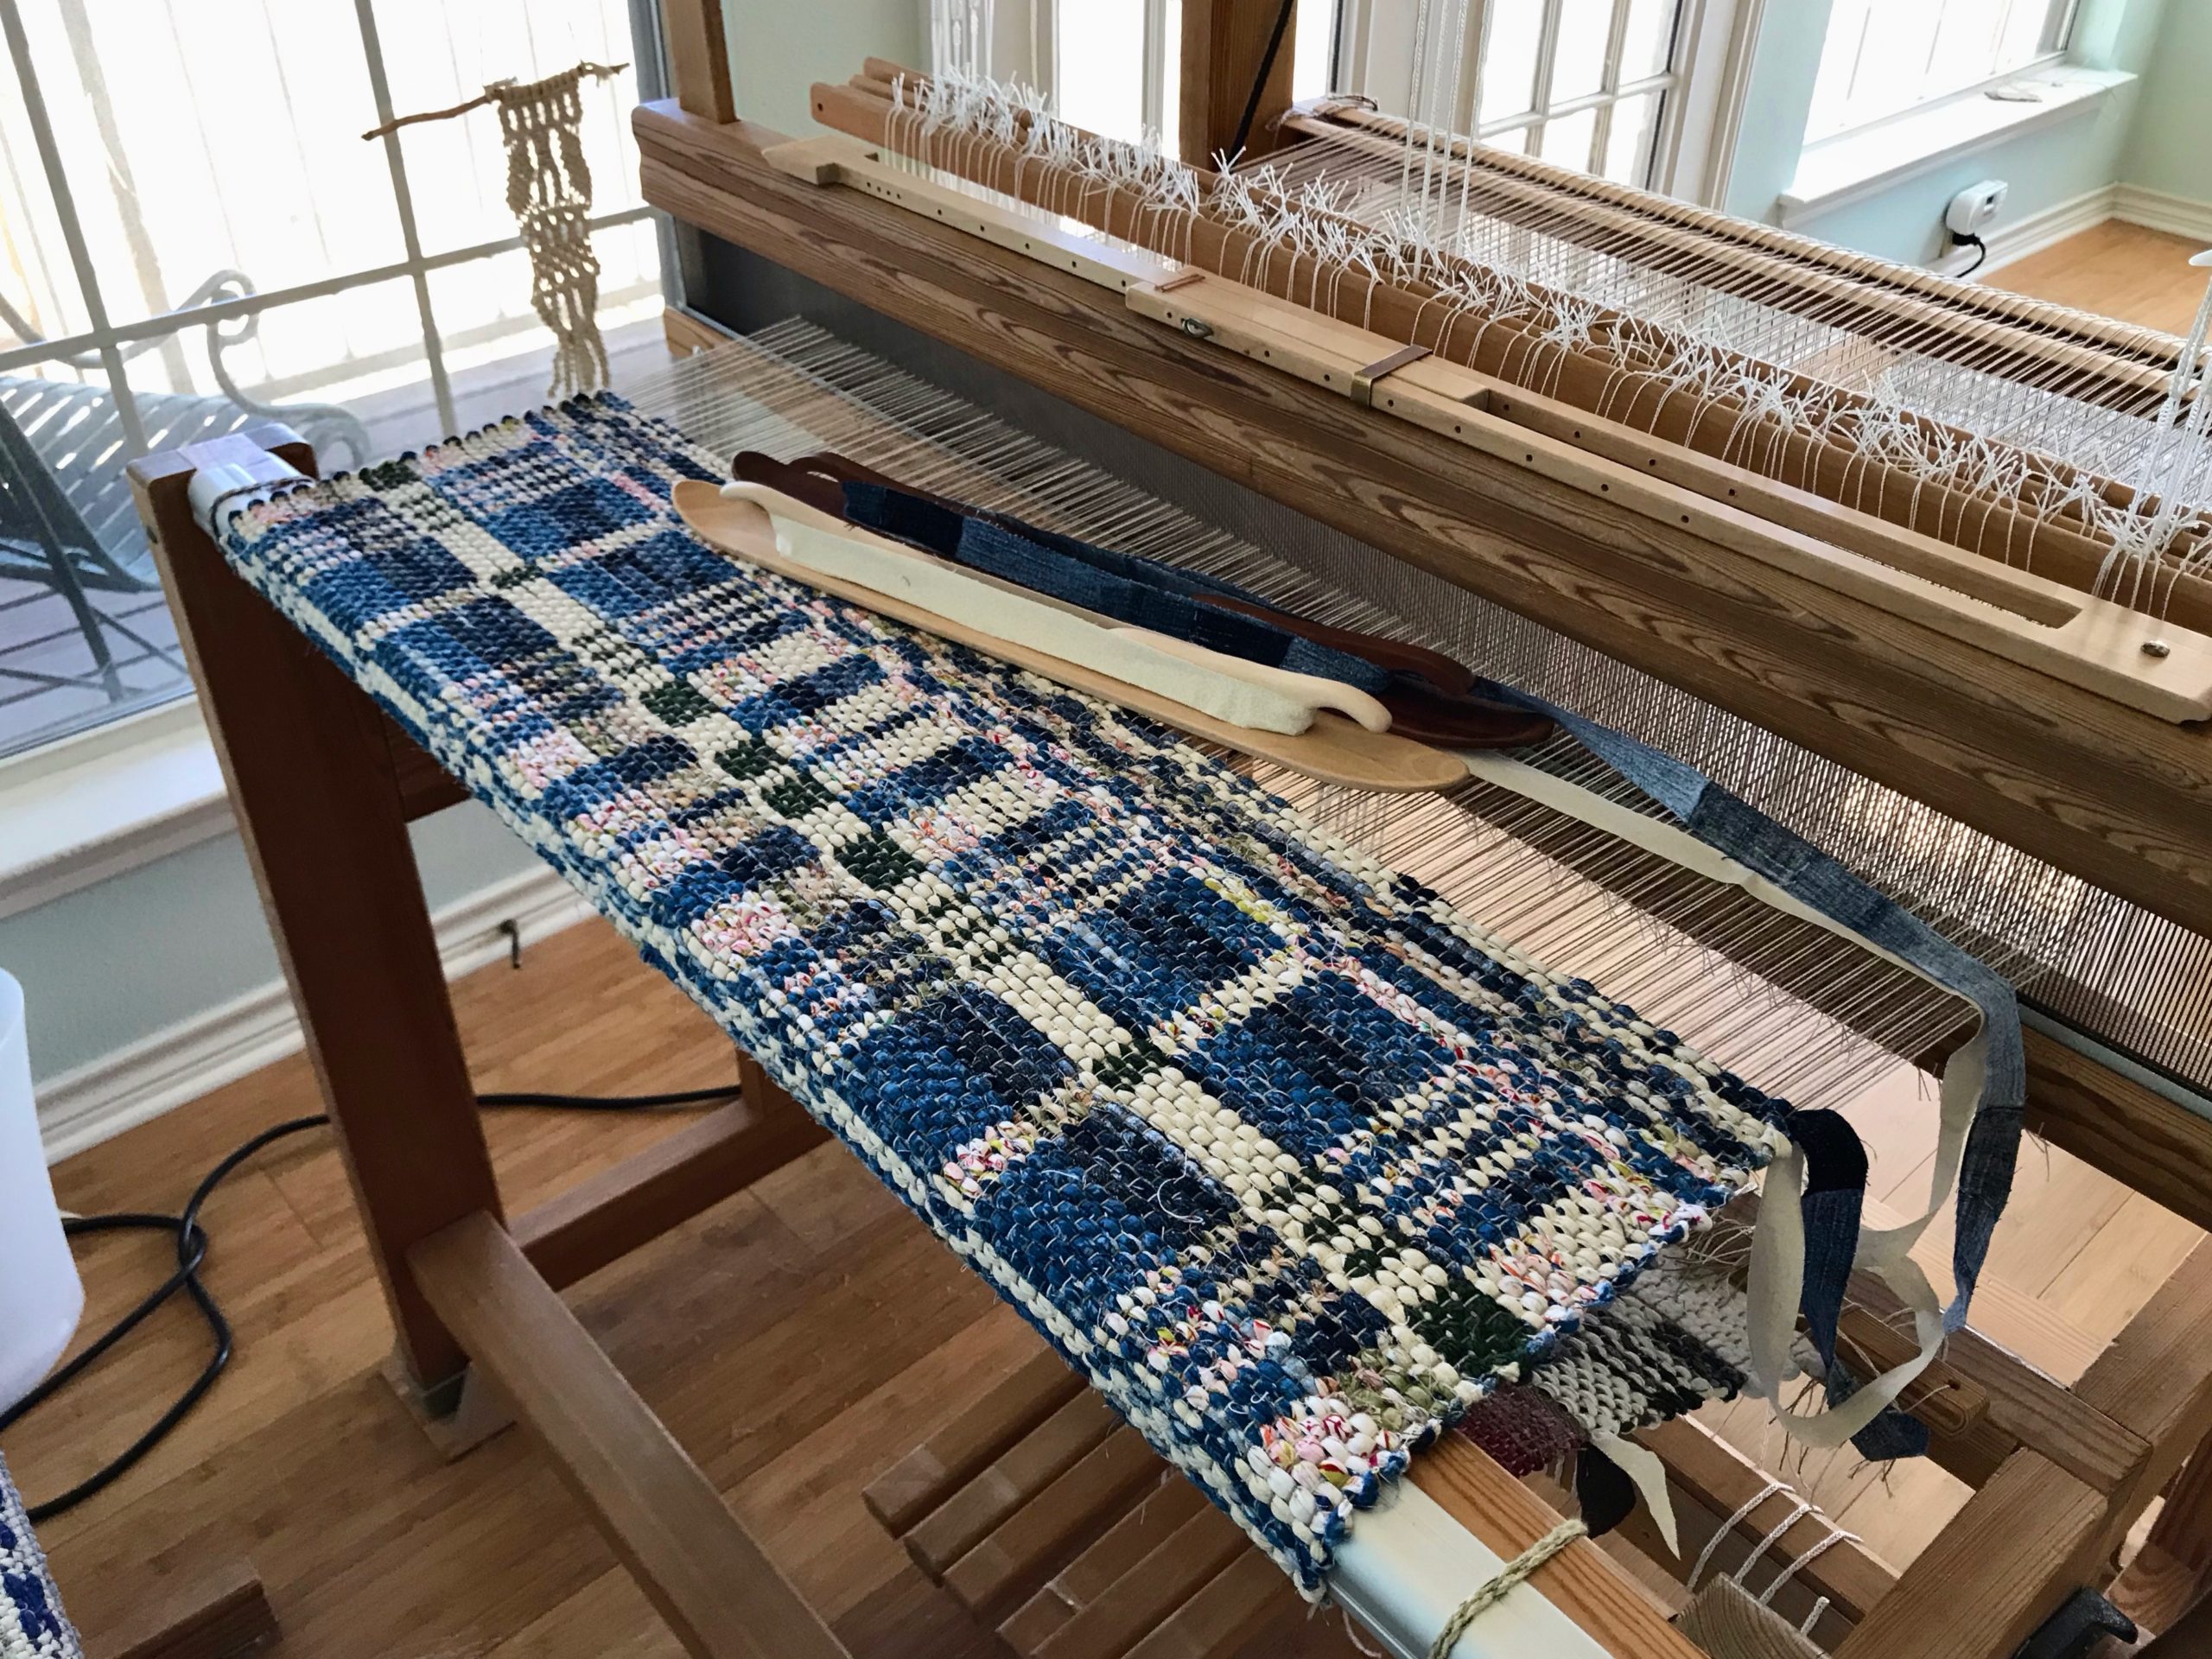
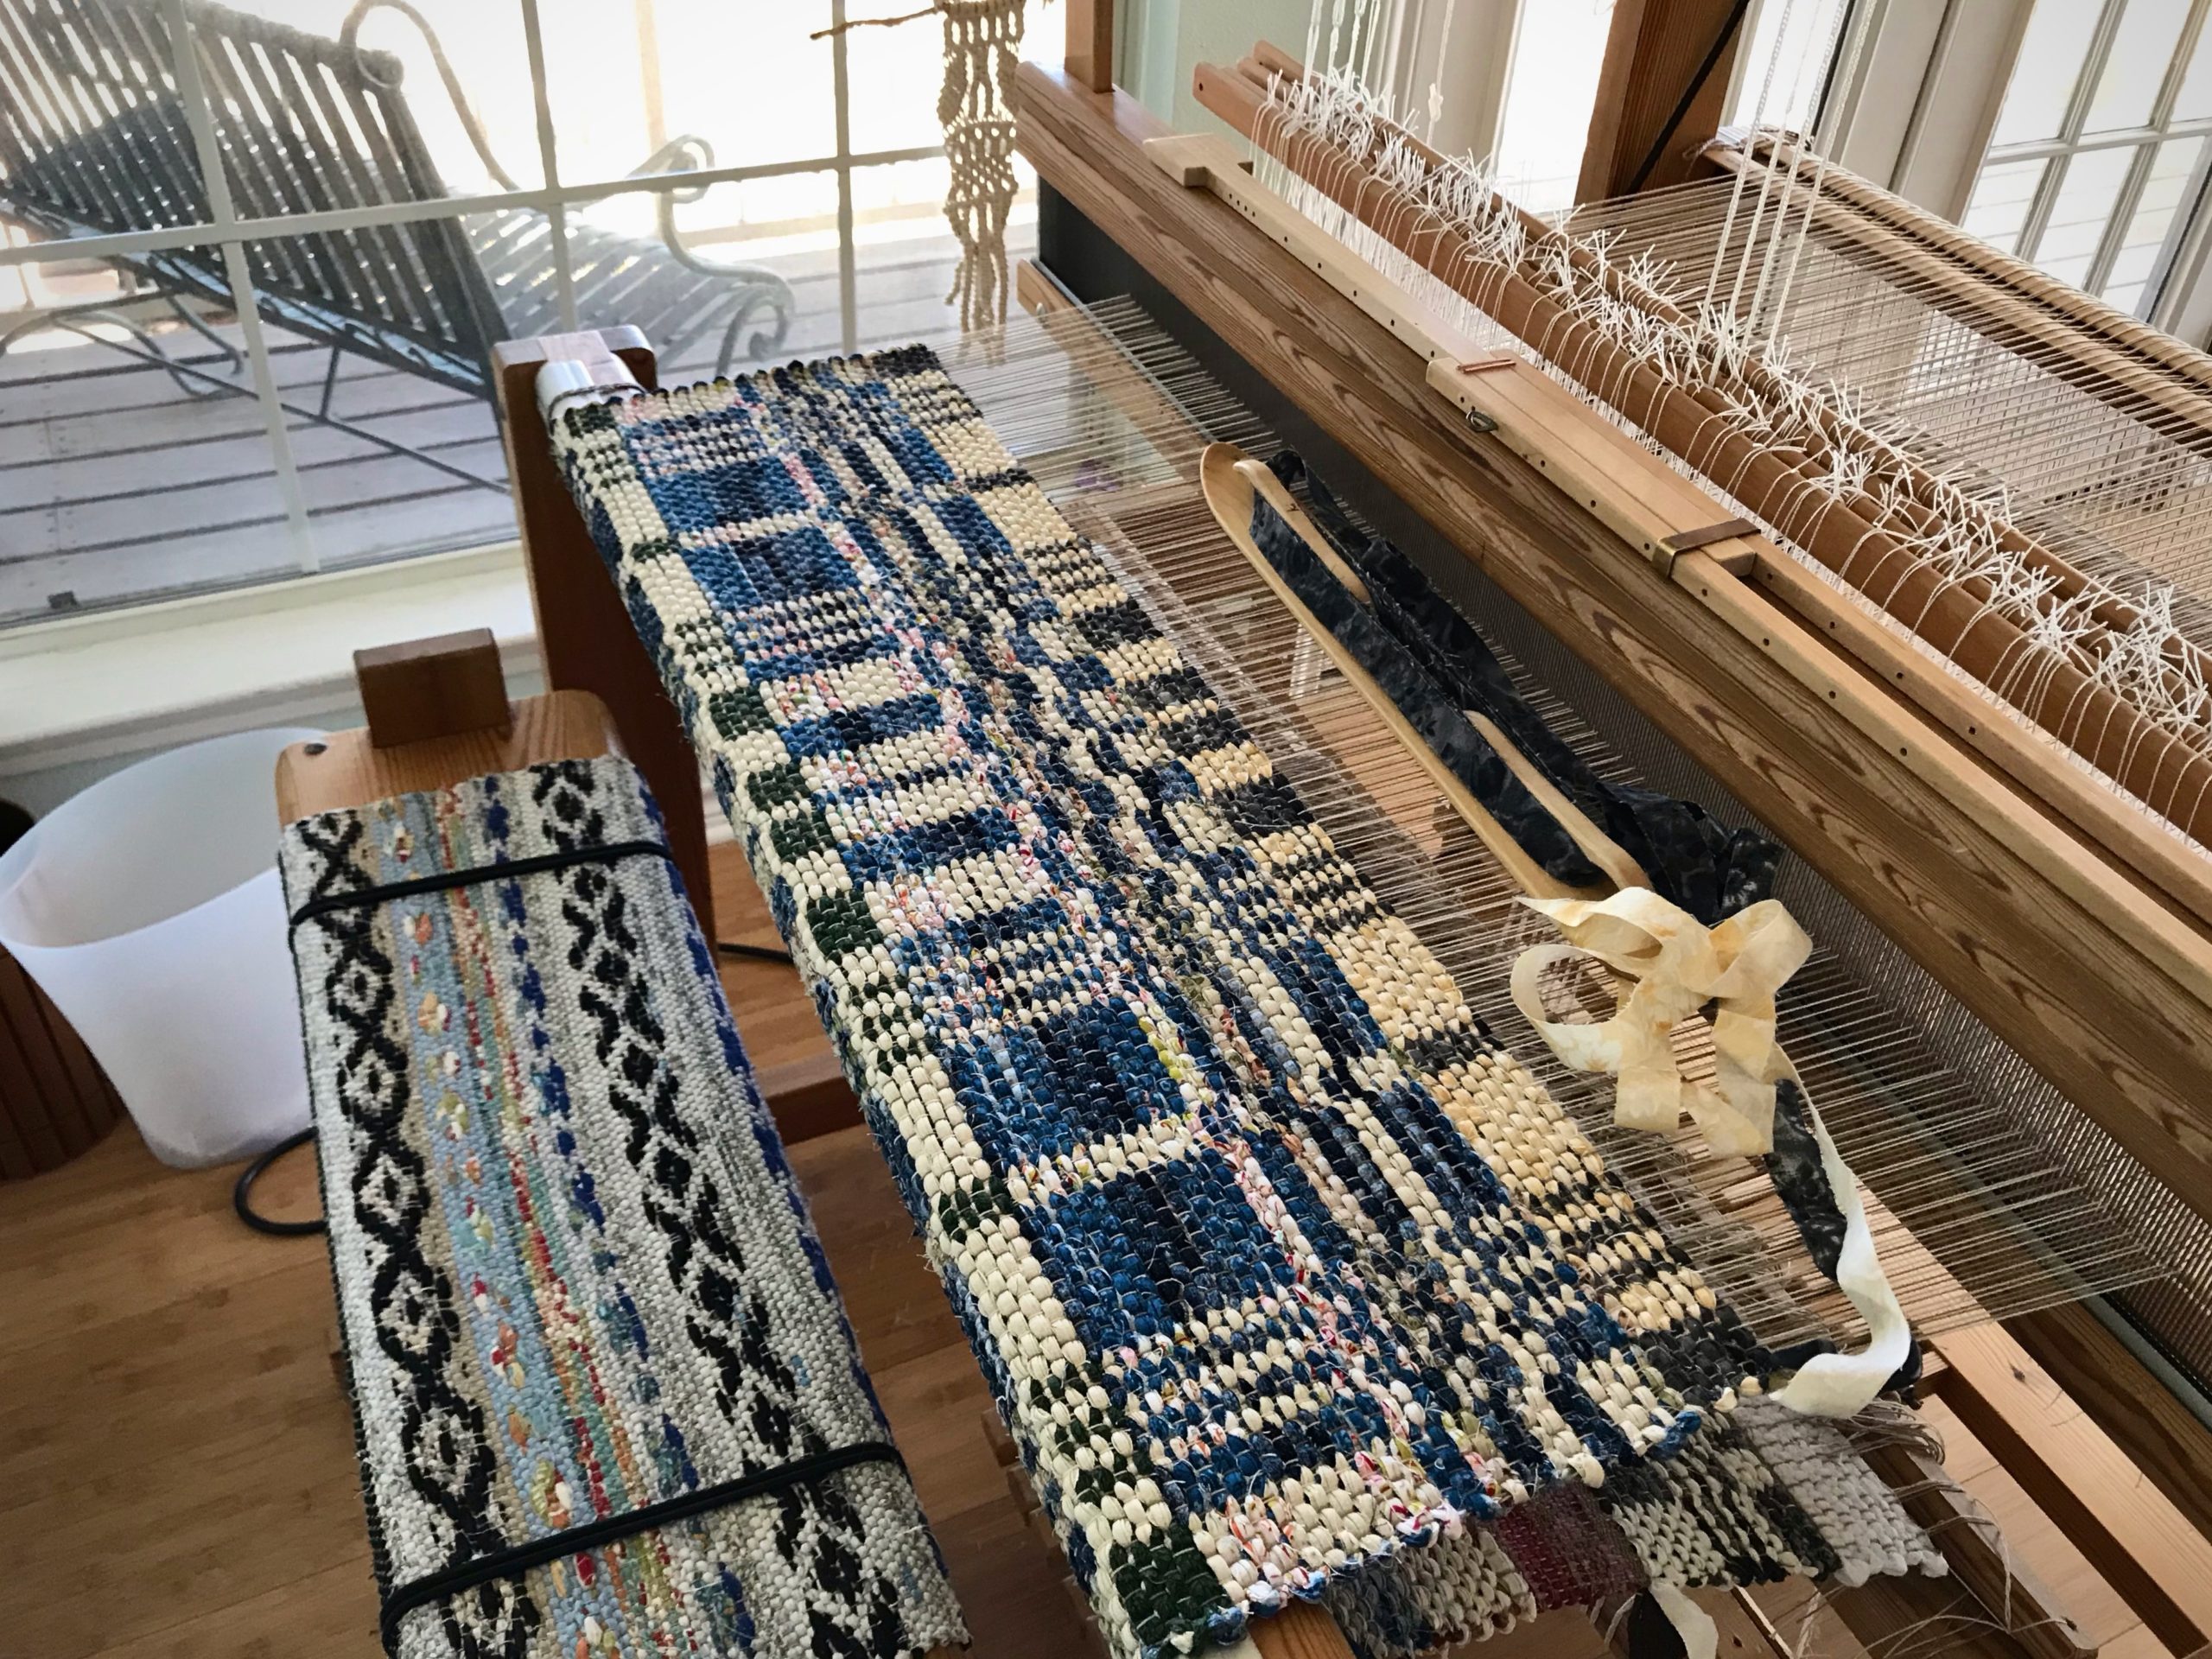
This rag rug could be a coverlet if woven in different materials. The distinctive block design from a Landes Block Drawdowns collection gives me an exciting approach for weaving a double-binding rag rug.

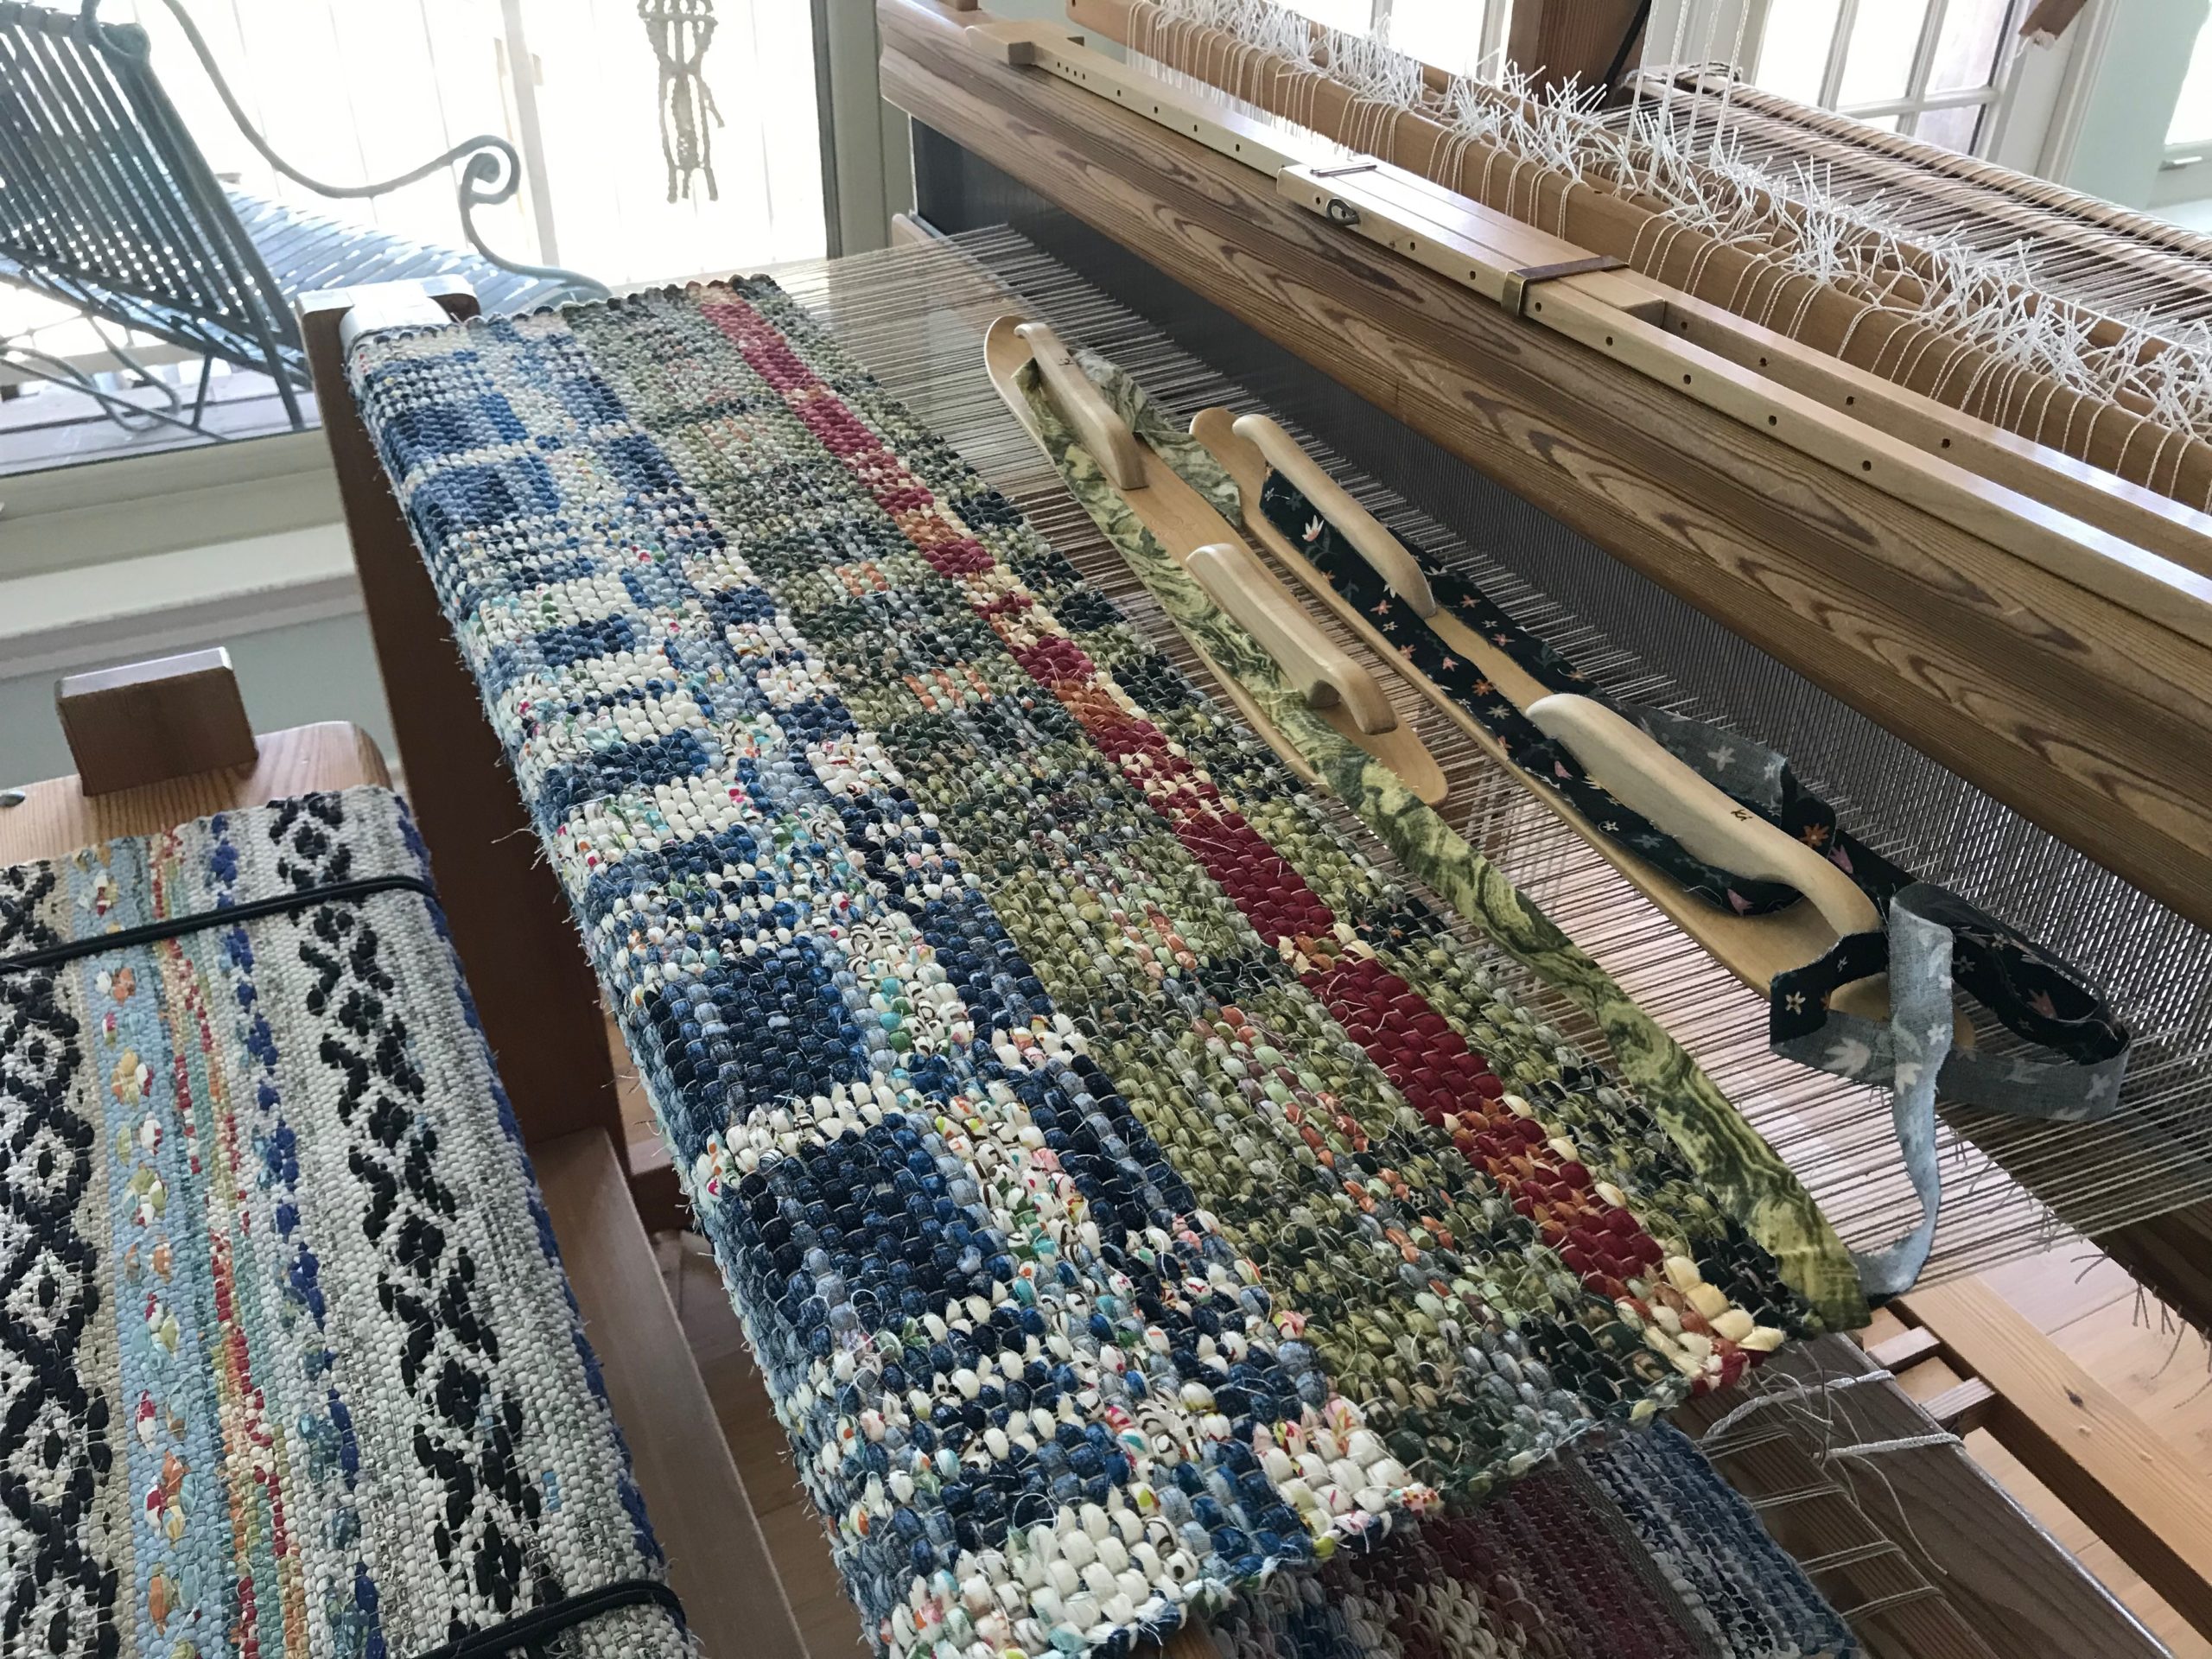
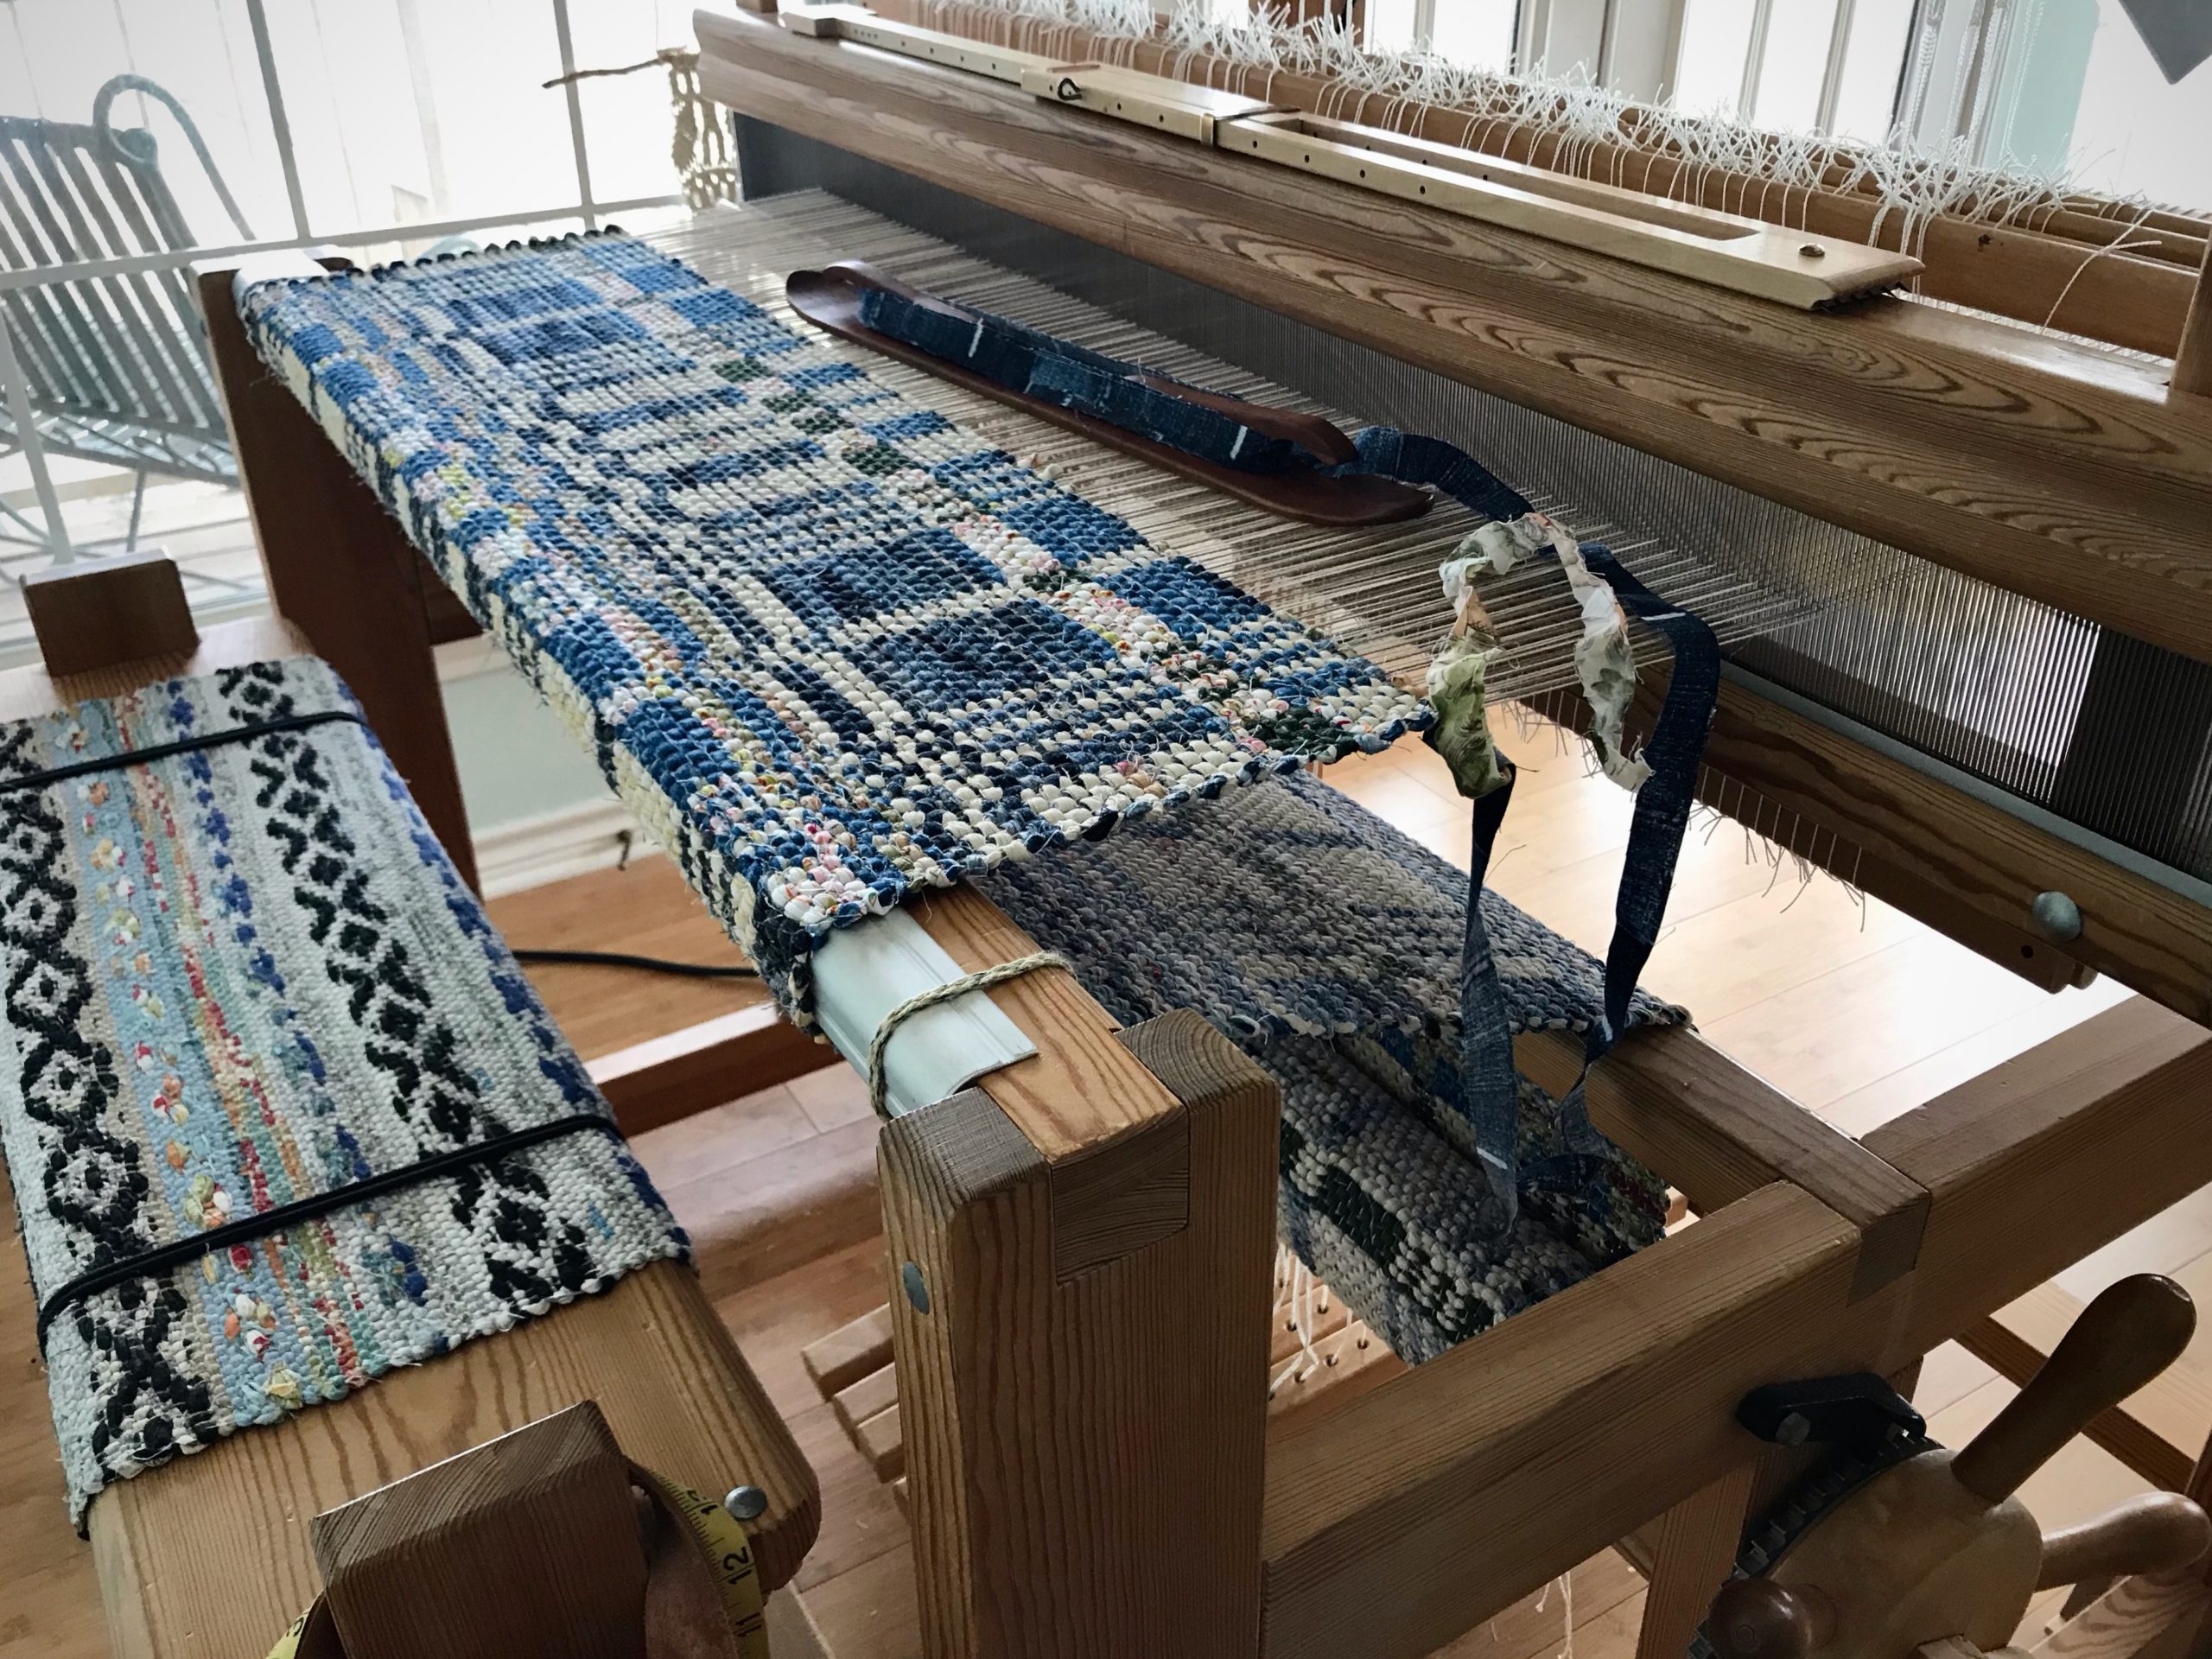
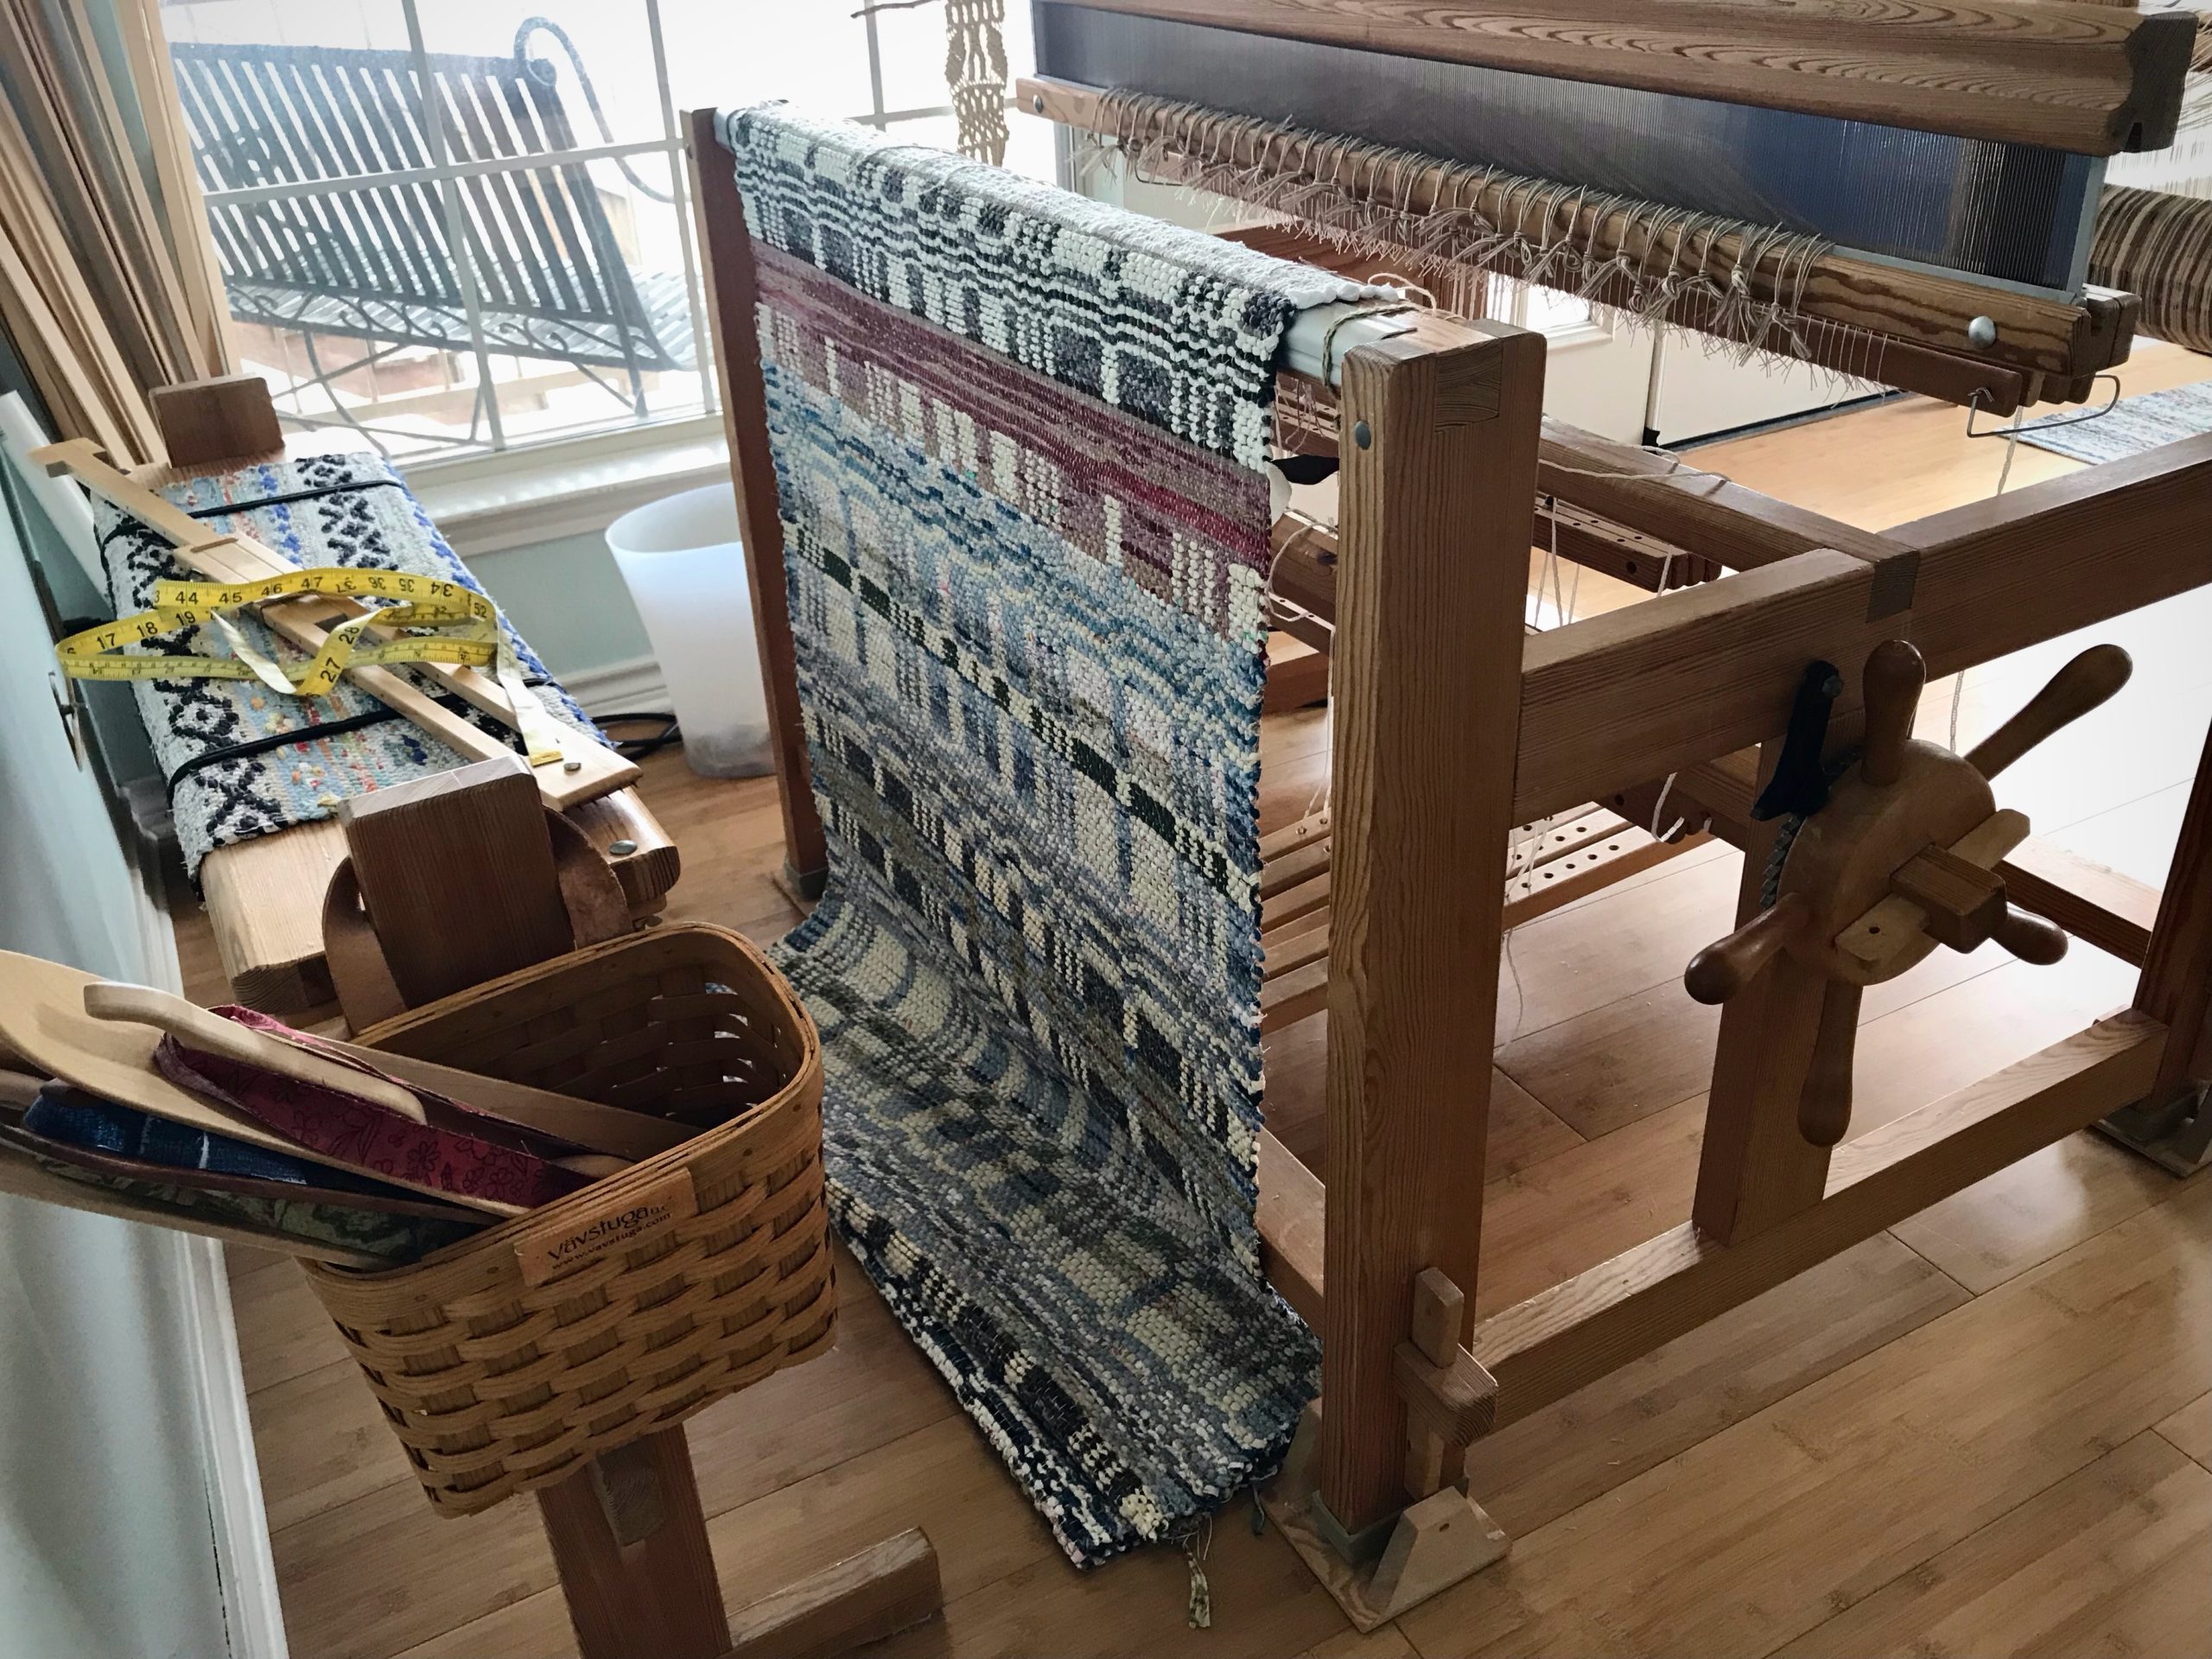
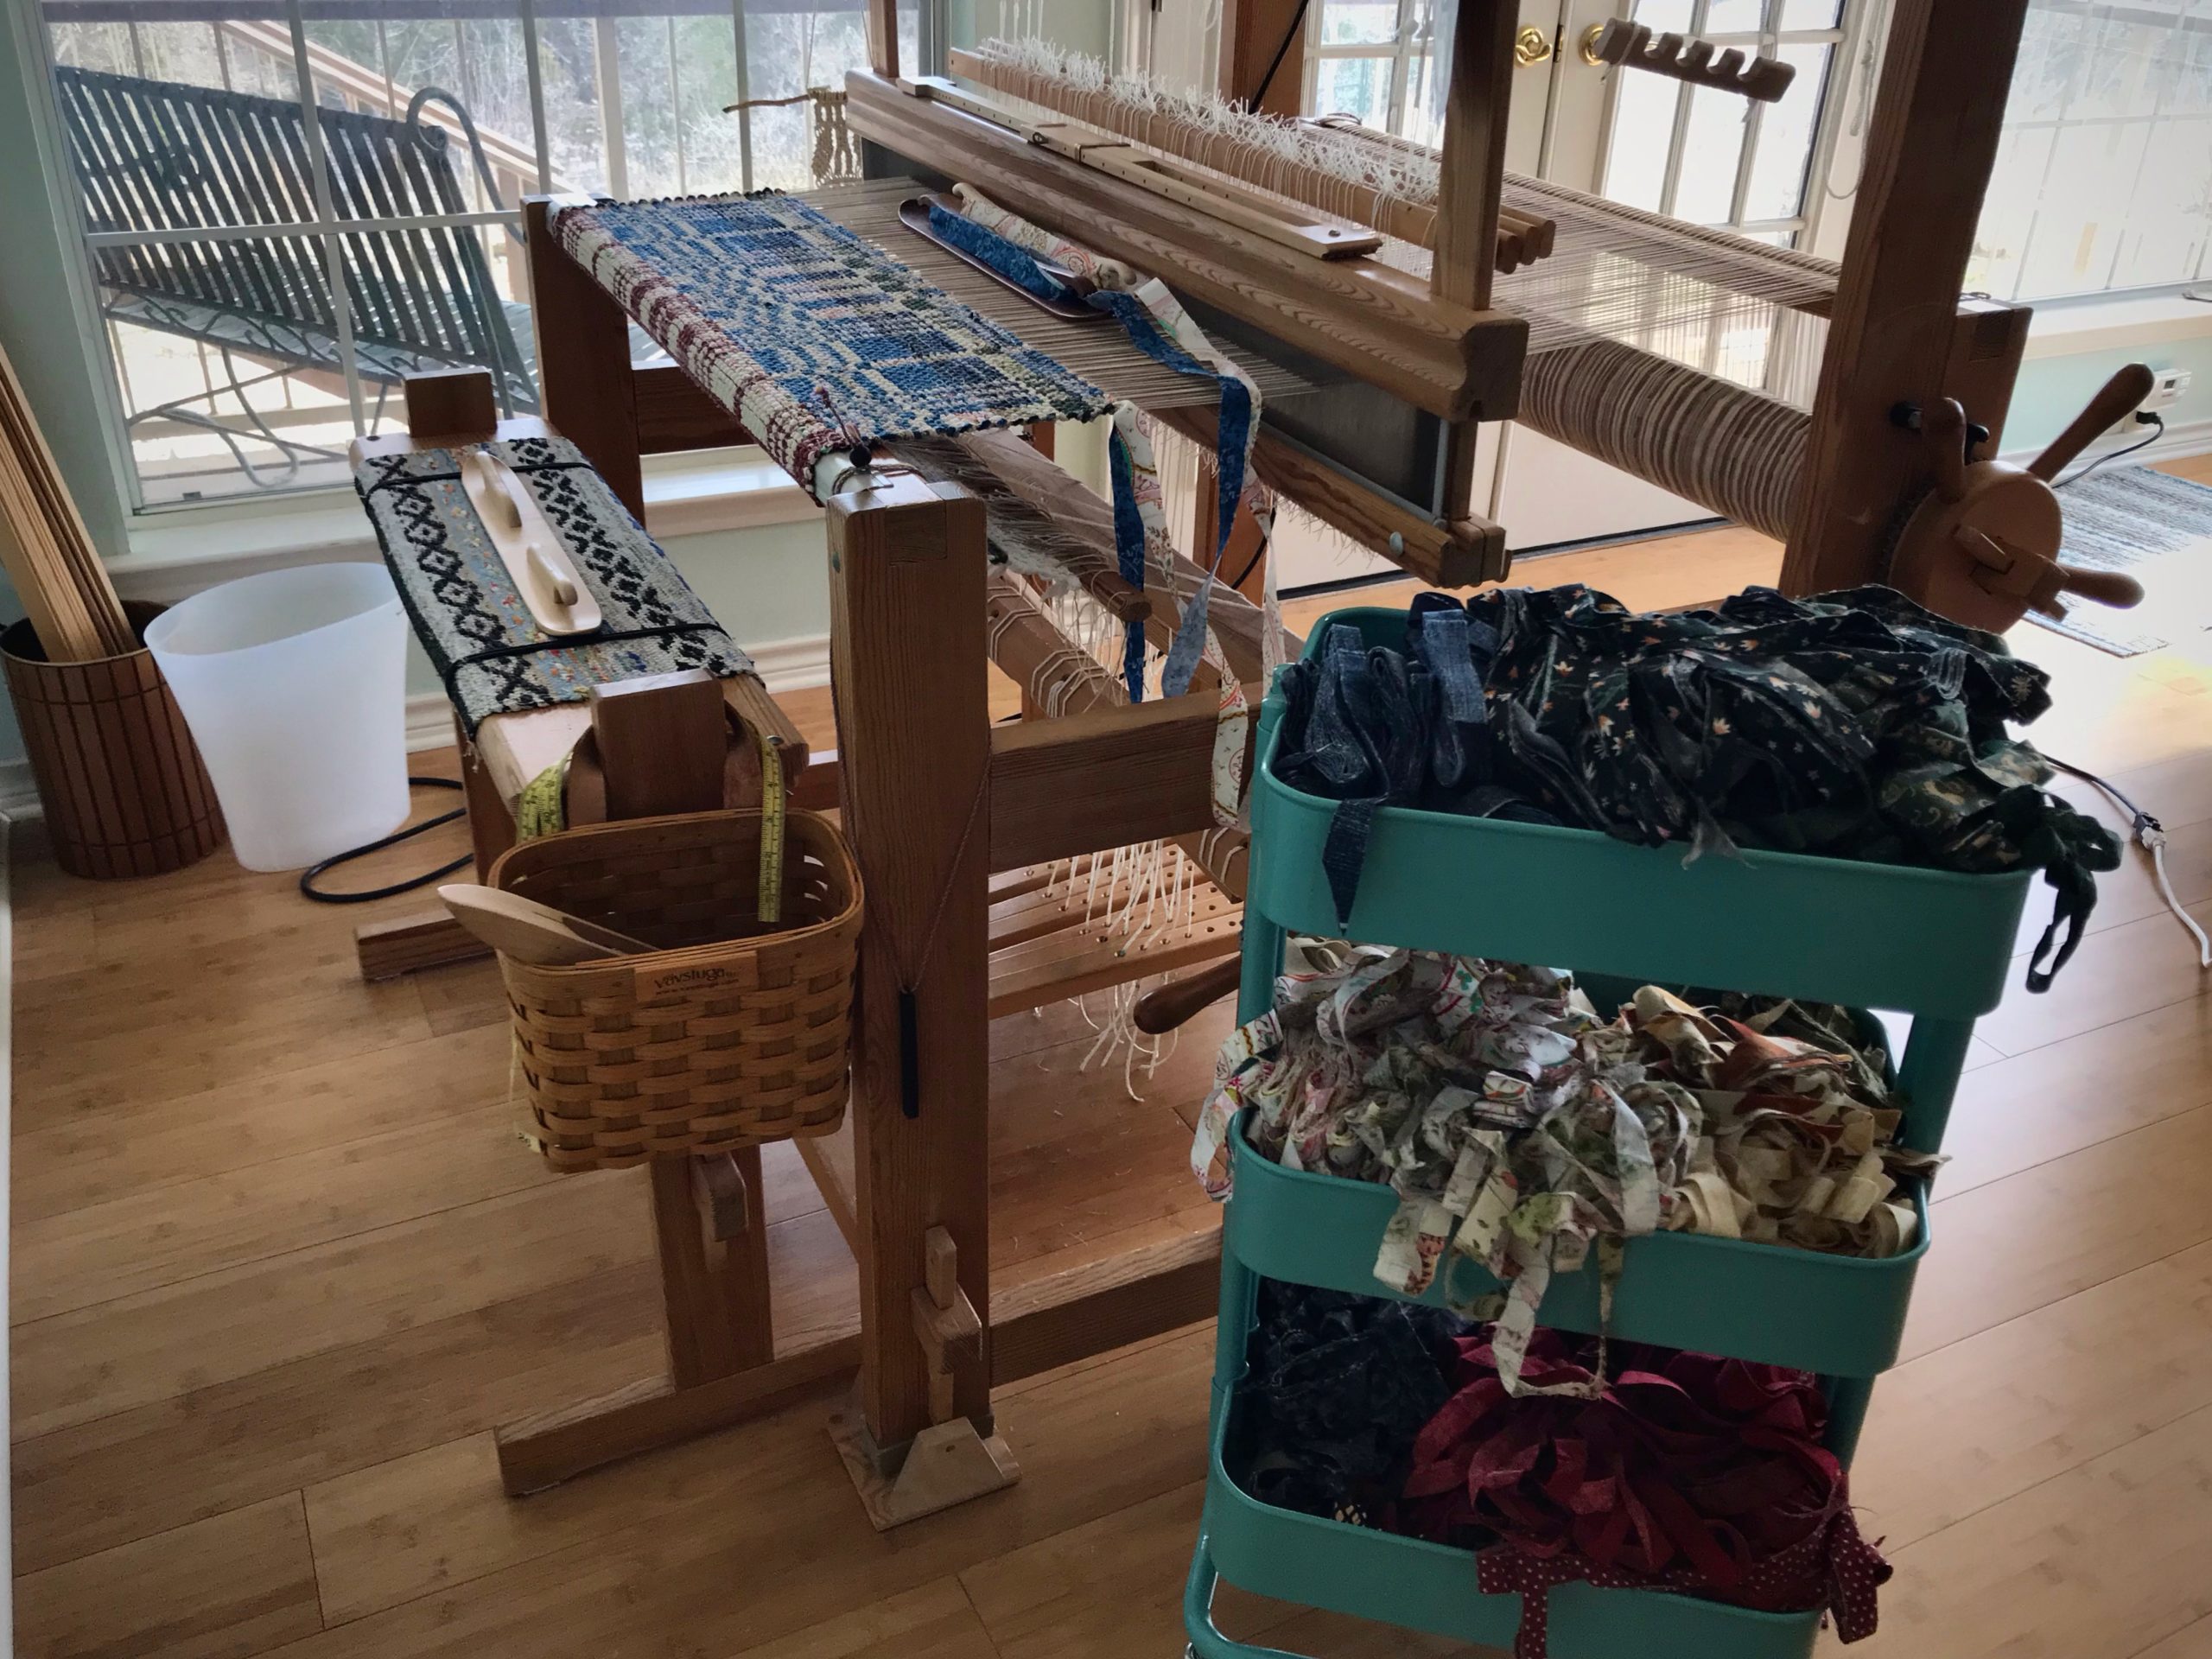
Coverlet Rag Rug on the Glimåkra Ideal loom. Cotton fabric strips are sorted in the Ikea cart by the loom.
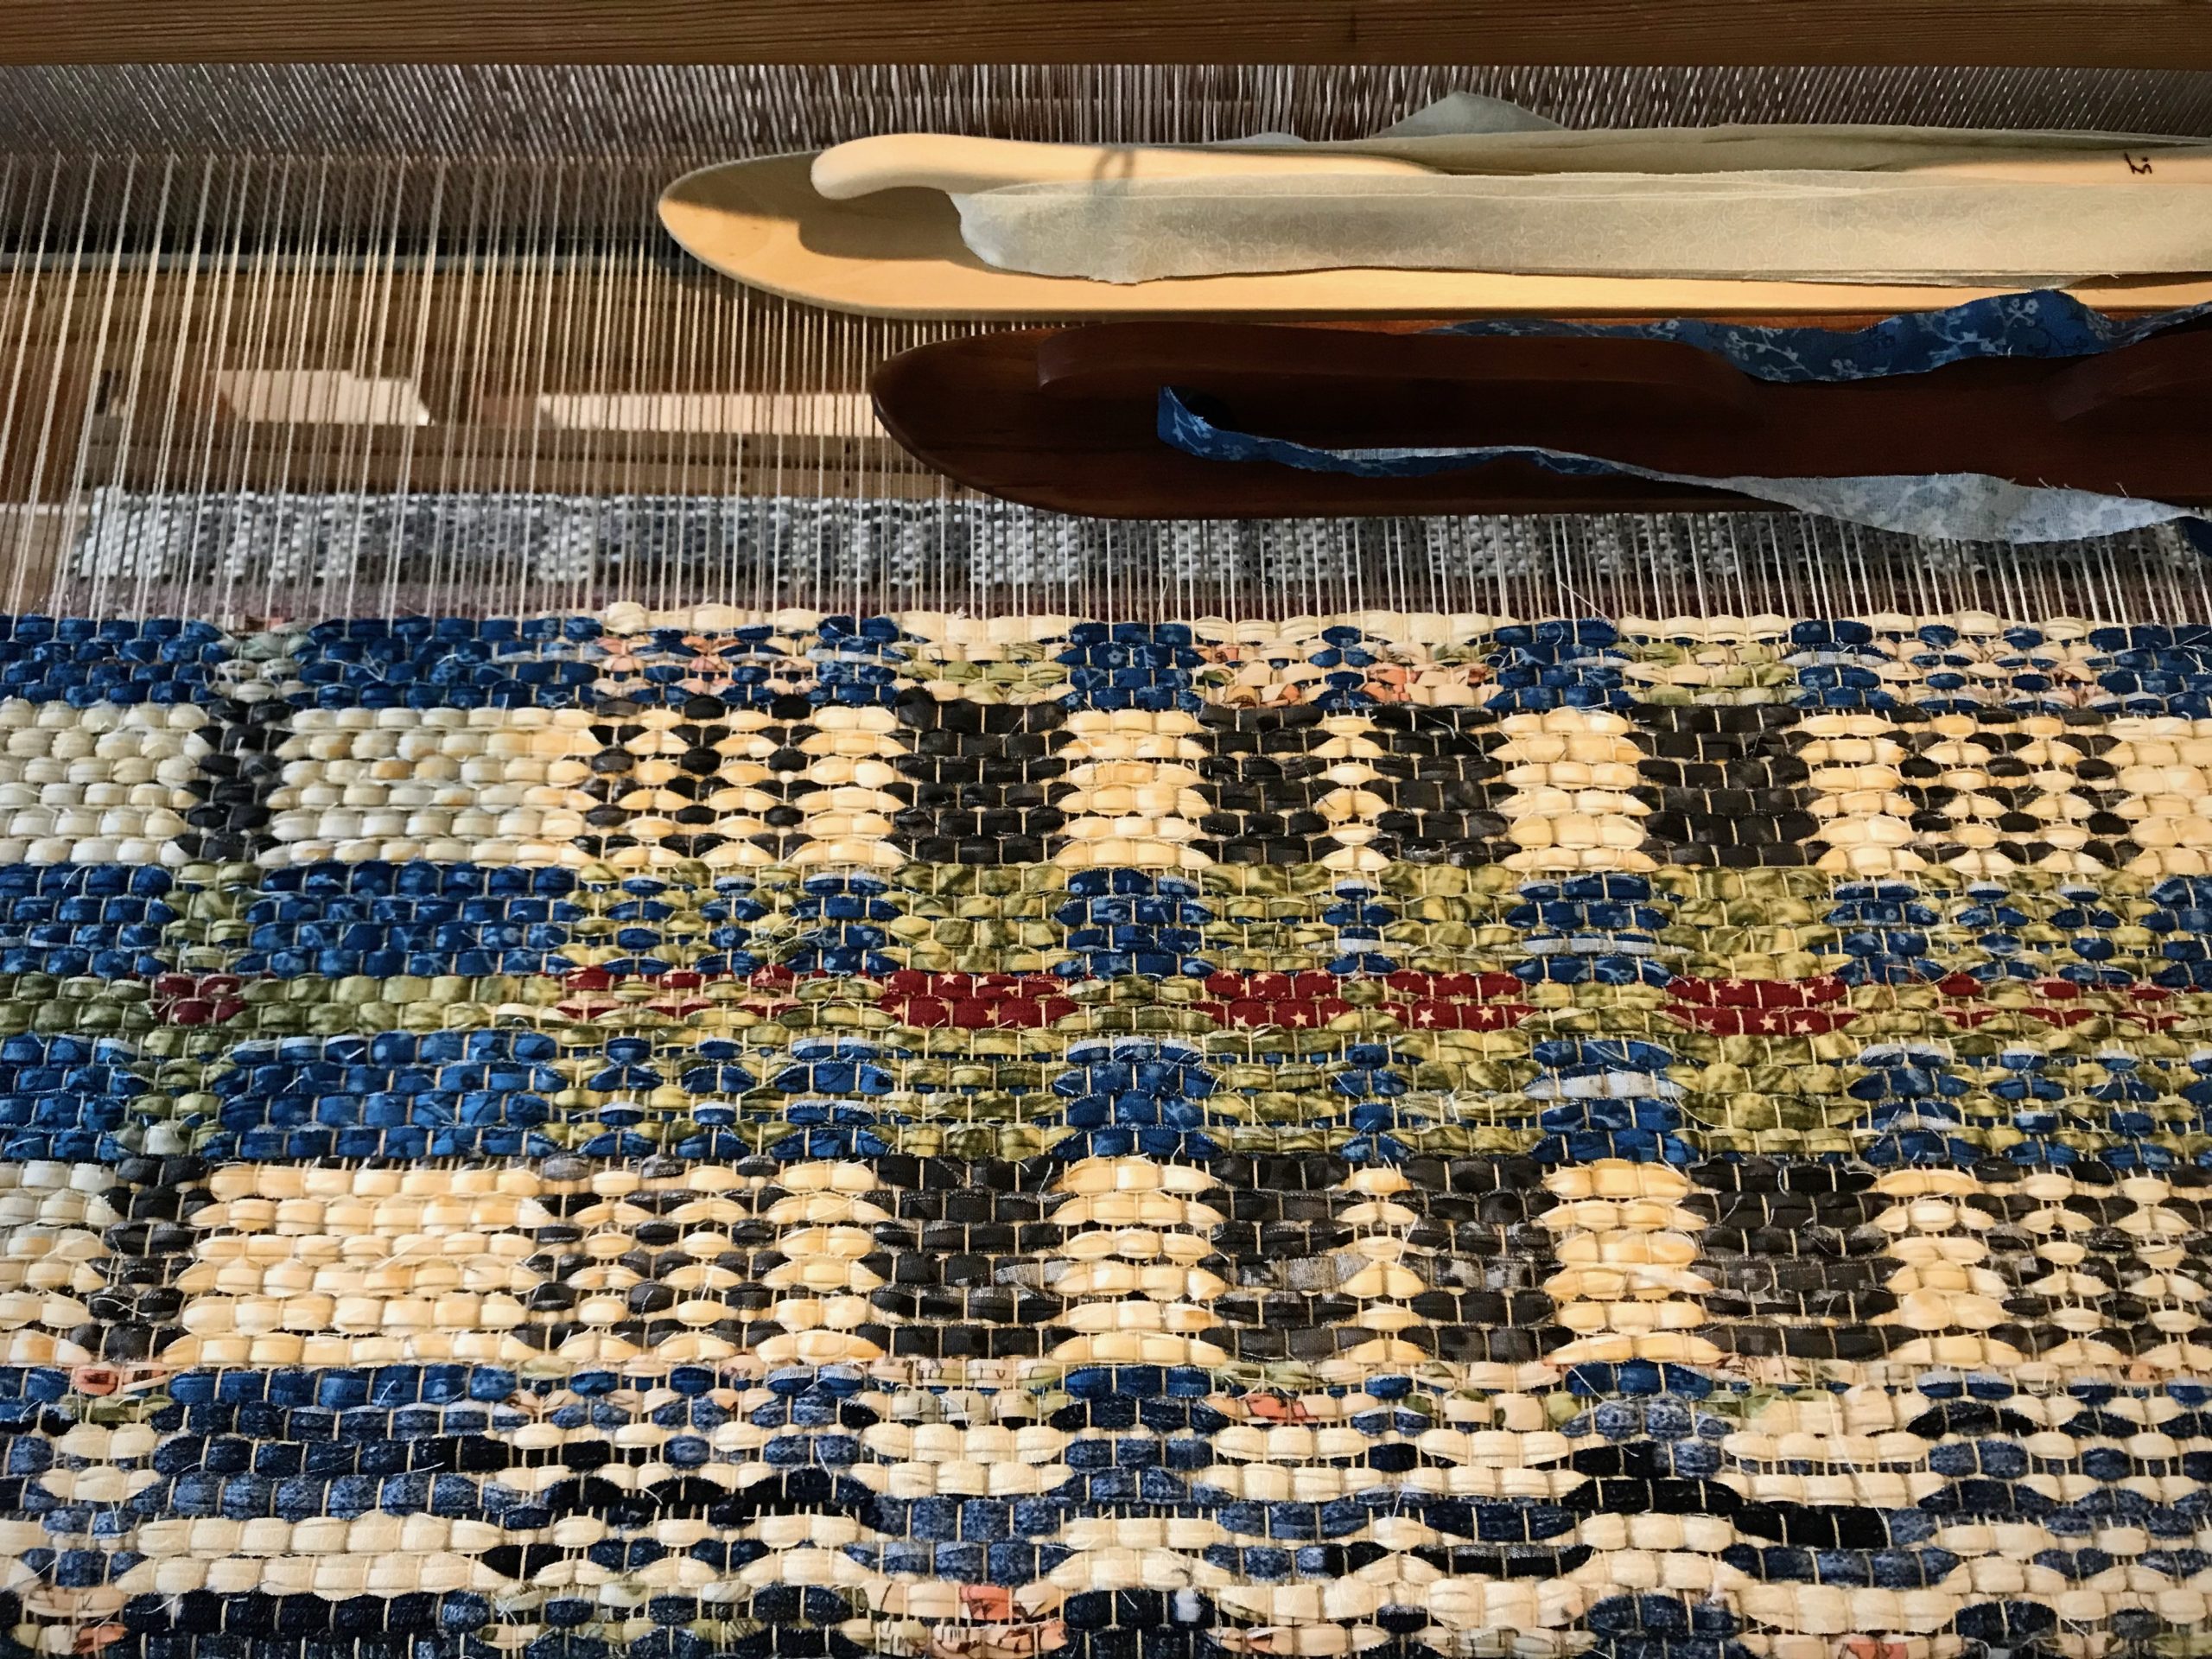
Double Binding uses two shuttles. The two wefts exchange places on the face and back of the cloth.

Double binding is a double-layer fabric in a simple two-block structure. In each block, one of two wefts appears on the face, and the other appears on the back. I switch weft blocks by reversing the order of the two wefts. It’s that simple. For example, one pick of dark weft is followed by a pick of light weft. This sequence is repeated for a few rows. To change to the next block, with the opposite arrangement of dark and light, start with one pick of light weft and follow that with a pick of dark weft, repeating for the remainder of that block.

Temple, removed and placed on the beater for pictures, is a necessary tool for weaving rag rugs.
Variation in the light wefts and in the dark wefts adds interest.
Changing blocks and changing colors.
View from further away shows more of the coverlet design. Only when cut from the loom will we see the whole thing!

A small change repositions everything. Simply reversing the weft order puts a different face on the cloth. What direction am I taking my life? Reverse course to make way for a new life pattern. When we are left alone in the dark, God comes and offers a better way. Give up my way, reverse course, and go his way. Everything changes in such an encounter. Darkness to light.

May you see when to reverse course.

Happy Weaving
Karen