Tools Day: Warping Slat Spacers

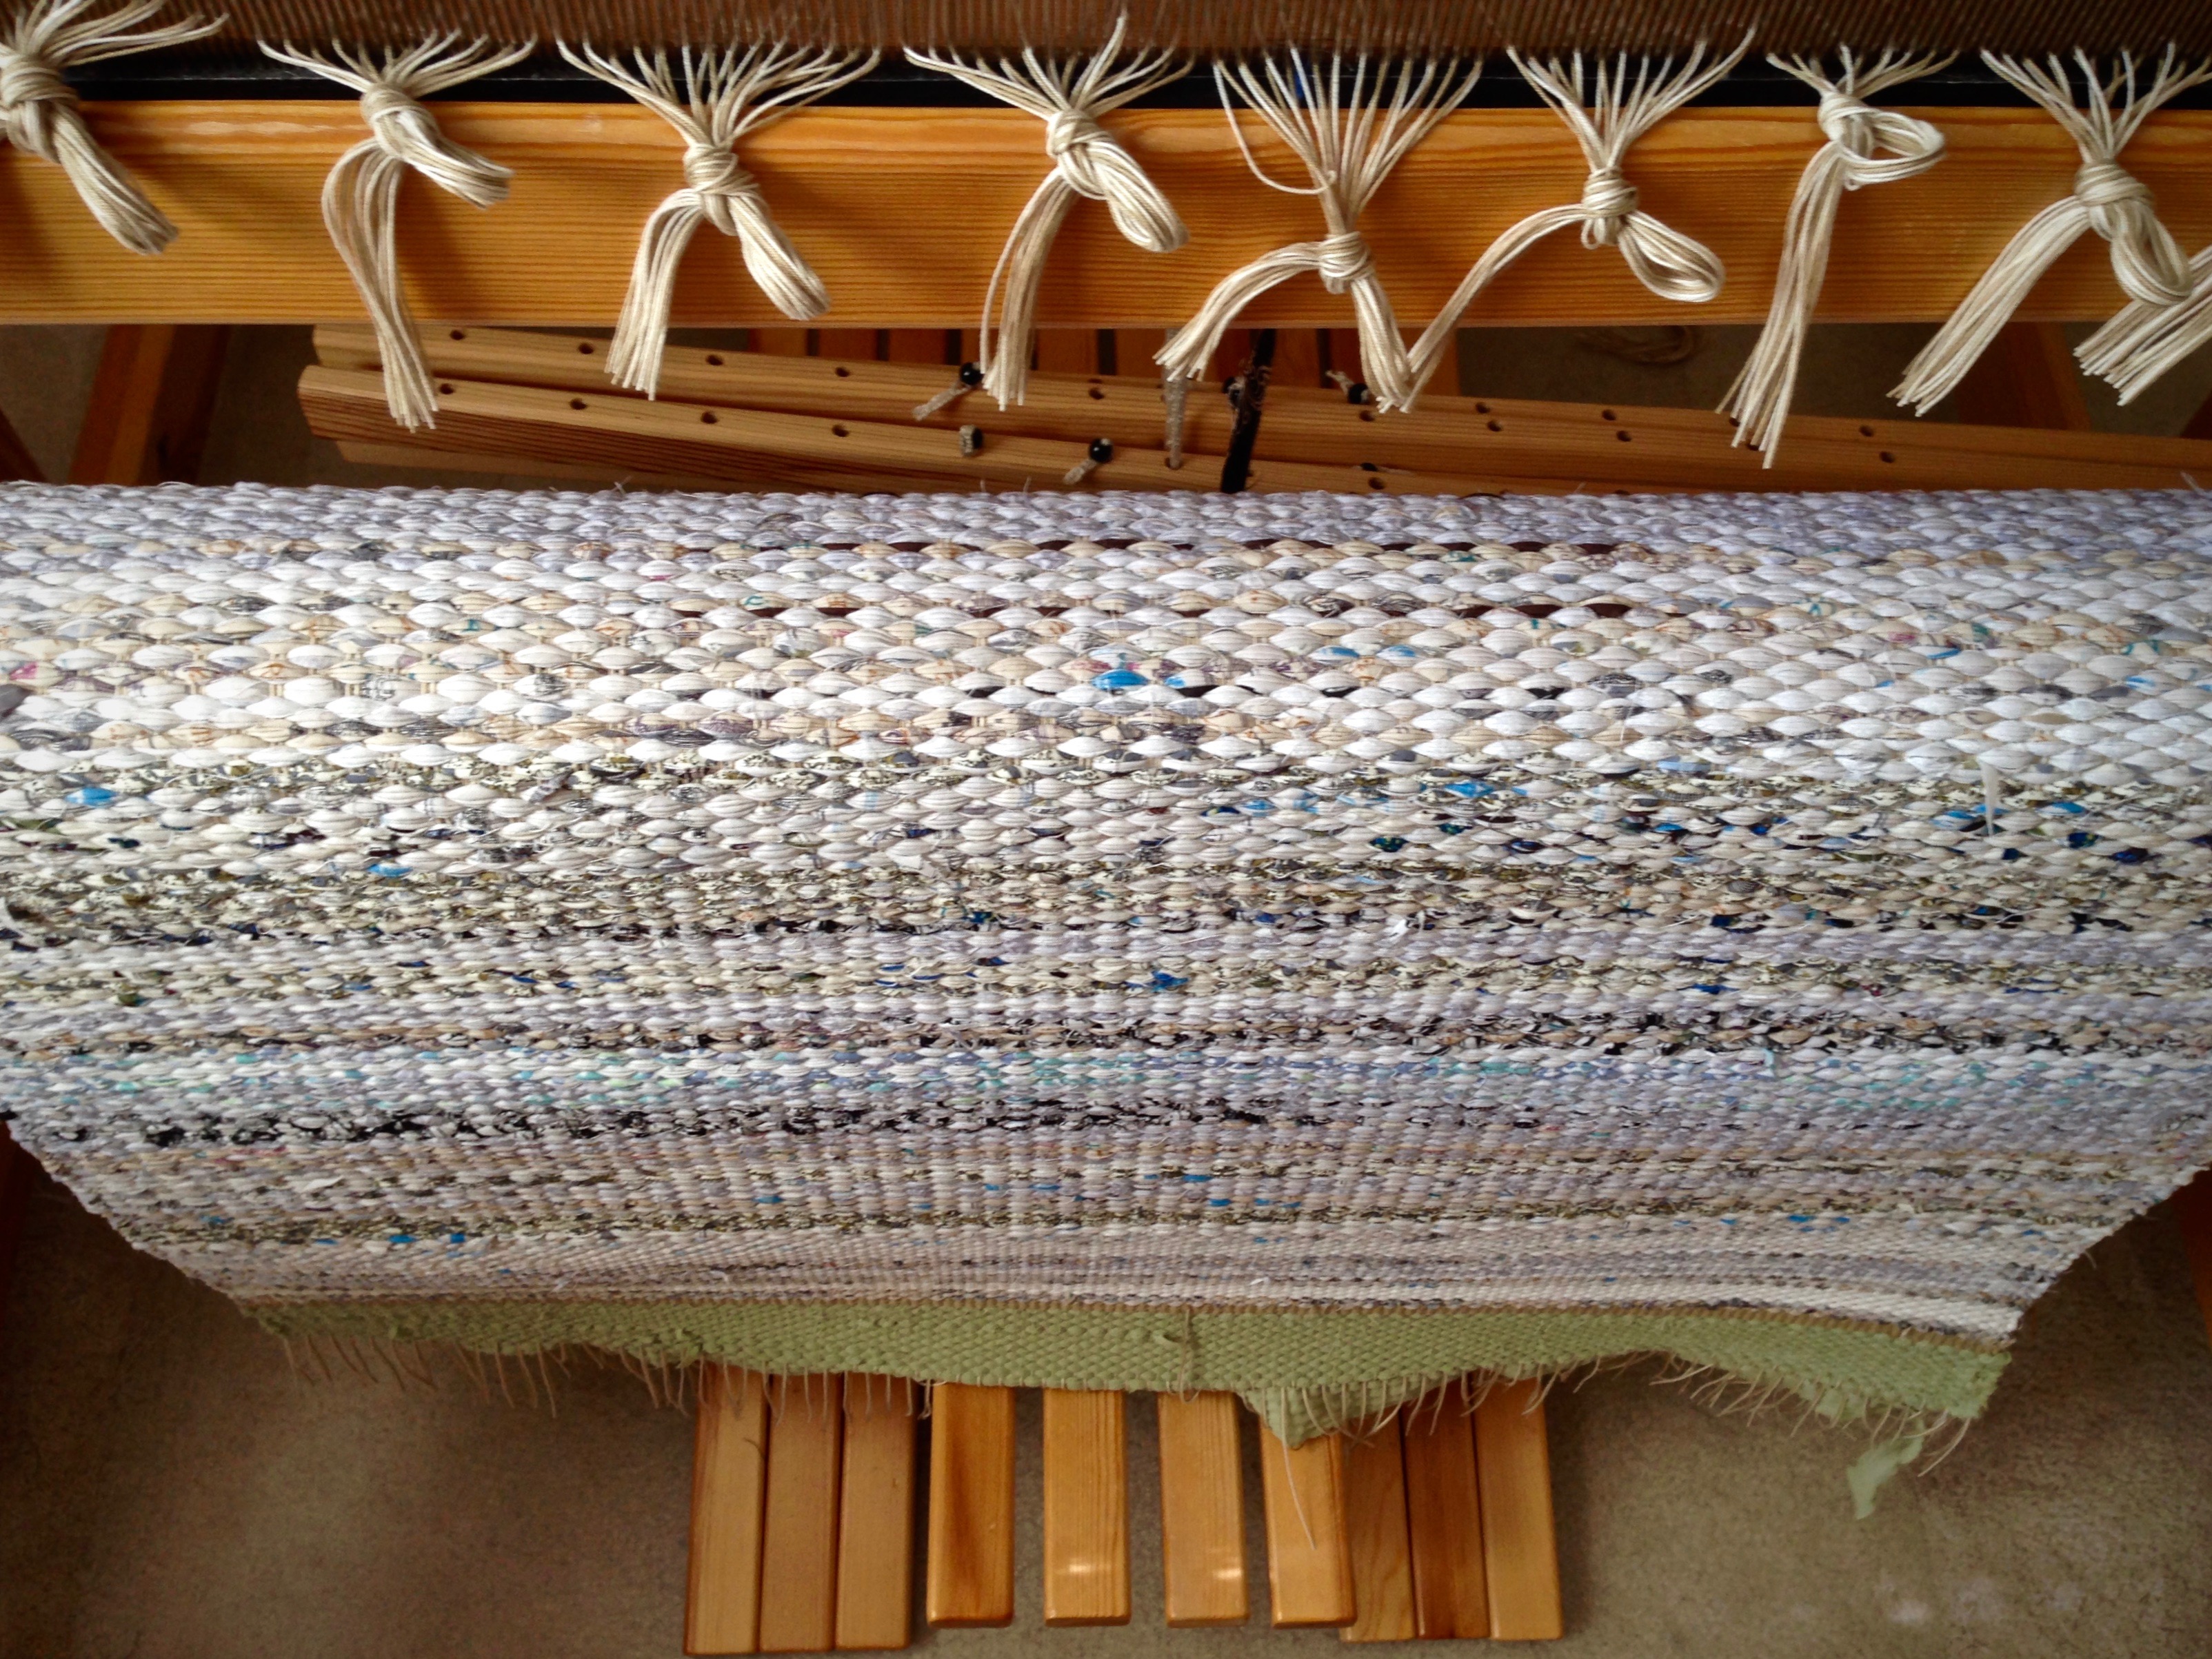
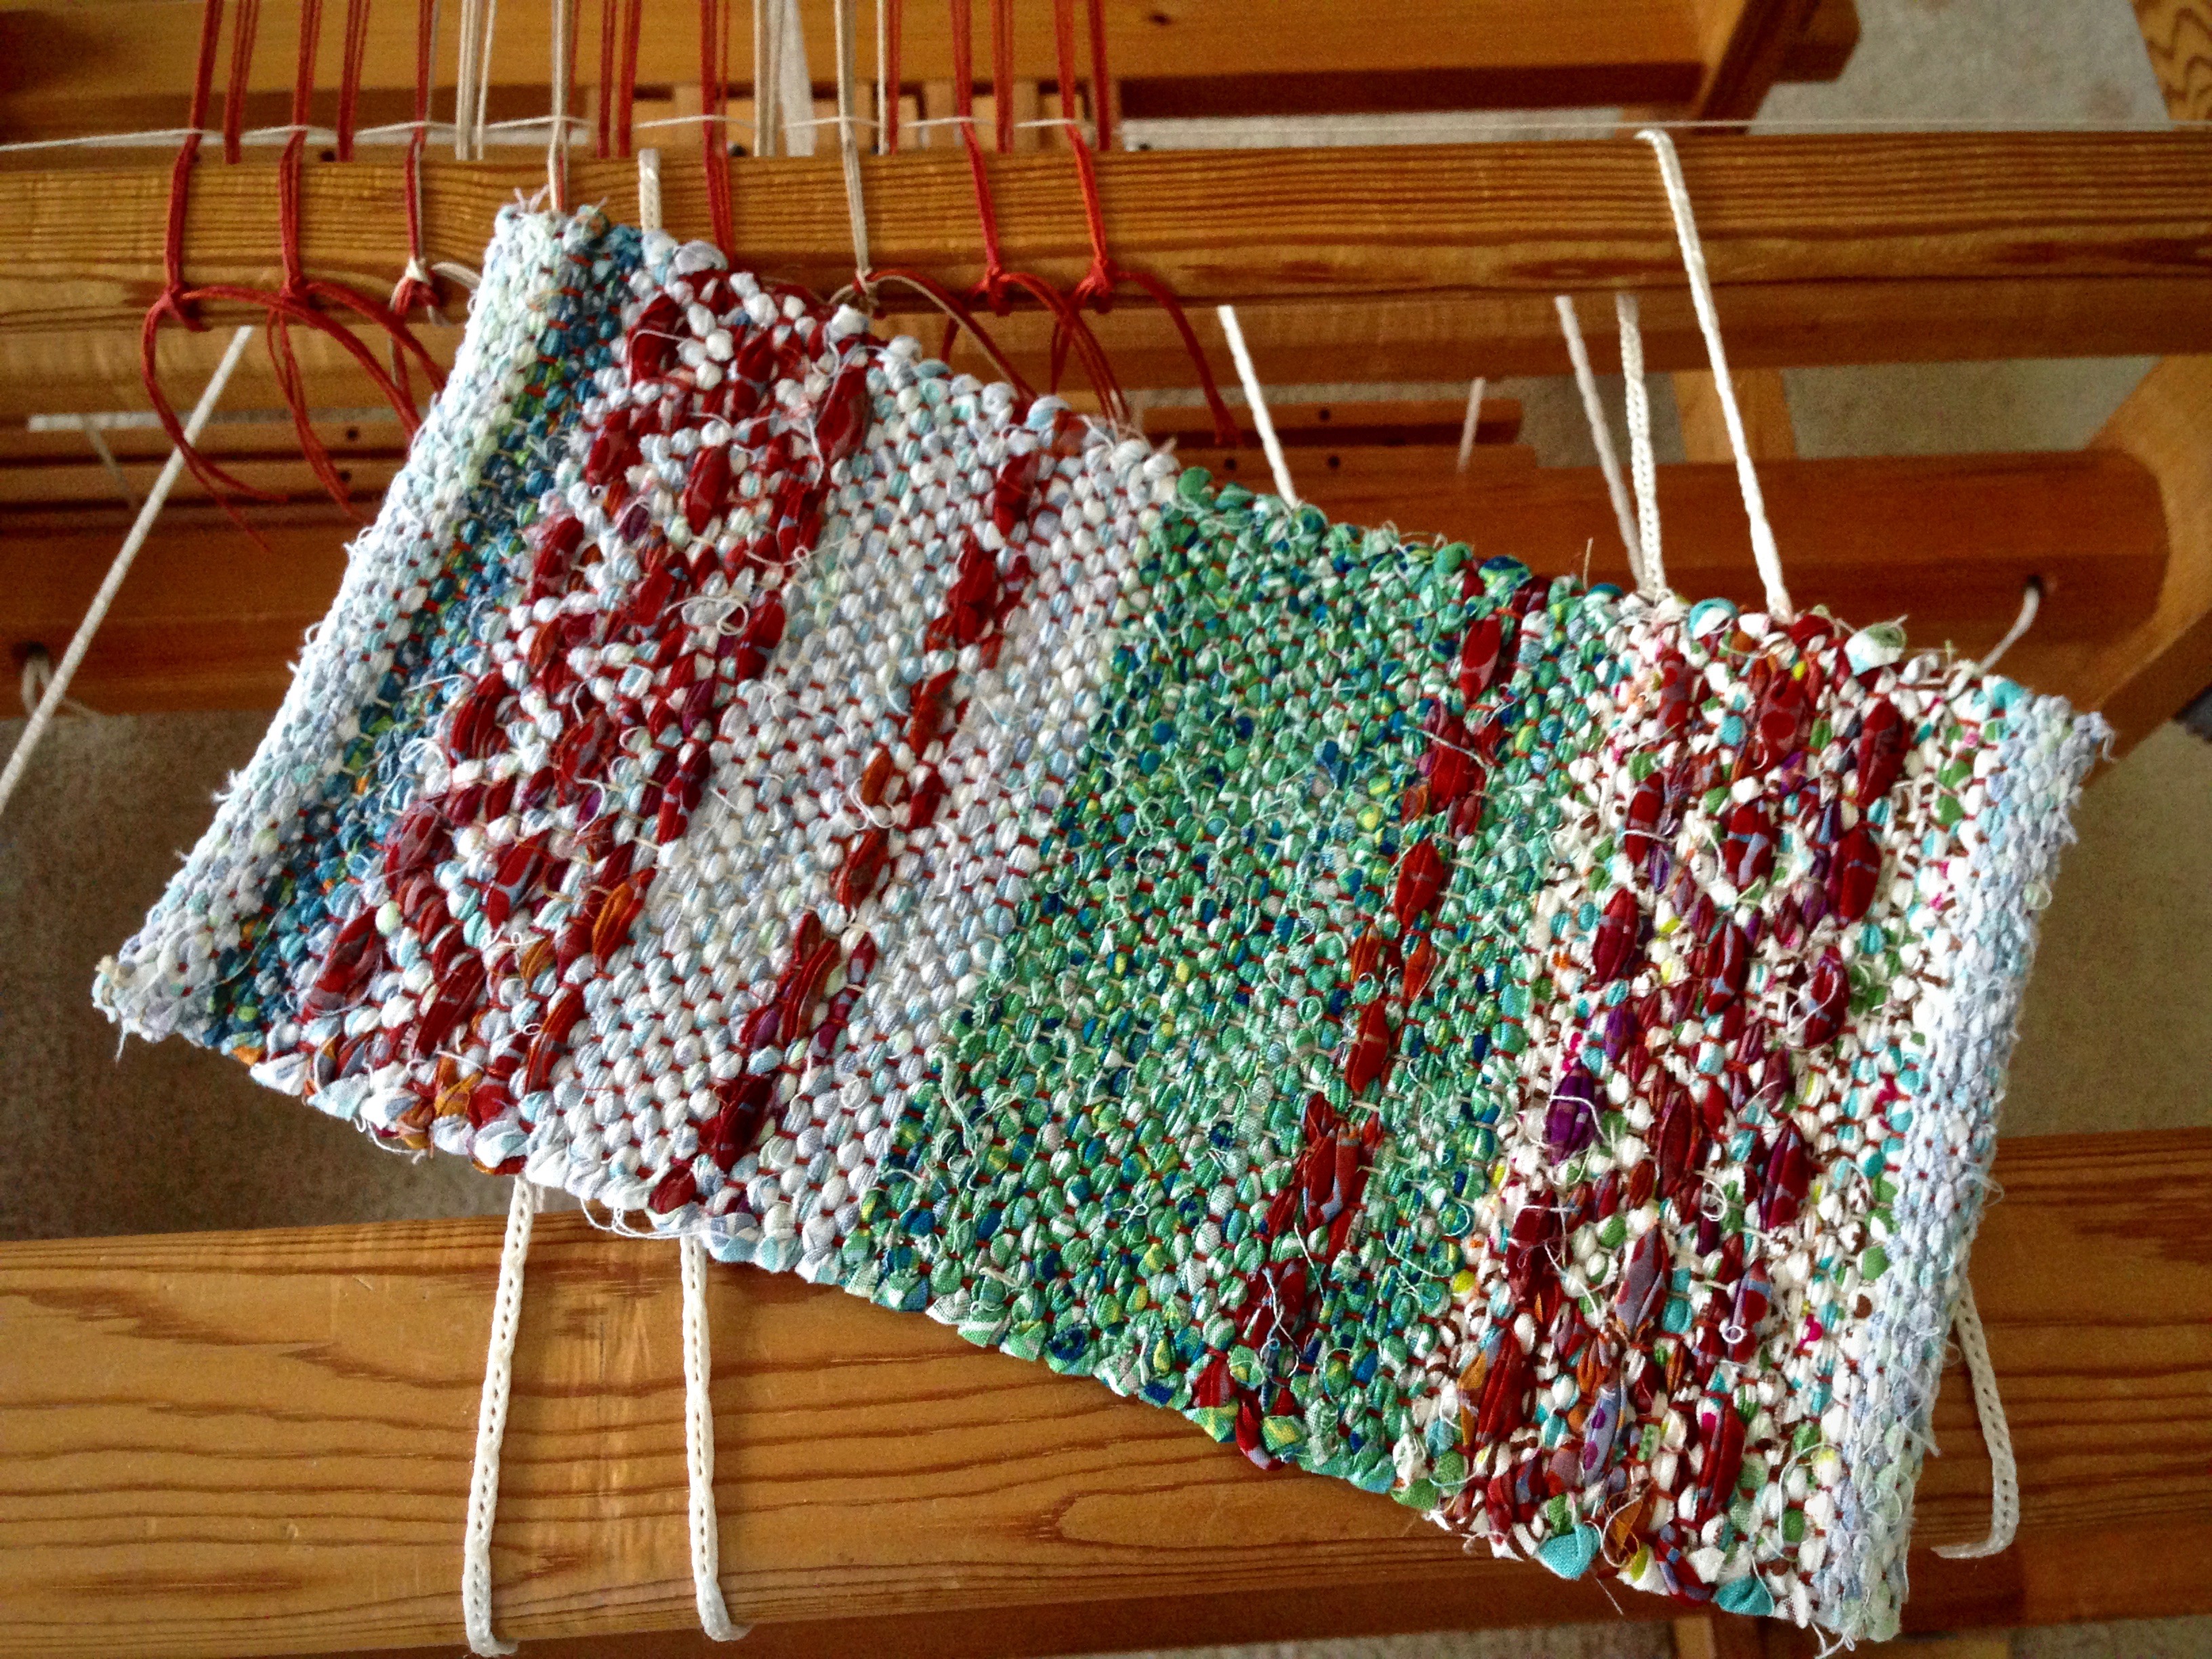
Rag rugs are not finished when you cut them from the loom. In fact, they can fall apart if you are not careful. A rag rug is not secure until warp ends are tied into knots. You need to leave space on the warp between rag rugs to make room for the eventual knots.

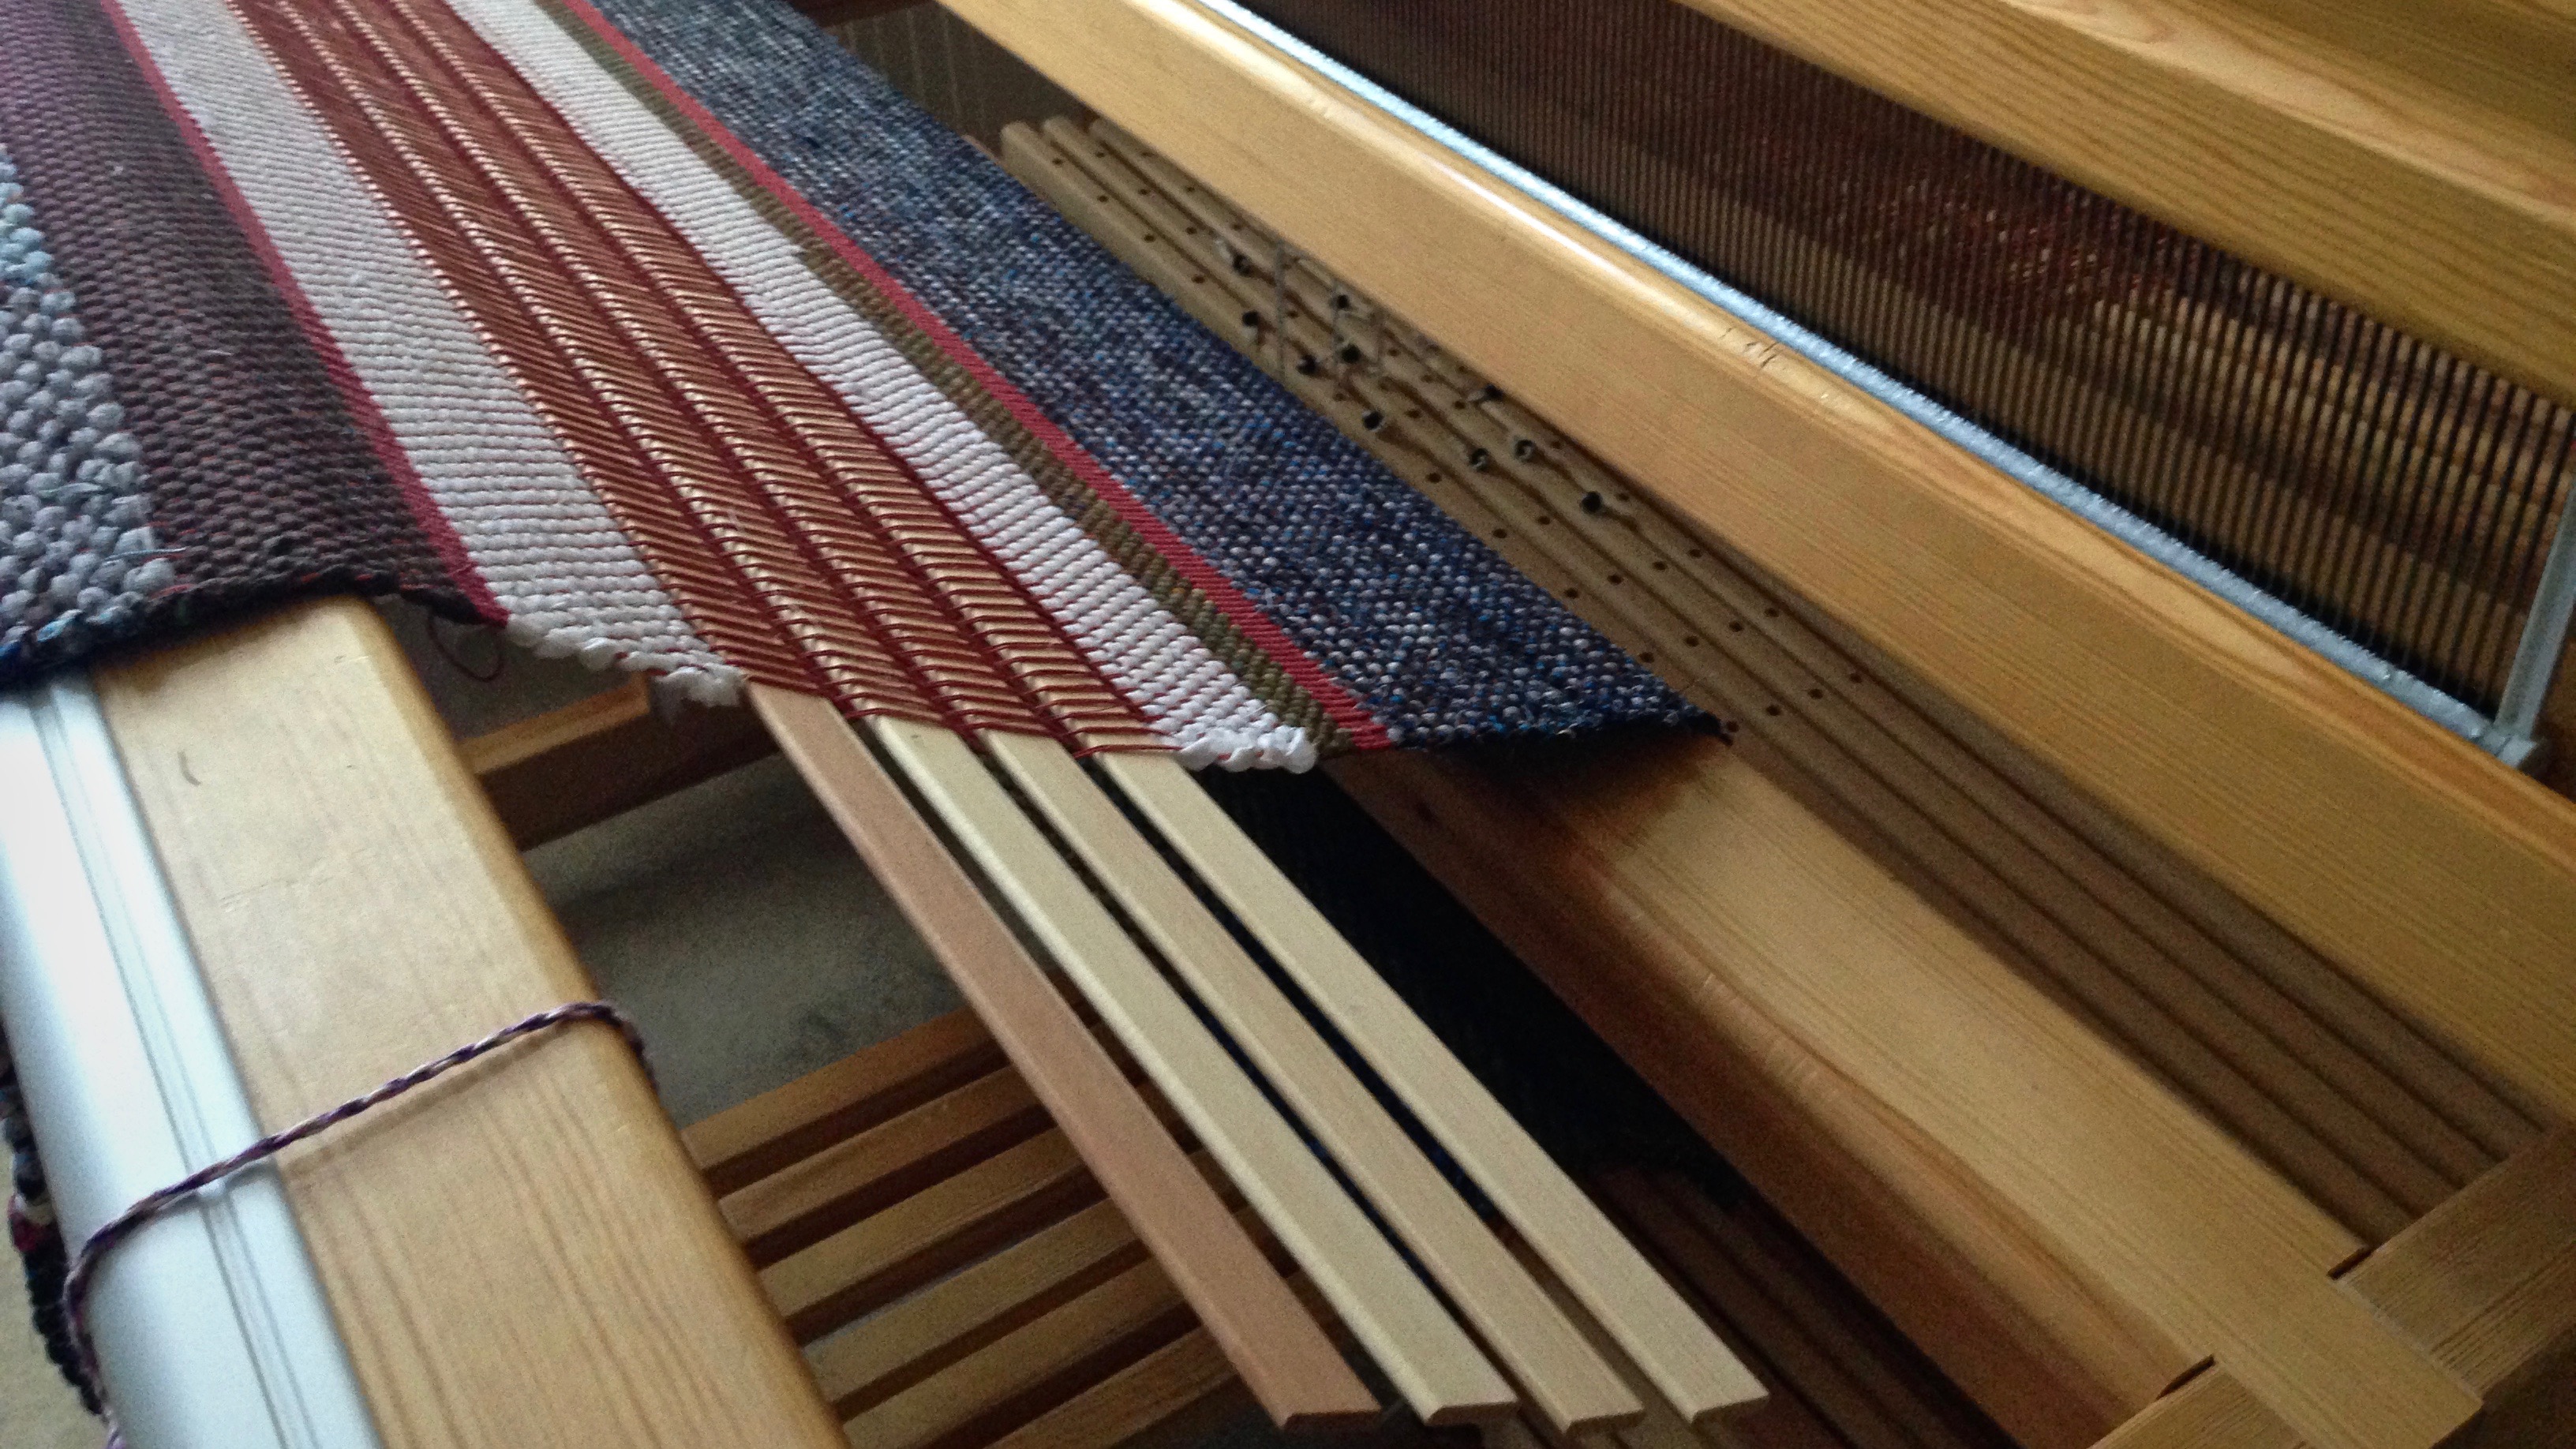
One way to leave space on the warp is by using warping slats as spacers. Simply weave about two inches of scrap header after the end of a rug. Then, insert warping slats in alternating plain weave sheds. And then, weave another scrap header. Now, you’re ready to start the next rug.

Warping slats as spacers between rag rugs.
Weaving is finished. It is time to cut these rugs from the loom. Four warping slats are seen between two rag rugs as the rugs are being pulled off the loom.

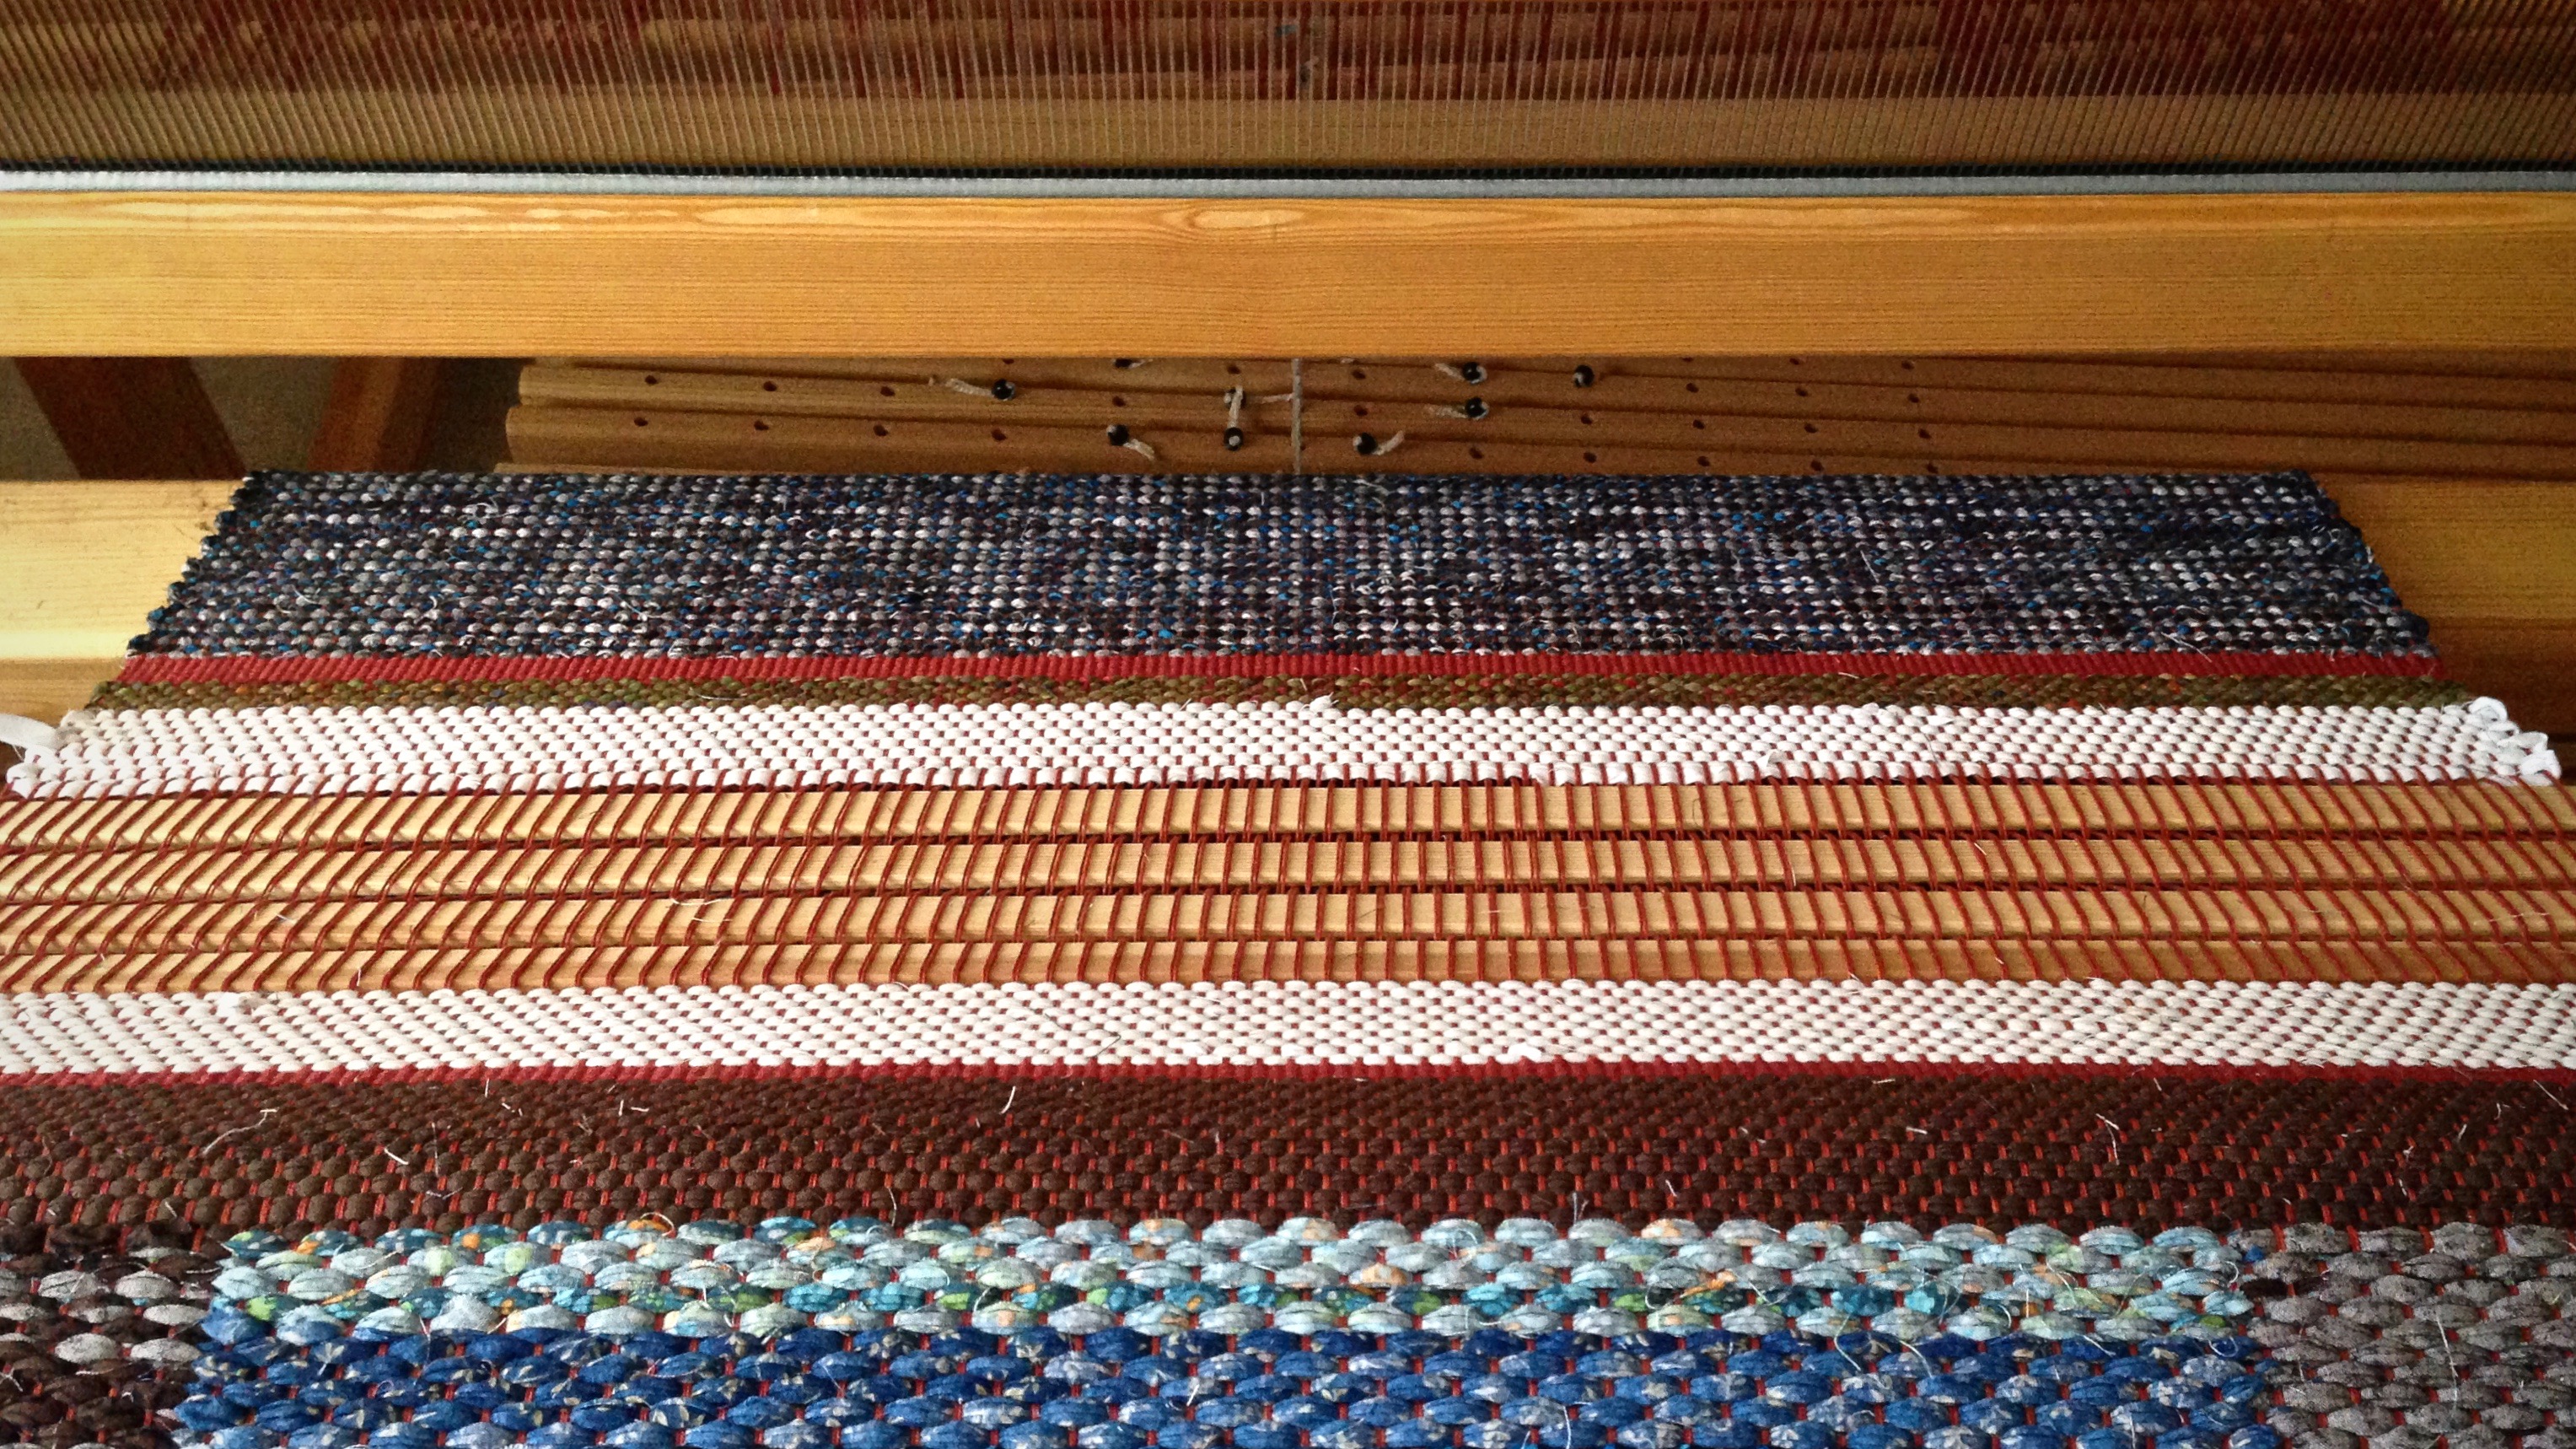
I leave about eight inches (20 cm) of warp between rugs. This gives me enough length for tying the needed square knots. If you are leaving fringe, add enough to include the desired fringe length. When you insert the warping slats, keep them centered so that they can go around the breast beam and cloth beam without catching on the sides of the loom.

Warping slats are used as spacers between rag rugs.
Full-width warping slats are placed carefully so that they do not extend beyond the weaving width on the right or on the left. This view is looking down on the end of the breast beam.

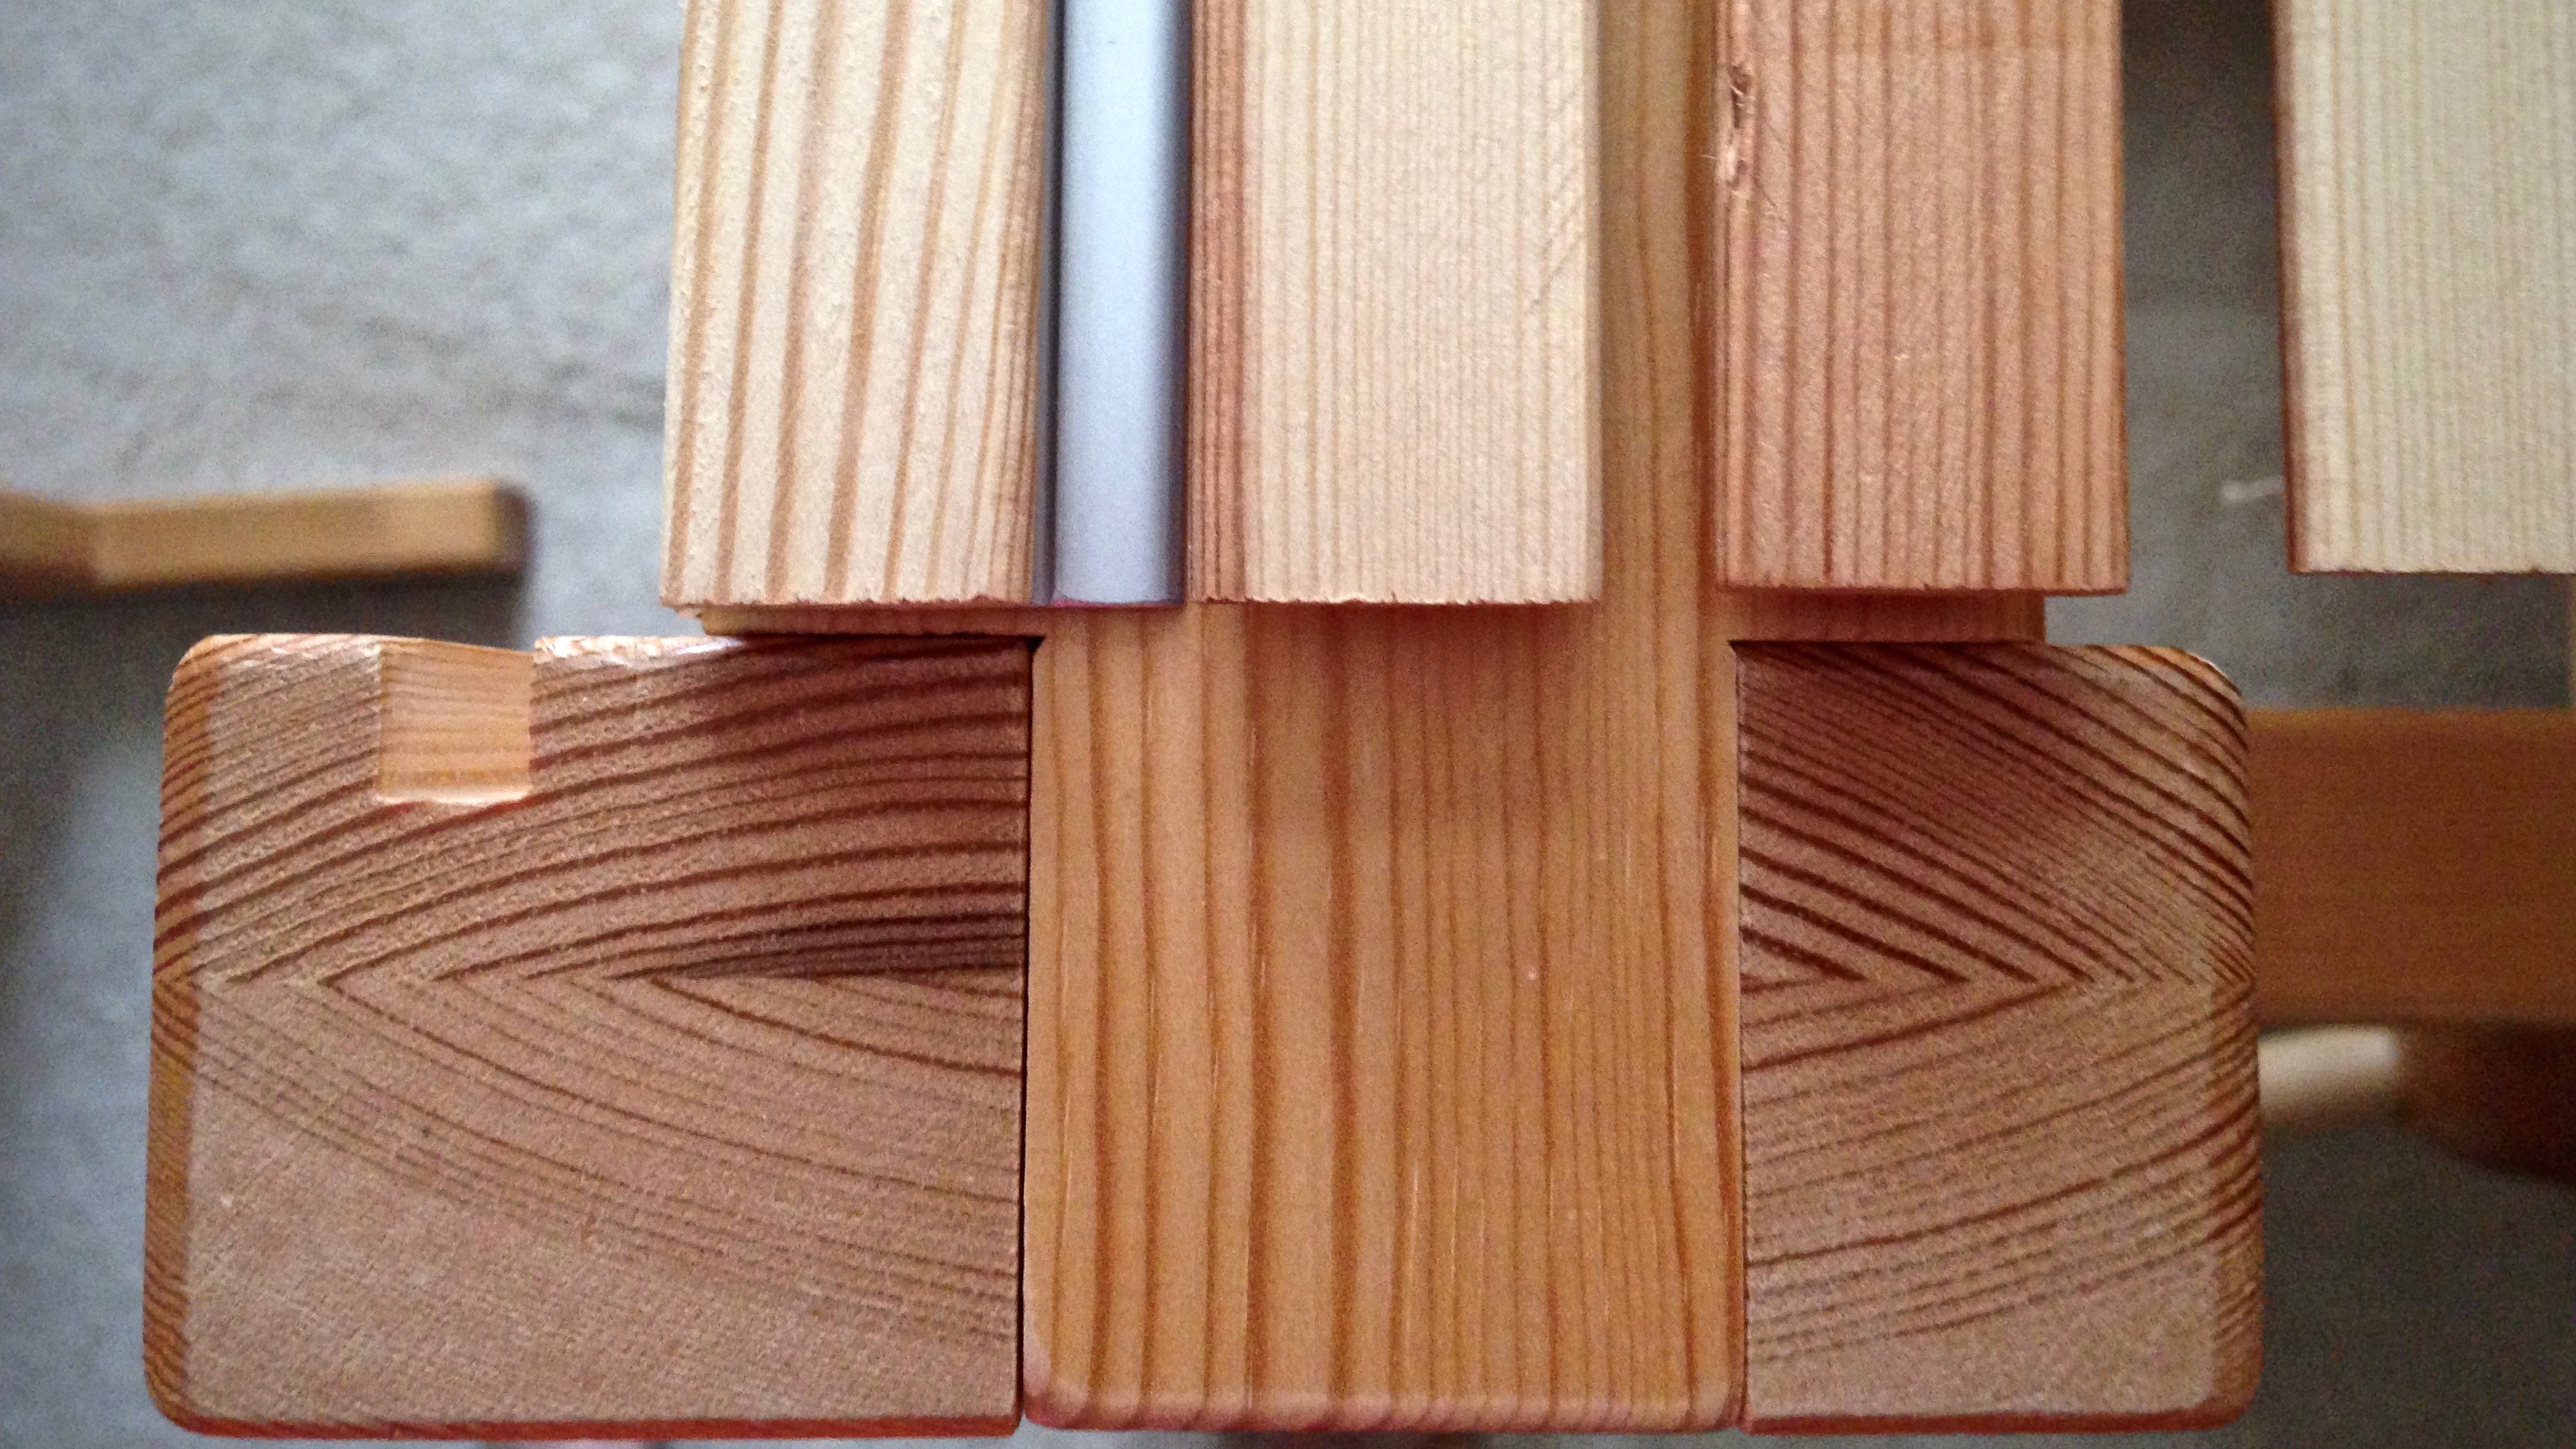
It is easy to separate the rugs after they are off the loom. Cut between slats using a rotary cutter, with a cutting mat underneath.

Warping slats are used as spacers between two rag rugs on the loom.
Double binding rag rugs are ready to be removed from the loom. The two rugs will be cut apart by slicing the warp between the middle two warping slats.

May you make the best use of your time and tools.

All the best,
Karen

Rickrack Rag Rug Hemming Video

Hemming a rag rug may be easier than you think. I have used my classic Bernina sewing machine to hem rag rugs; but now, I hem many of them by hand. It’s easier and faster than I once thought. I plan the rug’s hem into the weaving, using half-width fabric strips for the hem area, and end it off with 1 cm of a warp thread heading. After cutting off the rug, I secure and trim the warp ends. There’s only one thing left to do. Hem the rug! (Start with Tools Day: Rag Rug Finishing Video if you haven’t seen it yet.)

Weaving the hem on a rag rug. Video about hemming.
Hem is woven with fabric strips, doubled, cut 1 cm wide. This rug has a 6 cm hem, plus the warp thread heading, that will be folded under and stitched.

Tools and supplies

  • Steam iron
  • Long straight pins
  • Rug warp to match the rug (mine is Bockens 12/6 cotton seine twine)
  • Blunt tapestry needle

Rickrack rag rug. Video tutorial about hemming rag rugs.
Kitchen mat is embellished with woven thin stripes that give the impression of rickrack. It makes me think of rickrack-trimmed dresses my mother made for me when I was a little girl. (See Simplest Rag Rug Stripe to learn how the rickrack stripes are made.)

May you enjoy the work of your hands.

Happy hemming,
Karen

Tools Day: Rag Rug Finishing Video

Do you know how easy it is to finish the ends of a rag rug that you plan to hem? You cannot trust a sewing machine to do the job. Neither a zig-zag stitch nor a serged edge adequately catches all the ends, as they do for other handwoven items. Hand-tied knots will ensure that your rug endures the test of time.

Large rag rug cut from the loom. Instructions for finishing ends.
Rag rug is cut off the Glimåkra Standard loom. A warp thread header (1 cm) is woven at both ends of the rug, and about 5 cm of scrap header (scrap fabric strips) is woven outside of that. The scrap header helps keep the rug from unravelling when it is removed from the loom.

The following video details the few simple steps needed to prepare your rag rug for hemming.

Tools:

  • Two-pound walking weights
  • 5″ Sacking needle (I found mine at WeavingSouthwest)
  • Hair comb
  • Cutting mat
  • Acrylic ruler
  • Rotary cutter

May you finish what you start.

All the best,
Karen

One Mini Rag Rug

I am calling this miniature rag rug experiment a success! Oh what fun to play with colorful fabric to make rosepath designs in rag rugs. This sample size is great for trying out various designs and color combinations. Pure delight for a rag rug weaver like me!

Mini rag rug on the loom with rosepath design.

I am cutting this first “rug” off. After finishing the ends and hemming the little rug, I will see if adjustments are needed before weaving the rest of the warp. It’s the details I’m interested in–sett, weft density, finished dimensions, selvedges, design, balance of color, size of hem. All of these assessments affect my plans for the remaining warp. I am excited about weaving more of these mini rugs! I smile to think of it.

Small rosepath rag rug sample.
Warp is tied on and ready for weaving the next small rag rug.
Mini rosepath rag rug with favorite coffee mug. Karen Isenhower
Favorite artisan coffee mug is right at home on the cute little rug. Finished rag rug measures 6 x 10 1/2″ / 15 x 26.5cm.

The Lord is intricately involved in the lives of those who belong to Him. He delights in details that require His guidance. It is as if the Lord is holding my hand, especially when I need guidance to navigate life’s challenges. The Lord delights in helping us. After all, what He is making is much more exciting than anything found on our looms.

May you find delightful details in the work of your hands.

Happy weaving,
Karen

These Sensational Towels!

What can compare to the thrill of unrolling freshly-woven cloth? Pulling, and pulling, and pulling until you get to the very beginning of the warp. As every towel unwinds, I do a micro evaluation, knowing that complete scrutiny comes later. I could not be happier with these towels! They are every bit as sensational off the loom as they were to weave. What a joy to be a weaver!

Towels galore just coming off the loom!
Back to the beginning! Cottolin thick and thin handtowels are coming off the loom.

It wasn’t that long ago that I was winding lopsided quills, dropping the shuttle more than occasionally, and struggling to understand weaving drafts. Desire and a willingness to learn have pushed me through these and other barriers.

Handwoven towels ready to be hemmed.
Ready for hemming.
Black and white and a little red. Handwoven towels.
Black and white and a little red, ready for hemming.
Photo shoot for new handwoven towels. Karen Isenhower
Getting set up for a photo shoot. Photos are used in Etsy listings.

Willingness is more important than capability. Being willing sets the stage for learning. We all start incapable. God doesn’t expect us to be capable. He does expect us to be willing. God weaves His purposes on earth, not through the capable people, but through the willing. In weaving, and in life overall, I want to embrace and preserve the willingness factor that keeps me learning.

Thick and thin structure is a handweaver's playground. Karen Isenhower
Thick and thin structure is a playground for a handweaver to imagine and develop designs. Cottolin handtowels and table runner. Designer kitchen, anyone?

And as we yield our will to our Creator, what joy is ours as we learn how to truly live!

May you never stop learning.

(You can see a few of these items now in the Warped for Good Etsy Shop.)

Happy Weaving,
Karen